motorman7
Supporting Member
-
Joined
-
Last visited
-
@jayhawk Thanks for the comments! I really enjoyed working on your car and am glad it has done so well. Let's see if we can get another winner with SN 00042 here. We should with all of the help I am getting 🤣😂
-
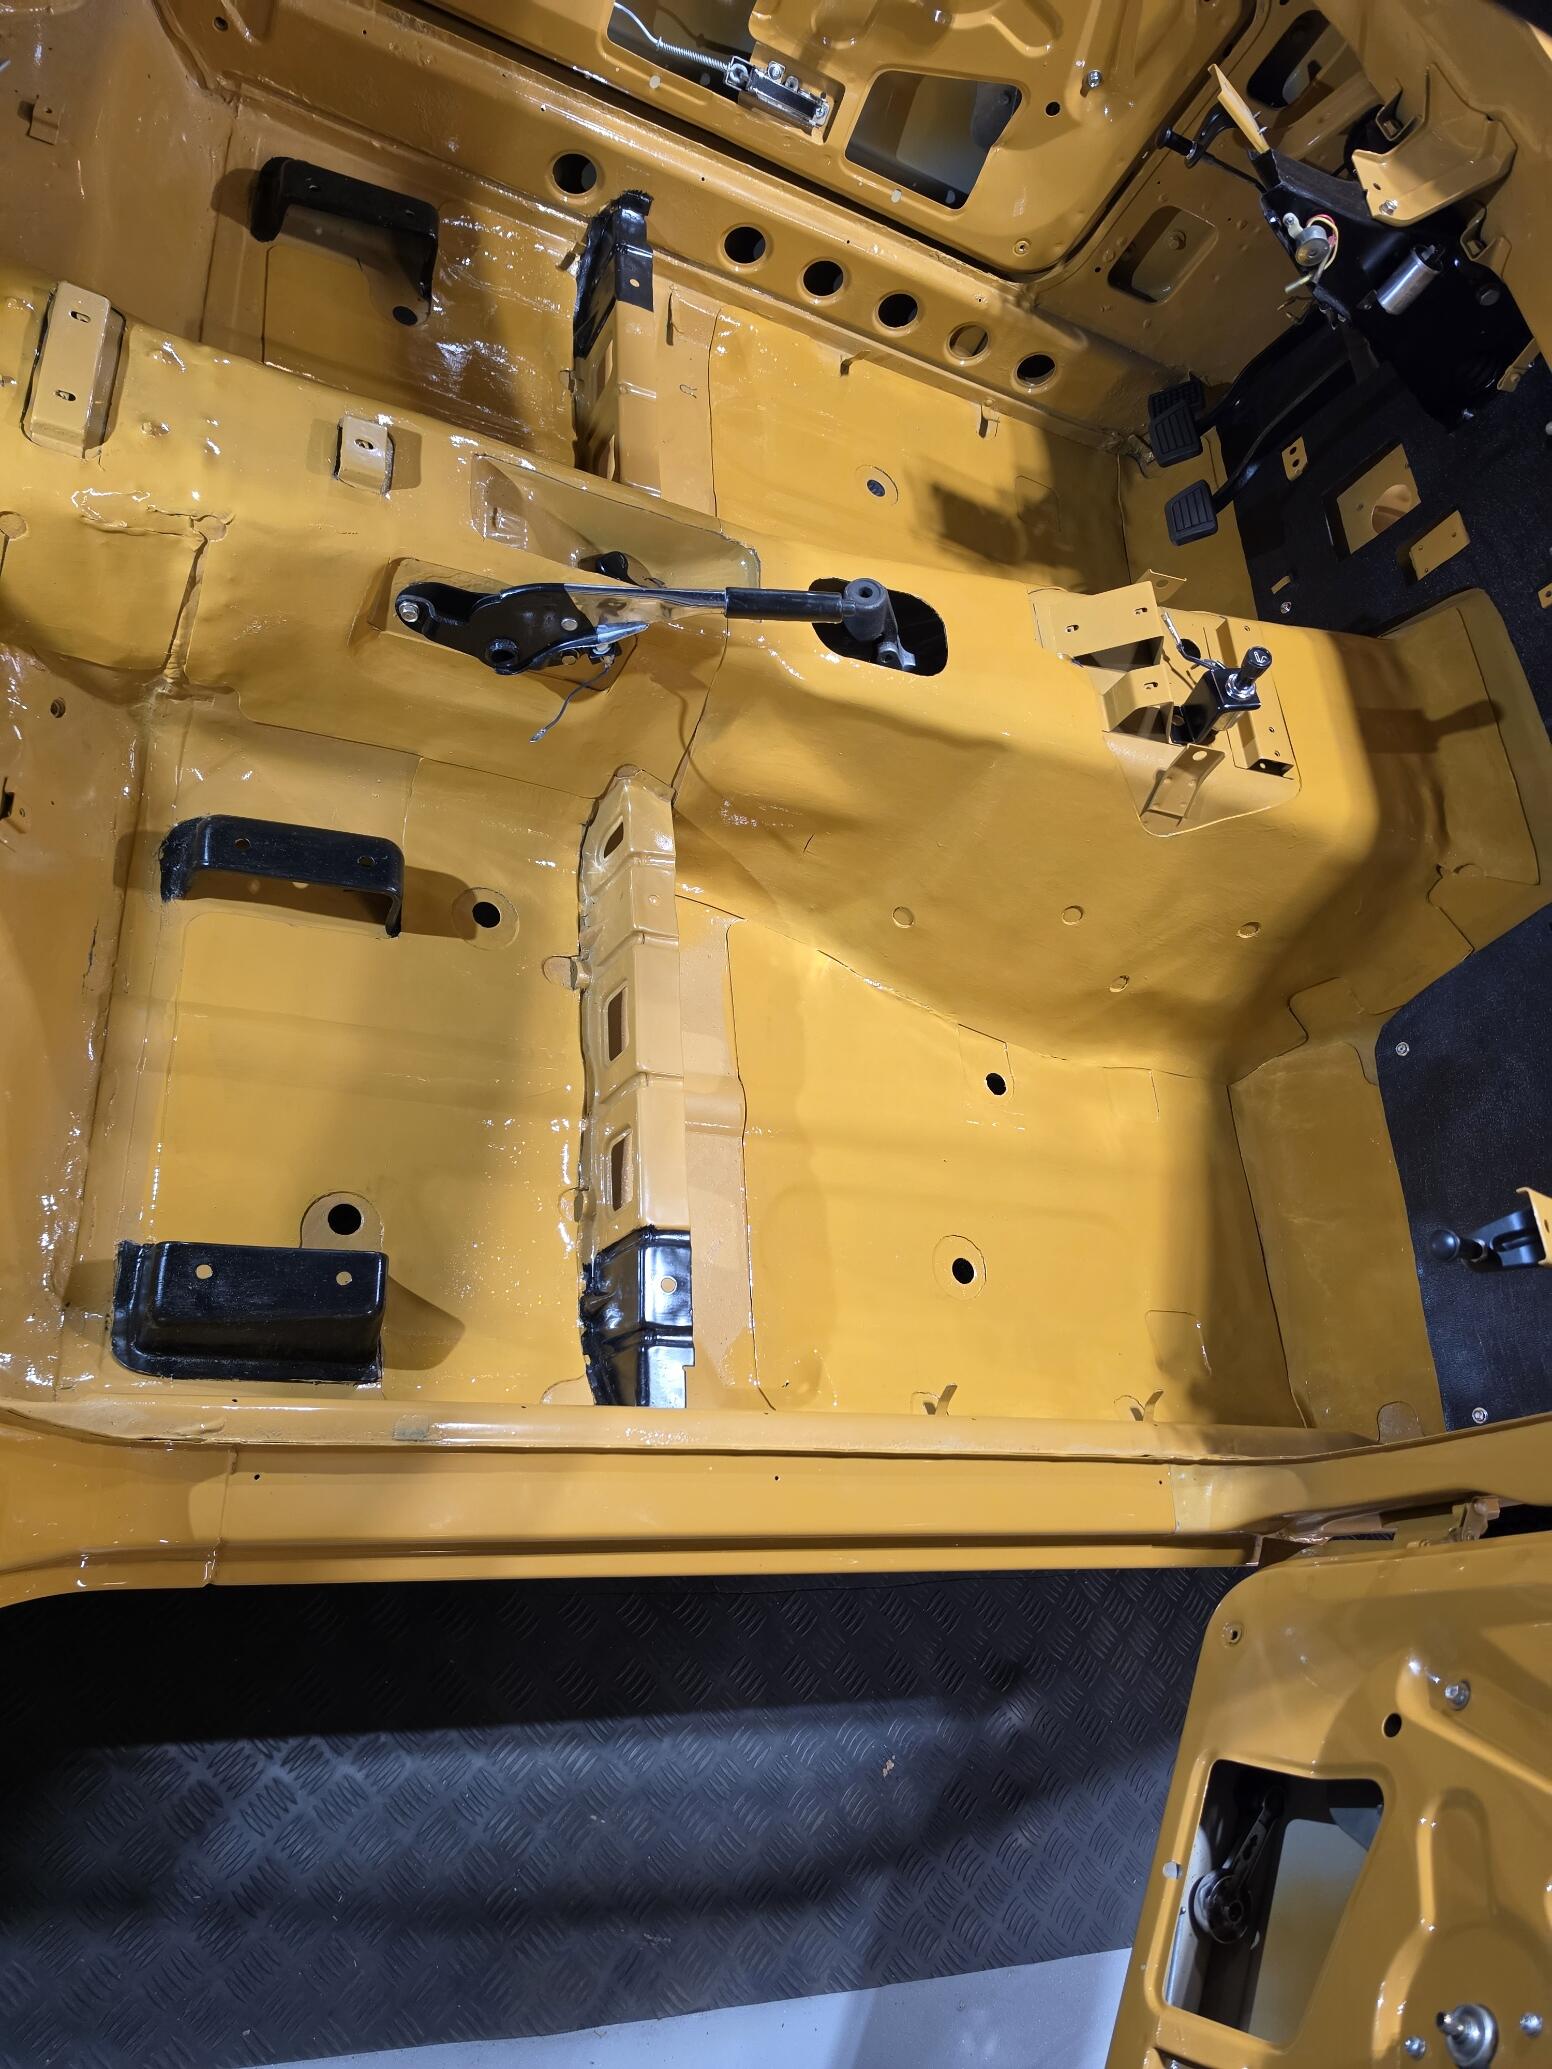
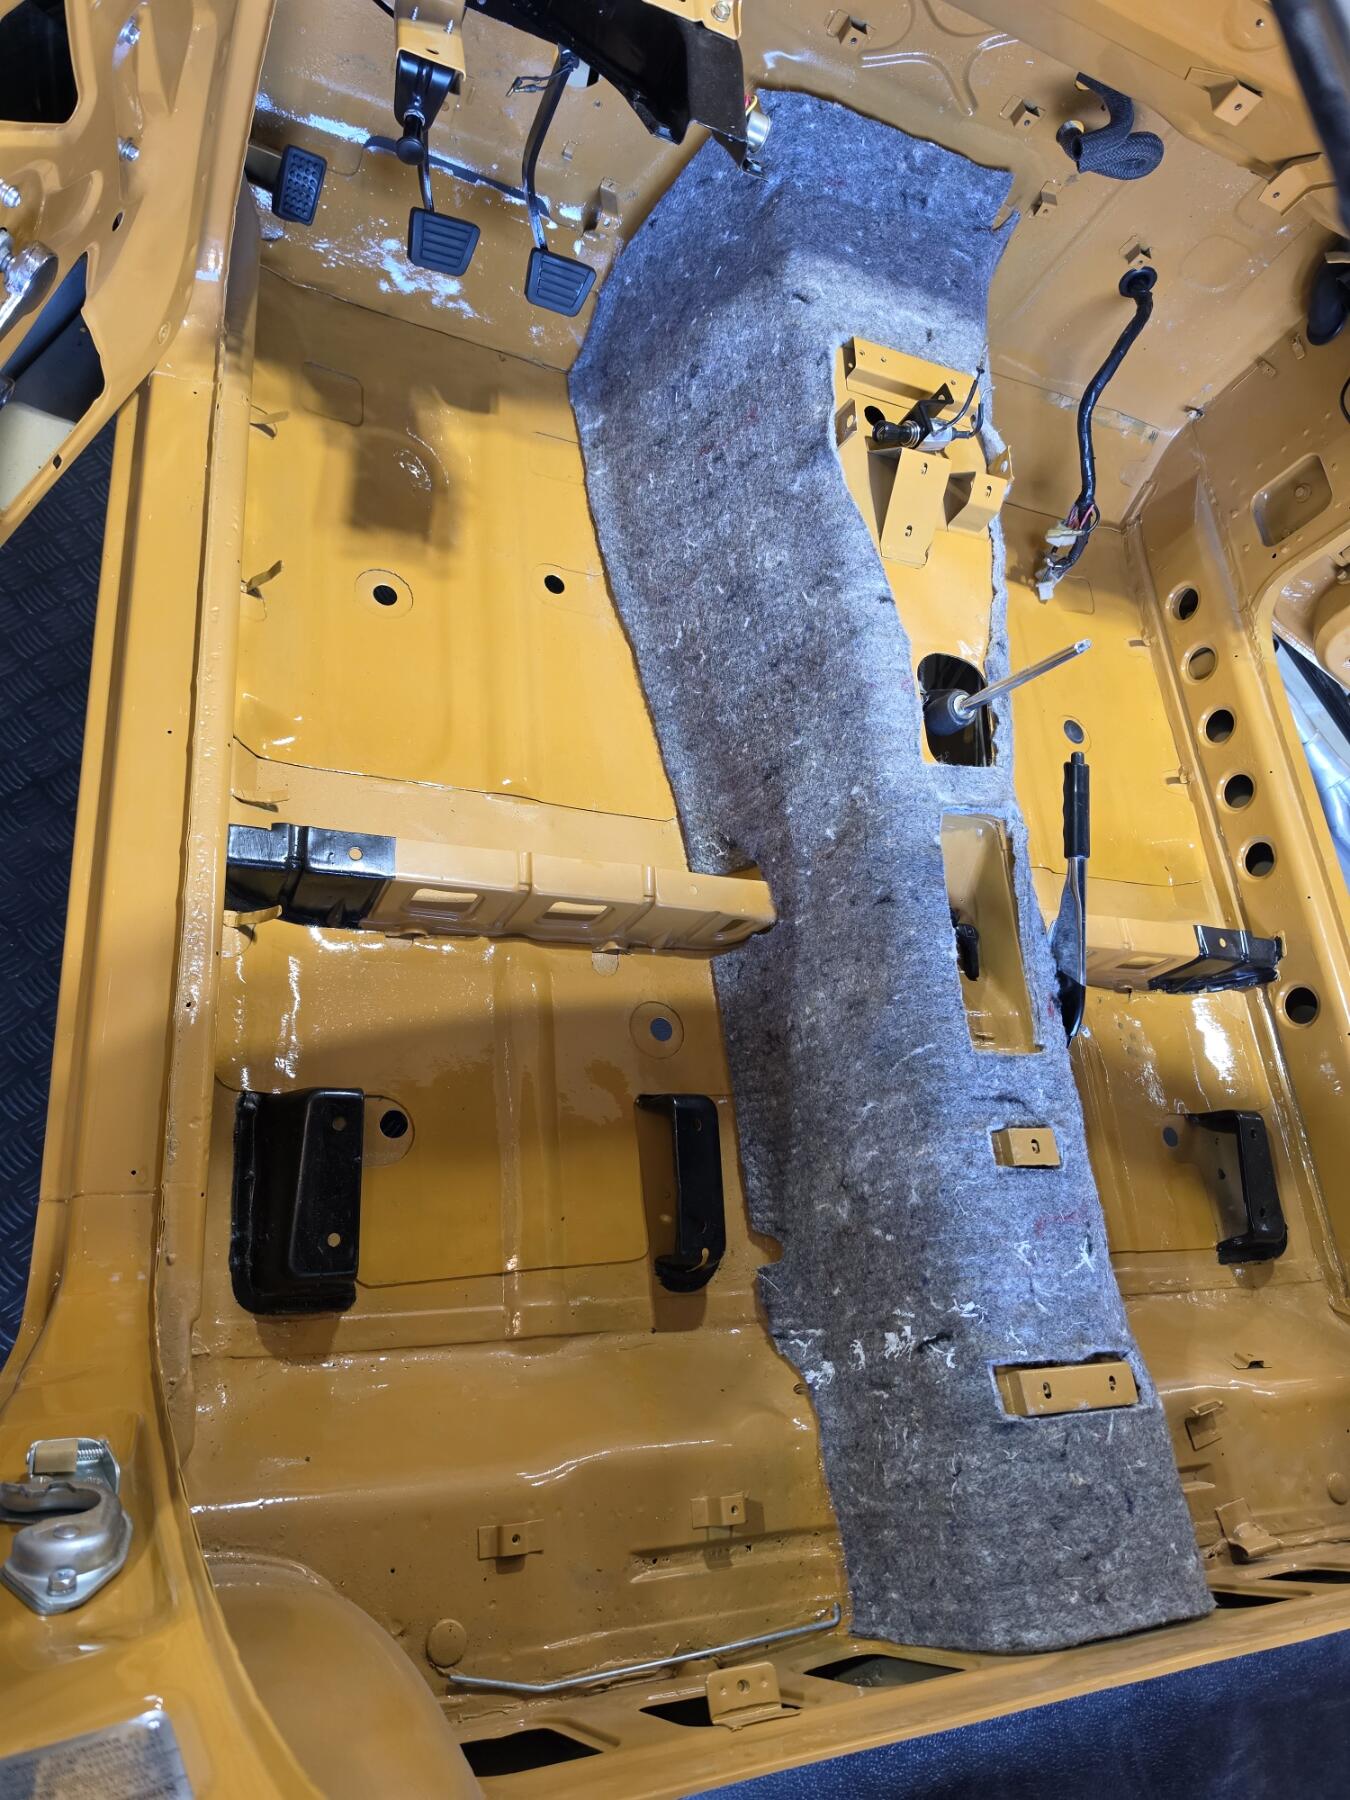
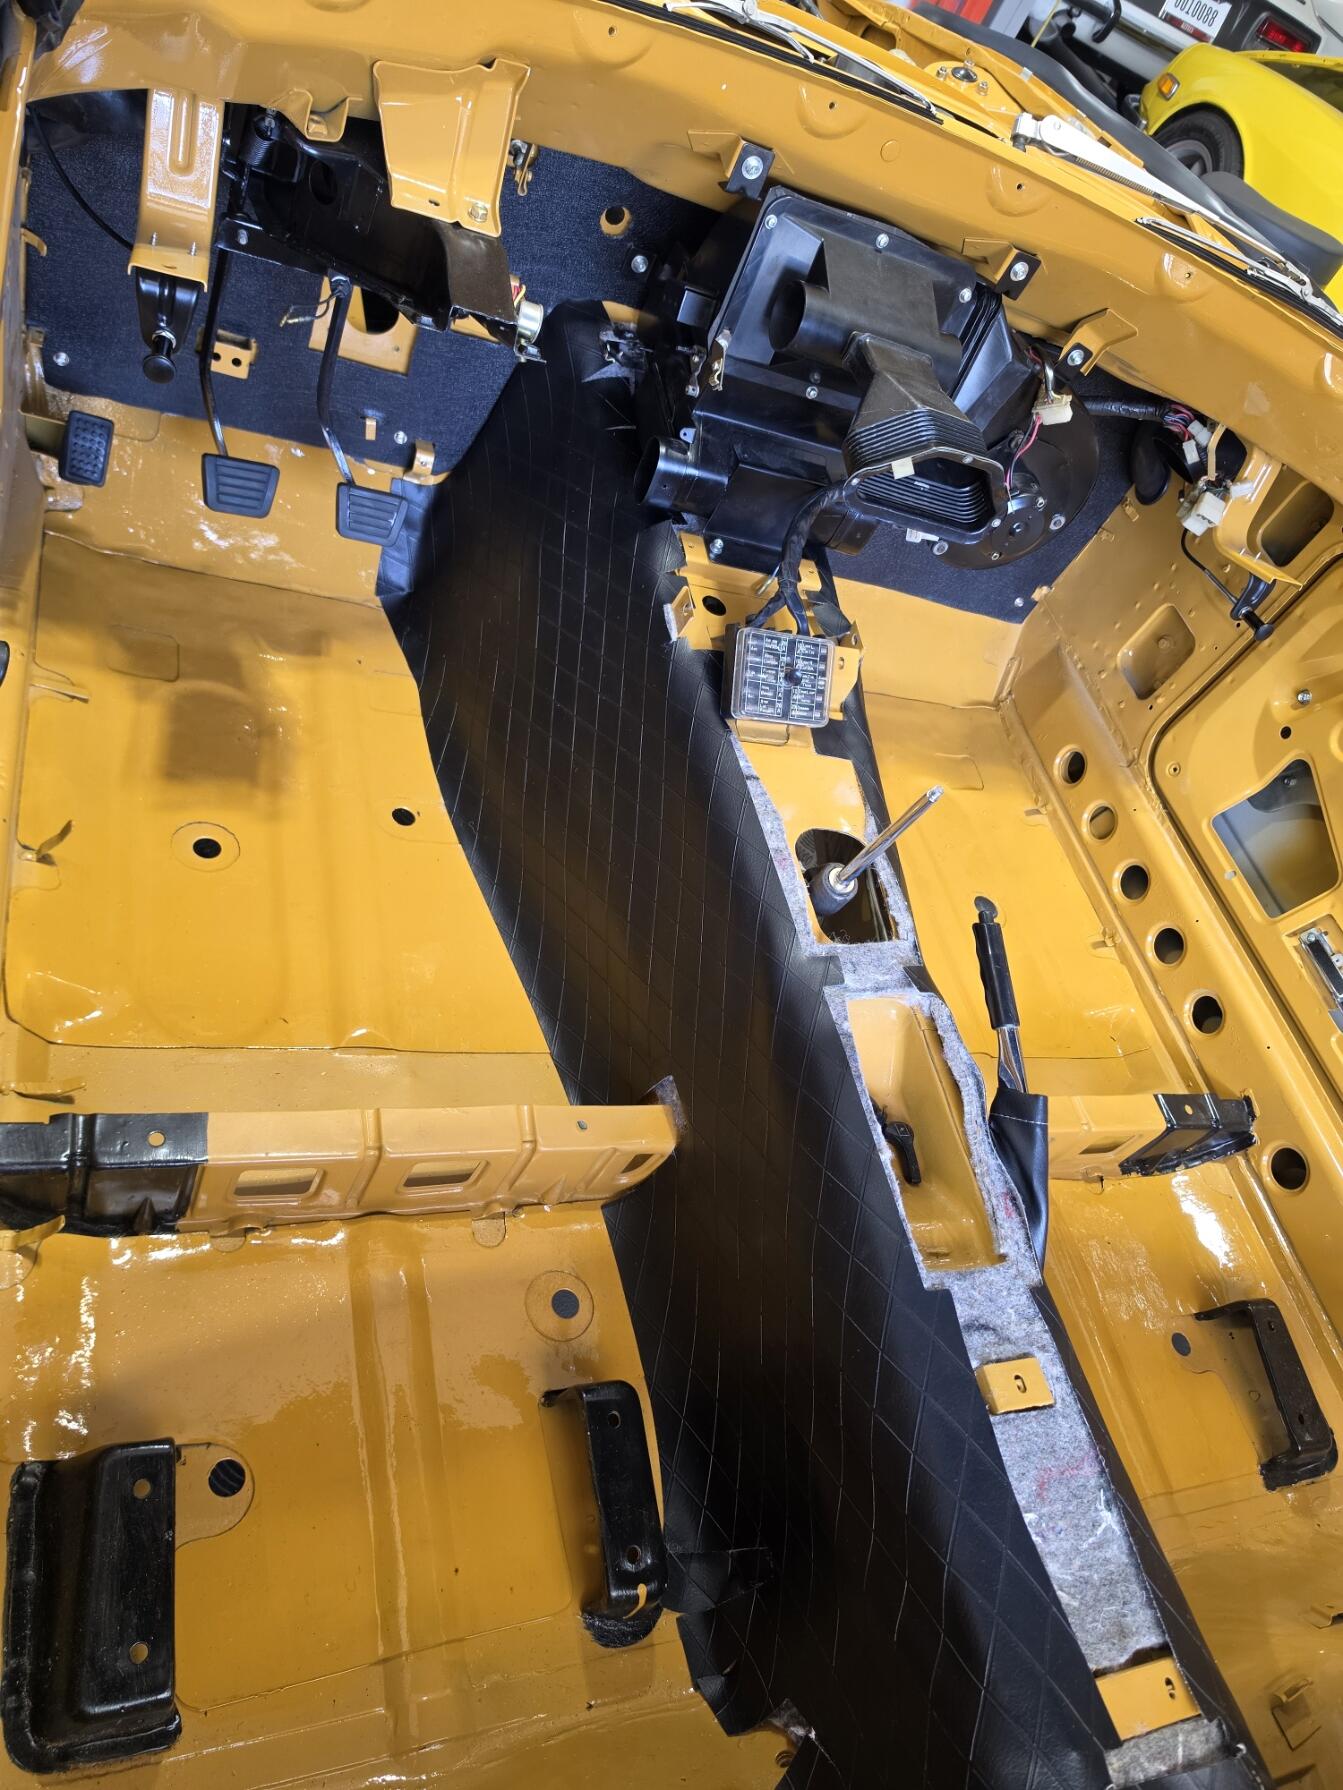
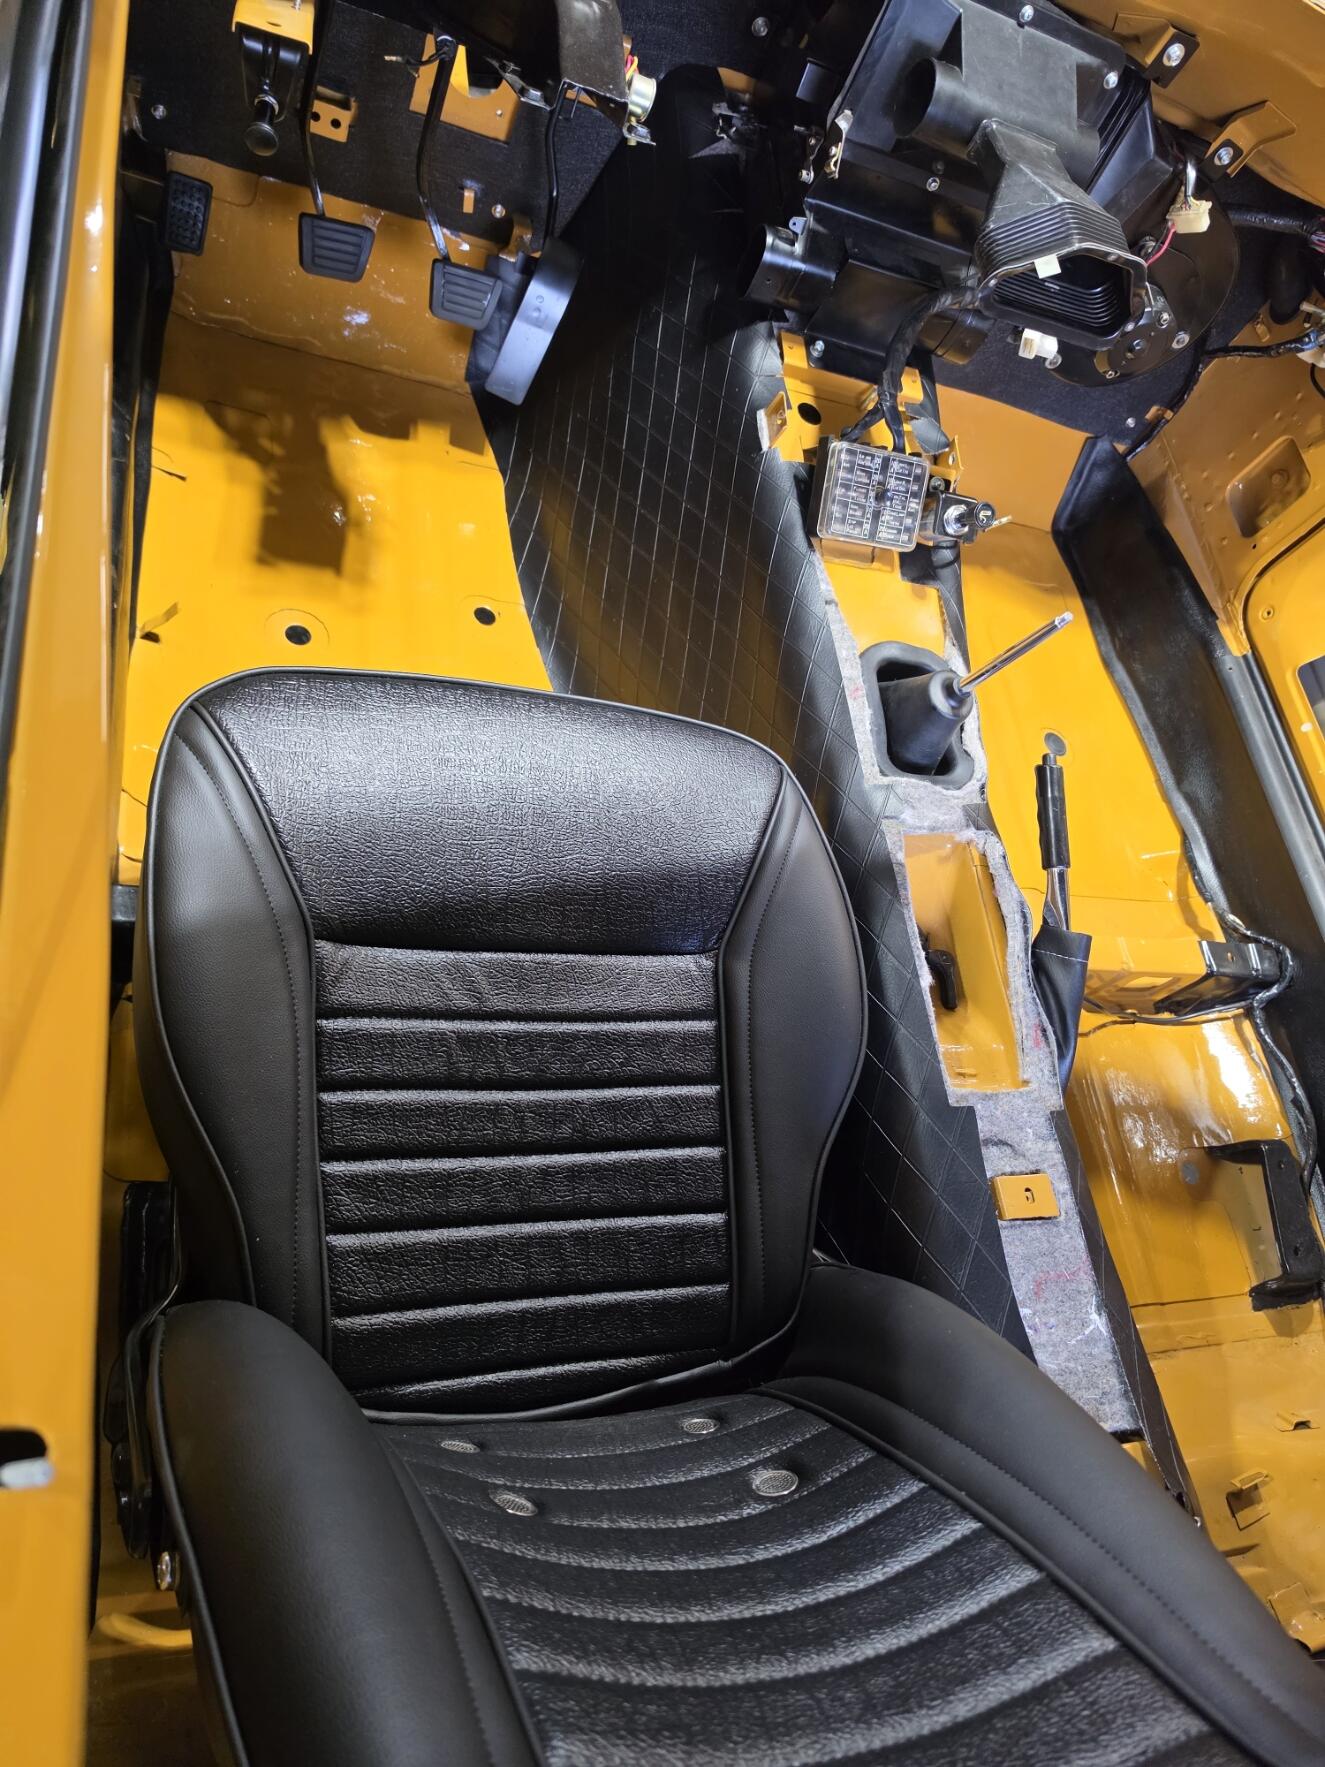
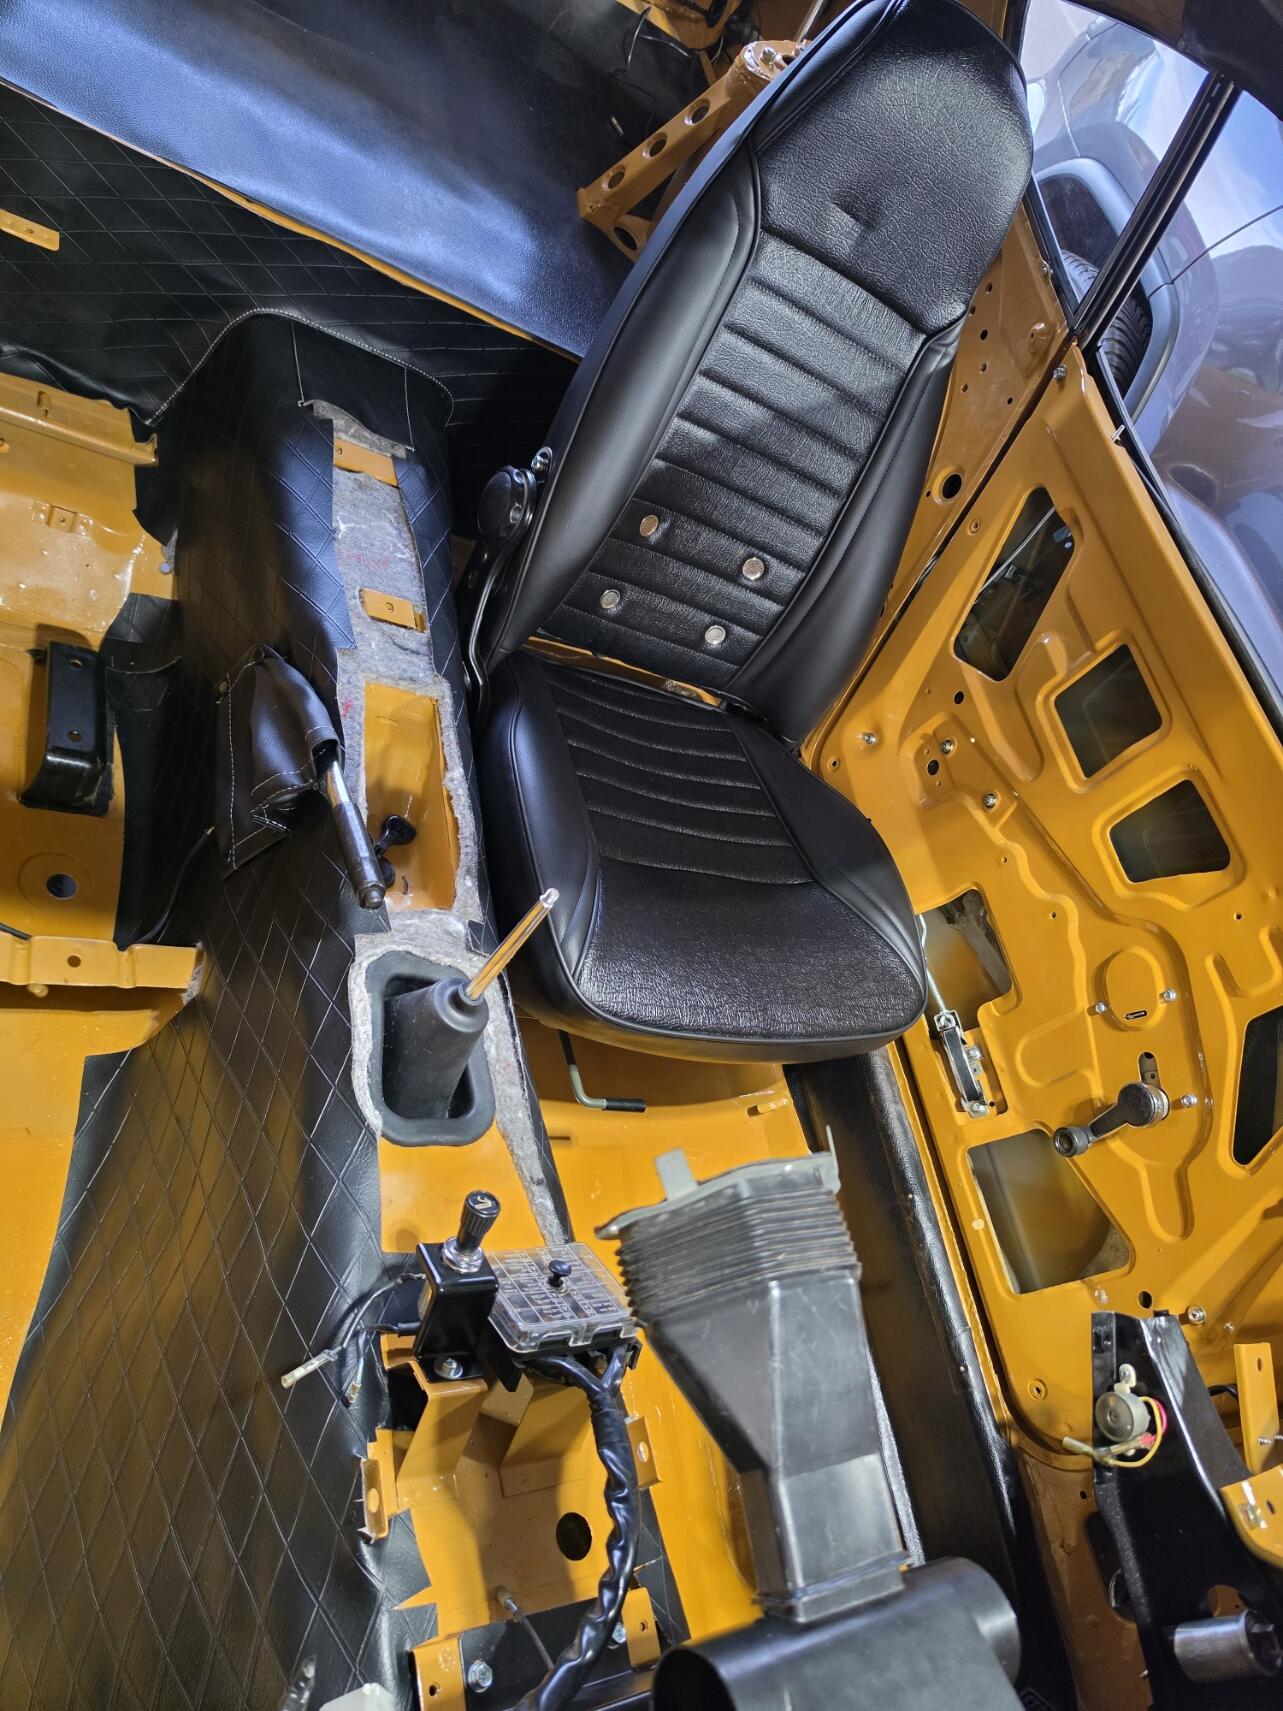
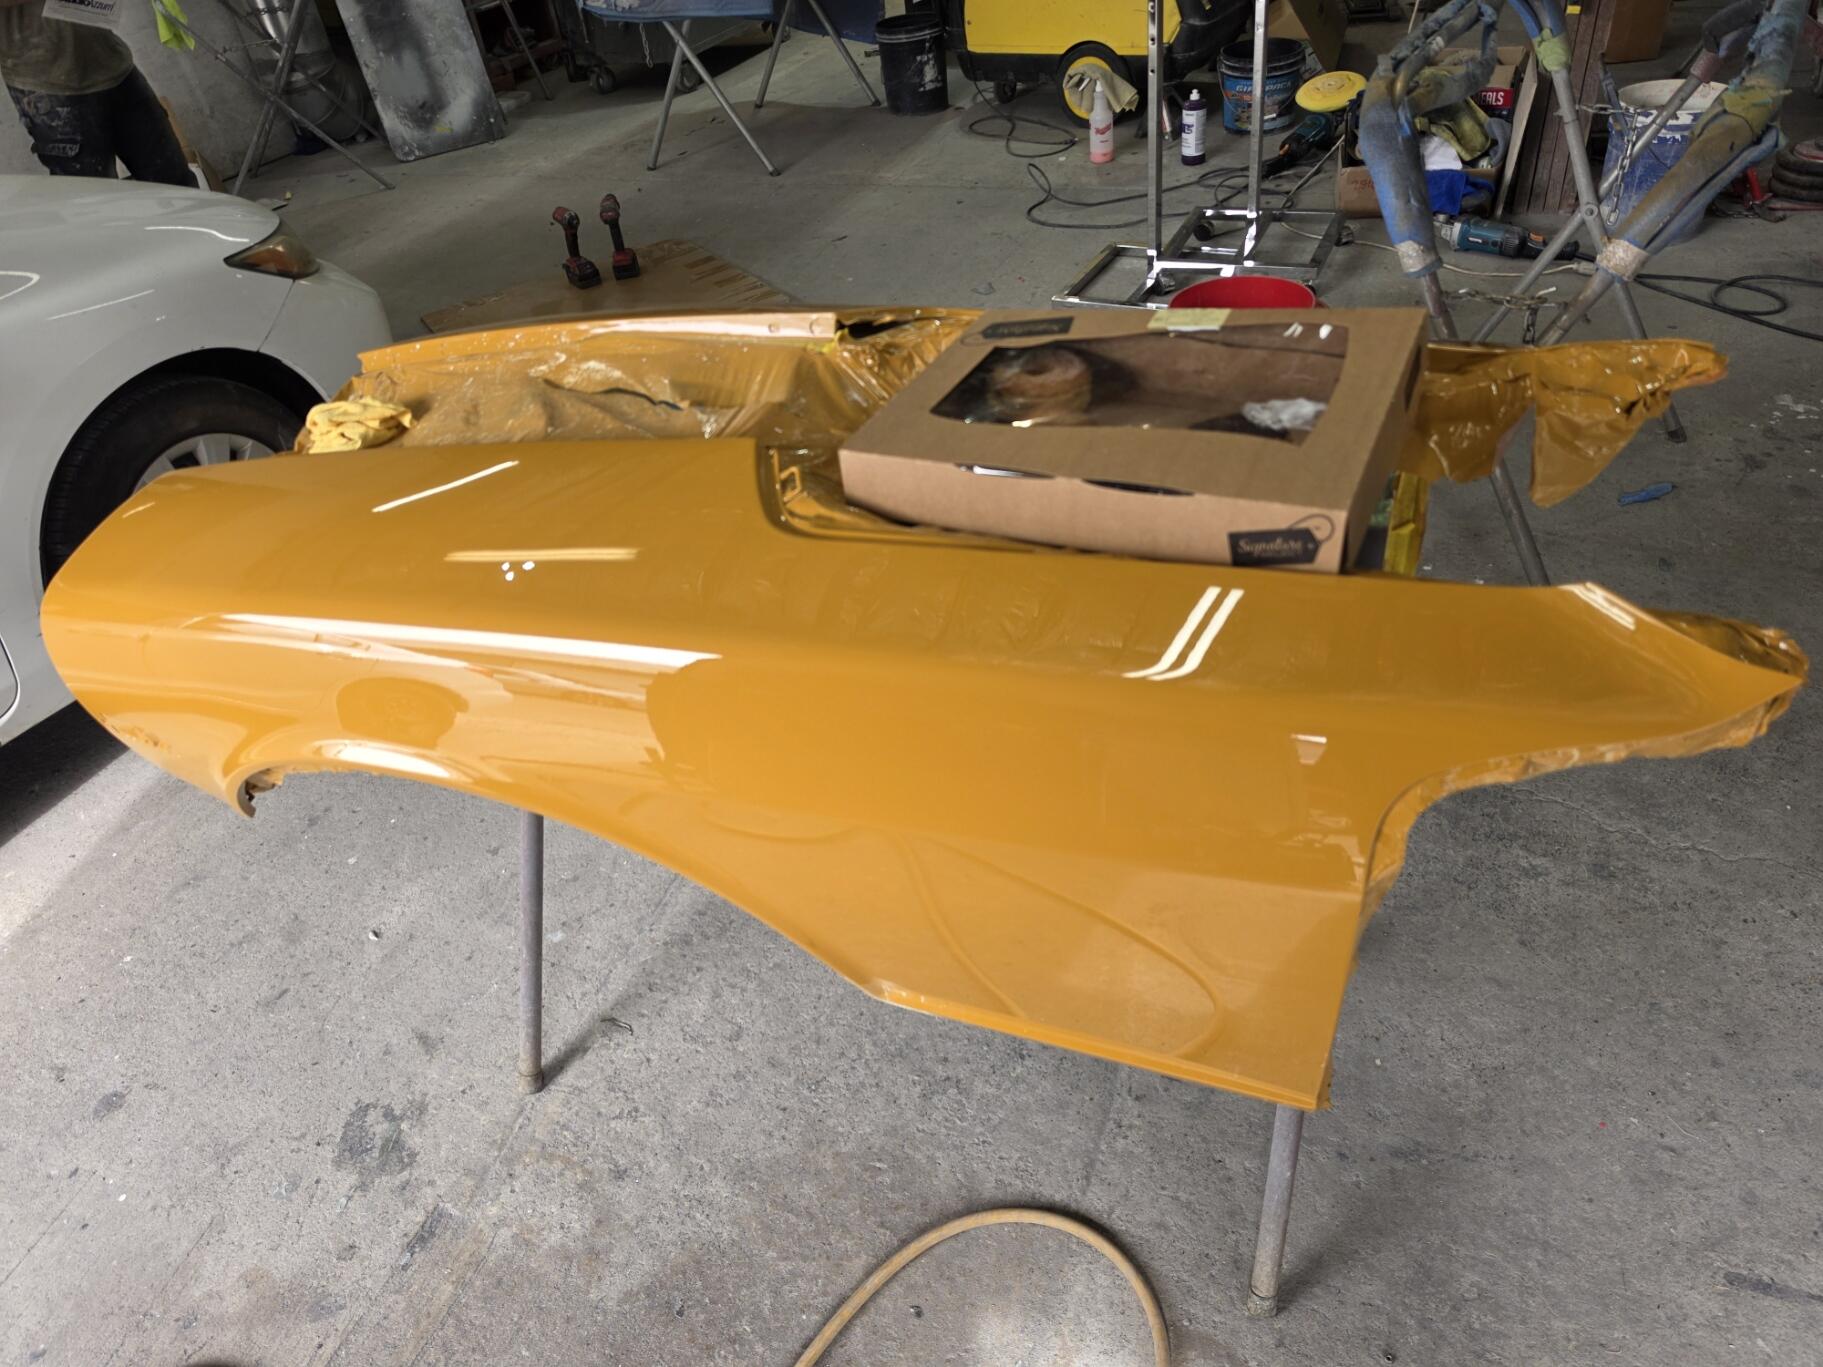
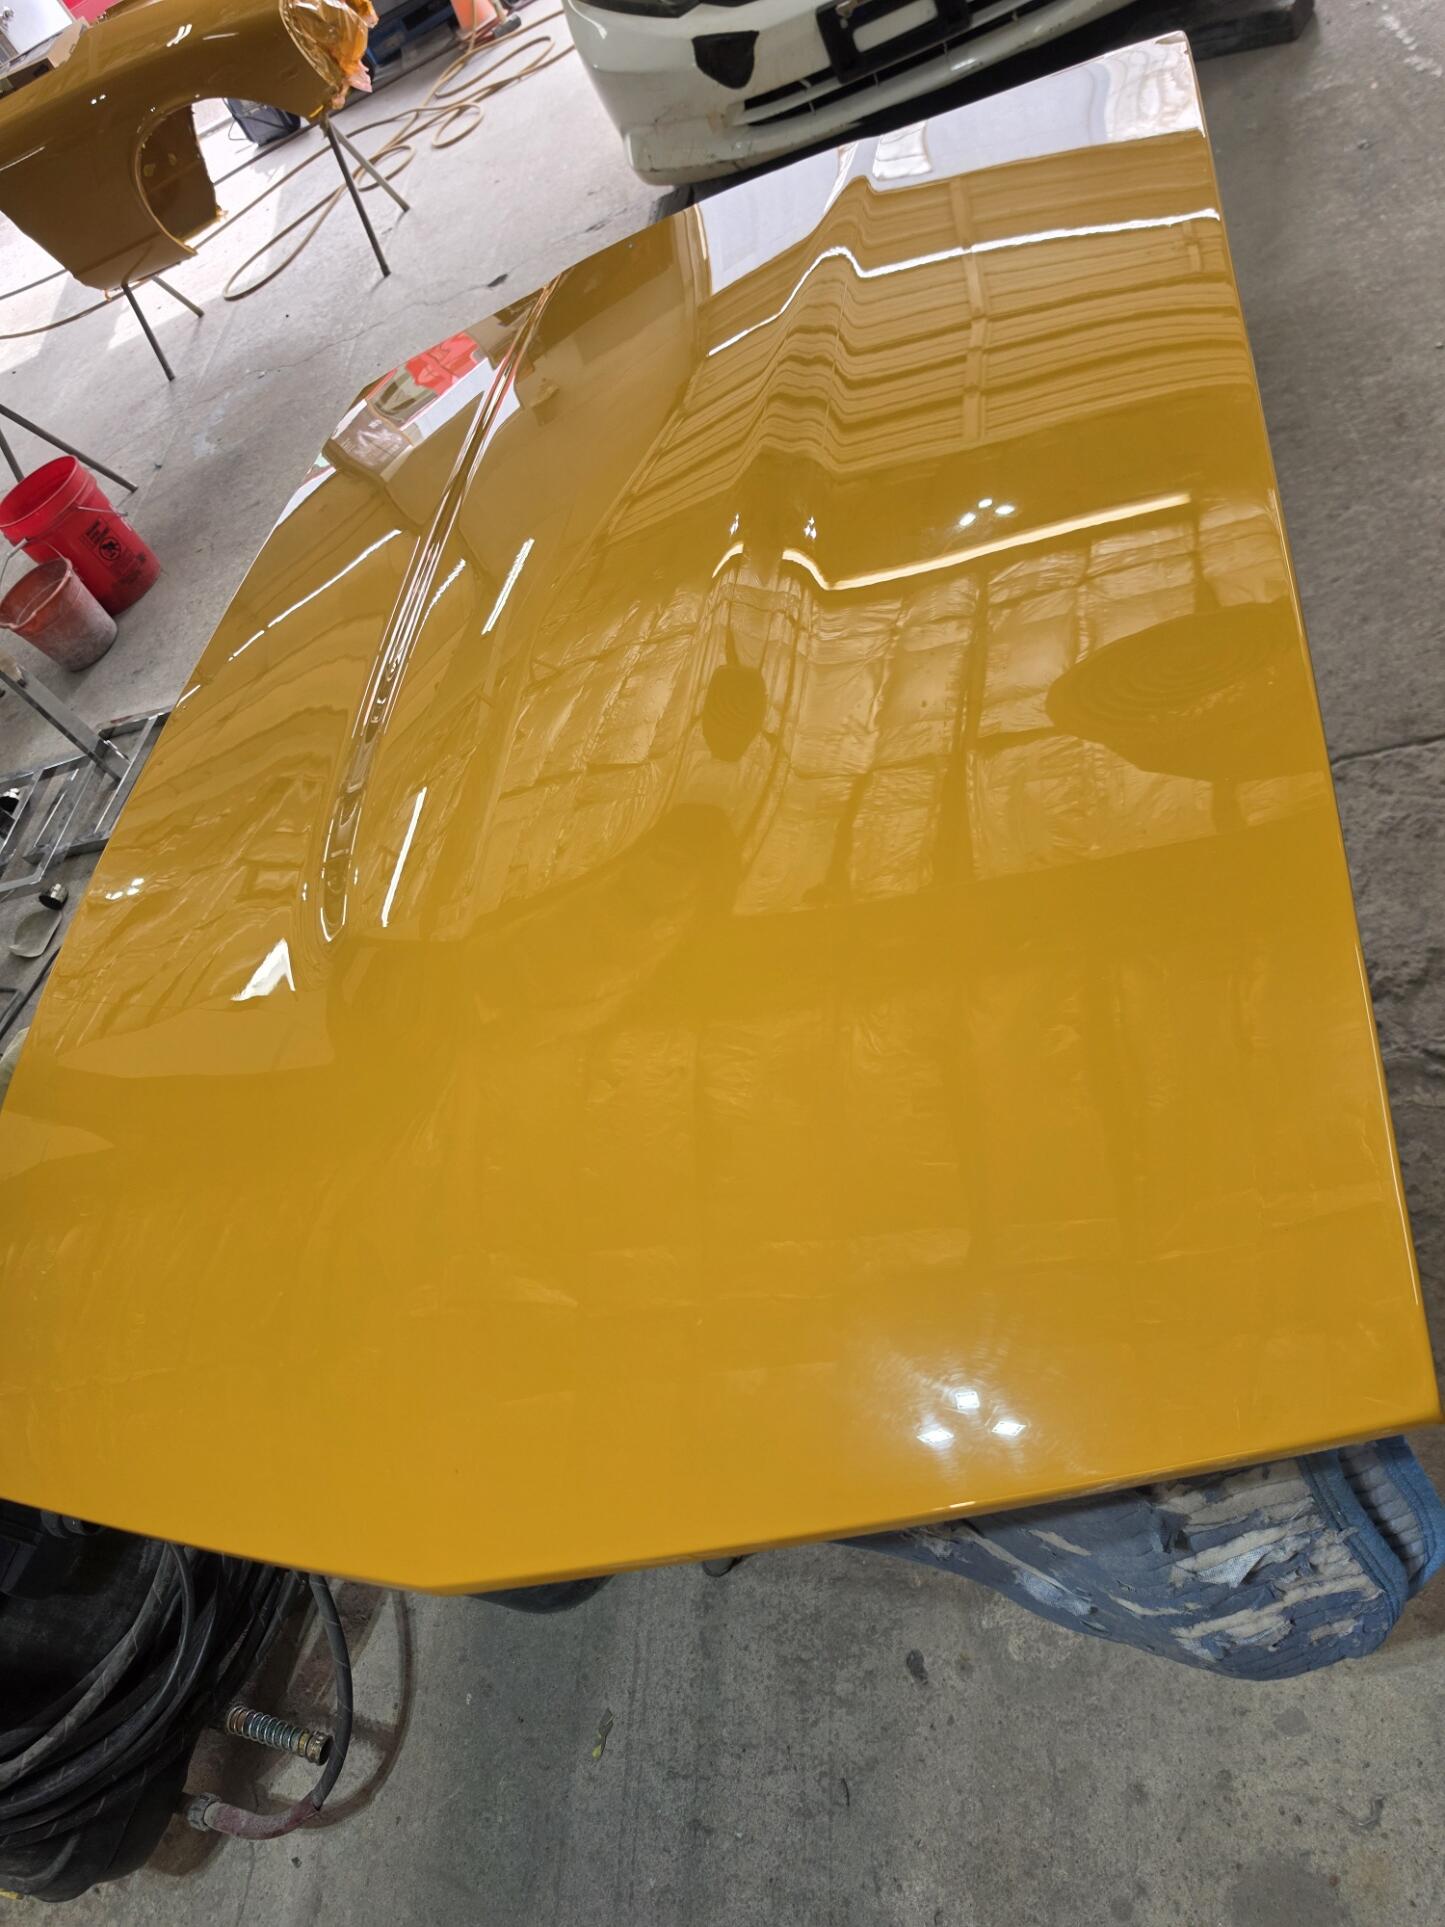
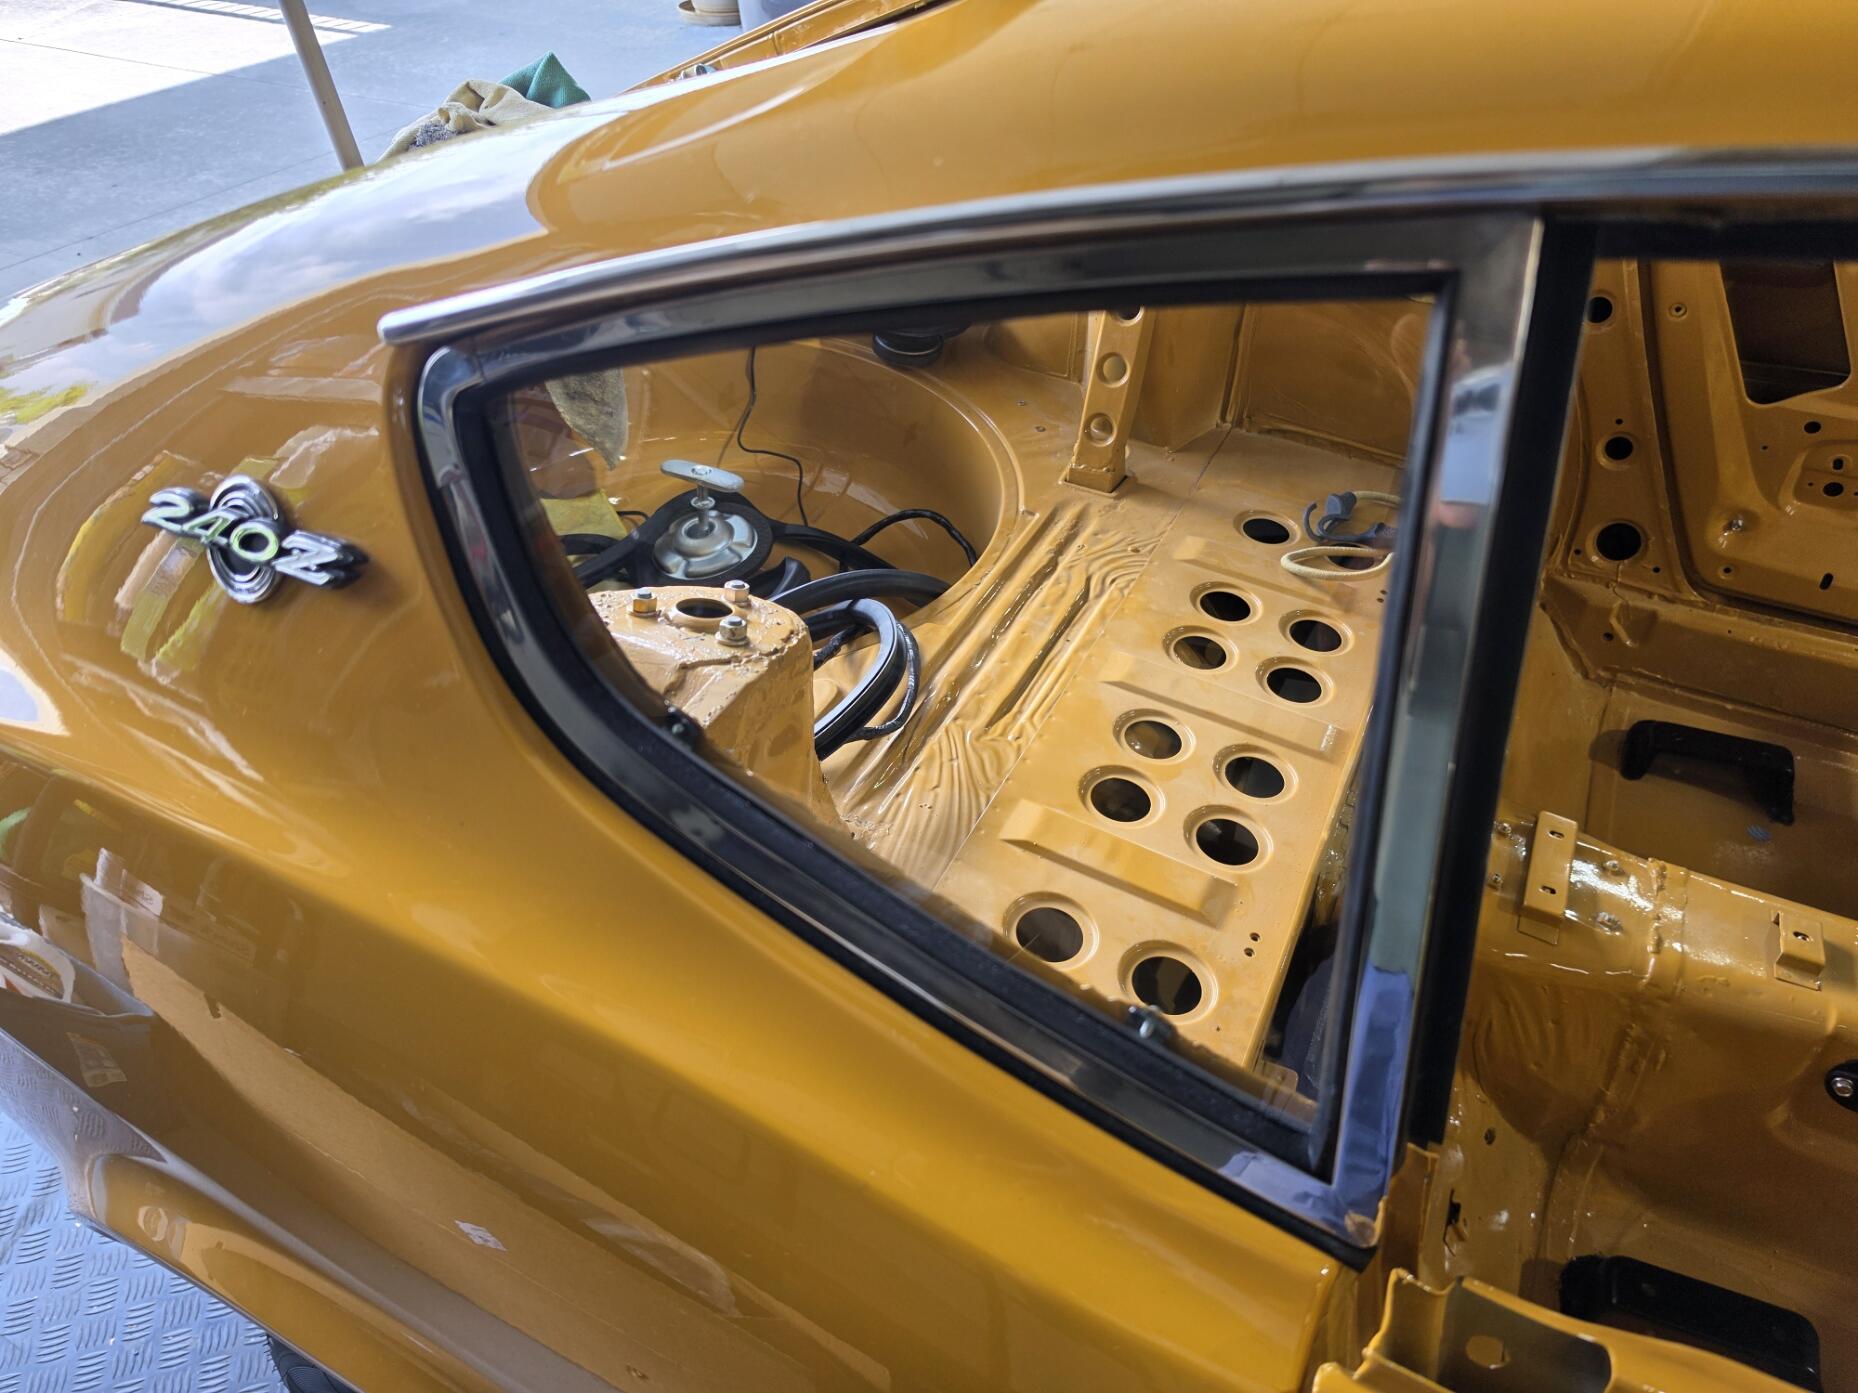
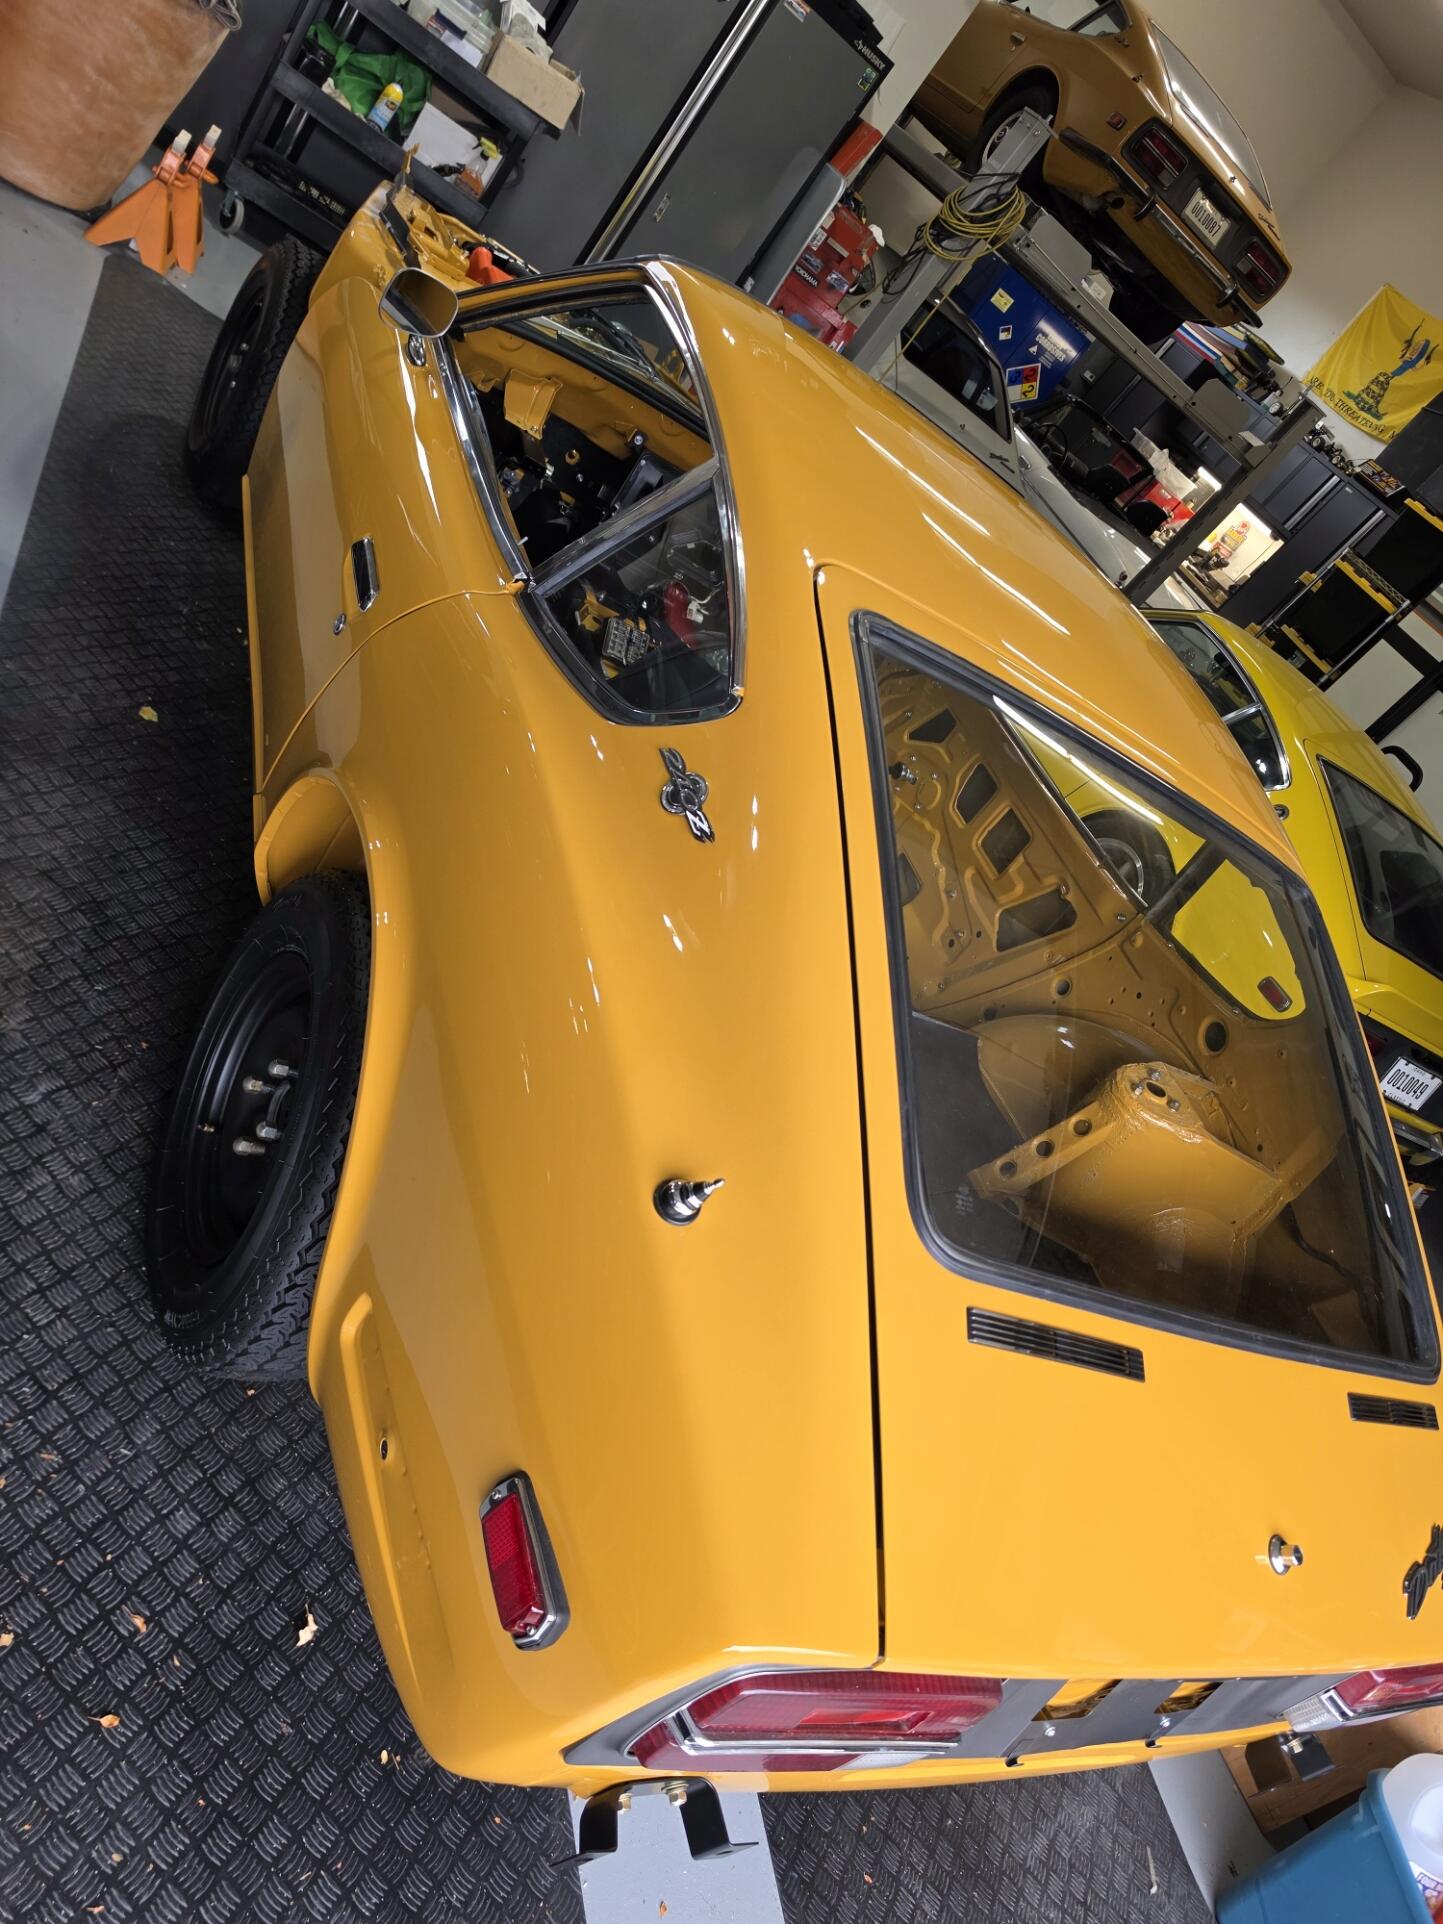
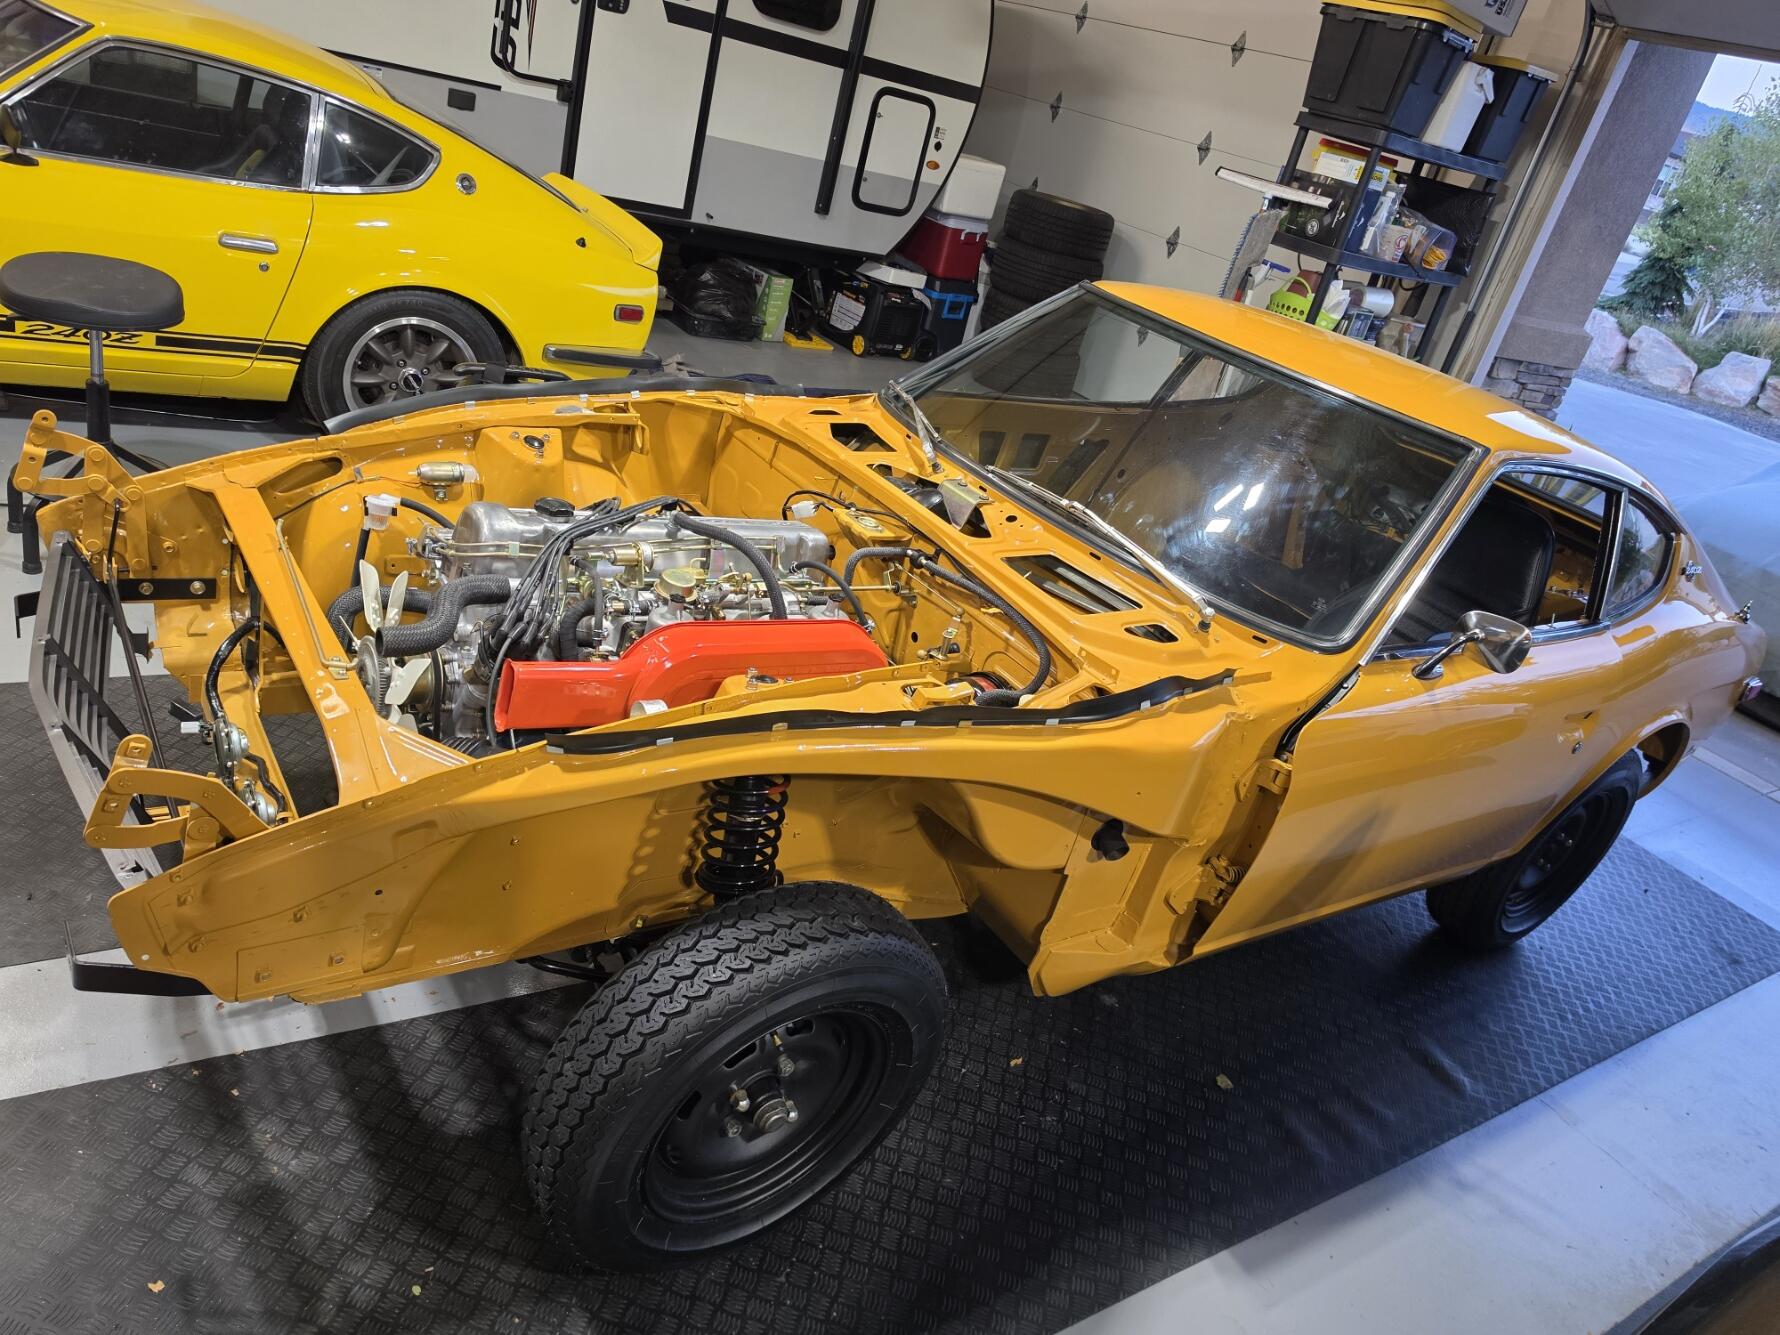
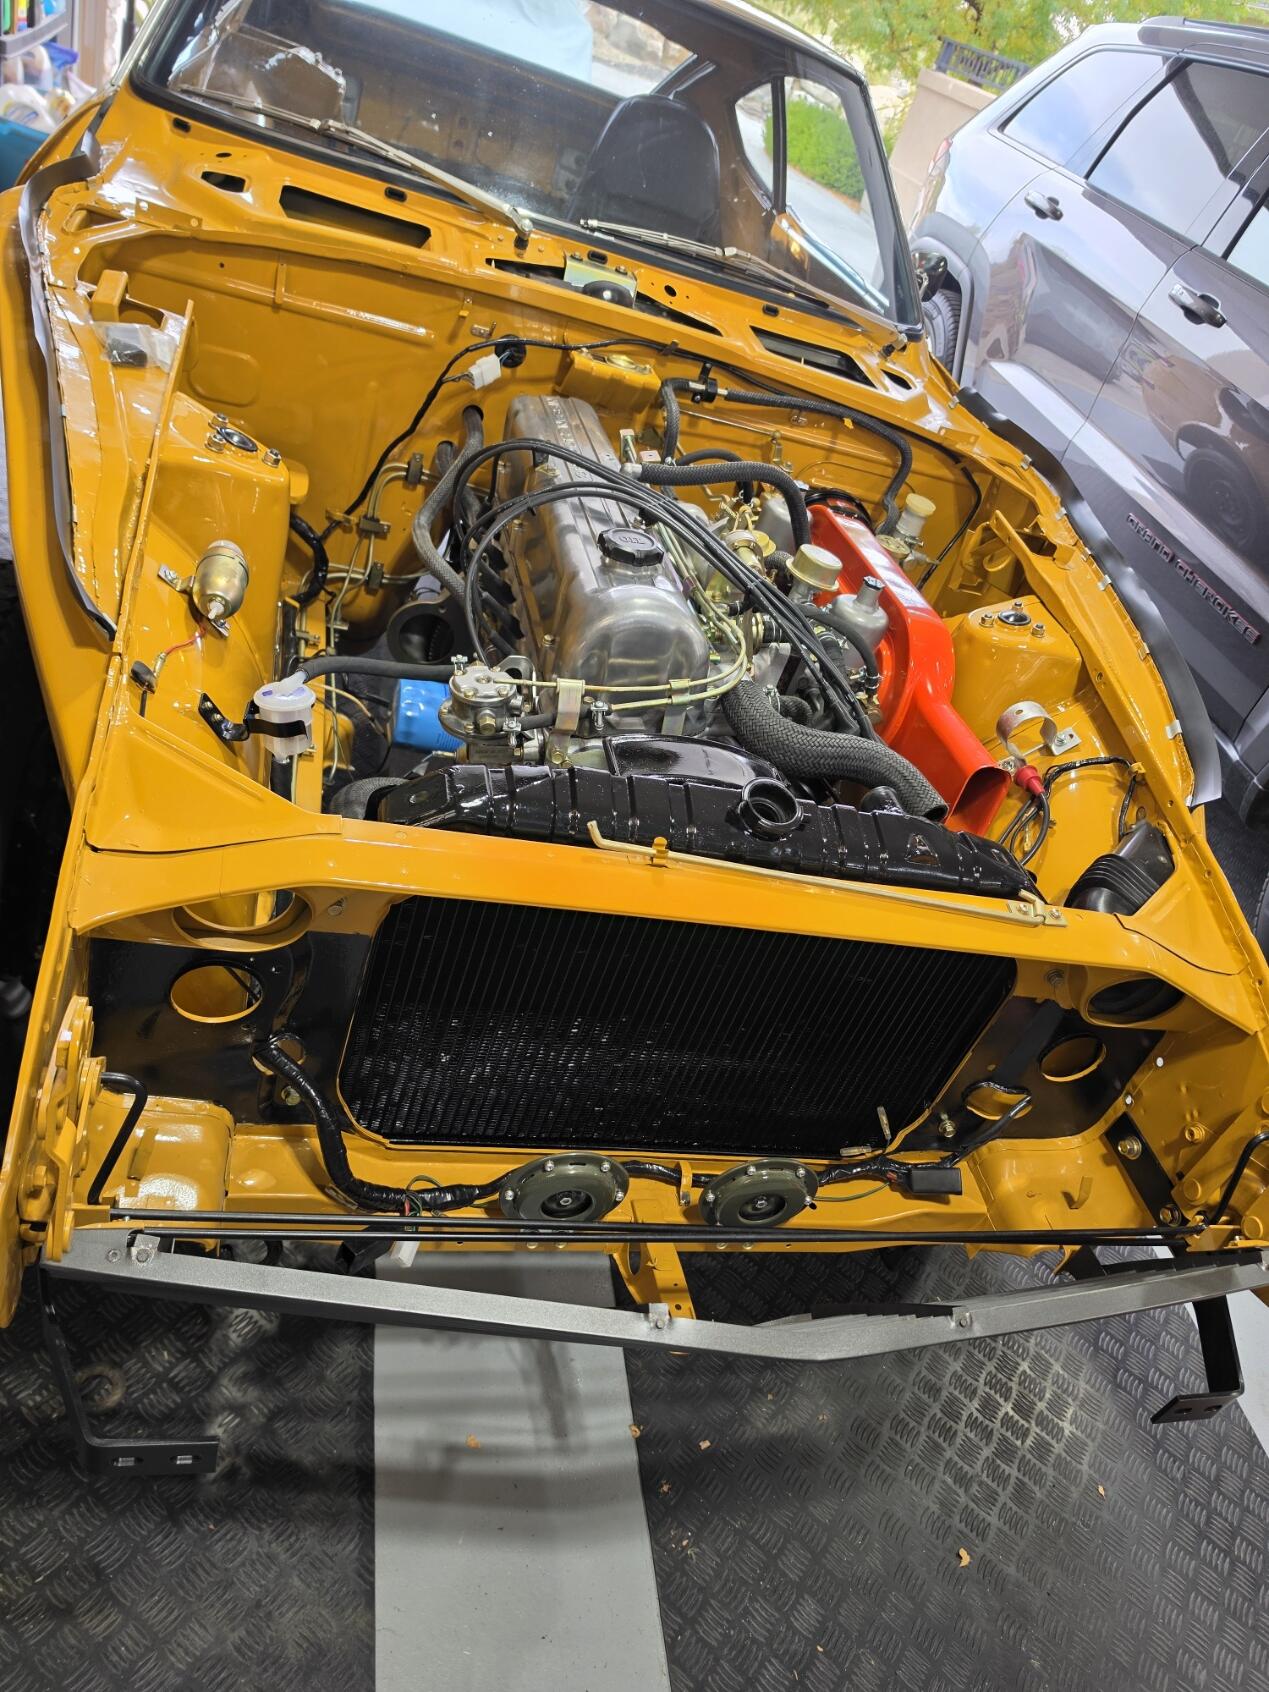
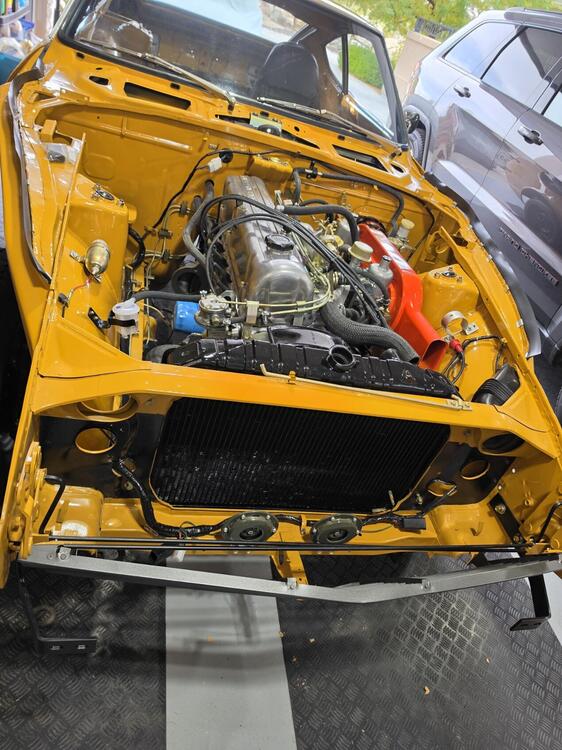
I should probably post a little more frequently, so here is a fairly large picture dump. Things are moving along smoothly. I am hoping to be complete by the end of October. I have been adding items to the engine bay here and there, but am focusing more on the interior now. All the glass is in as well as the door handles and lock mechanisms. I thought the fenders were done, but Carlos says he has a bit more to do on them. Will add the dash and the remaining exterior body parts after ZCON.
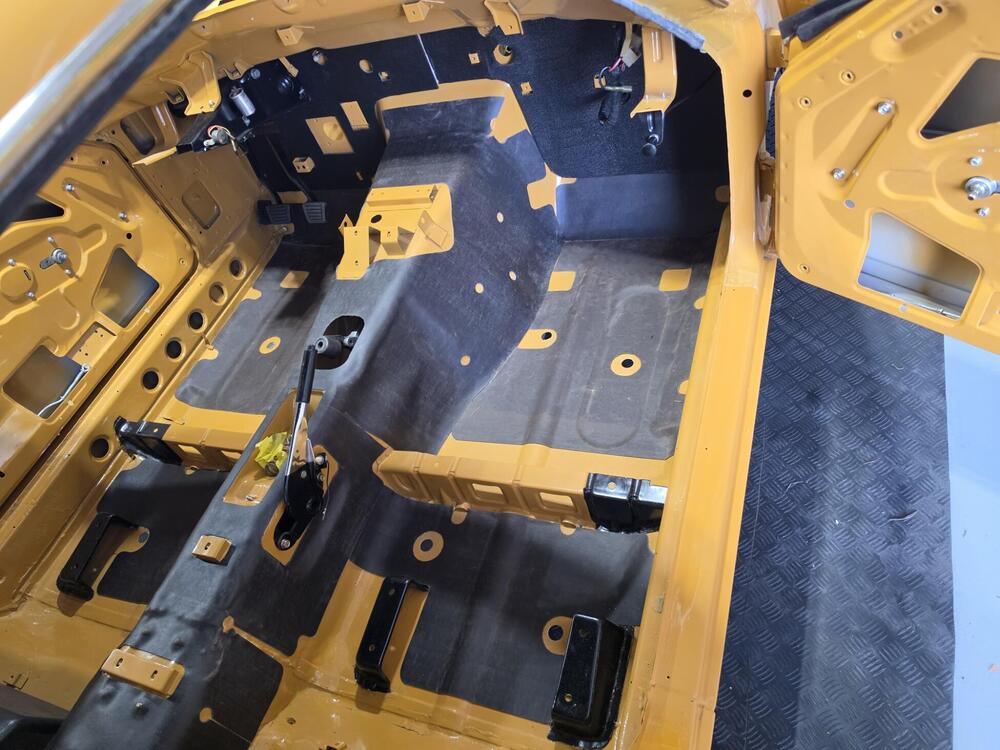
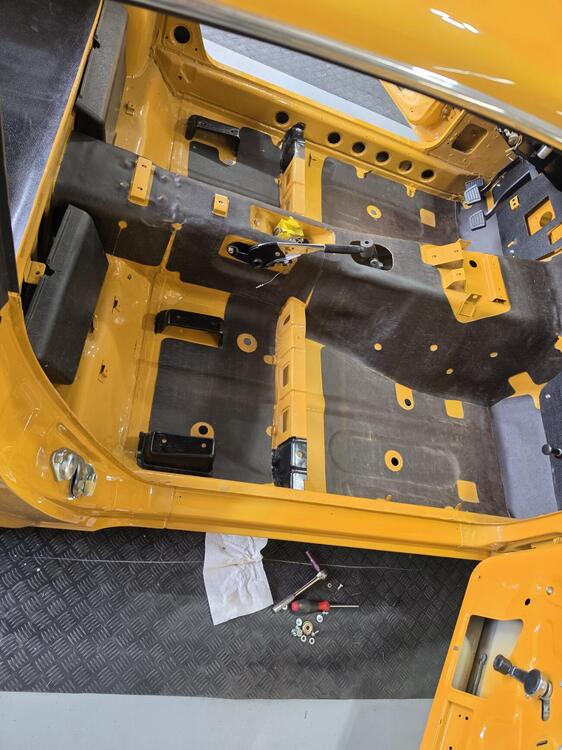
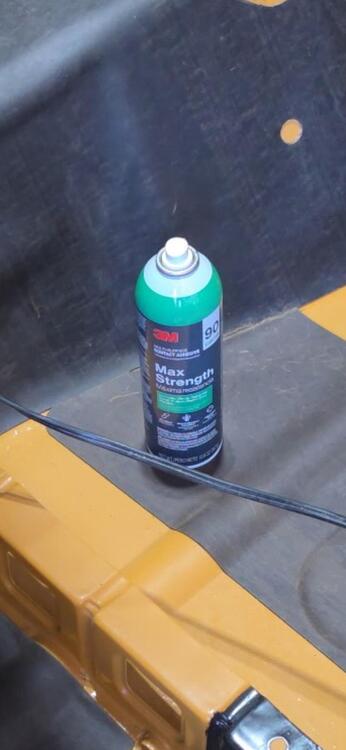
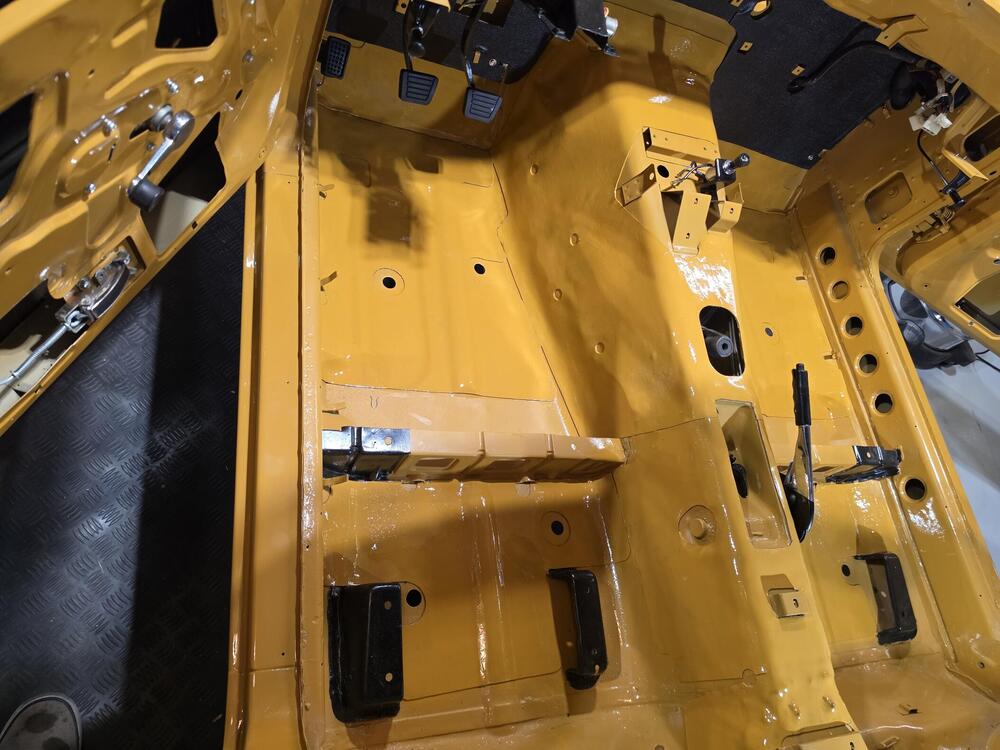
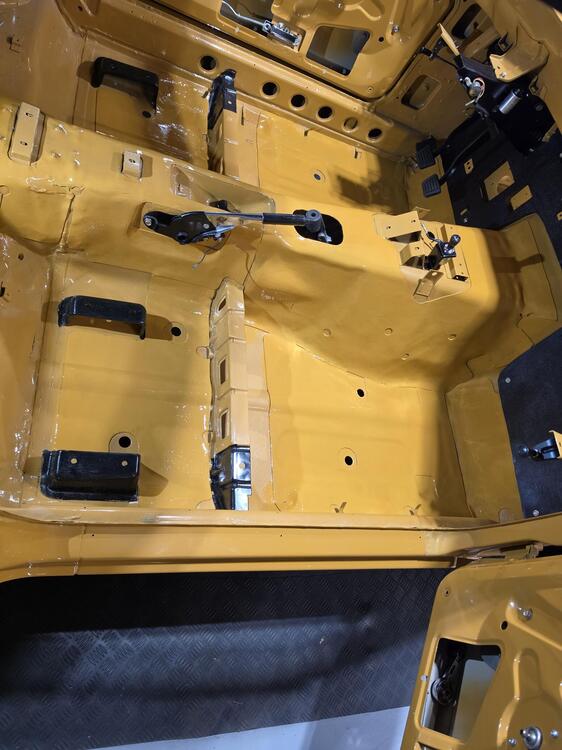
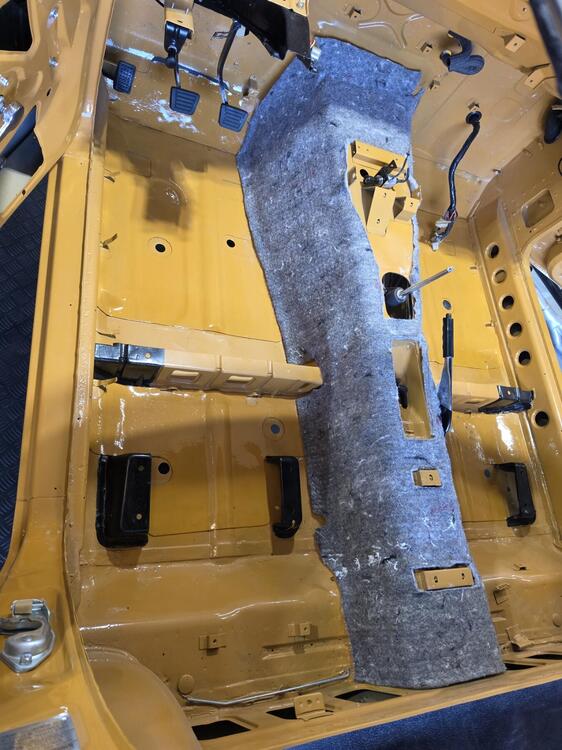
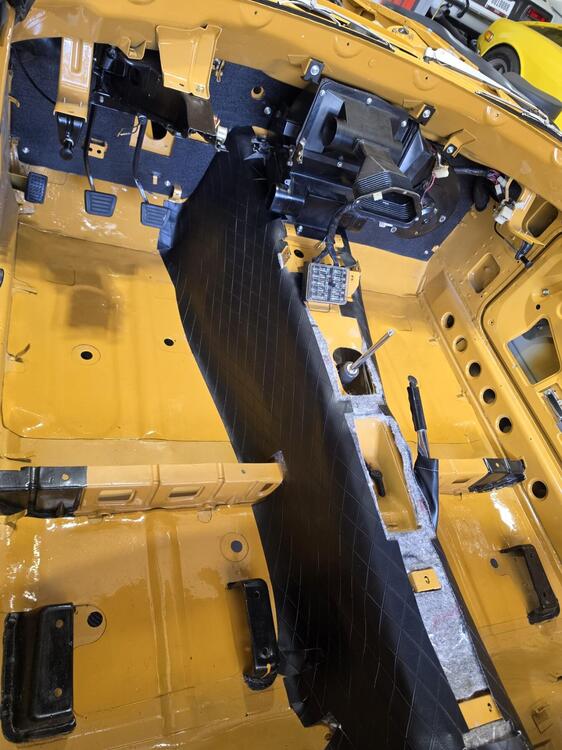
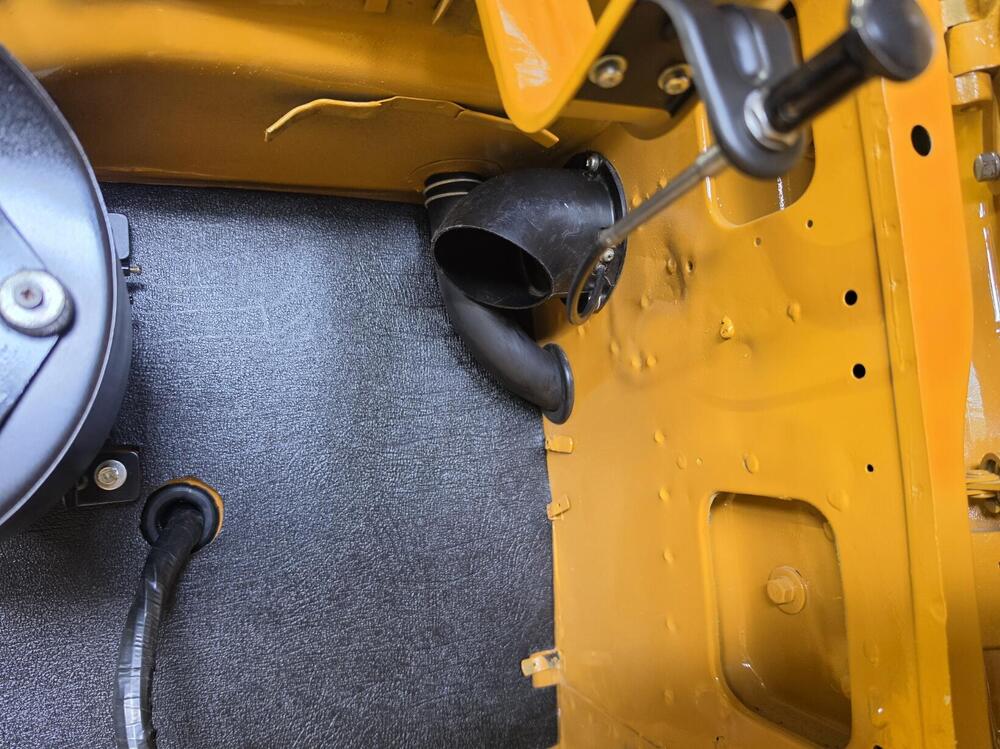
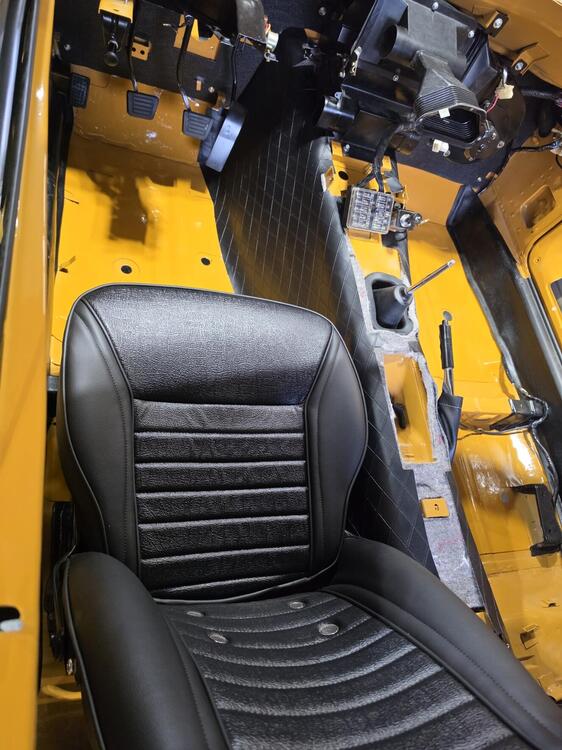
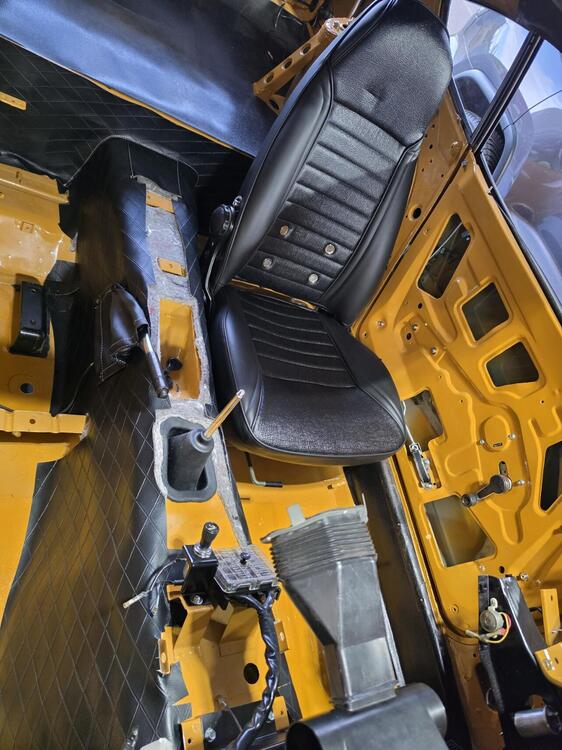
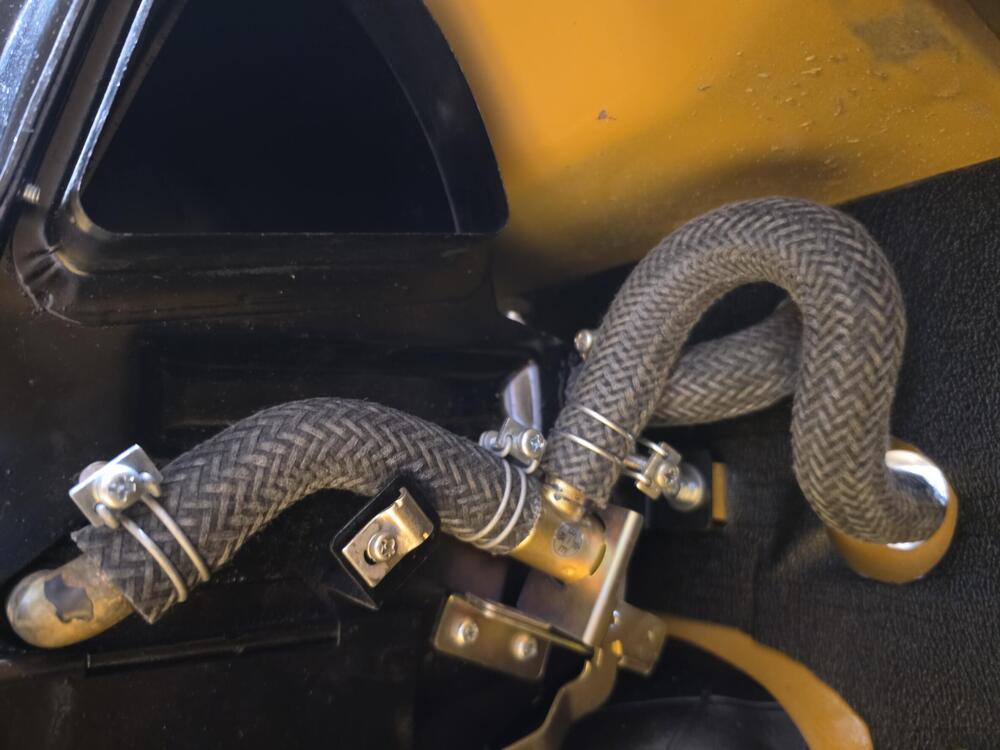
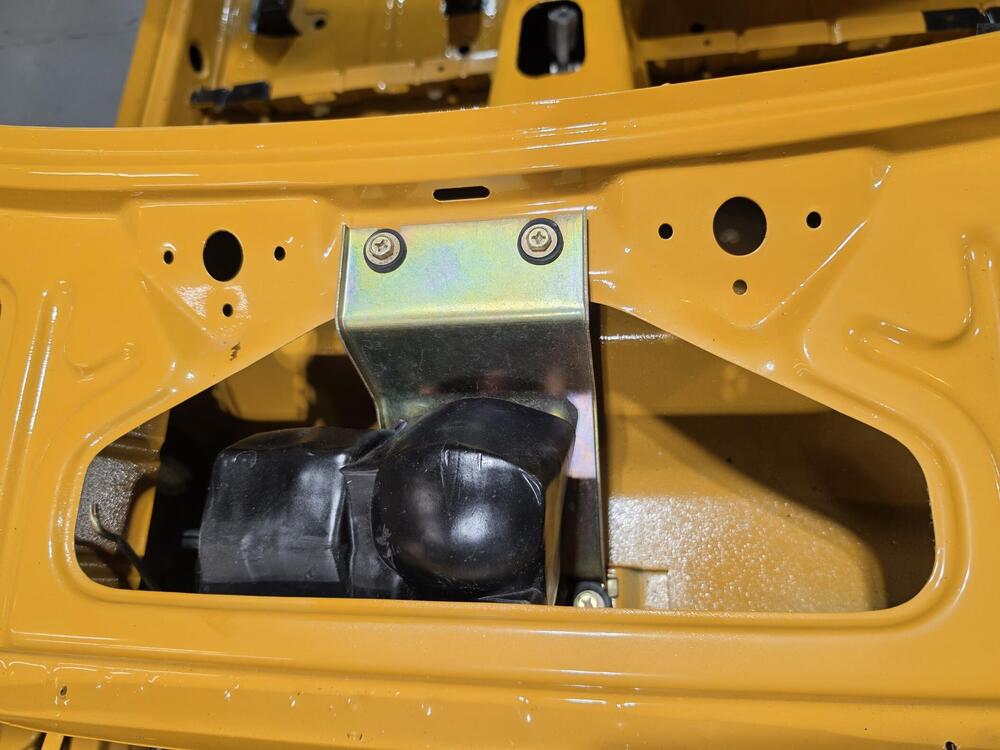
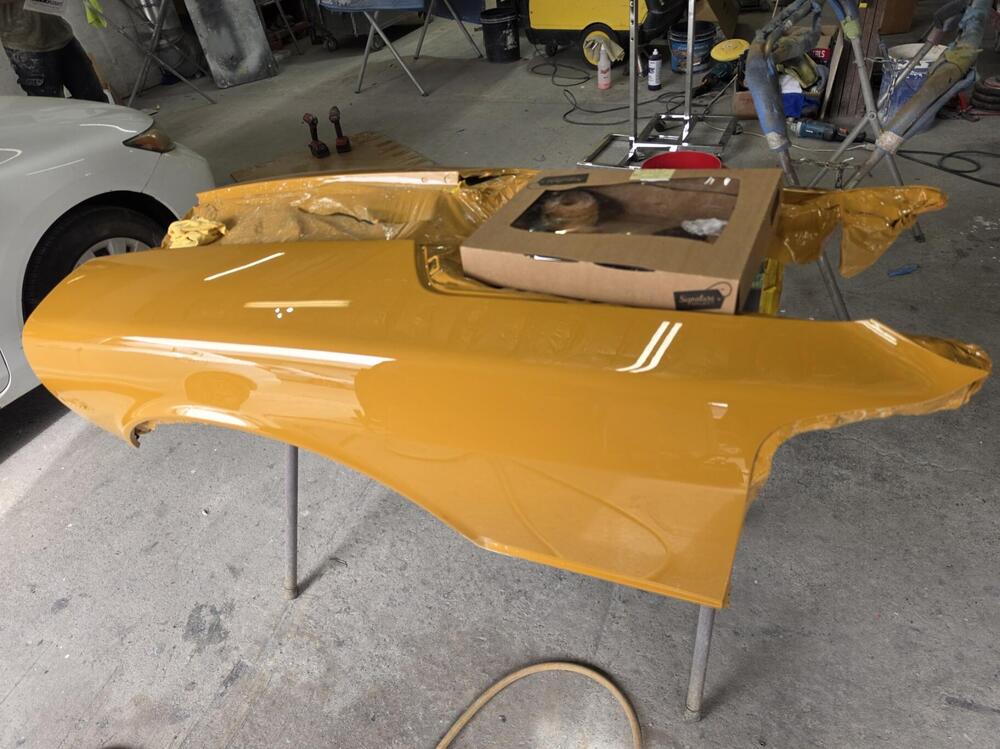
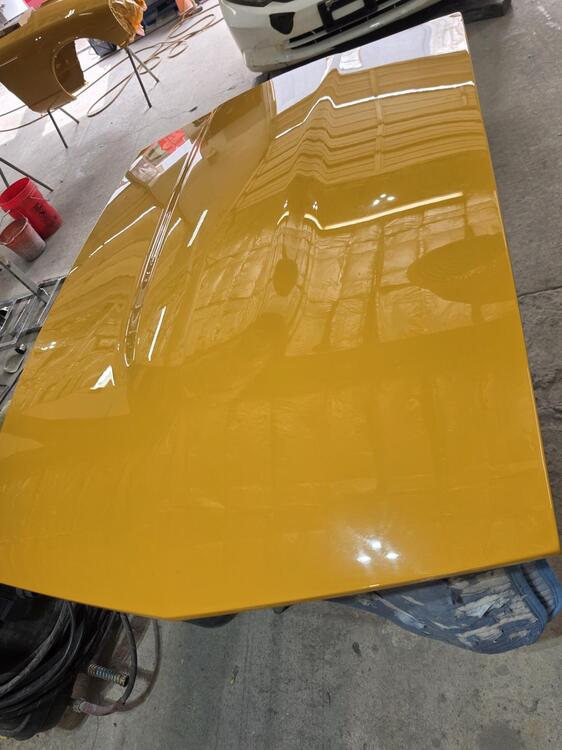
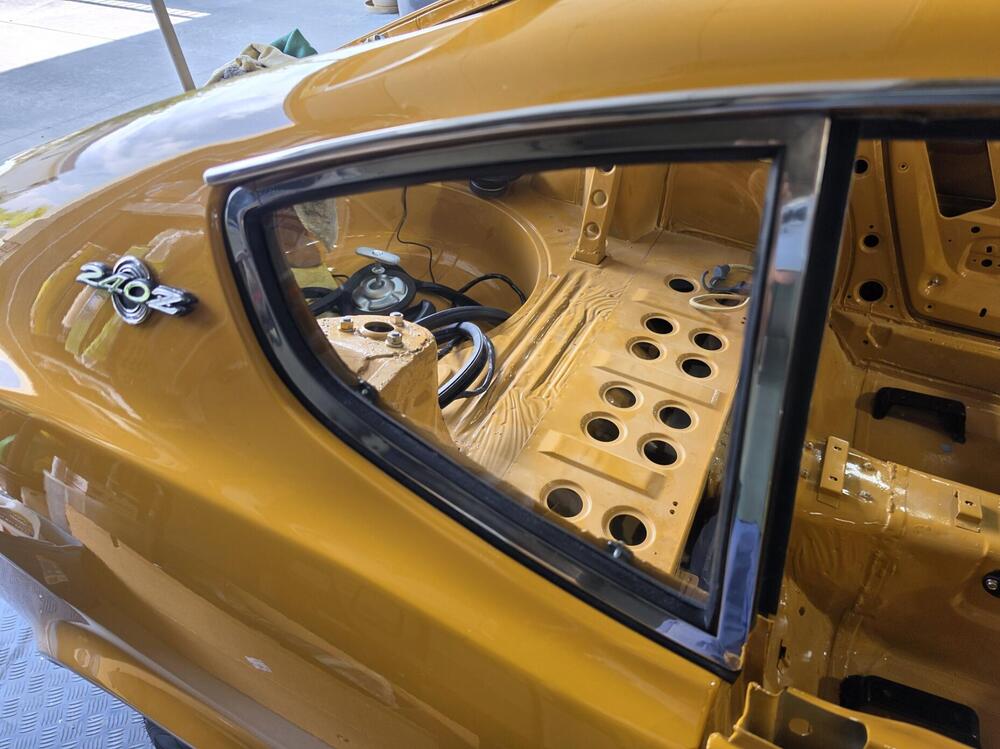
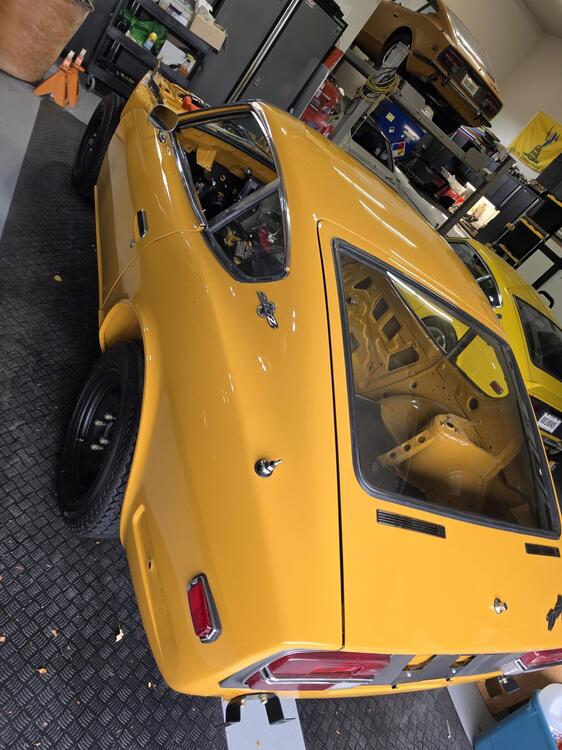
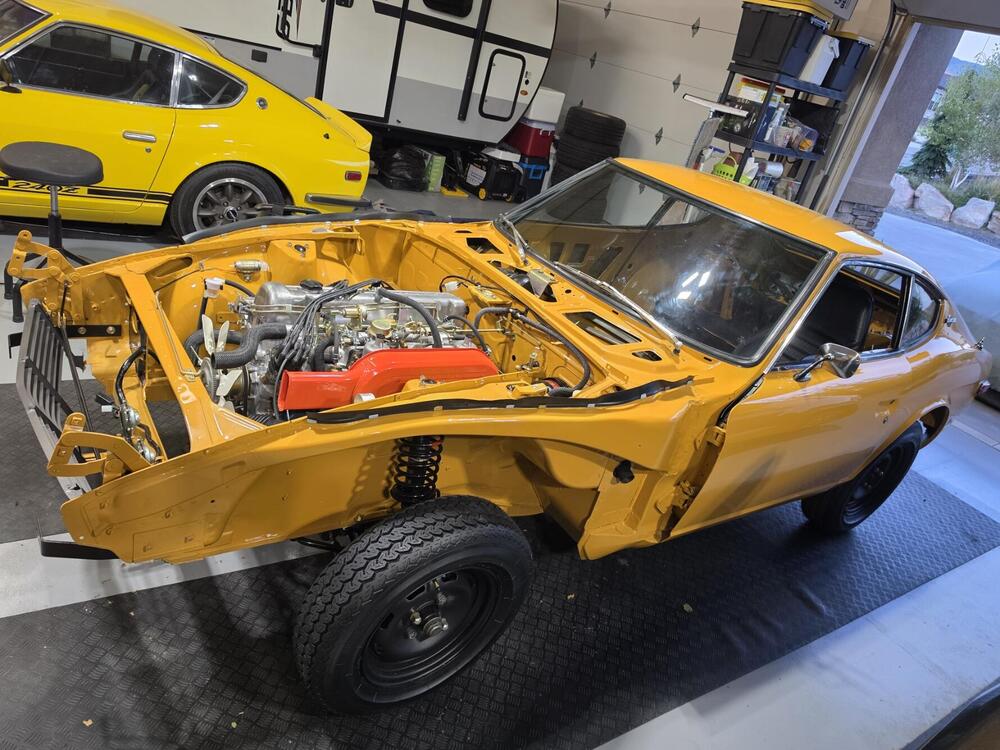
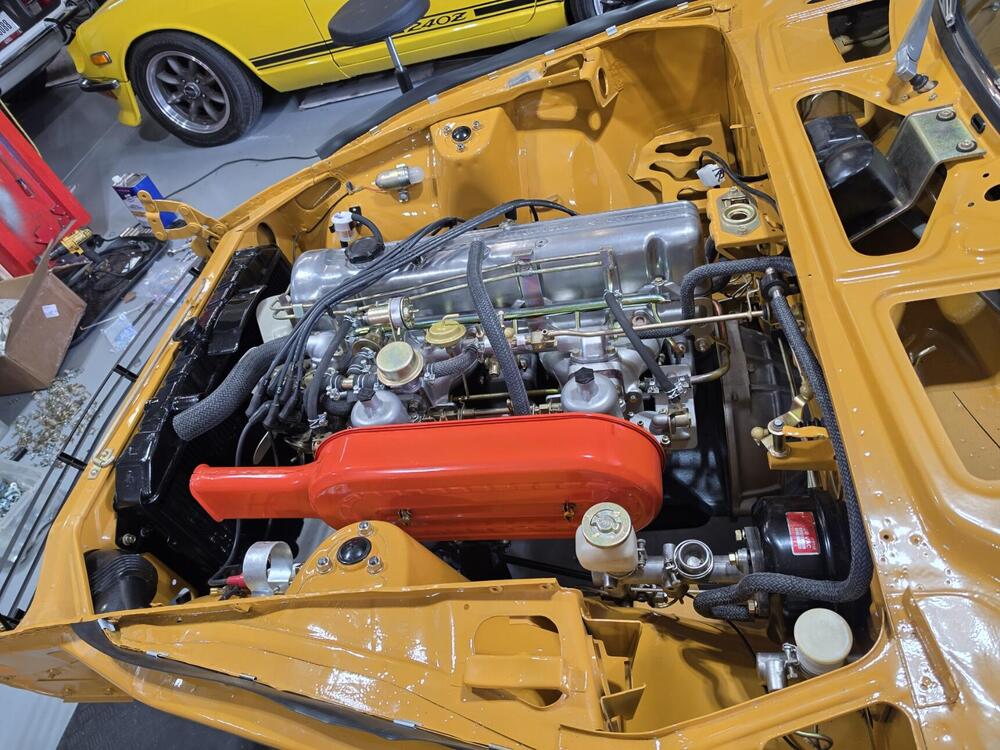
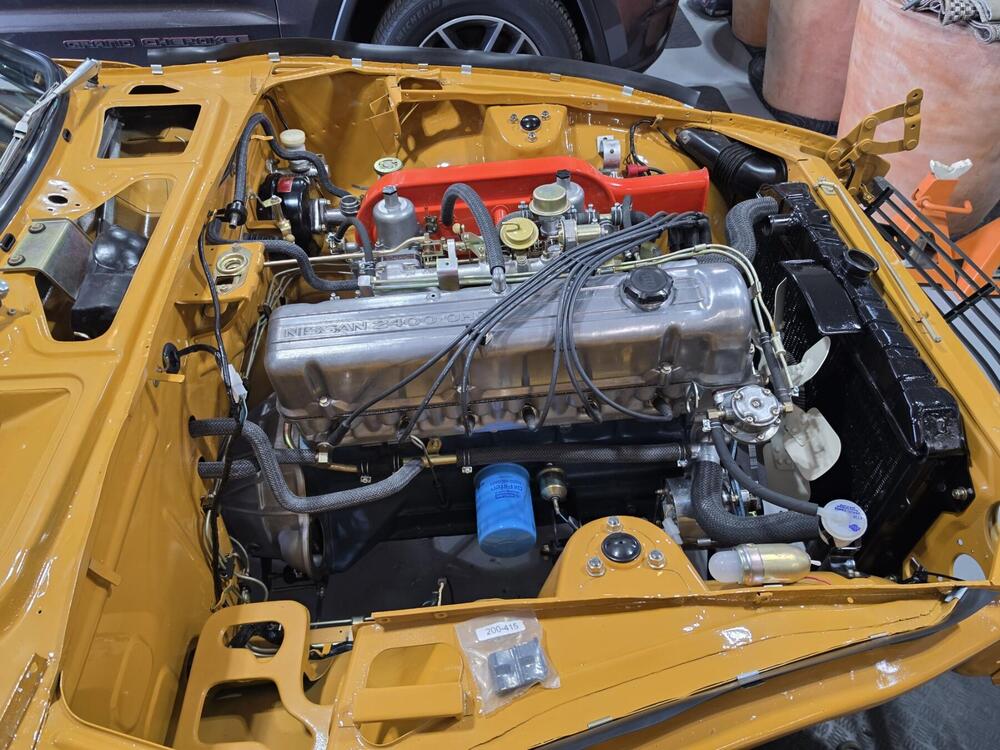
-
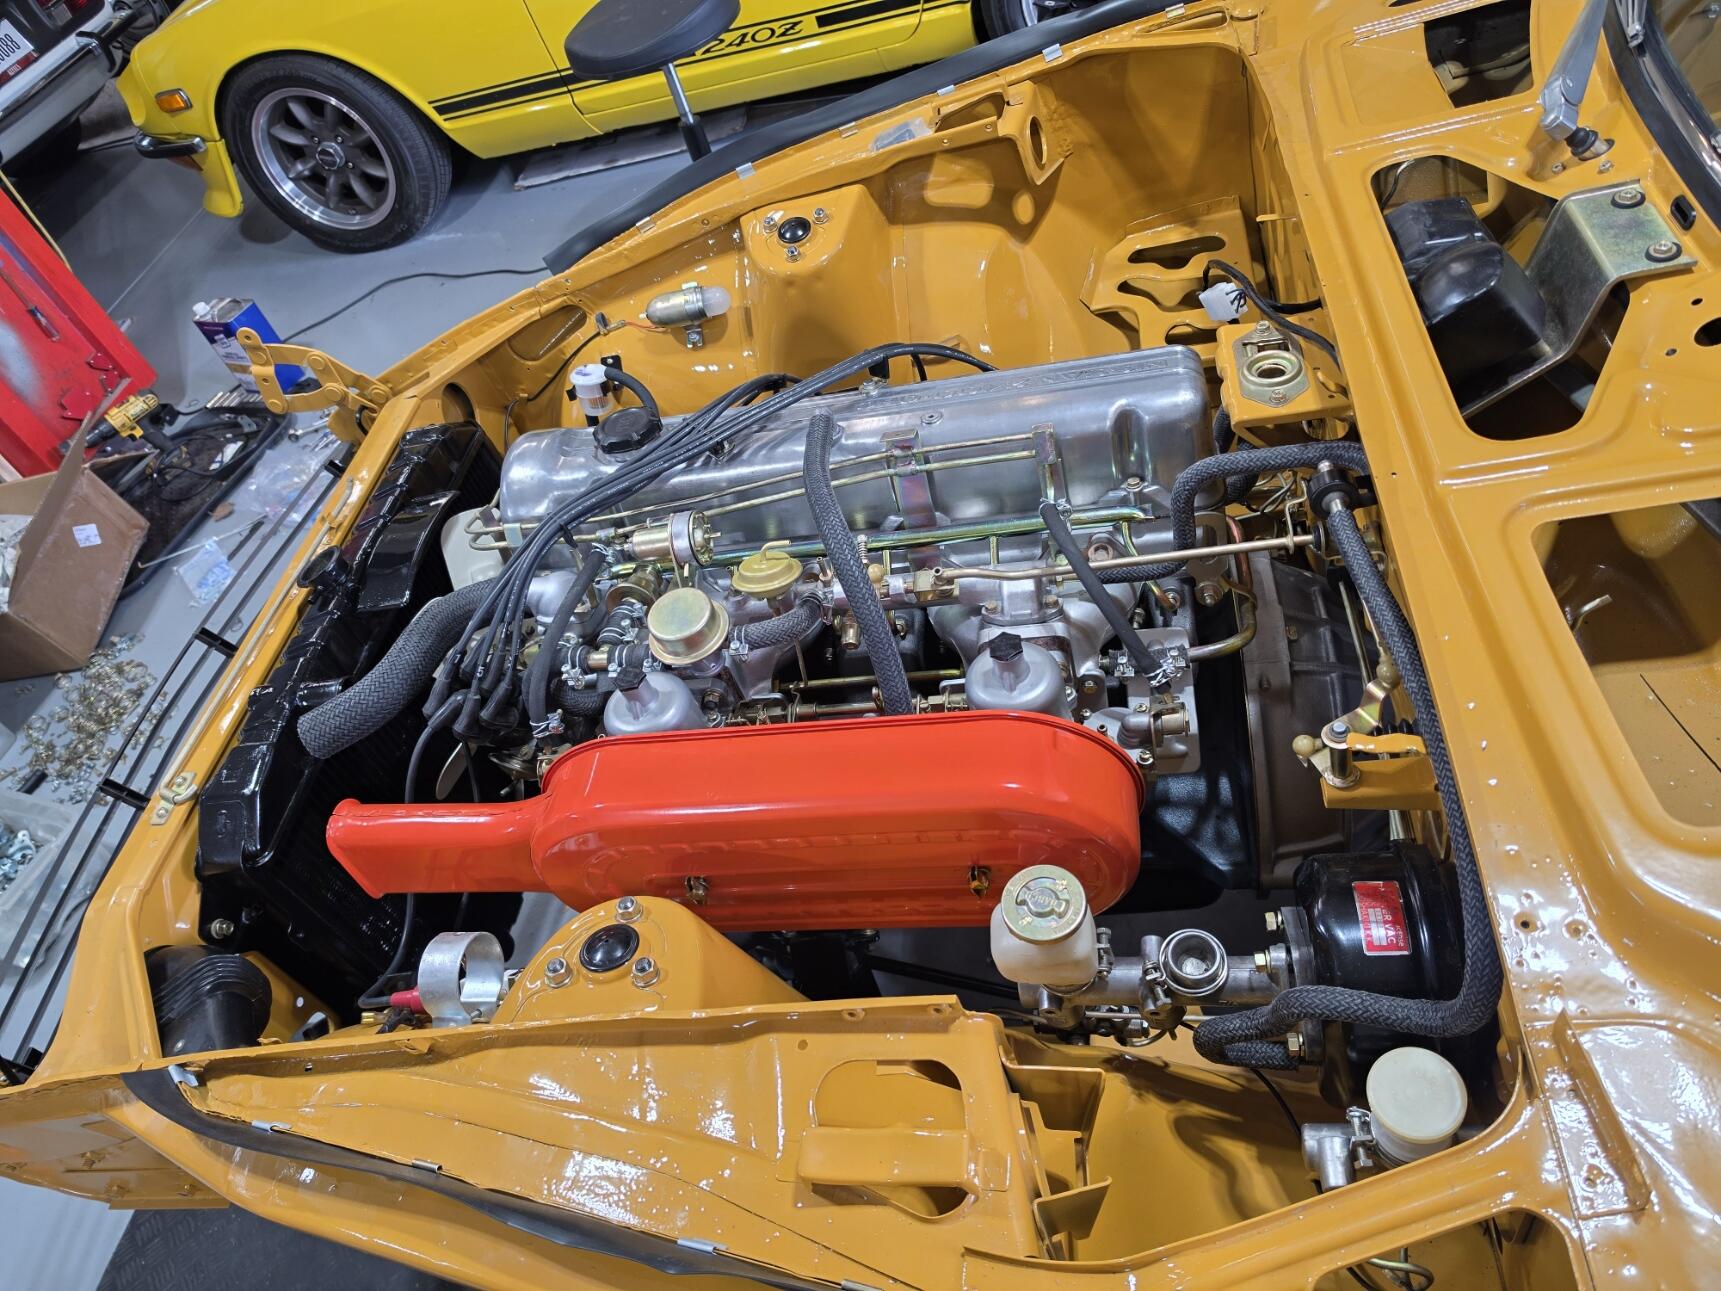
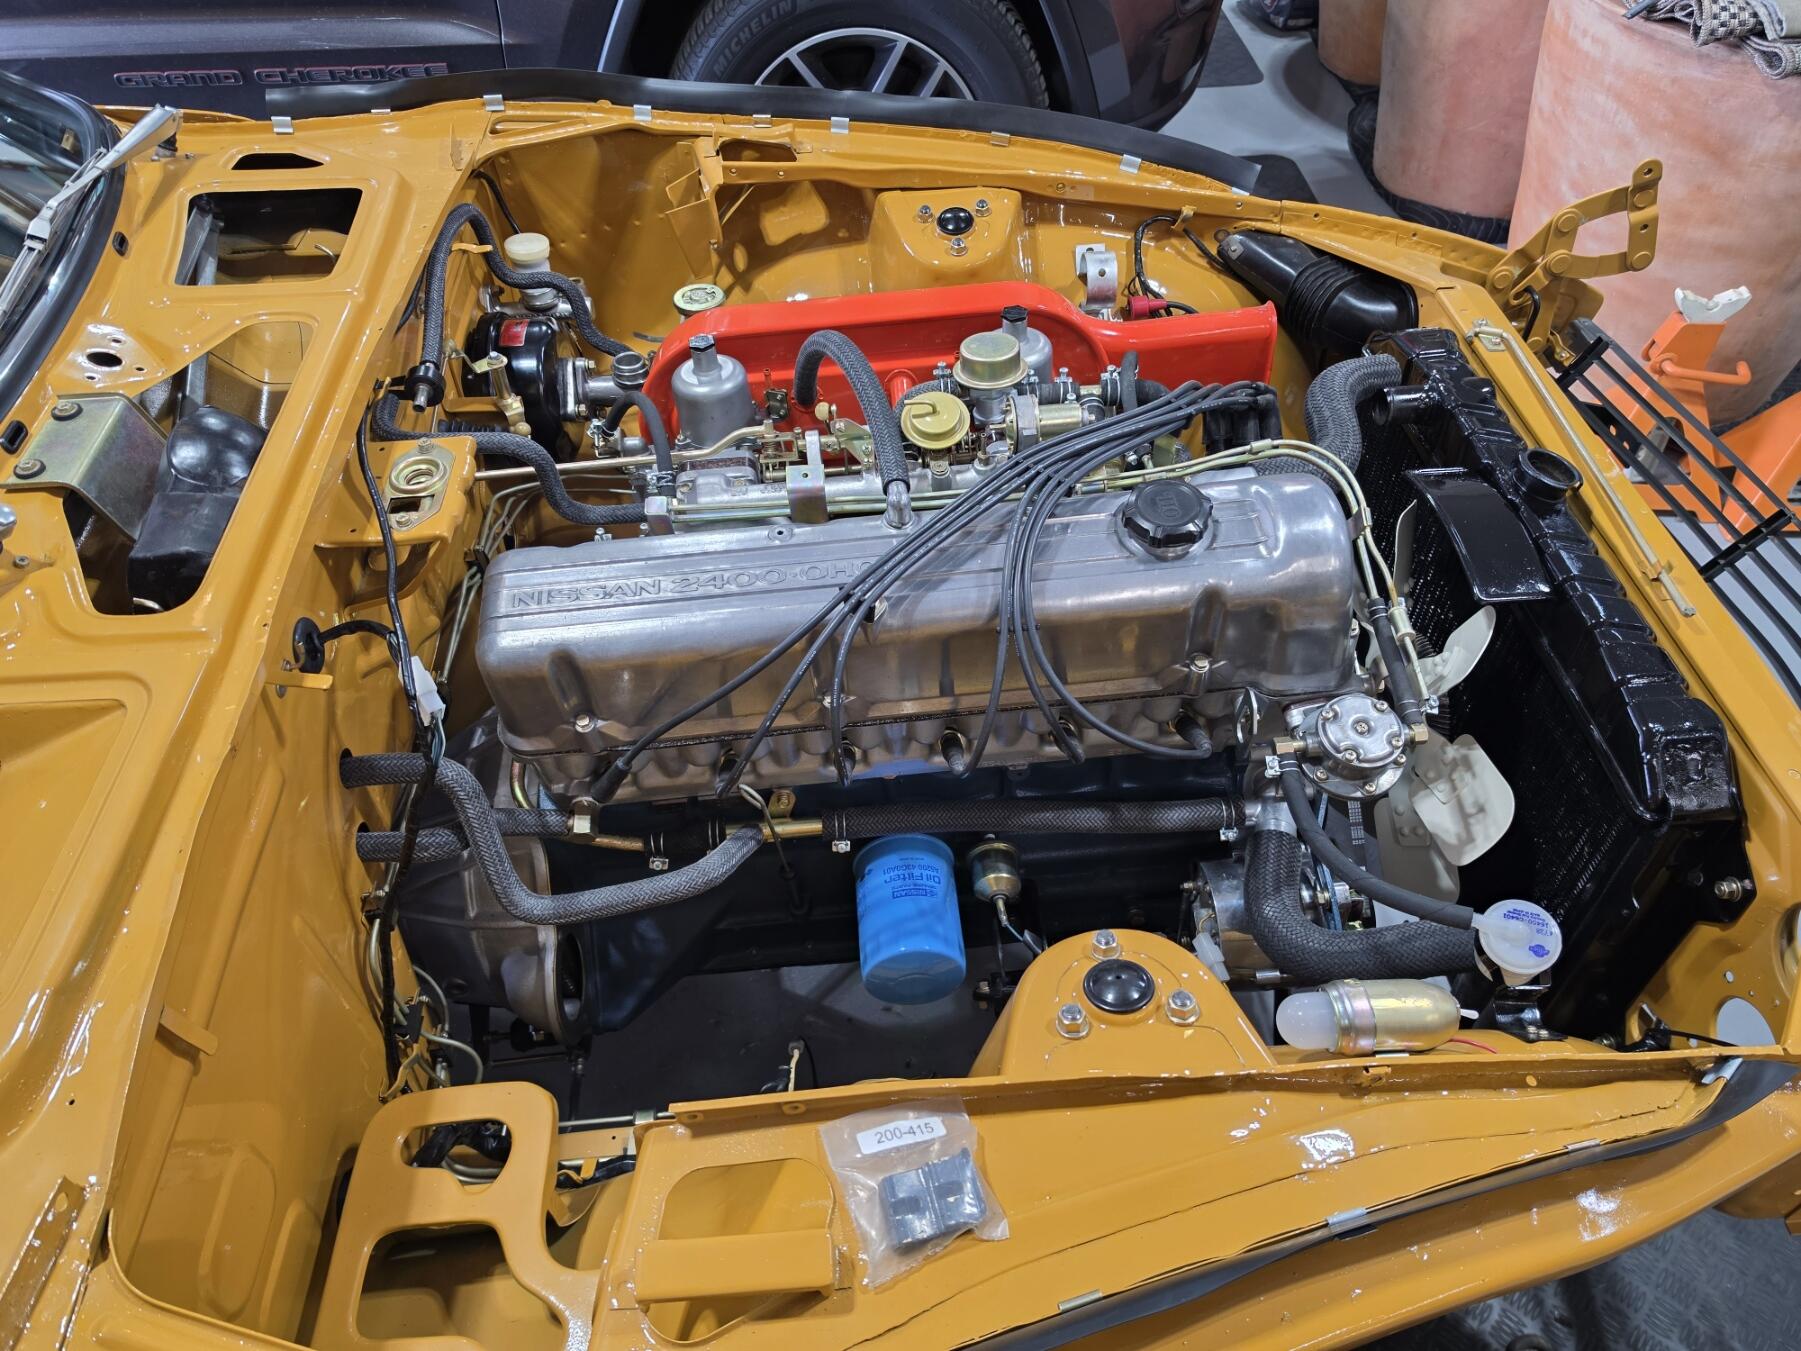
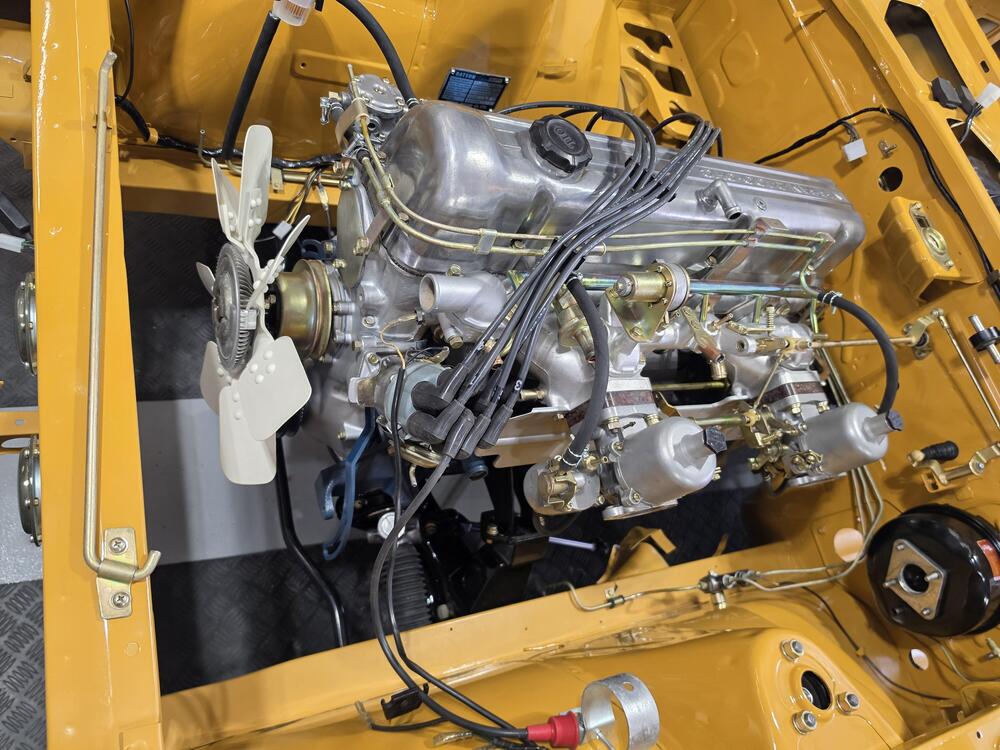
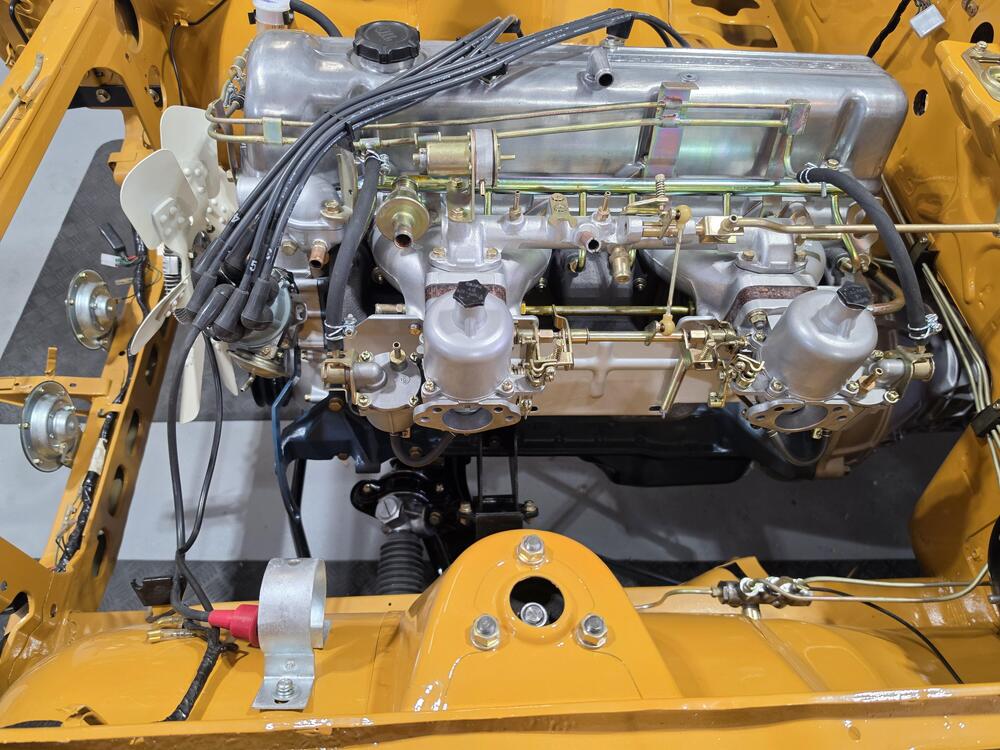
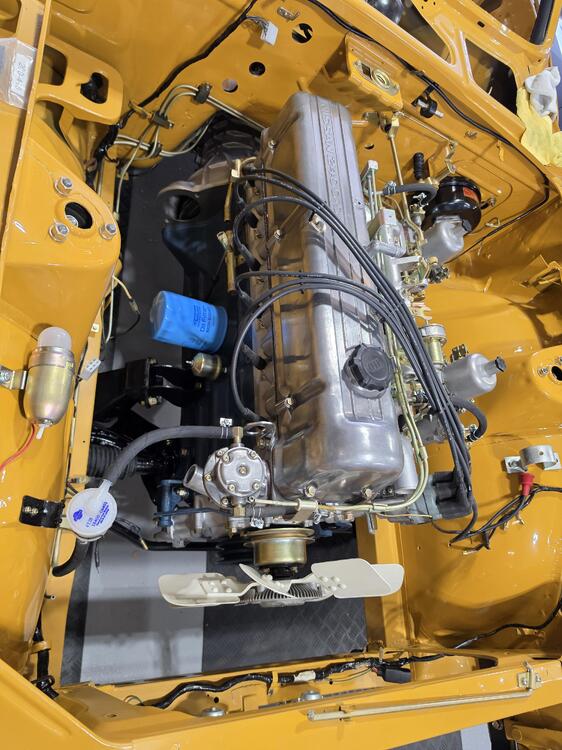
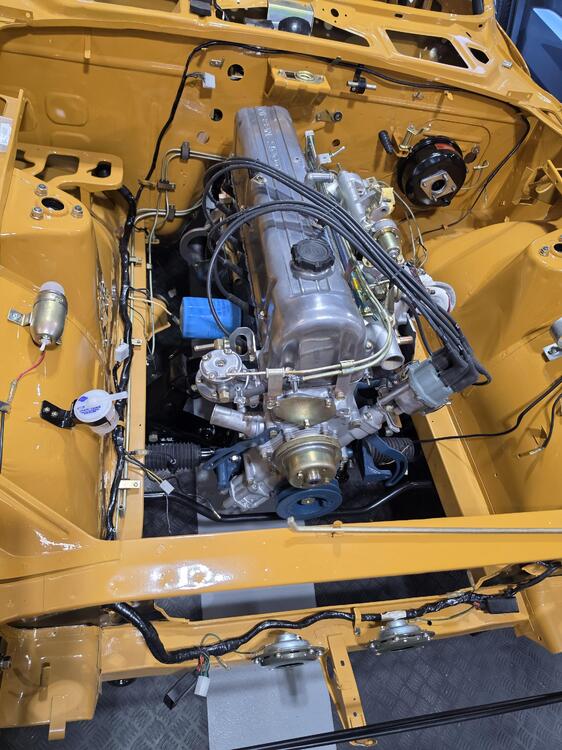
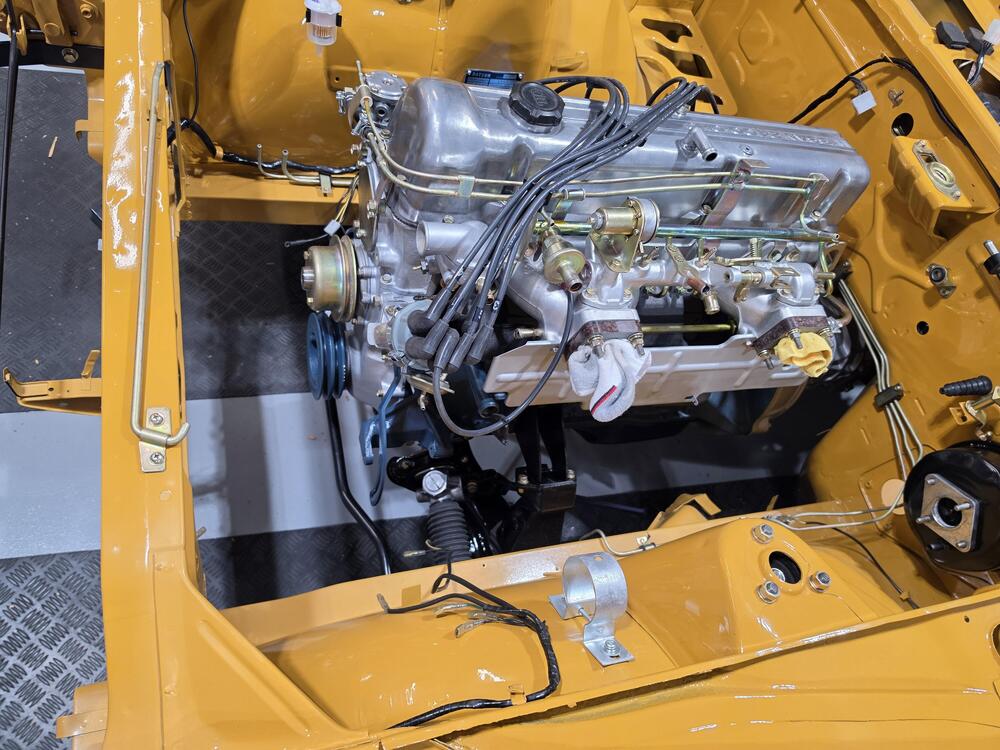
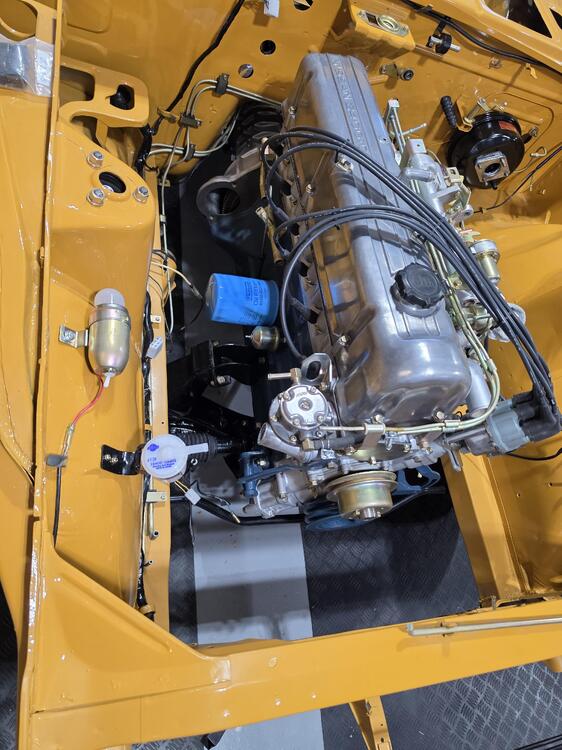
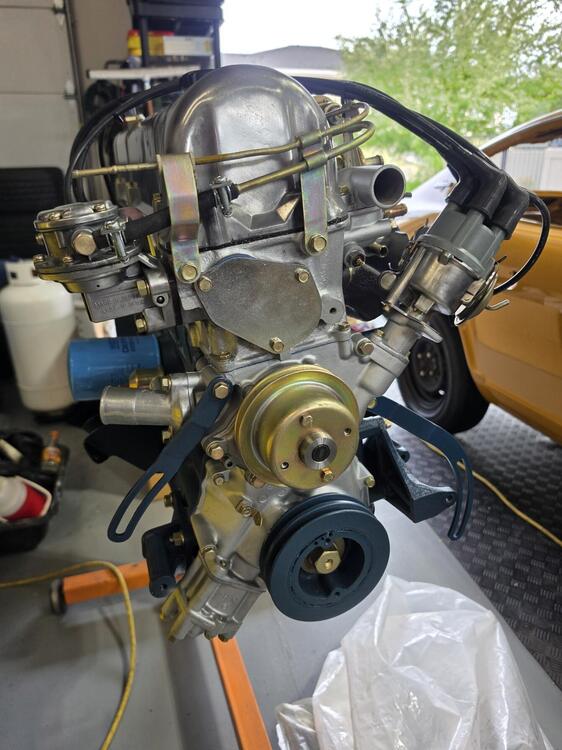
Thanks for the feedback 26th-Z. Here are the latest pics. Got the carbs and fan on. Moving to the doors and interior for now.
-
Motors in. That's always a nice milestone to complete.
-
I need a little help from the experts here. I am ready to do final torque checks and add inspection paint. On 2614, I have a number of WHITE marks that do not appear to be torque checks, but did have some purpose. Should these be added to 00042? Did a quick check on the $310k BaT car; it also has the white marks.
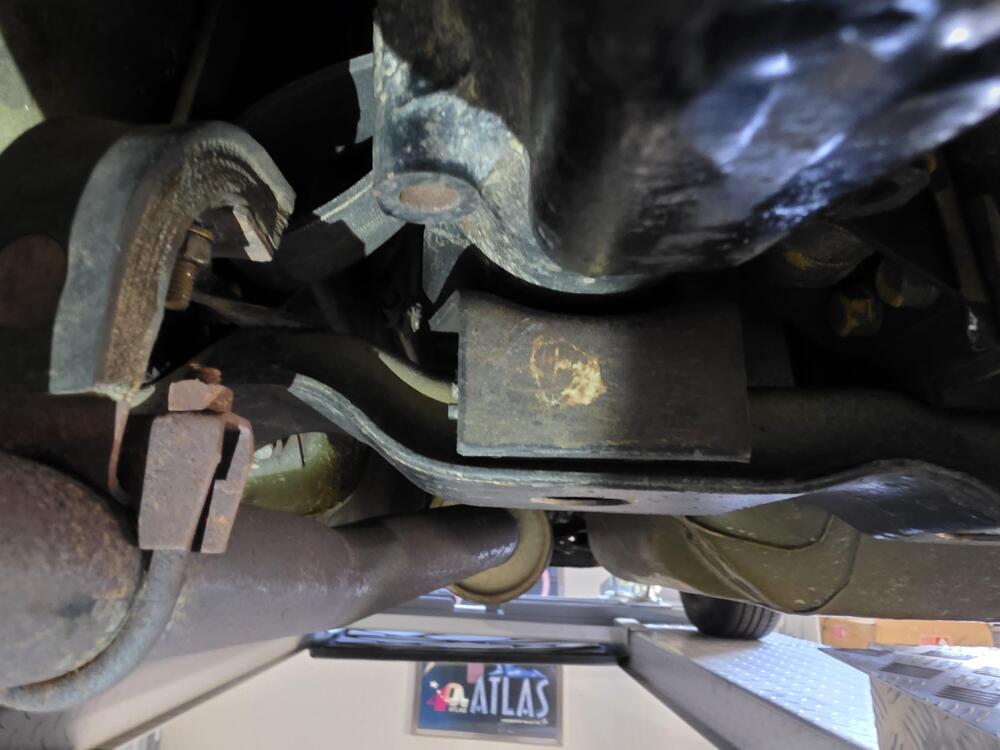
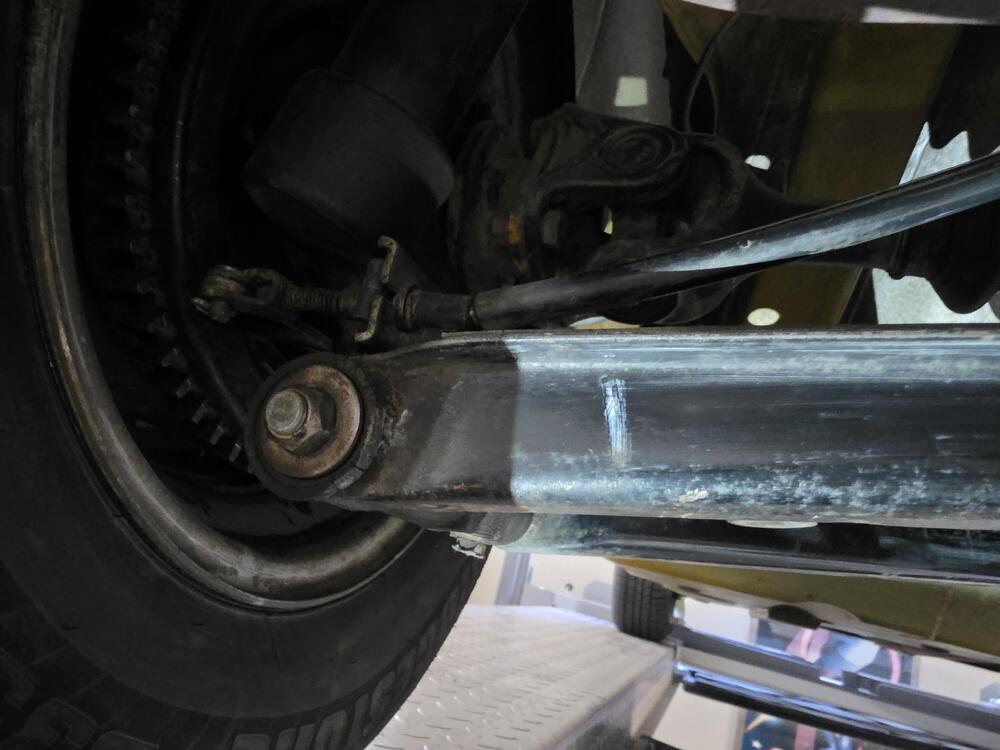
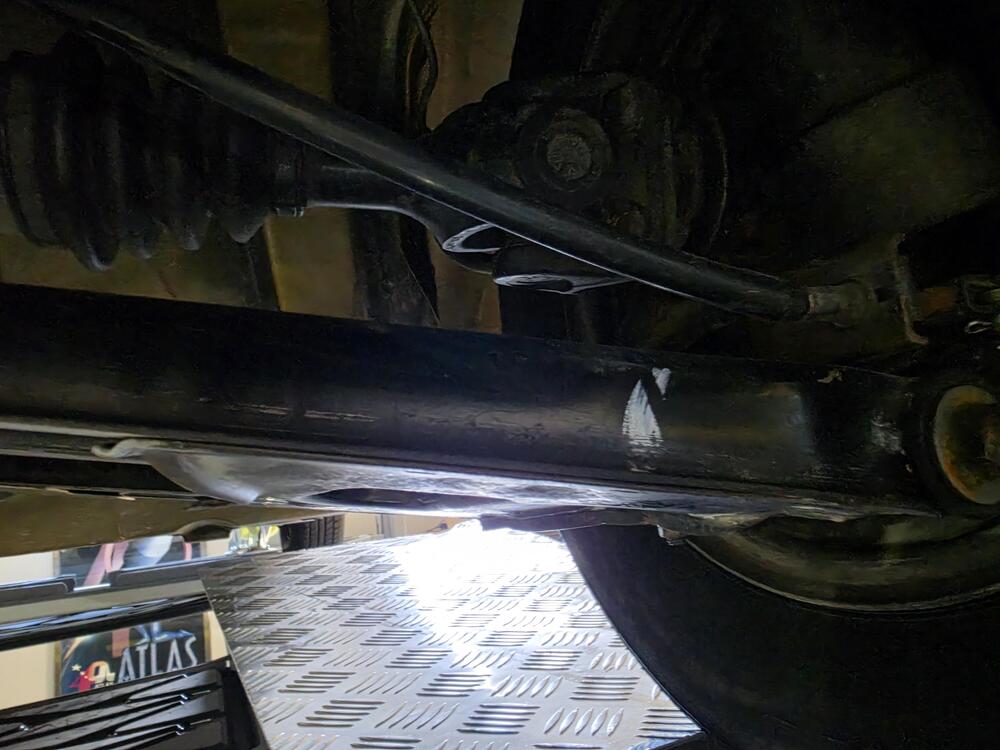
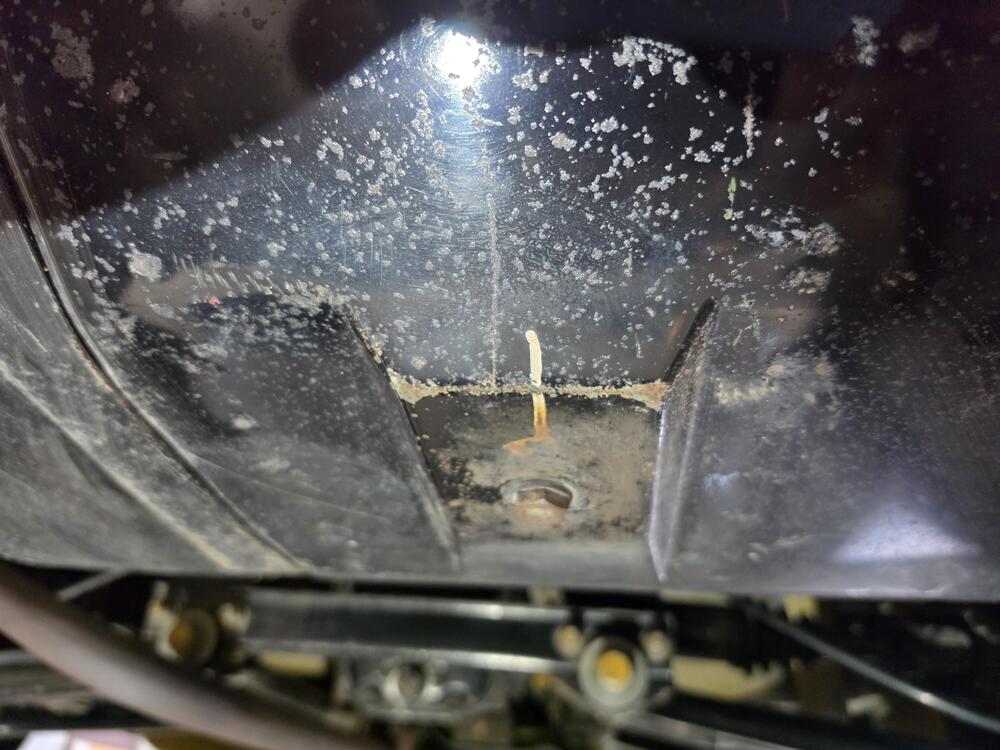
-
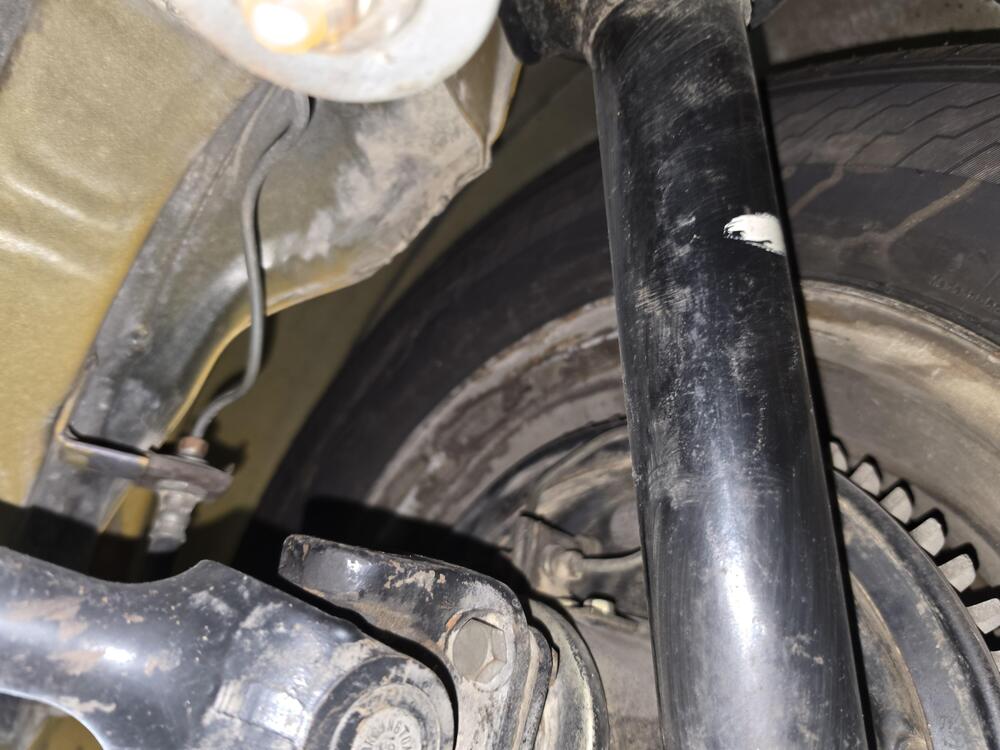
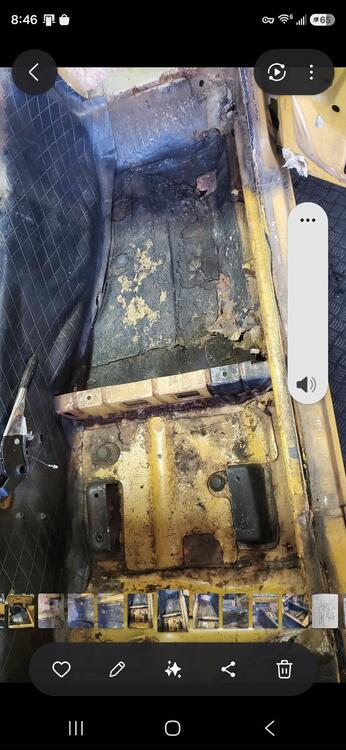
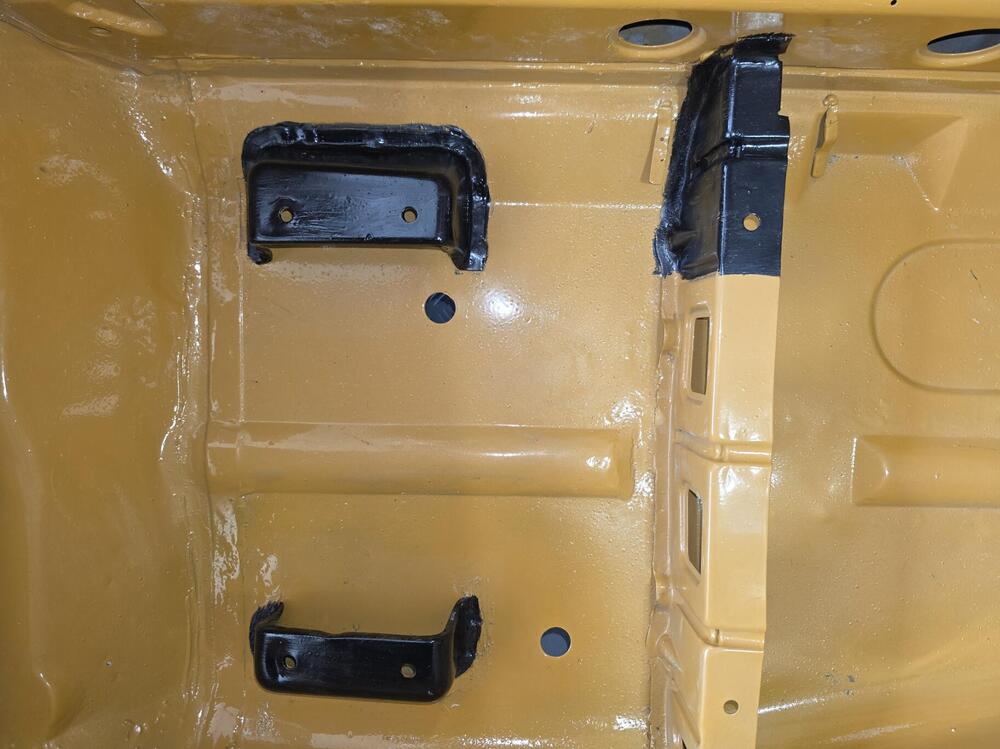
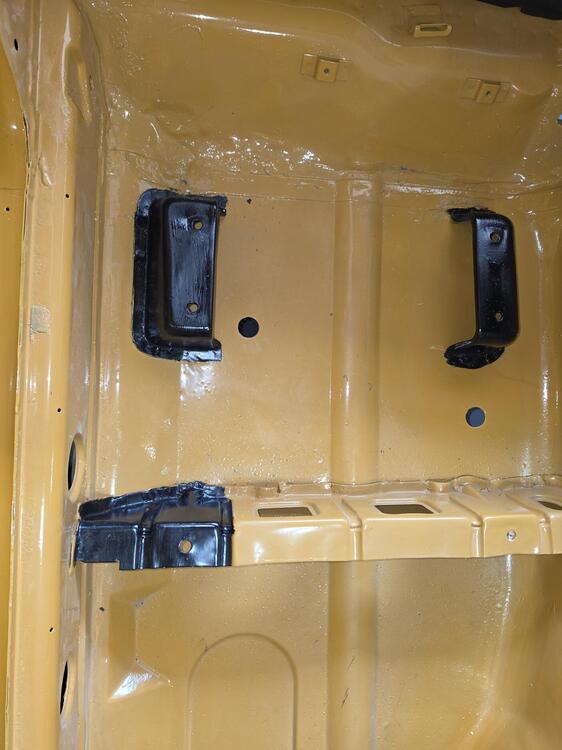
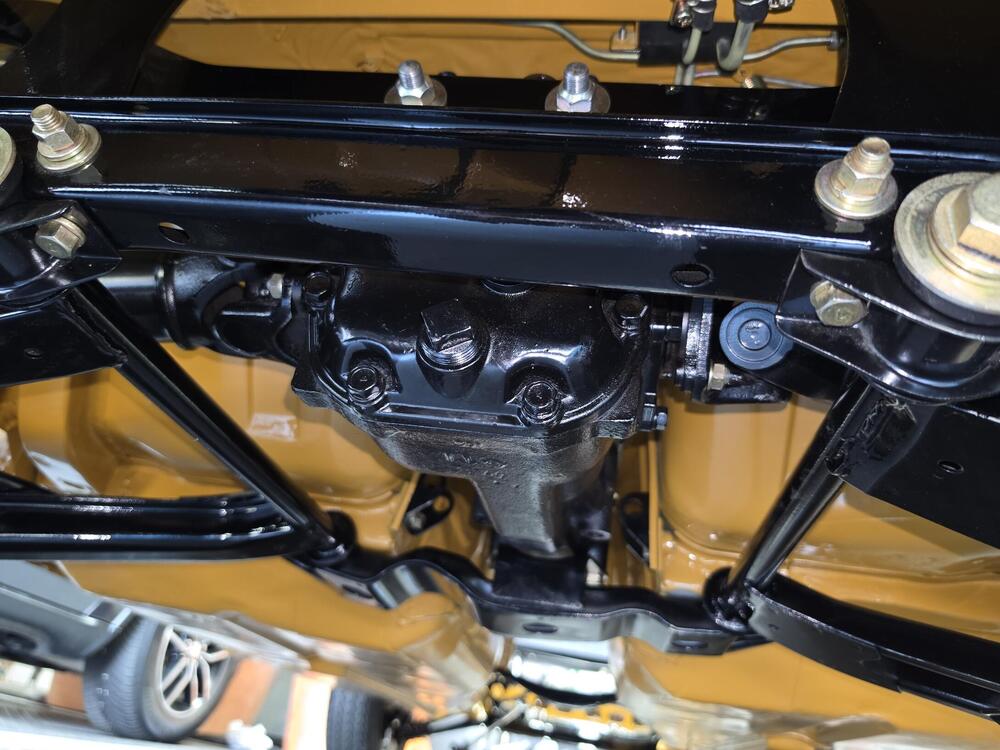
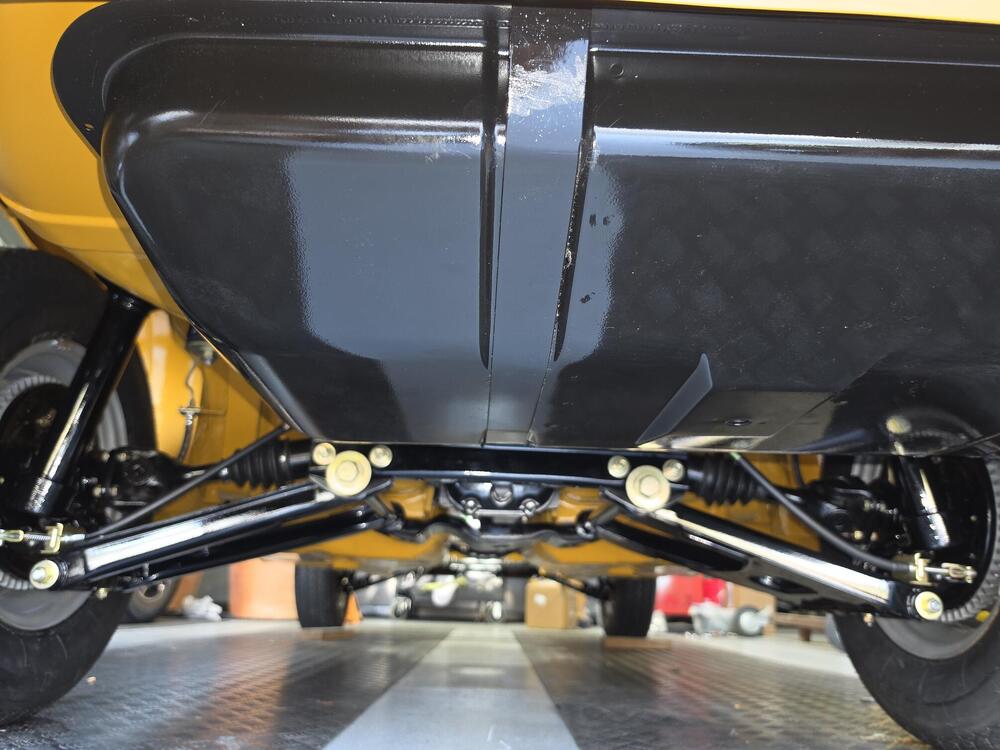
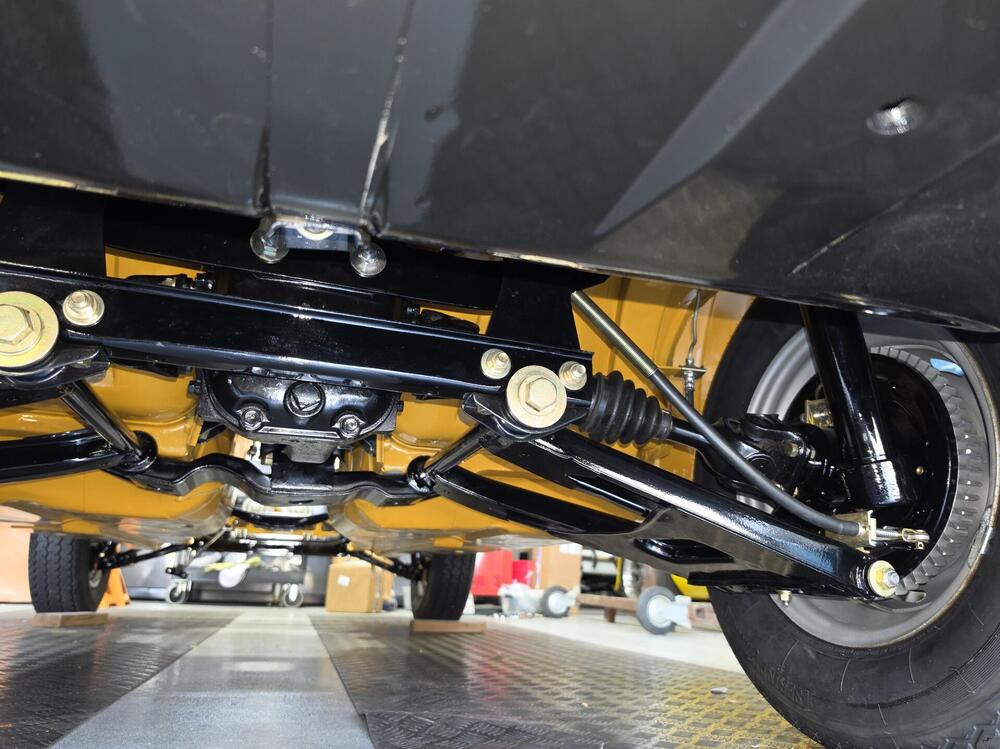
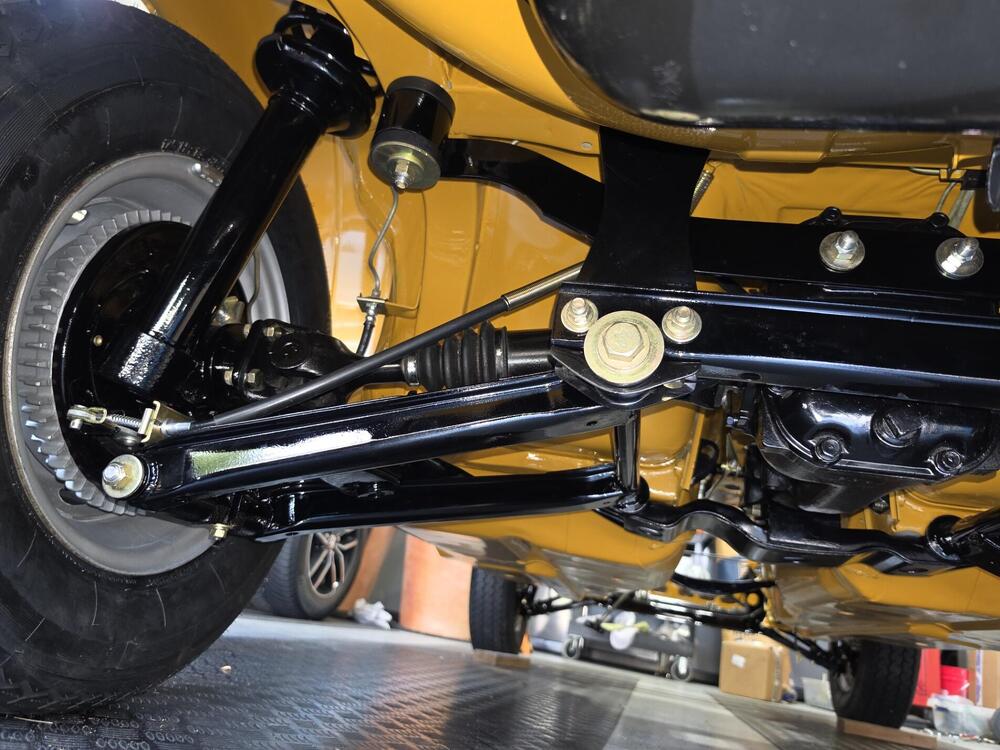
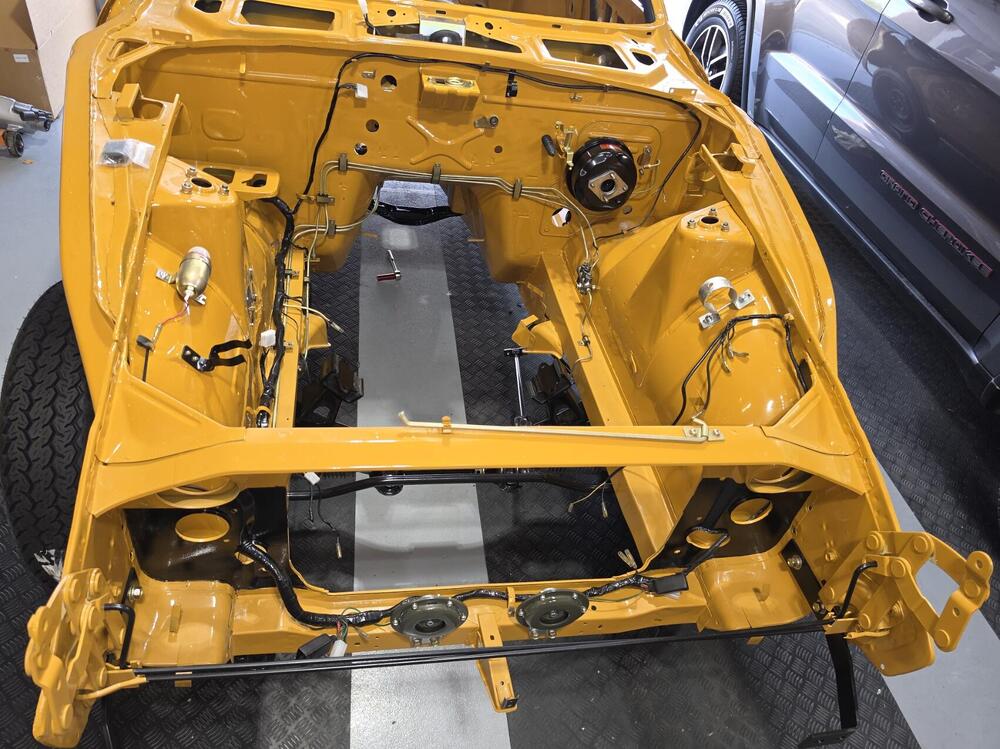
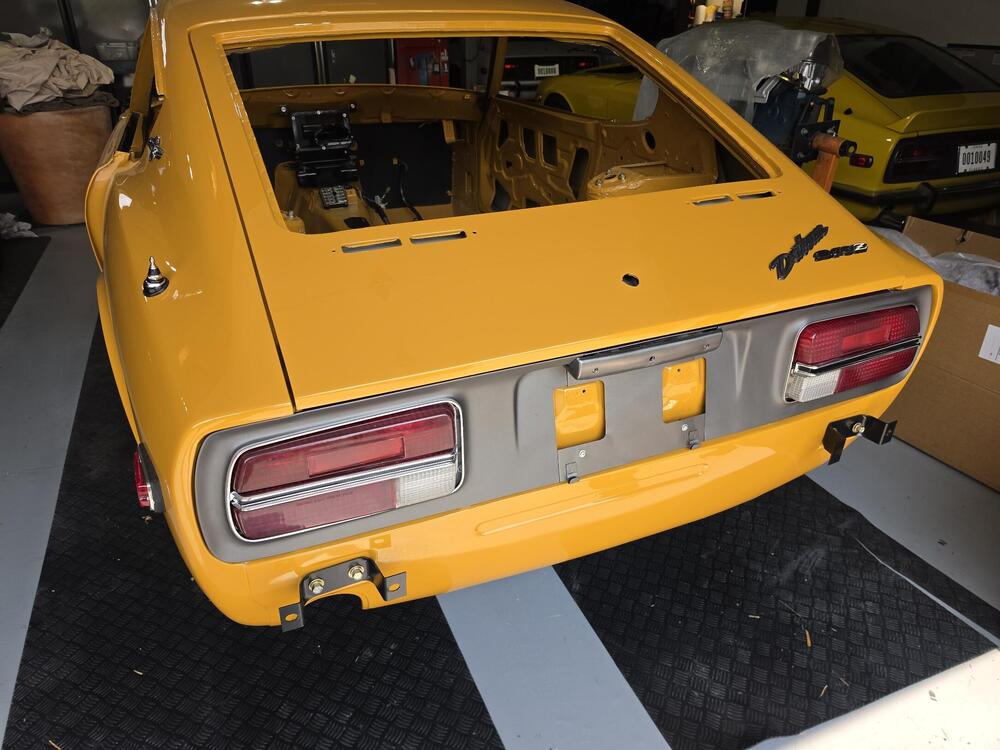
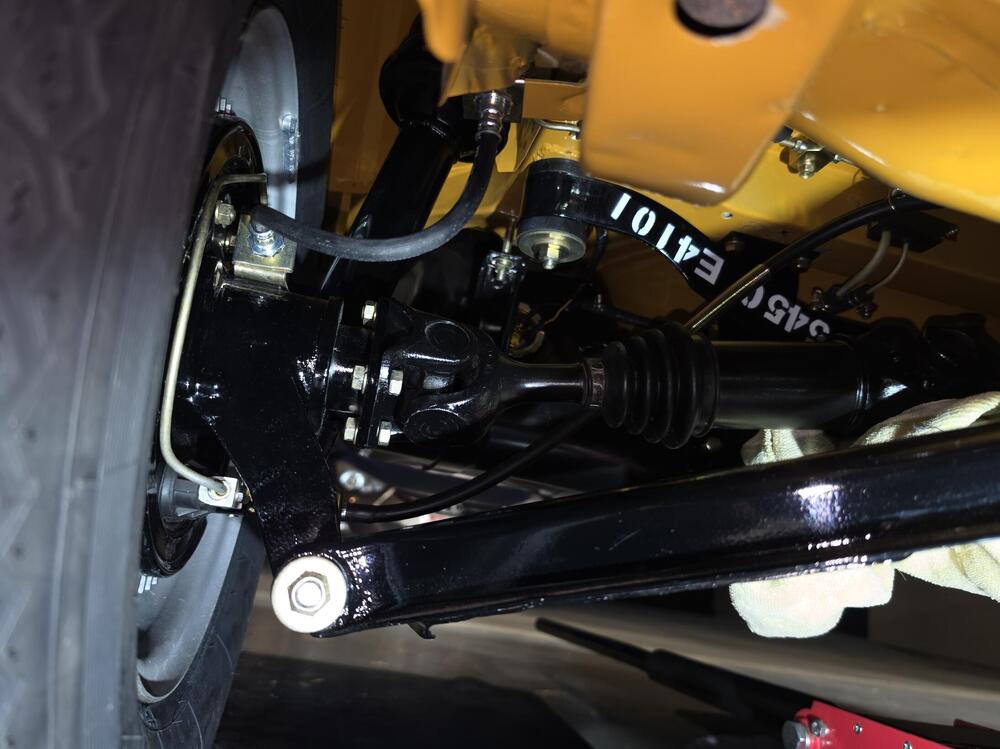
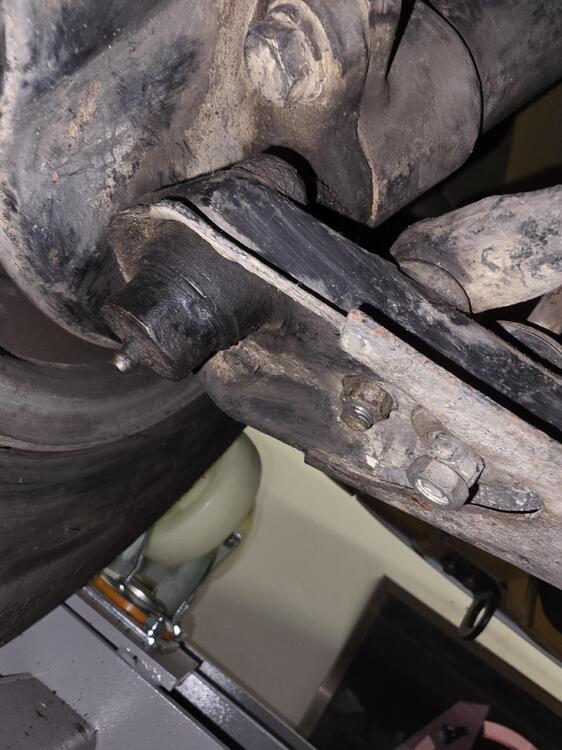
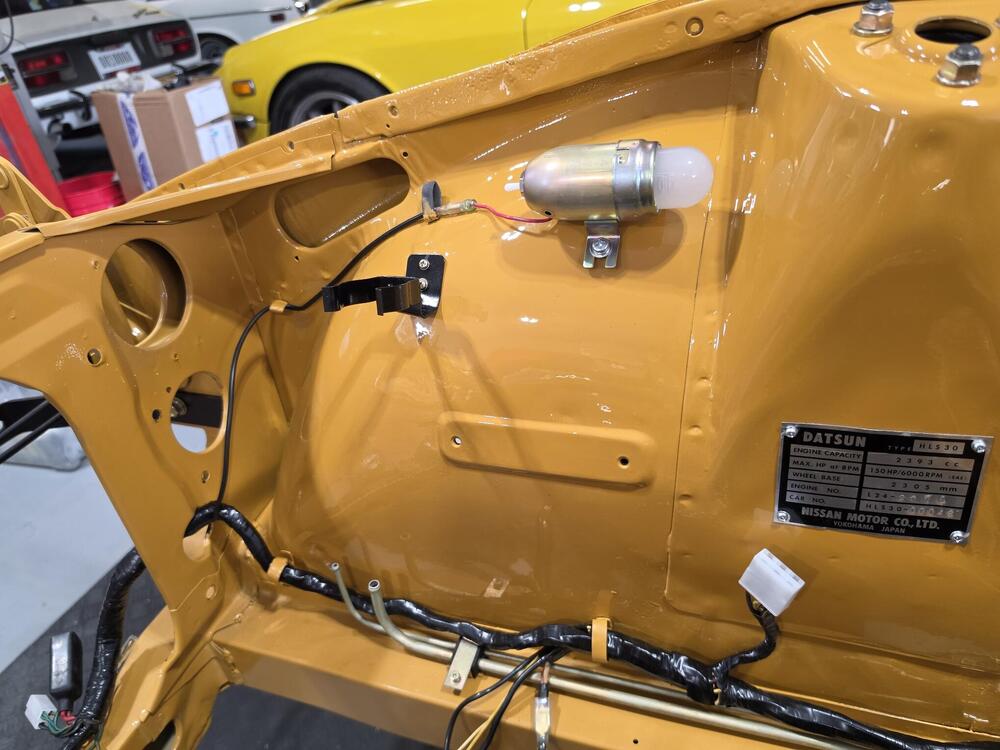
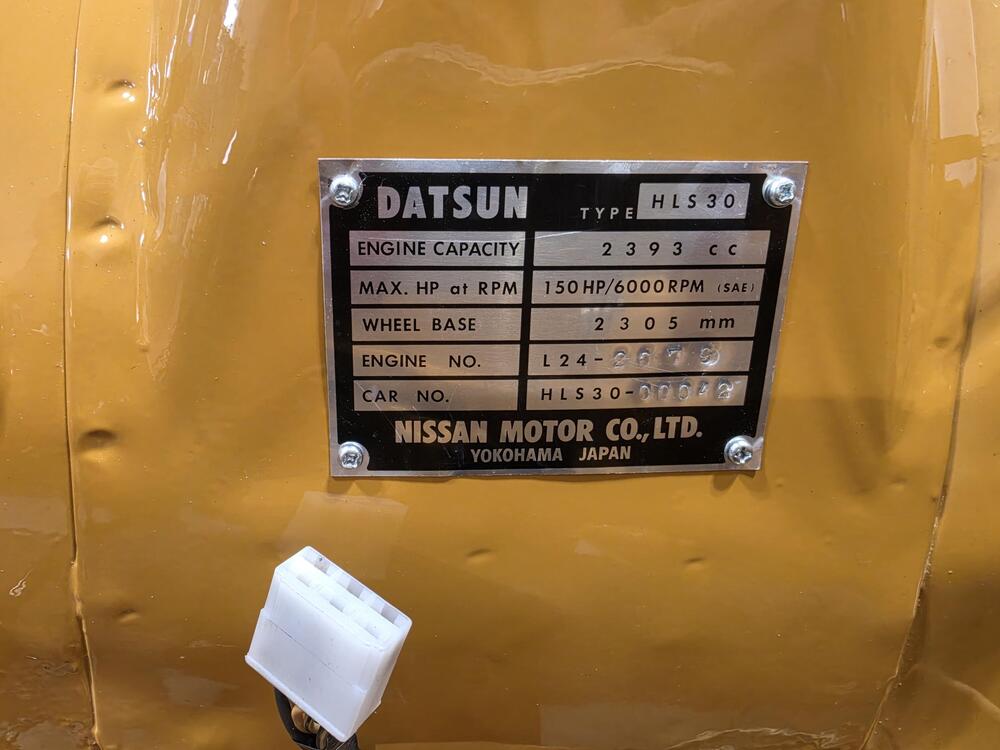
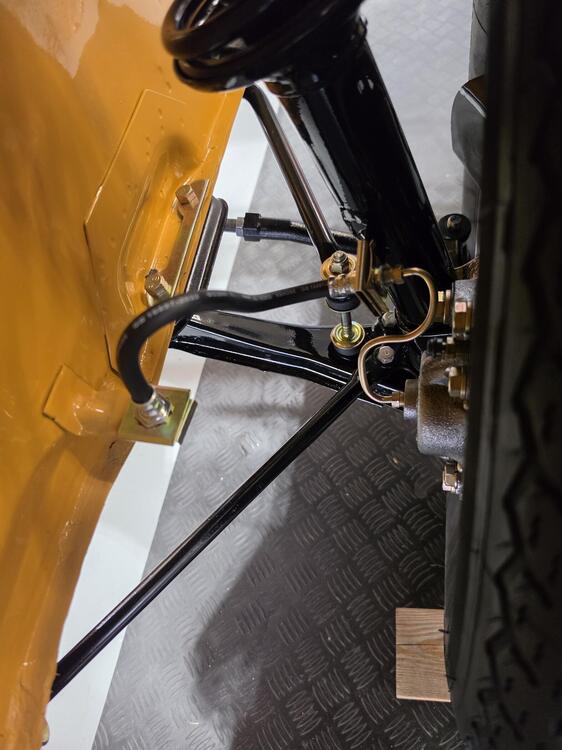
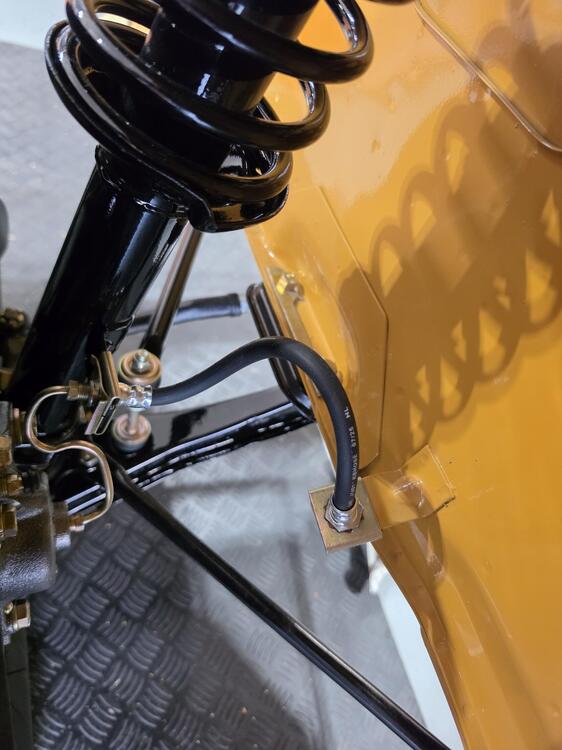
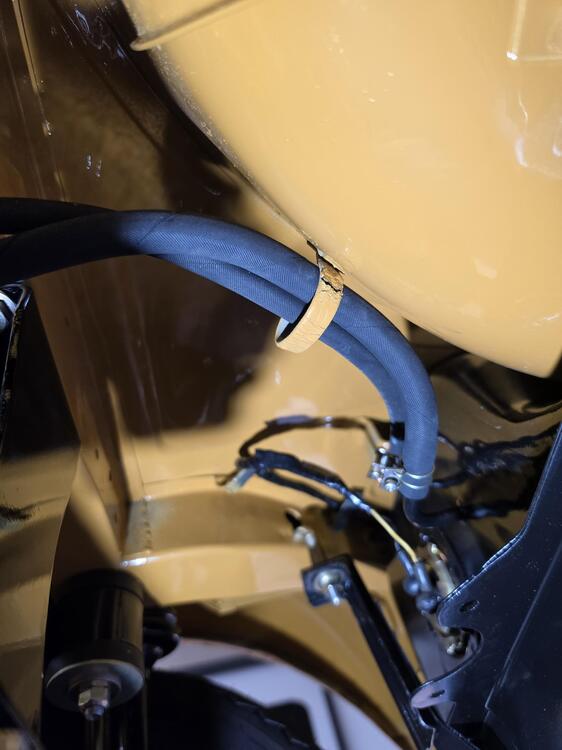
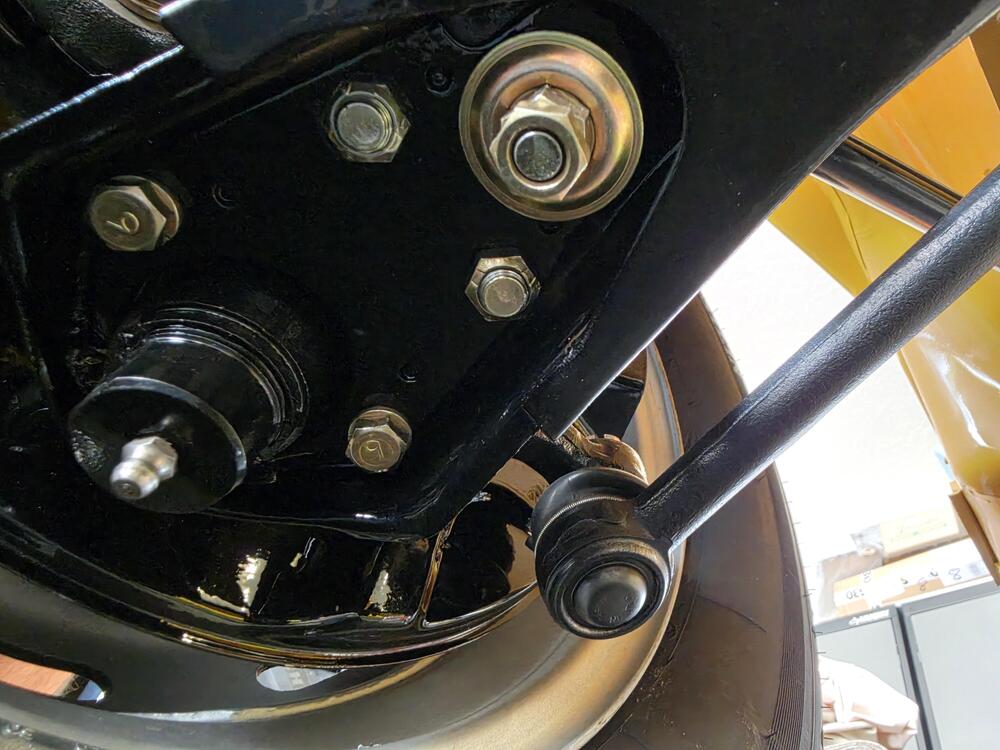
Here are the latest pics. Things are moving along well and looking nice. Interesting read on the Jam nuts. Will probably leave it as is since that is the way 2614 is assembled (pic below). Also, the ball joint has a grease fitting on it, however, that might have been added by the dealer during servicing. Also, you would never guess from the pick that I spent about 6 hours one day cleaning the underside of 2614. Corrected the plate on the timing chain cover. I have never seen one of those before. Hand painted the seat mounts. Regarding hood hinges, I have always seen them painted. Only seen plated ones on restorations. 2614 is painted. The hinge area looked to be in good condition regarding rust, so they were not removed. Regarding virgin jam nuts; Sorry, no virgin nuts on this old girl. All the nuts have been screwed...at least once. All jam nuts have been freshly plated and have diplayed a significant increase in torque when the feature is engaged during tightening. Near ID tag I noticed a few drips in the paint. Carlos did a good job replicating the factory engine compartment paint drip. Yes, I have them on 2614.
-
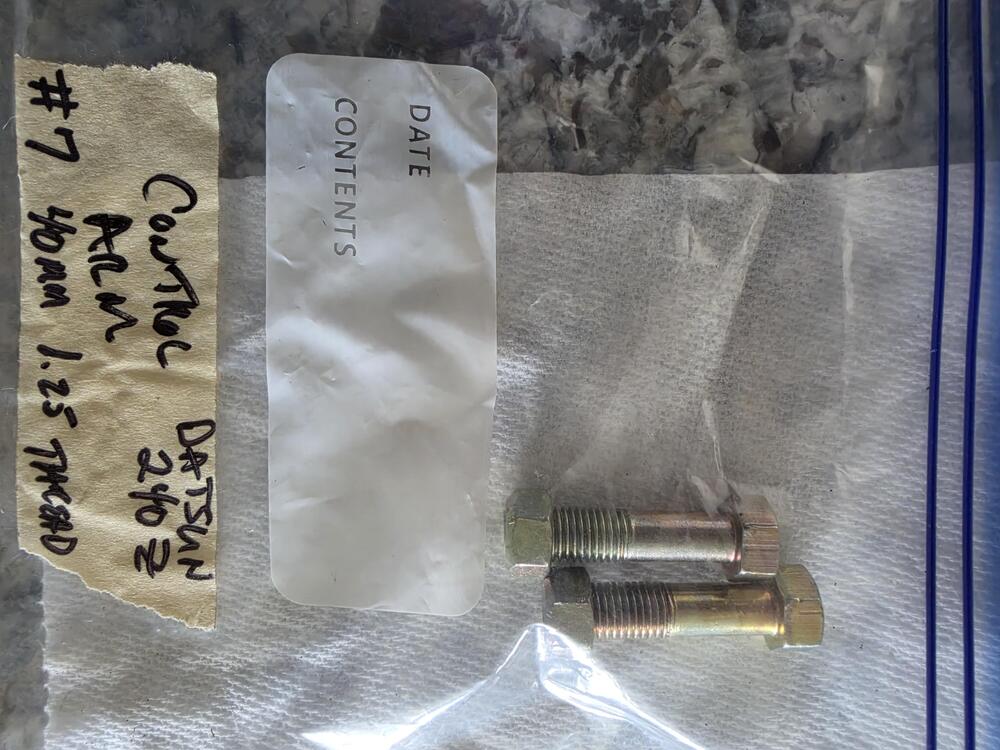
Got a care package in the mail. I think this is all correct now.
-
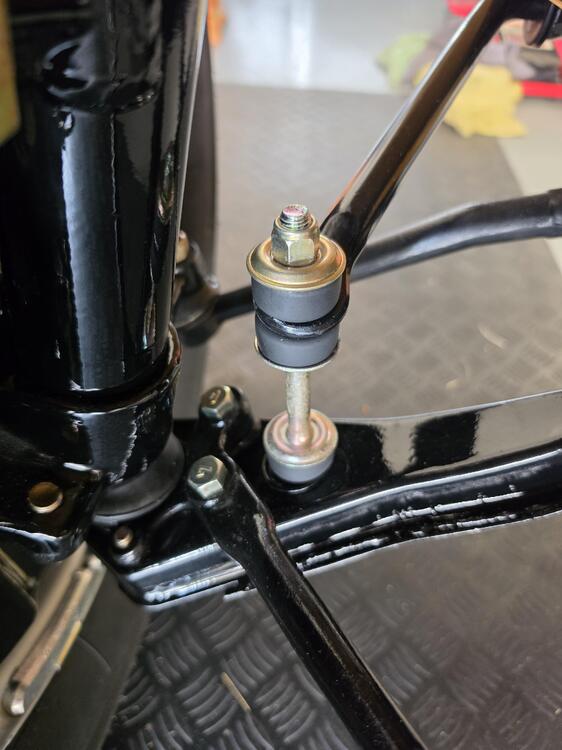
Does it also need the lockwasher? I am guessing no if it has the two nuts. That would be a lot easier to add as the regular nut is difficult to install when a lock nut is in the stack
-
I think you guys give car show judges way too much credit. The best and most knowledgeable judges of Z cars are on this website in my opinion. Only once in all of the car shows that I have entered did I ever see a judge with a mirror for looking under the car. While I have seen some down on there knees taking a quick glance at the underside of a car, something like these two bolts would never be seen. However, as a restorer, the goal is not to win car shows. The goal is to replicate as best possible the original design and manufacture of the Z cars. So, in a case like these two bolts, though the bolt head and number were correct, the length obviously was not. The good thing is that these get corrected to what was original, whether the judge sees it or not.
-
I think what is showing on the pedal stop is the insulation of the firewall pad. Owner has a lot of resources, more than me, so he has two 40mm length coming to me with lock nuts included, so willuse those. Will return the nuts. I can send you some of the 45mm bolts as they are from my private stash (accumulated over the years). Just PM me what you need and I will send them out. On short trip to Portland here, so can send when I return.
-
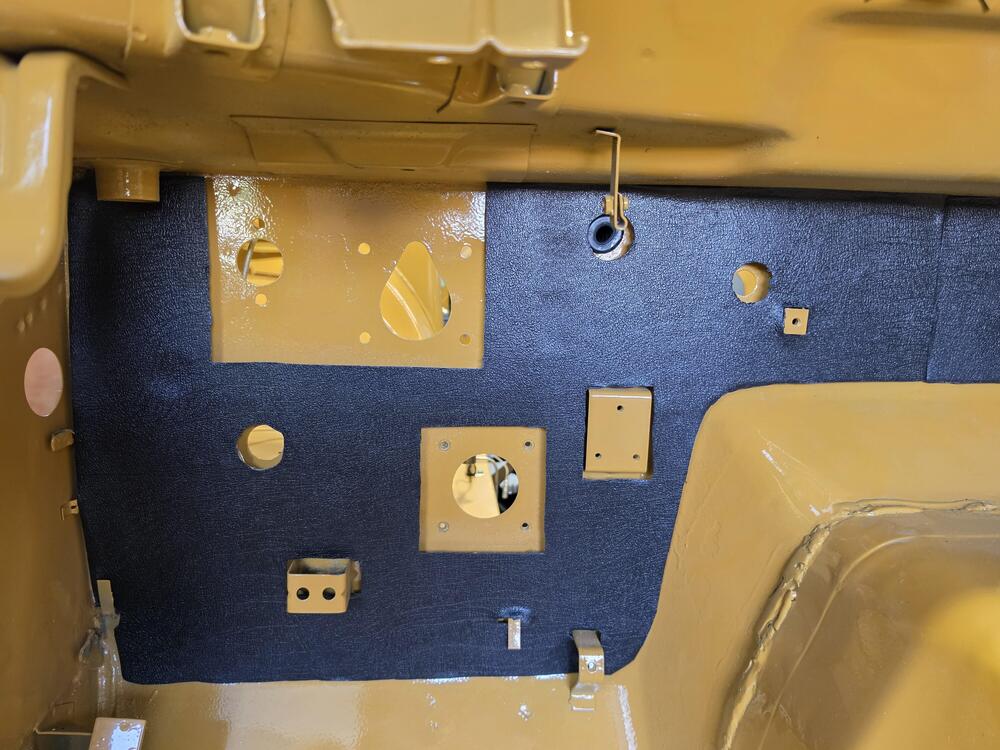
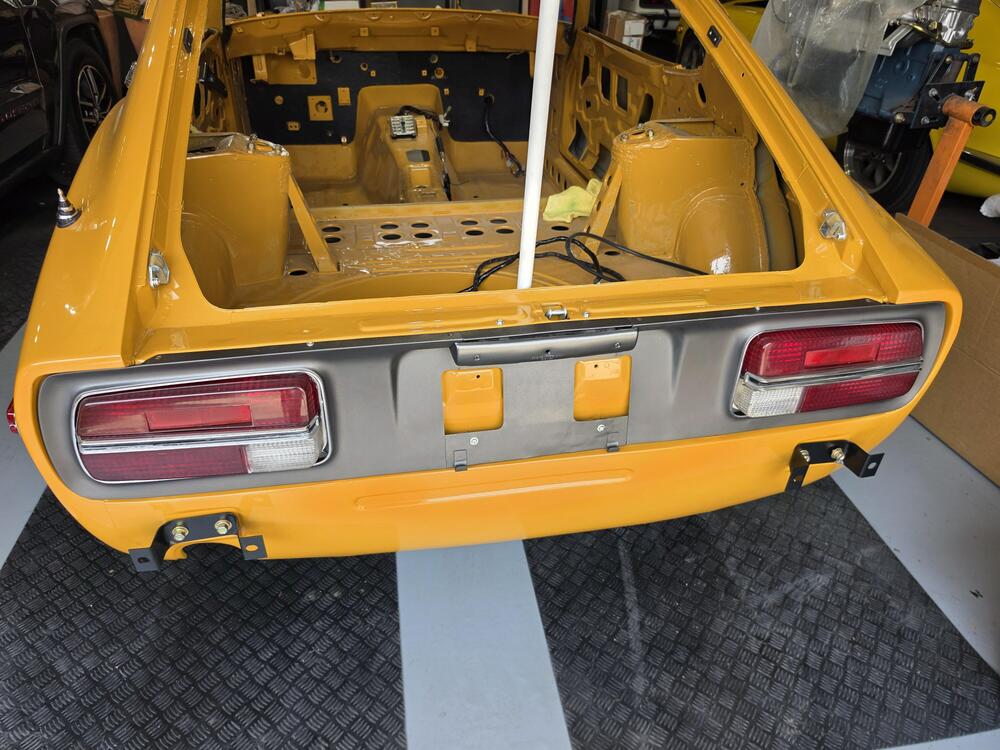
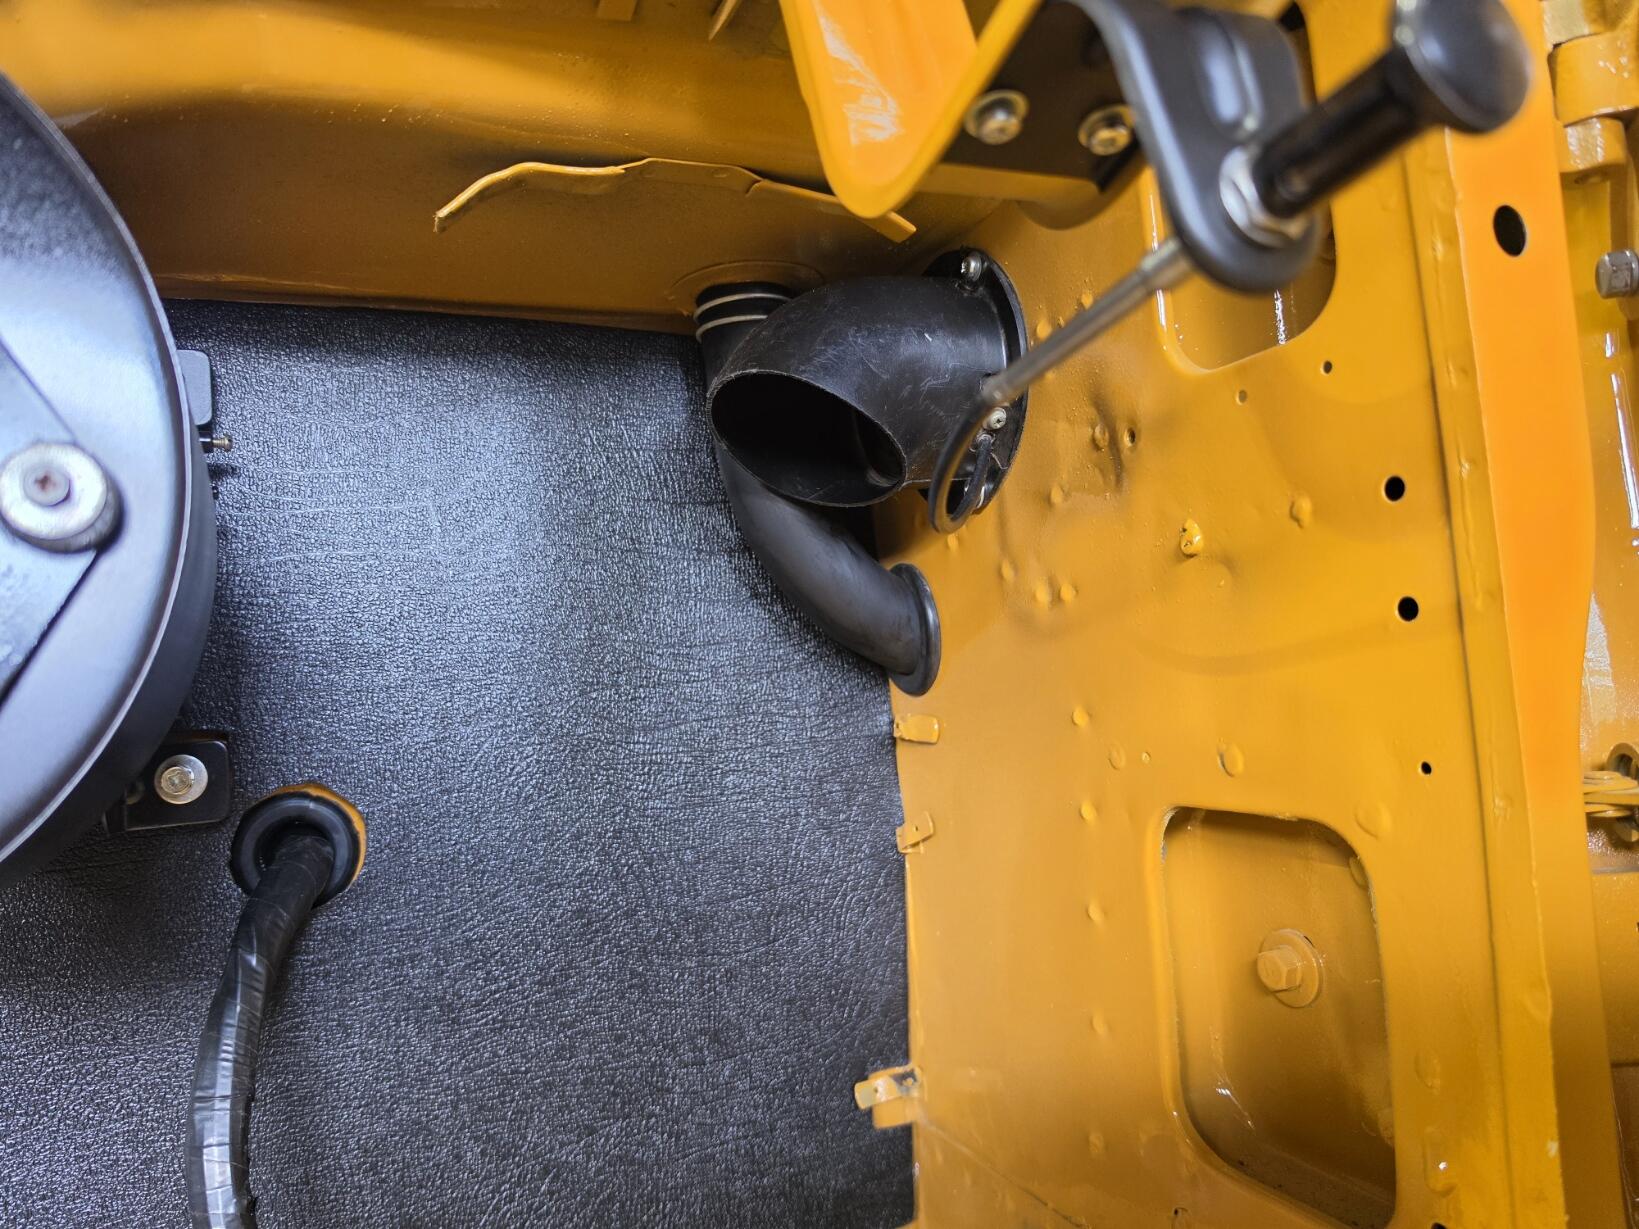
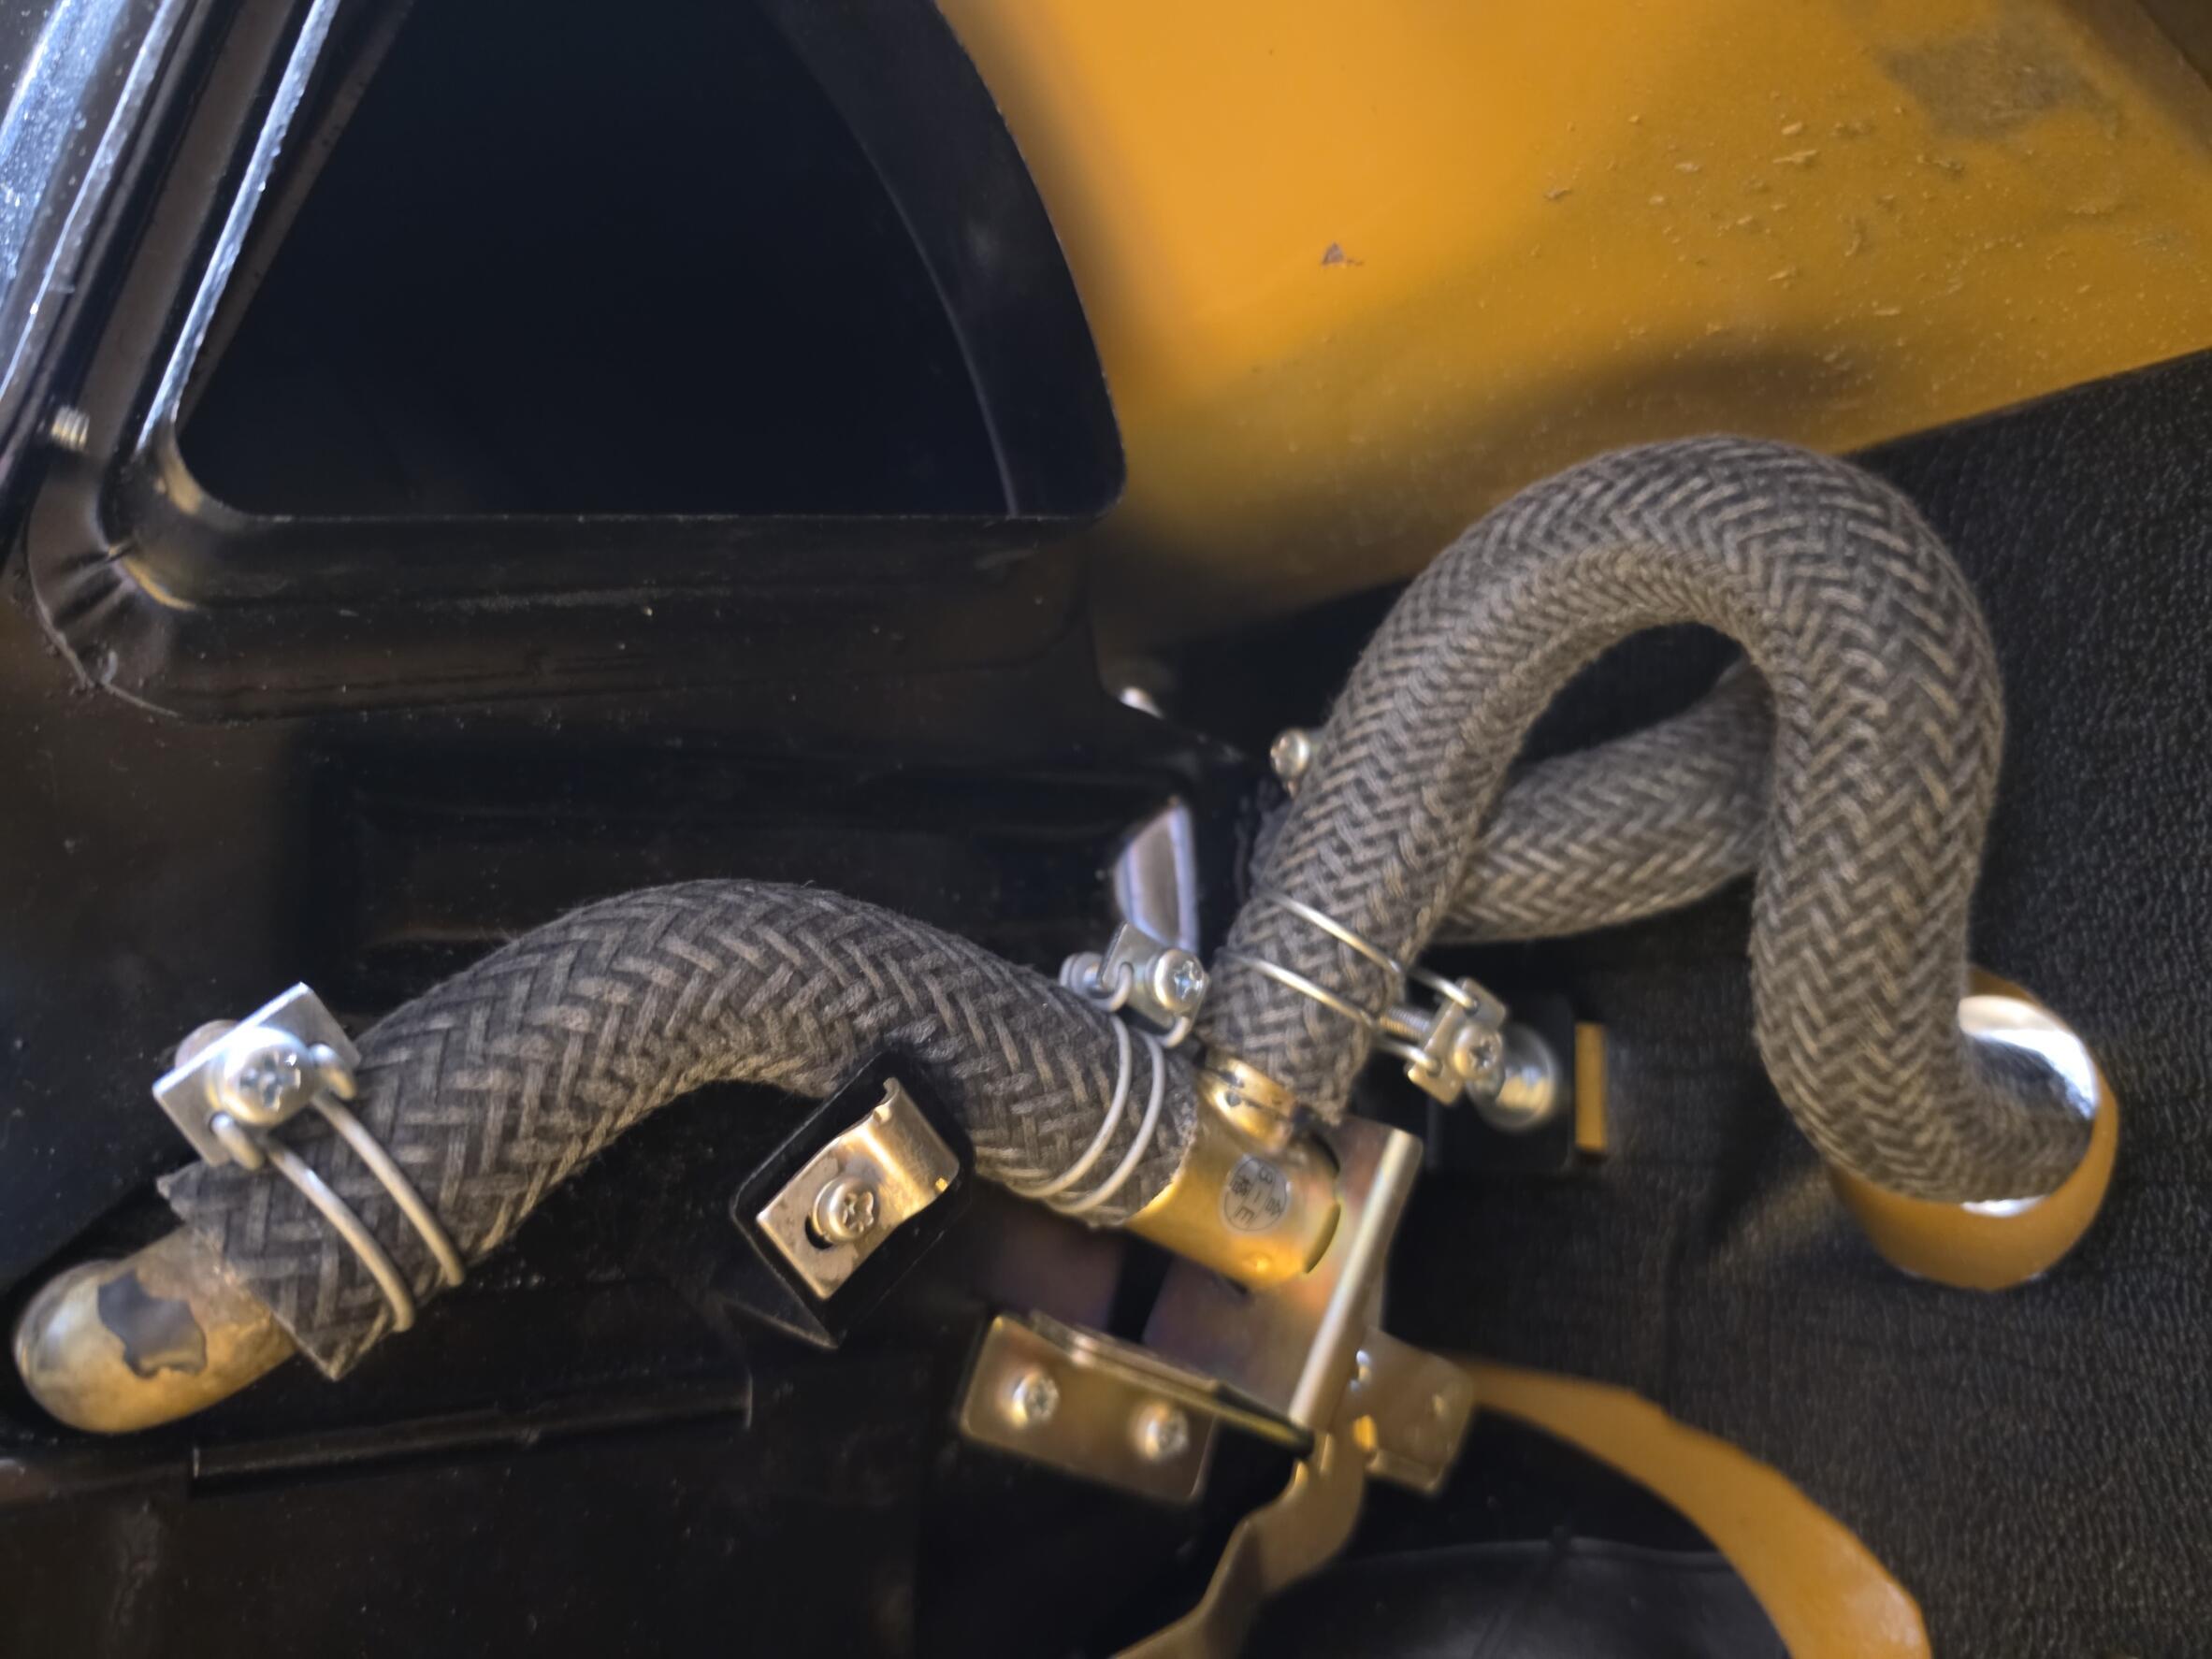
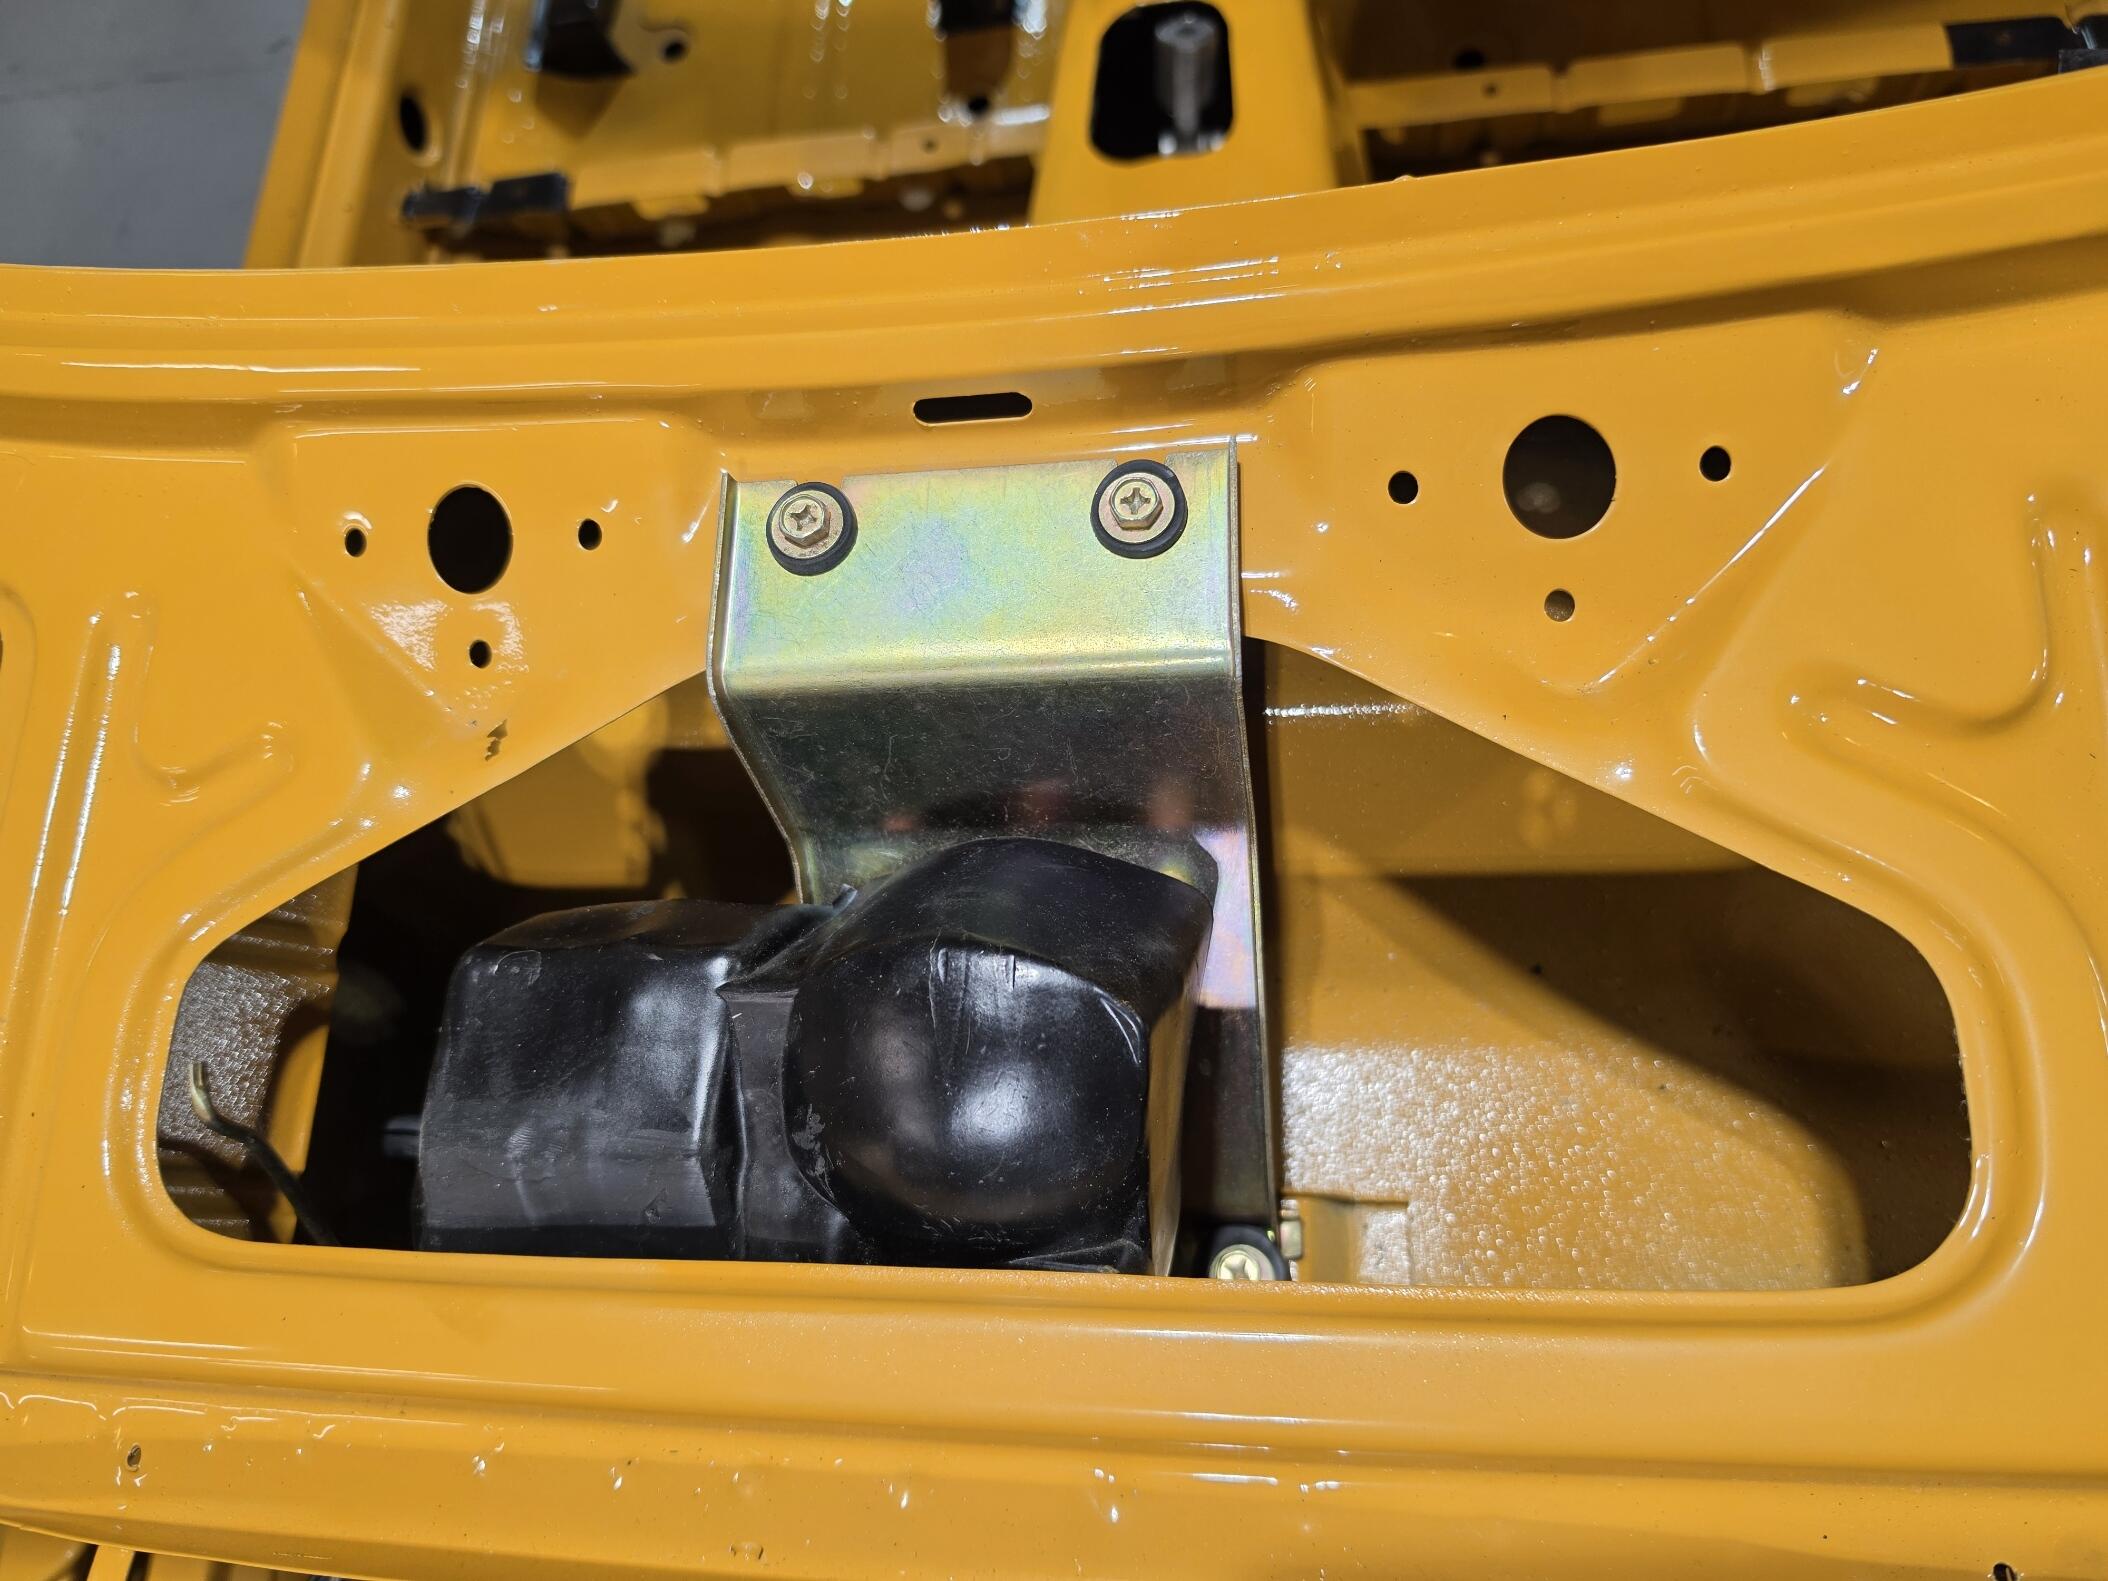
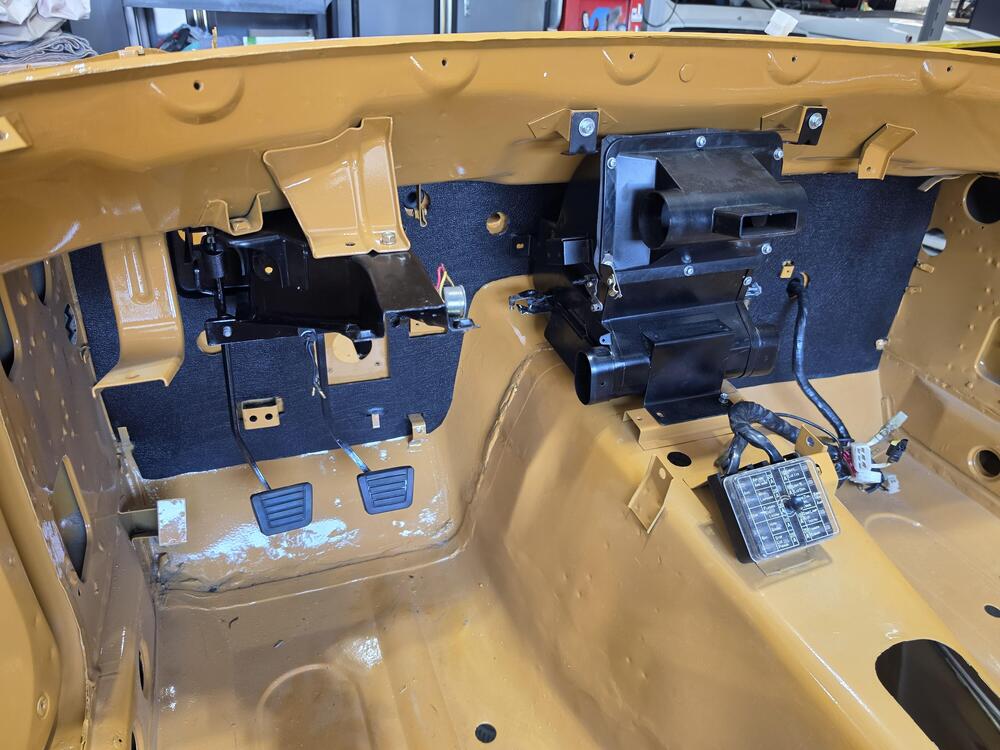
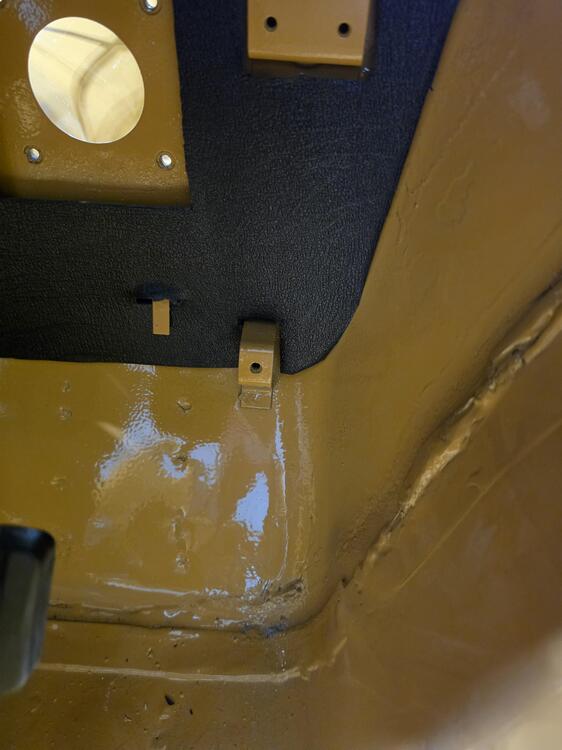
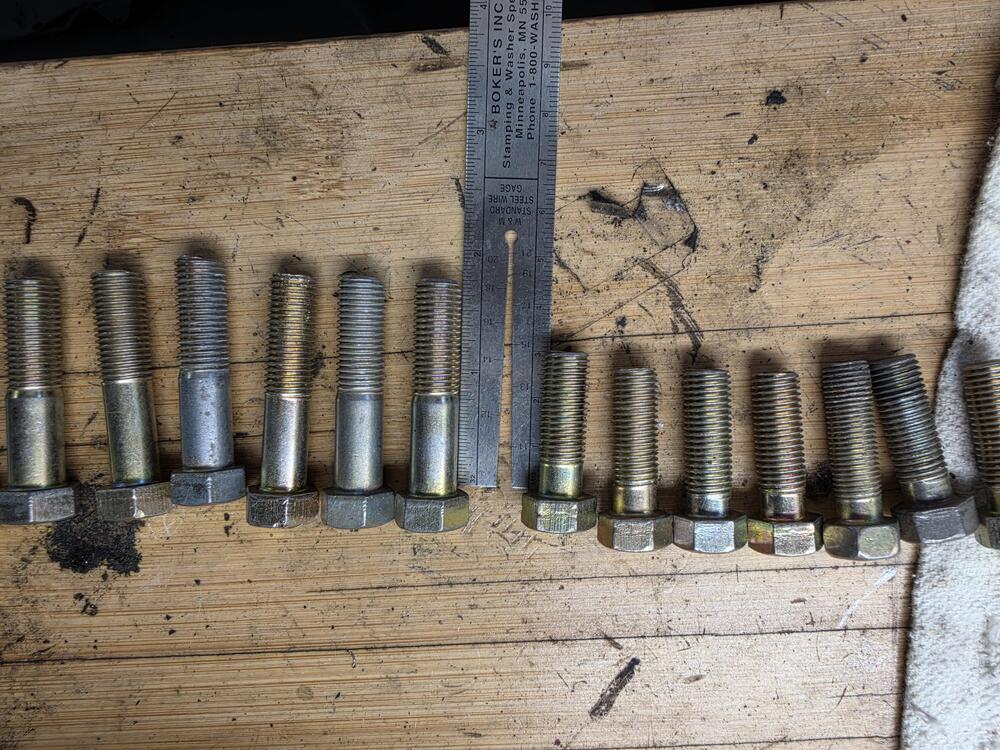
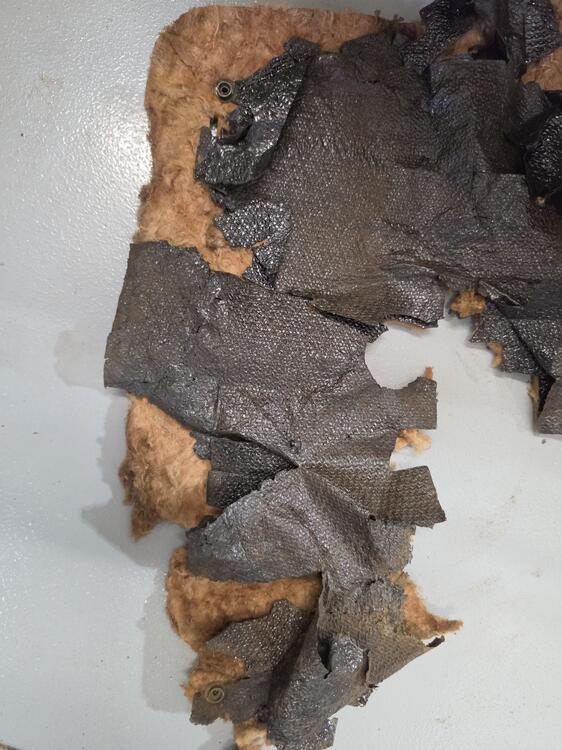
I got the heater box cleaned up and partially mounted along with the pedal box. Checked the pedal stop mentioned earlier and did not find a broken stud. Threads were all clear. figure it was probably an unclear picture. Searched again for the two #7 bolts mentioned earlier and could not find the last two. The bolt size I need is a 10mm x 1.25mm, approximately 37.5 to 40mm long. I have a bunch of 30s and 45s but none in between. Searched through my tubs and completed assemblies with no luck. I need to add a couple snaps to the firewall insulation. I think I actually have some that look like this, just need to find my install tool. Added a picture of rear of car without the sunlight and LED lighting. This is a little more true to form for actual color.
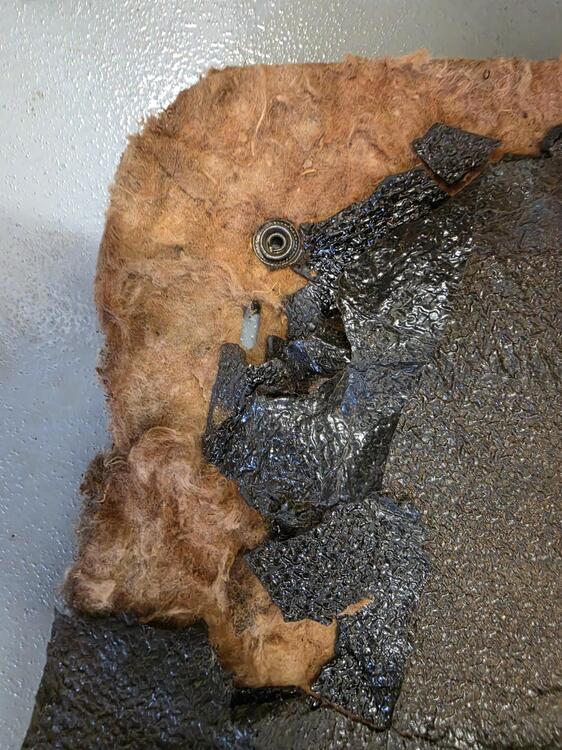
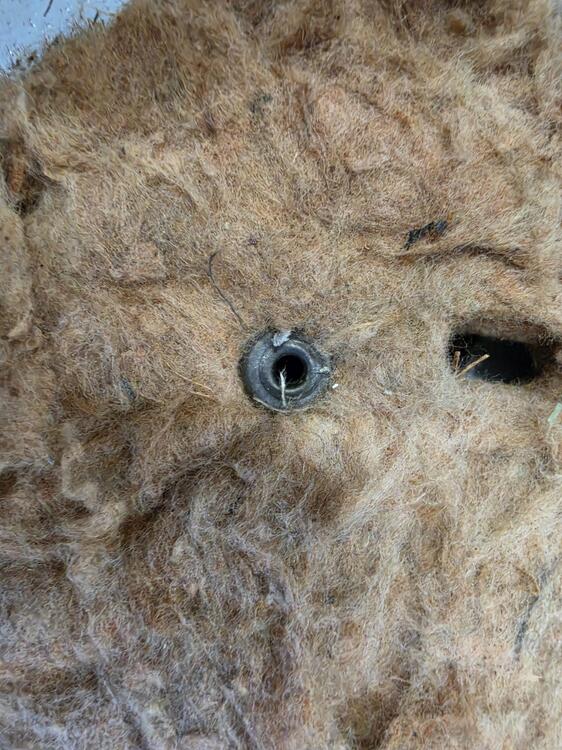
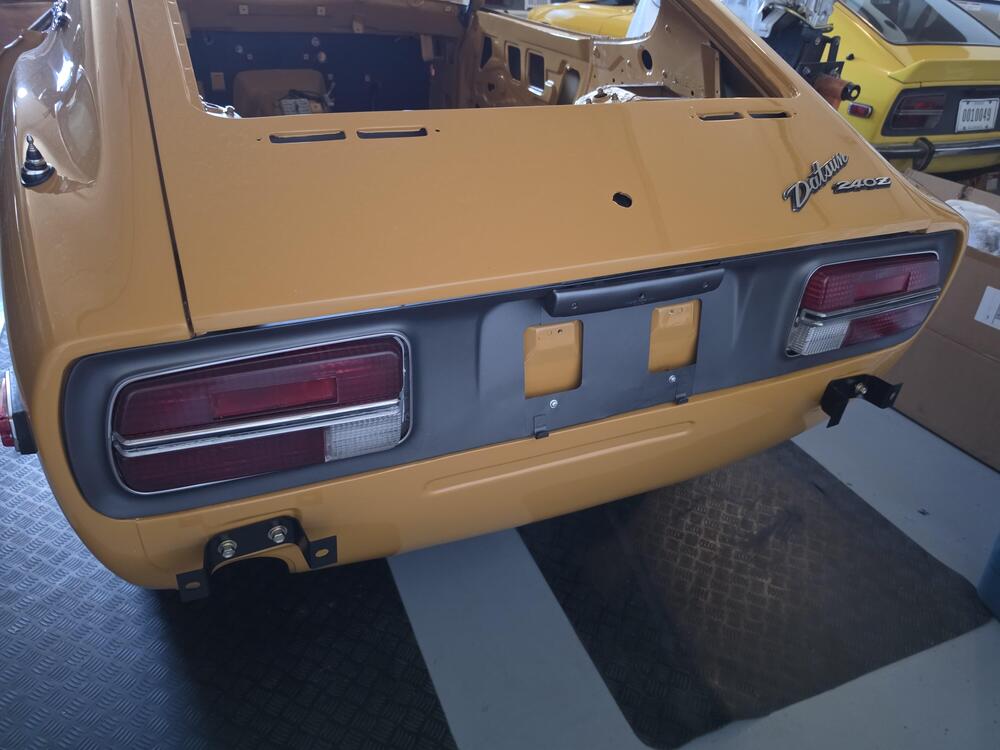
-
Yes, it's the lighting, or maybe my phone camera. Even the body paint color comes out wrong. Color looks more like the Orange than safari gold in the pictures.
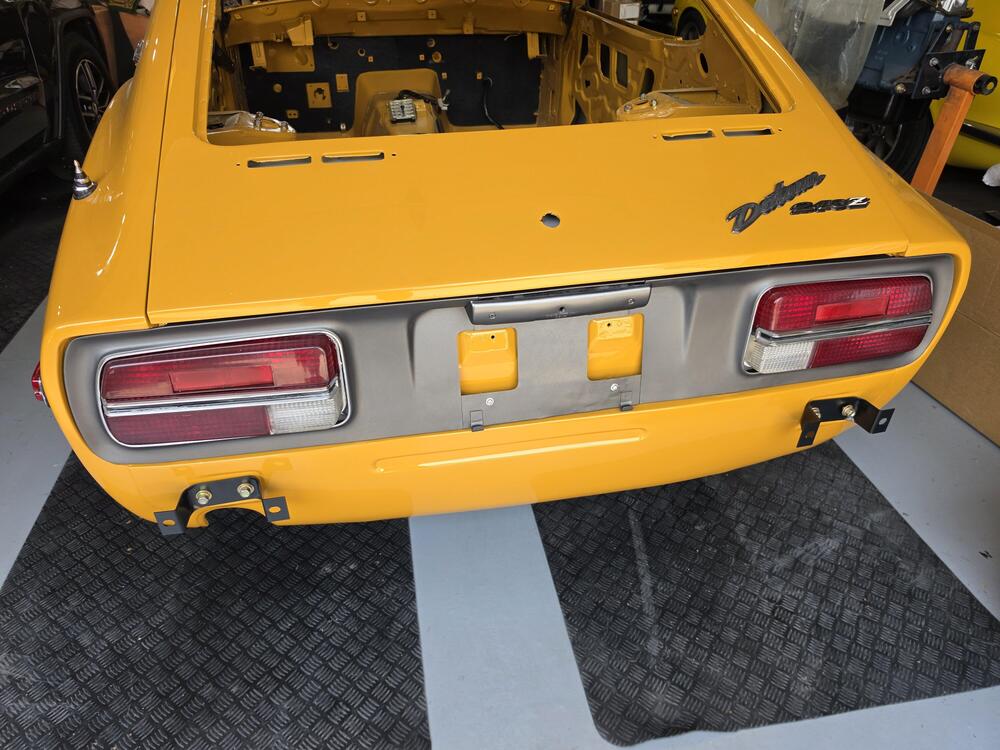
-
You guys catch all the details. 😁 On the sway bar, I believe there is supposed to be a lock washer (as opposed to a locknut). Unfortunately, when everything is new, it is hard to get the rubber compressed enough to start the nut when the lock washer is in the mix. So, I usually leave it like this for a couple days to compress the assembly, then go back and add the lock washer once it's a bit more squished. Seems I always have this issue with that assembly. Yes, I cut the number 7 bolt a bit short on the left side. Right side has correct length. Could not find two more in that exact length even in my private stash.I have a number of the number 7 bolts in that size, 10mm?, but they all stick through the nut by about half an inch. So, will fix that. Will probably search for correct length again as they are easy to pass over given that I am rifleing through several hundred bolts. Yes, will have to drill and tap the gas pedal stop. I think I had about 8-10 bolts total that were rusted in and heads broken off during disassembly. I got most before paint. Missed a few. Tapped one in the hatch lock location and one in rear suspension after paint. Also, in regards to taps, virtually every hole needs to be re-tapped after paint. Paint in the holes causes the bolts to bind on install. Glad you guys are looking 😀
-
There are lots of caliper pictures on page 8 of this blog. Maybe look those over. I checked them out and did not see anything stamped (only cast), but not really sure where to look. For bushings and most rubber items, I prefer new parts. The Energy suspension parts usually fit and work well. Rubber usually hardens over time, so I am a little leary of old NOS rubber parts. Seems they are hit or miss. NOS suspension parts are also a little hard to find and a bit pricey.
-
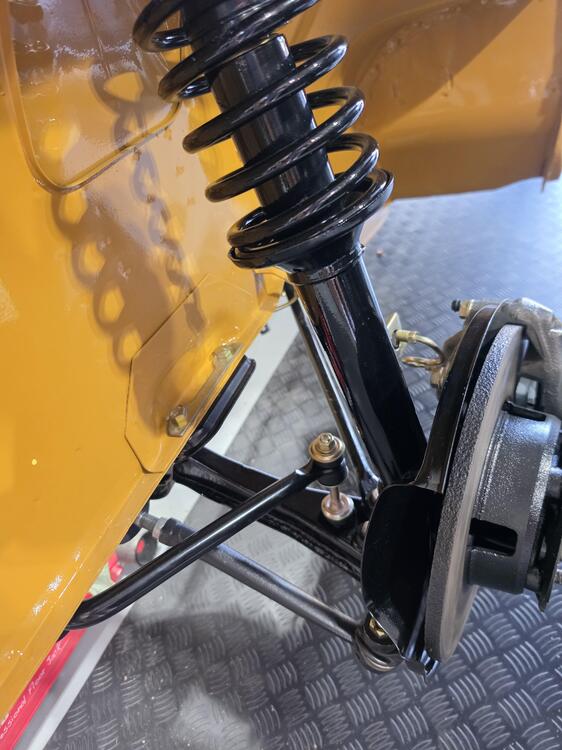
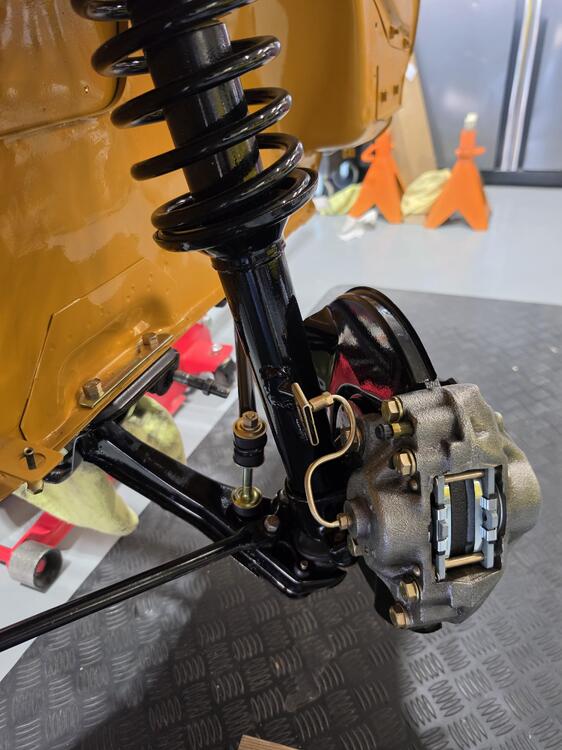
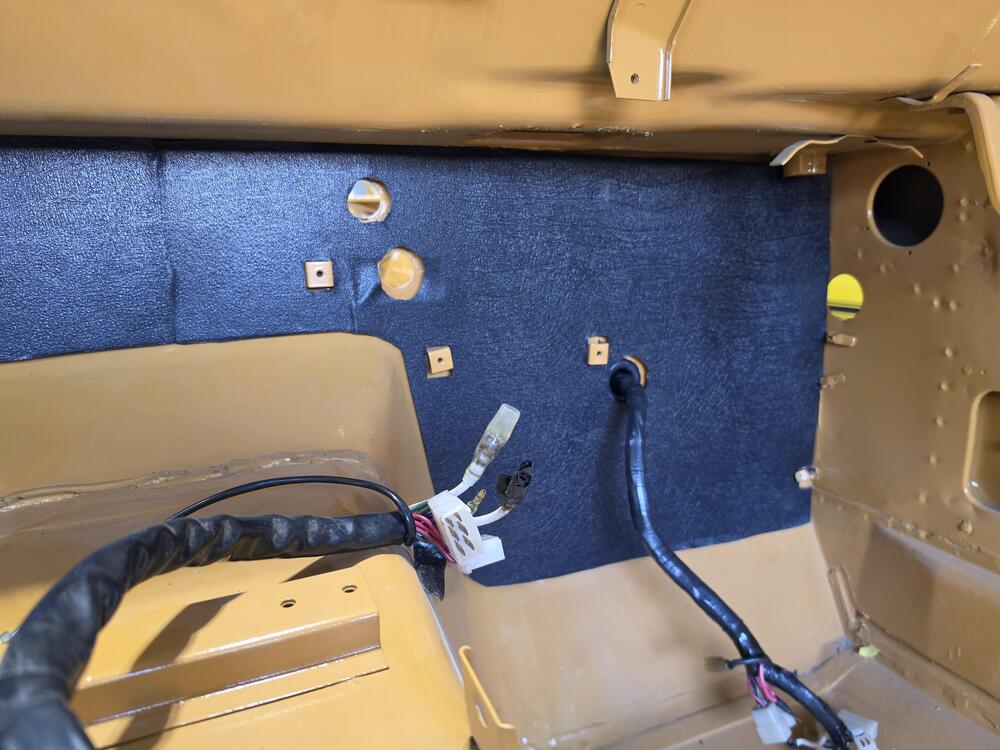
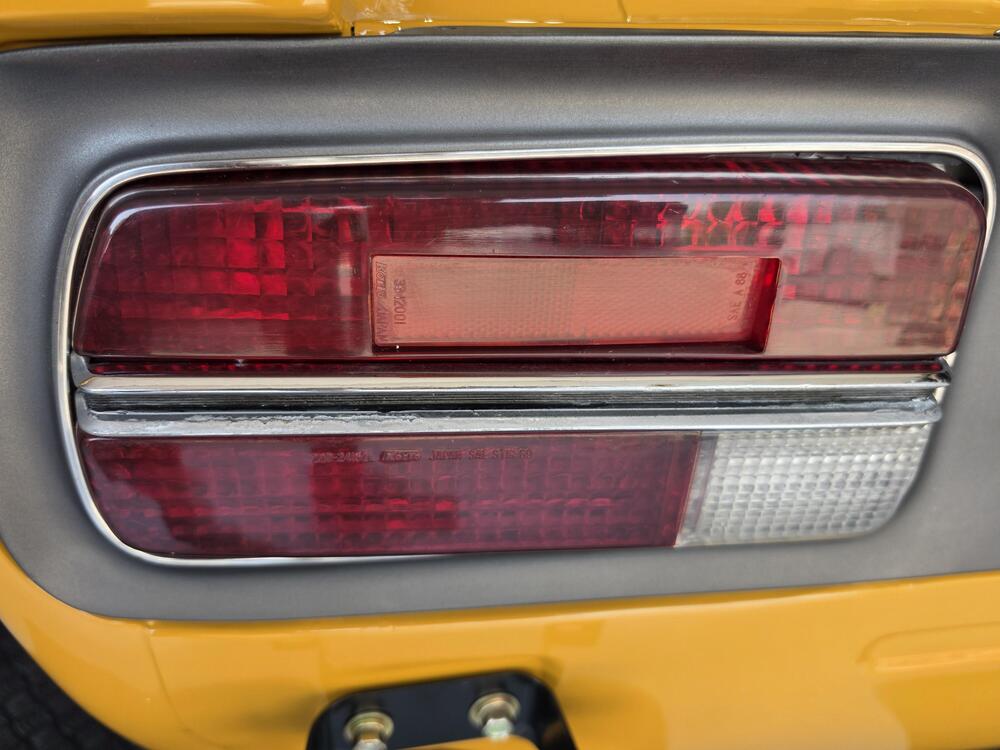
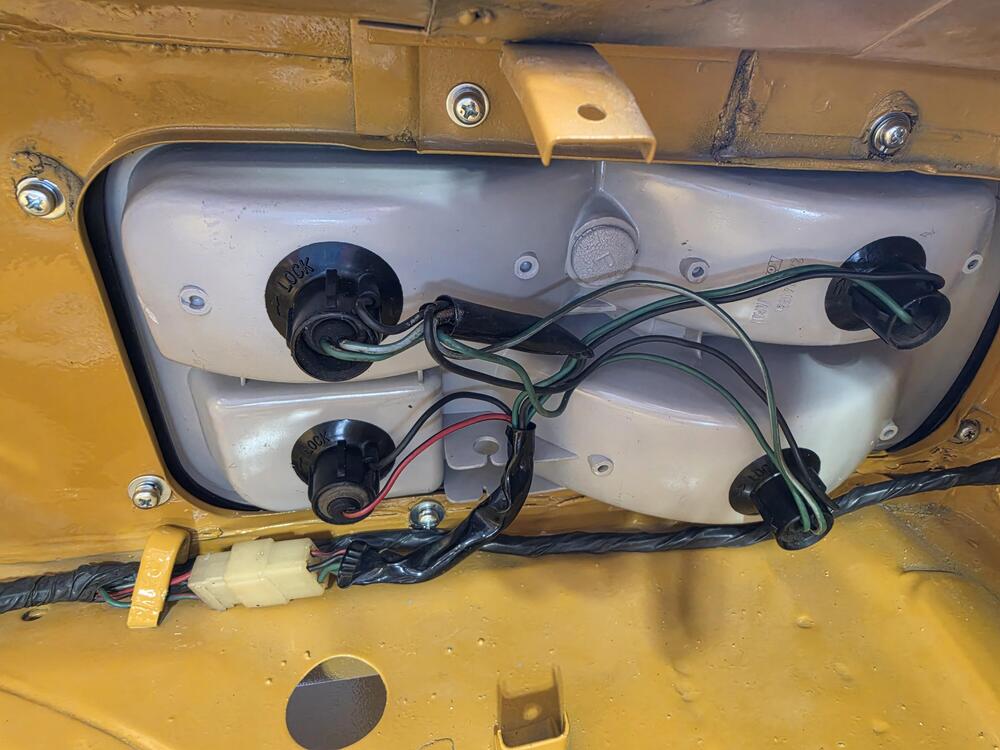
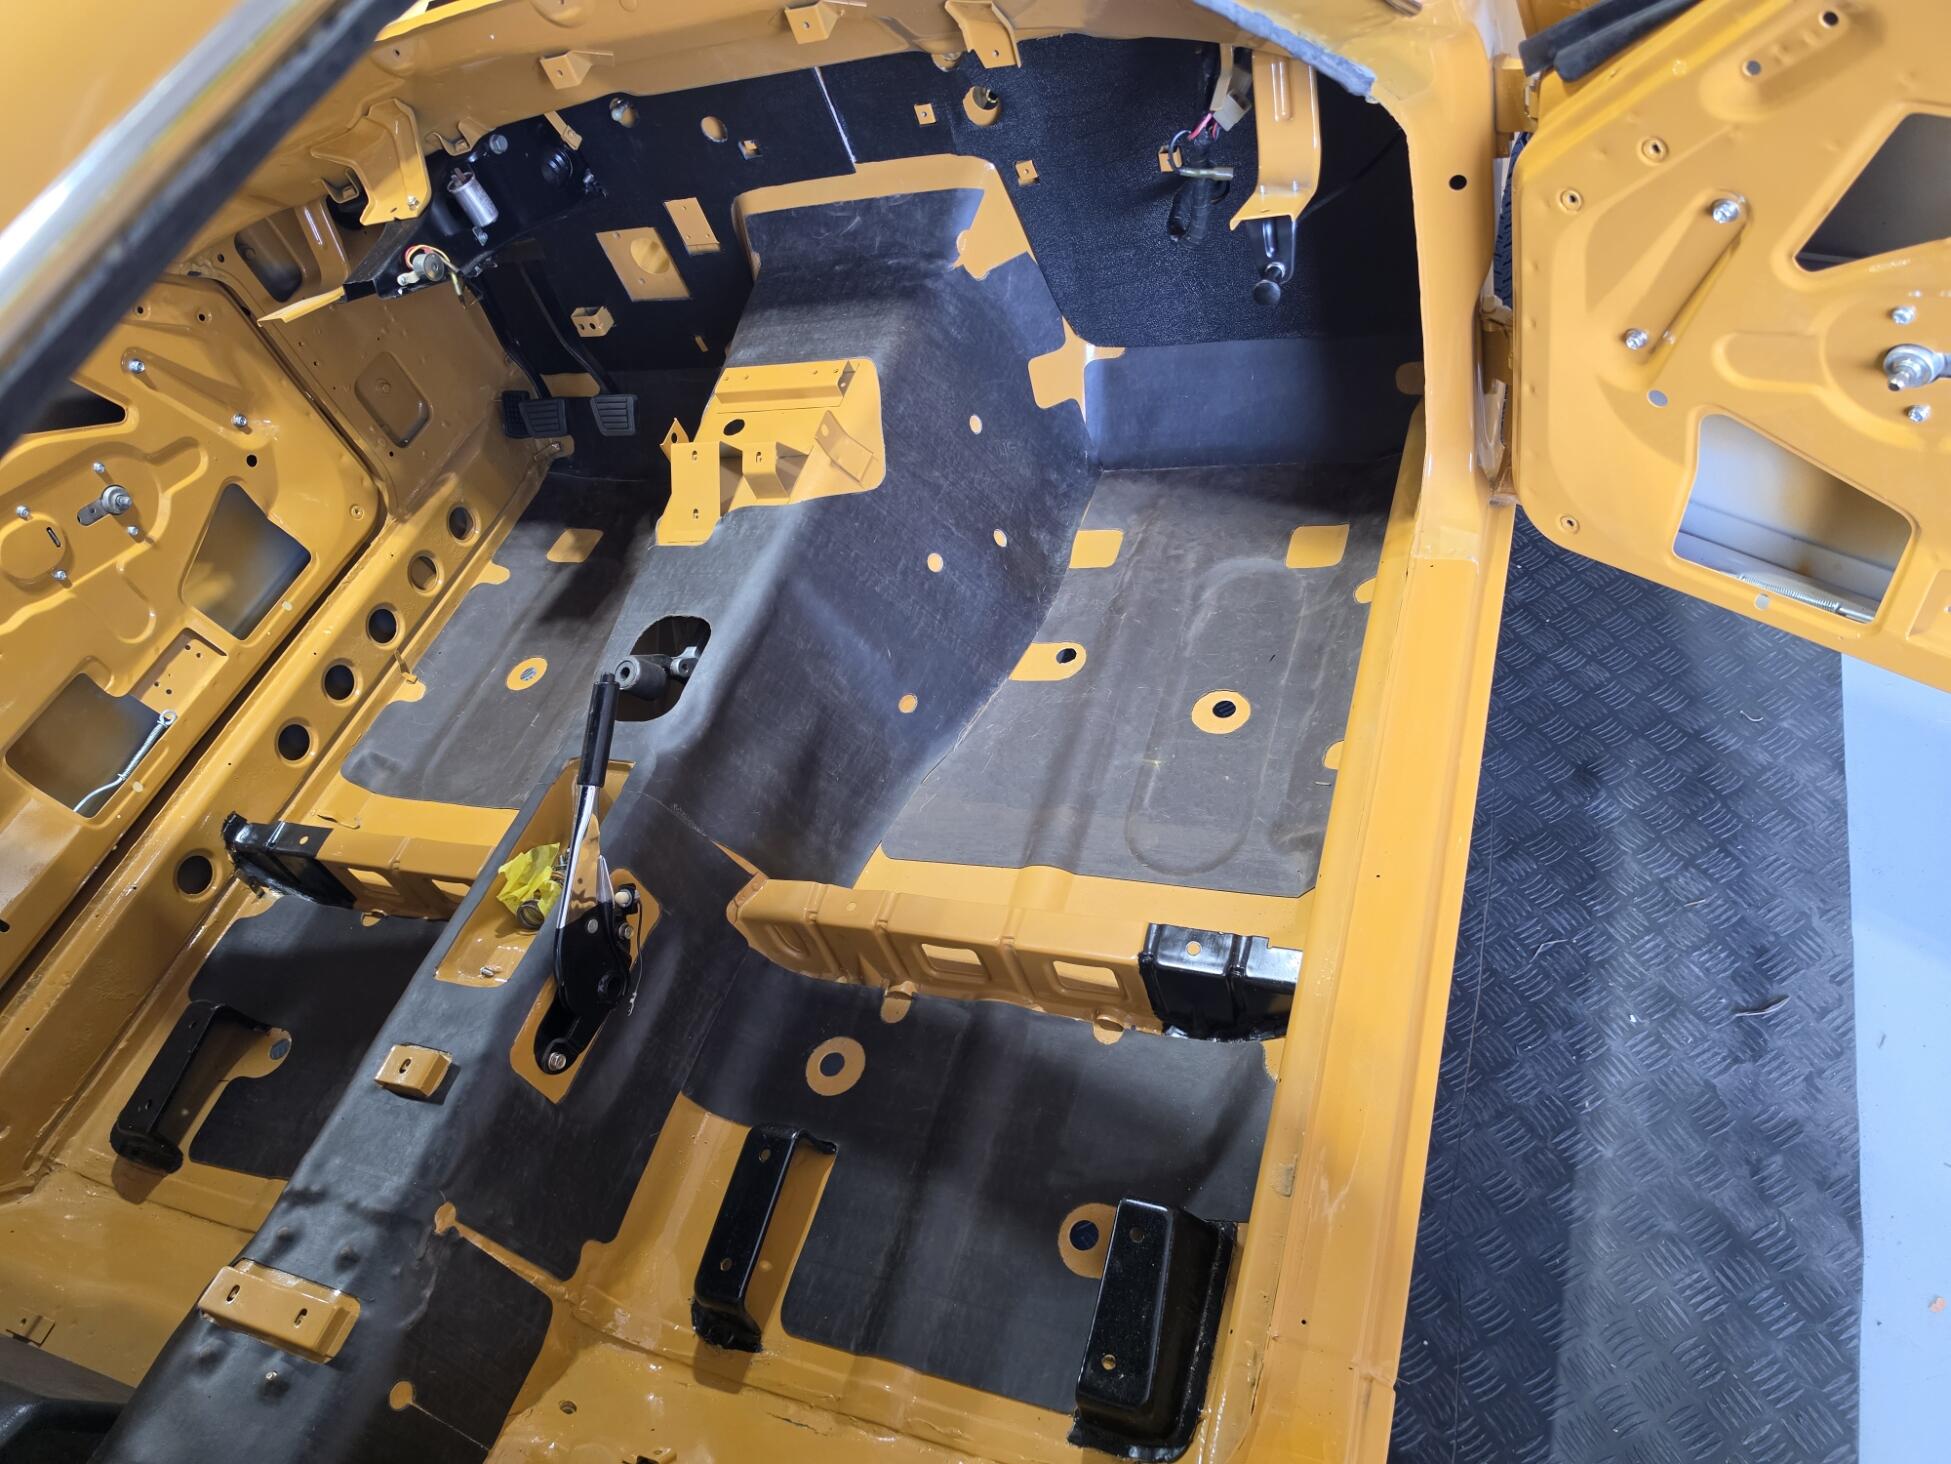
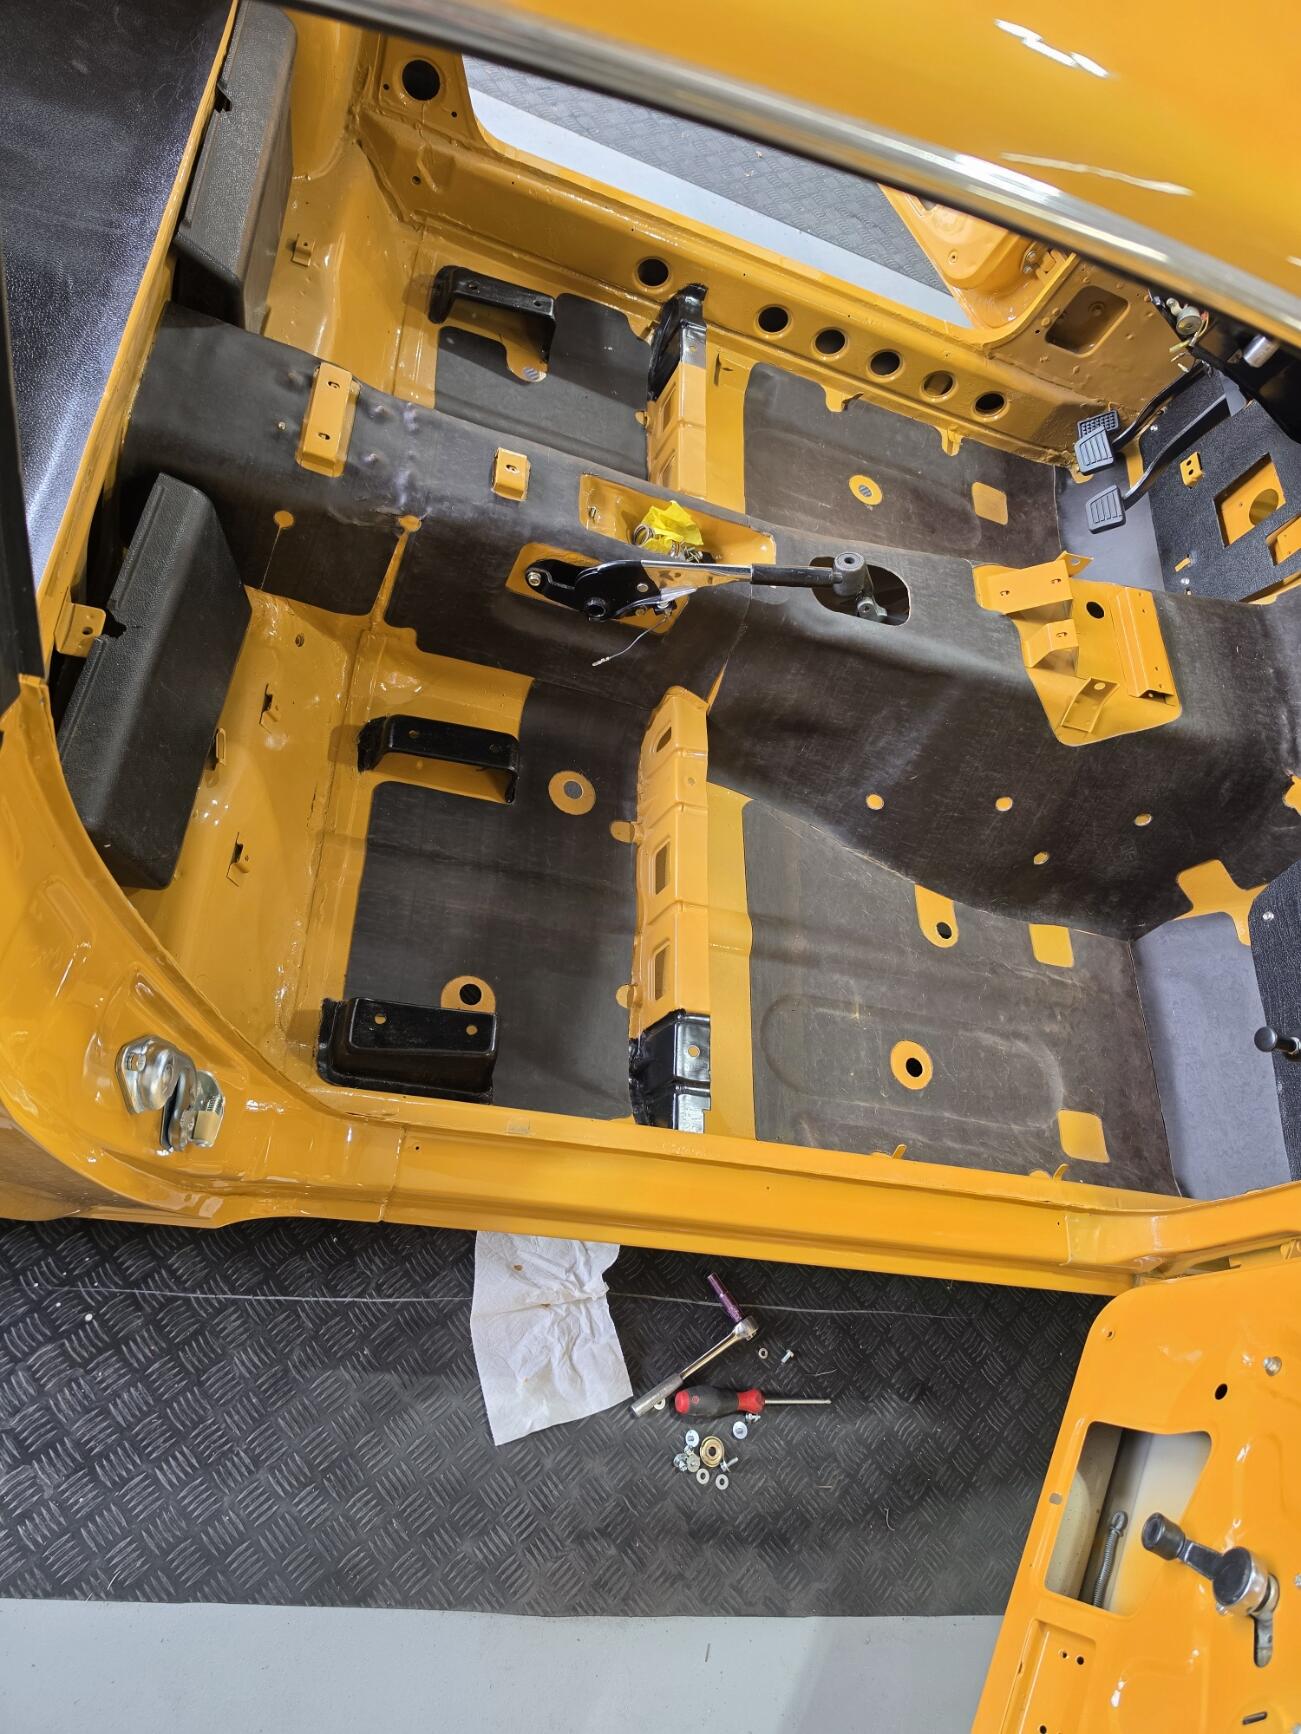
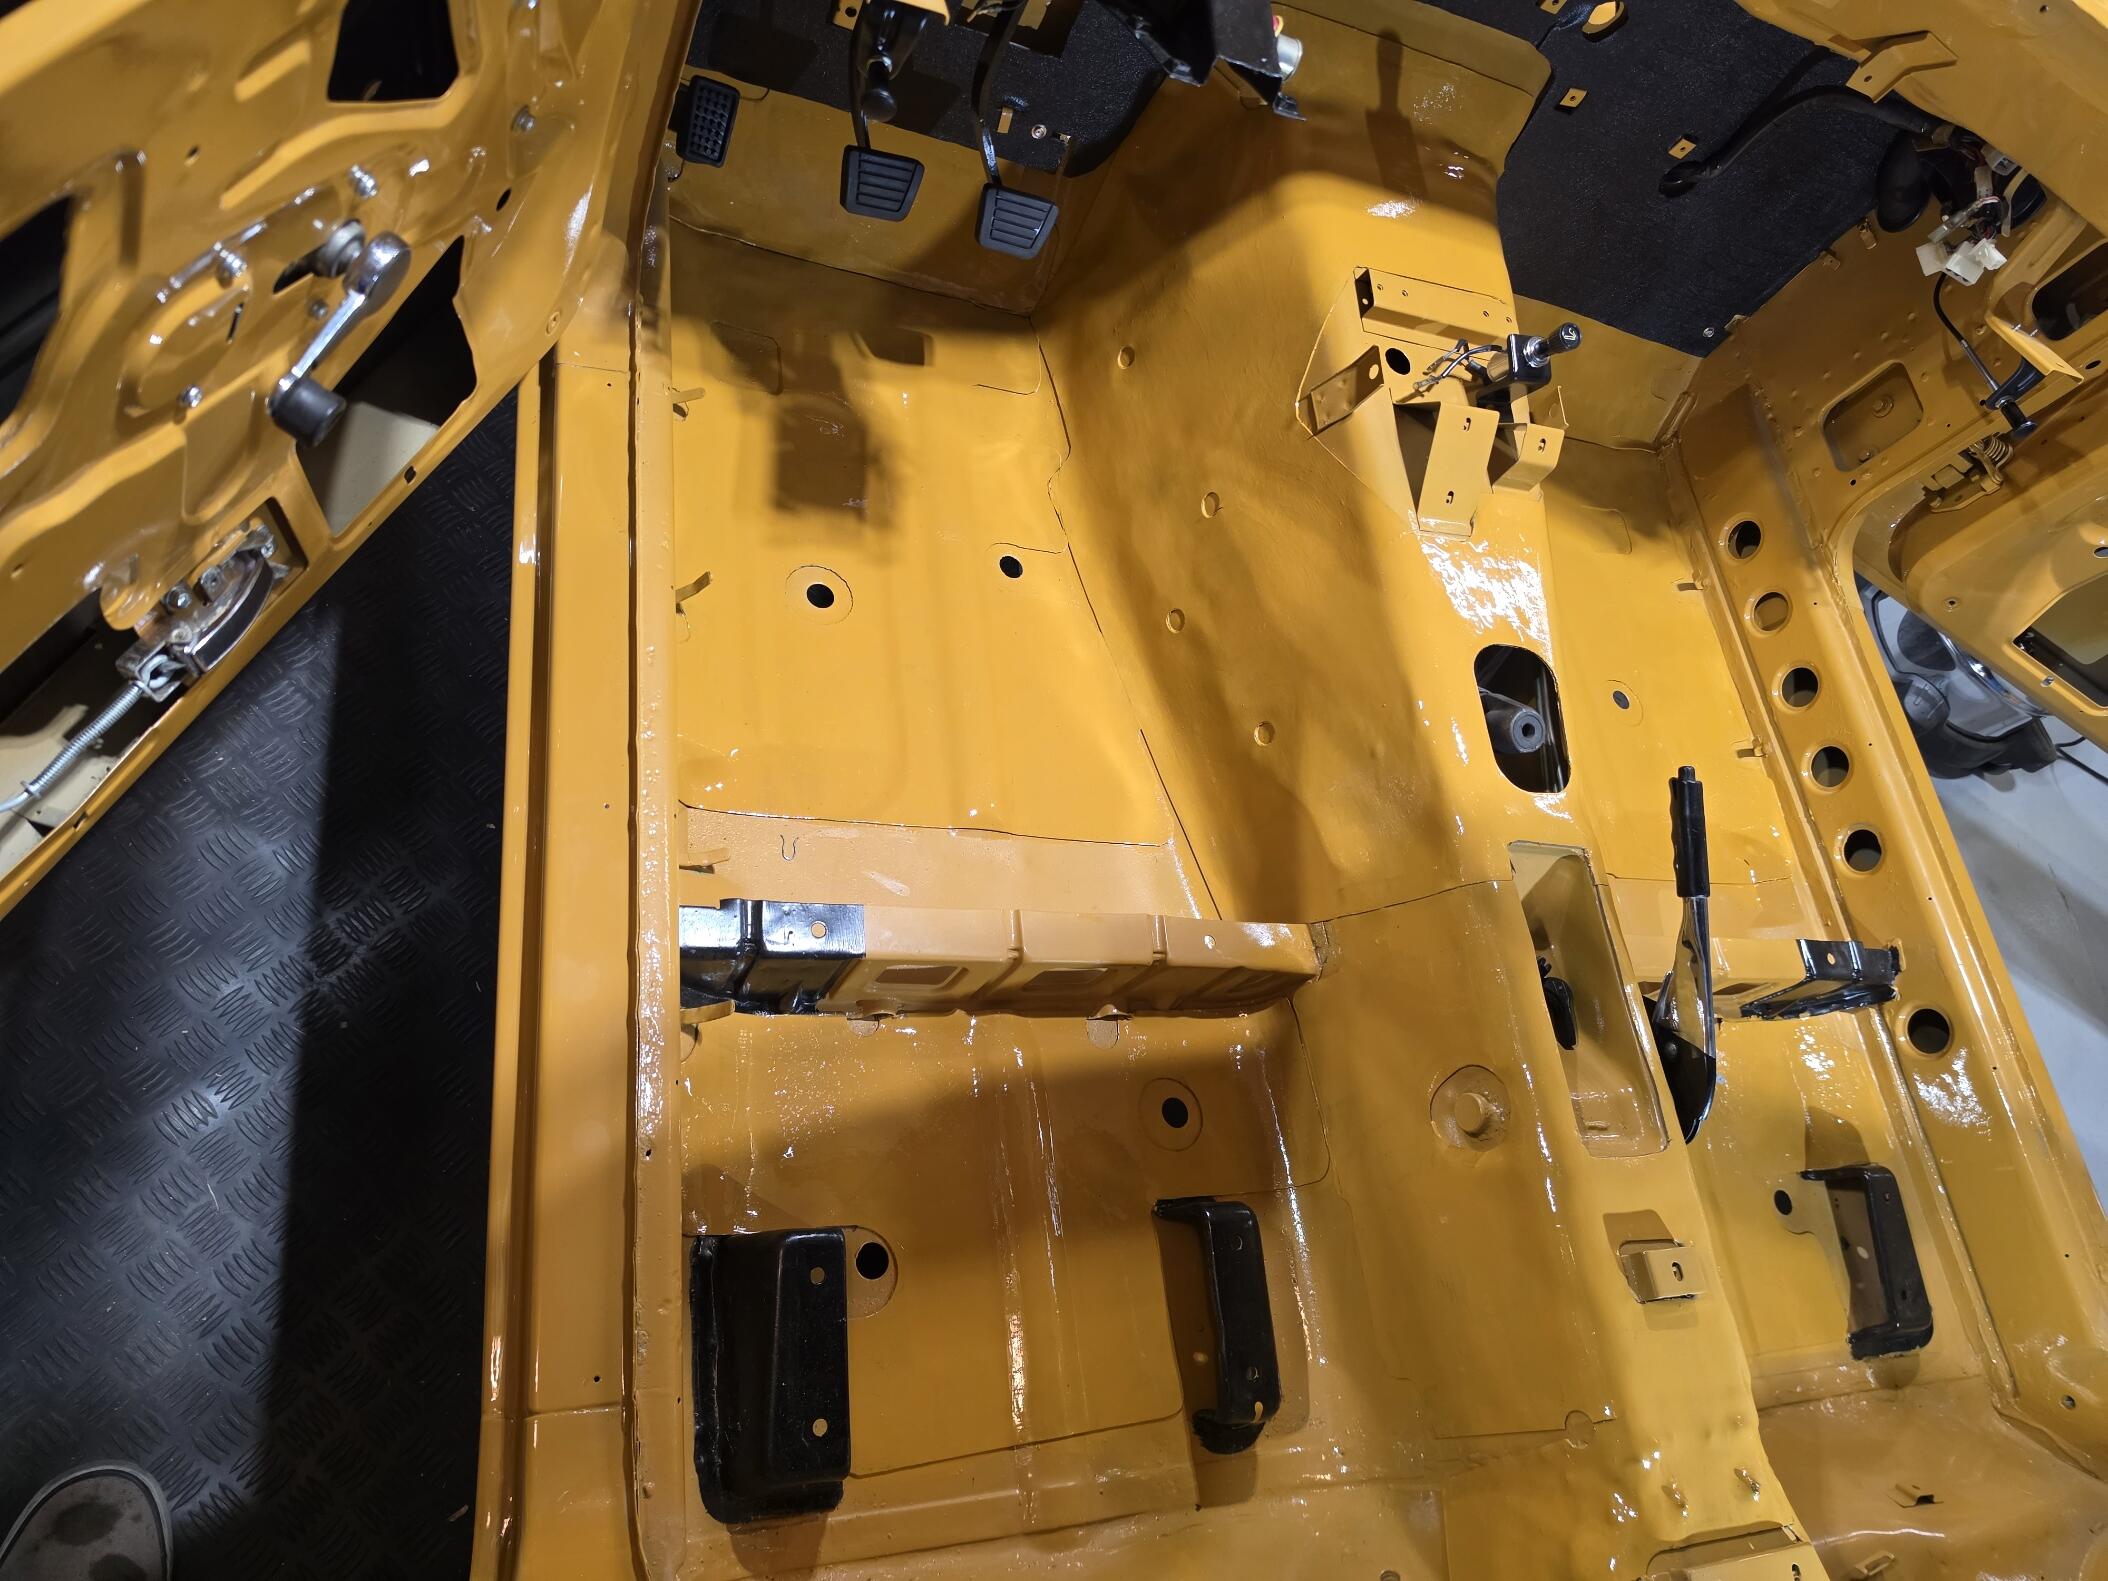
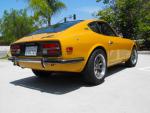
OK, got the calipers swapped. Thanks again Terrapin Z for the catch. Was a pretty easy swap at this point in the build. Got the insulation panels in. Put the rear panel in temporary. Will need to clean up a few things here. Center panel needs a little body work and will replace the chrome strips on the two tail lights.