ConchZ
Free Member
-
Joined
-
Last visited
Everything posted by ConchZ
-
 Looks great!
 -
 see http://www.classiczcars.com/forums/album.php?albumid=419
 -
Been a long time between posts, due somewhat to relocating to Kansas City, MO for a job transfer. Miss Key West, but KC is nice, and most of my family are here. I can also afford suitable housing, with lots of garage space, making it easier to work on the car and store parts. I just noticed it has been two years since I got the paint done. I had a few initial problems with the paint, but once those were fixed, it has held up great for two years now. I just removed the gas tank to solve a leaking vent hose, and was very pleased with how rust free the underside of the hatch and insides of the quarters and rear panels looked. I don't think the car will ever be finished, though. Seems there's always something needing fixed, or at least improved upon. I guess that's why I bought it, something to do for a hobby. Interestingly, the car came from Wichita, so its much closer to its original home. Maybe I should look up the guy I bought it from. I never met him, as I bought it from Ebay. My friend checked out the car for me and handled the transaction. Time for new tires, as they are about 7 years old and hard as rocks. Good tread left on them, just old. Time to make a final push to solving the mysterious rear end clunk, too. Replaced bushings, mount and u-joints already. Wish they would have come up with a better design. Speaking of design, what the heck were they thinking on that fuel tank? I think there were 7 fuel and vent hoses on it, none of them the same size.
-
After replacing everything else around the diff, and noticing the play in the diff, I'm pretty sure the clunk is coming from the diff. The key evidence for me is that I can reproduce the clunk by turning the half shaft by hand. I watch it move and it doesn't clunk until it engages inside the diff. As for the sticking problem, I figured it might be related, but I don't know enough about diffs to say. I suppose I could have had a locked up brake, then lost a shoe when I jacked it up, but before I spun it by hand, or the ebrake magically released when I jacked it back up. I just thought it was more likely that the diff got screwed up by having the half shafts hanging unevenly because the left side had a tire on, but the right side did not. I figured maybe it realigned itself when I took the weight back off of it as I jacked it up. There's probably going to be an interesting end to this story.
-
I'm pretty sure it isn't a u-joint, too. As I said, I replaced them all. Plus, if you grab the shaft inboard of the inner most joint and twist it, you can clearly tell the play is coming from inside the diff. I know next to nothing about diffs. I could drain it and take the cover off, but unless I see something obviously broken, I doubt I could tell what was wrong with it. My long term plan for the car is to swap the stock diff for a lower geared one and swap in a 5 speed, but I wanted to put all that off until next winter. Since it's been clunking for years(two years with me, and 20 with the PO), I was hoping to just enjoy driving it for the next 6 months. I do want to take one 500 mile trip in it this summer, though. I hate to risk having a broken diff on that trip.
-
I did put the E-brake on before putting it on jack stands, as its just a habit when I jack up the car. My E-brake is not very strong, even when fully engaged...so it wouldn't normally hold the car that tight against the engine, though. I suppose that the suspension being in full droop for two weeks could have pulled the cable further than usual, causing the shoes to get stuck on the drum, and then when I set the car down, found it was stuck and then jacked it back up the shoes came unstuck, thus allowing me to turn both rear wheels by hand while it was on the jack. That's an interesting chain of events, though. I guess I shouldn't put the brake on before jacking up the back end? There's no need to do it, I know. Any thoughts about the play in the diff?
-
Here's a weird one. I finished up my gas tank, and took the car down off the jack stands. Fired it up, put it in gear, and it wouldn't move, either in forward or reverse. It felt like I had forgotten to remove the wheel chocks, it was that stuck. I got out and looked around it and under it and saw nothing, so I got back in and put it in reverse and gently gave it enough gas that it chirped the left rear tire. I heard a slight popping sound from the right rear. Car wouldn't move, though. Shut it down and jacked it back up. Spun all four wheels by hand, they moved easily. Put it back down, started it and it drove fine. Jacked it back up and could see nothing unusual, so I took it out and drove it hard, trying to stress it. Nothing unusual was noticed. My differential is original, with 102k miles. I replaced all the U-joints last fall, along with new mount bushings plus the front mount that Dave made. This was in an attempt to solve a clunk that occurs whenever you let out the clutch with the car in gear. The clunk is still there, and I decided it is due to play in the differential. I can grab the right half shaft and rotate it maybe up to a quarter of an inch either direction, and when it does engage inside the diff, I hear the clunk noise. The left half shaft does not have much play in it. I'm not sure if the play and the strange sticking behavior I got after lowering the car off the stands are both related. I may be asking about two different things, so I'll clarify the questions: 1) What could have caused the sticking behavior? 2) Should I be concerned about the play in the differential? Would you trust it on a 500 mile round trip? The PO says the clunk was there for the 20 years and 30k miles he had the car, so I wasn't worried until the above sticking problem happened. There are no other noises or odd behavior in the driveline. I don't think the sticking was from sticking brakes, as I really don't think those rear brakes are strong enough to hold the car in place against the engine like it did. The front brakes might be strong enough, but they are completely brand new. When I did the fronts, I adjusted the backs and cleaned them up a bit. They seemed fine. It's a 73, with a completely stock driveline, except for those Spicer U-joints. Thanks for any help!
-
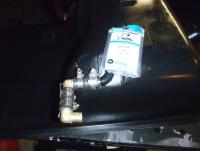
I just did my tank, using a combination of advice. I bought no factory hoses, and took a different approach to the 180 degree bend necessary for the large hose on the right rear of the tank. I used two 3/4 inch 90 degree brass fittings. See picture. Also note that the part numbers from the above link are out of stock. Here's what I ordered from http://www.mcmaster.com/ 1ft 7270K3 Moisture-Seal Polyolefin Heat-Shrink Tubing 1.1" ID Before, .37" ID After, 9" L, Black $4.29 - Great for making those grommets for the floor holes. 4 Ft 5645K19 Low-Pressure SAE Hydraulic Hose SAE30R2, 5/8" ID, 7/8" OD, 350 PSI, $12.00 7 Ft 5645K18 Low-Pressure SAE Hydraulic Hose SAE30R2, 1/2" ID, 3/4" OD, 400 PSI, Black $10.88 - get the extra foot 2 Ft. 5201K67 Lightweight SAE Hydraulic Hose 3/4" ID, 1.06" OD, 1250 PSI, Black $16.66 - get the extra foot, it'll make it easier to bend this tough hose. 6 Ft. 54605K34 Low Pressure SAE Fuel Hose 3/8" ID, 5/8" OD, 50 PSI, Black $6.90 The other hoses I got from Napa. Napa did end up having the 1/2" hose, too. After having it boiled, my tank looked pretty good inside. I ended dong the POR-15 treatment anyway. I figured I had it out. Worked good, but took a lot of time and effort, as getting the different chemicals and the coating to drain out of that tank is not easy. I also took the time to wire brush the insides of the rear quarters and the underside of the hatch floor and spare tire well, then treated them with some rust remover/encapsulation and painted them with Eastwood's Chasis Black. They were amazingly clean, but there were a few spots of rust and I figured I should get it while I was there. Anyway, no more stink, and the tank and underside of the back end are now cleaned up and protected. Was all very simple, just a lot of physical work. Does anyone care to speculate on why Nissan has that vent pipe on the top right rear of the tank facing left, making it necessary to do that 180 degree bend? There doesn't seem to be a reason it couldn't have been put on facing right.
-
I've been using the Turtle Wax Ice Liquid Clay Bar on my cars for a while now. I'm not sure its any easier than a solid bar of clay, as I've never used one, but I do know it gets the paint very, very smooth and shiny. I follow up with their Ice Wax. I do this twice a year, in the spring and fall. The coat of ICE I put on my truck last fall still beads up great this spring. I credit this twice a year routine with keeping the burgundy paint on my 10 year old Tacoma looking like new. Well, that and the fact that it is garaged.
-
No, assuming I understand your question, you already have it right. They are identical arms, so one is mounted upside down from the other. This threw me off at first, too.
-
The speaker panel fits across the entire back, and nearly looks stock. I really like mine. Sounds pretty good, though the car is so noisy, its hard to tell...
-
http://www.srh.noaa.gov/tadd/
-
I used the KYB boot with the built in bump stops, with Eibach springs. I get some soft clunk noise from the rears when I go slowly over bumps. The noise is dependent on which side the bump is on. I've been under the car several times, and the only thing I can figure is the noise comes from those boots and/or the bump stops, which really are too deep. Some day I'll take it back apart and remove the things, just to prove my theory, but for now I'm satisfied that nothing else is loose or rubbing, so I'm not in a hurry.
-
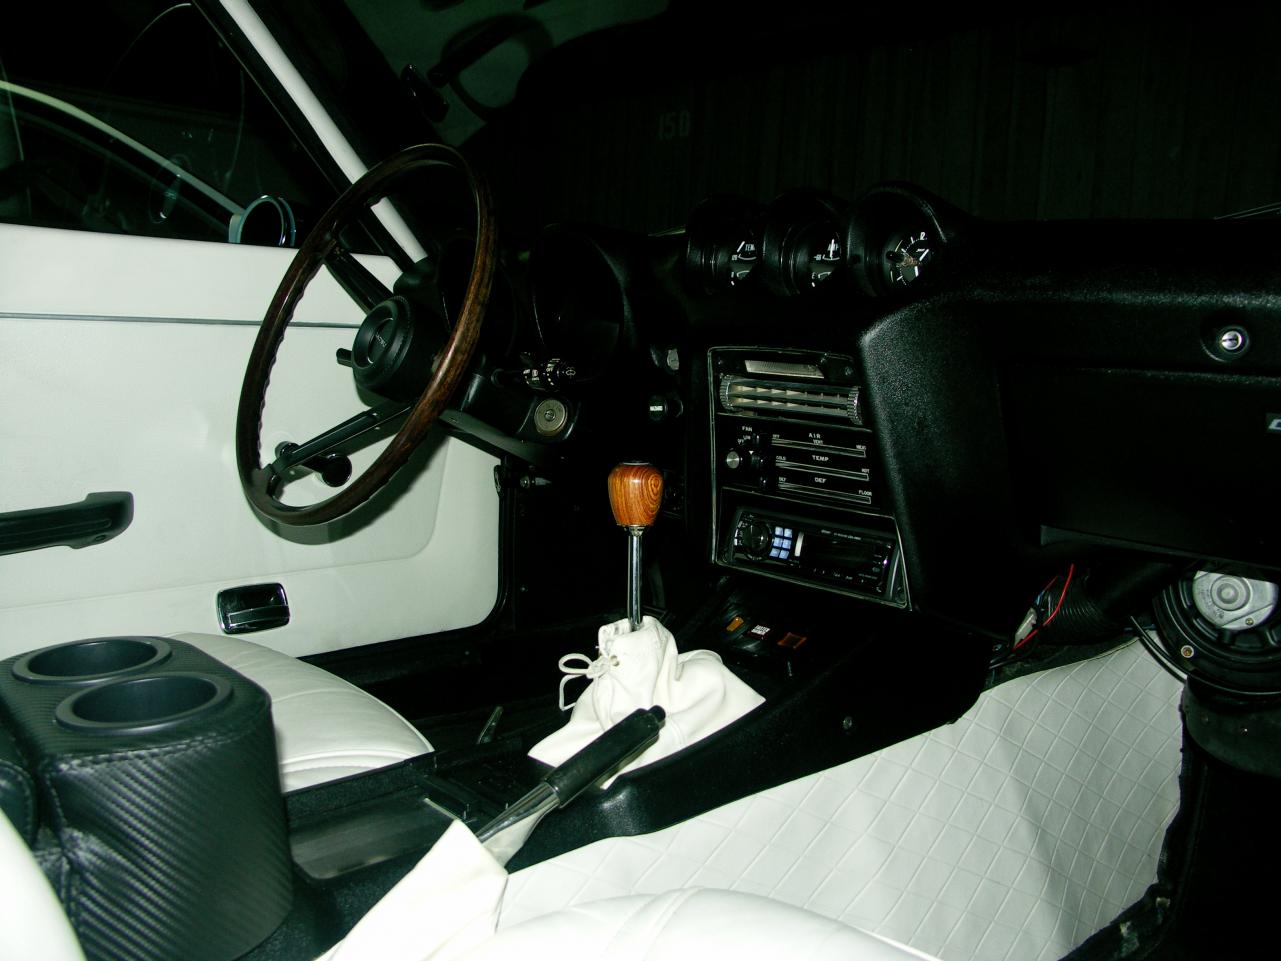
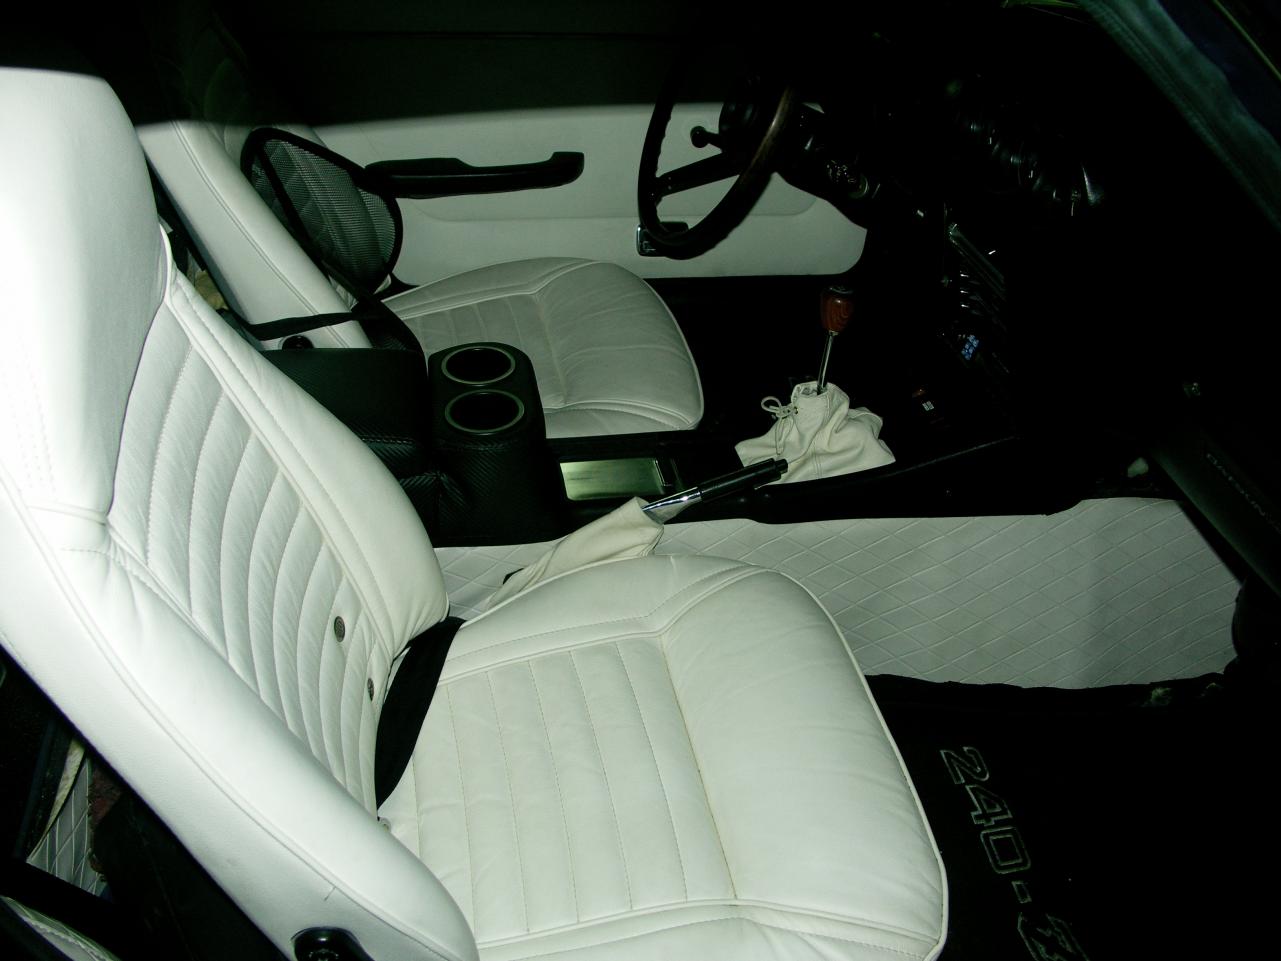
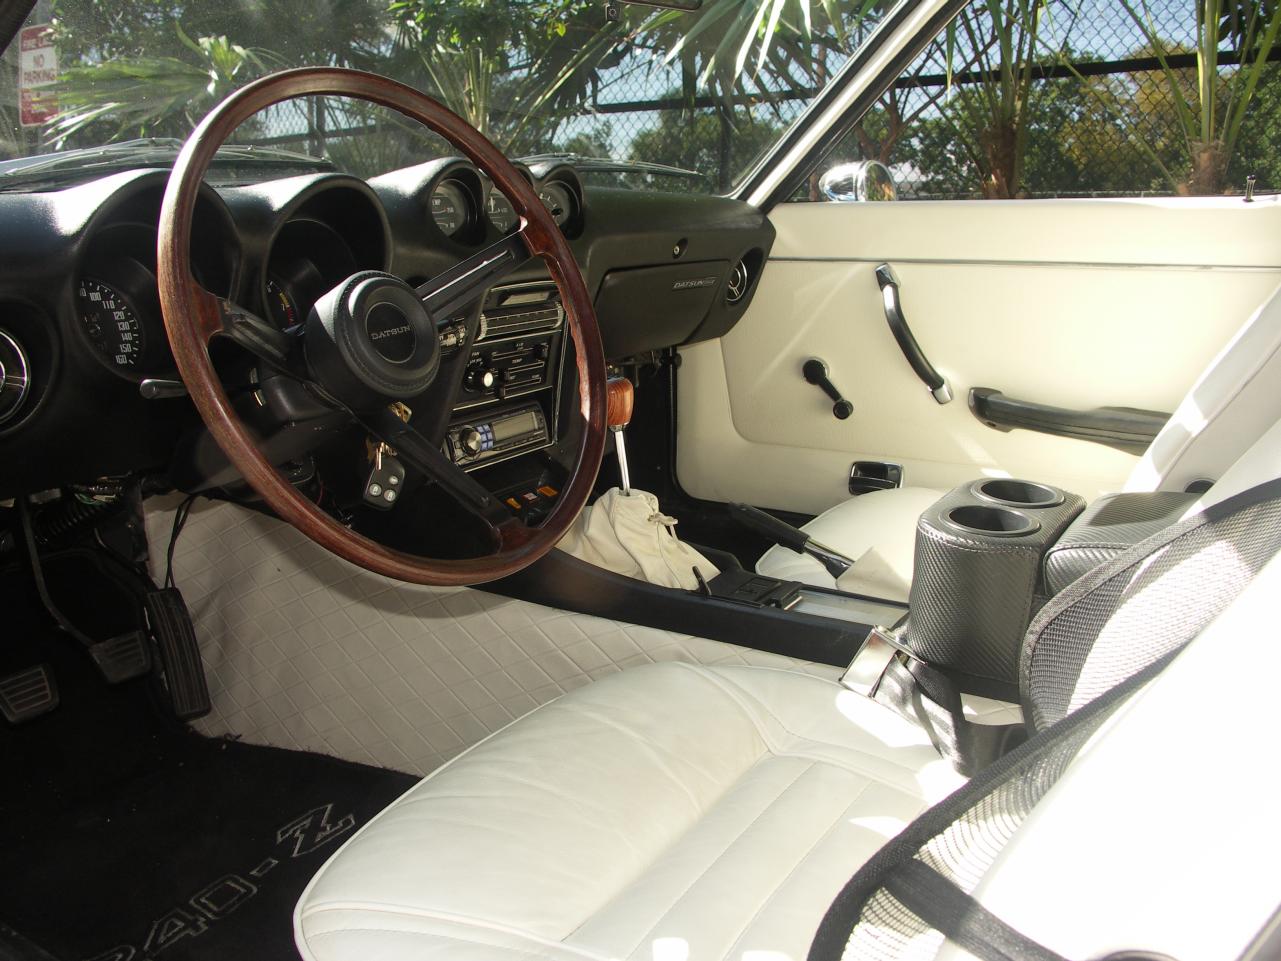
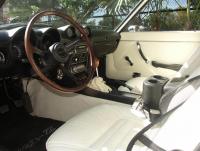
I'm not in favor of extreme modifications, but I like to personalize things a bit. See the attached pictures. I also went with leather, instead of vinyl on the seats and boots. Got them from Les at Classic Datsun. They were nicely made, and very soft.


-
I agree, send it back.
-
My chrome strips are turning blue.
-
if u drive the speed of light, your car will stop aging. Maybe even stop rusting.
-
I also wonder why the cars smell so bad. Mine isn't running rich, judging by the nice clean plugs. It still stinks, though. Is this an SU carb thing? Do 4-barrel converted Zs smell better? Man, you should have seen me charging the AC in my garage, with the garage doors open. Had to slightly rev the engine to get the compressor to suck in the freon, for like 15 minutes. Stank up the garage horribly. Note, the PO removed ALL the smog devices on my 73 car, so maybe that's why it stinks so bad? I also think I need to do a complete tuneup, including valve adjustment, as I haven't done it in about 18 months, or 10k miles. Maybe I should quit my rambling complaining and get to work....
-
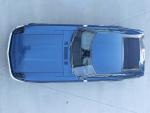
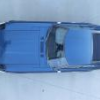
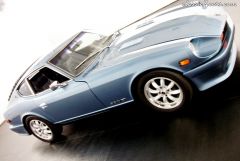
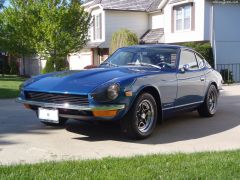
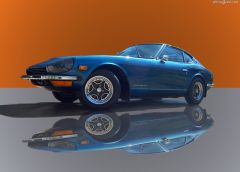 The original owner put them on, back in 1985. I even have the original receipt and owners manual for them. When I got the car two years ago, the center caps were rusty, and the black paint was faded to gray. I repainted the black, and bought new center caps. I may need to source new lug nuts someday, as a few of them have their chrome coatings chipping off from tire wrench impacts. Otherwise, they are in great shape. I thought I might want to replace them with some Rota/Panasport/Rewind style wheels, but I think I like having something totally unique on the car. Problem is the tires need replacing by next driving season, so I'll have to source some 14 inch tires, which are not easy to find in the performance category. Oh, the pic was photoshopped by my dad. He's pretty good with that software. The car was originally sitting on his driveway. The car itself wasn't touched, only the background was changed, and the reflection added.
 -
14 inch Keystone Starfire Wheels circa 1985 on a 73 240Z. Suspension is Eibach springs with KYB struts, thus slightly lowered from stock. Tires are 185/70s.
-
 14 inch Keystone Starfire Wheels circa 1985 on a 73 240Z. Suspension is Eibach springs with KYB struts, thus slightly lowered from stock. Tires are 185/70s.
 -
I can't hear the pads riding on the rotor when driving, although with the wheels/tires off, I can hear just barely them as I spind the hub. I figured it all would work its way loose with time. If yours are riding all the time, and making it hard to spin the wheel/hub freely when on a jack stand(like my old ones were), you might need to spread the rotor with a spreader tool, and then put it back on. You can buy a spreader pretty cheap at any auto parts store. It'll push the pistons back into the caliper all the way. Not sure if that'll help, since the pistons will just push back out the first time you use them, but it might. If your rotors are really sticking, I'm guessing they need replacing. Mine started out that way, then began doing the random grabbing and pulling. Bedding the pads involves heating them up enough to leave a thin, but even deposit of pad material on the rotor. This is thought to keep them from leaving one big deposit in one place the first time you get them really hot, then stop at a stop light with your foot on the brake for a while. This big deposit in one place is thought to be the cause of pedal pulsation upon braking, more so than actually warped rotors. You bed the pads by doing half a dozen near stops from 60 mph, one right after the other. Don't stop all the way, as that'll cause the problem you are trying to prevent. Not sure if bedding works, but it's free so I gave it a go.
-
The pics are self explanatory. Don't know why they wouldn't attach the first time. Enjoy.
-
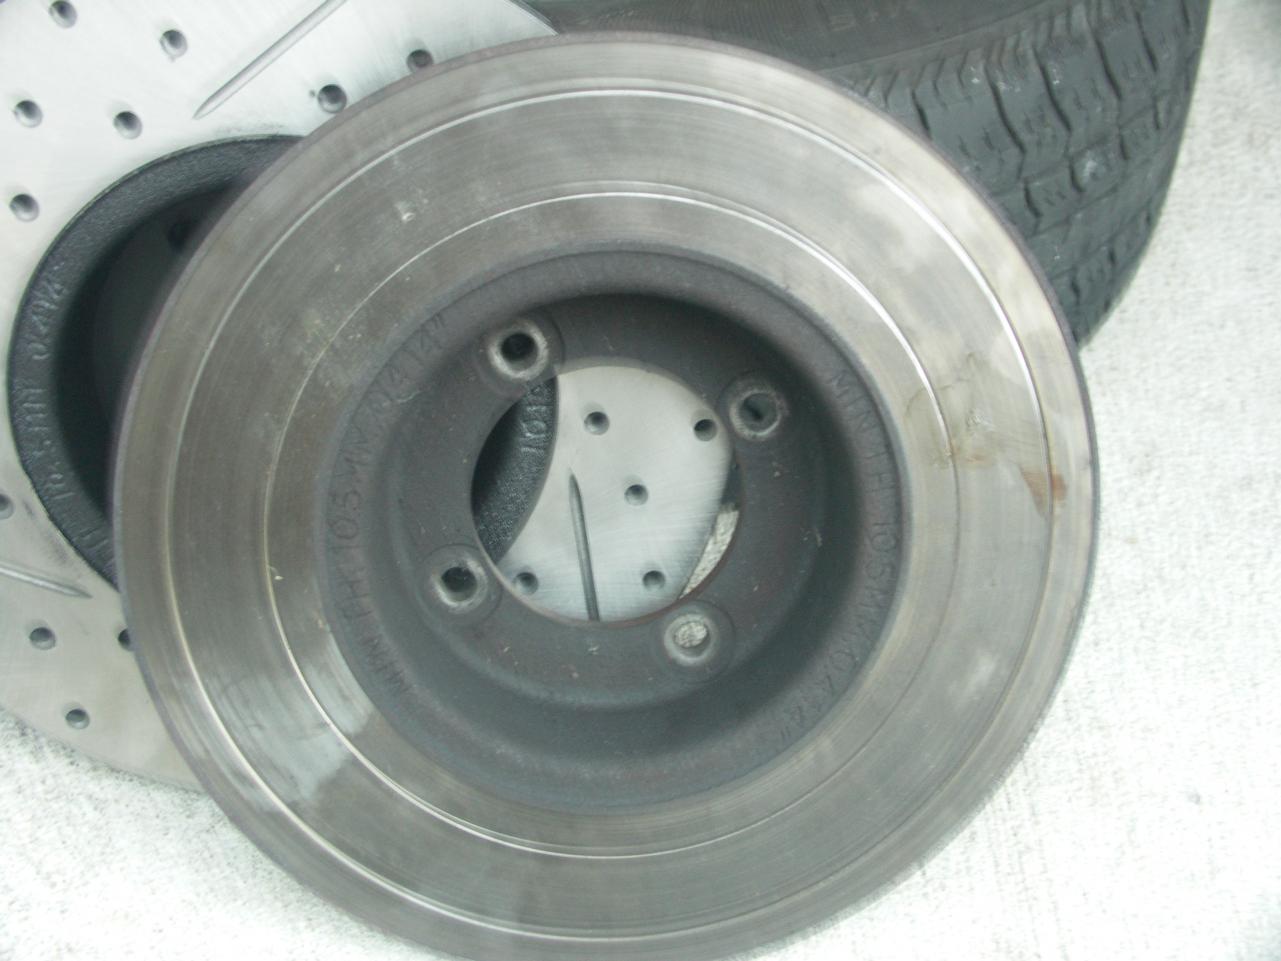
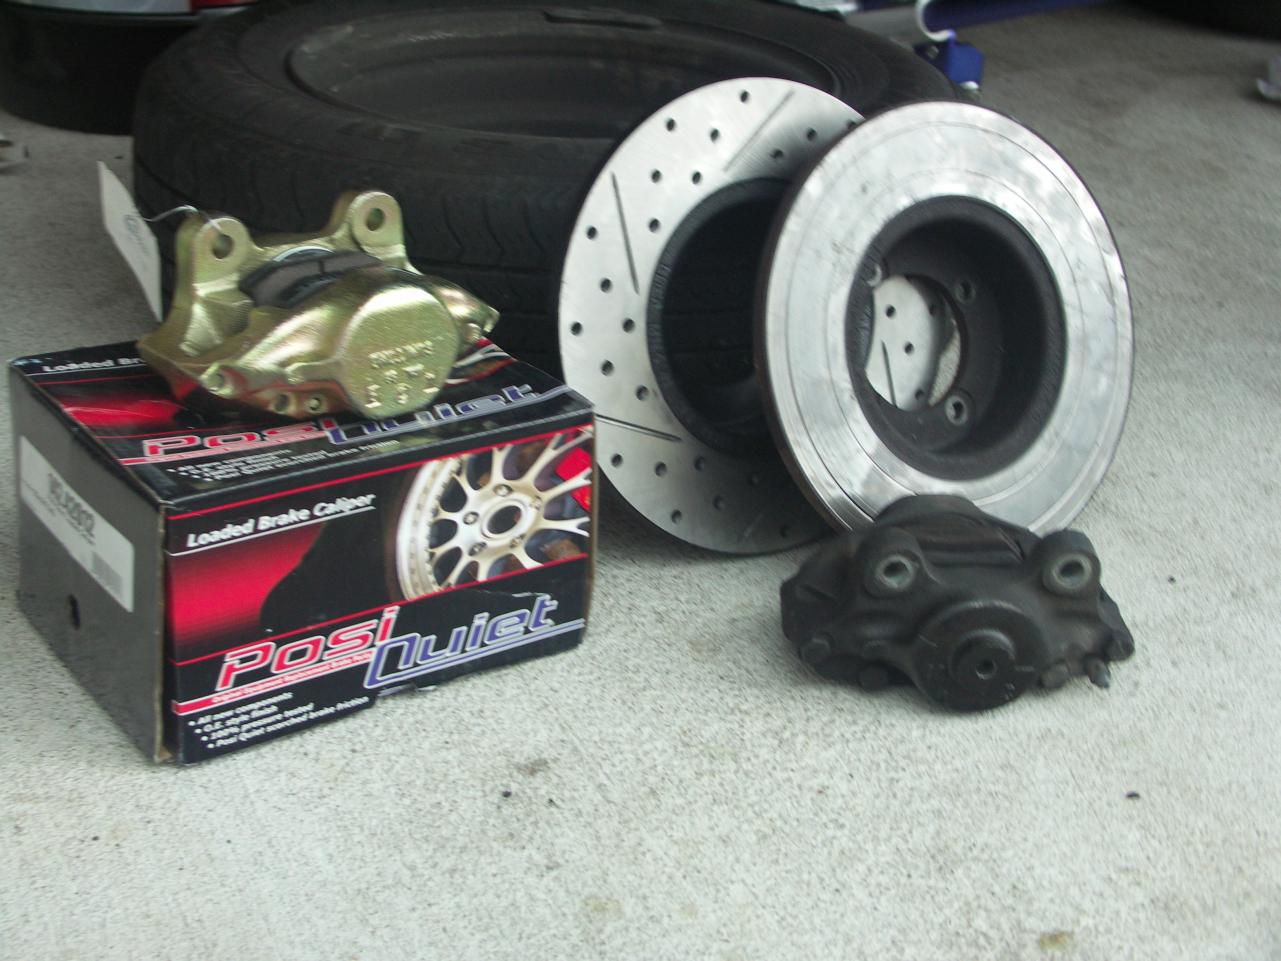
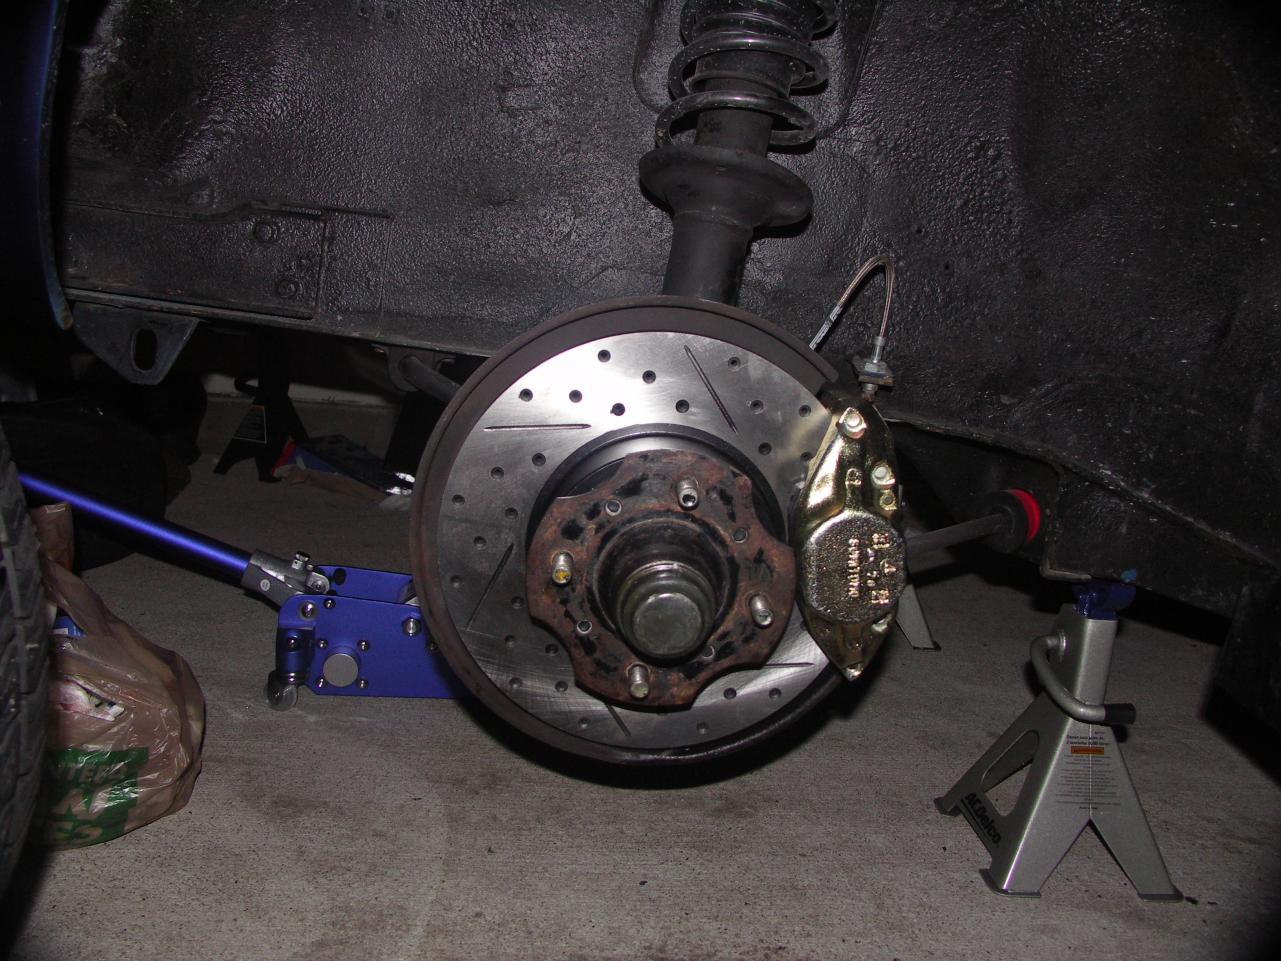
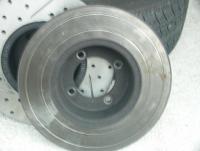
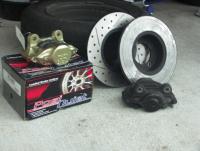
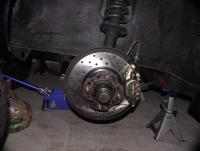
Thought I'd pass along my brake and bearing story, hoping it helps someone else out. I had two different problems I was trying to solve. First, I had a front end shimmy that I could feel in the wheel, especially at highway speeds when going around a curve. Second, I had pulsating in the brake pedal when applying the brakes that was an obvious rotor problem. I also had recently developed a random pull to the left or right when applying the brakes. I had already balanced the wheels and replaced the springs, struts and bushings, which really helped the shimmy, but didn't cure it. I attributed the random pull to my calipers being 25 years old, according to how they looked, and the receipts in the box from the previous owner. The calipers also randomly stuck in their active position, dragging on the rotor slightly. It was also nearly impossible to bleed them, as their bleeder screws were rusted up. Despite it being 25 years since the calipers were replaced, they only had about 20,000 miles on them. I hated to replace them, but I guess their internals had rusted and what not. So, I ordered new rotors, pads and calipers from R1 Concepts, and wheel bearings from Oreily, since I had no idea when the bearings were last replaced. I followed this link from Atlantic Z for replacing the bearings, and basically used what little brains and experience I had to finish out the how-to on the brakes, since those are easy. To drive my bearing races, I wussed out and bought this set from Harbor Freightfor $25, instead of making my own. I've never done the bearings before. Pretty easy, although there's a lot of little stuff that isn't in the tech tips. For example, when you first put the hub/rotor assembly back on the spindle, it won't just slide on the spindle nice and easy. You have to jimmy it around, and even tap it into place with a hammer to get it the last half inch. Once in place, if you don't immediatly put the outer bearing in, it's going to slide back off the spindle, leaving the inner bearing and seal on the spindle, making a huge mess of grease along the way. What a pain it was on the first side. I had to get brave enough to use the hammer, since I was worried that maybe there was something wrong with my assembly that was keeping it from sliding all the way onto the spindle. The second side when fast. The loaded calipers went on quickly, as did the bleeding. Off the jack stands, and out to bed (brake pads, that is). Following directions from R1, I heated up the brakes, without ever coming to a complete stop, and if I had to stop, I used the emergency brake for the last little bit of stop, so the front pads wouldn't sit on a hot rotor. I got those pads and rotors so hot that I started to lose stopping power, and the brake light even lit up on the dash. Probably over did it. The next day, after the brakes had cooled, I began enjoying absolutely smooth running, with no vibrations or pedal pulse. It's like a whole new car. Well, its still loud and a bit stinky(got a leaky fuel vent hose), but it is noticably smoother and stops straight and predictably. Here's some pictures. Notice that my old rotors had two circles cut into them. What are those about? The circles are on both sides of both rotors, and were so perfect that I think they were there on purpose and not a result of pads wearing out and the backing plate cutting the rotor. I'm speculating they were done to decrease brake dust. Anyone else seen this?
-
There's a lot of good stuff on this website about brakes and bearings, and other stuff. For bearings, see http://www.atlanticz.ca/zclub/techtips/frontwheelbearings/index.html My thoughts are to replace the inner and outer bearings while you have it all apart. They are cheap, and available from local parts stores. You'll have piece of mind. Your next question is going to be if you should do the Toyota brake caliper upgrade. I didn't do it, because I don't track my car, and the stock ones are actually pretty good for street use. My rotors needed replacing, so I did replace my rotors with some drilled and slotted ones from R1Concepts, and replaced my flexible lines with stainles steel ones from MSA. It seems like my pedal feel is better, due to the new lines, and the drilled/slotted rotors just look neat. Matt