Leaderboard
-
.JPG.cfcada9cf1c1b502df3f5f2f2ca3ff36.JPG)
SteveJ
Free Member3Points9,646Posts -
Richie G
Free Member2Points254Posts -
grannyknot
Free Member2Points5,158Posts -
Matthew Abate
Free Member1Points1,204Posts


Popular Content
Showing content with the highest reputation on 08/25/2023 in Posts
-
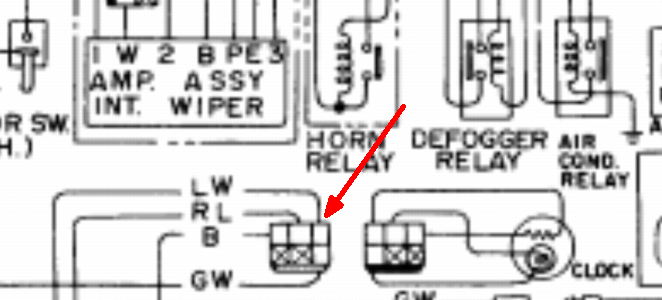
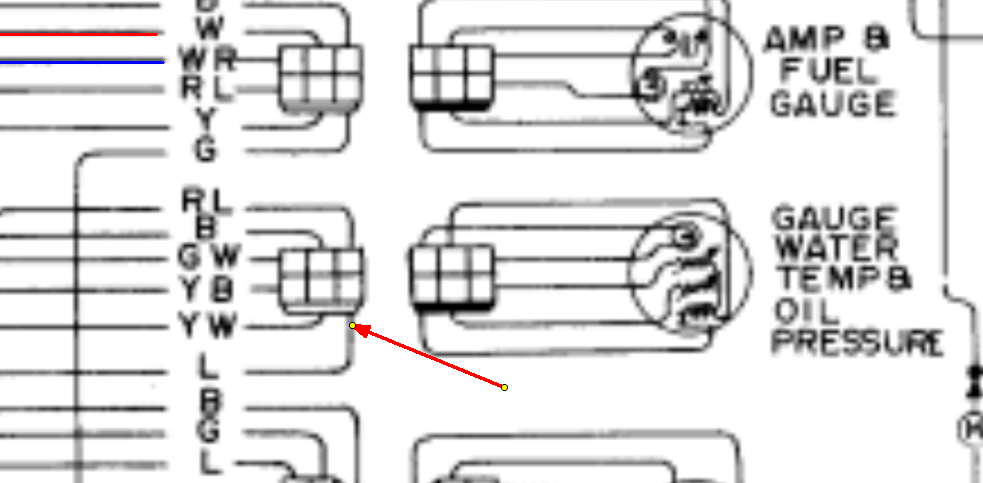
Instead of cutting into an existing wire... Use what's already in the dash. On the clock, there is constant power at the LW (blue/white) wire. There is switched power at the L (blue) wire on the water temp/oil pressure gauge. You would need to get two male shells (https://www.hi-1000ec.com/product/1133) and two female shells (https://www.hi-1000ec.com/product/1135) along with male pins (https://www.hi-1000ec.com/product/1662) and female pins (https://www.hi-1000ec.com/product/1663) to go in those shells. If the meter doesn't require constant 12VDC, you only need one male shell and one female shell, and you can take power from the blue wire. You can then add a small harness between the dash harness and the gauge. Most of the wires will be straight through, but the wires where you need voltage would also split off to go to your new gauges. The voltage regulator doesn't have any special properties that would give you a better signal than the two wires I pointed out. As long as the wiring isn't corroded or hacked up, what I pointed out should be fine.
 3 points
 -
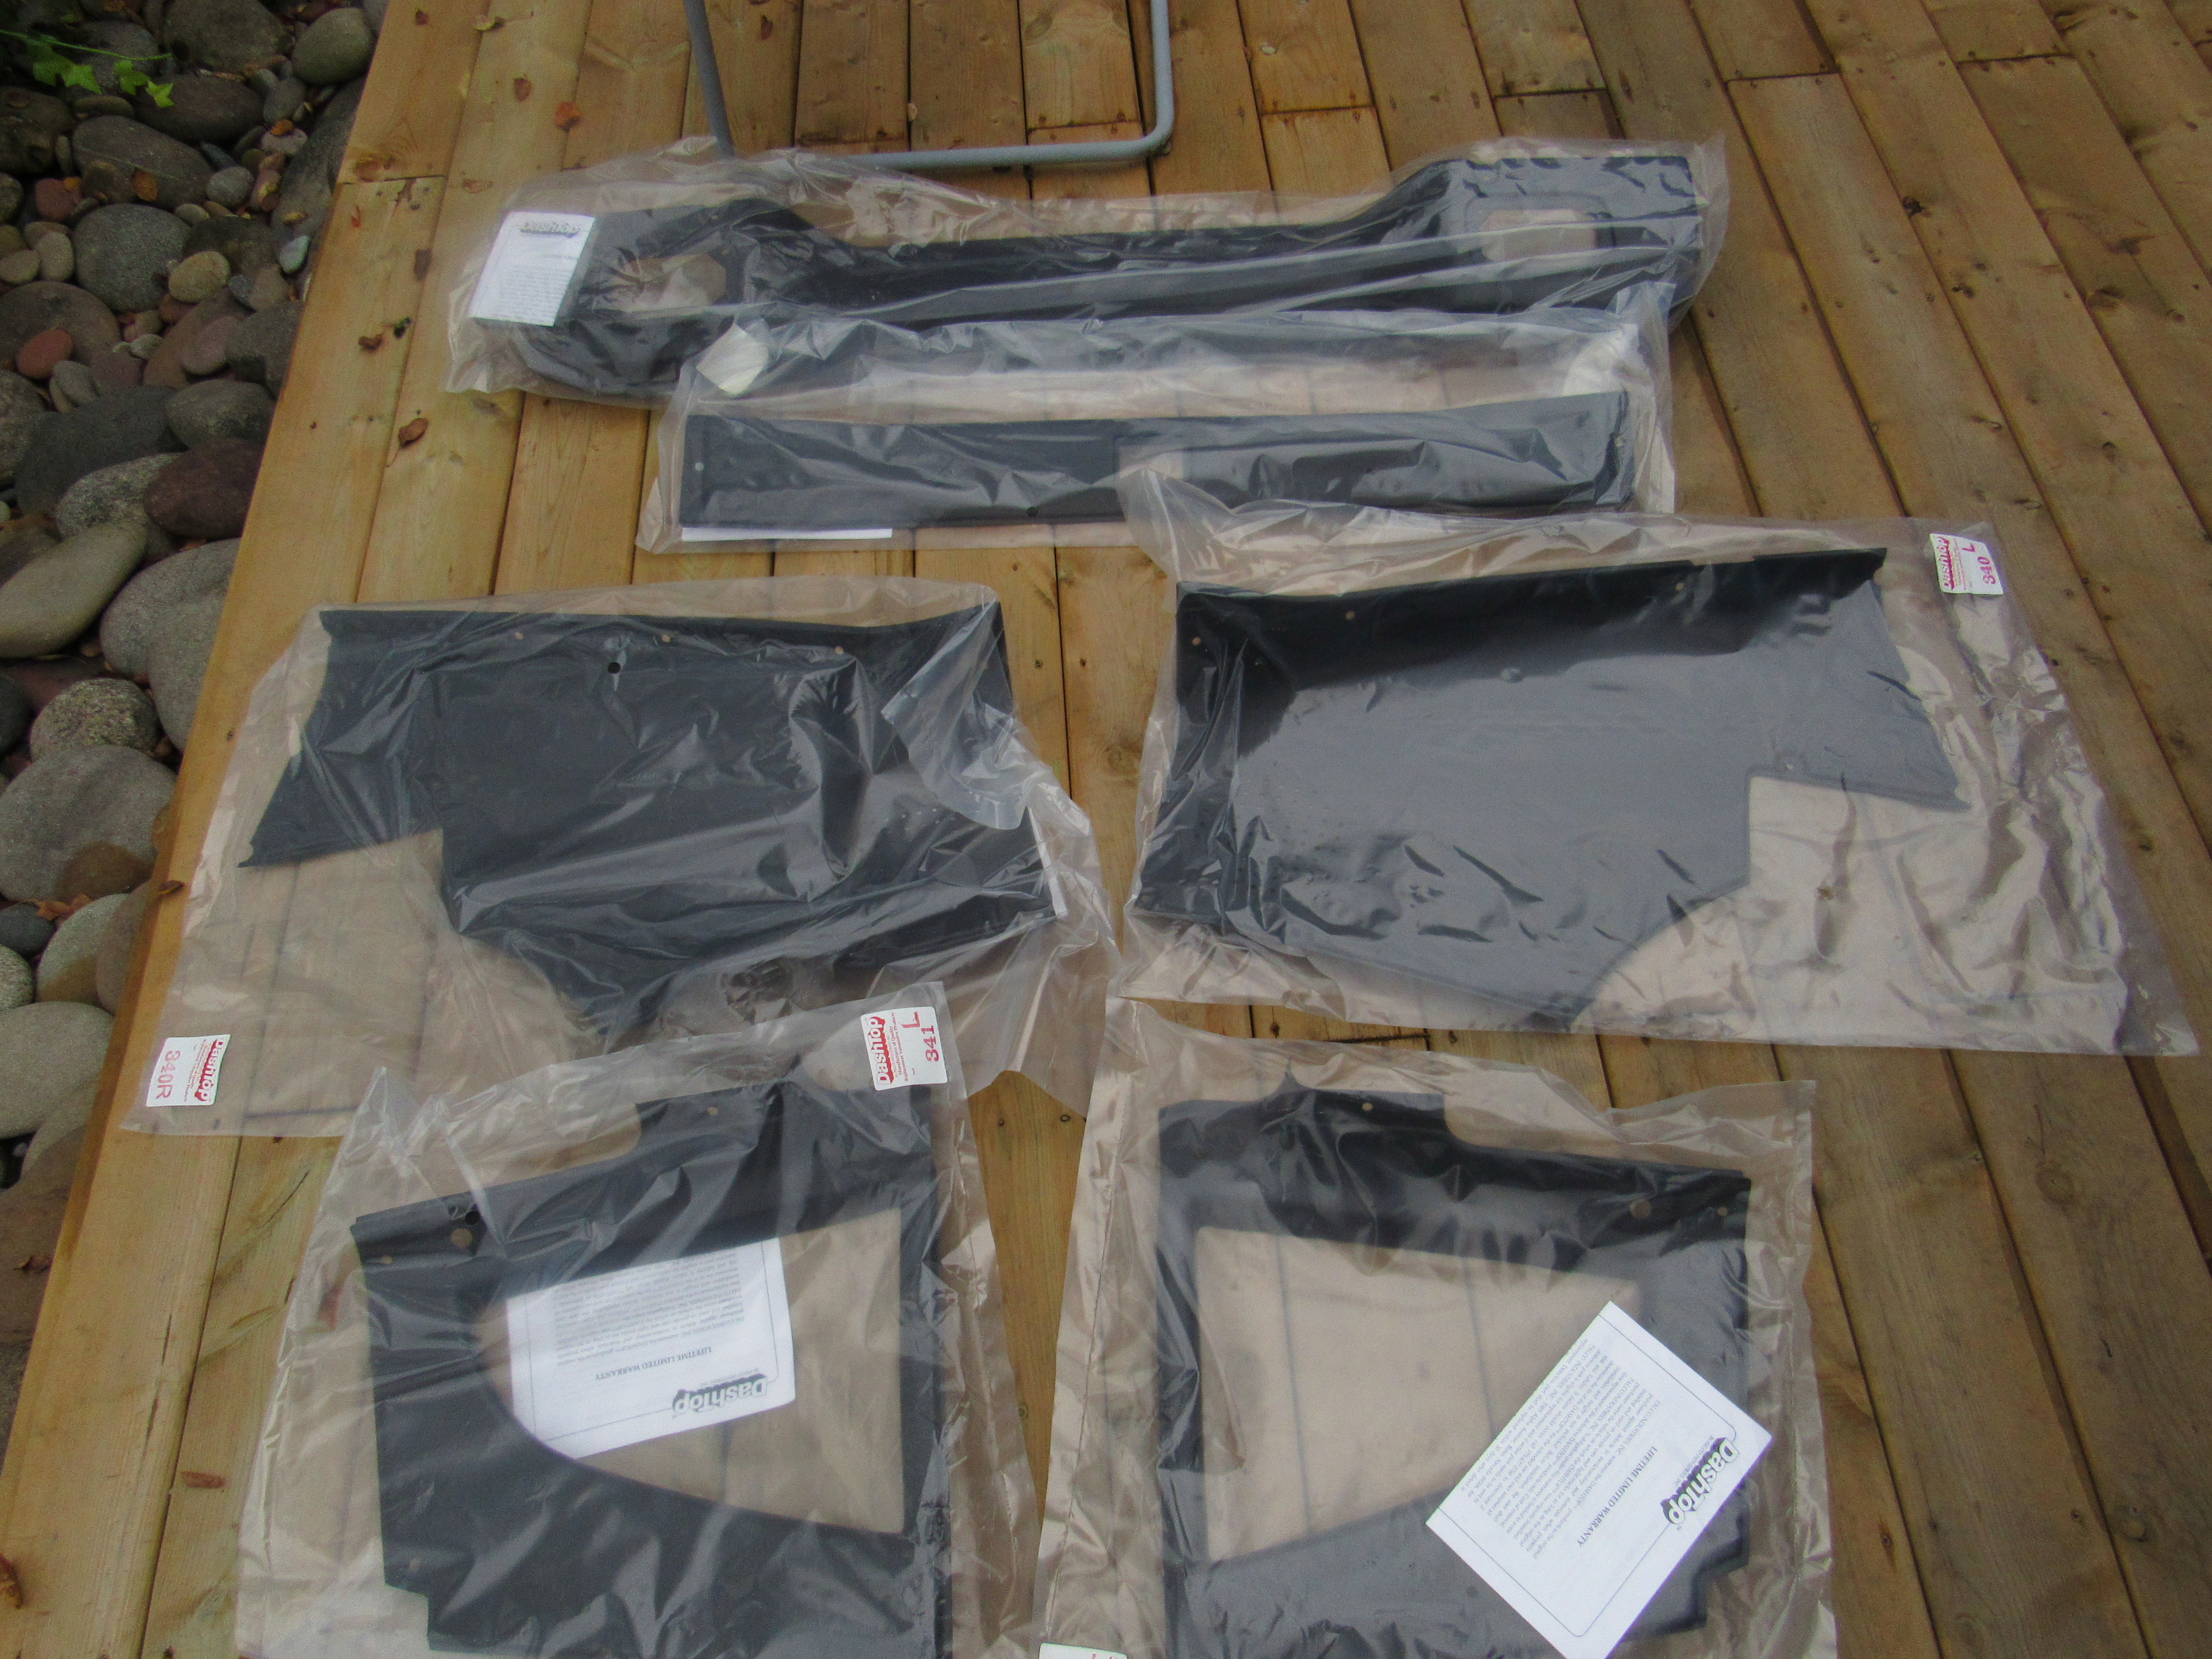
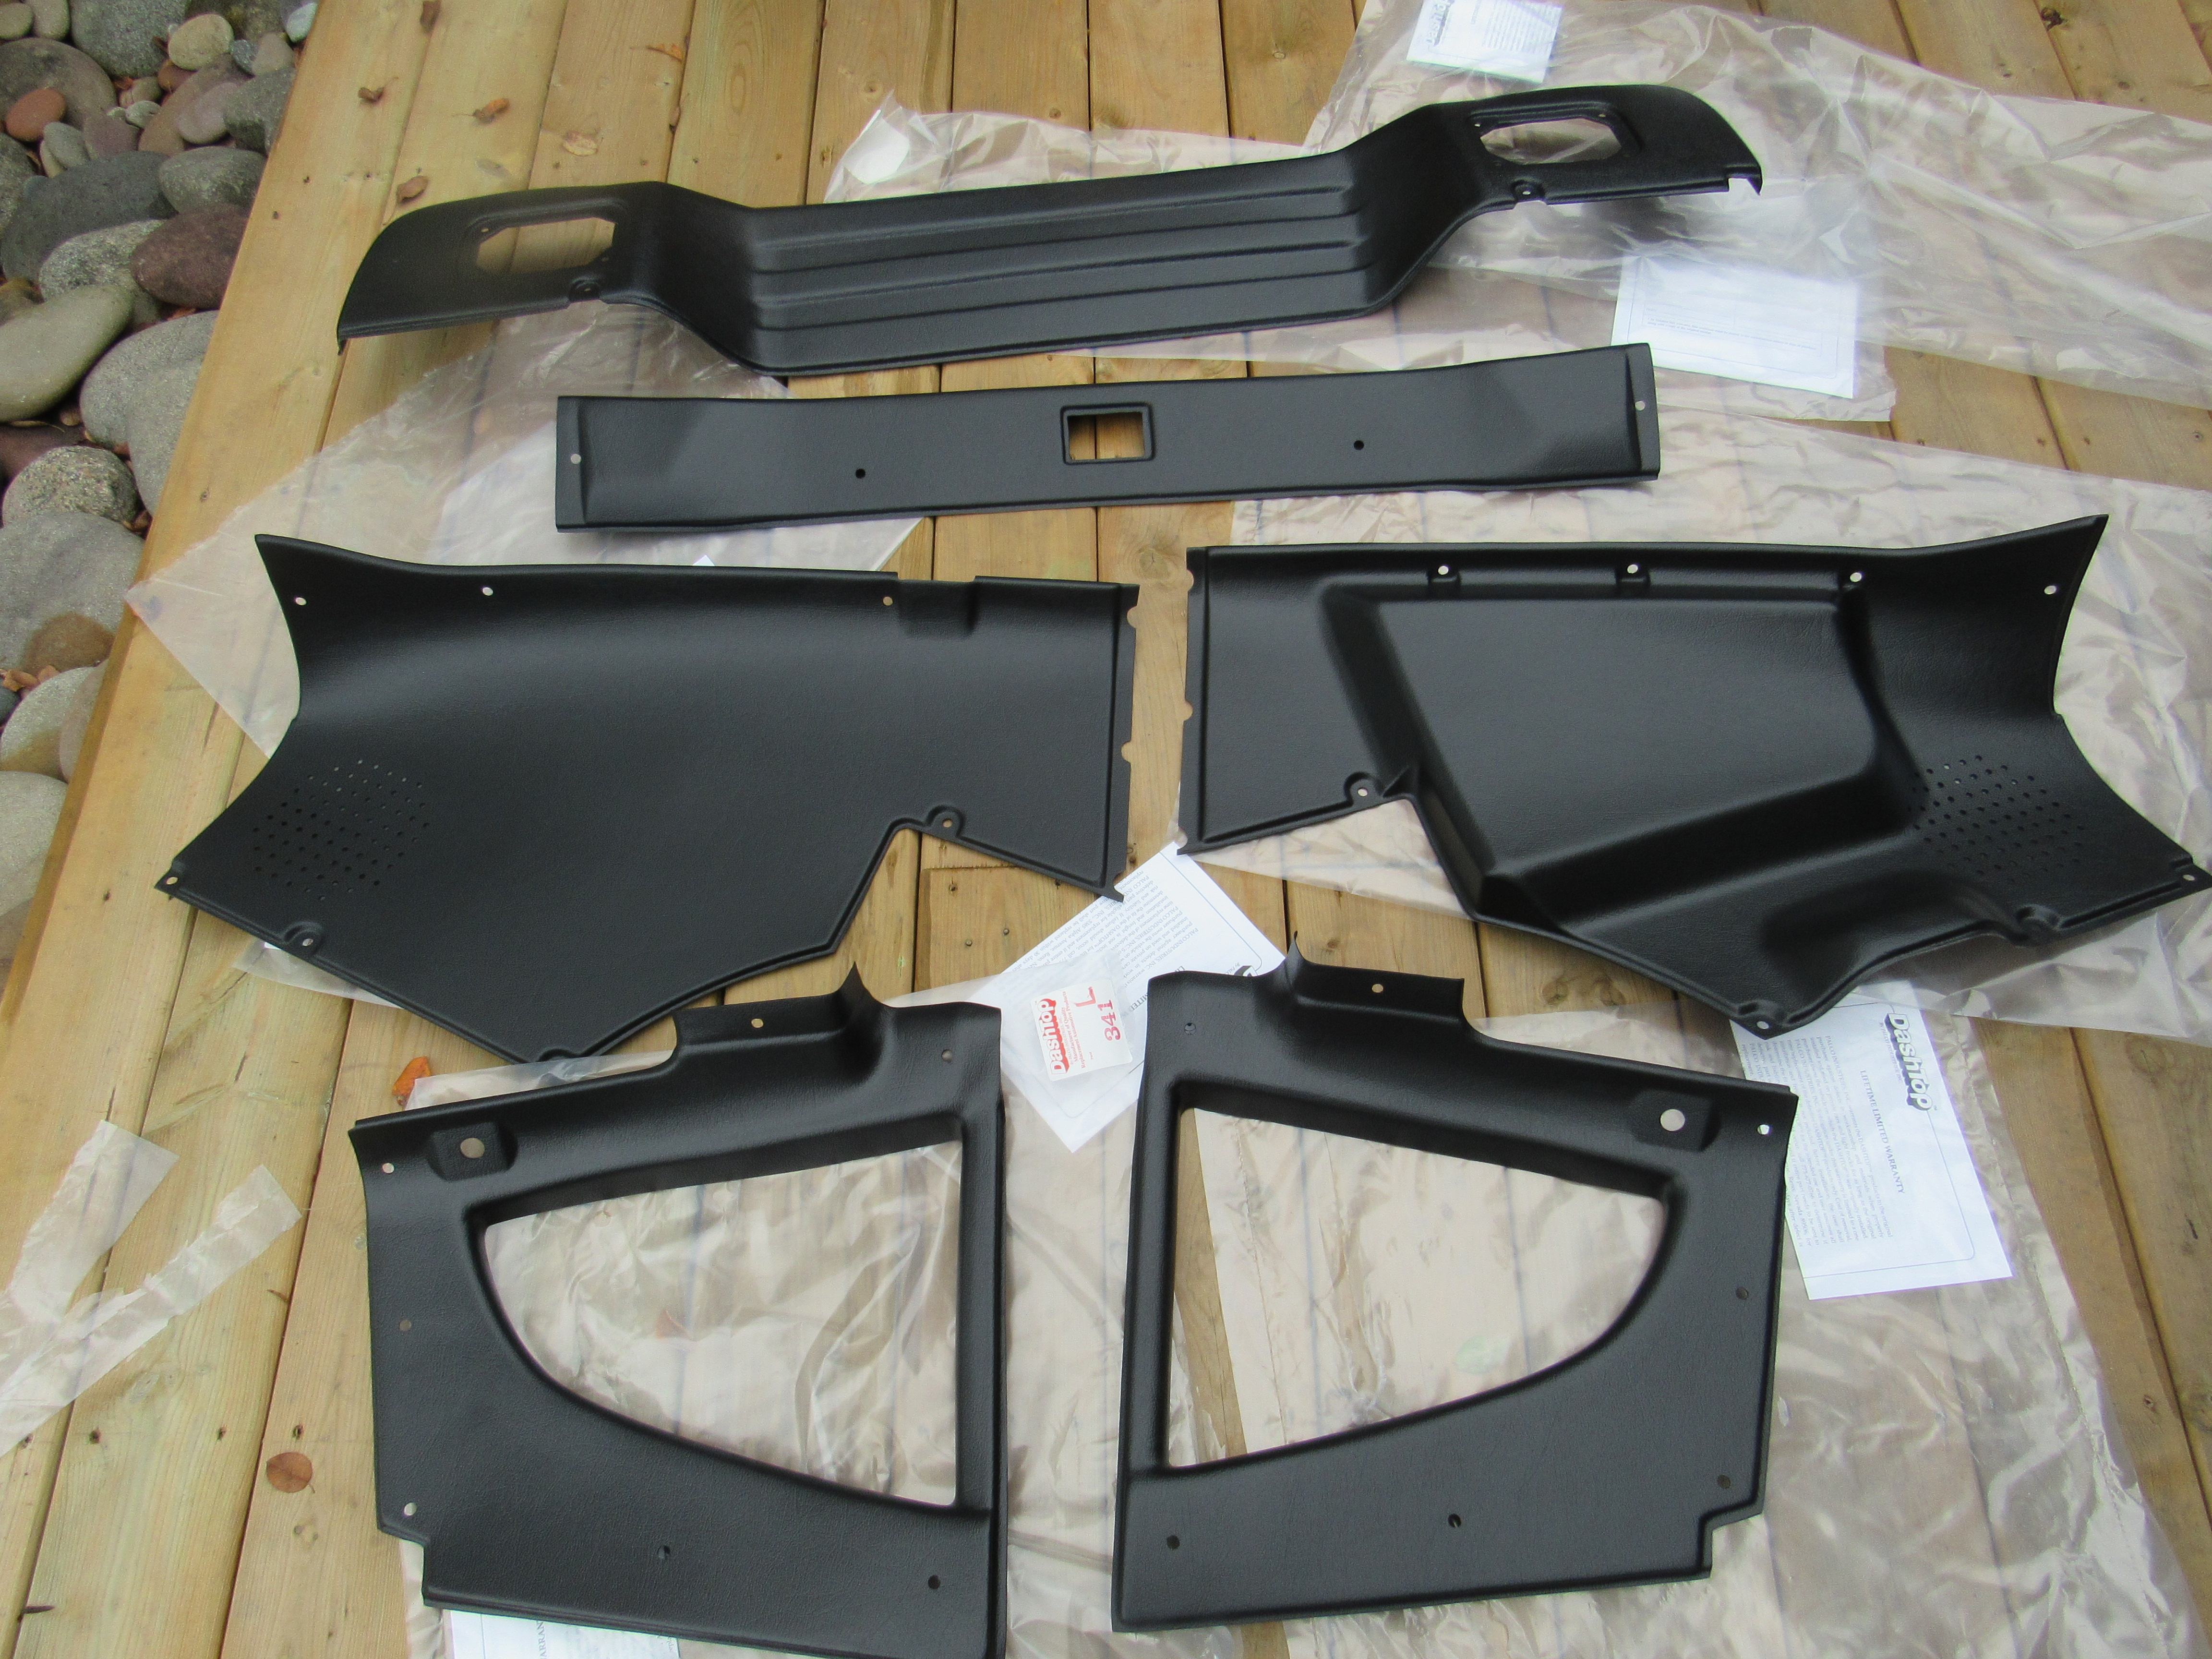
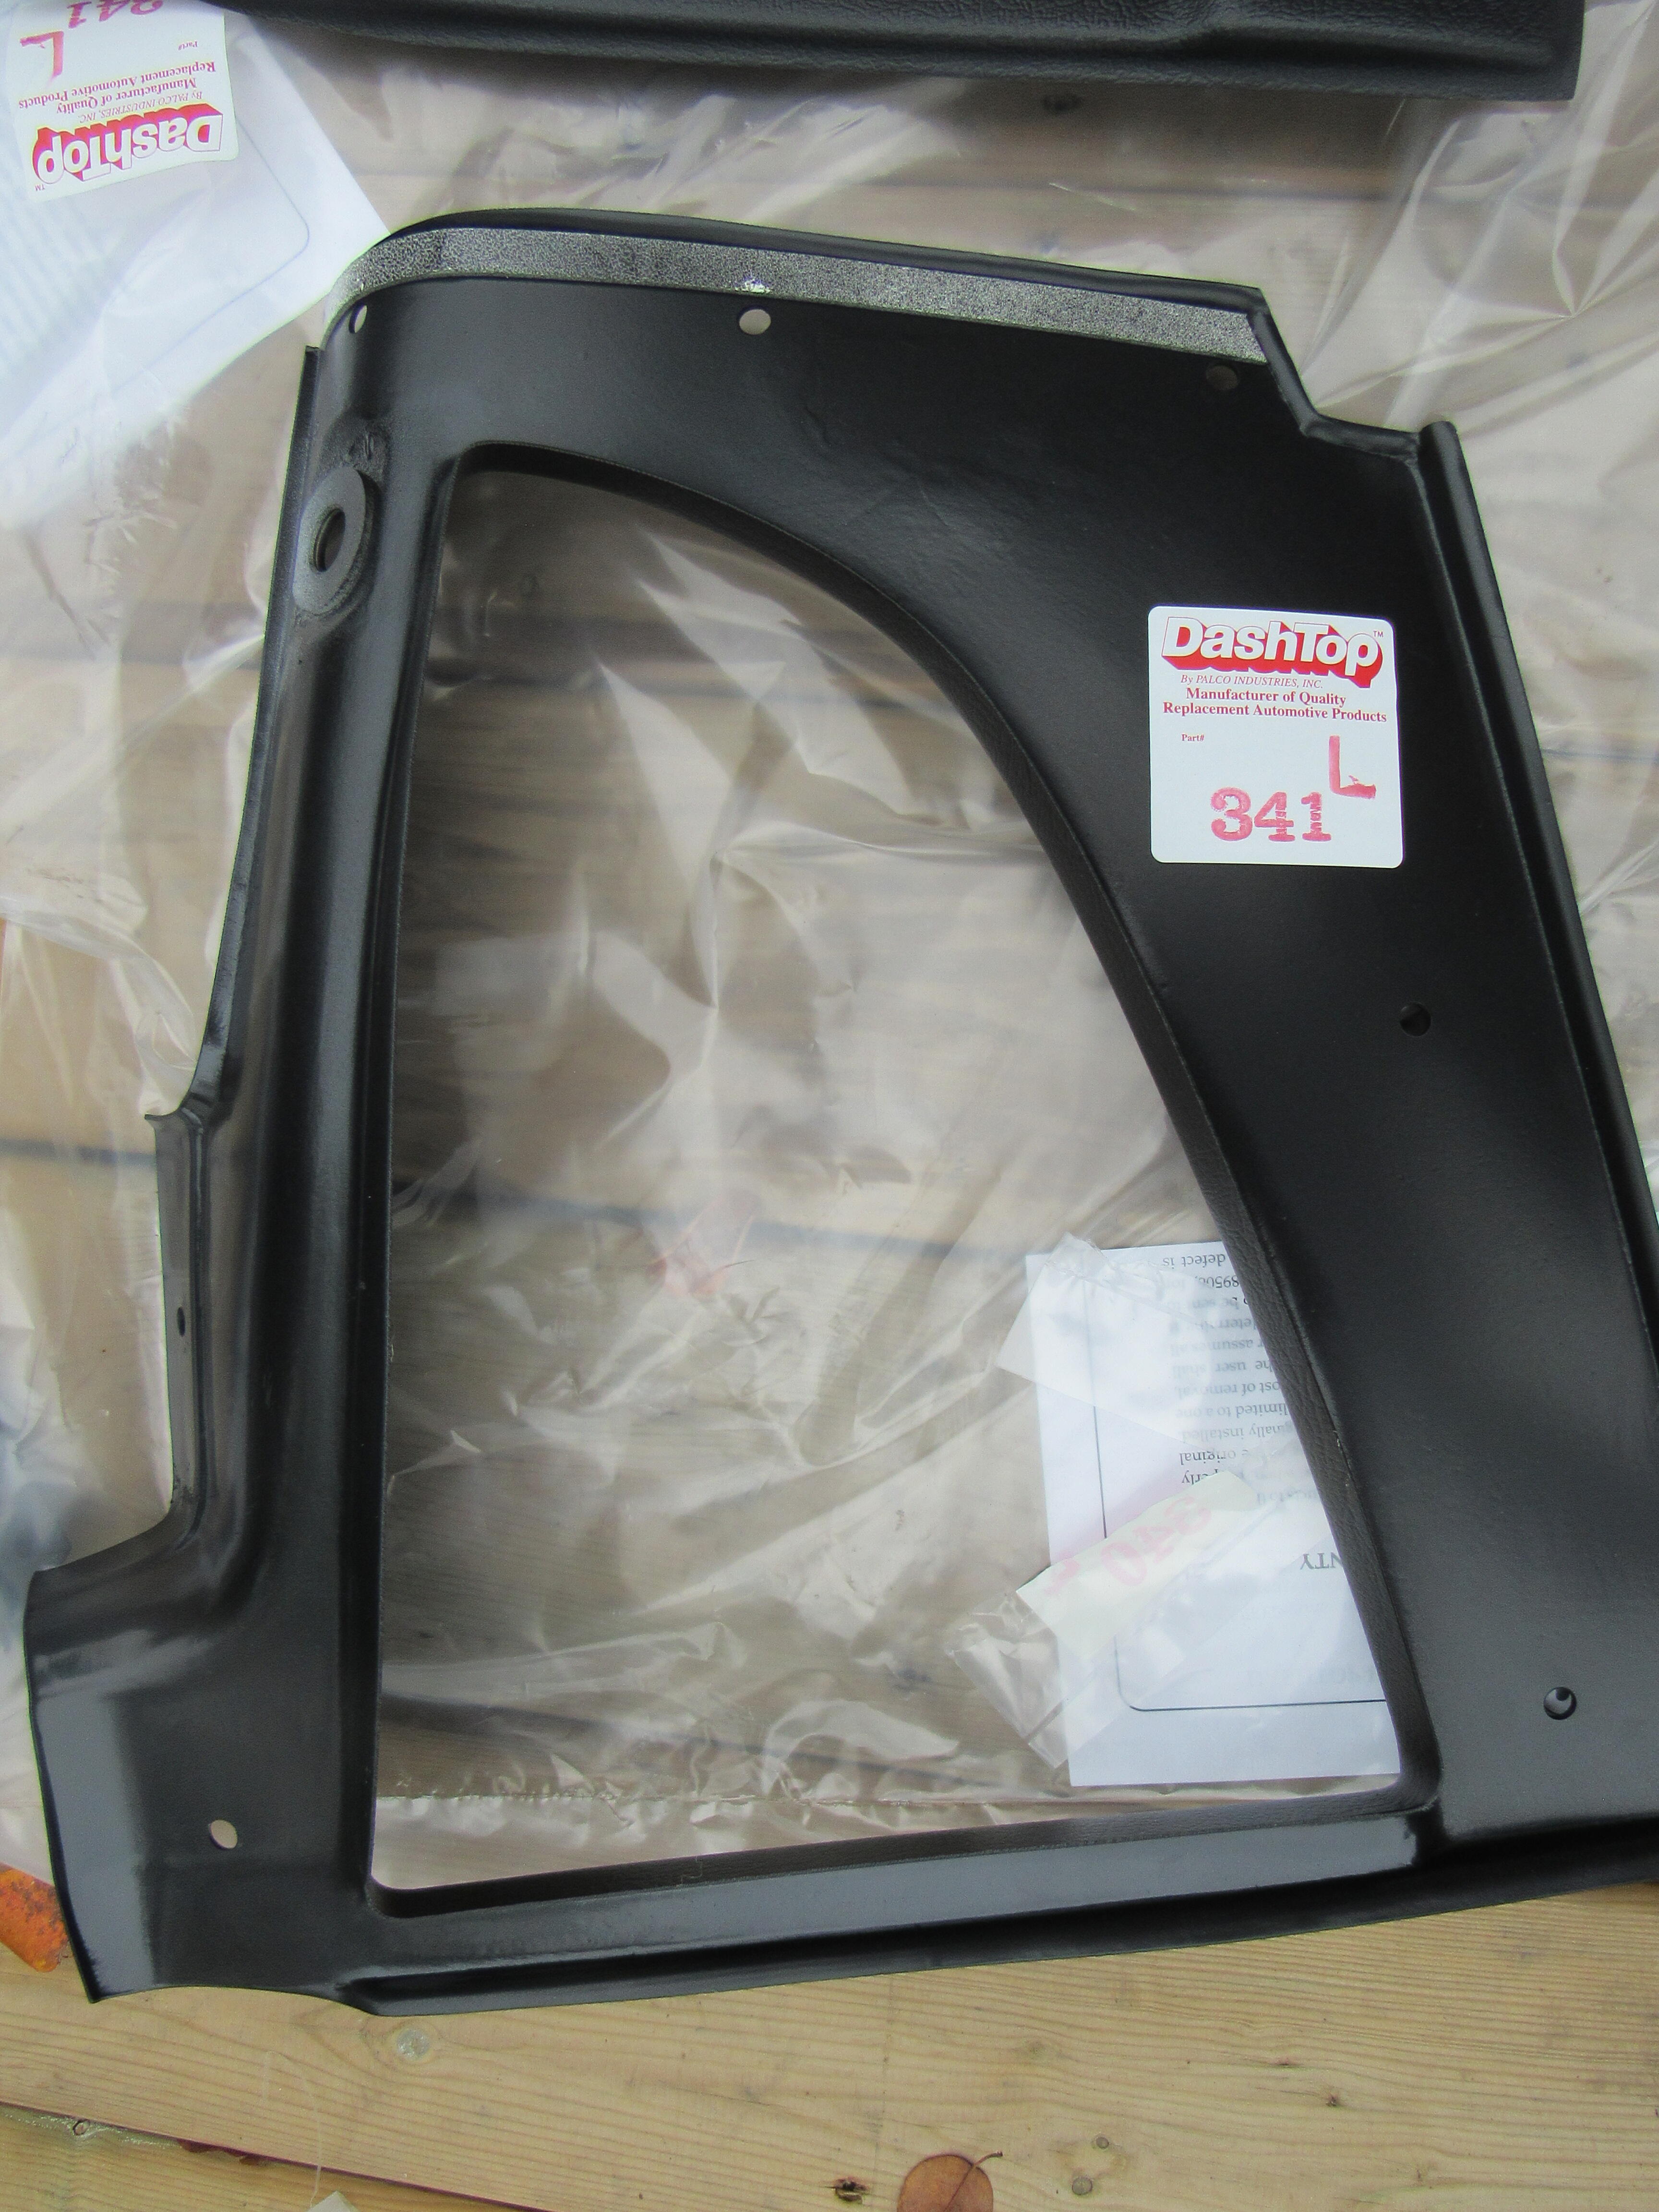
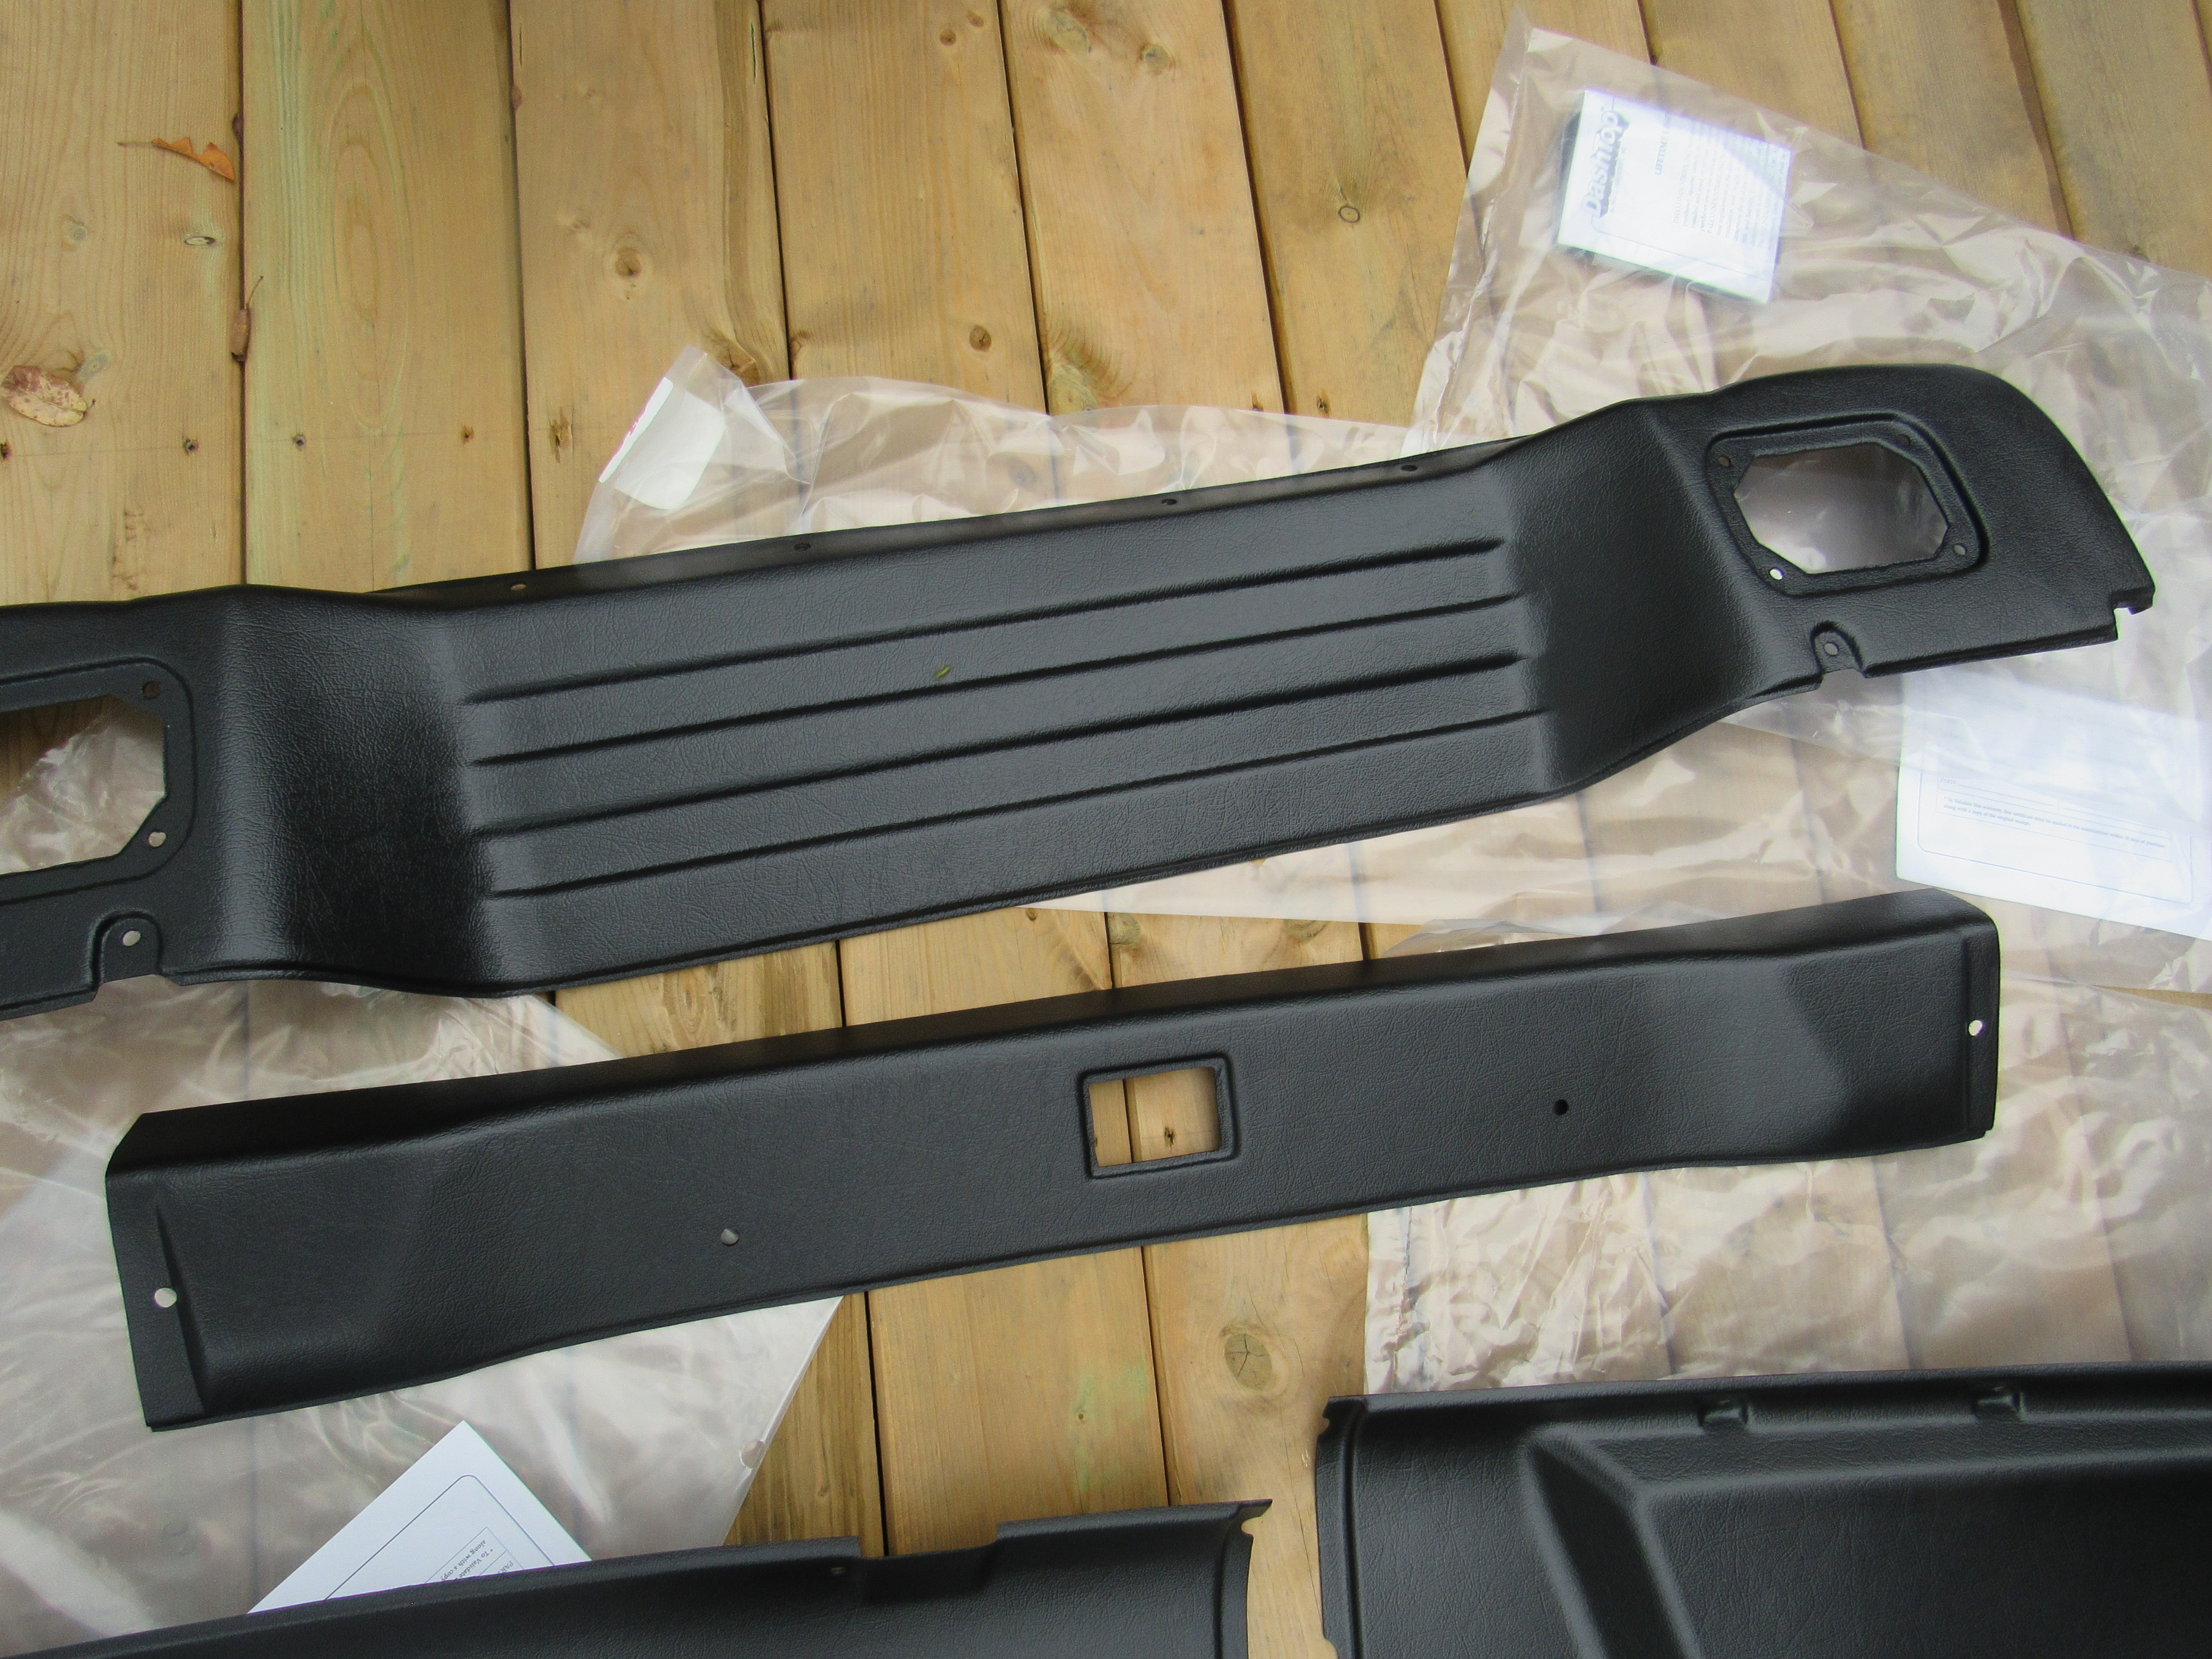
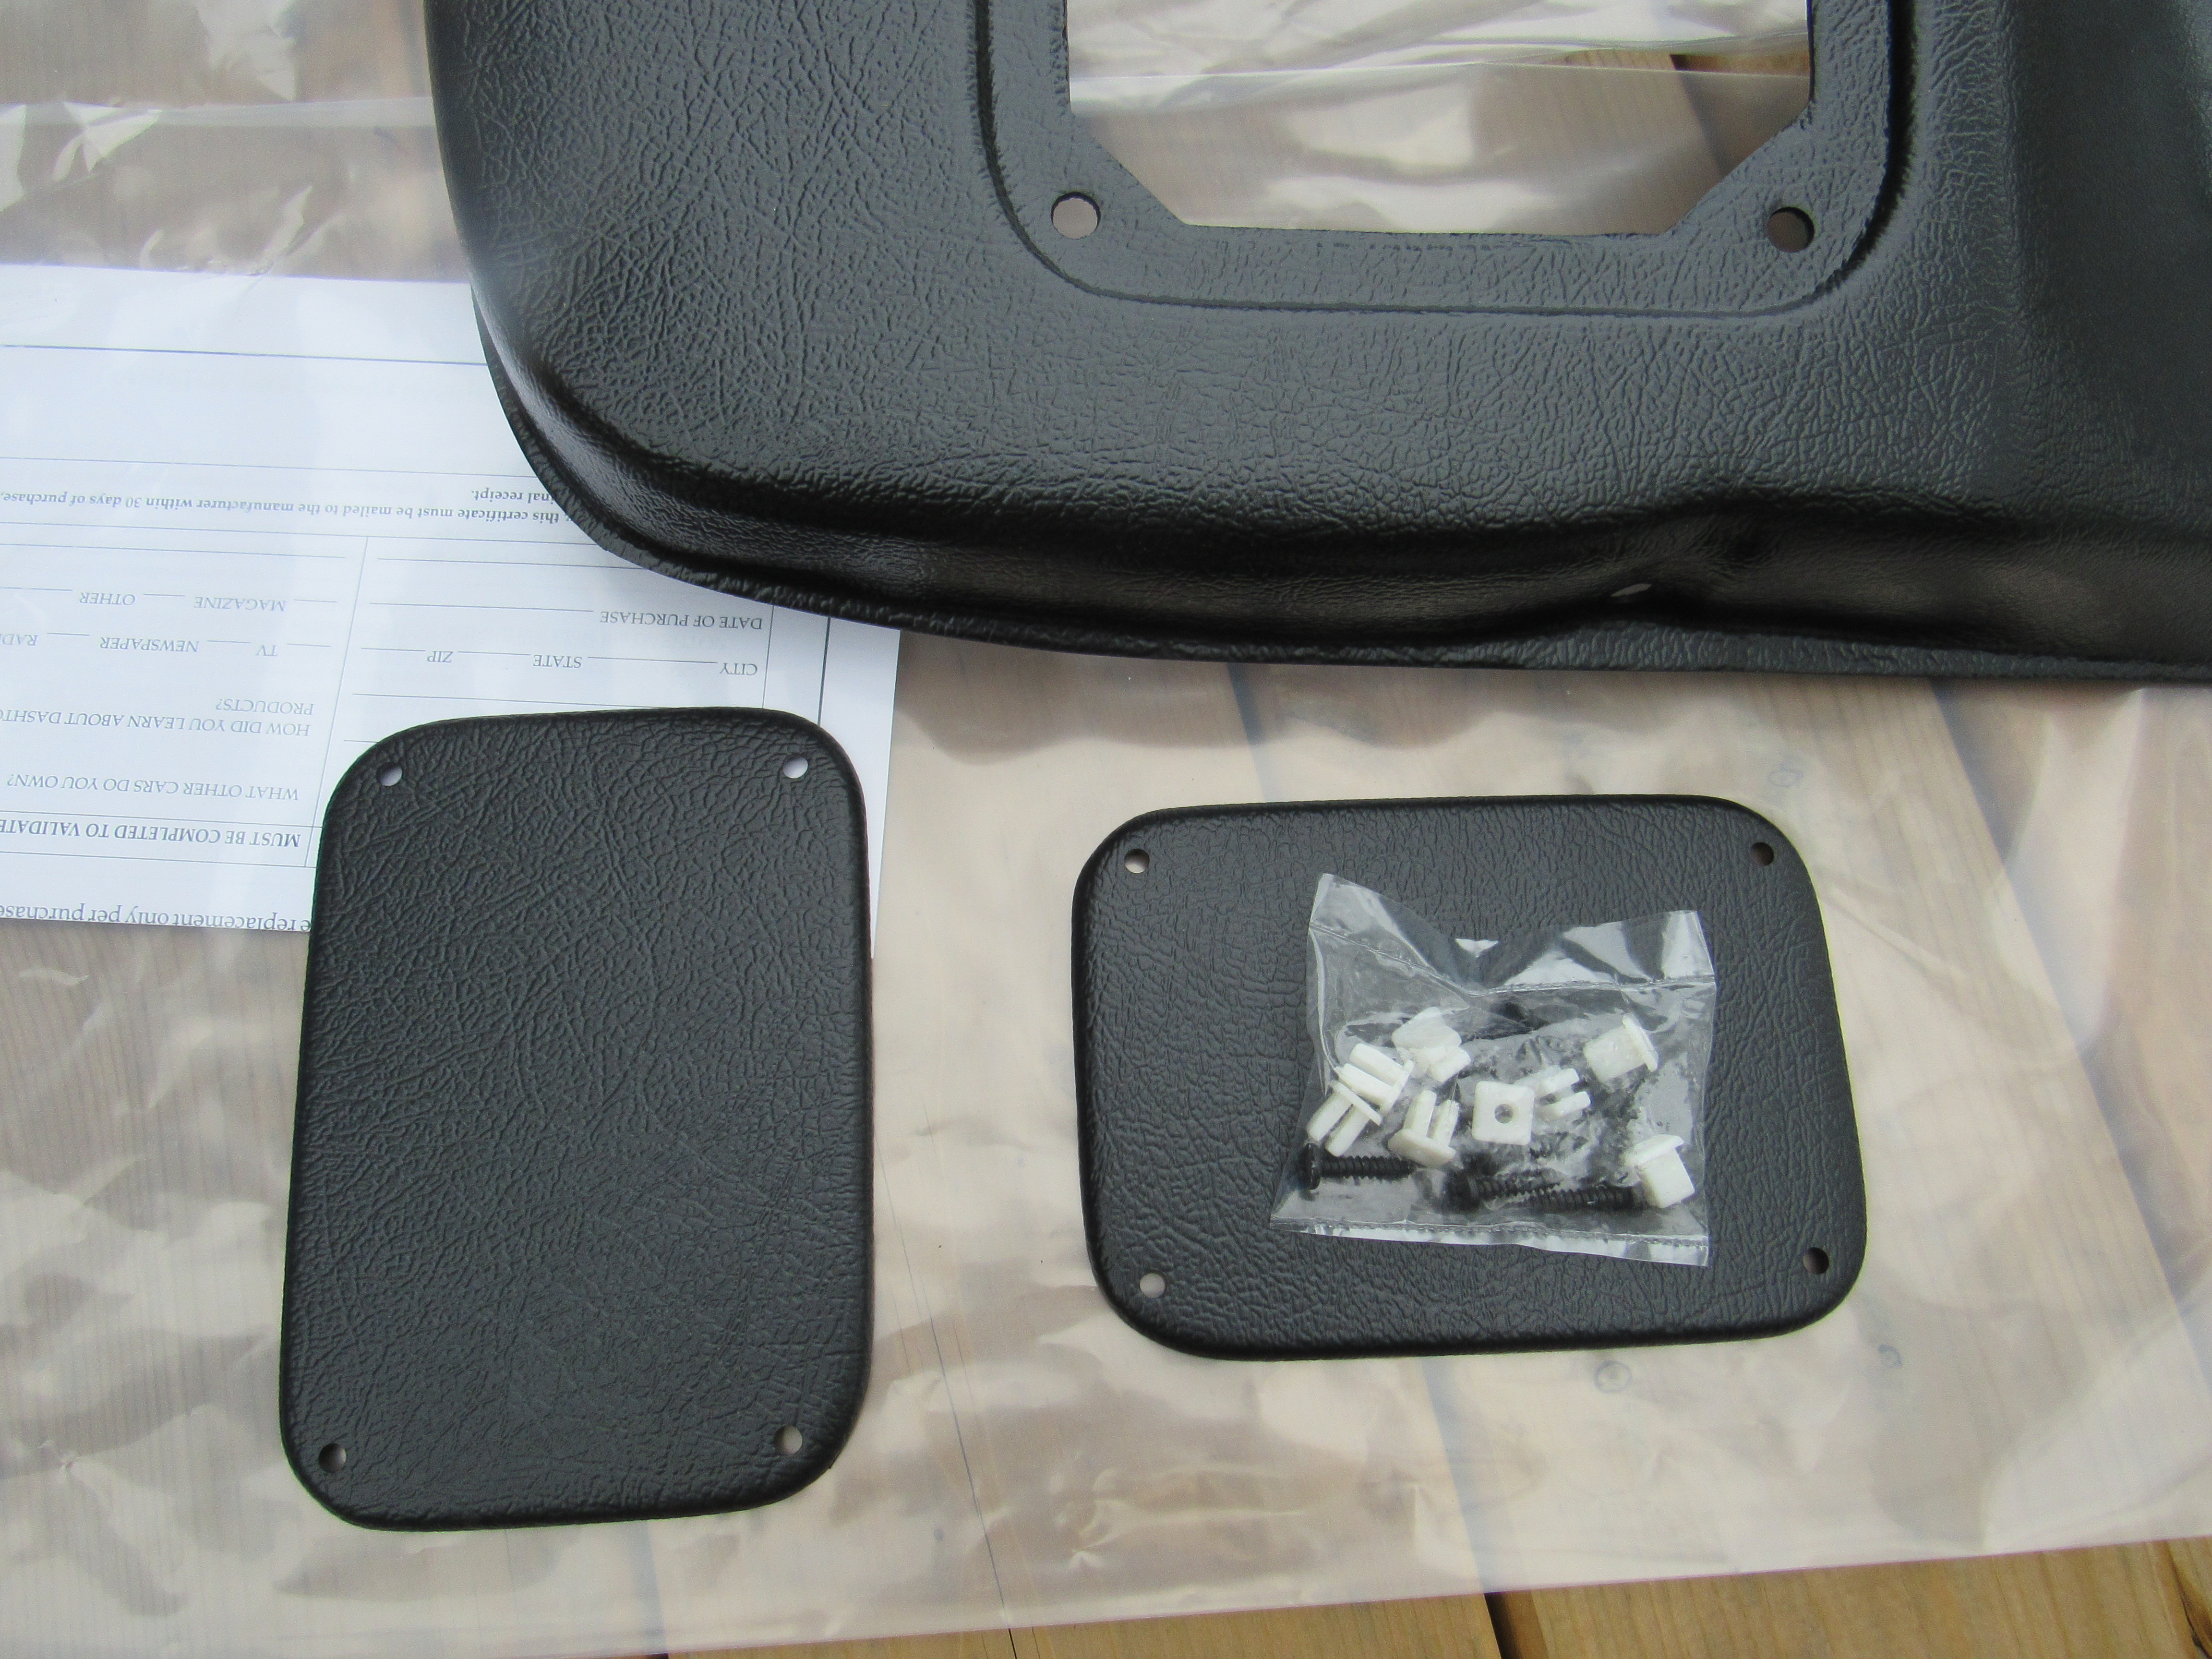
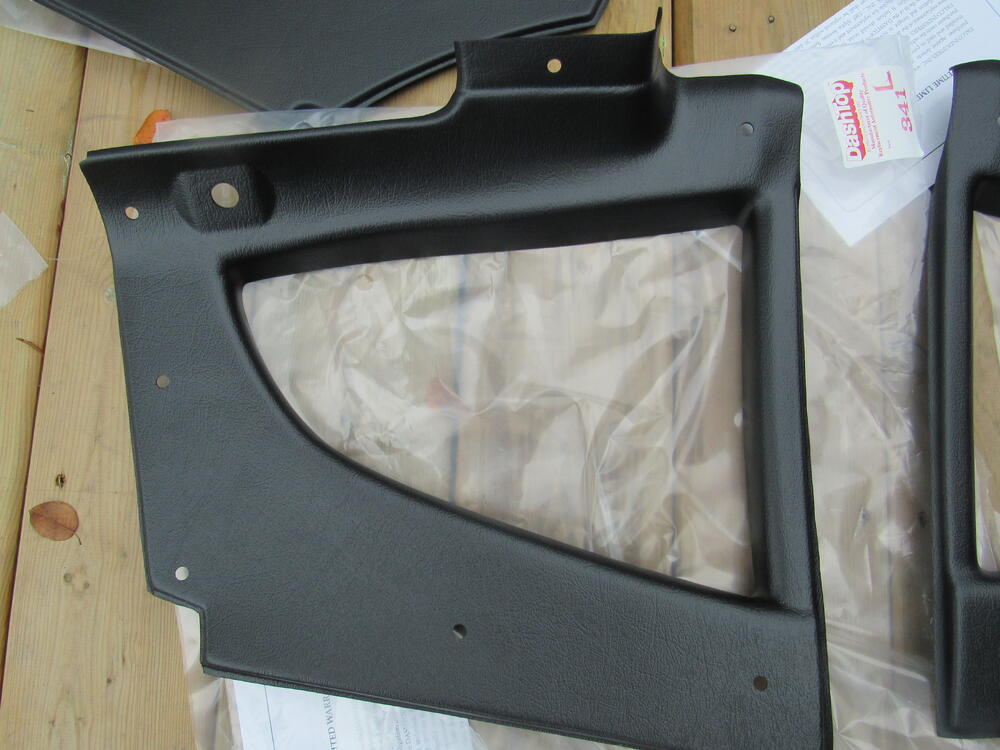
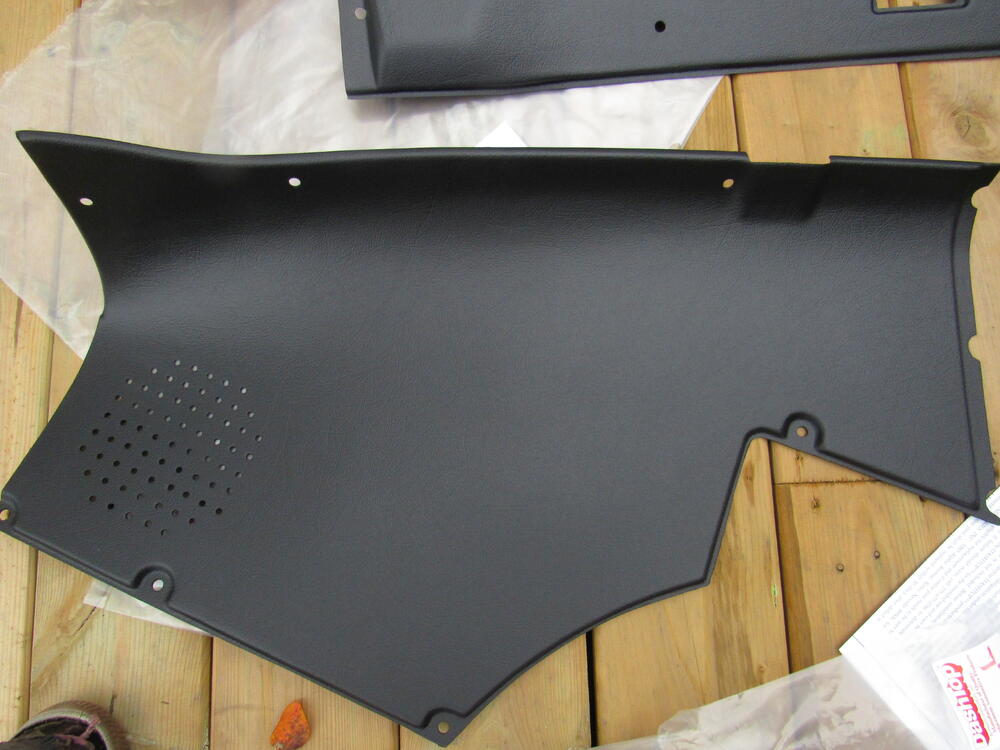
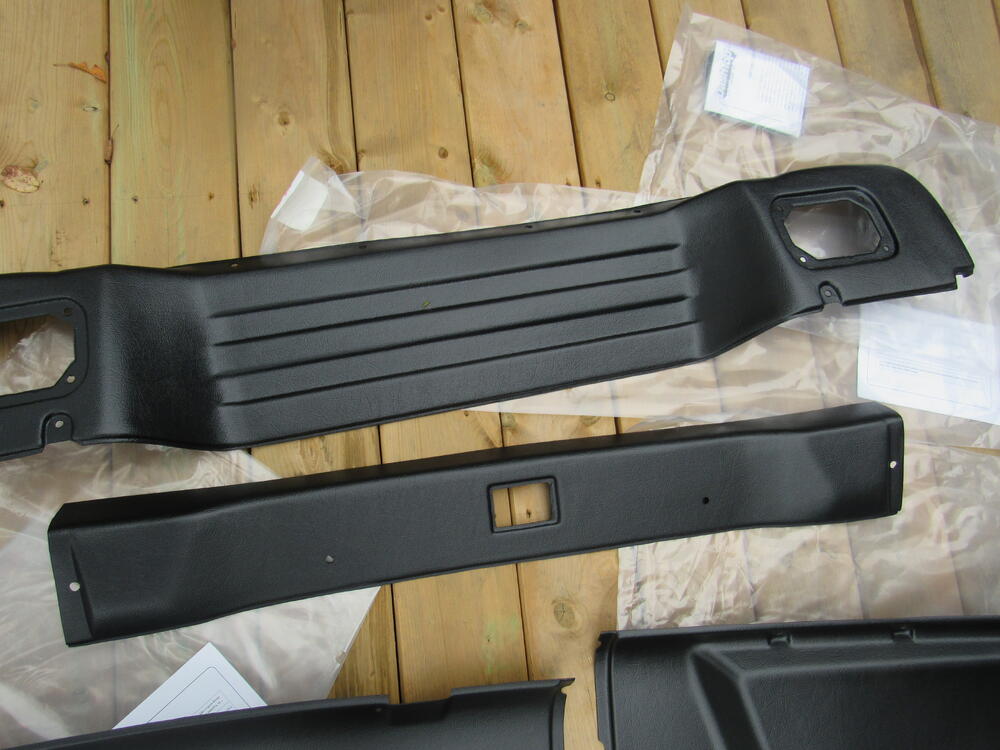
2 pointsThe panels that came with the car were in very poor shape so the owner has sprung for a full set from Palco panels, they arrived today. We only placed the order a week and a half ago, good customer service, lots of communication. From what I can see, for new panels they are pretty much the only game in town. There is this guy, https://jpfibershop.com/producto/datsun-s30-240z-260z-280z-full-rear-interior-trim-frp-version/ who says he can make you a full set of panels for $400, but I just can't see that. Too good to be true and the photos of his work don't inspire me with confidence. So here are some pics, the plastic is just slightly thicker than the originals or it could just be that the plastic is new, the colour is perfect to my eye and they are painted, the pattern is an exact match. I test fitted 2 panels and some small trimming will be needed but so far I'm very impressed. I've got a bunch of other stuff that has to be done before I get to the interior but I'll post pics when I get to that part.


 2 points
 -
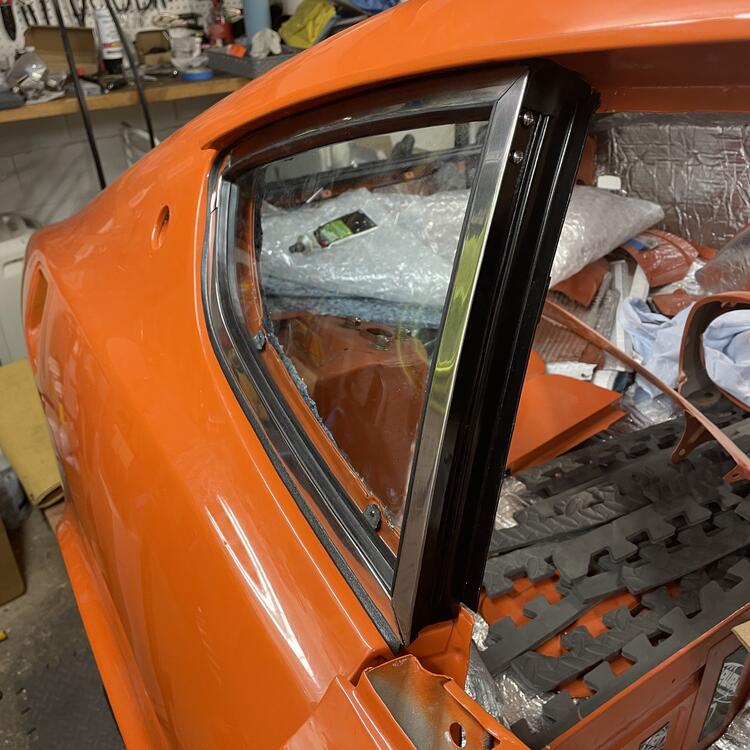
1 pointMine is black. I stripped them and repainted them before putting new seals on.
 1 point
 -
Why not run the atmospheric vent from the catch can to the exhaust downstream of the header collector, using a one way check valve, like the drag racers do? Any excess vapors are drawn into the exhaust and are burned there.1 point
-
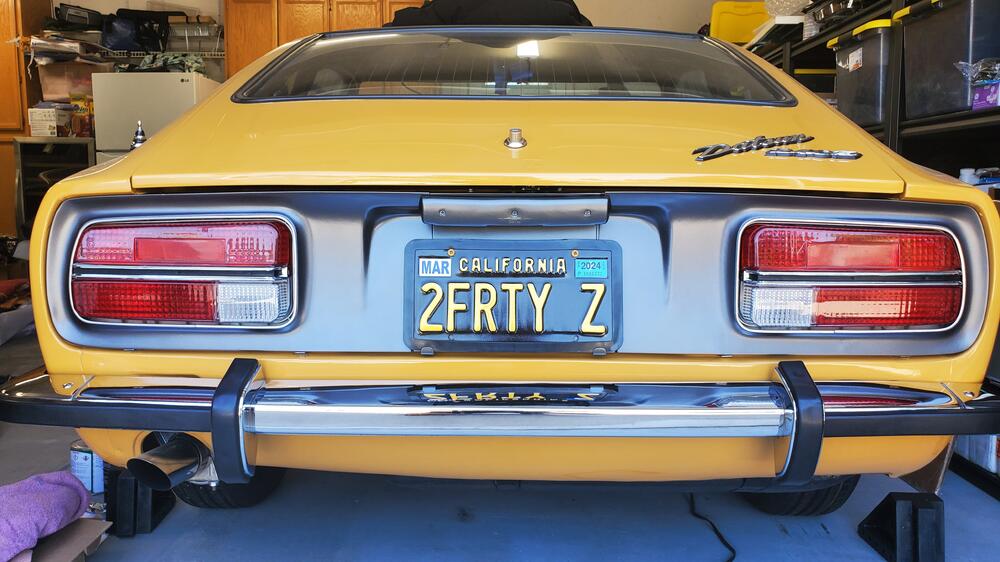
1 pointLove your license plate. I bought my 240 from my son when it was no longer able to provide him with reliable transport. From there I restored it. The license plate I got was DADSON.1 point
-
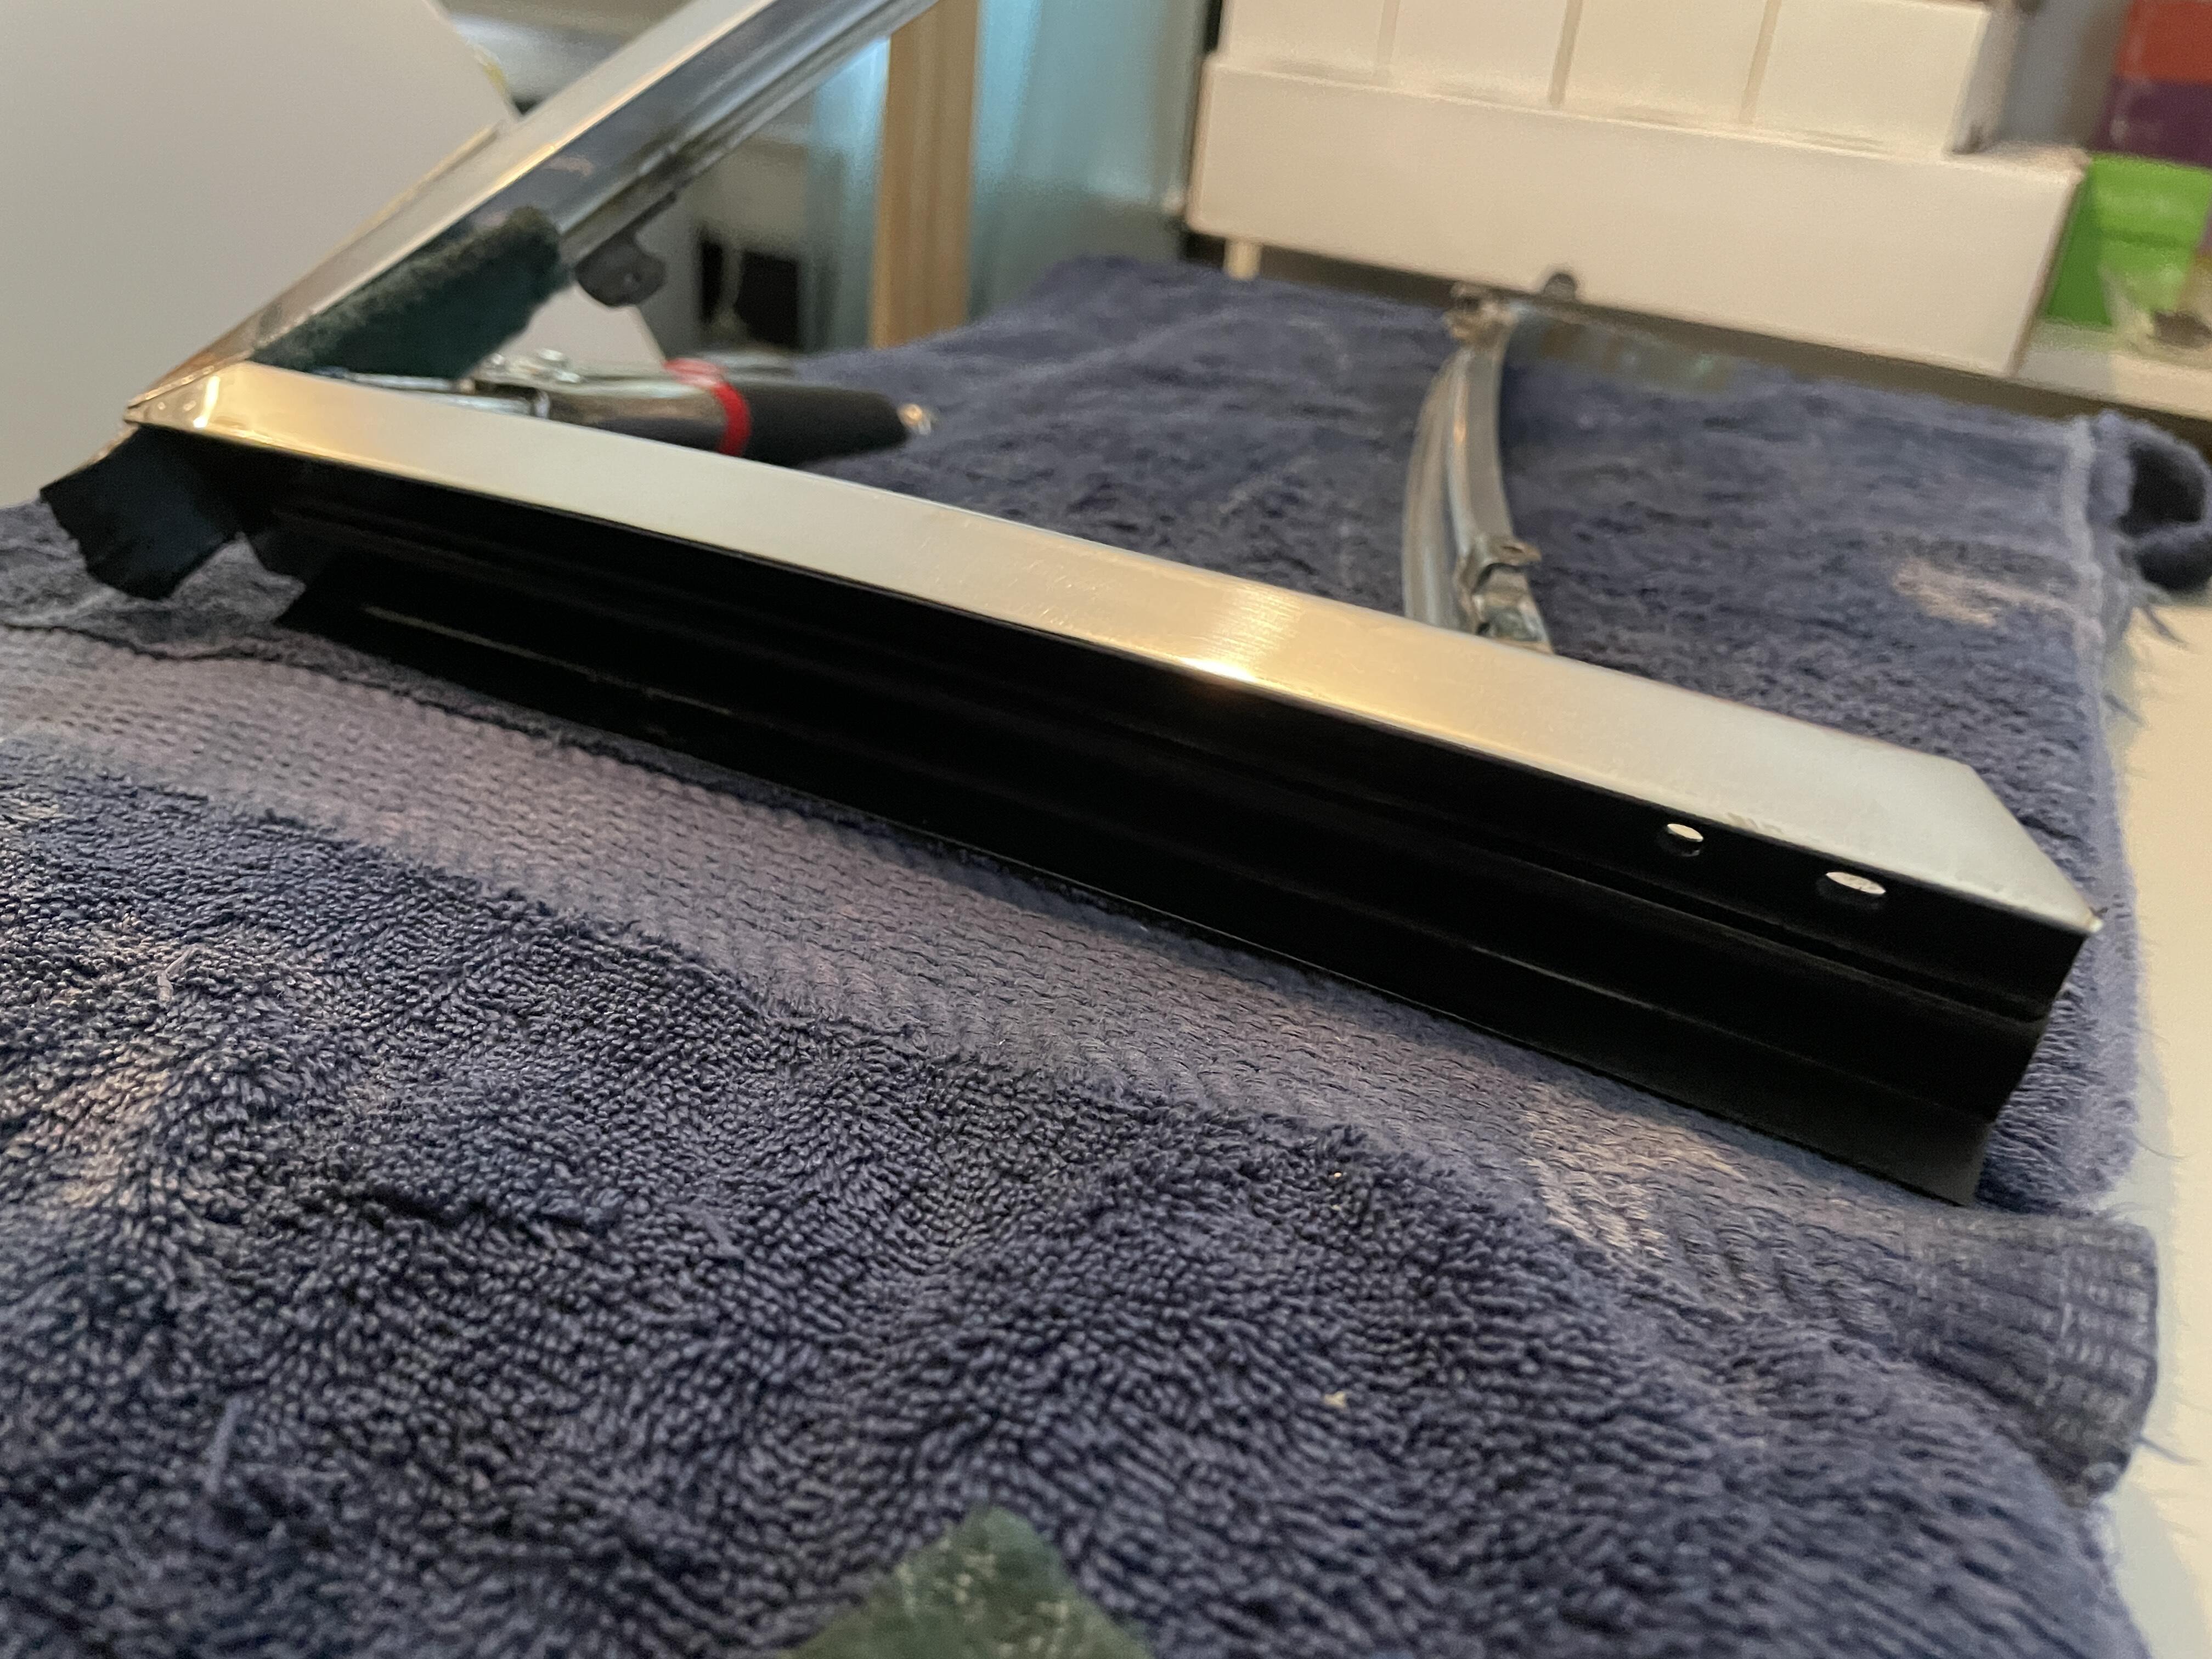
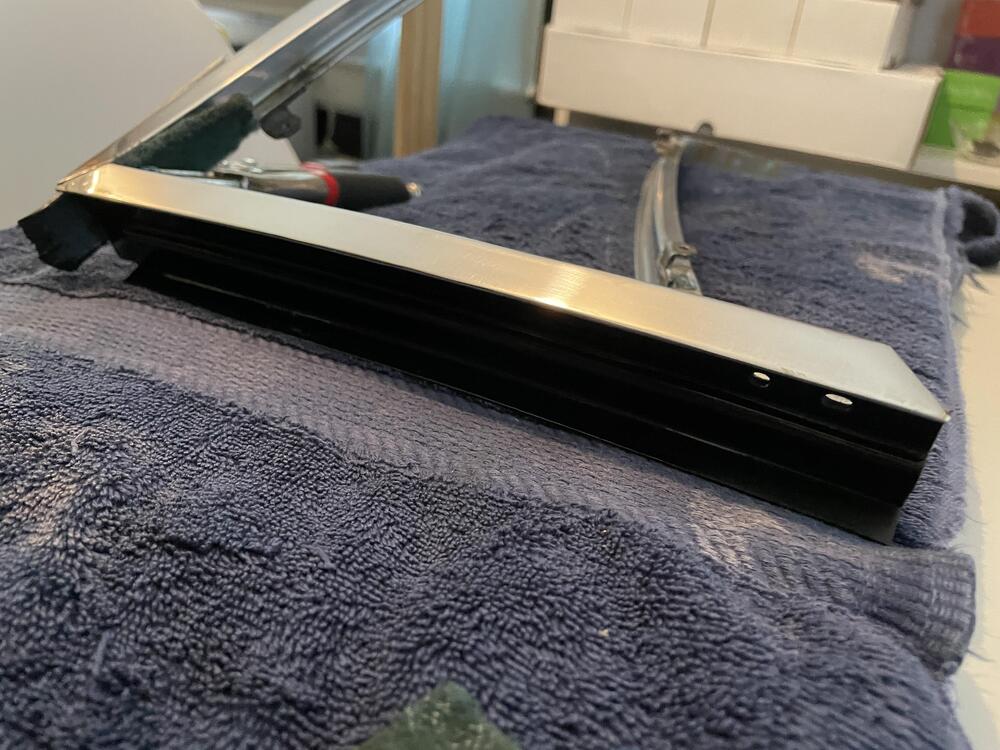
1 pointWanted to close this out with a final pic of the results. Taken in pretty much full sun so has a little reflection on it but I'm super happy with results. Even took the opportunity to get the right push rivets (realized after the initial install the PO had used interior ones) and I refreshed the metal clips on the bottom.
 1 point
 -
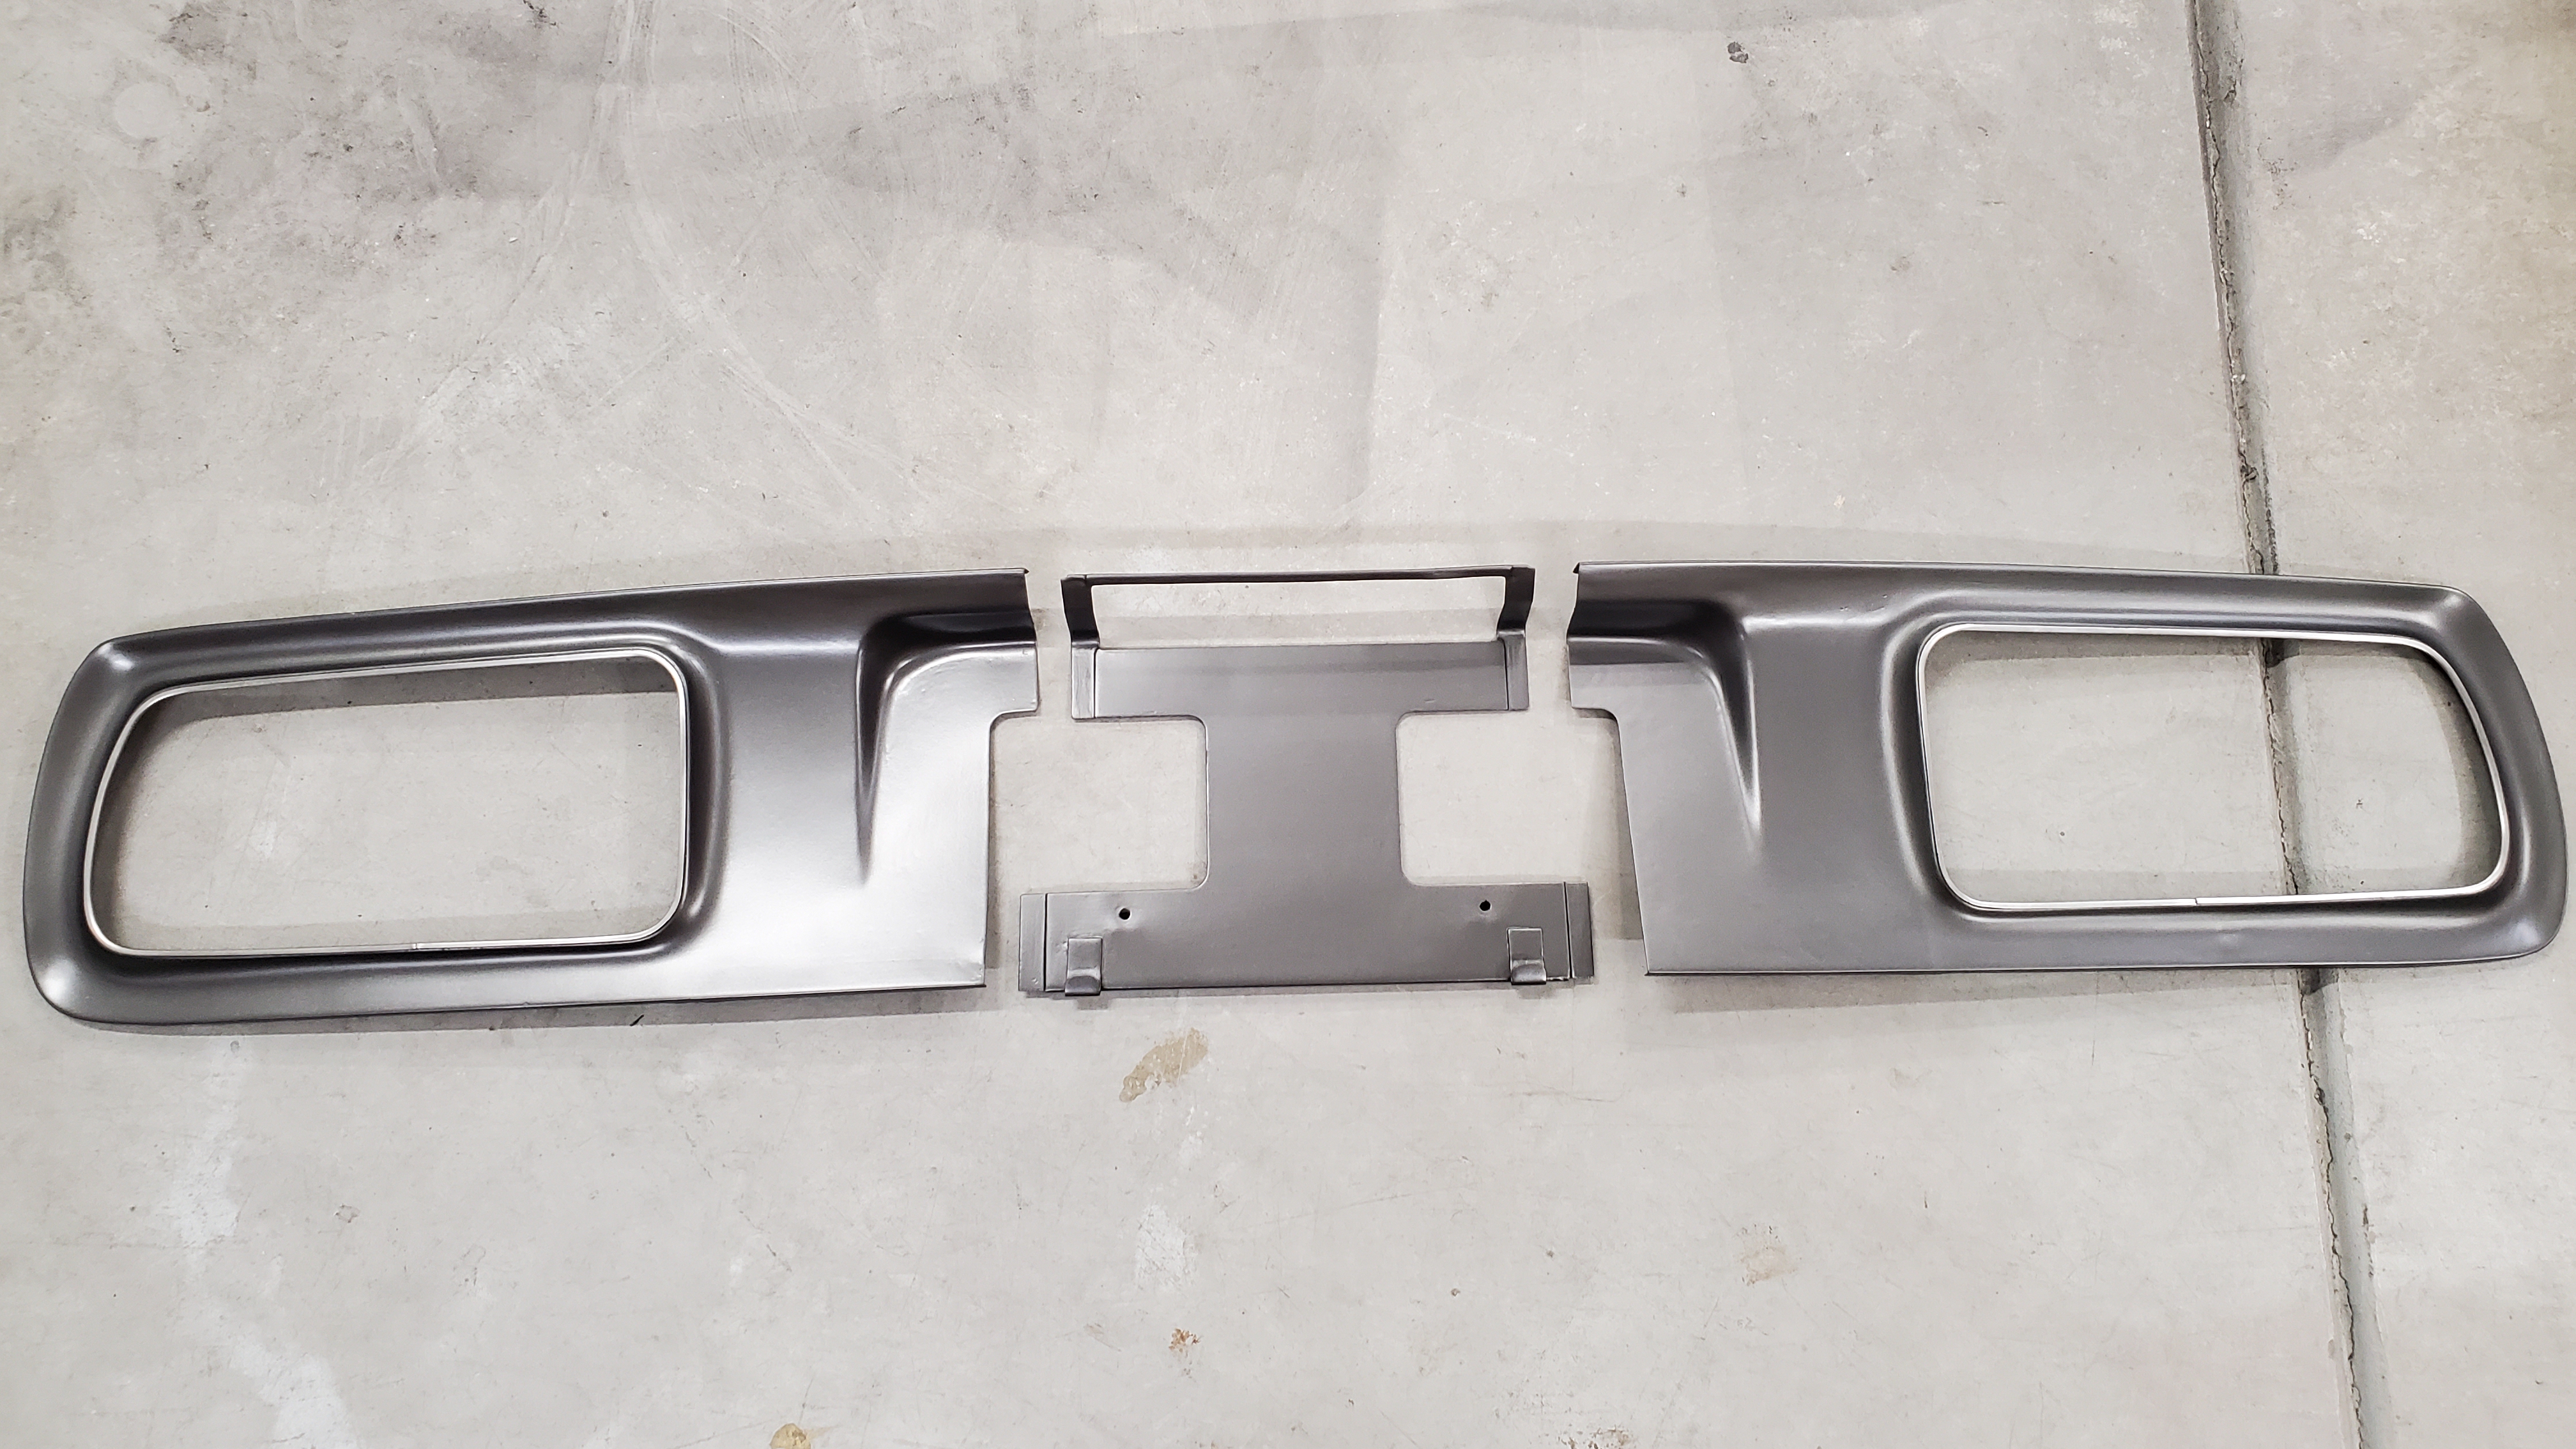
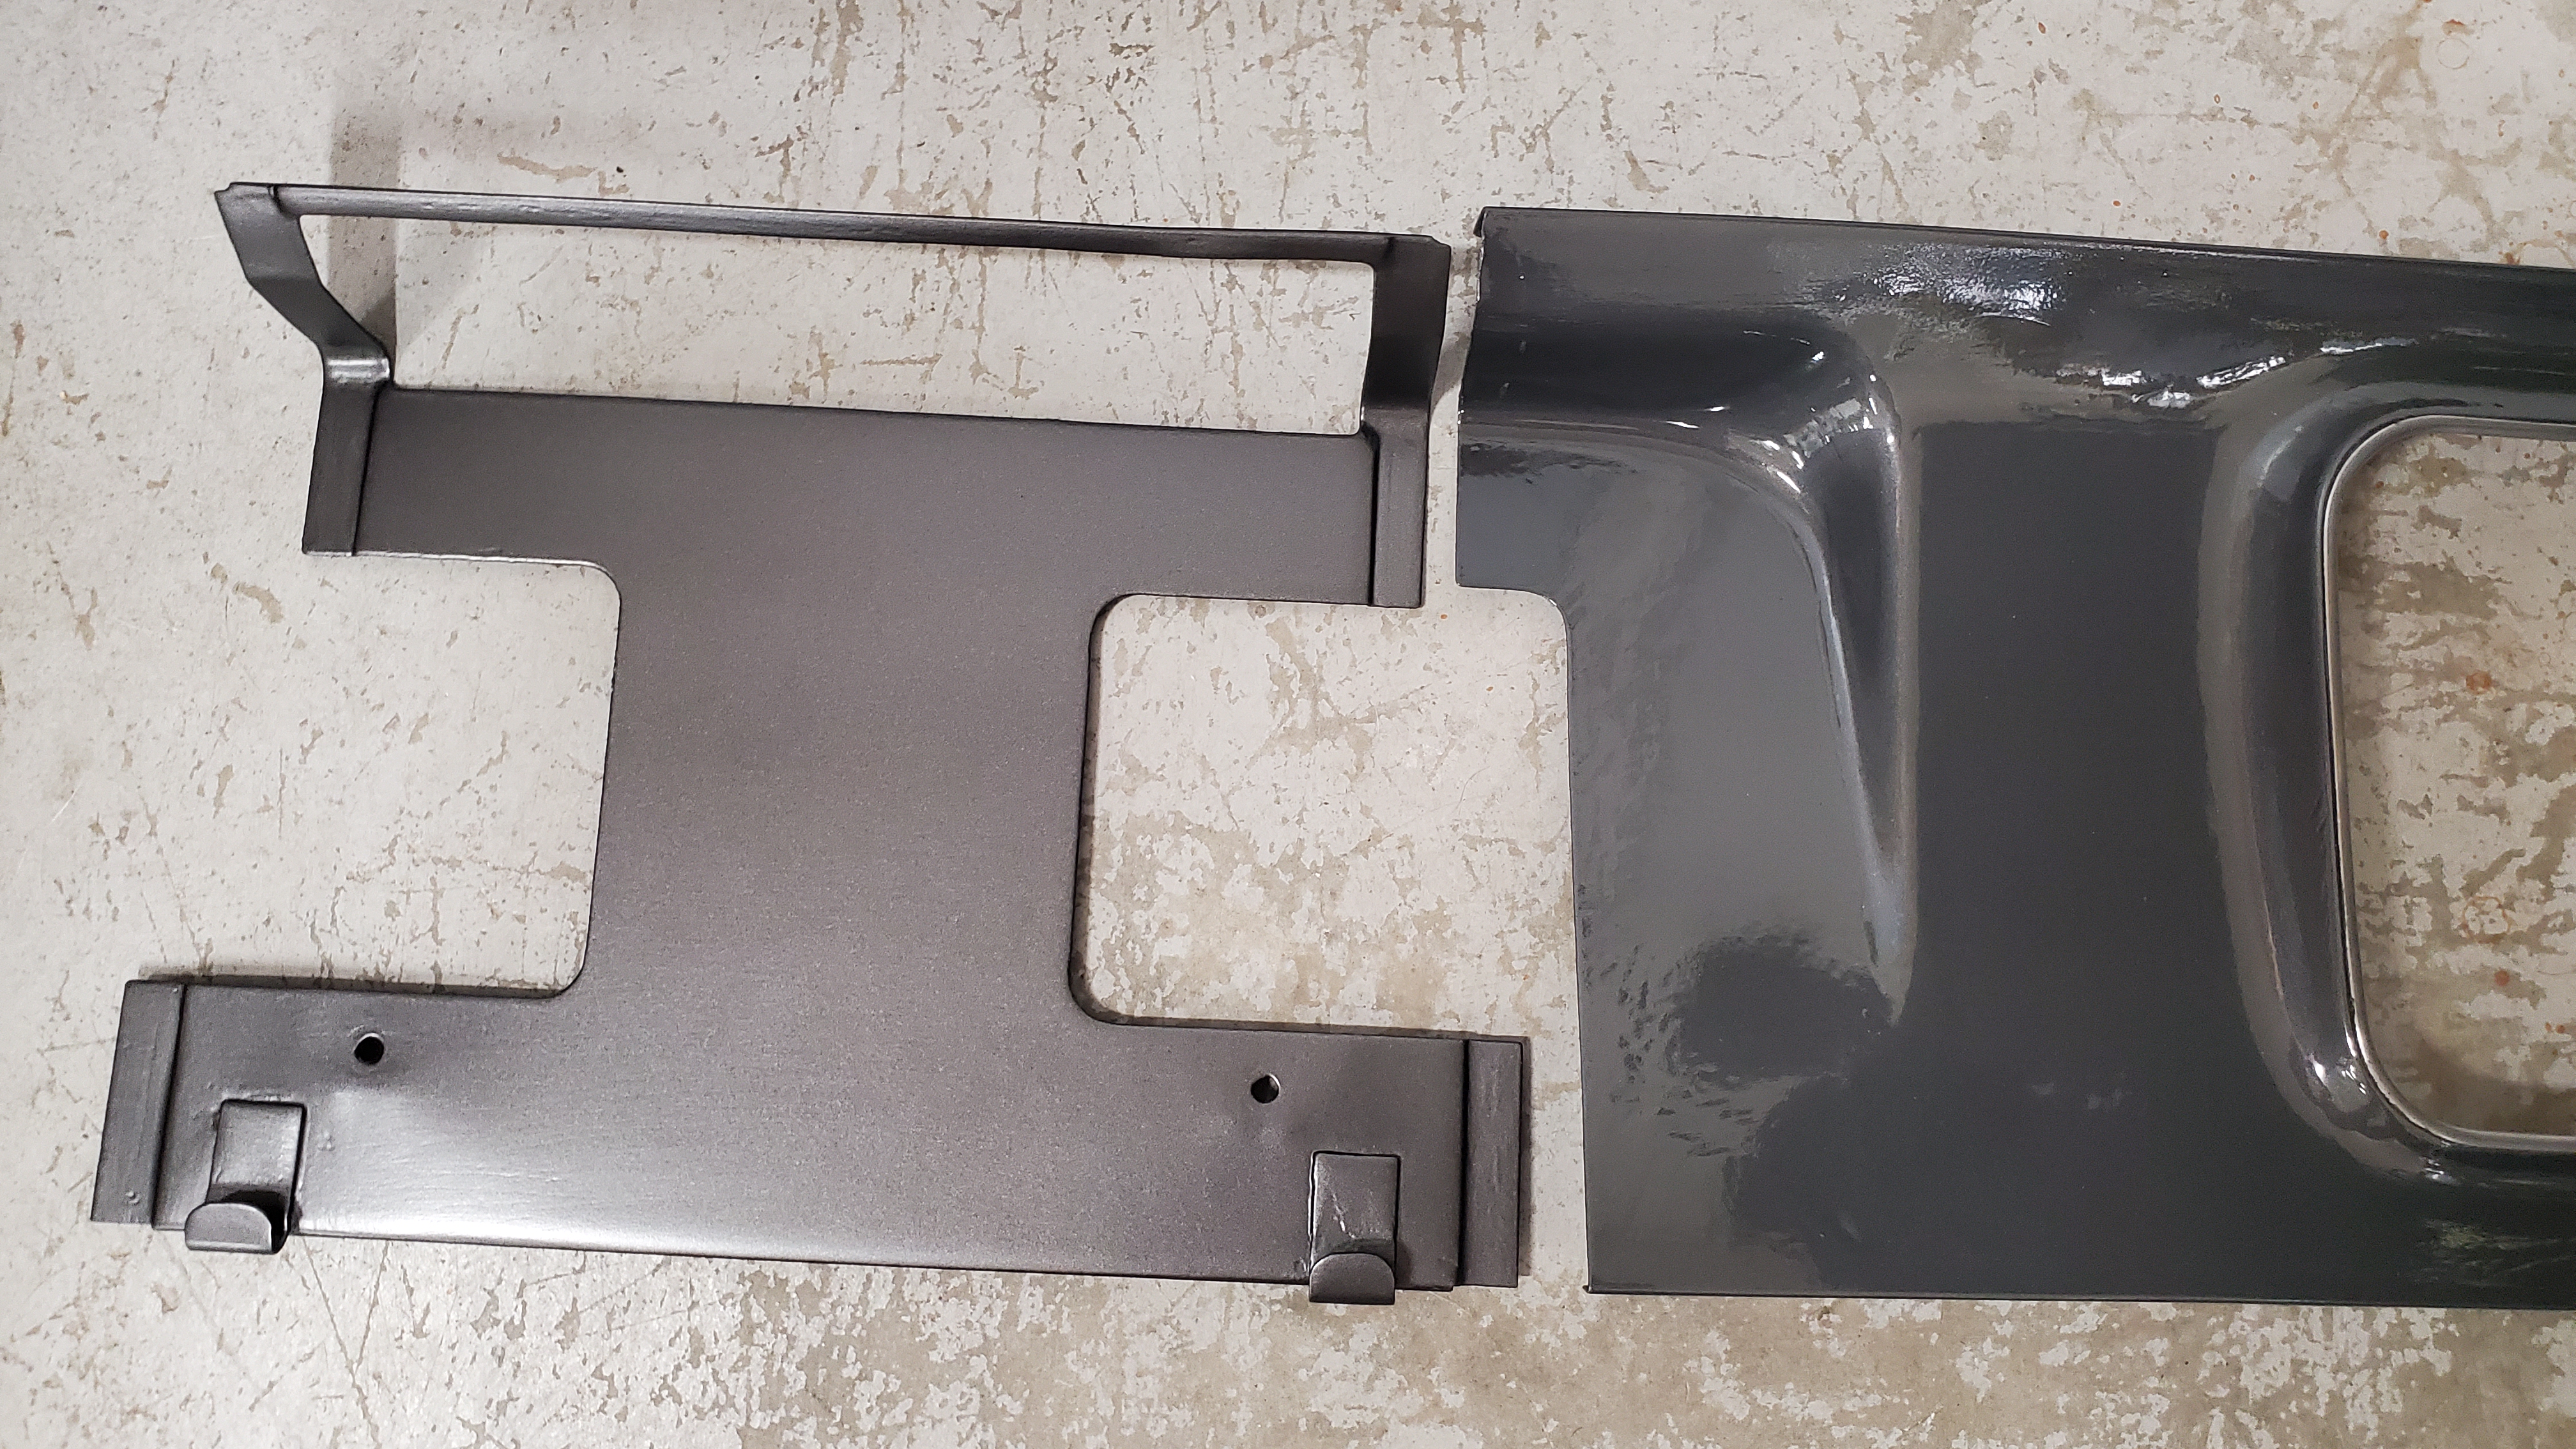
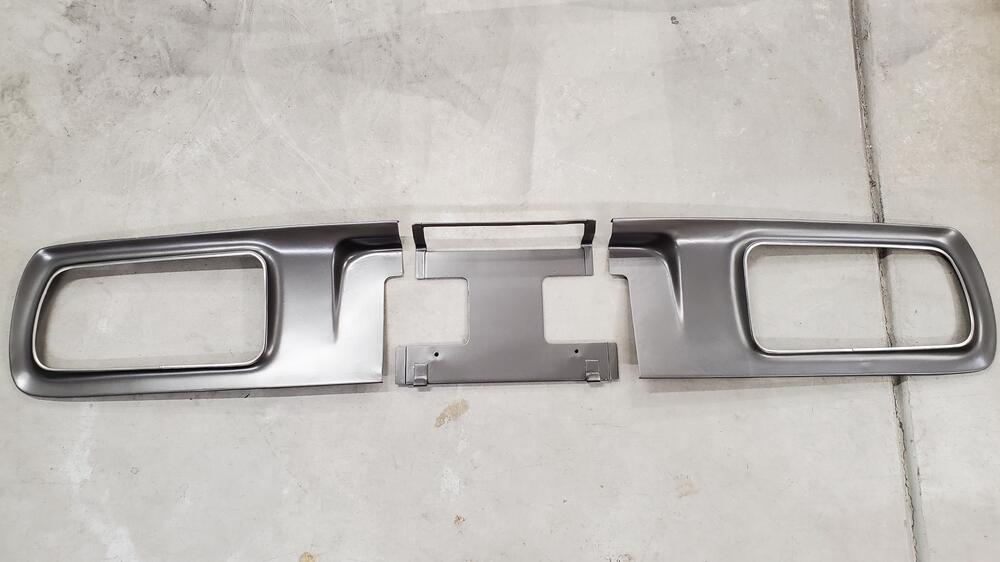
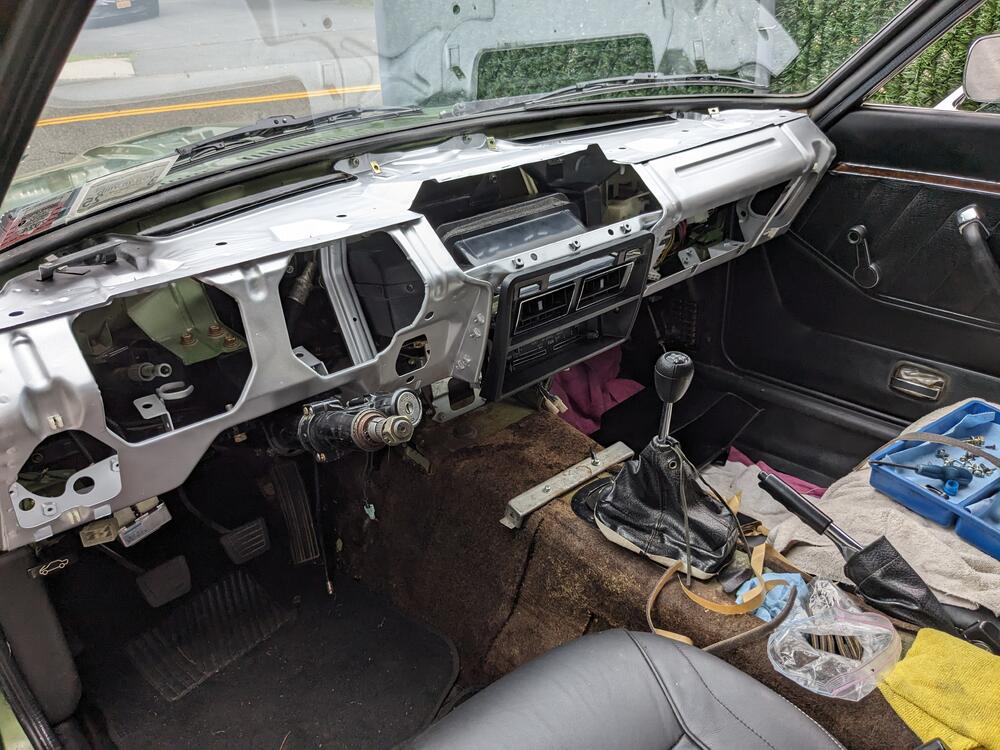
1 pointMore work on the dash frame - primed & painted after fitting the right side brace. Test fitting with Evaporator box, duct & control facia
 1 point
 -
1 pointJust wanted to post some progress. Tested the method with the center section, love the results. Thanks again to all!
 1 point