Leaderboard
-
Captain Obvious
Free Member4Points10,081Posts -
Matthew Abate
Free Member4Points1,204Posts -
.JPG.cfcada9cf1c1b502df3f5f2f2ca3ff36.JPG)
SteveJ
Free Member3Points9,646Posts -
Richie G
Free Member2Points254Posts


Popular Content
Showing content with the highest reputation on 08/24/2023 in Posts
-
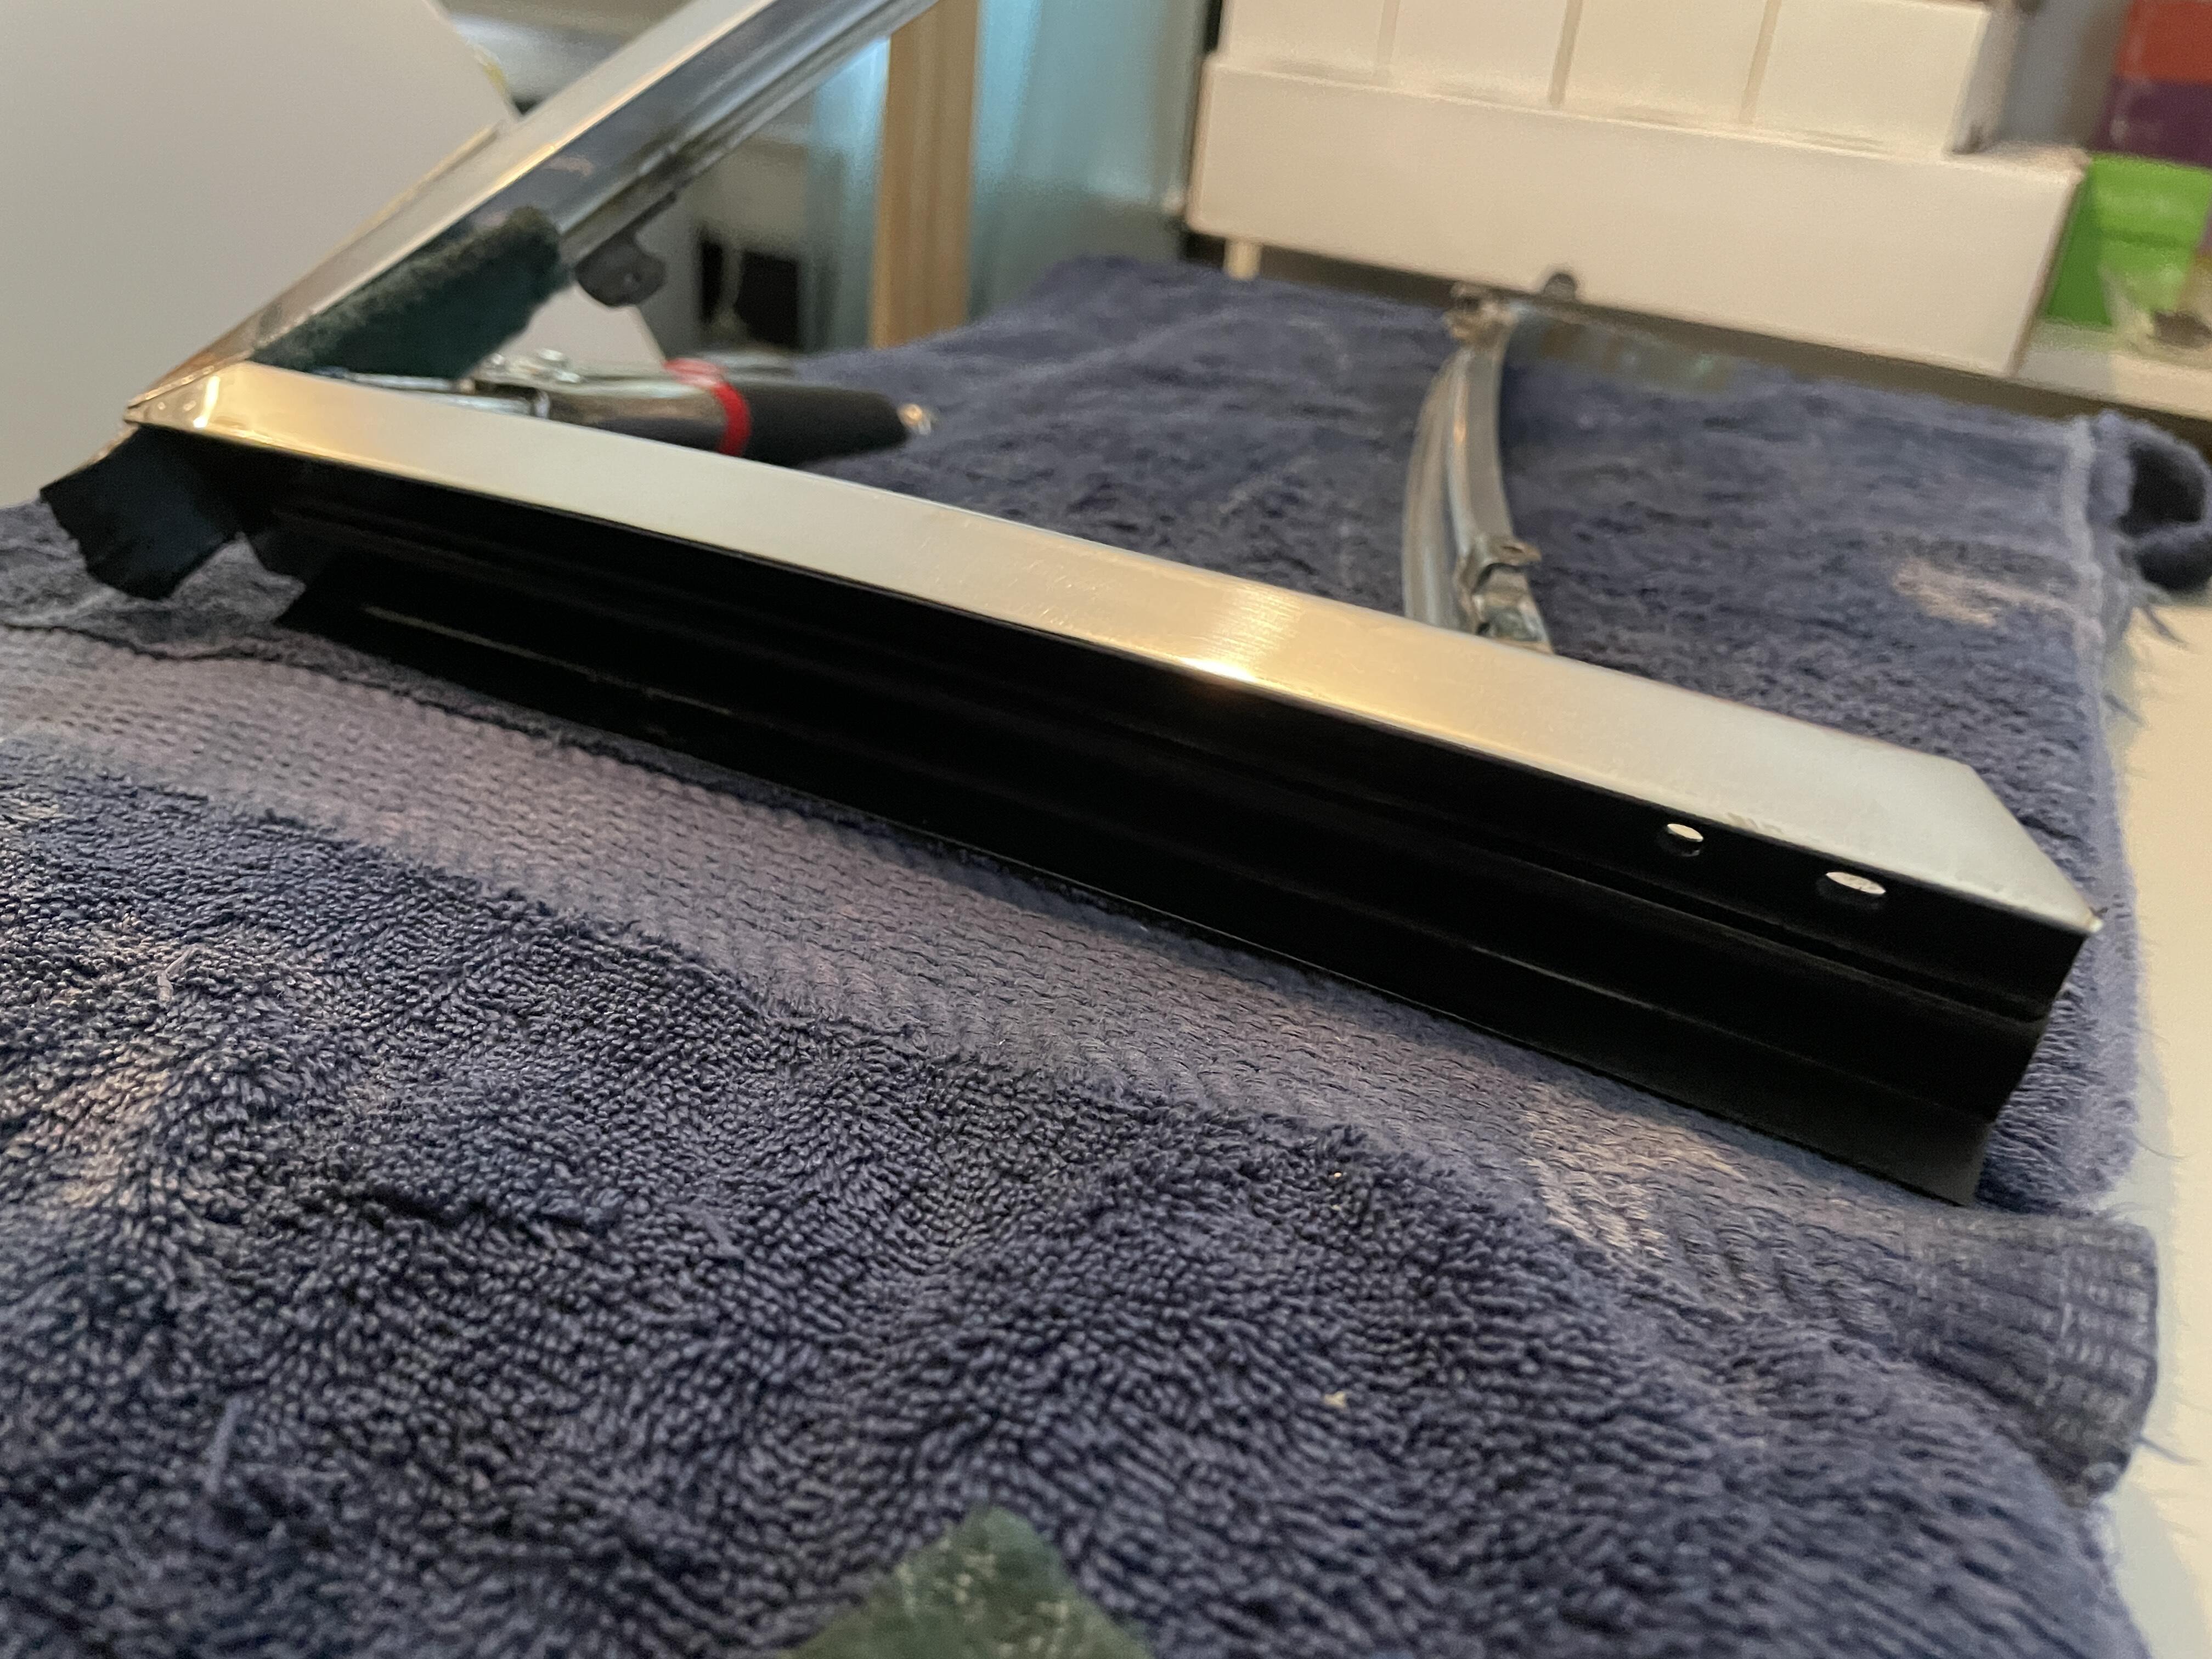
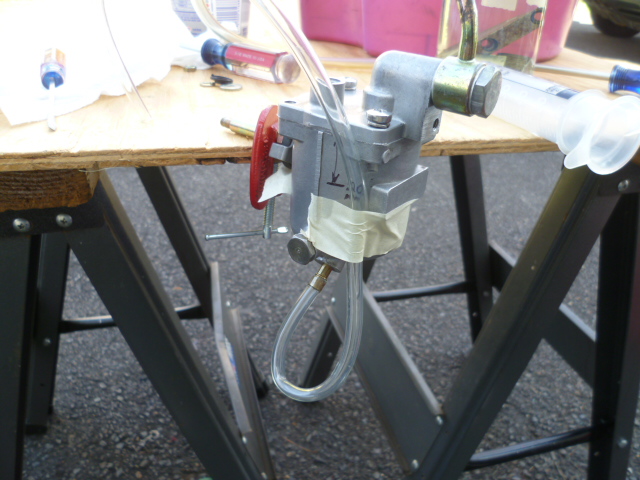
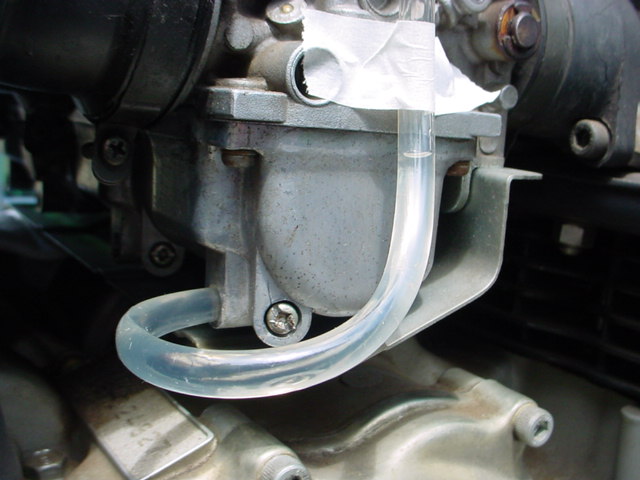
2 pointsThanks Steve mudkip777, Basically, the process goes like this... Put the carbs together and put them on the car. Everything connected per normal. Then pull the black rubber tube off the nipple on the bottom of the float bowl and temporarily connect up a length of clear plastic tubing in it's place. Position the clear tube like the pics in that thread and then run the fuel pump. In your case, that probably means cranking the engine to make the mechanical pump deliver fuel. The fuel level the develops in the bowl (and hence the clear tube) should meet the spec in the service manual. I would suggest pulling the plugs and make sure you have a fully charged battery. It could take some cranking to get fuel to the bowls. That's the clear tube method in a nutshell. Details left to the studied reader. Here's a couple related pics that might help Separated from the rest of the carb, but here's a 240 bowl: And here's a different carb, but the concept is the same:
 2 points
 -
2 points
-
2 pointsThere are some pics on the site that show how to check the float bowl level using a clear piece or plastic tubing. I'll dig around a little and see if I can find them, but someone else will probably find them faster.2 points
-
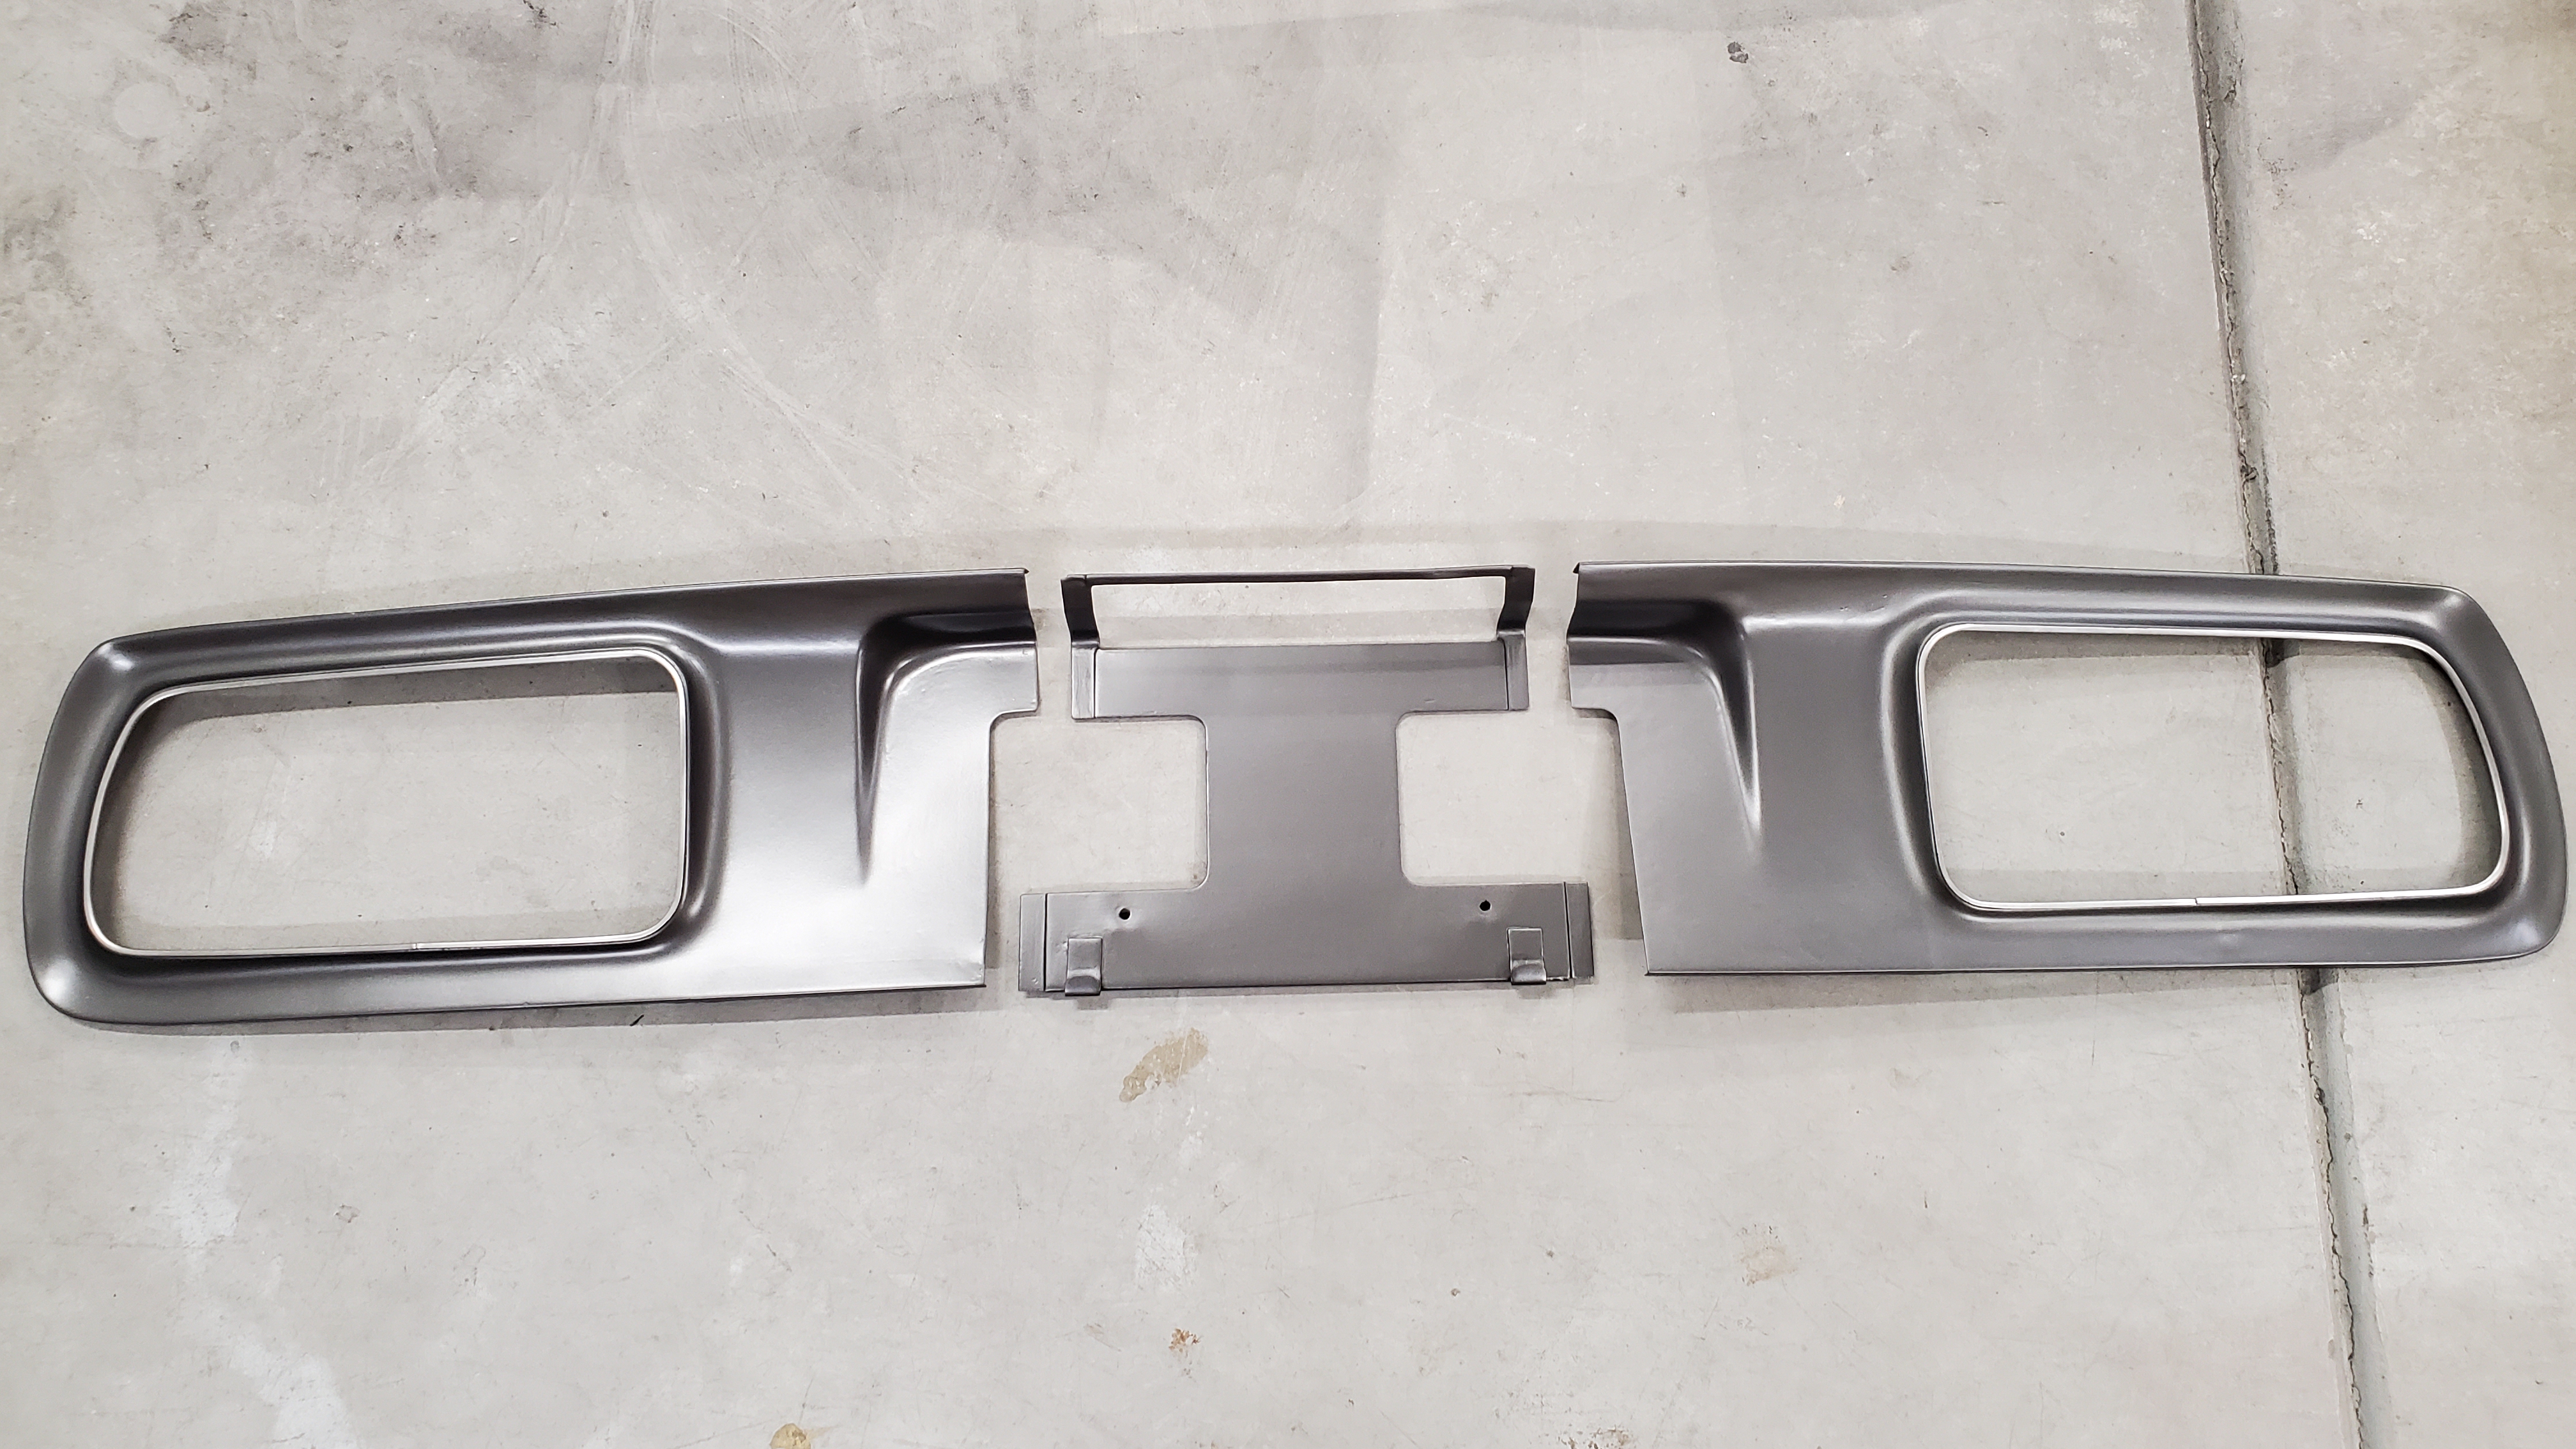
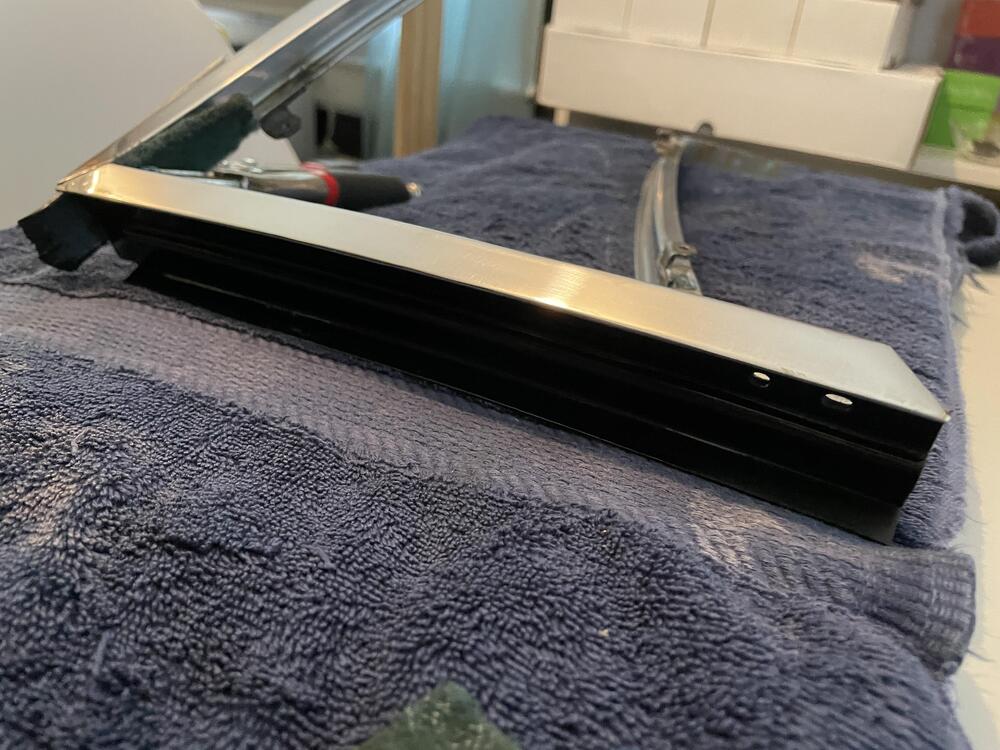
1 pointMine is black. I stripped them and repainted them before putting new seals on.
 1 point
 -
1 point@Captain Obviouscan chime in here, but you’re best bet is to put everything back together and go by what the folks here have recommended. Just because the po gave you extra parts you really don’t know the history. You need to have a baseline on troubleshooting and go from there. I wish you the best of luck. There is a way of getting there but it’s step by step.1 point
-
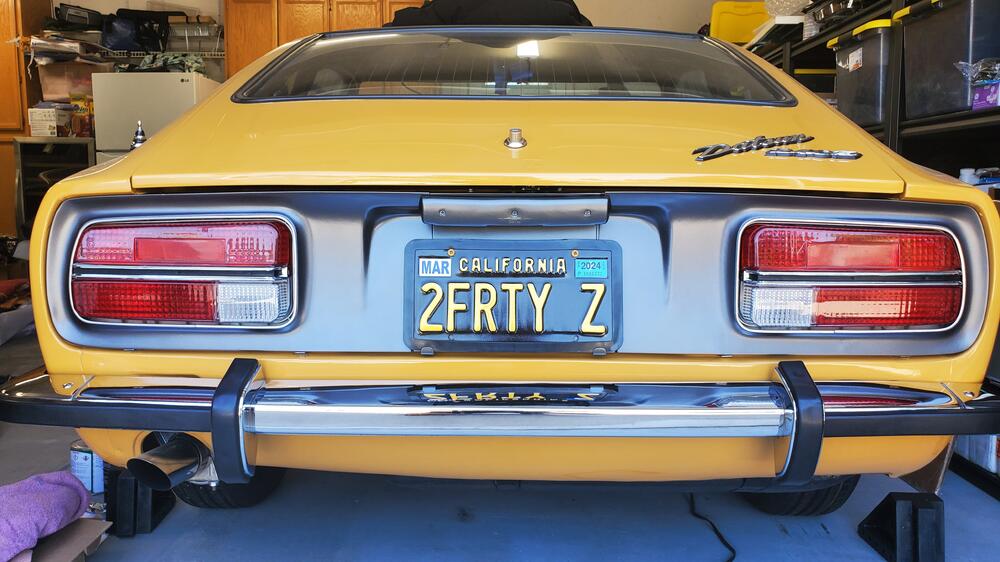
1 pointRichard that's awesome. For the license plate when I first showed it to my wife she jokes around and says most people will think it's farty not forty1 point
-
1 pointLove your license plate. I bought my 240 from my son when it was no longer able to provide him with reliable transport. From there I restored it. The license plate I got was DADSON.1 point
-
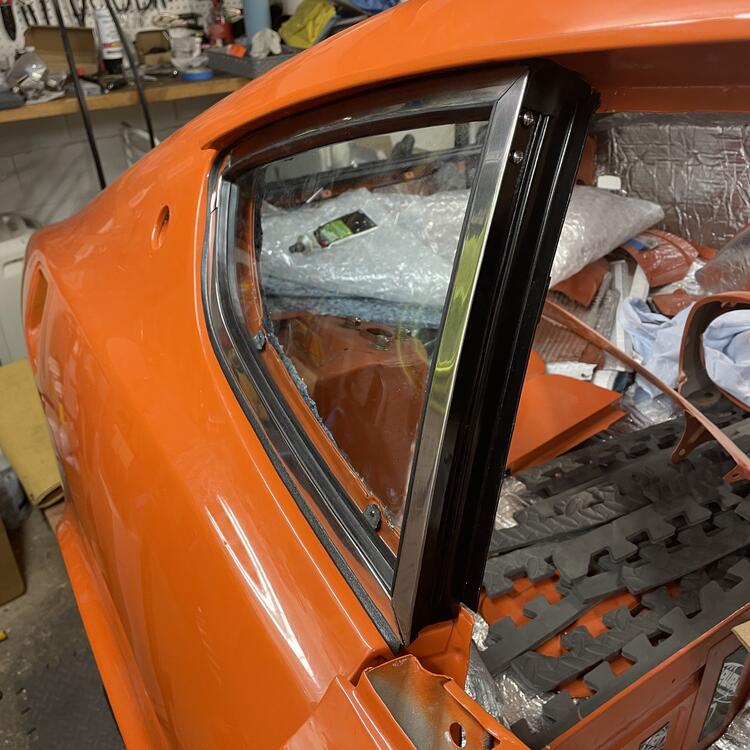
1 pointWanted to close this out with a final pic of the results. Taken in pretty much full sun so has a little reflection on it but I'm super happy with results. Even took the opportunity to get the right push rivets (realized after the initial install the PO had used interior ones) and I refreshed the metal clips on the bottom.
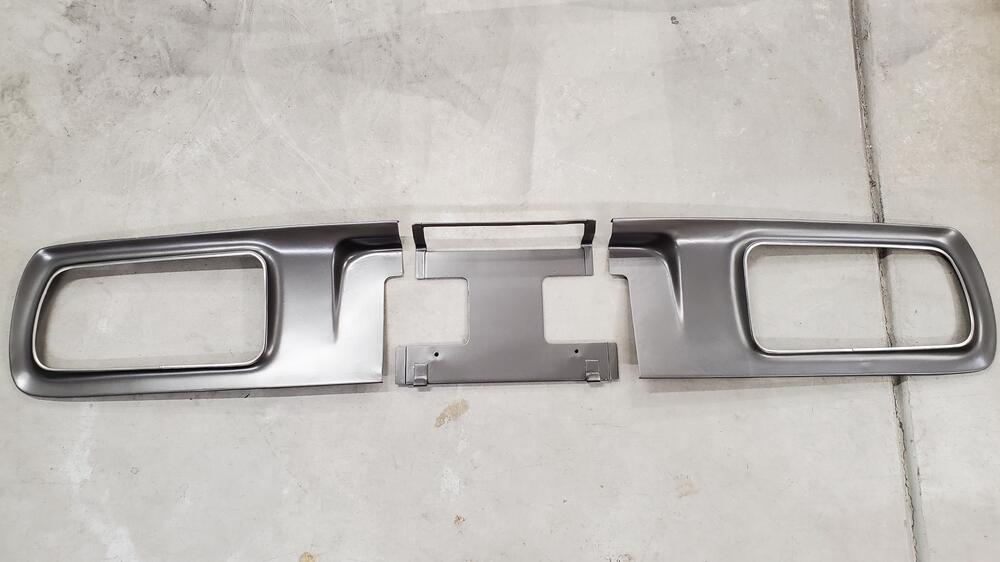
 1 point
 -
1 pointYou talk about old gas in the front carb. How old? Has this car been sitting for a long time? In addition to the float level, the path between the float bowl and nozzle could be clogged. I saw that with my 240Z that sat for a long time. How old are the hoses that go between the float bowl and nozzles? (I thought I posted about cleaning out the float bowl, but I don't see the post here or in my history.)1 point
-
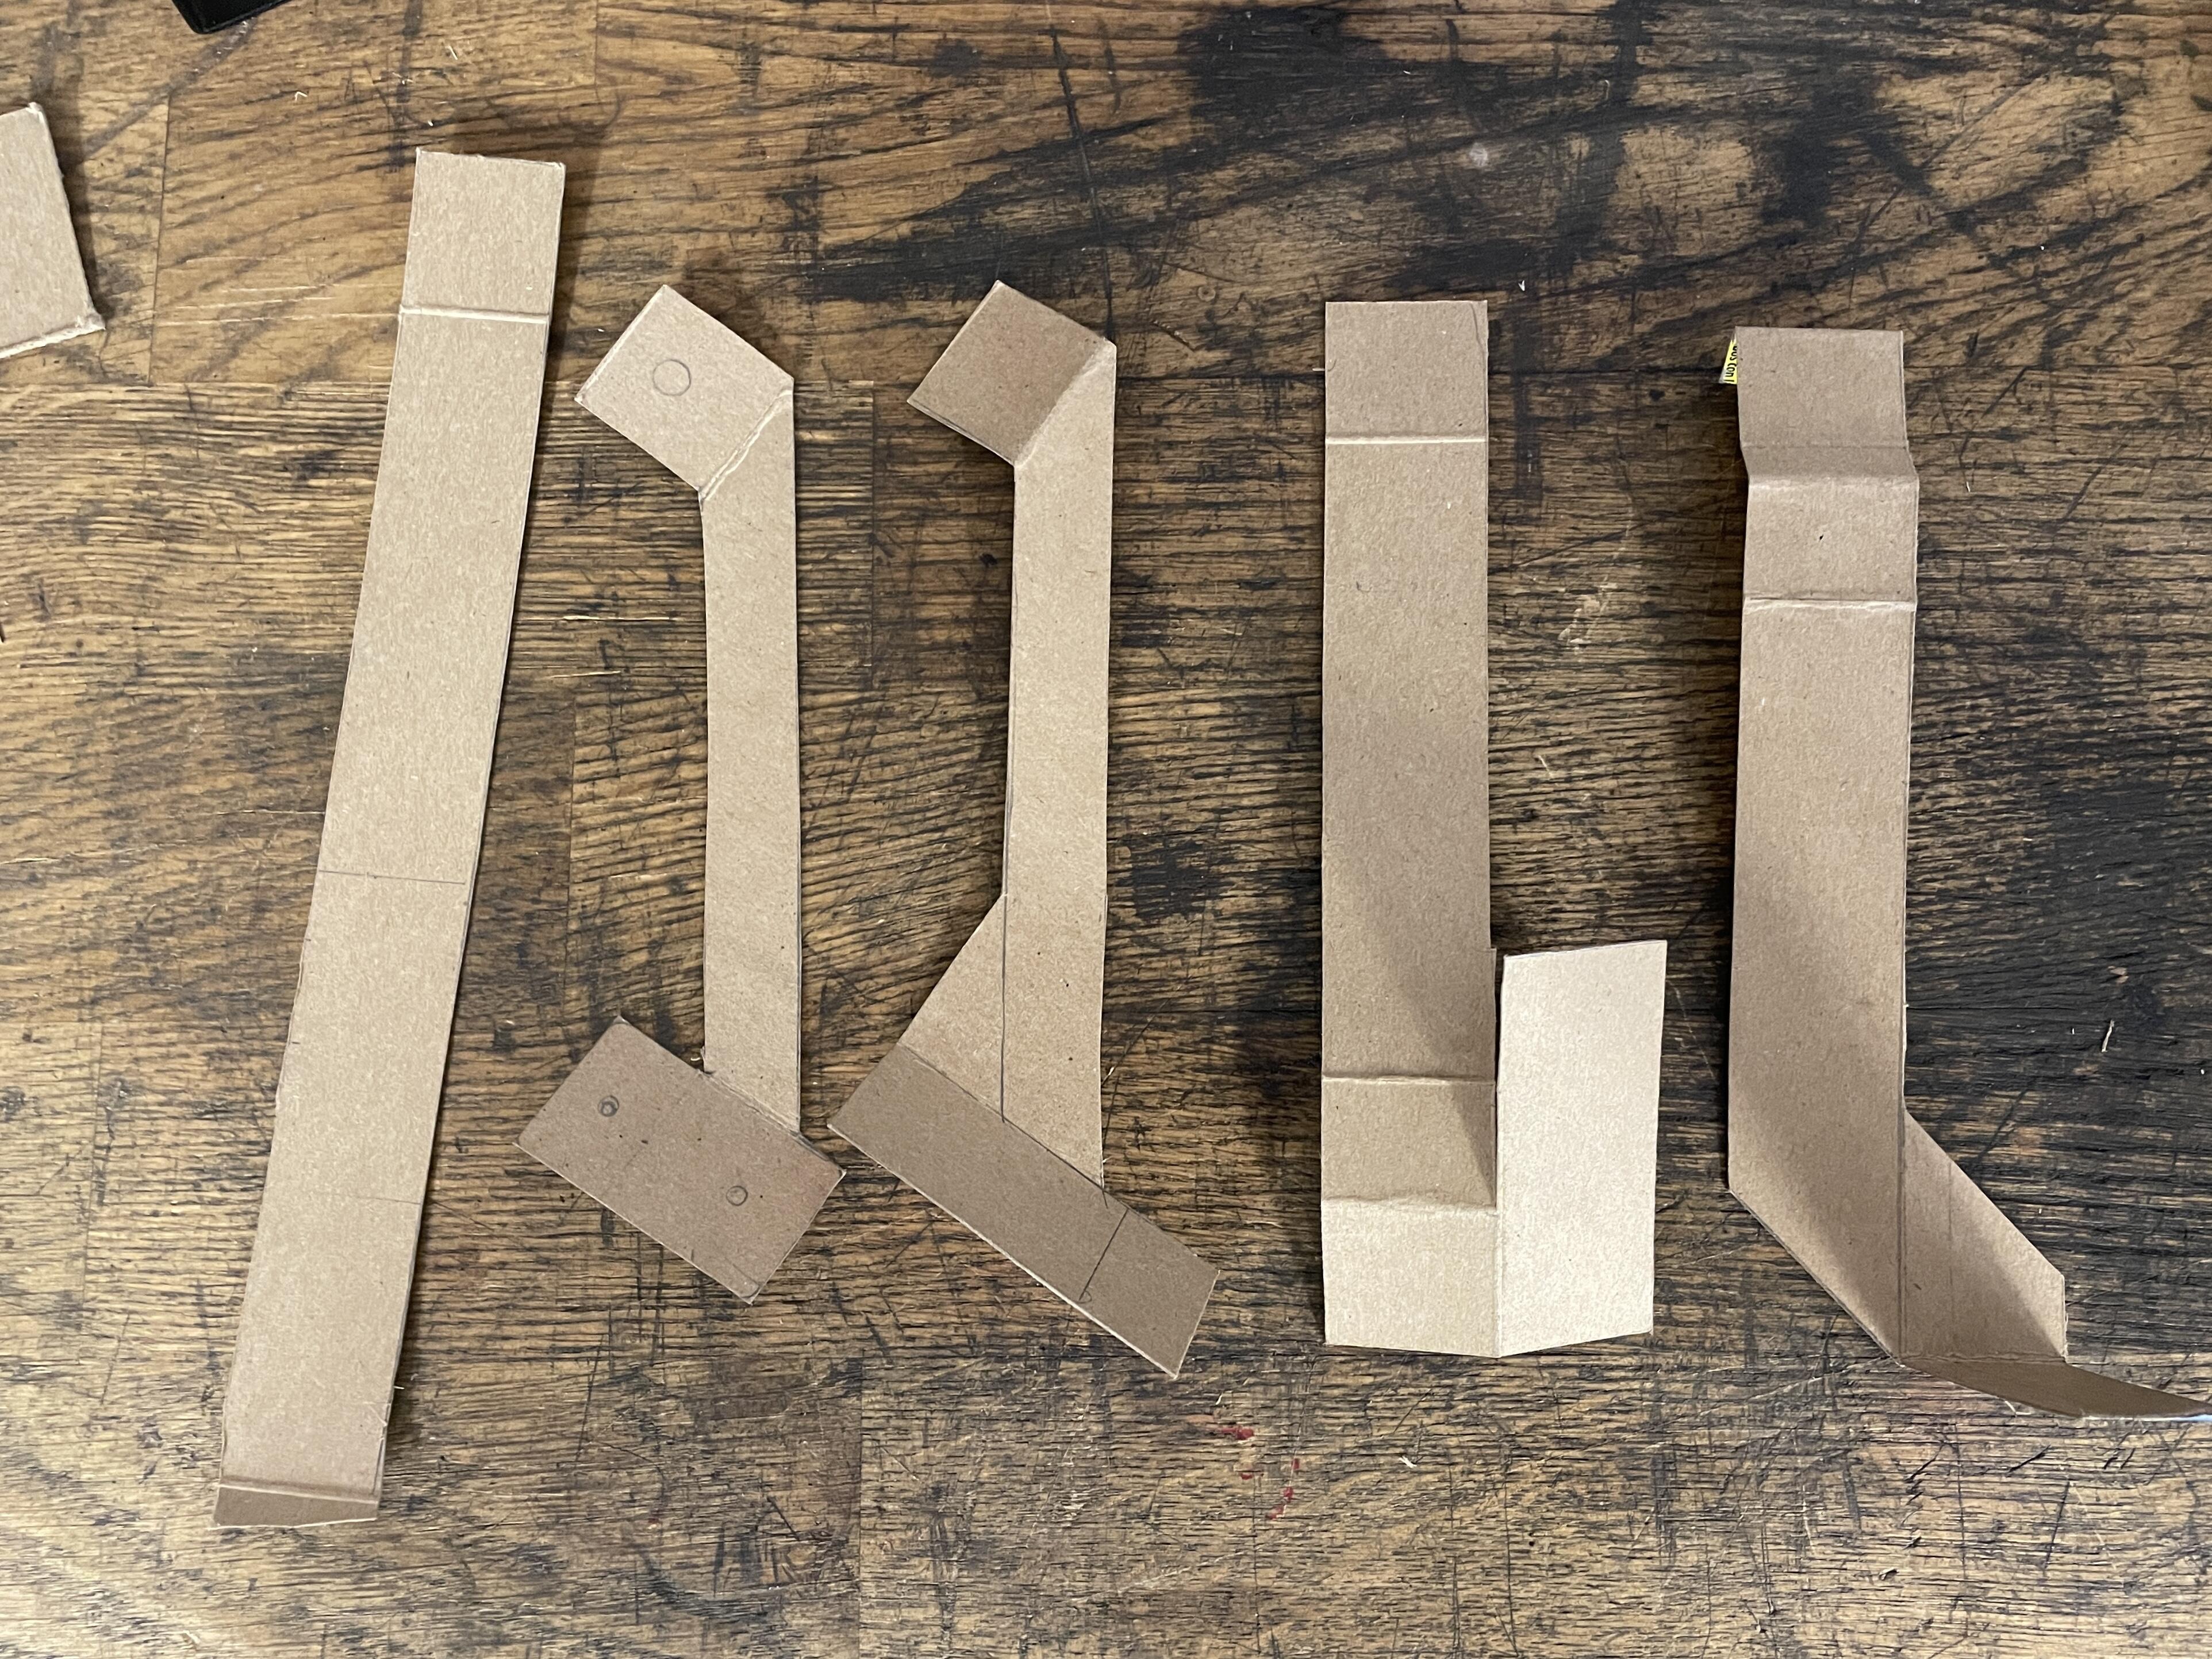
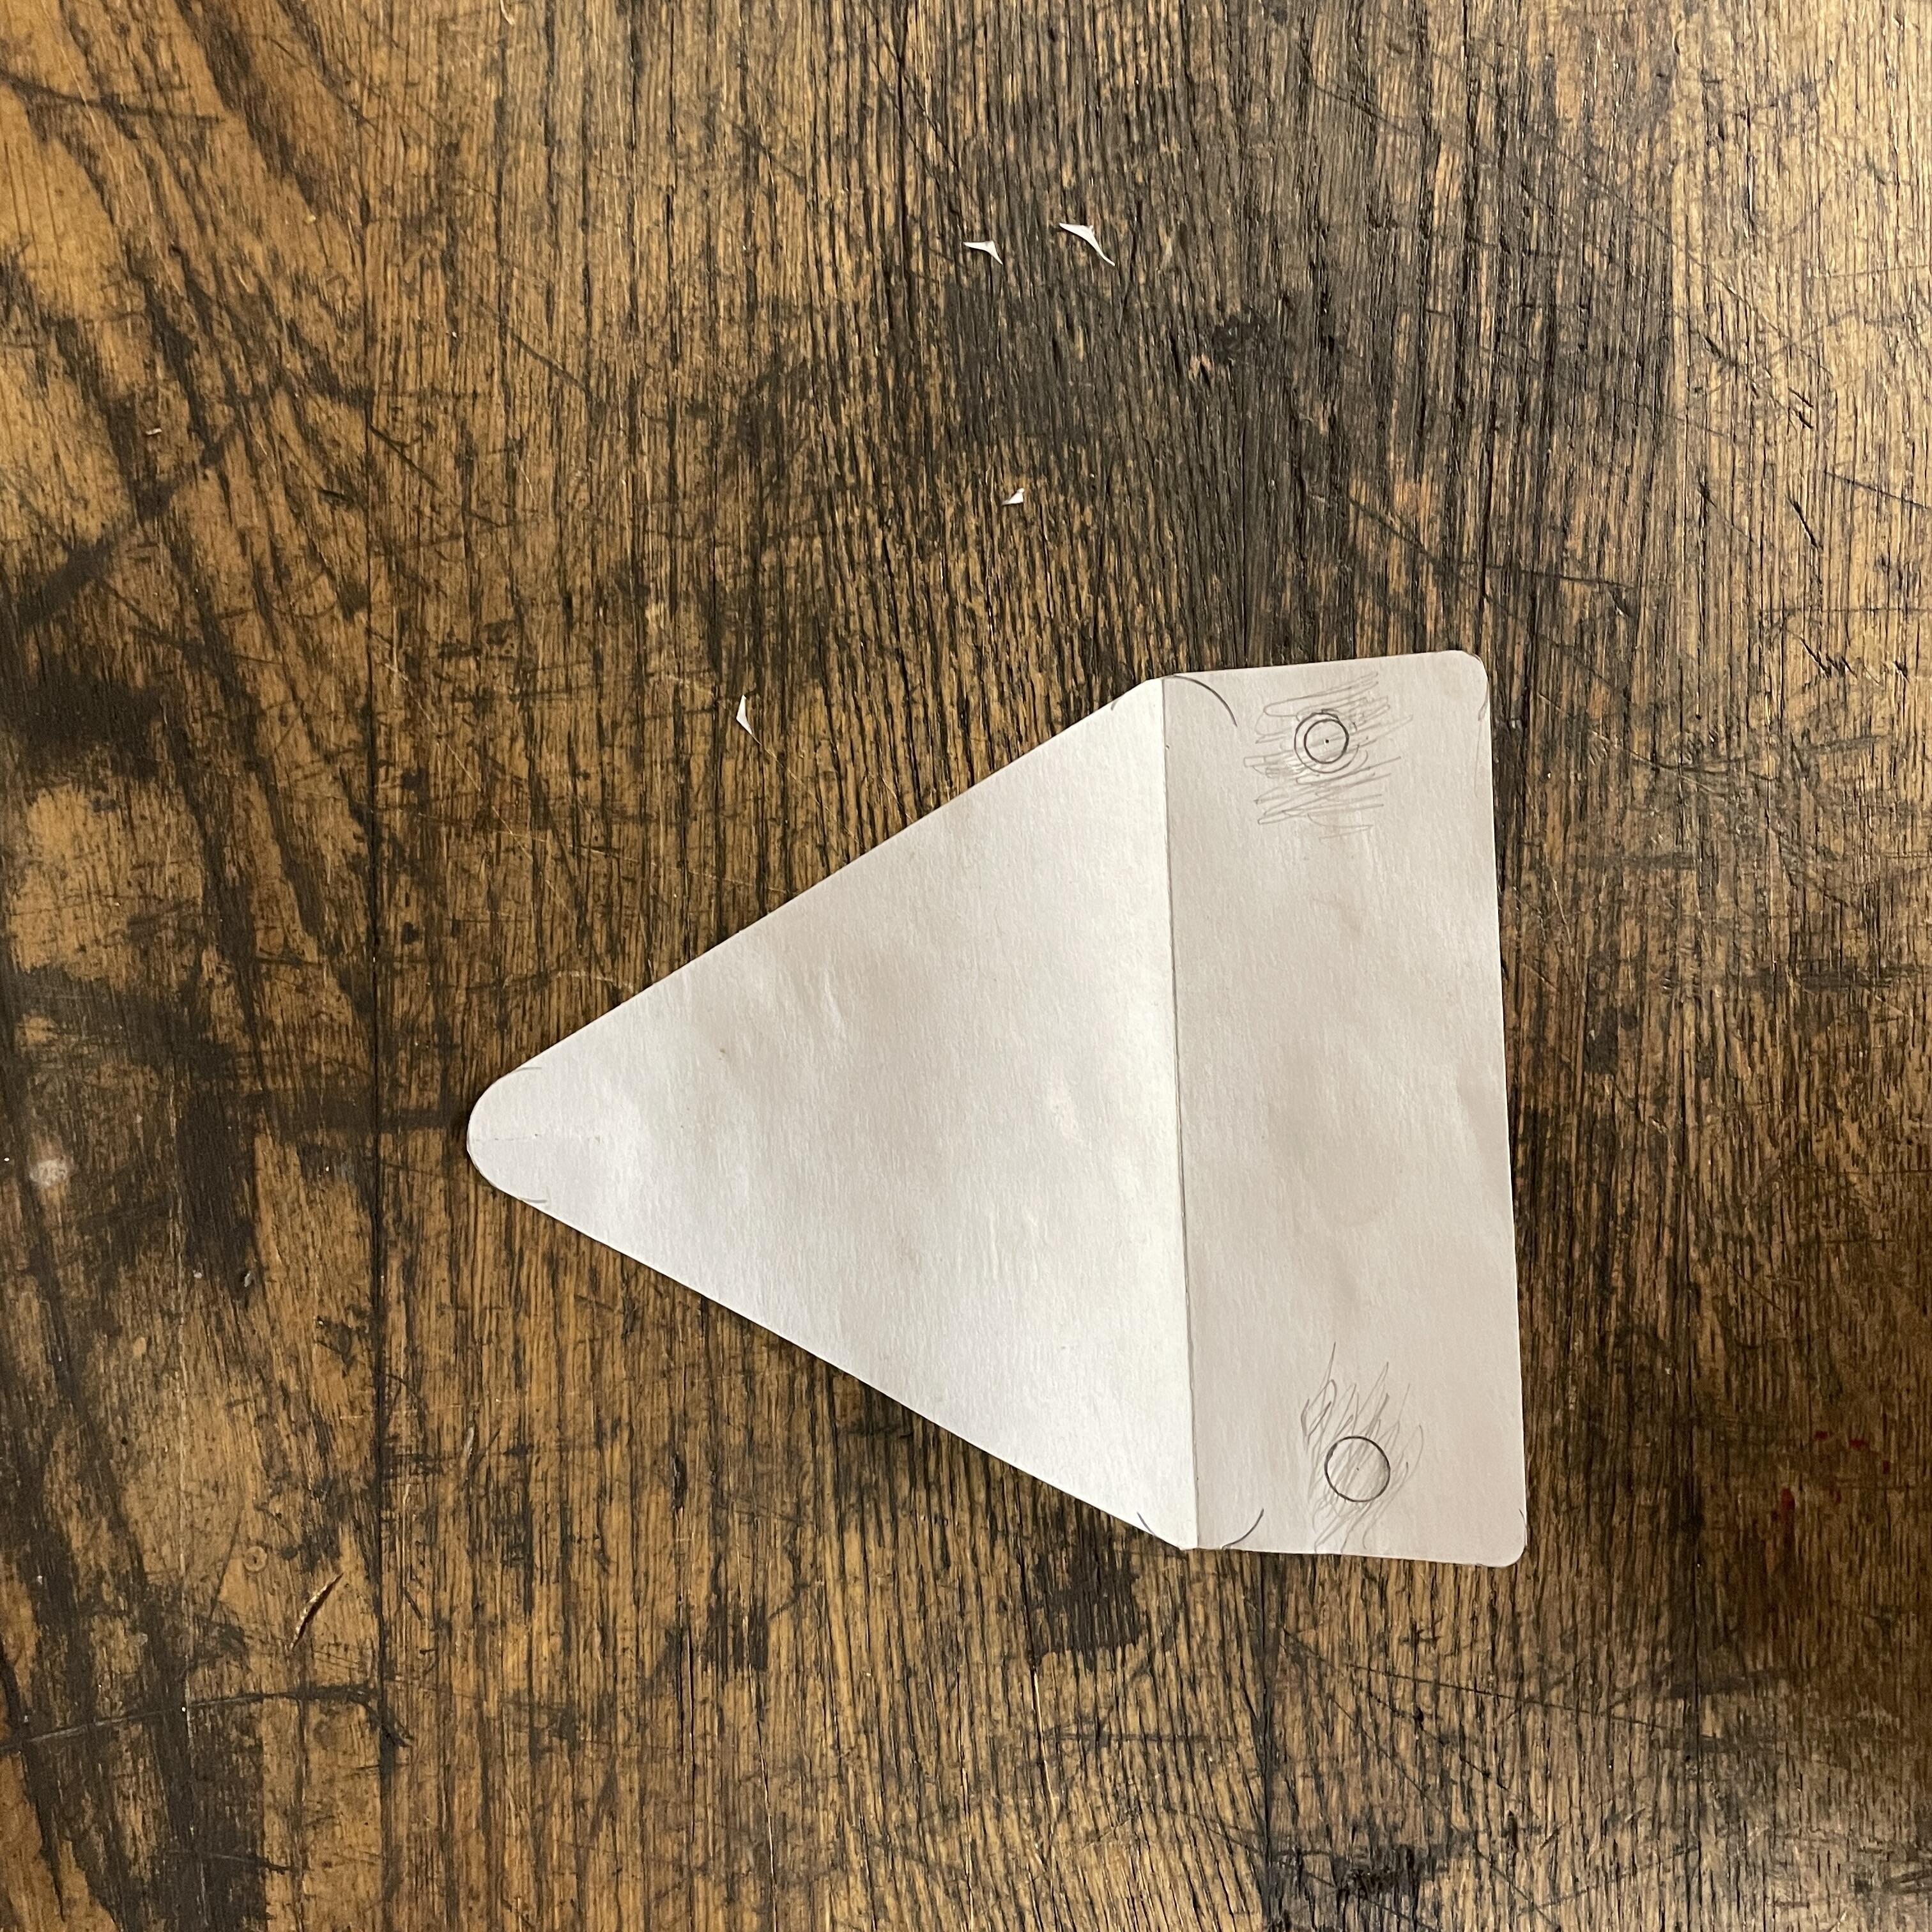
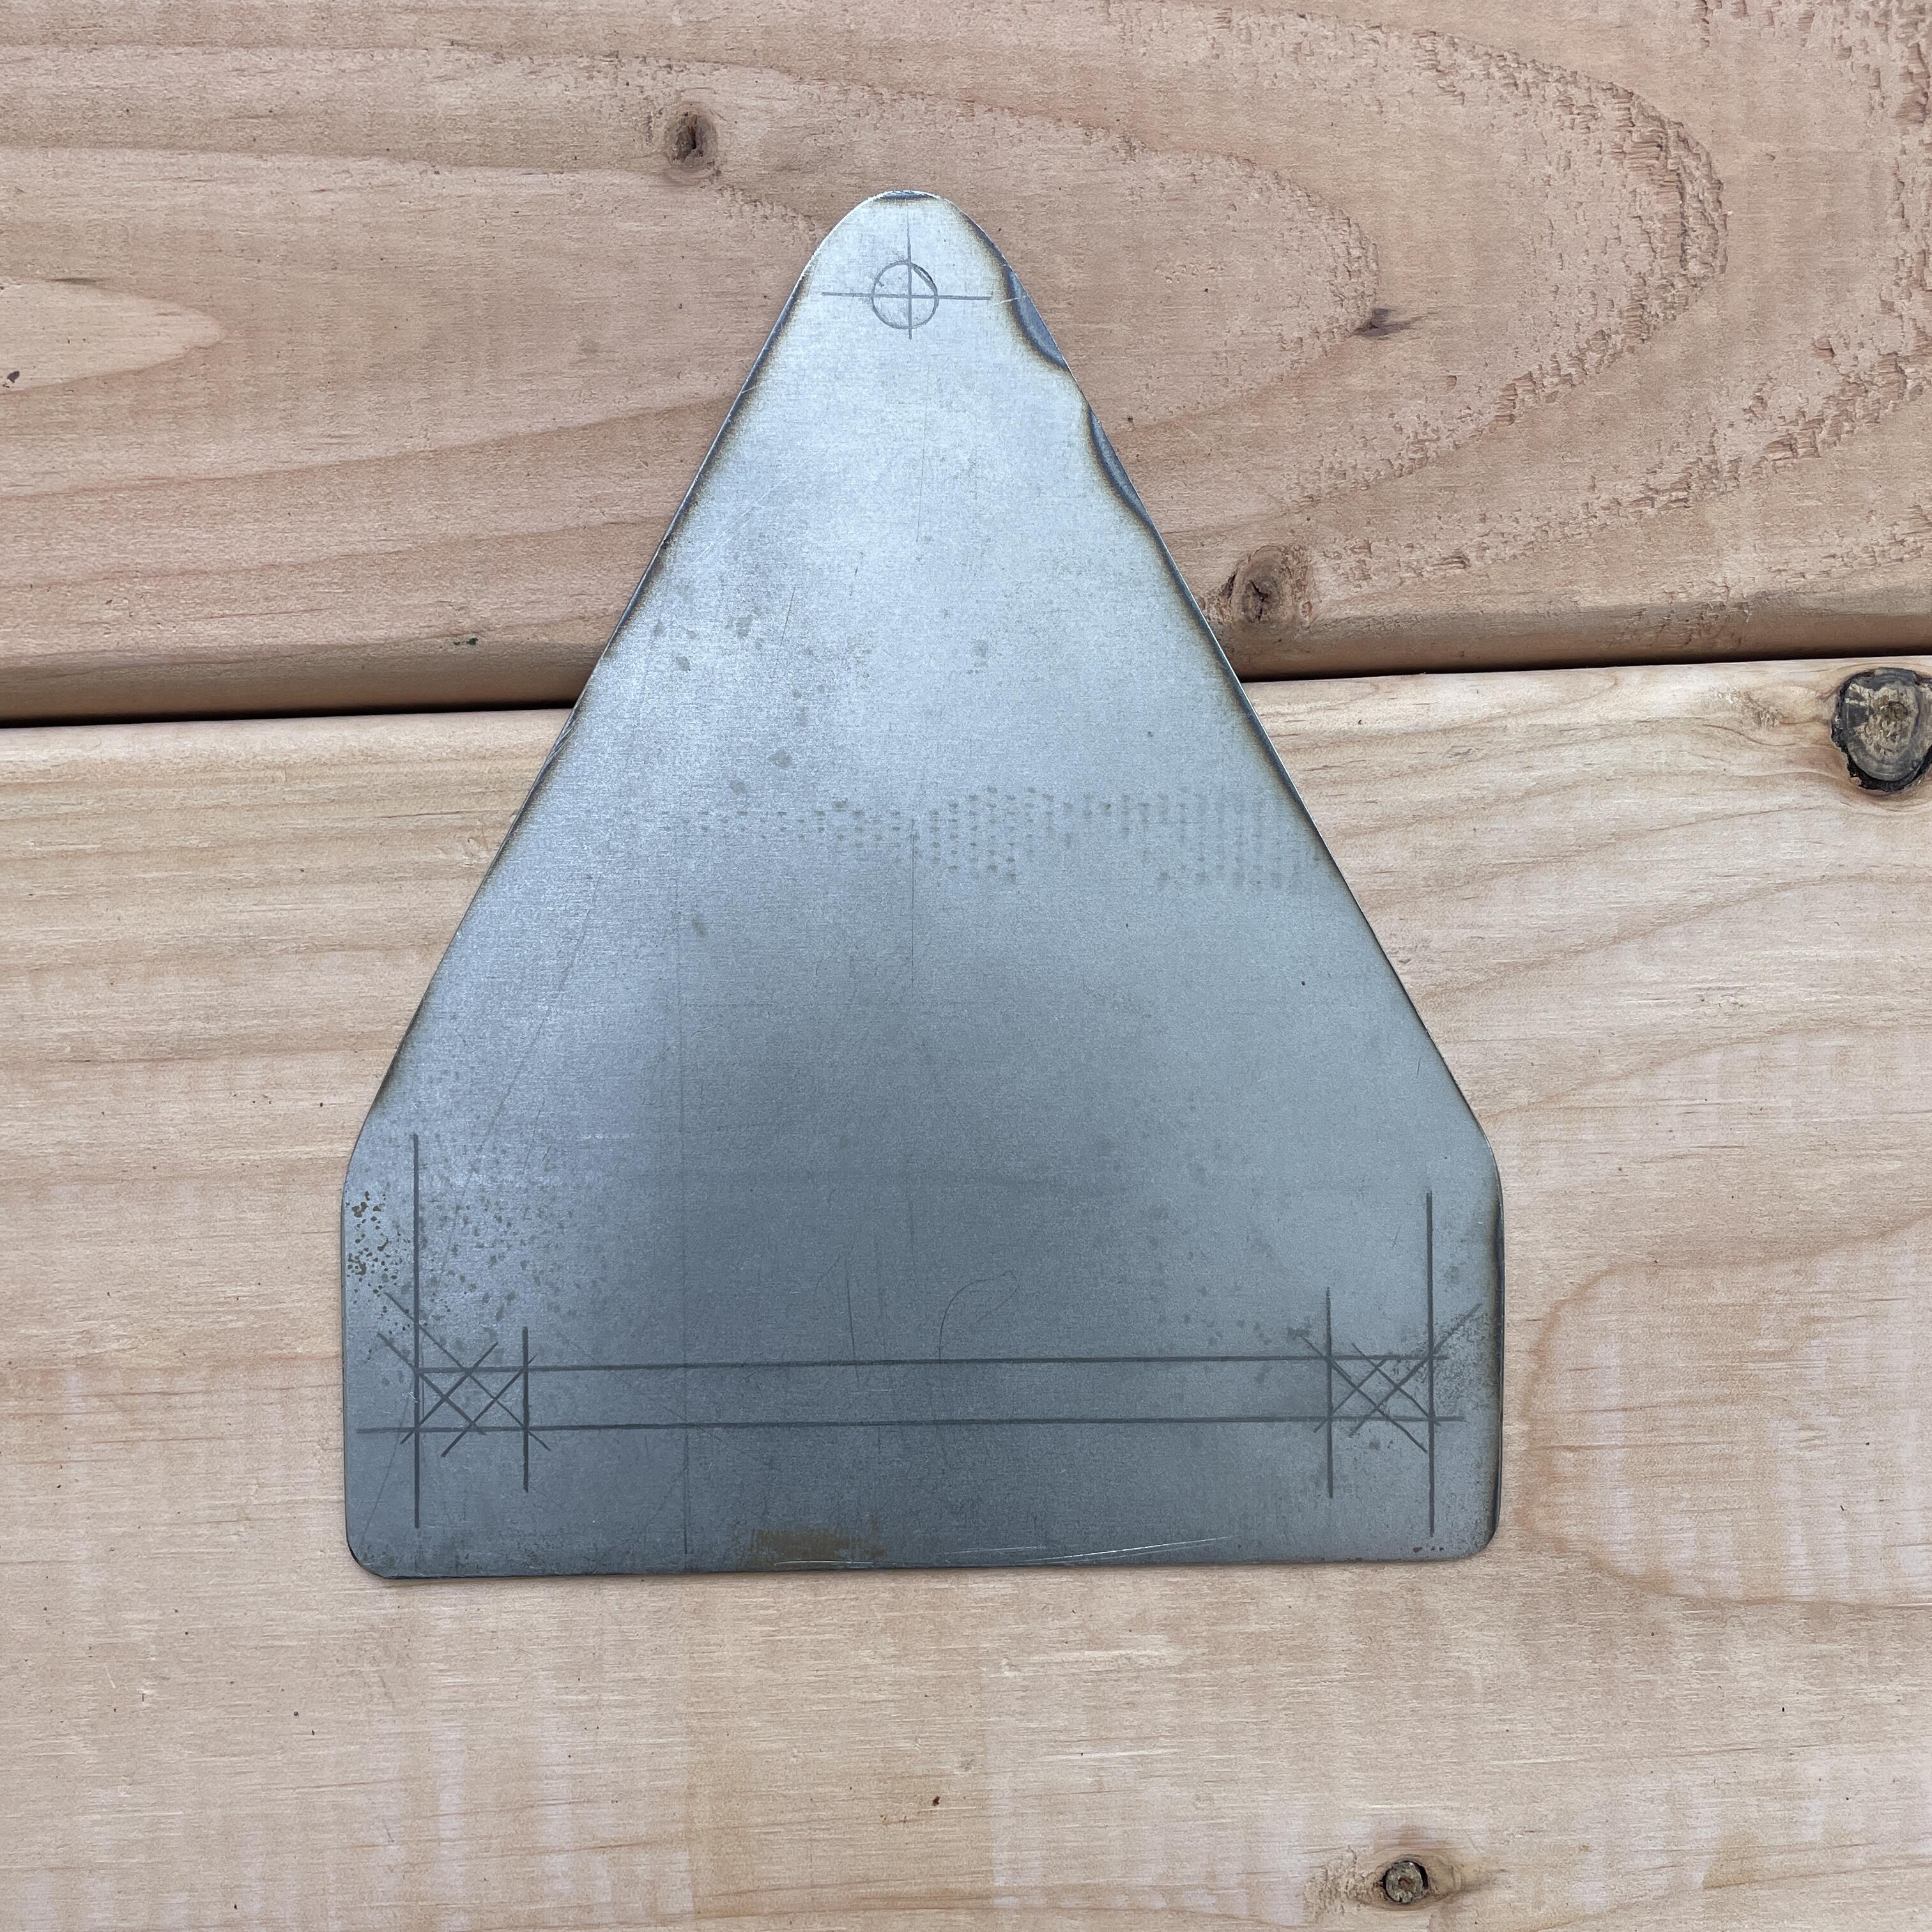
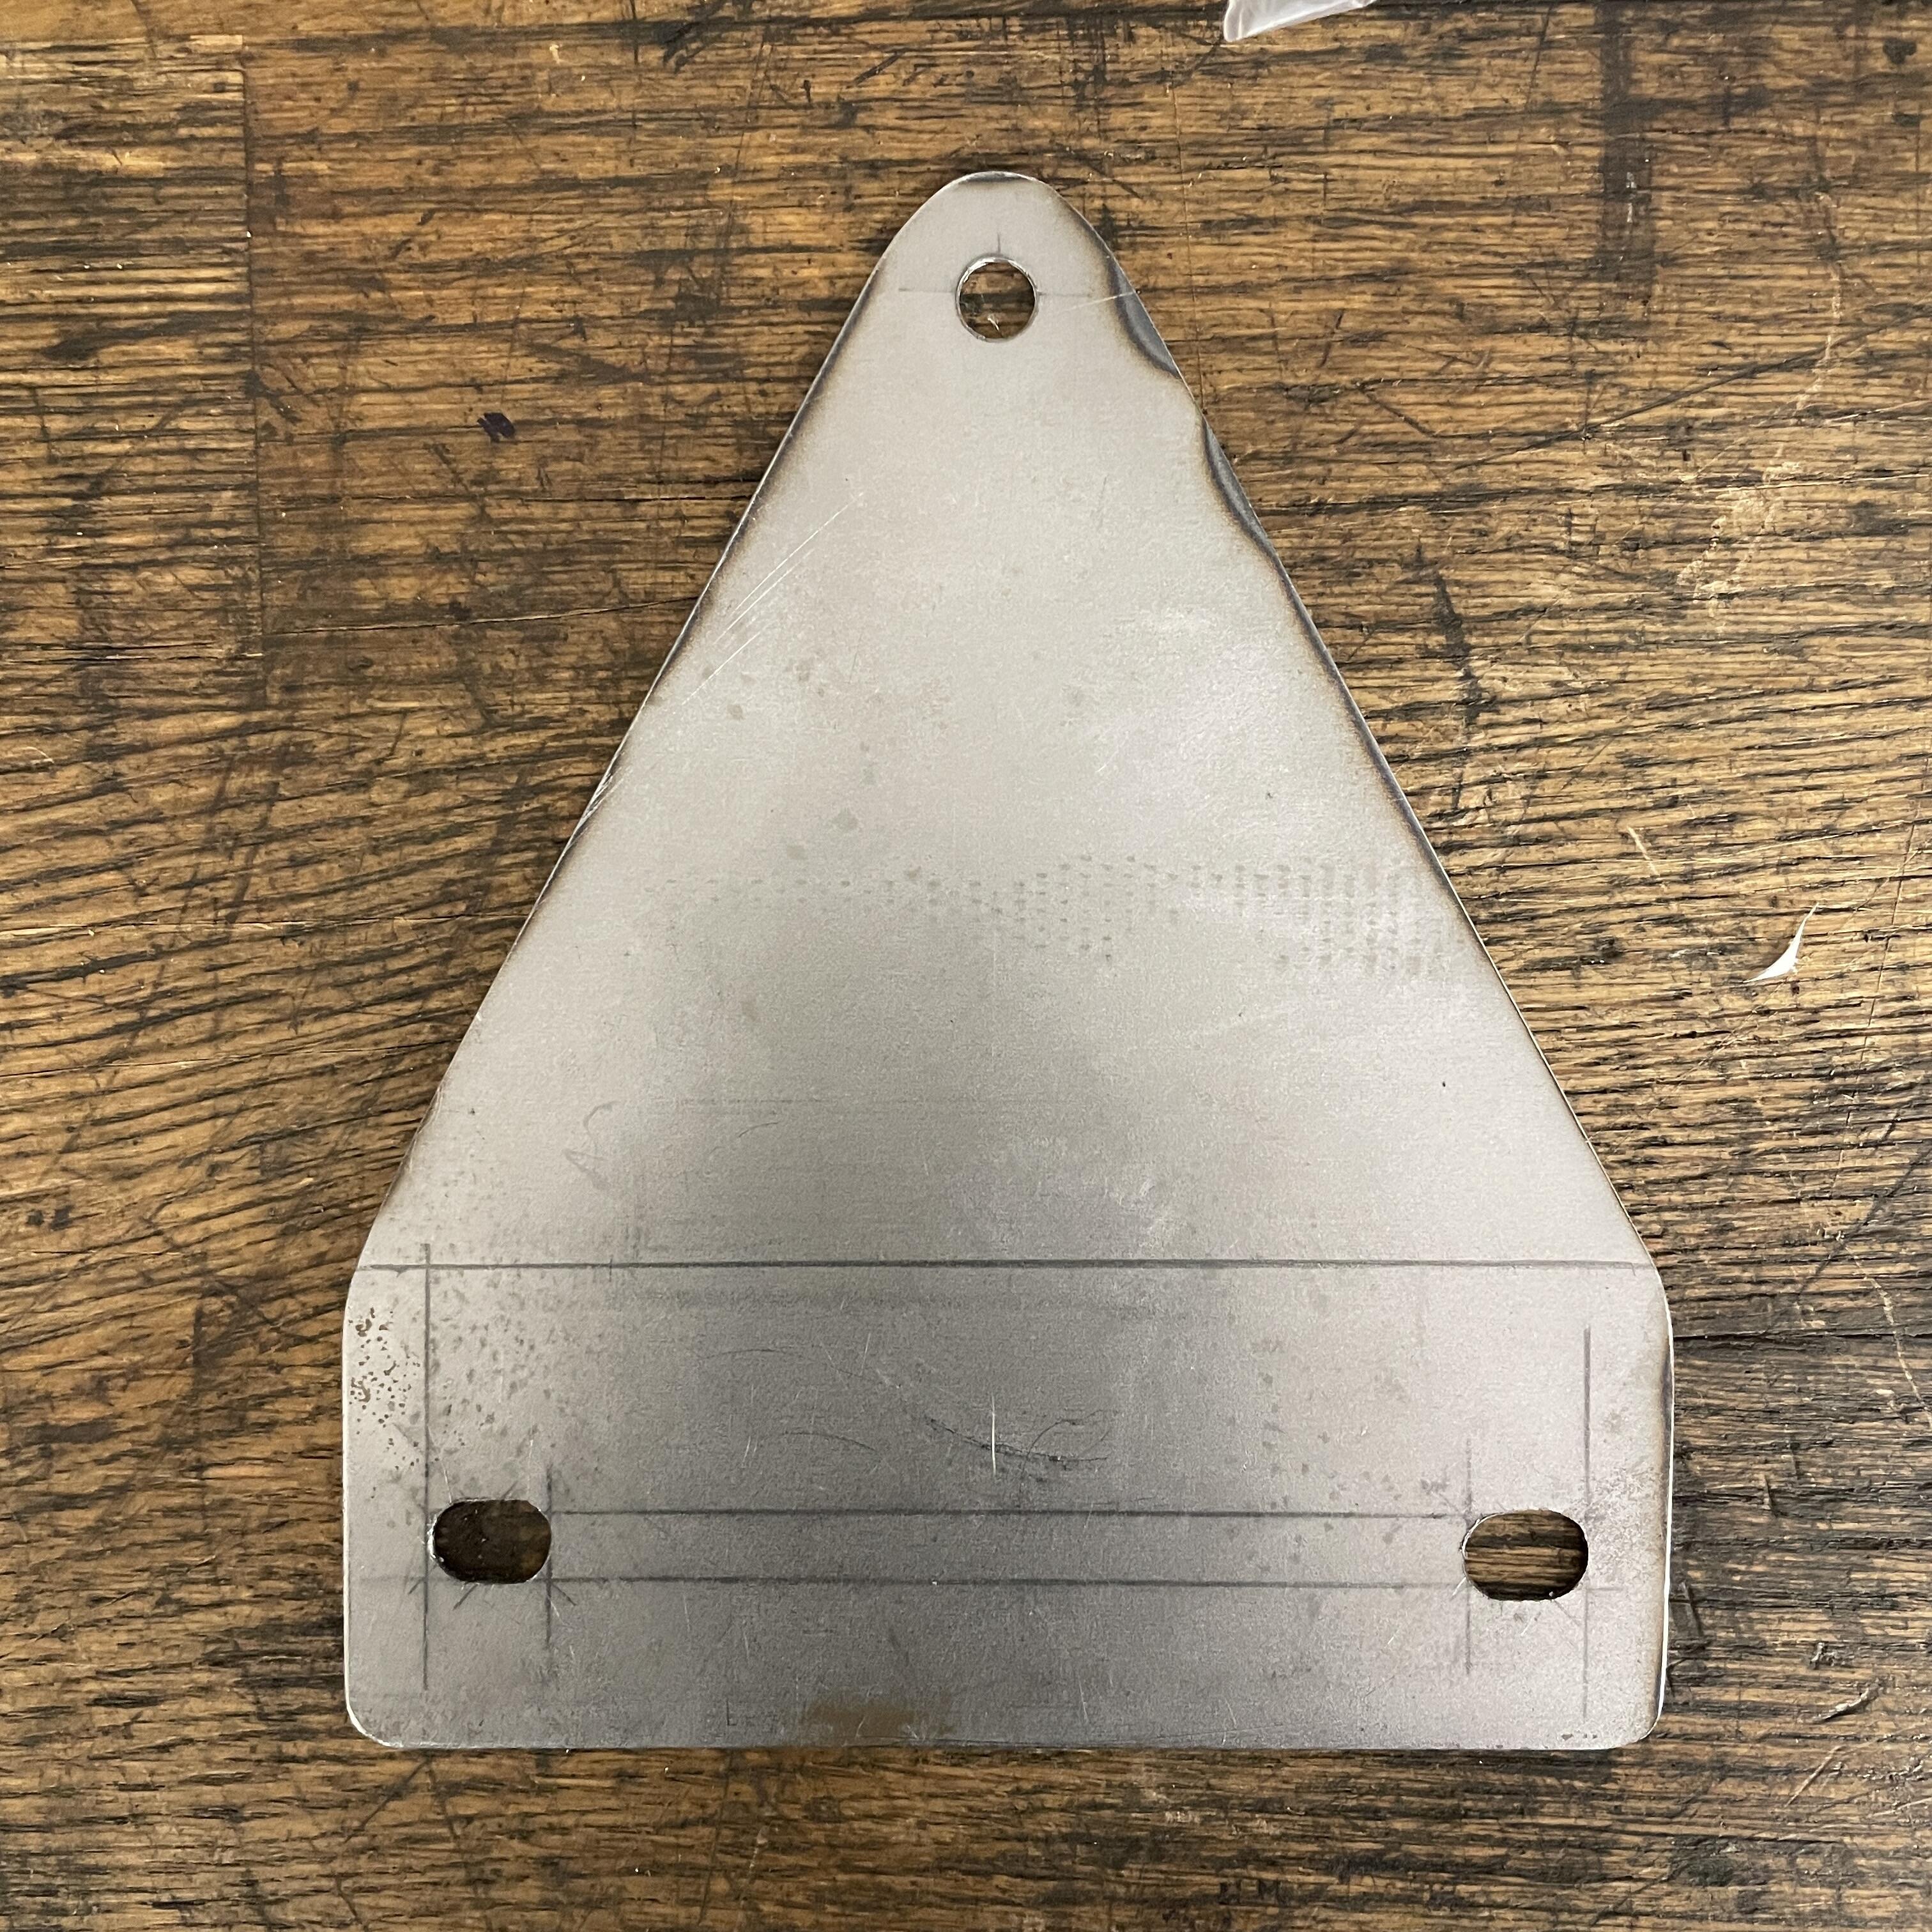
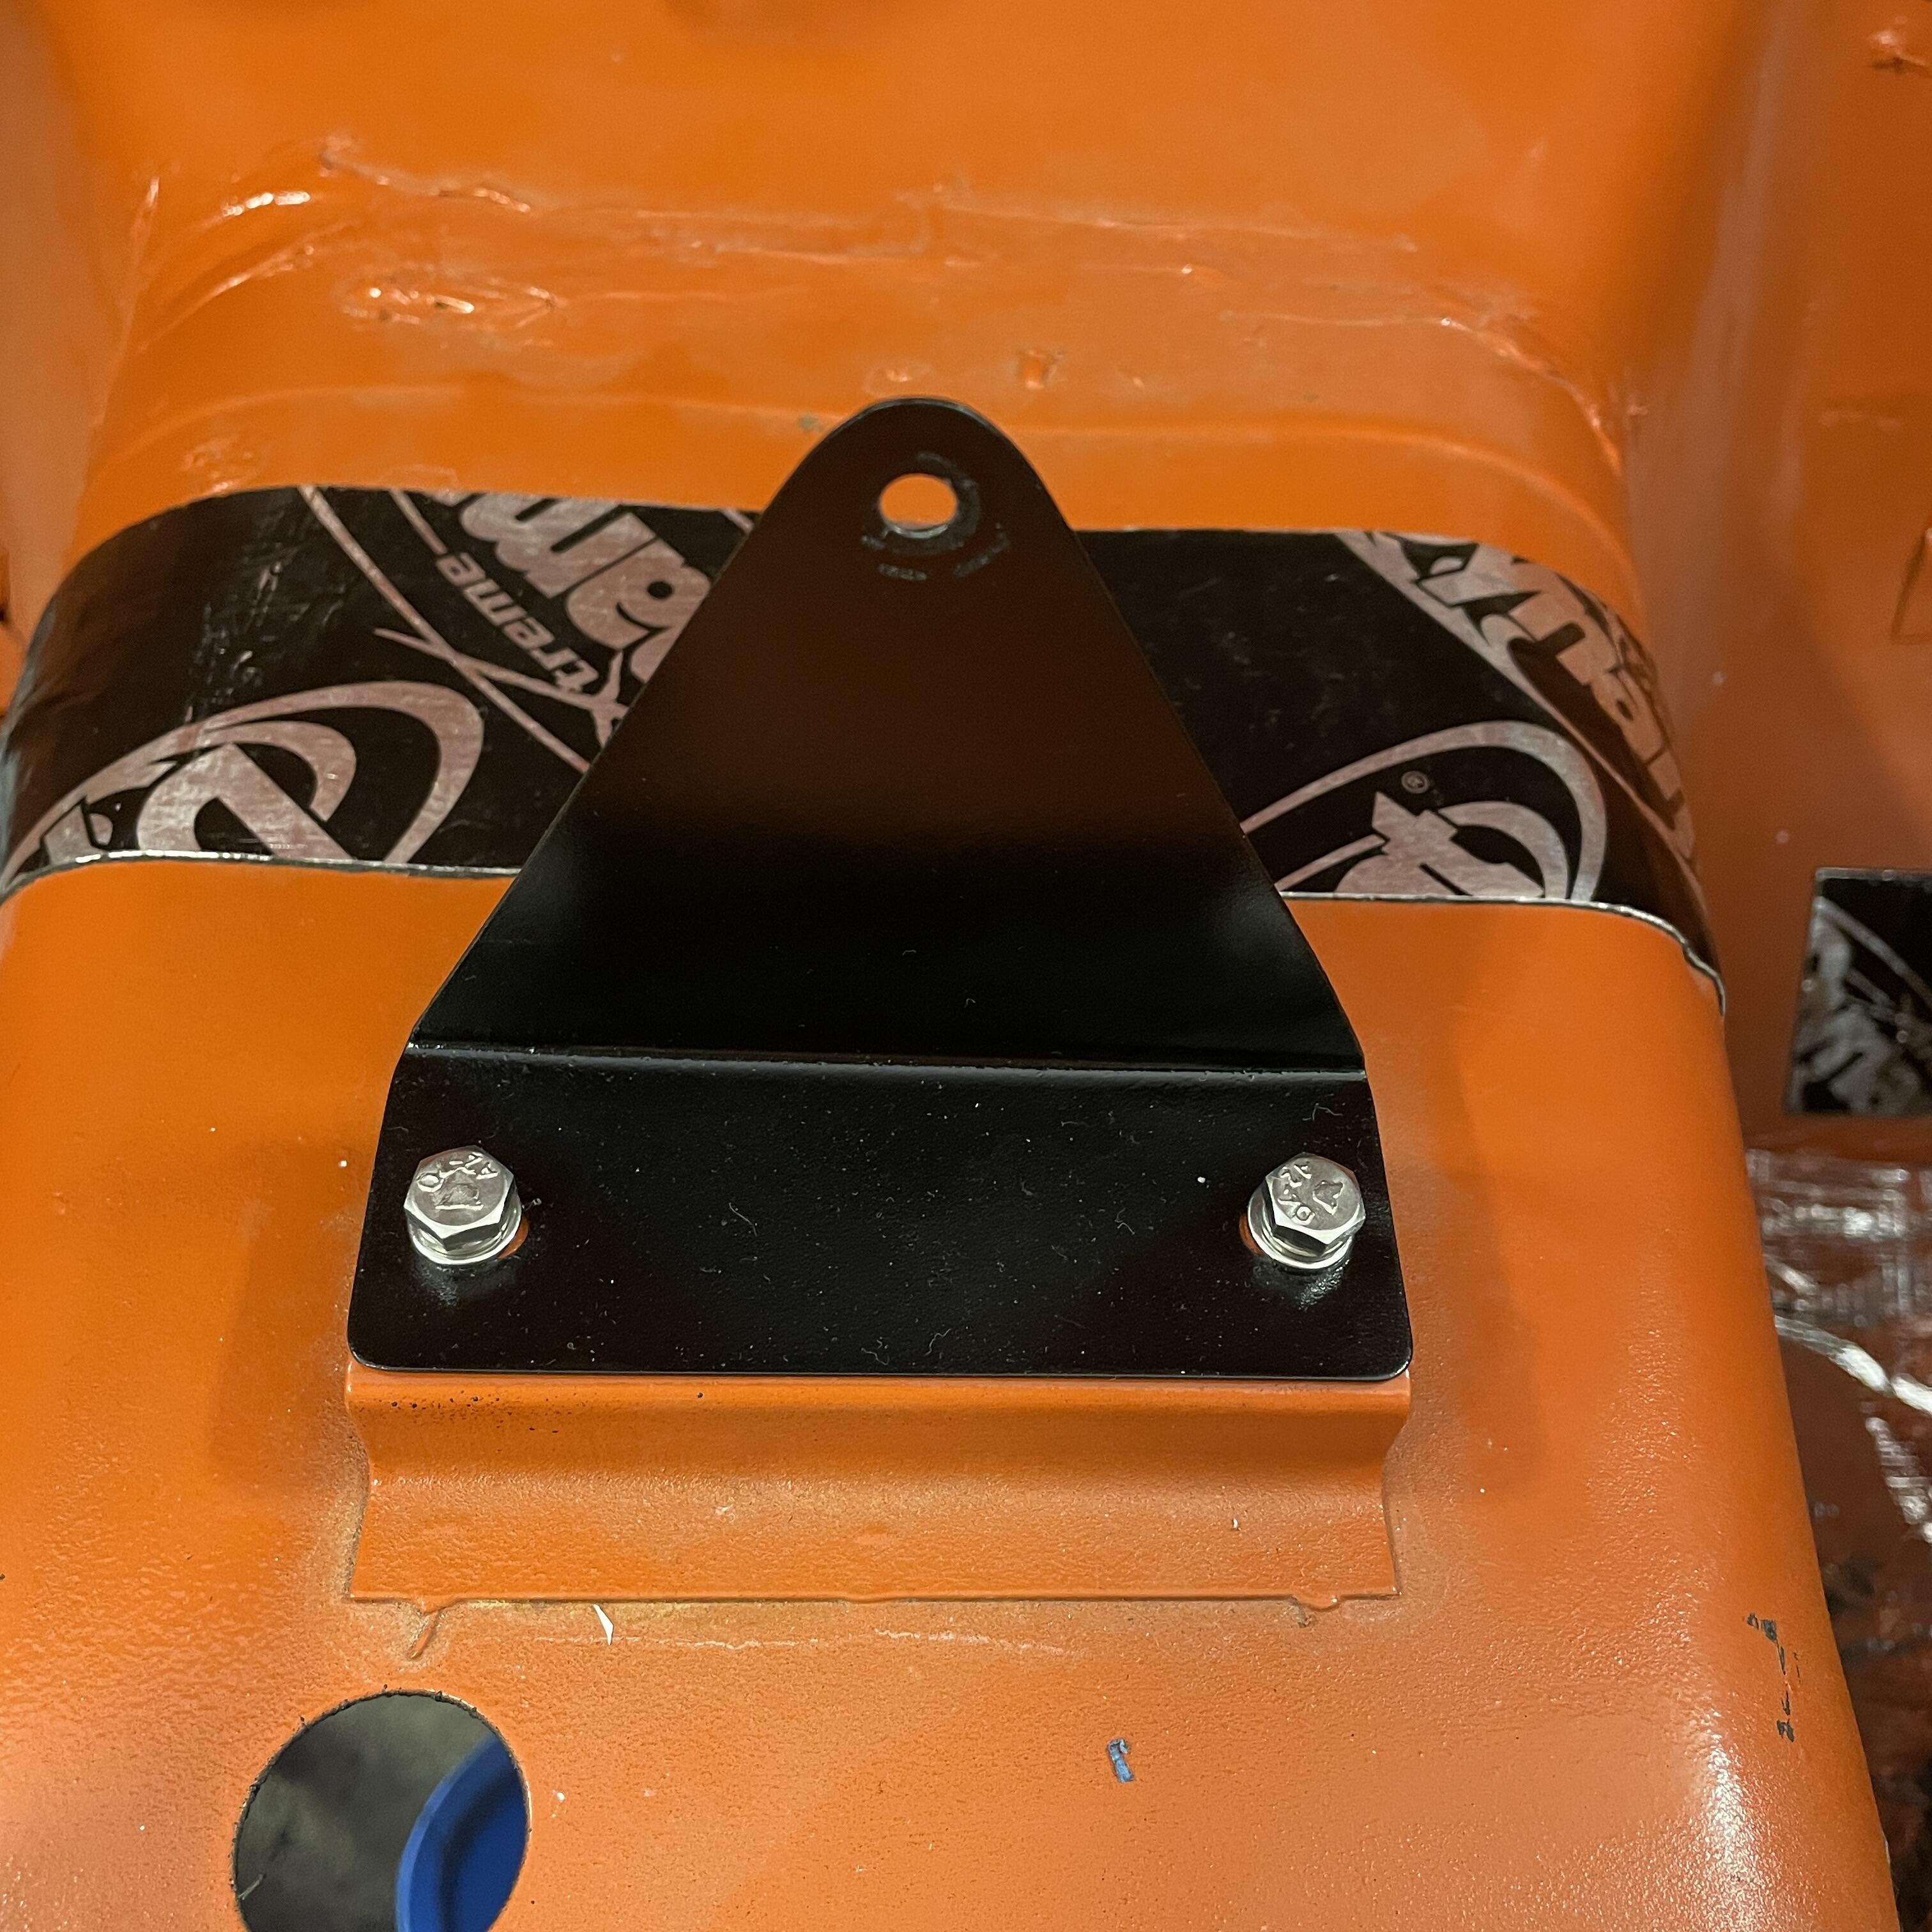
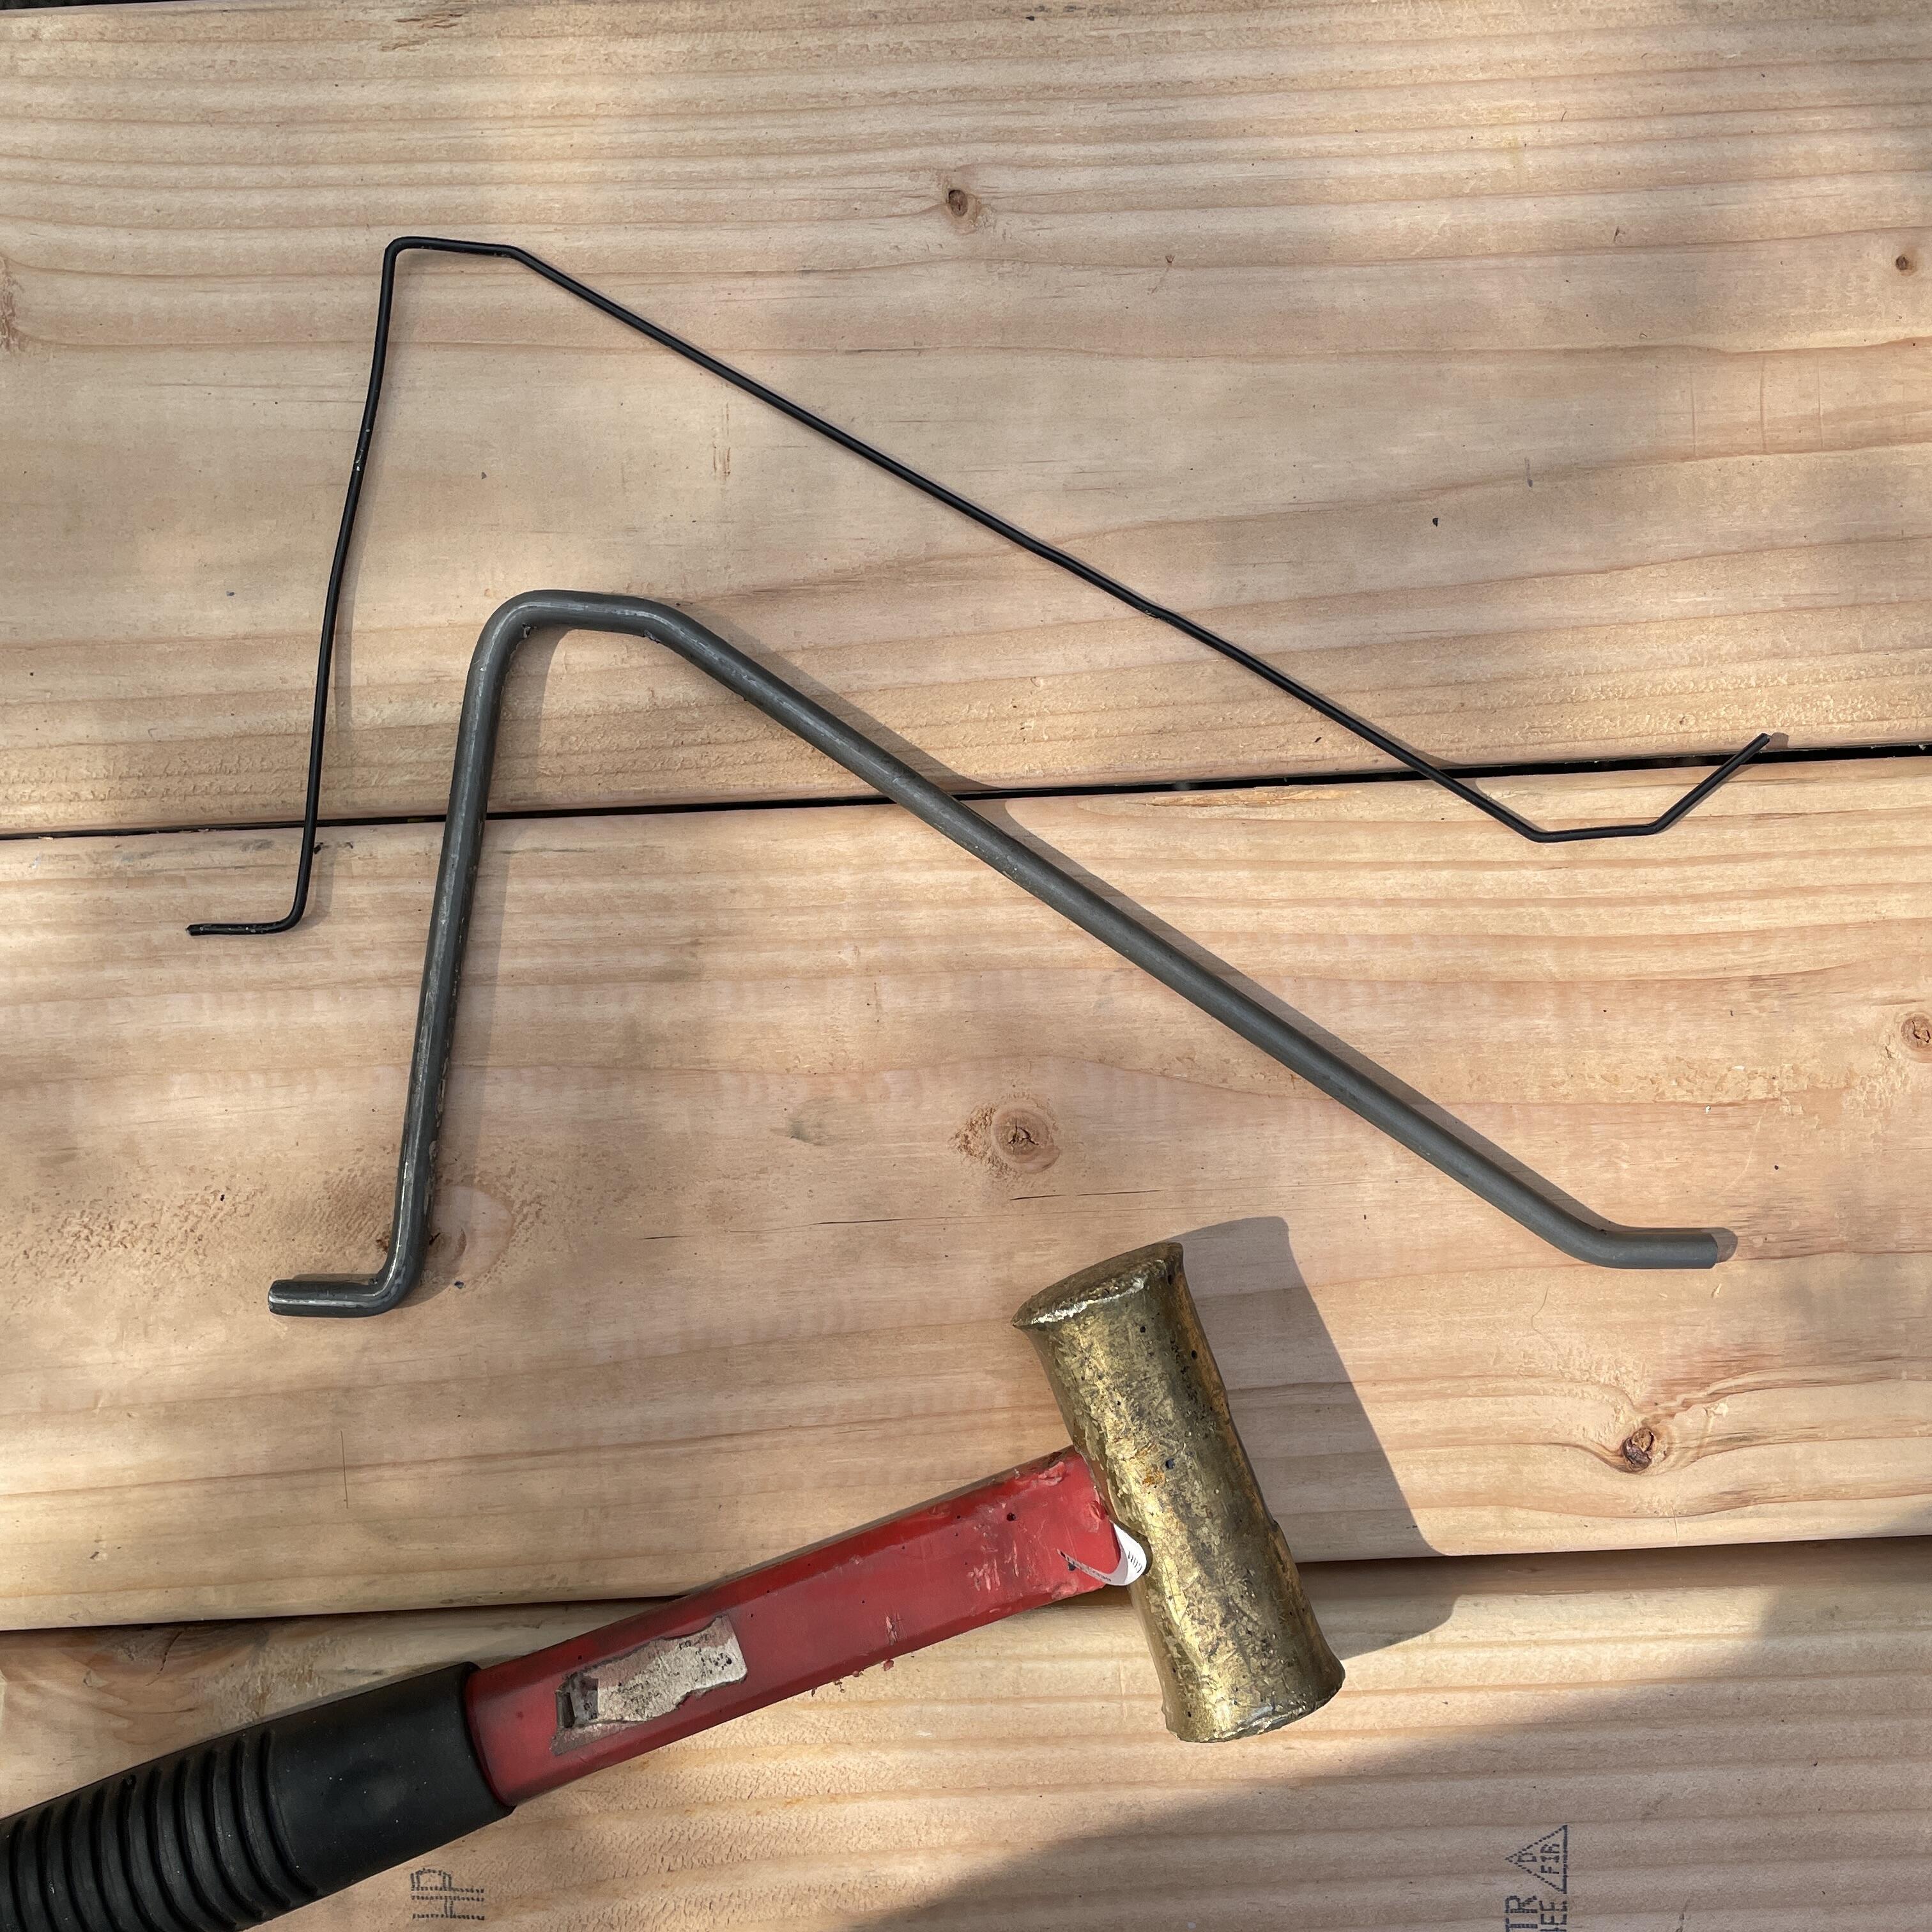
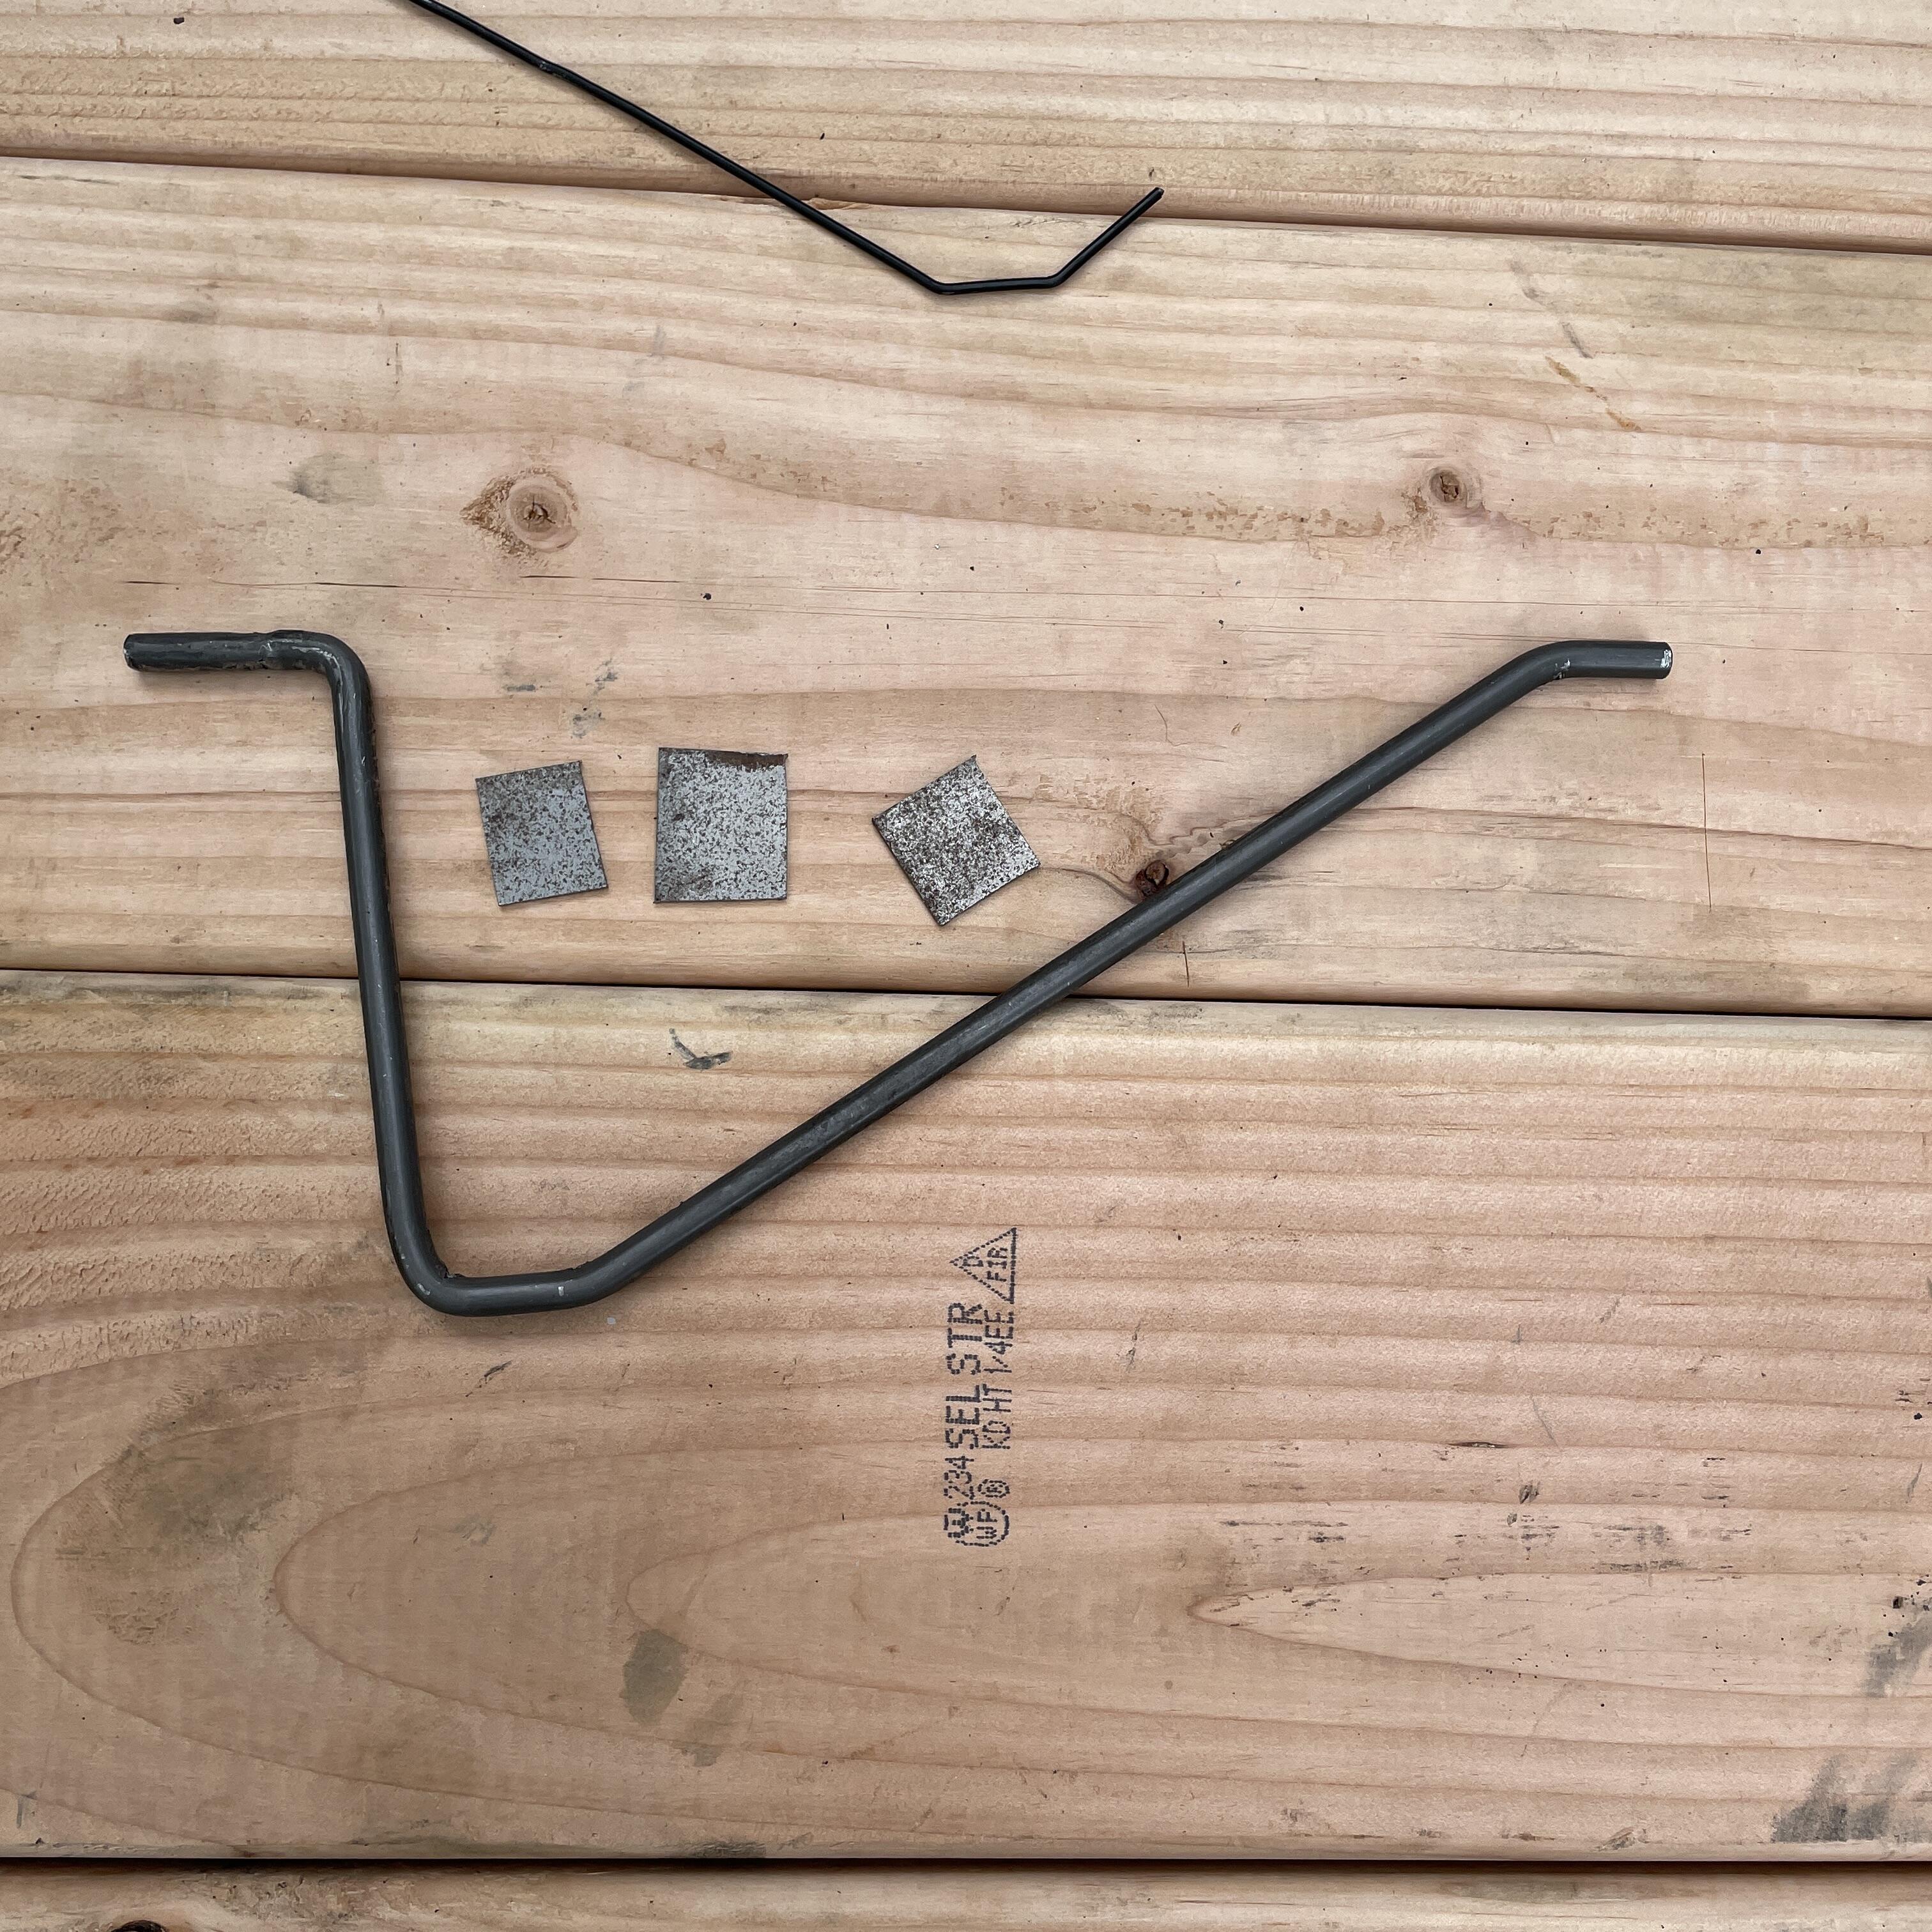
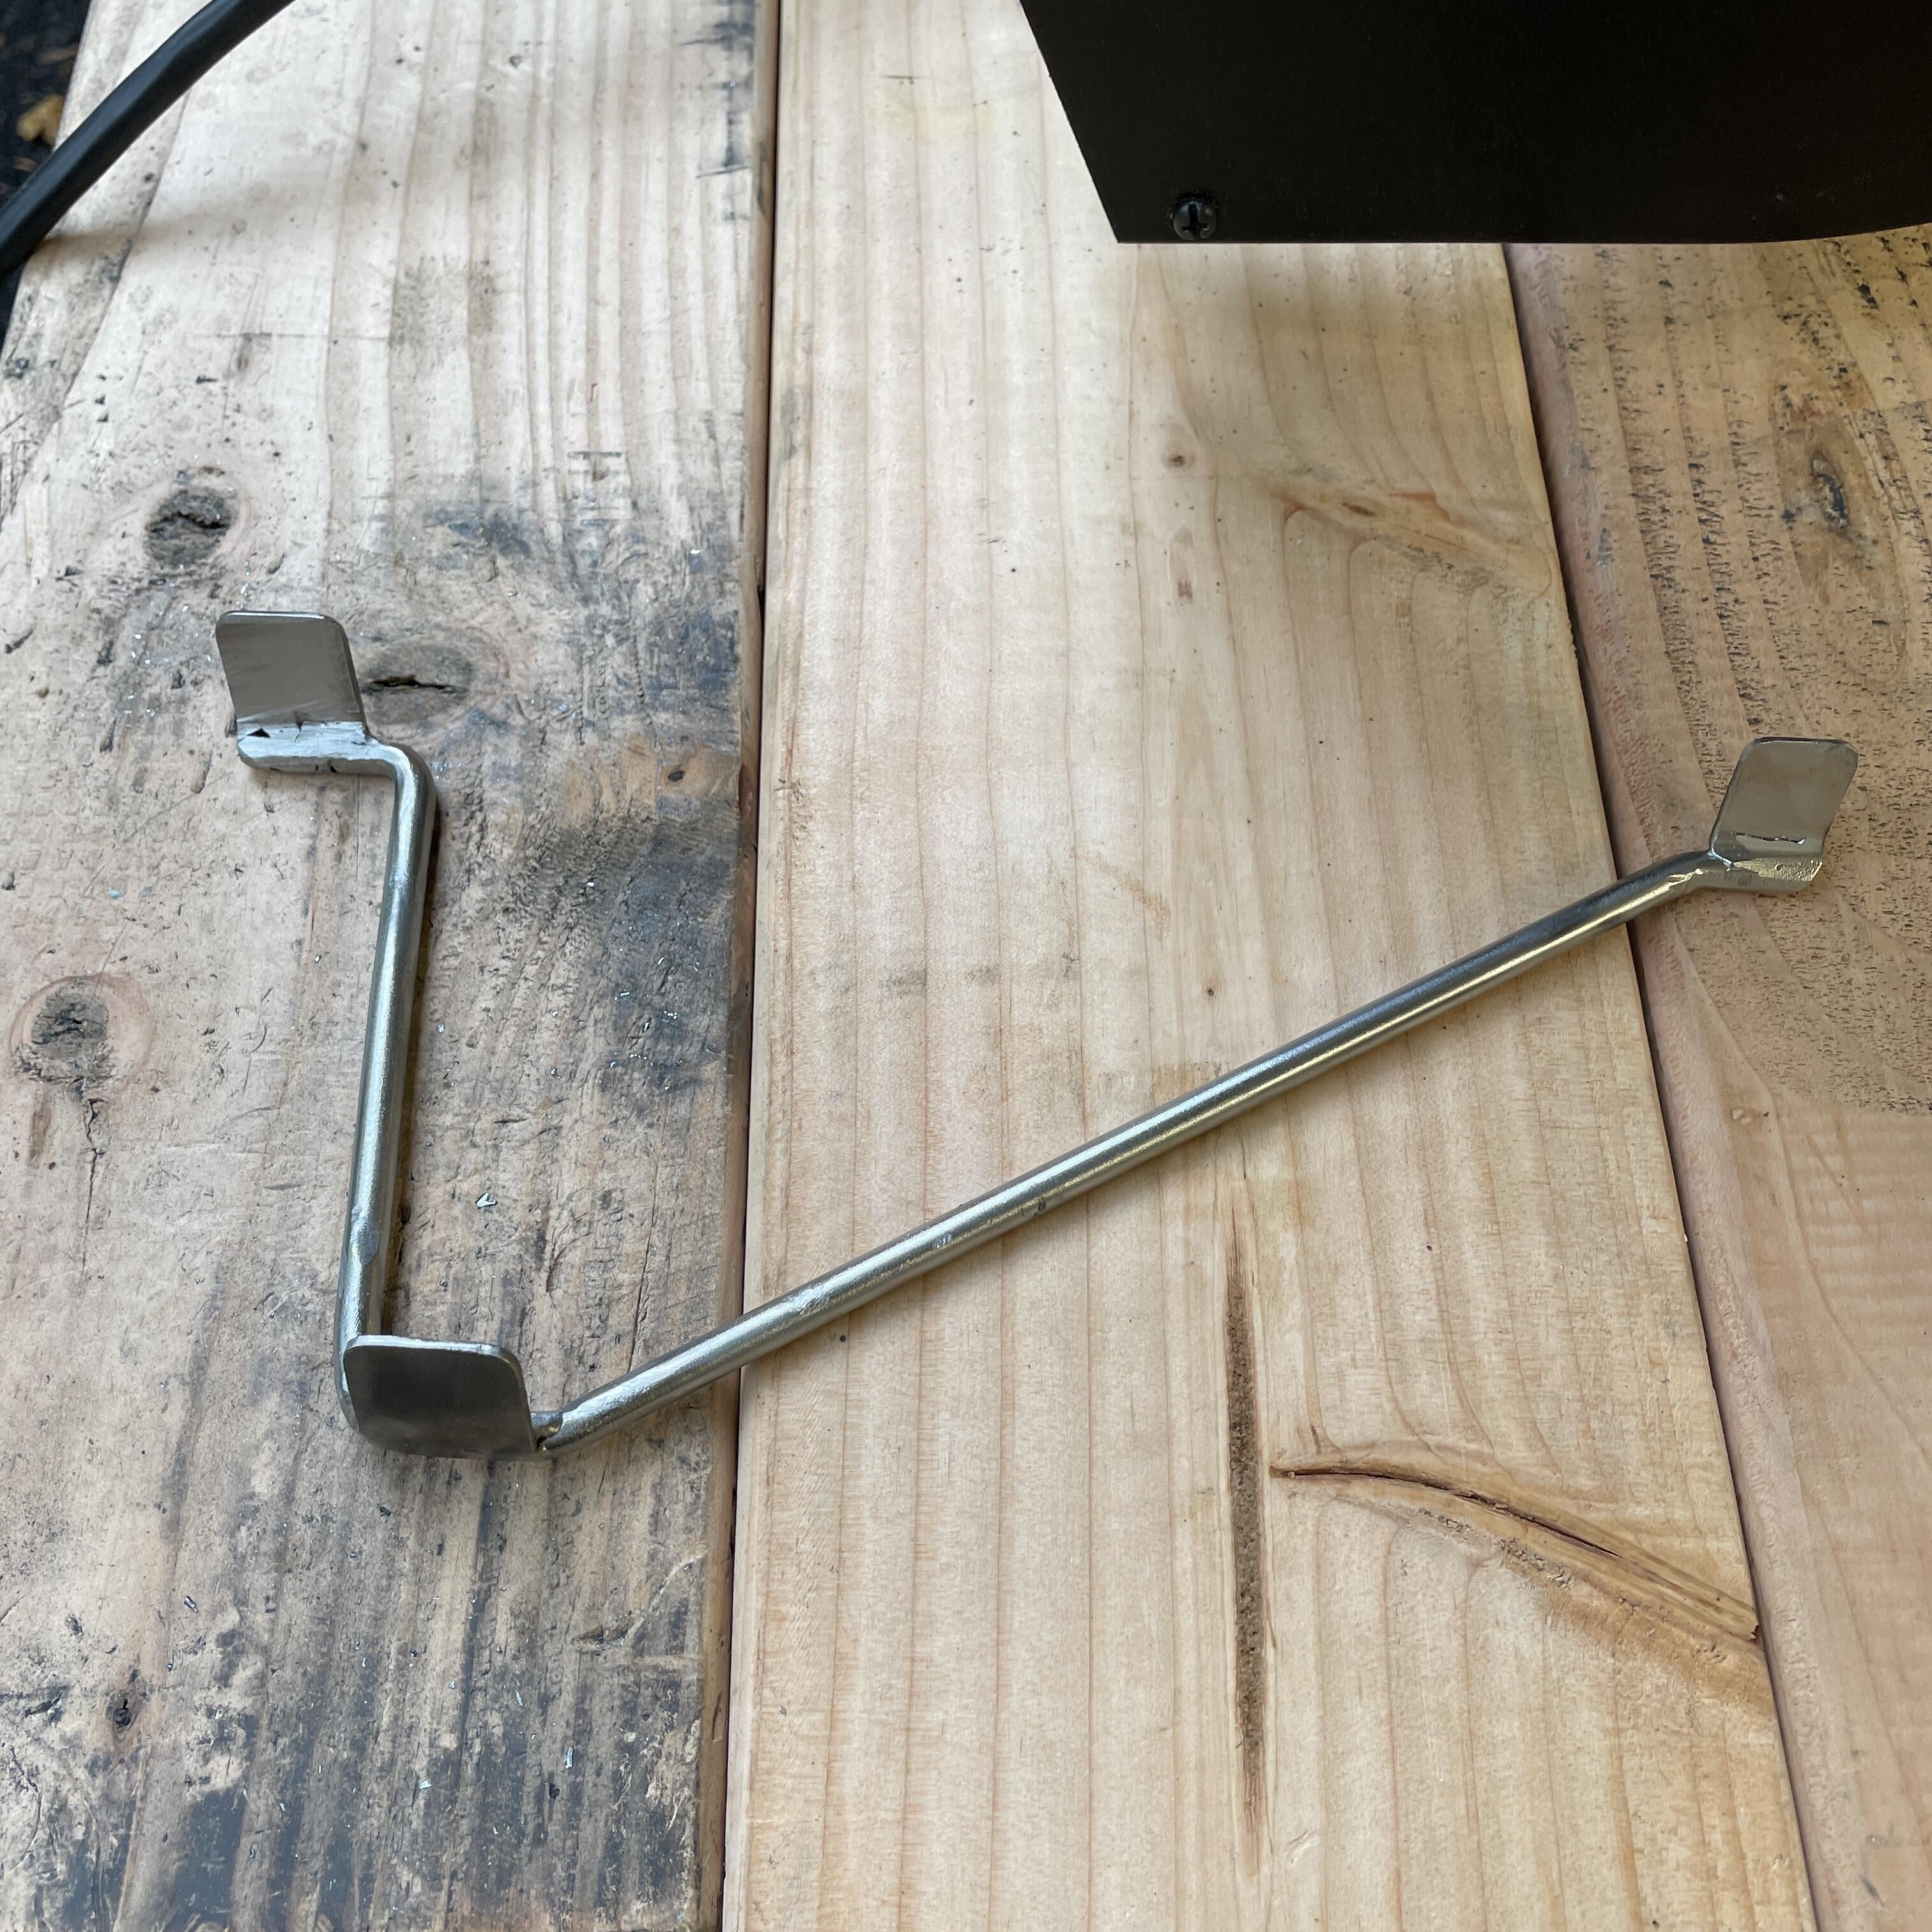
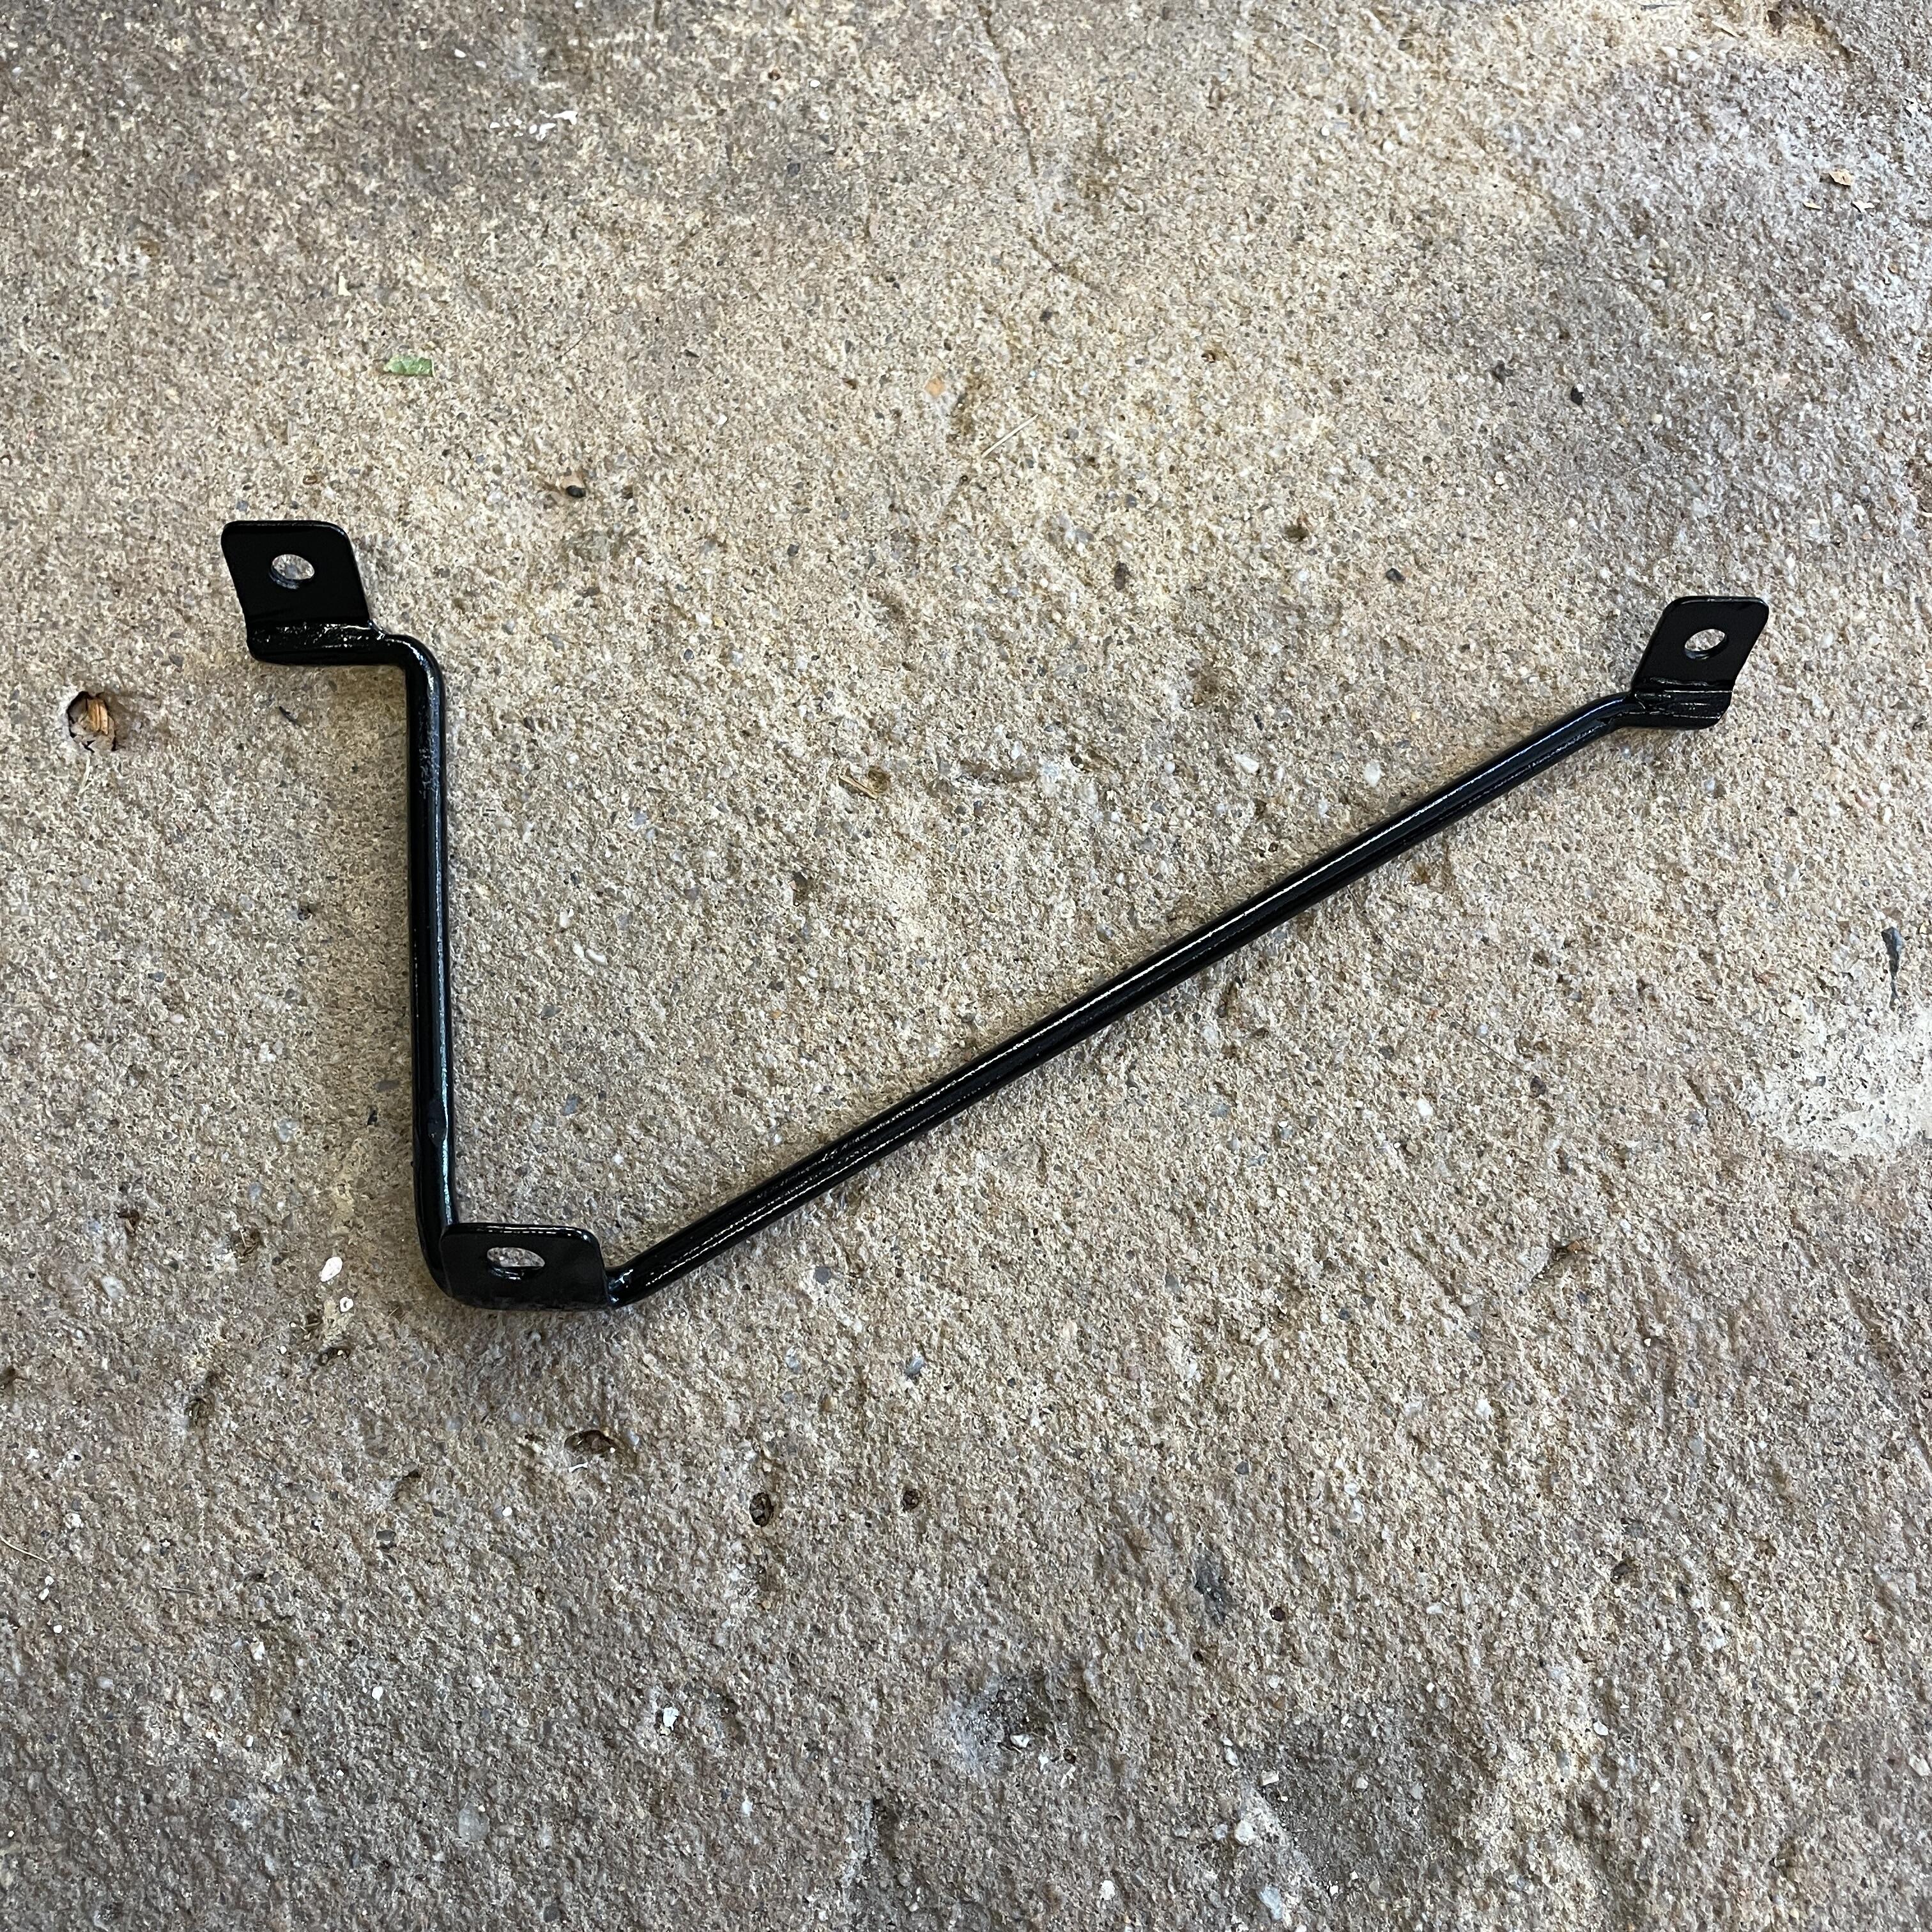
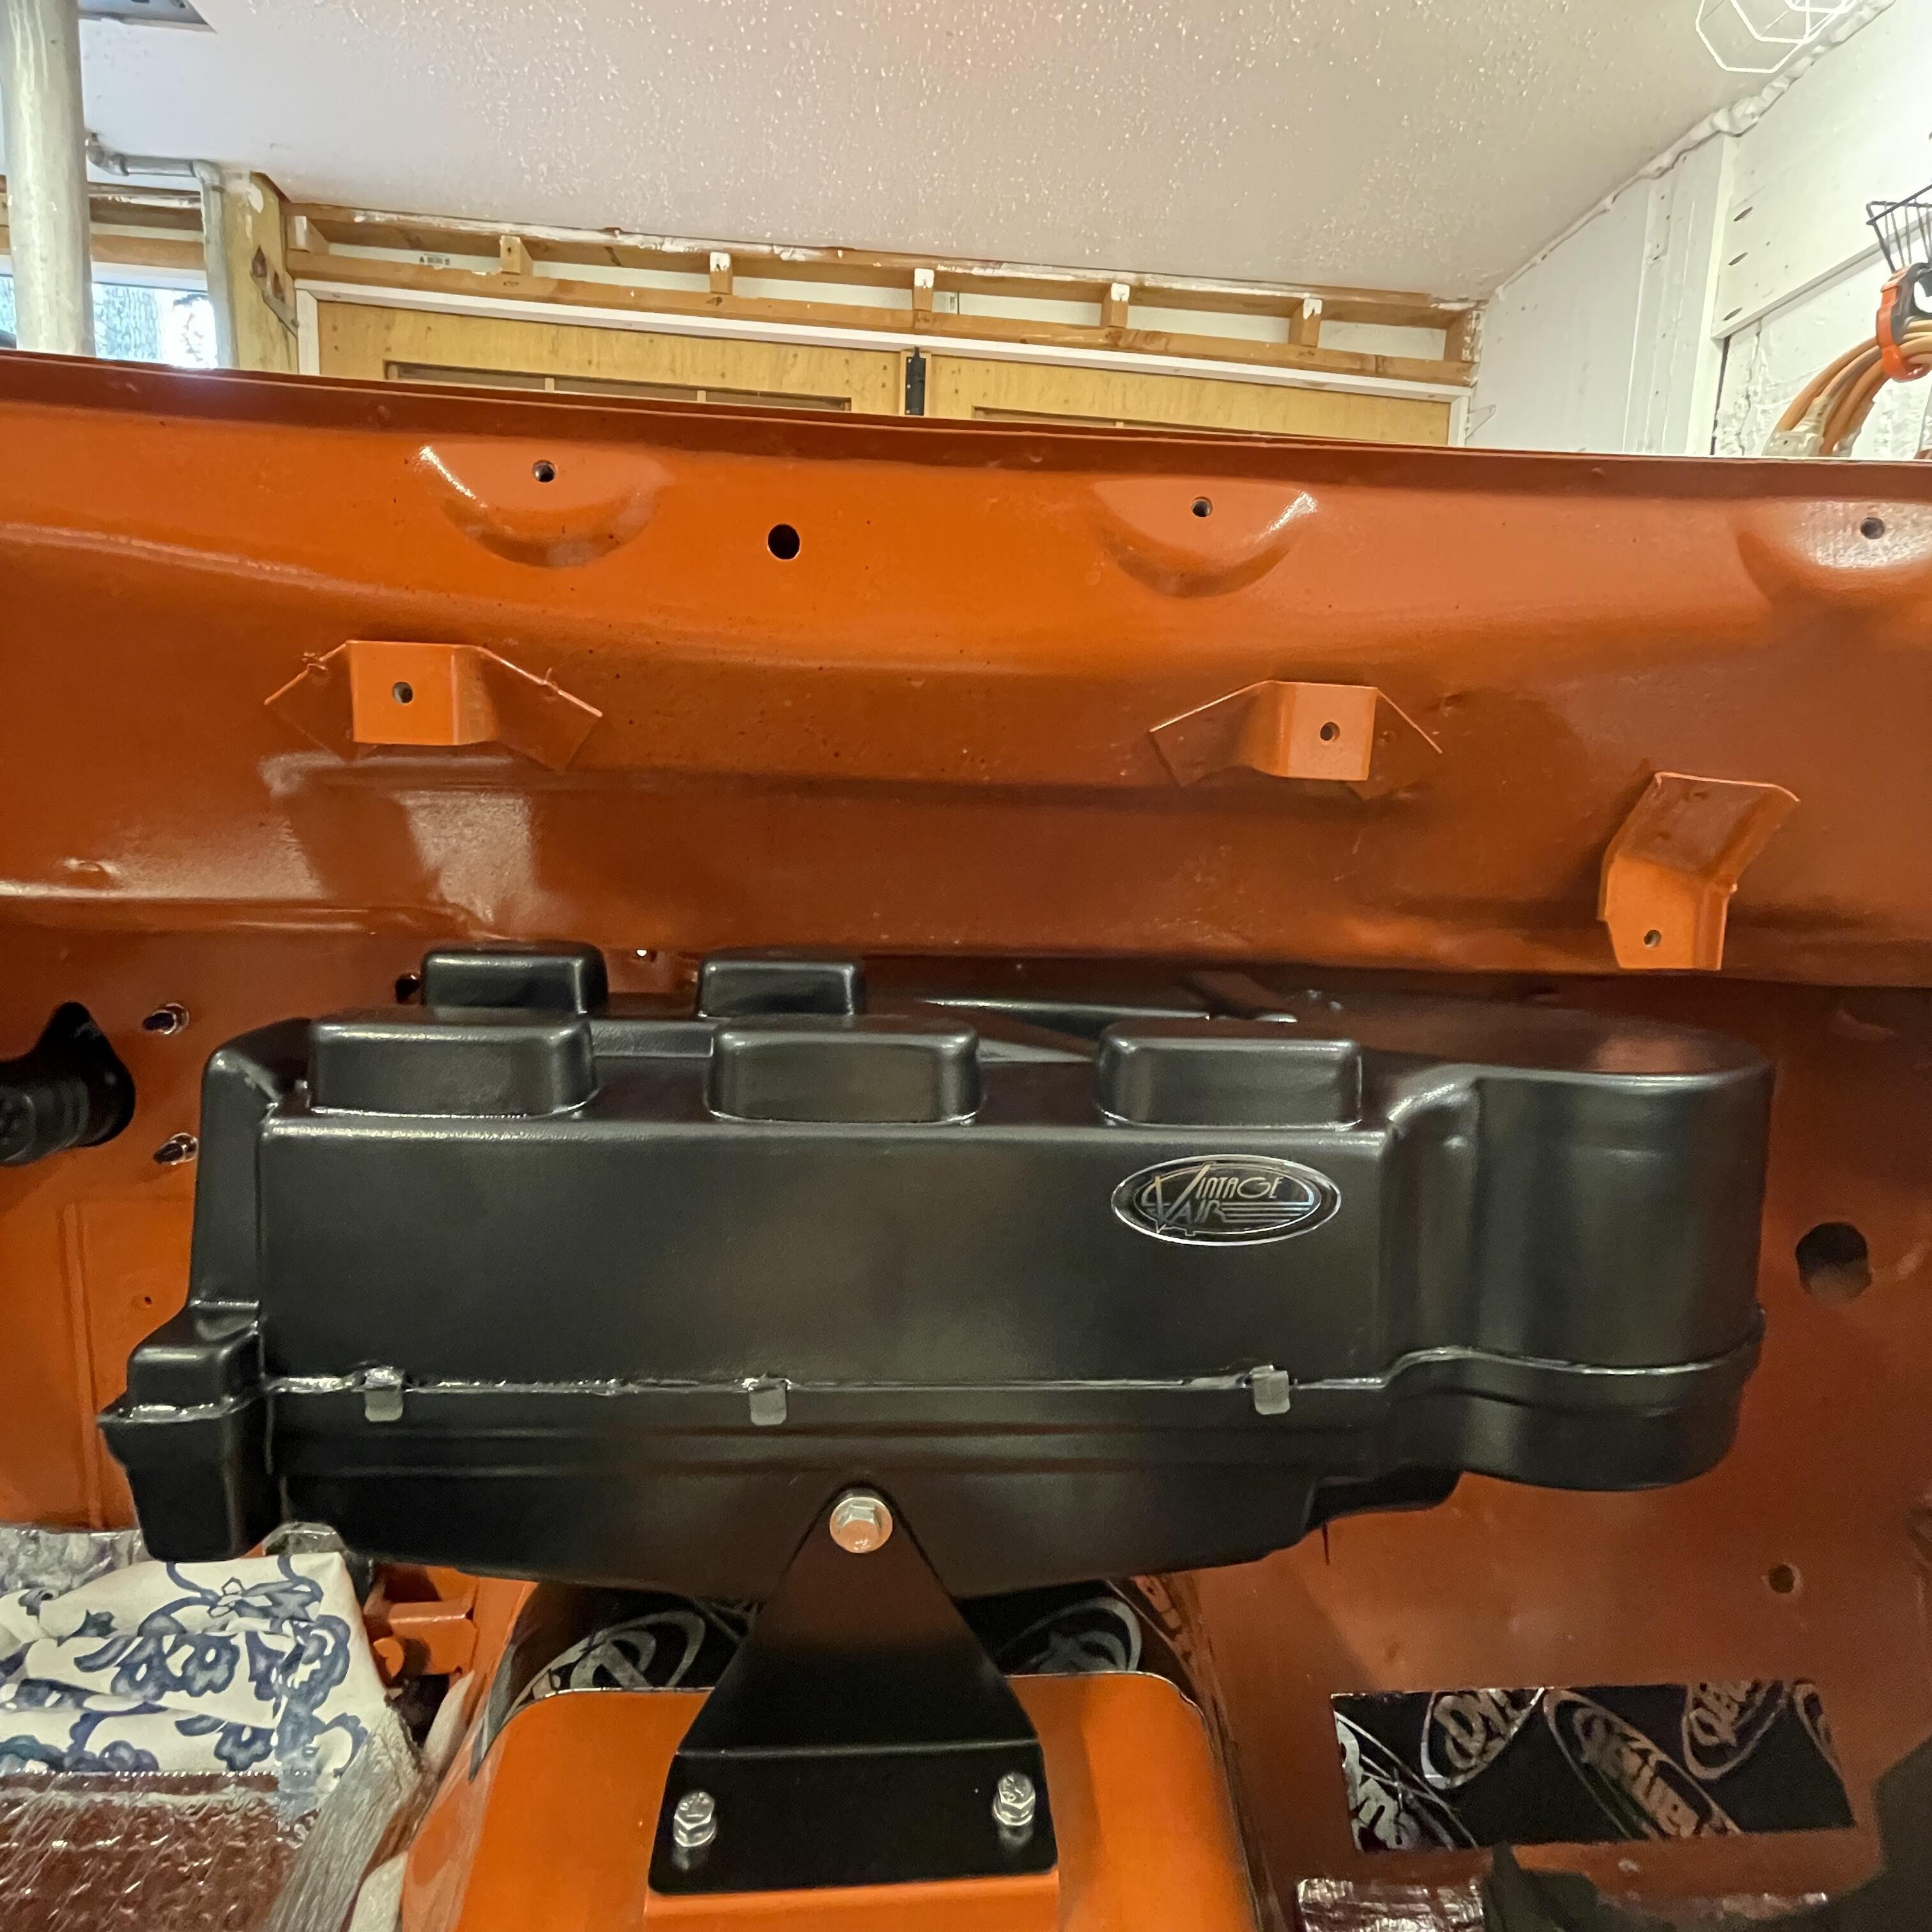
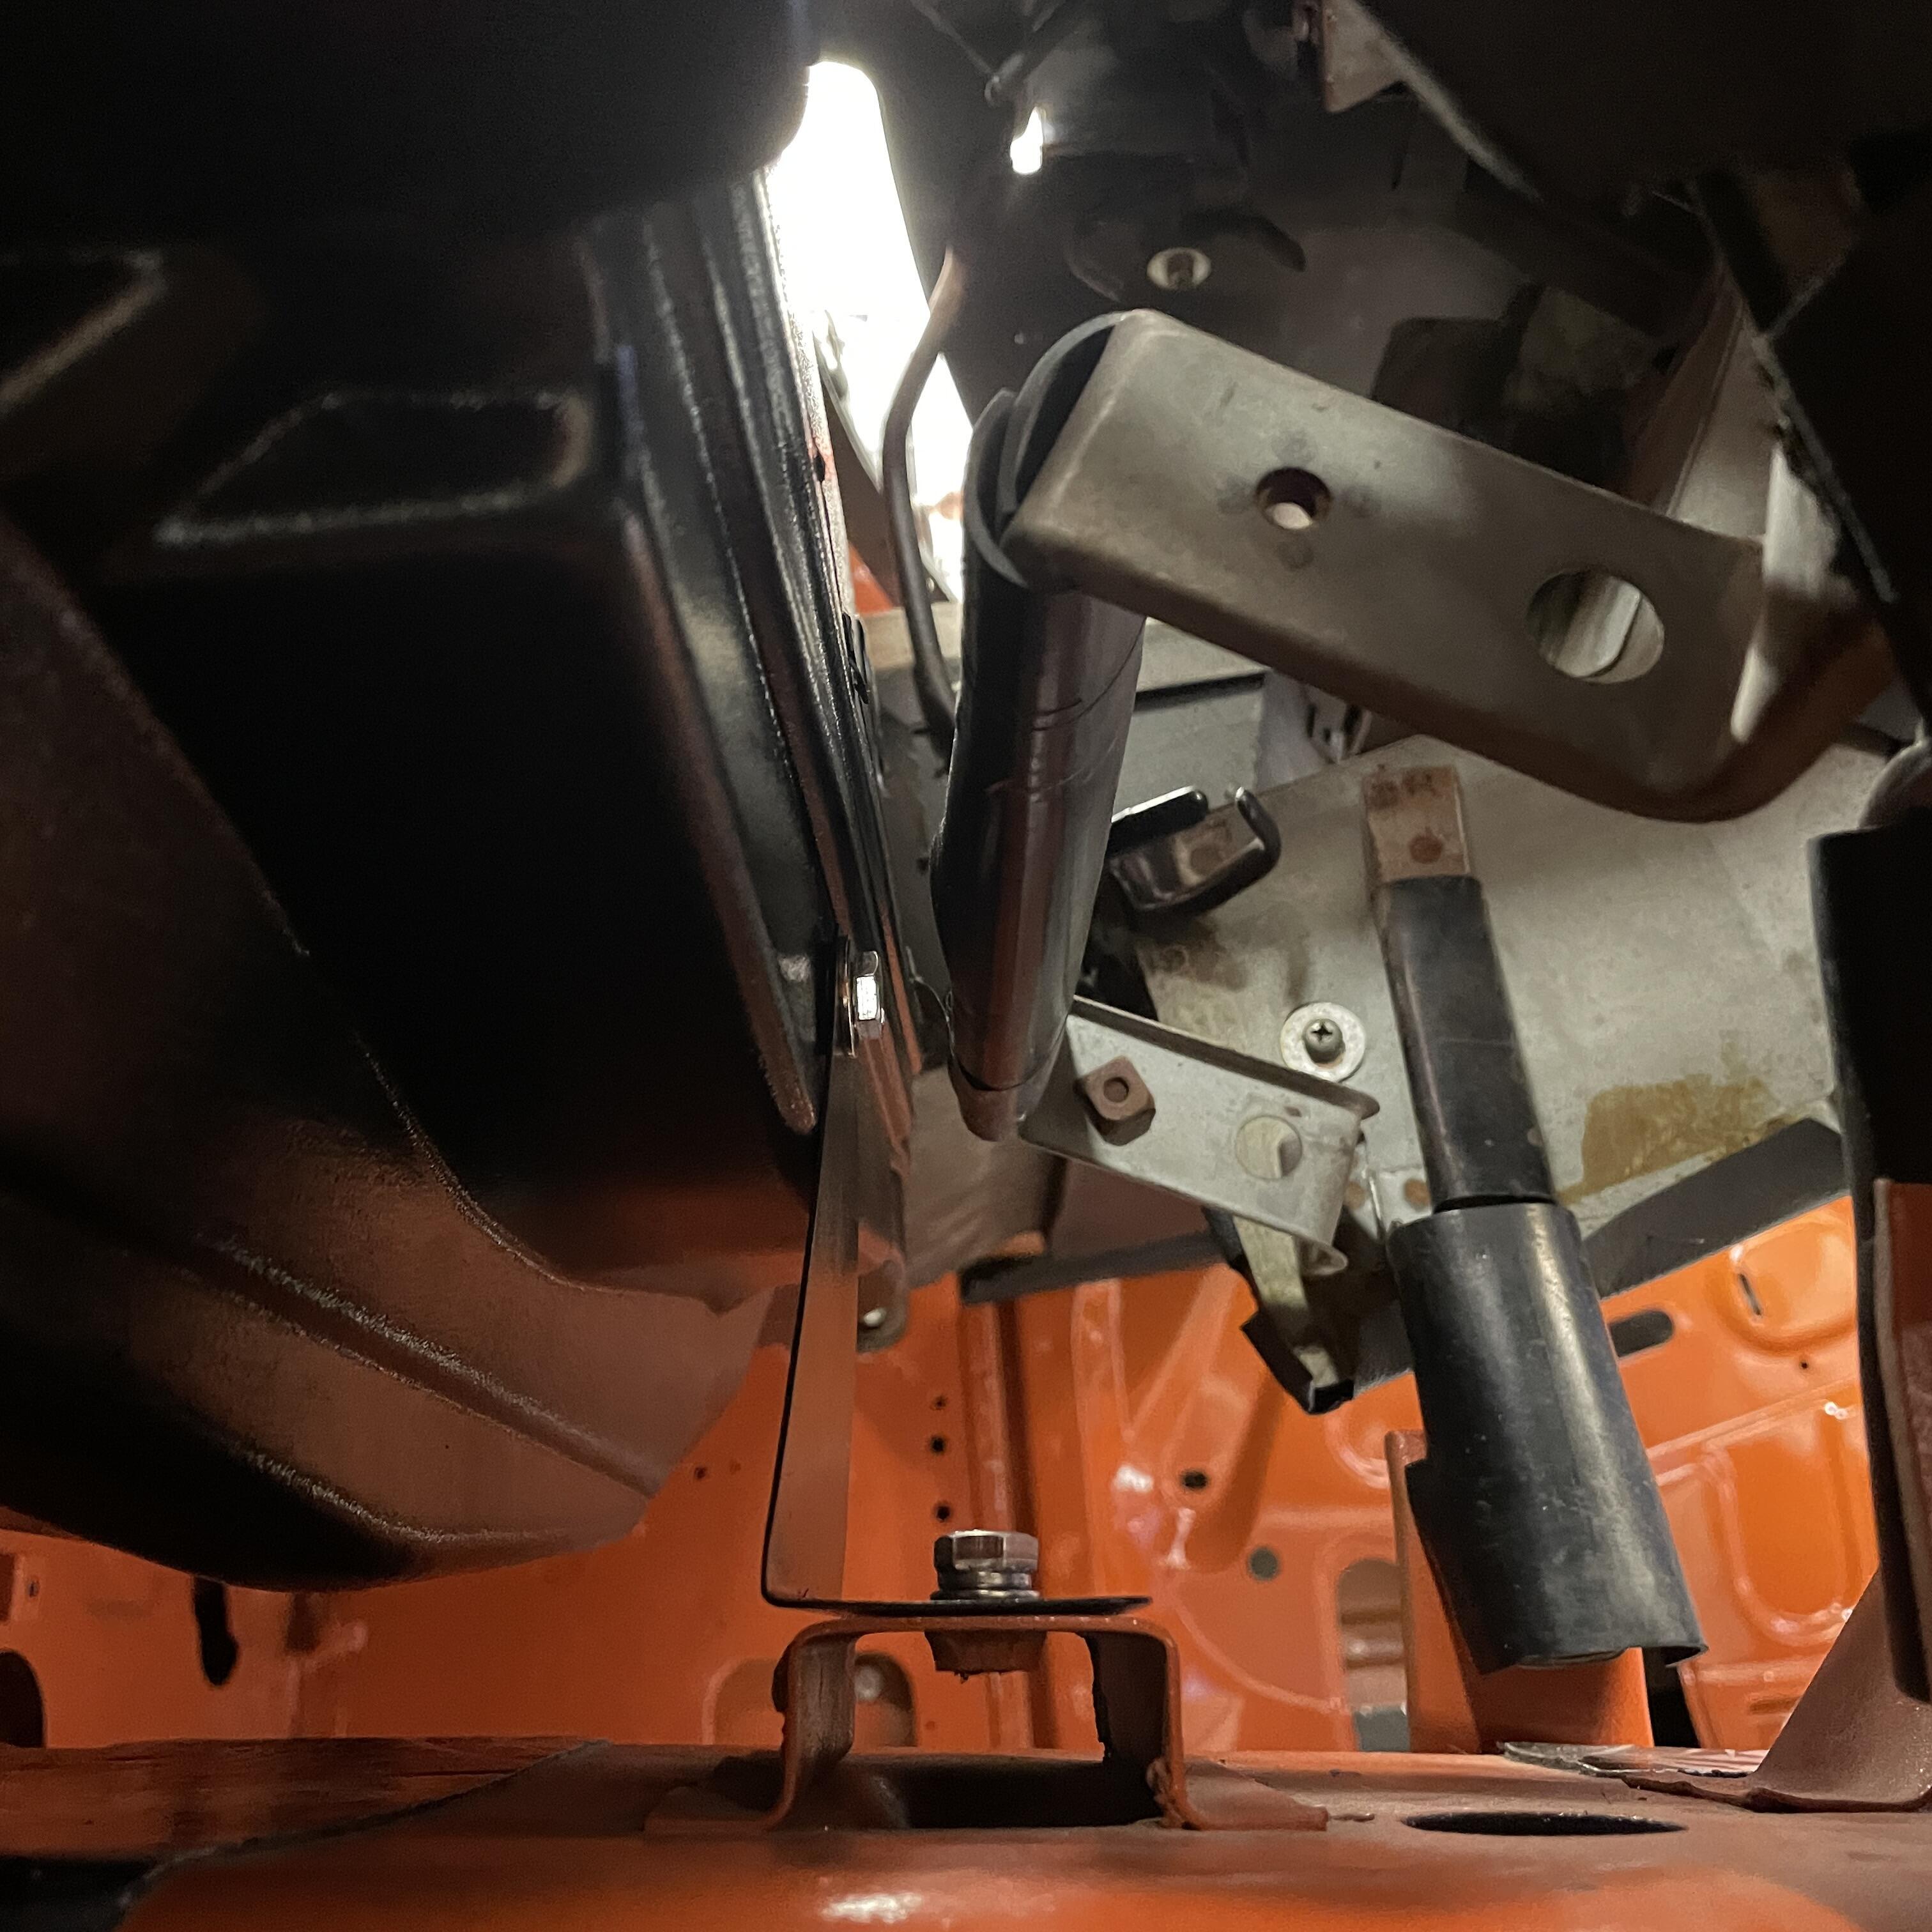
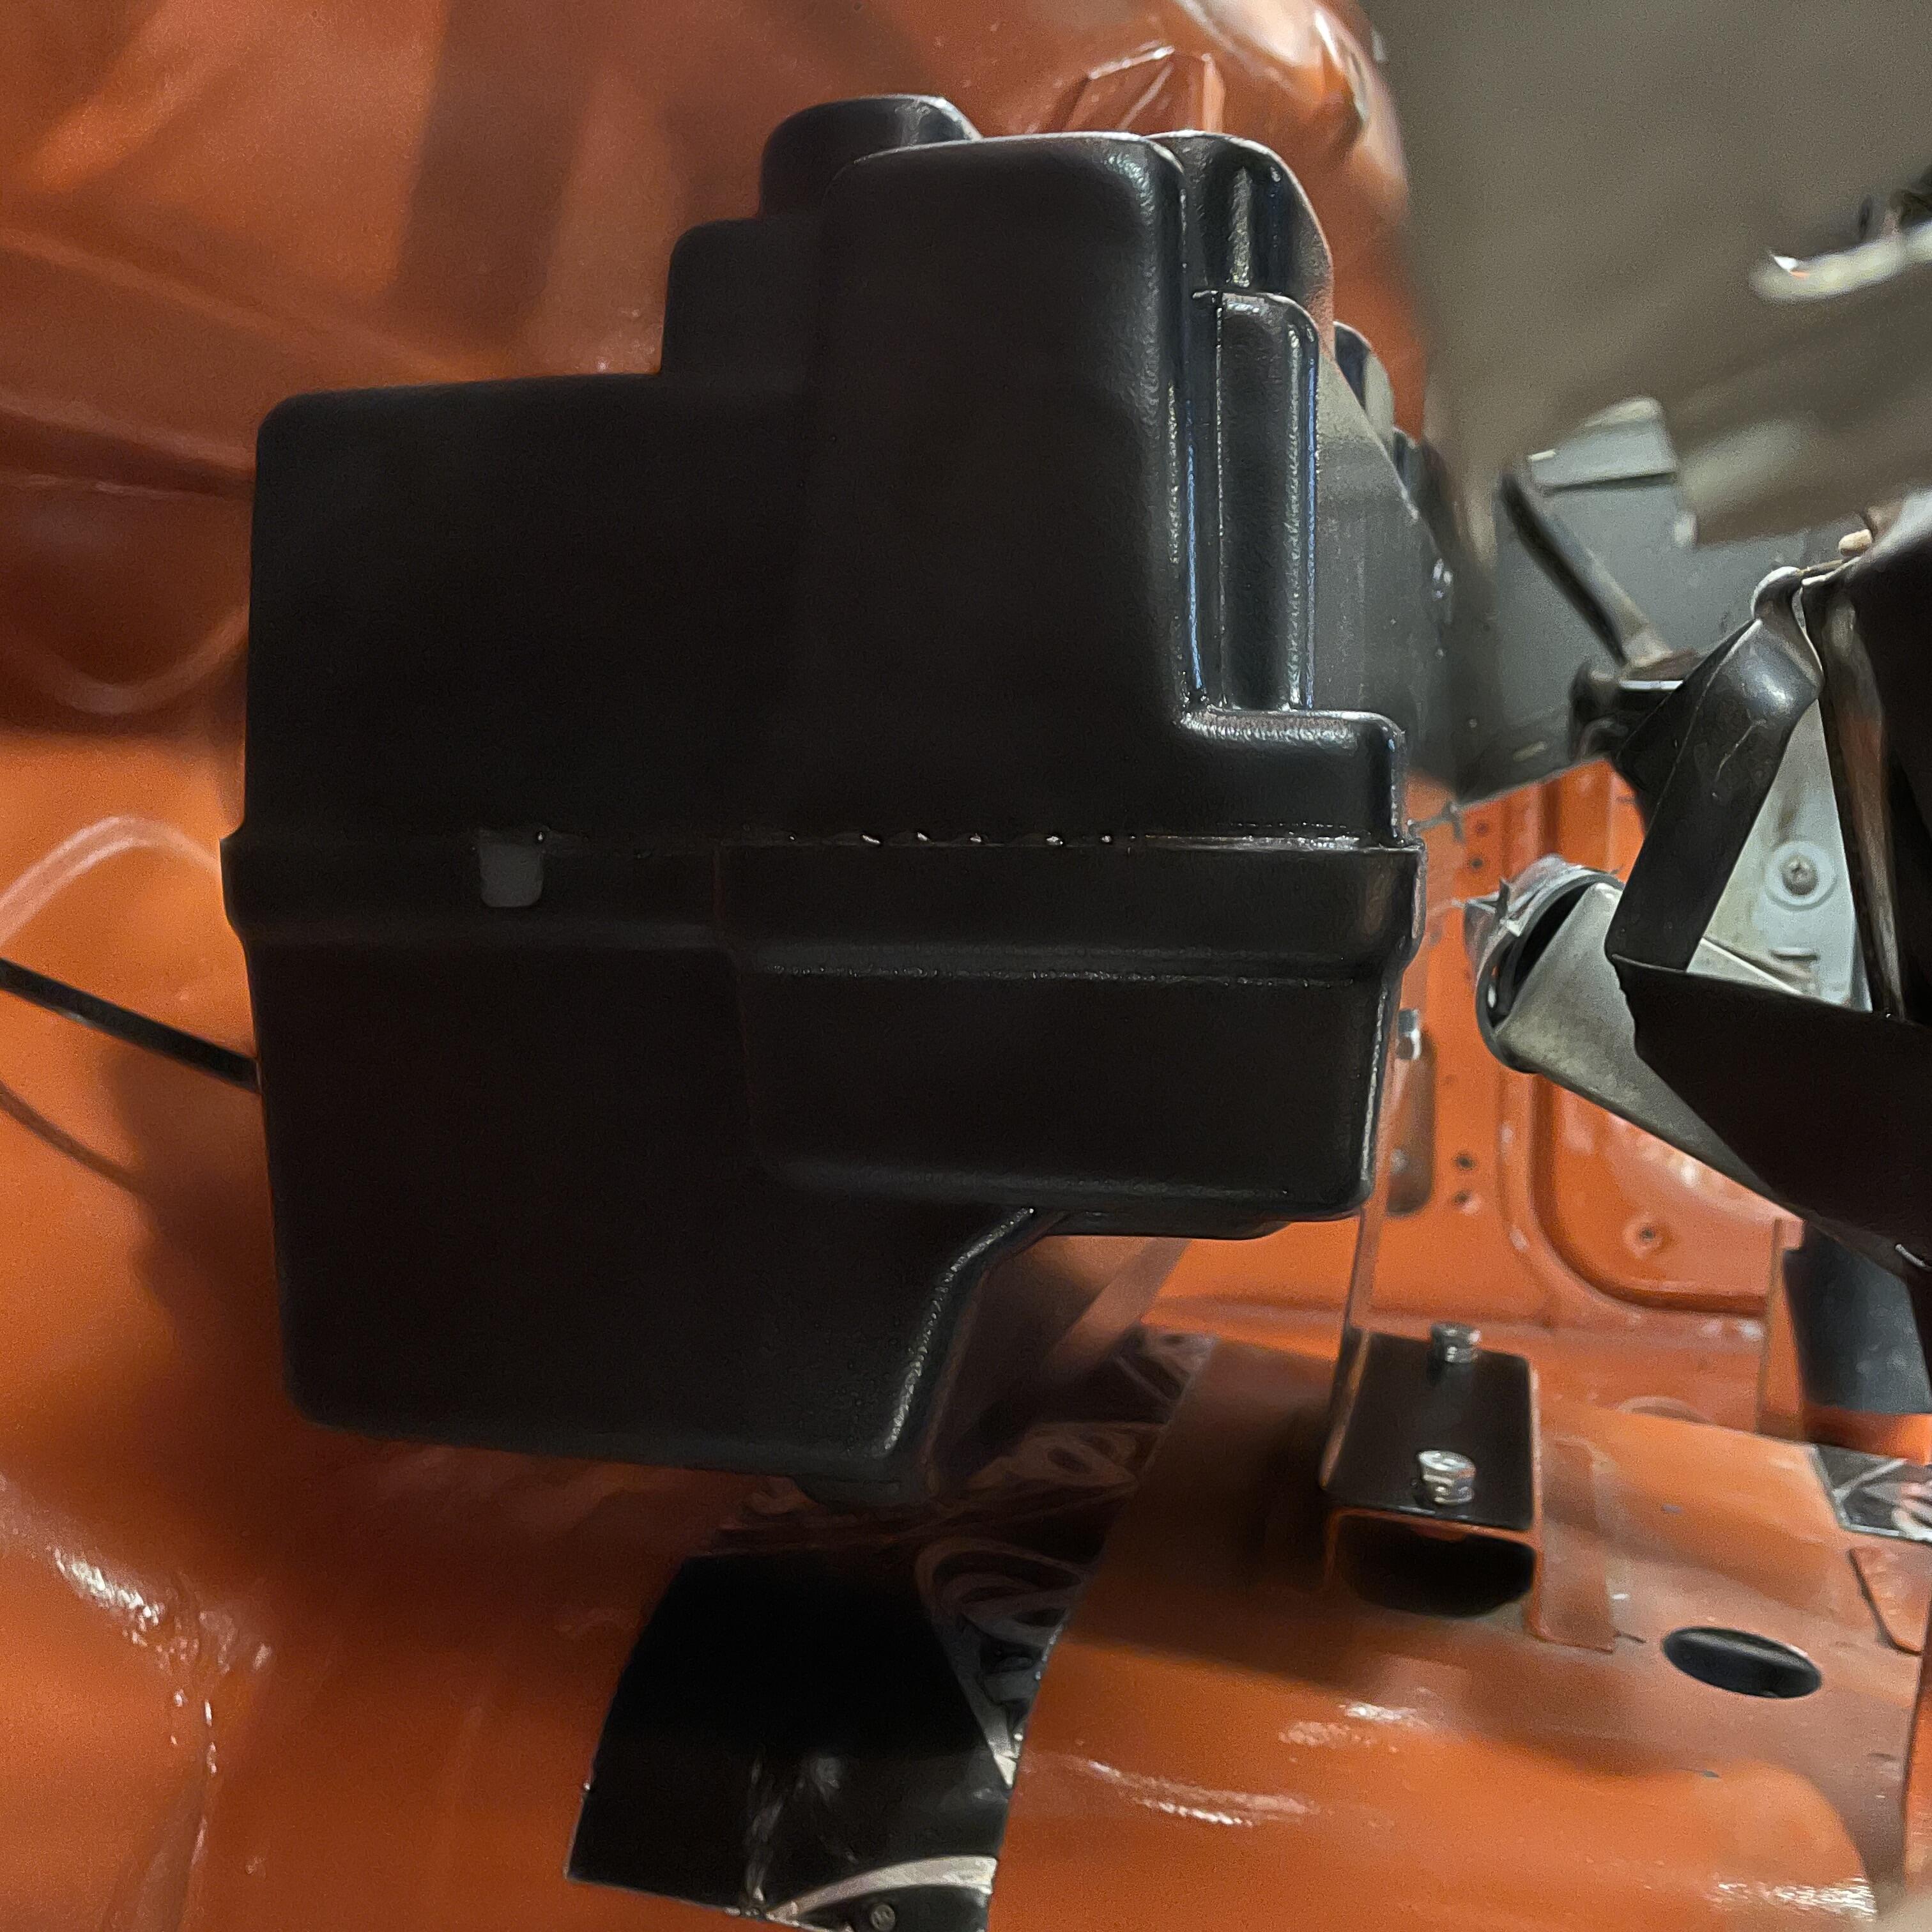
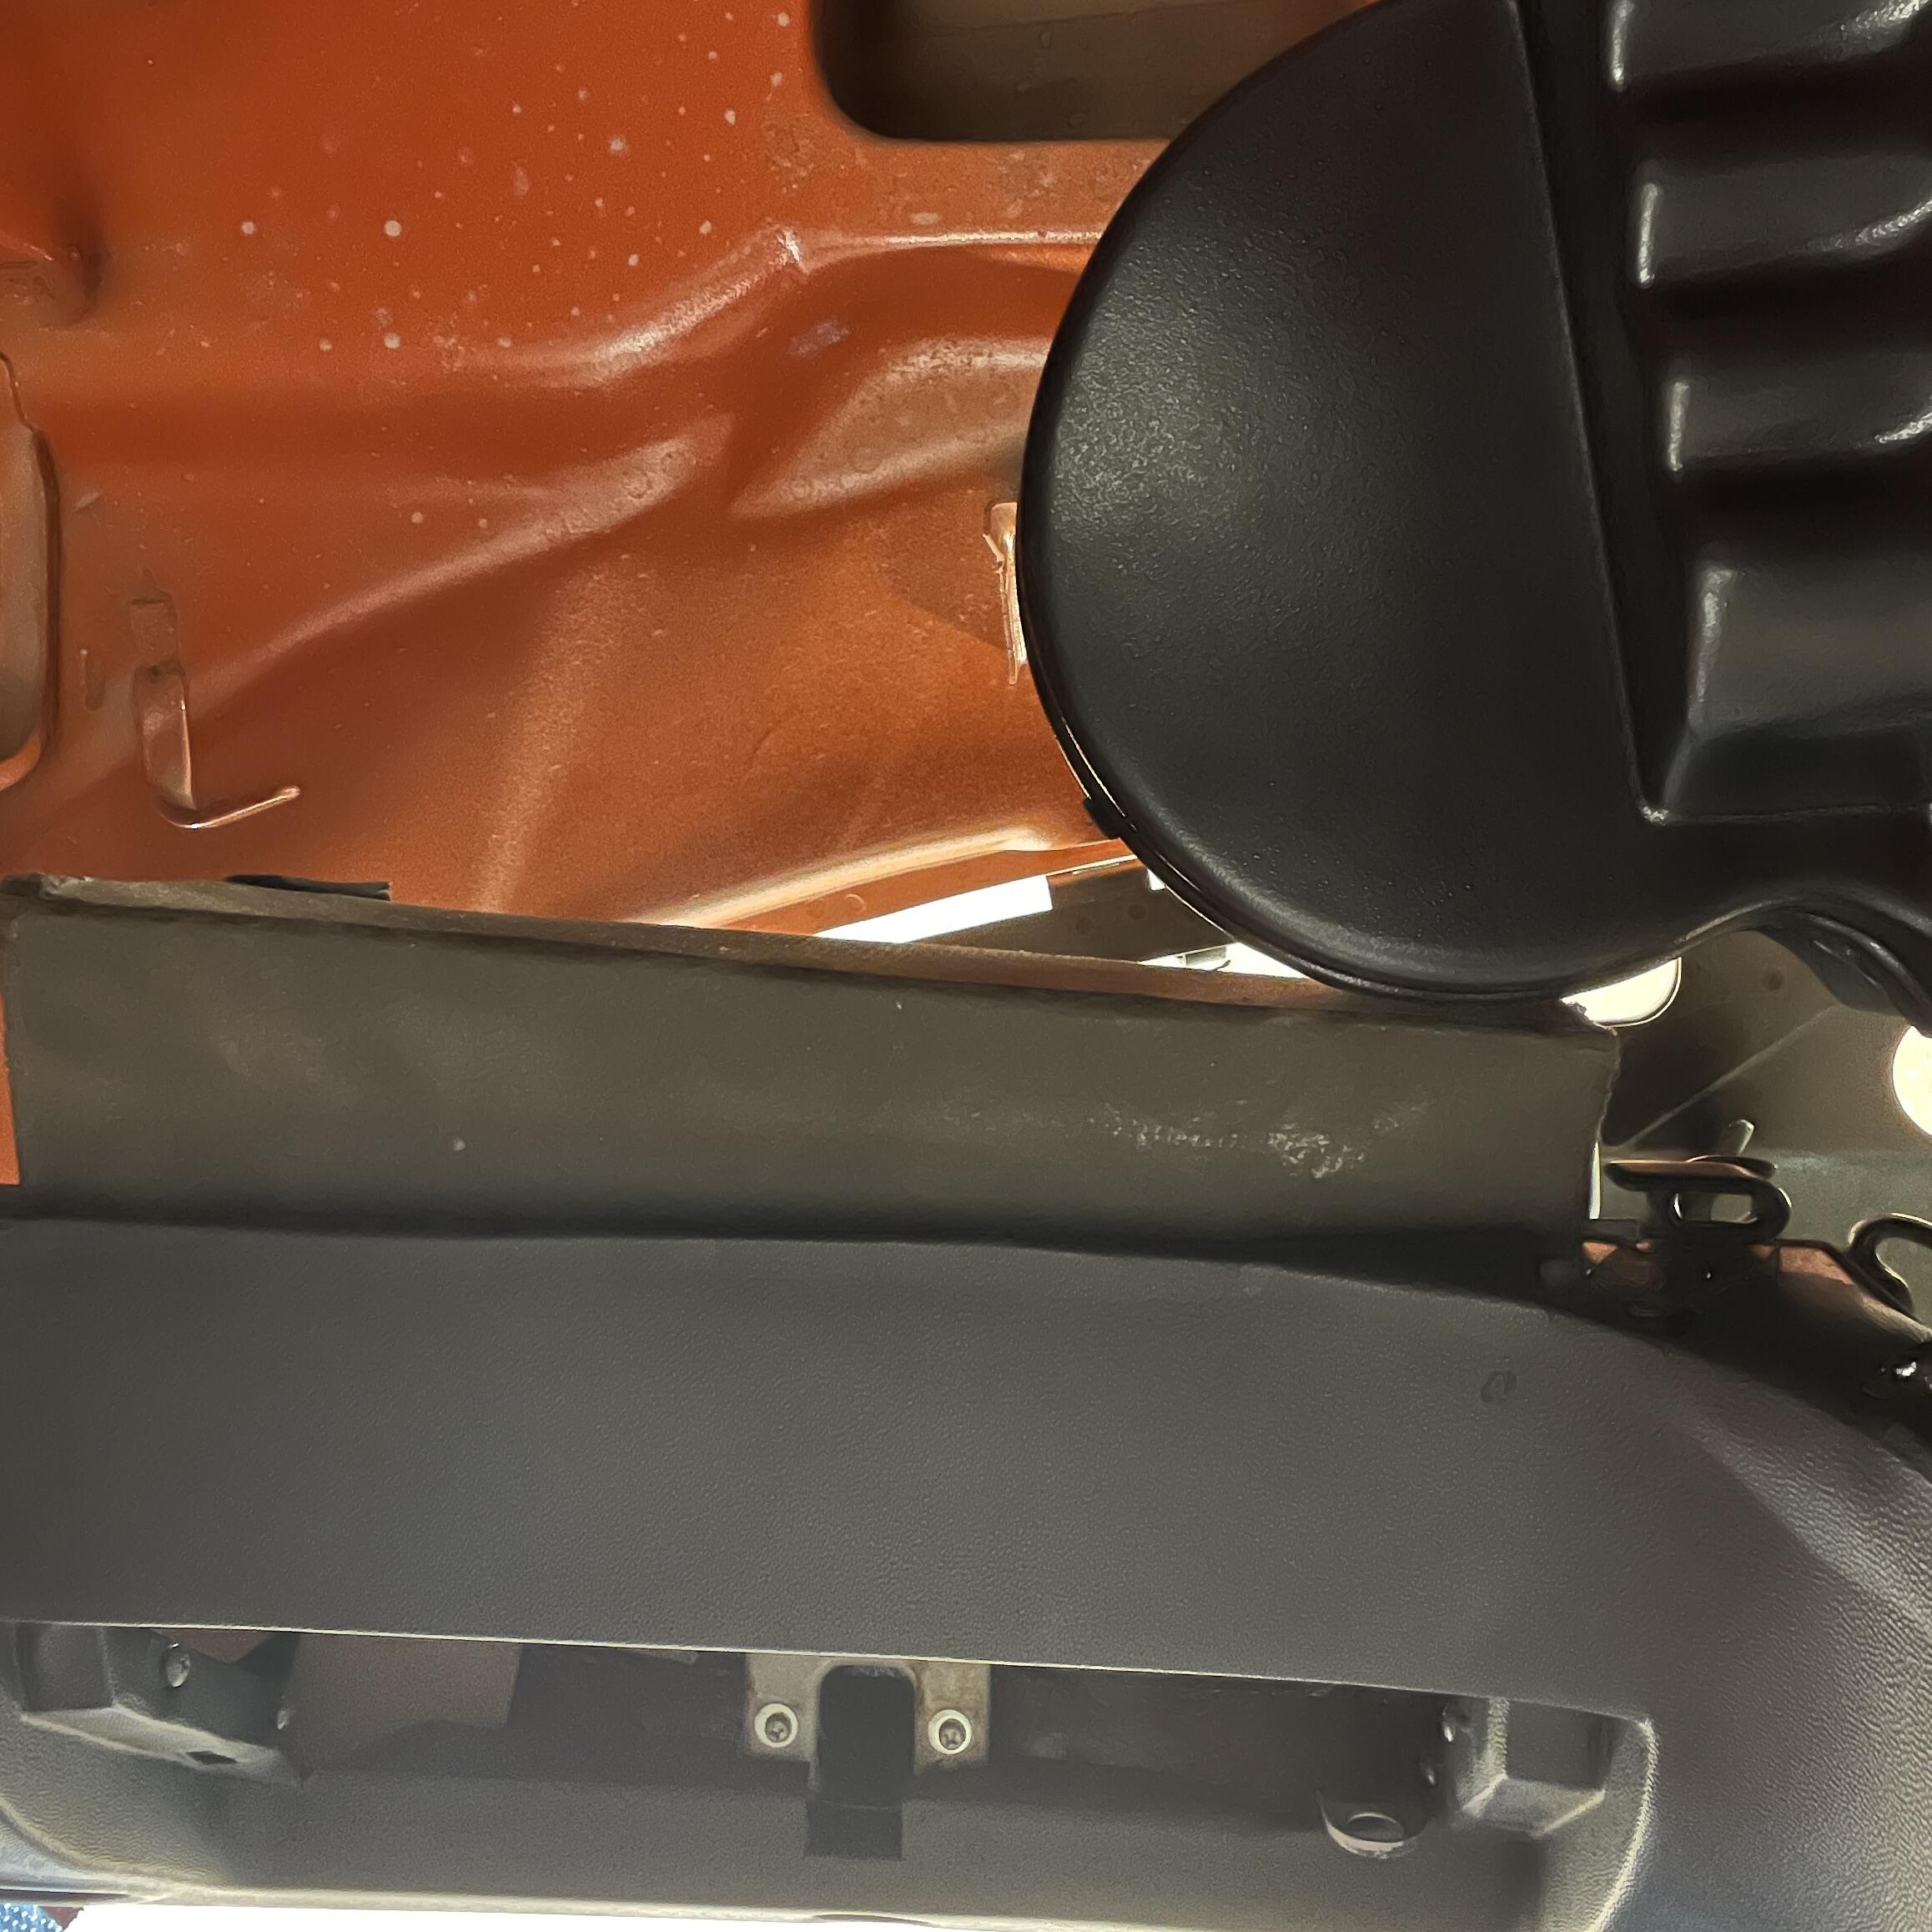
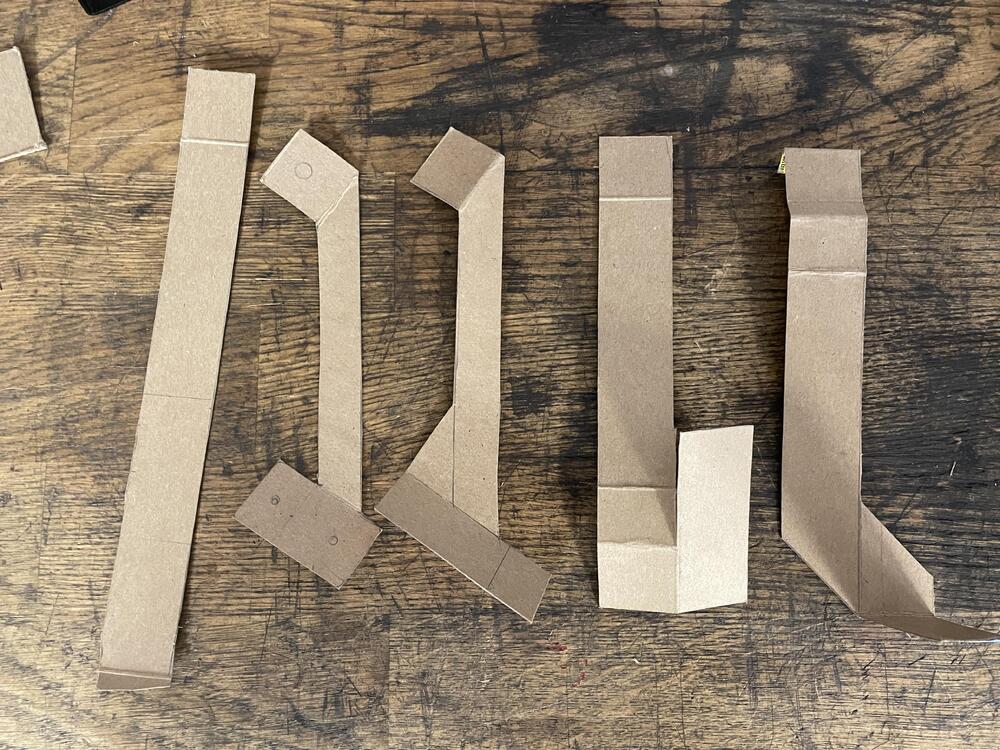
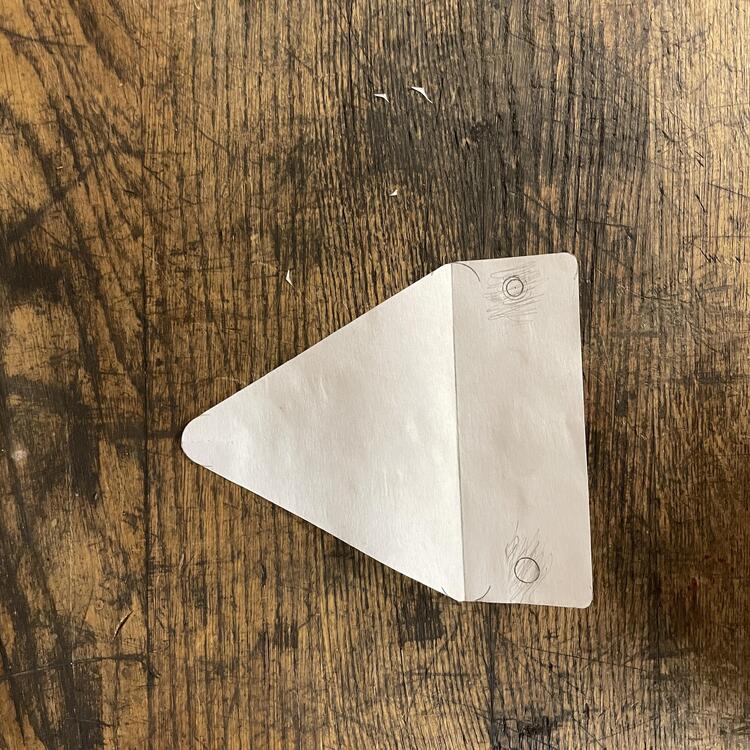
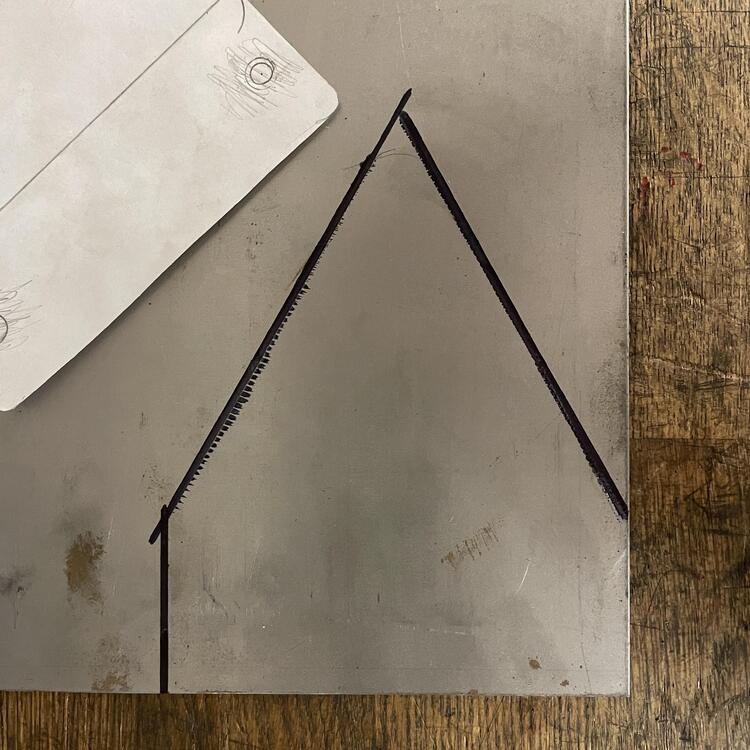
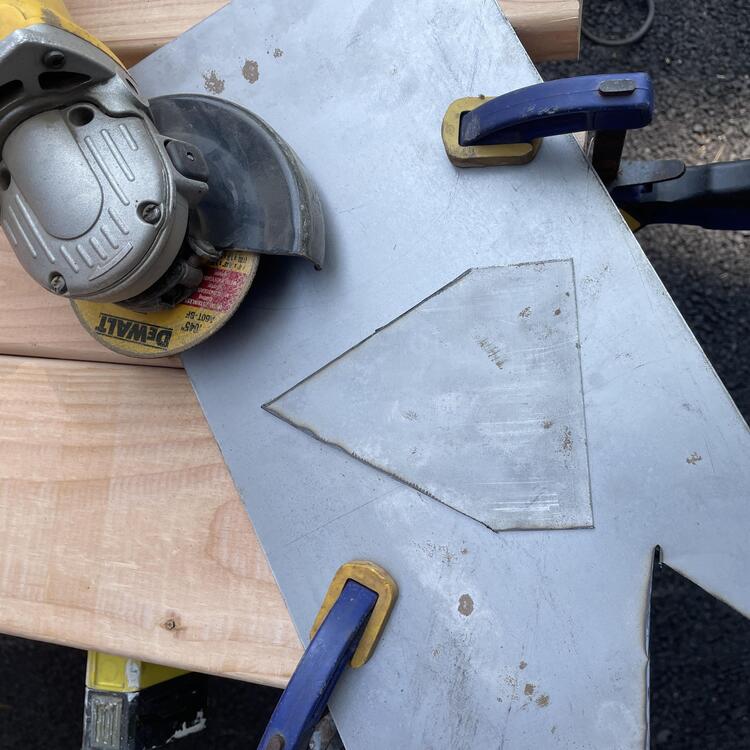
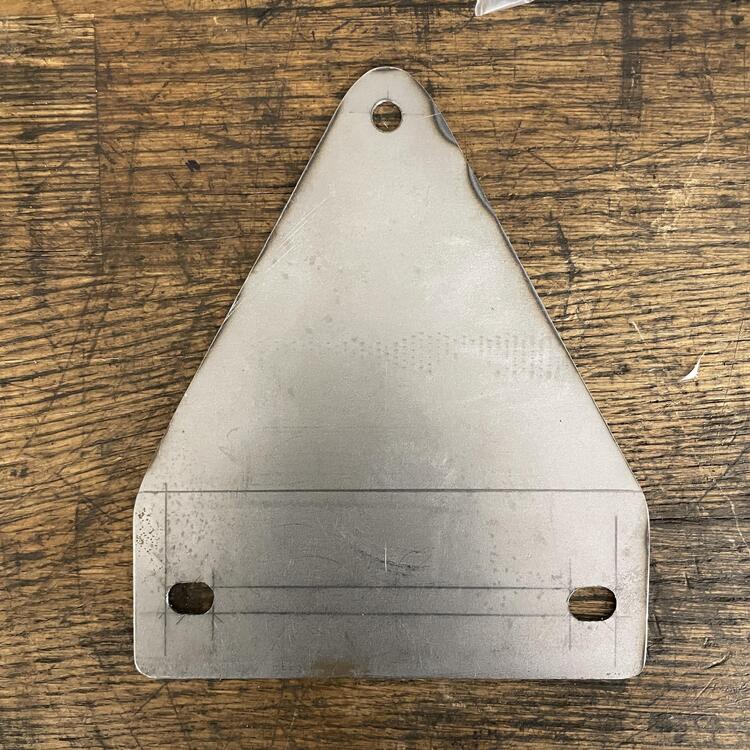
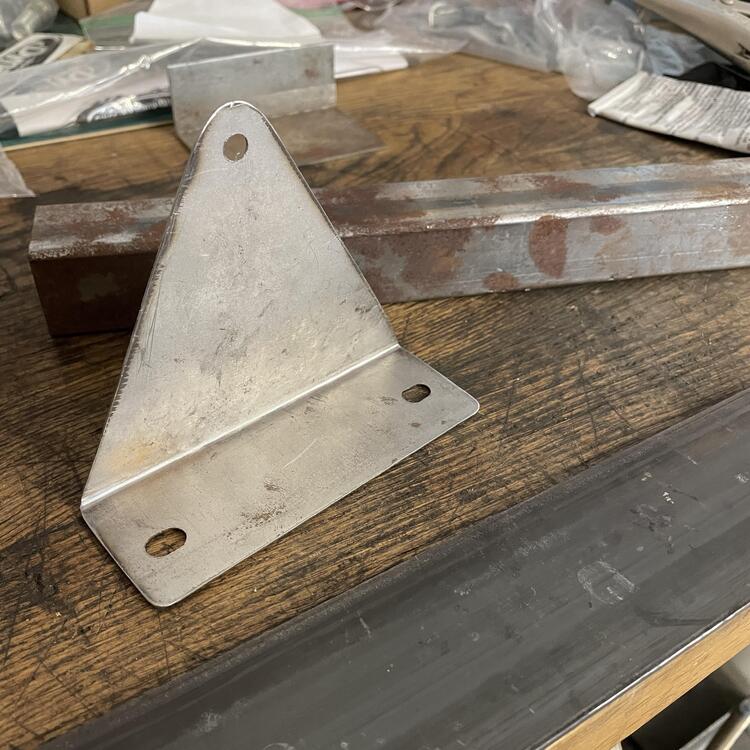
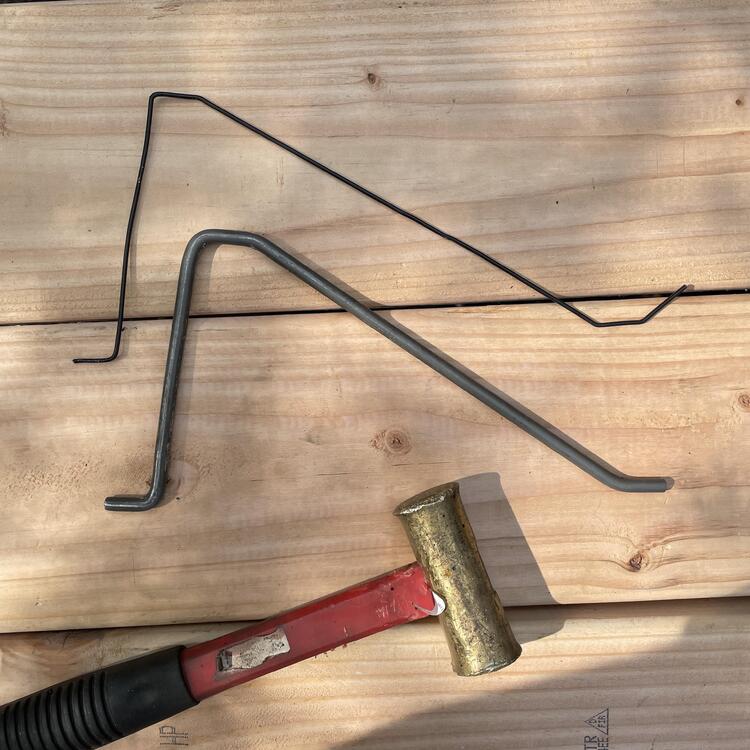
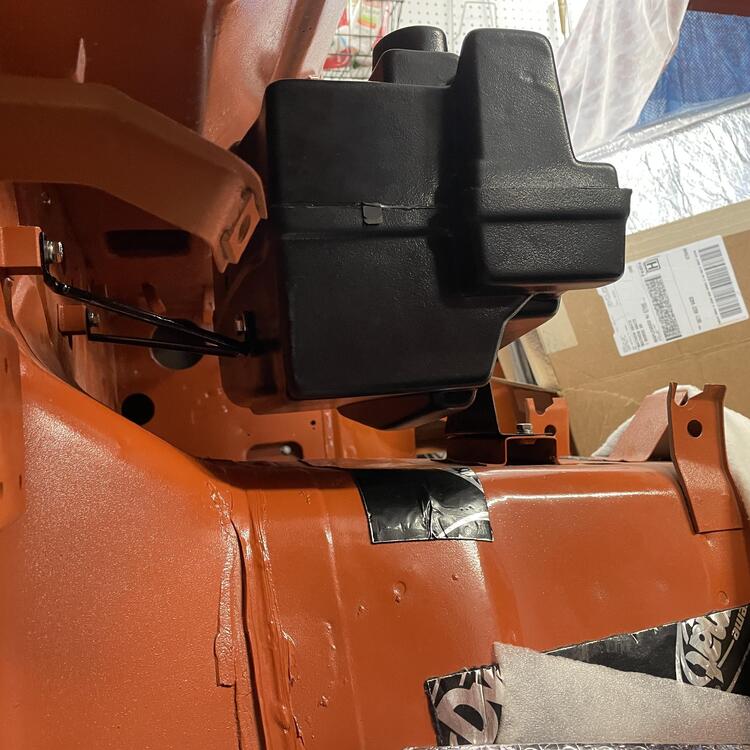
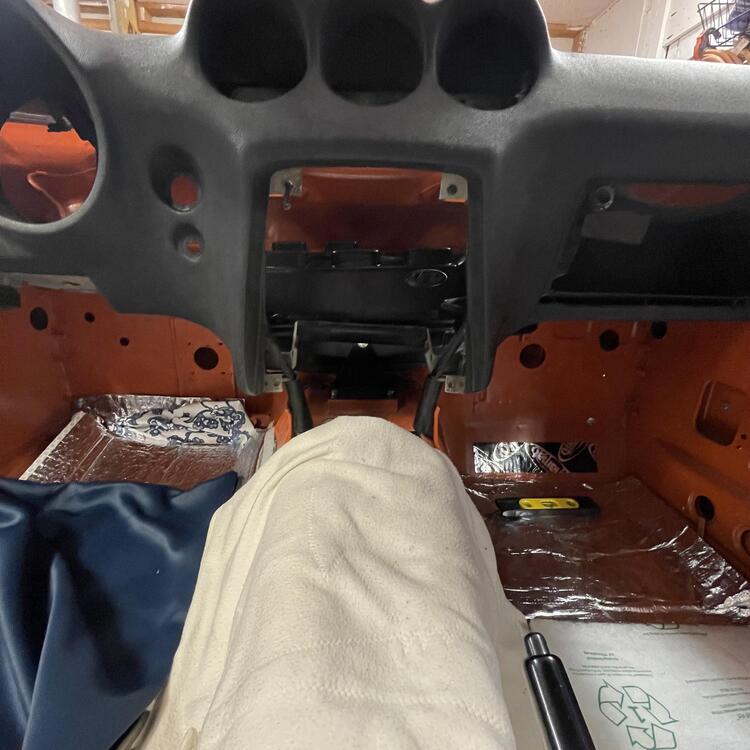
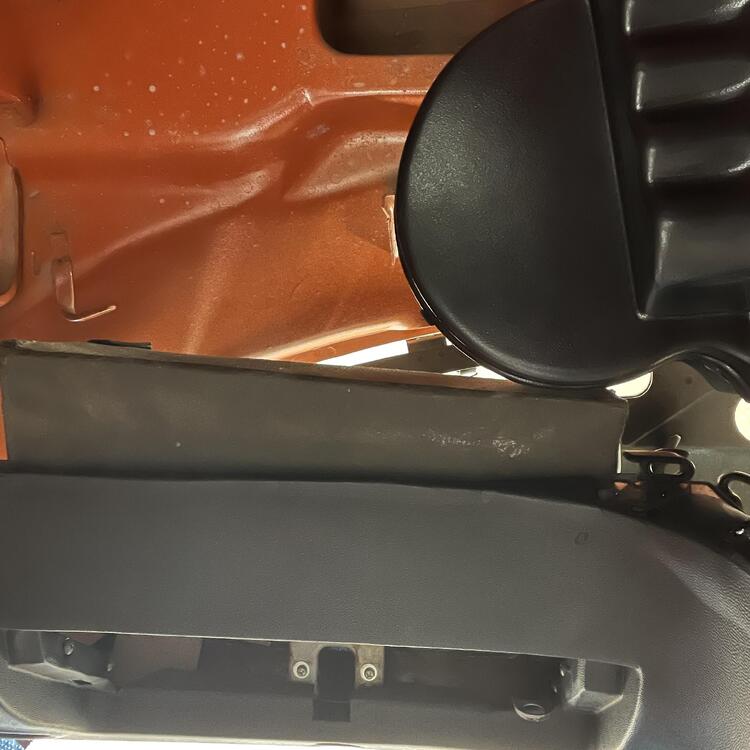
1 pointThanks! I wasn’t able to find many people talking about how they made the brackets that hold this thing in among the various build threads I’ve read about installing one of these. Hopefully this will help someone either finish their project earlier or figure out a better solution than I have. The flat steel bracket material they provide is a no-go. Unless you’re putting this into a car where the mount points on the car are close to the mount points on the evaporator, it’s going to swing around all over because they are very springy. I'm trying to create ate least one triangle for each axis. Maybe my transmission hump bracket should have been rod instead of sheet to be stiffer, but I think the last of the three will wipe out any flex. The other benefit of going with rod over sheet in the back and on top is I’ll have WAY more space to run wires, tubes, and pipes. I made some mock-ups of various brackets for the top and they all created a huge barrier I wouldn’t be able to snake the ducting around:
 1 point
 -
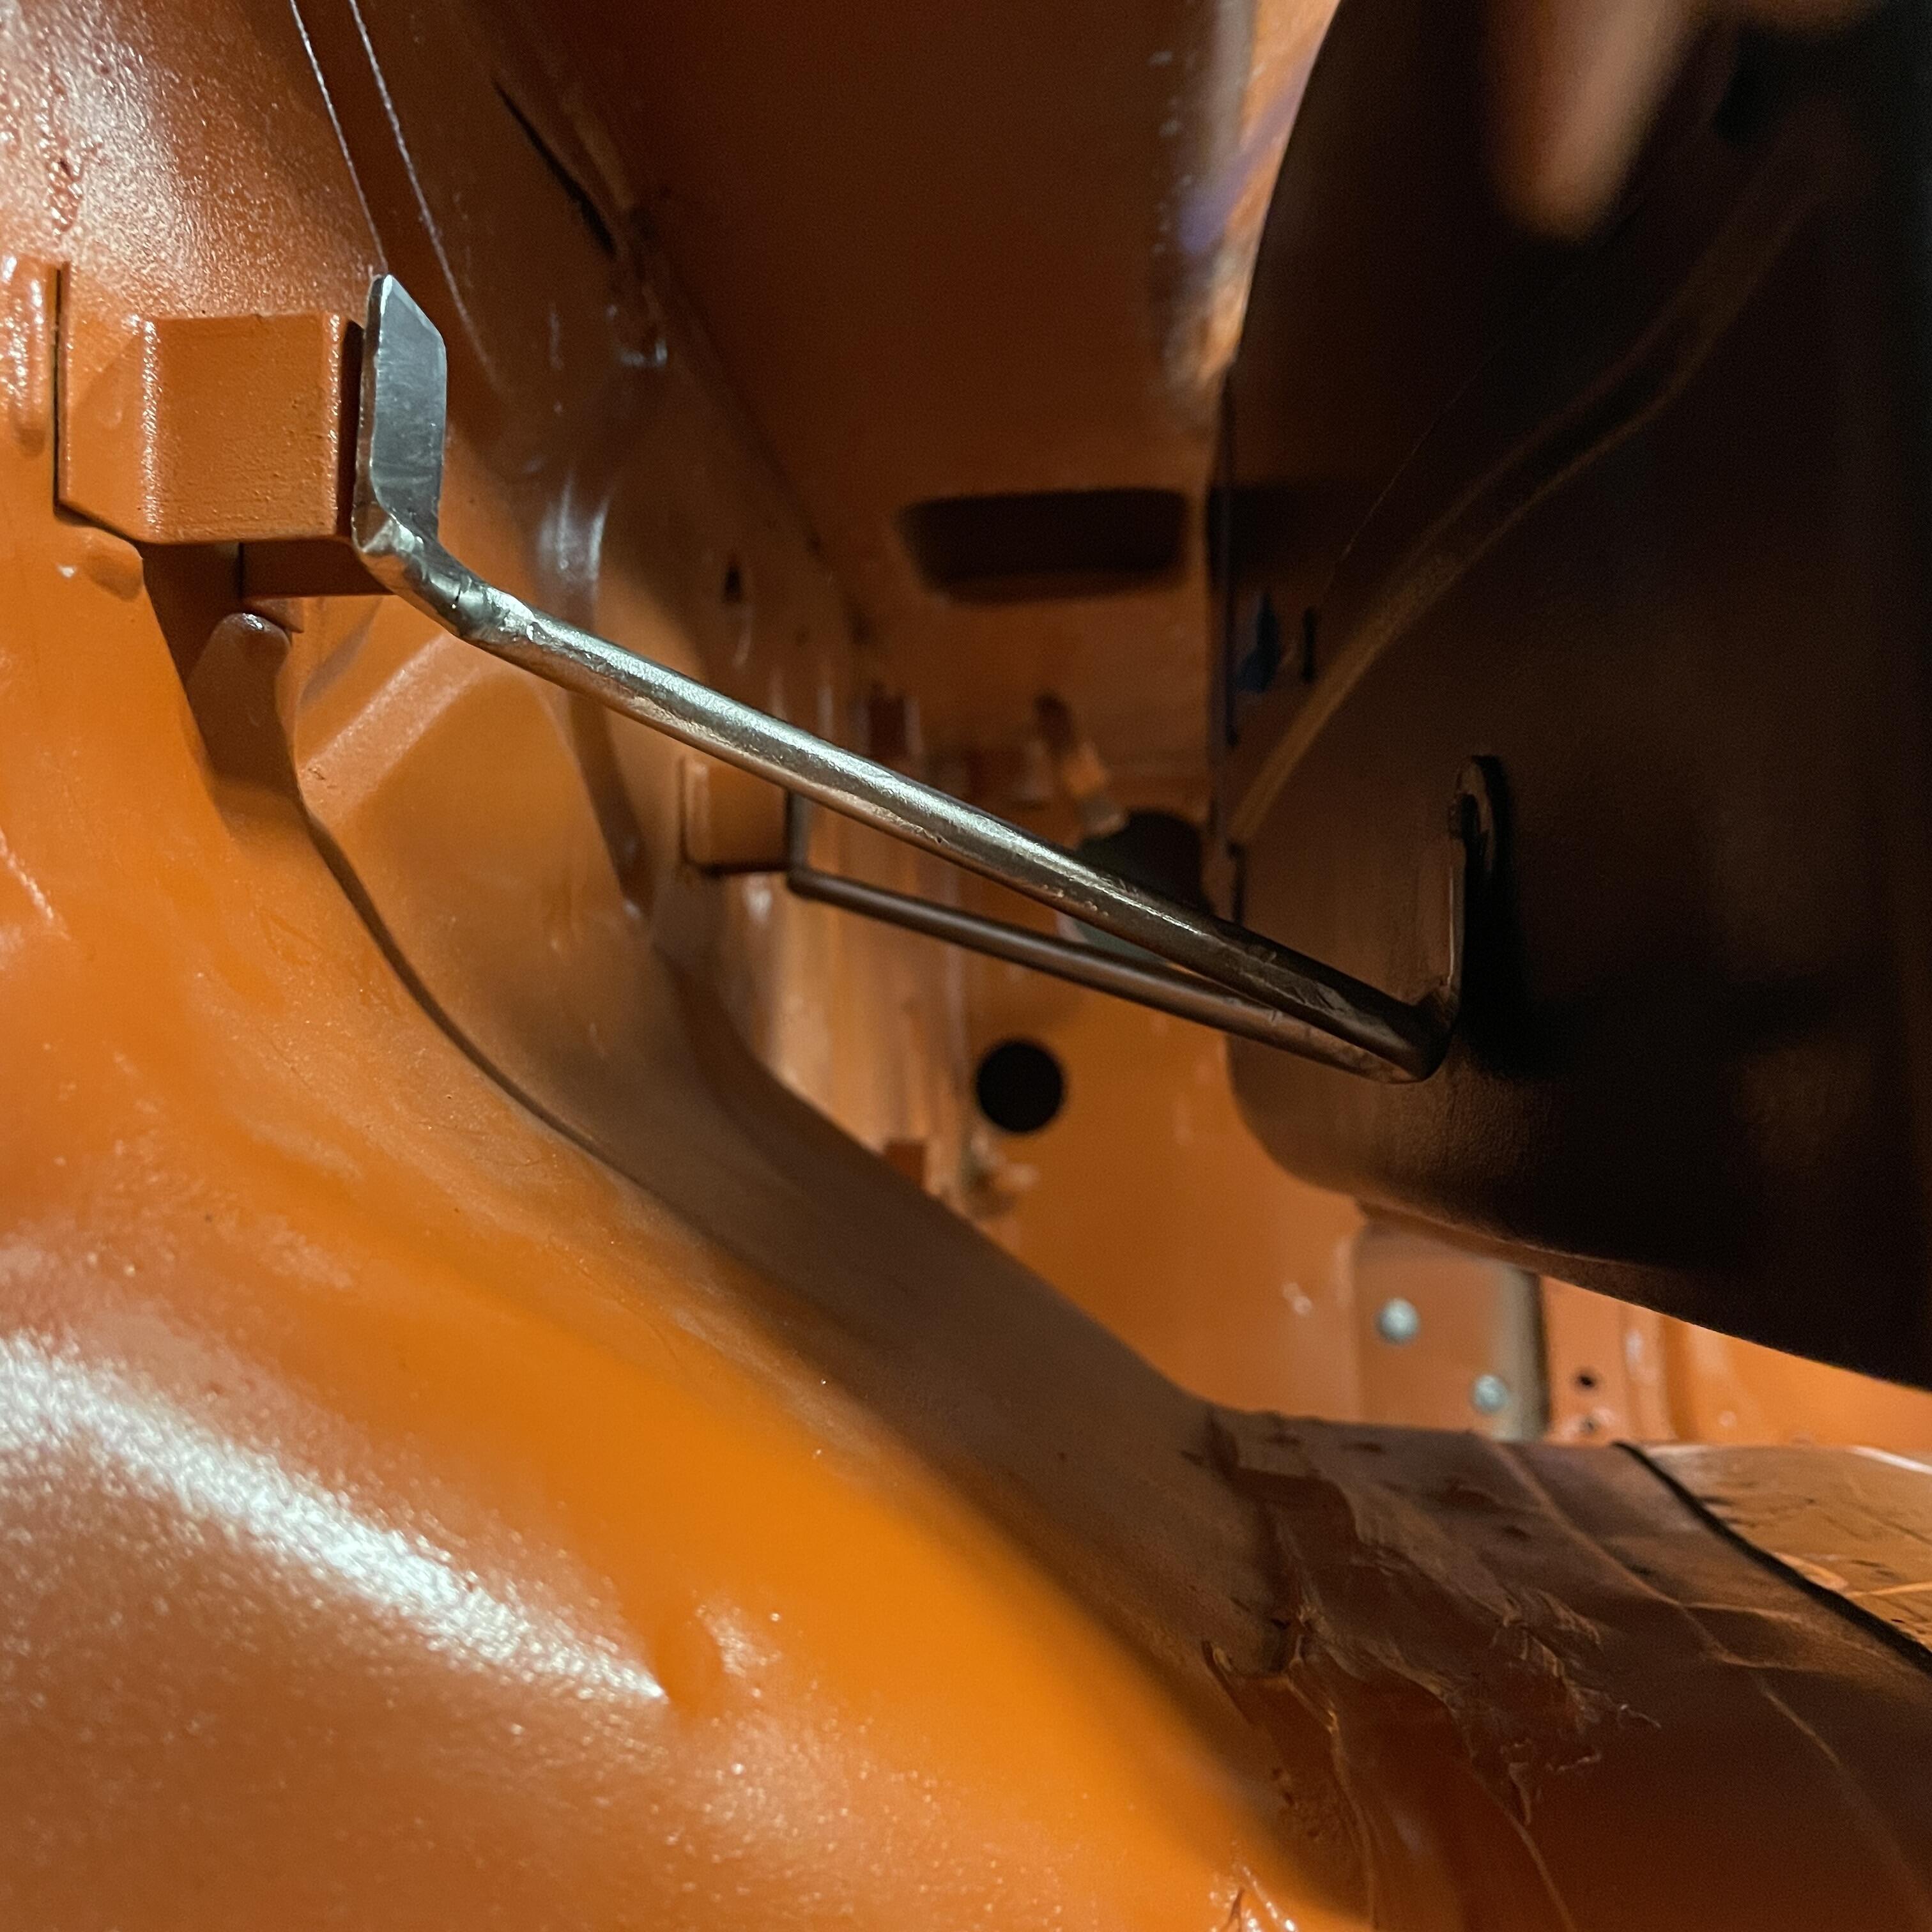
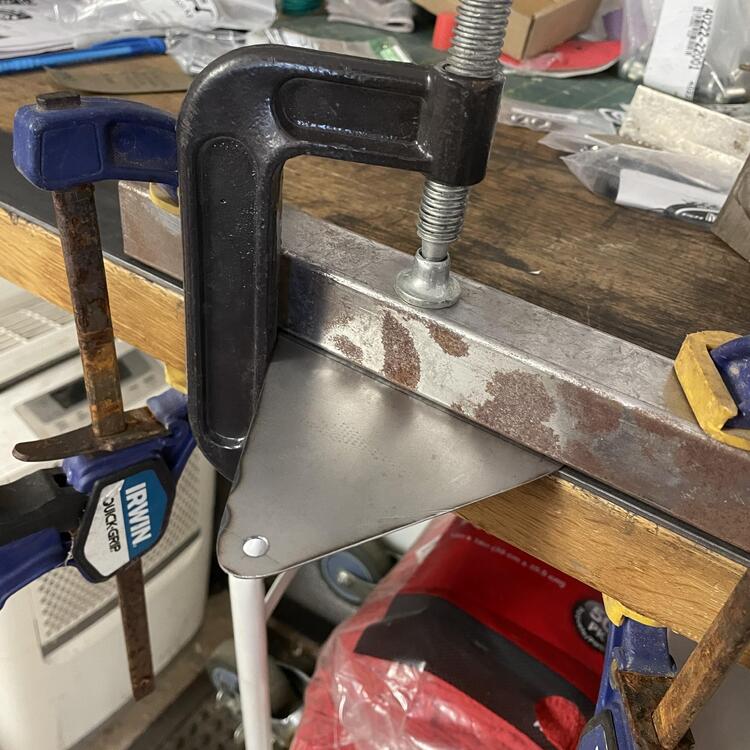
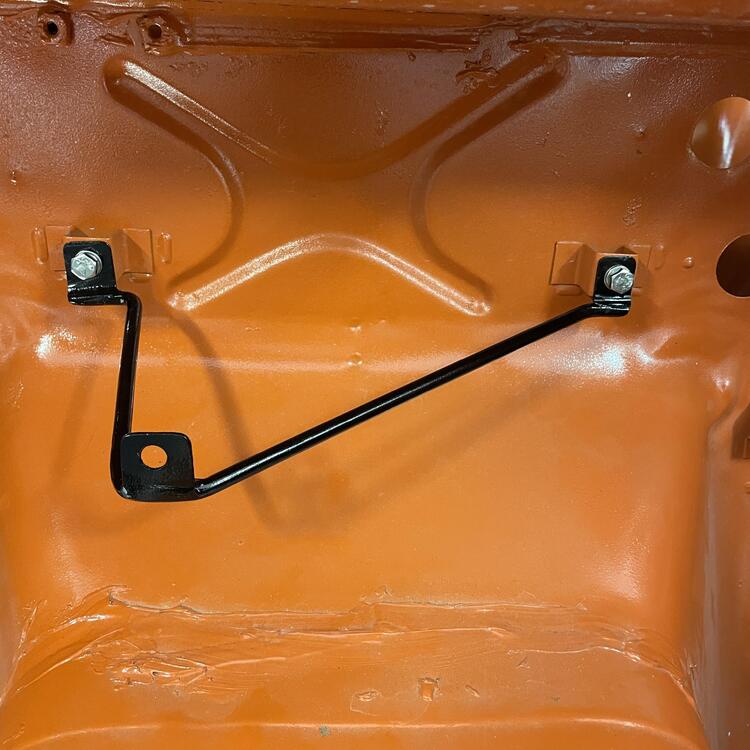
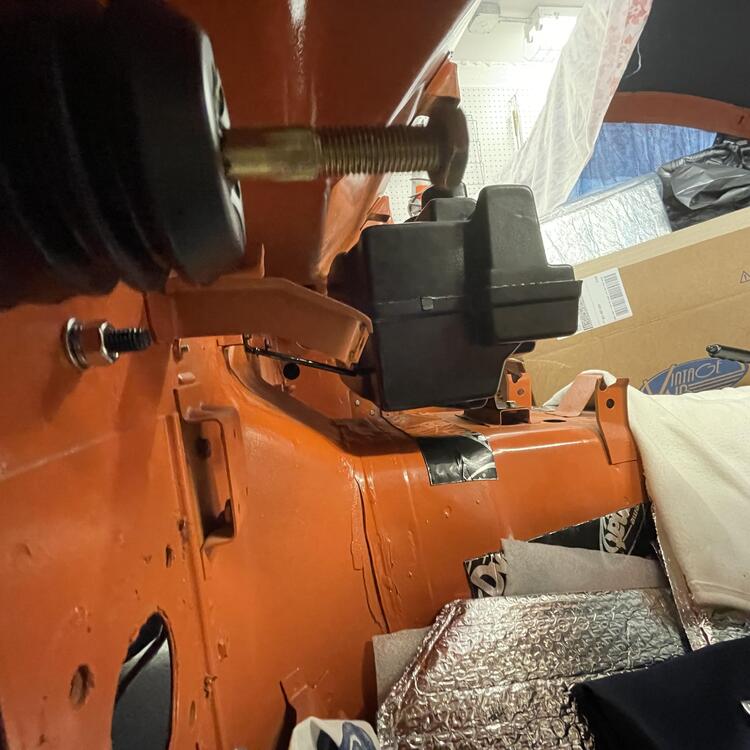
1 pointMade some brackets for the Vintage Air AC Evaporator: Good clearance all around except for the corner of the cardboard glove box insert. It makes contact but it’s not right. I may be able to pull it forward when I make the third bracket. Right now the mock-up can twist longitudinally, so I definitely need to use that third hard point. Kinda wish I had used 16 gauge instead of 22 gauge steel for the hump bracket because it’s pretty flexible. However, I think I need another bend in it so it’s not flexed. That may stiffen it a smidgen, and maybe it won’t be an issue. I’ll decide after I have the third bracket on if it needs to be redone.


 1 point
 -
1 pointYes! Super helpful. I found a set of copper lines and a dryer on eBay and was thinking of using them for a vintage air setup, but couldn’t see how they went on. Not sure if I’m going that route or not because I’m concerned about leaks, but at least now I know where the lines go.1 point