Leaderboard
-
disepyon
Free Member3Points121Posts -
Carl Beck
Free Member2Points5,043Posts -
MOPILOT827
Free Member2Points9Posts -

wheee!
Free Member2Points4,607Posts


Popular Content
Showing content with the highest reputation on 11/12/2016 in Posts
-
Hi Guys - Sorry for the delay in getting back to this Thread. As far as I knew - Mr. Motomura sent the entire text and images of the book. Just last week however, he sent an additional 13 images that for some reason were not included in the original file set. He didn’t notice they were missing as we iterated several drafts of the English edition. They are nothing new to anyone - pictures of the S20 & L24 engine, pictures of the Front and Rear suspension, Datsun 240Z engine compartment and Battery Access lid. Rear end crash test on 280ZX 2+2. I will be adding them to the next Revision - and I’ll put them on line for everyone to see or download and print. I don’t expect that they will significantly impact the page count, nor the actual information content. I added US Measurements to all the Metric Measures, only because I felt it made reading comprehension better for US readers. (they wouldn’t have to break their train of thought - stop reading and do the mental measurment conversions) So any conversion errors are on me. I have to believe that the difference in page count is do to the different format size.The English Edition was printed in 8.5 x 11 format in Black & White because that was the least expensive and still conveyed the technical information. Mr Umera / Mr. Motomura wanted to make it available & affordable to everyone interested. Alan: The Title evolved from exchanges between Mr. Motomura and myself. Publishers told me that one of the key elements to book sales - was Title Selection. They view it as the most important meta-data - that drives on-line search engines. So “Fairlady Z Development Record” for the Japanese market - became "DATSUN 240Z Engineering Development” for the US and English Speaking markets. Yes entirely market driven to reach the most English speaking people, as that was the goal of publishing it in English. Secondly - - As several books about the Z car had previously been published in English - specifying "Engineering Development" was intended to more clearly indicate that the book was about the “Engineering” aspects as opposed to the “Styling”, “Modeling" and “Marketing” aspects - that were already covered in most other English Language Z Books. The Cover design was for the same reason. Thanks everyone for buying and help in promoting the book. As Chris said, I think you will find a lot of answers to many questions about what, how and why many of the Design and Production Engineering alternatives and decisions were arrived at.2 points
-
Perfect roads actually, it's a one way road with not many car but alot of pedestrians that like the nature on this mountain. But now the season is over for the Z : (
 2 points
 -
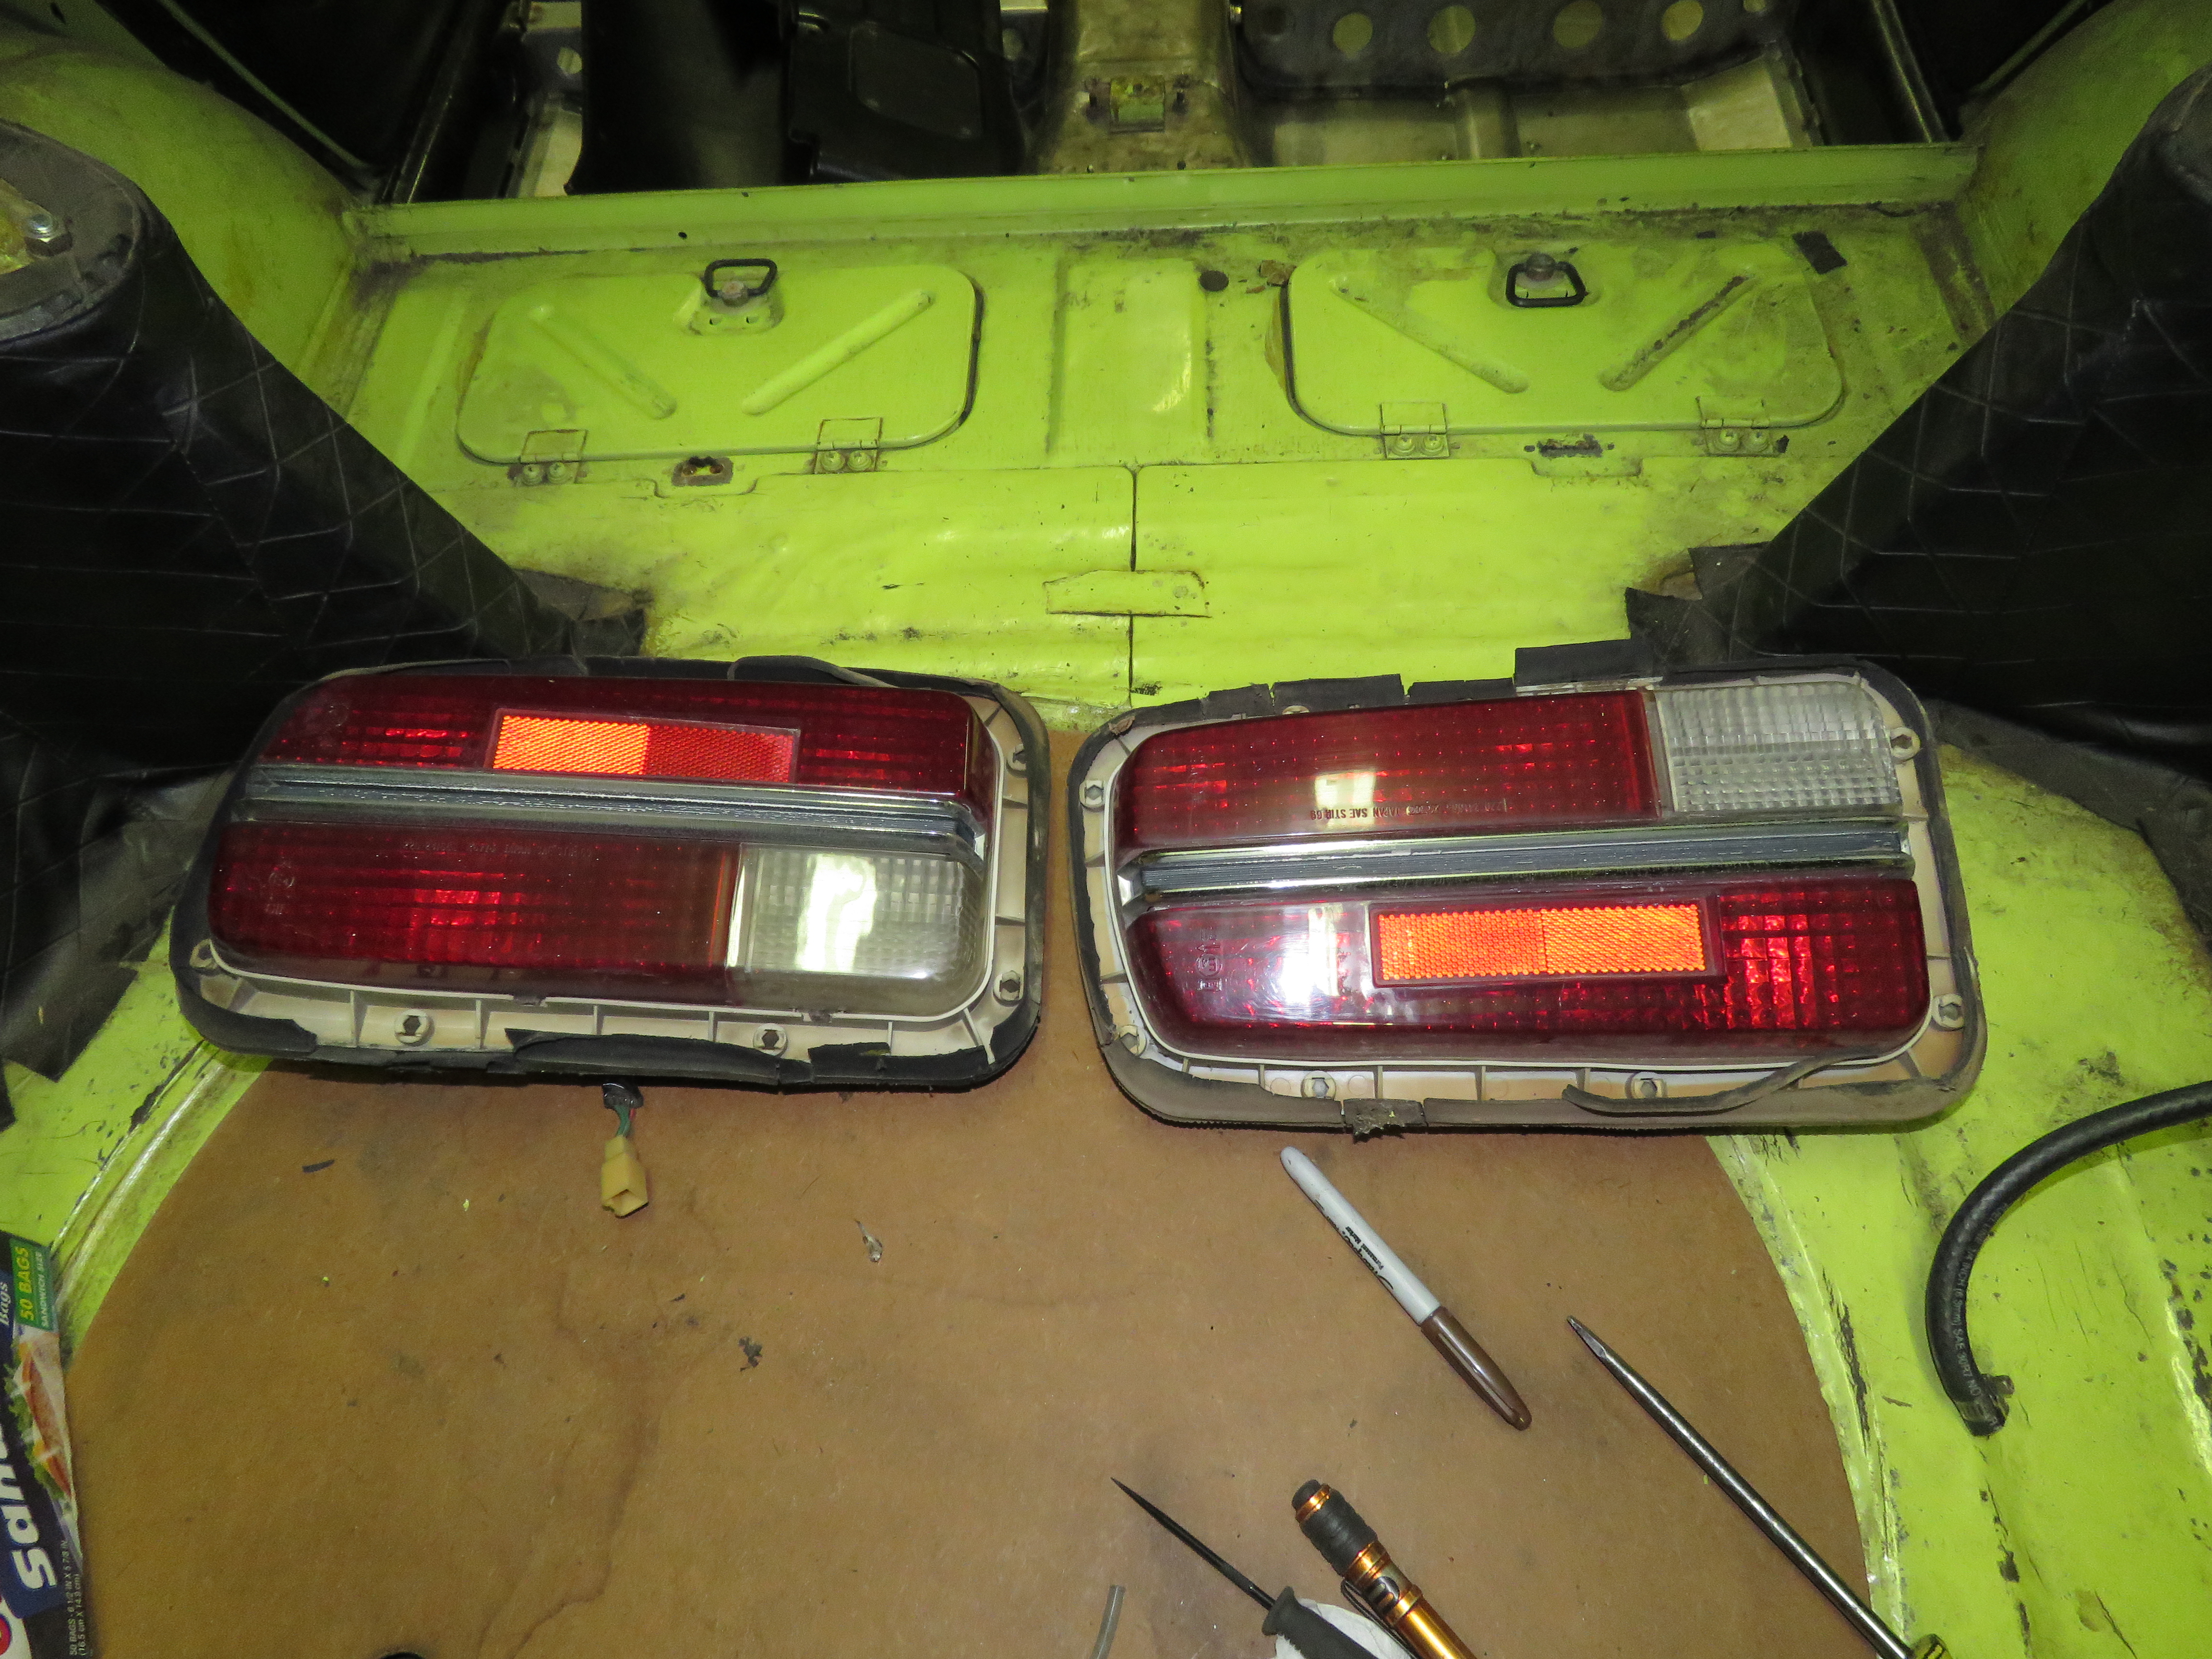
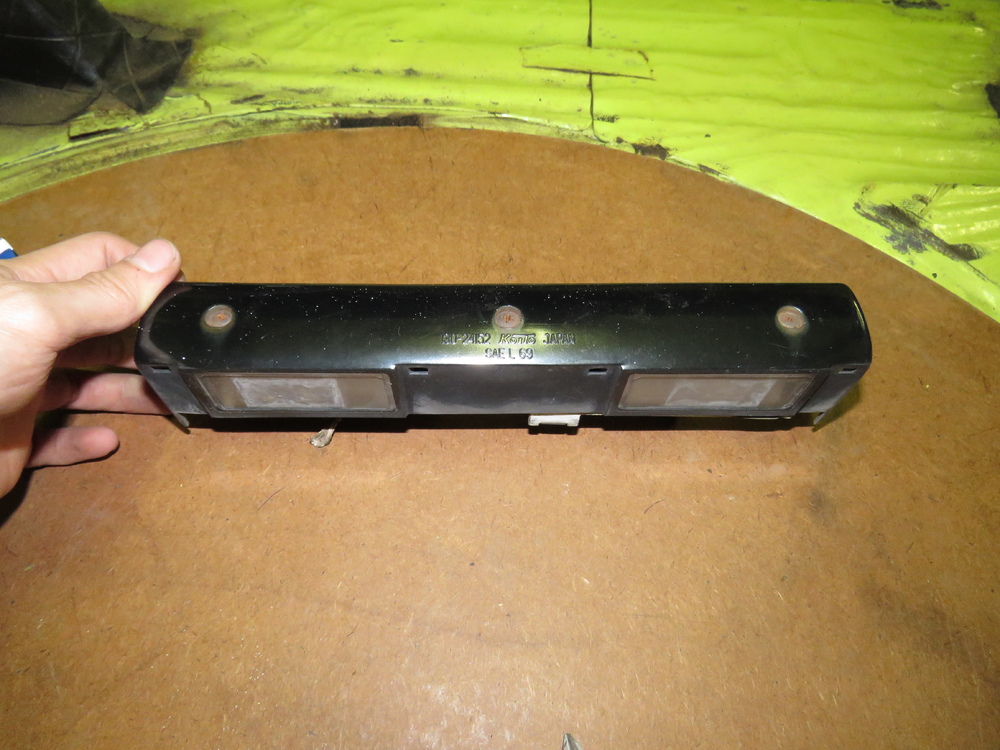
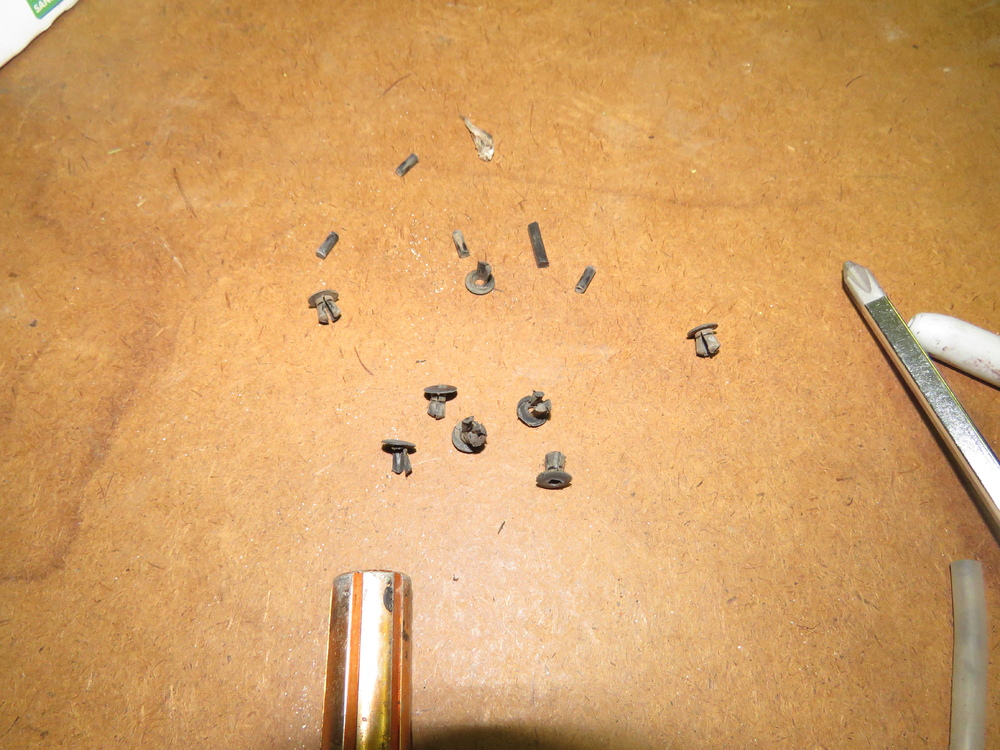
1 pointI asked Mike (twice!!!) for pictures of the front and back of the light before buying it and he simply never got around to sending them even though he said he would. Too busy, I guess. I bought it anyway but will return it if I'm not satisfied with the condition or is missing parts that I can't fabricate.1 point
-
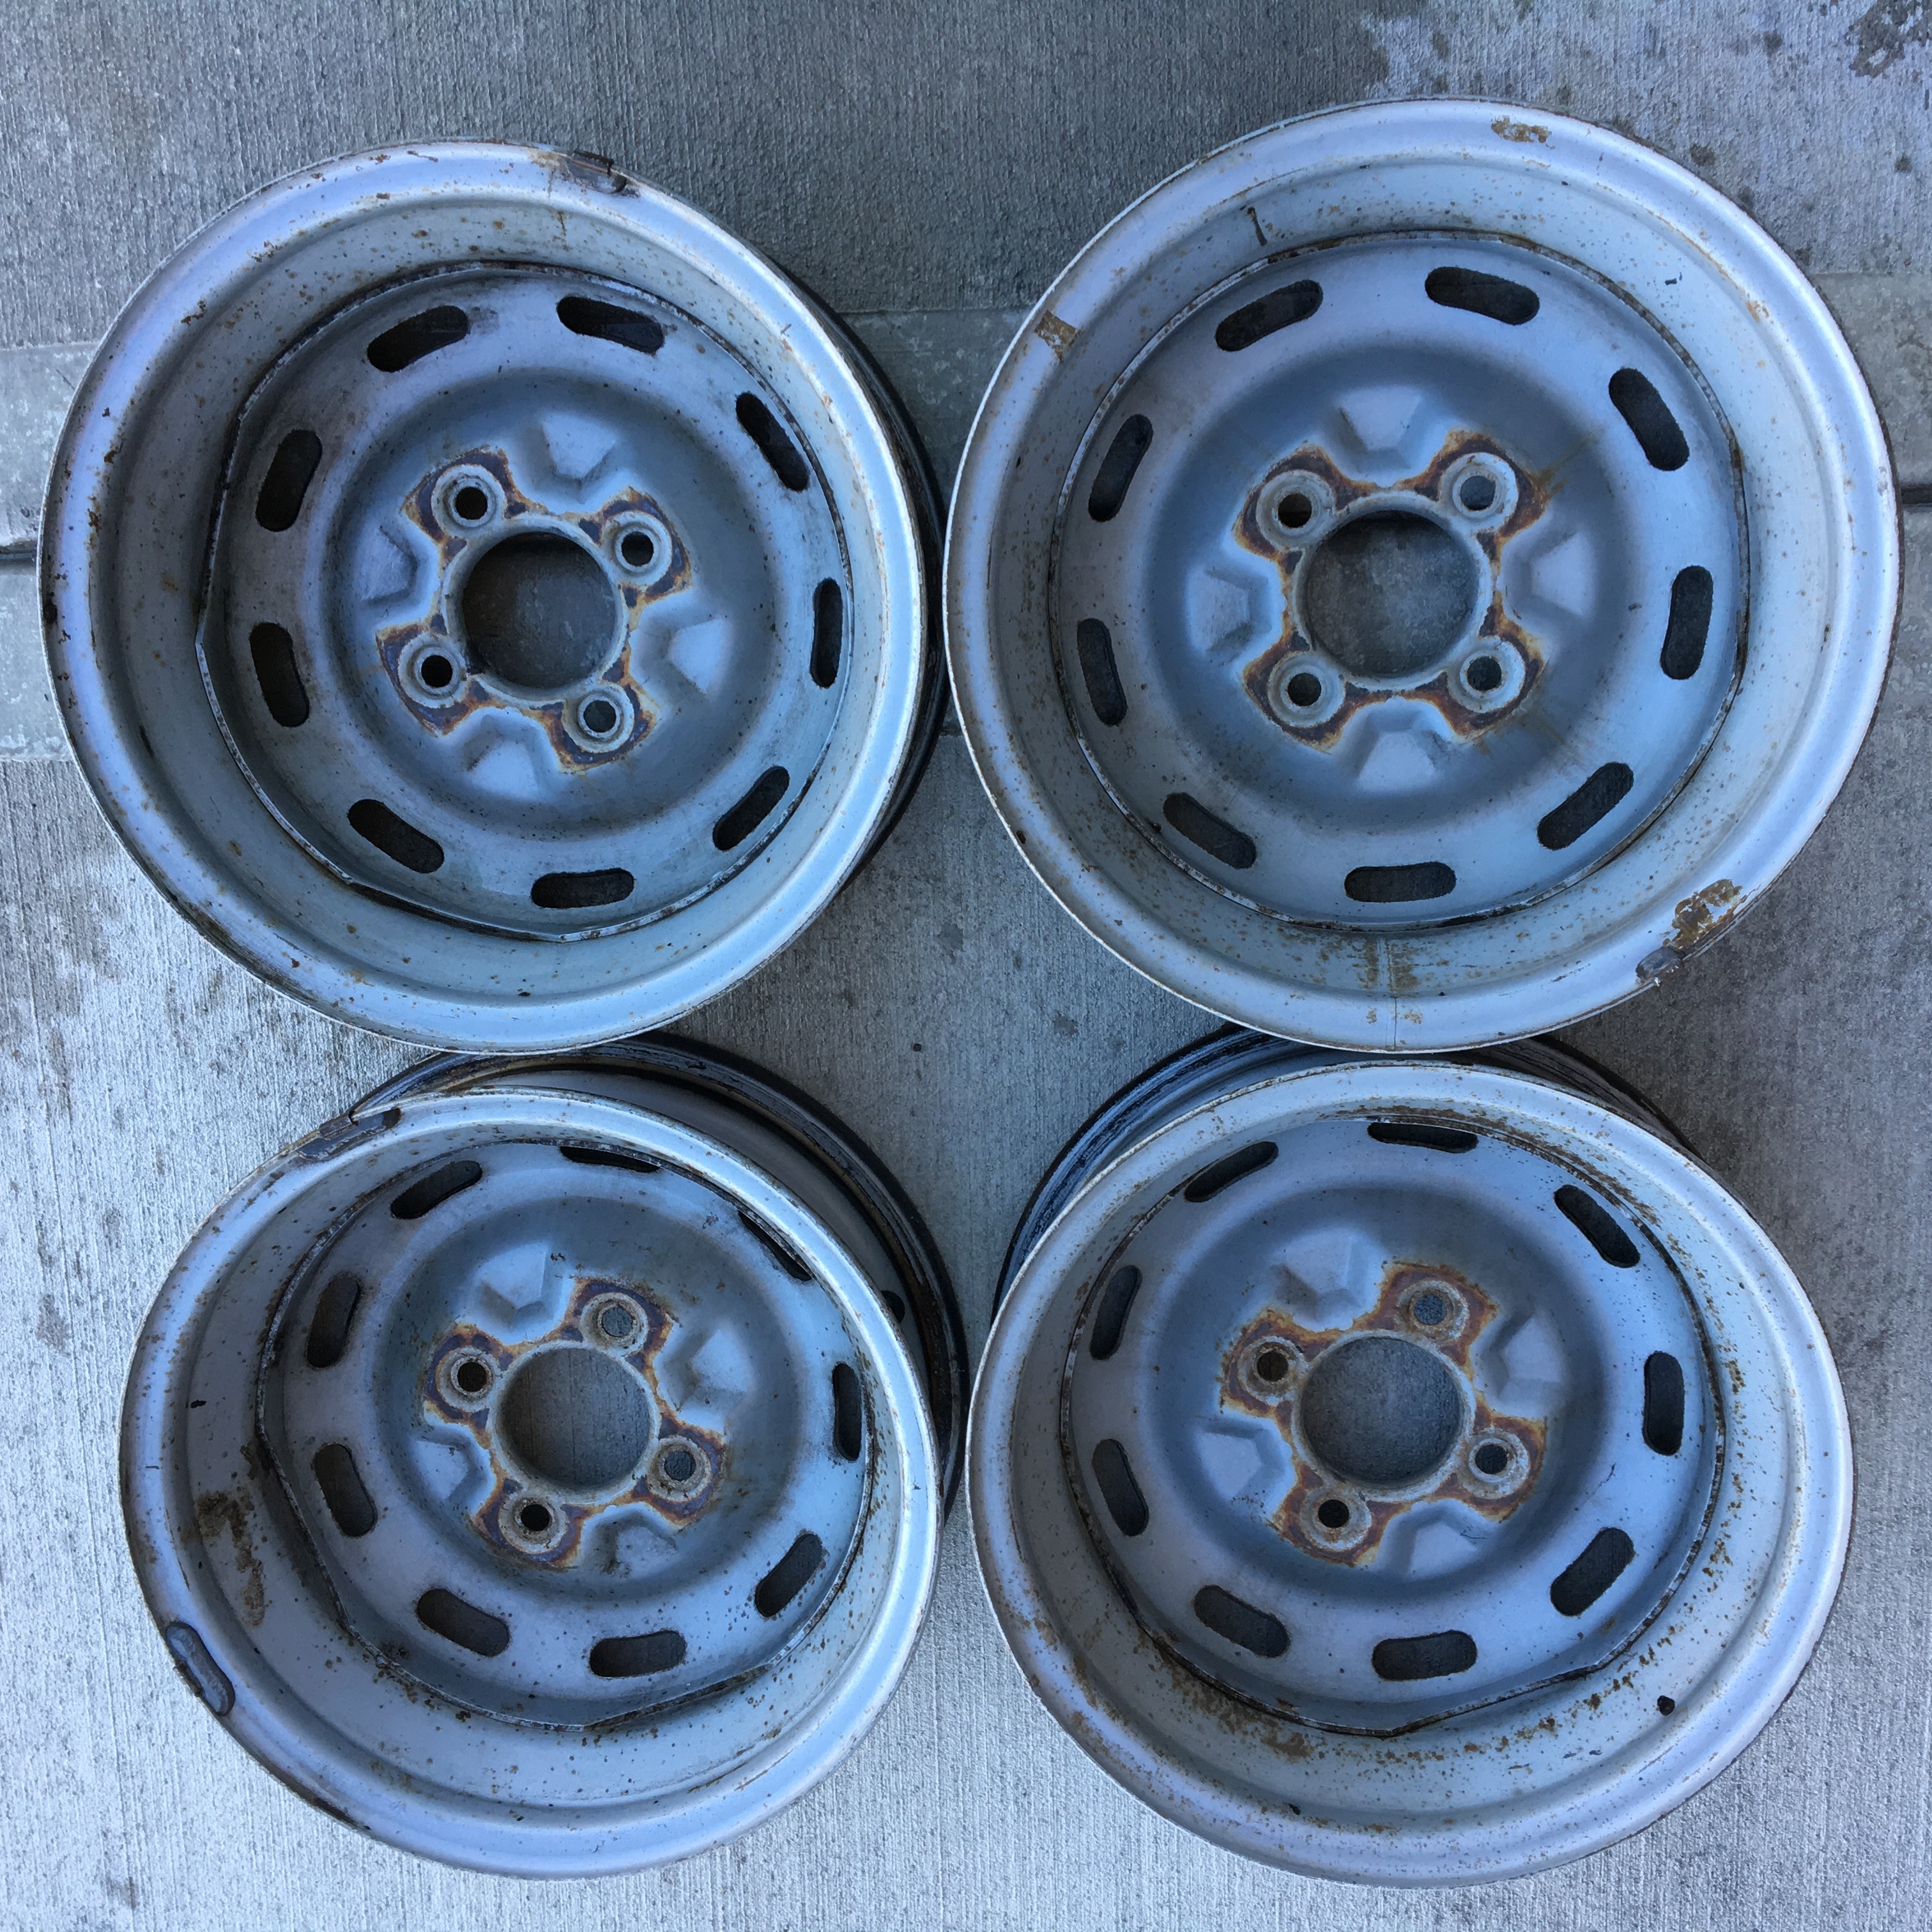
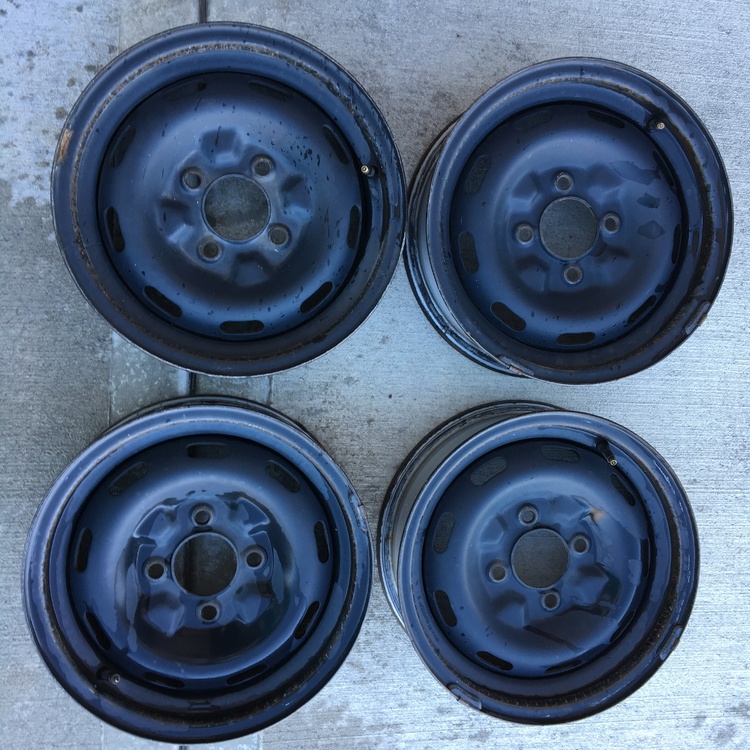
1 pointGalaxybj, did you see my reply to you regarding the wheels? I also have them posted on the for sale page under mopilot827.1 point
-
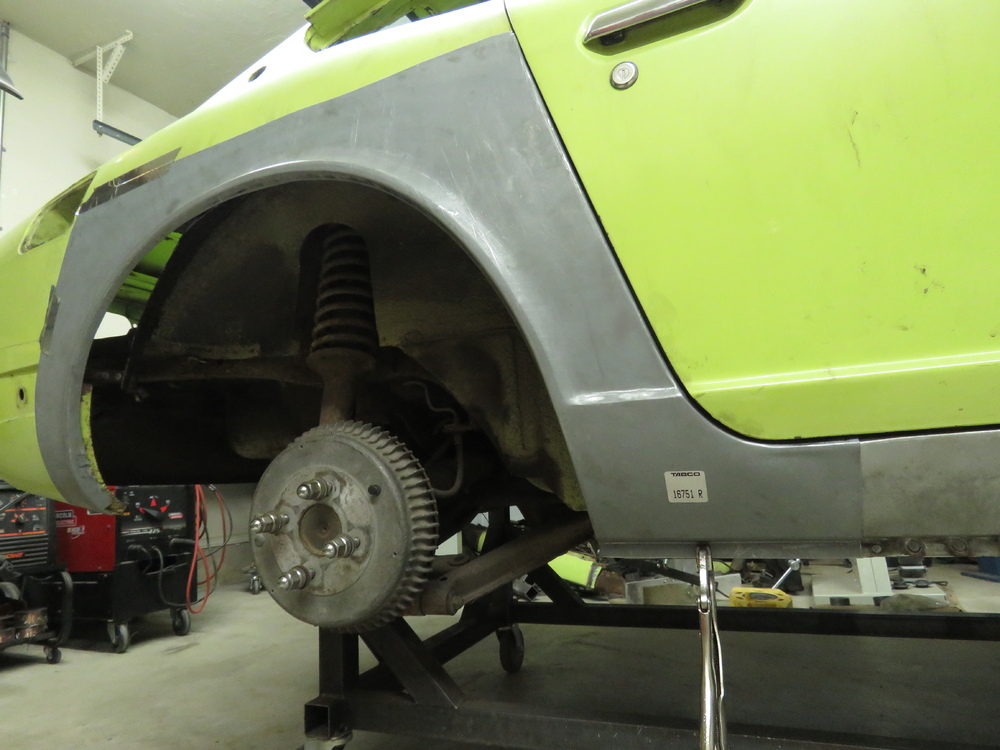
1 pointGotcha! Yes, I'm hoping to have the metalwork done and the bottom of the car prepped for paint this spring. That would allow me to paint the underbody, install new suspension, run new brake lines, install the rebuilt gas tank, and install brake kits.... I'm starting to see where this is going! Once this metal work phase is over, my credit card is going to get a workout.1 point
-
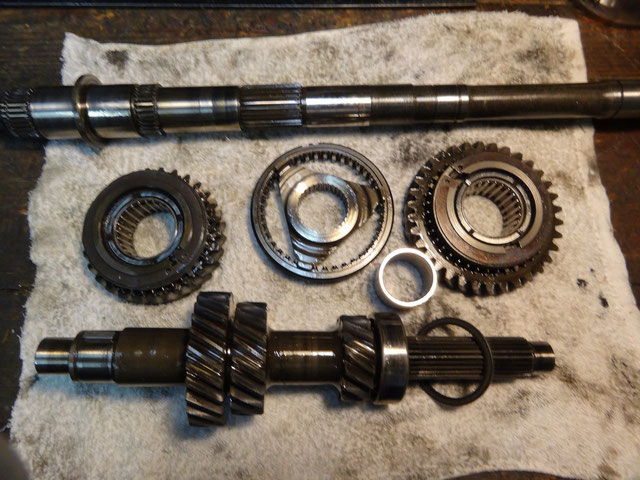
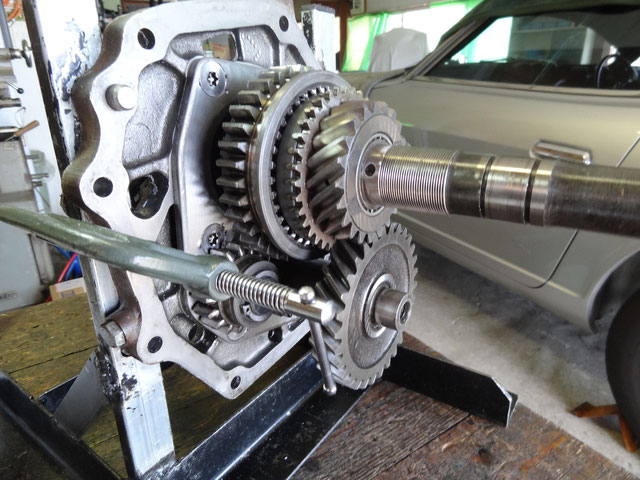
1 pointMy Z432 had its transmission rebuilt in 2013, here is a link of Mr.Kawashima 's web site. He has been rebuilding many transmissions for S30 and Skyline. This time I ordered him rebuilding my another FS5C71A which was kept in a garage as a spare. Tomorrow the spare one will arrive at local Nissan near my house, I will report replacement job at Nissan. This is the work in 2013,http://www.vintagecraft-e-za.com/s30zのページ/旧車のレストアは楽し/71a3分割-空飛ぶz432/ And this is the work just completed last week,http://www.vintagecraft-e-za.com/s30zのページ/旧車のレストアは楽し/71a3分割-空飛ぶℤ432その4-1/
 1 point
 -
1 pointHaha, I feel the same way. I wanted to be done with metal work by the end of Fall and I said that at the beginning of Summer.1 point
-
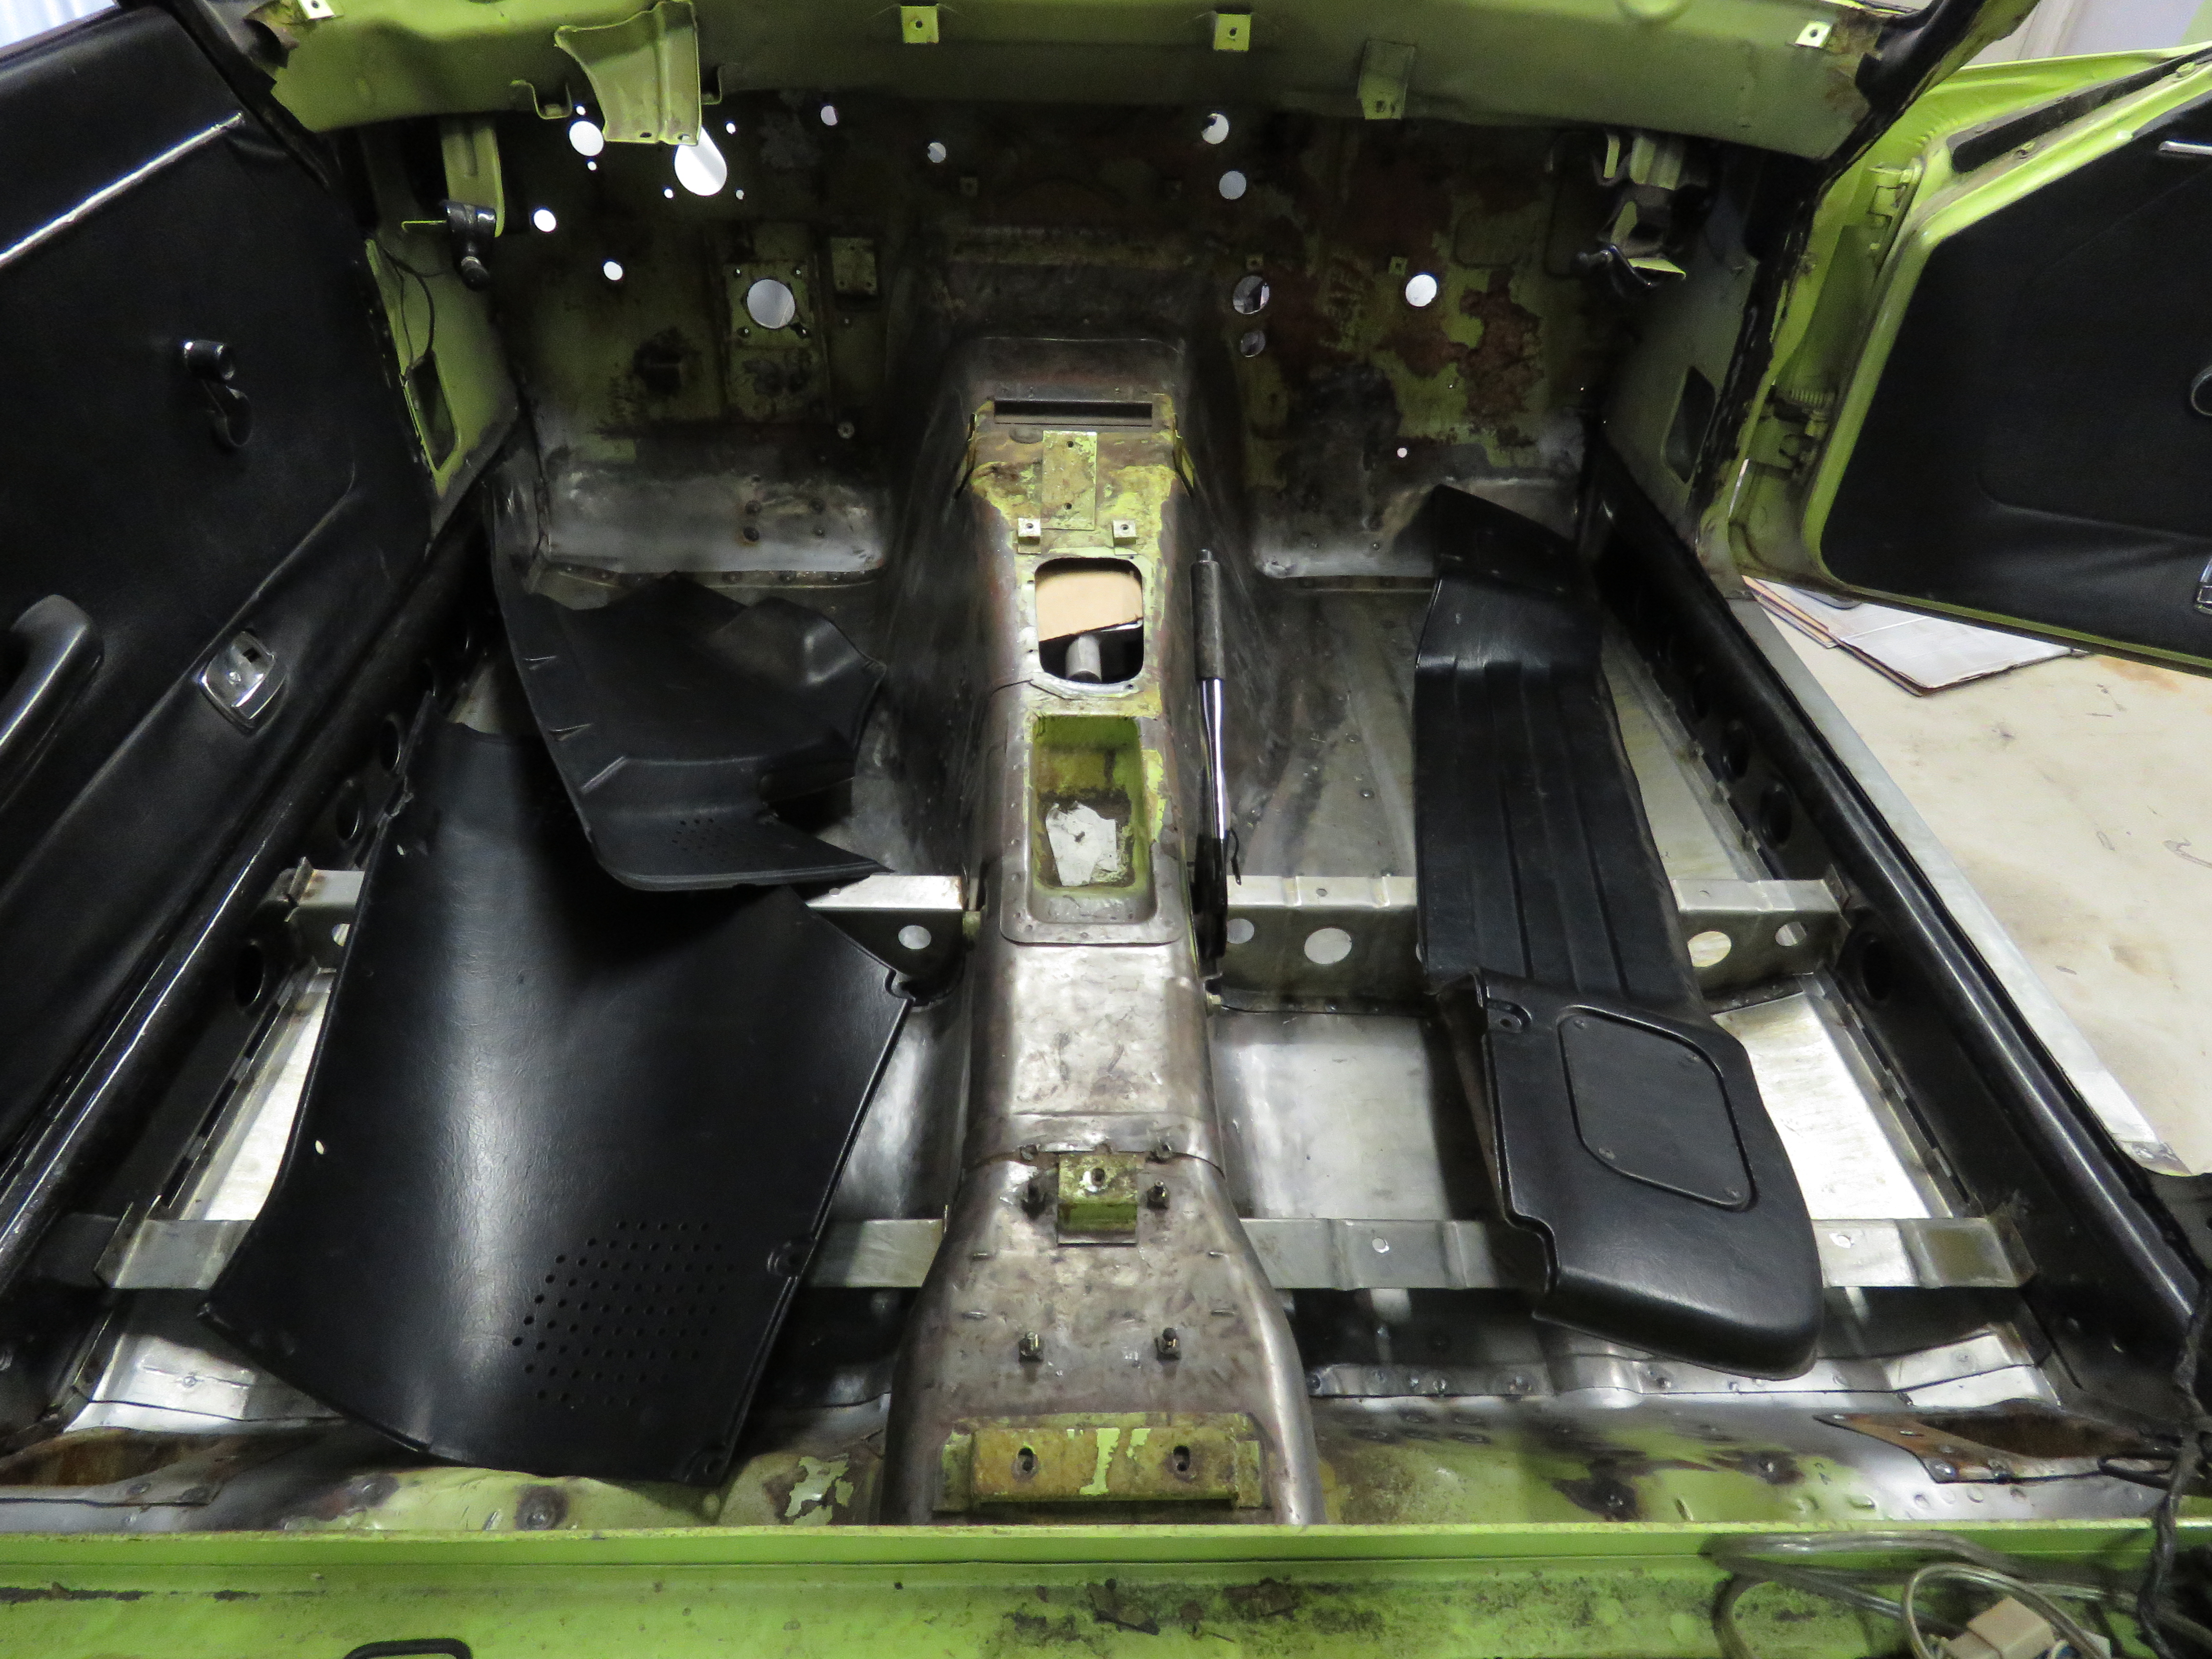
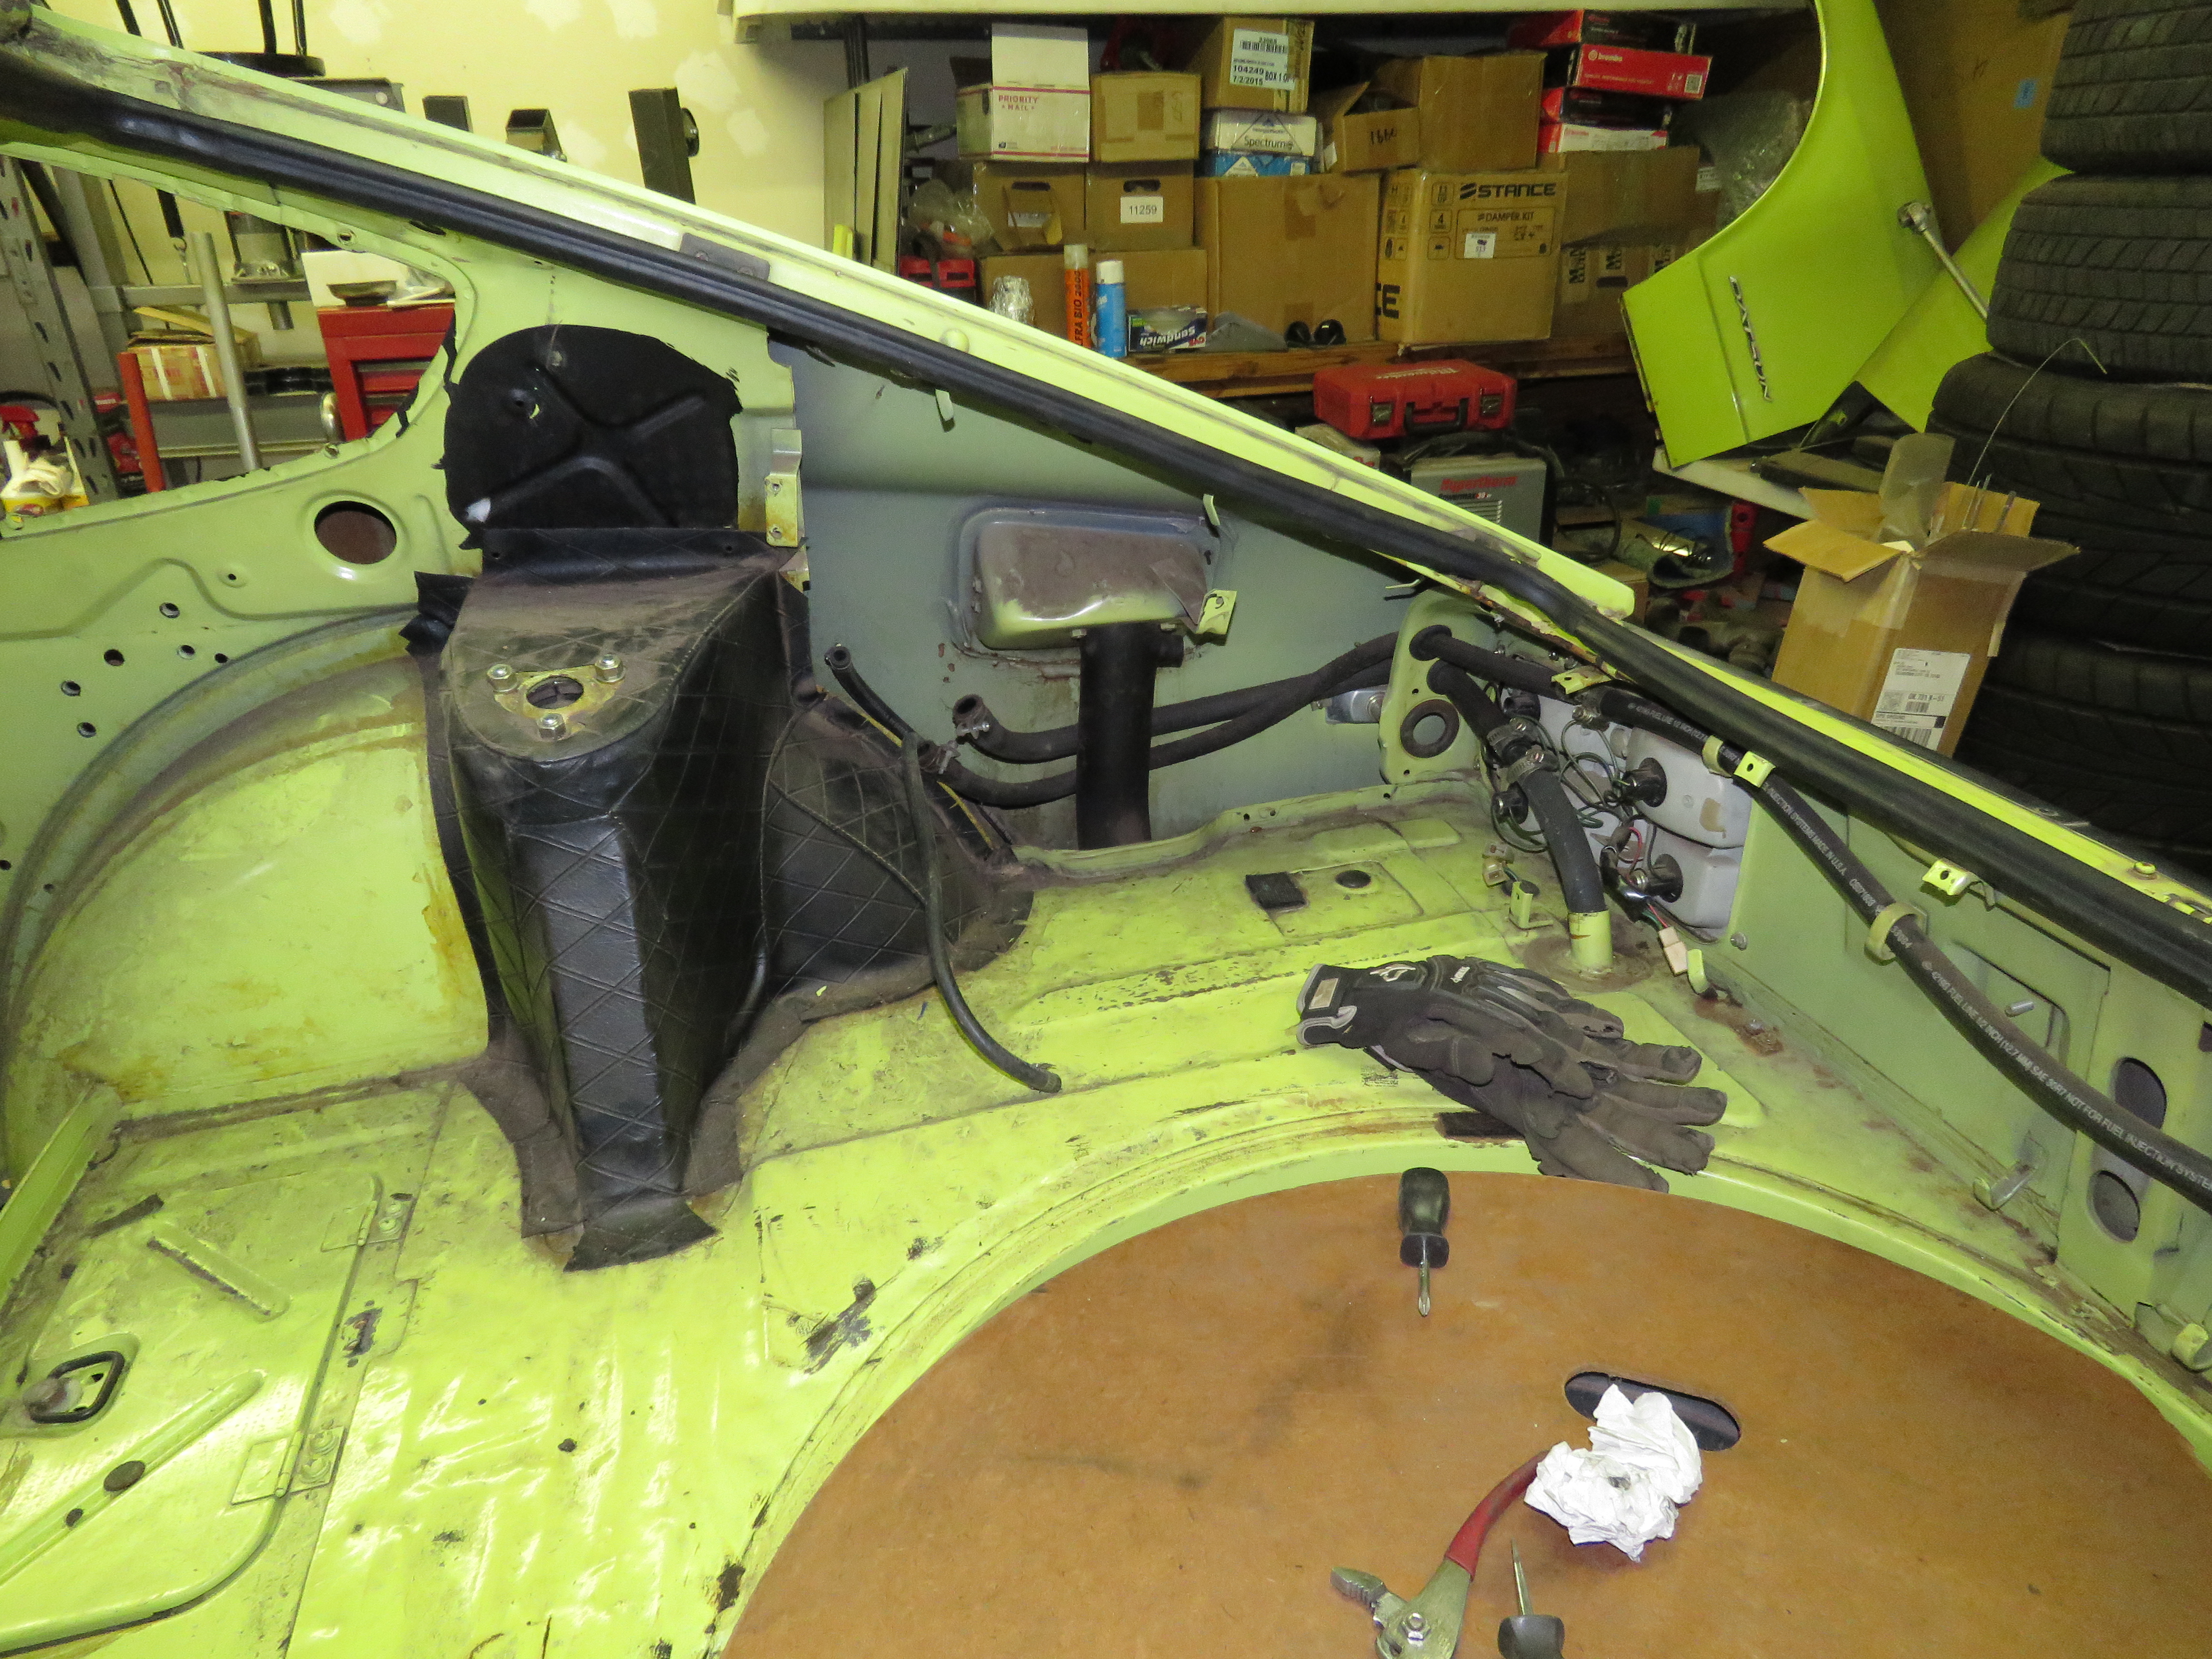
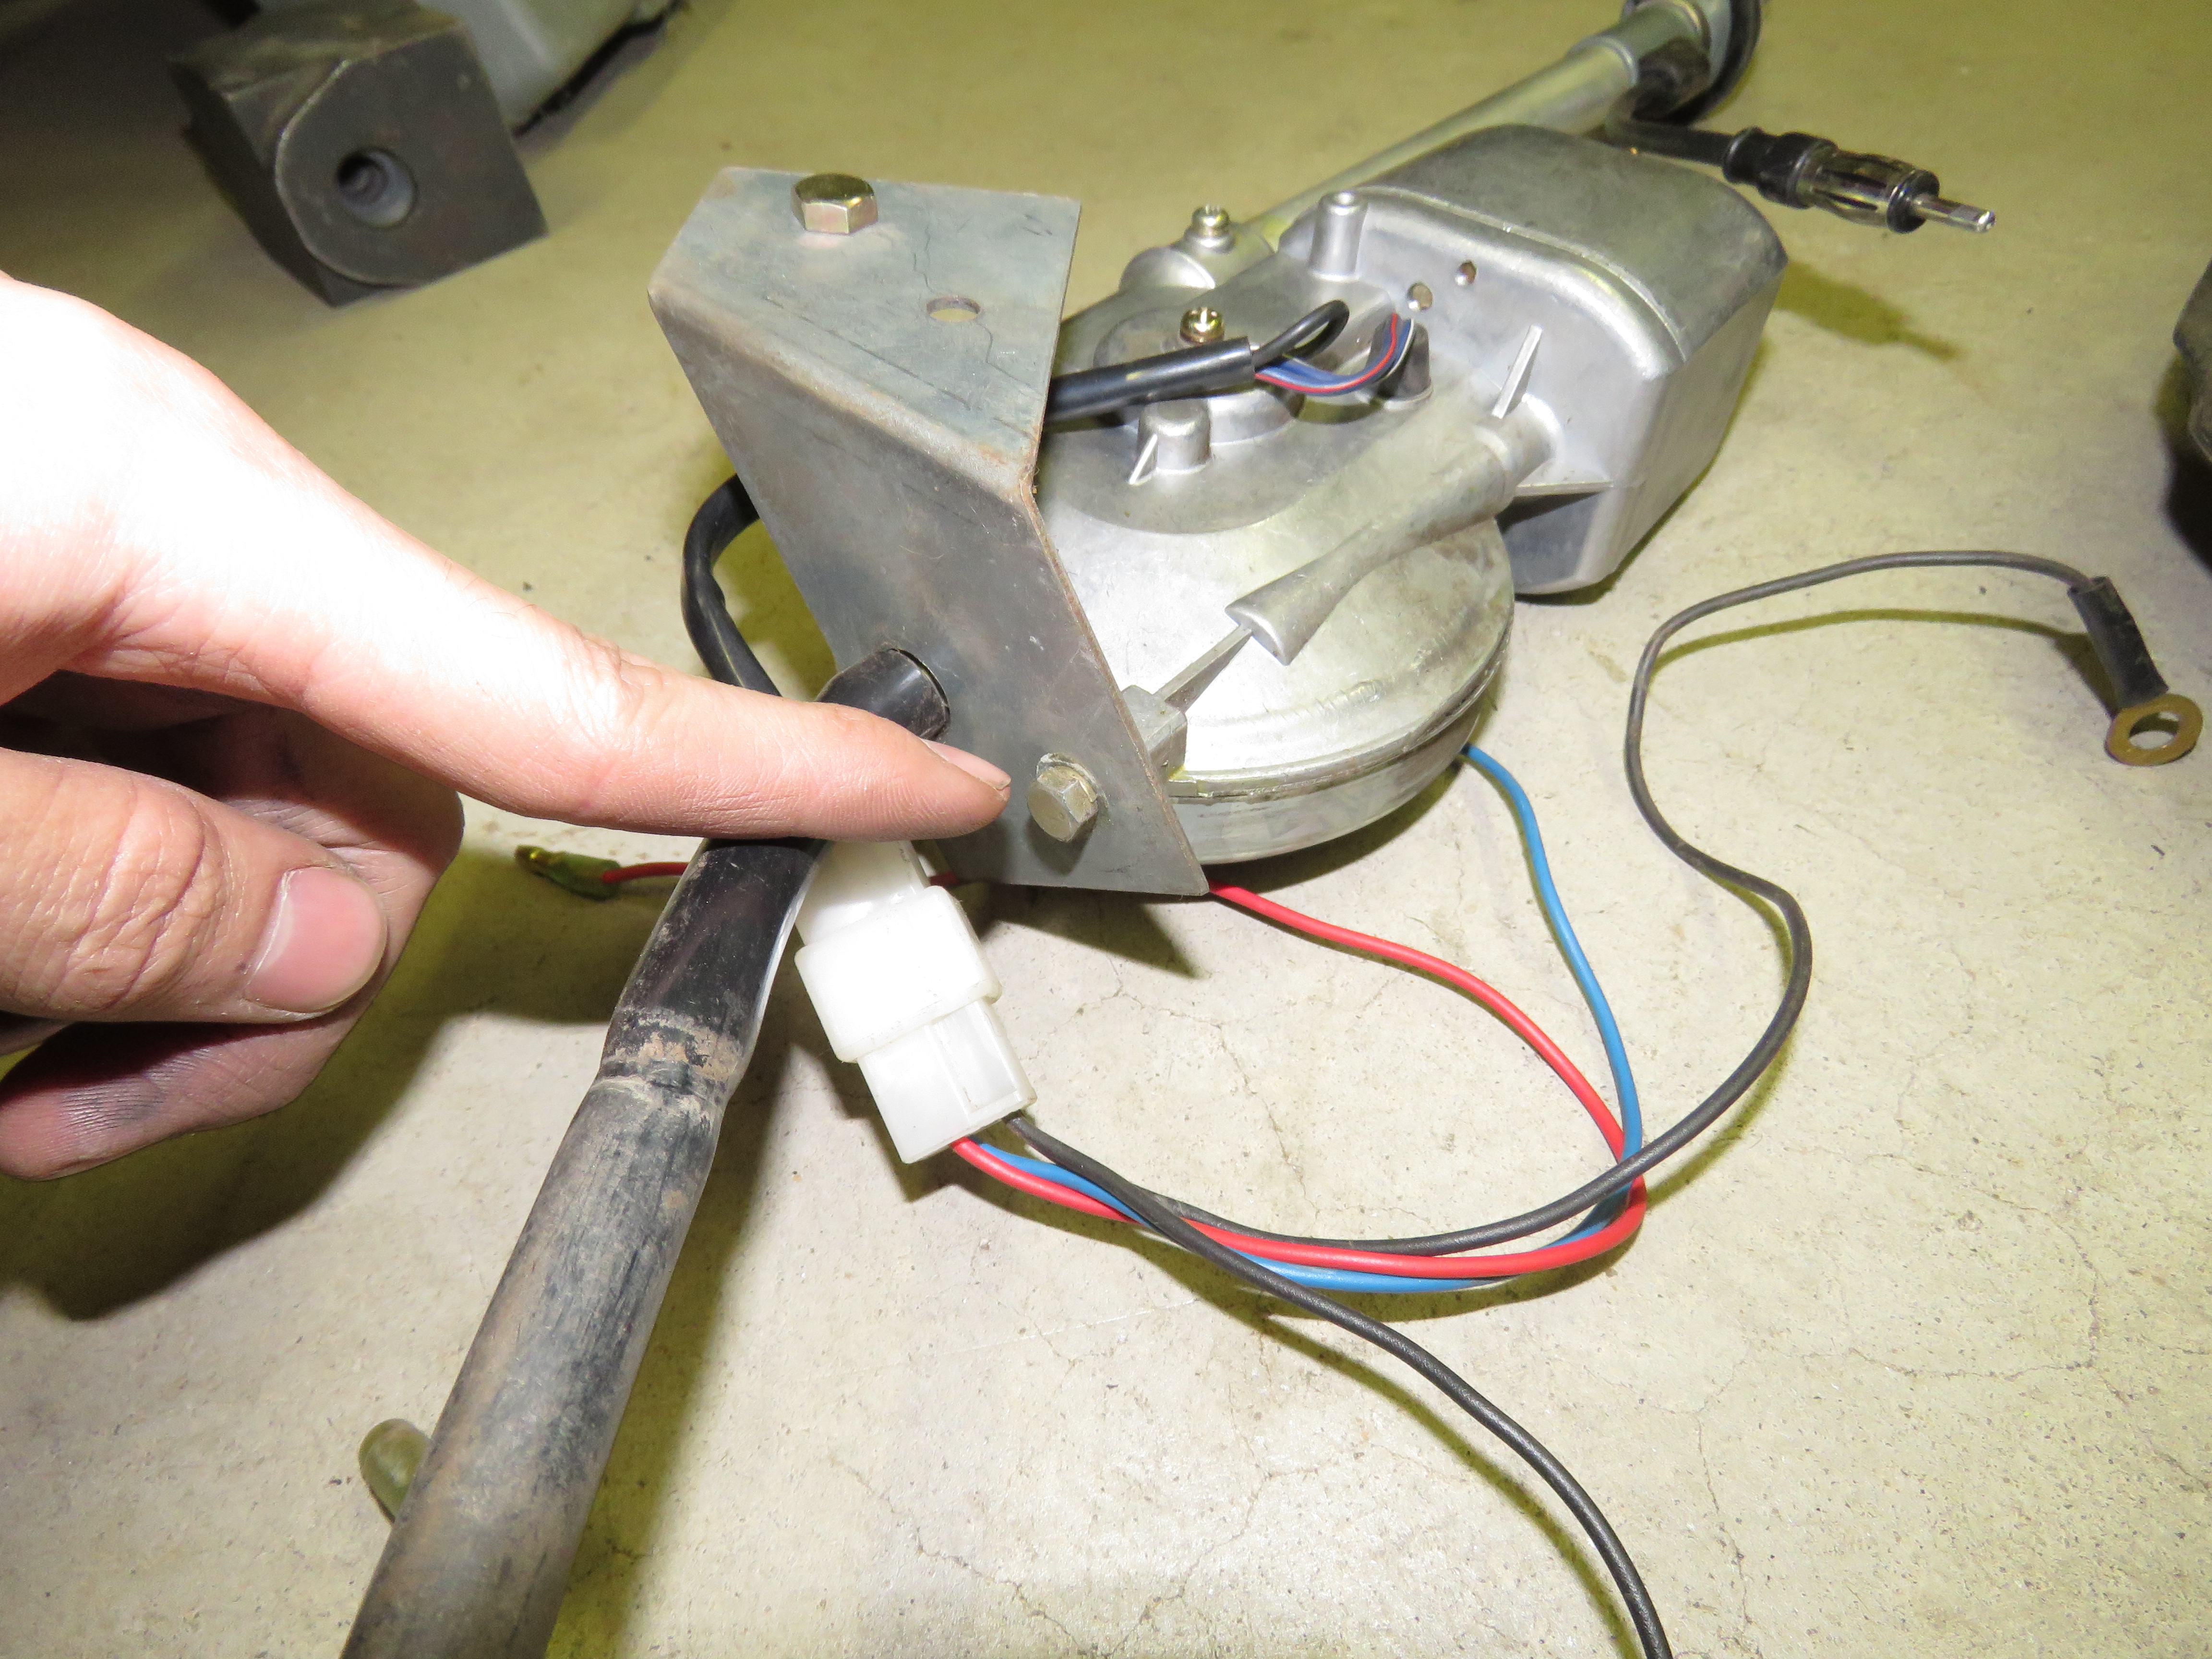
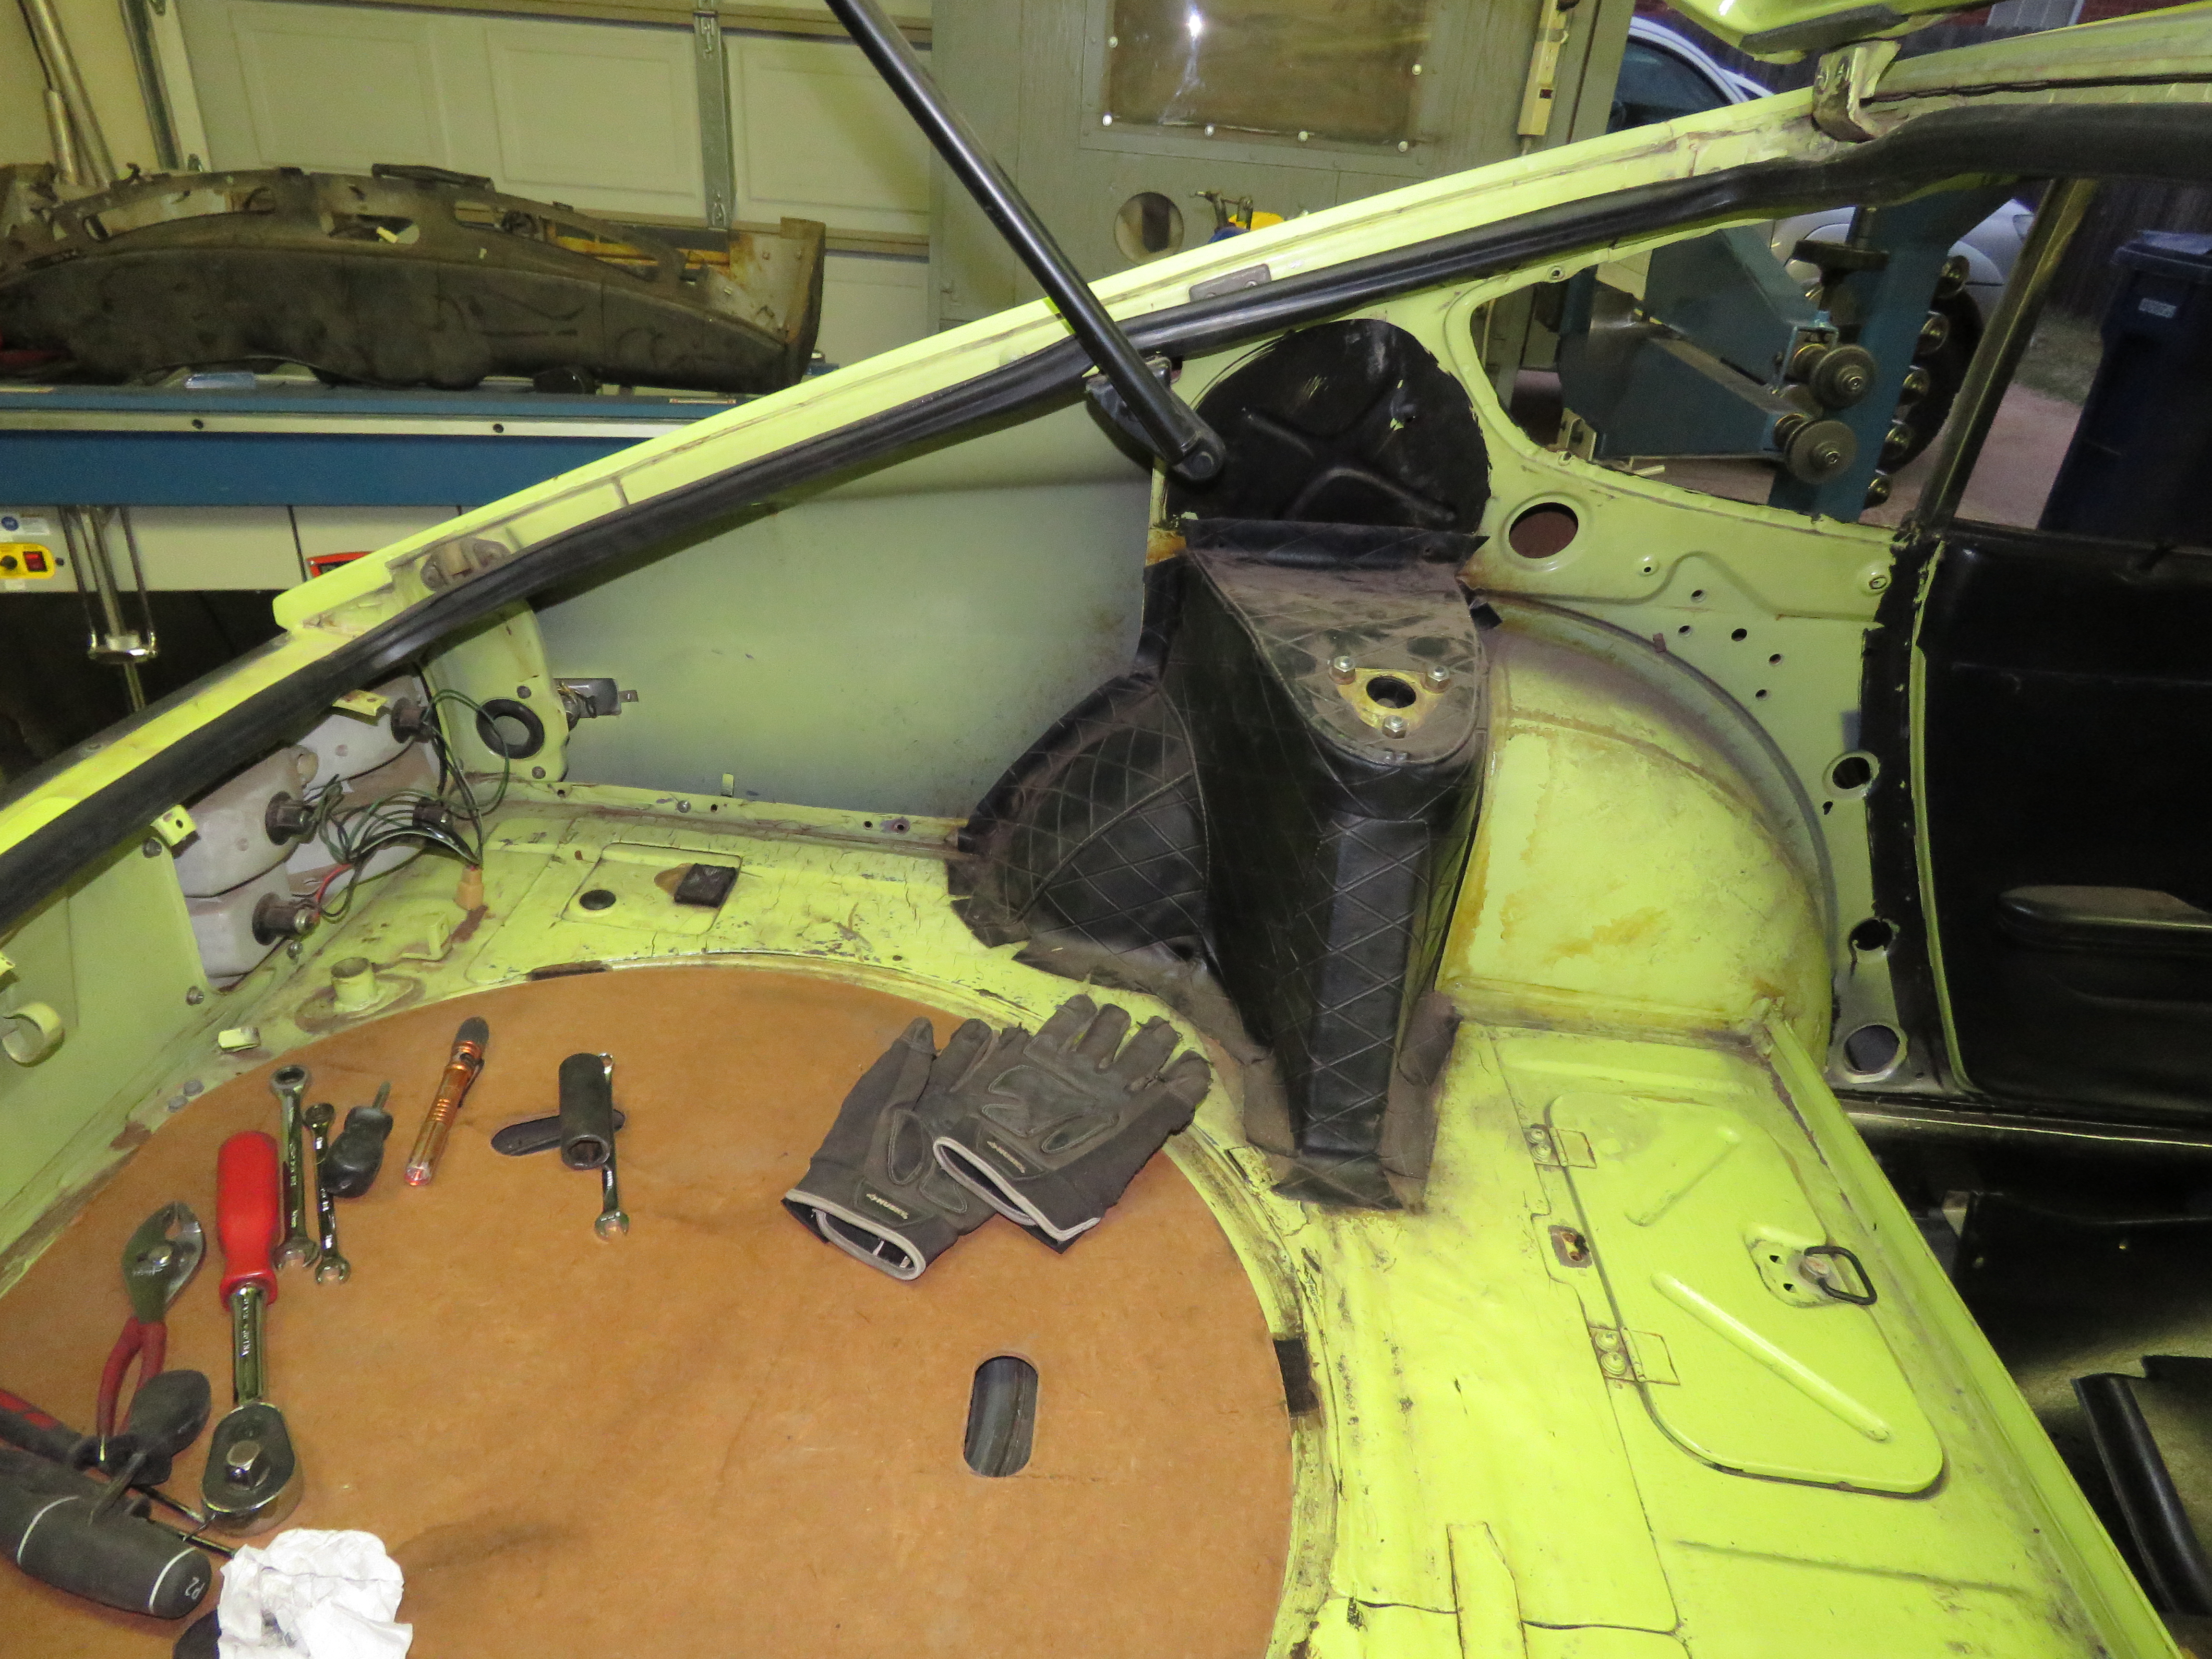
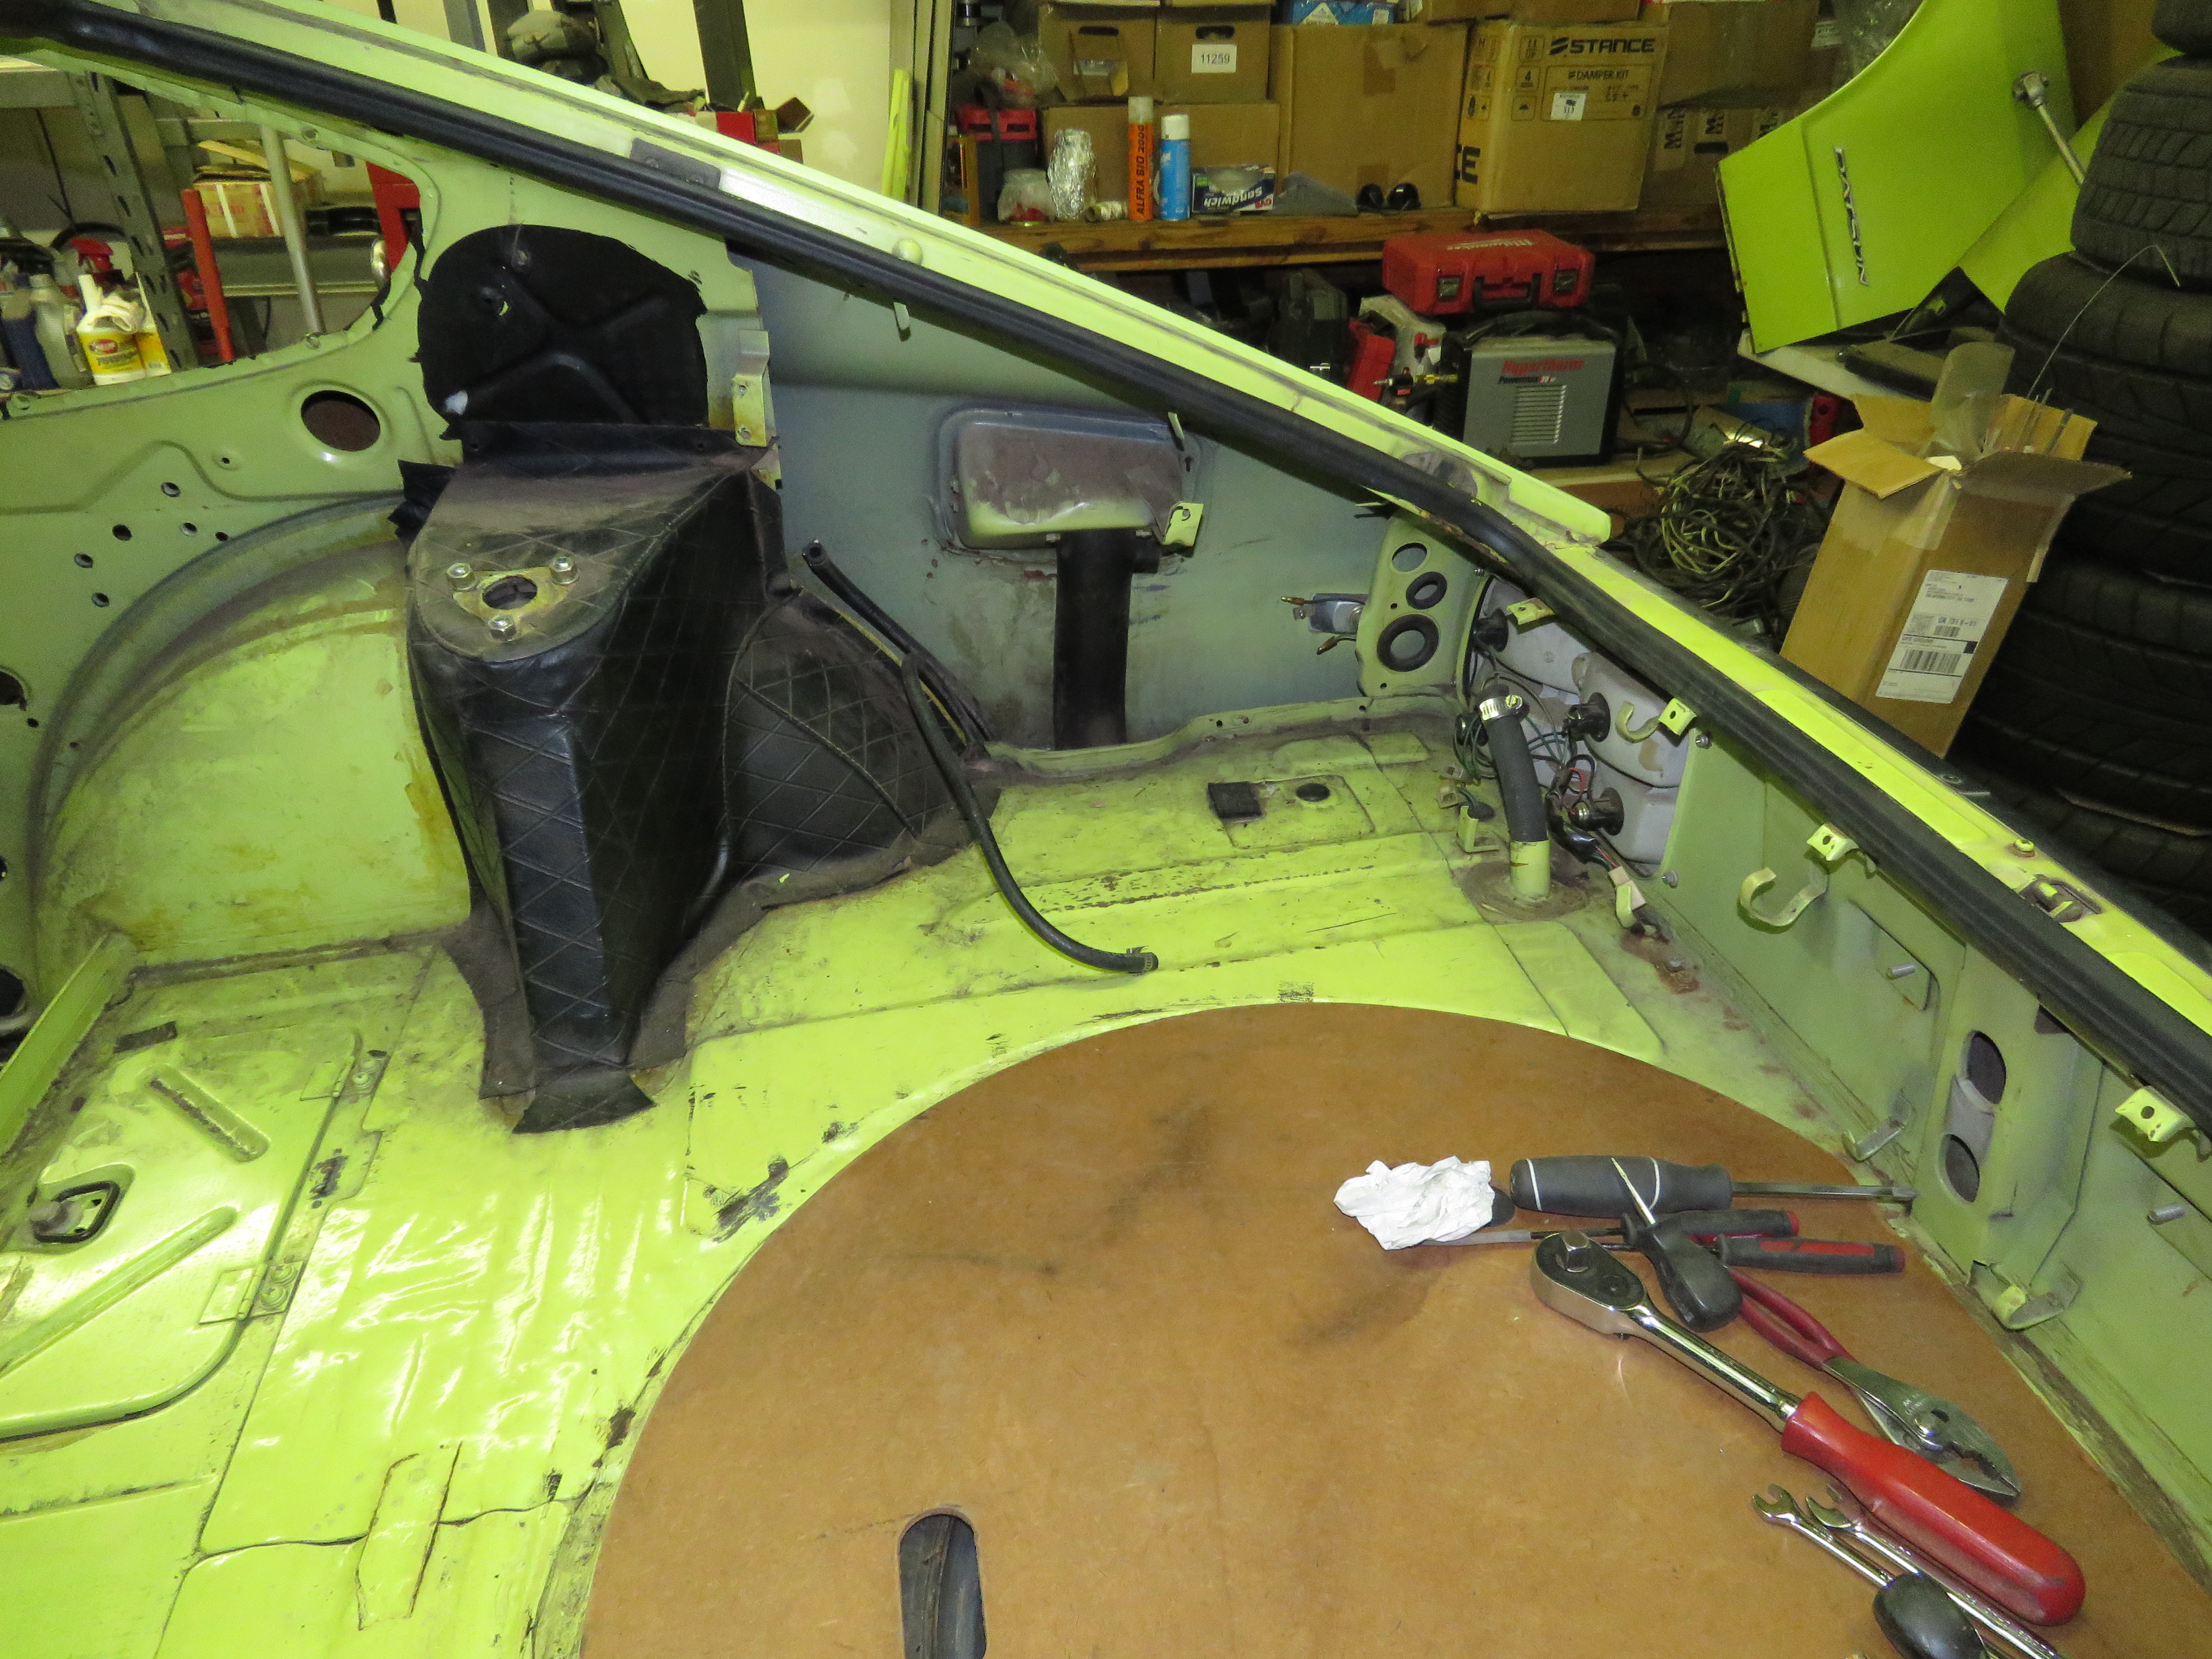
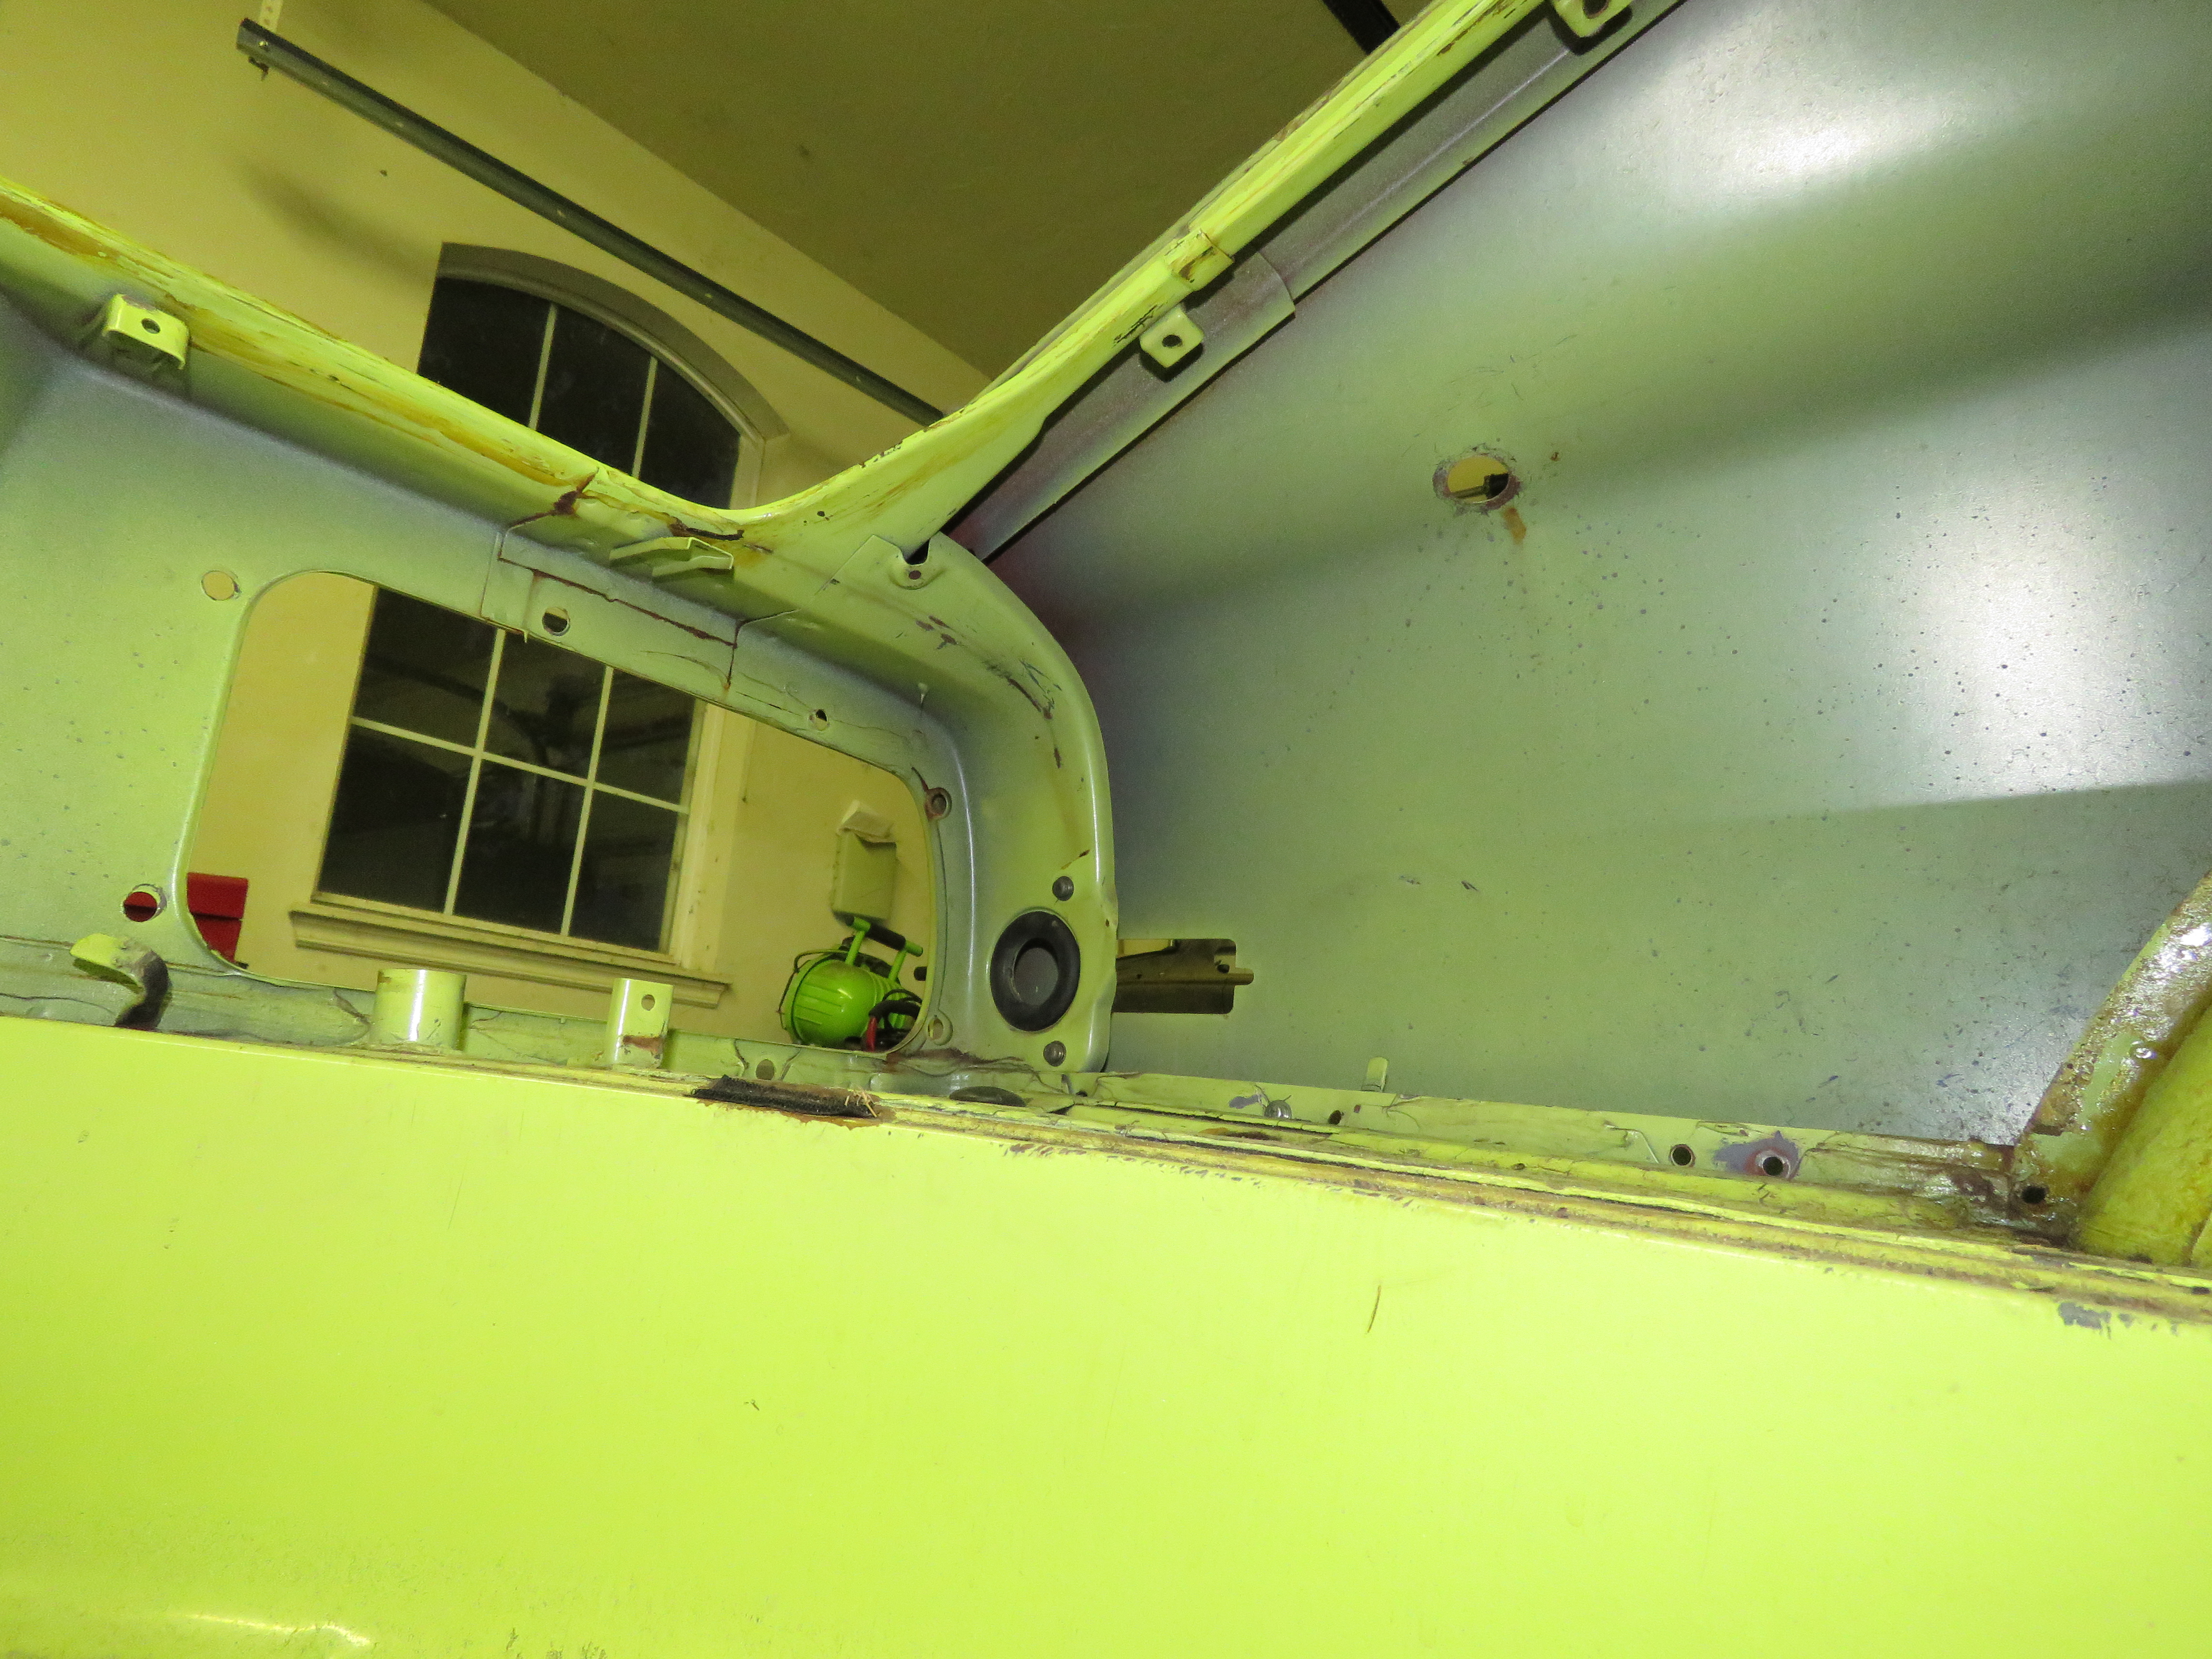
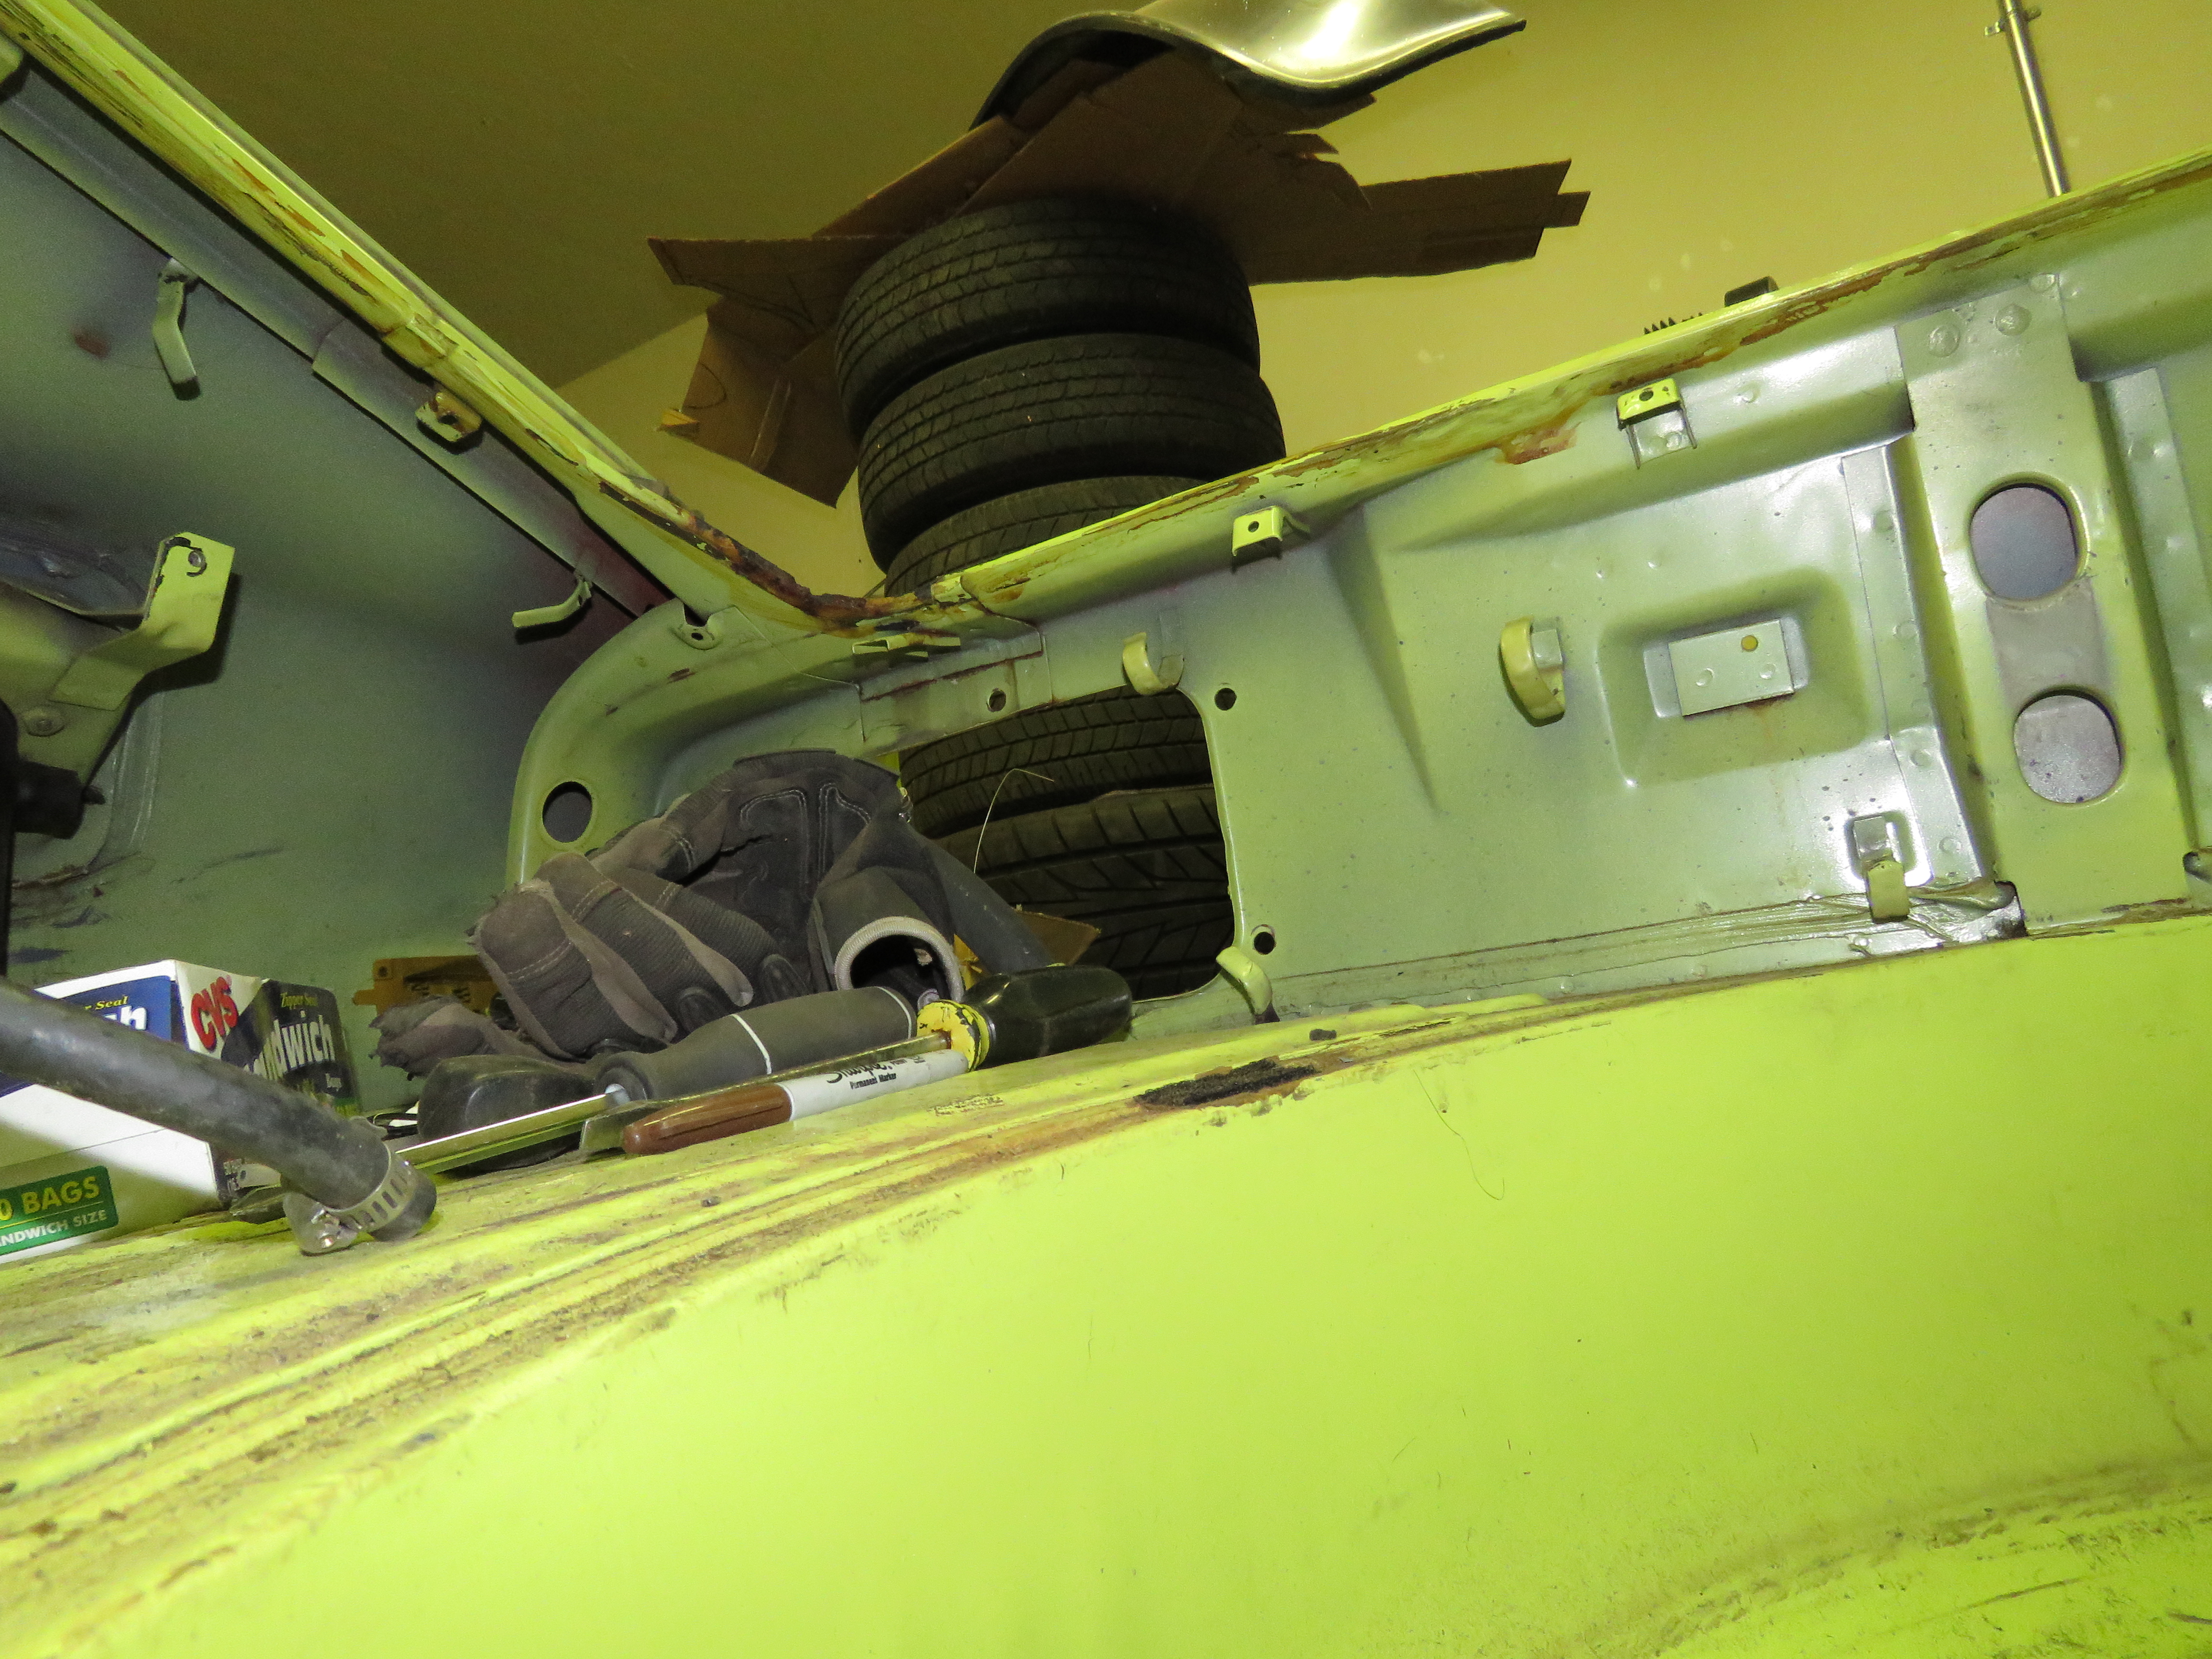
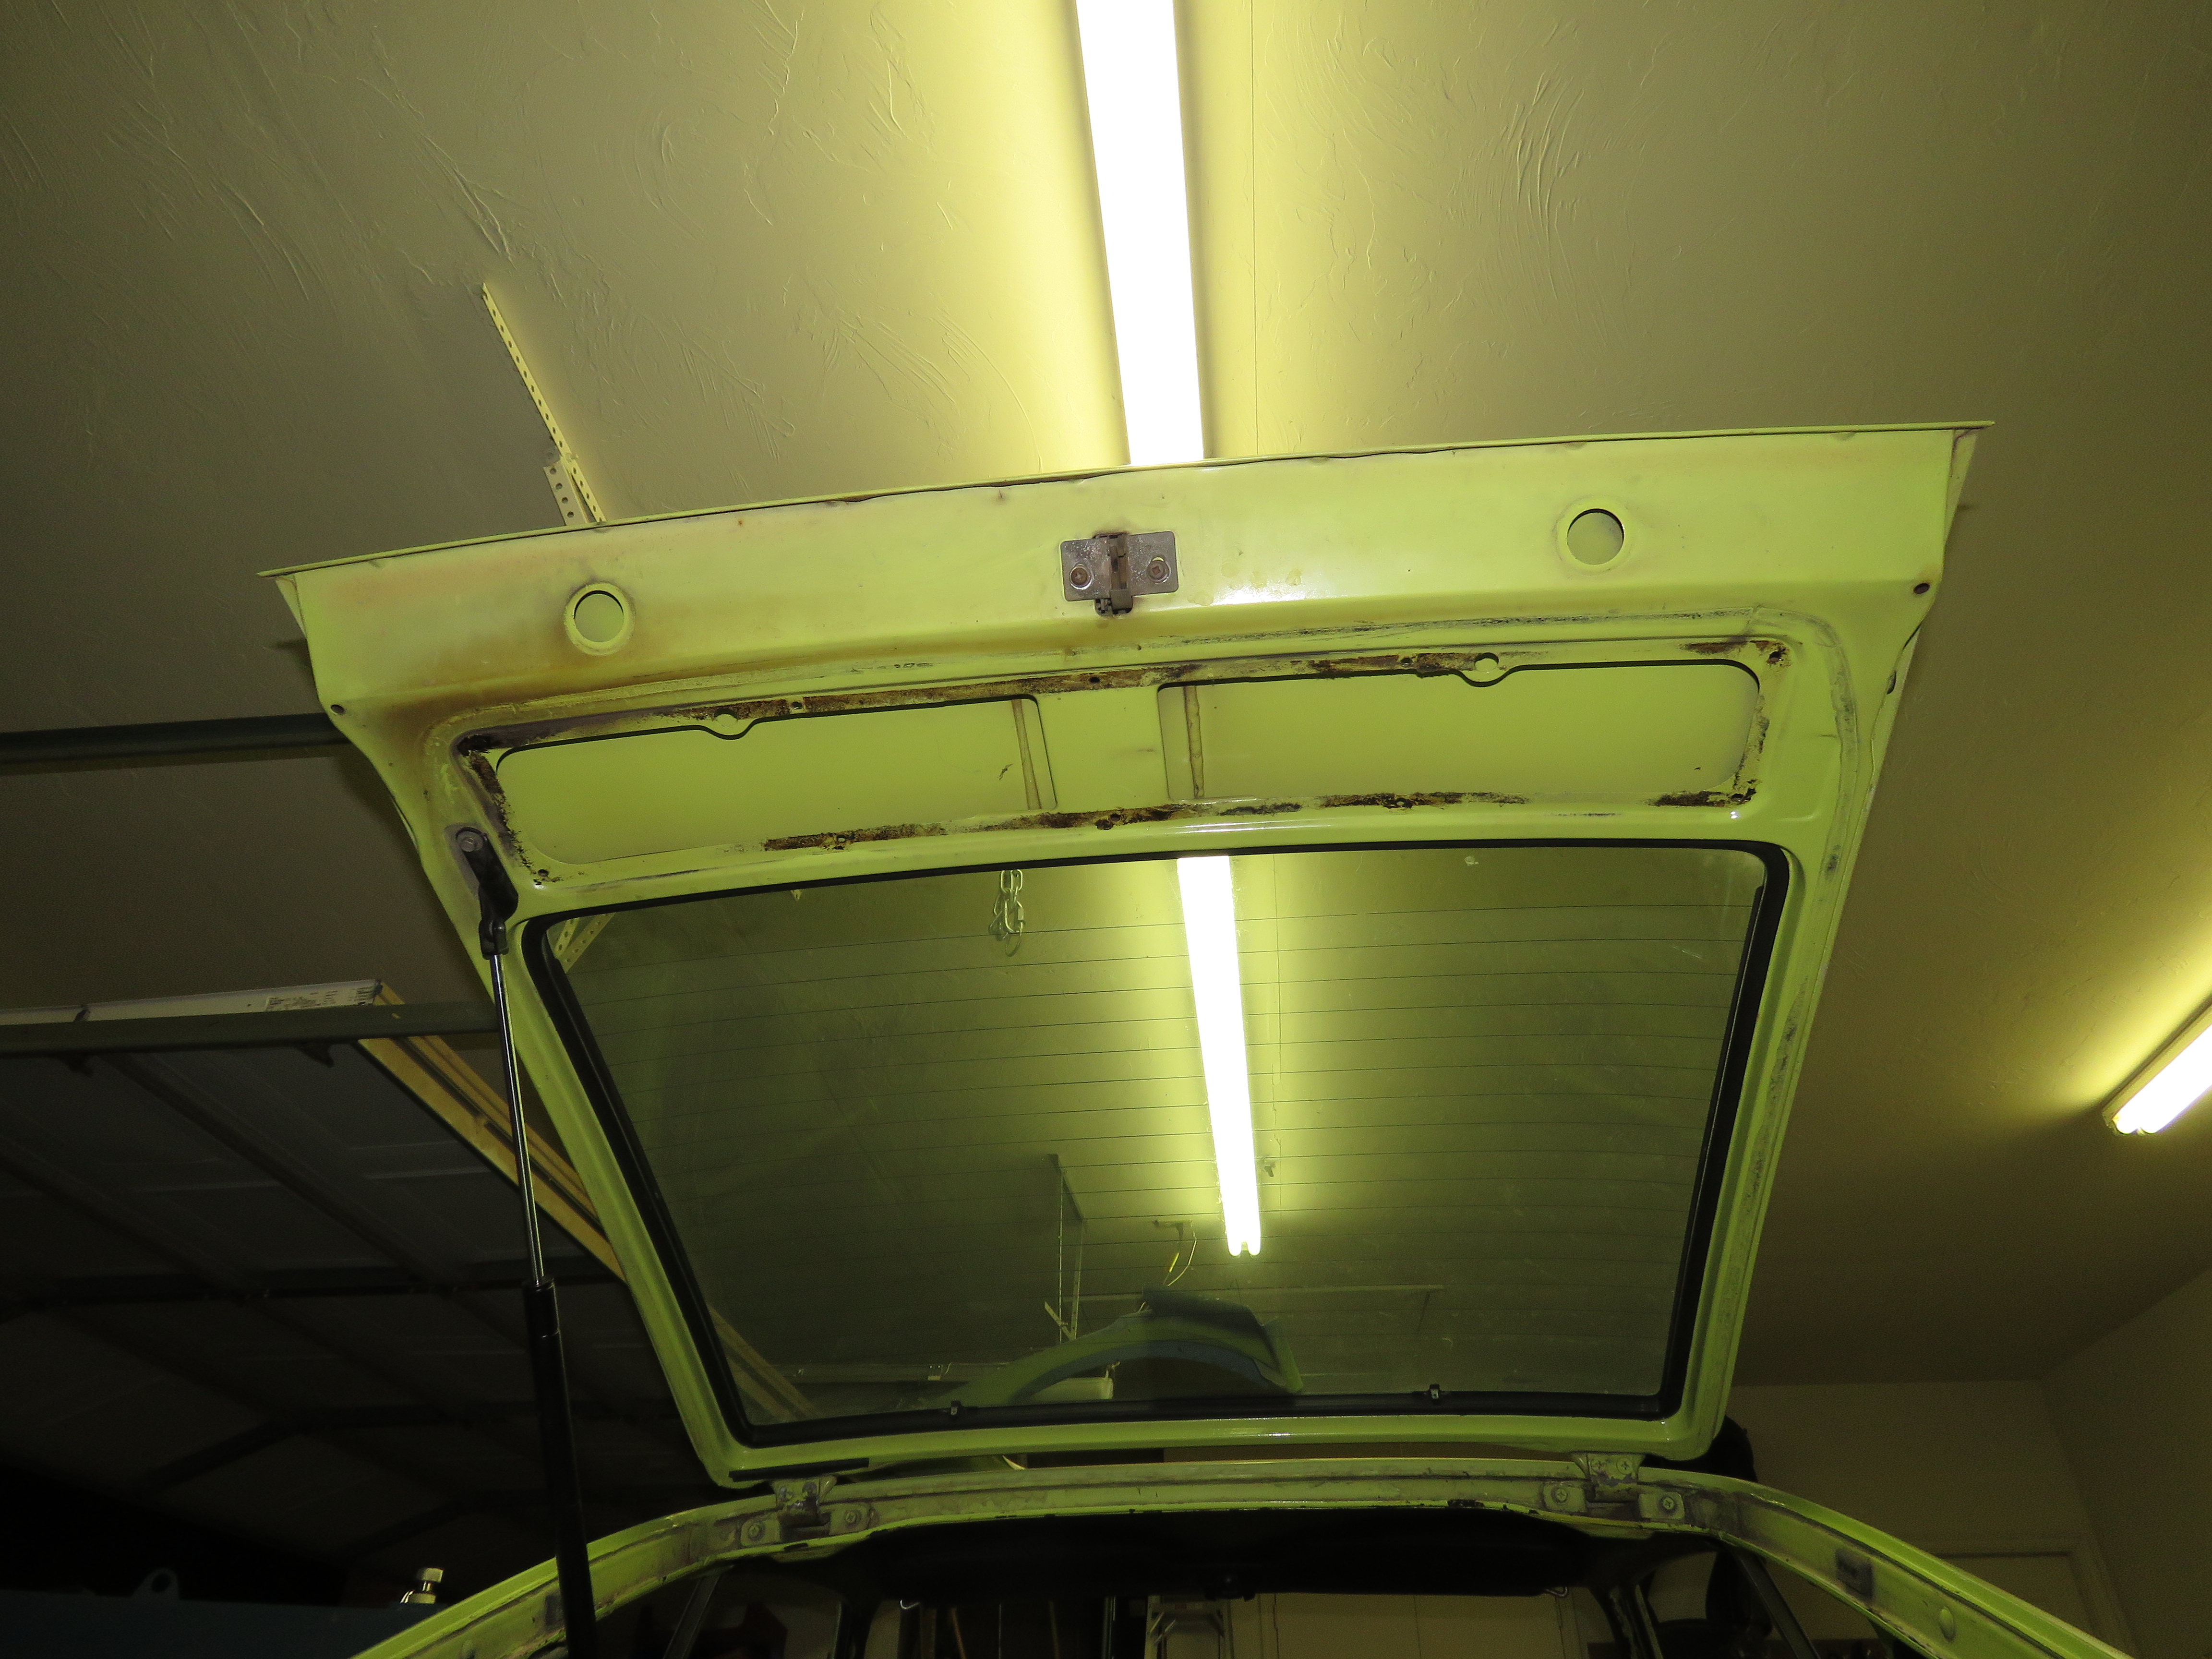
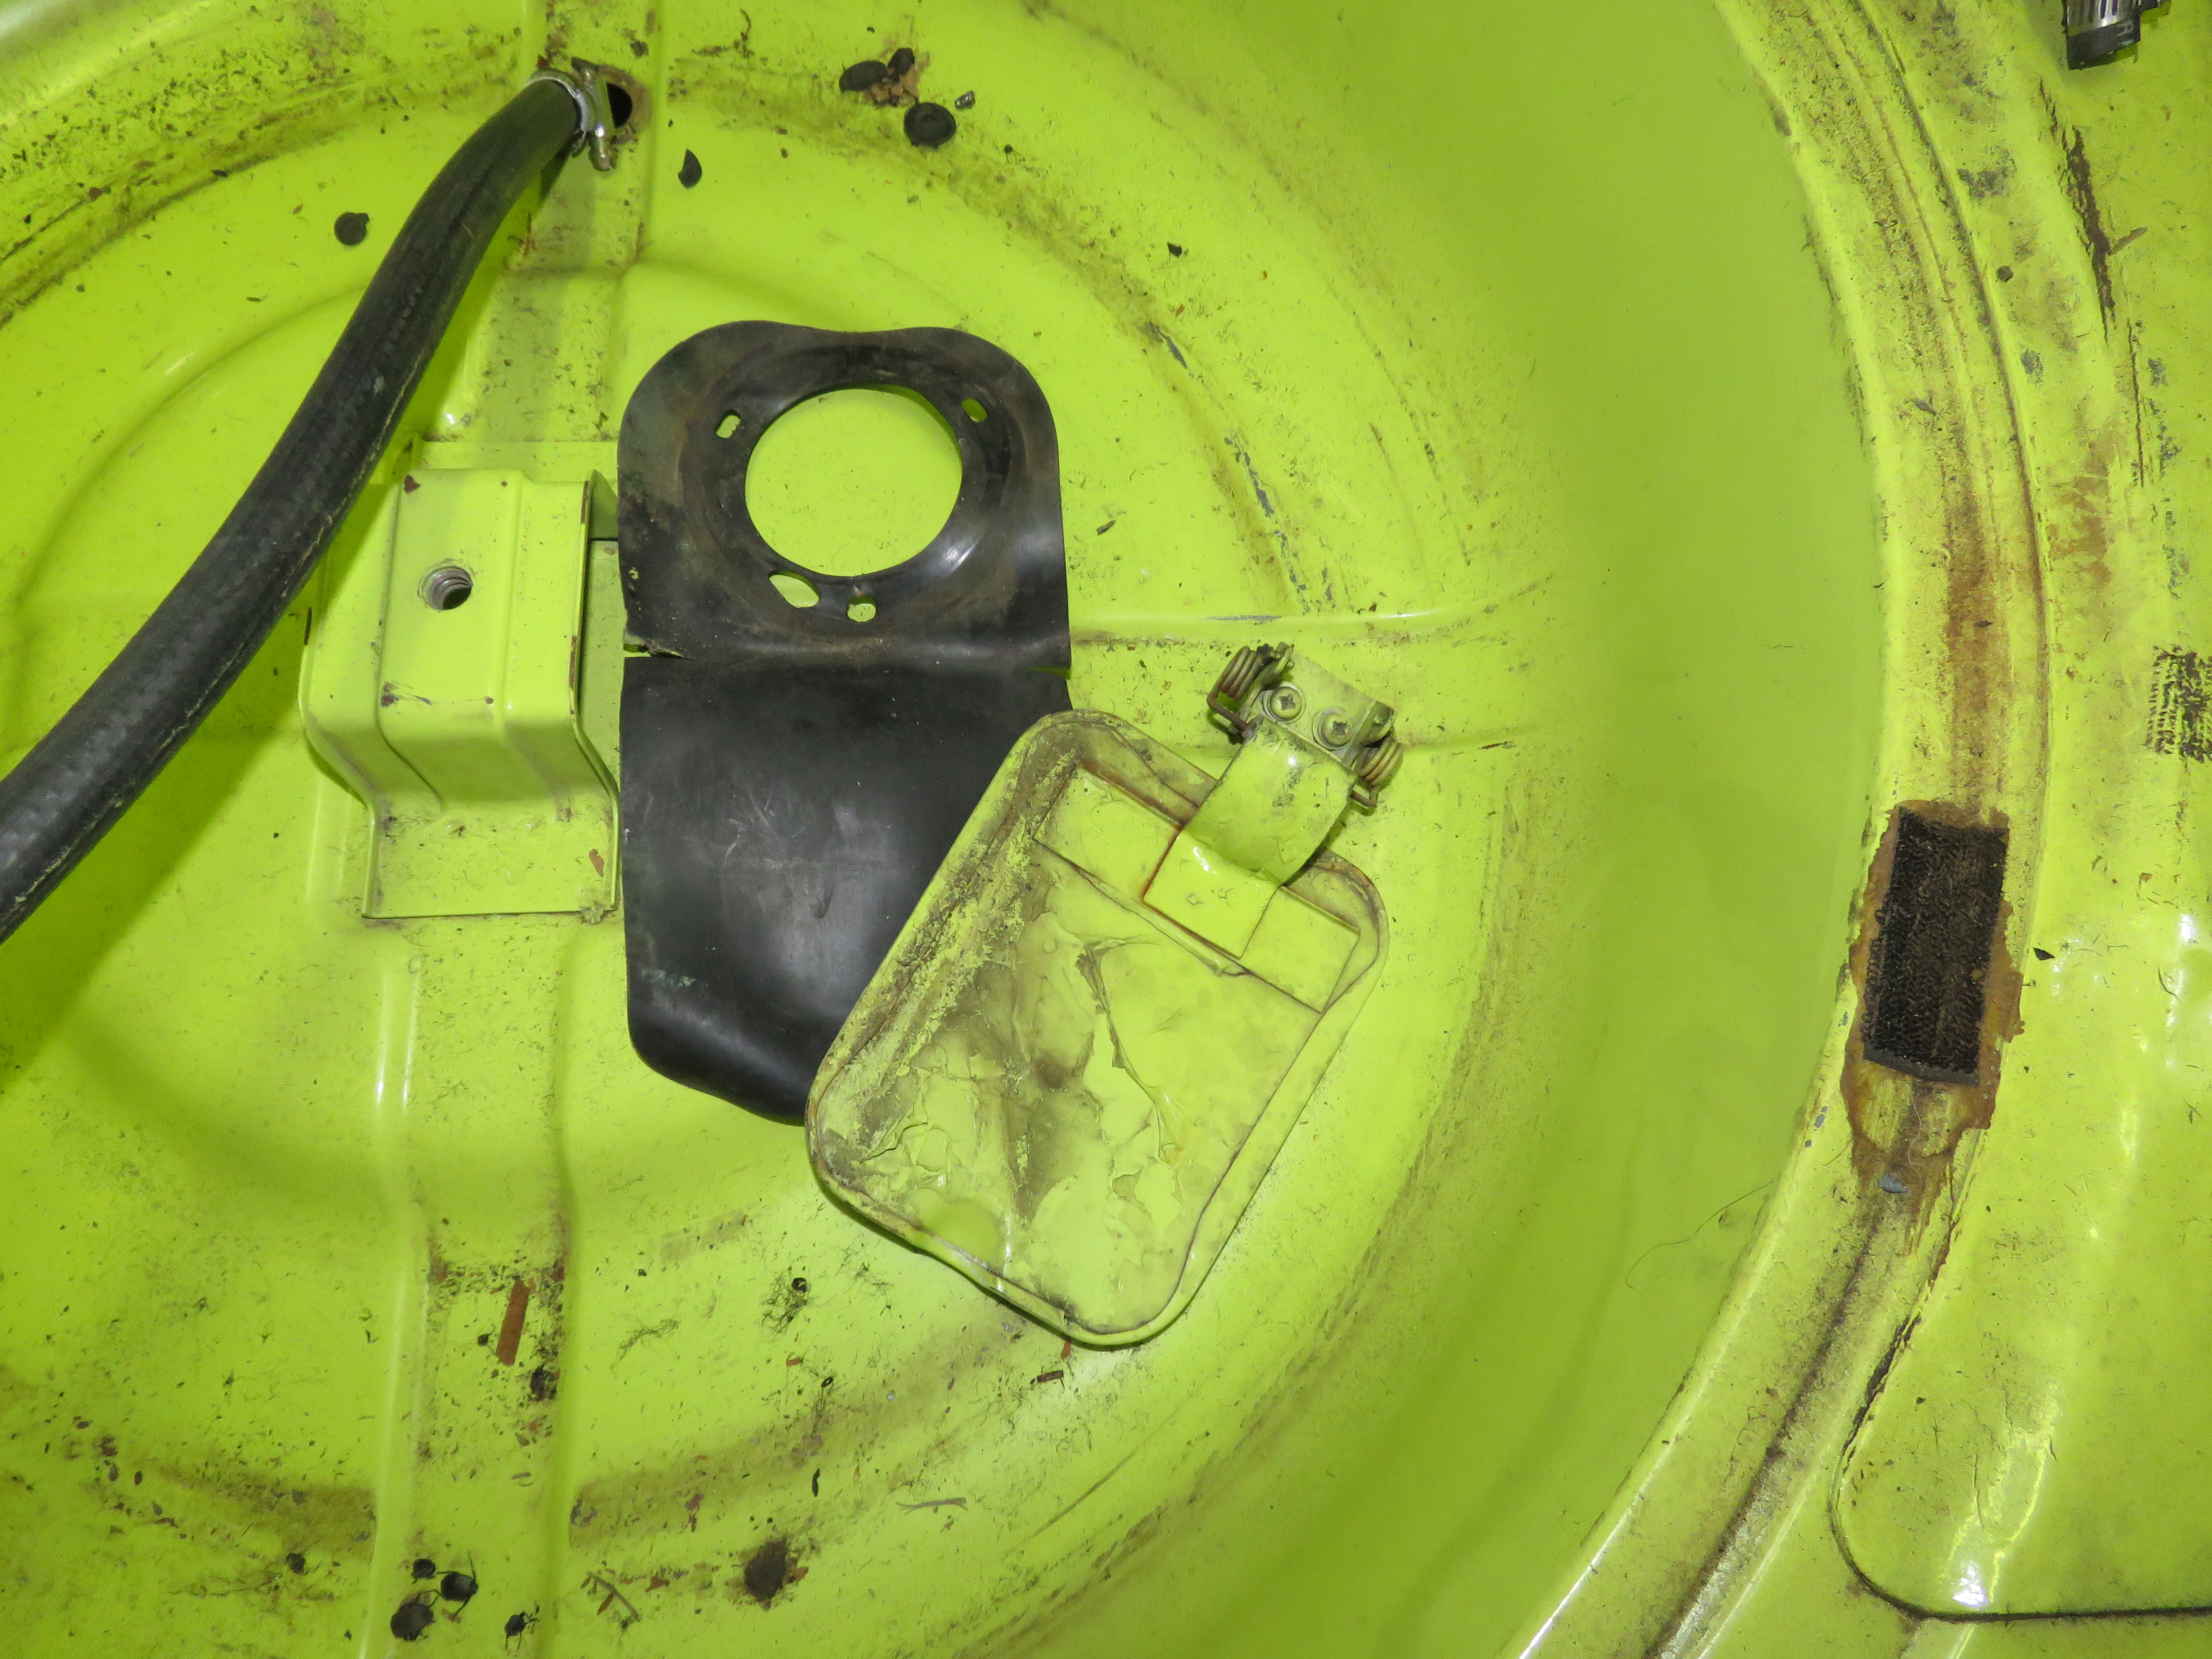
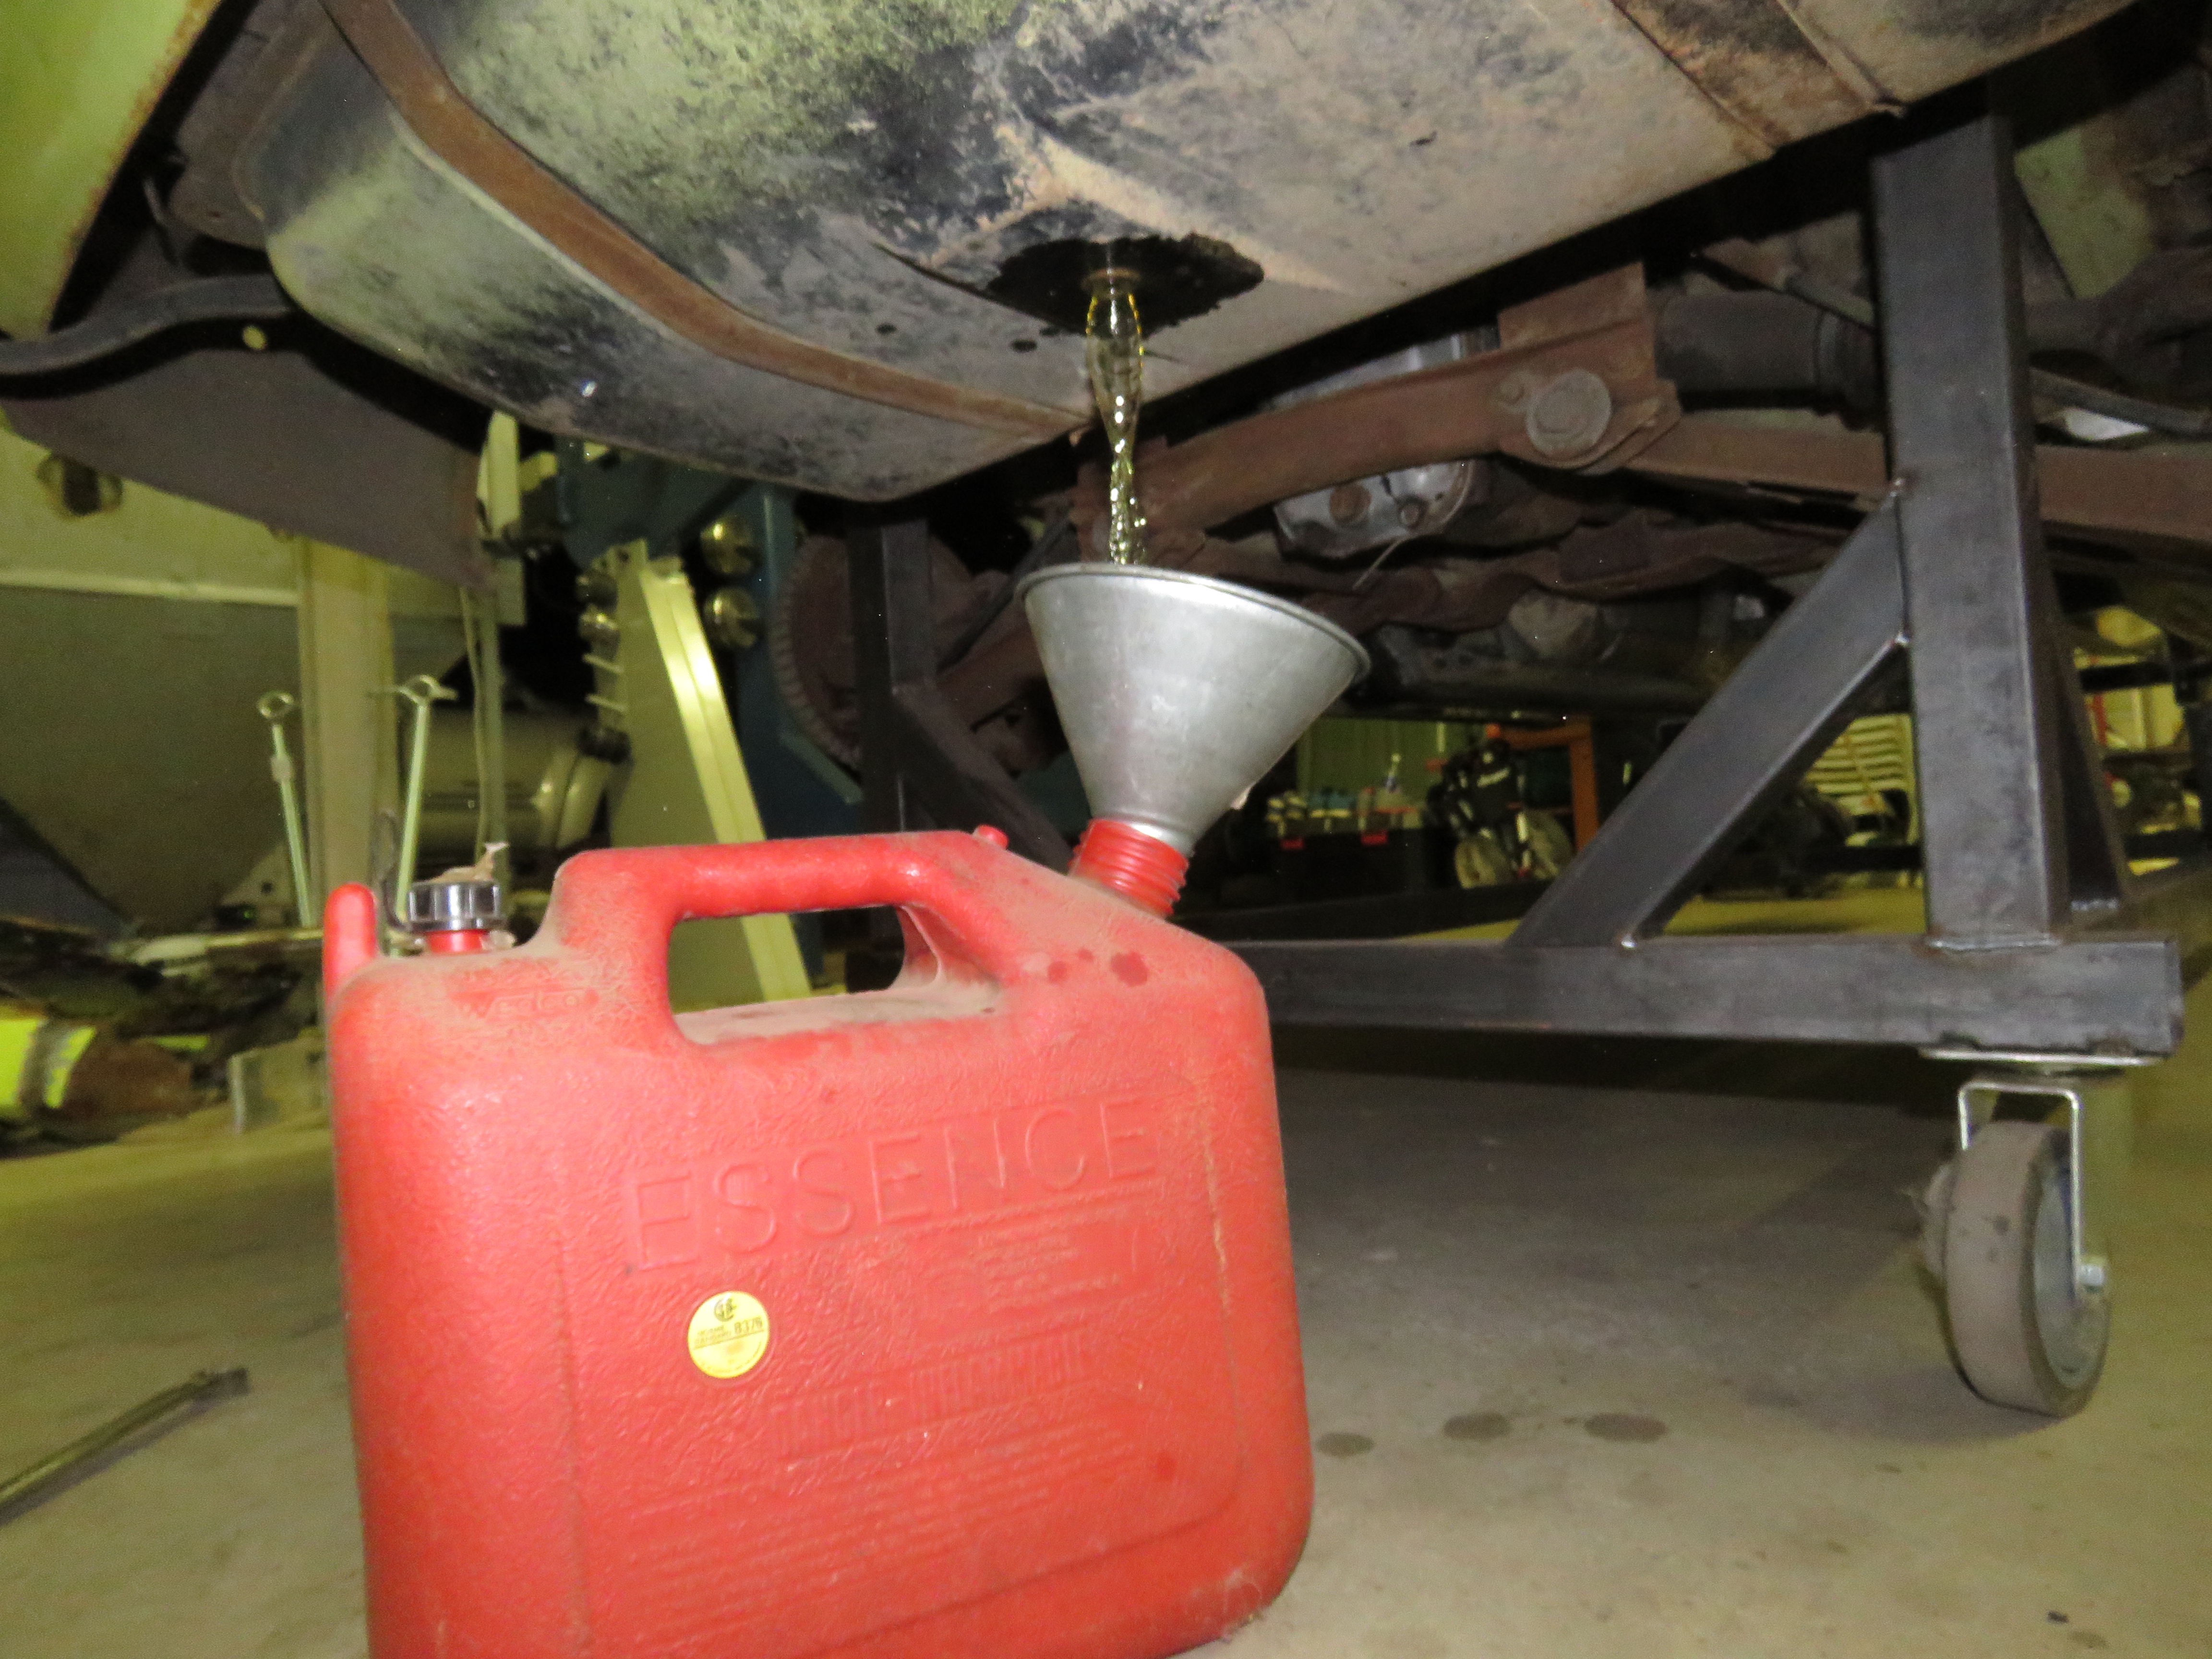
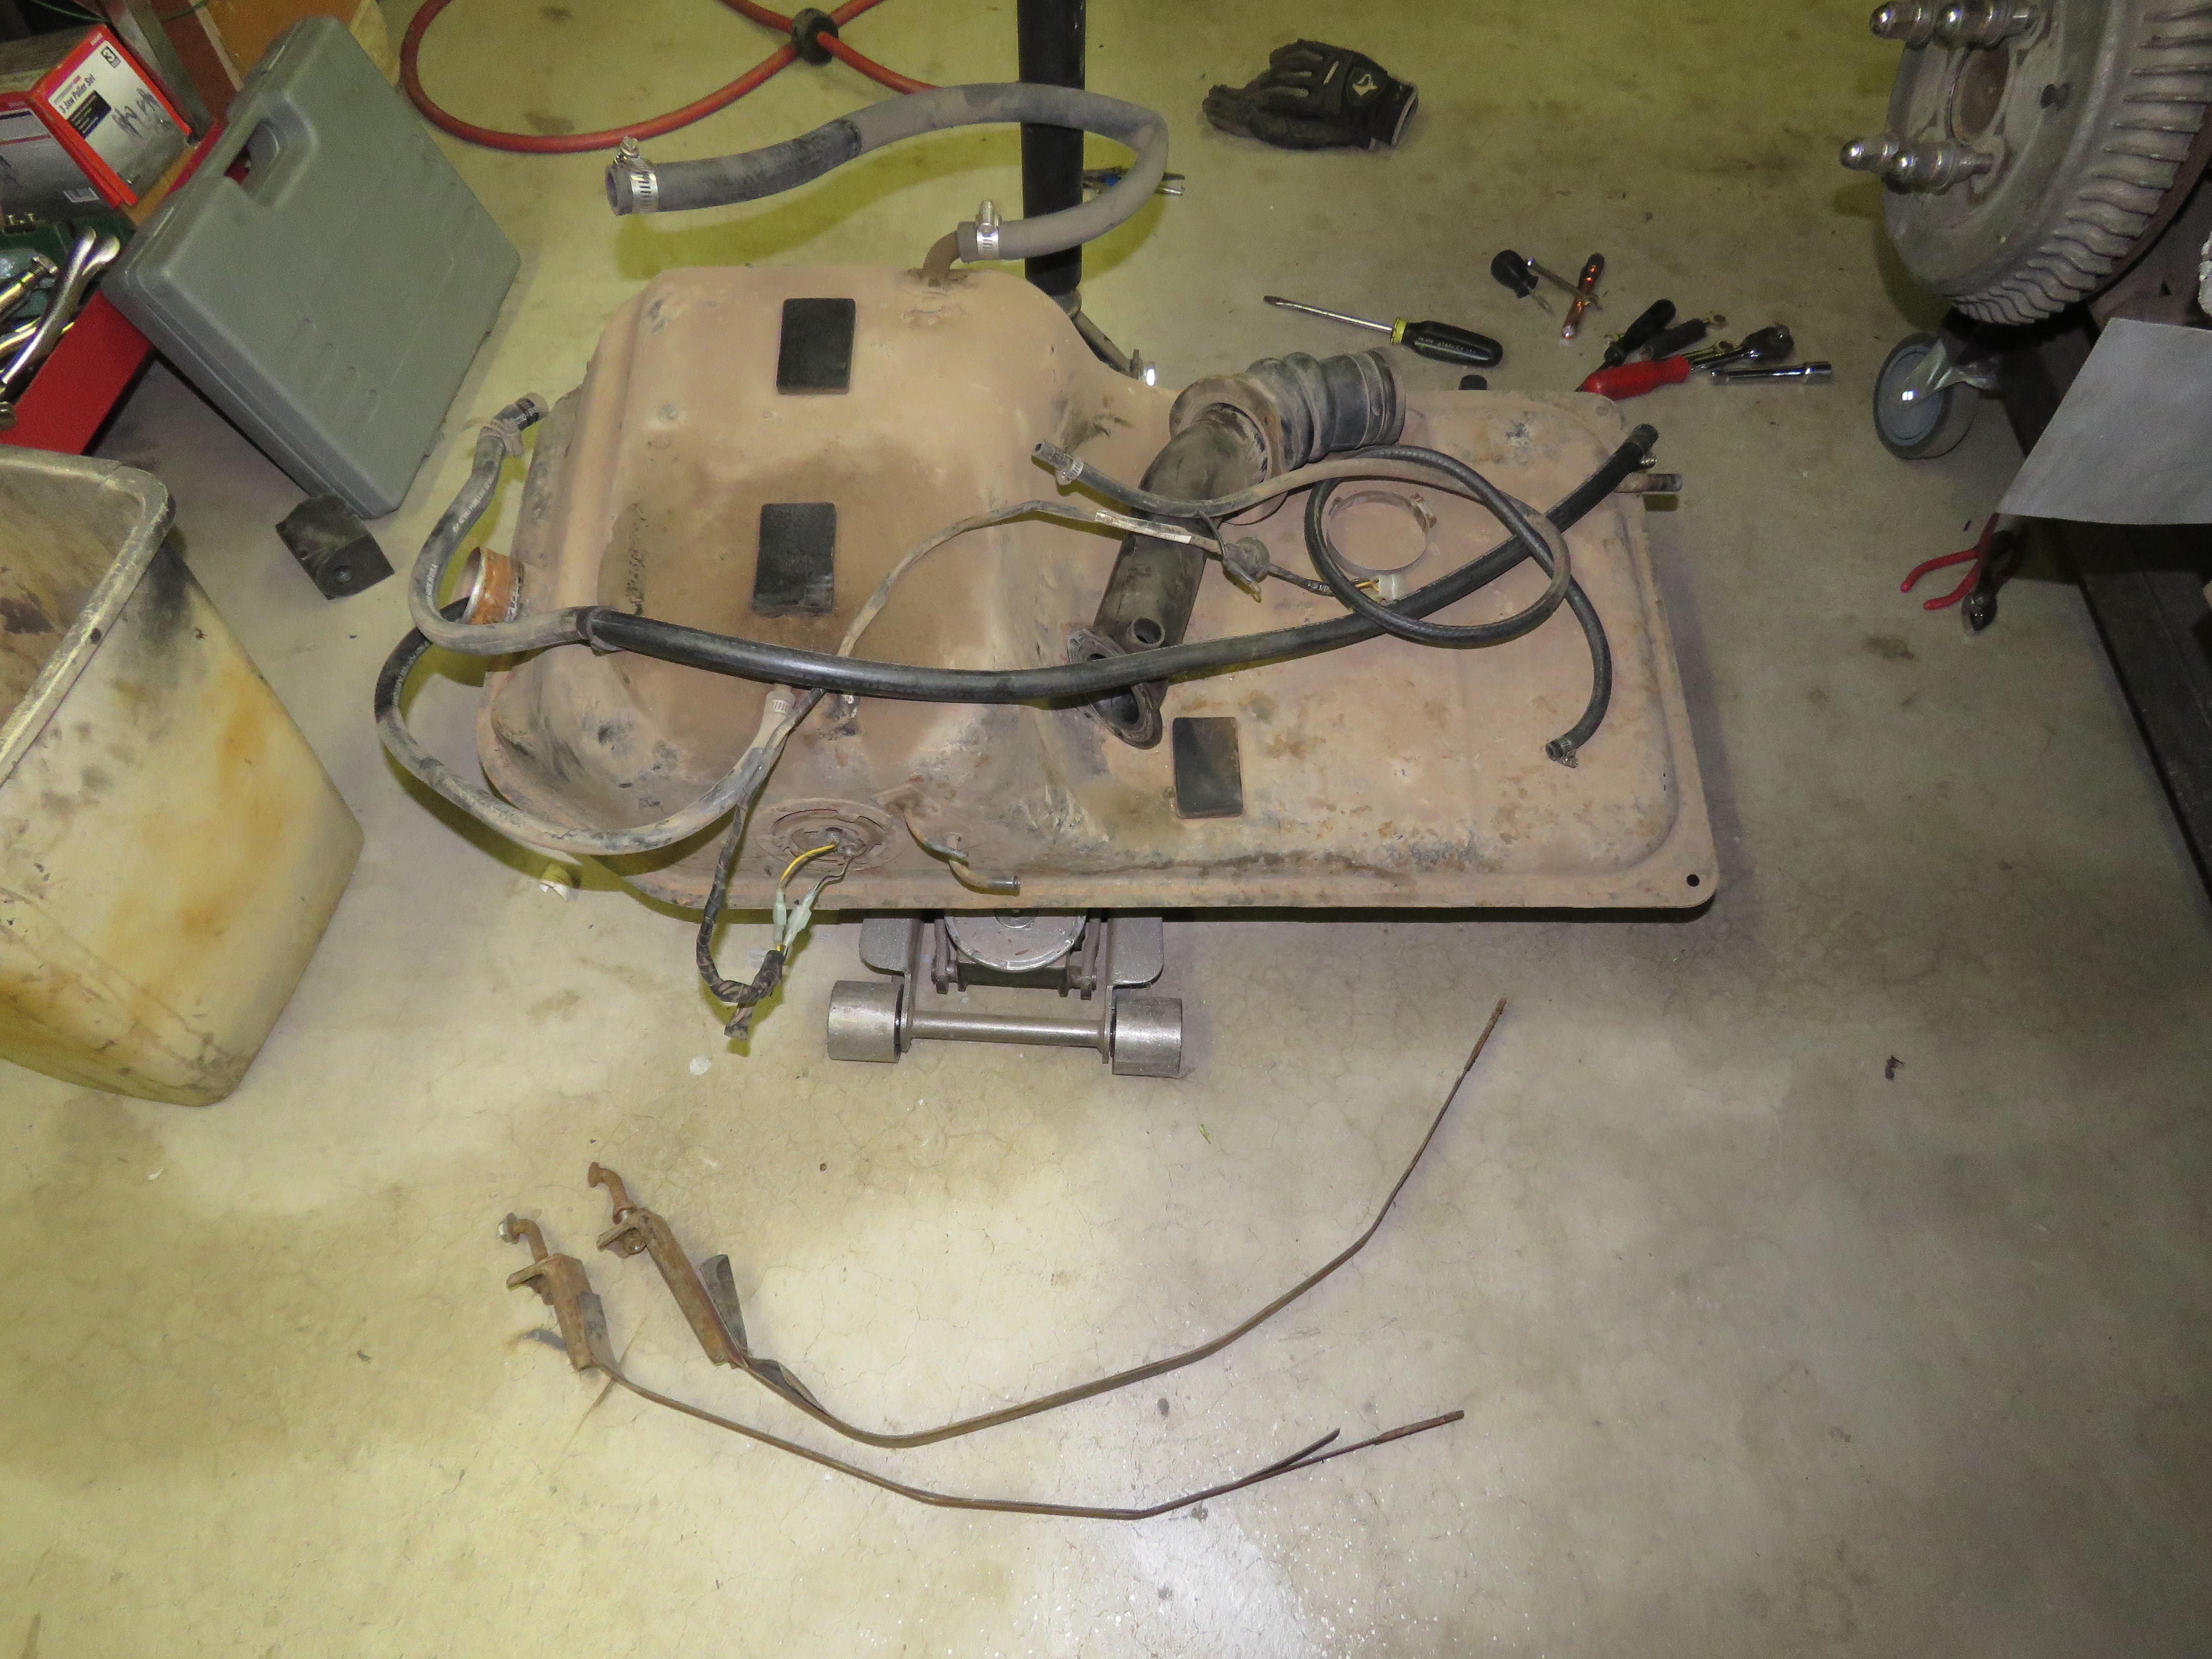
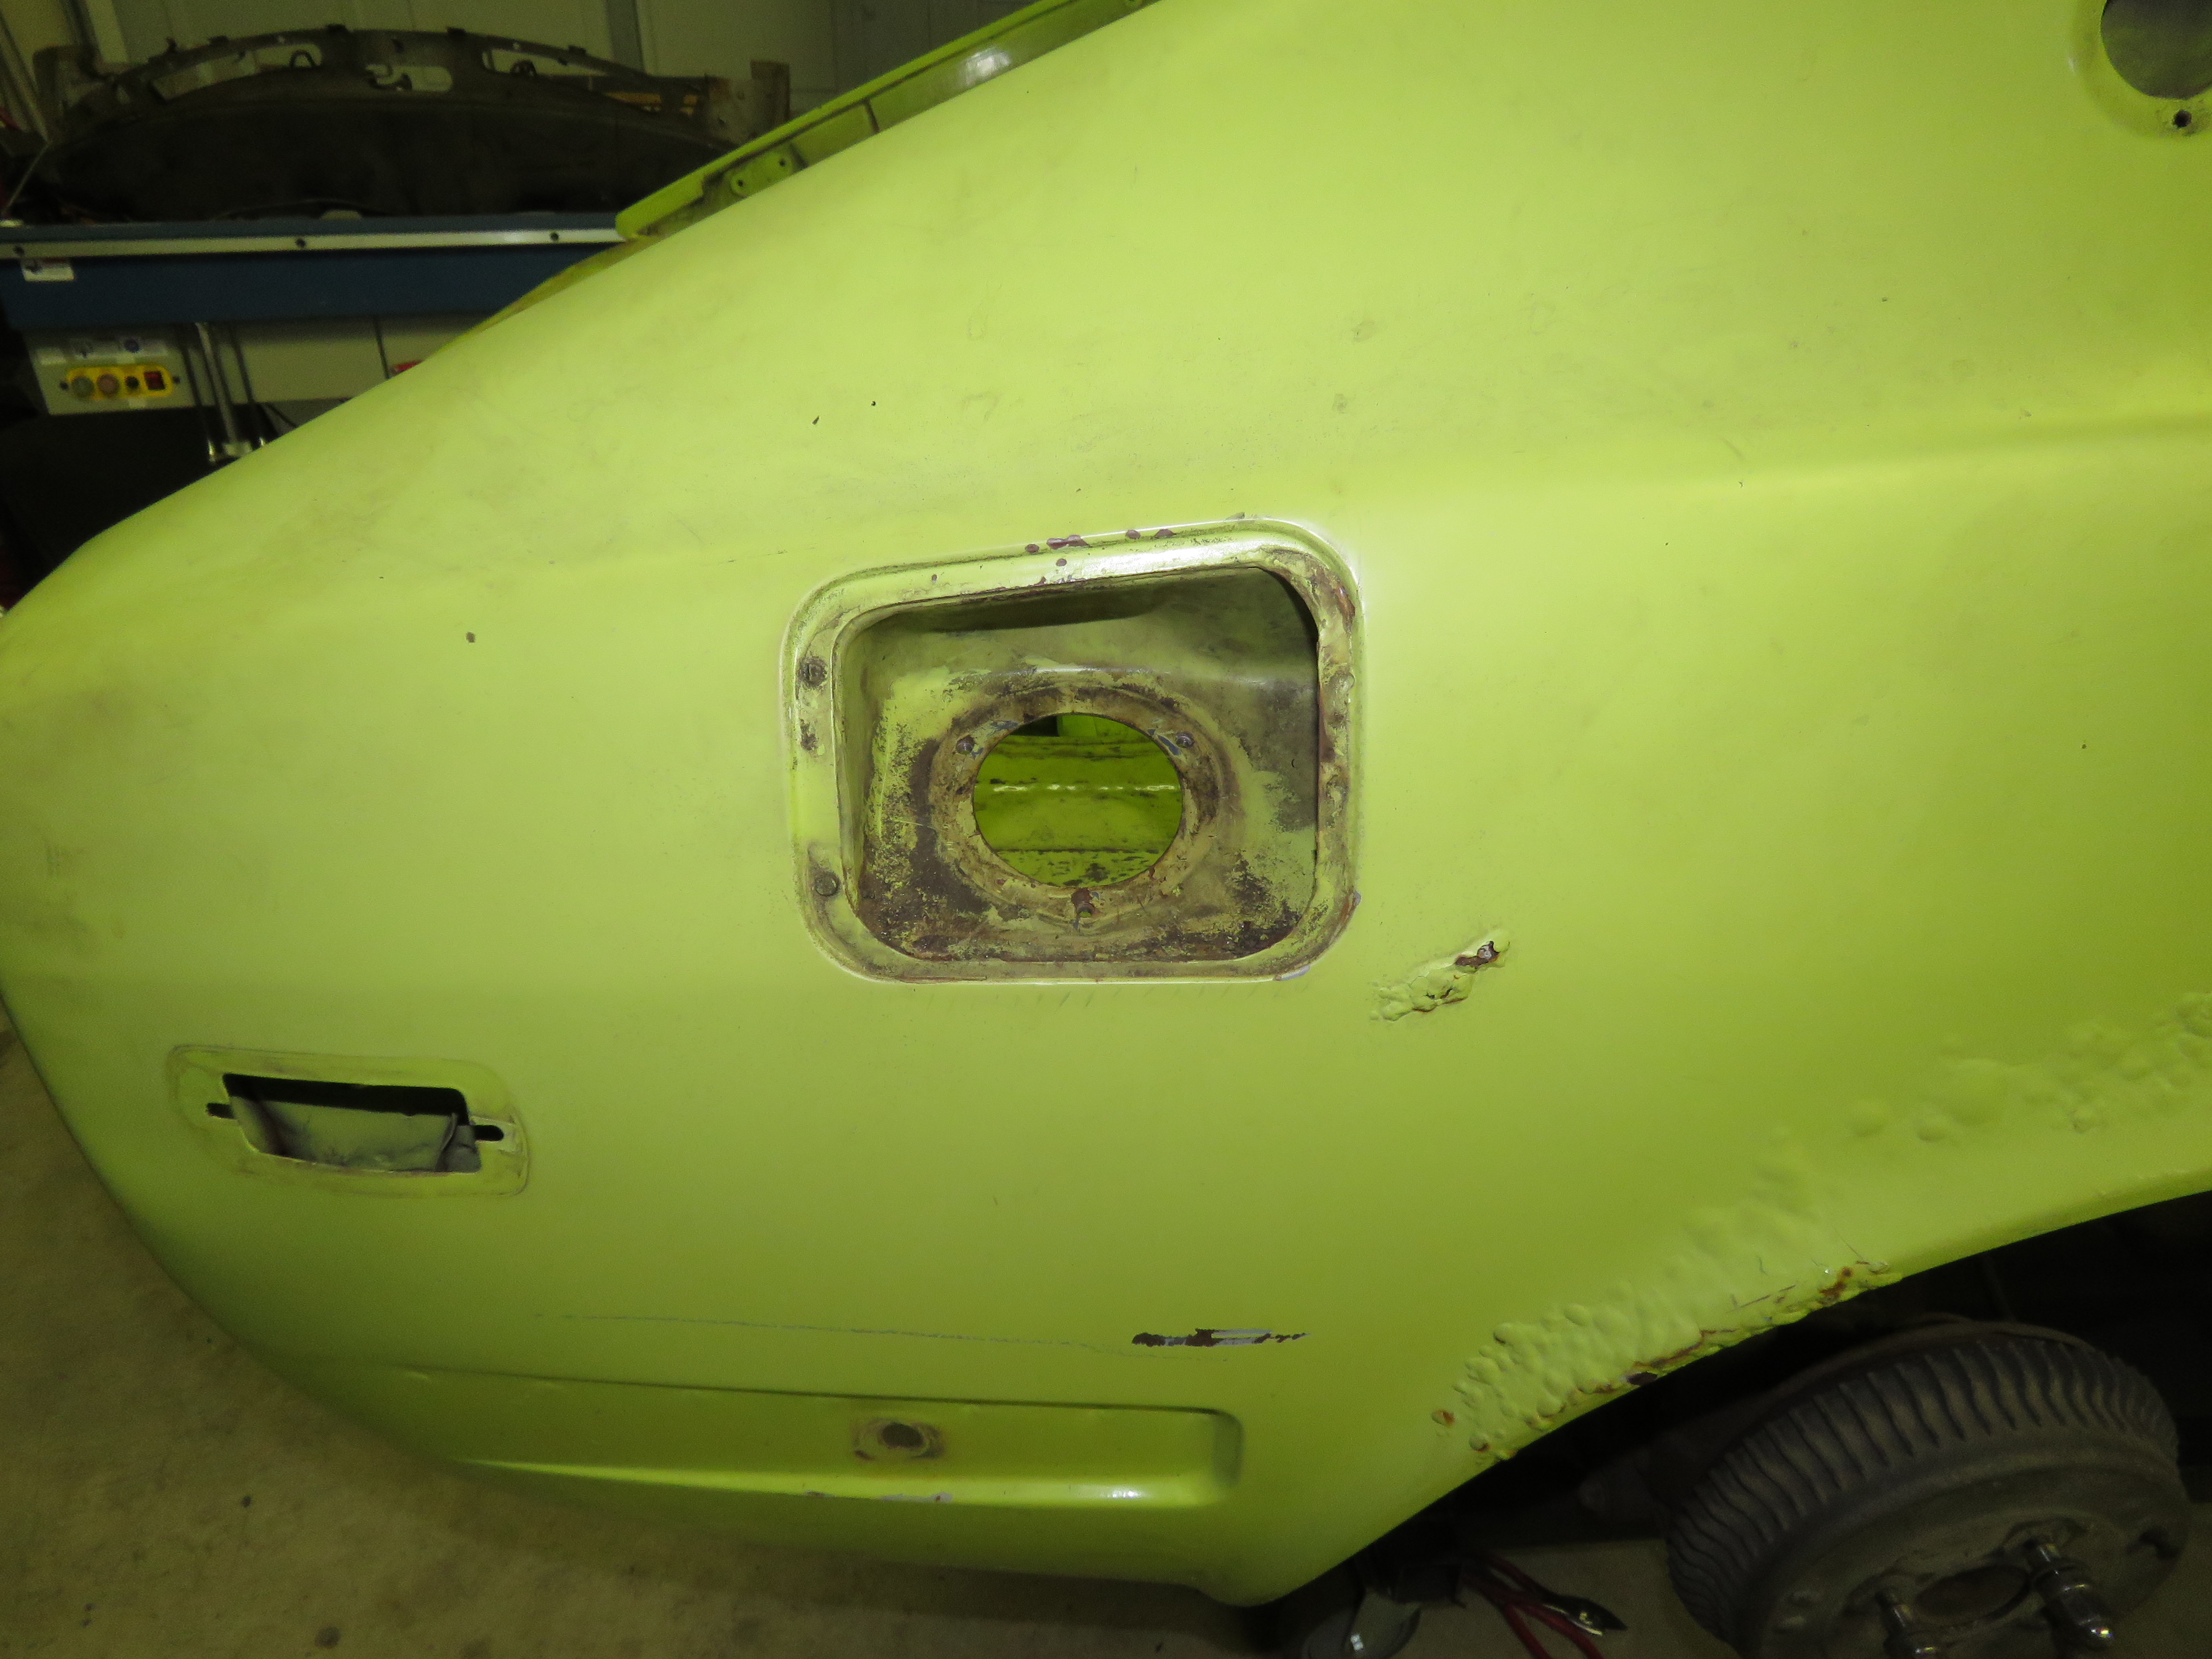
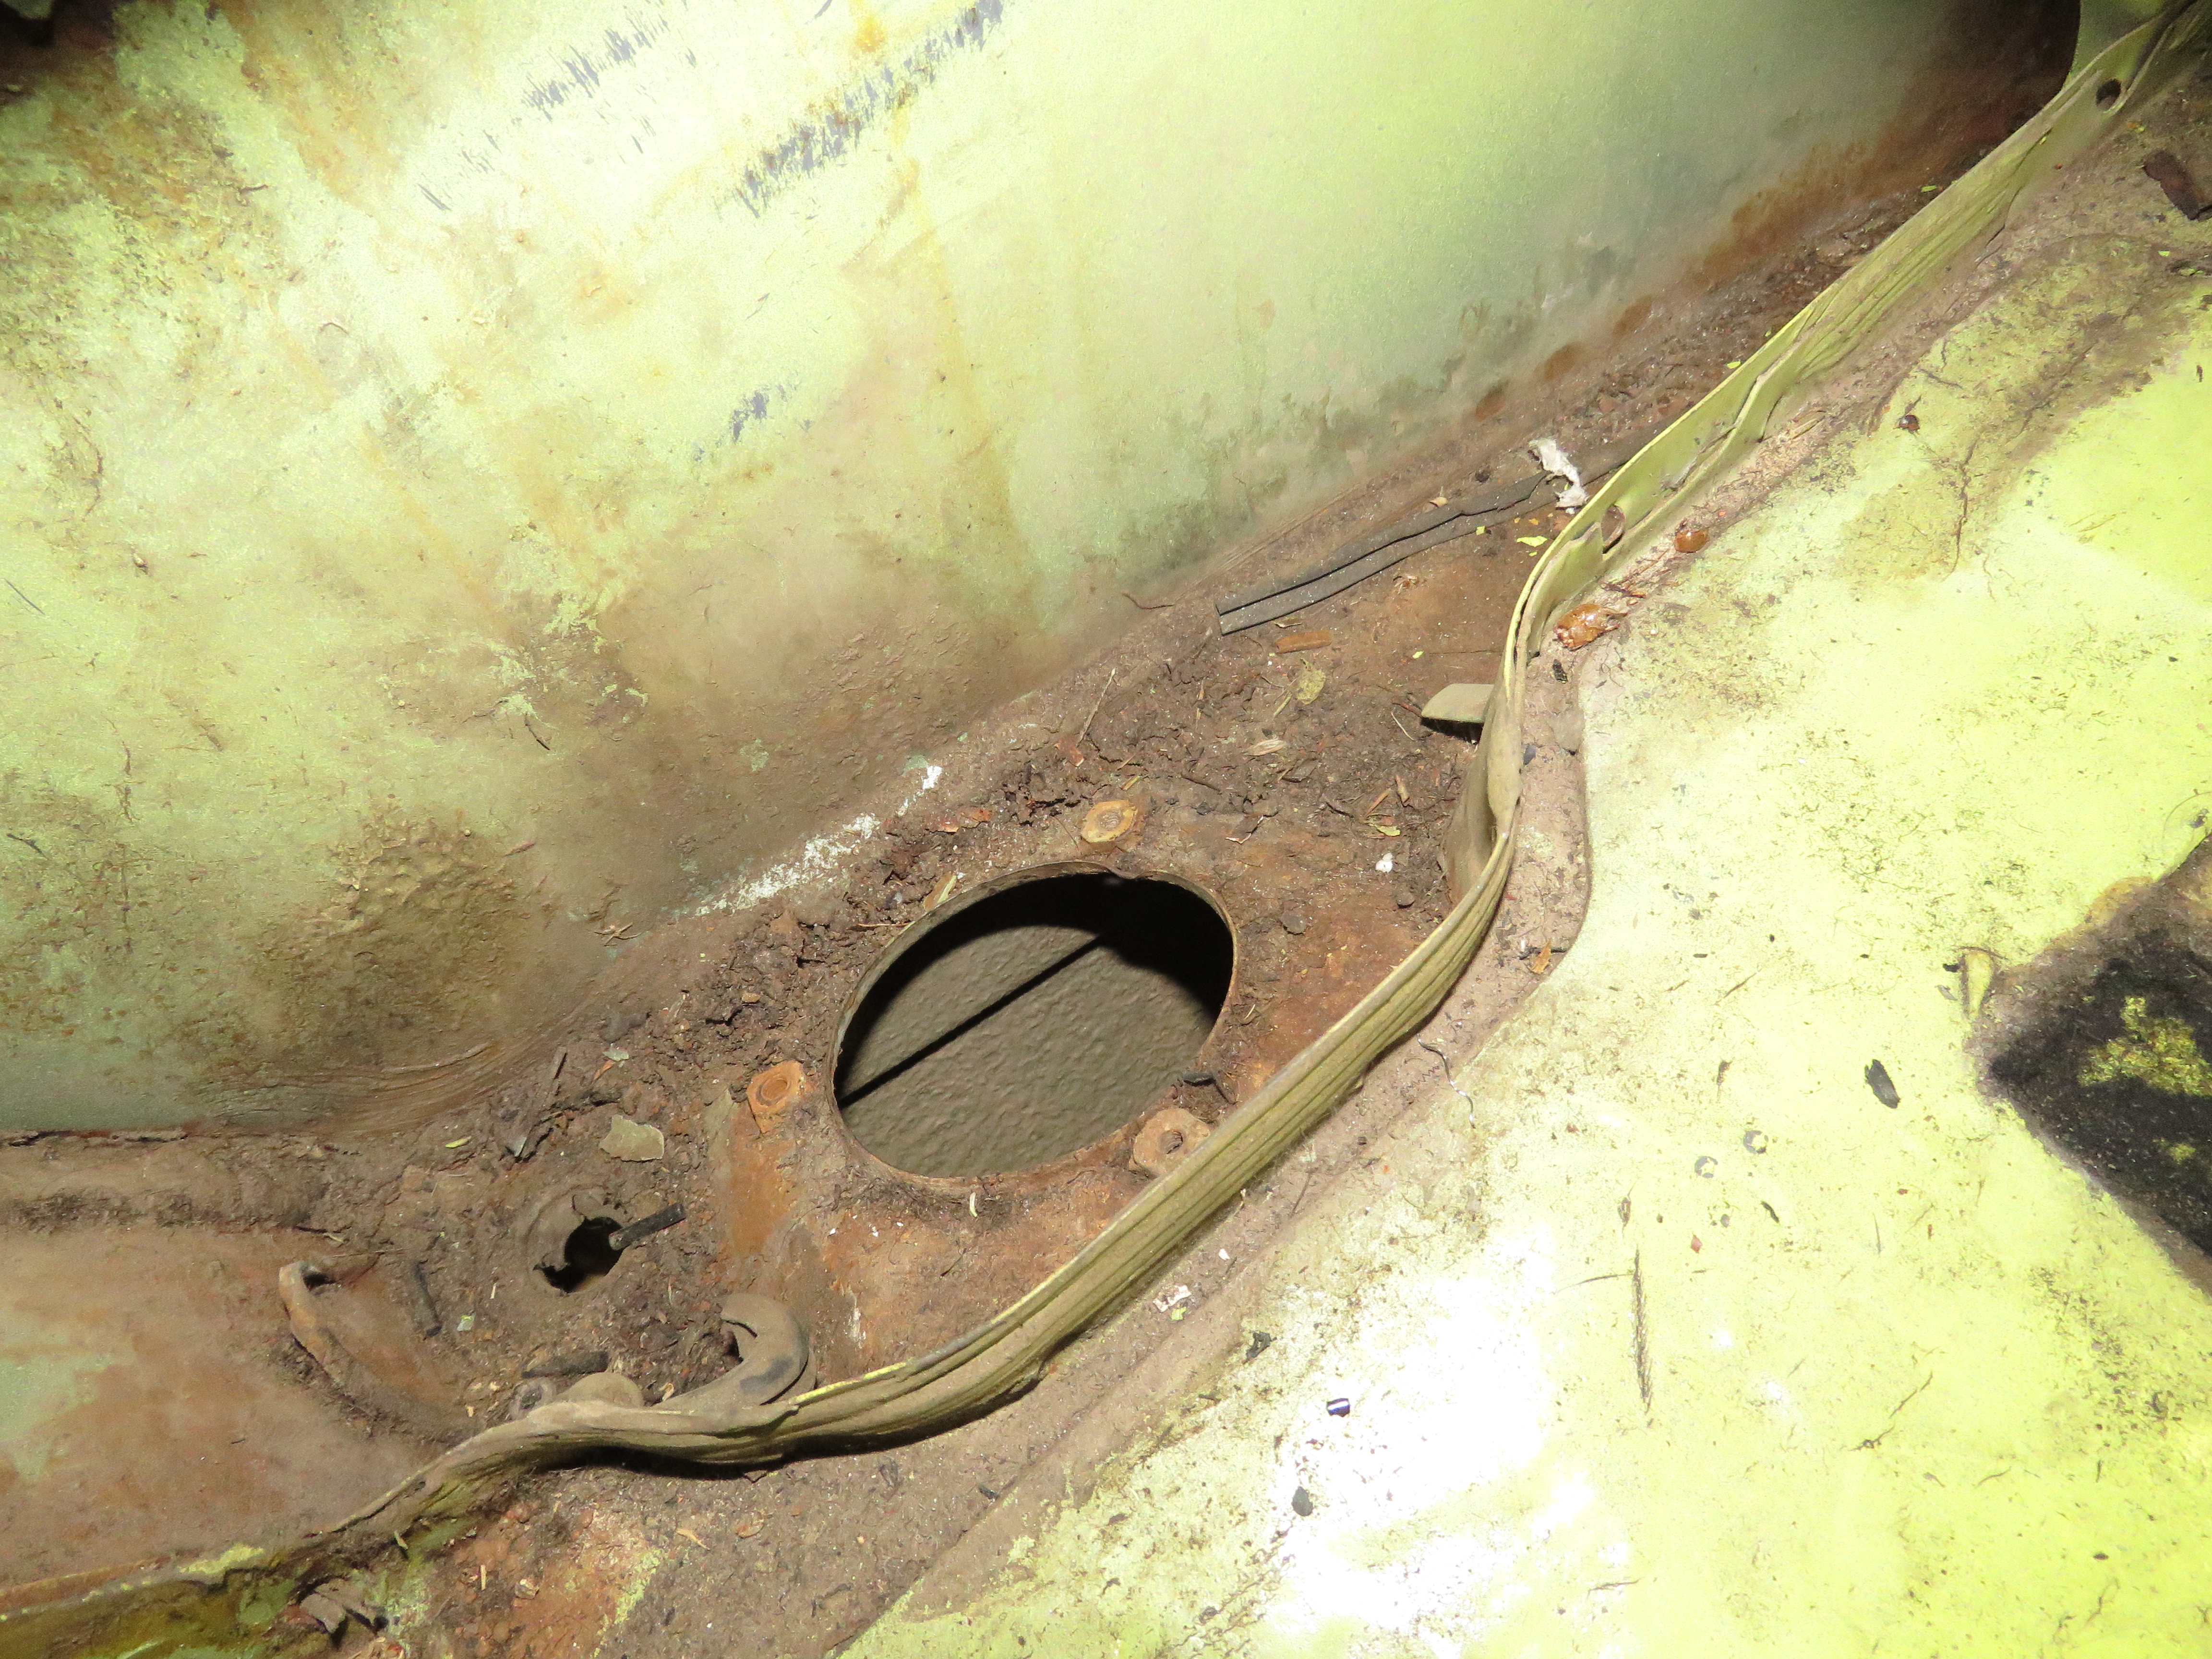
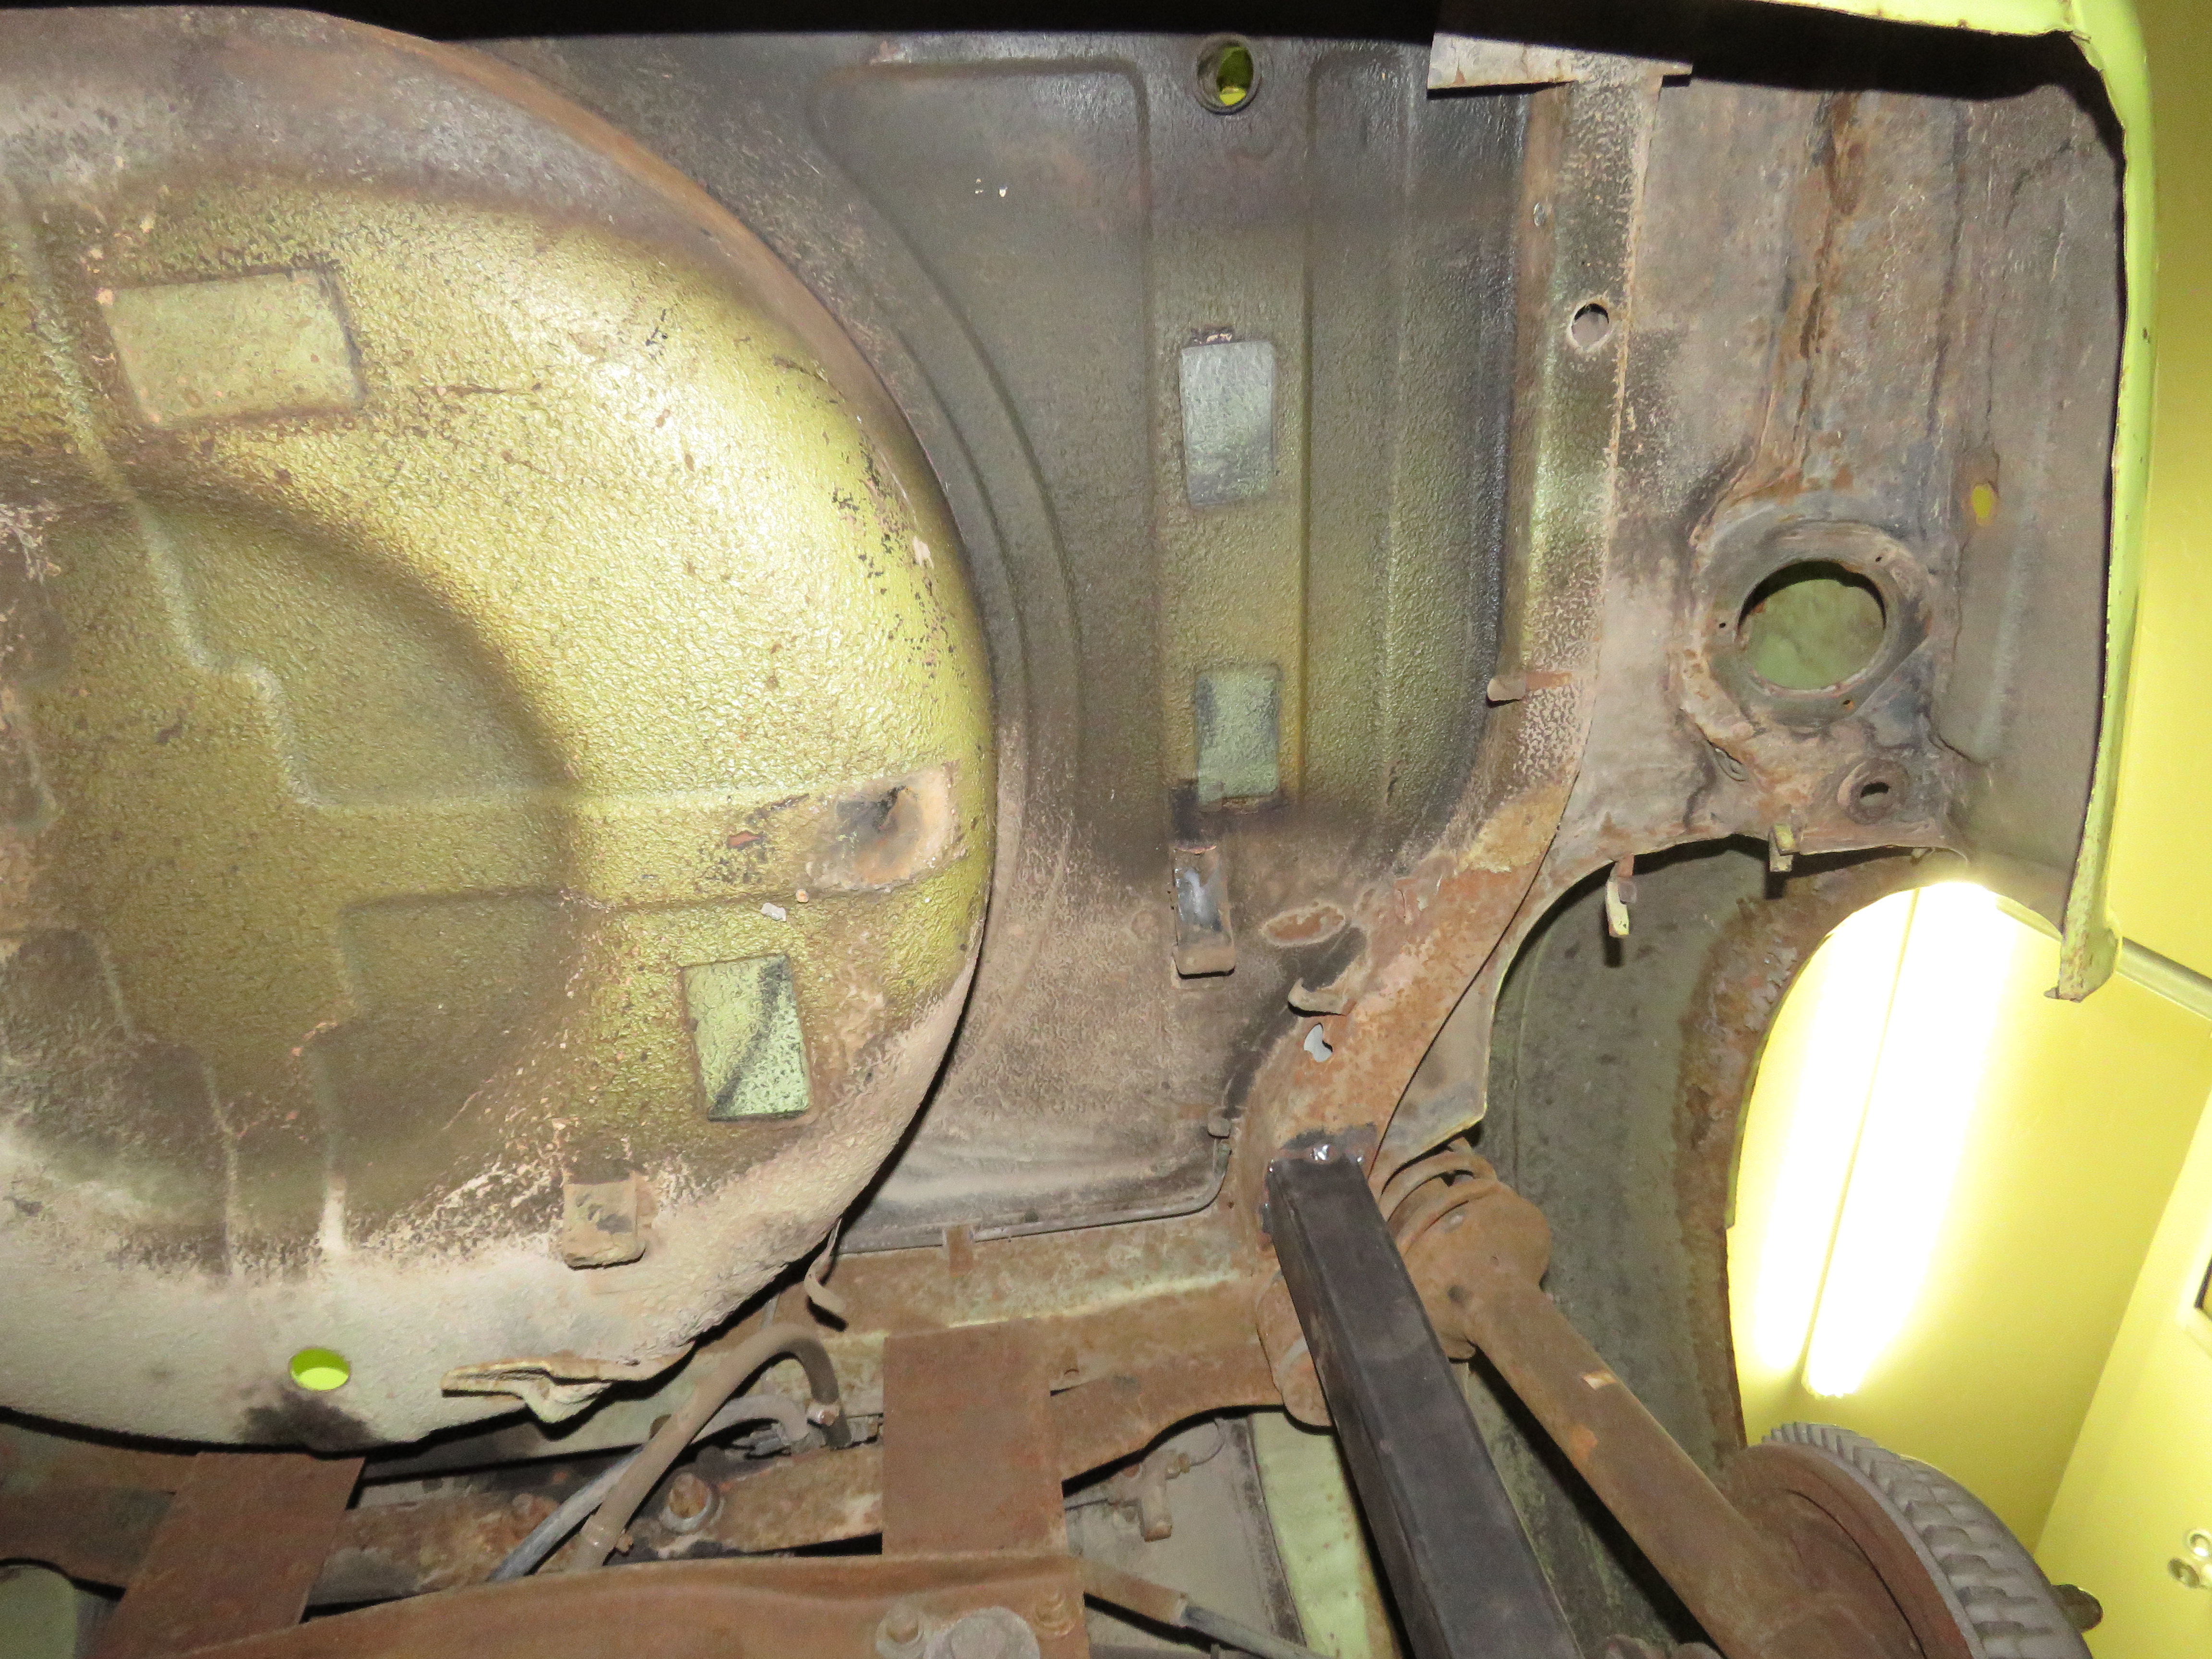
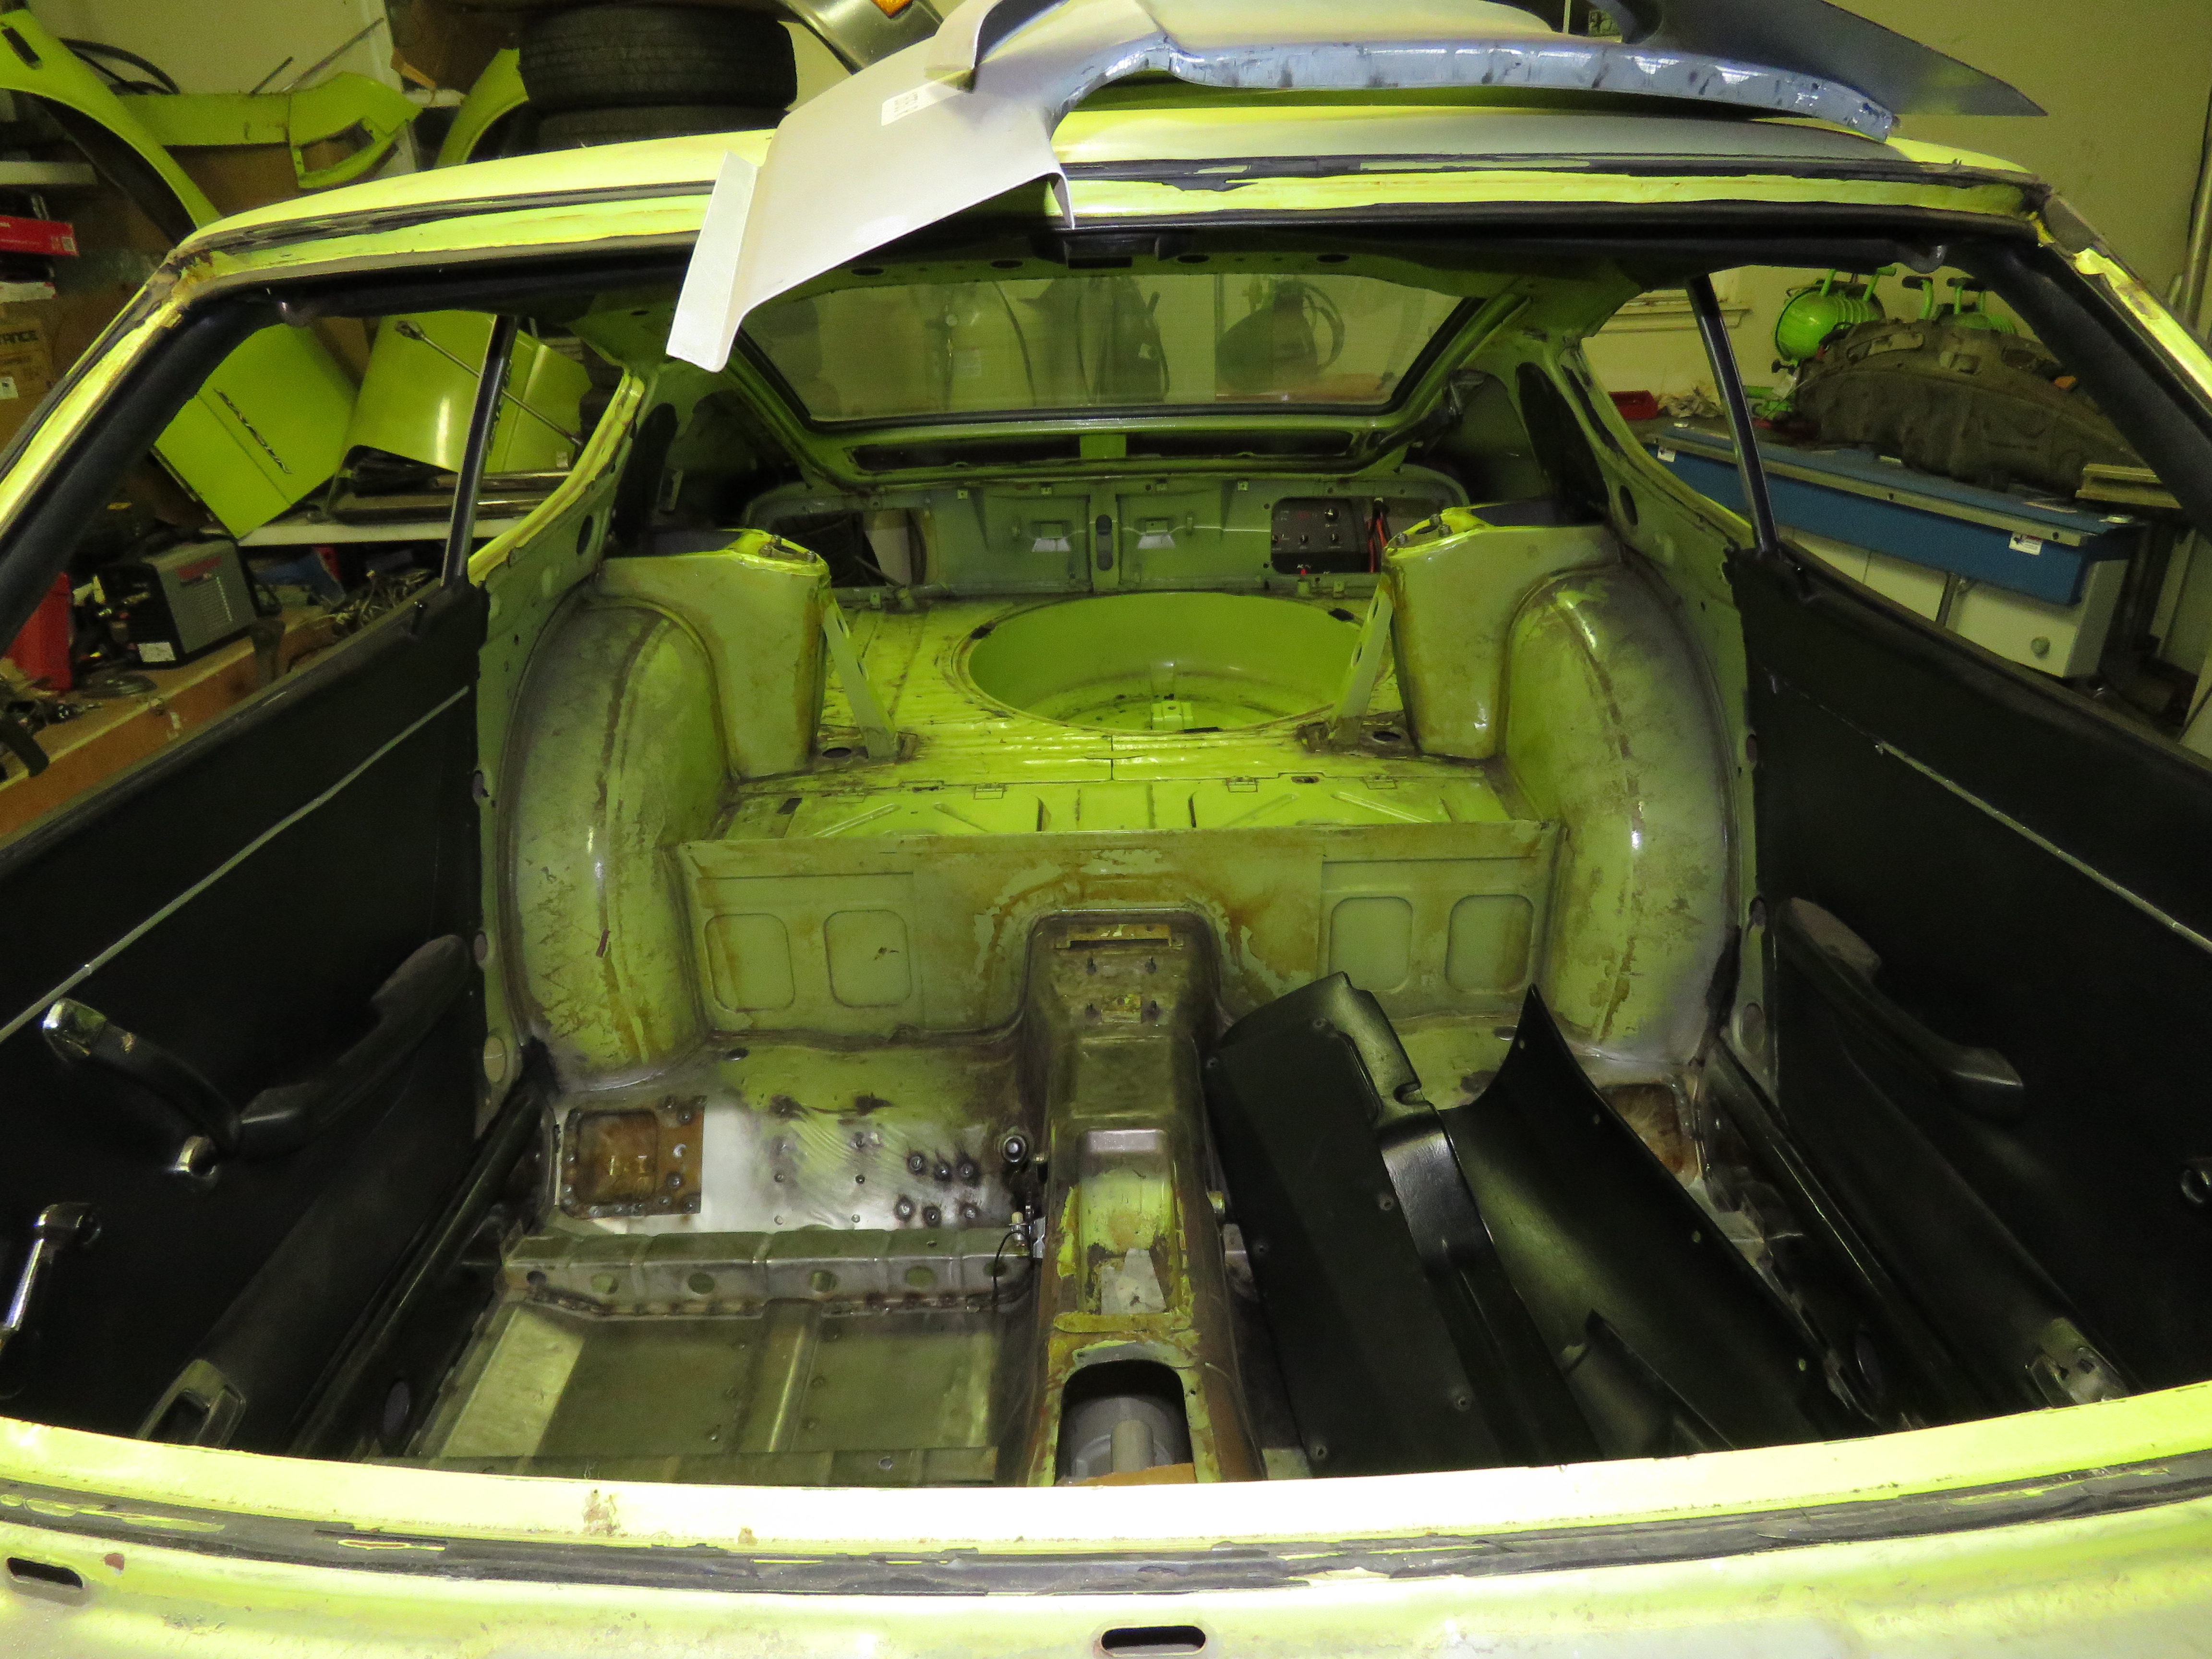
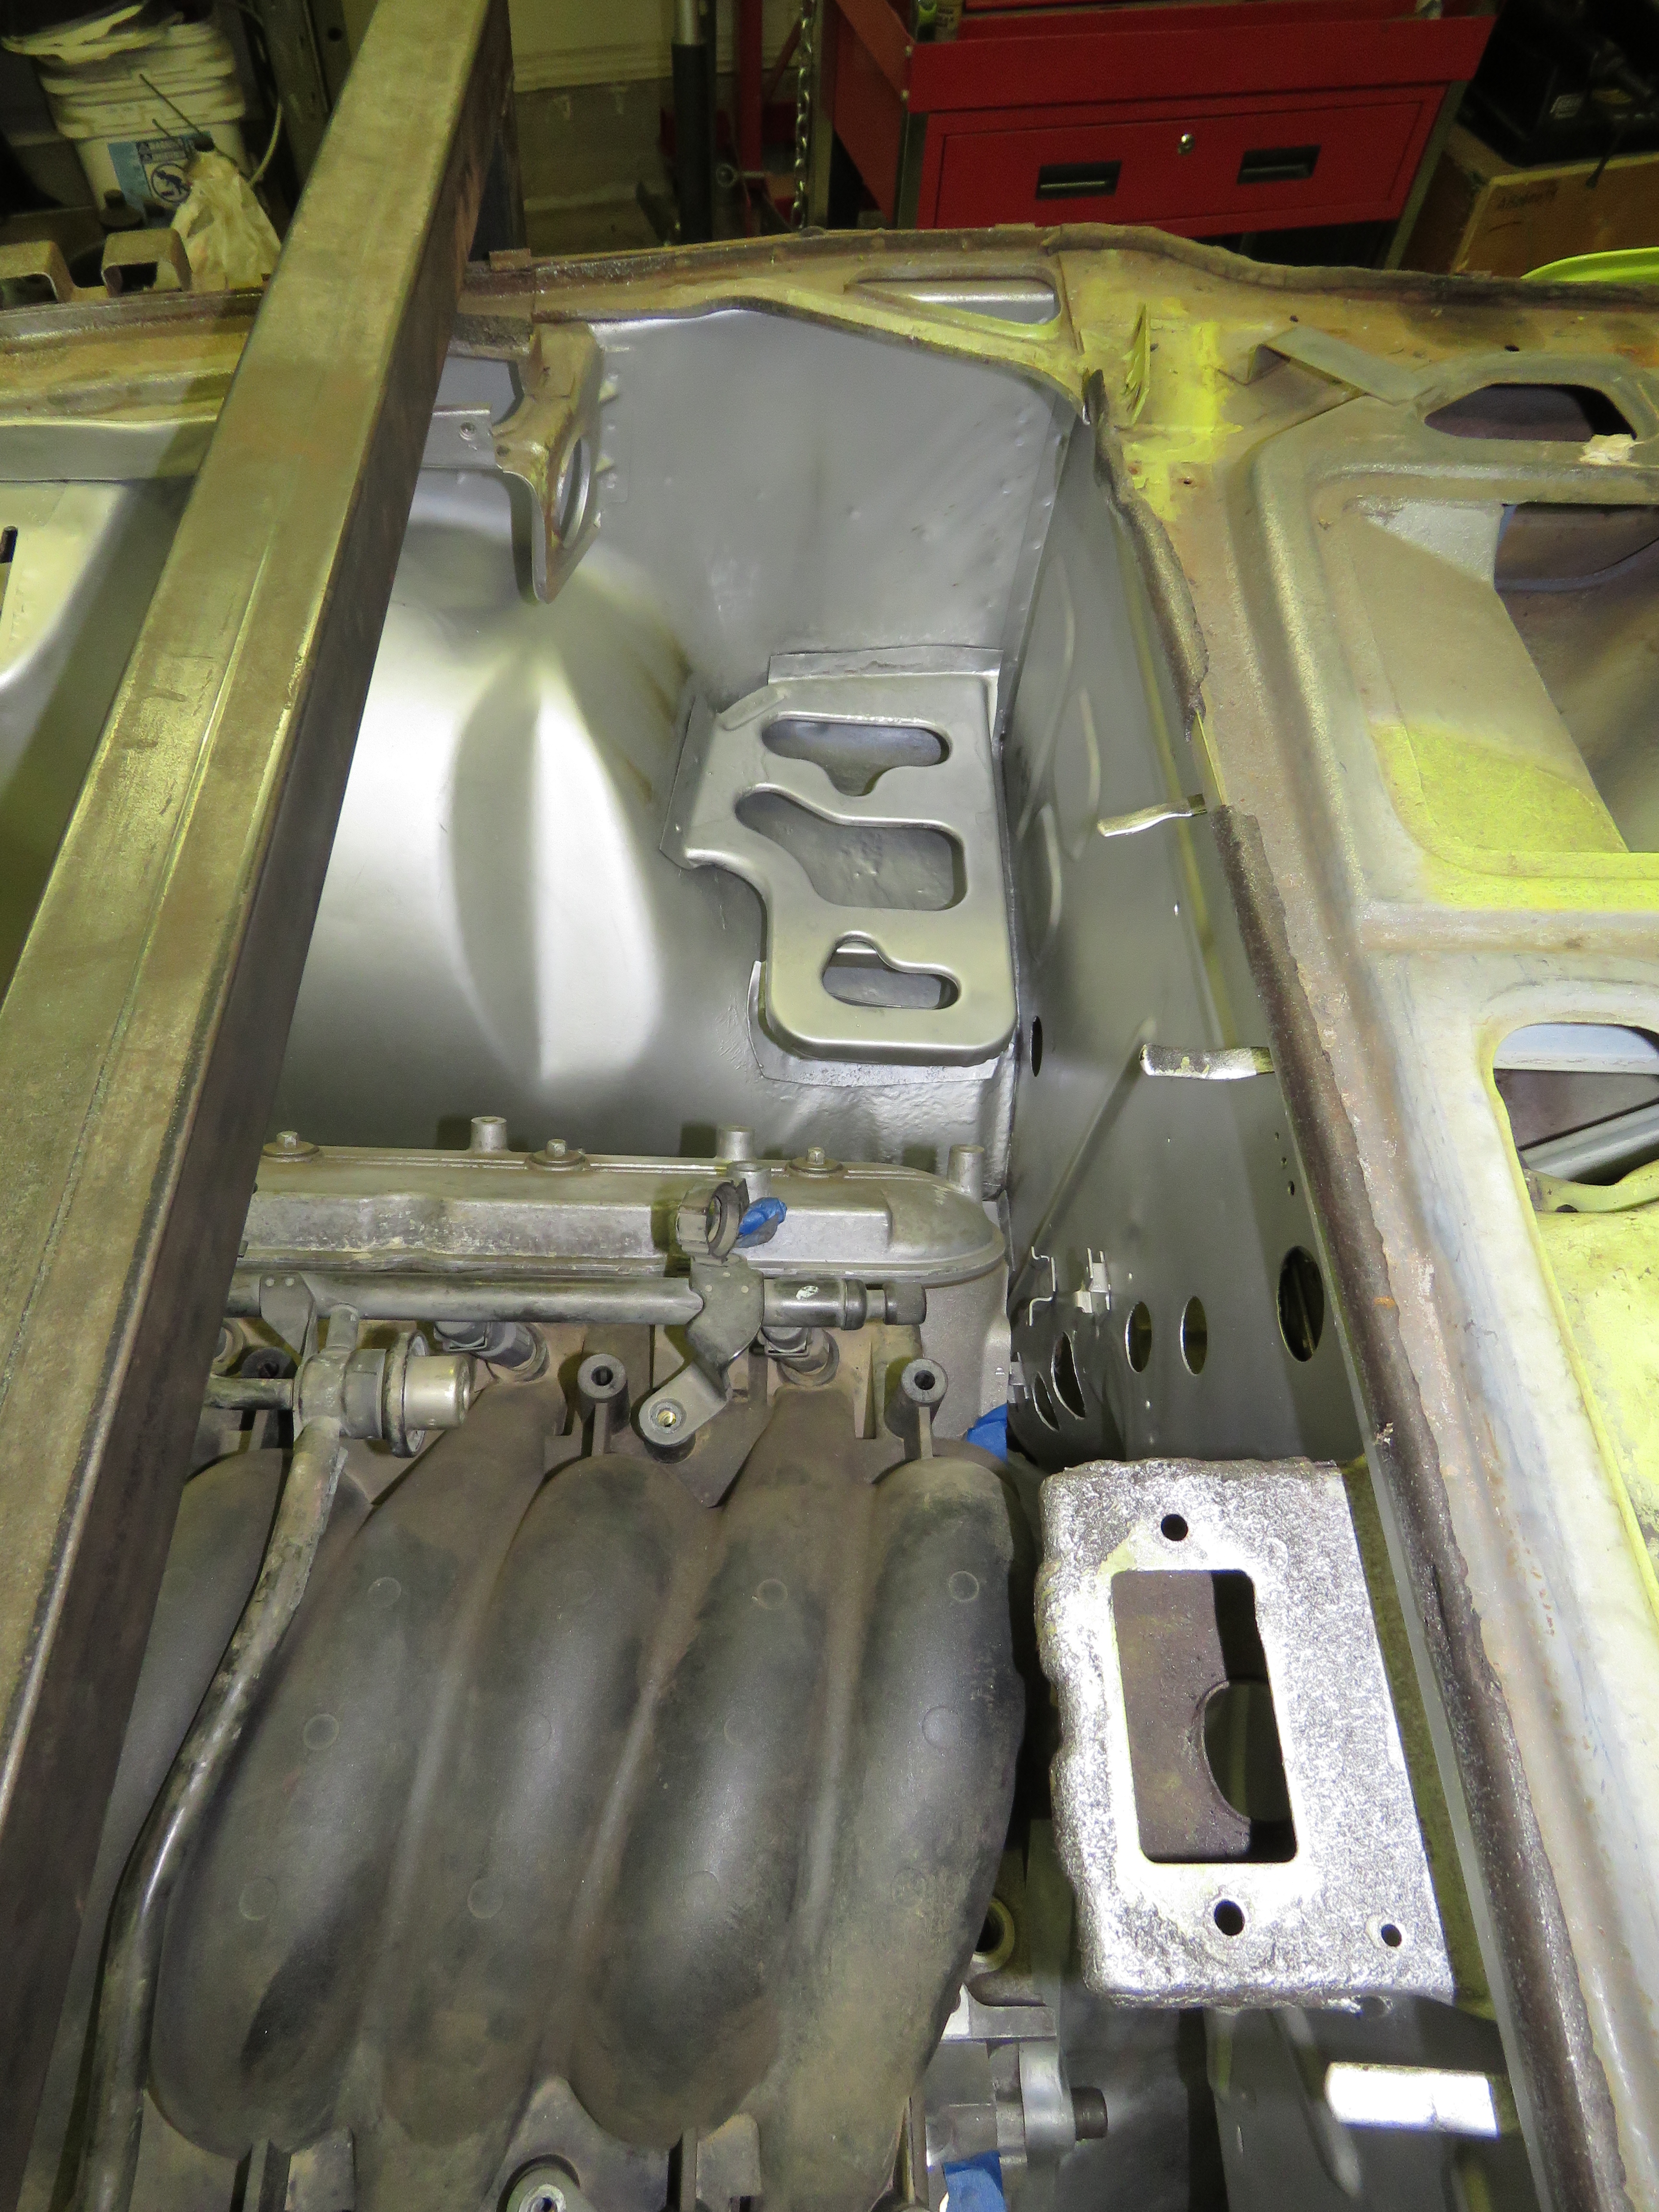
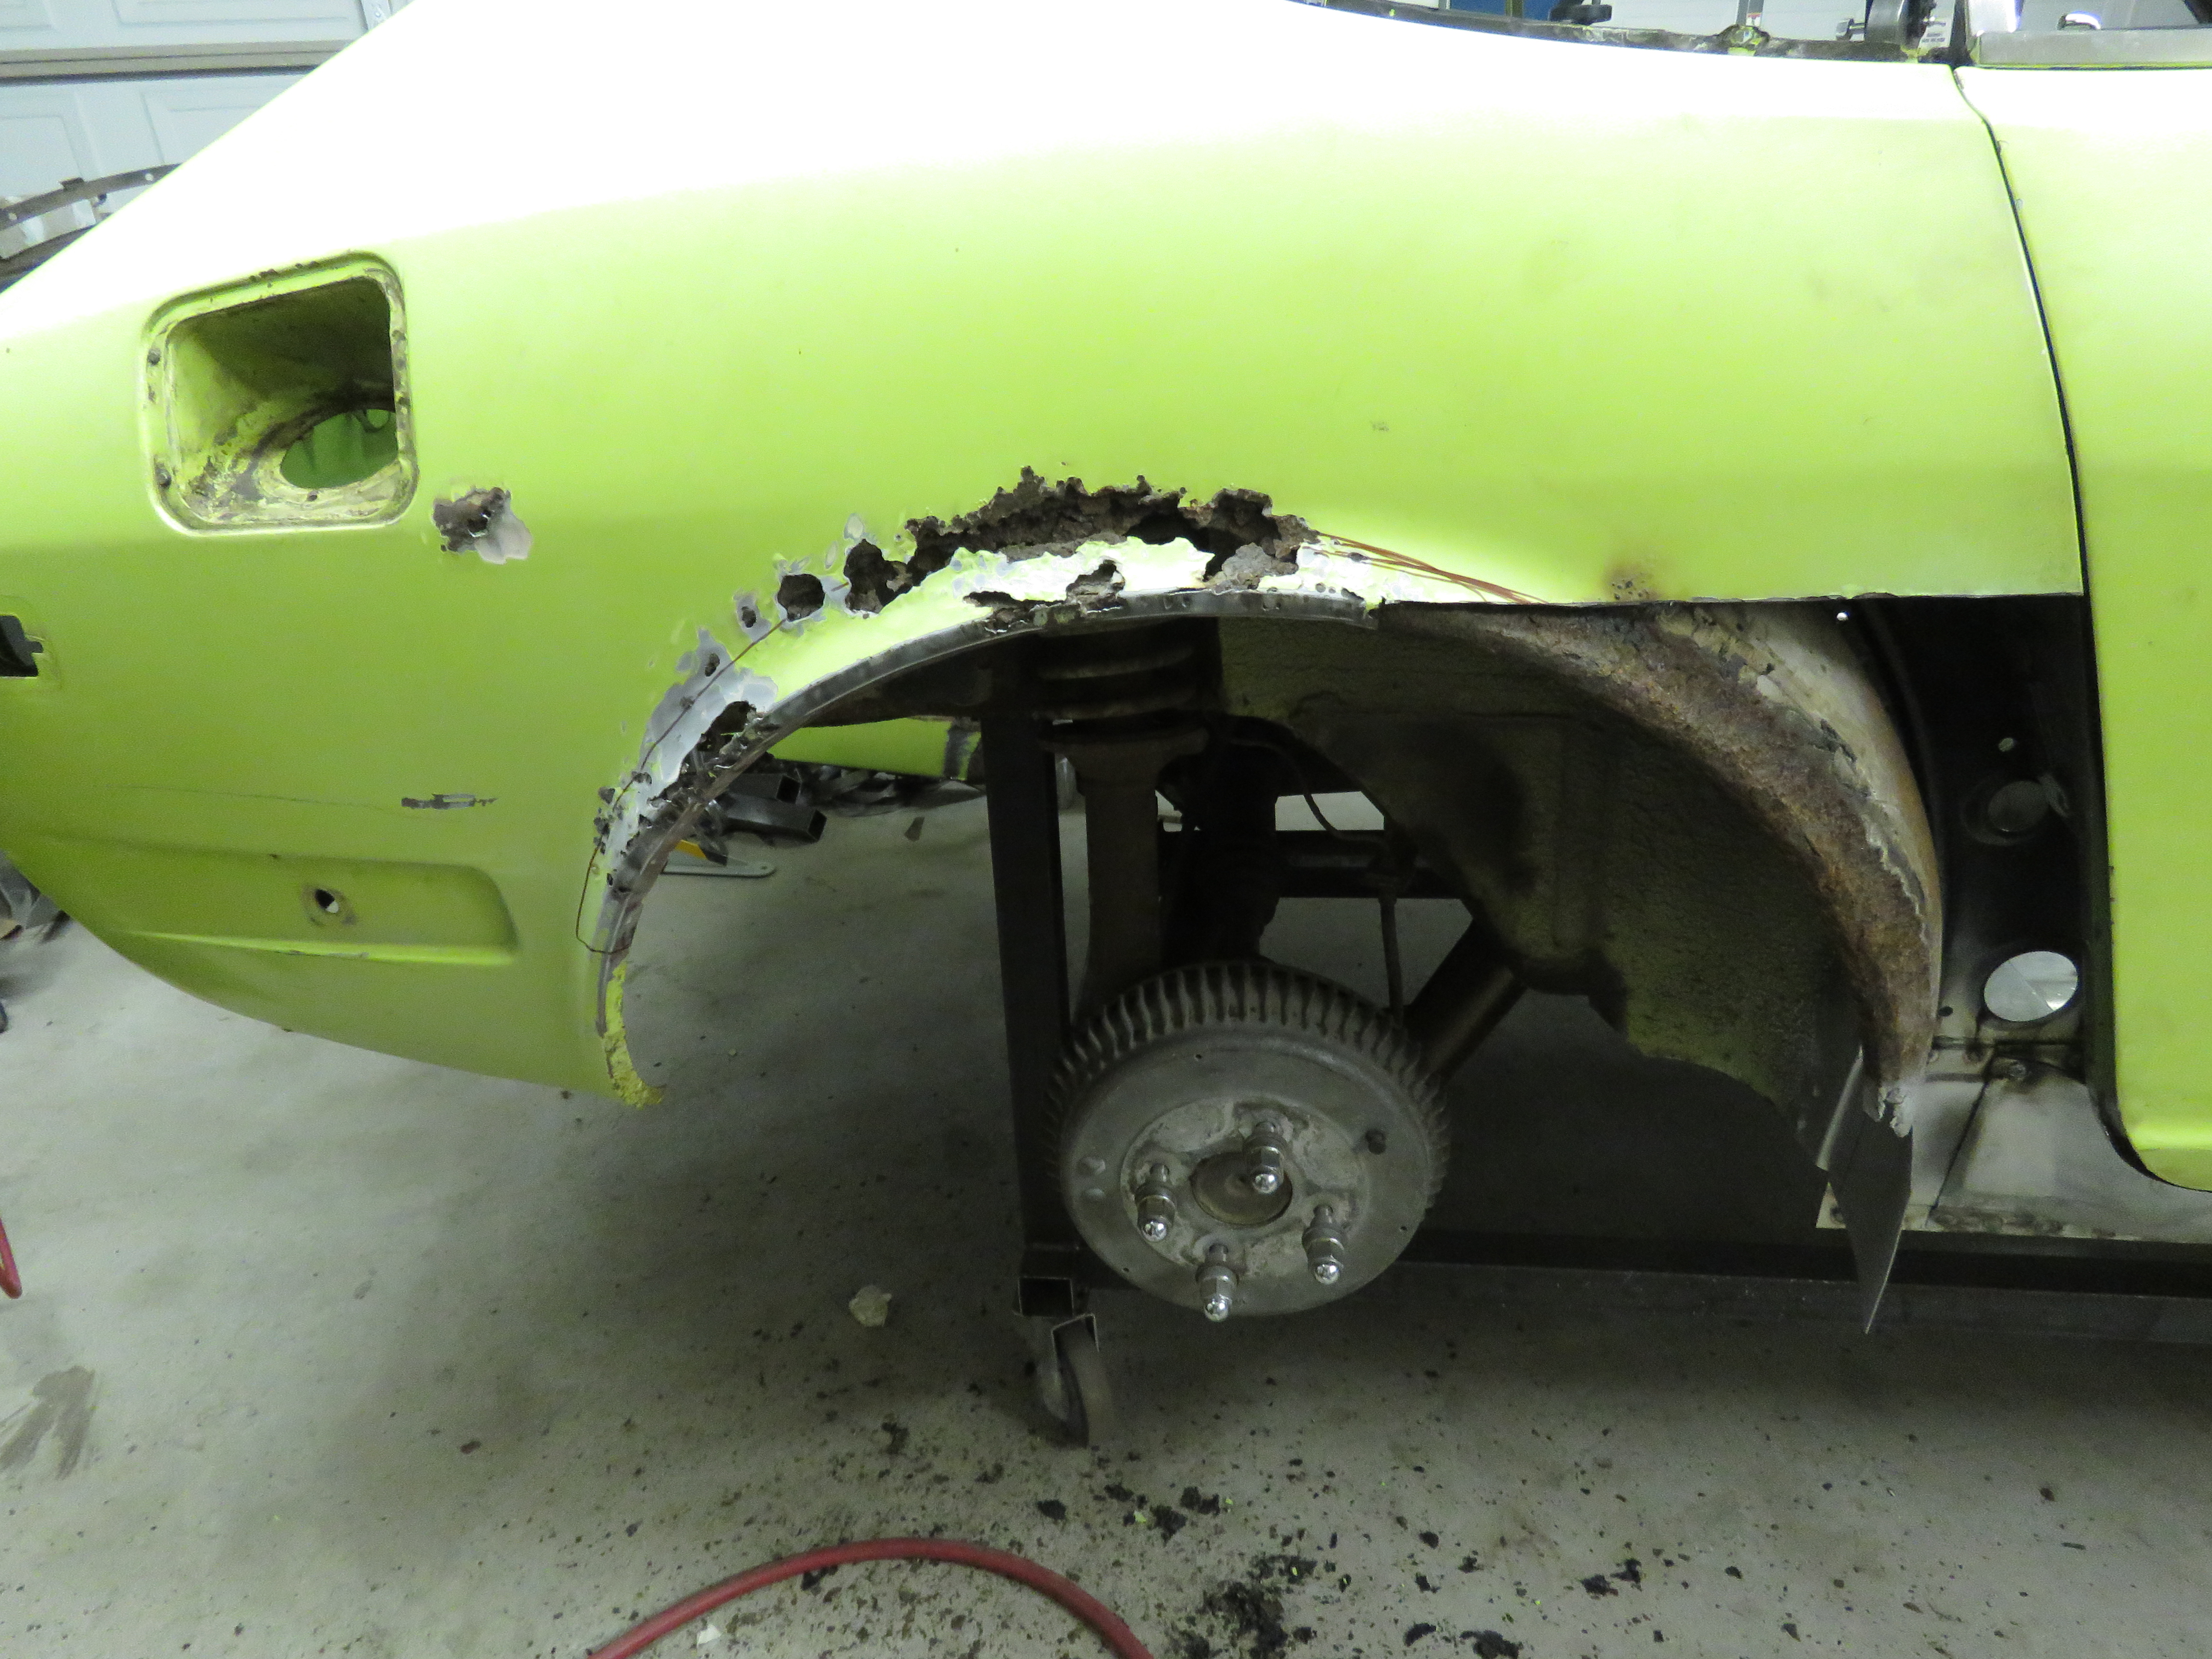
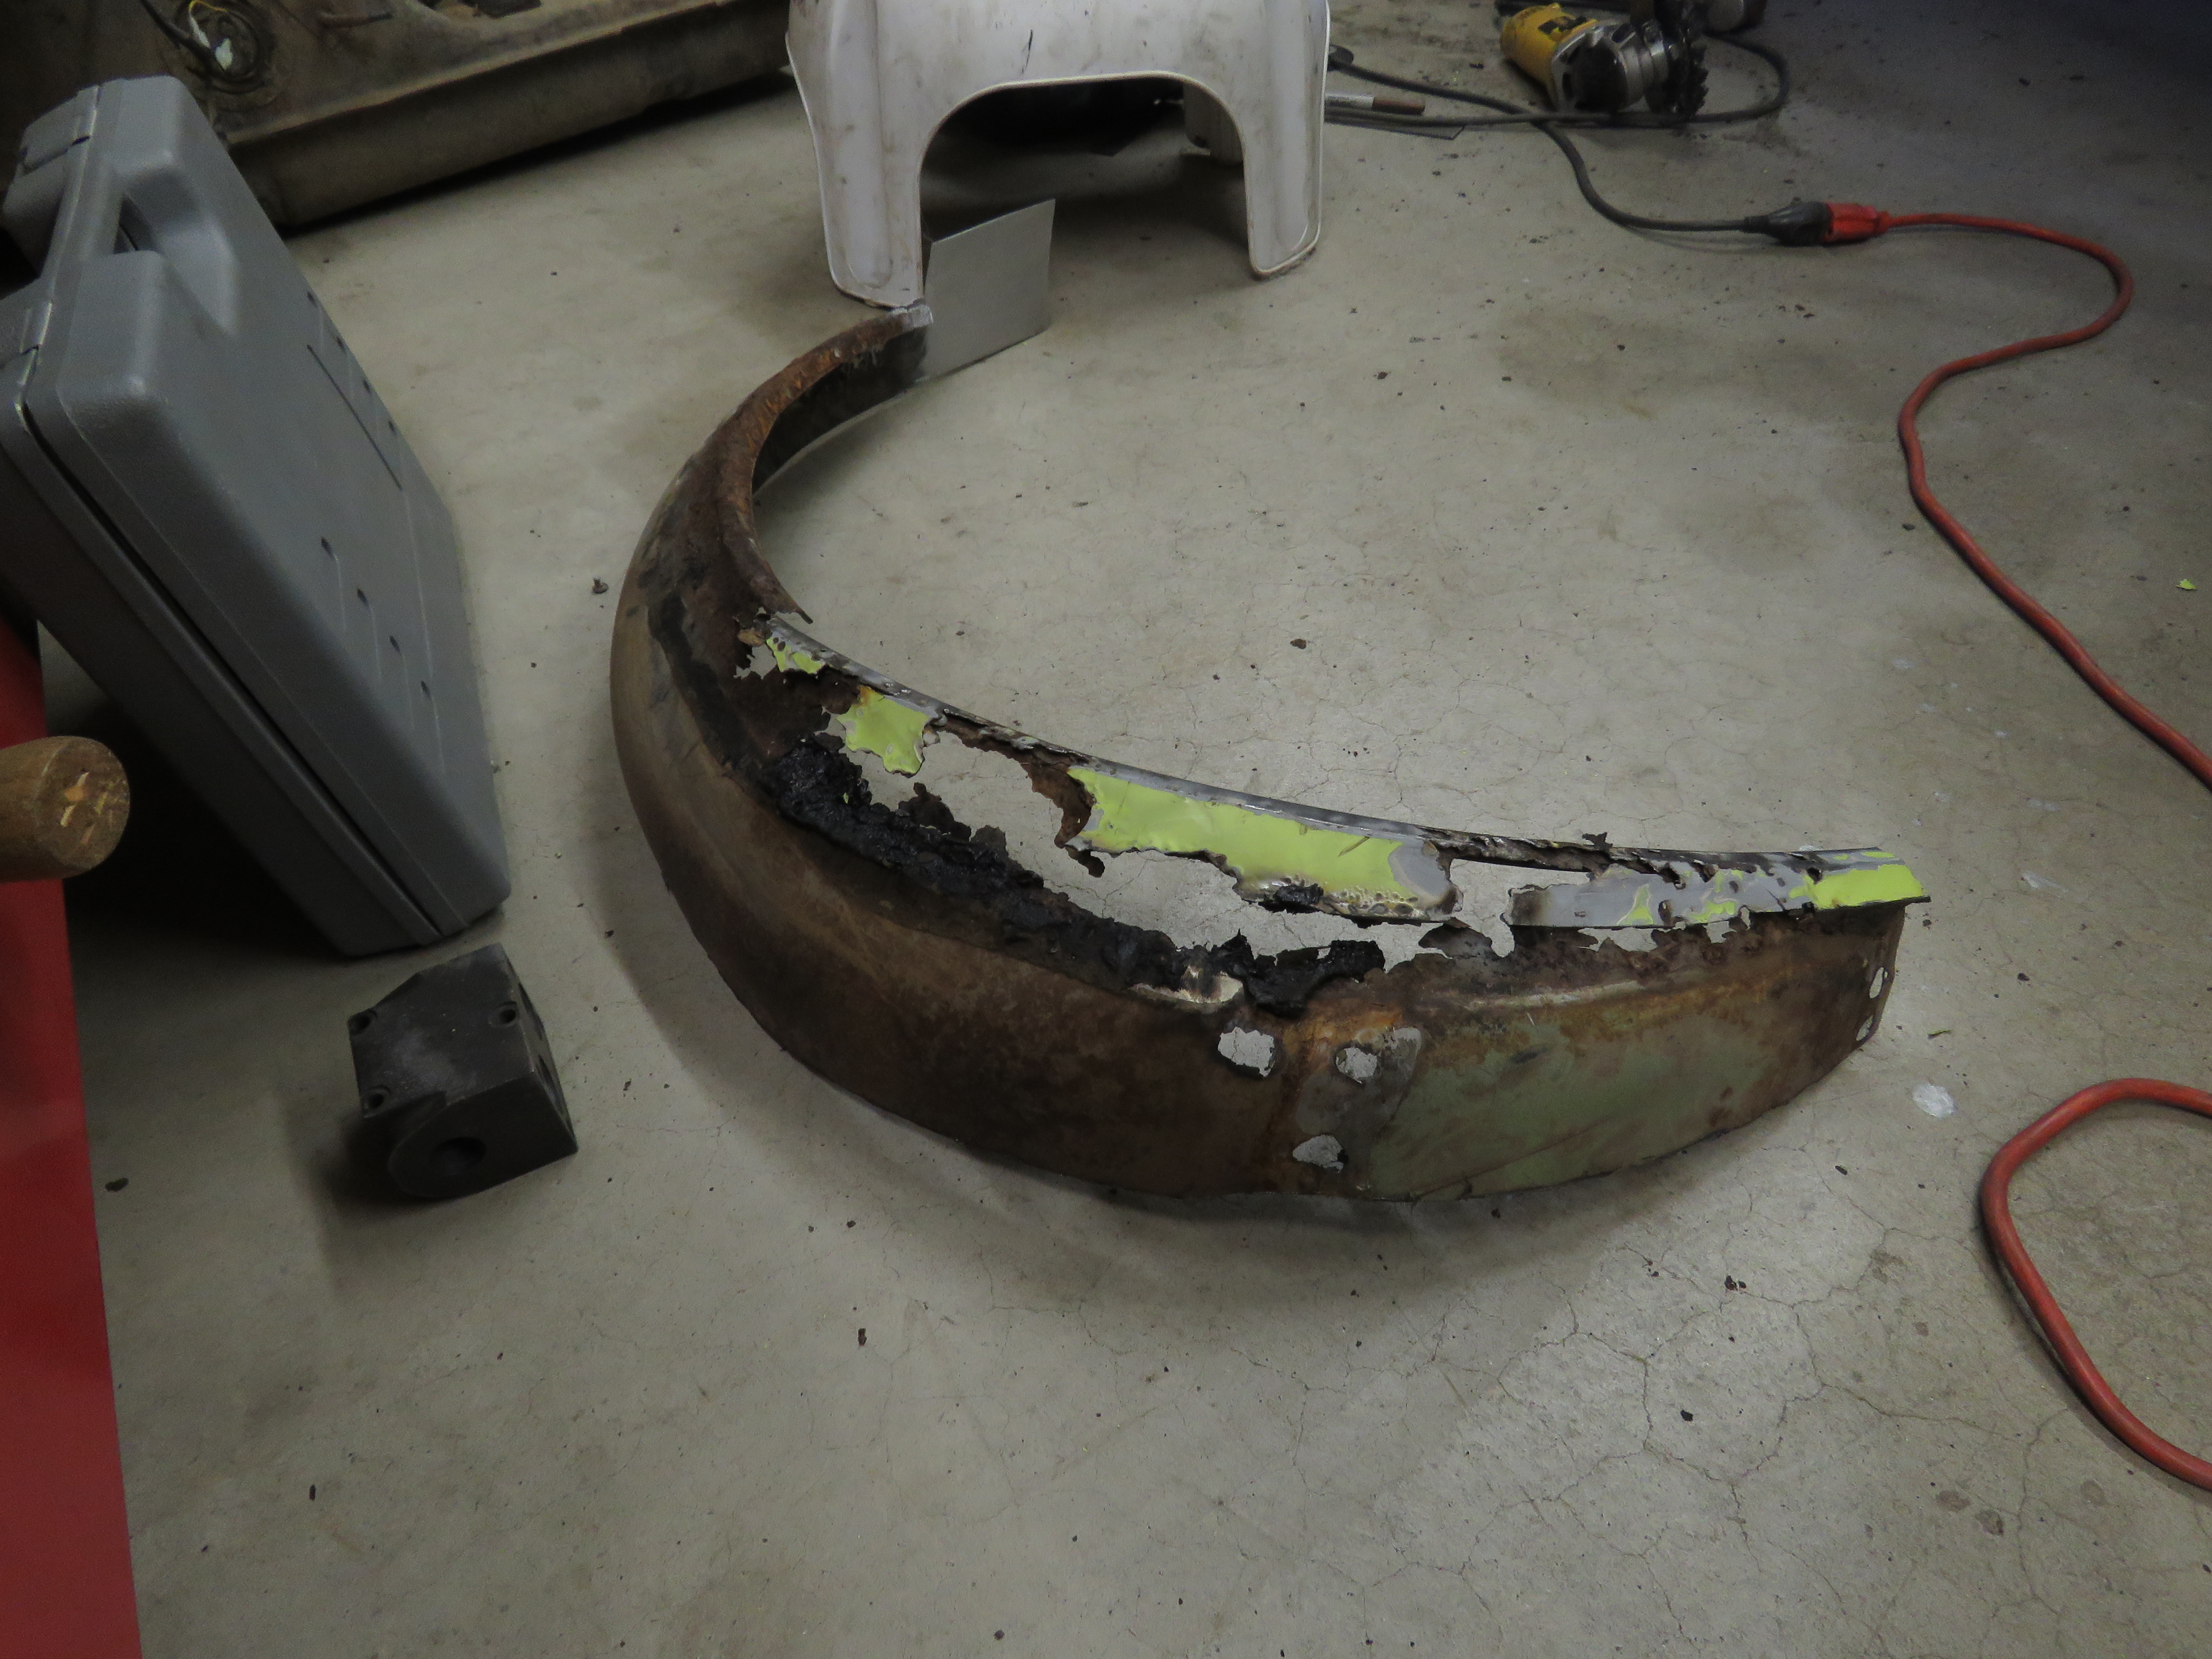
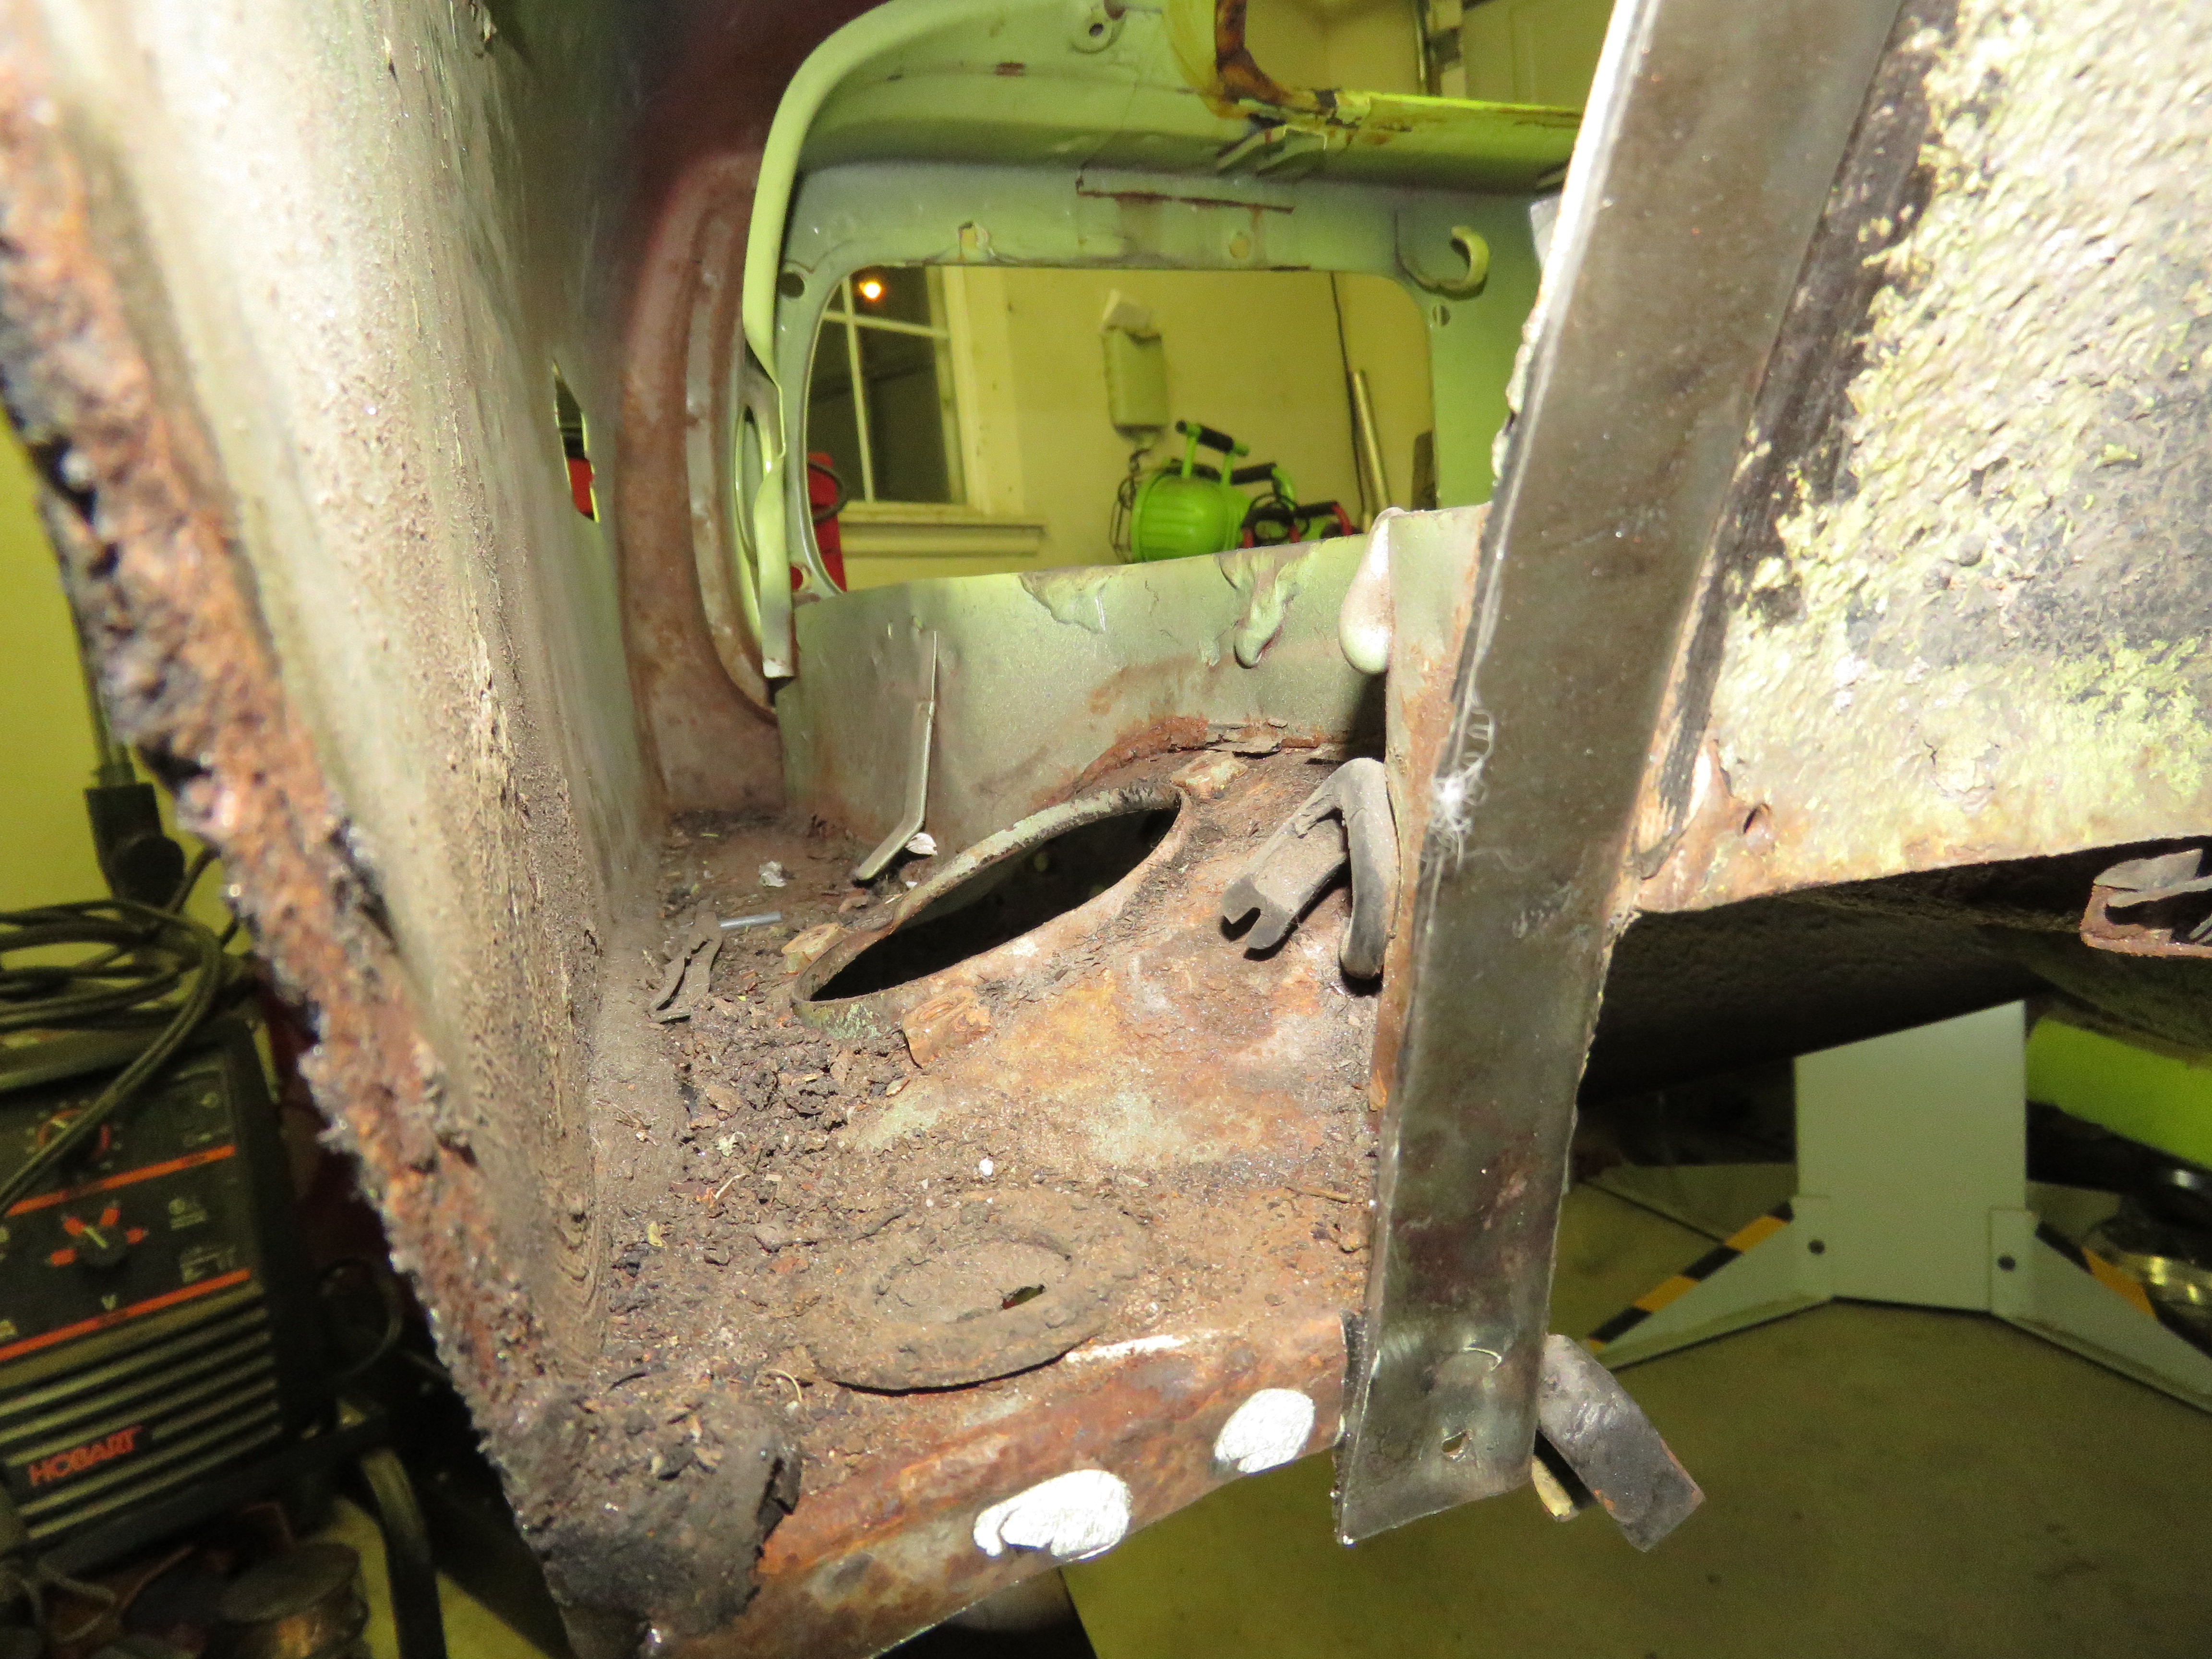
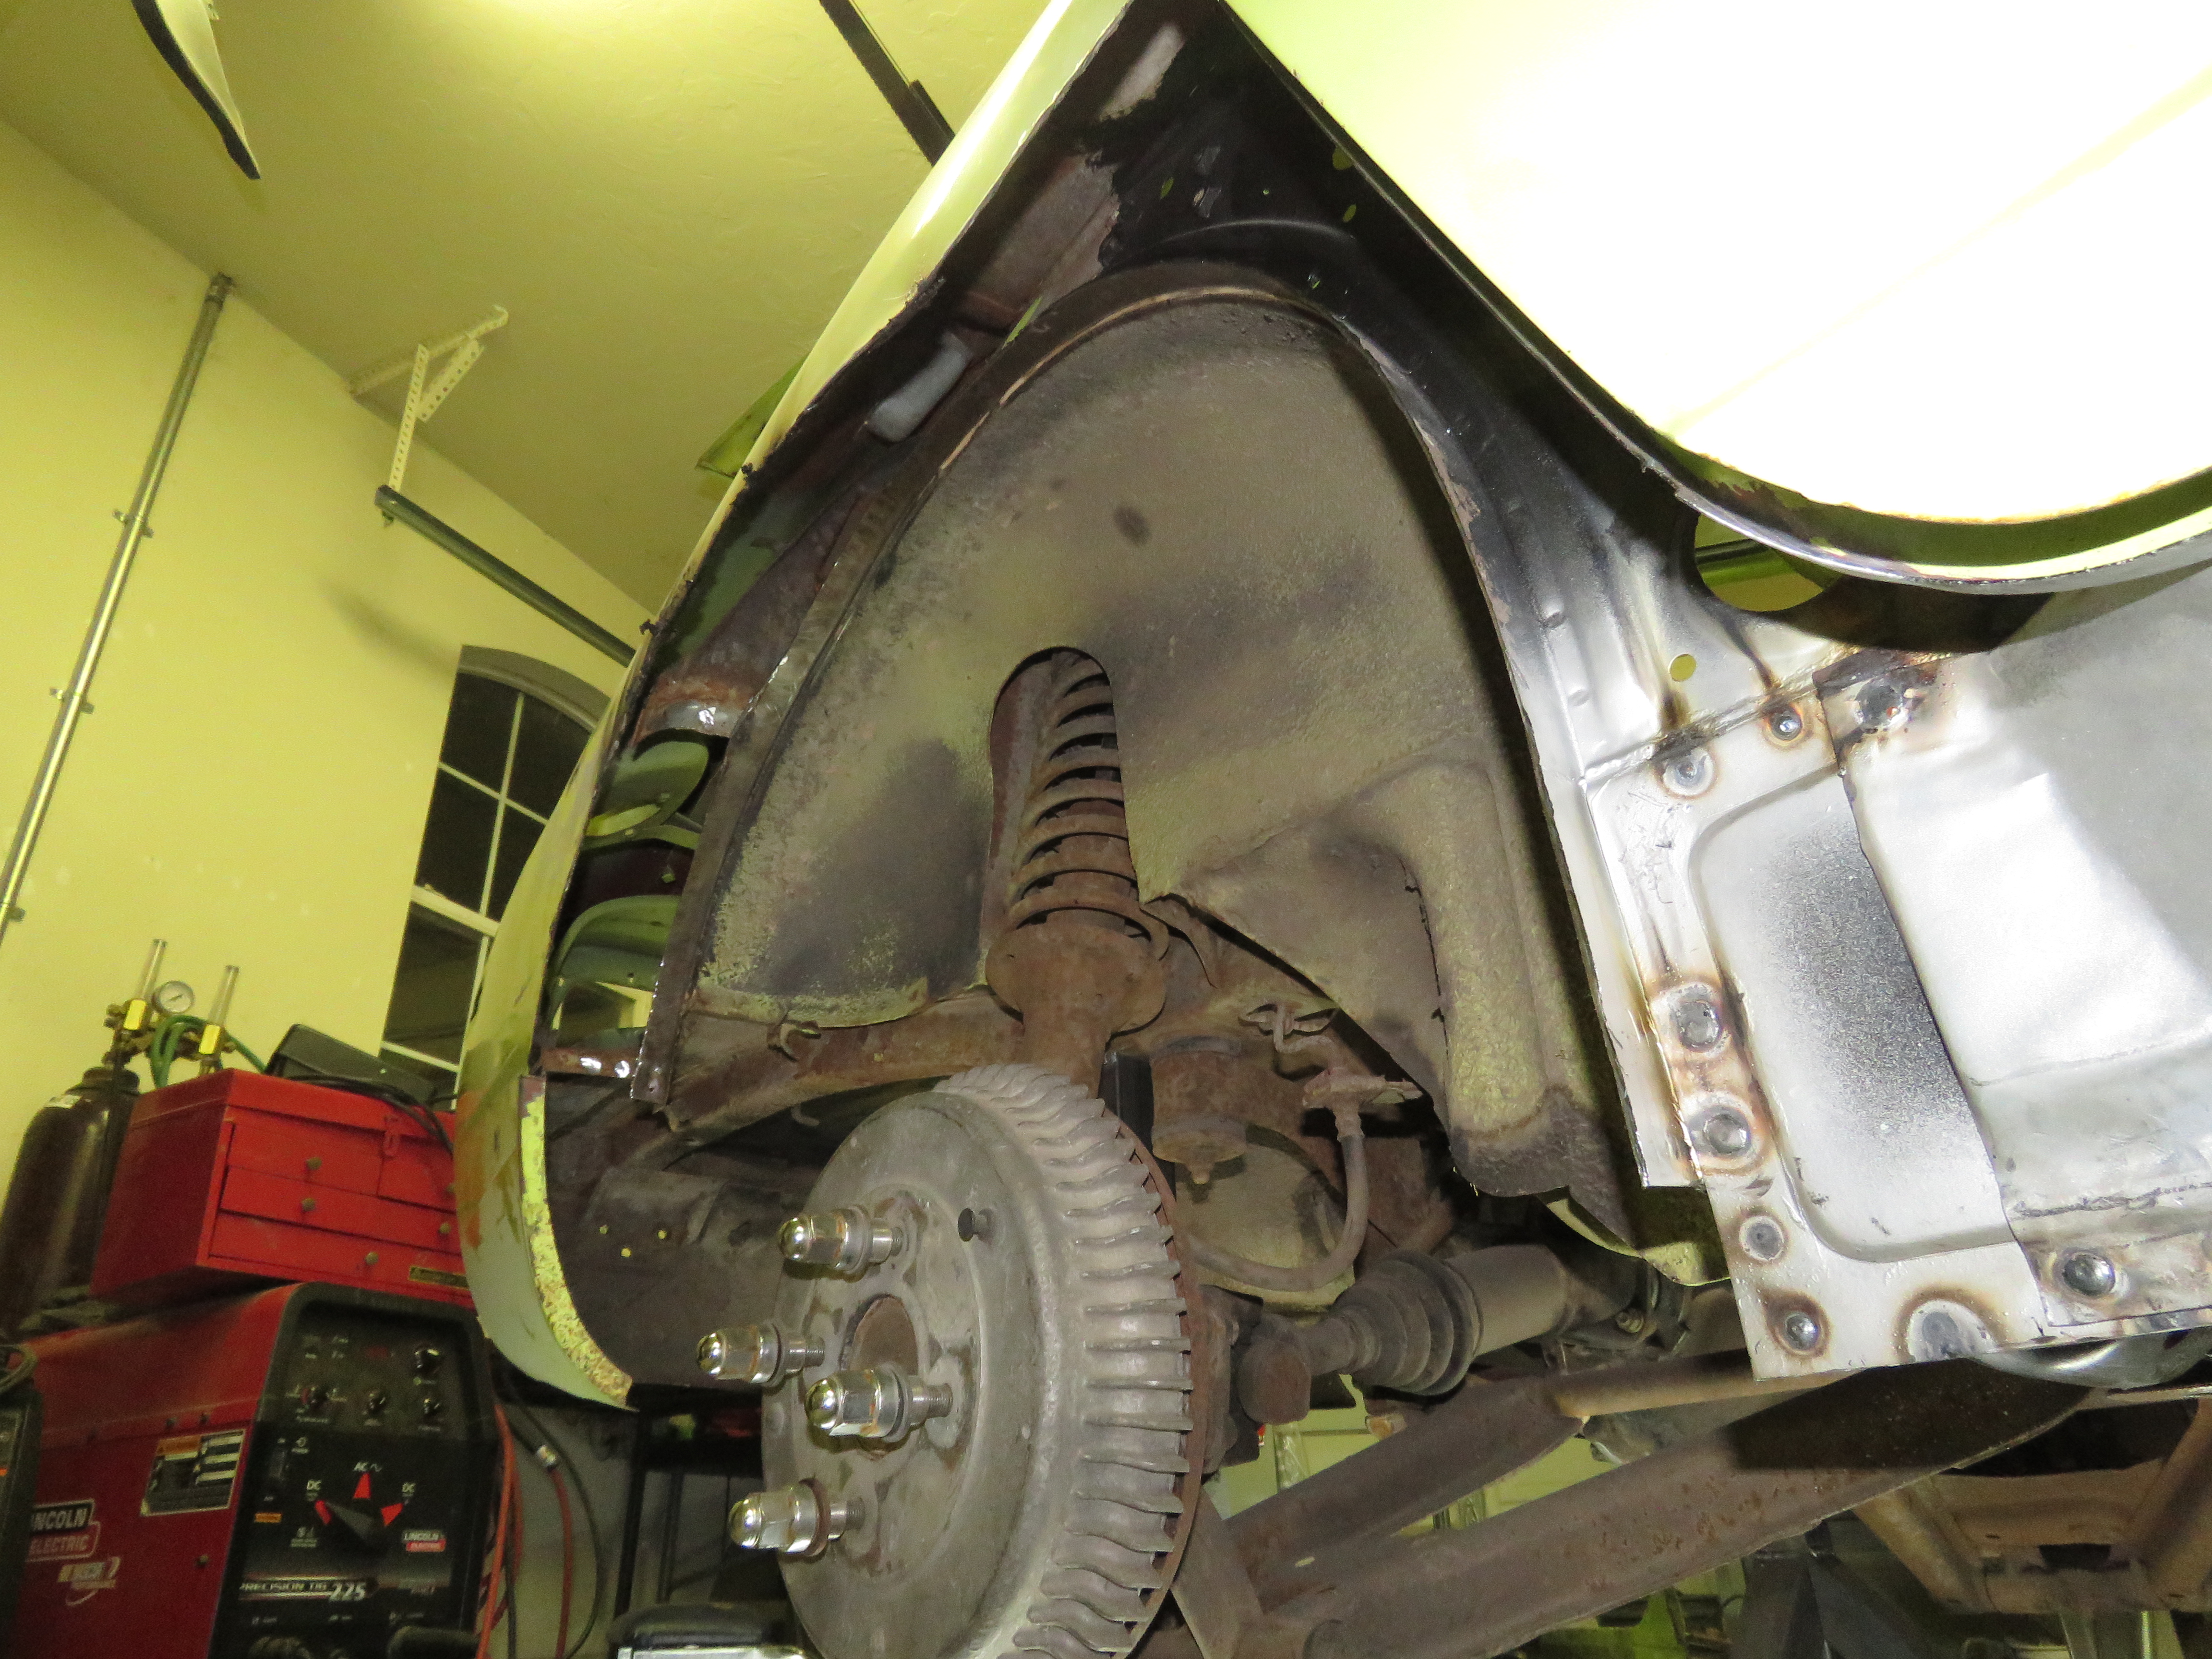
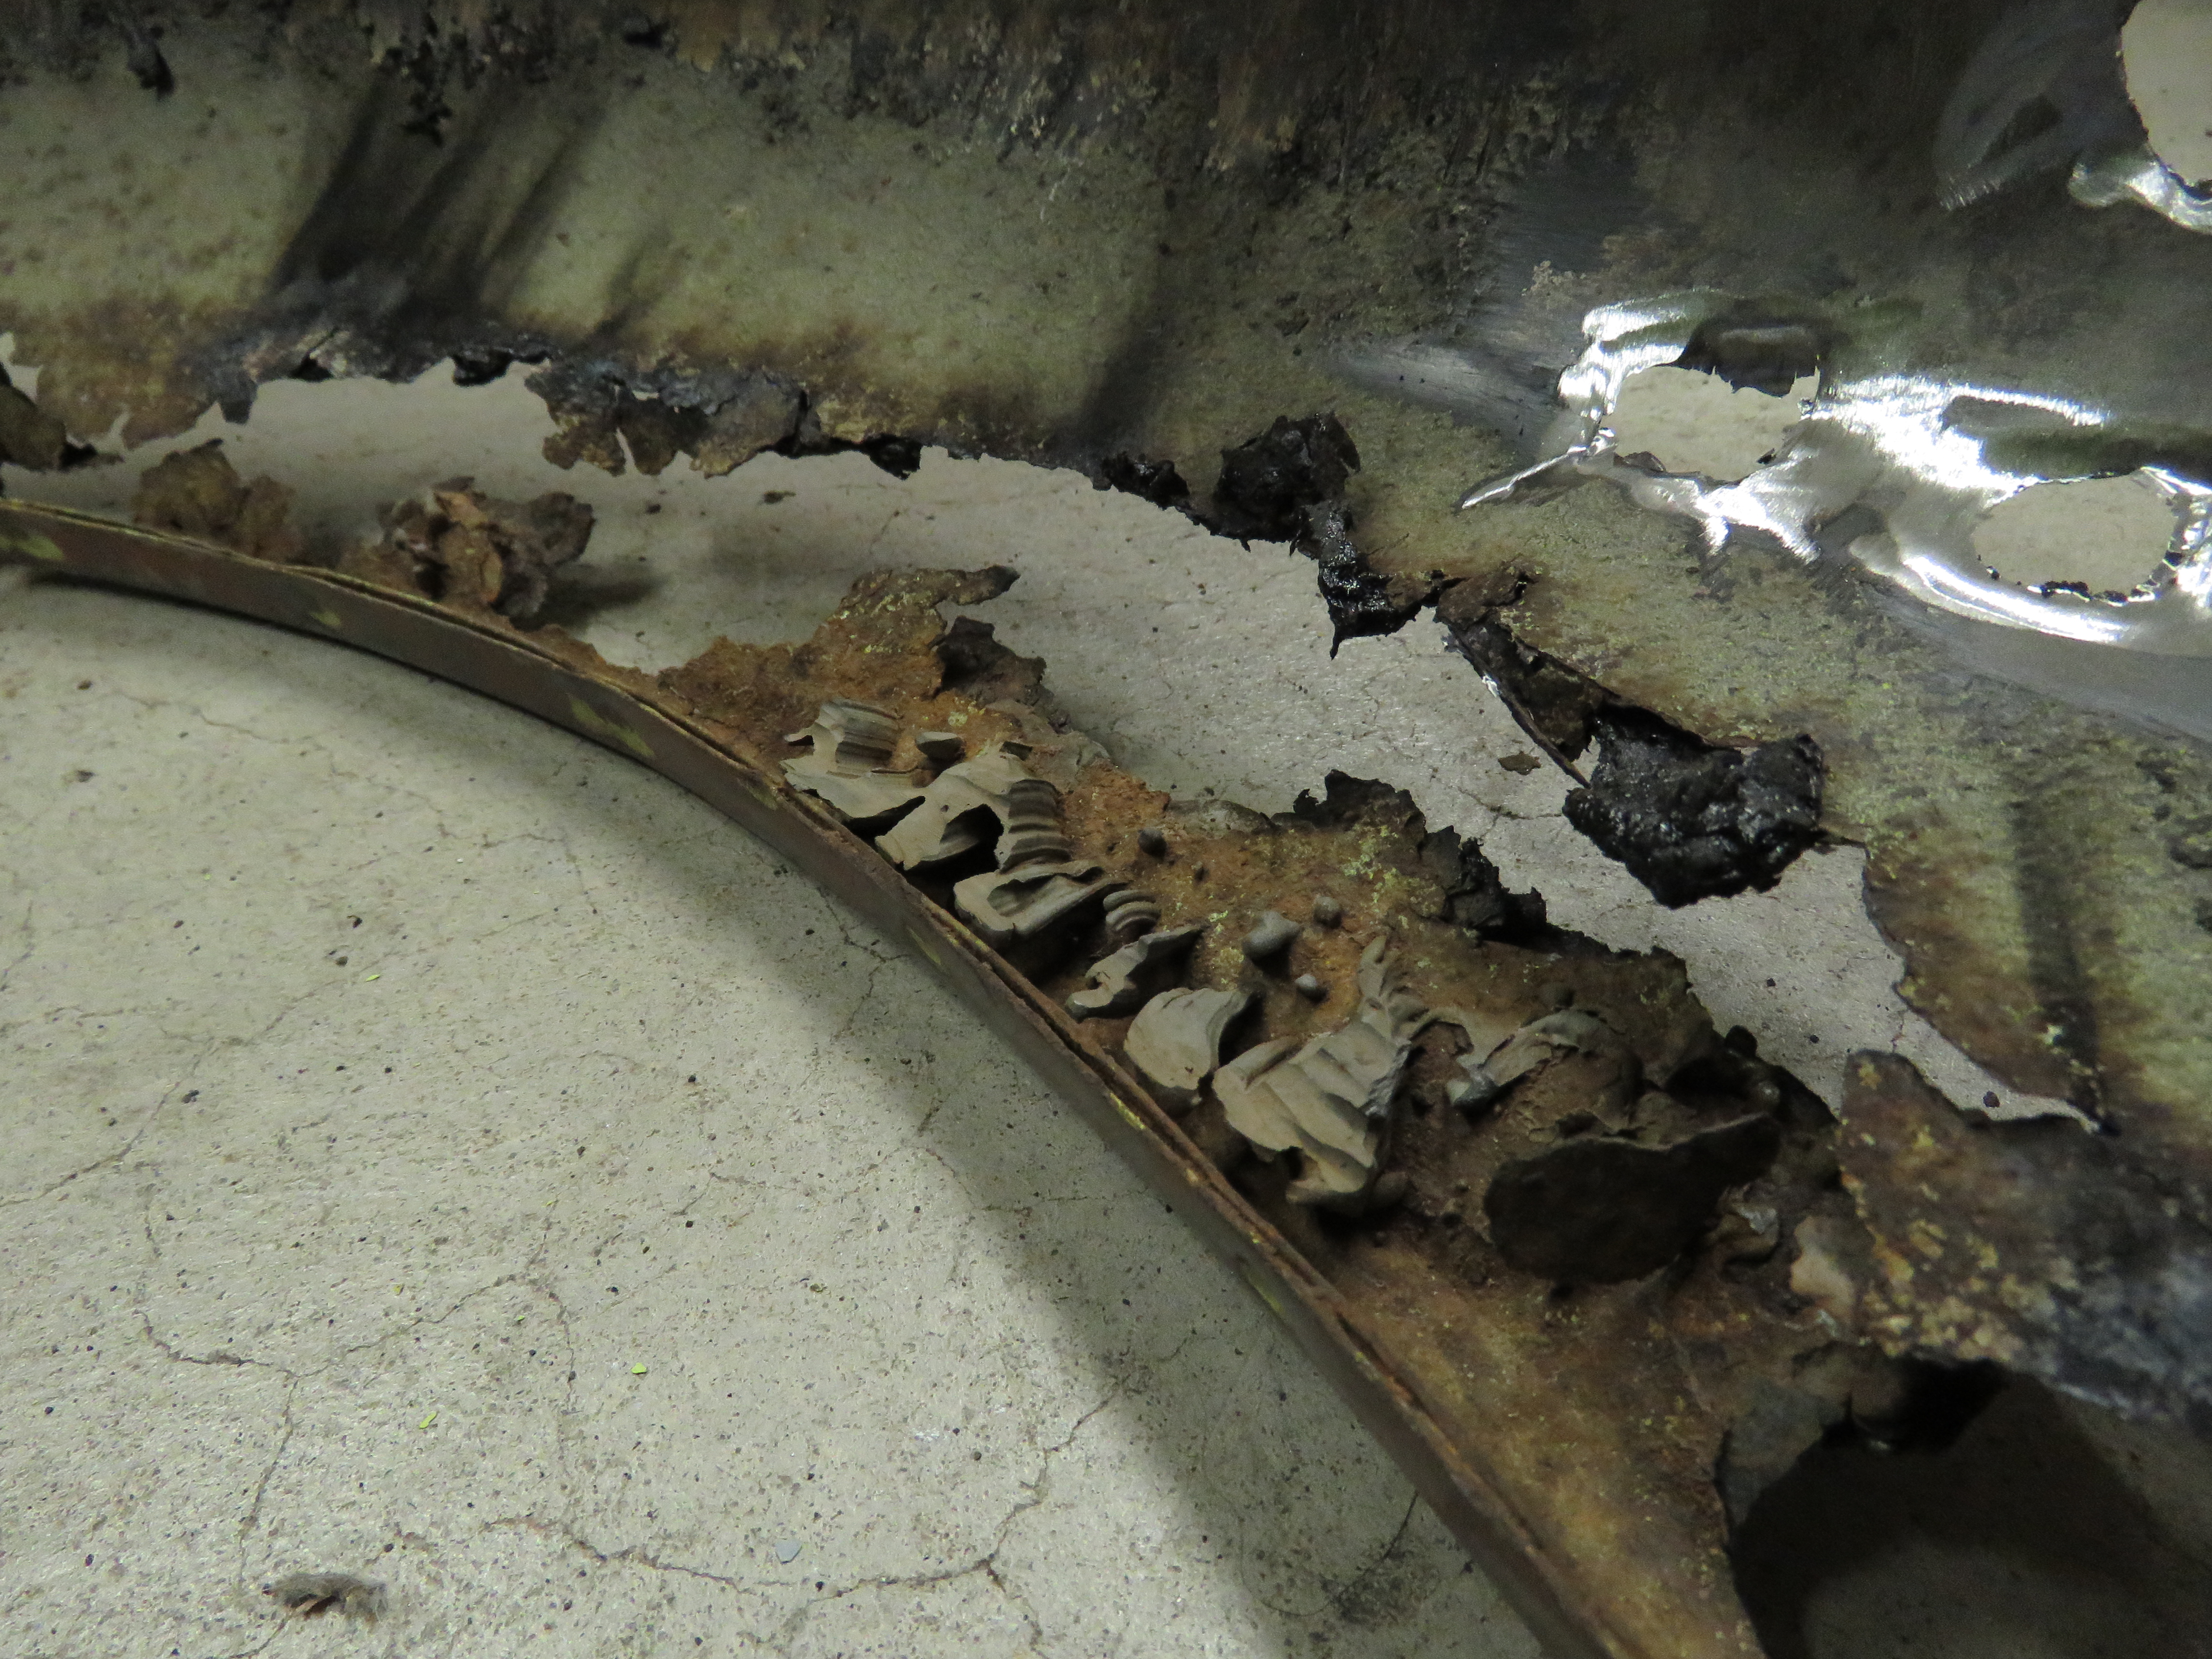
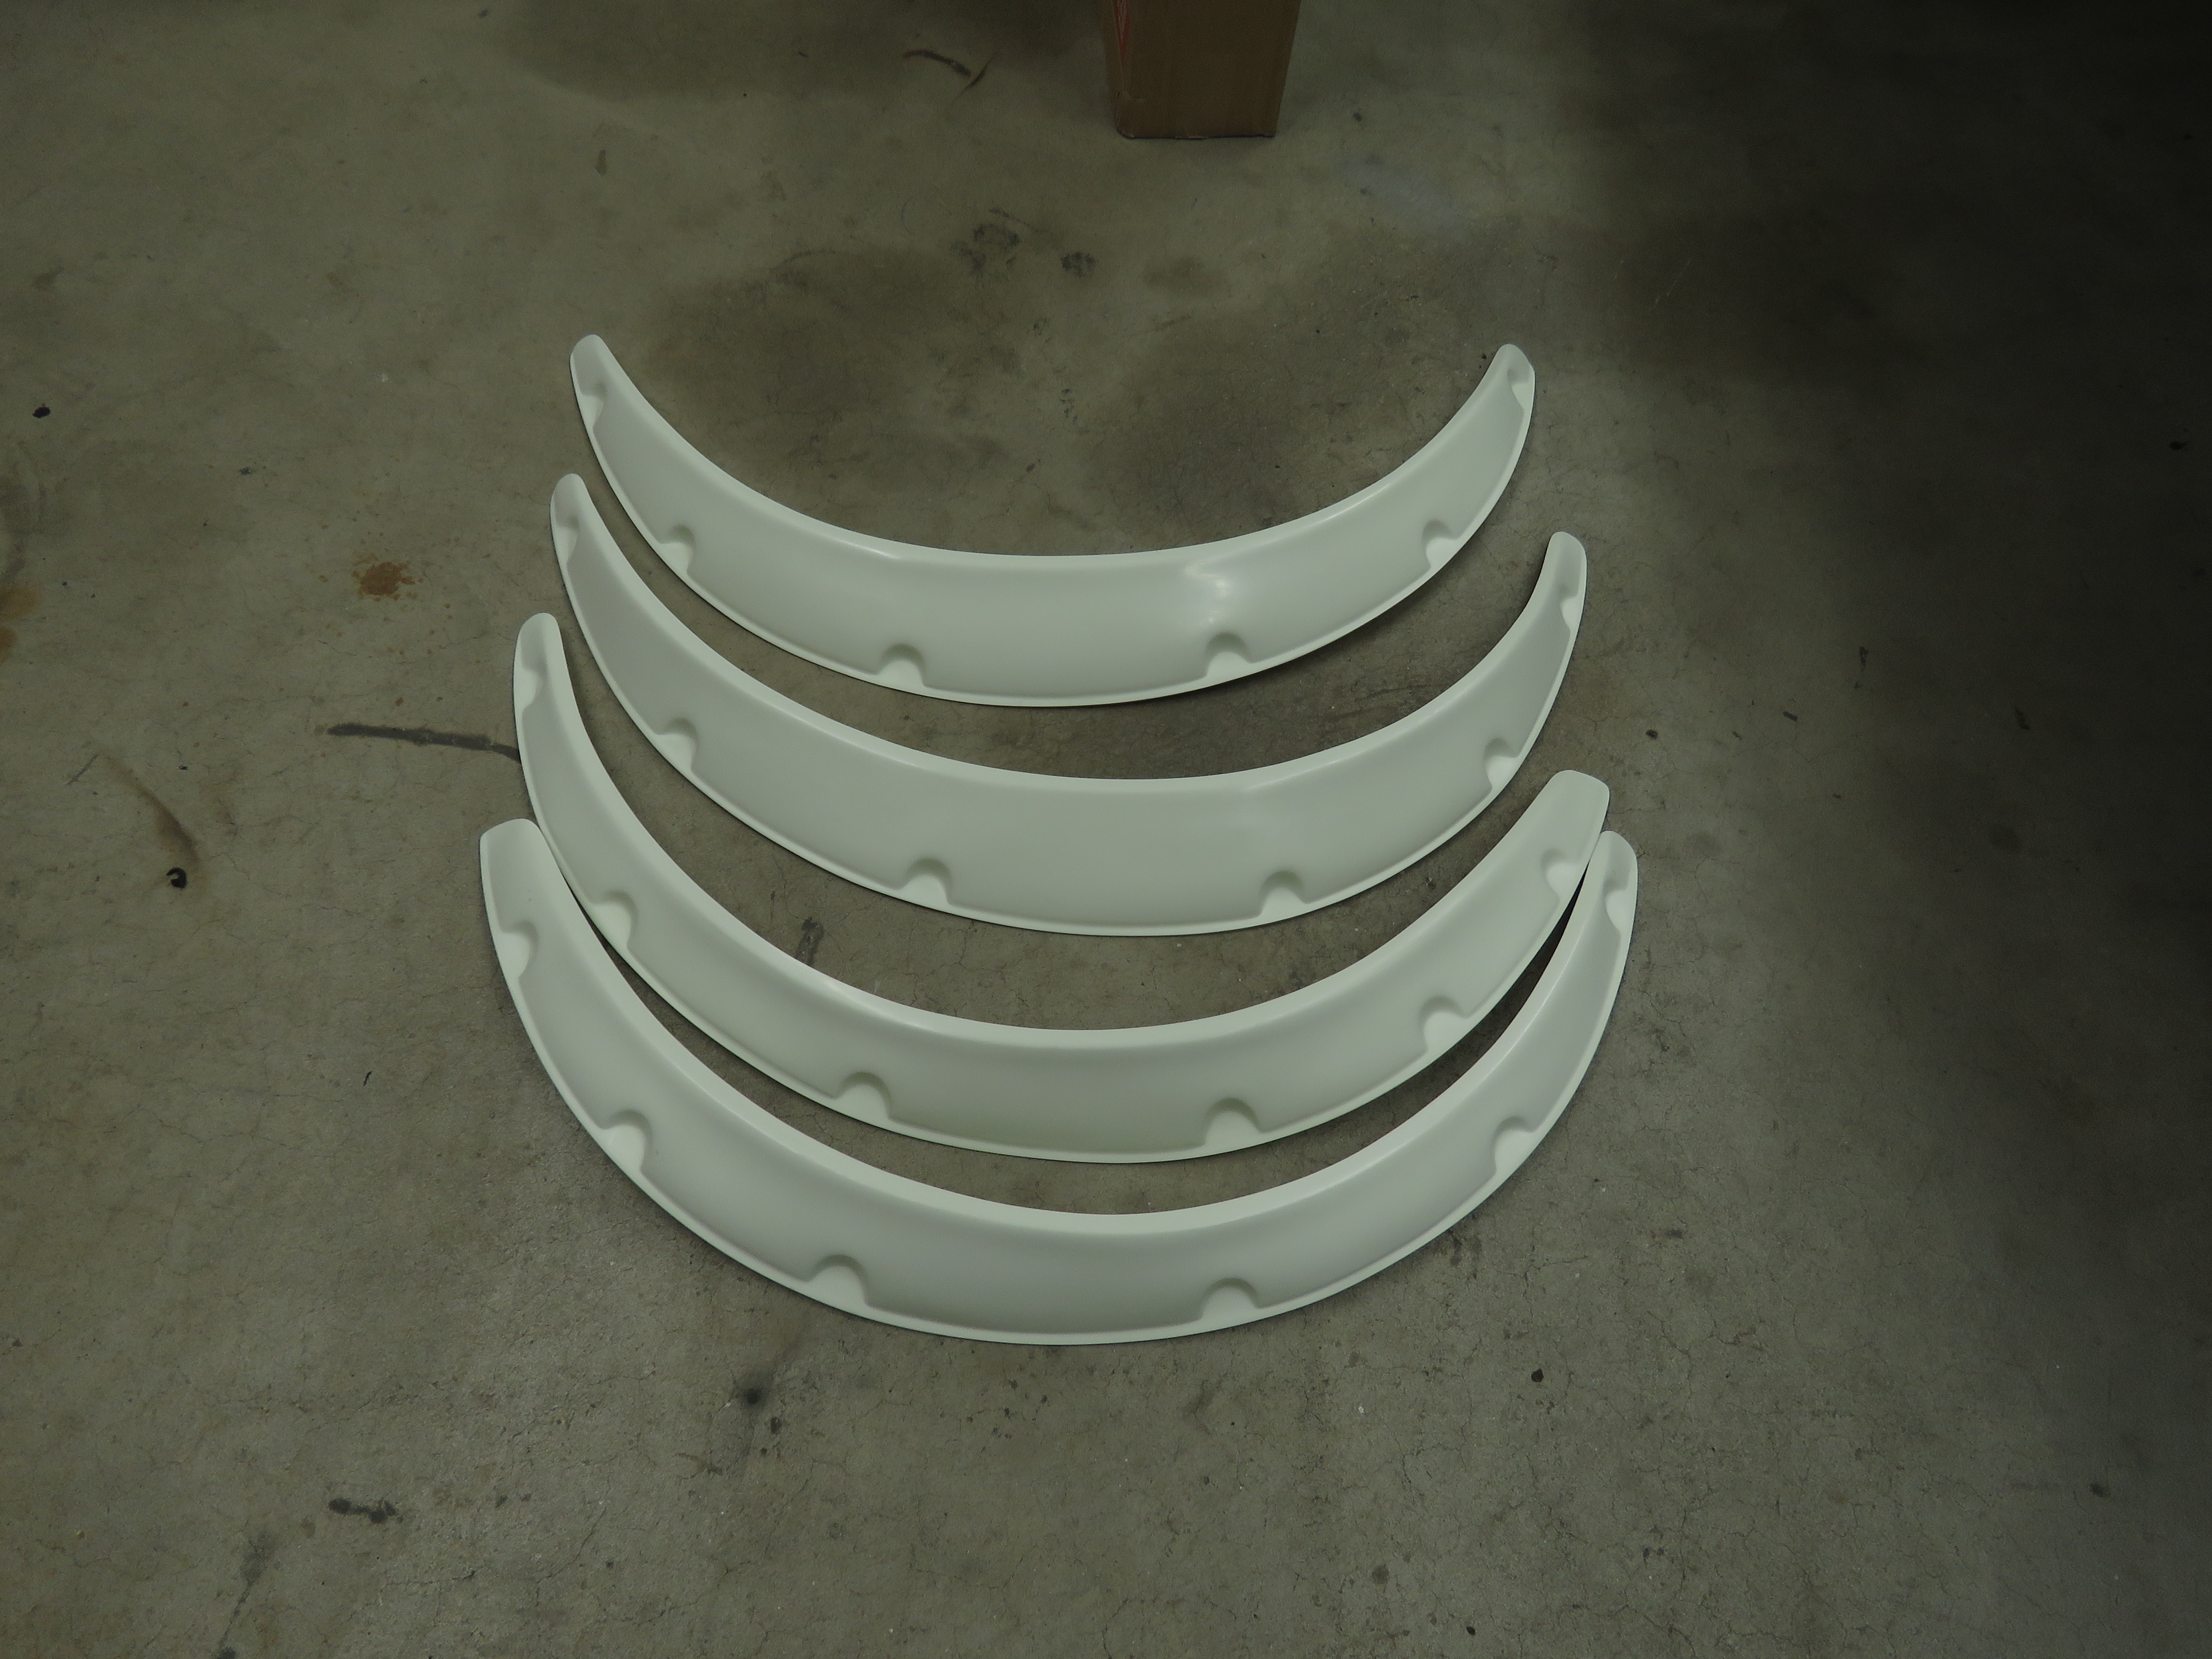
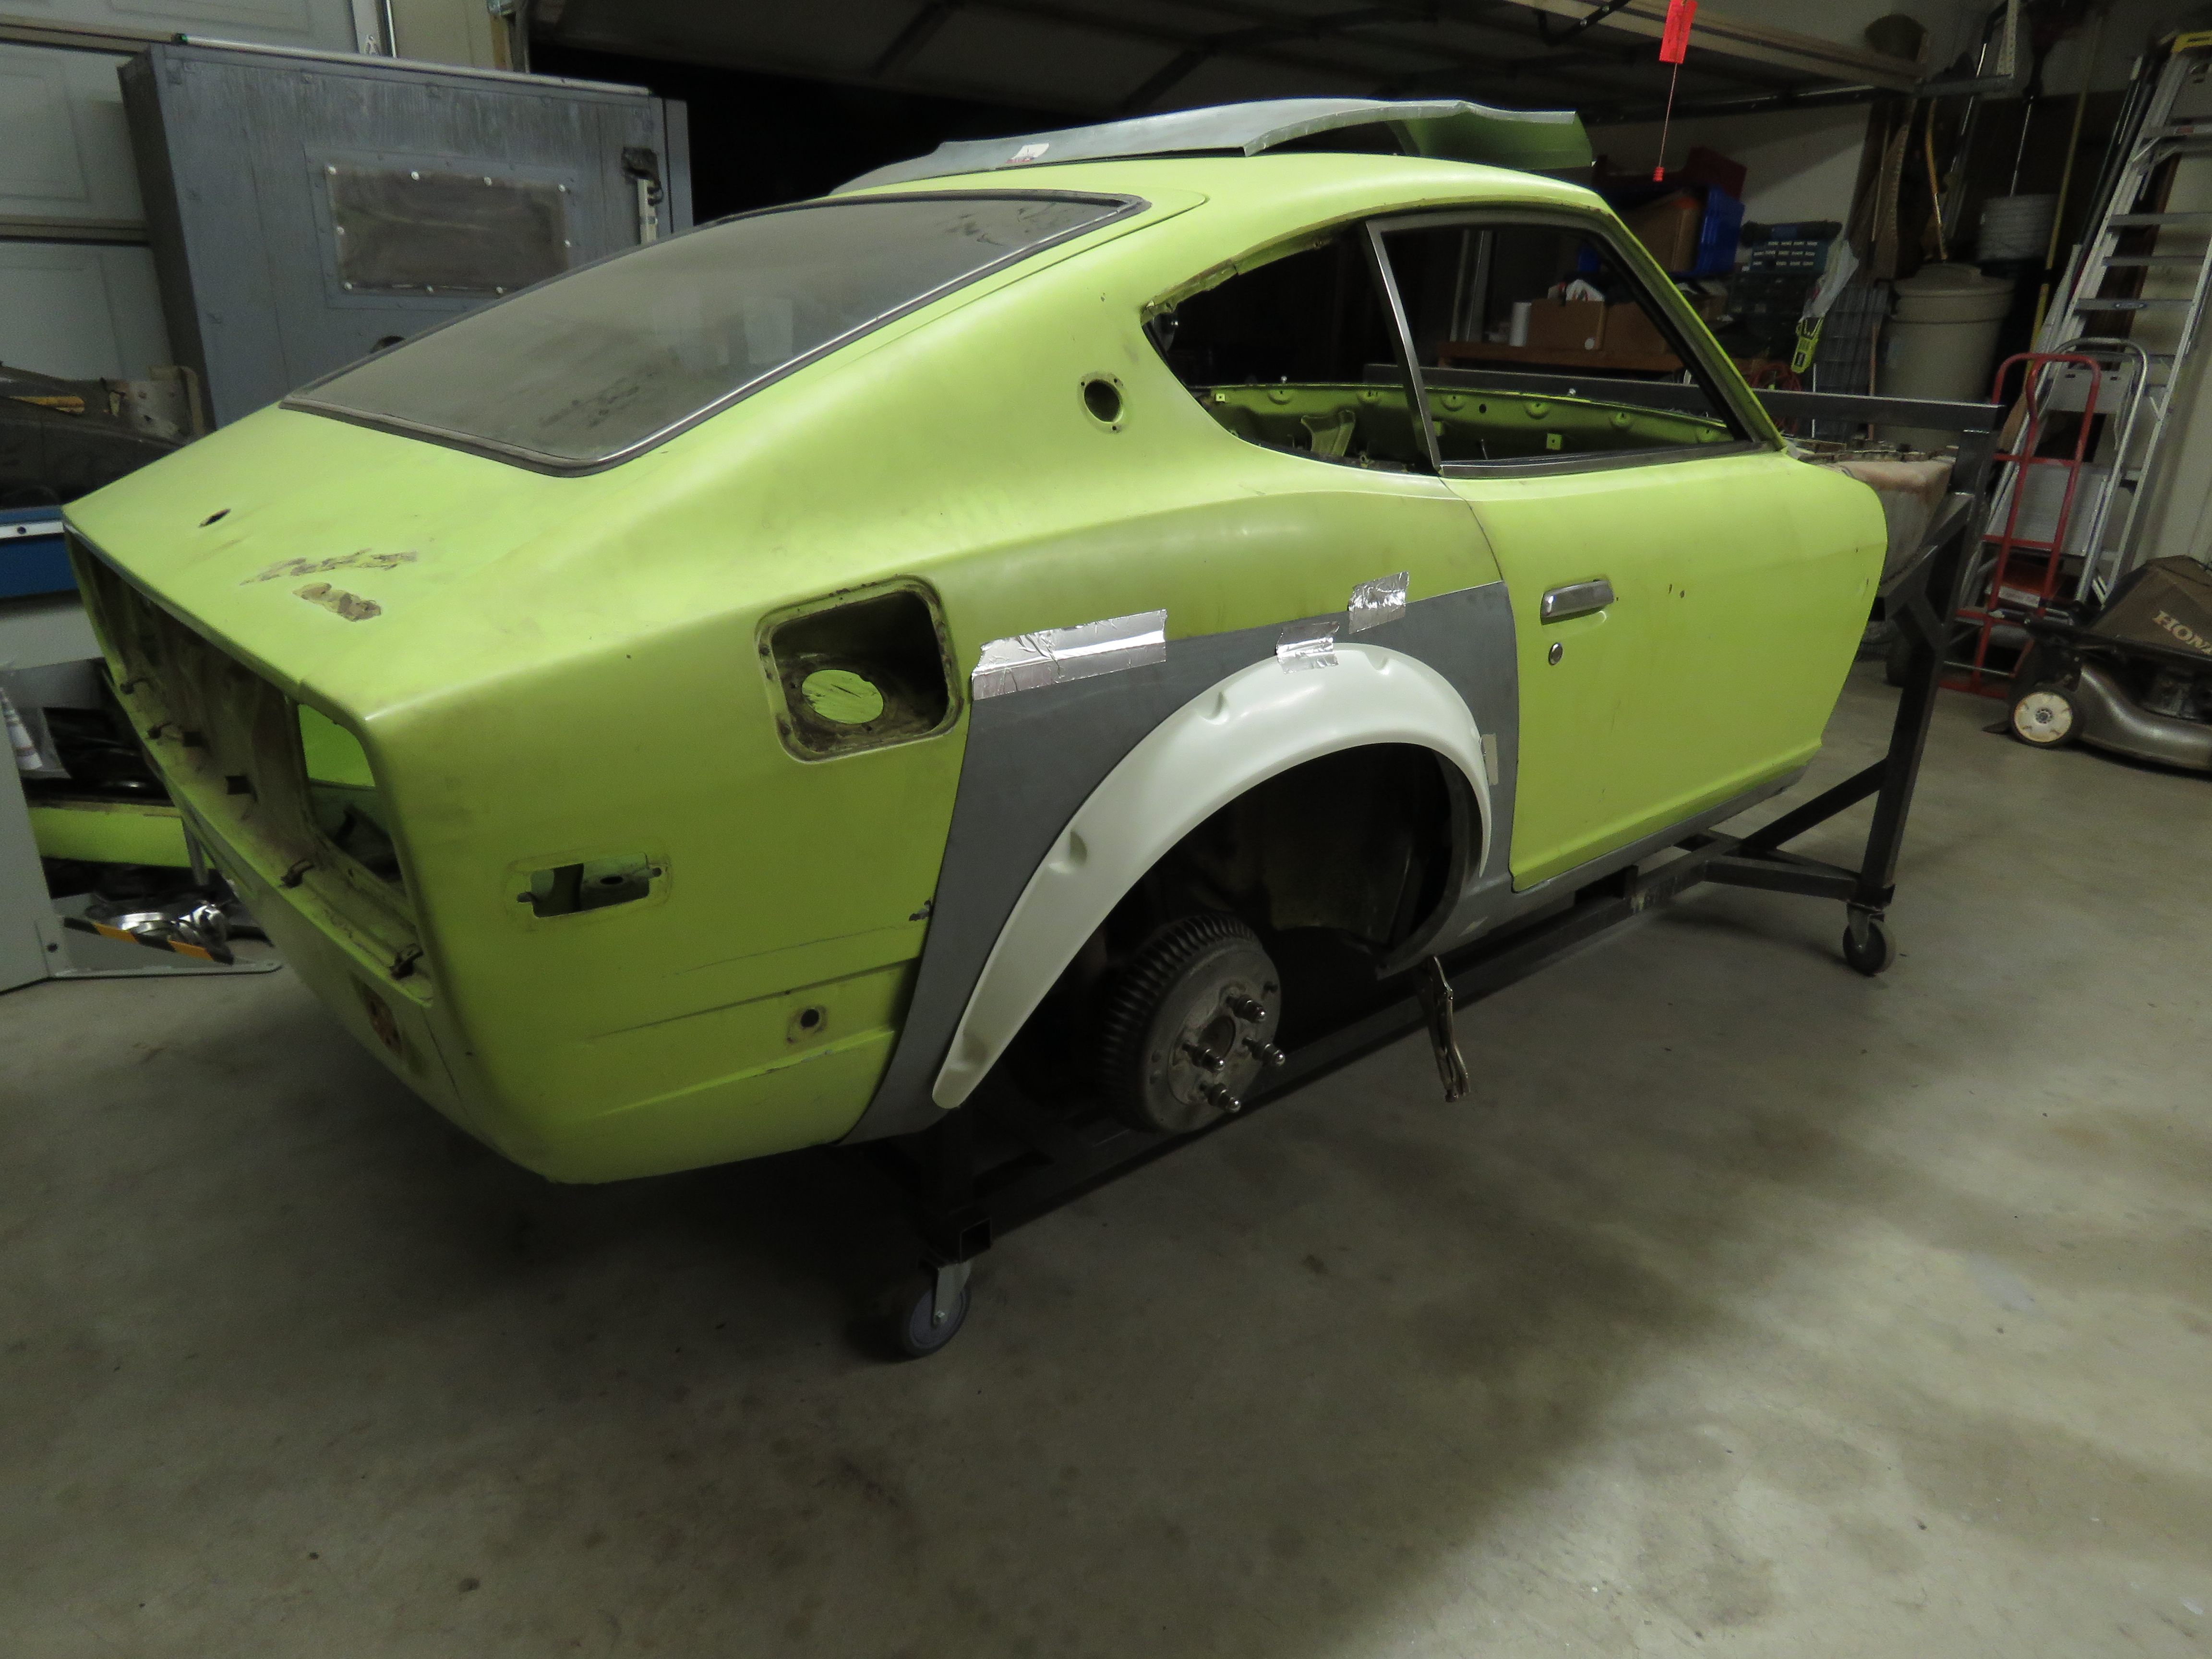
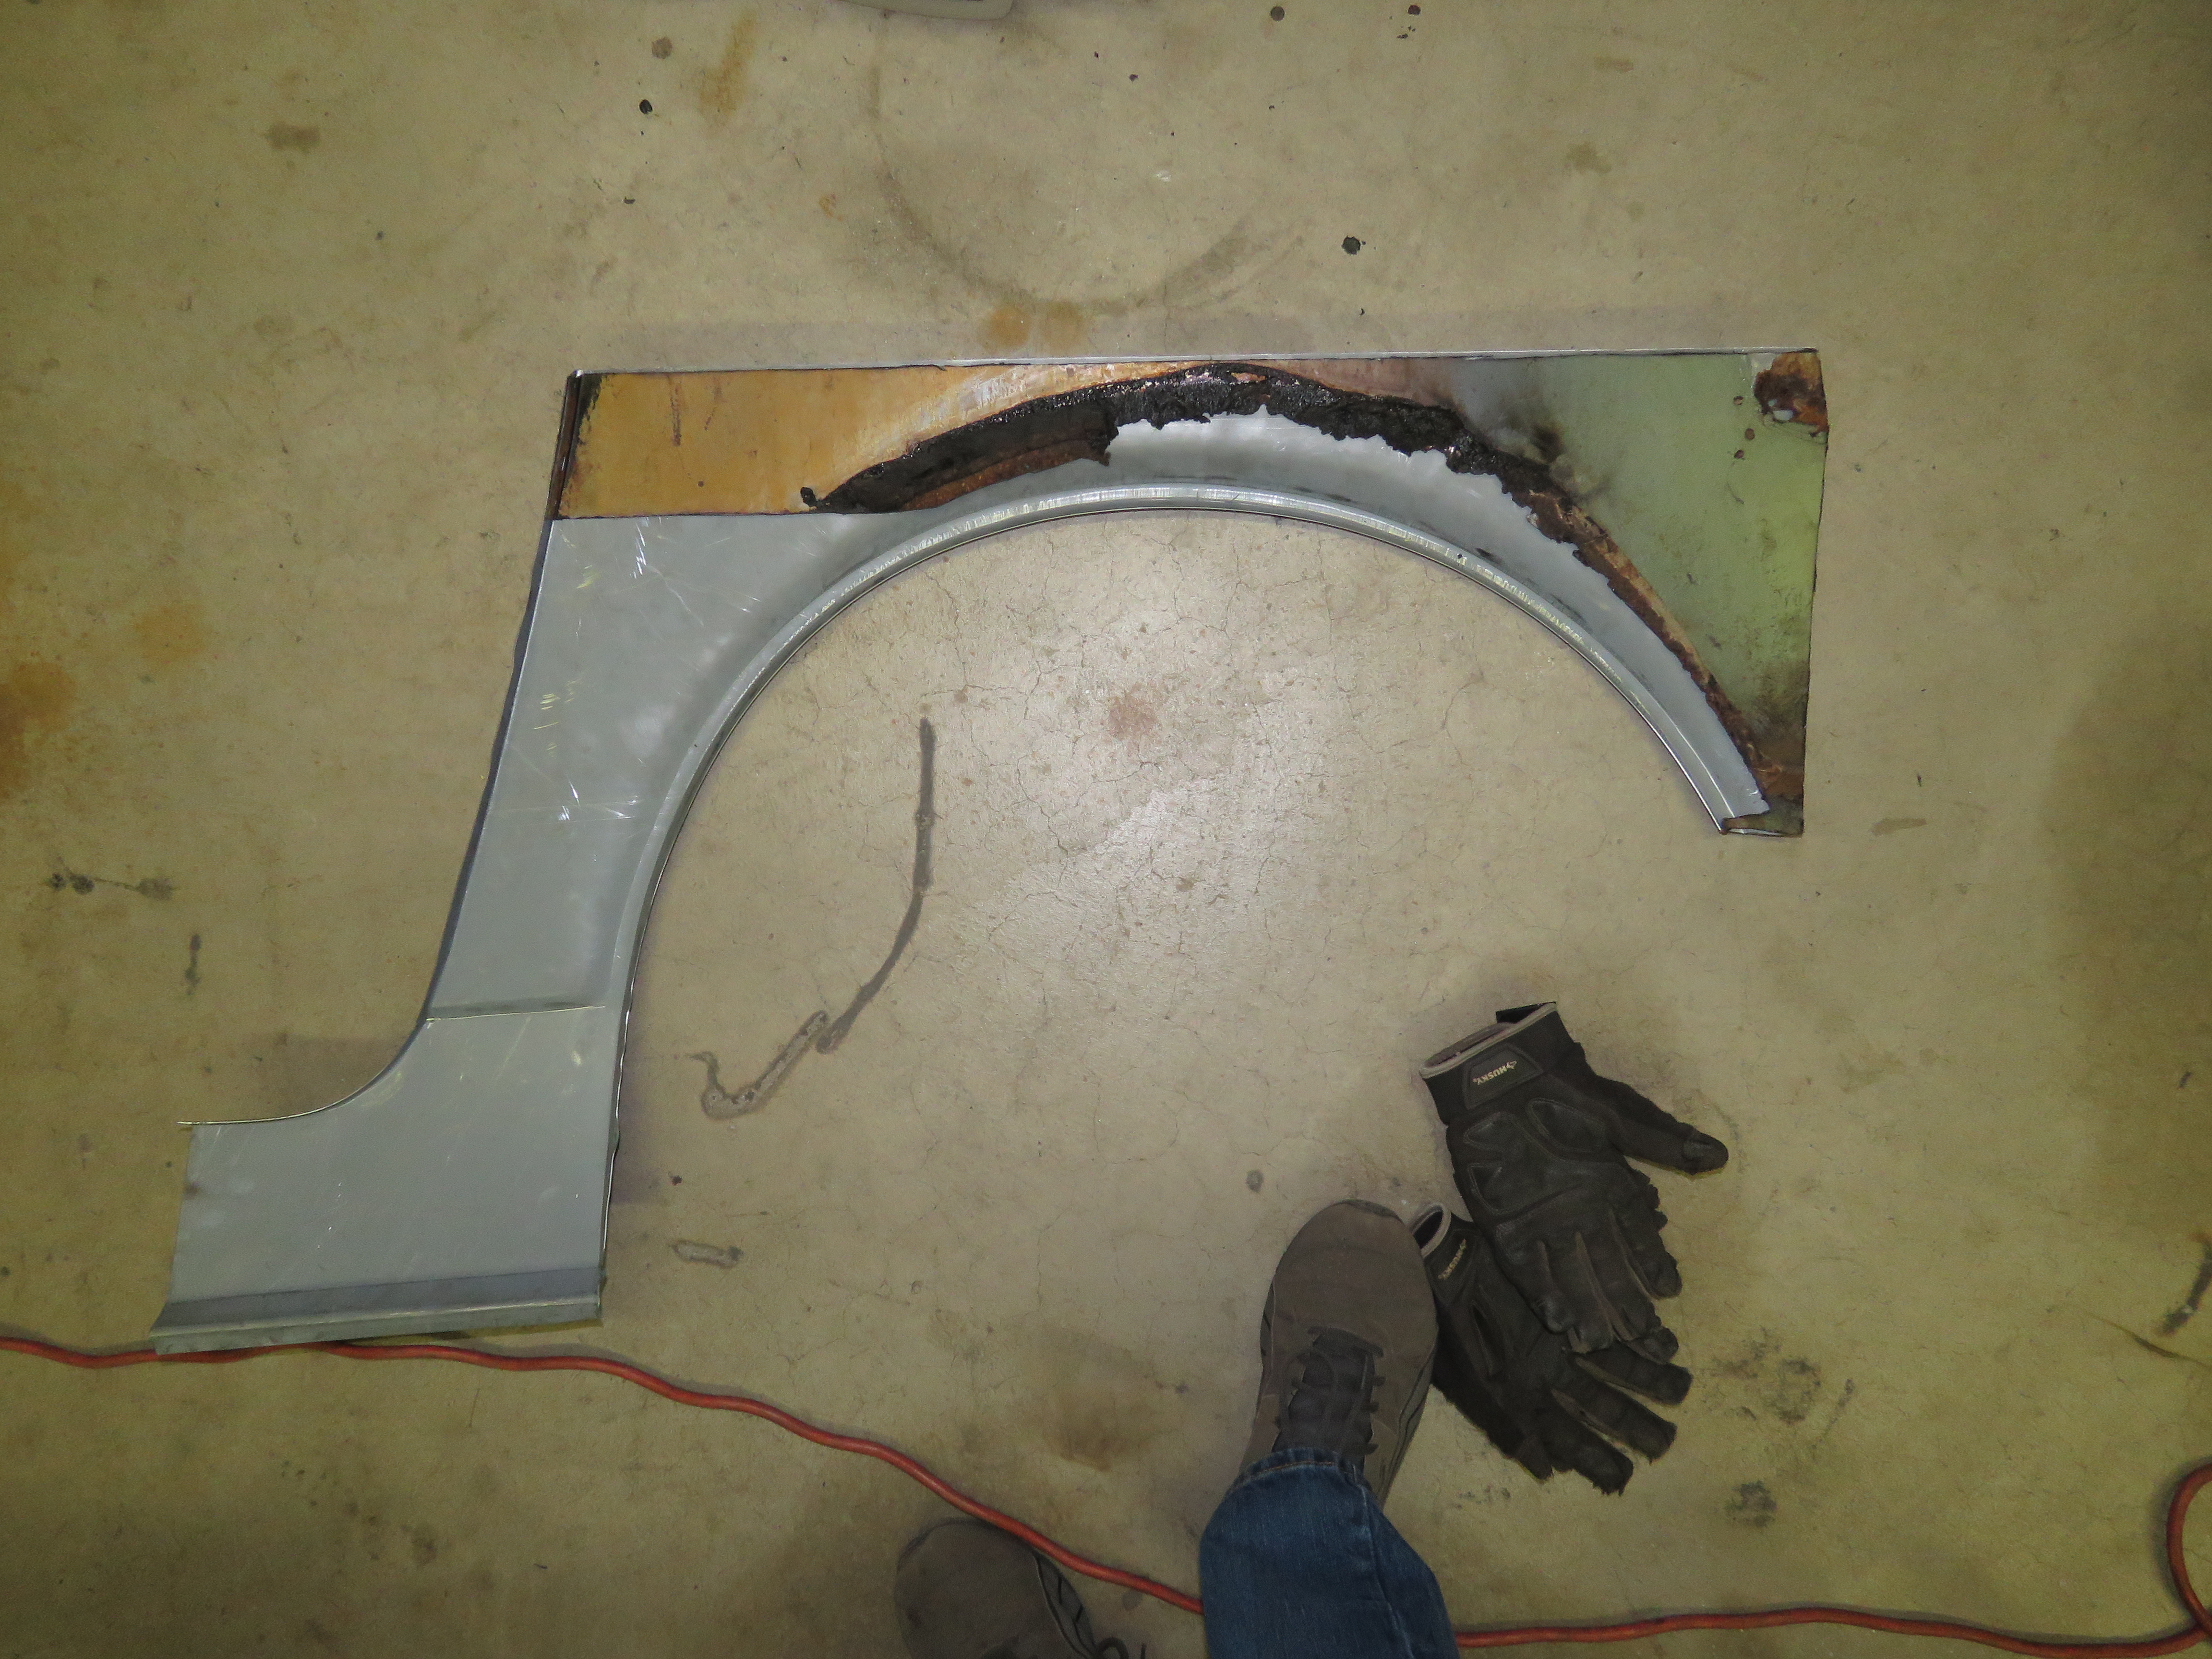
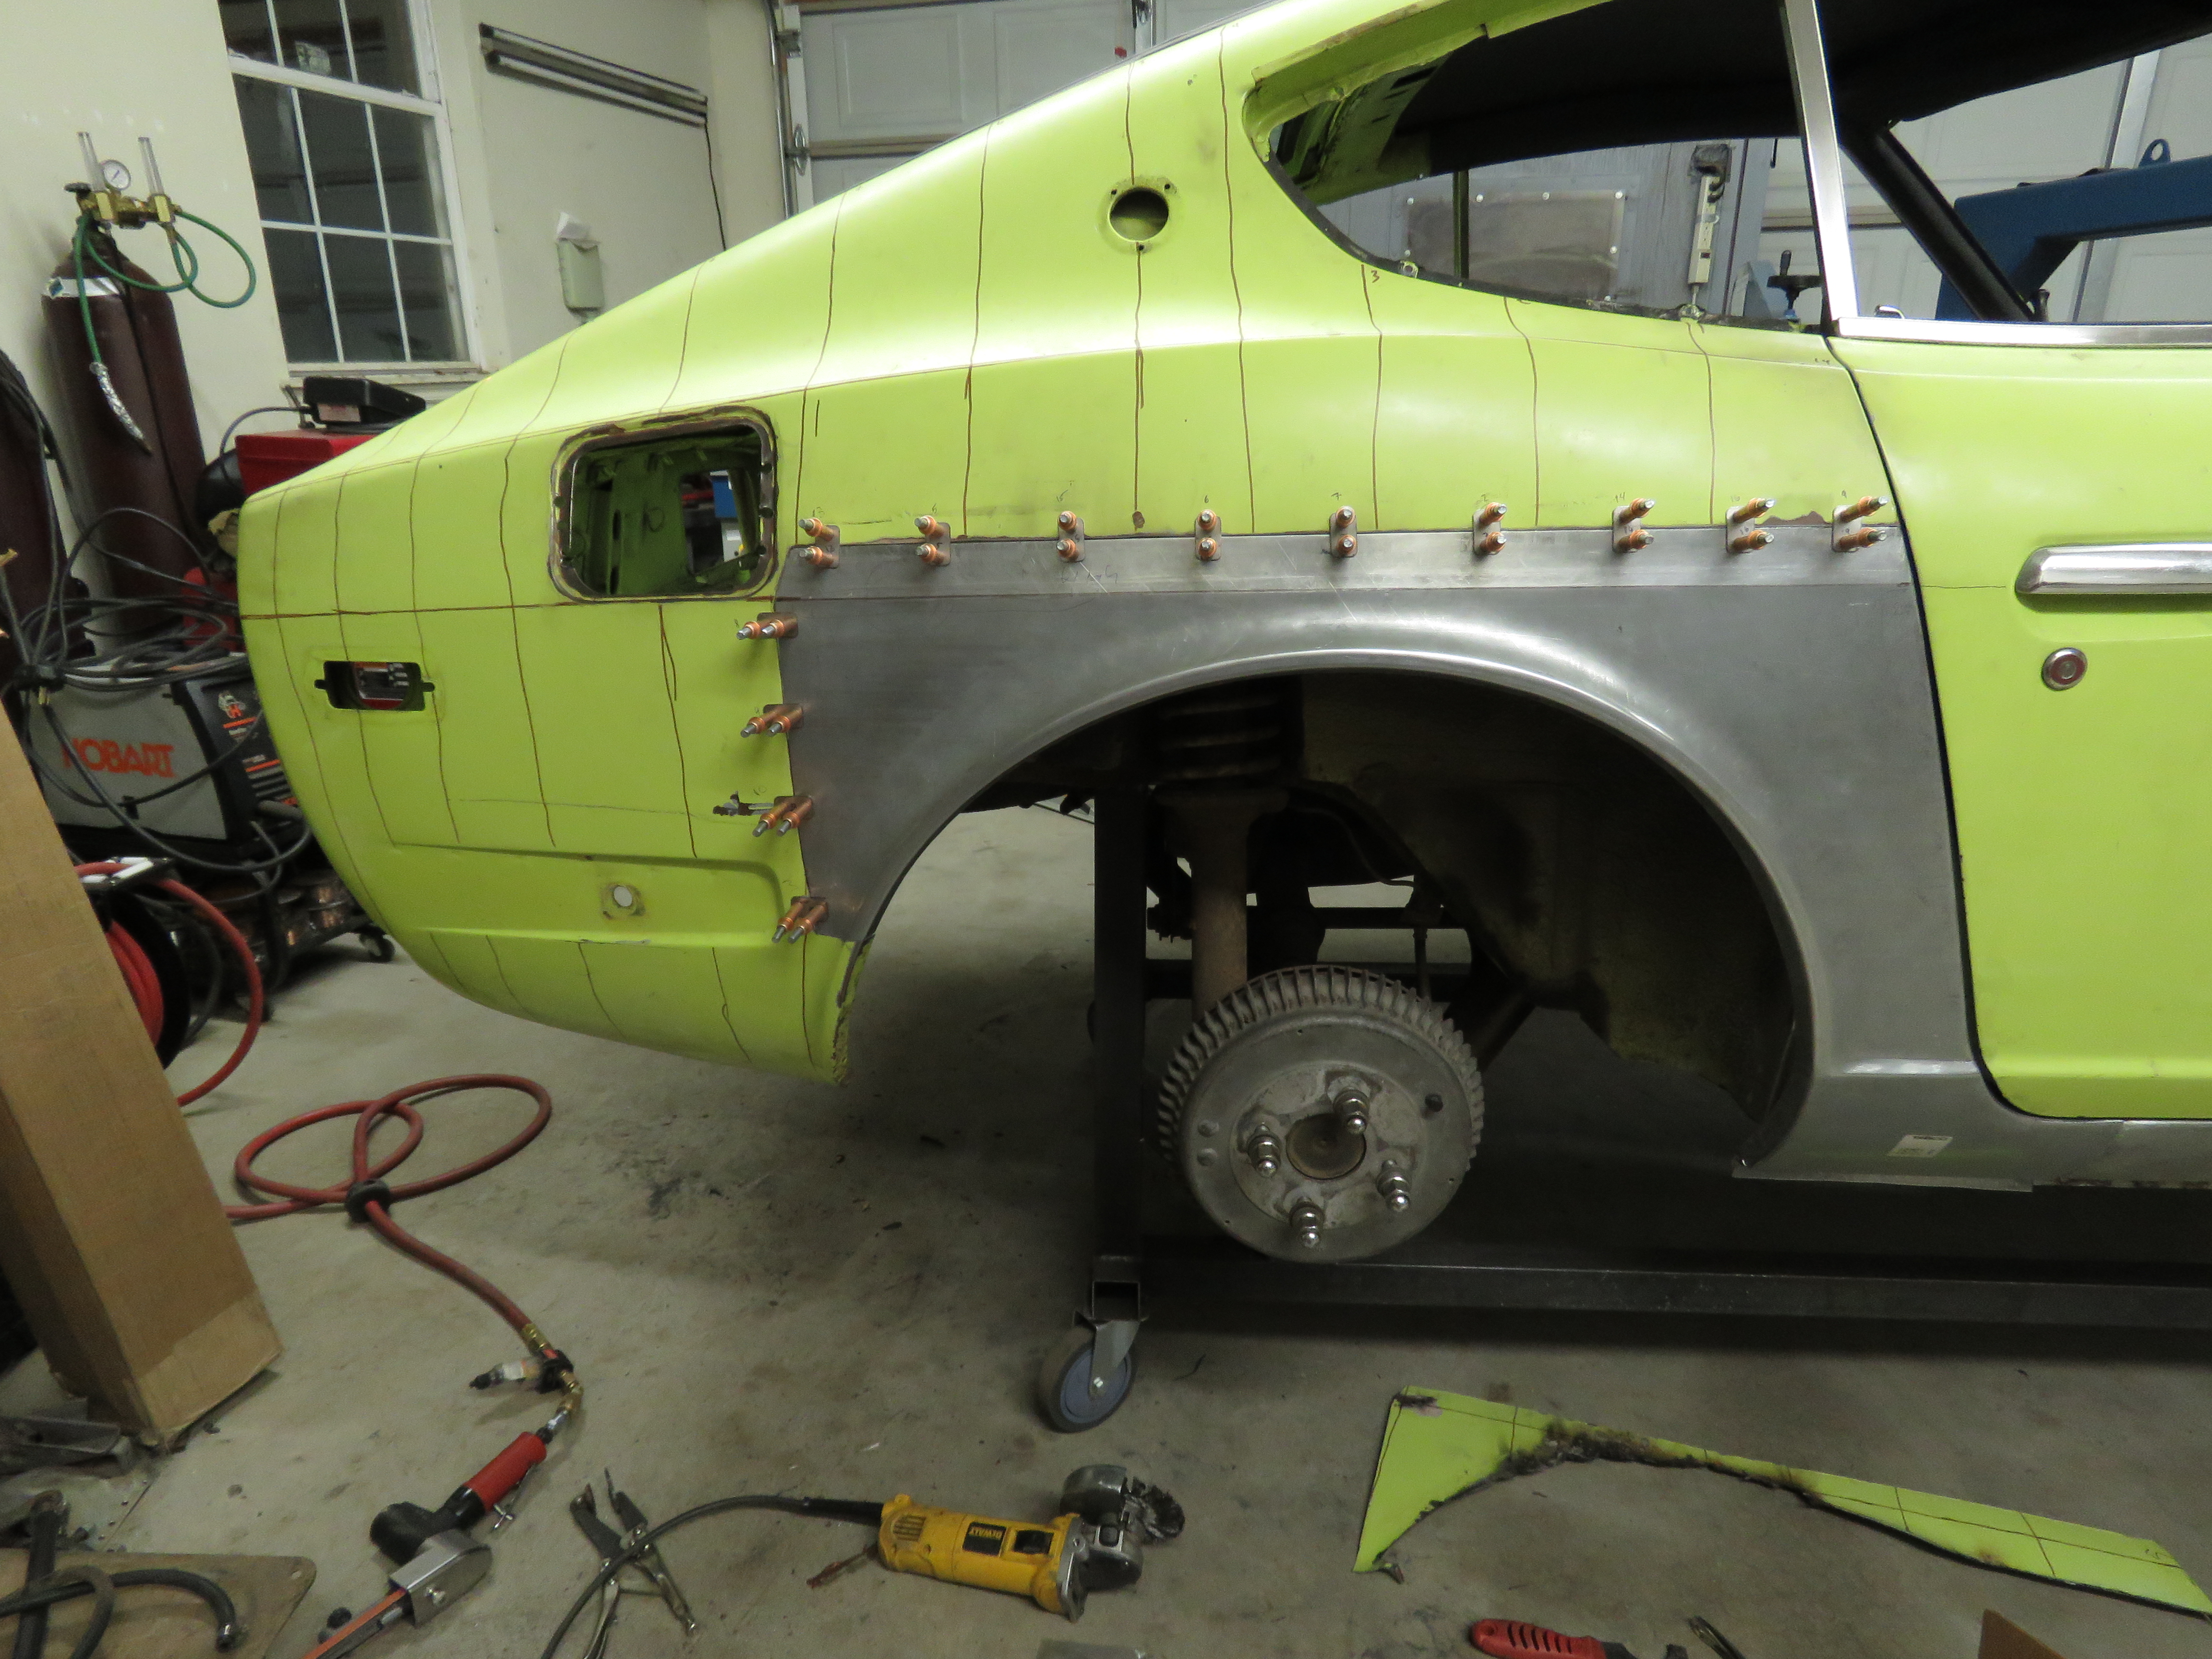
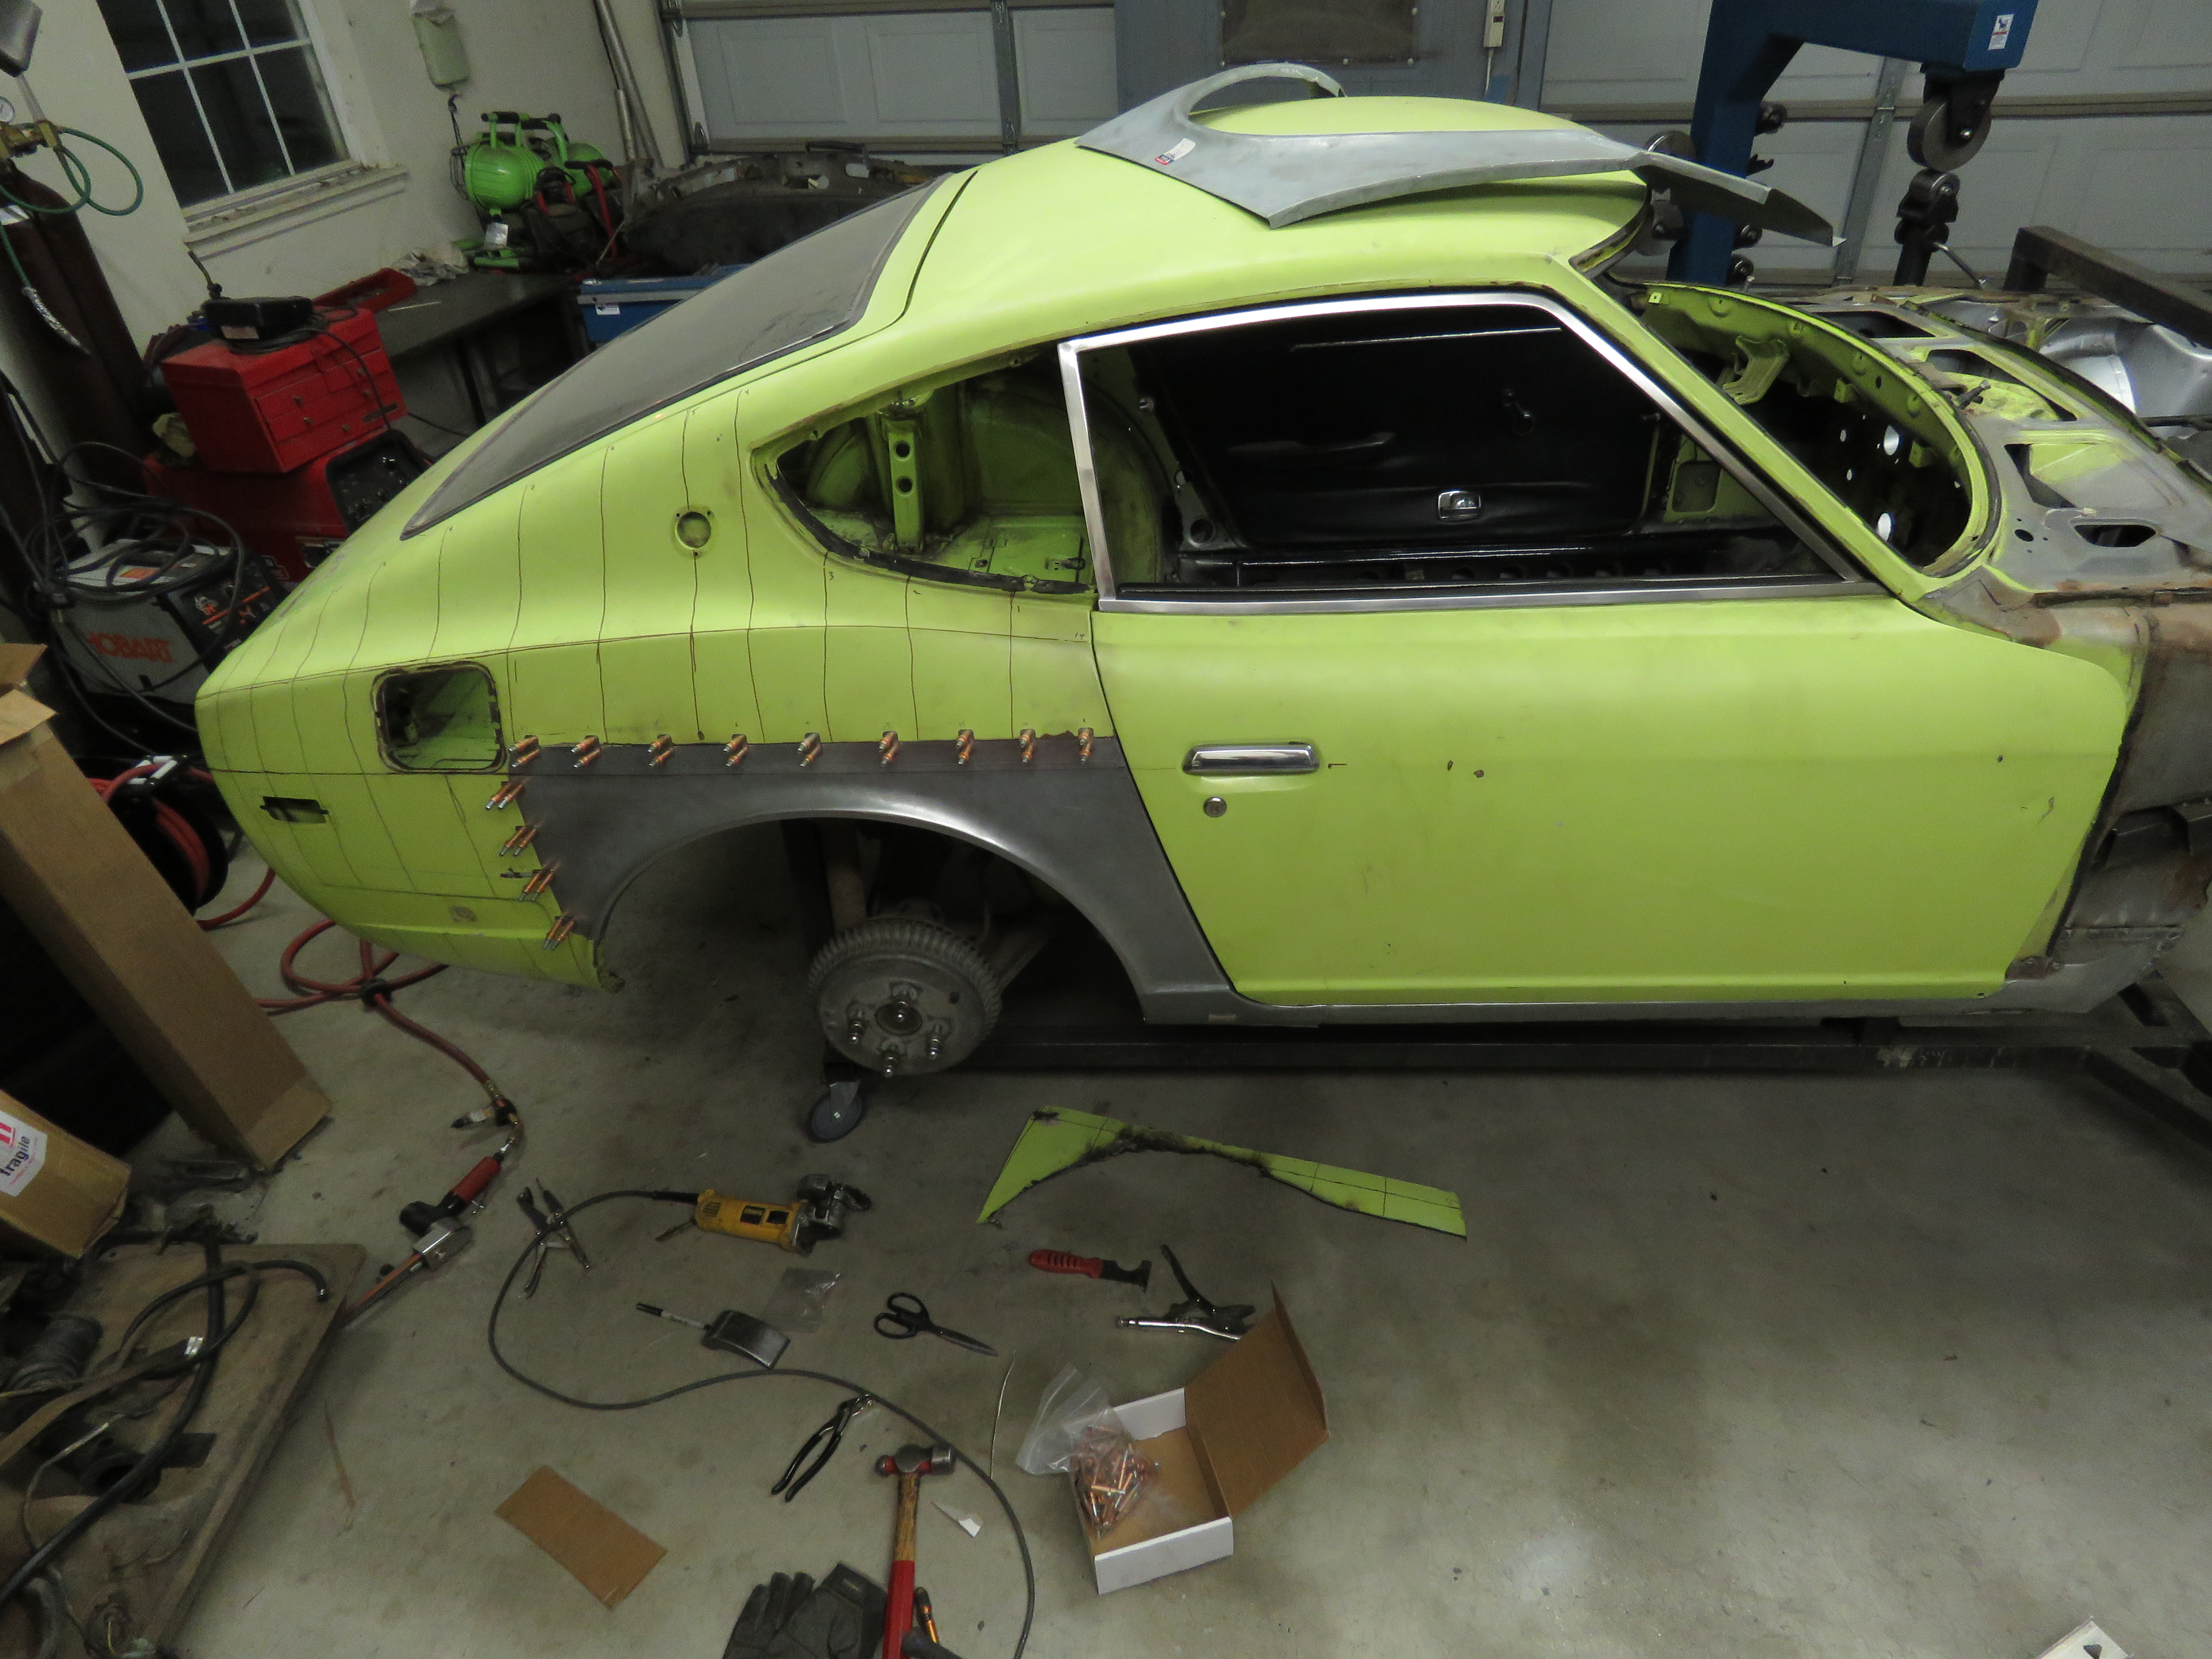
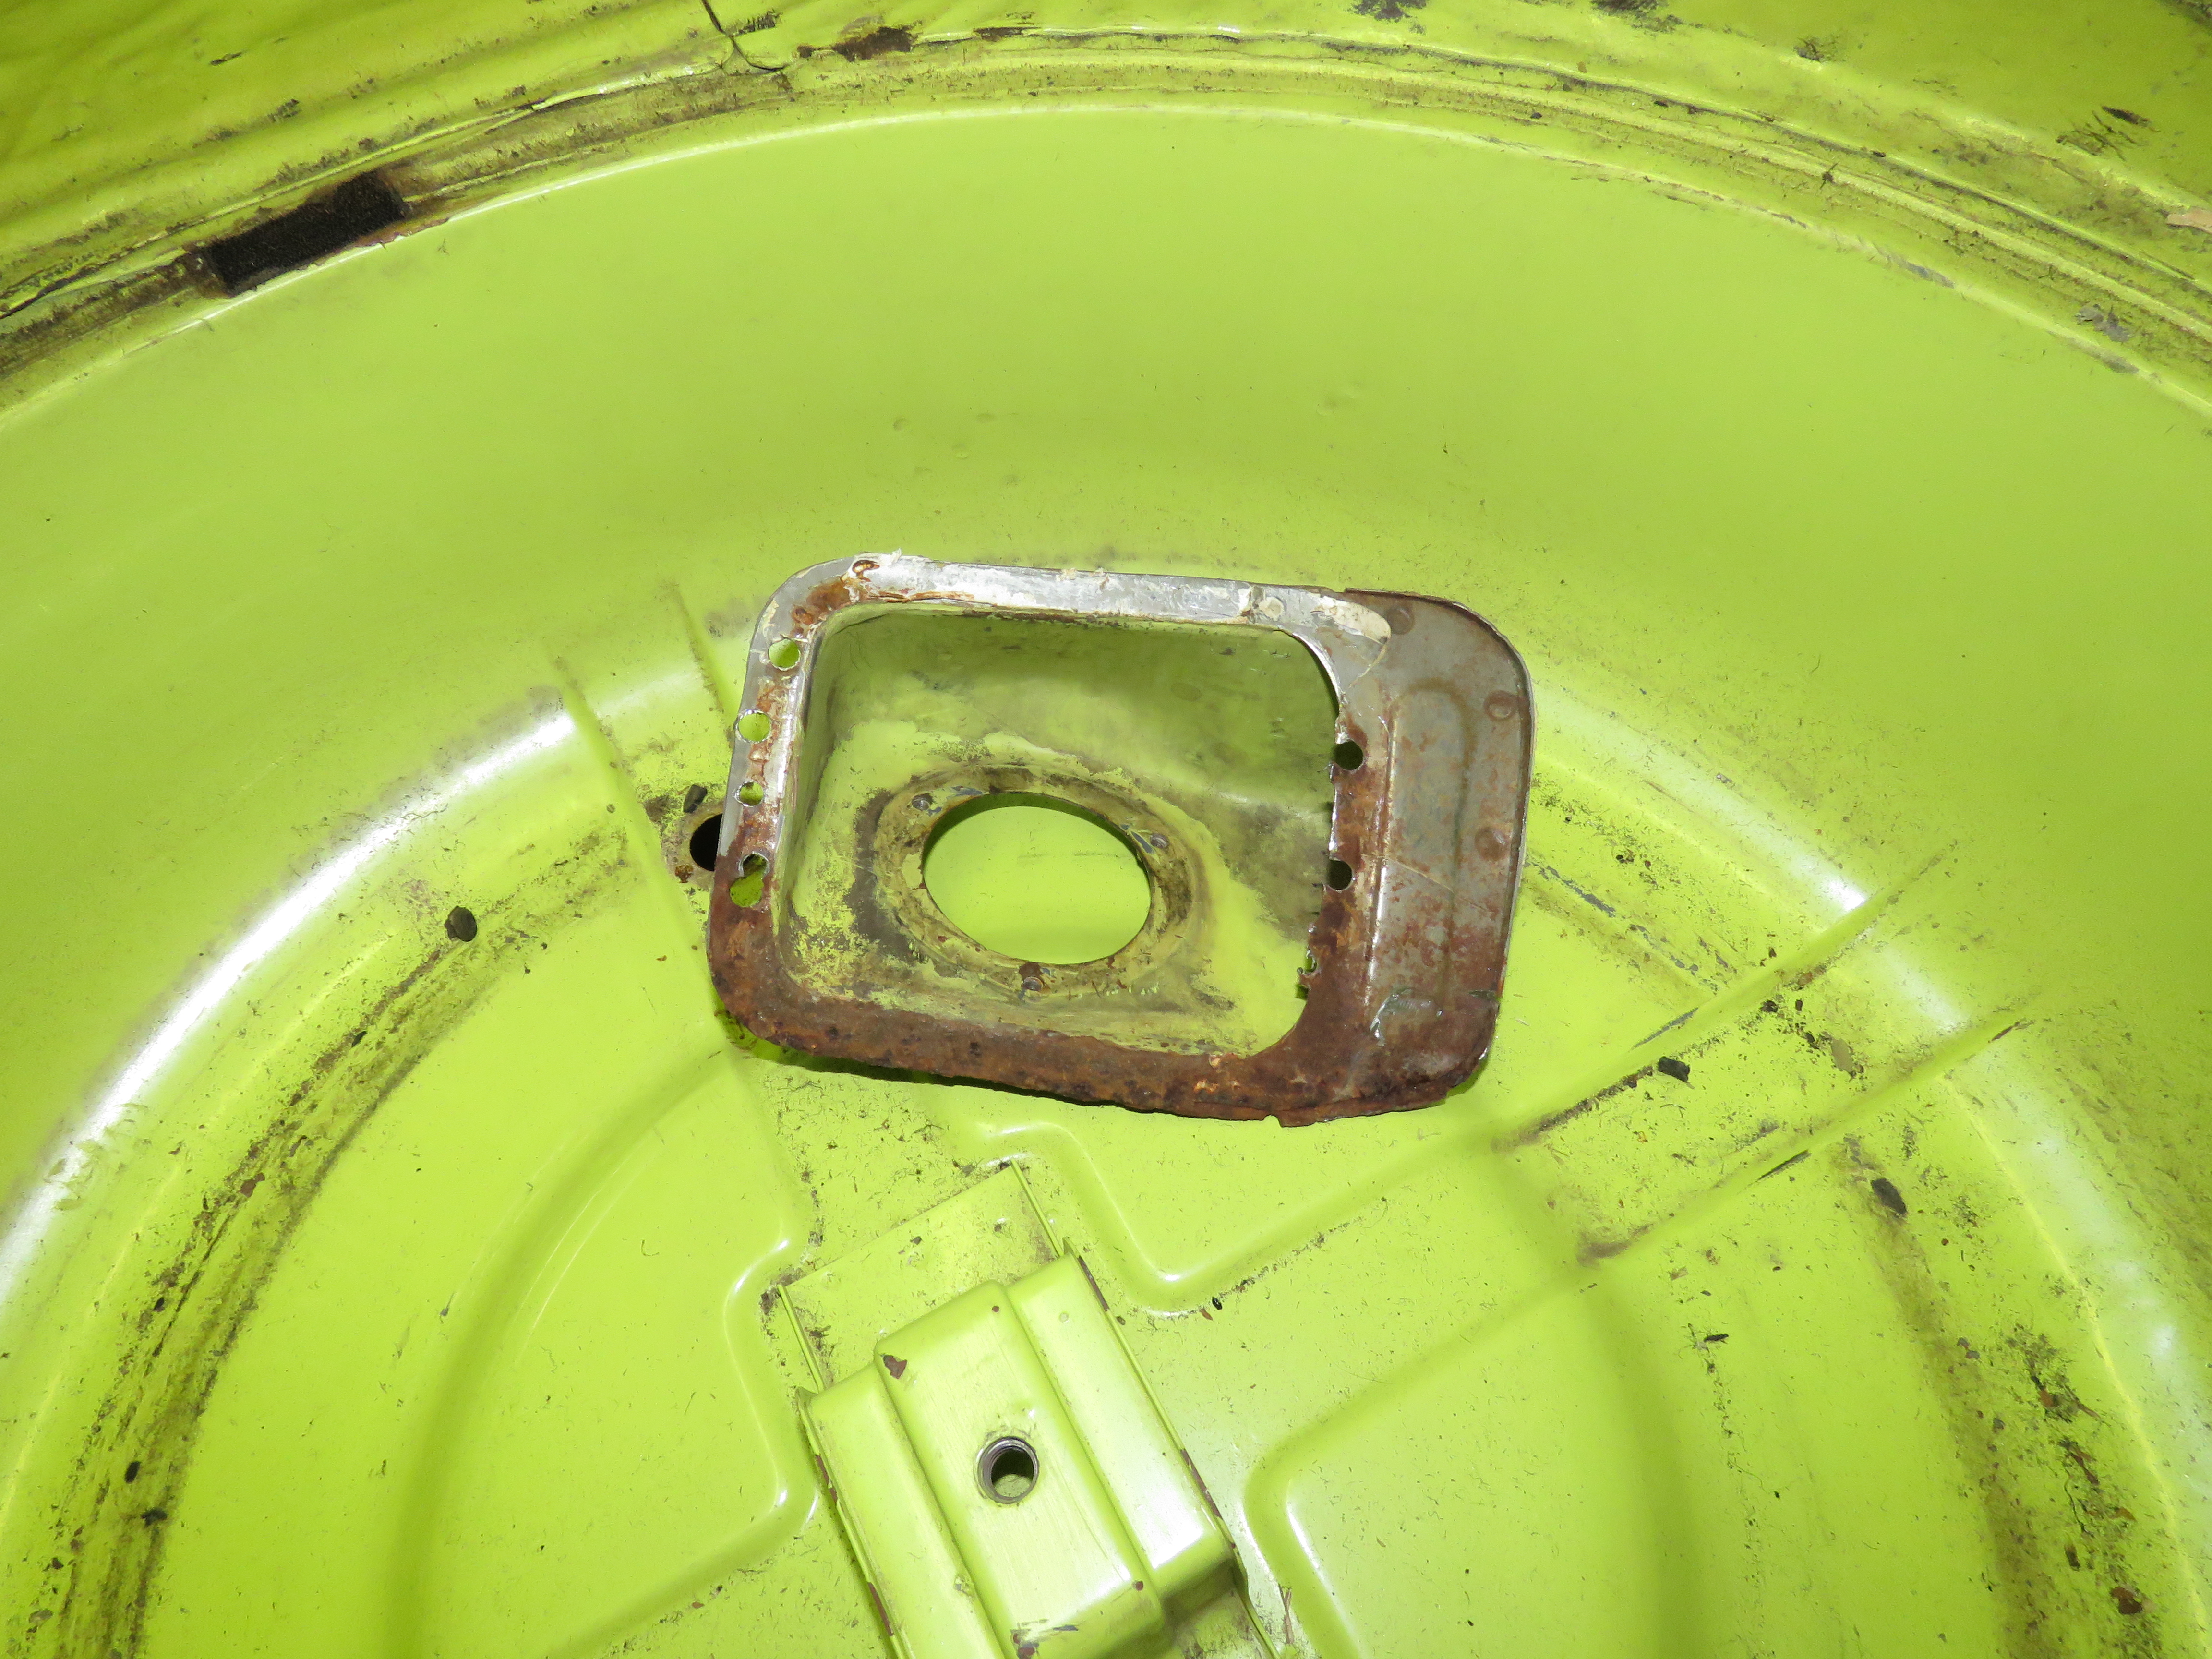
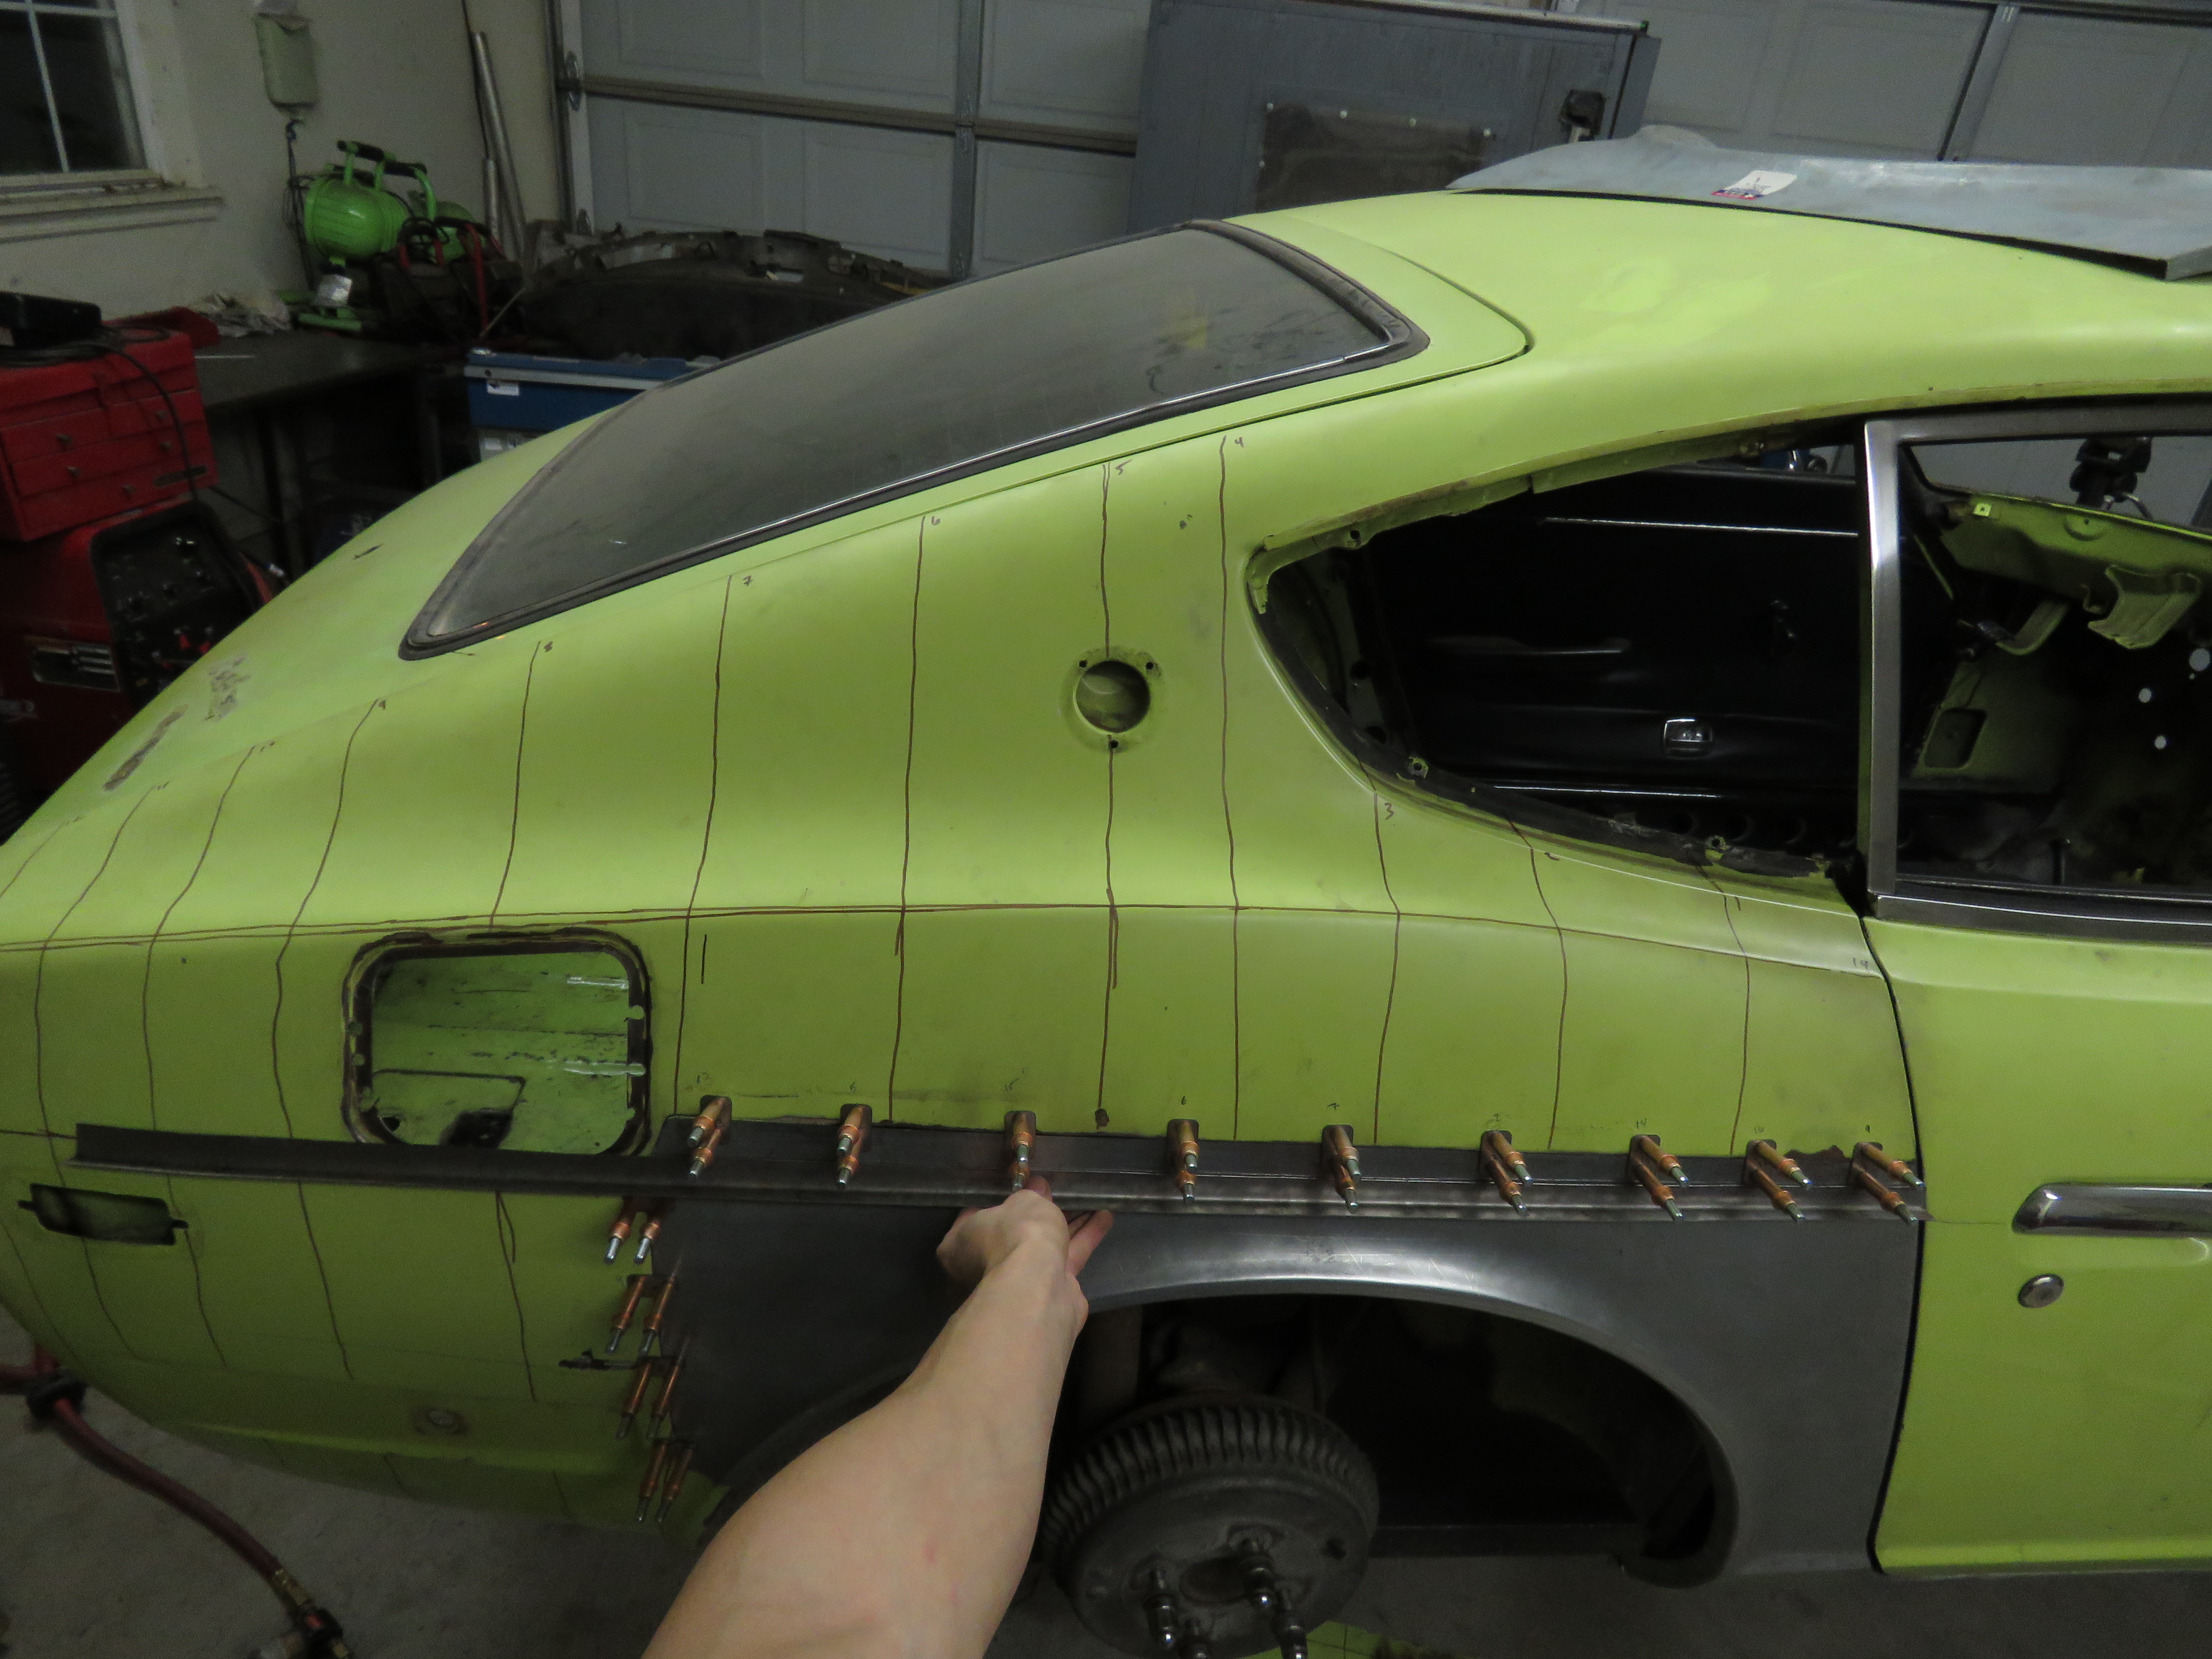
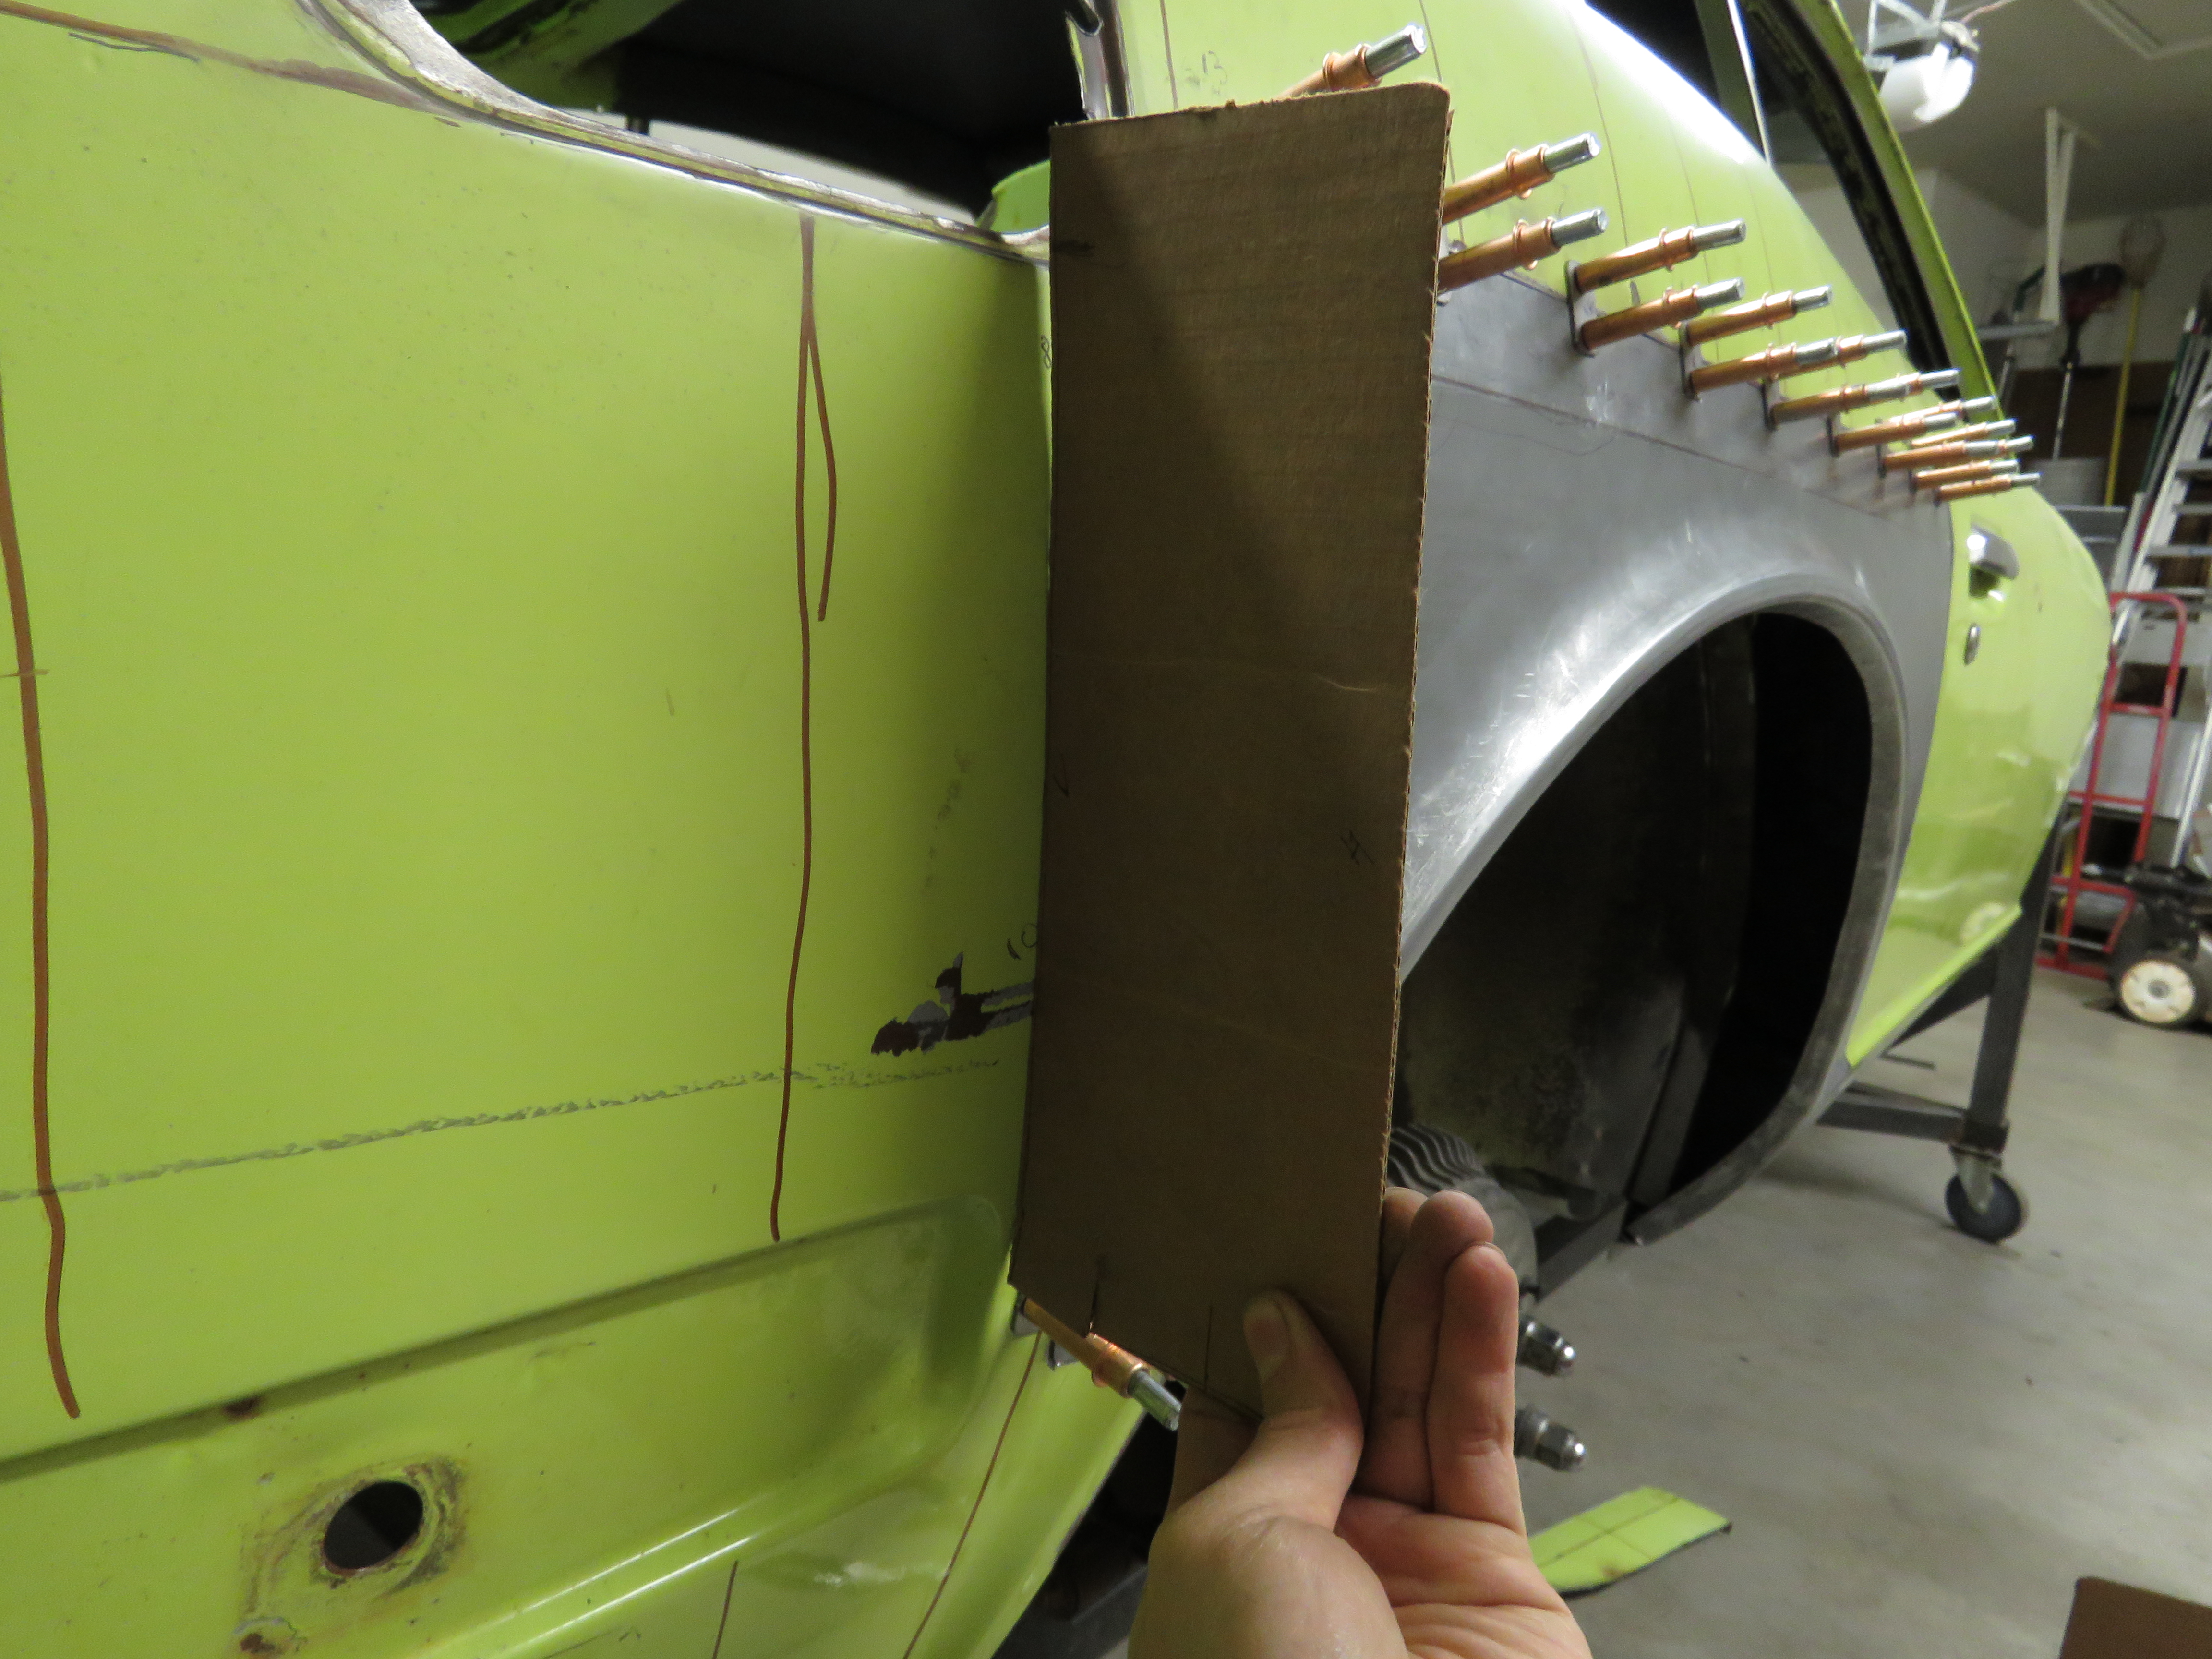
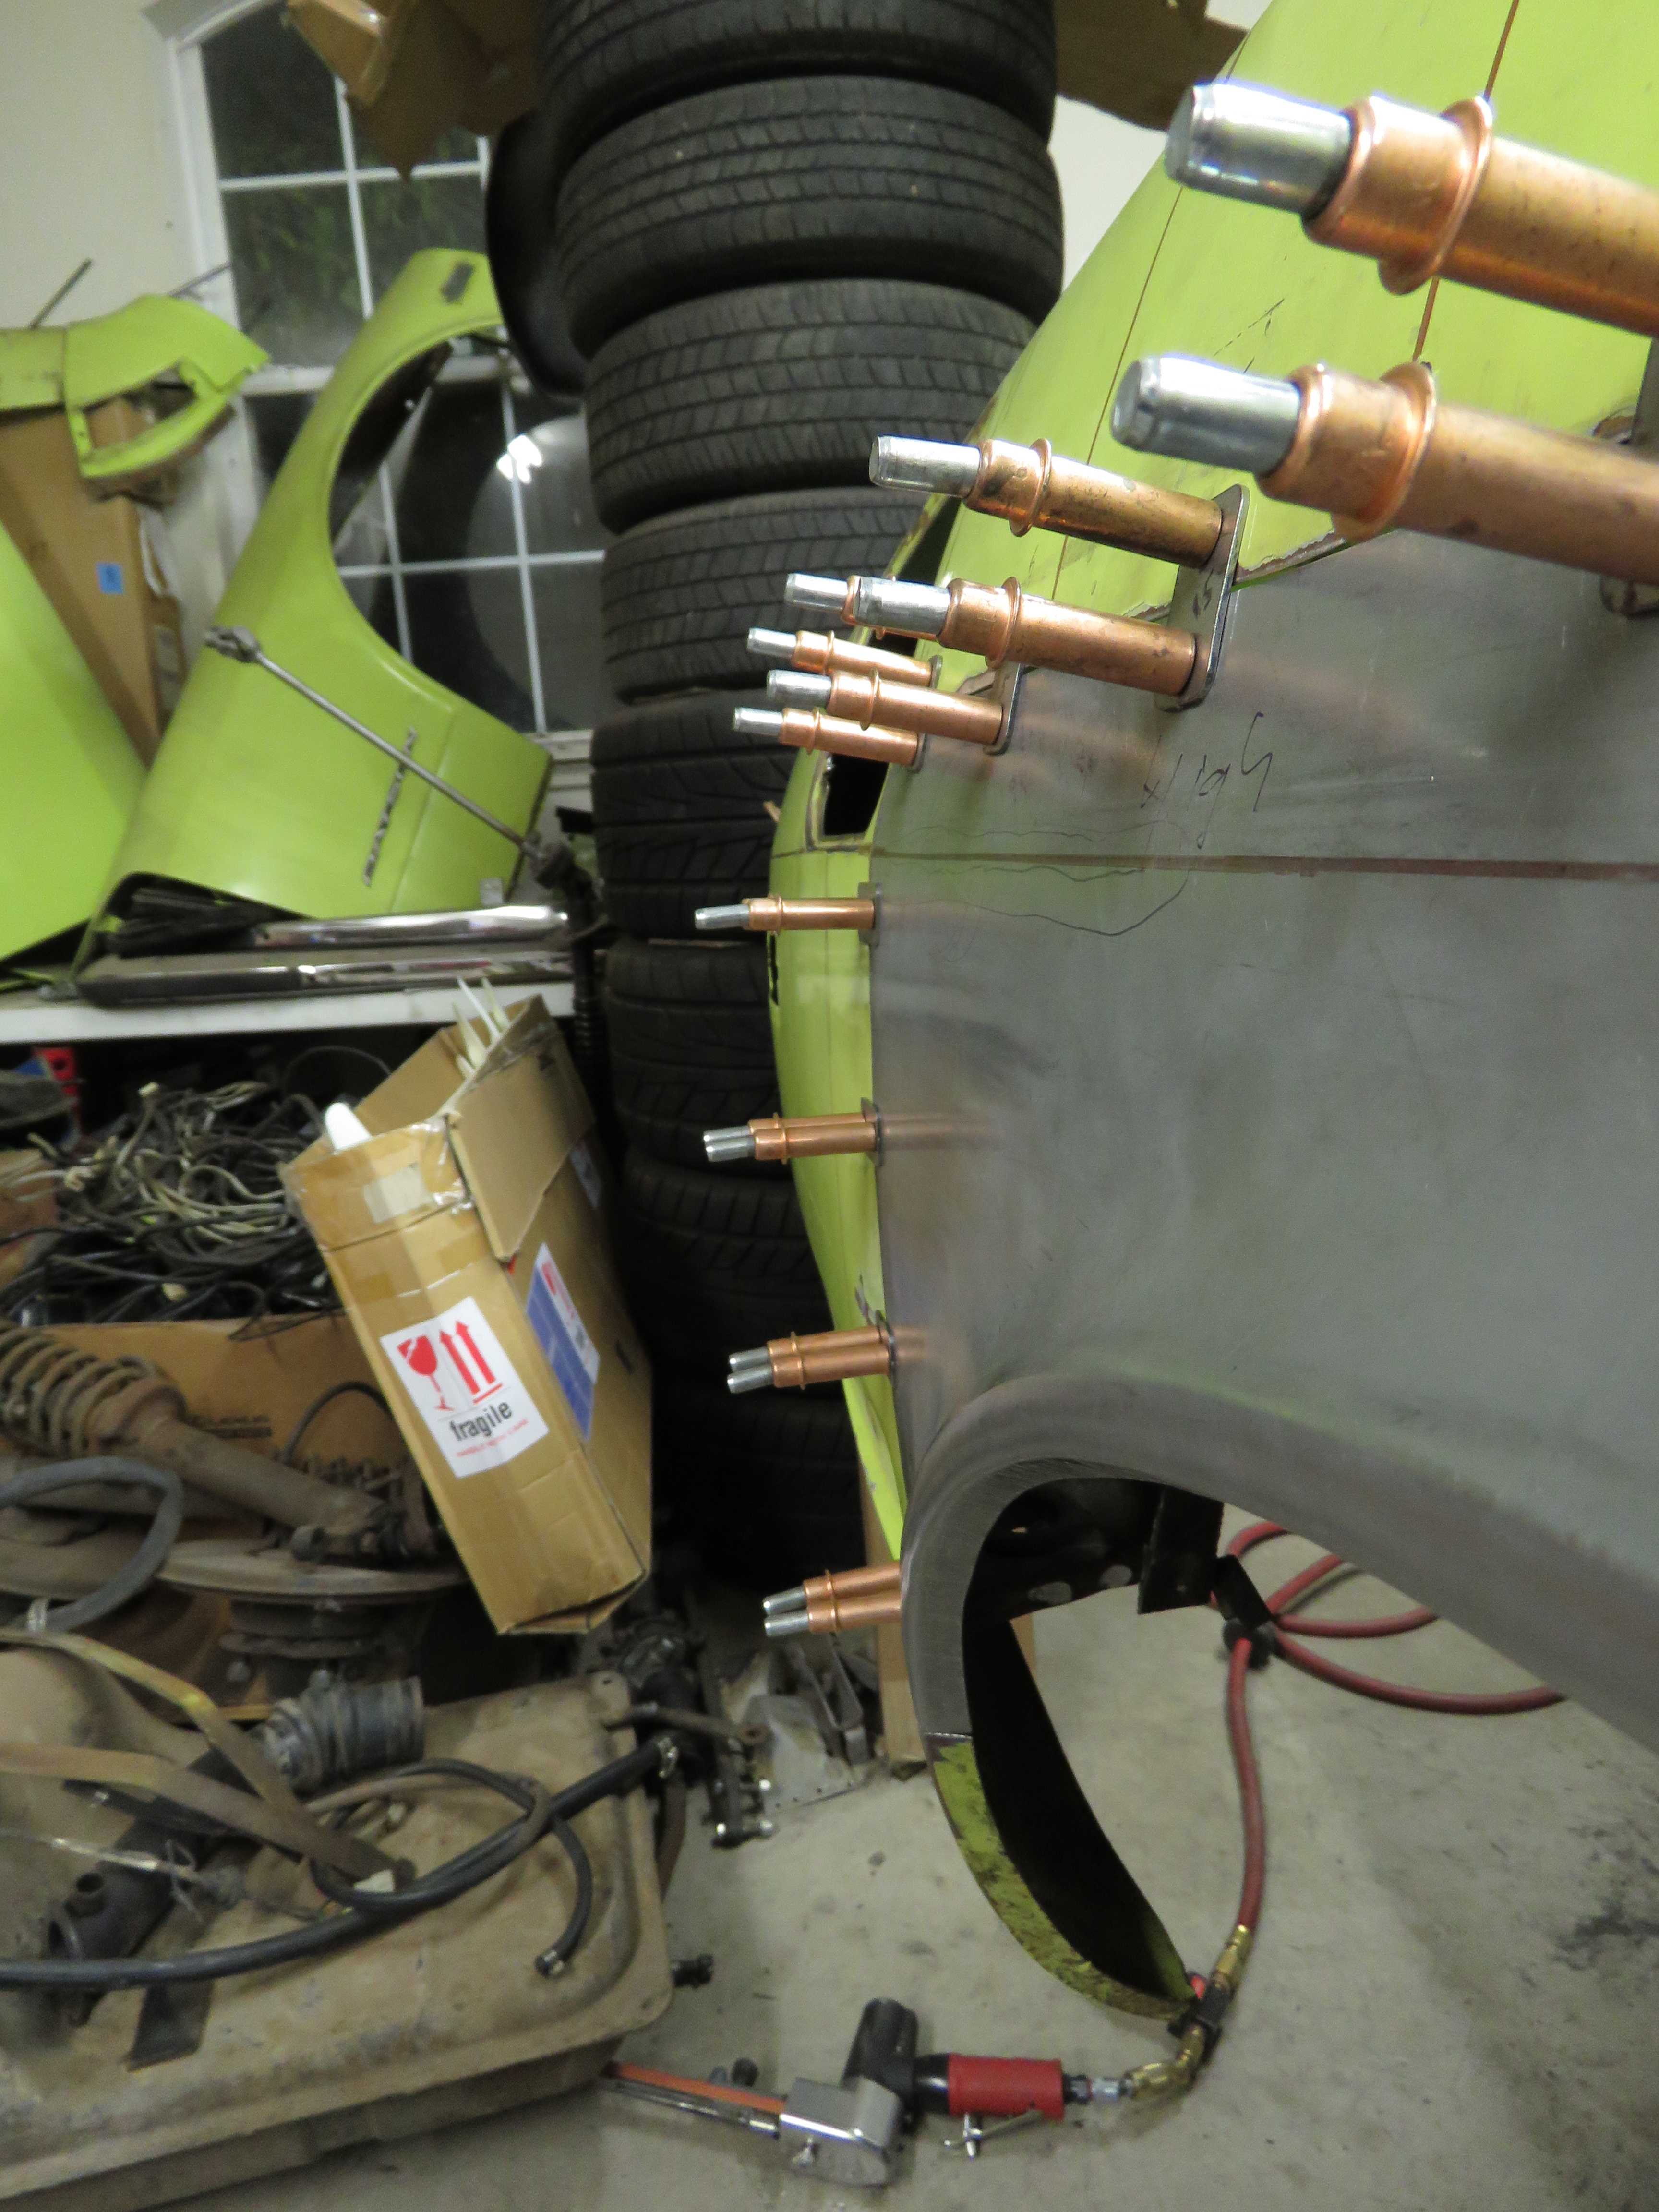
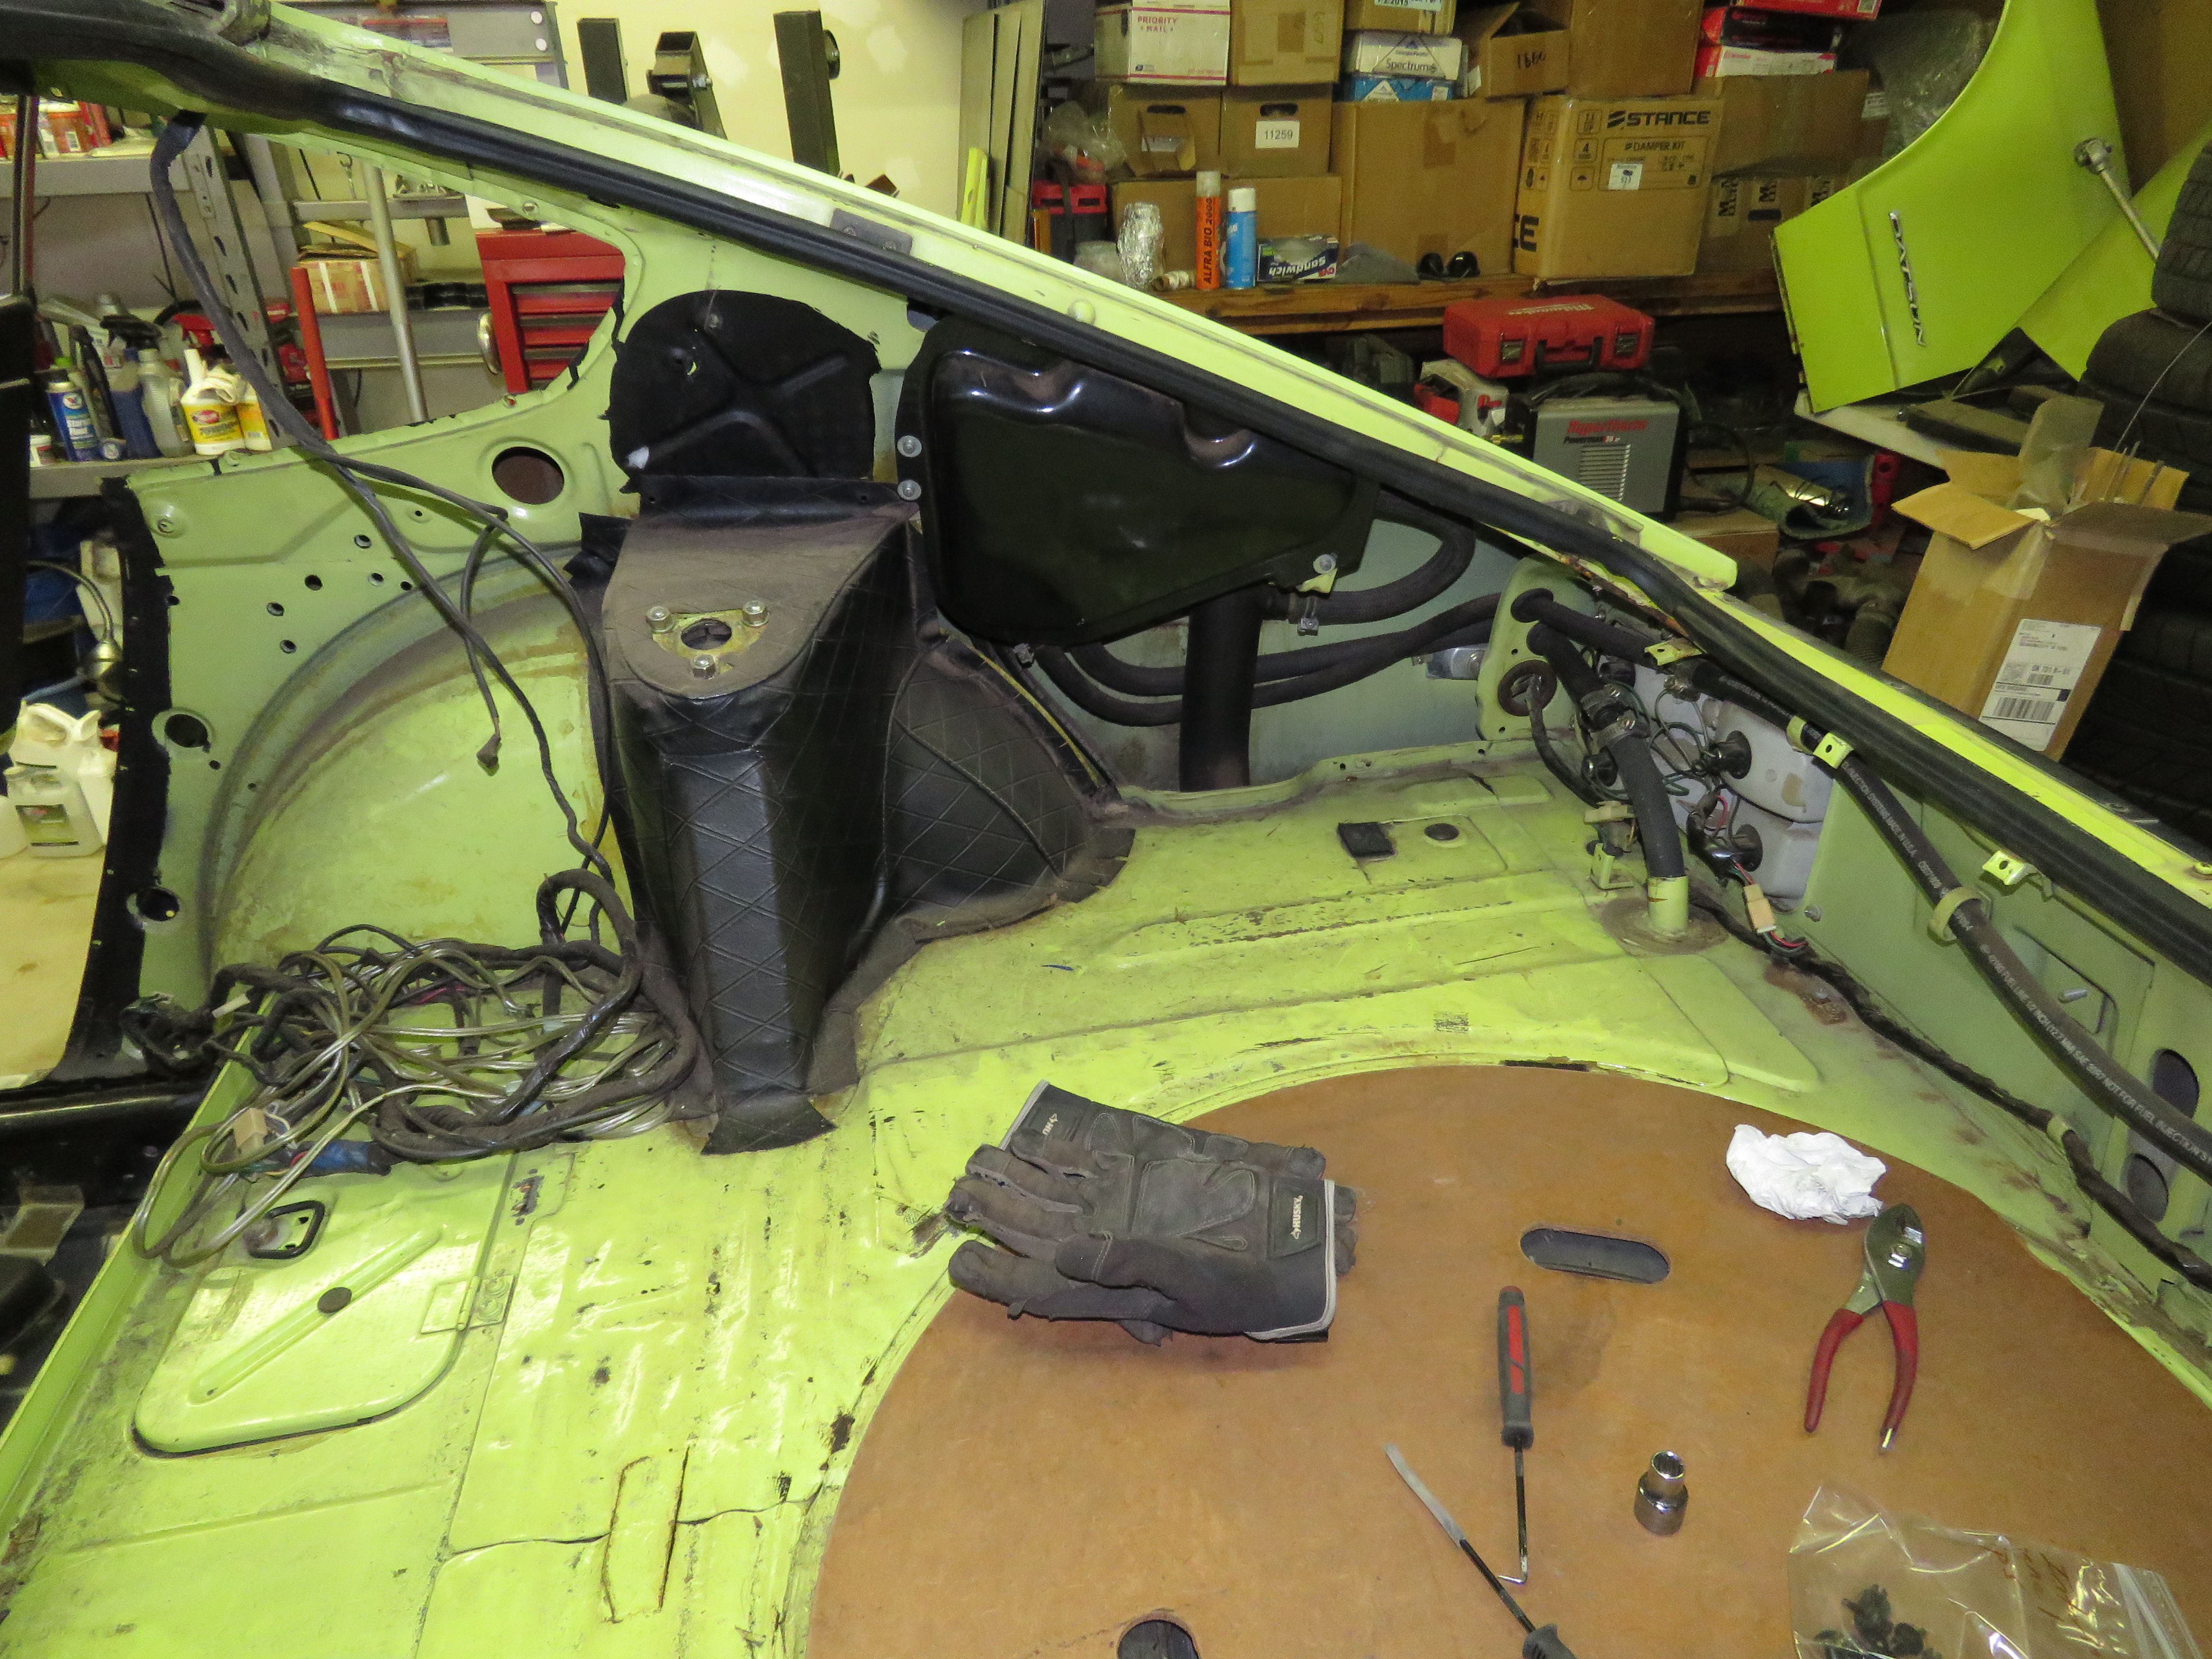
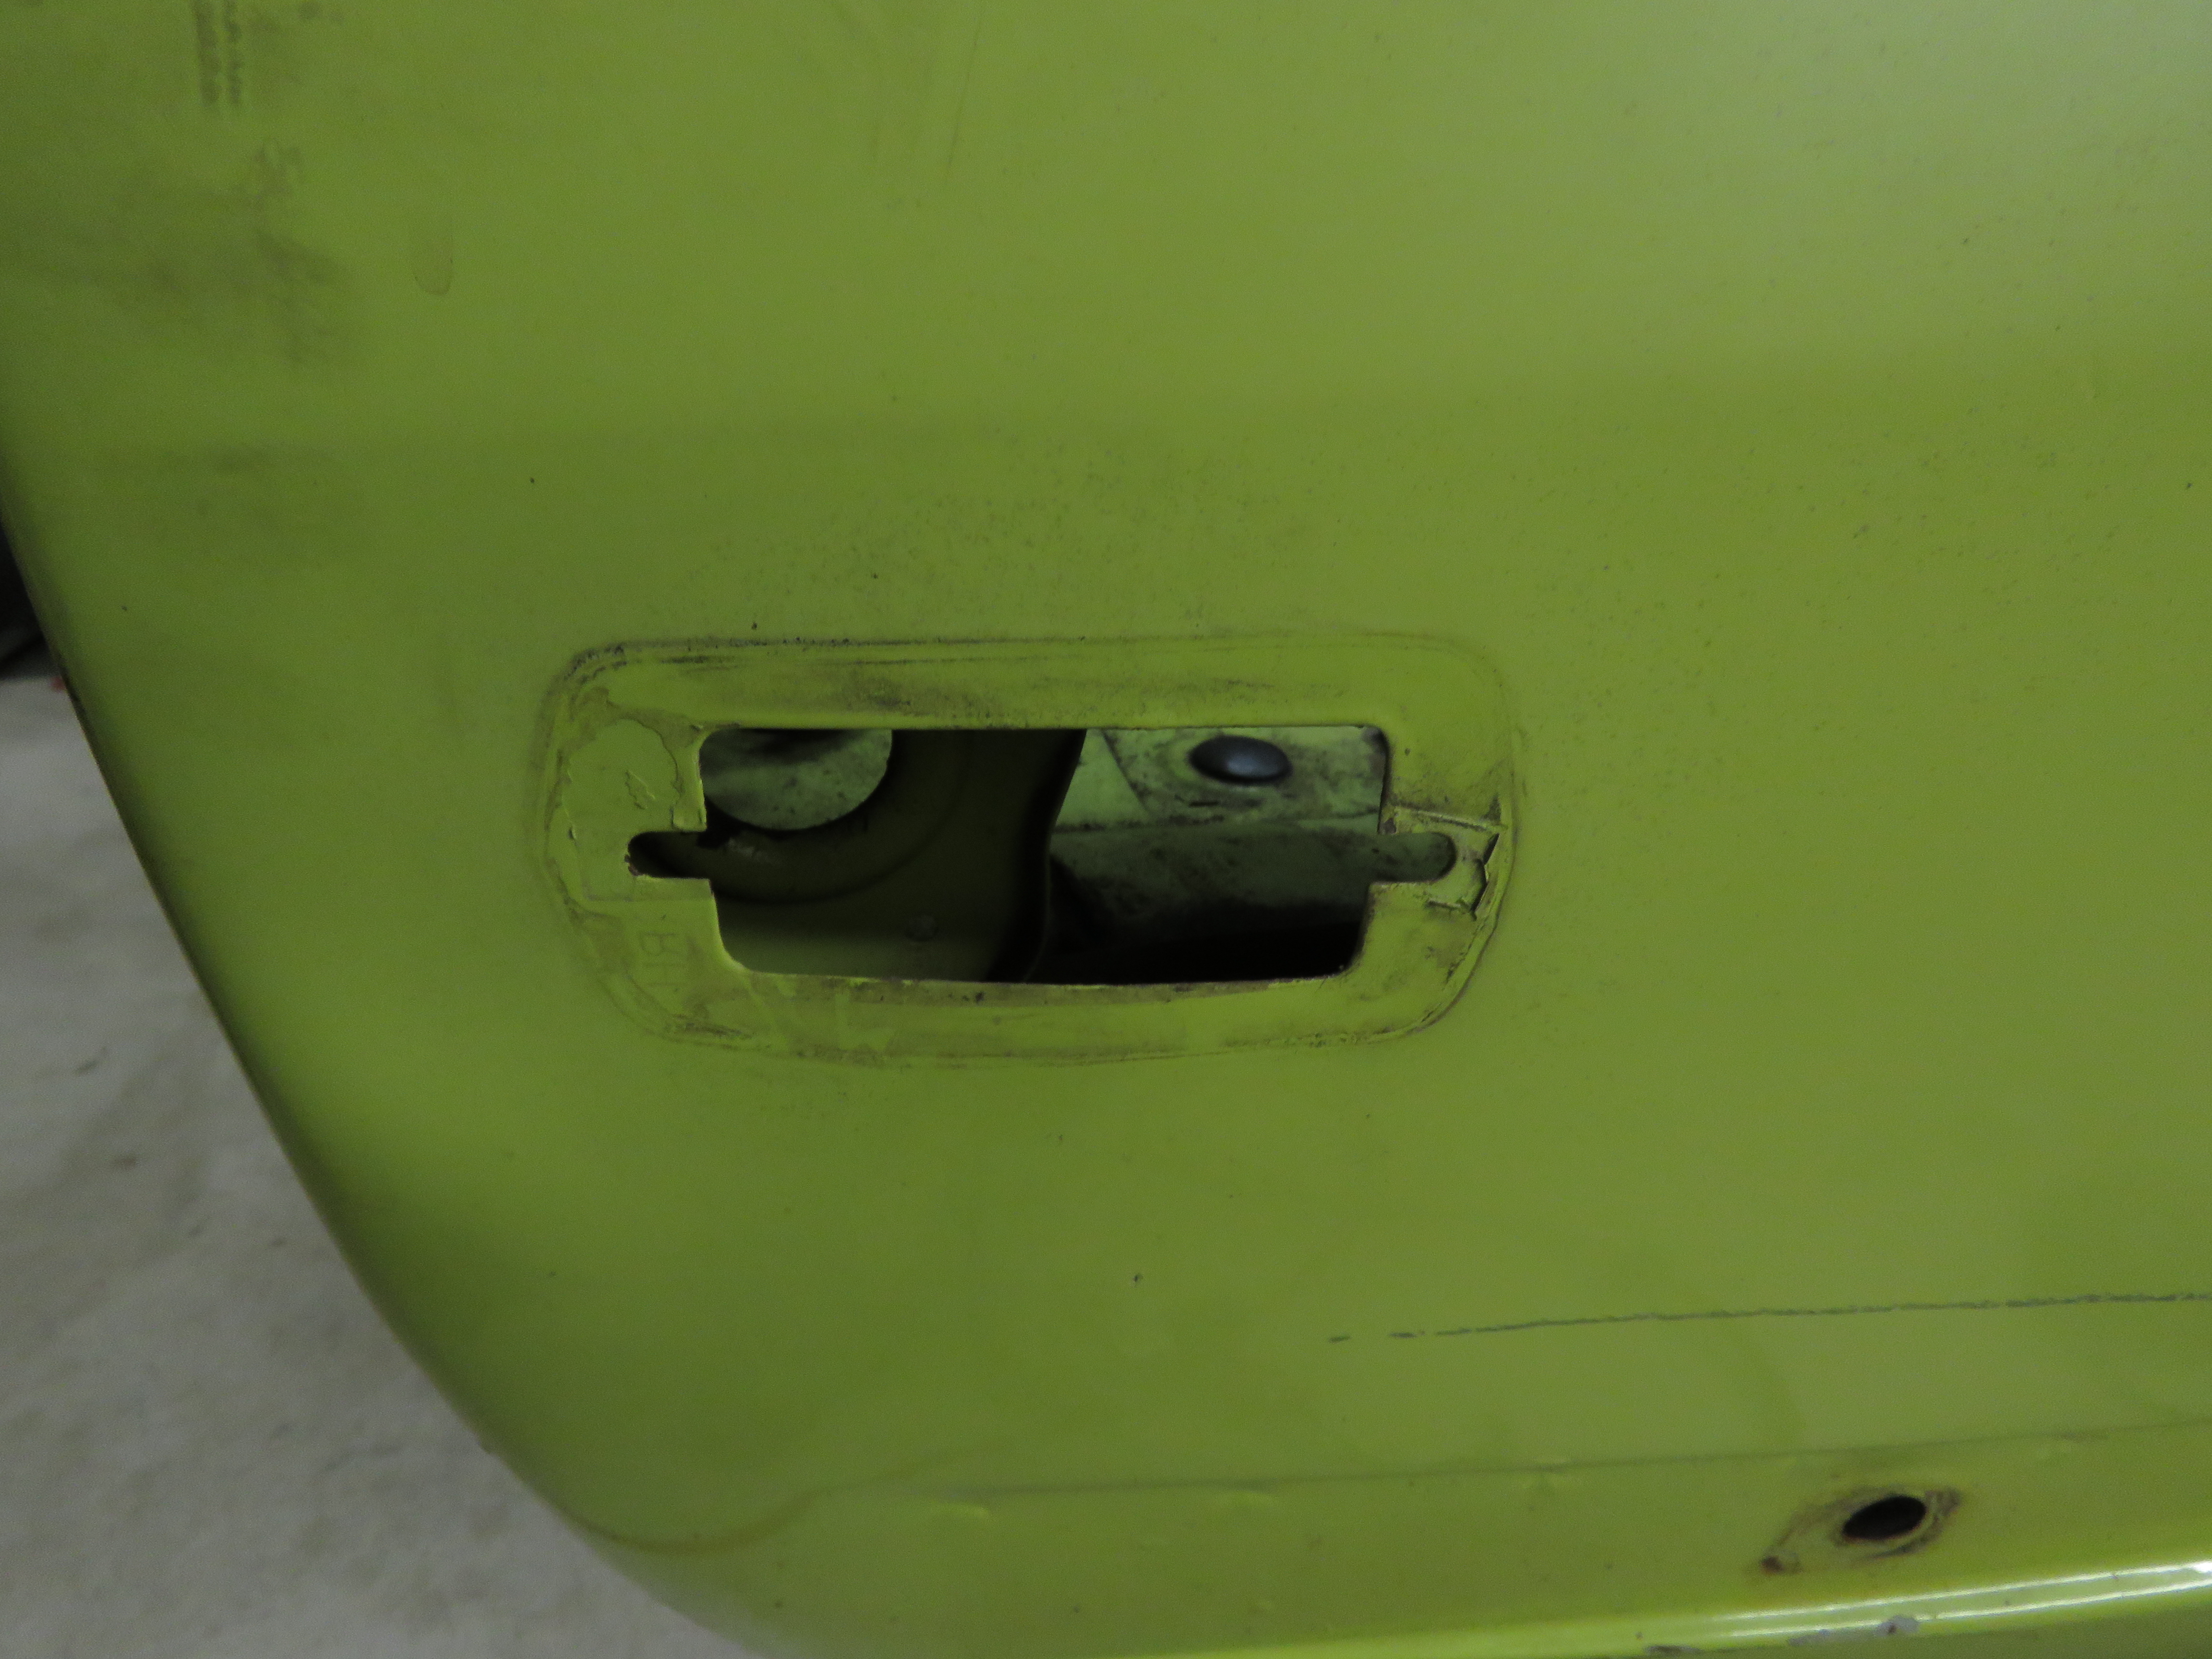
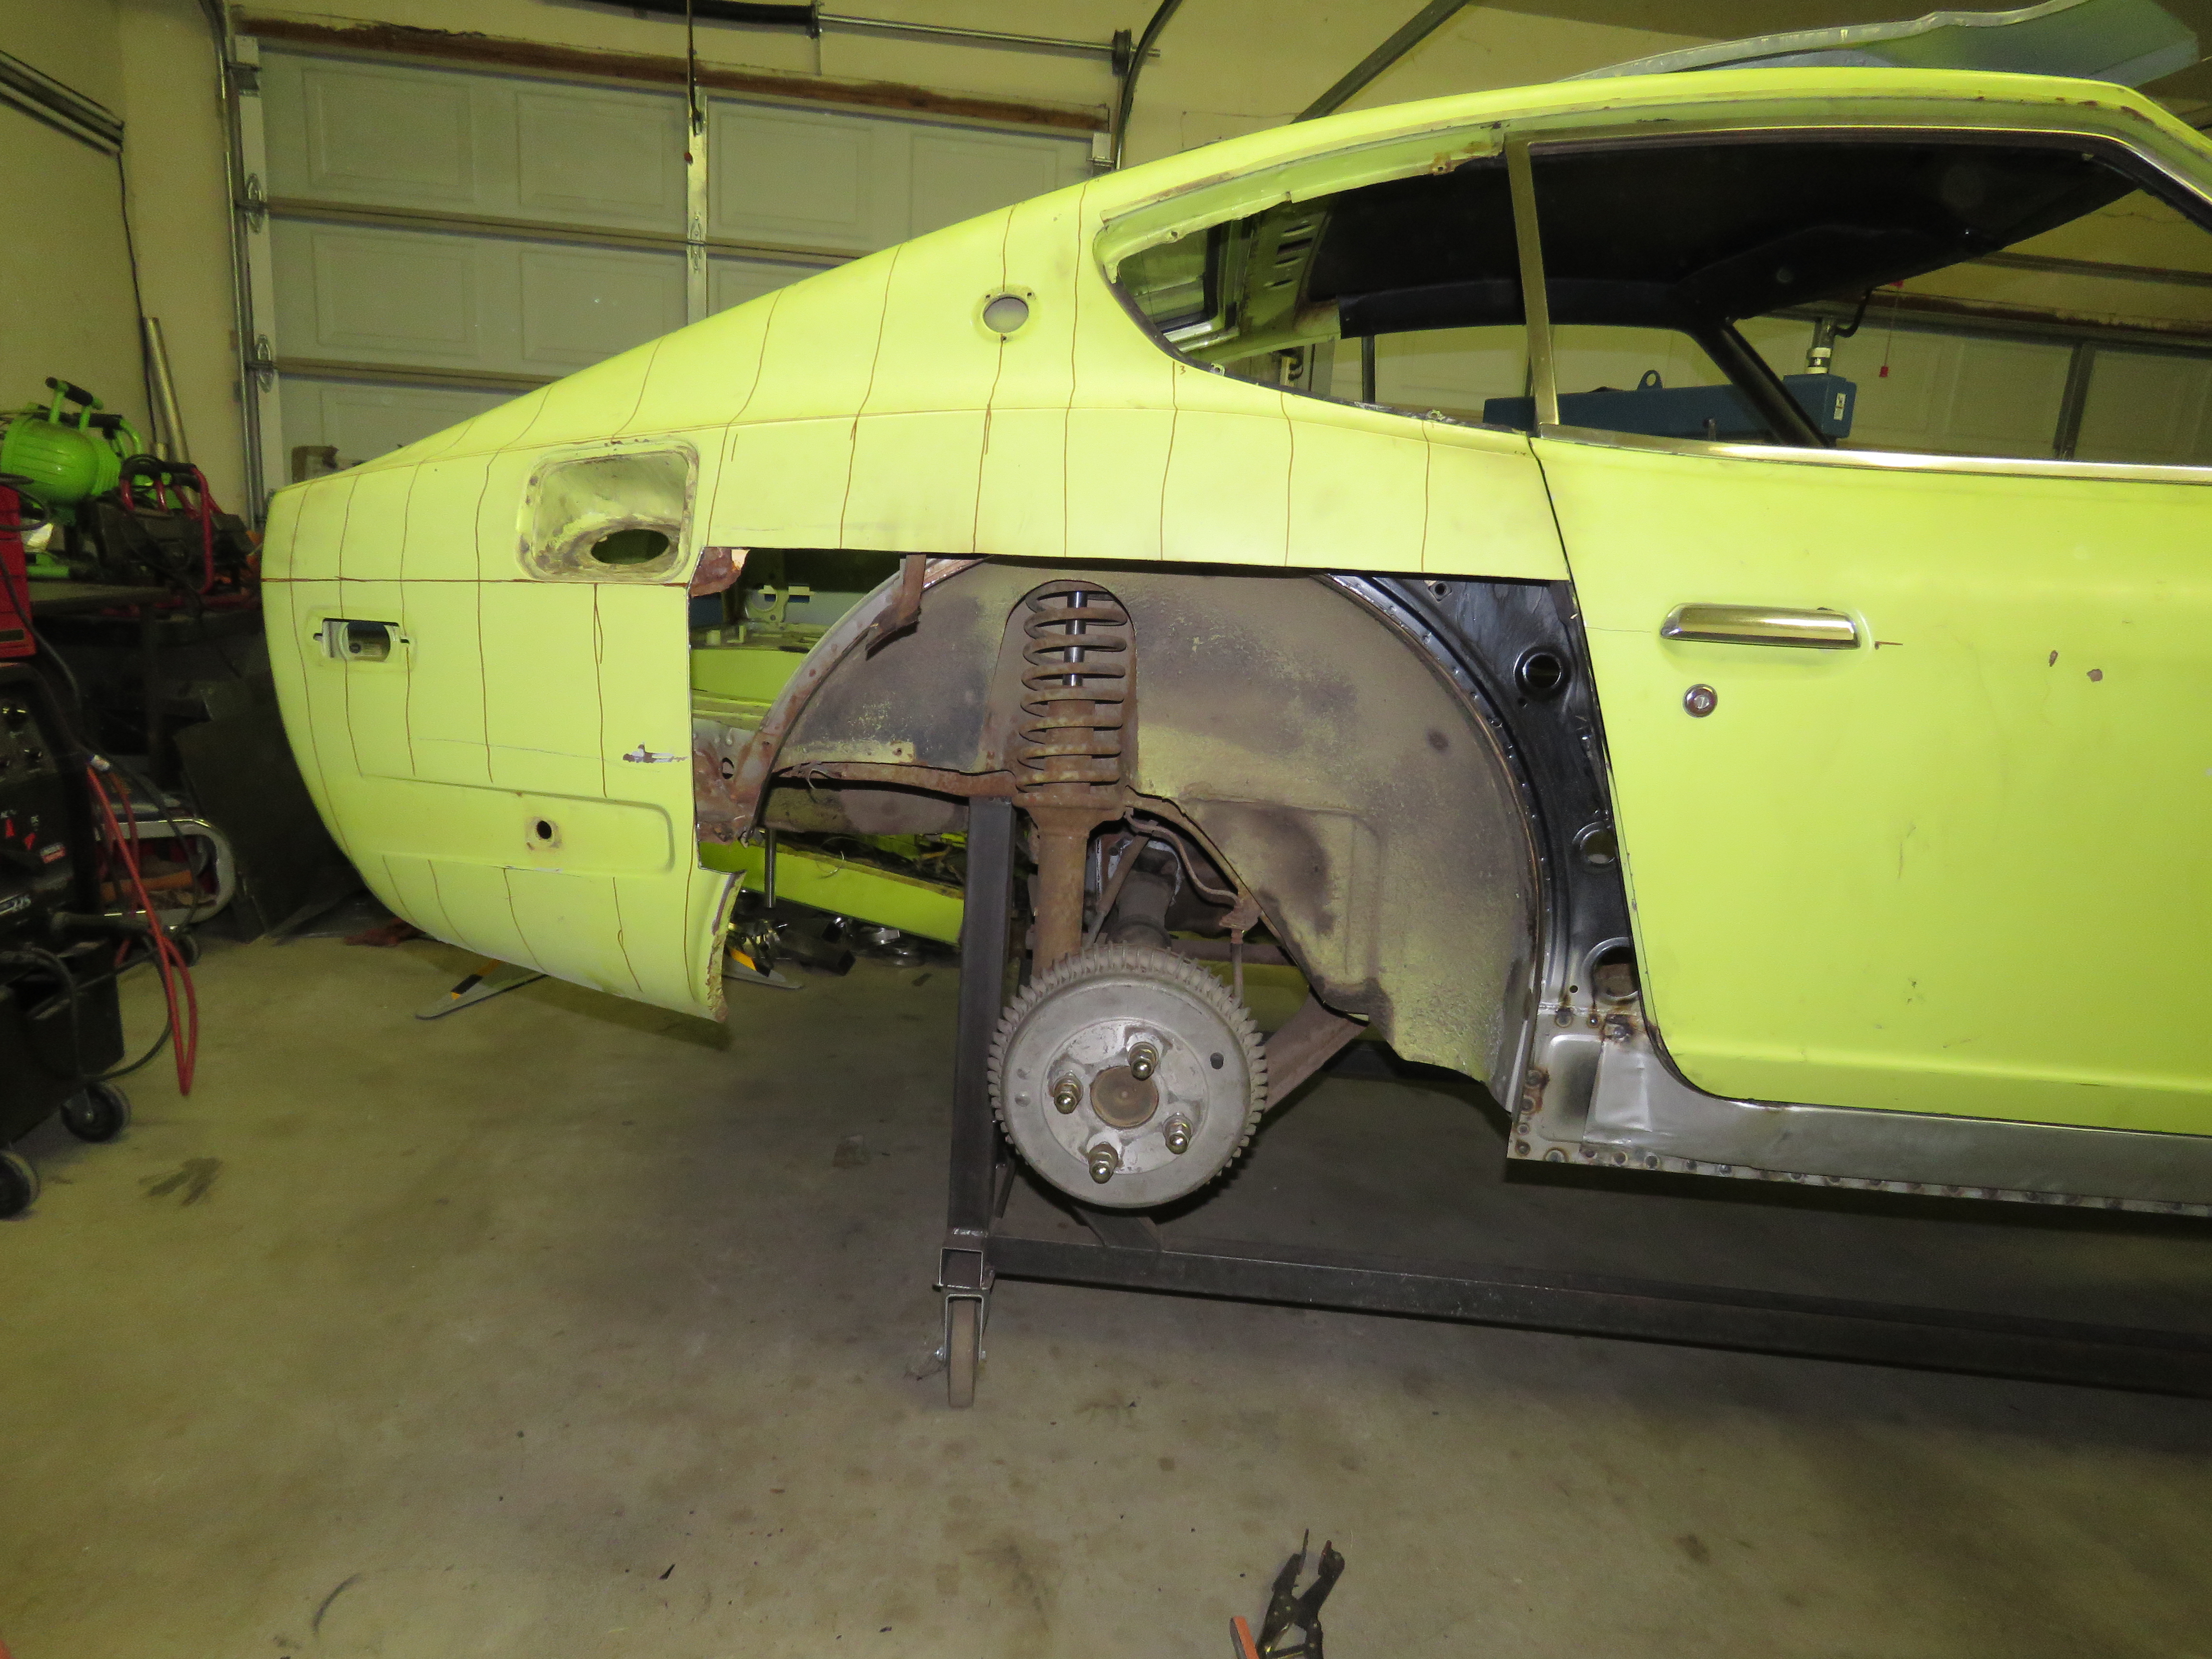
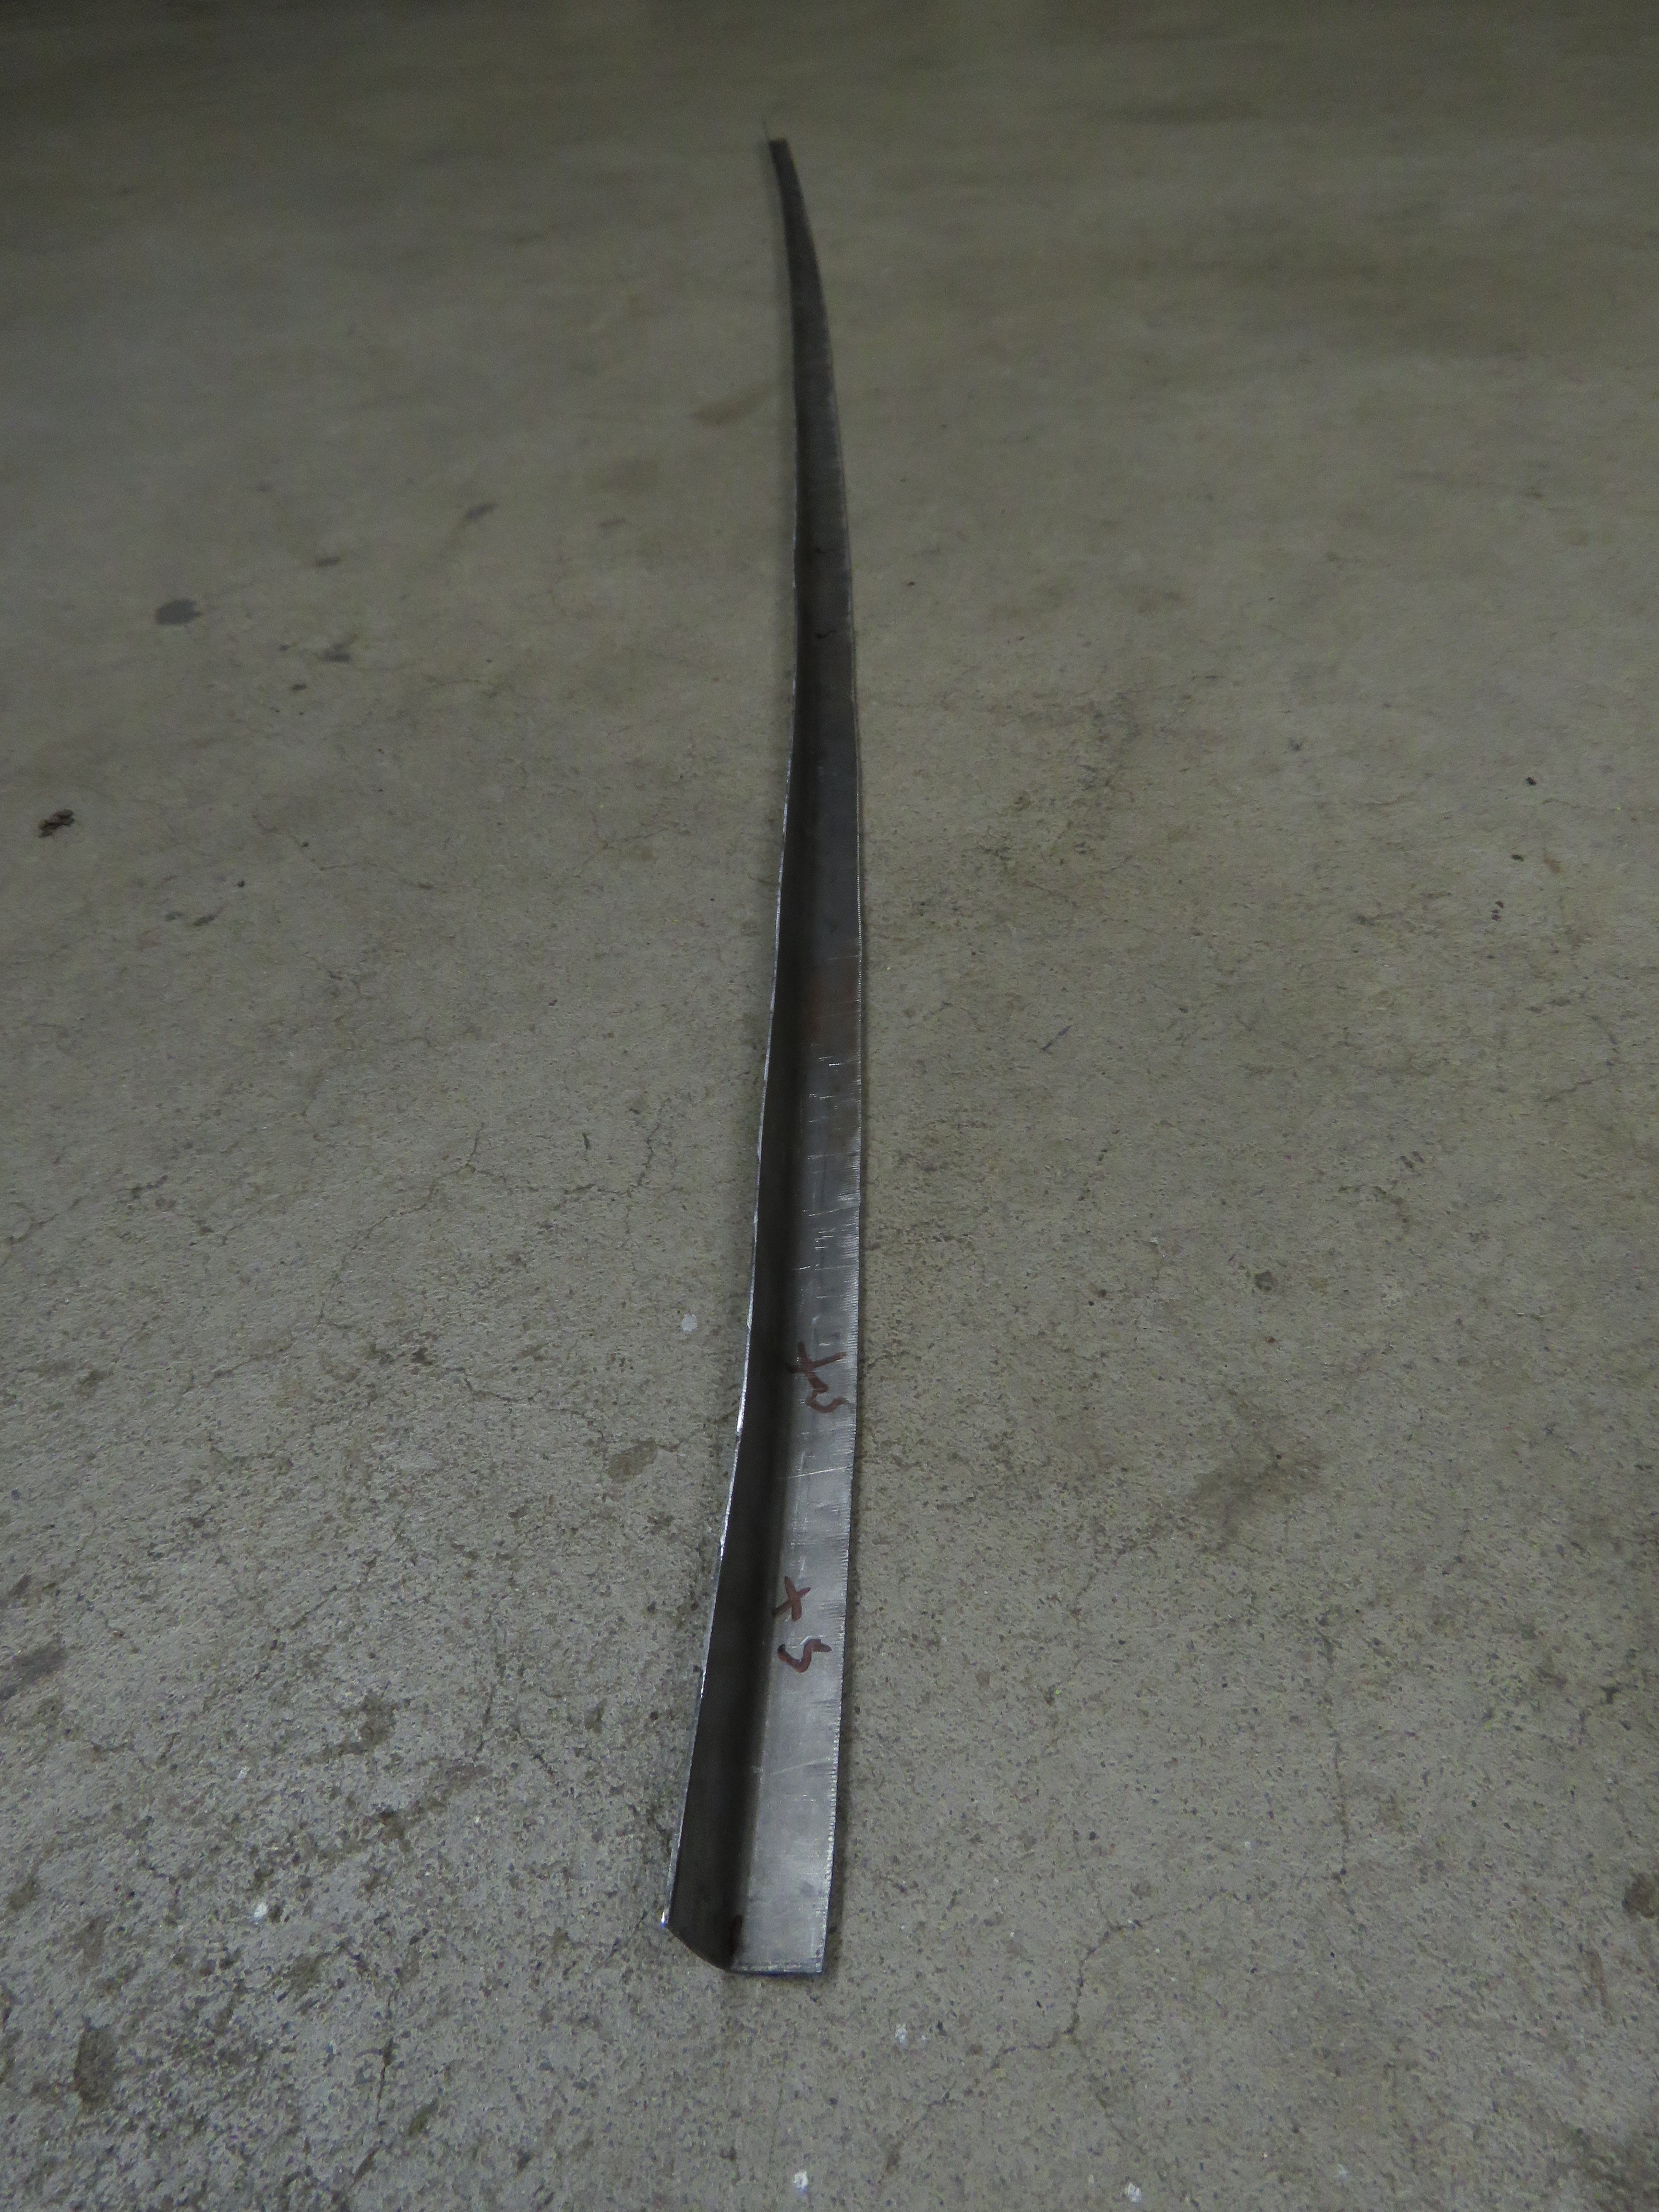
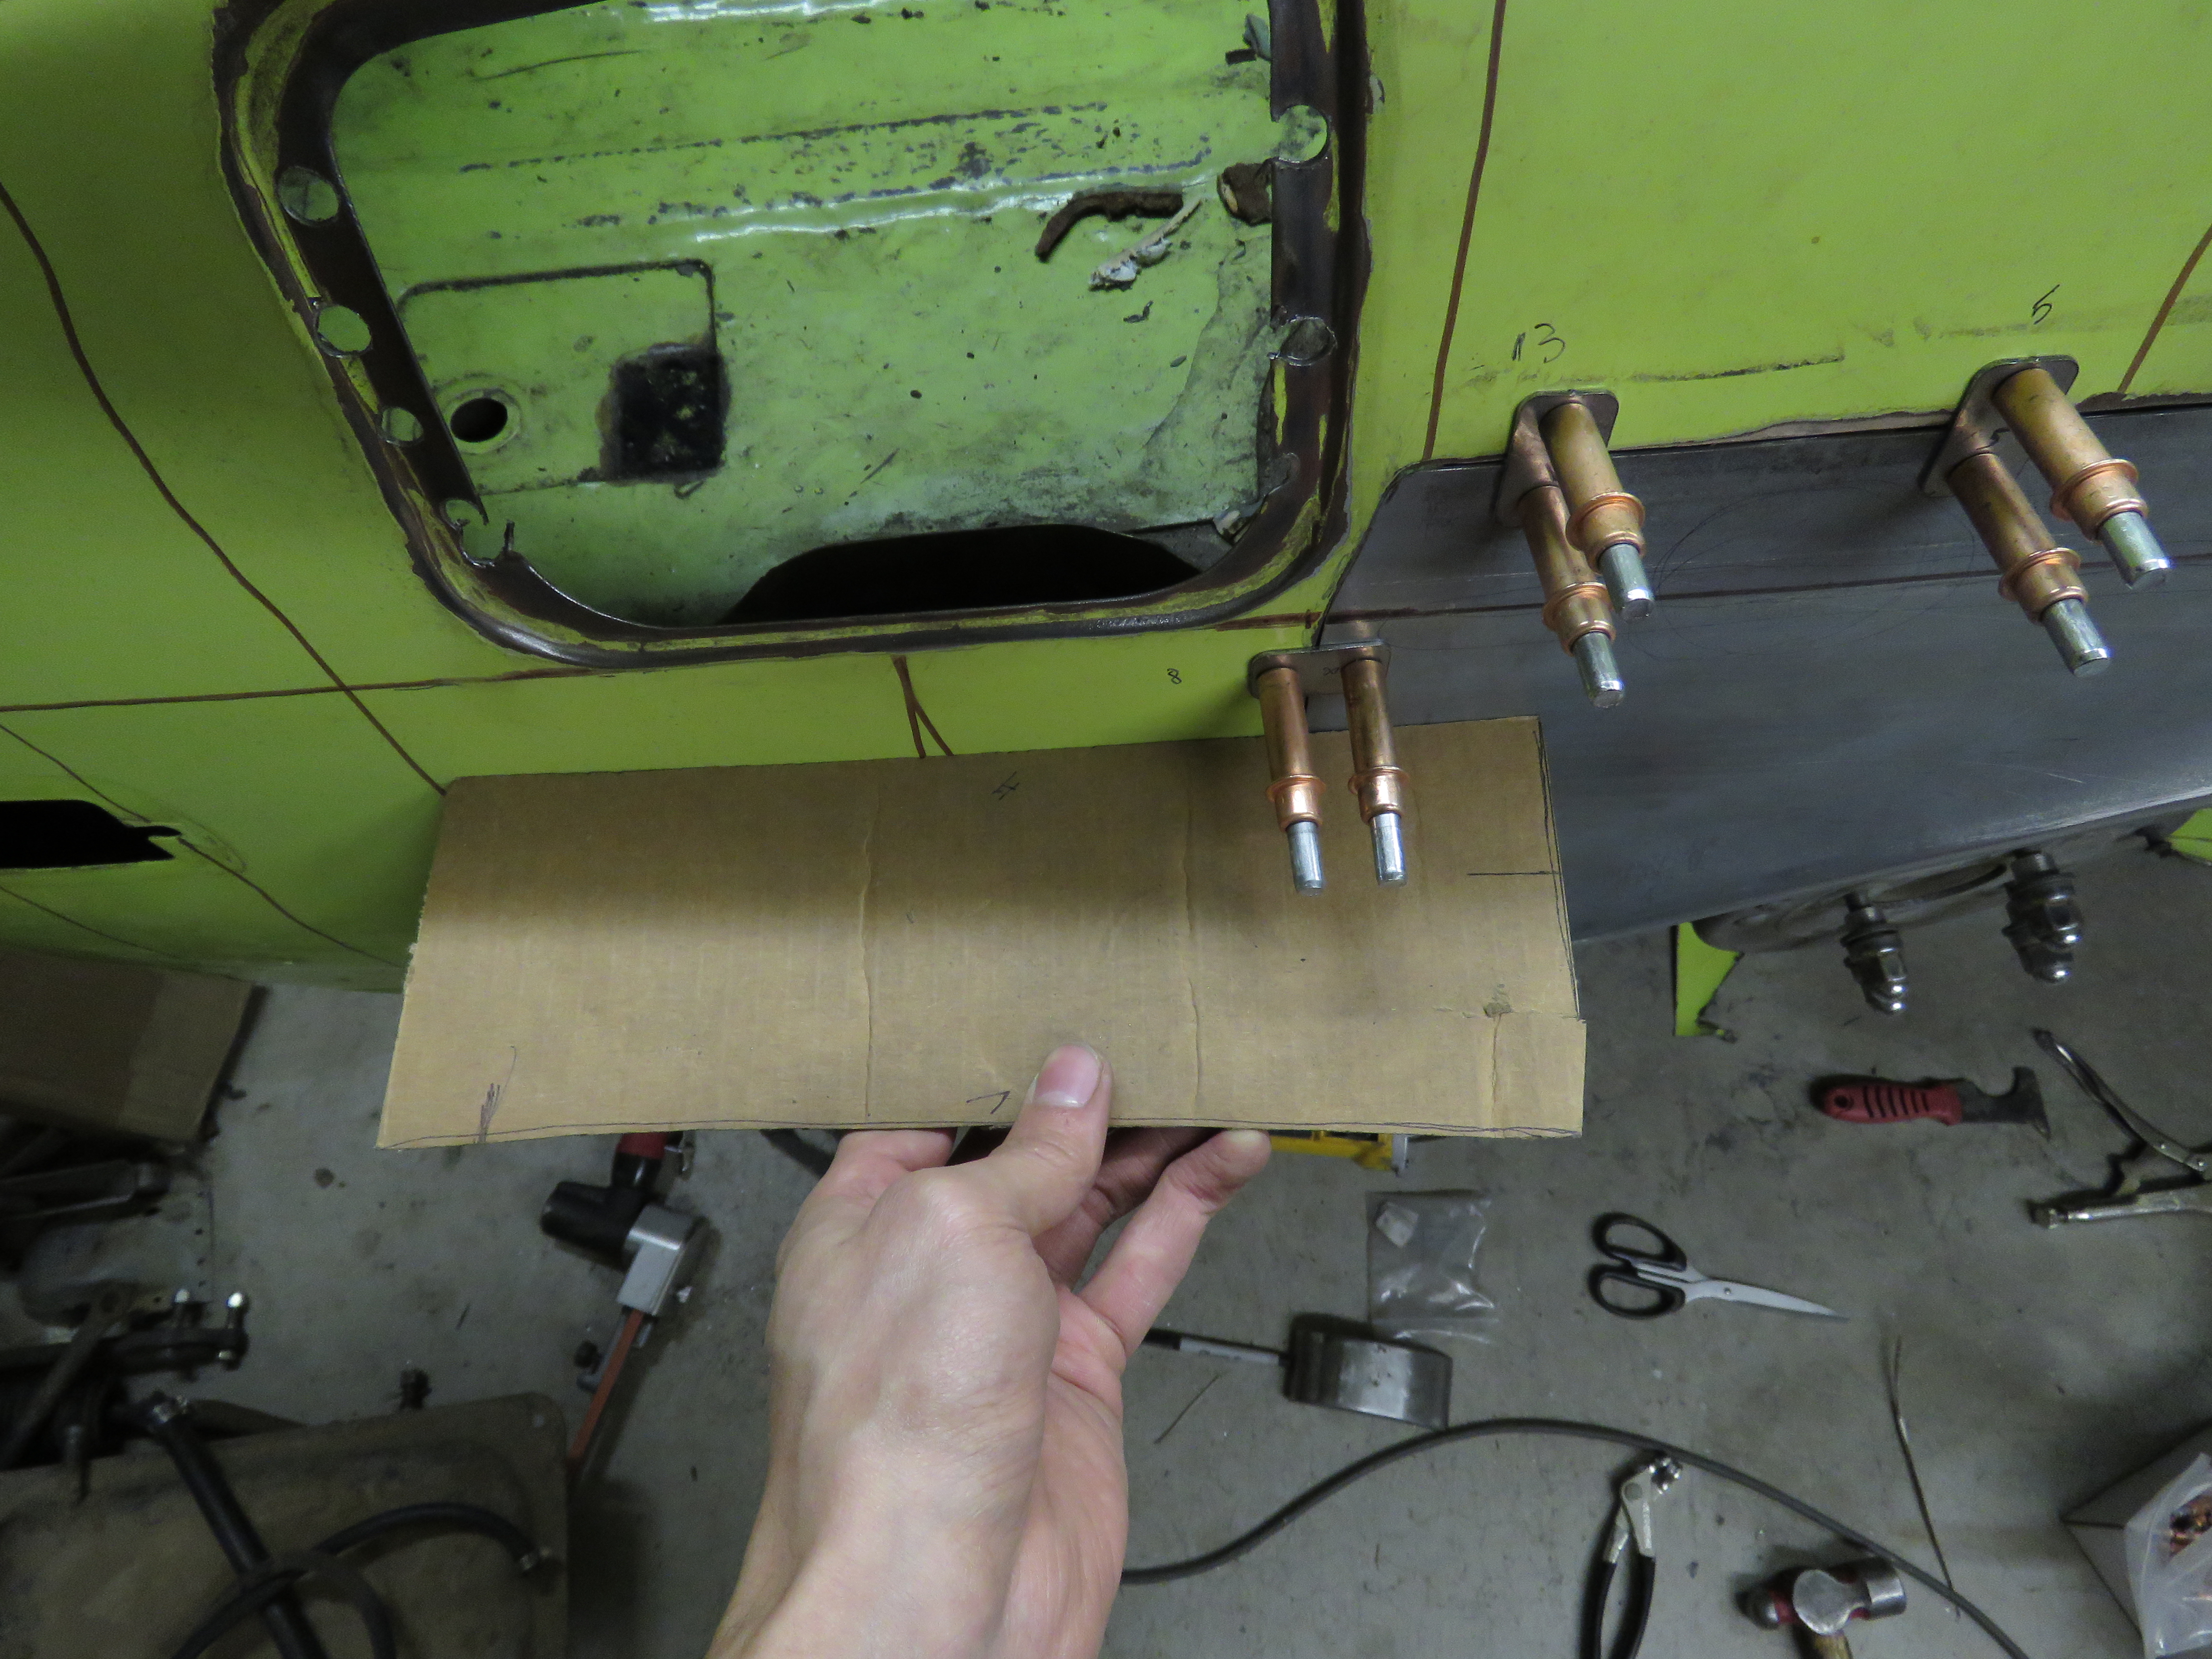
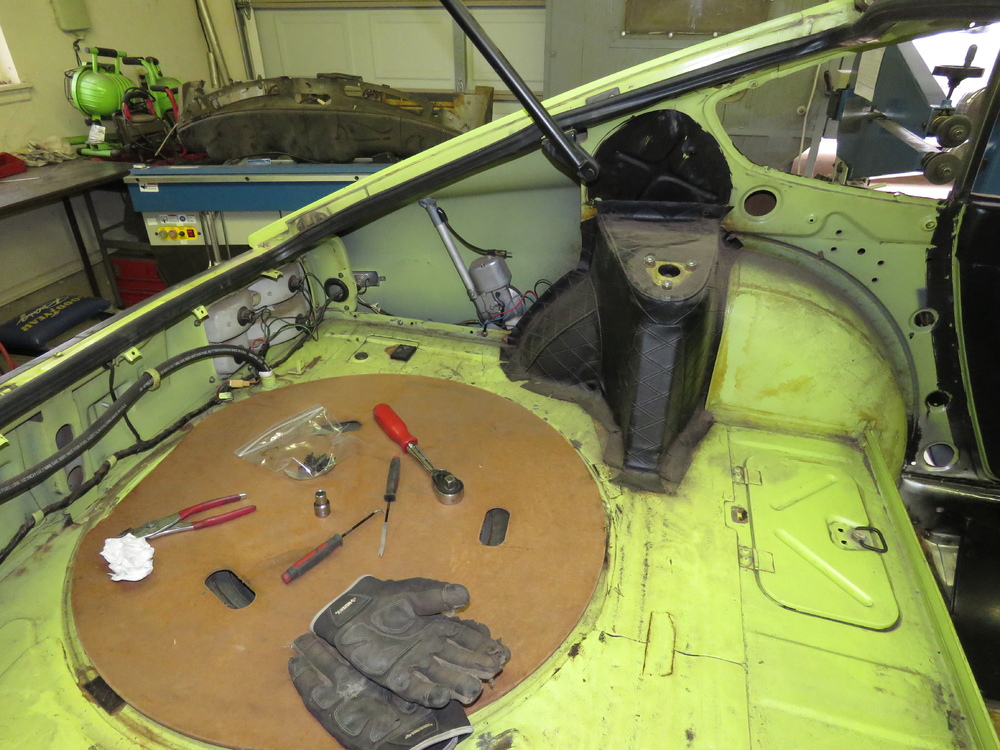
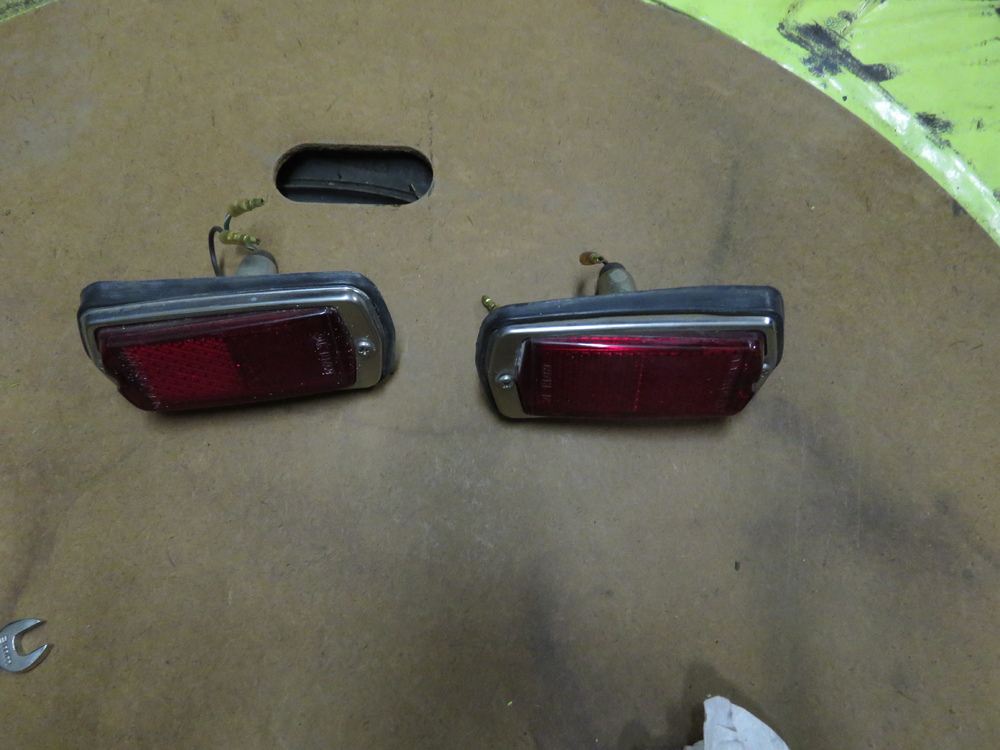
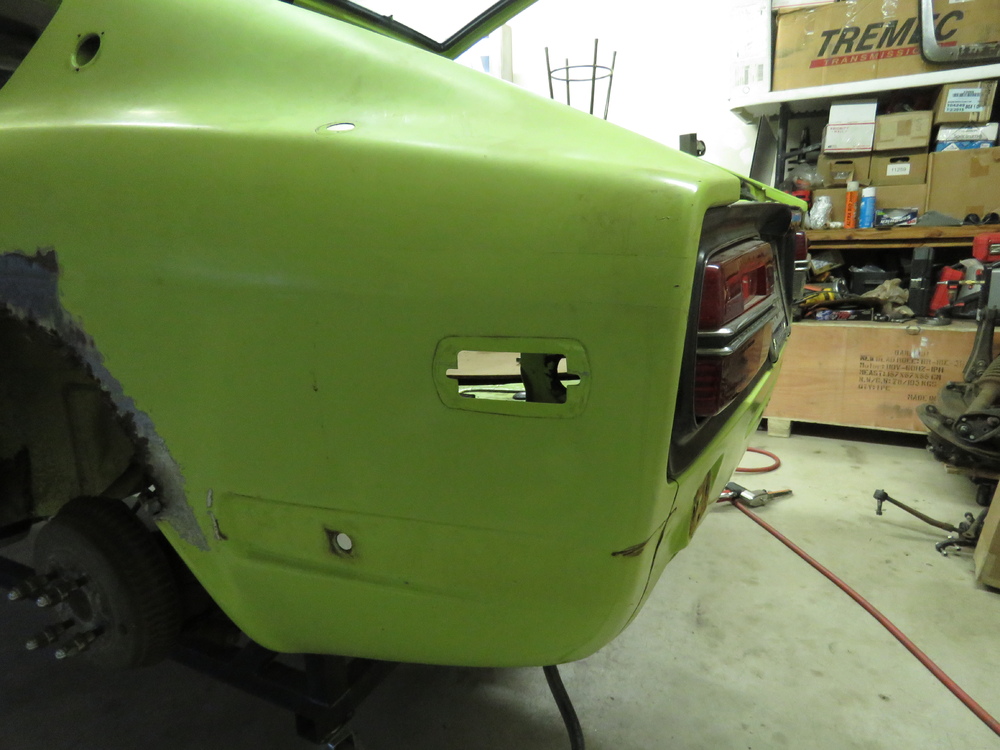
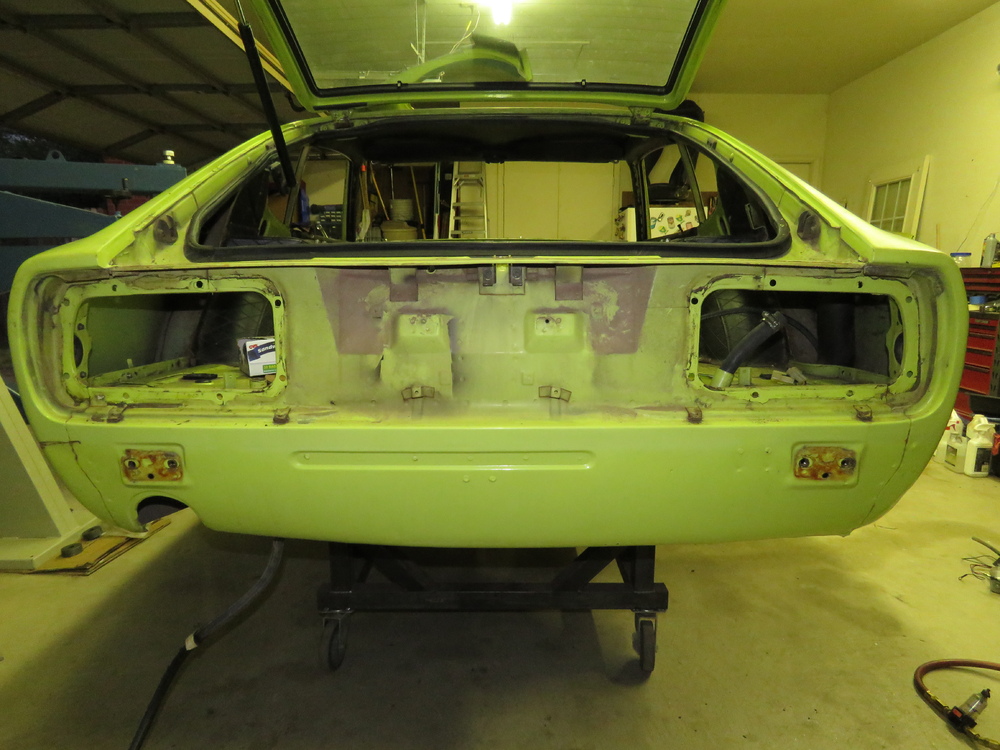
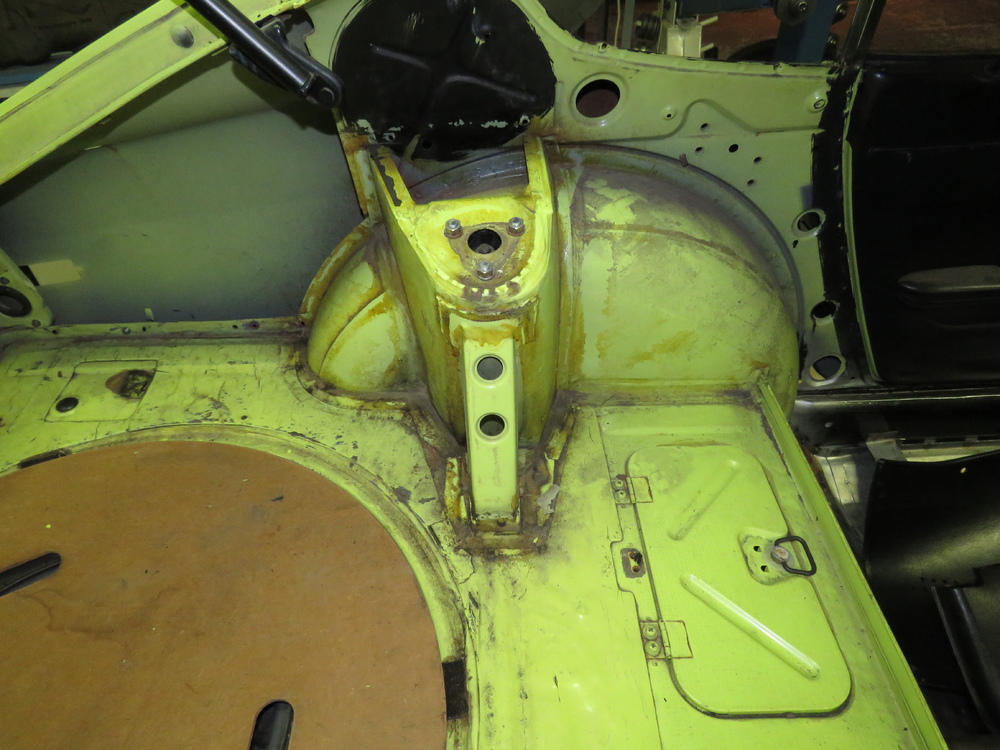
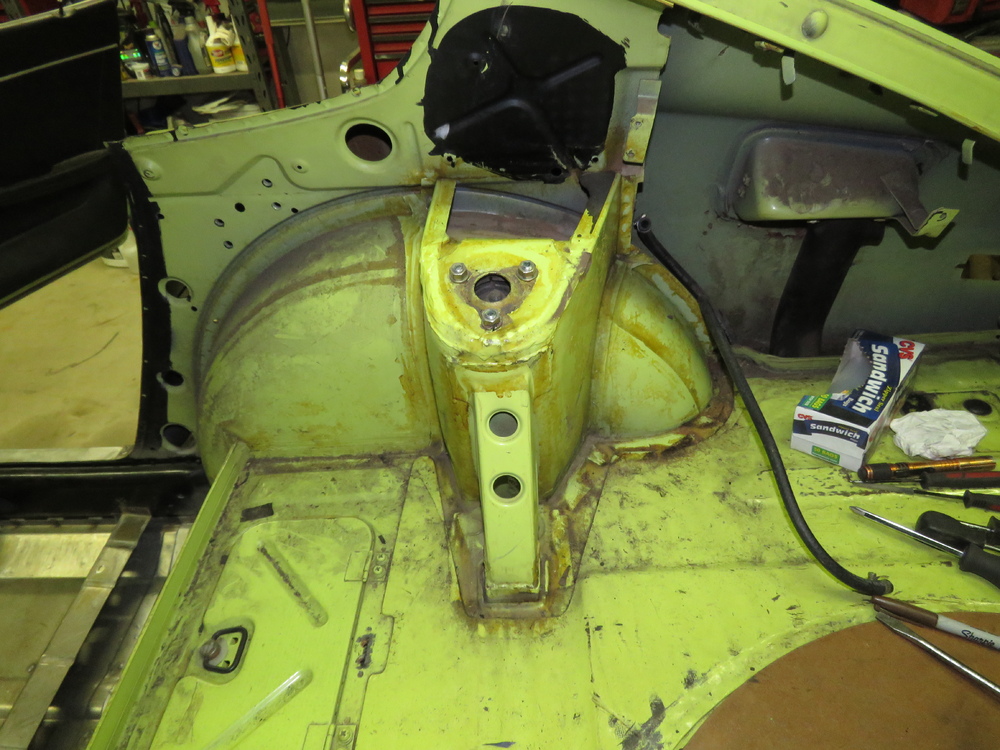
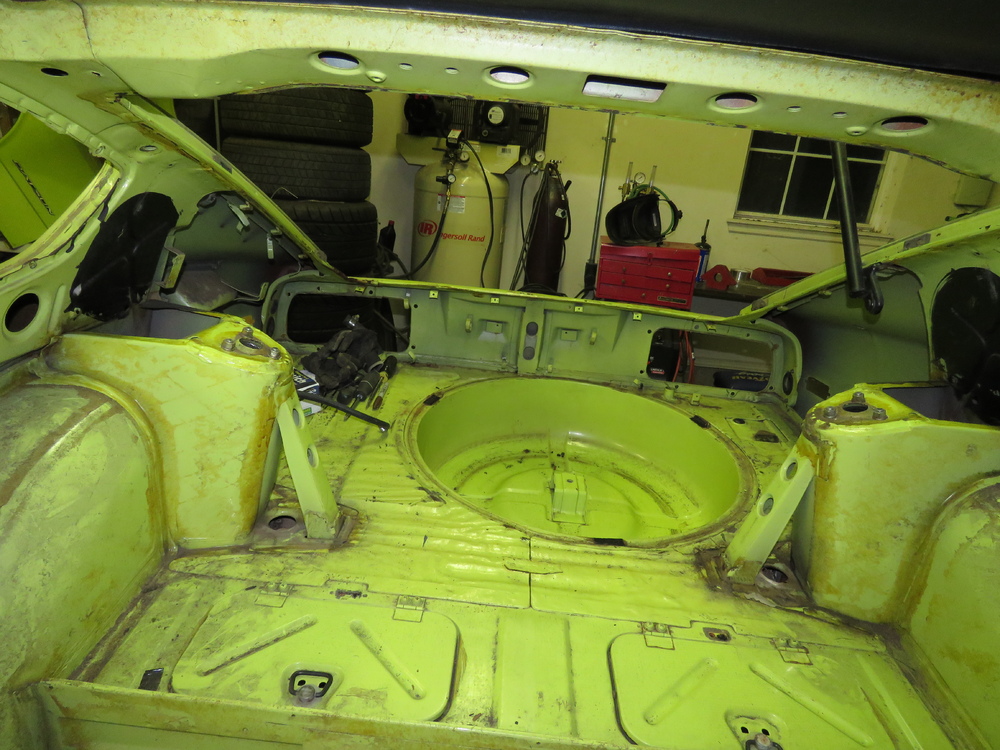
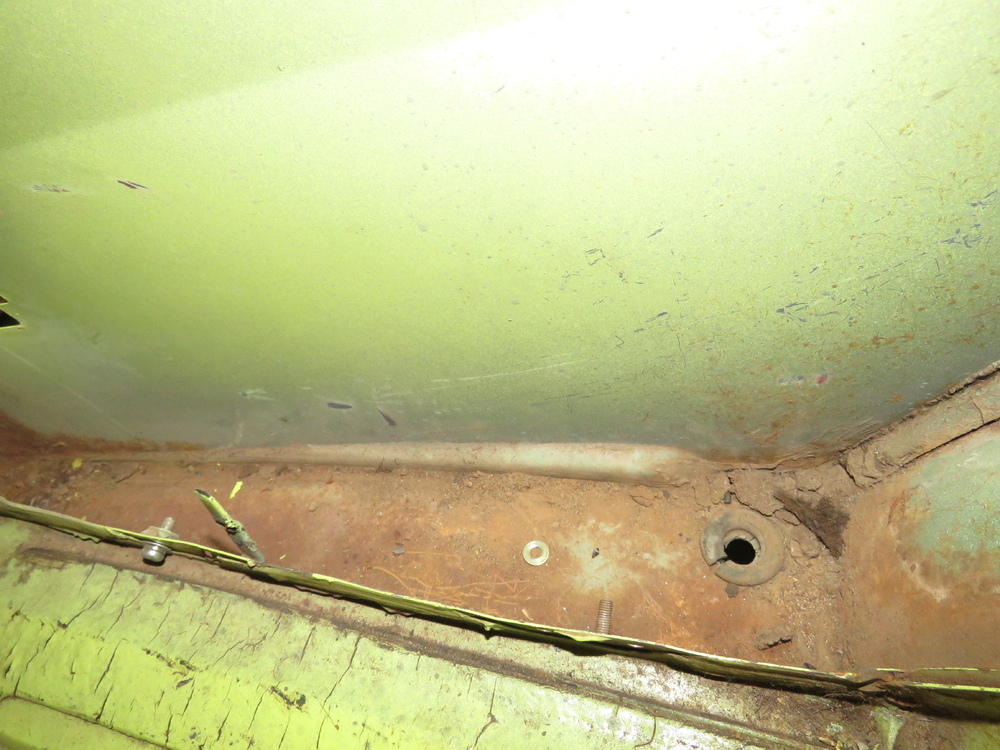
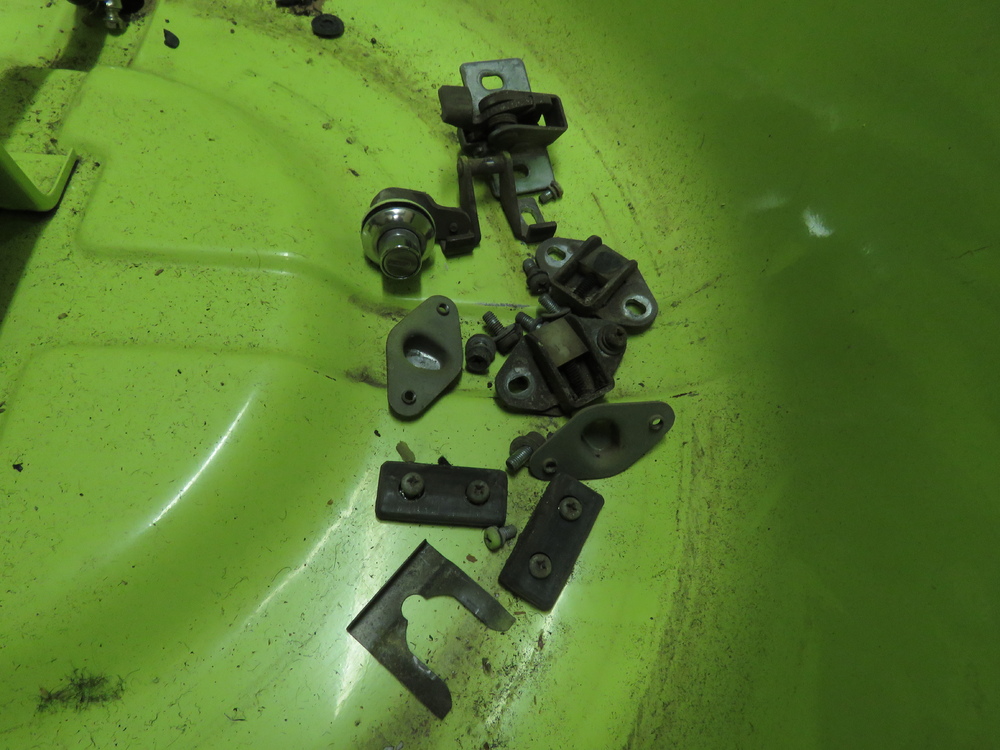
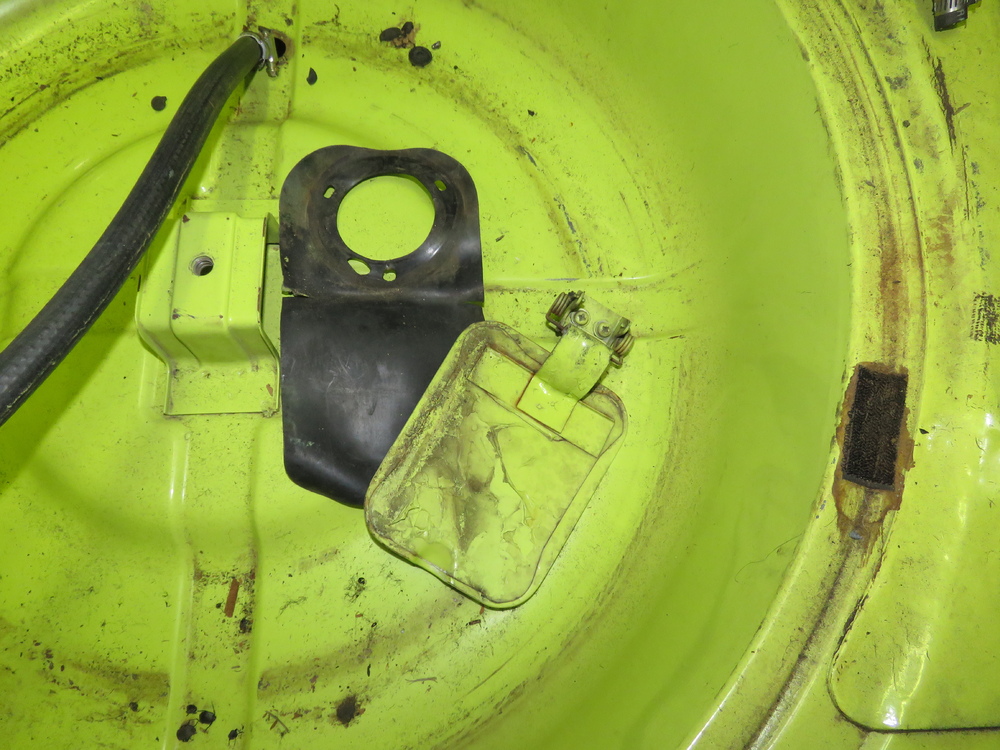
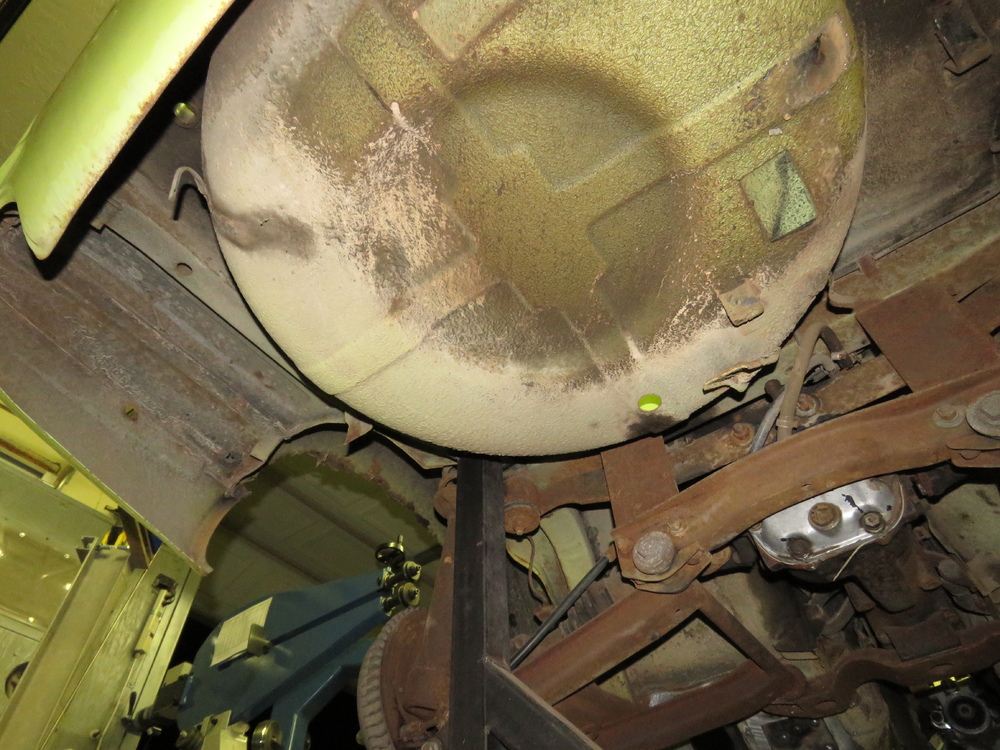
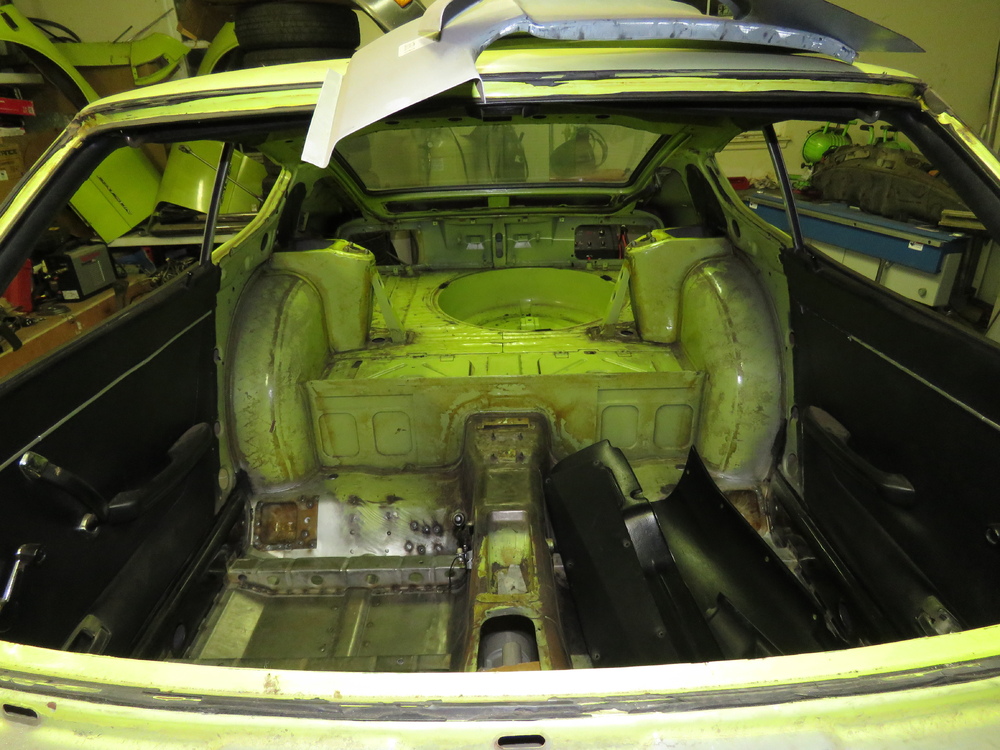
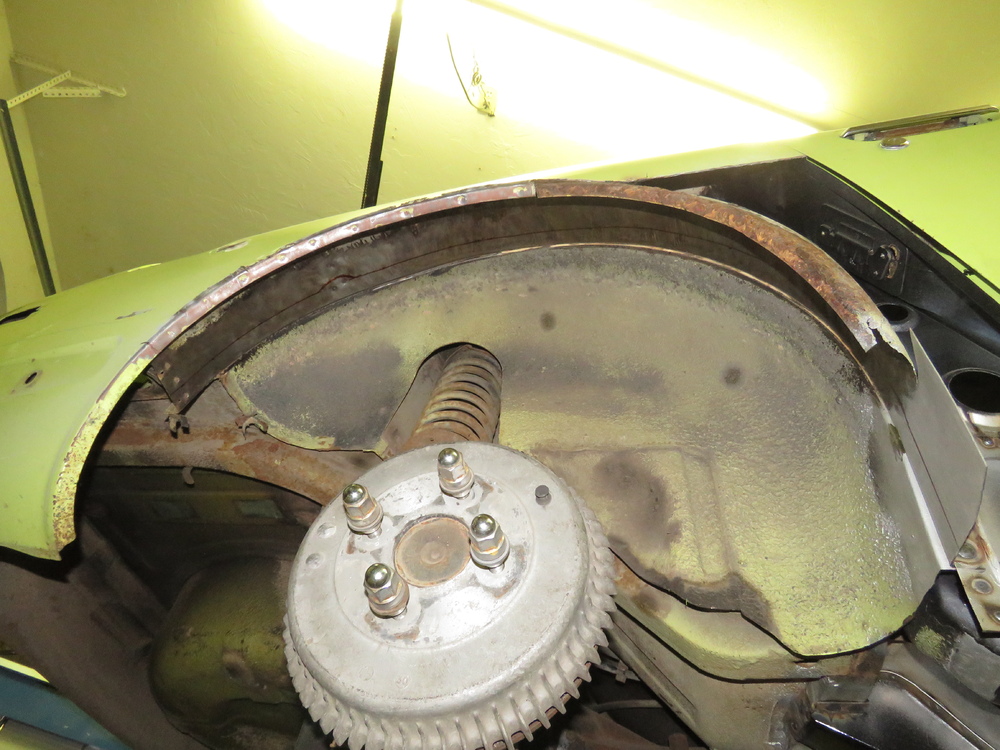
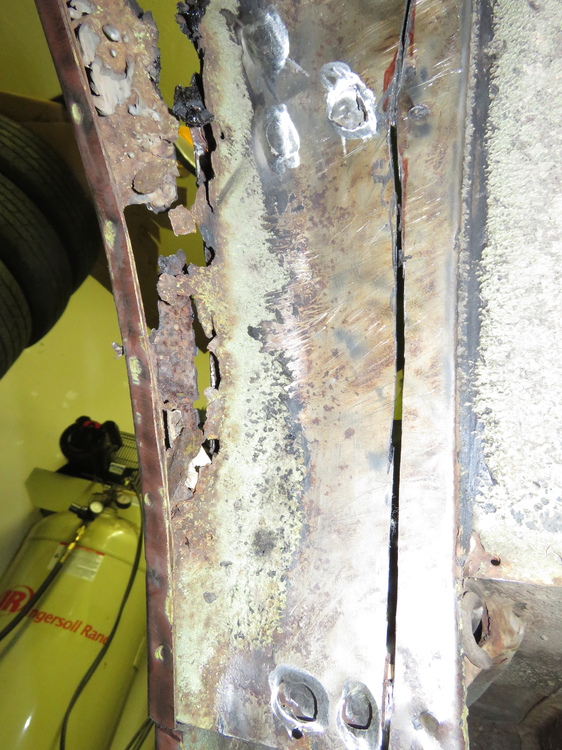
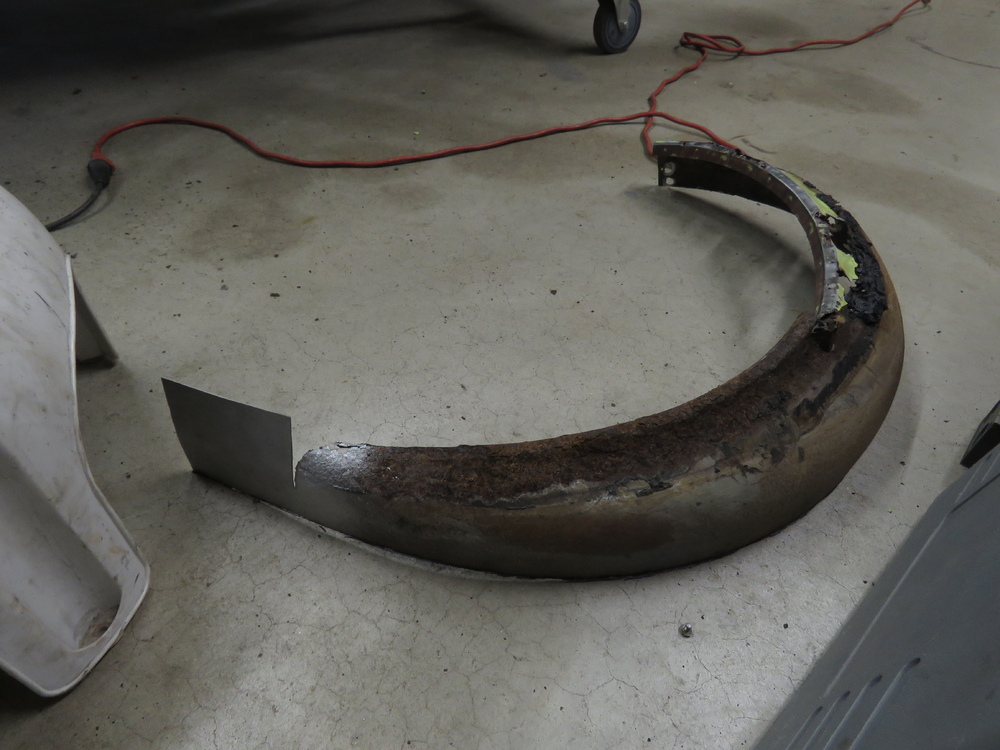
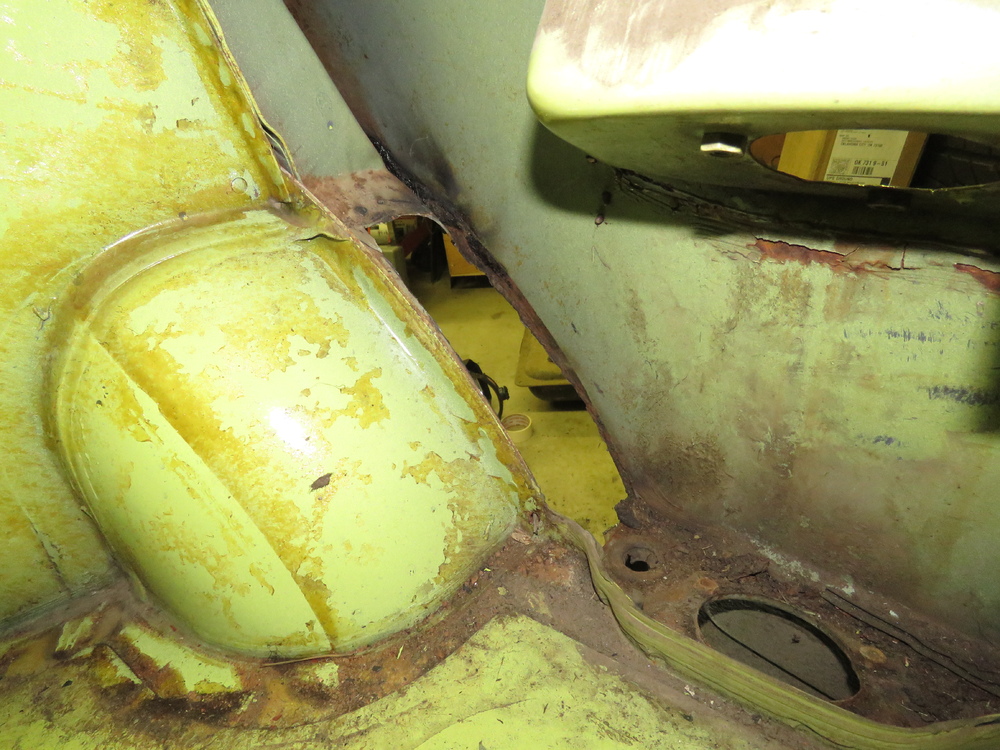
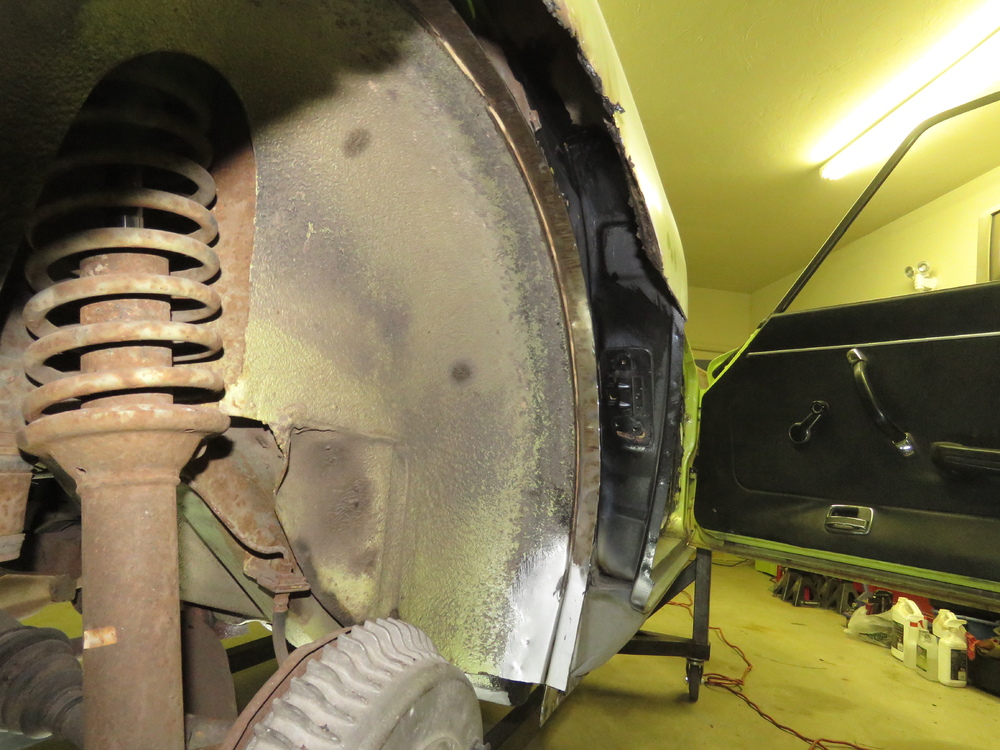
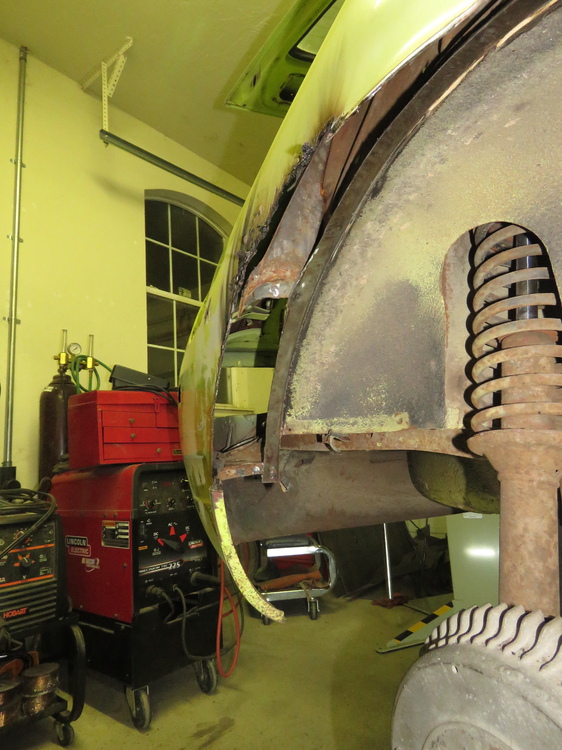
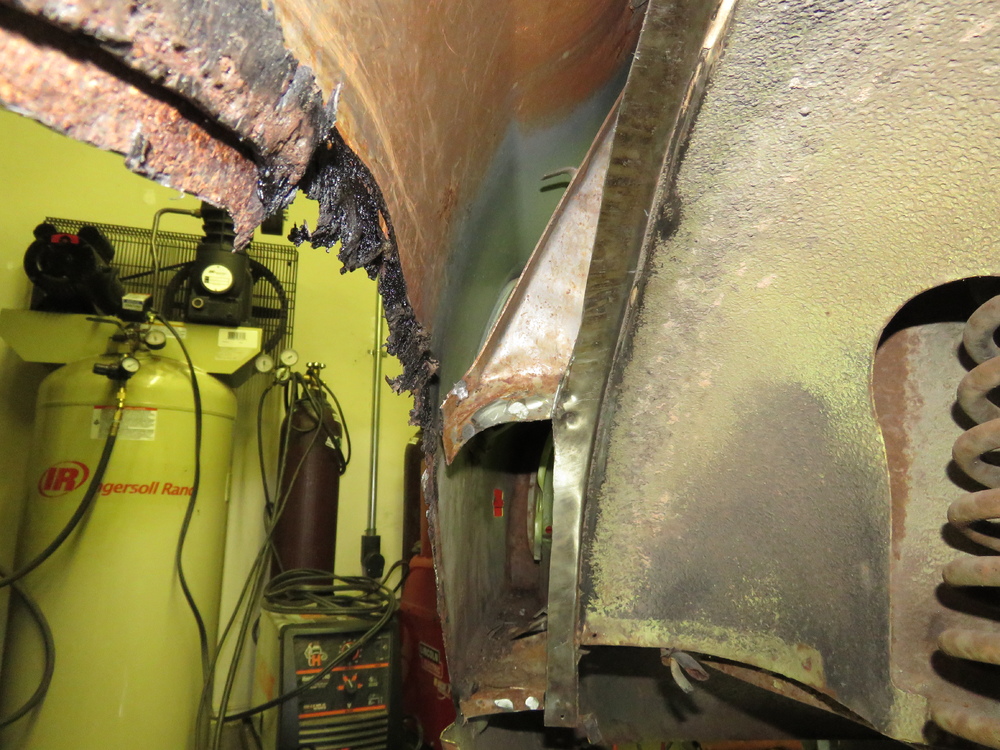
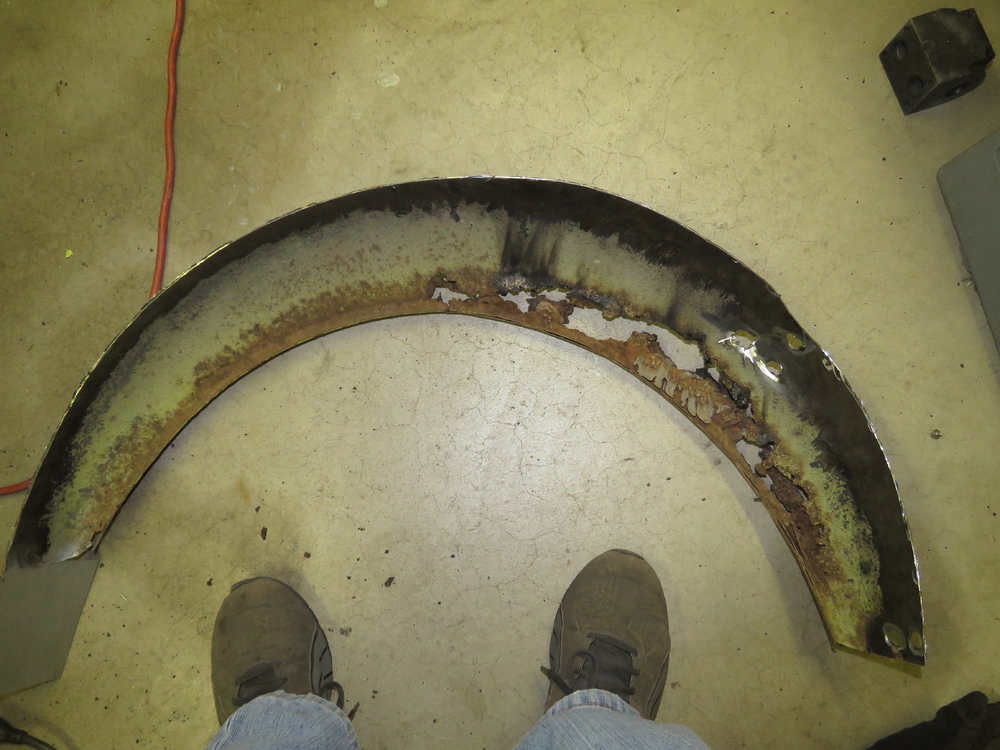
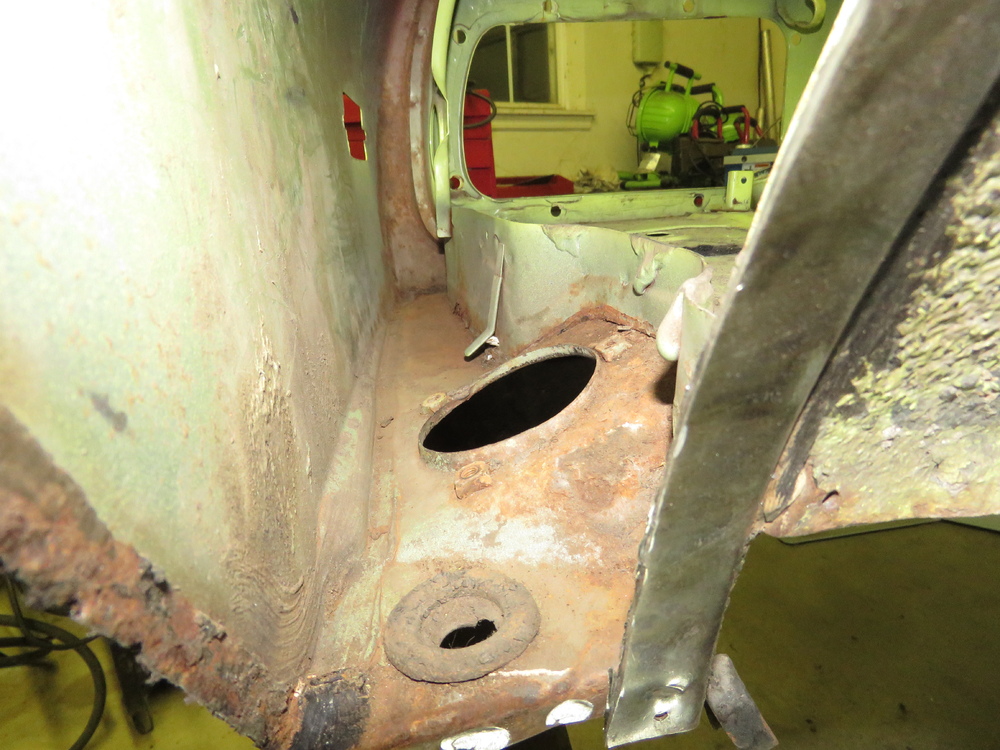
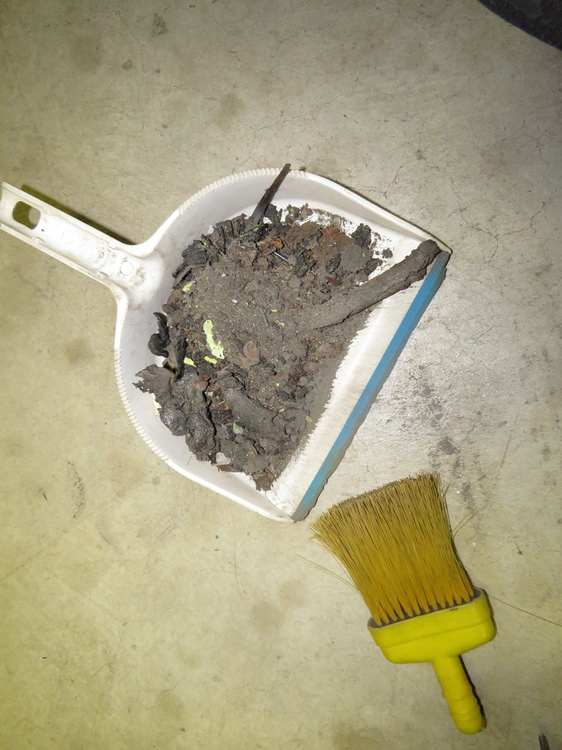
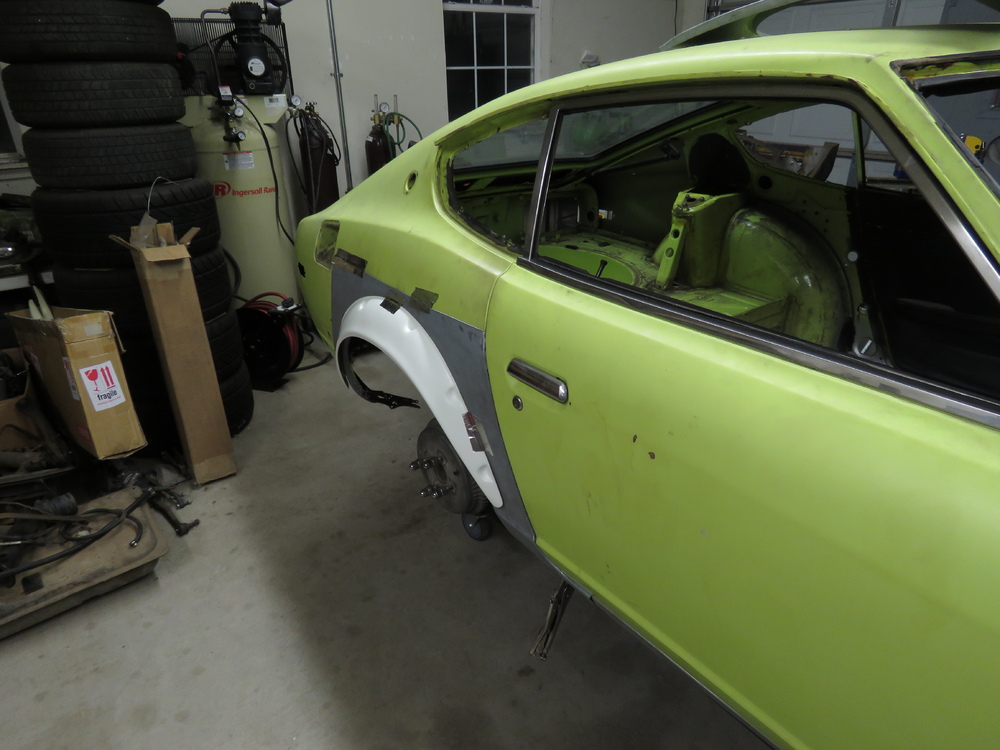
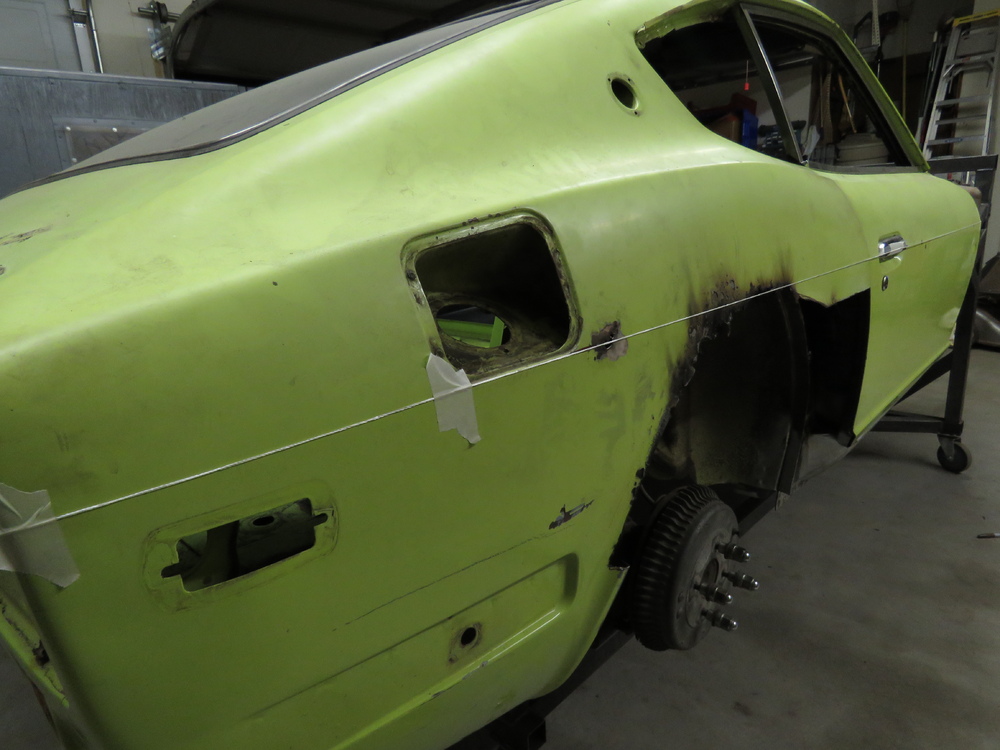
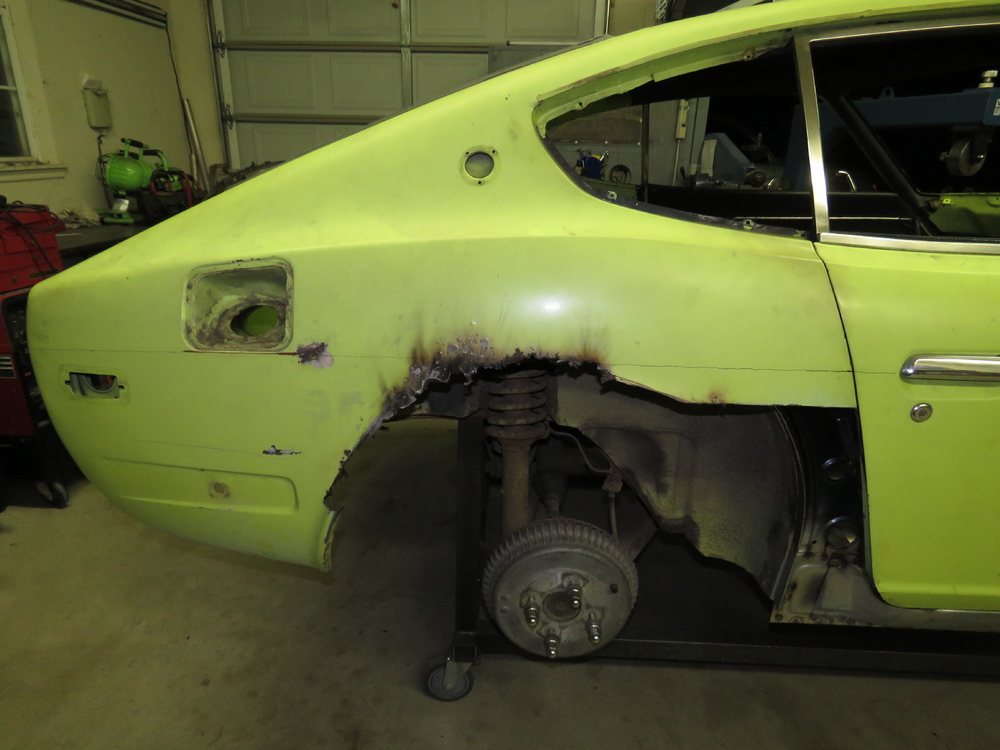
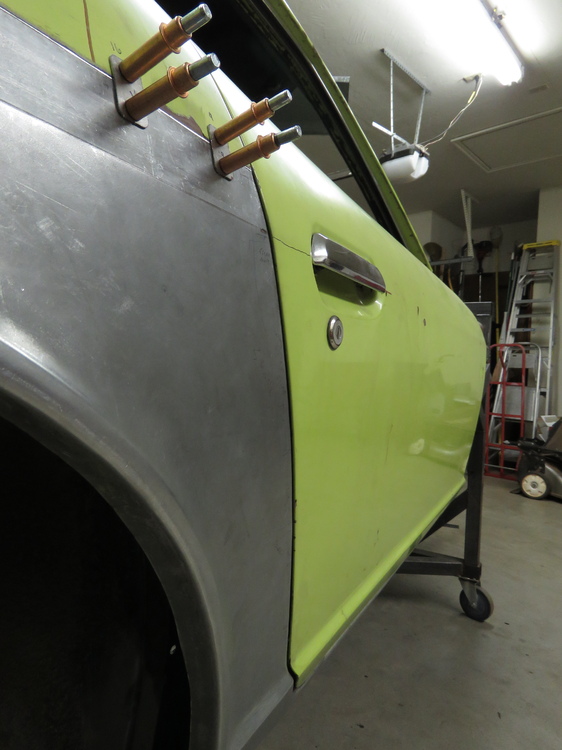
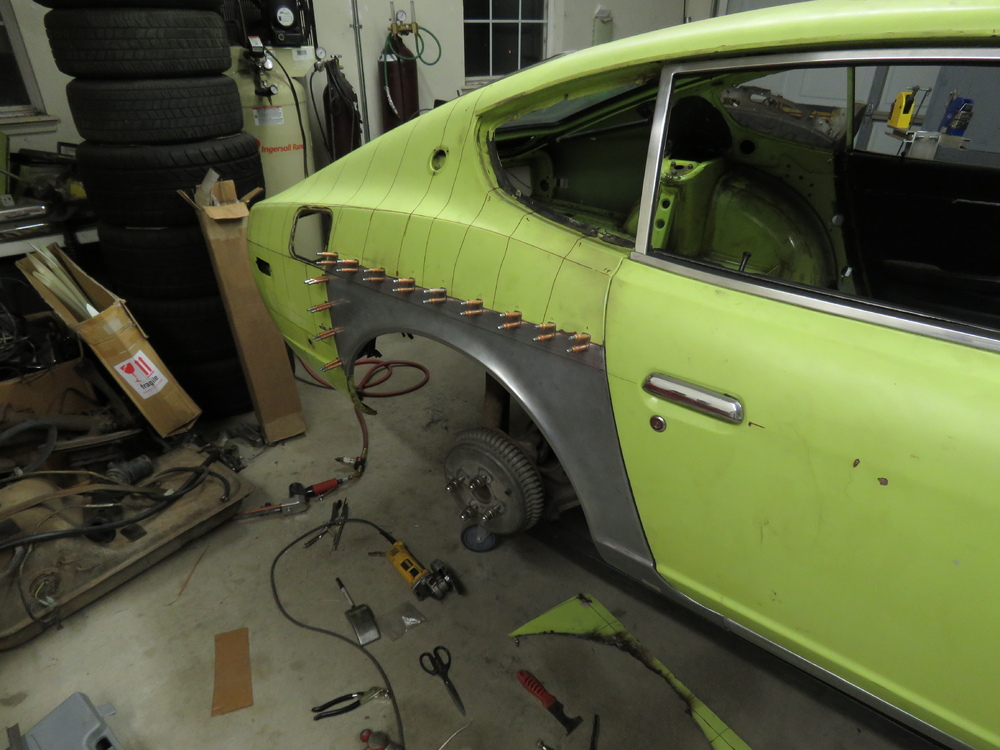
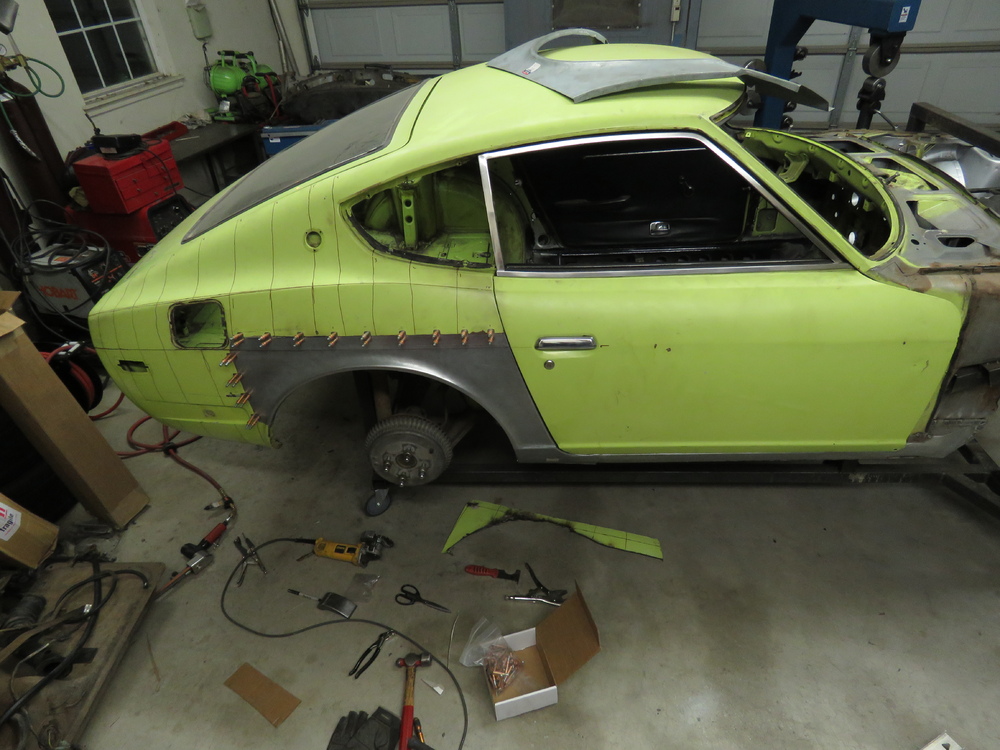
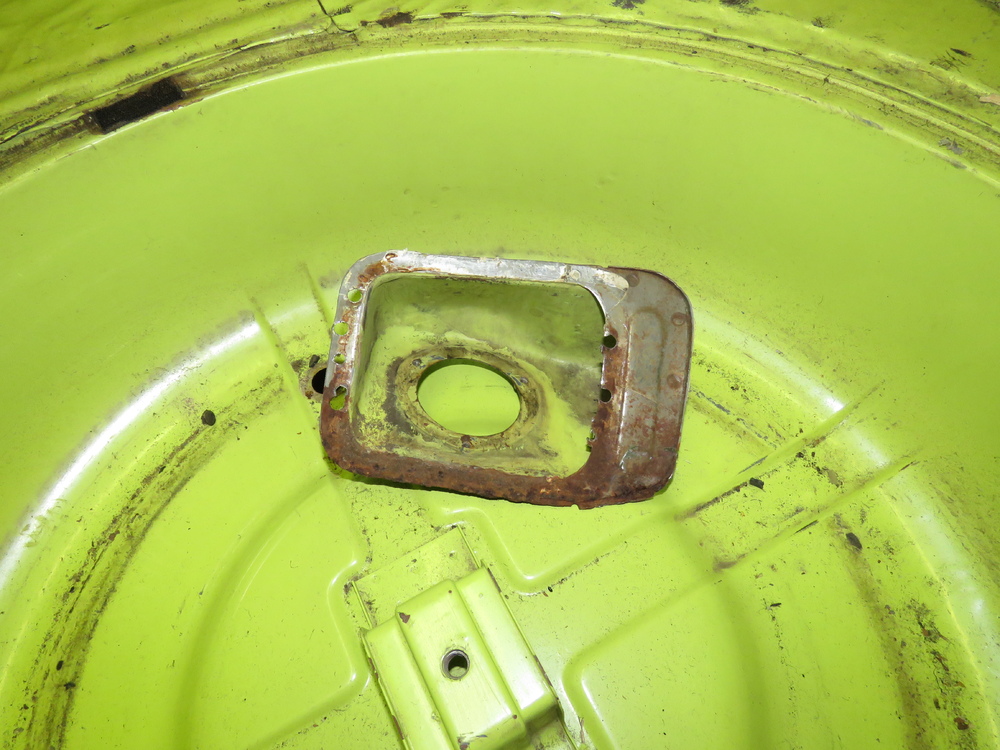
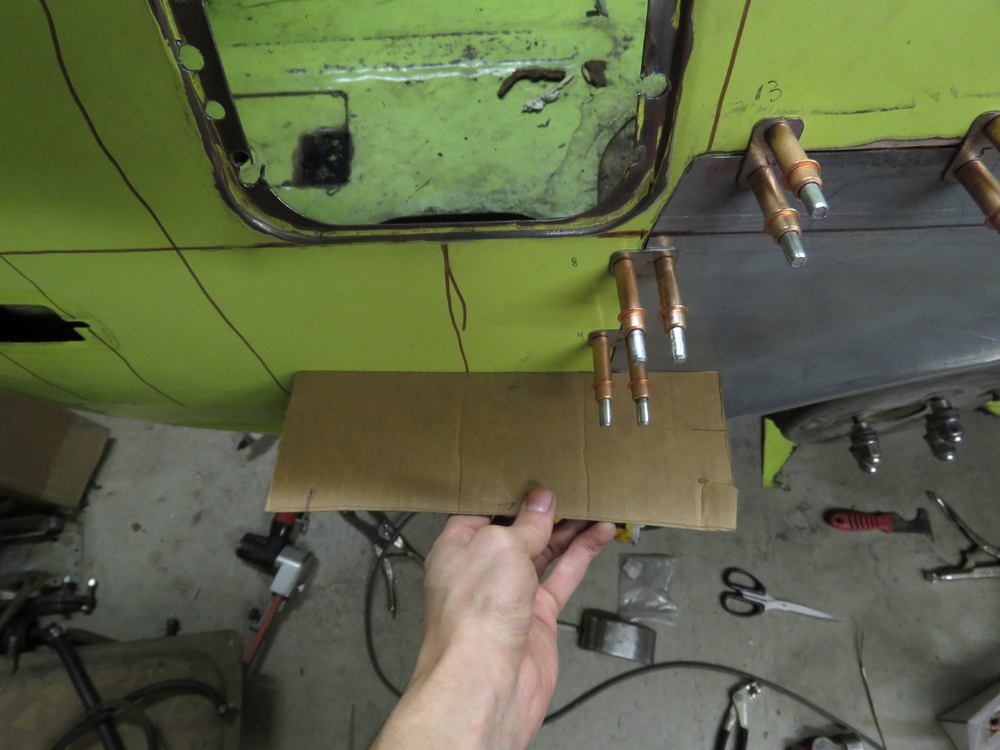
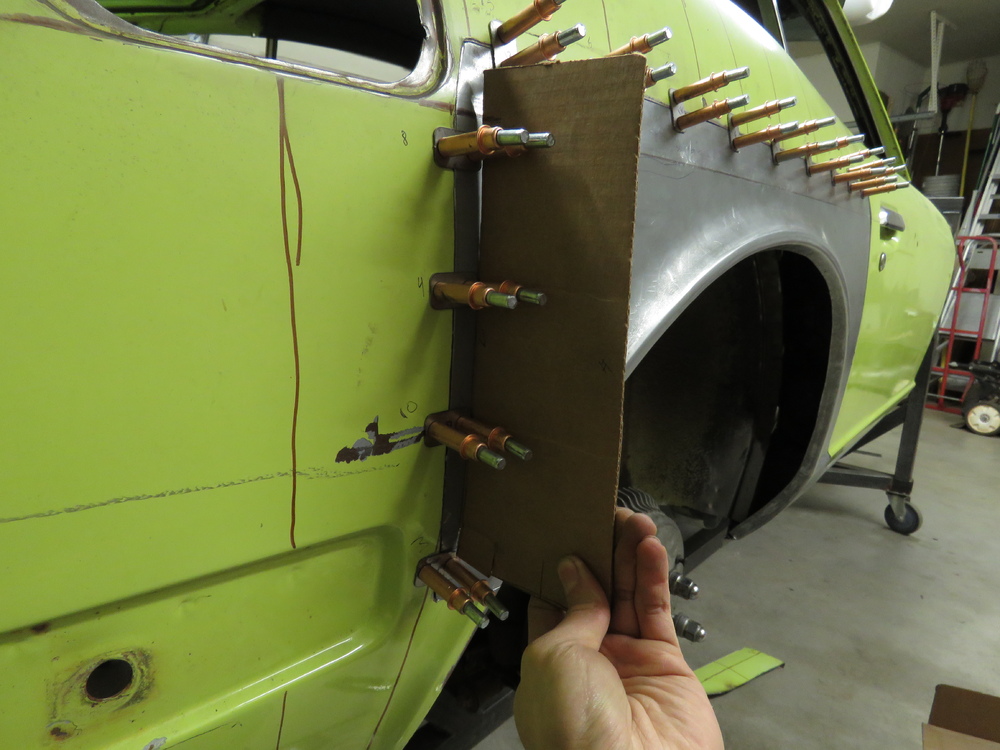
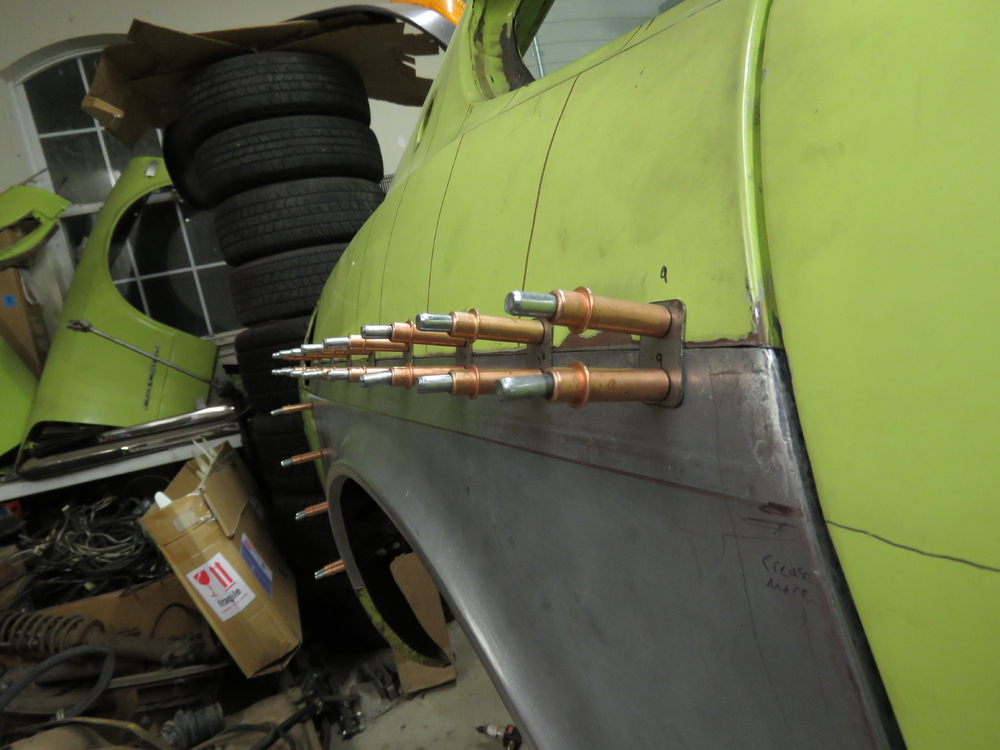
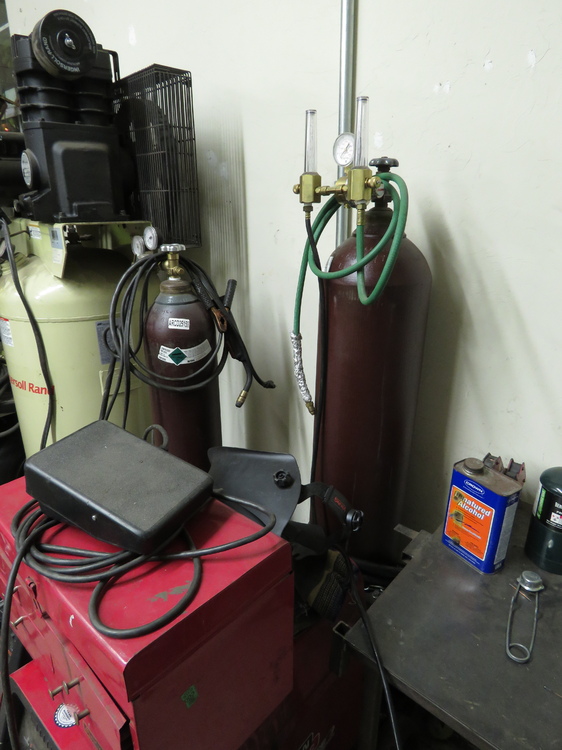
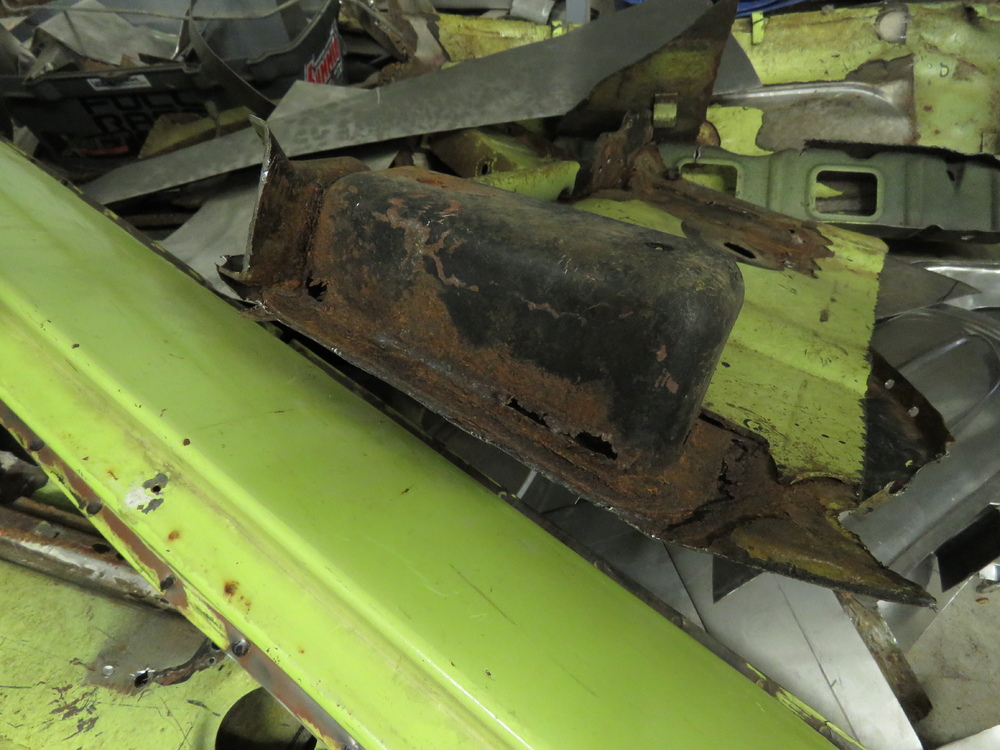
1 pointThanks Guys, guess I will post up LS1 related things with my project when it comes to it then. Small update with lots of pictures. The battery tray welded in. For now, not much else to do with the front of the car, rust repair wise. Cleared out the back half of the cars interior, took everything out. Had a hell of time removing the antenna motor. Finally decided that the bracket had to come off. Had to remove a small bolt on the bottom, wasnt easy. Everything else pictured below came out alright. Surprised how unrusty the back of this car is except for the wheel well areas. Also, I should had removed and drained the fuel tank before doing any work to the car, now that I think it of it, there were so many instances of the car catching on fire. Started work on the rear passenger side quarter panel. Though I needed to cut out the inner well. I left an inch of material to give me something to weld on to. Also made sure I took good care of the passenger side inner wheel arch because I needed a template to work off from. The driver side is hacked up. You know there is a reason why professional car restorers and fabricators hate low life cheap loosers who bondo over rusted metal and want to beat the living sh*t out of them. loosely test fitted it to get an idea of what im working with. Also wanted to see what my fiberglass fender flares look like. These are the Marugen Shoukai flares, supposedly to be once of the best fitted flares on the market. Seem to fit good. Will need to rotate the flare clockwise from the pictures show. Thought about make my own wide flares and even been thinking about remaking the who quarter panel. But for this car I wont, I really do like the look of these flares. I'll save making my own for another car. But I still want to try to recreate the whole rear quarter panel, will be good practice and experience, which is why you start to see a bunch of lines drawn on the car. Just giving myself a visual of how a metal or wooden buck may consist of. Trying to find the crease line that runs the length of the car using string. Used my bead roller to indent the hardly noticed crease in the Tabco panel. crease line marked on the car. Metal removed. Panel all trimmed and fitted. Had to do a lot of modifying to get it to blend in with its surroundings. Did a bunch of shrinking, stretching and some wheeling. Probably not the best seams to lay a weld, but need to cover the rusted area near the fuel filler cap. Wanted to weld just above or below the crease from the original panel but was unable to. Made a cardboard template and metal template on the contour of the rear quarter panel in some areas both vertically and horizontally to check that the new panel blends in. I will be relocating the fuel filler cap somewhere else, stay tuned for that, have a slick and cool idea Ive seen. Stock one removed. So earlier today I had to refill my argon cylinder. Well the guy at my local Airgas said they didnt have my size cylinder (125cf) in stock to swap out, so he said I will hook you up. Ended up giving me a 300 series argon cylinder and charged me the price for a refill of a 125 cylinder. Since I had originally out right purchased the 125 cylinder in the past and not lease/rented, I get to keep the 300 size cylinder. Told me if you want you can downgrade to the 125 cylinder or just keep the 300 for now on. Thing is huge. Thats all for now, stay tuned!


 1 point
 -
1 pointThanks for all the suggestions. Have taken the console and underneath boots off and gotten to the shifter mechanism. Removed that and found that the bushings around the pin holding the shifter were completely gone. Contacted my local Nissan dealer and had the bushings two days later. Thanks, Cliff, and others with suggestions. It is all back together now and shifting is much more precise as the slop in the lever has been eliminated. There is some stiffness in moving the lever to the right for reverse, but I have lubed it well and will see if the lube will work it's way into the shaft area. Thanks again.1 point
-
1 pointGreat feedback gang.. looks like it's a miss. Was hoping to help someone out. Thanks much for all the response [emoji6] Sent from my iPhone using Classic Zcar Club mobile1 point
-
1 point
-
1 point
-
1 point
-
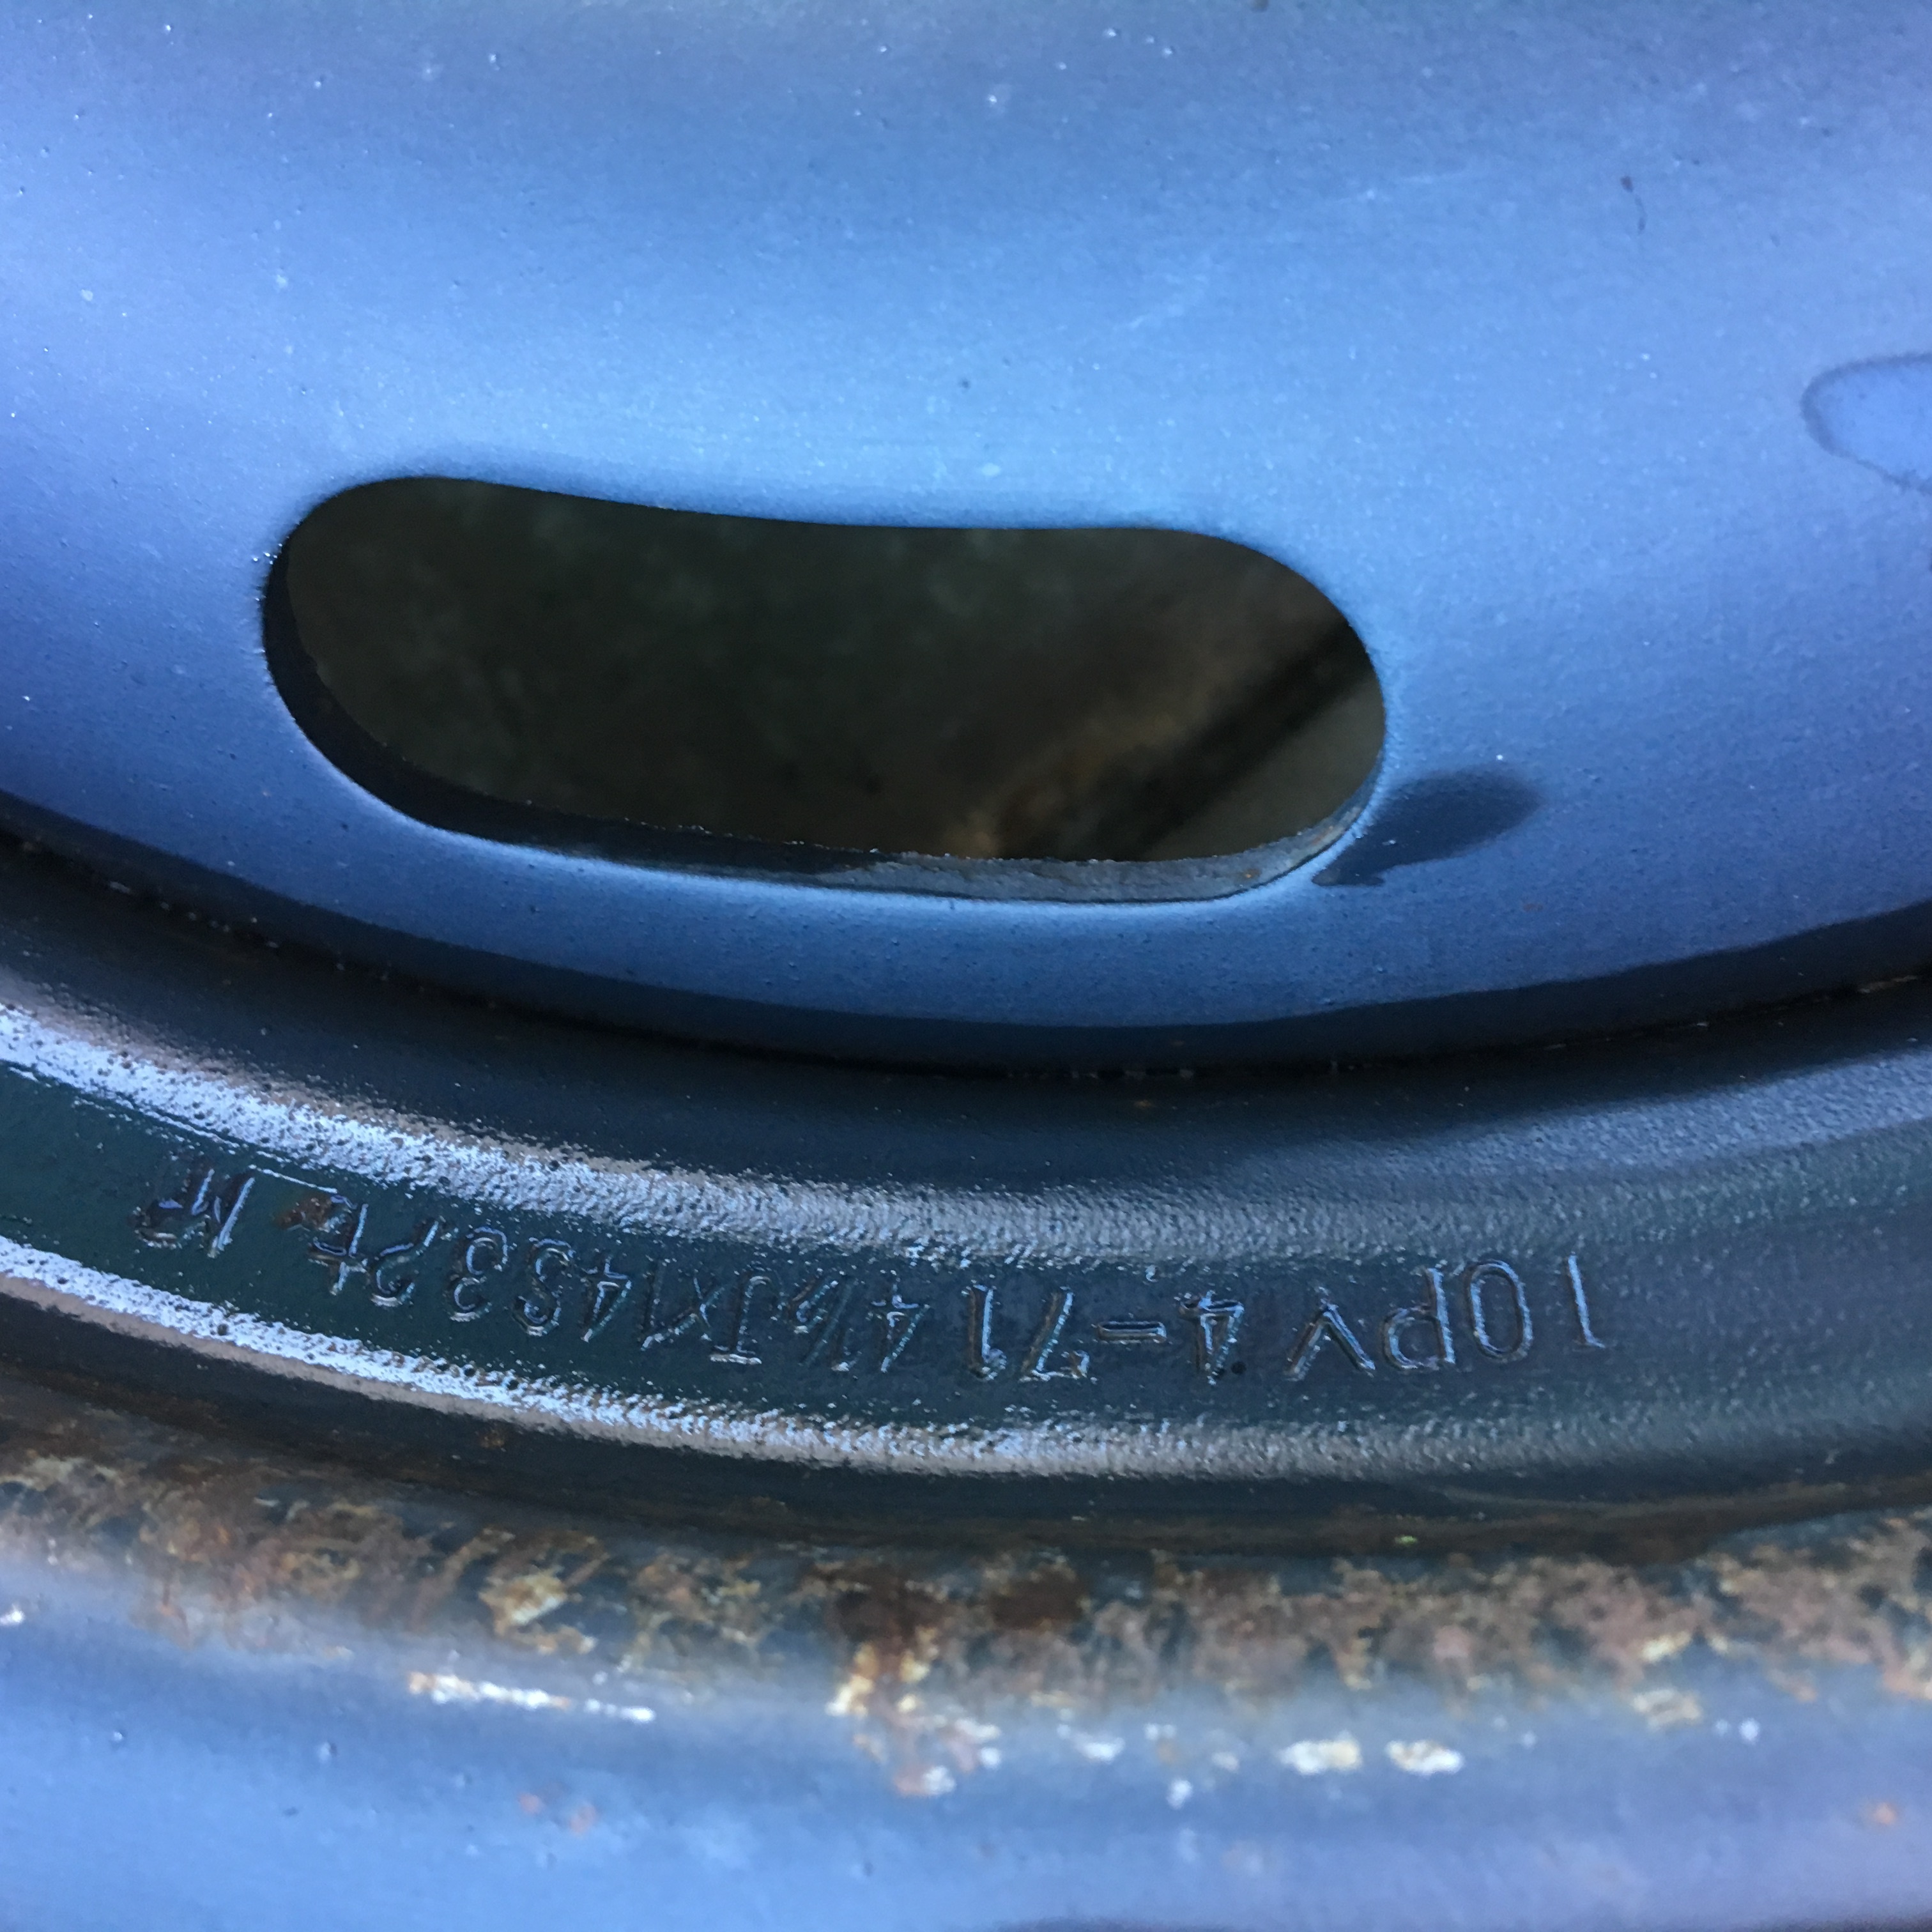
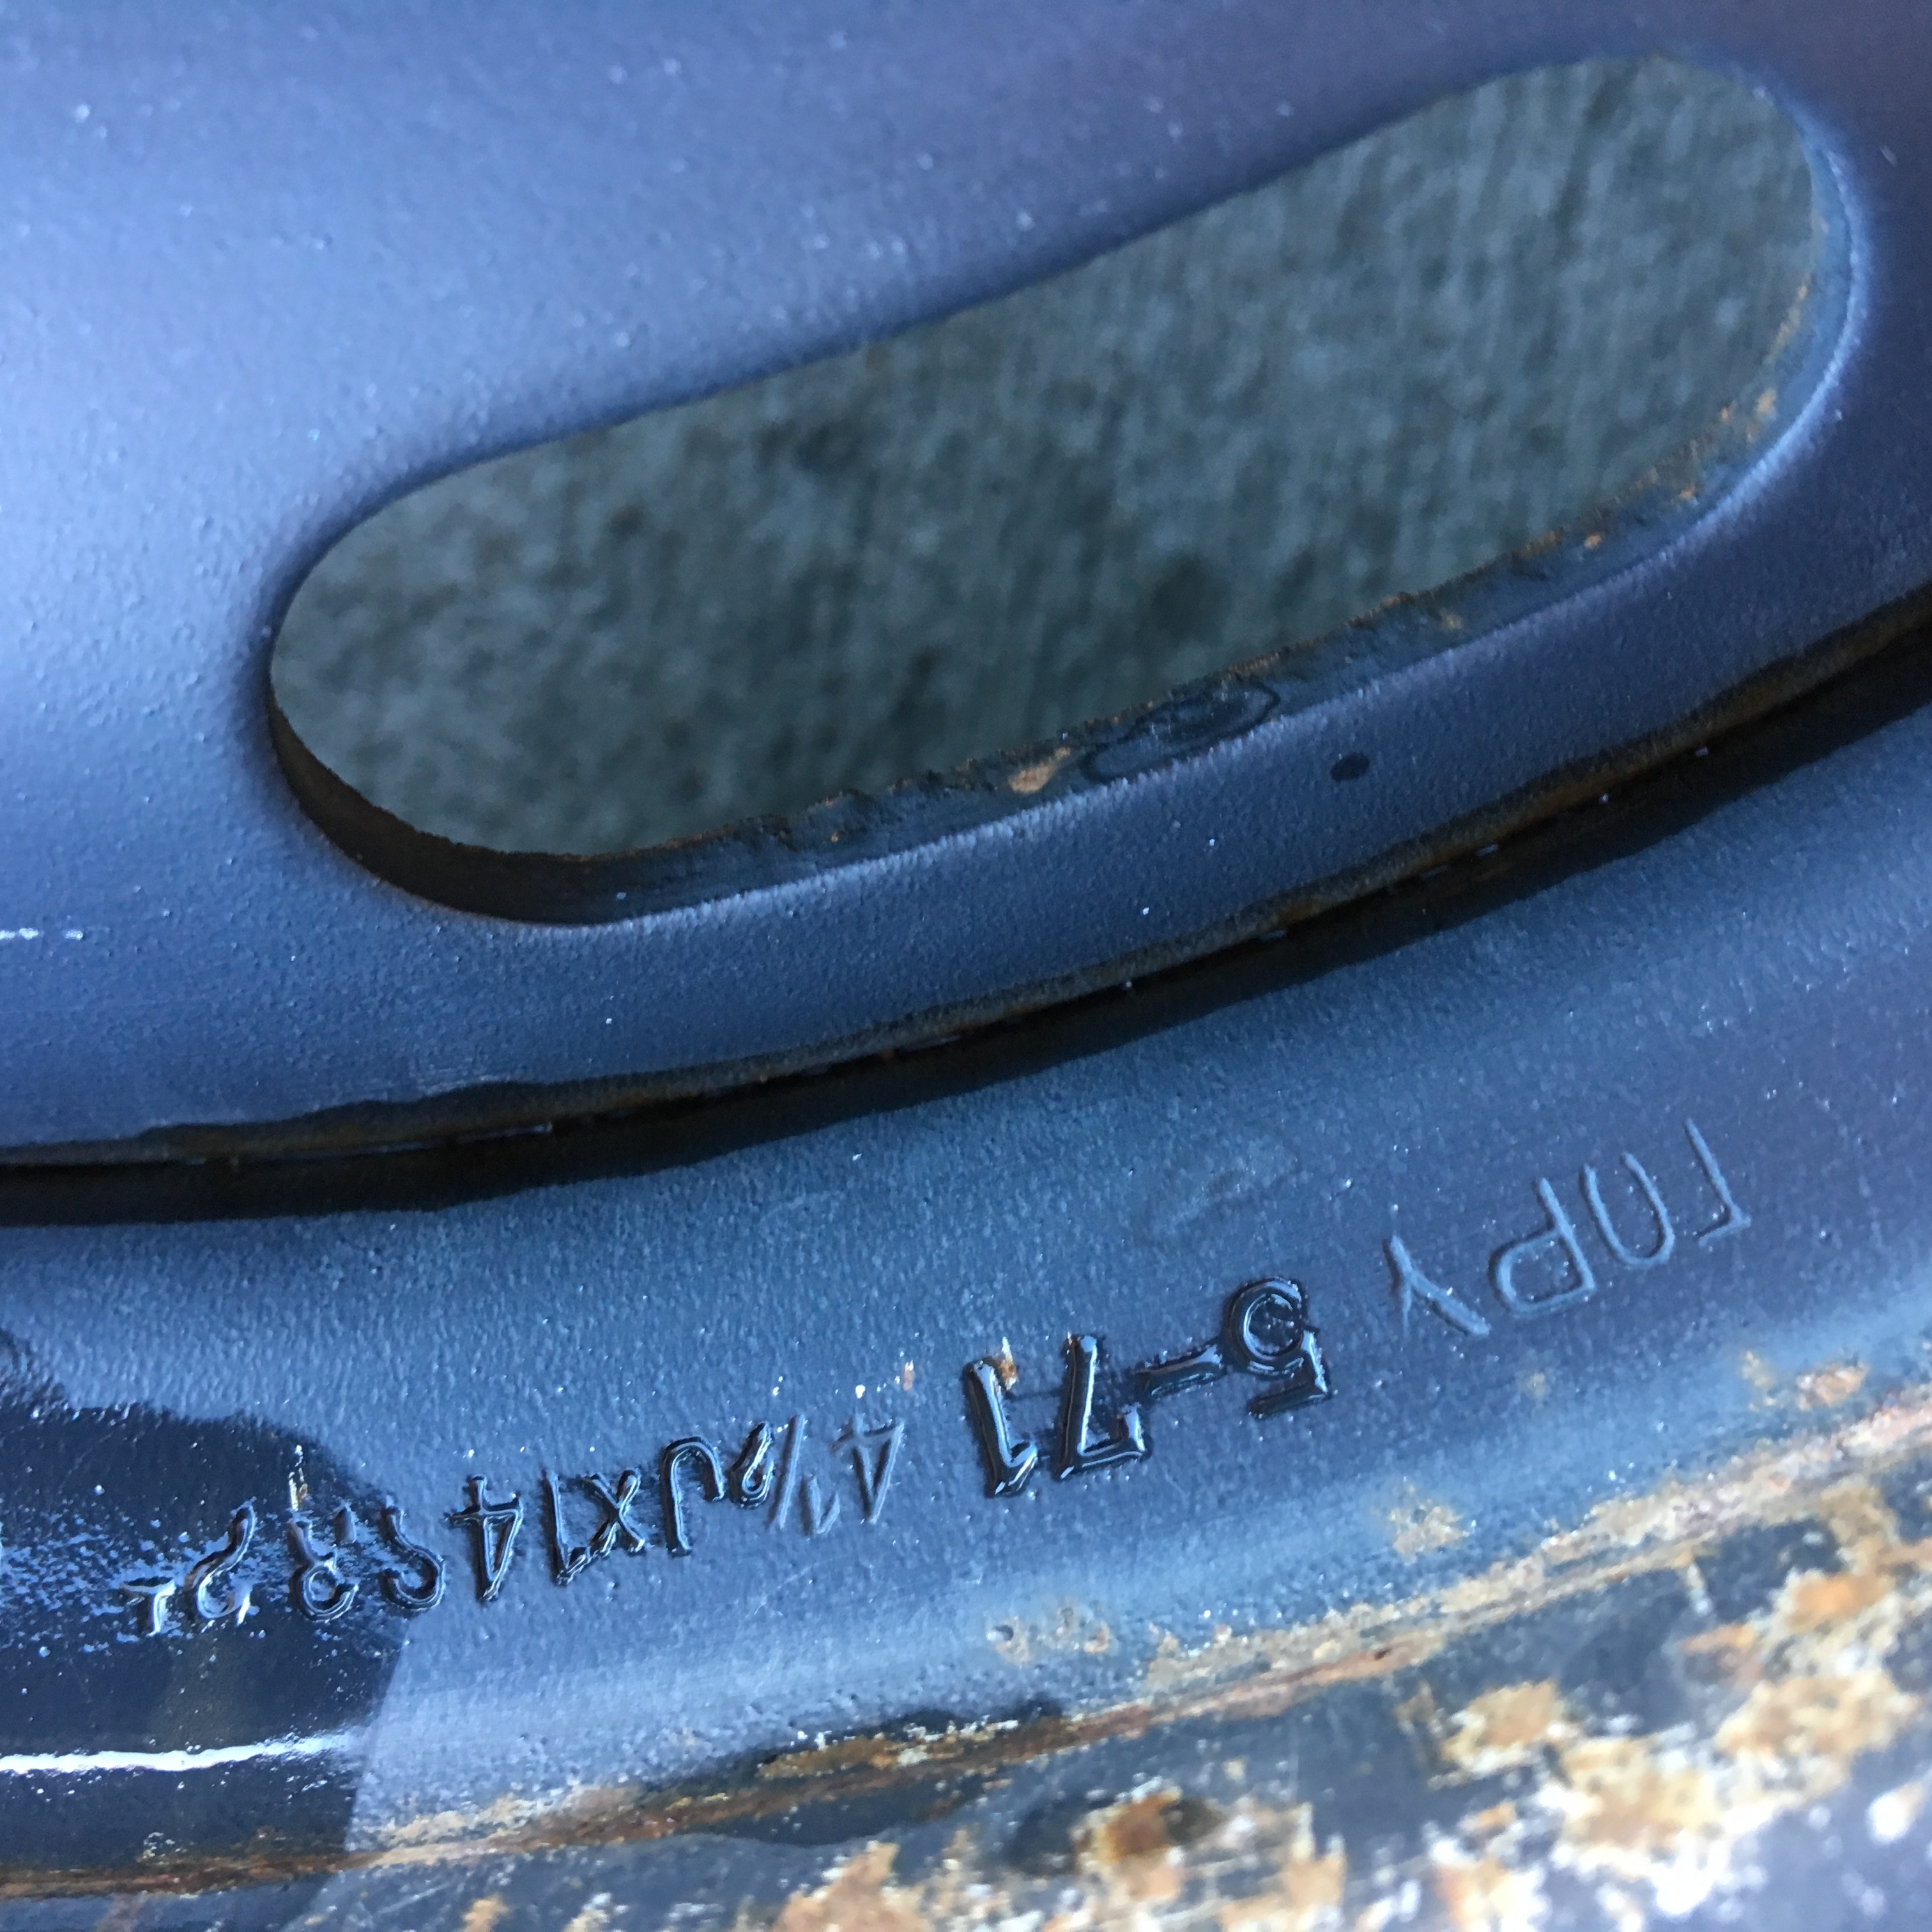
1 pointMarkings on the wheels indicate two are 4-71 4.5 x 14, two are 5-71 4.5 x 14


 1 point
 -
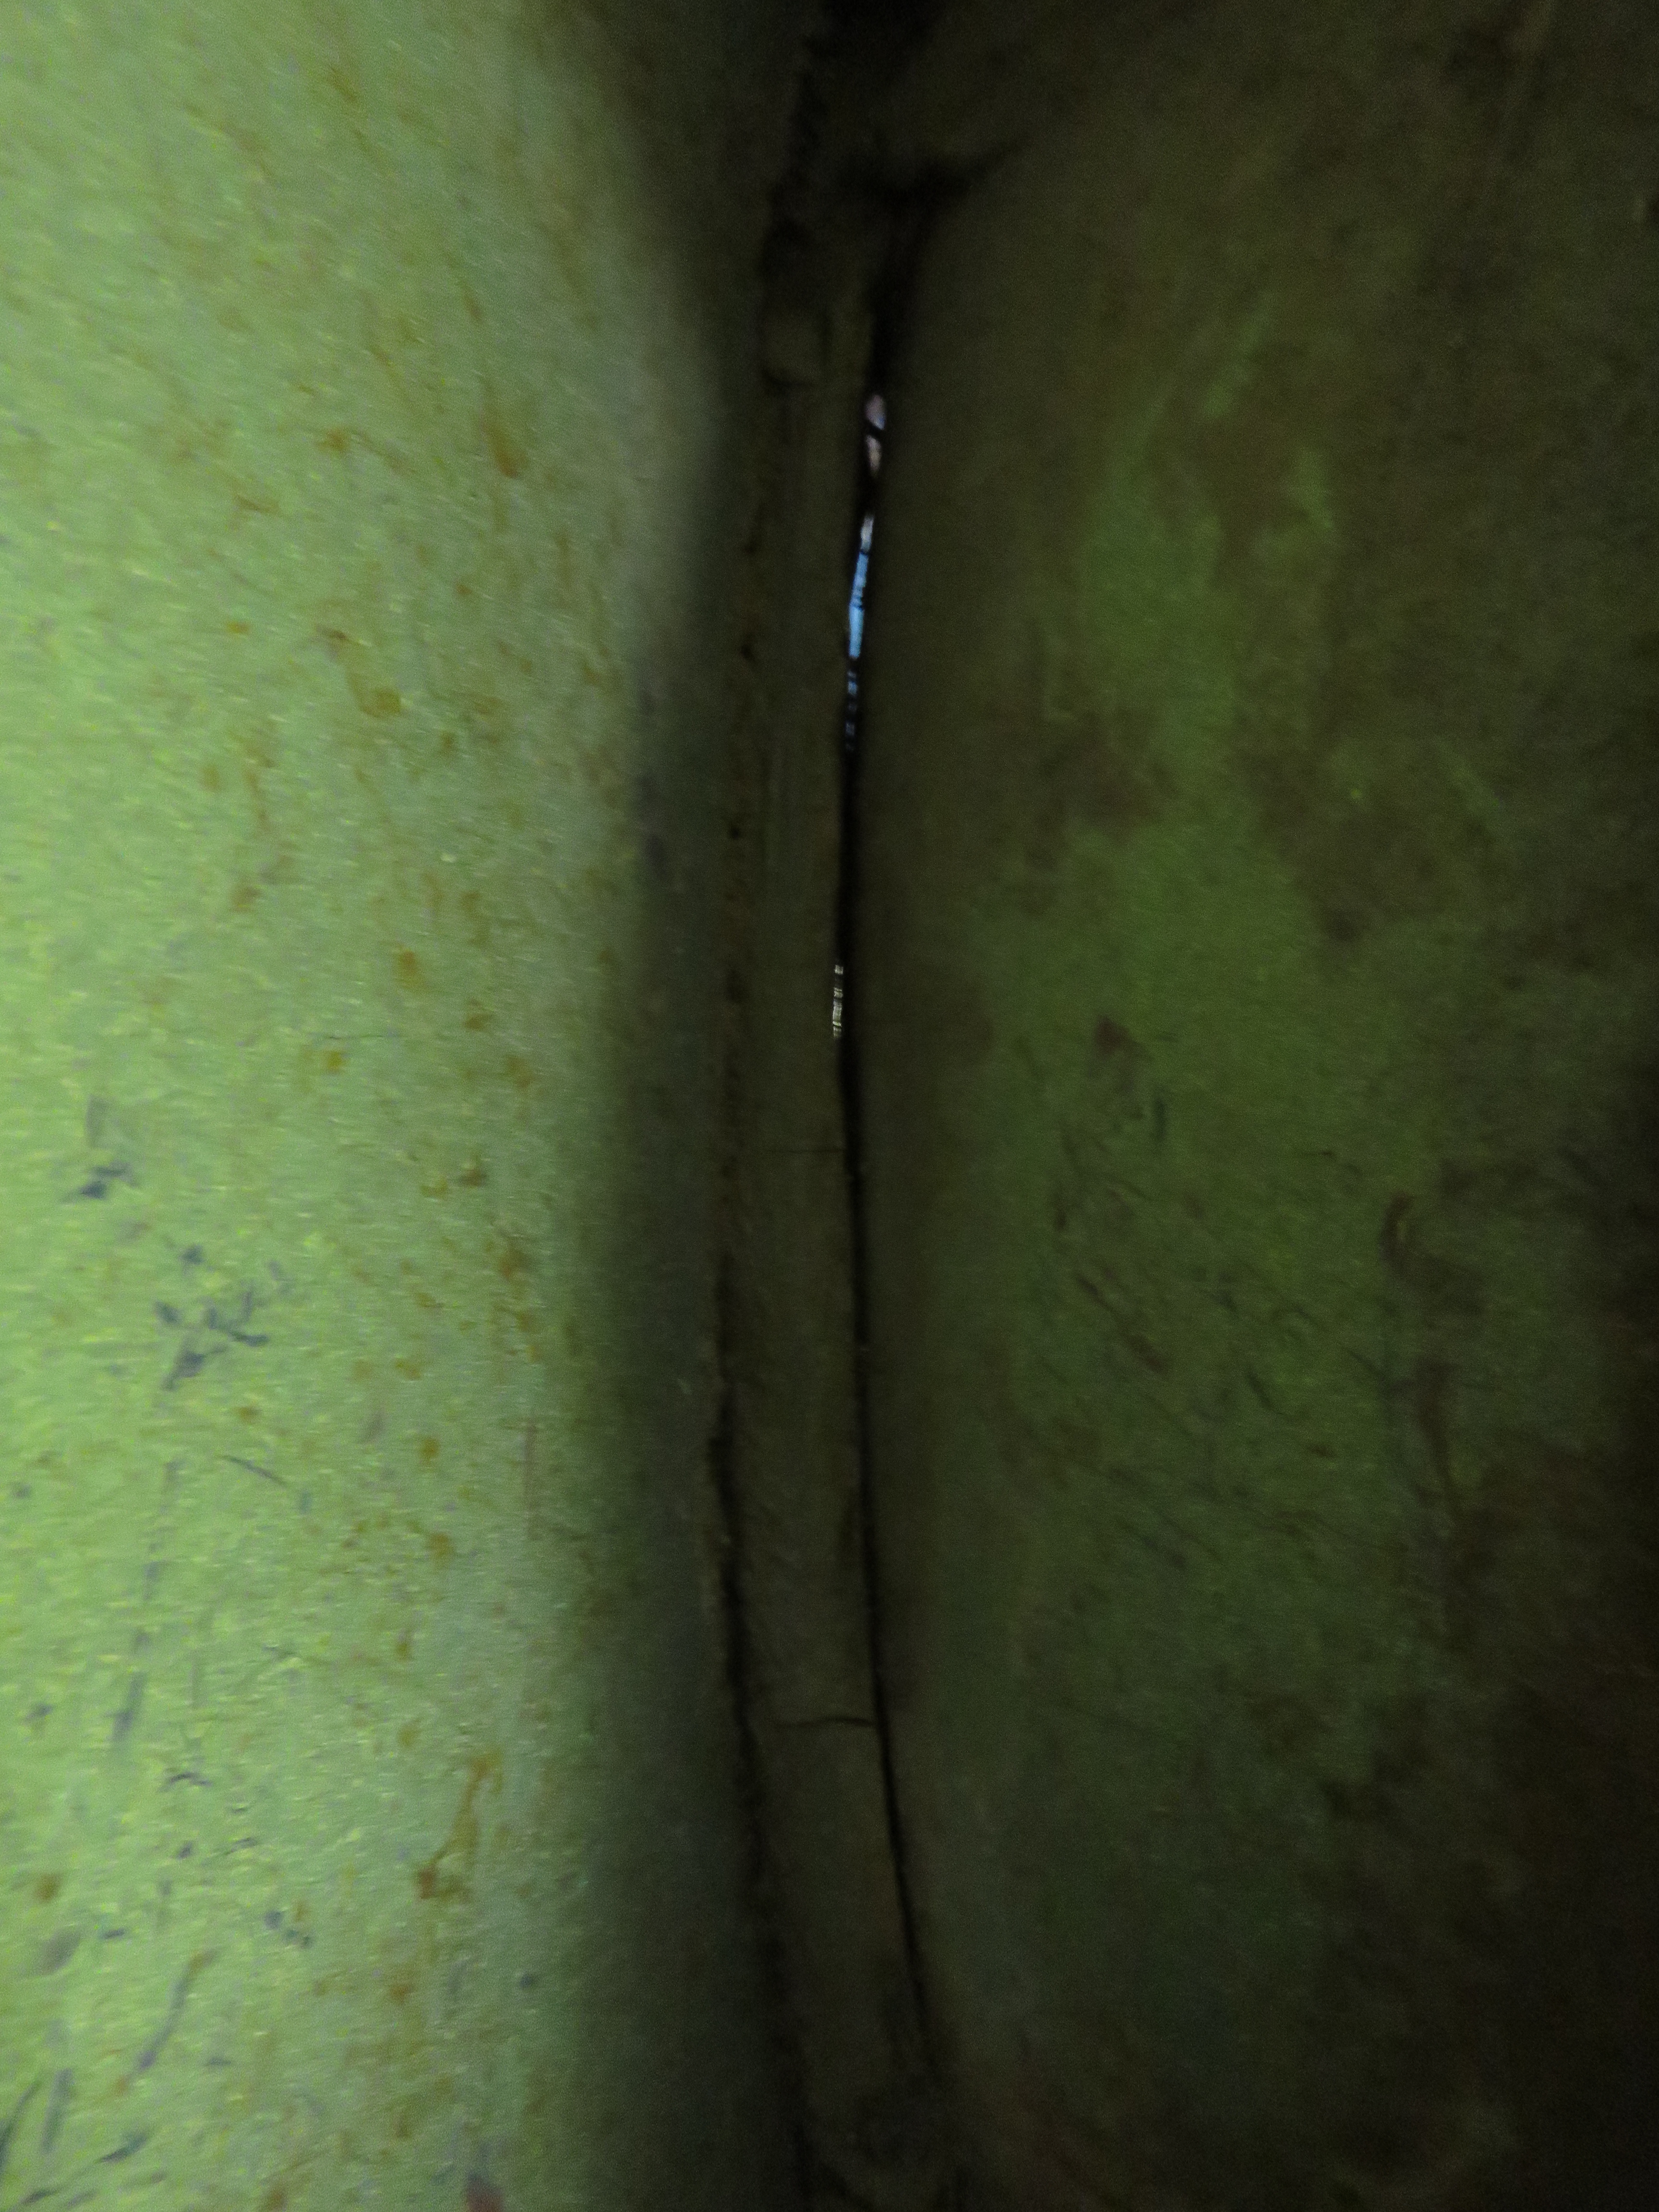
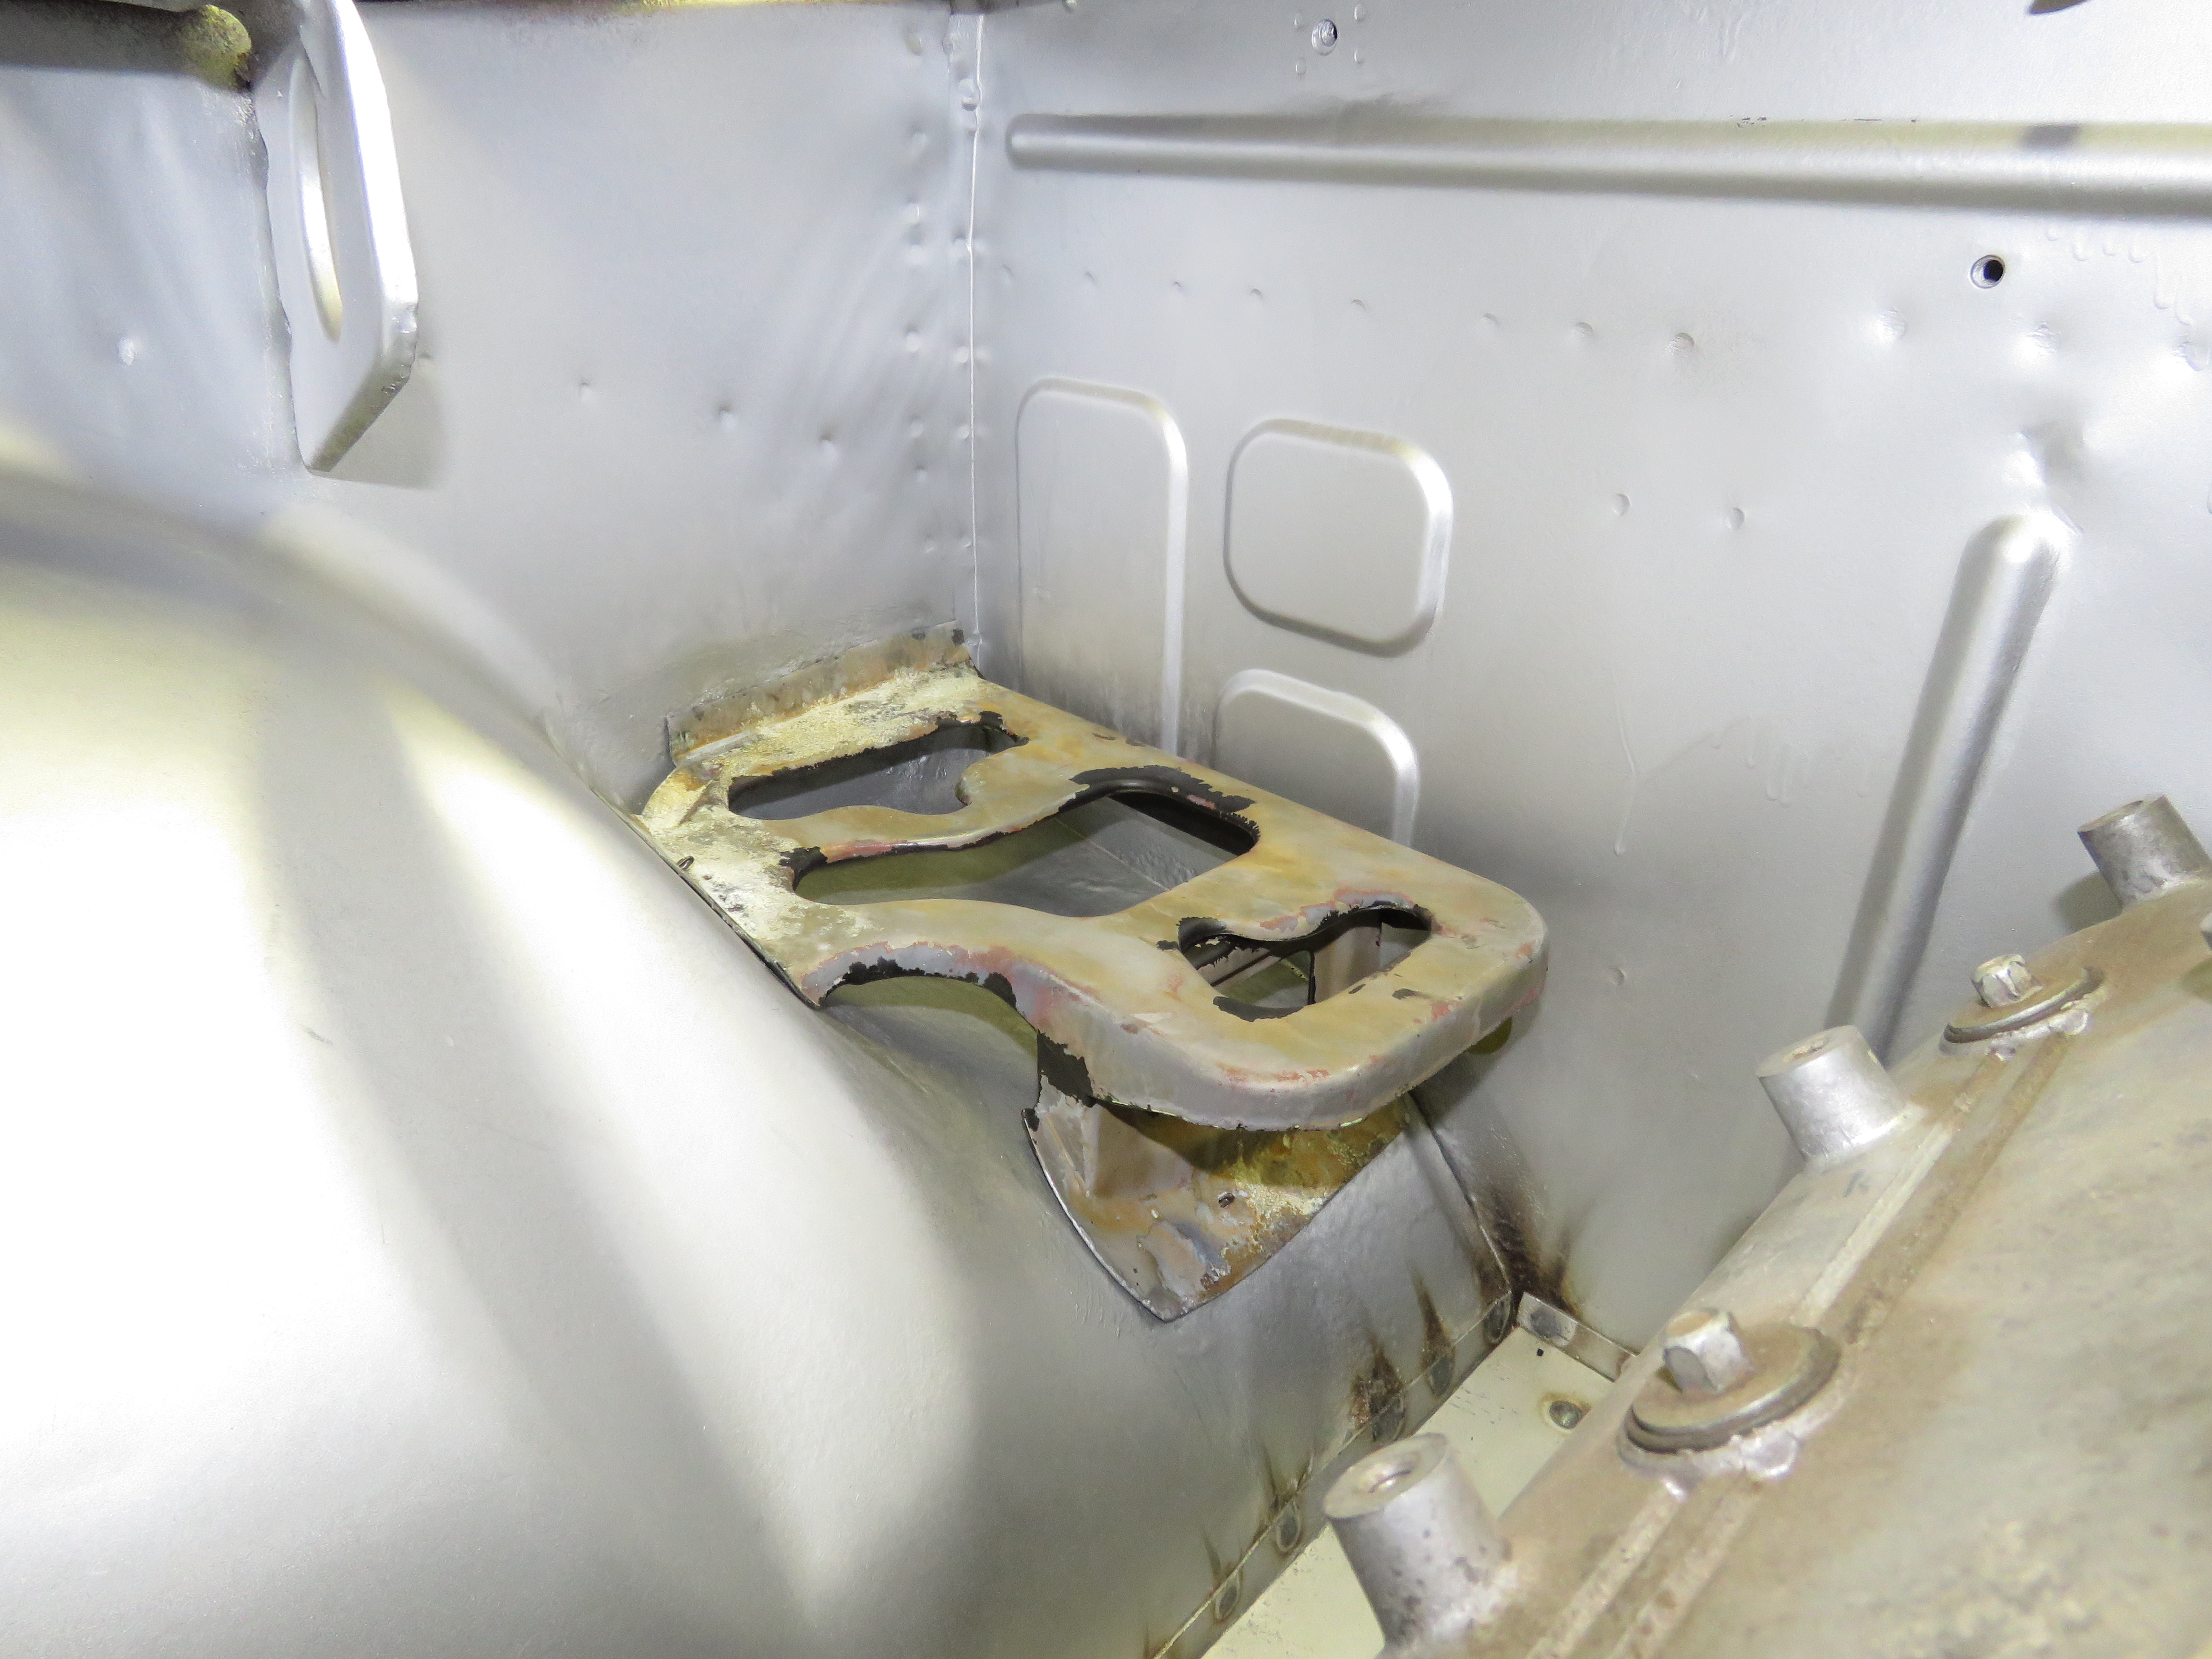
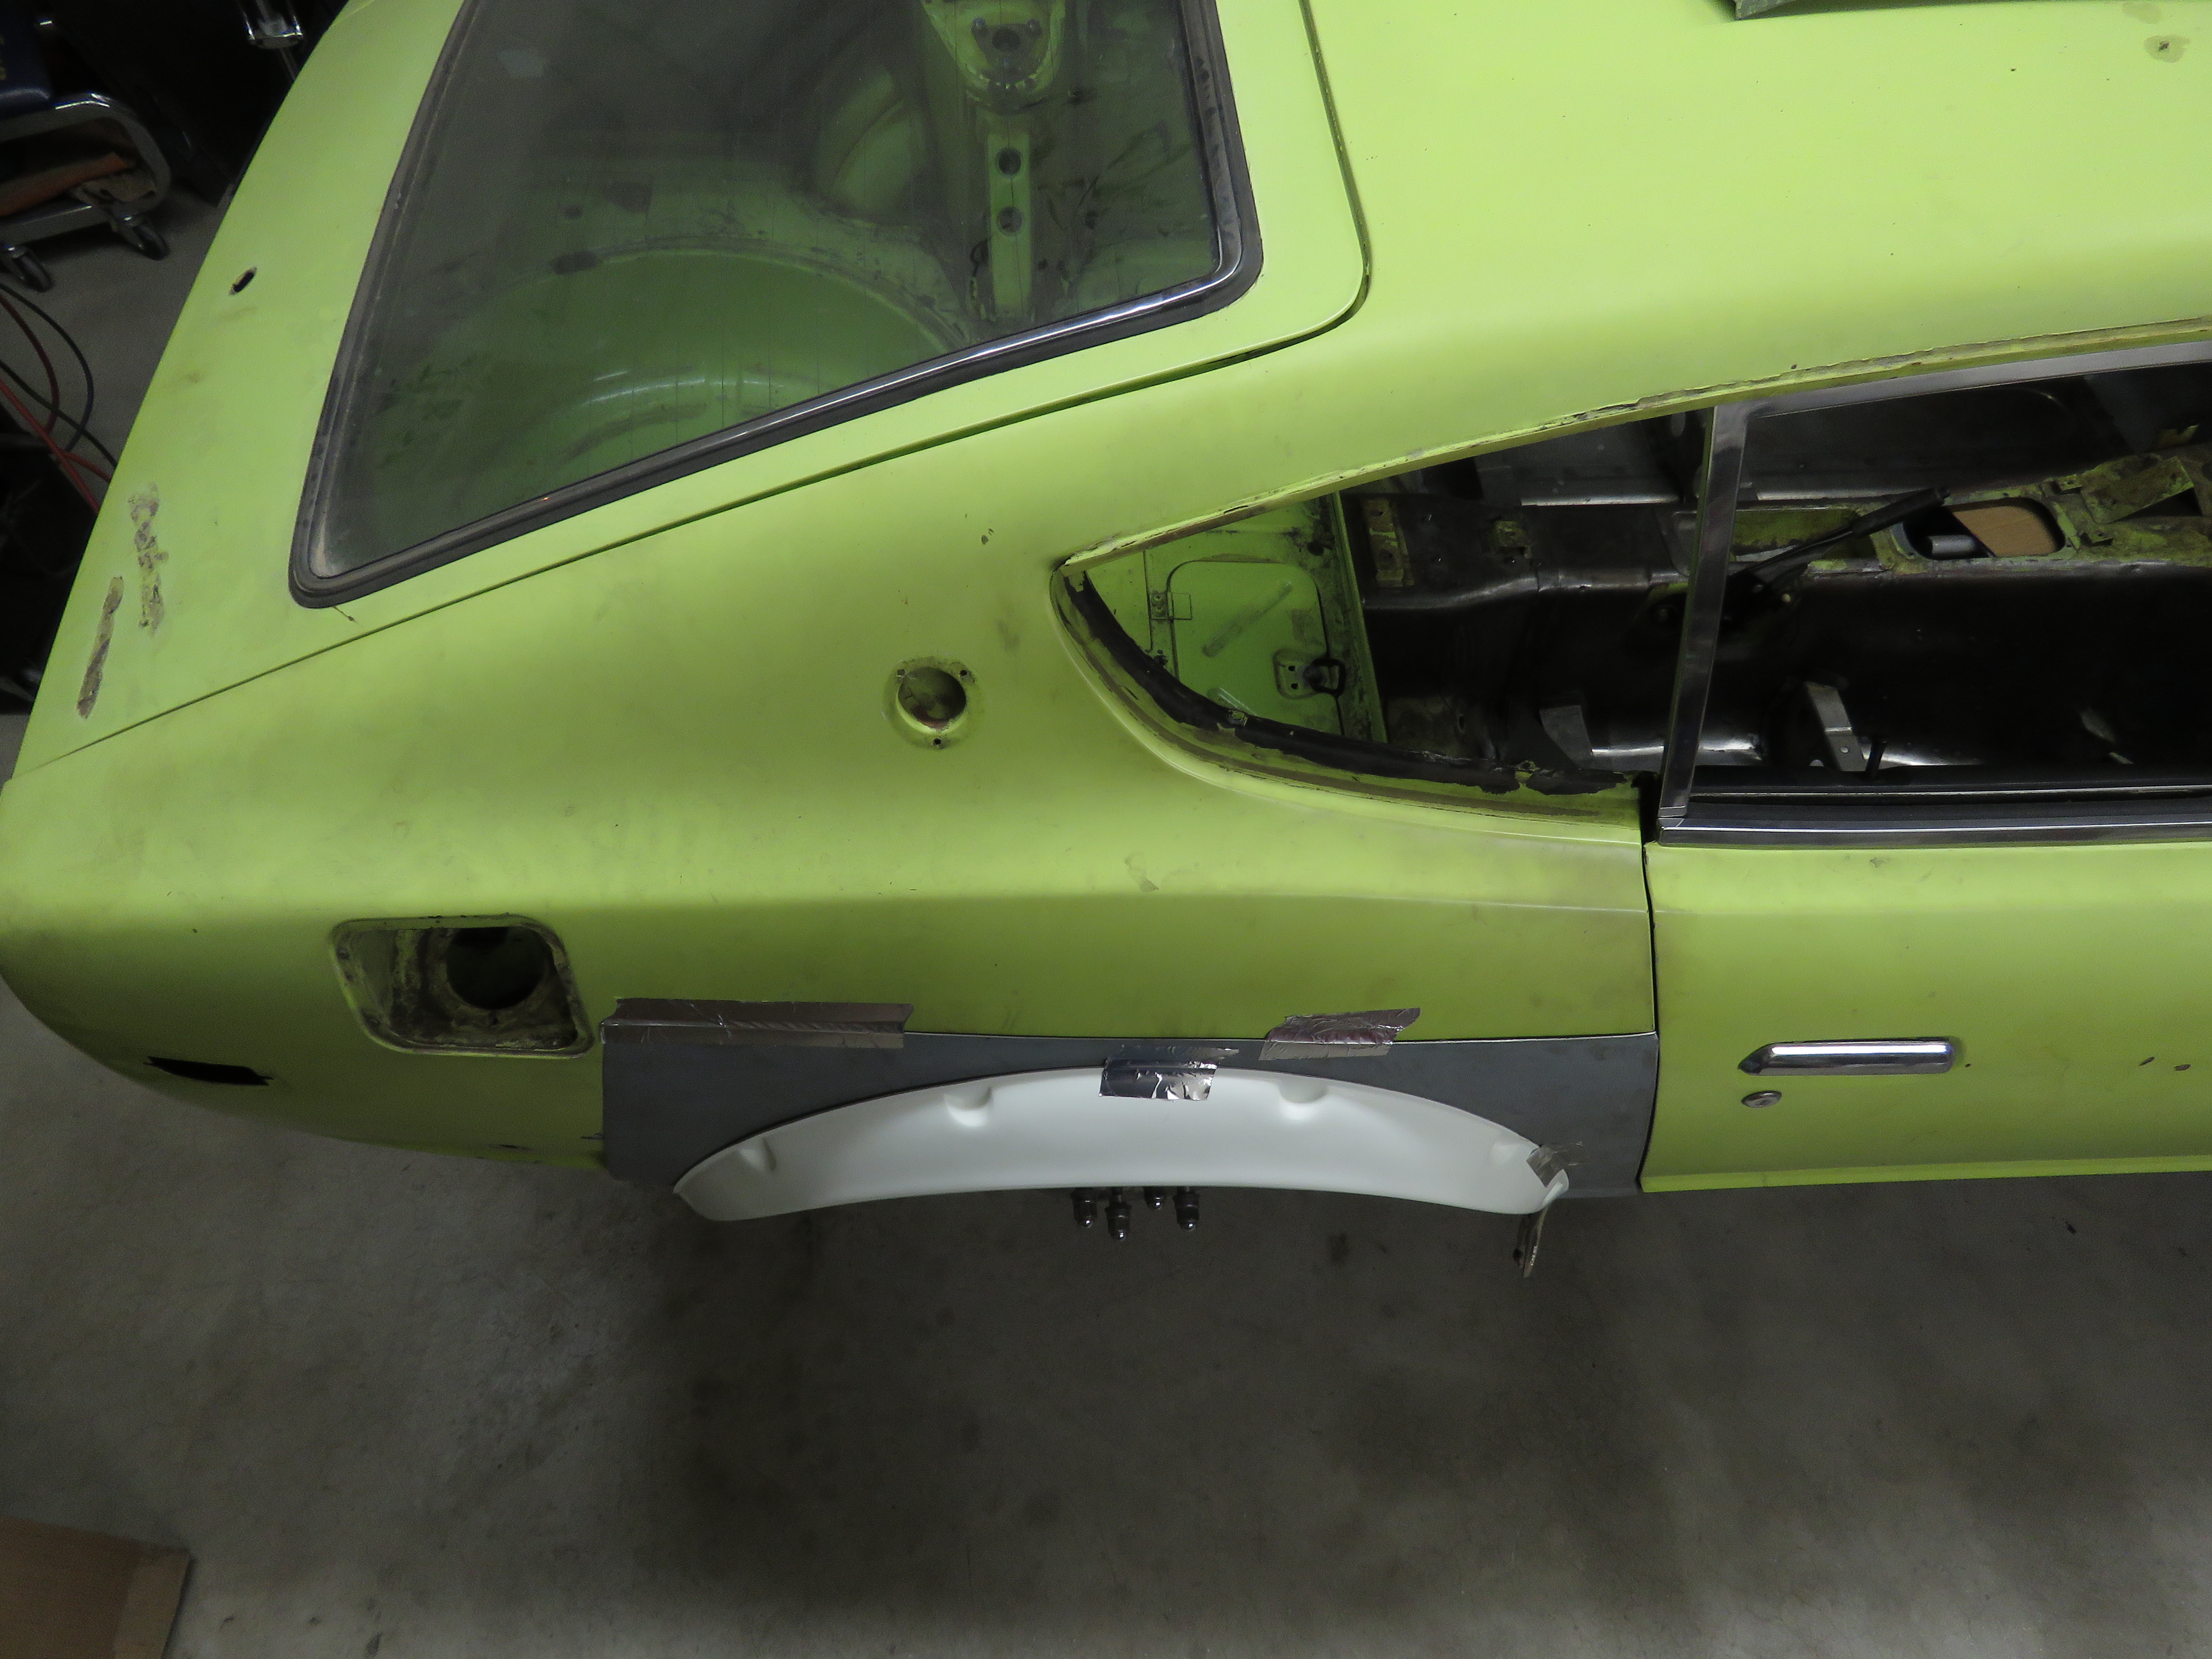
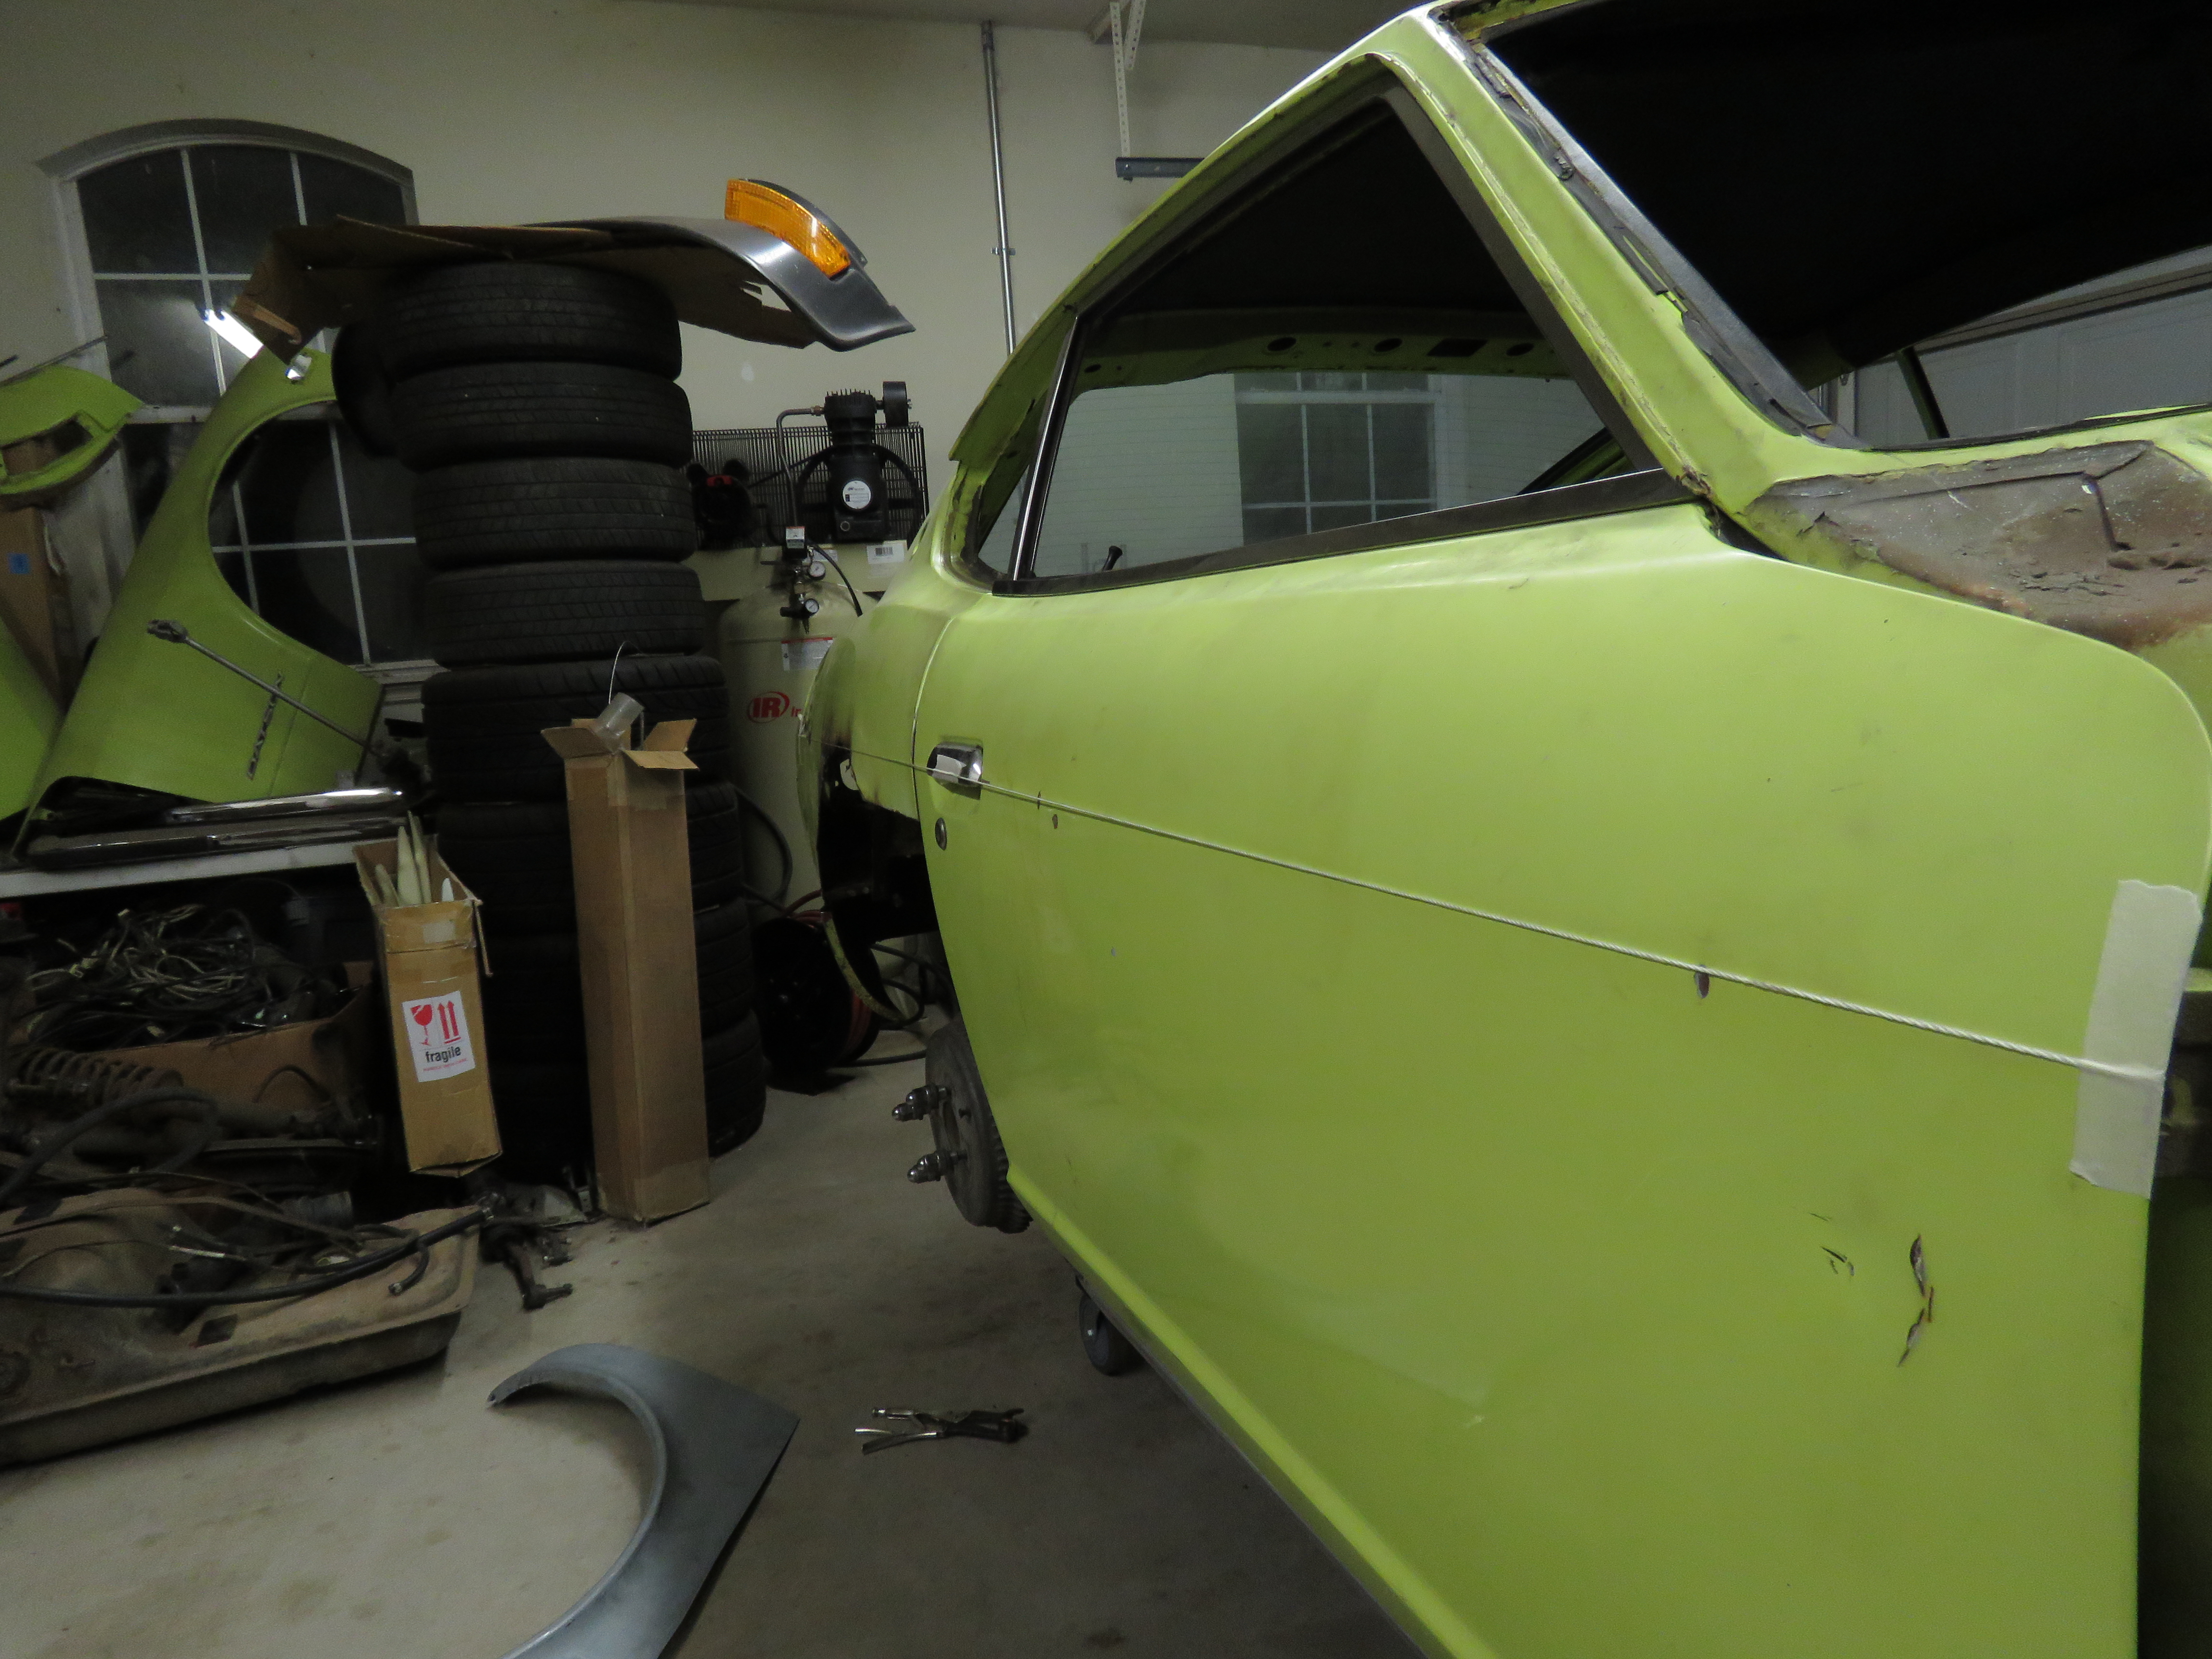
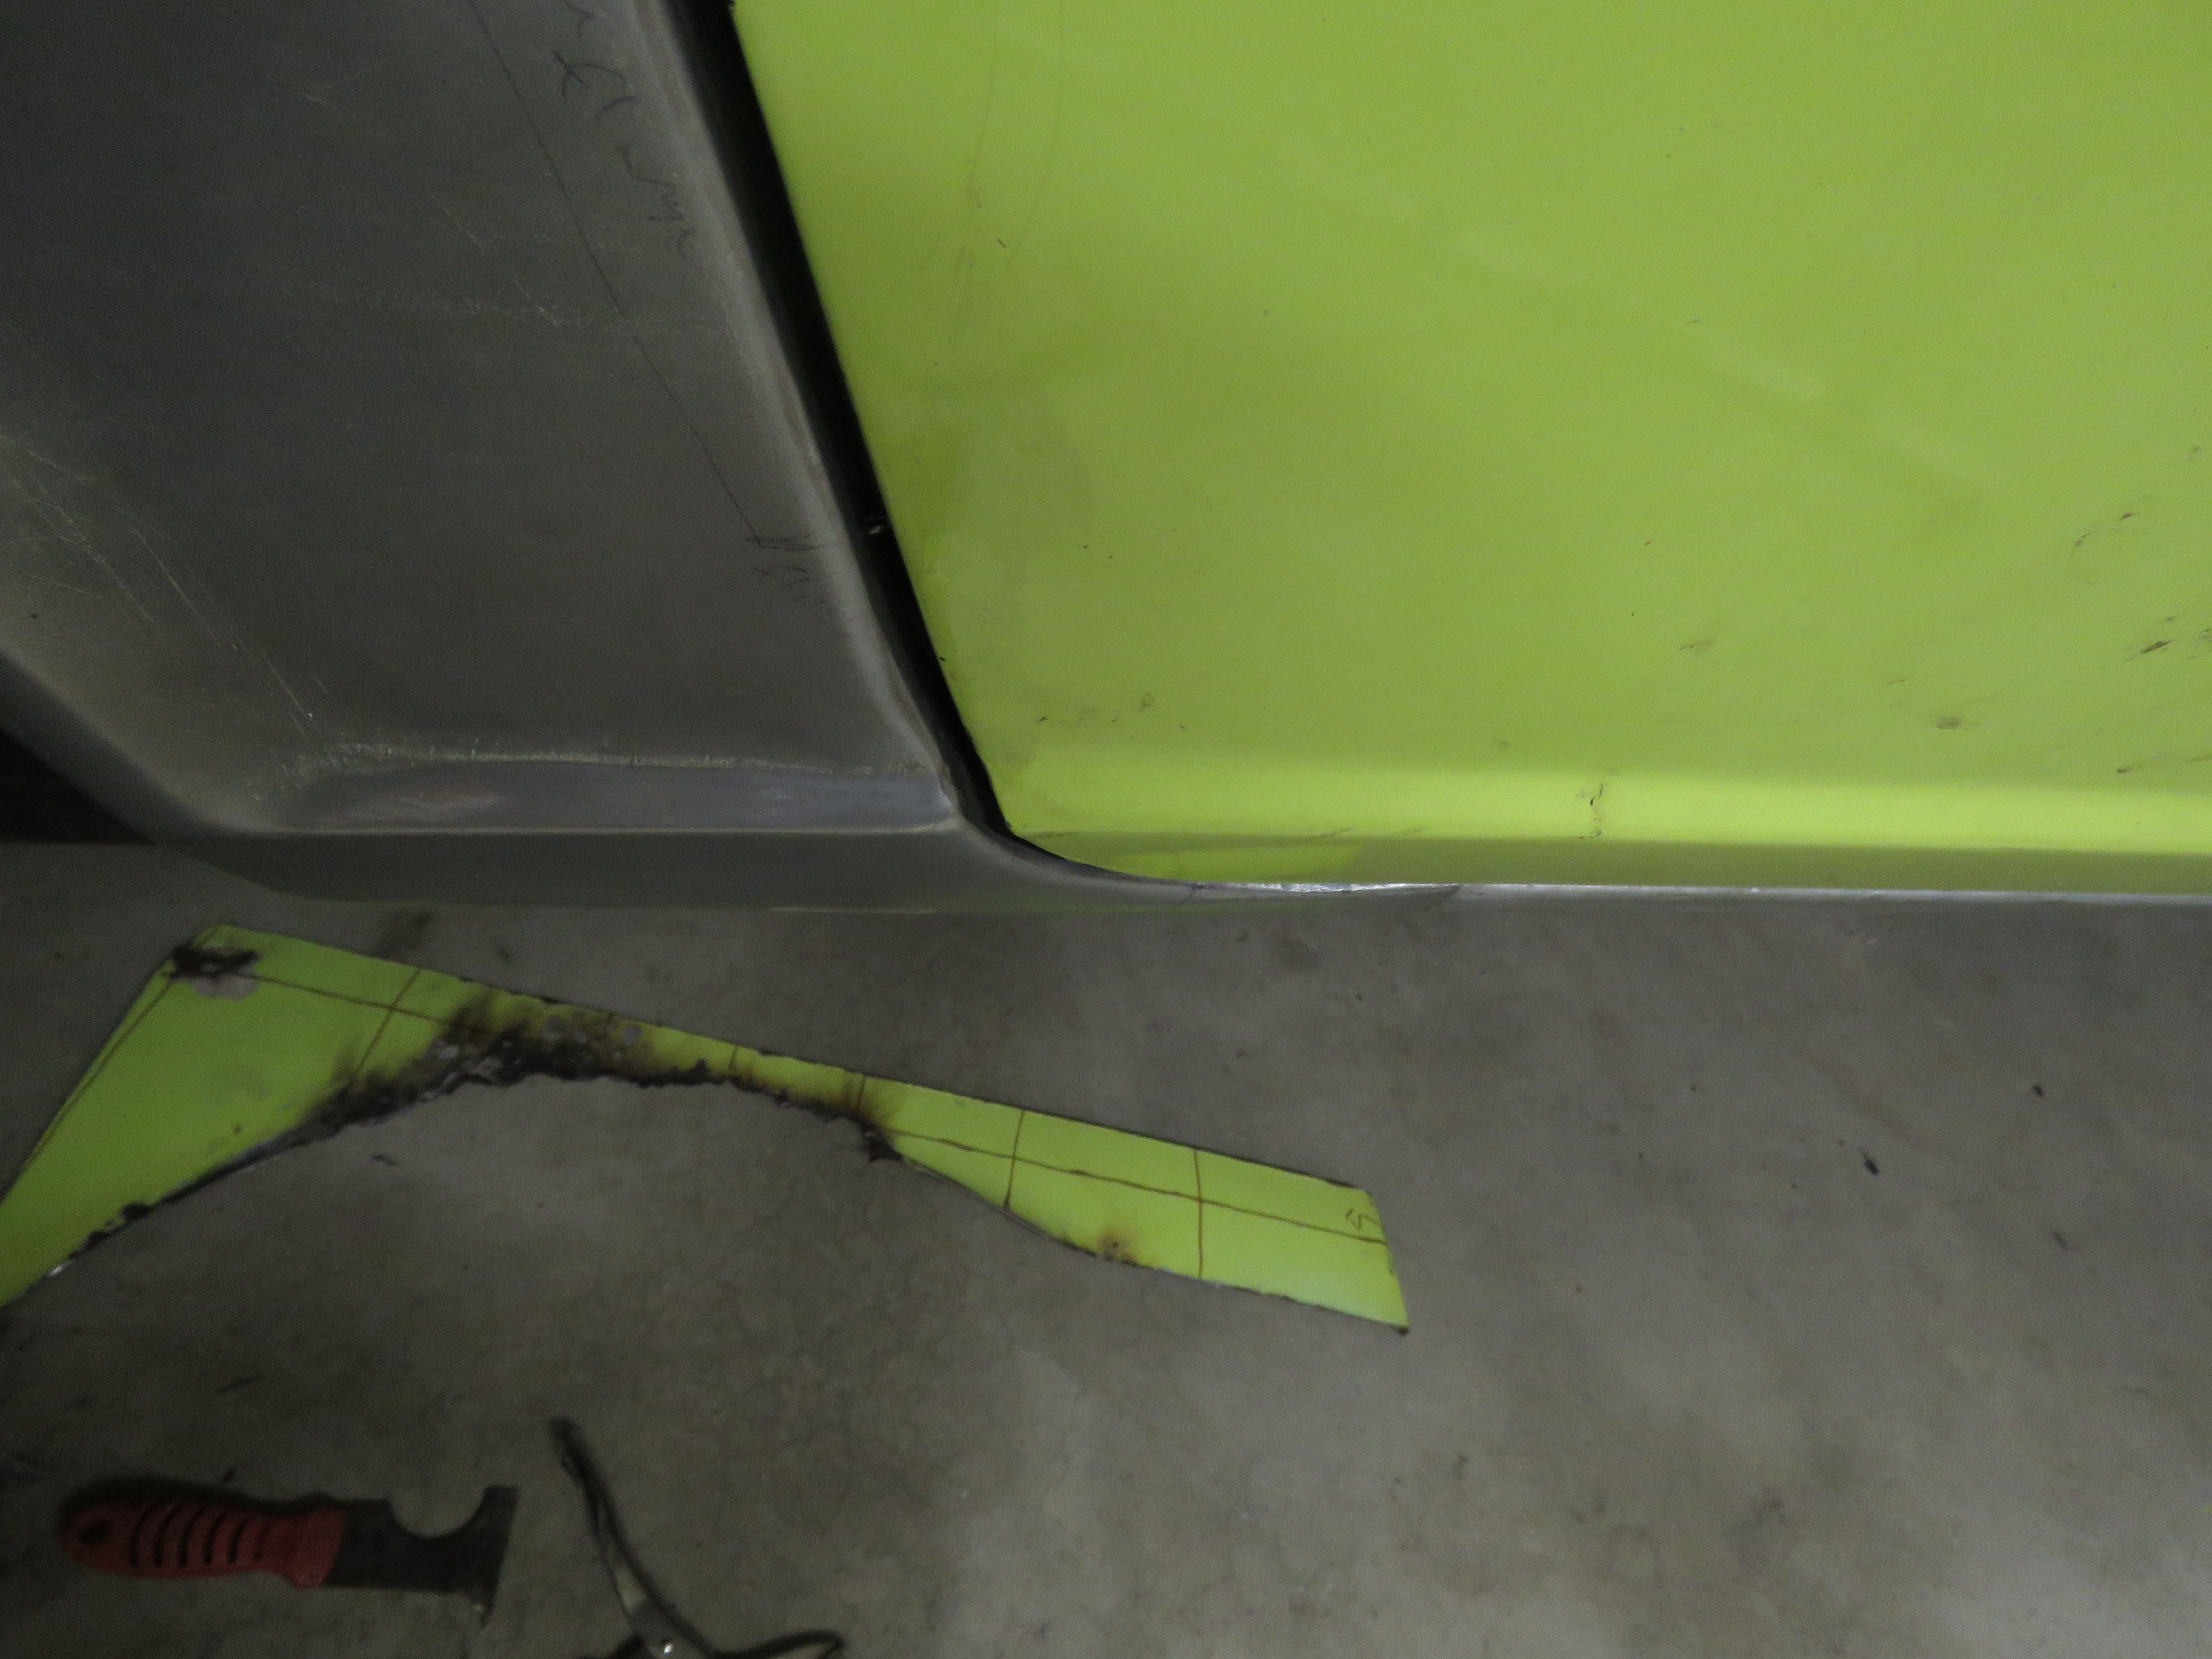
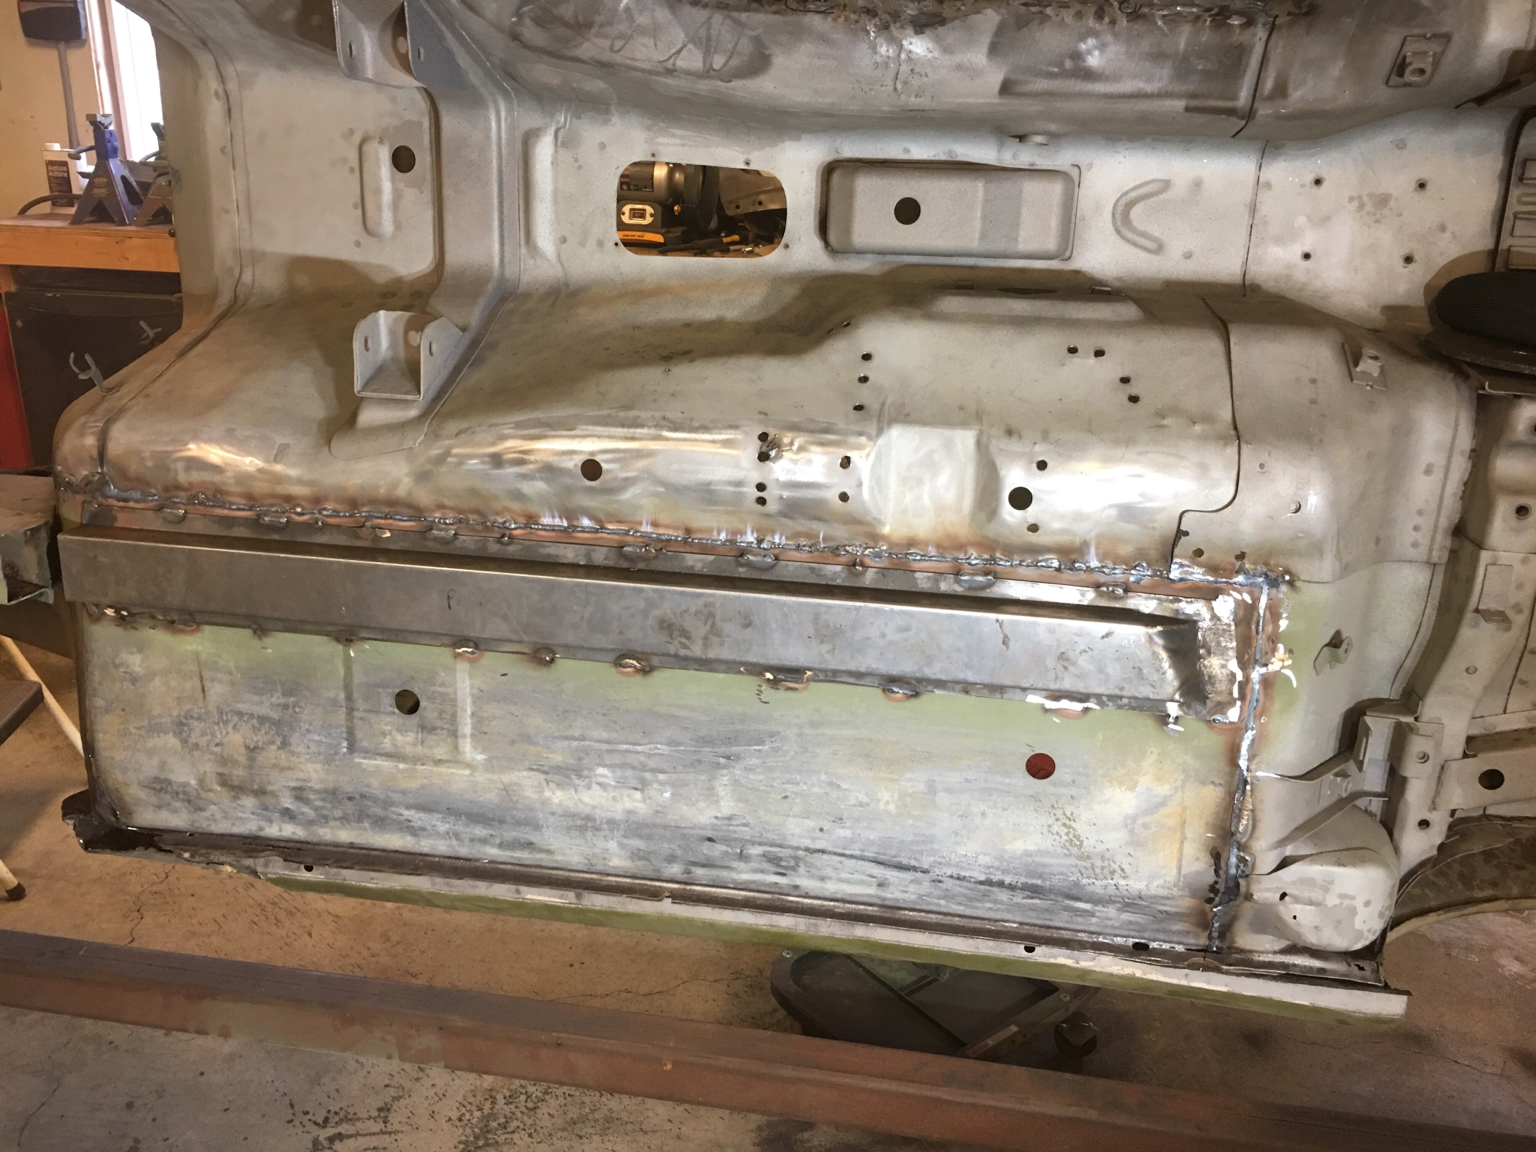
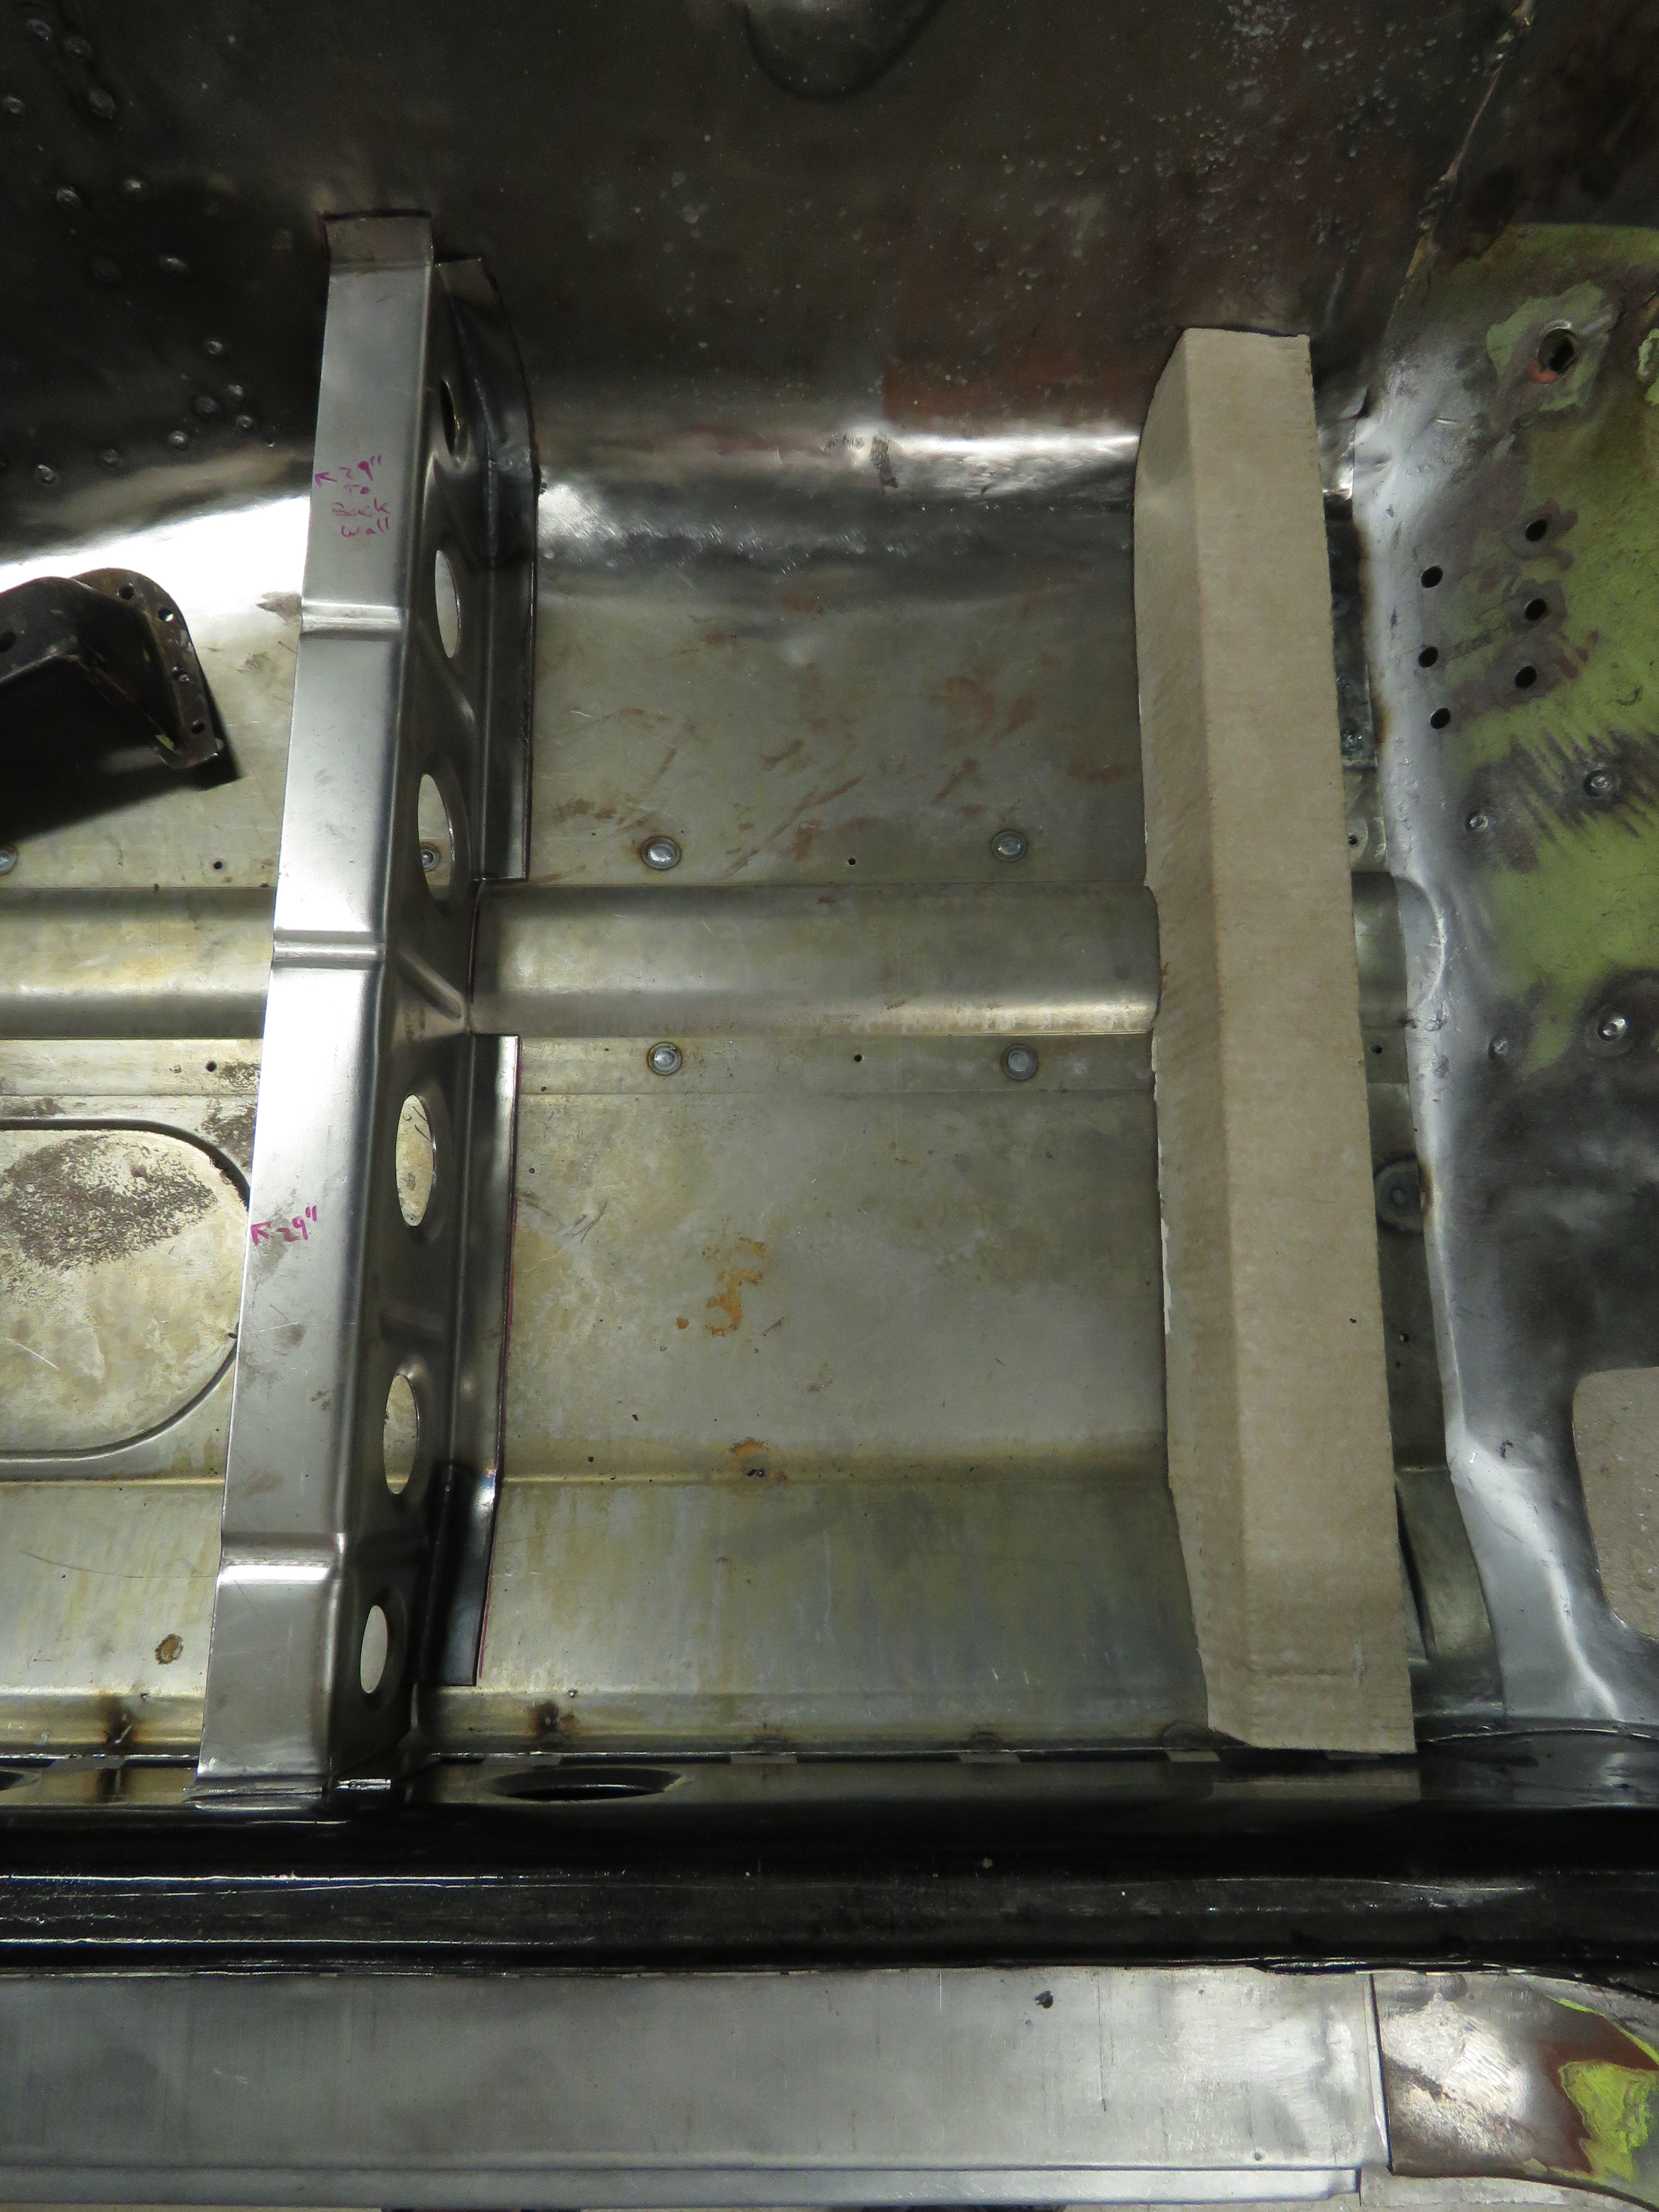
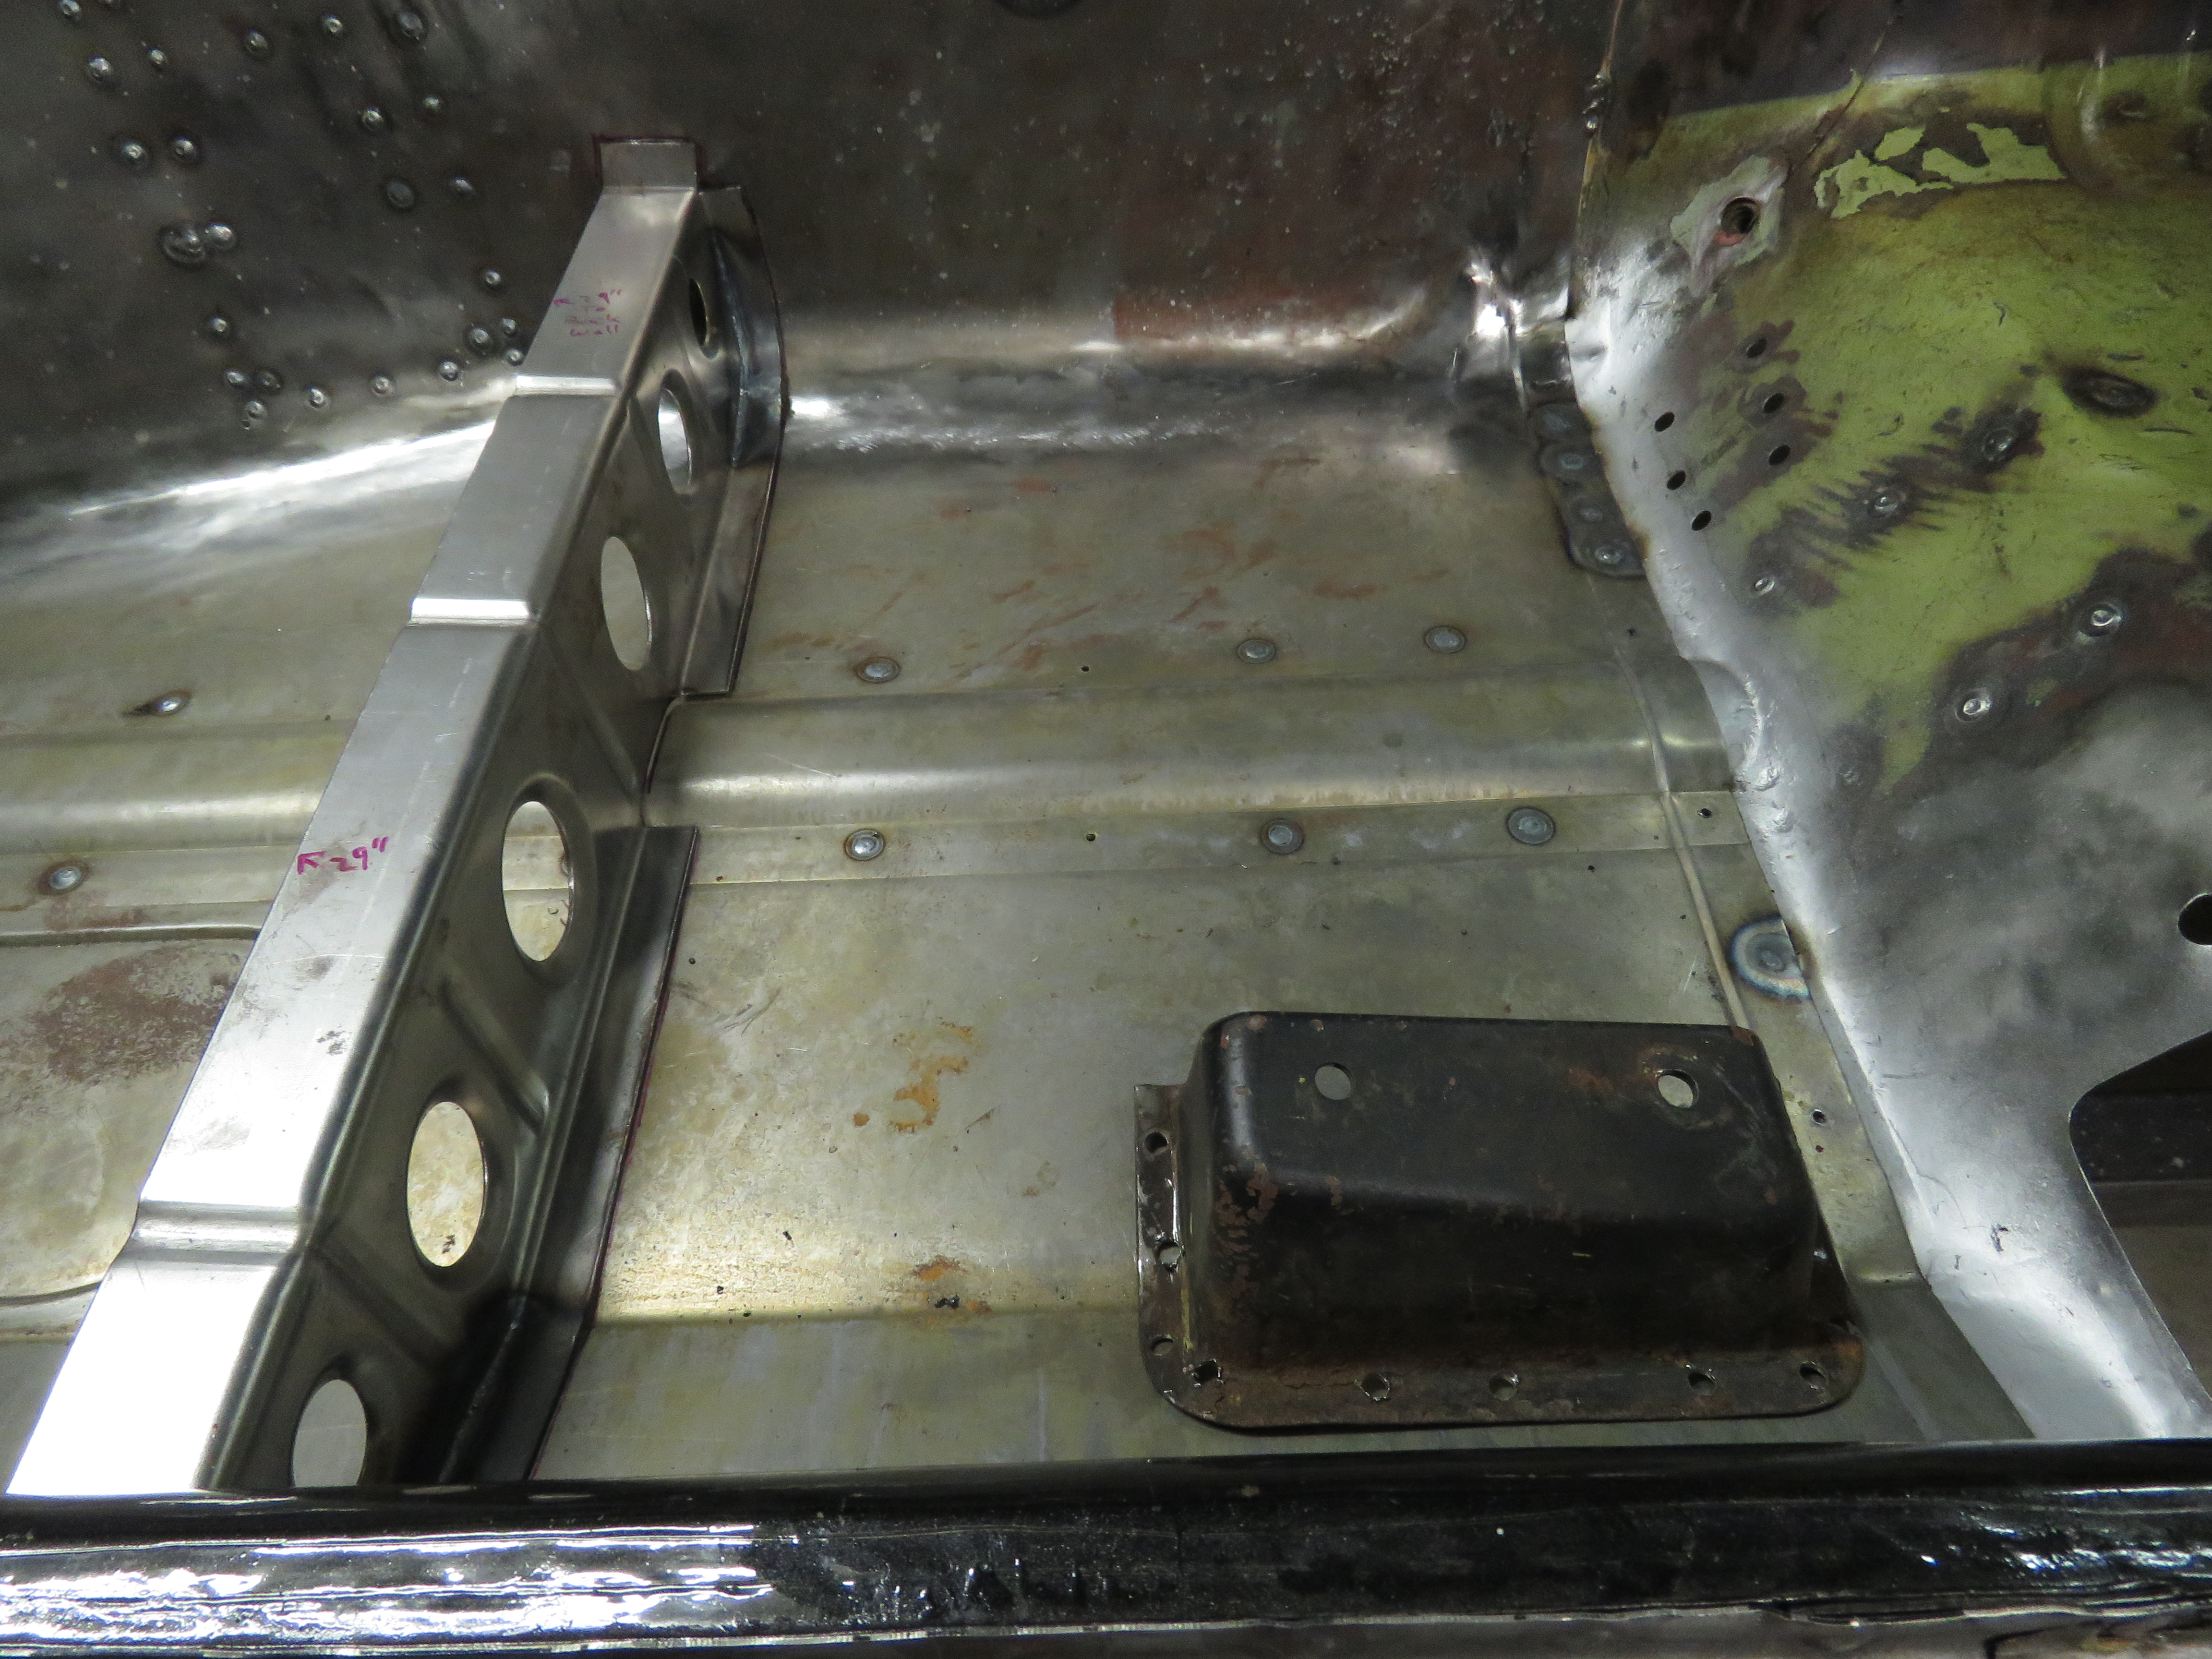
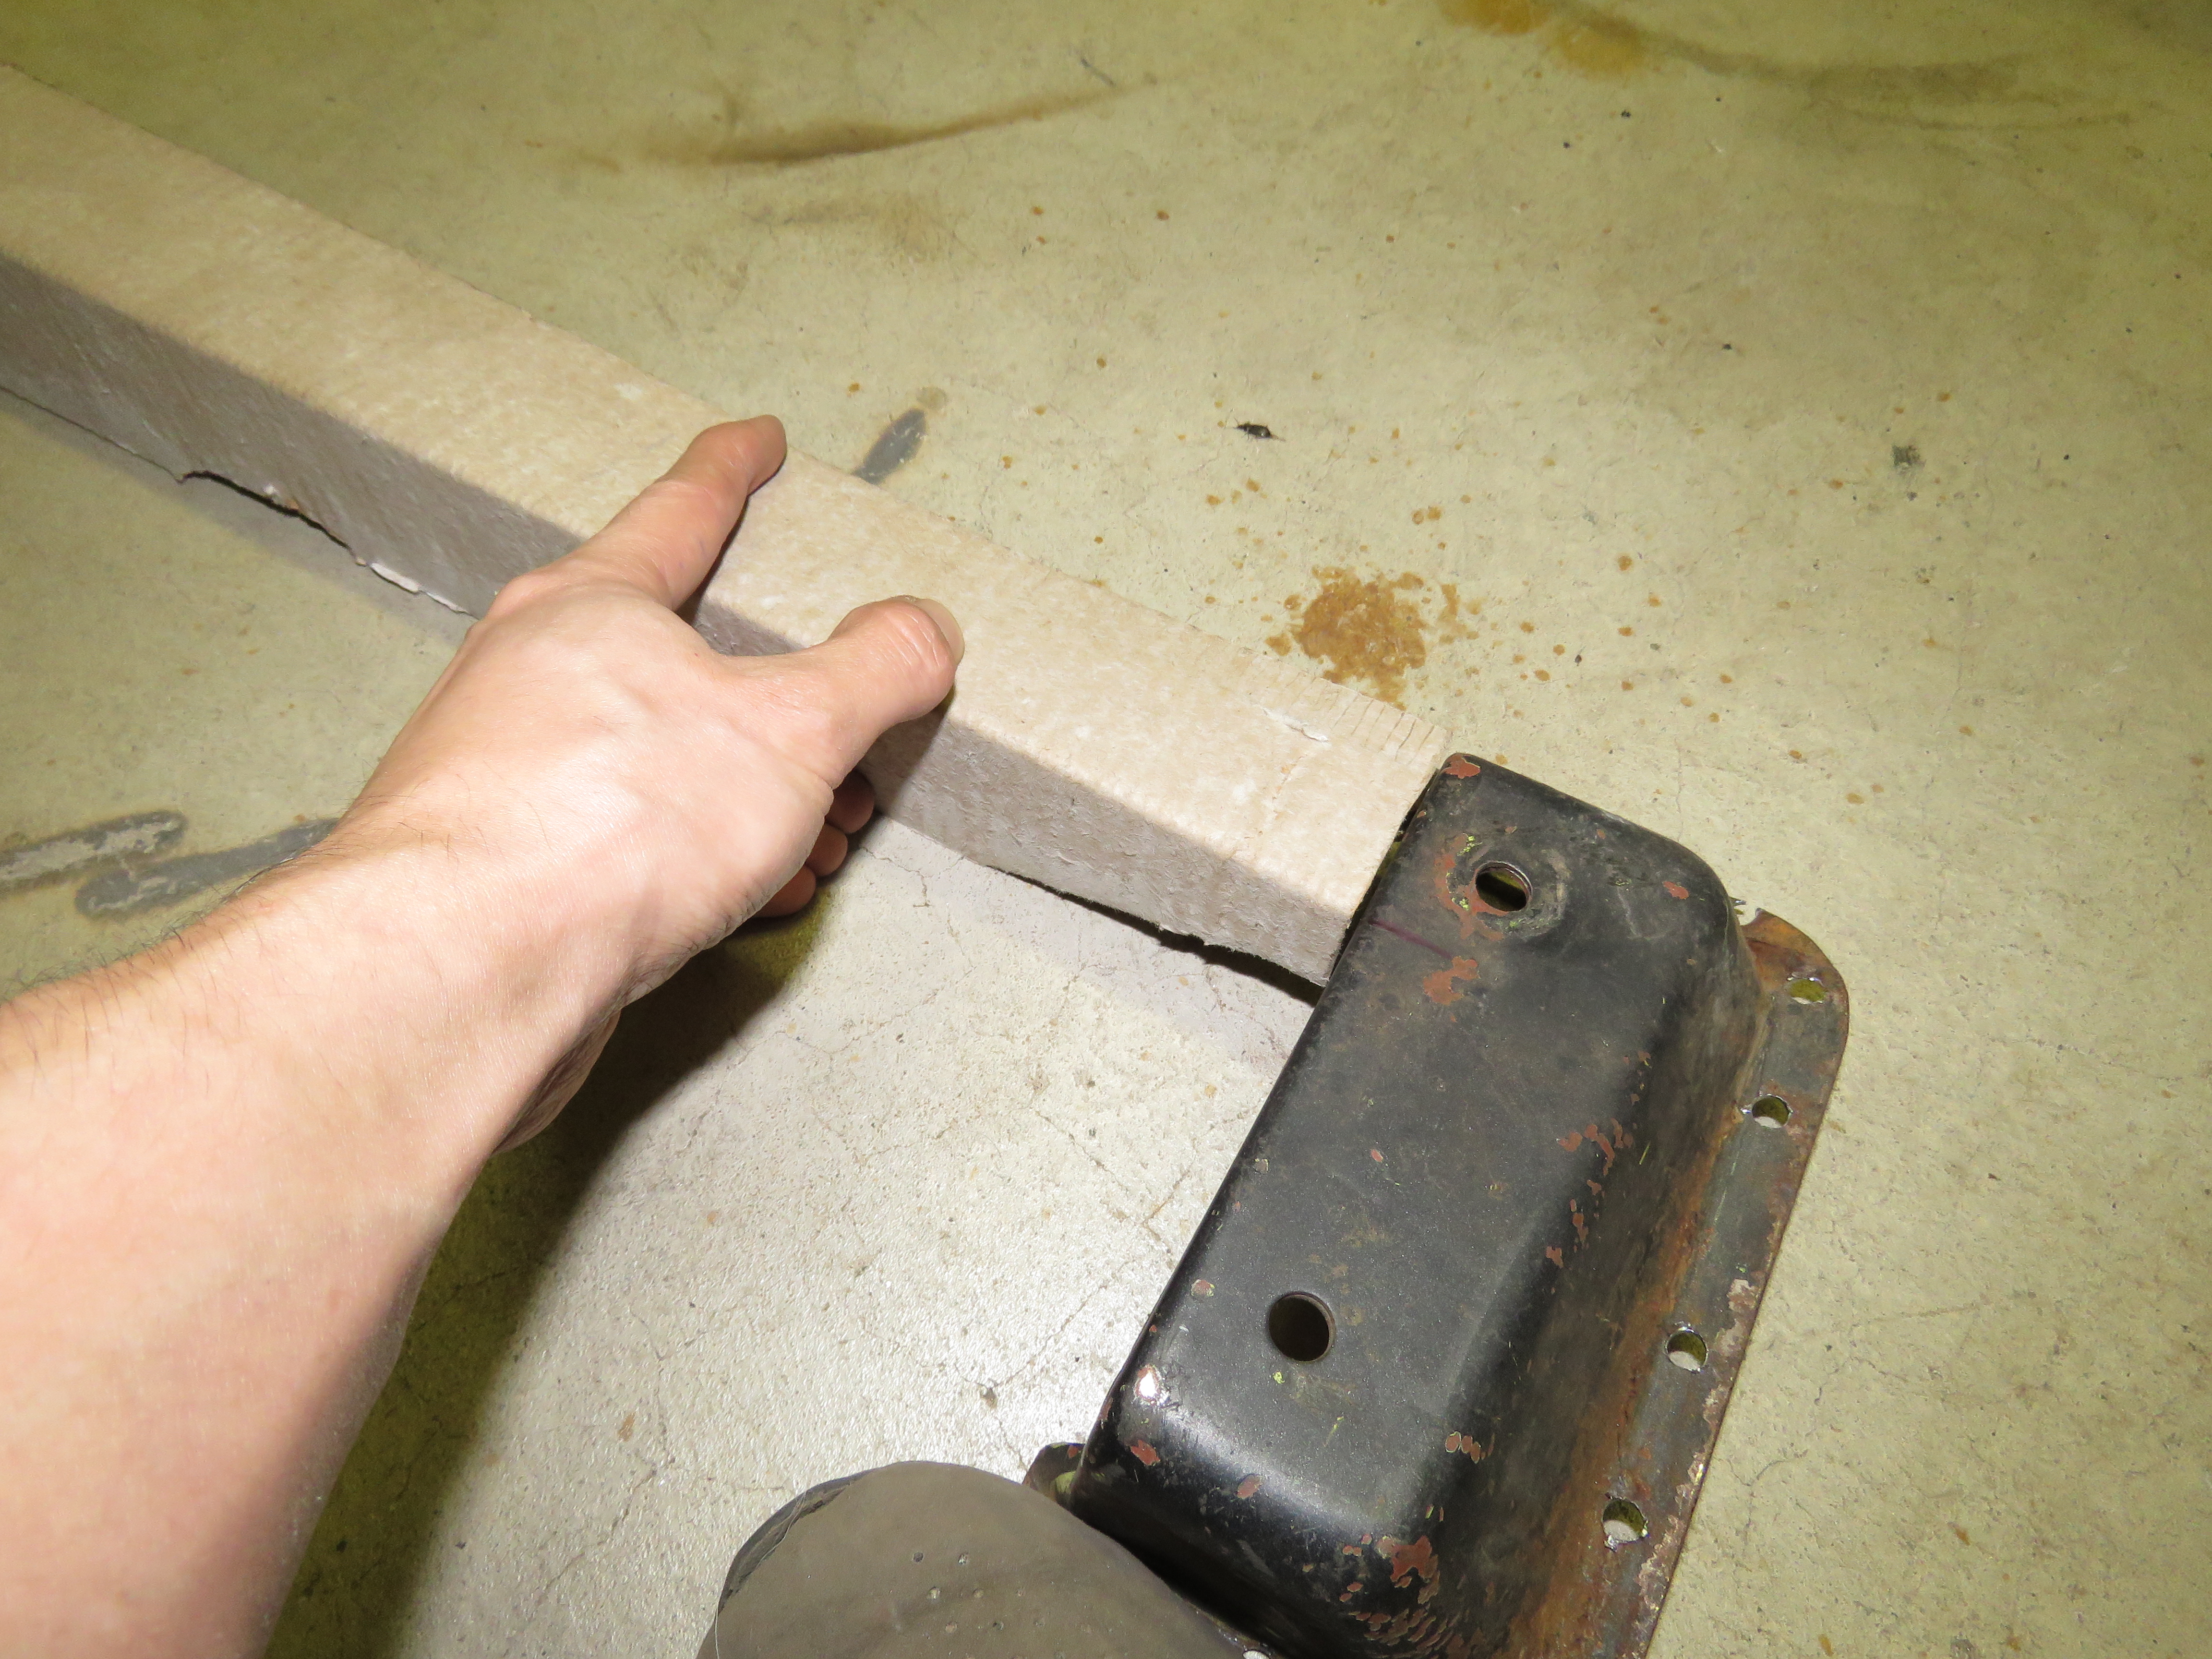
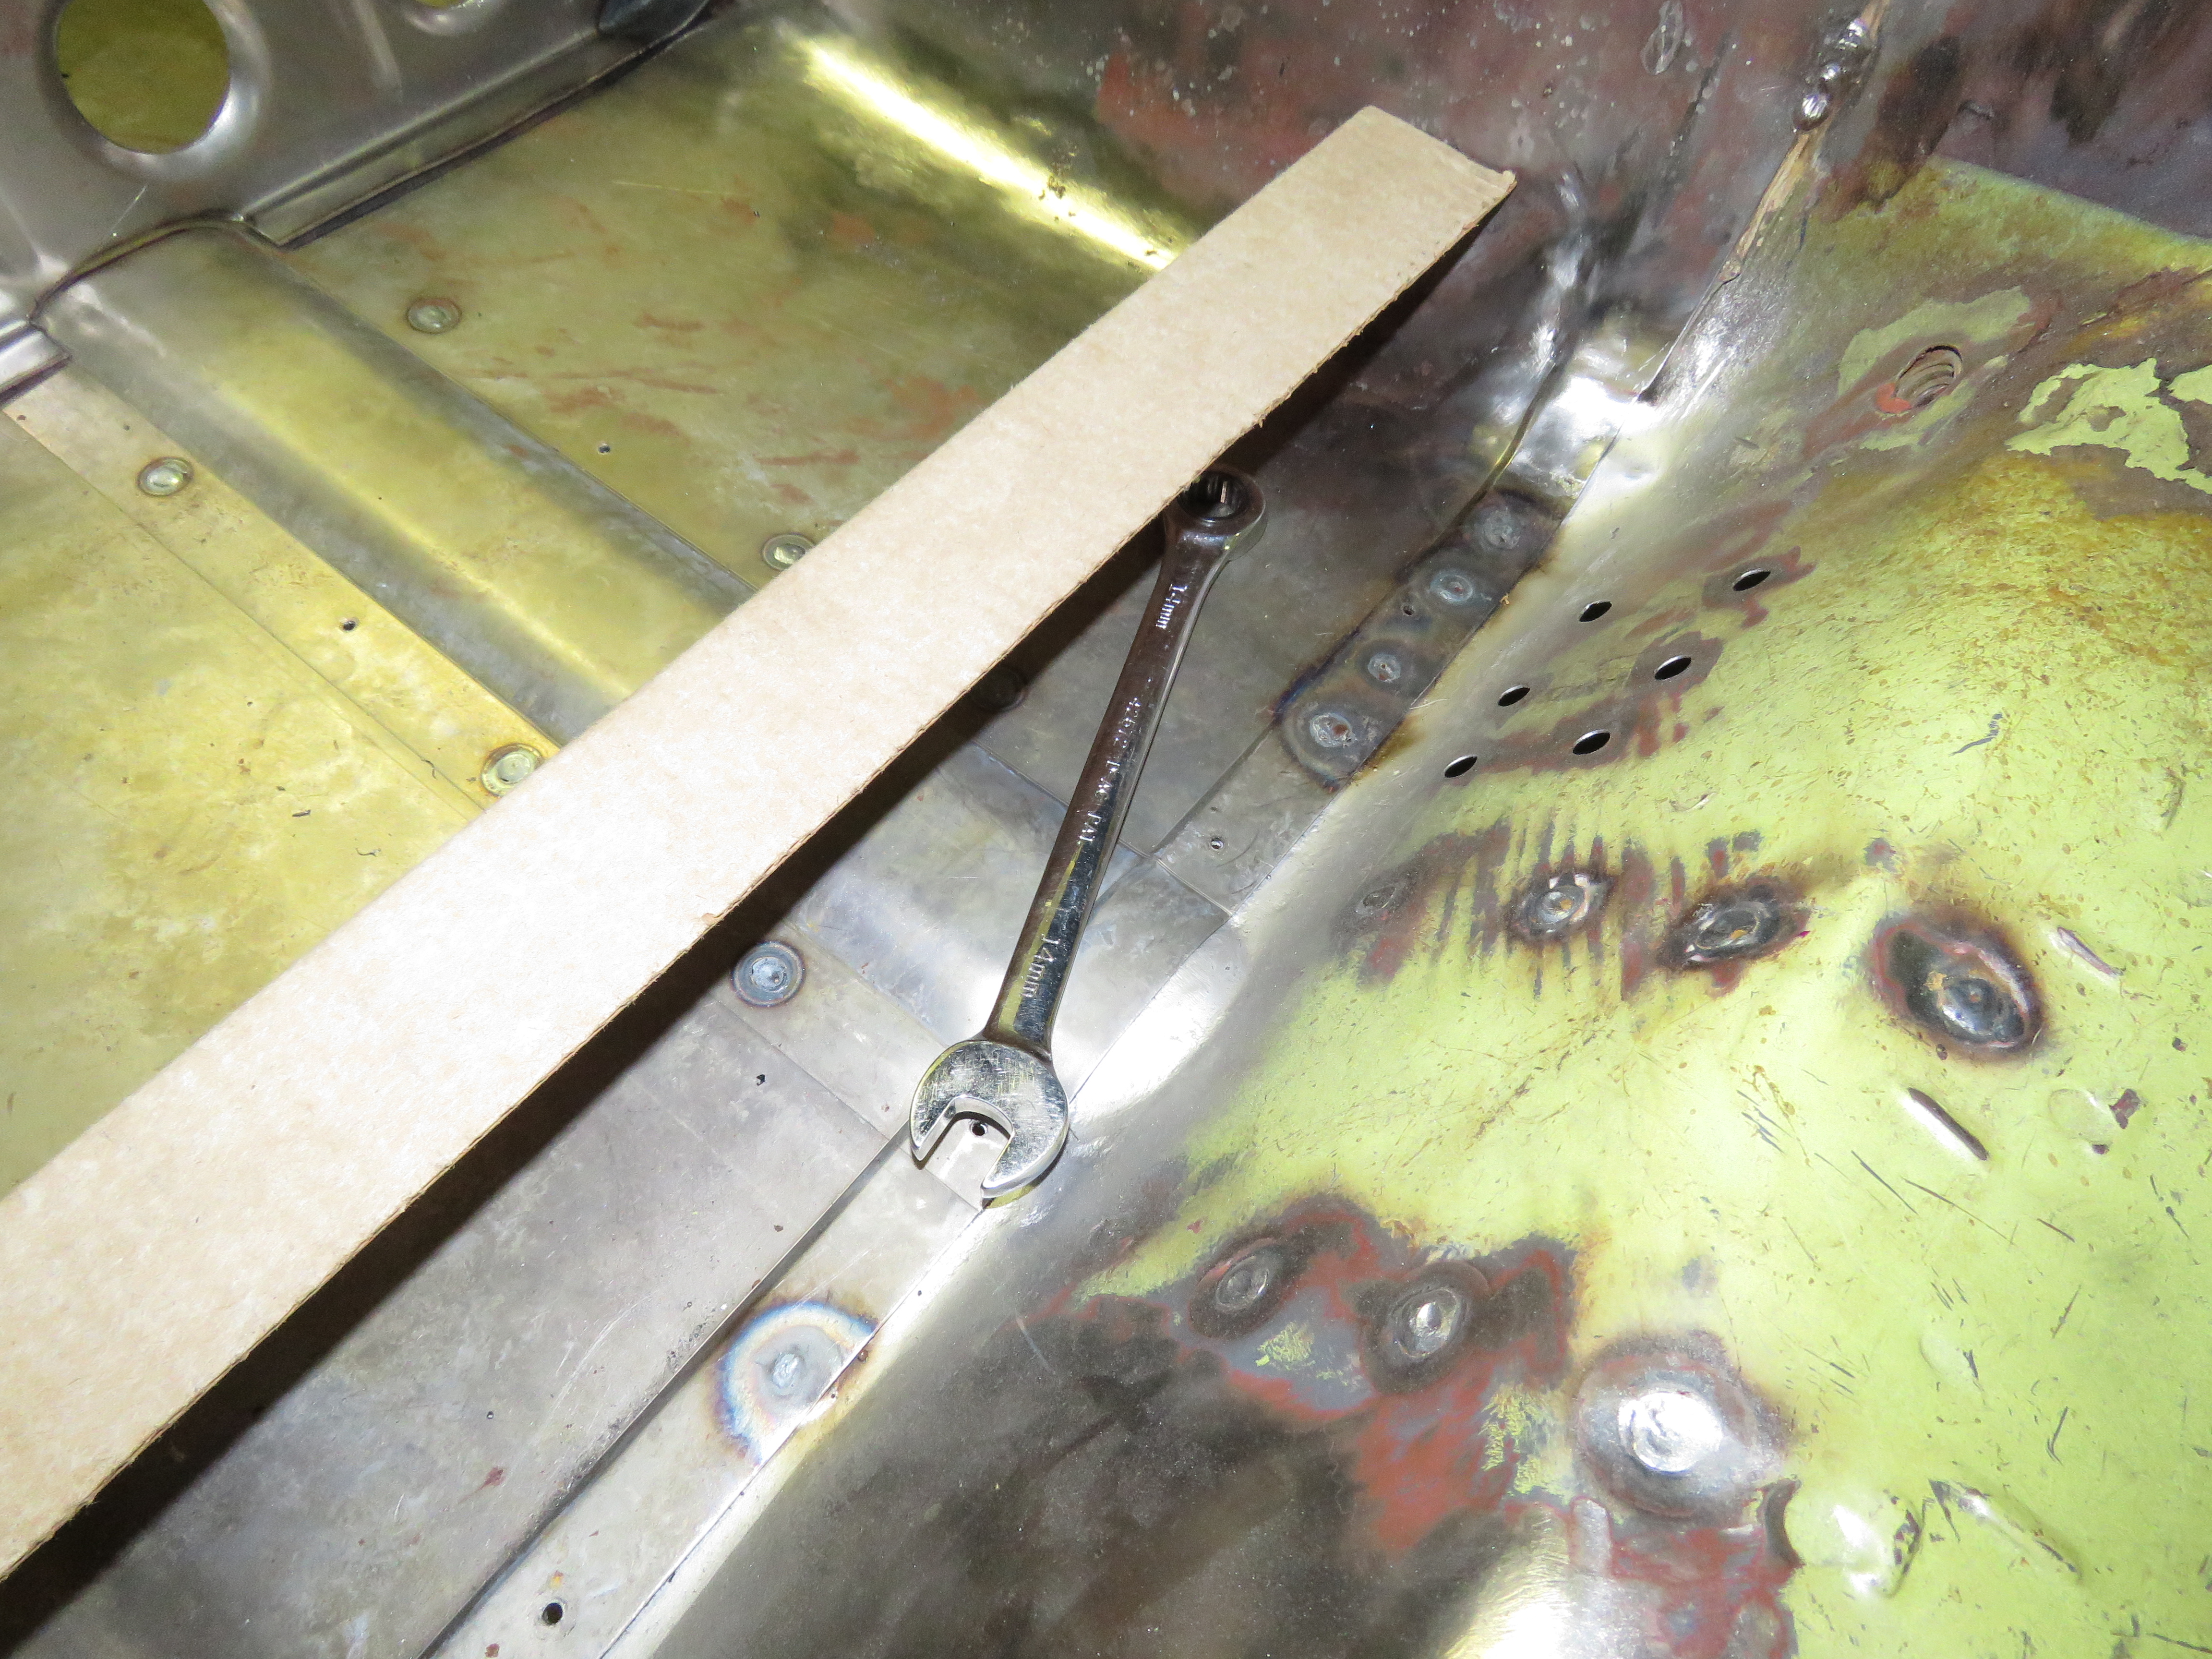
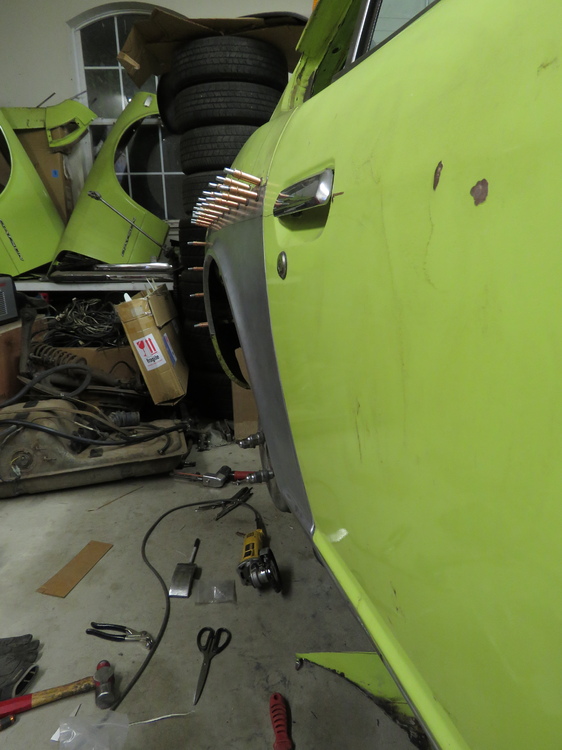
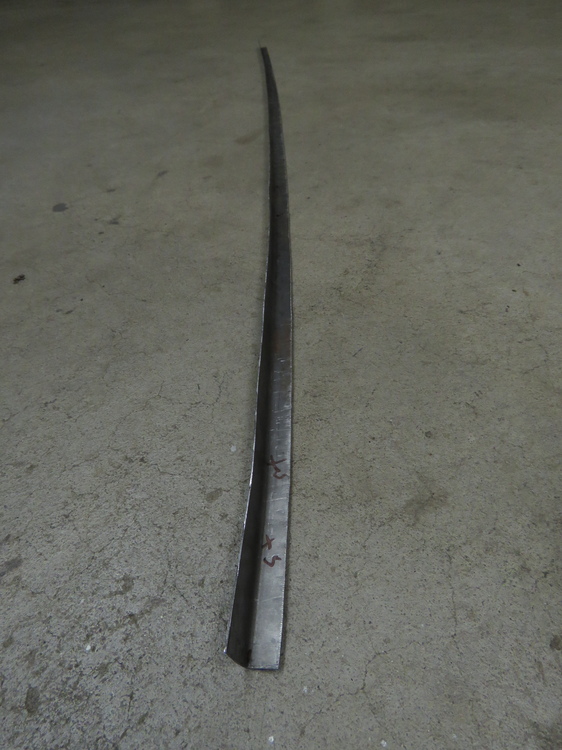
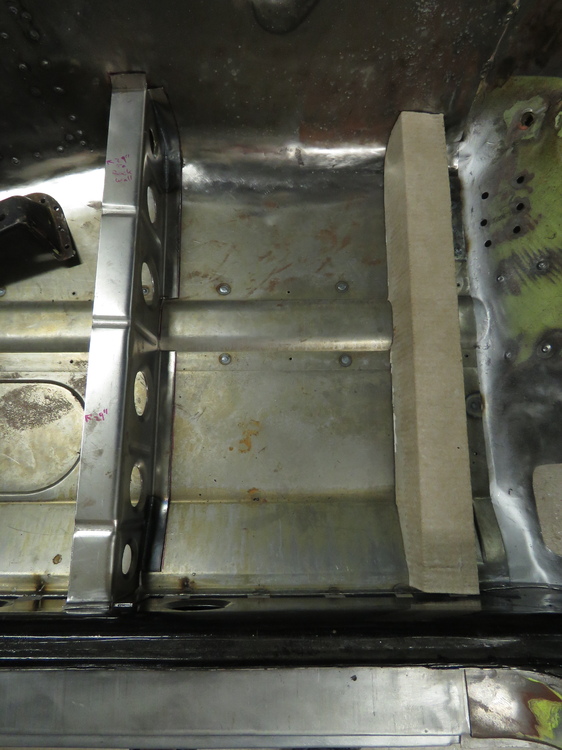
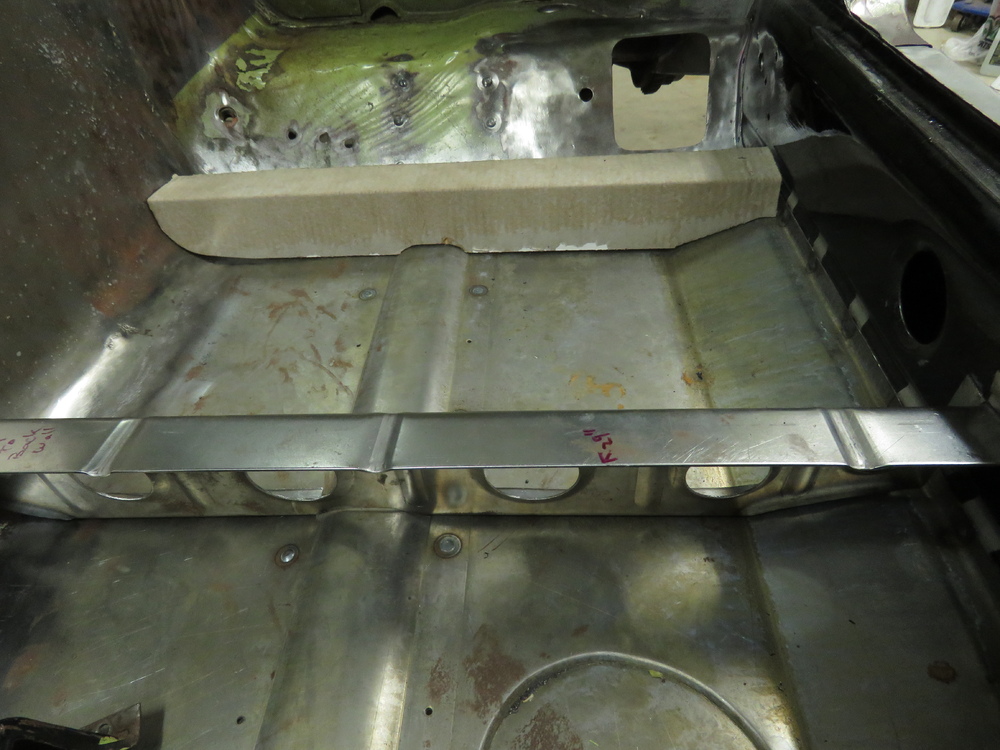
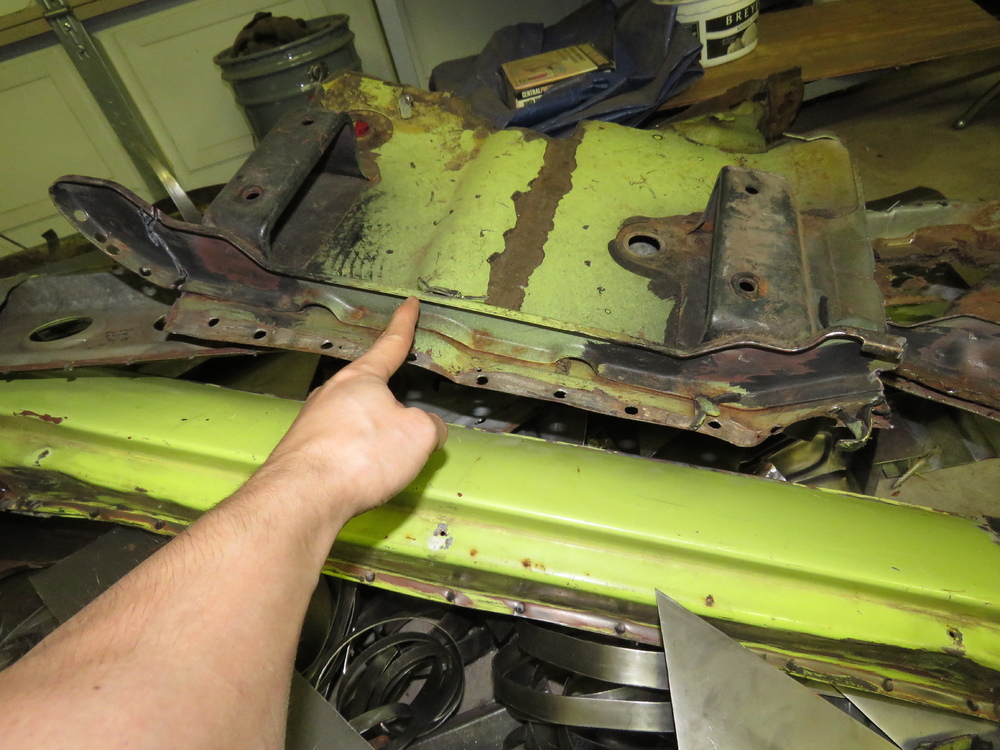
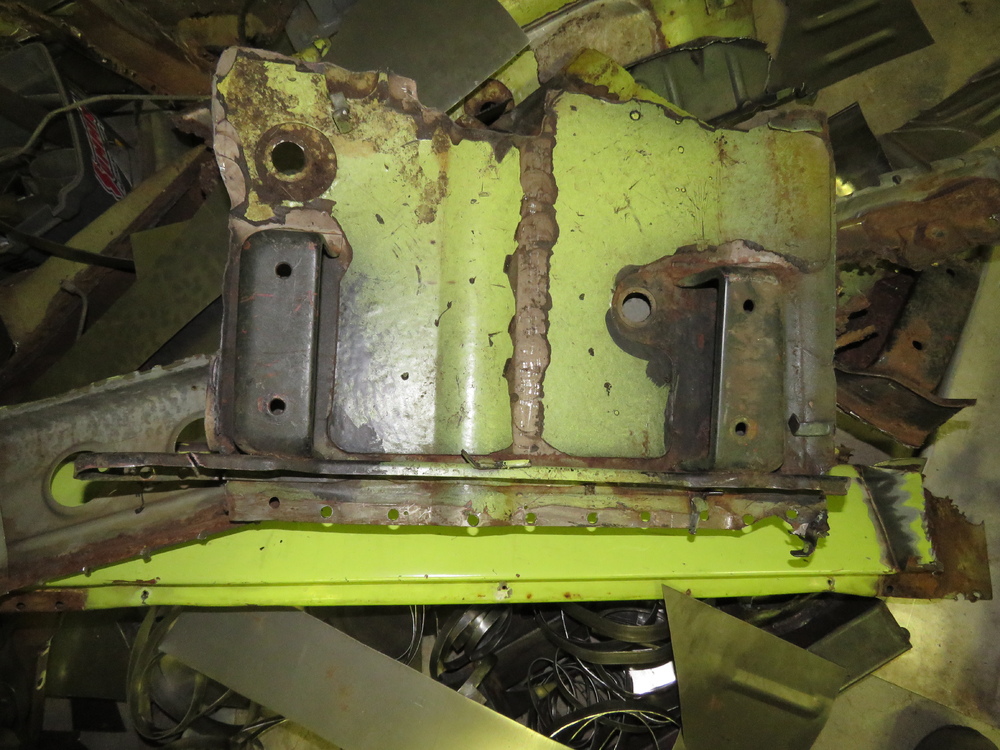
1 pointI bought the Tabco outer rocker panels. Its actually the only replacement panel I had bough and actually used. Fits great, however as you can see in some of the pictures, there was a crack at the seam, most likely due to stress from what ever machine they used to press/pound those into a mold. Would be nice if they made them out of a tad thicker sheet metal. Other than that no complaints. You never know, could be in the future I may entertain that idea, Id like to wait first though until my skills are on a professional level, as of now I am still in the Noob/beginner category. Though I am making the interior rocker panels upon request, already made a few for some people with great feedback. Refer to my garage business thread for details. Also I will attach to this post a PDF file a how to guide for replacing the rocker panels for those that want a more in depth process. Depends on what you say is simple, hehe. Send me the plans and I can take a look for you and let you know. Funny thing is I took someone elses Idea on another forum (Member has an awesome project going on) and created my version of the frame rails support that tie in with the front frames. He was cool with it though, hehe, I mean come on all the Auto companies steal each others ideas. Again thanks fellow Z members, both to those I quoted and didnt quote for the comments, Let me know if any of you need better pictures of any area of the car that I have went over for those ready to tear apart their cars for repairs. I may or may not have it. I have crap ton of pictures, at least a thousand , if not a couple thousand pics. Alright had some time after work today to figure out the rear seat brackets. Sometimes I feel so dumb for not thinking of a simple idea with out a ton of work. I originally was going to try and salvage the original rear seat brackets, but a couple of them are just too rusted to spend time patching them up and besides I absolutely hate drilling out spot welds, sick of it. Original brackets The rear brackets have an angle to them so the seat angles upwards from back to front. Man I am amazed how quickly metal rusts here in Oklahoma, gotta love the humidity. I need to get on it and treat the newly made floor pans, Dont want to do twice the work. Decided to just copy the design of the front seat brackets for the rears. This will also allow for the support from let to right the whole length of the floor like the original brace between the two rear brackets. Dont think its needed in my situation to make the top of the bracket as long as the original, So I cut it off about here as shown in the picture. I am going to use the original seats. Wouldnt be hard to add on in case I install different seats later in life. Cross brace I was talking about. Also able to get a ratchet wrench underneath to tighten the nut on the seat rail. Thats it for now. More to come! INTERIOR ROCKER PANEL INSTALLATION GUIDE.pdf


 1 point