Leaderboard
-
300twinz
Free Member1Points42Posts -
moelk
Free Member1Points661Posts -
a7dz
Free Member1Points949Posts -
Captain Obvious
Free Member1Points10,081Posts


Popular Content
Showing content with the highest reputation on 05/18/2015 in all areas
-
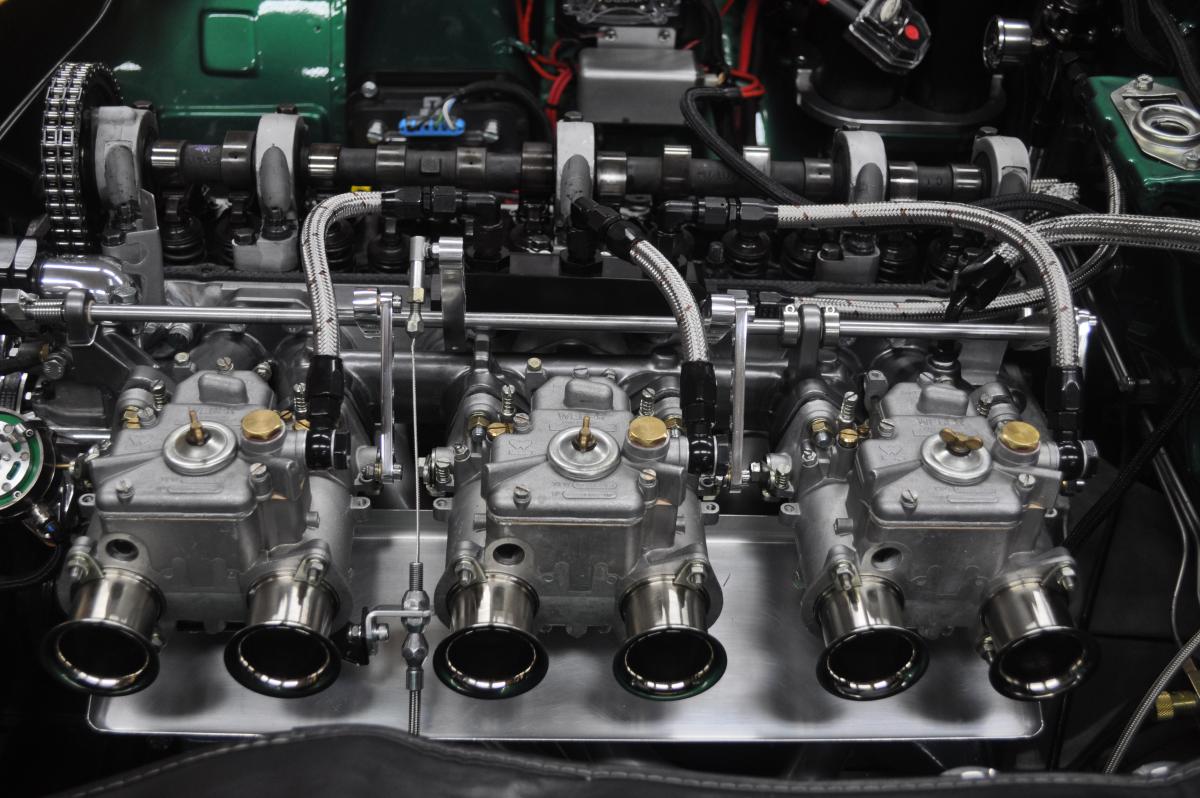
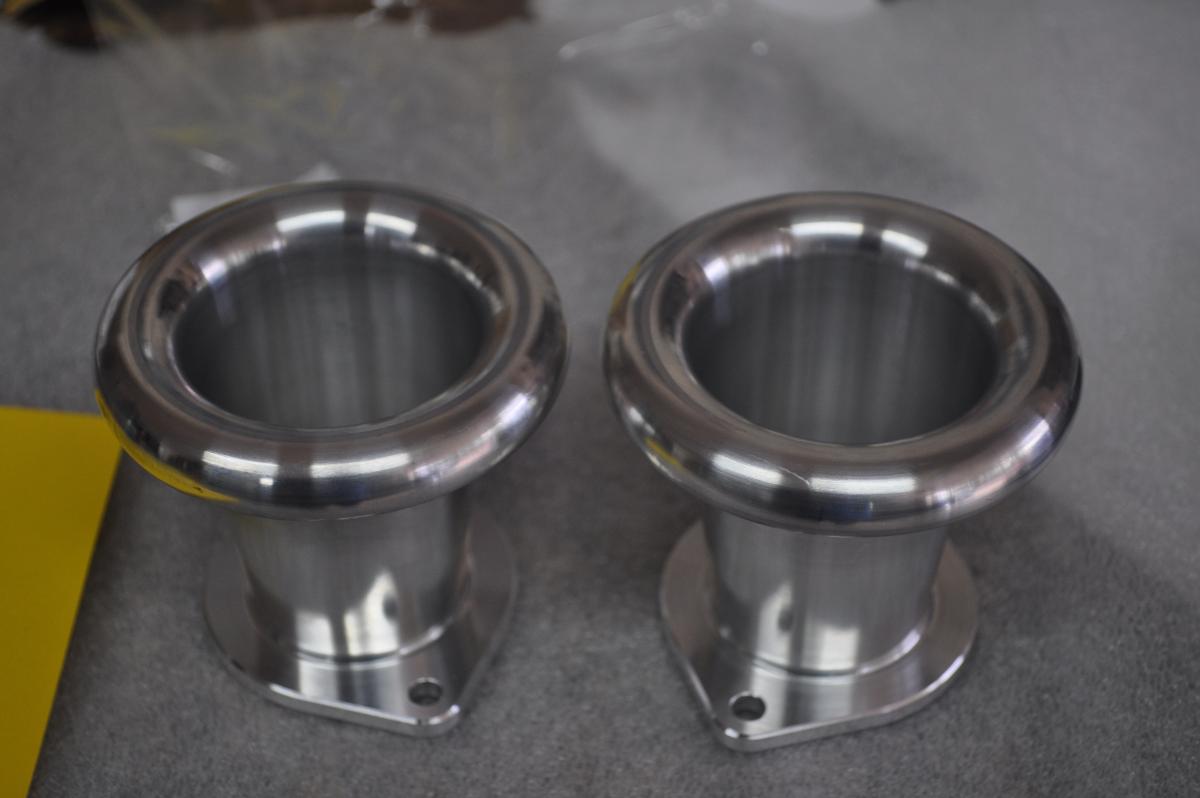
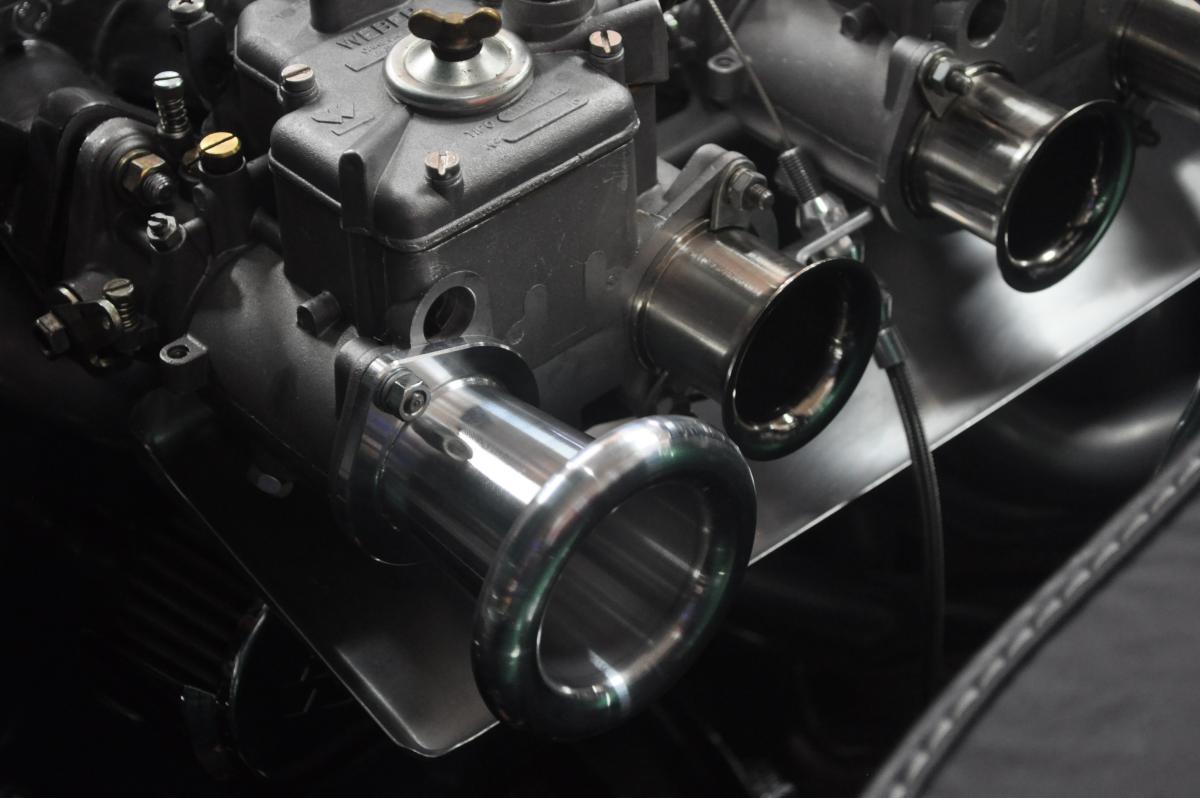
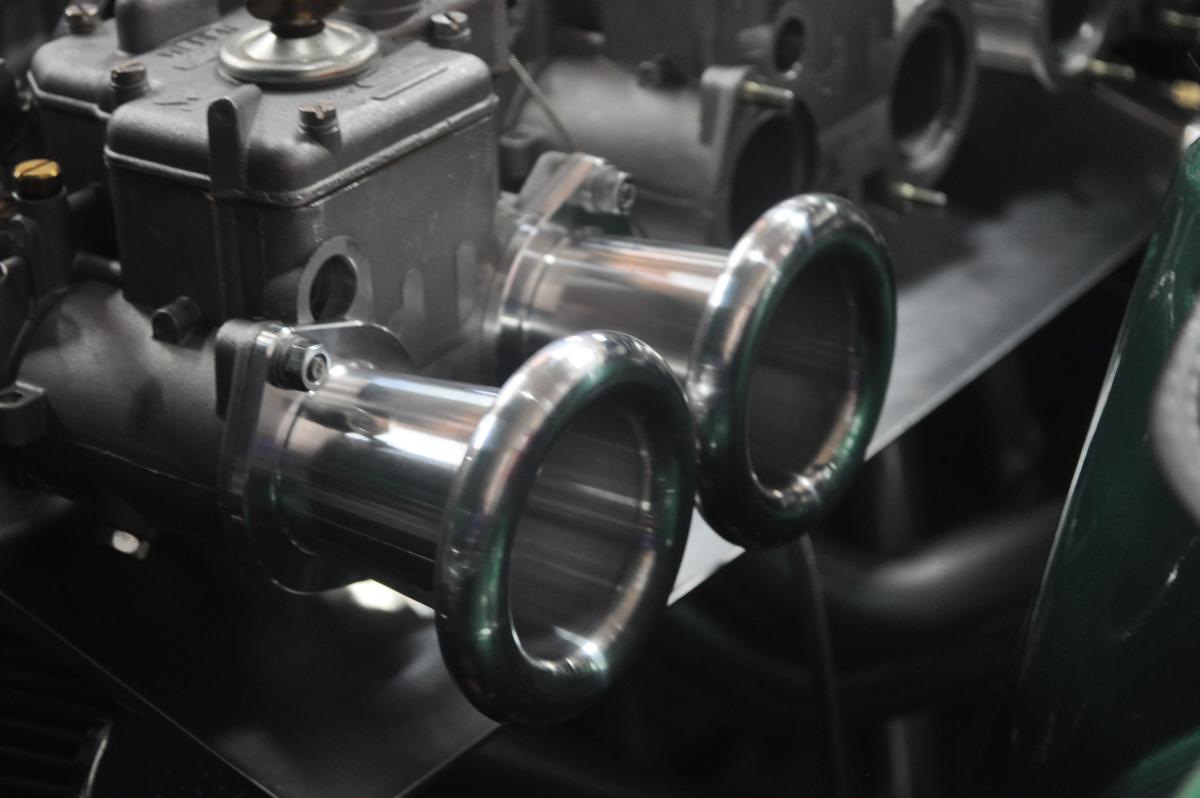
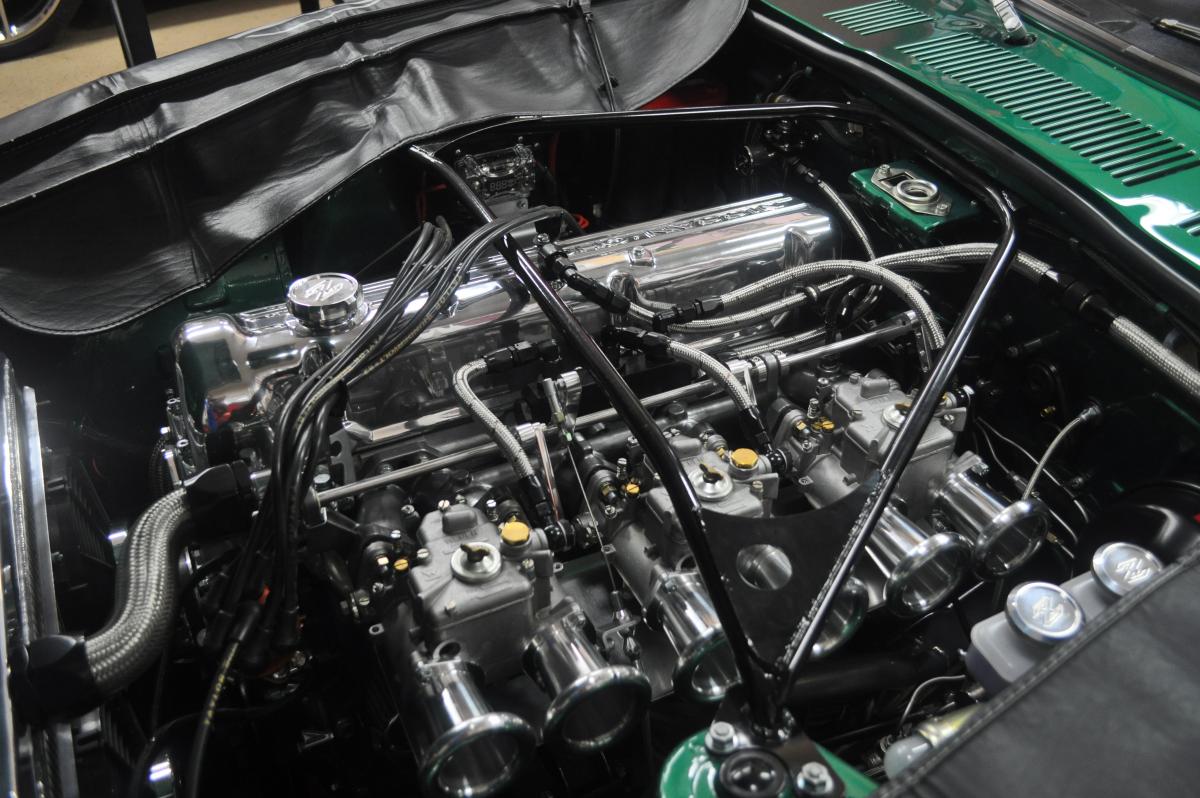
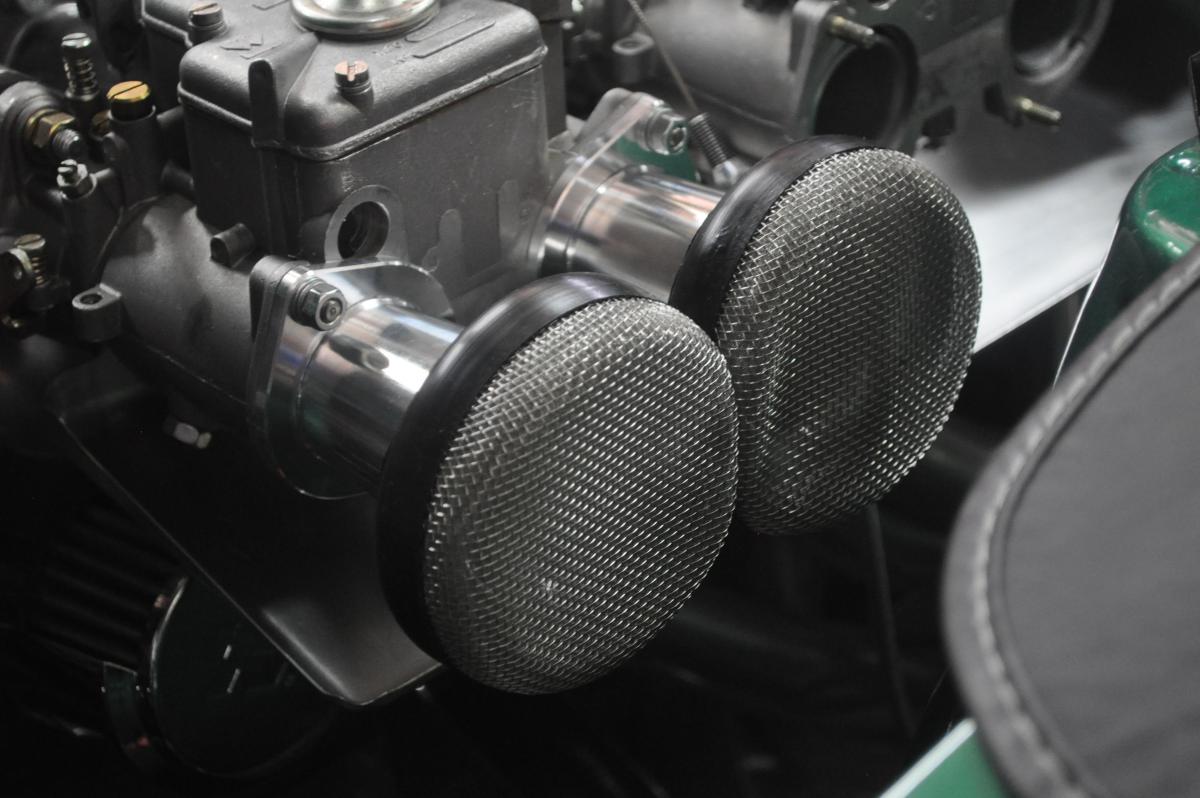
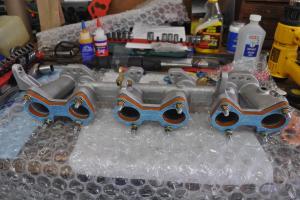
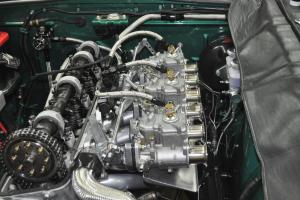
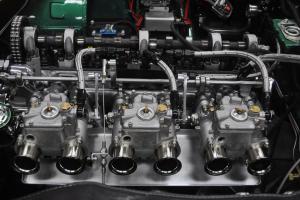
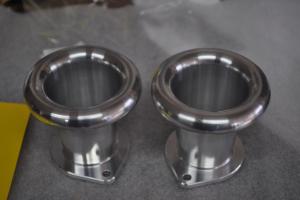
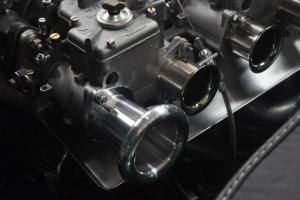
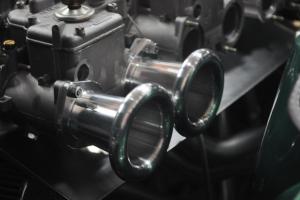
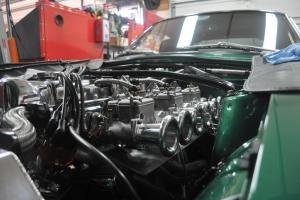
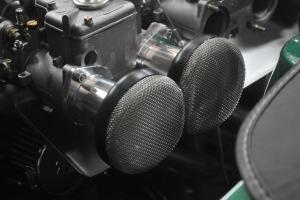
So I have never been particularly happy with my Cannon manifold for the triple Webers that I run. As many of you know, the alignment of the rod ends that are tapped into the manifold and not particularly accurate and as a result it has been necessary to remove the middle rod end so as to minimize binding of the throttle rod. I have always had issues with this setup in terms of "return to idle" and this misalignment exacerbated the whole setup. I have also had to use external return springs which just add more clutter to the engine bay as well. So the primary motivation I had for this upgrade was to achieve a smooth return to idle regardless of whether I was successful in eliminating the return springs or not. For some time I had been contemplating an upgrade to a beefier throttle rod with the existing Cannon manifold, but this would have also required larger tapped holes in the manifold due to the necessity of having to use larger rod ends as well. Also was never clear if doing this would potentially eliminate the external return springs that I was using. In the end, I opted for a brand new Harada manifold that I purchased on eBay from a seller in Japan. It received very good reviews and I know that a few folks on this forum have used them as well. The transaction was flawless and the shipping from Japan was like lightening. I received this unit faster than some things that I have purchased domestically!! In any case, I thought that I would share my install and the results that I have achieved. First a few notes about the Harada. The throttle rod "arms" are actually built into the manifold as opposed to the threaded approach with rod ends that the Cannon took. There are only 2 arms and so the alignment by definition is perfect. The manifold does provide for a "middle" arm but I chose not to use it as it interfered with one of my throttle arms to the middle carb. Also, given that the Harada uses a 10mm throttle rod (which I actually replaced with a high strength stainless steel version that I purchased from McMaster) the rod is definitely beefy enough that you can do without the middle support arm. In addition, the Harada includes a built in return spring that I was hoping would be beefy enough so as to eliminate the external ones that I had been using with the Cannon. Finally, the Harada is about an inch shorter than the Cannon and although I definitely welcomed the increased room it gave me in the engine bay, I did not anticipate the improvement in engine performance that I ultimately achieved. More on that later. Upon receipt, I noticed that the casting on the manifold was a little rough (although significantly better than the Cannon) and so I proceeded to clean up all of the casting marks and also did my best to polish up the runners as well. Once this was complete I had the manifold powder coated in a gun metal grey which really complimented the rest of my engine bay. Now for the install itself. On my old Cannon setup, I used the front or forward facing throttle mechanisms on the carbs themselves, but given the layout of the Harada and the positioning of the arms and return spring, I was forced to move to the rear most throttle mechanisms on each carb. This was actually an easy swap and worked out well with no interference. I also had to fabricate a new bracket to hold my throttle cable mechanism to as to avoid any interference with the new positioning of the throttle arms. Everything worked out perfectly. While I was at it I also rebuilt each of the Webers with new gaskets, needle valves, etc., and upgraded to the heavier internal return springs so as to increase my chances of being able to remove the external return springs. I kept all of my jetting the same based on the belief at the time that the small change in manifold size would not really make that much of a difference. For reference, my primary jetting specs were as follows: Choke - 32mm Idle jet - Keith Franck / Hypojet equivalent of 60F9 Main jet - 130 Emulsion tube - Keith Franck equivalent of F11 Car started right up but was running a little rough and seemed very rich. Went through a complete balance as well as setup of the idle mixture, but car still ran very rich at this point. However, I had no stumbling issues or the dreaded off idle stumble and the car ran great especially at higher RPM's with the exception of the richness. So I ended up backing off on my idle jets to a 55F9 and also increased my choke size to 34mm. I had tried the 34's with the Cannon setup in the past and could never get it to run properly no matter what I did to the jetting. Well the Harada was a whole new experience. Once I finally got everything in sync and I properly adjusted my idle mixture, the overall performance of the car was like never before. Acceleration is smooth with no signs of an off idle stumble. No coughing, no backfiring, just smooth acceleration and great pulling power. And best of all a perfect return to idle without having to use the external return springs!! For good measure I also did add some longer velocity stacks that had a more rounded lip than the stock ones that came with the Webers. They do look cool and I also believe the design of them helps quite a bit with the air flow into the carb bodies. I have not messed with my ignition timing yet but so far have no pinging even under the most severe loads. I suspect that I may be able to add a little more advance and see if I can eek out a little more power as well. It's very easy to do with the 123 Igniton system I have so I will probably be tweaking that this week. Other than that and the possibility of going to a slightly smaller main jet, I am very happy with the upgrade. This is definitely a cut above the old Cannon manifold both in terms of performance as well as drivability. Wish I had made the change years ago. I've attached a few pictures so you can see the install progress. Mike.

 1 point
 -
Oh, and I forgot about the water hardening series as well. Here's a page from McMaster with a little info on some of the more common grades of tool steel: http://www.mcmaster.com/#tool-steel/=x8iikp And I still have no idea if any of those grades are commonly used for spring applications. I don't do much of that and what I do-do (doodoo?) usually starts with an existing spring with modifications to something that already exists. And one more thing... I purchased some anti-scale coating compound after the last time I did some home hardening. I haven't use it yet as the need hasn't come up, but the next time I'm going to give it a shot. I have a jar of this stuff sitting on the shelf: http://www.brownells.com/gunsmith-tools-supplies/metal-prep-coloring/heat-treating-accessories/non-scaling-compound-prod1122.aspx1 point
-
1 point
until
Nismo Fiesta happens May 22-24 in Austin, TX. For event information please visit www.nismofiesta.com1 point -
1 point
-
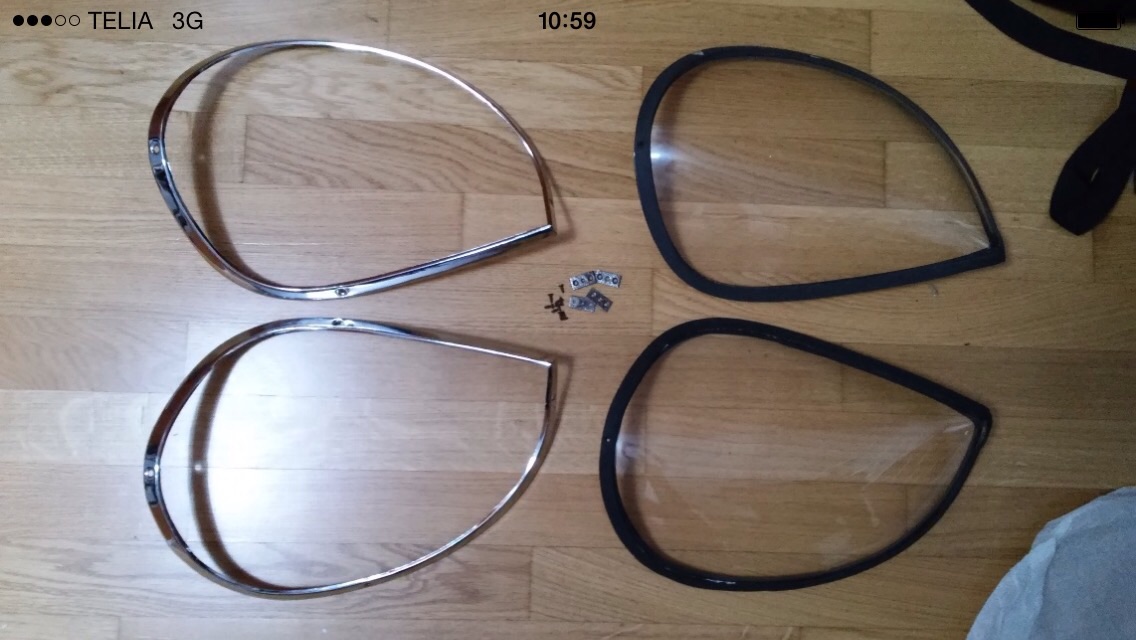
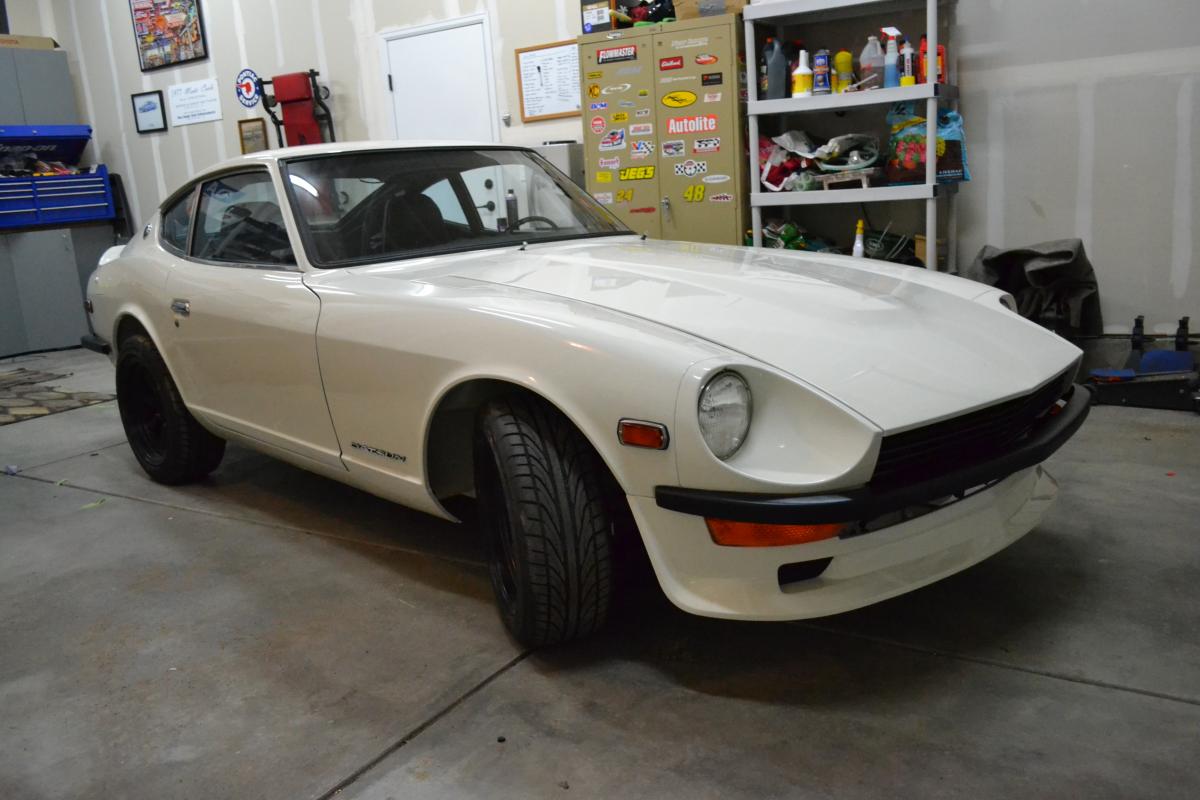
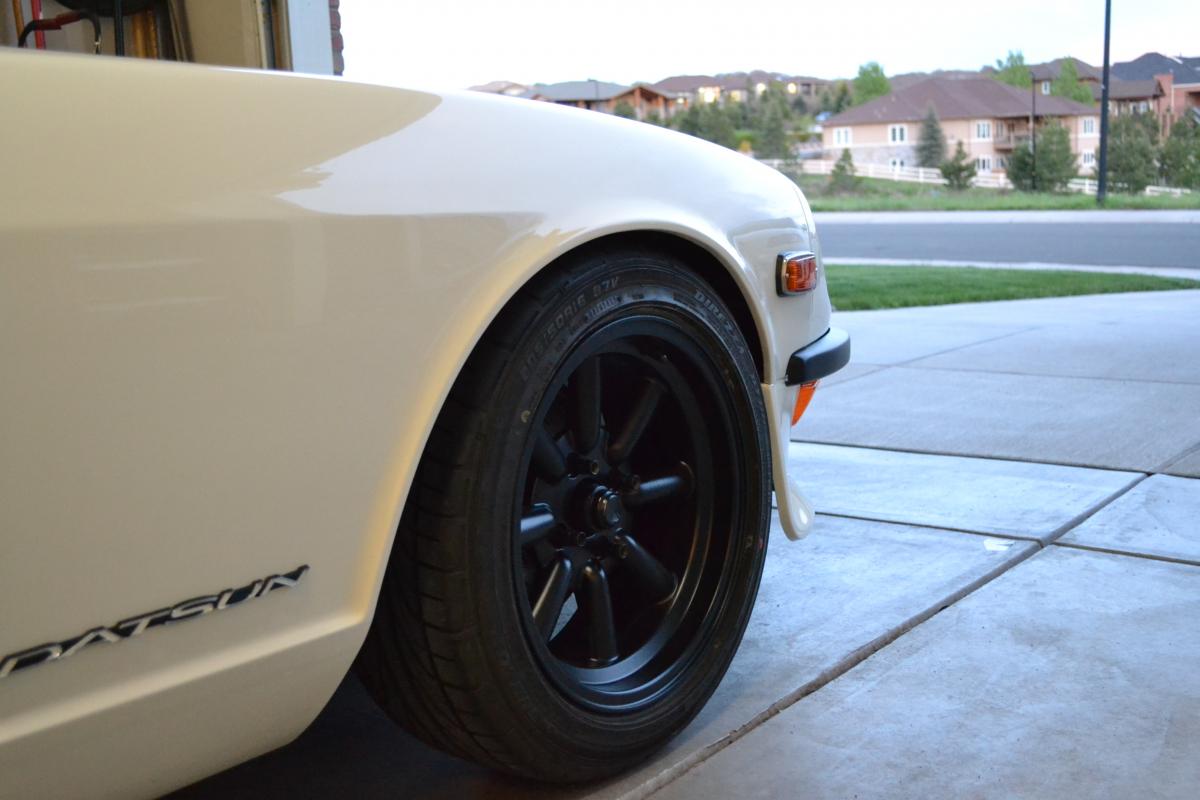
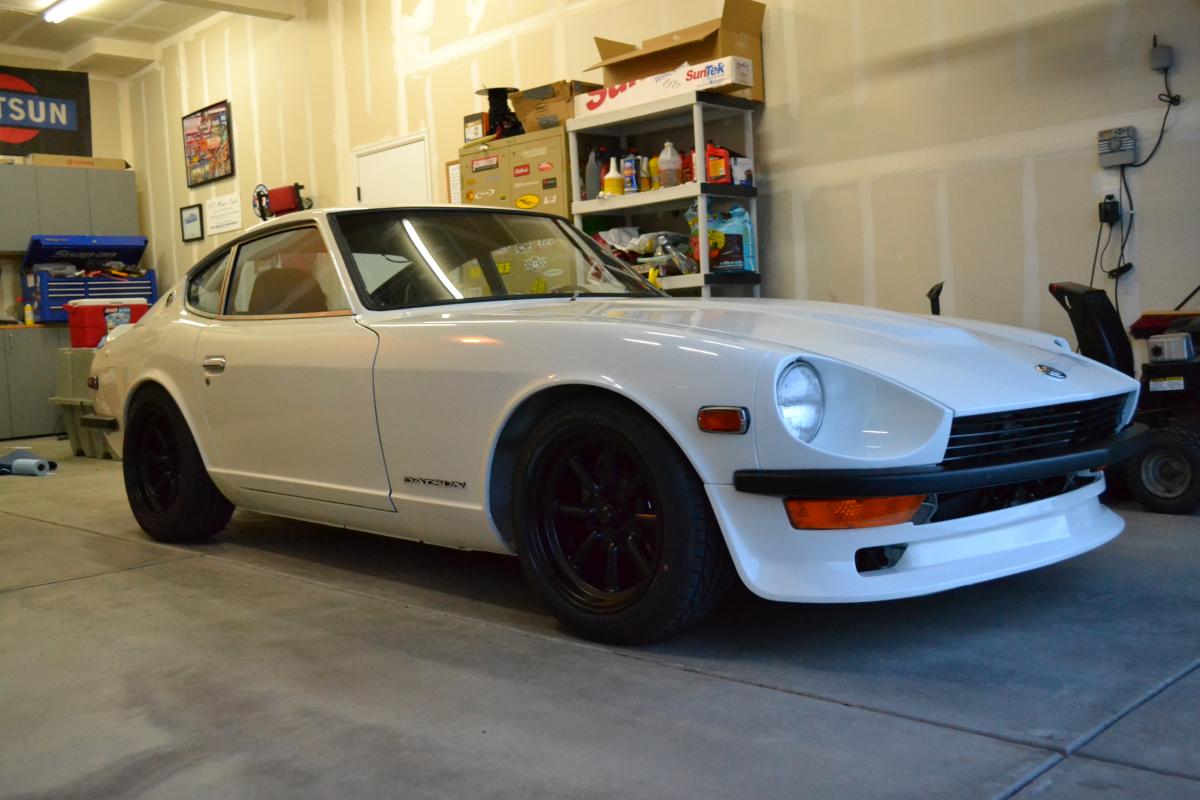
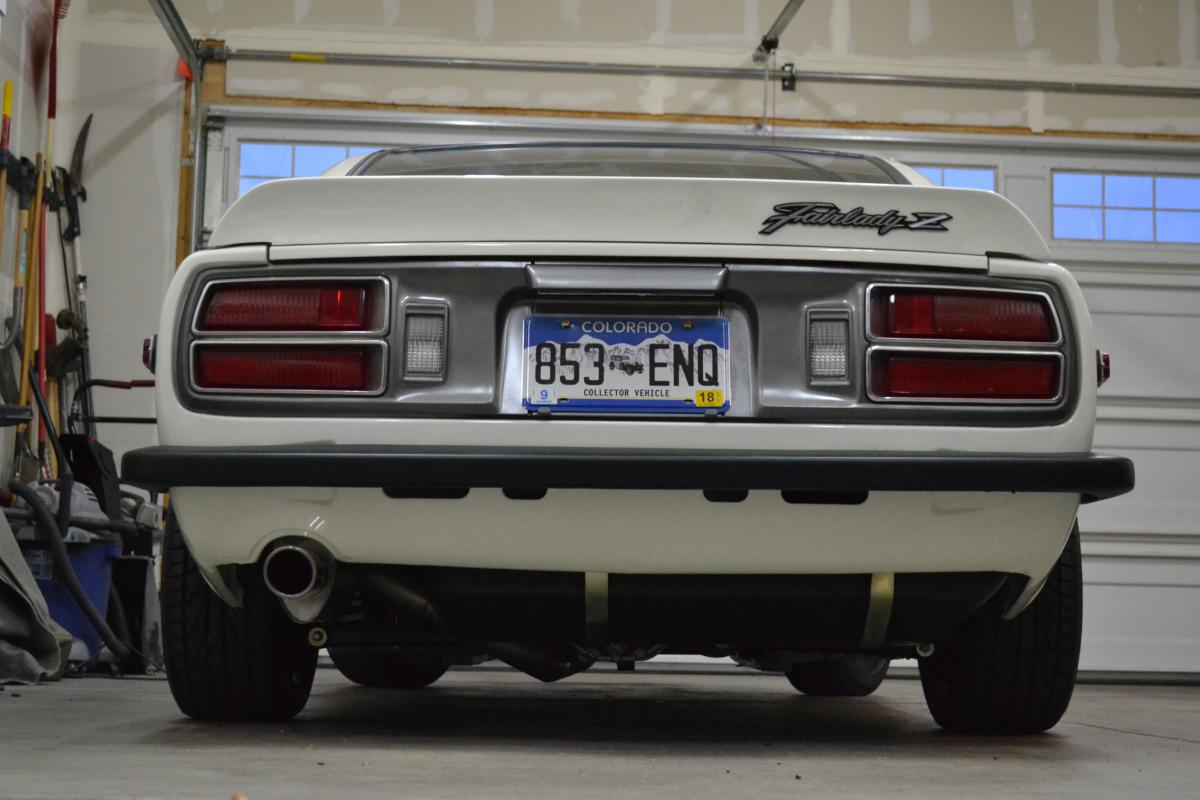
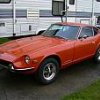
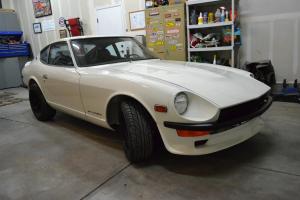
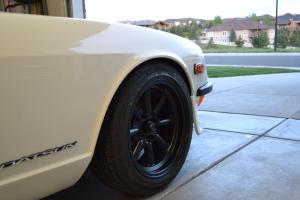
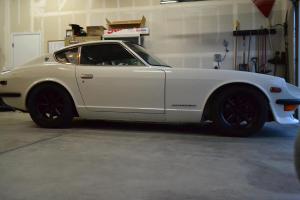
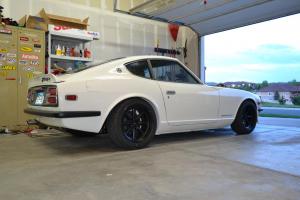
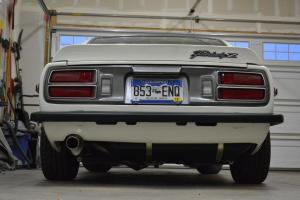
1 pointSo heres how it sat before And the "after" pictures Looks so much better in my opinion, gives the car a little more "attitude" I will take some better pictures soon

 1 point
 -
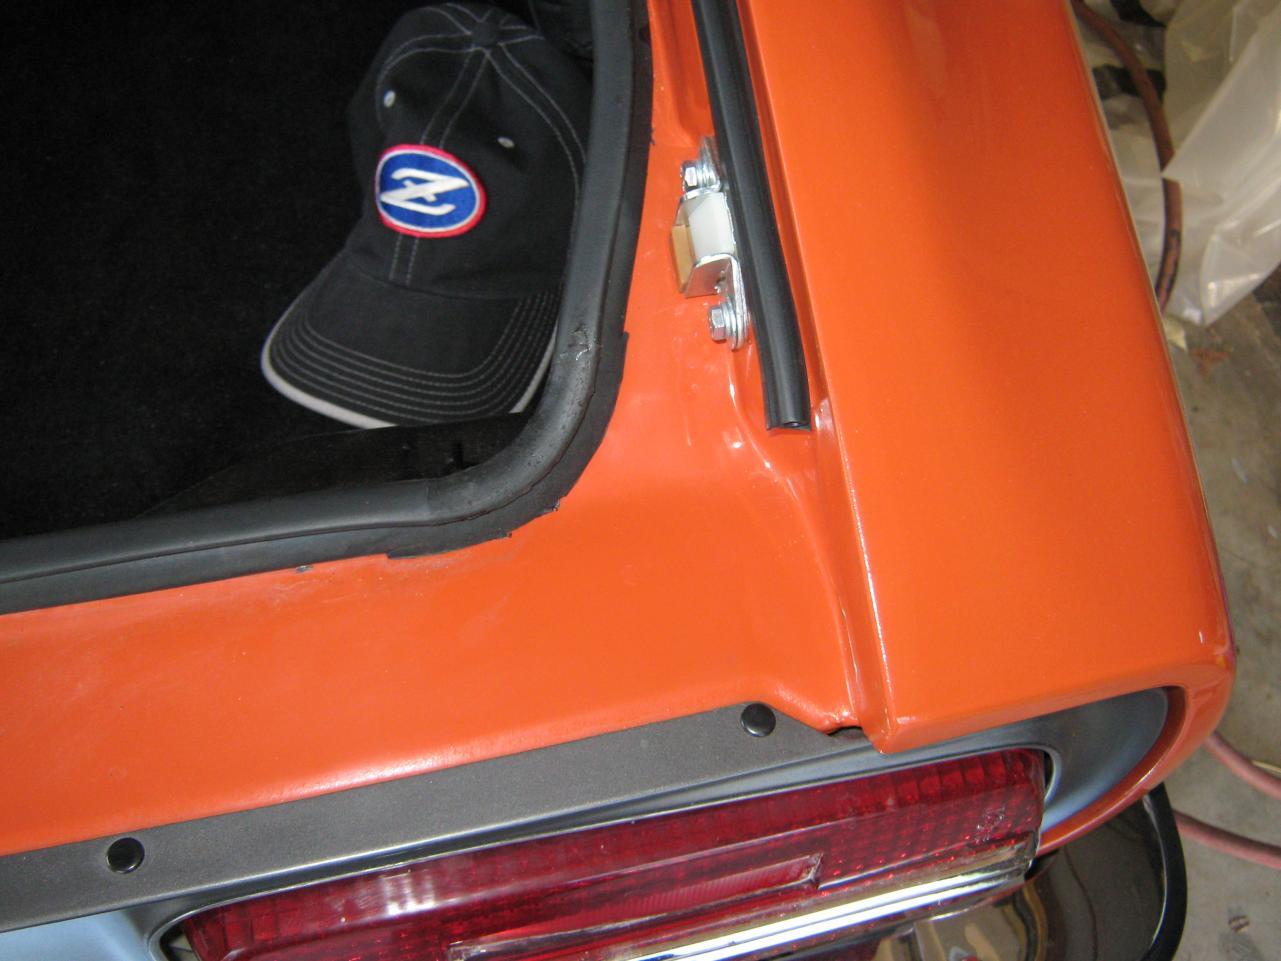
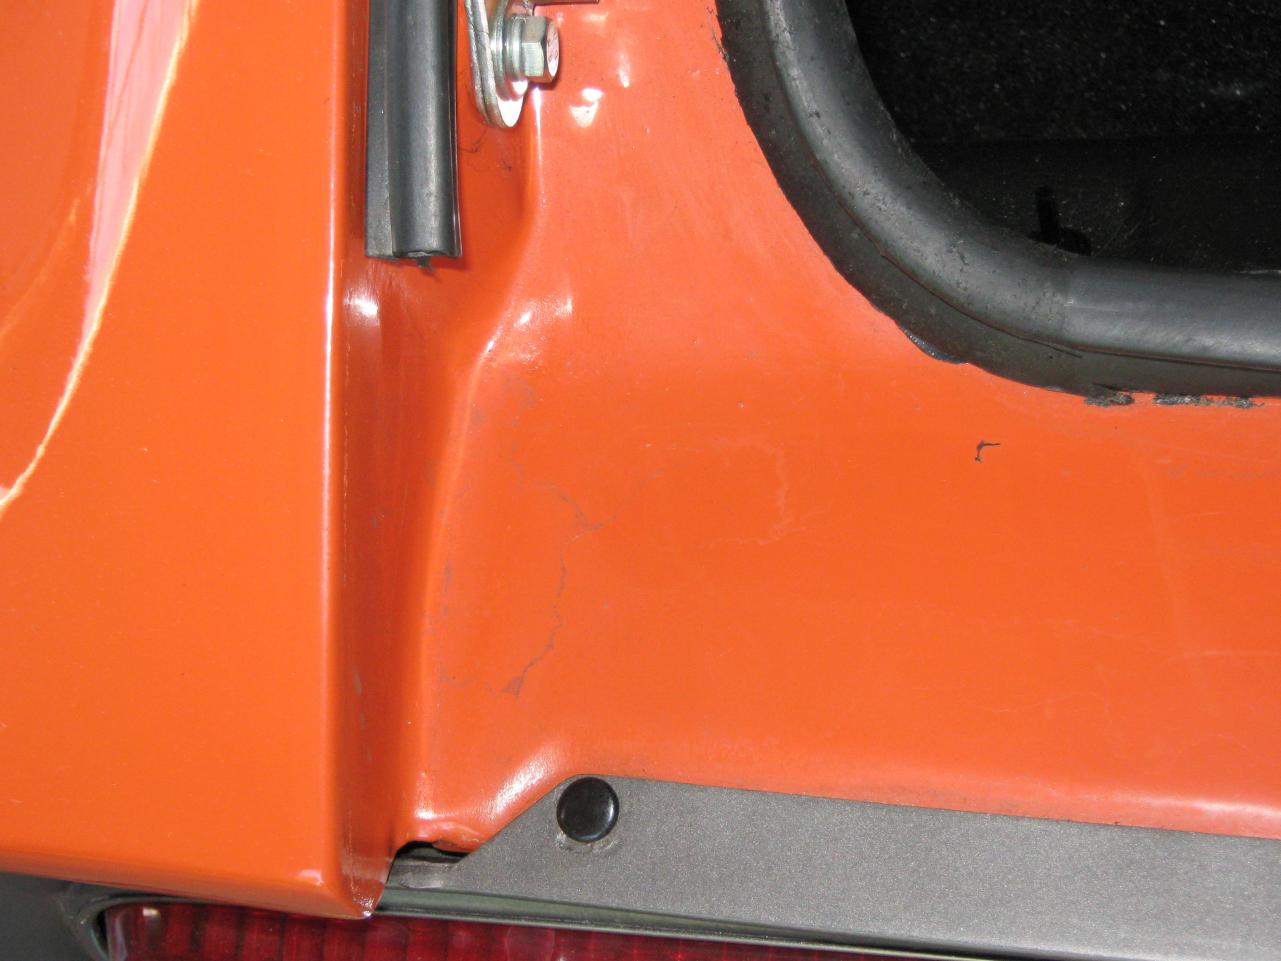
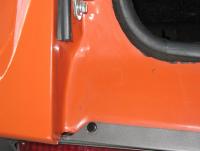
When I replaced the flat panel I welded it in solid. Built up the ends so water ran off the panel and molded all the seams so there is no path for water between the panels. This was done three years ago.

 1 point