All Activity
- Past hour
-
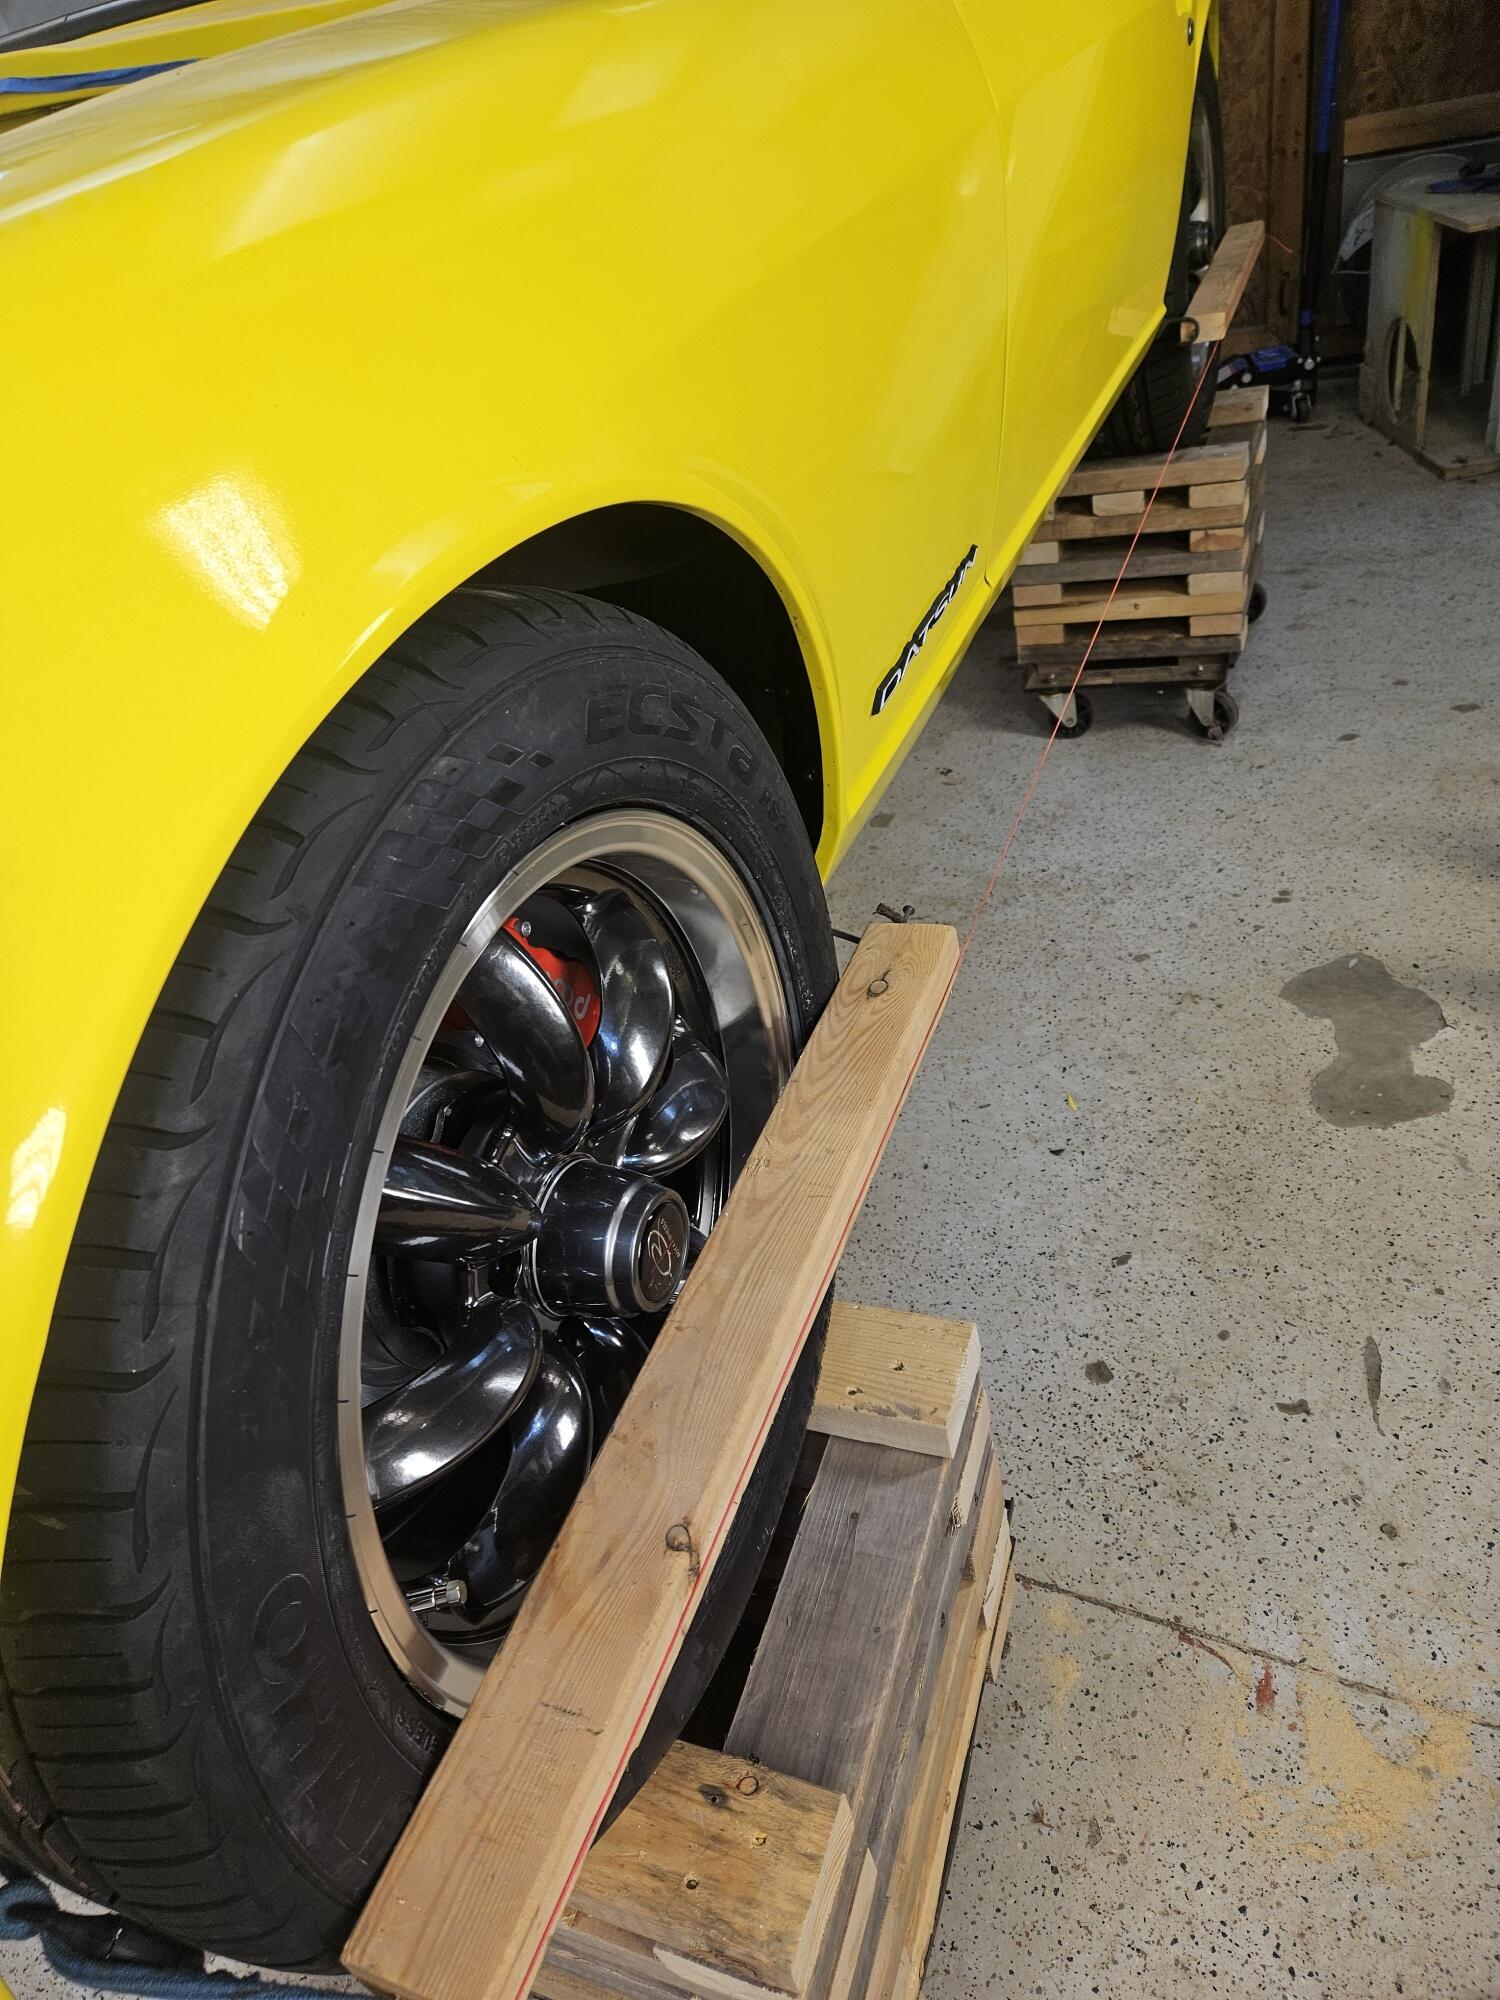
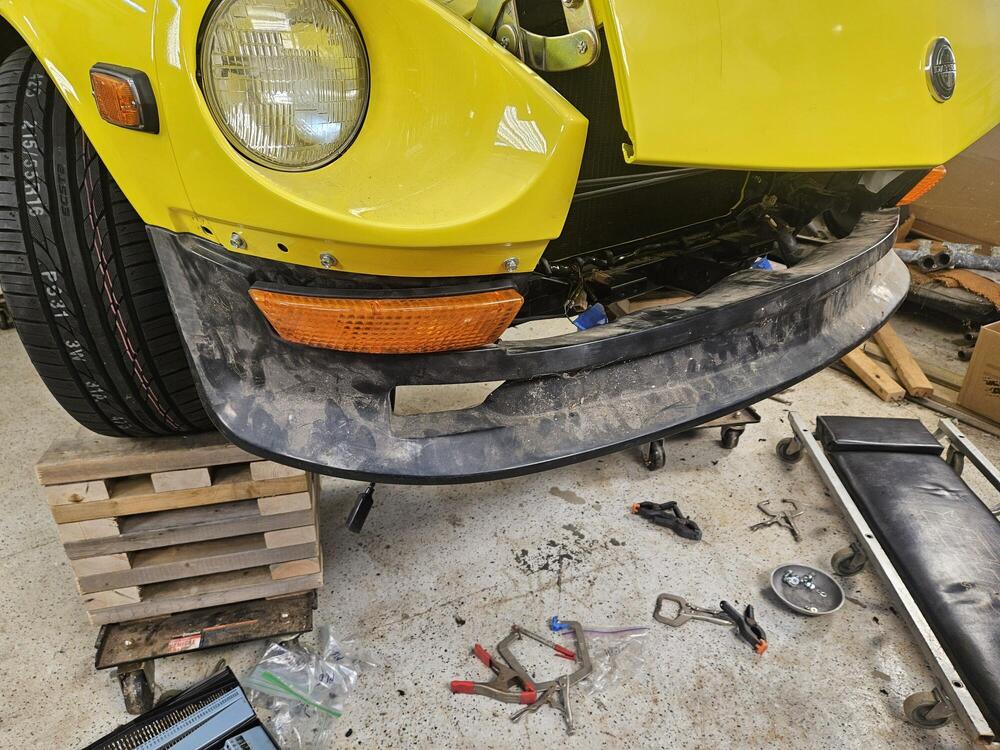
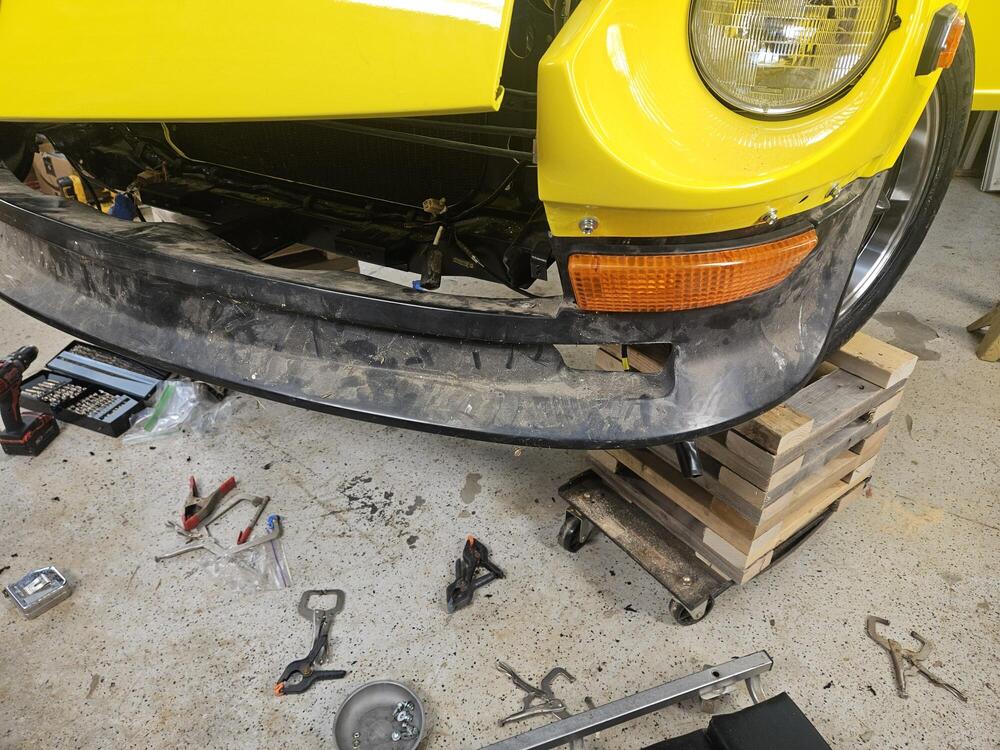
 I did a quick alignment on the front wheels today I mounted the air dam up to the car and test fit the turn signals I worked on the chrome trim sweeps for the door glass but I need some pictures of how they mount. Even with the rear of the door shell? Rubber trimmed inside of the chrome frame? I assume I will have to trim the rubber in place otherwise you might trim the front angle in the wrong place
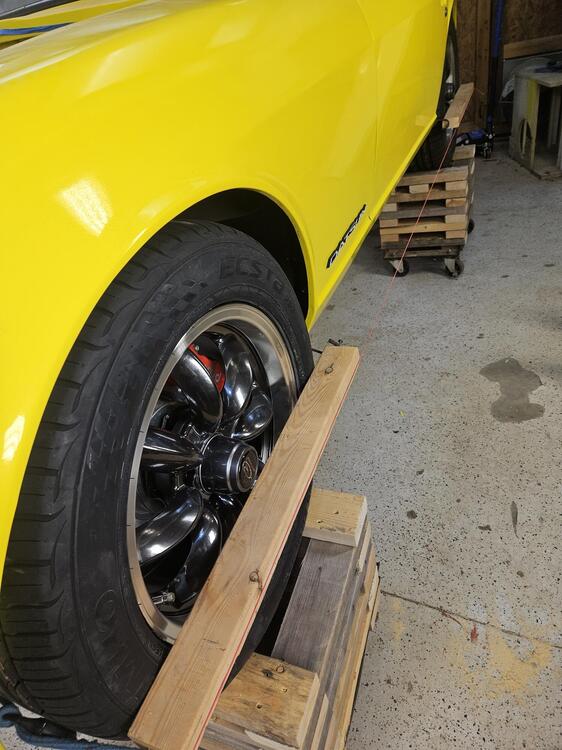
-
 It’s possible to make them. We’ll just need the original OEM parts to create the molds.
 - Today
-
 I've got a few issues with my brakes, and would love some further help. I'm pretty confused at this point. Originally, I was having an issue where I would brake, but require a bit of pumping to slow down at higher speeds. I replaced the booster with a new one from Zcardepot, and bled the brakes and master cylinder. When I bleed the brakes, the pedal goes all the way to the floor, but once the system is closed up, I have extremely minimal pedal travel, with not much braking pressure (I assume because the booster pushrod isn't pushing all the way through the master cylinder). That said, I've adjusted my pushrod length, thinking that it was perhaps too long, causing the system to be preloaded. This caused the pedal to have a longer travel (barely), but had a significant dead zone before starting to slow down like it usually does (not much stopping force). I have Wilwood Forged Superlight front calipers with 2-piece rotors, Wilwood 4 piston rear calipers with functioning parking brake, Tilton adjustable brake proportioning valve. I'm using a wilwood tandem master cylinder. Not that it makes much of a difference, but I've got a Ford 302 motor, generating about 18 mmhg, plenty of vacuum for the booster. Does anyone have any thoughts or ideas as to what might be going on? My only thought now could be a faulty master cylinder, but I'm 90% positive the seals are totally good there. Thanks in advance!
 -
solly joined the community
-
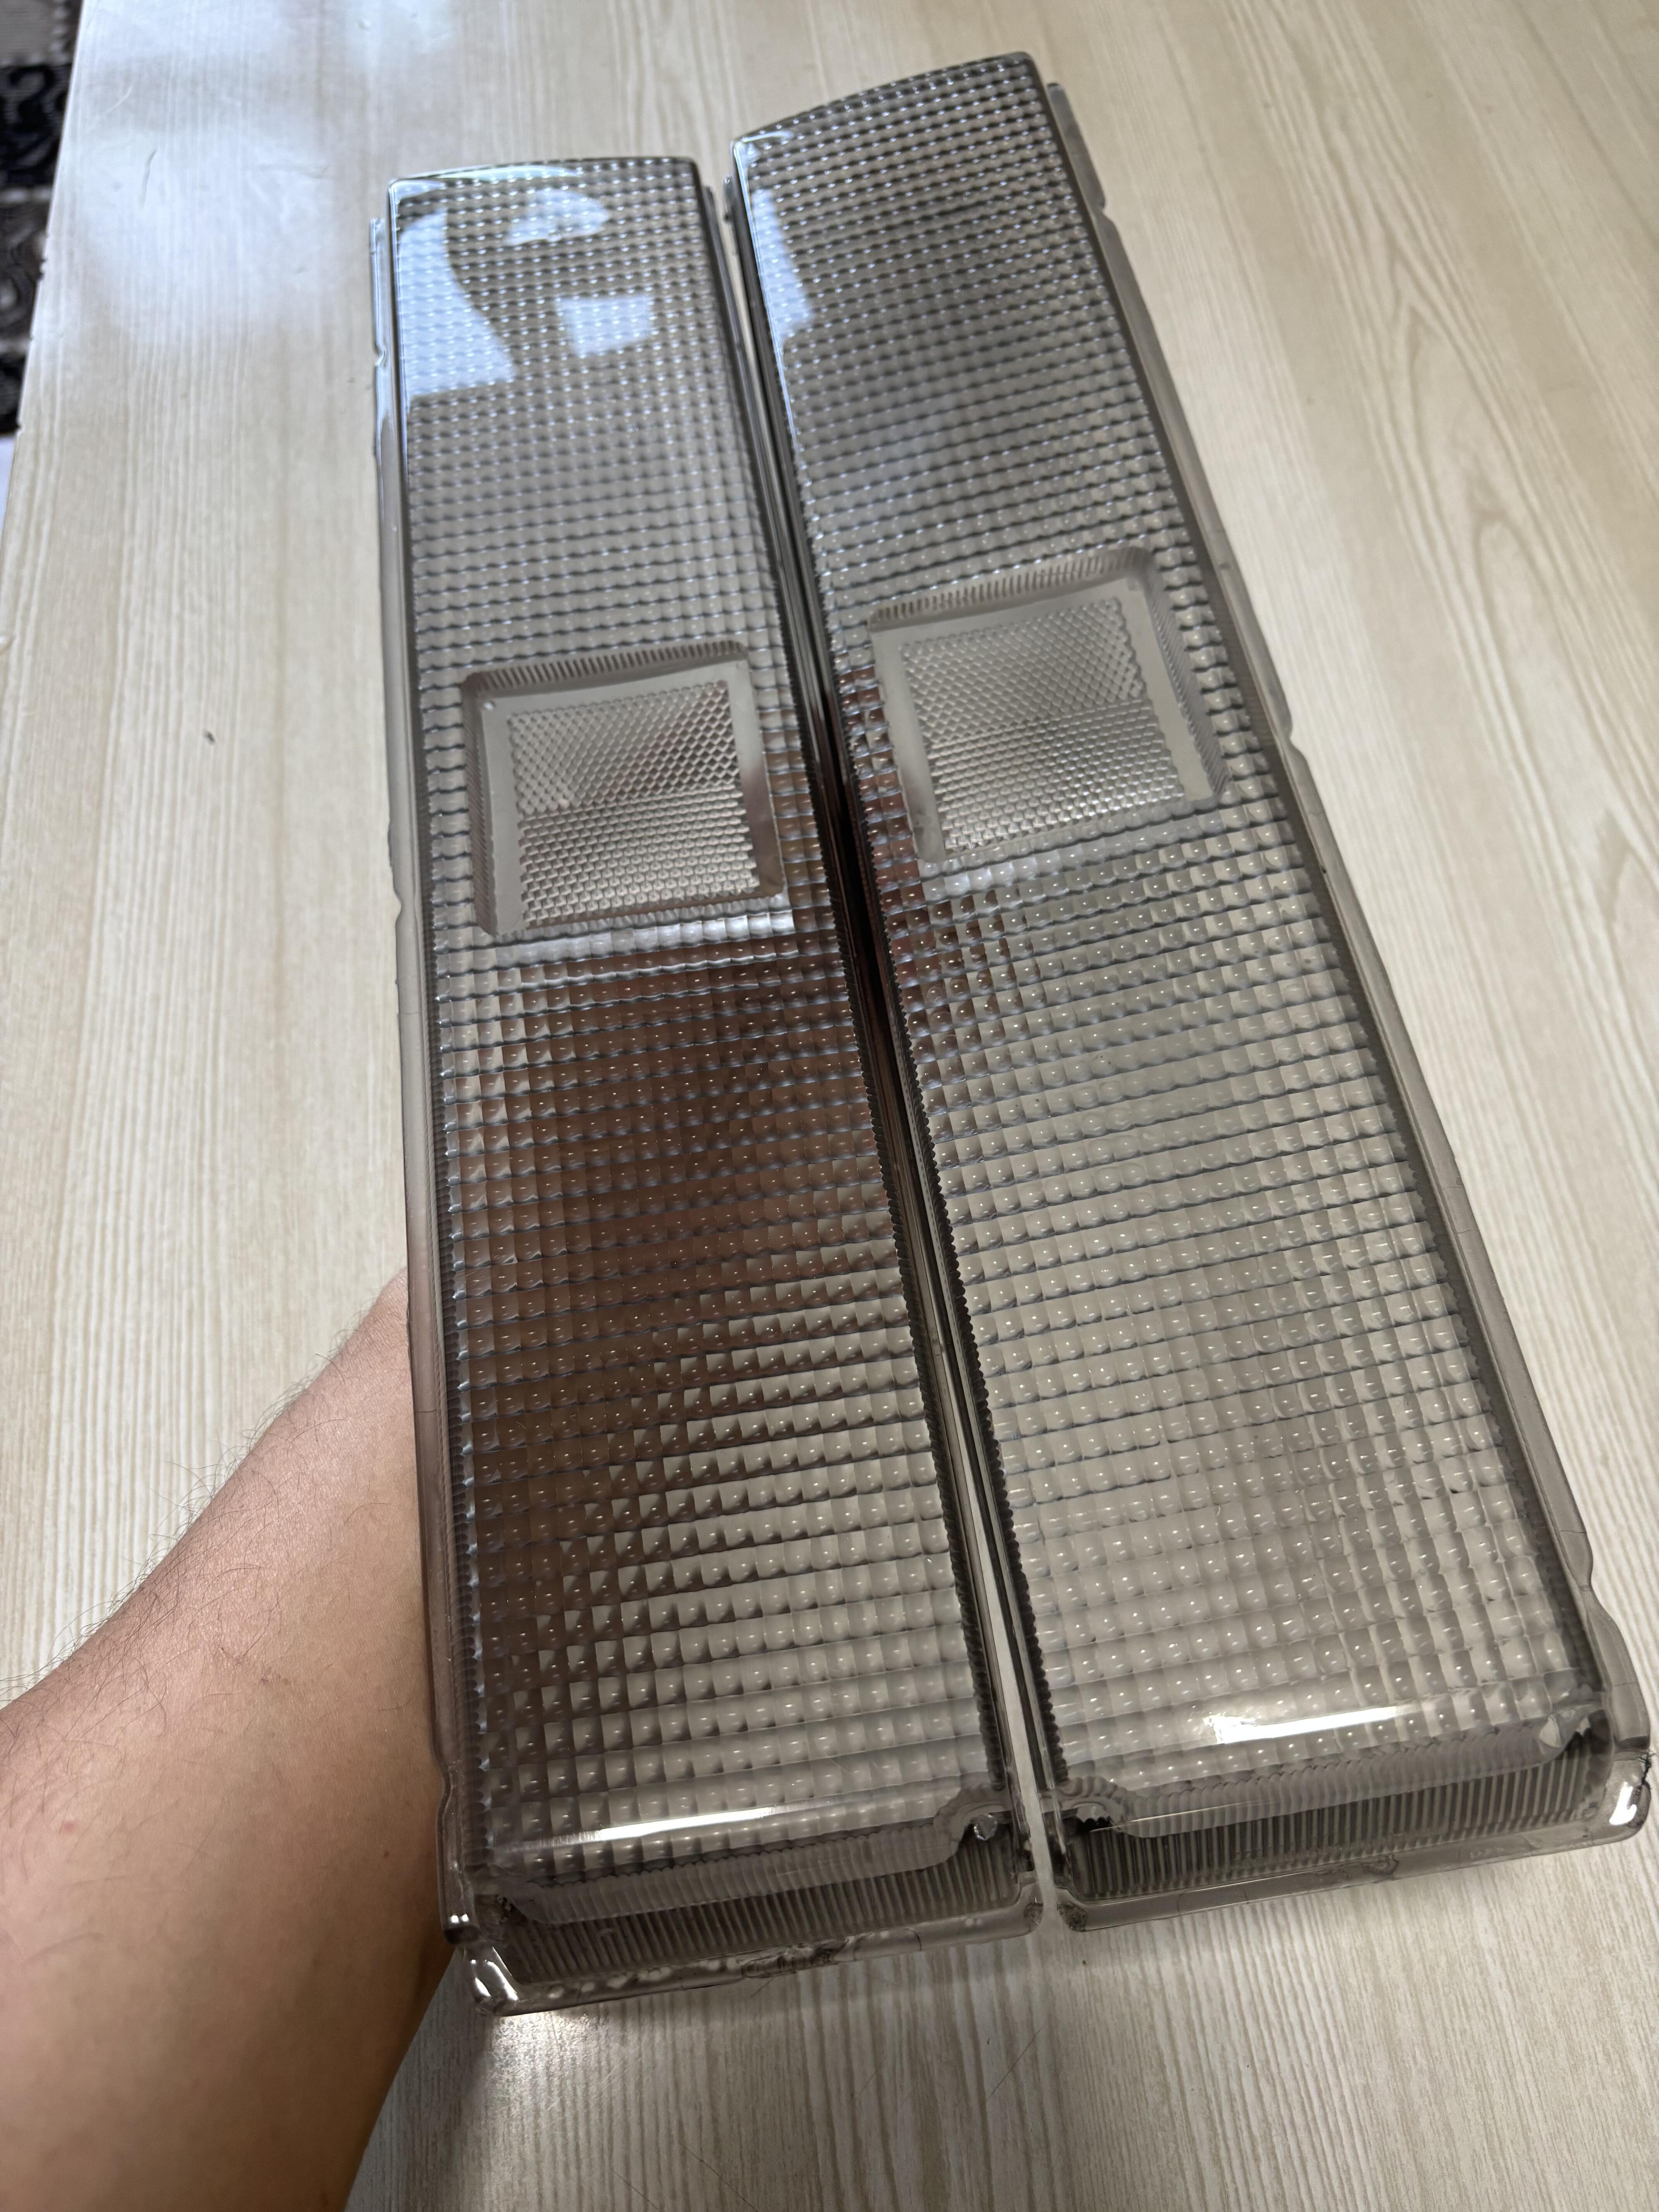
How about making lens for other Datsuns?
-
 33
33
-
Stanced, but I love the 510.

-
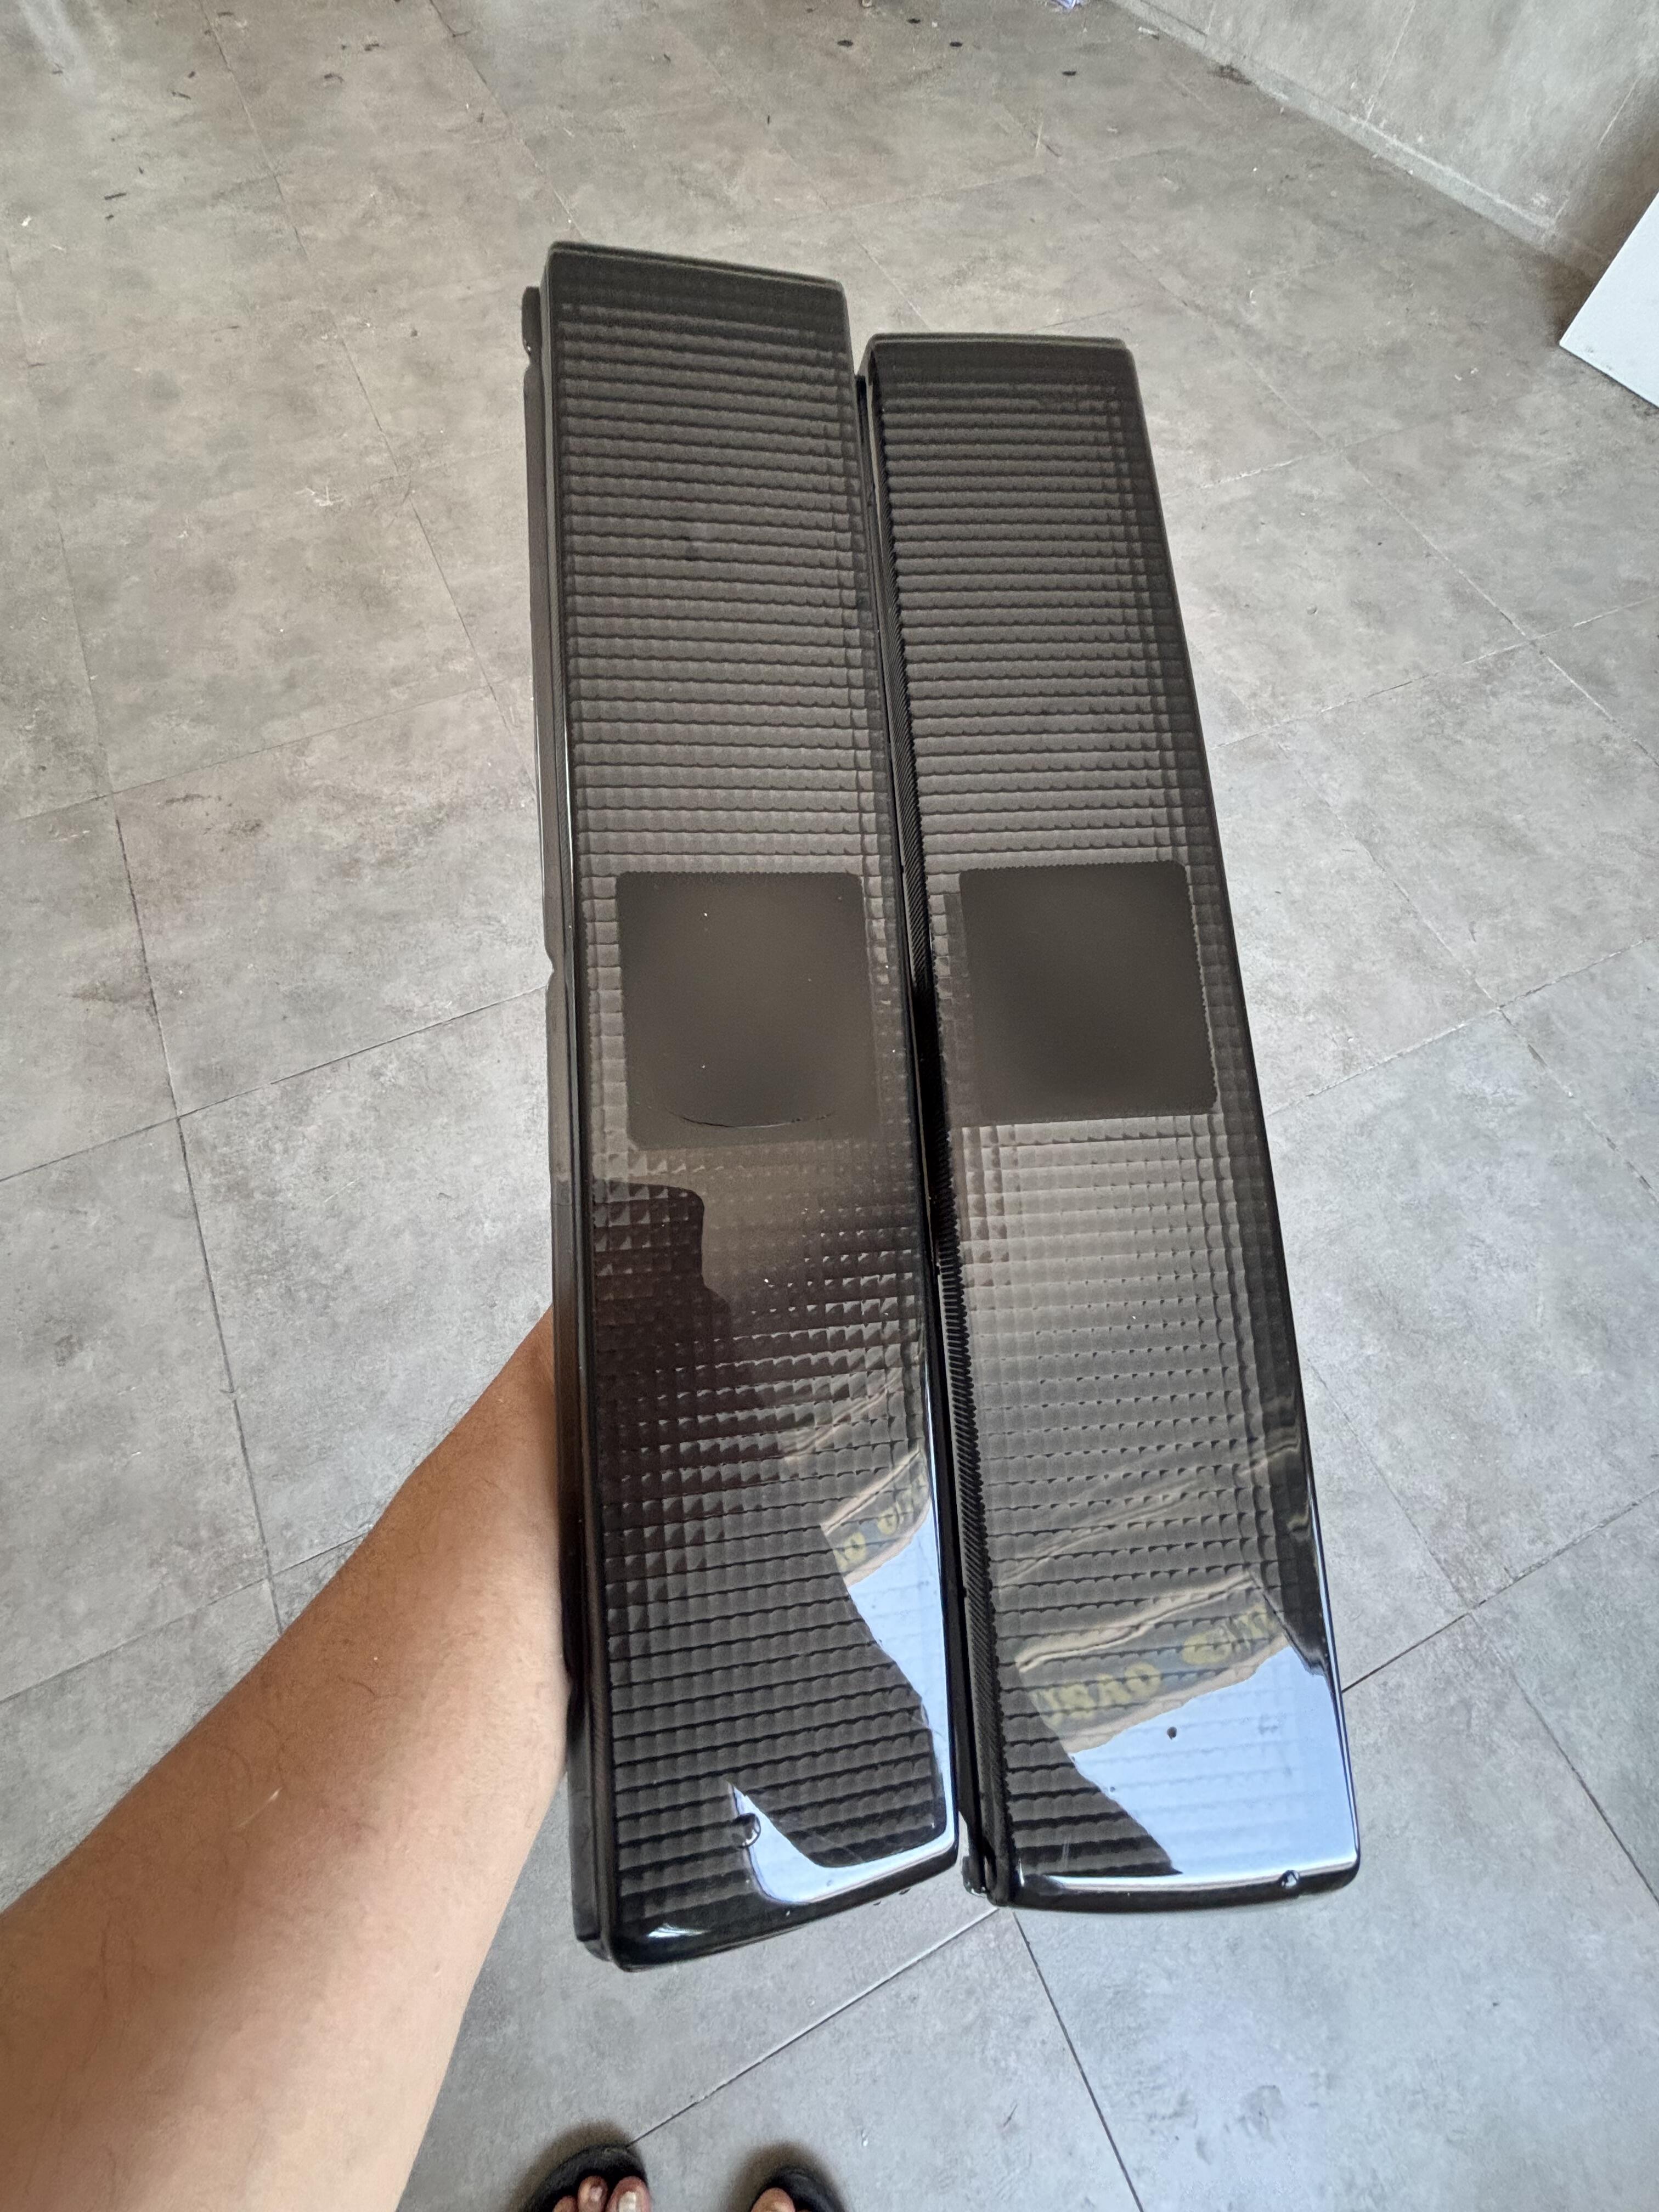
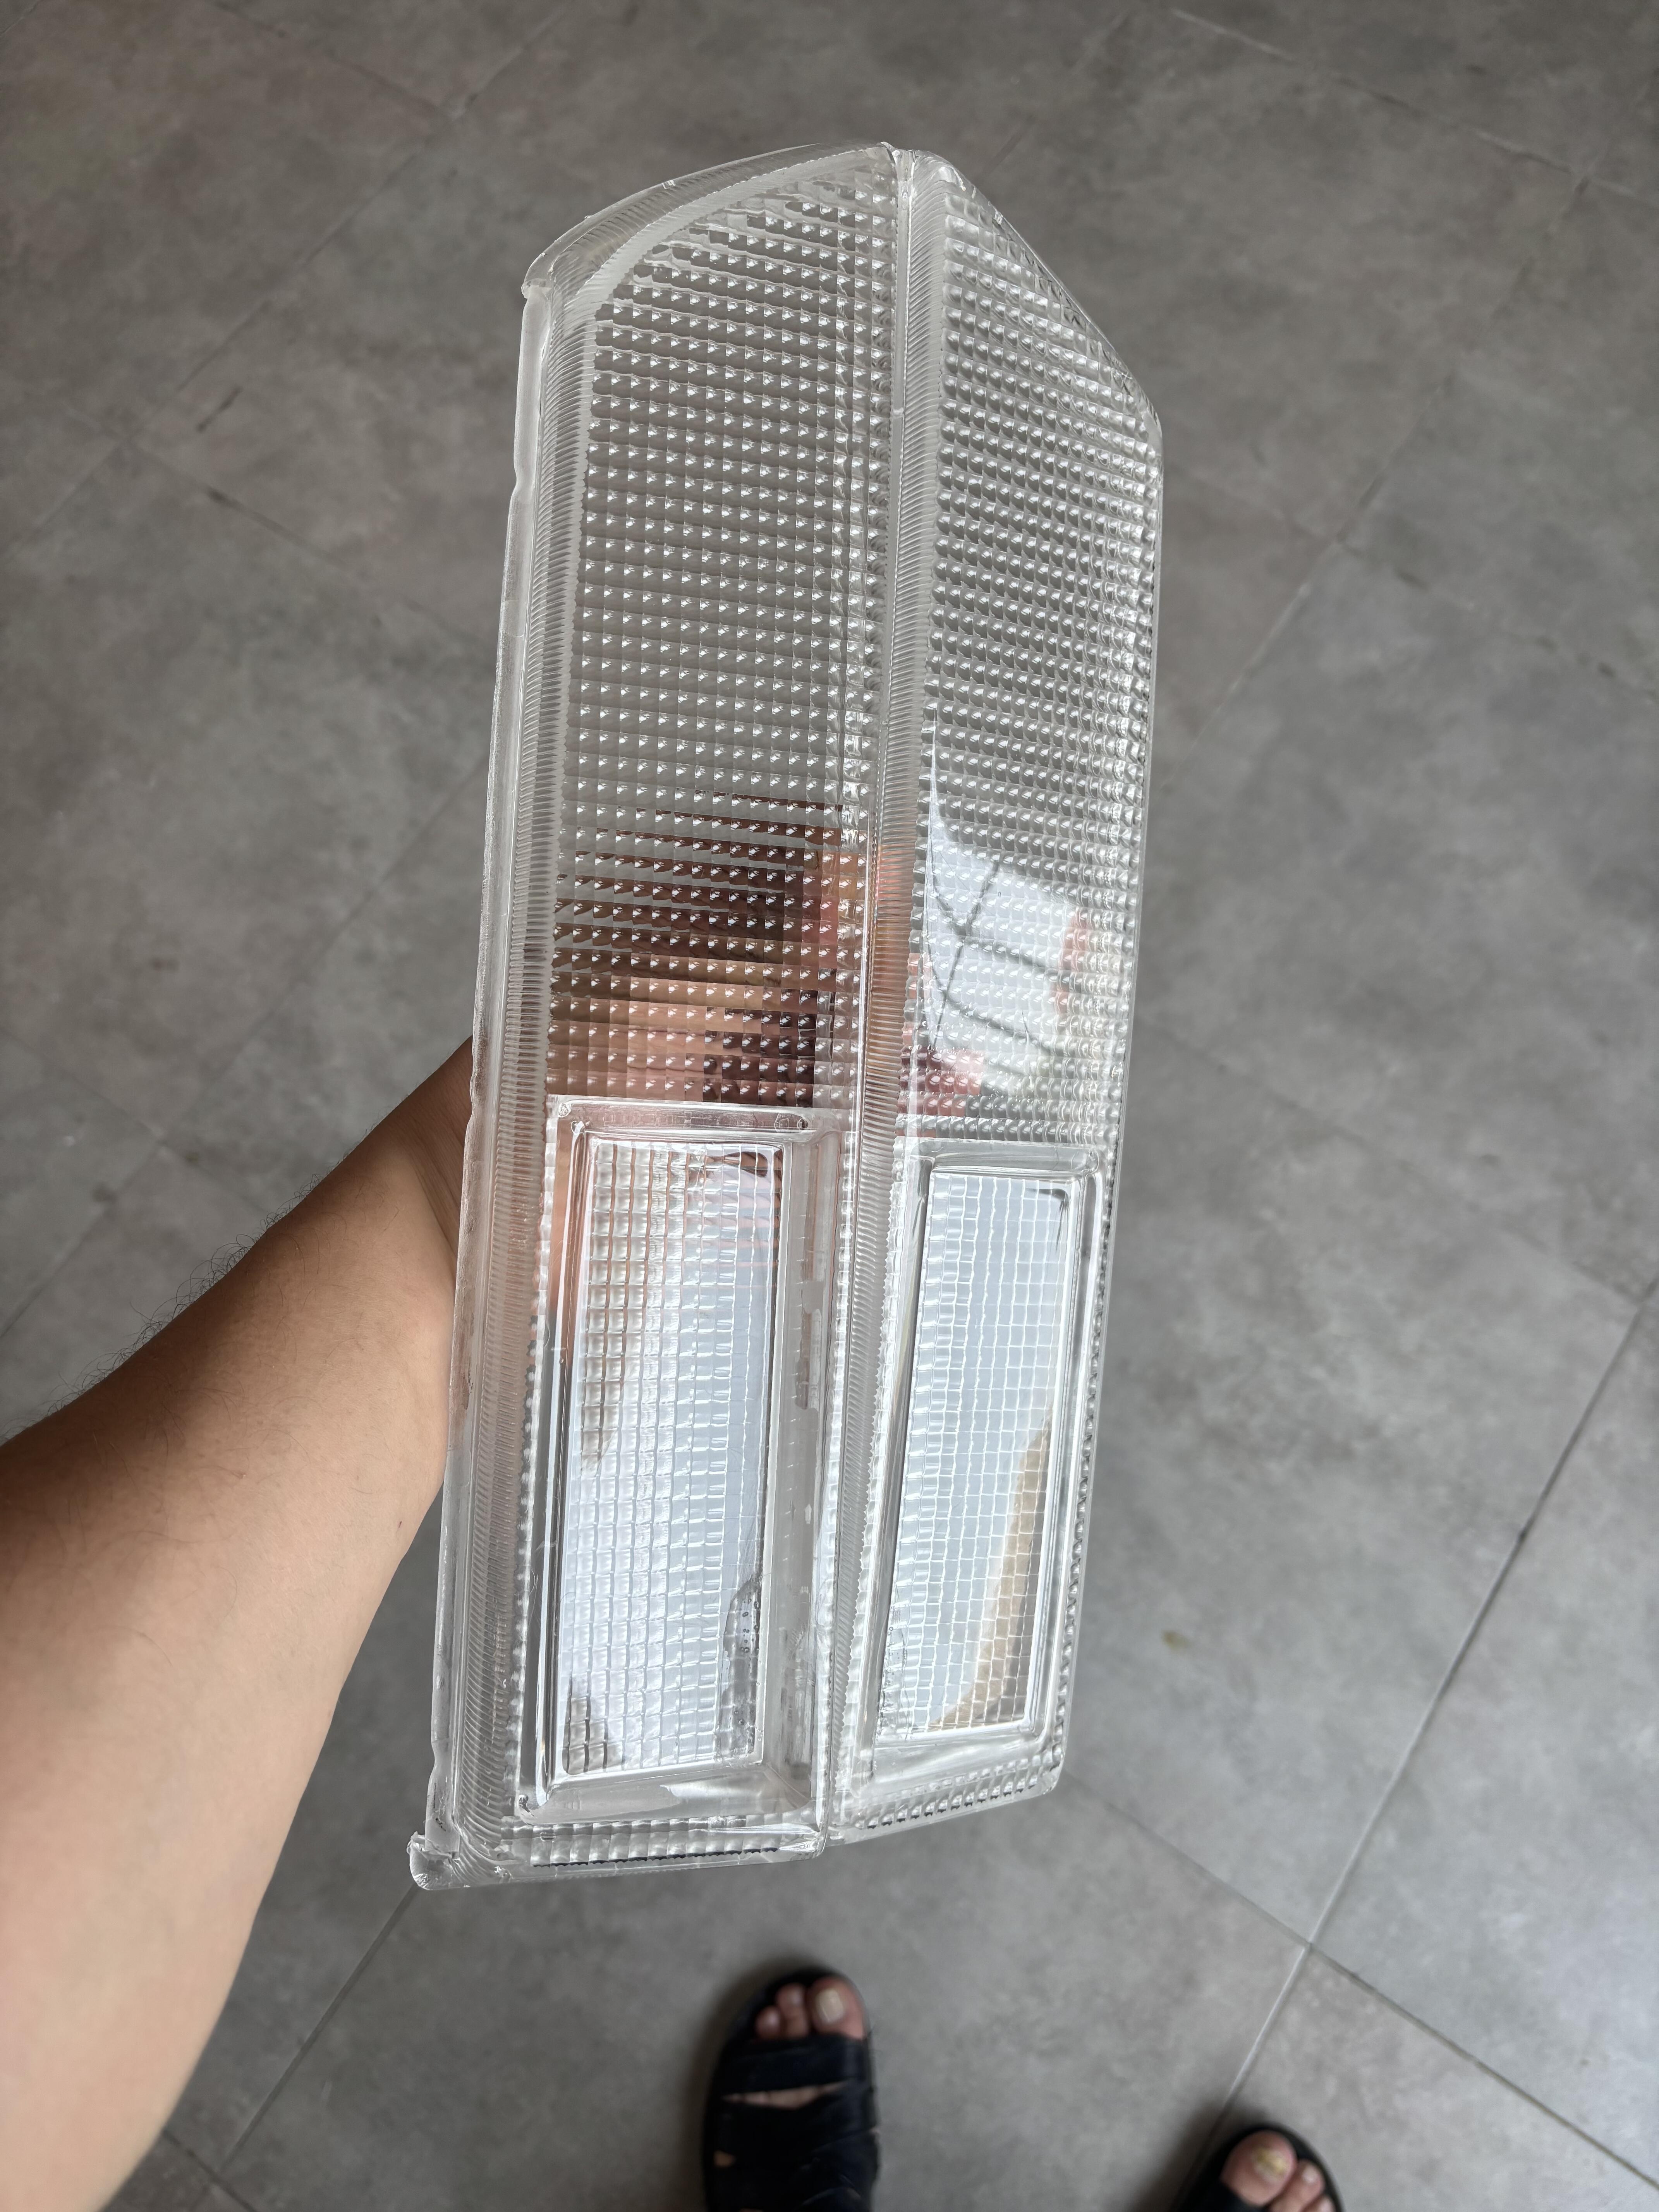
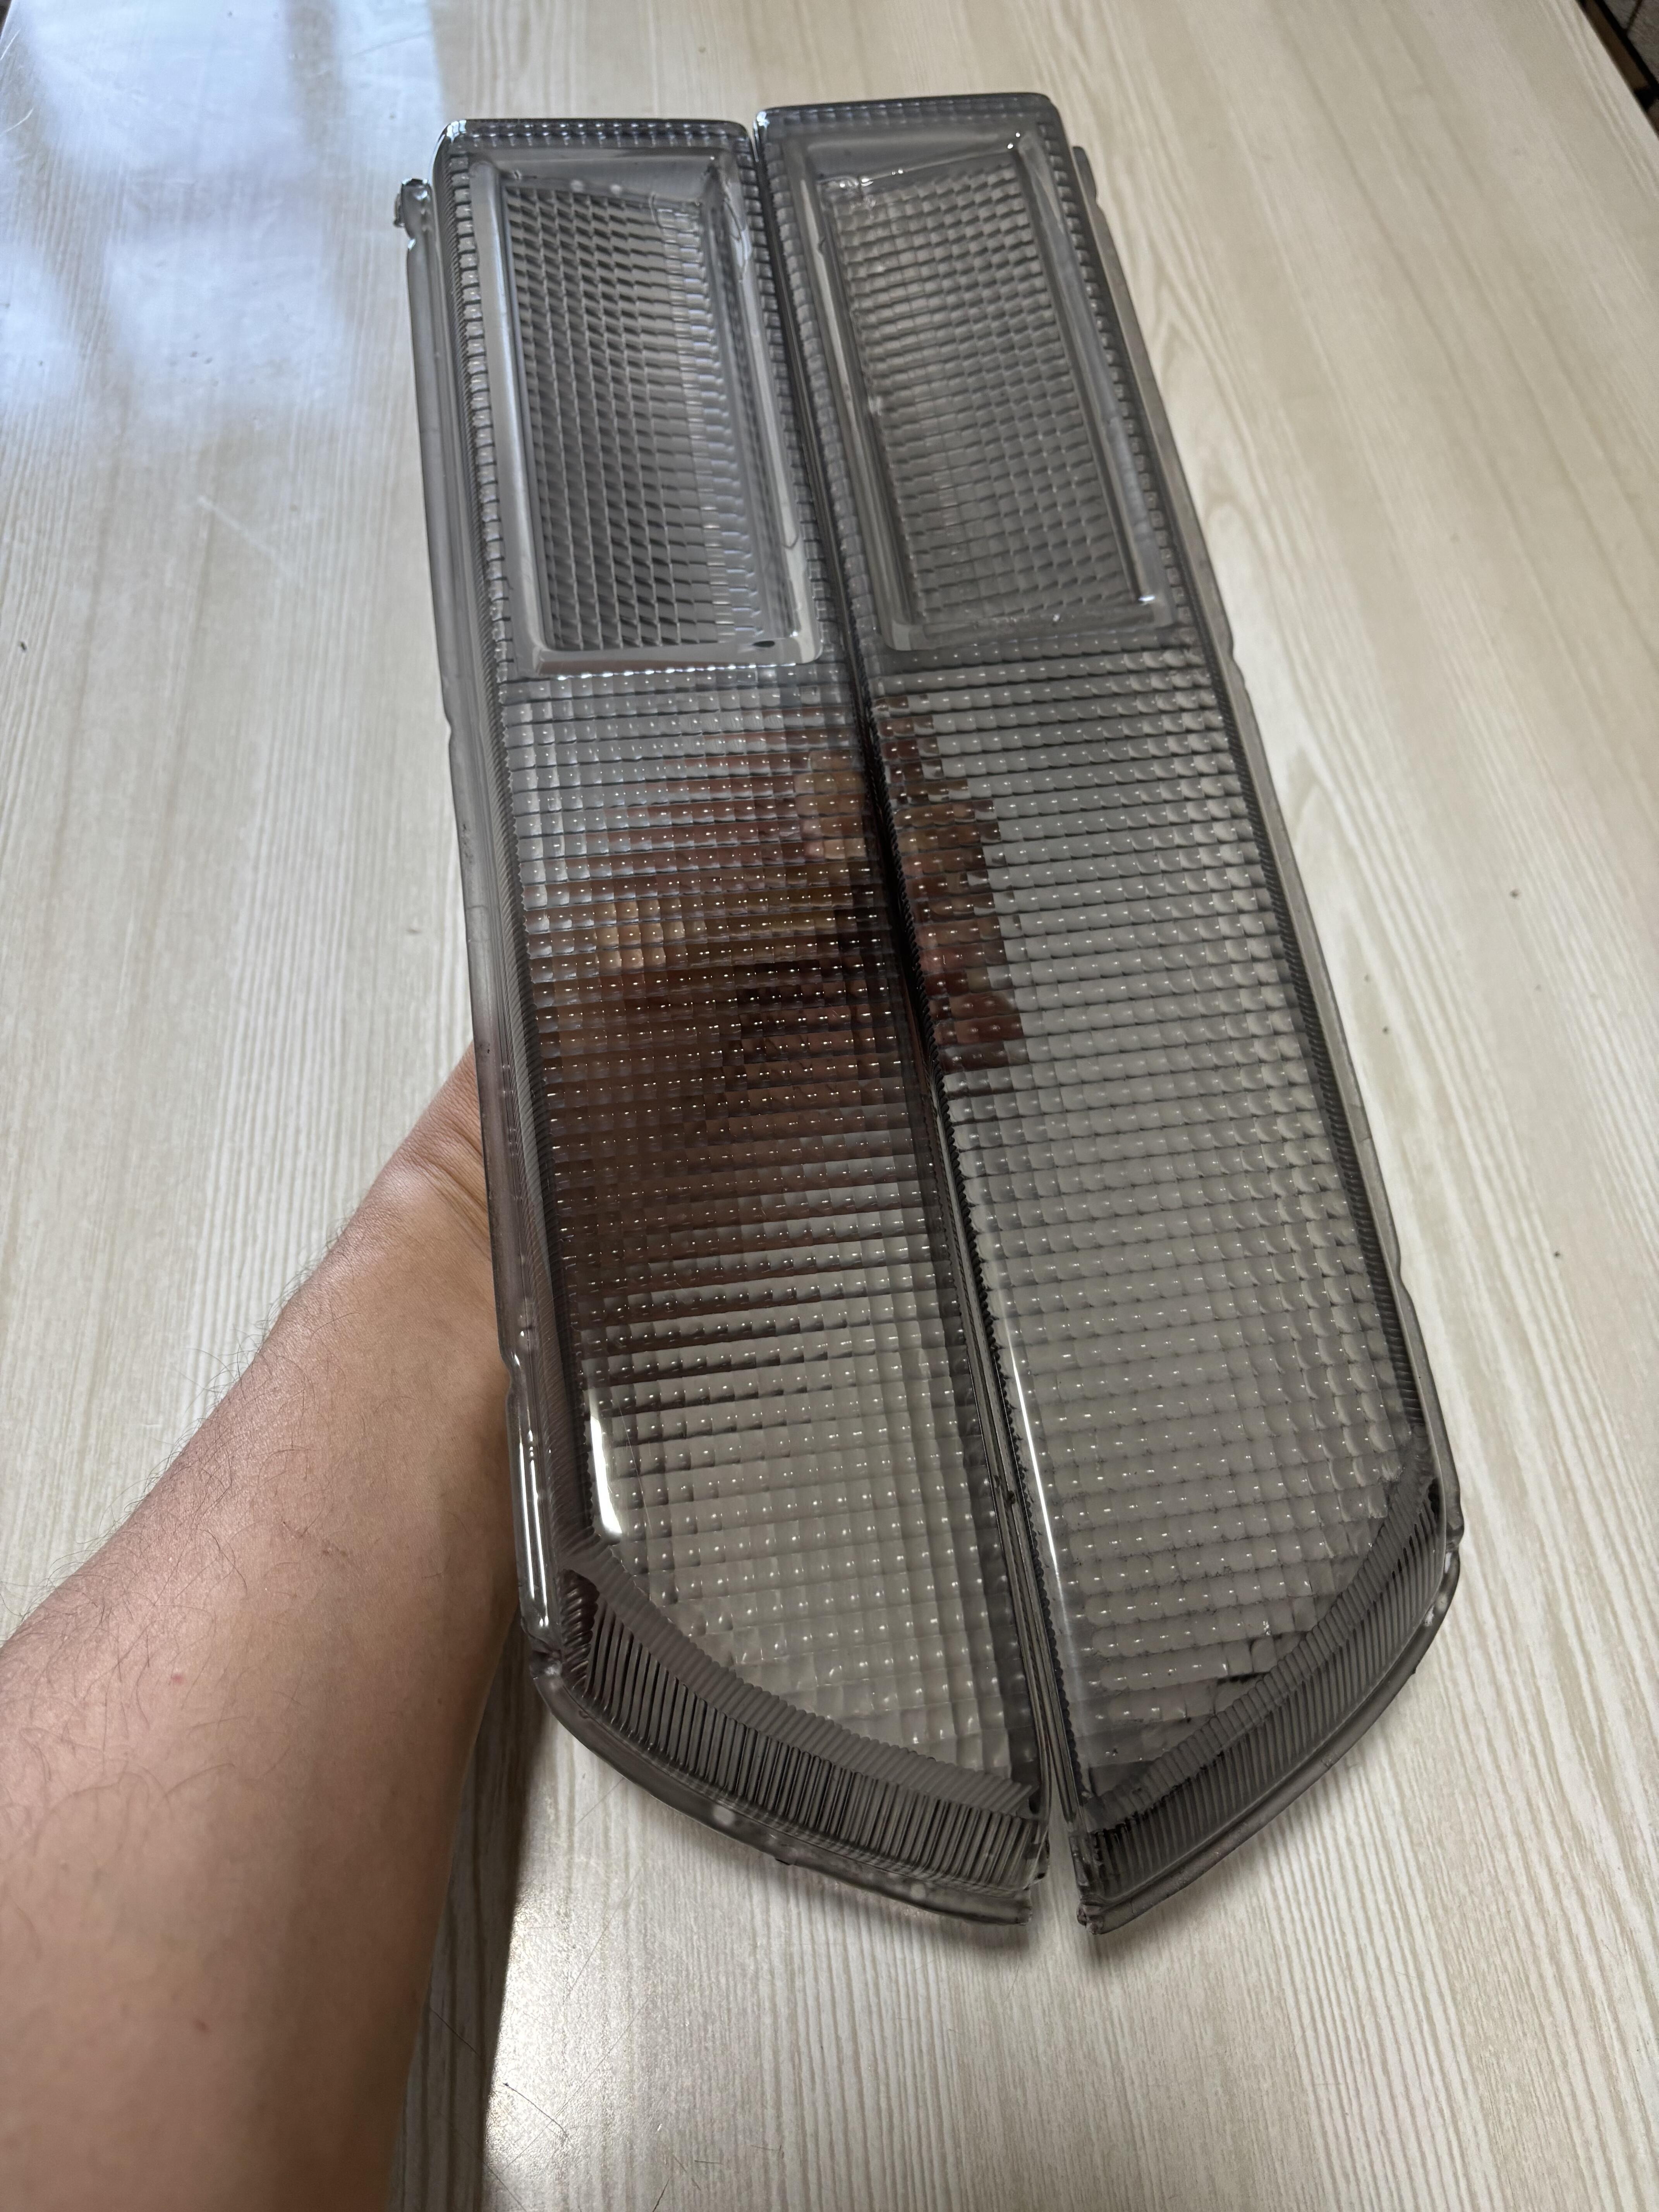
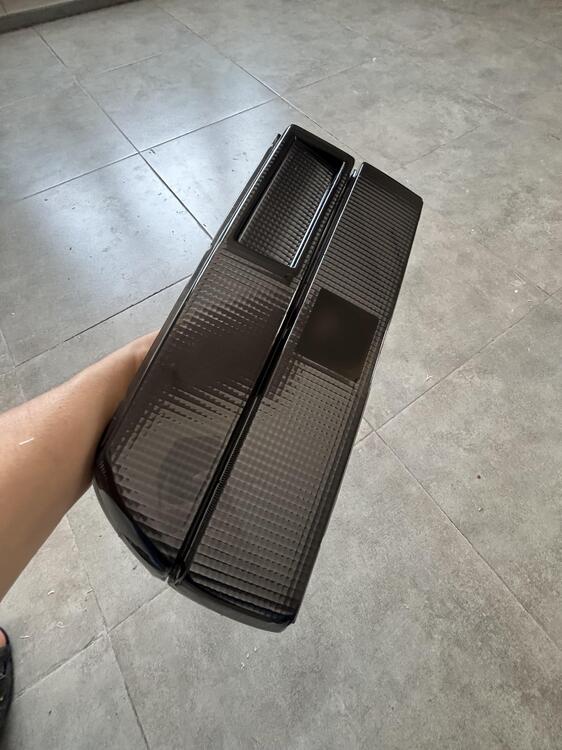
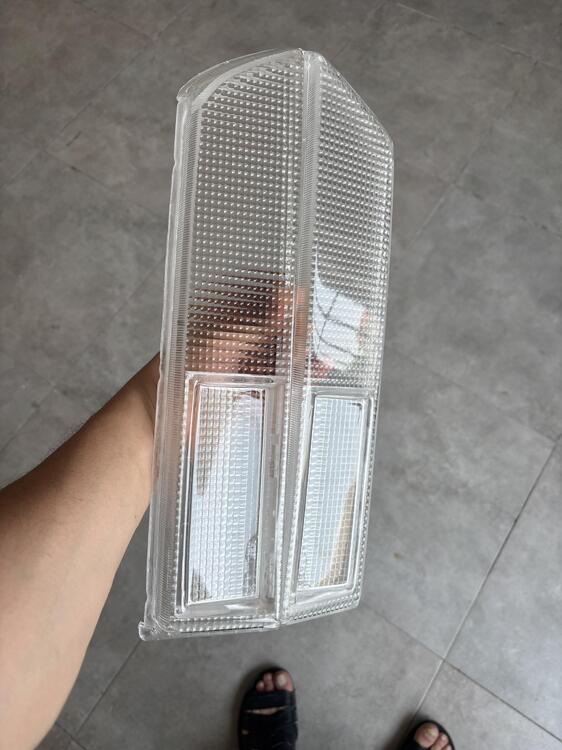
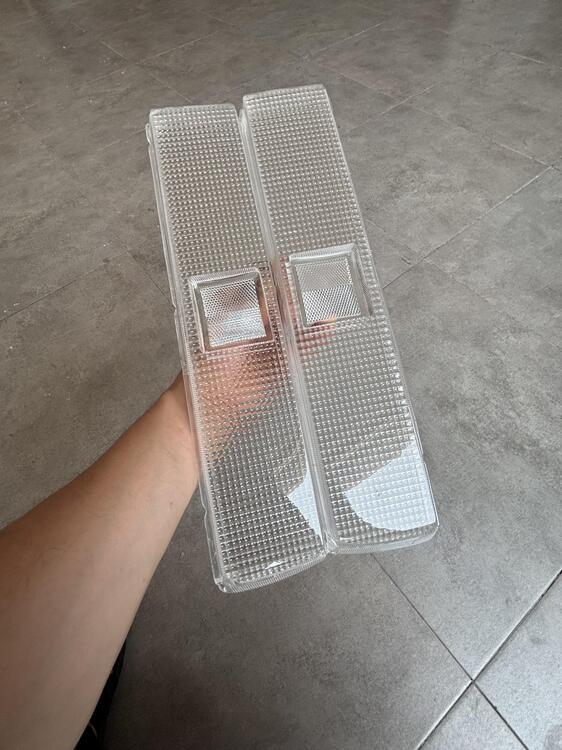
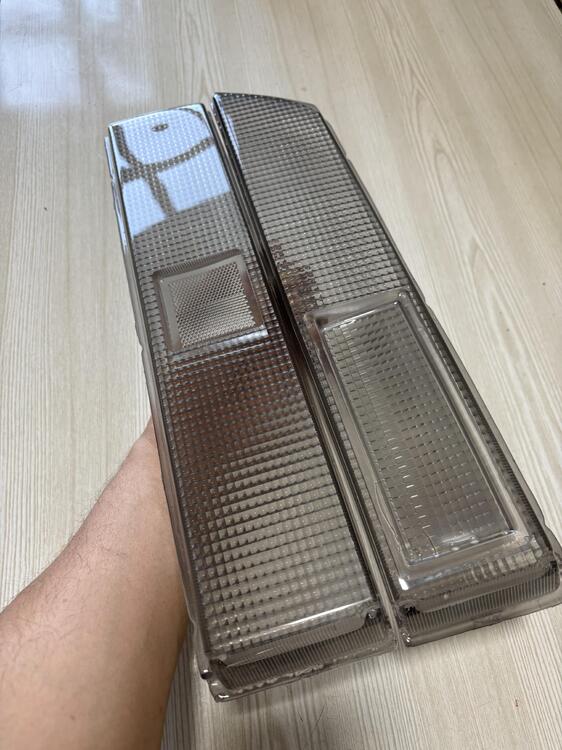
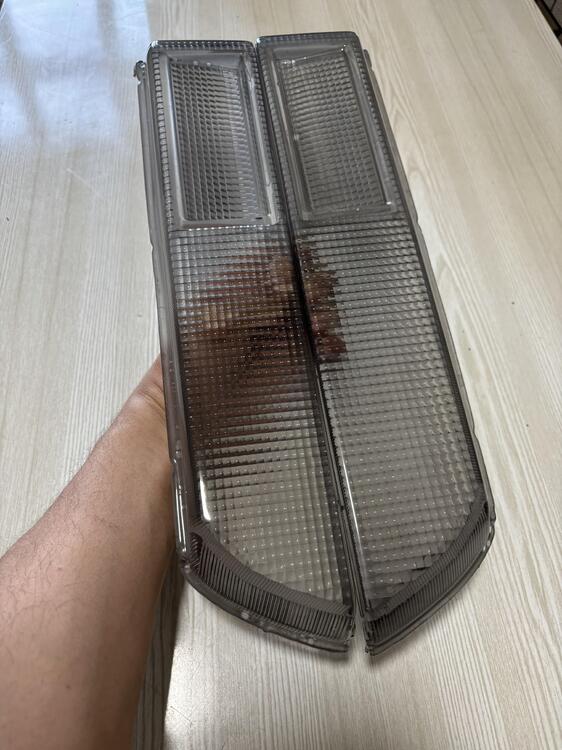
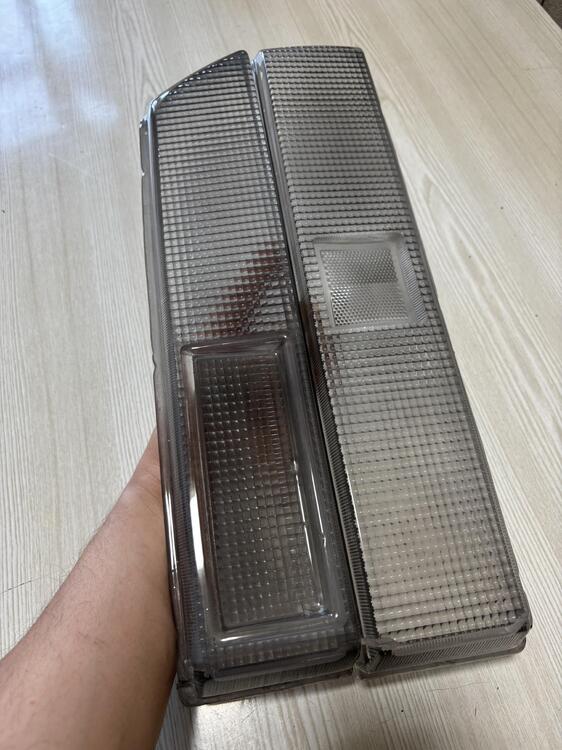
Hello everyone! I'm from Azerbaijan and I specialize in making clear tail light lenses for the 1979–1981 Datsun 280ZX. I produce them in clear, smoked, and red versions. I’d love to hear your thoughts and feedback on which styles you prefer, or if you have any other suggestions or ideas. Thanks and greetings to all Z enthusiasts!


-
Elmar.M joined the community
-
 Thanks for sharing the PDF with the Datsun Torque Specifications. It'll come in handy for me.
 -
 Some noise.
 -
-
 Areed joined the community
 -

-
 Hazard switch test: Remove the hazard switch. Use the ohmmeter function on the meter. (I hope it's not just a voltmeter.) Look at which pins correspond to the green/blue, green/red, and green black wires. Turn the hazard switch on. Measure the resistance between the pins that line up to the green/blue and green/red wires on the dash harness. (Note, the switch may have wires with different colors.) Record the result. Measure the resistance between the pins that line up to the green/blue and green/black wires on the dash harness. Record the result. Report the results of this test. Turn signal test: Put your meter on DC voltage. Reinstall the hazard switch and ensure it is off. Turn the key to ON. You don't need to start the car. Find the flasher relay that has a green/yellow wire and white wire running to it. Disconnect the flasher relay. Measure voltage to ground at the green/yellow wire. Record the result and report your reading.
 -
I just grasped what you were saying here. Your first post was caused by putting the phone on your Hazard switch. Which has identified a Hazard switch problem (maybe) since all of the lights should have been flashing. Your second problem, which is apparently new, is that your turn signal doesn't seem to work at all. That could be caused by the turn signal switch in the combo switch itself, or the flasher, or the fuses. How long have you had the car? Was everything working correctly before you put your phone on the Hazard switch?
-
 Current symptoms: I do not have a right or left blinker when I use the turn signal. The outside turn signals and the dash indicator do not go on for either direction. When I put on the Hazard switch, only the left side of the car flashes. Yes, I do have a voltage meter. Yes, I did plug the Hazard switch back in before diagnosing. The left blinker no longer stays on when key is off because I turned Hazard switch off.
 -
-
Was the hazard switch plugged in when you tested? Flasher units? You probably need to test the hazard switch. Do you know how to use a multimeter?
-
Not really clear what the "current" problem is. Blinker won't go off would be a short to power problem. Blinker doesn't work at all would be an open circuit problem. Also not clear what you mean by "Both blinkers don't work (lights and dash indicators) ". Just trying to understand. The Hazard switch has a left and right circuit and its own power supply and flasher to flash the lights. I think that it could have been the source of the first problem. Does the left blinker still stay on when the key is off?
- Yesterday
-
First of all, thank you for all the amazing and detailed information. Apologies for the slow response. I had a bunch of trips. So here is where I am at. Half idiot and half mystery. Idiot part-I put my phone on the Hazard light and defroster switches and turned them on. Hazards on wasn't my first instinct, because only one side was blinking. So I started diagnosing it as a blinker problem. After I disconnected the Hazard Unit to prevent it from draining the battery, the defroster still managed to kill the battery becasue I hadn't figured out it was me hitting the switches yet. So next step, solve dead battery problem. Mystery part- Both blinkers don't work (lights and dash indicators) now when actuated by the turn signal stalk. But the left one is the only one that works when the hazards are on (still does that . Fuse is good, bulbs are good. I checked the stalk before like I said and it seemed good. I can take it out again and do a pin out with an ohm meter next. Open to suggestions. Thanks, Adam
-
 A true beast, so very well thought out. Awesome work! Safari Gold rules!!!
 -
Thanks Guy, but I am disinclined to follow someone else's work in this case. In his ebay post I noted that he "modified" plastic connectors and the metal base. With all of the switches I have refurbed I have not yet found a need to modify the OE components - sometimes replaced with new or from the parts bin but never modified.
-
-
 zephyrtobias joined the community
 -

- Last week
-

-
So, can we think up some simple tests to run, maybe at the flasher or the plug itself, that might show low resistance through the turn signal circuit? Or high resistance at the contacts. Any chance the flasher itself is pulling too much current? Or do we just assume that the cleaning and modification was not well done? Seems like the sliding contacts must have got gummed up. This is actually datsuniverse writing -
-
 Jeded joined the community
 -