All Activity
- Past hour
-
 Yes I know. I started tearing mine apart in in 2016 and finally started reassembly about a year ago. I still have a lot to do though. John
 -
 Great pictures! I like the new Z.
 - Today
-
 You're welcome. 🙂 Weekends like this remind me that our cars are meant to be driven.
 -
 Great-looking car, picture-postcard weather, beautiful country. Thanks for posting.
 -
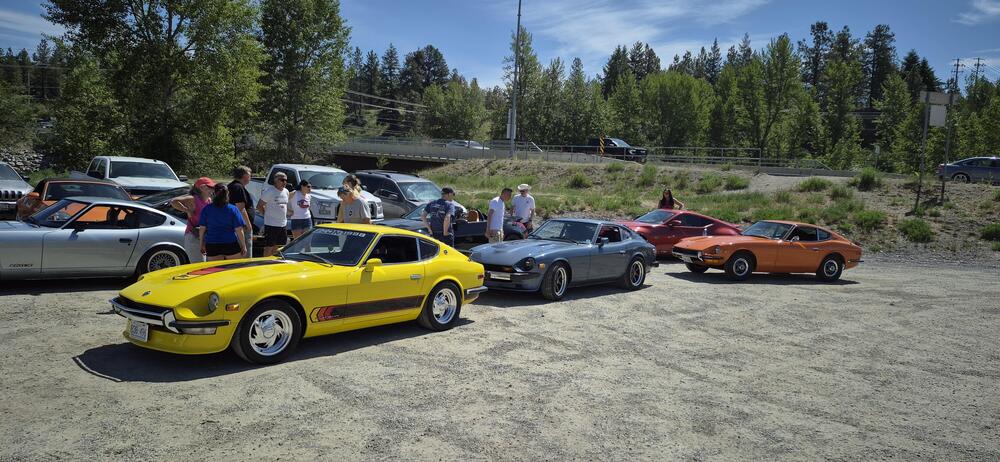
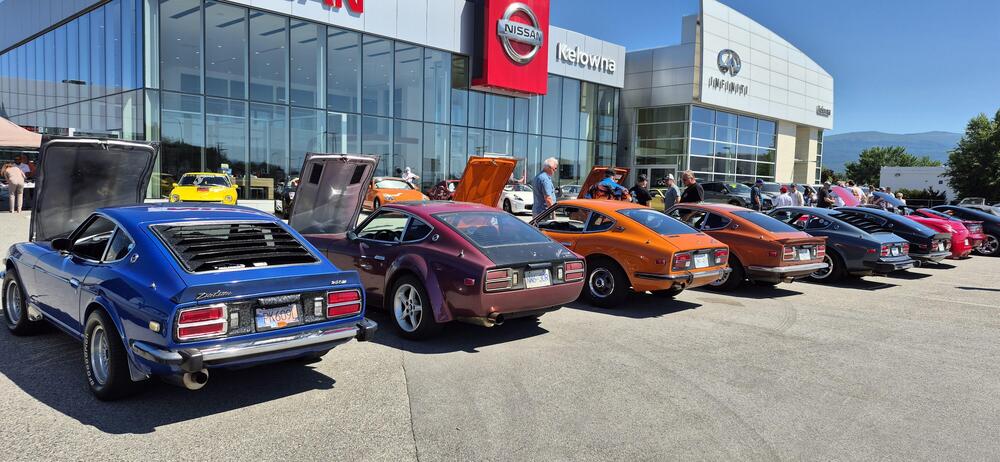
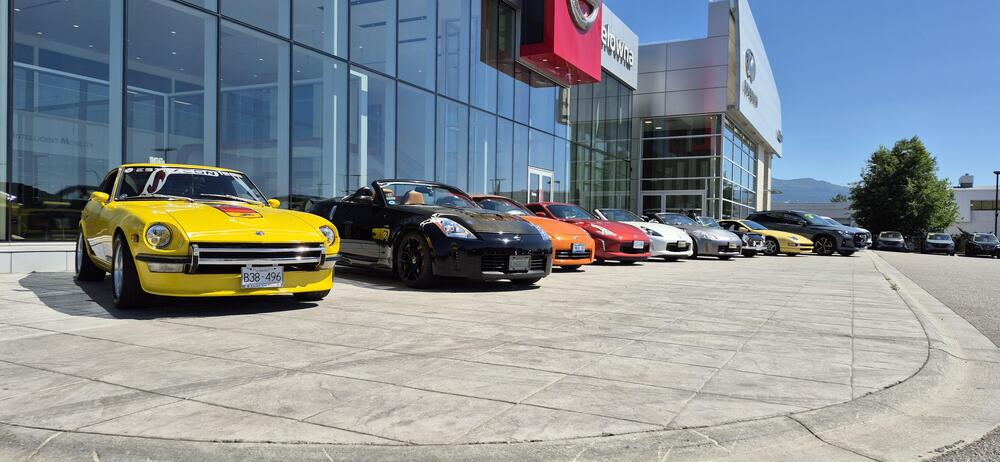
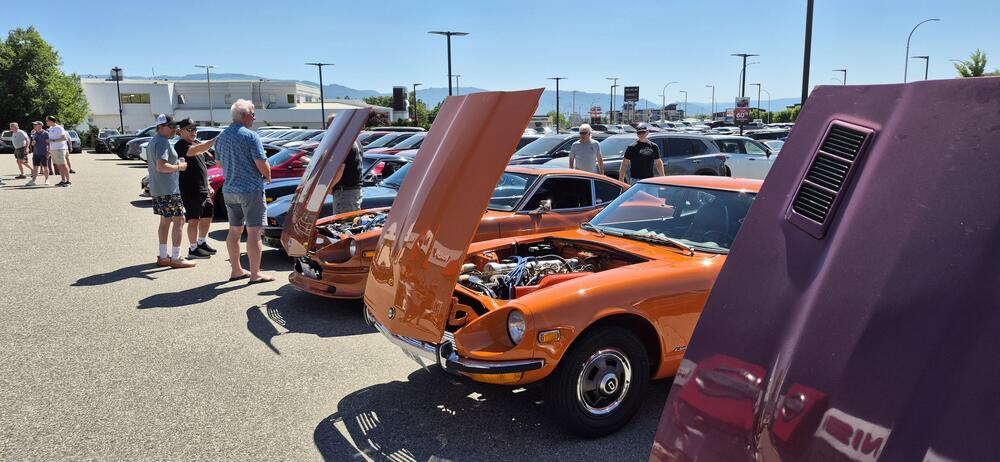
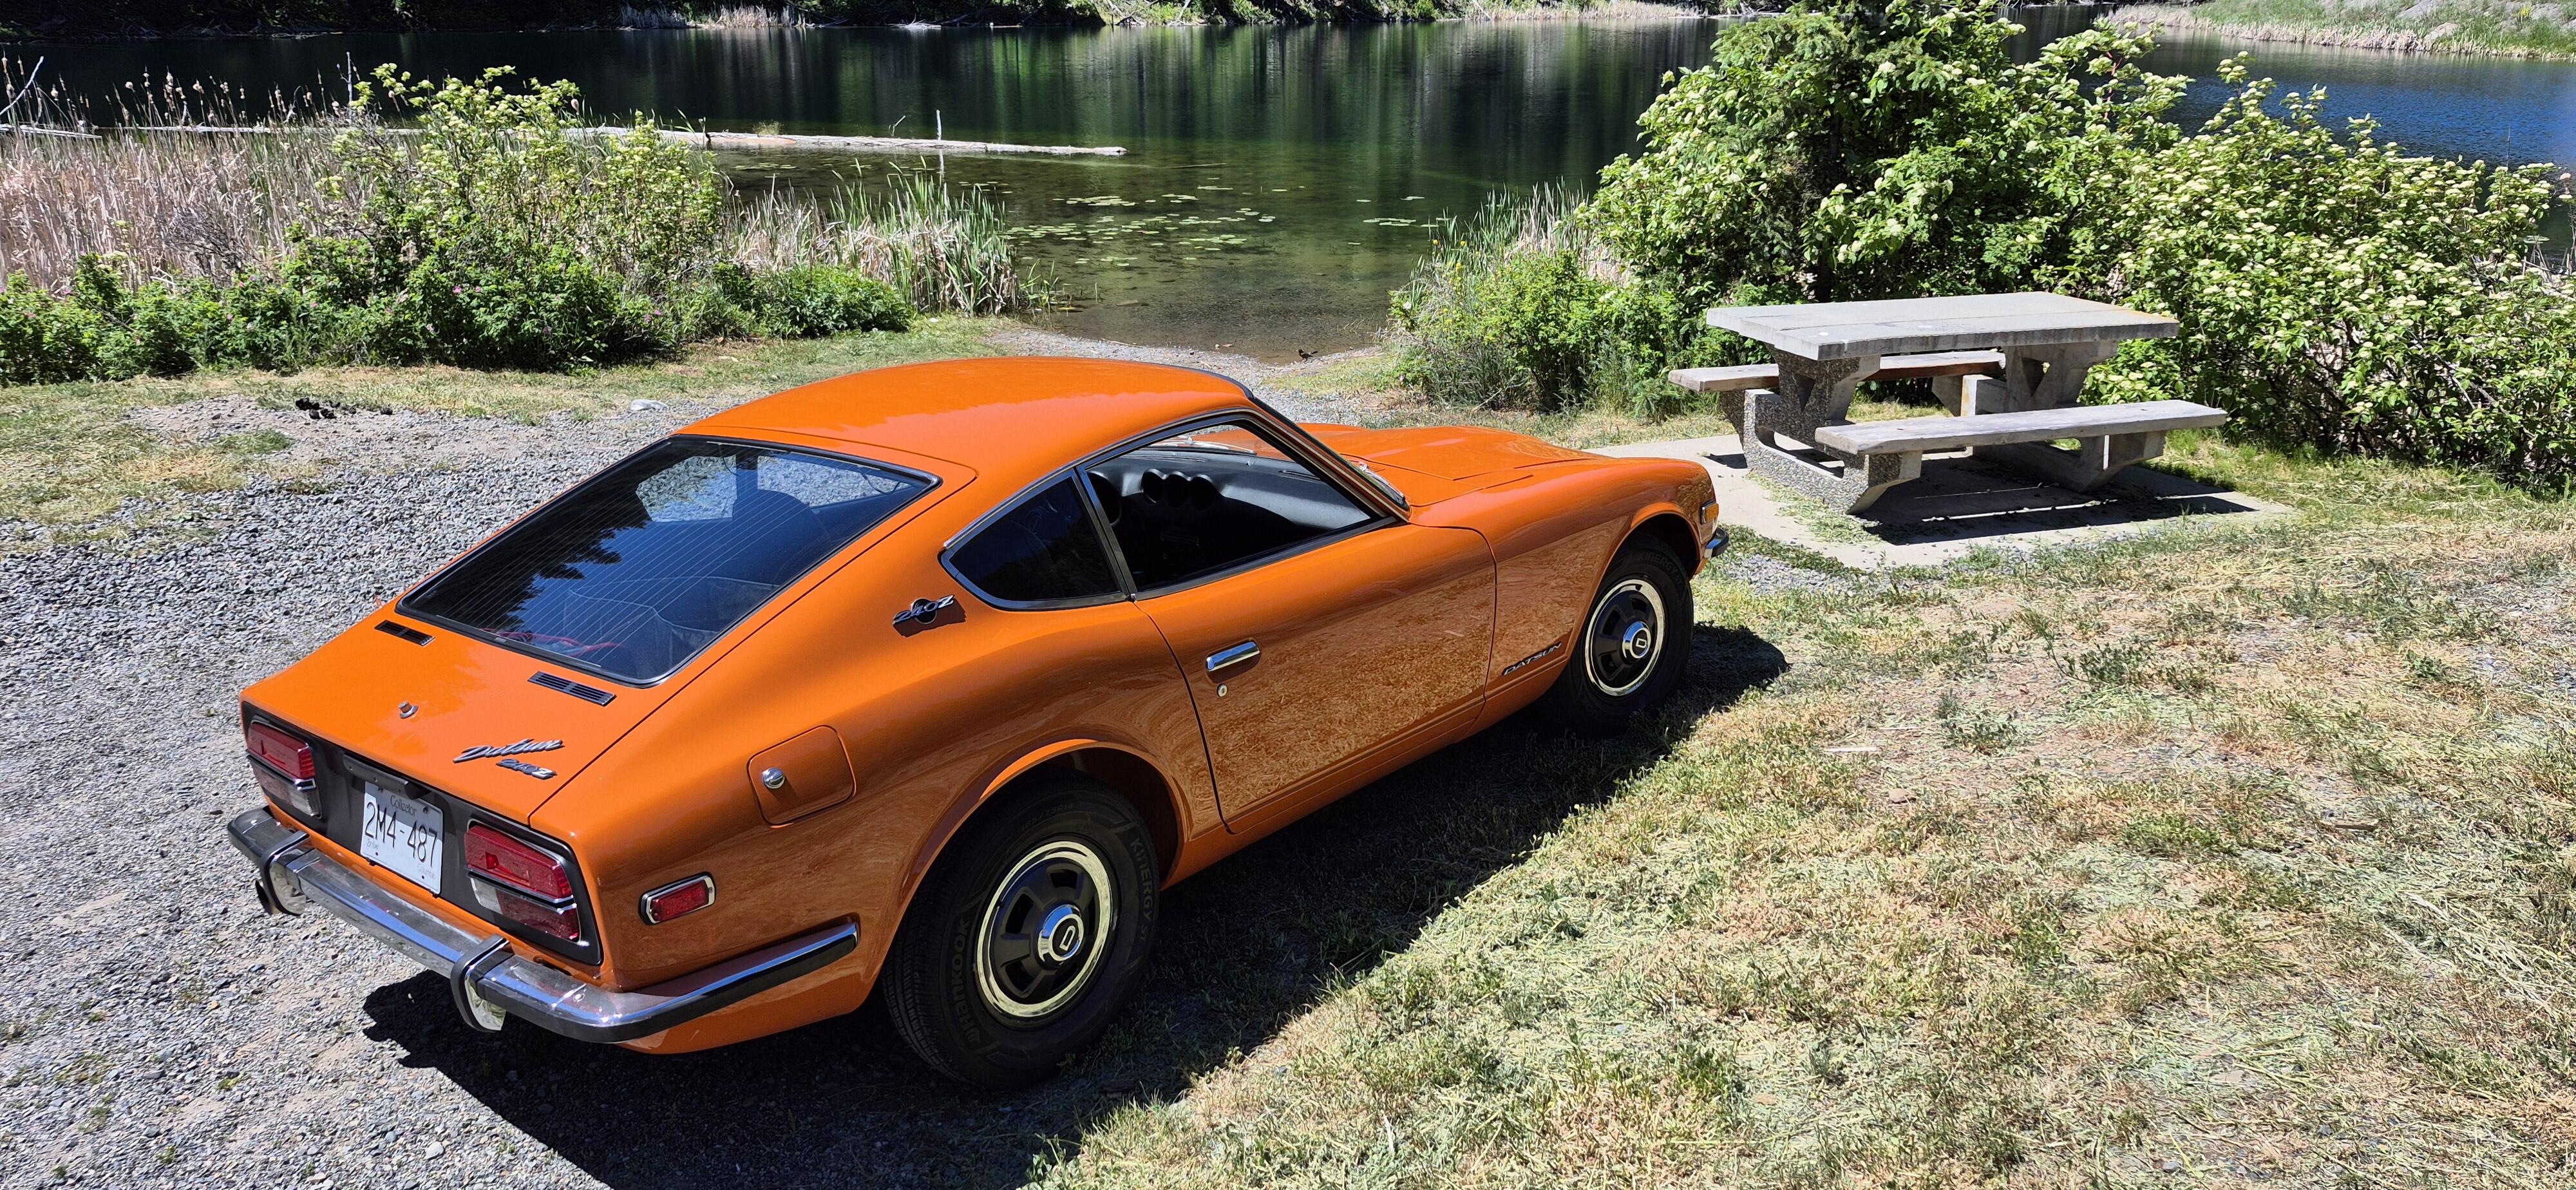
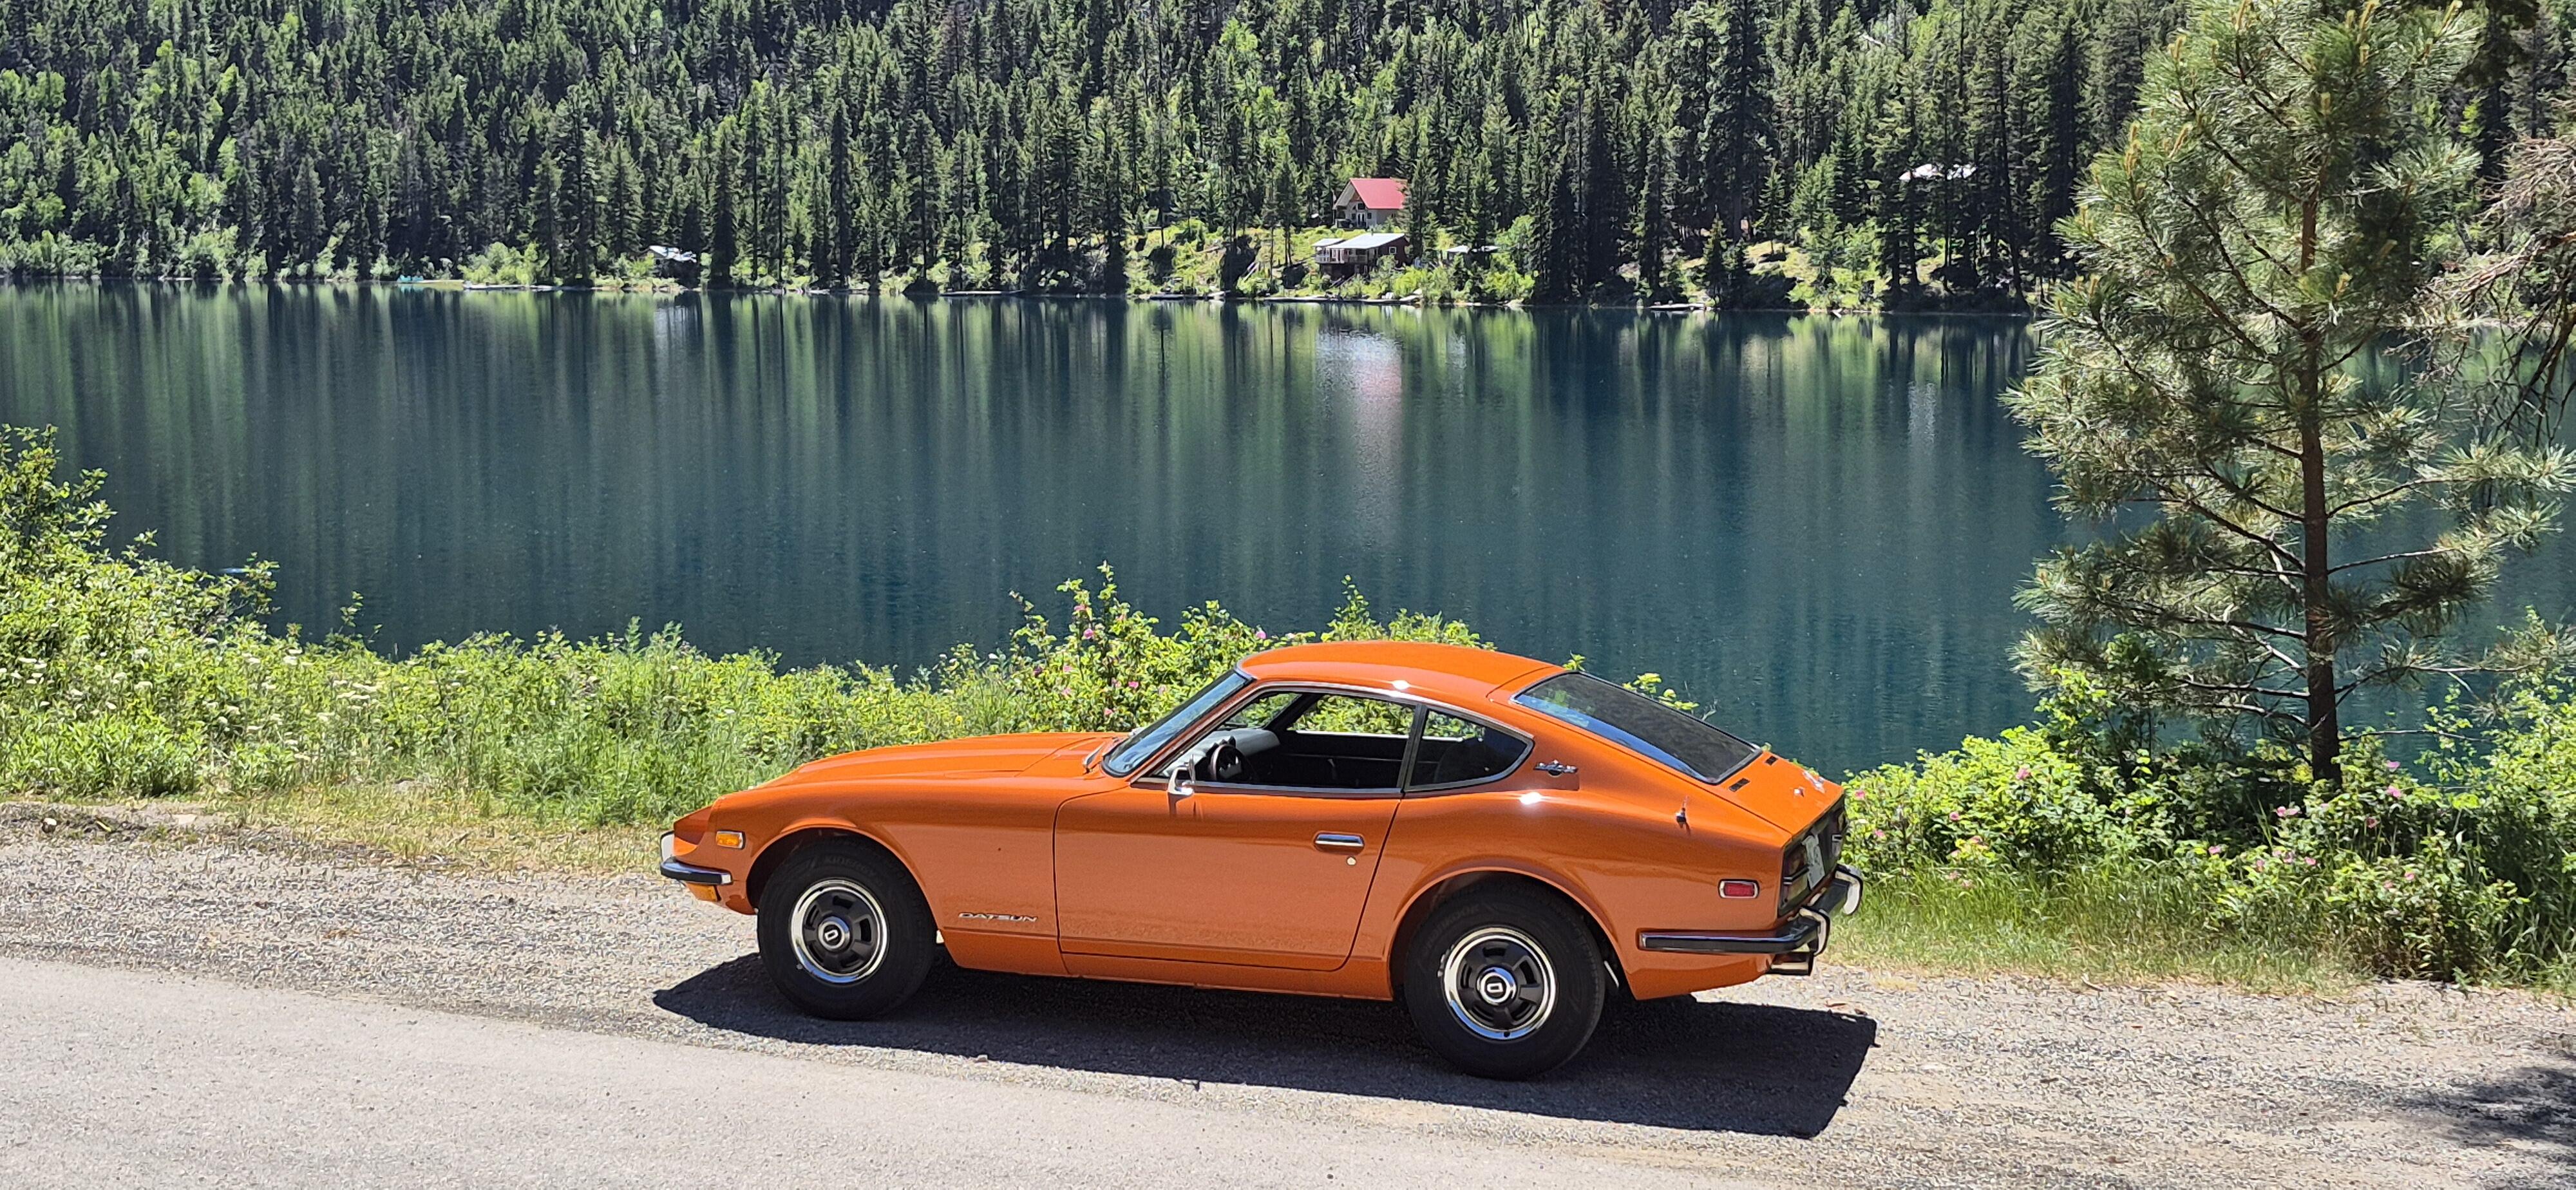
Went on my first road trip of the year with my BC Z club friends. About a dozen of us left from the Vancouver area, I joined from Chilliwack and we made our way to the BC Okanagan. Our original plan was to take the Coquihalla Highway to Kelowna, but a large sinkhole closed that route. We ended up taking the more scenic Hope-Princton Highway. For me it was a 436 mile (700km) return trip. My1970 Zed performed flawlessly, even in high mountain terrain and temperatures in the mid 30's C, (93 F), Our first stop was in Princton, for fuel, and to meet up with a few more Z club members. Here's a pic of a few of us in Princton. Our end destination was Kelowna, where Kelowna Nissan generously us hosted for a welcome event. They put on a great BBQ and offered up some Nissan swag. With other club members that met up with us along the way, there was close to twenty Zeds. The Zed to the left of me is fellow forum member @Chickenman, with his 1976 280Z. Thanks Richard, for the "way home" route ideas. The next morning, quite a few had decided to stay an extra day and enjoy the awesome wineries in the surrounding area. I and others, make the trek back, with most taking the faster, more direct Coquihalla route, as sink hole repairs had been made. I like to take the road less travelled, so I did a solo drive on a longer but more scenic route. This route included highway 5A from Merritt to Princton, that runs beside a seemingly endless series of beautiful lakes. Another bonus was that I was almost the only car on the road, with that route. 🙂 All in all, it was a great weekend. I'm looking forward to the next road trip.😎


-
 Lost on me but if its a horror movie, life is scary enough...;)
 -
 I thought it was a shining analogy.
 -
 I'm guessing that you didn't see the movie..... ☺️
 -
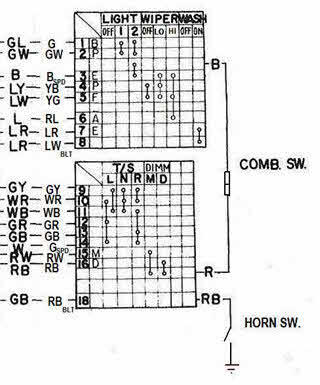
Namerow, thanks for the input, and also thanks for the work you had done previously with the wiring. Your previous work helped me with the diagram that I've been working on. So for the comments above... First, the horn. I understand the desire to have an actual switch depicted on the diagram. And in one of my earlier revisions, I actually did have one in there. But then I took it back out because I decided that I wanted to conform more closely to the original scheme depicted in the other areas of the combo switch. By that, I mean... There aren't any actual switches shown for any of the combo switch functions. Not for the headlights, the wipers... No switches for anything. Instead, "connection" is indicated by the existence of the dot. I though it would be closer to Datsun's original scheme to have a dot connection to ground when the horn is pushed. Next, the wipers. I haven't dug into that system at all, and I'm kinda hoping that I never have to. I turned mine on and the arms move, and that's hopefully all I need to know. So, with that said... Are you confident in the switch connections you have laid out? If you are sure, I'll change the diagram to what you indicate. As for the letters in the second column, I'm in the same boat as you... I think I knew at one point, but don't remember. I'll look into it. And lastly, you are correct about the change of wire colors on the combo switch side of the connectors. Problem is that situation exists all over the car. They got better with that in the diagrams for the later years, but for the early cars, the colors on the diagrams are the "colors of the harness". I'm sorry, but I'm in no position to add all the connectors for all the devices that plug into connectors and indicate the wire colors on both sides of those connectors. Haha!!! Thanks for the help!
-
But with a cool car! ;)
-
All work and no play makes Matthew a dull boy.
-
Thanks John! It is nice to start thinking about plates and car insurance after all this time! Sixteen years... 😮
-
 Zach joined the community
 -
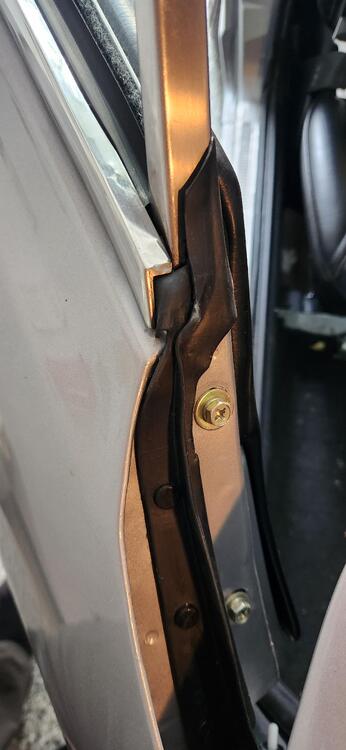
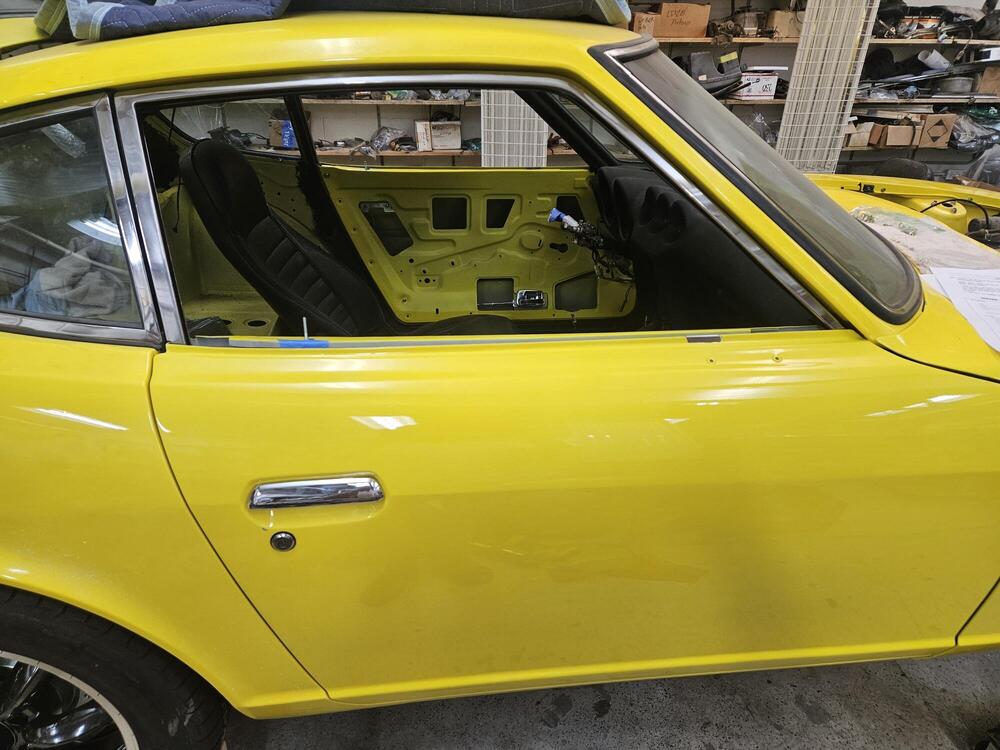
Car looks fabulous, Charles. For those of us who remember your paint disaster, this has to be very rewarding. Re the problem seal, here's a photo from an unmolested early 71 Z (VIN 019769) that came up for sale on BAT a few years ago. Hope it helps...
- Yesterday
-
I have a couple of photos from when i dissembled mine. They are not the best but may help.
.thumb.JPG.f6bcf3a5112a5ad16e7d54ed7e86fd26.JPG)
.thumb.JPG.0fbcedb176e990c1ae77759447c84907.JPG)
-
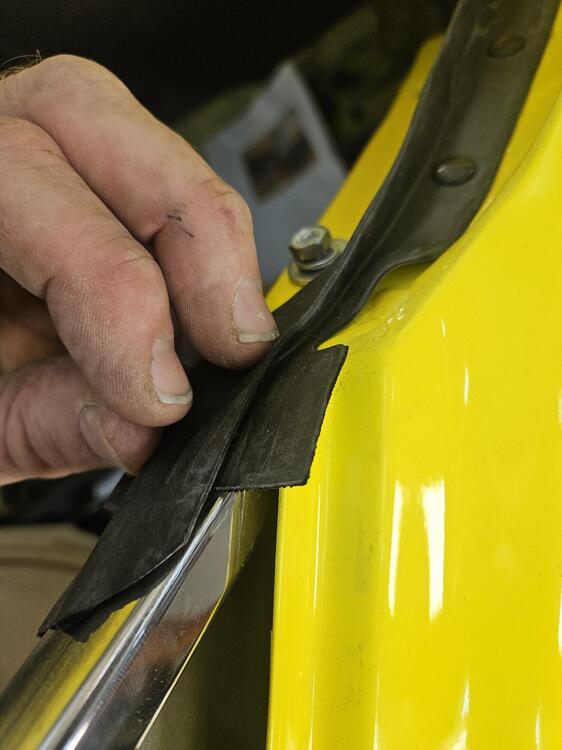
Looking great Charles! I cant claim this is correct as I struggled getting that rubber installed too. I am pretty sure the inner flaps go under the door card. Outer one I installed under the trim. Love to know if I was correct!
-
 When I removed mine they were glued to the door itself. There wasn’t any glue where the push pins are located.
 -
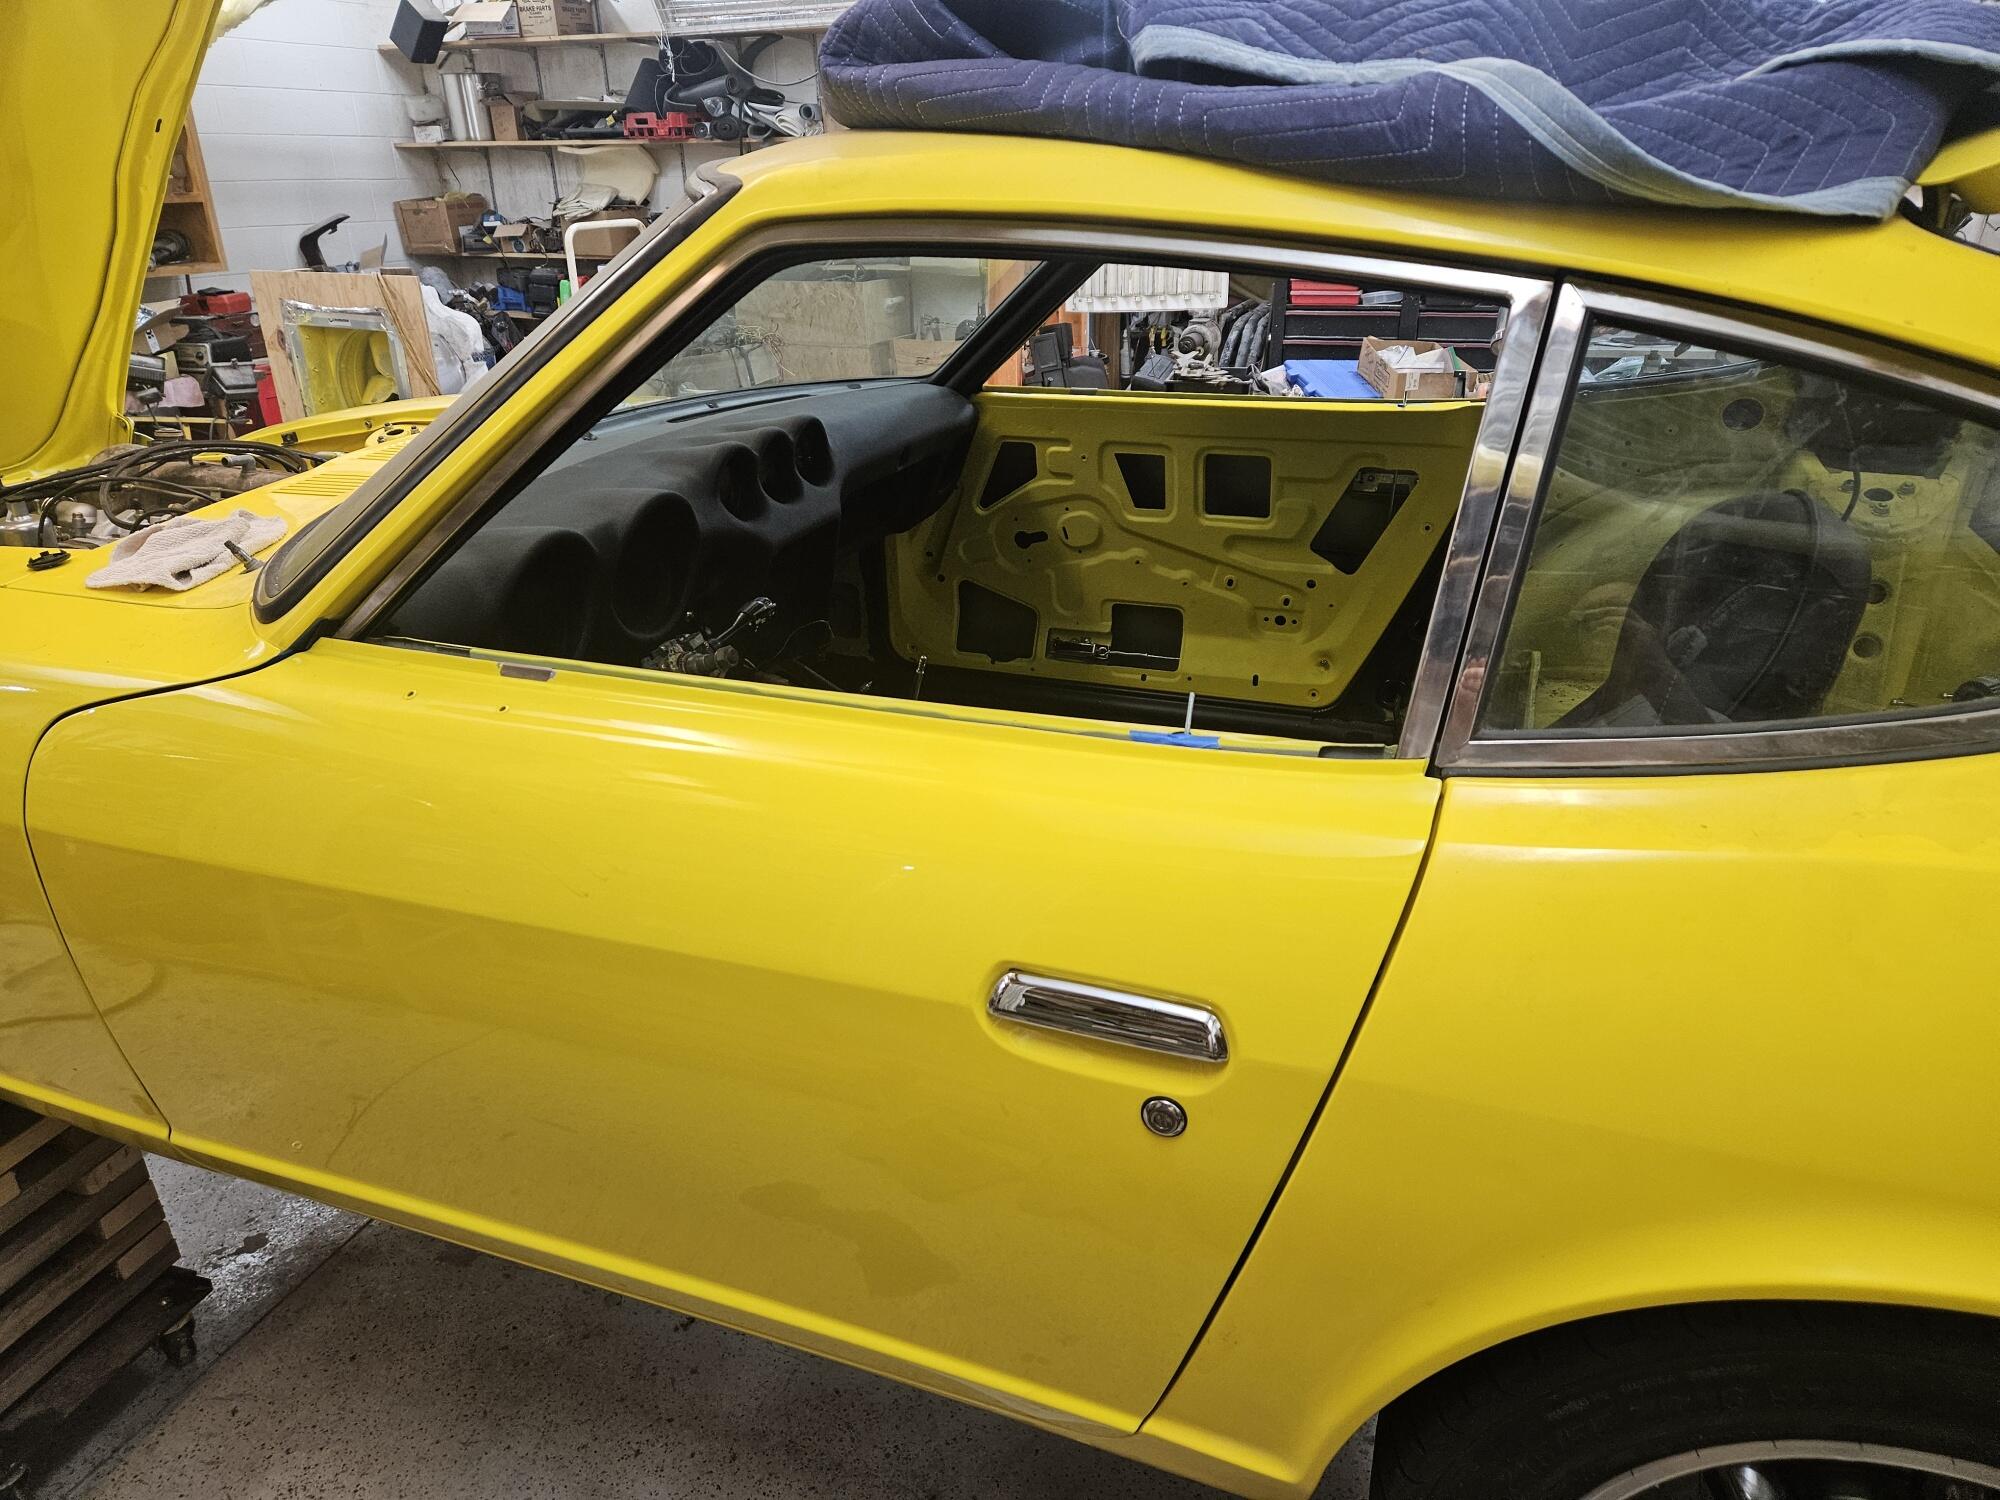
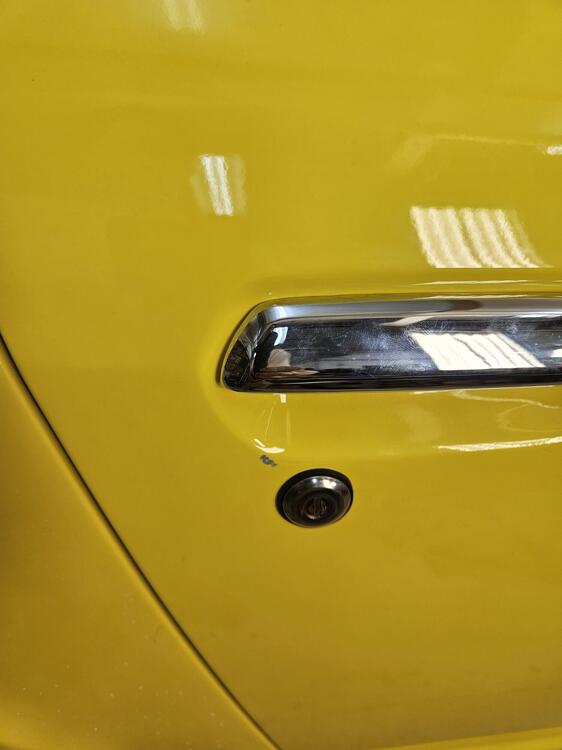
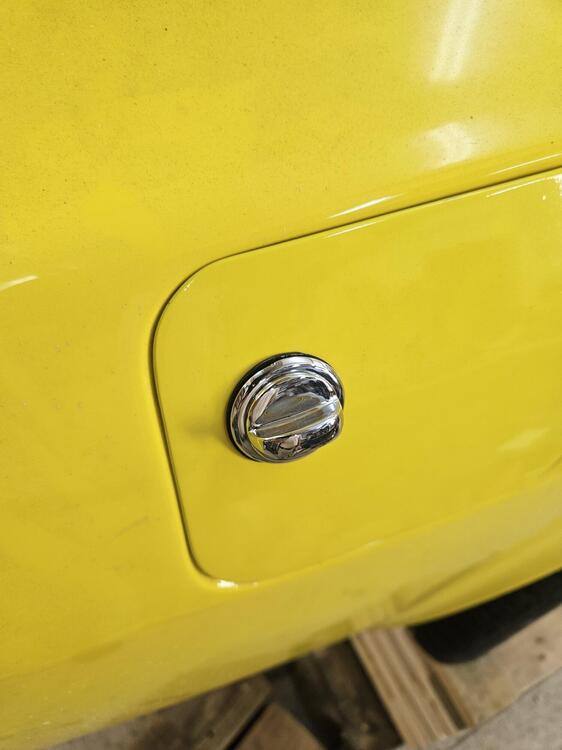
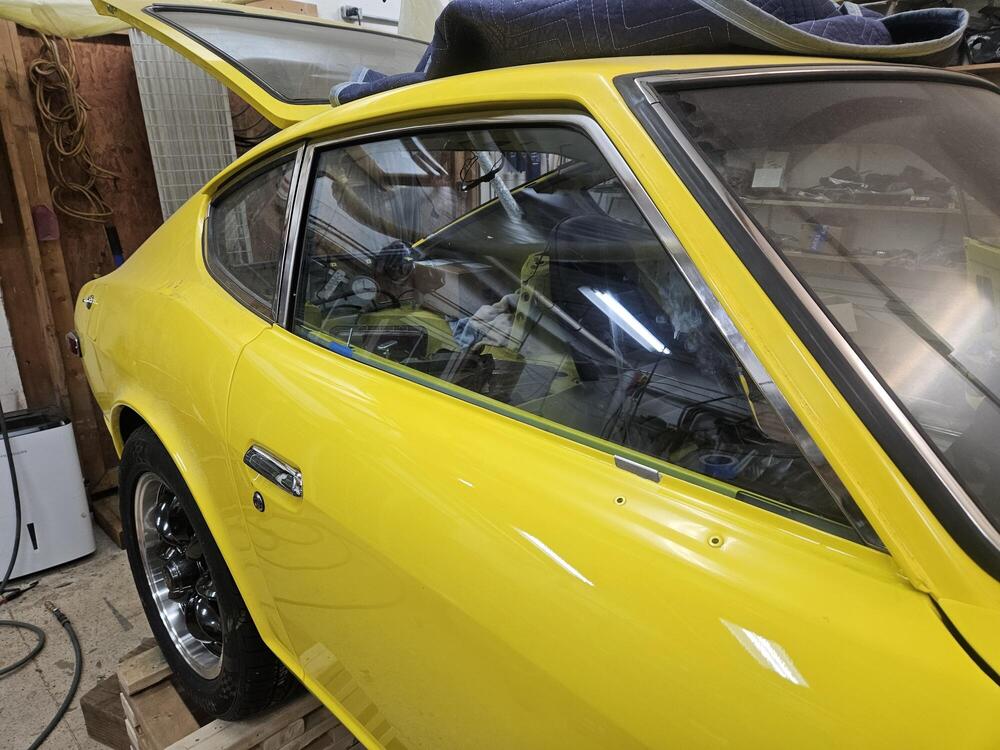
Back in the shop this weekend I need some help with this seal. How is it supposed to fit to the door?? I got the door locks in the doors,. Although I damaged the paint on the passenger door. Window frames are in and all the internal mechanism is in. I got the window regulators in yesterday. Freshly plated fuel door latch I got the door glass in today after church I will work on door sweeps next weekend, hopefully. Maybe mirrors too


-
 redrum, redrum...
-
Nice work, Captain Obvious. Thanks for your persistence in moving this forward. A few questions and comments specific to the Combination Switch: I see the Horn Relay, but I don't see the Horn Switch (talking about the 'switch' that operates when the driver pushes on the horn pad) Letters appear in some of the rows in Column 2 of the 'grid' for the Combination Switch (the letters are: A, B, D, E, F, M and P). Can you refresh my memory as to what they stand for? As currently depicted, the Wipers show only 'OFF' and 'ON' modes, with the logic within the 'ON' mode apparently trying to do double-duty for both 'HI' and 'LO'. I think that the switch's operation might be more clear if 'ON' is replaced with discrete 'HI' and 'LO' modes. See attached schematic, per my original post in this thread back in July 2024. As I also pointed out back in 2024, it's worth keeping in mind that the colours of the wires coming off the Combo Switch don't always match the colours of the wires to which they connect on the Vehicle harness. See below (bold-face letters are Vehicle-side, regular-face letters are Switch-side)...
-
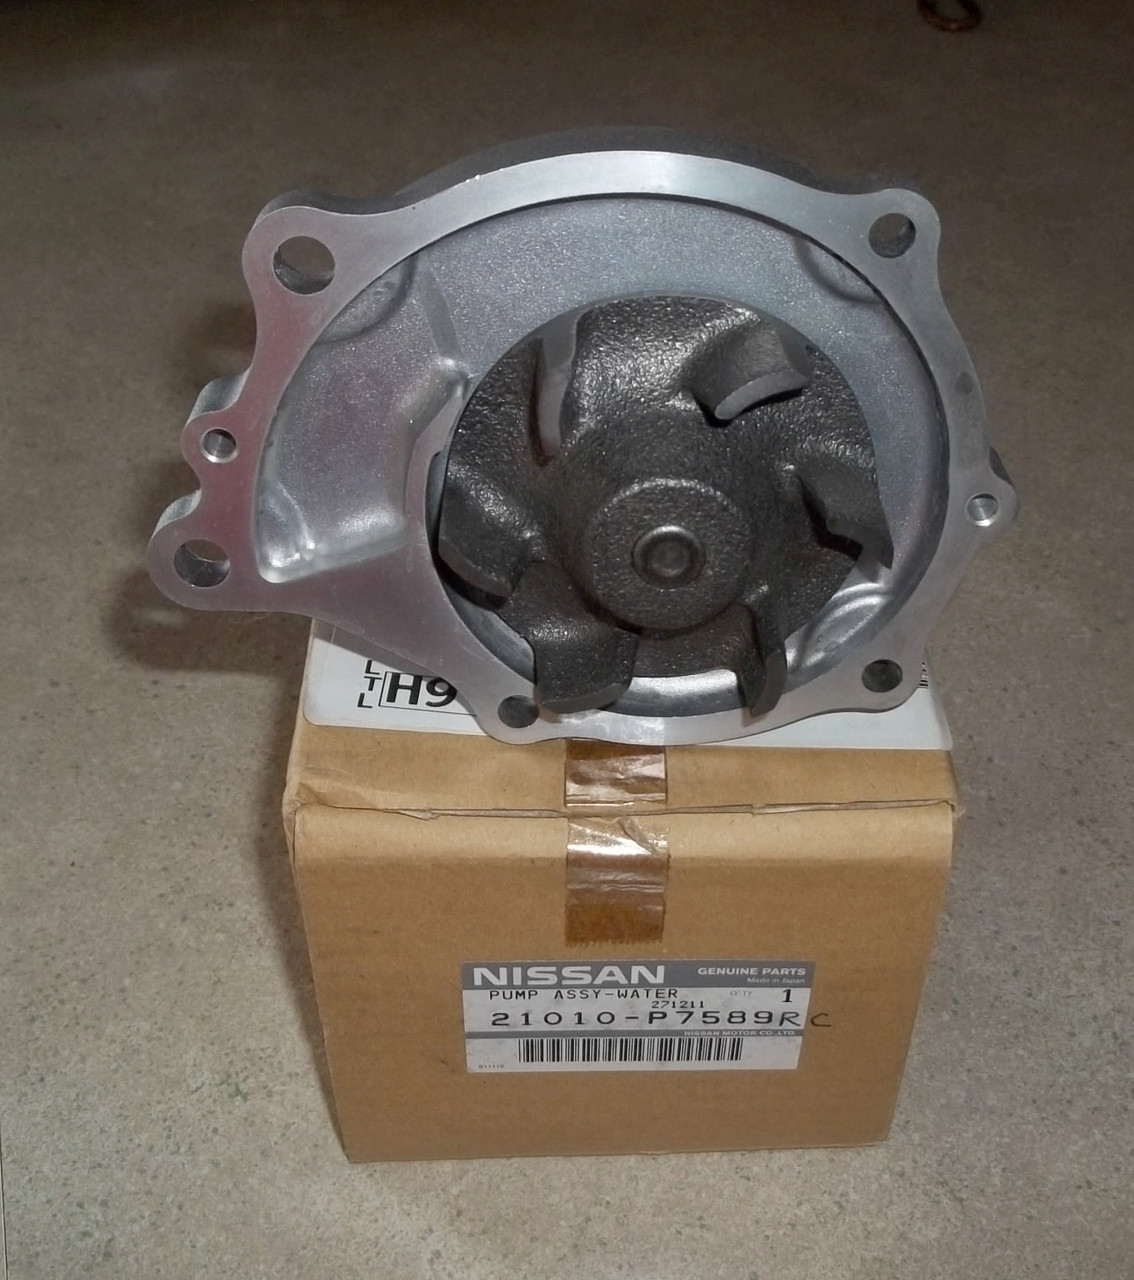
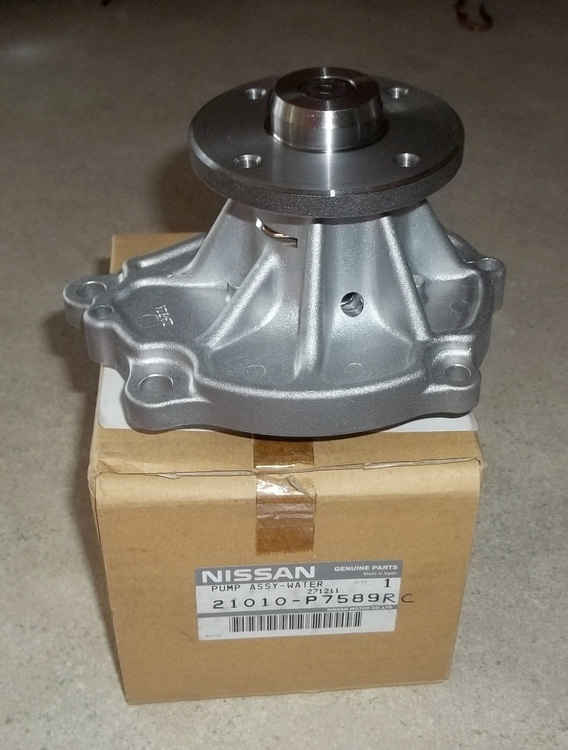
I think both those GMBs are aftermarket and agree that an Aisin with the cast iron impeller will be as close to OE that you'll find today unless you can find one using the part number on this box.

-
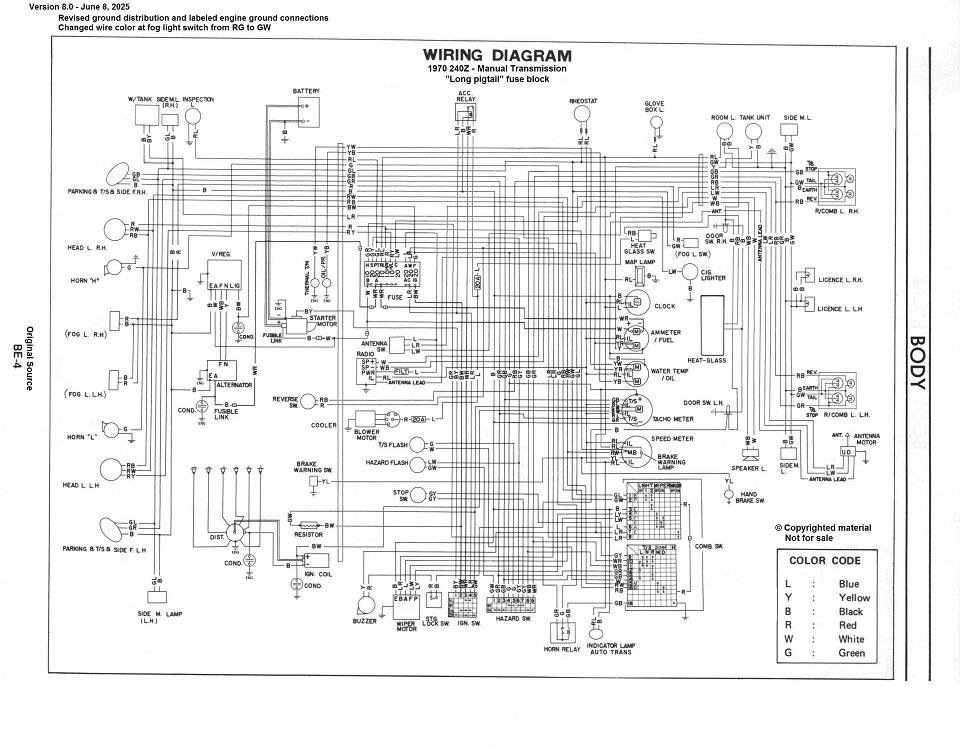
Here's the latest wiring diagram. I changed the ground distribution scheme to add the dedicated ground strap directly from the battery terminal to the firewall, and also labeled the ground connections that are through the engine metal. Hope this helps depict how the car is actually wired. I also changed one of the wire colors leading to the fog light switch. Might only matter to people in other parts of the world who have fog lights. <V8.0> _obvious 240Z Wiring Diagram 8.0.pdf
-
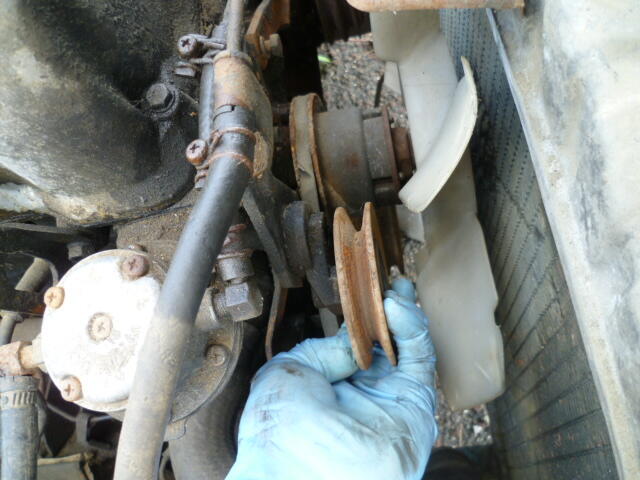
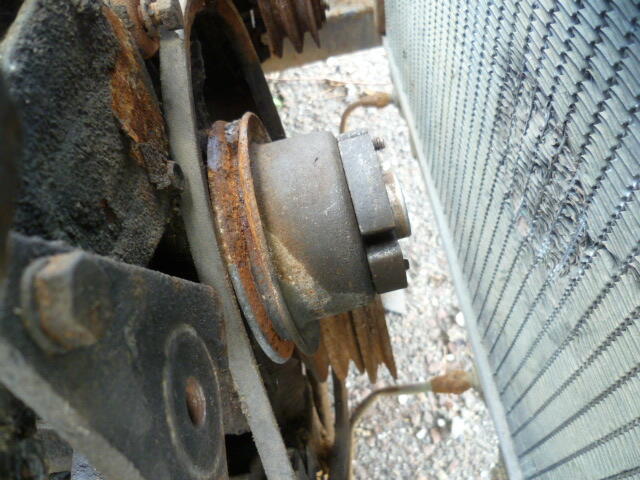
I don't think either of those water pumps you pictured are "original", but as for "correctness", here's a couple pics from a 9/70 car. Note that this car has A/C and I don't know if that makes any difference, but it's what I got:


-
 I have lights. No one is going to not see this thing. These LEDs are significantly brighter than the lights on my Subaru. Unfortunately, somewhere between testing it on the bench and installing the dash, the speedo and tach illumination stopped working. I think the main branch of wiring coming out of the dimmer is messed up. I also don’t have any blinkers for some reason. That one is going to be harder to figure out. Worst case scenario is that I made a mistake in the engine harness.
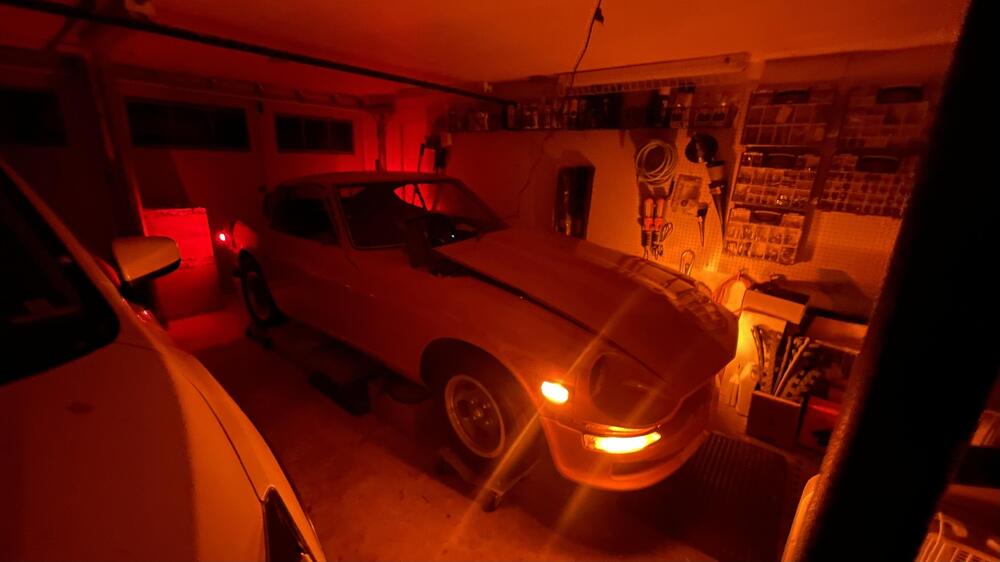
-
I bought a new Aisin water pump off Amazon recently
-
 What numbers are you looking to see? I do not know how to decipher the numbers on the glass. Thanks, Dennis


.JPG.b257fba168b0e53106787dc28050901e.JPG)
.JPG.e43da0fe2053e40d2818b4da3fc97496.JPG)