


Let me start this thread by saying that I was not looking to solve a mystery or bust a myth when I started this procedure. I just wanted to rebuild my tired old 76 280Z half-shafts!
I think there was a very common myth that the S30 half-shafts were different sizes. The driver side being shorter than the passenger side. Even though the distance from the wheel hub to the differential differs (more-so with the R200) from side to side, the half-shafts are IDENTICAL! The amazing amount of lateral play in the shaft allows it to expand or contract almost three inches. ...on to the pics!
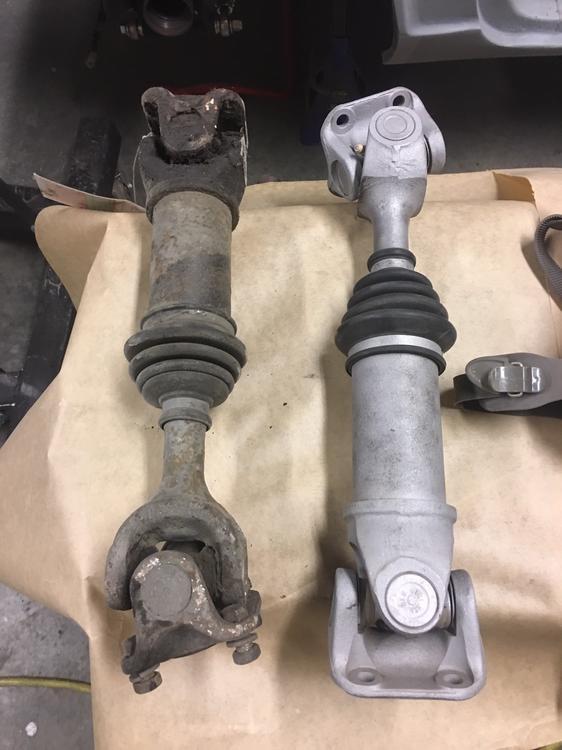
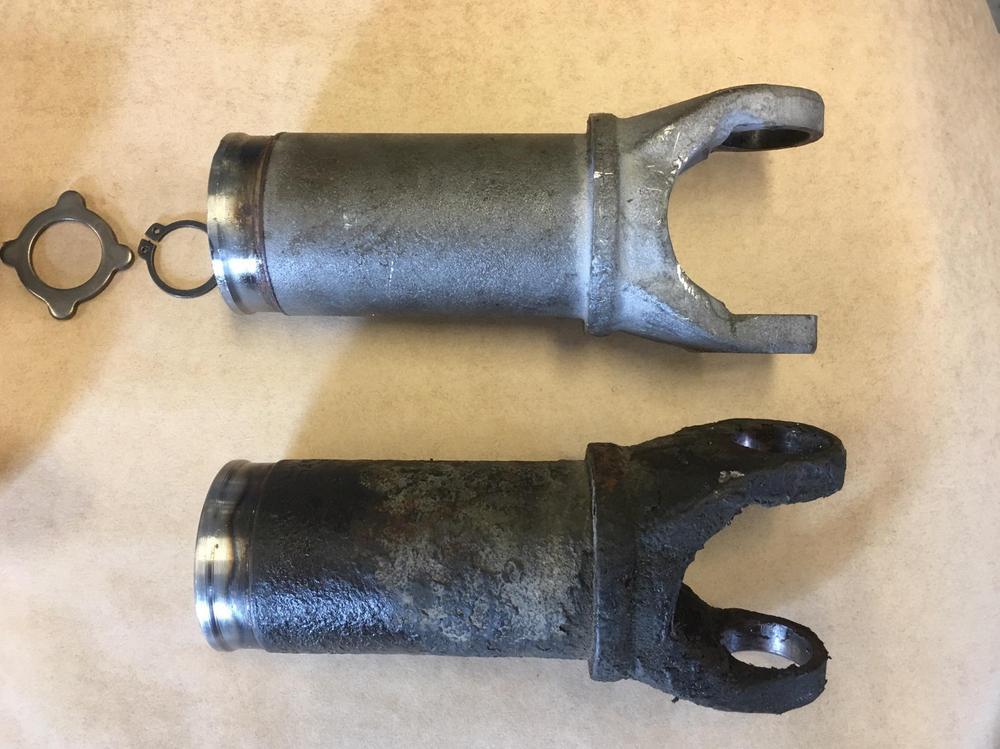
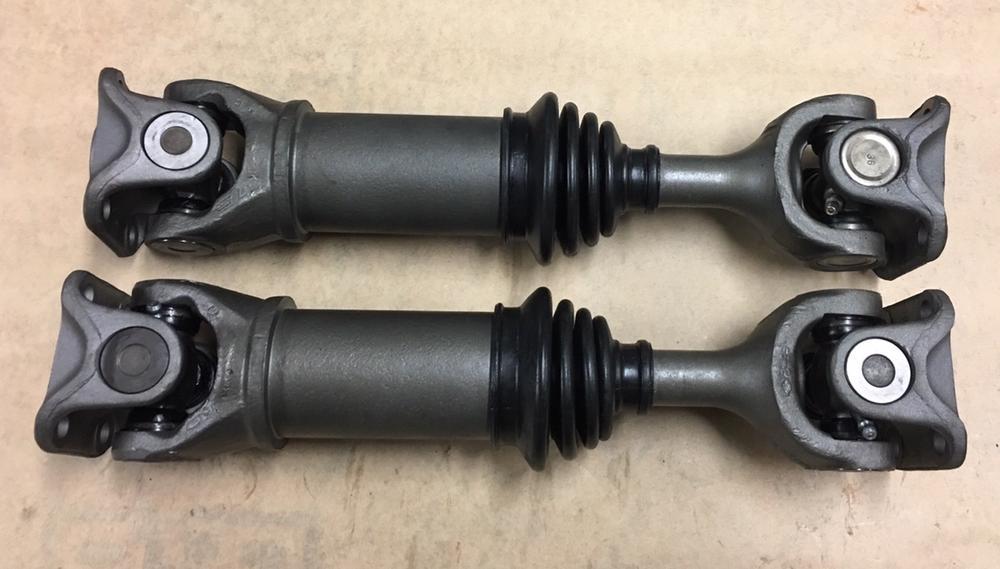
First a shot of the shafts after I ran one through the media cabinet next to the other.
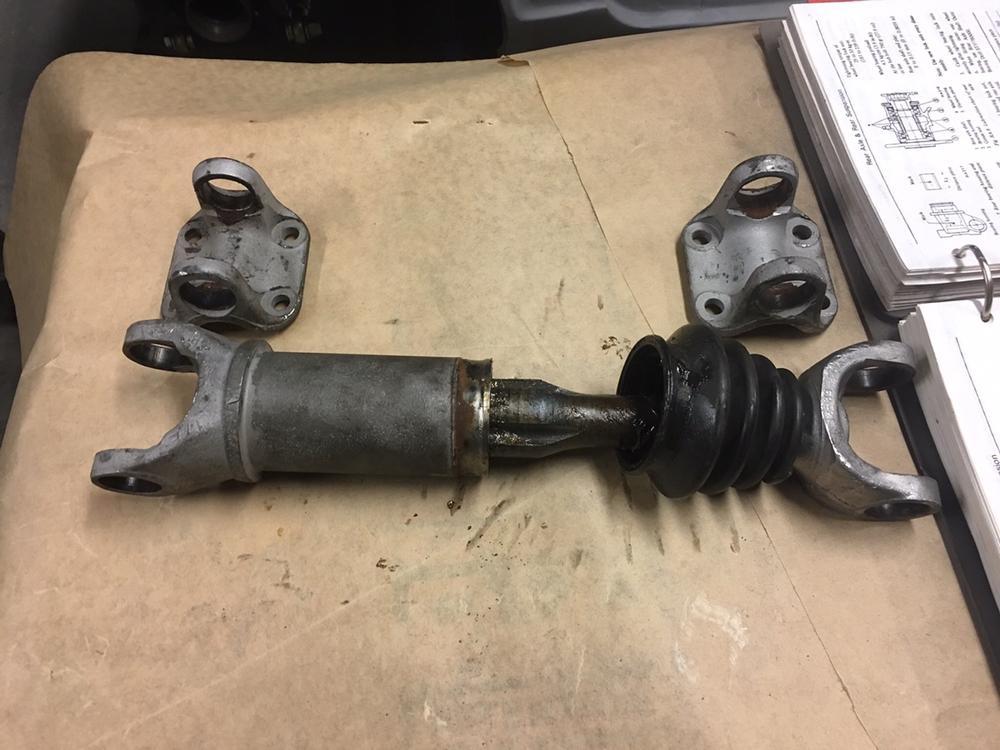
The removal of the u-joints is straight forward, several well documented methods on line if you need help there.
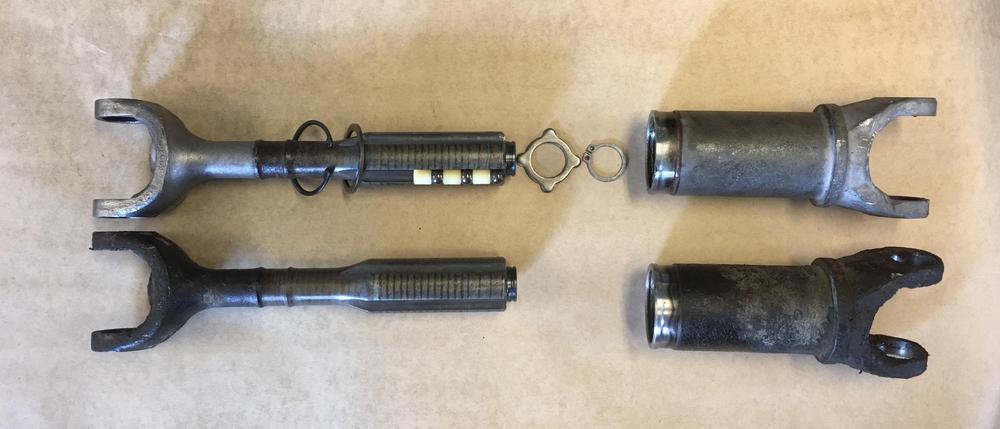
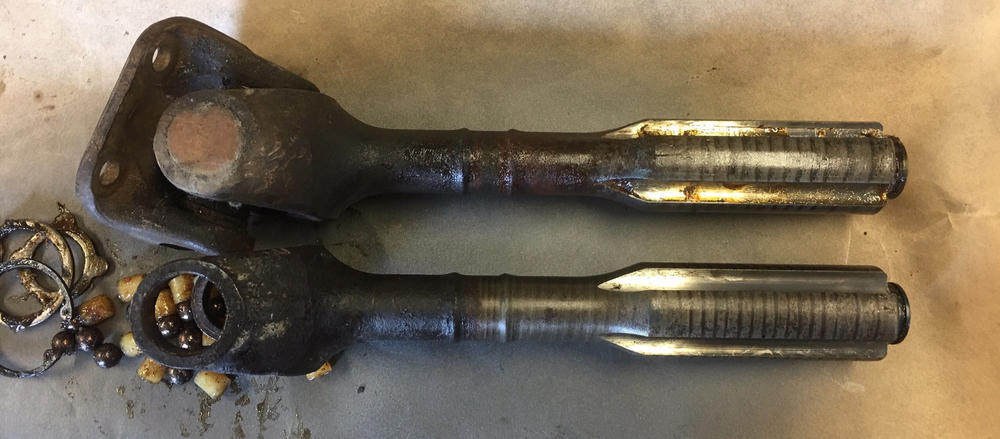
Now the science! Here you can see that the axles are identical in each dimension. Also note the layout of the snap rings, retaining rings and the balls and spacers.
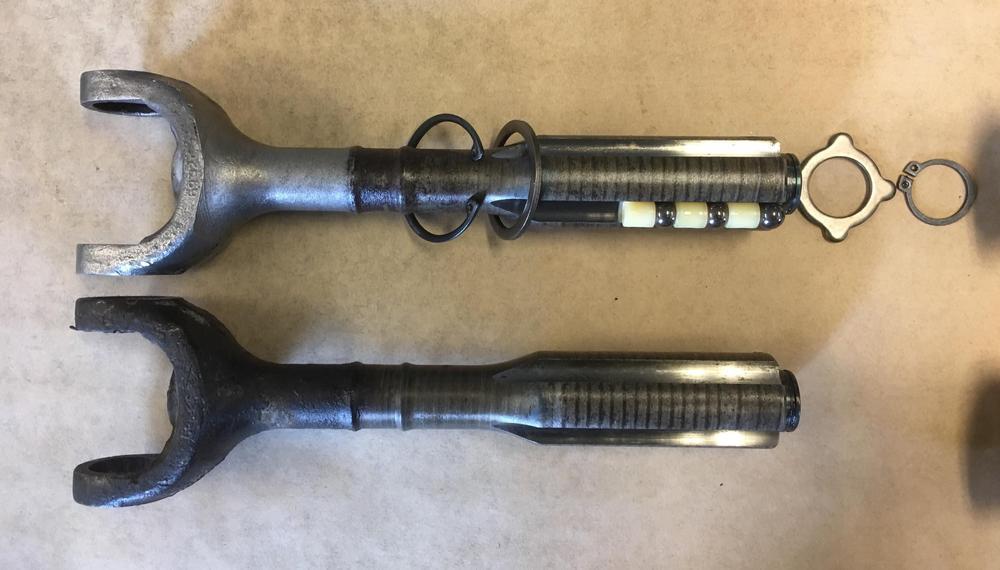
And for those that were still disbelieving, a shot of a 240 half-shaft next to the 280 half-shaft. 240 shaft with the u-joint still attached.
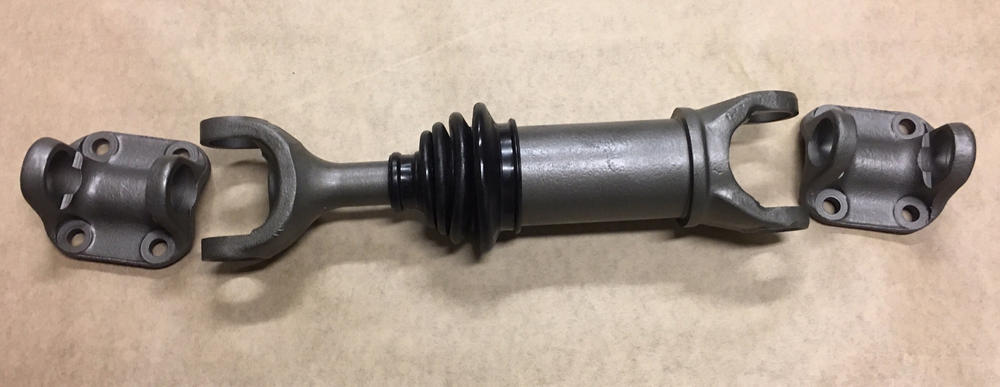
Then on to refurbishing! You will need 4 new u-joints. SKF UJ393, MOOG 393, or Precision 393 will all work or any variation thereof. I media blasted the shafts and protected the bearing surfaces while doing so. I then painted the exposed parts in Cast Iron engine paint from Duplicolor. Love the look! I re-used the old boots as they were in great shape.
After blasting the shafts and painting them, I turned the boots inside out and fed the wide side over the bearing shaft. I used the cut-off top of a funnel to aid the narrow end going over the shaft and up into position. Worked excellent. Leave the boot inside out for now.
Slide the upper retaining ring and snap ring on to hold the shafts together, tuck them up by the boot. Refer to the above pic for proper order.
Attach the lower retaining ring and snap ring. Put the cleaned spacers and bearings into a zip lock bag full of a good quality bearing grease and ensure they are coated nicely all around. Place them in the channels in the correct order, ball bearing at the bottom, spacer at the top. The grease will keep them in place. Add about 10g of grease to the top of each channel.
Carefully slide the shaft back into the axle while ensuring the ball bearing and spacers are supported by the retaining tabs. Make sure the shaft is orientated correctly, the same direction as the axle end! Try and keep the bearings at the bottom of the assembly as it goes together. Holding it vertical helps.
When the shaft is in the axle, add another 30g of grease to the top of the shaft, concentrating on the open groves of the axle that did not receive the bearings. Use the retaining ring to push it all together and seat the bearings. I used a screwdriver and hammer to tap the retaining ring flat. Worked great, didn't need much pressure.
Reattach the snap ring to the axle at the top. Wipe up the grease you got everywhere... and pull the boot back down outside-in , ensuring the top fully inverts and seats in the groove, same as the bottom. Attach your favourite brand of cv boot clamp over the boot ends and securely tightly. Mine had not arrived in time for the pictures.
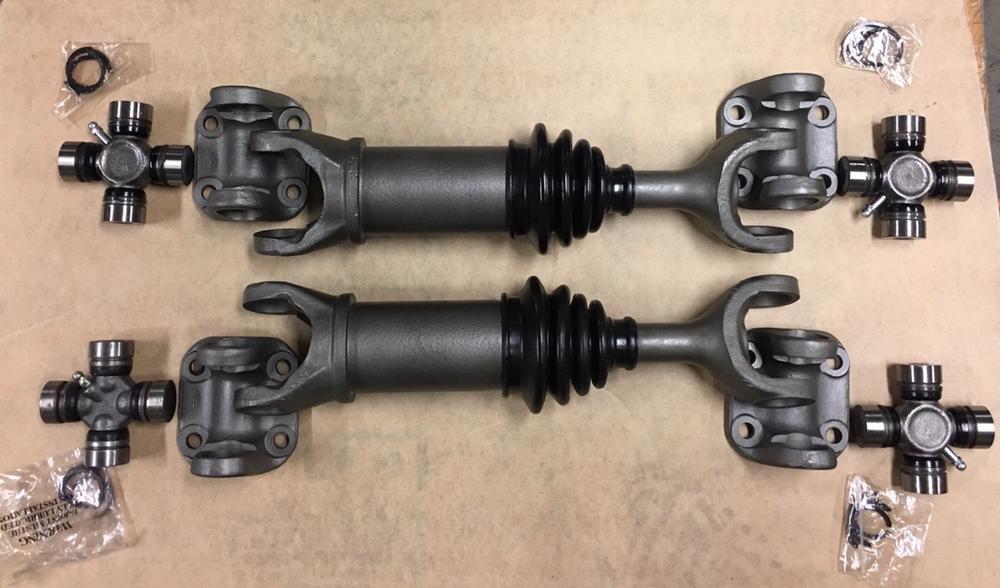
Proceed on to installing the u-joints, being careful not to damage the pretty paint! Grease the u-joints and you are done! Another 40 years of glorious torque!
Thanks to Jim @zKars for his guidance and wisdom.

Recommended Comments
There are no comments to display.