HusseinHolland
Community Member
-
Joined
-
Last visited
Everything posted by HusseinHolland
-
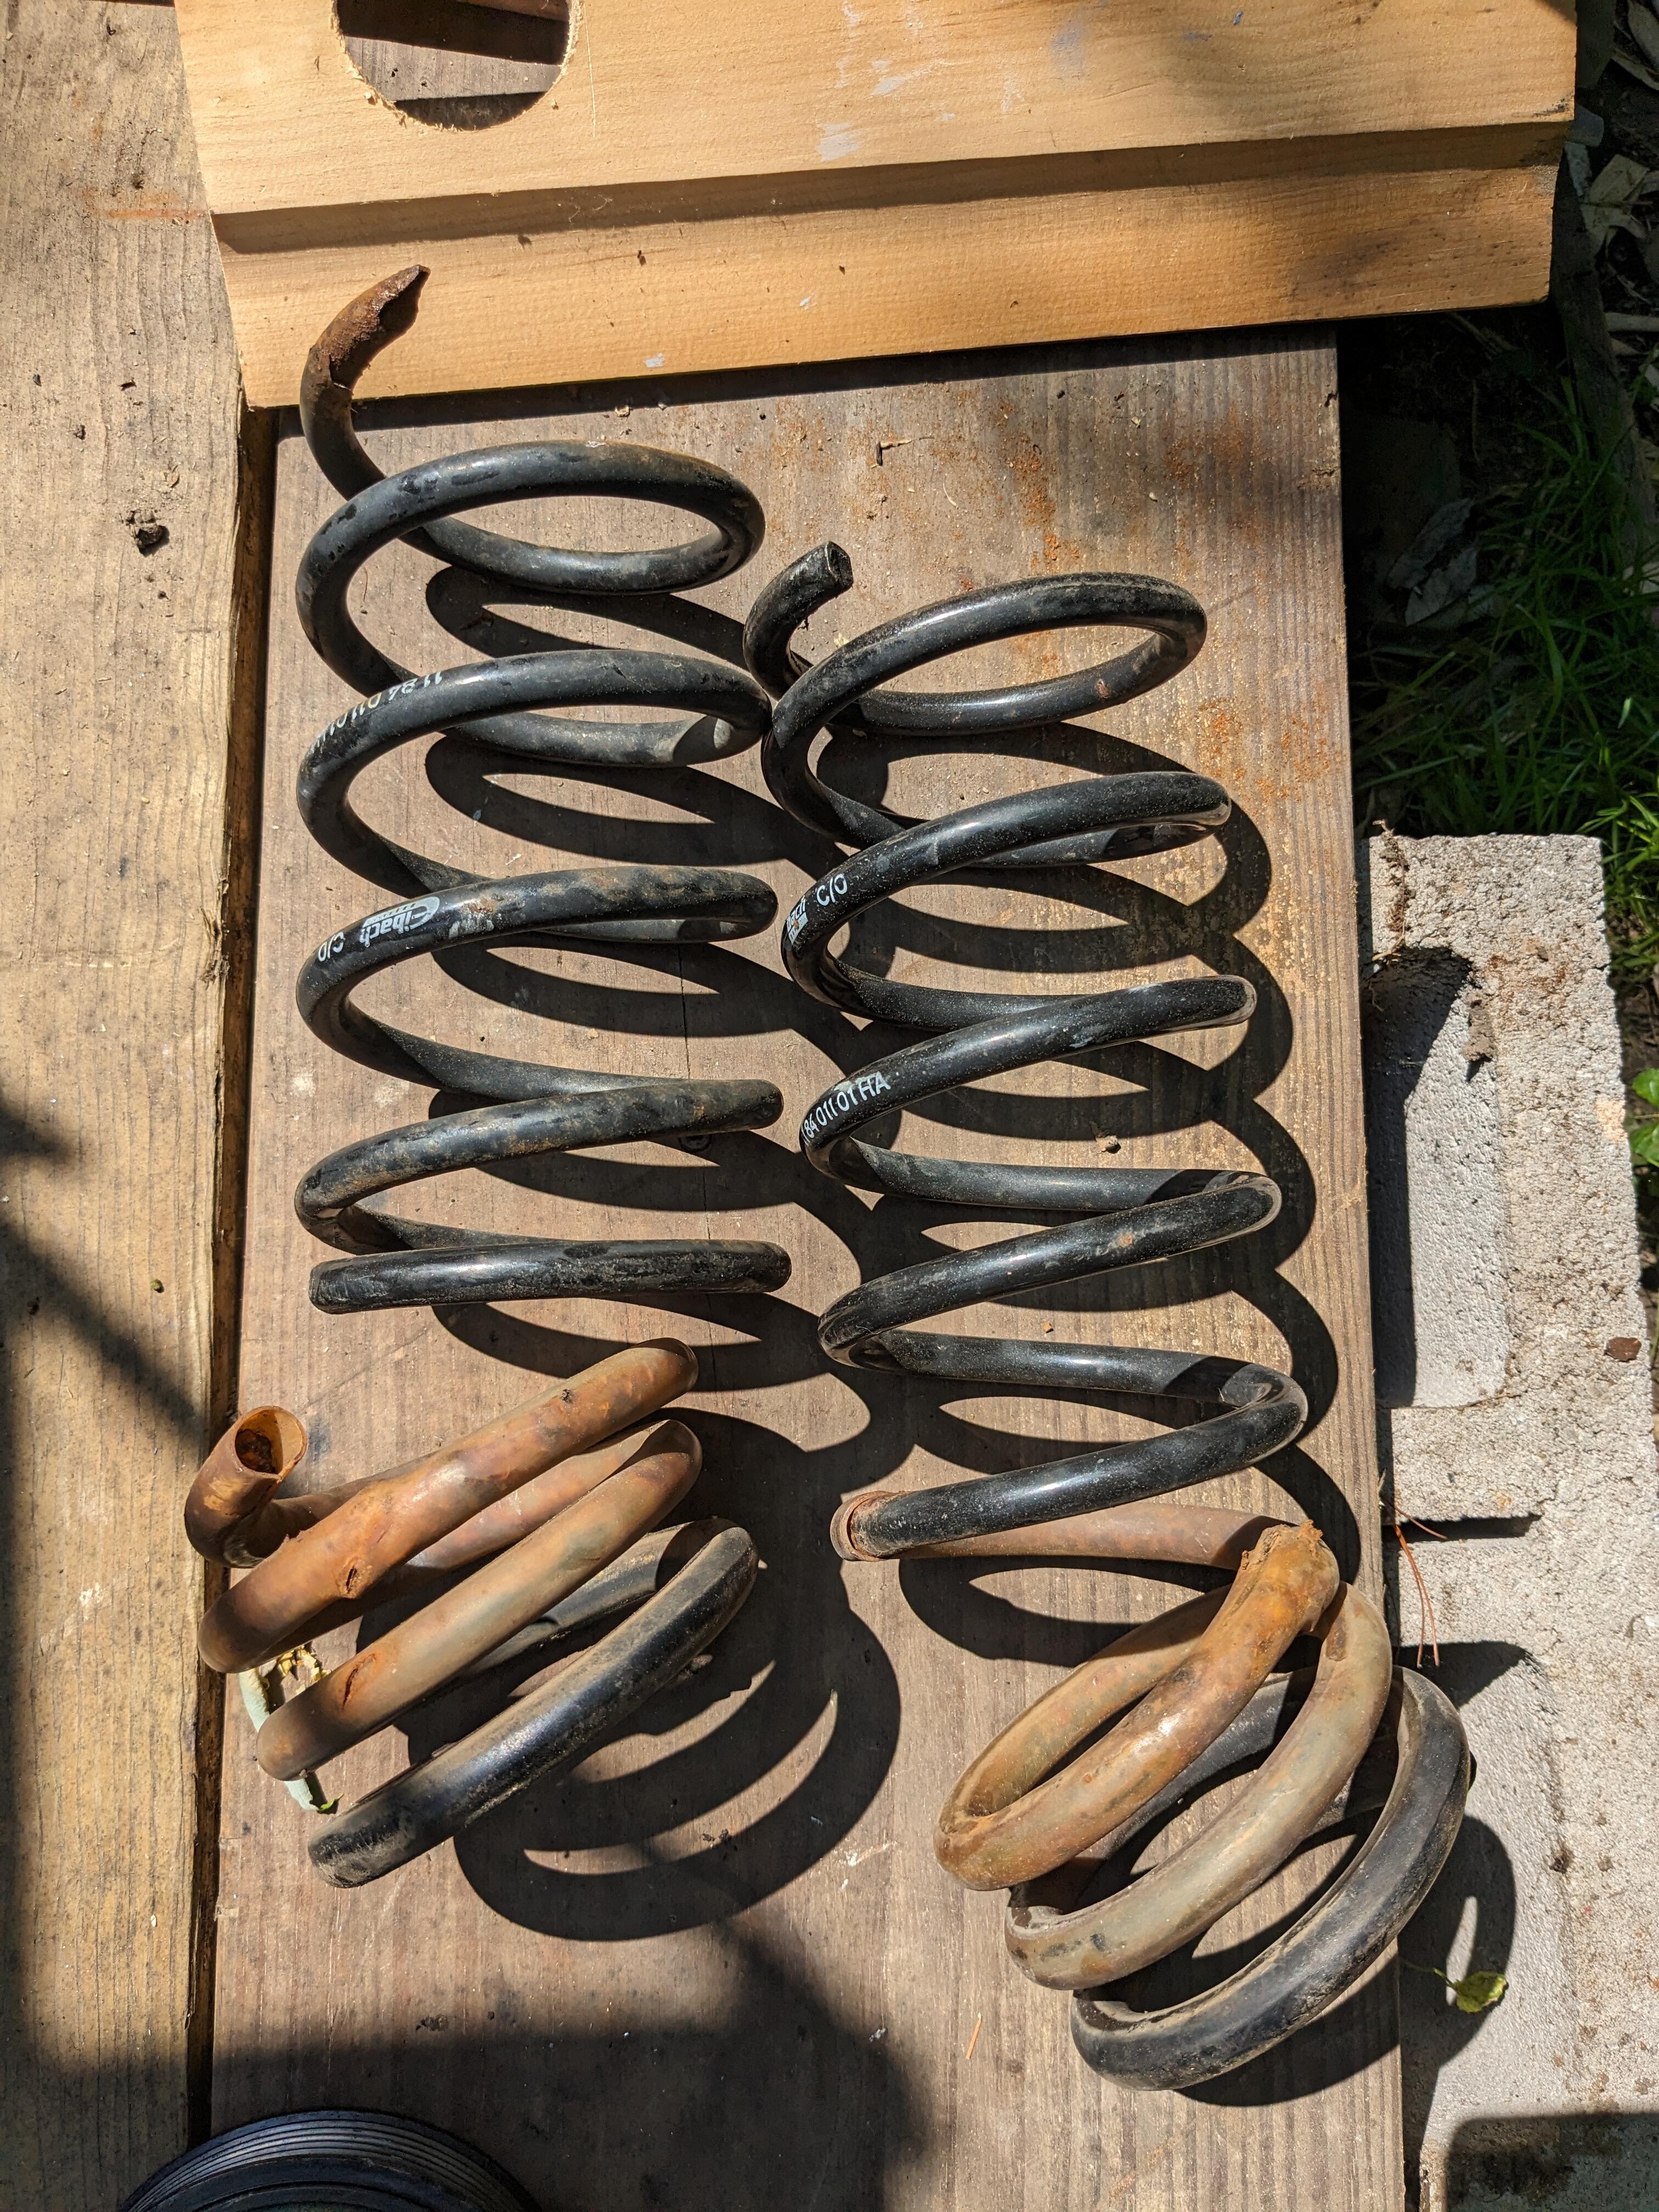
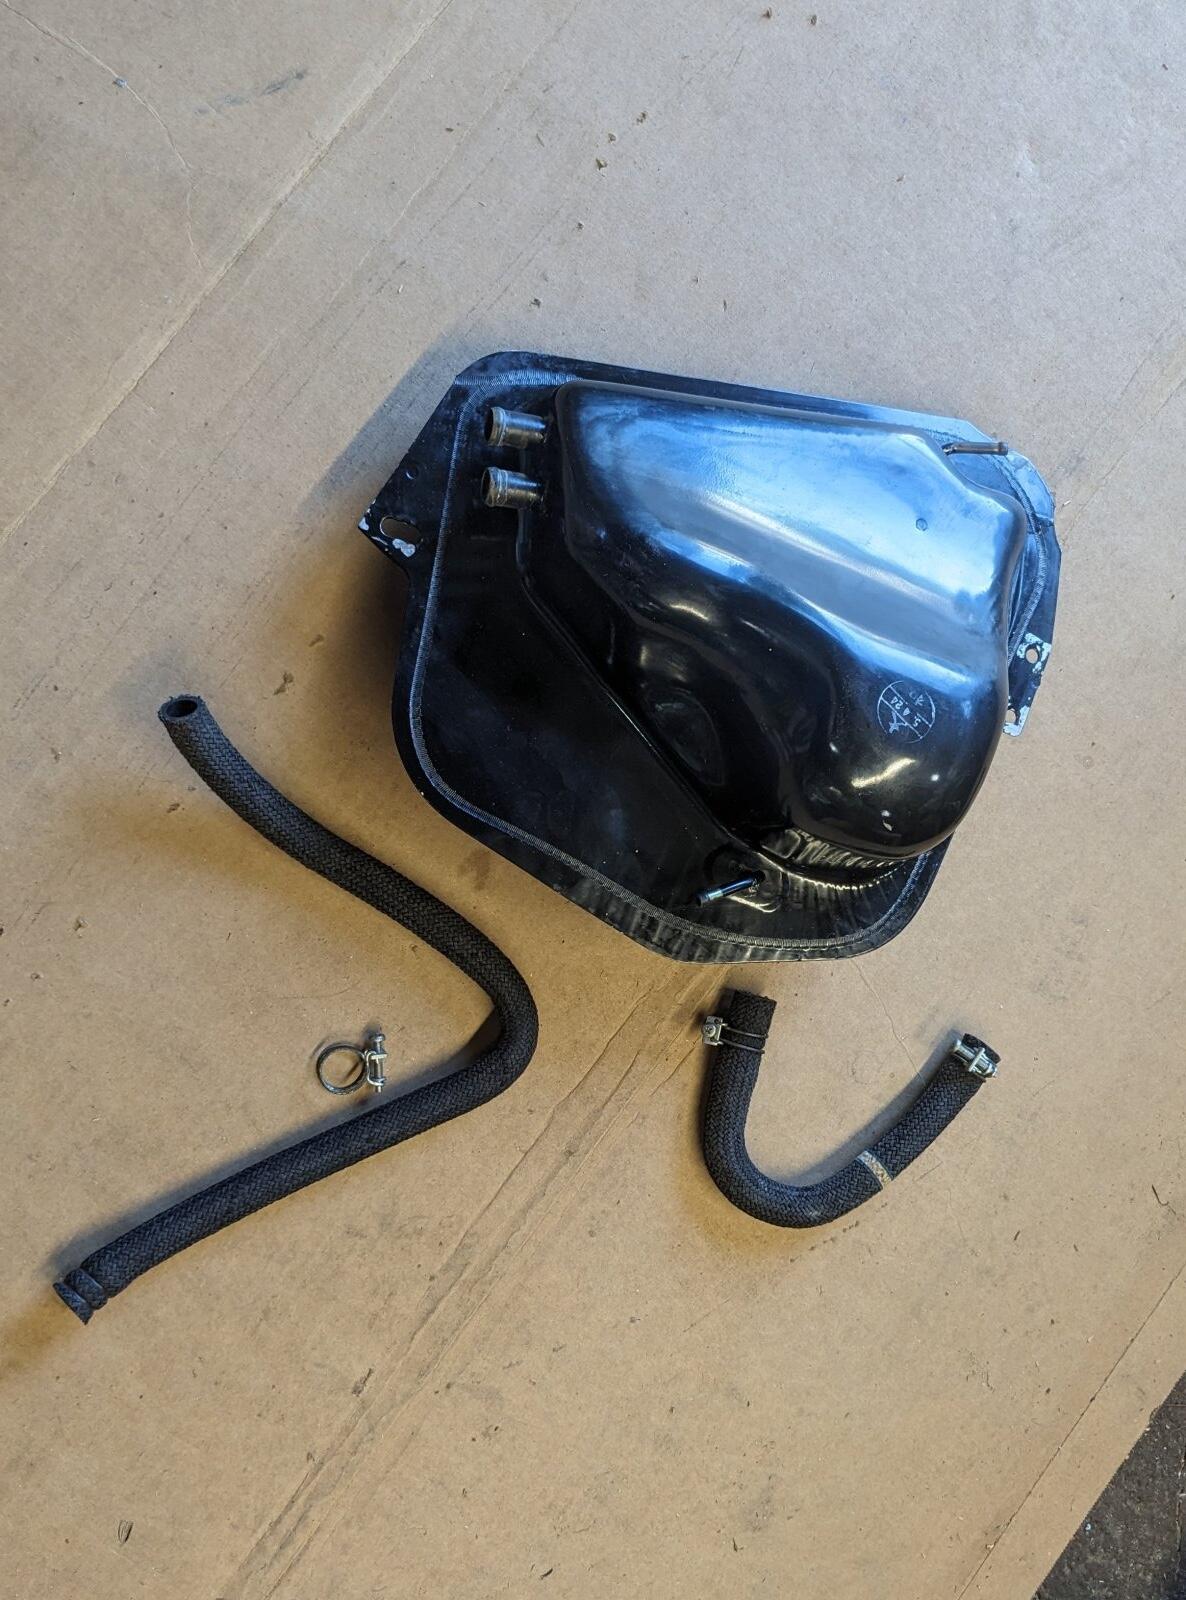
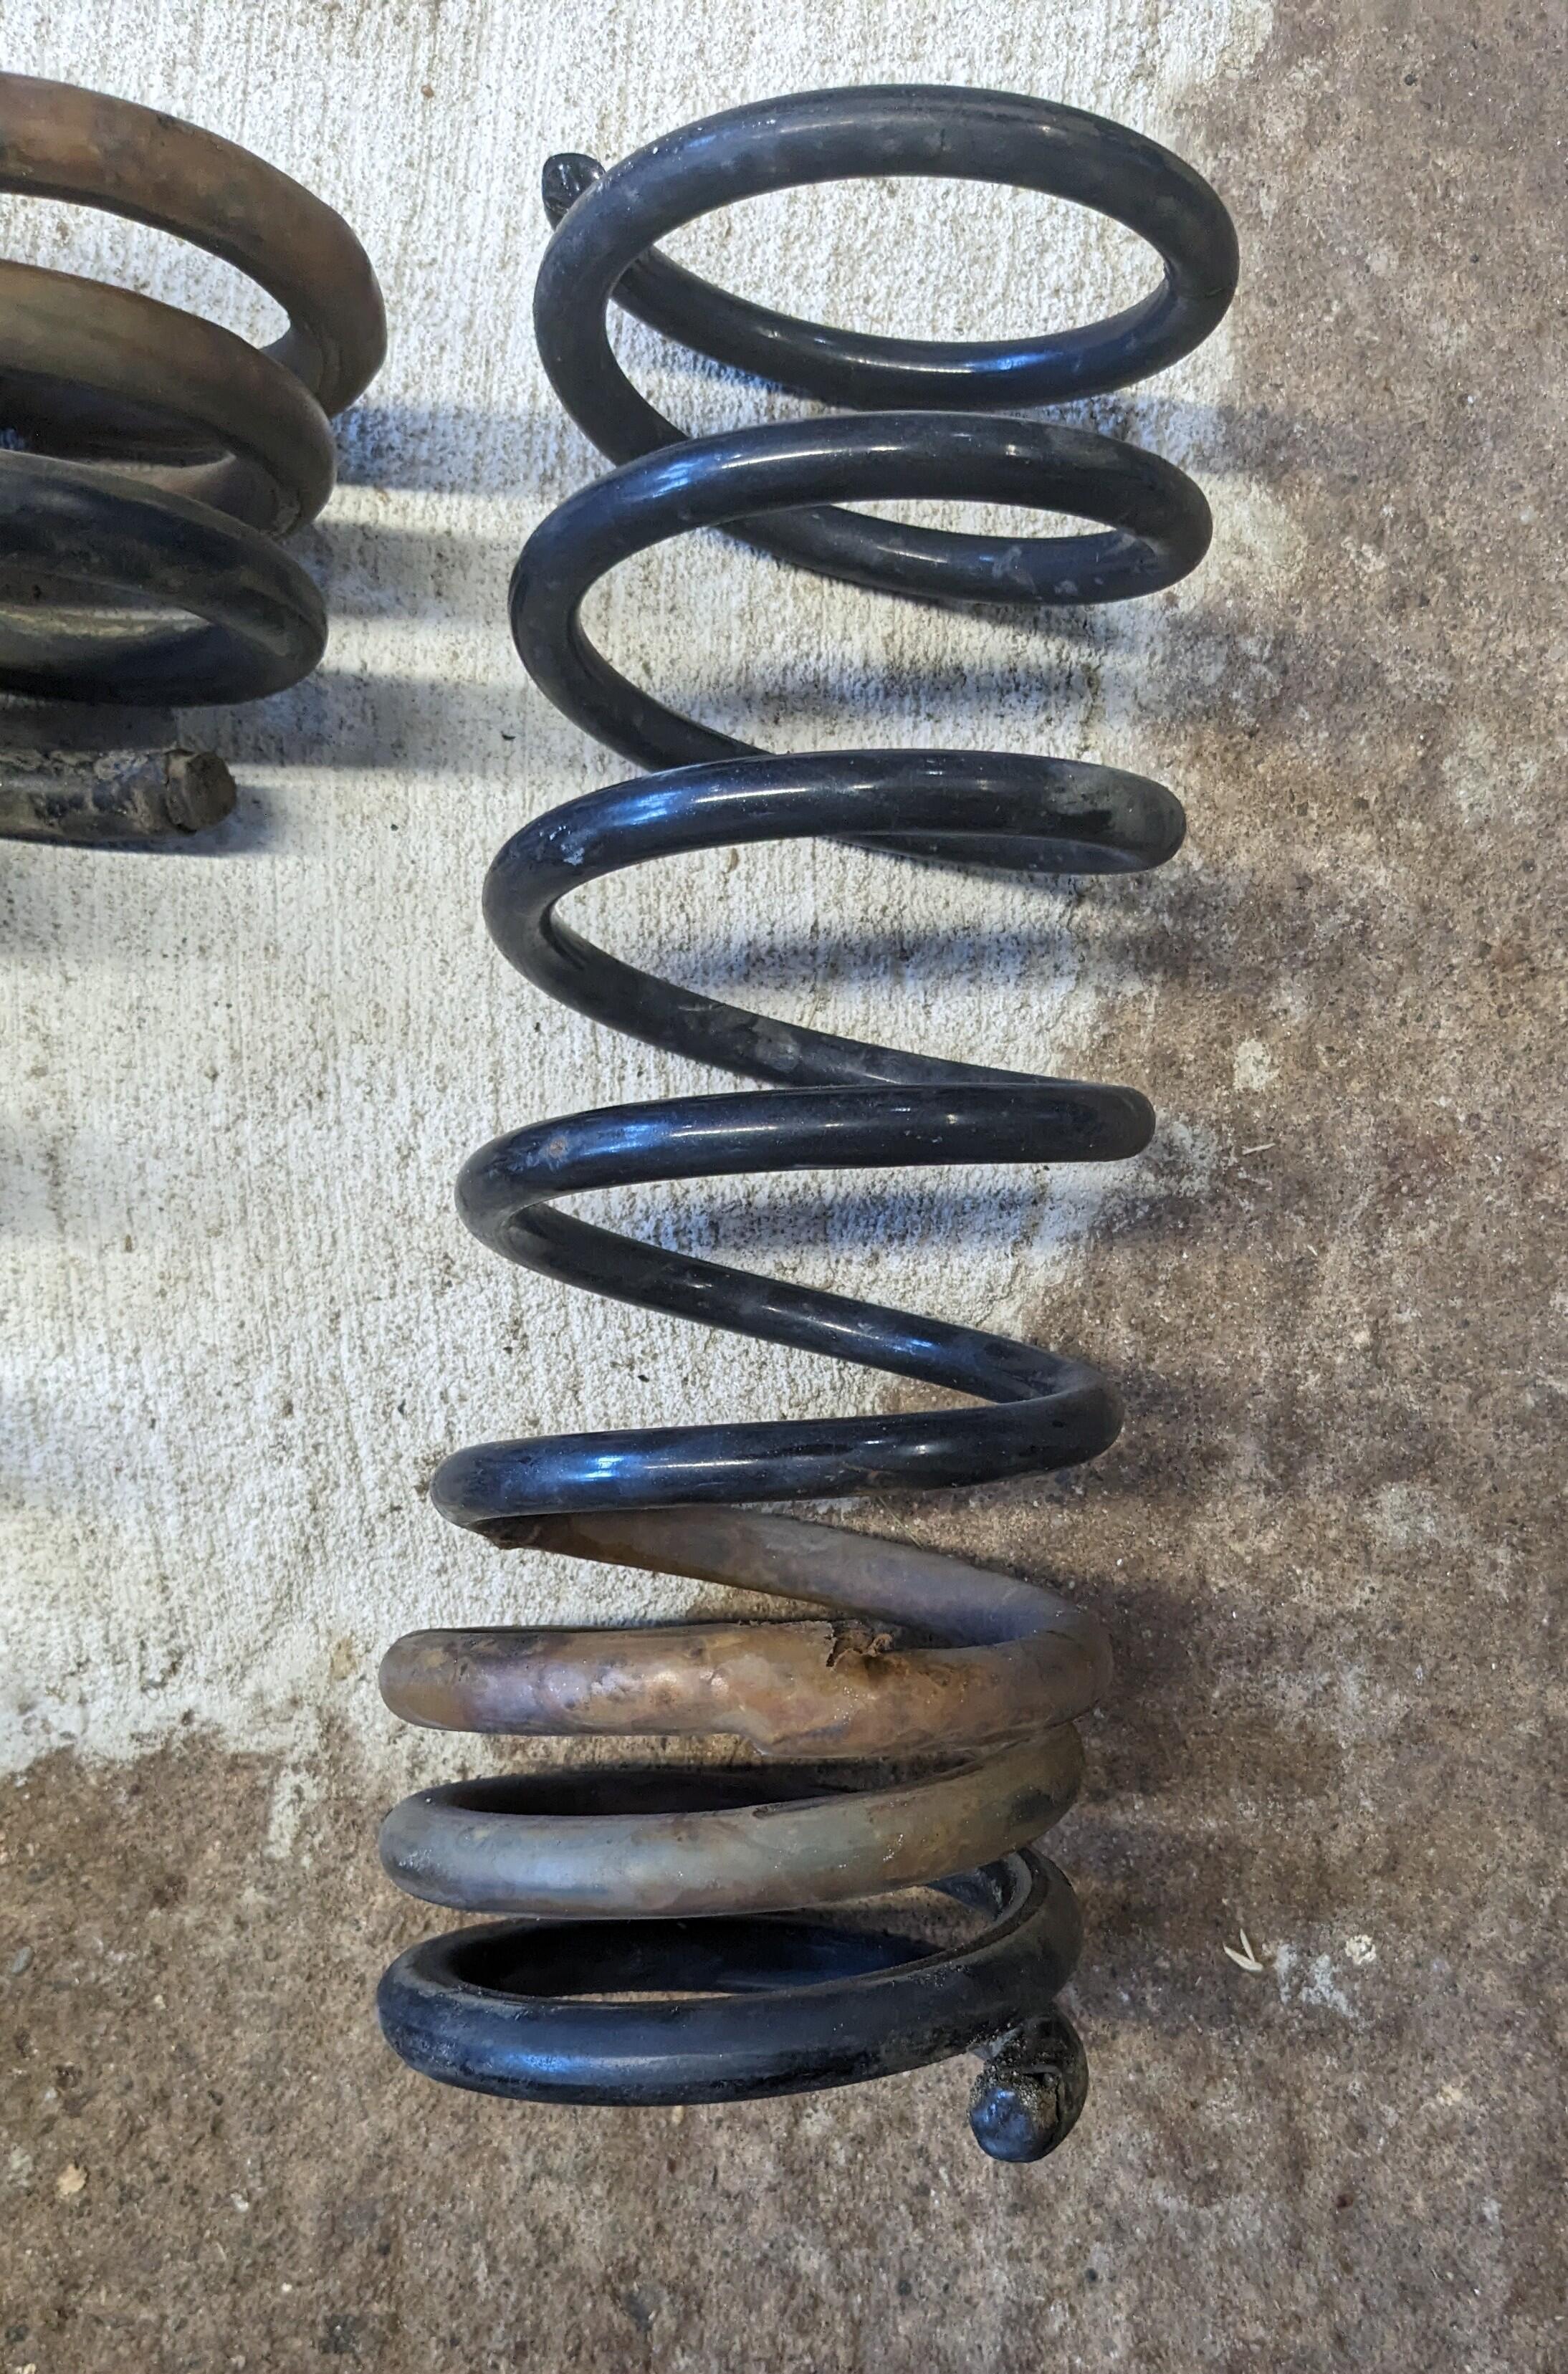
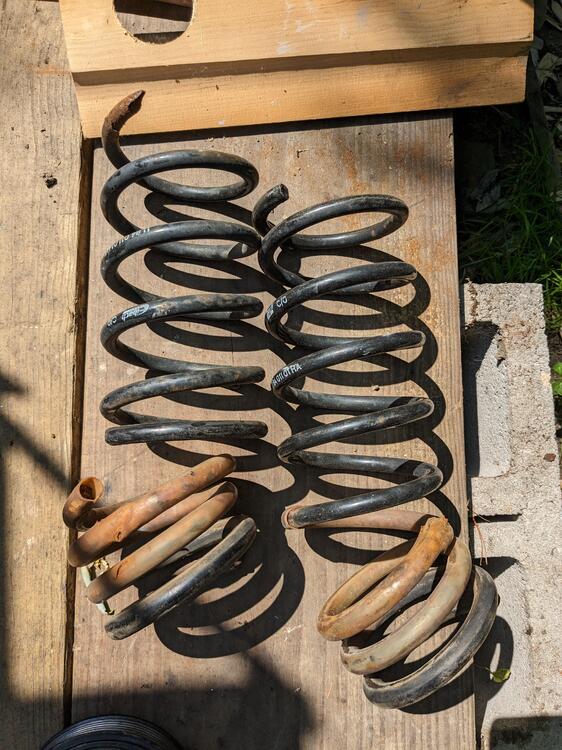
So, they (Eibach) sent out ONE spring to replace these(!) Now I'll have to wait another week or two to get this resolved... updated the vent tank setup - posted in the Vapor Tank thread Been sick for a week now, so some days I haven't done much of anything. I spent a little while placing the outlets along the south wall, and figuring out conduit. The east end (left side) conduit will run upward to connect to the 240 outlet going on the center post between the garage doors. The west end will connect to the new conduit runs coming over the west wall behind the press. Need to finish the bottom plate in the soth wall area before I can put the inner wall back together, and then run the new electric in the conduit. got another small bench grinder from a salvage emporium in upstate NY - paid $20 for it. Just needs a little cleanup.
-
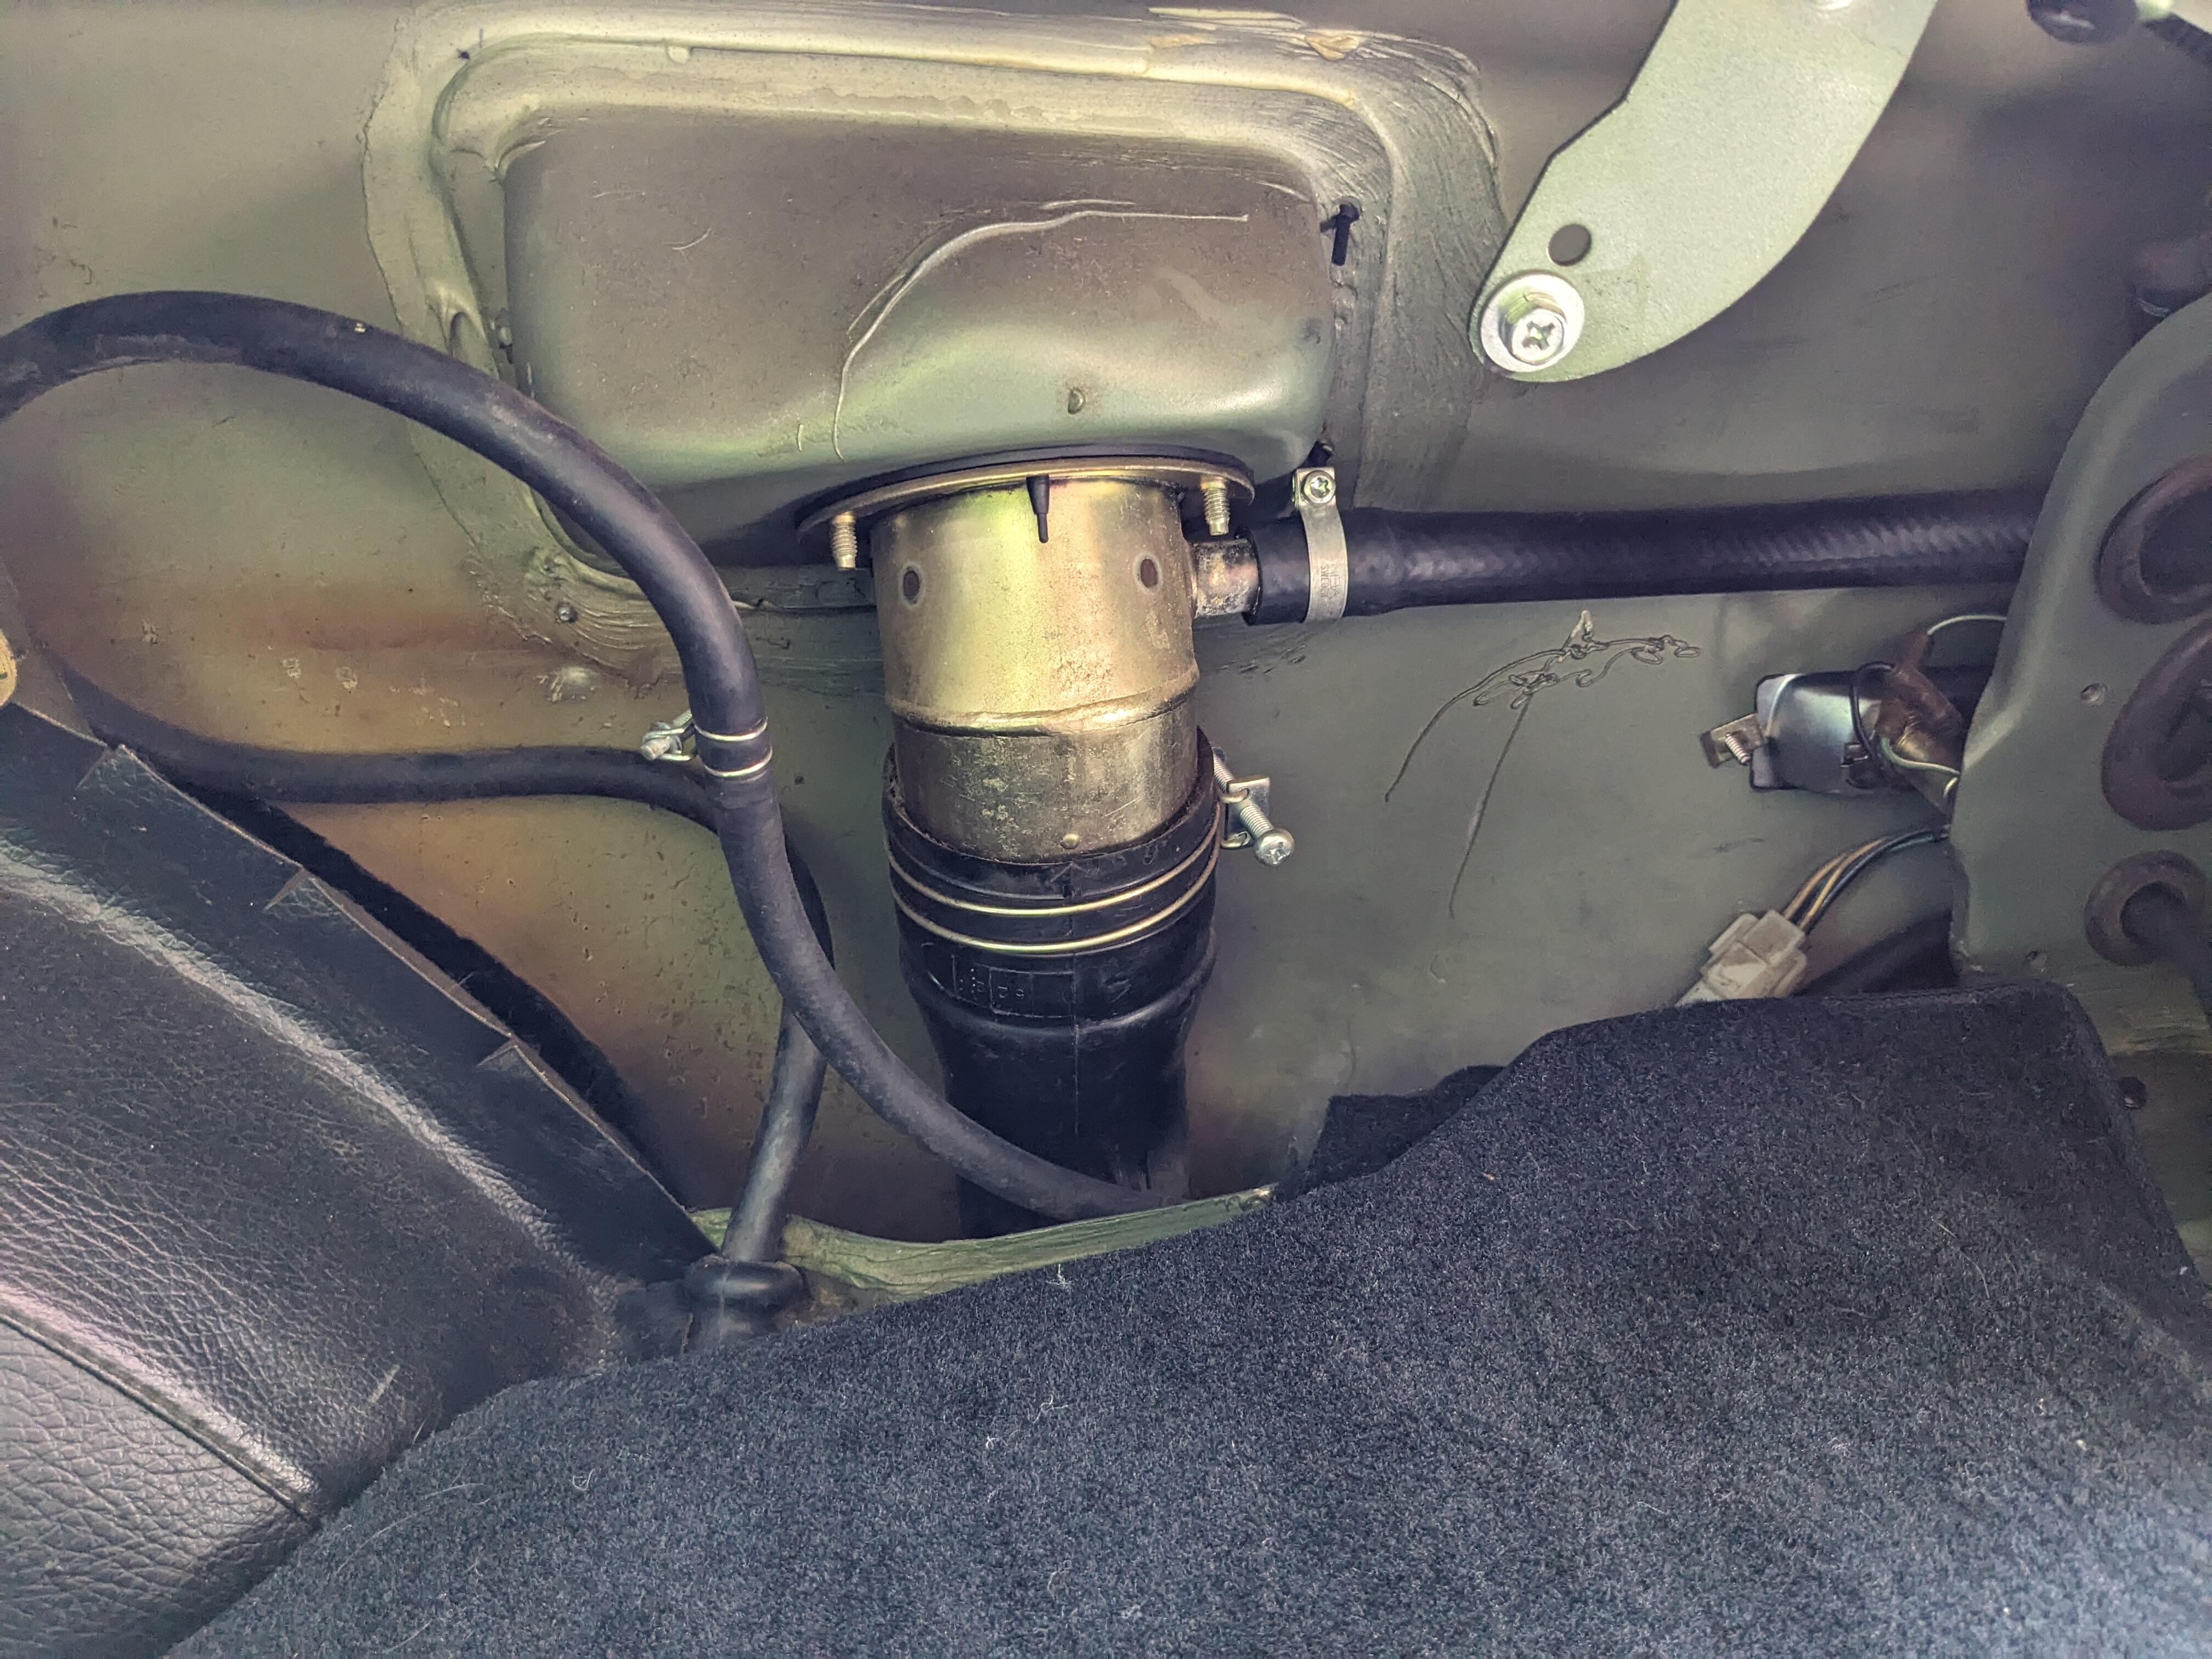
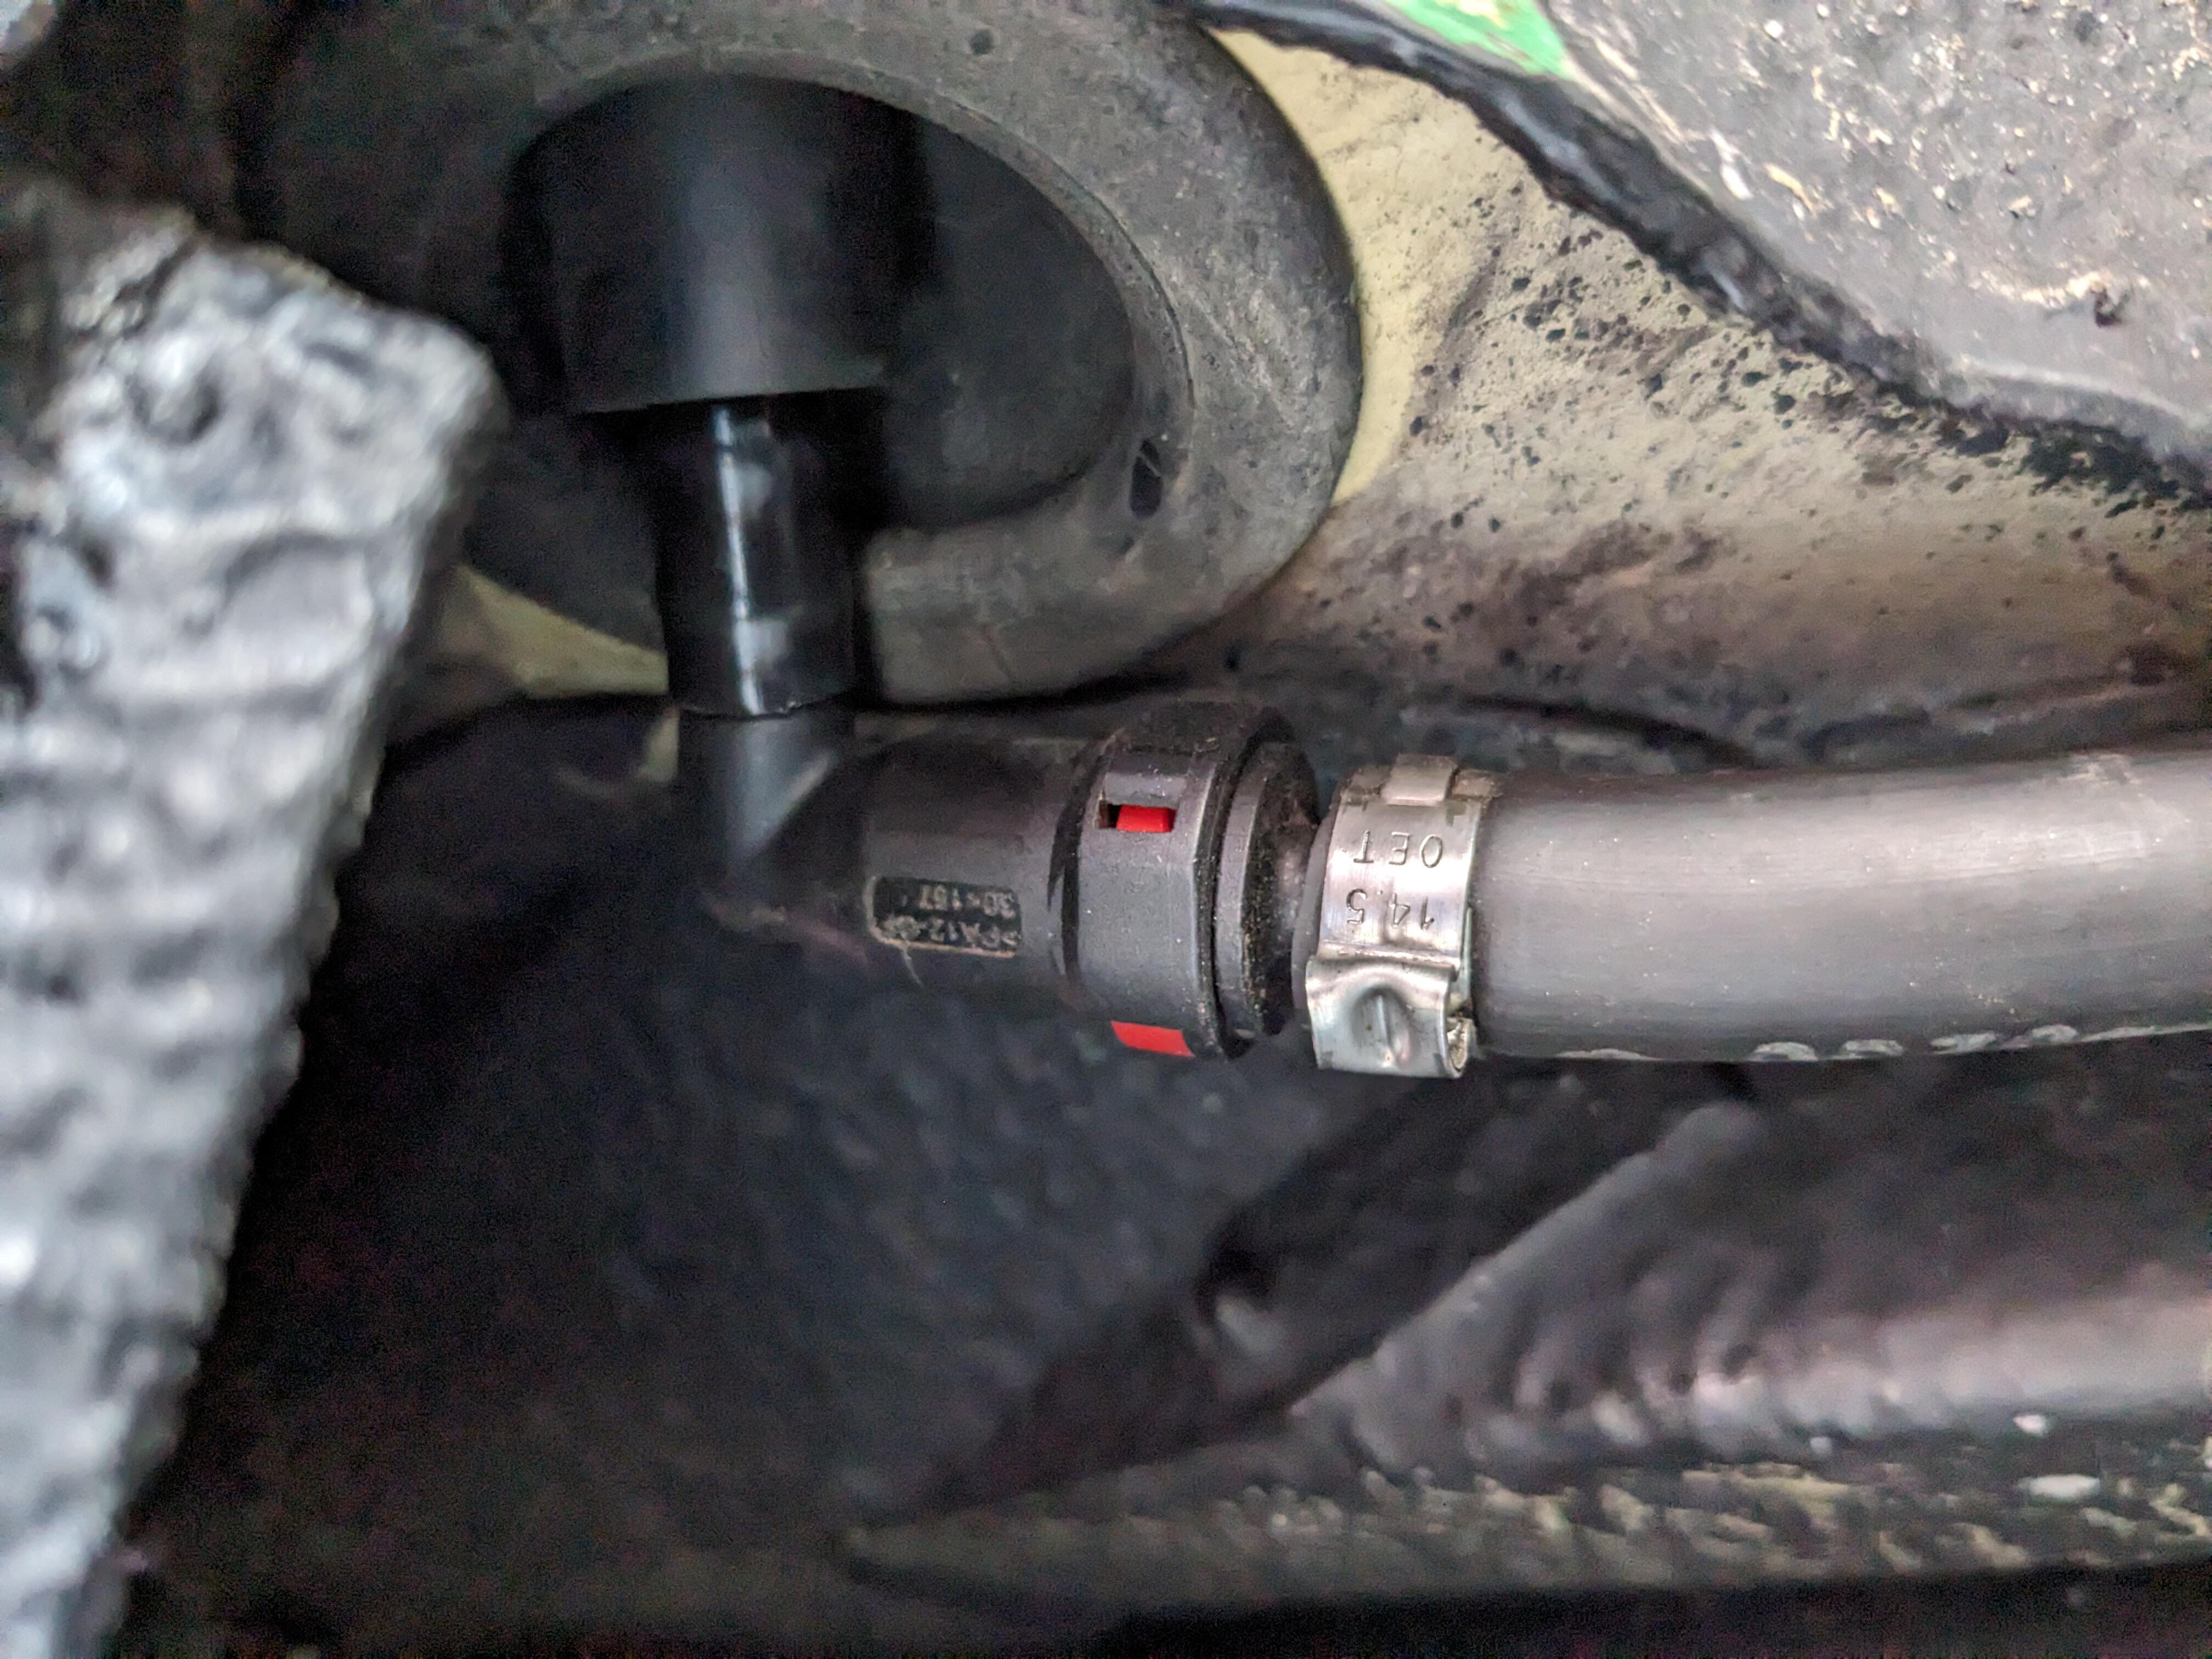
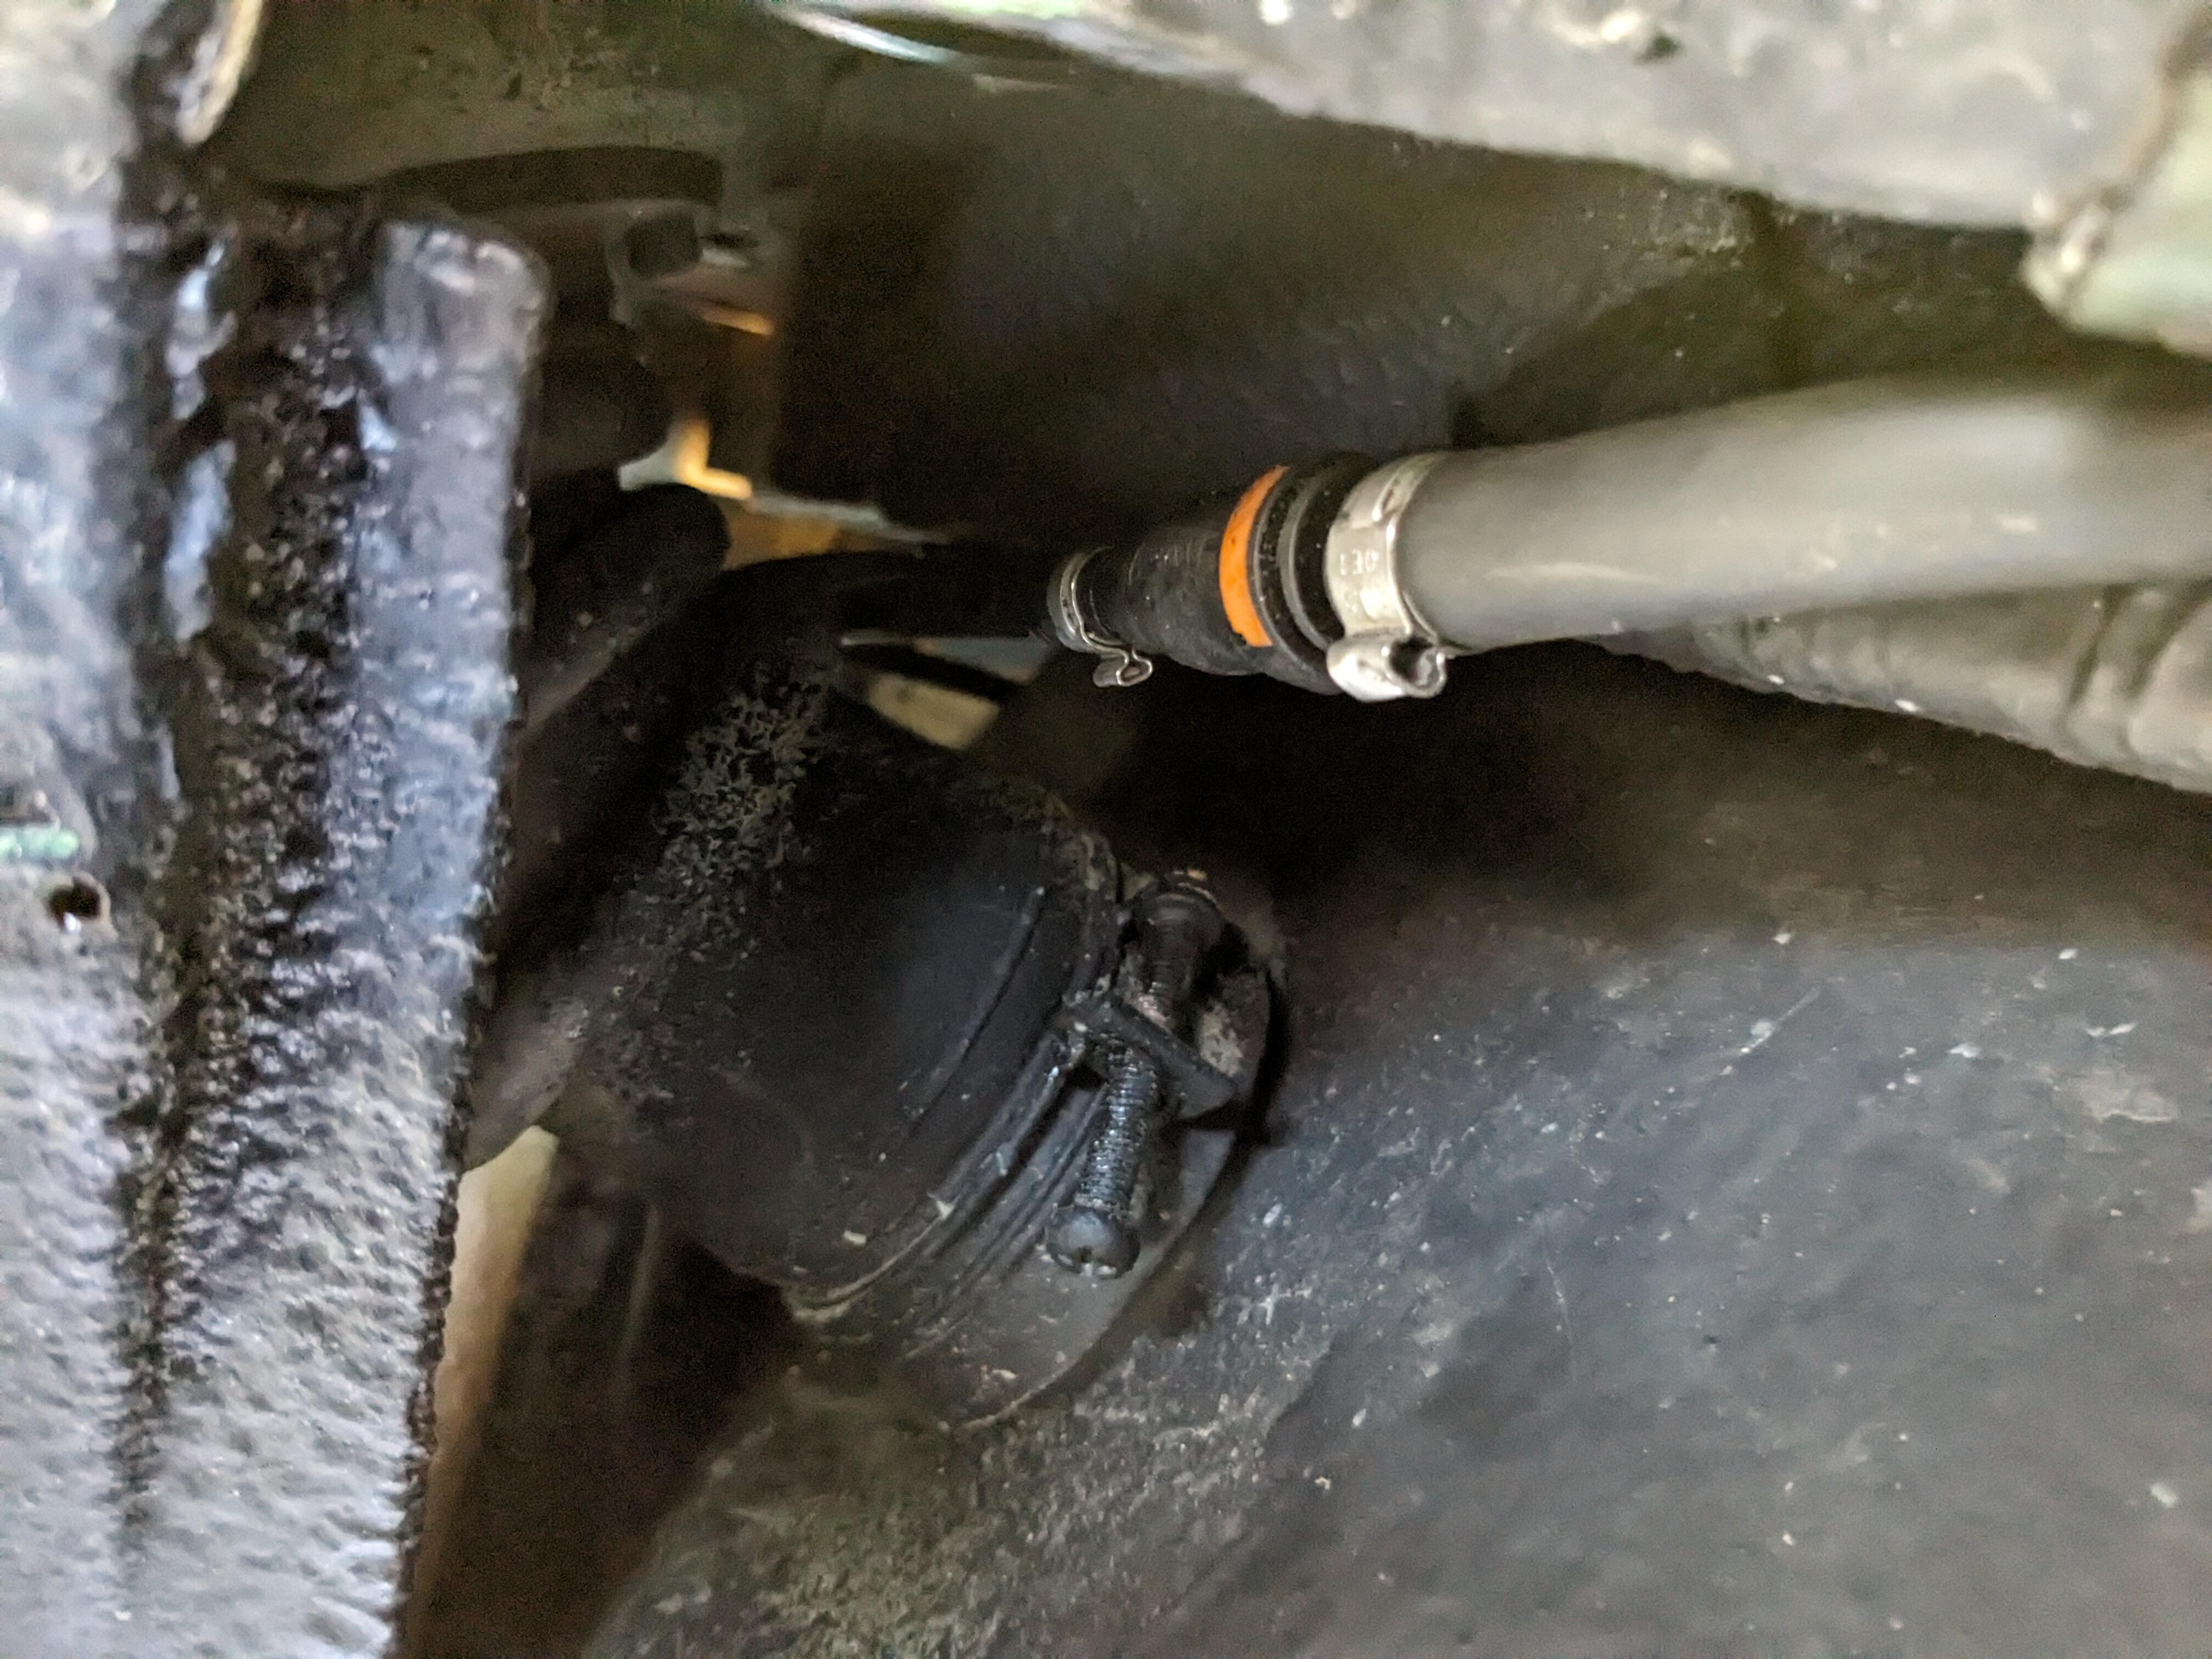
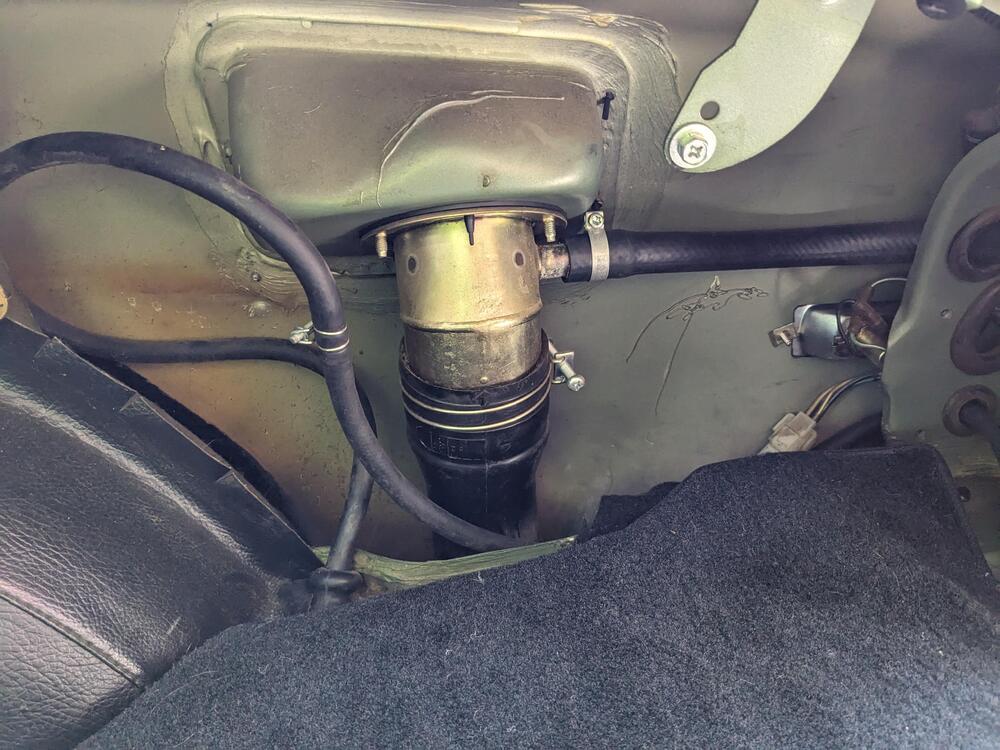
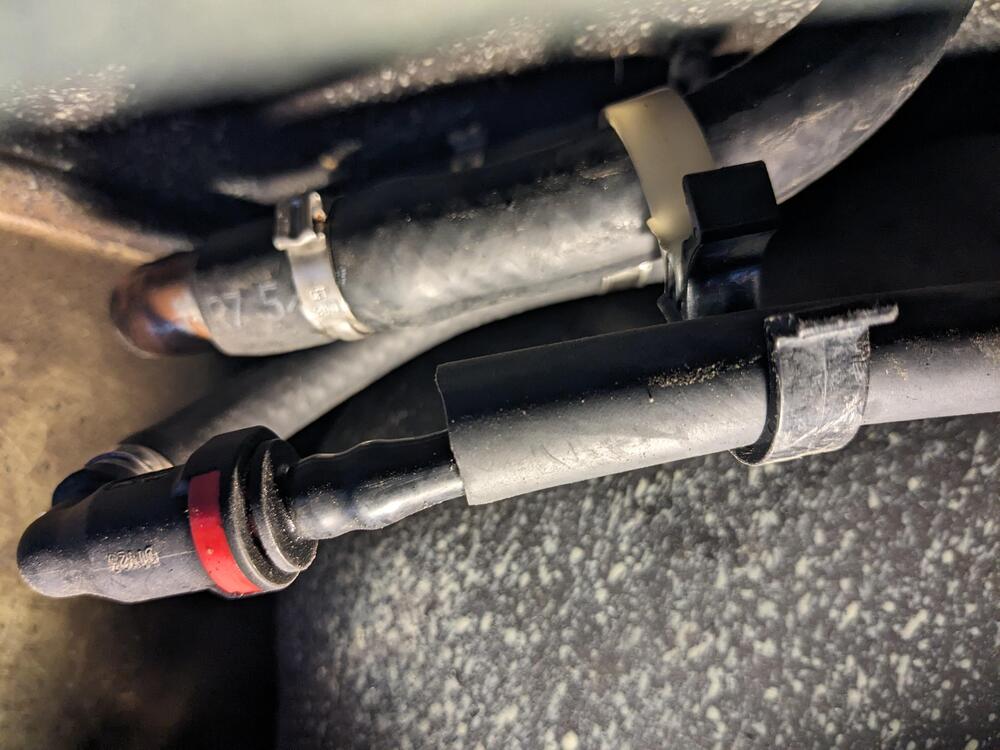
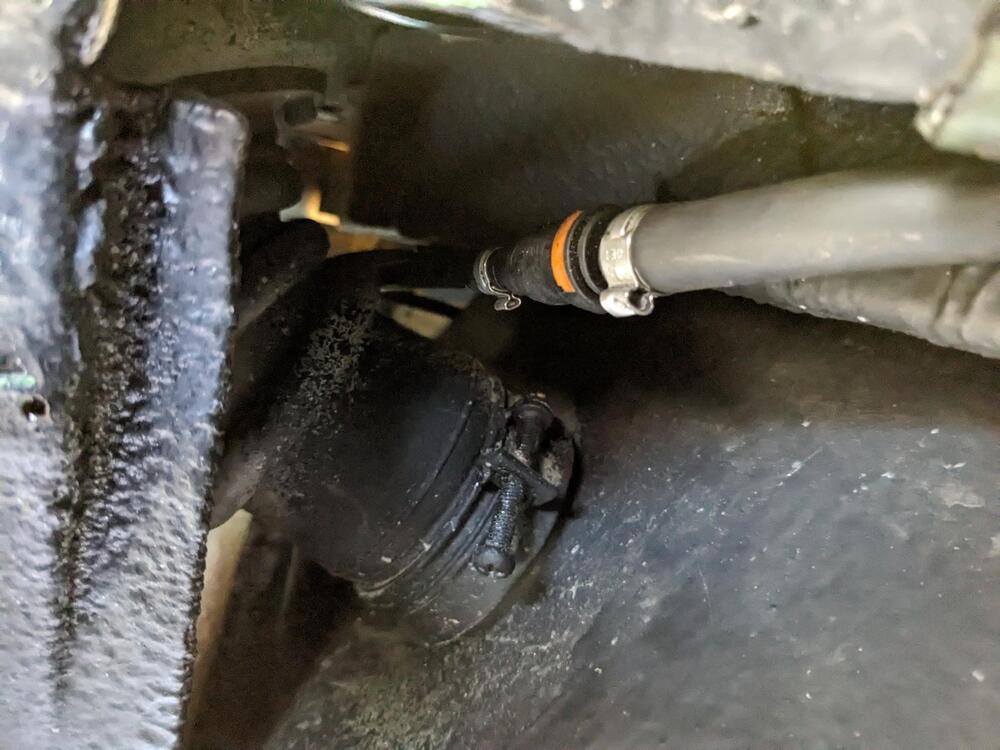
Been trying to recall exactly - now I'm thinking the fuel in the vent line at the charcoal canister was AFTER bypassing the vent tank, but before playing around with the charcoal canisters (when I saw the fuel) - this pic is from Monday, the day before. There was an elevated loop in the line, however it was isolated from the 5/8 filler neck / fuel tank vent. SO, I think it is fair to surmise that if the vent tank had been in place, there would NOT have been liquid in the line. Now I have the two circuits combined again (previous post), I'll know during the week if it is resolved.
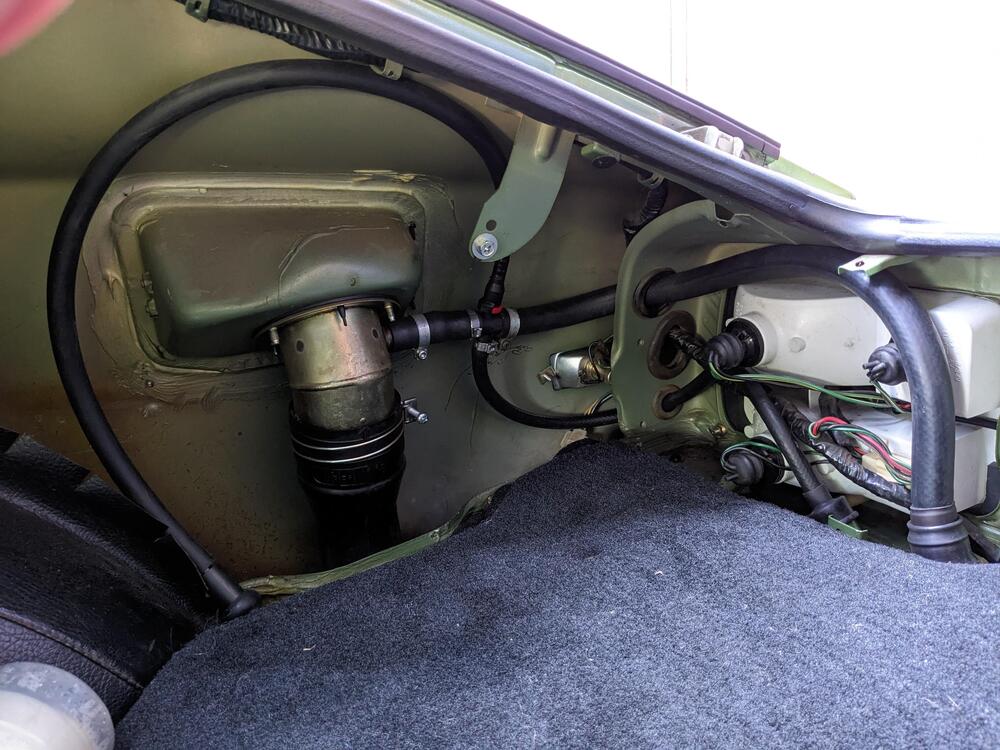
-
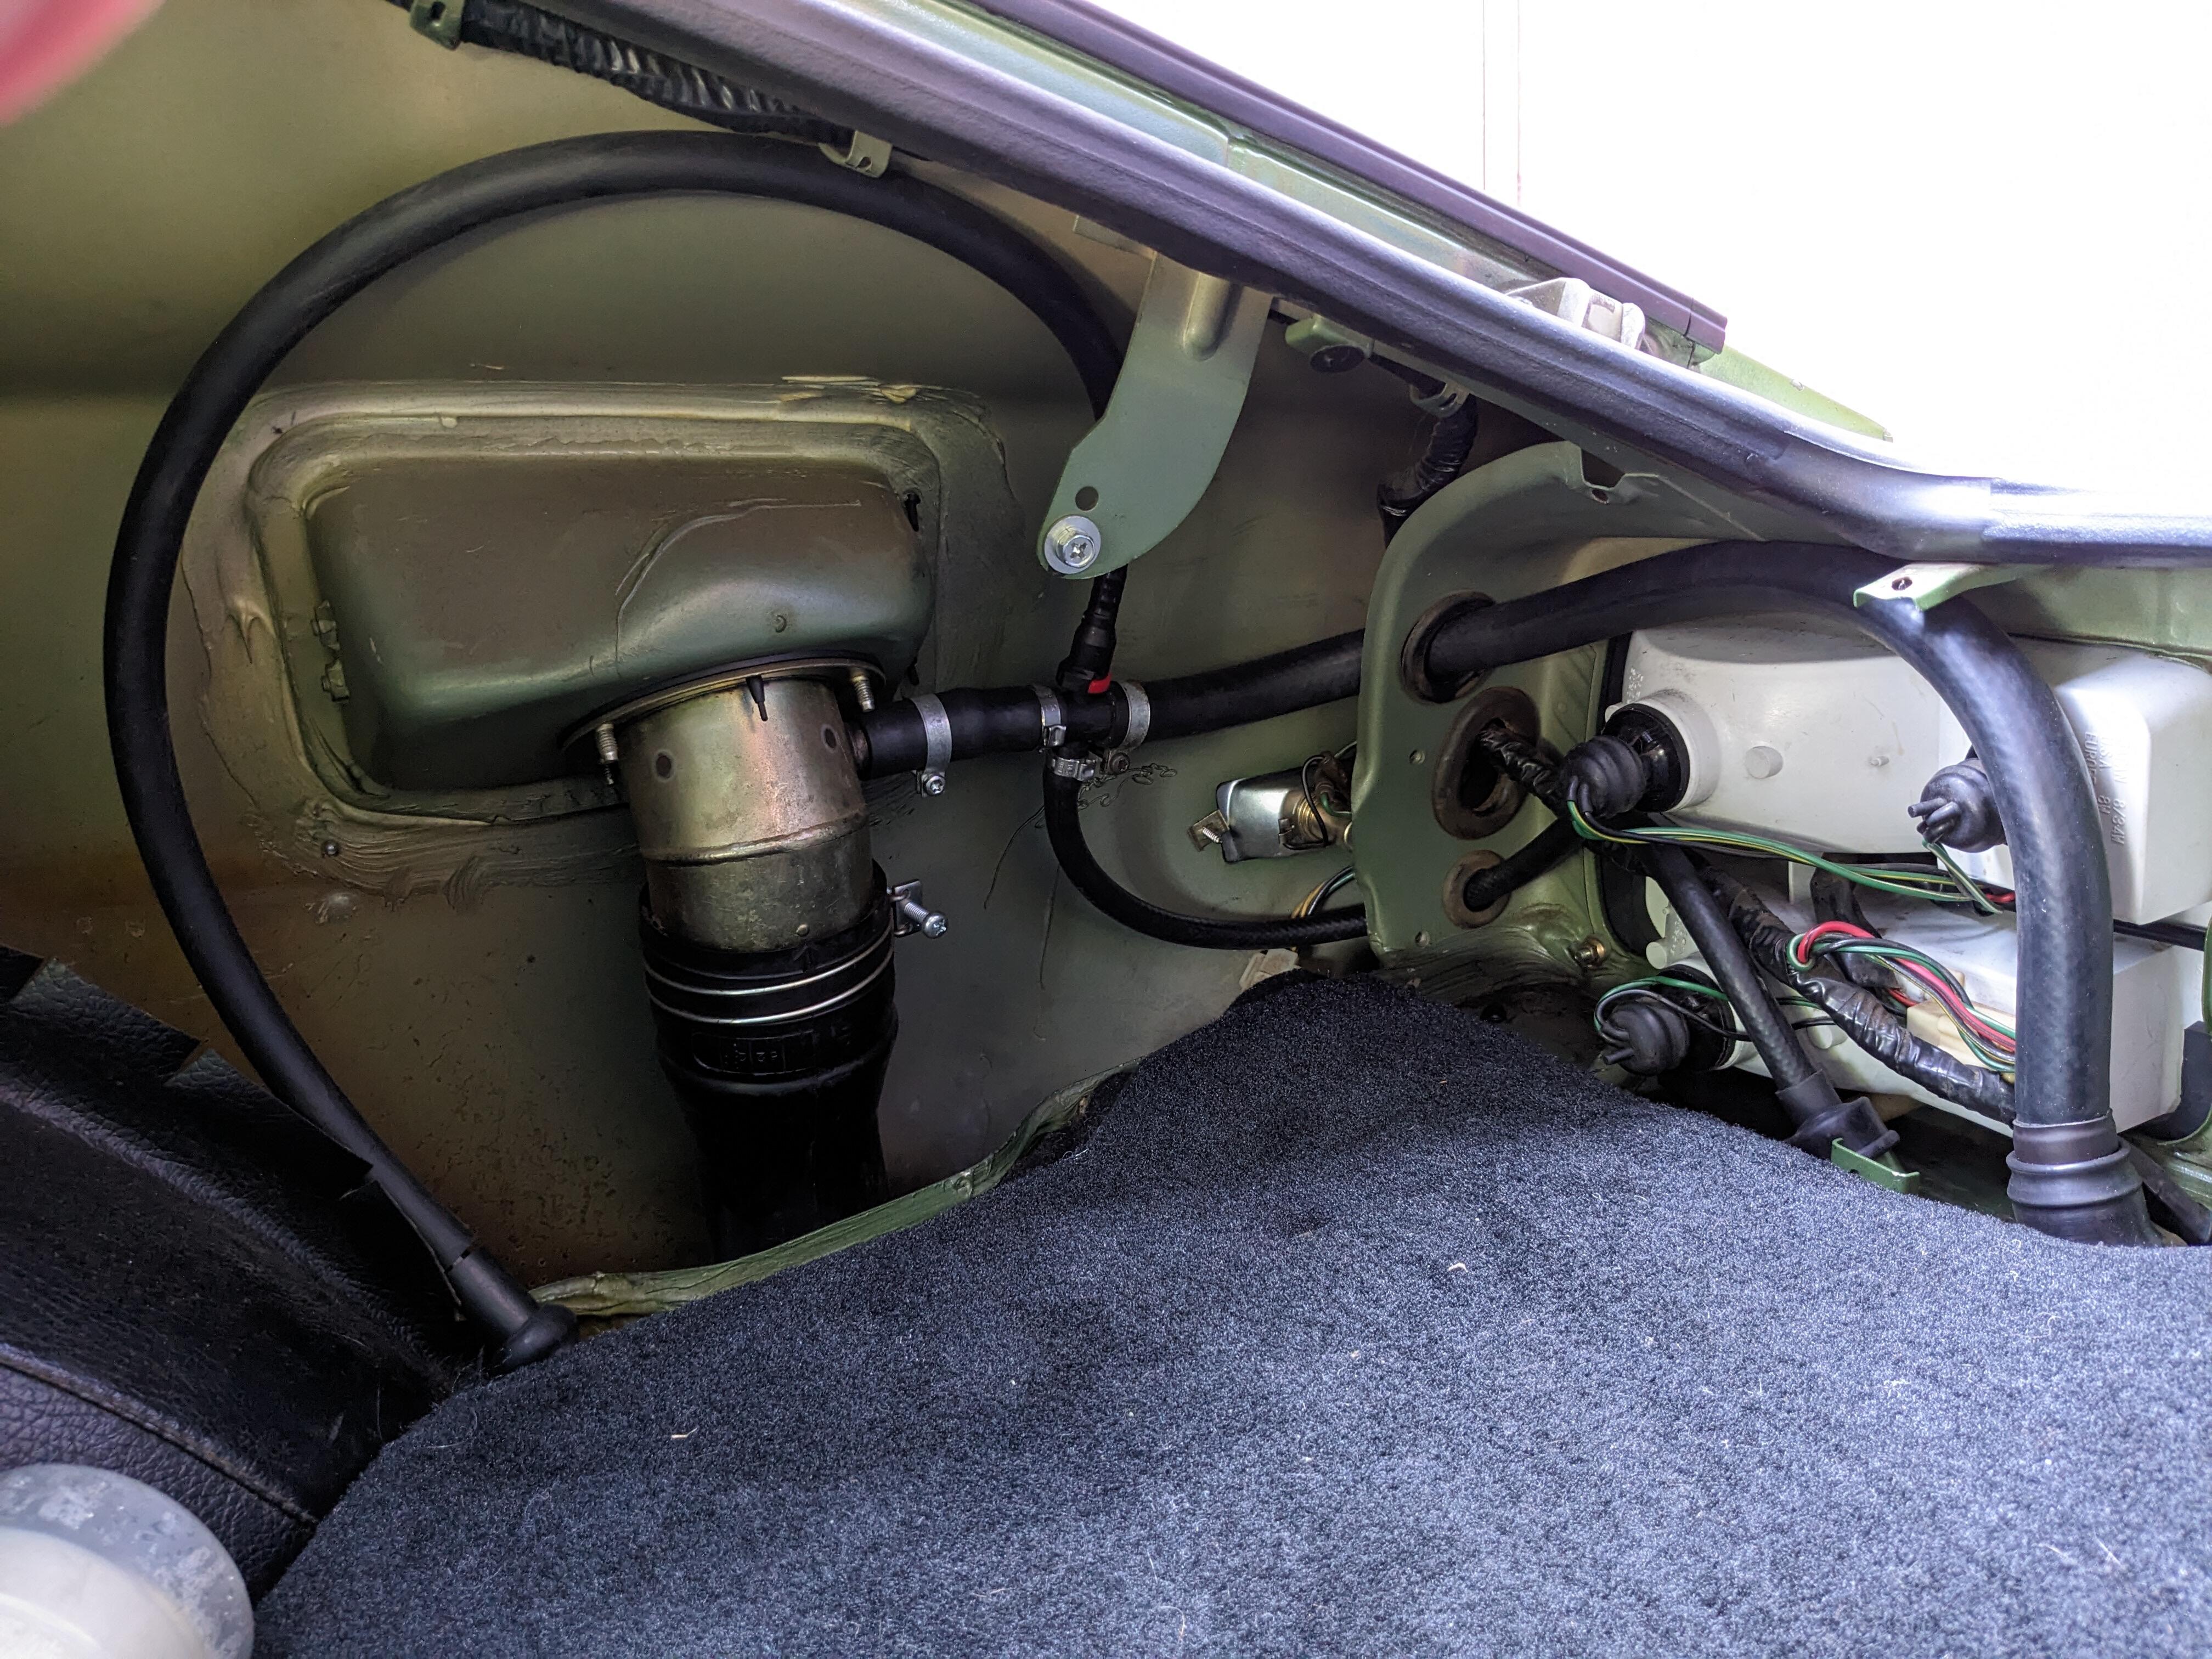
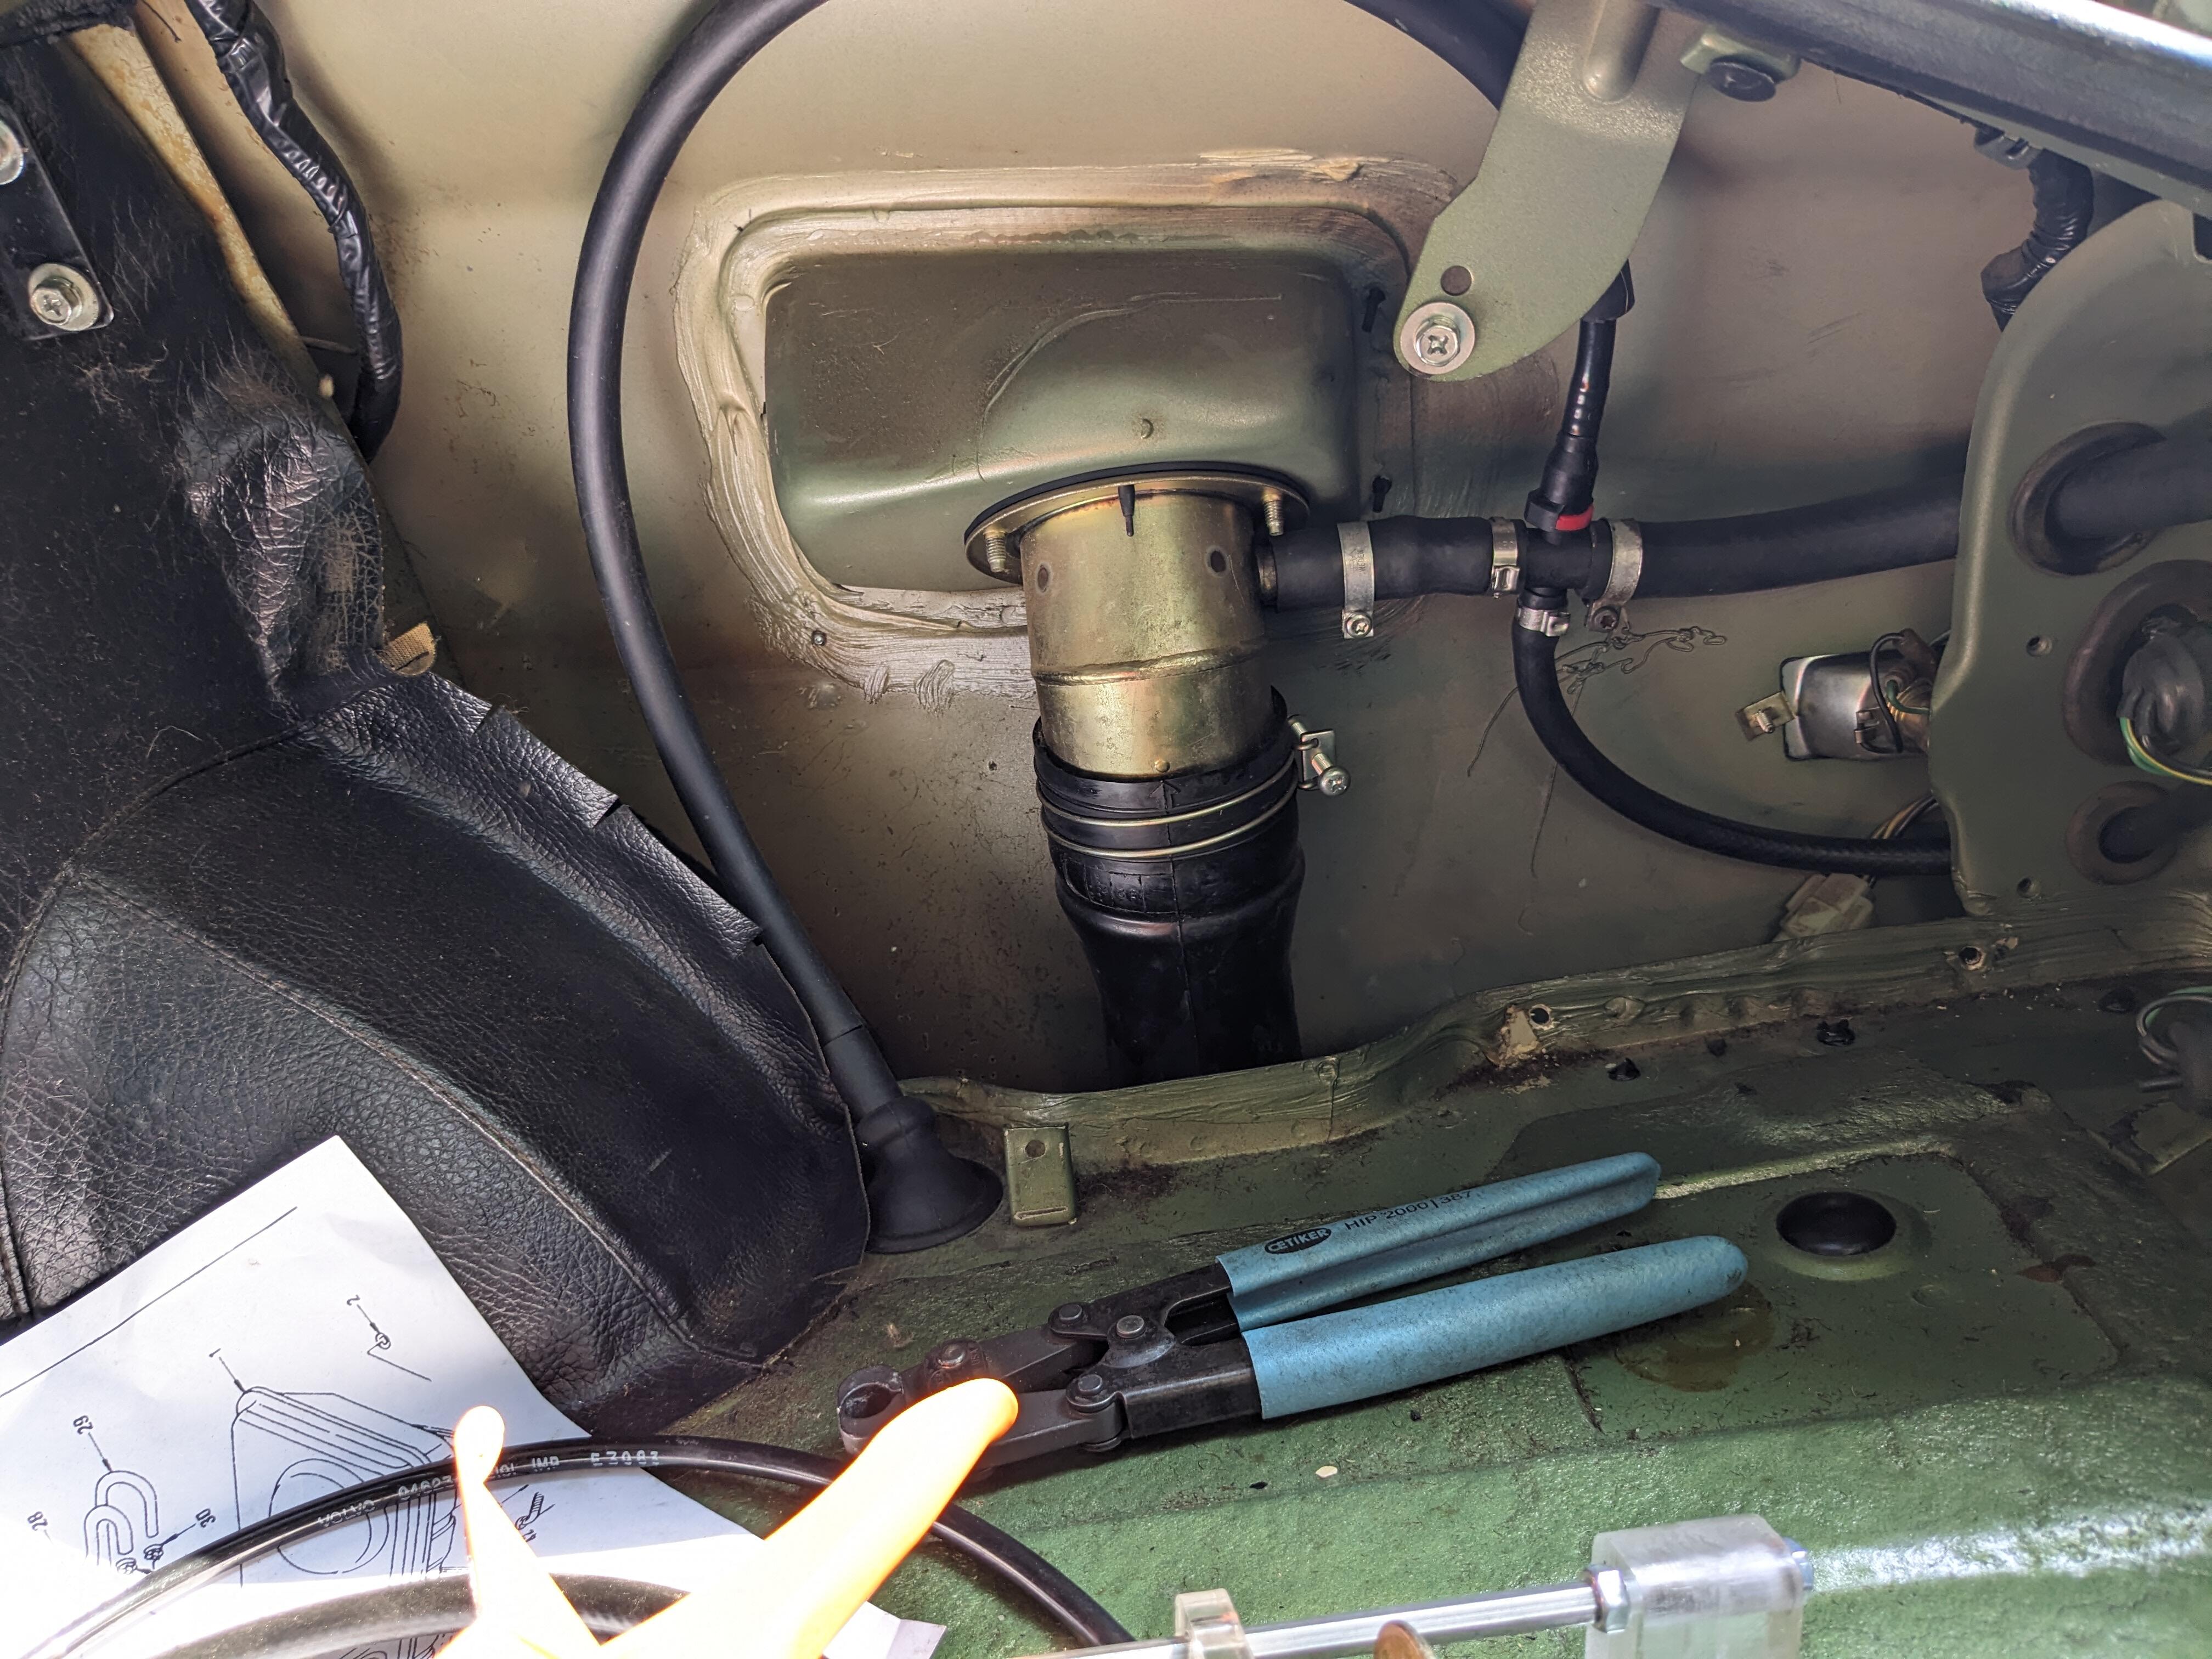
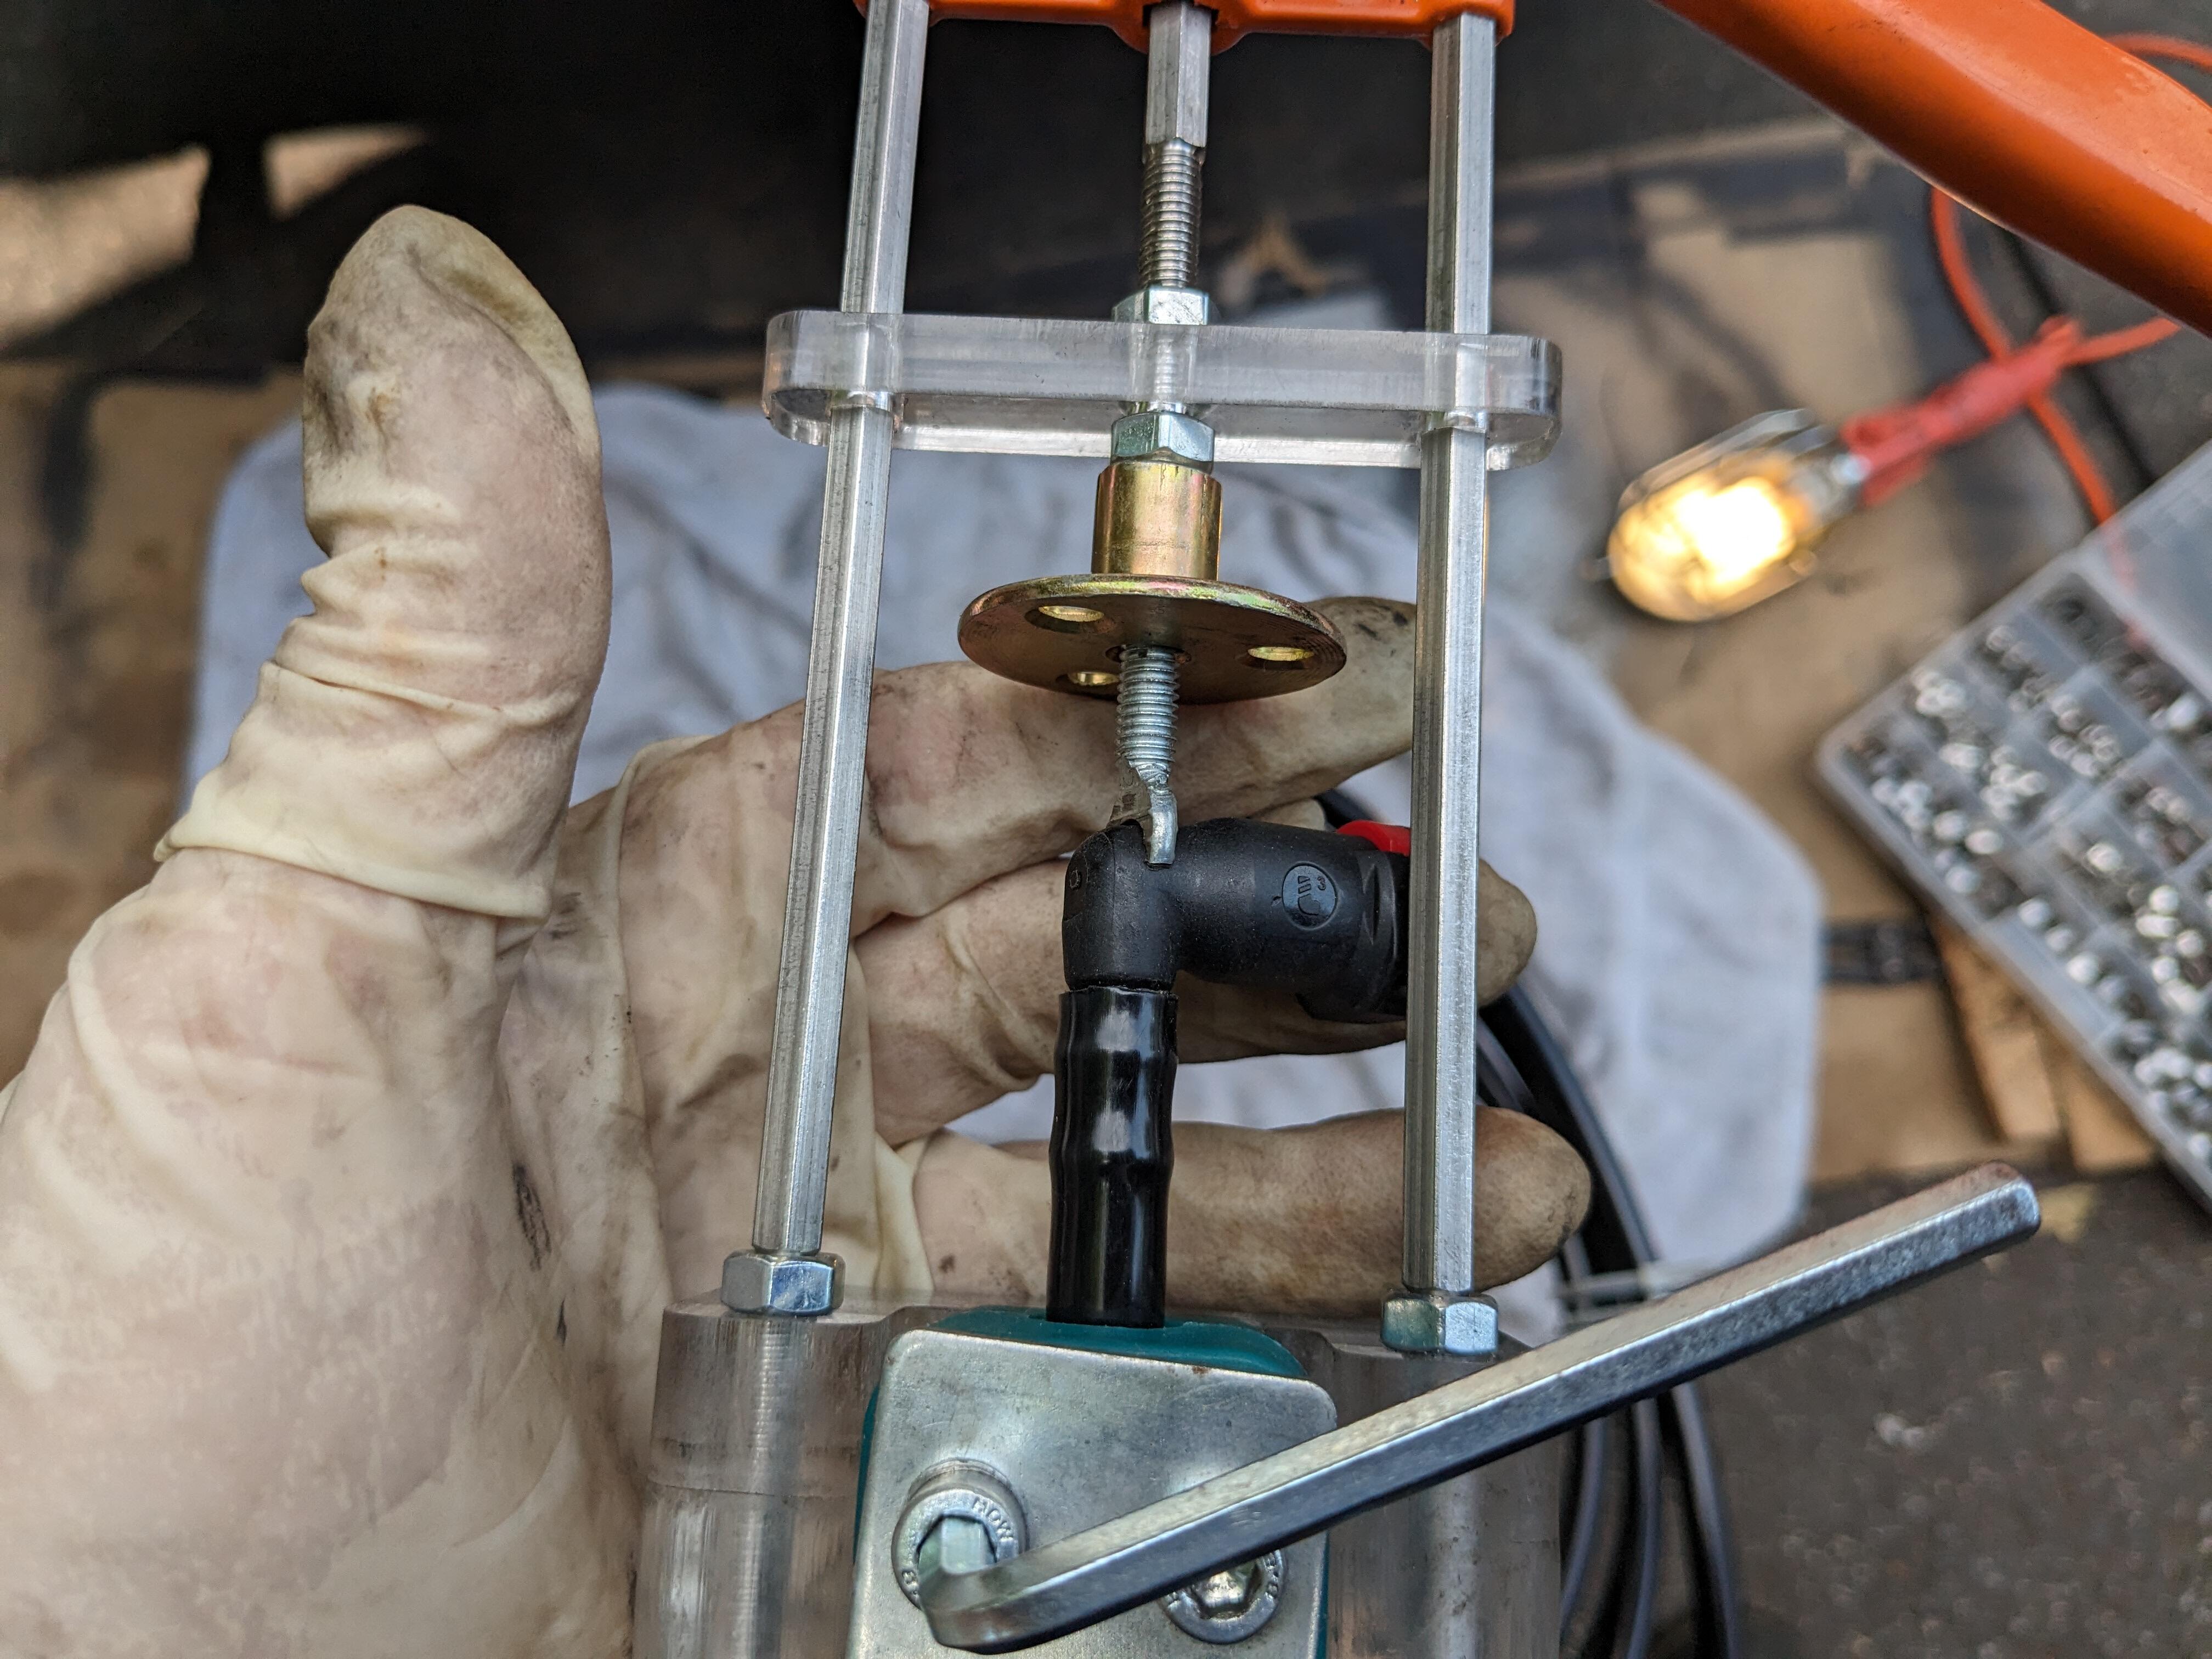
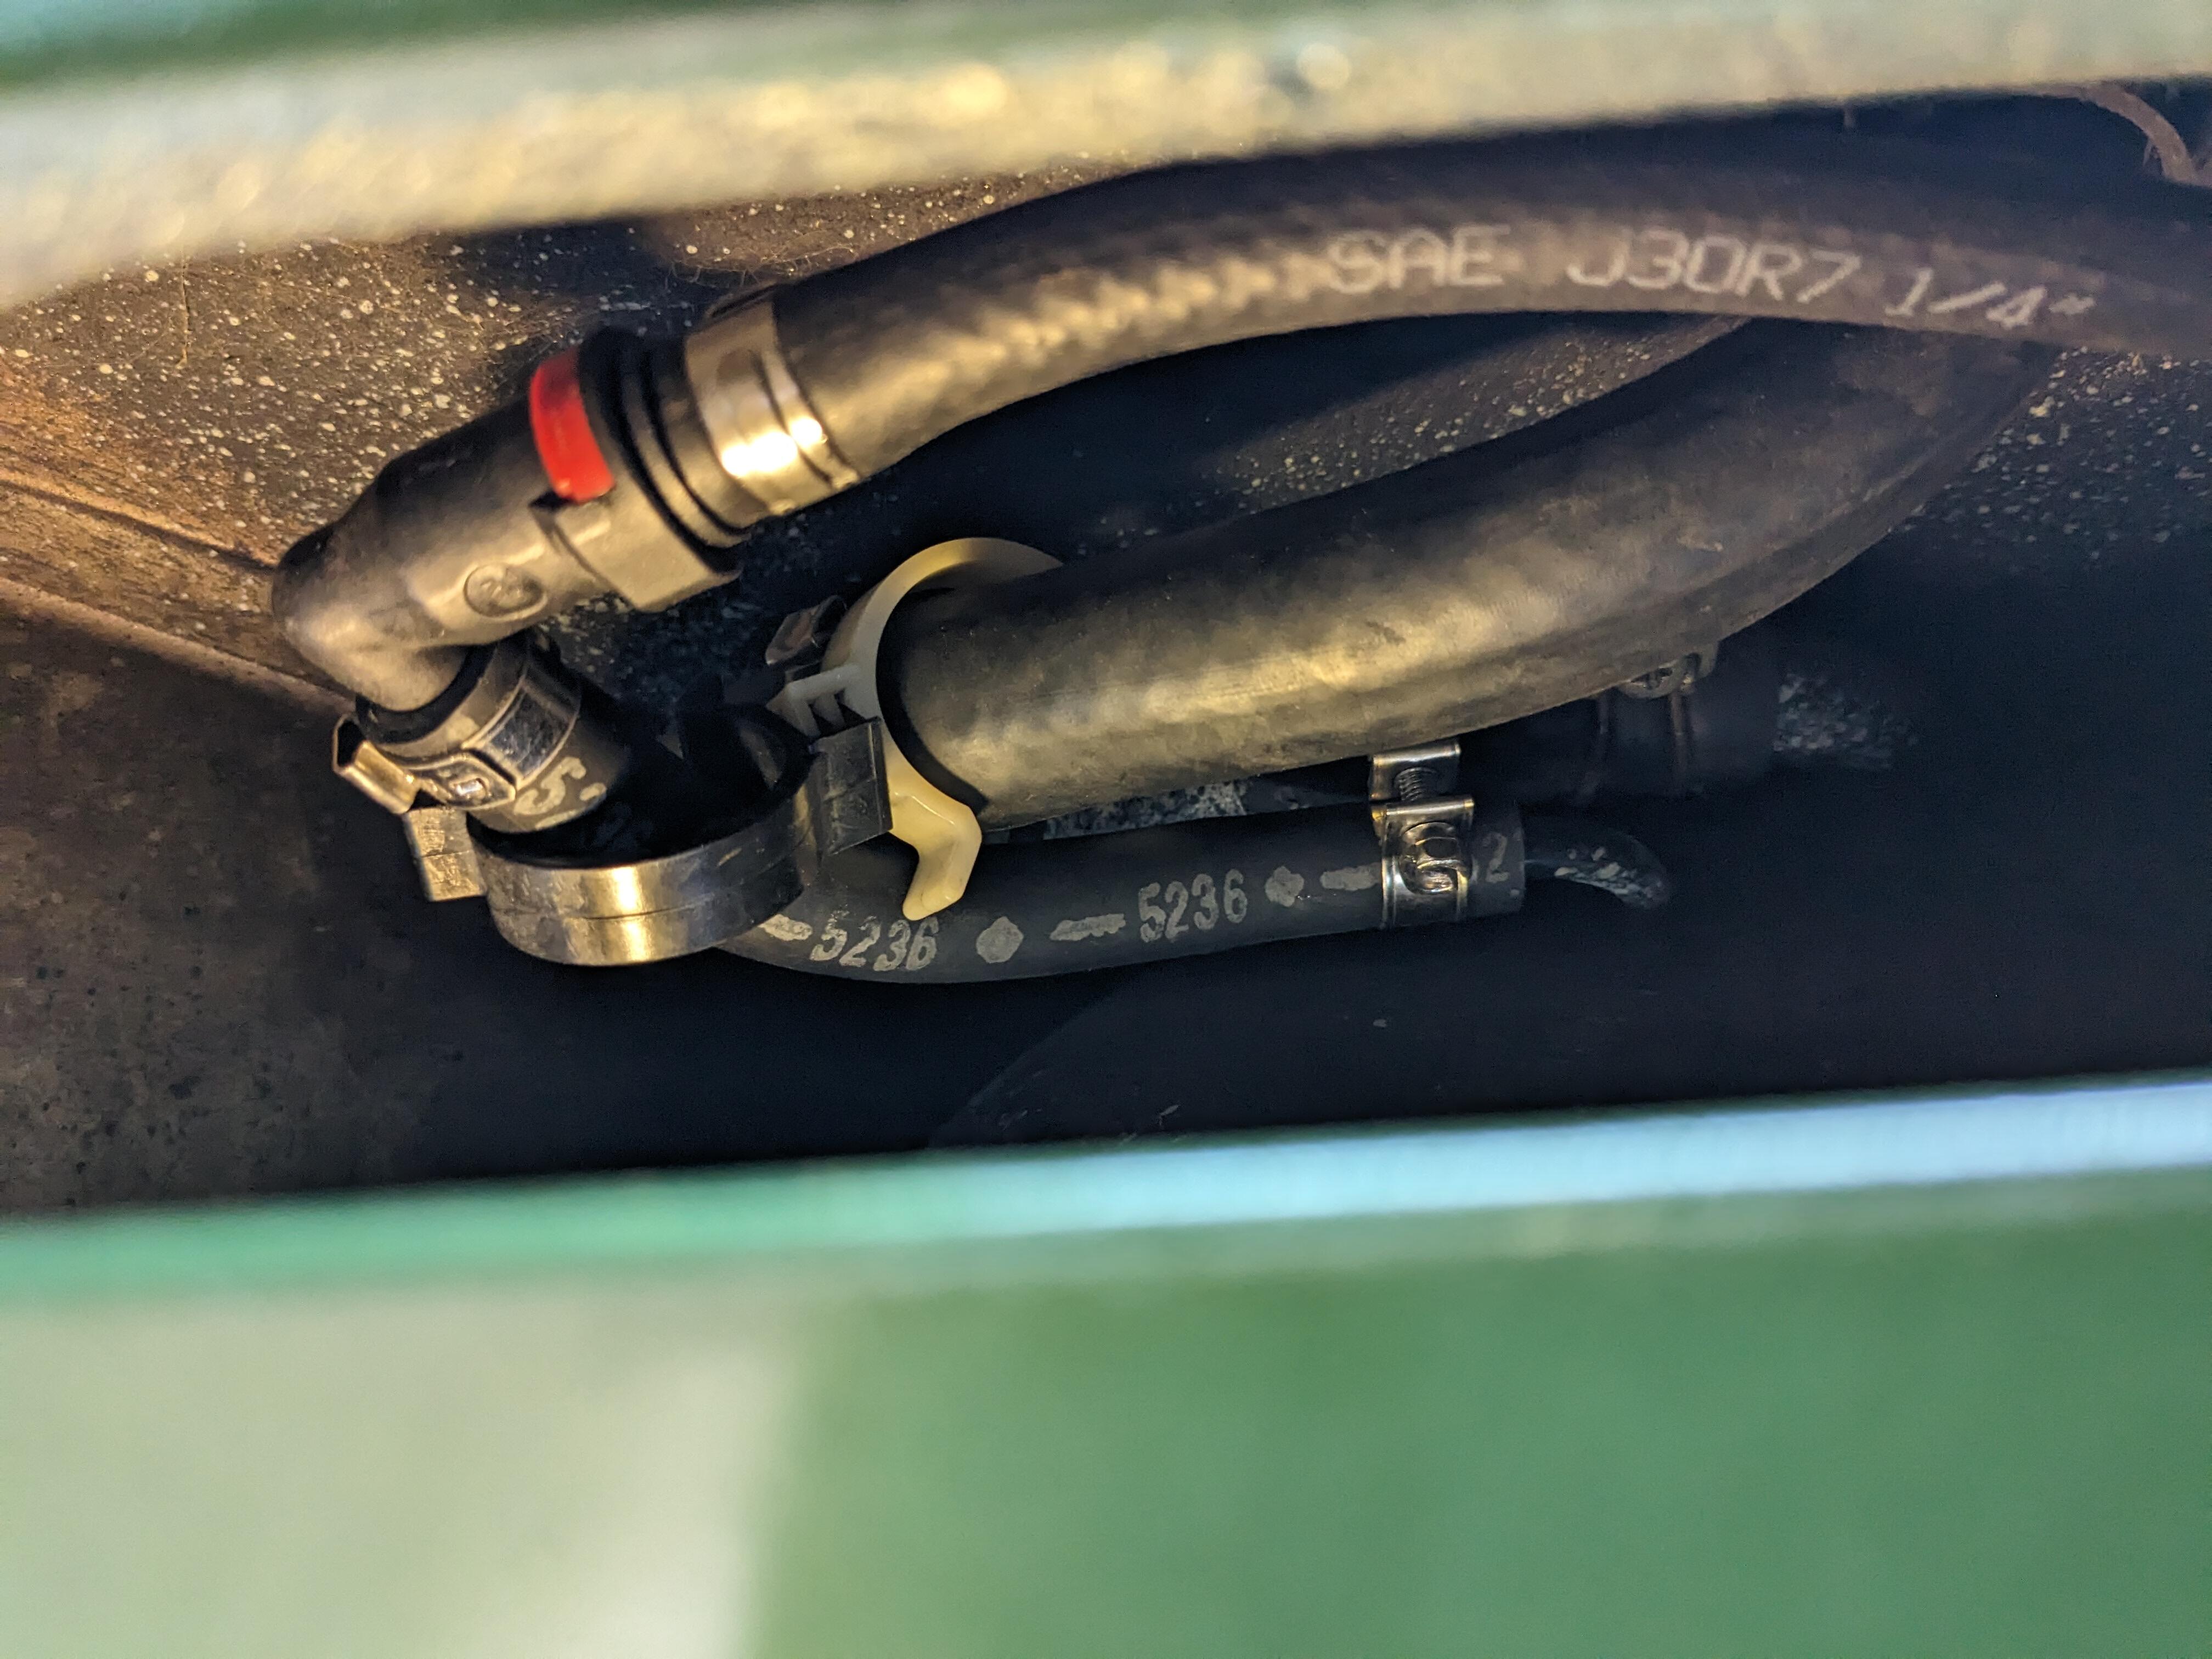
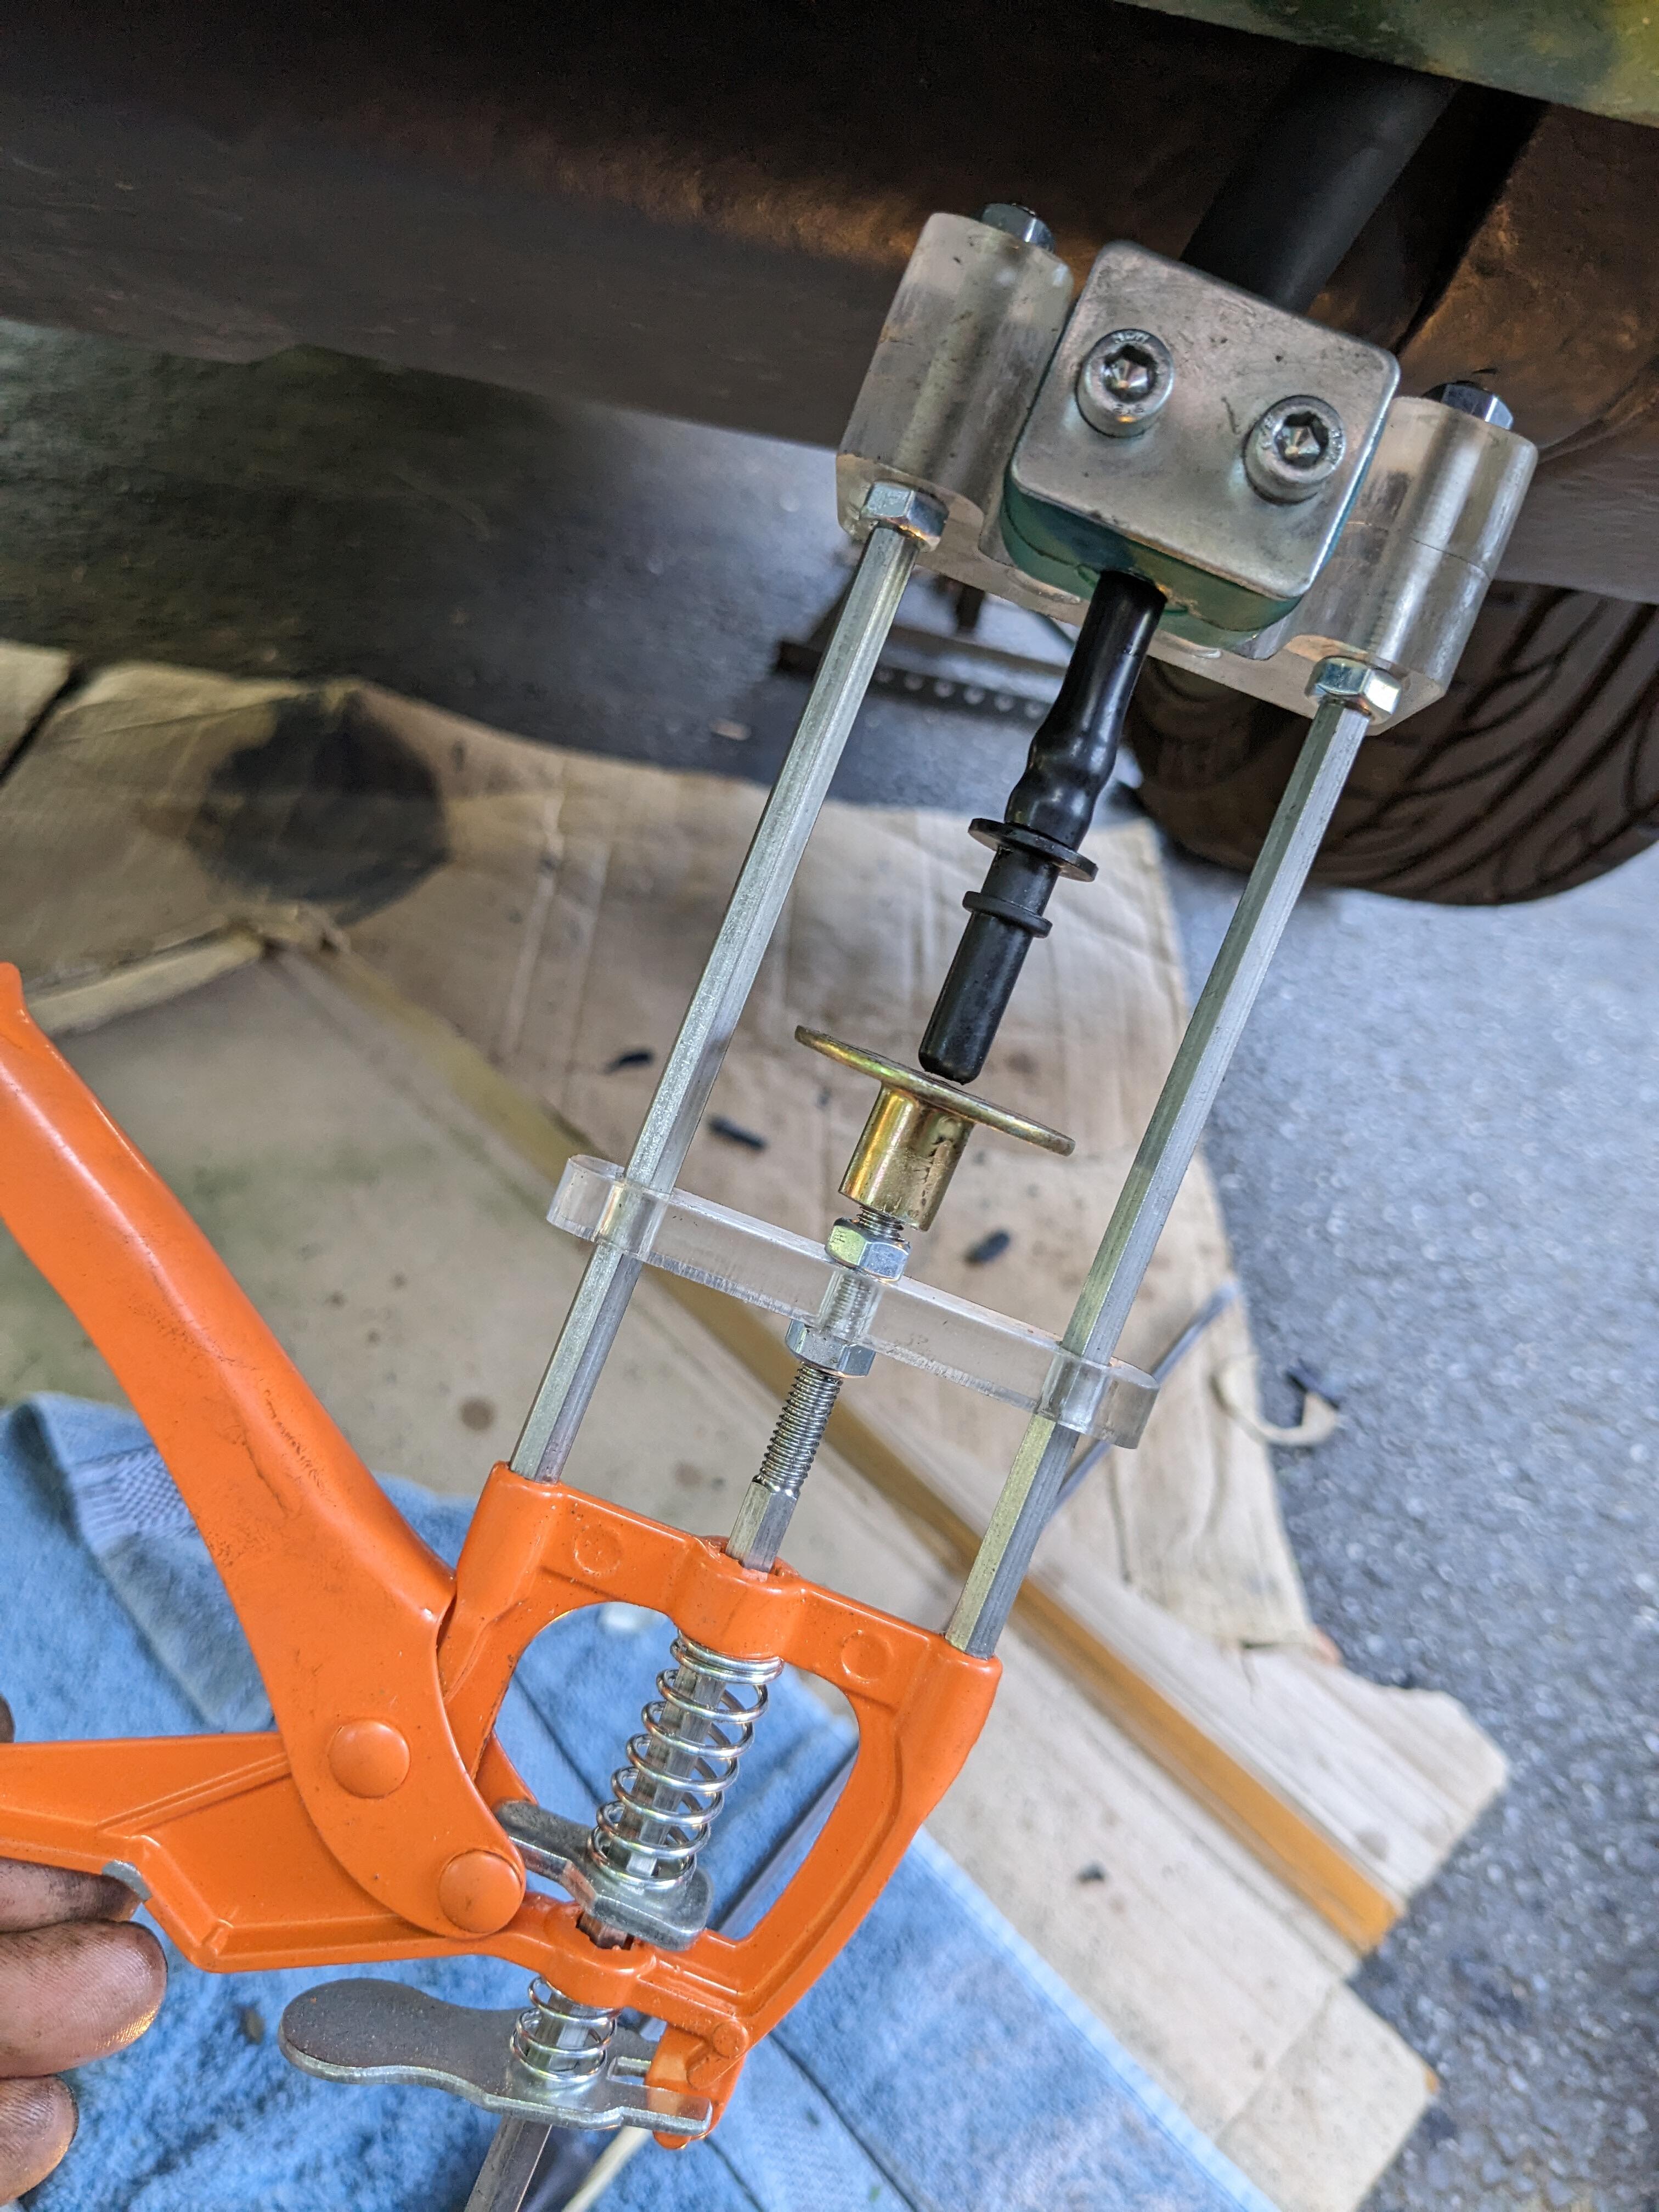
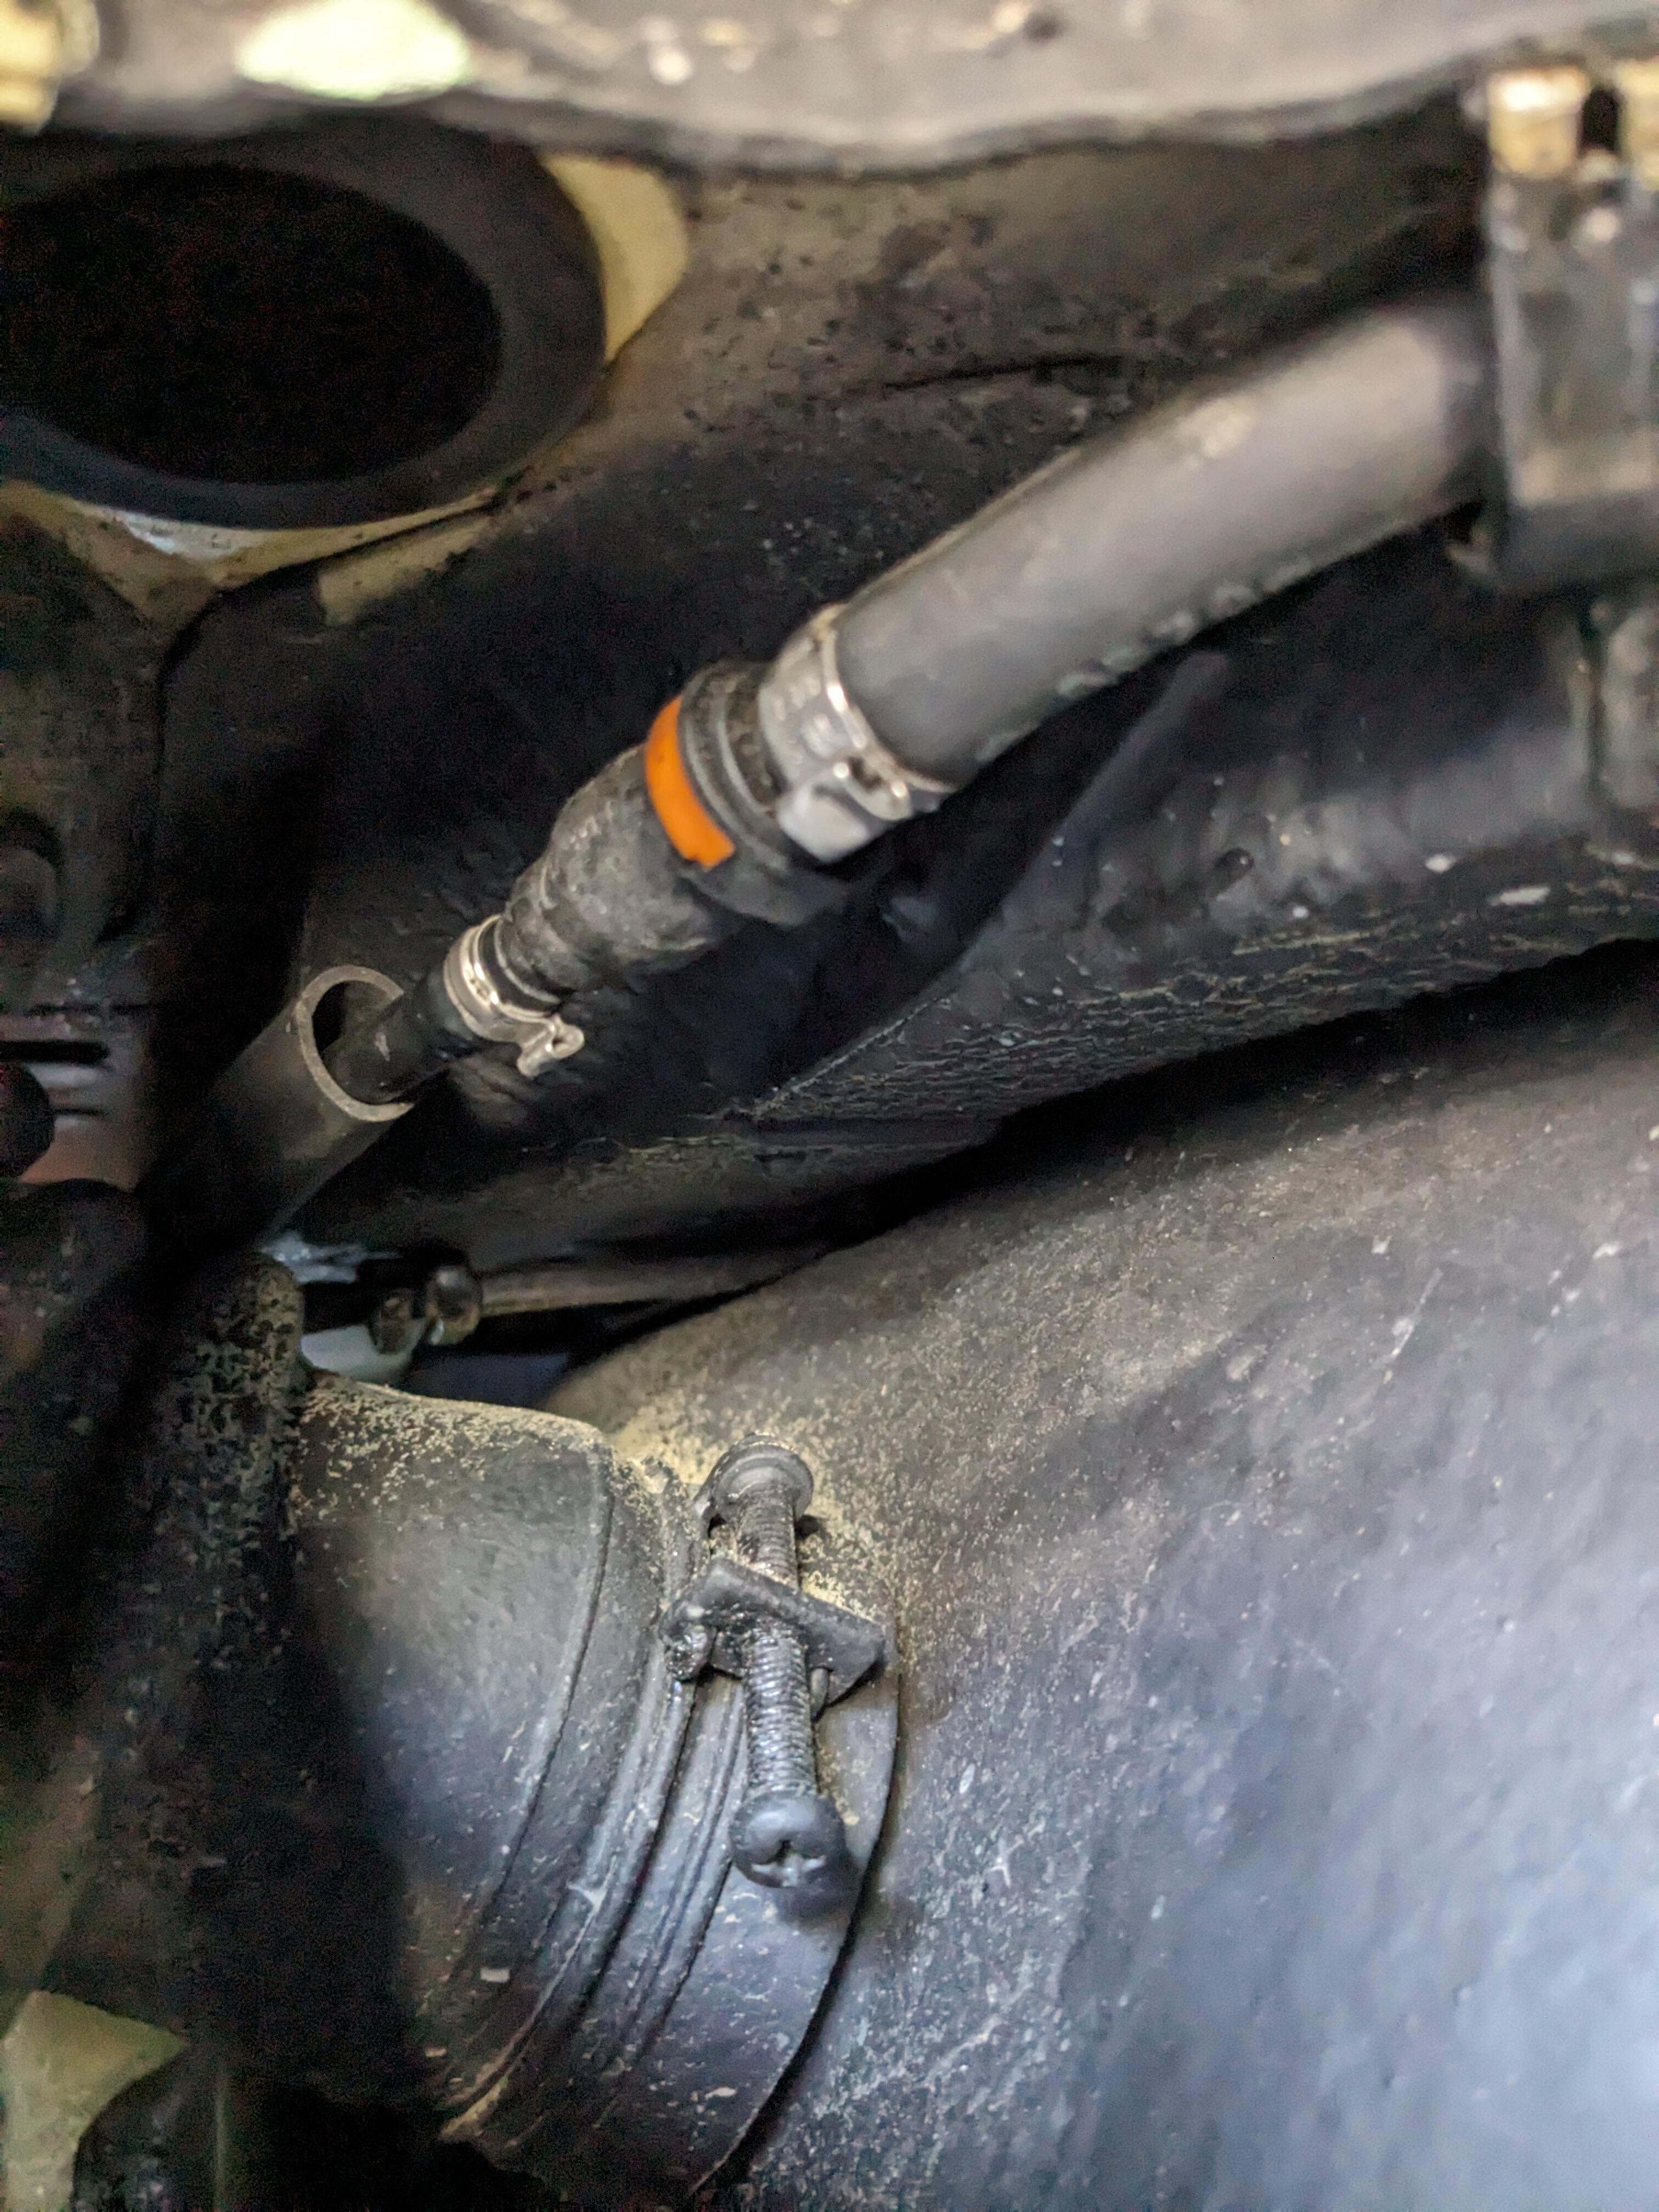
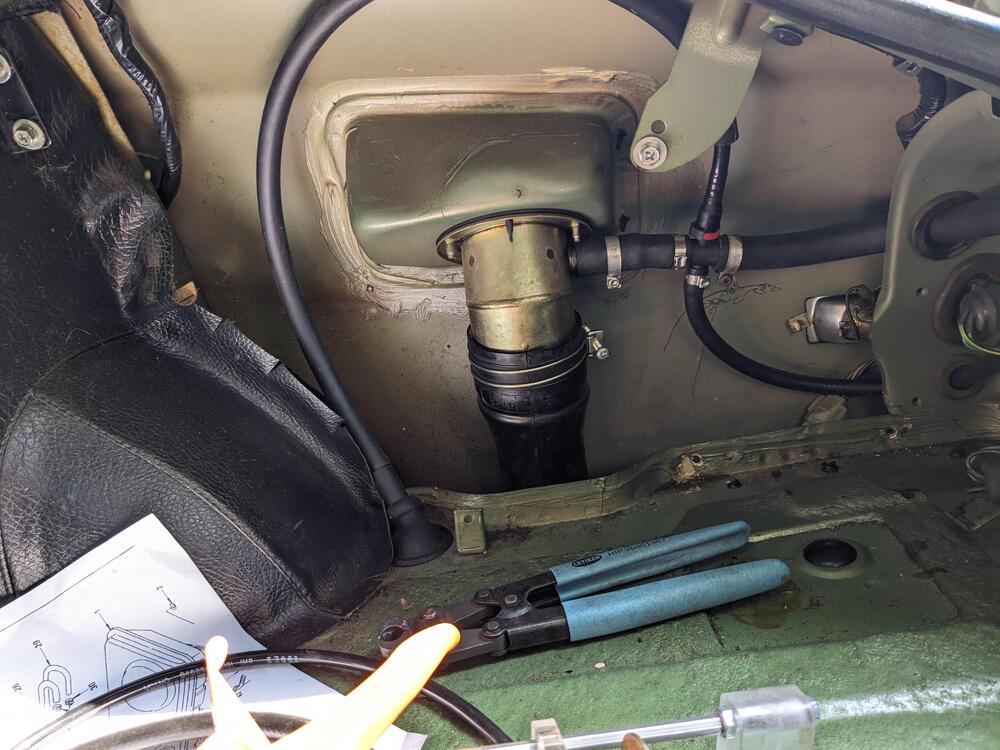
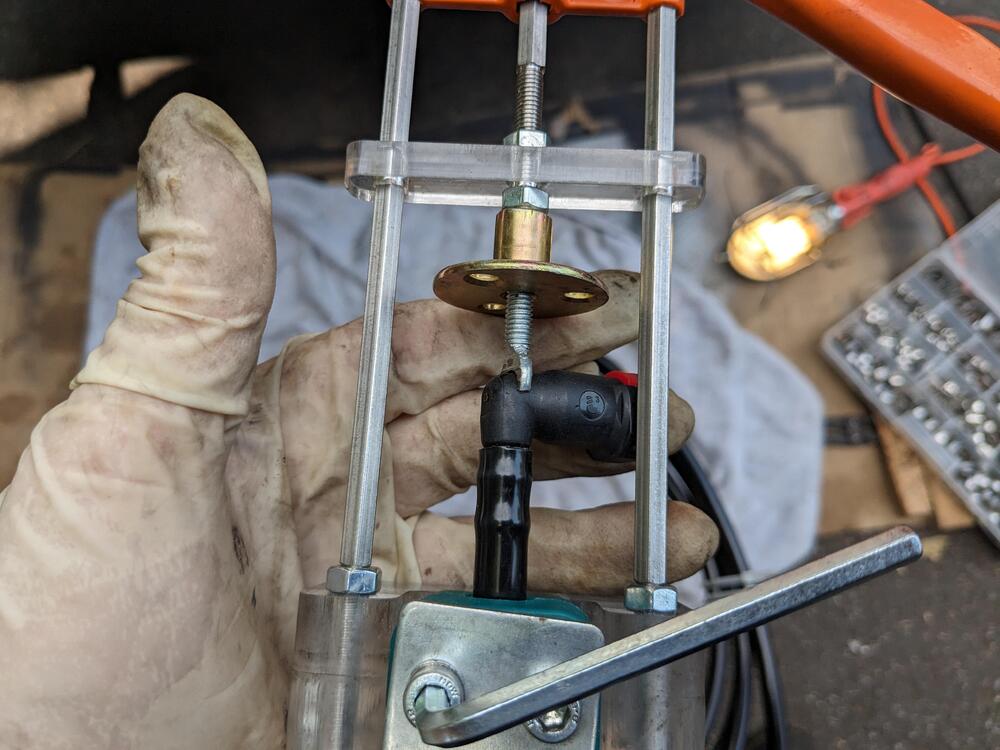
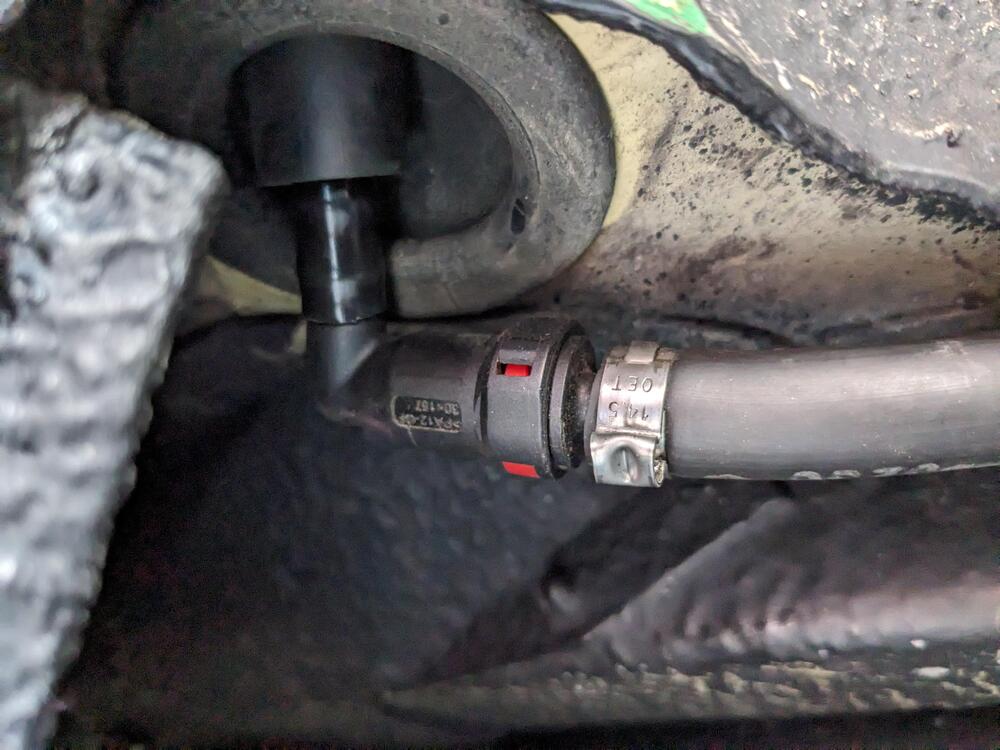
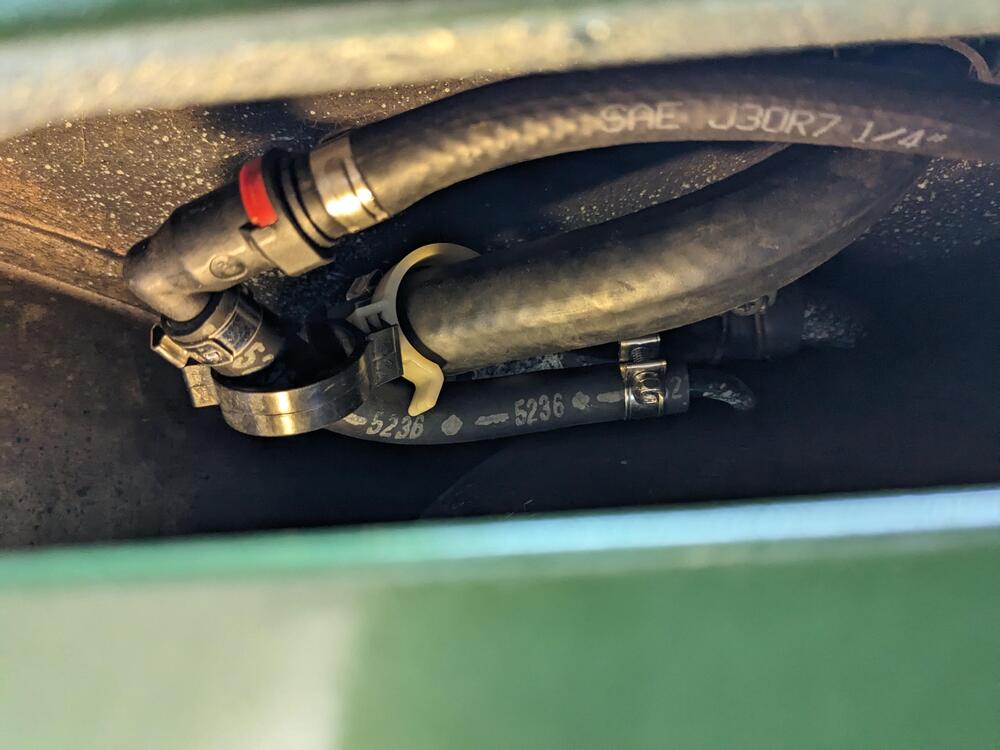
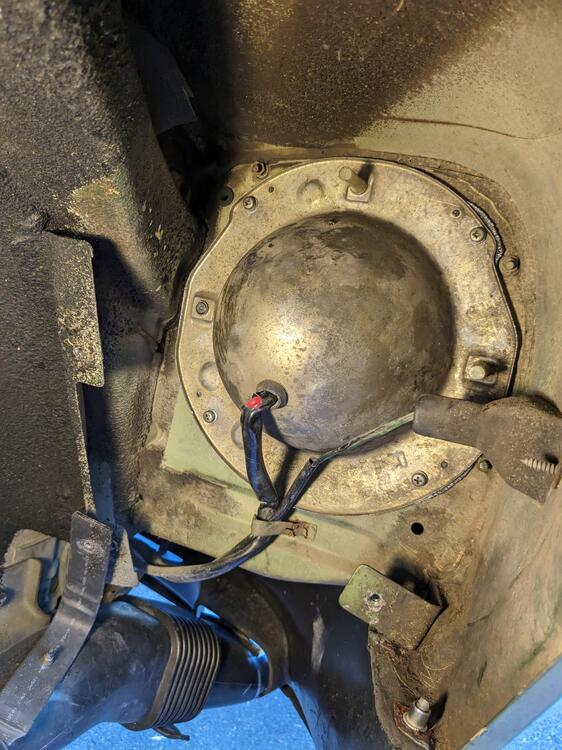
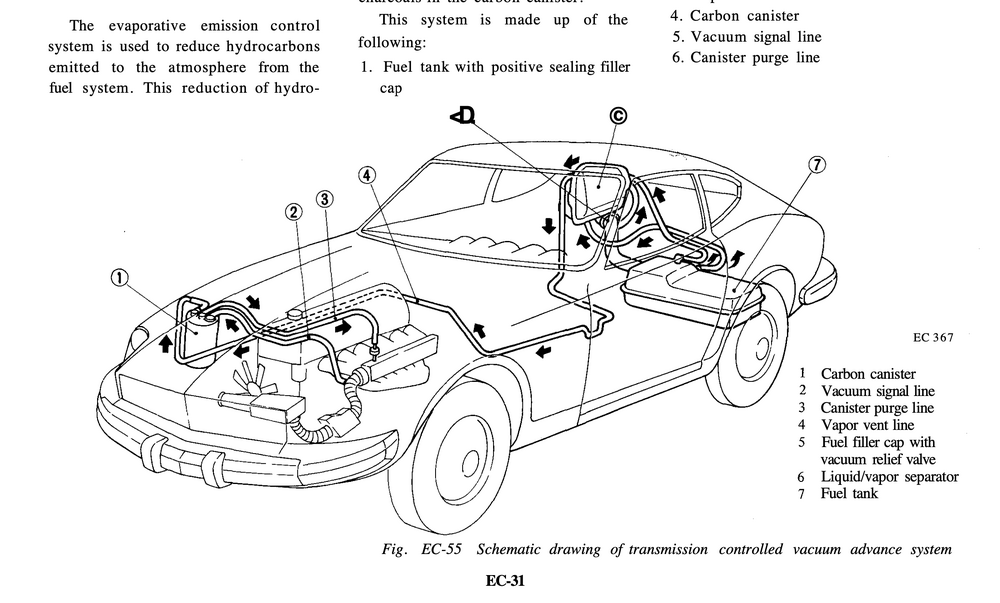
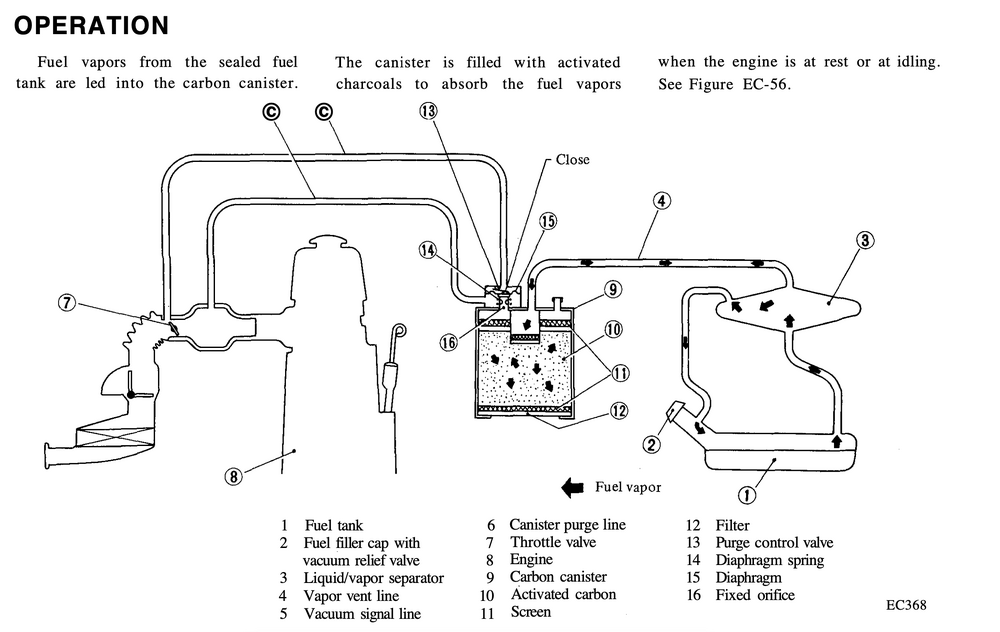
OK - I'm cautiously optimistic about the revised setup I made today. Pondering the factory diagram, and those of the several generations of Volvos I have owned, I surmised that my main mistakes were: 1) running the 1/4 vent hose below tank level 2) separating the 1/4 and 5/8 circuits. So, in my continued effort to NOT put the vent tank back, I revised the 1/4" vent line to connect with the 5/8 line. This way, if any quantity of liquid either makes its way up into the line, it will drain back into the filler neck connection, as it would with the factory setup. The 1/4 vent then continues in a loop, and goes back out to connect to the factory line up to the canister. The underside of the canister was still damp with fuel from the prior setup, however after I wrapped up & drove around for a bit, went to Home Depot, left it sit, came home, the canister was emptied of fuel condensate (bottom of canister felt dry to the touch). I'll check it again tomorrow before I reinstall all the hatch trim. Tank end, elevated the vent hose elbow coming out of cabin Tool for installing these fittings, makes it much easier 4 way connector is from a Volvo tank vent setup
-
Indeed! I didn't even take any pics of the inside prior to installing the rear cover - there was nothing to remark upon, everything went very smoothly.
-
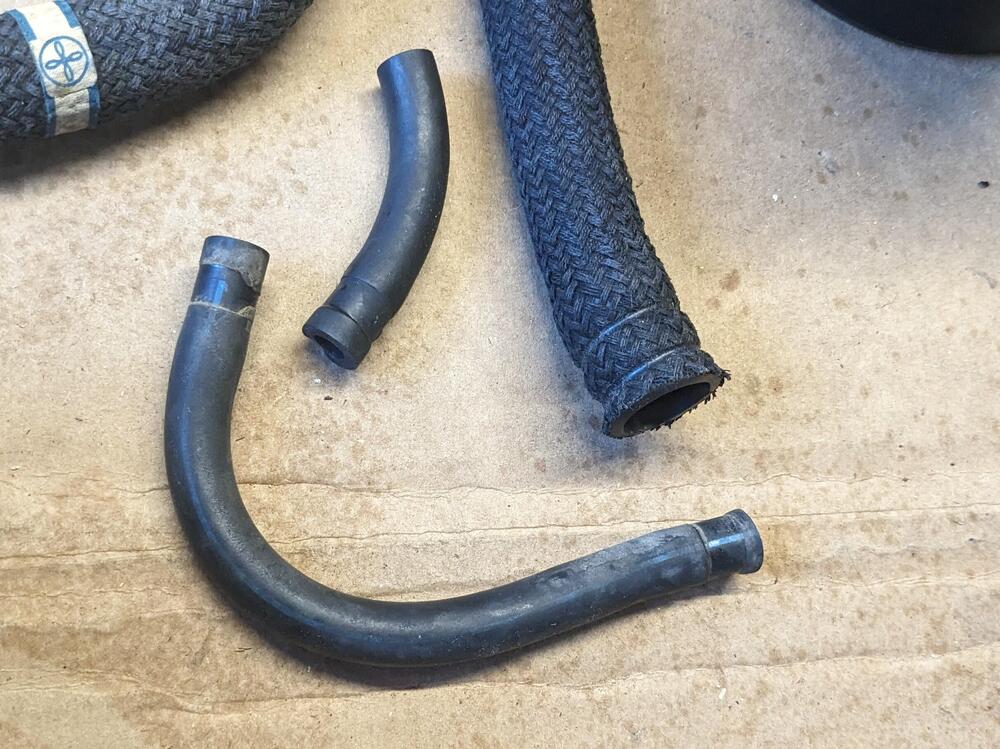
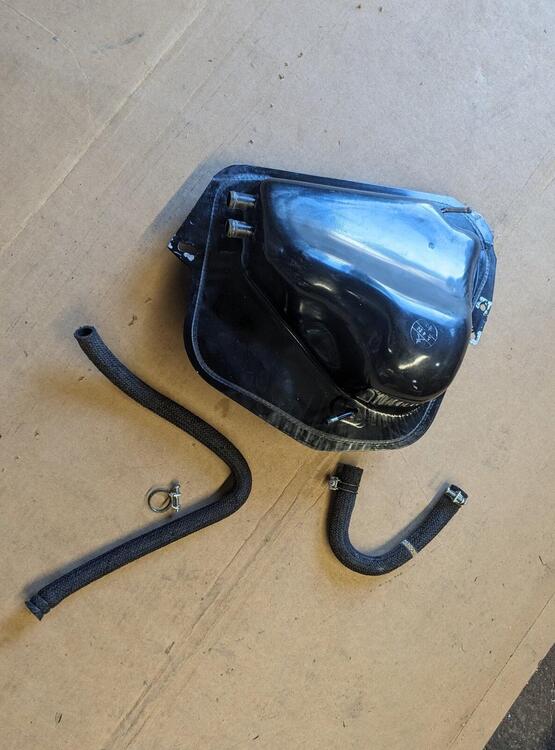
I see that it is described that way - but it appears in practice that the drain back feature seems implausible, given the height of the 5/8 fittings on the upper side of the vent tank - it would have to be full of fuel for that to happen Yes, to be clear there was liquid in the line at the charcoal canister with the vent tank in place - I could smell the fuel at the original connecting hose - which had cracks at the canister end. which is why I didn't think removing the vent tank would make a difference in that regard. What I experienced today was a deluge out of the canister - quite a different story from a little liquid sitting in the line. EDIT - to add to this - Prior to fixing the ruptured 1/4 elbow hose at the tank, I had only filled the tank once - which was how I discovered the leak at the tank - after that I had not ever filled the tank beyond 1/2 full. I do not recall getting a gas smell at the charcoal canister, and since the vent circuit was open at the tank, that would all make sense. Timeline: I "fixed" the hoses at the back, leaving vent tank in place. After that, in checking the overall system, I noted fuel odor at the charcoal canister. Drove 500 miles to Carlisle PA & back. No evidence of fuel vapors. Fuel smell developed in cabin . Decided to bypass the vent tank. Replaced the short hose from vent pipe to canister. Noted liquid fuel in vent pipe at charcoal canister. Swapped out Nissan Canister for Volvo Canister Still had slight fuel smell in cabin - - which was the improper (permeable for fuel) 1/4 hose I ran from the gas tank to the vent tank Reroute new 1/4 vent hose beneath. Fill tank. Fuel subsequently drips from charcoal canister. I'm going to have to put everything back to stock configuration & see if there is liquid fuel in the line with a full tank of gas after that. The way I have it now, the 1/4 vent line is below the level of the vent to the filler neck. The factory setup has the 1/4" vent line as the highest point in the system, above the filler neck vent. The 5/8" and 1/4" vents also combine at the vent tank. I have them completely separated. With a full tank, actual fuel must be sloshing into the 1/4" line.
-
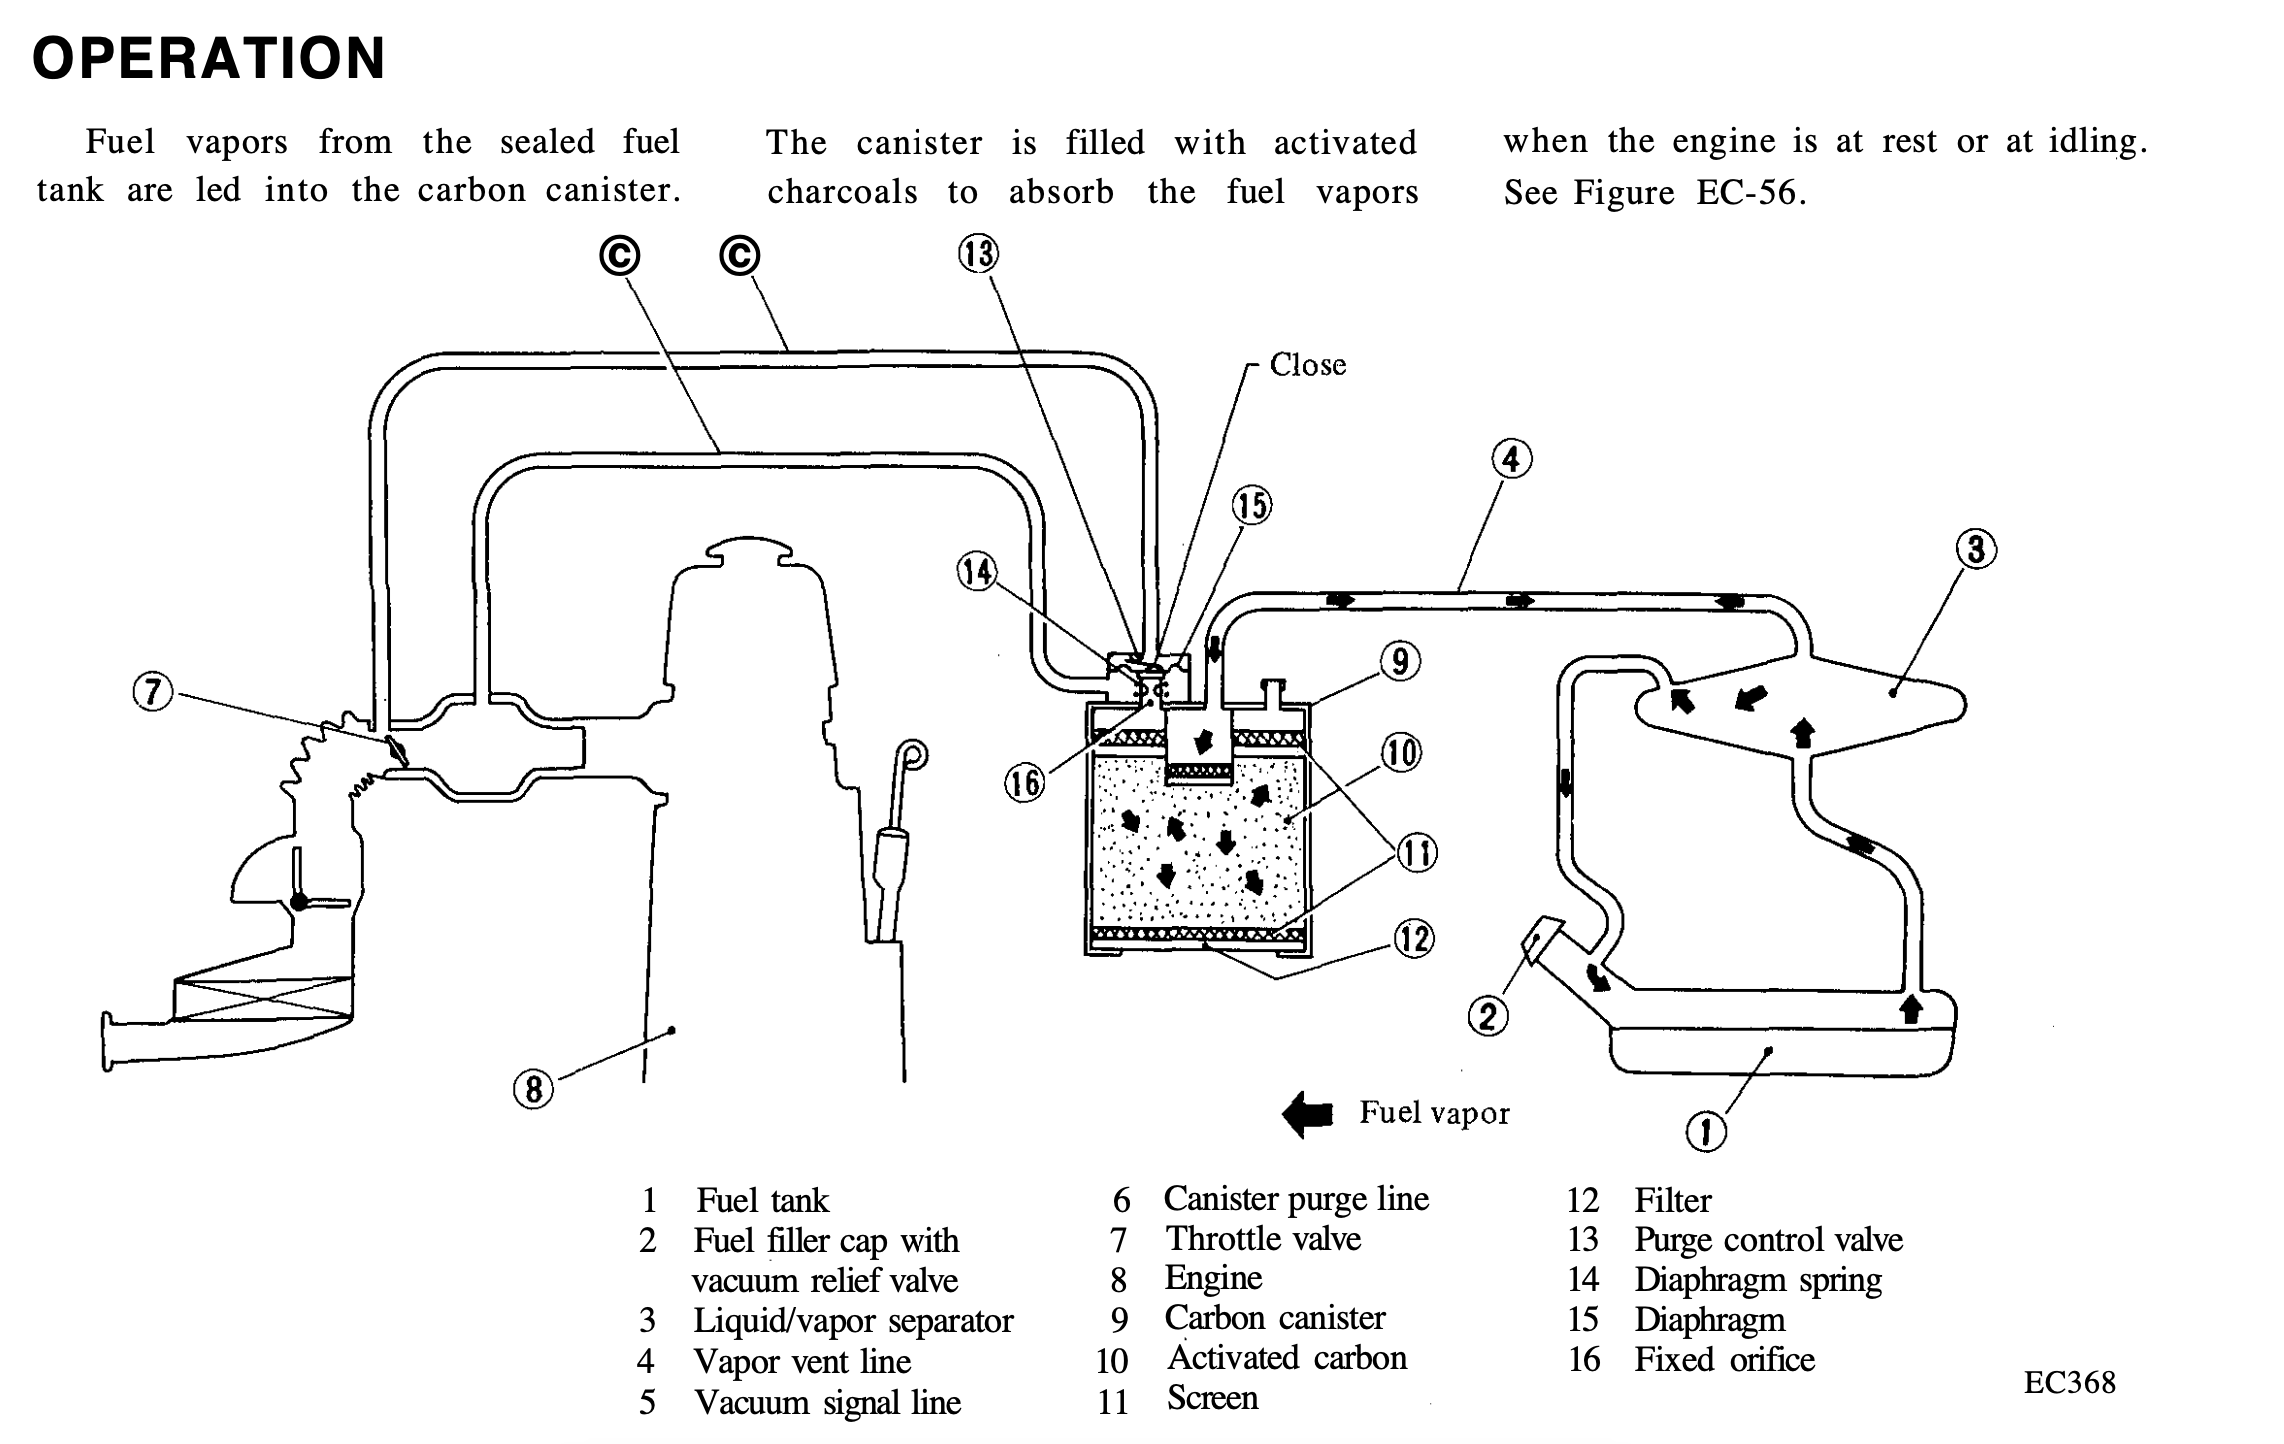
Thank you - I'm second guessing whether removing the vapor tank has caused the problem - however I don't know of any other car that had such a contraption, and the later Z's don't have it, so it would seem something else is the cause. I filled the tank yesterday afternoon. Today, the car was in the sun all day & early evening I drove around for 5-6 miles at low speed (25 mph zone, heavily policed) with the Mrs, and the we got home & she got out, she could smell raw fuel. I turned it off & could see gas dripping out the charcoal canister base, running down into the splash pan(!) I could add a check valve, but that wouldn't alter fuel/vapor running from the tank to the canister. I can reposition the vent line at the tank, so it runs elevated relative to the 5/8 vent, right now it angles downward off the tank nipple. I'll add the vent tank back if I have to, just rather not. diagram
-
I insert the gas filler nozzle completely , and stop when the nozzle check shuts off supply. I don't keep adding after that. I also had never filled the tank prior to fixing the original ruptured vent hose a couple weeks back.
-
Seems plausible in theory. I wouldn't expect there to be enough vapor to fill the vertical hard line off the rail up to the canister though. I'll pull the hose off the hard line after a few tank fulls & see if it reoccurs.
-
I have made changes - I removed the vent tank, ran. the 5/8" filler neck hose directly to the tank fitting, and ran the 1/4" vent line directly to the charcoal canister hard line bypassing the vent tank. That was all after finding the liquid fuel in the line though. There is no check valve that I can see between the vent hose, hard line & charcoal canister that I can see, unless it's tucked up above the fuel pump mount bracket where the vent hose clamps to the hard line, which I doubt.
-
Yes - primer energizes the pump for 3sec w/key on, engine starts right up, every time. I think it could be reduced to 2sec, but I can't remember how to set it 🤪
-
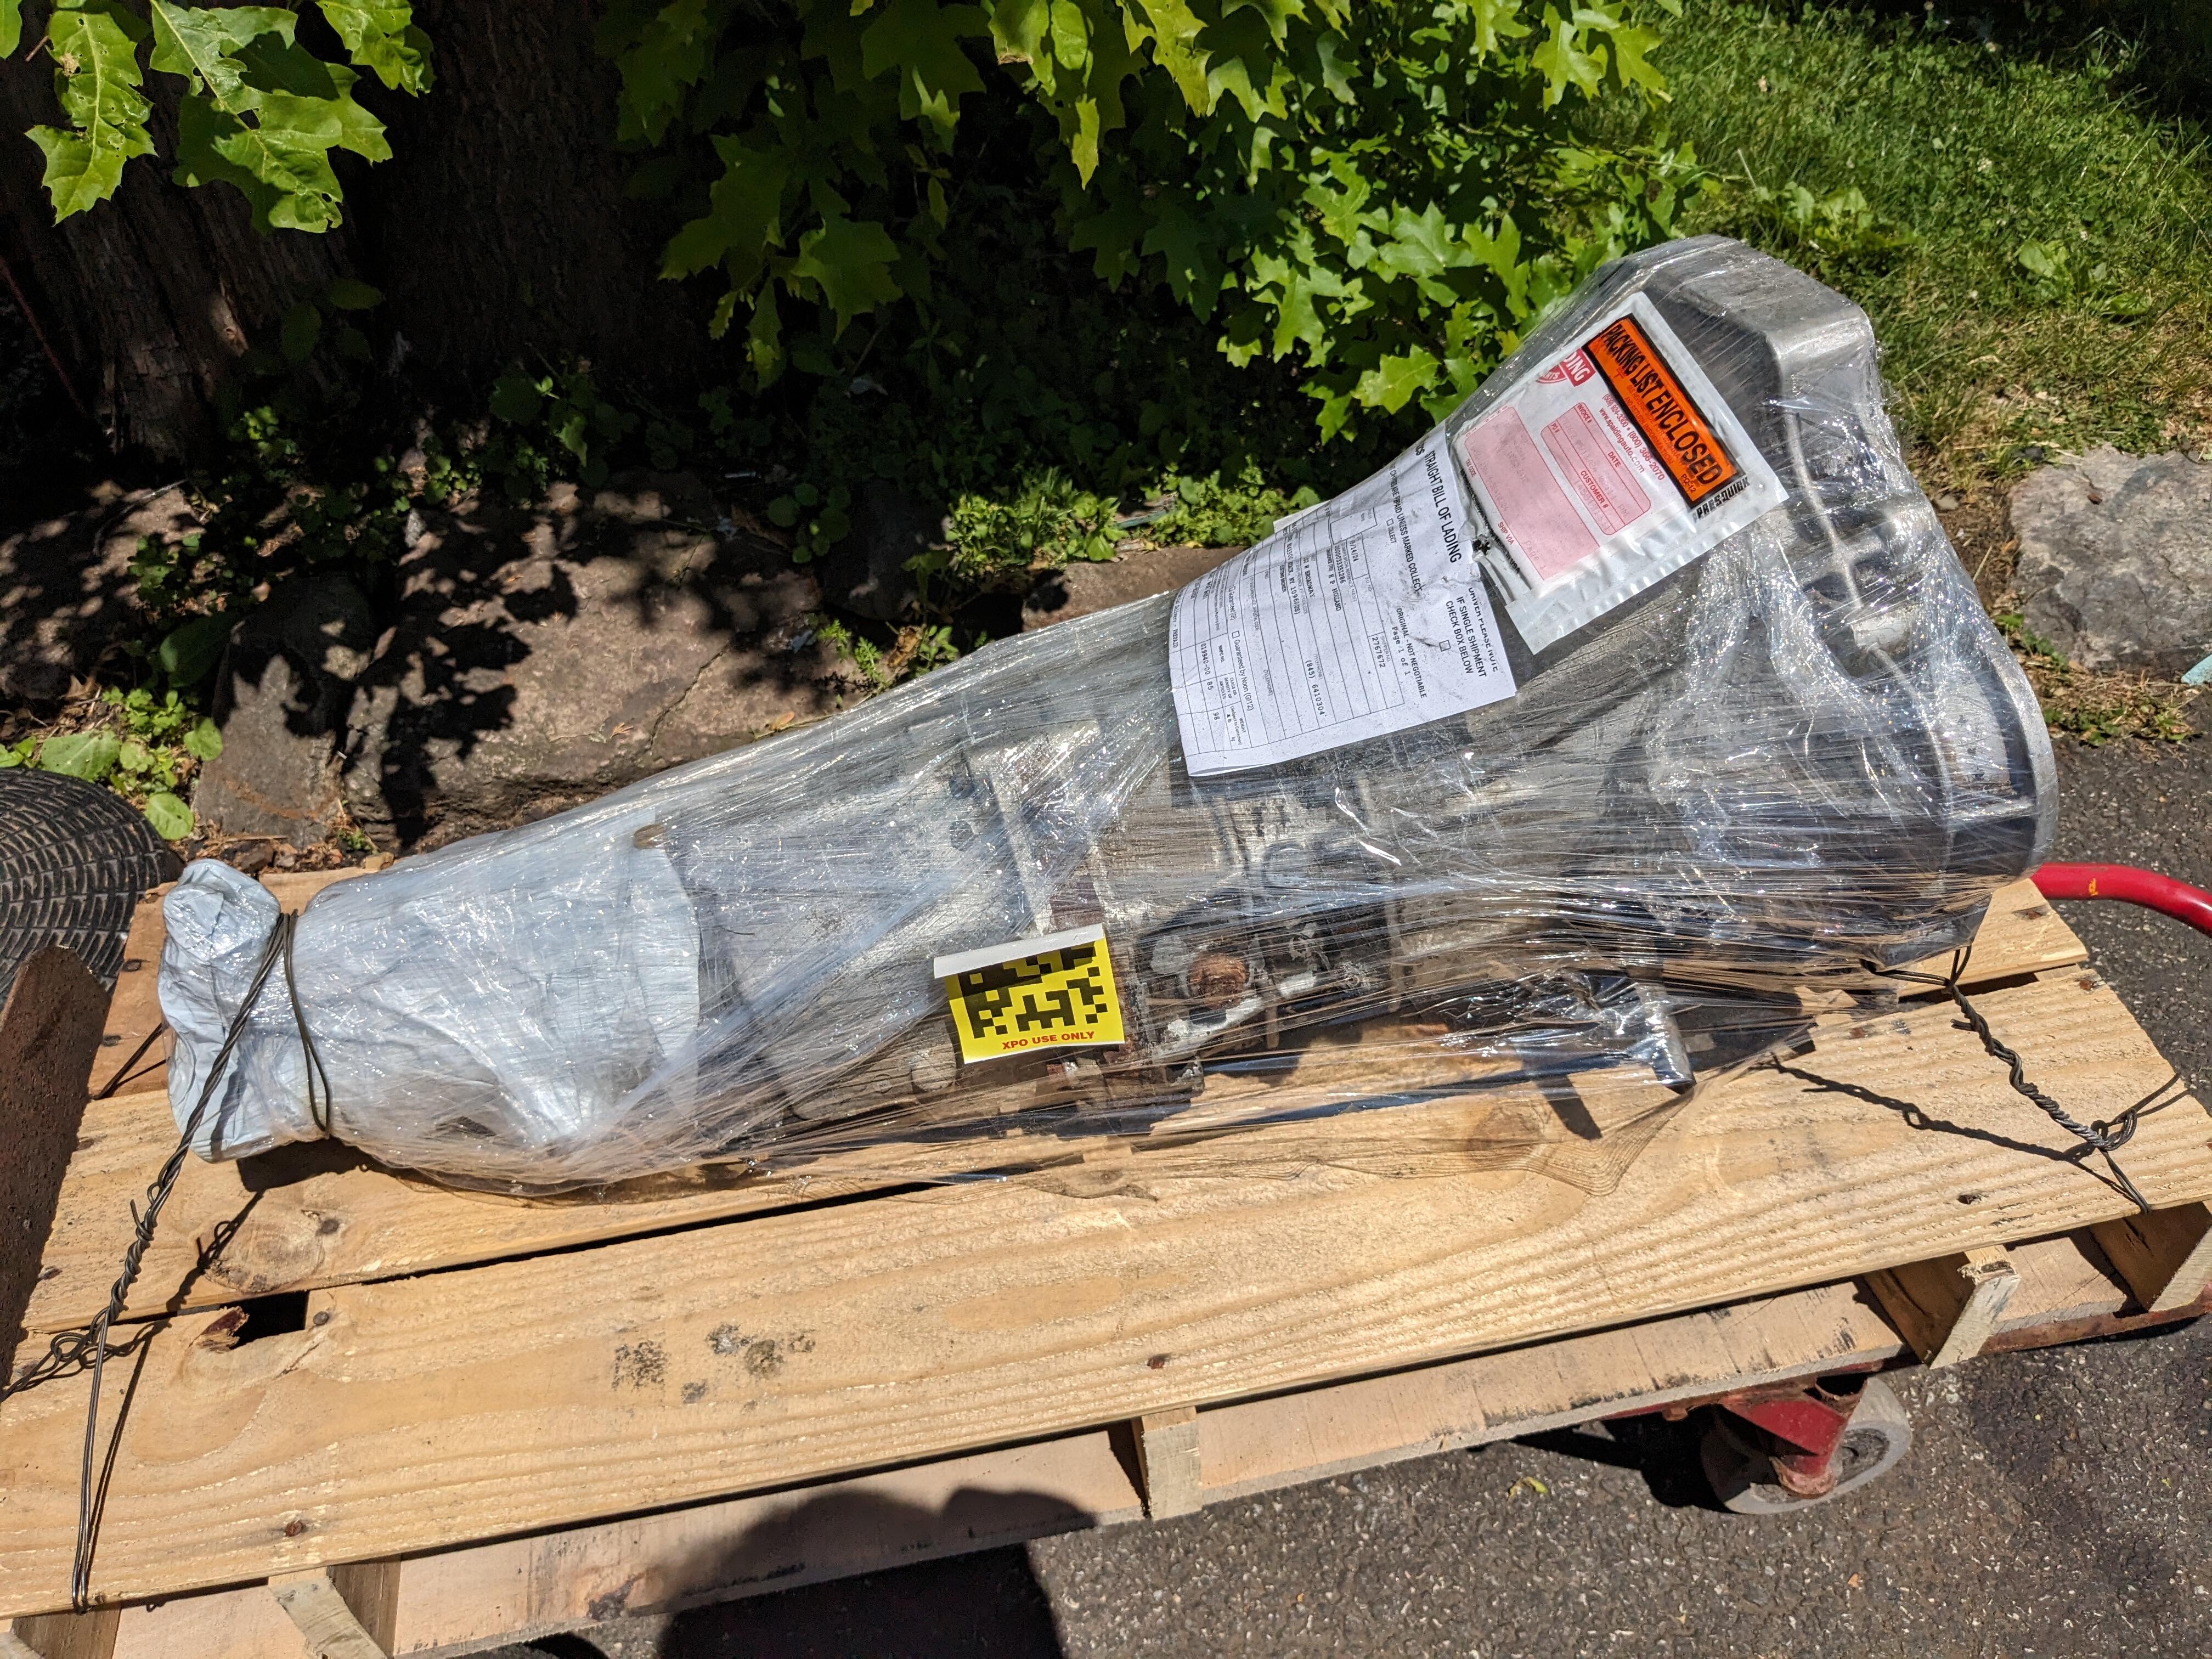
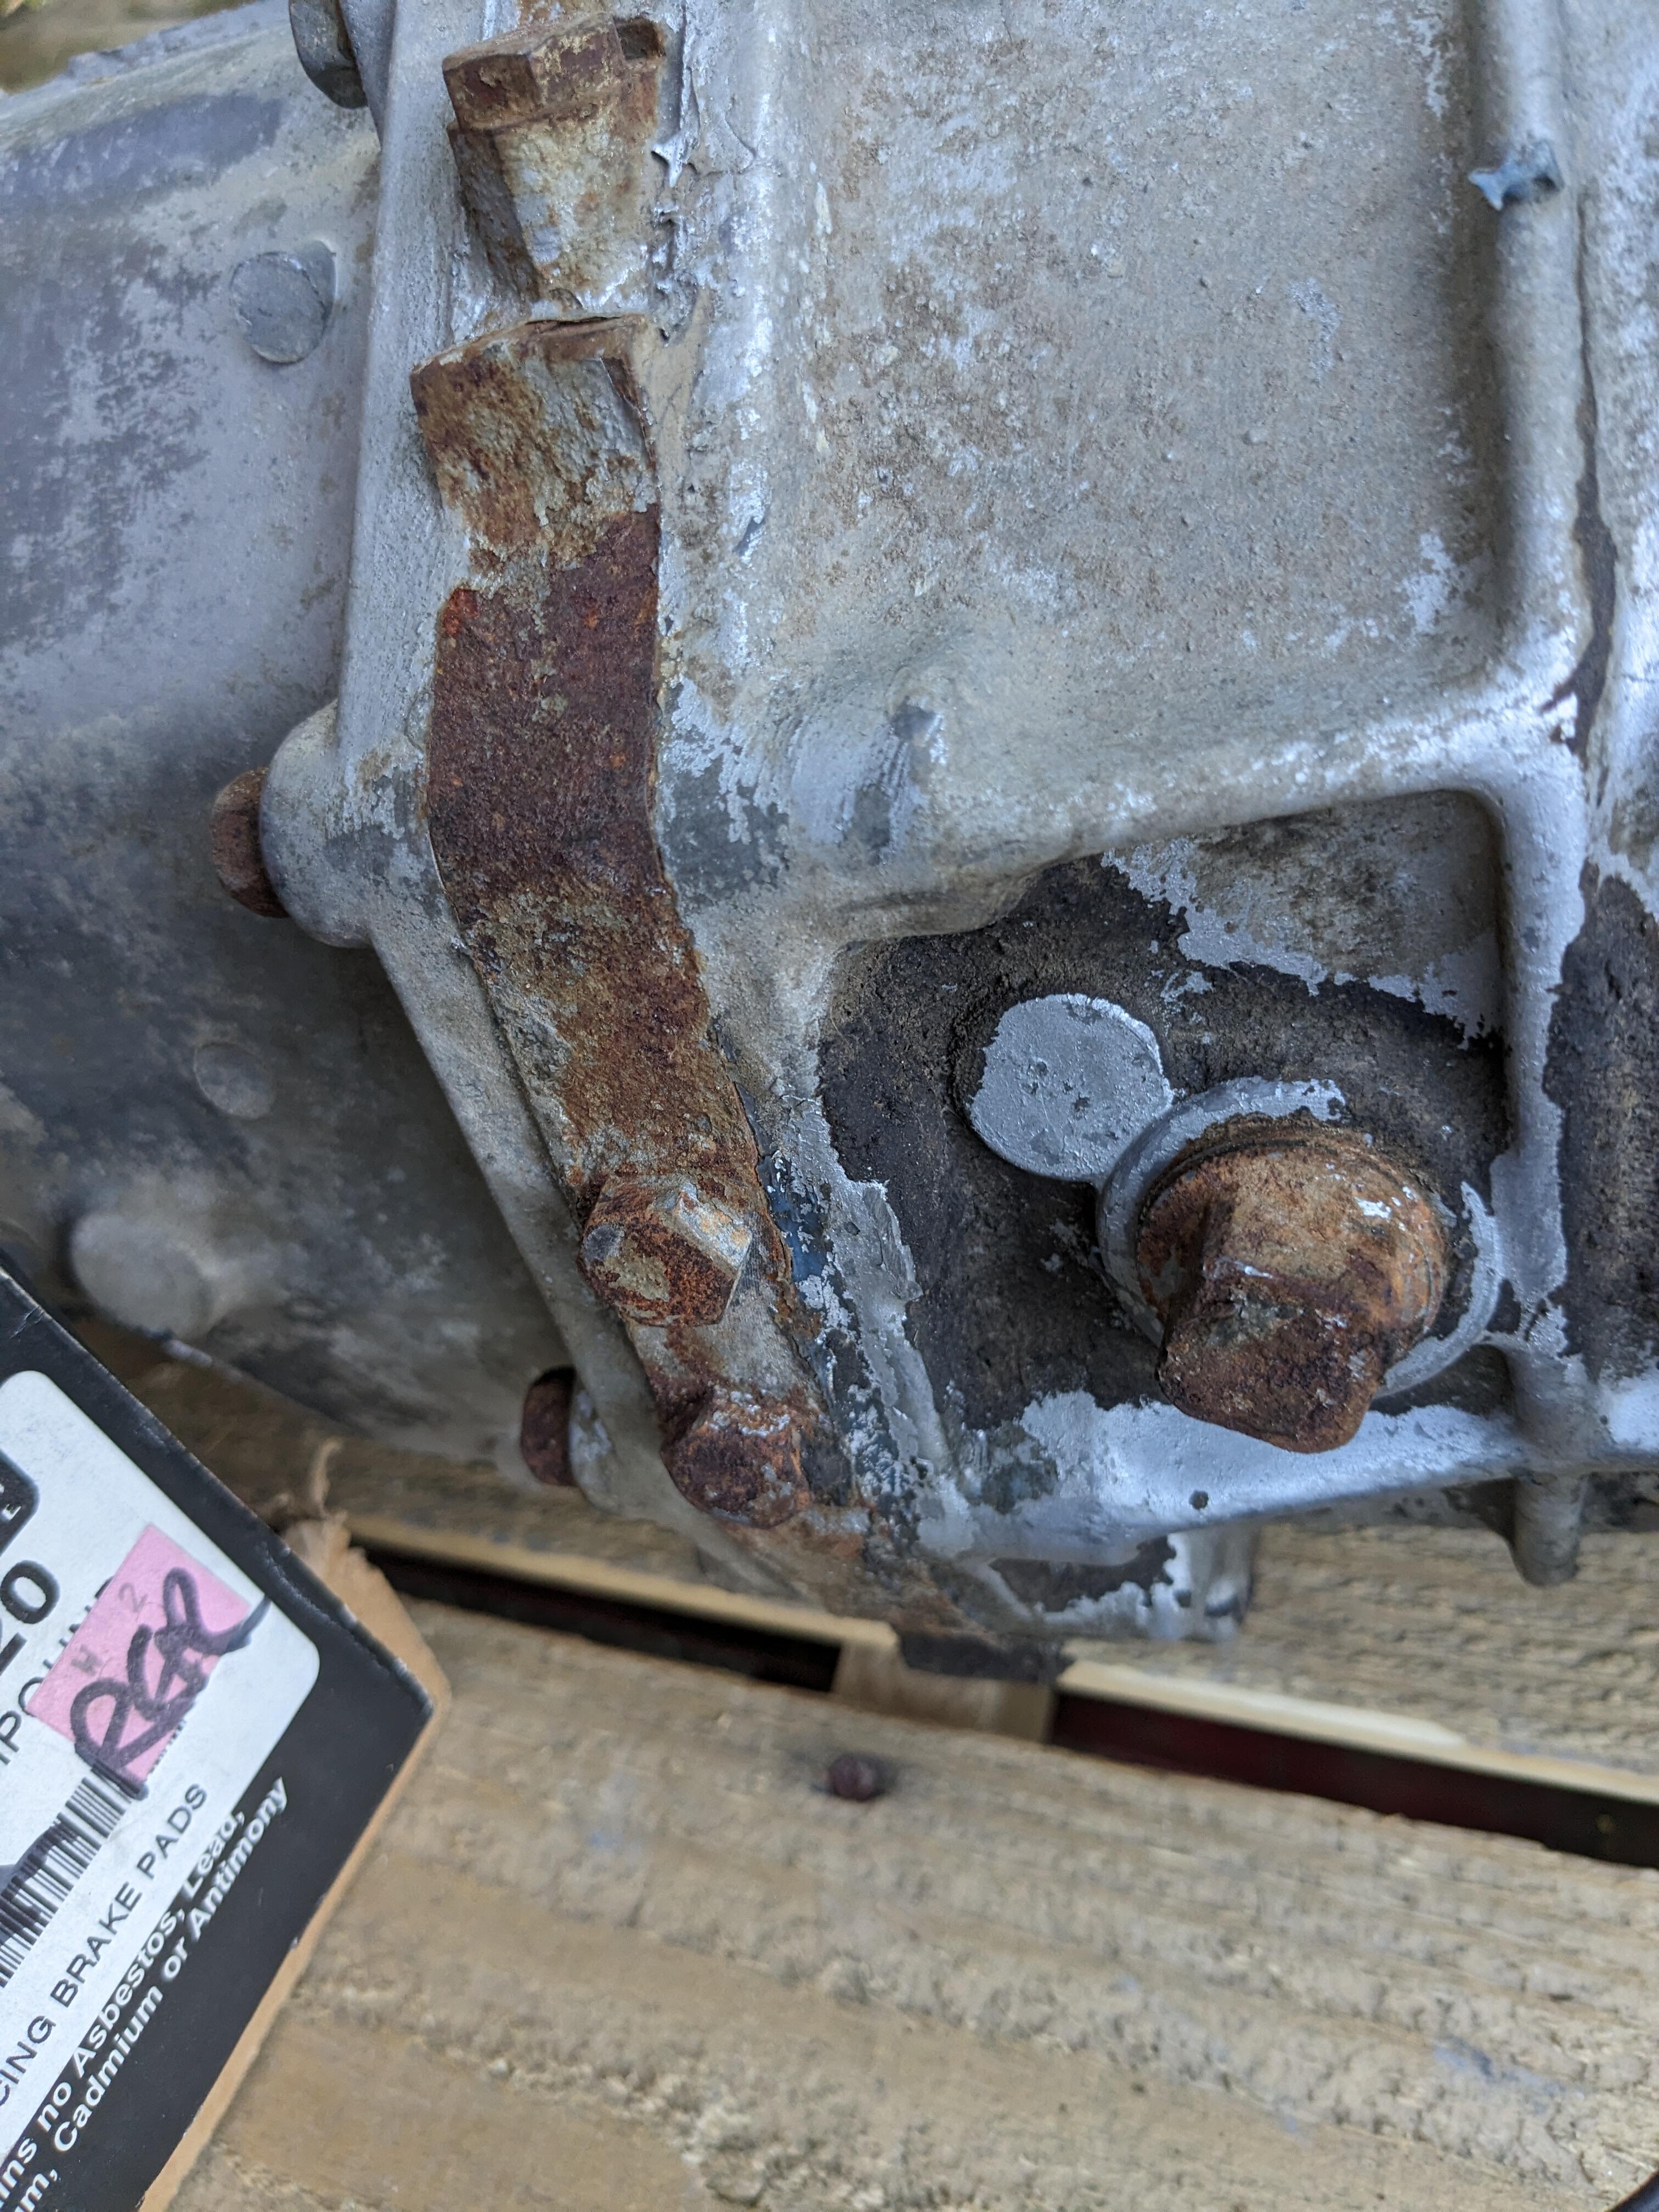
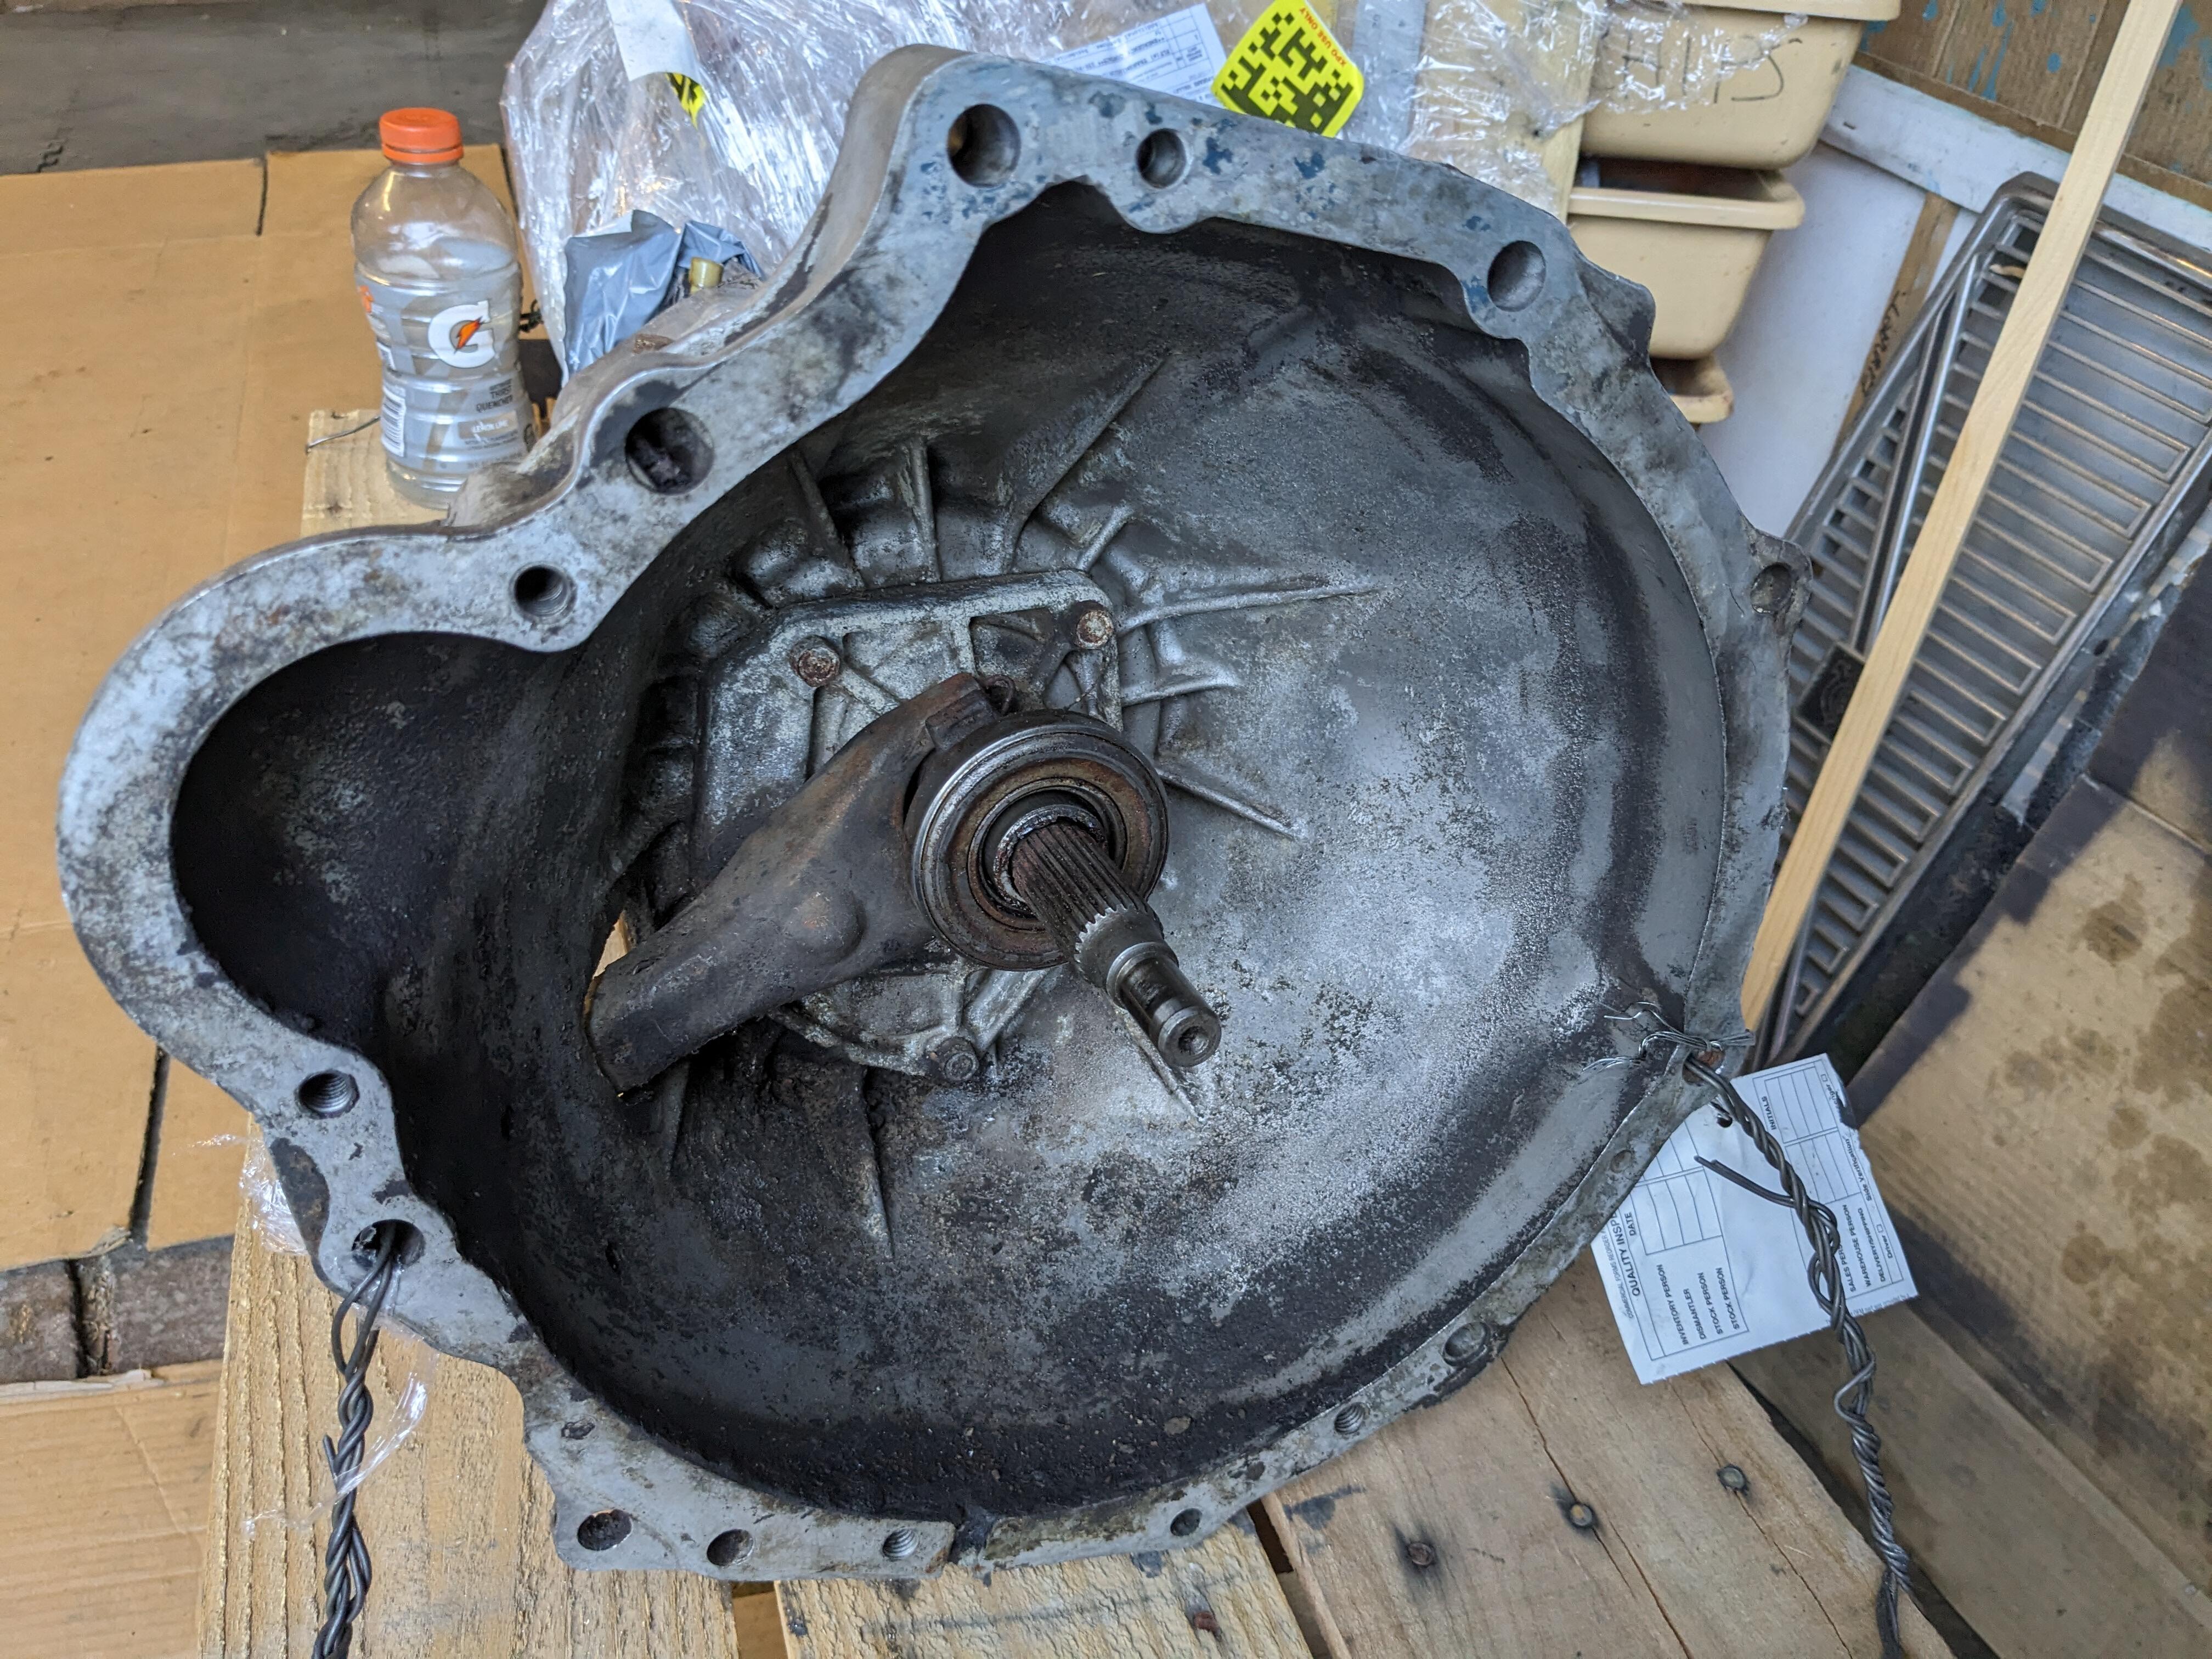
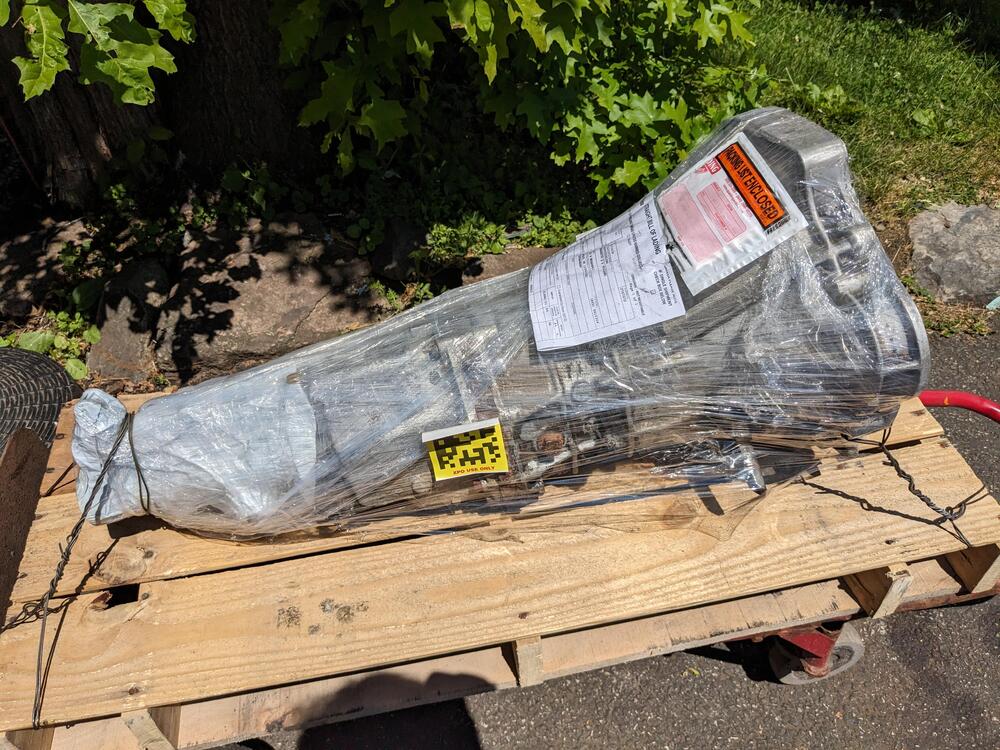
Transmission arrived today Looks like it's been apart at some point in it's life - looks like RTV on either side of the adaptor plate
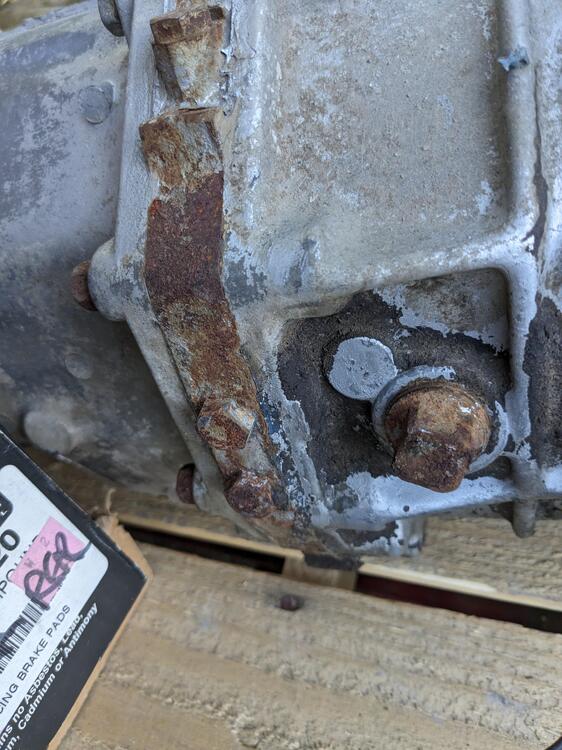
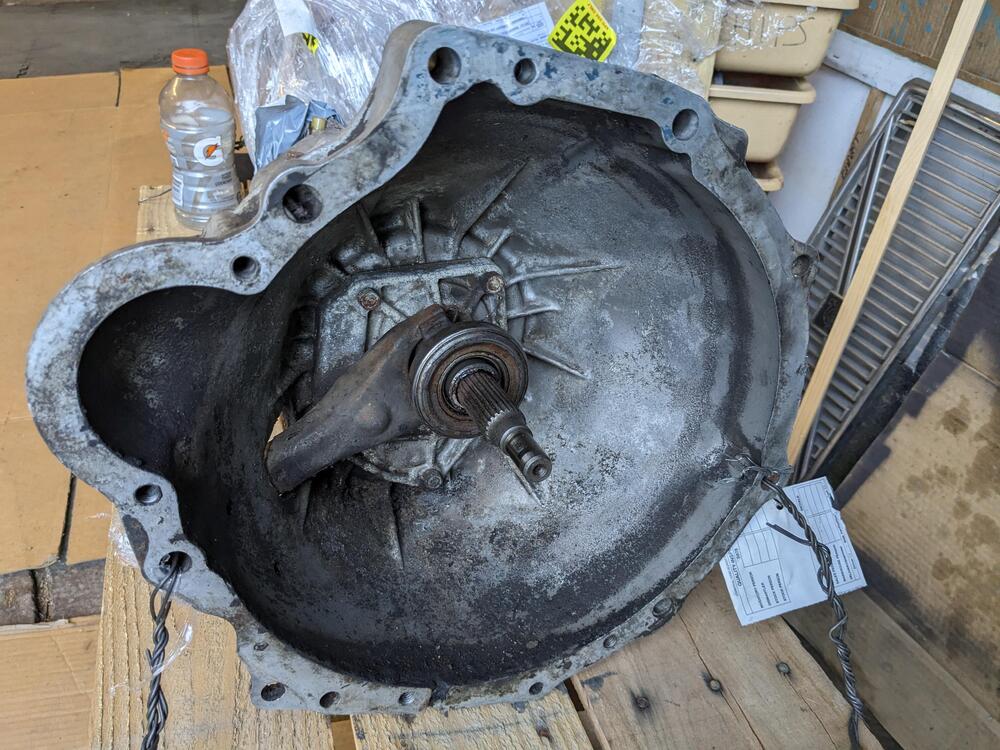
-
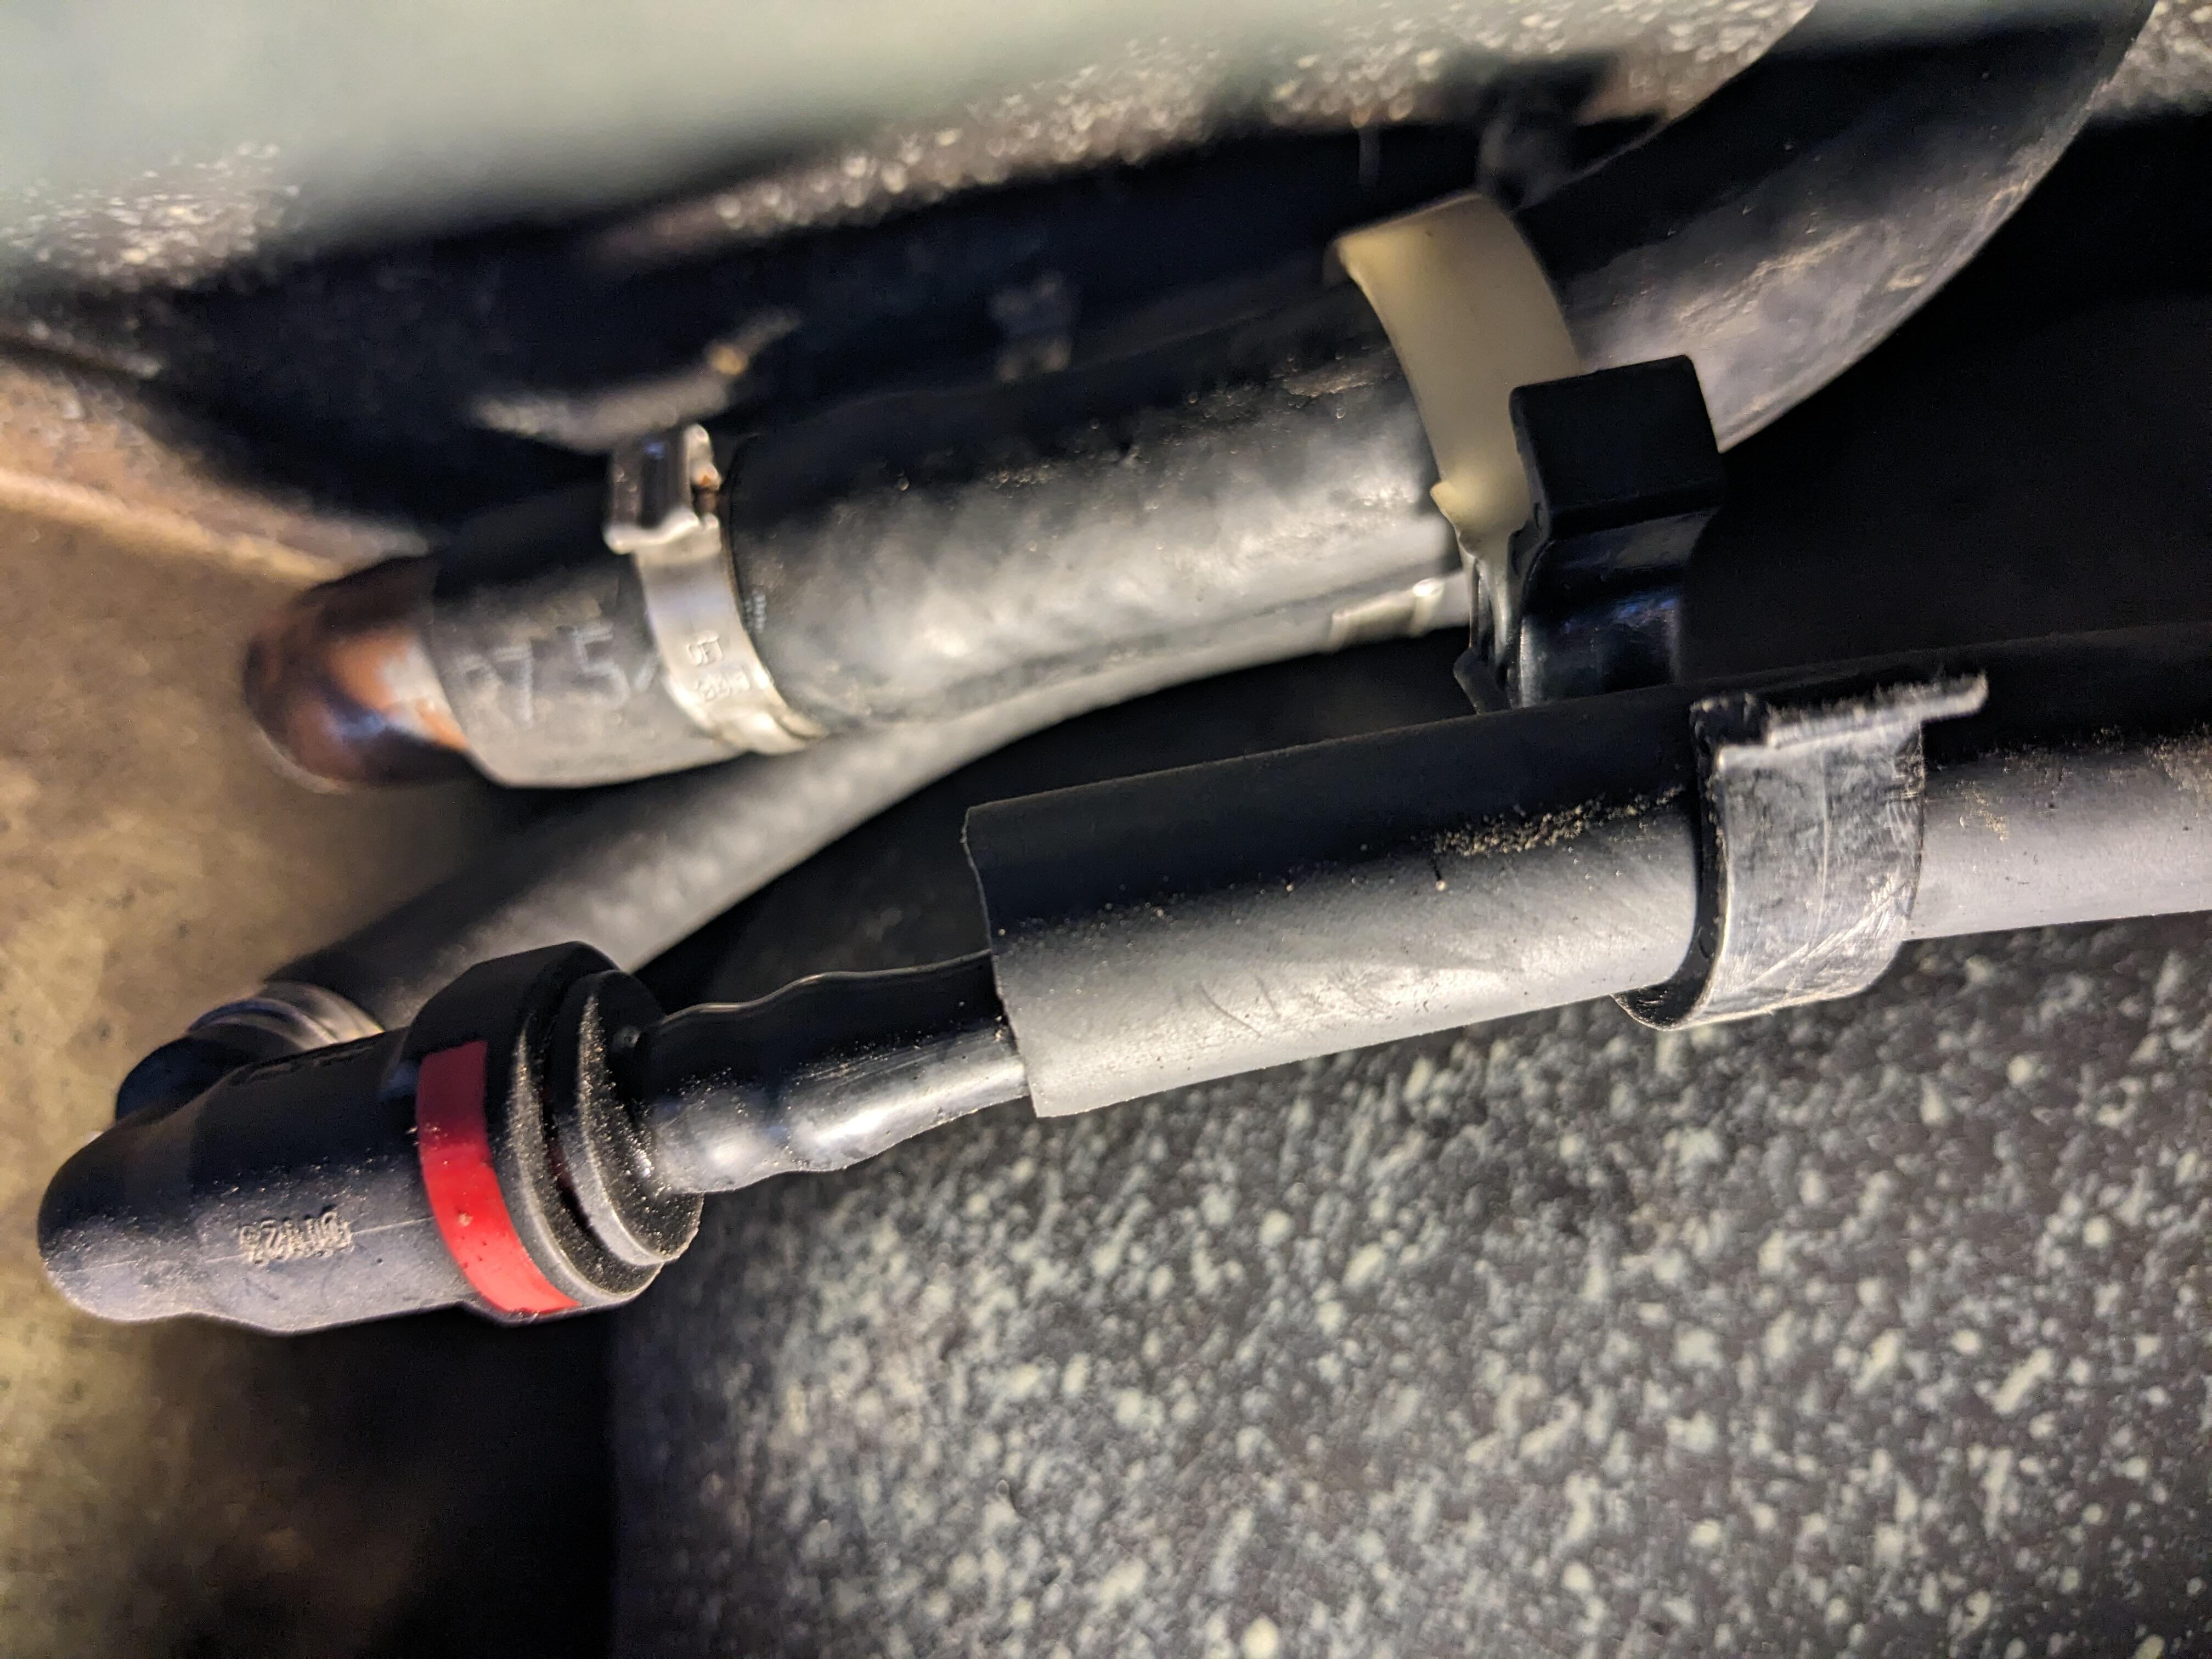
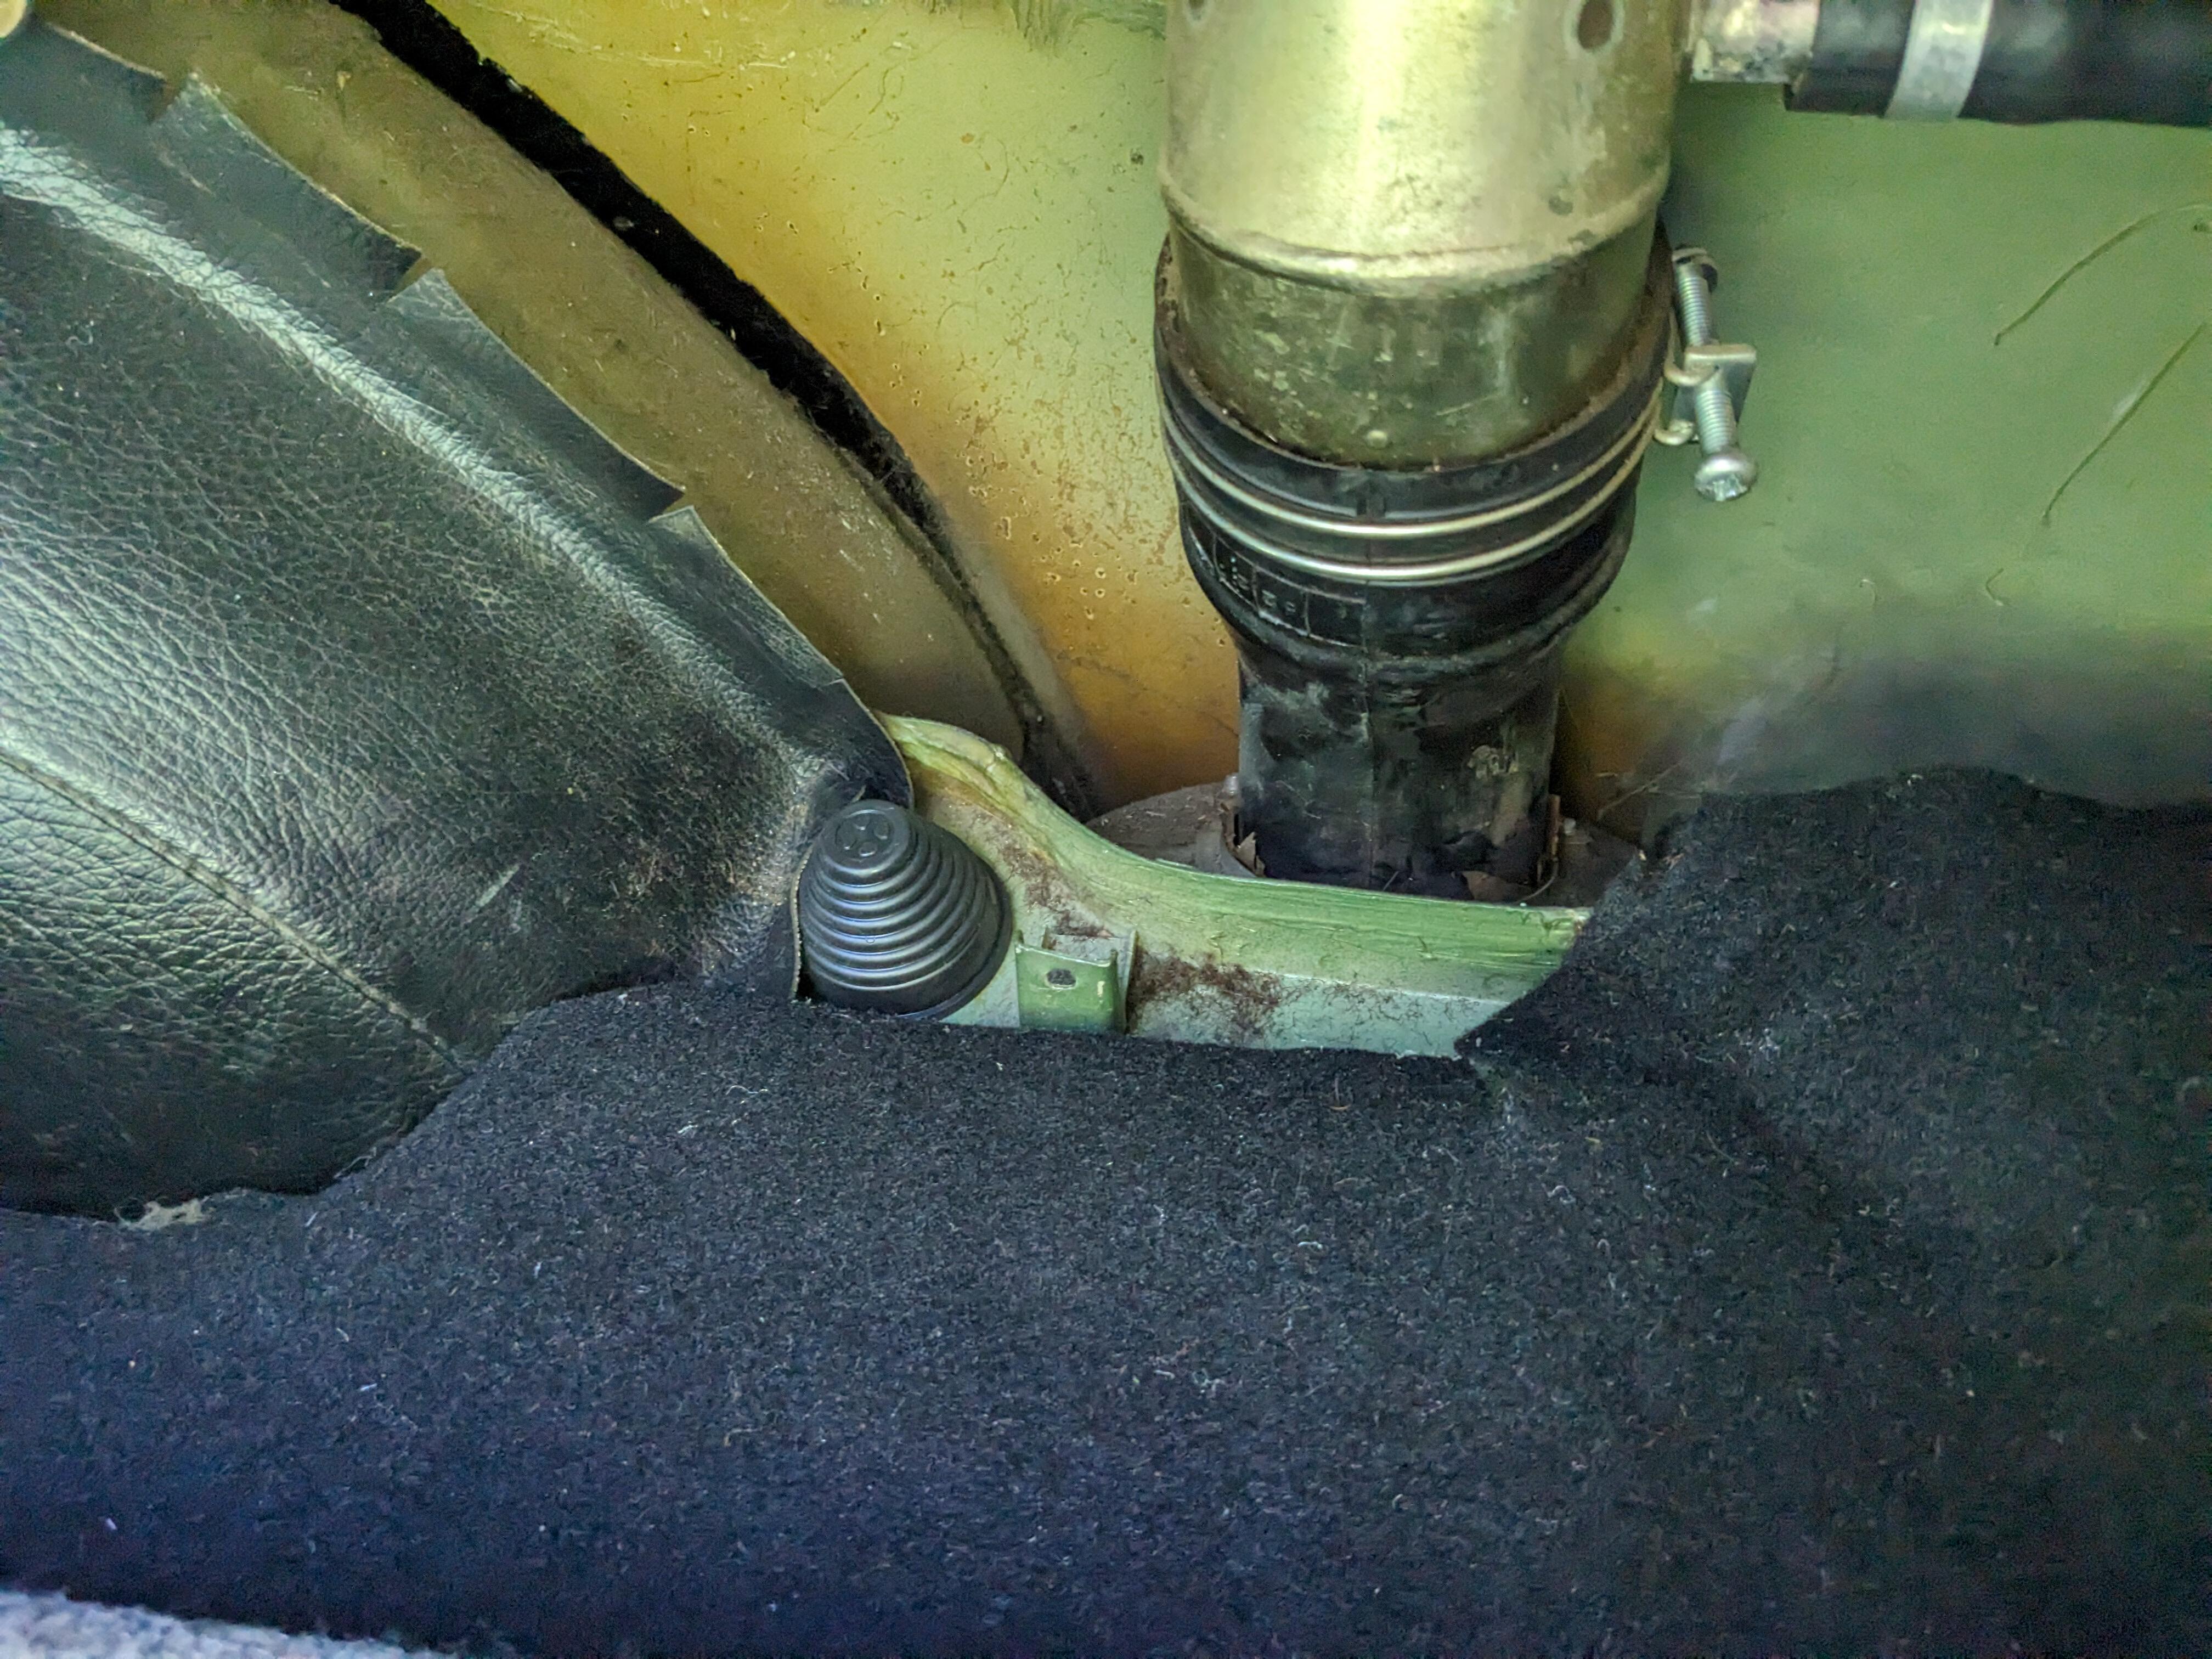
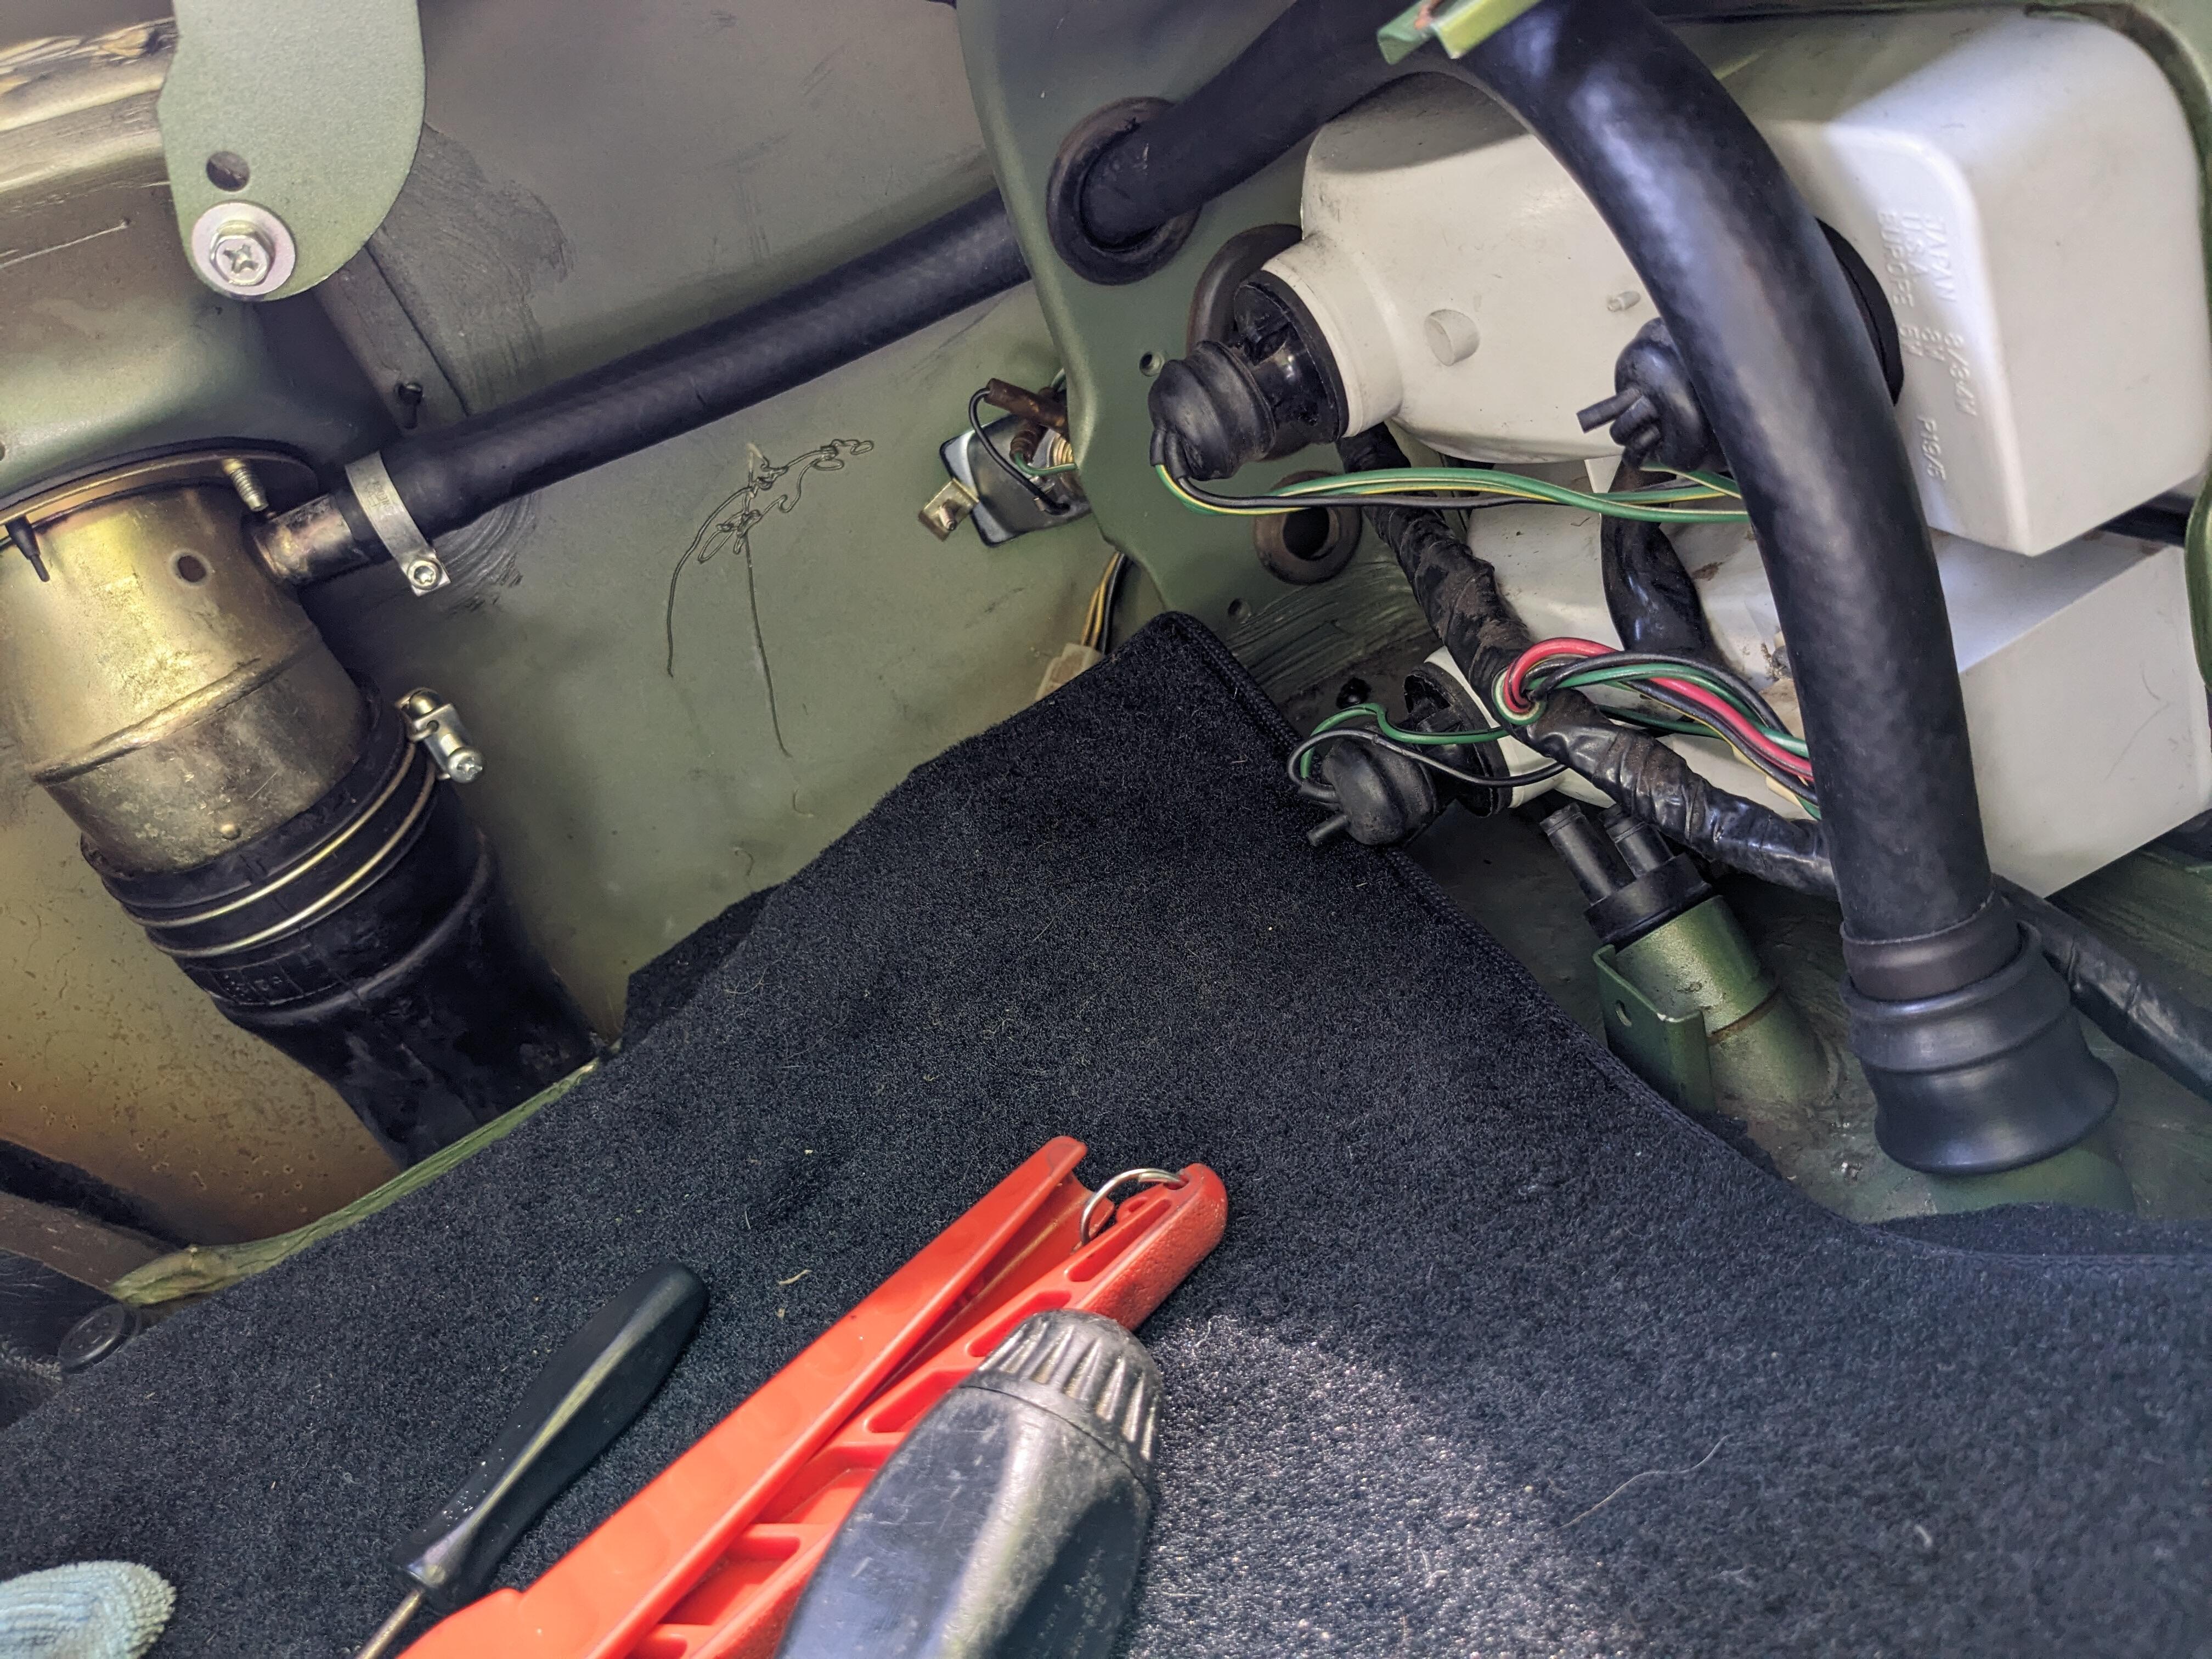
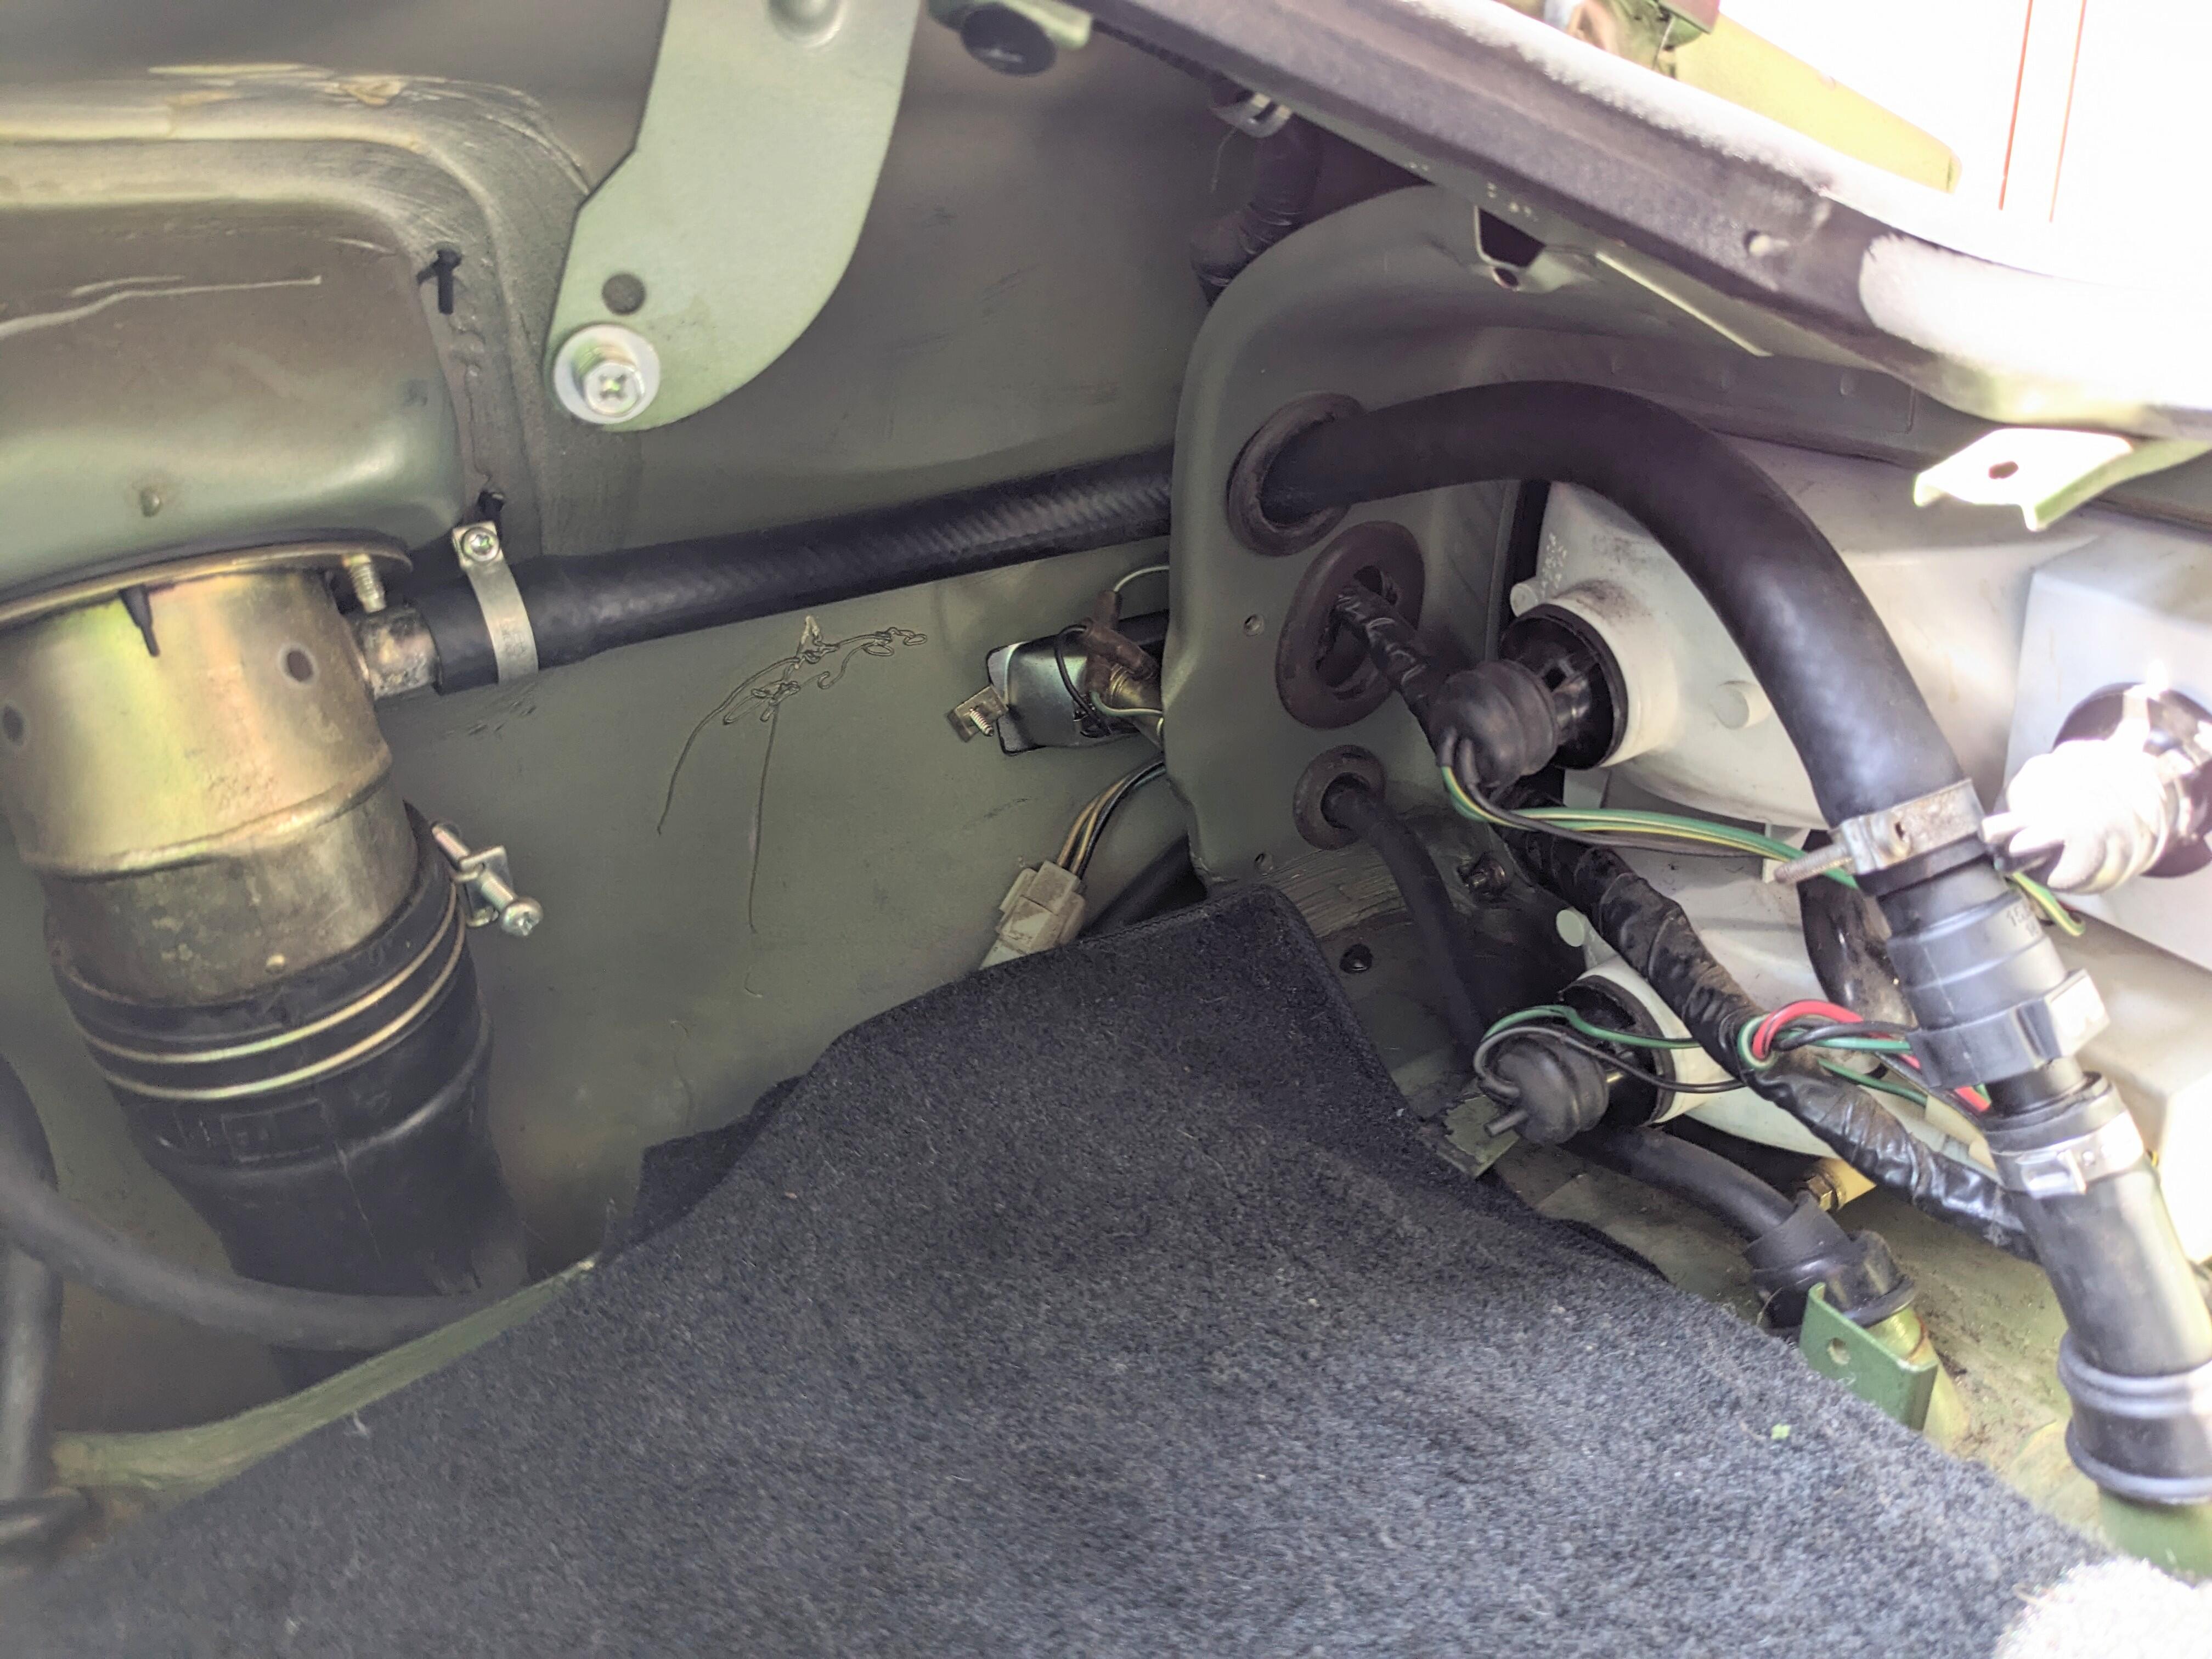
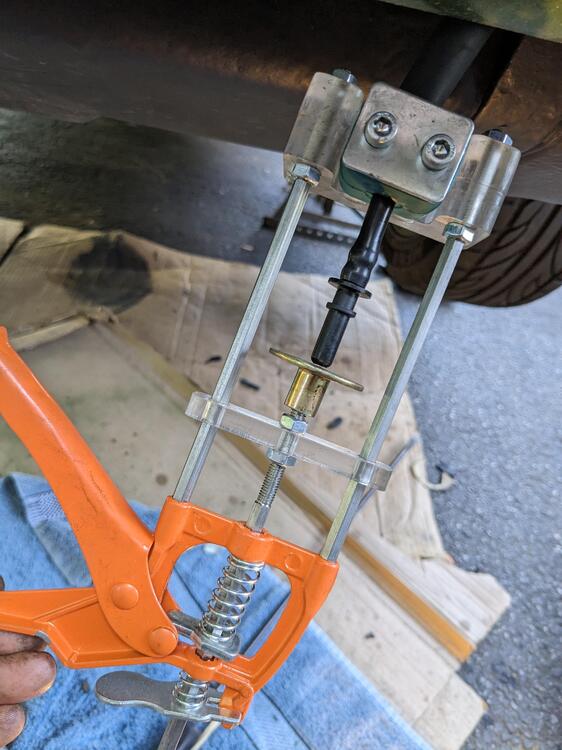
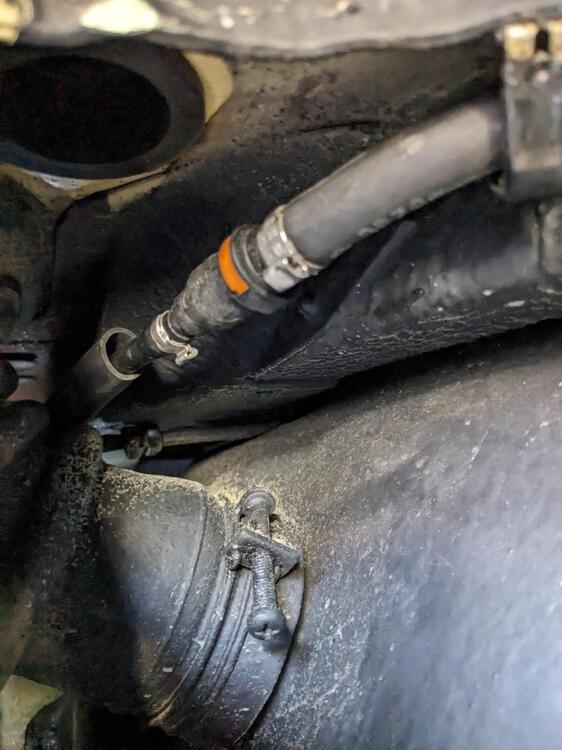
Back on the fuel vent lines today. The main reason for gas smell was that I used the incorrect grade line for the 1/4" vent hose into the cabin. Still, I decided that I like the minimal fuel hose into the cabin, so I ran a new single 5/8" SAE J30R7 reinforced hose from the U-bend on the tank to the filler neck. Added a heat shrink sleeve where it passes into the cabin, to make it snug in the grommet. Plugged the smaller vent pass thru. New vent line to charcoal canister is now run underneath, so I plugged the factory grommet at the forward end of the rail. Had to use a universal grommet, I couldn't find a Volvo one in my collection in the appropriate size. Cut the original vent hose where it comes through the frame rail and added a quick connect. Nitrile line goes from there to the tank. added EPDM sleeve Pressing male QC fitting at tank end of nitrile line Female 90º QC off tank is connected using a section of the original Z vent hose from inside the cabin . These fittings can be reached for disconnect from between the rear panel & gas tank, and thru the louvre vents in the rear panel on the 75.
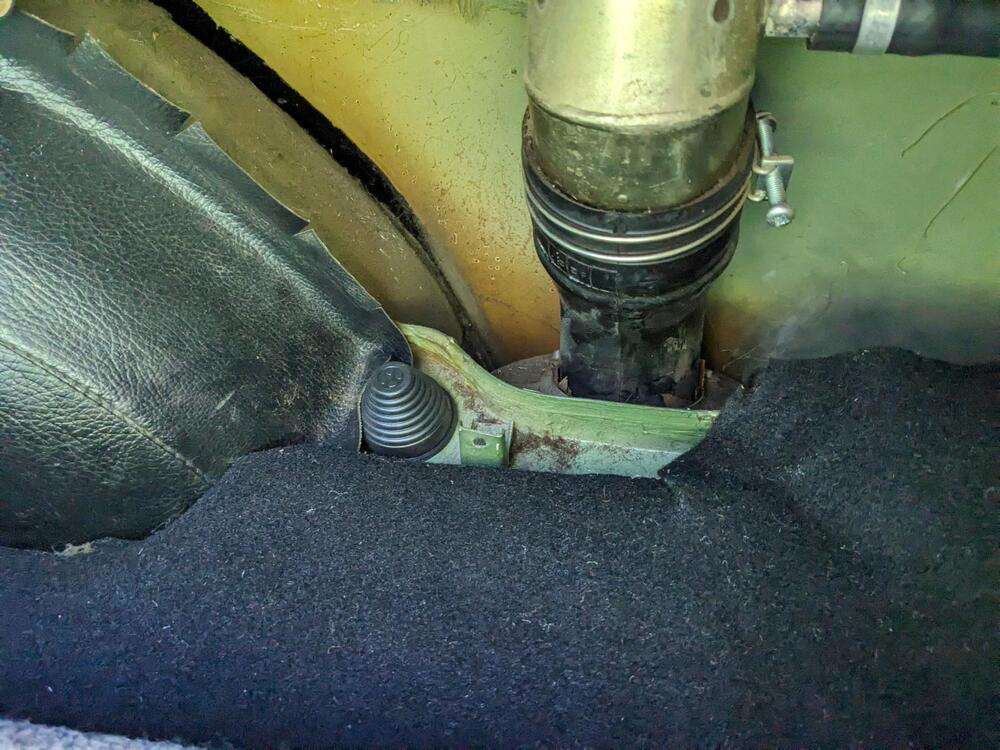
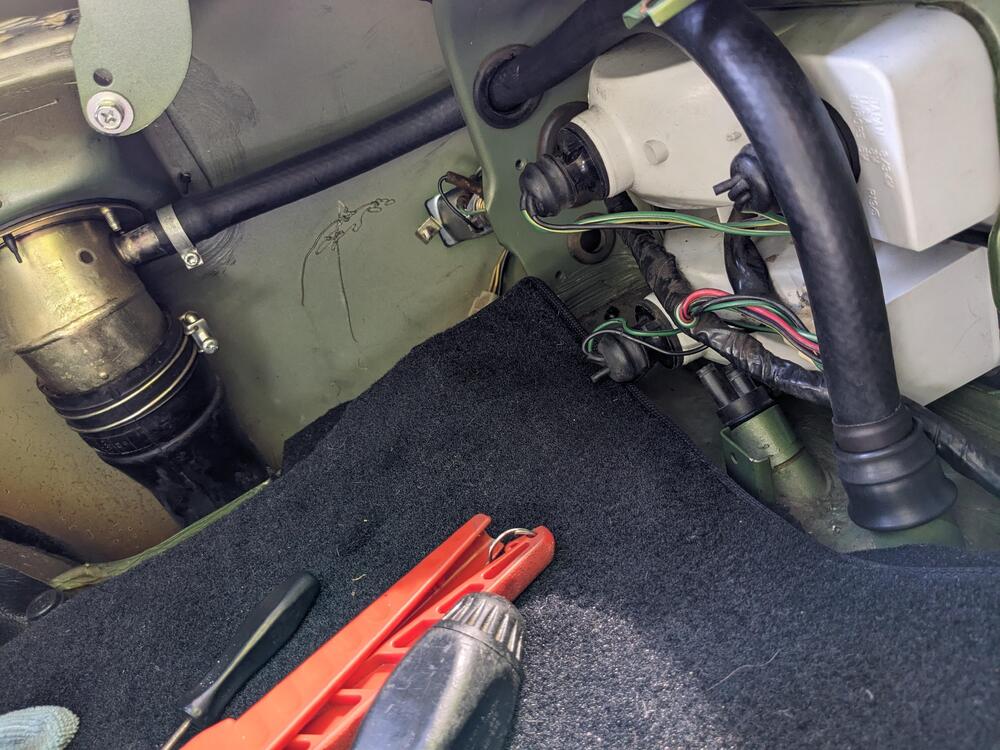
-
I have body cavity wax spray, so I'll do just that if the replacements they are supplying still use the sleeve, good call.
-
Yes, this is the 2nd set that failed. I've used Eibachs on a range of Volvos, and never had this failure. This Volvo P1 chassis (C30/S40/V50) is shared with Mazda3 & Ford Focus (From Ford's ownership period (approx 2000- 2013), so perhaps the larger market reduced product quality, I dunno. I do have the Eibach spring set on the Z as well...
-
Indeed! There should be zero pressure in the vent side, so I don't see how liquid fuel could be drawn / pushed all the way up to the front. That would mean it had to pass through the vent canister also - seems implausible. Equally implausible for fuel to be fed through the charcoal canister, so it must have come from the gas tank somehow. Also there is no check / rollover valve to be found on my 75.
-
Hmm... somehow I forgot to take the pic AFTER I installed it 🤪. I'll drive it around some tomorrow. The main thing I'm curious about is the fuel in the tank vent line.
-
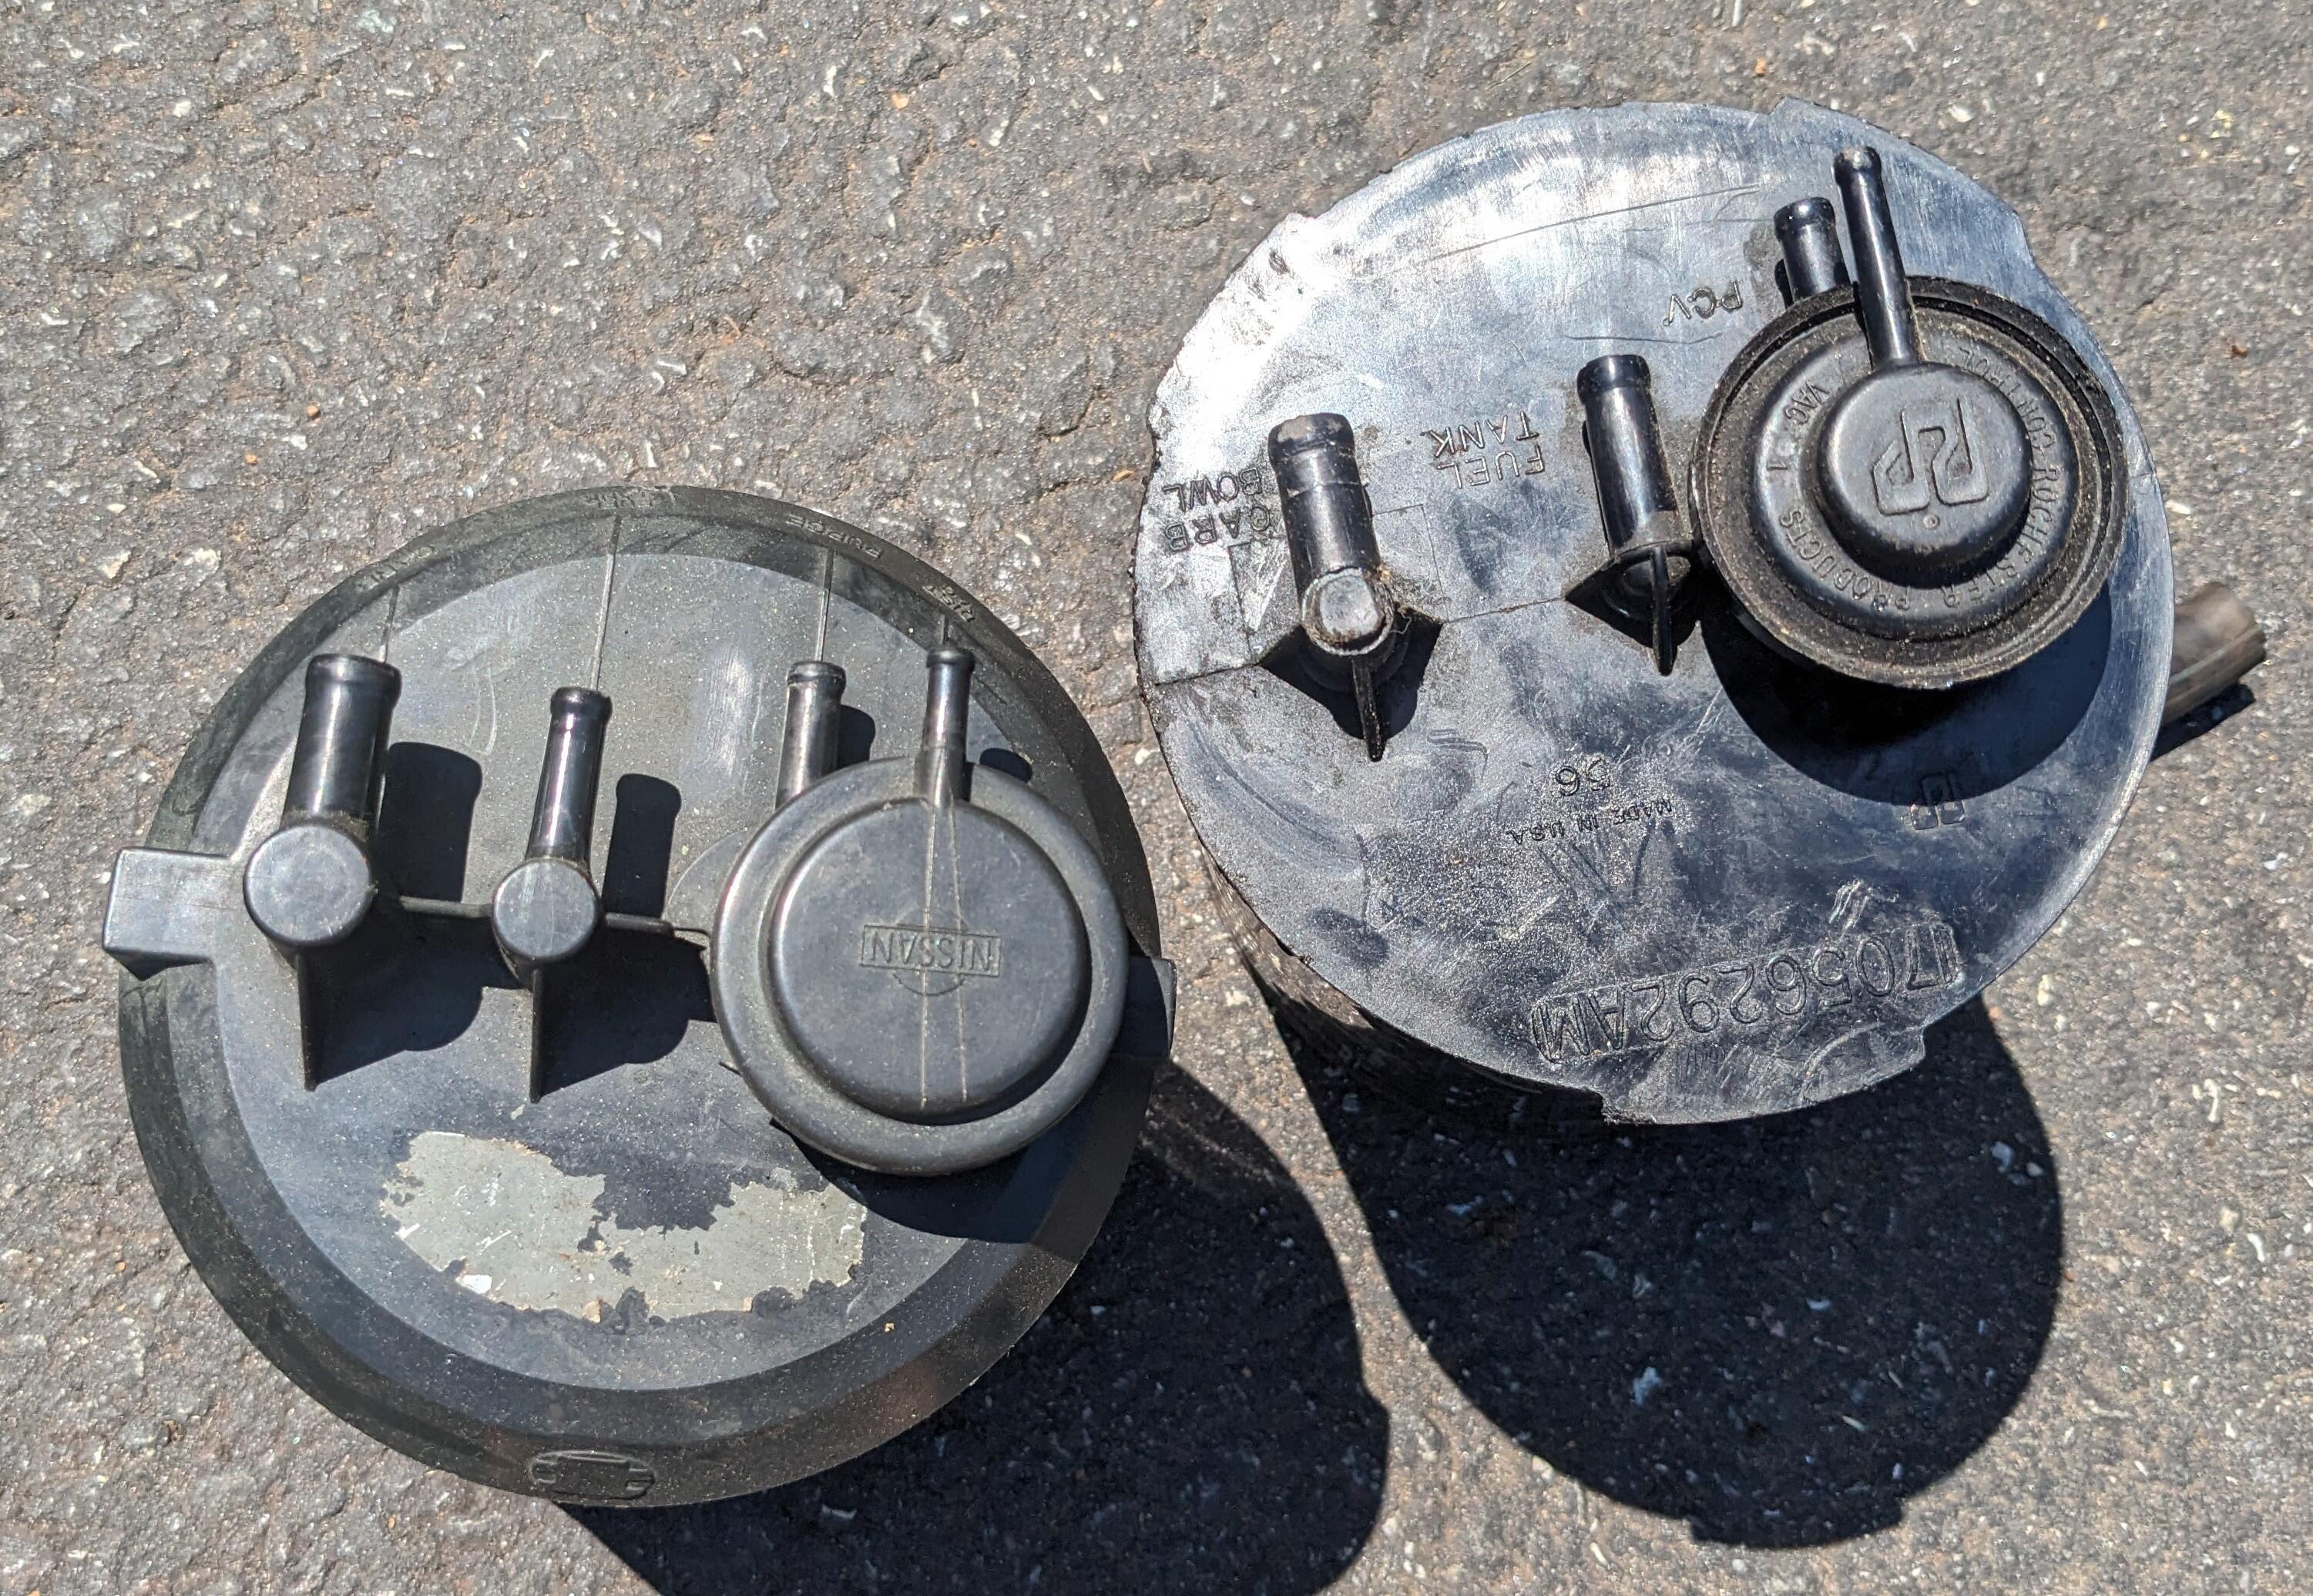
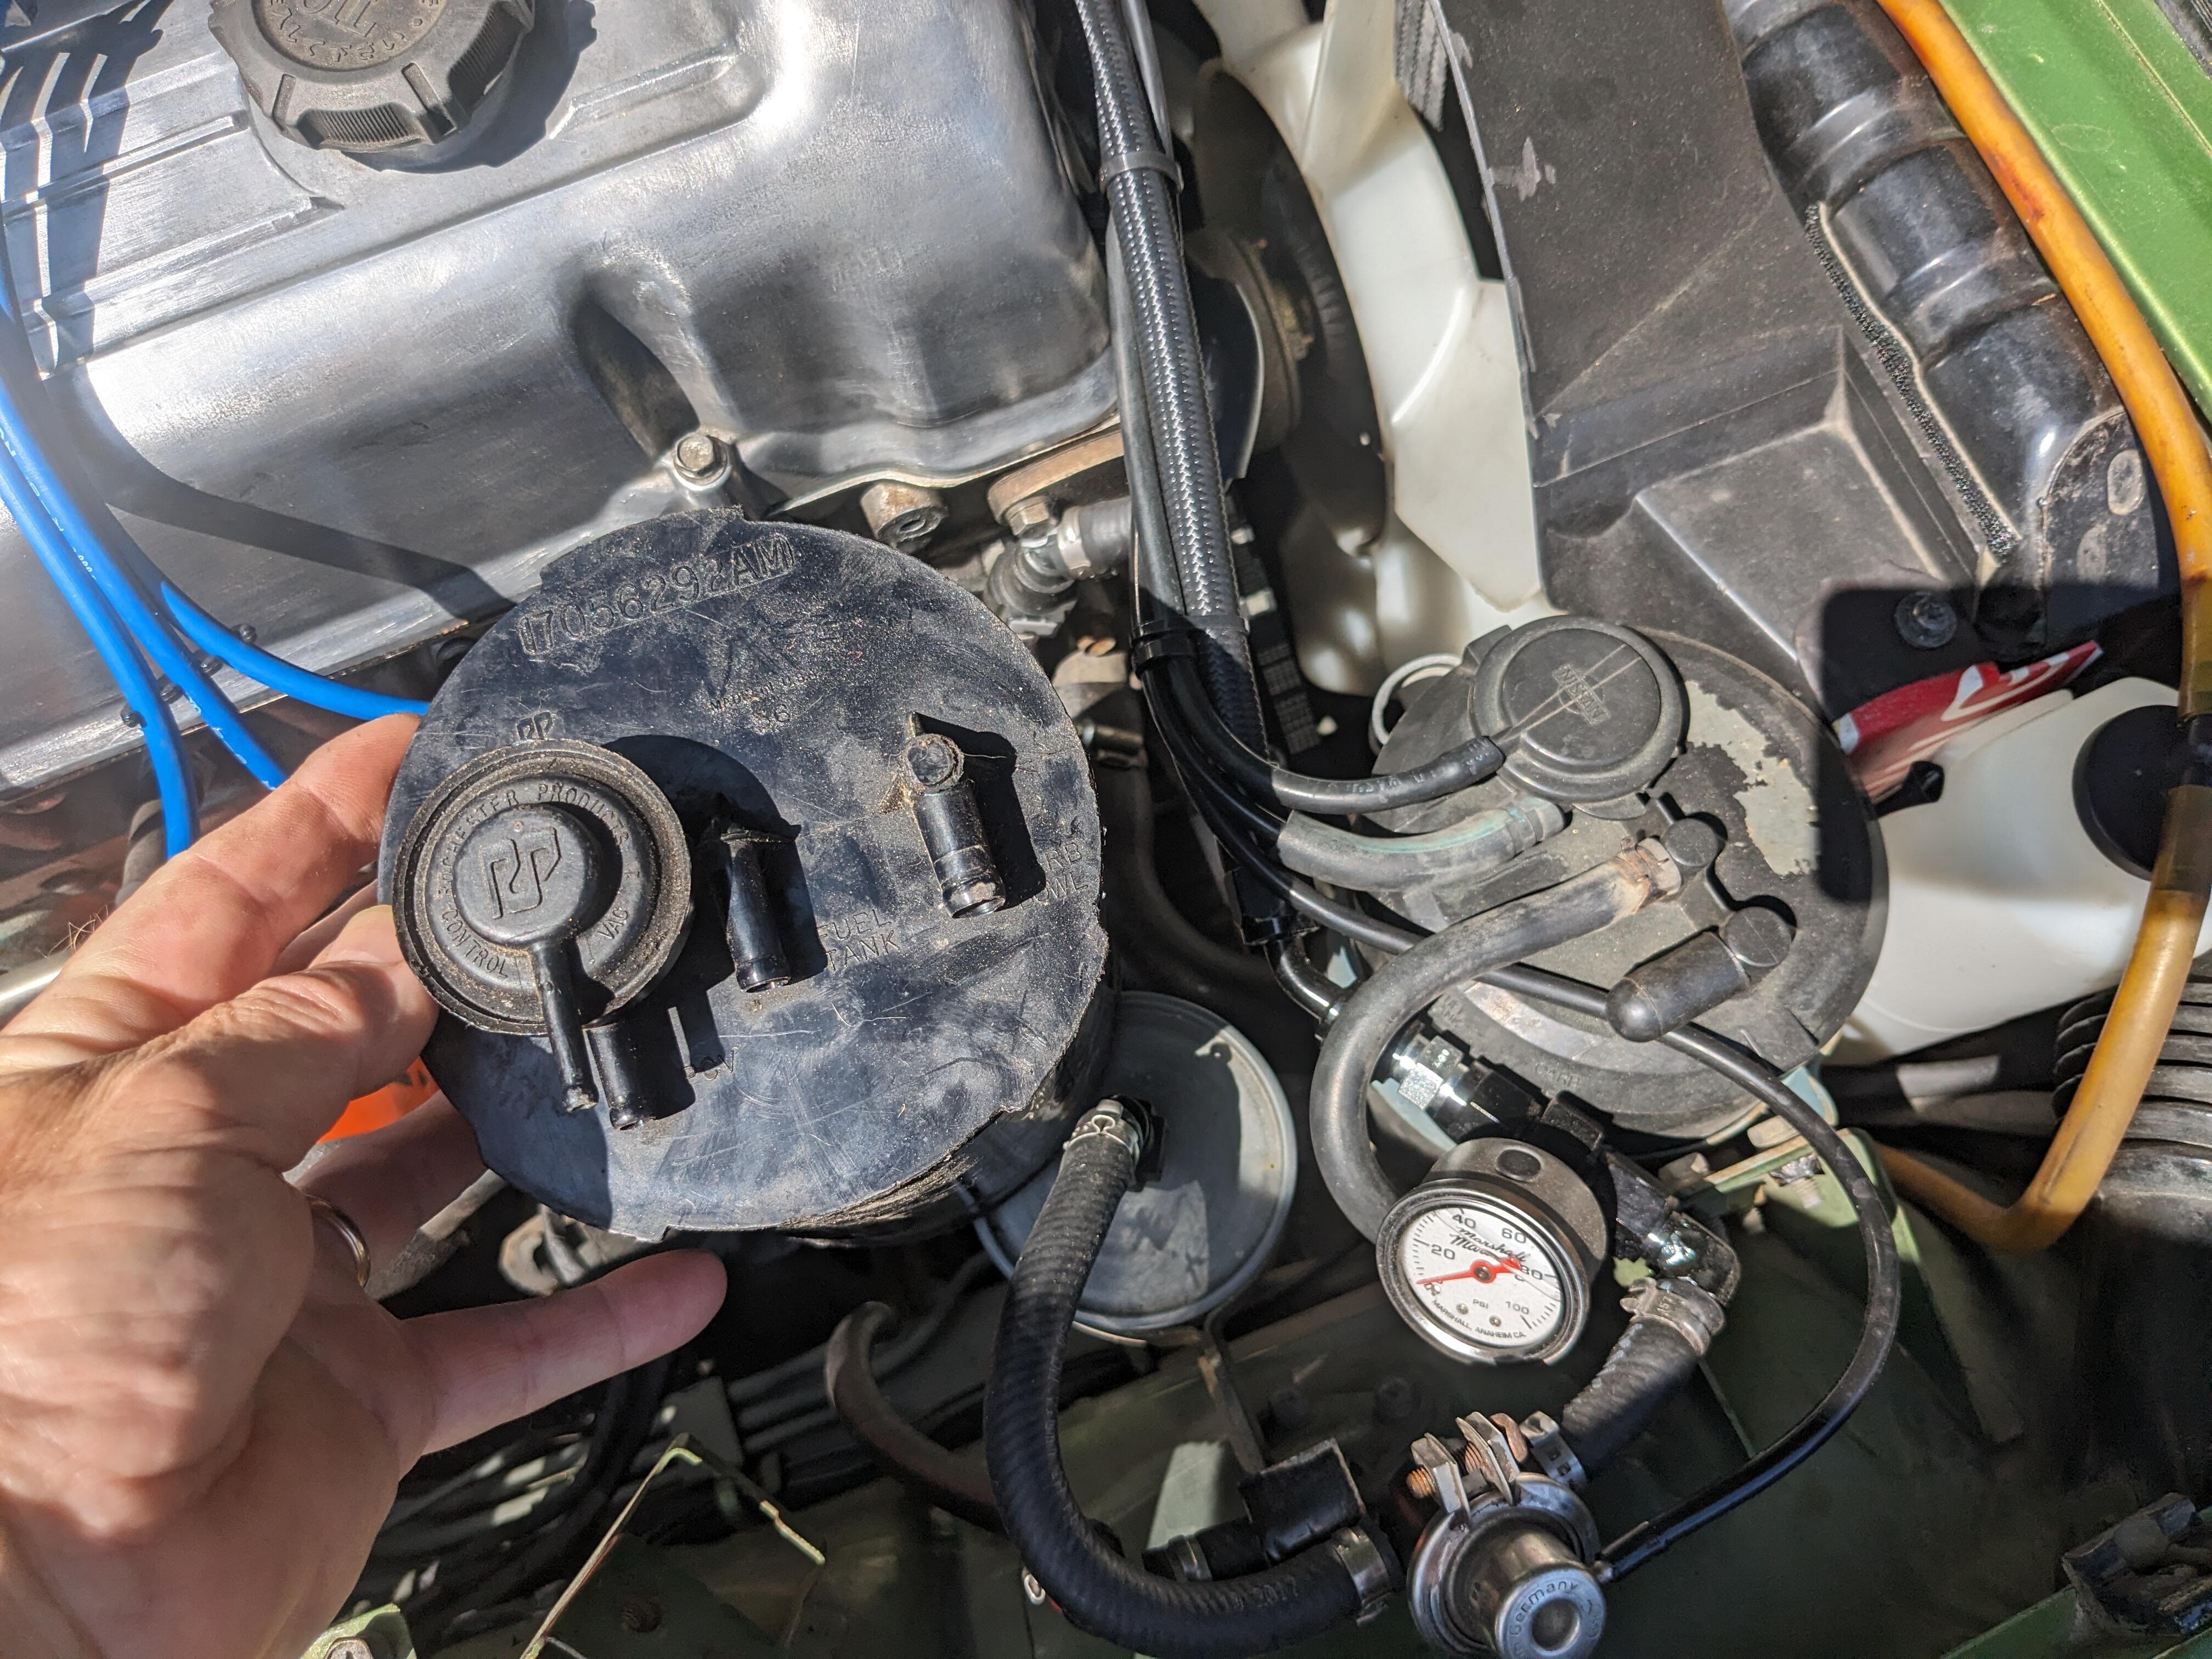
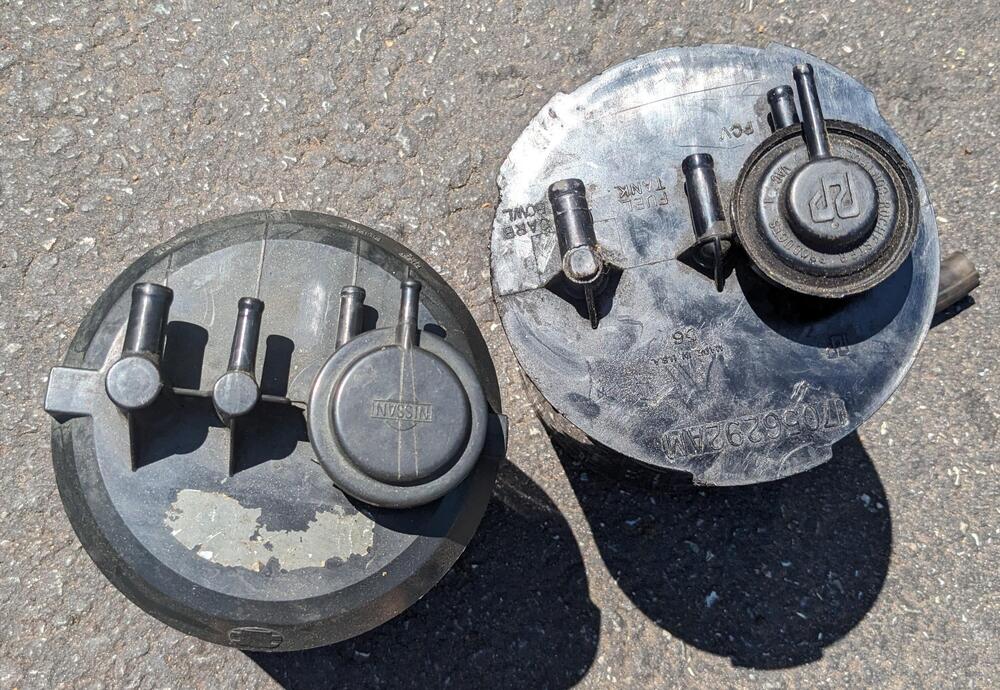
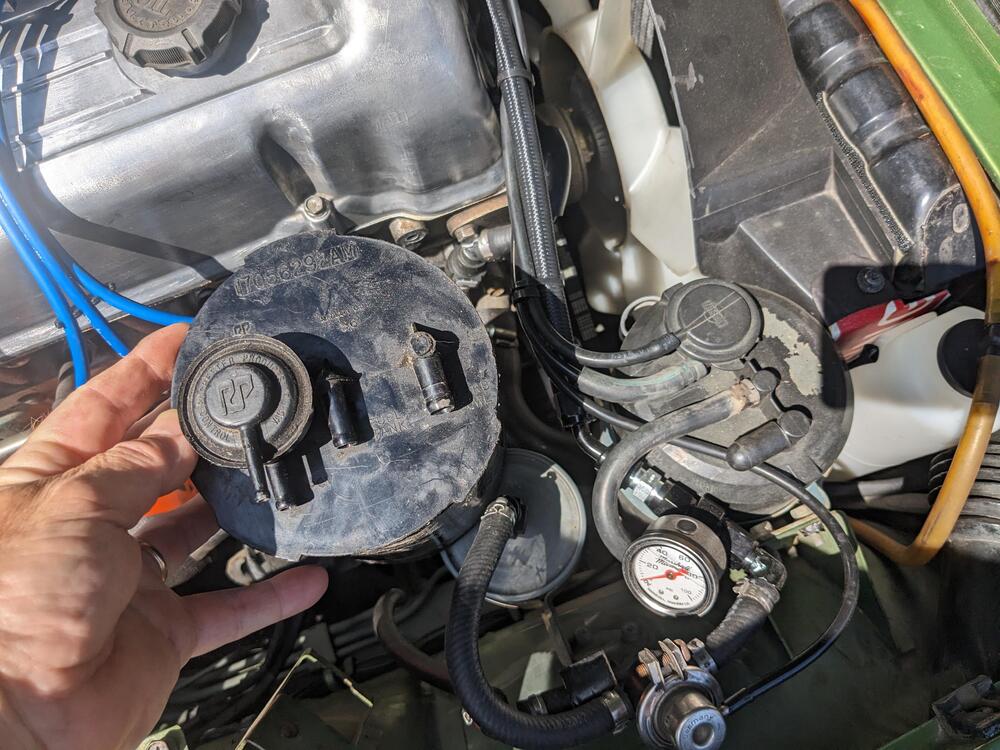
Back on this topic - I pulled out a Volvo Cannister - I was looking at the hose from the vent line on the inner fender to the Cannister, and since it seemed to me there were signs (or rather smells) of gasoline on occasion, I figured I would try the Volvo (GM) Cannister at the same time Identical fittings on this one - from a mid 90s 960 What I wasn't expecting was actual fuel in that metal vent line coming up the inner fender. When I pulled off the hose there was fuel all the way up at the hose. I presumed fuel vapor of course, but not fuel actually spilling out of the hose. No wonder I could smell gasoline there (given that they were cracks in the hardened hose). I removed the gas cap and blew back through that hose to the tank to make sure it was clear. It is, so now that it's cleaned out I'll see if fuel accumulates in it as time goes by. Seems odd to me.
-
Forgot to finalize this - I added the timer when I was dealing with the failing stock EFI system relay
-
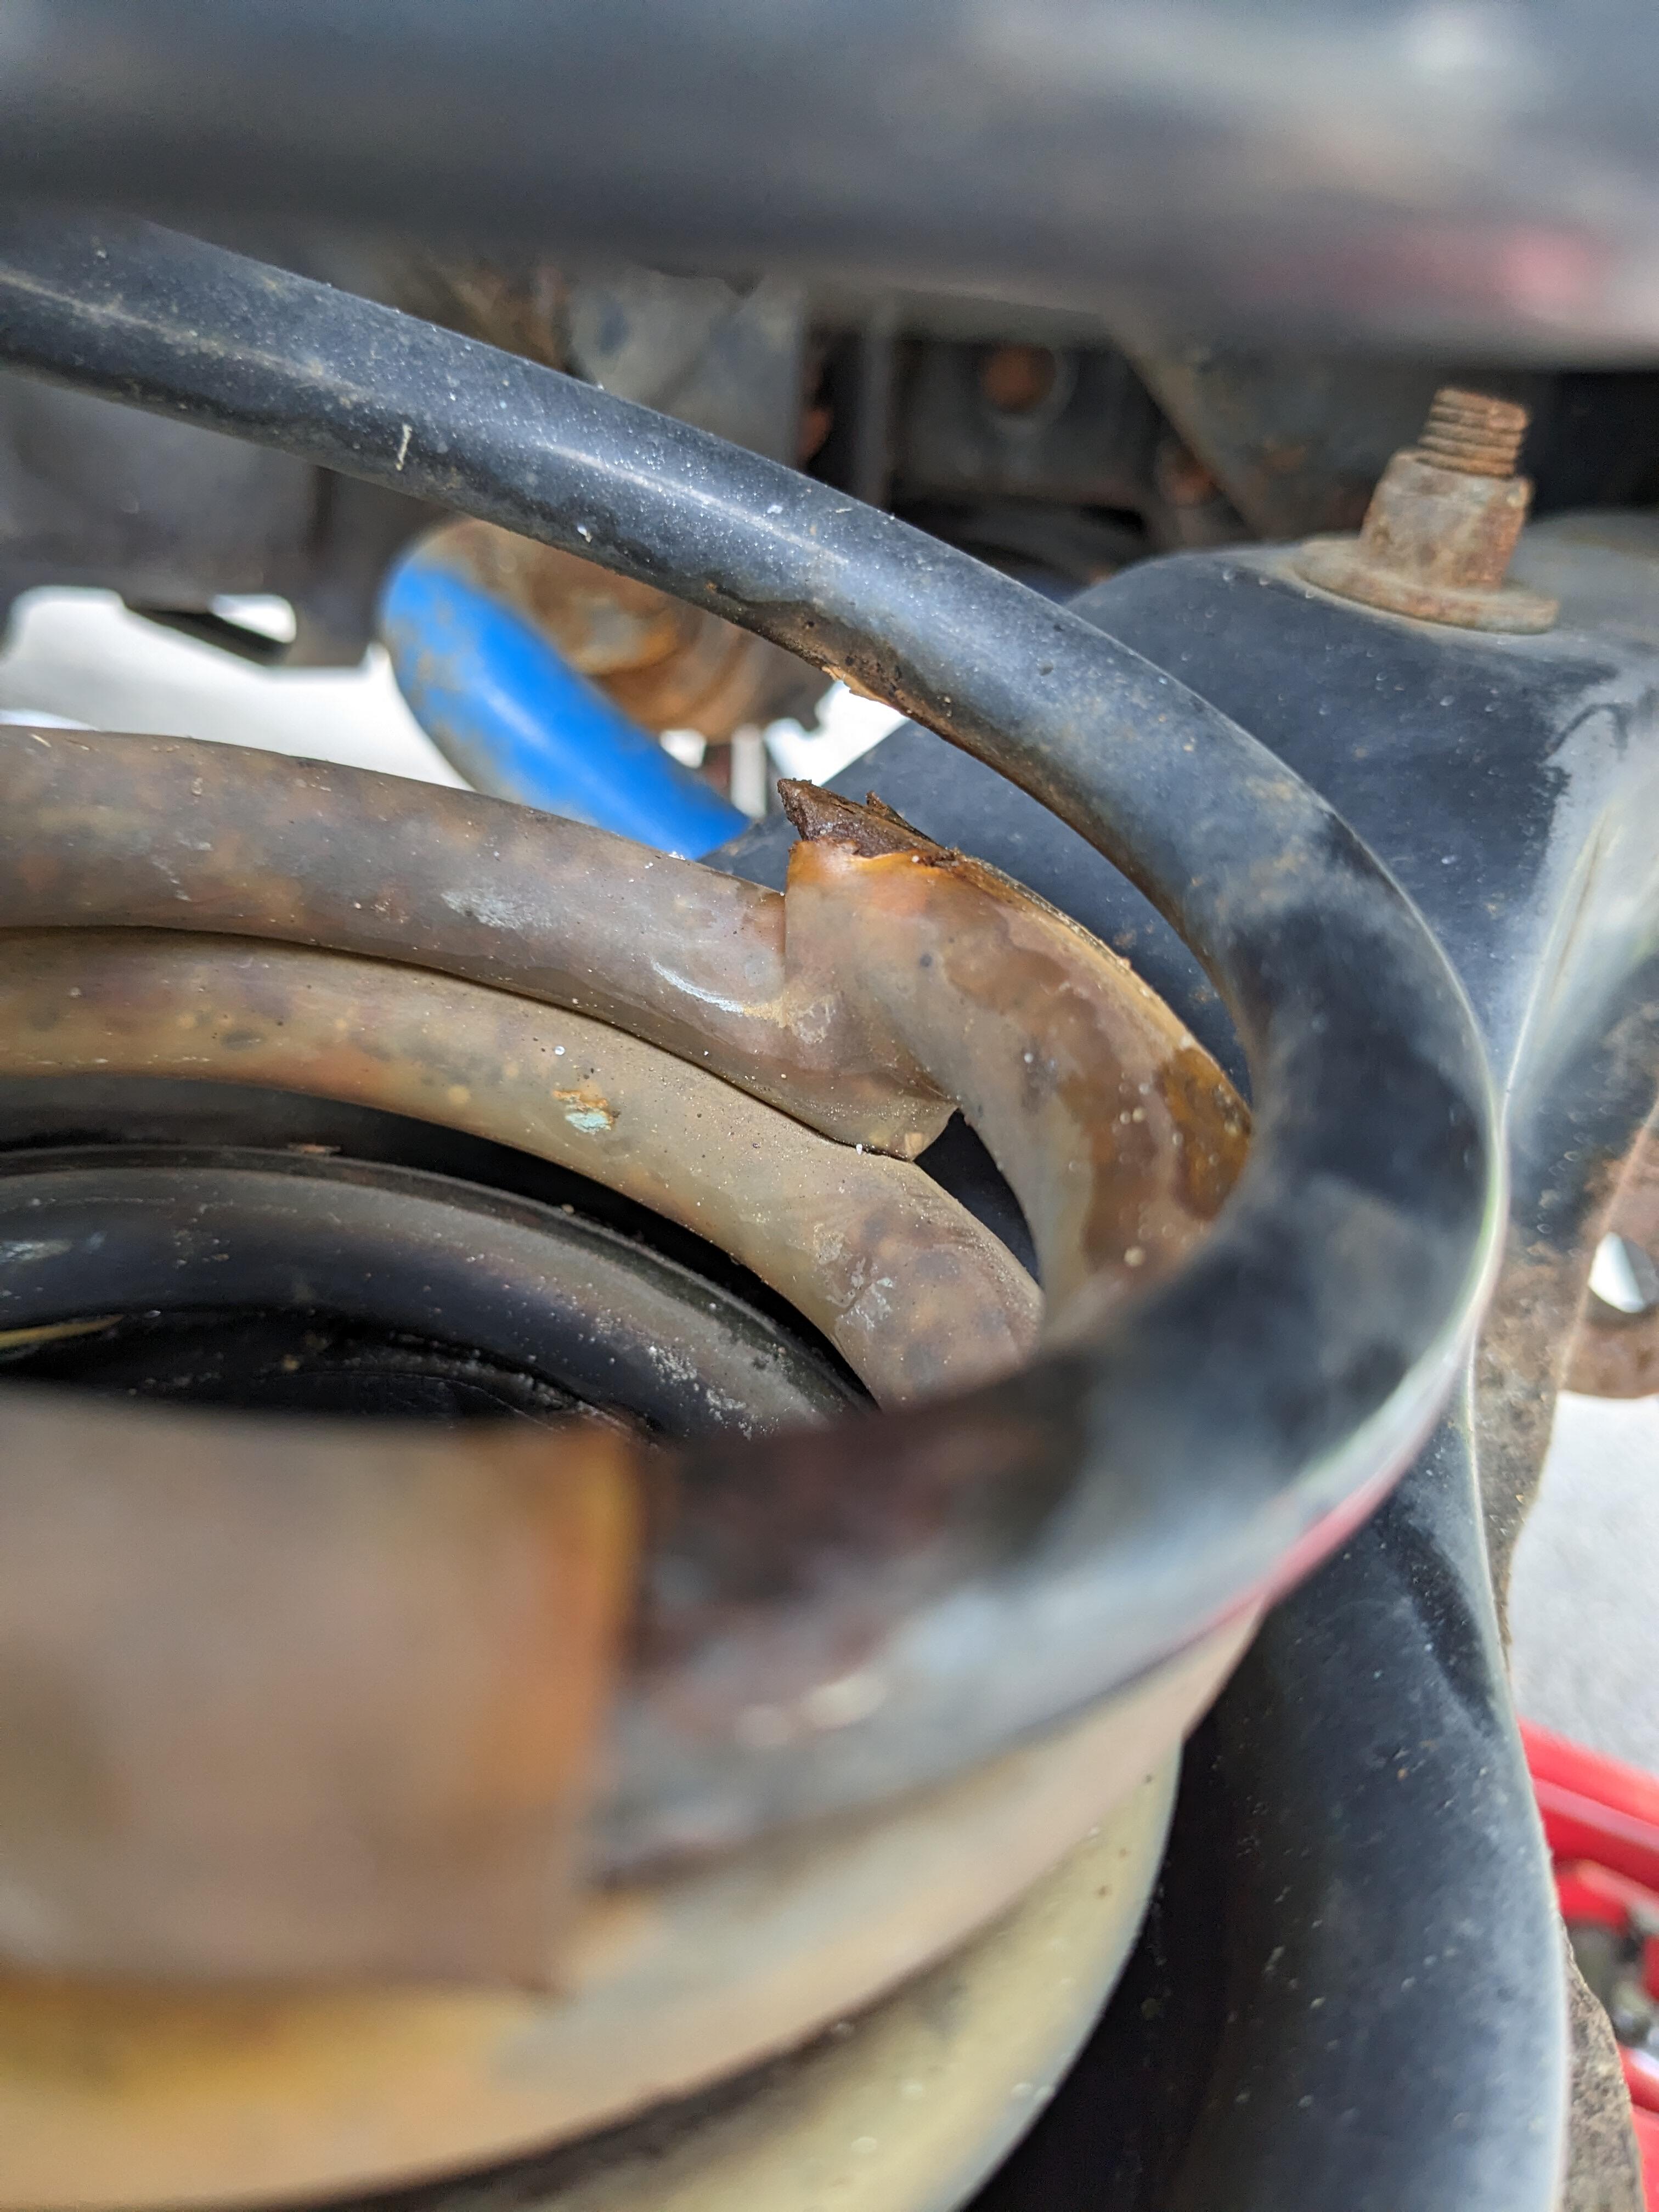
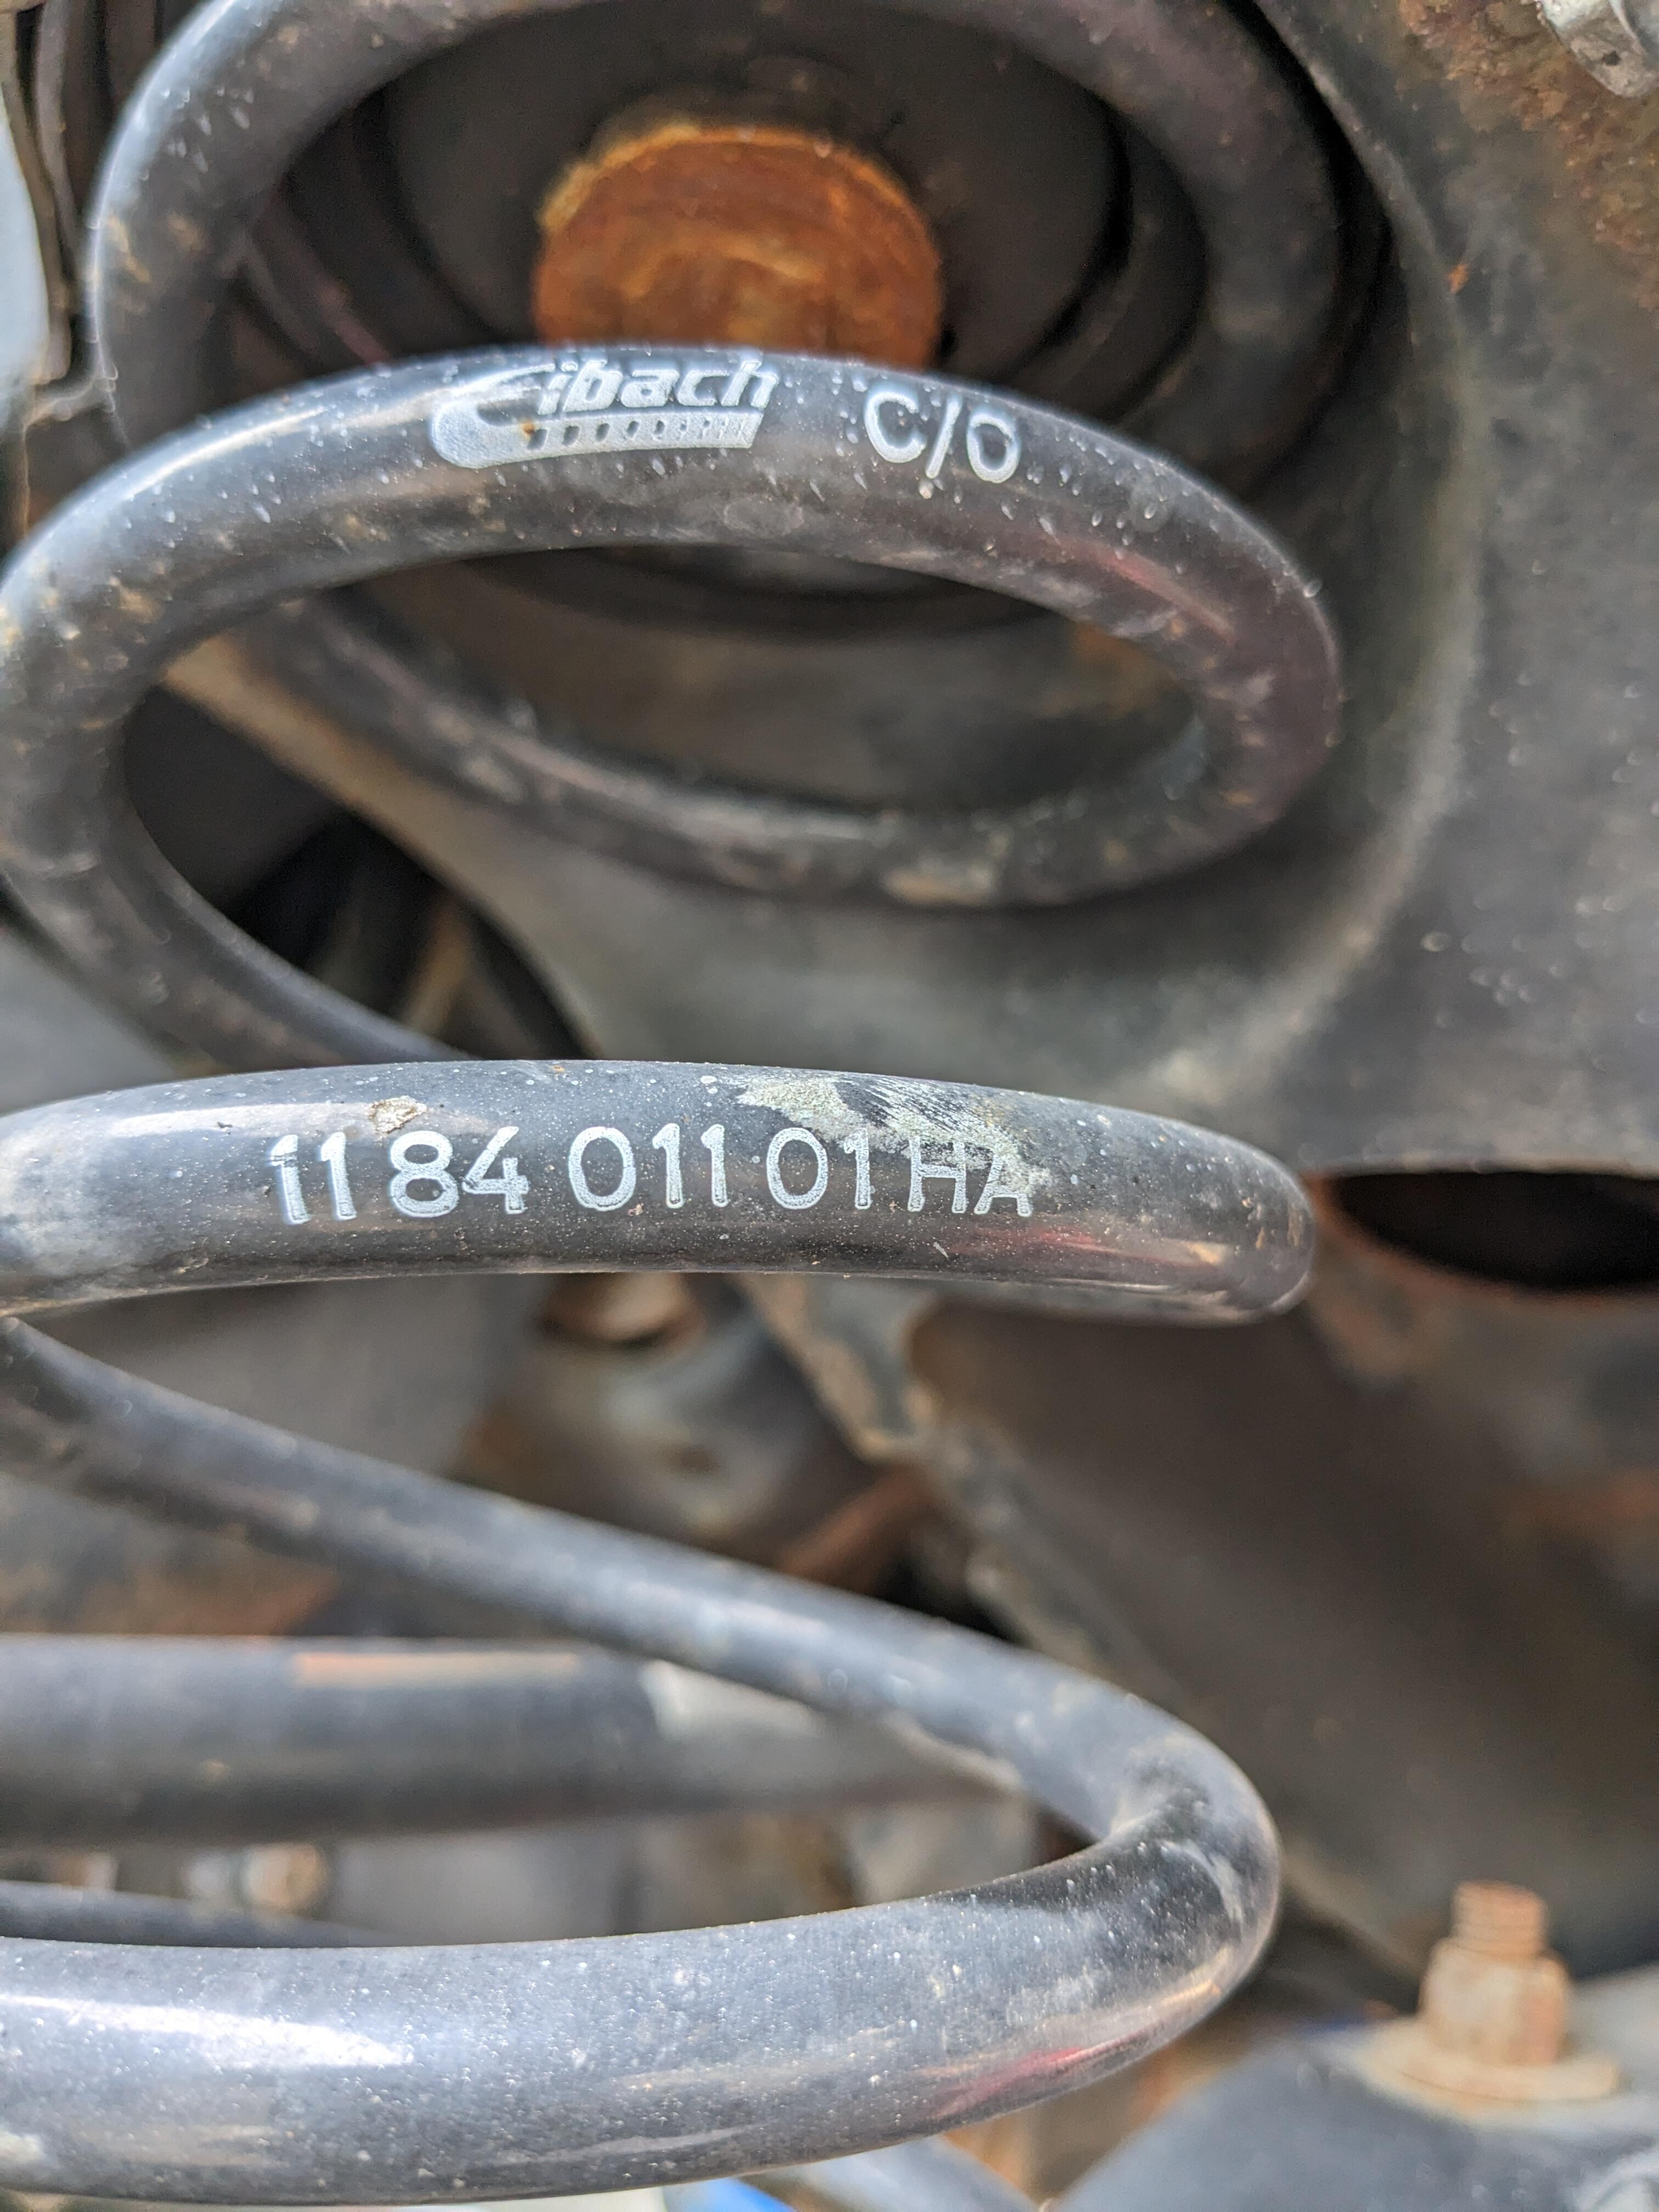
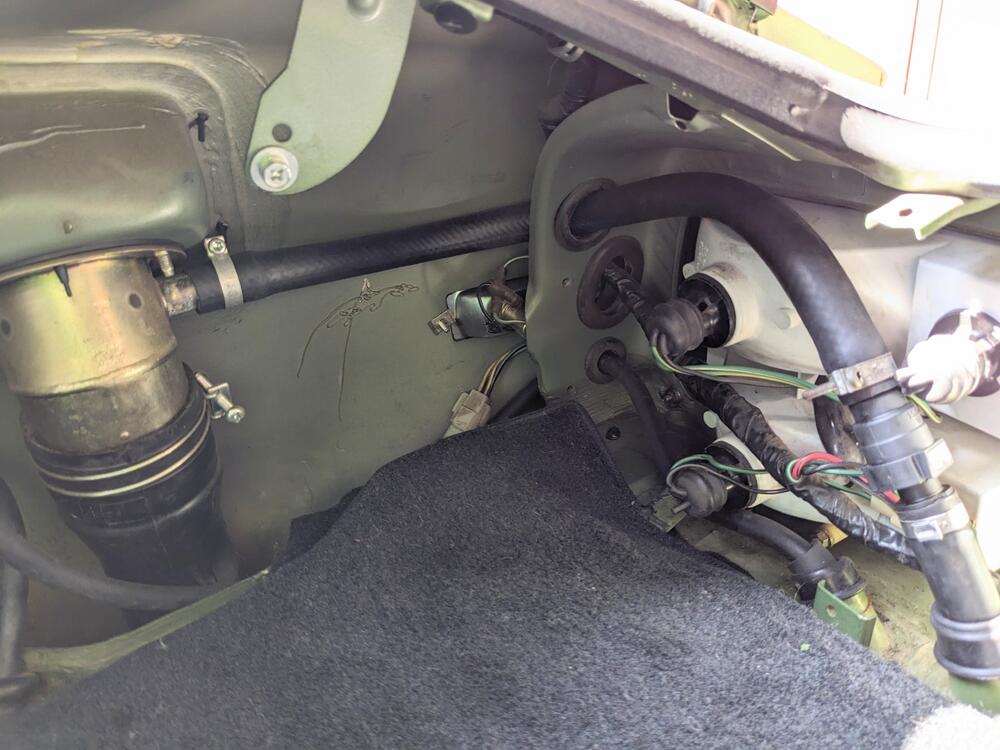
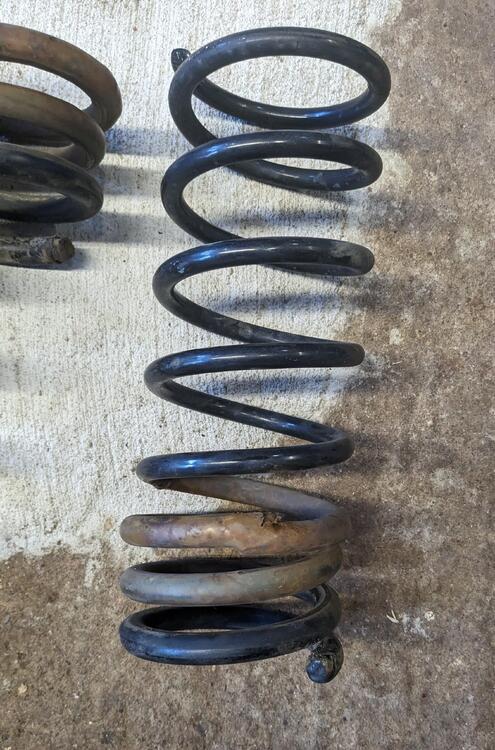
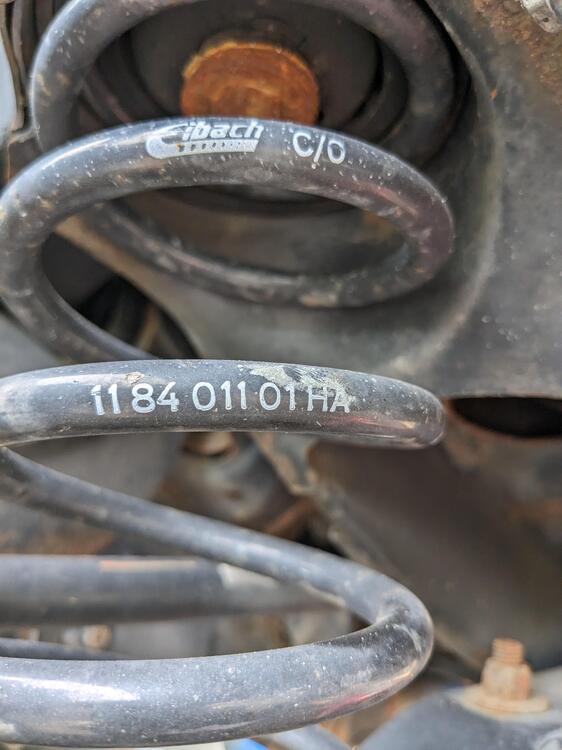
Eibach will send me new springs. Didn't give me a shipping date, but they will honor their warranty Removed the vapor canister yesterday - seemed like I was getting some fuel vapor in the cabin - did not have that prior to futzIng with the hoses back there. In all likelihood it was the old sections of hose I had spliced, so I removed the stock 5/8" ID (more like 16.5mm), and put a new section from the feeder I had already replaced, directly to the filler neck. The 1/4 hose I just spliced together for now - just wanted to see if the vapor smells went away with this. They seemed to have. I may ultimately put the canister back, I'm undecided on that. It's physically in very good shape. Or maybe I should just sell it, there's probably somebody out there who wants to keep their 280Z in factory condition...
-
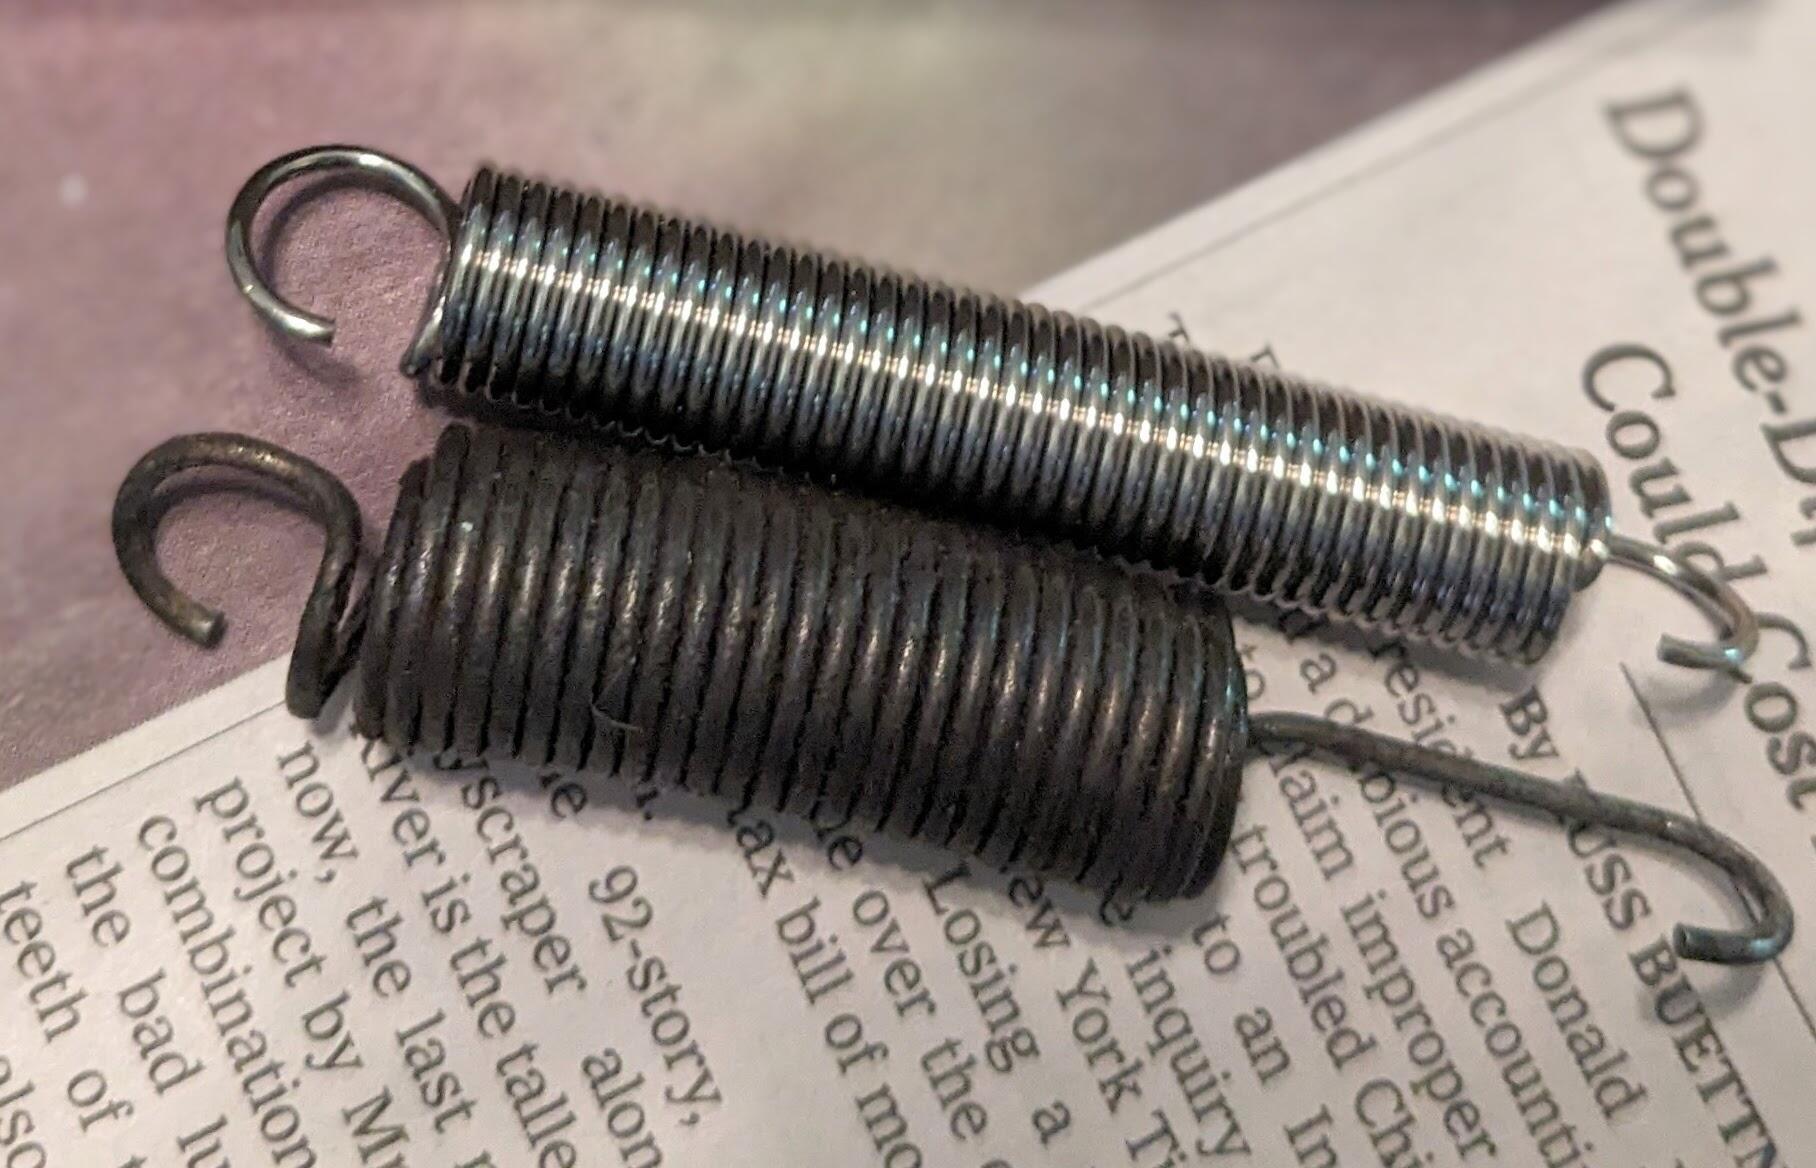
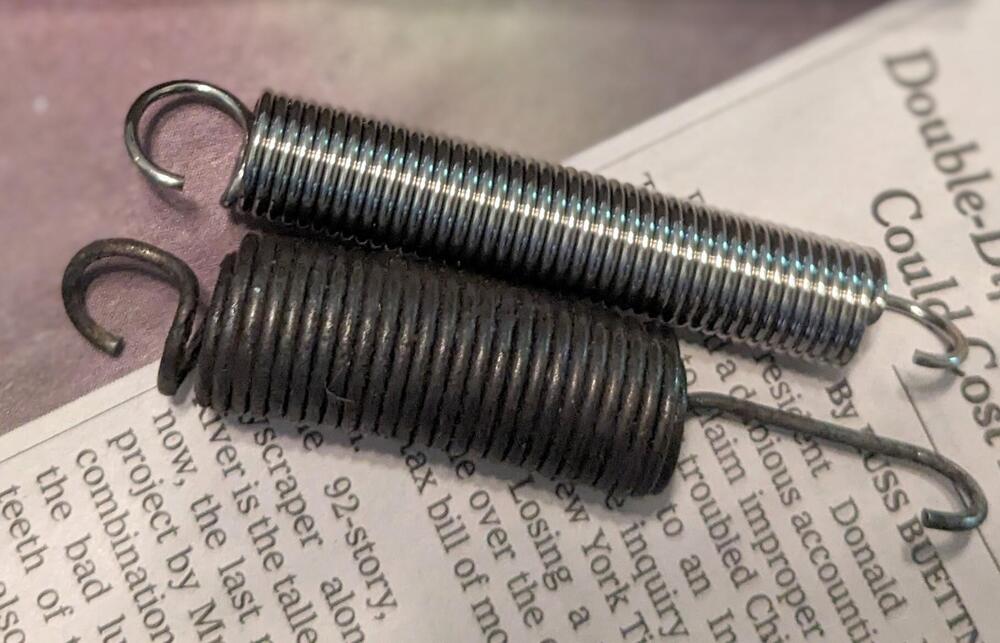
Too much math for me 😁 I did consider putting a weight on the spring to compare, however just pulling on the two to compare, the new one has more initial tension, which is needed to make sure the throttle closes fully, in my case.
-
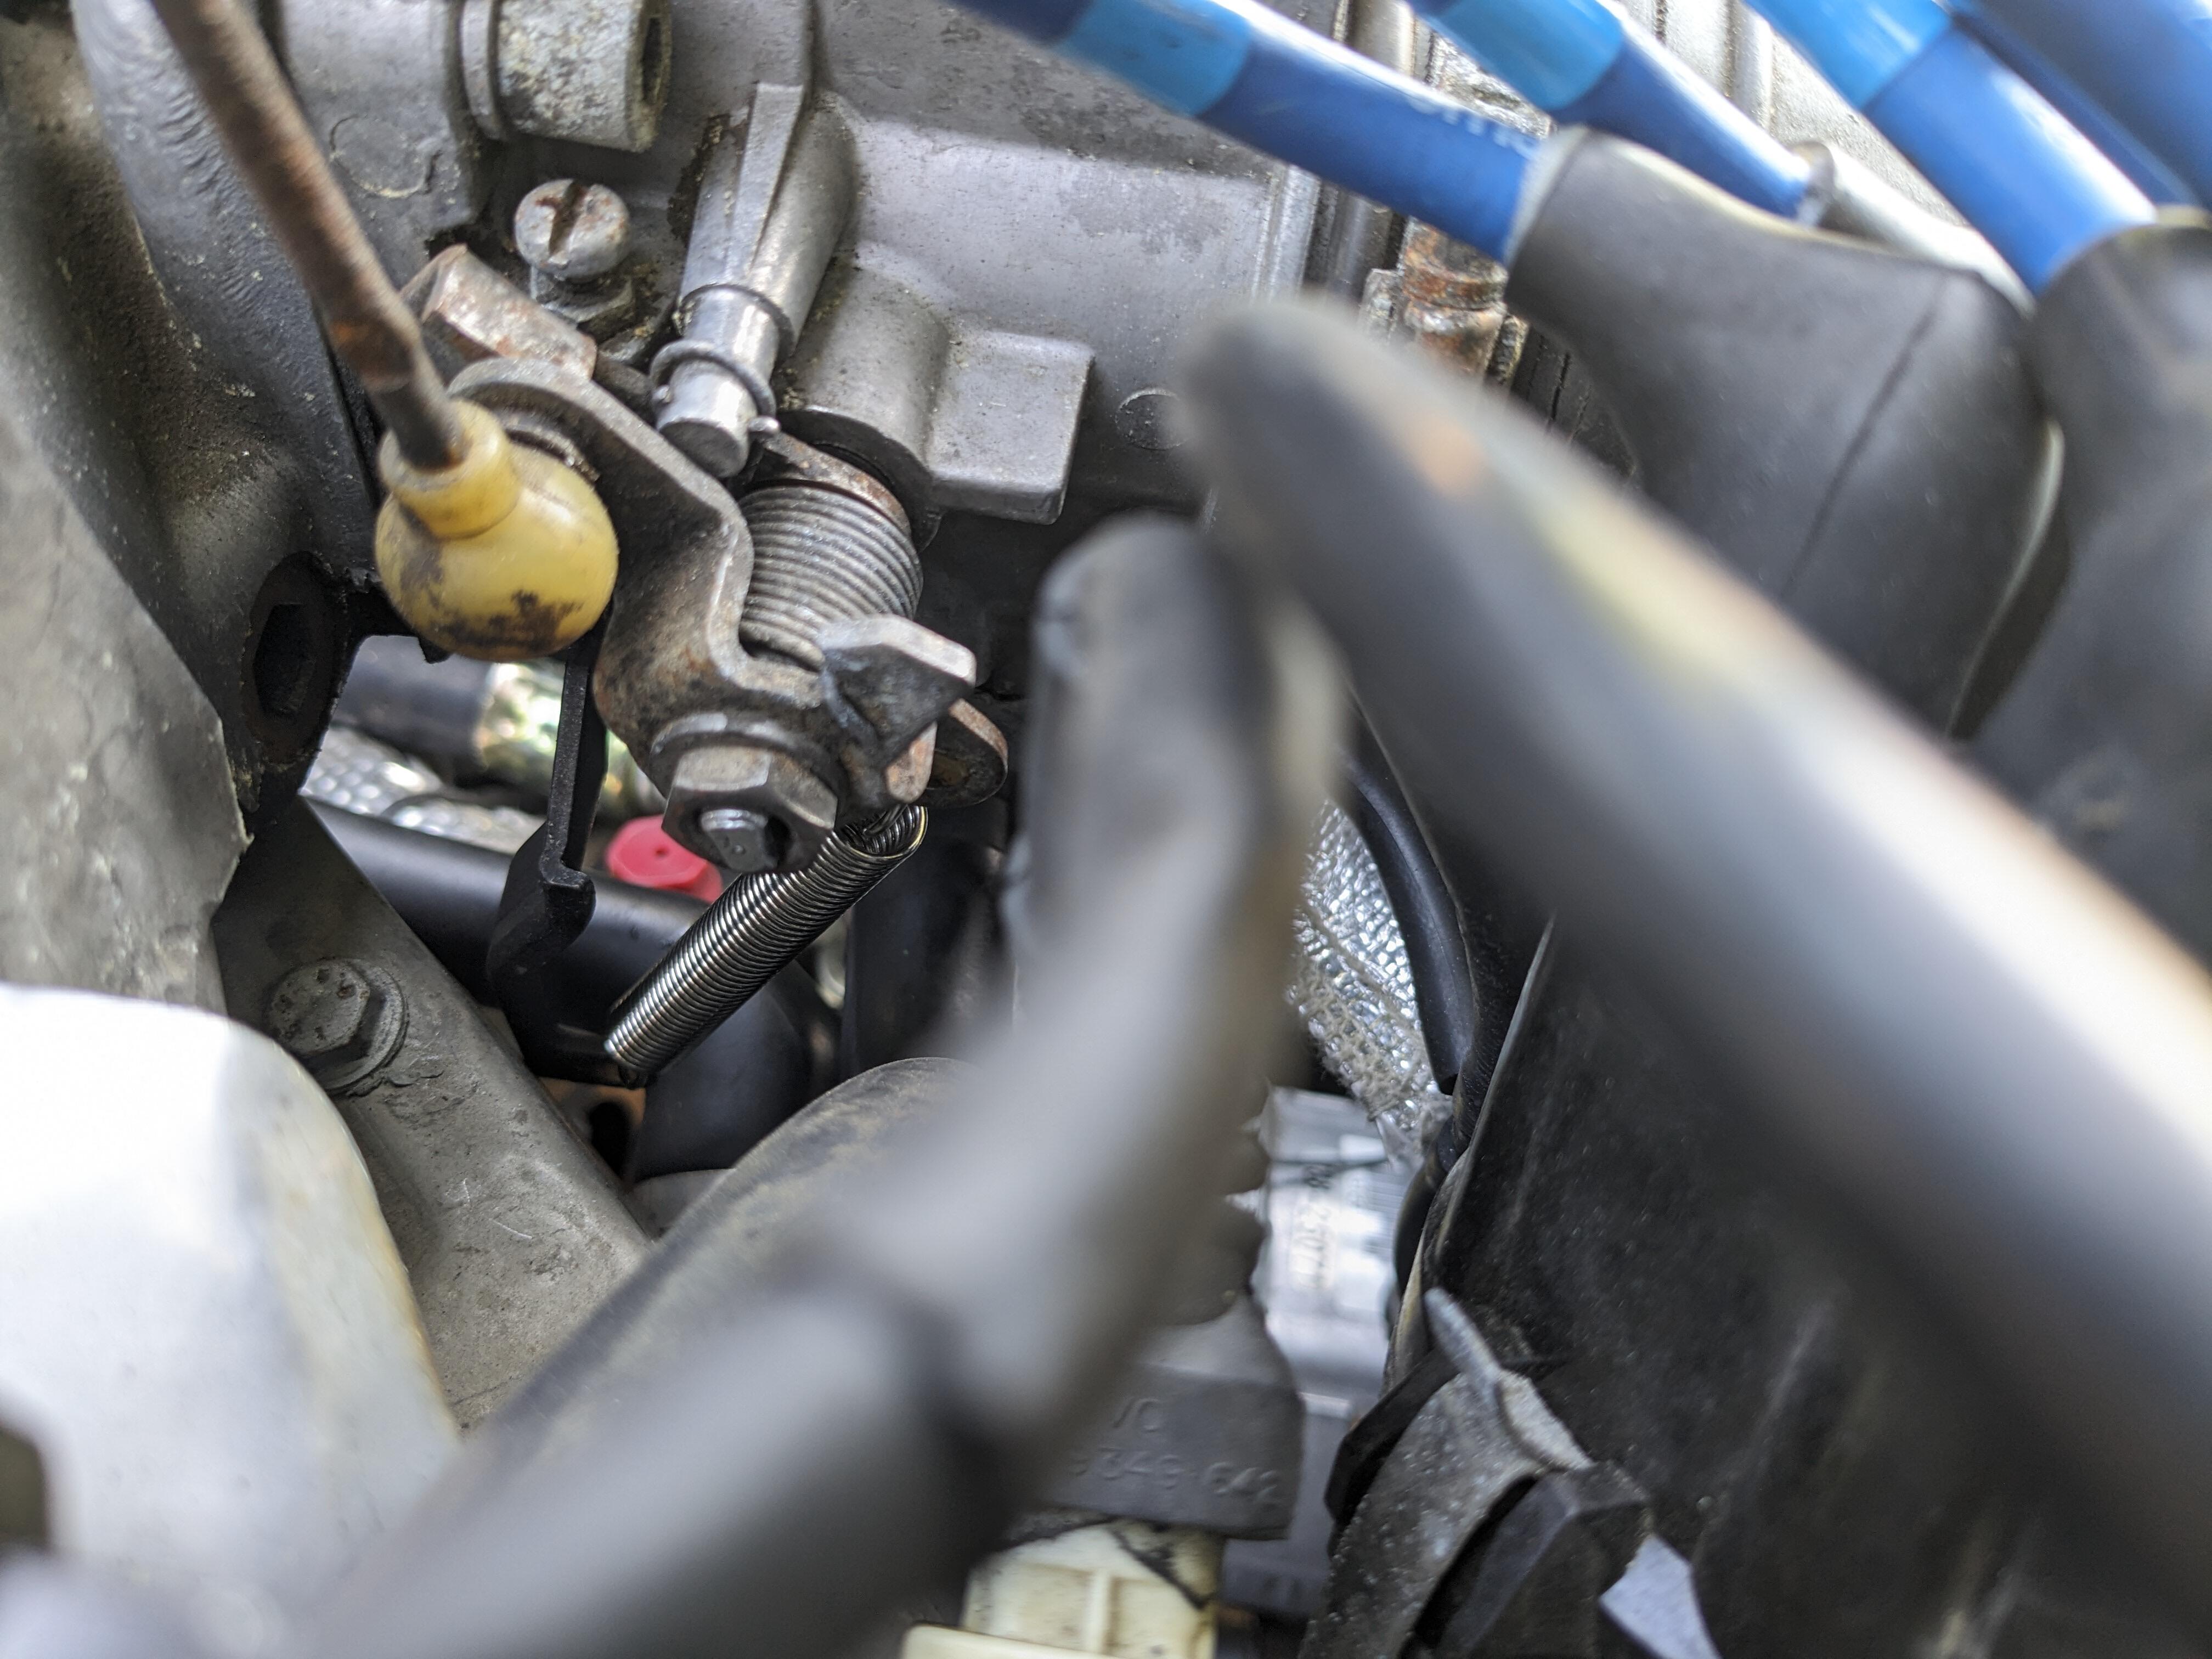
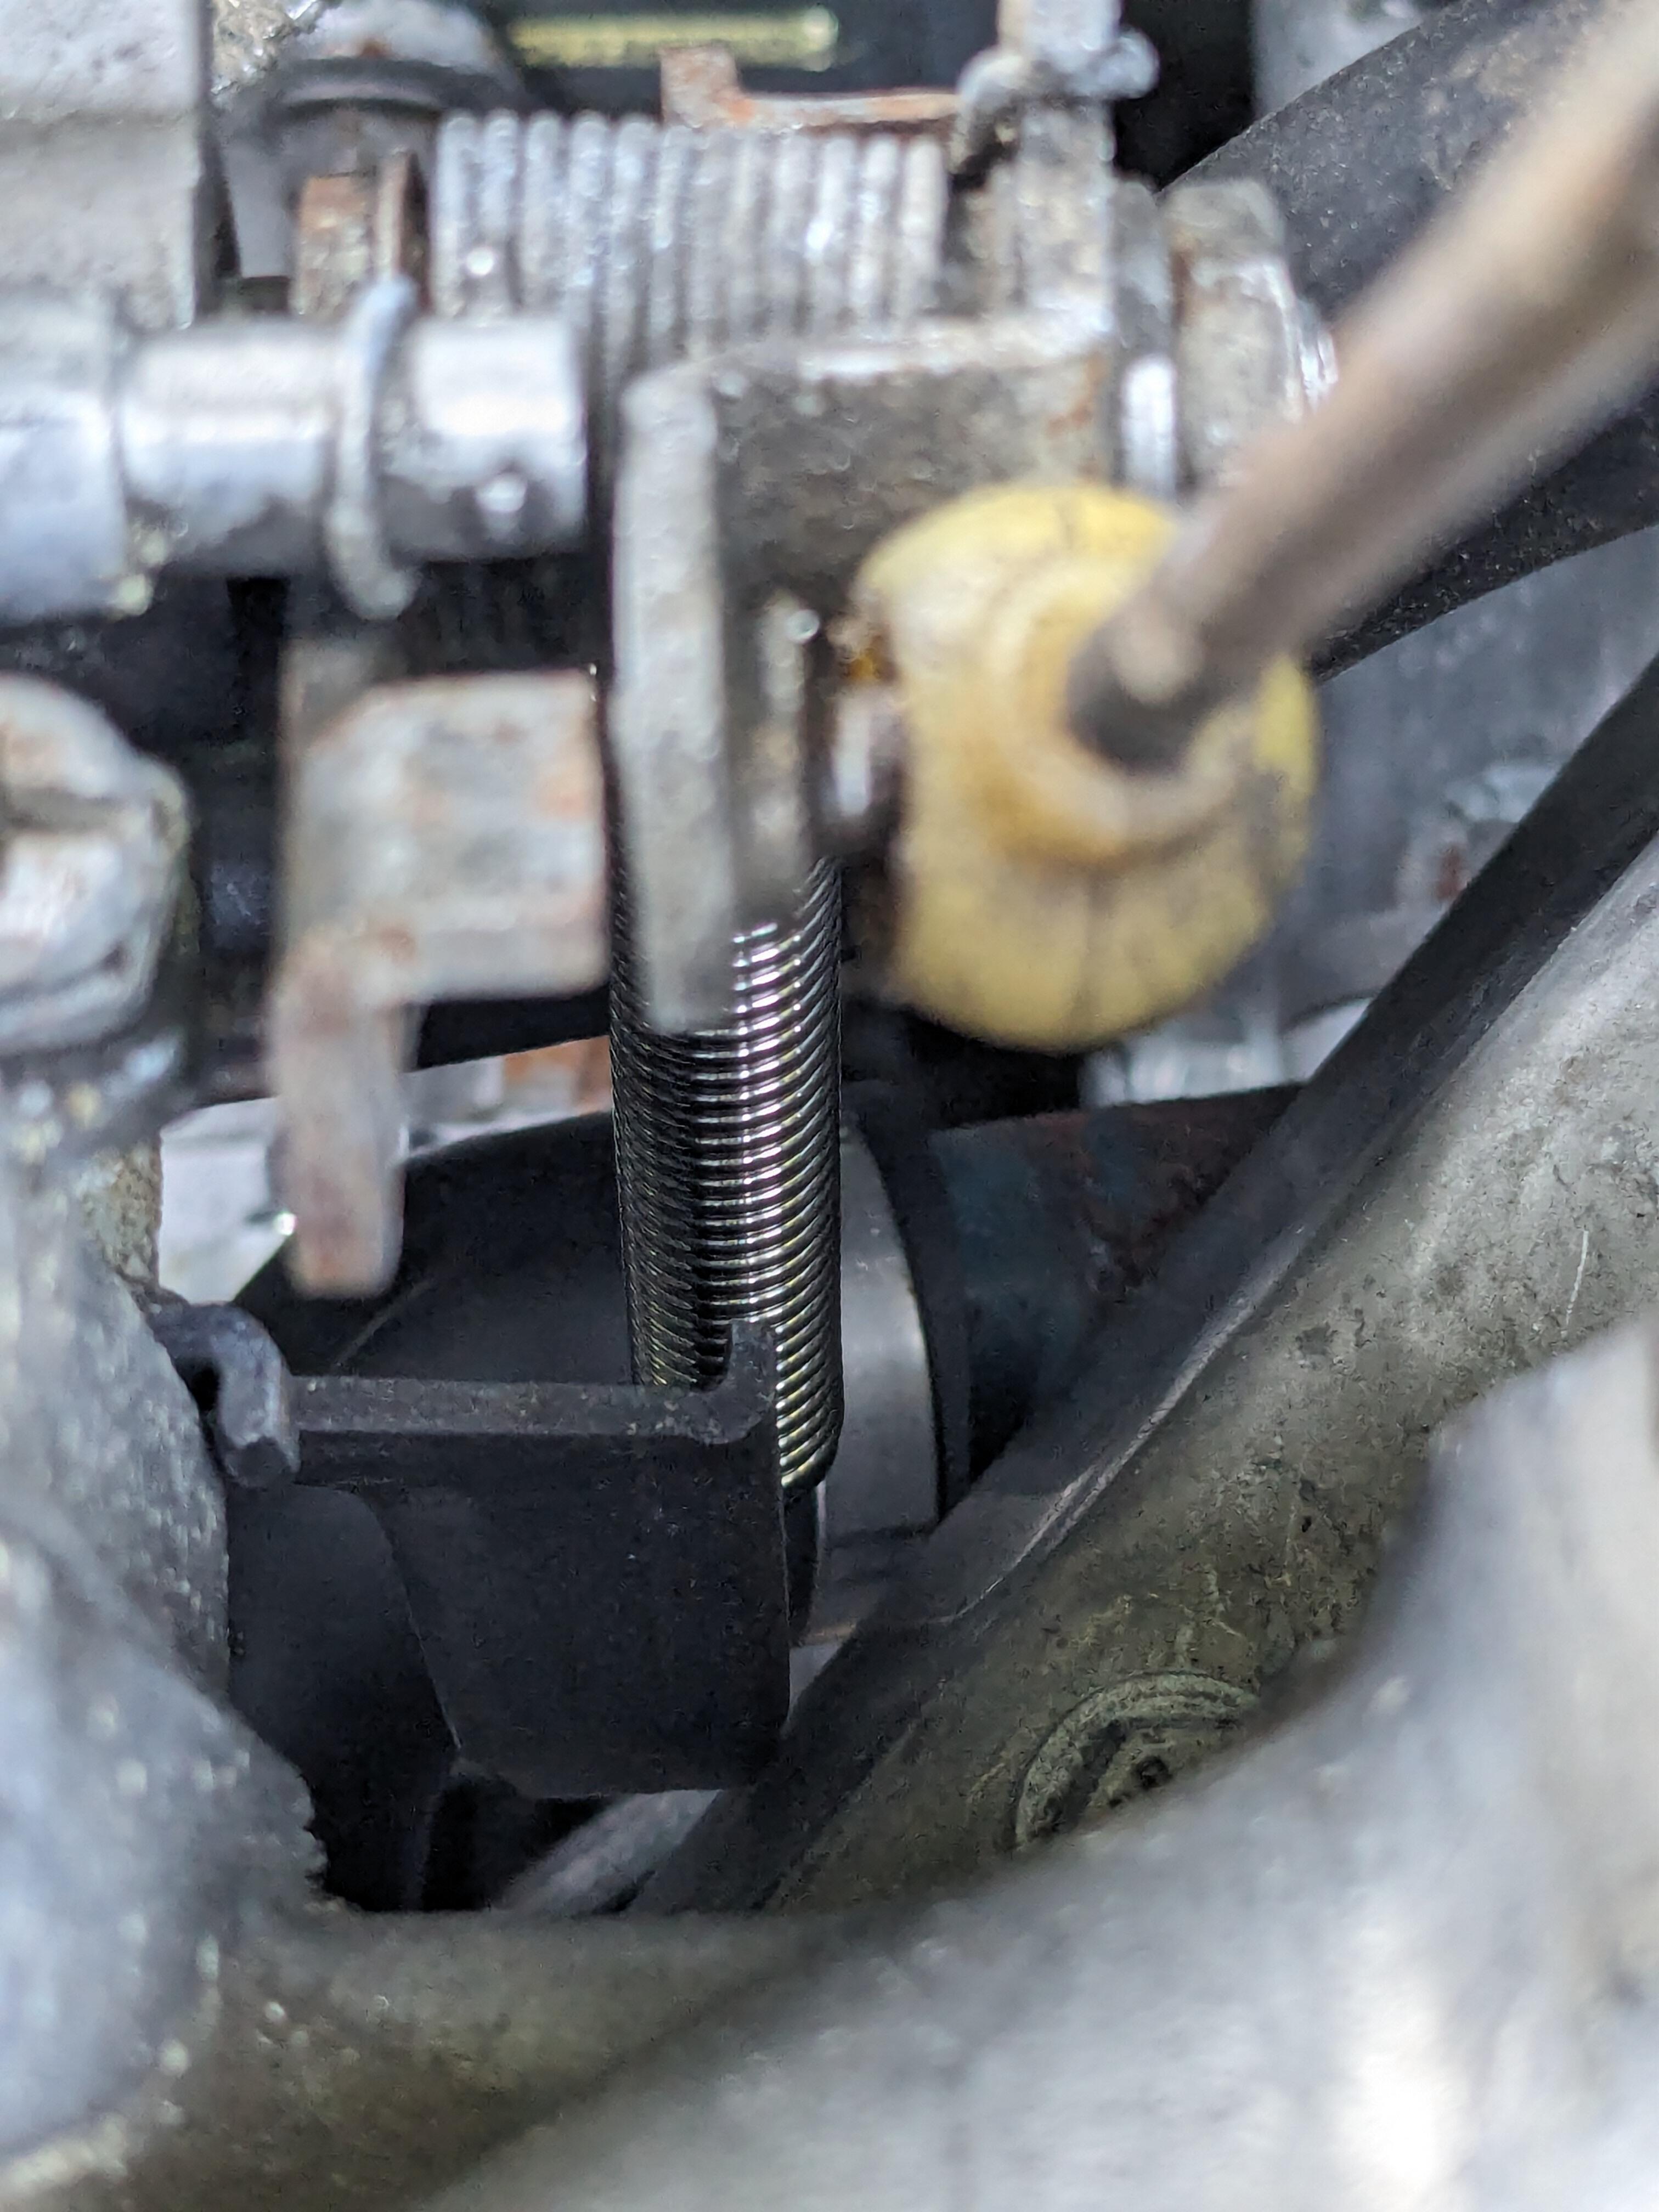
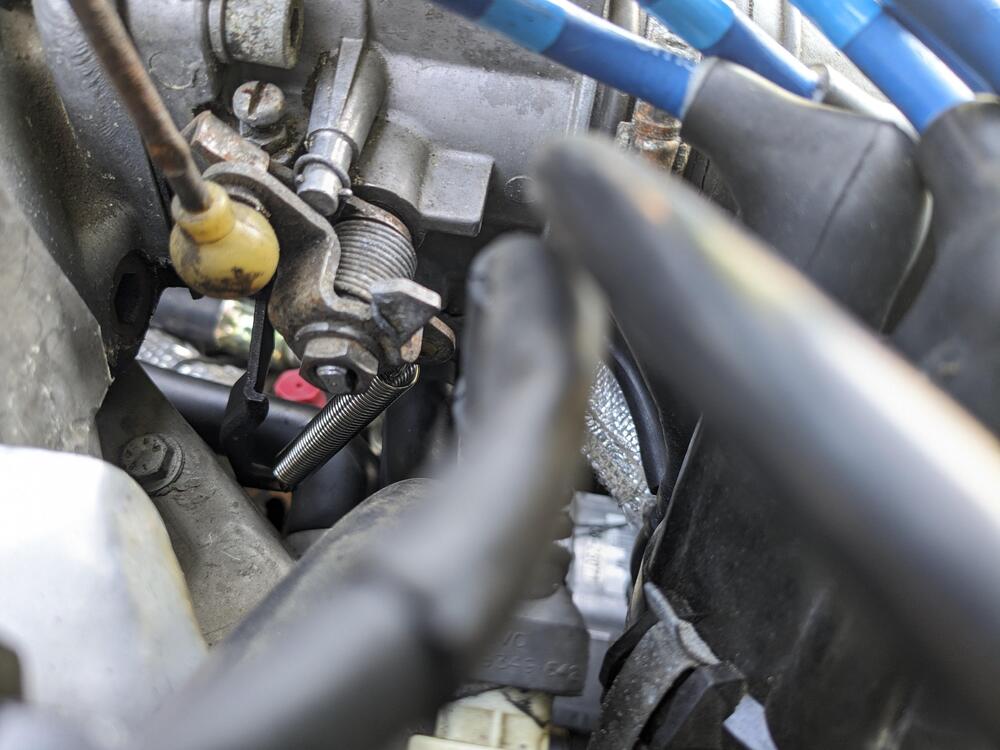
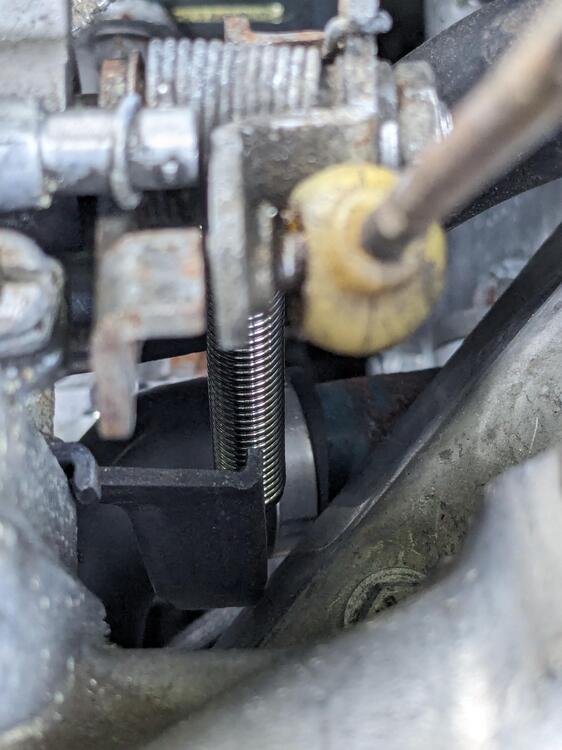
OK - so the generic spring I got off Amazon works, and is not excessive tension, nor too difficult to install in place. We'll see how long it lasts. Since links don't last particularly long dimensions to look for are: 0.047"x0.39"x2.76" - "Stainless Steel Tension Spring Wire" or 'Extended Tension Spring Wire" comparison:
-
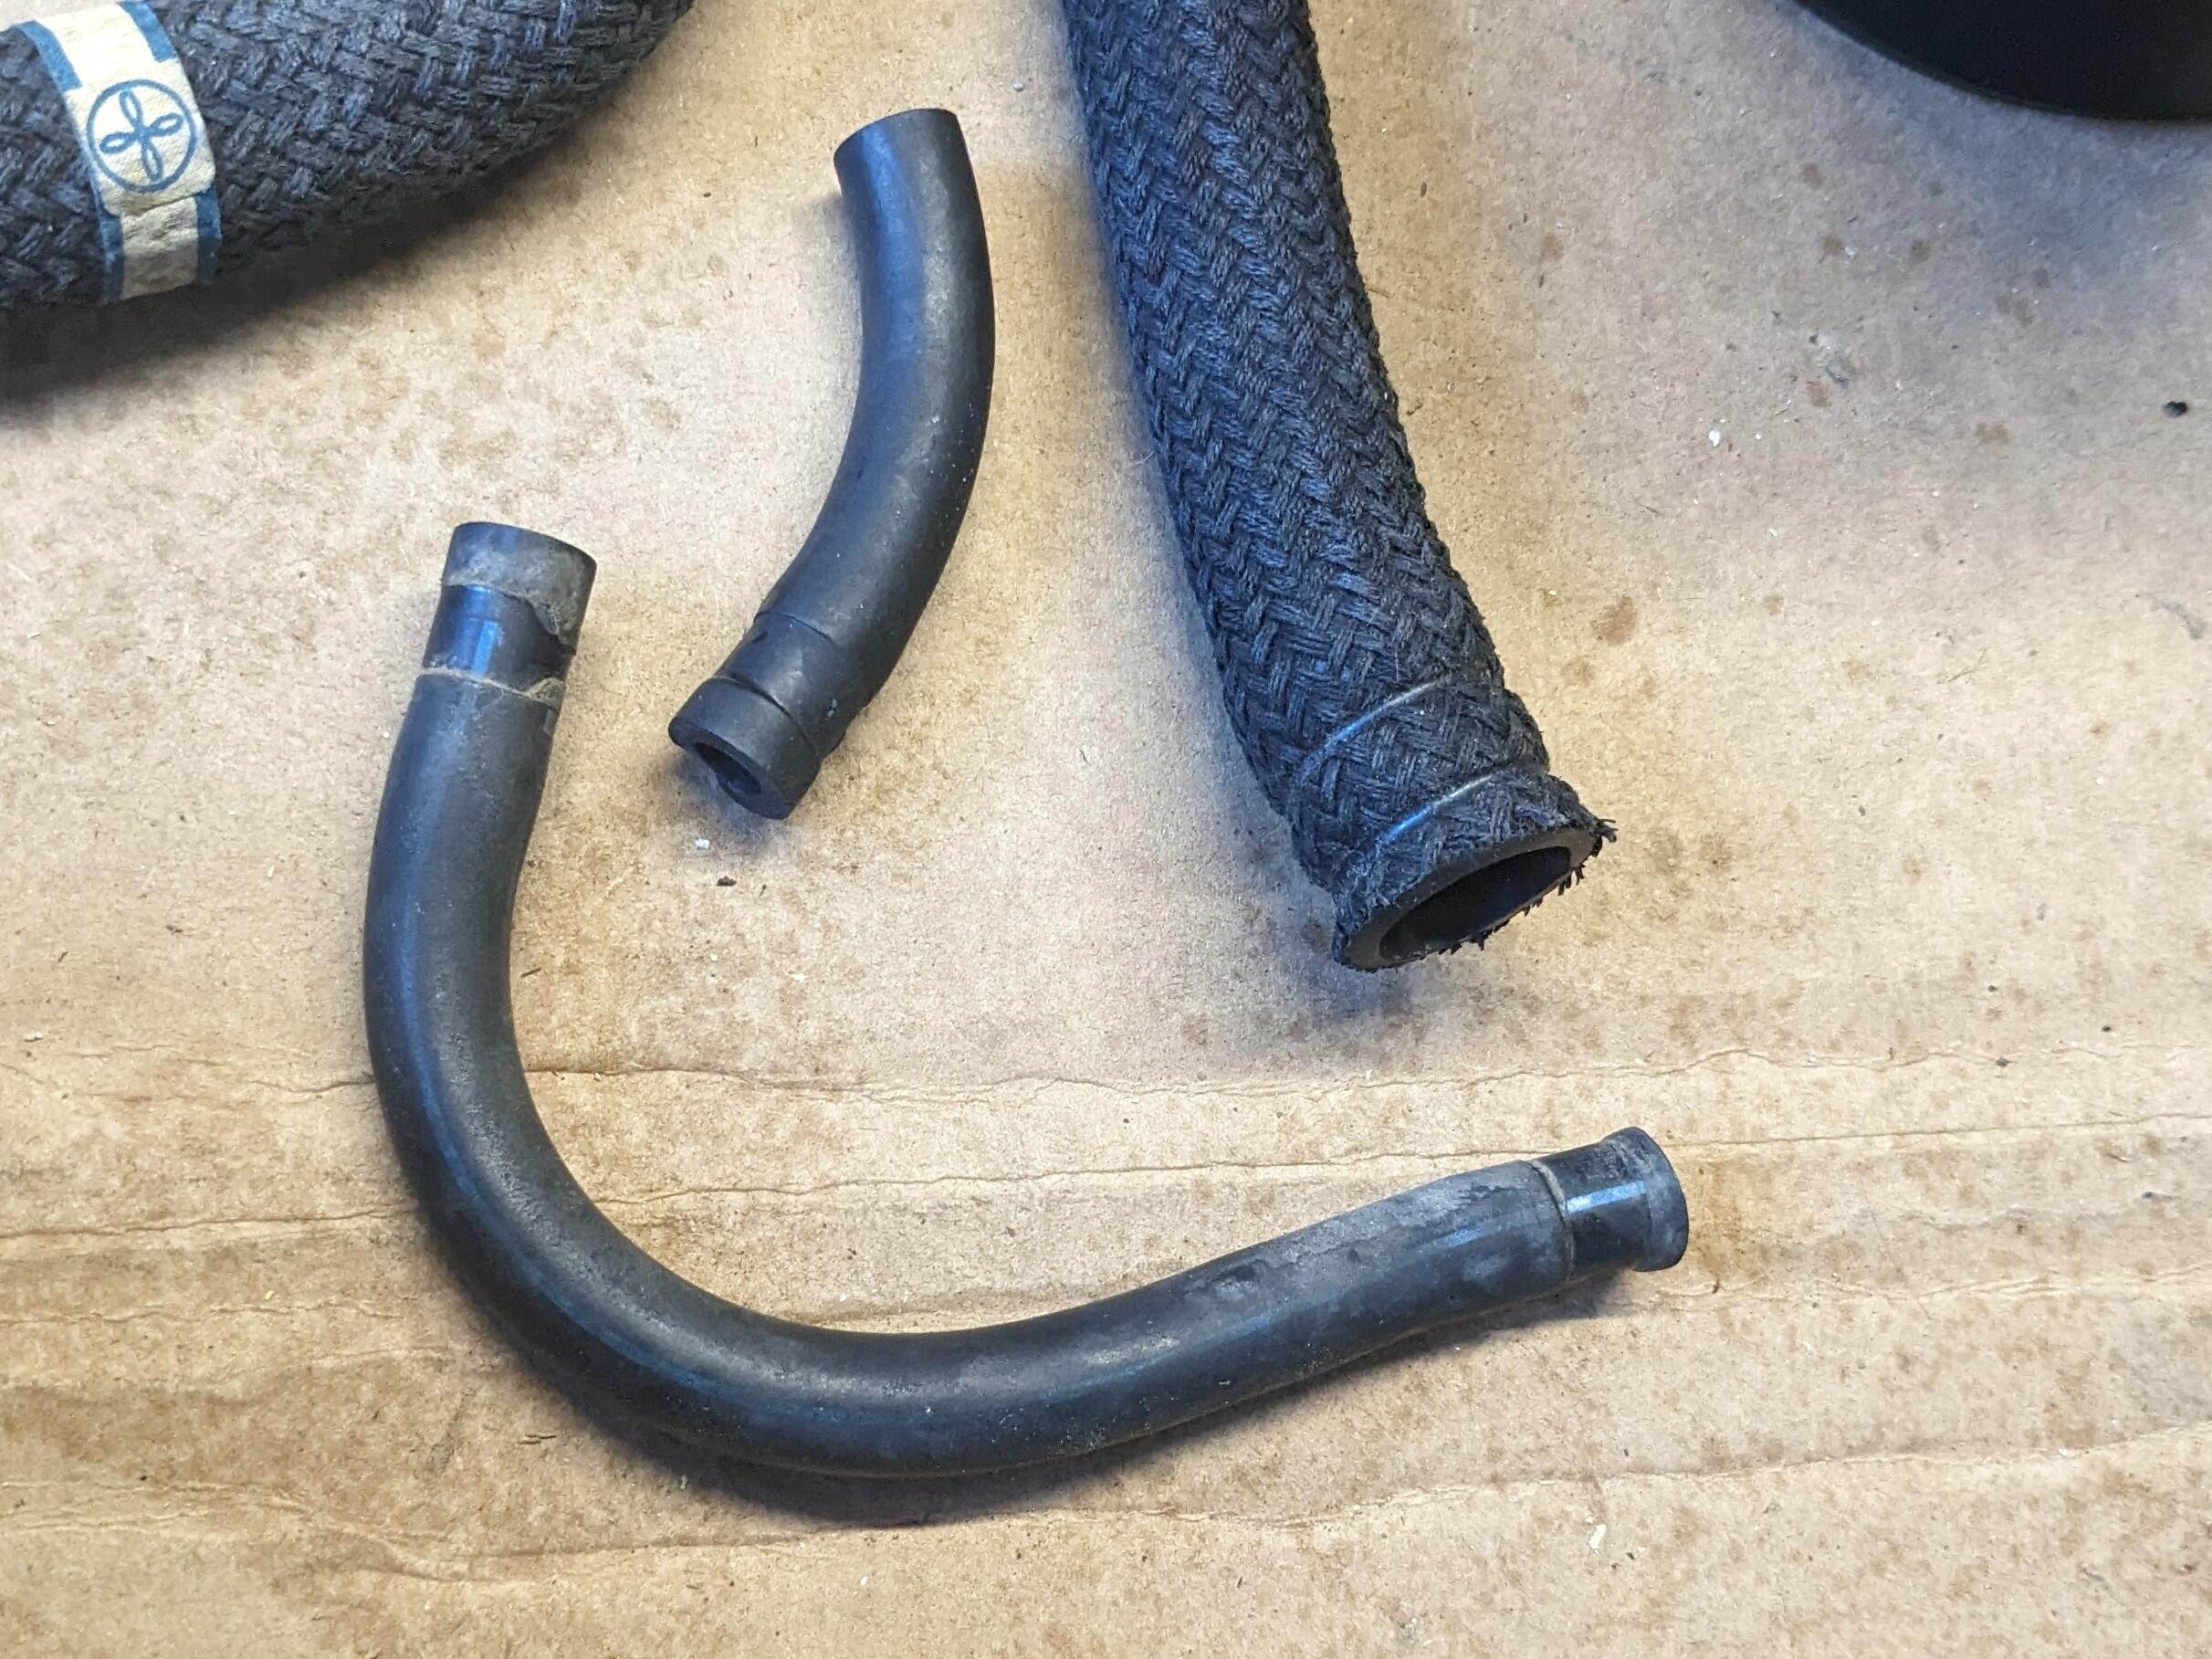
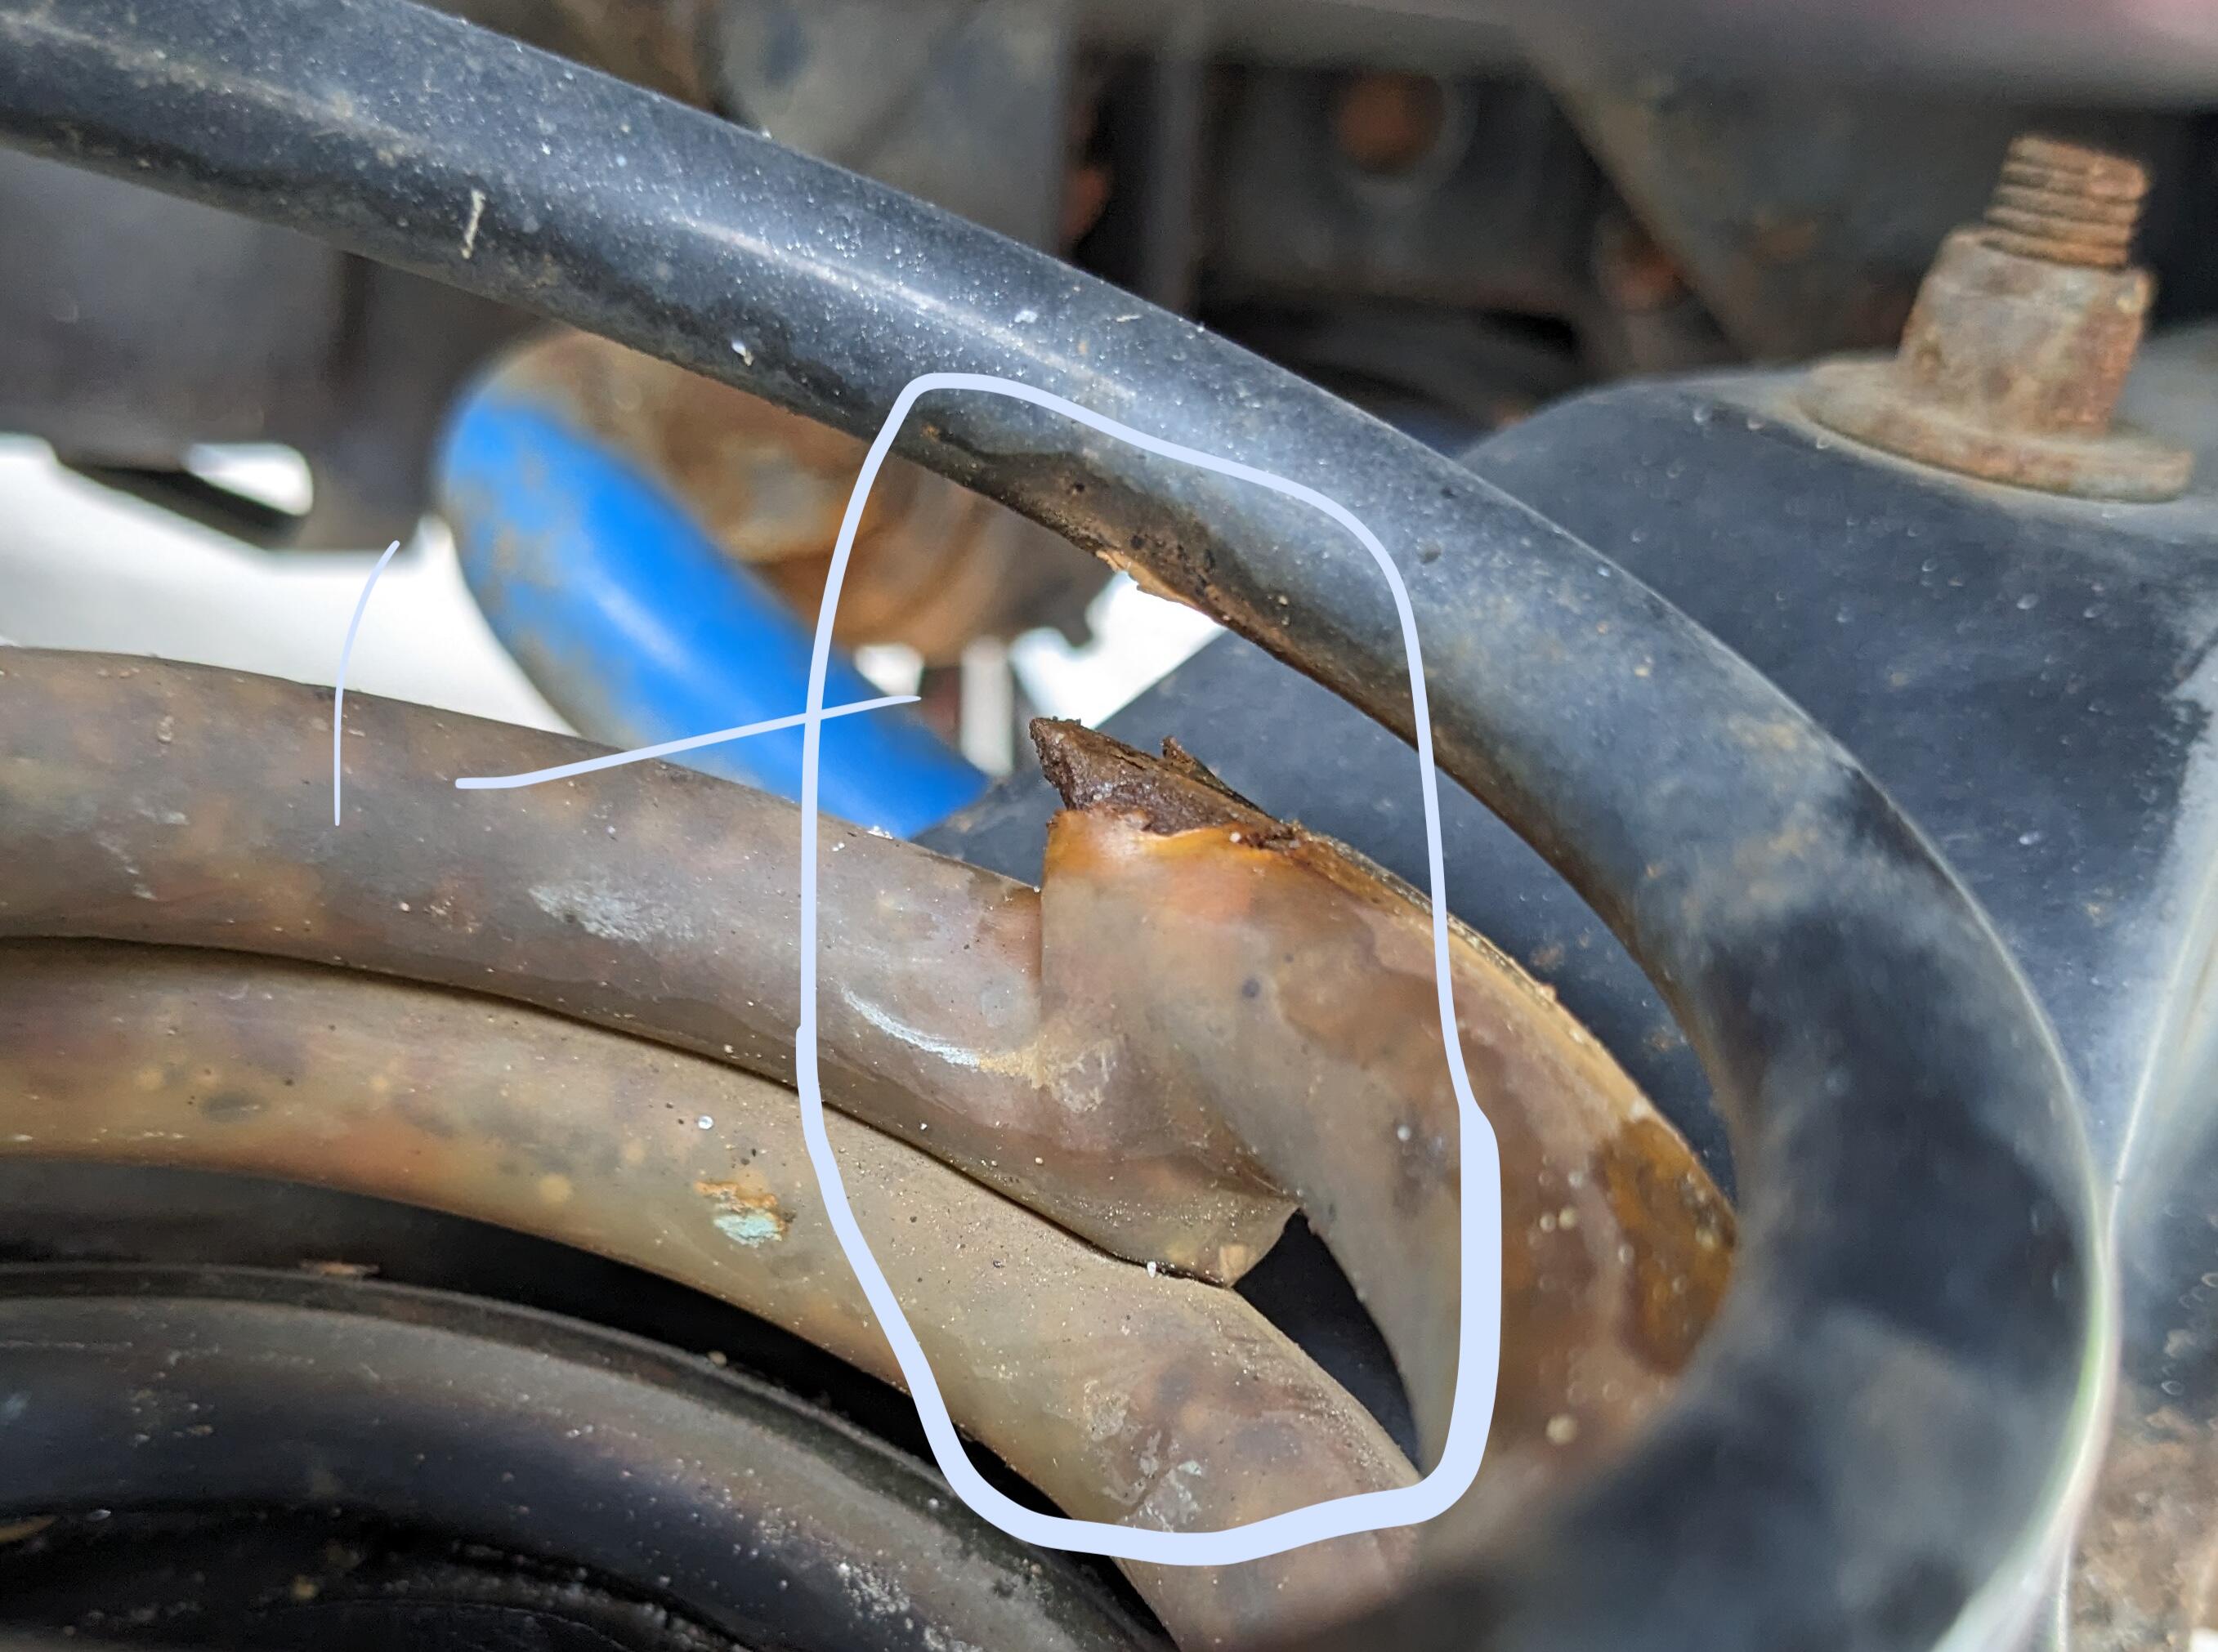
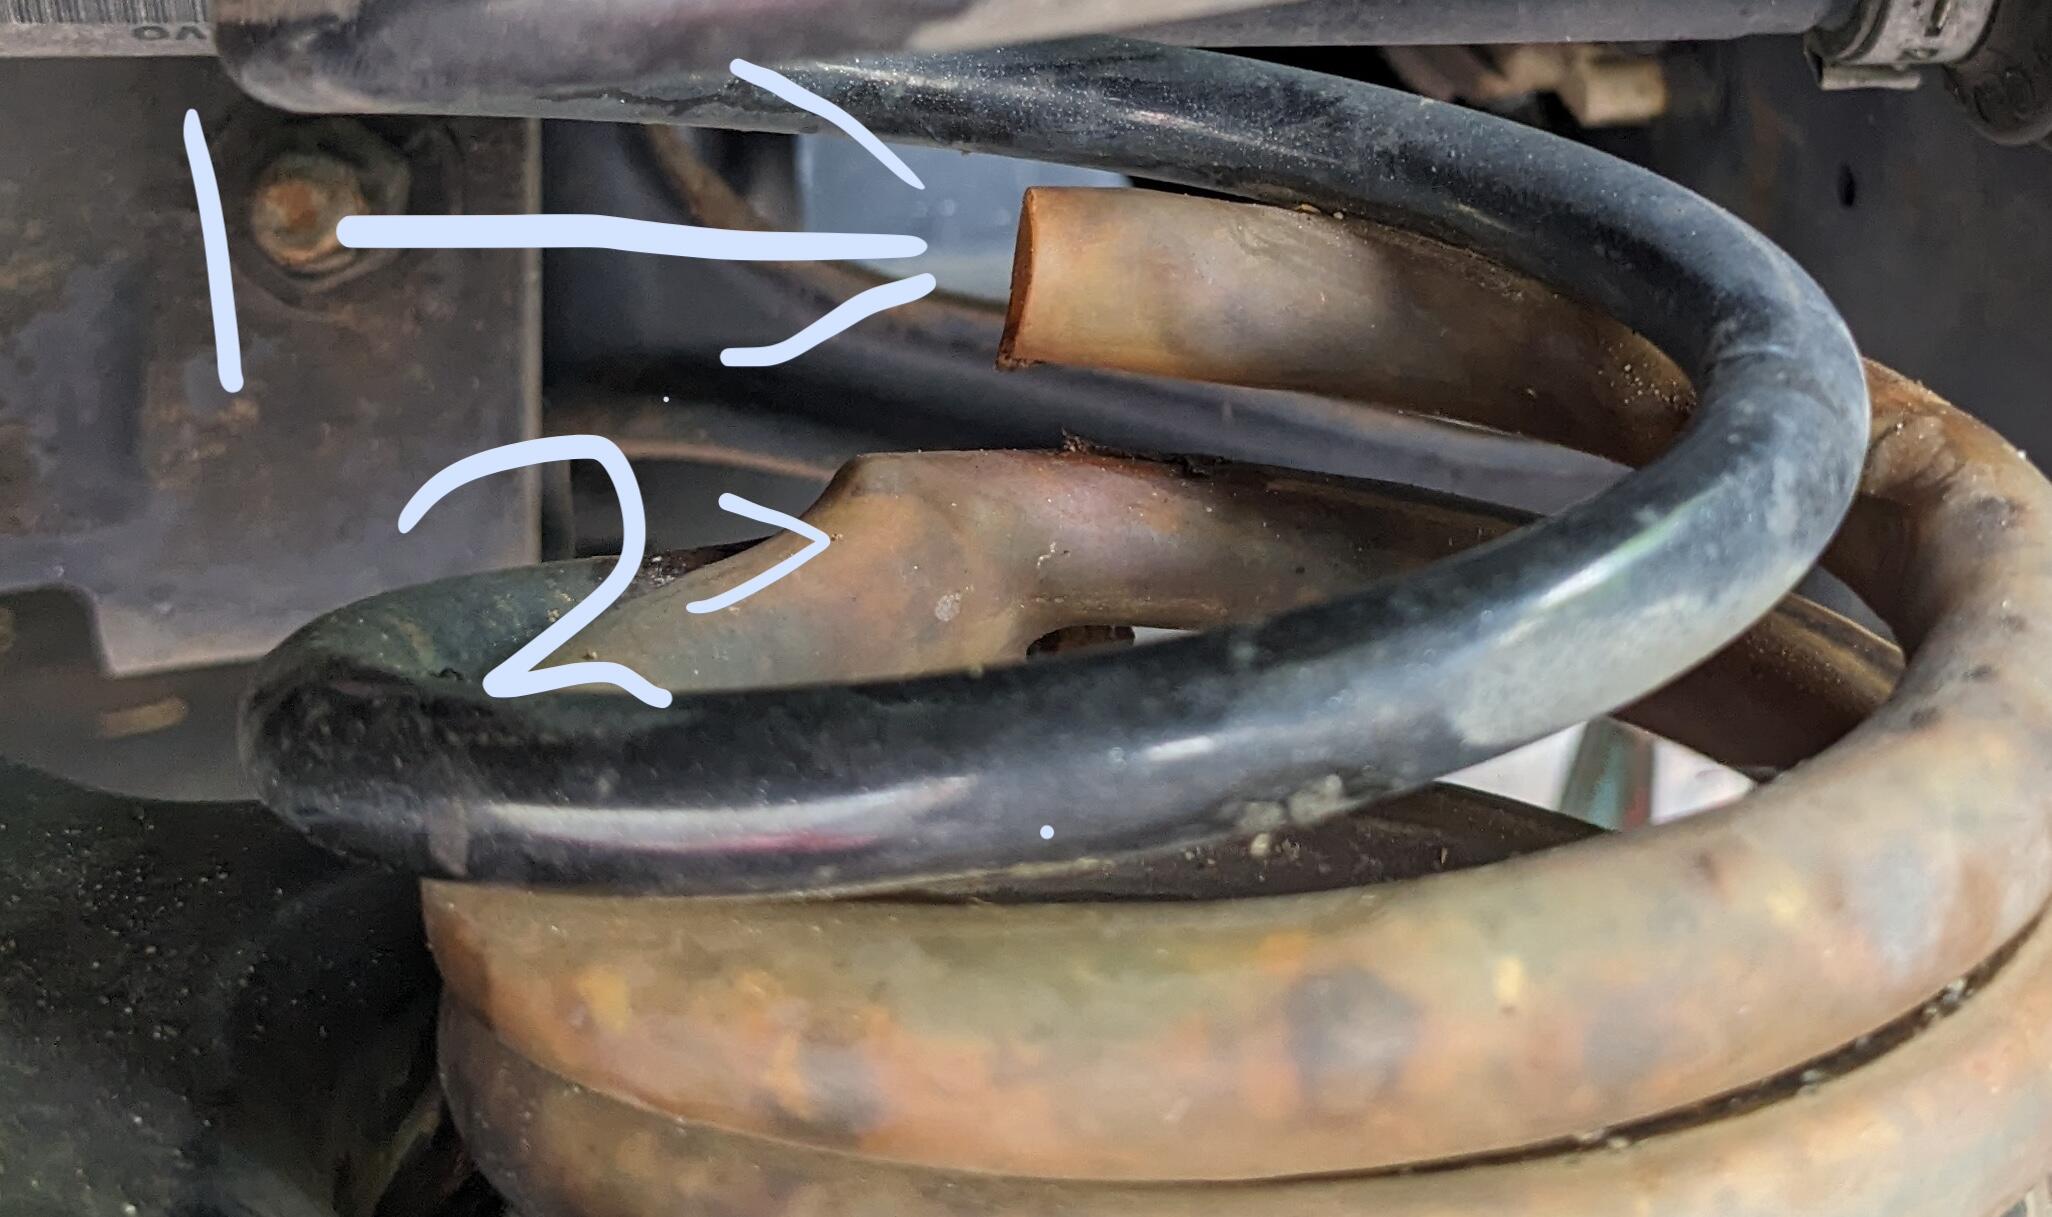
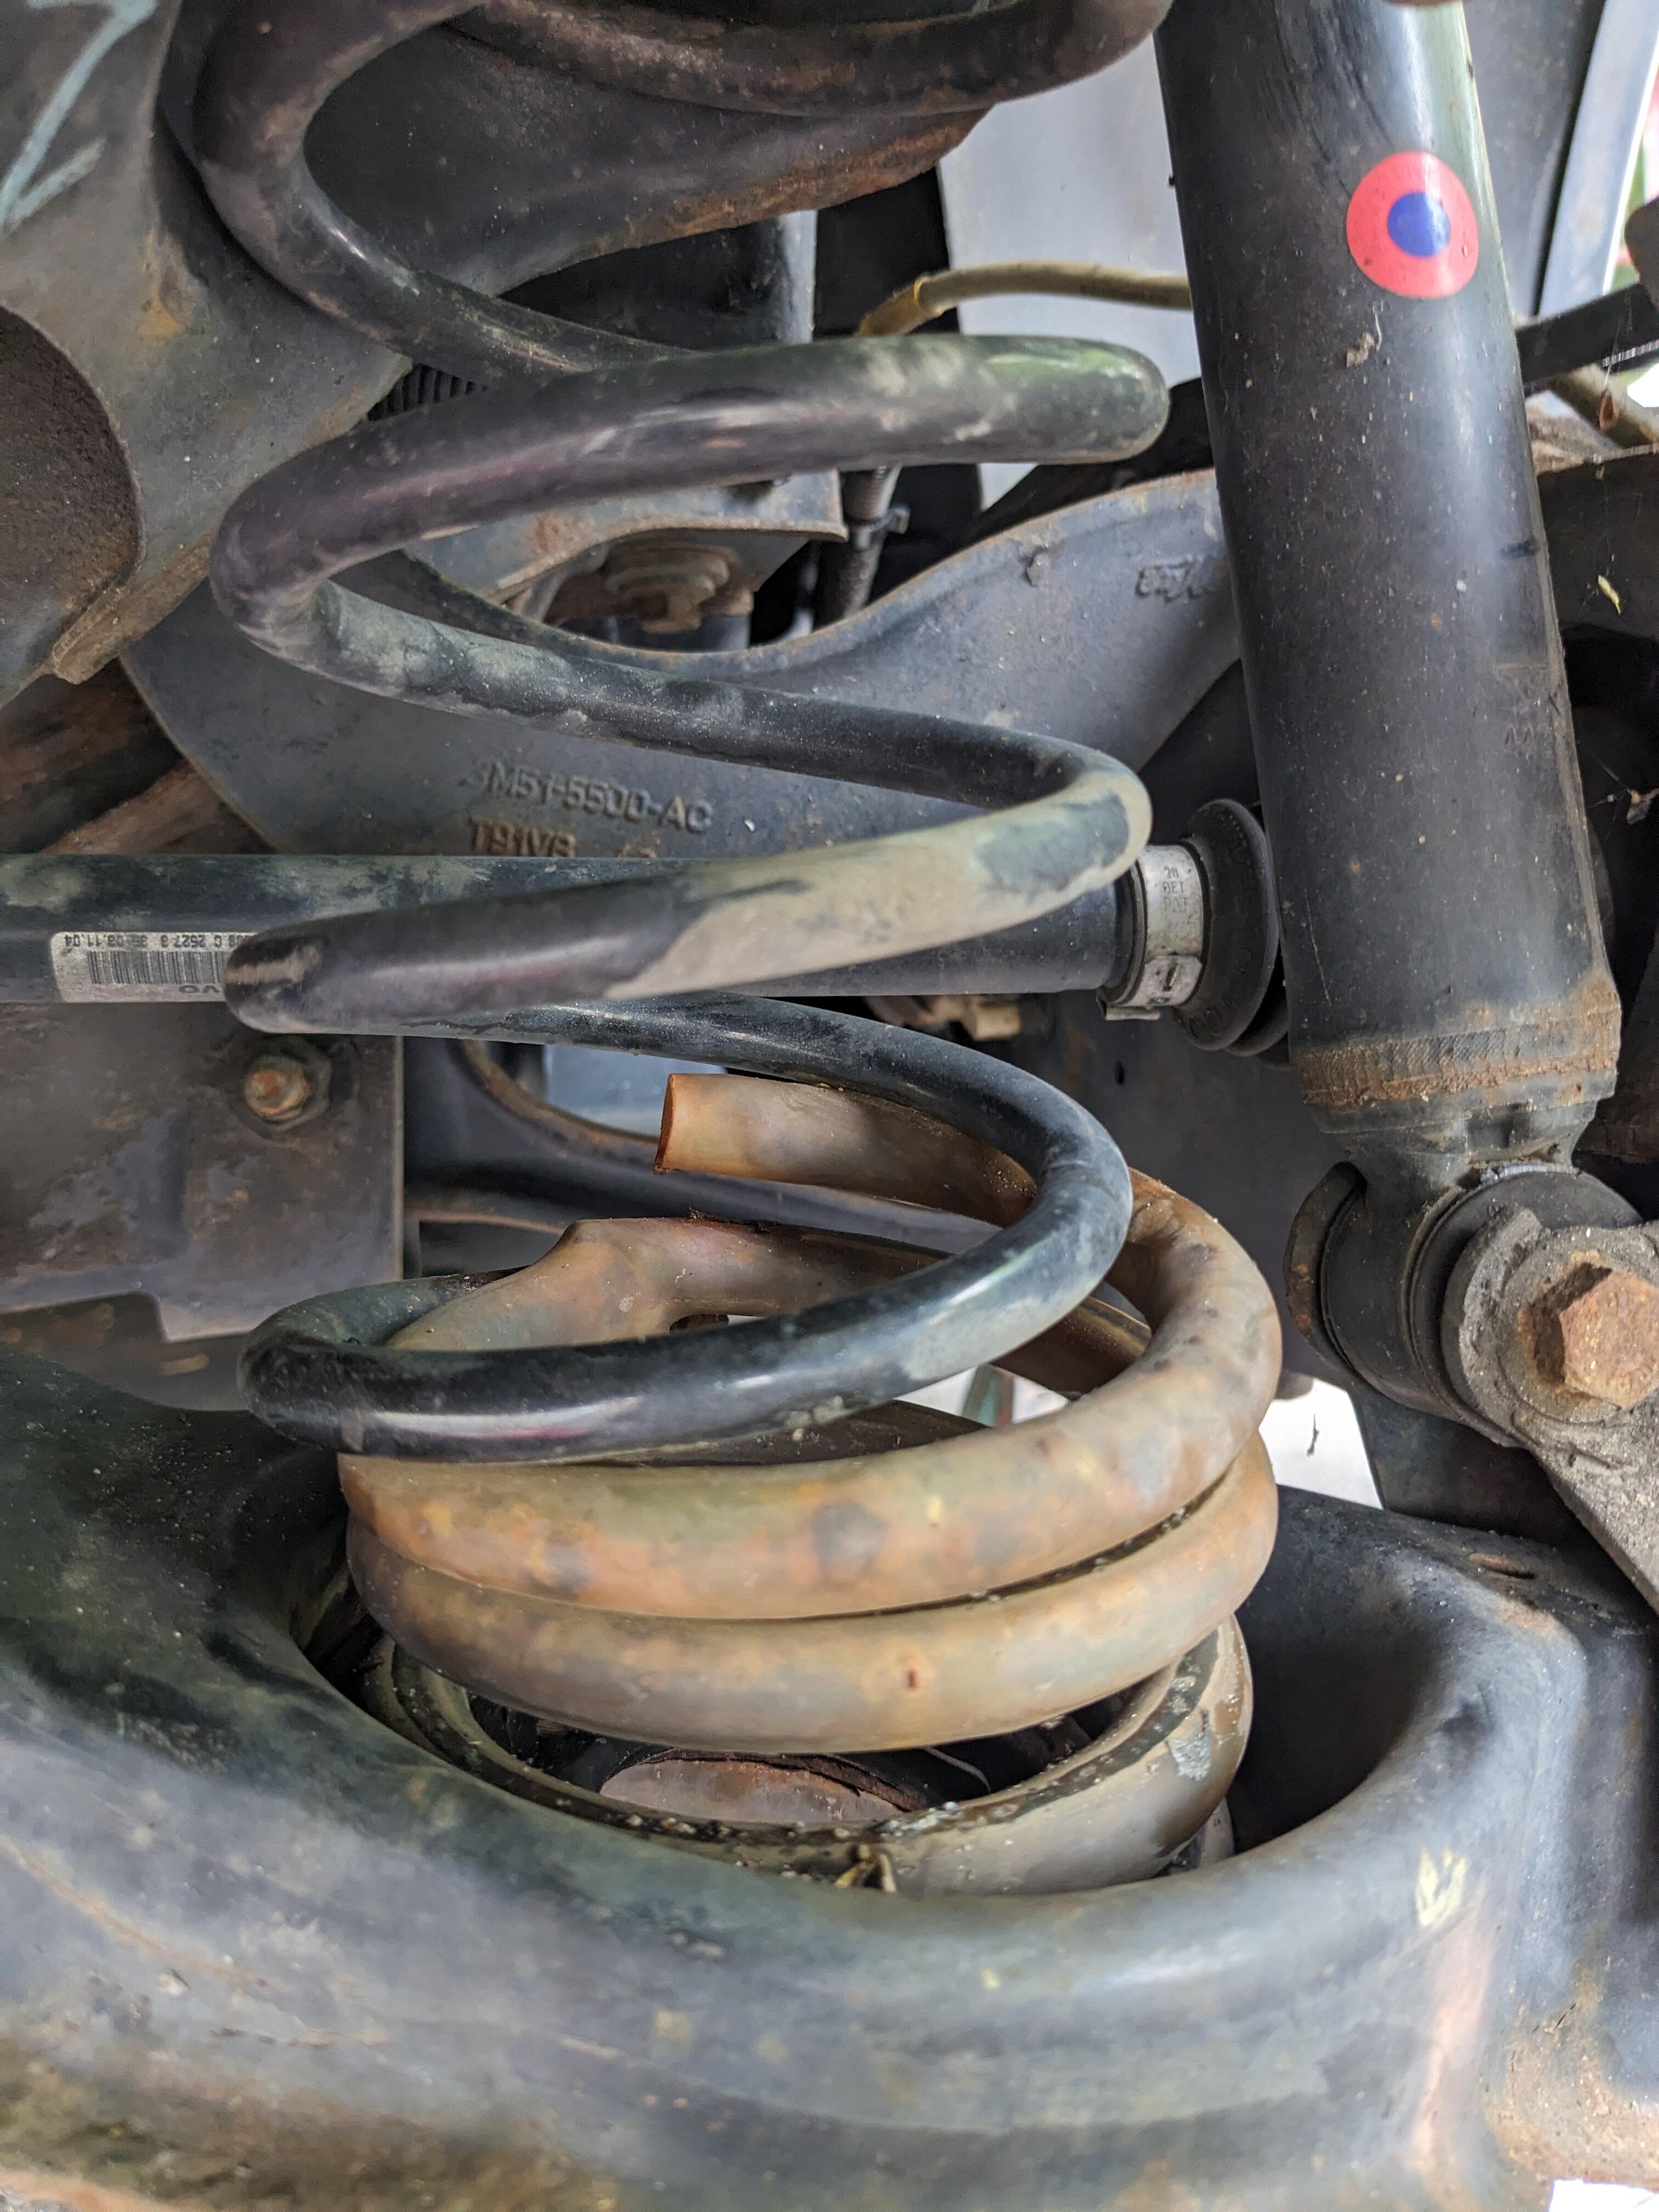
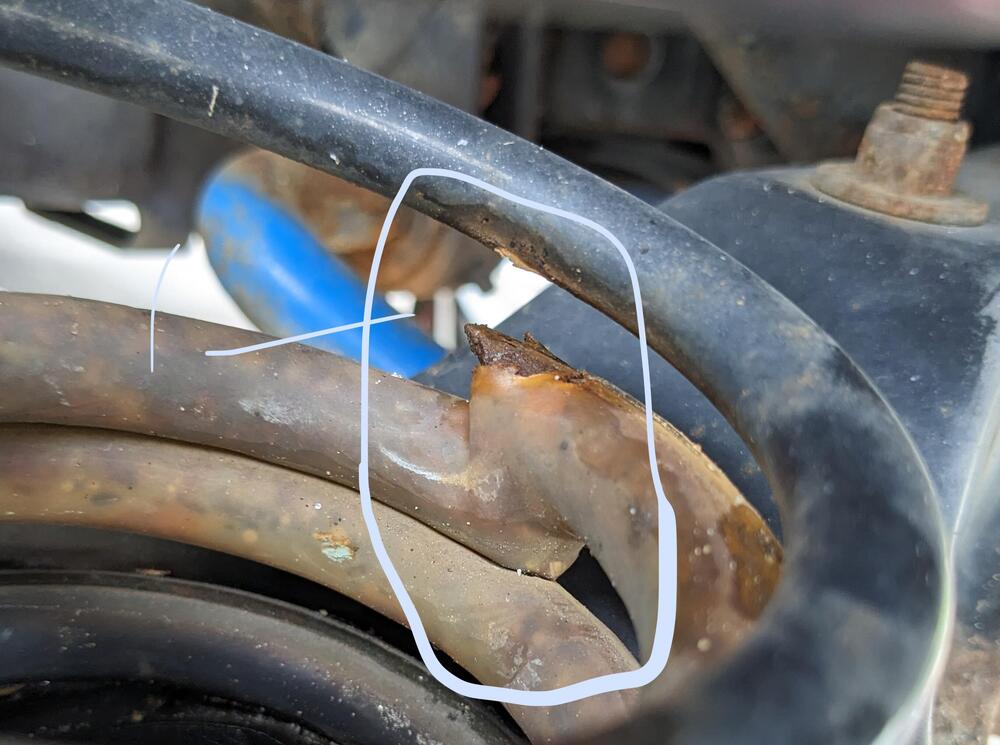
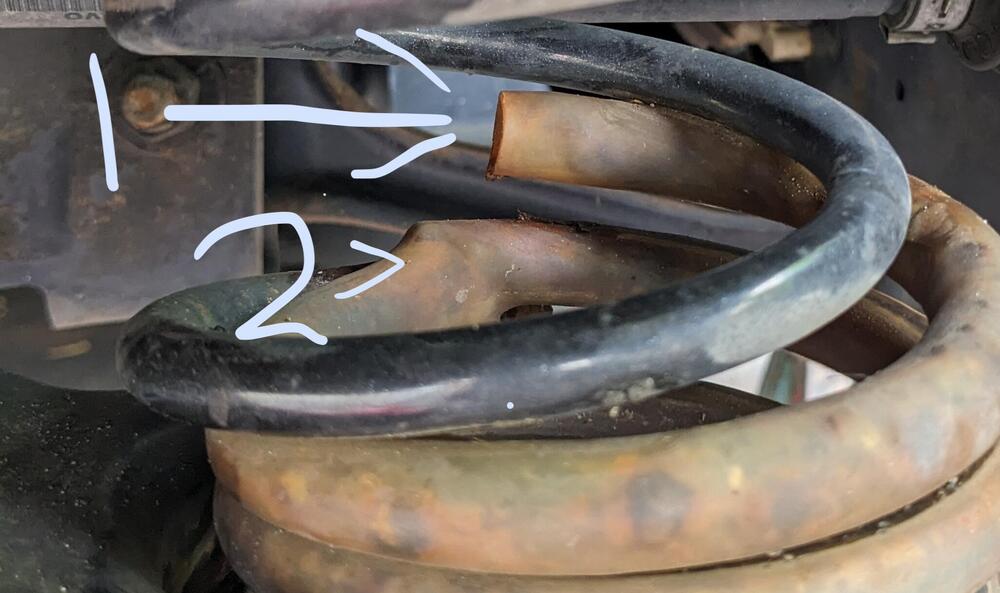
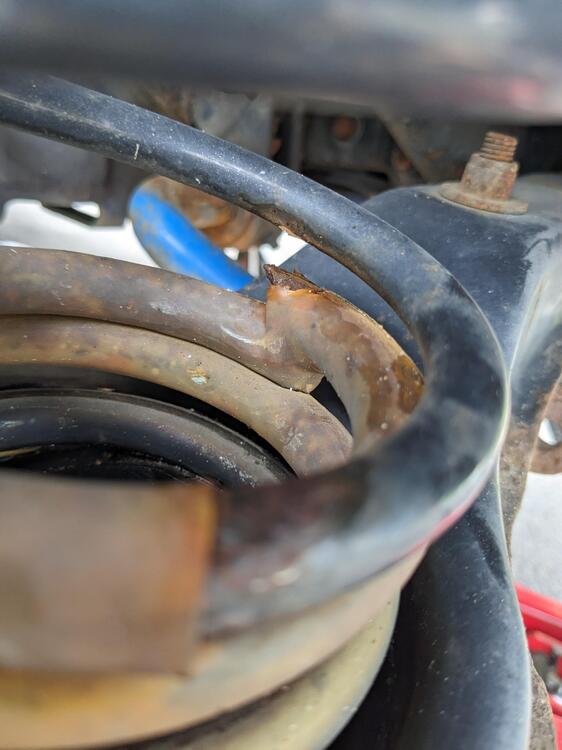
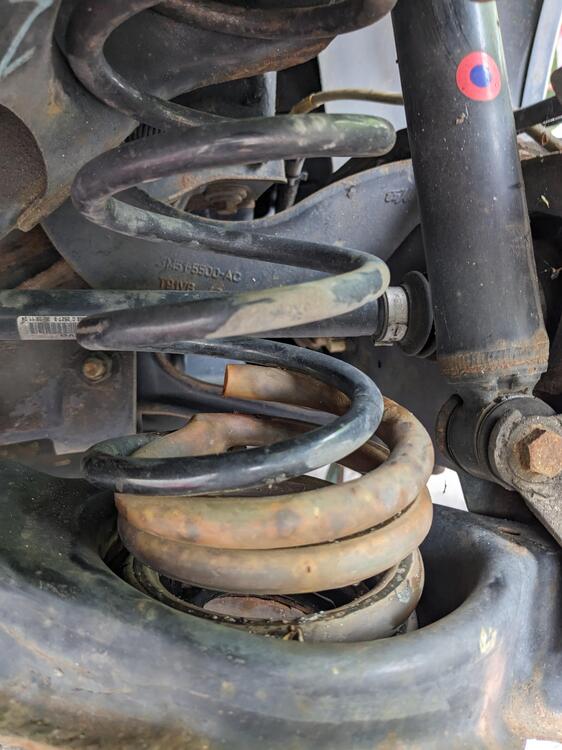
Apologies. What you are looking at is the Eibach spring which includes a plastic sleeve they add to the lower 1/3rd. The first pic you added arrows to, is one spring broken into 3 parts. The uncoated section is sitting down behind the lower break (2) \ The other side spring only broke into 2 pieces. You can see the break poking through the plastic sleeve here
-
That's not stacked - that's the one spring broken into 3 pieces - the lower portion has a plastic coating EDIT - I've used helper springs with coil over setups - this isn't that, it's a single progressive rate spring
-
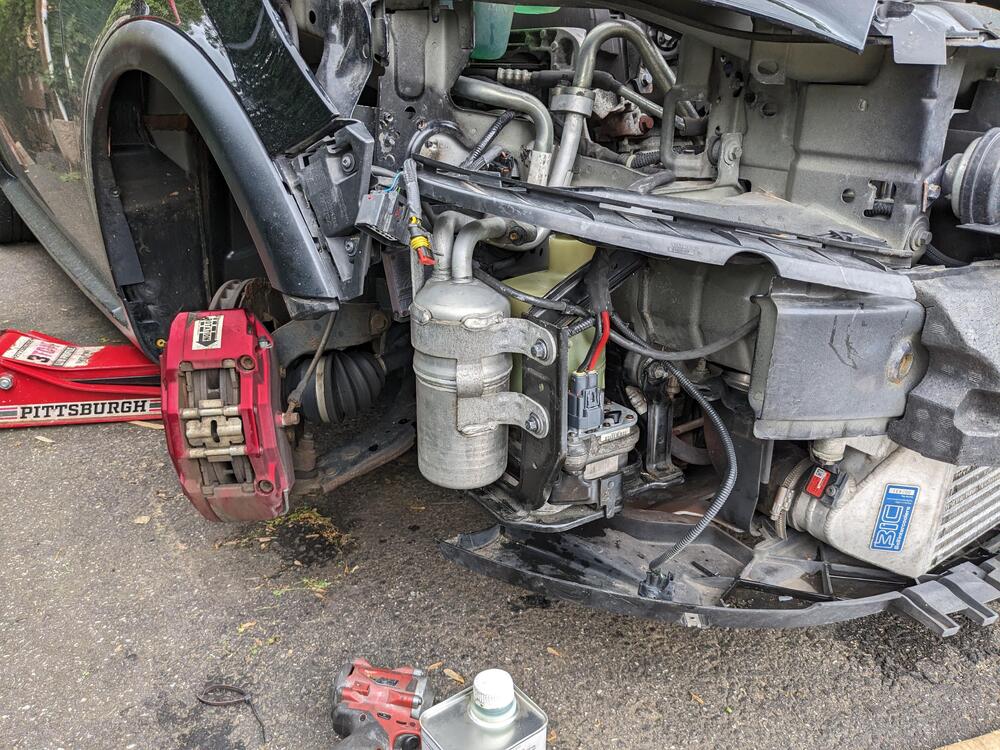
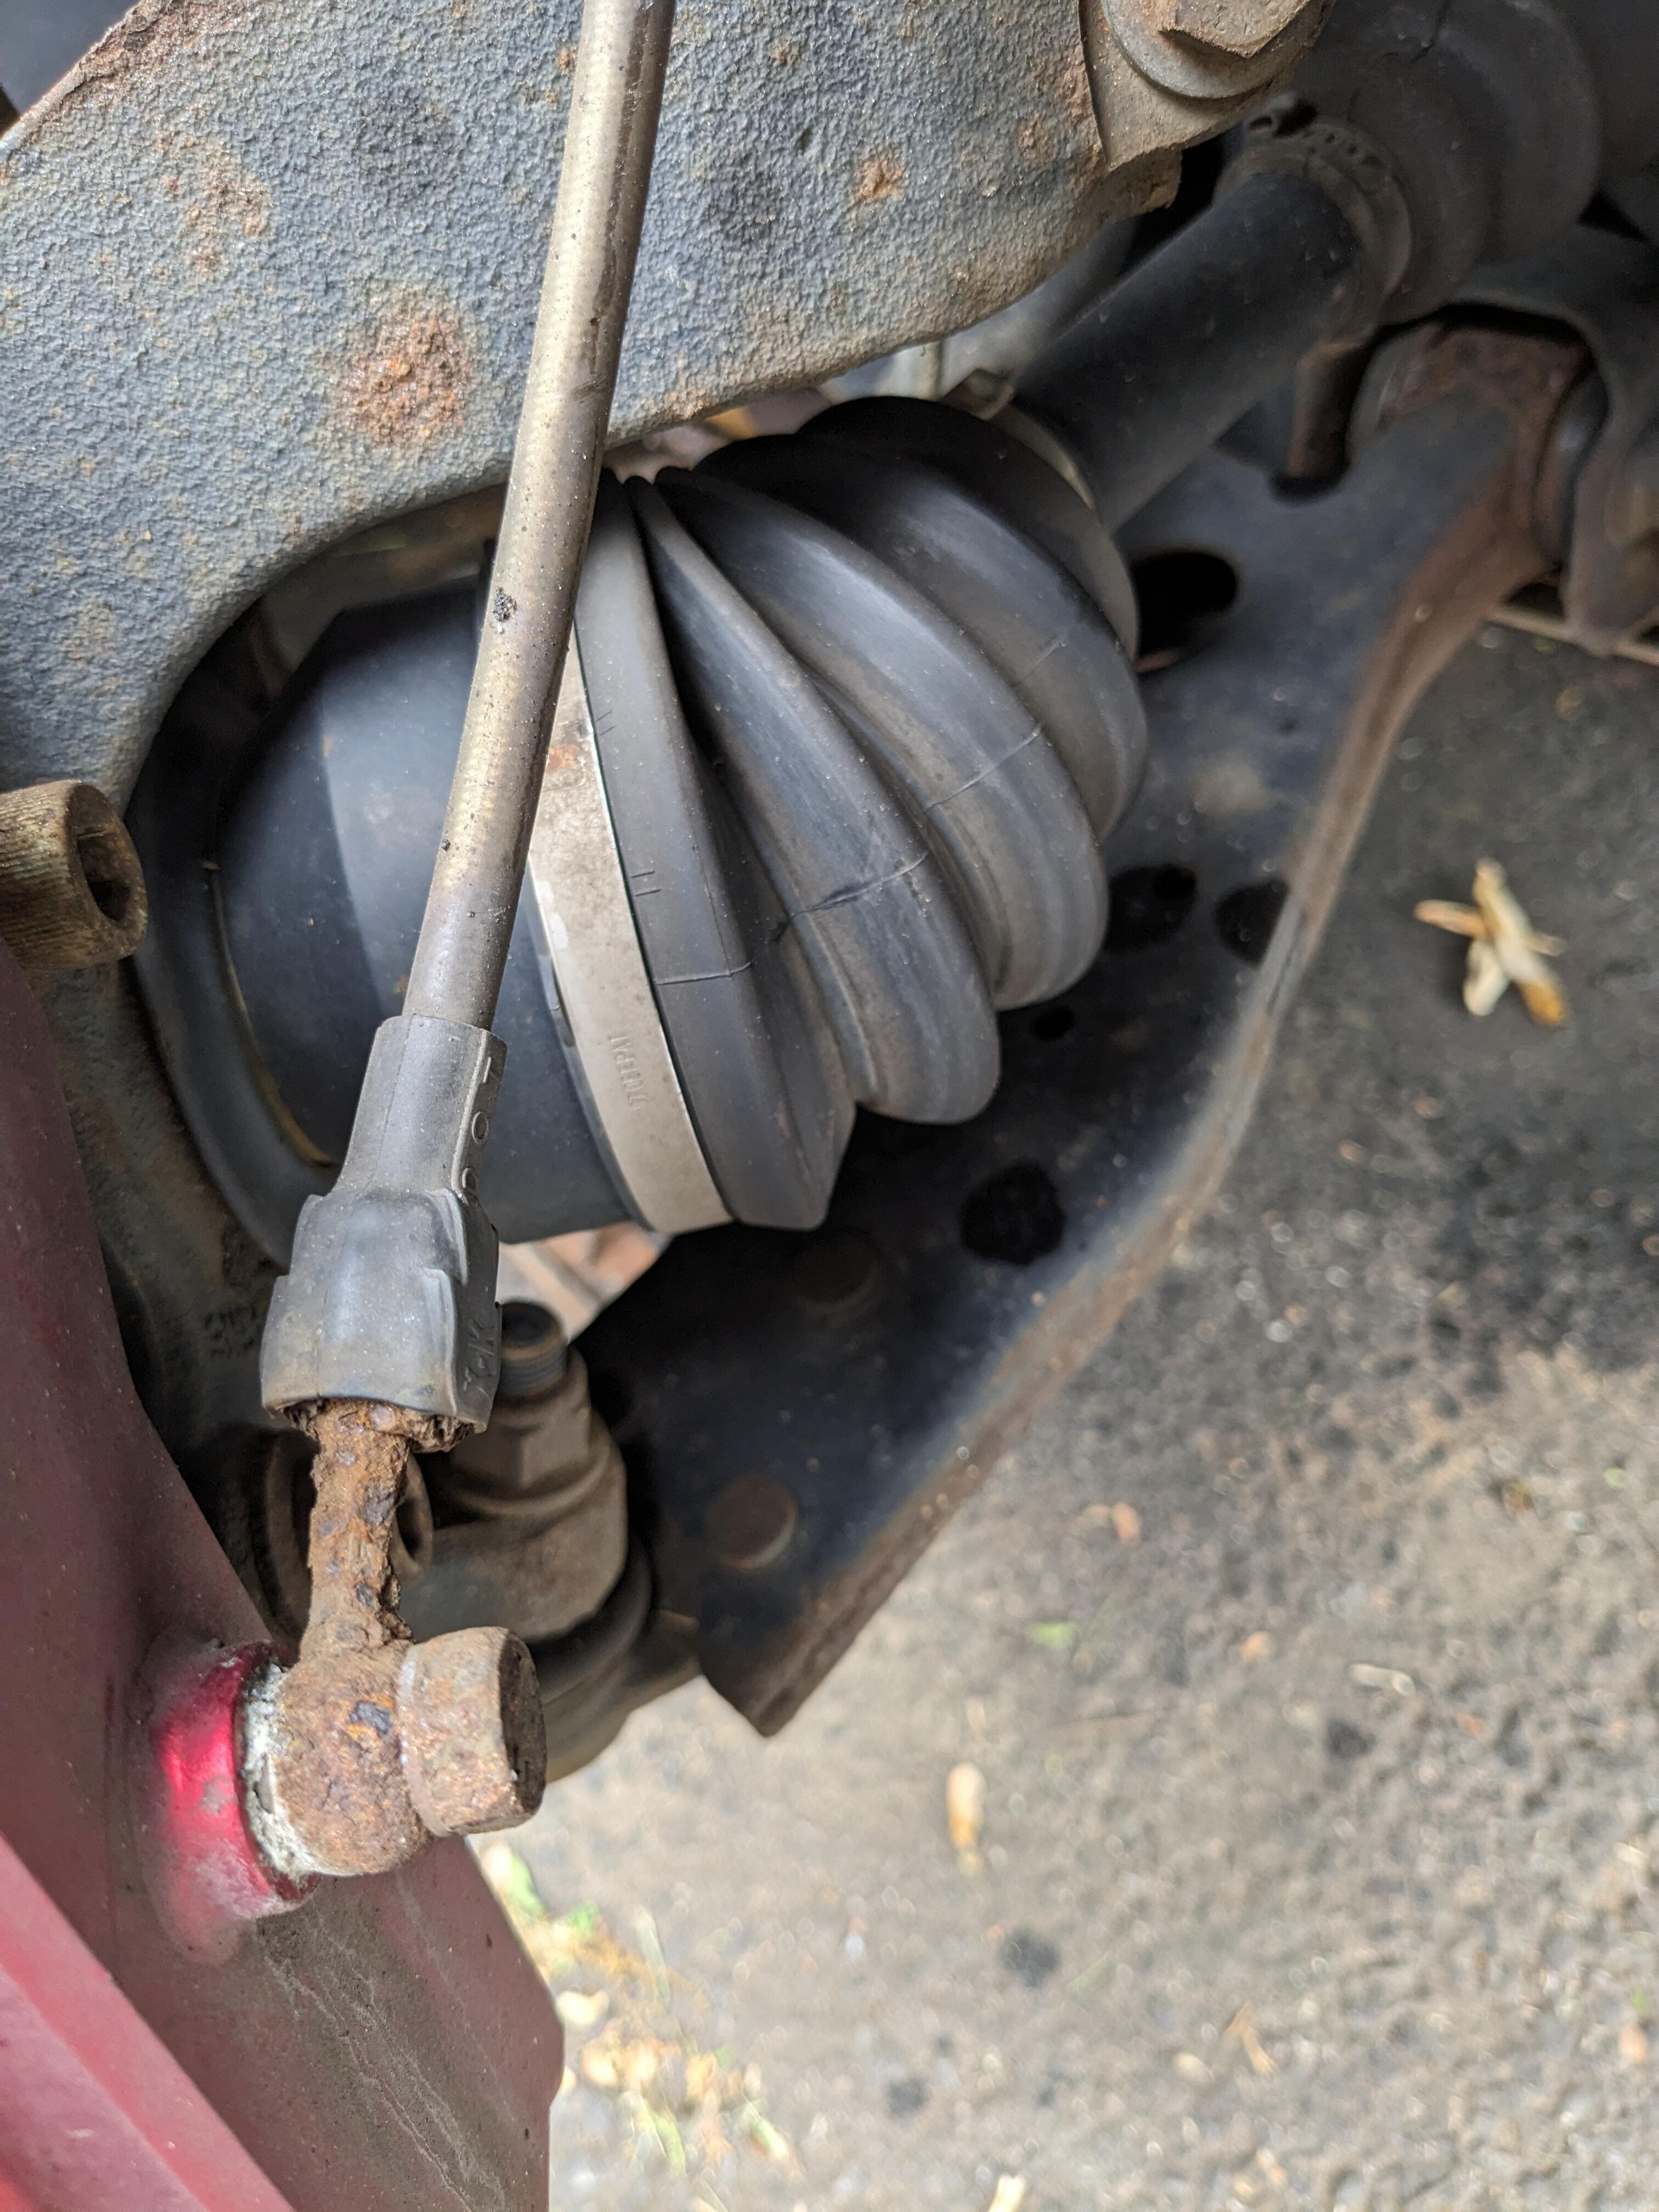
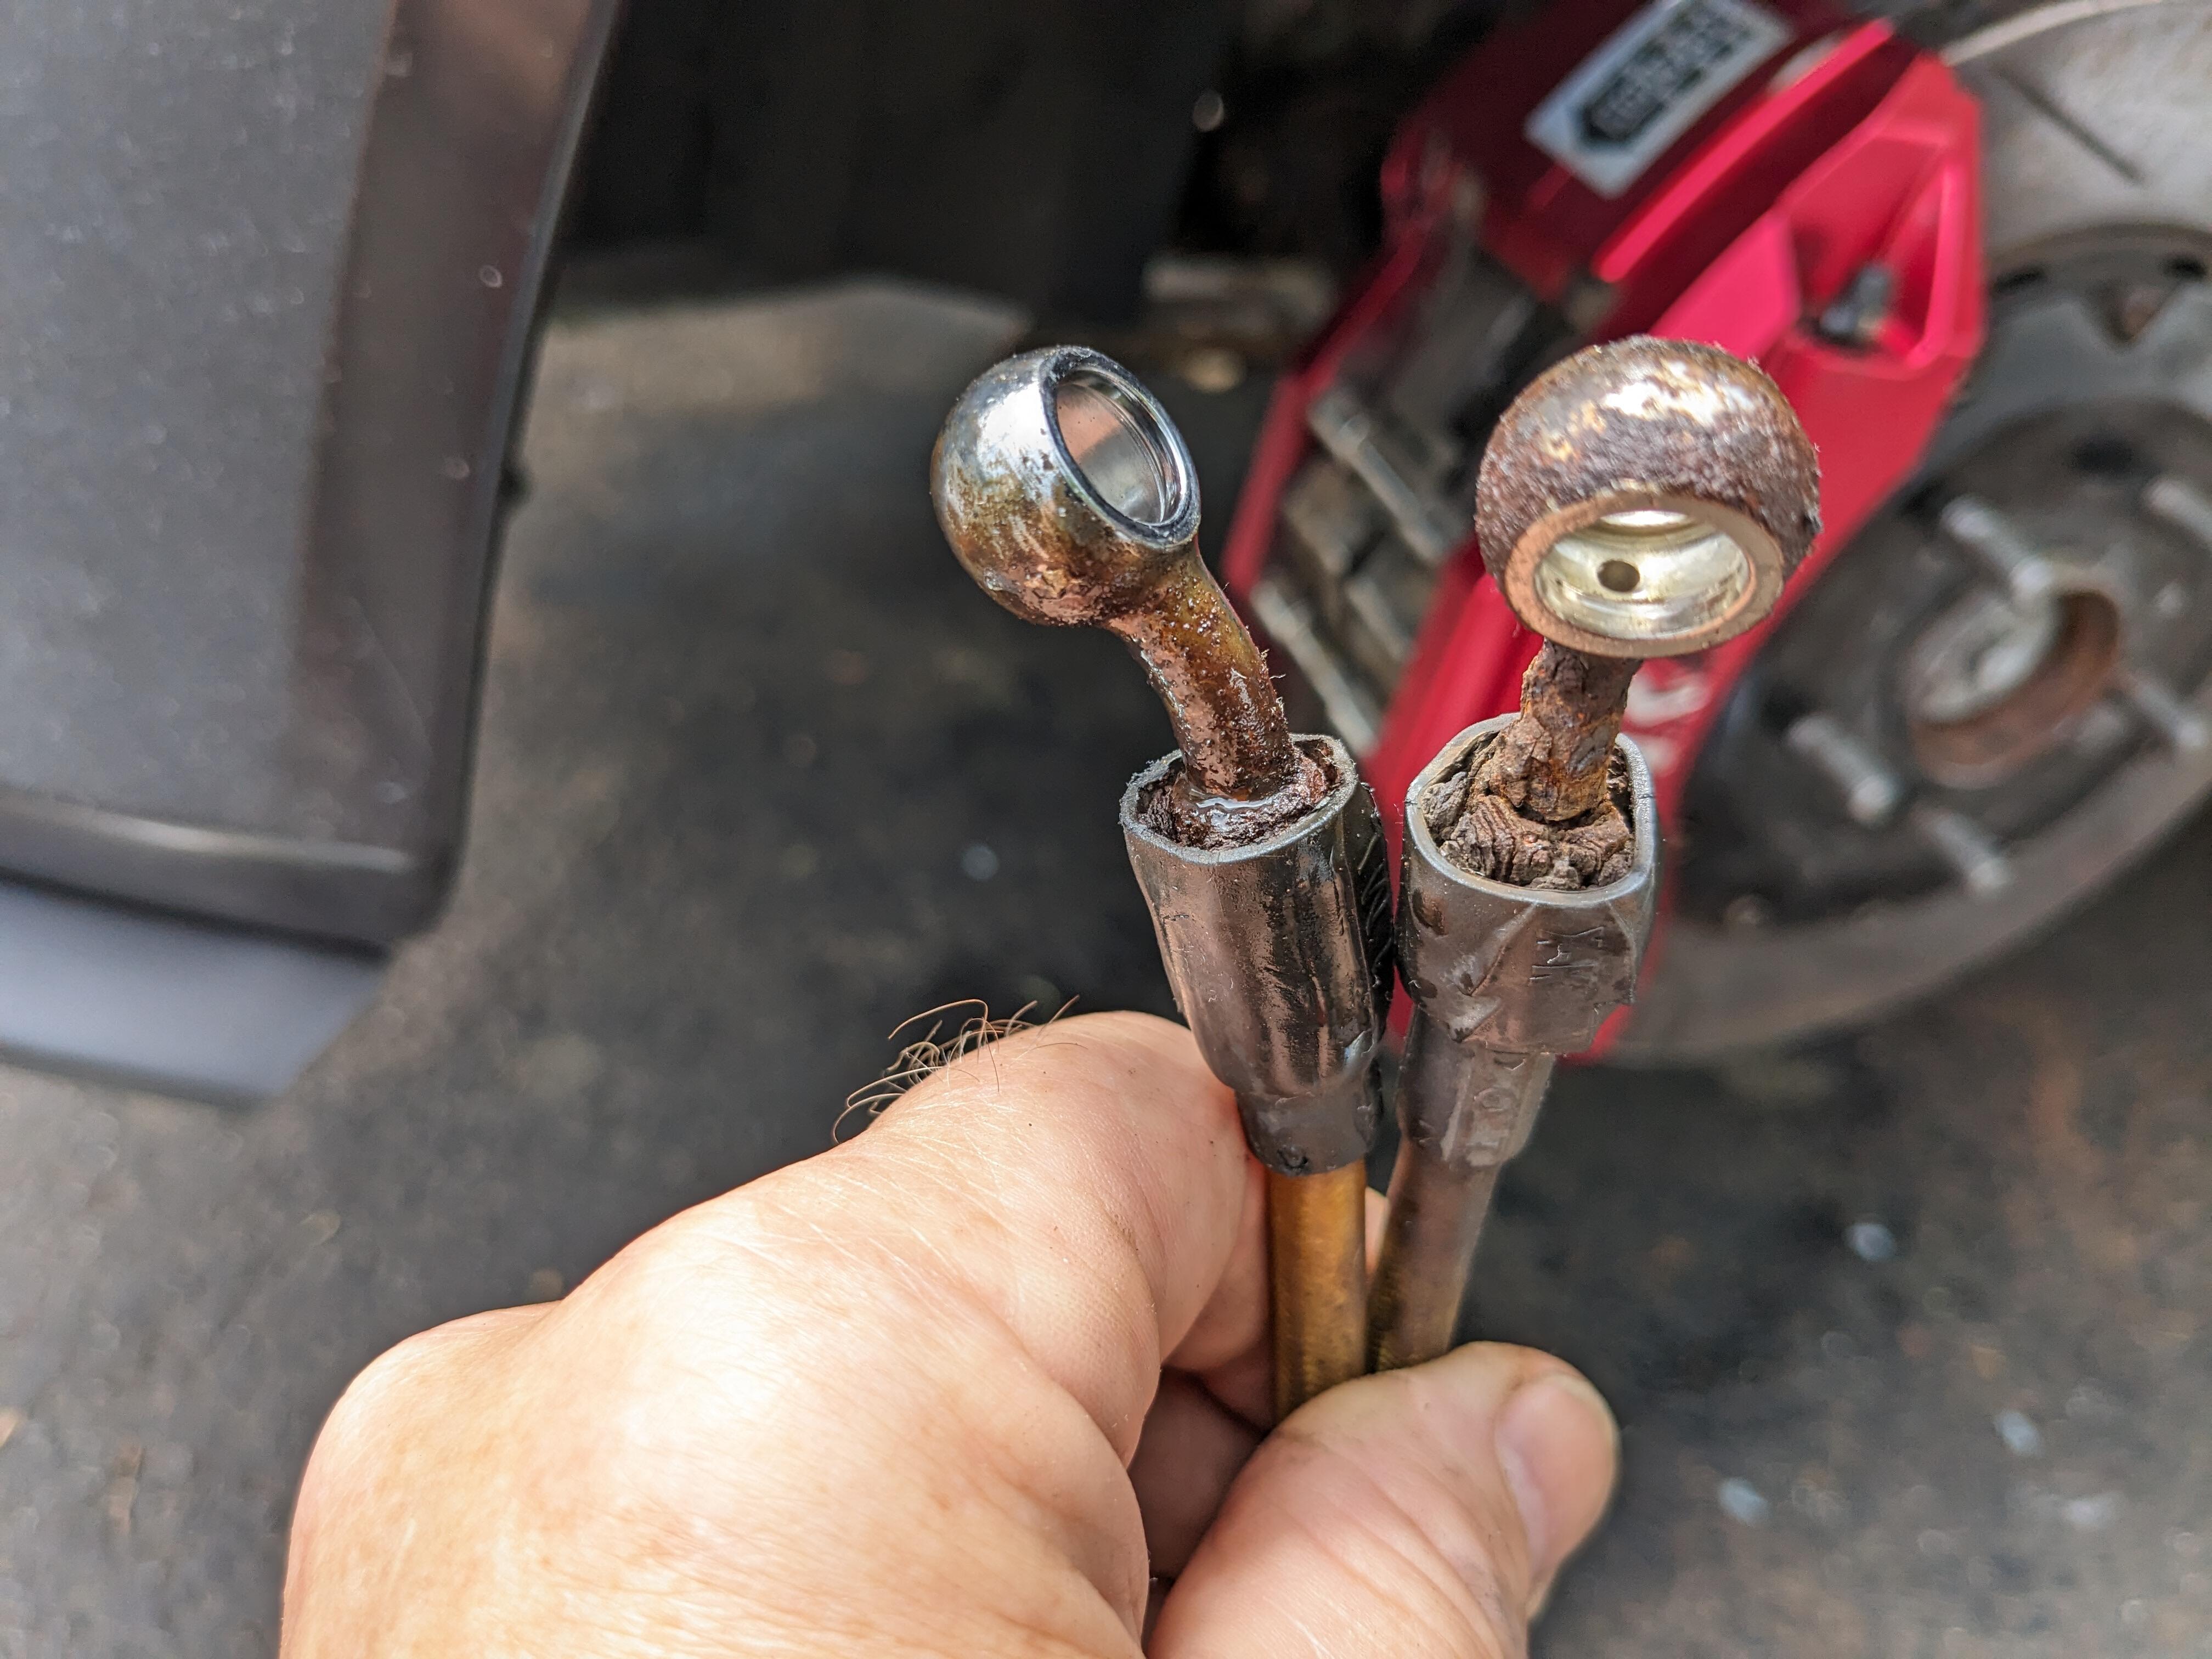
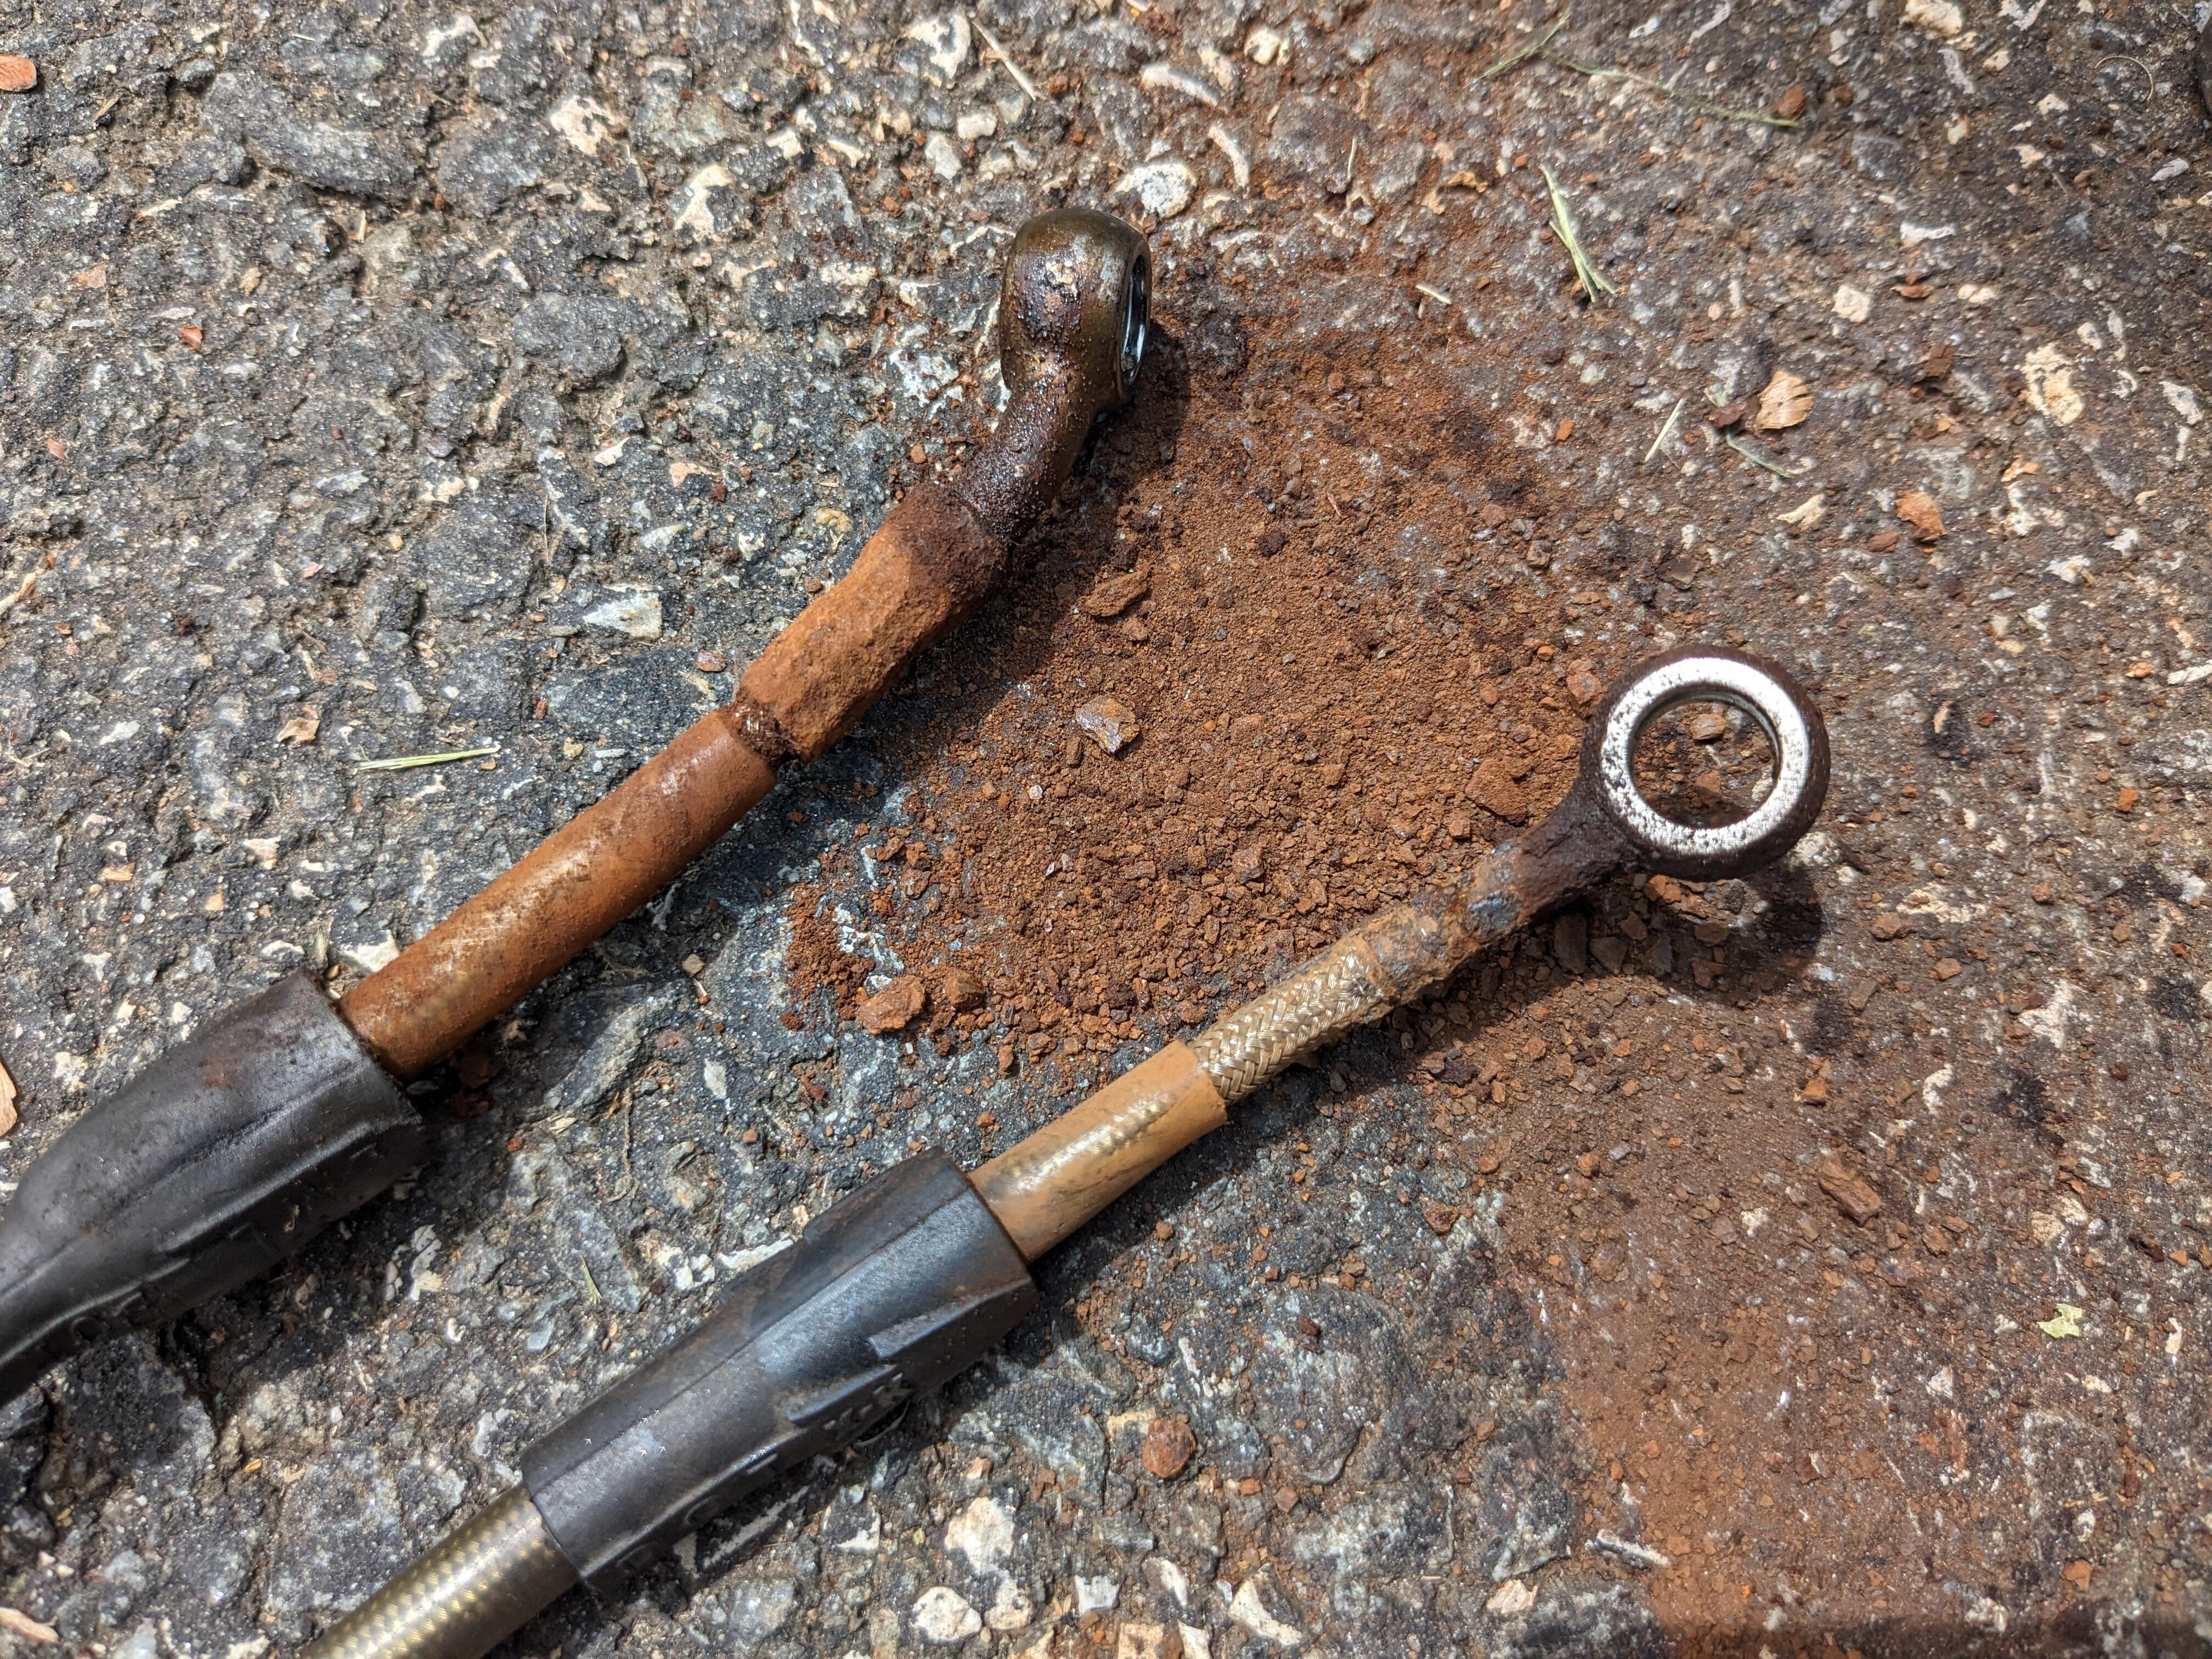
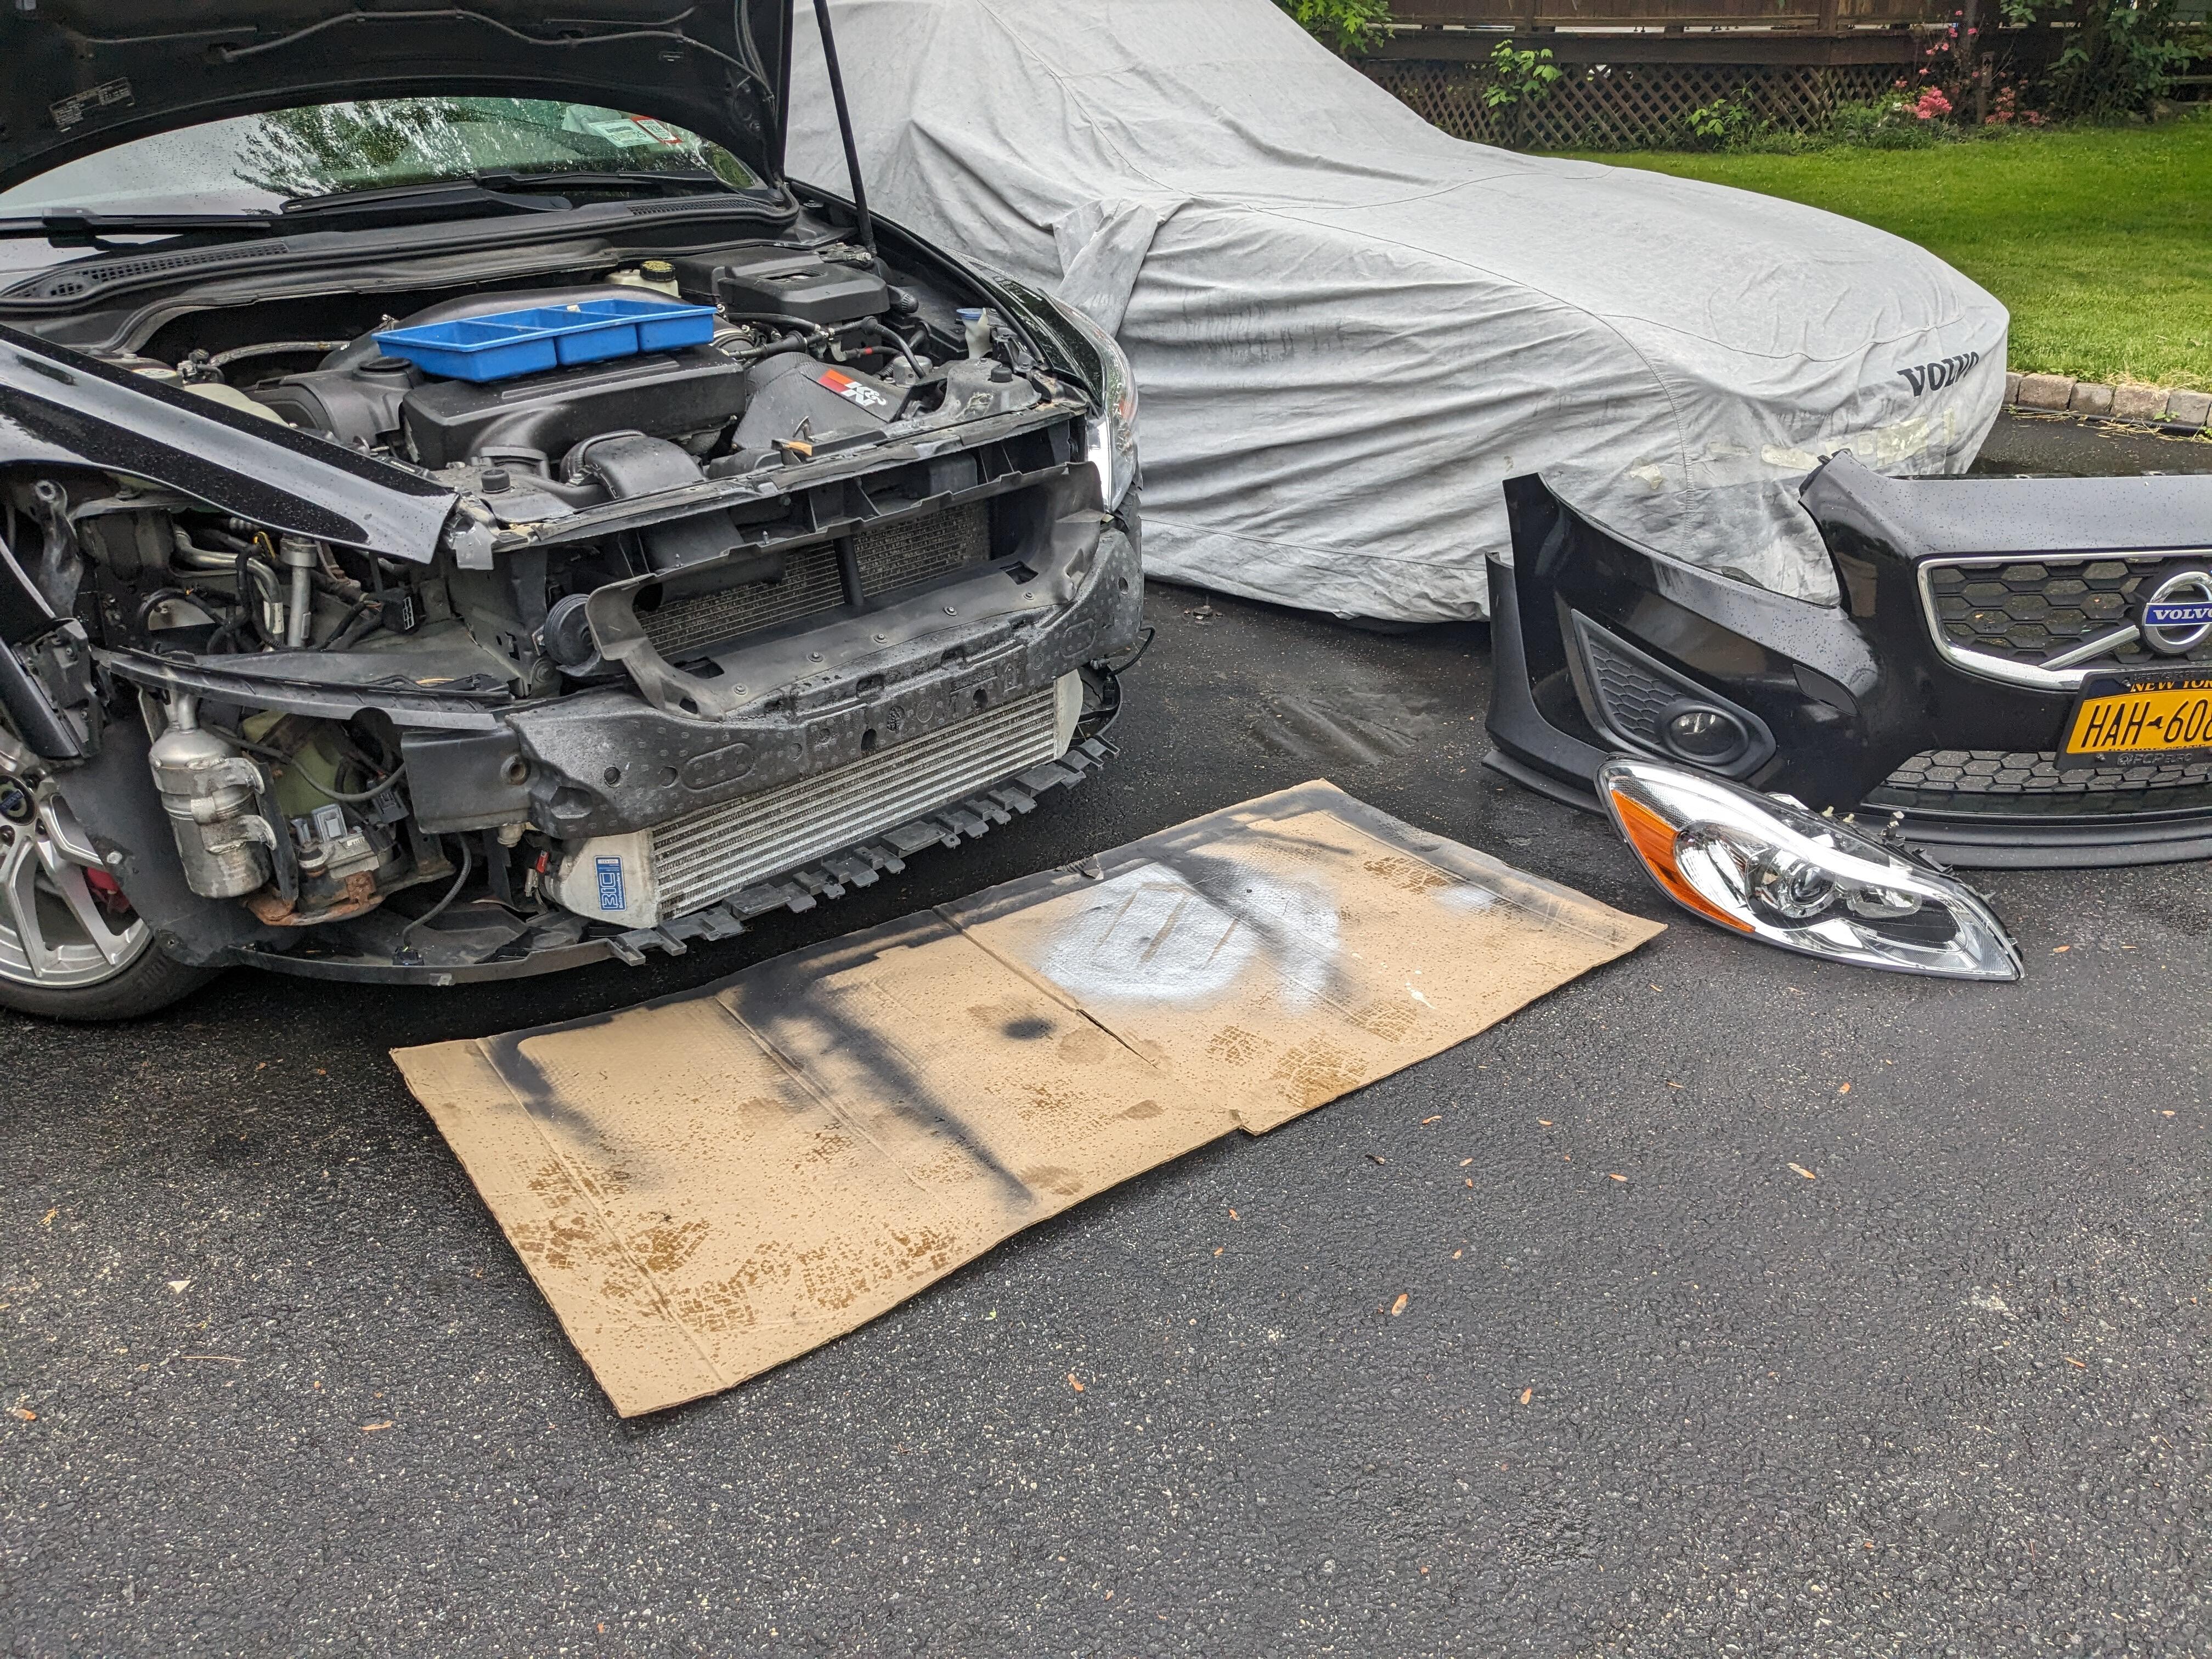
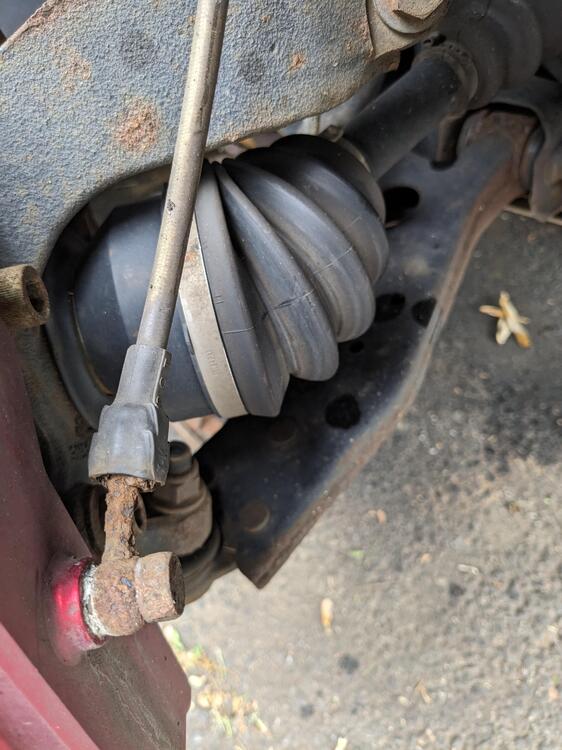
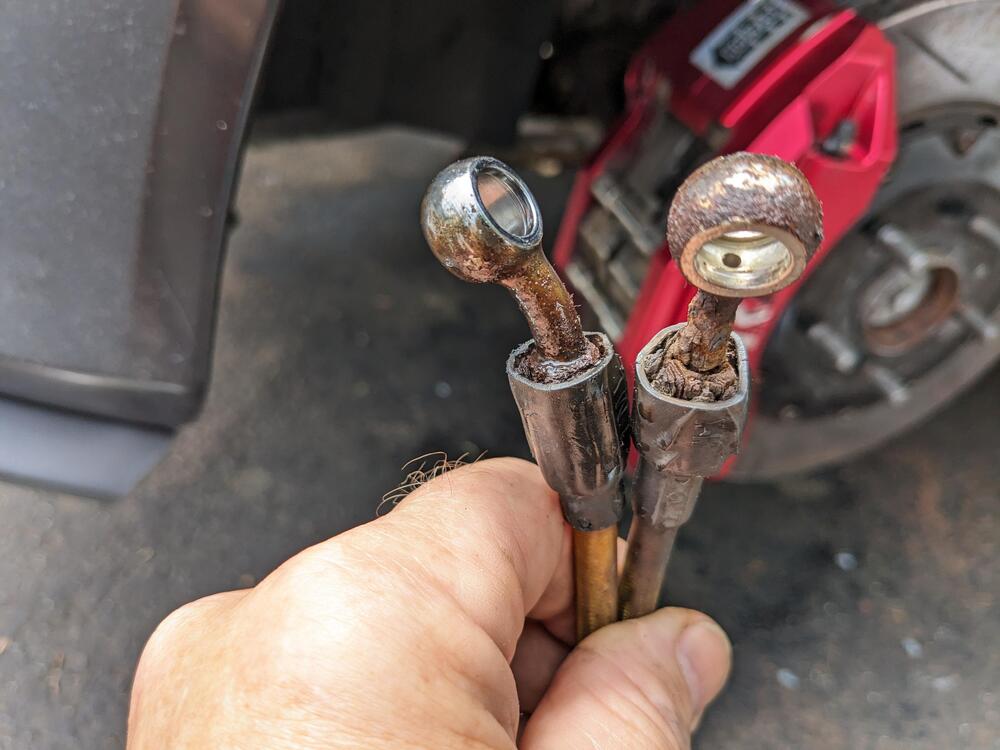
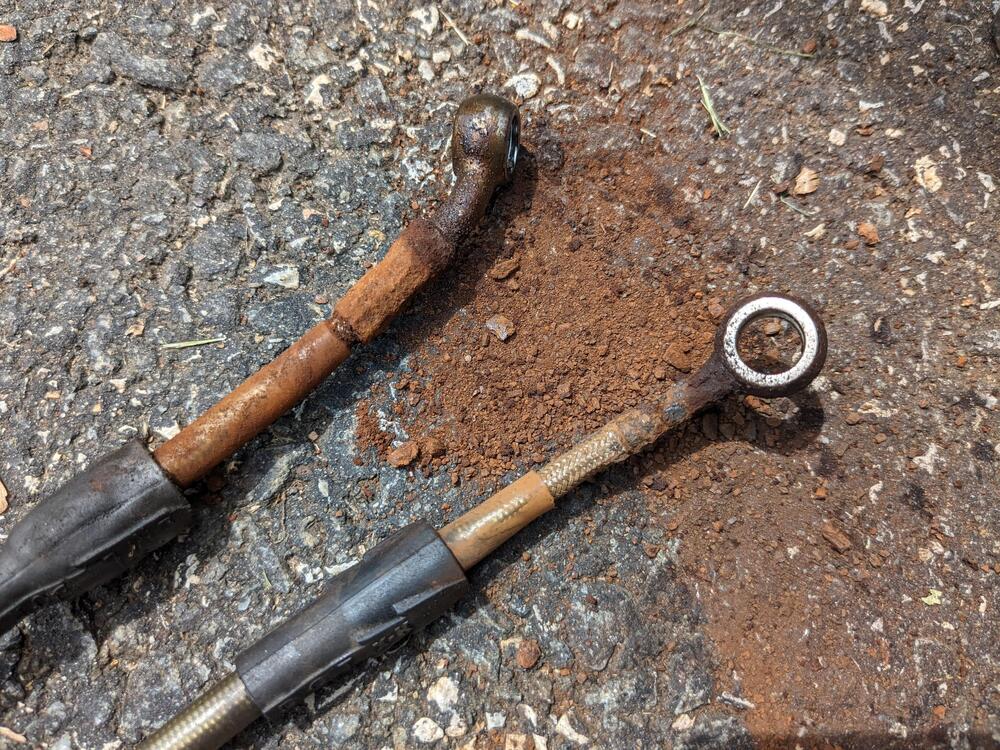
So, after doing the pump, I decided I should go over the brakes and suspension to make sure it's all good for our summer trips. Saw a surprise on the front calipers - these hoses from CEIKA are 3years old(!) The right side is in much worse shape than the left Which really isn't saying much. I messaged Ceika from their Facebook account, that seems to be the quickest way to get a response - at least it has been in the past. I replaced those, and drove the car to check the front for any noises. Everything good up front, no more scream from the PS pump - however I could hear that there were noises coming from the rear now that were masked previously.... Surprisingly, perhaps - it was just a little bit of a squeak and a pop over bumps. I put the stock springs back in, since I had saved them from back in 2016 I think when I originally did the Eibach lowering spring set. The original Eibach springs lasted 2 years, I replaced those in 2018. They have limited lifetime warranty - this clearly falls into that category. I don't Track the car or anything. Have to hear back from TireRack.com on that.
-
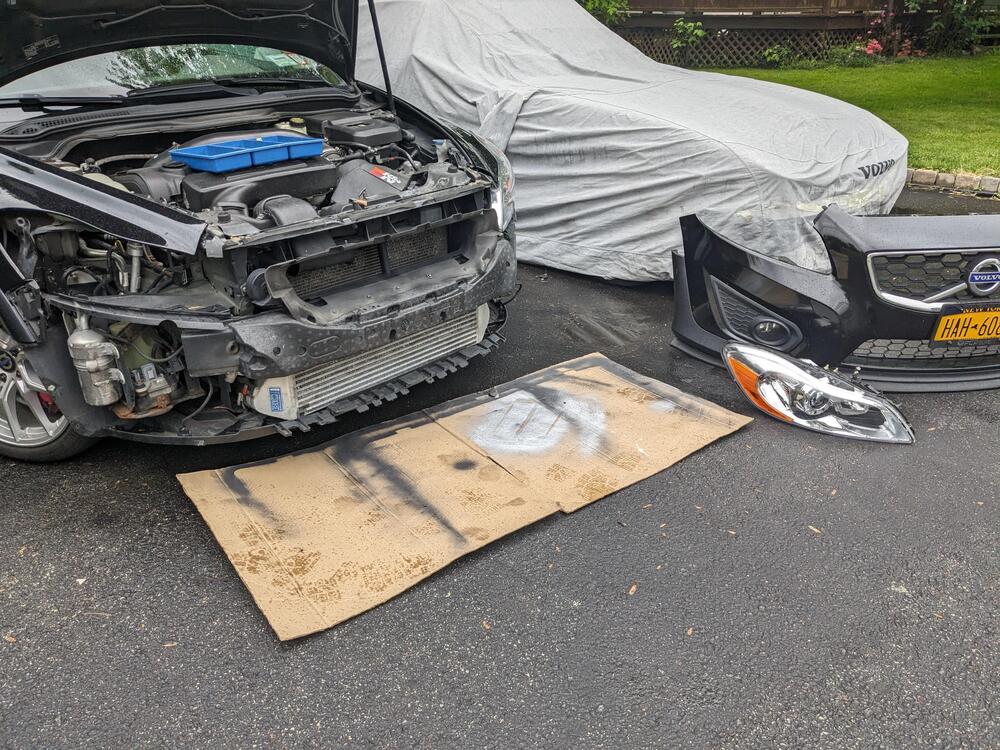
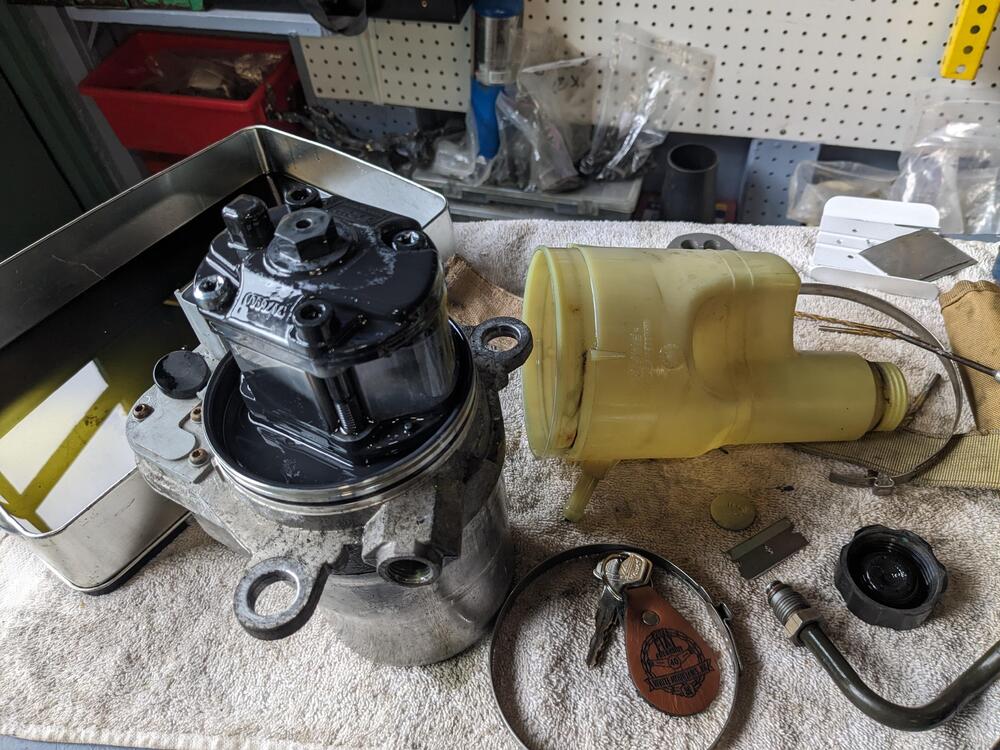
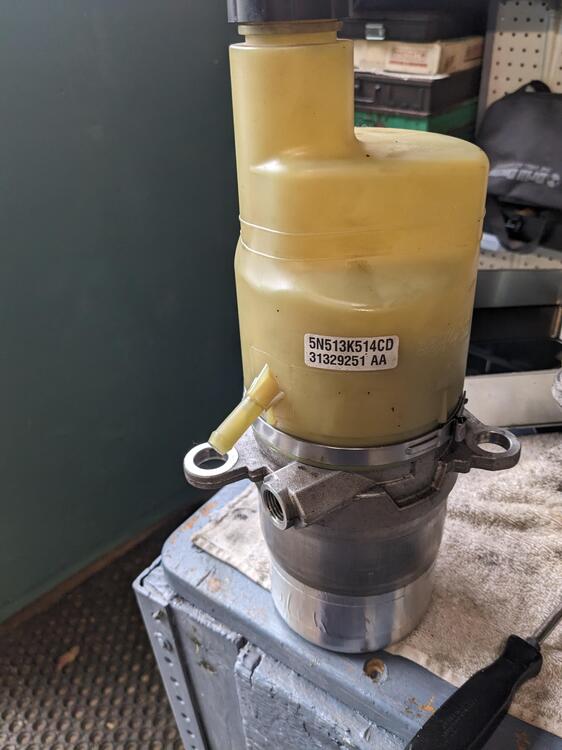
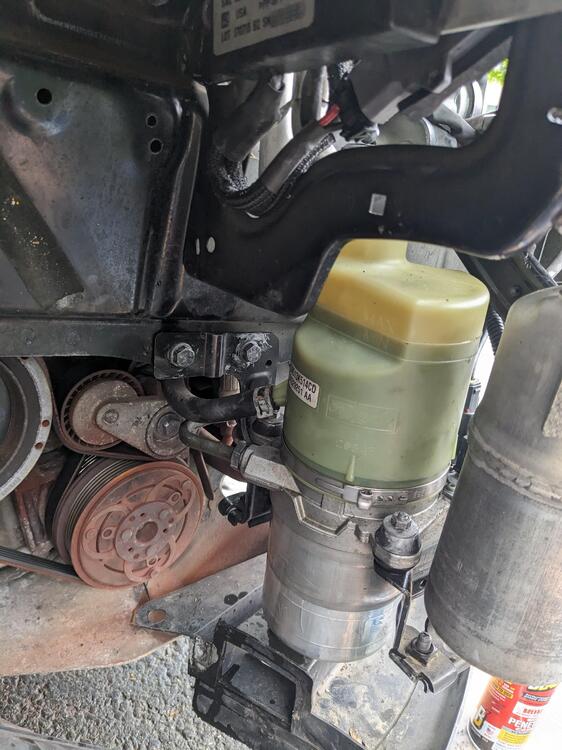
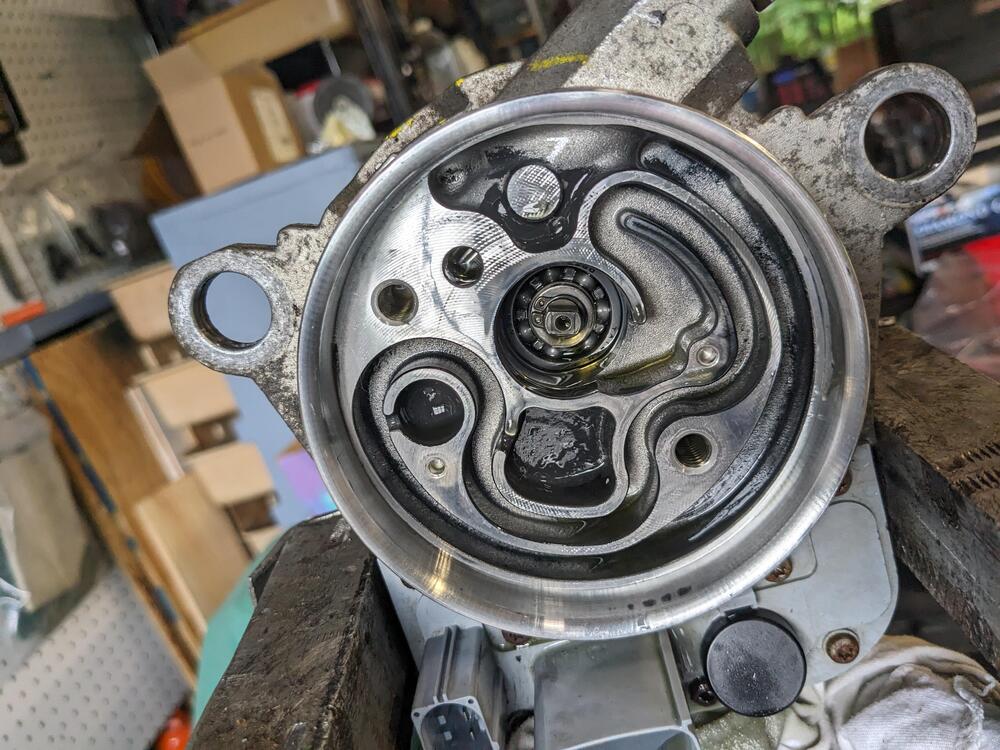
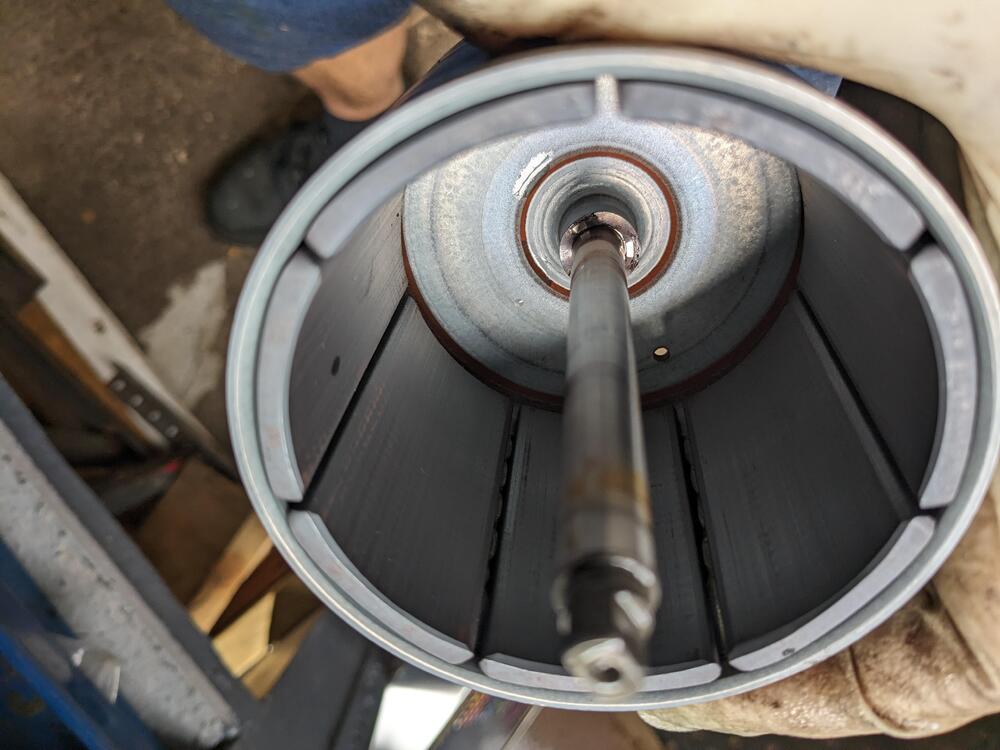
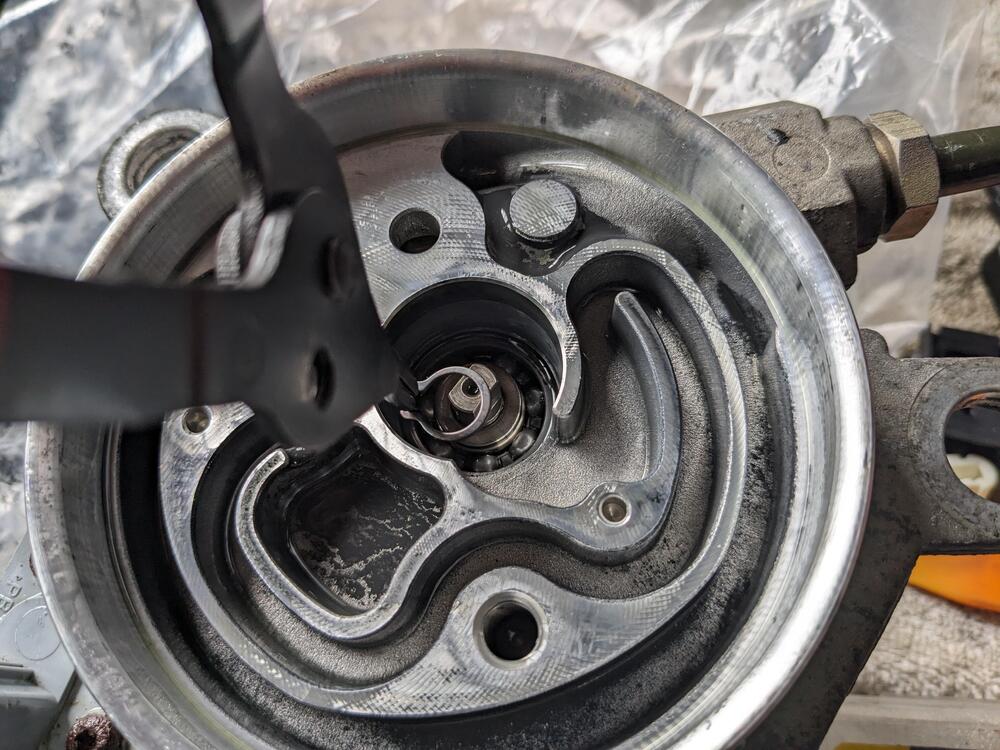
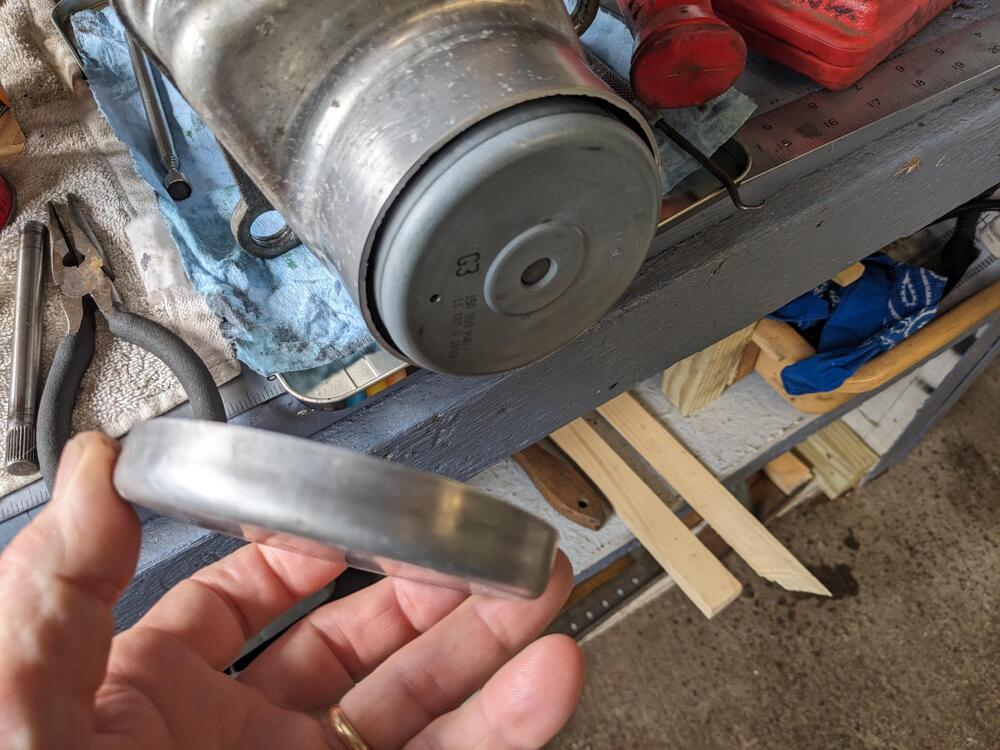
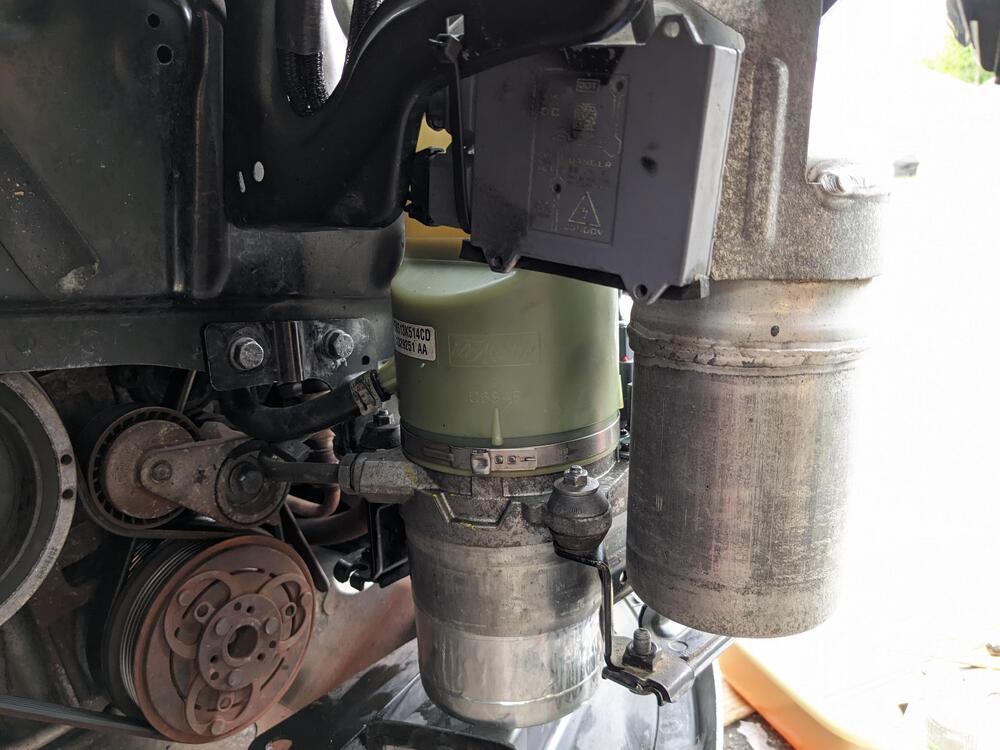
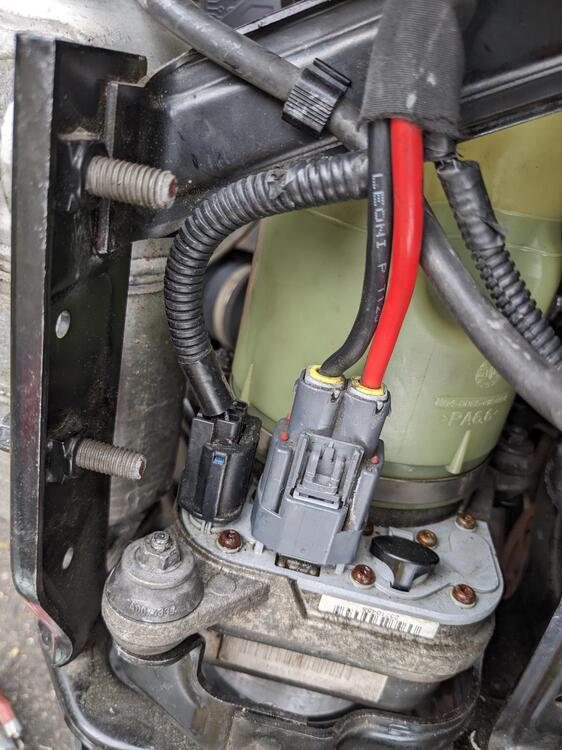
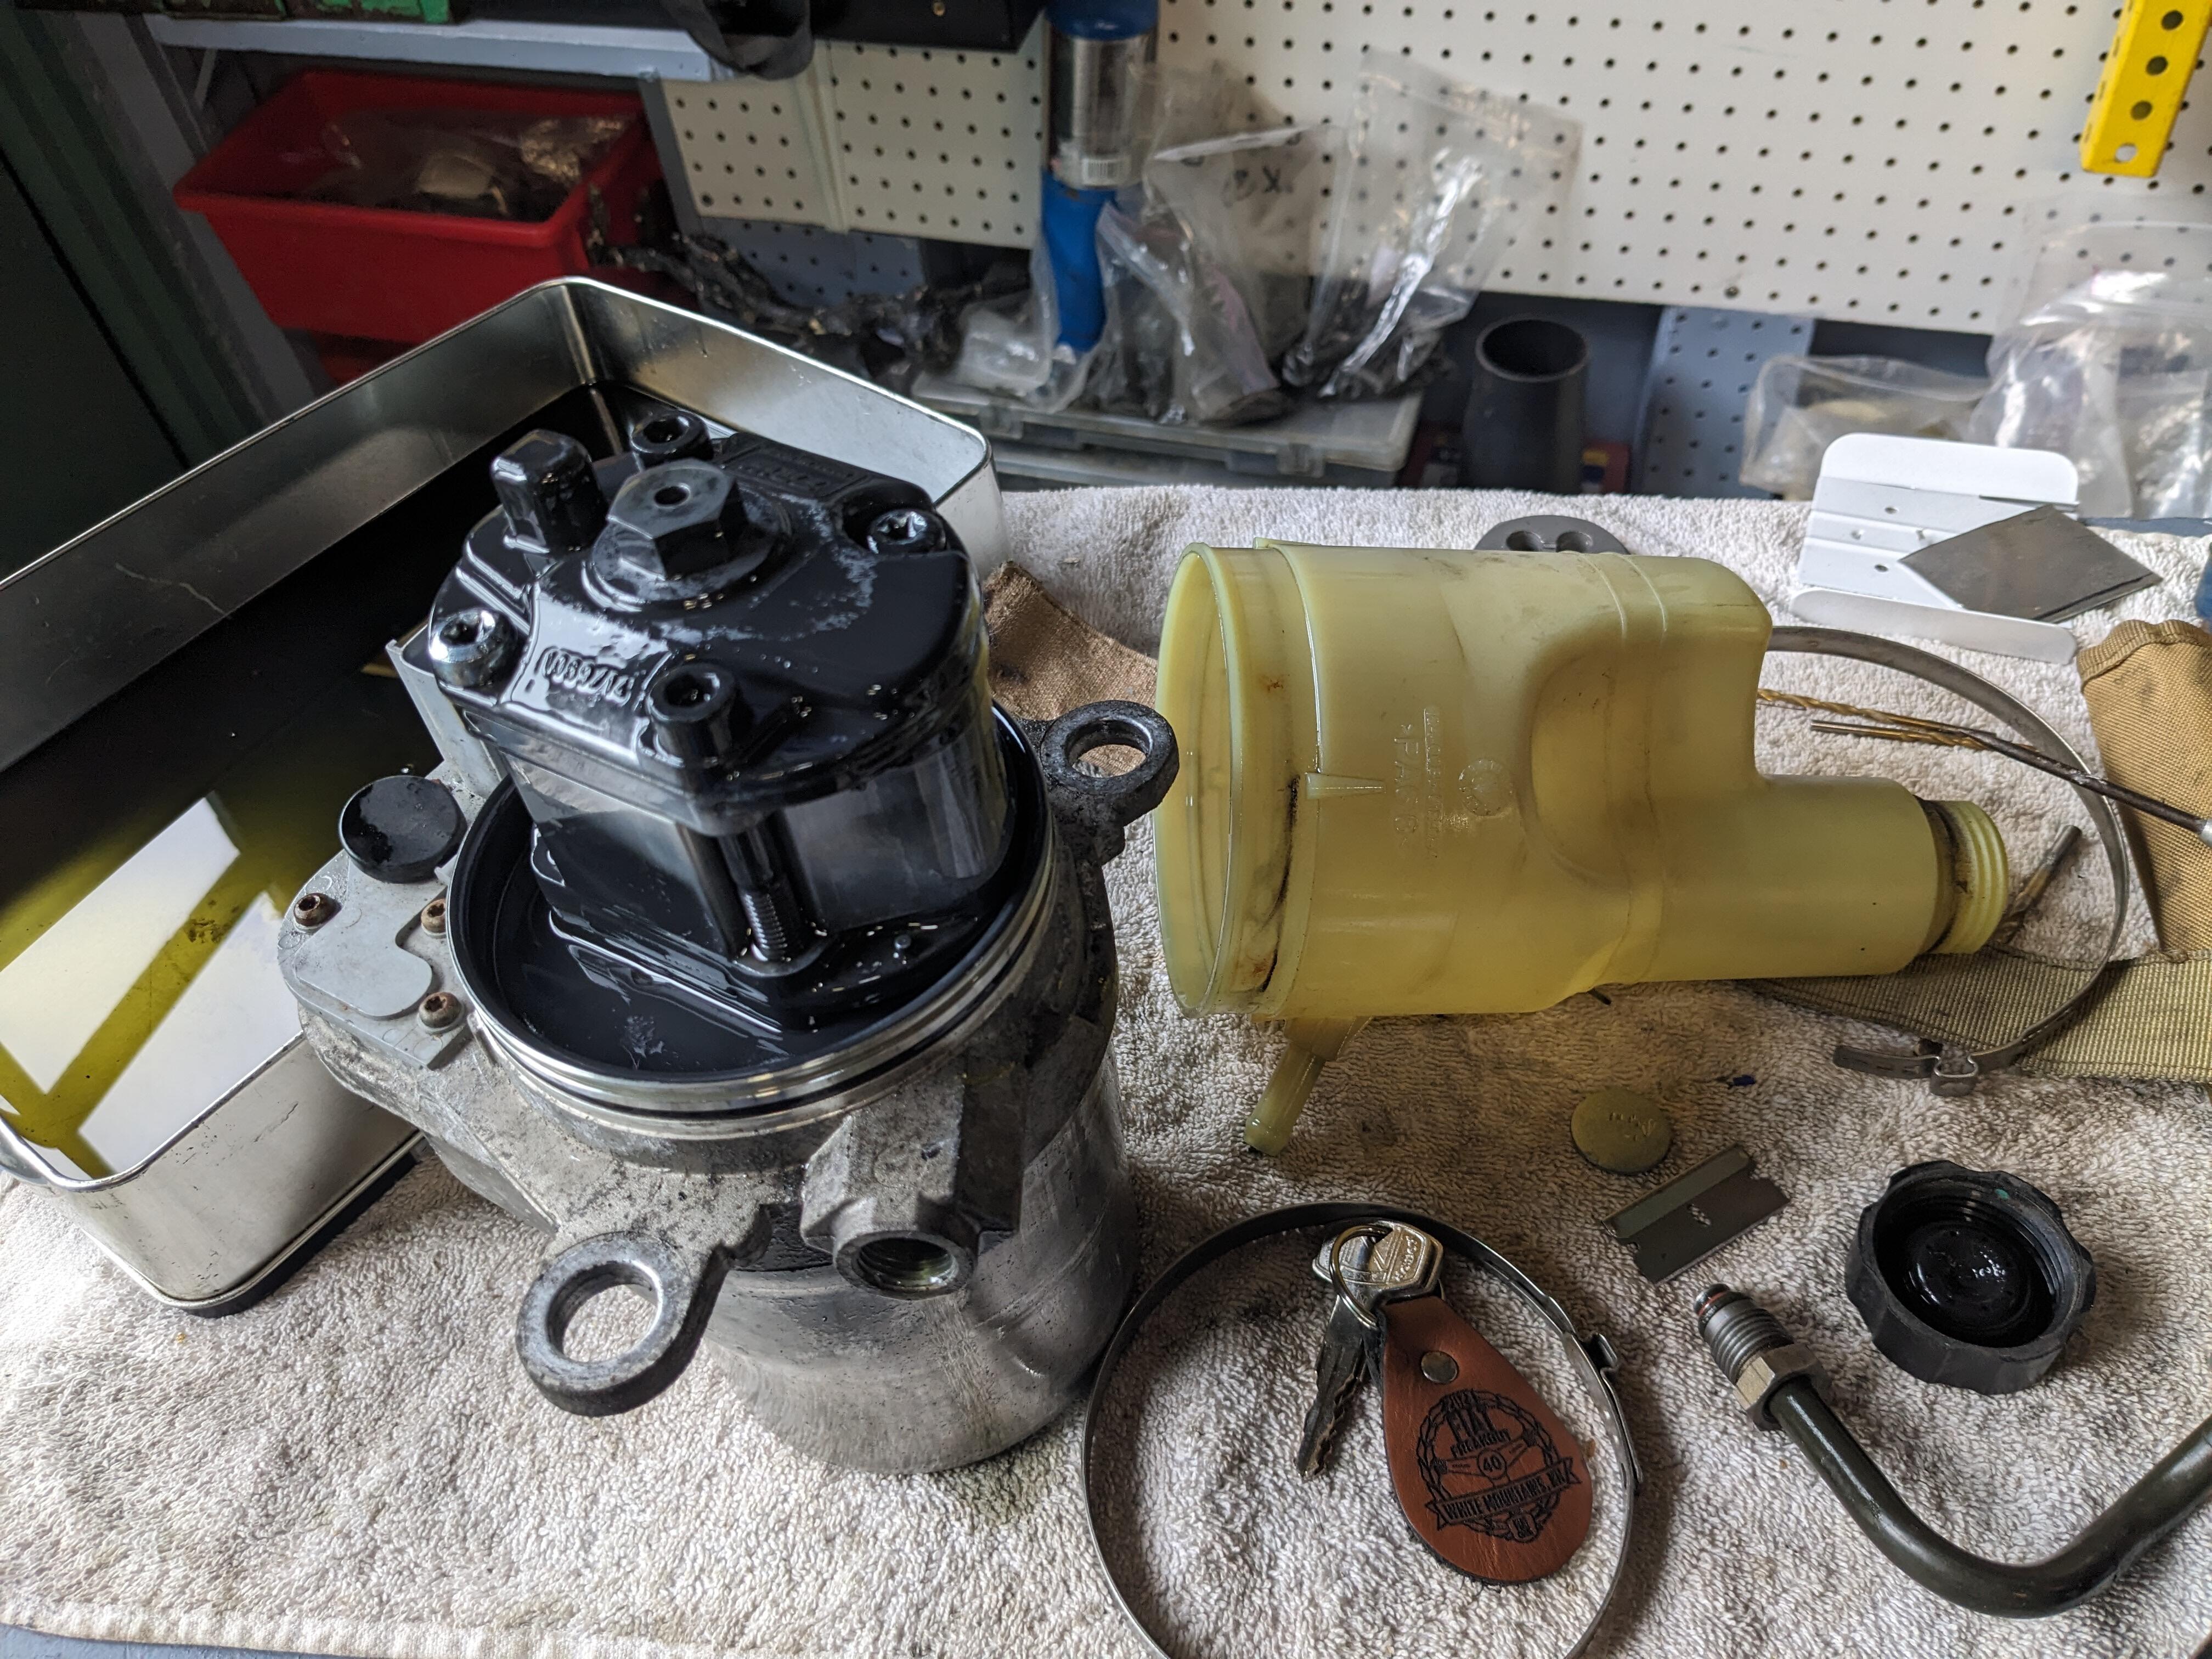
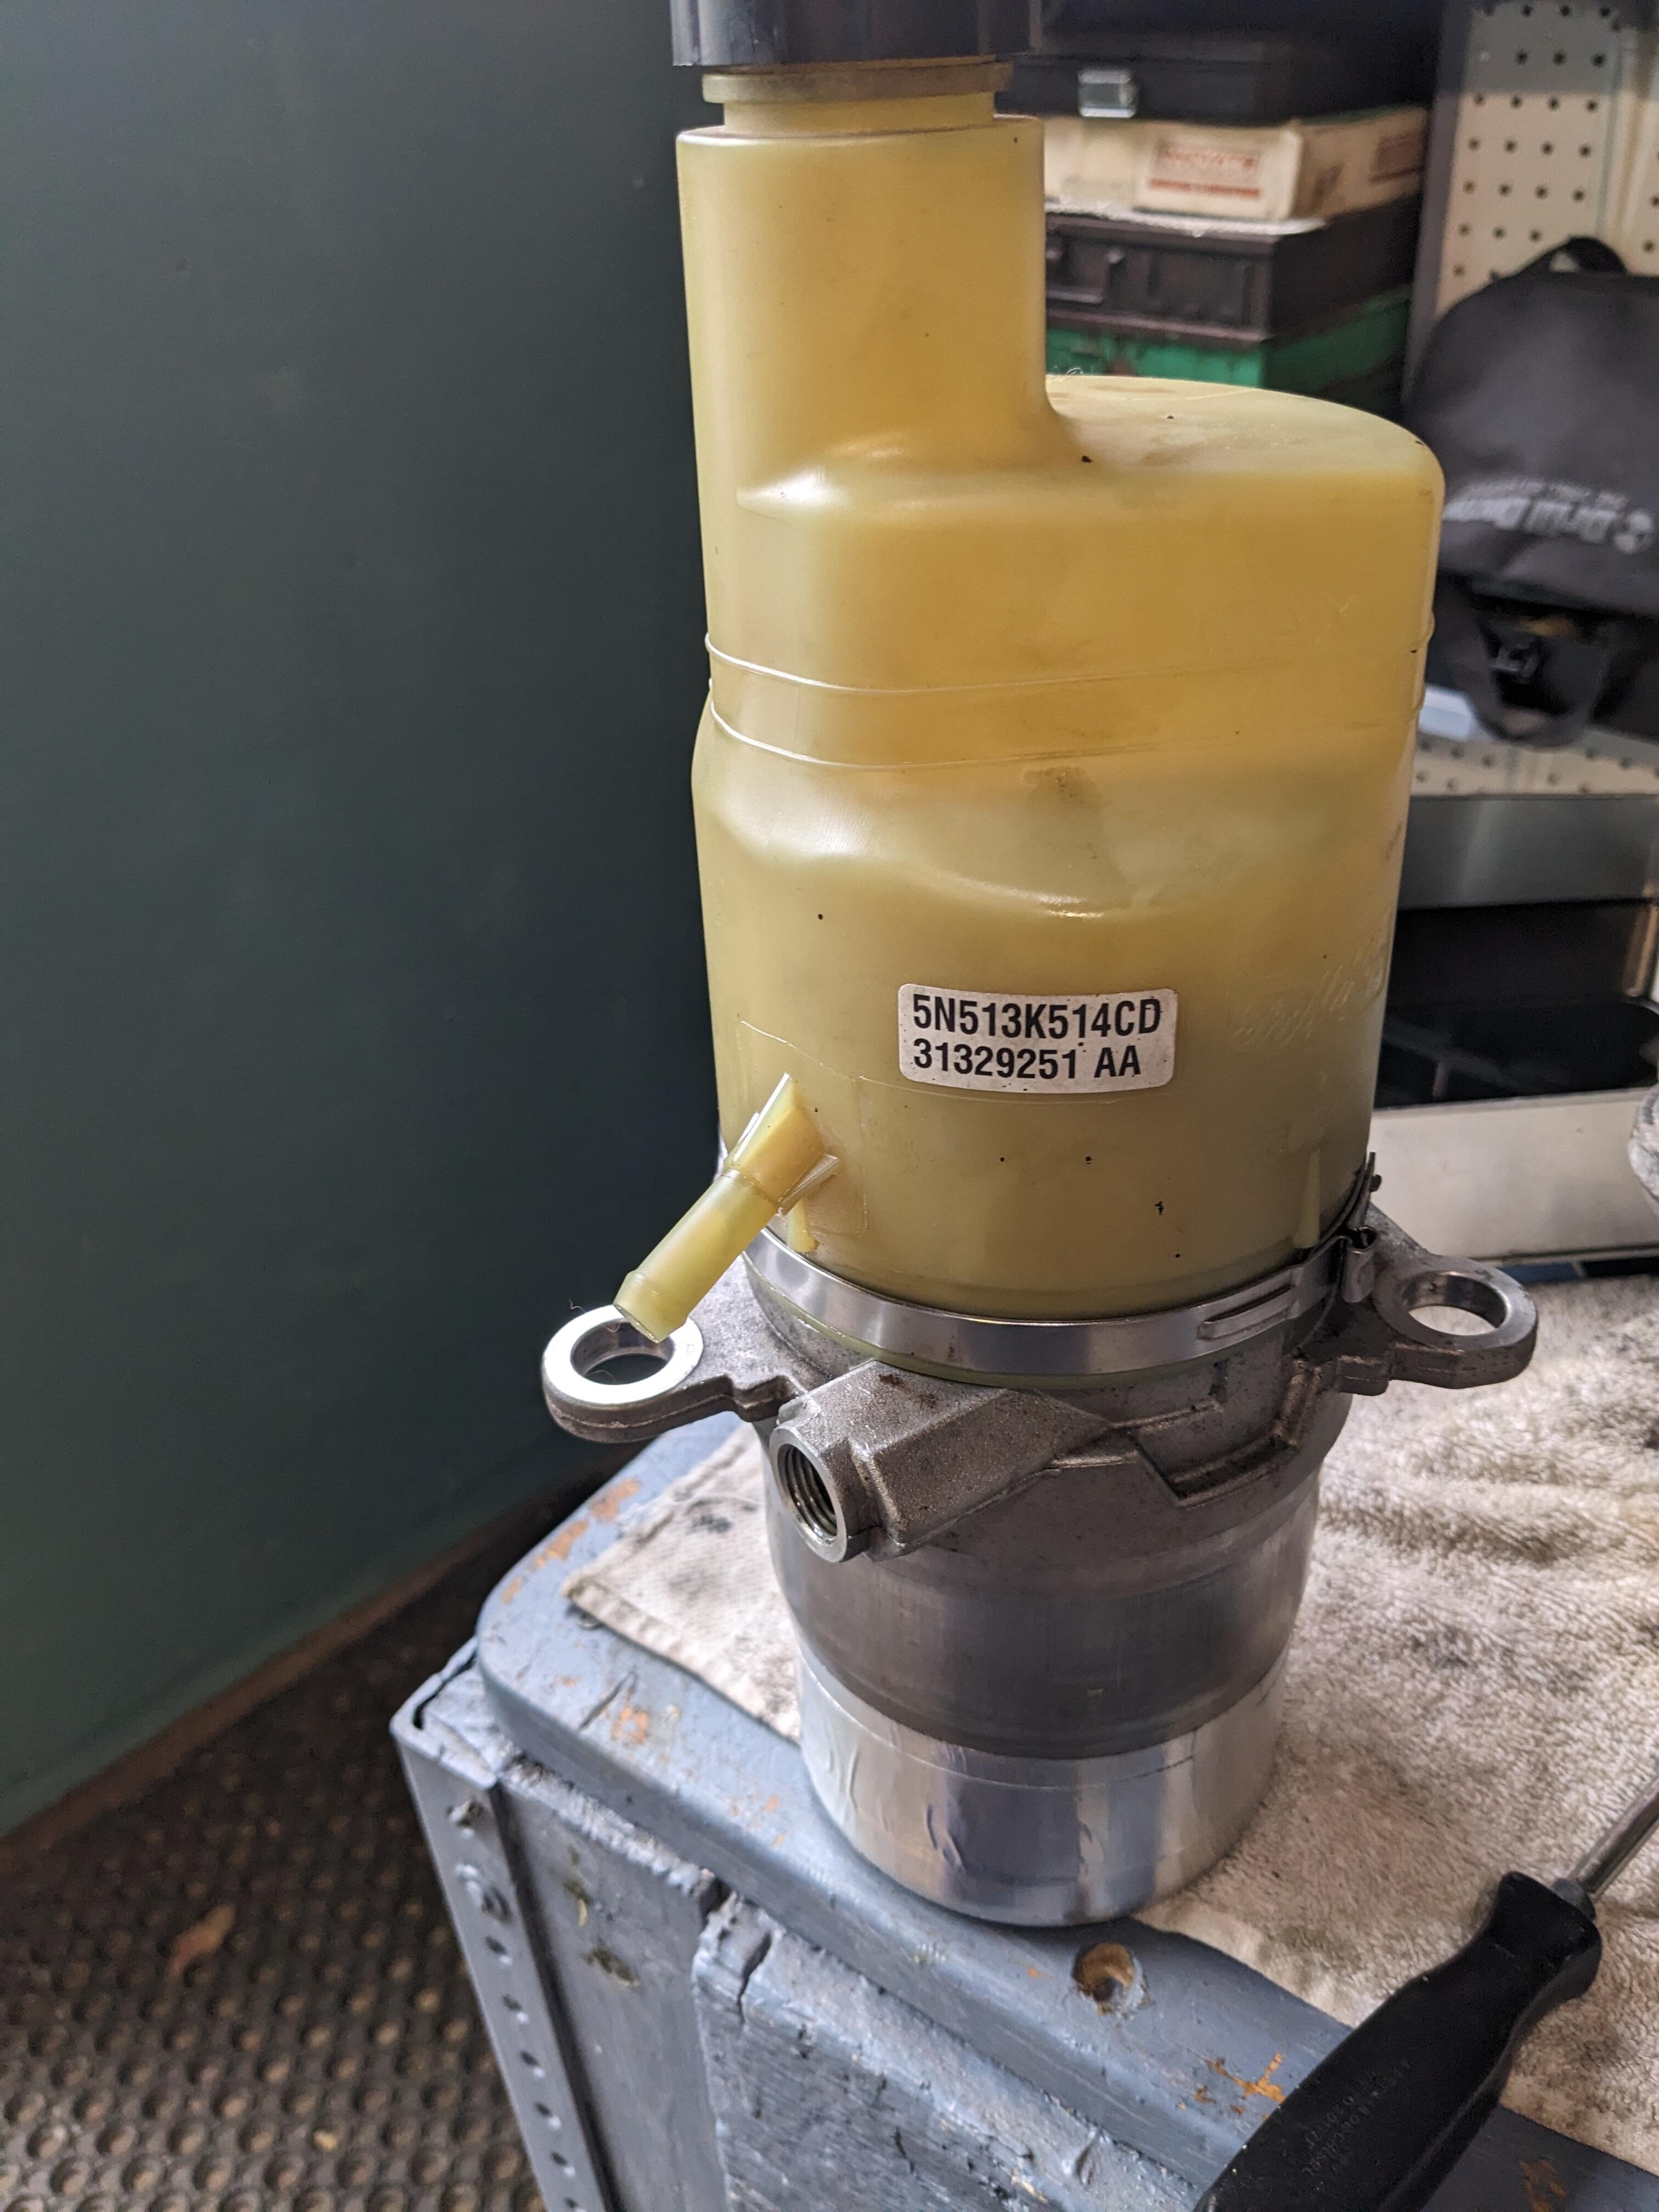
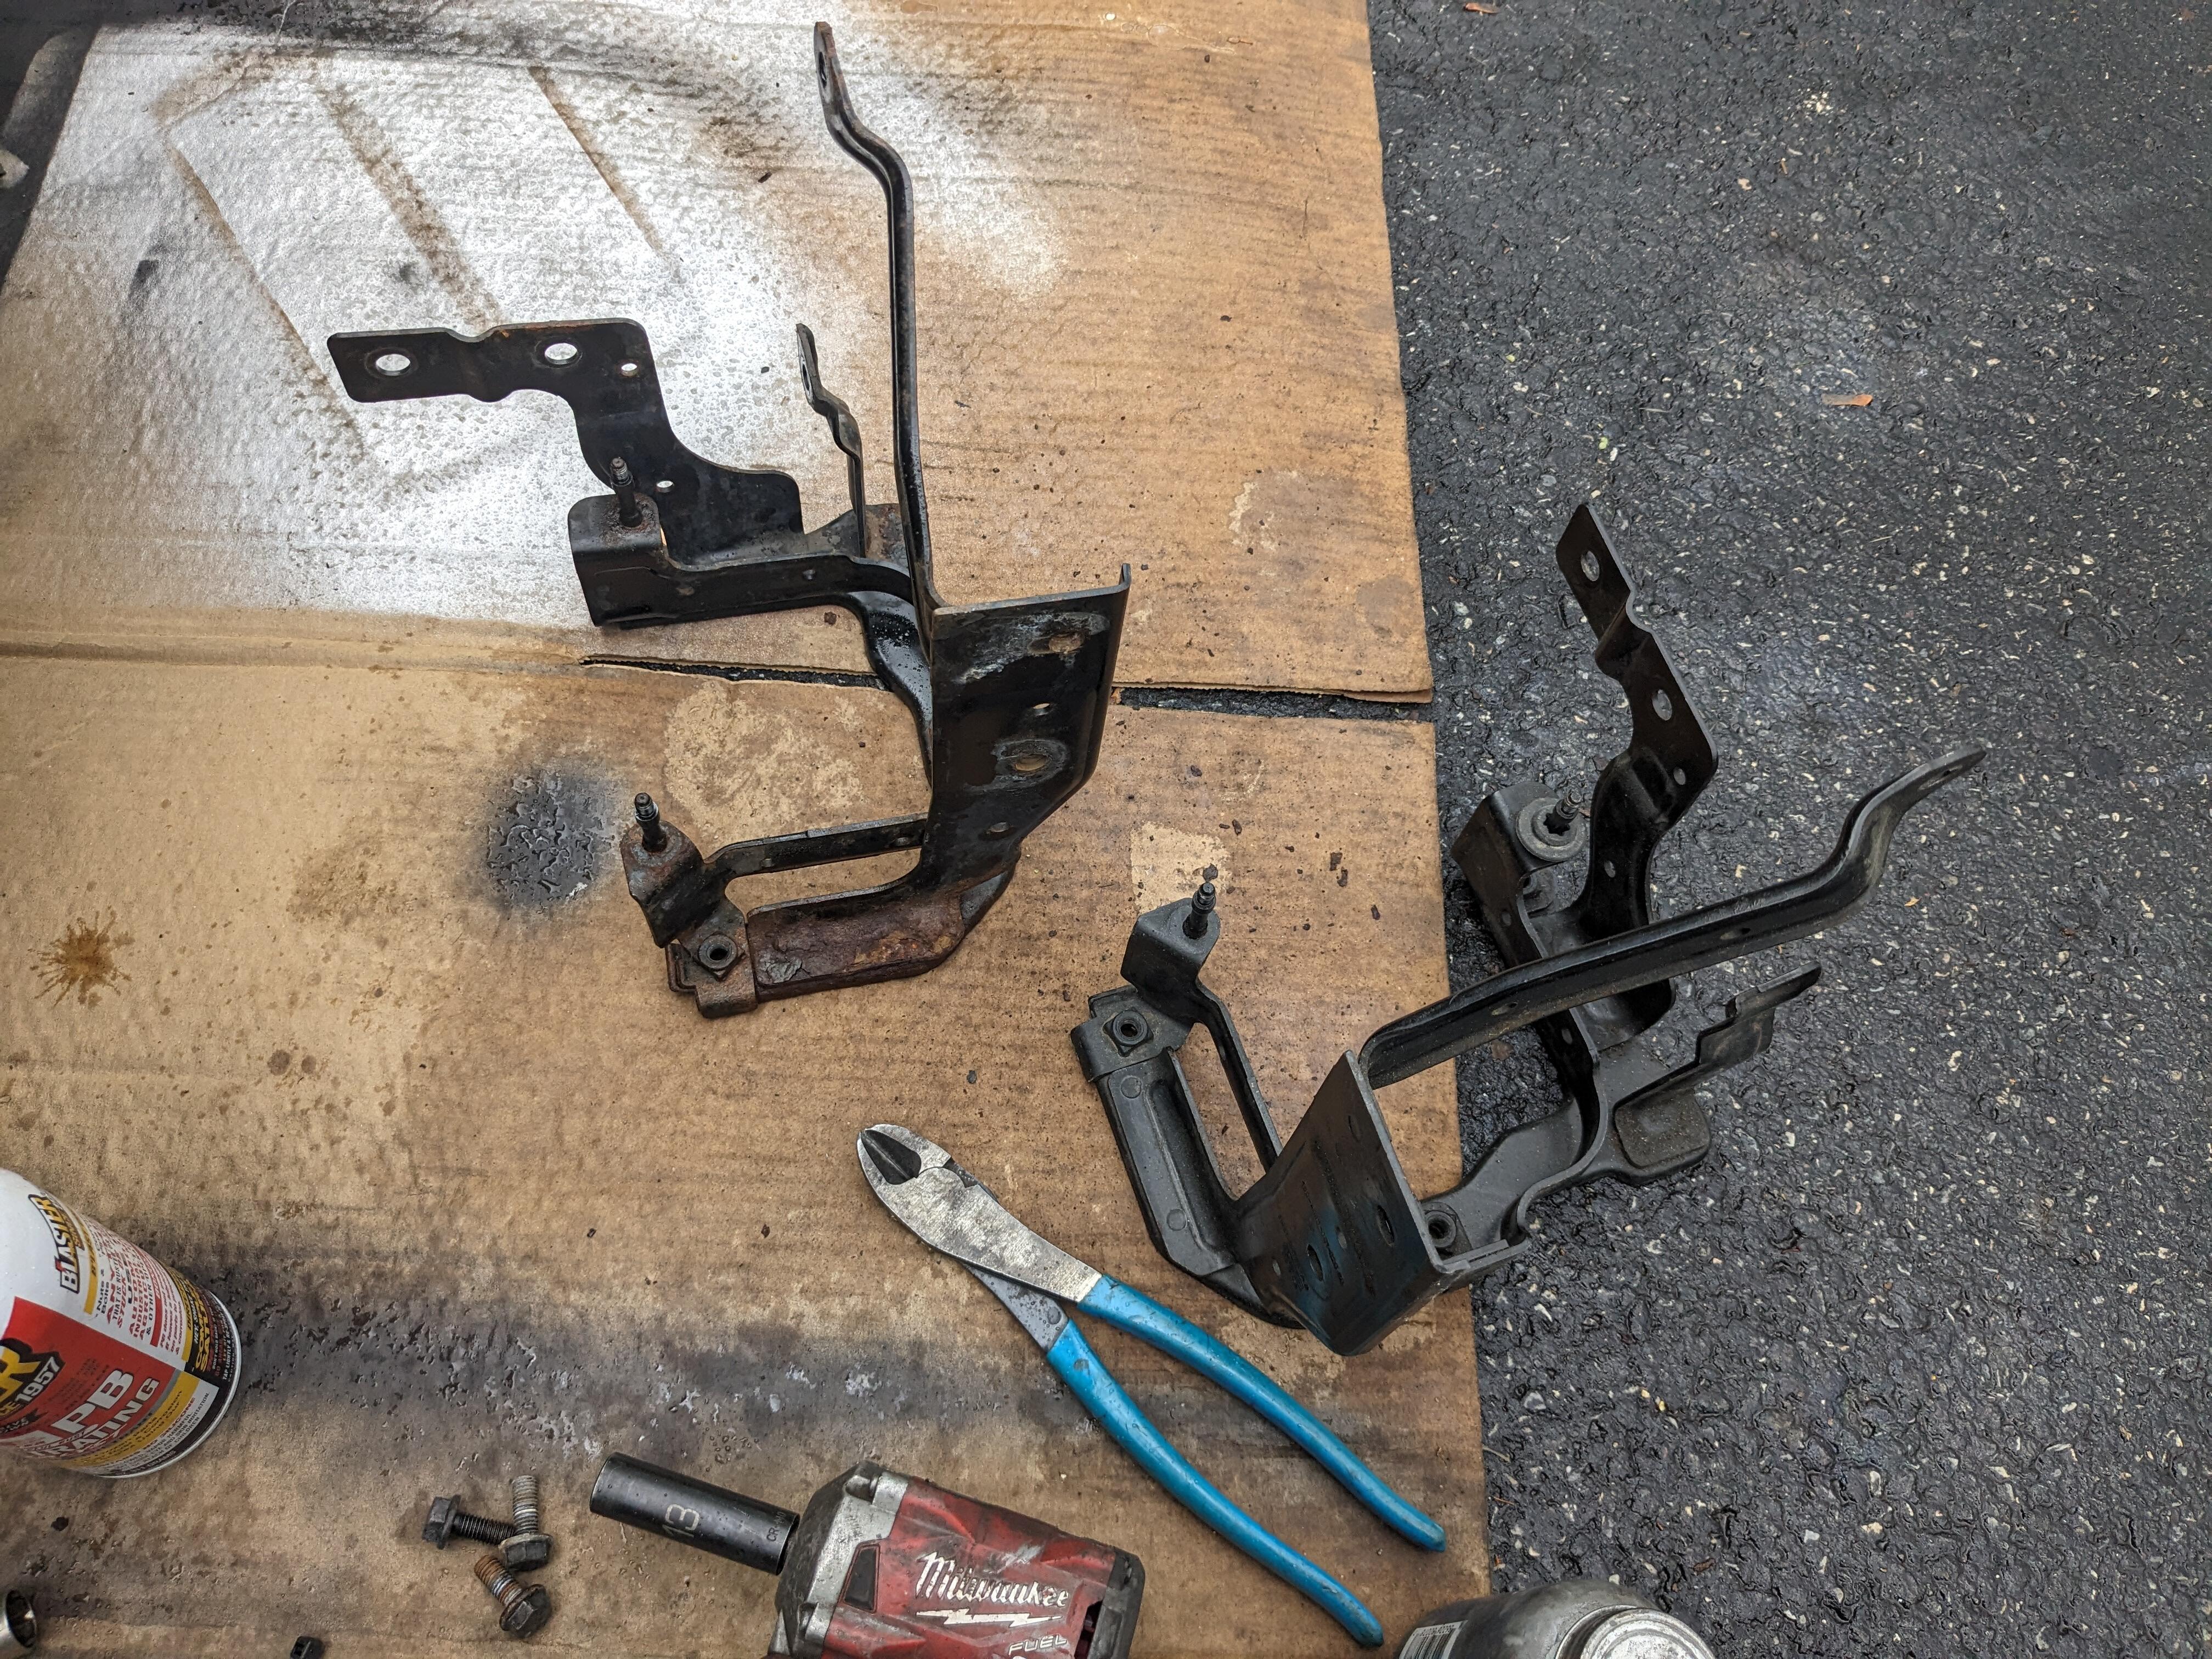
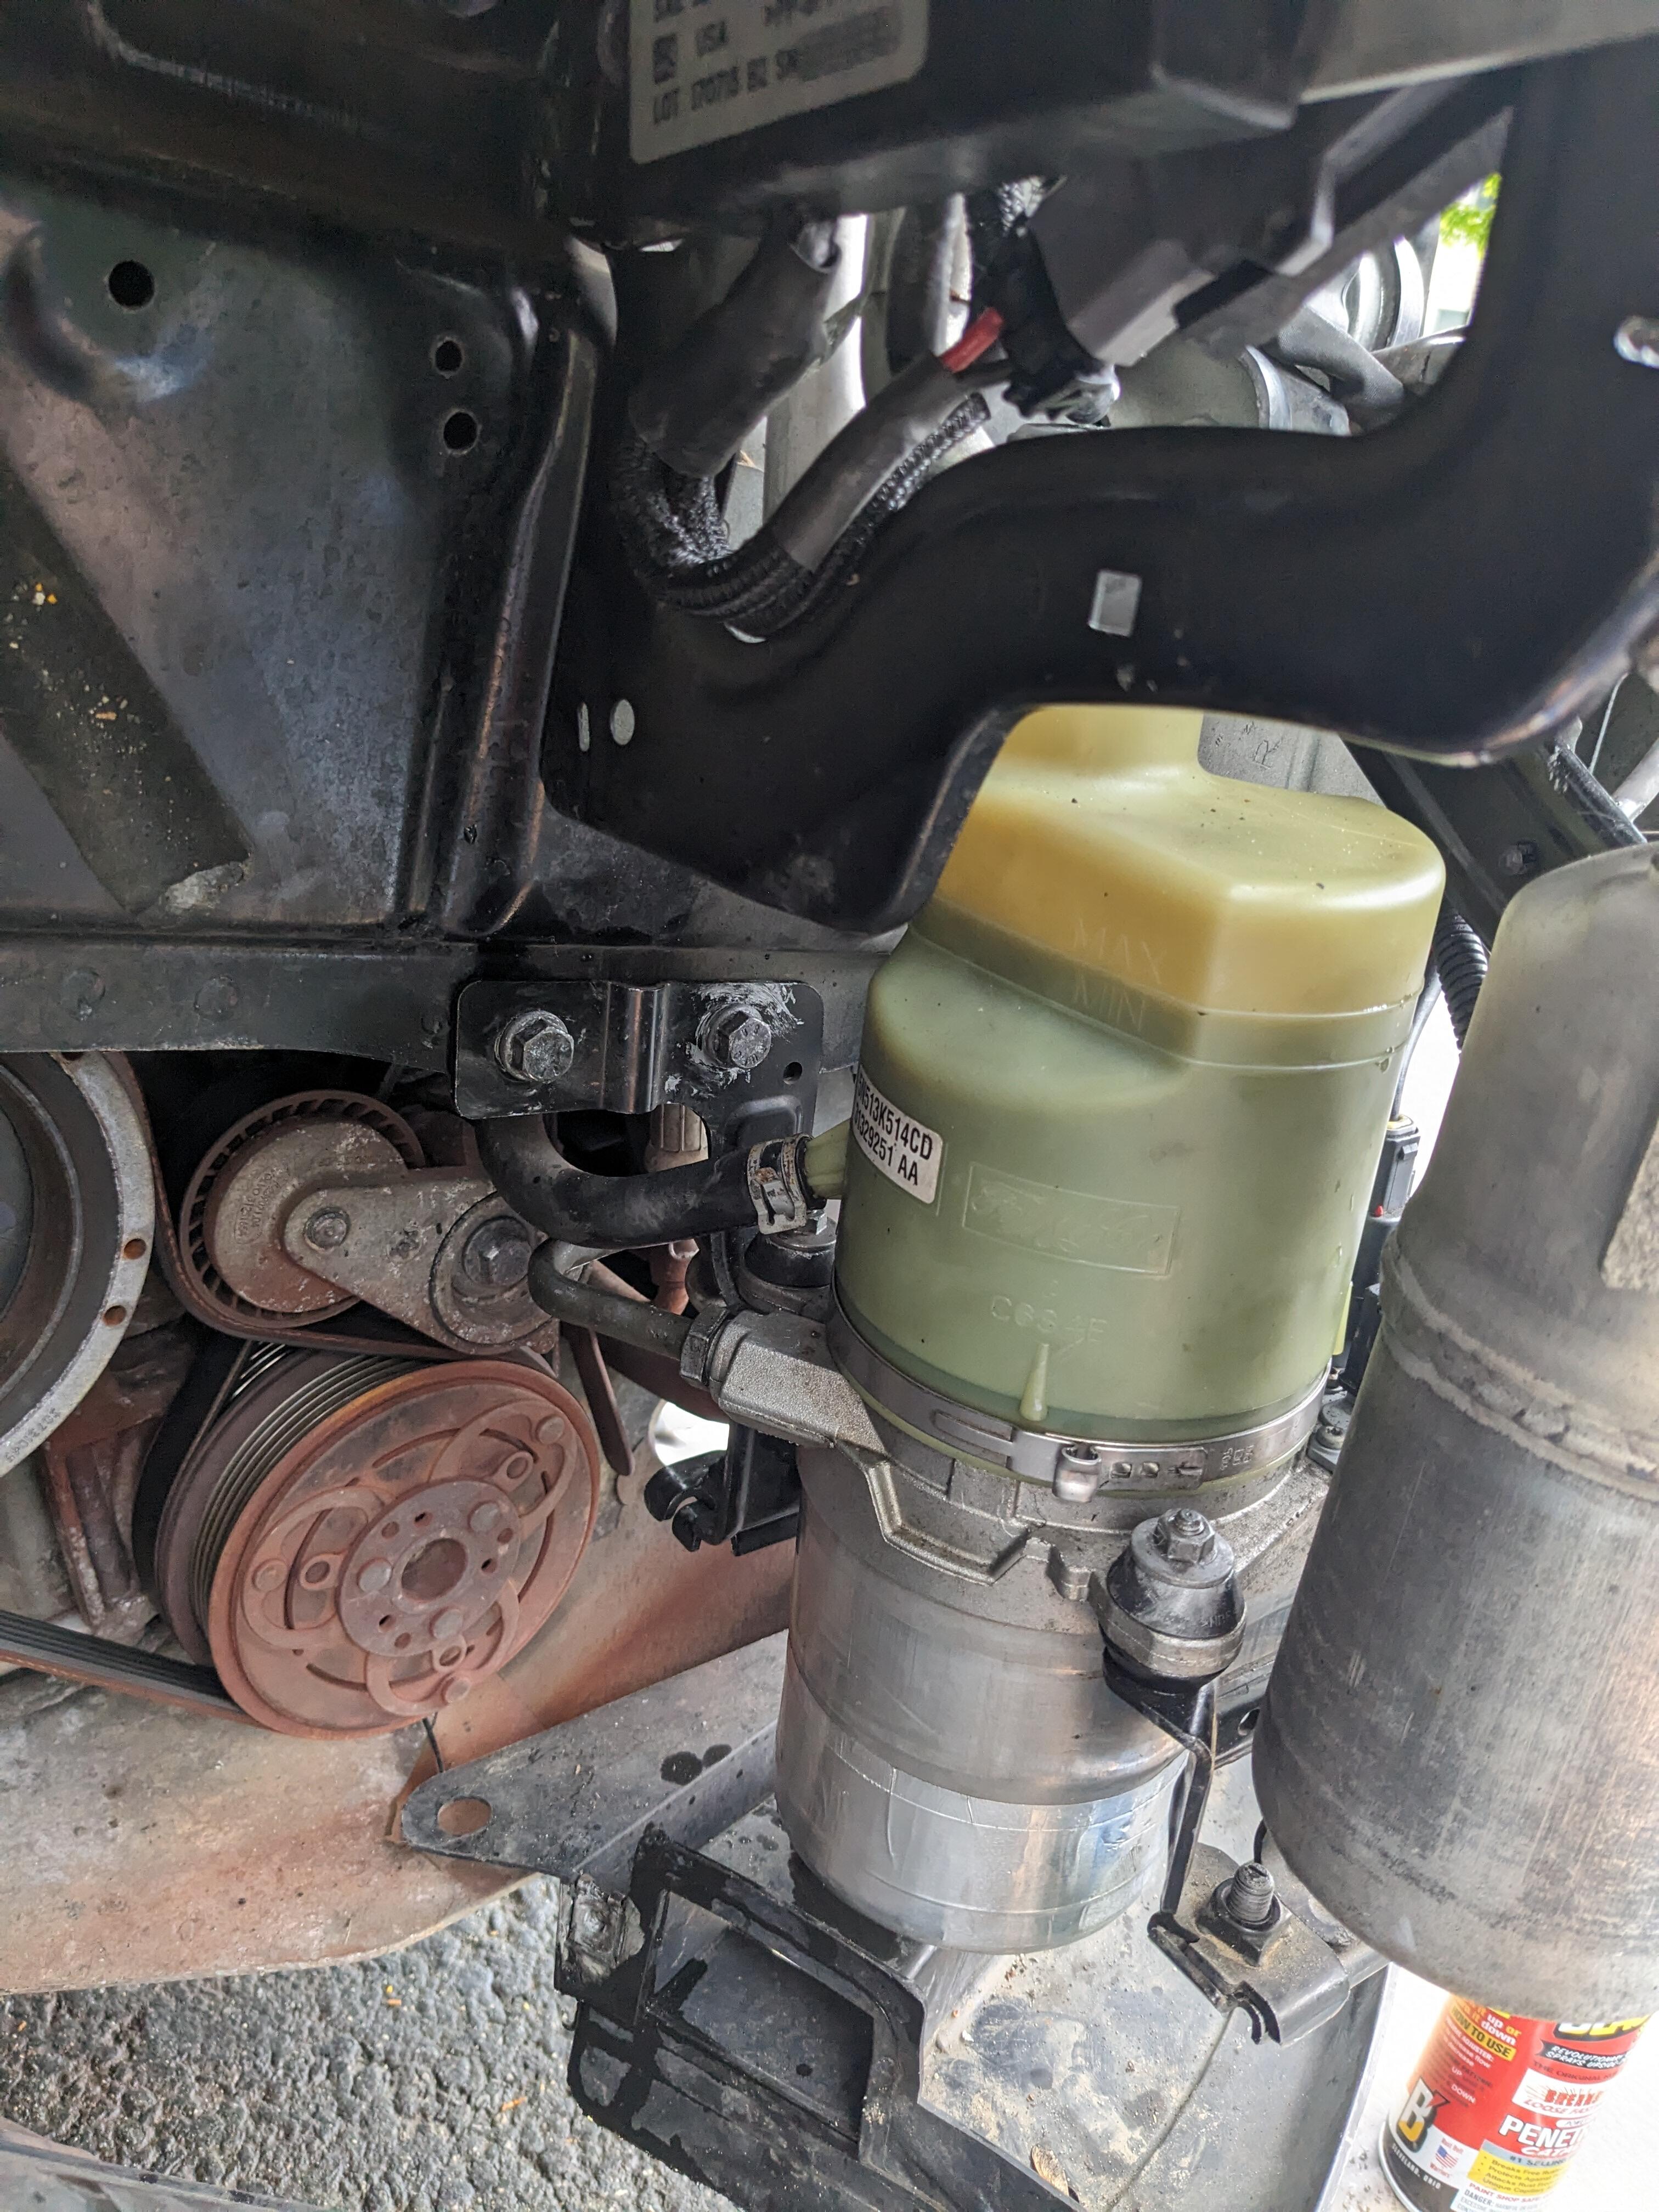
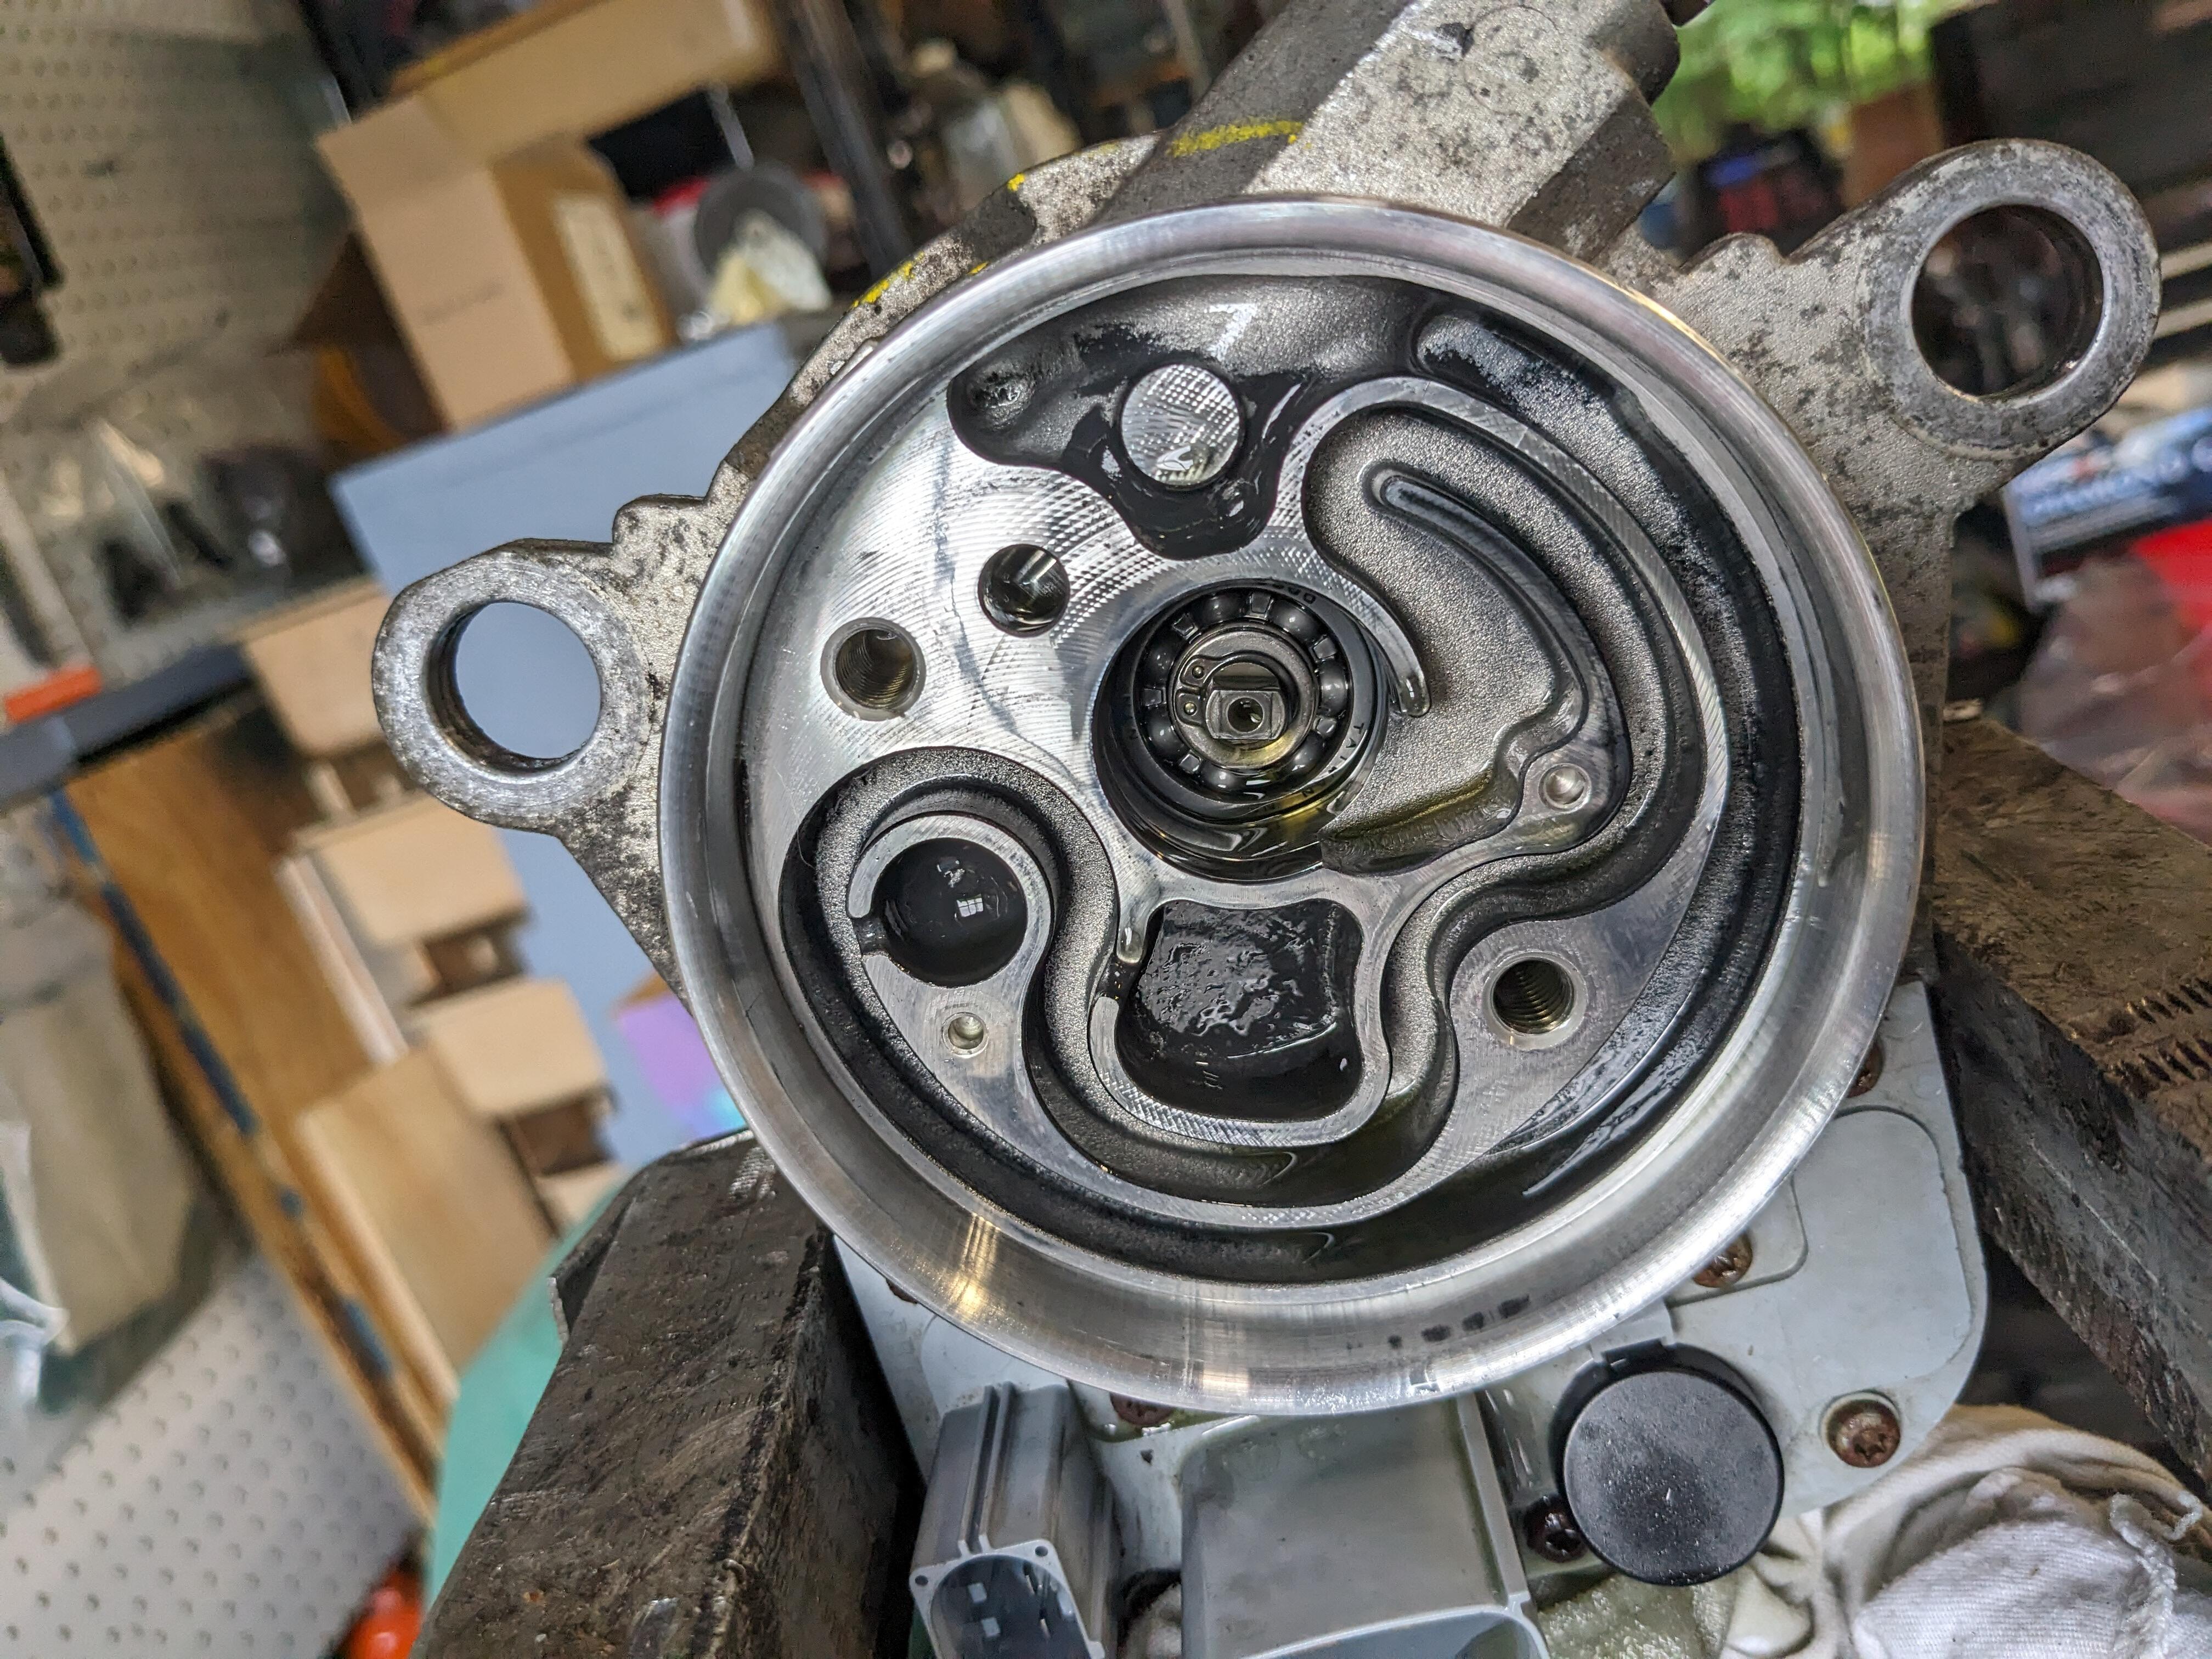
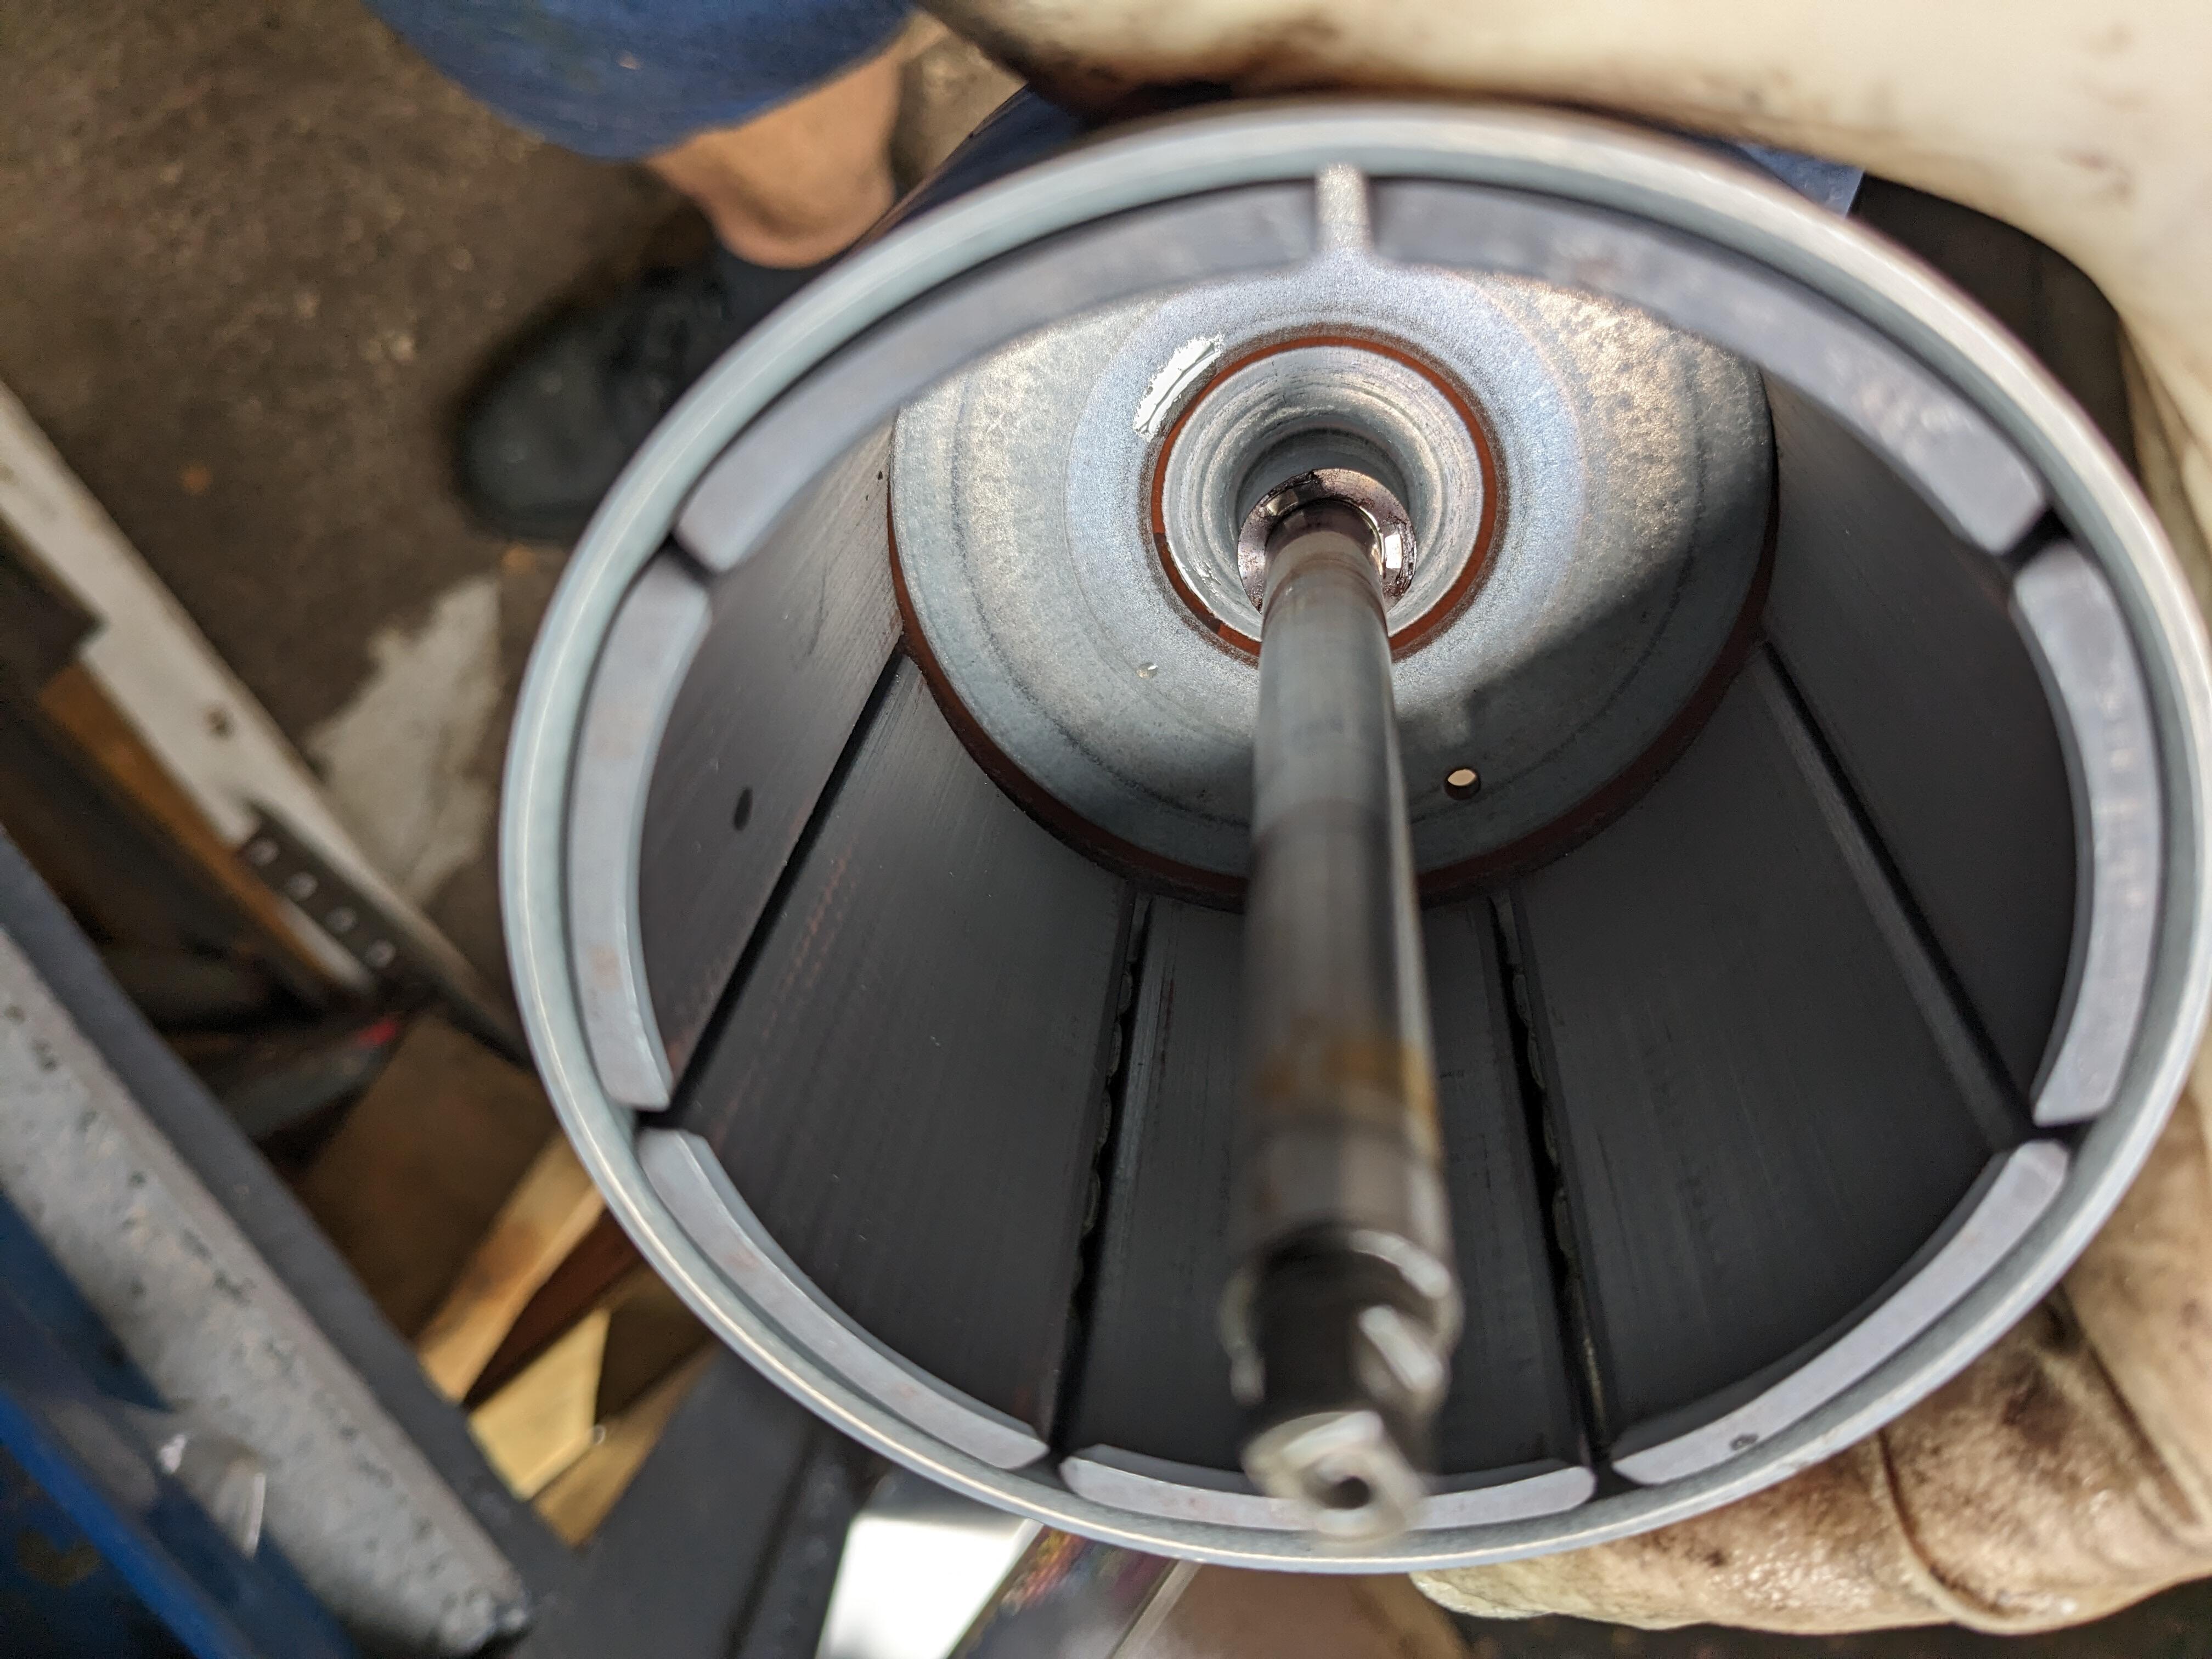
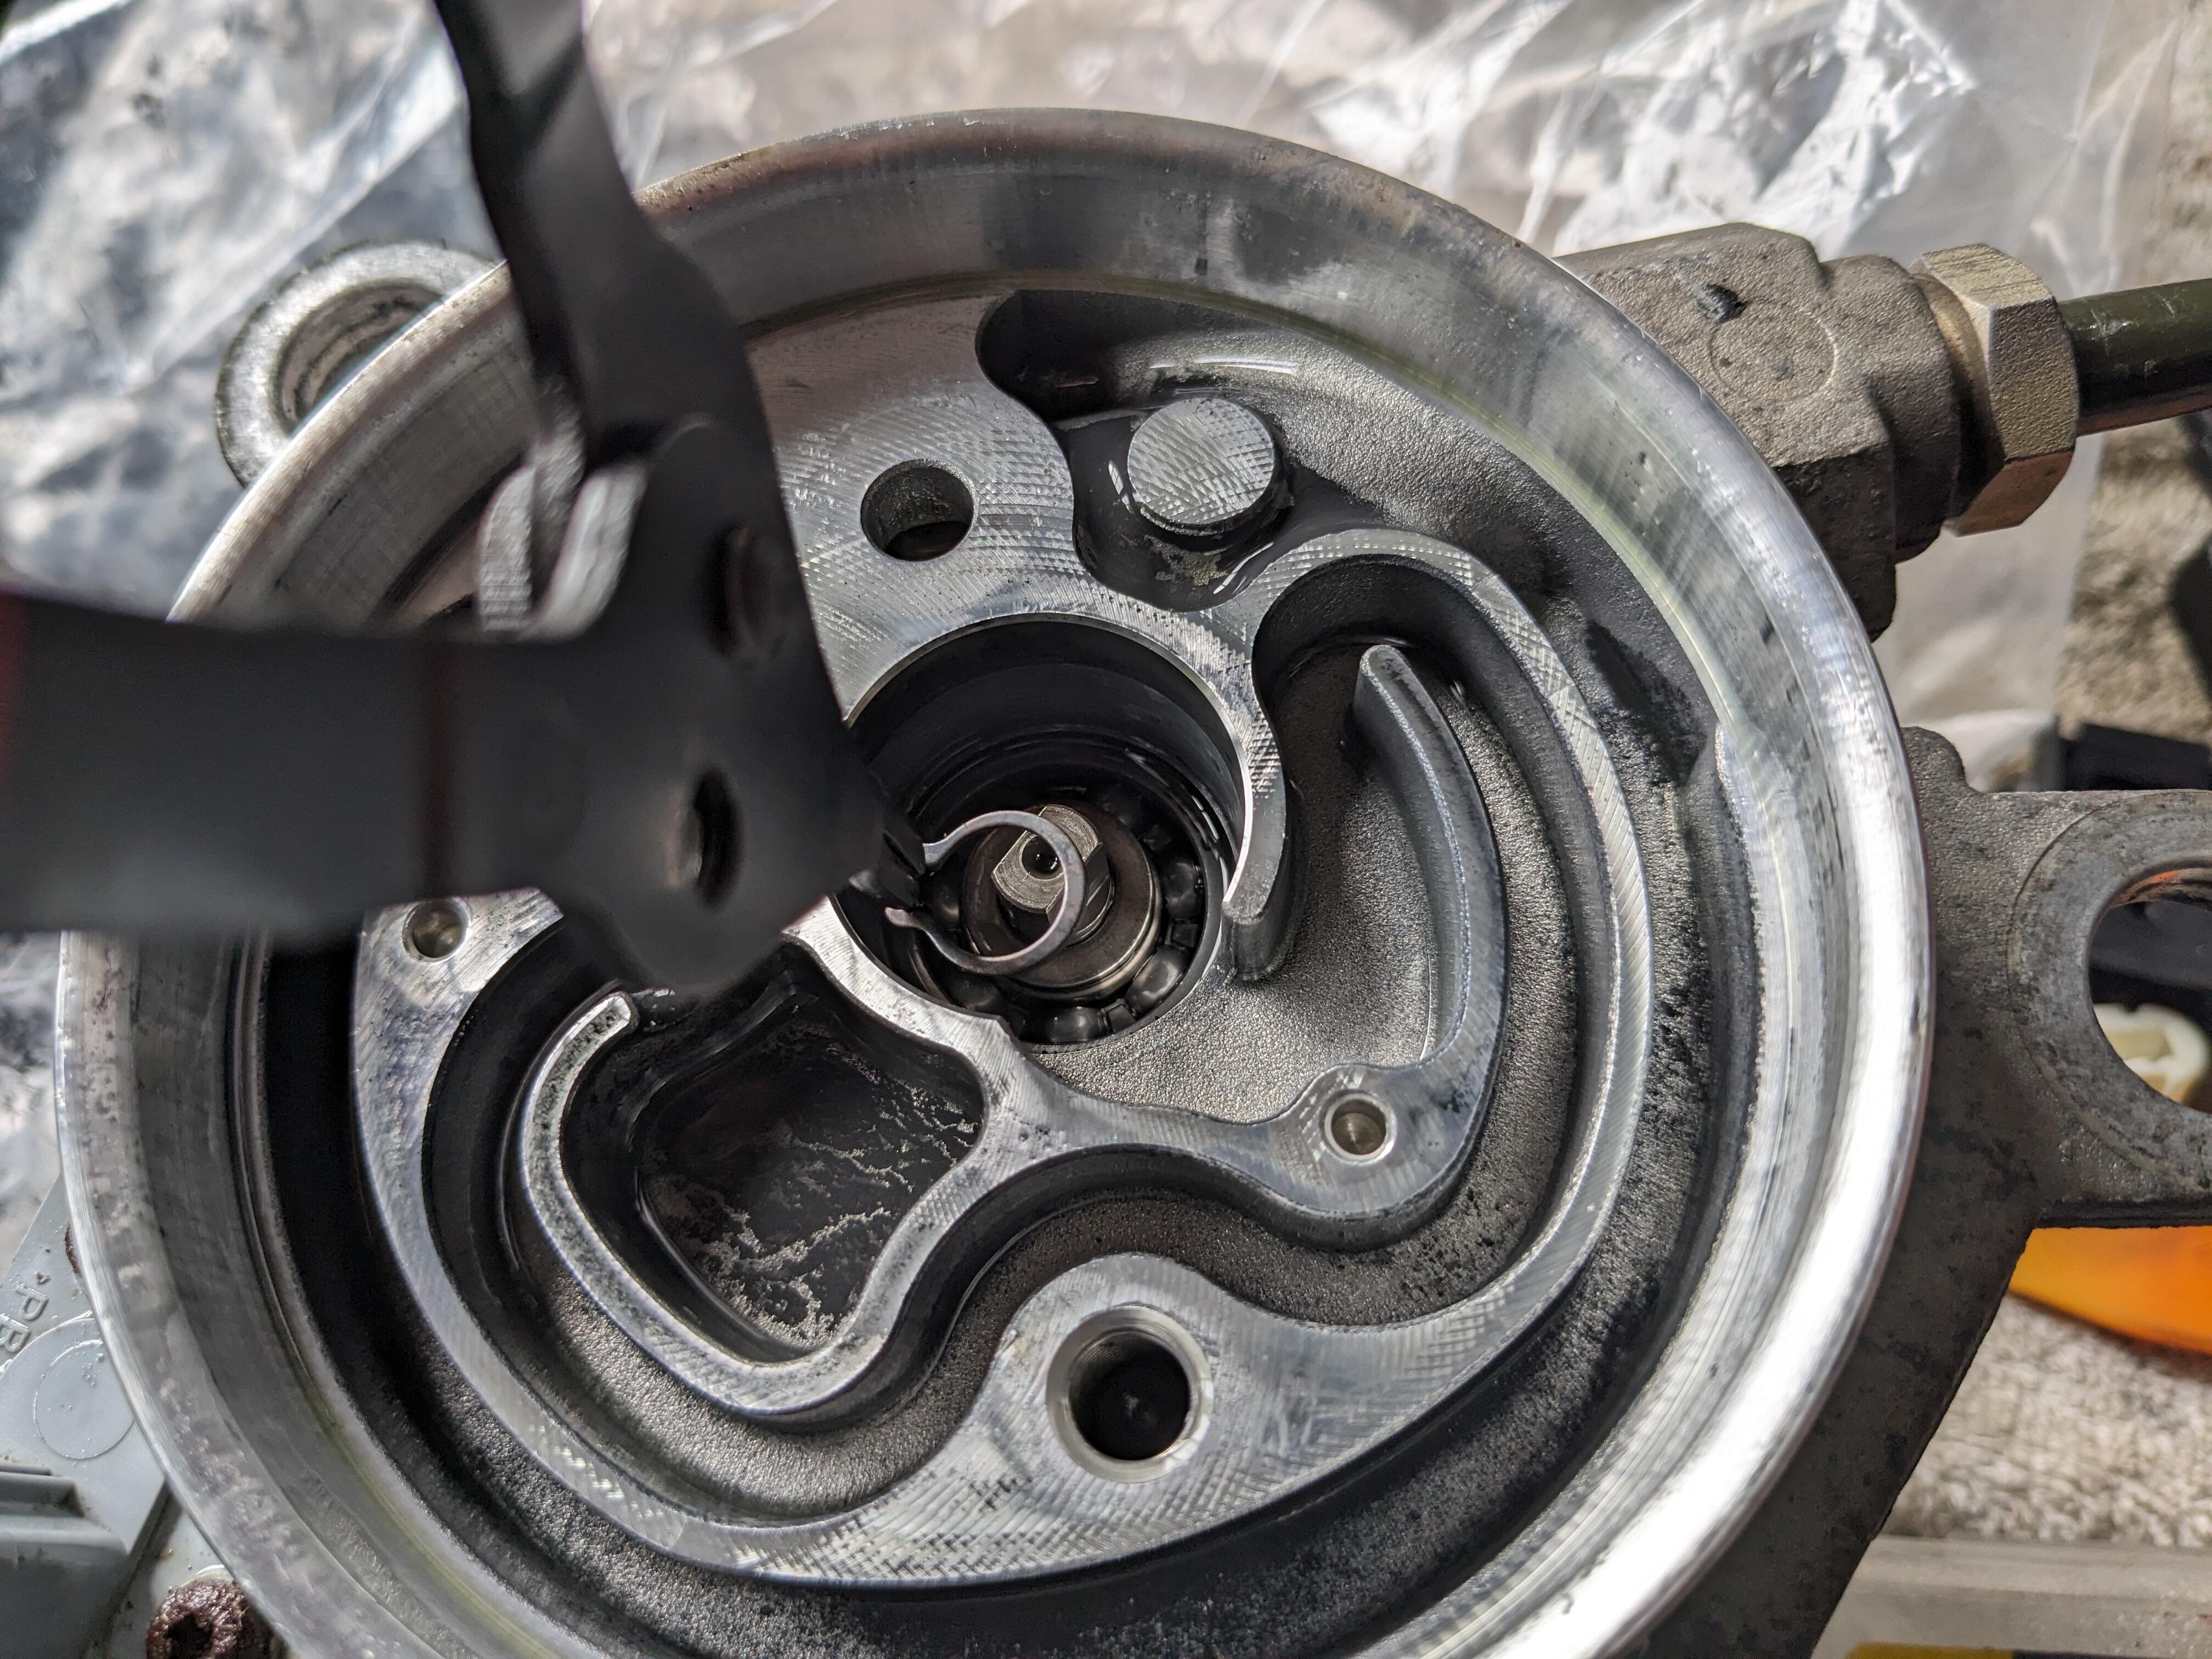
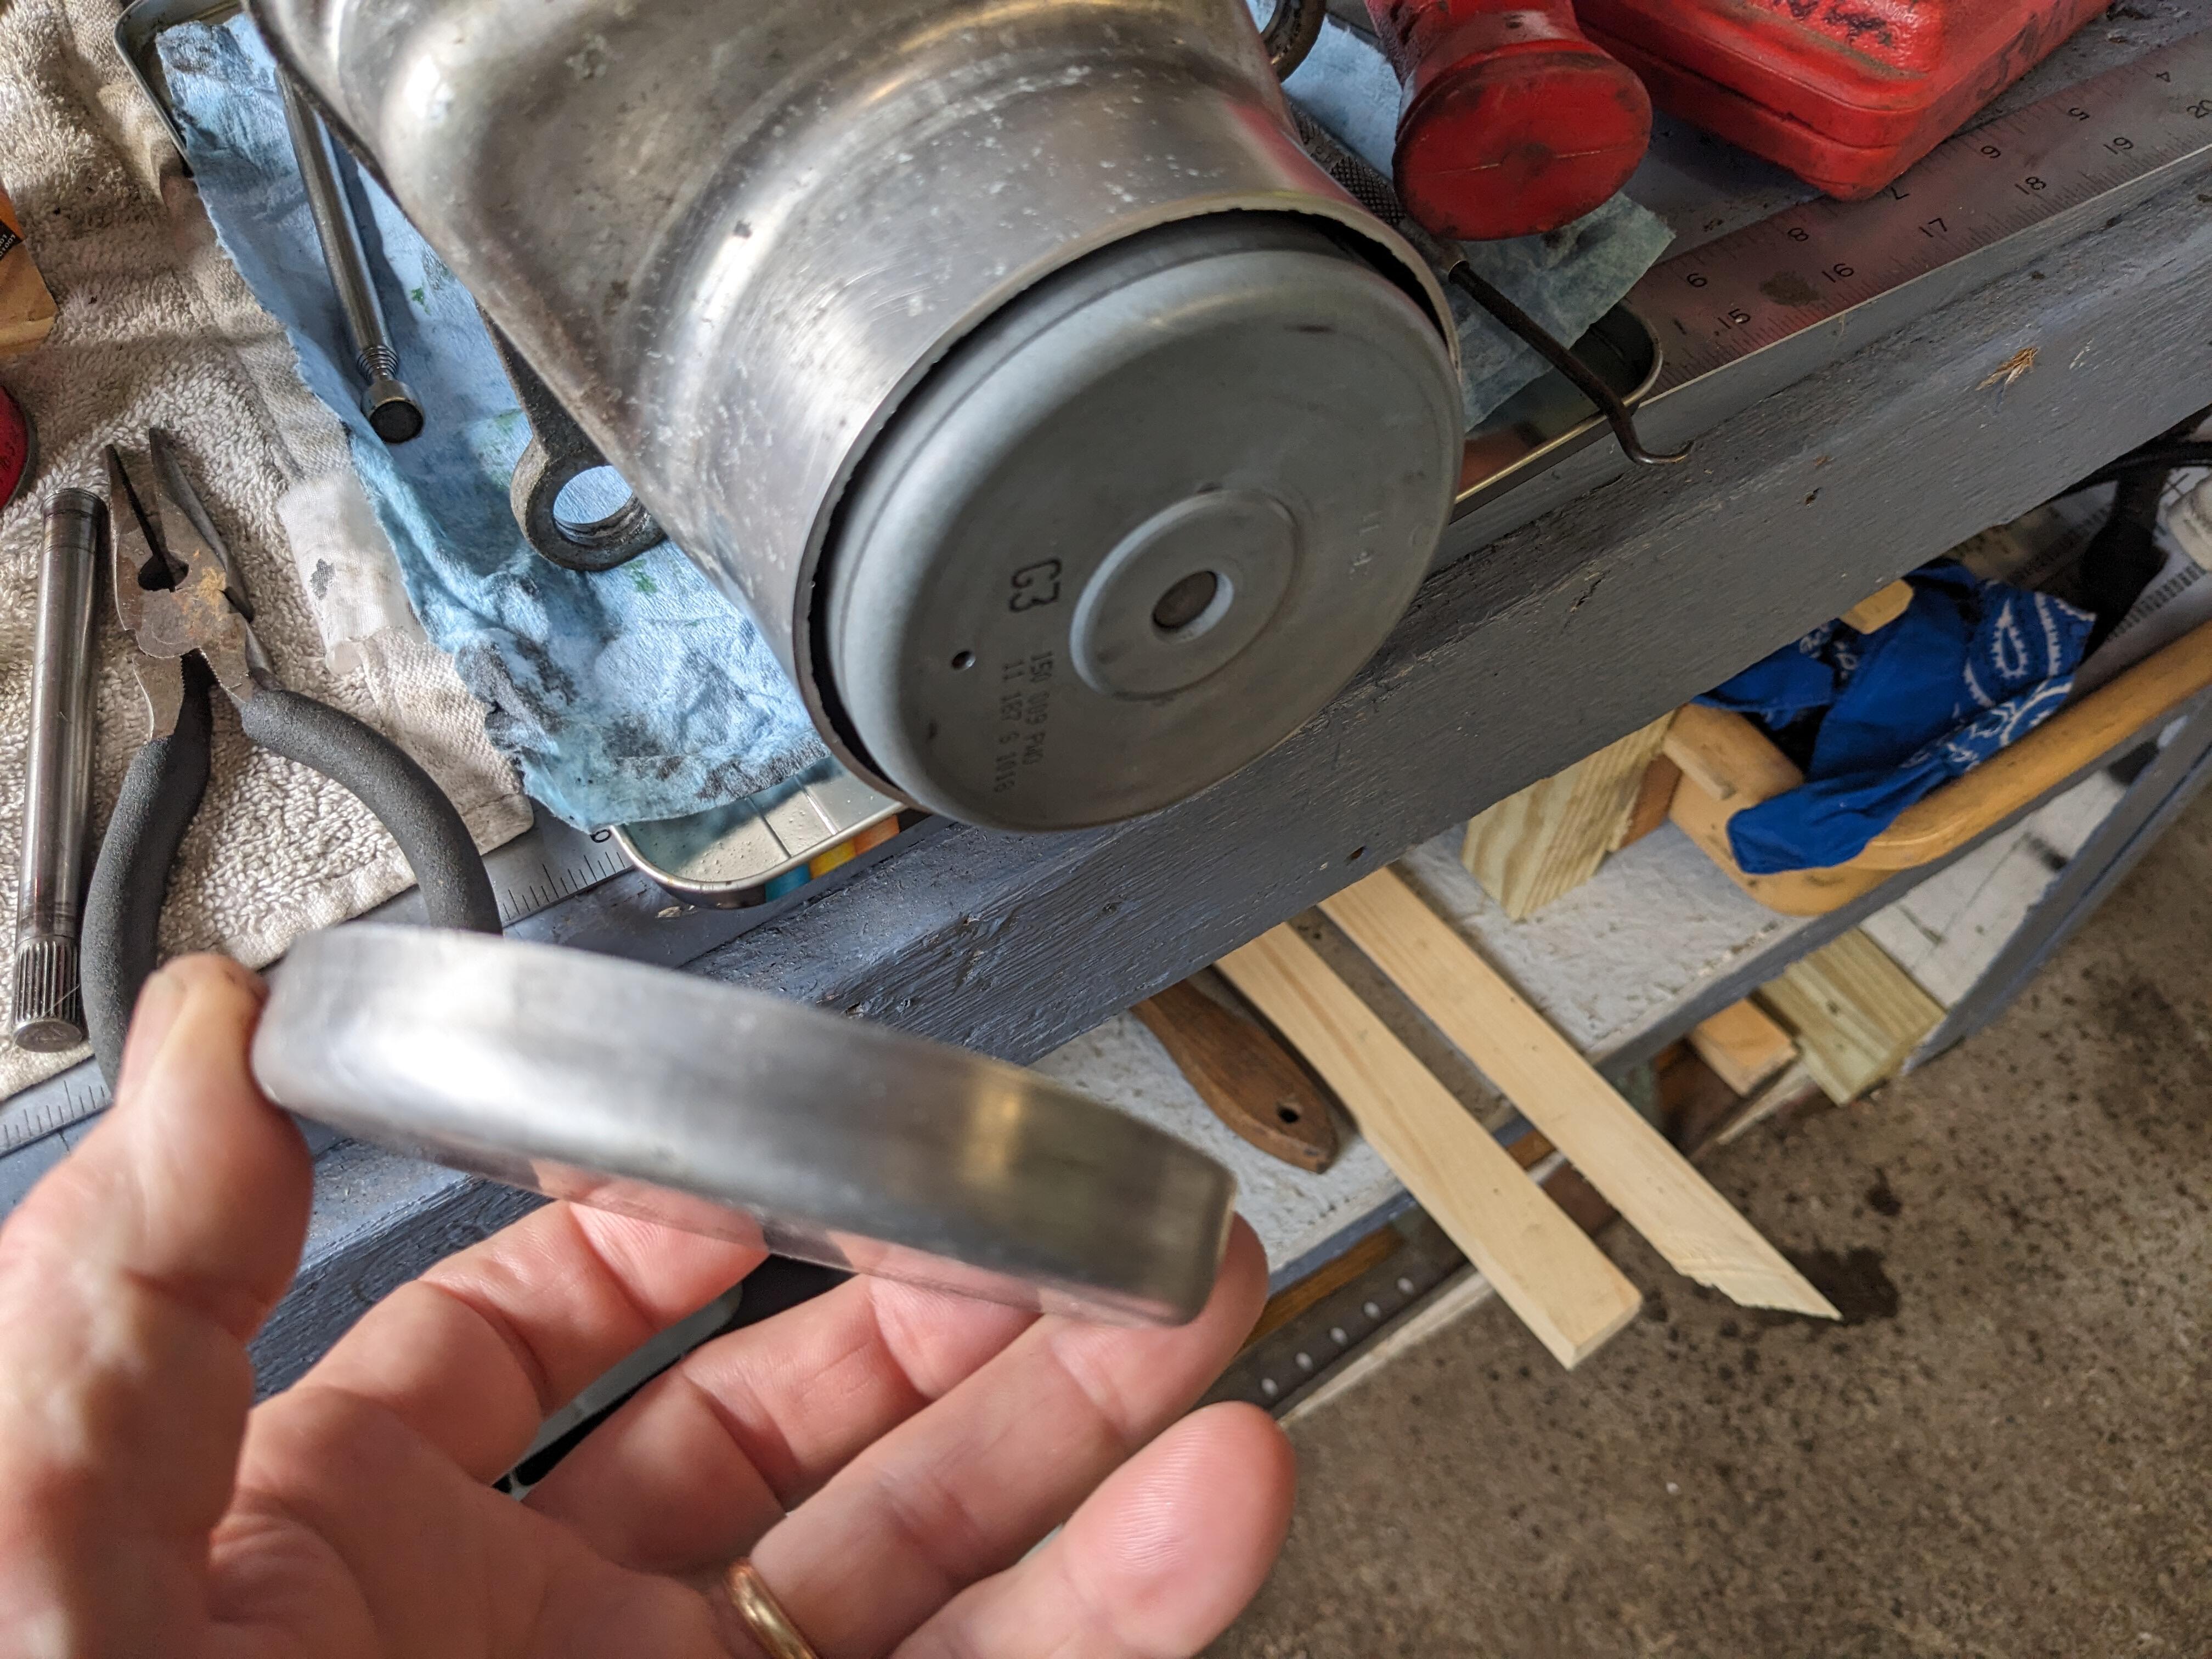
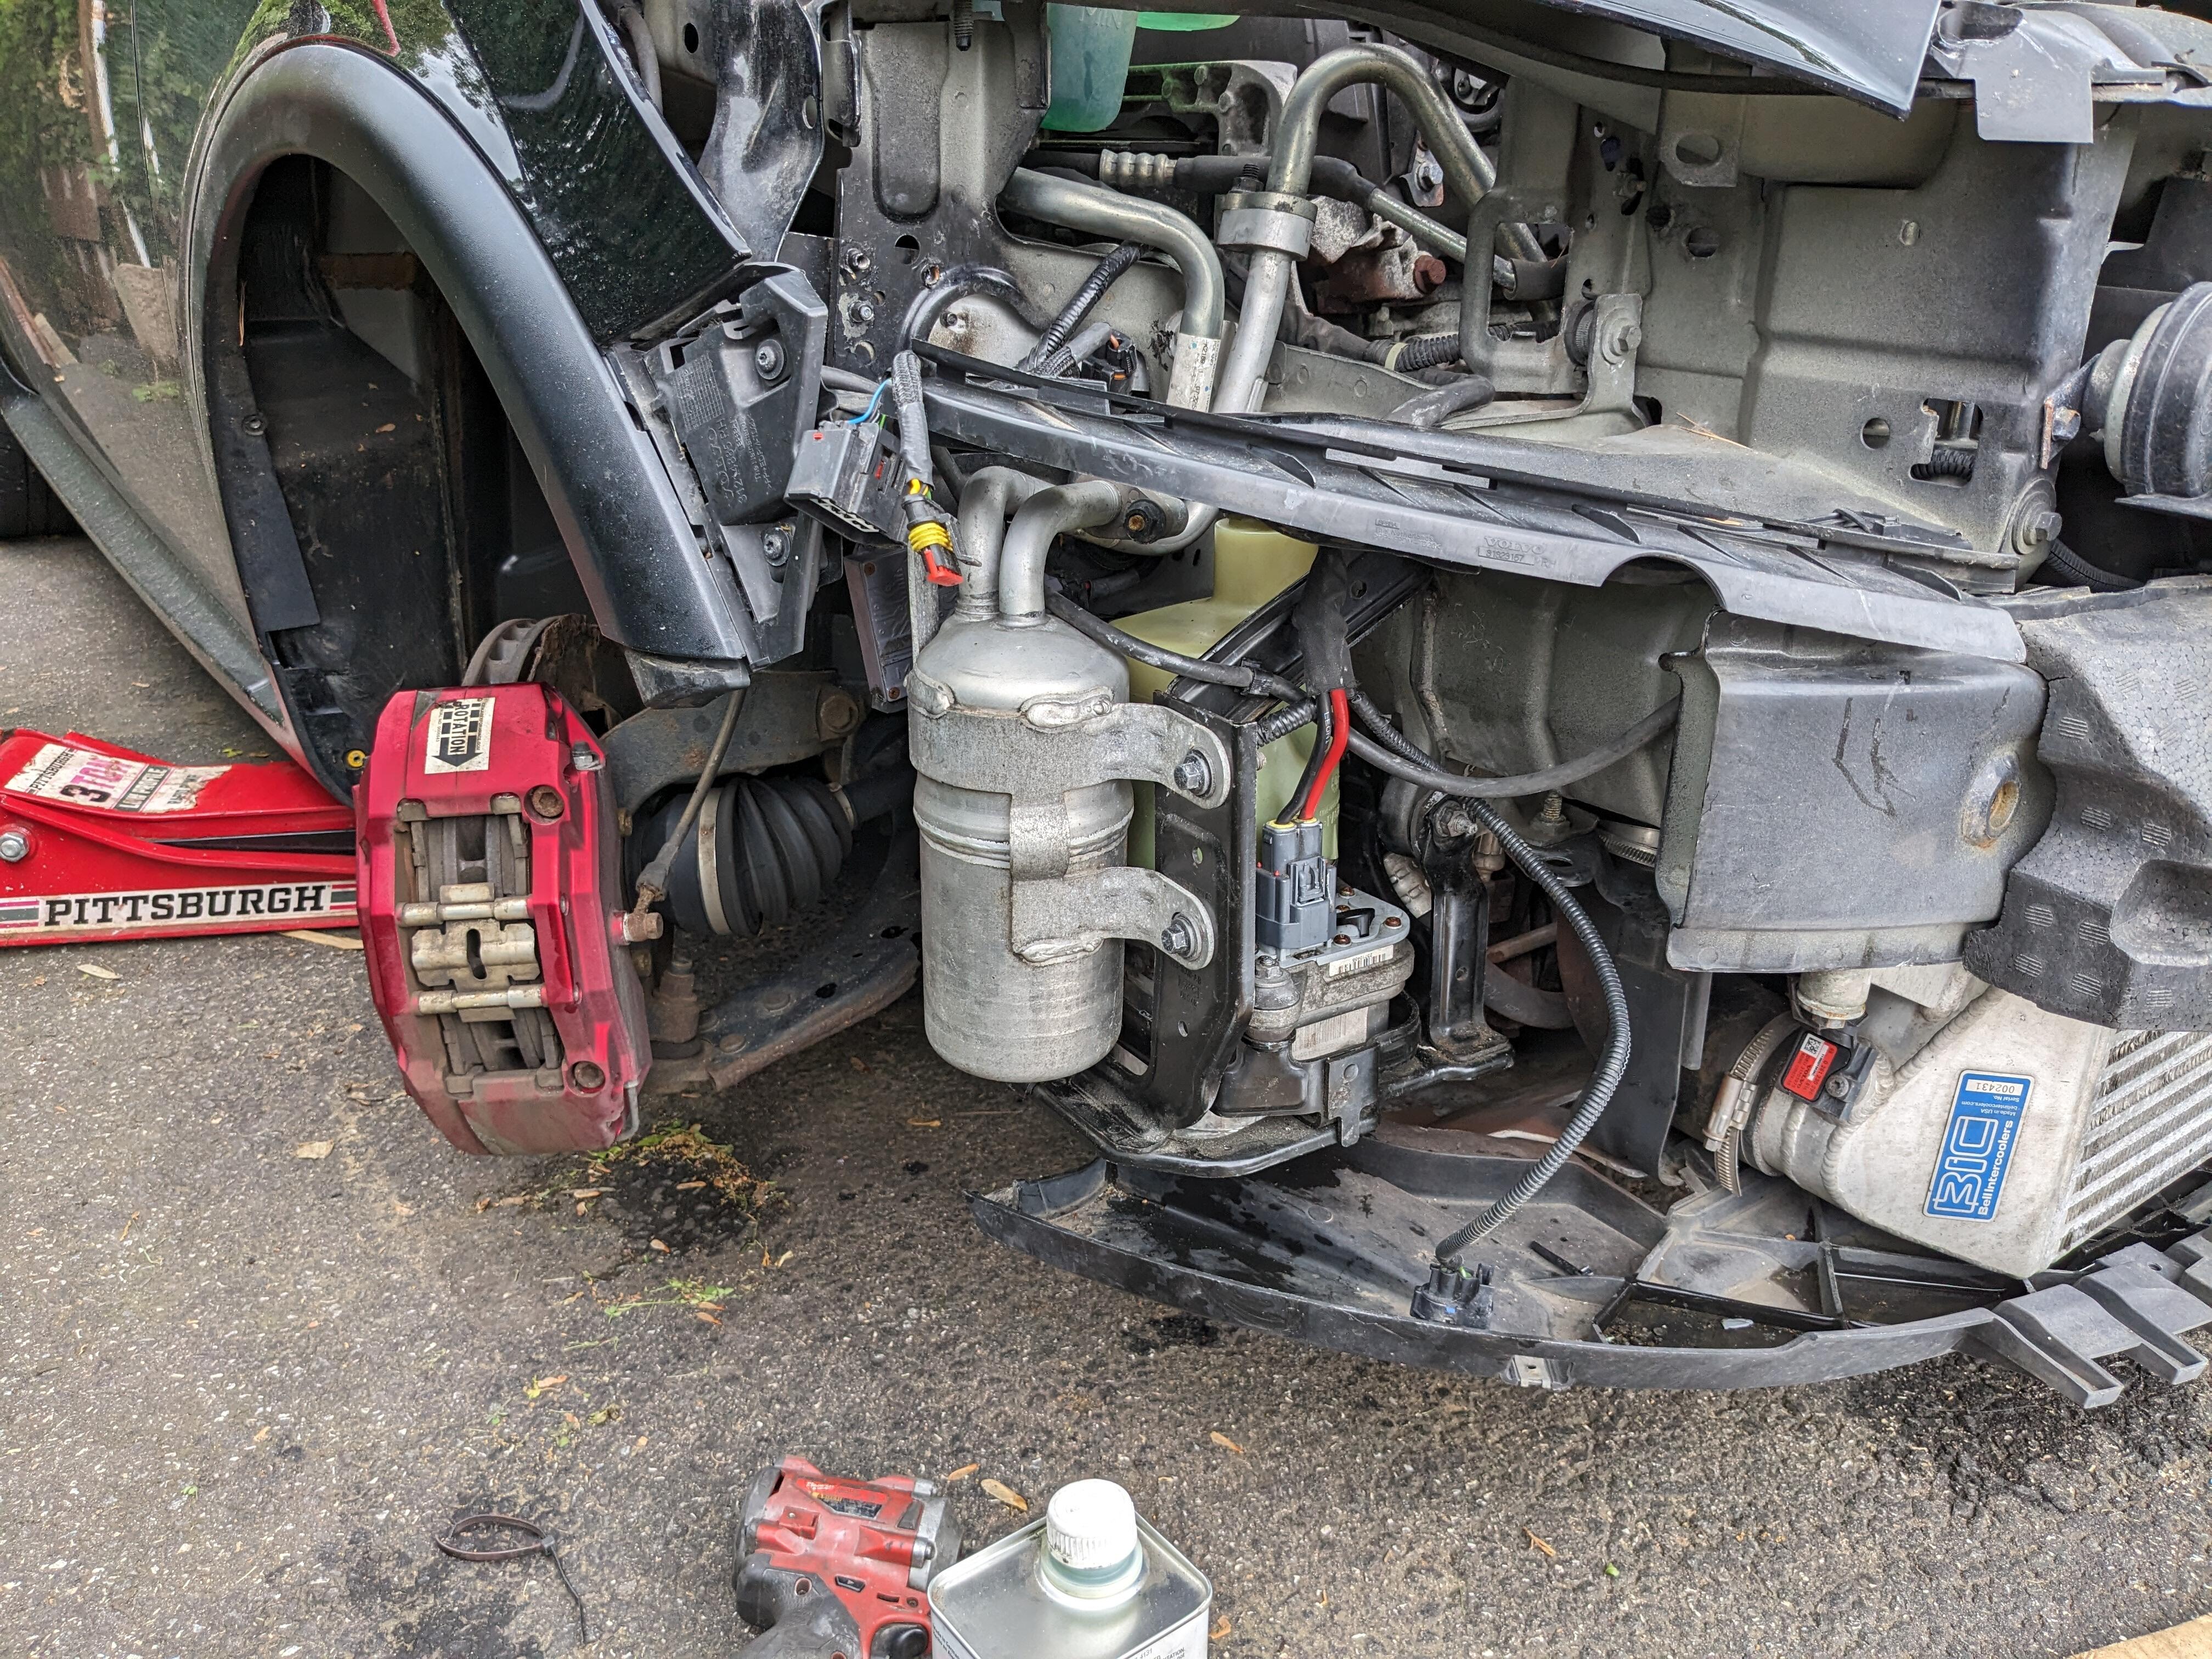
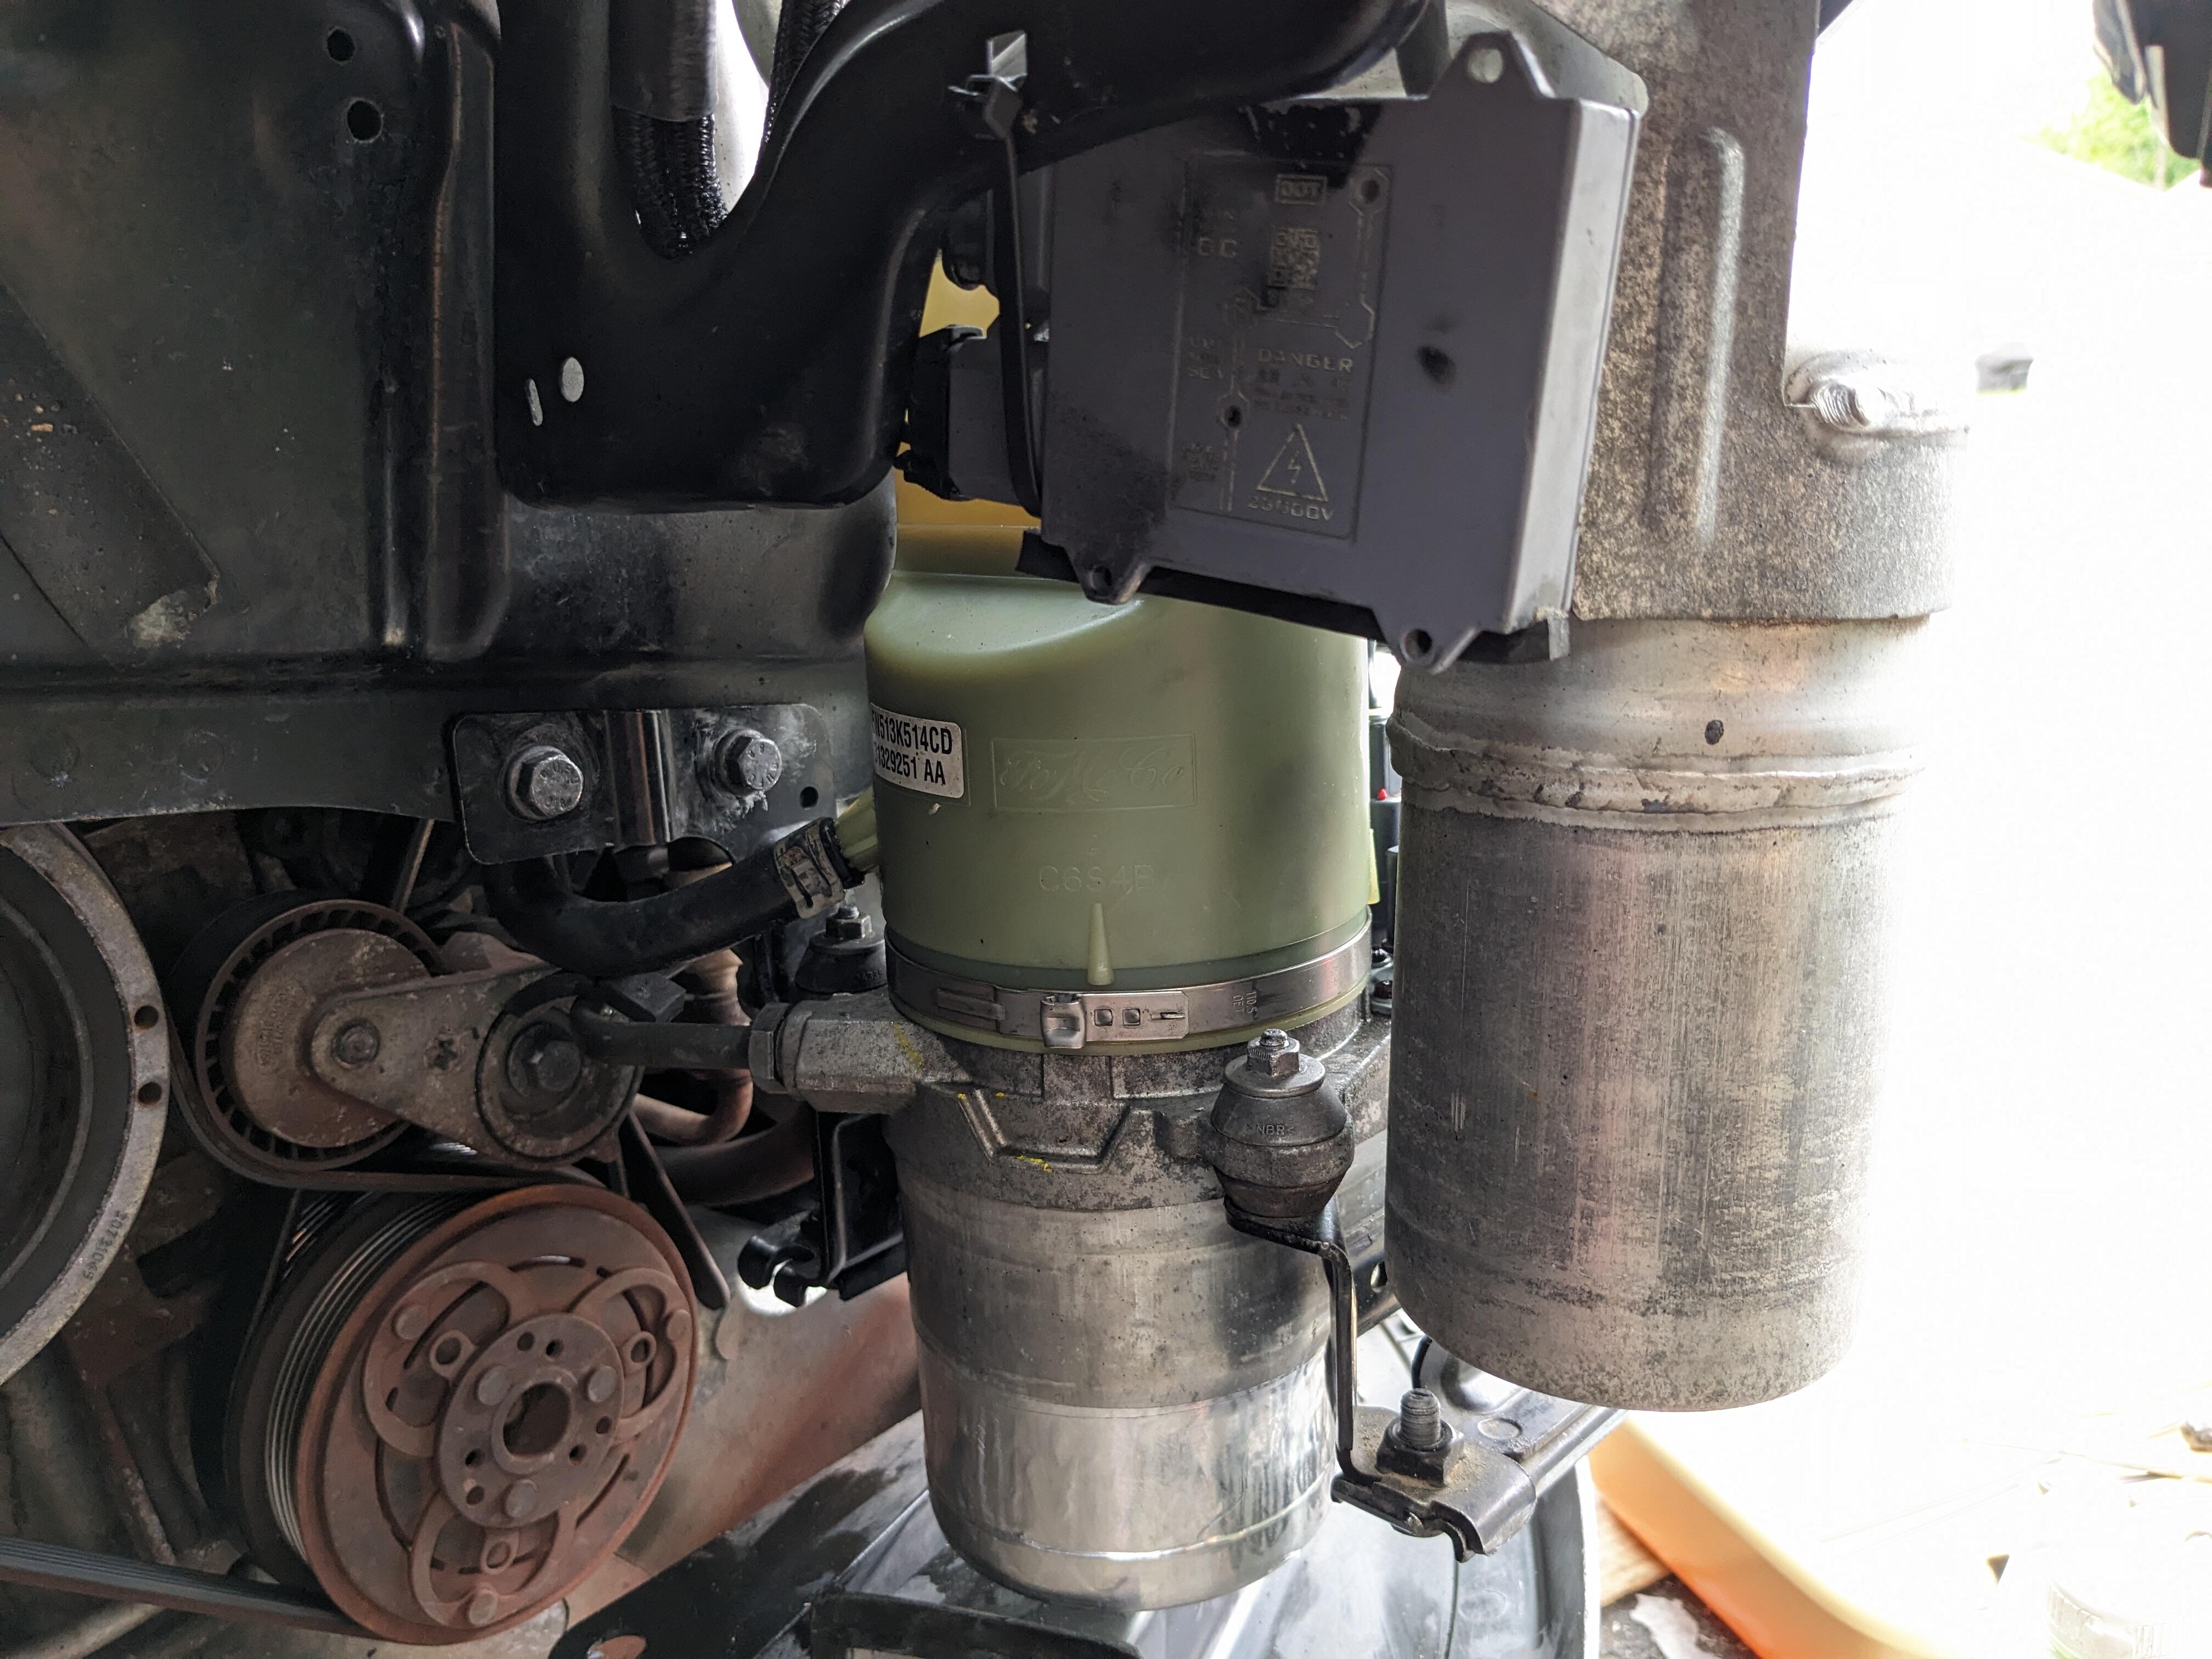
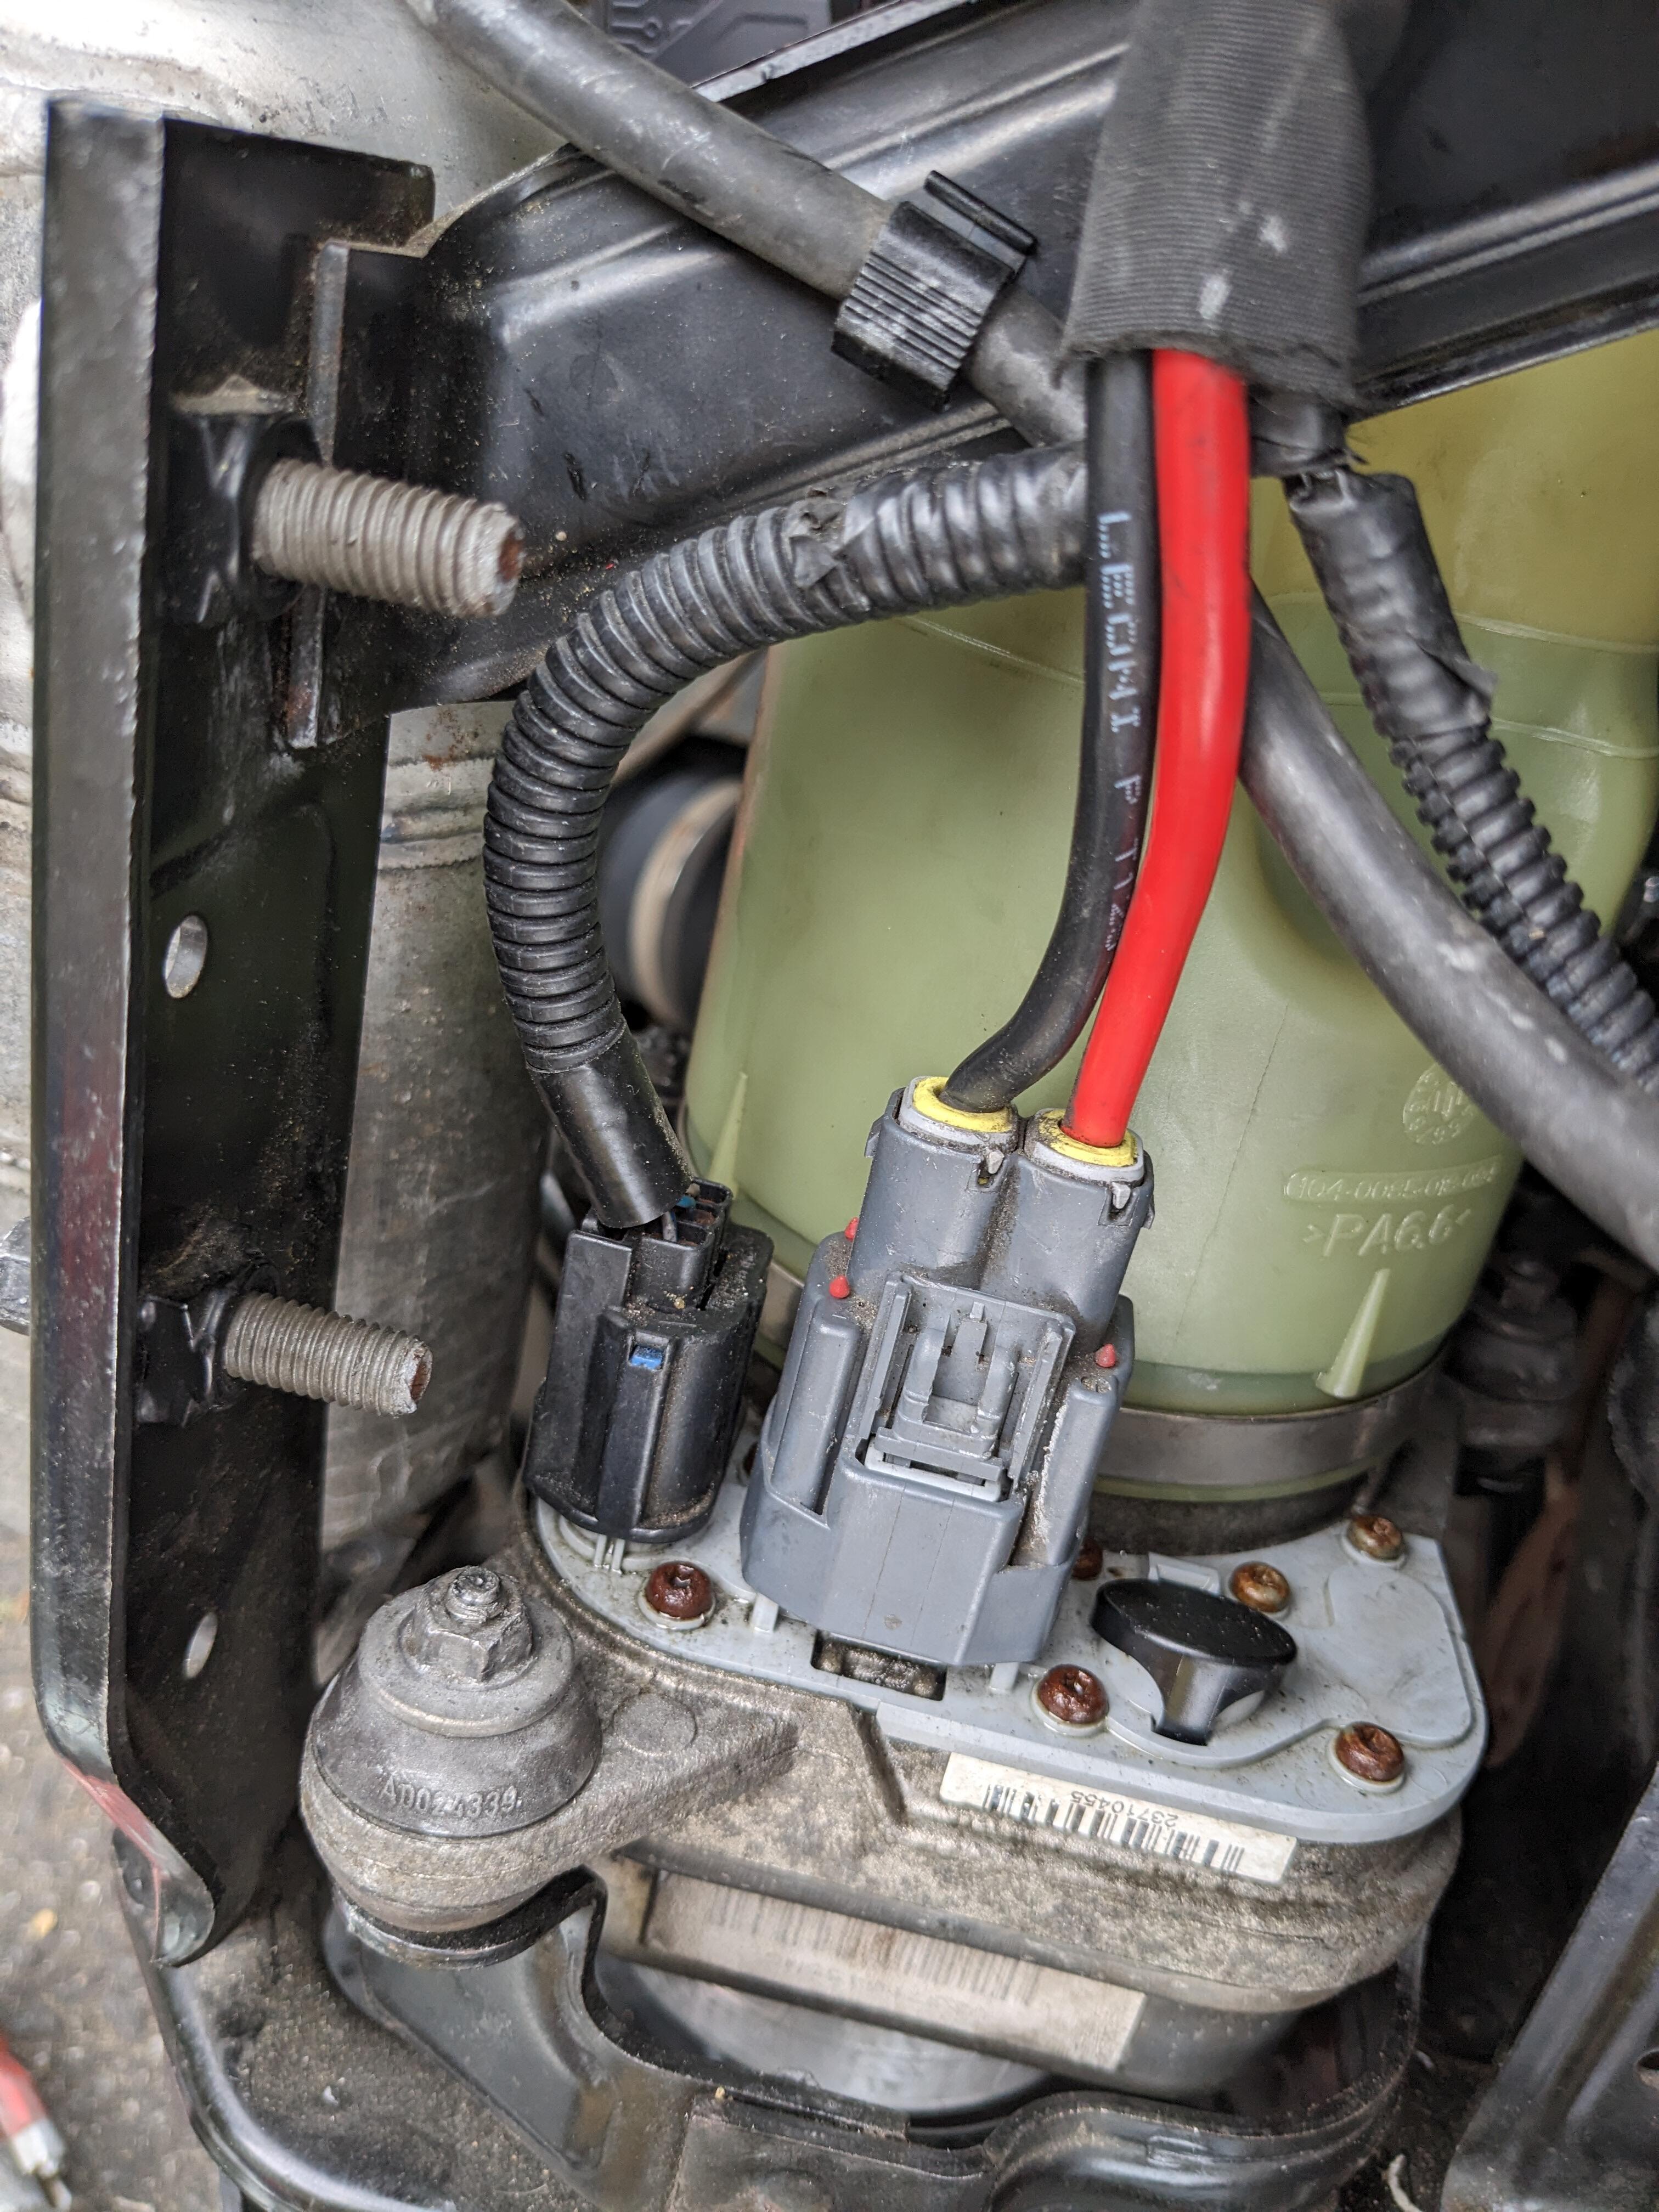
Yesterday I swapped out the EPS pump on the C30. remove reservoir transfer to rebuilt pump replaced mount brackets in place Problem is, there are more than one style power supply fitting, it turns out. I didn't think to even check that. All the online vendors that sell terminal/connecotr kits for these pumps (commonly used for EPS conversions) sell the Type 1 set, which is what is on my (2012) car already, not what's on the older remote reservoir pumps. So, today I rebuilt my original pump & reinstalled that. Remove pump no bearing remnants in this one cut off lower housing back together with new lower bearing back in, take 2. All good now, pump works, no noises