
Jughead
Community Member
-
Joined
-
Last visited
Everything posted by Jughead
-
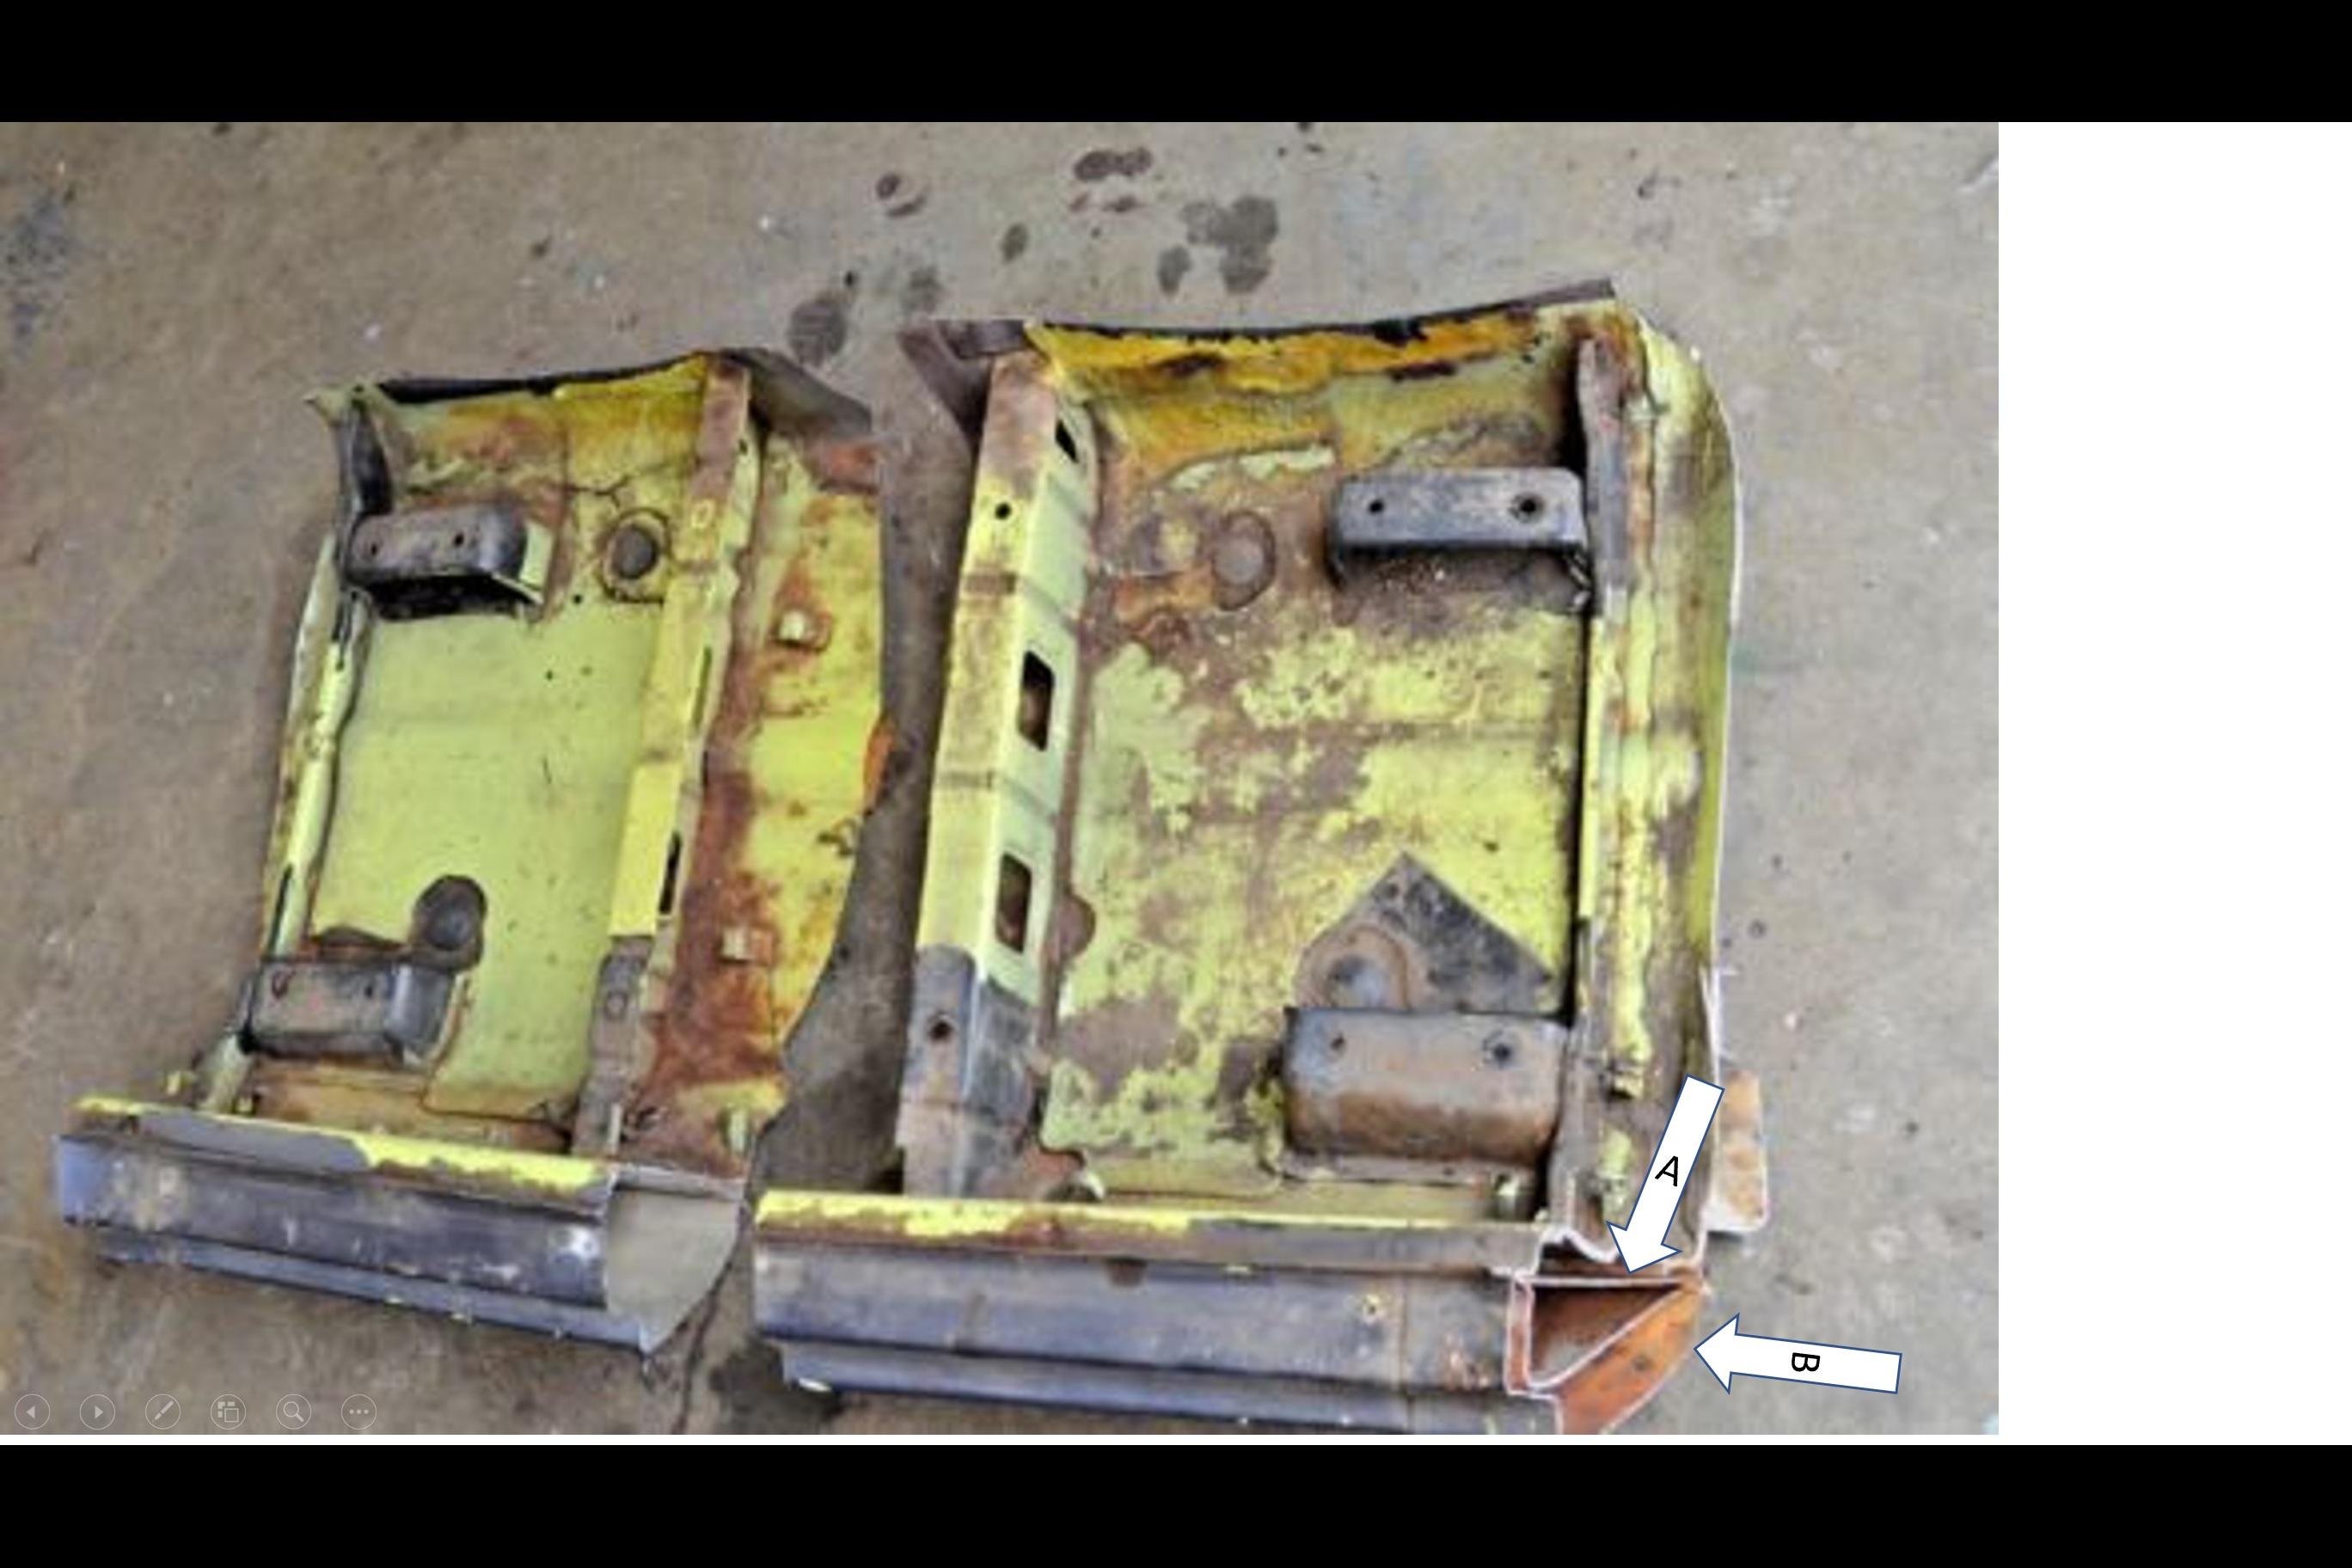
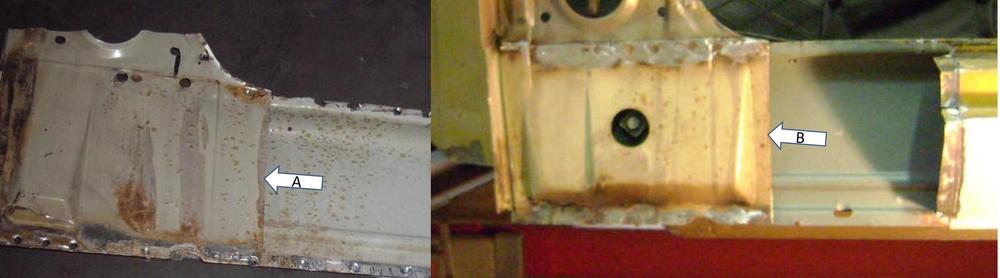
@Patcon: See below - Comparing the photo you posted on Nov 22 to another one I've found, . Yours on the left (A) looks flatter than (B) on the right. Is that an illusion? Trying to understand the shape before I start fabricating... Thanks!! Jughead
-
-
Makes sense. Have you ever run into anyone making them?
-
I wonder if it would be ok to use a flat piece of metal. Thoughts? Also, what “dimples” are you referring to? Do you mean the spotweld dimples? Nice car btw.
-
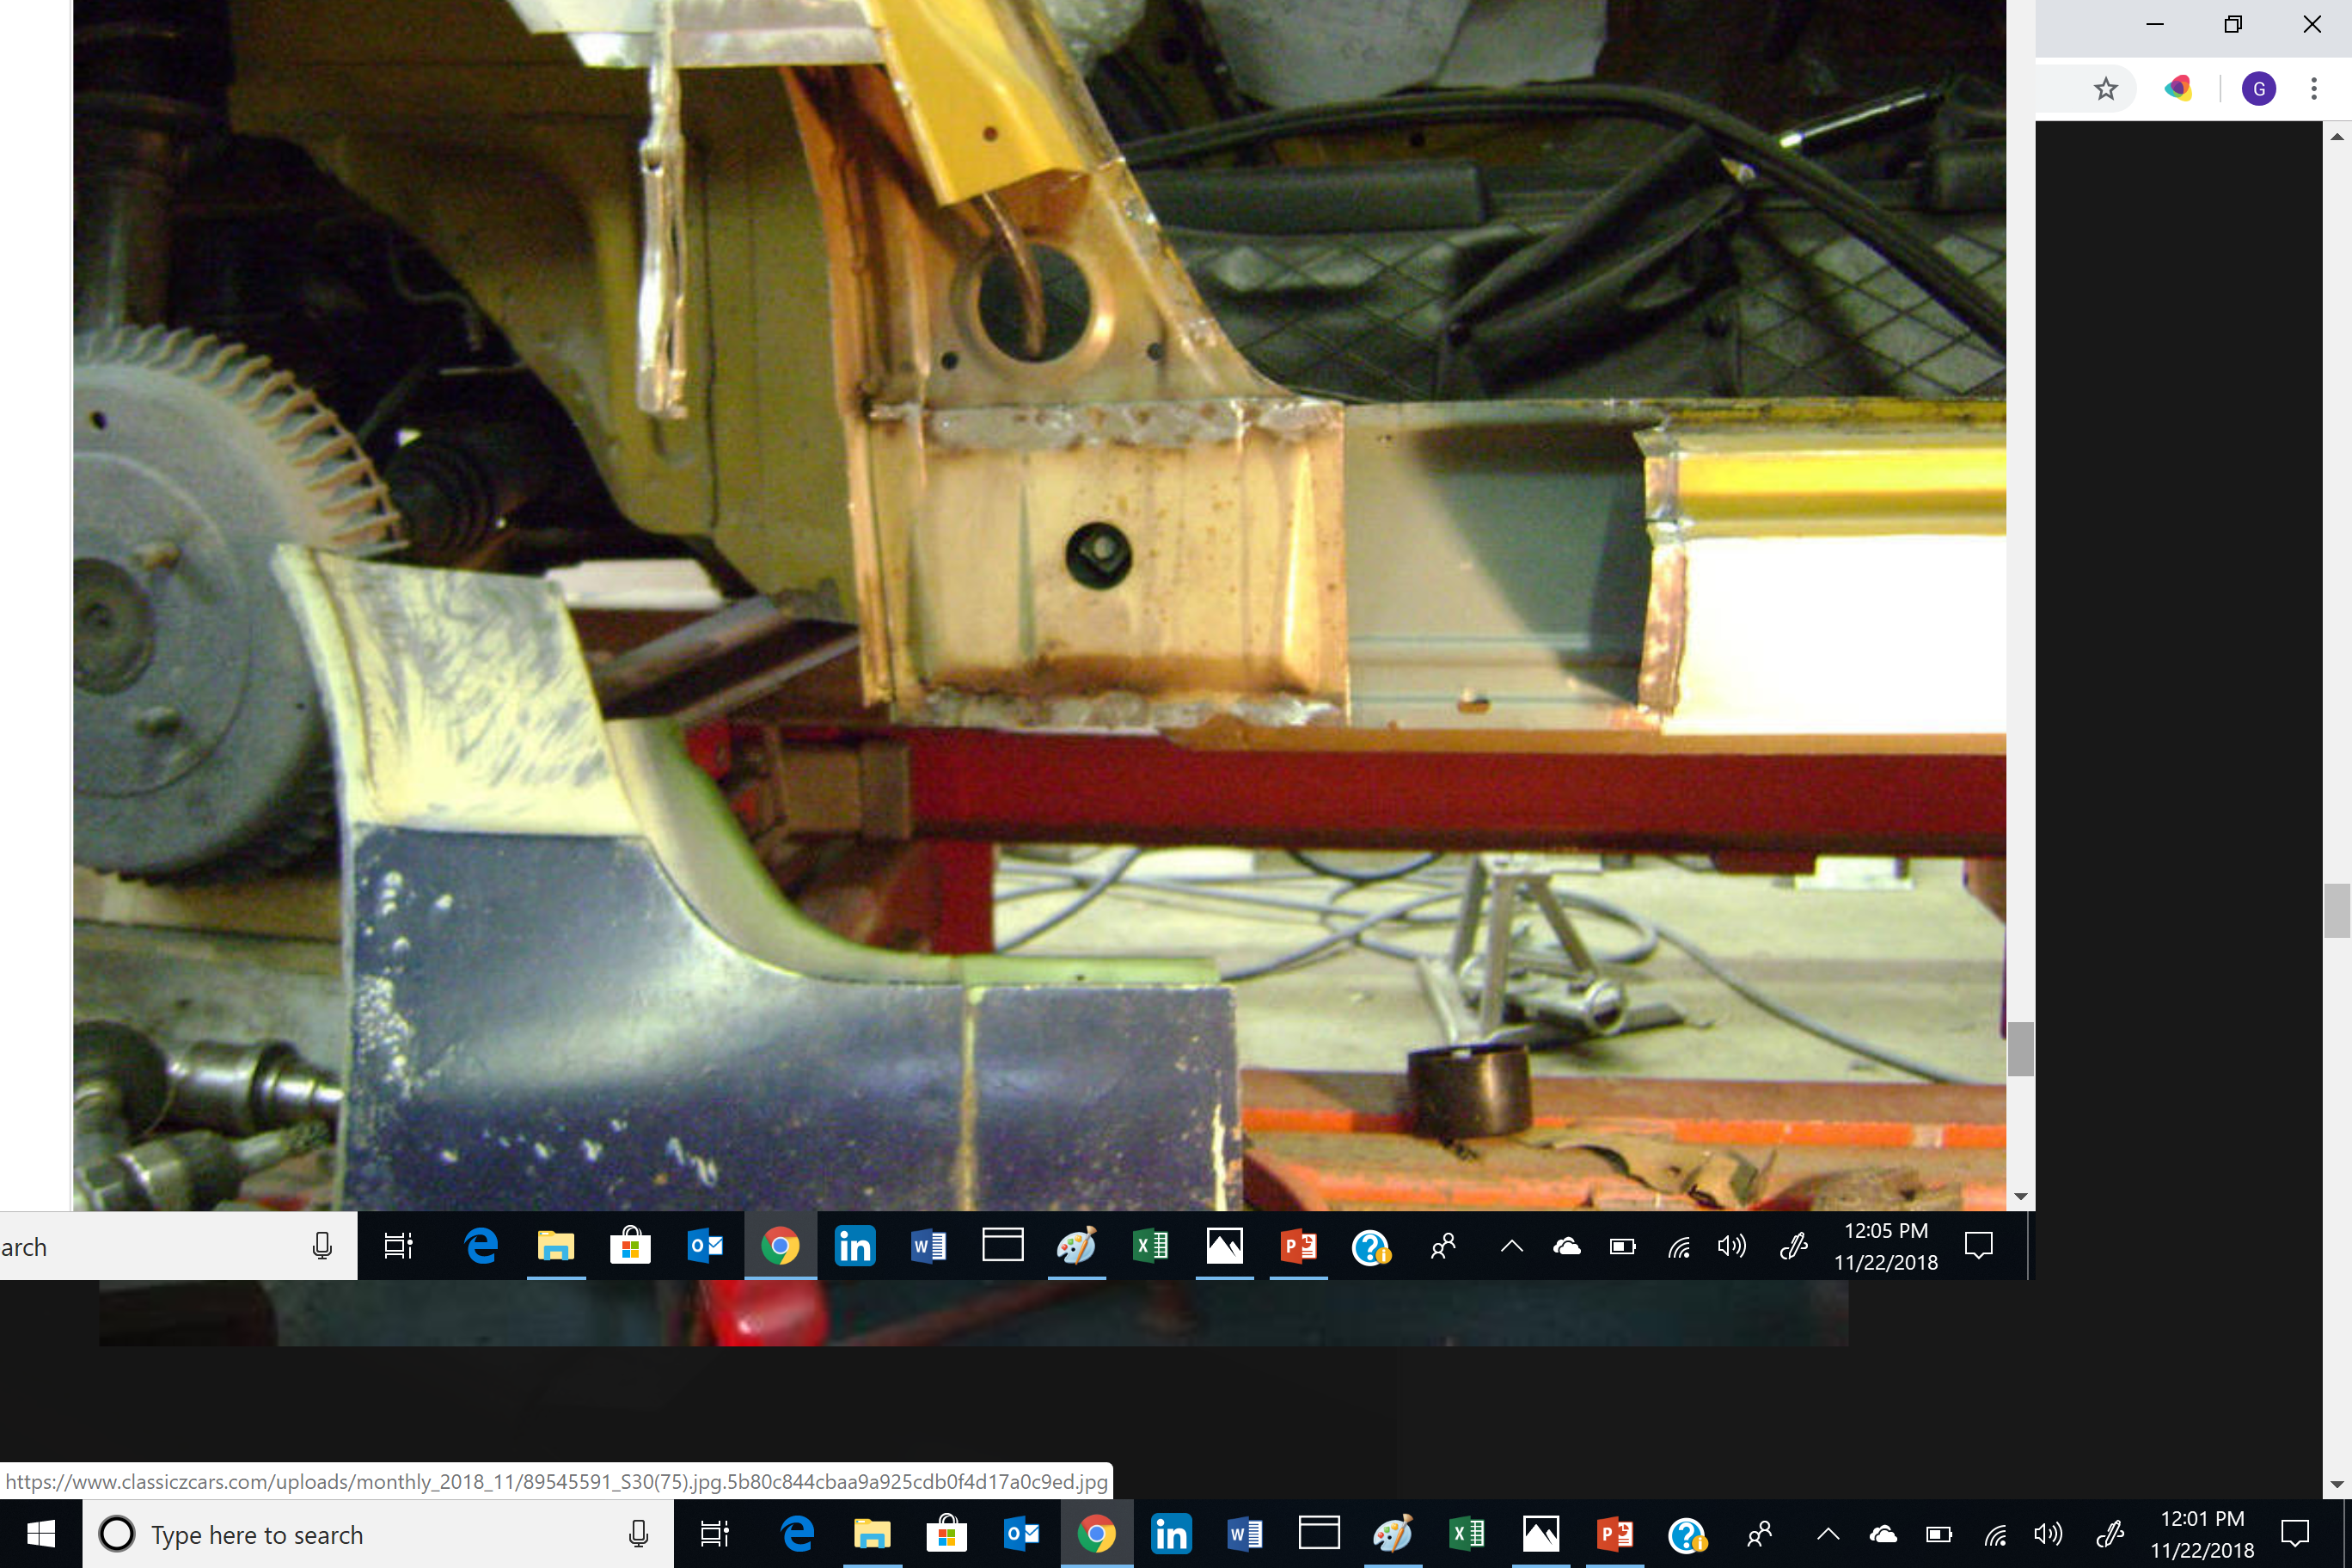
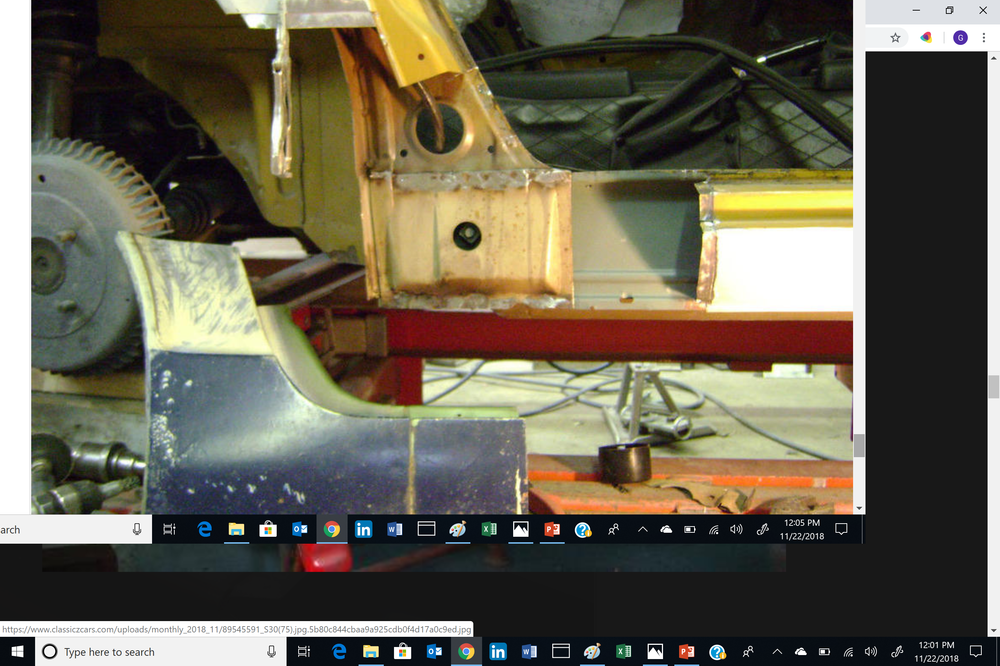
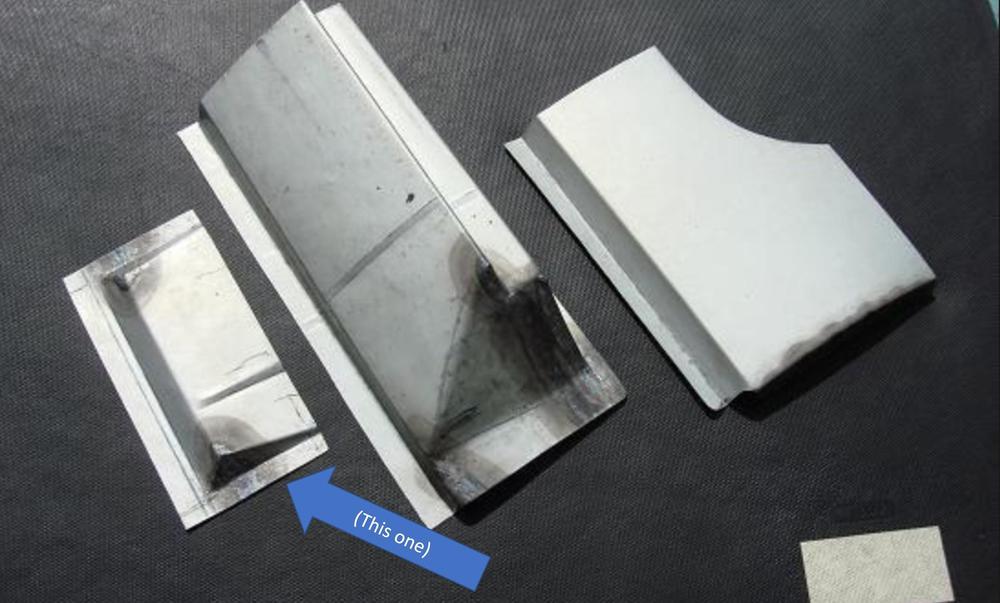
Wow! Thanks for the great & speedy response! I LOVE this forum!! The image I needed is below. @Diseazd: See the 1st pic that I copied from you below. Is that the original factory build? (It looks to be.) Also, I notice that there's a hole in the original outer rocker - right over the seat belt mount nut. Is the hole stock too? @240260280: Any chance you still have the diagram/measurements that you used to make the panel indicated by the blue arrow? (2nd pic below.) If so, I'd be much obliged if you would pass it along. I'll bet there a ton of Z freaks who would benefit from it! Thanks again guys - really helpful, Jughead
-
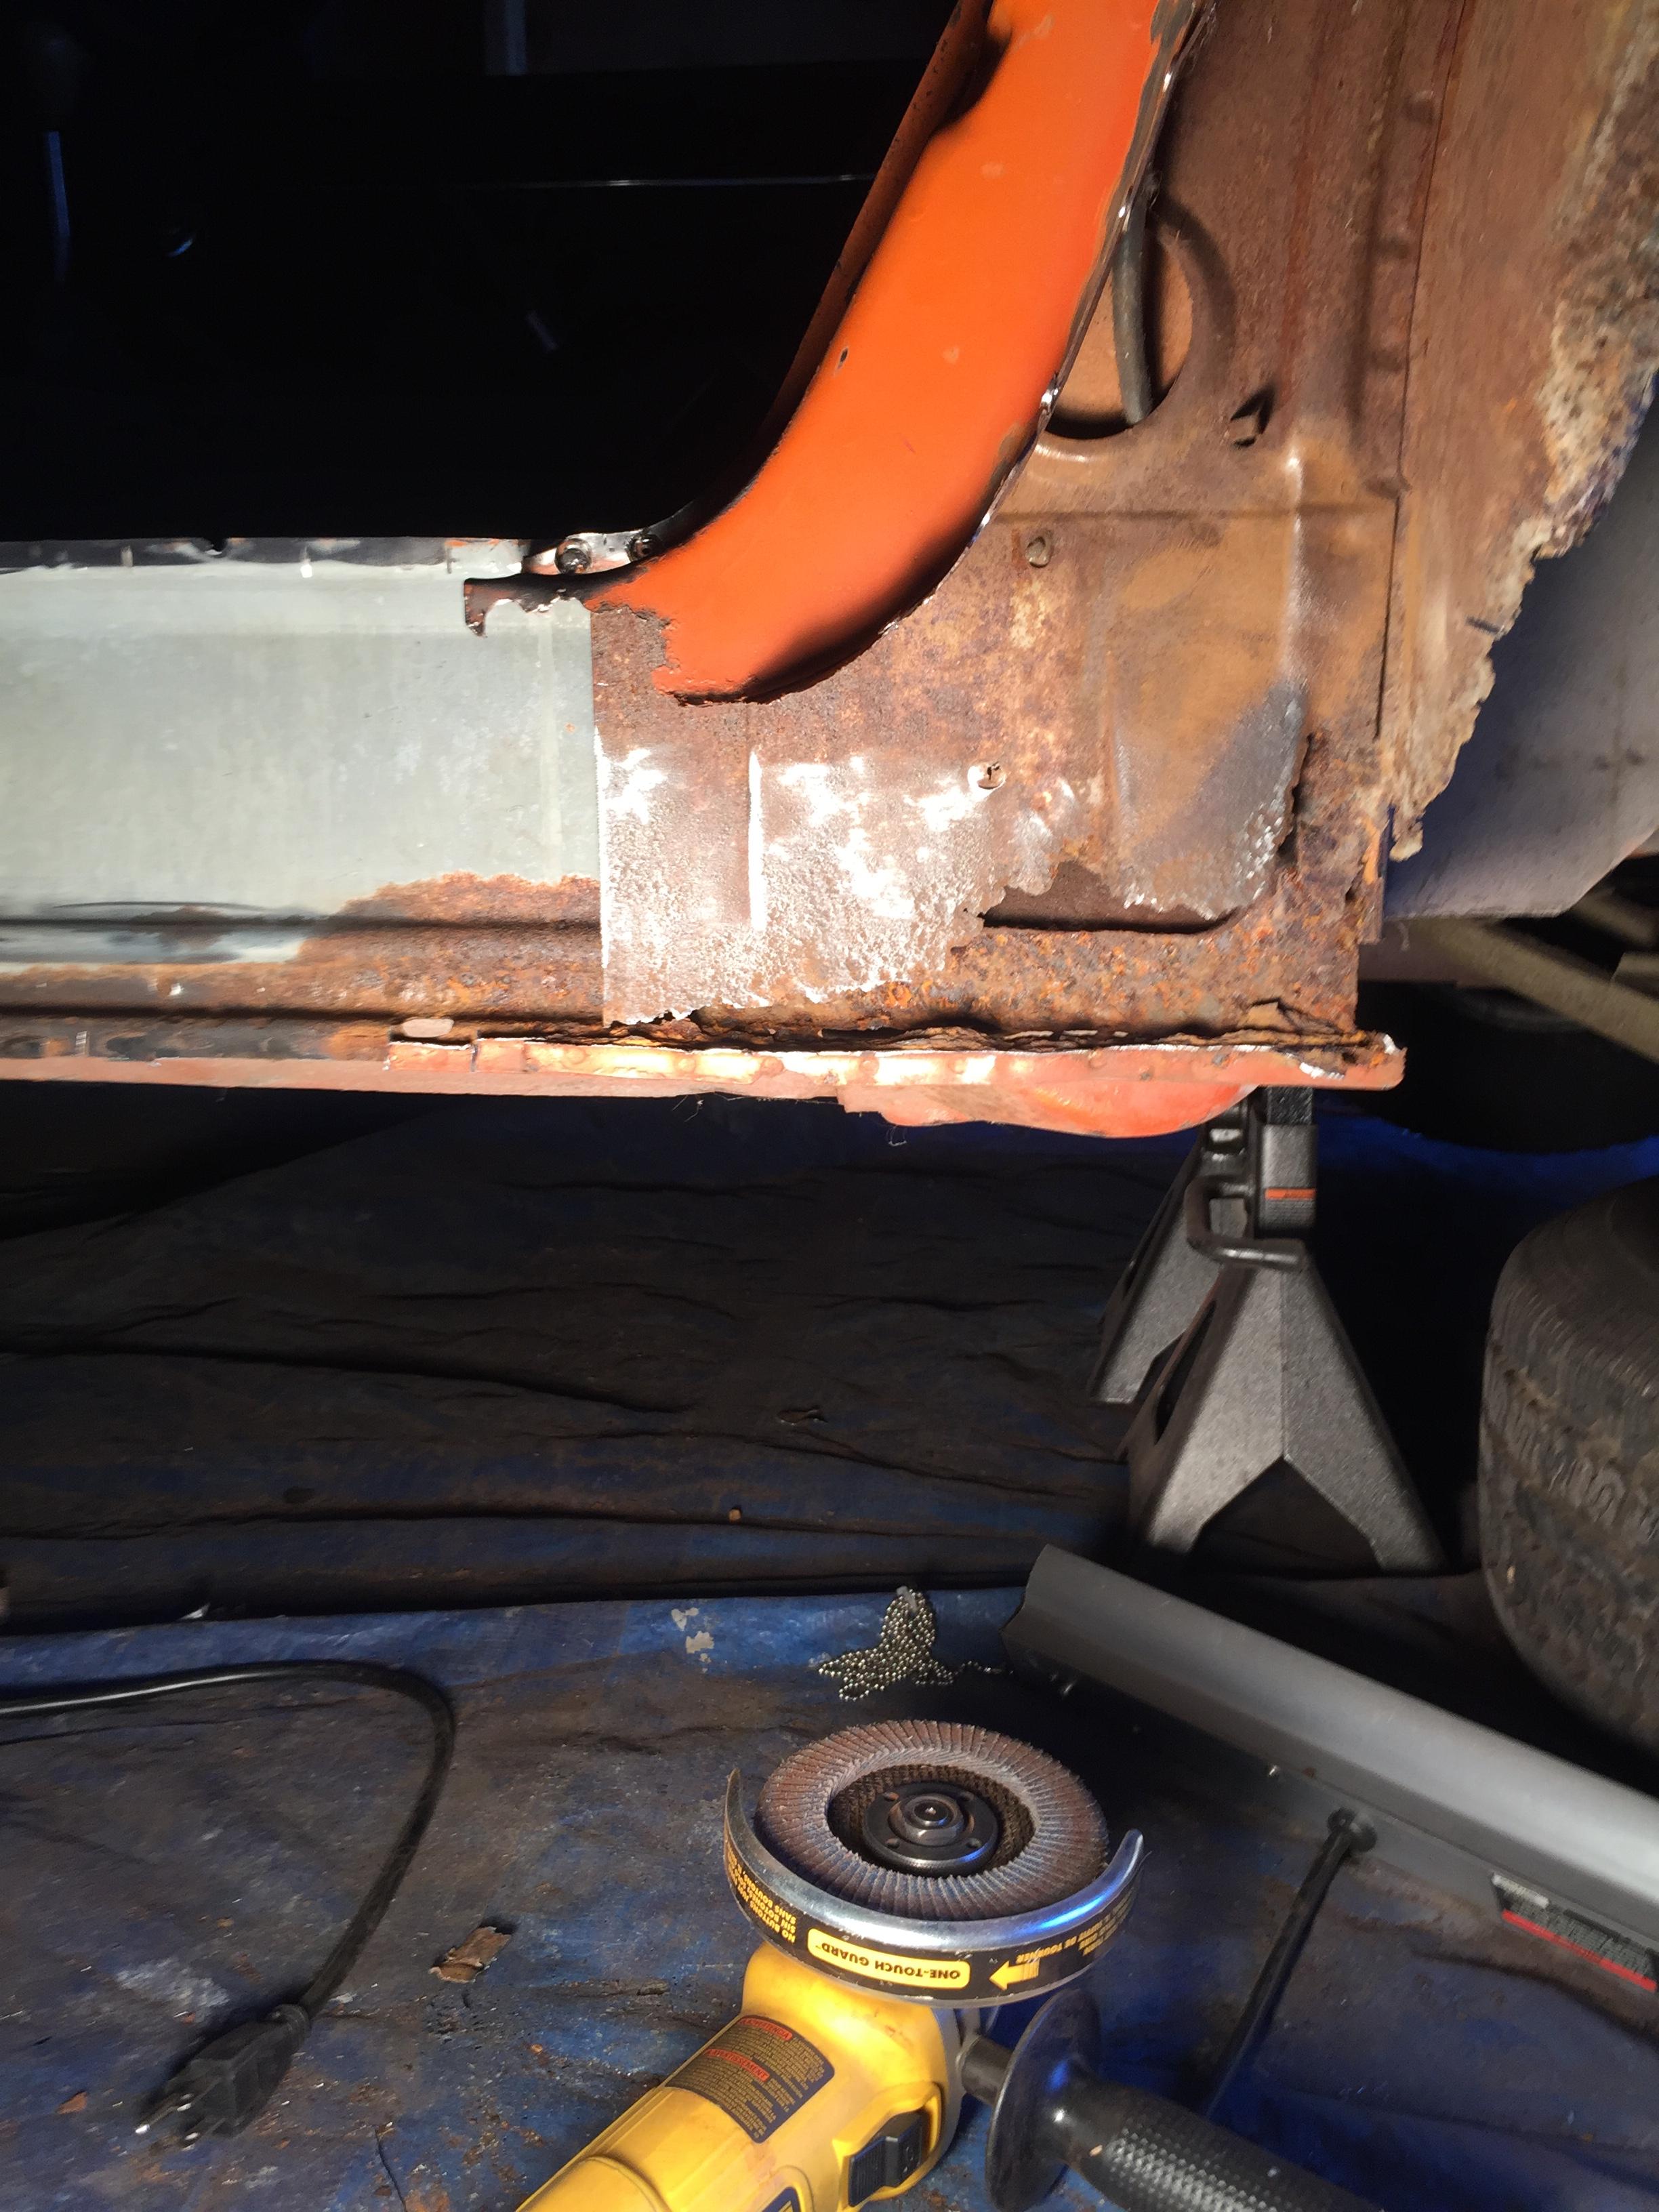
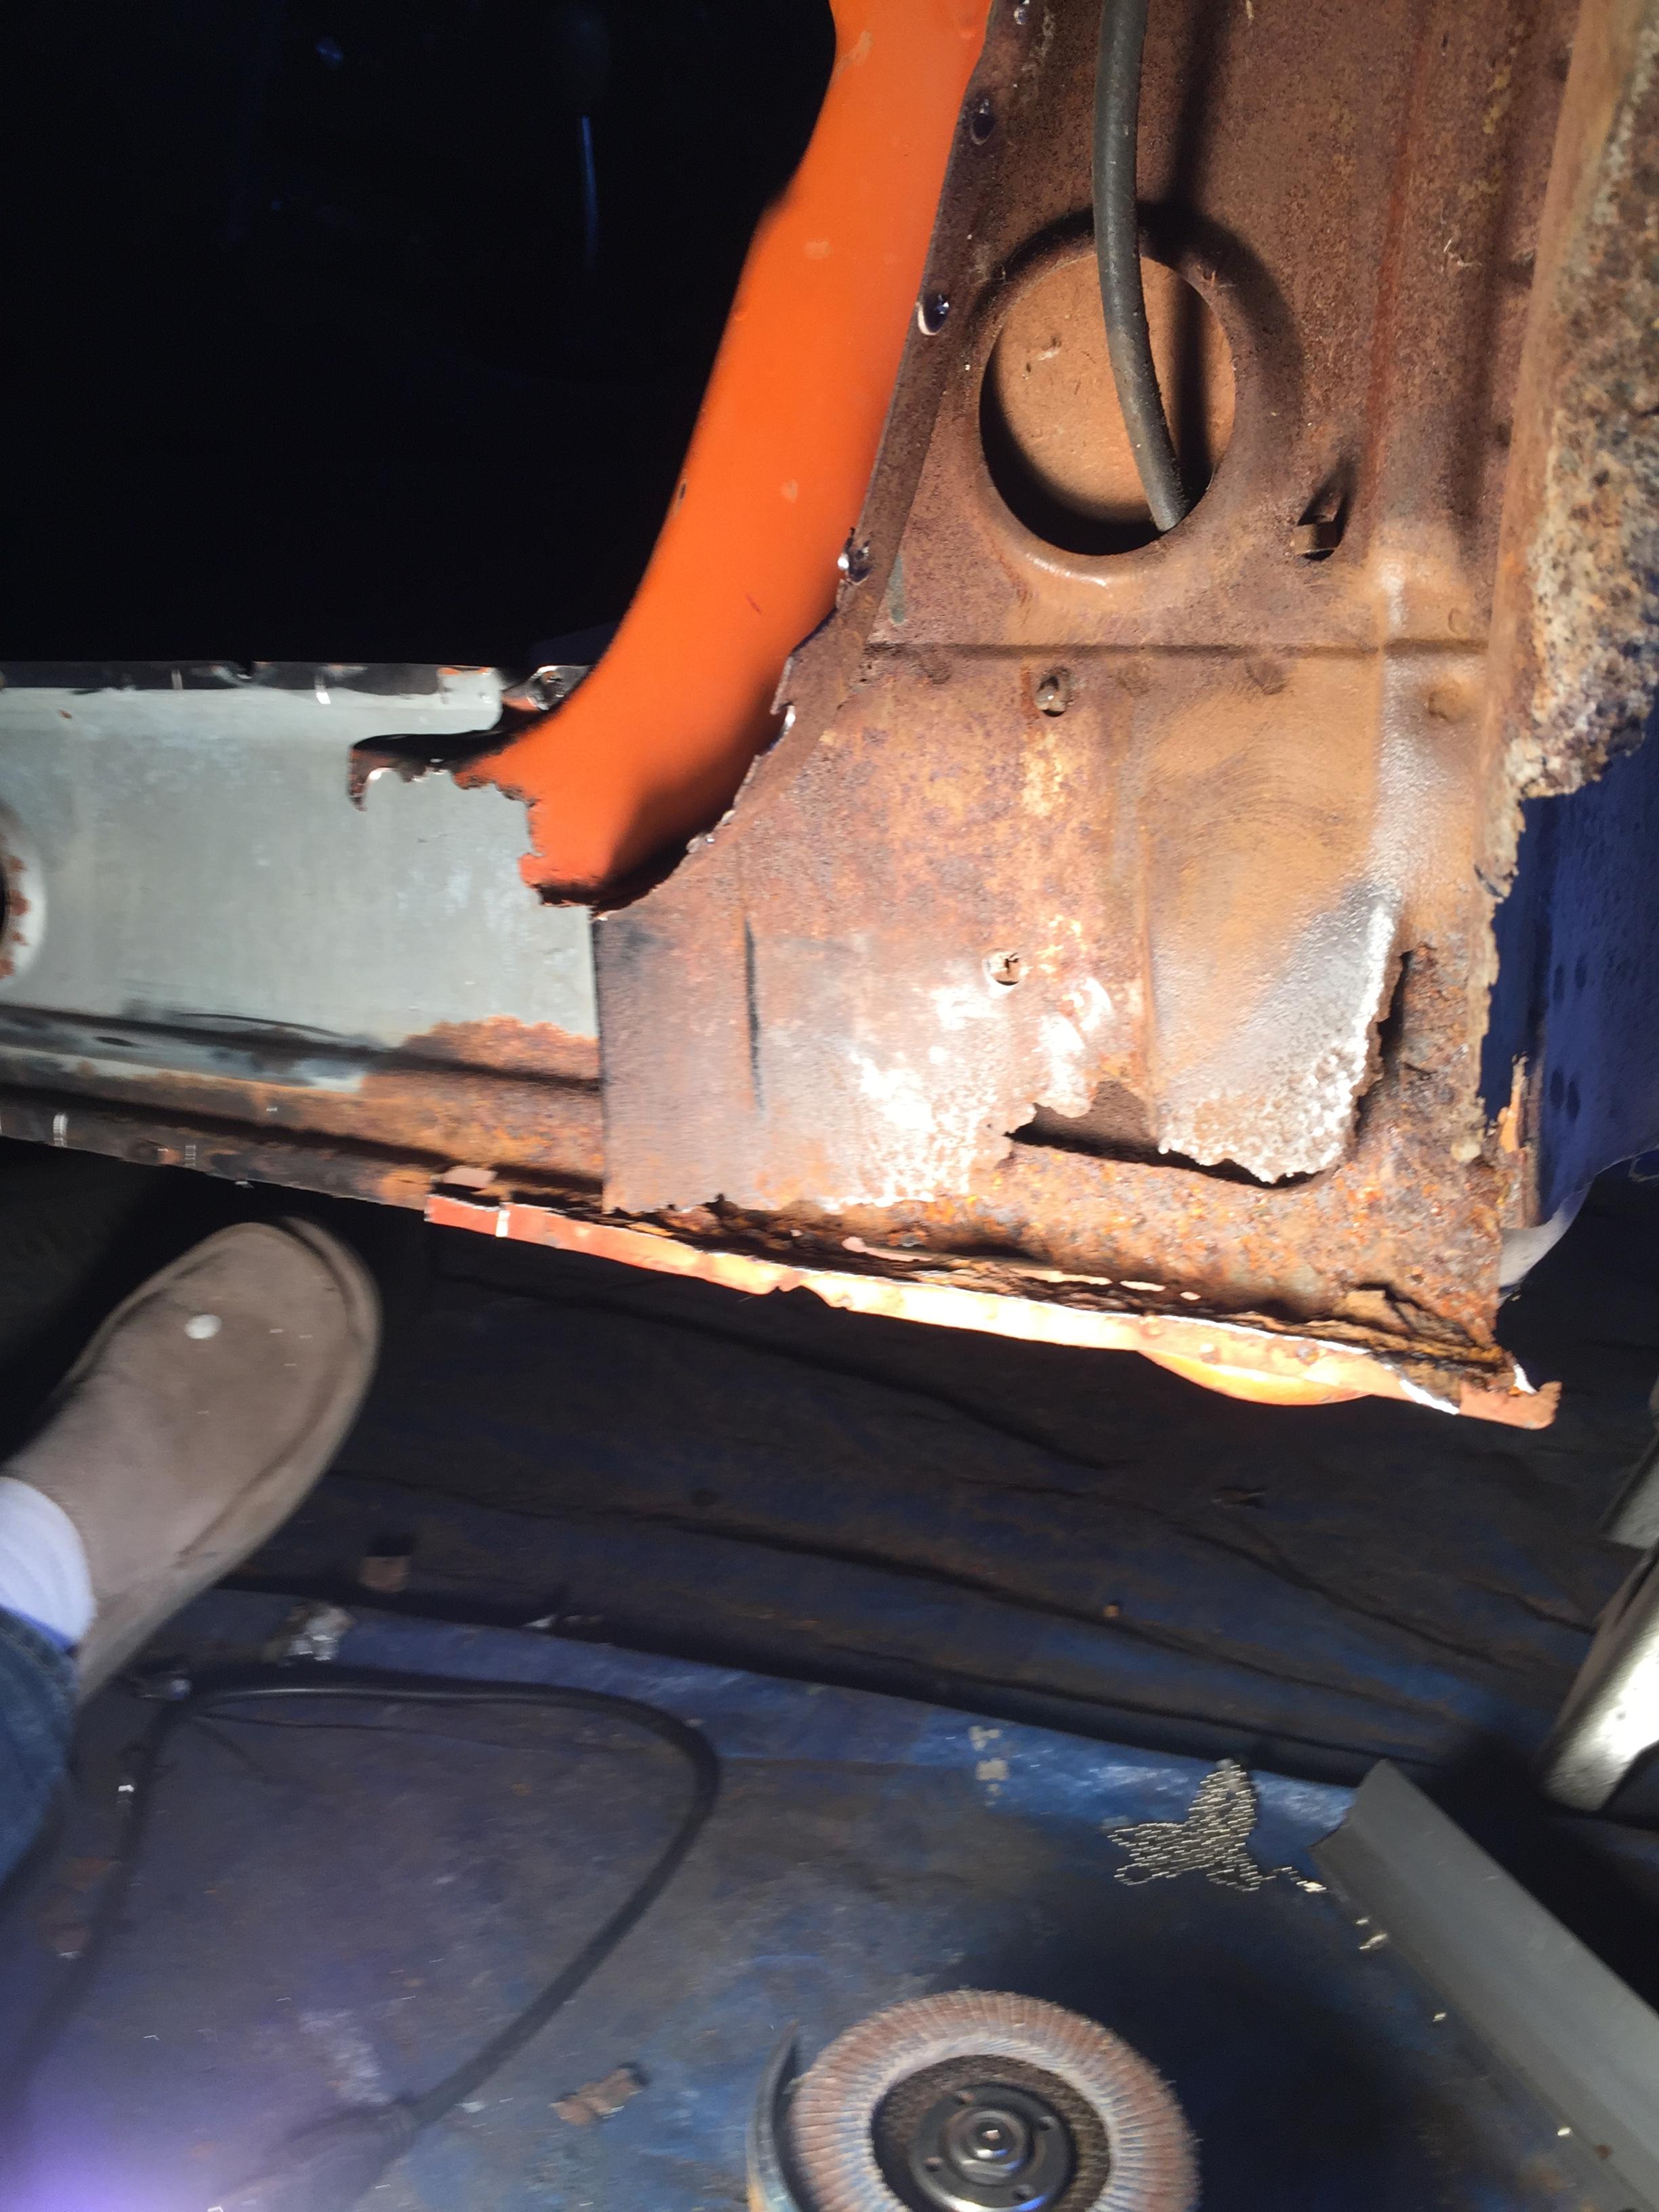
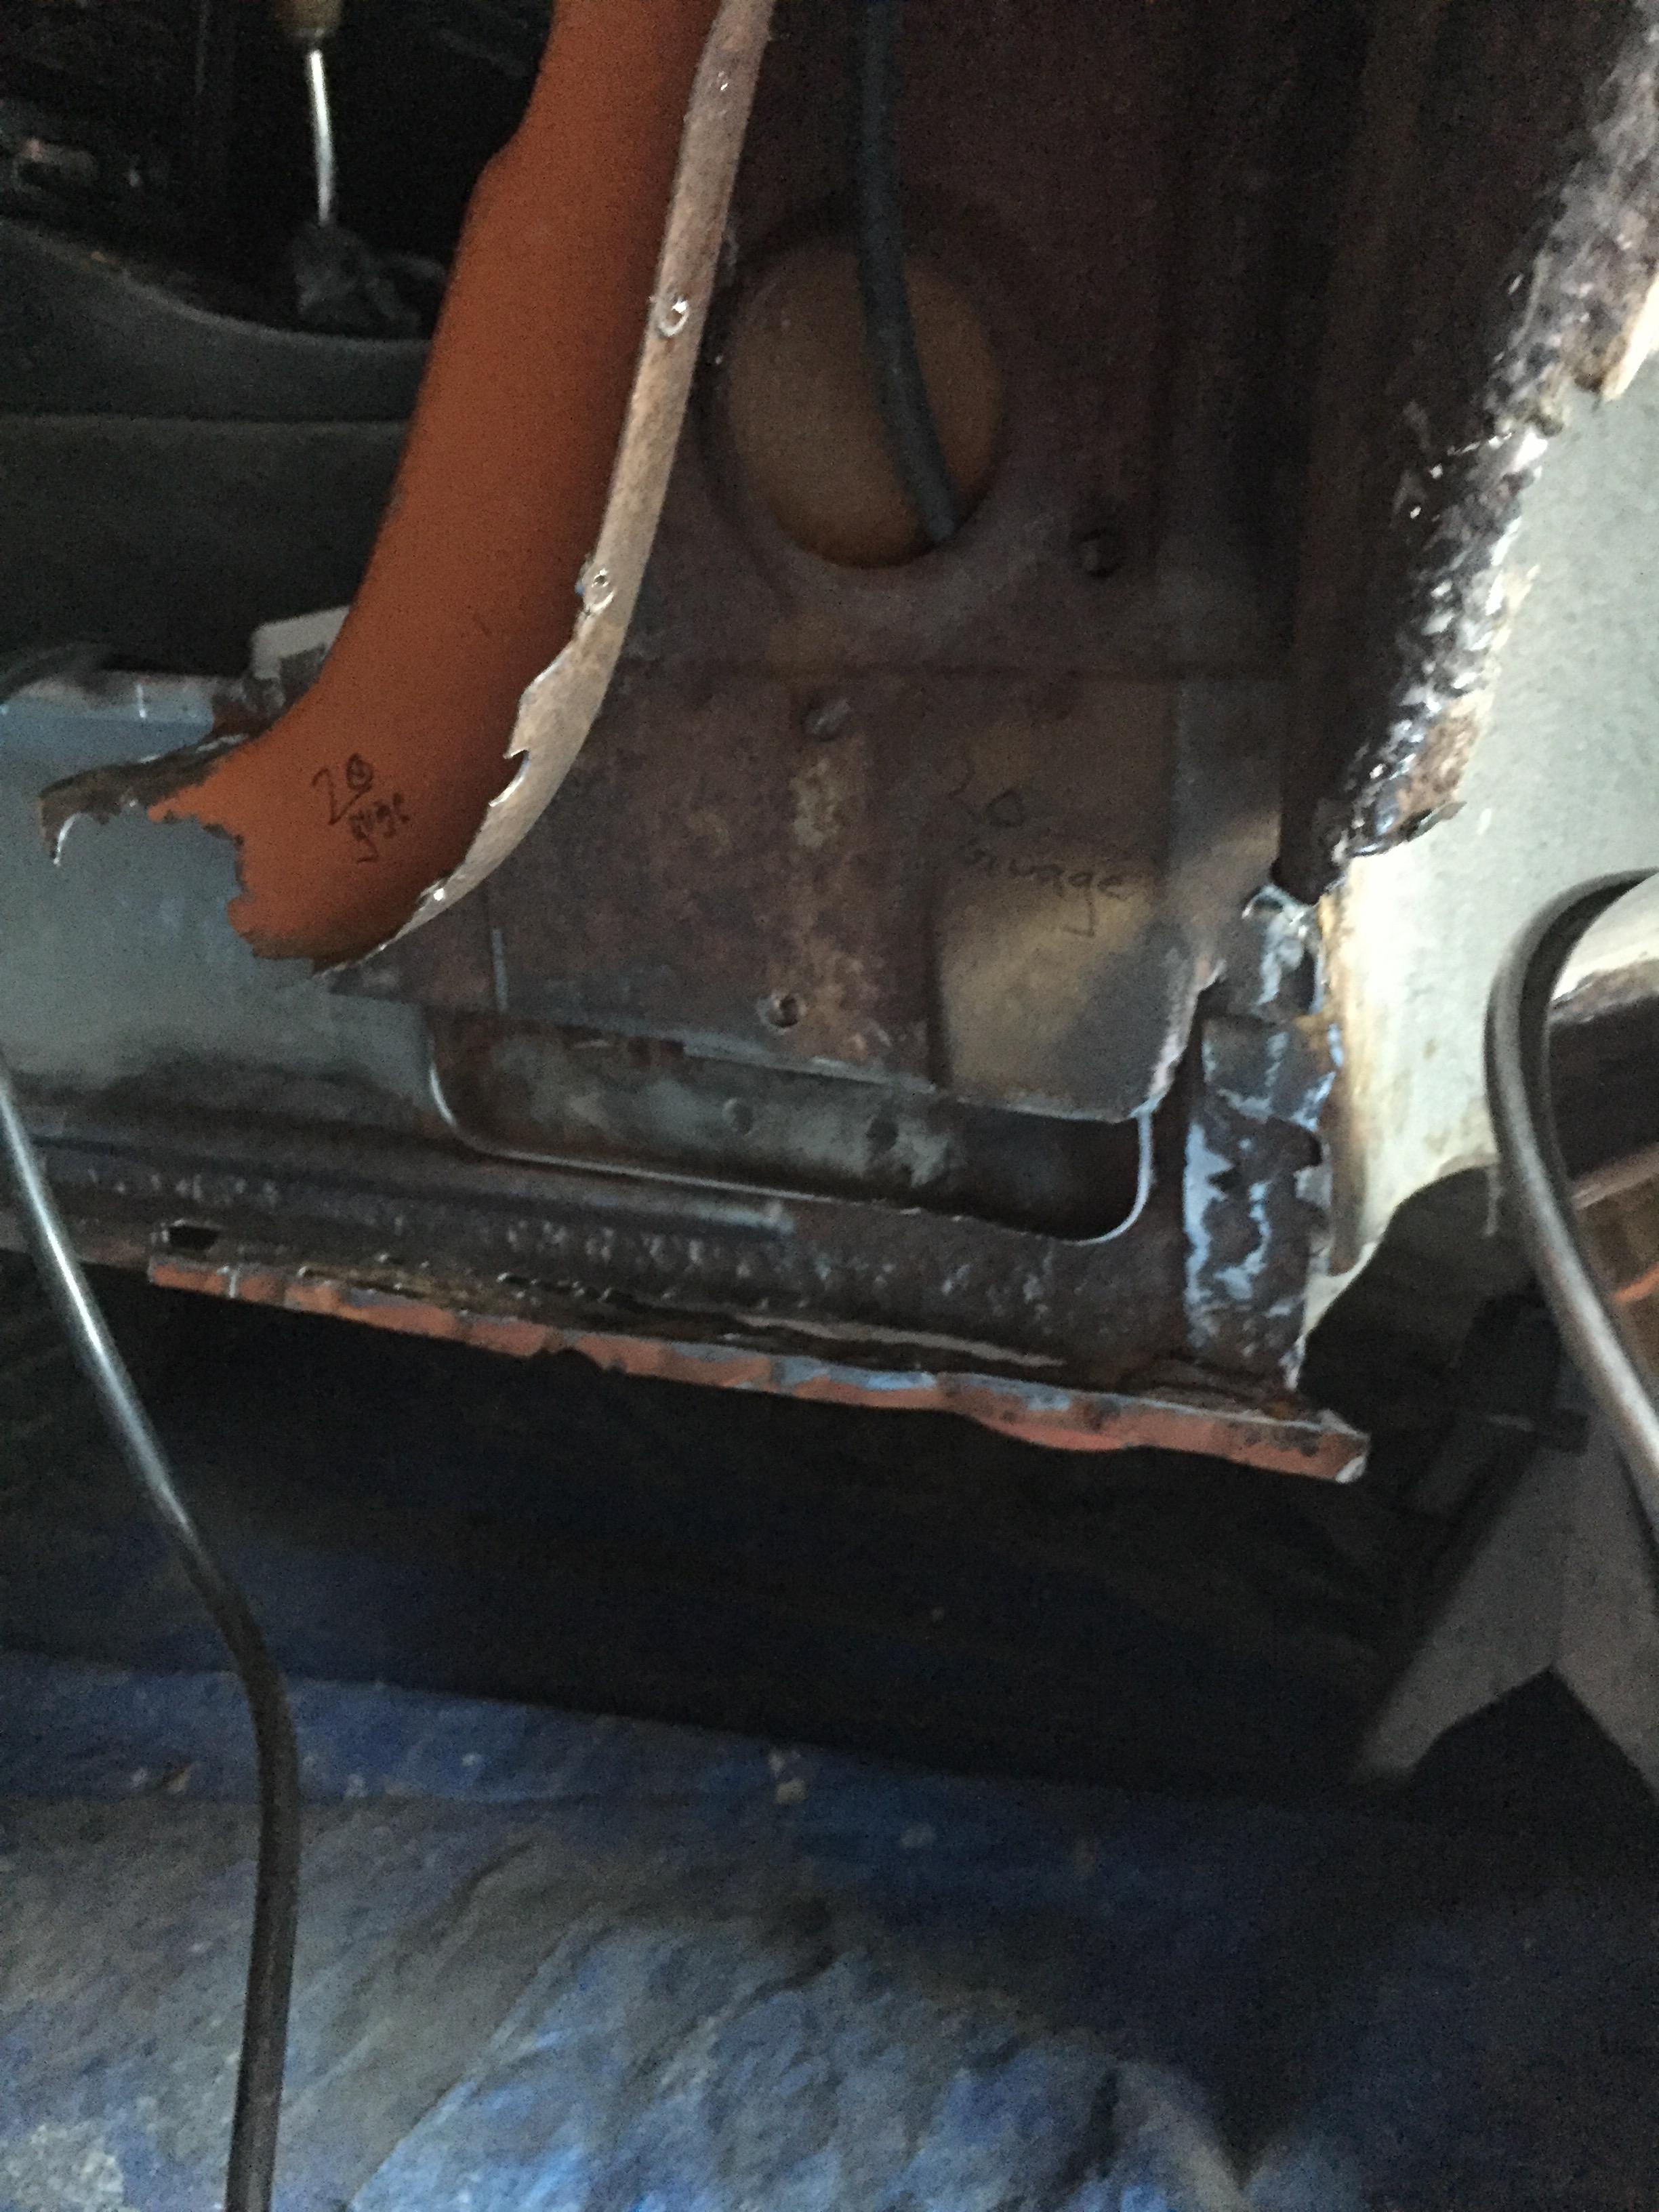
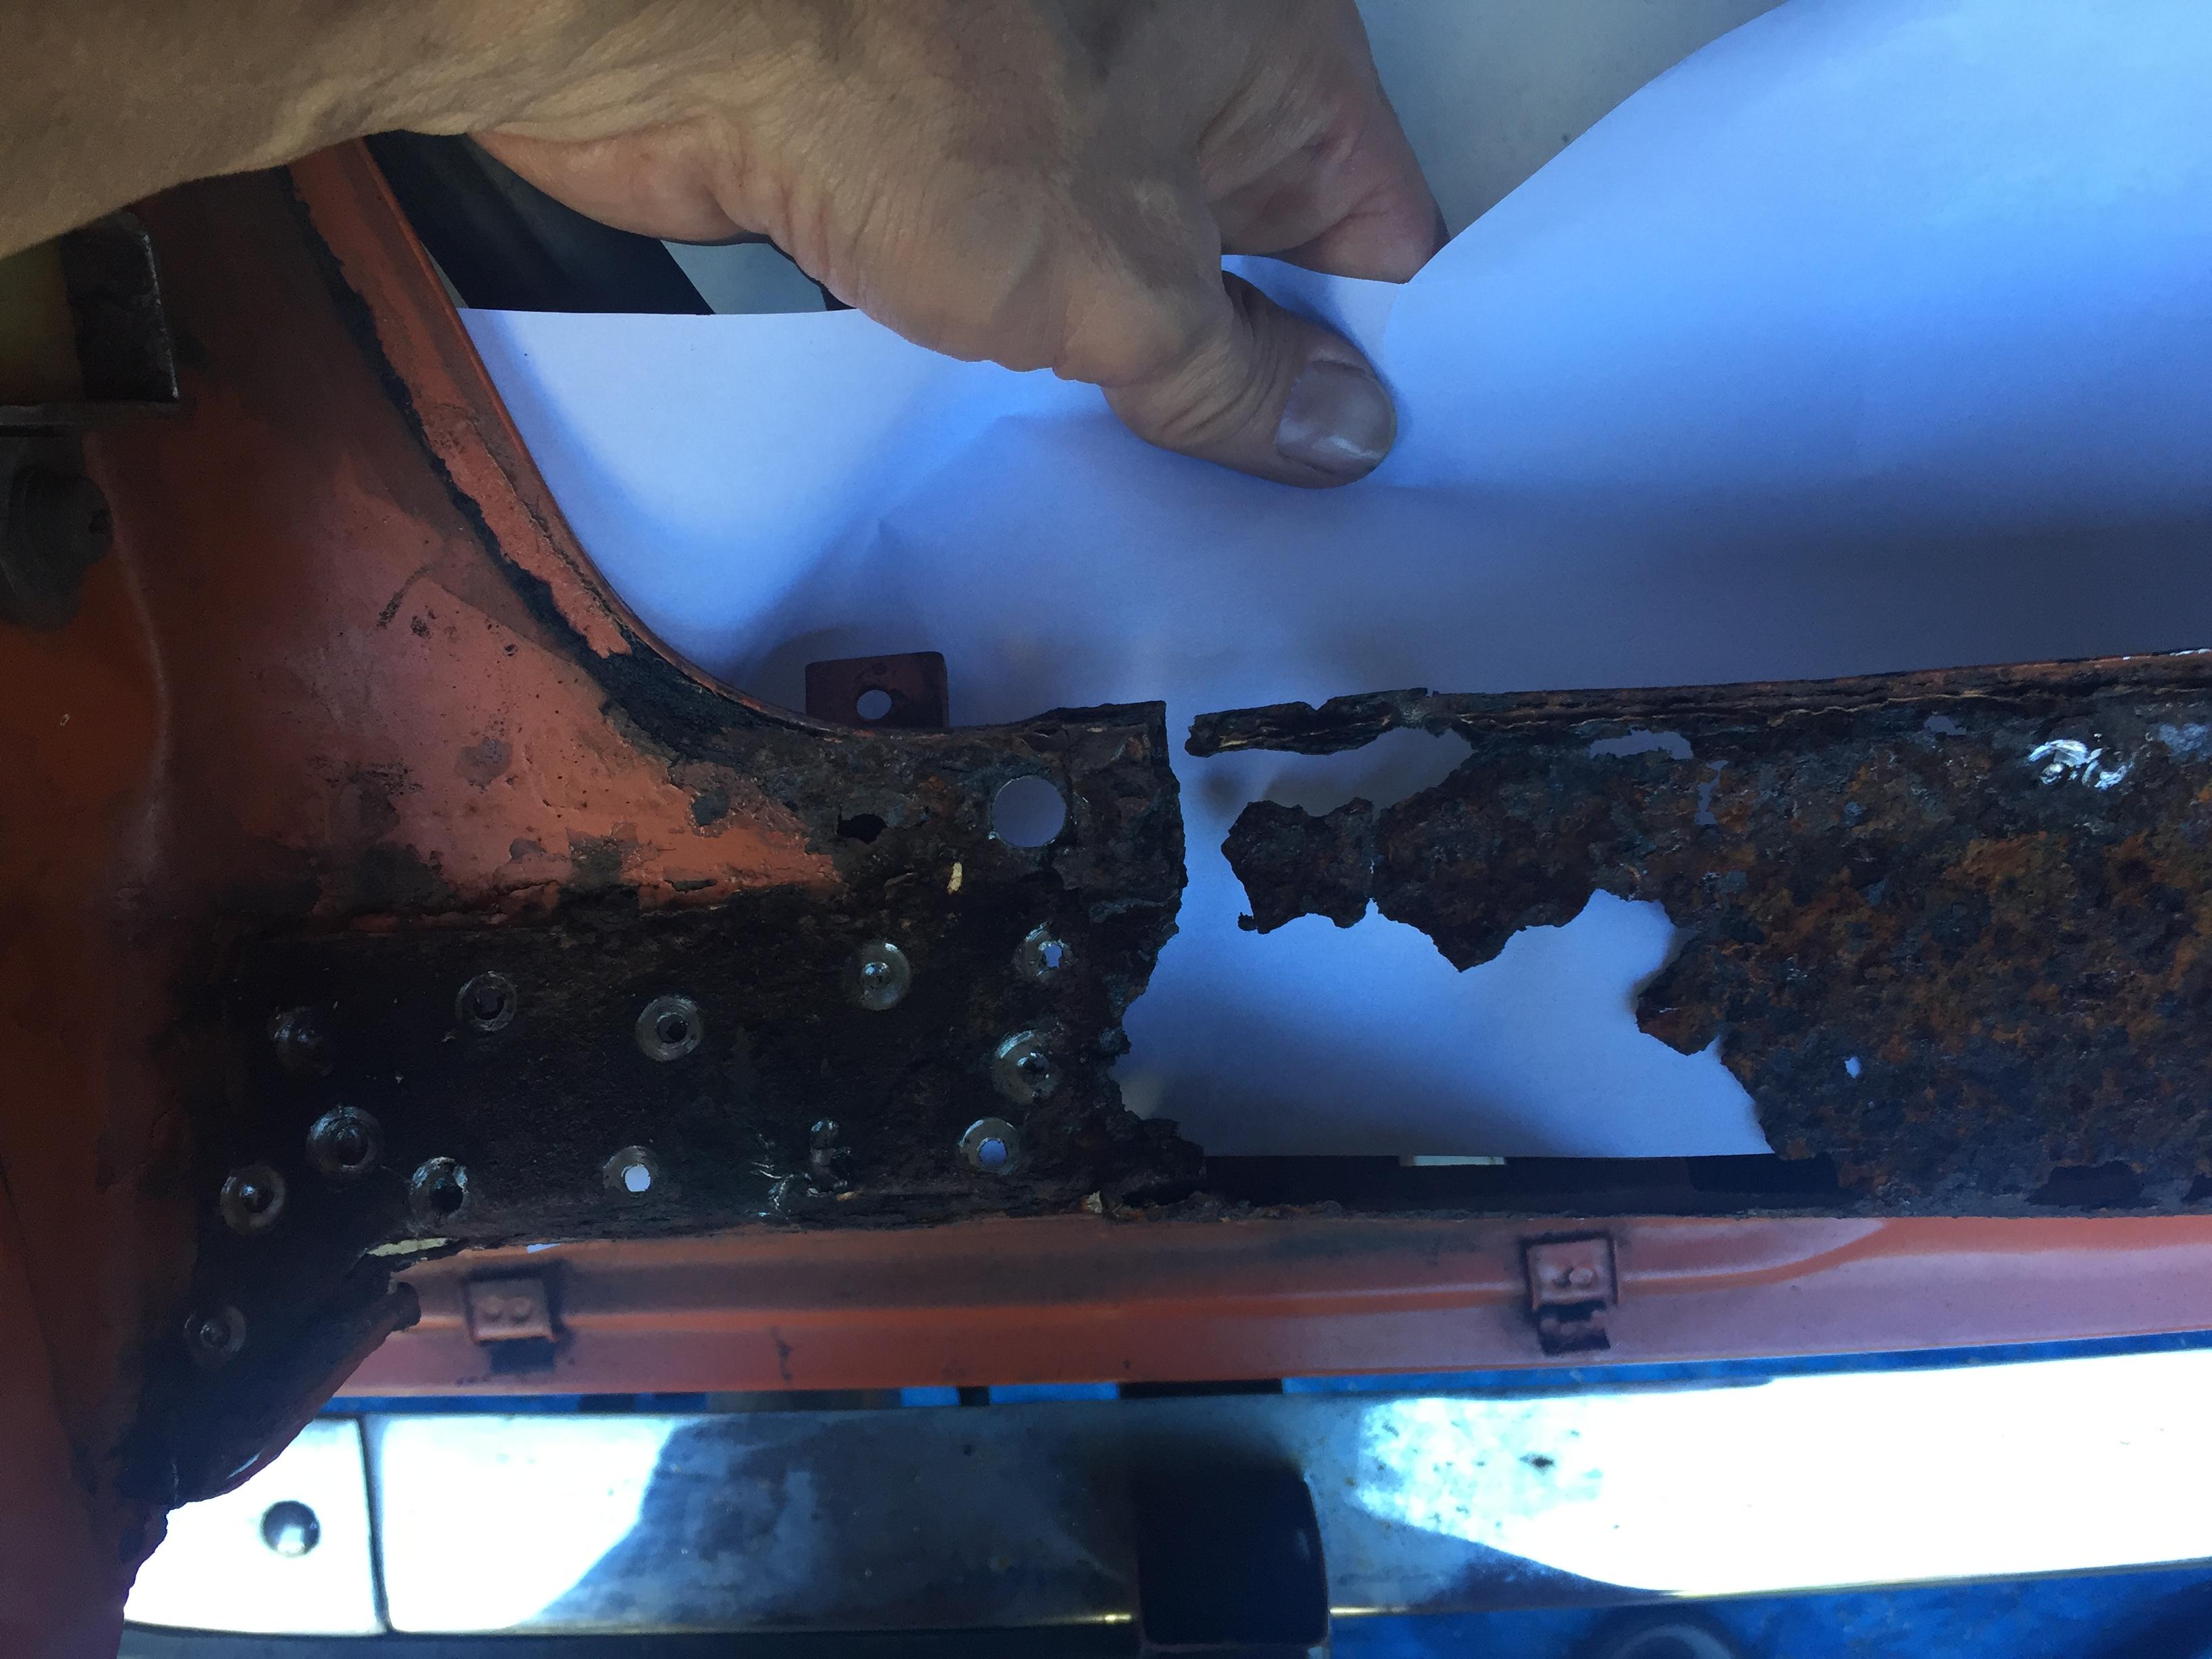
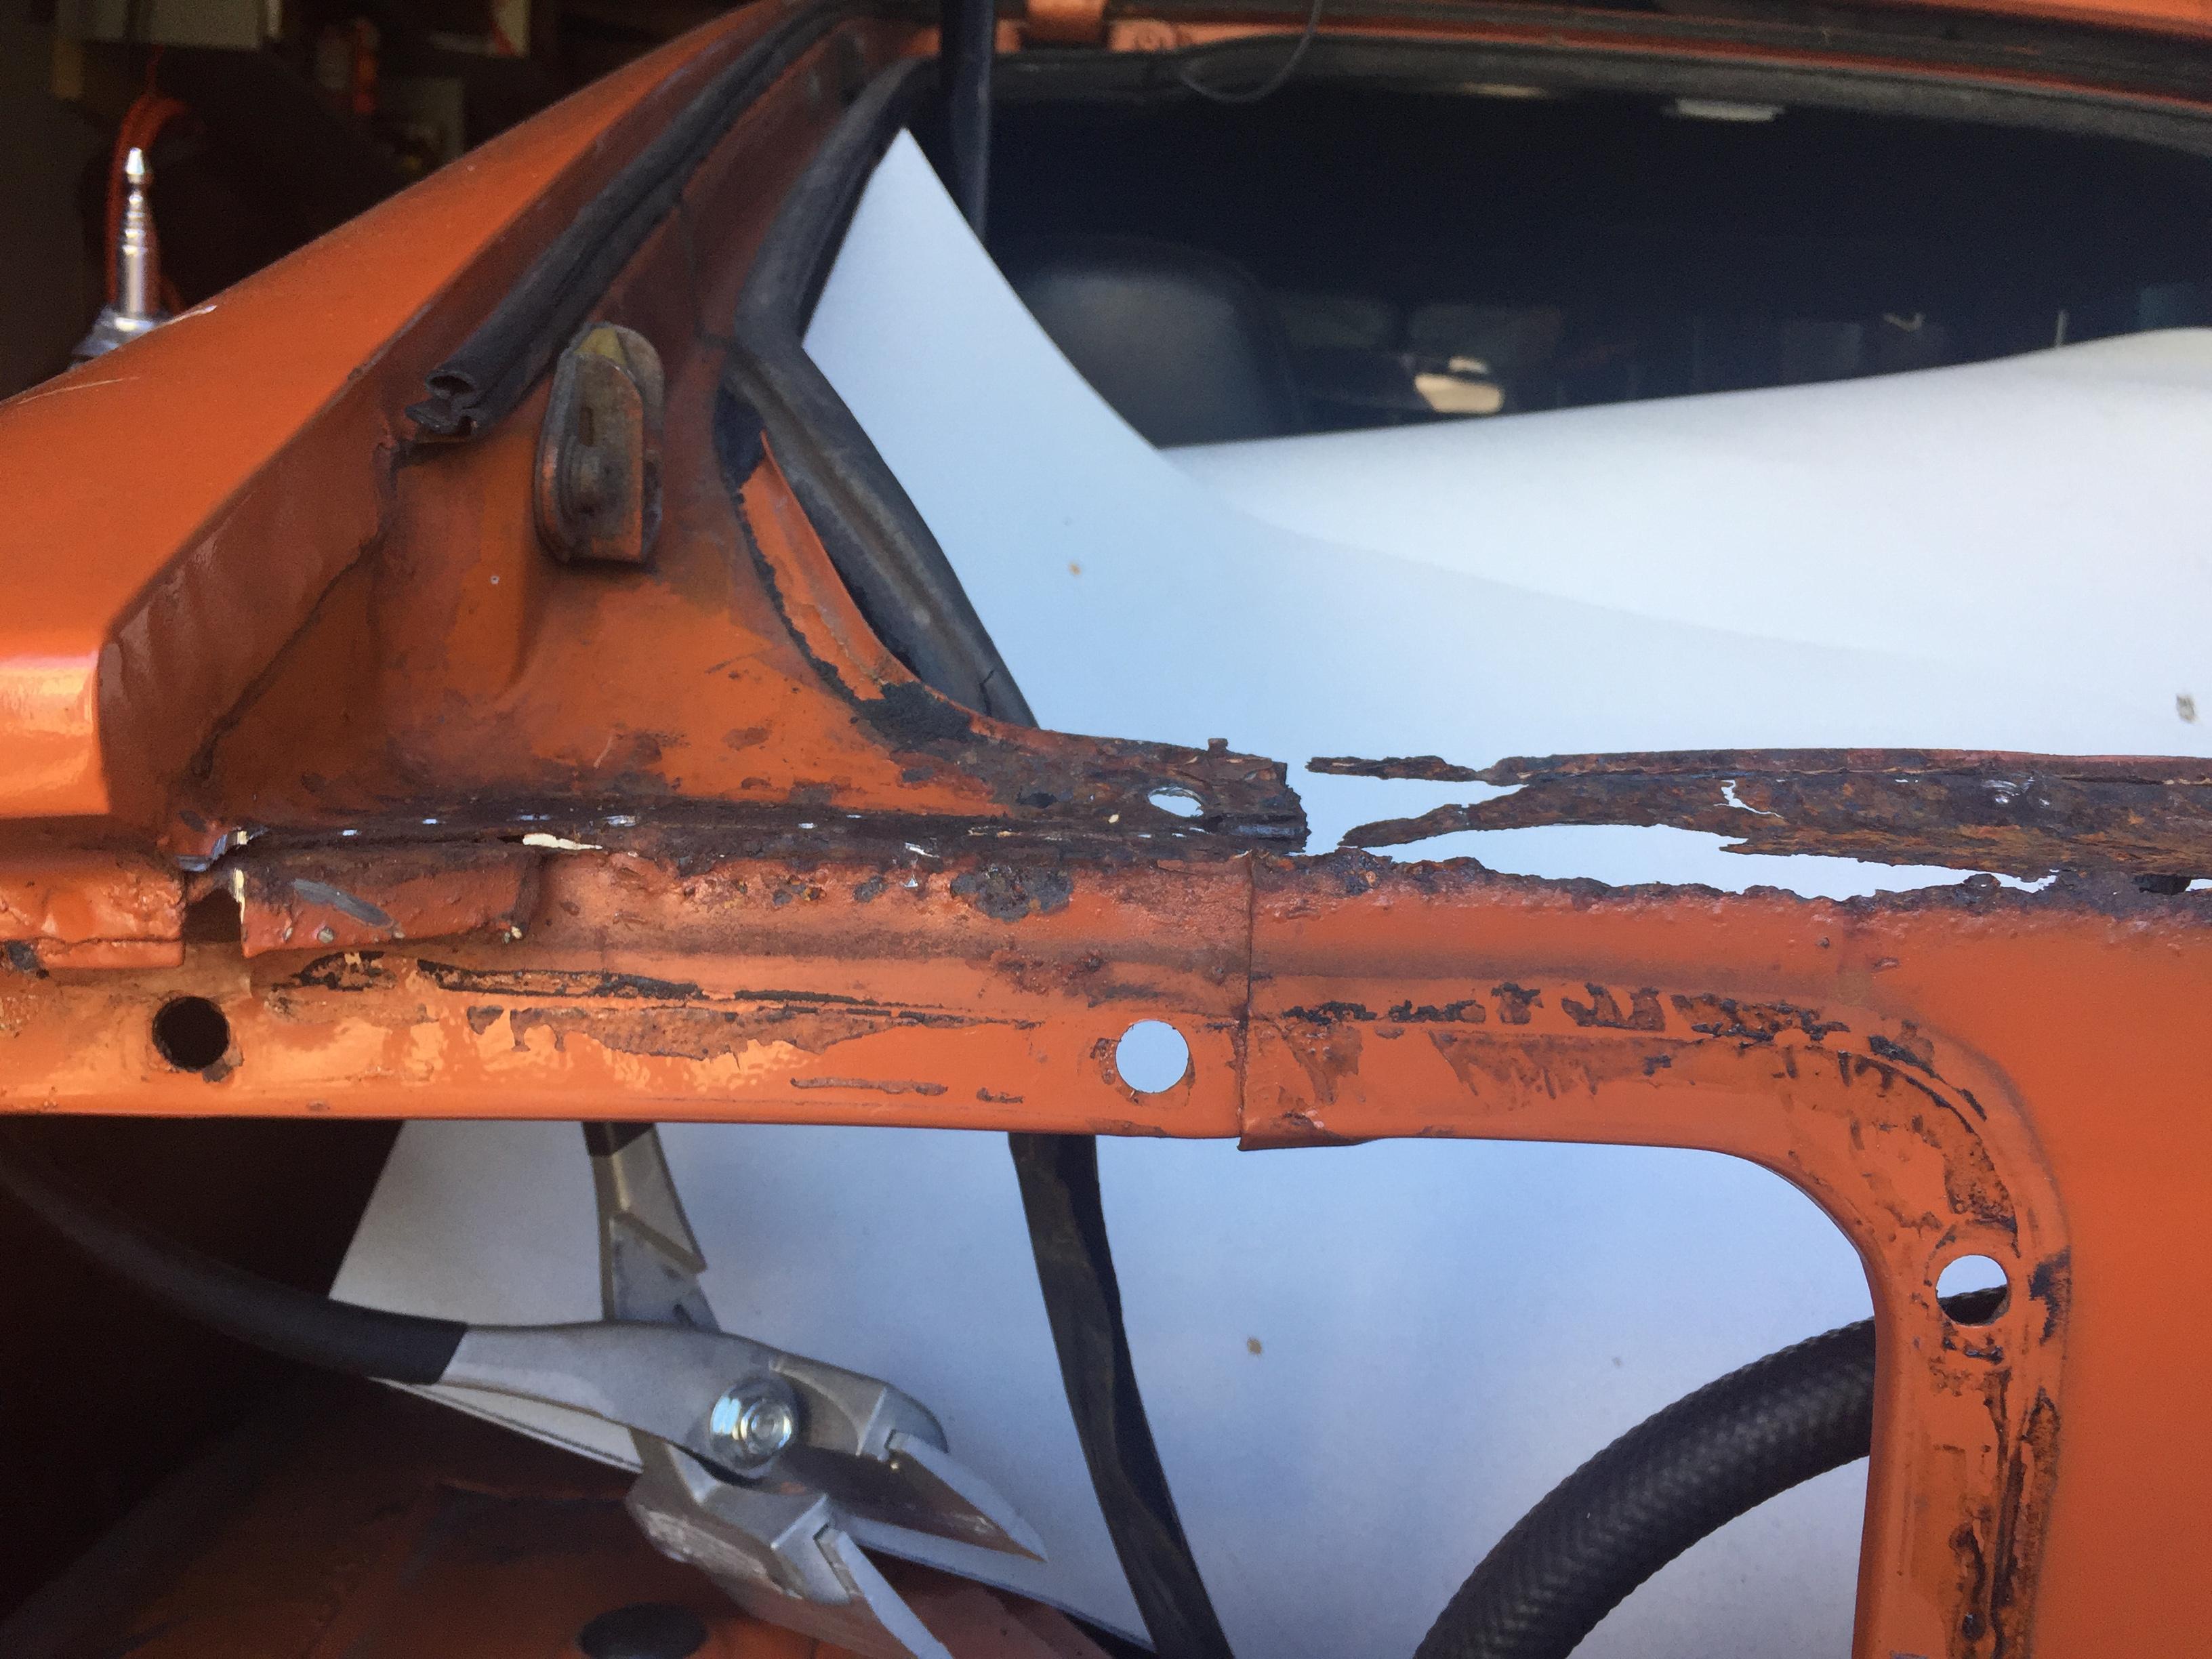
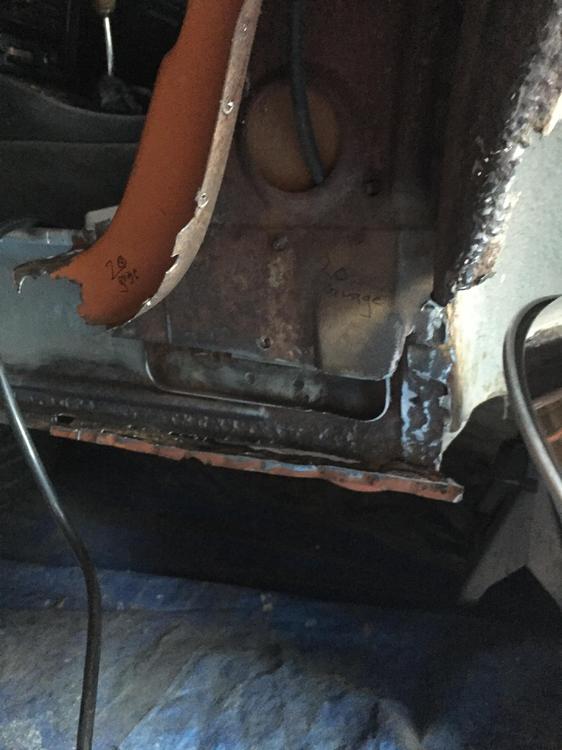
Fellow Zedheads, I'm repairing my doglegs and want to fabricate the INNER dog leg as close to original as possible. I can't find an image of a non-rusted inner dogleg. (There are plenty of pics of rusted ones!). Can anyone help? I've attached pics of mine for reference. The piece I'm referring to is in front - with the jagged, rusty bottom. Thanks!! jughead


-
-
Thanks Elliott000 - Keep up the good work and thanks for the inspiration
-
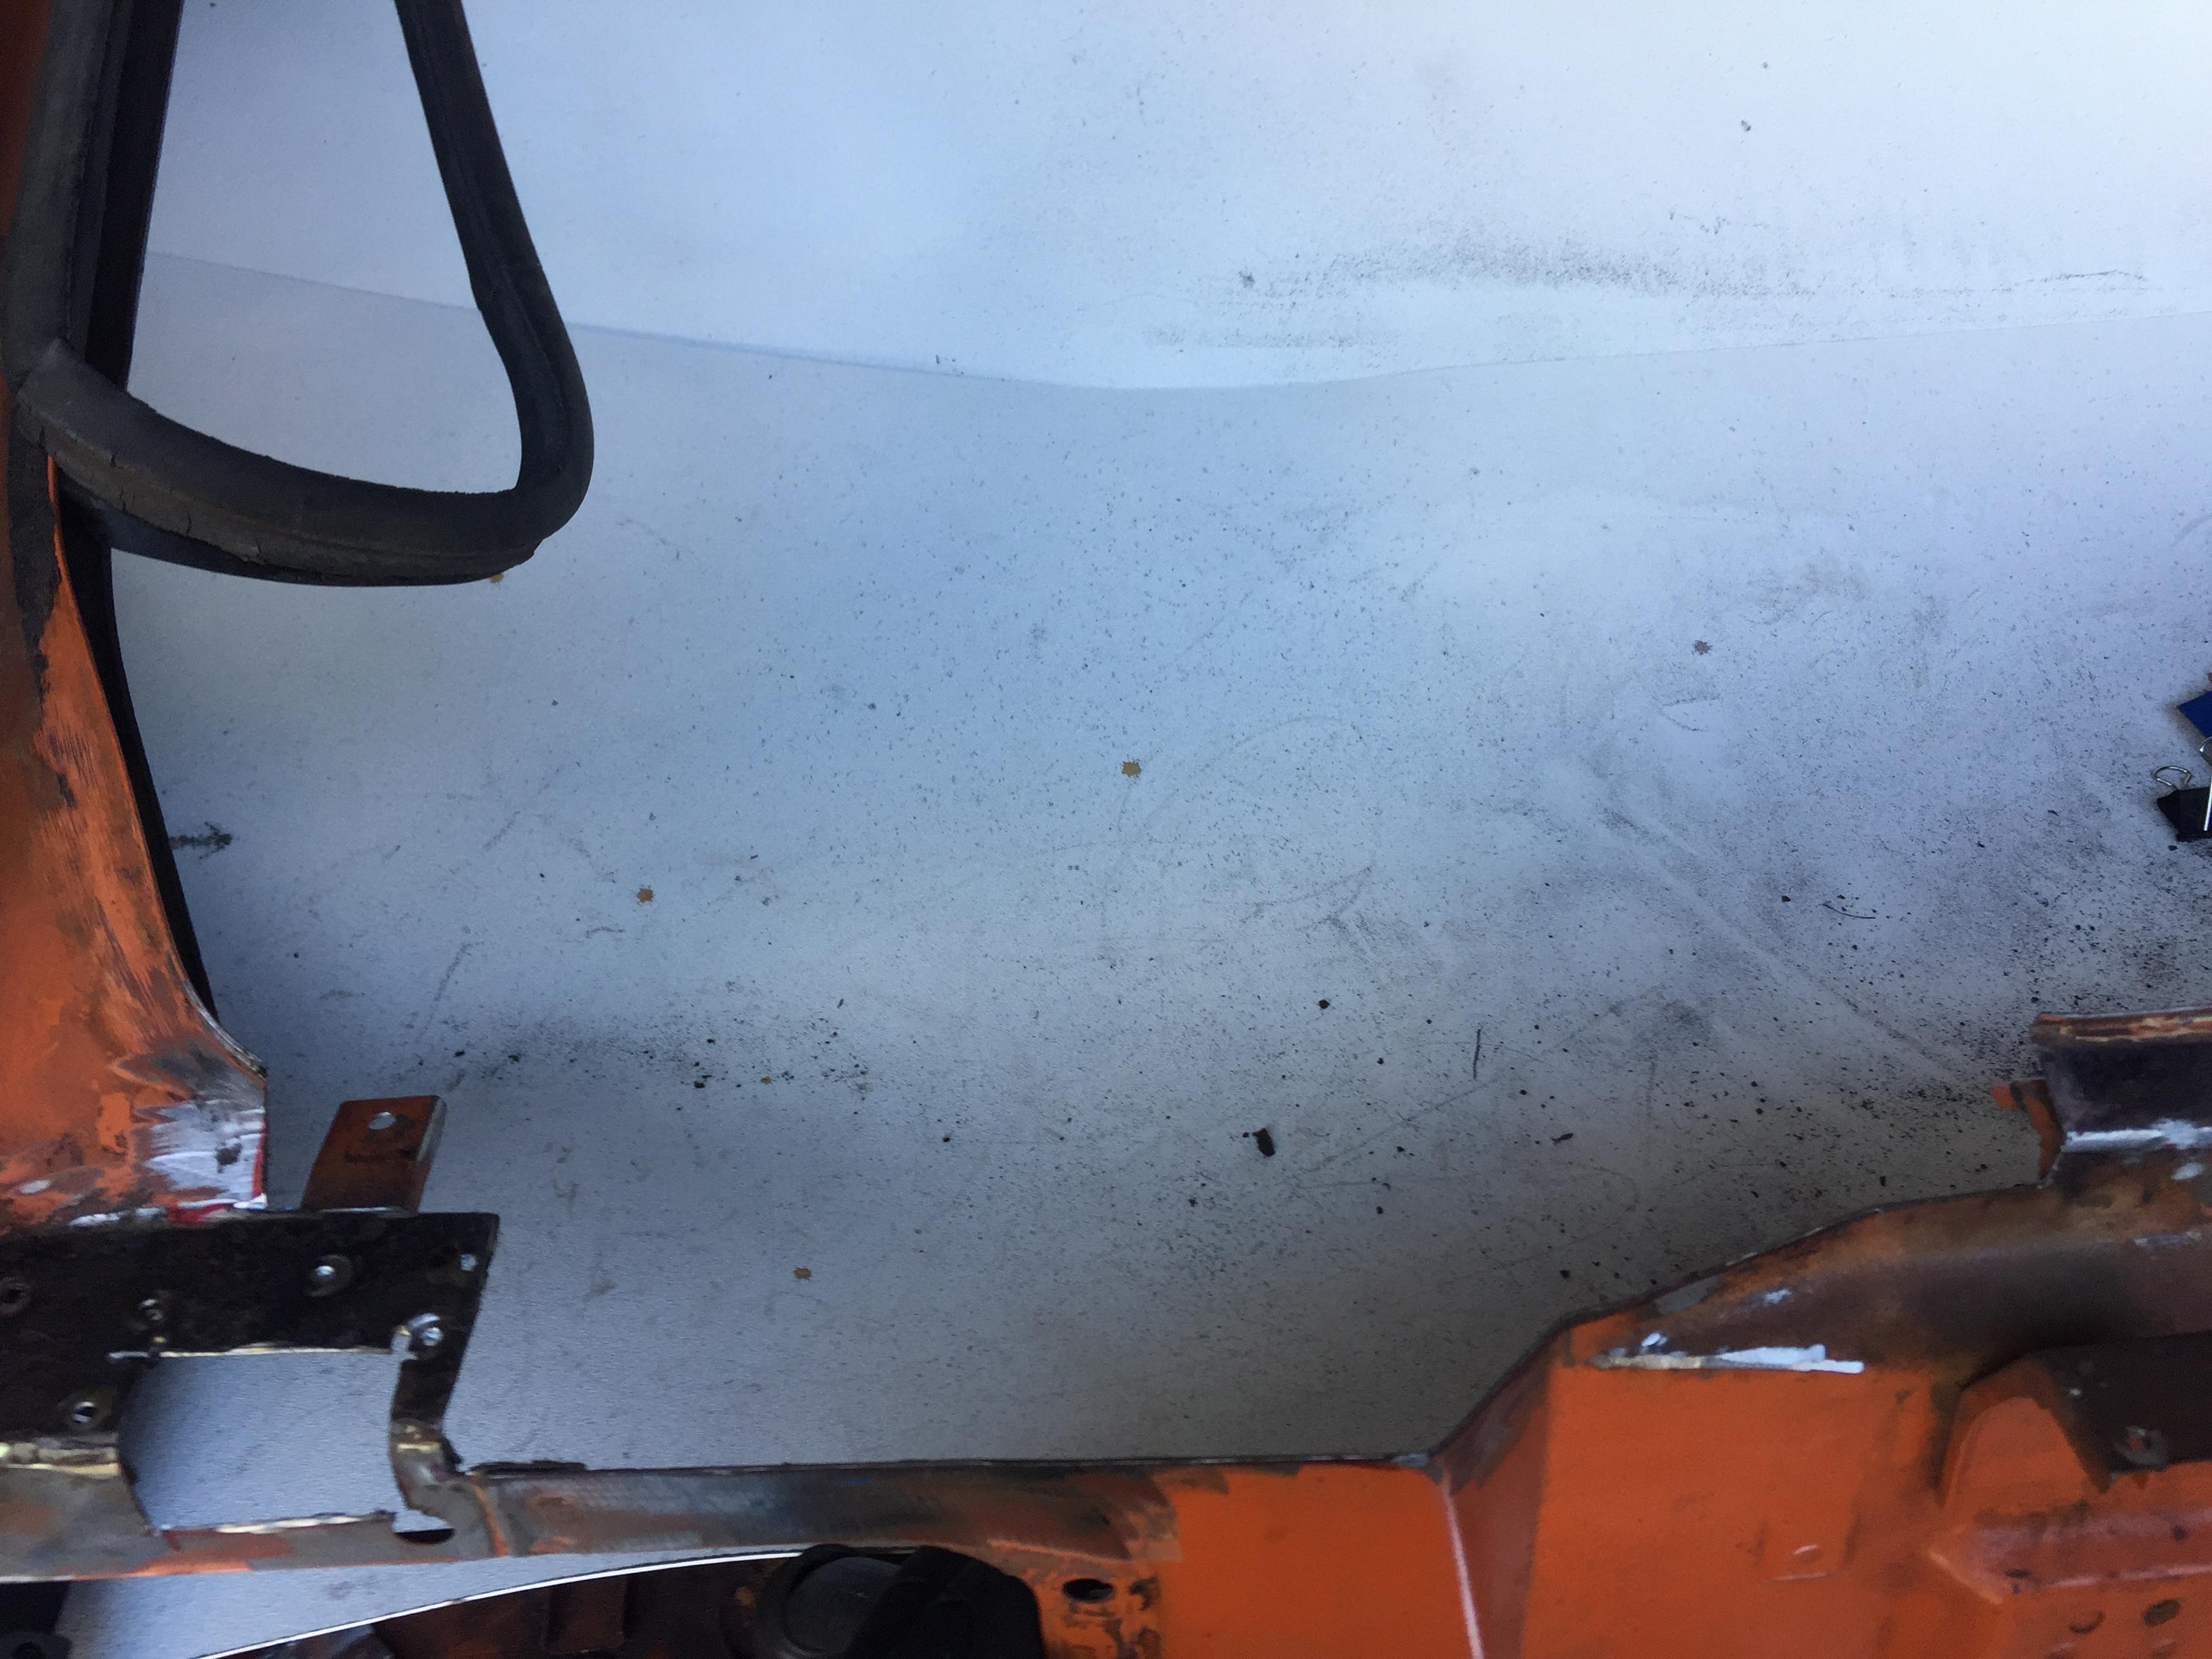
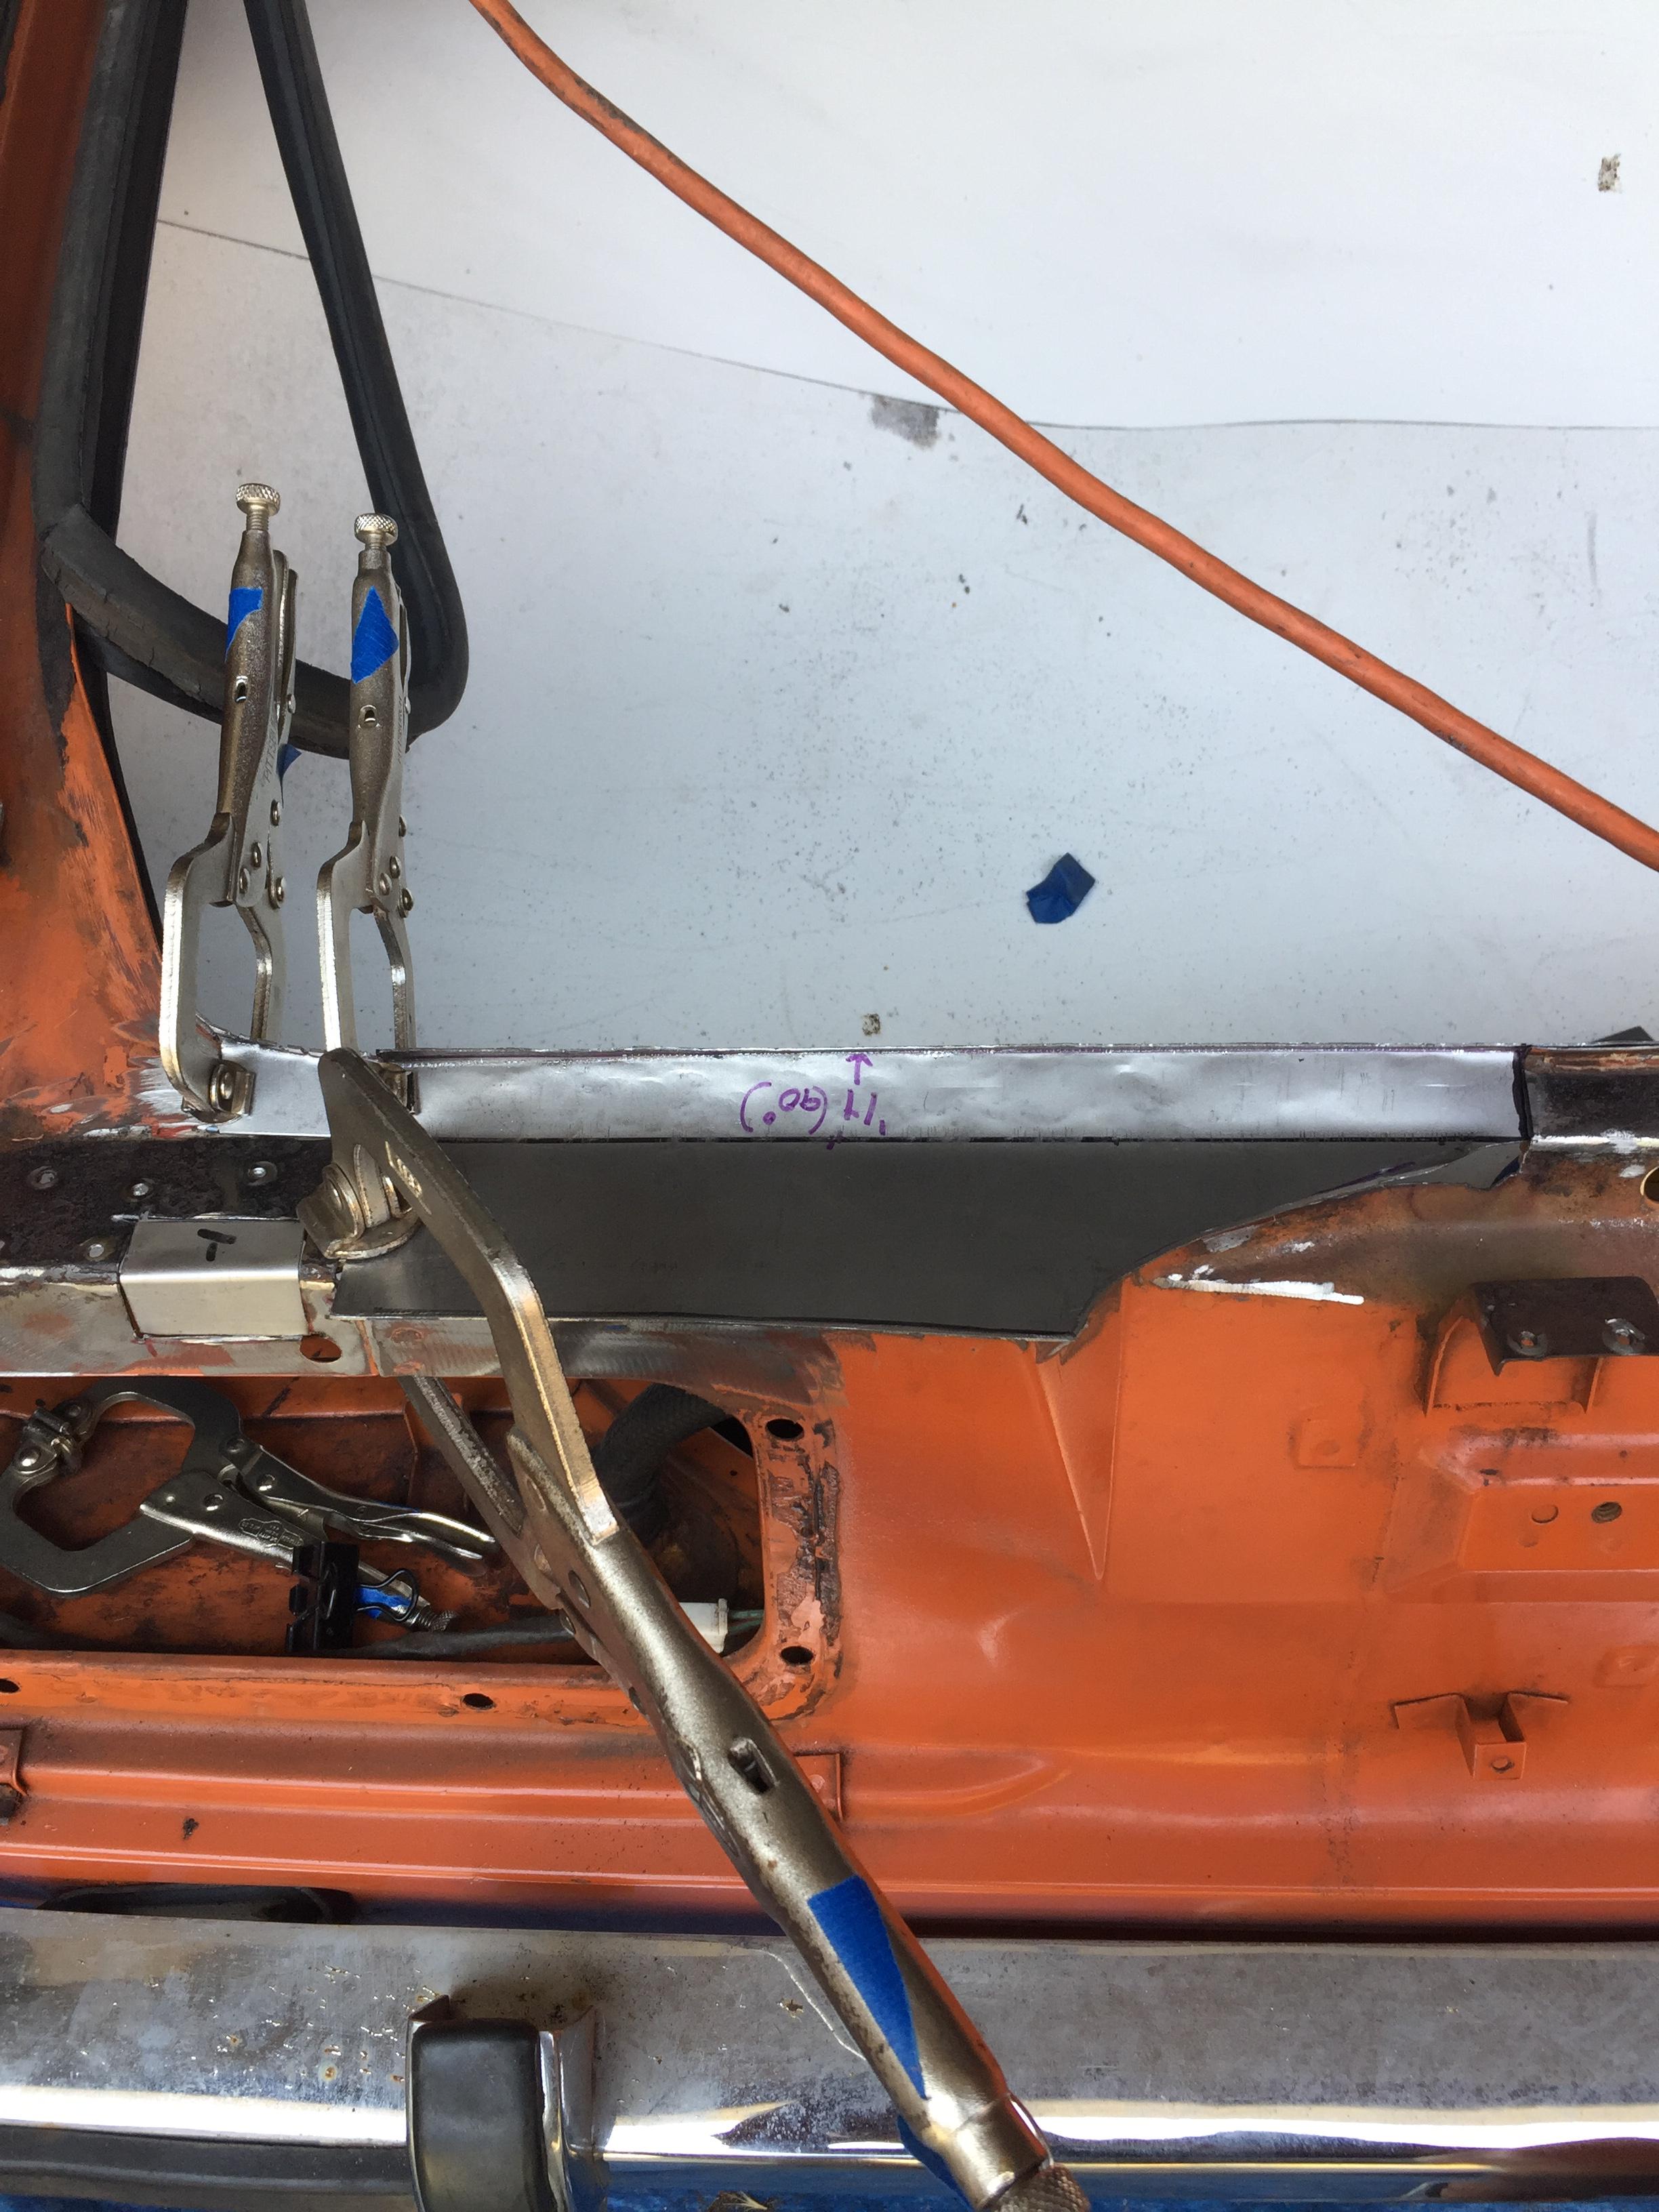
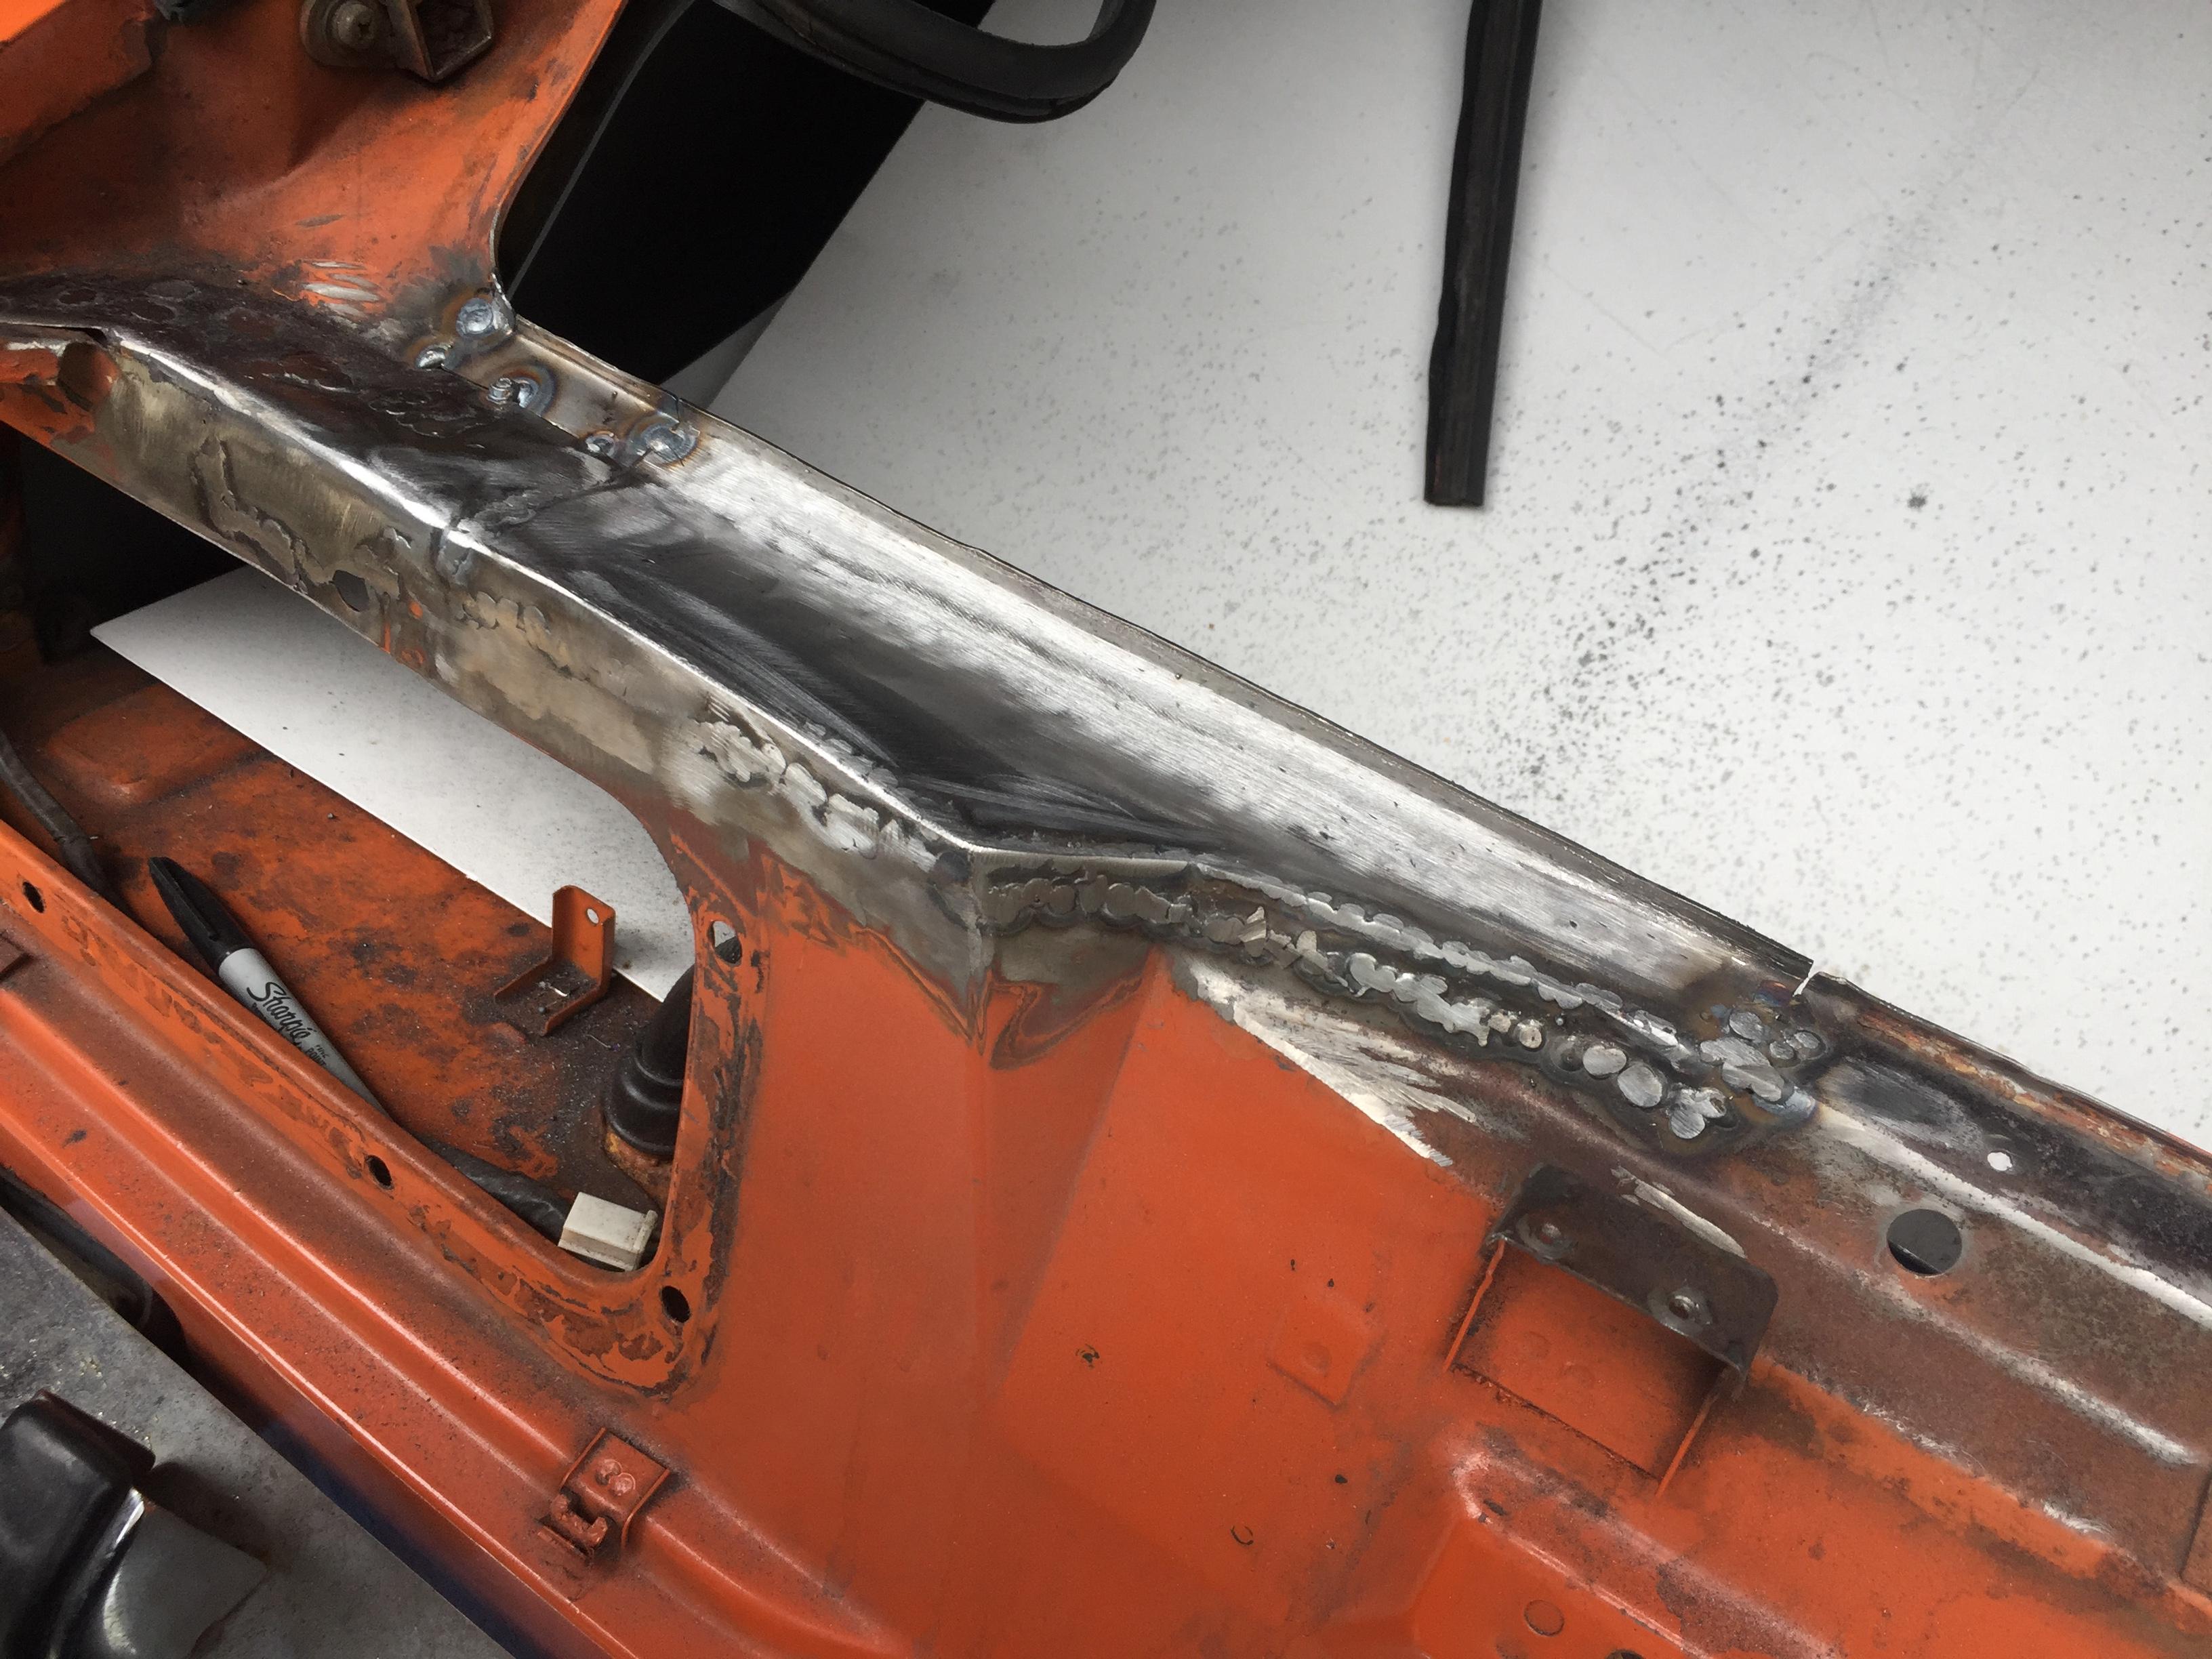
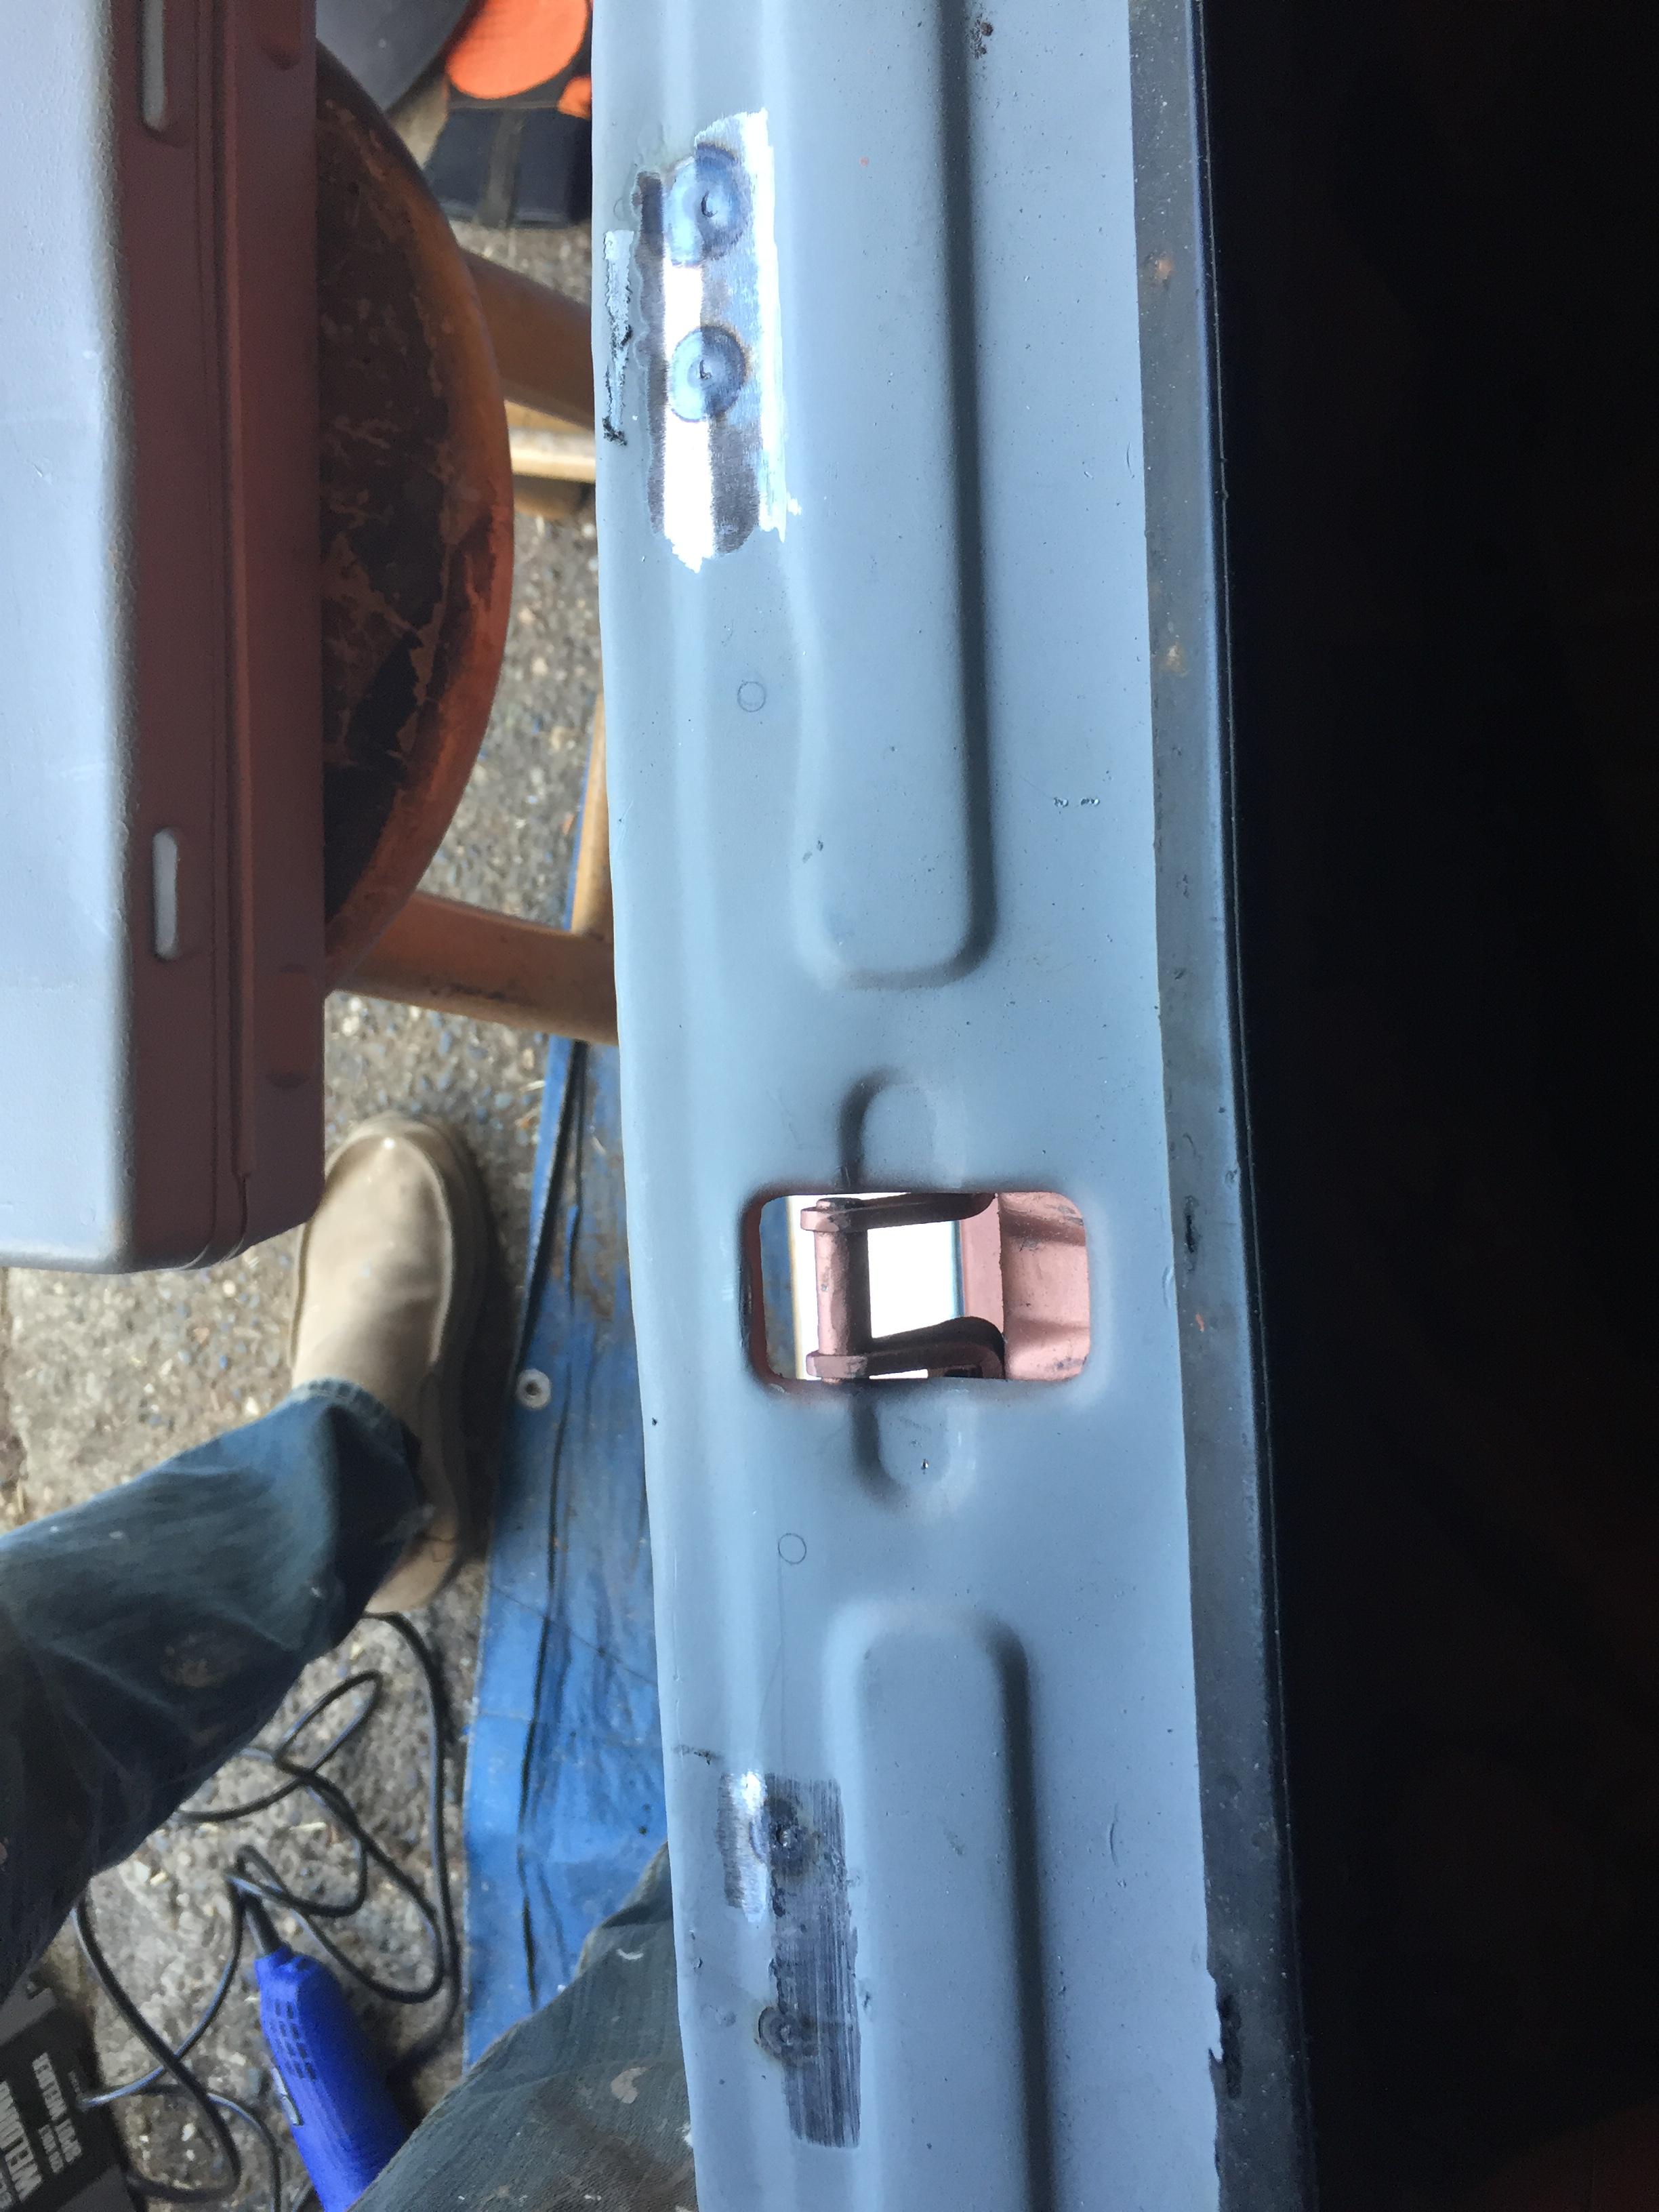
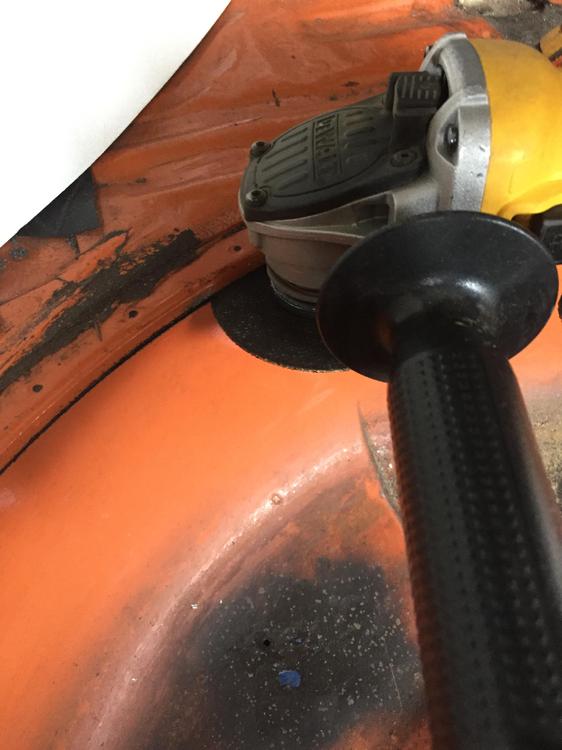
Hey Elliott000: What did you end up using for the piece between the outter dogleg and the seatbelt screw hole? That's where I am now Andre I'm considering. My options. See pics. Anybody have a best practice here? Thanks!!


-
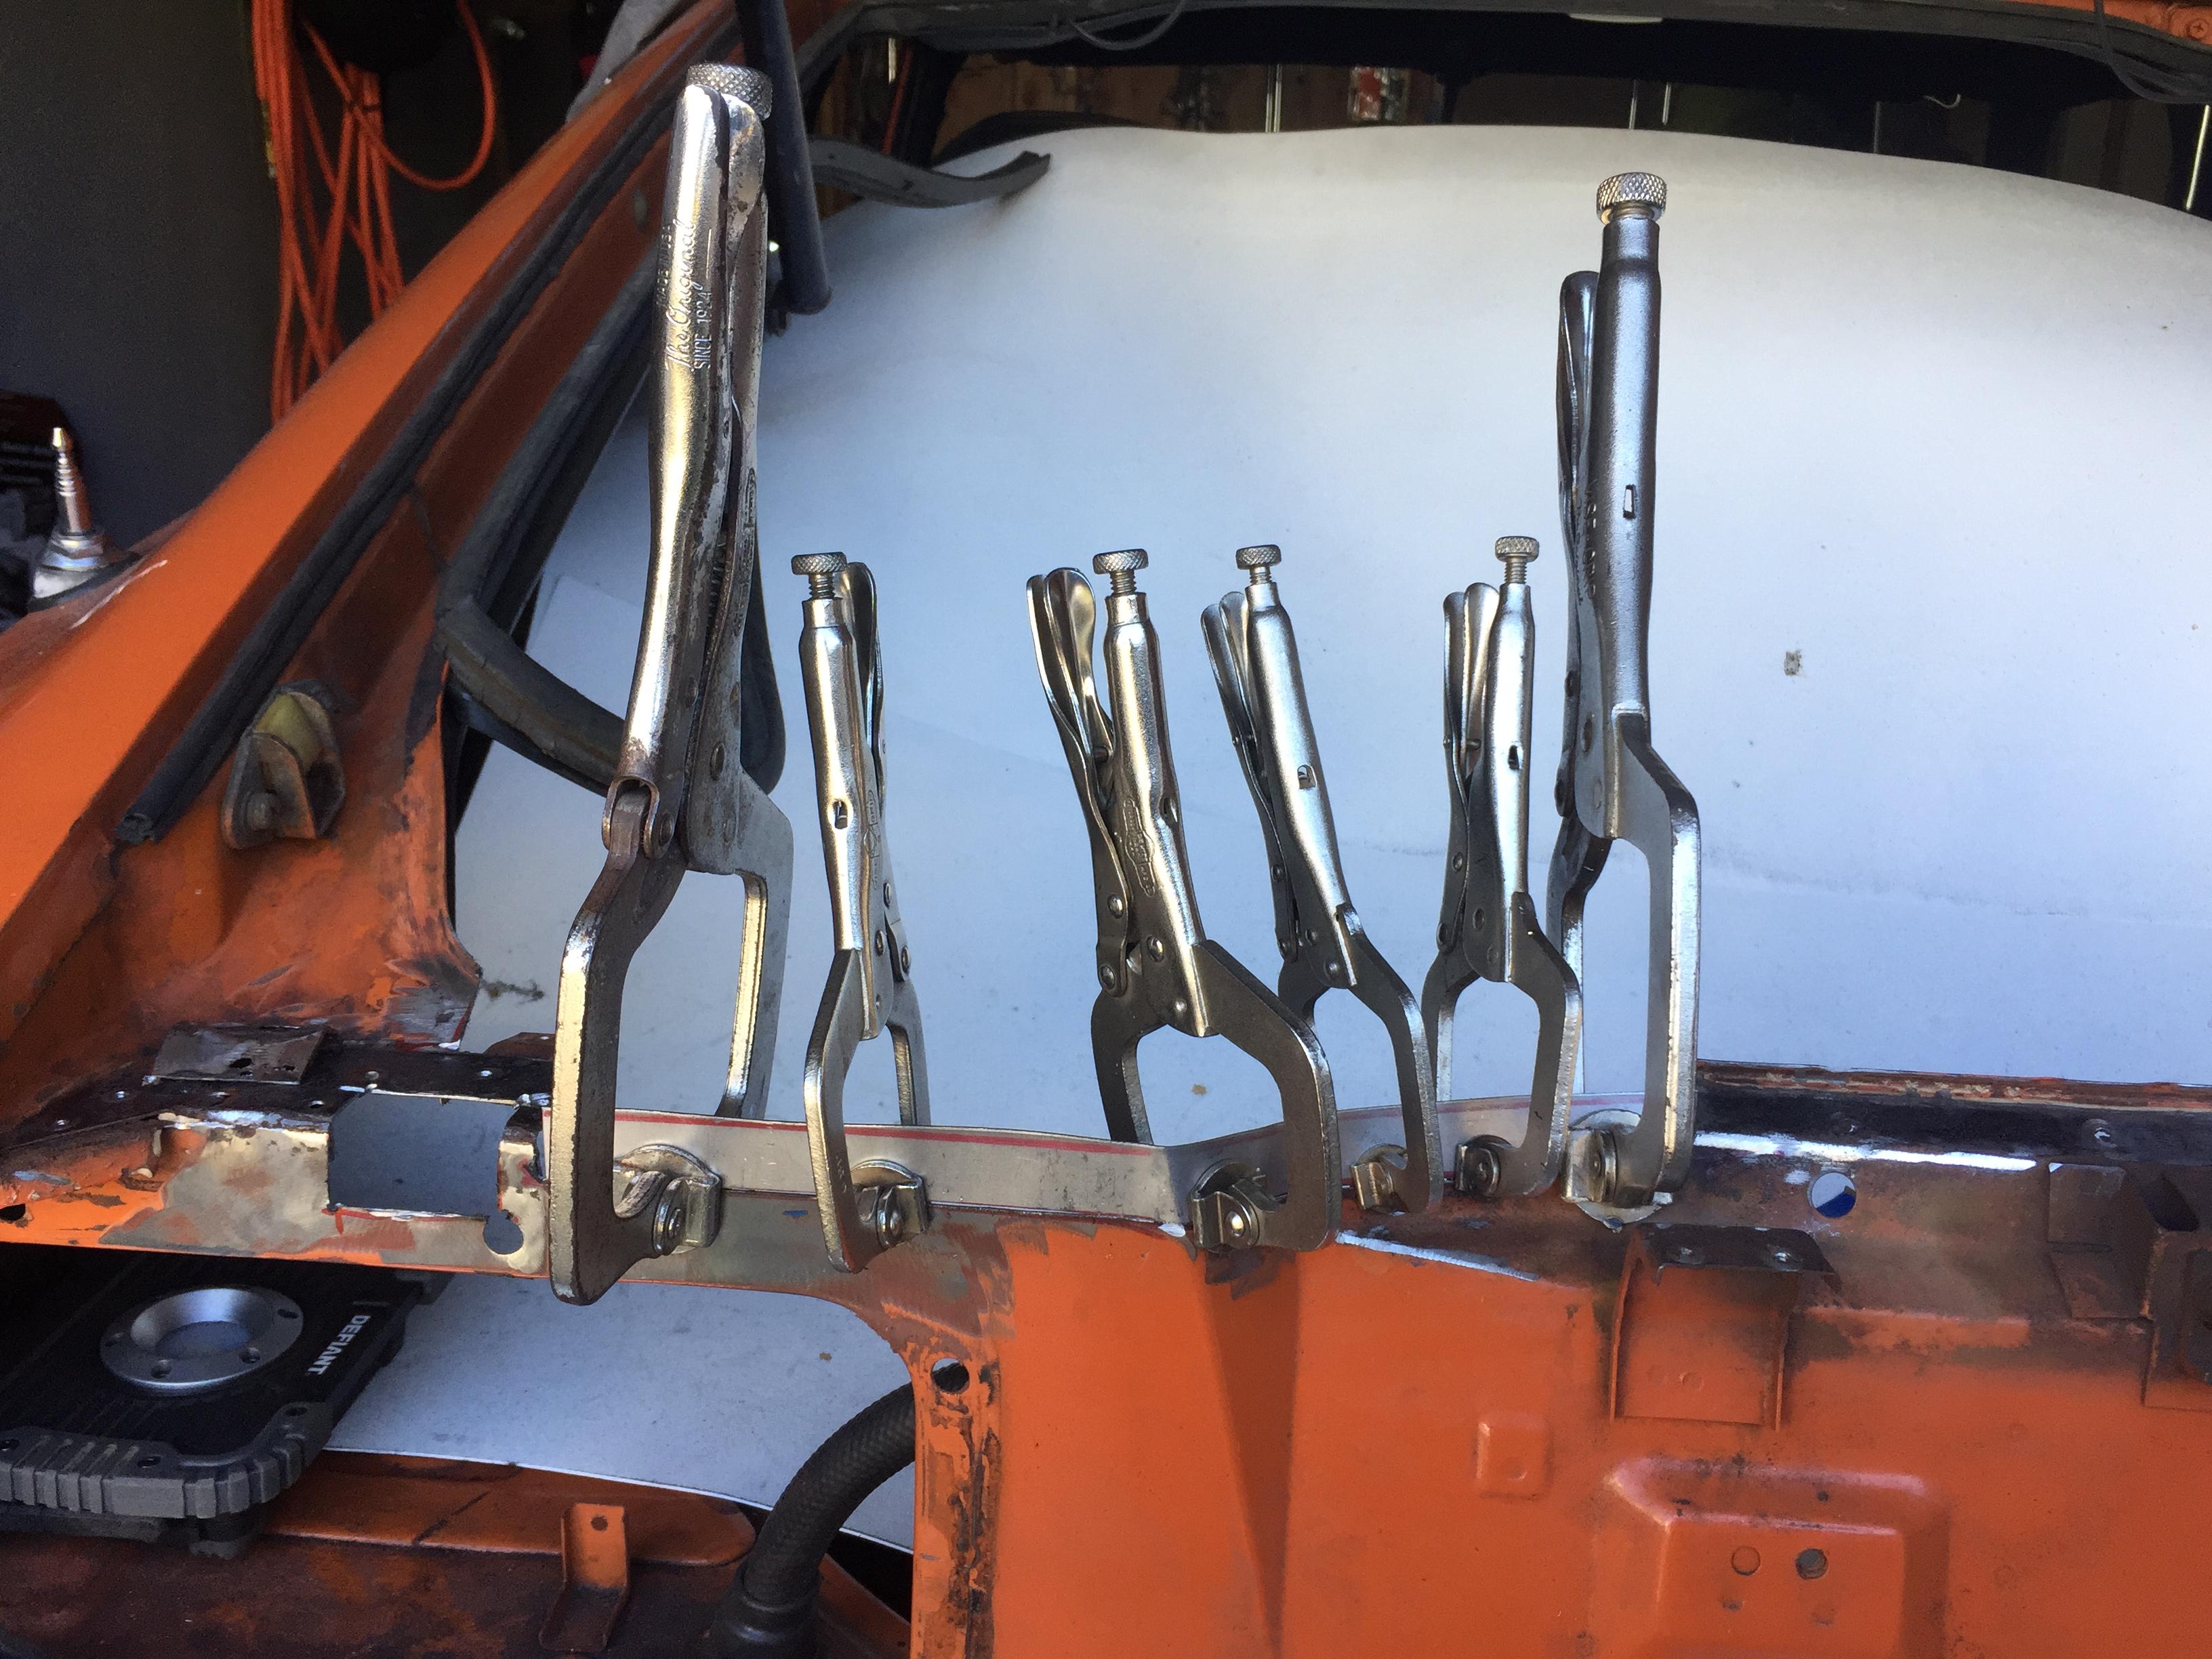
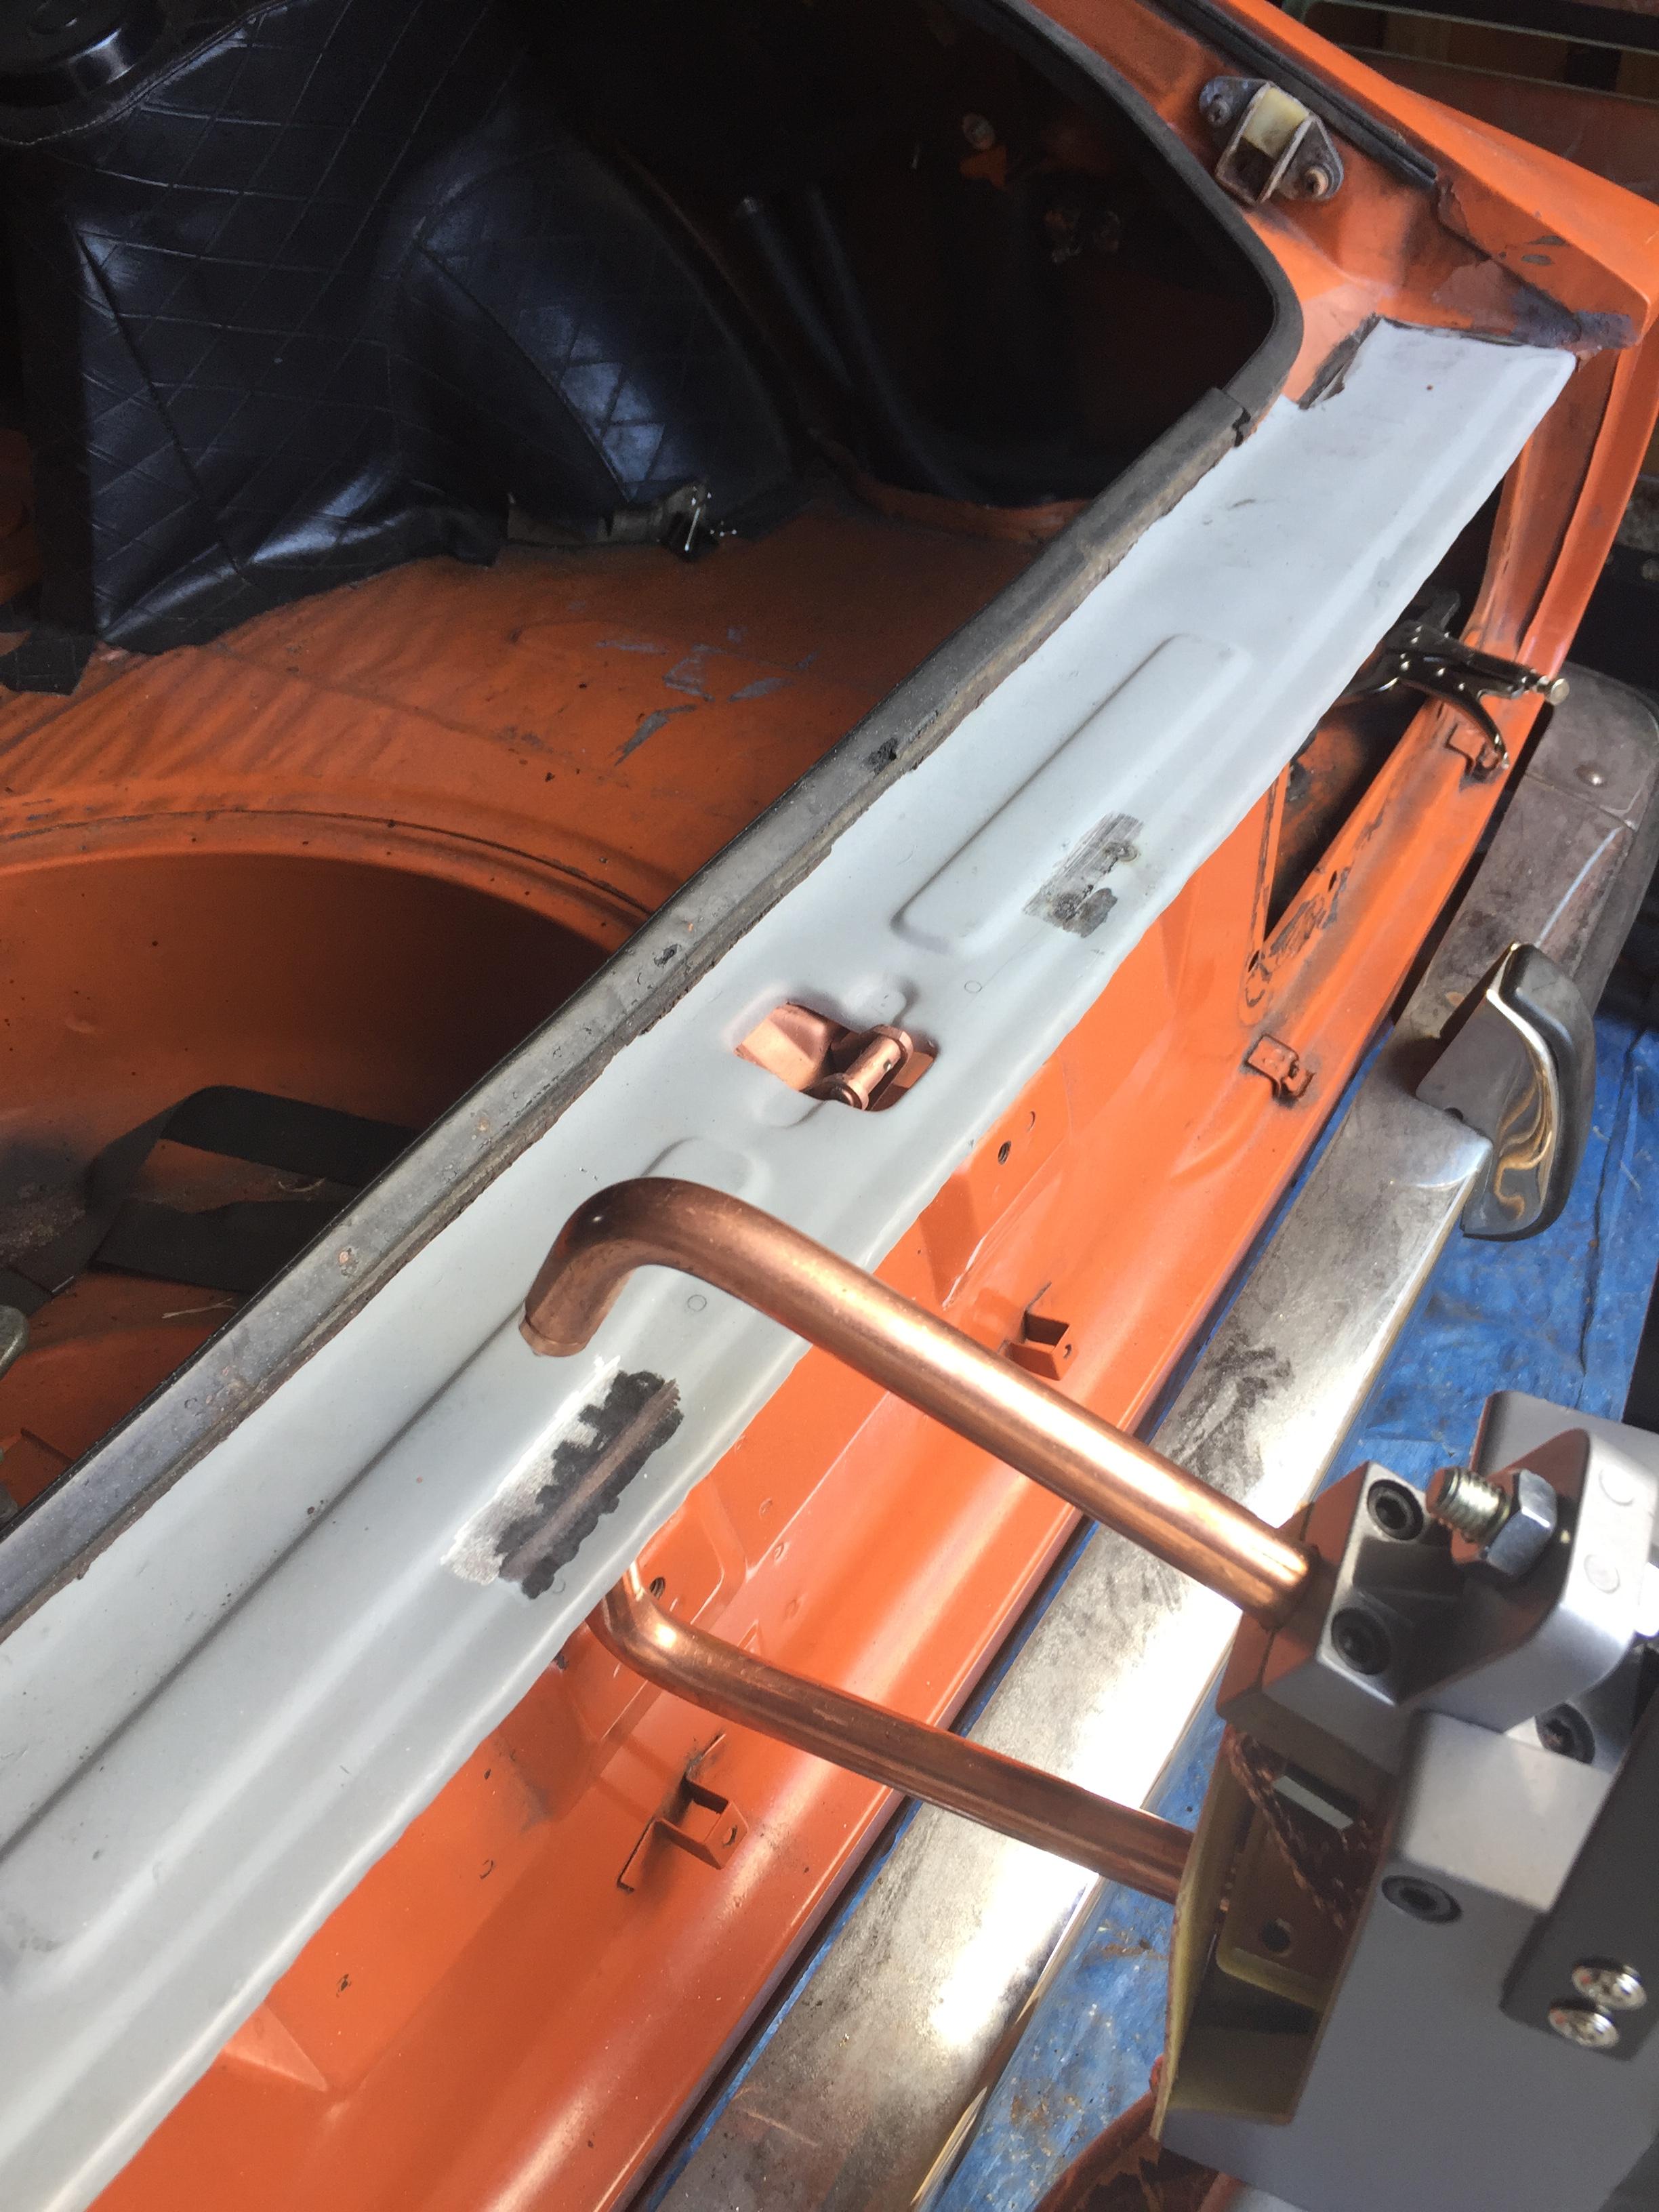
The only thing between the panels is the adhesive. Both metal surfaces have to be clean and bright. The top of the replacement slam panel has auto body primer on it. JH
-
BTW: I used a brake to get the lip for the weather seal, so it's all one piece. Hope this helps... Jughead
-
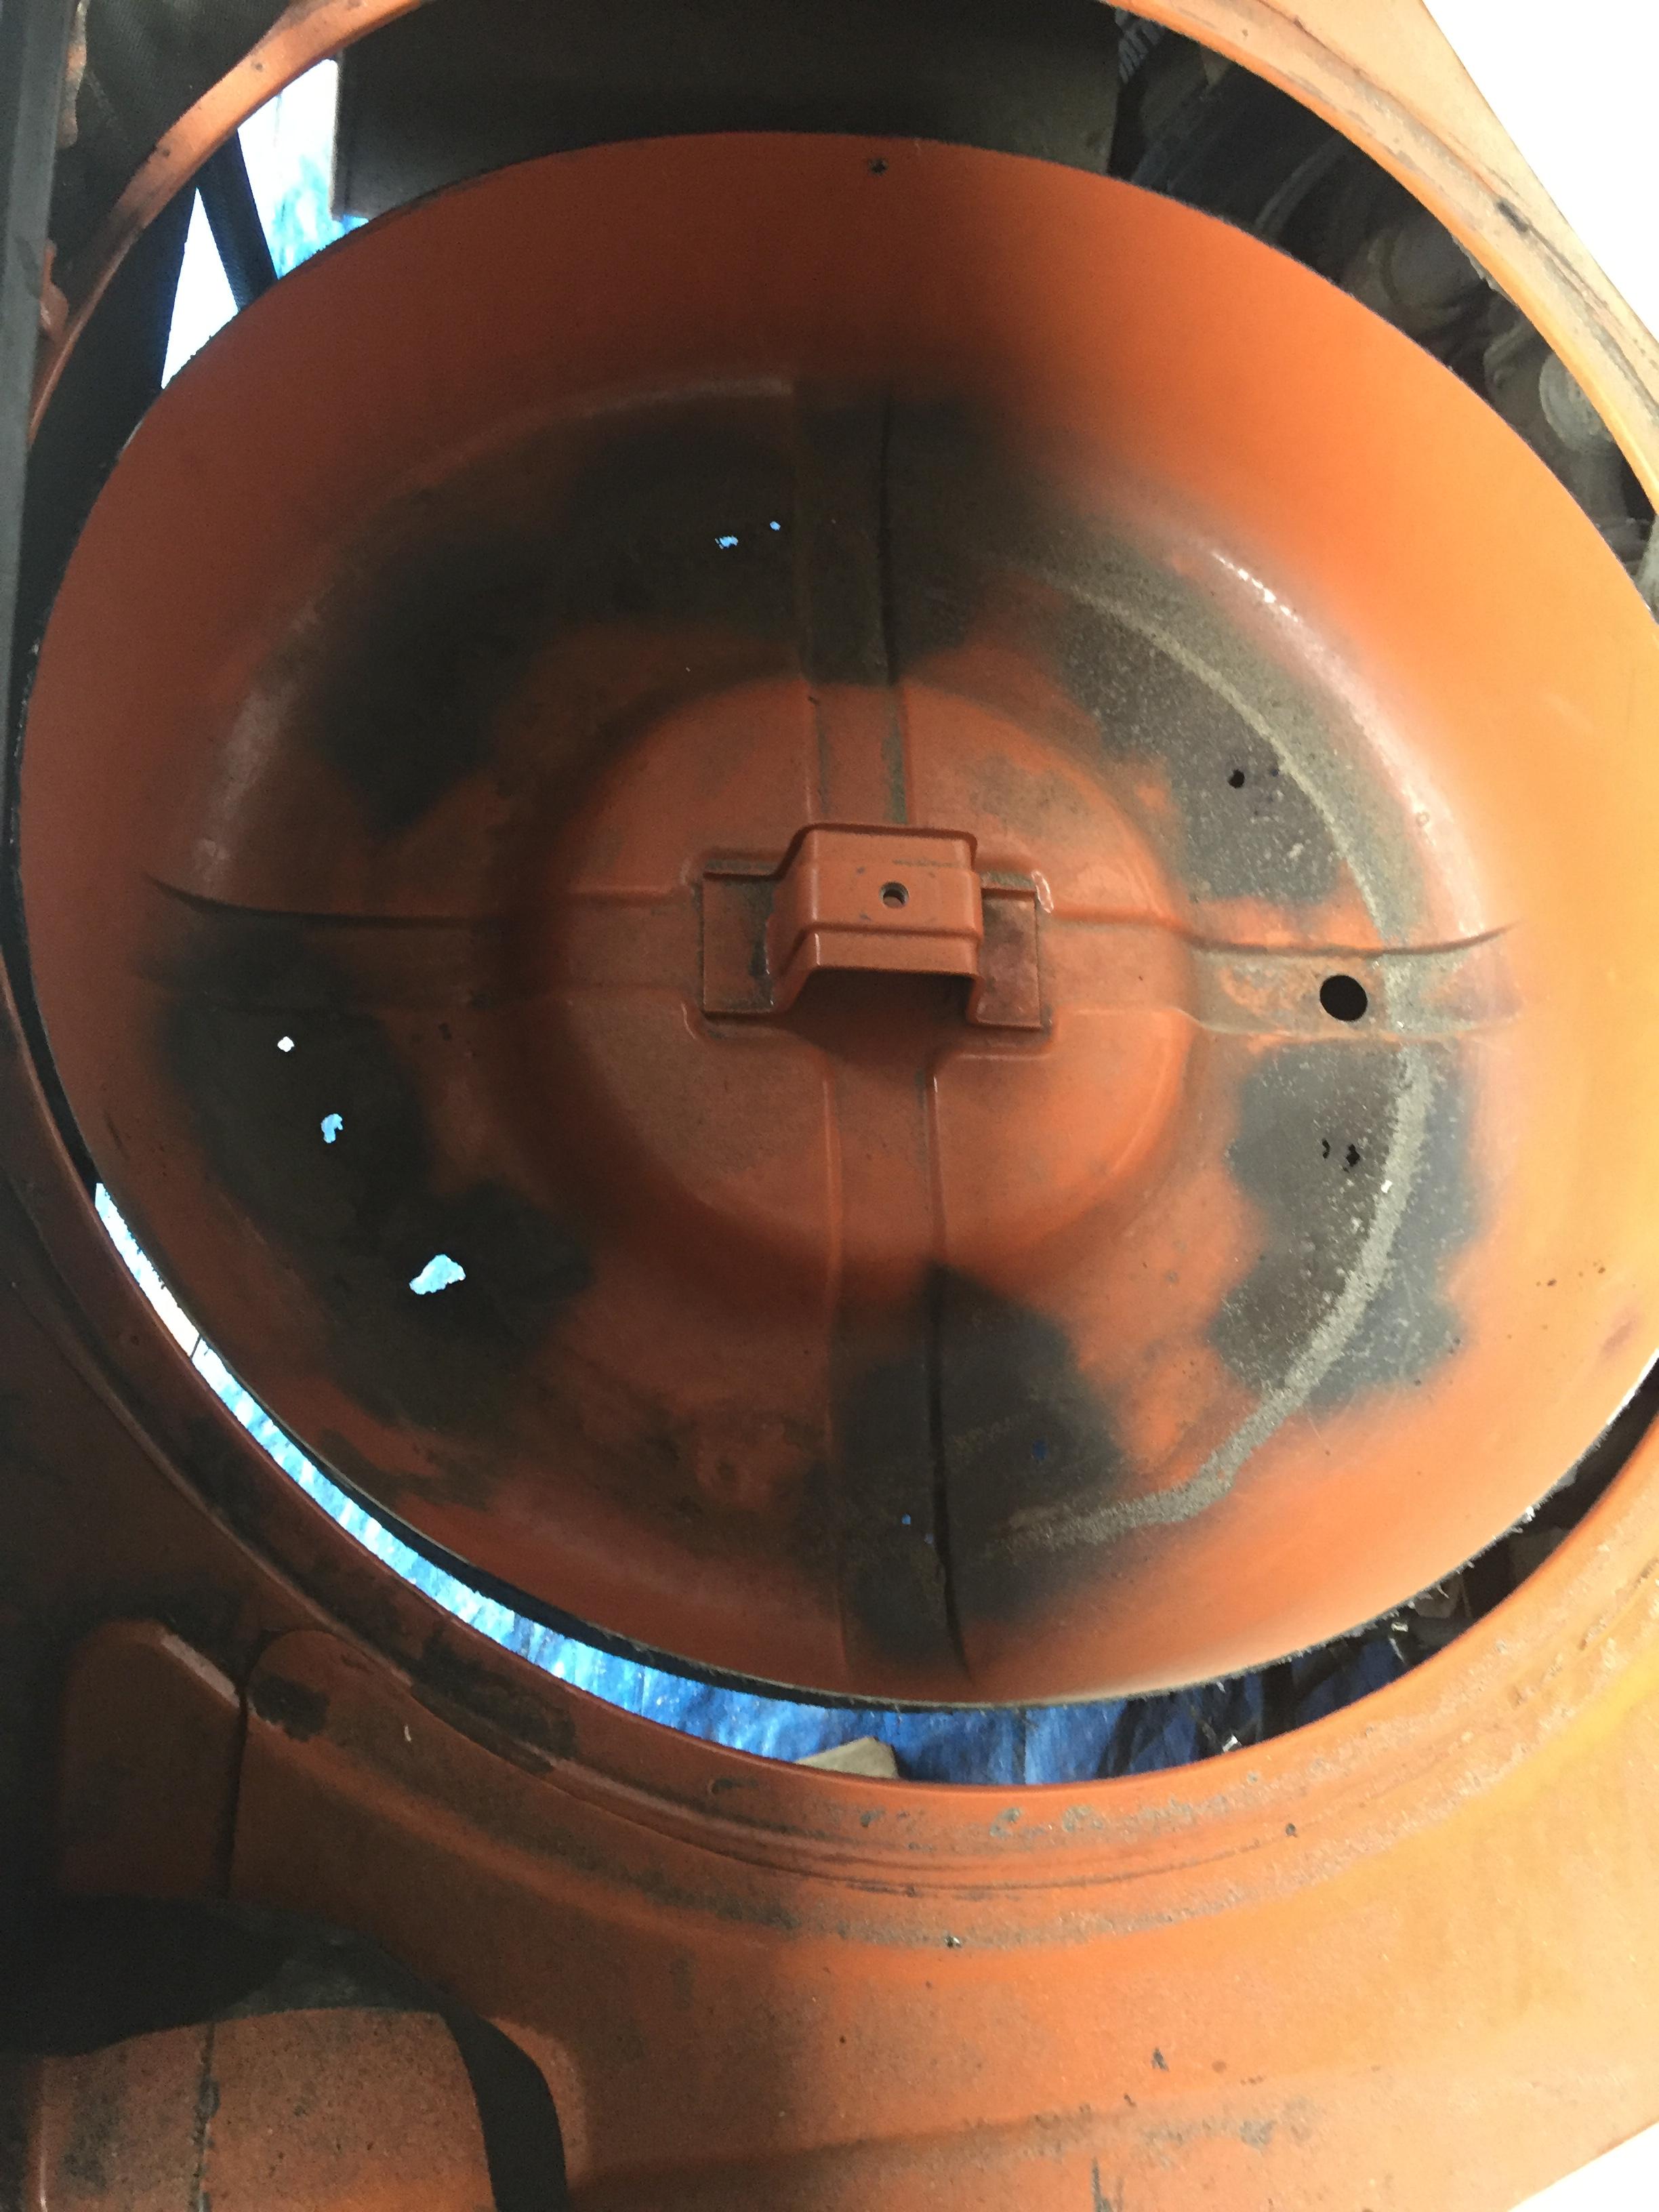
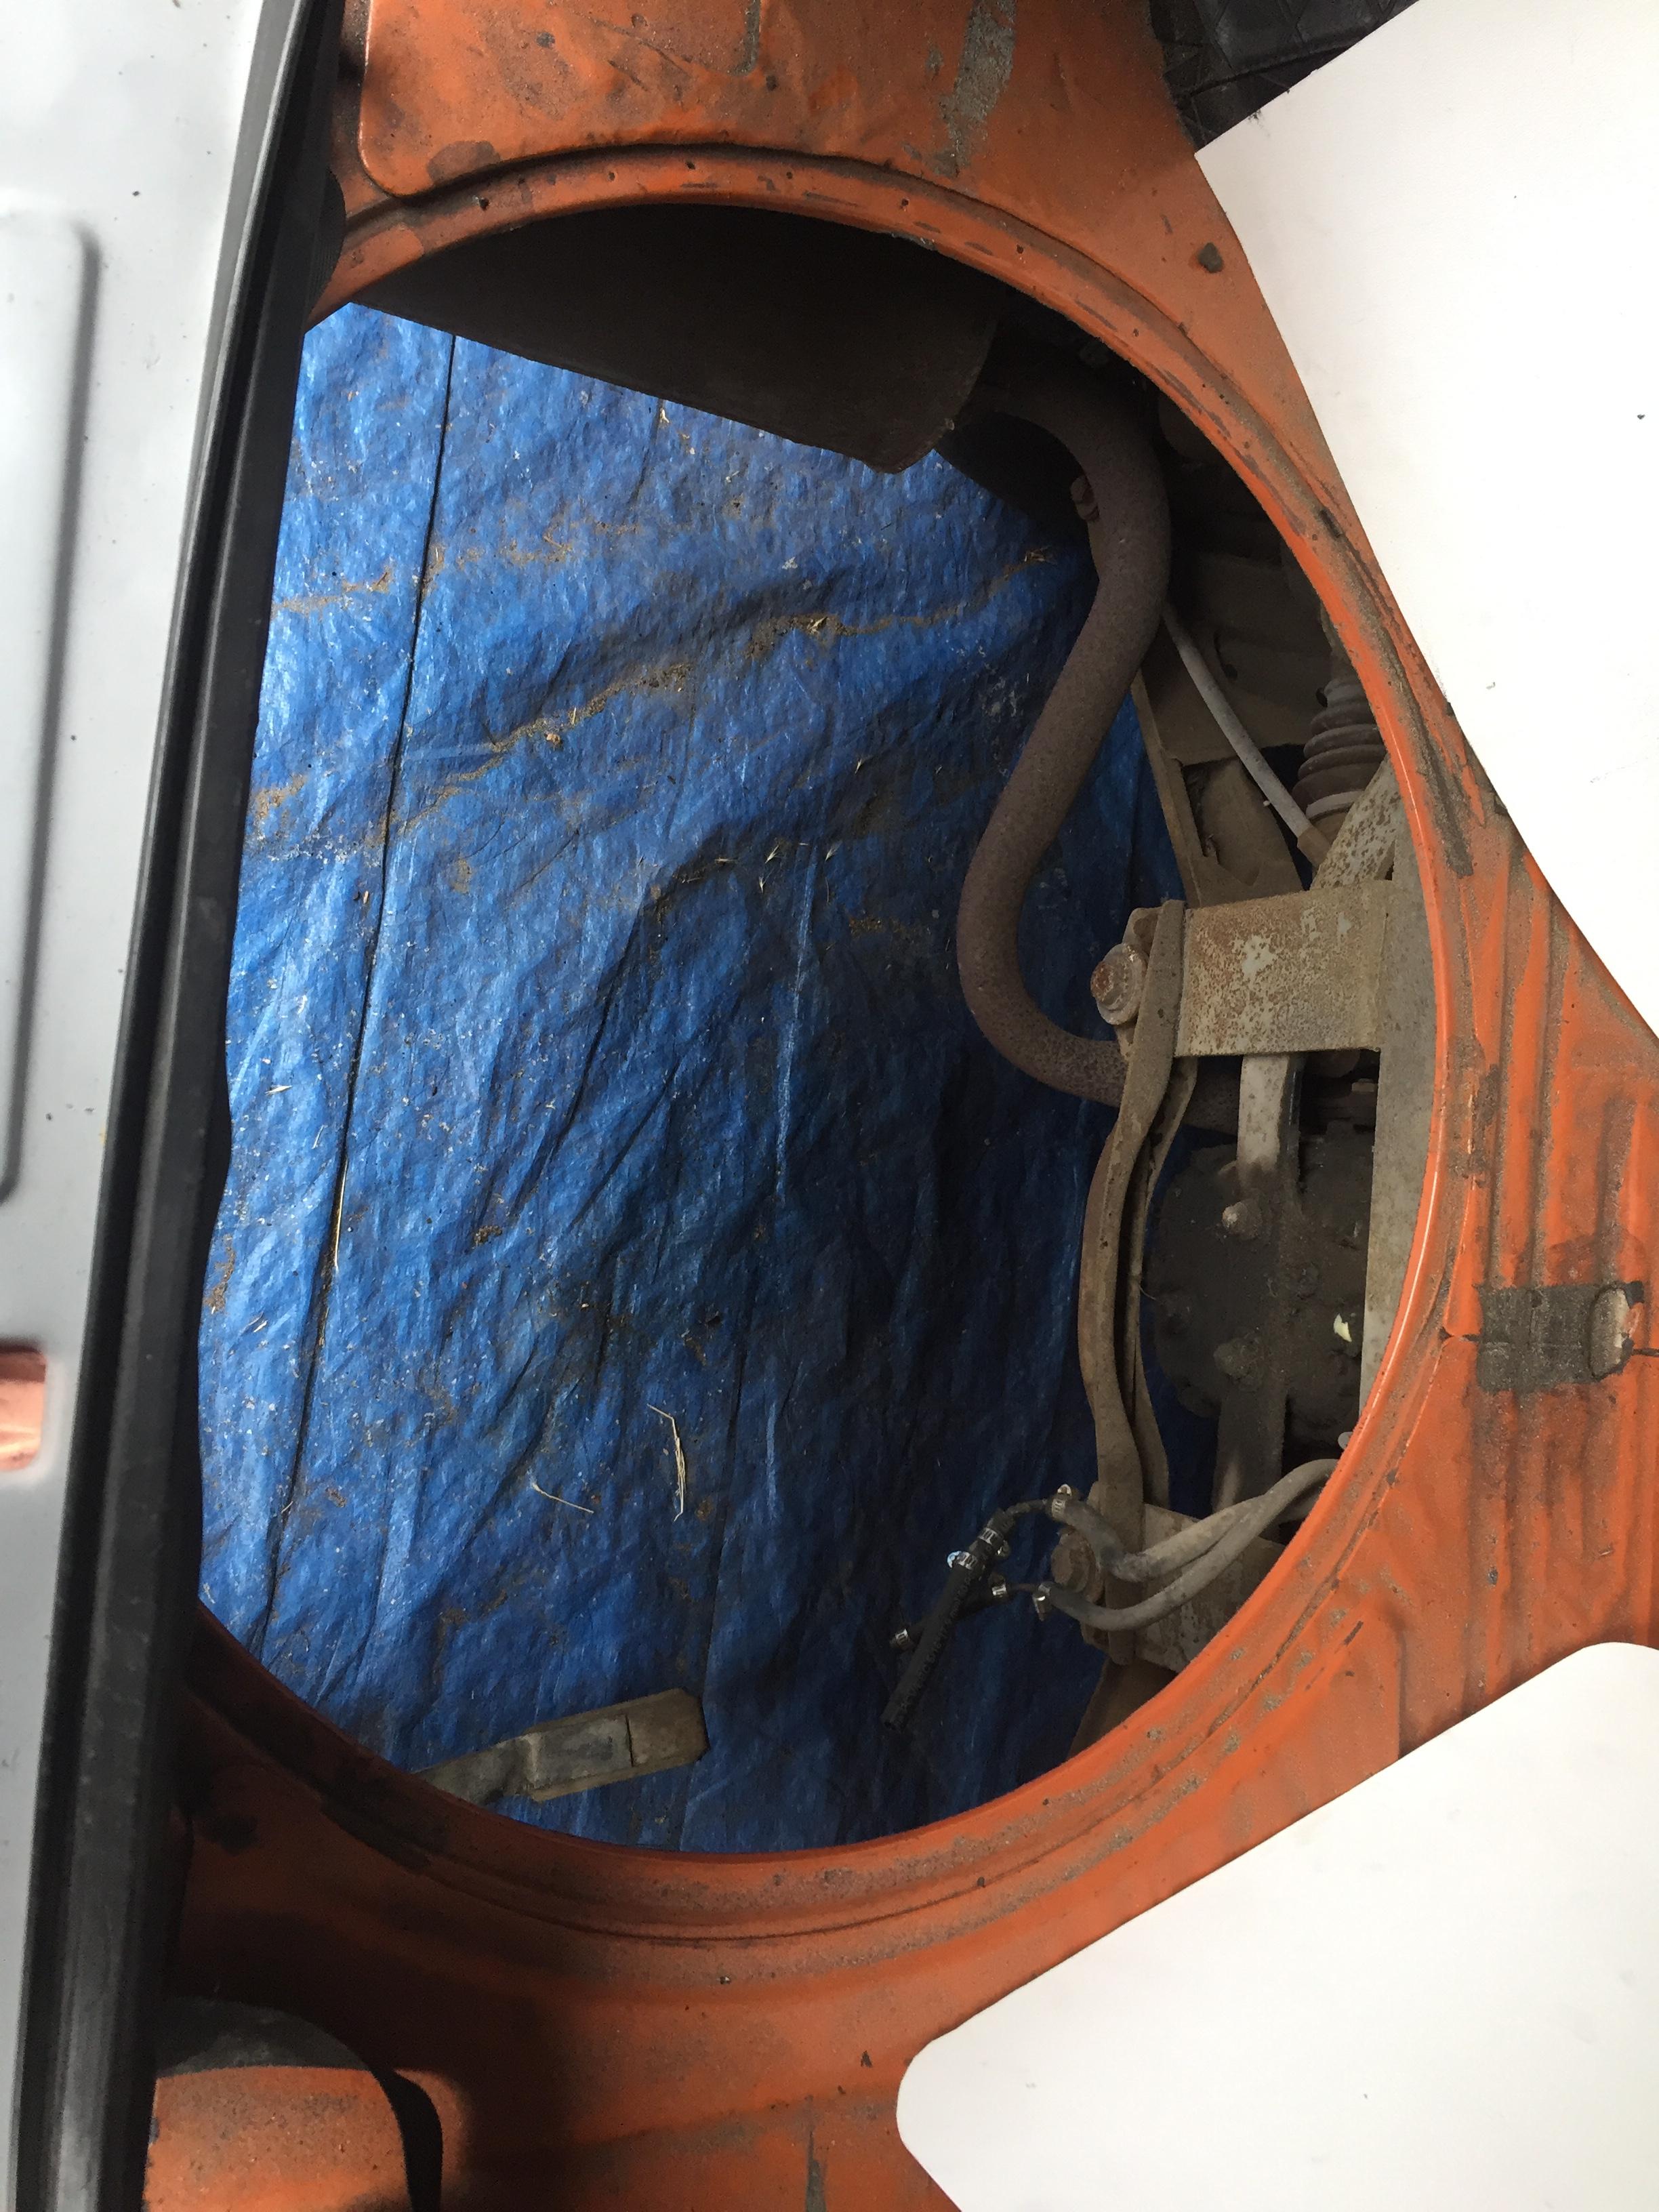
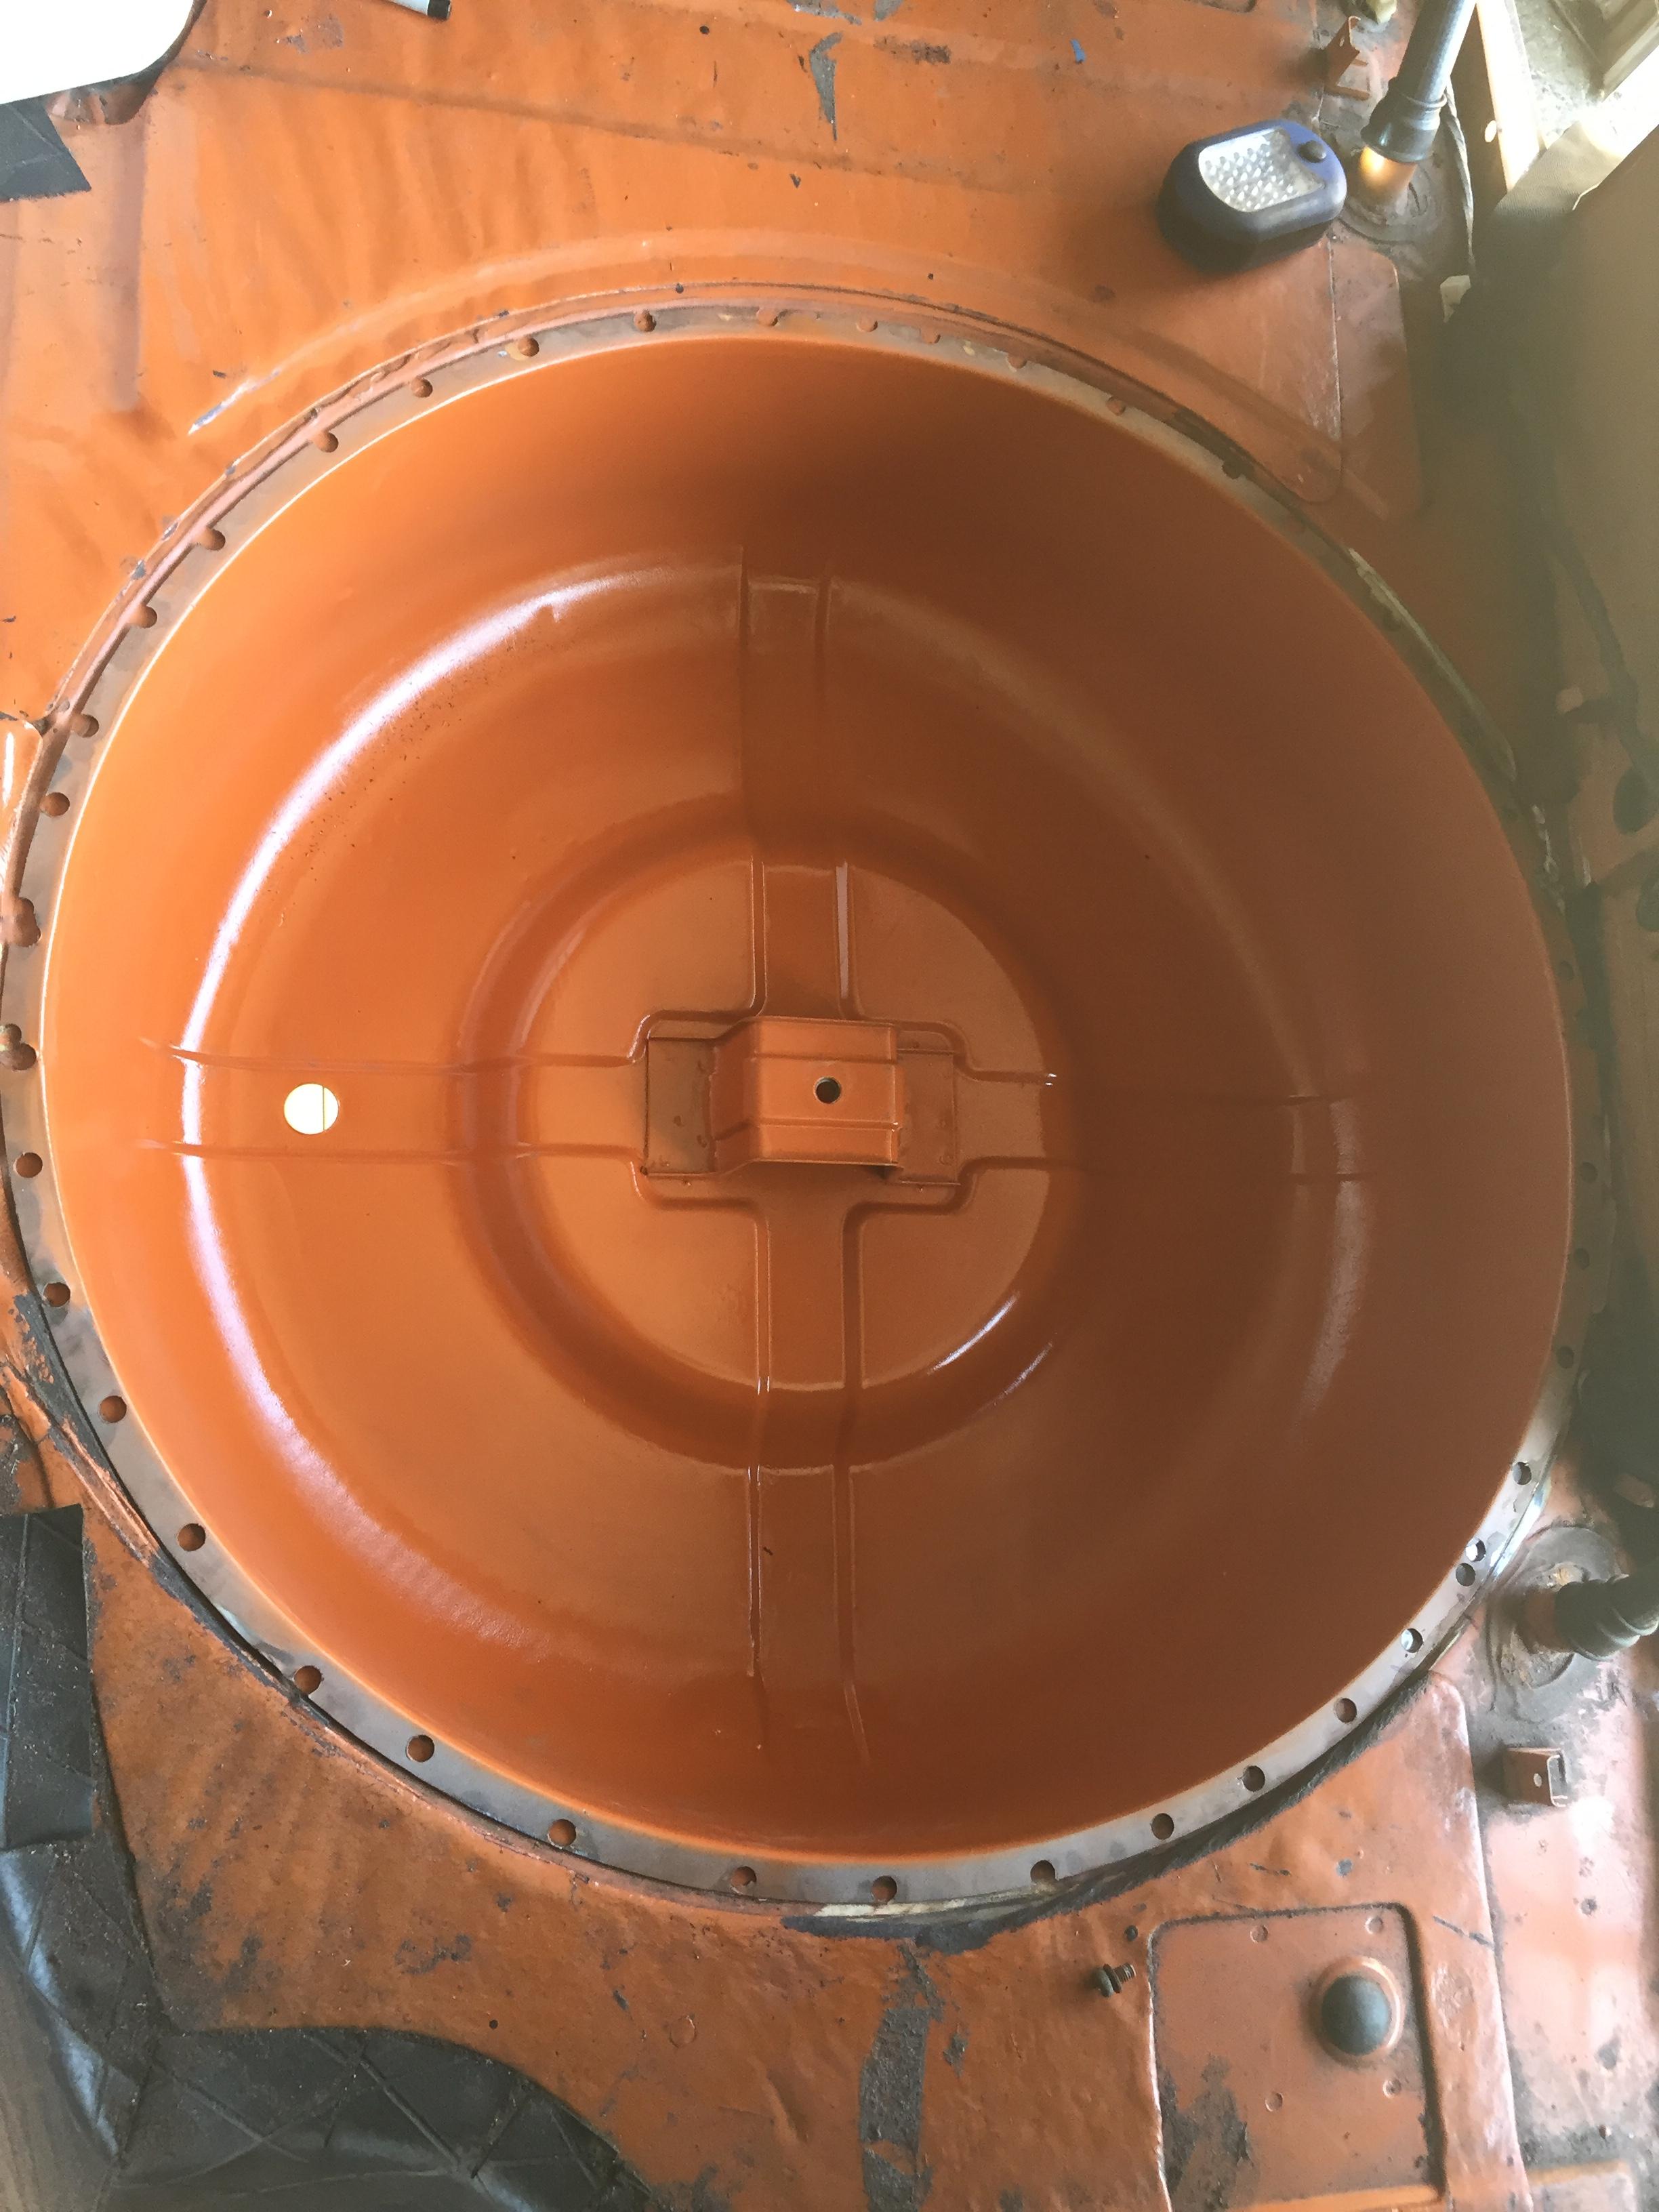
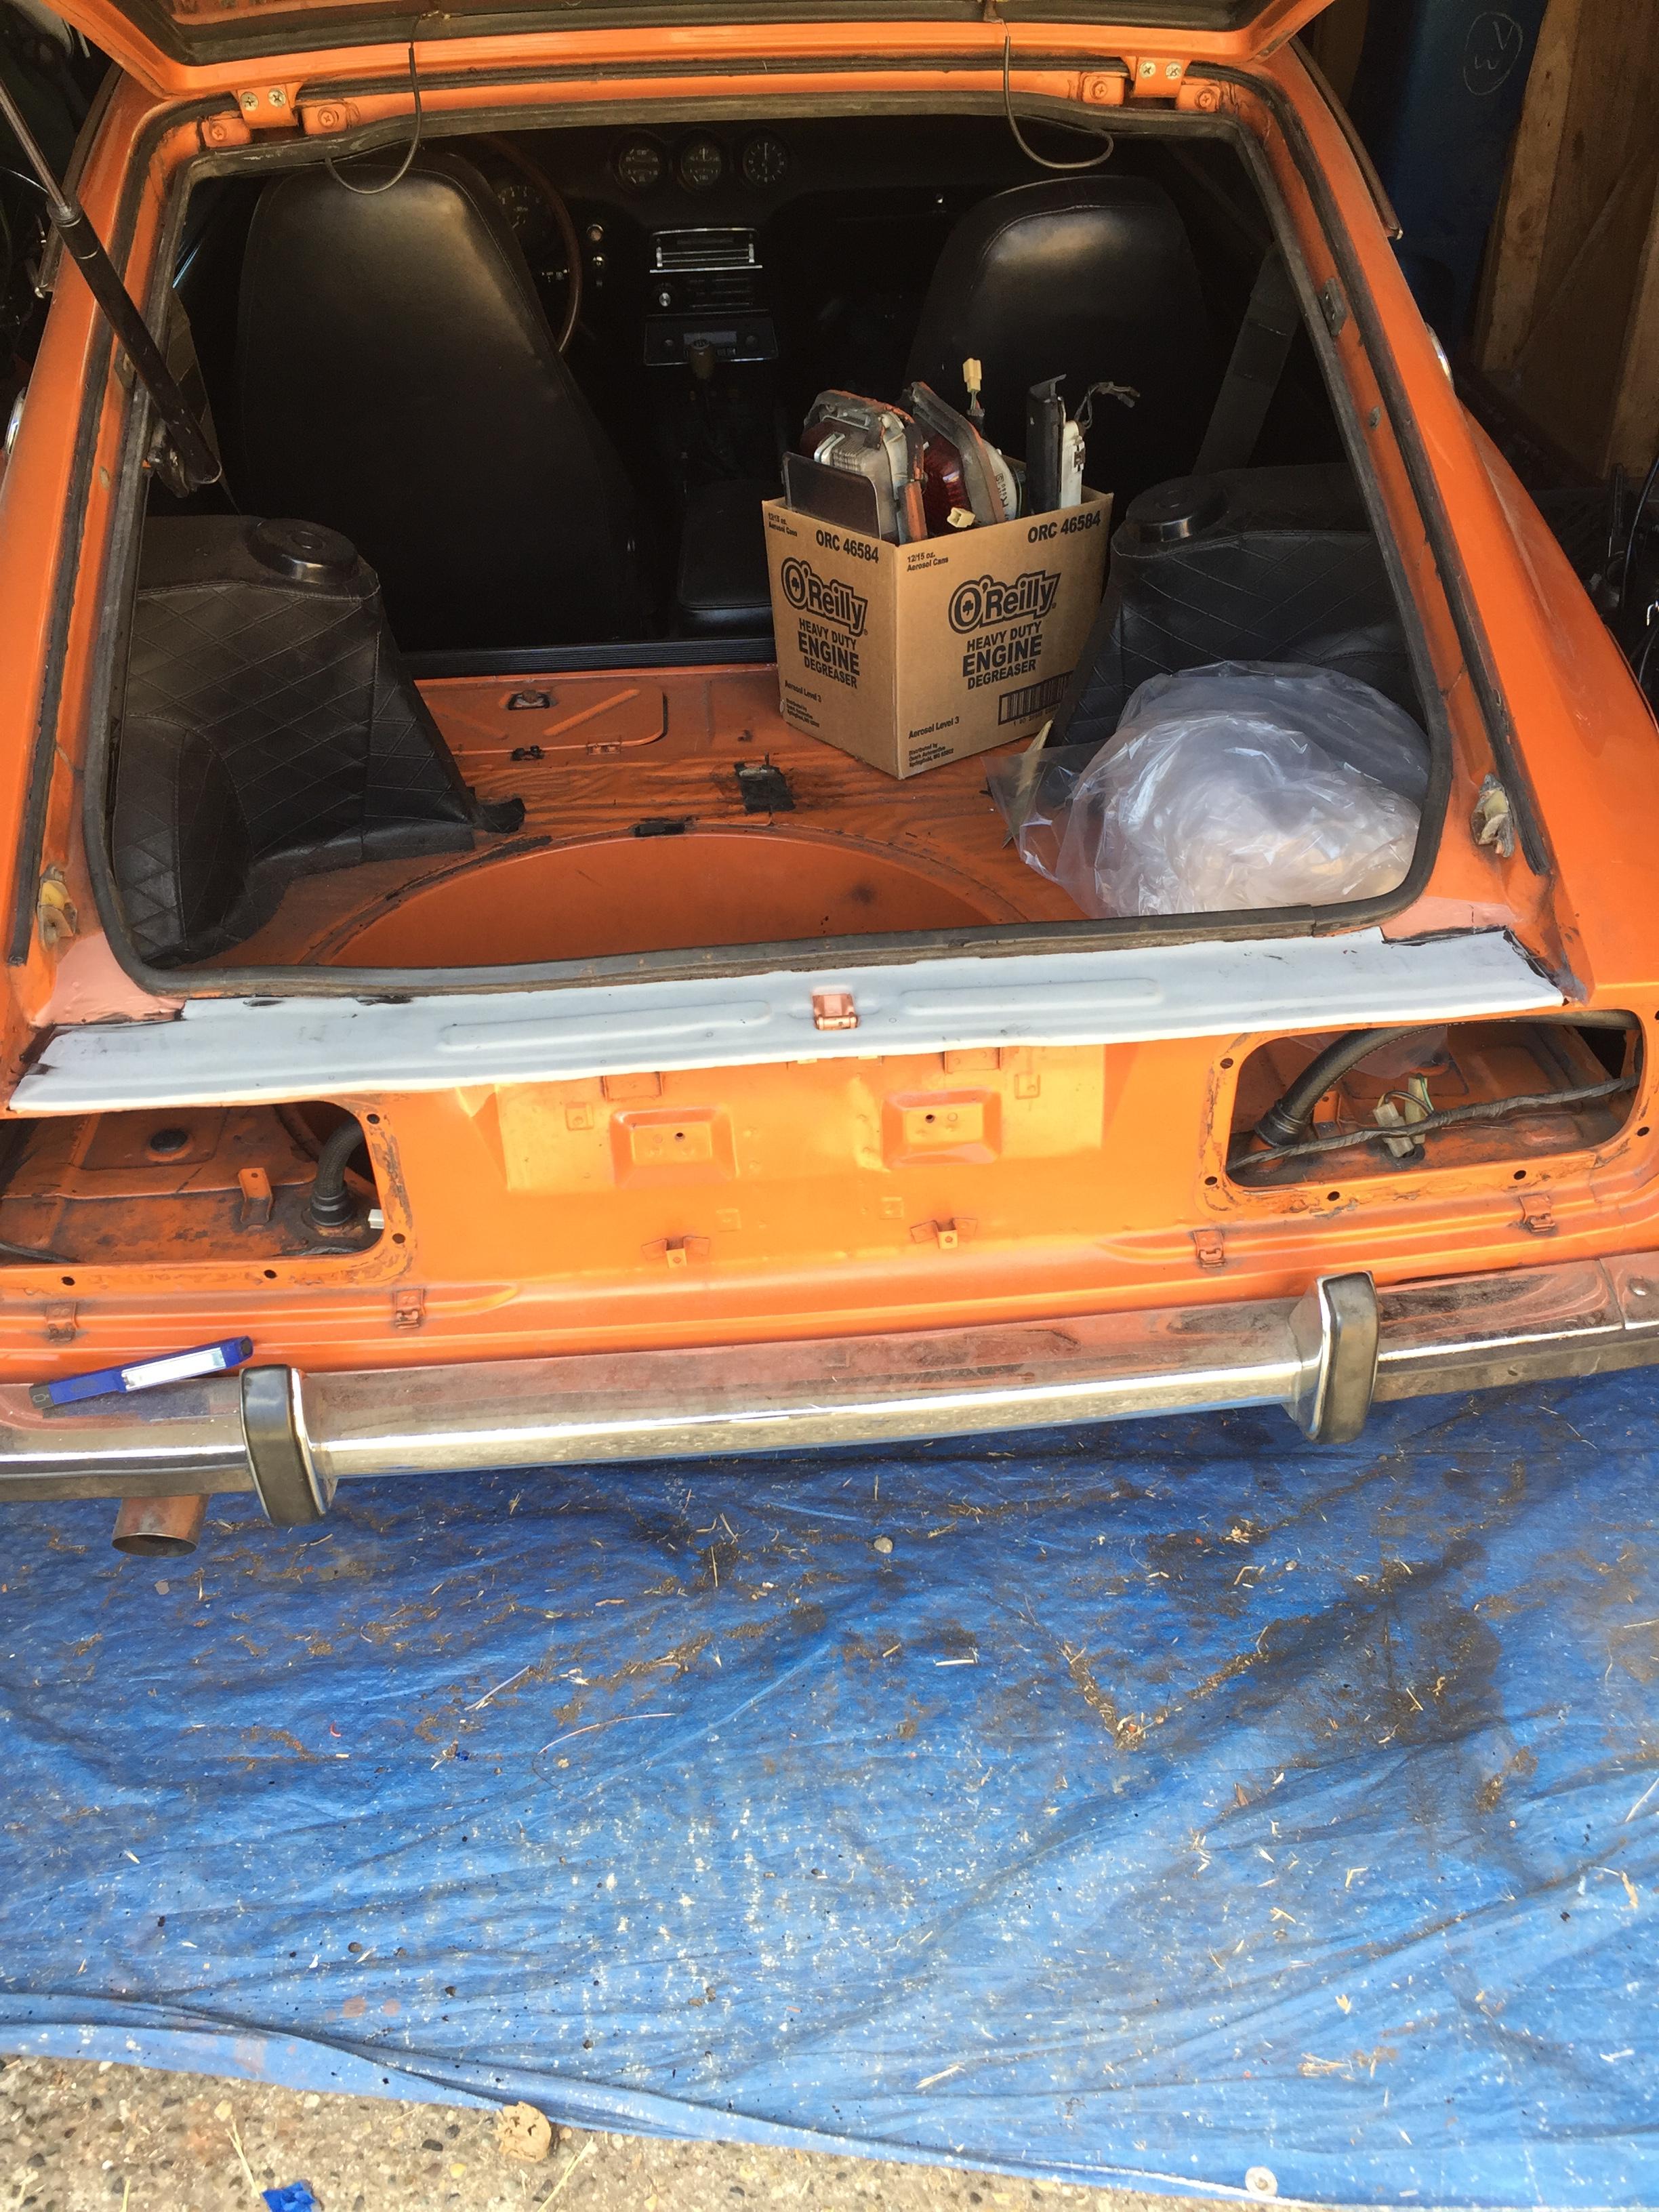
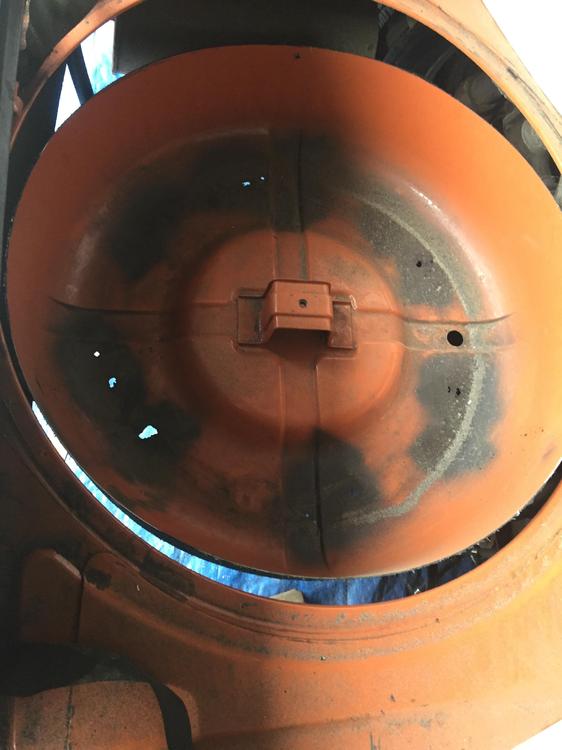
Sorry - The pics and the text got jumbled up a bit. BTW: Here's where I am with the Spare Tire well. The donor well is ready to go in this weekend. I'm going to use the 3M Adhesive here too,


-
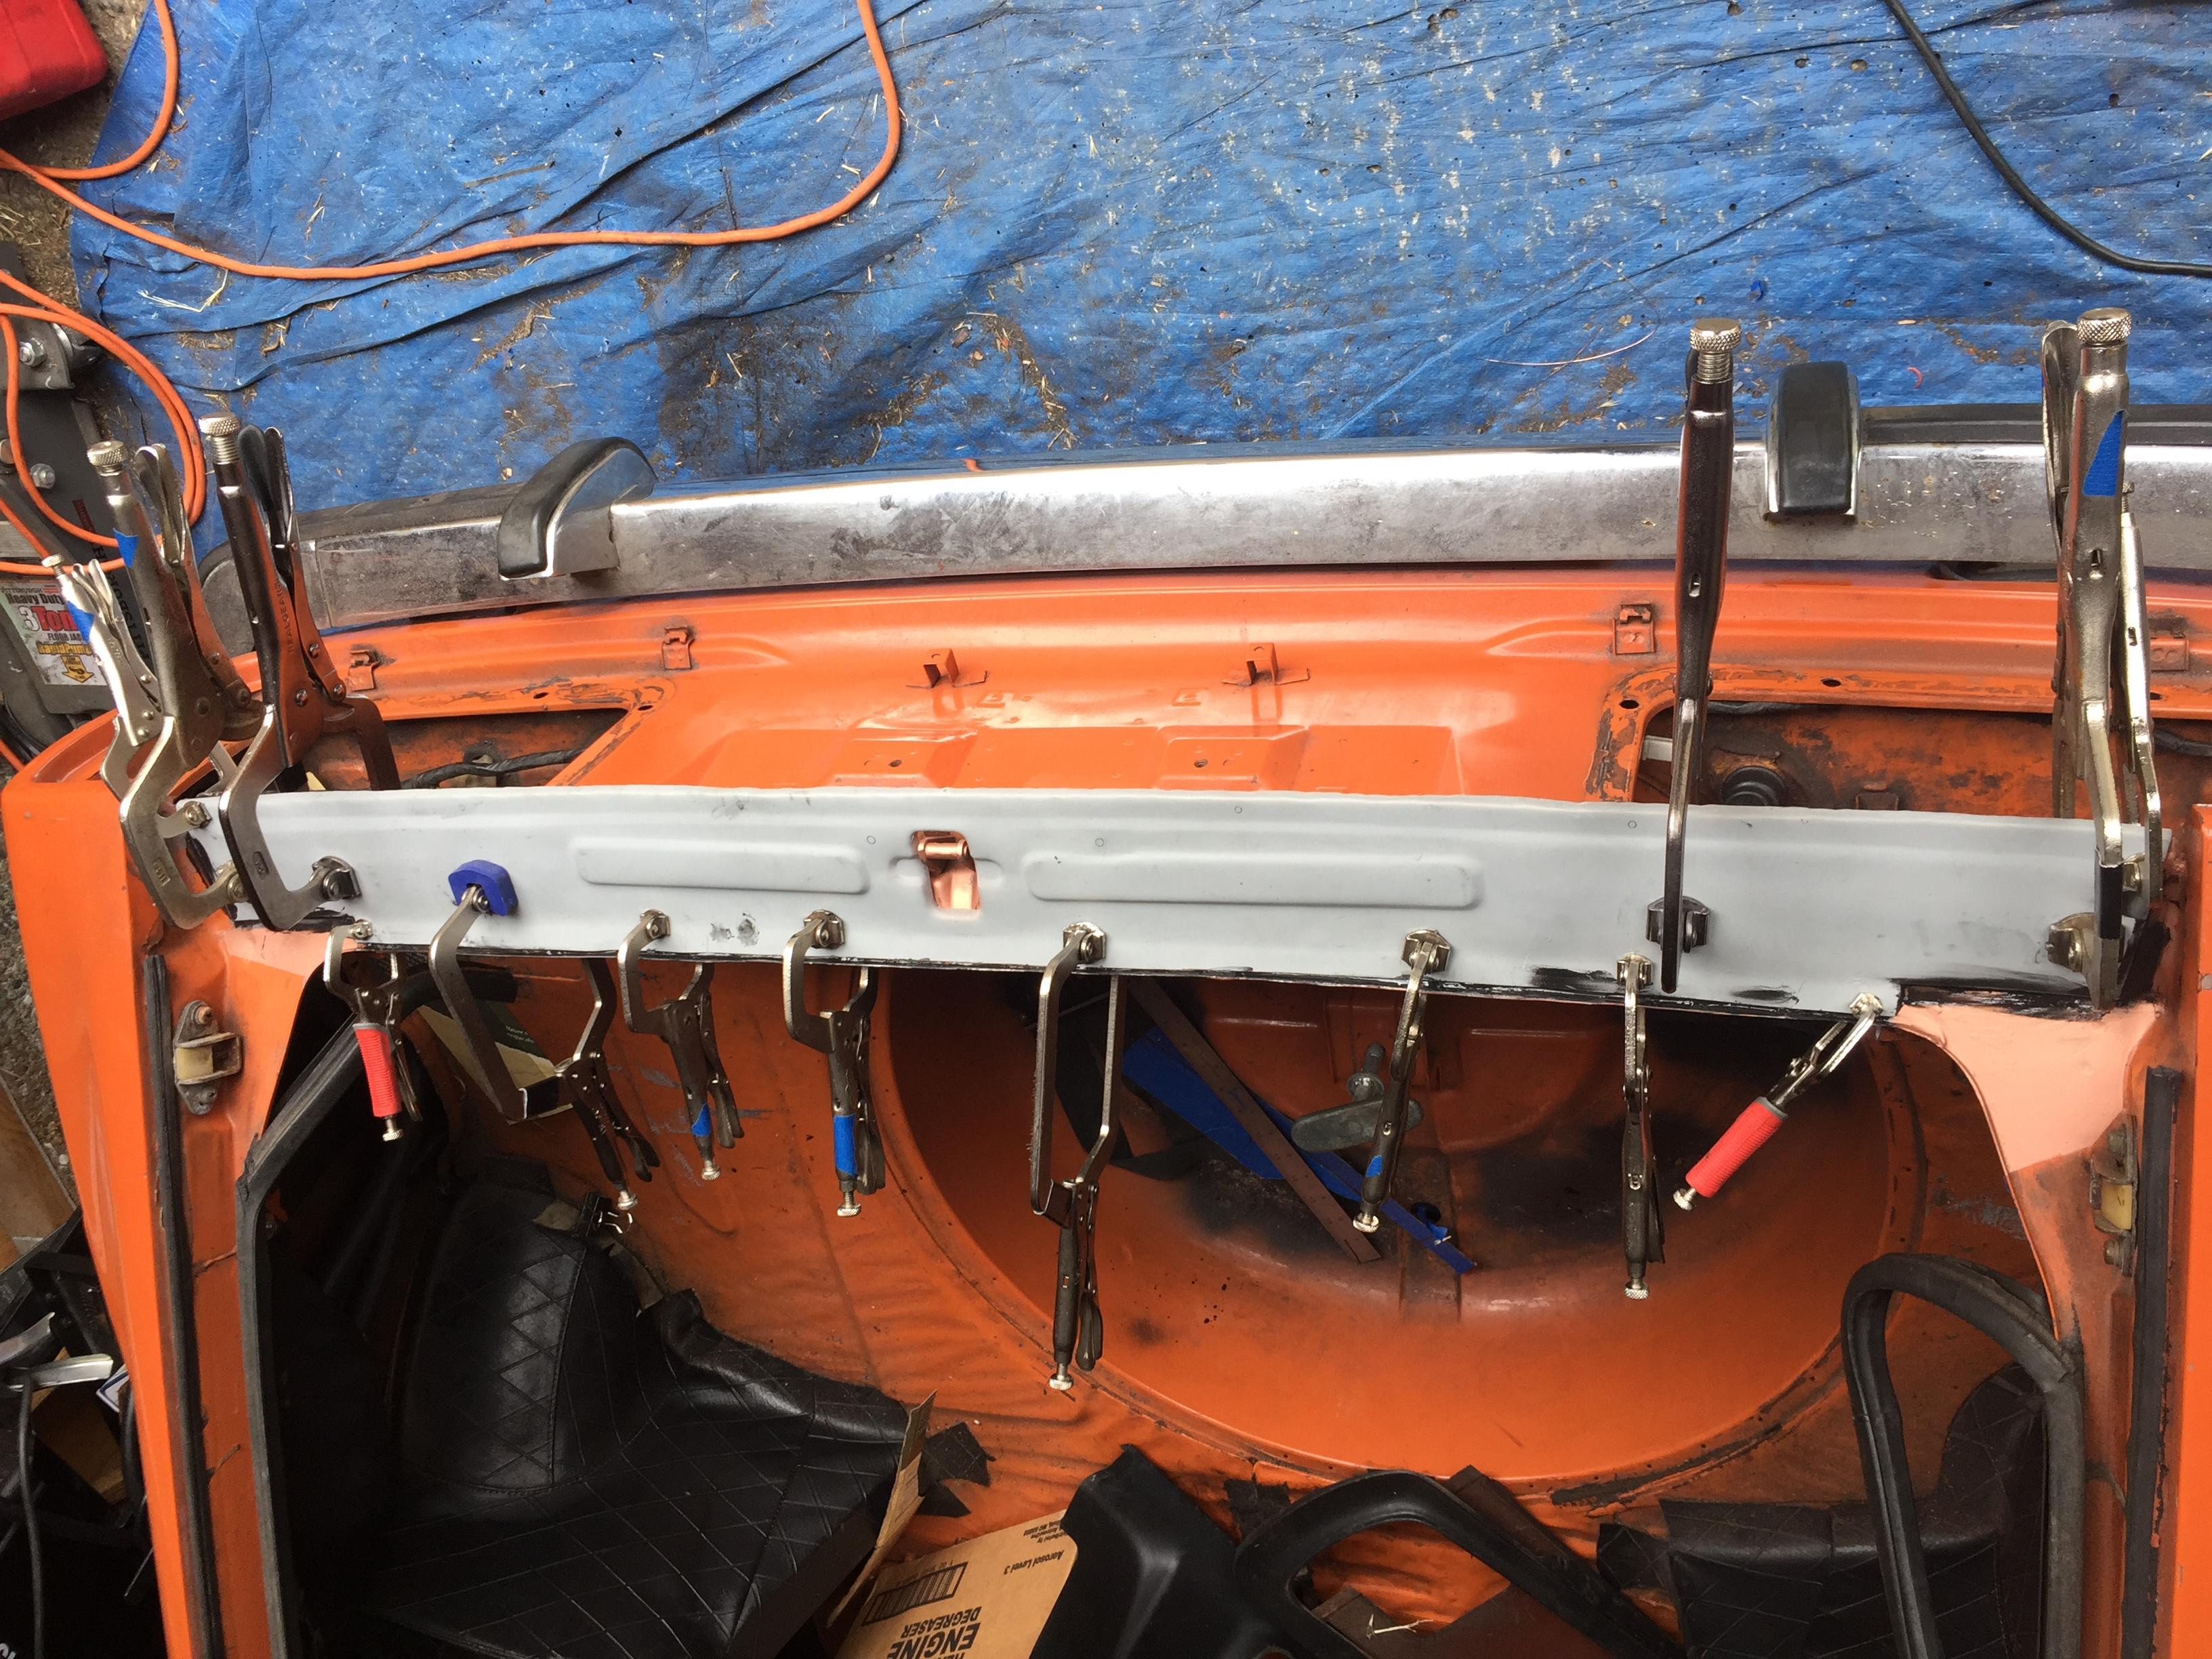
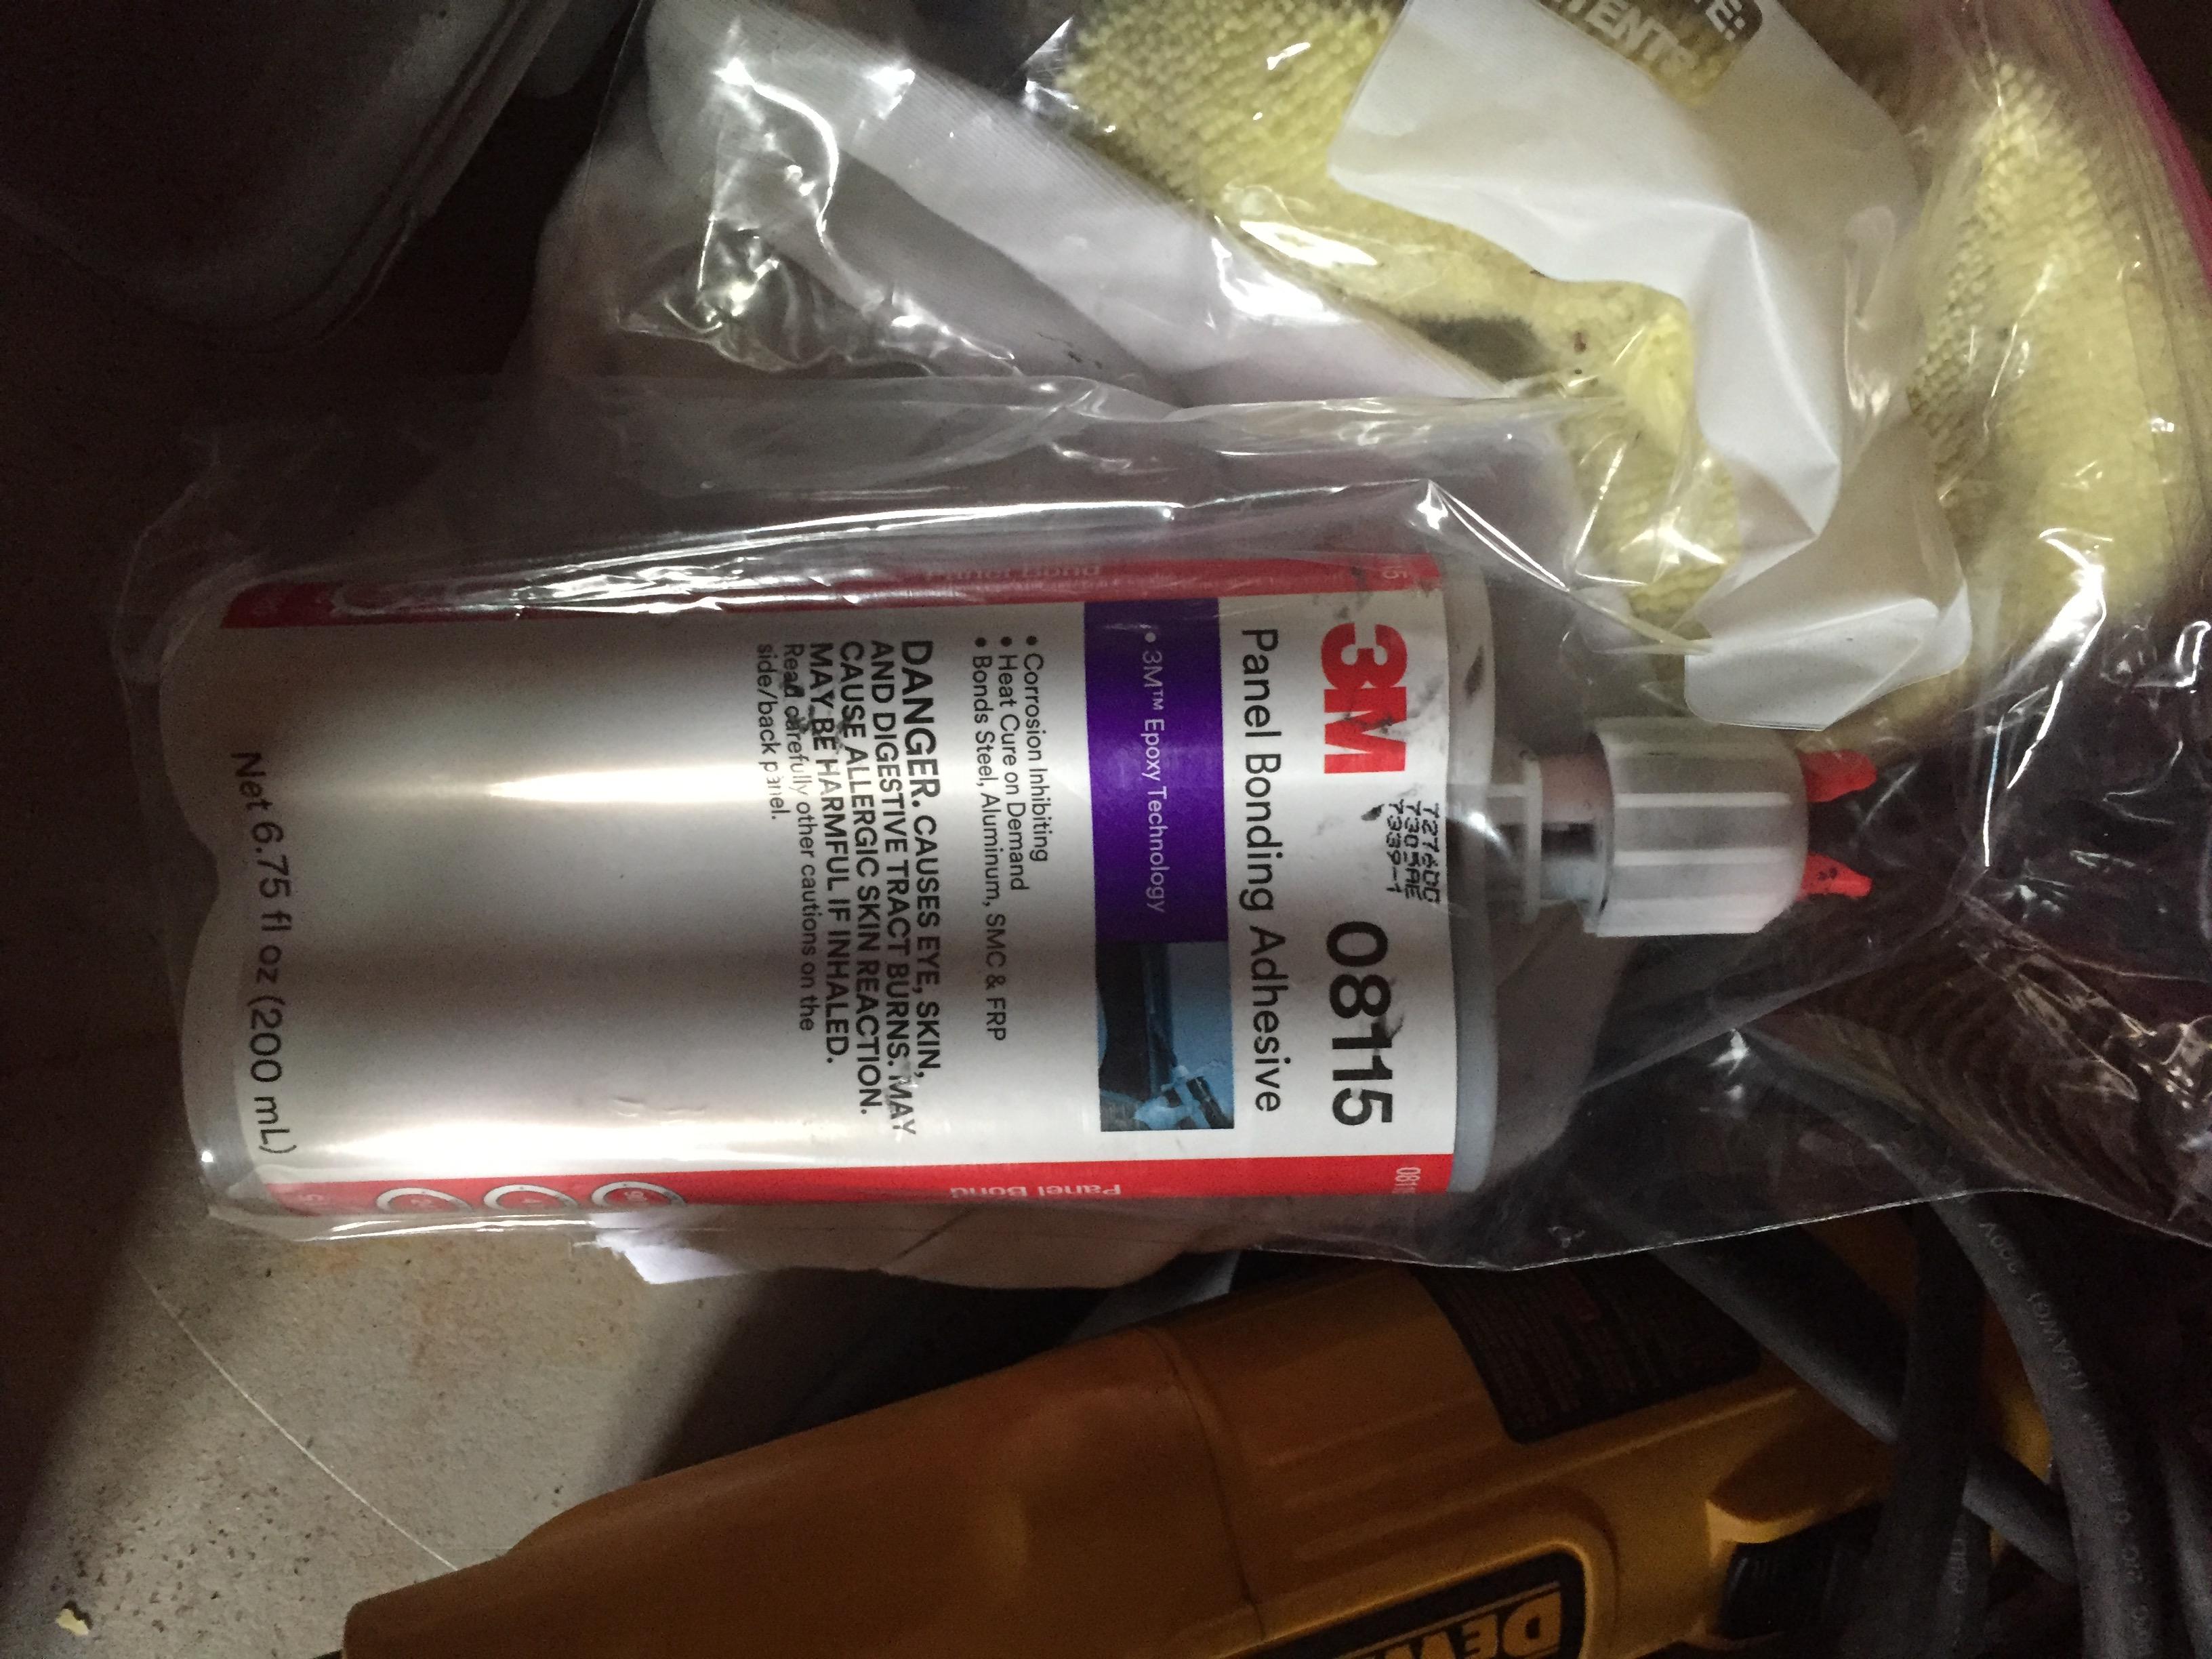
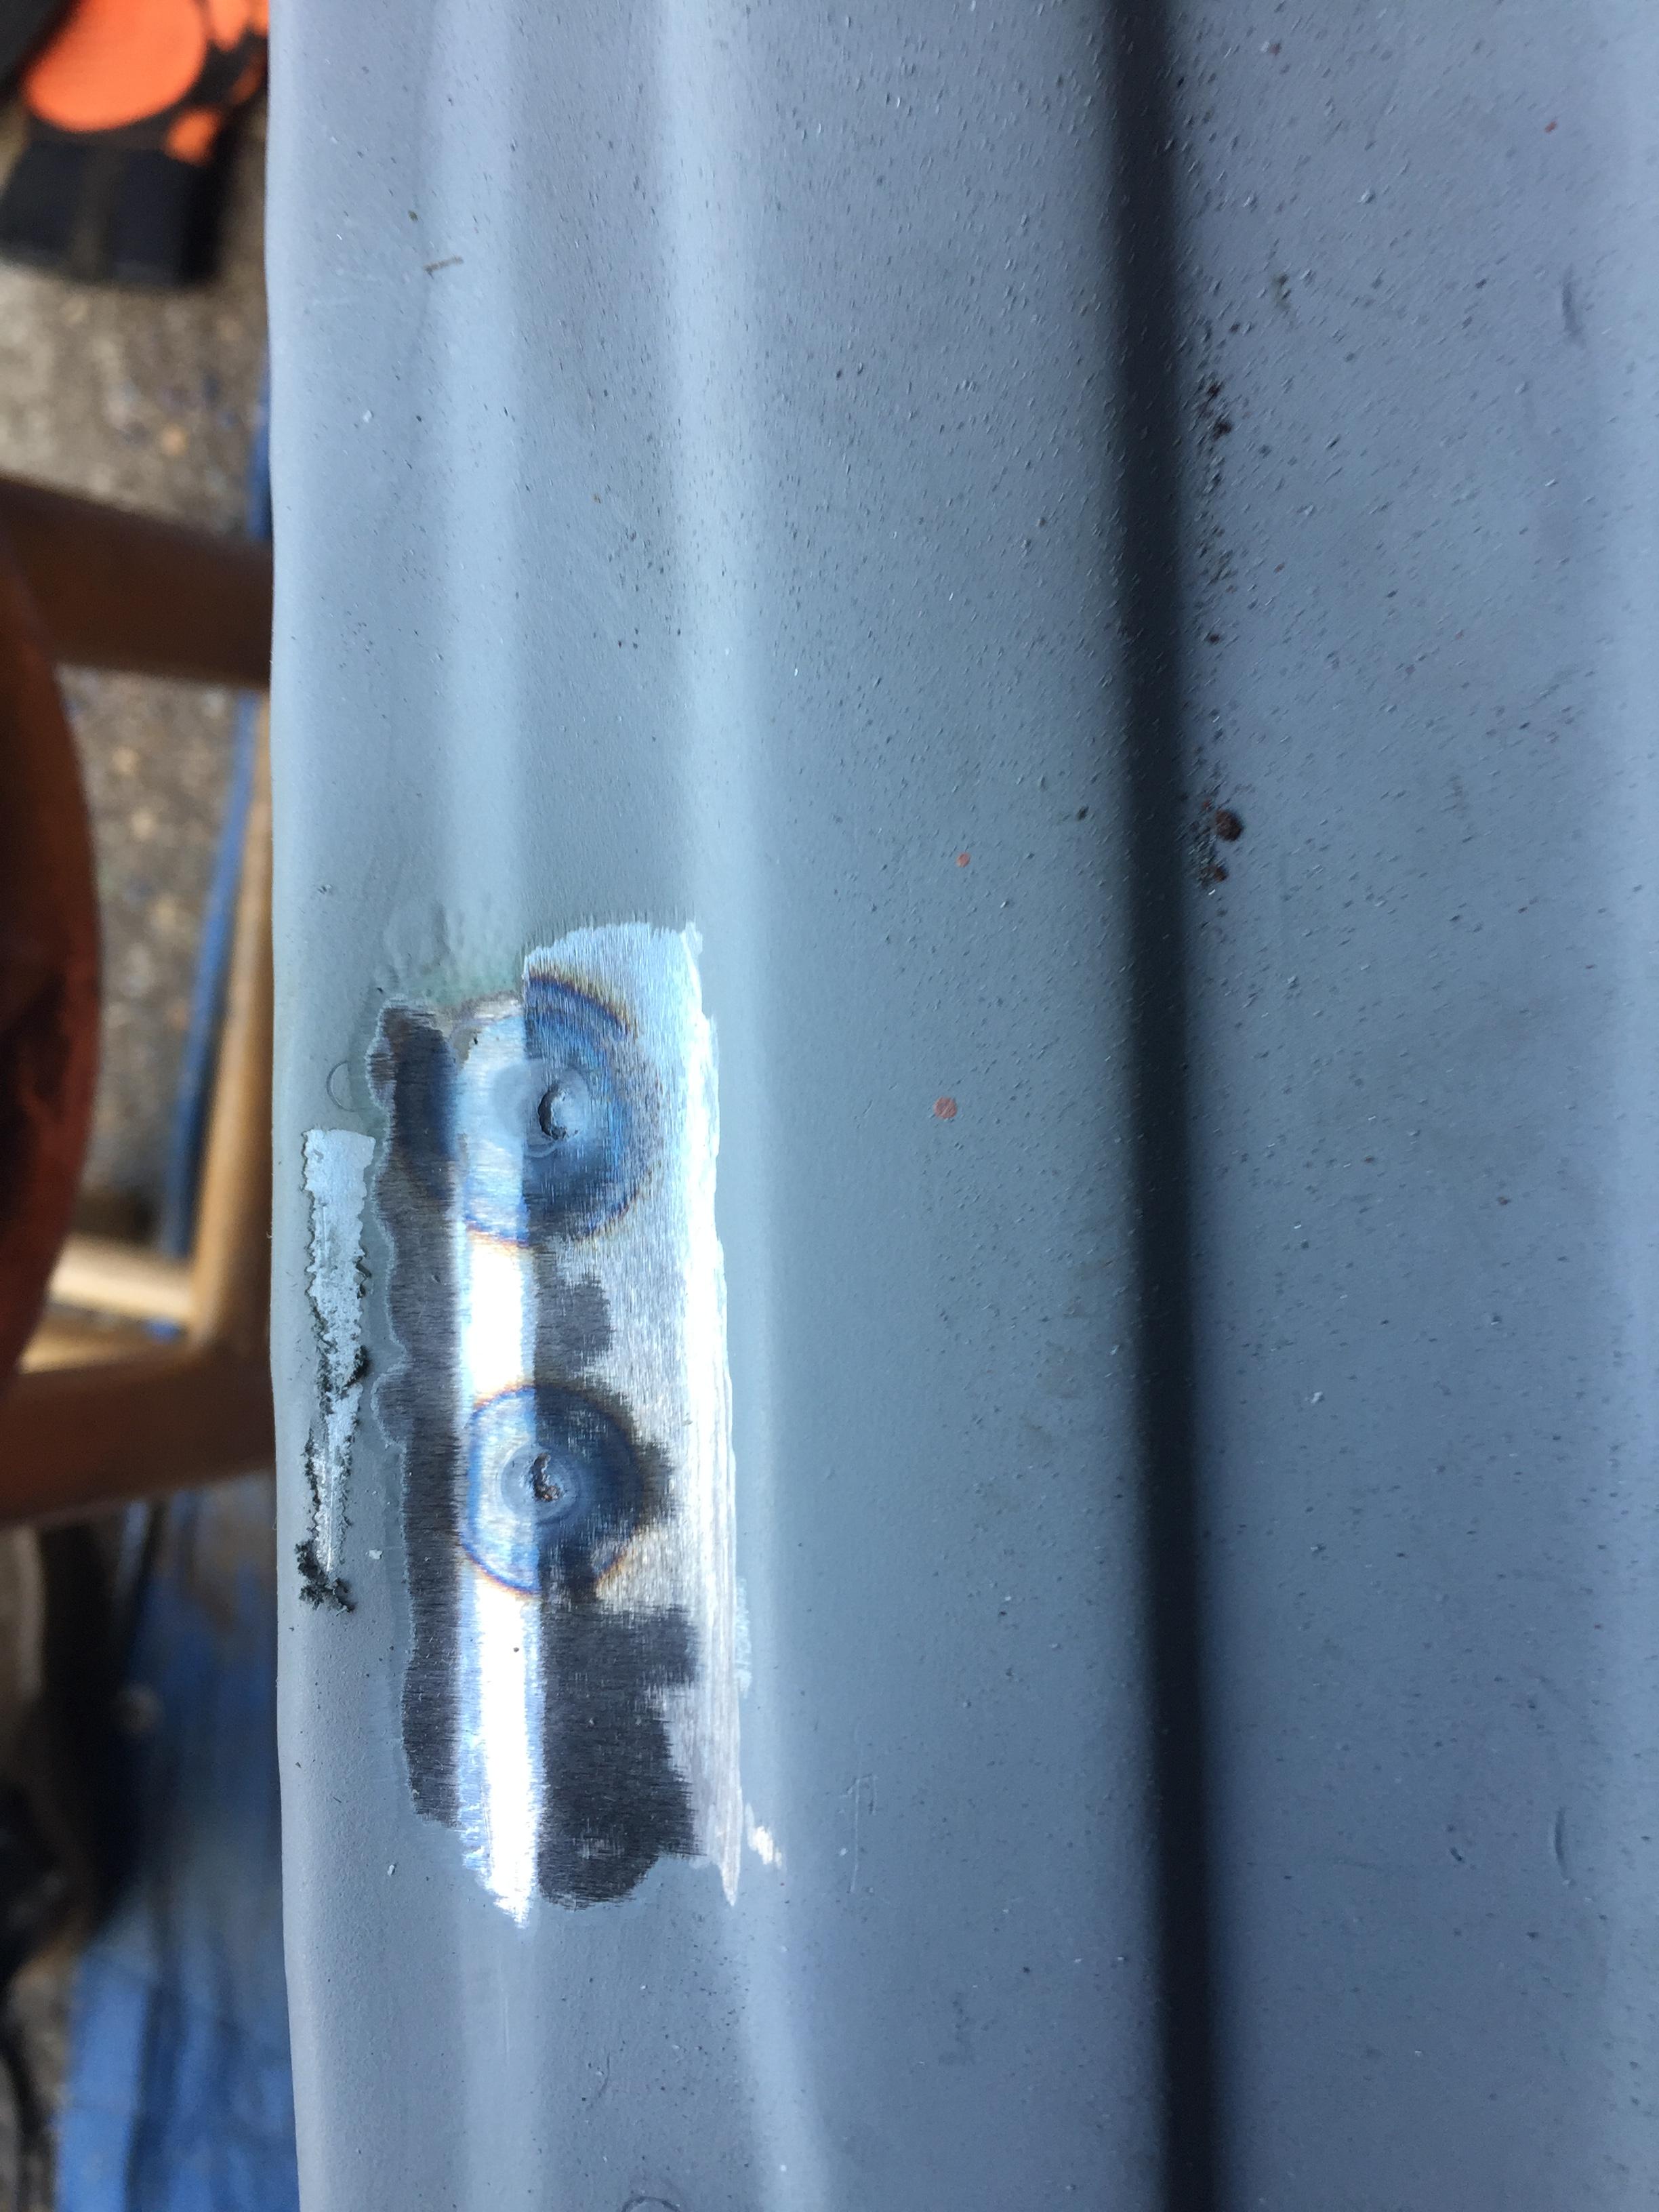
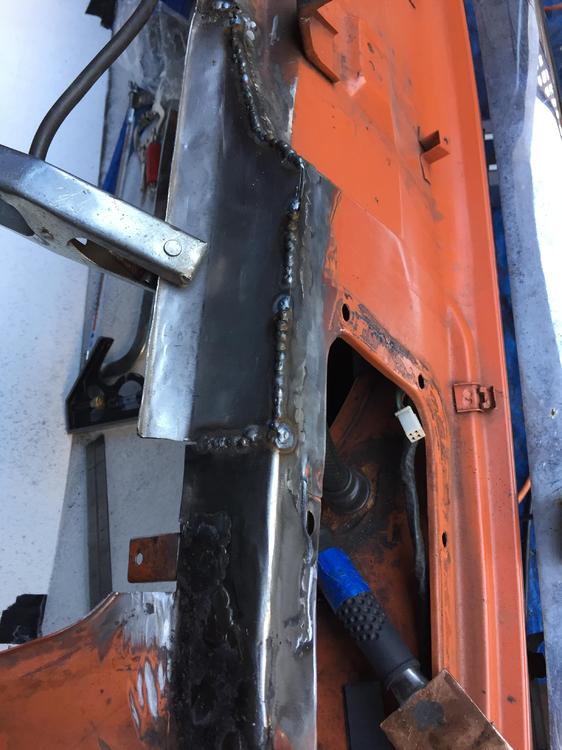
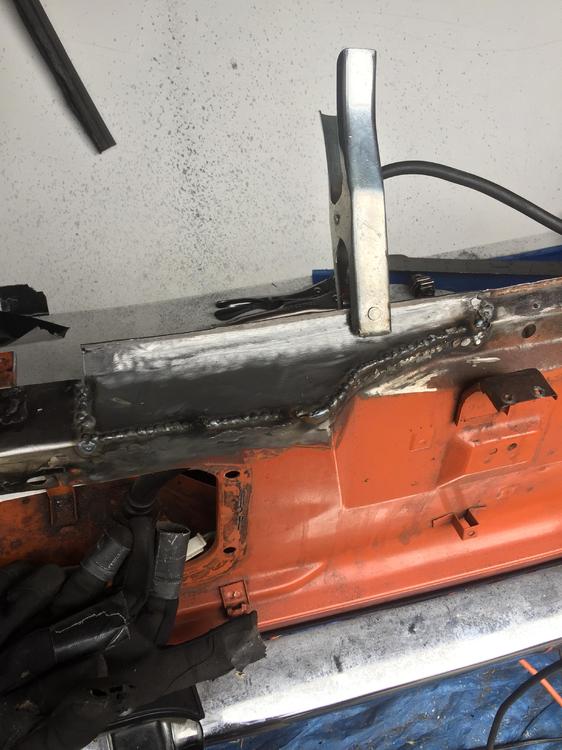
Hey Unicorn Z, I refabricated the under-structure with a MIG welder and 20 gauge steel. Then I used 3M body adhesive (product # 08115) to attach the top slam panel which I bought from Tabco. I used the 3M product because: 1) It is stronger (read the research); 2) It prevents future rust (why let it rust again!?!); 3) It looks much better due to not having to drill holes; 4) It's easier. Two buddies and I glued i on in ~ 30 minutes. I used an electric spot welder that I bought t Harbor Freight to attached the panel to the supports in the middle - near the license plate area. It worked out very sell. Here are some pics... They my be worth 1,000 words... Lemme know your thoughts or if you have questions. Now on to the spare tire well...:) Jughead


-
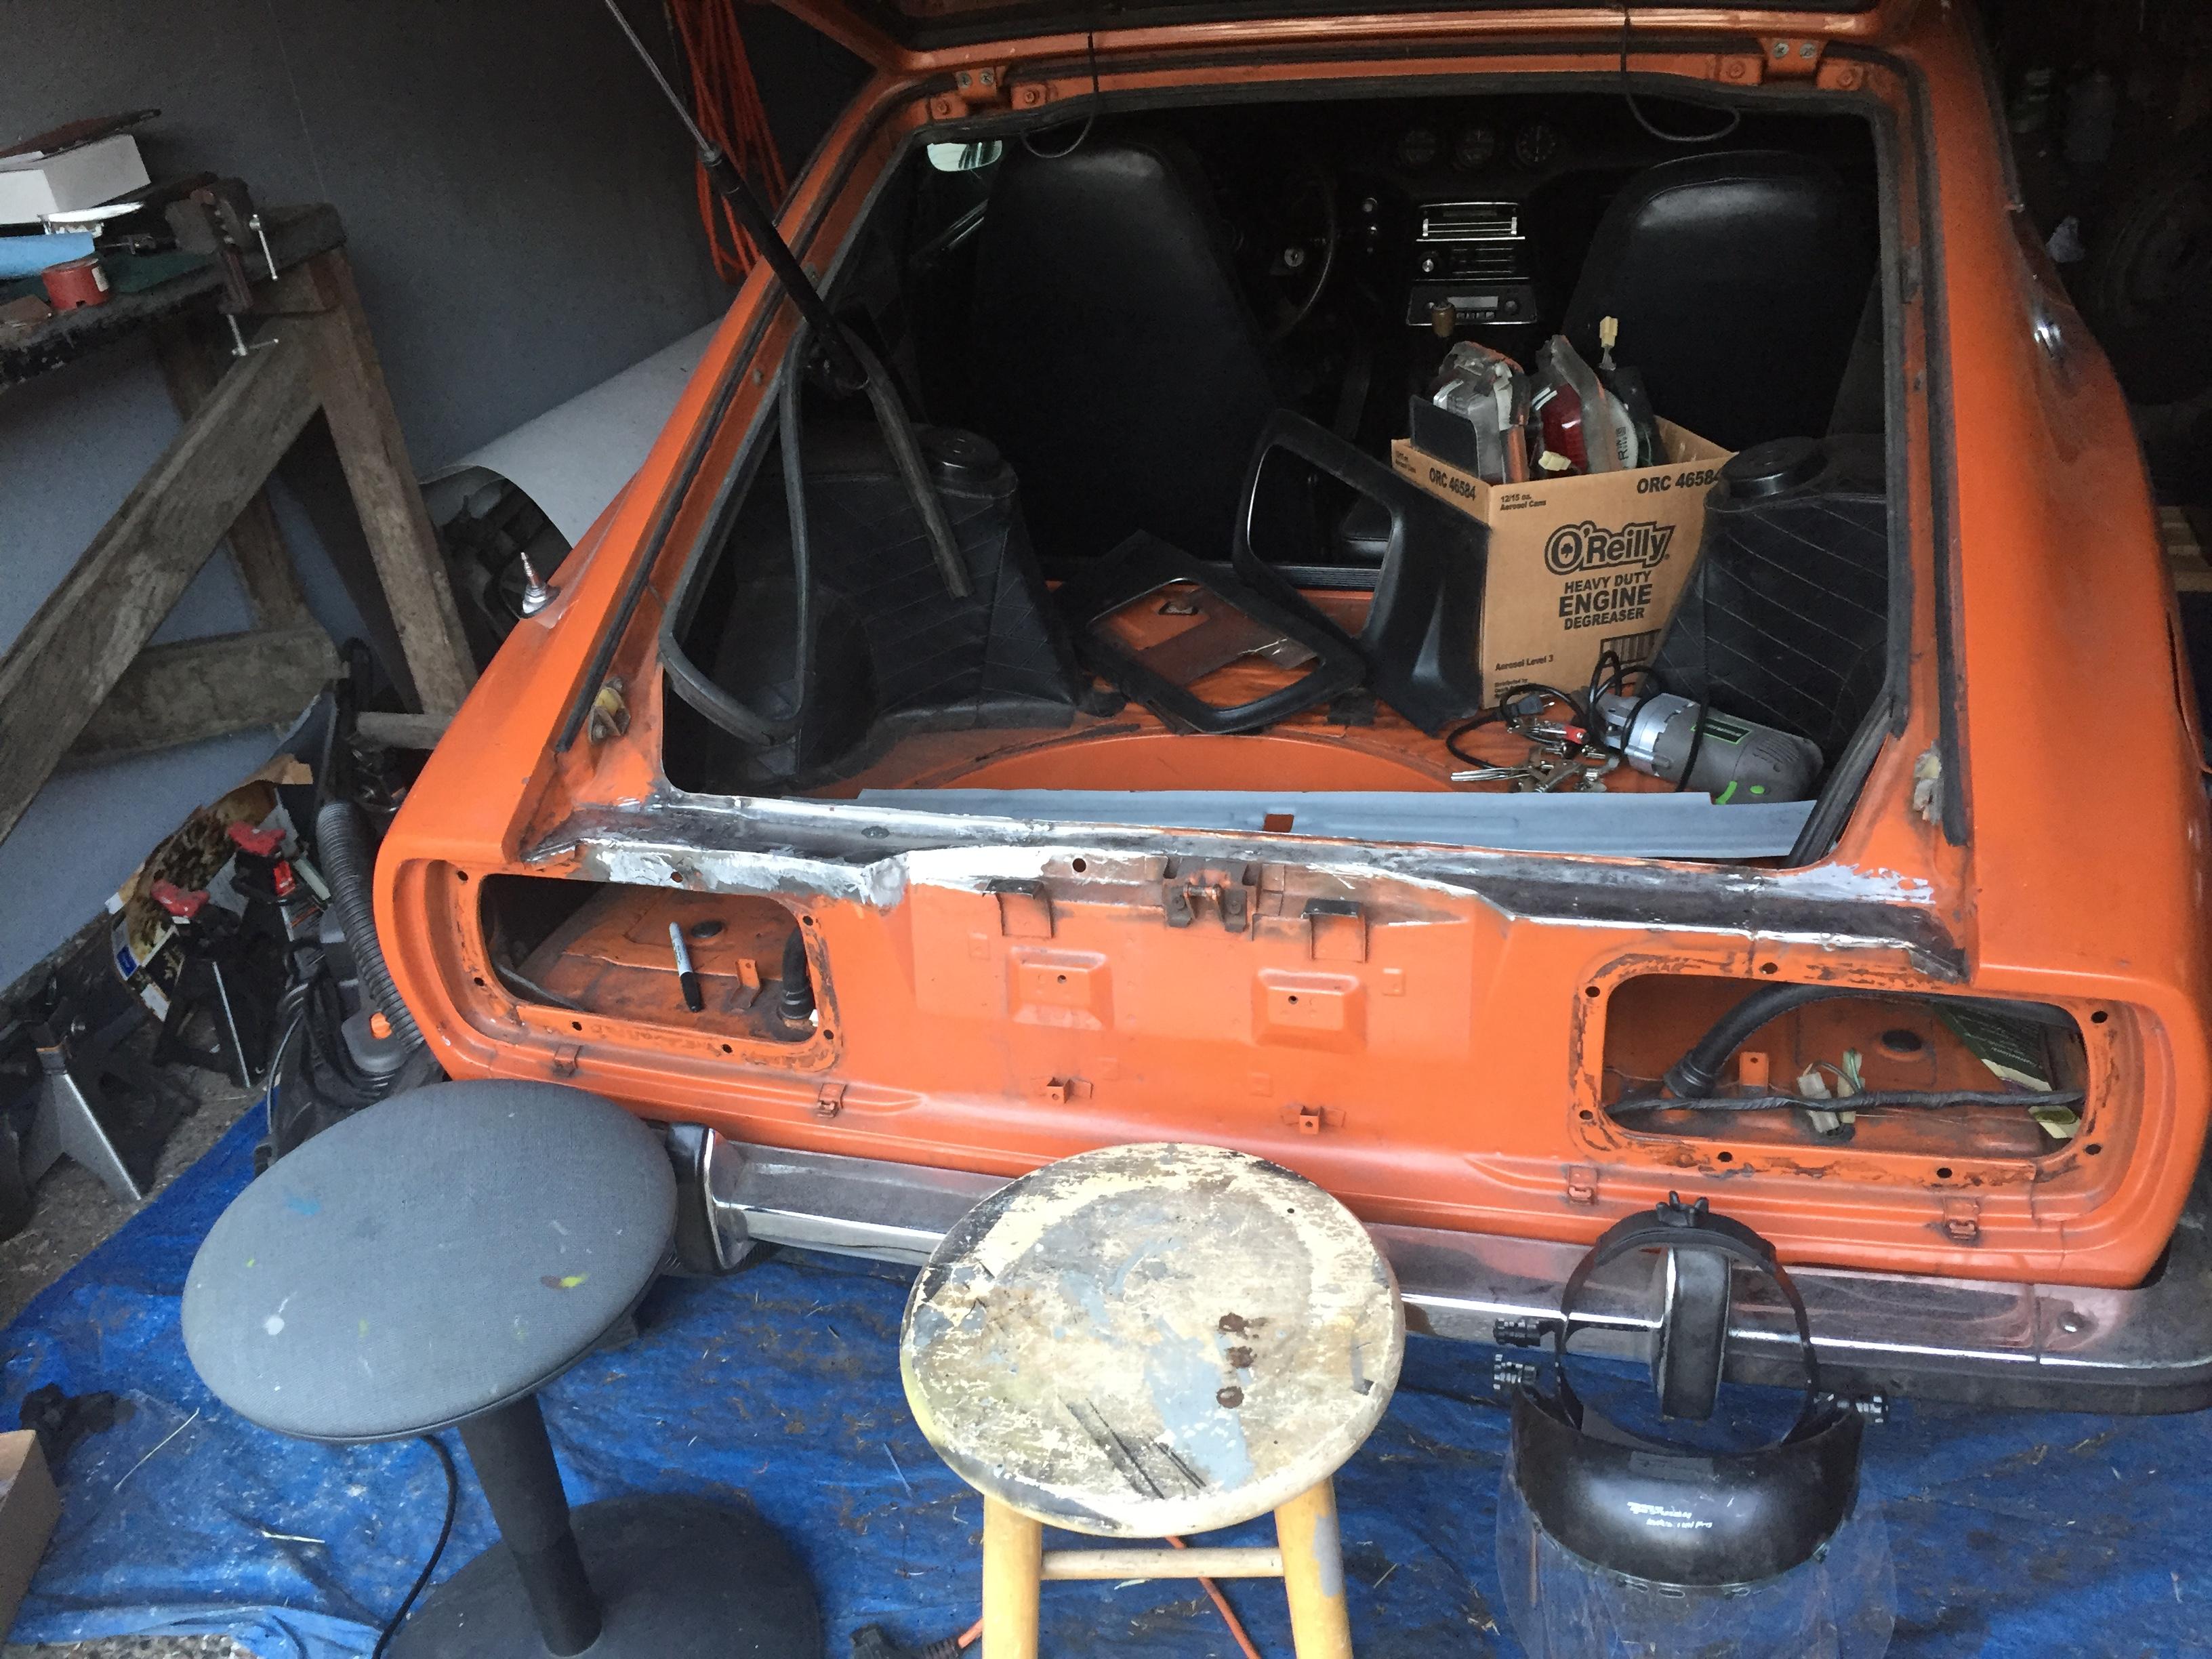
(Reviving this topic) I'm about to install a rear hatch replacement panel on my '72 and have been asking myself how to attach it. As I see it, the options are 1) Perform plug (i.e. "Rosetta") welds 2) Using a portable spot welder 3) using 3M Body Panel Adhesive. Since the last comment eight years ago, are there any more current points of view on this topic? What am I missing? (I'm leaning toward either 2 or 3 as I think the end result will be a lot less work and more likely top produce a good looking result.)
-
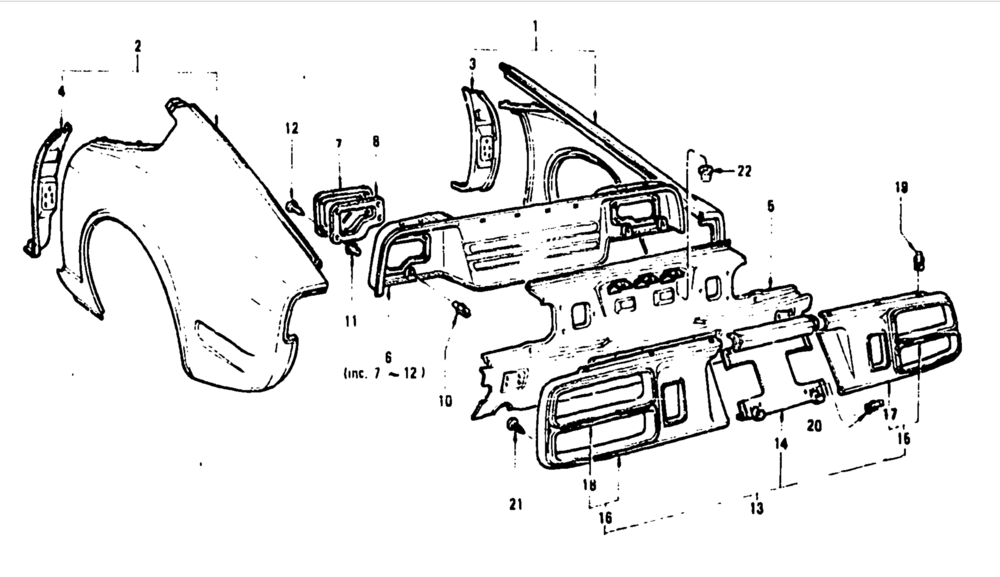
(Thanks grannyknot.) Does anyone produce part number 4 in the attached diagram?
-
GNOSEZ: Can you provide me more info regarding rails and other repair panels you offer?
-
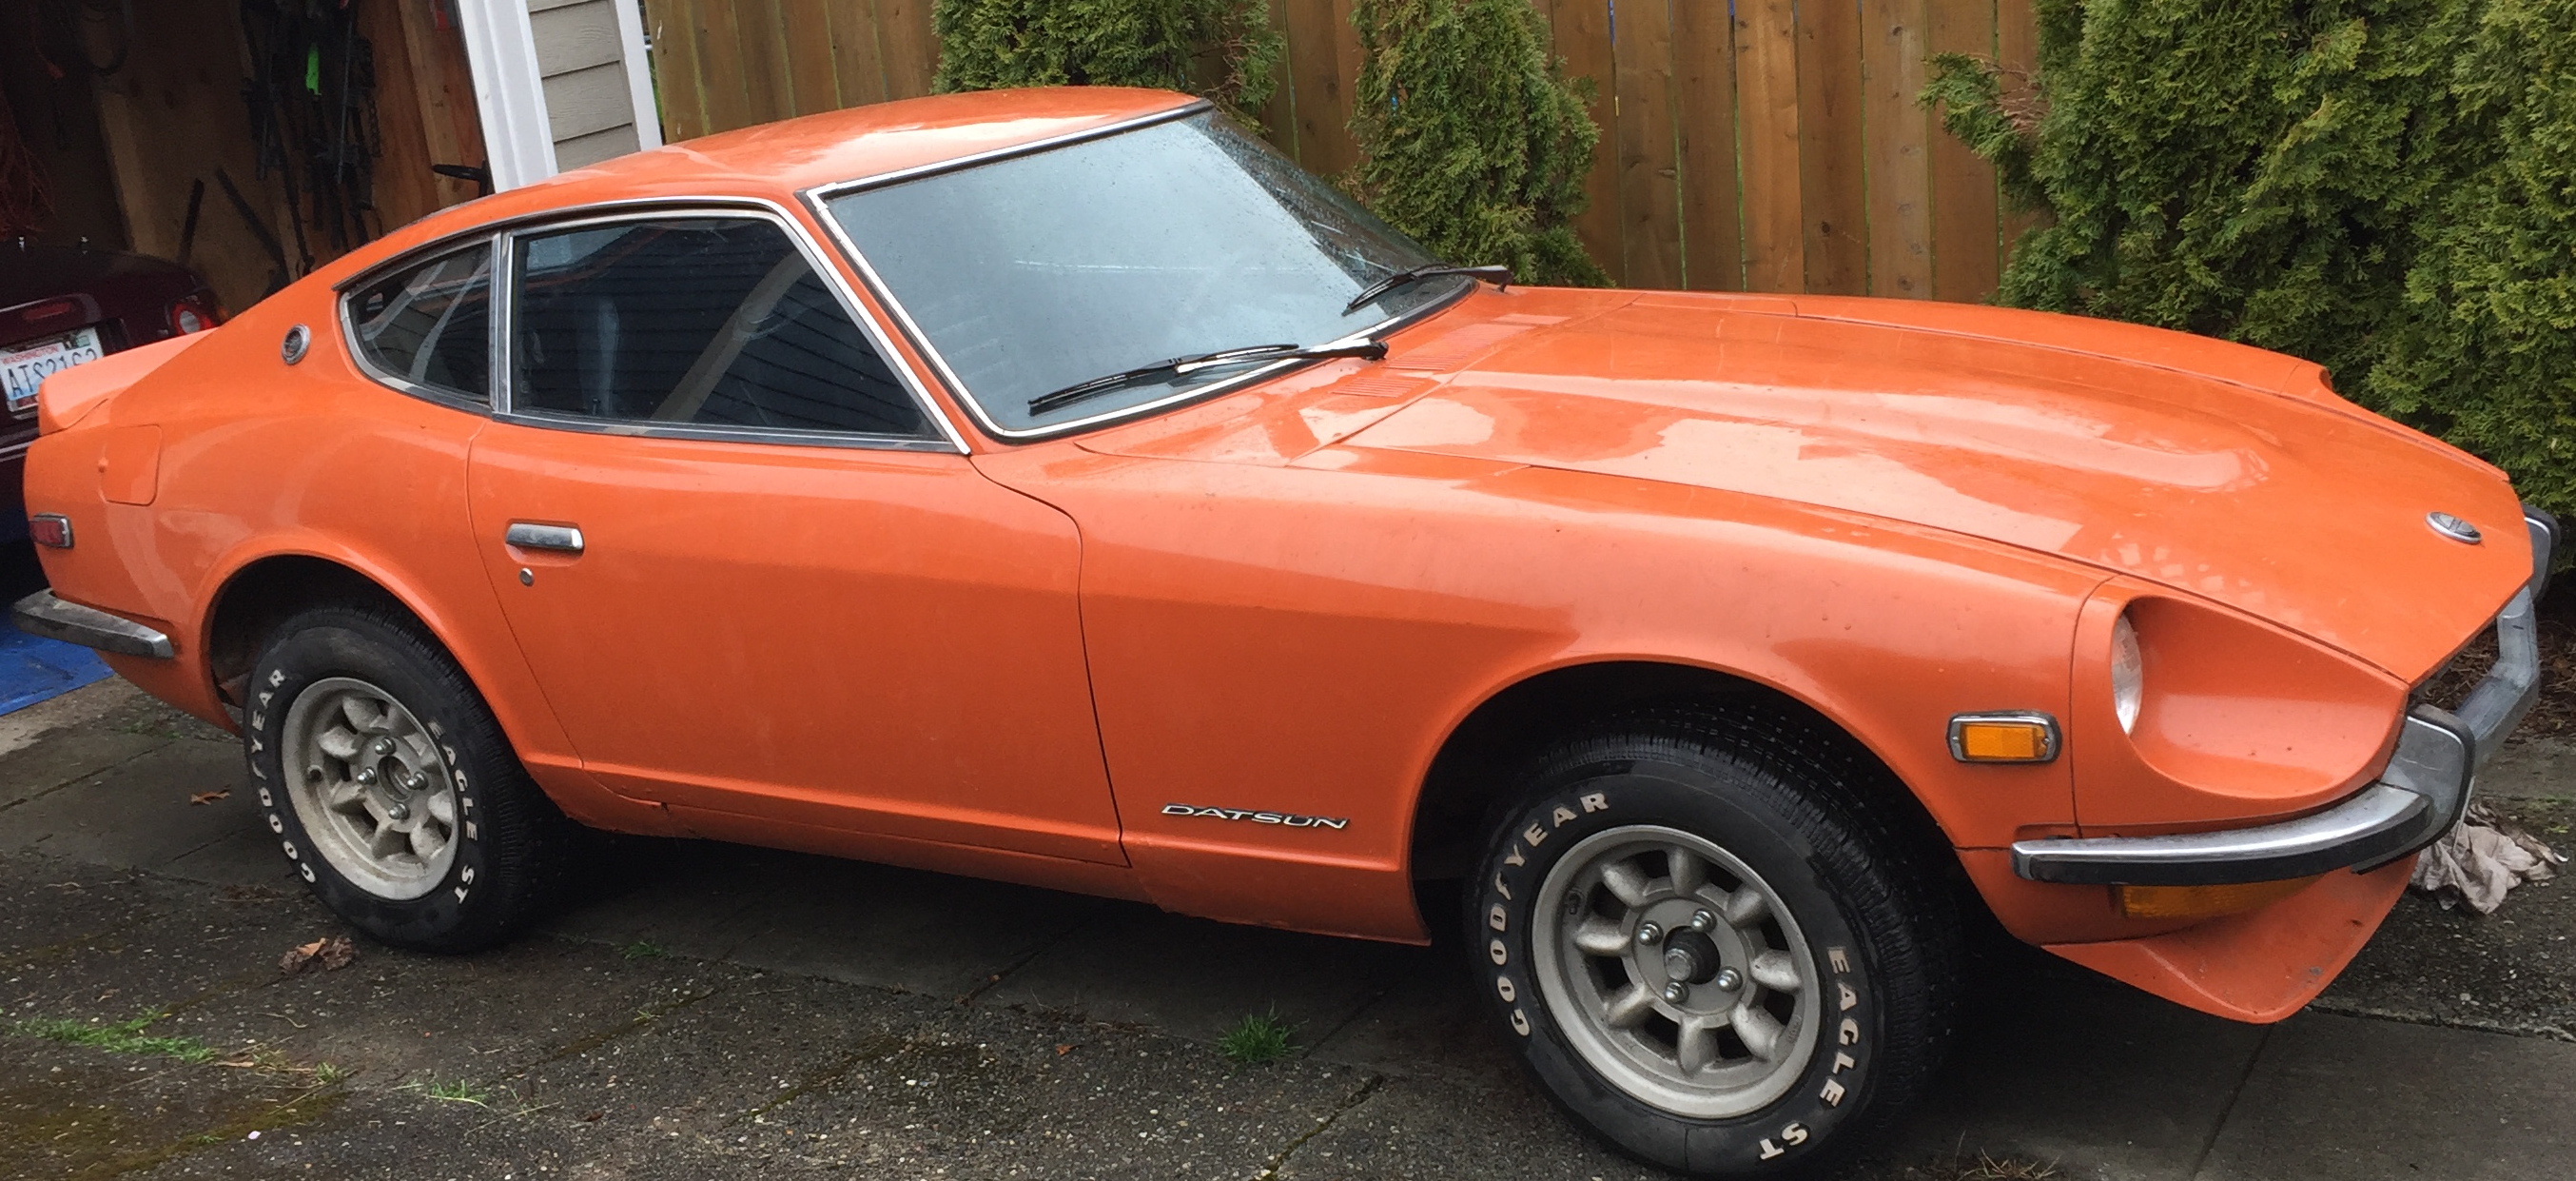
Does anyone have any recommendations of which vendor(s) to use for repair panels? Tabco, etc? I know I need the outer rockers and dog legs on both sides. Anyone have any recommendations or experiences (good or bad?) I did review the entire Disepyon thread and got a lot out of it. Very impressive and helpful. I reached out to Disepyon, but I'm not sure if he's still active. I'll inform the thread if he is. Thanks to all who've already replied - much appreciated! PS - the photos are not my car (thanks god!).
-
Disepyon, Great job of photo journalism - very, very helpful. If you are producing panels, I'd love to connect. I'm looking for outer sills for starters. Please reach and, thanks again for documenting your journey! Jughead
-
Disepyon, Great job of photo journalism - very, very helpful. If you are producing panels, I'd love to connect. I'm looking for outer sills for starters. Please reach and, thanks again for documenting your journey! Jughead
-
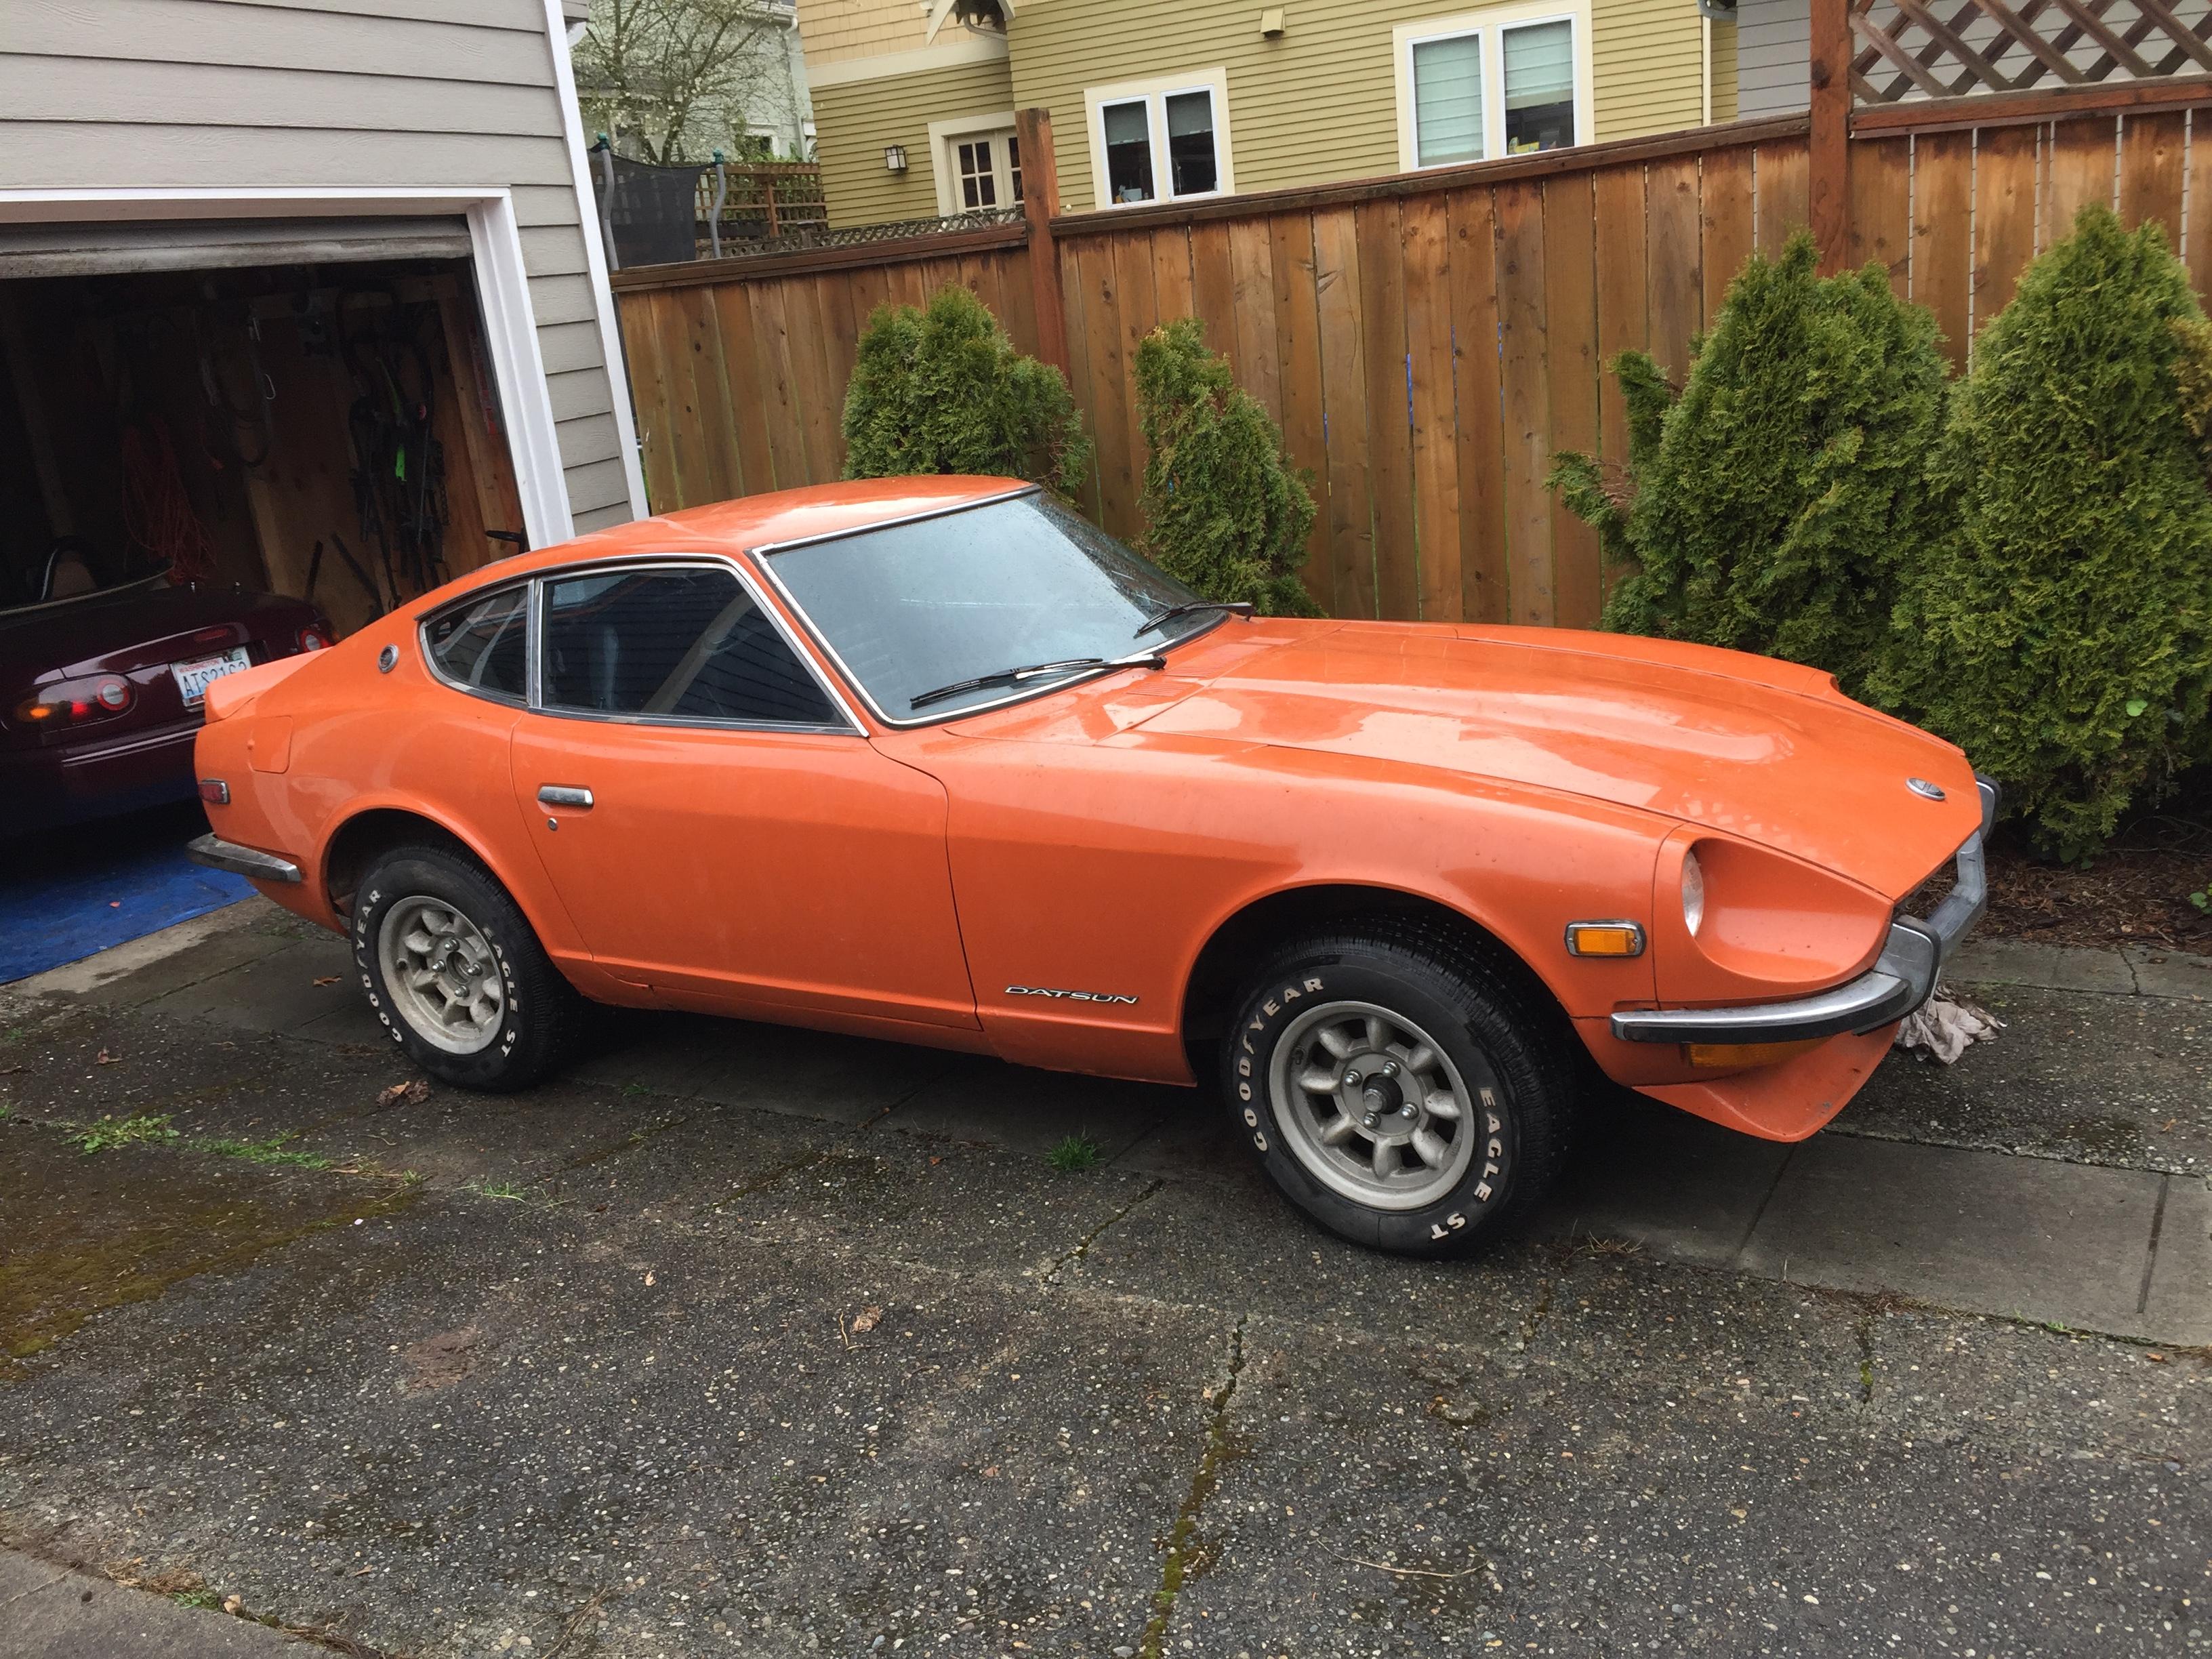
Hi All: – I need to replace the outer rocker panels (aka "sills") and lower doglegs on both sides of my ’72 240Z. I will purchase repair panels from The Z Store, Tabco or another supplier (recommendations on suppliers appreciated, btw.). For now, I’m trying to get an understanding of how everything fits together, so I'll have a good understanding before I start cutting. Question: (See the photo below as a reference.) Will the outer rocker repair panels replace the section indicated by the “B” arrow? Is the piece marked “A” the inner rocker? Is the green piece above “A” the inner rocker or the floor section? Am I making sense? BTW: What doesn’t the floor on the left show the “A” piece? Thanks much as always for your help! Jughead

-
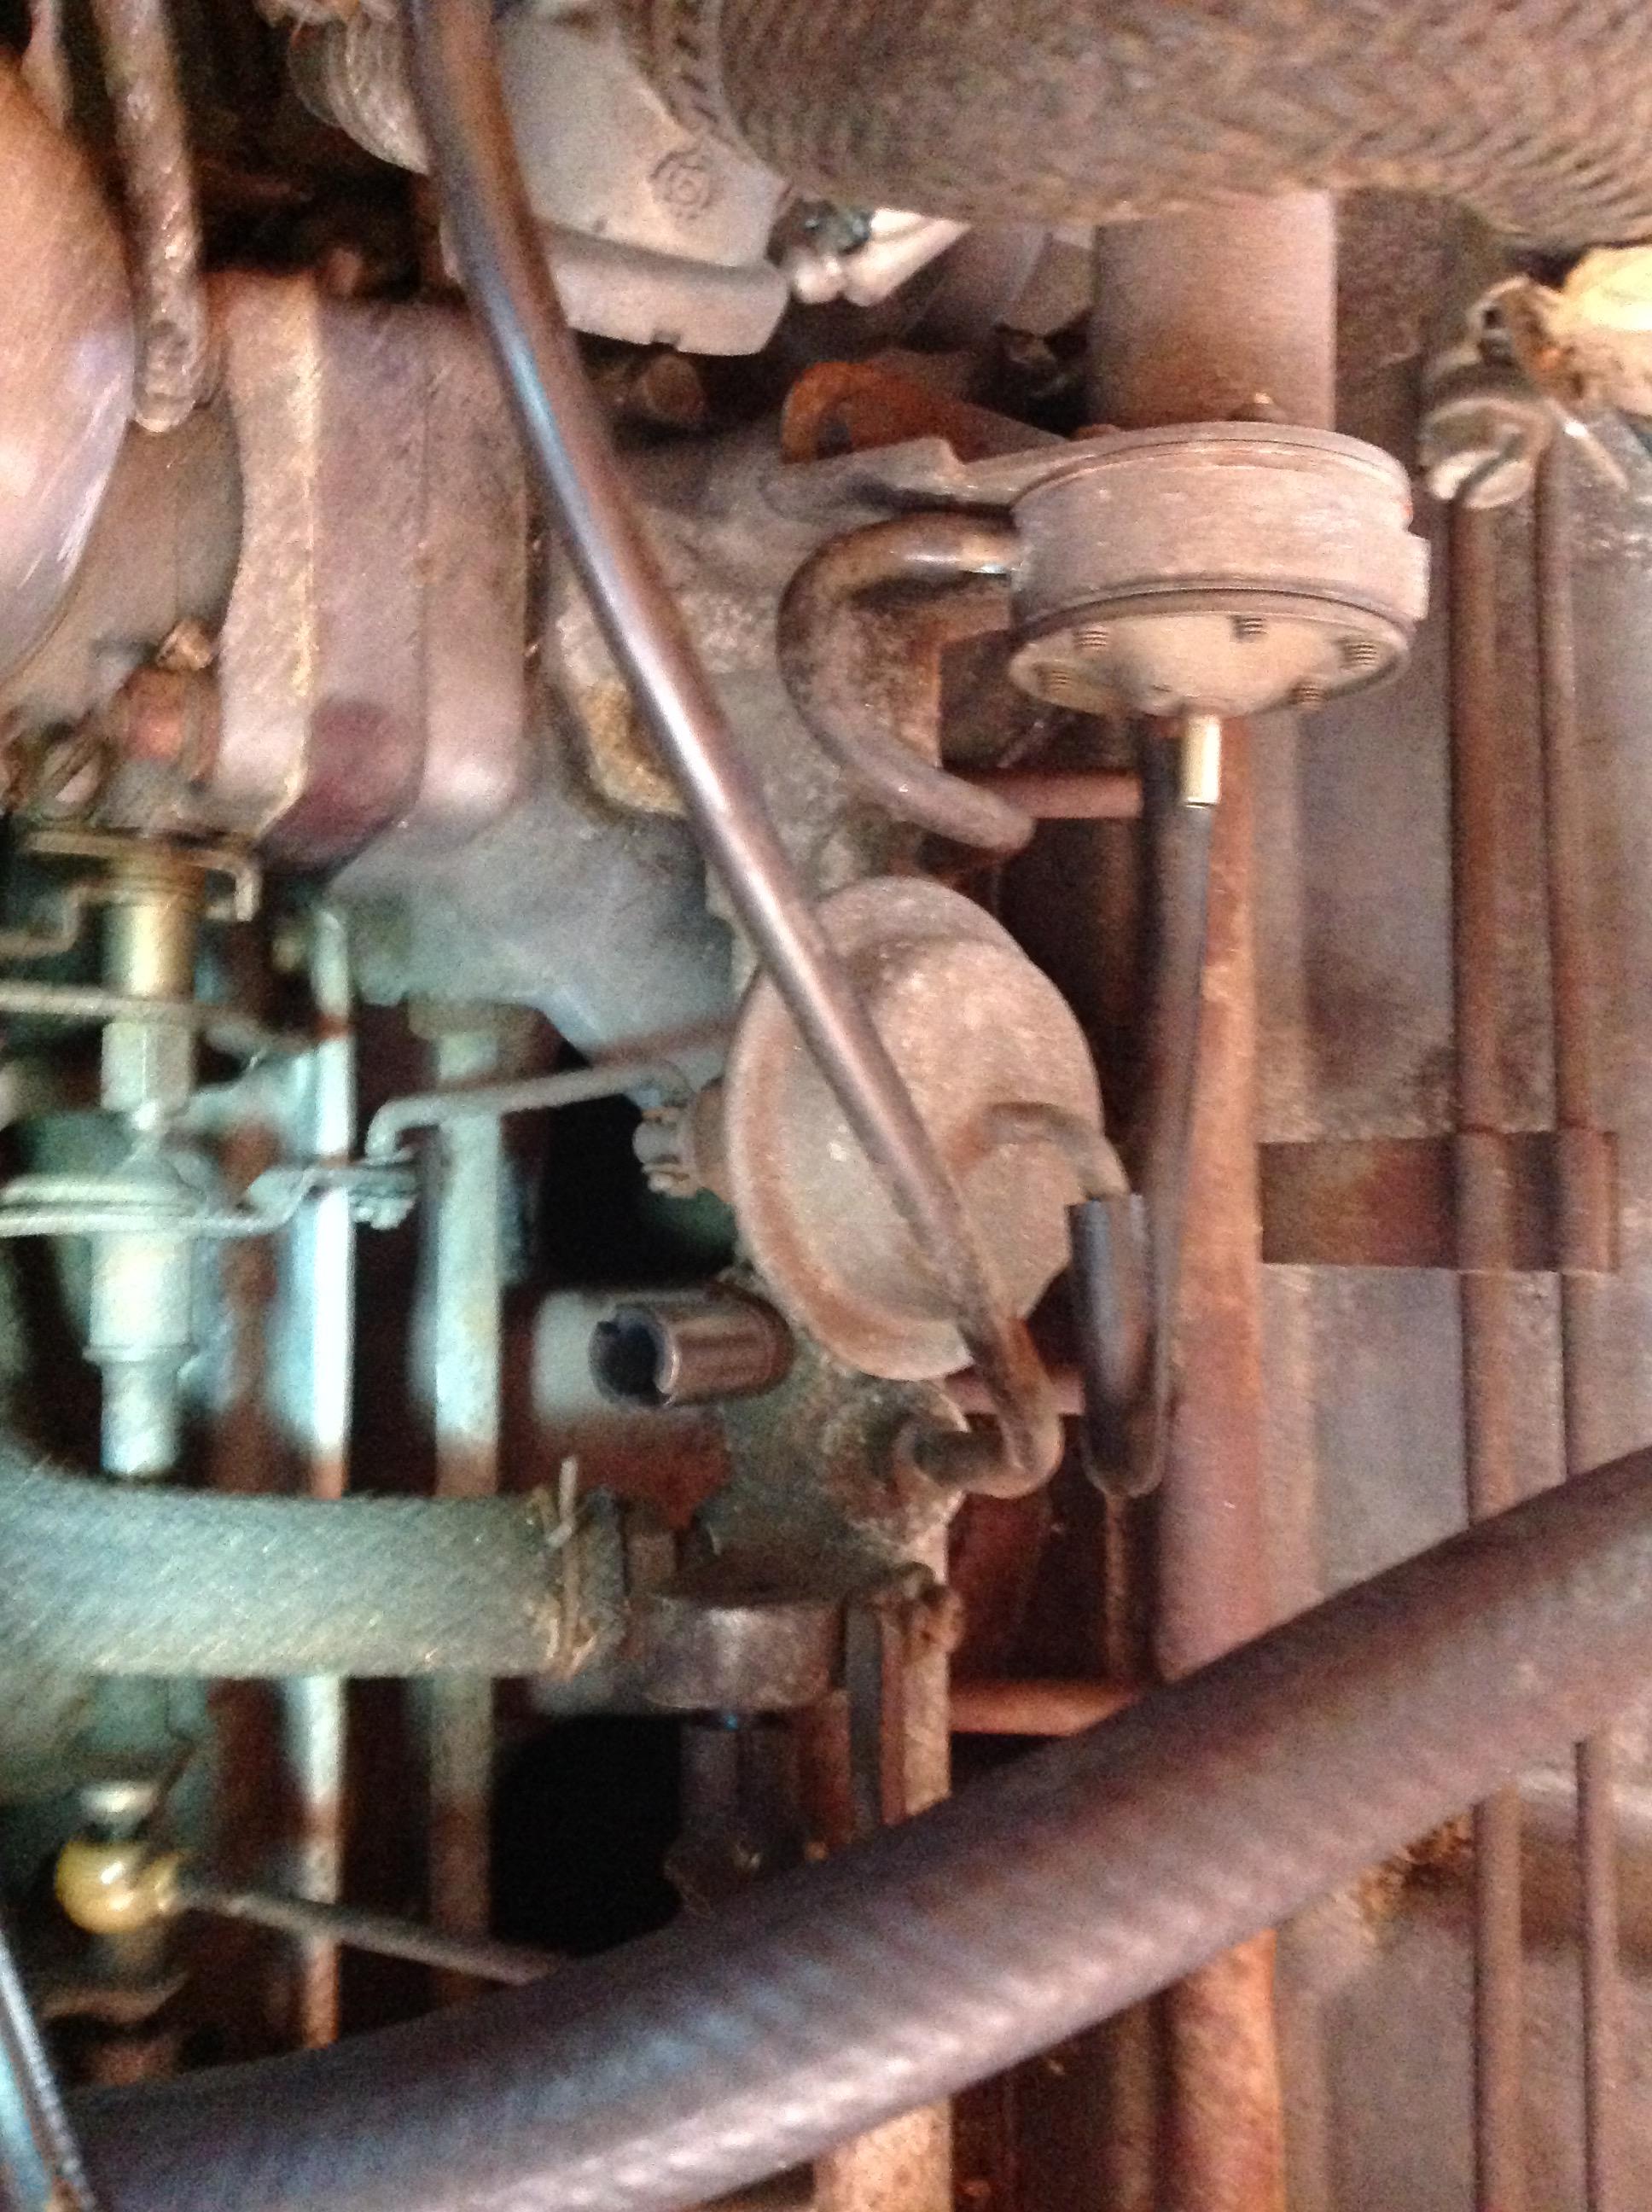
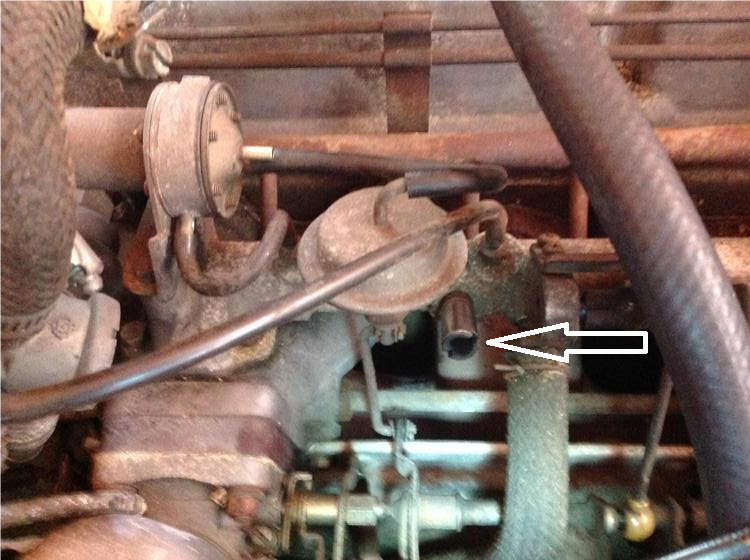
A related question: I have a stock '72 240Z. I've removed the air pump and its 2 hoses in order to simplify & clean up the engine bay. (I retained the factory air filter and plugged the air filter housing where the air pump intake hose was connected. The engine still runs great, but I'm left with the components downstream from the airpump output. I'd like to remove the Check Valve that screws into the Air Galley, and the Anti-Backfire Valve that connects to the Balance Tube. Here are my questions: 1) Is there any downside to doing this? (I care about performance and reliability - not so much originality.) 2) What are folks using with plug the resulting holes on the Air Galley and Balance Tub? (Screws? What size/thread type?) 3). The anti-back fire valve hose connects to the balance tube via a chrome tube with a slotted end. (White arrow in the attached photo). Is this slotted, chrome tube threaded into the balance tube? Is it stock? What's the best way to remove it? Thanks! Jughead
-
Update & follow up questions: I've removed the air pump and its connected hoses. I retained the factory air filter/housing and have have plugged where the air pump hose connects to the air filter housing. I also kept the hose connecting the air filter housing to the rocker cover. The engine still runs great. So far so good. So, now I'd like to clean up the orphaned air pump output connections. Questions: 1). Can I remove the Check Valve and plug the hole without affecting anything? 2) Can I remove the Anti-Backfire valve and plug the hole with out aff Ching anything? 3). The anti-back fire valve hose connects to the balance tube via a chrome tube with a slotted end. (It's shown in the center of the photo just under the linkage diaphragm.) Is this slotted chrome tube threaded into the balance tube? What's the best way to remove it? What type of screw should I plug it with (size, length, thread type.)? Thanks! Jughead

-
I'm curious about where the diagram came from. Is the whole document available on line anywhere?
-
Thanks guys and thanks for the great diagram. This picture is worth a million words. i guess i'm shocked that the engine bay frame rails are not more integrated since they carry all that weight. How can that be? Am I alone in pondering this?! I'm obviously spending way too much time under my 240!
-
Greeting fellow Zed heads. Can anyone tell me how S30 frames were attached to the unibody in the factory? Were they integrated inside of the unibody pieces, or simply welded on after the fact? I've looked at a ton of pictures and search the forums, and I can't find any info. Does anyone know?