Patcon
 Subscriber
-
Joined
-
Last visited
Everything posted by Patcon
-
 Will be interesting to see what you receive
 -
That's a rowdy sounding Tiger!!
-
Any pointers for the leather interior? I am about to start this same work
-
Actually I dont believe the factory panels were perfect off the line. With 50+ years of wear we have no idea if the panels still have the factory shape. I reshaped my doors. It's buried somewhere in my build thread. If the front edge lines up with the fender properly and one of the rear corners of the door sits proud. It's the only way to make it line up. It's really not hard to do
-
The doors can be warped by hand if necessary
-
All of the suspension bushings need to tightened after the suspension has settled. Otherwise they will add lift.
-
I may go that way in the future, once I get some other projects out of the way
-
Well I would guess that if the painted part of the door aligns well then you could loosen the stainless frame and tip it in to preload it, so that it crushes the seal more. Or as a final step you could bend the frame in some more but you'd have to be careful doing that
-
Yes, I have seen these but was always unsure which locations actually needed them
-
-
Great pictures! Those help a lot. I am probably going to buy all new interior pieces from Resurrected classics so they all match. That will include a new hatch panel with flaps. I had also figured I would need to seal all that up really well
-
That's good. They won't hold up well raw like that. Oiled might help but I hate to oil things I want to plate later. Knowing you will avoid rain will also help
-
How did you treat the washer arms in the transmission after blasting them?
-
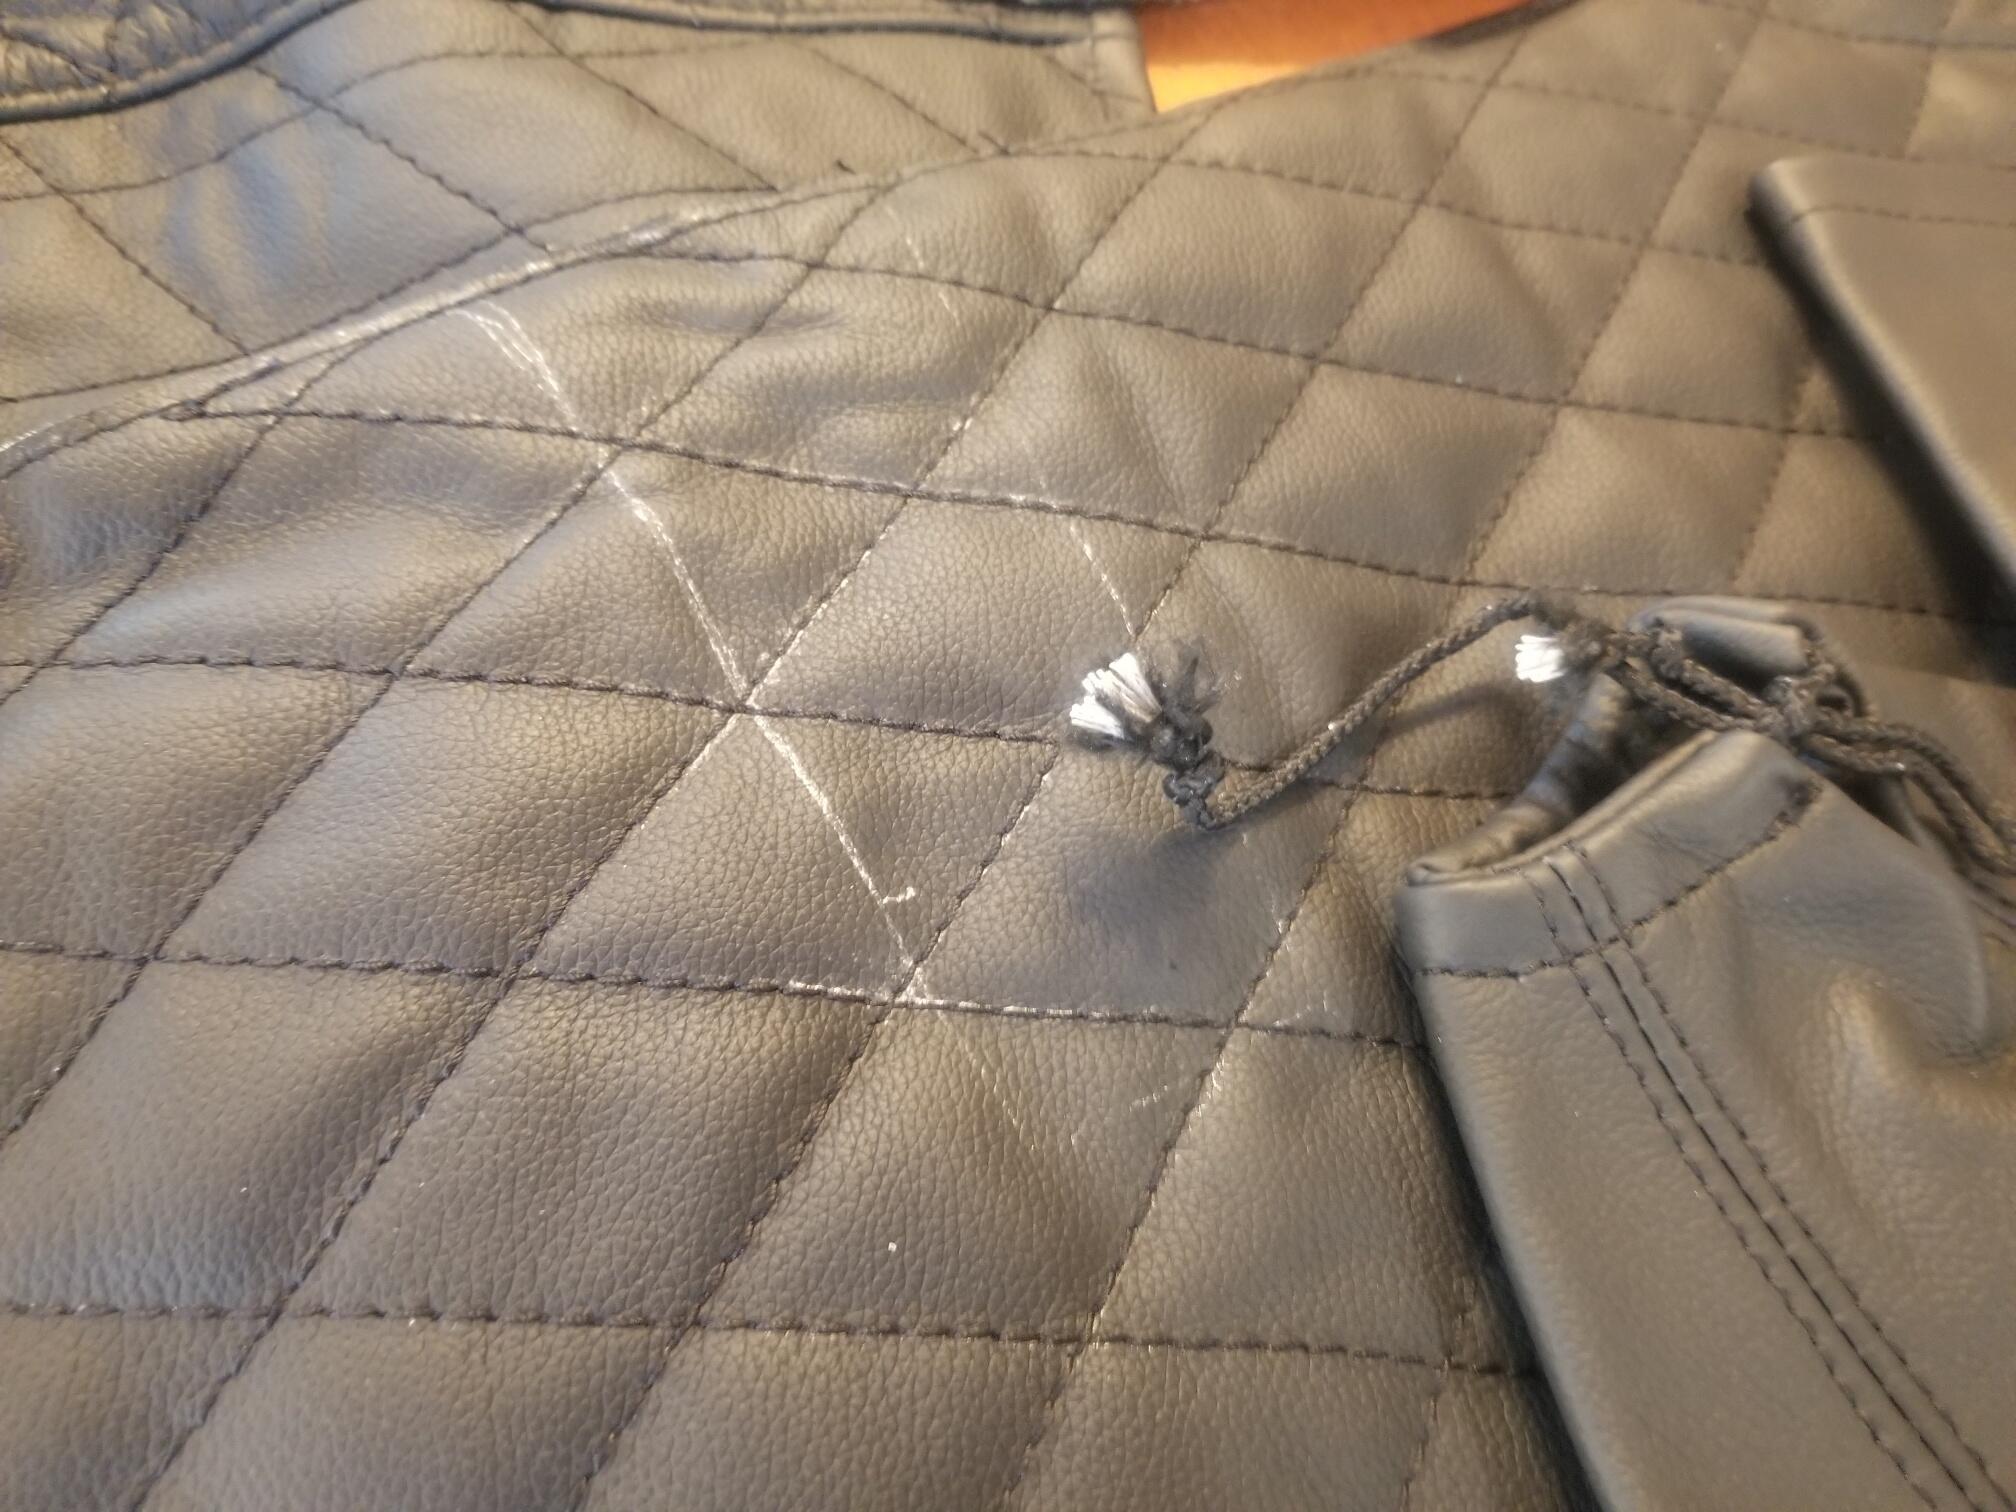
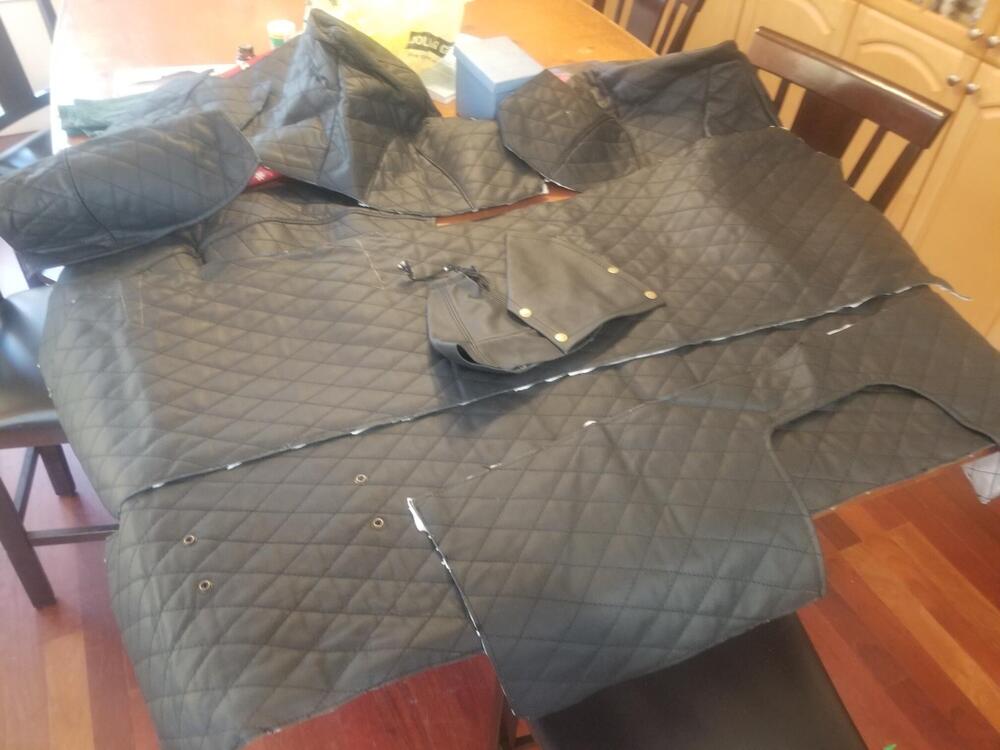
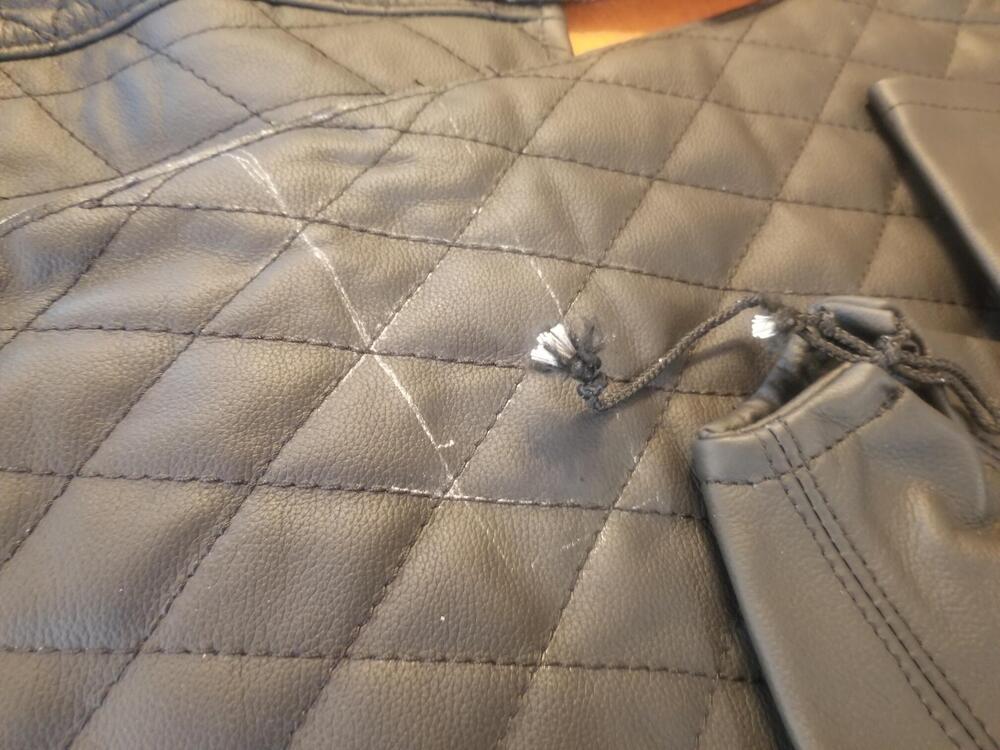
Yarb, here it is 😉 Package wasn't very big but it seems to all be there. I haven't looked to see if the patterns all run the same way the factory pieces do. Won't have time to check it this weekend. There are some white marks on the tunnel trim pieces. Some kind of pencil or grease marker. I will update once I get those off
-
I just read all eight pages of this thread. I had forgotten about... Lots of good info! It looks like Steve at 240zrubberparts might make those pieces although they don't show on his website. I will see what I receive from the ebay listing and then go from there I received new hatch vent finish grills from Resurrected Classics. They look very good and were reasonably priced. They also included barrel clips for locking them into the spring slips
-
Thanks @Namerow @CanTechZ Part #12 90827-e4100 doesn't even come up at Courtesy as a good part number. I can't find that part on carpartsmanual to see if the number is different. It's an interesting dilemma I am pretty confident I don't have any pieces like that unless they're still stuck inside the hatch...
-
-
I agree ^^^^ In your position I would buy a strut and move on. Chalk it up to "tuition"; the cost of learning
-
Hopefully that does the trick
-
 Will be interesting to see where they finish from there. Do you buy them directly or are you using a broker for purchases out of Japan?
 -
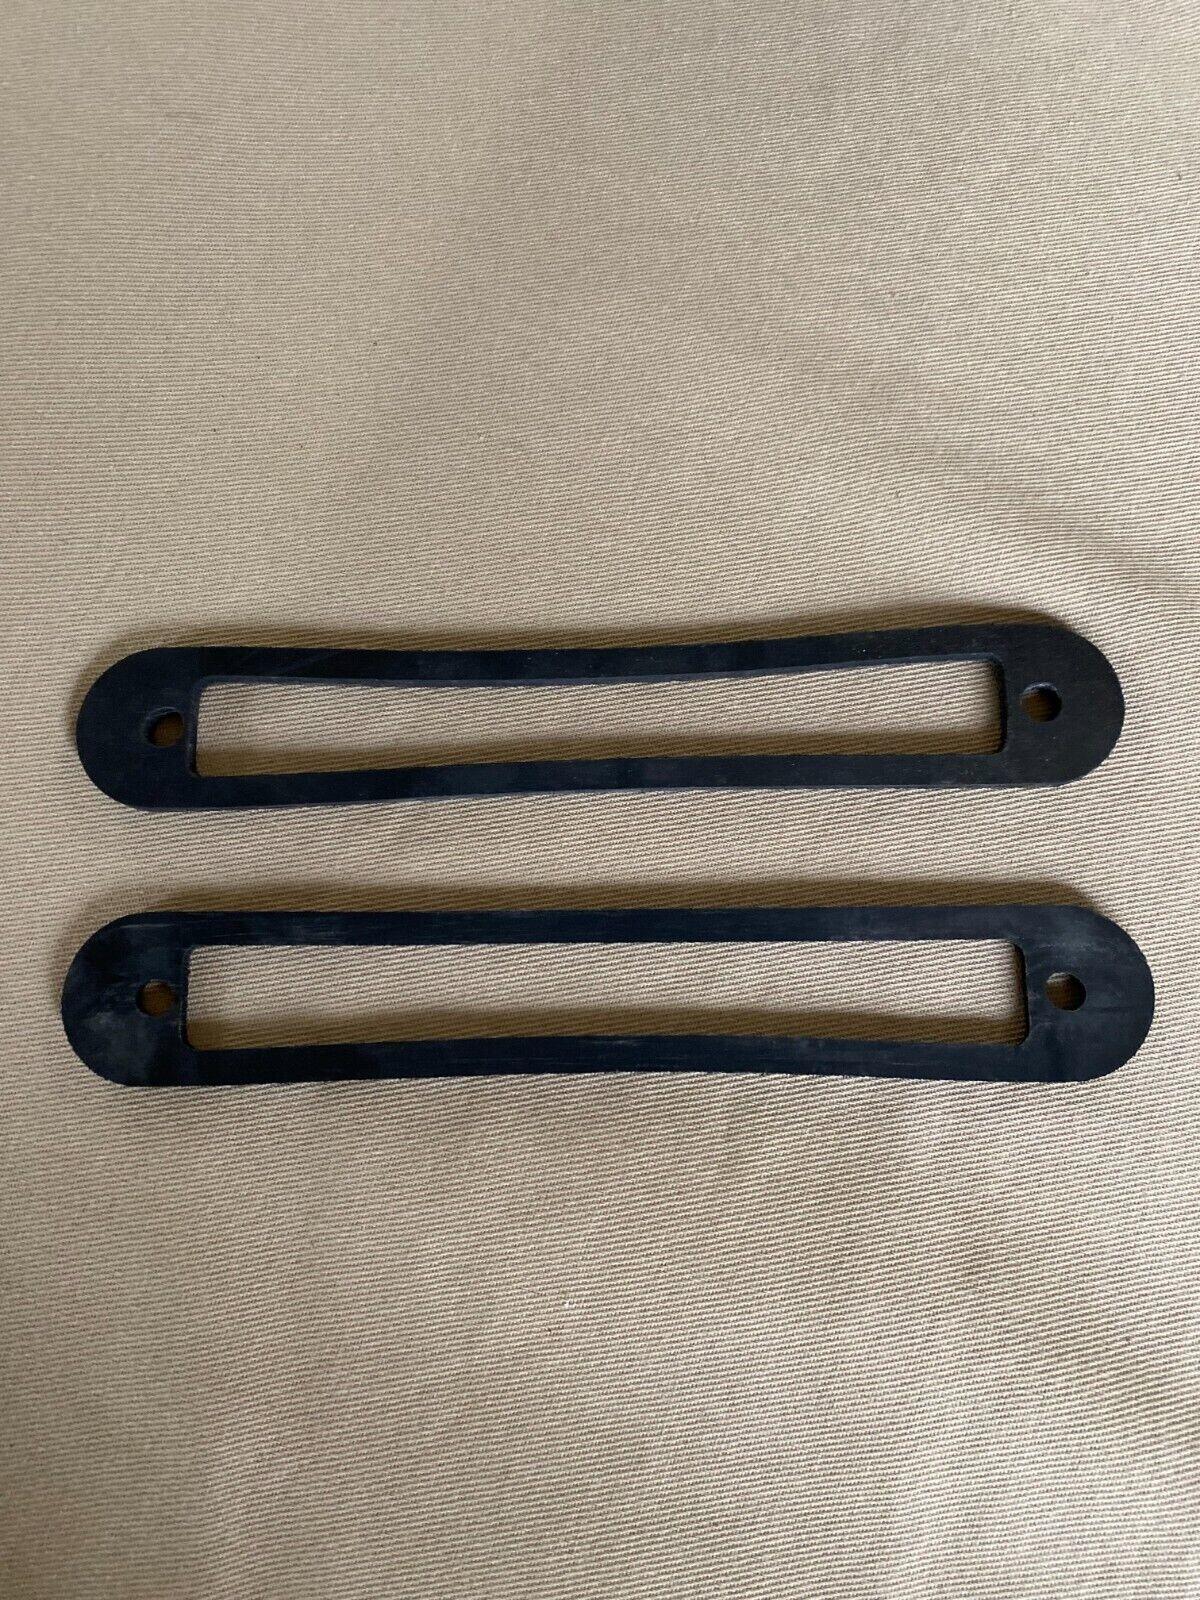
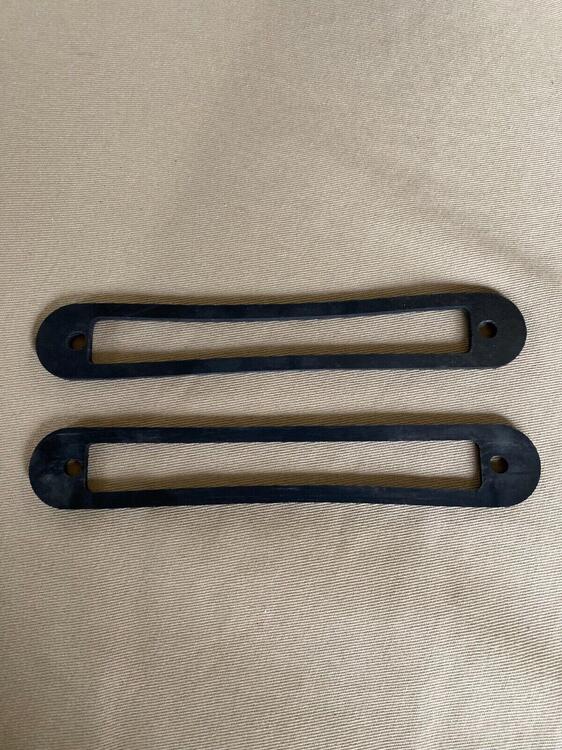
Ok, so now I'm a little confused... No, I don't believe I have those but I did order these https://www.ebay.com/itm/275798283202 Edit: Evidently Jim Frederick is the ebay seller "My name is Jim Frederick and I live in Lutz, FL just outside Tampa. I am a 240z enthusiast and collector/restorer of low vin number 1969 production date cars. I have a 2400 sq ft a/c garage nicknamed Z Mecca that houses my collection of 240z cars." I don't know that they will have the lip? Also yours seem to have spring clips for accepting screws on them. How would screws be used? I was thinking it went like this: The plenum (#55) goes inside the hatch with the little accordion drains attached to the bottom of the hatch panel. Then the gaskets #65 go between the plenum and the inside face of the upper hatch panel. Then stainless clips get snapped over all three of these. The lower face of the clip inside the plenum. The upper face on the outside painted surface of the hatch. Then the decorative vents with barrel clips get snapped into the reproduction stainless clips Is this correct or is there another step?
-
Part of my thought process was, if there is an internal flaw in the latch, swapping them would reveal that. If the condition is the same then I might swap the male part of the latch from the 240. If I still have the problem then I would start trying to think outside the box. Might leave the latch slightly loose and see if it's an adjustment issue. There is some play in all four bolts for adjustment
-
Looks good. Those are nice tools to have. The floor pans look to have an excellent fit!
-
I don't see how you could lose 2 tenths in the latch mount. That kind of damage should be pretty obvious. You could try just switching the female latches between cars and see if that helps?
-
@Namerow What is the black plastic part in the second picture? Is that the remnants of the original black piece or something else?