


Patcon
 Subscriber
-
Joined
-
Last visited
Everything posted by Patcon
-
 "the hardware" mostly refers to fasteners and it does include some smaller meal pieces. I have done no work on any chromed pieces. I don't know that I know which pieces are supposed to be black zinc. Although I have a fuel filter holder that I believe has been refinished by a vendor in black zinc. I have up to this point done all of my hardware refinishing on the car I am currently working on. All of which has been yellow zinc and blue zinc, which are both chromate finishes. This question has really surfaced for me due to some health issues that I am trying to run down. If there is cadmium on the car it will dramatically change how I process parts
 -
To make the lip you were asking about earlier, you really need a metal brake. Then you brake the edge up for the seal lip and it stiffens the panel. You can weld a lip on, but it's tedious and easily warped. If I were going to weld one on. I would make it oversized and then cut it down to the right size along a scribed line, so it's straight
-
That may be where I end up eventually.
-
Chris or Alan do either of you have any insight on this? @26th-Z @HS30-H
-
The rebuild kit I am using was $75 from Harmon Brakes in GA off Ebay. I thought about having him rebuild it and I may do that on the next one, but this way I can replate all the hardware inside and out first and treat the rust inside the shell and paint it. If I have him do one, I will break it down for him and plate all the pieces first. Then send it to him for reassembly. Whether that happens will greatly depend on if I have a working booster at the end of this process
-
Are you trying to recreate the top panel, that is available, or the panel underneath it? It's not quite clear?
-
Thanks, I struggle to plate larger parts. I do fine on bolts and such, but it is difficult to get good plating on larger or odd shaped parts. There is a plater that is not too far away I may talk to
-
Rich, The dash looks great! On another topic, when you get all that hardware plated. How do you prevent it from rusting? I thought what you did was de-grease it and strip it. Then you take it to get plated. It seems like it would be prone to rusting while it is waiting to go to the plater.
-
Those look good. It's an idle issue apparently. I wonder if voltage at idle might be contributing to this. IE weaker spark due to starting with a lower voltage? This might also be due to a spotty wire or wire connection like Mark suspects. Would reducing the spark gap slightly be a bad idea? Less resistance to sparking that way...
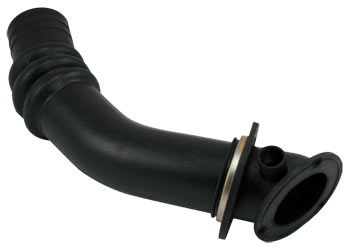
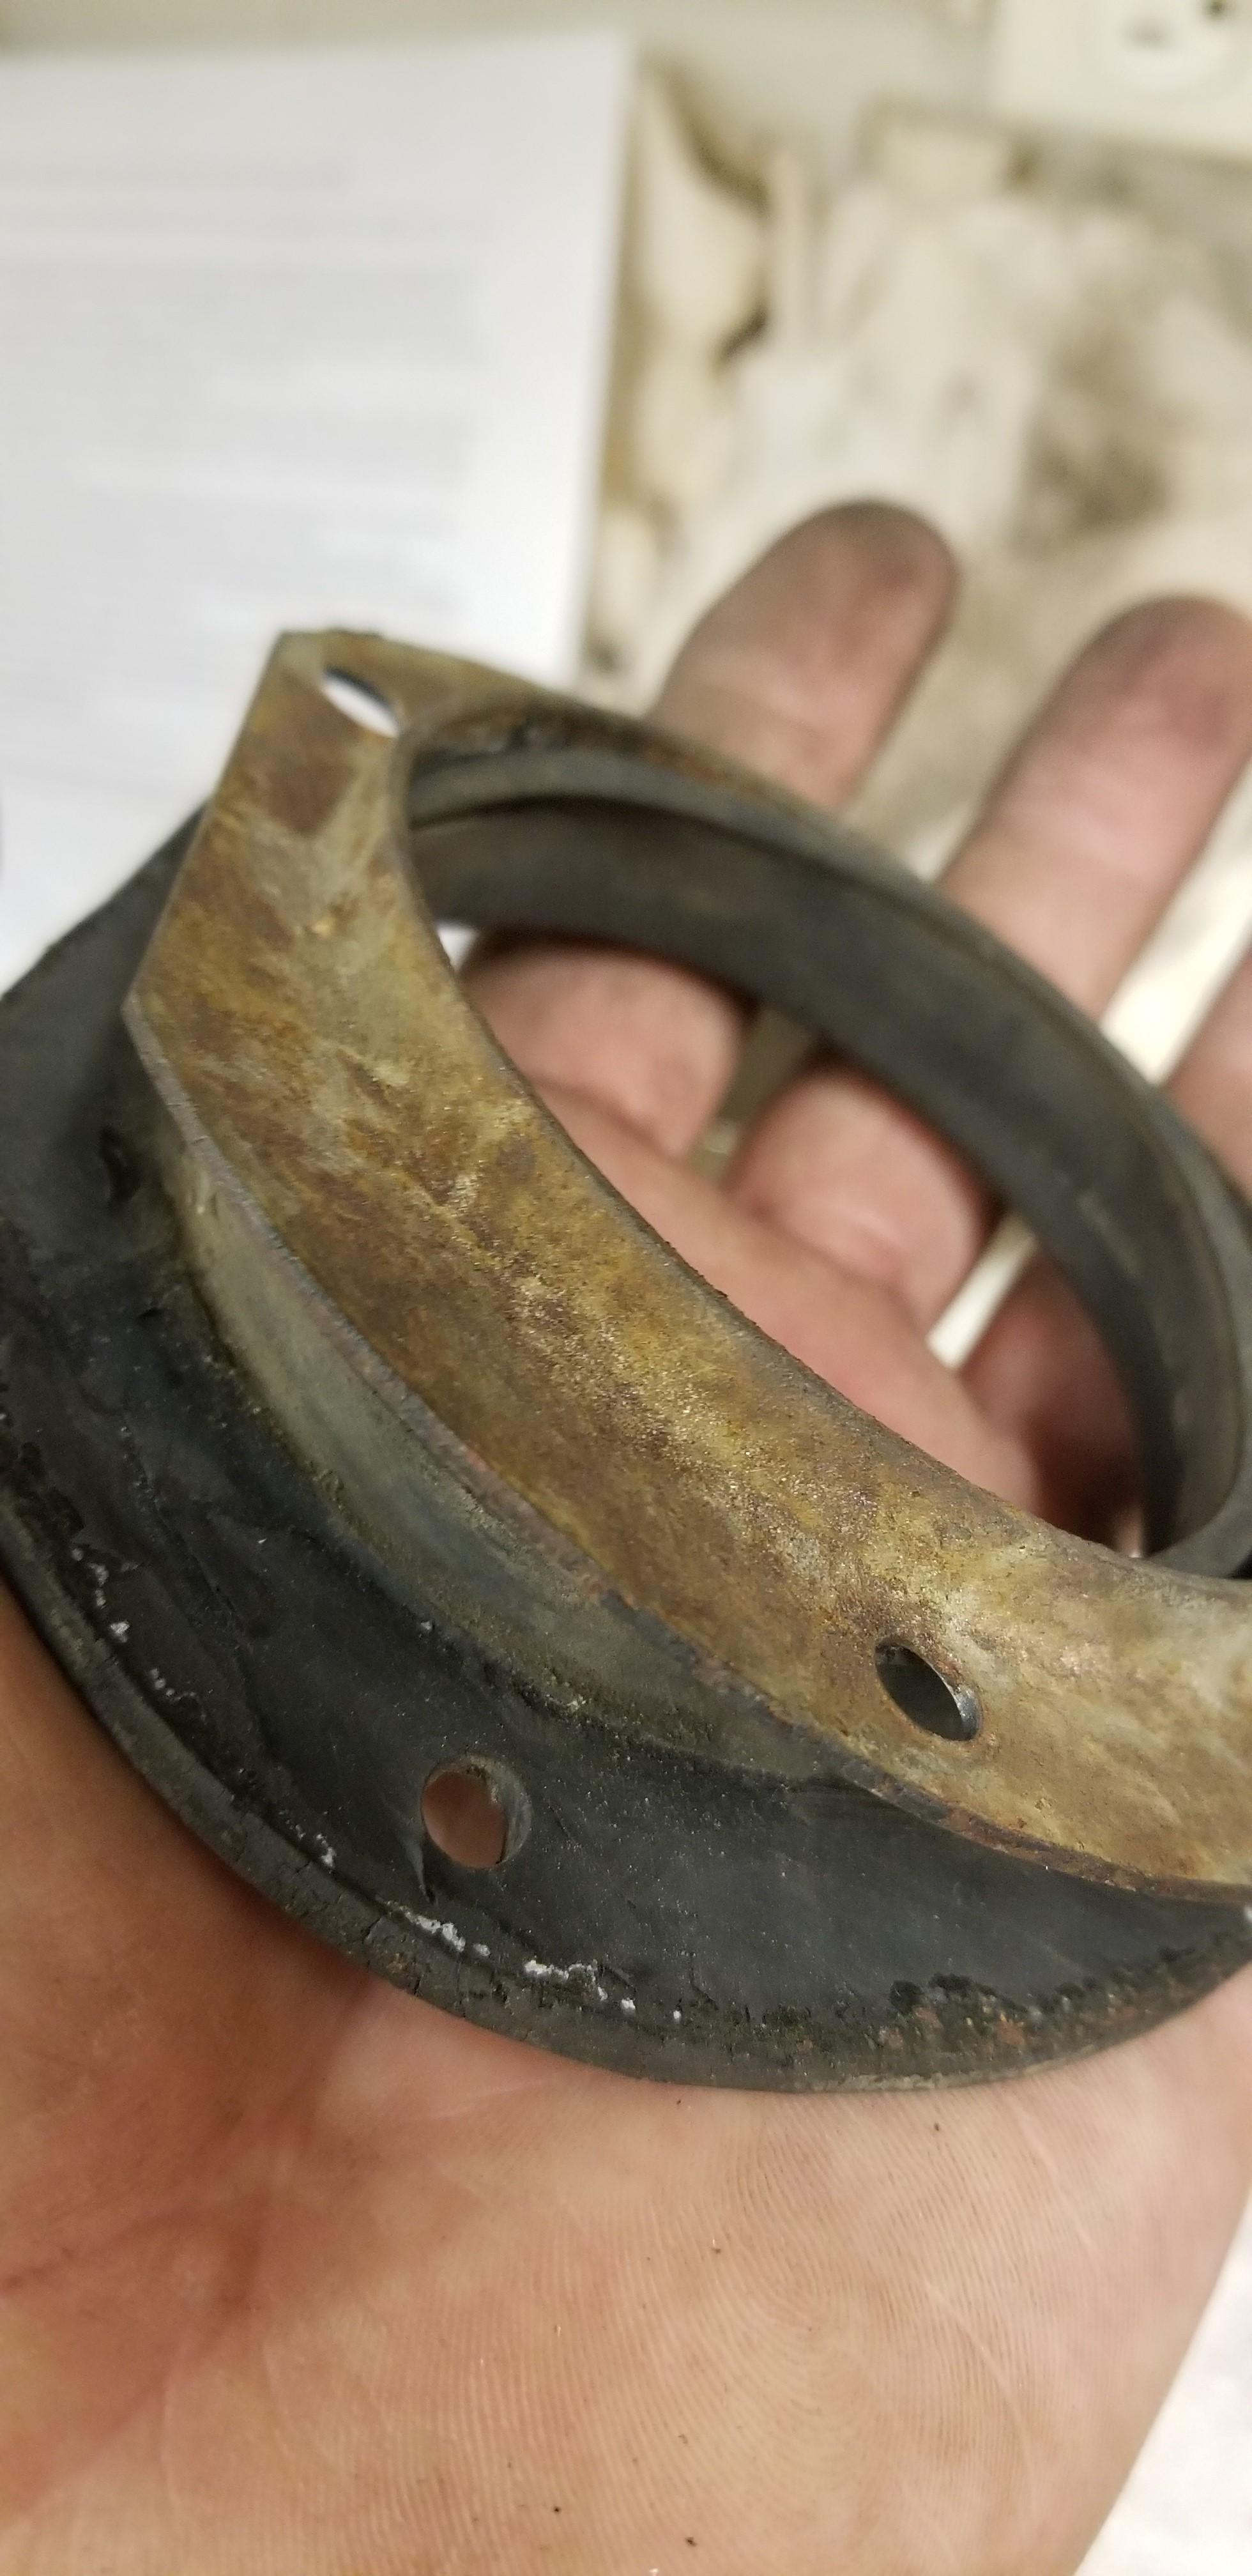
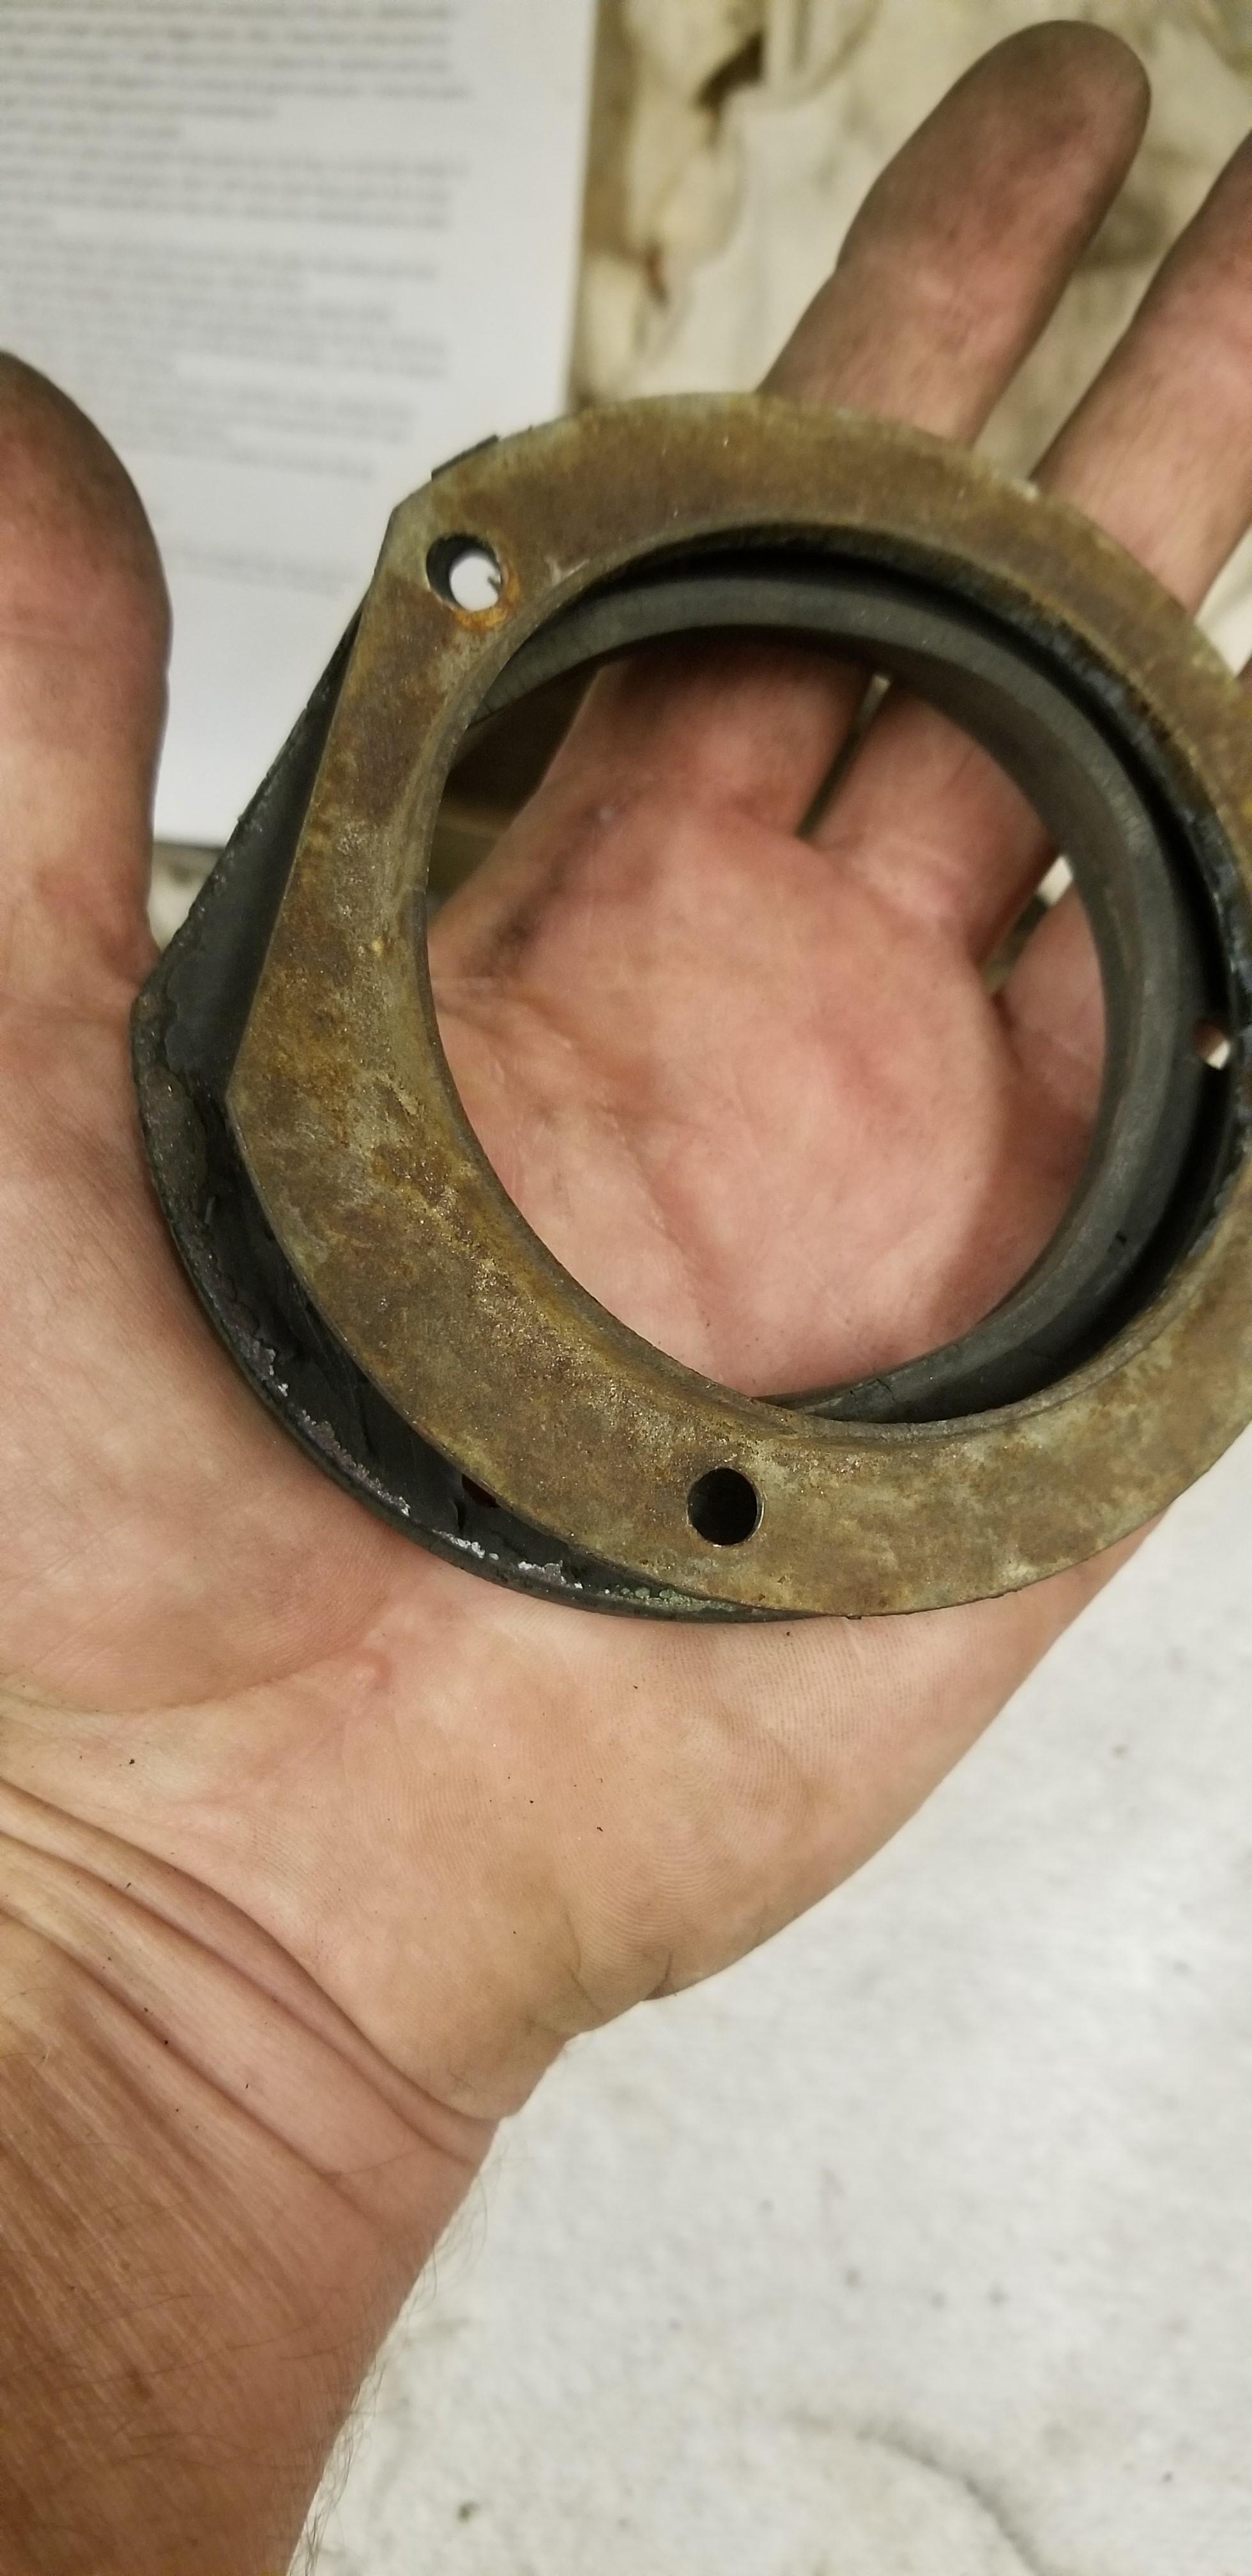
I keep finding things that I have misplaced. It's really frustrating! I was looking for the ring that goes on the filler neck. Like this I probably have 3 of them here, but I can't find any of them. So I had a 280z filler neck and I was able to get that off the 280z filler neck. They appear to be the same and the holes in the chassis line up. The rubber is evidently bonded to the metal plate. I took a razor blade and separated them I would like to find one in better condition, but I suspect most of these are dry rotted in a similar fashion to what I have. The rubber portion doesn't look very good but I will reattached it with some black silicone. I plated the metal plate. Now it's ready to reassemble Overall a decent weekend. I also started blocking the car. Hey @Home Built by Jeff you wanna come help???


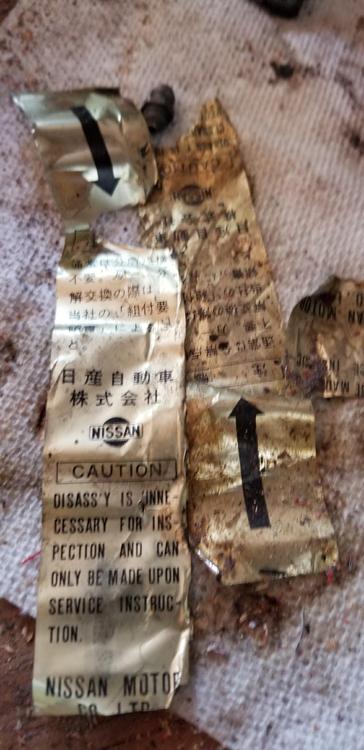
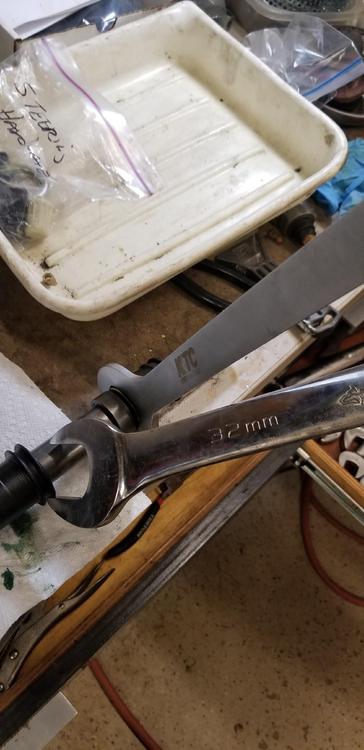
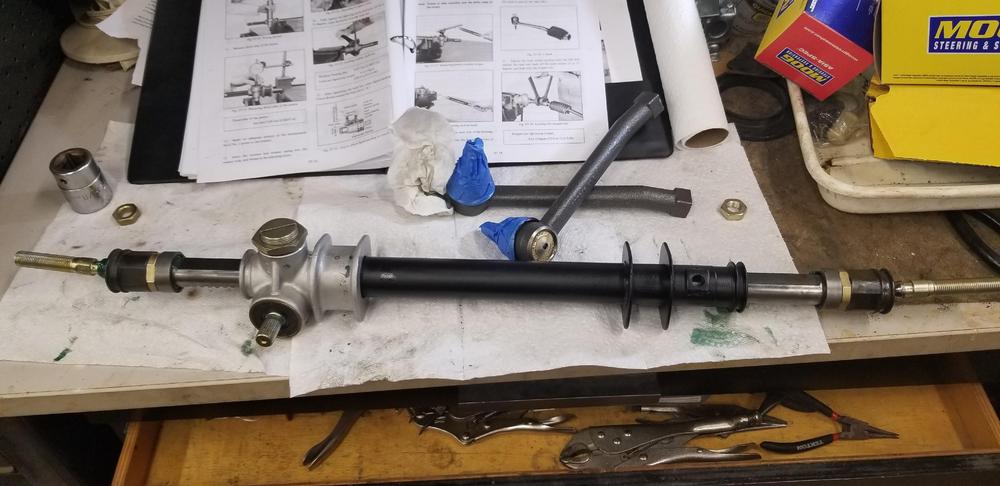
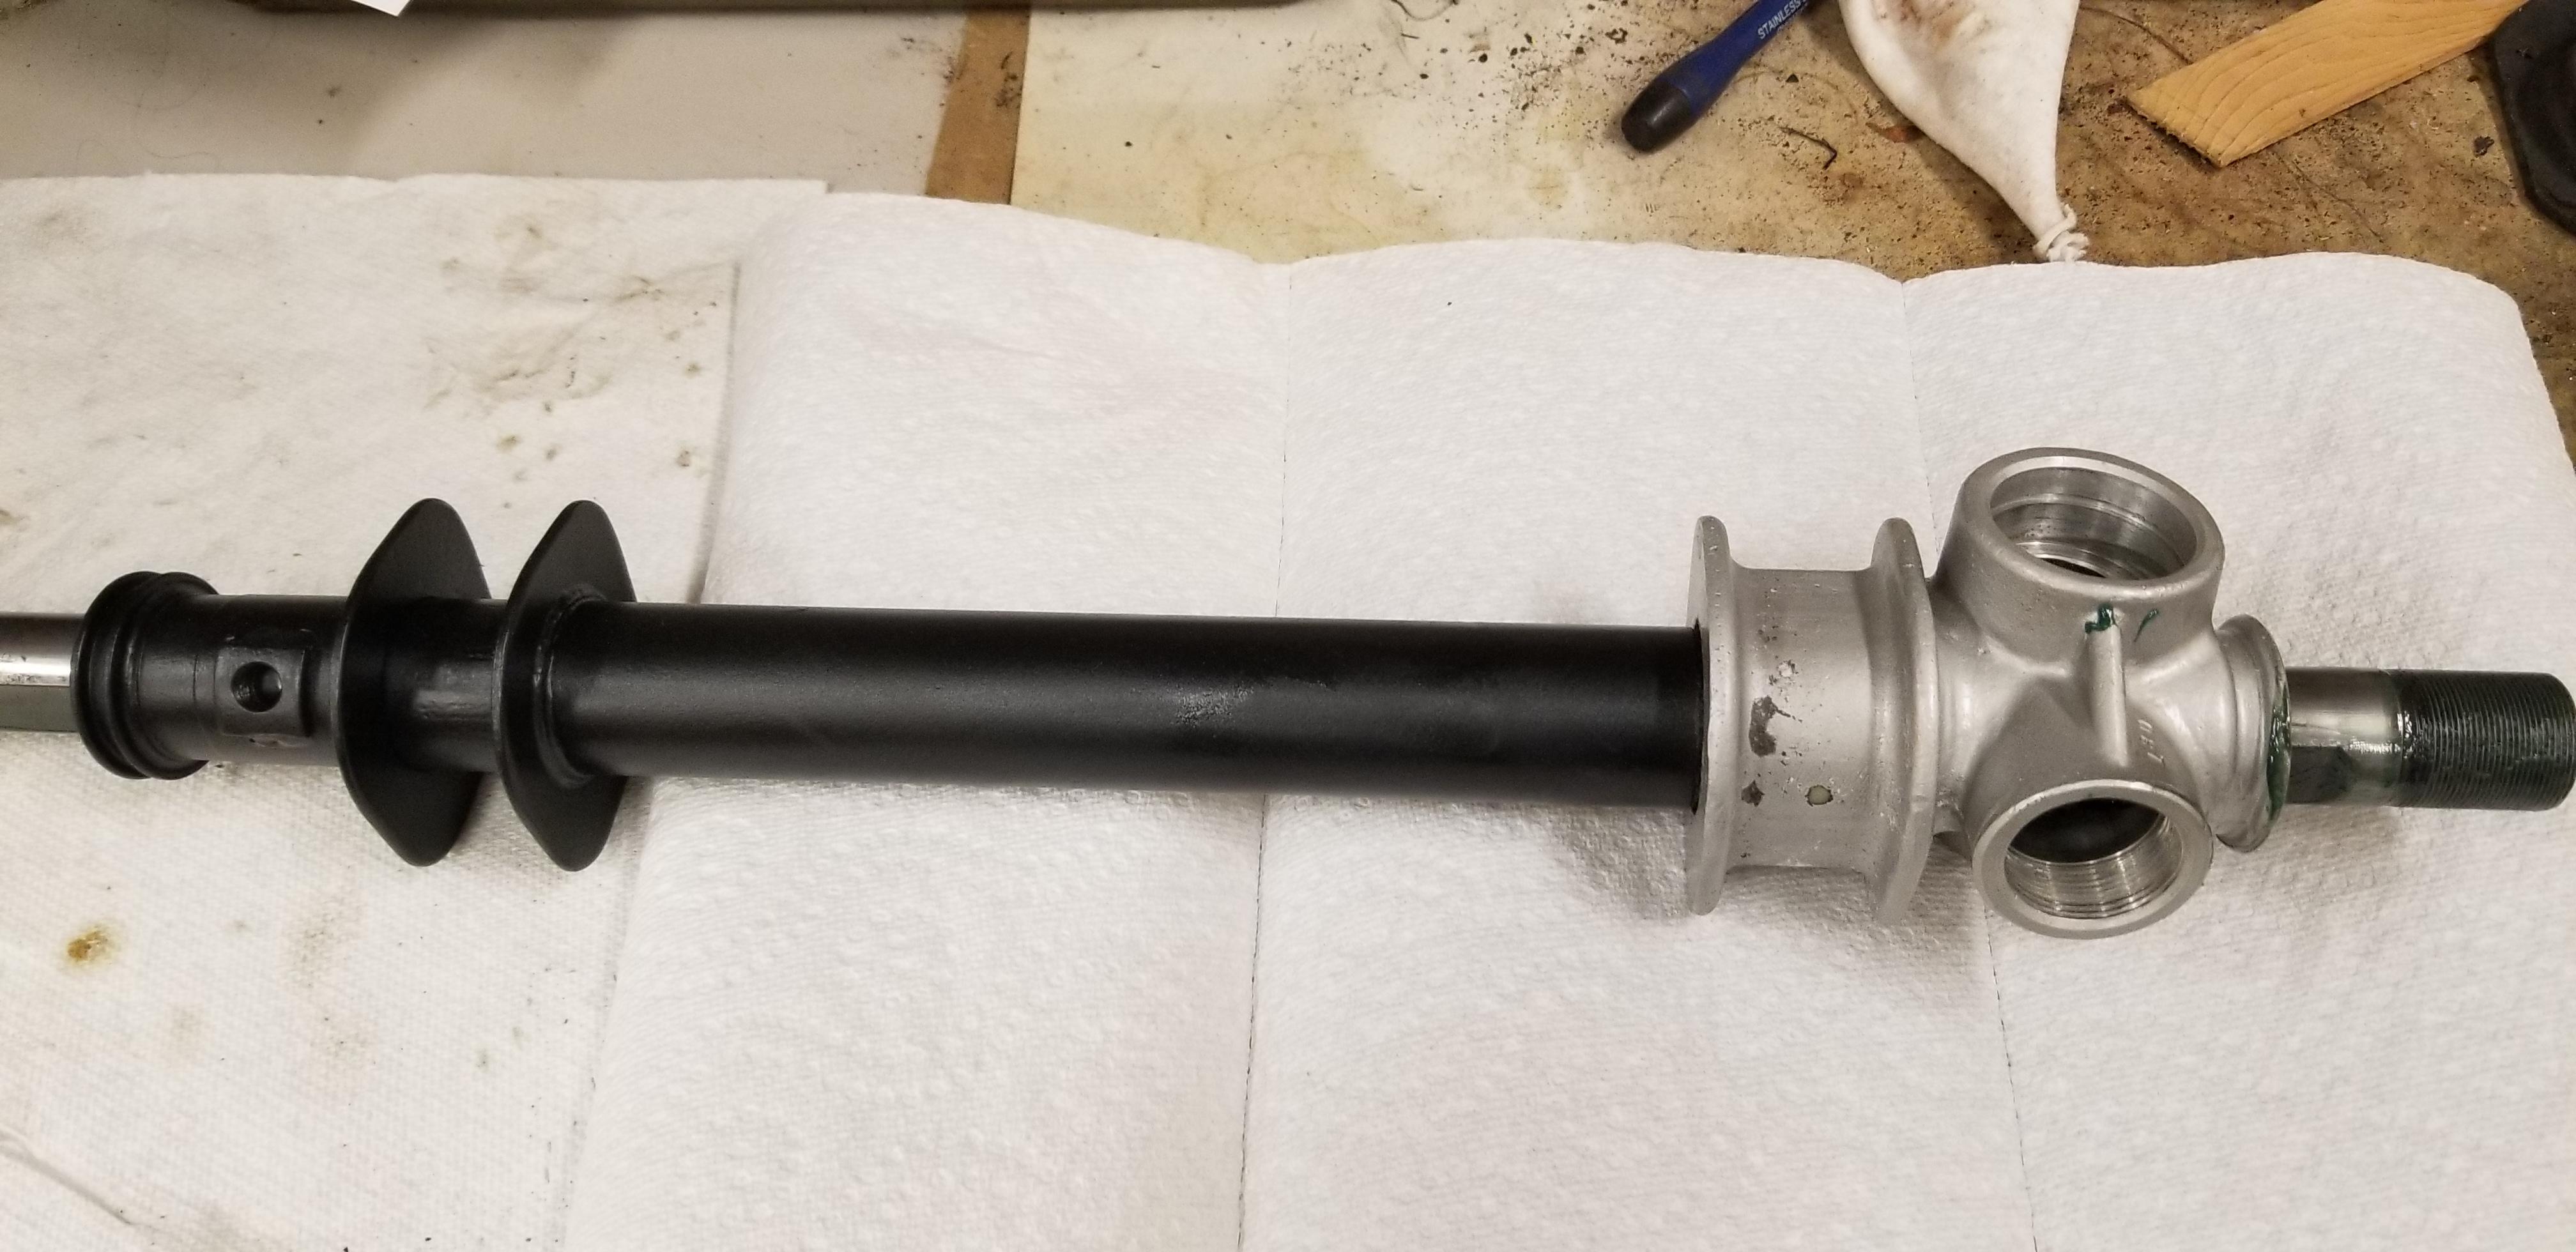
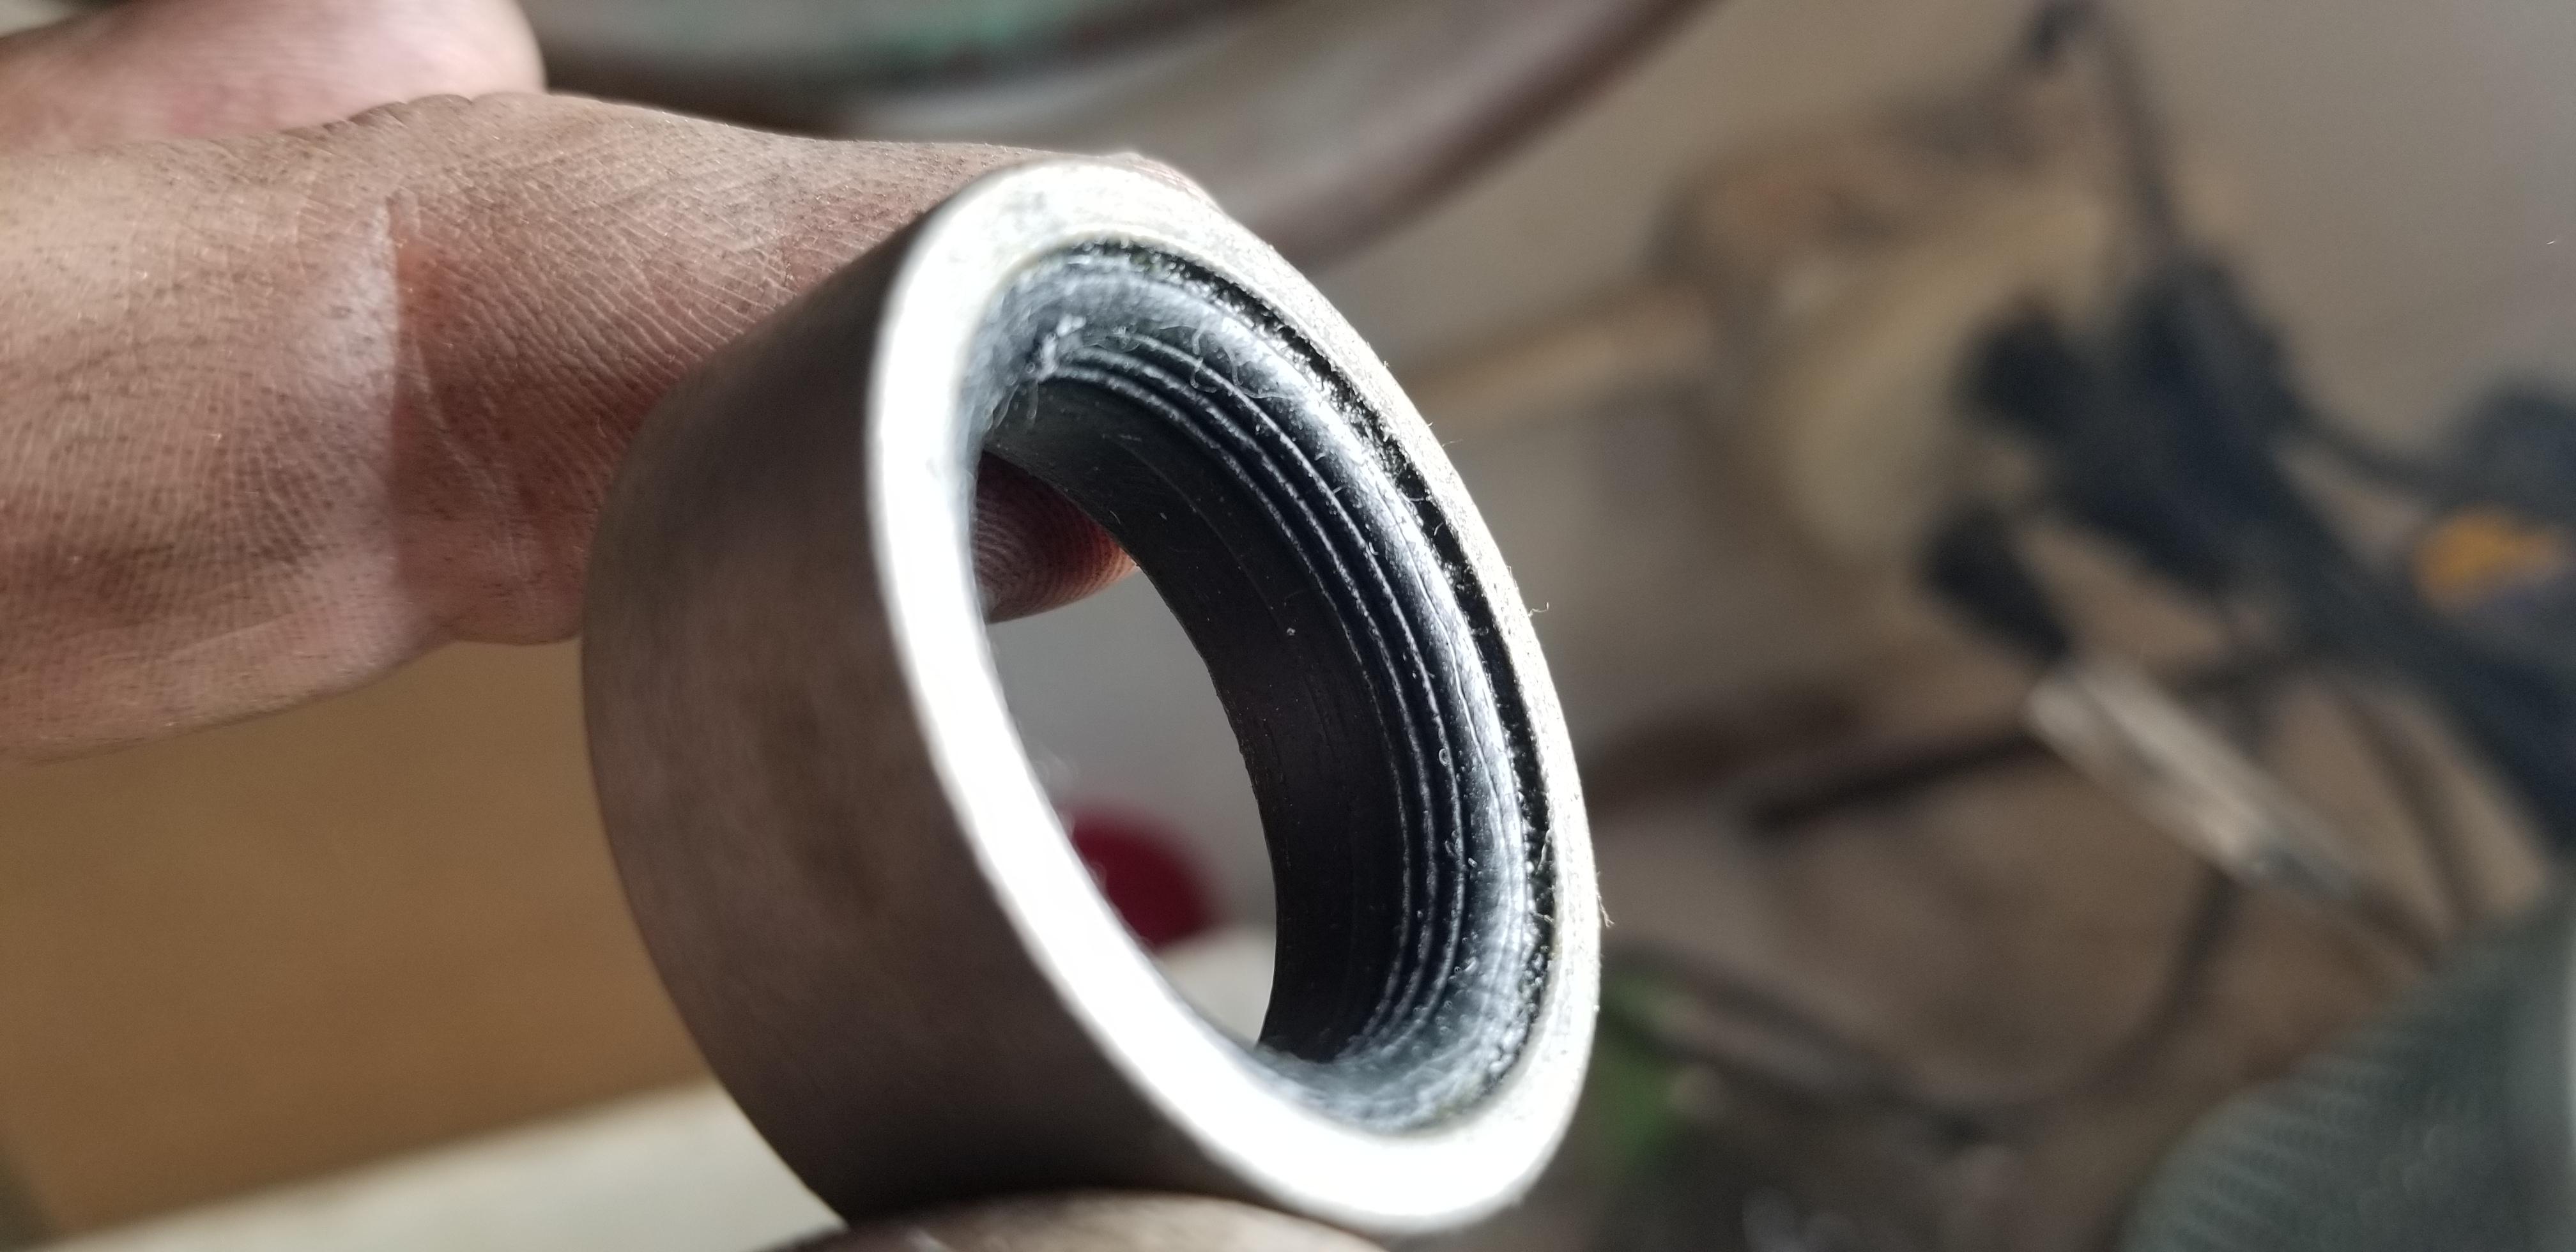
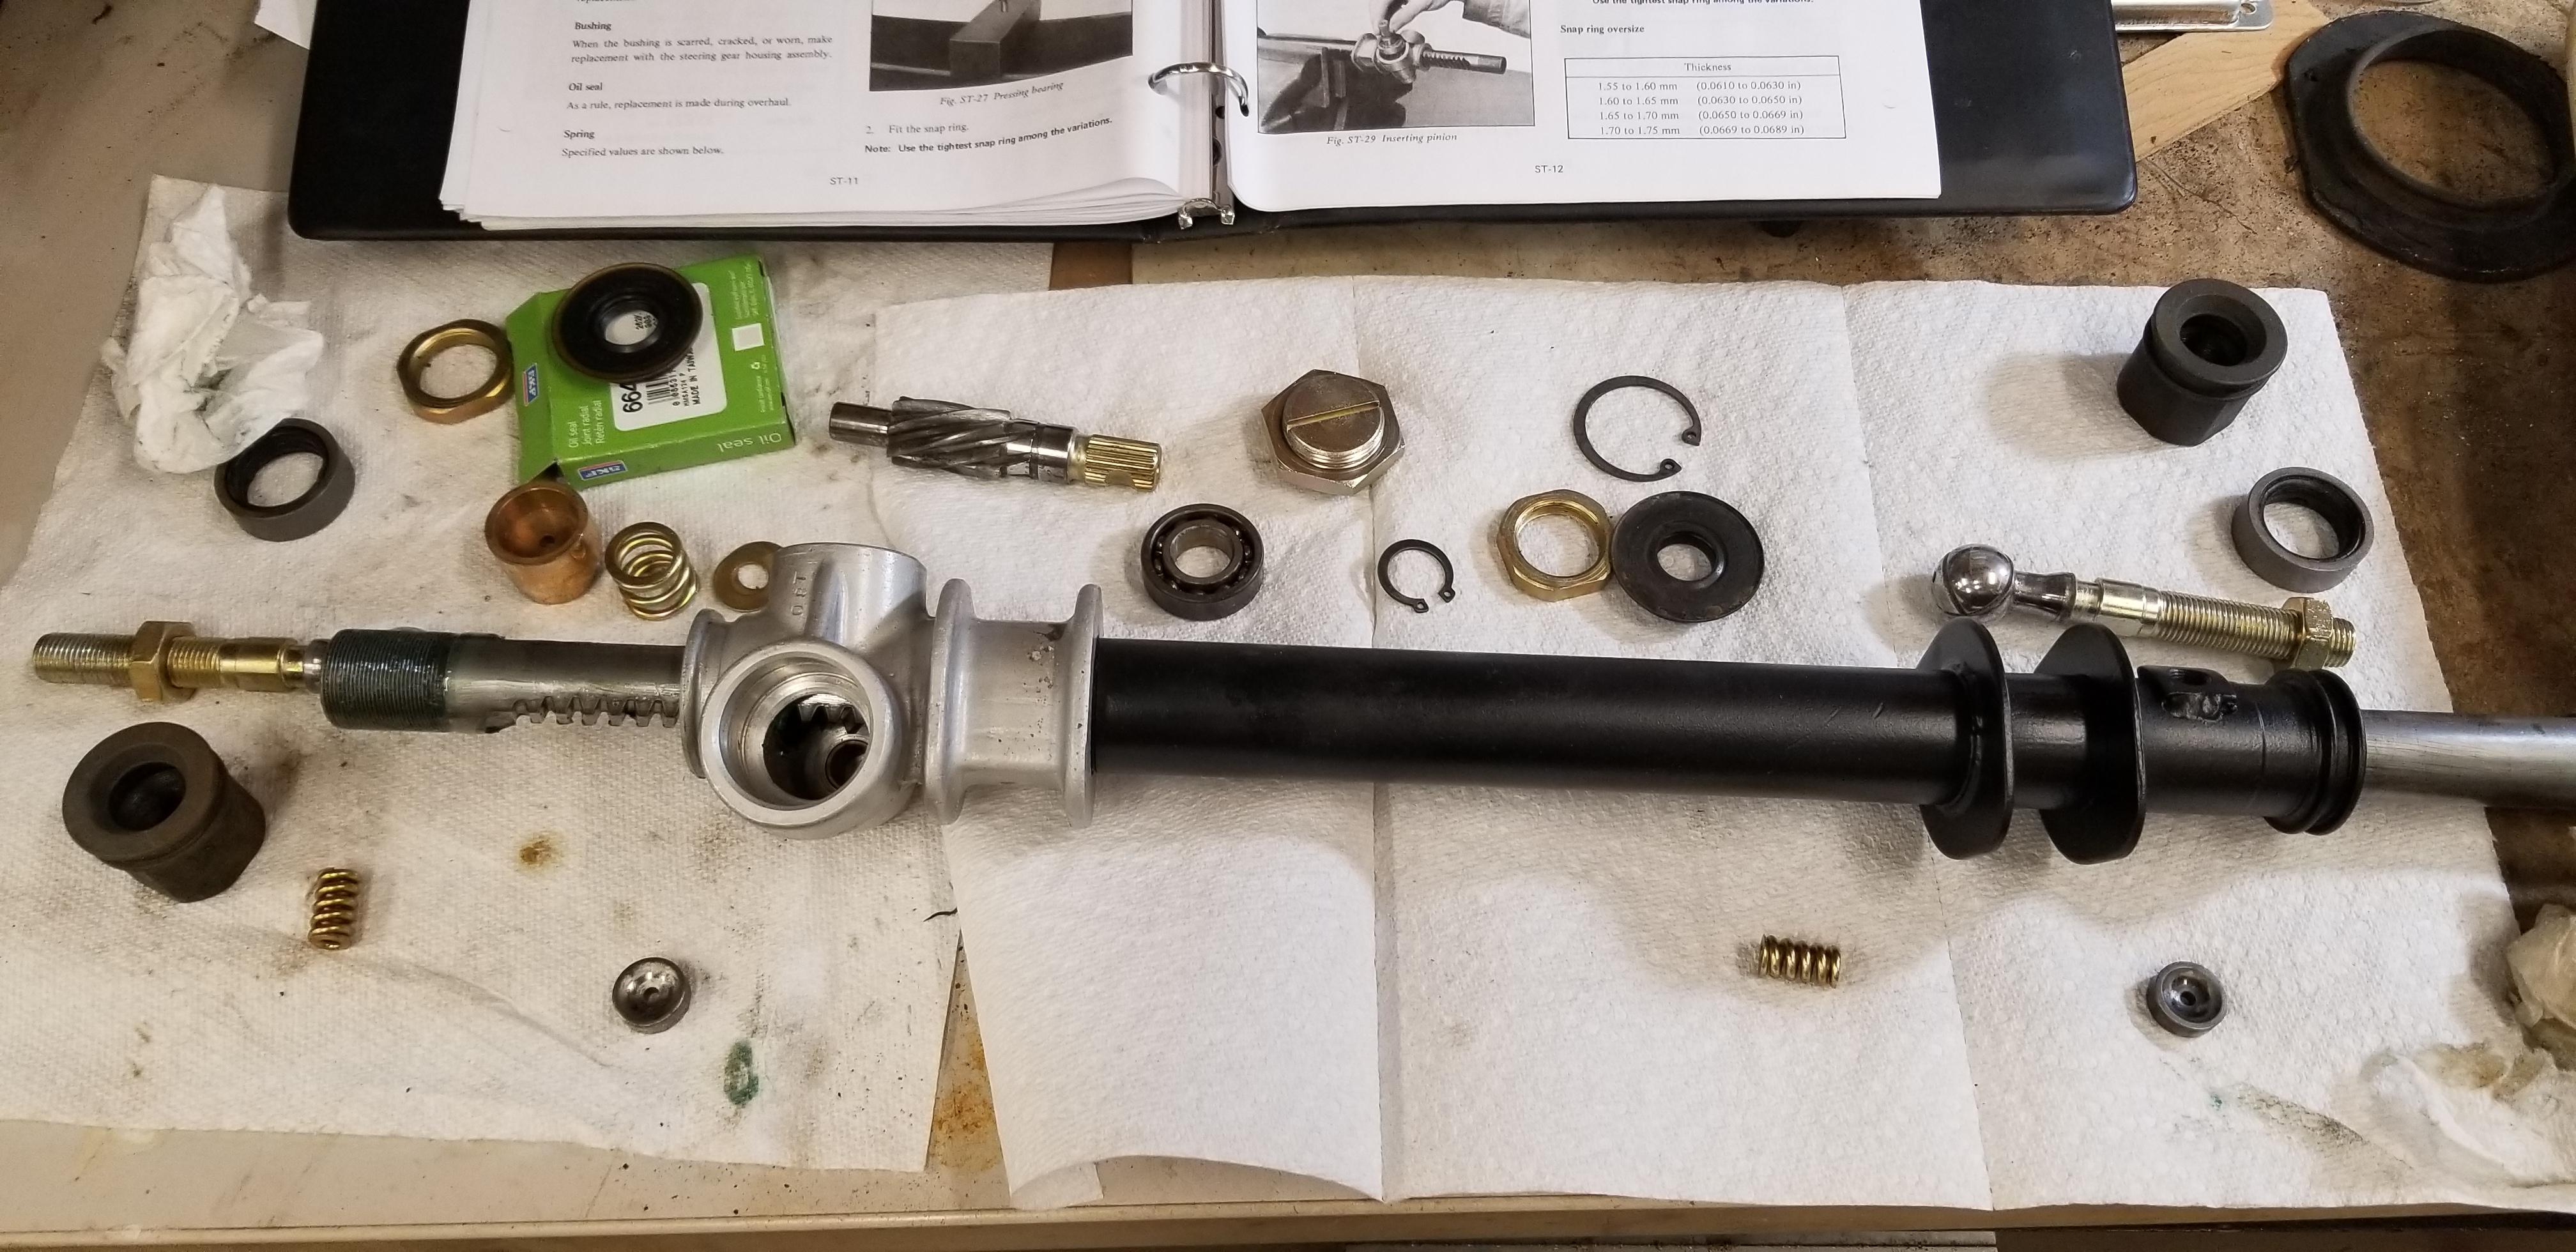
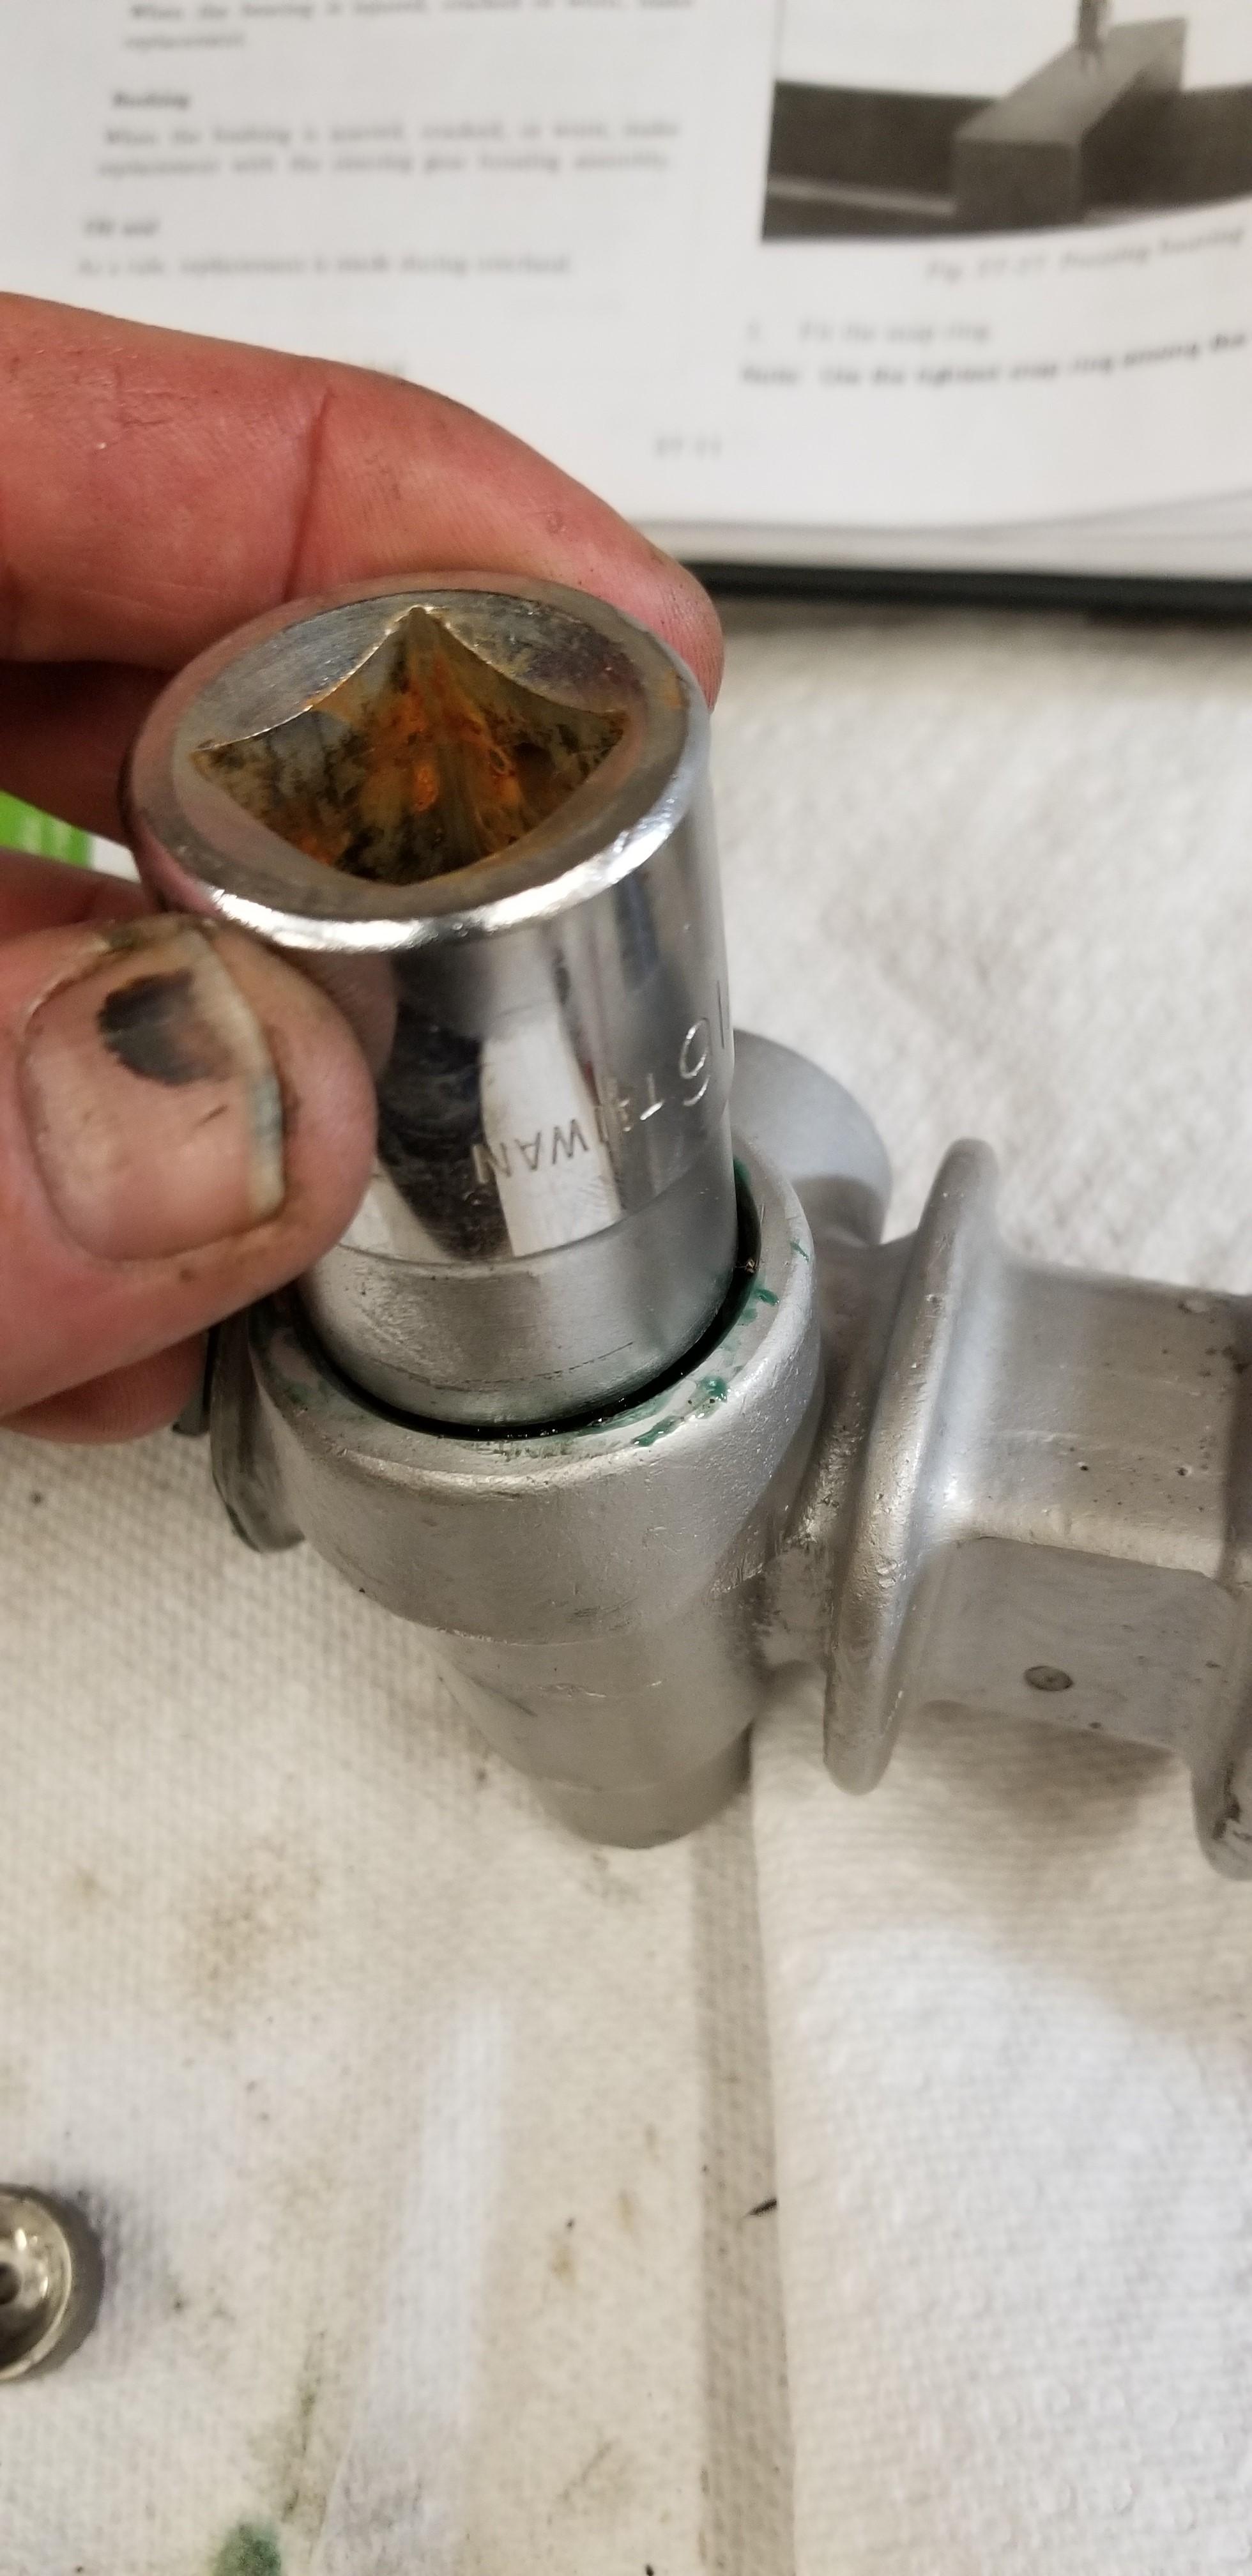
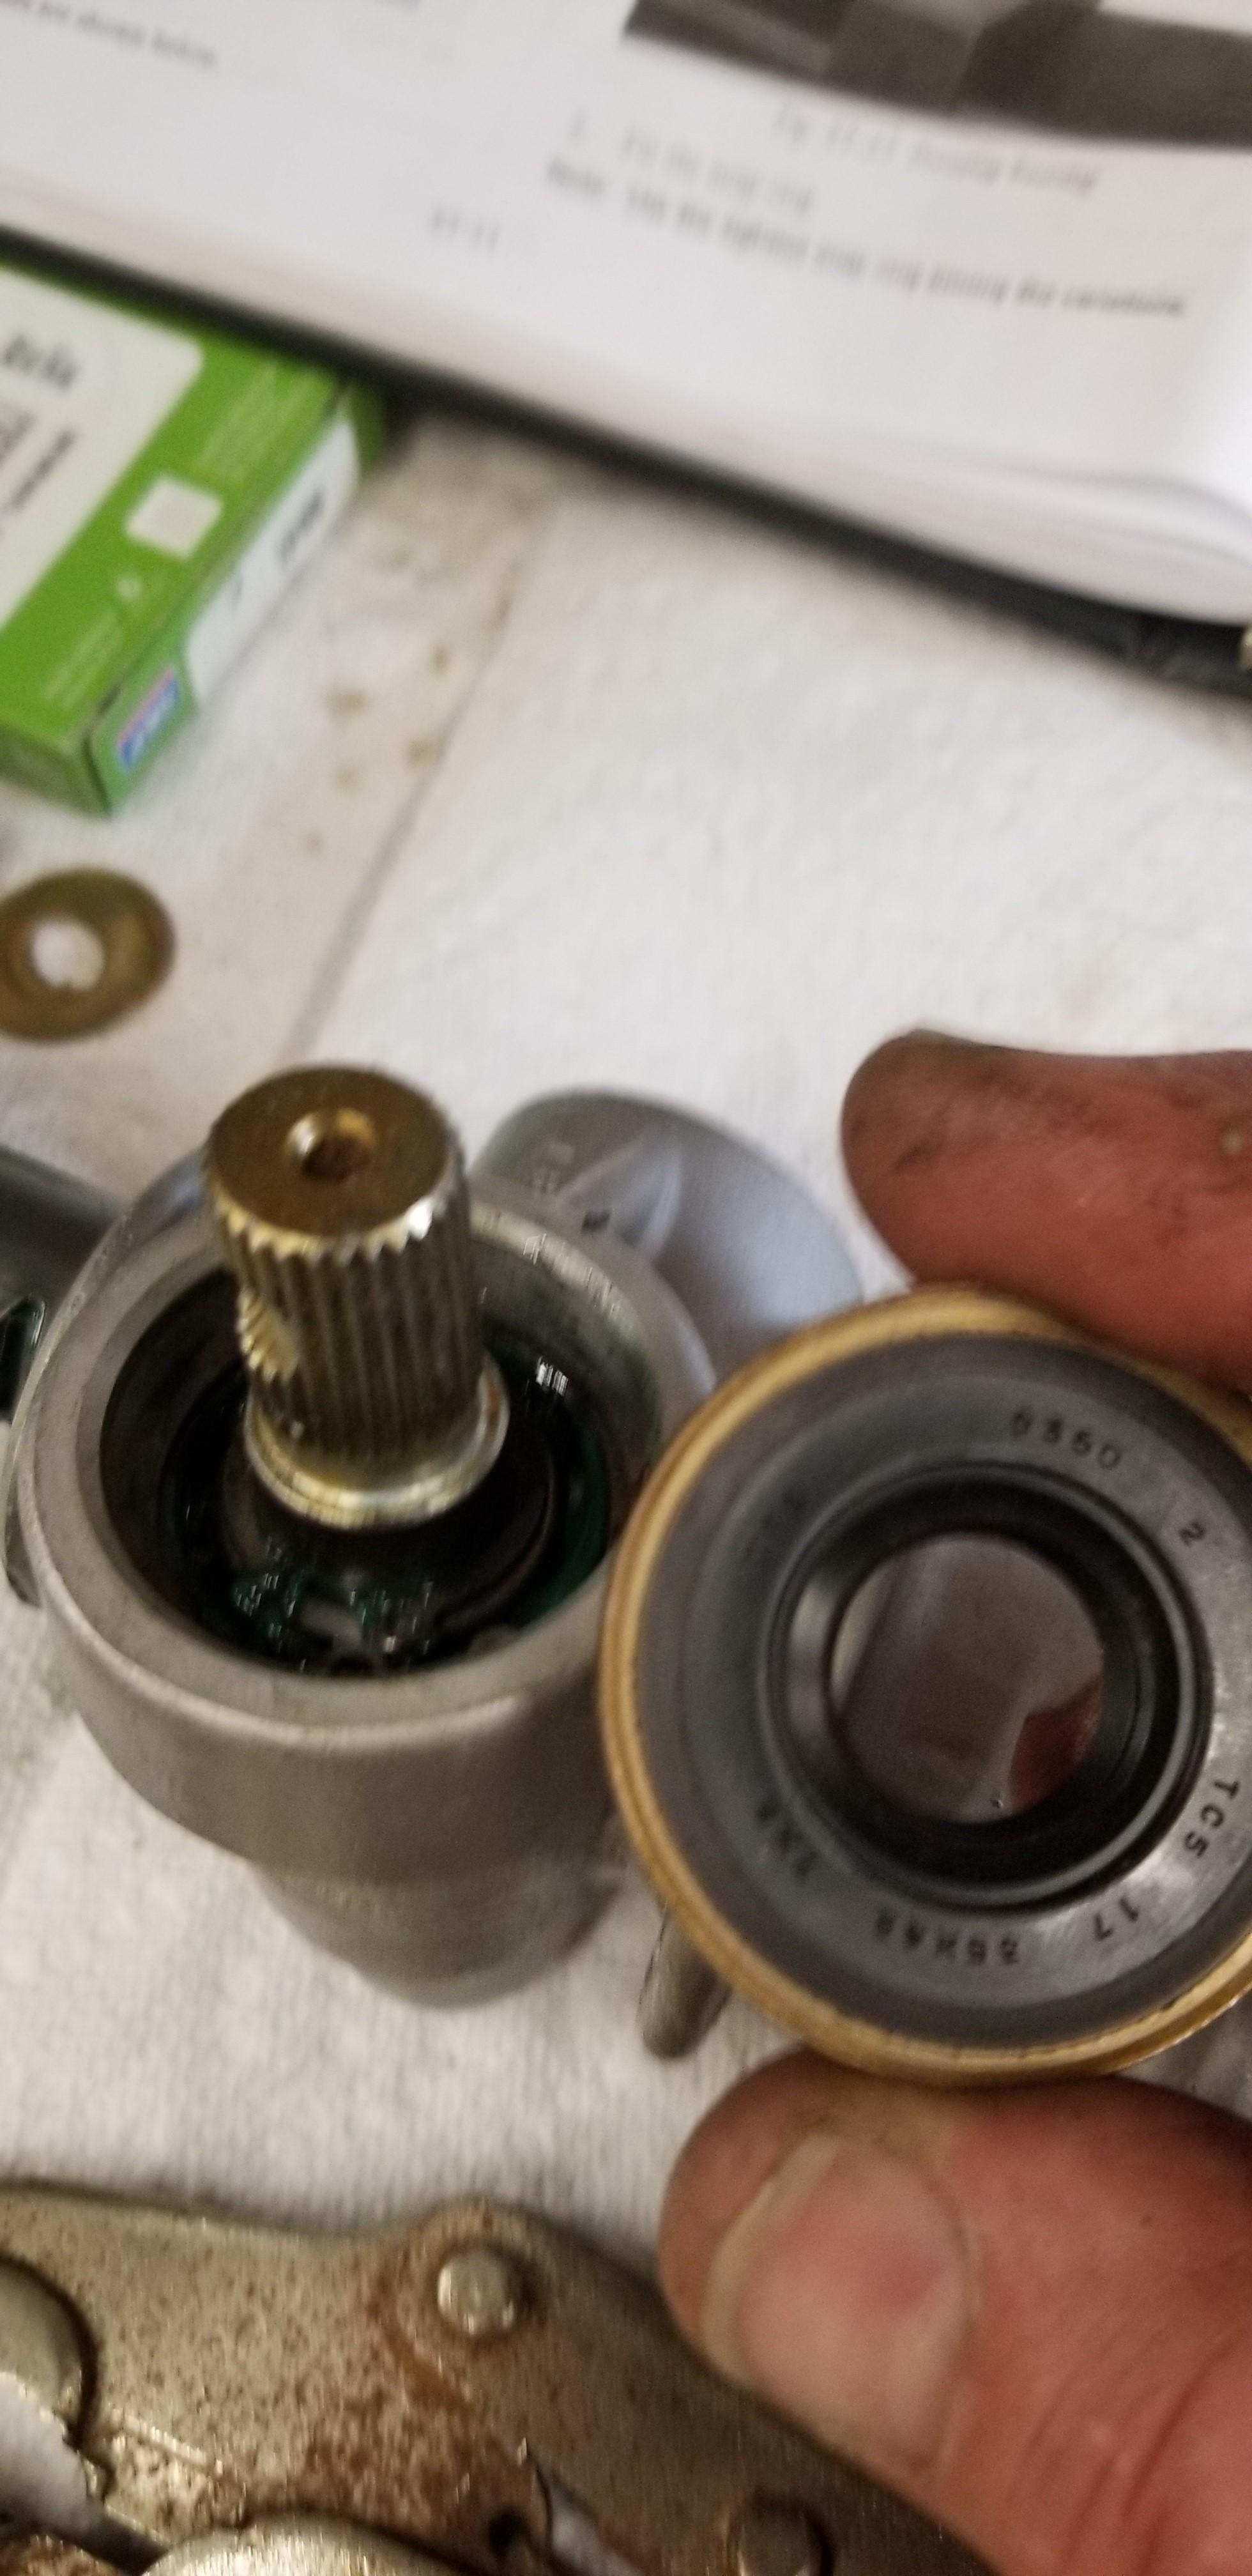
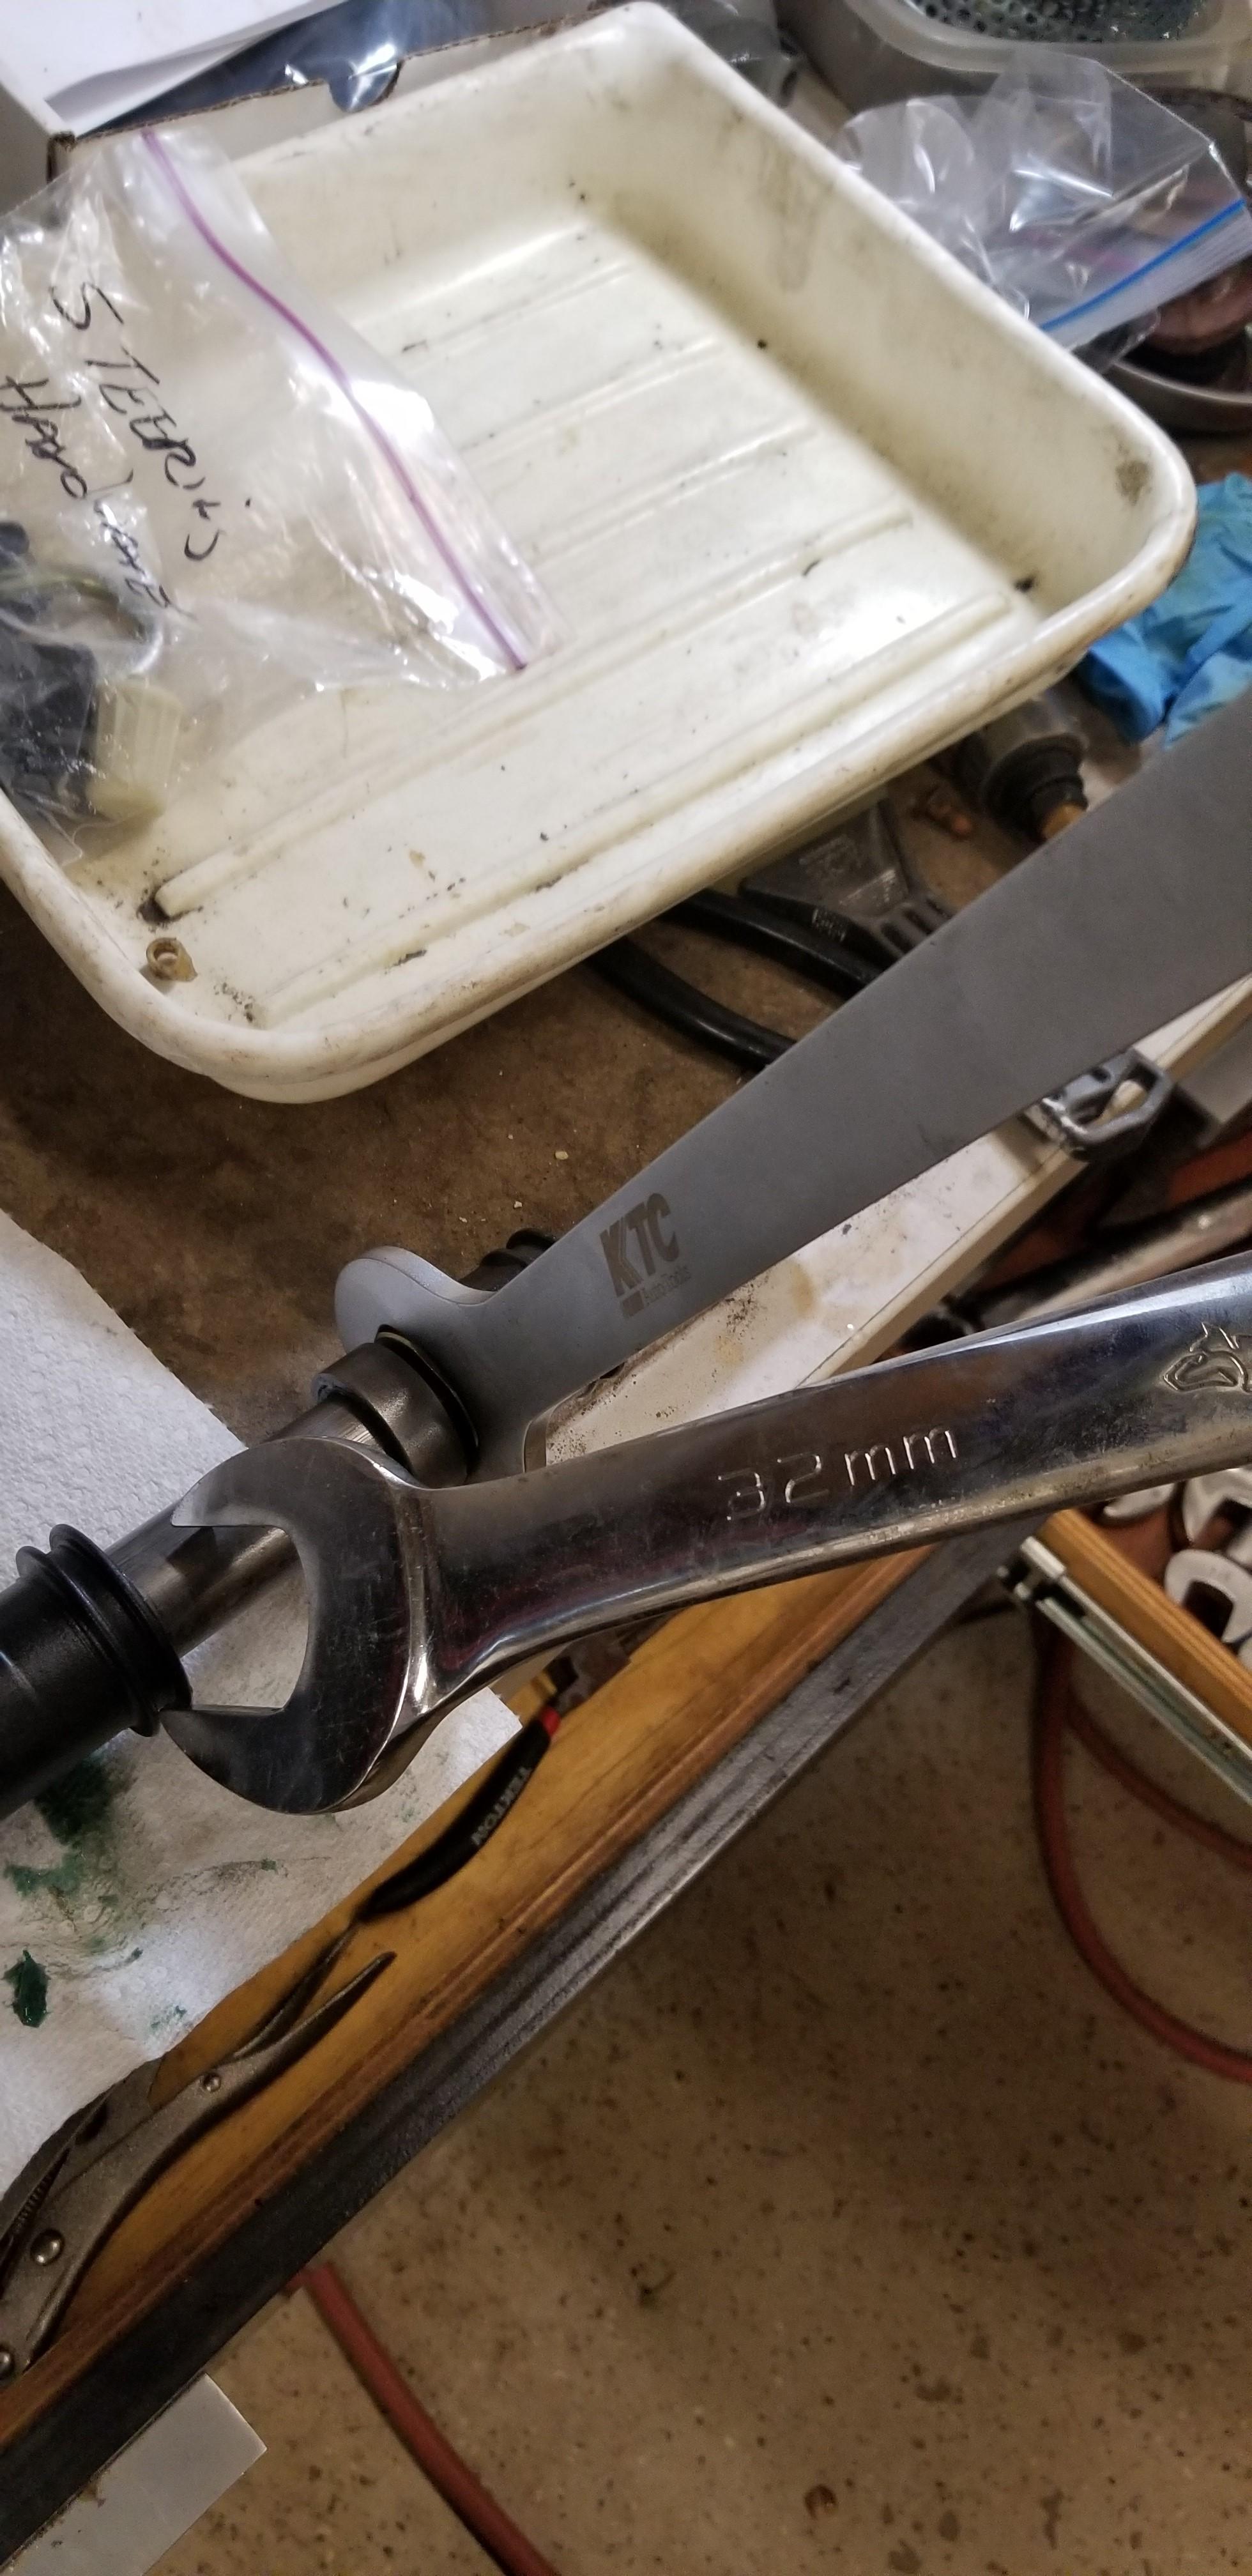
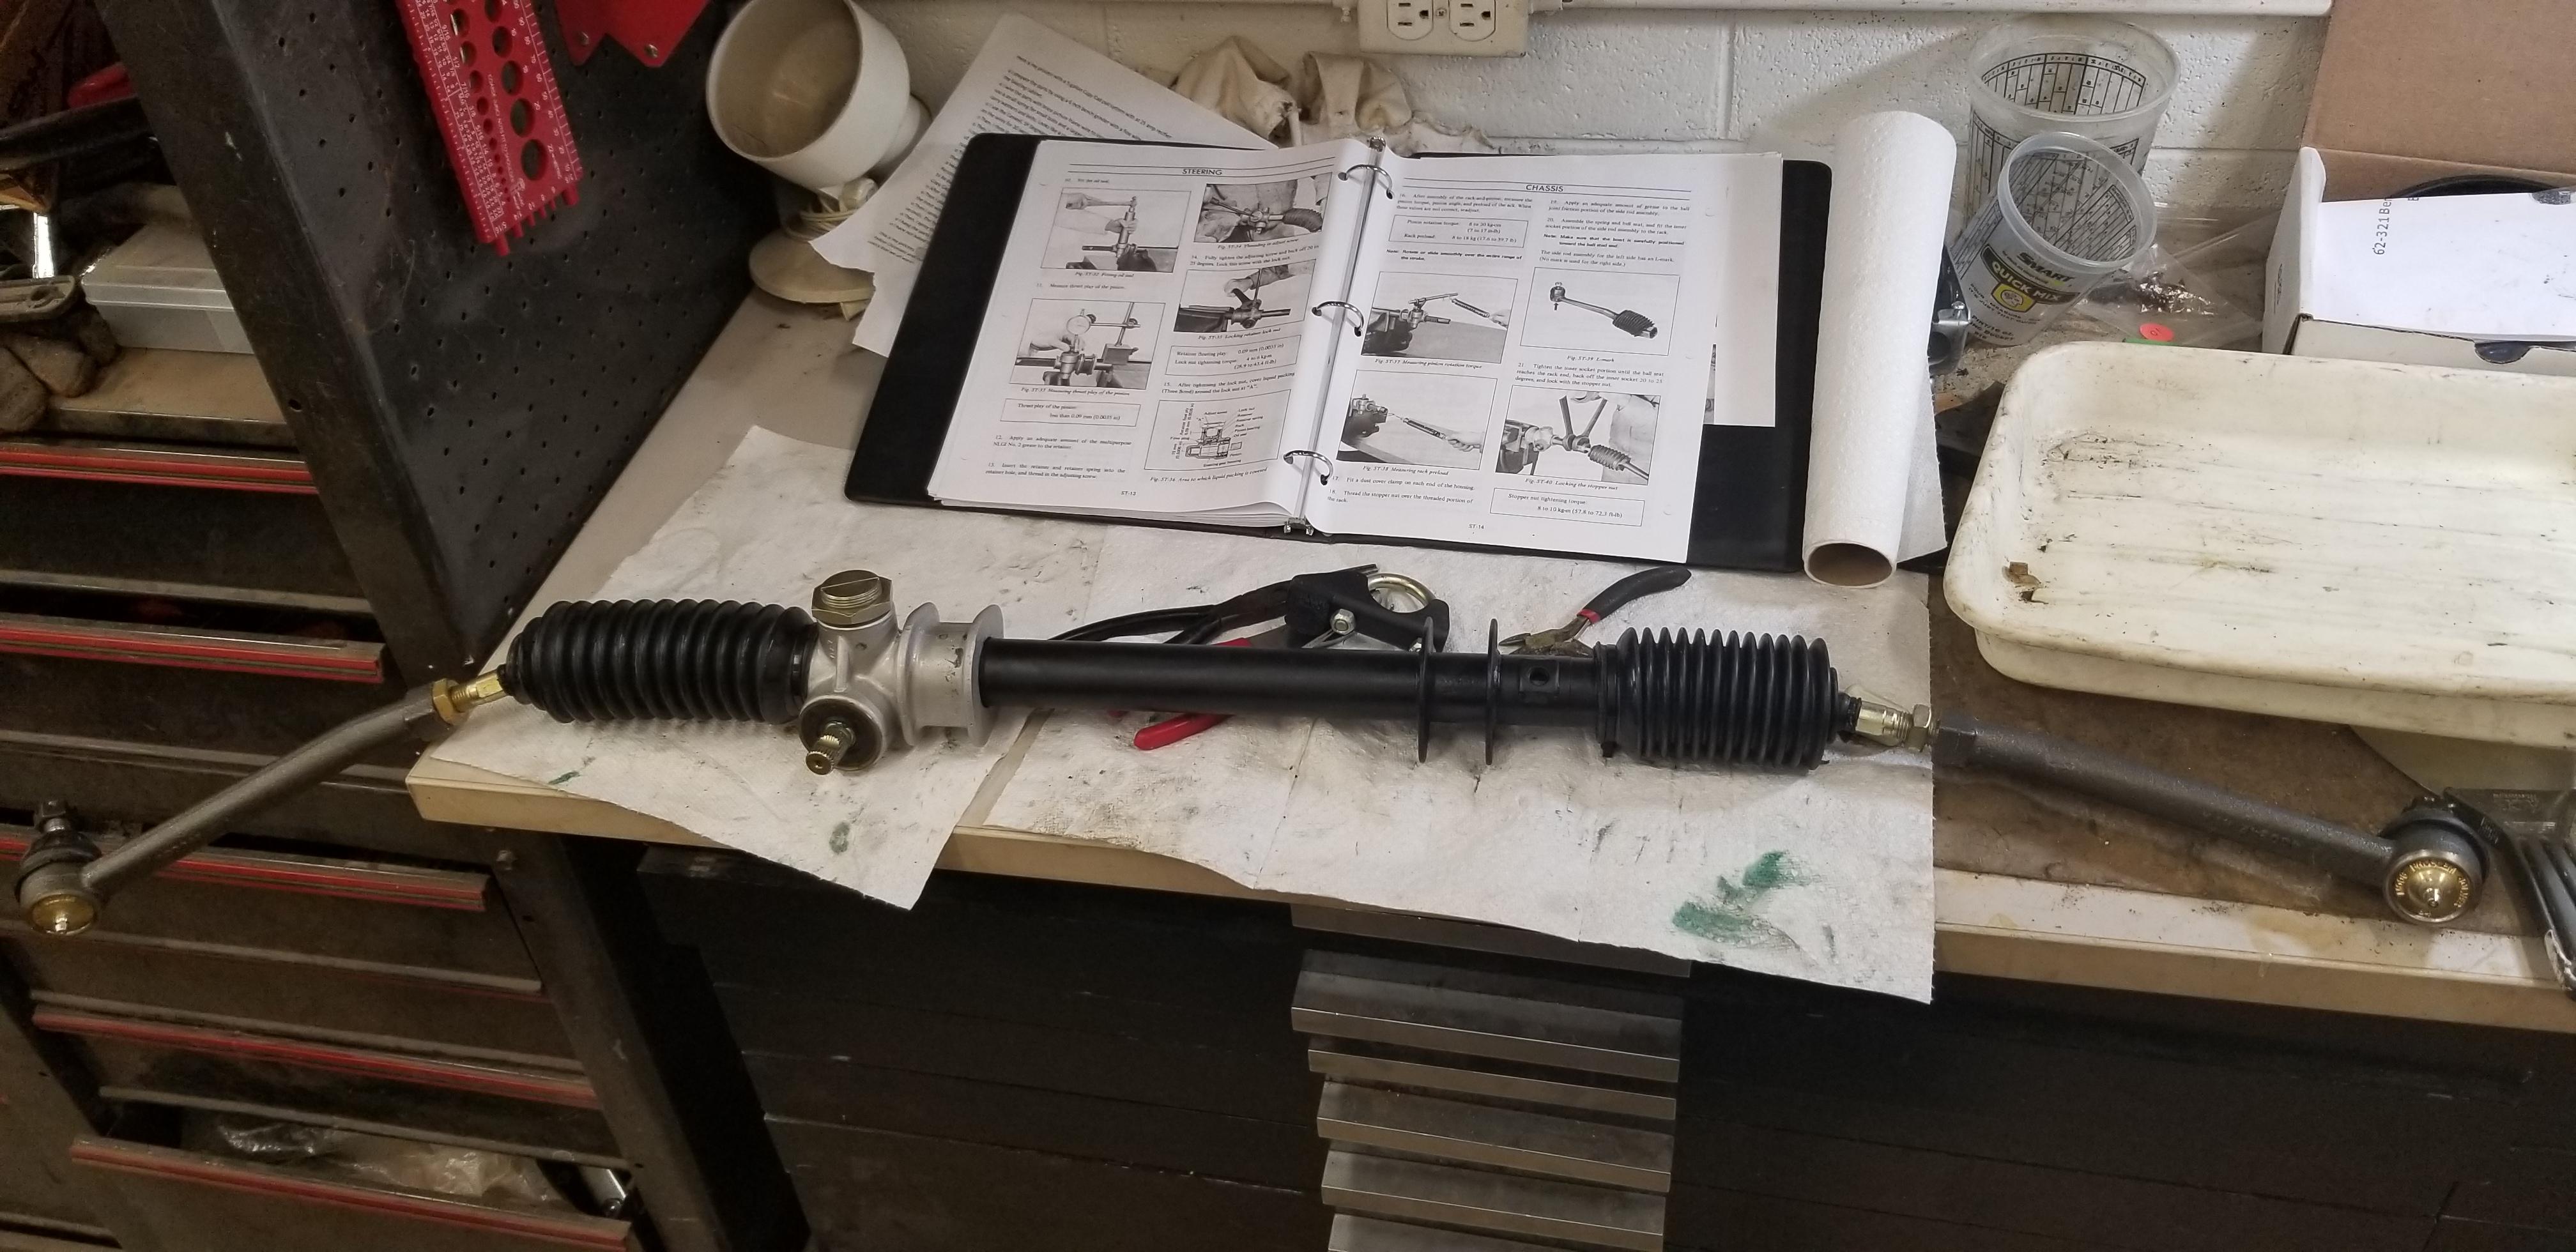
 I also worked on the steering rack this weekend These tags were in the rack when I disassembled it. The were wrapped around the large nut that holds the inner tie rod to the end of the rack. I did not reinstall them Here is the housing with the rack slid into it Here is one of the bump stops. I had a hard time getting these off originally. They can probably be pulled off, but it is much easier to thread them off, once you get them turning Here are the parts layed out of the bench Greased up the pinion and drove it in. This was one of the hardest parts. It seemed like it was difficult to get it aligned with the smaller lower bushing in the housing. I pressed the bearing back onto before installing it, and added the snap ring. I wondered if it would be easier to install the pinion in the hole and press the bearing onto it and into the housing at the same time. that might be asking for trouble. the way I did it is the procedure laid out in the FSM. Once that was in, add the snap ring against the bearing. Then drive the seal into the housing around the input shaft. The next step is to assemble the inner tie rod ends. There is a spring that sits under the concave cap on either end. Then the inner tie rods are installed into the large tie rod nuts. Before threading these large nuts onto the rack, thread the thin lock rings onto the rack. Then thread the large tie rod nuts on. On this rack the left hand threads were on the drives side, so that is the way I put it back. As I was reassembling this, I greased all of it up, which is why there are no pictures of it. There is a FSM procedure for greasing the ends in place. The small holes on either end of the rack are supposed to have a grease zerk threaded into them. Grease them up. Then remove the zerk and install a threaded plug. There were no threaded plugs in this rack. So I didn't go that route. I also missed the instruction about centering the rack before installing the pinion with the bolt scallop up. I installed it almost 180 degees out, but I don't see how it really makes a difference, so it's staying for now. The lock nuts and nuts are 32 mm and it just so happens I have a thin 32mm wrench that is a specialty tool for doing BMW water pumps. It works perfect for tighten the lock nuts. I just sort of guessed at the tightness on the inner tie rods. If I tightened them all the way down, they wouldn't move. So I backed them off and approximated the 10 lb resistance to moving like the FSM wants. I wasn't sure why this was a critical as it was make to appear. Any thoughts on that? Here is the rack mostly together. I sprayed the outer ball joint ends with diamond clear. Hopefully they will stay nice looking for a while. If they don't I will black them with semi-gloss At this point I tried to grease up the rack from the zerk in the bottom of the housing. I have an 18v grease gun and after a little while. I was wondering where all the grease was going. Unfortunately it was going into the bellows on the drivers side. So I had to cut the tie wrap and clean up the mess. That may be the purpose of the threaded plugs, to force the grease into the tube instead of coming out through the grooves on the inner tie rod ball?? The Moog ball joints seem to be fine. Hopefully I won't run into an issue with the knuckles as I know there are two different sizes. the Moog rubber boots, weren't that great. The big end was a good bit too large and you had to cinch them down pretty good to get them closed. I may revisit this rebuild after the car is complete. For now, moving forward....


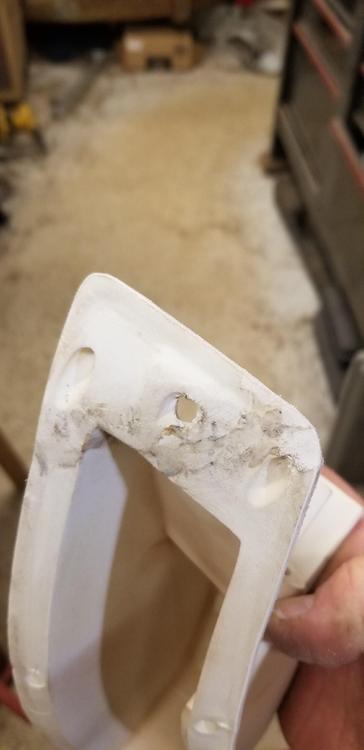
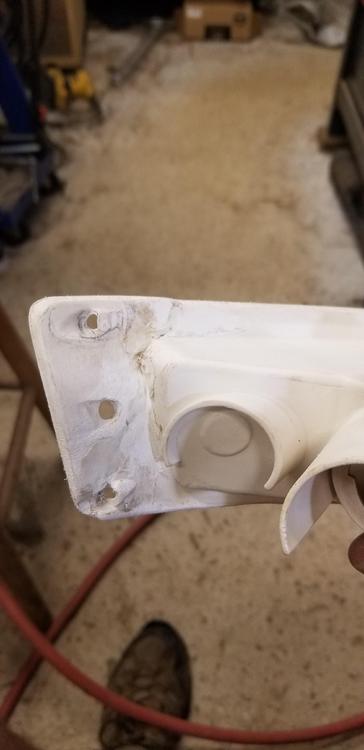
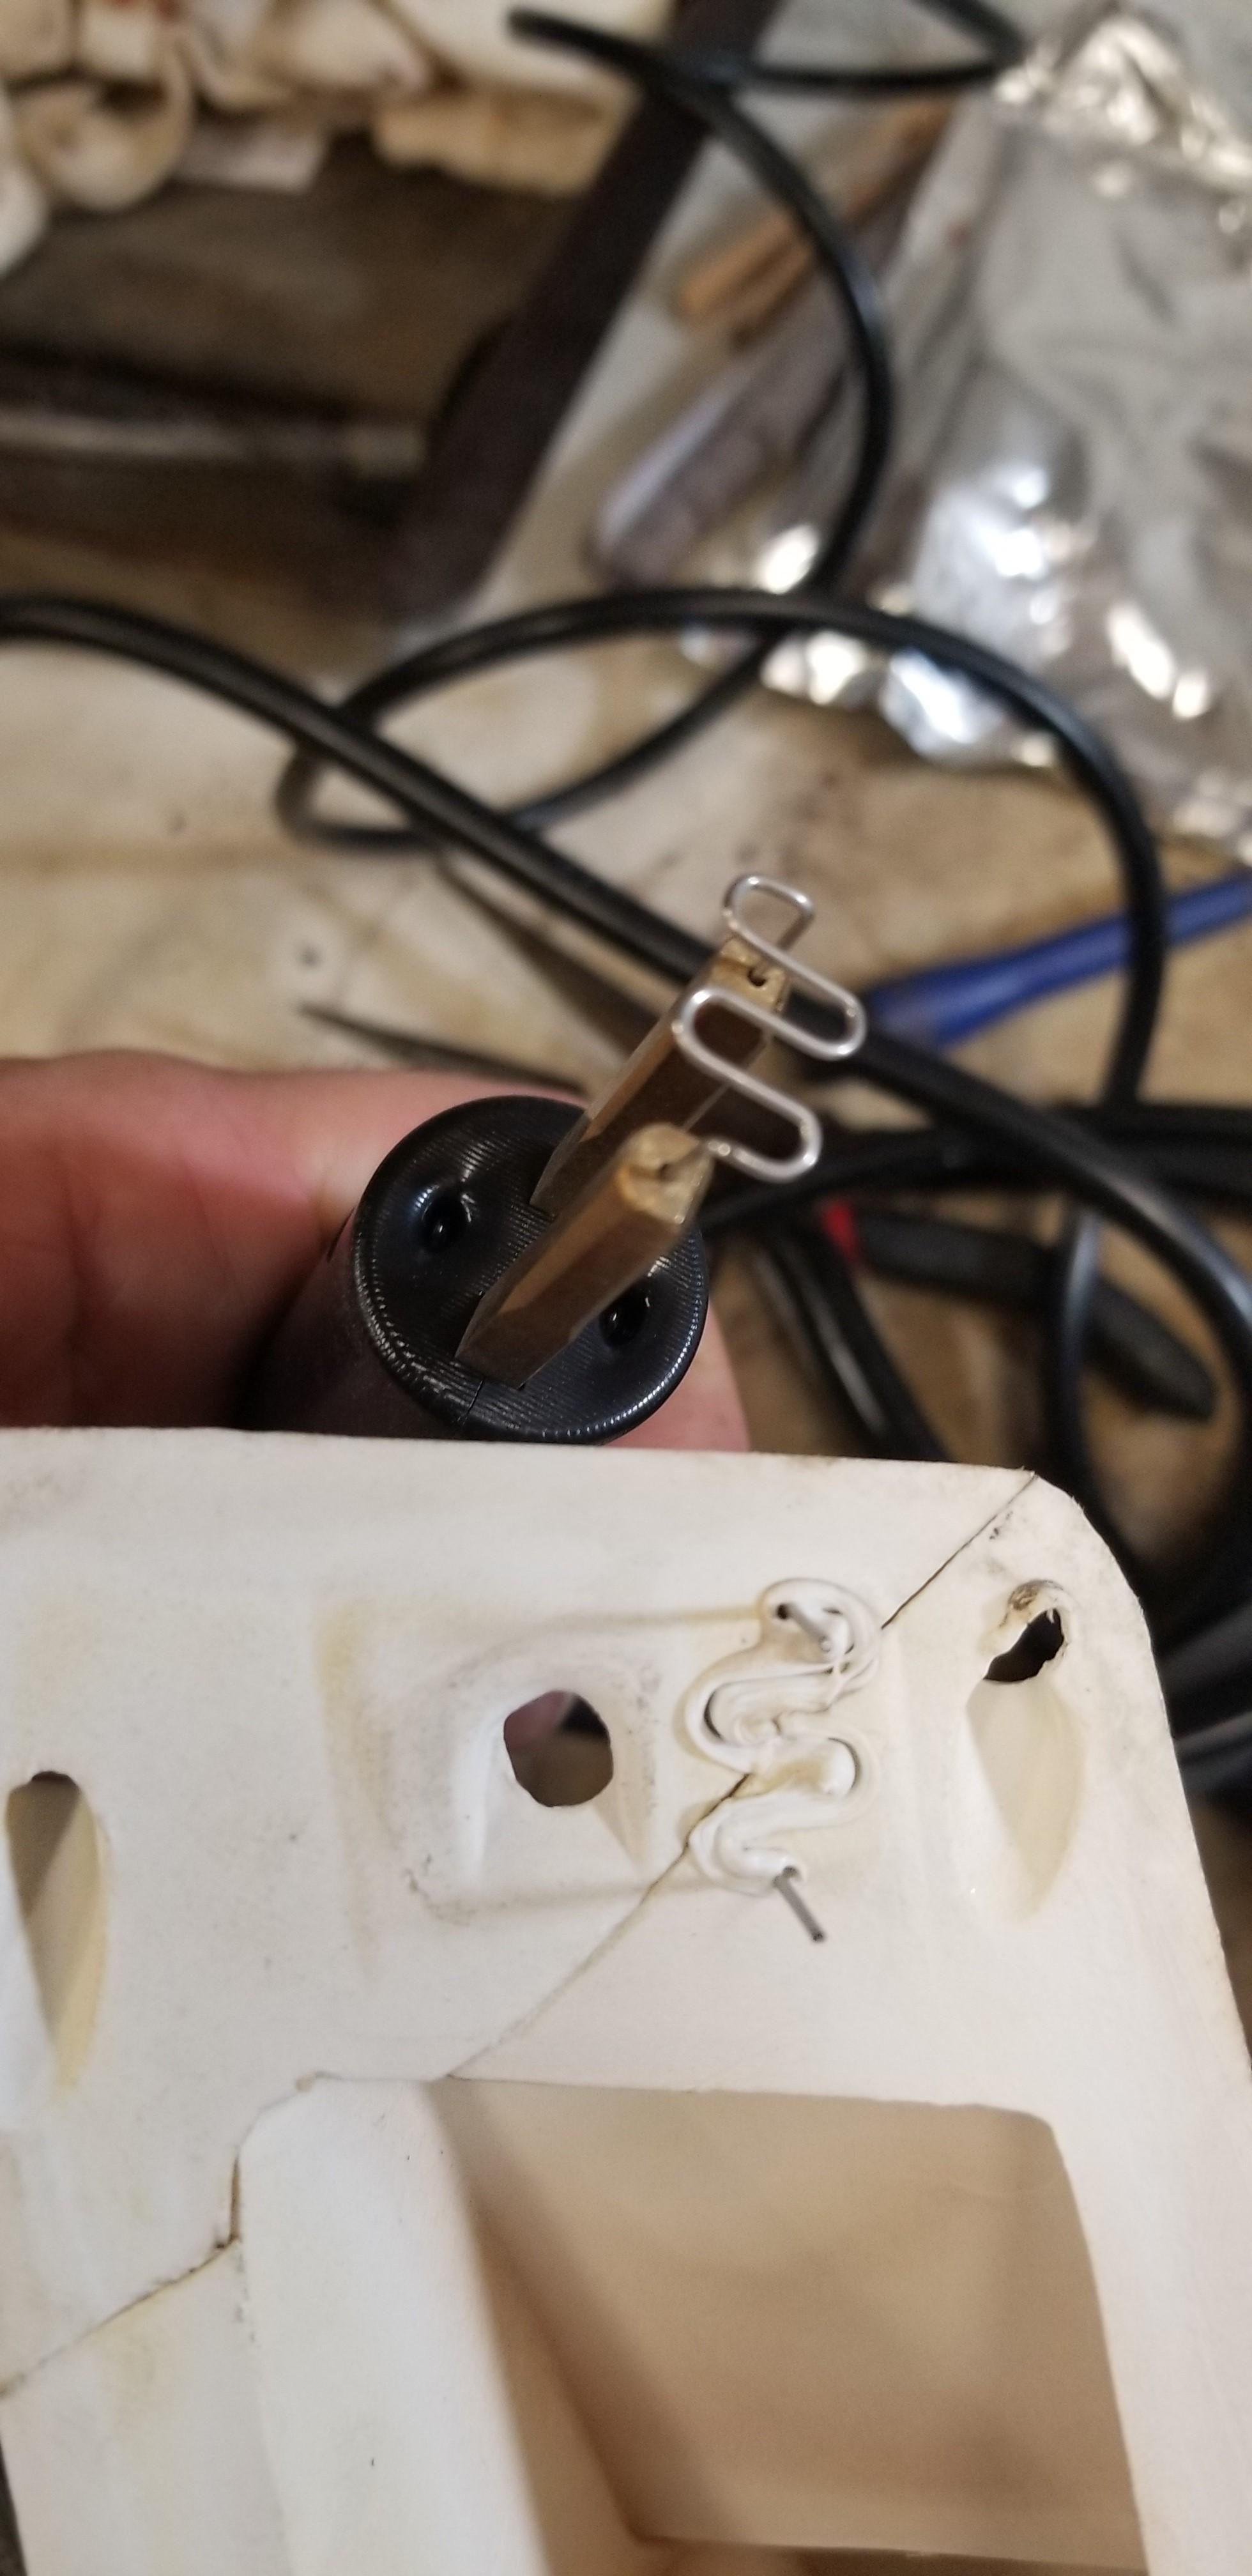
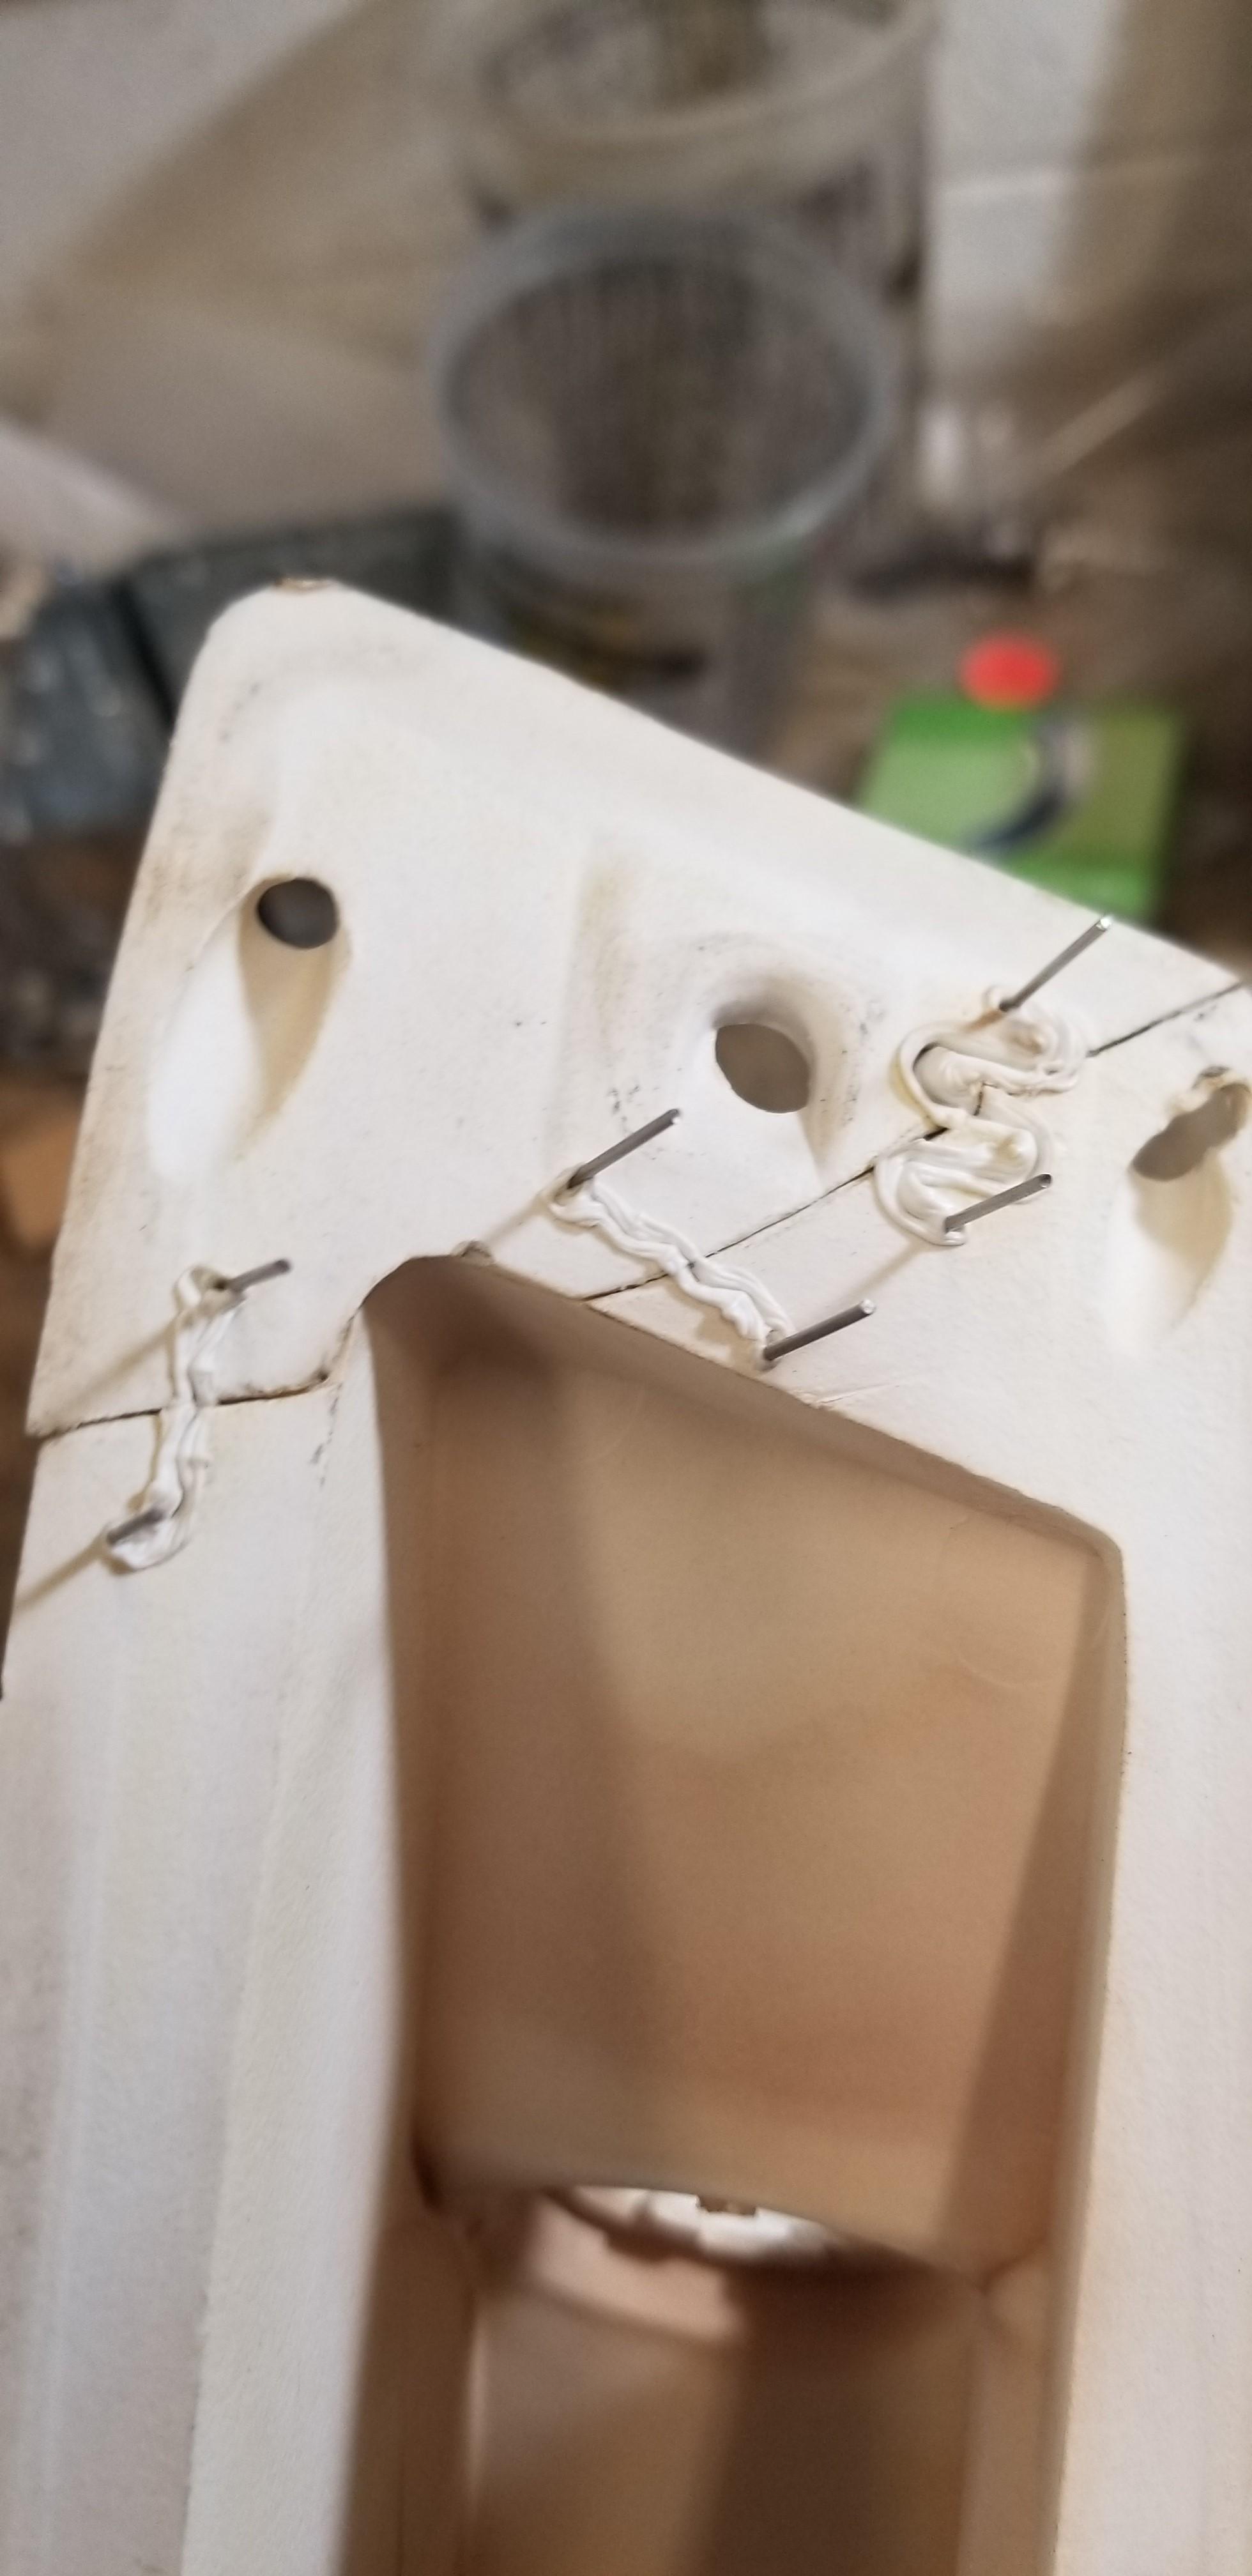
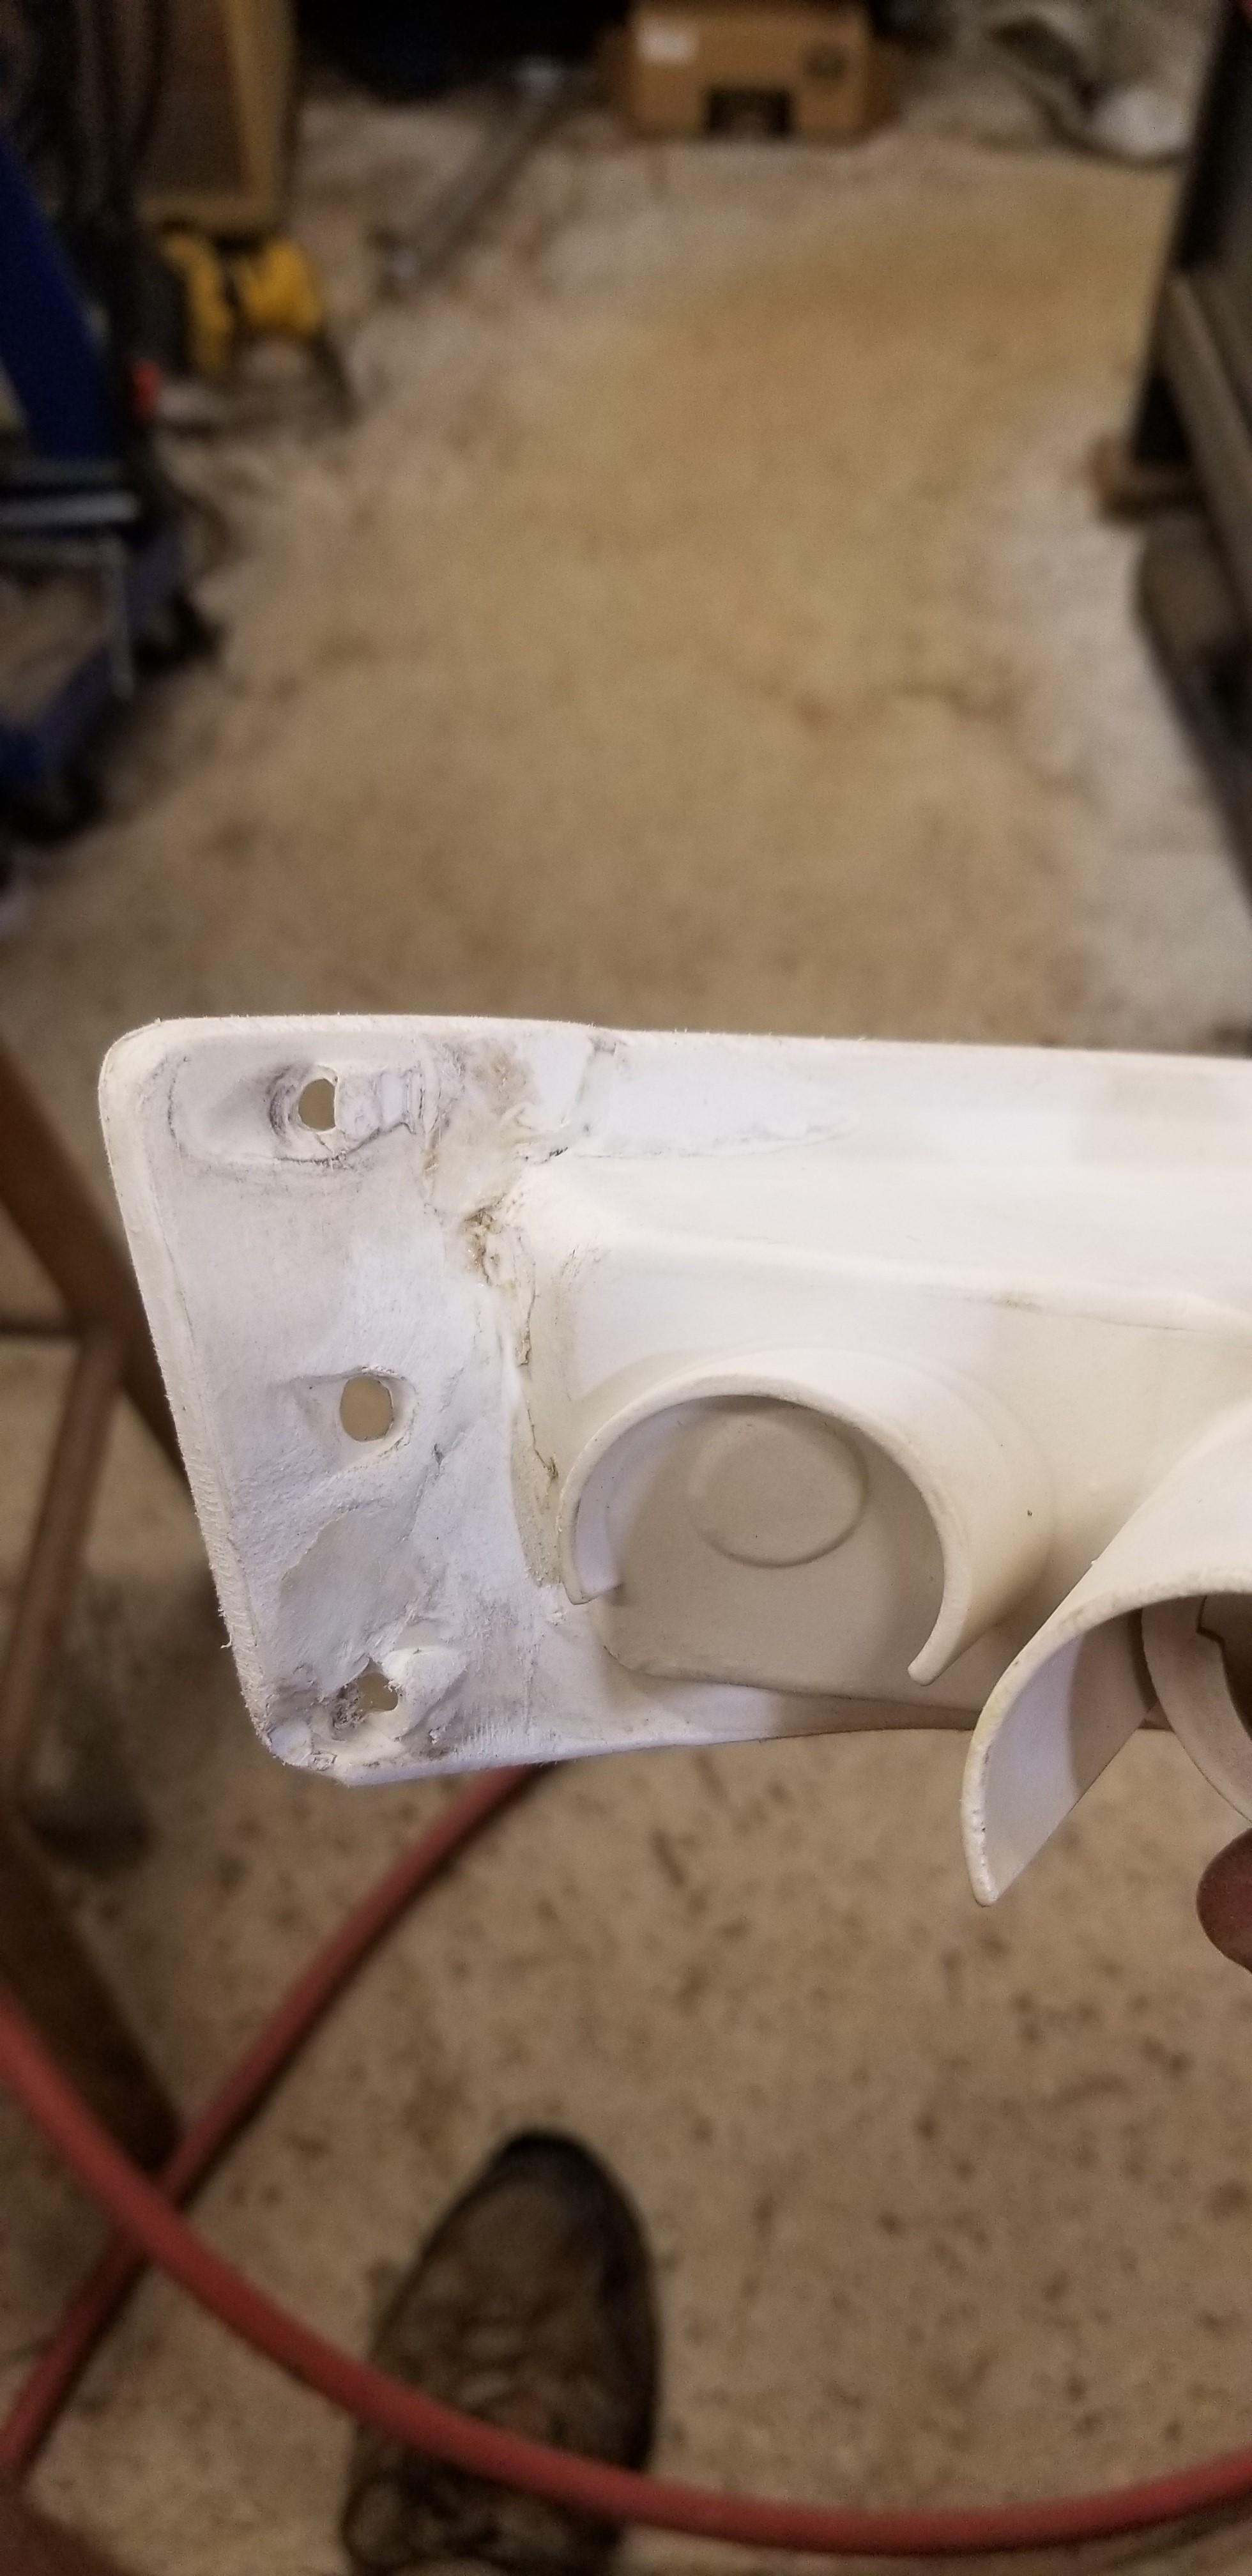
 I worked on that turn signal some more I first joined the piece with the hot wire stapler. They make these staples in various shapes. You melt them in then clip the tails that stick out Then I used a white ABS rod to weld up the crack. I doubt these are ABS but they welded up ok with that rod. I will finish with a little satin white when I get another can
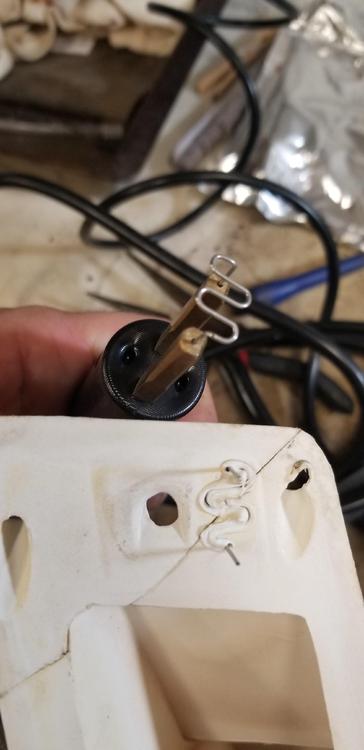

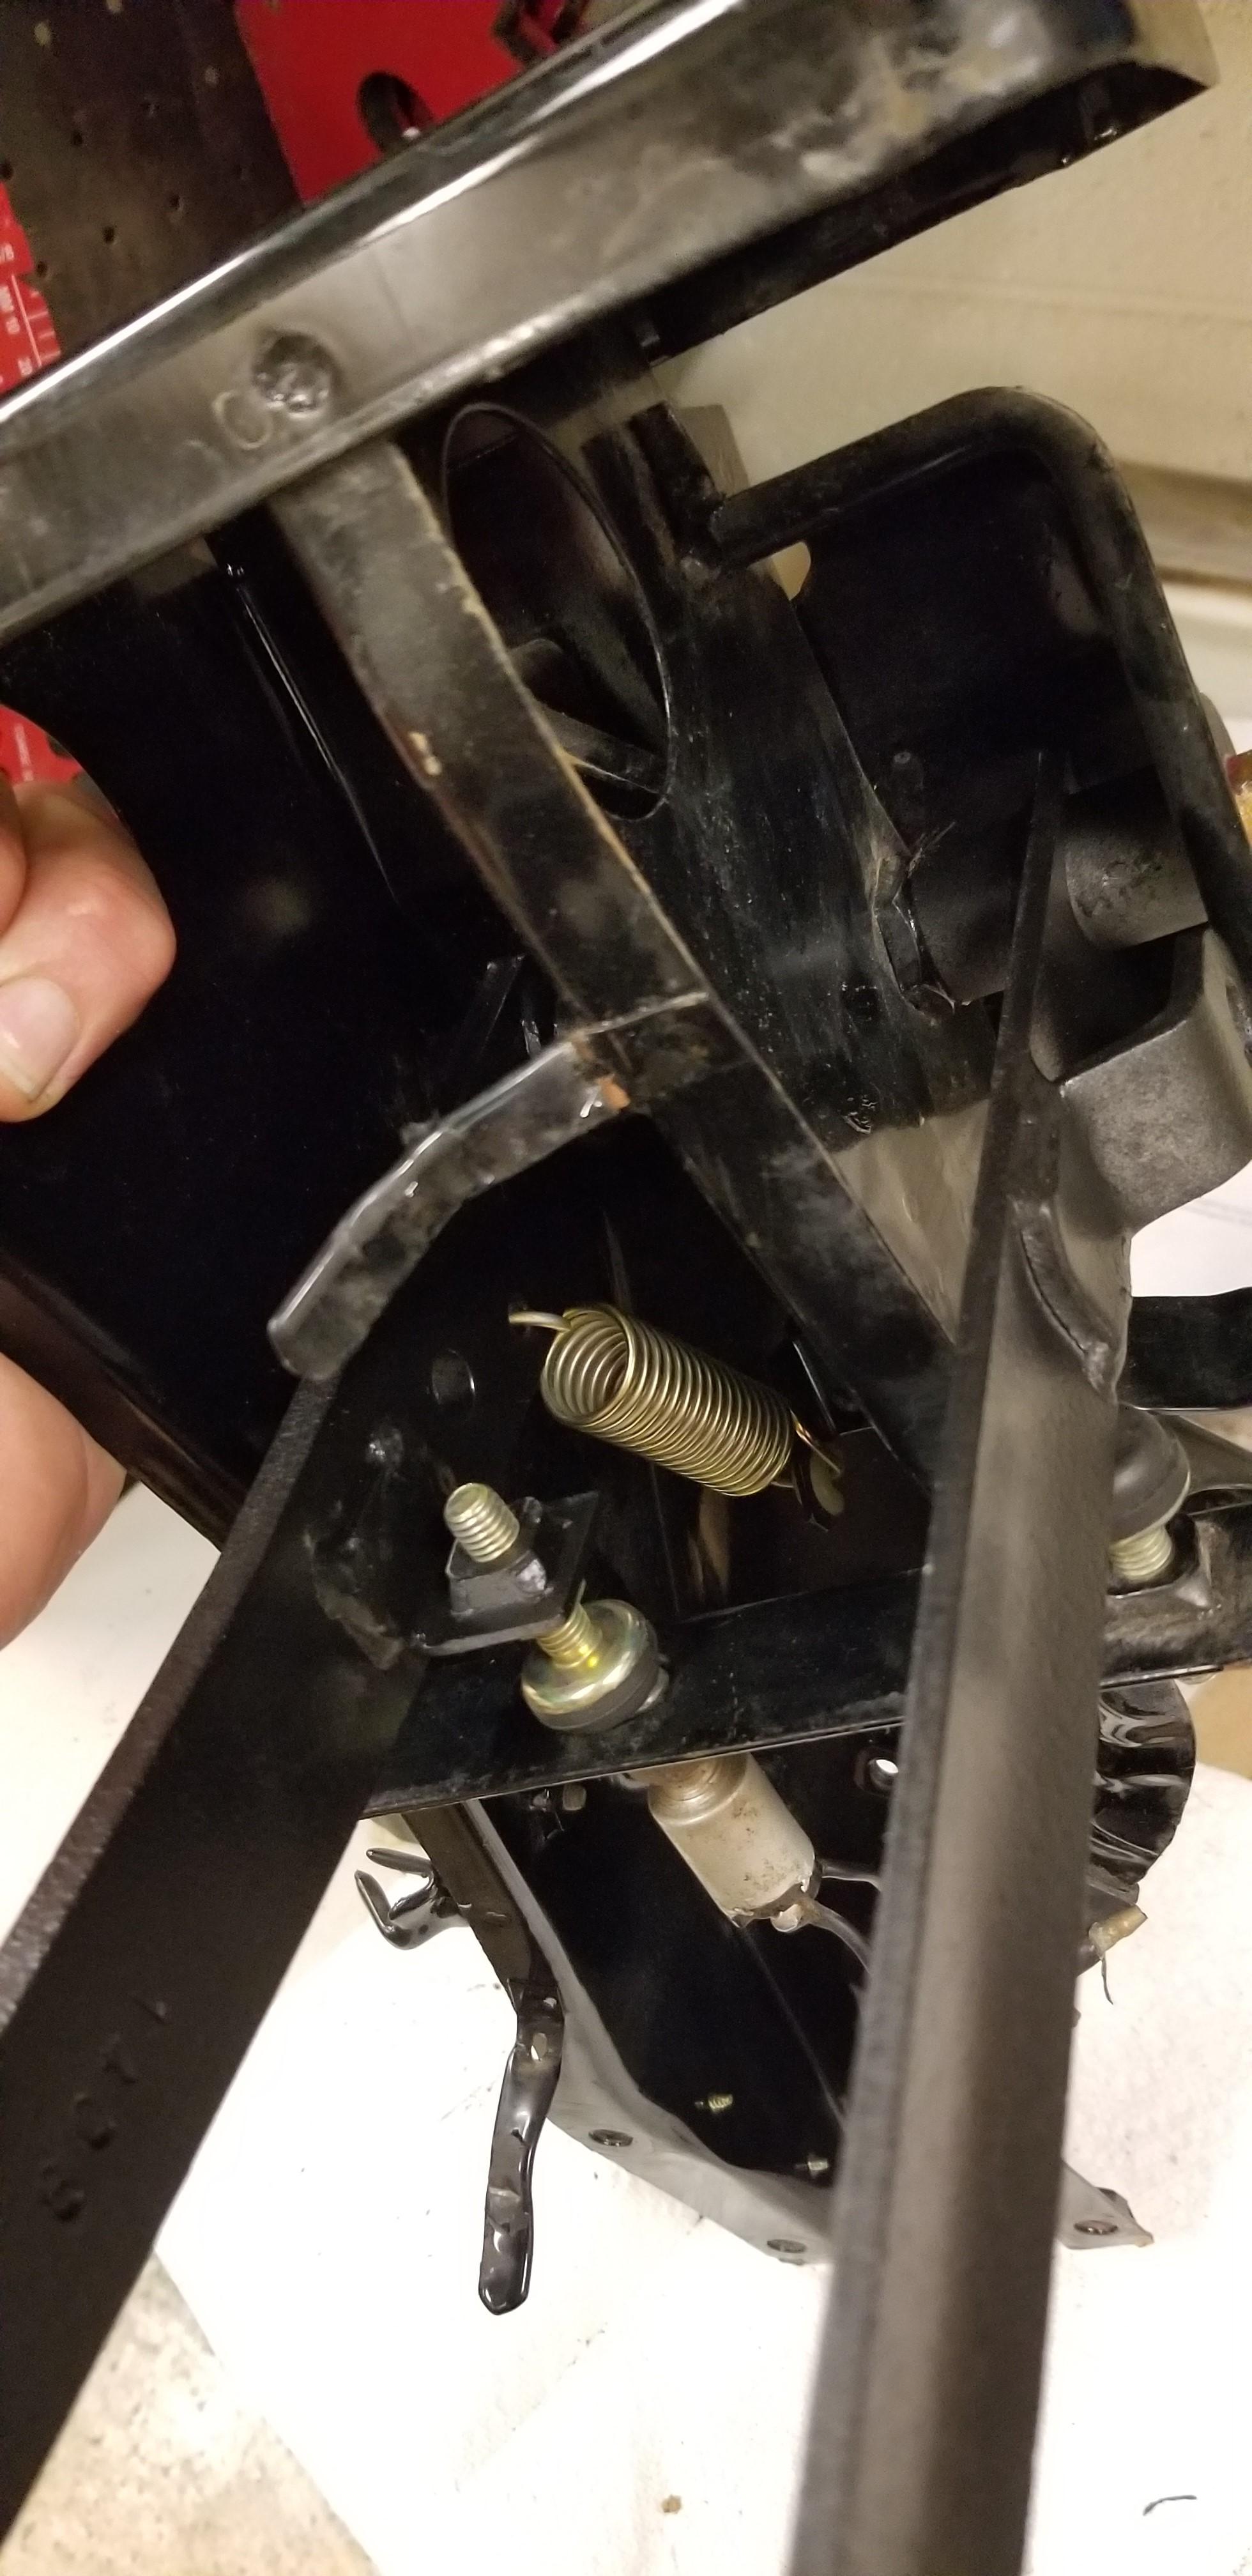
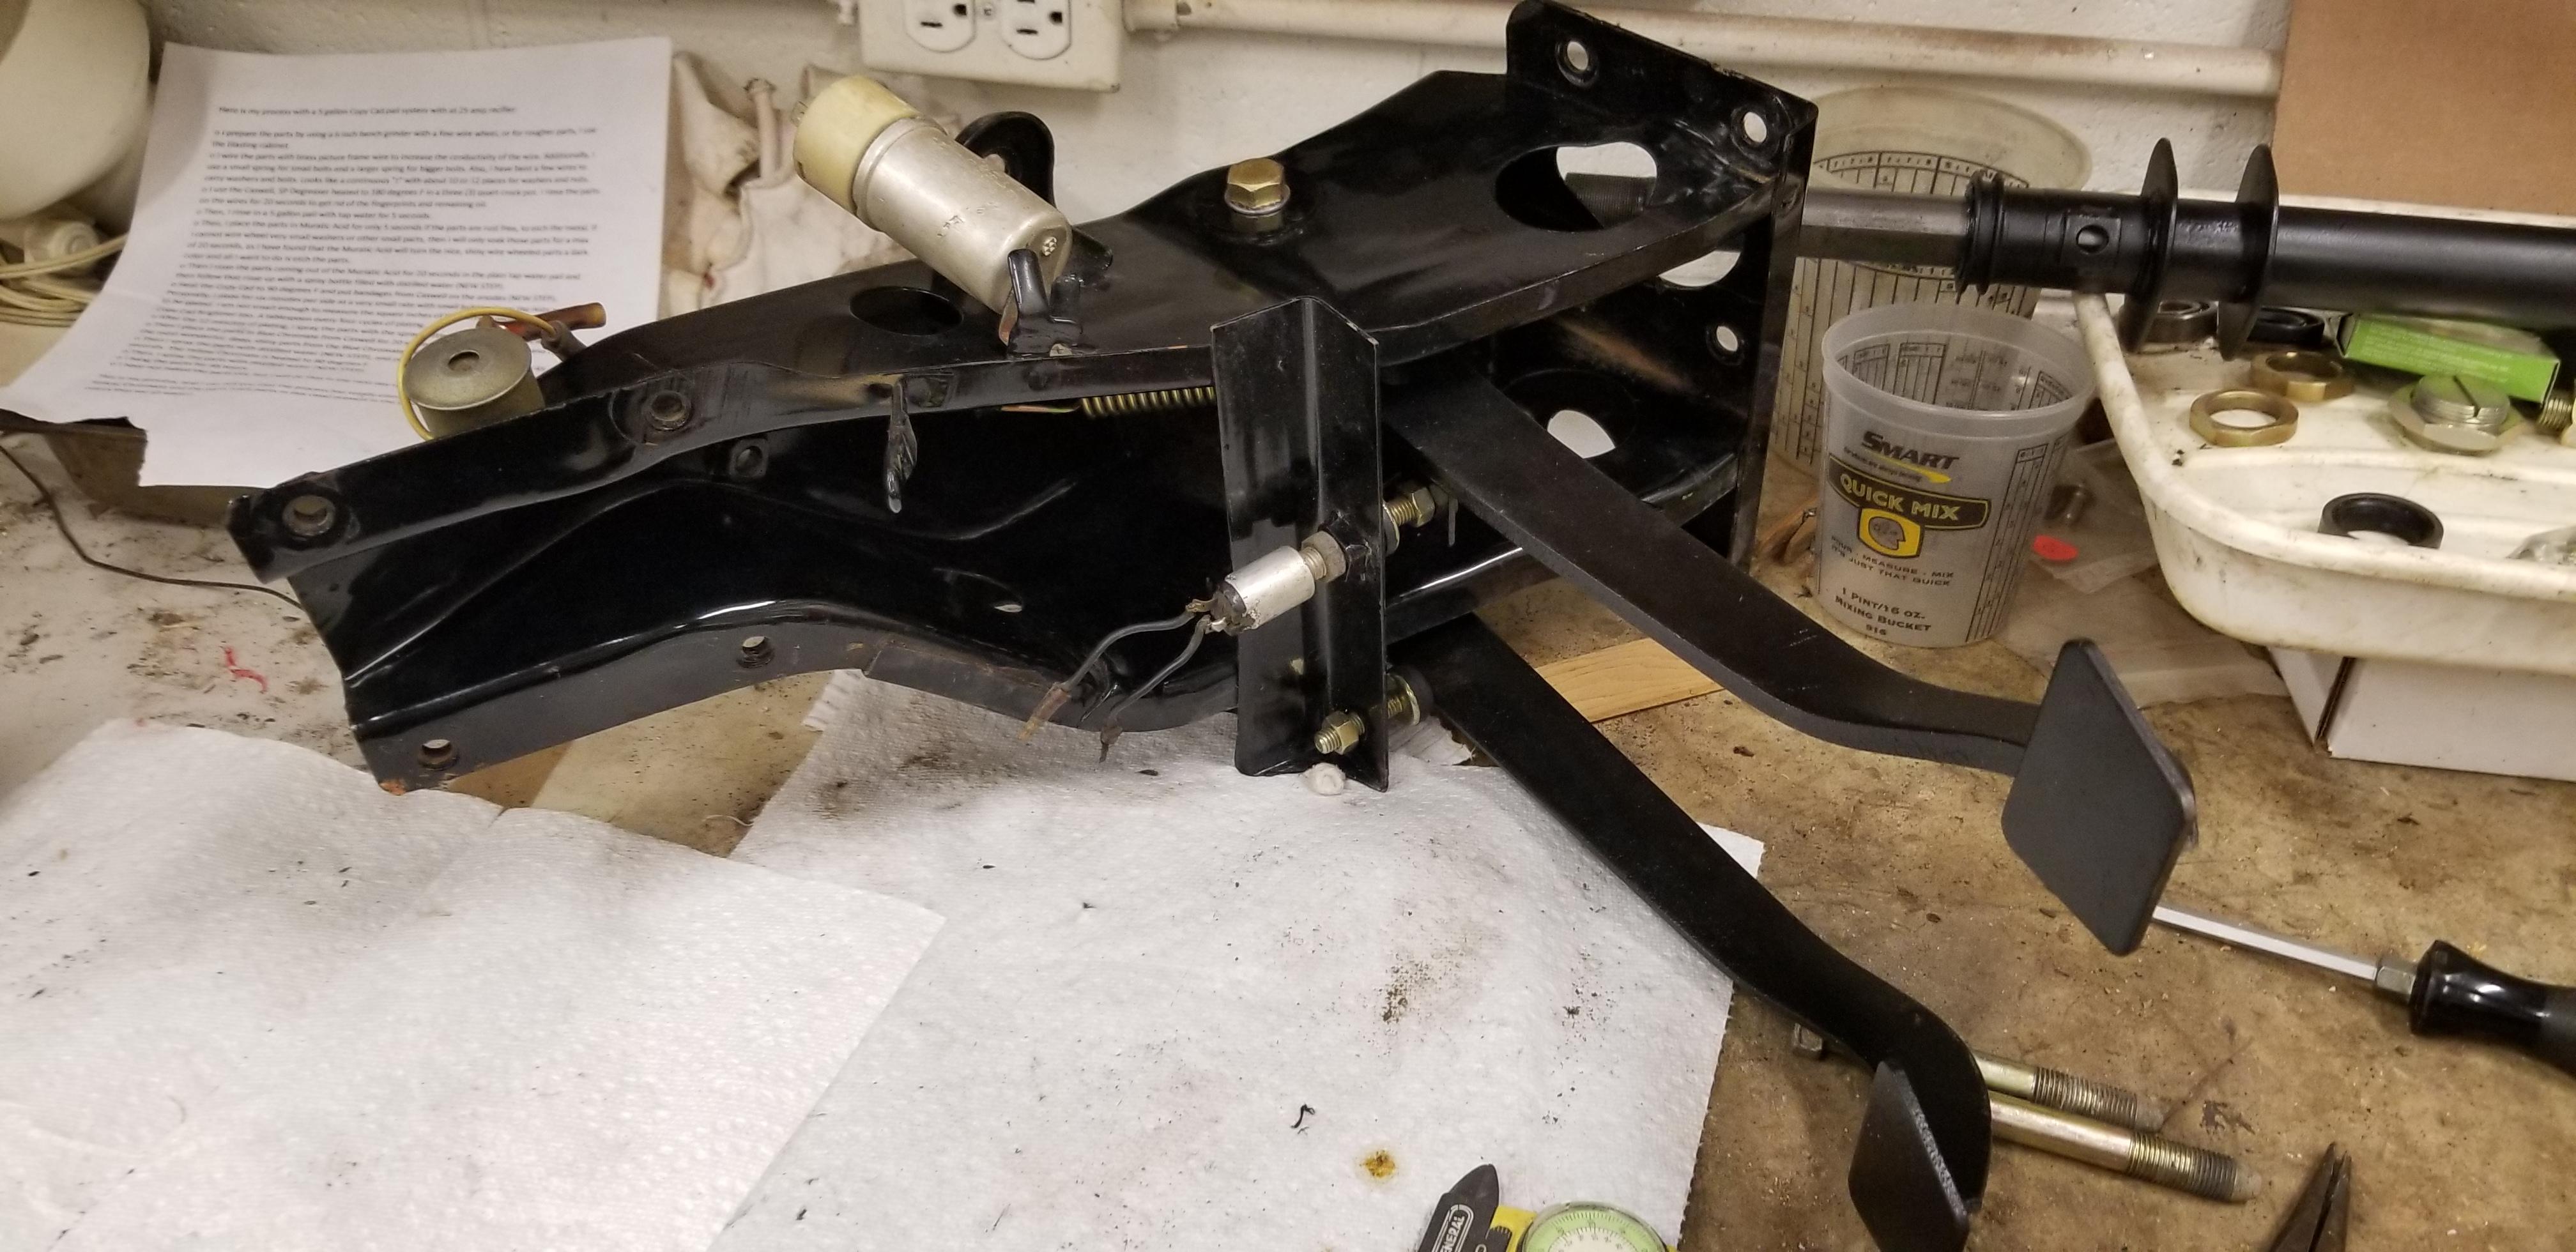
 Pedal box is all reassembled with freshened hardware and freshly painted pedals. I was going to start installing these parts but I think I might wait until I get the paint further along
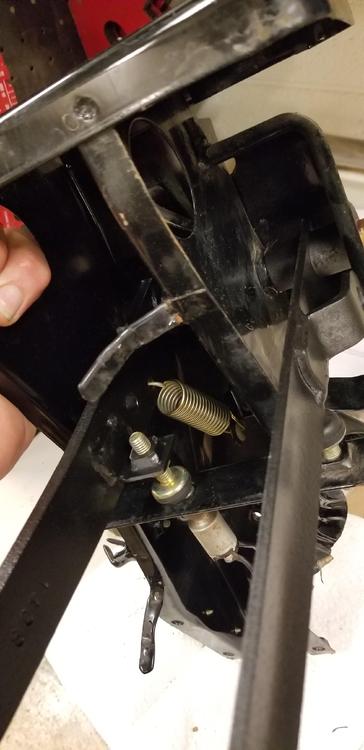
 I may attempt reassembly next weekend. I think I am have most everything ready for that. The MC push rod can go in after the shell is assembled.
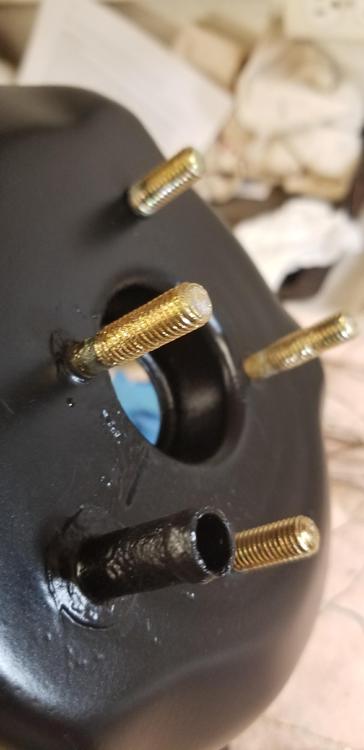
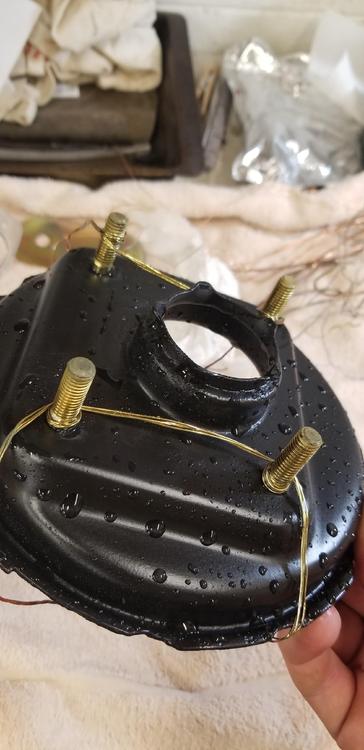
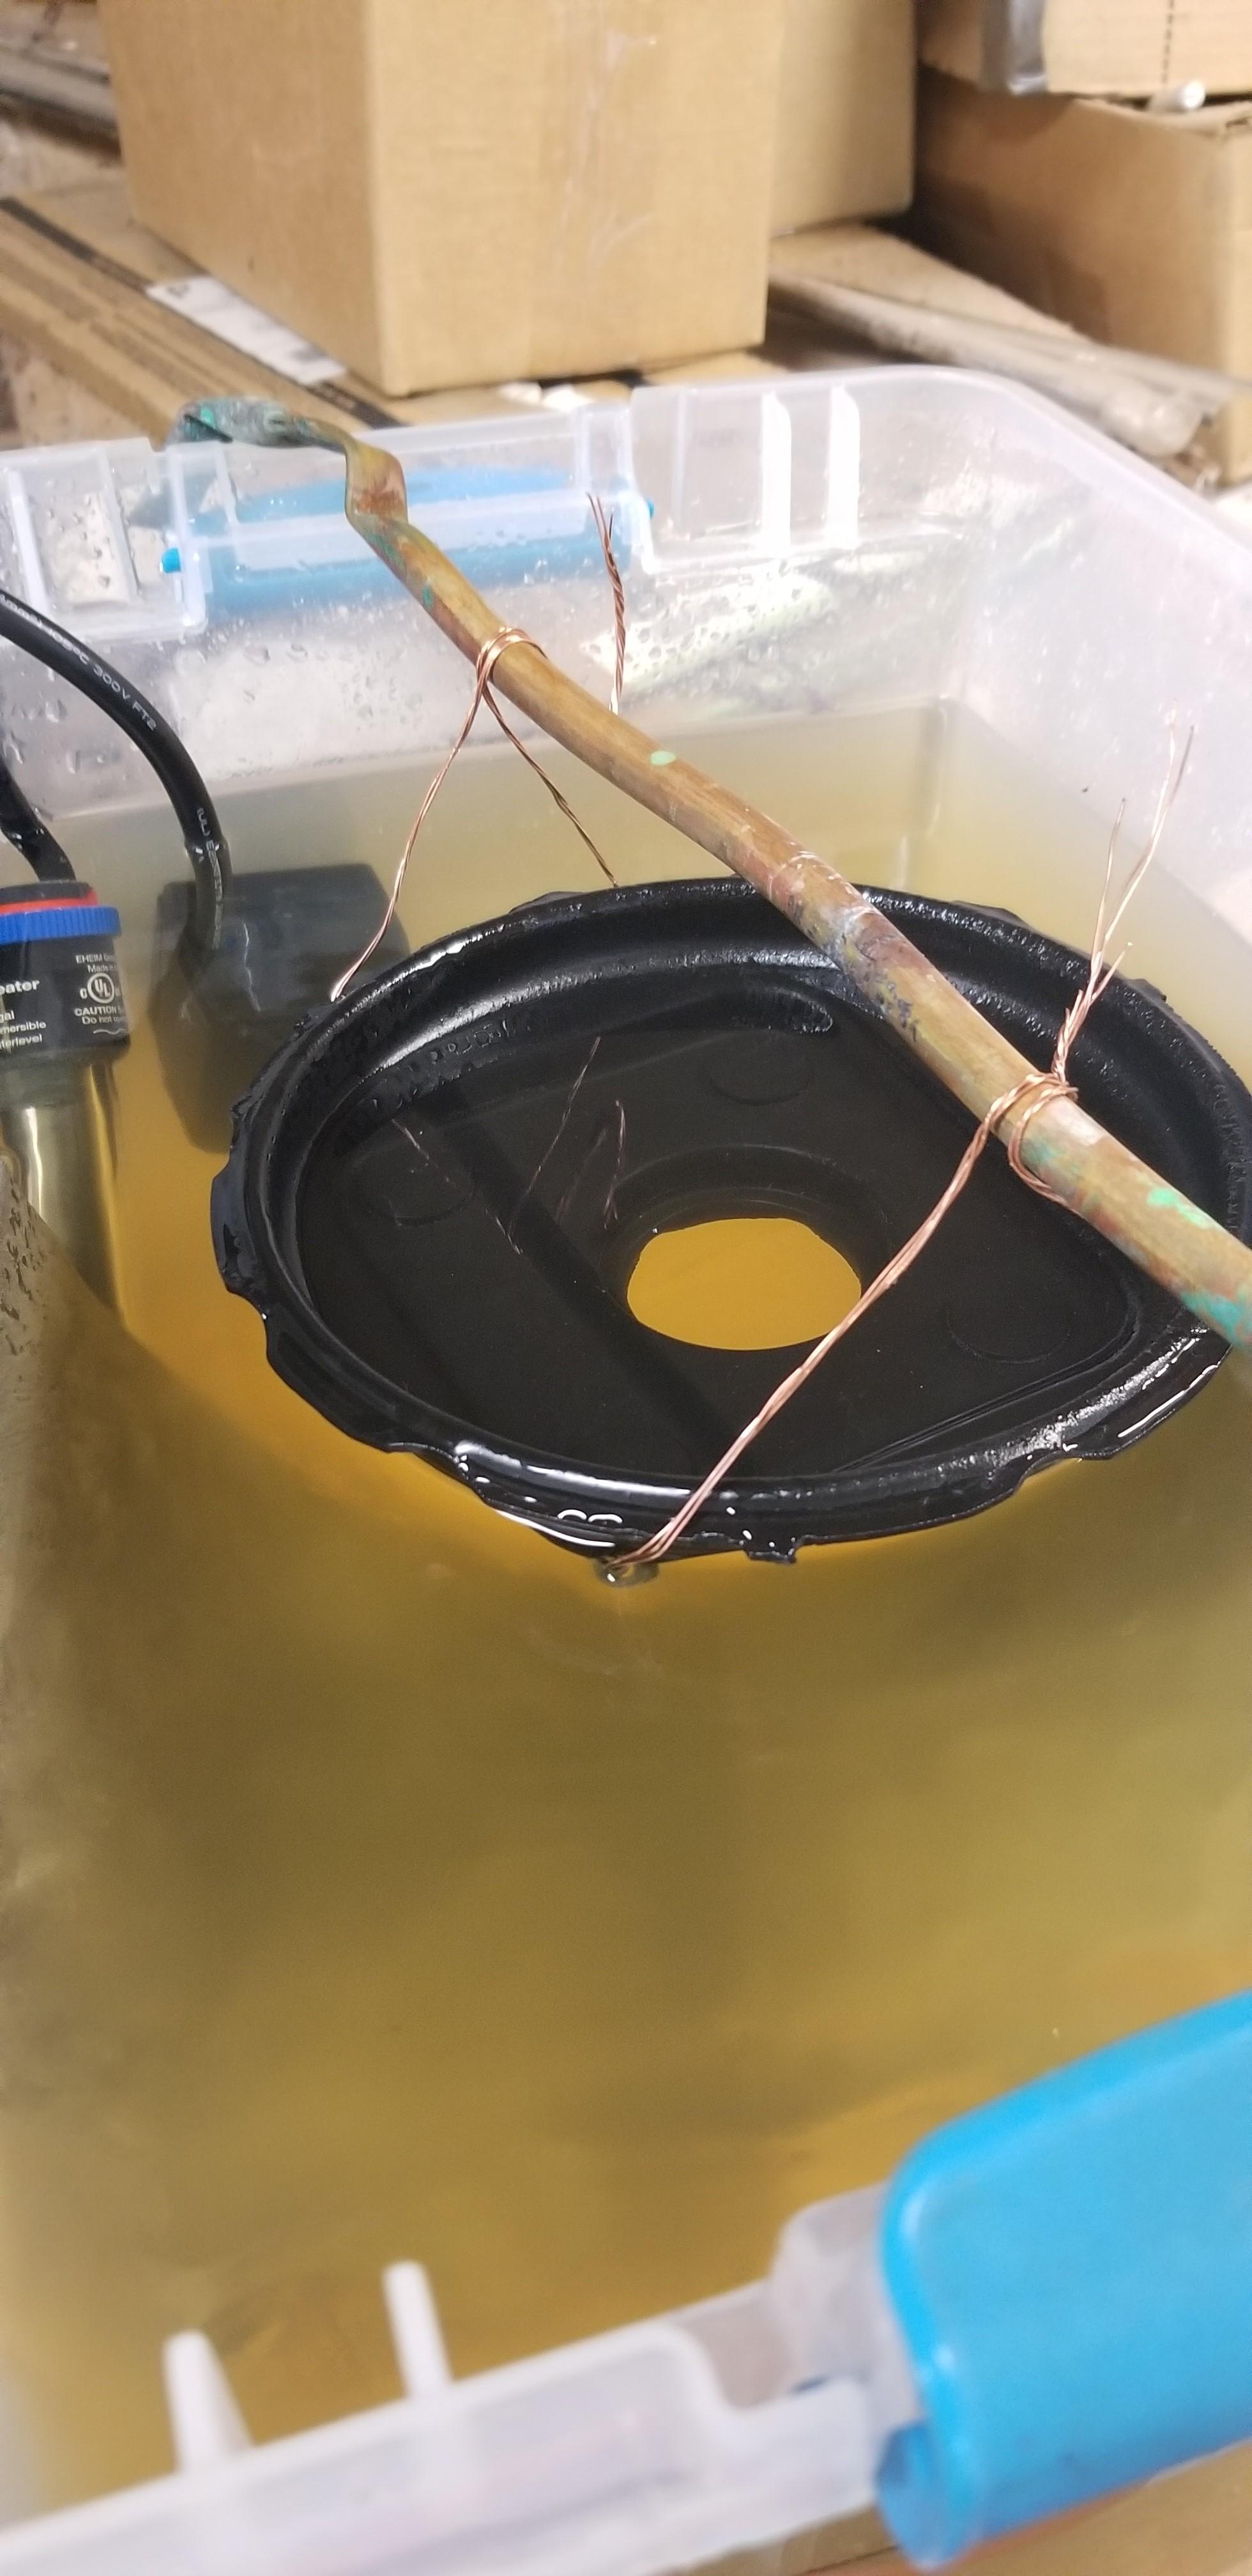
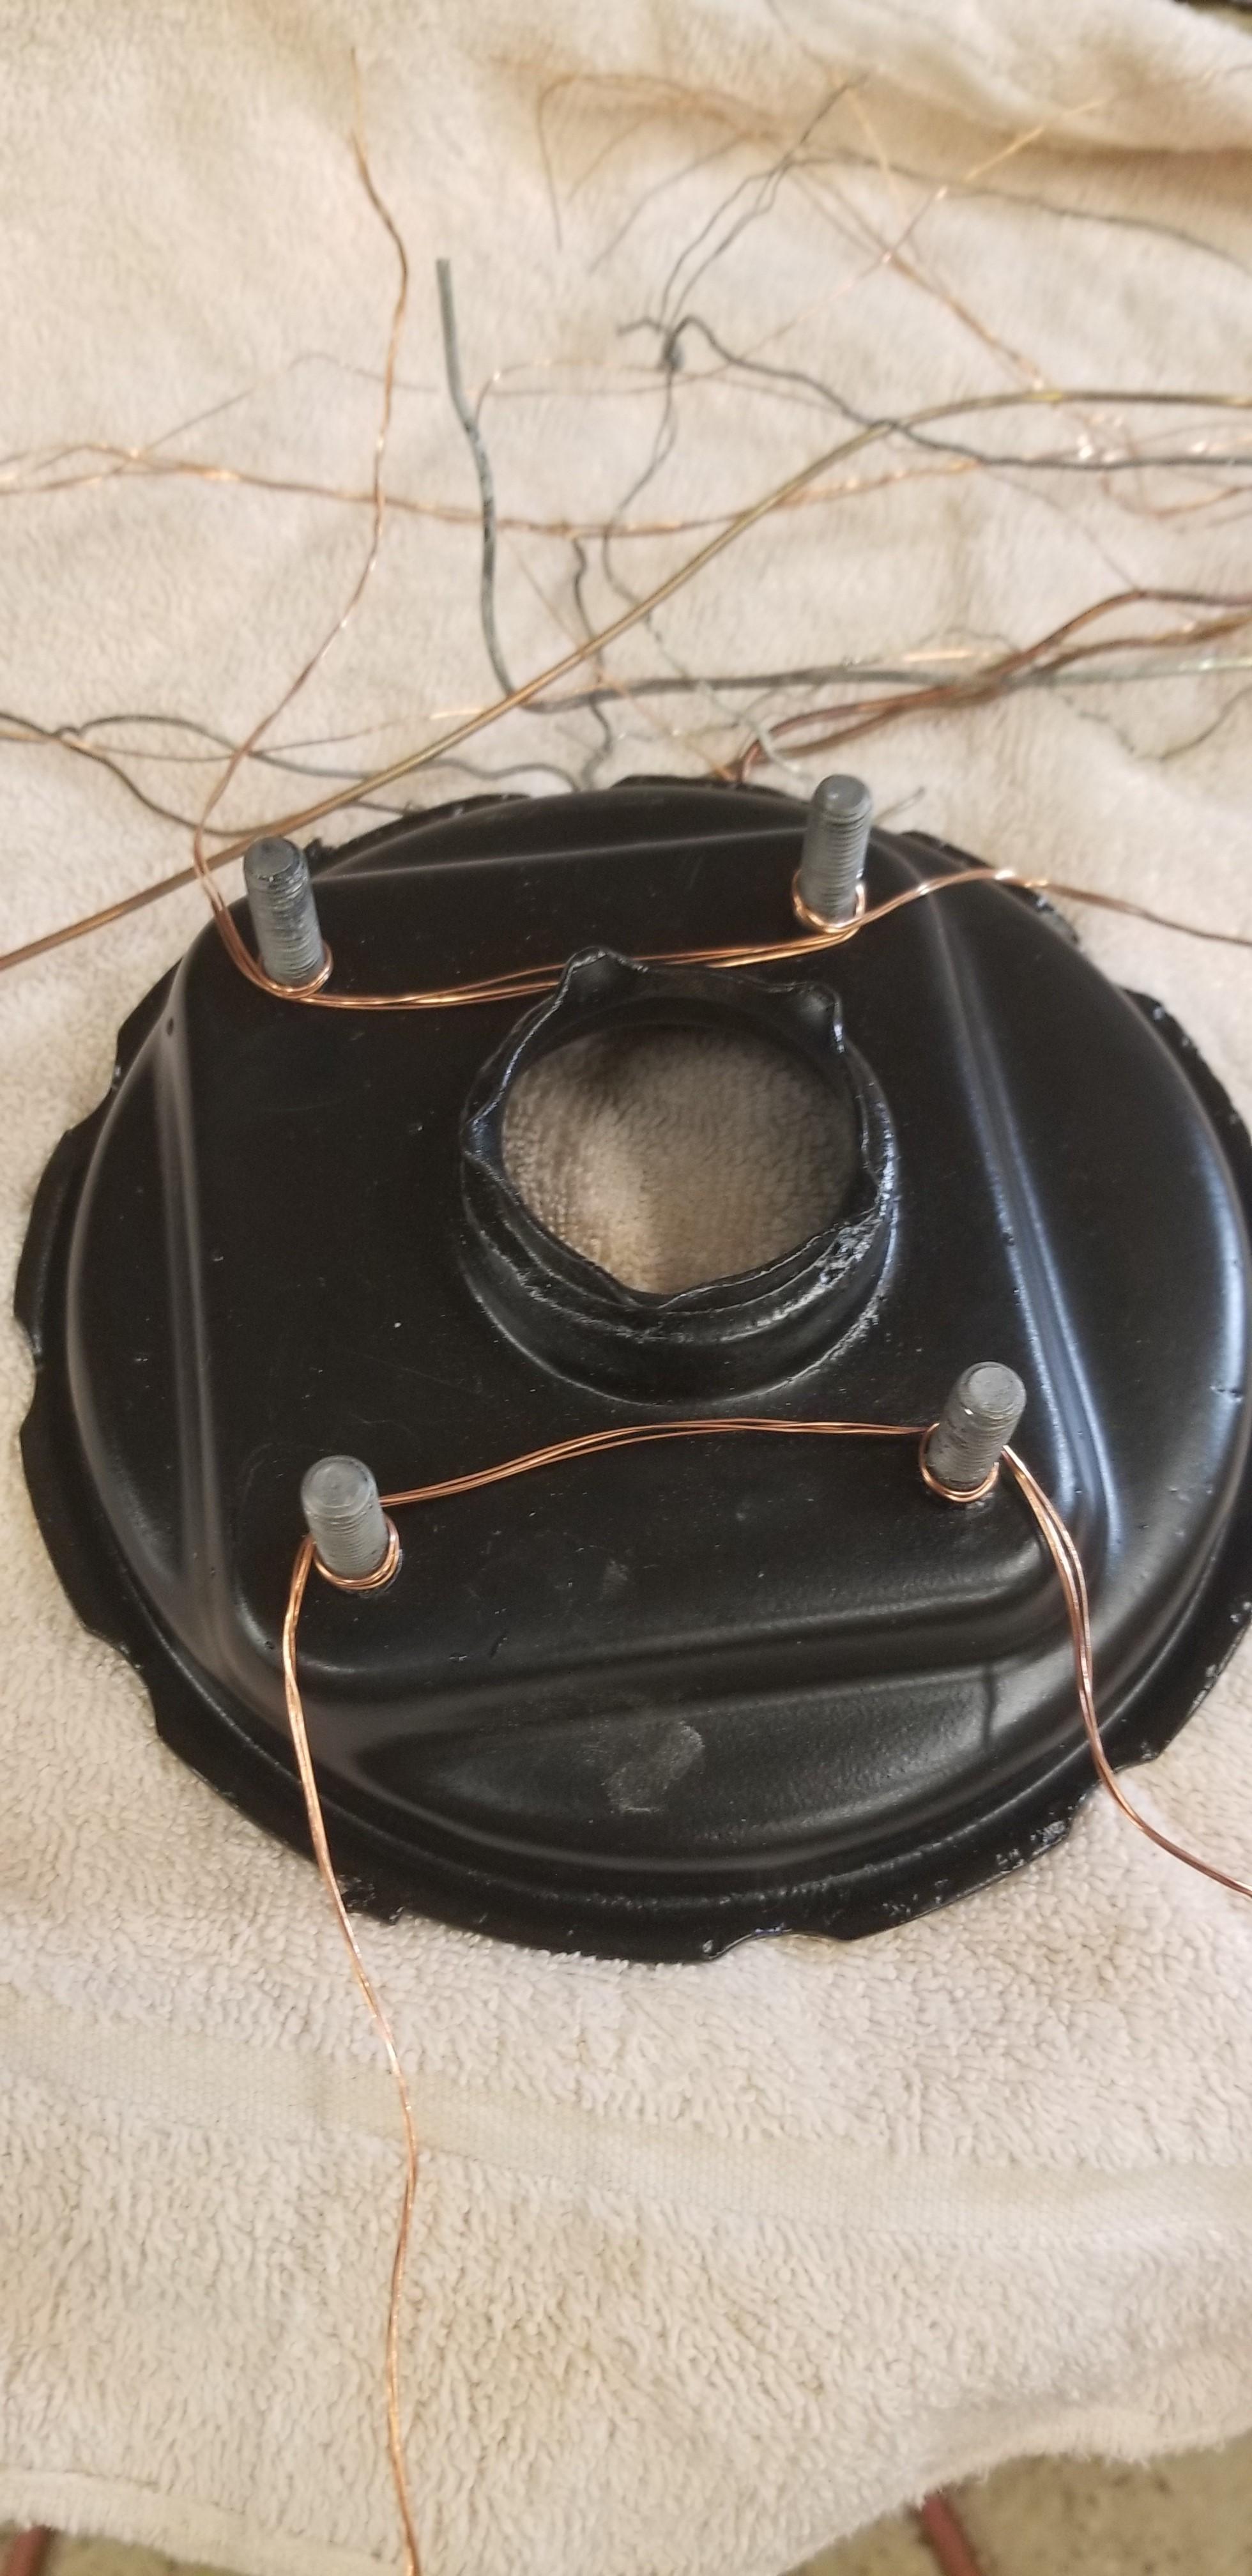
So I really wanted to protect the studs on the booster before I reassembled it. I have both halves of the case finish painted. So I plated them in place. I wired them up and suspended them in the tank This is how the other half turned out Now I'm working on plating the MC push rod. I'm working on removing the pitting from the rod.
I may attempt reassembly next weekend. I think I am have most everything ready for that. The MC push rod can go in after the shell is assembled.
So I really wanted to protect the studs on the booster before I reassembled it. I have both halves of the case finish painted. So I plated them in place. I wired them up and suspended them in the tank This is how the other half turned out Now I'm working on plating the MC push rod. I'm working on removing the pitting from the rod.


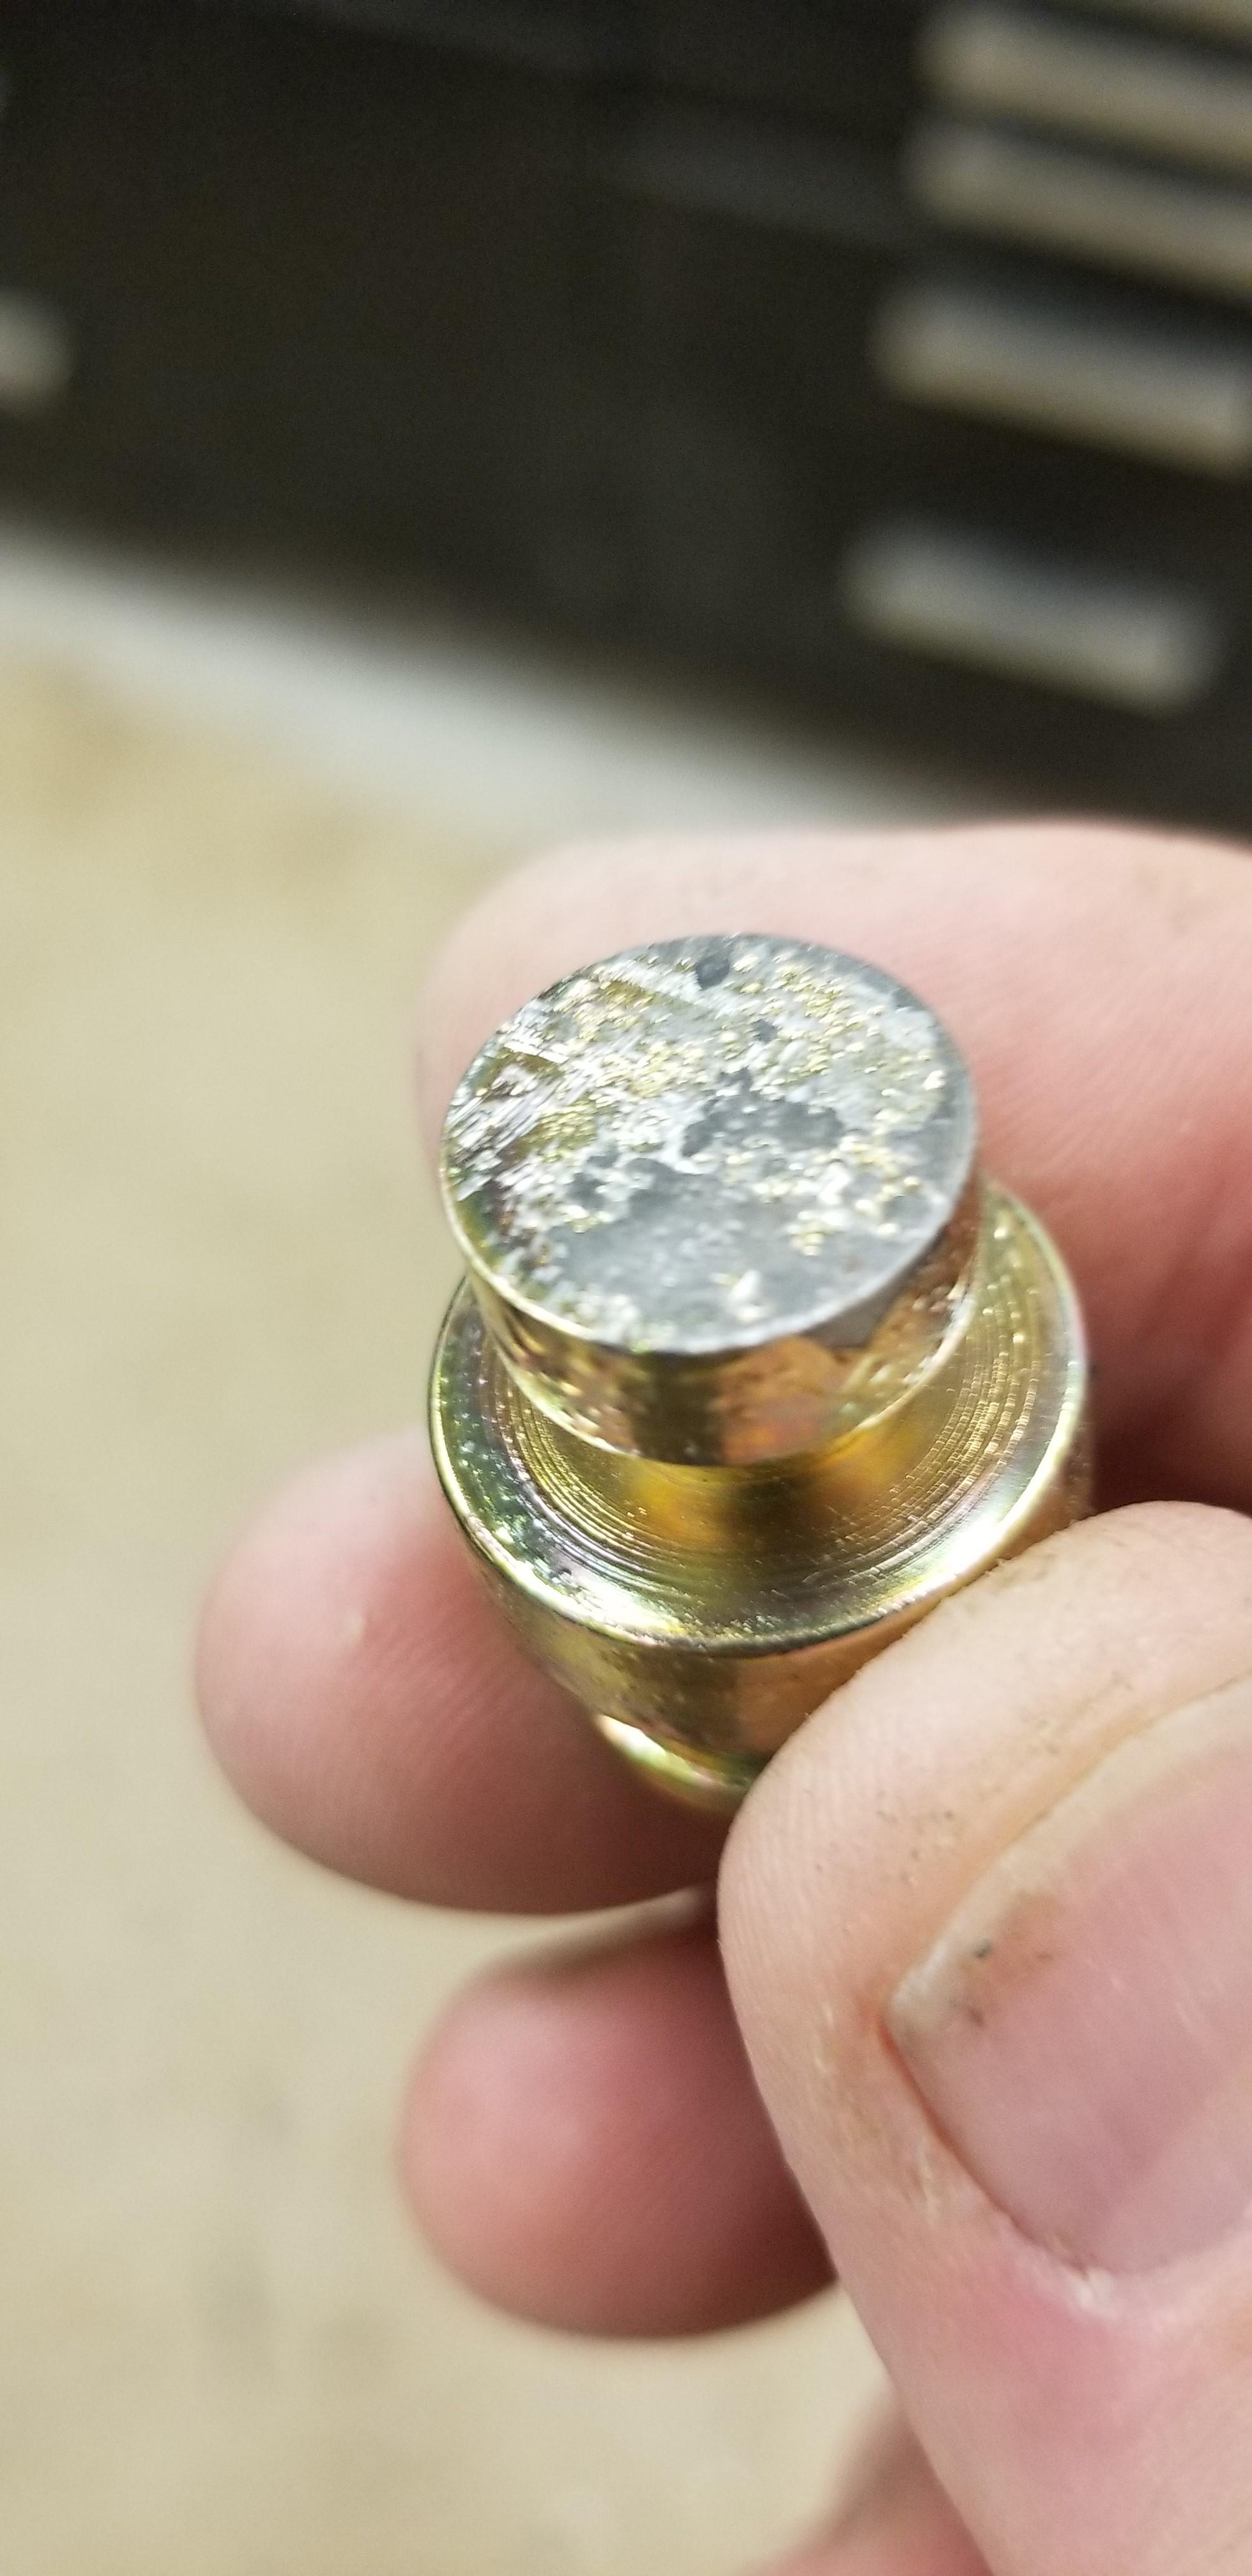
 This little part had blistered on my and I replated it. I will check it in a week or so and make sure it doesn't blister Looks good today, we'll see. Hopefully filtering the tank eliminated the issue
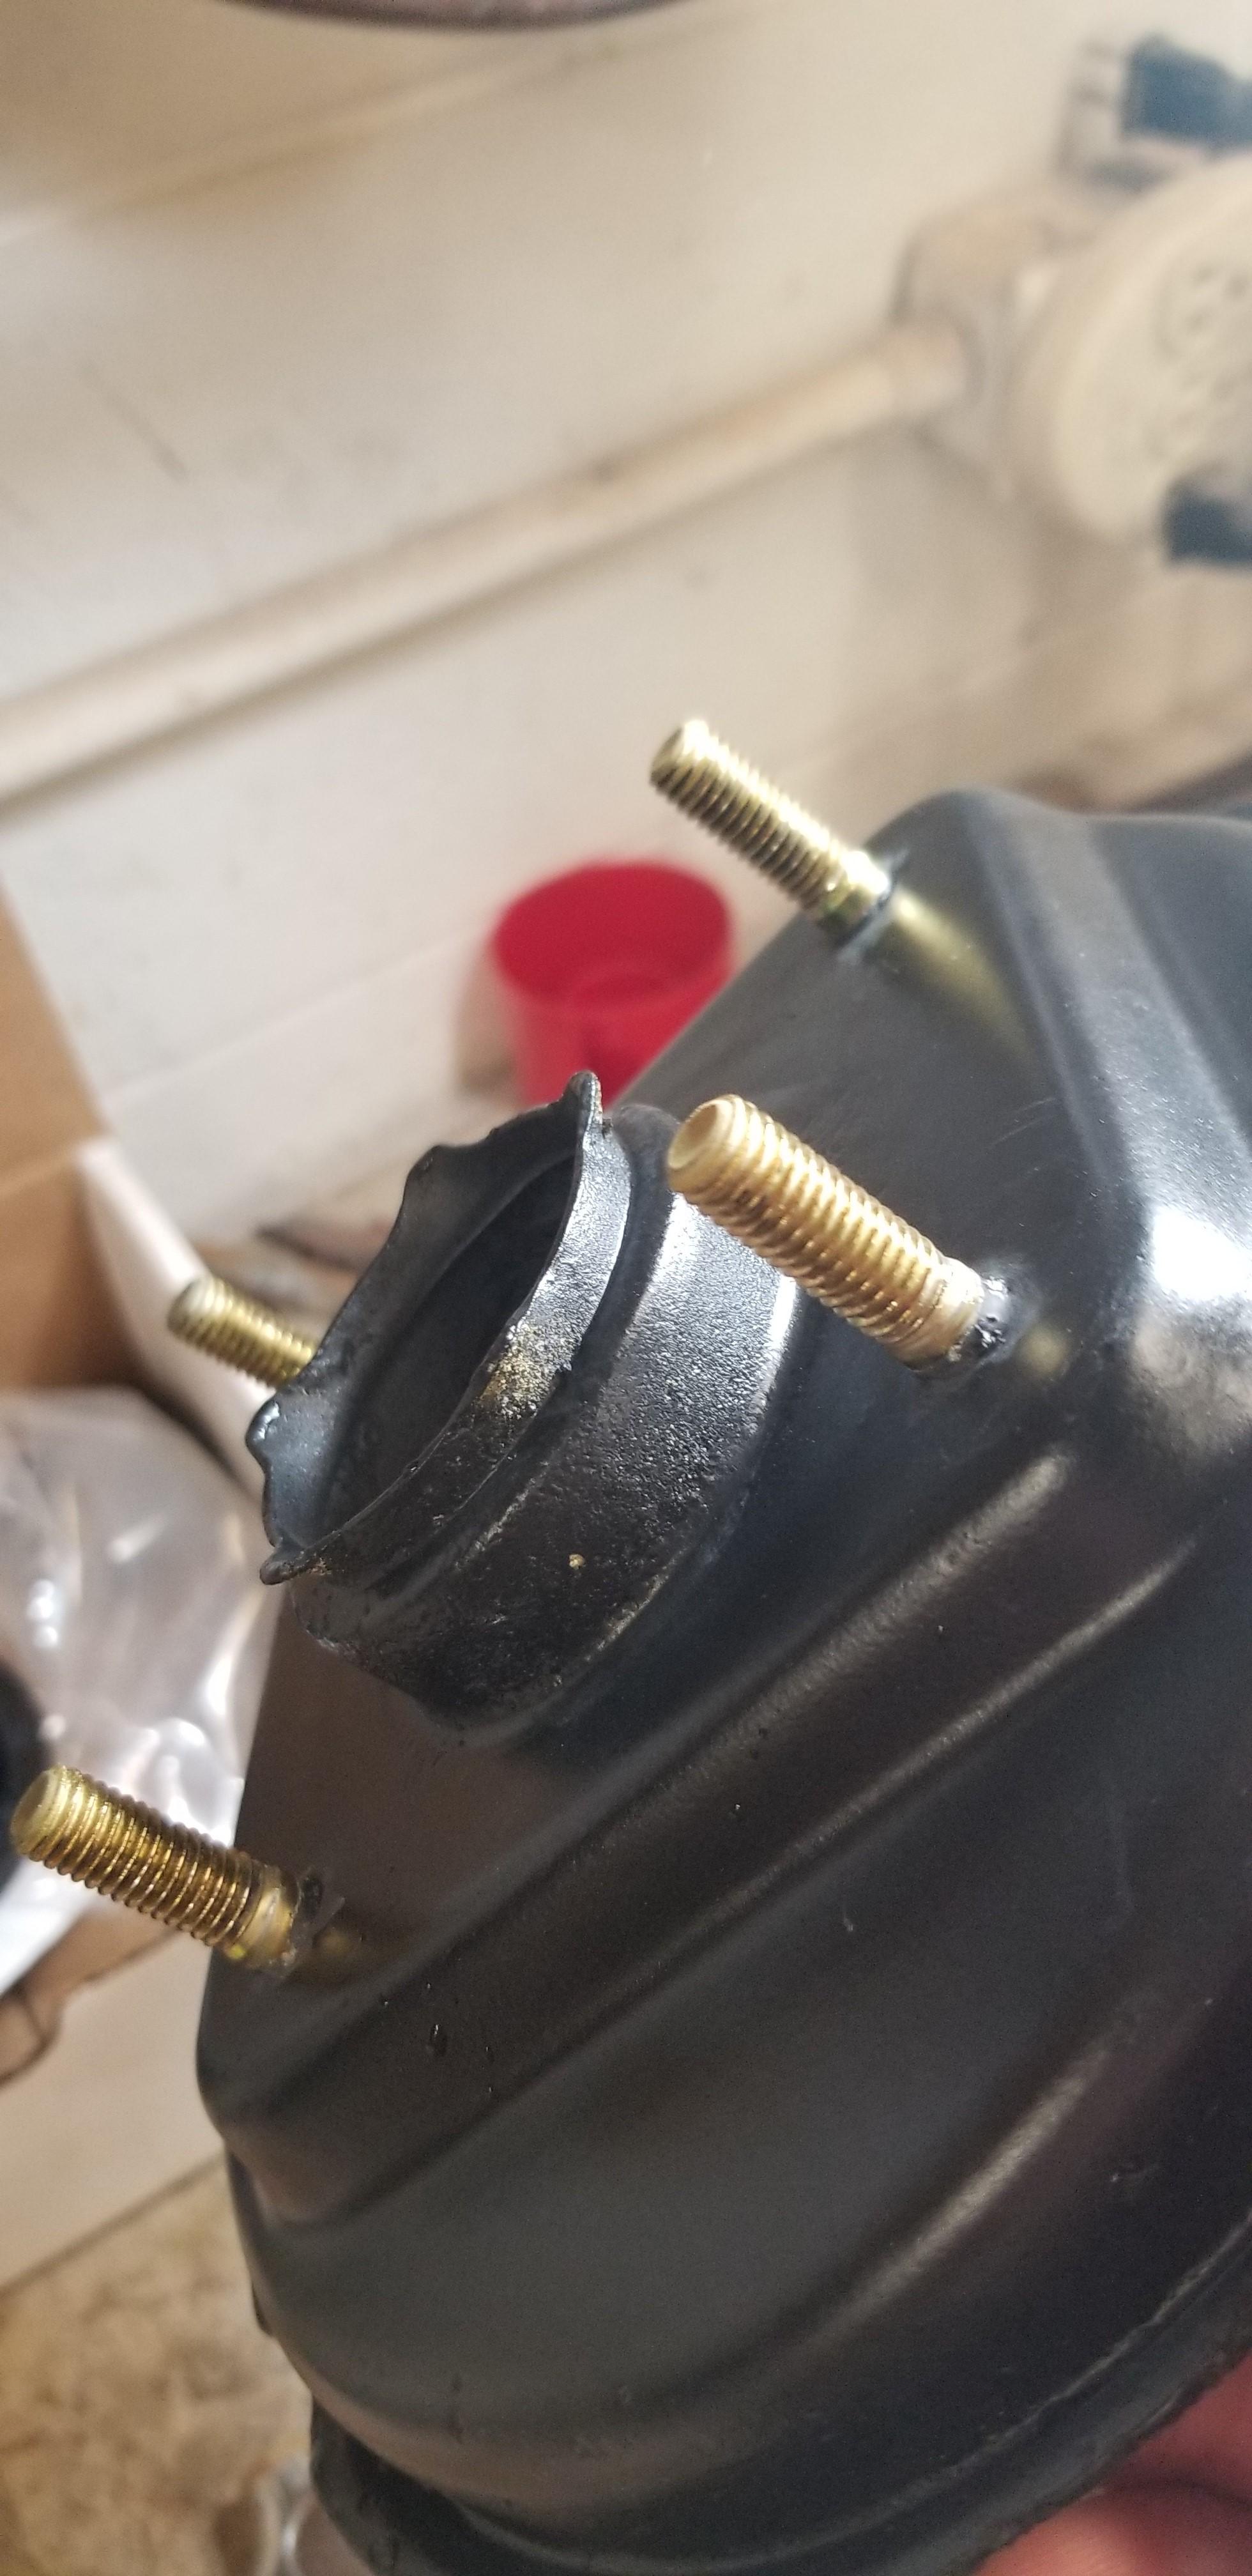
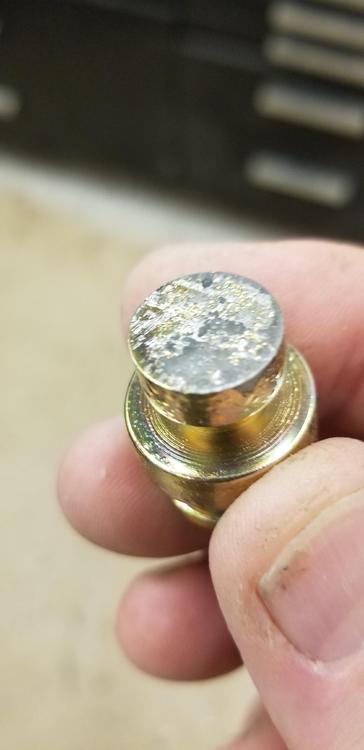 Tried to plate last weekend but my tank heater was dead. So I got another one and did some plating this weekend. One thing I did was plate some studs on a booster. This part is fully painted except for the studs Wired up Suspended right at the top of the tank Turned out pretty decent. I am unsure why the ends of the studs didn't really plate. It will be ok, since these studs are under the dash

 I think if he had a wire swapped it would run more poorly than it does What he really needs is a substitute dizzy. That would eliminate the pertronix as an issue
I was mainly working off your theory on bad pickups. I was hoping 3 and 4 were adjacent, suggesting a damaged section. However they are exactly opposed...
Me too! Maybe next year
Someone got, the firing order off the top of your head?
Thanks Mark! I have had bad experiences from welding too. Some which lasted weeks. I am much more diligent about avoiding those exposures if possible. I even were a respirator under my hood when it's bad. I should probably make that SOP but I haven't yet. I am fortunate my family doctor is a friend of mine and only lives two blocks away, so I just got back from his place. The immediate course of action seems to be going in for some blood work to check my heavy metal levels.He wasn't too worried about some of the symptoms, but that is where I plan to start, provided I can afford the testing. One of my concerns is I have been bead blasting all this old hardware and venting the cabinet into the shop. Which means I am breathing what ever is coming off the hardware, ie Zinc or Cadmium. So I moved the vacuum outside the shop today. So it is now venting outside. When I get some results back I should have some info on which to assess risk to the stuff I do. Part of the problem is, I get a double dose, since I work in construction and am exposed to lots of toxins at work too.
I think if he had a wire swapped it would run more poorly than it does What he really needs is a substitute dizzy. That would eliminate the pertronix as an issue
I was mainly working off your theory on bad pickups. I was hoping 3 and 4 were adjacent, suggesting a damaged section. However they are exactly opposed...
Me too! Maybe next year
Someone got, the firing order off the top of your head?
Thanks Mark! I have had bad experiences from welding too. Some which lasted weeks. I am much more diligent about avoiding those exposures if possible. I even were a respirator under my hood when it's bad. I should probably make that SOP but I haven't yet. I am fortunate my family doctor is a friend of mine and only lives two blocks away, so I just got back from his place. The immediate course of action seems to be going in for some blood work to check my heavy metal levels.He wasn't too worried about some of the symptoms, but that is where I plan to start, provided I can afford the testing. One of my concerns is I have been bead blasting all this old hardware and venting the cabinet into the shop. Which means I am breathing what ever is coming off the hardware, ie Zinc or Cadmium. So I moved the vacuum outside the shop today. So it is now venting outside. When I get some results back I should have some info on which to assess risk to the stuff I do. Part of the problem is, I get a double dose, since I work in construction and am exposed to lots of toxins at work too.


Important Information
By using this site, you agree to our Privacy Policy and Guidelines. We have placed cookies on your device to help make this website better. You can adjust your cookie settings, otherwise we'll assume you're okay to continue.