Patcon
 Subscriber
-
Joined
-
Last visited
Everything posted by Patcon
-

-
-
-
-
-
-
-
-
-
-
@DC871F You will need to lurk on Rich's "motorman7" threads. He is going to be doing a white on Red car that in paint shop jail right now and he is also doing a 73 from the ground up for someone else. He does beautiful work!
-
@Mike Thanks for setting up the gallery. hopefully I can figure out the "drag and drop" deal. I was just getting ready to start a picture thread @240260280 "Mad Mike" said you need to get off your "assets" and get out to Branson next year!
-
So I assume could be used as an edible too. I am not sure smoke would be the best thing for my lungs.
-
Yes, I hope to see you two in Branson. My prayers for a good recovery C
-
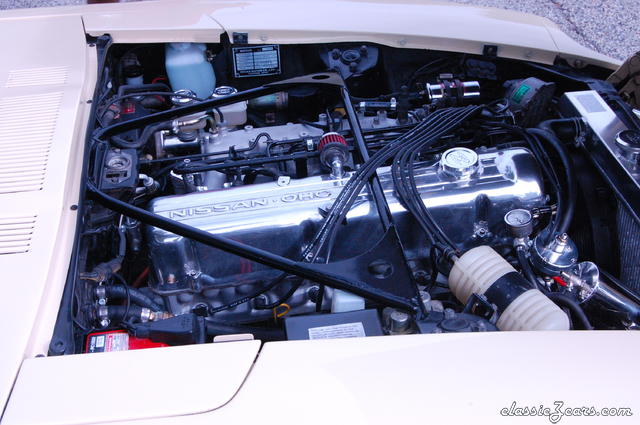
If I heard the translation correctly tonight, Matsuo San said that he didn't think Americans would want to row a 5 speed so we got the 4 speed instead
-
Miss having you here Jim!!!
-
I understand. If it happens let me know. The next Zcon is in Branson, I believe
-
Cliff, Are you gonna be in Atlanta?
-
Pat Please keep an out for me too. Cody and I are in Atlanta
-
John, It would be nice to meet you in person! I'm the 6-5 guy with the long dark pony tail
-
Are you here in Atlanta? If you are we need to catch up!
-
Cliff?????? Does that mean I get to meet the infamous Cliff in person!!!
-
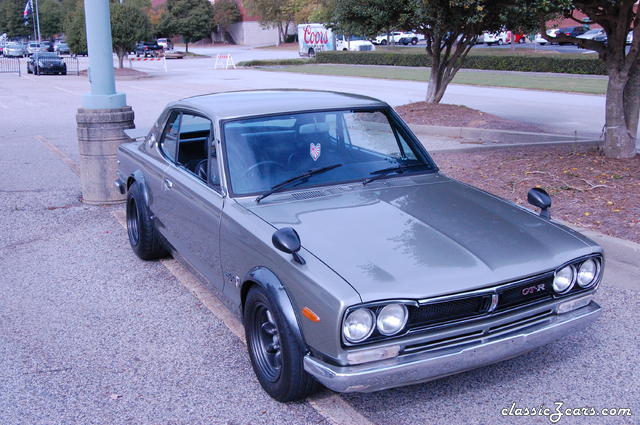
I love the Dino, I almost bought one in high school, but when you look at it next to an S30, it's tiny! I would never fit in it. I think I will stick with my old Z cars instead.
-
-
See if you can find what you need in Wheee!'s thread. If not let us know and we will come up with some info.