beermanpete
Free Member
-
Joined
-
Last visited
Everything posted by beermanpete
-
 The power goes through the combination switch first, then to the fuses, then to the headlights.
 -
Good luck and have fun.
-
-
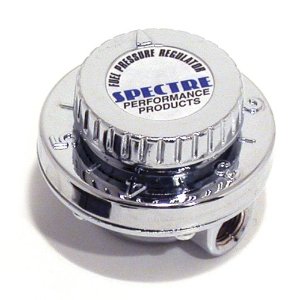
The factory pump provides 3.4 to 4.3 PSI. We have our regulator set to 4 PSI and the car works well.
-
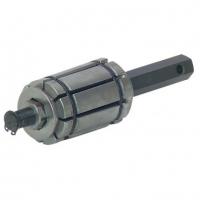
JB Weld will do it alright, but you will never get it out again. I would try expanding it a bit. Perhaps a muffler shop could do it if they have a small enough tool for the diameter. Something like this might work: Available at Harbor Freight for $8.00. http://www.harborfreight.com/automotive-motorcycle/exhaust/small-tail-pipe-expander-37352.html
-
-
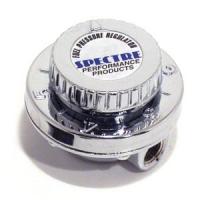
We had similar symptoms on our 240Z. Ran great up to 5K RPM then went away, popping and not making power. It turned out to be floating points due to the wrong points cam. I know you do not have points, but the symptoms you report are to close to our experience to let it go by. Is your timing stable at high RPM? Fuel pump - We are using a Holley "Red" fuel pump mounted in the rear where the original electric pump was. The mechanical pump has been removed. The Holley is rated for 71 GPH which should be more than enough for your mod level. You will need to use an in-line pressure regulator. We are using one of those little, round type (see image below) with good results but I suspect it might not flow enough fuel for higher power levels. You mentioned you have 2 fuel filters before the pump. Perhaps there is too much resistance on the suction side of the pump as a result. Have you tried it with only 1 filter?
-
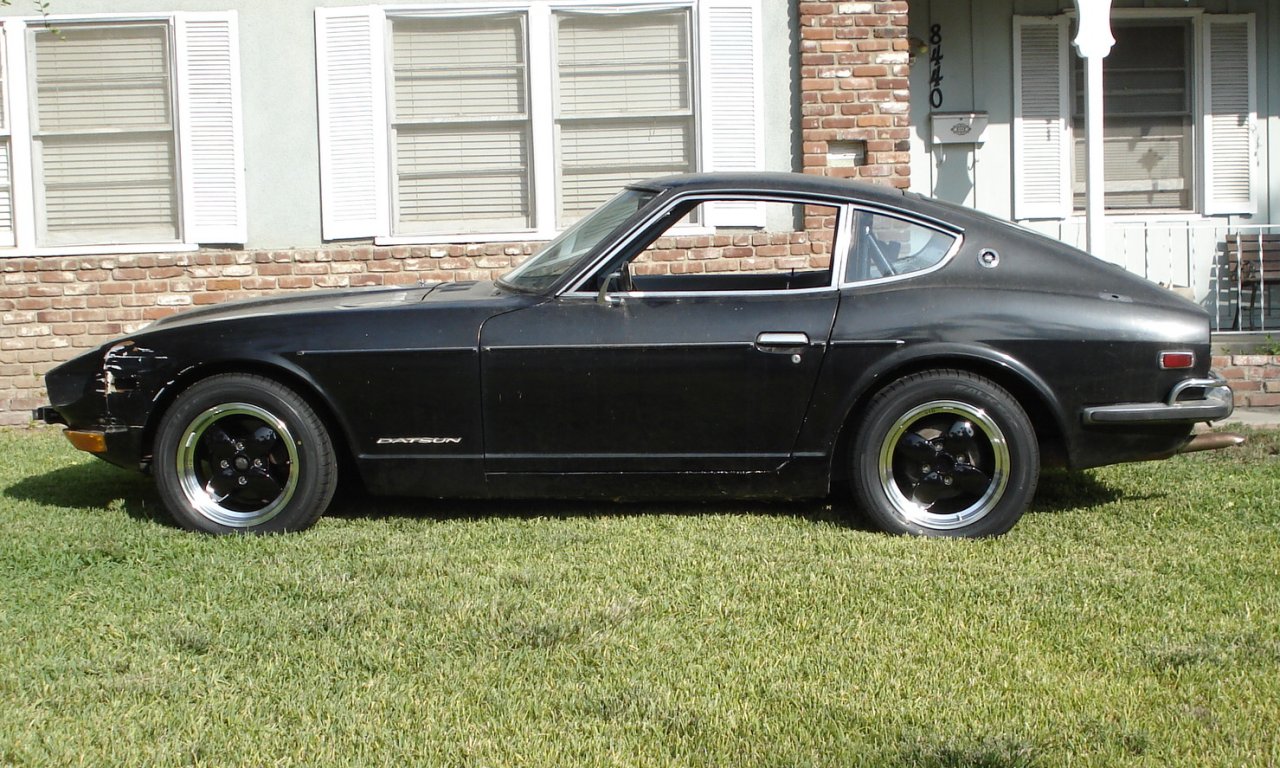
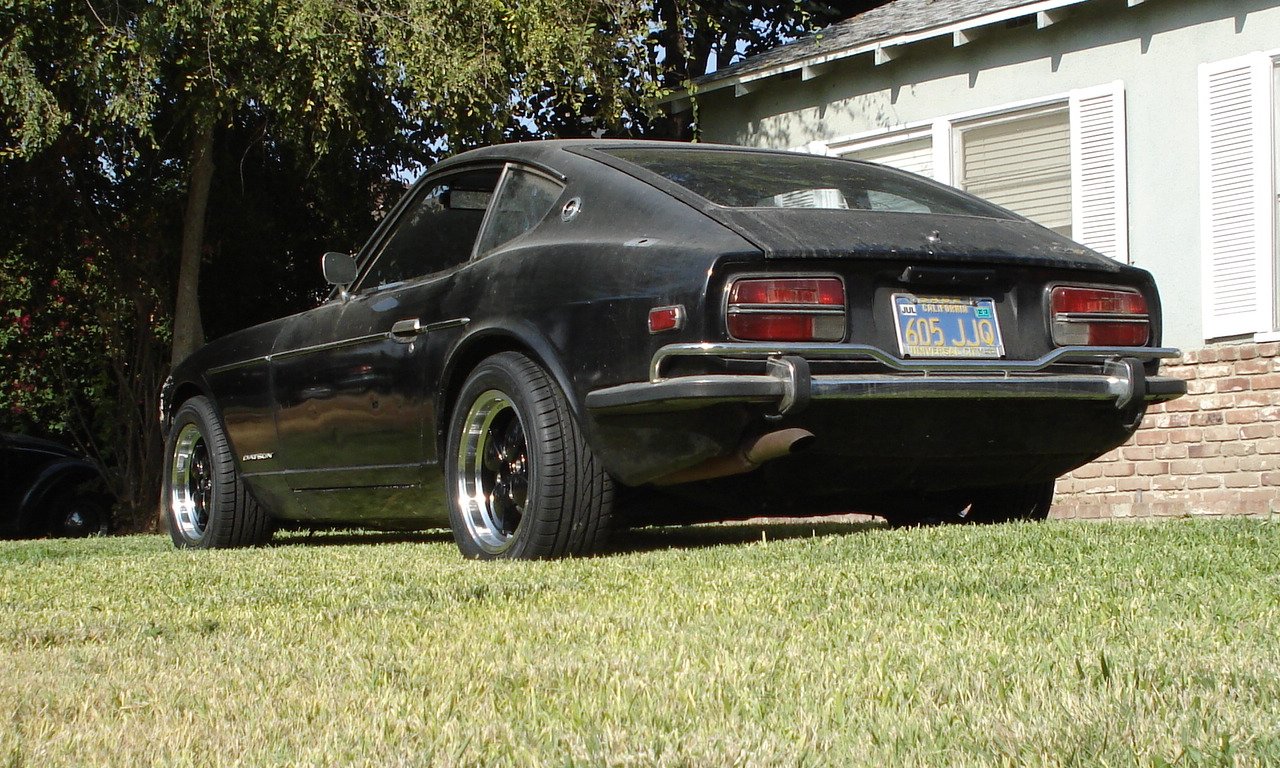
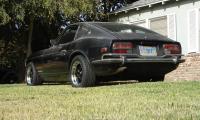
We finally got our new VTO wheels installed.

-
Not to likely. It could be a bad rubber line, a bad fuel pump, a cracked fuel filter, or a bad steel line (the one that runs the length of the car). The steel line is pretty well protected from damage so it is the least likely. Look for fuel stains and/or very clean spots near the fuel lines near the tank and near the fuel filter and pump. An air leak can also be a fuel leak, which would leave some evidence. Have you performed the diagnostic procedures suggested in the factory service manual?
-
The check valve is not the problem. All it does is prevent loss vacuum assit when you floor it (low manifold vacuum) or if the engine stalls while driving which allows you a shot or two at the brakes with assist so you can stop the car safely. You need to rebuild the Master-Vac (which has alreay been said).
-
Hooray!! Glad you finally licked it.
-
Sort of. The pick up line is below the fuel level when the tank if full, so if there is a crack or pin hole in the pick up line it will suck air when the fuel level is below the crack/hole. This will make the car act as if it is out of fuel before the tank is actually empty. If the line is blocked the fuel level will have no effect. What are your symptoms?
-
It looks correct to me. The side with the spring typically goes toward the wet side.
-
I am not sure of this link will work: http://www.oreillyauto.com/site/c/detail/MRG0/2375.oap?ck=Search_wheel+spacer_N0291_-1_2666&keyword=wheel+spacer&pt=N0291&ppt=C0337 Mr. Gasket brand (PN 2375) sold by O'Reily Auto Parts. You might be able to pick up a pair at you local parts store or a well stocked tire and wheel store. From what you said 10mm might be more than necessary. The spacers we use (in front) are 7 mm (1/4"). Use the thinnest spacer you can. A 1/4" clearance between the tire and the spring seat is likley enough. Be sure the studs are long enough to get good thread engagement. You should have at least 12mm of thread engagement (9.5 revolutions of the lug nut). More is better.
-
Your video is not public. I cannot view it.
-
You verified half of the circuit, how about the other half? Ground, that is. Is there voltage at the negative side of the coil when the points are open? Does the voltage fall to 0 when the points close? Can you see any arcing across the points while cranking the engine? The ground path for the coil is through the negative coil wire to the distributor, feed-though terminal, lead wire moving point contact, stationary point contact, points mounting frame, mounting screws, advance plate, ground wire, more screws, distributor body, and then the engine block. To much dirt or corrosion (or over zealous painting) at any of the connection points could prevent a good ground connection. Check the wires for loose or damaged terminal, broken conductors inside the insulation and cracked or worn insulation. Replace or repair as needed.
-
We installed a new pick-up tube where the fuel gauge sending unit goes. We machined an aluminum disk to replace the sender. In the center of this we installed a -6 (3/8") AN bulkhead fitting. The tank side has a 3/8" aluminum tube attached that is bent to reach the bottom of the tank near the inner baffle wall. The outside has a hose barb adapter for connection to the 3/8" rubber tubing. The original steel line is still in the tank; we simply sealed the outer end. We use our car at the race track and don't care about the fuel gauge. If you need/want to retain the fuel gauge you will have to replace the original steel line. Any shop that can repair leaks in the tank should be able to cut out the old line and weld in a new one. It might be possible to install a bulkhead fitting directly in the tank near the sender opening and retain the fuel gauge. We decided we did not want to cut or weld on the tank ourselves, hence the path we chose.
-
I just realized the return line will bleed off the pressure. To check for pressure leak-down you will need to close the return line. Use a C-clamp, Vise-Grip pliers, or similar tool to squeeze the return line (gently). This should seal it and allow you to perform the pressure leak-down test.
-
The best thing to do is pull the head and measure the volume of the combustion chamber and the valve diameters. These are the main differences between years.
-
The pulsing pressure sounds normal. The pump delivers the fuel in pulses so until the float bowls fill it seems reasonable to have some pulsation in the pressure. To check the various components and sections of fuel line start by looking for fuel stains and/or very clean spots around the fuel line at each end of the car. The fuel pump should hold pressure for a little while after shutting off the engine. Not hours necessarily, but long enough that the gauge should not drop like rock when shutting off the engine. Fast pressure drop can be from leaky float valves, a bad check valve in the pump, or a bad pump diaphragm (in this case the fuel could leak into the crankcase, look for high/increasing oil level and gas smell in the oil.) Check the volume of fuel delivery per the factory manual isntructions with the engine running and everything connected normally. If the volume is low, or you see air in the fuel comming out (looks foamy or bubbly when going into the test bottle) you probably have an air leak. To test for cracks in the steel lines by-pass them with rubber hose. Connect one end to the inlet on the fuel pump and the other end in a fuel can. If it is good start connecting the various segments of line back into the system and perform the flow rate test each time. If it is good all the way back to the last section that connects to the tank then the tank has problem. You could do this in the other direction and start at the tank. Either way you will find the section of line that is the culprit. This method will not include the filter screens built into the carbs. Check those by visual inspection. We used this method to locate an air leak in the pick-up tube inside the fuel tank of our car. It works fine but take a lot of time.
-
Mine is stubborn as well. I always need to use a pipe over the wrench to get enough leverage to loosen the fill plug. I push on the left rear tire with my foot to prevent feeling like I will push the car of the stands.
-
I agree with Zforce. It sound like fuel starvation to me. New anything does not mean it can't be bad out of the box or suffer infant mortality. Check fuel flow rate and pressure. It sounds like your car is stock so the factory service manual specs and procedure apply. I attached the fuel system section in case you don't already have it. Perform the diagnostic procedures for the fuel pump. Also, check the screens at the inlet to the carbs as Zforce said, they are not included in the fuel pump diagnostic procedure. EF Engine Fuel System.pdf
-
The Emperor's new fender?
-
That oughta keep that carpet flat!
-
As long as the trans oil is filled until oil comes out the filler plug opening it is full. The factory capacities are always approximate and generaly the amount required after a rebuild, not an oil change, which will be a little less due to the oil clinging to the parts, sides of the case, and such. 2 pints is half of the specified capacity so it does seem odd. Are you sure you didn't mistake the size of the bottles as pints and not quarts or liters?