Leaderboard
-
inline6
 Subscriber
 2Points1,286Posts
 -
26th-Z
Free Member2Points5,264Posts -

Zed Head
Free Member1Points19,264Posts -
Richard McDonel
Subscriber1Points381Posts


Popular Content
Showing content with the highest reputation on 09/28/2025 in Posts
-
You will need special tools to do a brake booster; outlined in the service manual, which should tell you what a rebuild entails. I sent mine to https://www.powerbrakebooster.com/ Power Brake Booster exchange in Washington. They did a nice job for me.2 points
-
1 pointI see Hagerty Insurance is featuring the 240z - along with another old Japanese sports car we won't mention - on its latest on-line ad. Also, it only ran for a couple of days (mind you I don't watch that much TV so I might have missed some) but Nissan had an ad featuring a full fleet of Z cars on a car-carrier semi, driving through the mountains. Front and centre, high above the tractor unit, was a yellow 240. At the back, the loading ramps were lowered while the rig was still in motion, just to let the latest model join the ride. Neat. I don't remember any car maker featuring a 50+ year old model in their ads. Cheers All Richard McDonel1 point
-
1 pointThanks ever so much, Patcon. I've order some of the 2 mm material. Because it's foam, the extra thickness shouldn't pose a great problem.1 point
-
Thanks. I live outside the US. Getting such booster into the US will pay an import tax.isnt there any shop that can sell me one instead of doing the exchange?1 point
-
It might be more cost effective to send it to Power Brake Exchange.1 point
-
1 pointMight help to identify where it is on the body. Probably recognizable to the guys that have torn their cars down but most have only seen carpet and interior fabrics.1 point
-
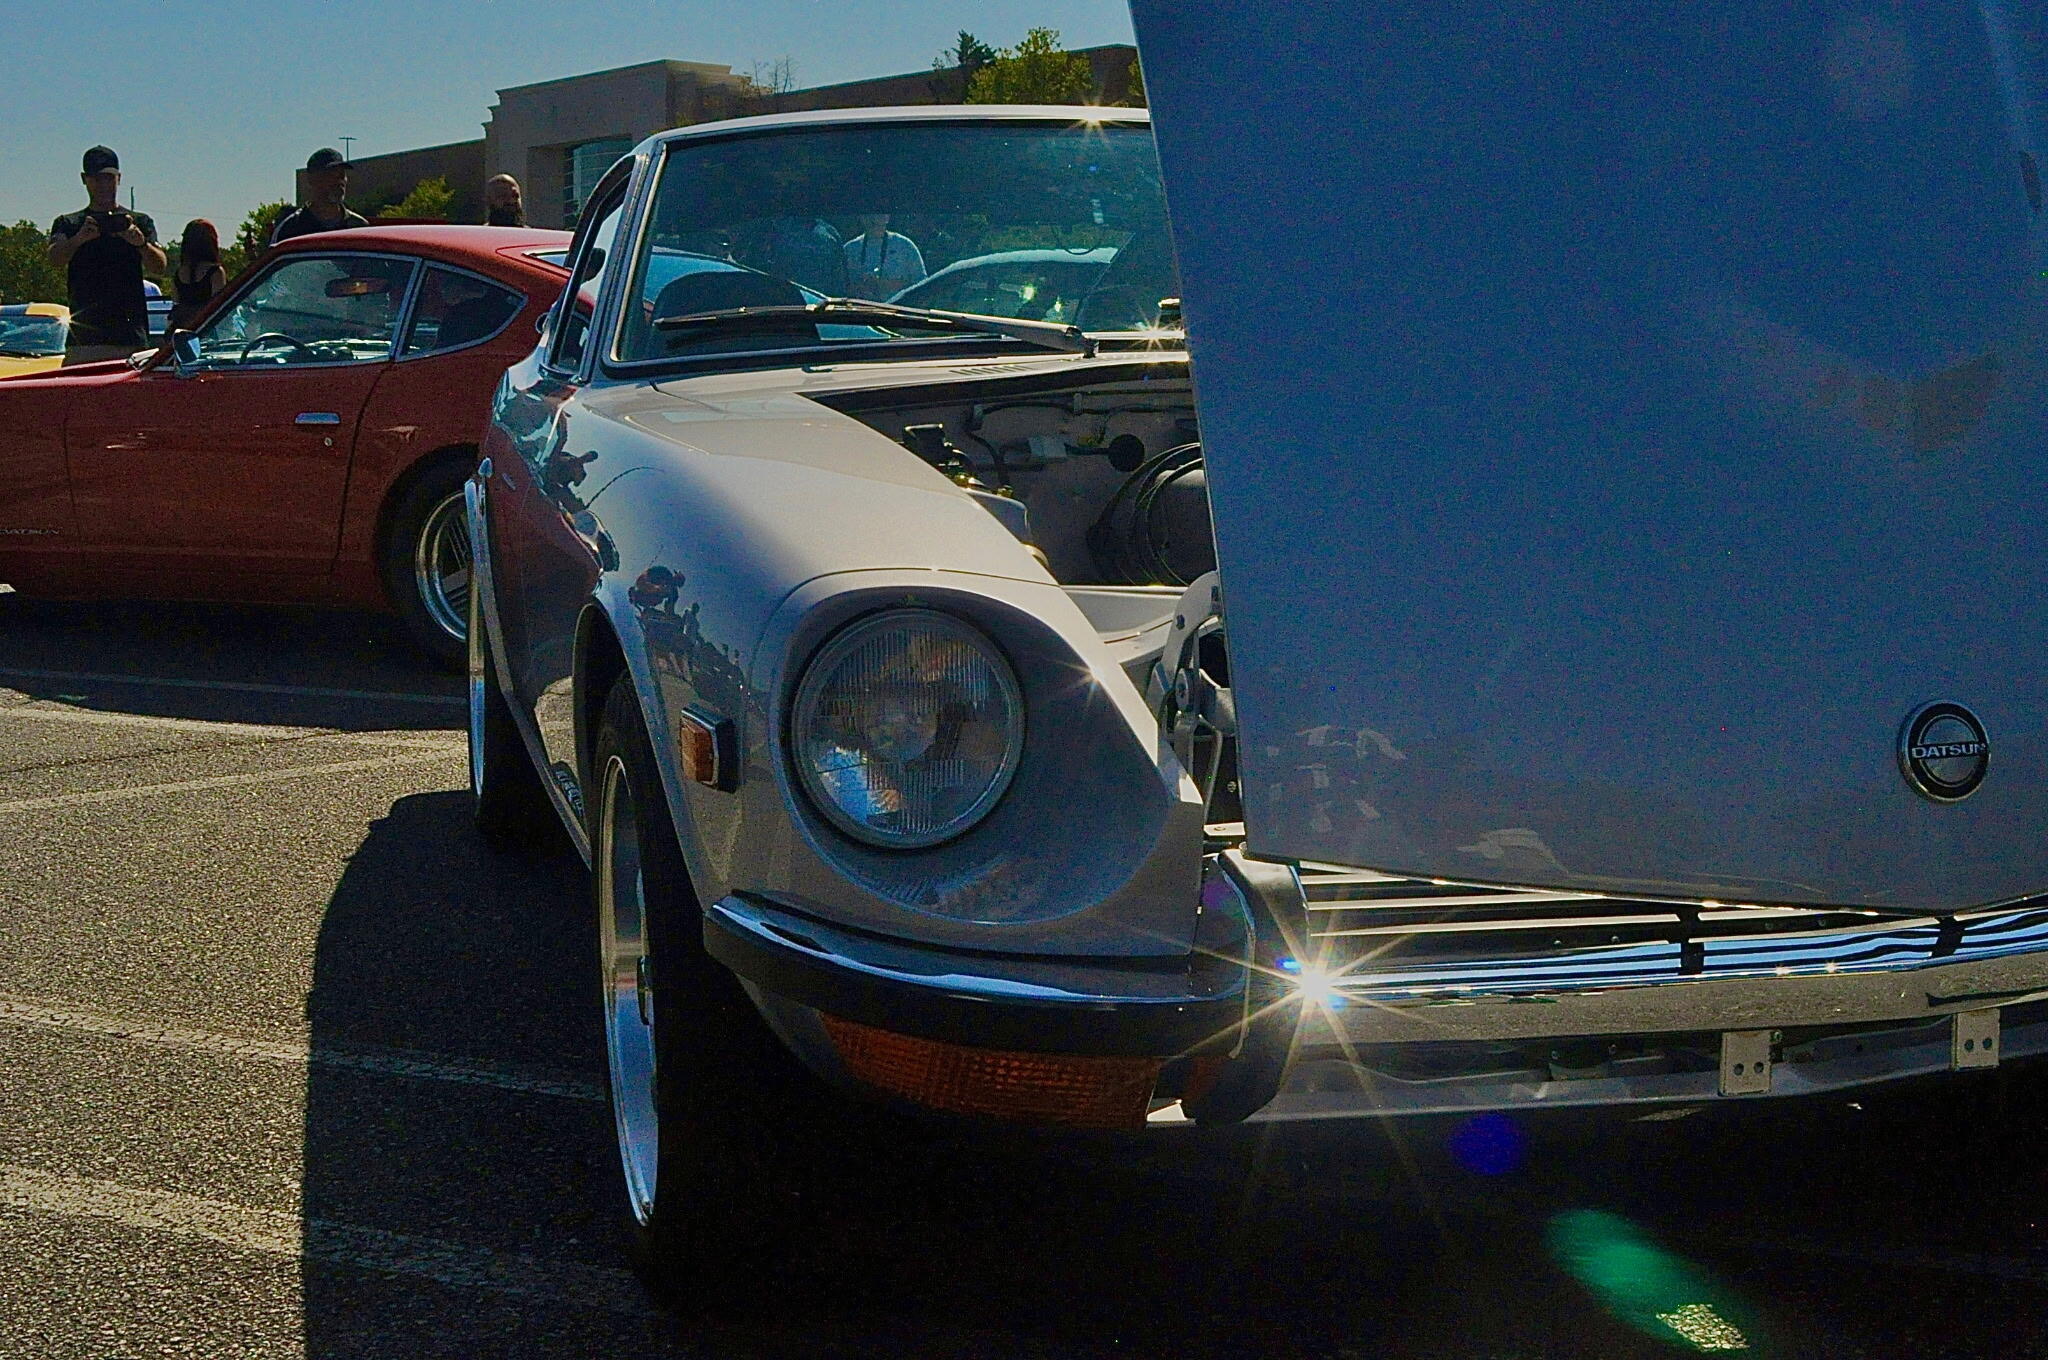
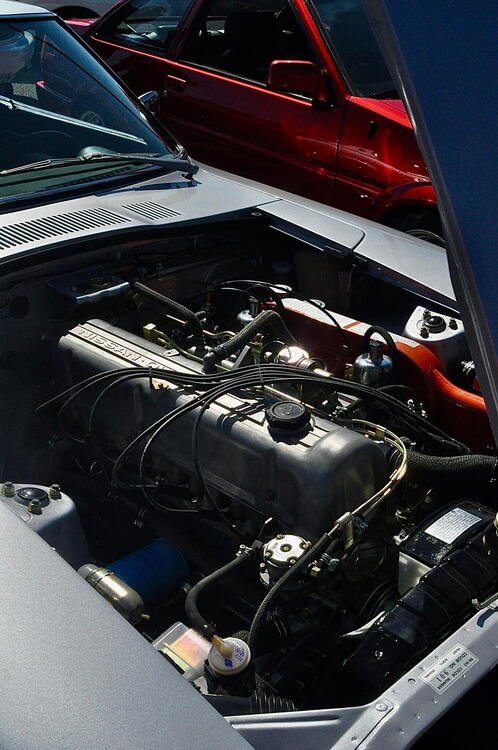
I took the car to Caffeine and Octane on 9/7. While there, one of the attendees offered to take some pics of my recently restored 1971 Datsun 240Z. Looks to me like she used some kind of lens filter. Nice of her to send them along to me.
.thumb.jpg.5773de9e8b4fb1e6e8ae94ad9ca5638e.jpg)
.thumb.jpg.0e15ff6d68903030860de7e52c077255.jpg)
.thumb.jpg.d2bd9602f29cc4bd2e07e82ca8b5005c.jpg)
.thumb.jpg.c9c2b6eeca68b6a00fd82c717d6ddc83.jpg)
.thumb.jpg.2266c5e8920524521450406020fb6aa6.jpg)
.thumb.jpg.b054fec78b2be911938a6cf18f7c7c10.jpg)
 1 point
 -
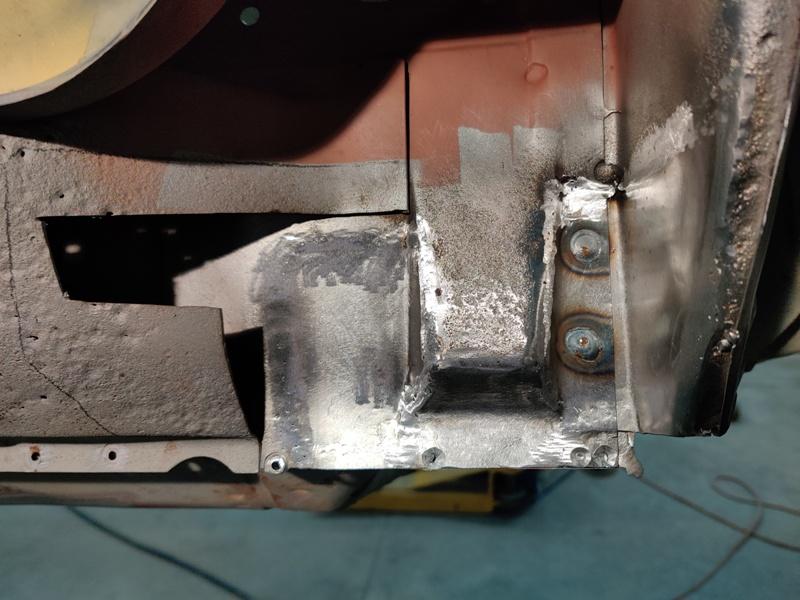
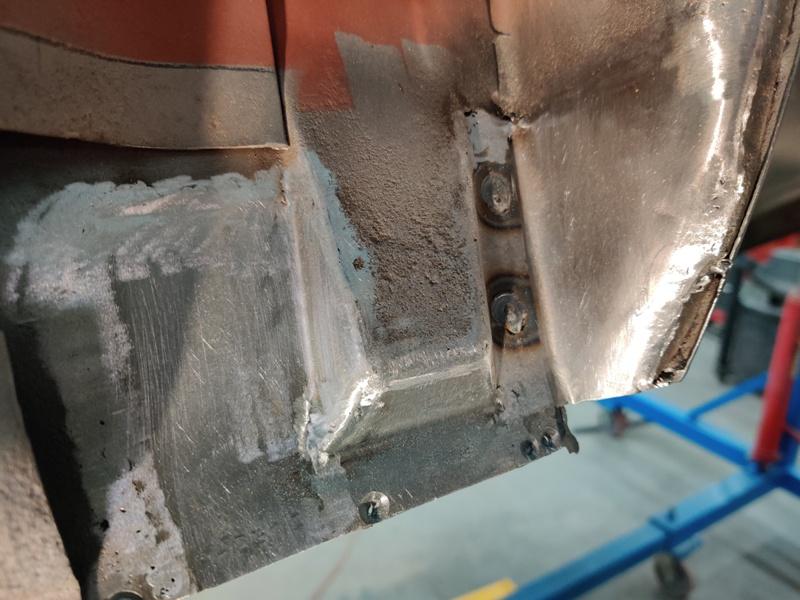
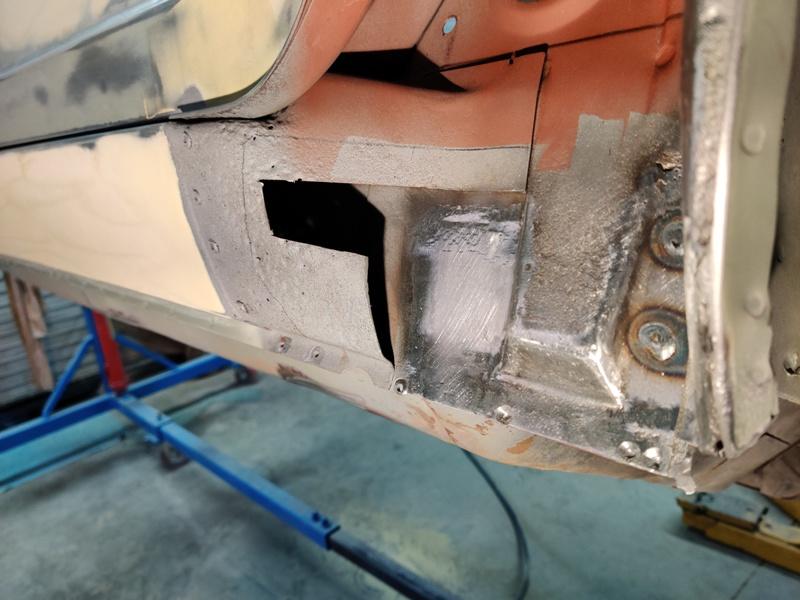
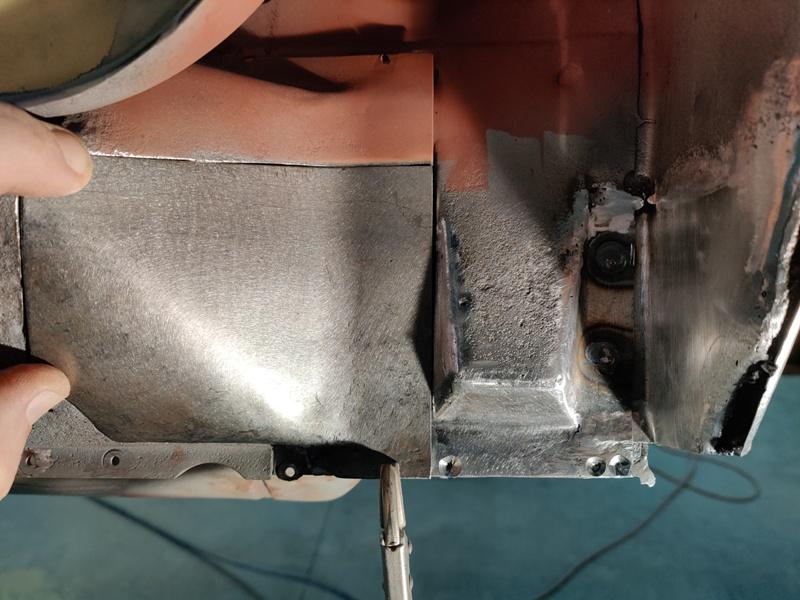
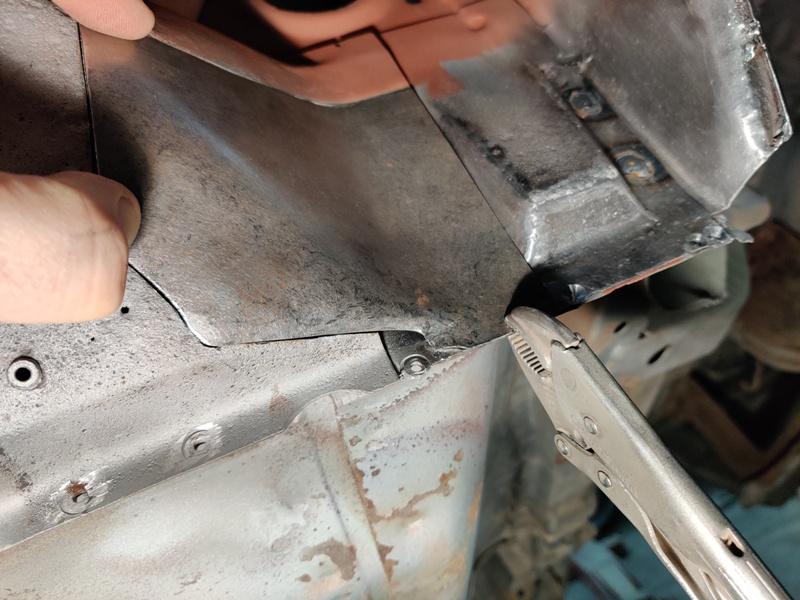
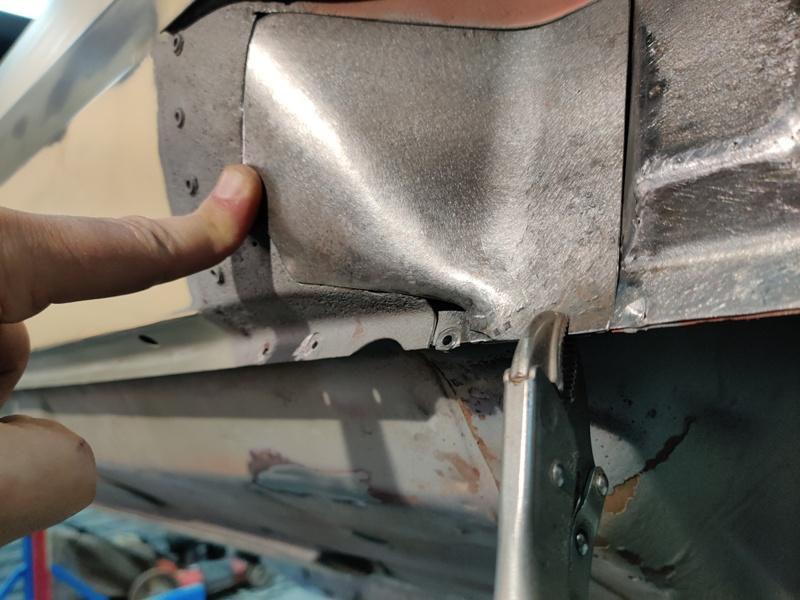
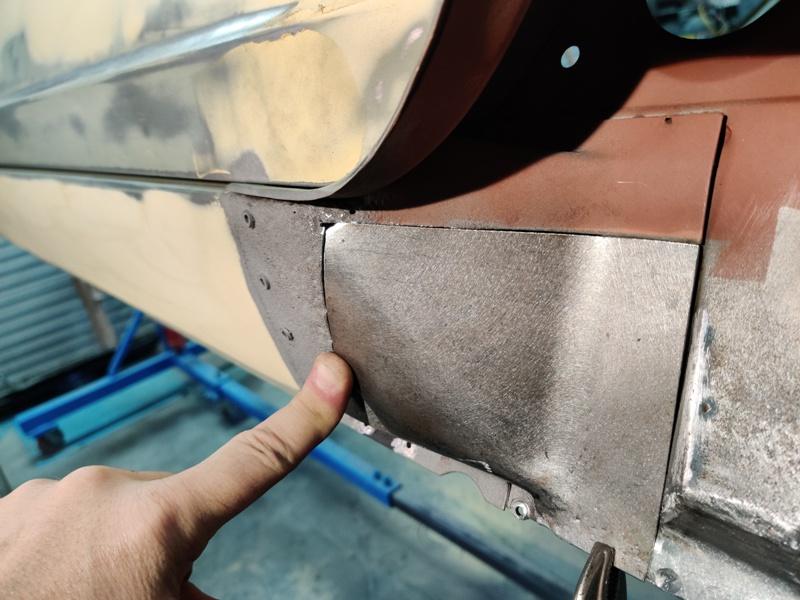
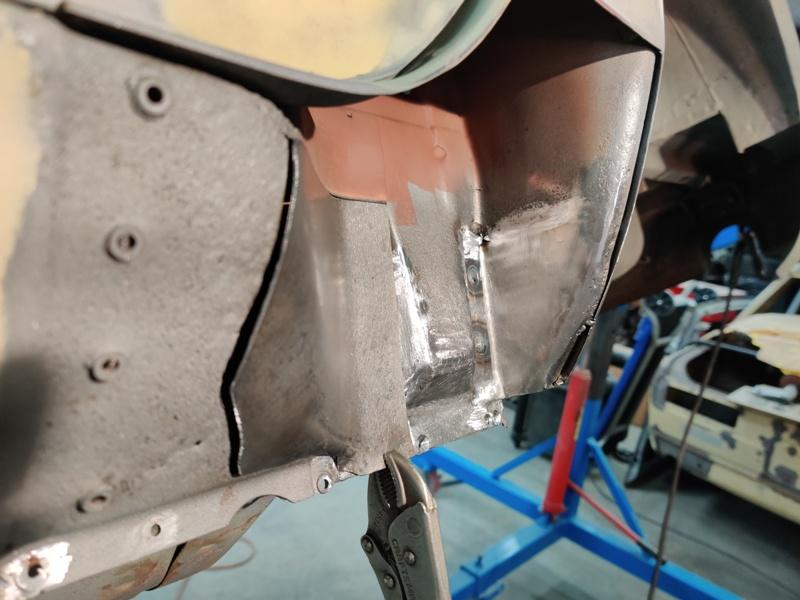
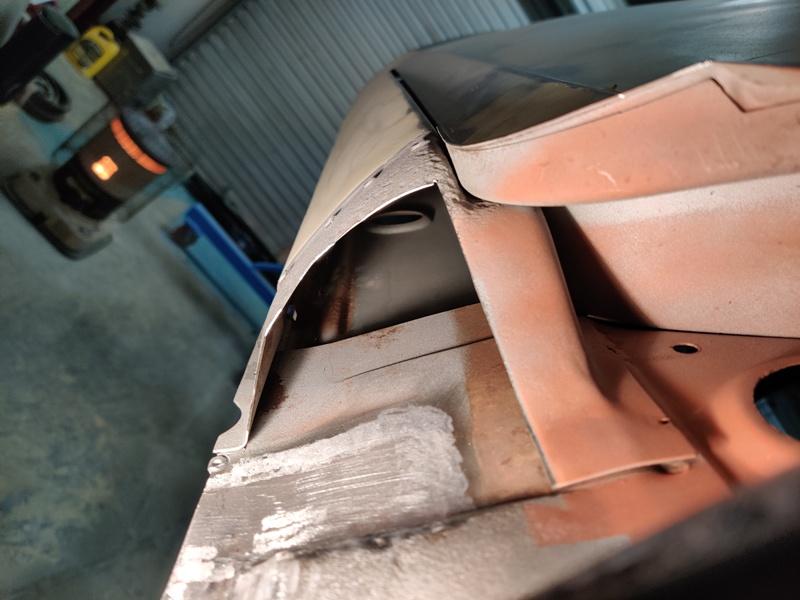
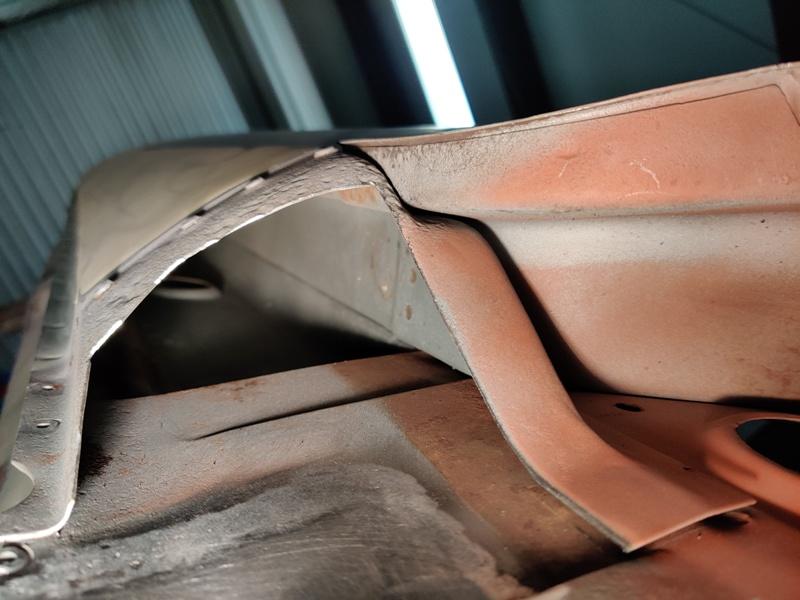
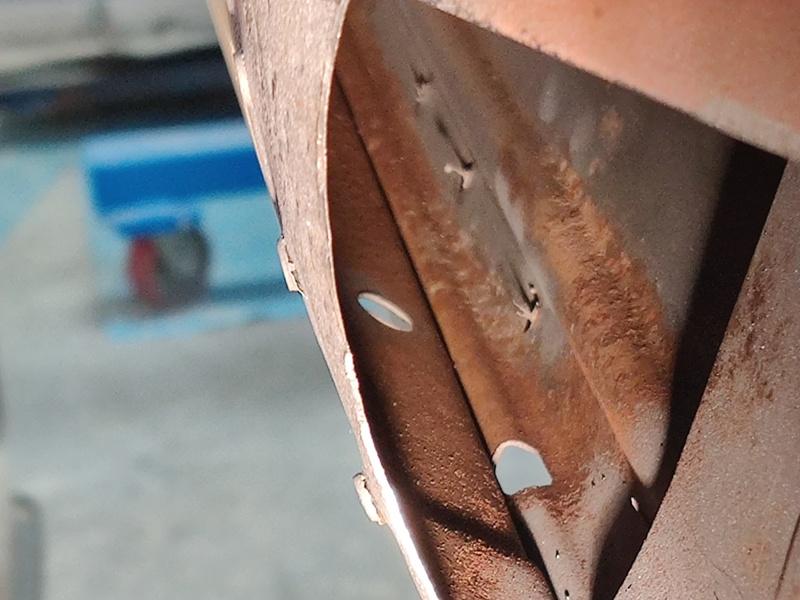
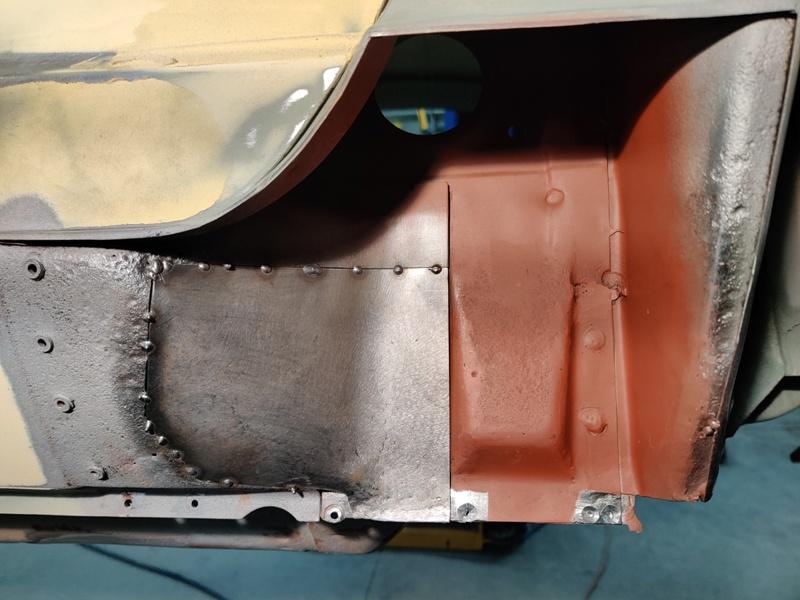
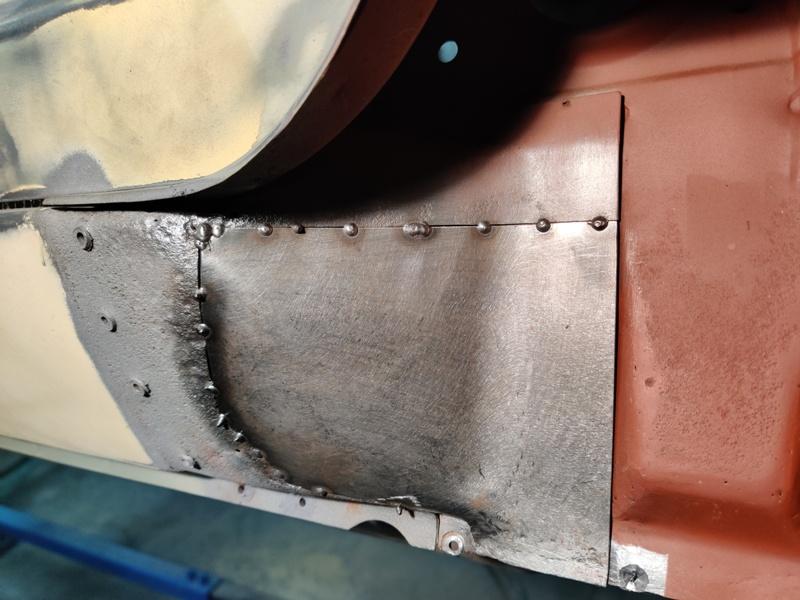
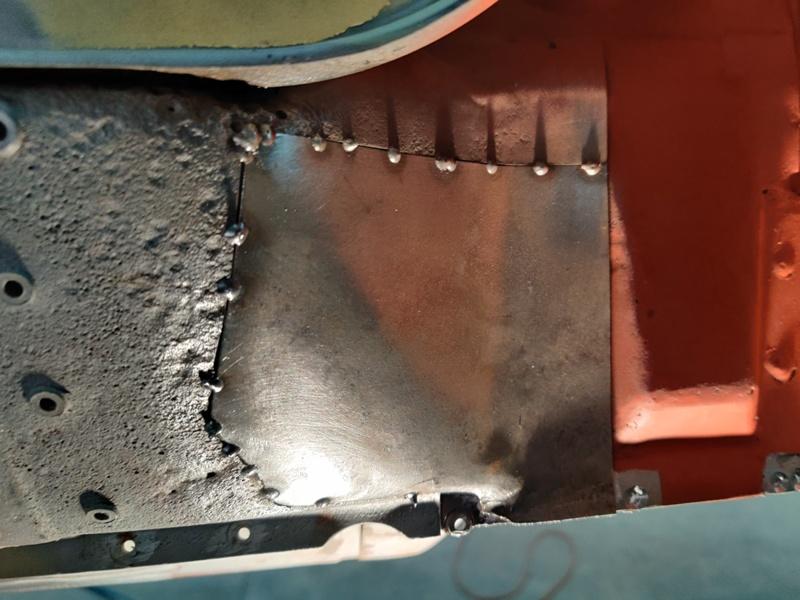
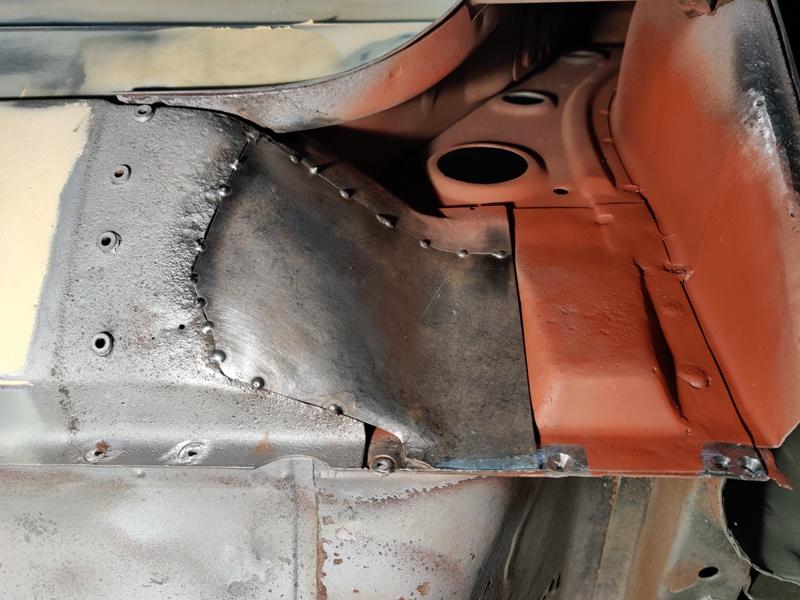
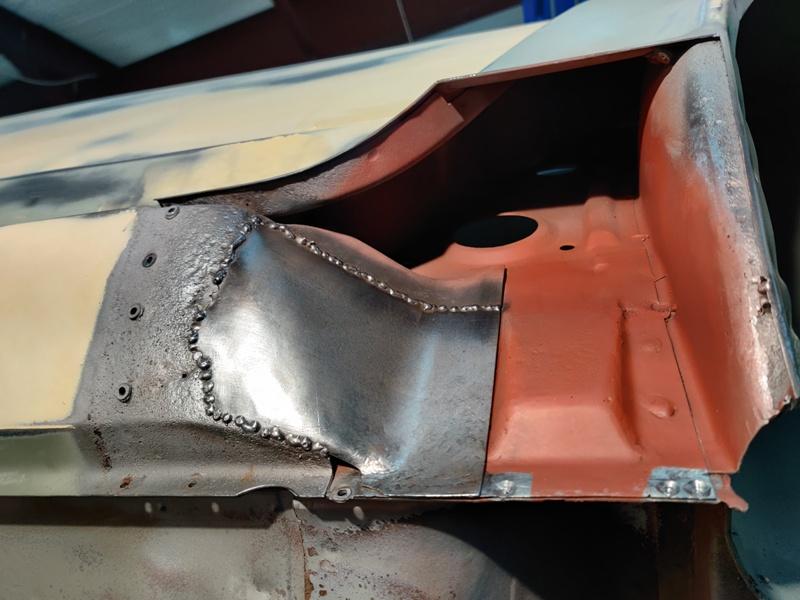
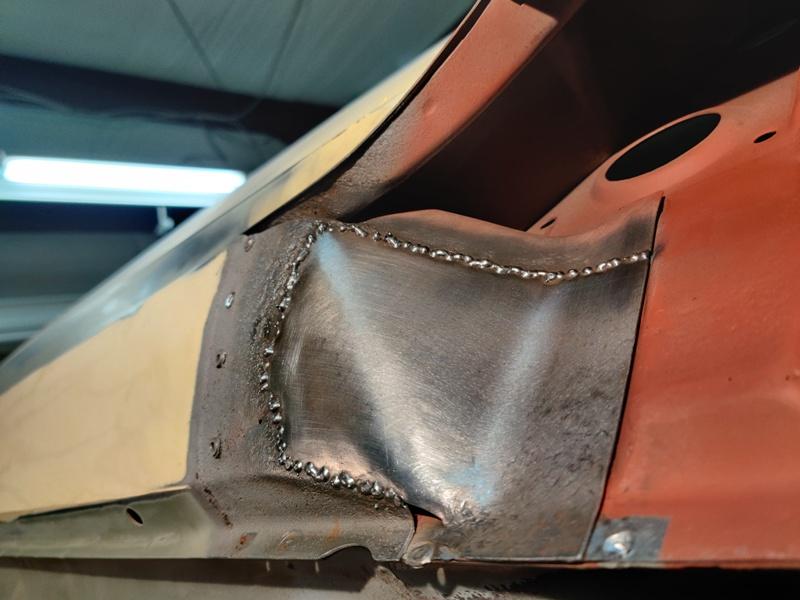
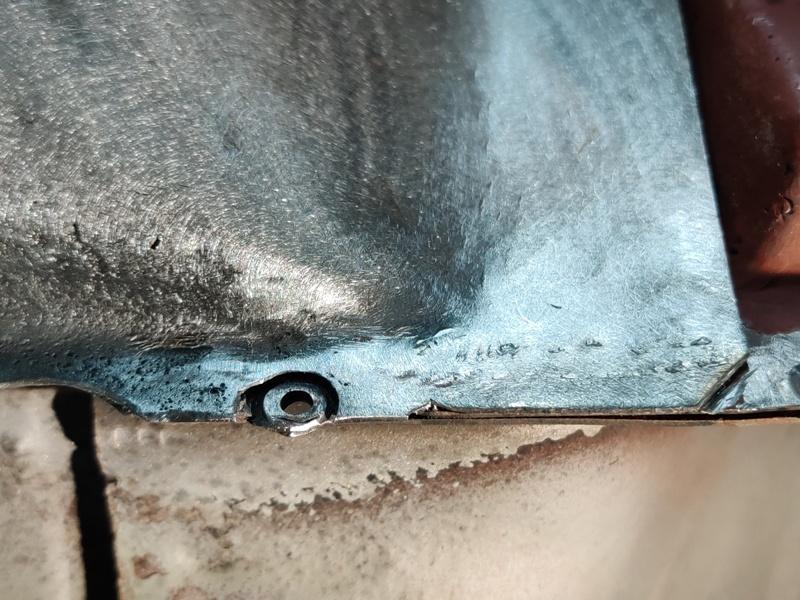
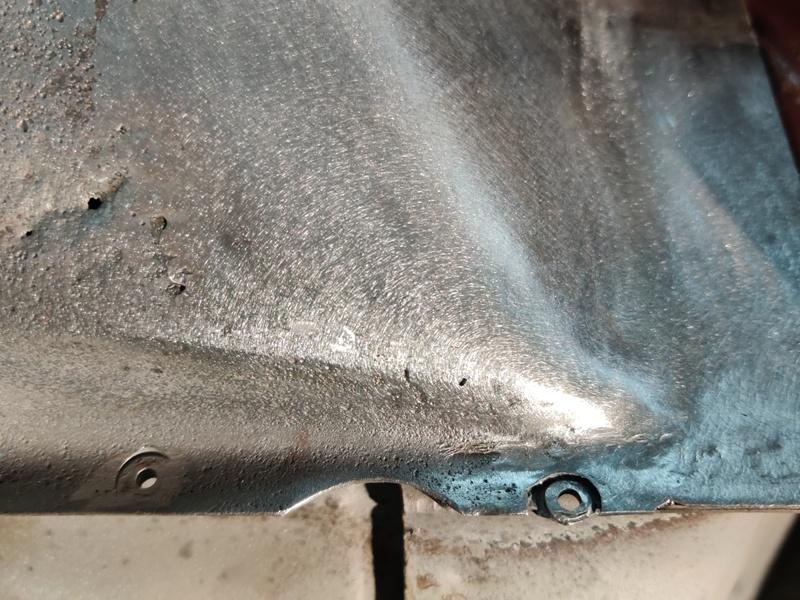
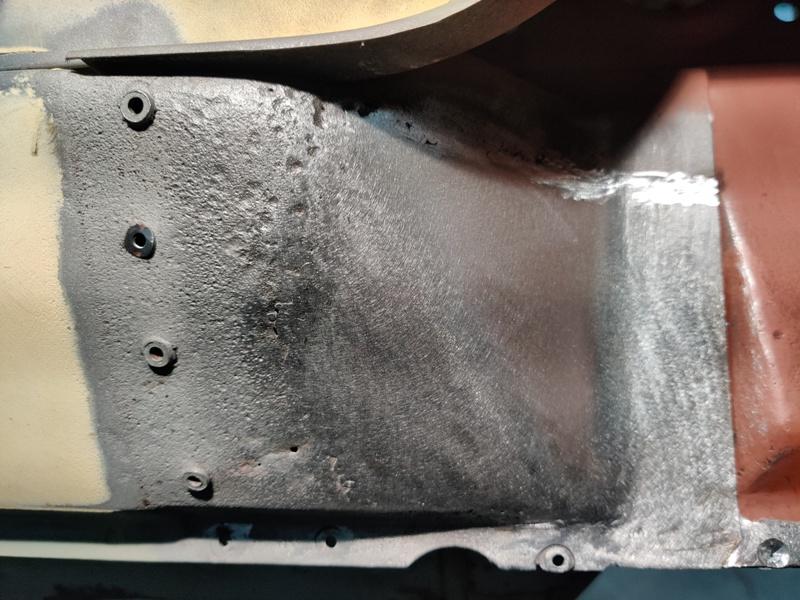
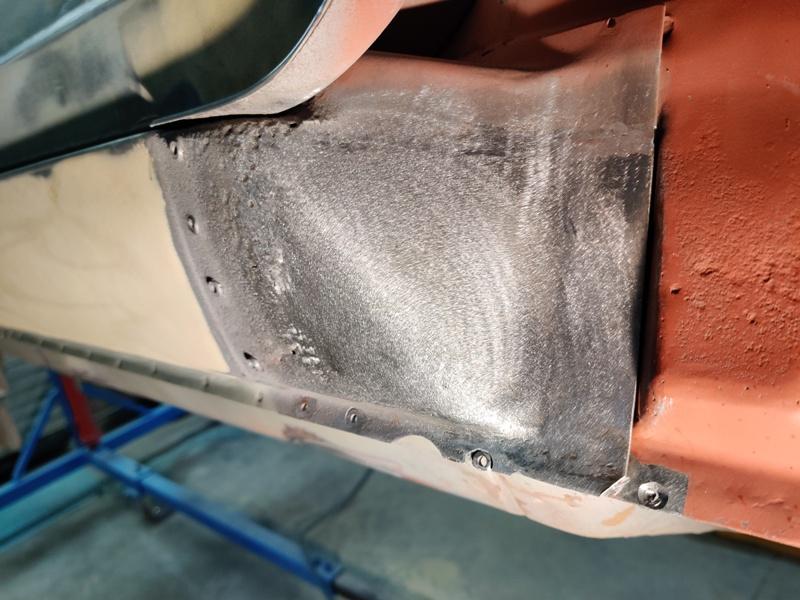
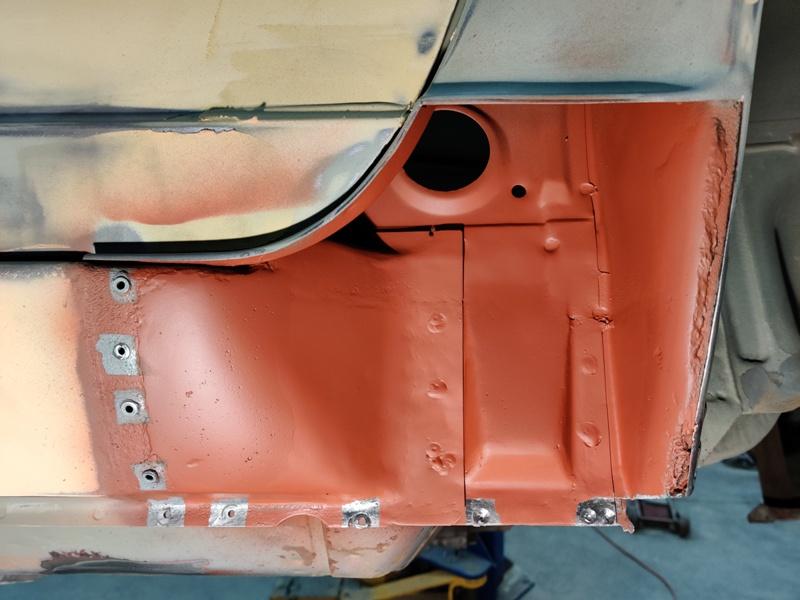
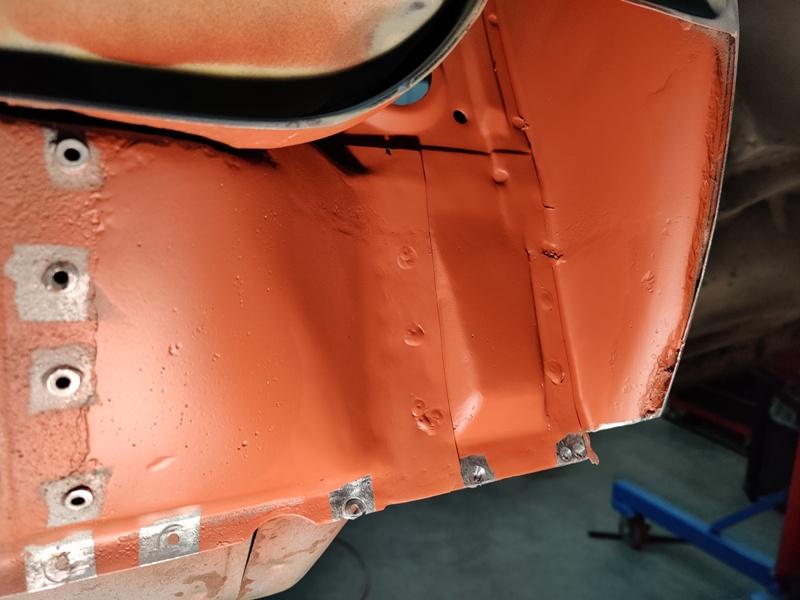
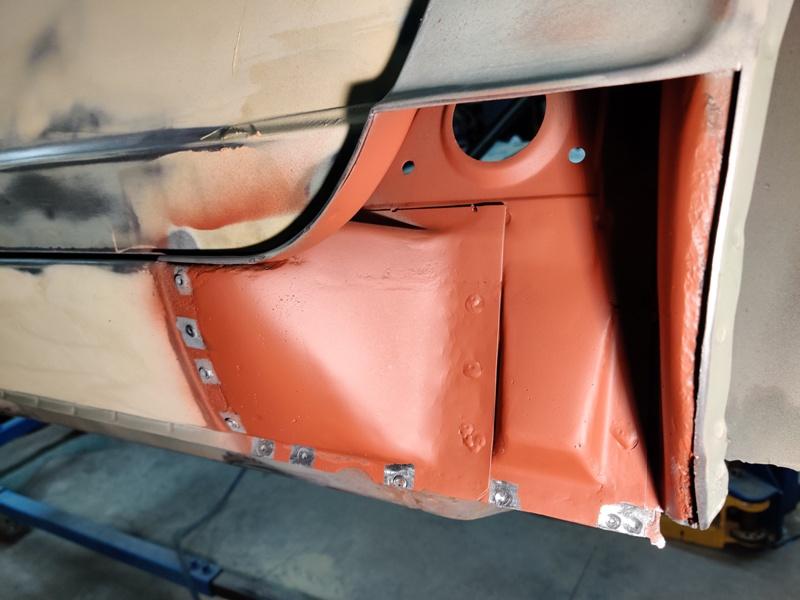
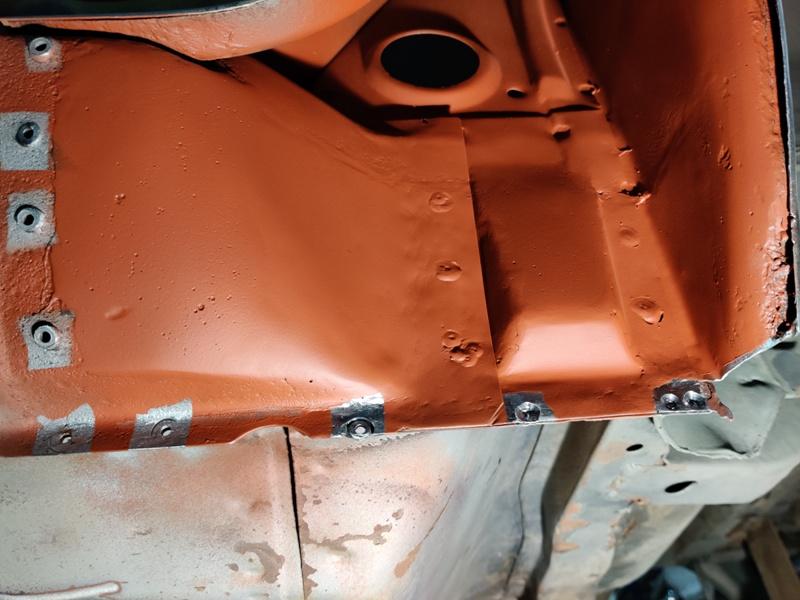
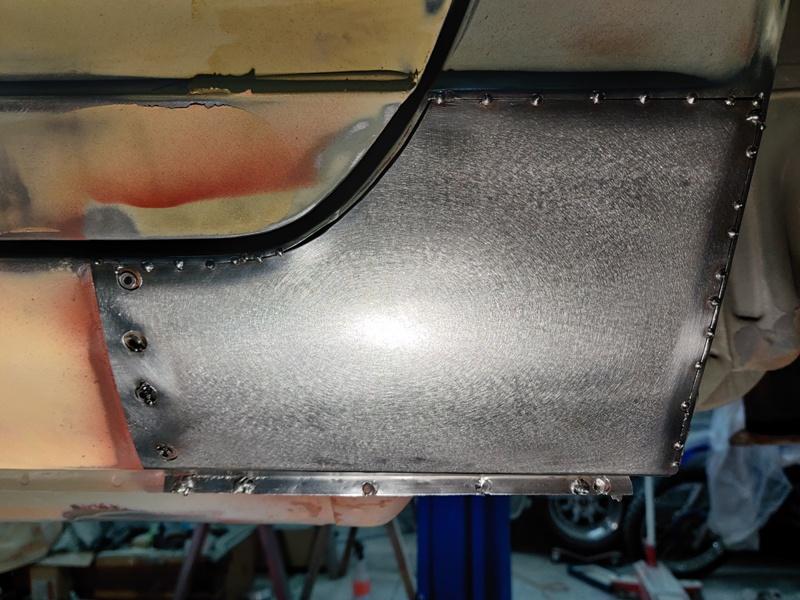
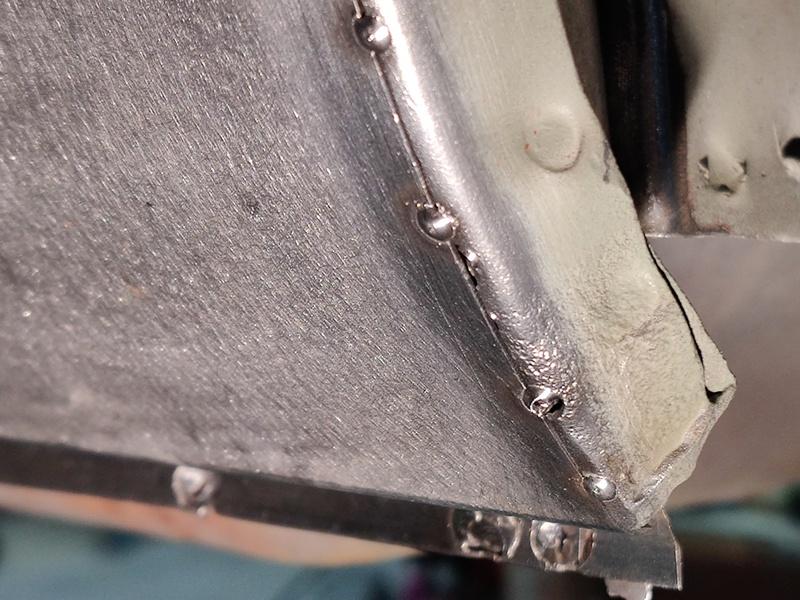
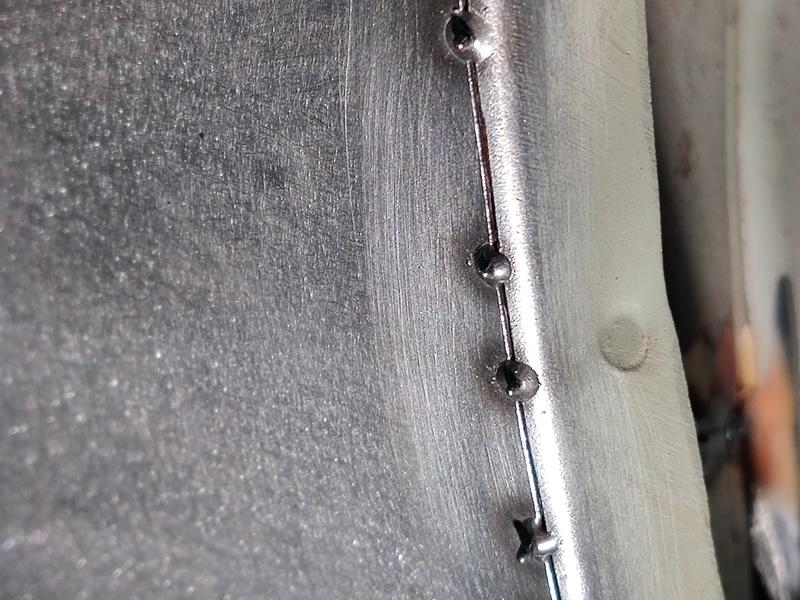
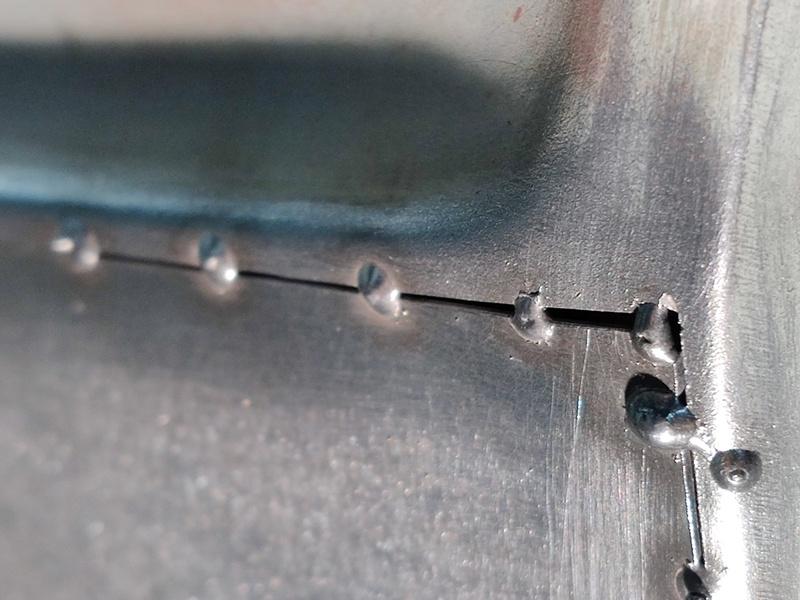
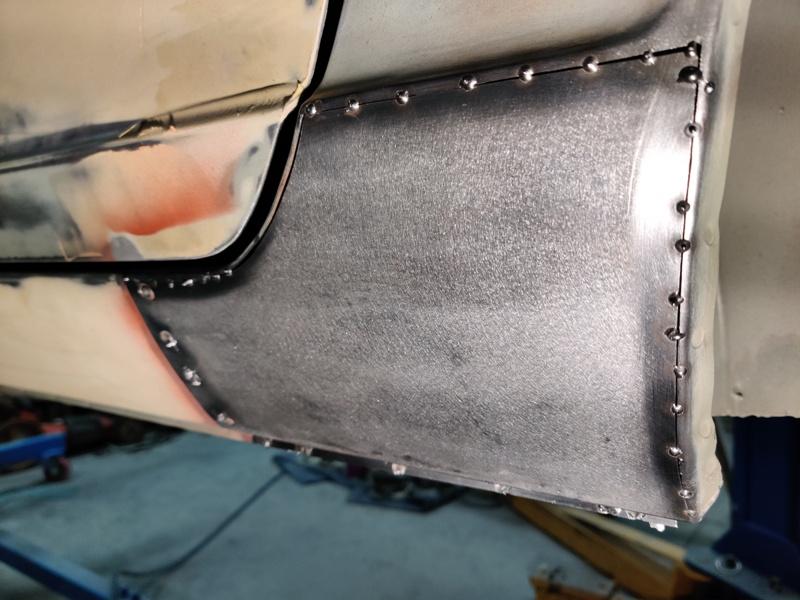
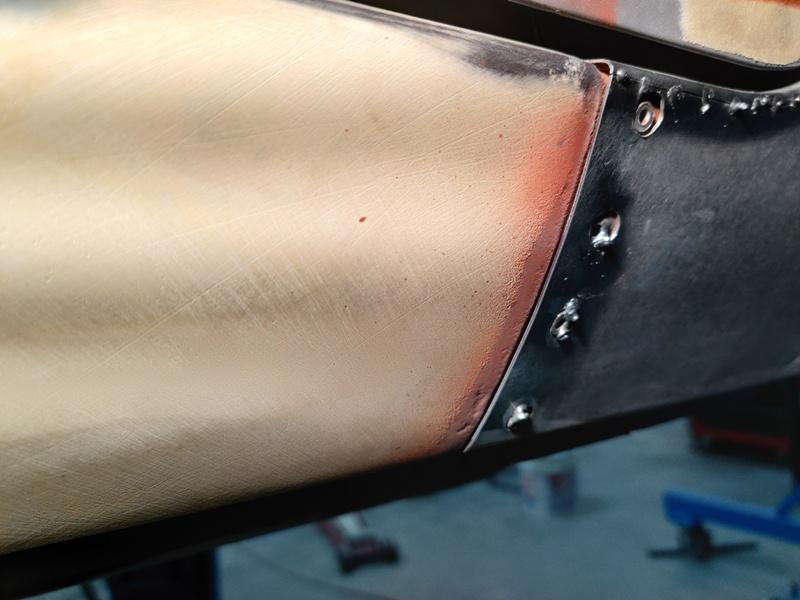
I made some good progress yesterday. As always, clicking on the image will give you a larger picture. Rosette welds on inner panel and finish grinding on wheel house repair area, marking out where to cut on the rocker curved surface: Trimming replacement rocker piece to fit (no overlapping joints): Fit is decent. After removal of the area being replaced, I took some pics showing the inside of the rocker: Inside the rocker looks very good. Starting to tack the new panel in: Several angles: Continuing to weld all the way around: Just a small spot that needed to be closed: Grind down welds - finish work: More rosette welds where needed. Additionally, I used a small amount of fiberglass body filler in a few strategic areas. Fiberglass body filler is 100% waterproof. And I learned recently that it is a good idea to use it on certain weld seams like these to fill tiny holes that are present after welding and grinding down. Additionally, I wanted to fill the pitting and couple of holes in the rocker panel in the area that I did not replace. Finish repair of inner panels in red oxide primer. Final fitting of outer replacement panel. Taking time here to get the fit dead on is really important. The finished result after grinding down the welds will come out much better if old to new panel alignment is 100% level and weld gaps are present but don't exceed 1 mm. New to old panel fit is good. The gap got wider than optimum in a couple of areas (middle photo): Front edge fit. Door gap in corner corrected for better gap consistency: There isn't much more welding and finish grinding to do here to complete this part of the project. Body work elsewhere on the panels is probably about 75% at a guess. I am going to be spraying the whole thing and all loose panels in epoxy primer one more time, then the high build primer, and started guide coat sanding.


 1 point


.jpg.3c3e8812cc5d8514867770e5bd57e0a3.jpg)
.jpg.ba4f6165bf10c2b48166c3f9ffb89958.jpg)
.jpg.29a011ccd9829e69d4e75b014bd48f5b.jpg)
.jpg.4724424978e368fd06734166d72d6d1d.jpg)
.jpg.f13785688b8c7329dacbe4e01518de5b.jpg)
.jpg.7505c934fa5dfd5da3fd123a1f147cc5.jpg)