Leaderboard
-
JDMjunkies.ch
Free Member5Points637Posts -

CanTechZ
Free Member4Points1,311Posts -
inline6
 Subscriber
 4Points1,282Posts
 -
motorman7
Subscriber4Points2,228Posts


Popular Content
Showing content with the highest reputation on 01/29/2025 in Posts
-
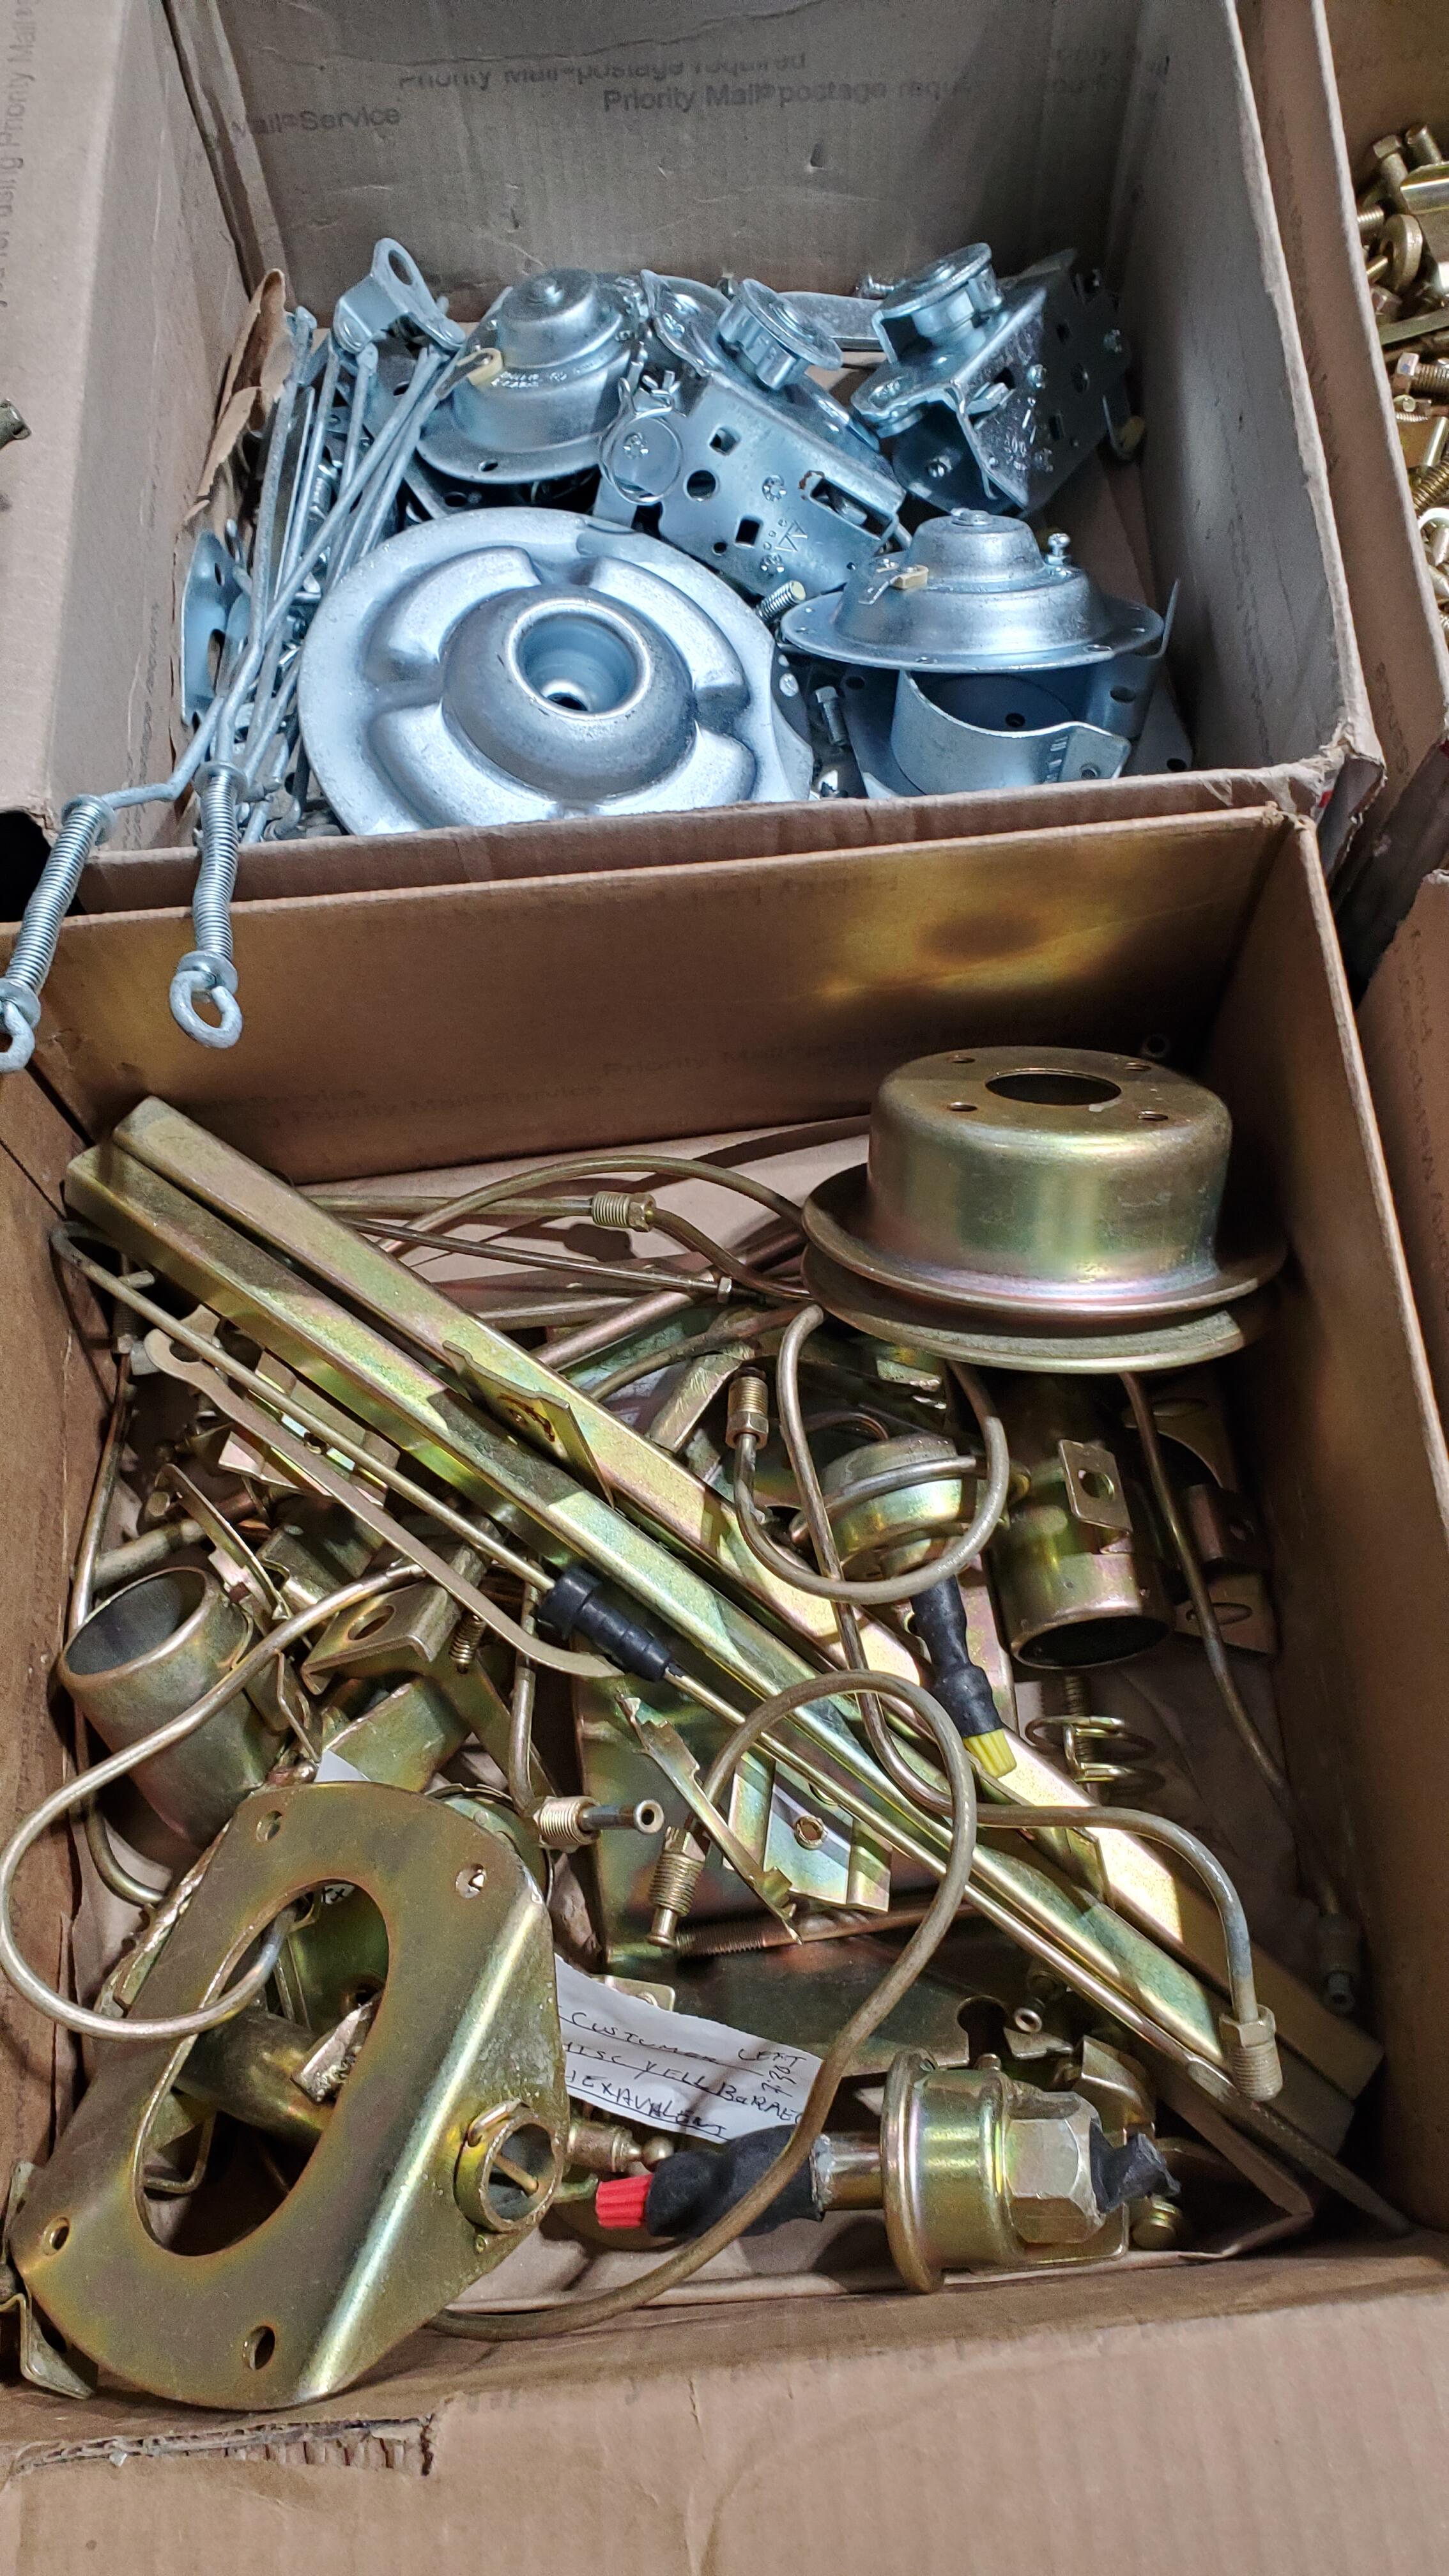
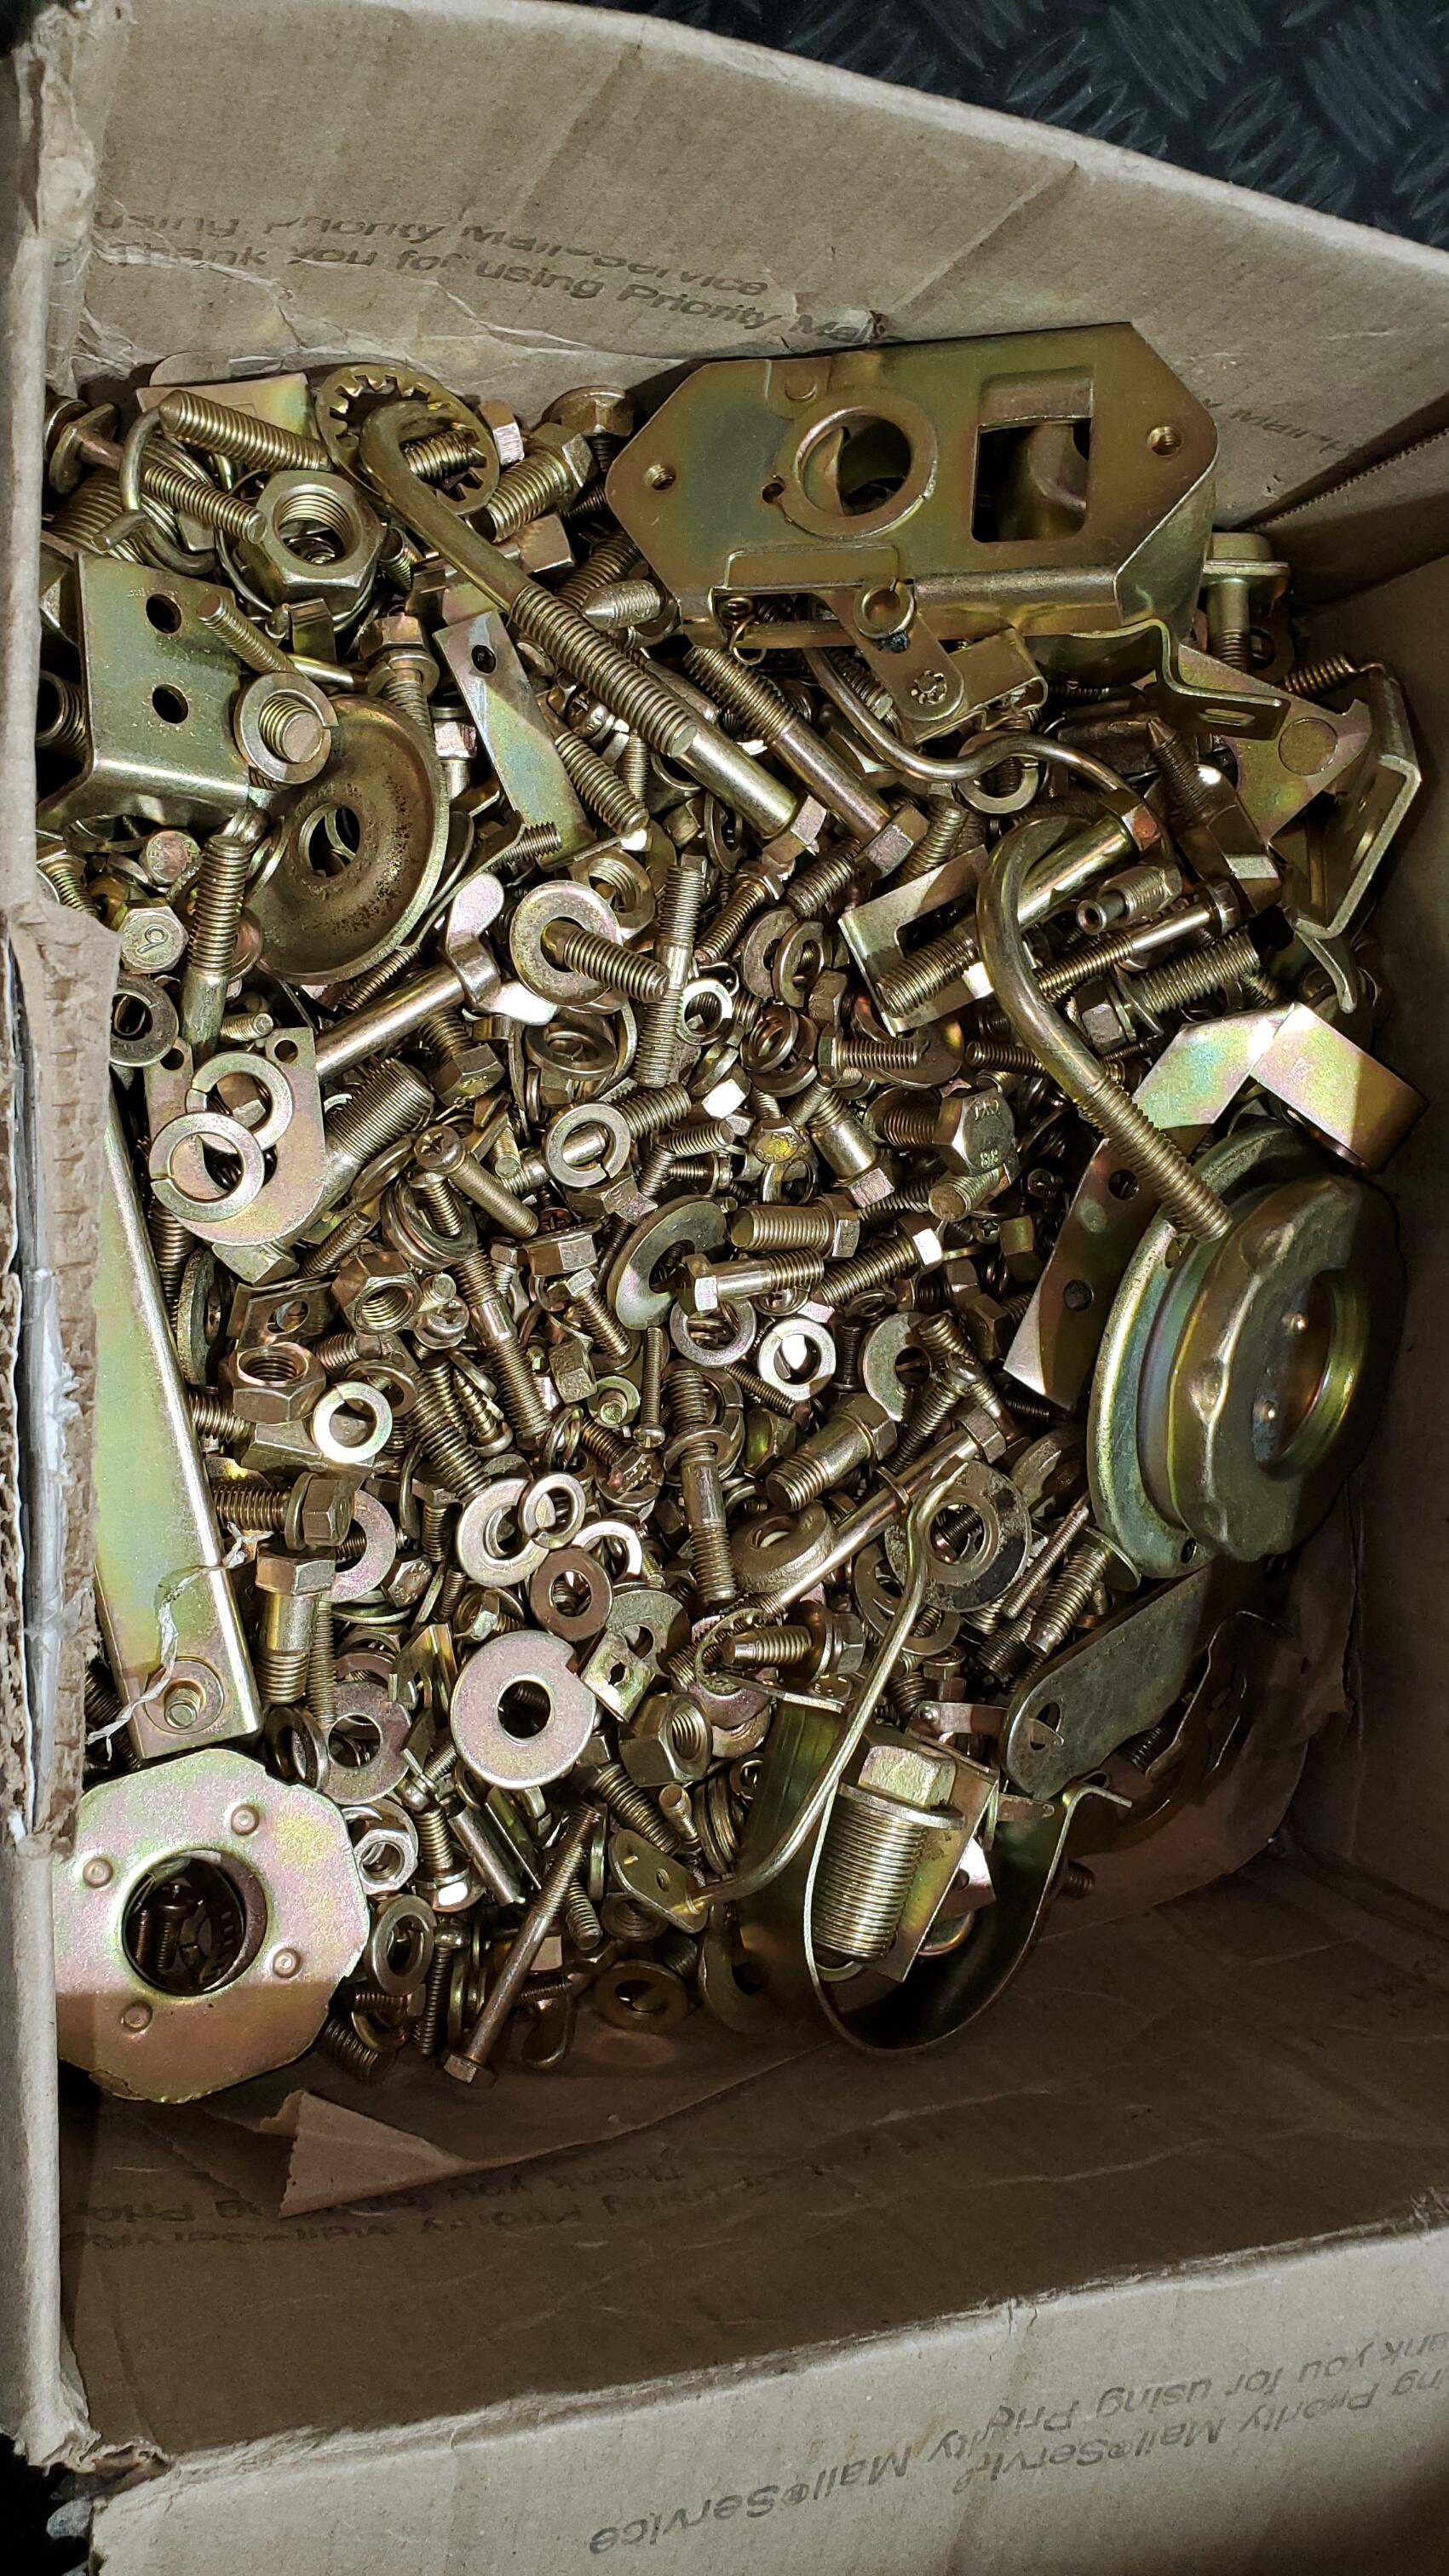
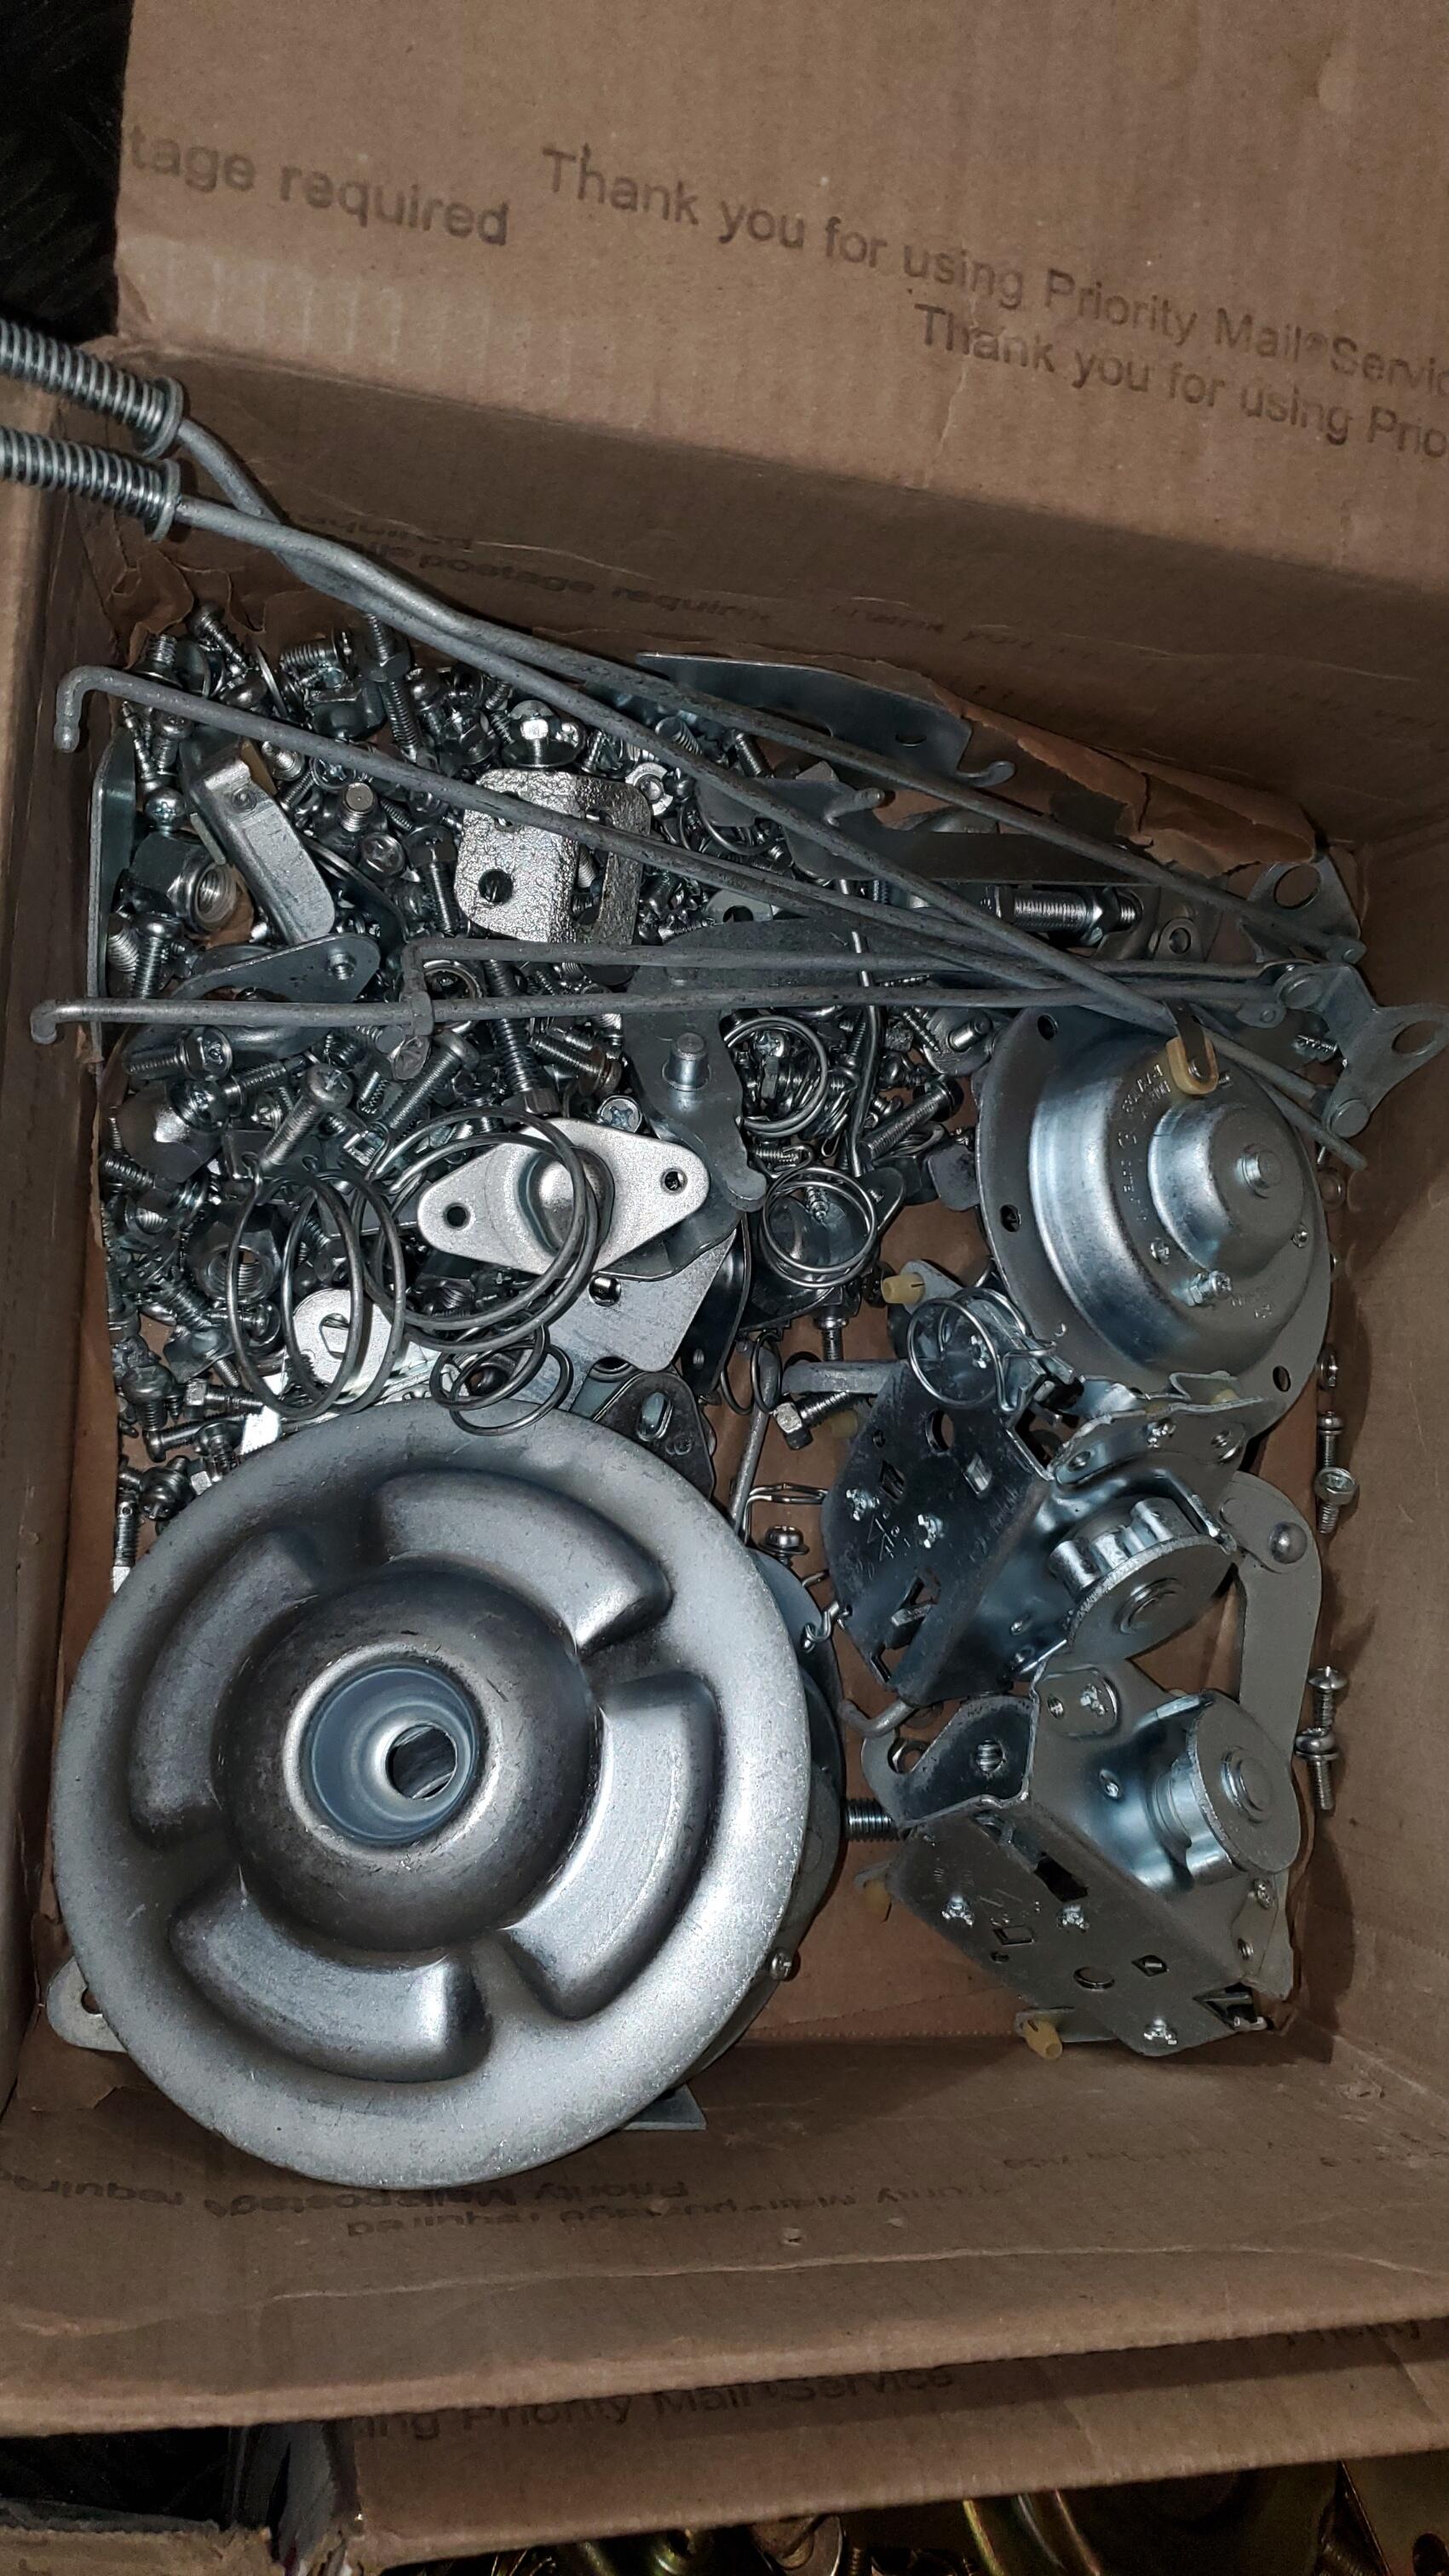
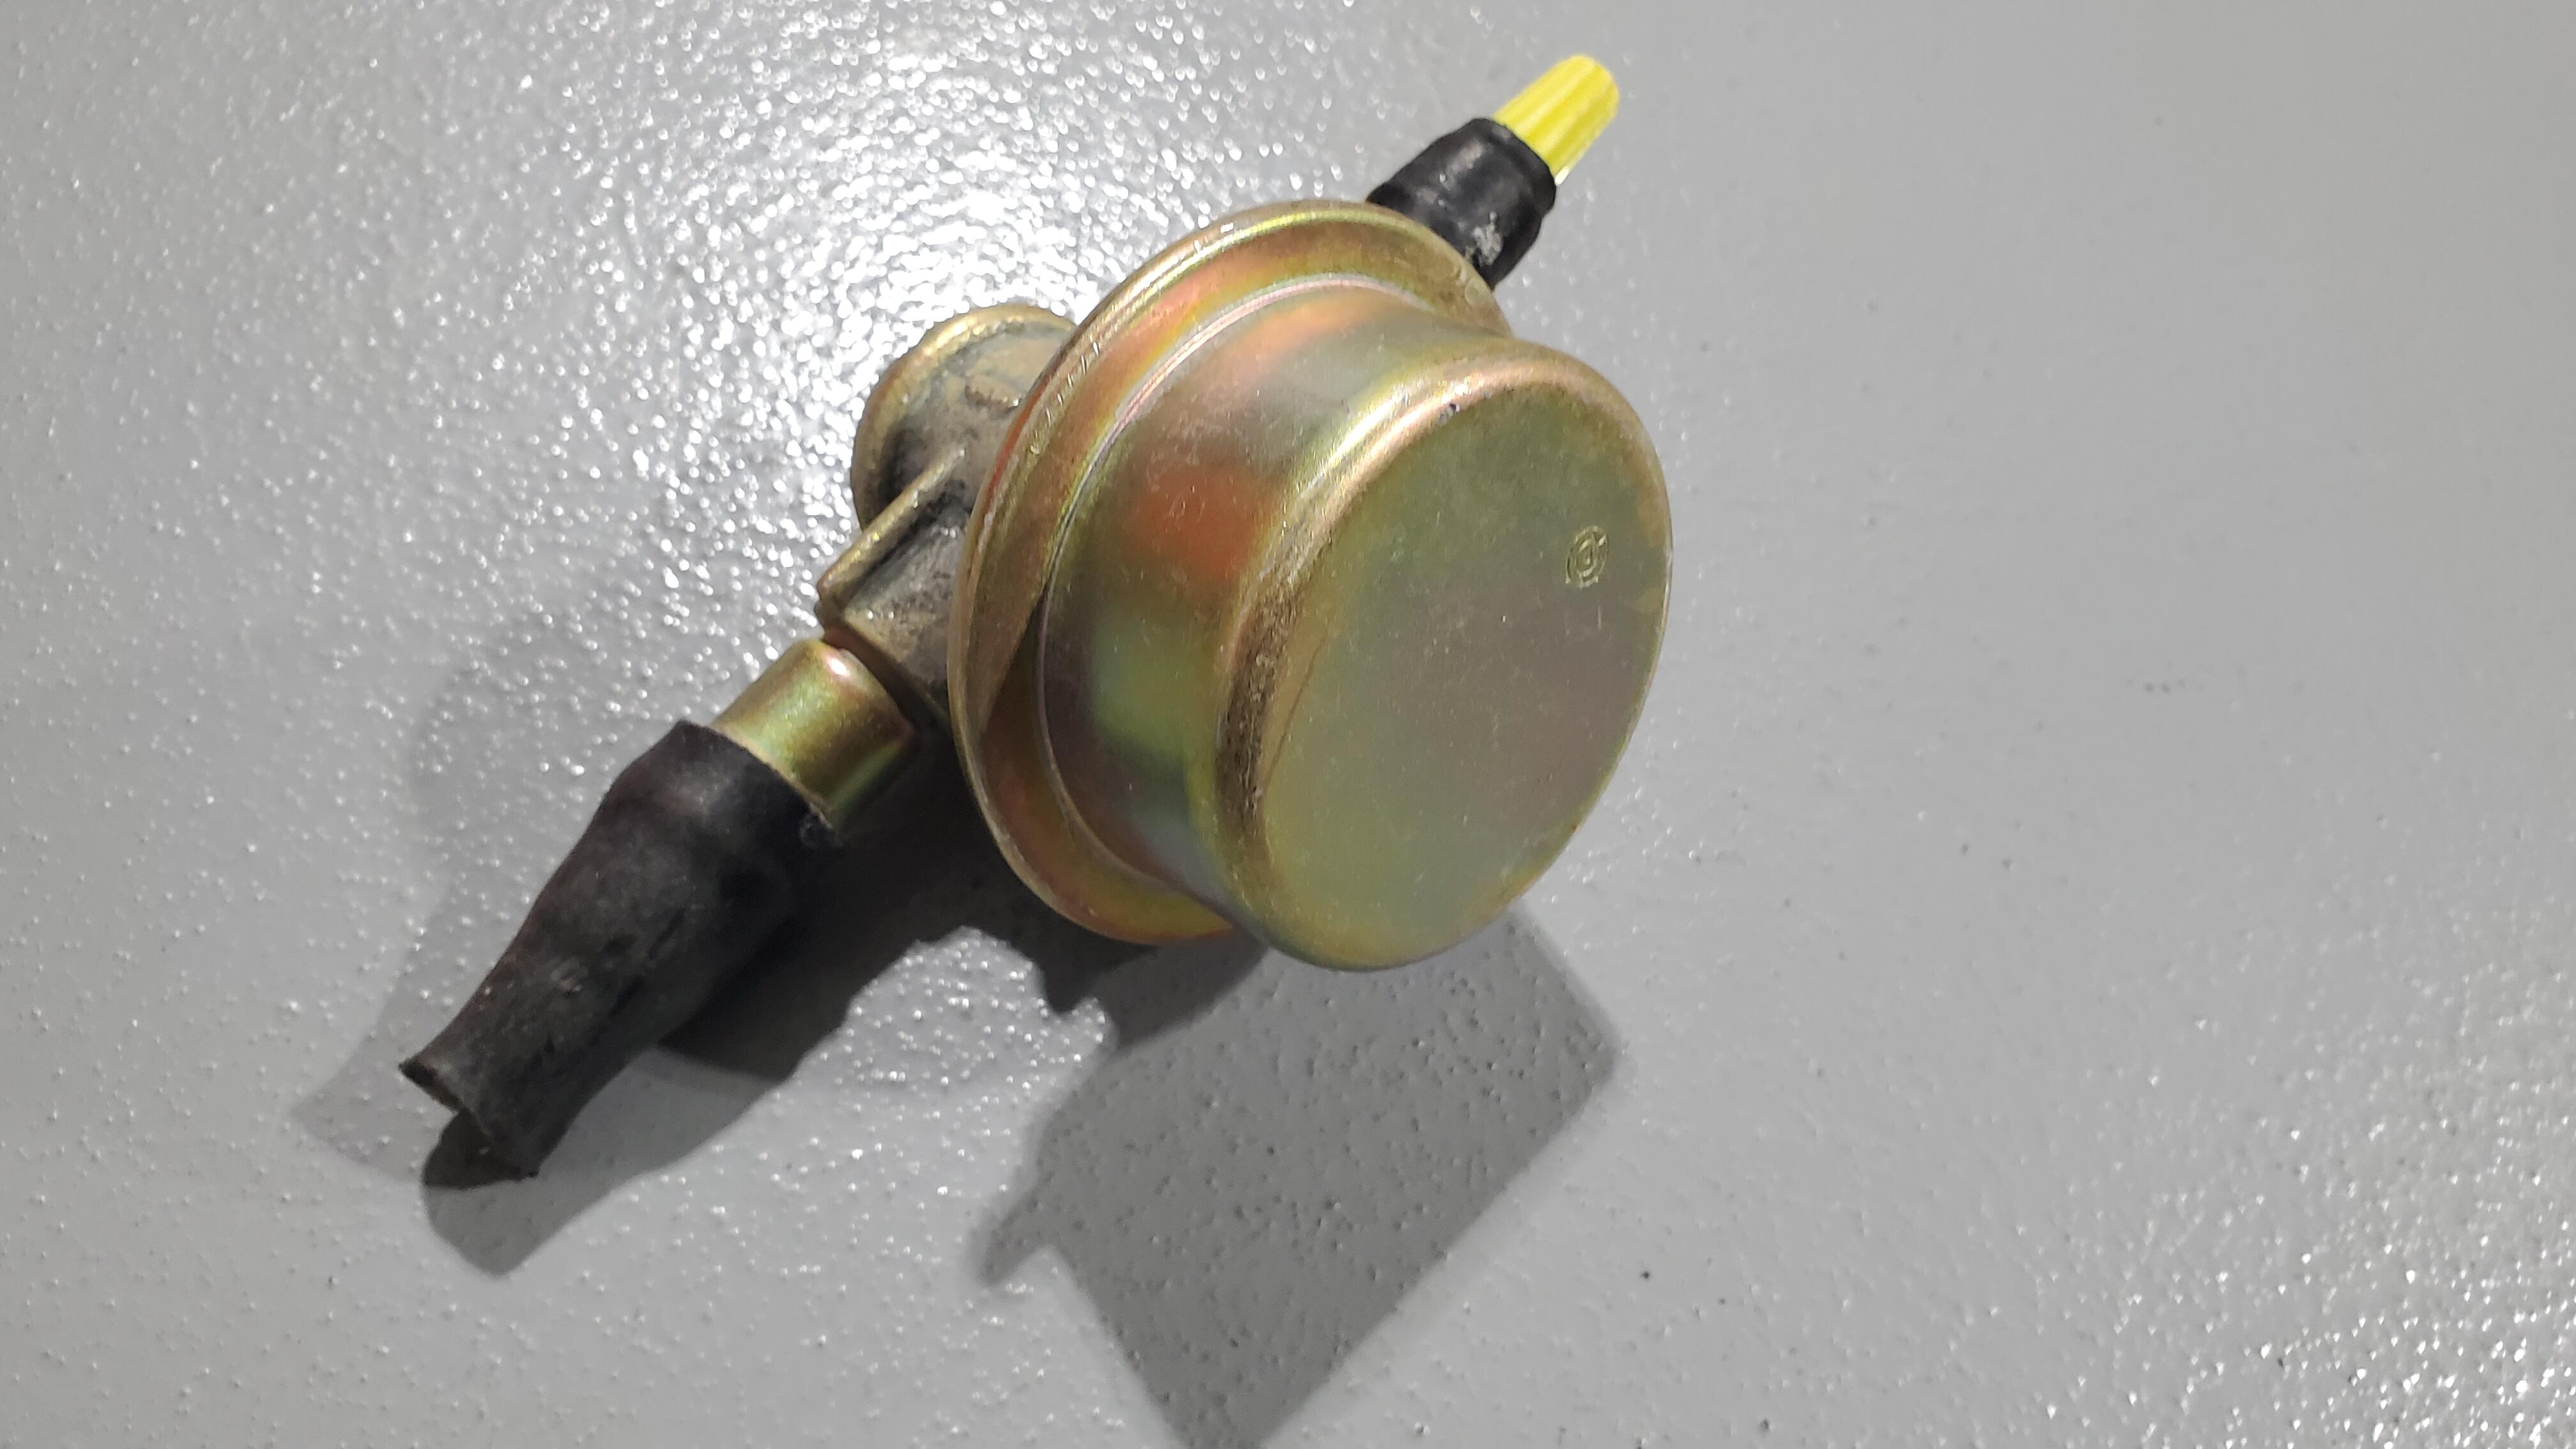
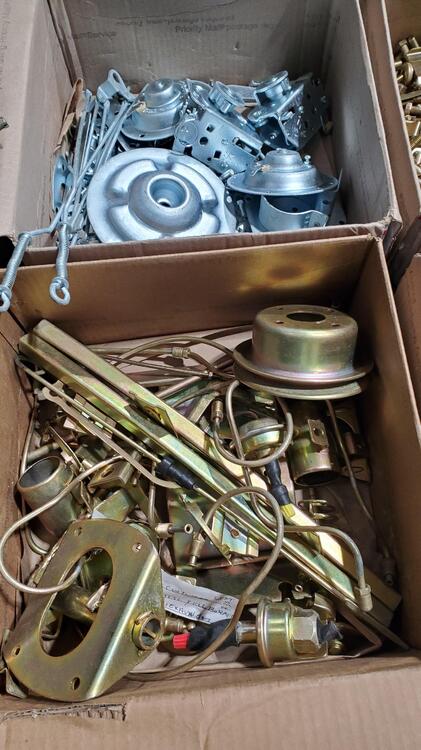
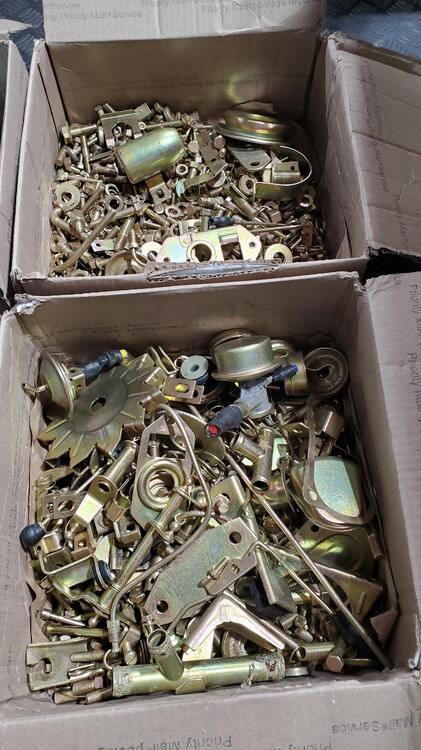
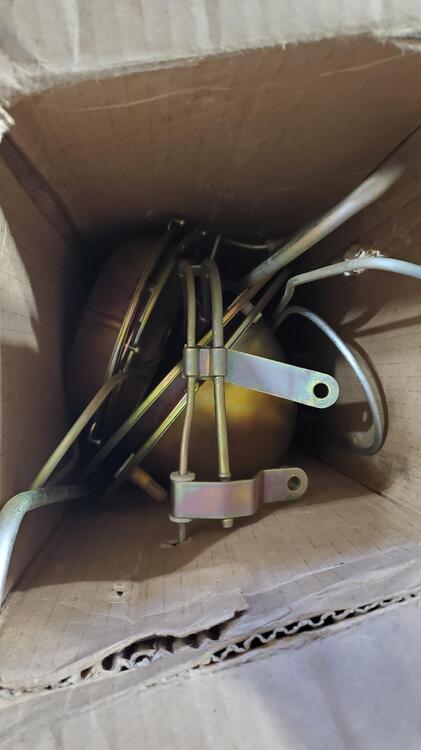
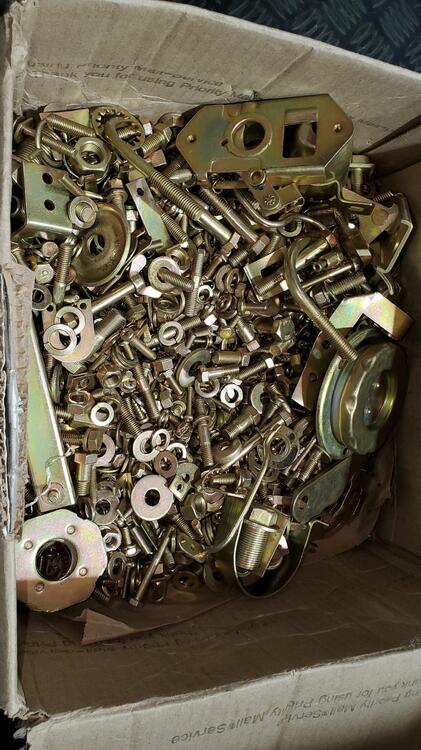
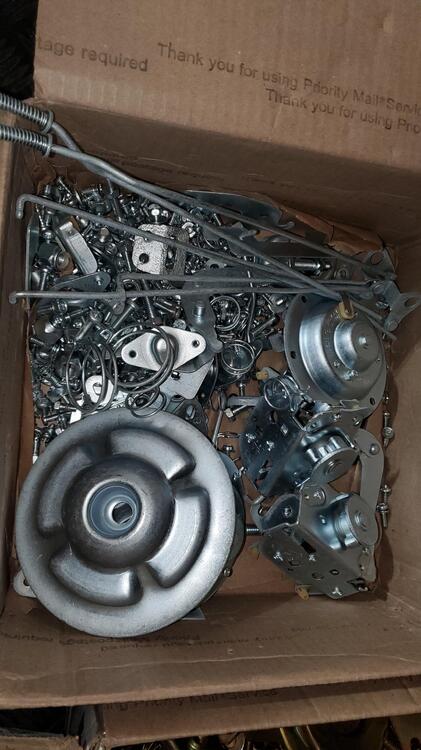
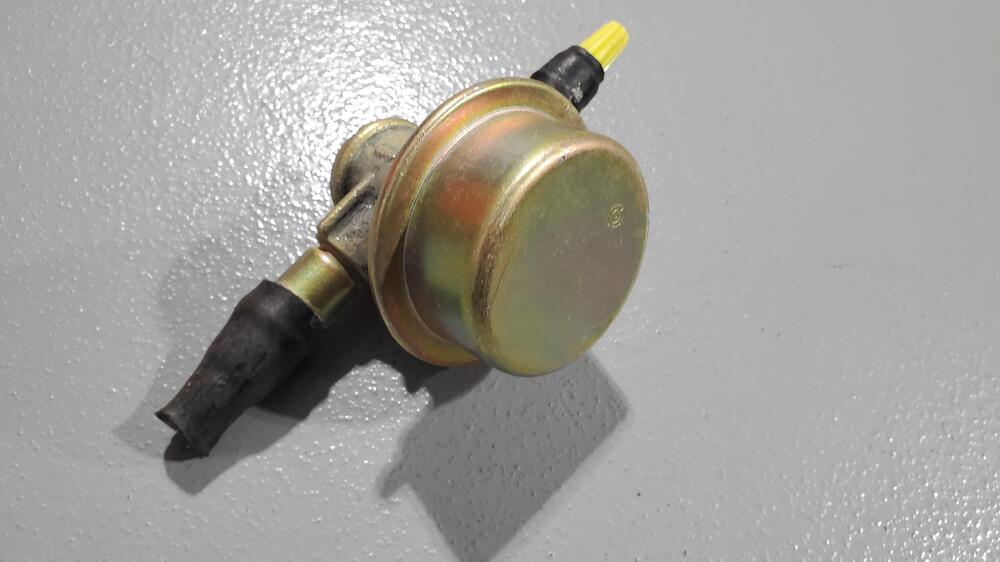
Today I was able to pick up the long-awaited sea-freight shipment from Japan with some parts I bought as long ago as June last year. I almost forgot what I bought back then, so I was excited to see what i got. The shipment originally included parts which were not for myself, so when the shipment was ready to be loaded on the boat, and then these items popped up for a good price, i just bought them blindly to use the opportunity of almost free shipping. This set is what i think an original Nissan factory adjustable suspension. I still have to check the numbers and all the details. But ut looks like it could be an original nissan set. The other (rear suspension) set looks like a reworked original strut. It has some Nissan stamps on it and obviously got repainted at some point, but it was quite cheap and looked close to factory (not like these modern designs), and it came with multiple boxes of what appears to be original Nissan suspension parts, so I added it to my delivery. The third item was a real win. a set of genuine Mikuni JP PHH44 Carbs. The price was very low, because it looks really rough. But if you studied the details thoroughly, you would see the inside is in pretty damn good shape. All the original parts are included, and the plating is still nice on most parts. And it came with an old school heat shield (not sure if original Nissan) plus a set of two modern style heat shields. Both still unused. The price was a real bargain for what you pay for those these days. And it seems to my untrained eye, that all it needs is cleanup and set of fresh gaskets. but we'll see.. Not from Japan but also delivered today was this used DiaFilm scanner which I bought online recently. So I gave it a try to scan those first original Nissan Maintenance training slides, which I bought recently I still need to figure out that colour correction and other stuff, but the first results are promising. and those slides are really, really cool! My goal is to digitalize them all.5 points
-
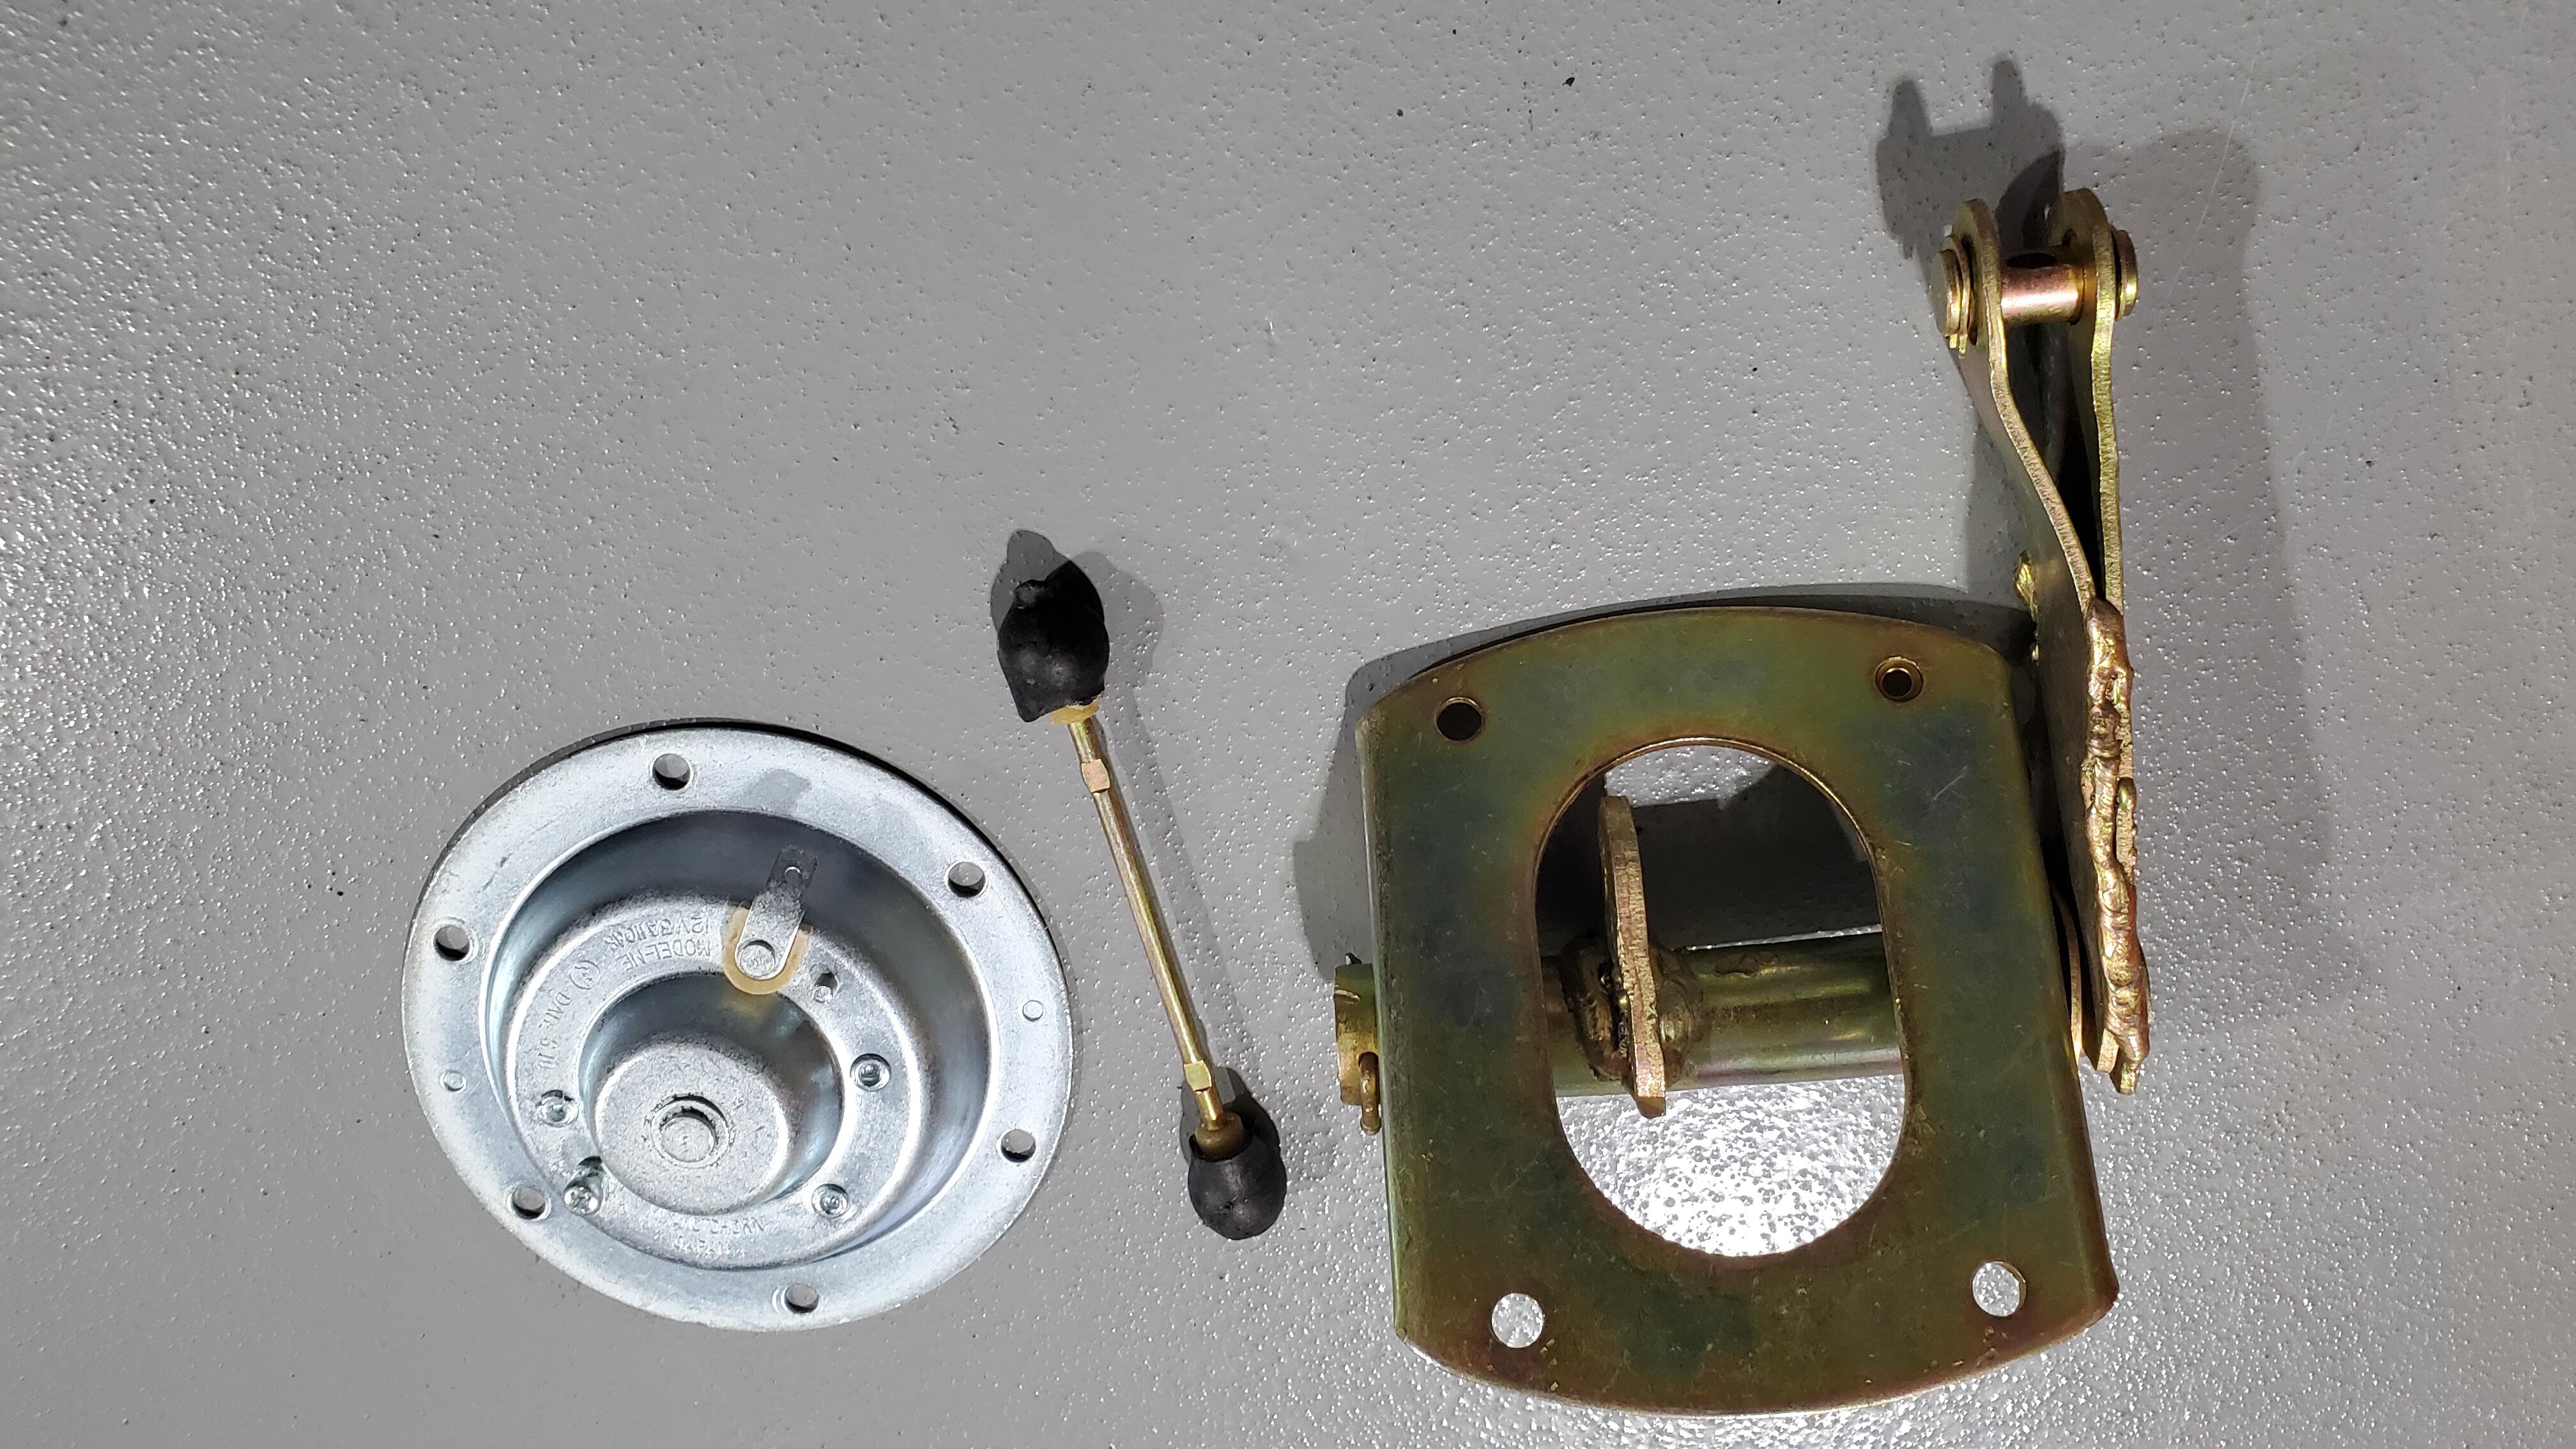
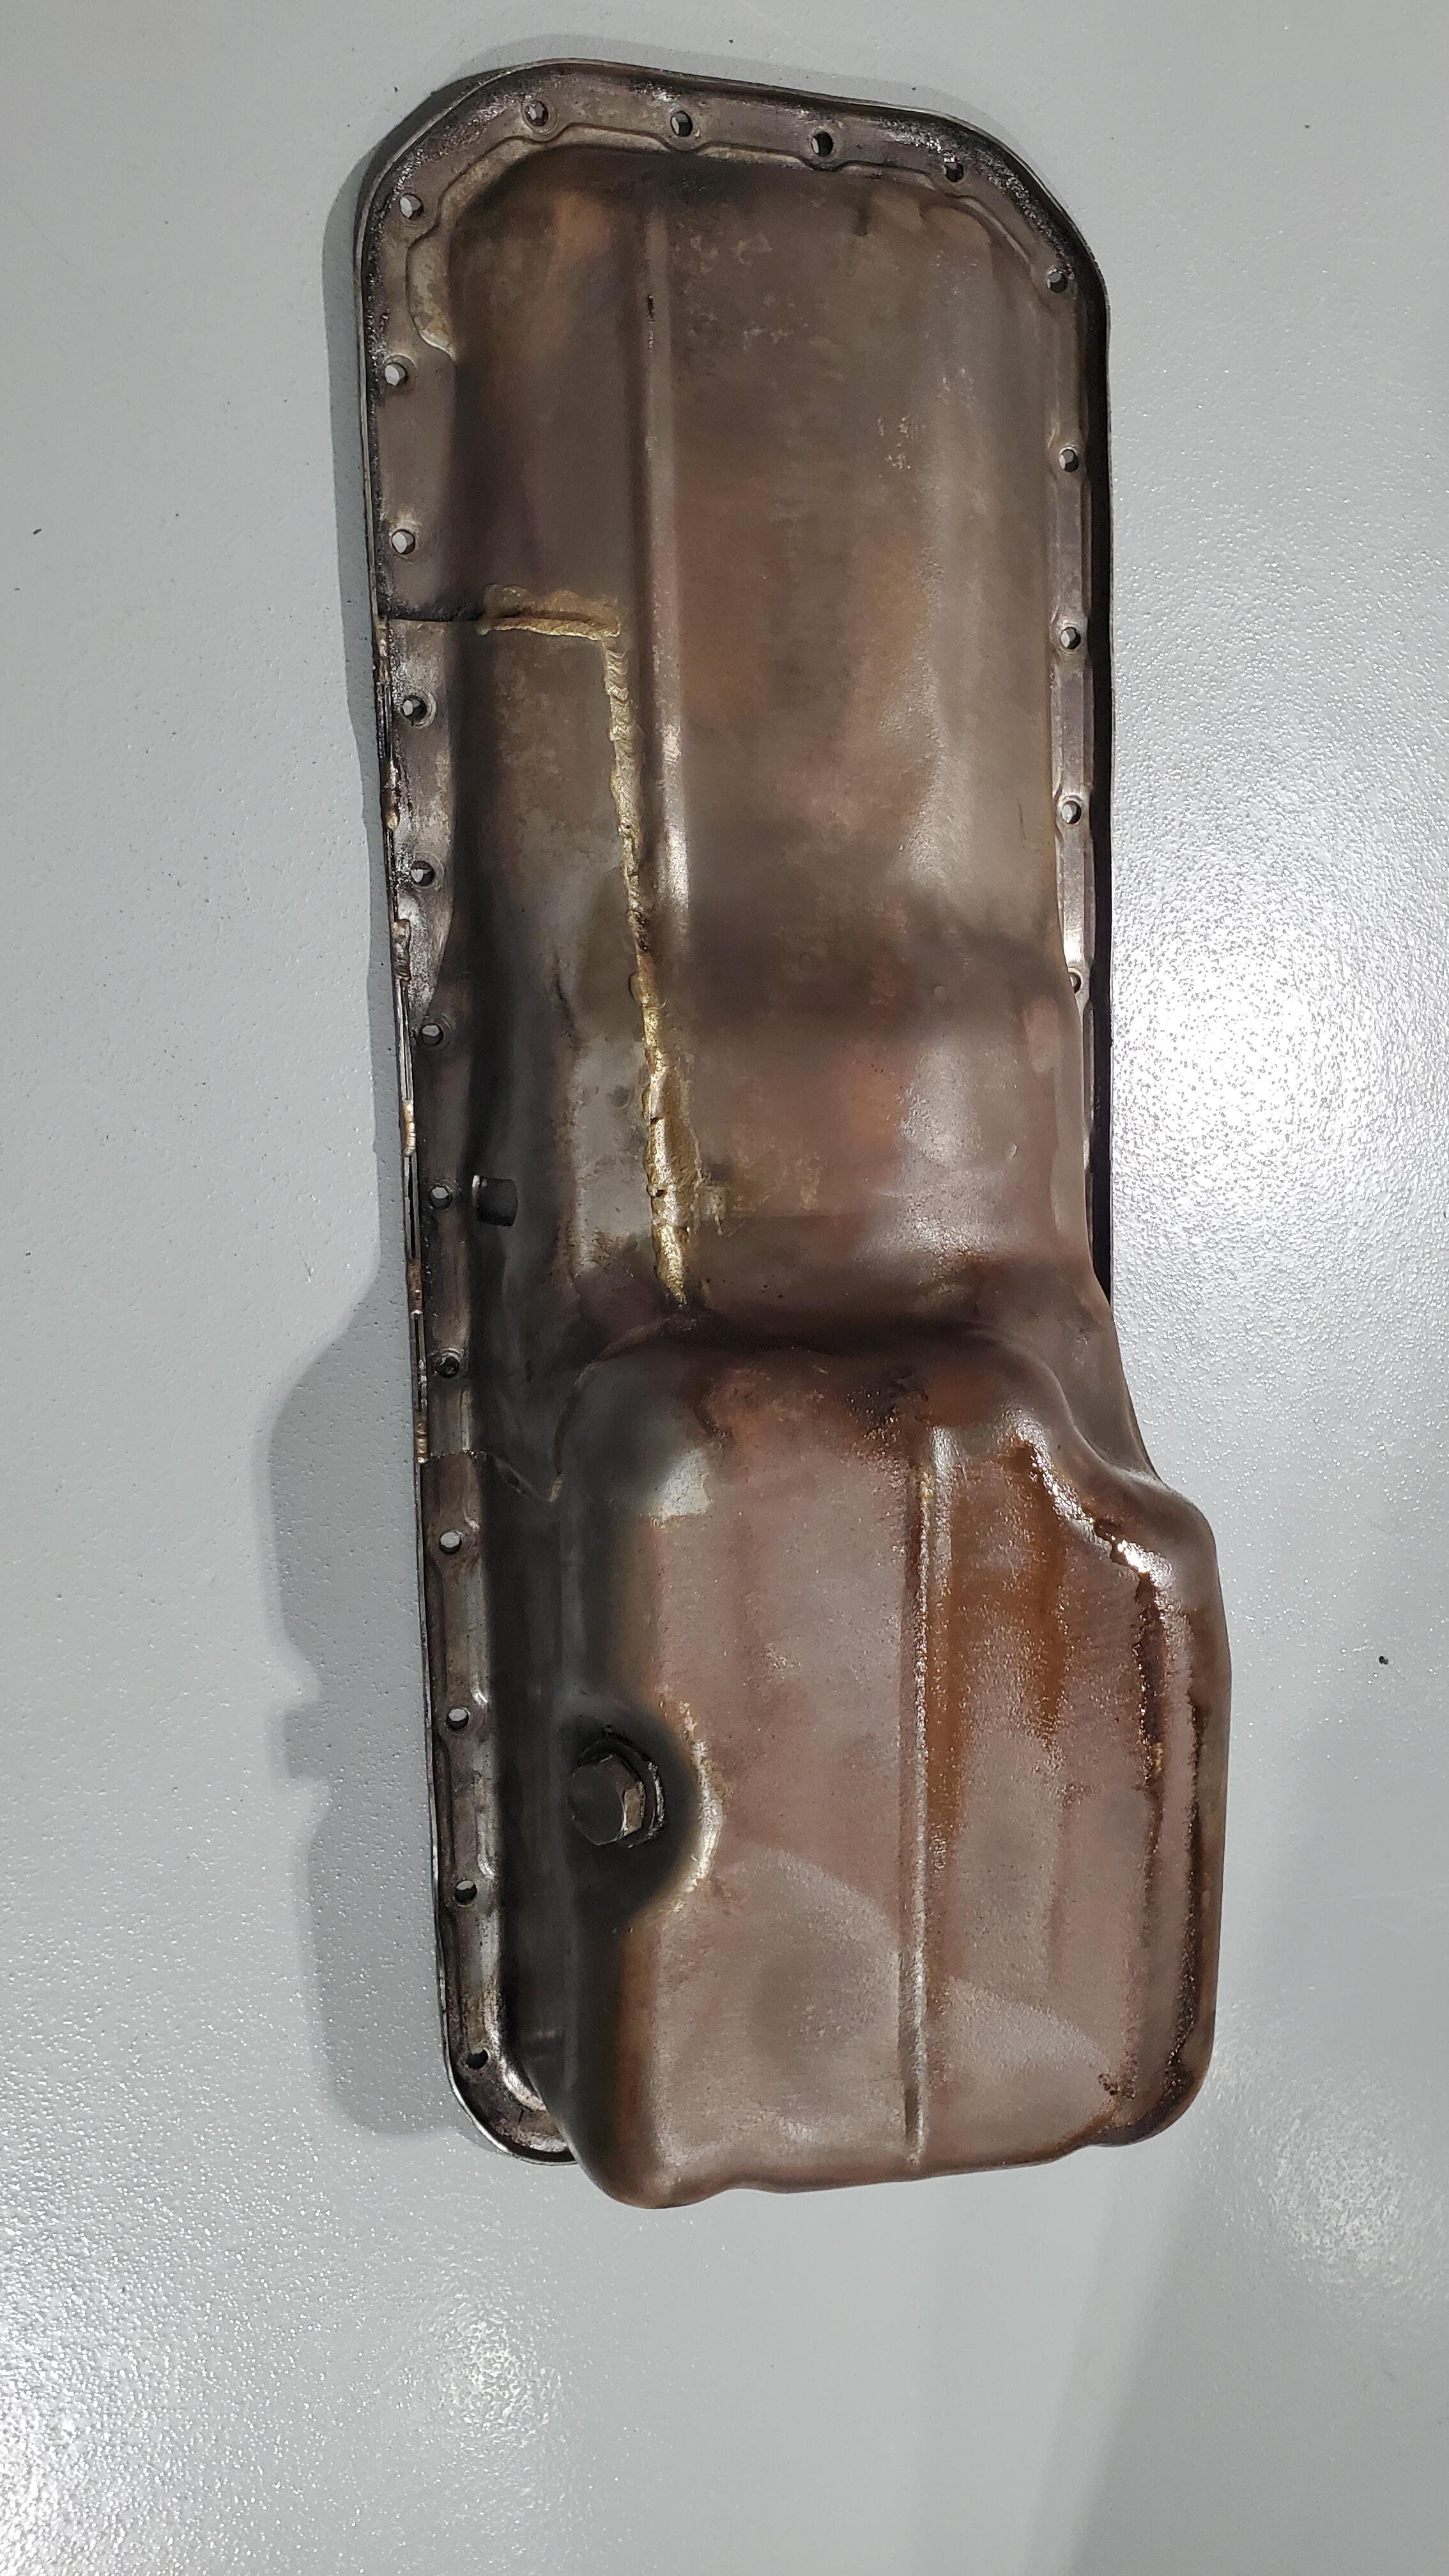
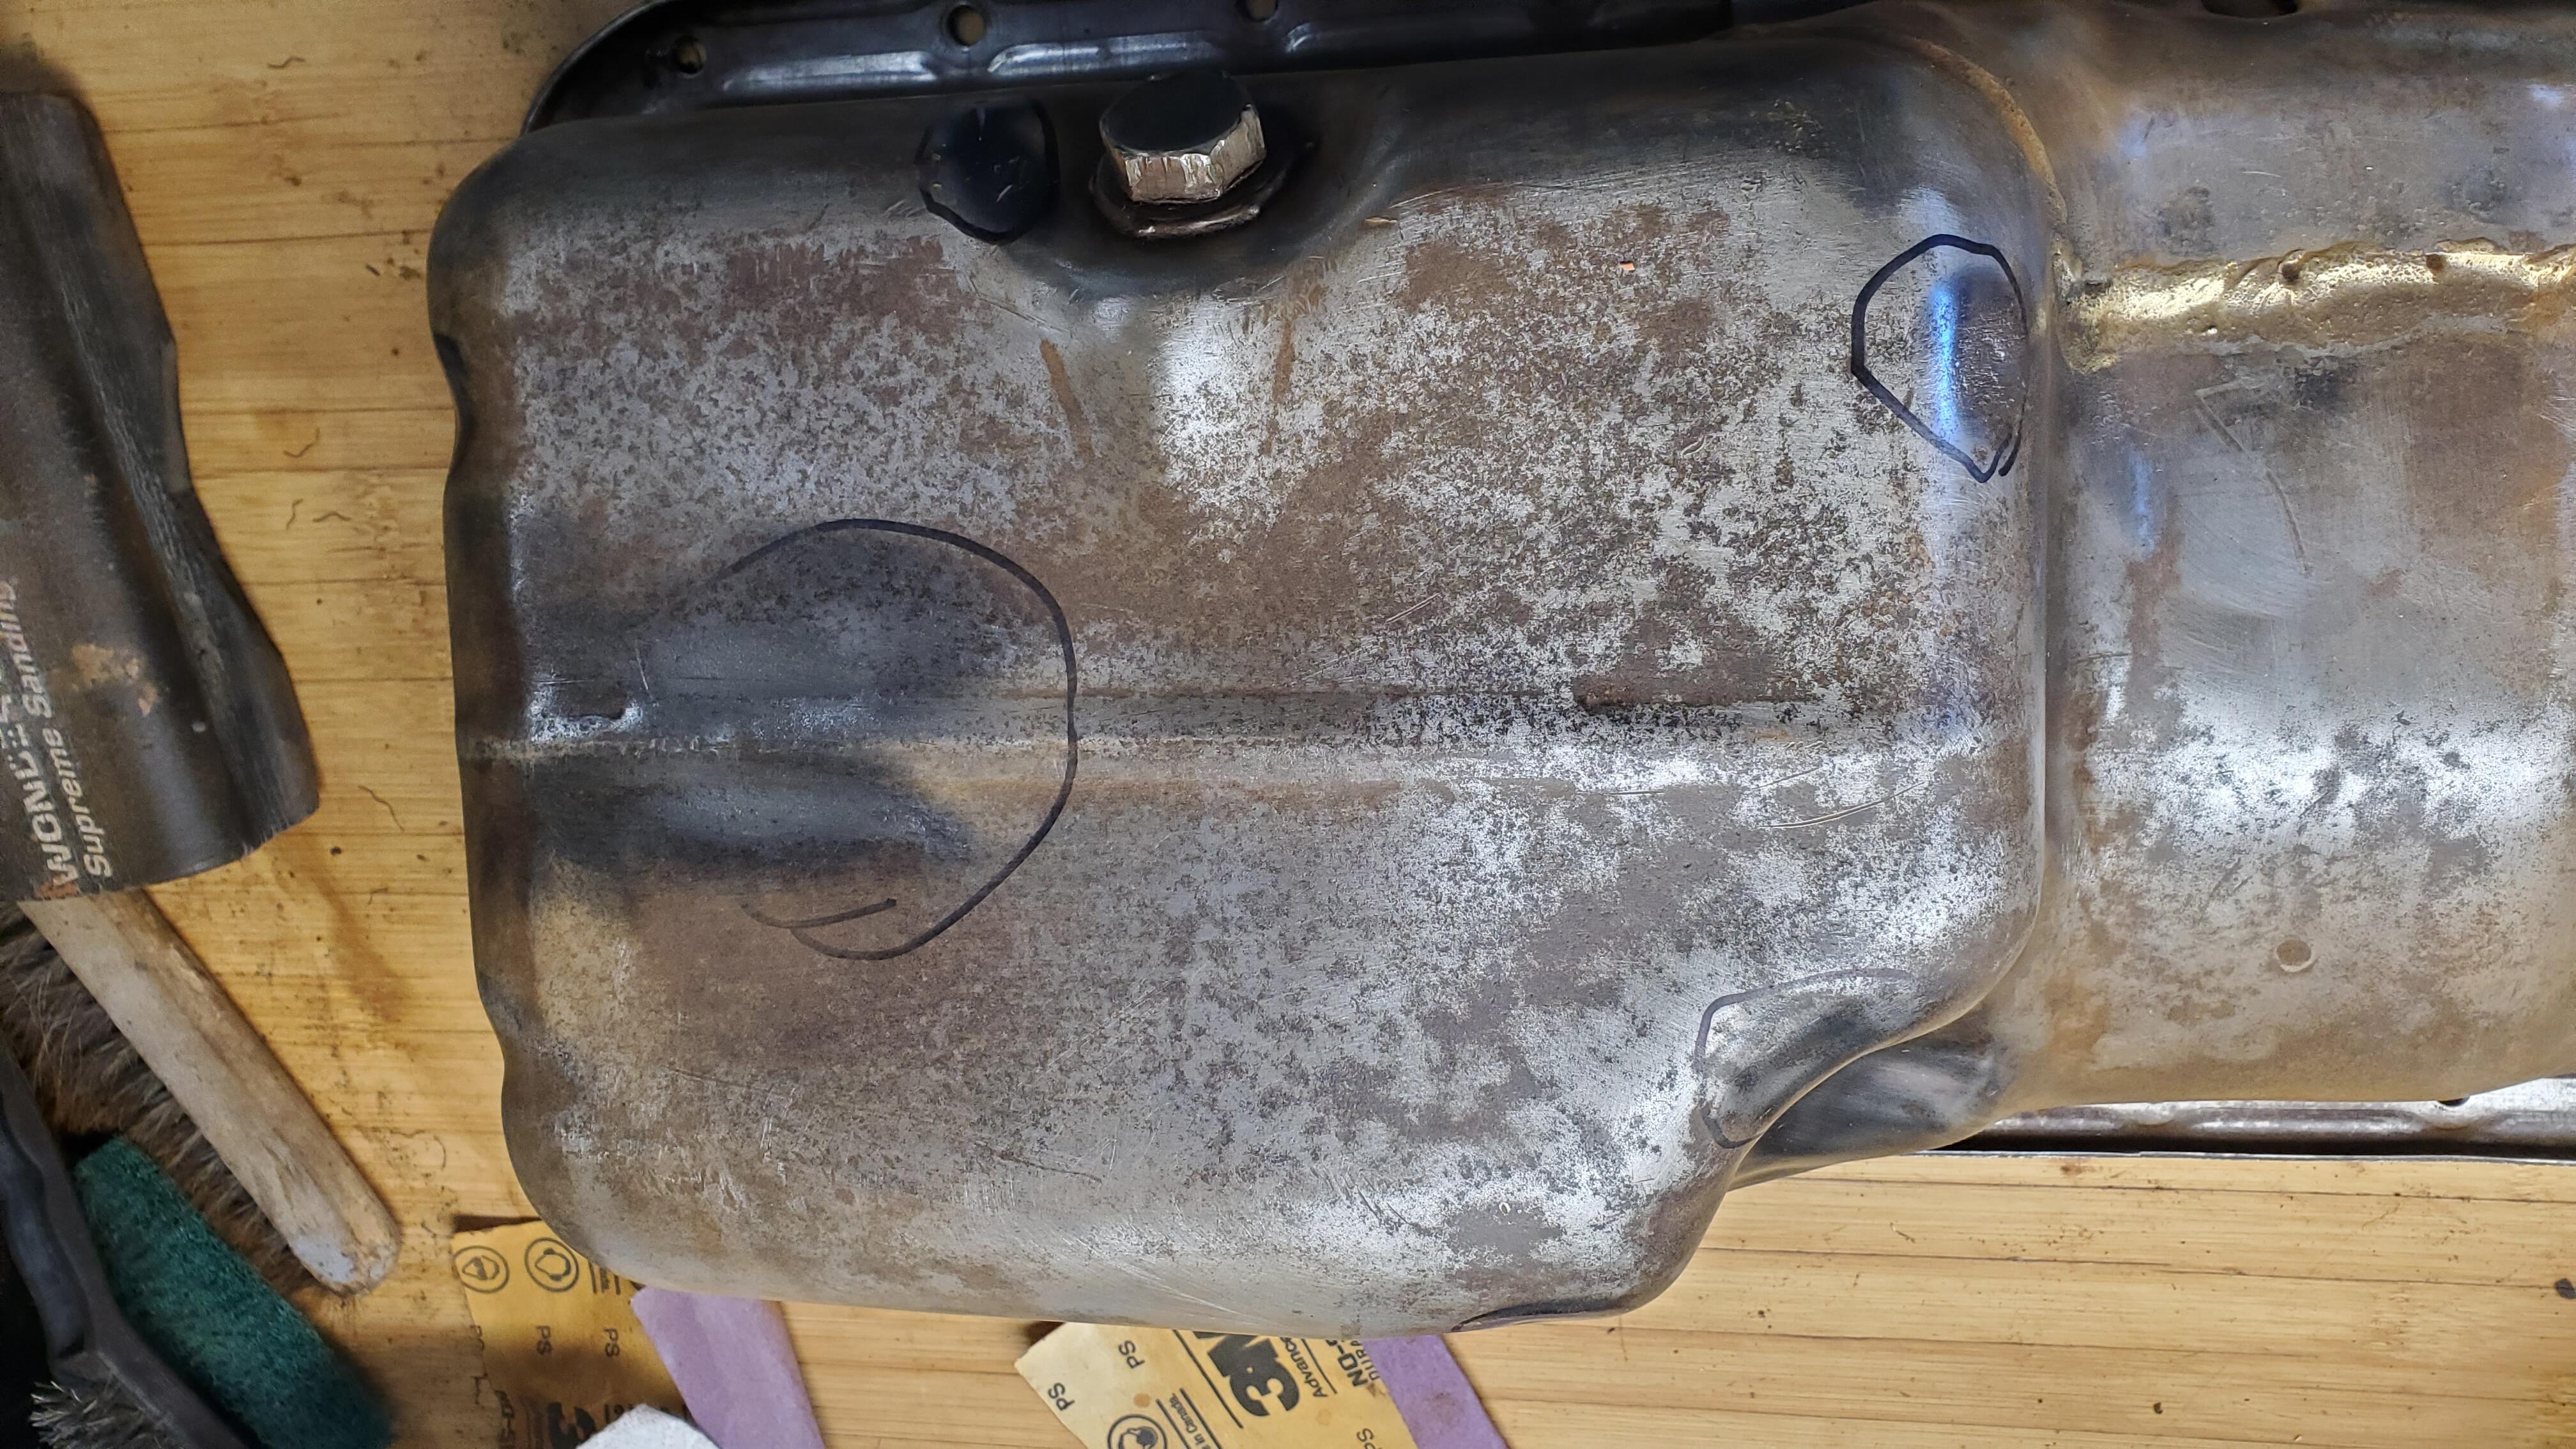
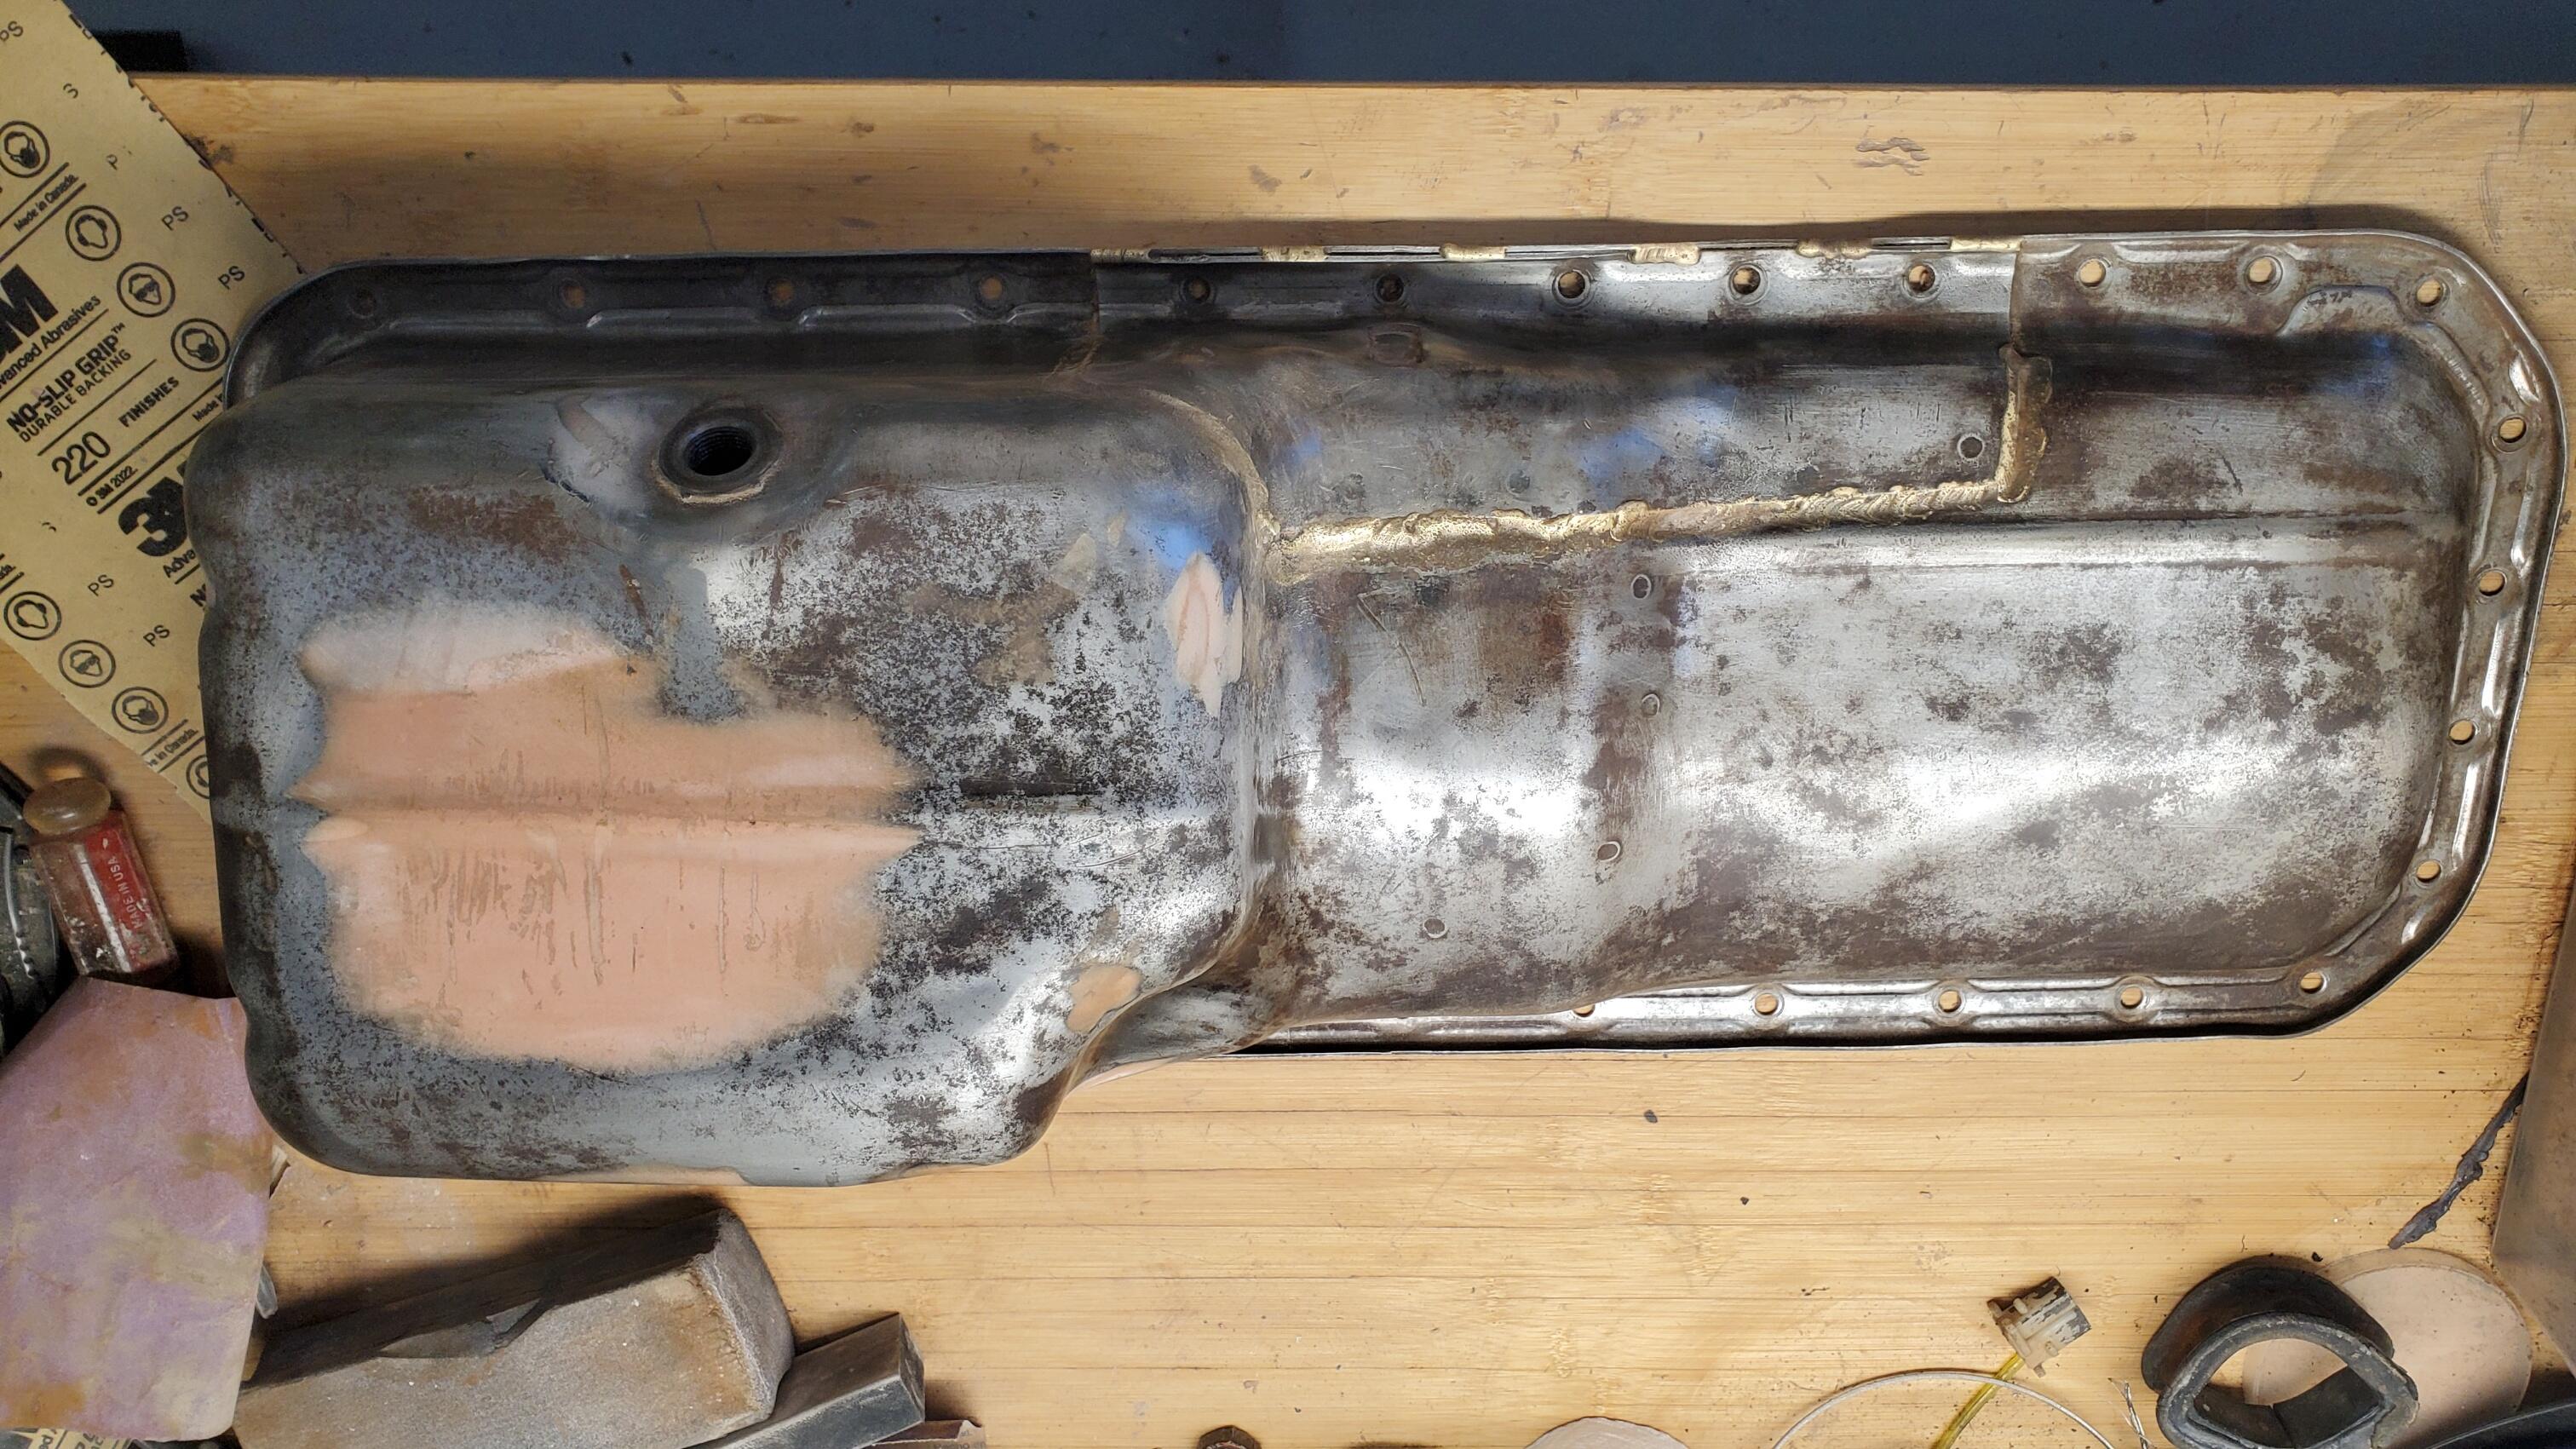
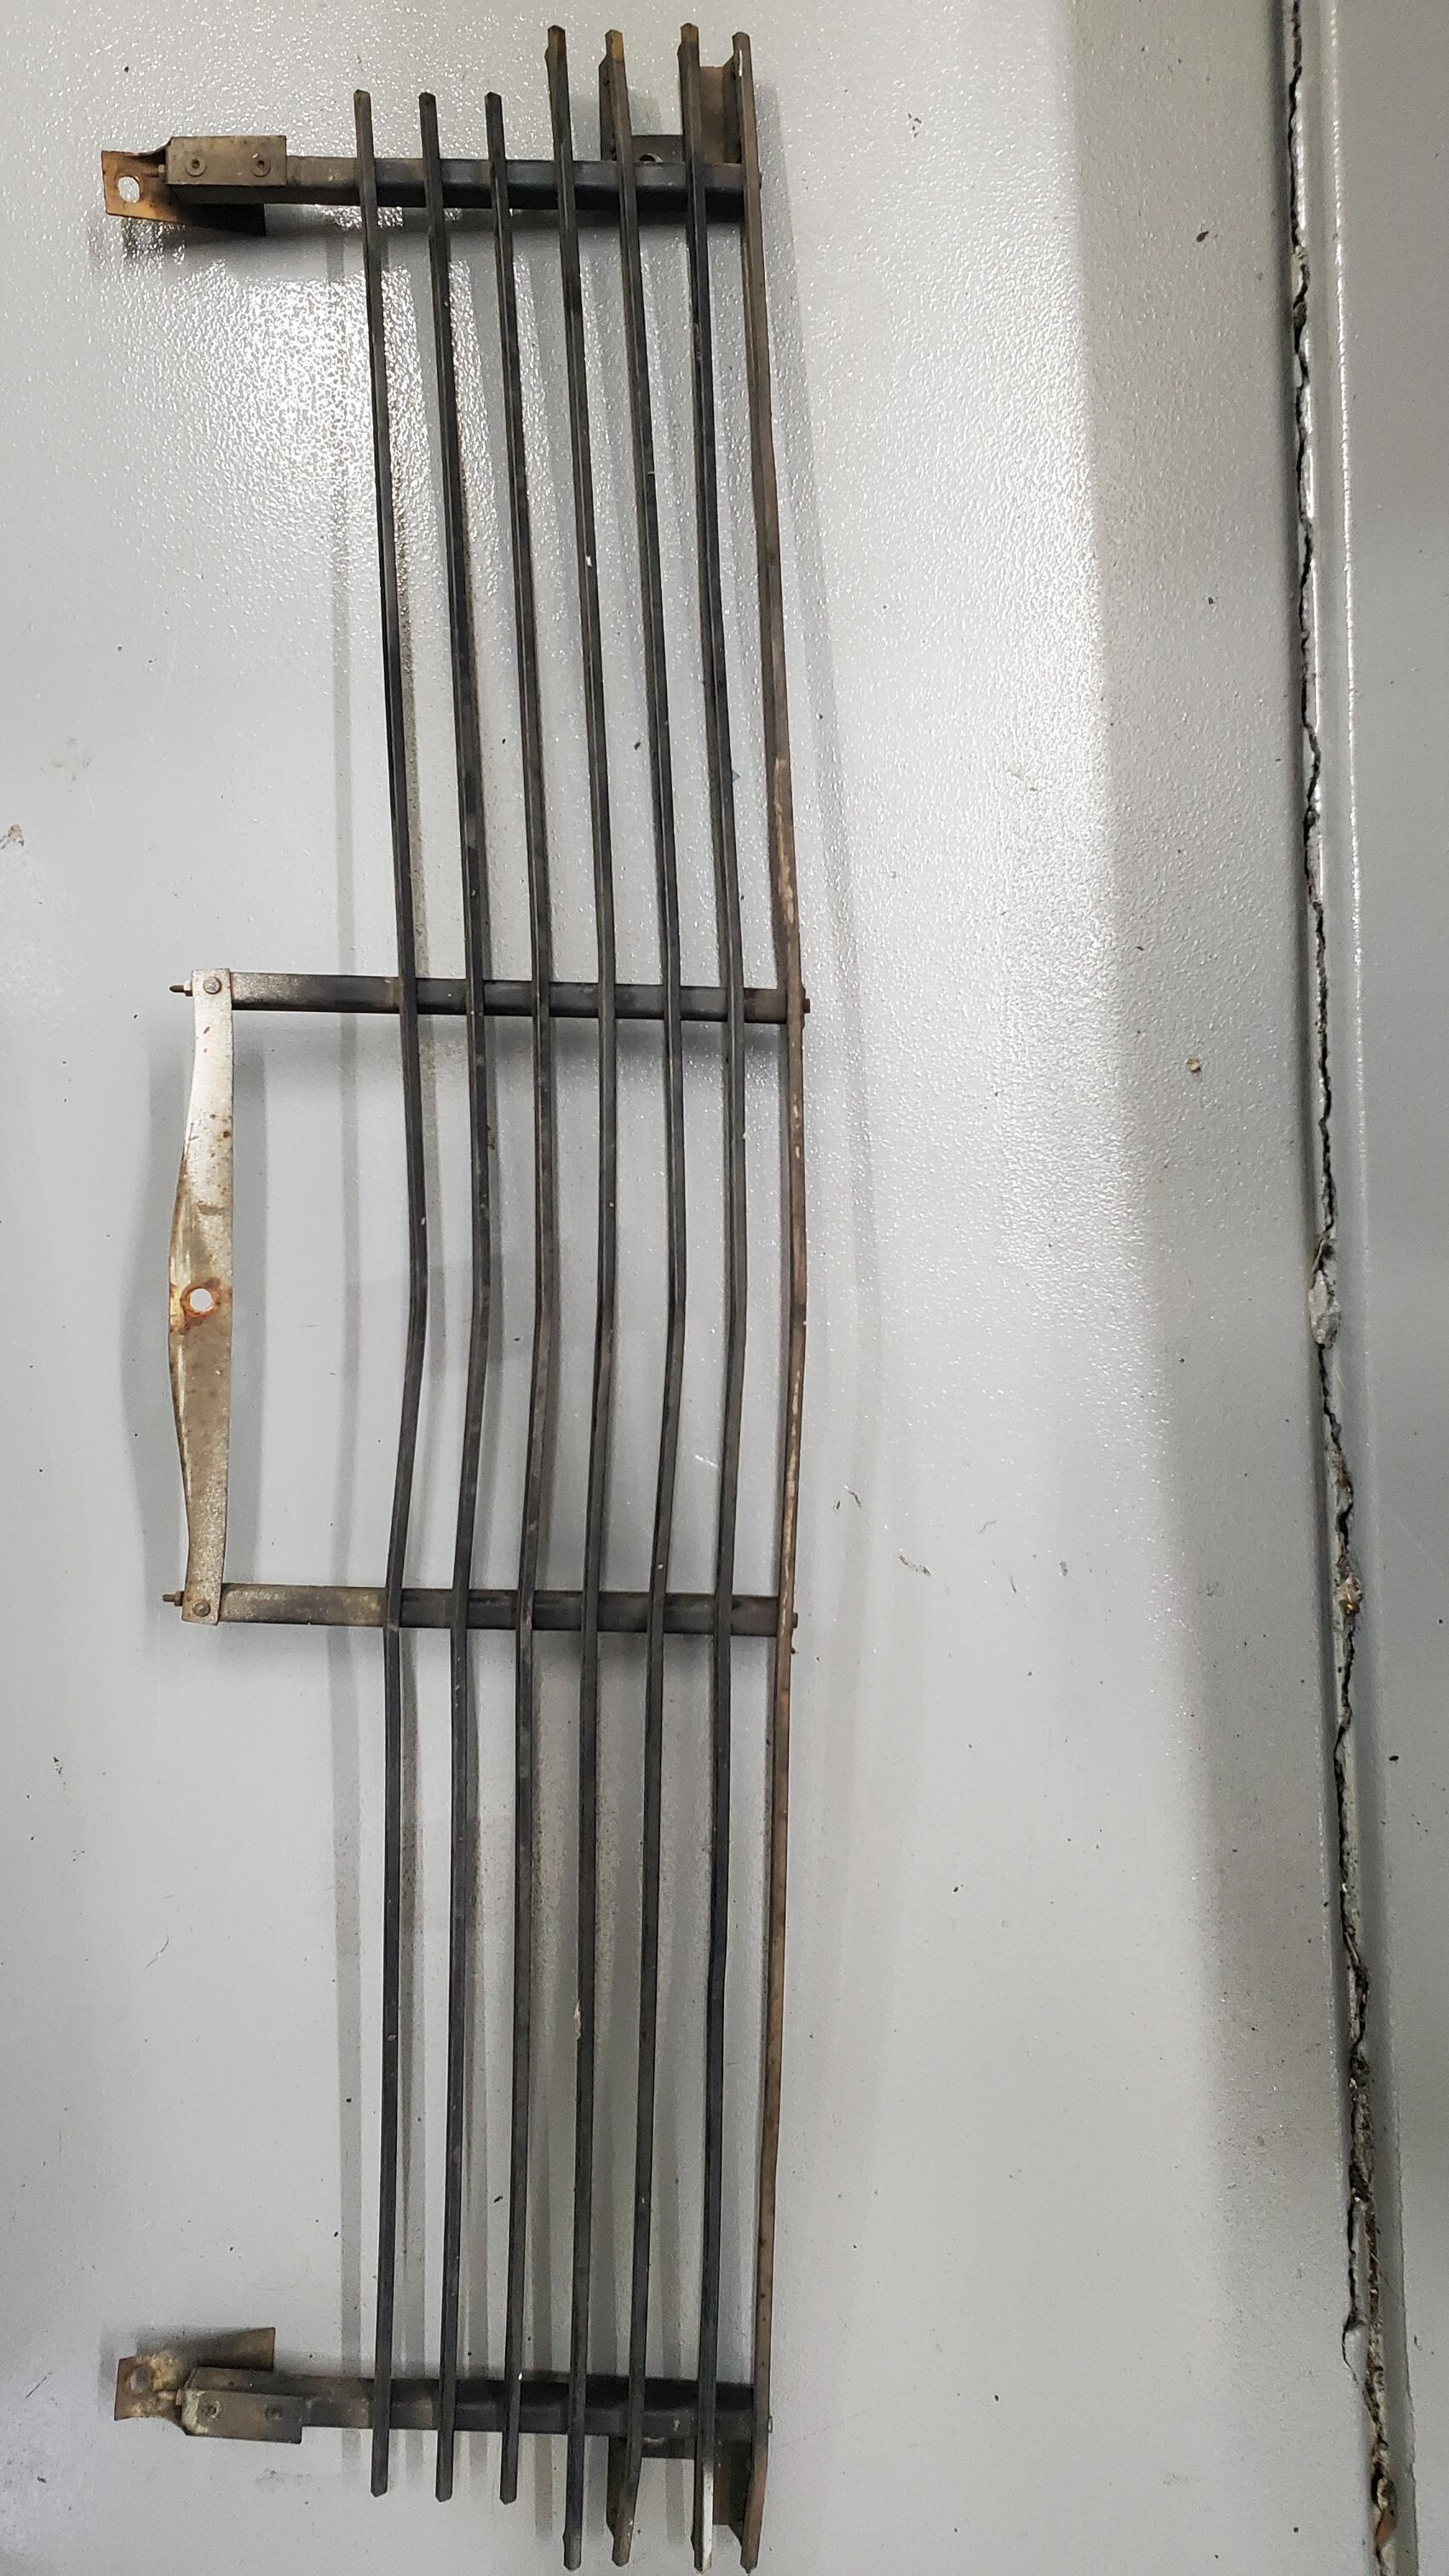
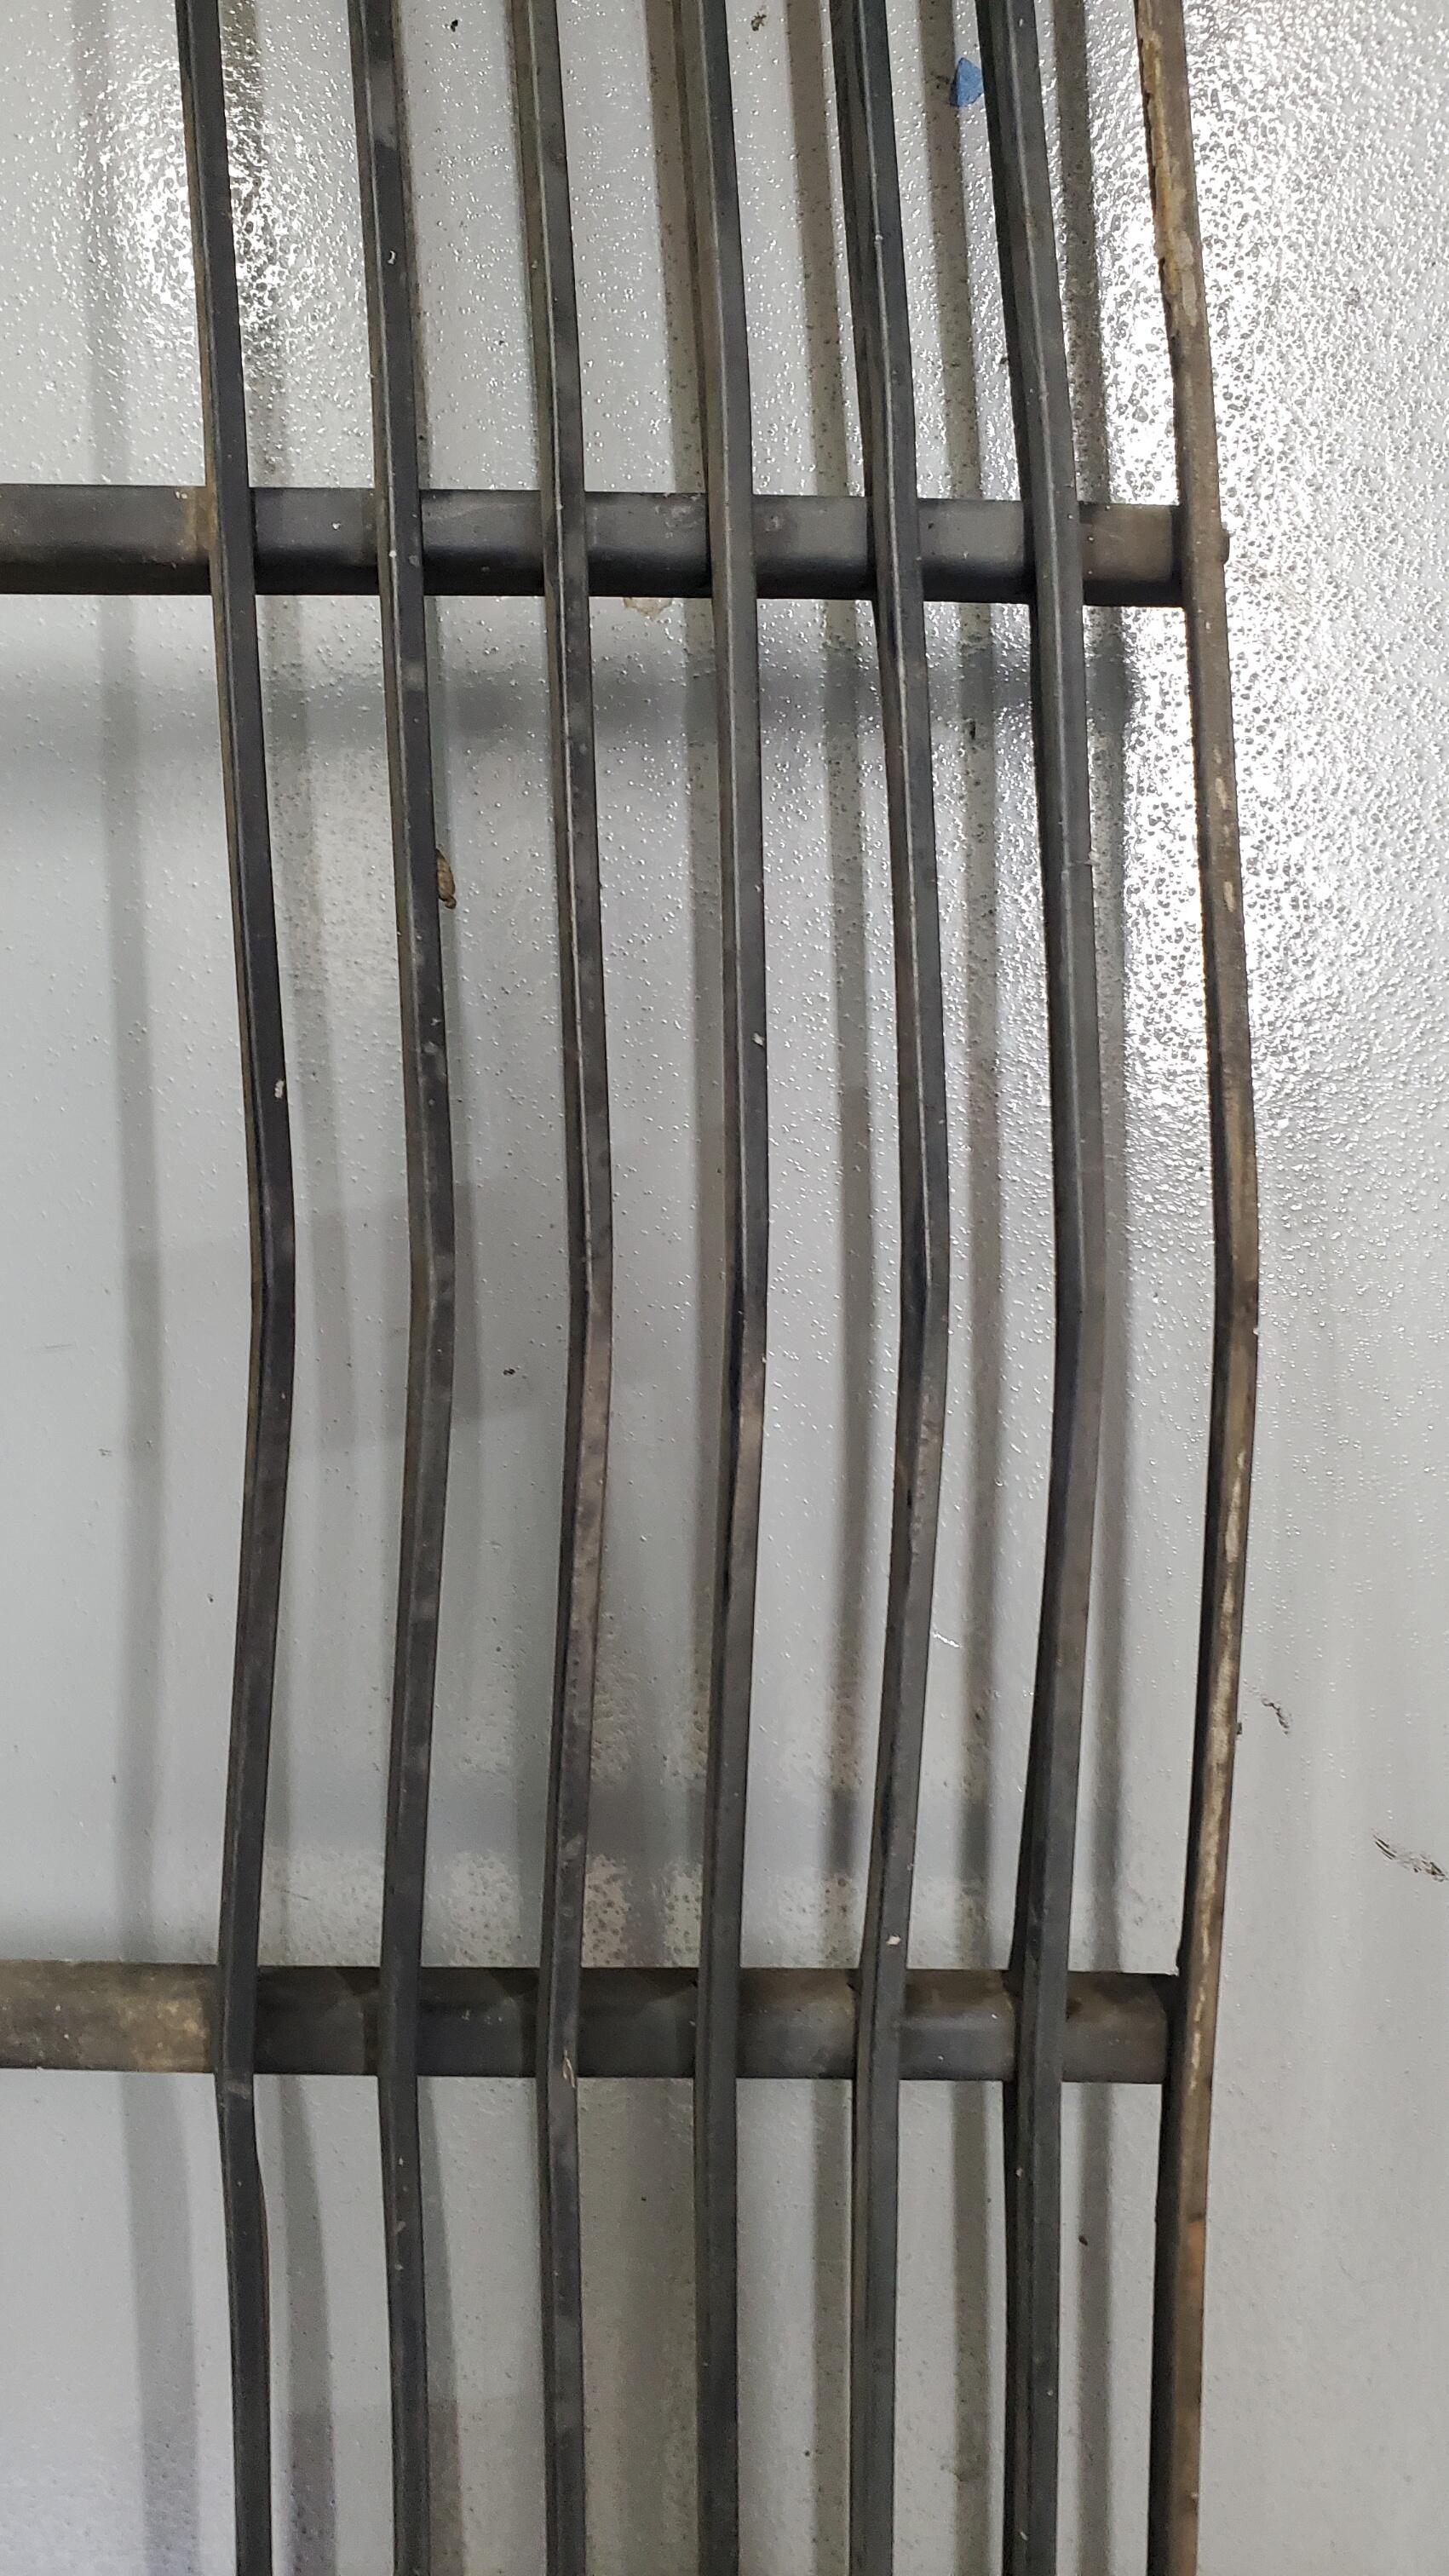
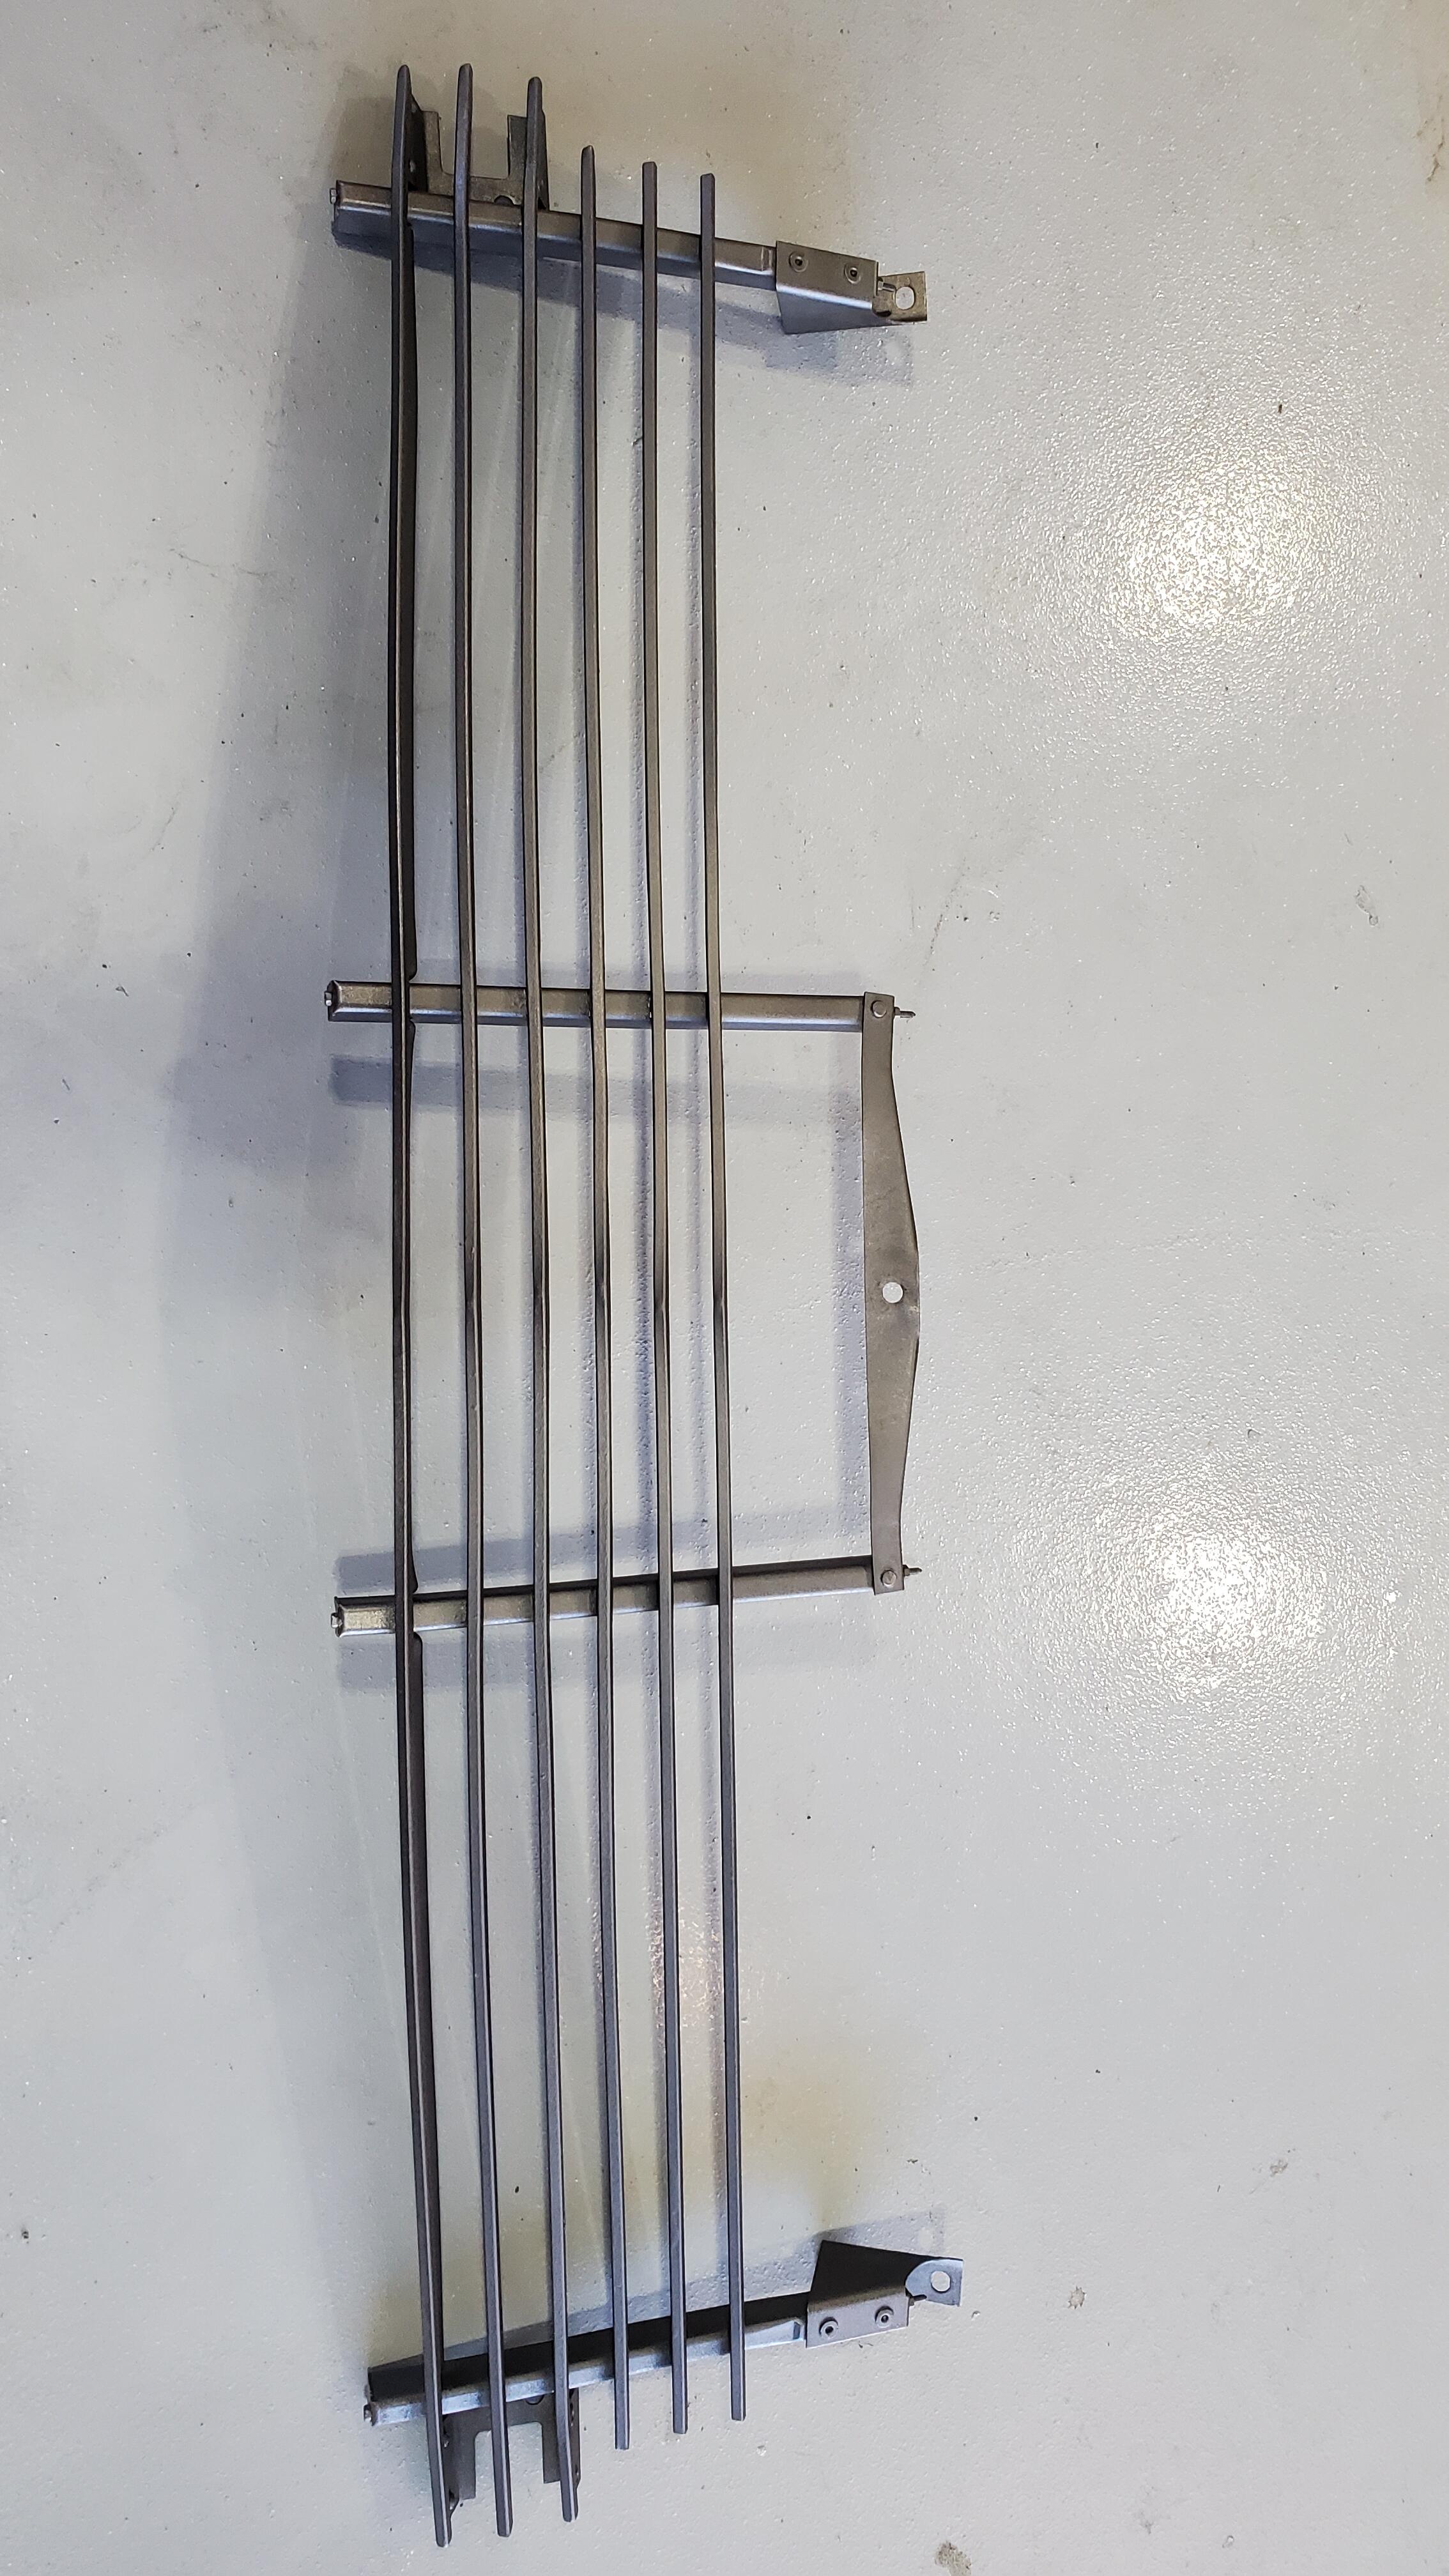
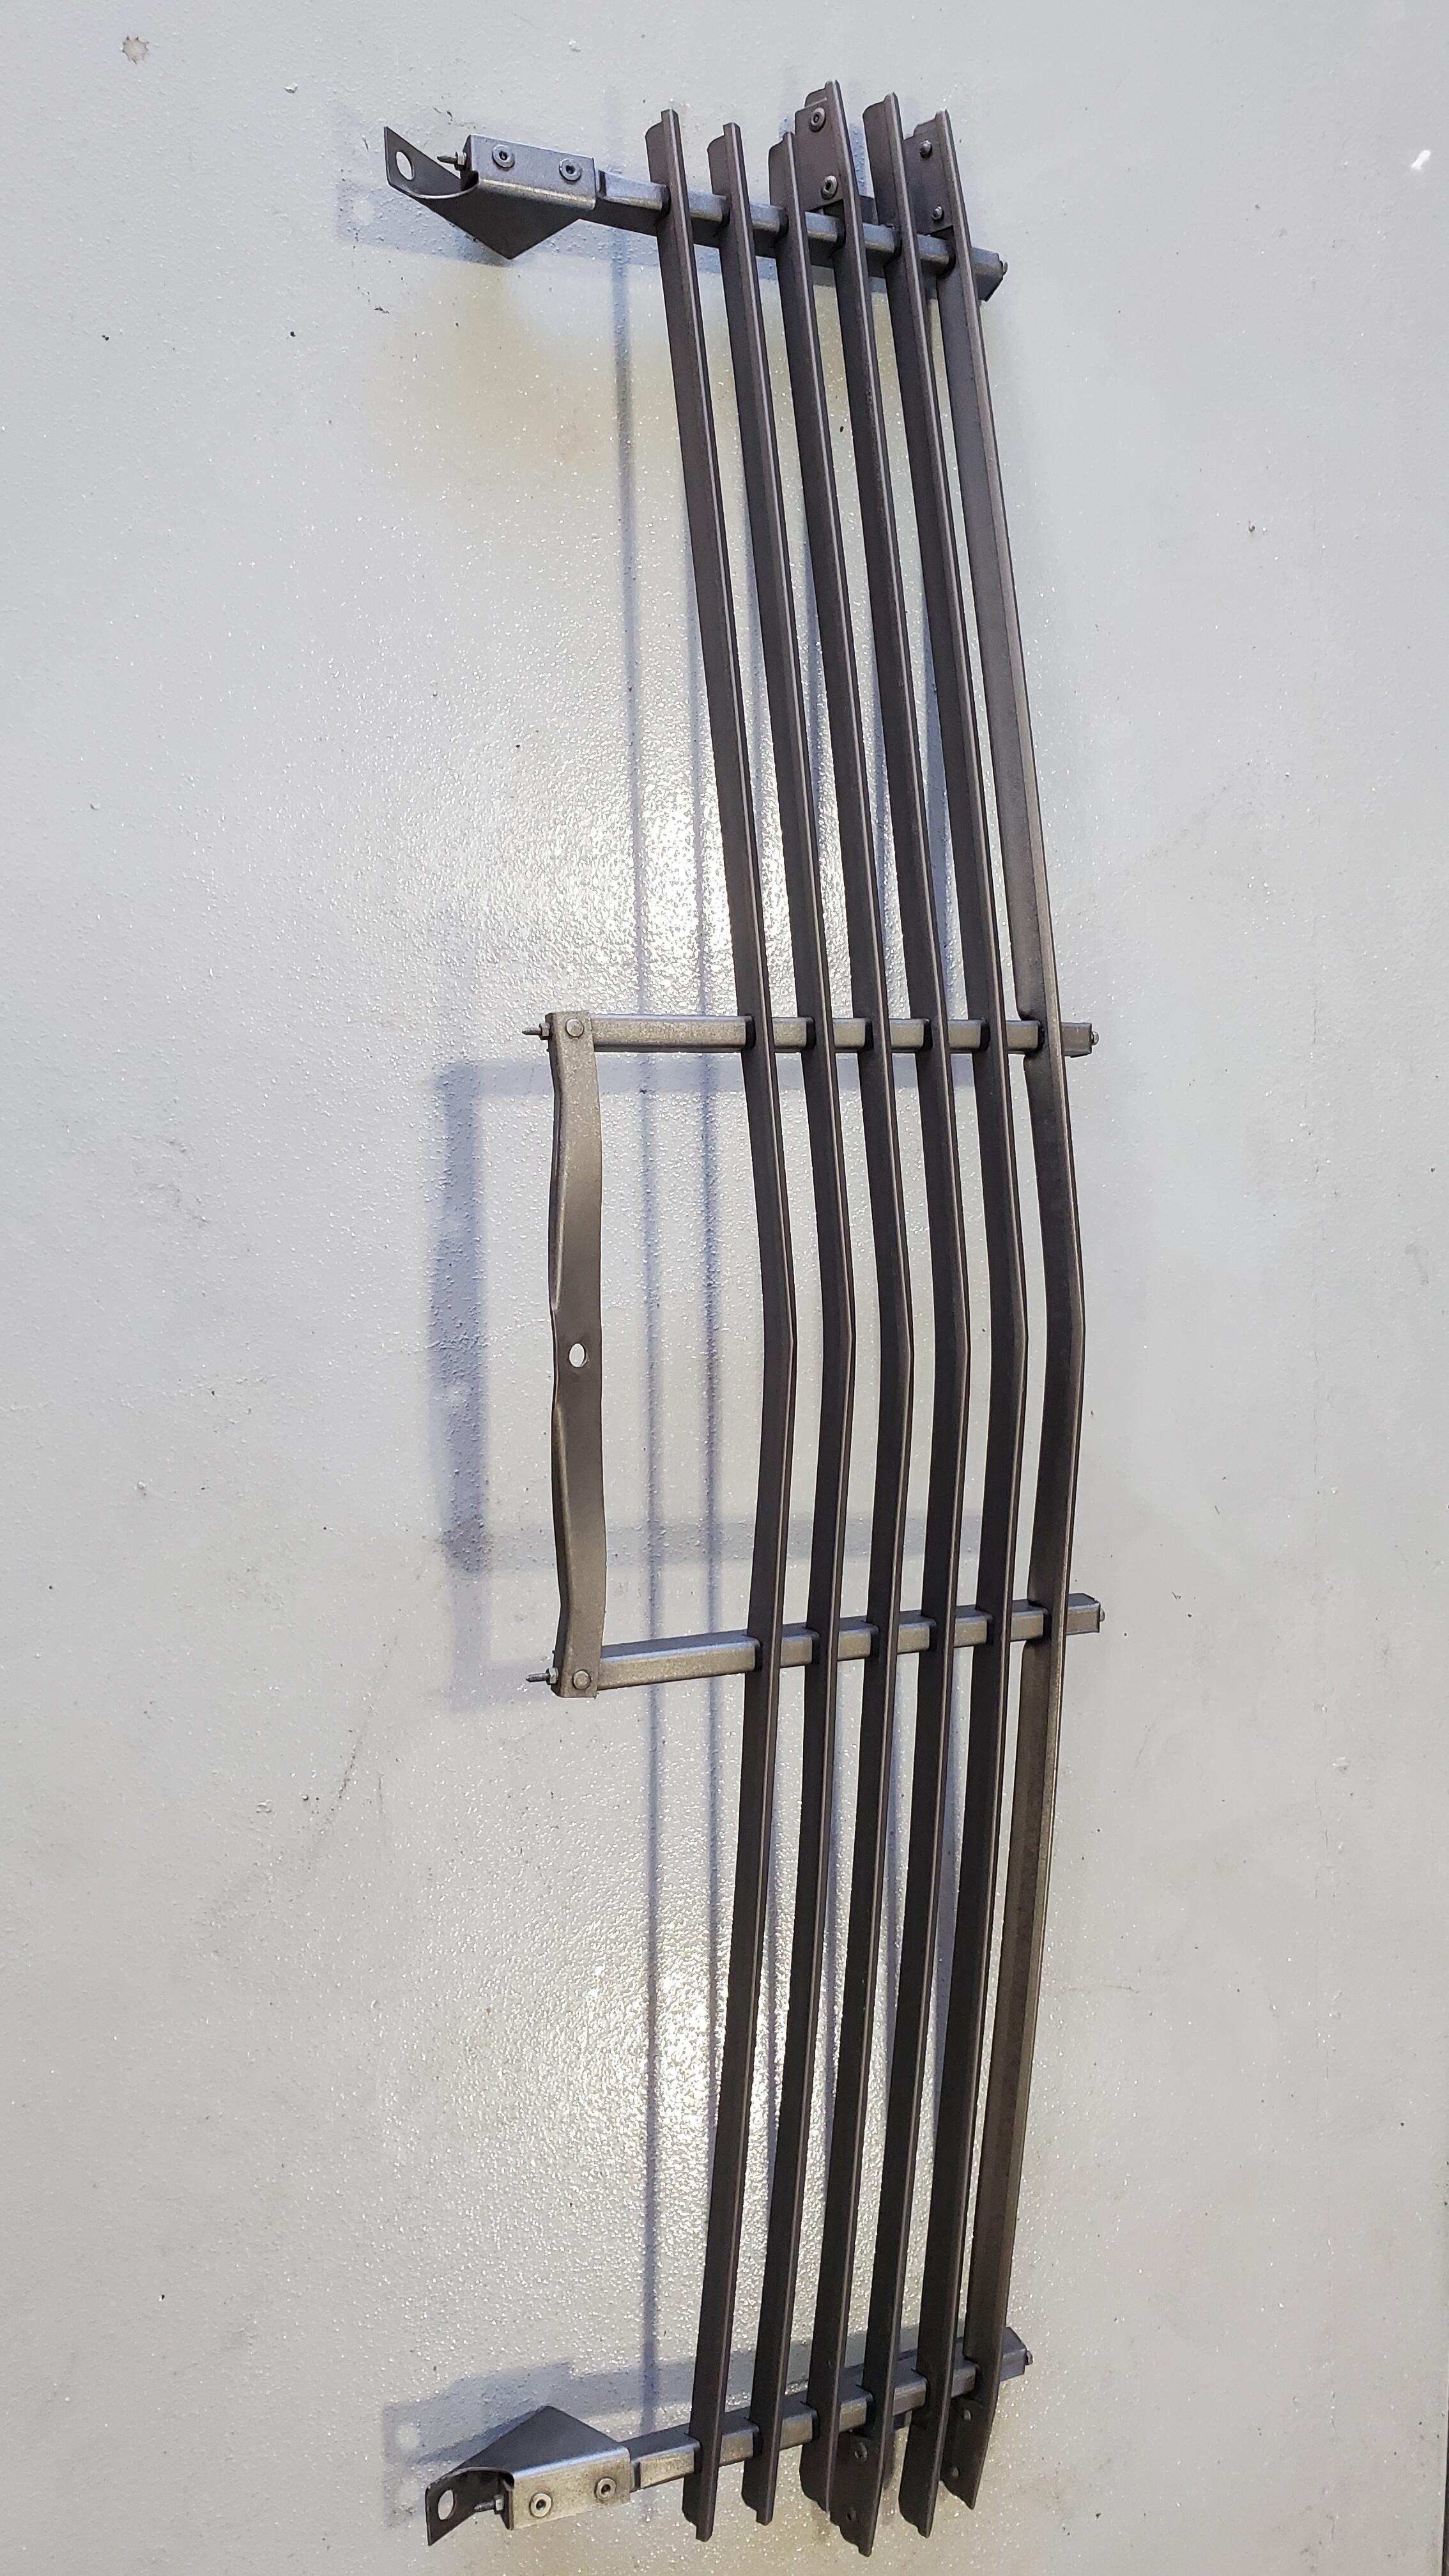
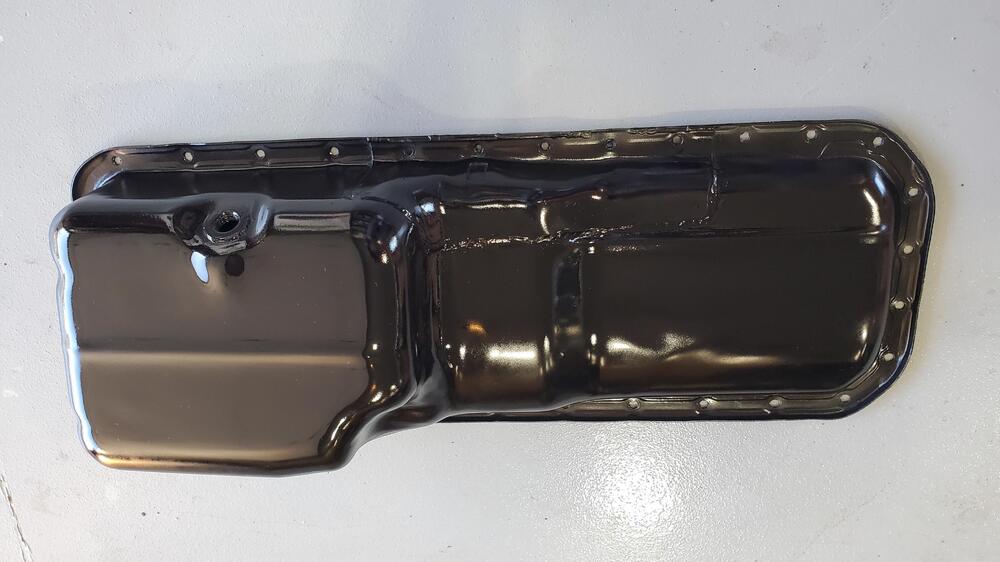
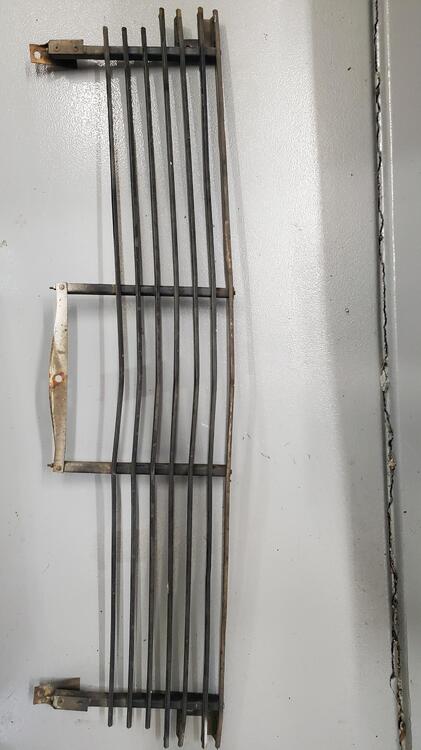
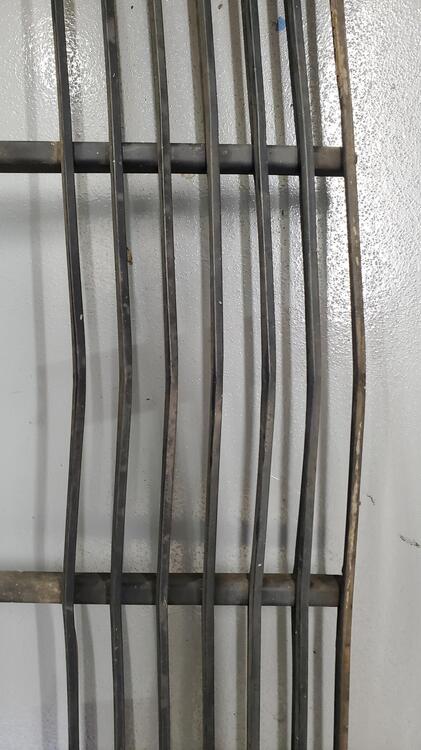
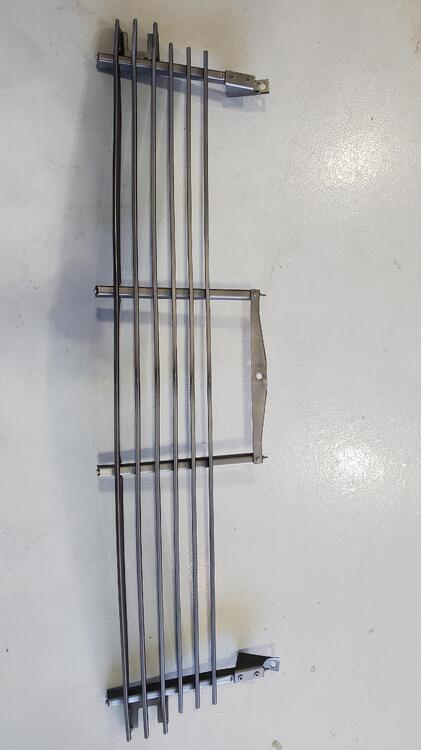
3 pointsThe Zinc parts came back from plating and look great. Pictures are below. Also shown are a couple examples of the shrink sleeve used to protect the plastic carb linkage ends and sealing of the cavities of the anti-backfire valve. The oil pan had a few dings in it so I used a little bondo to smooth those out prior to paint. Front grill was a little tweaked, to I disassembled that, straightened the pieces, then re-assembled and painted.


 3 points
 -
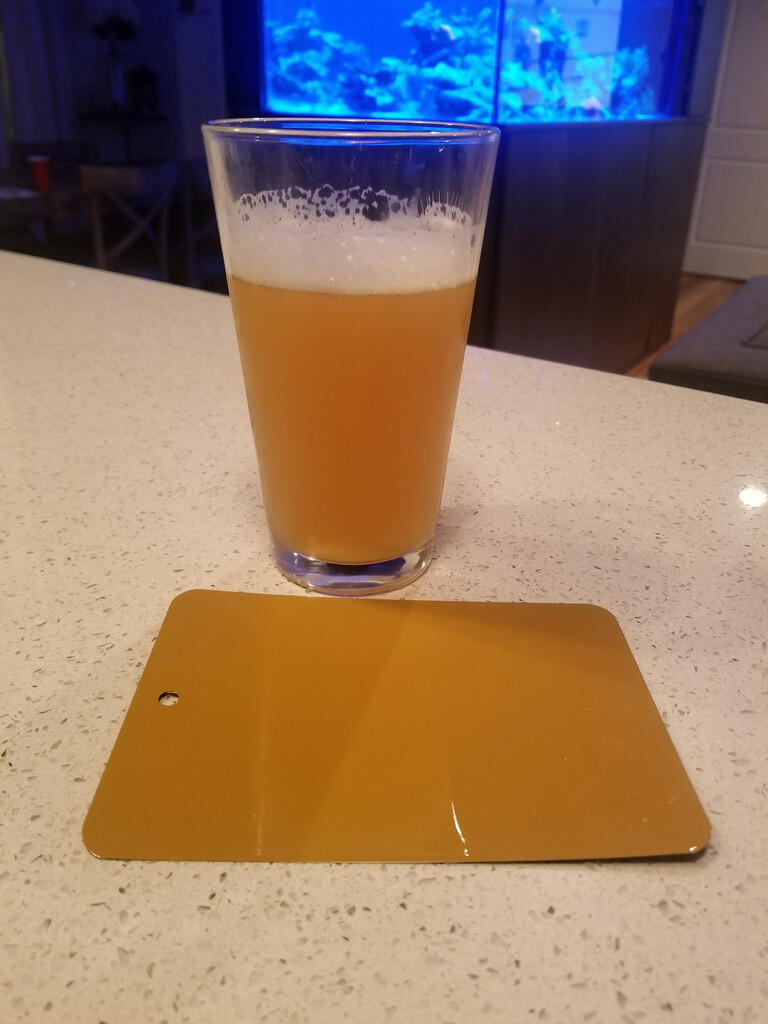
Good job……me and my son Brandon did the same thing with our favorite IPA. 🥳


 2 points
 -
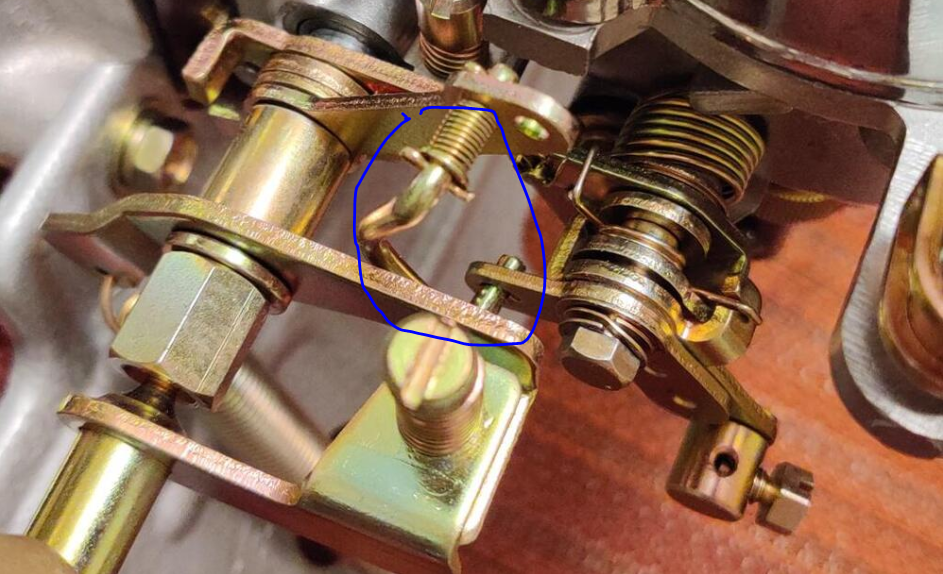
I started the car from dead cold a couple of days ago - this was after using the Uni-Syn to measure flow through each carb while the choke was in operation. I am very happy with how car starts now with the choke. I have also eliminated my sticking nozzles by bending the "Connecting Plate A". This is the flat bar part of the linkage that attaches to the bottom of the nozzle. Slight bends to it removed sideways force being applied to the nozzles. I had to do this for both carburetors. And, by setting the throttle plates firstly, to open to the gap specified in the factory workshop manual, and secondly, to achieve the same flow rate in each carburetor as indicated by the Uni-Syn flow measurement tool, I believe I have set the "starter interlock opening" on both carburetors very accurately, and I have achieved a well functioning "starting mechanism". The first step is to get the gap between the bottom edge of the throttle plate and the carburetor bore (as measured by a piece of ductile wire which I hammered to the right thickness and then used as a feeler gauge) to the .0232" to .0271" which is specified in the factory workshop manual. The second step is to start the car and set the "choke" lever to a spot where the engine is running at a fast idle speed (with the starter interlock acting on the throttle plates in the carburetors), and adjusting the "bent" connecting rod. This rod is circled in blue here: By bending it either more or less at the kink, you adjust its length, which changes the amount that this starter interlock linkage opens the throttle plates via the operating arm to which it is attached. When I was working on resolving my sticking nozzles a week or so ago, I managed to break the connecting rod on the front carburetor. I have since figured out what happened. When the screw holding Connecting Plate A to the bottom of the nozzle is removed, the starter interlock linkage (which is spring loaded) will forcibly move itself to a position where the bottom of this connector rod (blue circle in this pic) can shift laterally. In this picture, the rod on the rear carburetor has indeed shifted. It needs to be shifted to the left, so that the arm is located on the rod between the two pinched spots. The two pinched parts of the rod can align with the "key hole slot" in the linkage arm. When they do that, then the rod can shift out of its correct position as seen above. I did not notice this the other day, and when I couldn't bring the linkage back down to attach Connecting Rod A back to the nozzle, I just applied more force. The bottom of the rod had one of the pinched parts in the "key hole" on the attached linkage arm, preventing rotation at this joint. When I applied more force, this end of the rod twisted and broke. So, that is something to watch out for if you decide to work on your sticking nozzles!
 2 points
 -
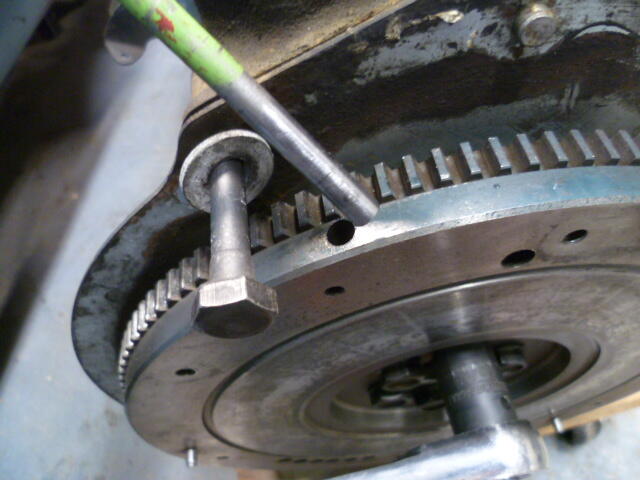
I thread a transmission bolt into one of the bell housing bolt holes in the block, and one in one of the pressure plate holes in the flywheel, and then run some coat hanger or similar gauge wire around from one to the other and back again. About 4 loops. Flywheel is going nowhere.2 points
-
I'm not sure if this ad should be here, or in the boobs thread, Lol. Looks quite nice. https://classiccars.com/listings/view/1358419/1972-datsun-240z-for-sale-in-spokane-washington-99224
 2 points
 -
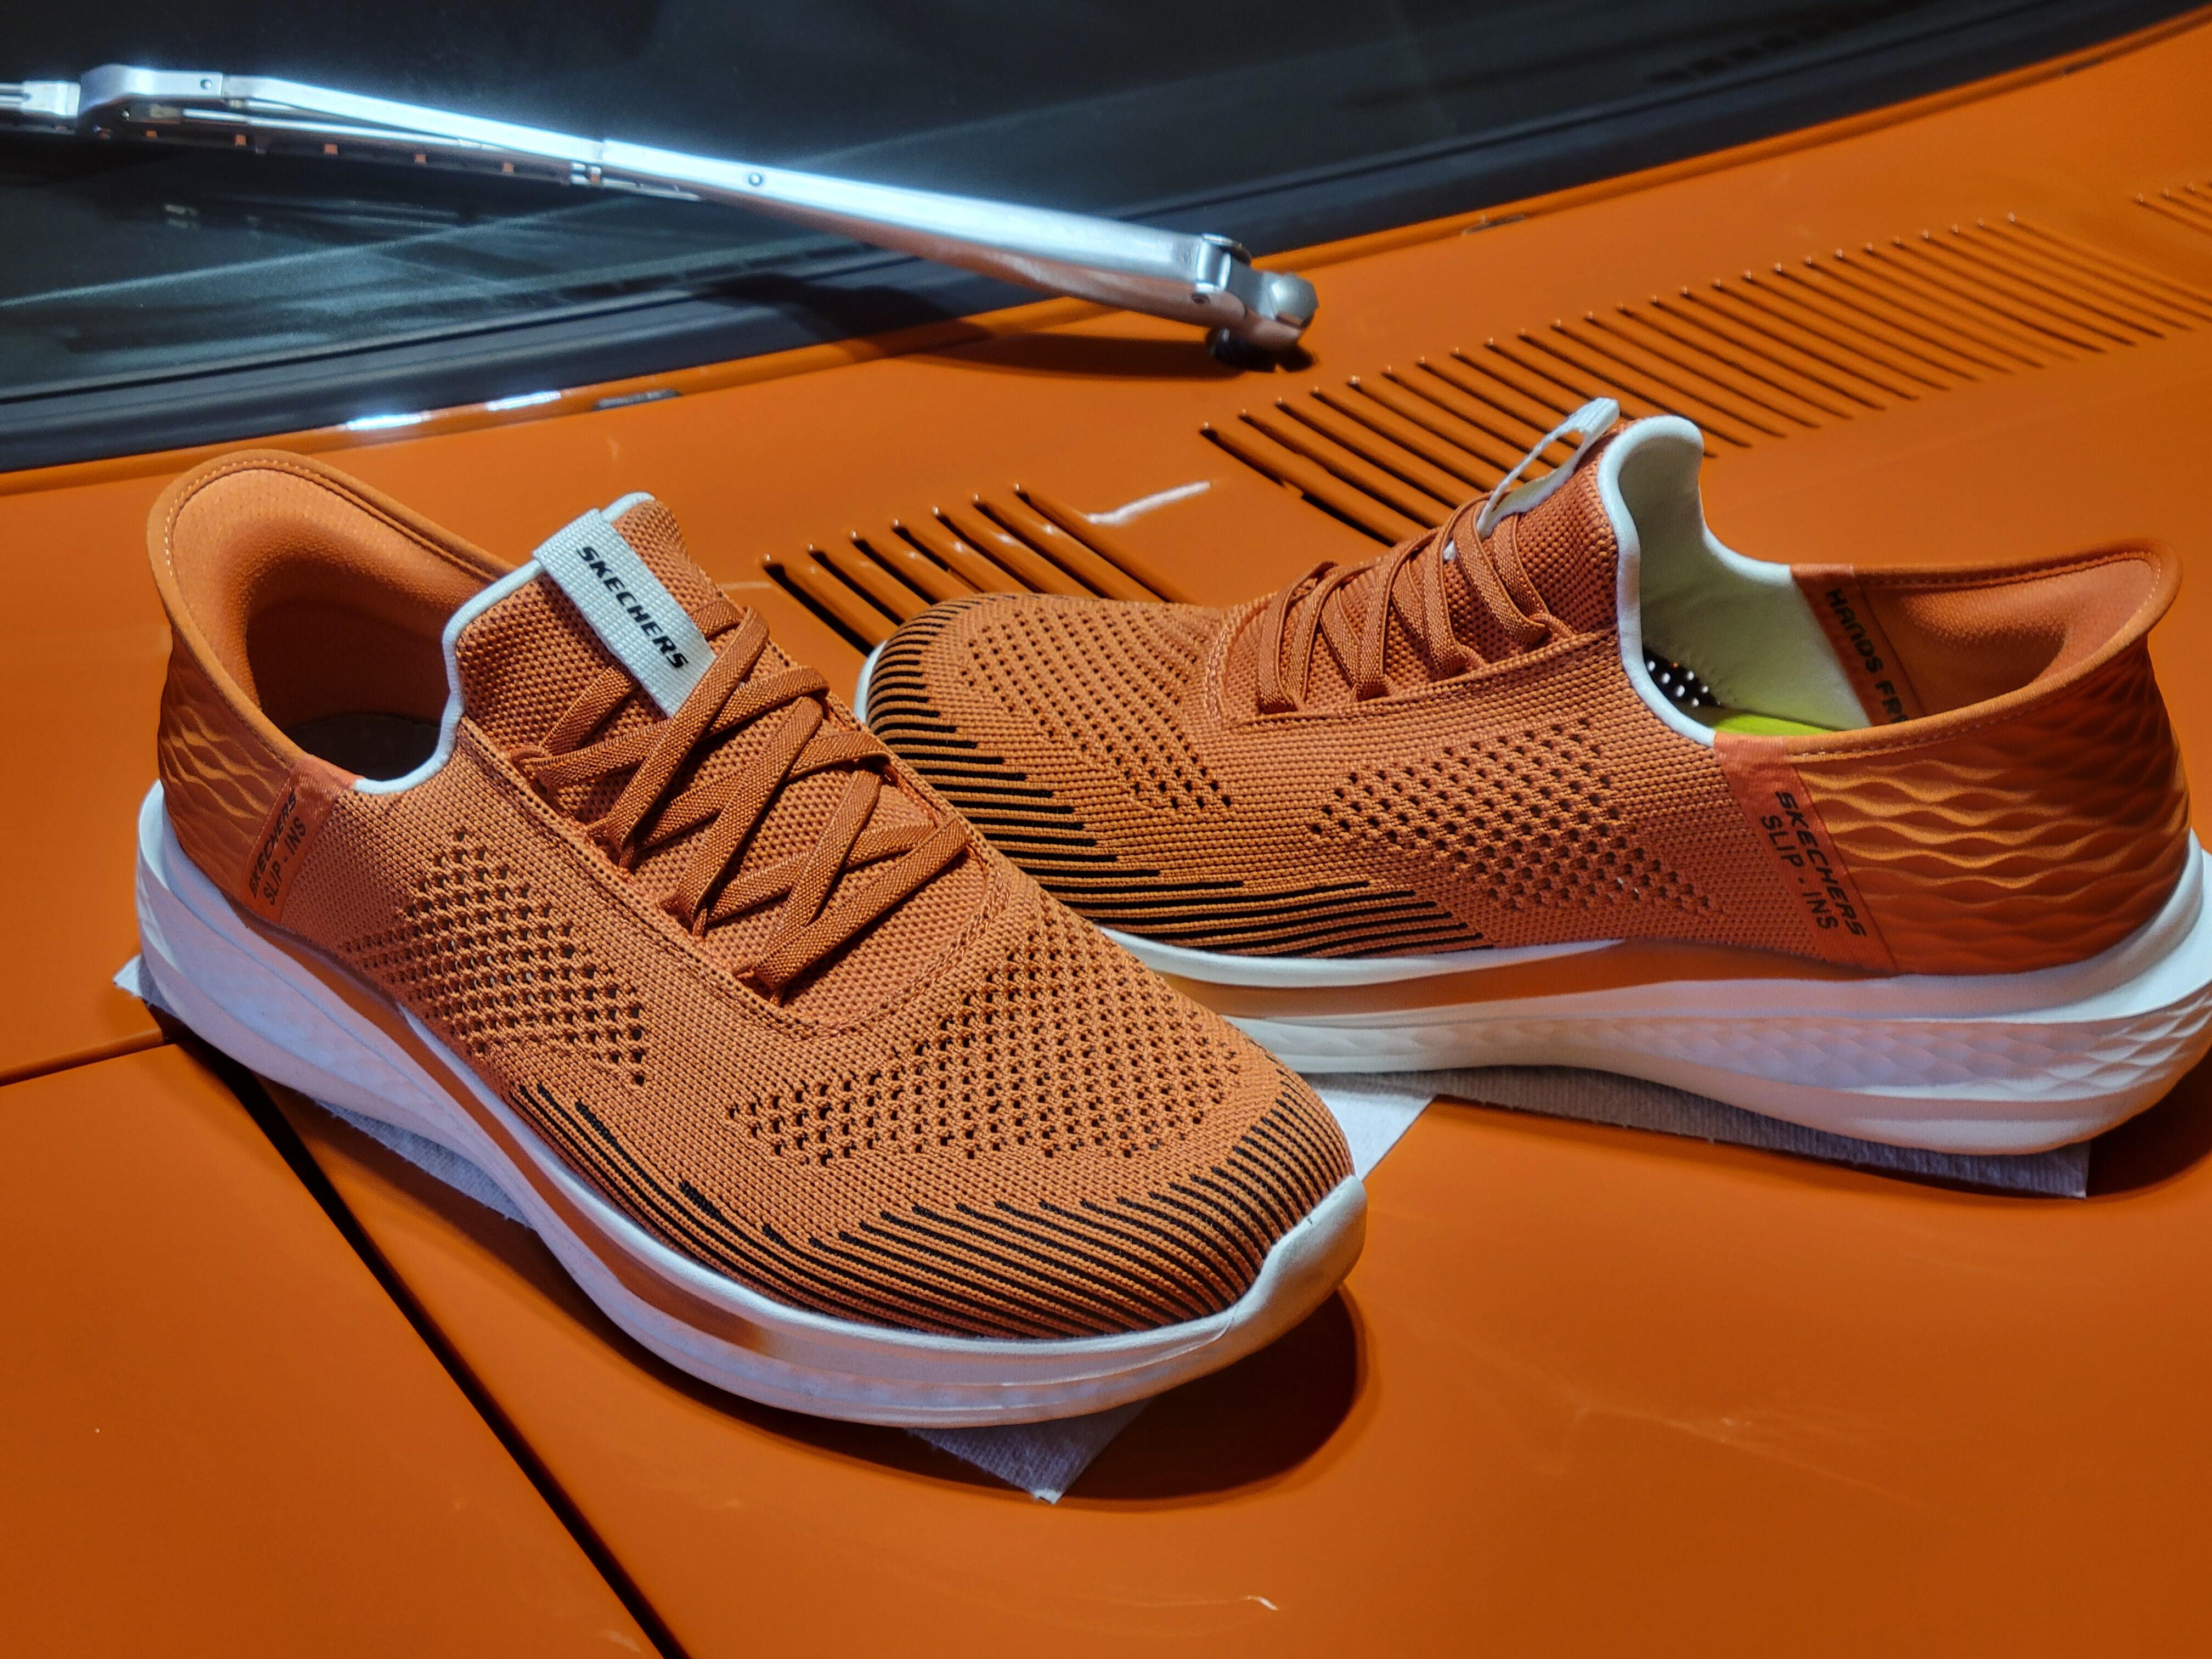
I found these Skechers in Las Vegas on the weekend. The color looked very familiar so I just felt the need to buy them. What do you think of my new 918(ish) driving shoes. 🙂
 1 point
 -
1 pointThanks for the responses. The u bolt simply is tightened to the rack so that the little rubber bumper, the piece that is bad on my project, hits up against the crossmember. There is actually a clean spot on my crossmember where that rubber bumper touched. The rest of the crossmember has it's fair share of grease and road grime. I am still waiting on a reply from 240ZRUBBERPARTS on obtaining one of their u bolt saddles with the attached rubber. Hope you all have a good day, John, Lugoff, SC.1 point
-
This worked great for me. Both with loosening, and then re-tightening with engine out of the car: I'm not sure if all the flywheels had these holes along the outside edge, but I used a tight fitting punch (8mm or 5/16) in the hole and then blocked rotation with a bolt threaded into the block: This may be old hat to you engine guys, but it worked great.

 1 point
 -
1 pointWhen i see how the reactions are on S30.world parts you'll be happy i'm sure.1 point
-
No problem at all. I have rebuilt several sets of horns with this plating. No issues.1 point
-
1 pointIn a few months when I remove my aftermarket seals and install my new S30.World set, I will post the results and include videos showing the closing effort for before and after. Fingers crossed that there will be a big improvement.1 point