Leaderboard
-
conedodger
Free Member7Points12,513Posts -
inline6
 Subscriber
 5Points1,282Posts
 -

dutchzcarguy
Free Member2Points2,676Posts -

Zed Head
Free Member1Points19,235Posts


Popular Content
Showing content with the highest reputation on 08/07/2024 in Posts
-
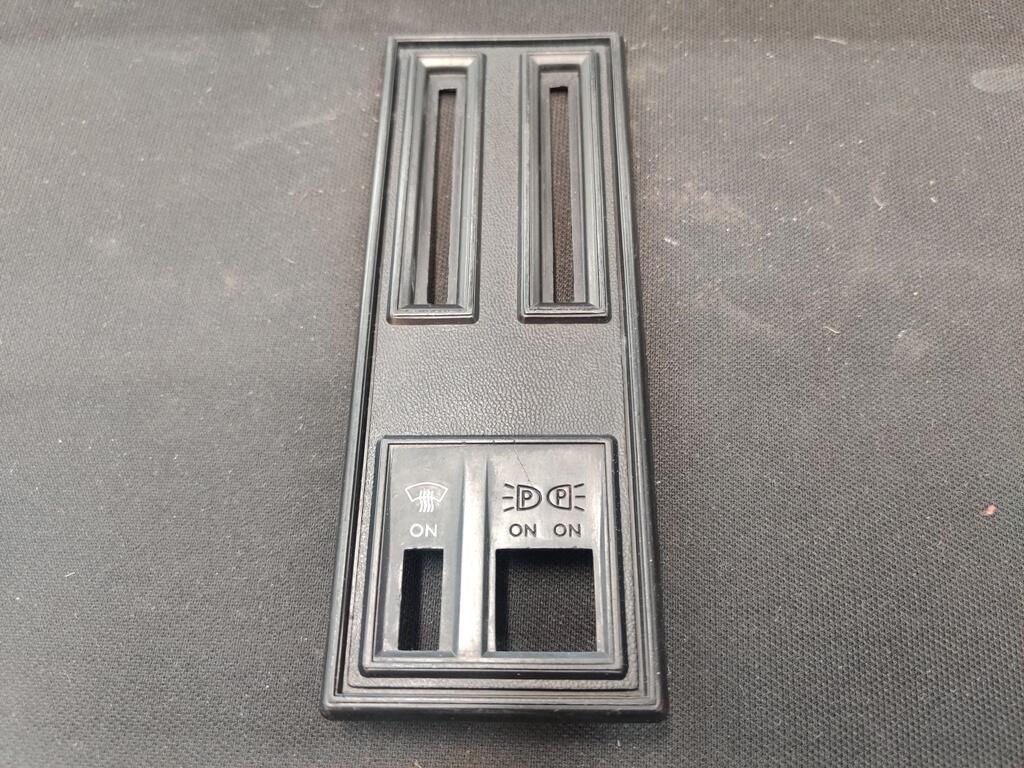
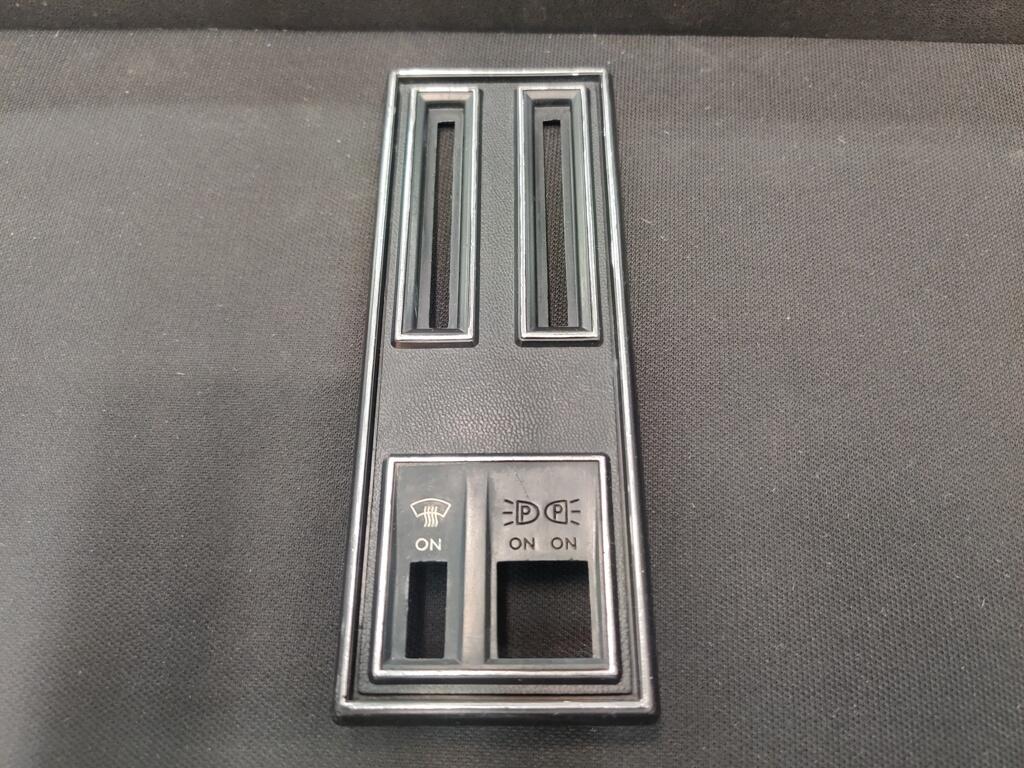
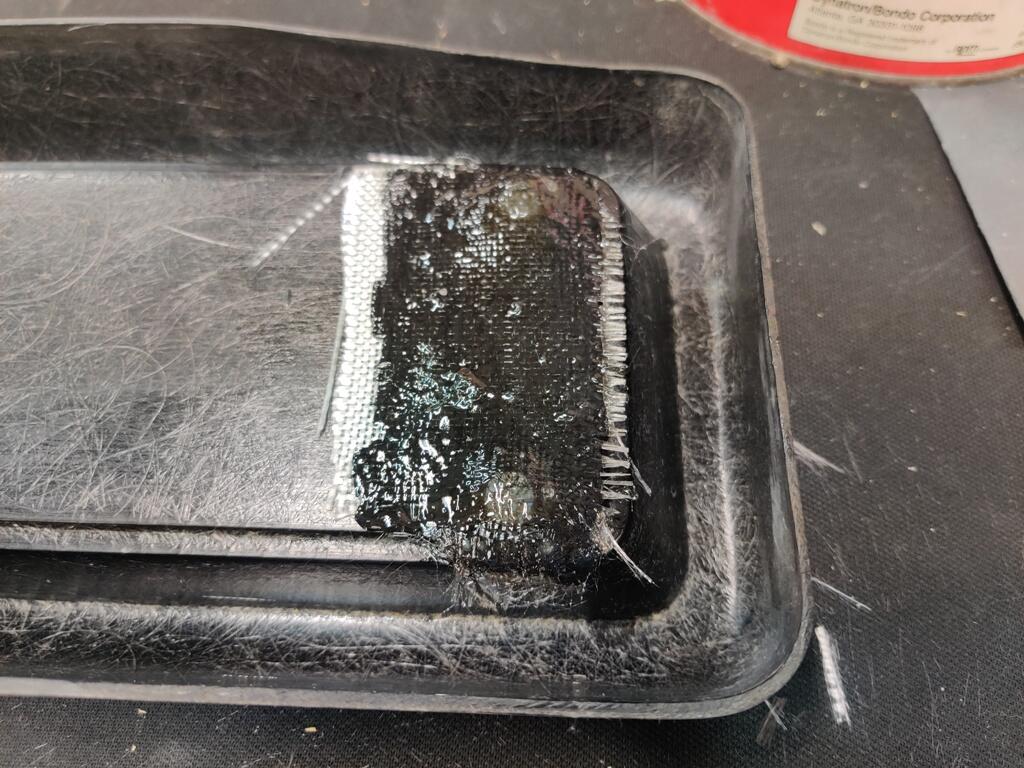
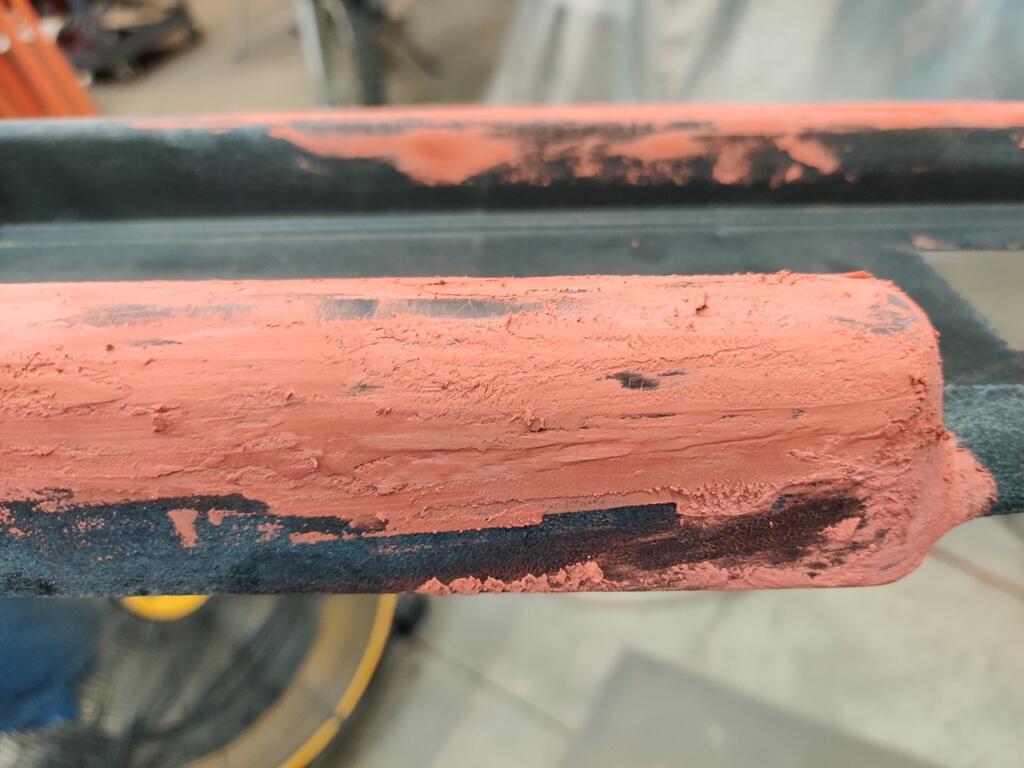
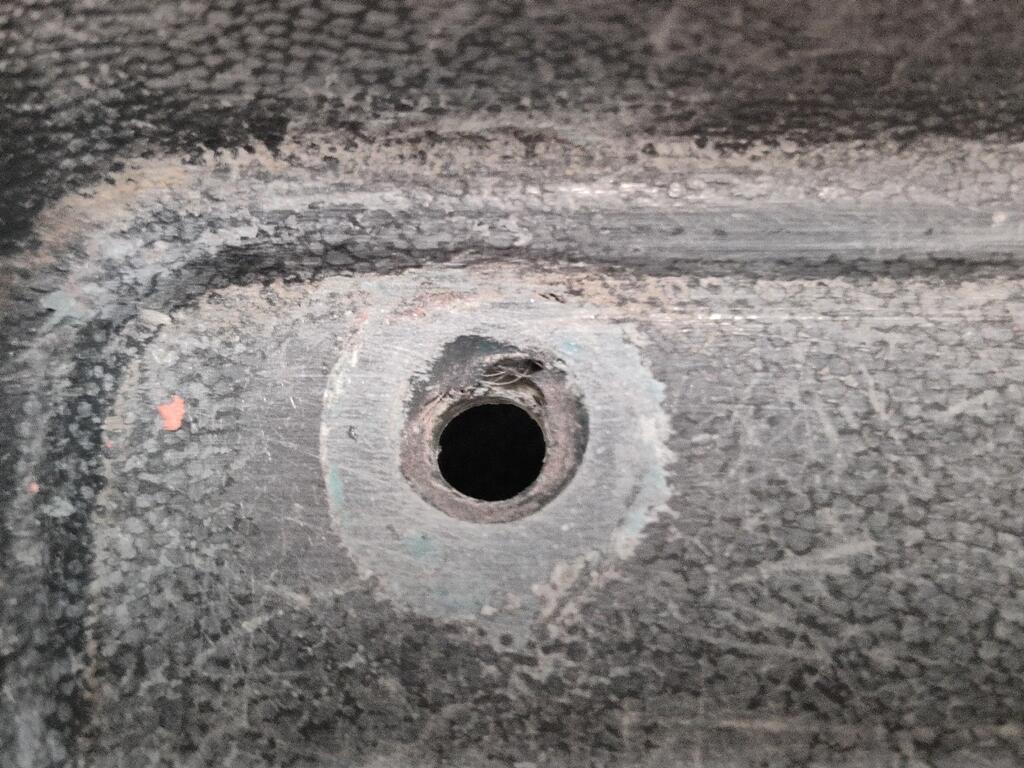
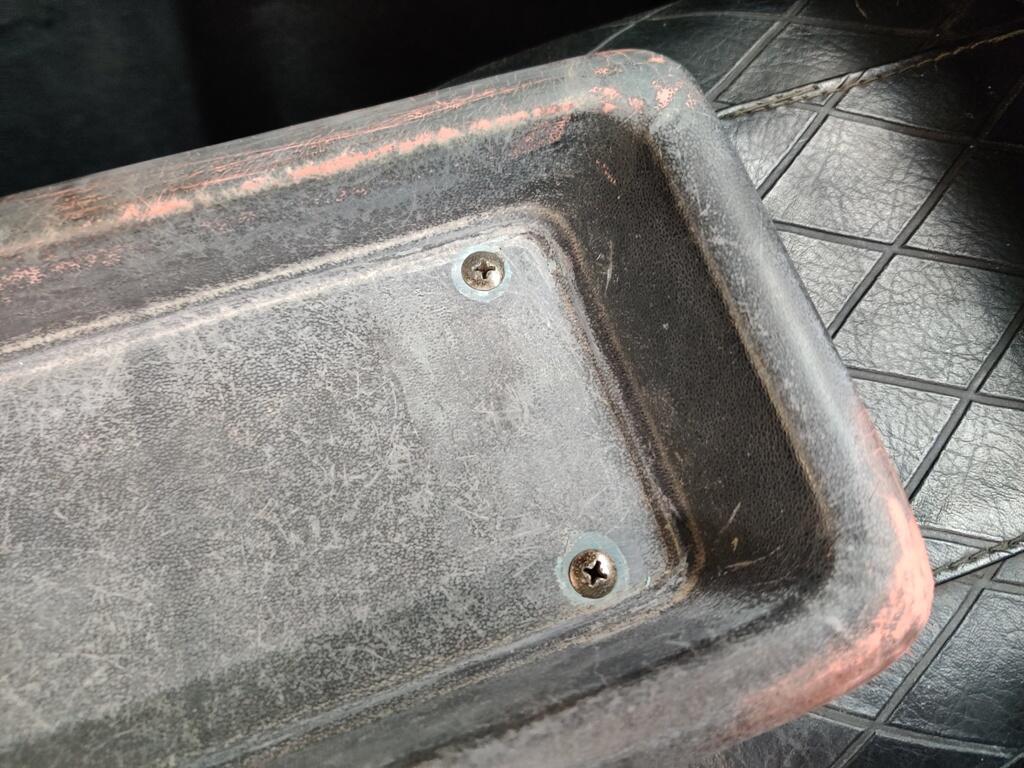
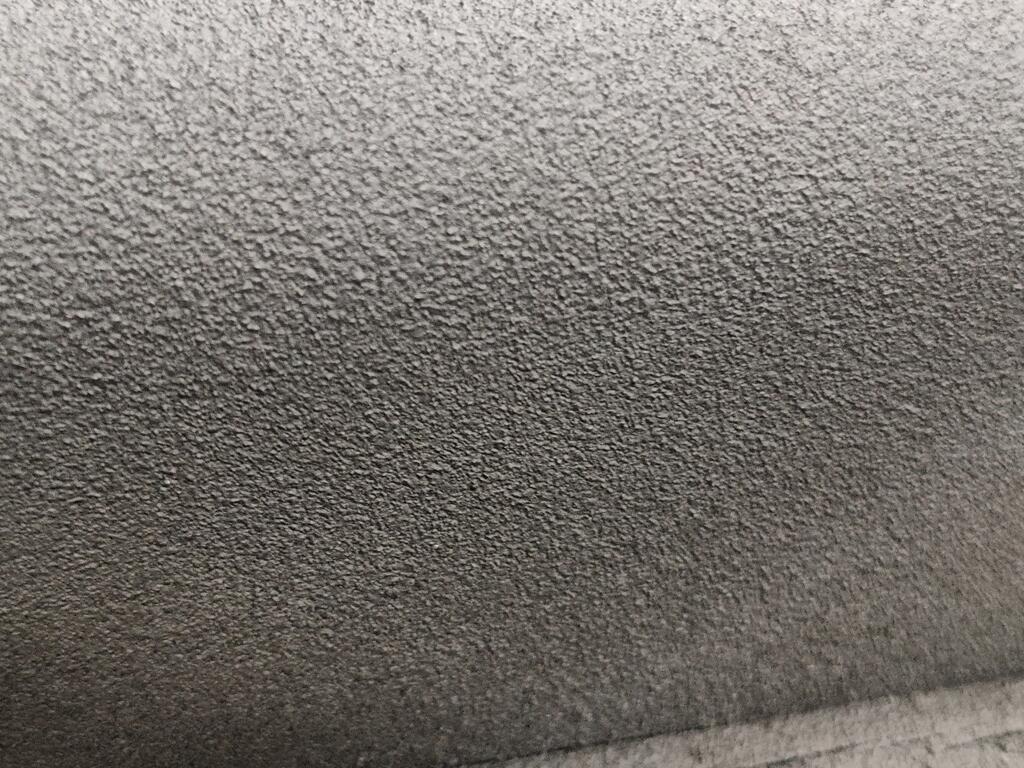
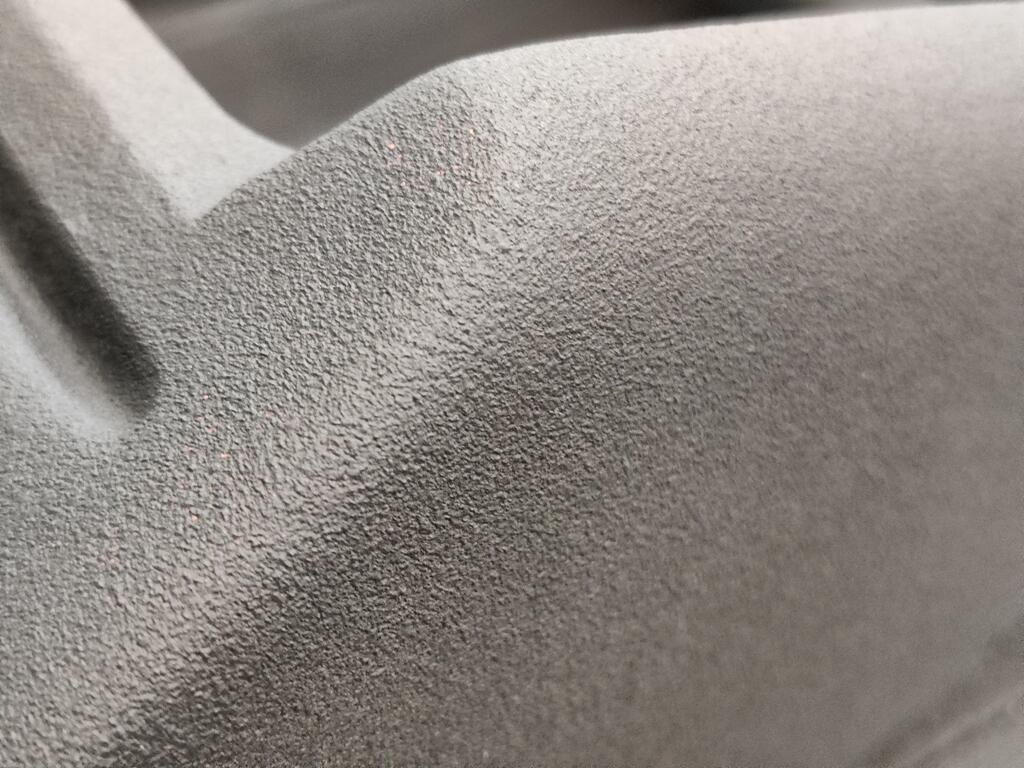
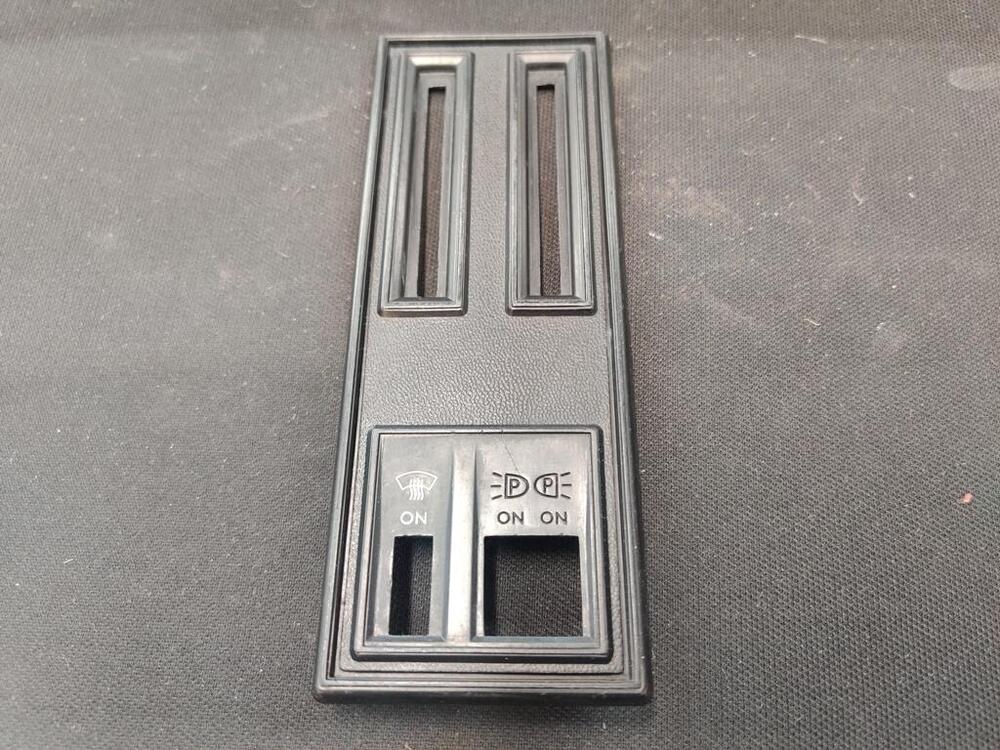
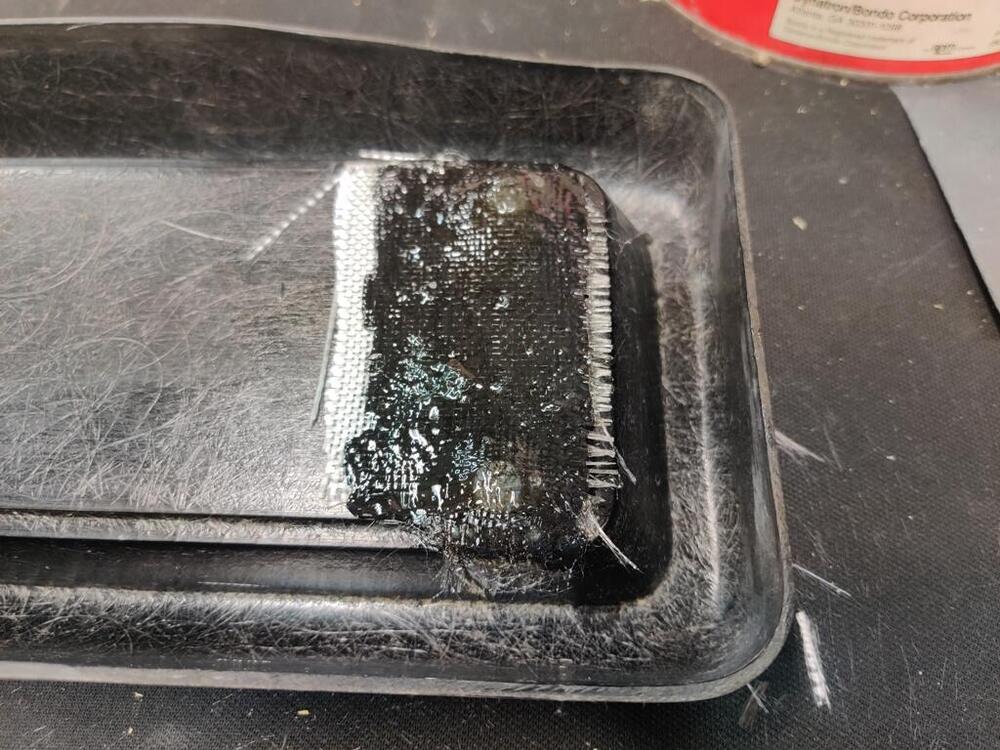
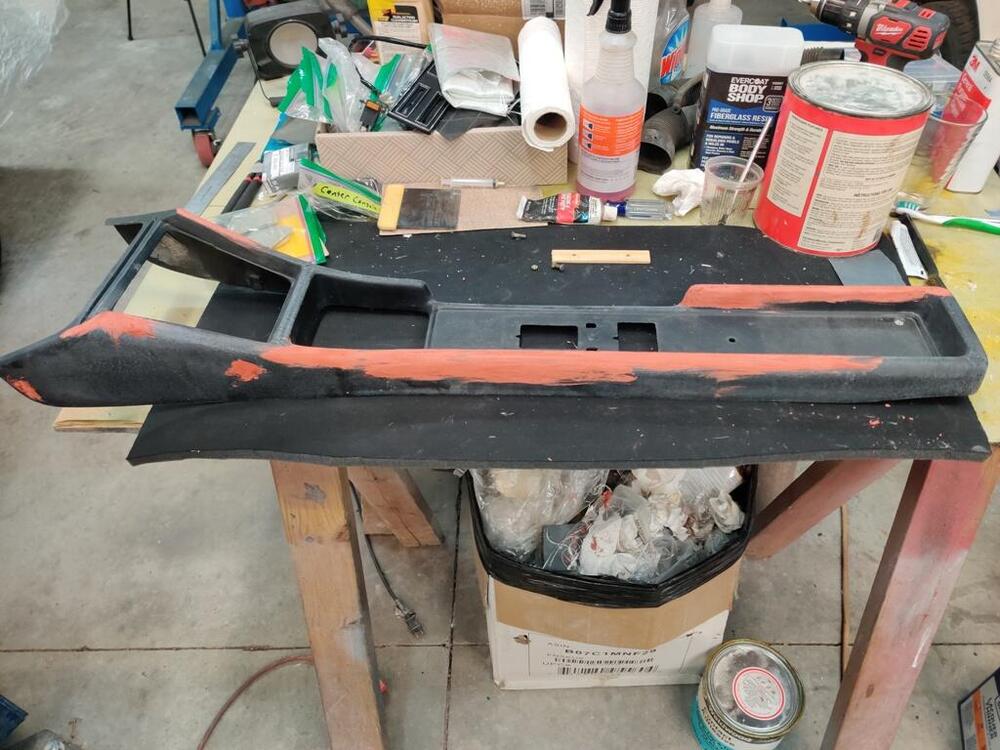
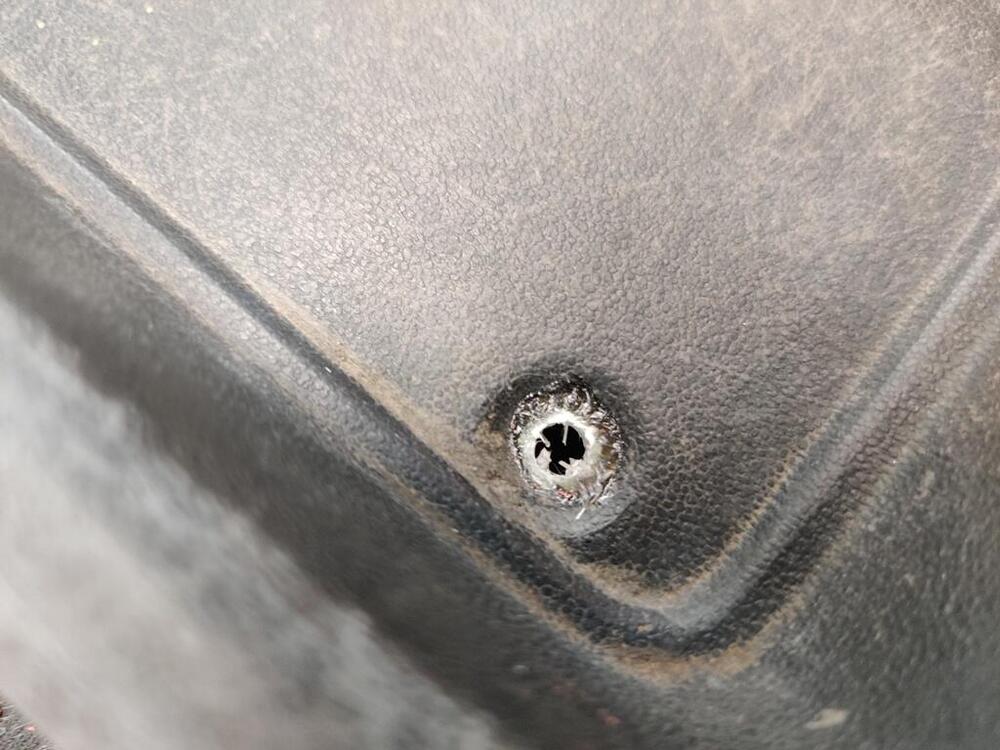
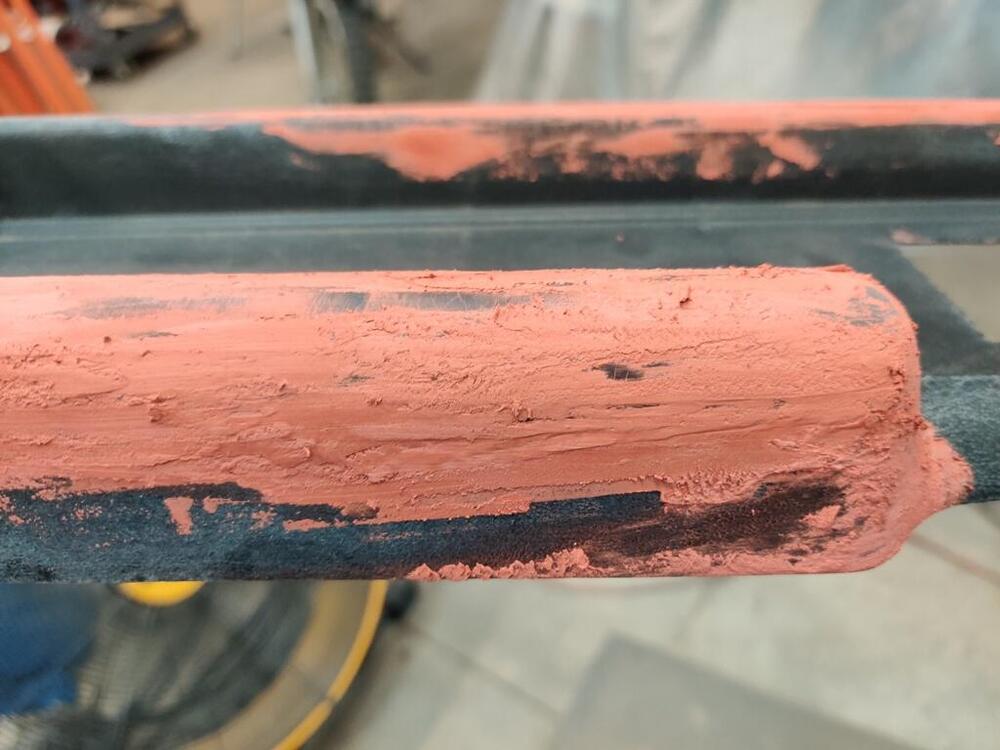
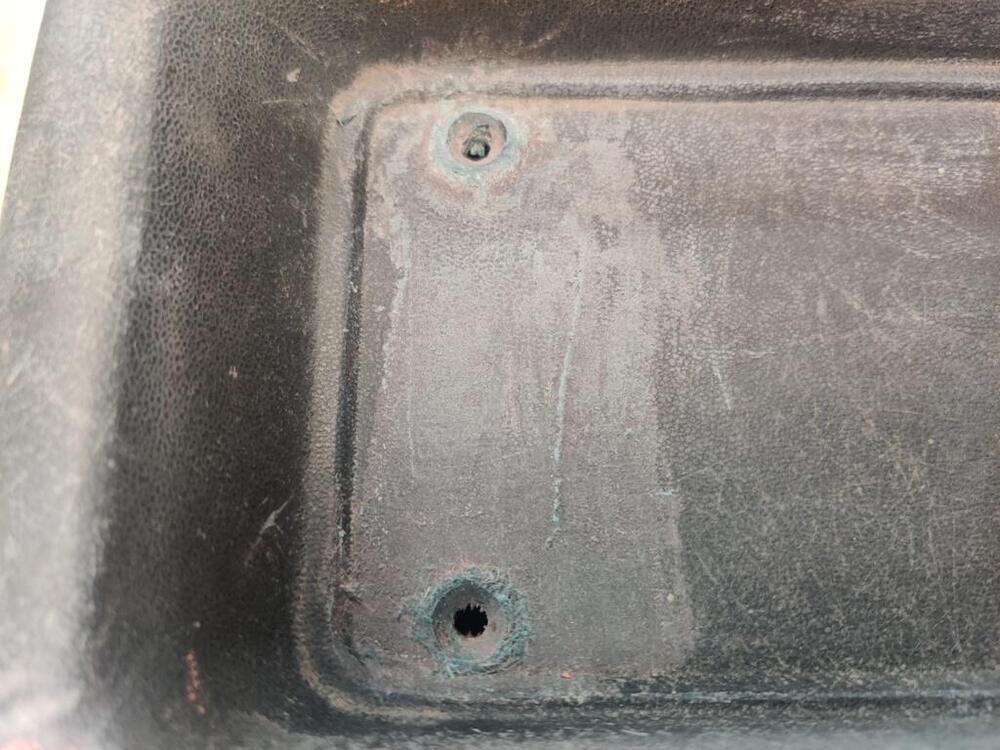
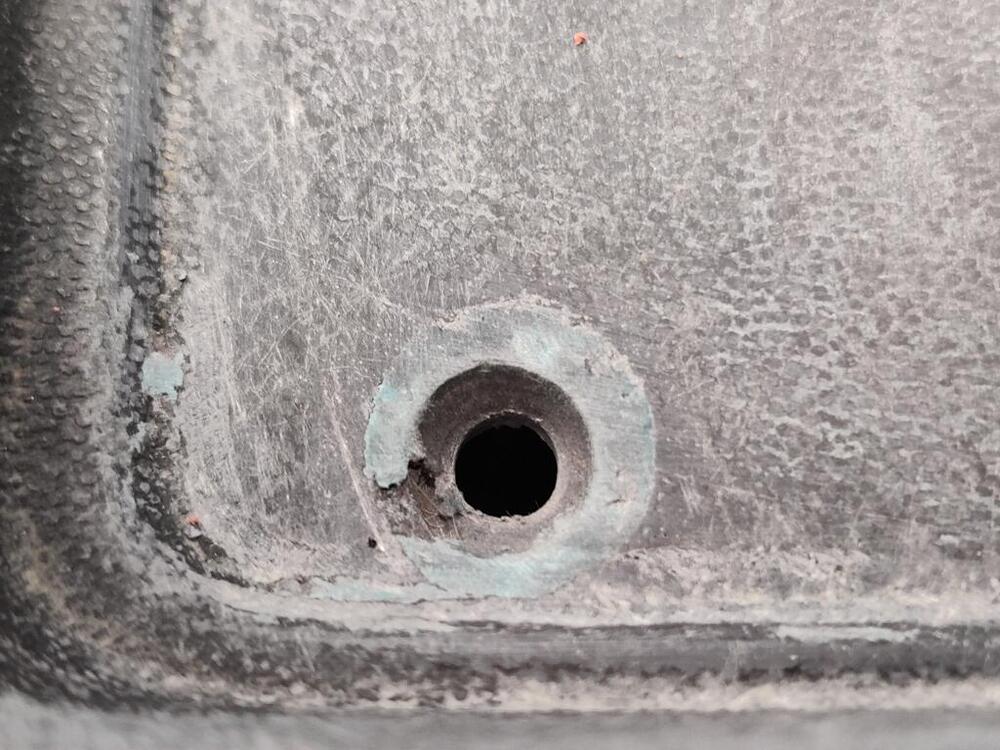
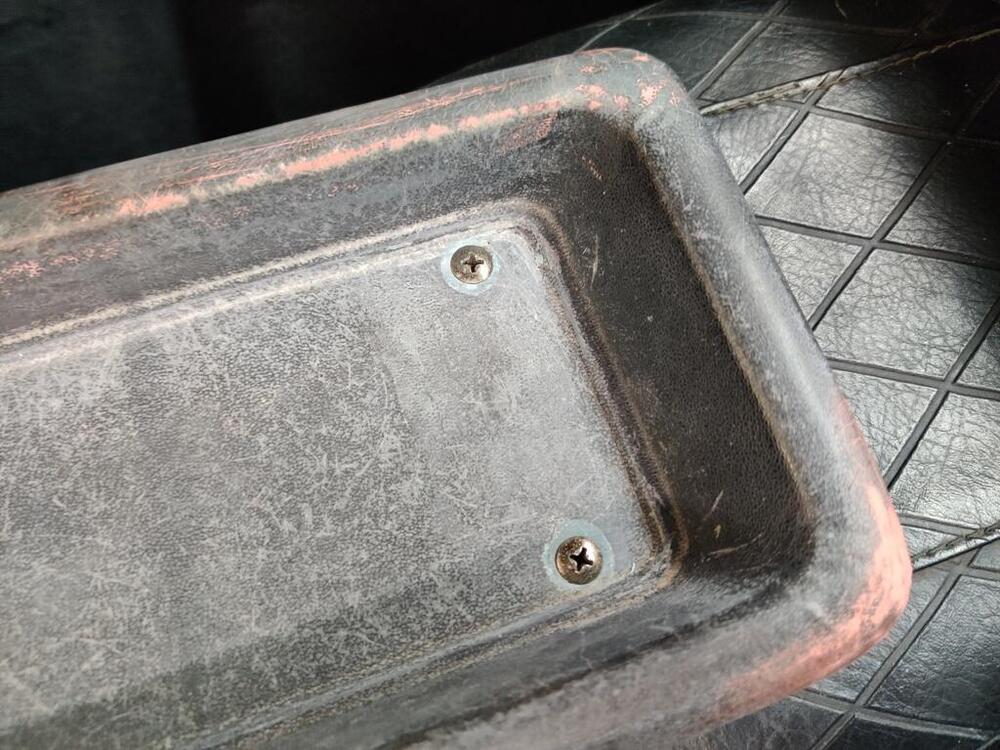
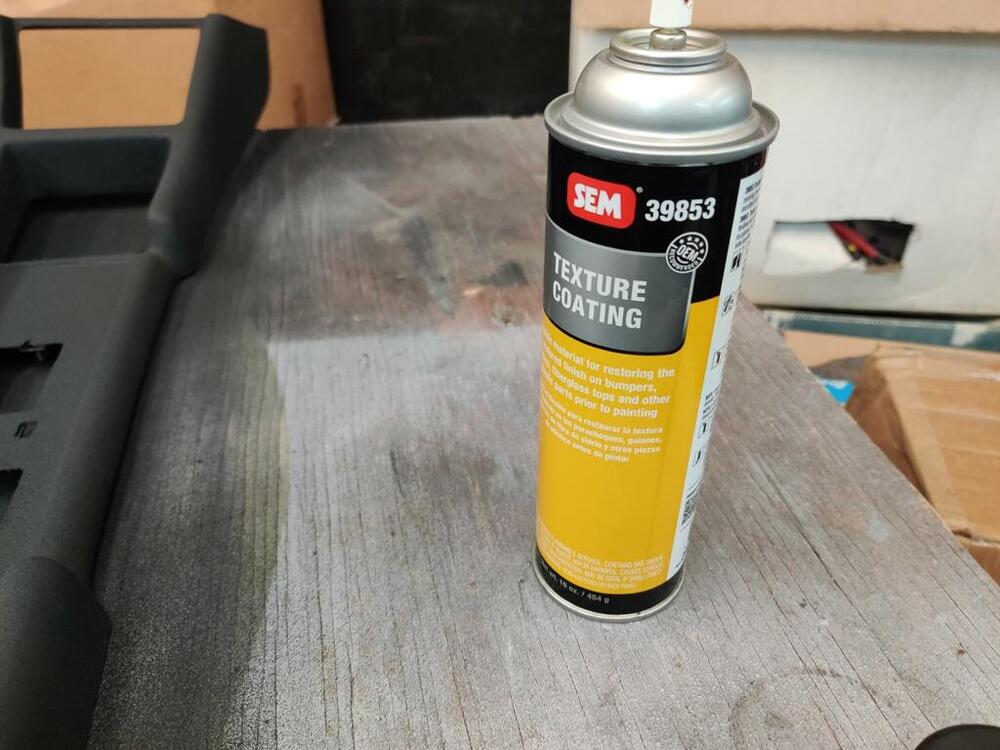
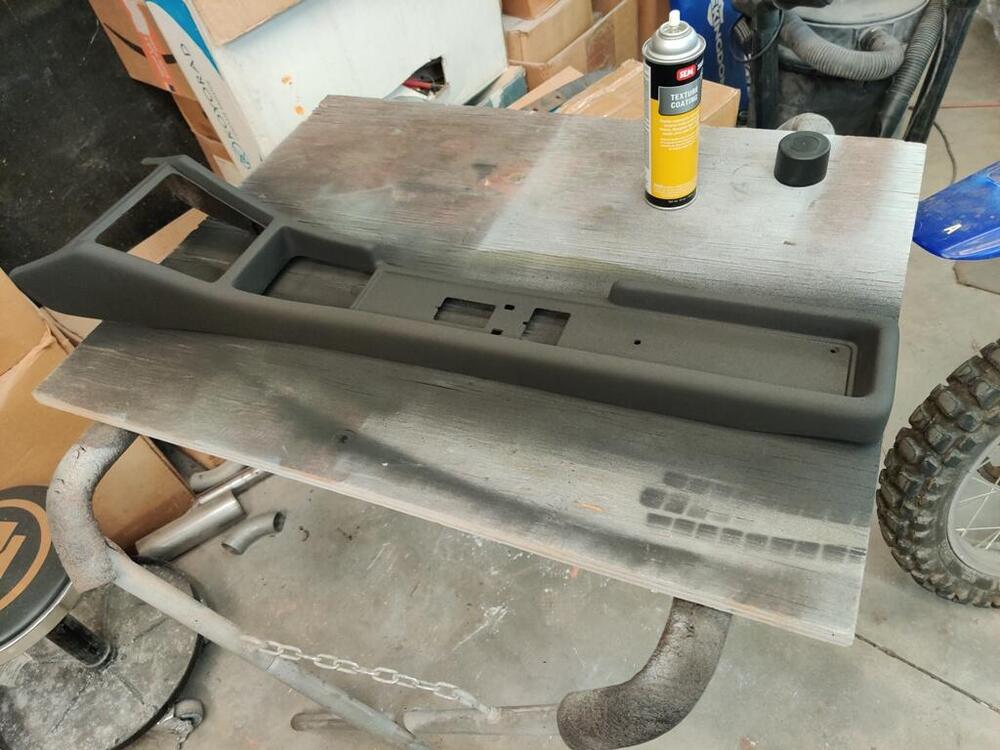
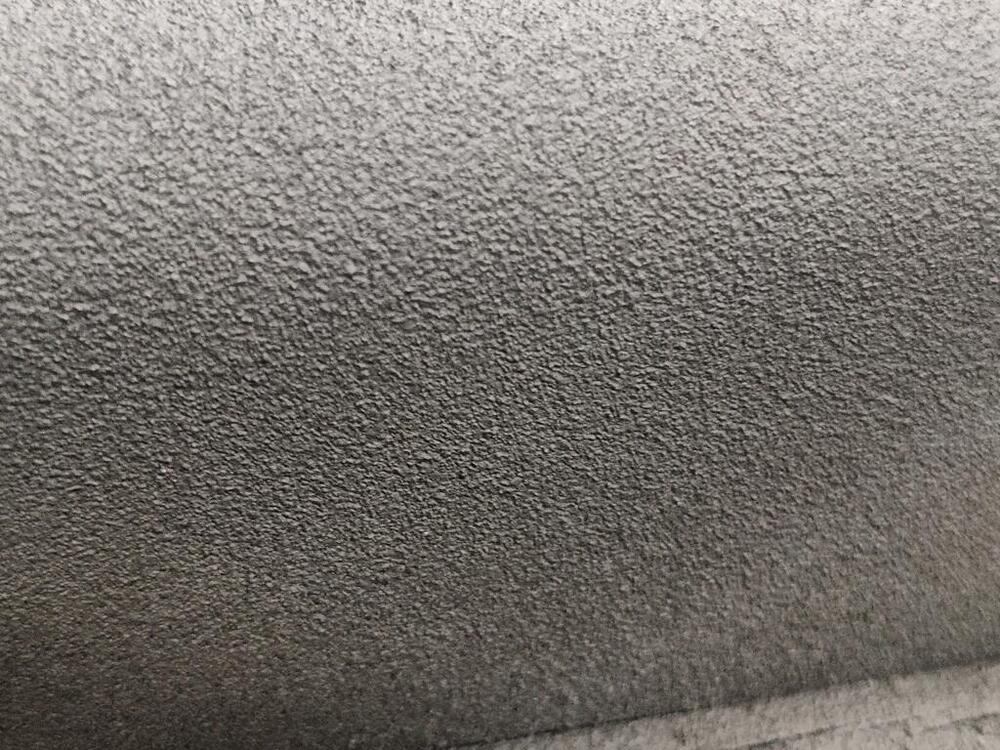
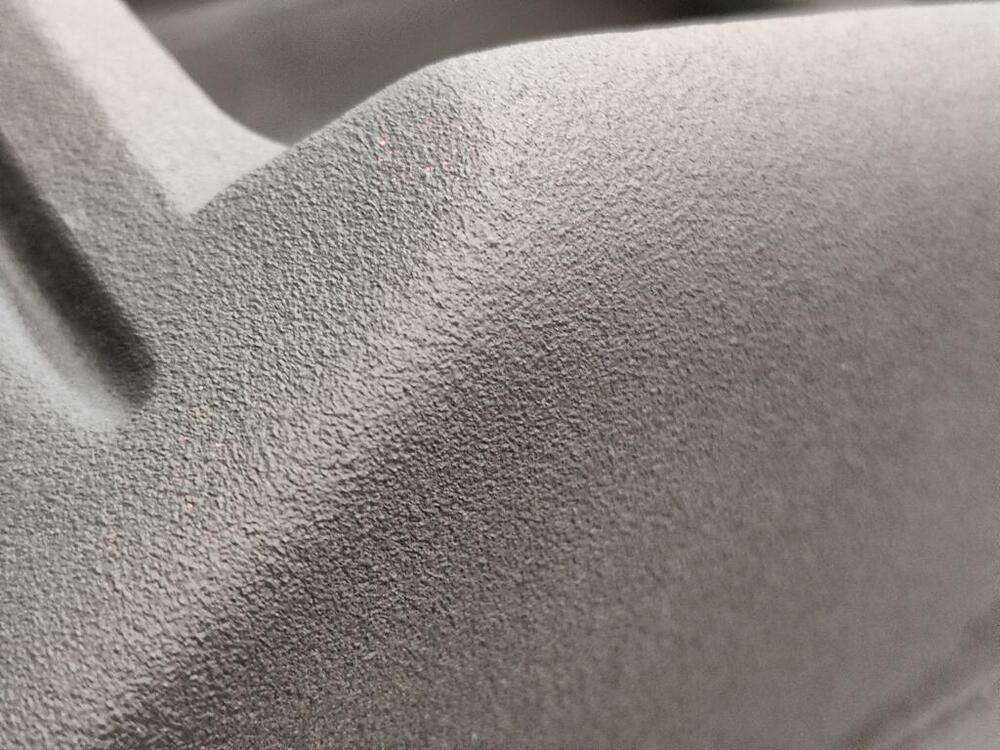
I continue to attempt to make progress. I was able to get in touch with the place that I had in mind to re-chrome the gas door knob and the ash tray parts. For the gas door knob (two parts) and two sets of ash tray parts (grill, plate and cigarette lighter trim ring - 3 parts X 2), they quoted between $200 and $300. I have been working on restoring the center console this week. The plastic trim plate had a crack in it. I was able to swap the one from my track car. I cleaned it up and used a "chrome" paint pen to return it to how it looked originally. The two rear-most mounting holes in the console were oversize, allowing the screws to slip through those openings. Thus the screws were not securing the console to the car. The console is fiberglass. So, I ground away as small amount of material on the underside. Then I mixed up some resin and hardener and put some fiberglass mat pieces in place to rebuild the part around the holes that had broken away. As the resin was hardening, I drilled new holes. Drilling is easier when the hardener is not fully hard and I feel I can control the location of the hole better. After the hole had been drilled in the fiberglass mat, I mixed up a small amount of fiberglass/polyester filler and applied that to the topside surface. While it was still unhardened, I installed the screws. They have a tapered head. I let them sit until the hardener kicked off, but removed them before the fiberglass filler fully cured (third pic here). In these pics, you can see the ring of filler around the holes after sanding the small amount of fiberglass filler applied on the top side. I used a counter sink bit in a drill to open these up a bit further, however, the factory recesses around the bolts were a bit larger than what I ended up with. The console had many cracks in the surface. To address those, I sanded with 80 grit first, then switched to 240 grit. Instead of using polyester filler, I used glazing spot putty. Sanding this is much easier. The benefit is that when sanding, it is easier to keep from sanding the original part. With polyester filler being much harder, as you try to sand it flat, you end up sanding the core part a lot more, ending up with more surface unevenness. After sanding and prepping the surface, I sprayed SEM texture coating 39853 on the surface of the console. Varying spray distance, you can end up with different textures. After this dries, I plan to use 800 grit sanding pads to "flatten" the texture I have here: Hopefully that will look reasonably close to the original factory finish. The final step will be to paint the console with a semi-flat black paint.


 5 points
 -
Just remember.. always take some pictures BEFORE taking it/something apart and yes.. everybody thinks i remember how it was... most don't haha.. so take pics from every angle. Better to many pics then to few! As to answer your question: Opening the screw on the inner cable should be enough to feel if the choke bottoms out.2 points
-
If I was a Facebook person I would just ask directly on the group thread if any of the members are scammers. If your question gets removed that's a clue. Or send them over here to this thread. If the point of the group is to sell parts they should welcome an invitation. Anybody selling parts on the internet knows that scams are a concern. They shouldn't be offended. Successful scammers often make some good small sales to set people up for the big money-makers. Build the reputation then use it.1 point
-
1 pointOrdered from them multiple times. First they take the order then verify the availability and then collect your money. PayPal is the way to go as far as payment IMO. Fast delivery time from Japan.1 point
-
1 point@siteunseen good call on the FPR! When I took it off, the return line was completely dry so I knew right away something was amiss. Anyway, swapped it out and rigged my old one in place and it runs. Granted, doesn't idle on its own but I can hear there is a misfire so it's probably just an injector, plug, or wire. Ill diagnose that once I get coolant in the car and be able to have it run for more than a few seconds. Once I get the rpms over 2k it sounds good albeit a small blip here and there. The other bad thing is I just have the headers on it so it's loud as all hell. I might try to rig the old exhaust up for the time being so I can at least listen for leaks, etc while I fine tune it. I'll swap out the FPR with a proper set up once I get everything back together. But thank you so much for that small piece of input! So invaluable. I was ready to tear the head apart again to check that my timing and valve lash was on point! And thanks to everyone else for providing all the input to get me where i am, I appreciate it a lot!
 1 point
 -
1 pointMy apologies for hijacking a post but, Zed Head I finally bought a new laptop! Worlds of difference. Yarb said I was only 10 years behind.1 point