Leaderboard


Popular Content
Showing content with the highest reputation on 11/01/2015 in Posts
-
Hello everyone, making great progress on the Z. Two weekends ago we got the car running. We used starter fluid to start her up and then light throttle to keep her on. The week after I buttoned up most of the fuel lines and a quick spray of the starter fluid we got the engine running again and maintained with throttle. We tried to start it again yesterday and it started up without starter fluid. Yesterday I tried again, no luck, tried starter fluid but stays on then dies even with throttle application. We are getting fuel at the carbs, I am assuming there is a blockage from the float bowl to the dampers. Also I know for sure the timing is off but I wanted to set the timing with the engine running. Any advice would be greatly appreciated. Thanks!1 point
-
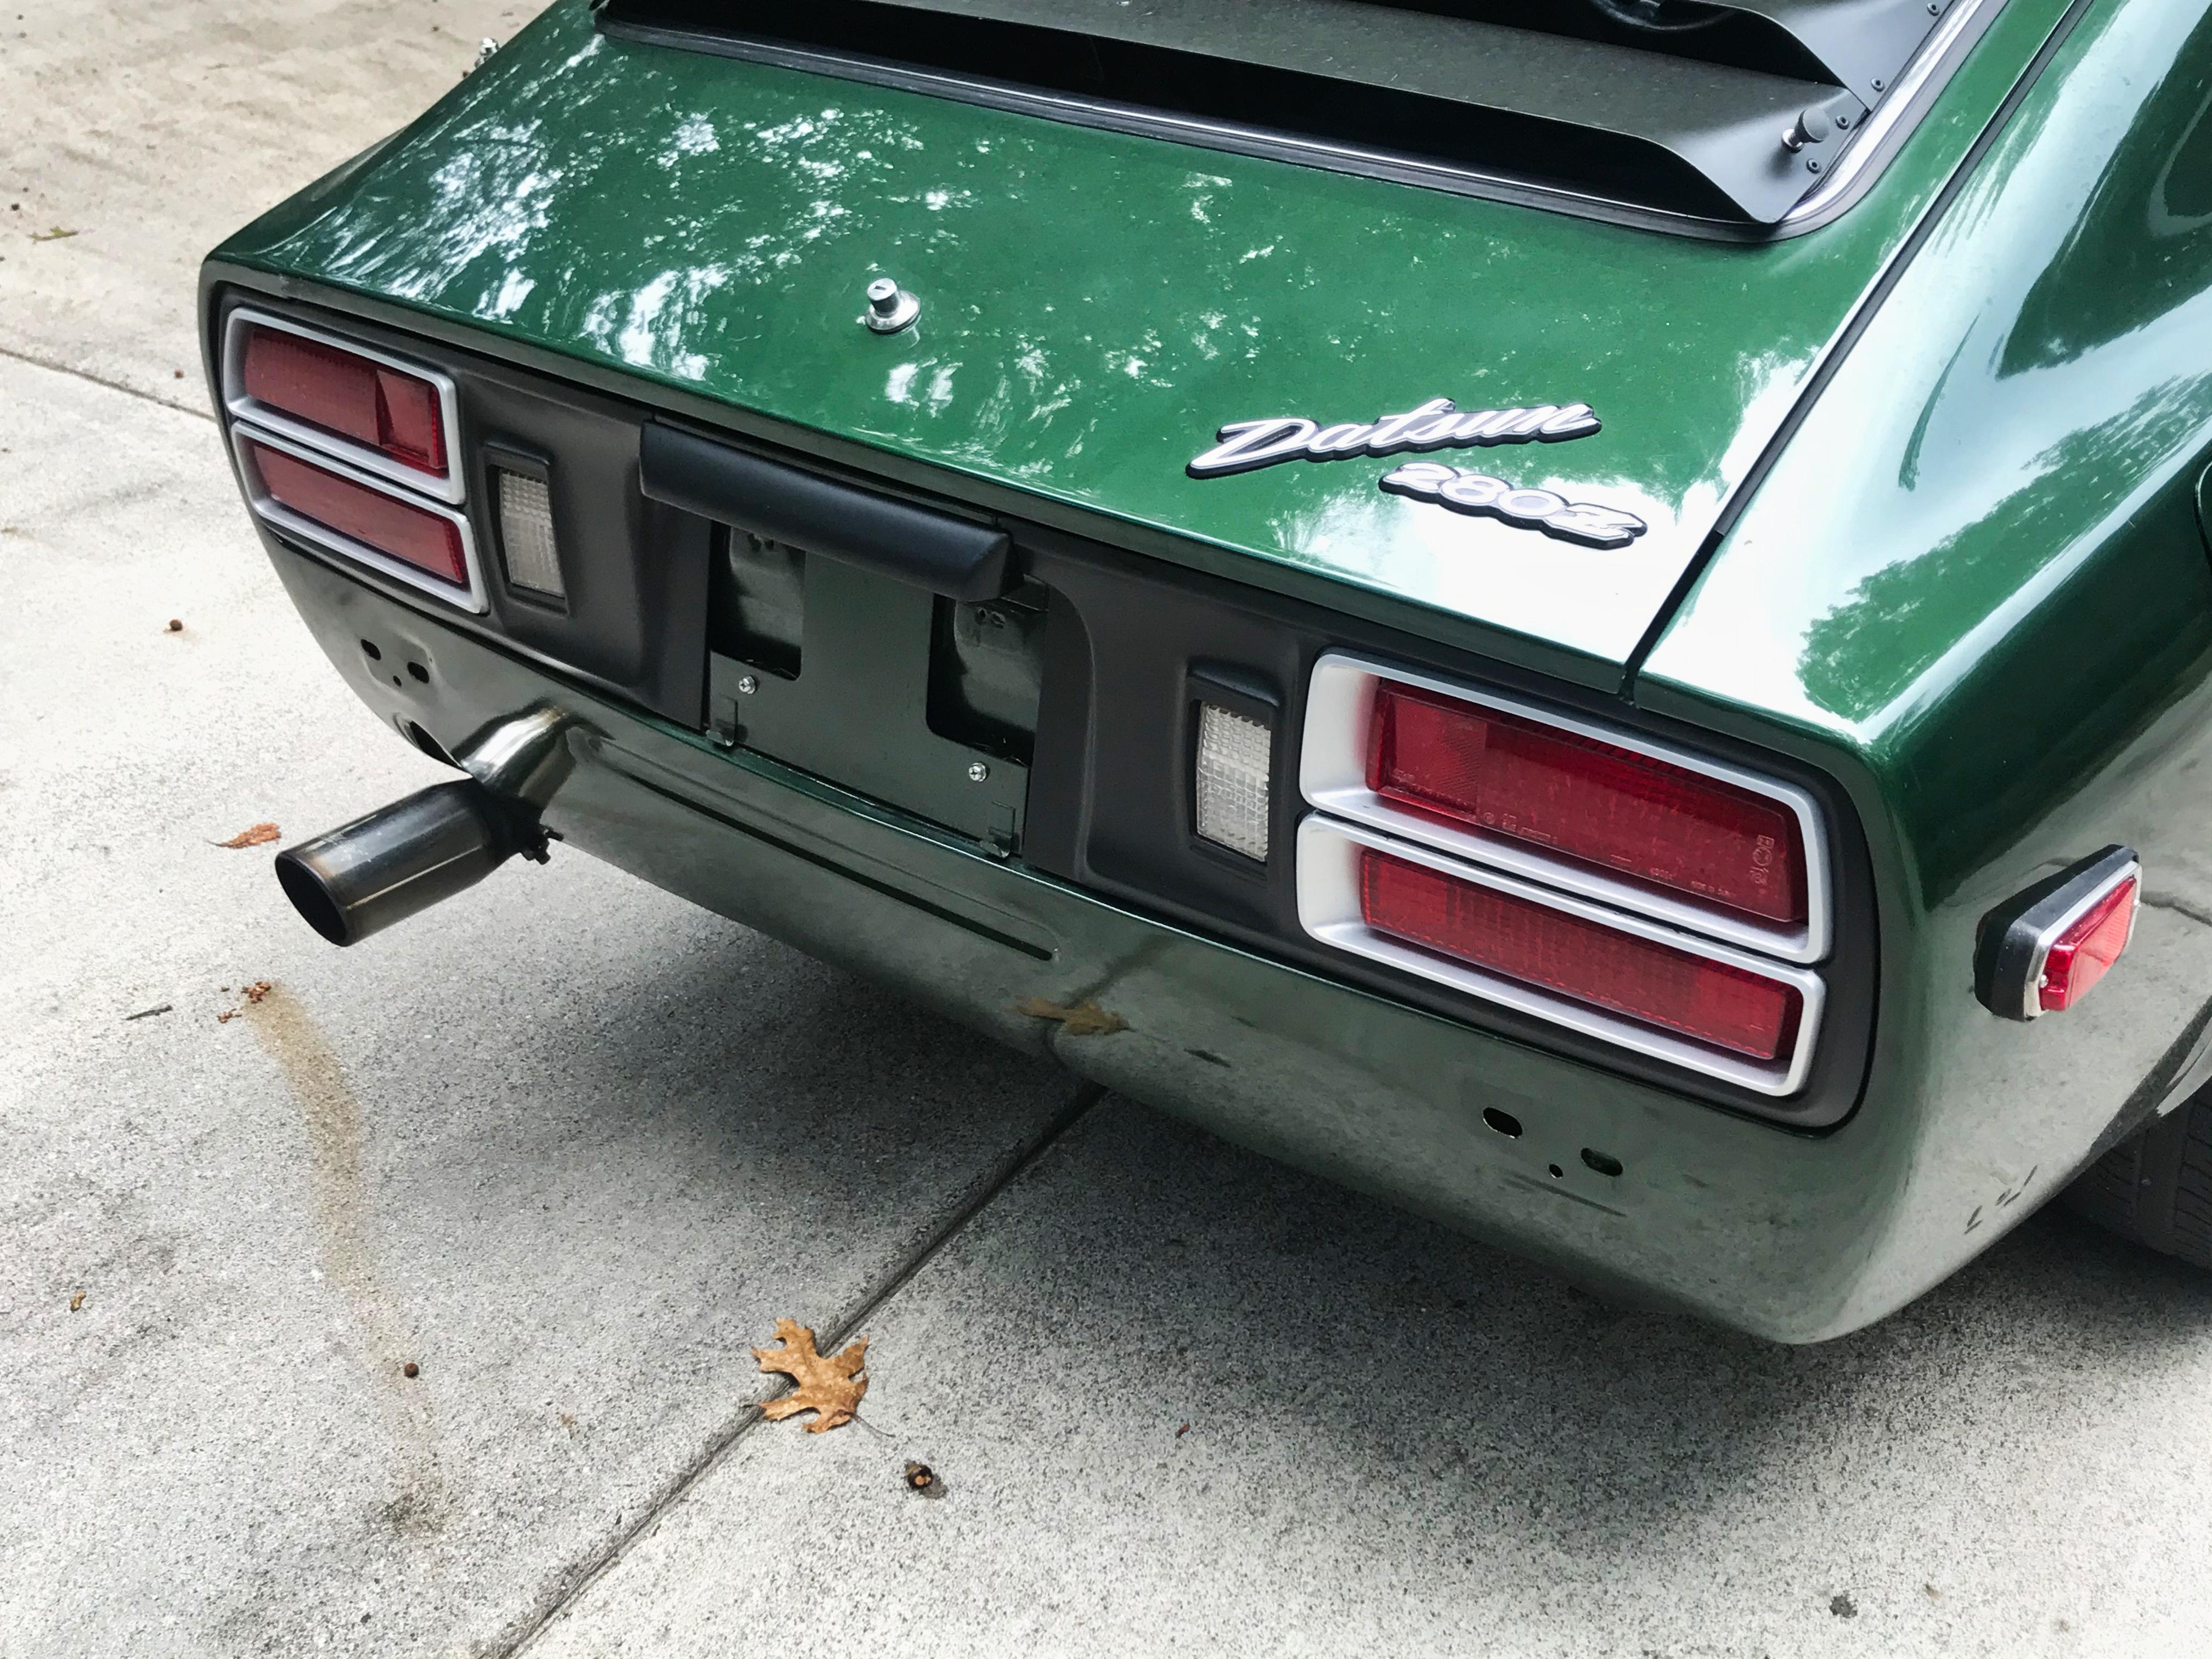
1 pointAfter 2 yrs of ownership, I finally got around to shooting my 77 280z. I spent about 10ys on & off looking for an unmolested, mostly stock example. I was lucky enough to find this one on Craigslist in Buffalo of all places. When I received it, it ran poorly, and handled worse. But it was mostly original. I've since replaced anything rubber, and all electrical connectors in the engine compartment. Along with new injectors, fuel pump fuel lines etc. Using genuine Nissan when possible. Suspension has been dealt with in a similar manner, OEM when possible, the only modifications were a set of Eibach springs, the Koenig Rewinds and cross drilled rotors and a set of performance pads. It sat all last winter in storage from Thanksgiving to Easter, started first try and been running great all season. A photographer from my local C&C took some really excellent photo's this weekend and we'll be writing up a story for Petrolicious and submitting it over the winter. If accepted, I'll add the link to this thread. In the meantime, here are a few photo's that I shot, enjoy!


 1 point
 -
After a couple hours on google search, I'm guessing there's no such thing as official measurements for the stations on the stock needles (N-27's, etc.). British SU's sure, but not Hitachi's. Maybe it's a secret. The same question was asked here in 2008 and no good answer. So has anyone (with a good eye, steady hand, and a good micrometer) measured and charted the stock needles? I've got some stock N-27's, modded N-27's, and some well-worn N-58's (I think), and well as the current SM's (data on those since they're British) and need to do some more polishing, but as I'm a novice at this, I would like to know where they started at, in case I want to buy or make some different ones. I spent (wasted) a couple more hours today measuring and tabulating (top to bottom, and bottom to top, as a check) stations on the stock and modified N-27's, but my ten dollar Harbor Freight digital micrometer and maybe my measuring technique wasn't up to it. Won't post the results in case someone think it's correct. Typically off by about 2/100th's of an inch, maybe more. Had to zero it after almost every measurement. Looks like the measurements need to be within about 1/100th to correlate with the printed specs (for British SU's) and document any modifications. According to the SU book, 5 seconds of finger pressure on the needle (in a drill press) with 200 grit takes off about .01", and the two needles should match within .01" at any station, so ... Other option is to wing it, grind away and not worry about mistakes.1 point
-
1 pointI can understand the Michelin, maybe, if you had a bad experience. But children? C'mon.
 1 point
 -
1 point<iframe width="420" height="315" src="https://www.youtube.com/embed/HqByFWI6AlQ" frameborder="0" allowfullscreen></iframe>1 point
-
1 pointI don't really see any signs of moisture either. Coolant in the cylinders tends to clean them up. The good - it doesn't look like a major engine problem. The bad - still unknown. Maybe Steve should have put those 240Z carbs on there...1 point
-
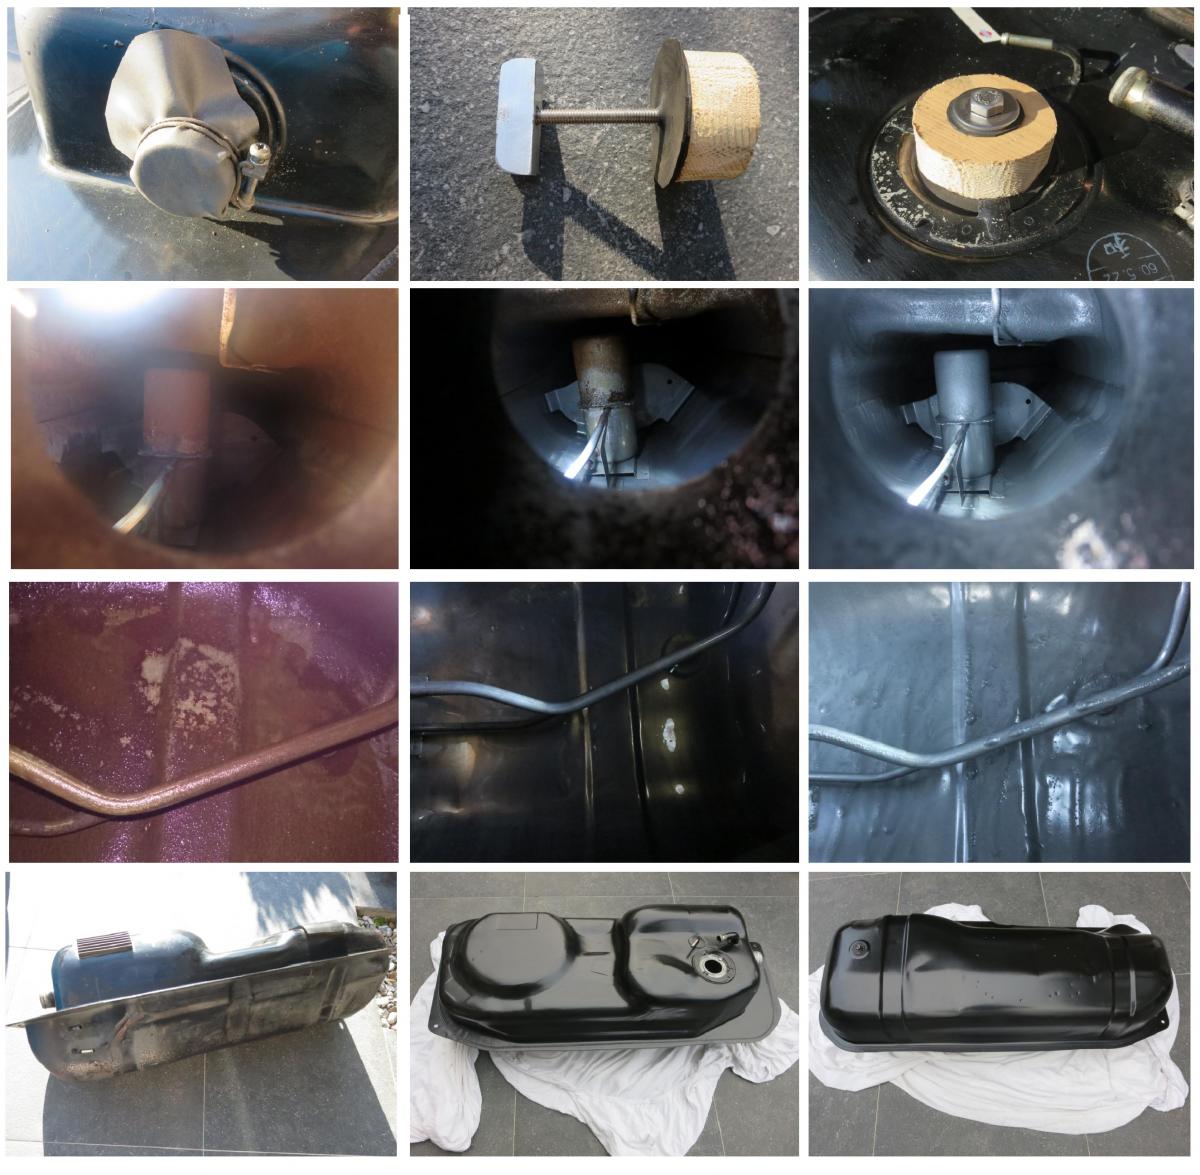
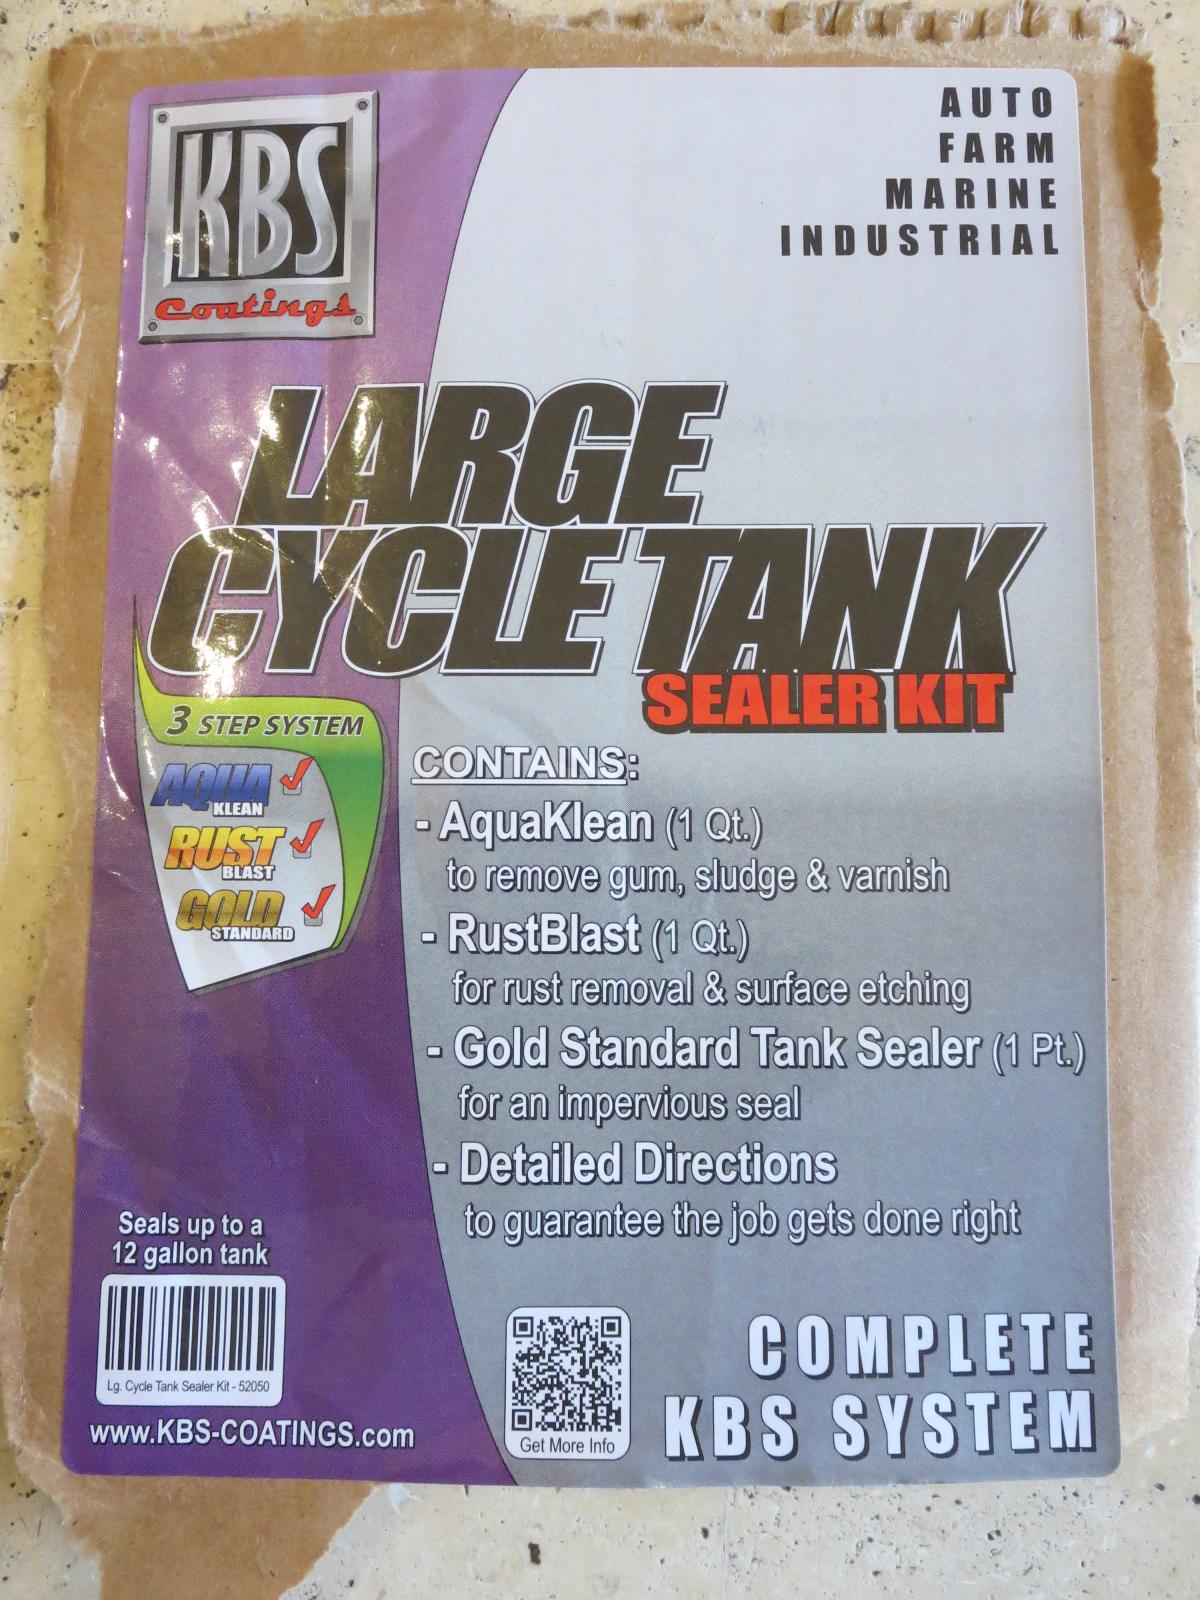
1 pointMy fuel tank had a threw dings in it too. Like ksechler said, they are hard to find and over here darn near impossible. I ended up leaving what looked like a slight forklift fork impression (looks worse on the photos) because it was close too spotwelds and it didn't leak. Inside looked grotty when I started rolling it around with a mild muriatic acid mix and a hand full of old m6 nuts. I weighed them before I started so I could check that I got them all out when I finished and none were wedged in their somewhere. It was my first tank this size, and its not good for your back. I think I was on my kids "most wanted list" for a while after making them help me for a couple of hours. I sealed it with a kit for motorcycle tanks from KBS Coatings. The shop said it was enough for a car tank especially with the acid treatment I already did. It took about a week to do, with all the treatments and drying between and after. Here are some photo's of my hobbiest effort.
 1 point
 -
1 pointAre you sure that was fuel, It looked closer to Espresso. Maybe that is why the car fired up?1 point
-
1 point
-
1 pointThanks for all the great detective work, guys! I remember when taking apart the original unit with the hole that my friend who was operating the press said "why do you need to rebuild this thing? just put a 1/8ths hole in it like all the muscle car guys do...". He didn't drill it though, . I don't think he noticed the hole either. Essentially, these things build like 8 to 10psi of pressure depending on engine RPM. They are used for small engine superchargers, like go-karts and lawnmowers. They work extremely well for that purpose too, except they do throw carbon dust into the intake due to the wearing of the wipers. A small trade off. I would presume that the hole was drilled by the previous owner of the vehicle to disable its function. A lot of them do seize up too, so maybe it was drilled to spray some lubricant inside the unit to allow it to spin freely. The unit will not work with a hole there, even though it does contain a gasket and bushing at the top that covers the hole. There would still be some leakage there under any sort of above atmospheric pressure. Either way, I will be heading to the hydraulic store to see if they have a 10-24 threaded plug I can use. Preferrably one that can tolerate the heat and does not need to be sealed with JB-weld. So that in the event that it does squeek quite a bit, maybe a light shot of silicon spray inside there will get'r moving again. I will post photos of the inside and the finished unit when I get them ready to go.1 point
-
1 pointI've been trying to remove the coolant line between the intake manifolds with no success. There are nuts on both sides but they won't loosen. I've used PBblaster many times and have used heat several times. Anybody managed to get these apart? Any chance they are reverse threaded? I'm also having trouble with the hose fitting that lines up with the coolant tube but is on the "outside" of the manifold. Thanks for any help.1 point