Leaderboard
-
HaZmatt
Free Member3Points566Posts -

siteunseen
Free Member1Points15,114Posts -
240260280z
Free Member1Points5,426Posts -
Oiluj
Free Member1Points1,877Posts


Popular Content
Showing content with the highest reputation on 05/17/2015 in Posts
-
1 pointThanks, yeah I was sure to only do about 1 inch long welds at a time. Allowing it to cool before welding again. The hubs never got that hot.1 point
-
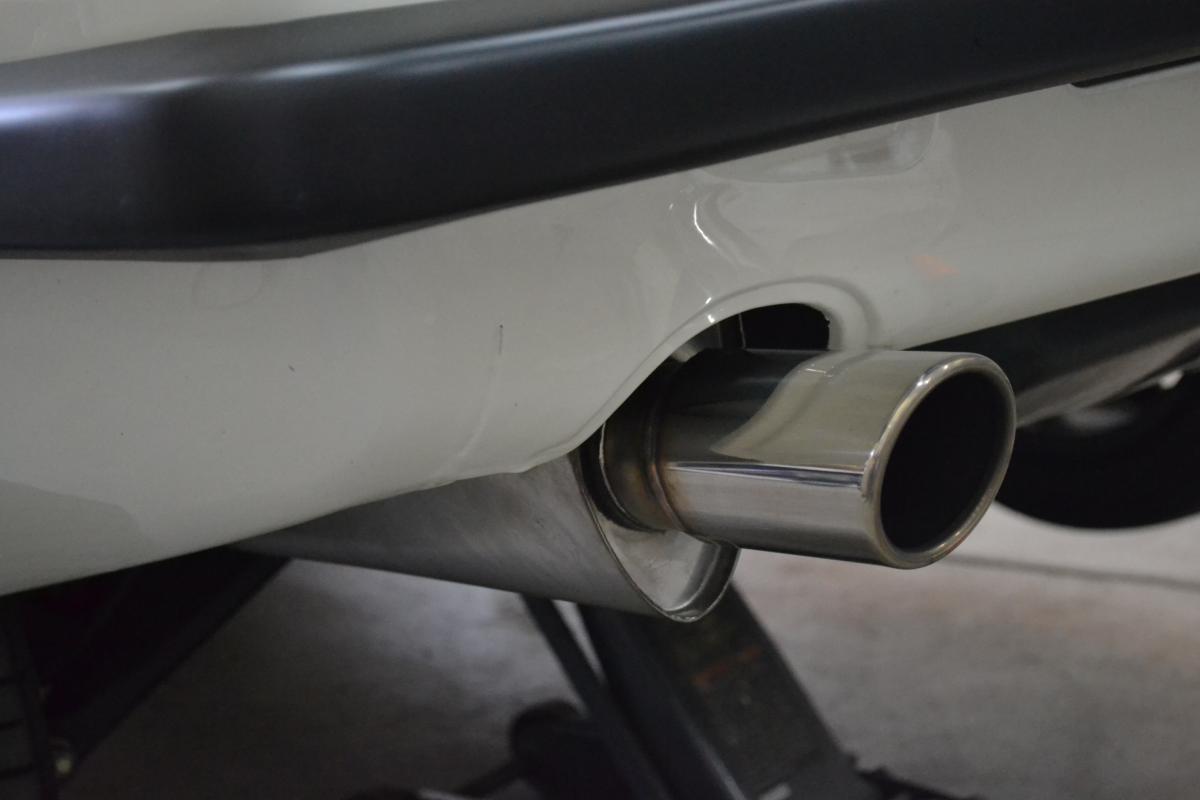
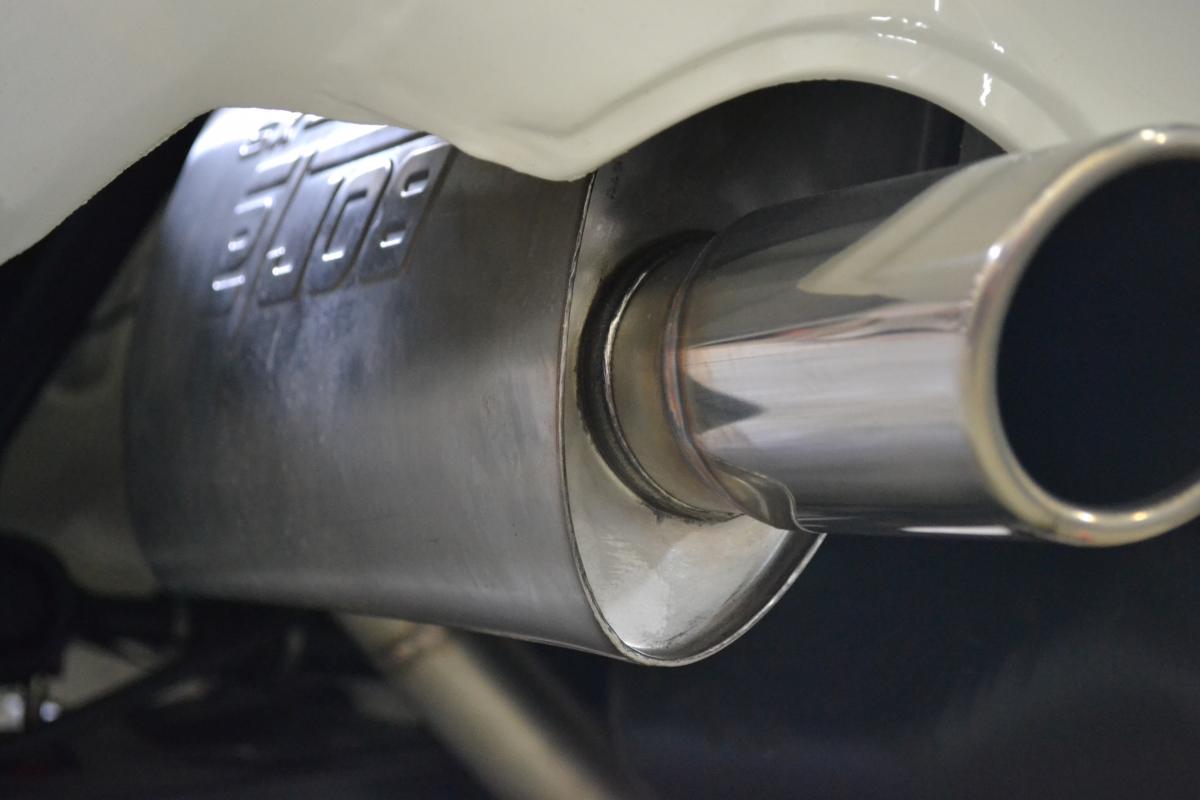
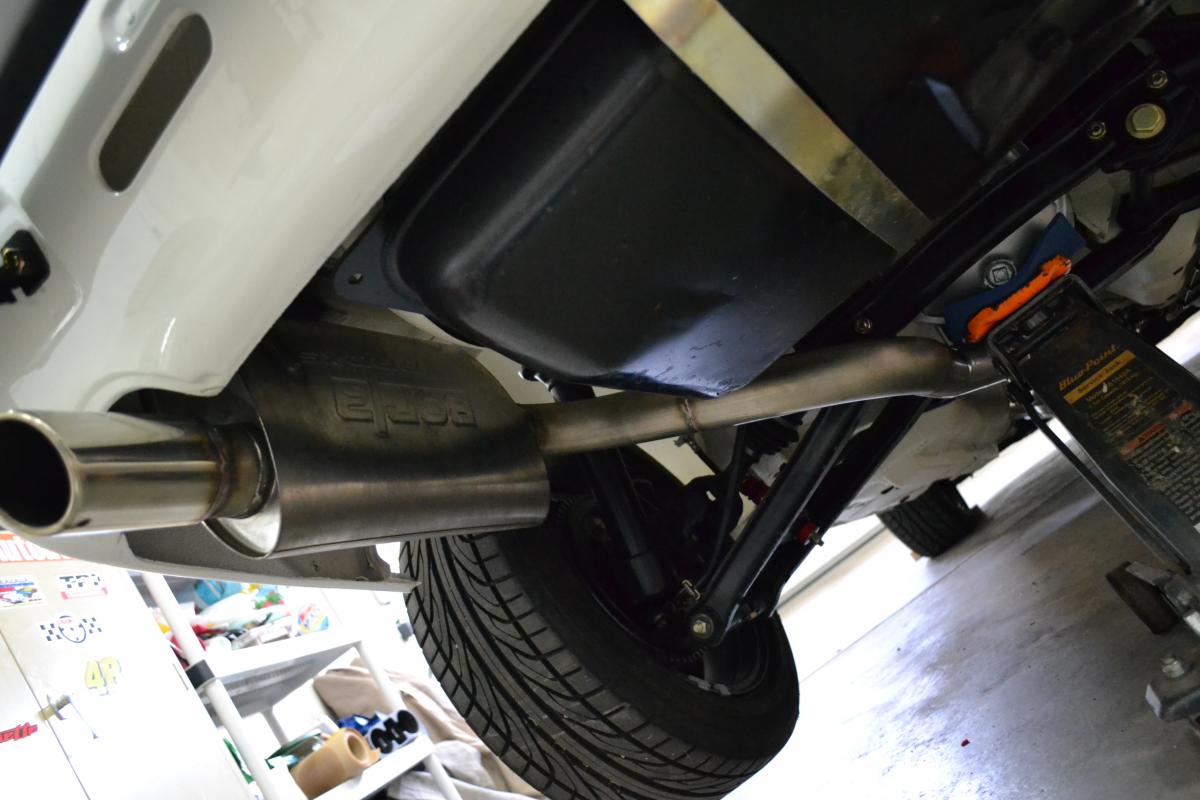
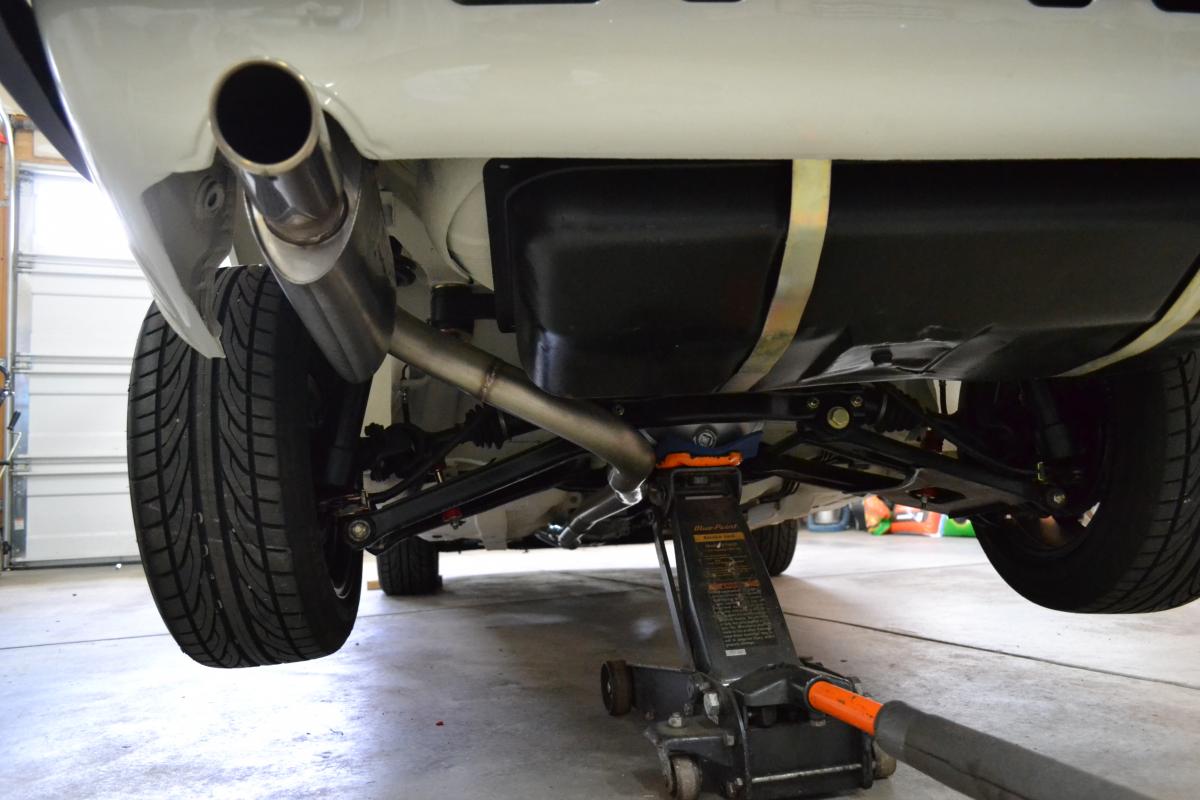
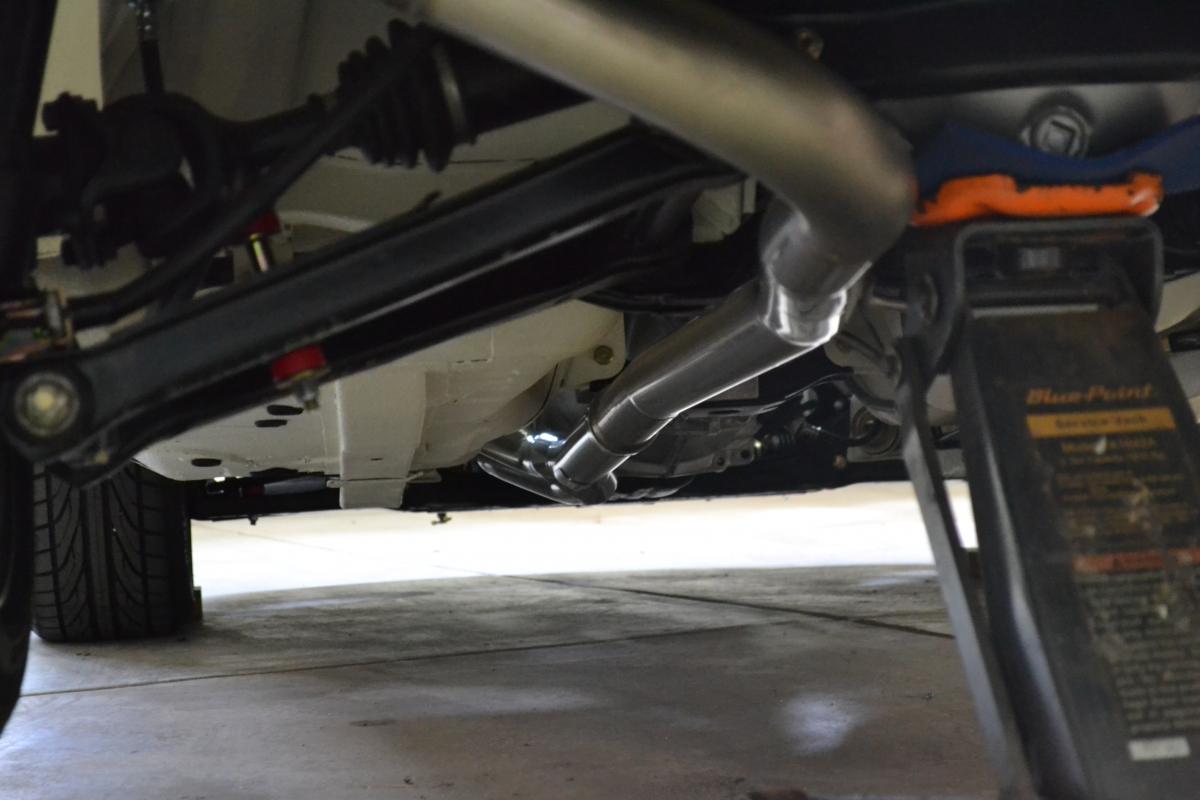
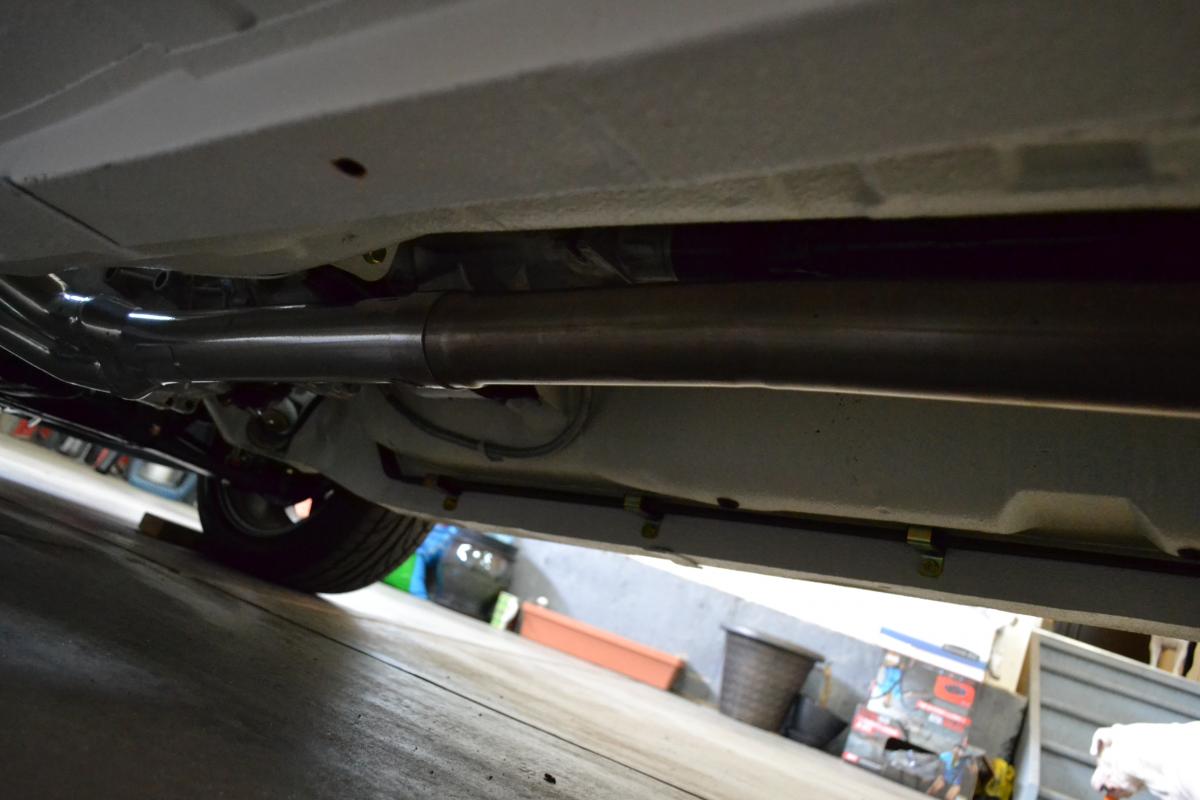
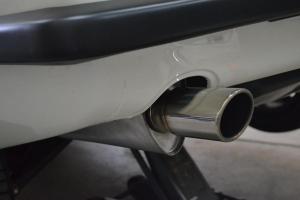
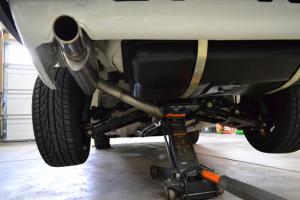
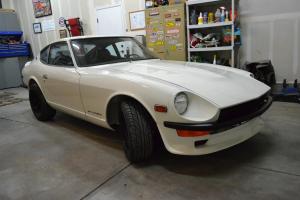
1 pointBig update! The car is about 90% done. I still have some random odds and ends to finish up but other than that its mostly complete. Its been a long and busy 1 and 1/2 years. Last week I got the exhaust installed. I went with 2.5" mandrel bent 304 stainless into a Borla sport muffler and a polished slant tip. It turned out really nice and sounds great. I'll get a video posted soon!


 1 point
 -
TD - I've also got a '73. If I were you I'd do the following: - $158 - Relay upgrades for headlights http://www.thezstore.com/page/TZS/PROD/classic10d06/12-4651; - $62 - Parking Light Relay Harness from MSA - which one depends on date of manufacture of your '73; - $199 - MSA fuse box (I installed mine 10+ yrs ago and have had no issues since) http://www.thezstore.com/page/TZS/PROD/classic10a03/50-5010; - $130 - Upgrade to internally regulated alternator - http://www.thezstore.com/page/TZS/PROD/12-4068 - ~$100 - if you're still running points, do as suggested by Siteunseen, upgrade to the ZX E12-80 electronic distributor, I did this in 1998 and have had no issues since; - ~$160 - inspect & replace ball joints, tie rod ends if required - ~$100 - high performance brake pads, I've been running Hawk HP+ pads on my 240z for ten years, dusty, noisy if you don't brake hard occasionally, work good when cold but OMG do they work when warmed up! IMHO the stock brakes with upgraded pads work very well; - ~$20 - speed bleeders for front and rear brakes, can't believe it took me 24yrs to install SB's, makes bleeding brakes a simple one man job! - ~$20 - quality brake fluid to flush and bleed your brakes; - $35 - MSA Tension rod kit, http://www.thezstore.com/page/TZS/PROD/classic20j/23-4190, just installed it this winter, wish I'd done it years ago - $14 - 2x Tension Rod Rubber bushings for the back side ot the MSA Tension rod kit (IMHO you don't want urethane bushings on the T/C rod mount); - $600 - replacement strut cartridges, I just installed Tokico Blues - $45 - don't forget to change the front strut bearings and rear strut spacers when you change the inserts - $45 - strut bellows to protect your shiny new strut inserts - http://www.rockauto.com/catalog/raframecatalog.php?carcode=1209170&parttype=7592 - $240 - lowering stiffer springs, I installed Suspension Techniques Sport Springs 15yrs ago and love the way the car handles - $230 - sway bar kit, I installed Suspension Techniques kit 15yrs ago with above springs, love my Z's handling - $720 - front and rear JDM style clean bumpers, http://www.futofab.com/index.php?option=com_content&view=article&id=131&Itemid=118 - $70 - early 240z front bumper mounts, required to install smaller front bumper on '73 240z, '73 rear bumper mounts will work with early rear bumper Total - $2,938 + shipping, tax, etc may be close to $3,000. If you do the above, I think you'd be very pleased with the results. Let us know what you chose to do and how it turns out.1 point
-
Do what would make the car more enjoyable now until you have the money to make a hefty upgrade. So I would go with fixing the suspension and the electronics. That should take you up to if not a little over the $3500. also, reversing the words of the house of stark "summer is coming" which is the best time to enjoy the car.1 point
-
I started to give some advice, but I am already about 4500 in, and I don't even have a running driving car. It's still a shell. So, listen to these guys. Maybe I should have....1 point
-
1 point
-
1. Fix everything that is broken or not functioning on the car. That should burn up most of the $3,500 right there.1 point
-
If I had a $3500 chunk of change at one time, I'd be sorely tempted to buy a G37 totaled in the rear and do a transplant.1 point
-
Upgrade to the ZX E12-80 electronic distributor, I bought mine for a '79 ZX from amazon.com for $100, made a difference to me. The light relays are on my list too. Choke lever bracket from Art Singer on e-bay, he's on this forum too, was a nice improvement for mine. Euro bumpers from futofab.com are really nice looking, no bumperettes and shiny for less than rechroming the OEs. I bought new tail lights from them also, really made the car look good. That's a little over a $1,000 of your budget.1 point
-
I agree. Get the electrics sorted out first. Upgrade the ignition, then maybe AC and the wiper motor upgrade.1 point
-
Relay upgrades for headlights and parking lights. Brakes 100% good then suspension and struts. Coil overs are fine if you need the clearance but plenty of guys just run good struts and Eibachs. Then engine cooling but you probably already got that covered. Then interior comfort, AC, stereo, power windows maybe, seats, seat heaters????1 point
-
You are taking no shortcuts Nils! That will be one hell of a car when its finished. You have some great/rare parts that would fit perfect on my car😉 along with the gauges i already bought from you. Keep up the good work!!1 point
-
My plan at this point is to keep the interior and exterior fairly close to stock, though that might change once I start getting my hands dirty and spend some time driving it. The bumpers have already been removed and I'd like to replace with 240 ones, at least in the front. I'll probably put on some Rota wheels when it needs new tires and would like to drop it about an inch. When I finally take on the body work, the air dam will be replaced and the side molding will go. I haven't started to dig into the interior much yet, but I'll probably end up refreshing or replacing most of it and would like to put in an audio system (this, at least, is something I'm plenty experienced with). Maybe an L28ET way out in the future. Already taken care of some little things like spark plugs, air and fuel filters and cleaning off the 37 years of gunk from anything that I take off the car. Bushings and suspension are high on the to-do list. At the moment, I'm in the middle of restoring the fuel tank. There was no o-ring on the sending unit and a puncture on the top, so I'm hoping that fixes the EVAP leak, though I also replaced all the hoses just to be sure.1 point
-
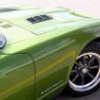
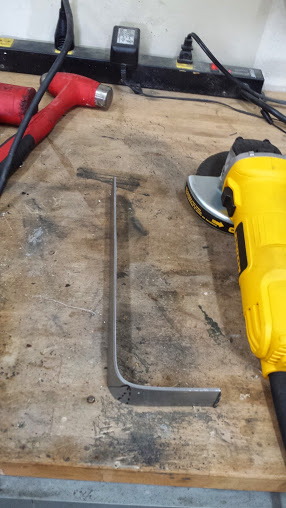
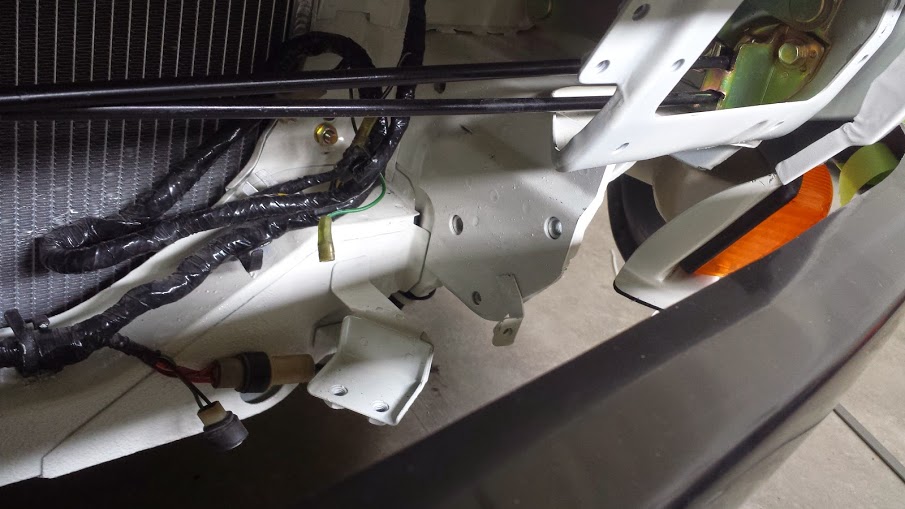
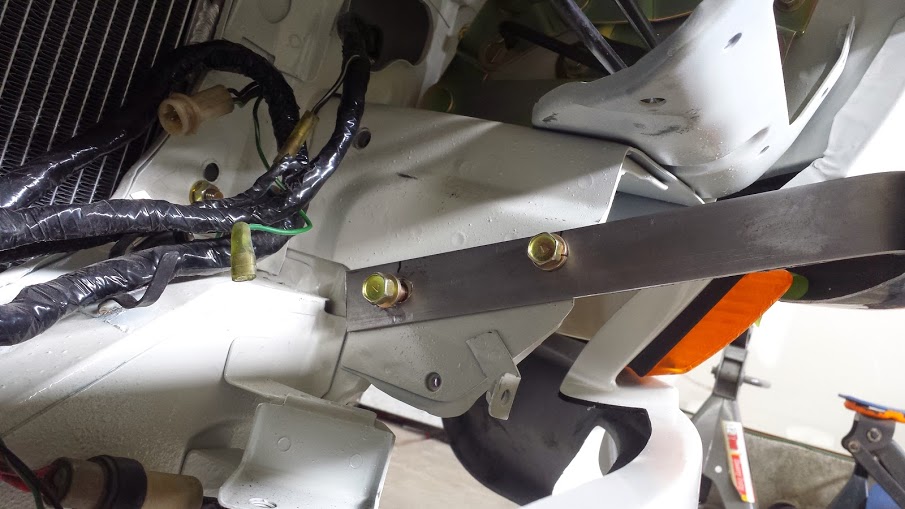
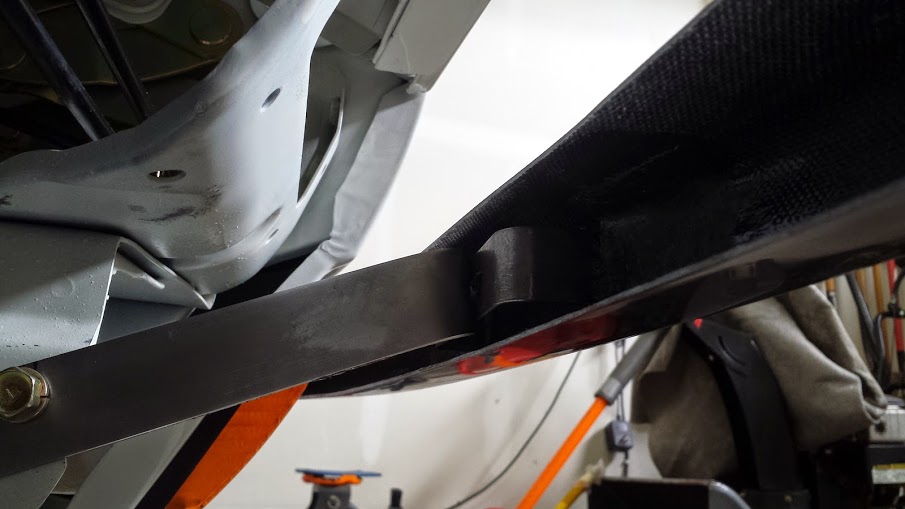
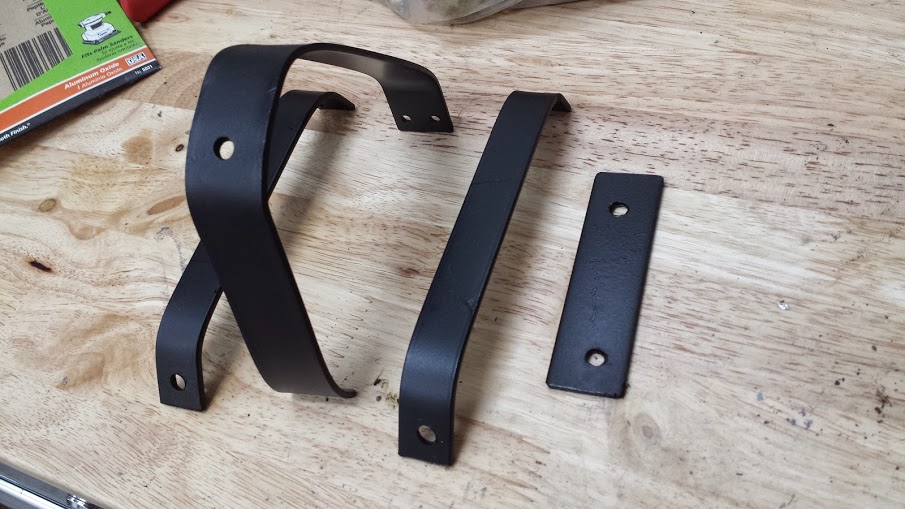
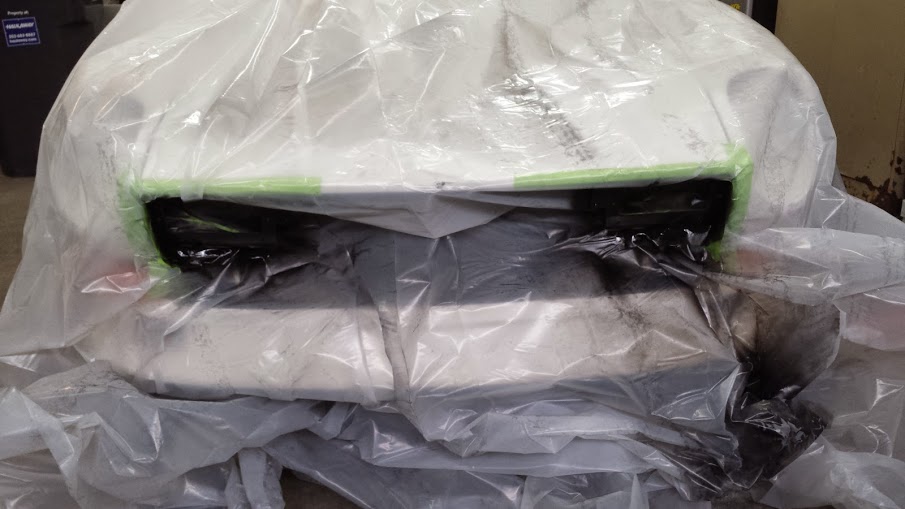
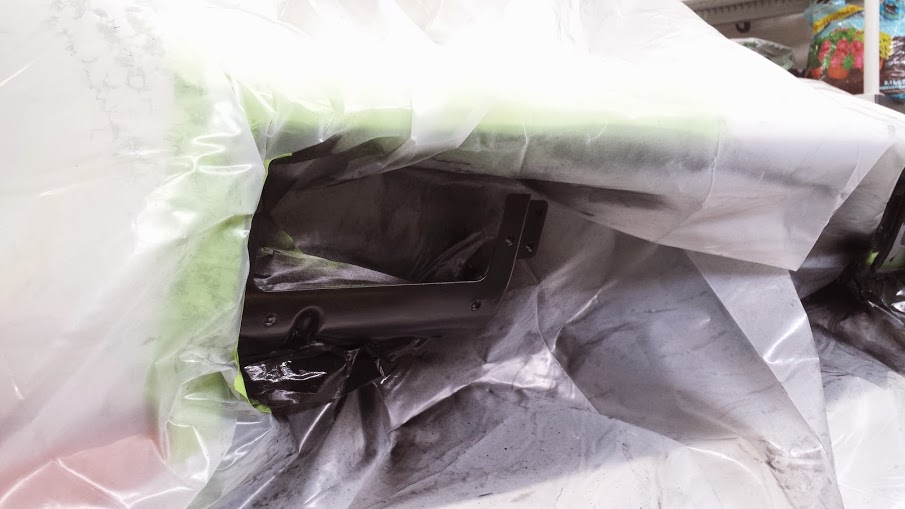
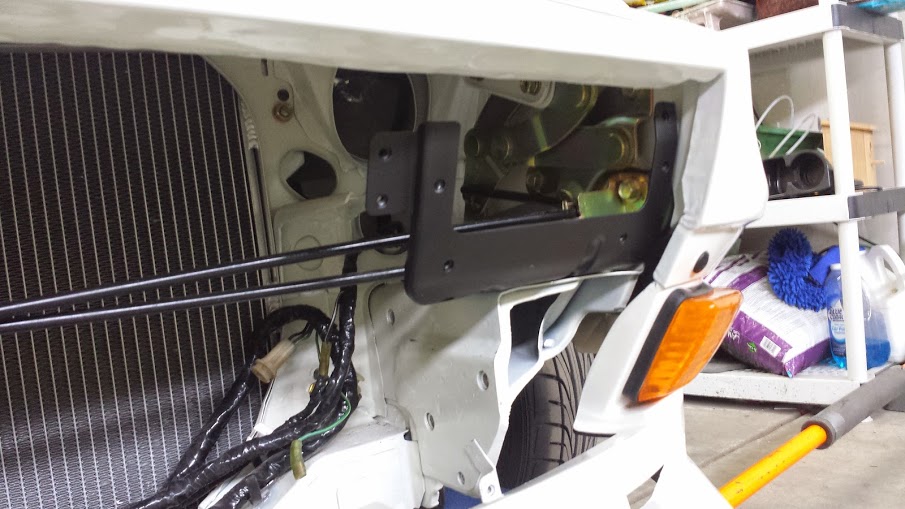
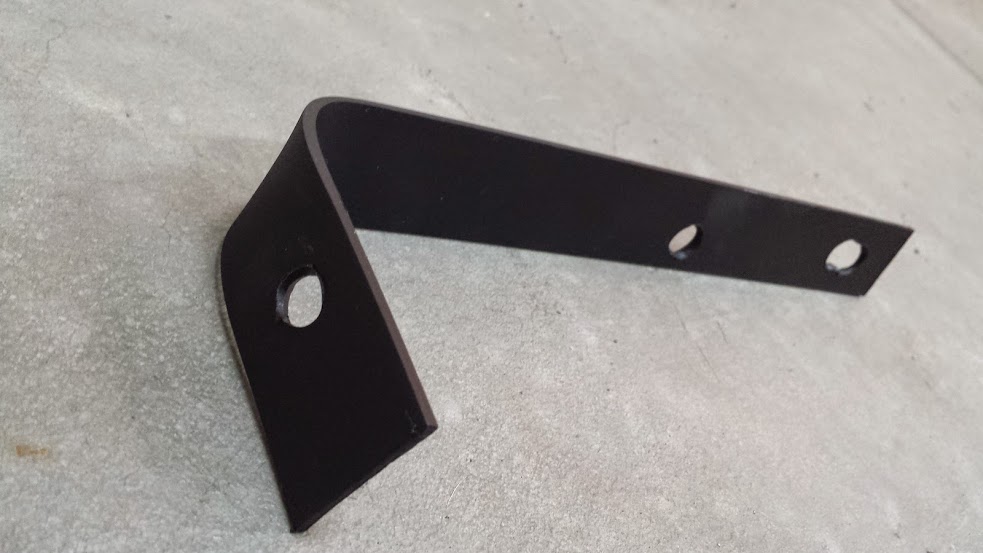
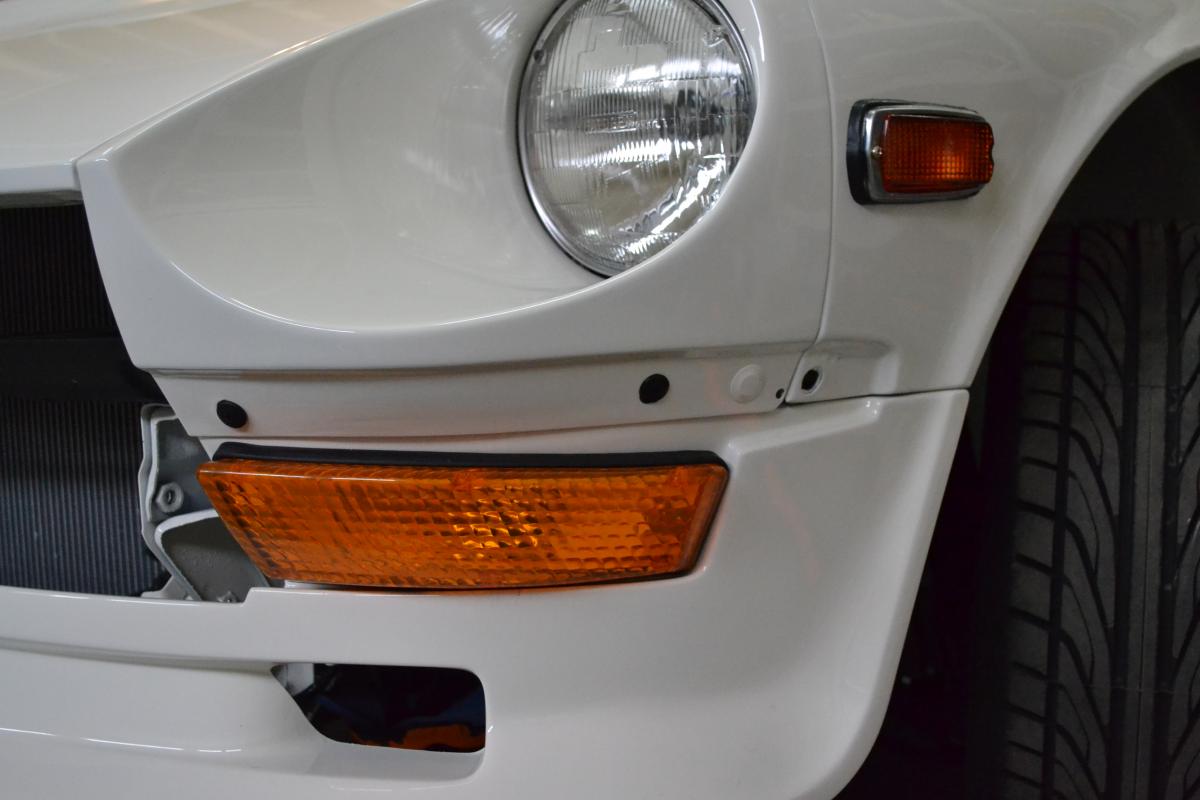
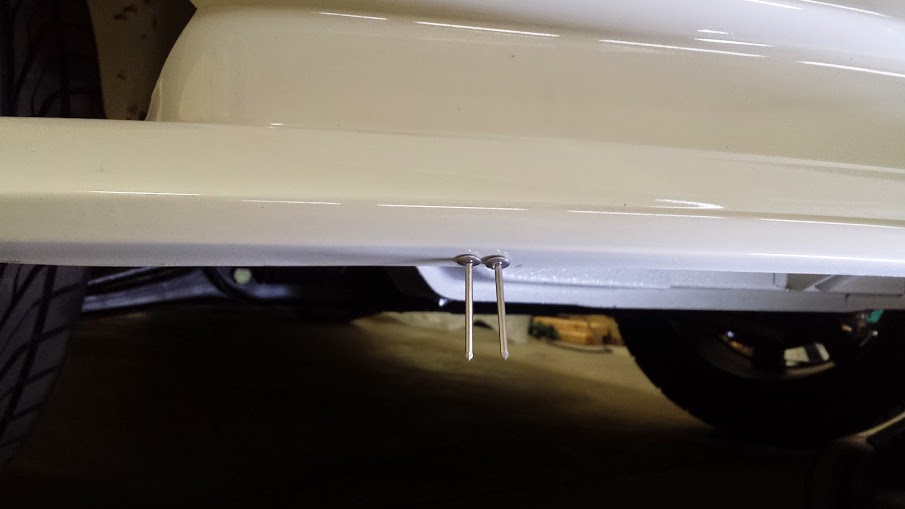
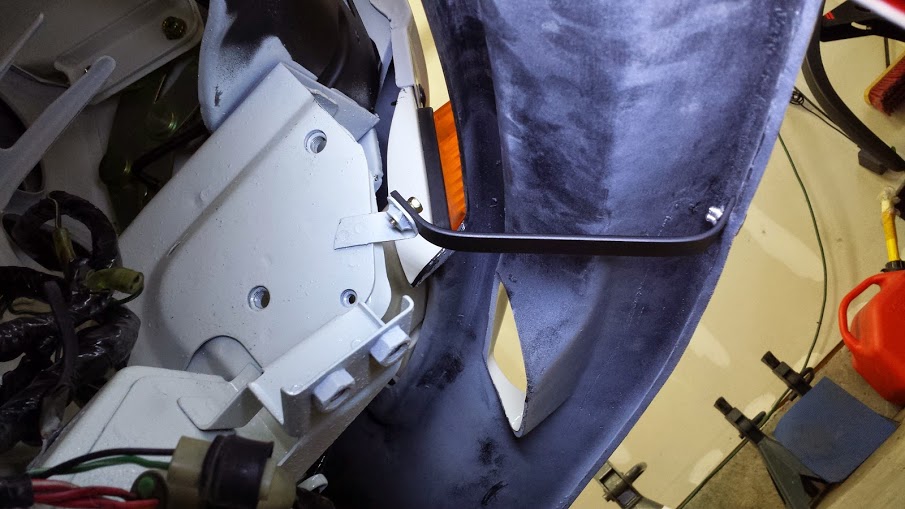
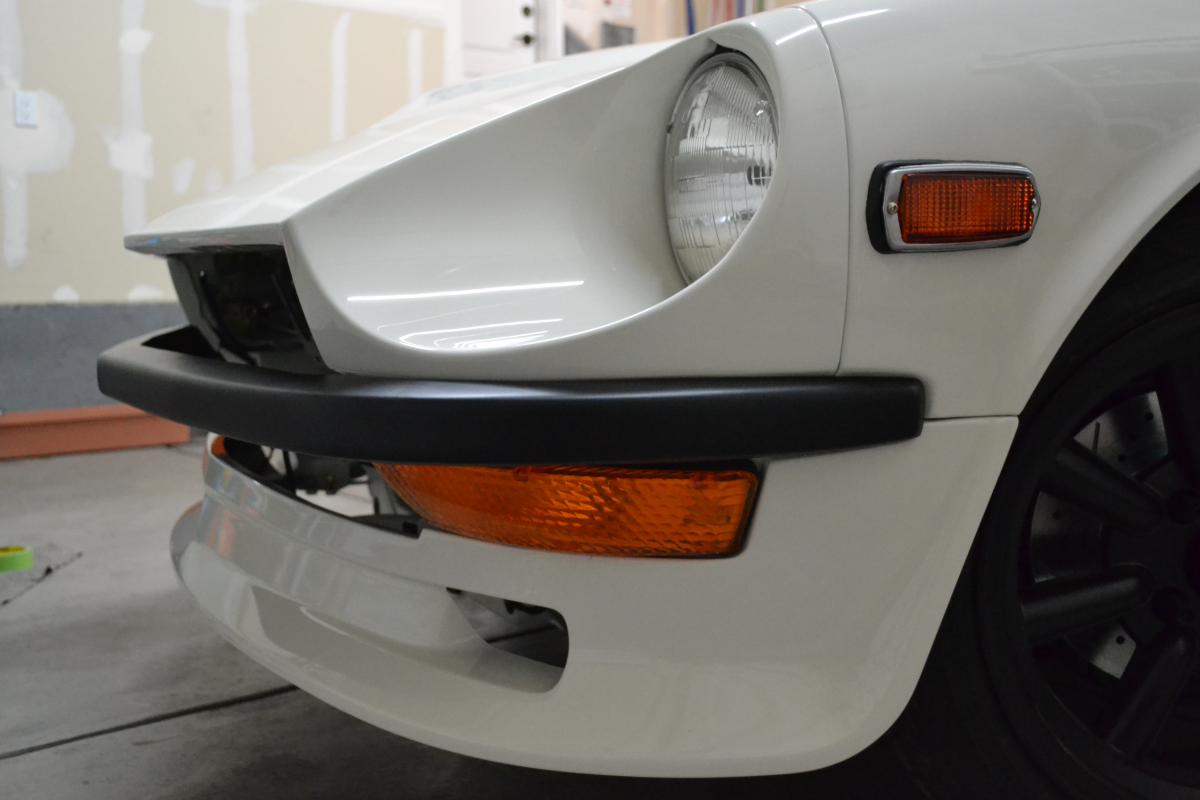
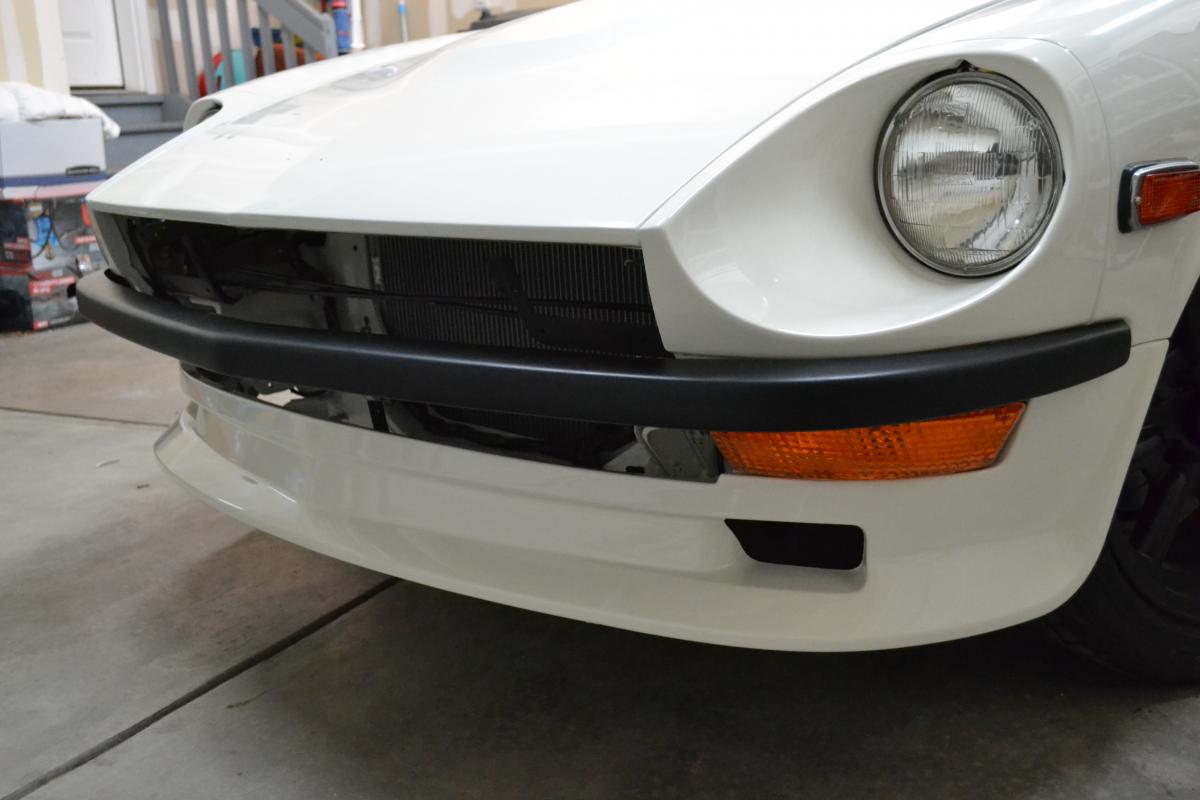
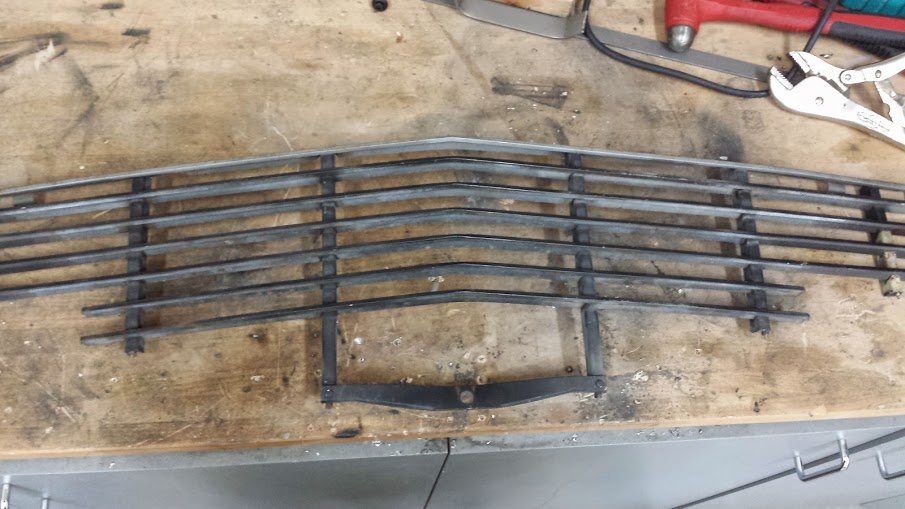
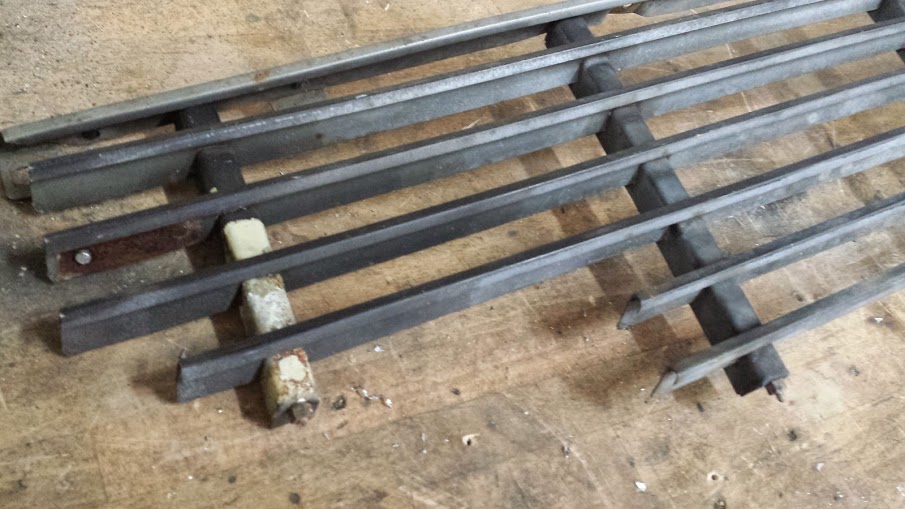
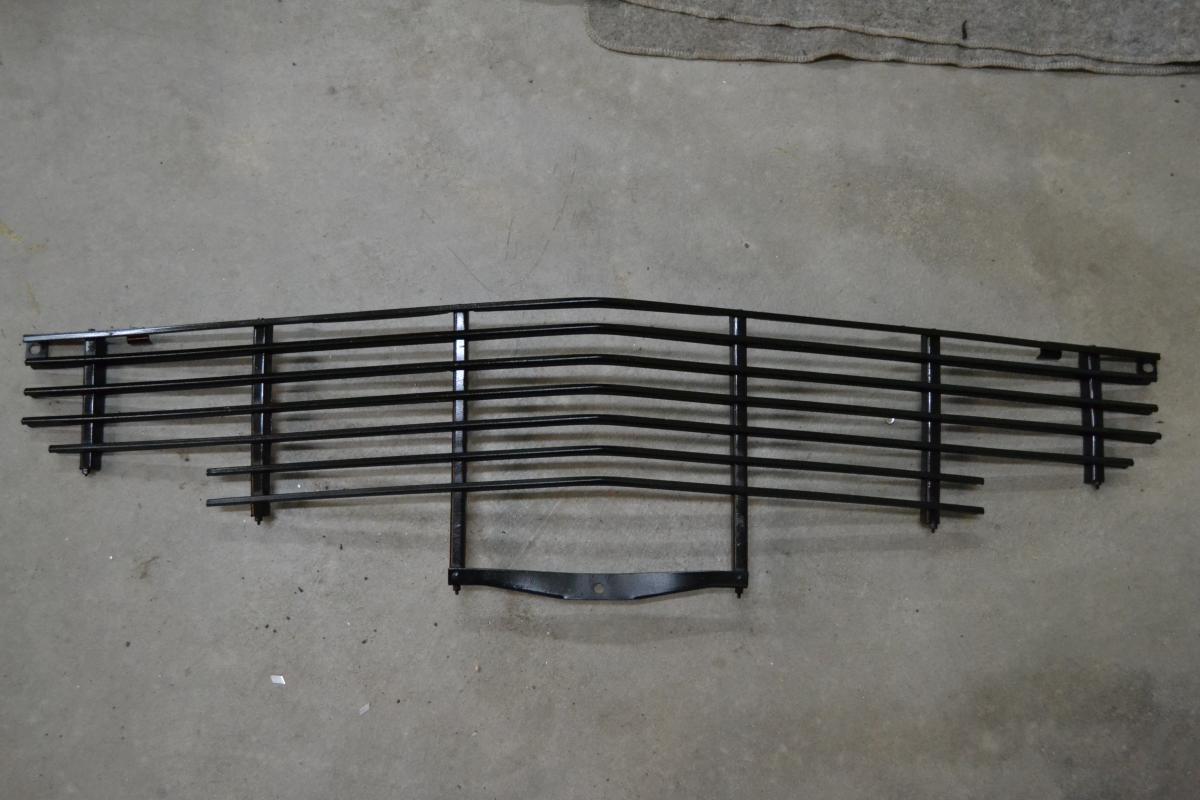
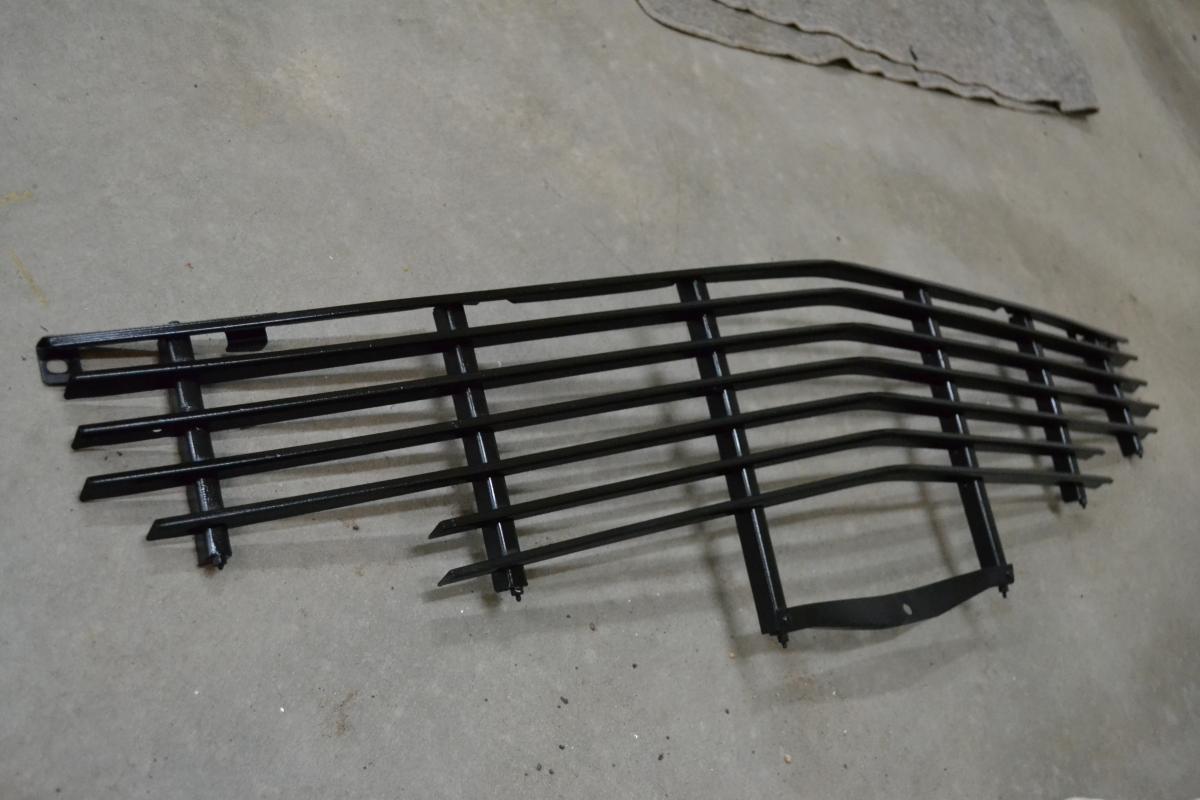
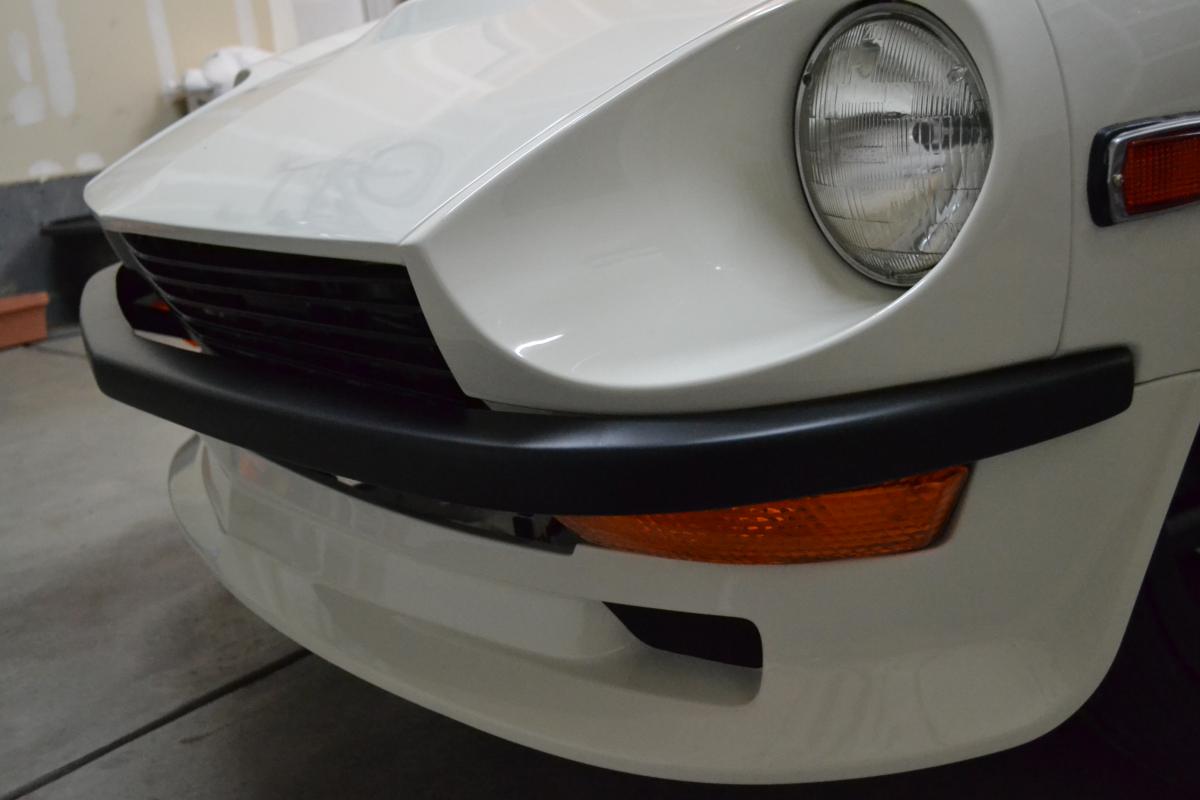
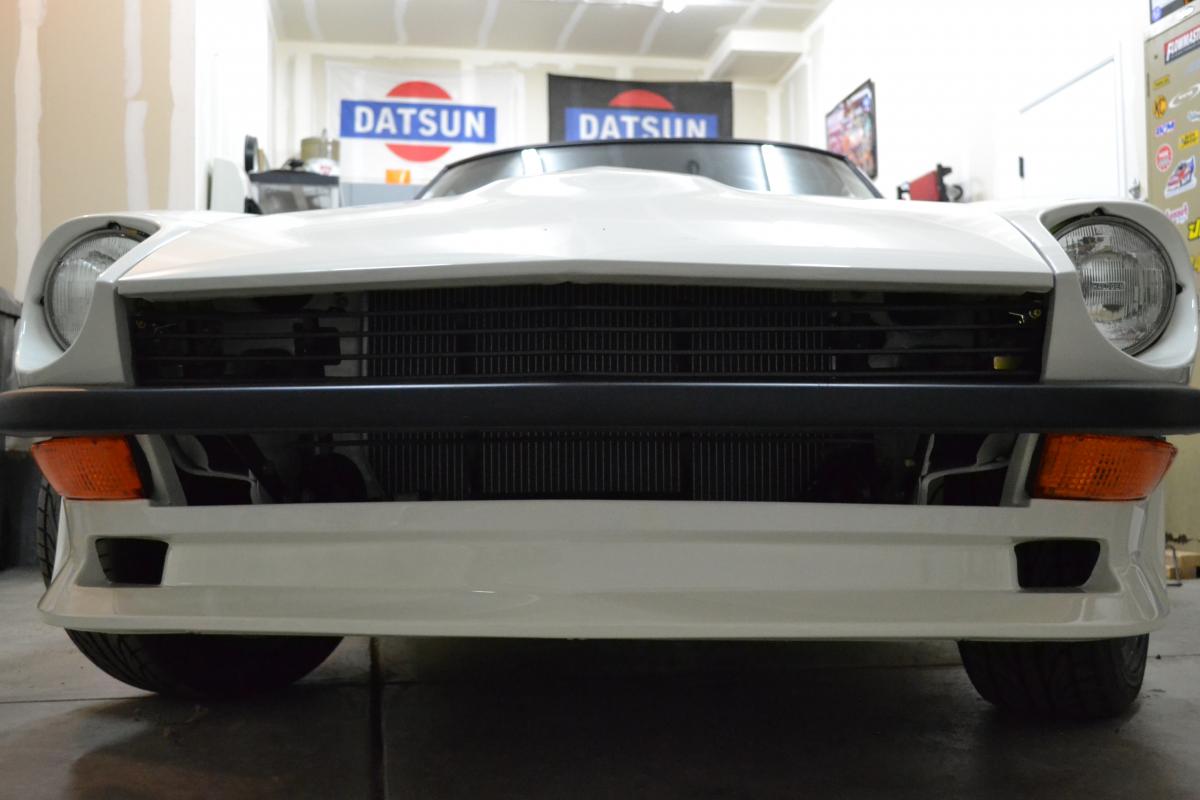
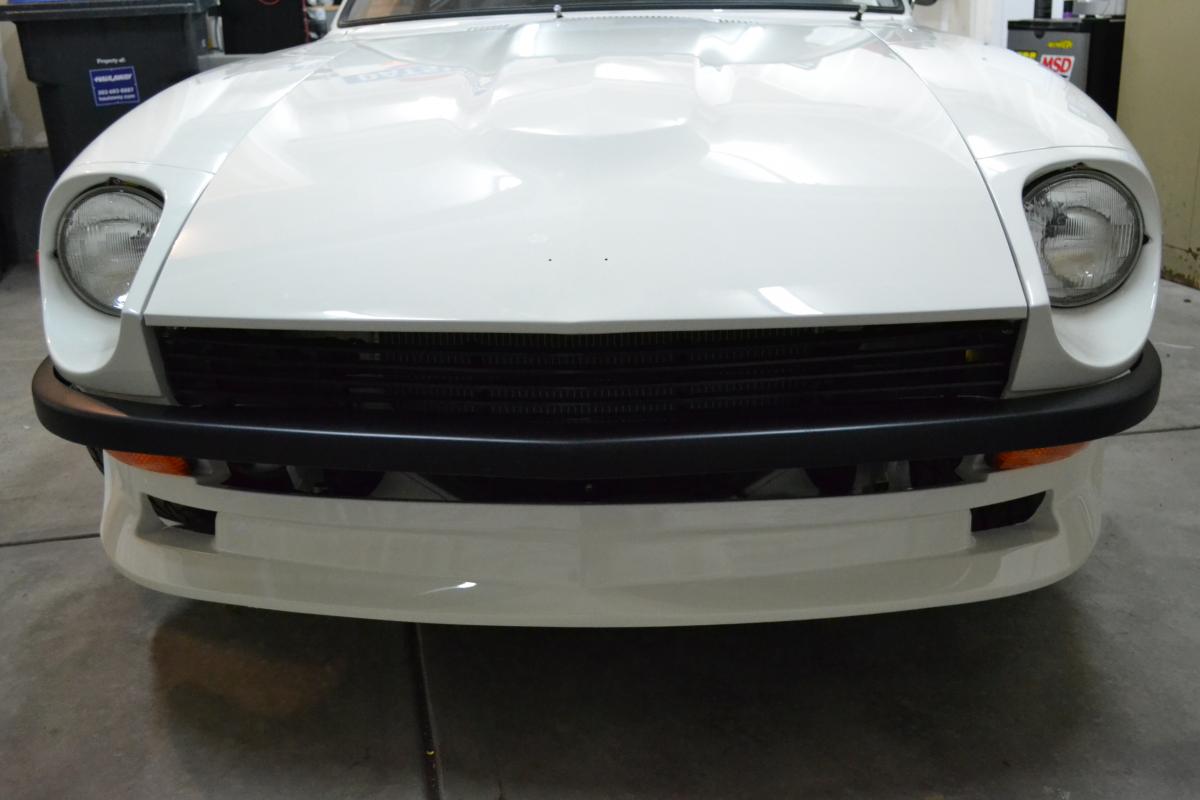
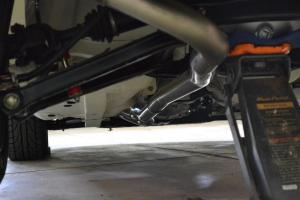
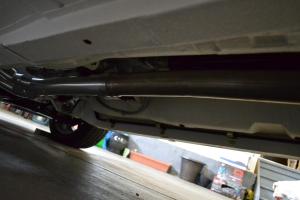
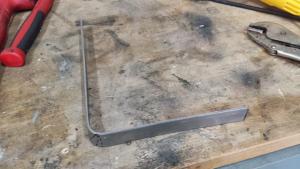
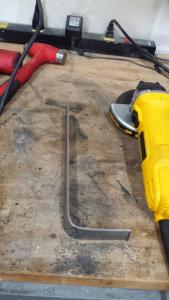
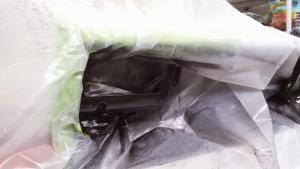
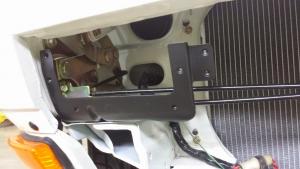
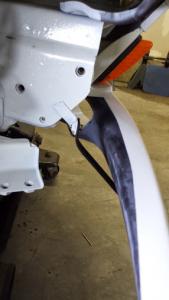
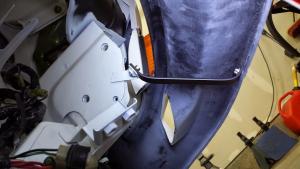
1 pointBeen busy the last couple days working on getting the front end done. Finally finished tonight and I think it turned out pretty good. I have the Xenon uerethane air dam with the 240Z parking lights, 240Z fiberglass bumpers, and a modified 240Z grill. I had some help from my dogs. First I attached the air dam using some plastic rivets and 10mm bolts I ended up cutting out a couple inches of the center area that is always wavy. This made it a little more flimsy so I fabbed up some brackets out of 1/4"x3/4" steel strips I got at Lowes. I painted them flat black. I used a factory mounting point and the bracket goes down to the bottom lip of the air dam where I riveted it to the dam. From underneath Riveted the bottom I then realized that my factory turn signal mounts were very white and would show through the grill so I masked off the car and sprayed them flat black. I should've done this a long time ago but oh well, now I know. With my air dam nice and secure I started on the bumper brackets. I purchased a set online from somewhere when I got the bumpers and they were complete garbage. I then tried using some factory 240z brackets but they were going to be way too much to make them work, So I decided to make my own. I recommend attaching the bumper on the sides first then taping it up where you want it. Then carefully measure for the brackets and make them fit to the bumper not the other way around (if that makes sense) I used 1/4"x1 1/4' steel strip and simply made an L bracket. Cut off the excess Put a slight twist in the bracket side that attaches to the bumper Drilled my holes I removed my horns for better access Test fit Painted flat black as well Then mounted. They're attached to the bumper by a 10mm bolt and nut Now for the grill I bought a 240Z grill and basically just swapped the top bar with the one off of my 280Z grill, that way I can use the 2 factory mounting points up top. Sanded it down and painted it a semi gloss black. Installed the grill. The front end is done!
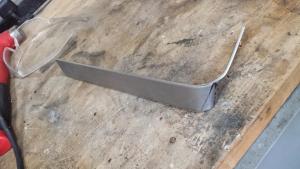


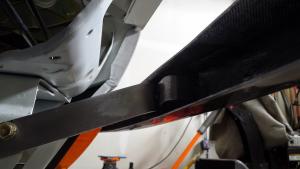
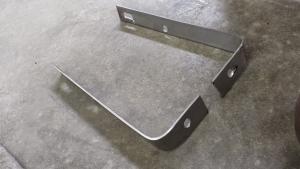
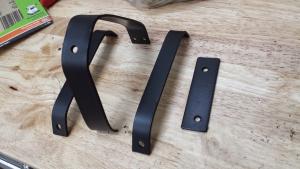


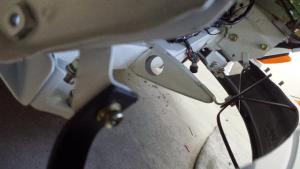
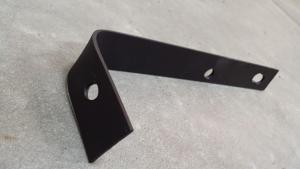
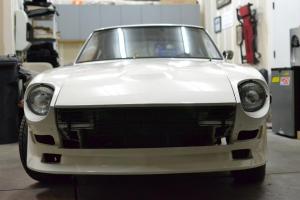


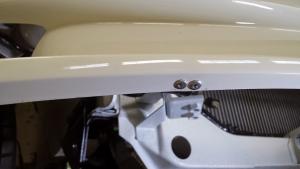


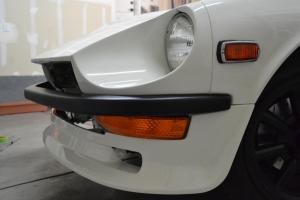

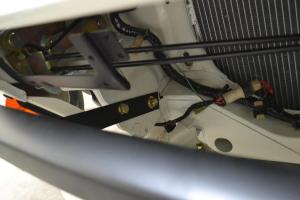
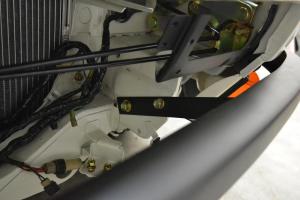

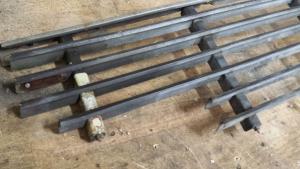
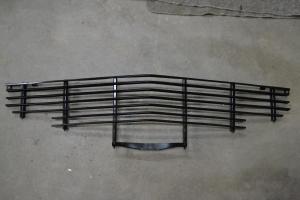

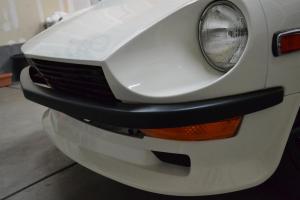
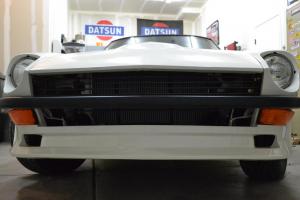
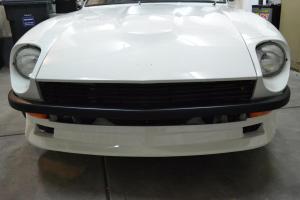
 1 point