dspillman
Supporting Member
-
Joined
-
Last visited
Everything posted by dspillman
-
If Chris has 2…..26/27 assuming that both cars showed 4101….. that has to take precedence…
-
I will definitely be gently cleaning that “yellow stripe” area tomorrow …!!!! Thank you!!
-
That would work perfect!
-
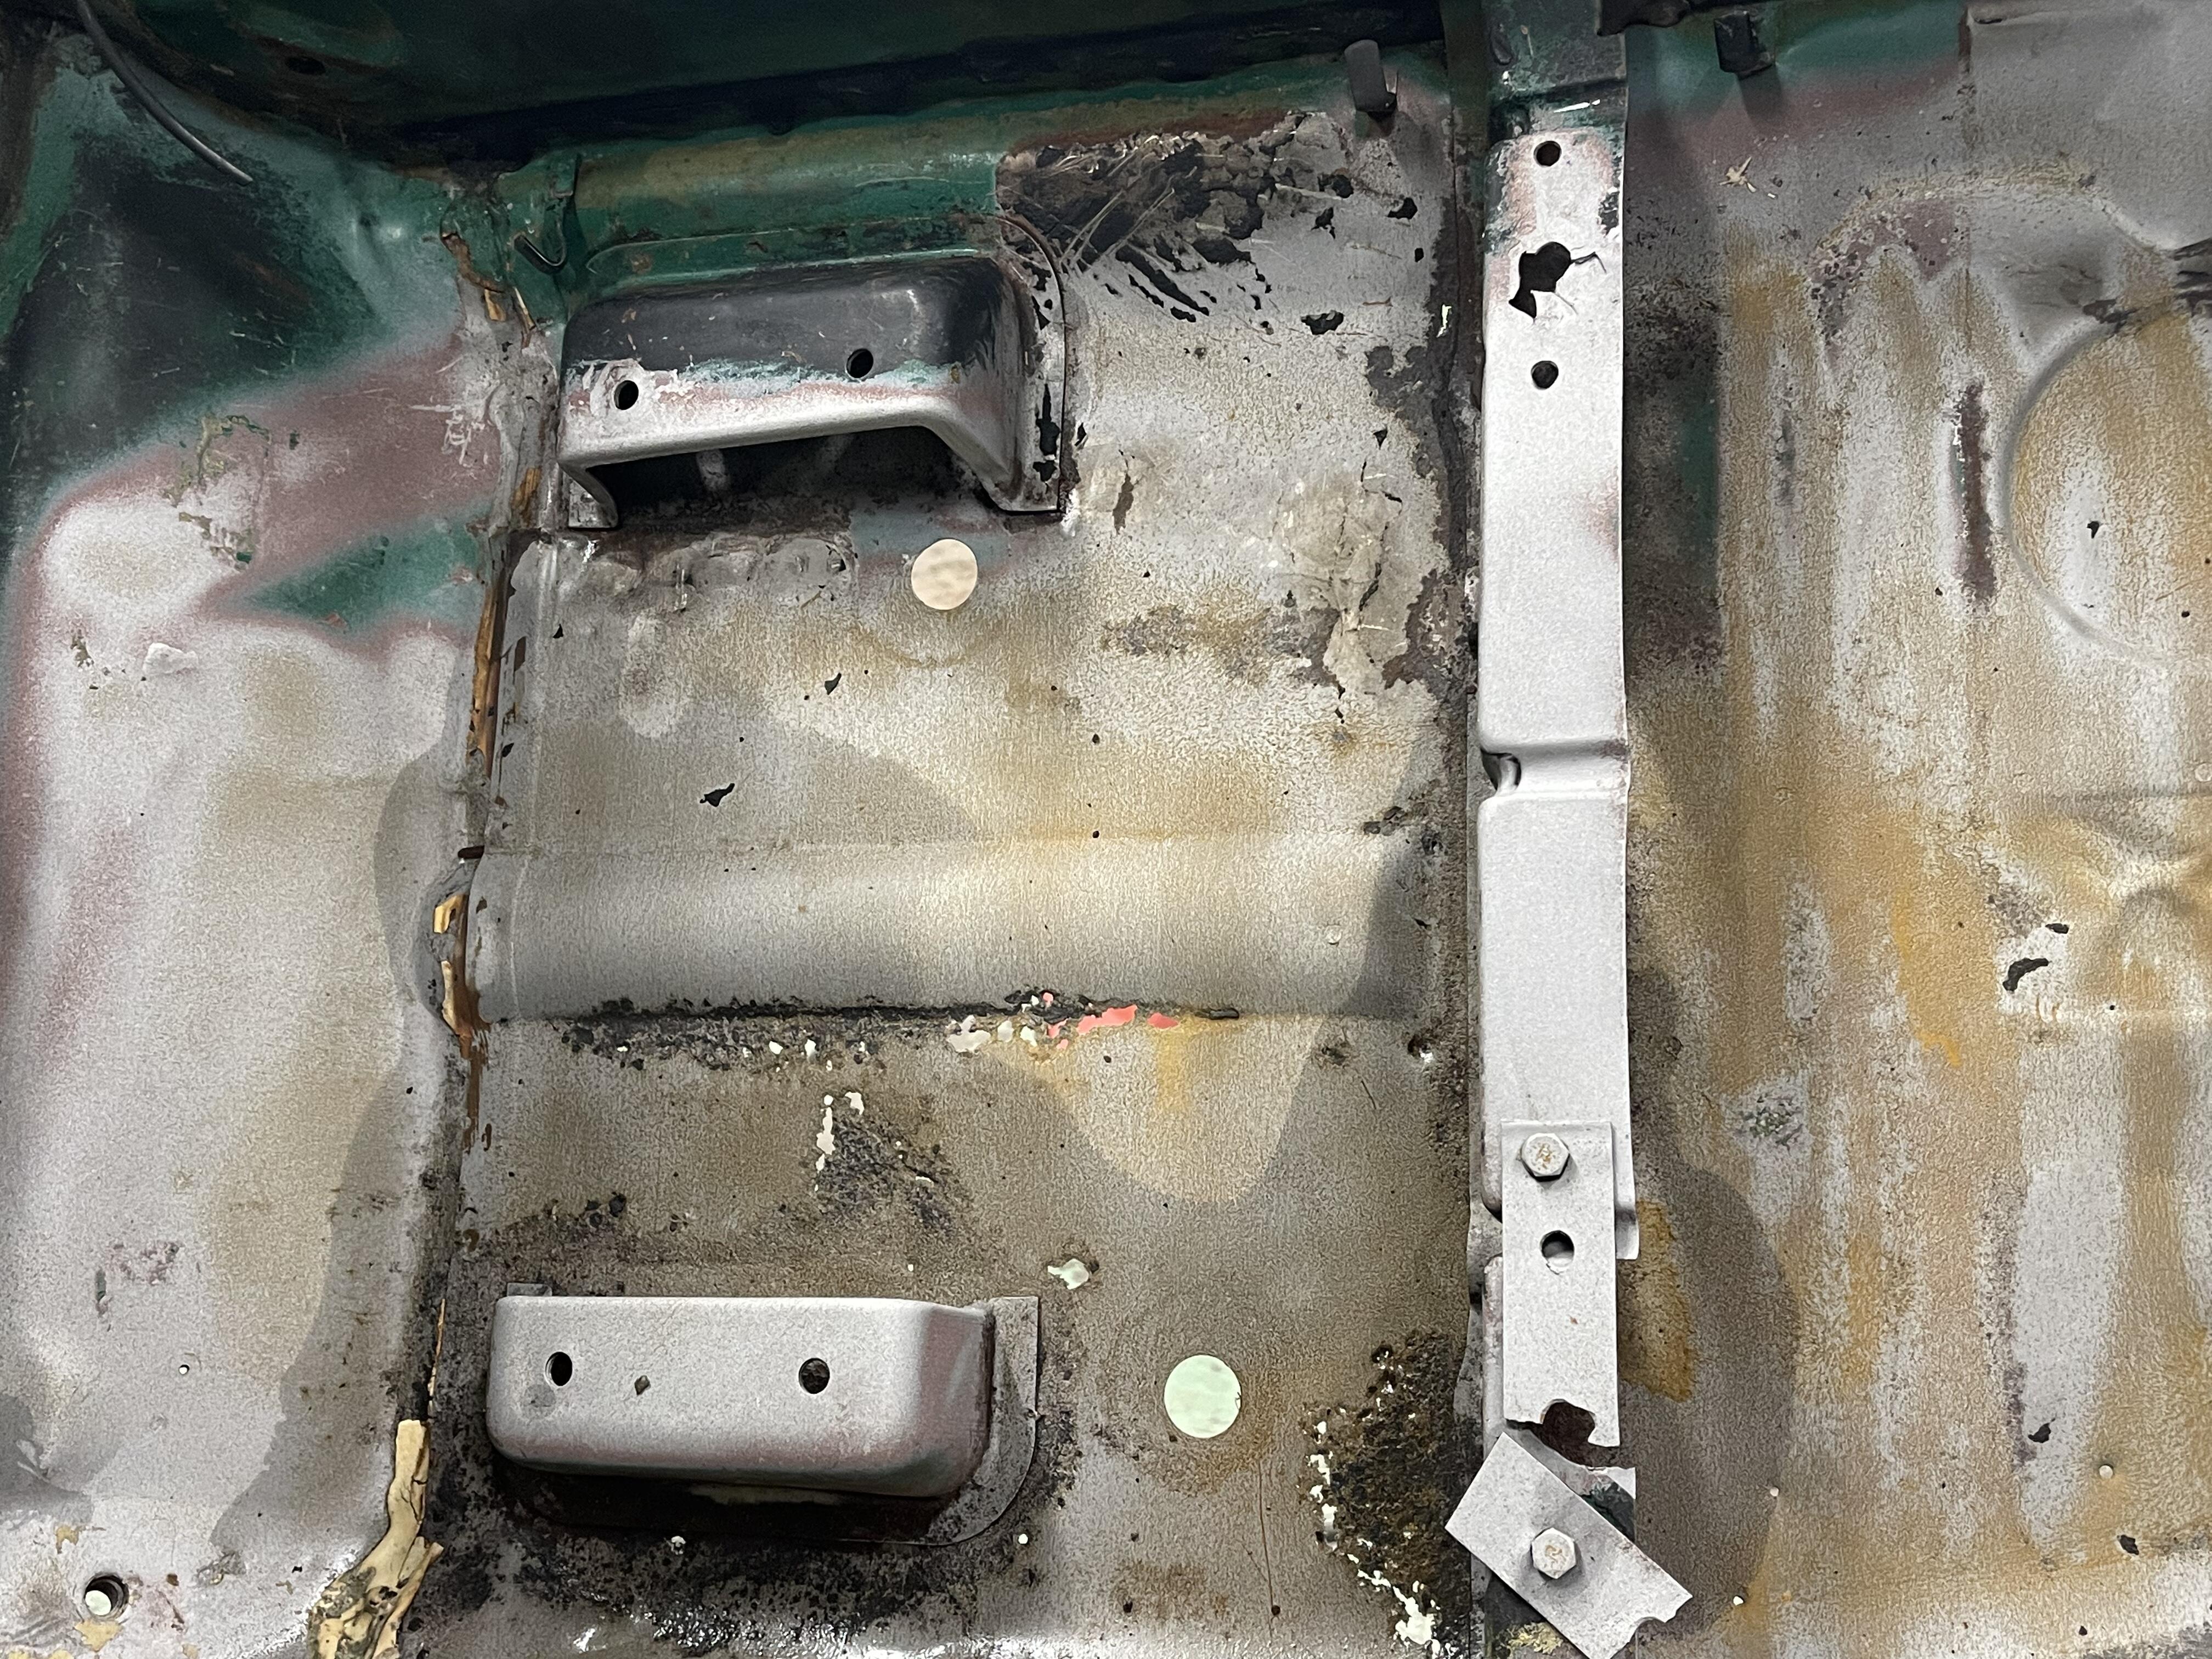
I’ve had one other car that had seat mounting cracks similar to this. but yes I’d say a “big boy” must have driven this car in the 70s…
-
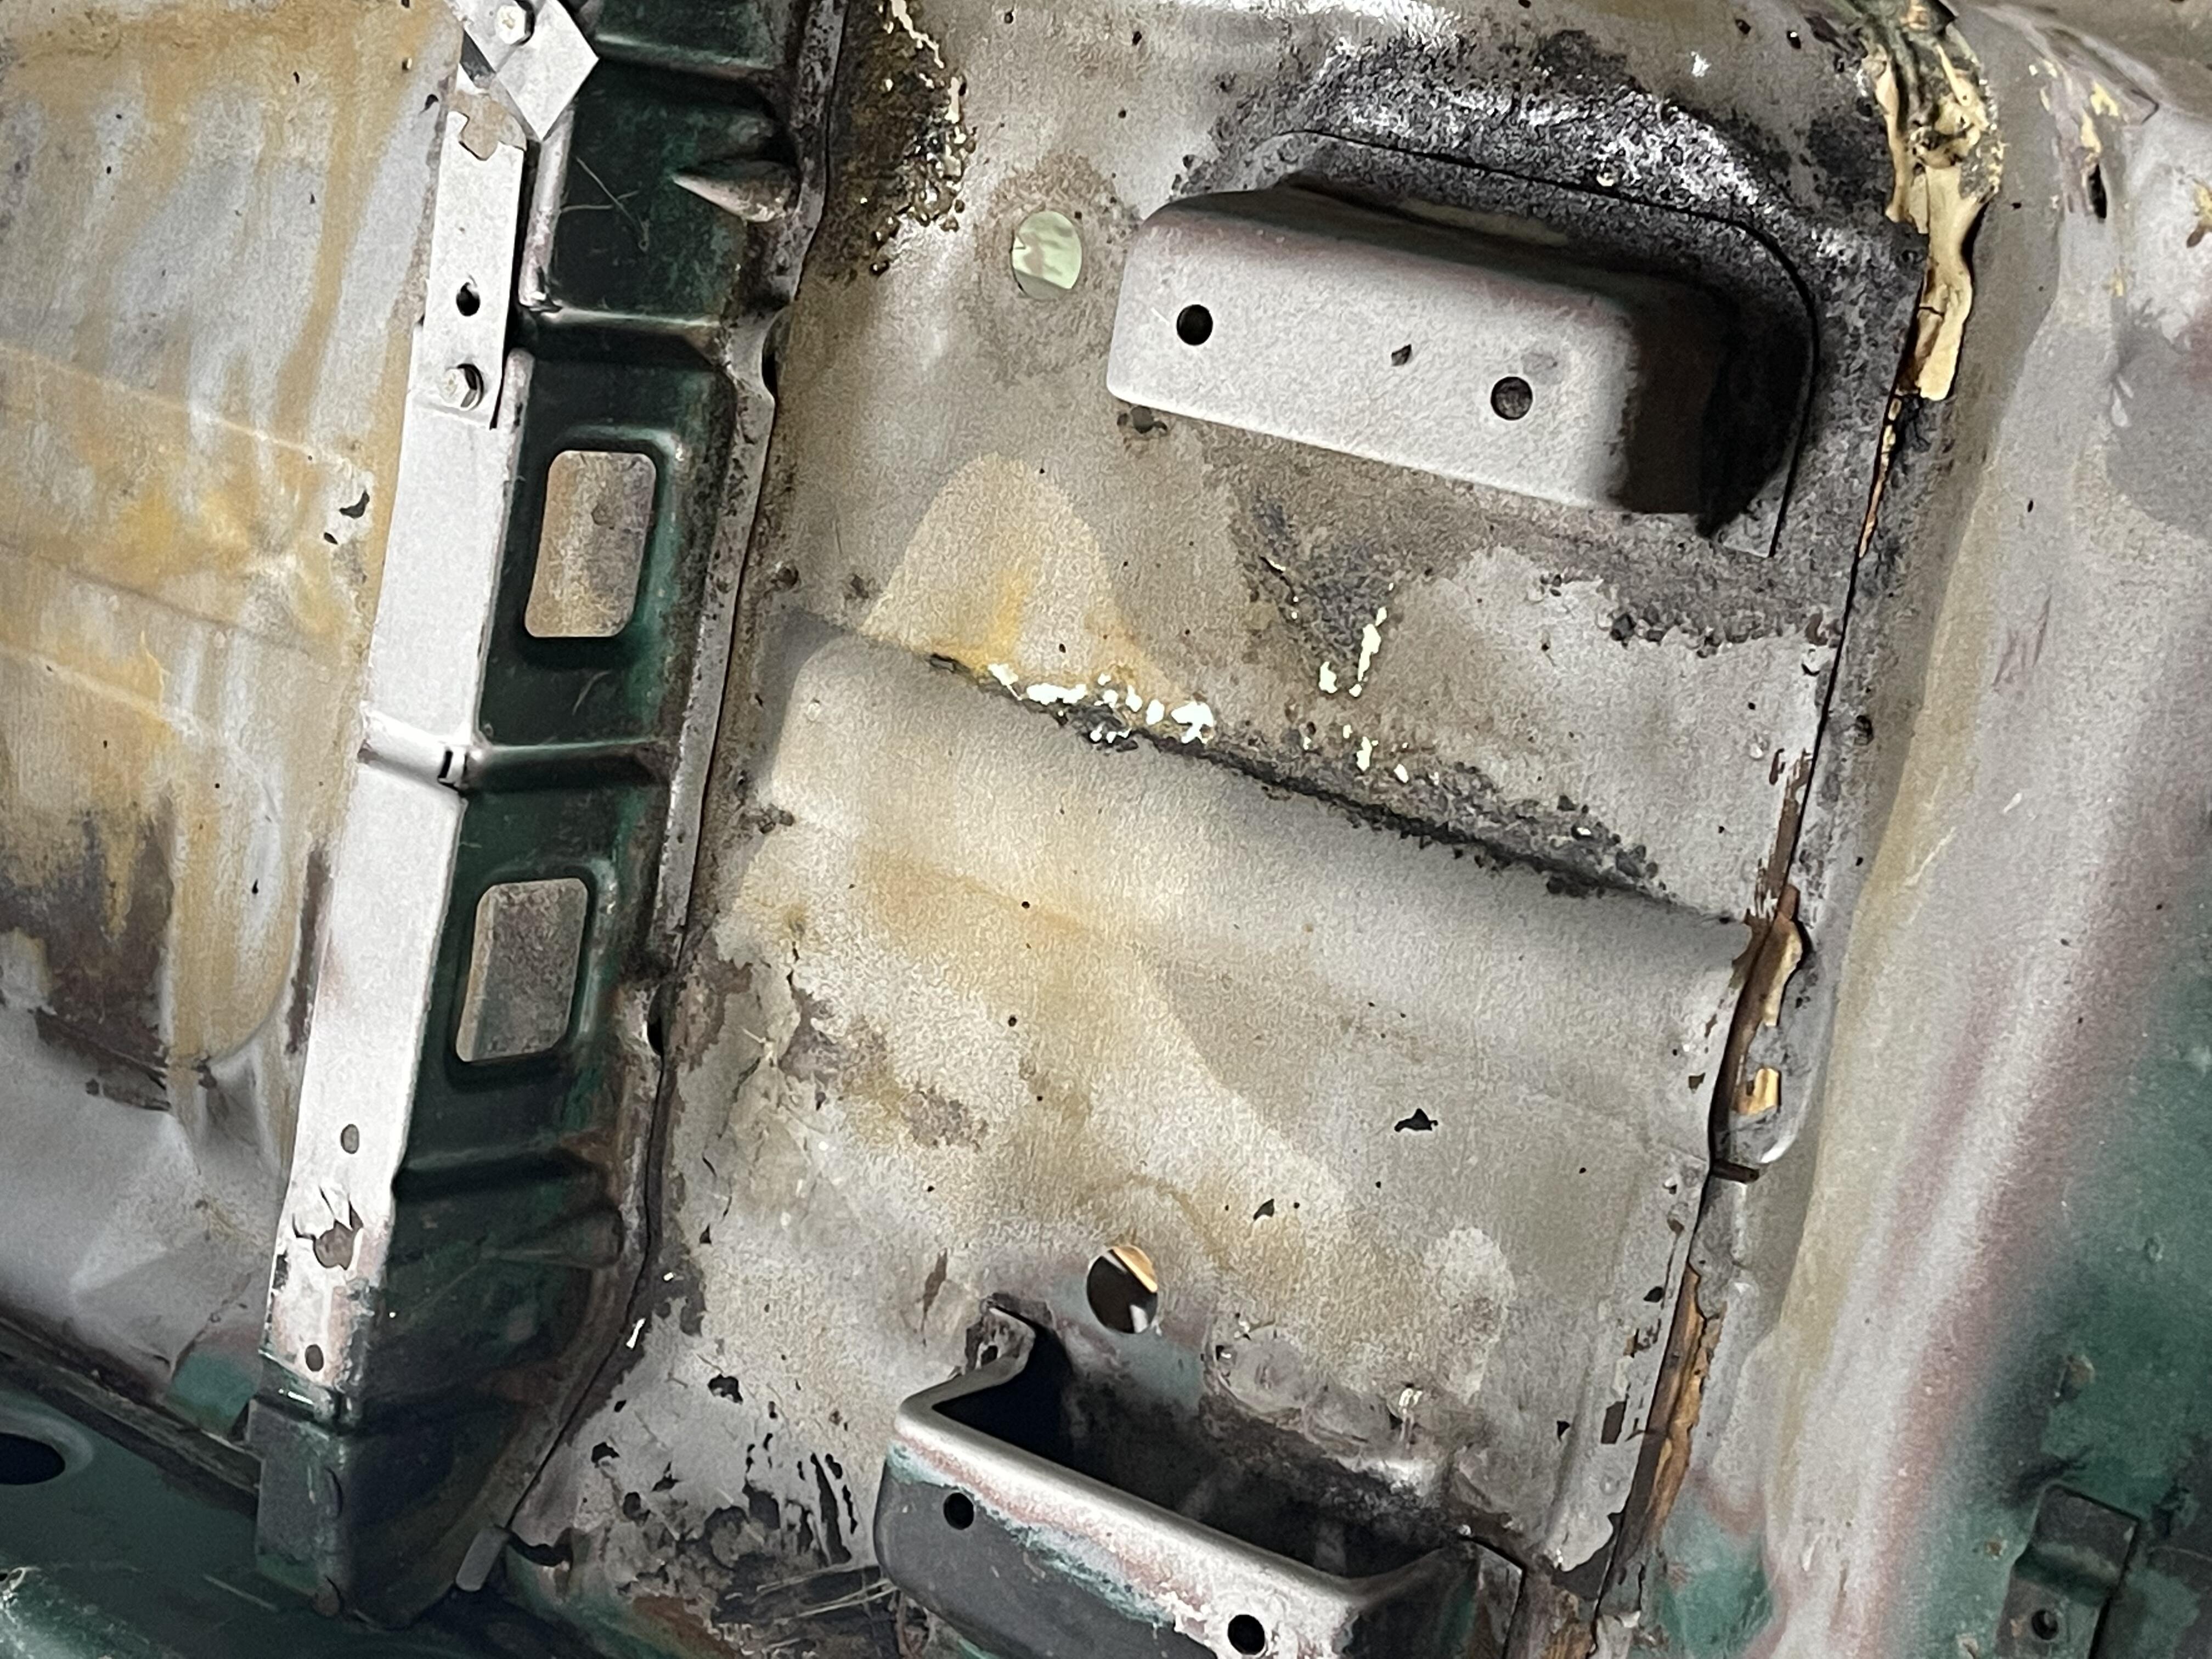
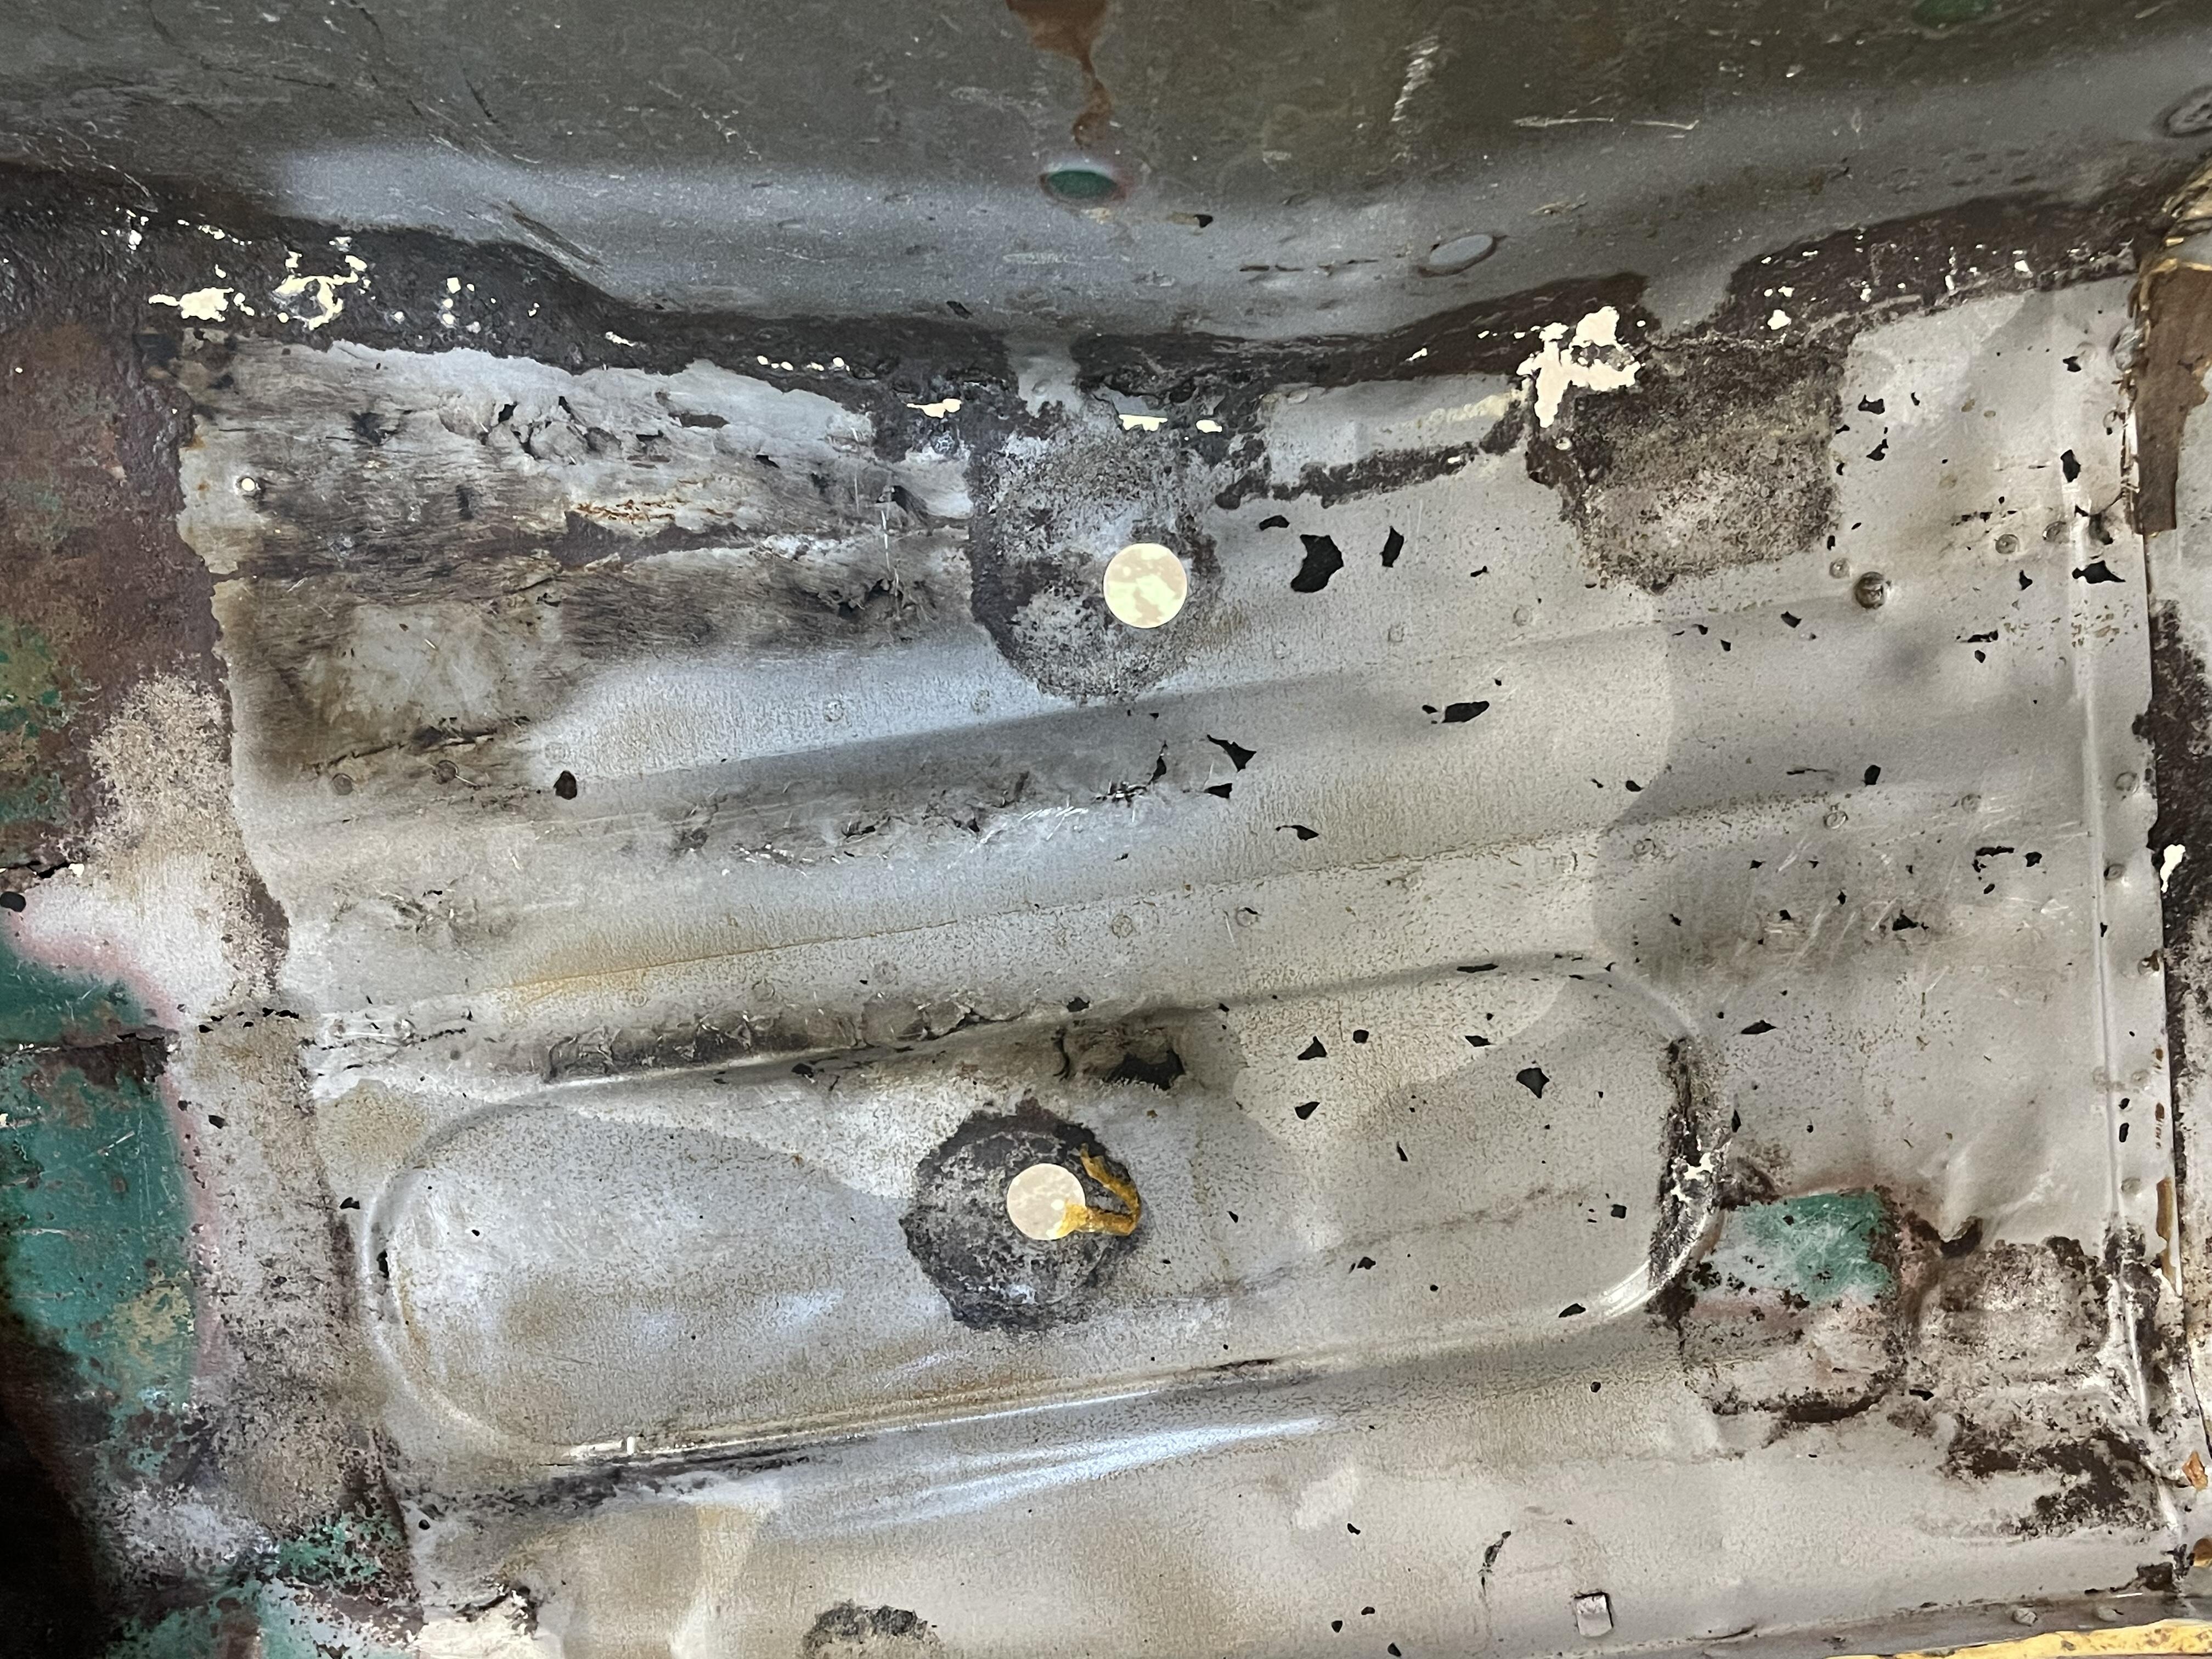
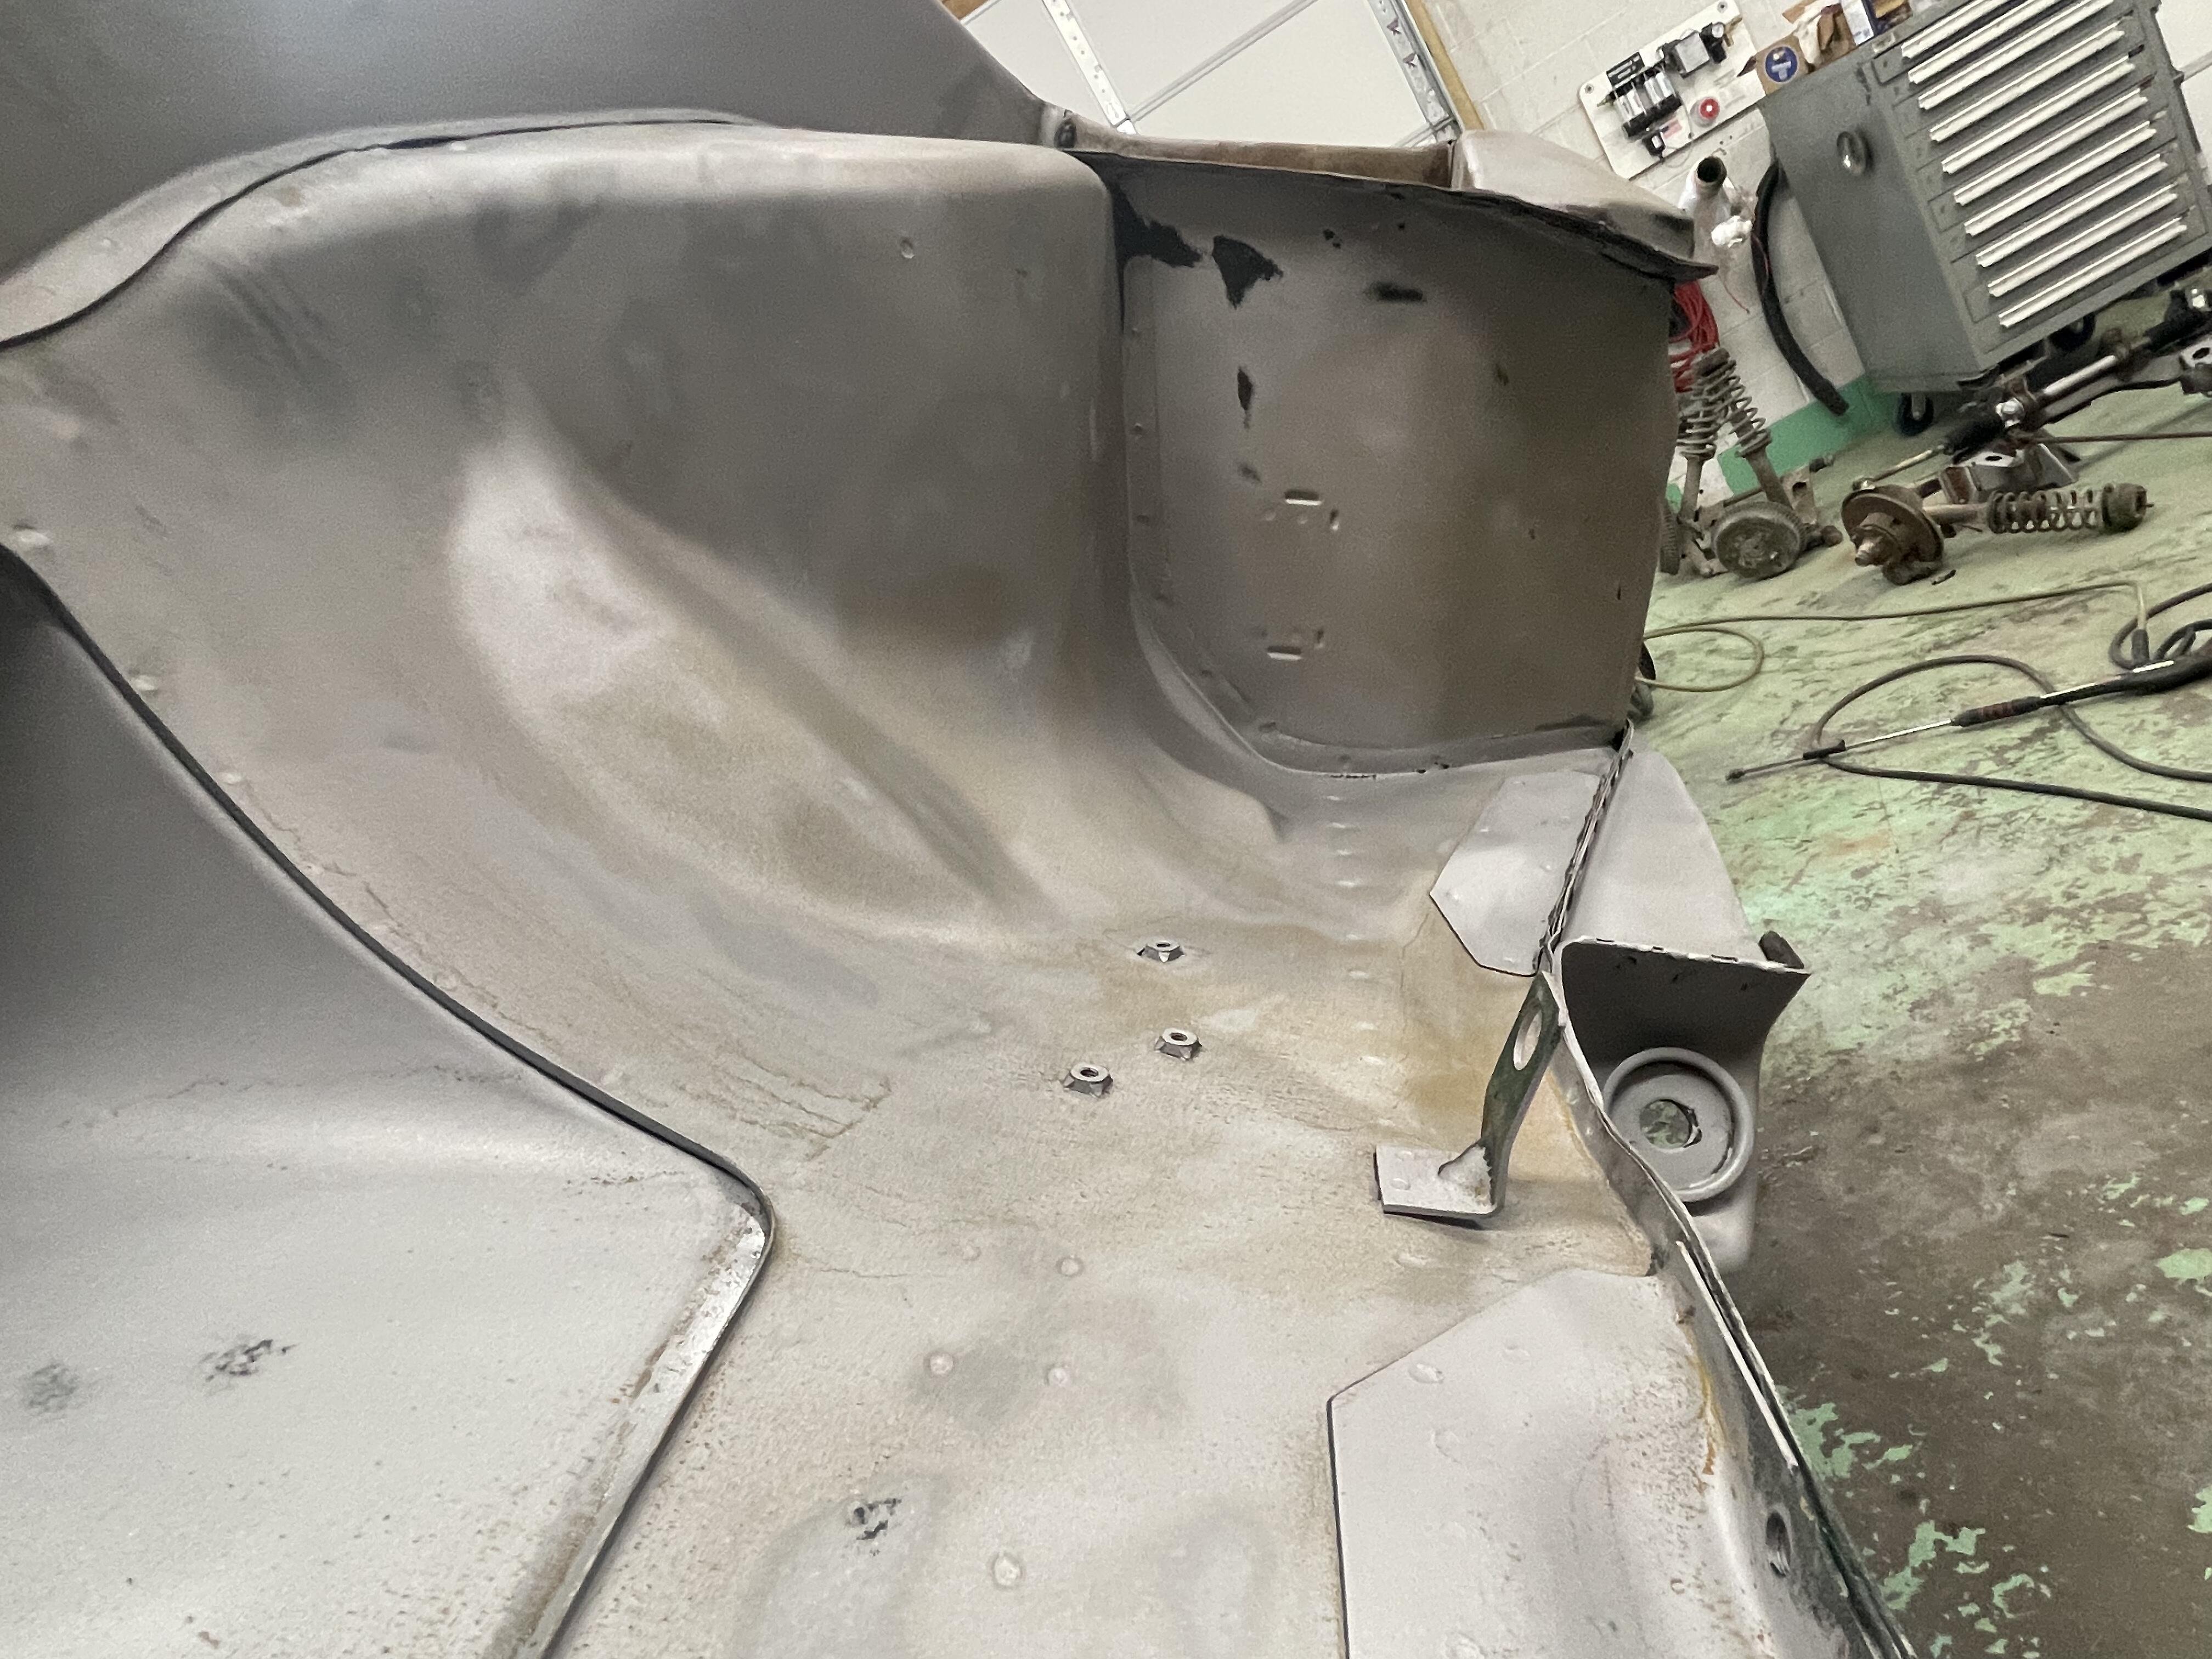
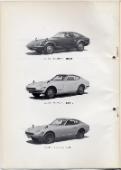
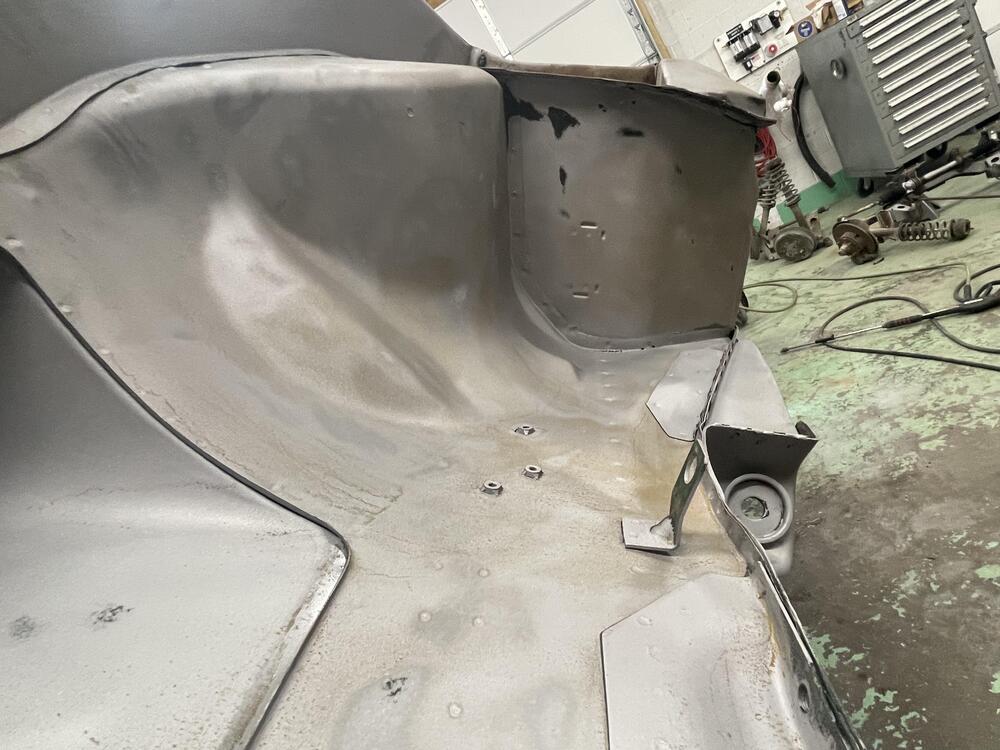
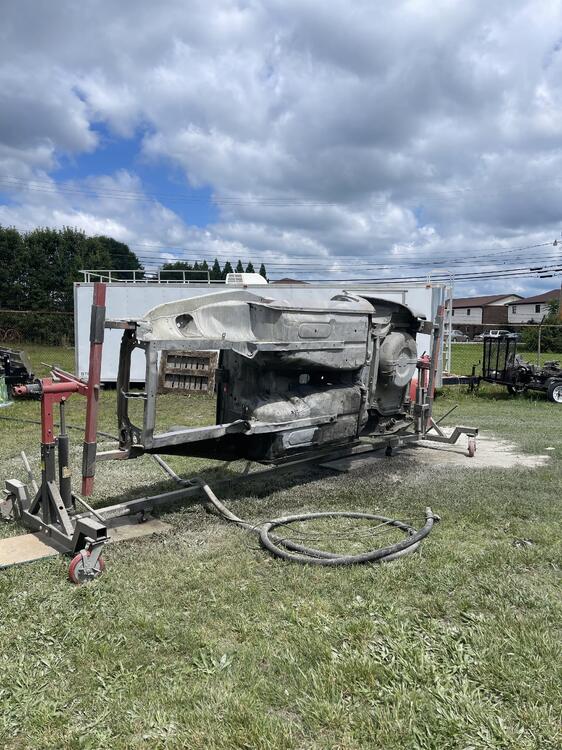
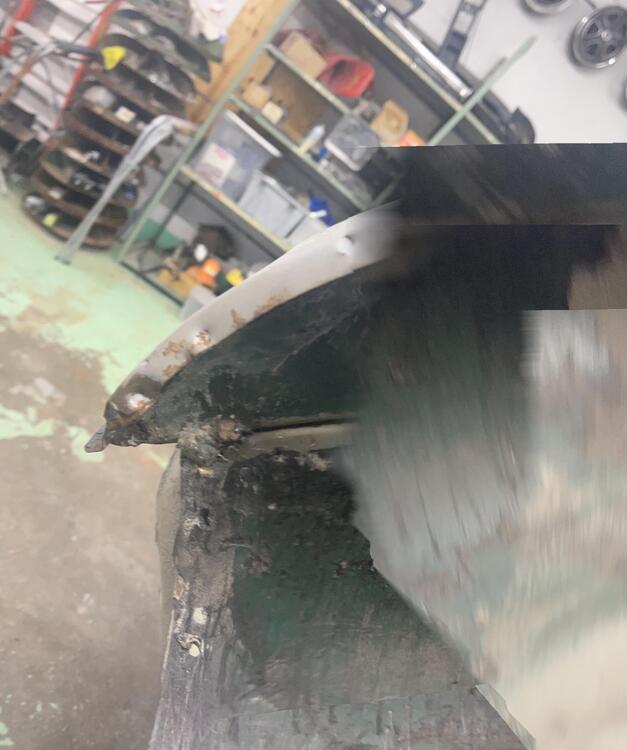
Removed quite a bit of undercoating on project 51. Looks pretty darn good body wise. Floor will need to be worked on, or replaced for certain. Overall still happy with structure. Front radiator cradle is the tough one. .I’m not sure I can “adjust,” all the dents and twists that have appeared. Upper cowl support looks like someone stood on the passenger side at one time. Spare tire well, although rusty inside, has no rust thru pinholes after blasting from both sides….


-
People that do this for a living are some tough dudes!!
-
Baby steps…
-
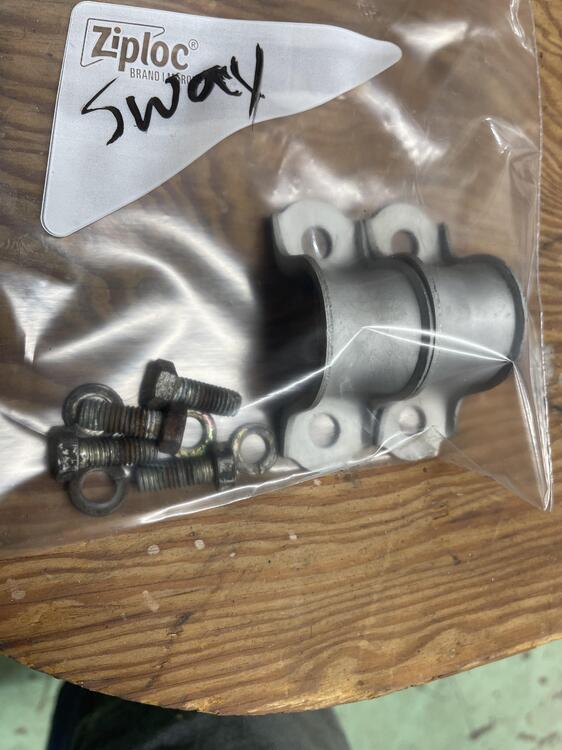
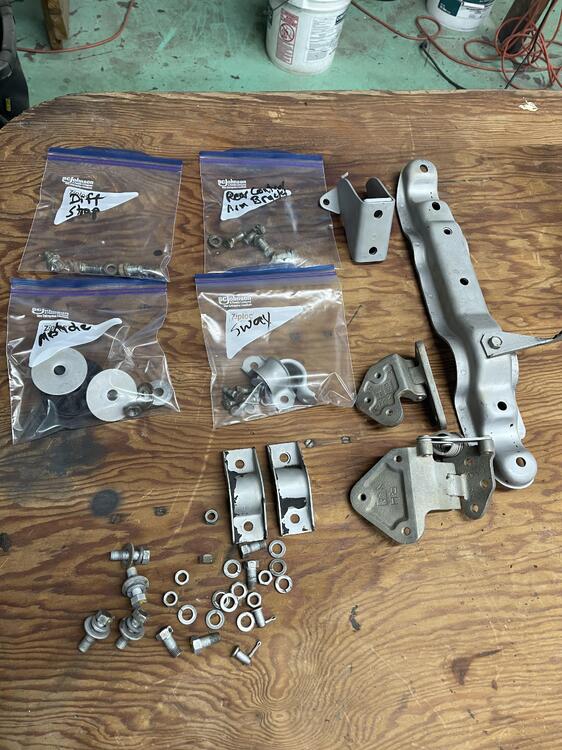
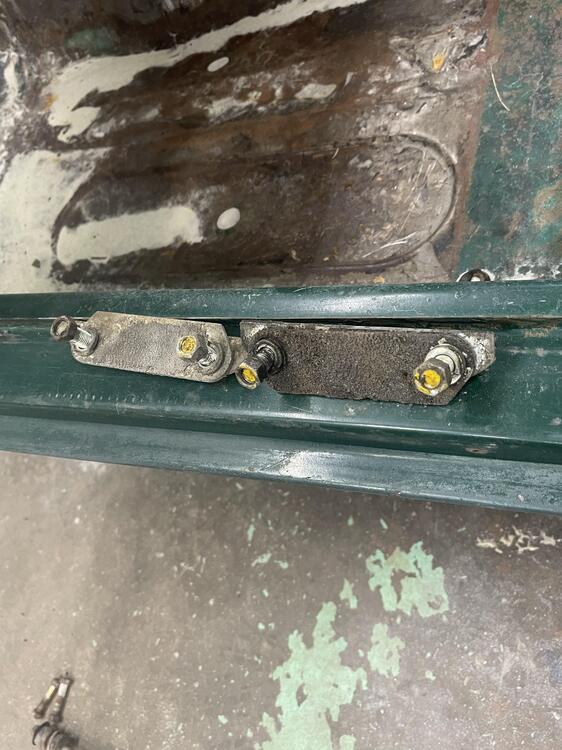
I remember questioning a restoration expert a couple years ago about their sloppy application of the yellow paint around the suspension nuts/bolts that are underneath the 240z they had completed. I can only imagine now that some cars were marked with a quite wide brush, as can be seen in pictures of the front diff crossmember of attached pictures interesting to me, will have to really “slap on the paint” if that detail is included later on for me.


-
Careful removal of undercoating and grease revealed a partial number on most mustache …. I’m thinking they were all the same with 240s… Too aggressive I was while “gently scrubbing” 1

-
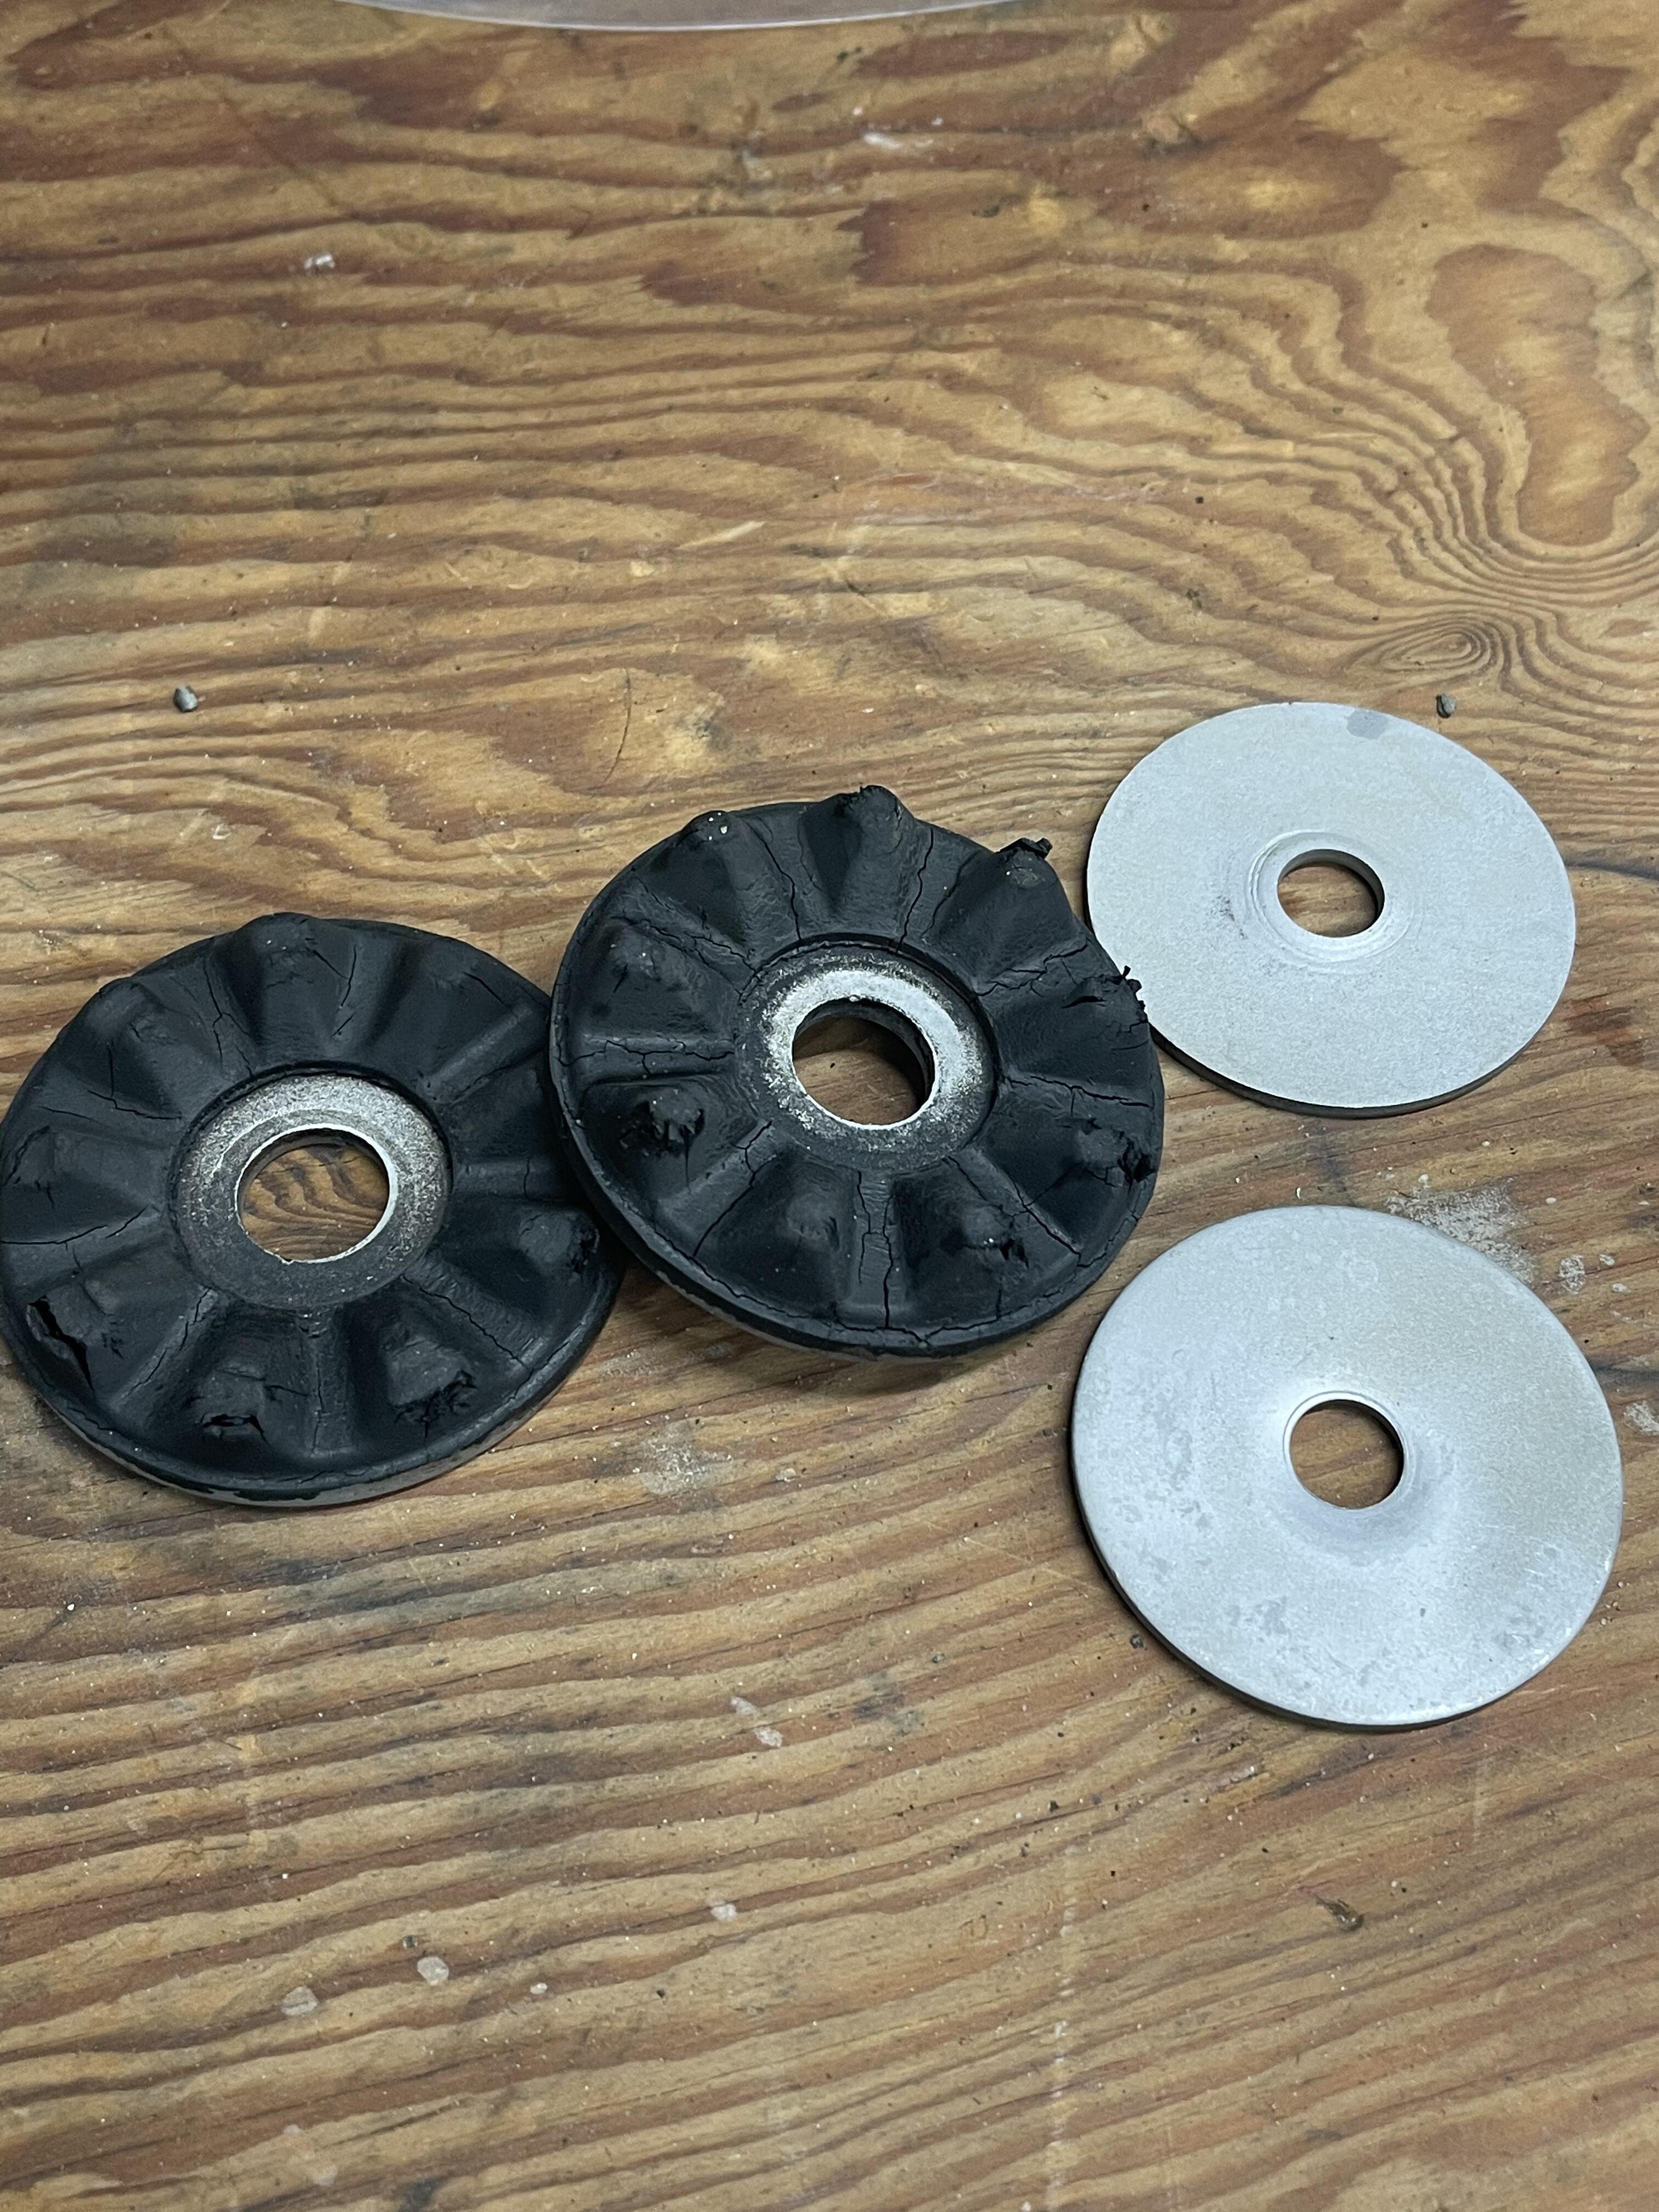
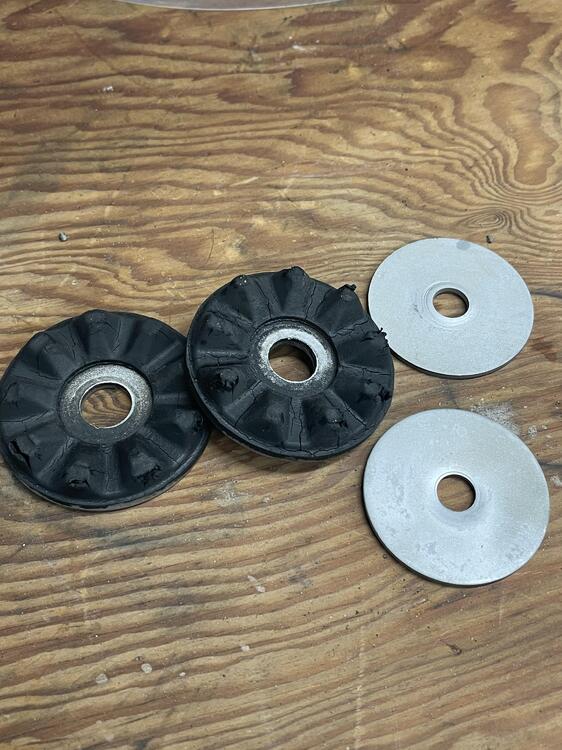
Reinforcements/washers for the front cross member attachment to frame rail
-
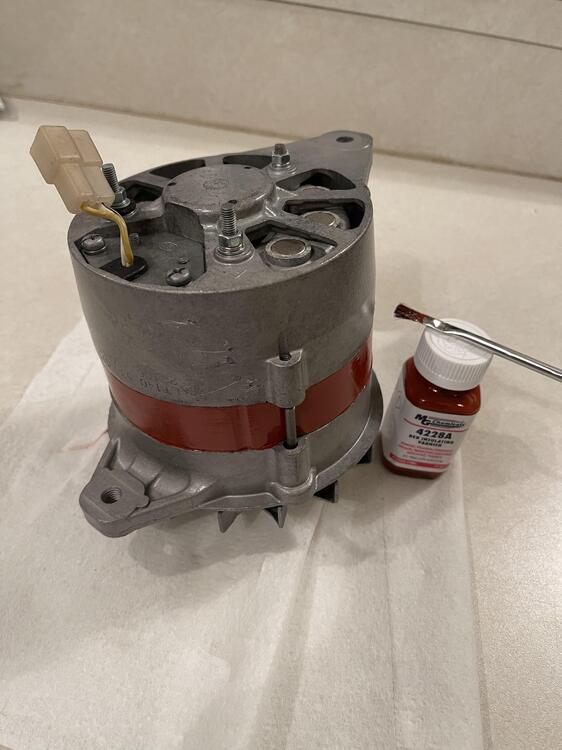
Cart in front of the horse syndrome…. Put the refurbished alternator is proper painted stator housing waiting on a home…….
-
Yes. I had a quote for cleaning my back porch, and 360’ of railing around the edges, and saw my chance to argue for the unit , in the name of buyingbthe machine for half the cost of the quote….. still haven't finished in the backyard yet, but is is convenient for ‘occasional body panel, car etc……
-
Although I've only used the dustless blaster on a few cars, really haven't had that problem yet. the water is advertised to cut down on warpage due to heat.....I guess with aggressive media, metal could be moved around somewhat with a somewhat similar result....
-
Not familiar with "Oil canned"?
-
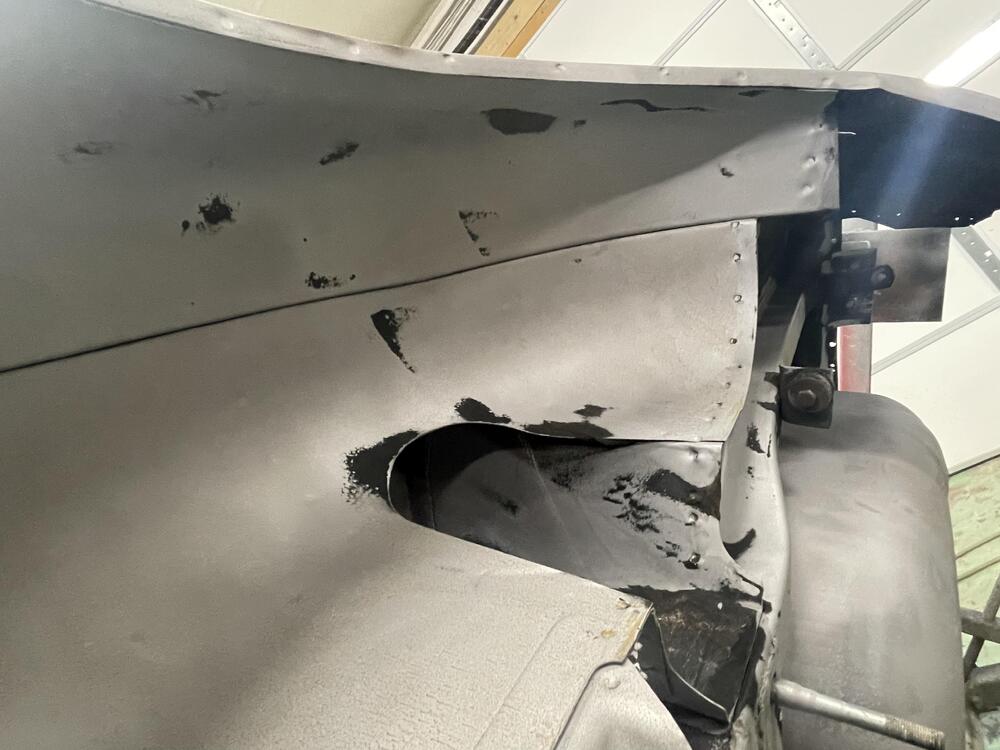
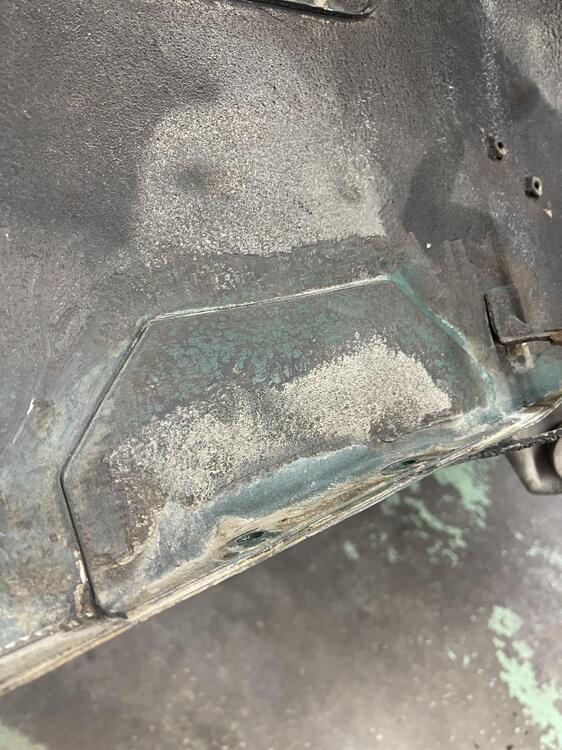
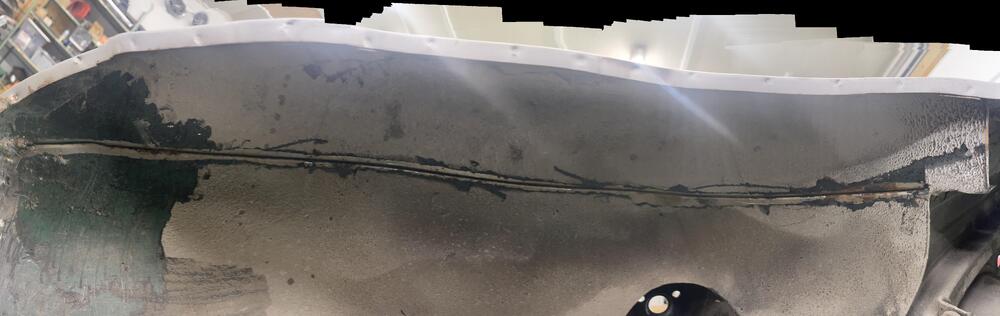
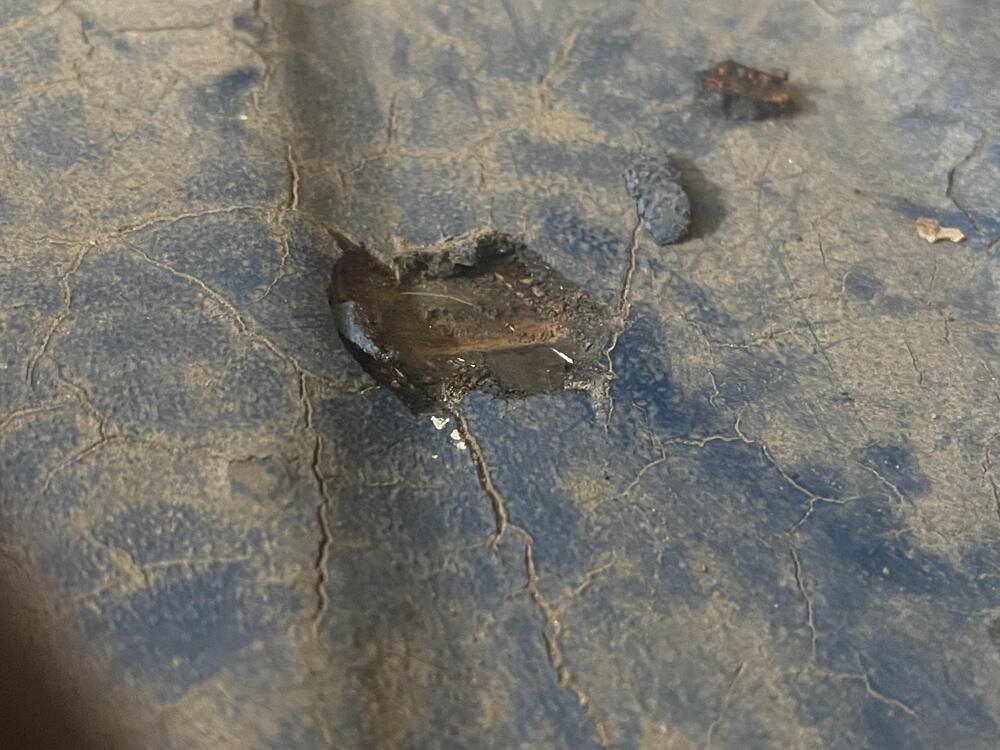
Important prone to rust areas look very nice on drivers side, left hand side. Hammer and chiseled the thick coat of undercoating off these areas to confirm what lurked beneath the tar…… I know I have brought a few cars home with similar undercoating, that had possibly been applied to conceal the evil rust monster… Have mounted on rotessiere, waiting to have time to prime within a couple of days of blasting.

-
It always makes me smile when taking off suspension peices that show the yellow Q/C brush marks…..
-
From what I can see it got passed around a few times in the California/ Texas area? It has a zcar home registered “diploma “ from back in 1995 declaring it under restoration…. I received it as it was in pictures in 2013 on BAT auction….. In a way the car is in better shape by sitting in various garages, and sheds over the past 30 plus years…. Even had one comment that it had been looked at back in the 80s and was a “train wreck” then. Of course 80s train wrecks are today peachs, I guess….especially if you’re used to seeing east coast Zs…….😃
-
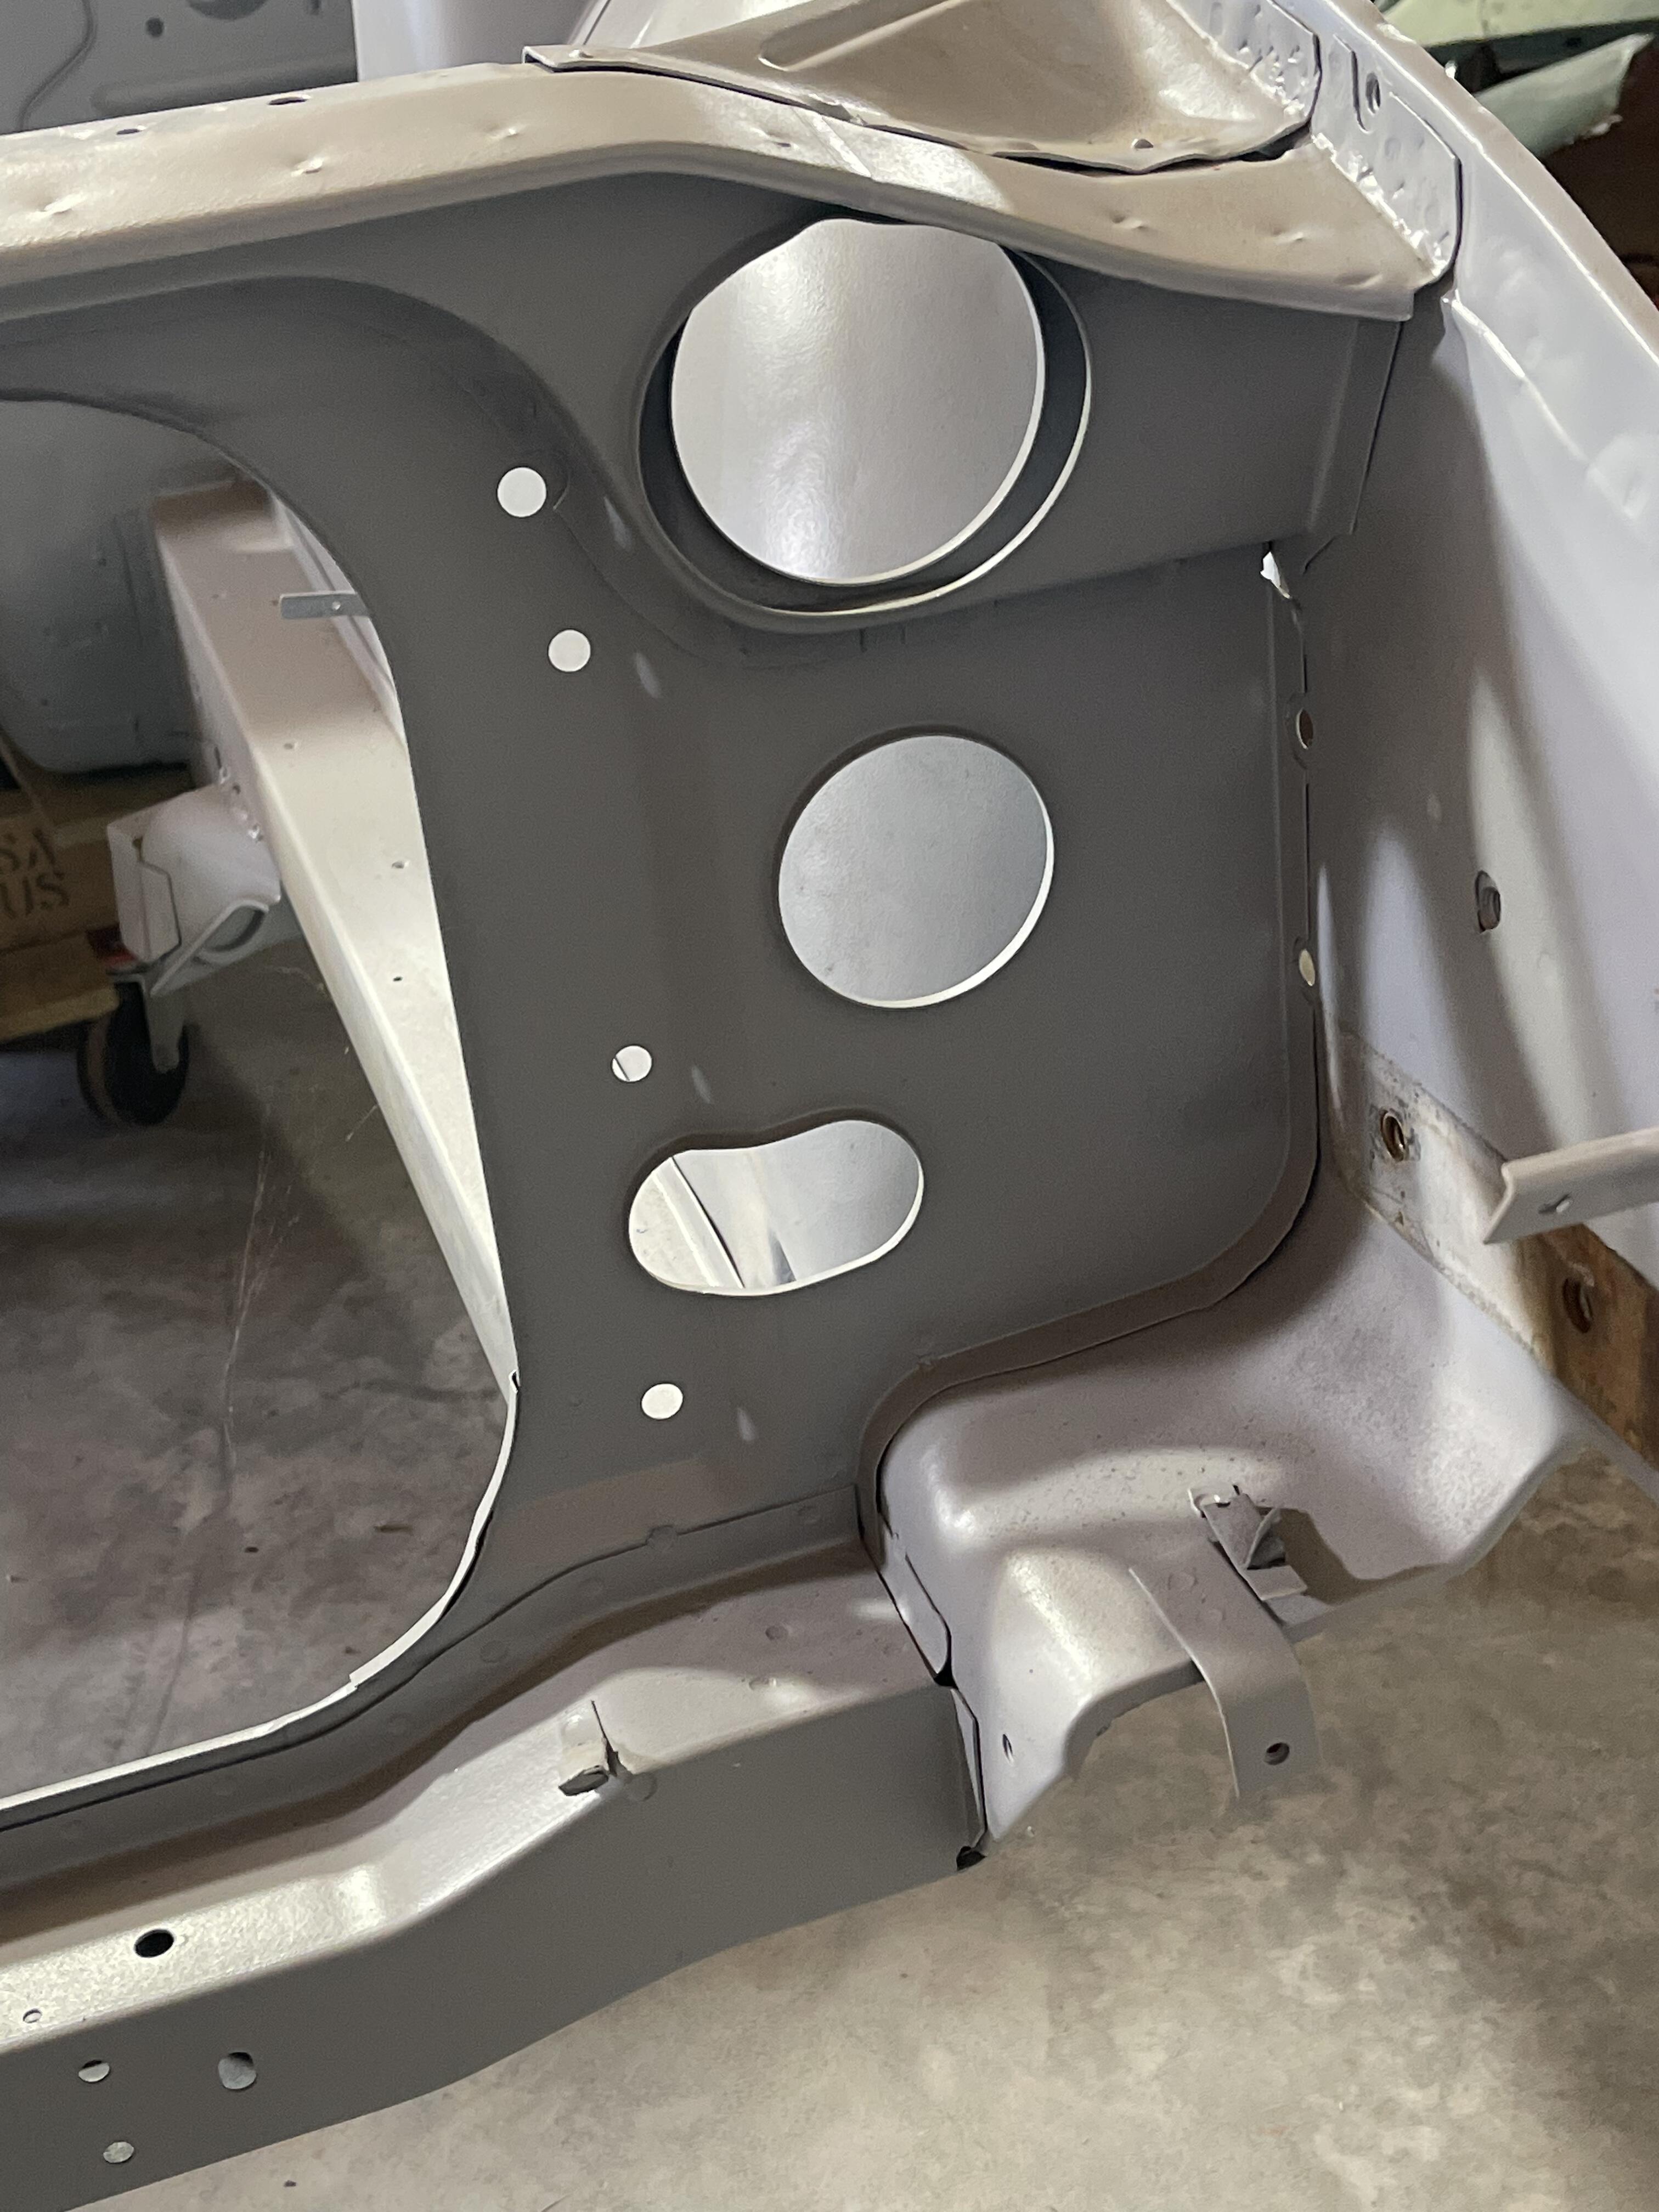
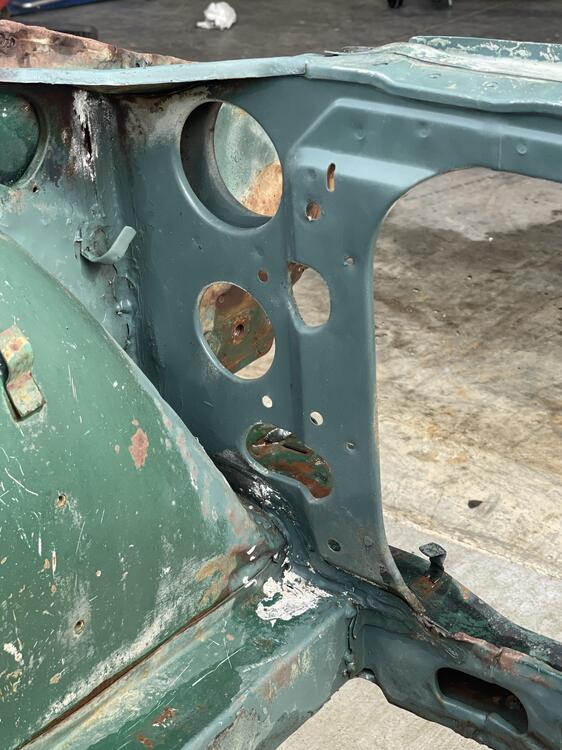
I know of the change, because I passed on a silver 1971 Nissan restored car in 2008/9 for cheap because it had the same as above 4 hole radiator support…… thinking that no way would this be “right” ….. come to find out, there really wasn’t a “right parts” with those cars that needed peices replaced….seemed to grab whatever was handy and send em.
-
Not really sure what the purpose was. But pretty sure it started with the 73 ? Model.
-
Fine crushed glass
-
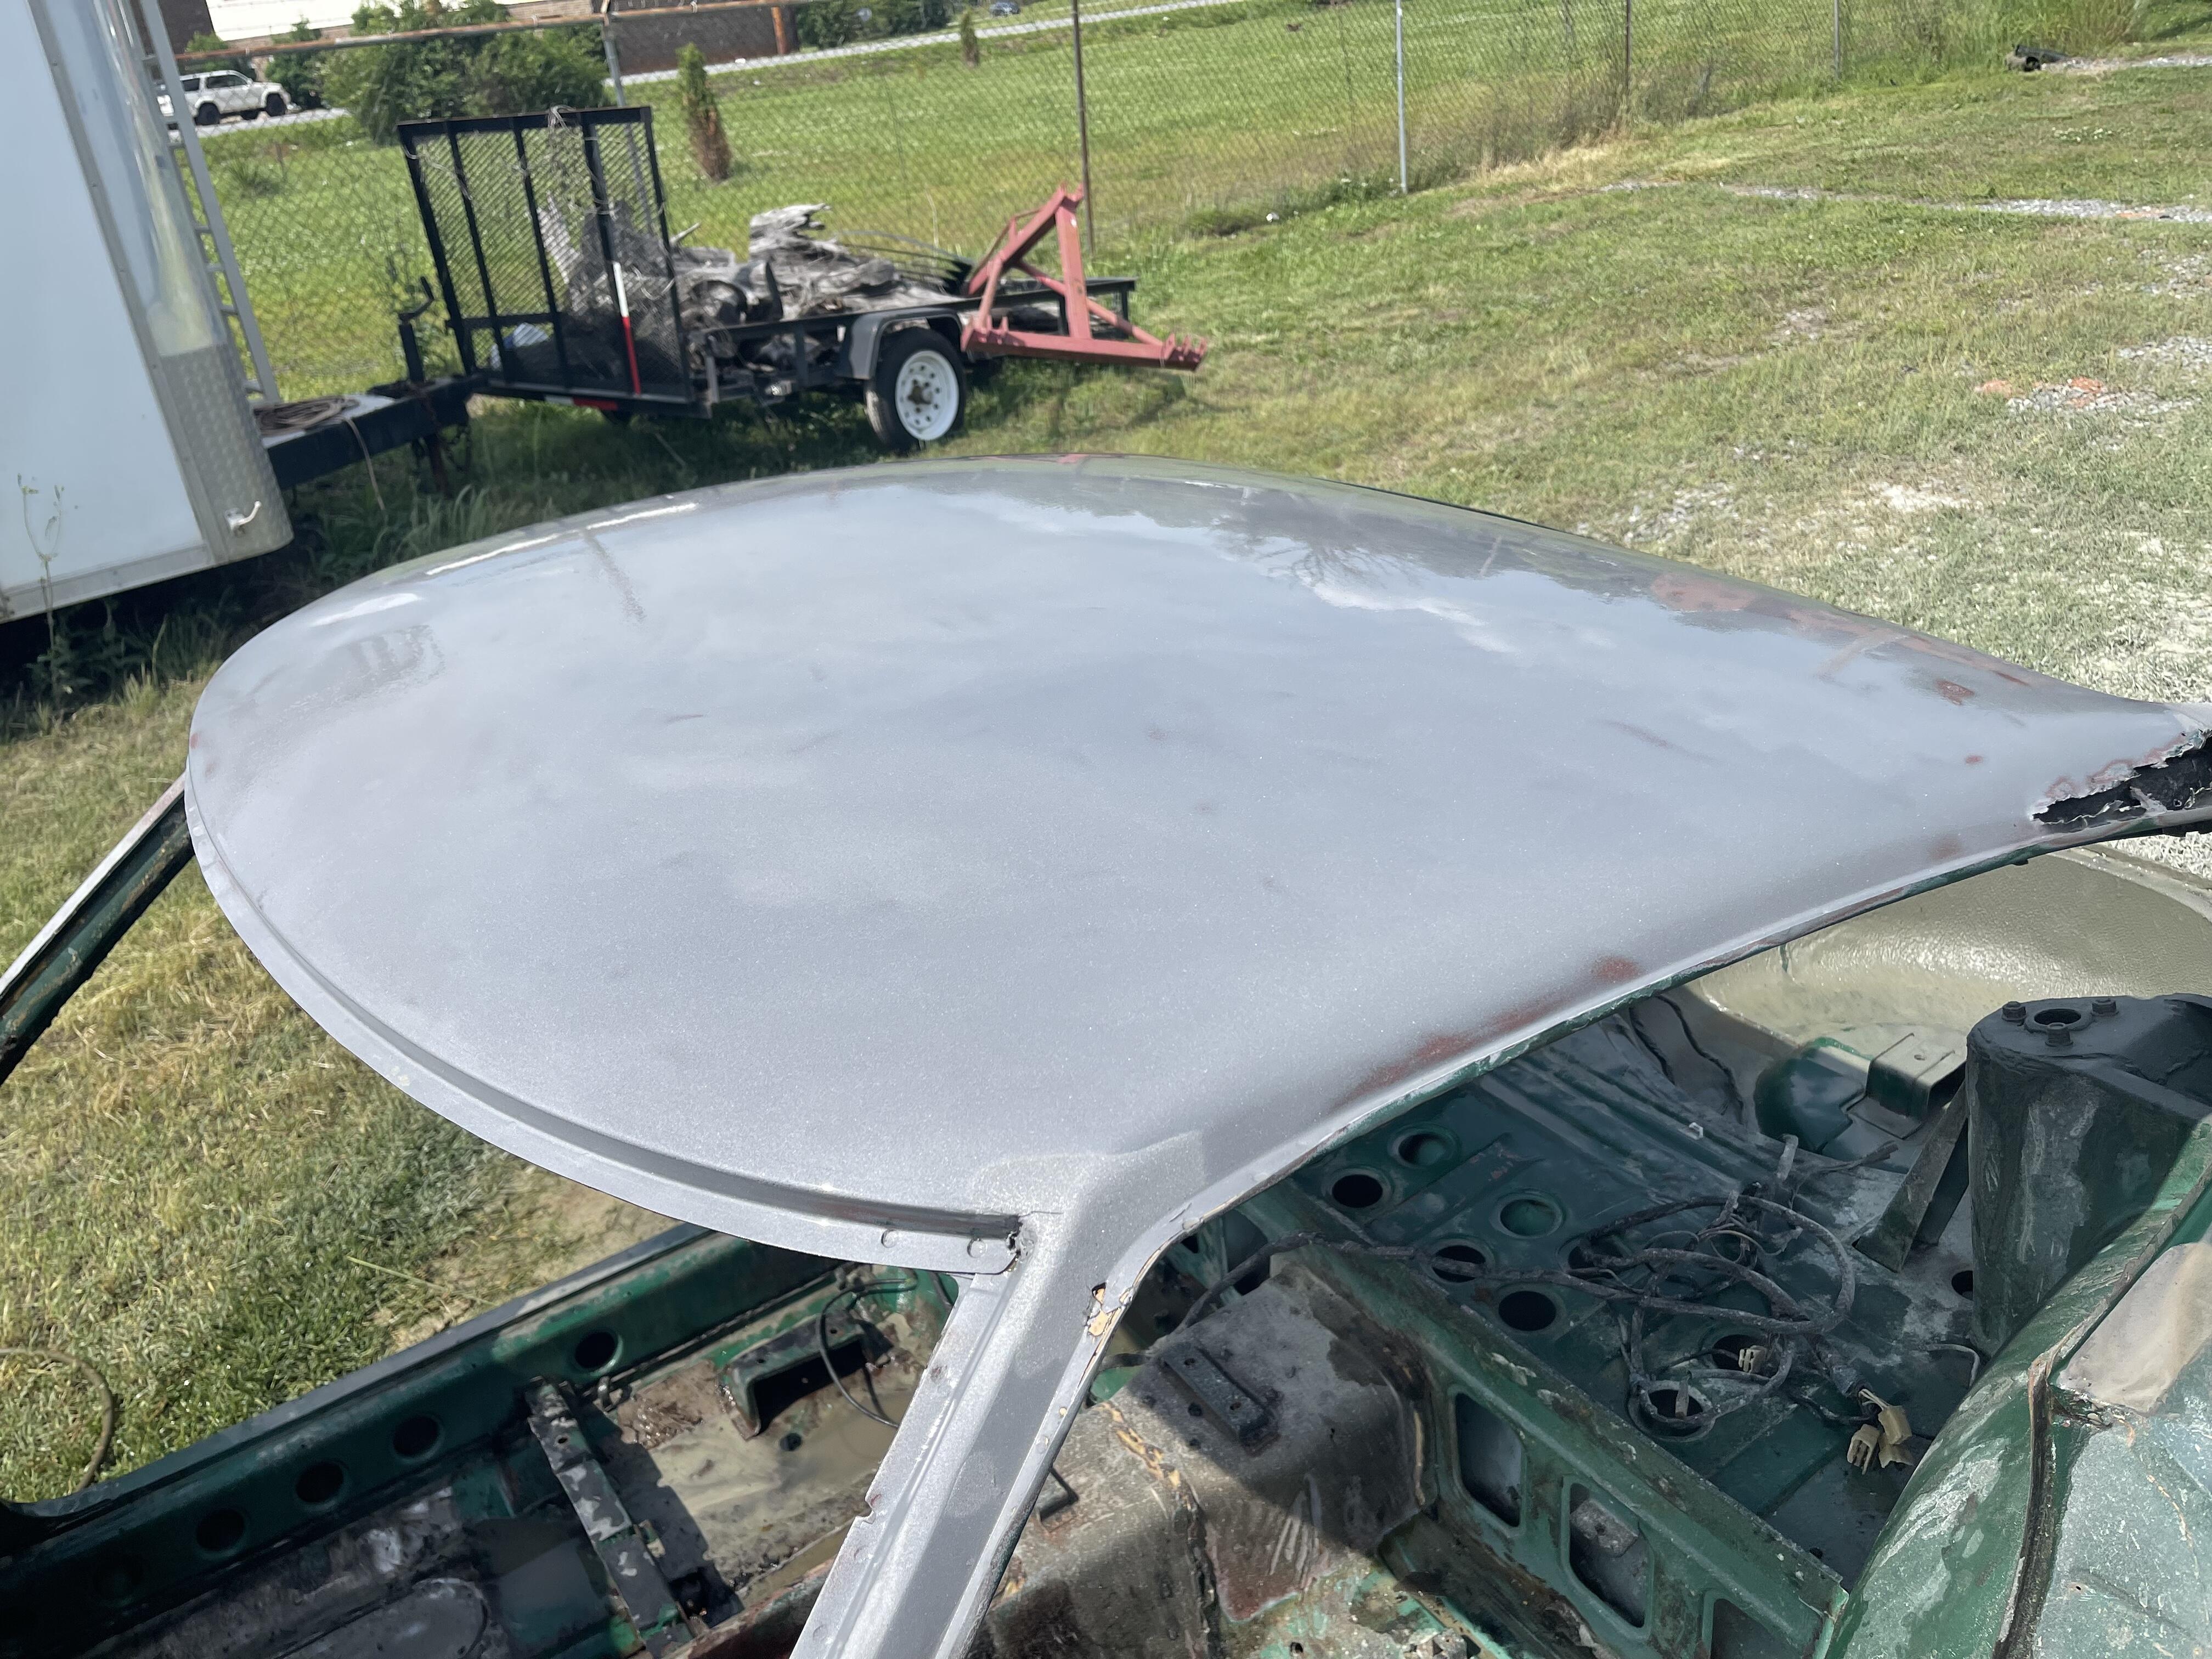
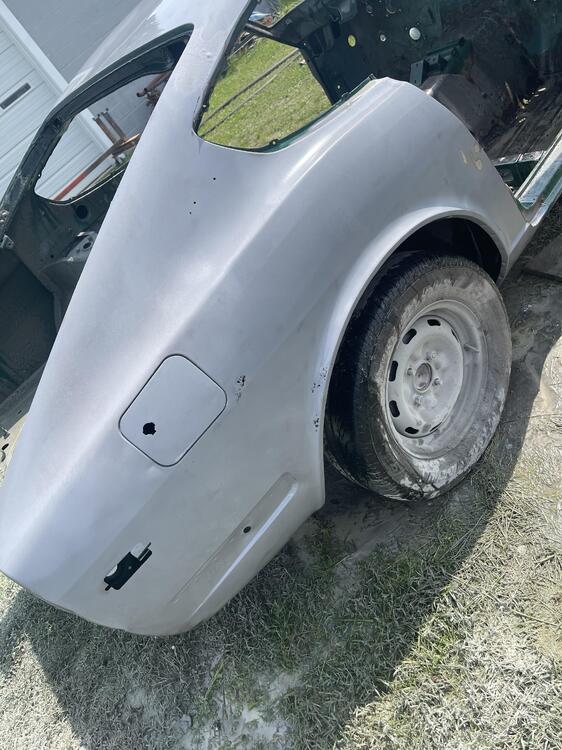
Reading through several stories, blogs and after texting with a respected z connoisseur earlier this month …. I heard my “51” called all sorts of names….basket case, train wreck, rusty, good car for parts…. Stoked my curiosity to the point I had to blast at her with the dustless system…… Last year a friend of mine peeled back some layers of paint and bondo, revealing a patchwork of welds and repairs that was somewhat disappointing. I didn’t notice the wide “hips” on that early car as well……I have a pretty good eye for wide hips….. on zs. Did the roof, and rear quarters to hopefully not find that same patchwork of repairs….. not perfect, but it was the first z roof I’ve seen without filler. I’m happy with what was …. Or wasn’t exposed today!


-
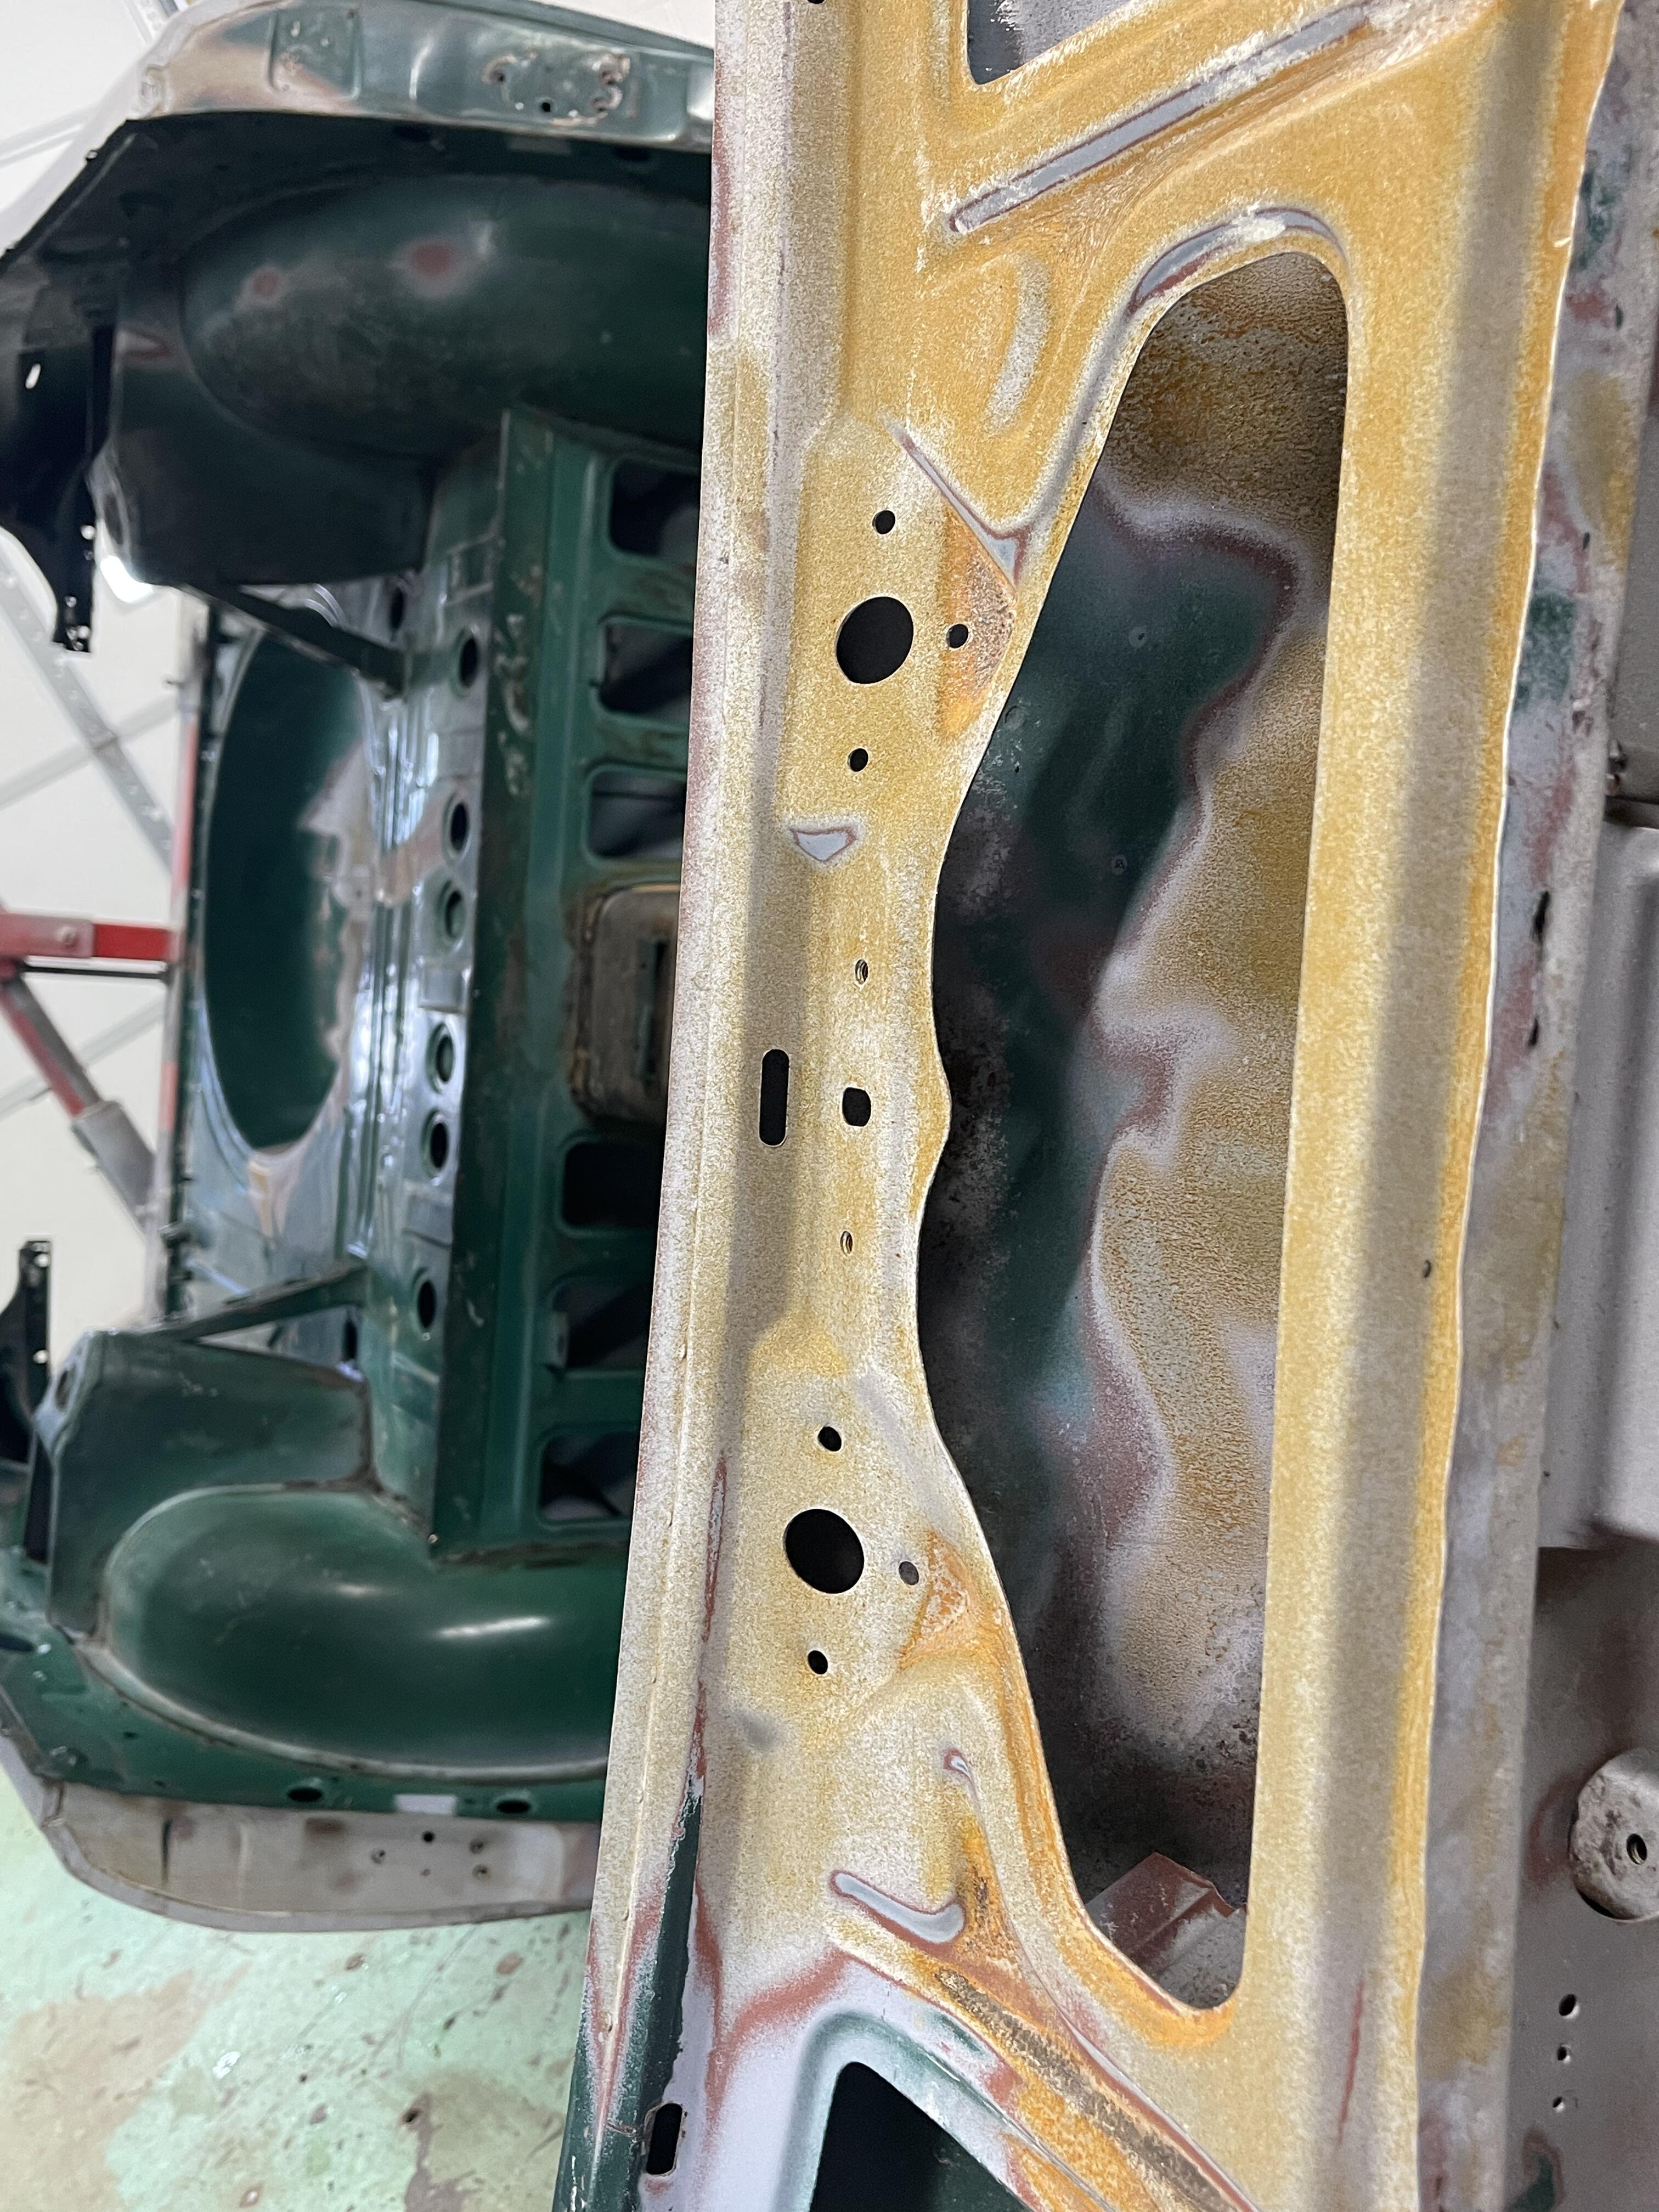
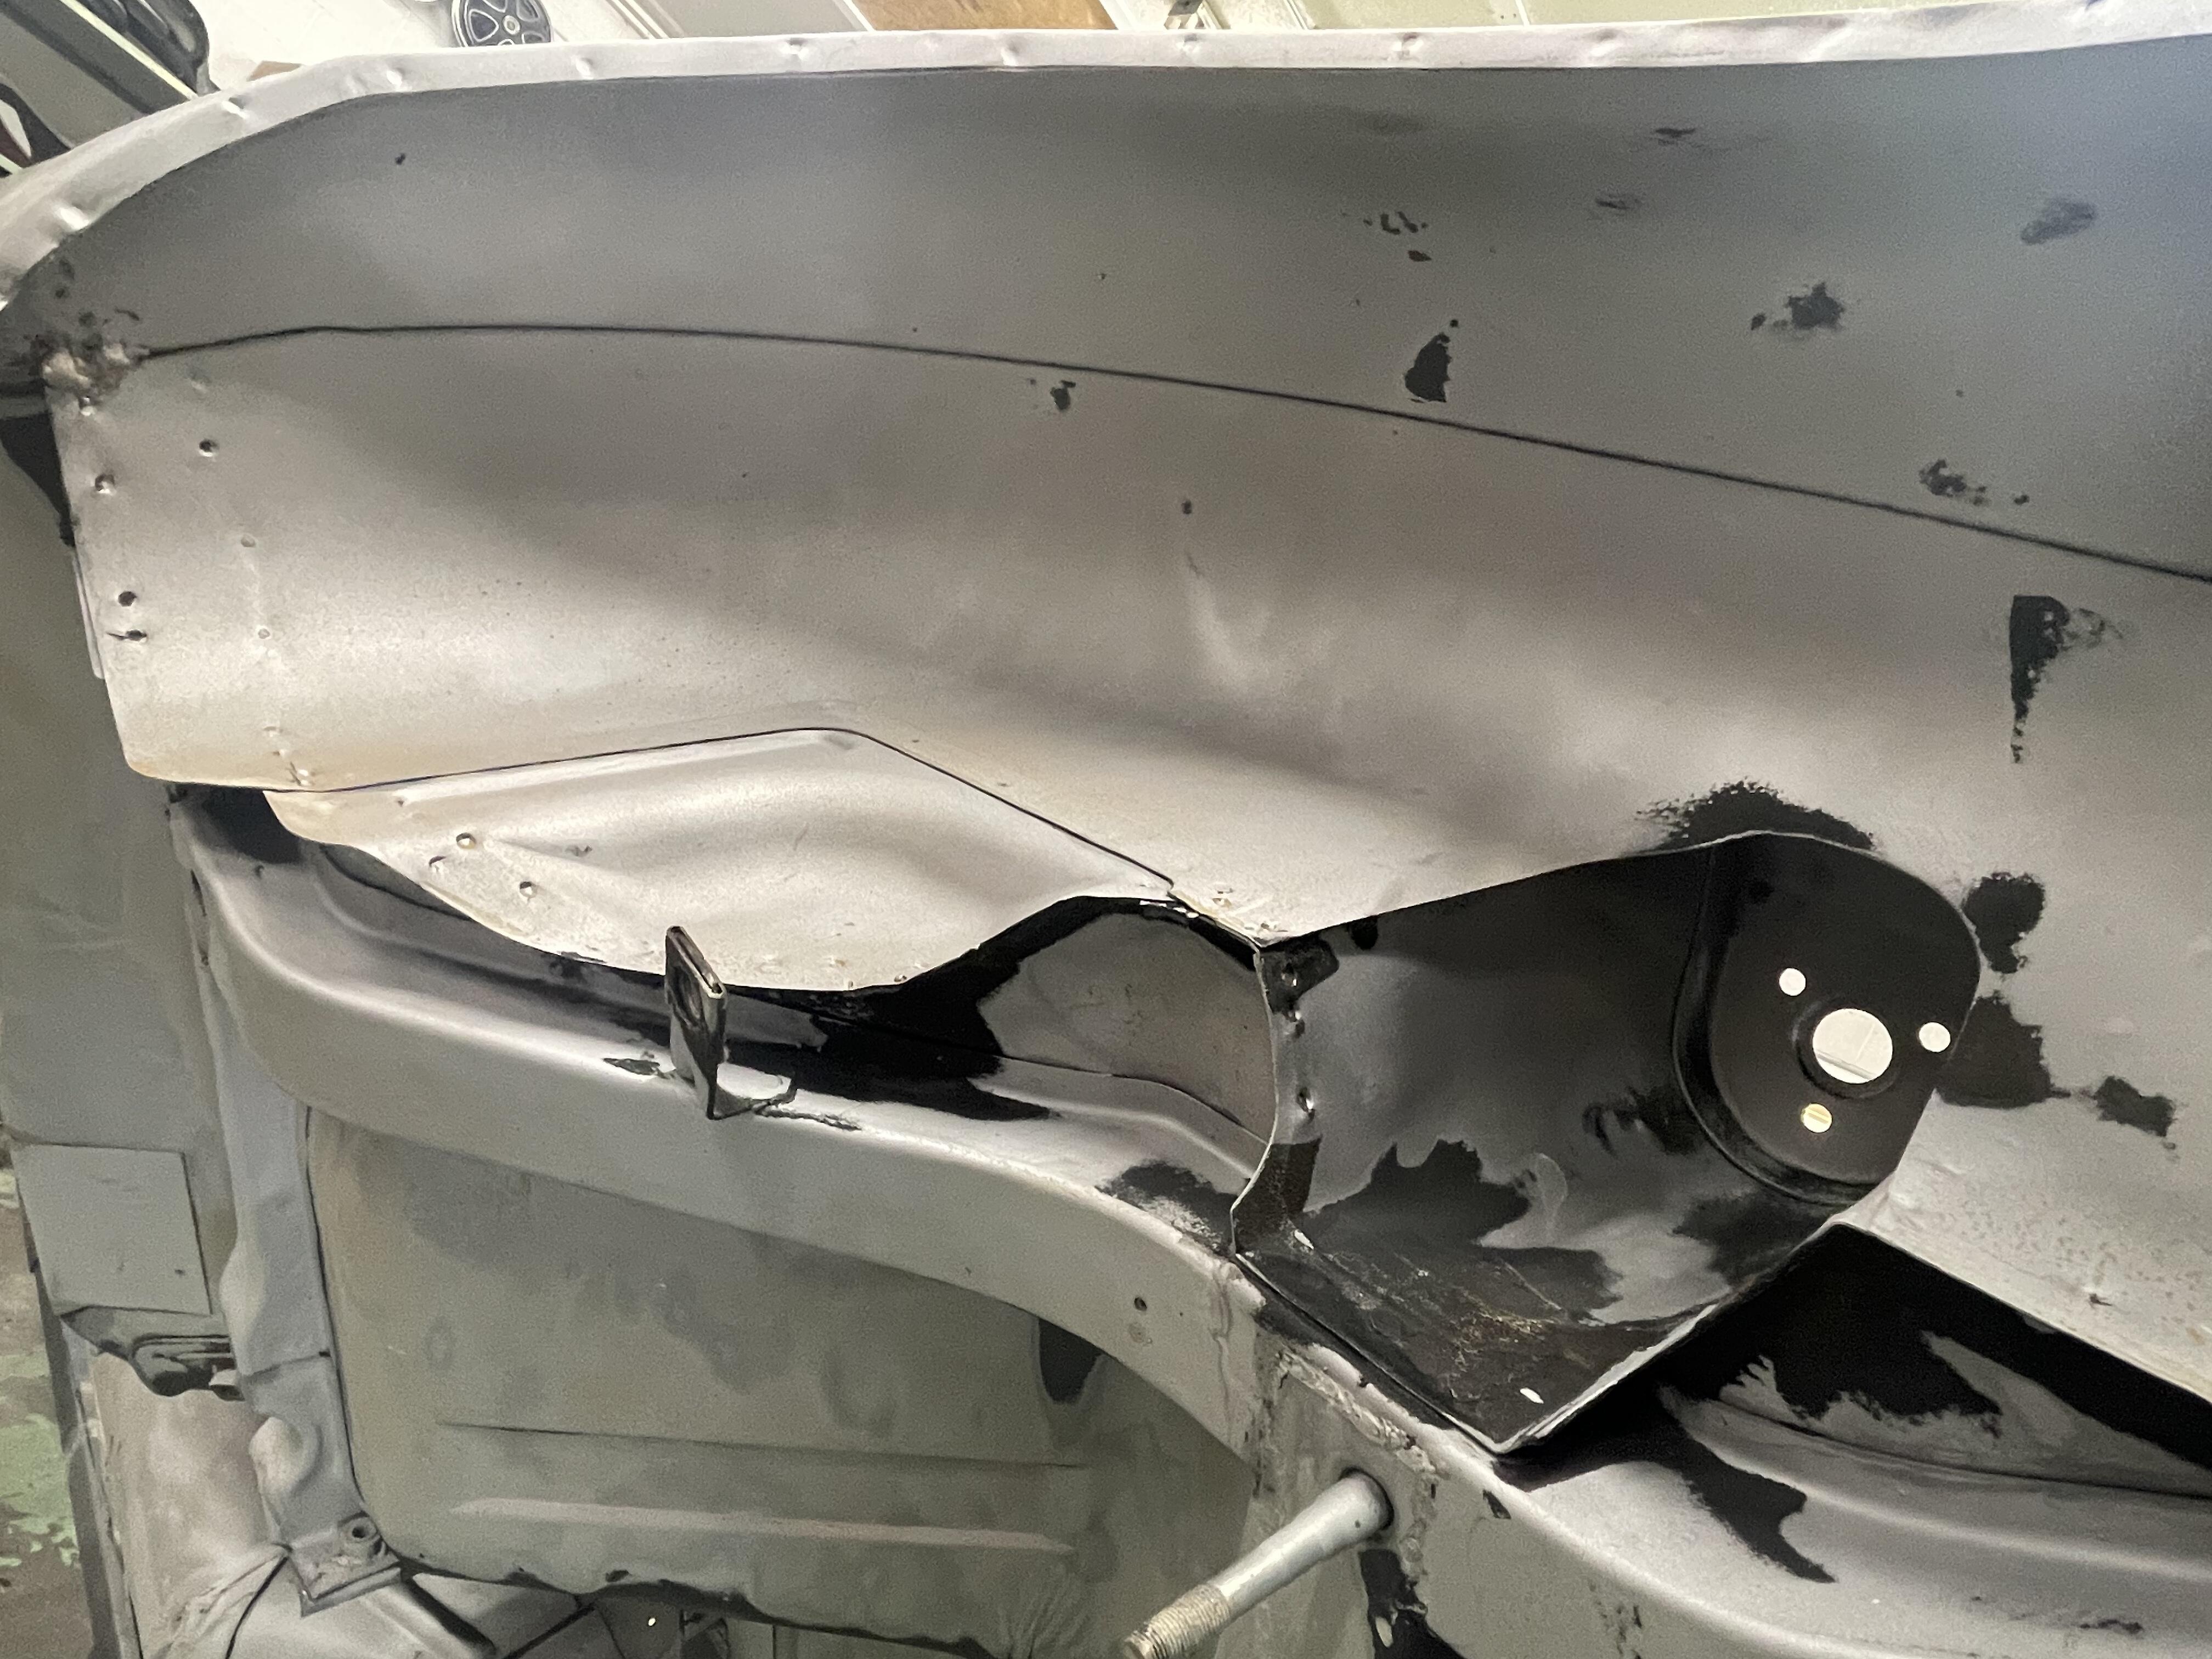
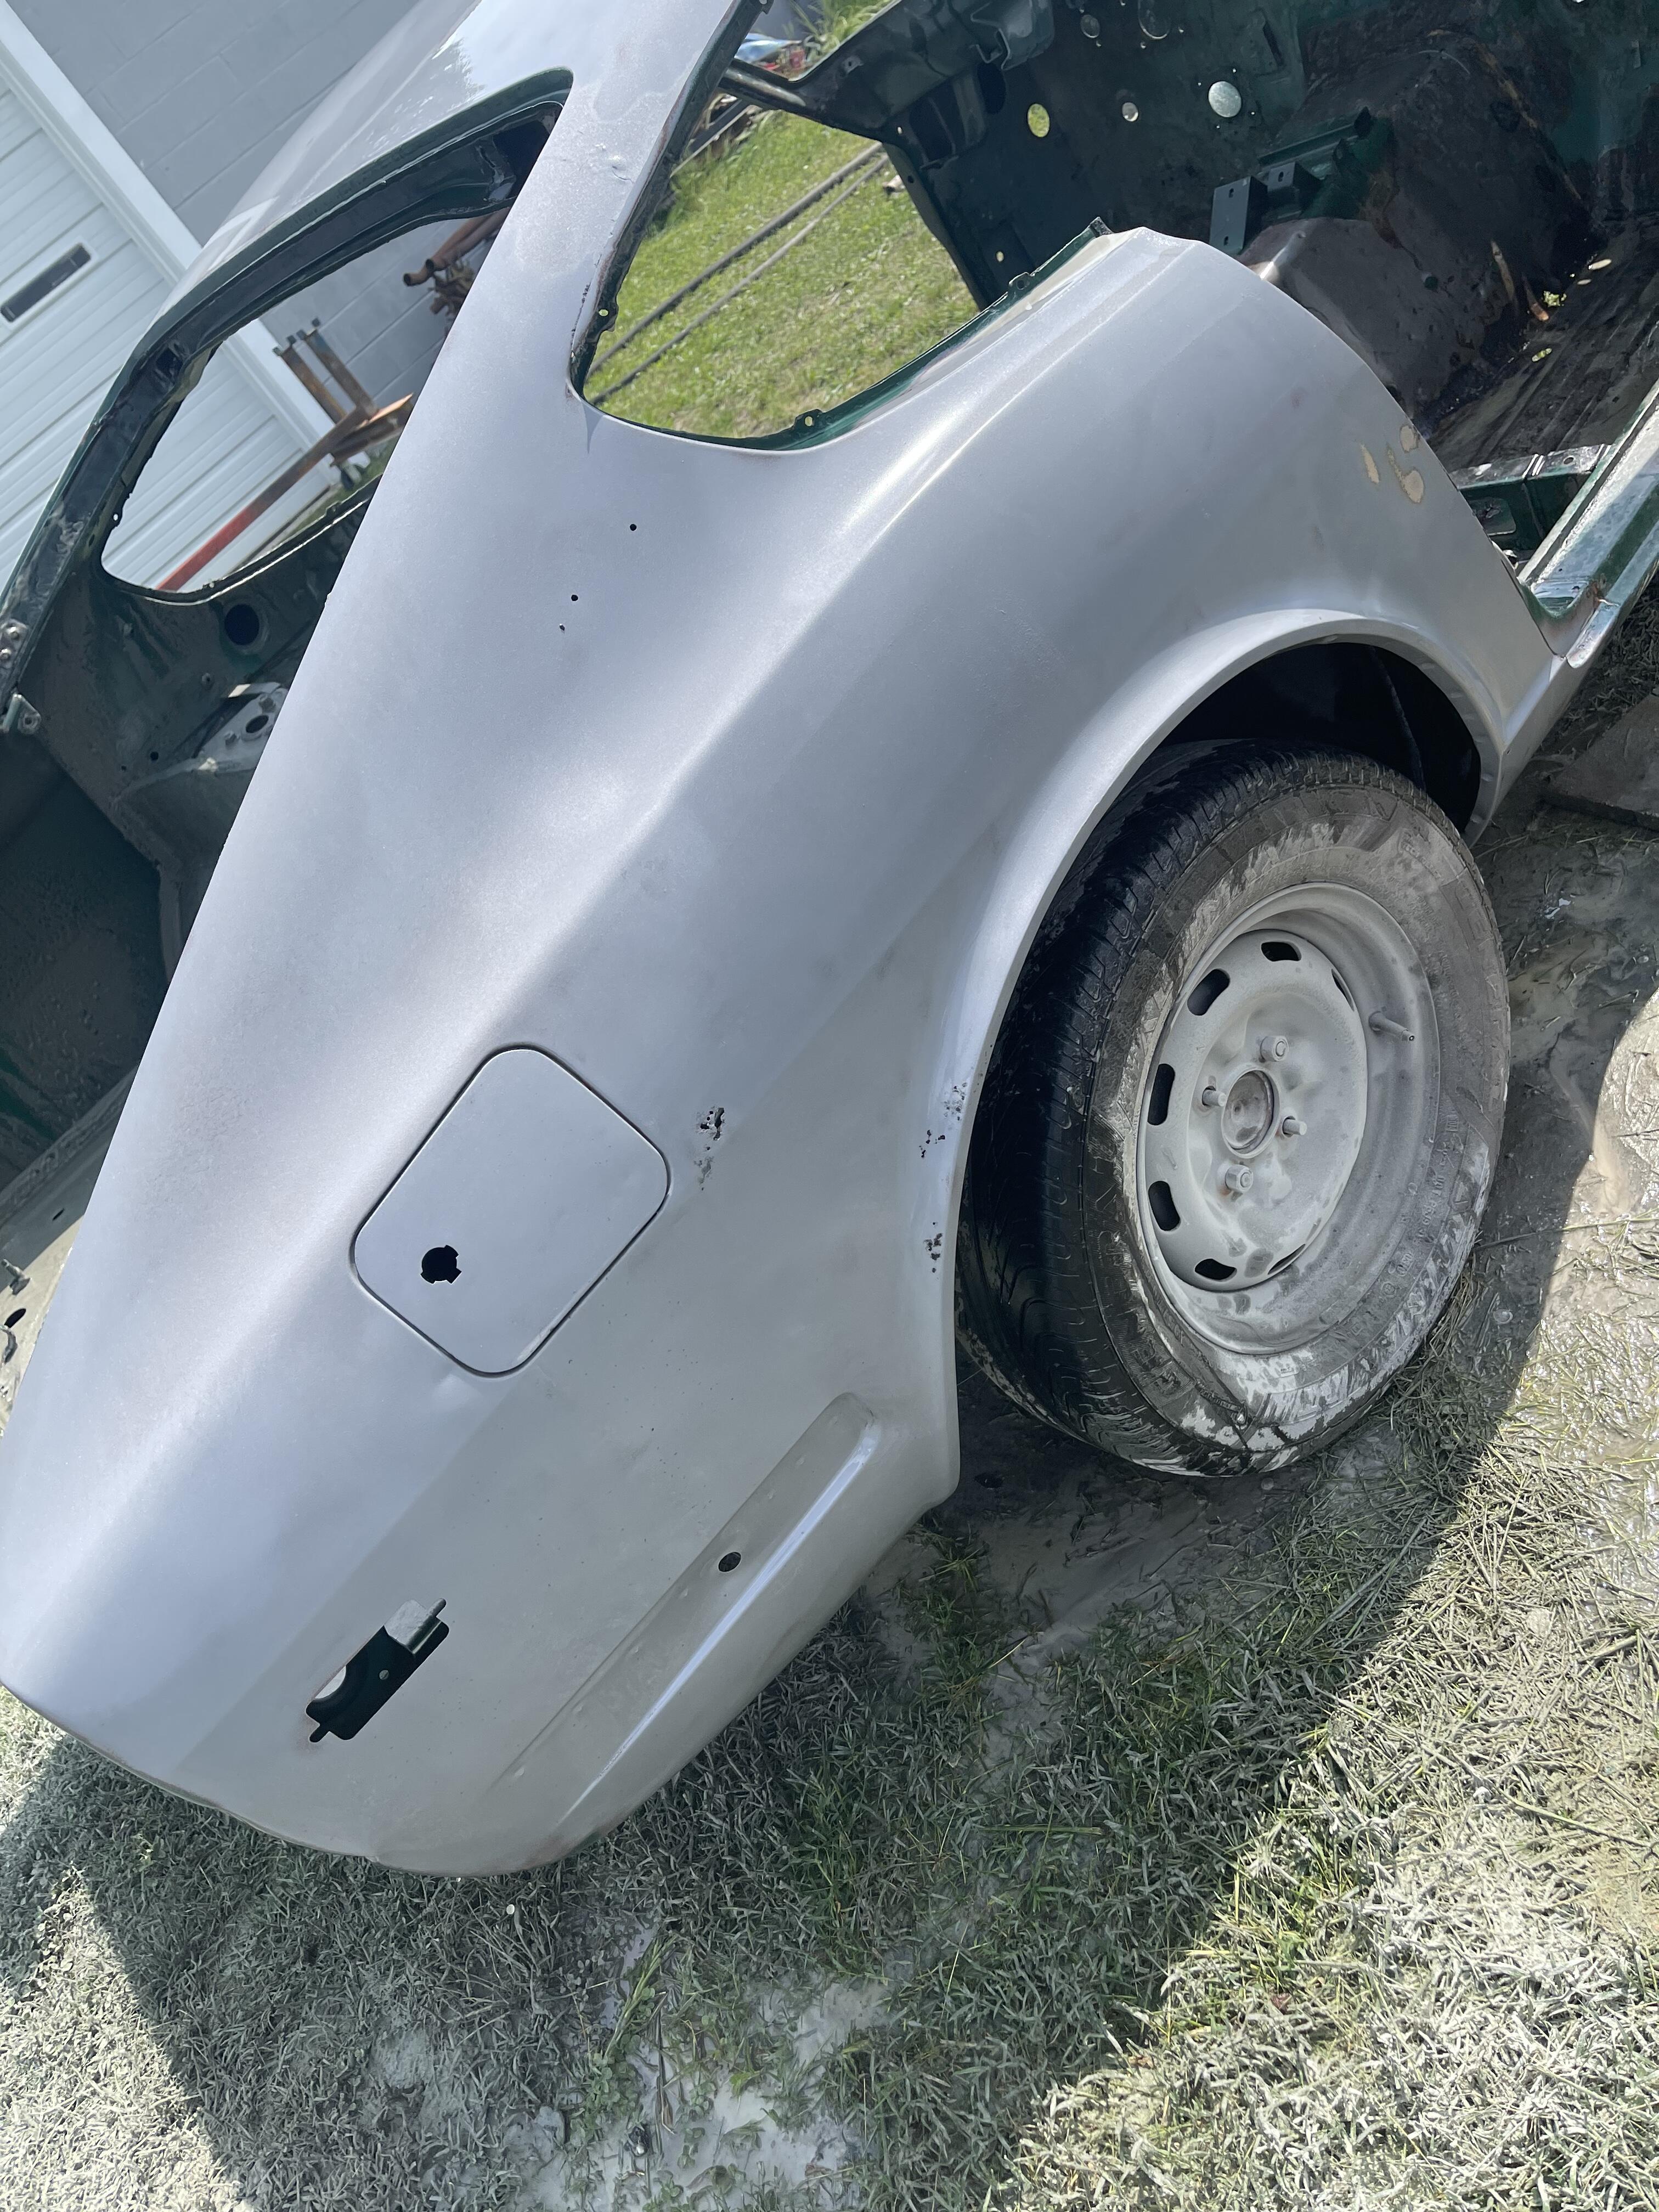
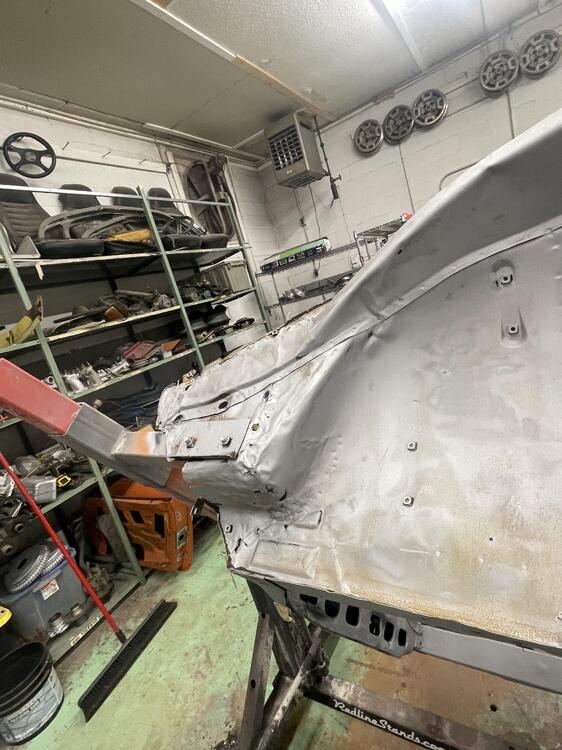
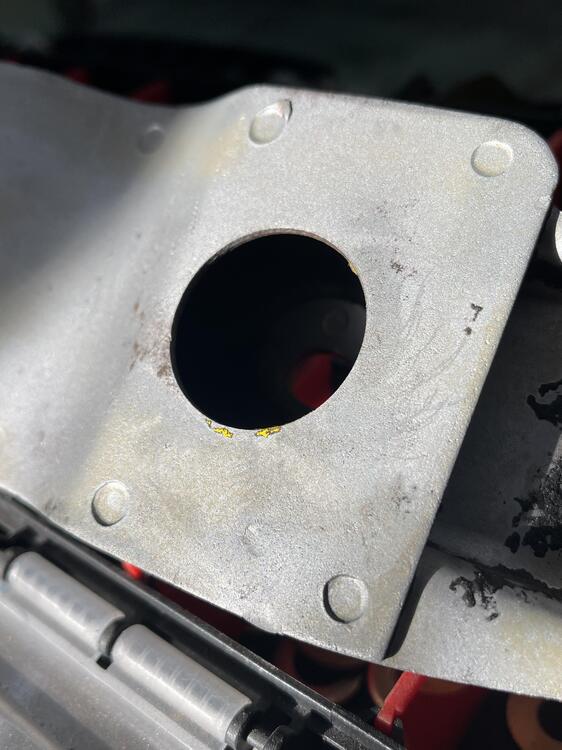
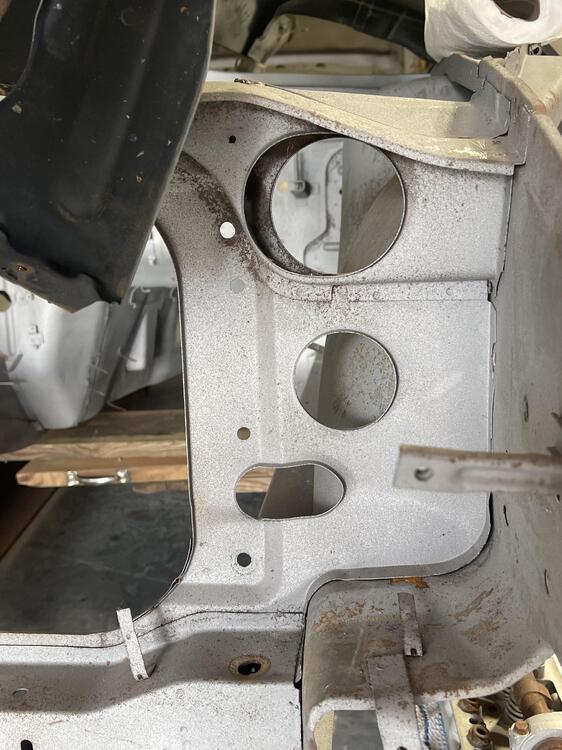
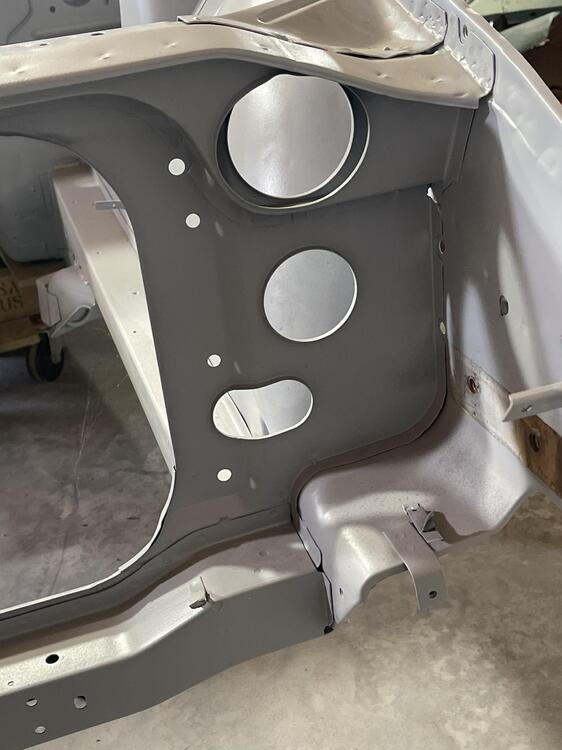
Surprise… Fenders off and removed engine block today, closer examination of radiator ore support area reveals a 73/74 z radiator core support. Lower support was reused. Quite a few differences from early to late supports. Most obvious being 3 large holes in early drivers side, versus 4 in later versions….. Honestly, I expected more surprises by now, The exploration continues….
-
Well, I can say that 740 was pressed down. Change over possibly with no sound deadening tar on cargo floor?
-
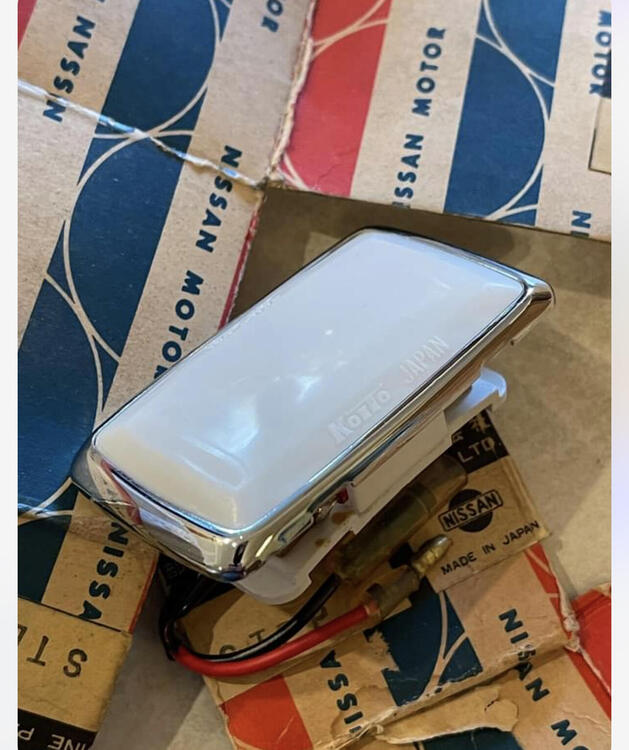
Not knowing the exact route of wiring as the factory intended for this rare or never installed light, I think it important to determine if in fact intentions were to have the wires run across the bottom of the door. Wondering if either of your early cars are accessible, and with door panel off to peak in and determine if this little tab is present? If you already know "which is likely" that this tab is present, it would be good to know either way. david
-
I hear they are a few door lights floating around…. I know Kats has a set as well….