HusseinHolland
Community Member
-
Joined
-
Last visited
Everything posted by HusseinHolland
-
I've ordered a set
-
That's how I ended up cracking them free
-
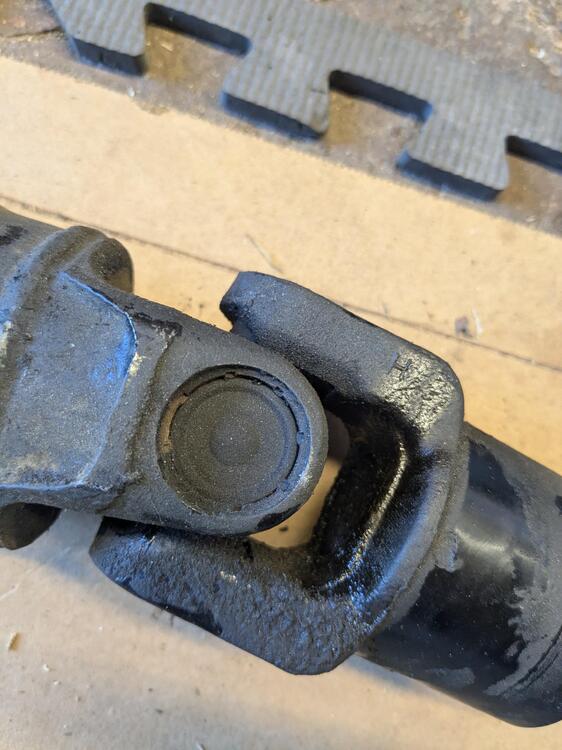
I didn't read through your entire thread, however I'm just replacing one U Joint, and I'm not getting involved in re-balancing the prop shaft. I don't want to over complicate this - I've never had or heard of the need to re-balance a Volvo prop shaft, or even considered it a requirement when replacing u joints, and that setup is 2 piece, 3 joint with a carrier bearing. I find it hard to believe the Nissan spec is that sloppy that replacing a joint would throw the shaft balance out. I do make a point to mark & install the yokes as they came out. Ultimately, I will be modding the prop shaft for the CD009/VQ35DE conversion, so I'm only replacing the front joint so it doesn't put undue strain on the bushing in the tailshaft, or the trans bearings.
-
I see. I missed your second reply (above) with the link to examples of the Nissan setup. I have never seen such a complex setup for installing a UJoint. Typical Domestic & EU Spicer joints rely on a recess groove in the outer portion of the yoke, which the retaining ring/clip will seat in once the UJoint is placed. There is no adjustment - that part is quite confusing, given that Nissan seems to be a stickler for precision. Having so many thicknesses of clips implies that the production tolerance margins for the yokes (and/or the joints) must be pretty loose. I have replaced many a standard U-Joint in the past - Volvo used 2-piece driveshafts with 3 1140 or 1310 joints on all their RWD models, and worn joints was a pretty common thing. in my experience it's mostly been a question of tapping the cross back & forth a smidge to get the right 'feel' in the joint before installing the clips. With the provided info you have given, I will have to pay close attention to the fit.
-
Interesting! Do you have any pics of it installed? They don't have any directions or install pics I can find on their website. I have seen a couple of cars at the Carlisle Import Show in PA that had steering rack Tie rods modded to fit also.
-
Yes - I found a couple threads linked off HybridZ with horrendous photography, however the description was clear - cut a recess/land for the Cclip to seat Lightened this pic I found to show grinding for clip

-
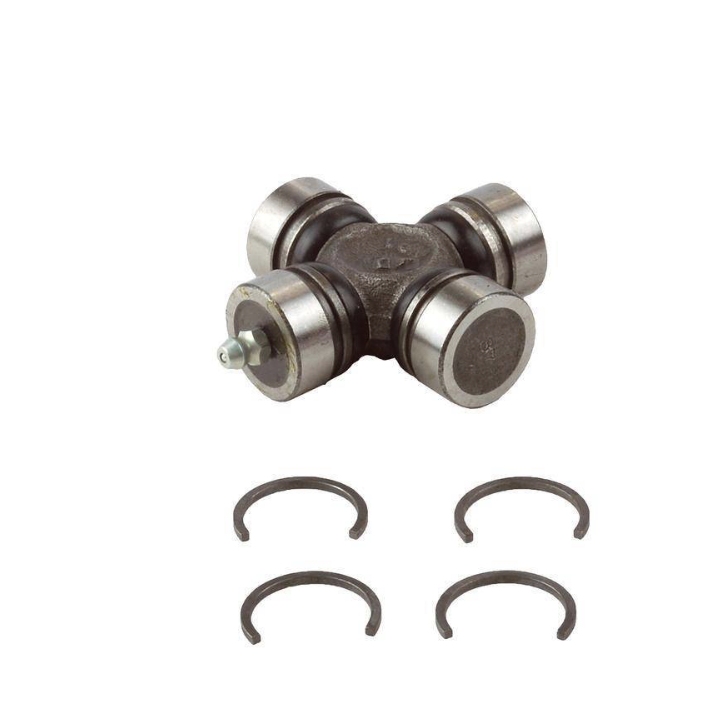
Interesting. The bolts in there do seat against the flange lip - there is no way to rotate the bolt. Perhaps they swapped out the factory bolts when they did the clutch at some point in it's life. Couldn't recall the Datsun name for the part - Volvo used a similar design, just called it a caster rod, since it affects the caster 🙂 I've found that Rockport 430-10 is the replacement U-Joint, I just ordered the Dana version off RockAuto as it will get here much quicker than the other options I could find. Apparently the replacements use a C clip that locates on the insides of the yoke, rather than the traditional clip in a groove on the outside of the cap. Stakes have to be removed first, of course.
-
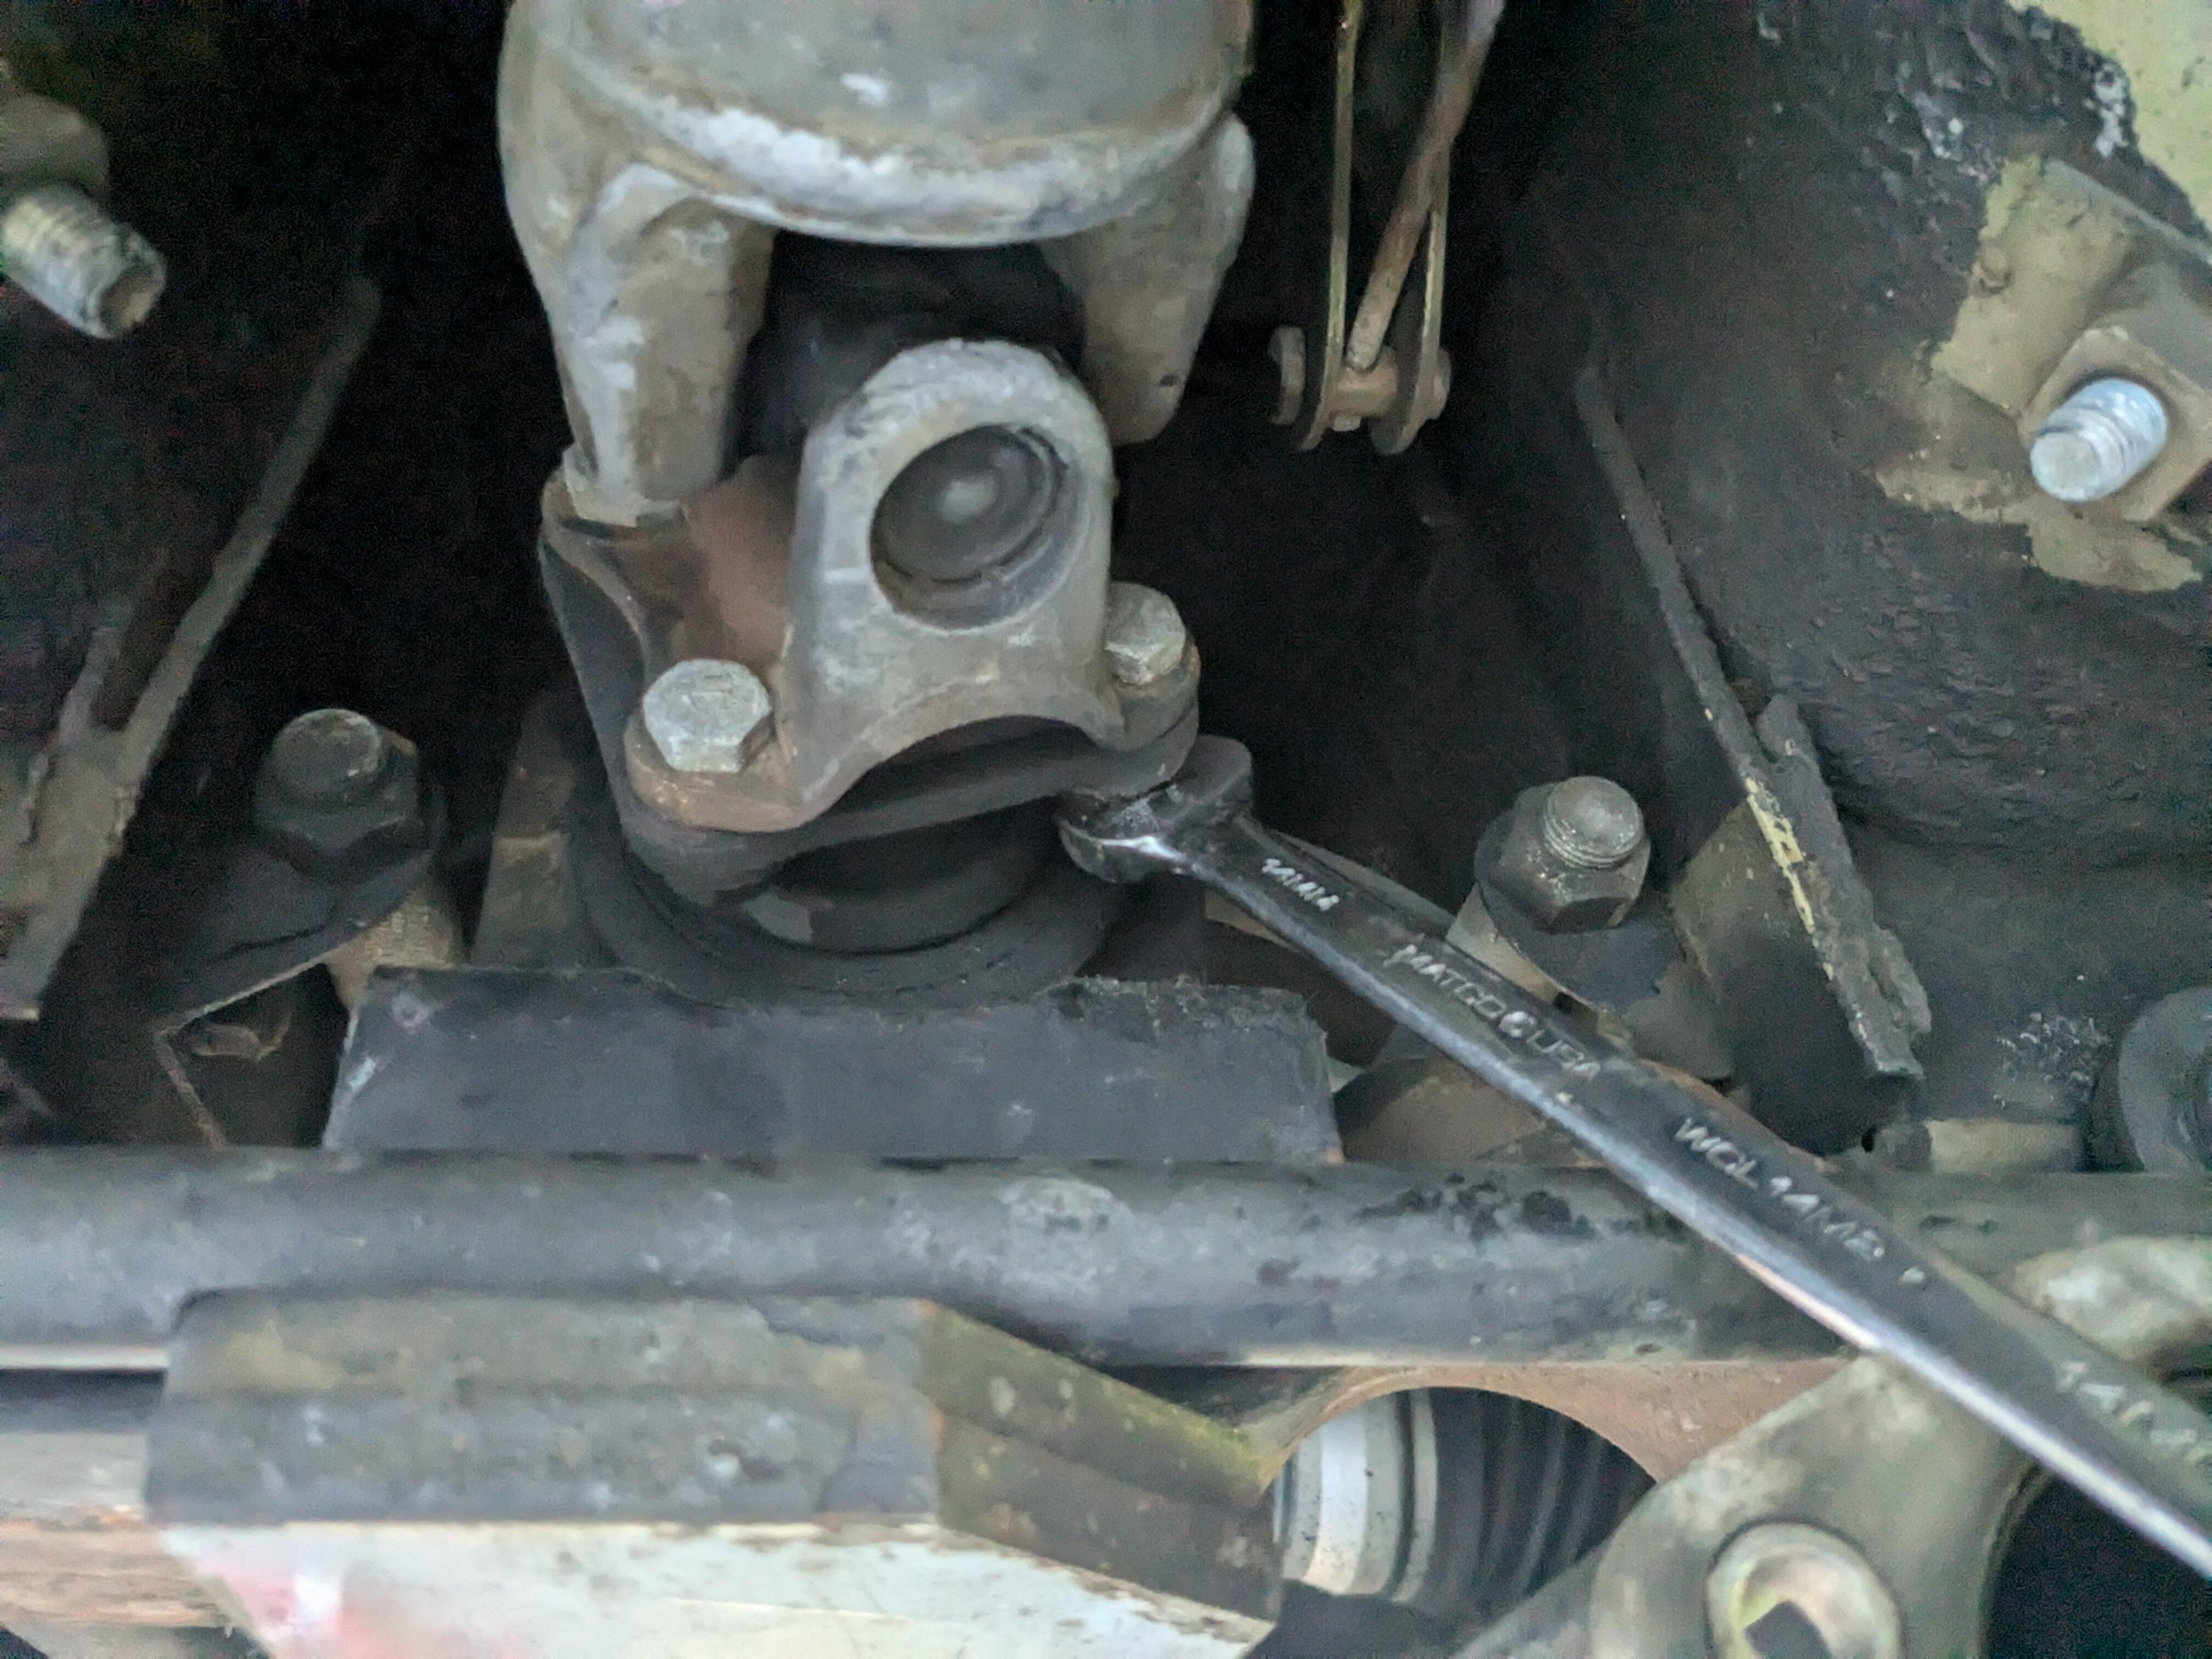
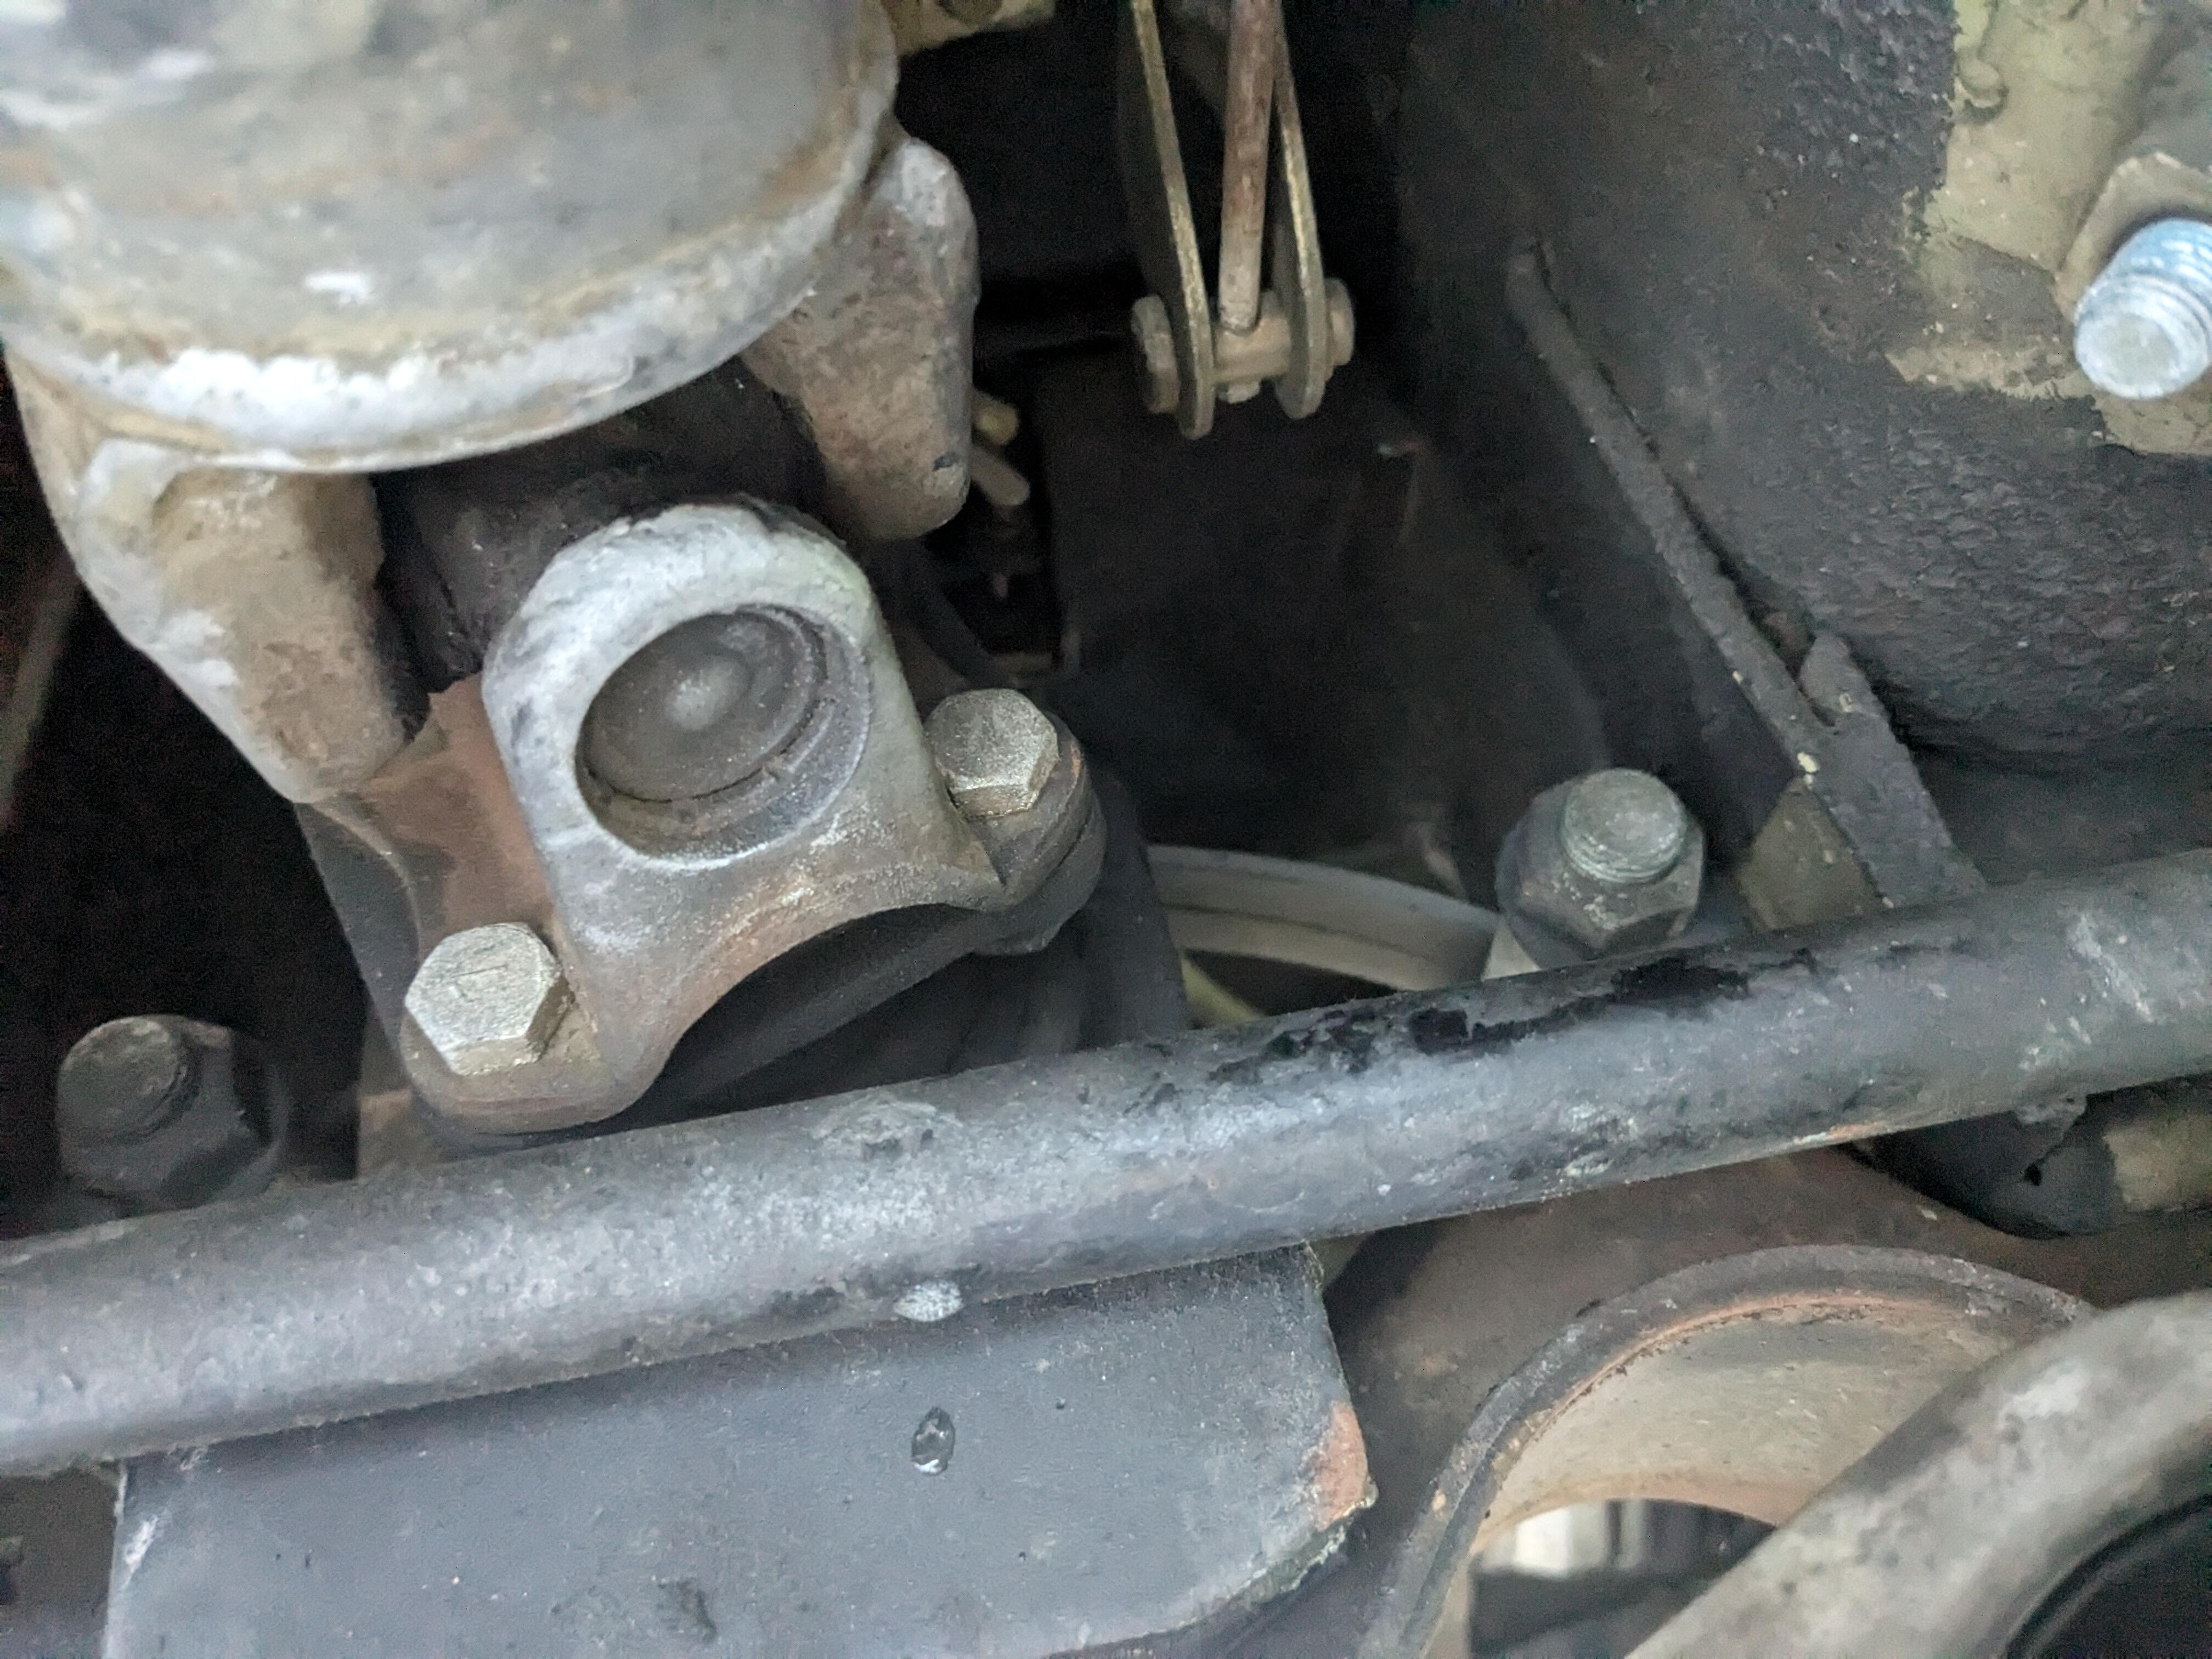
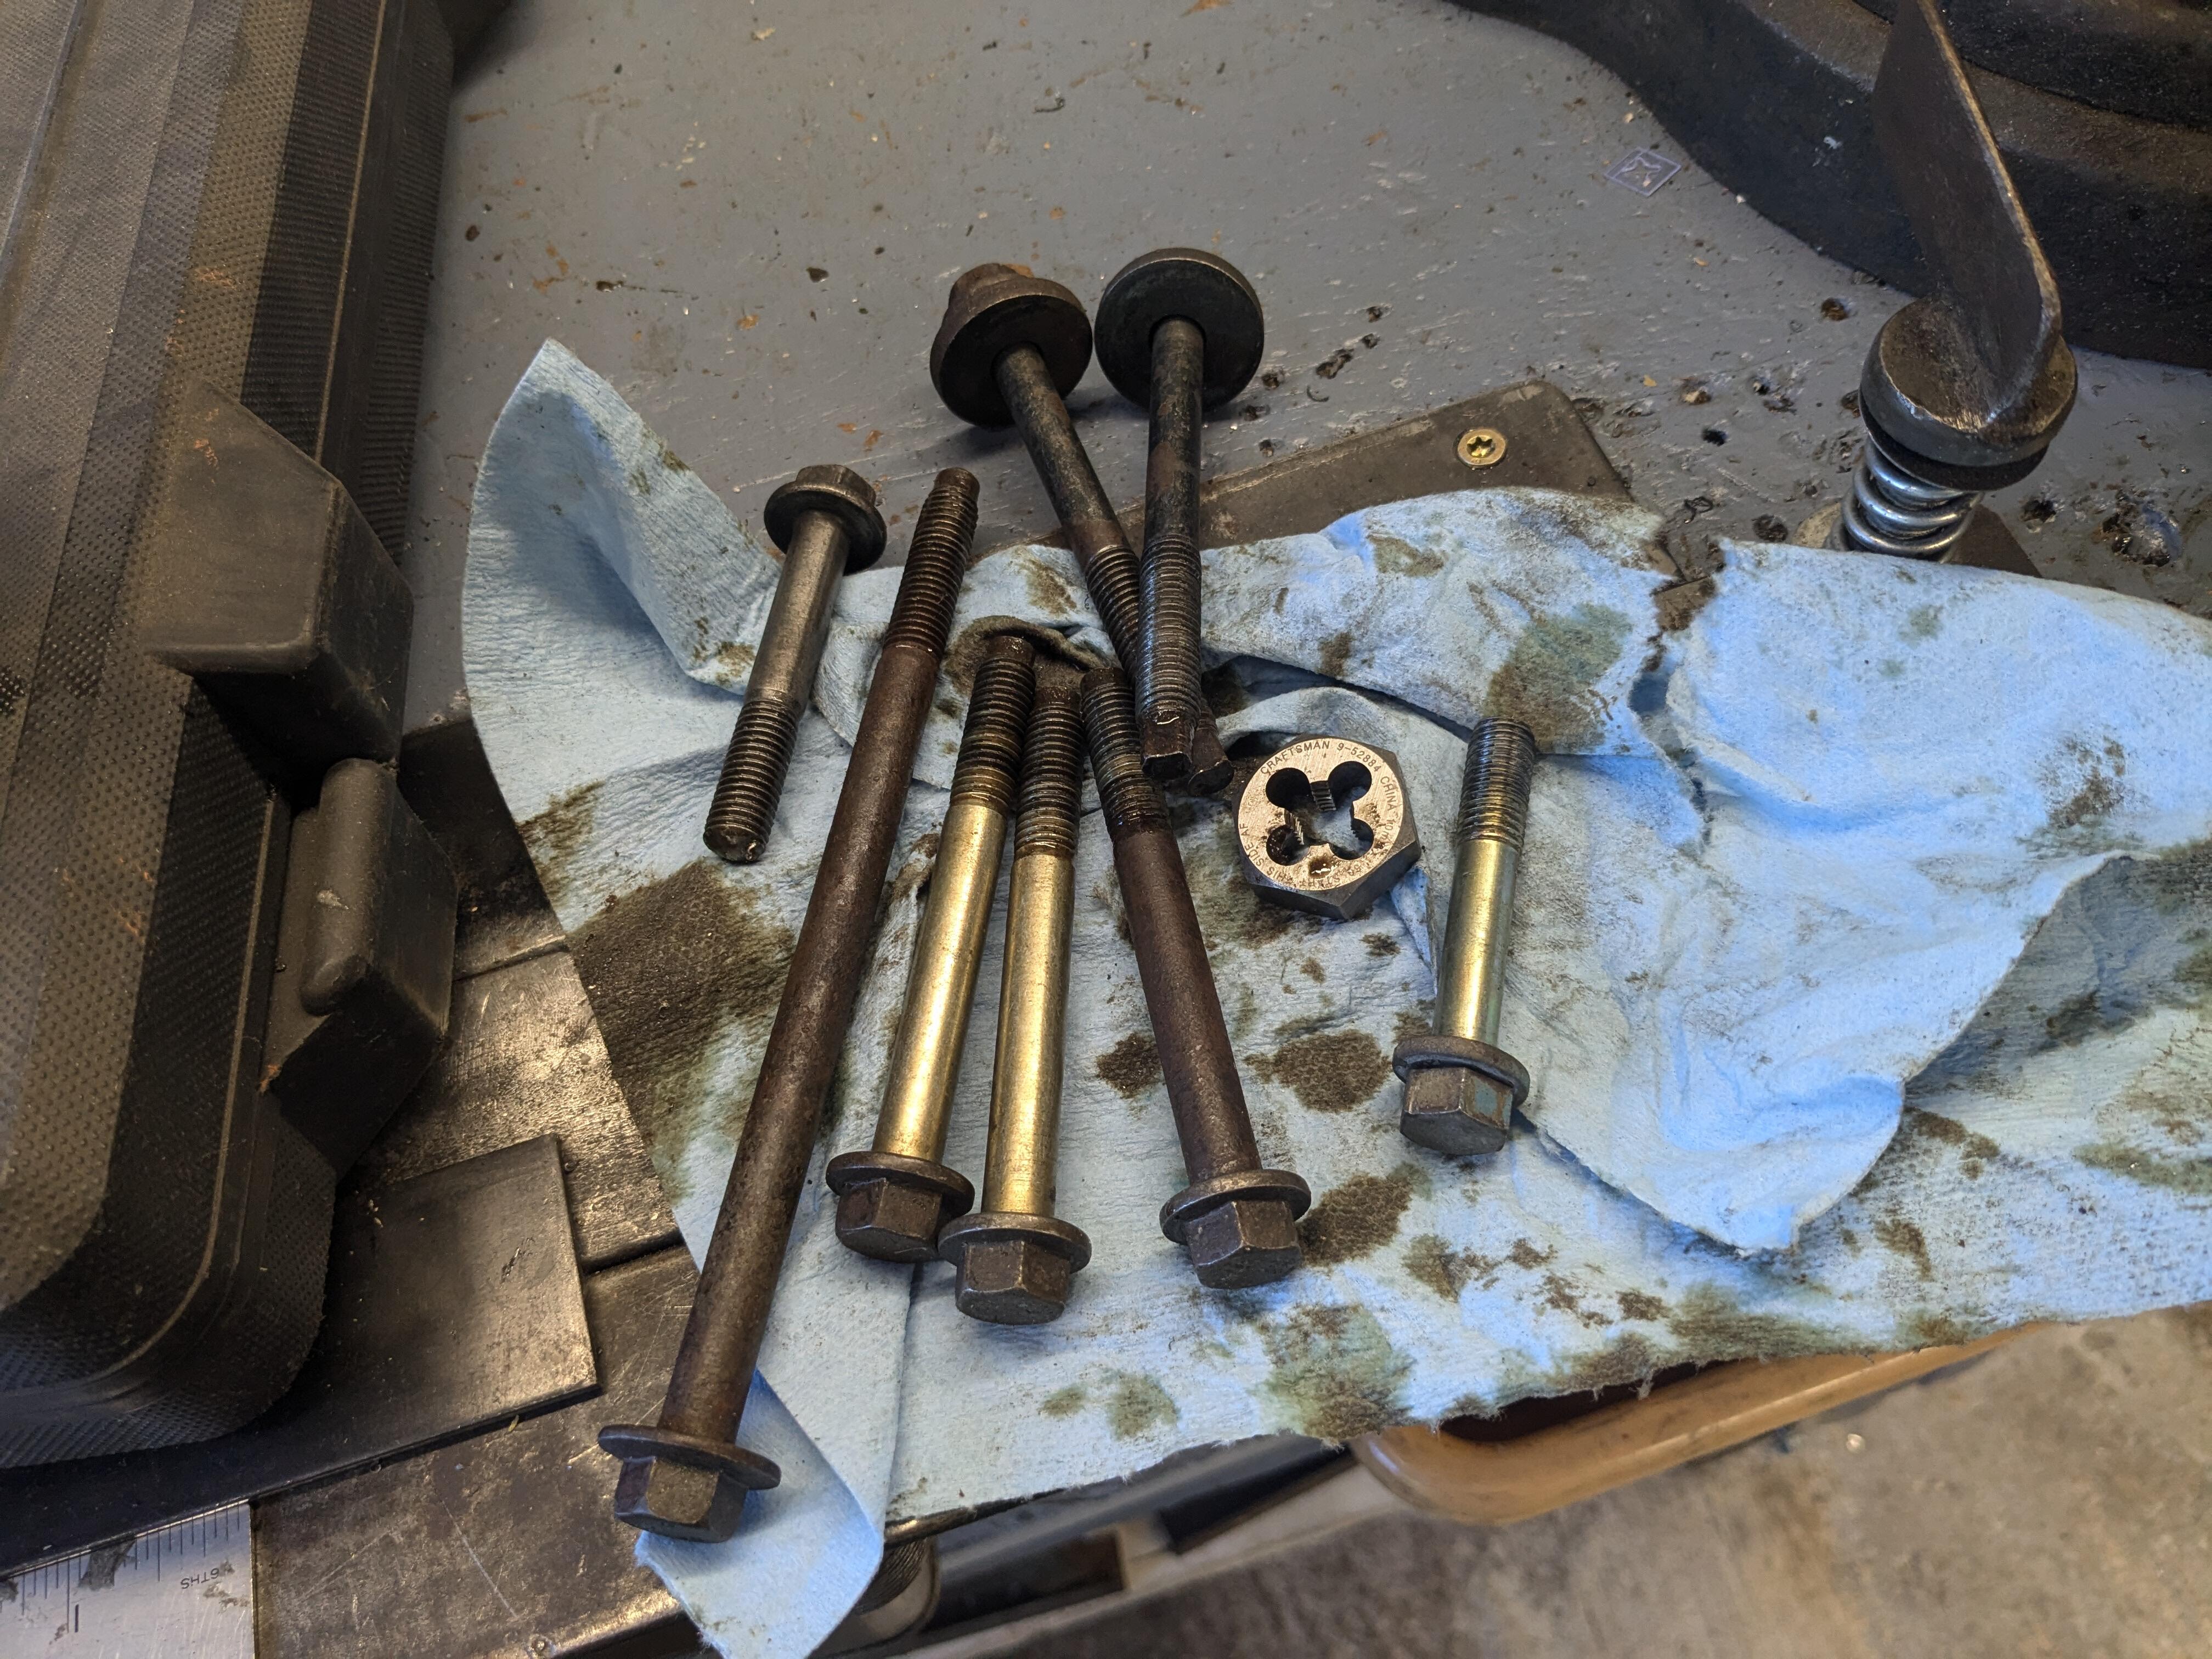
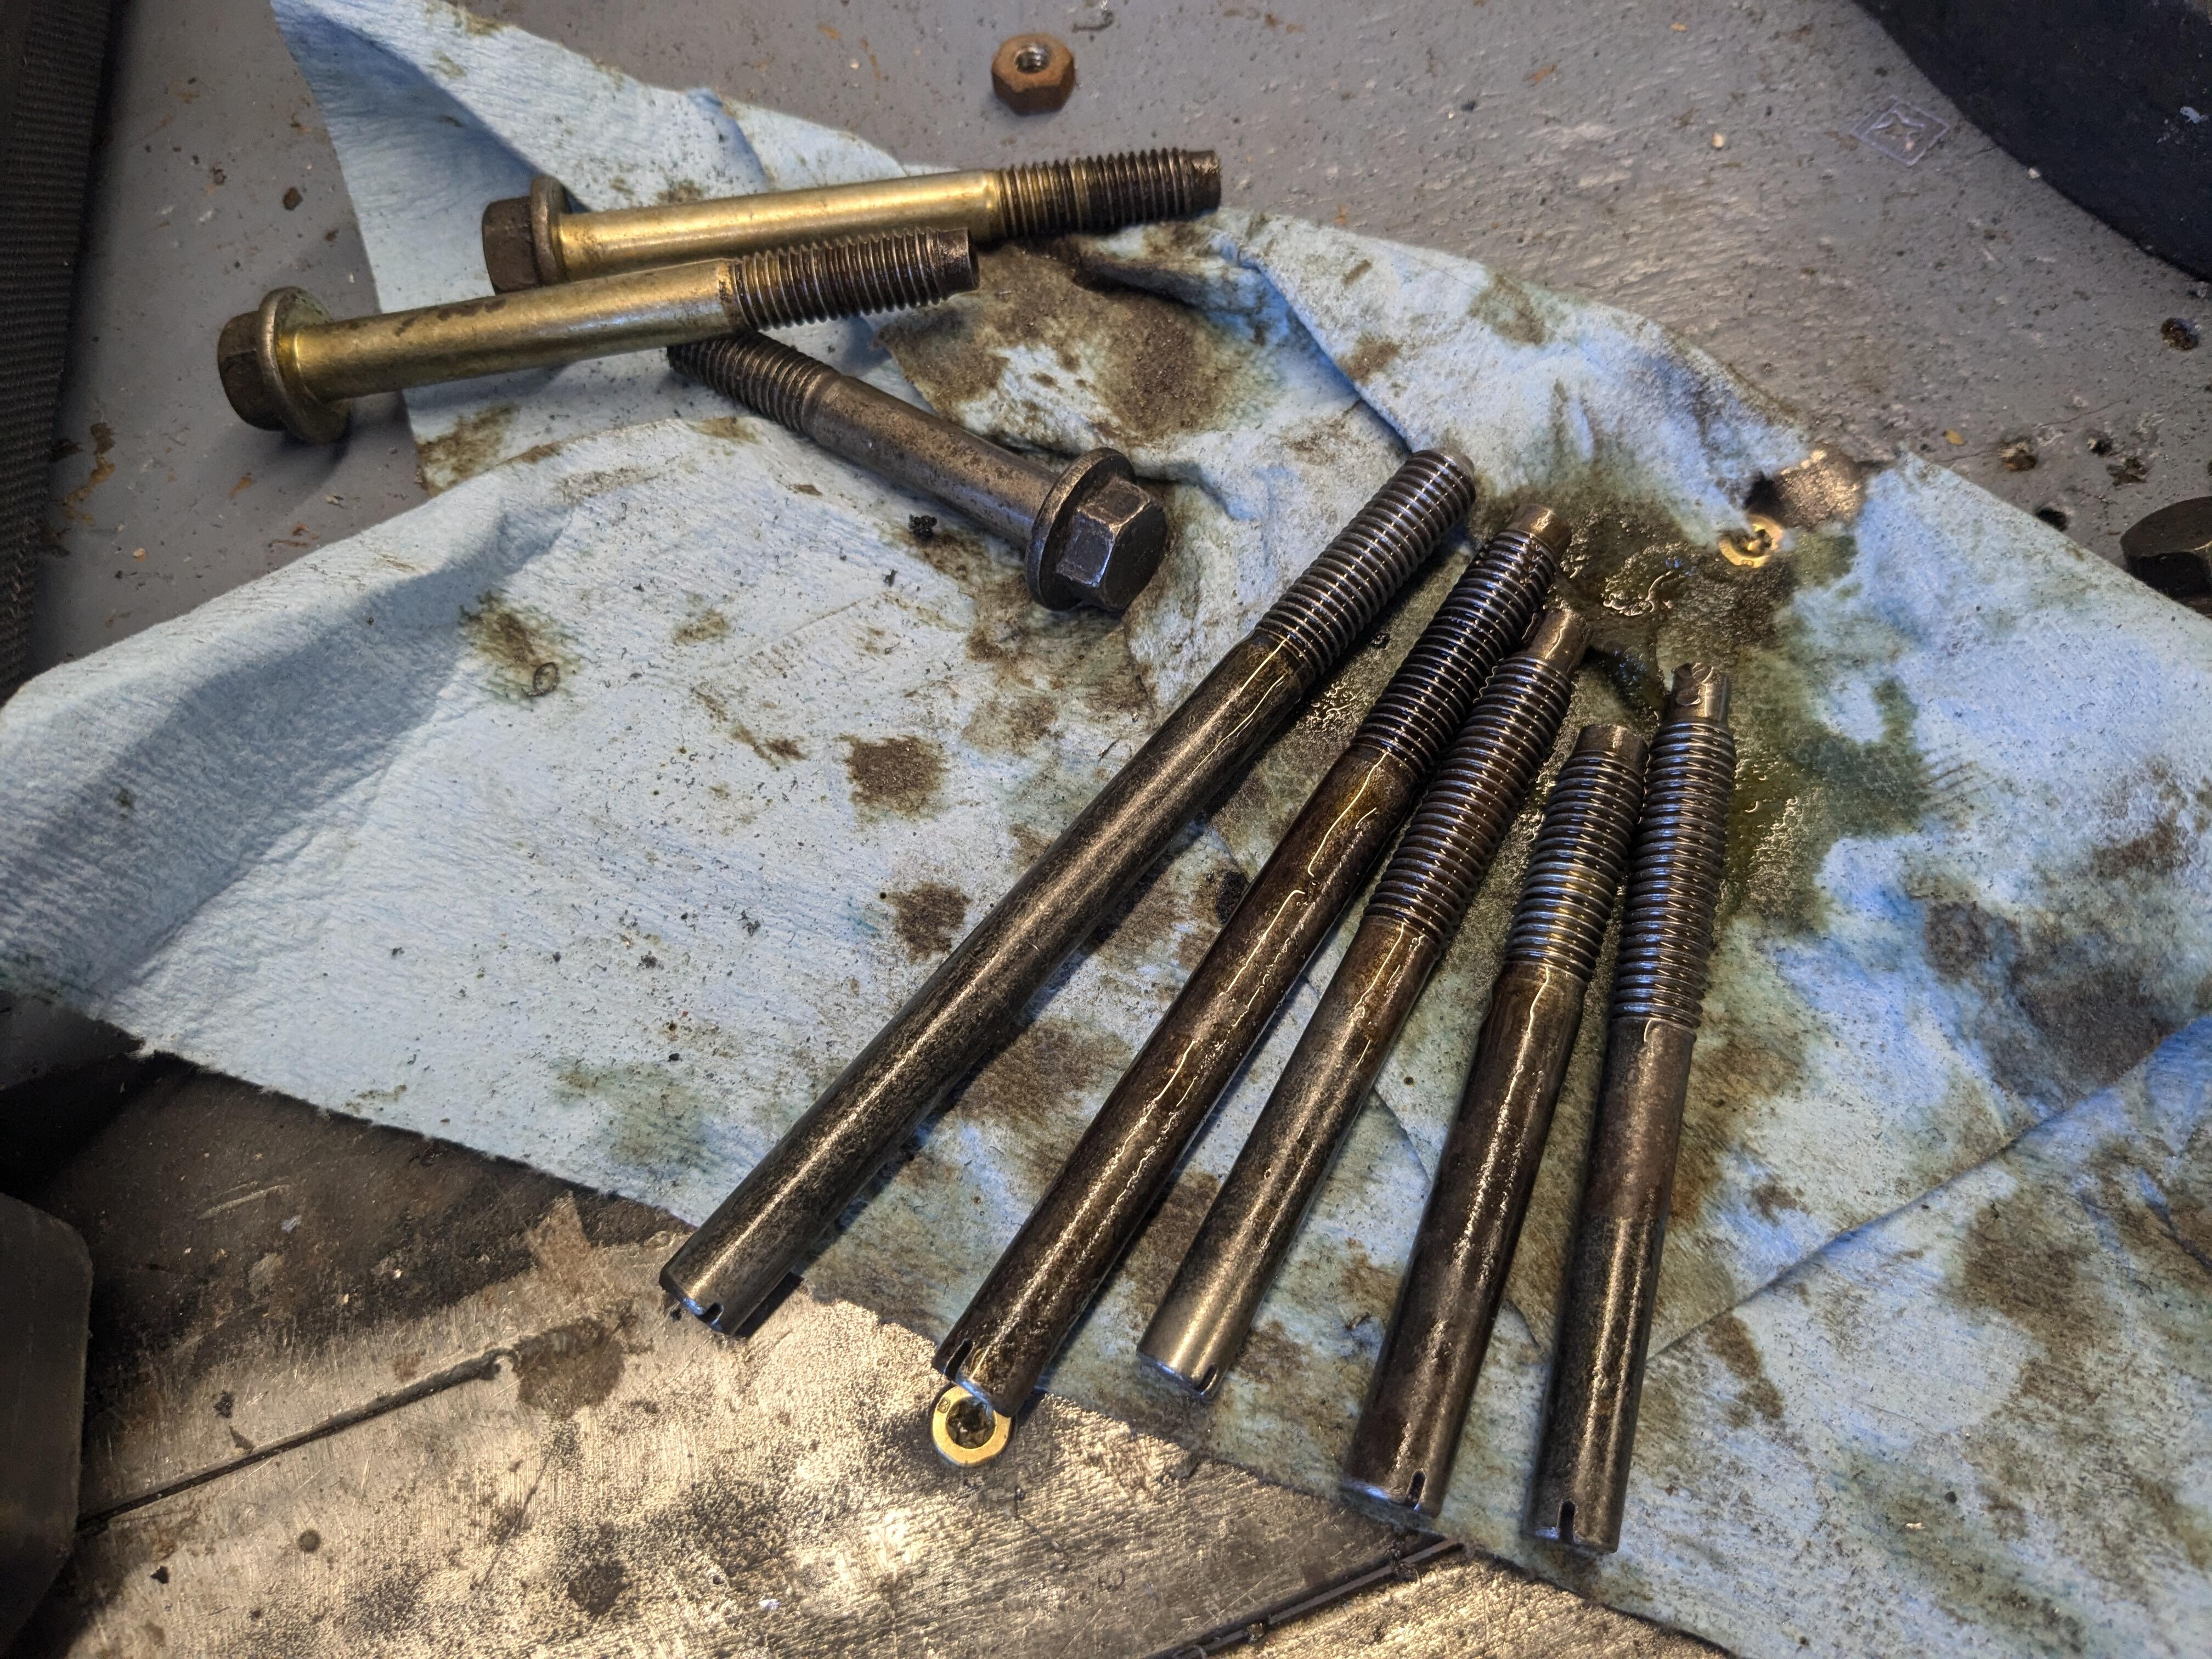
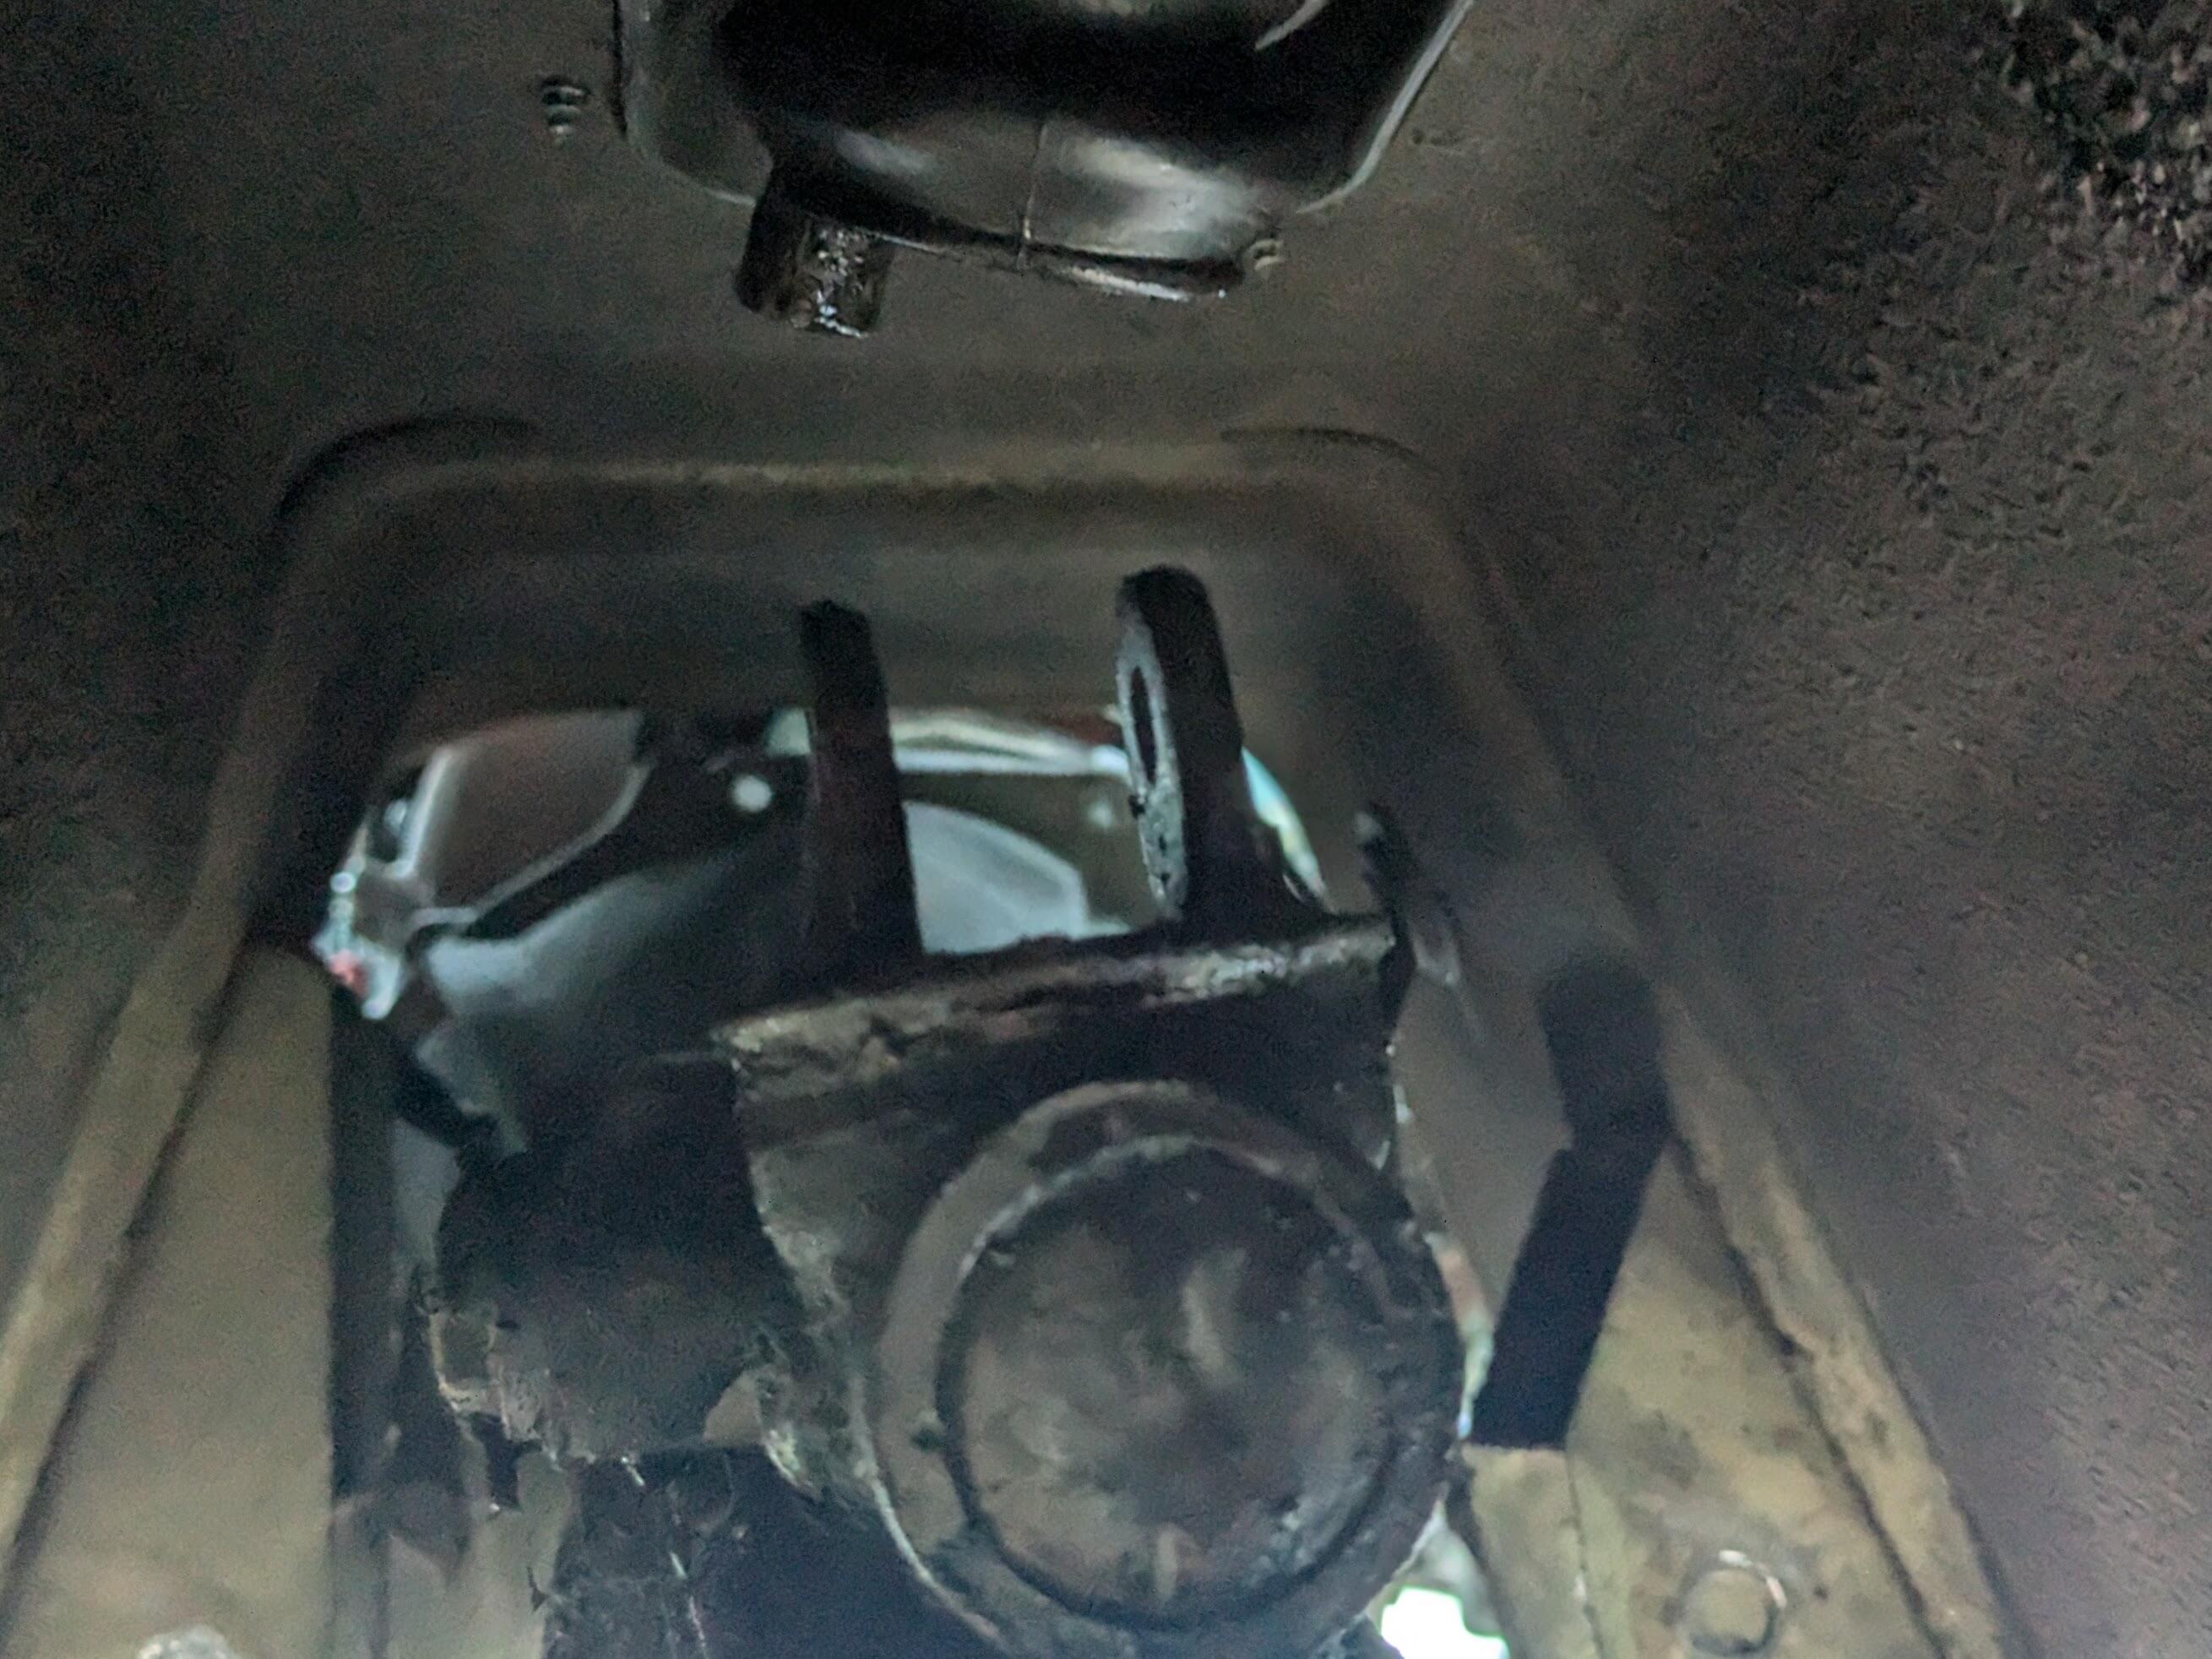
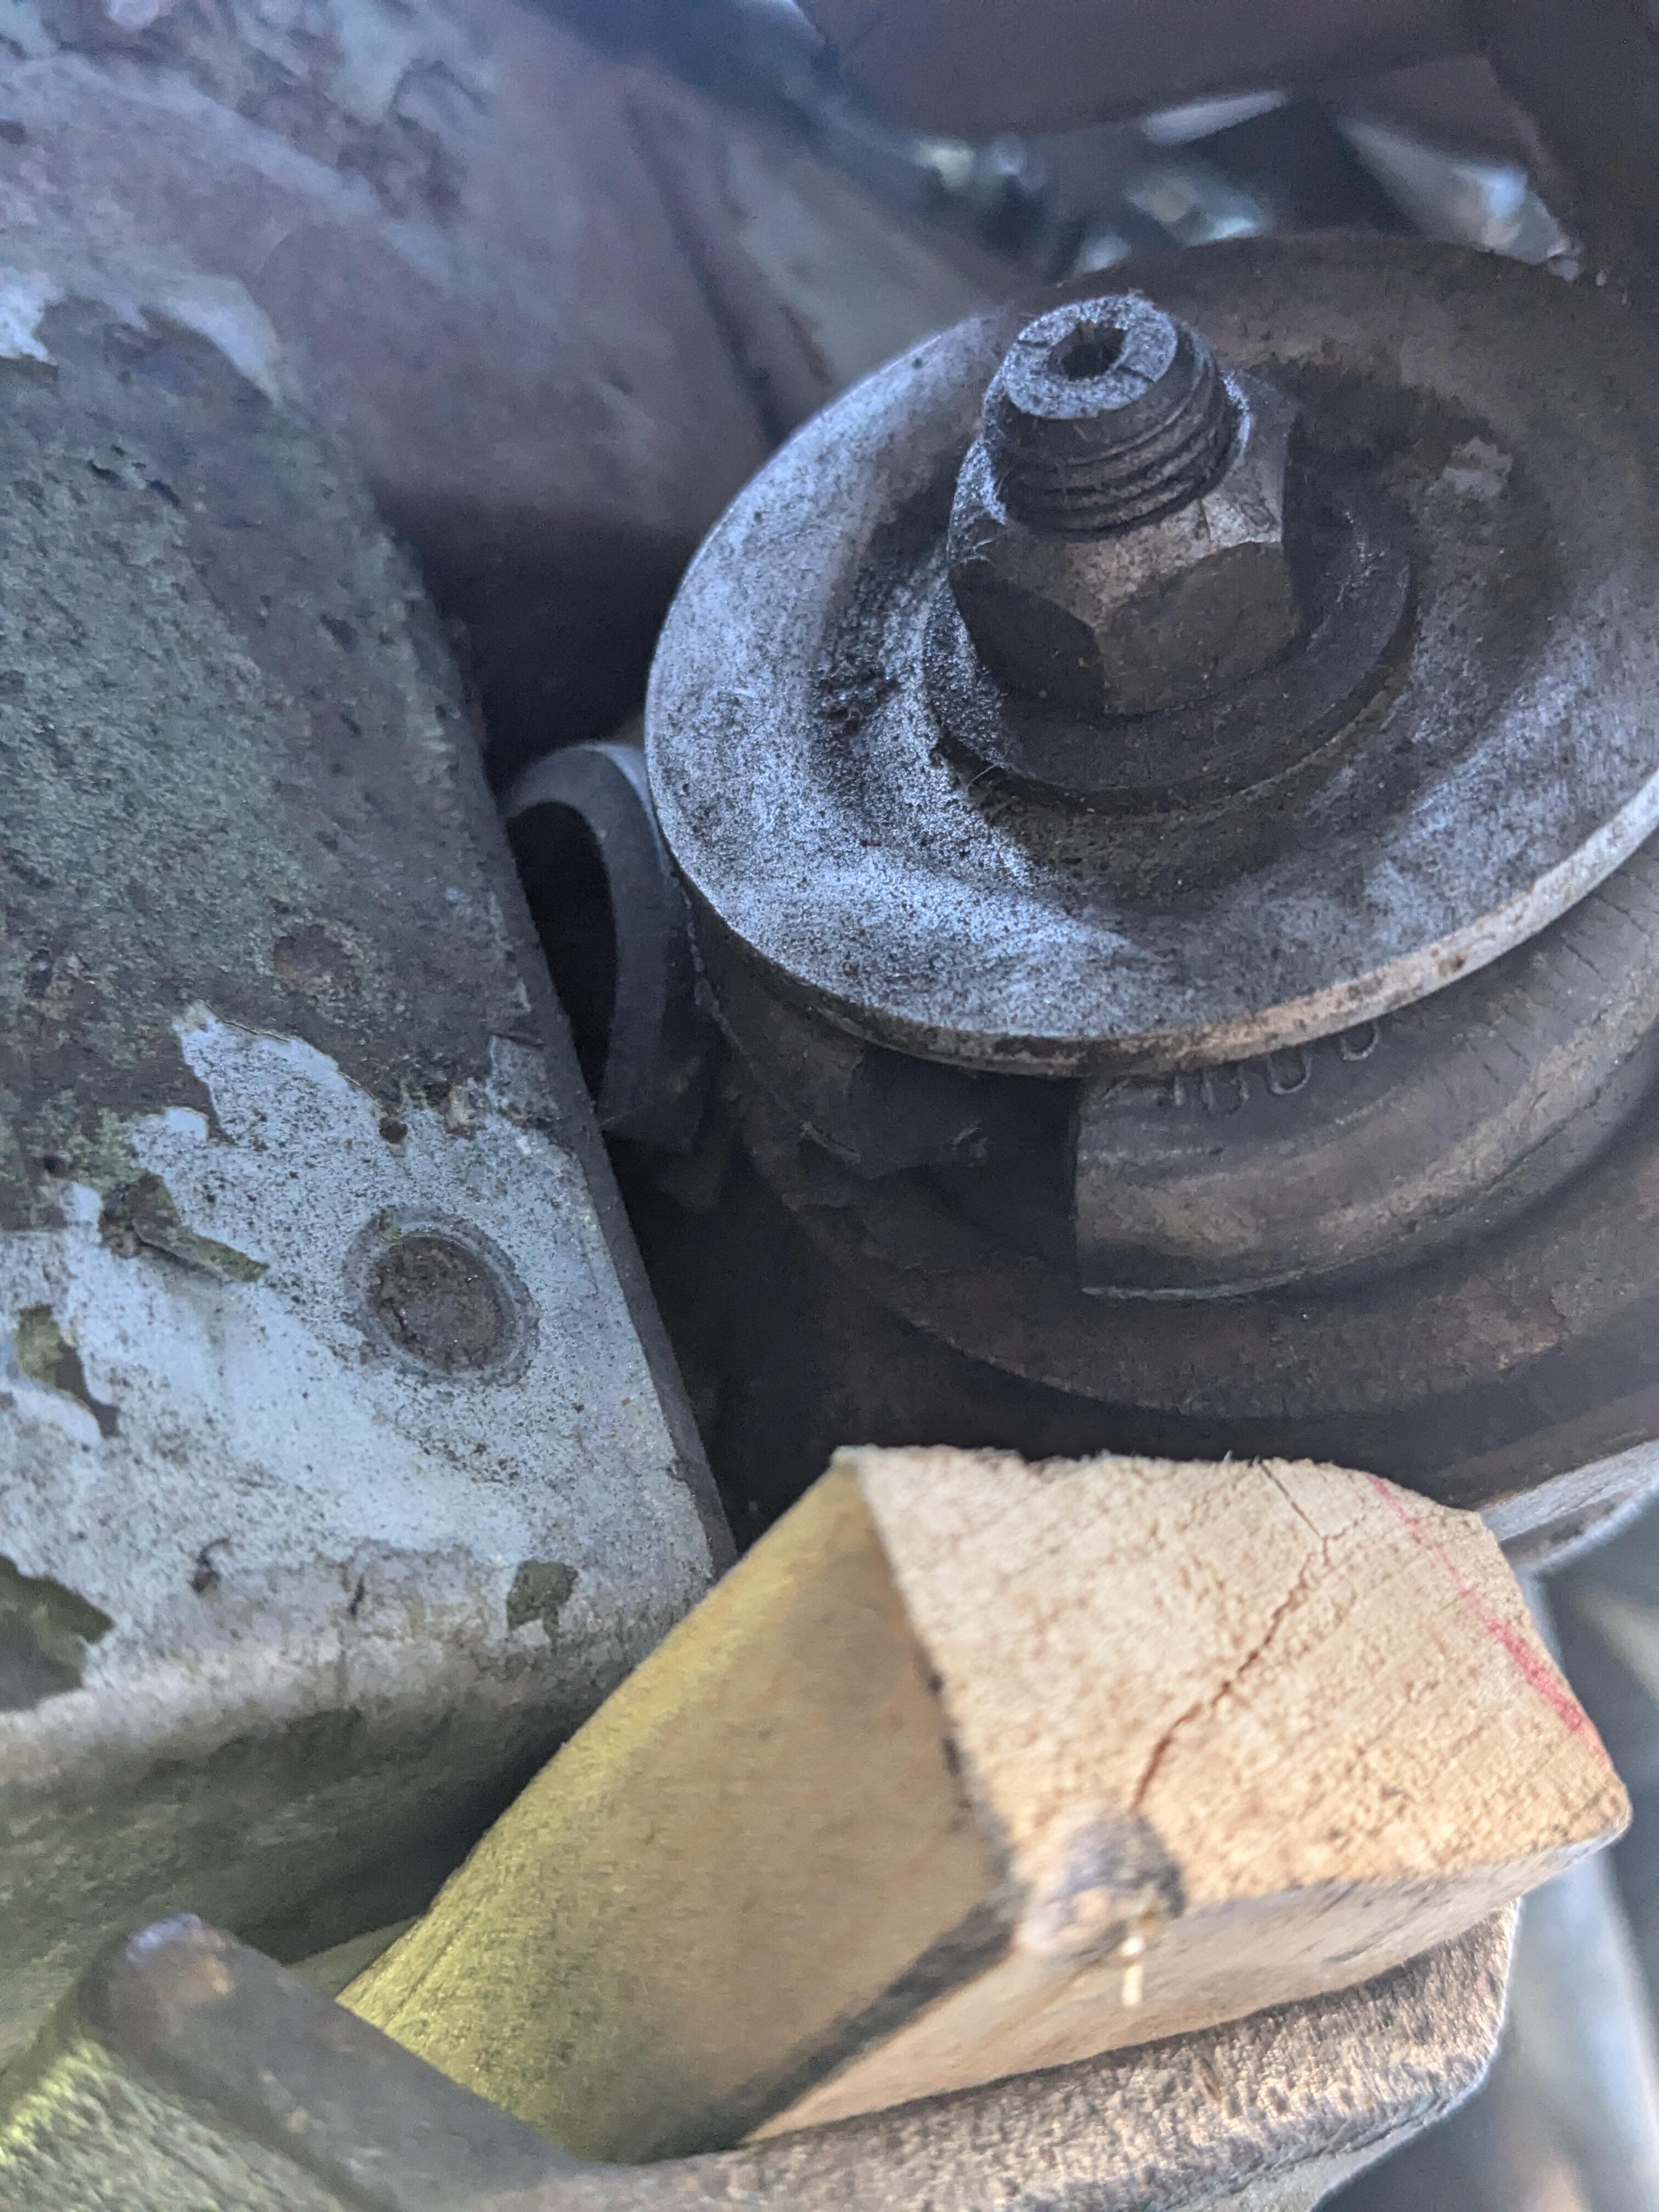
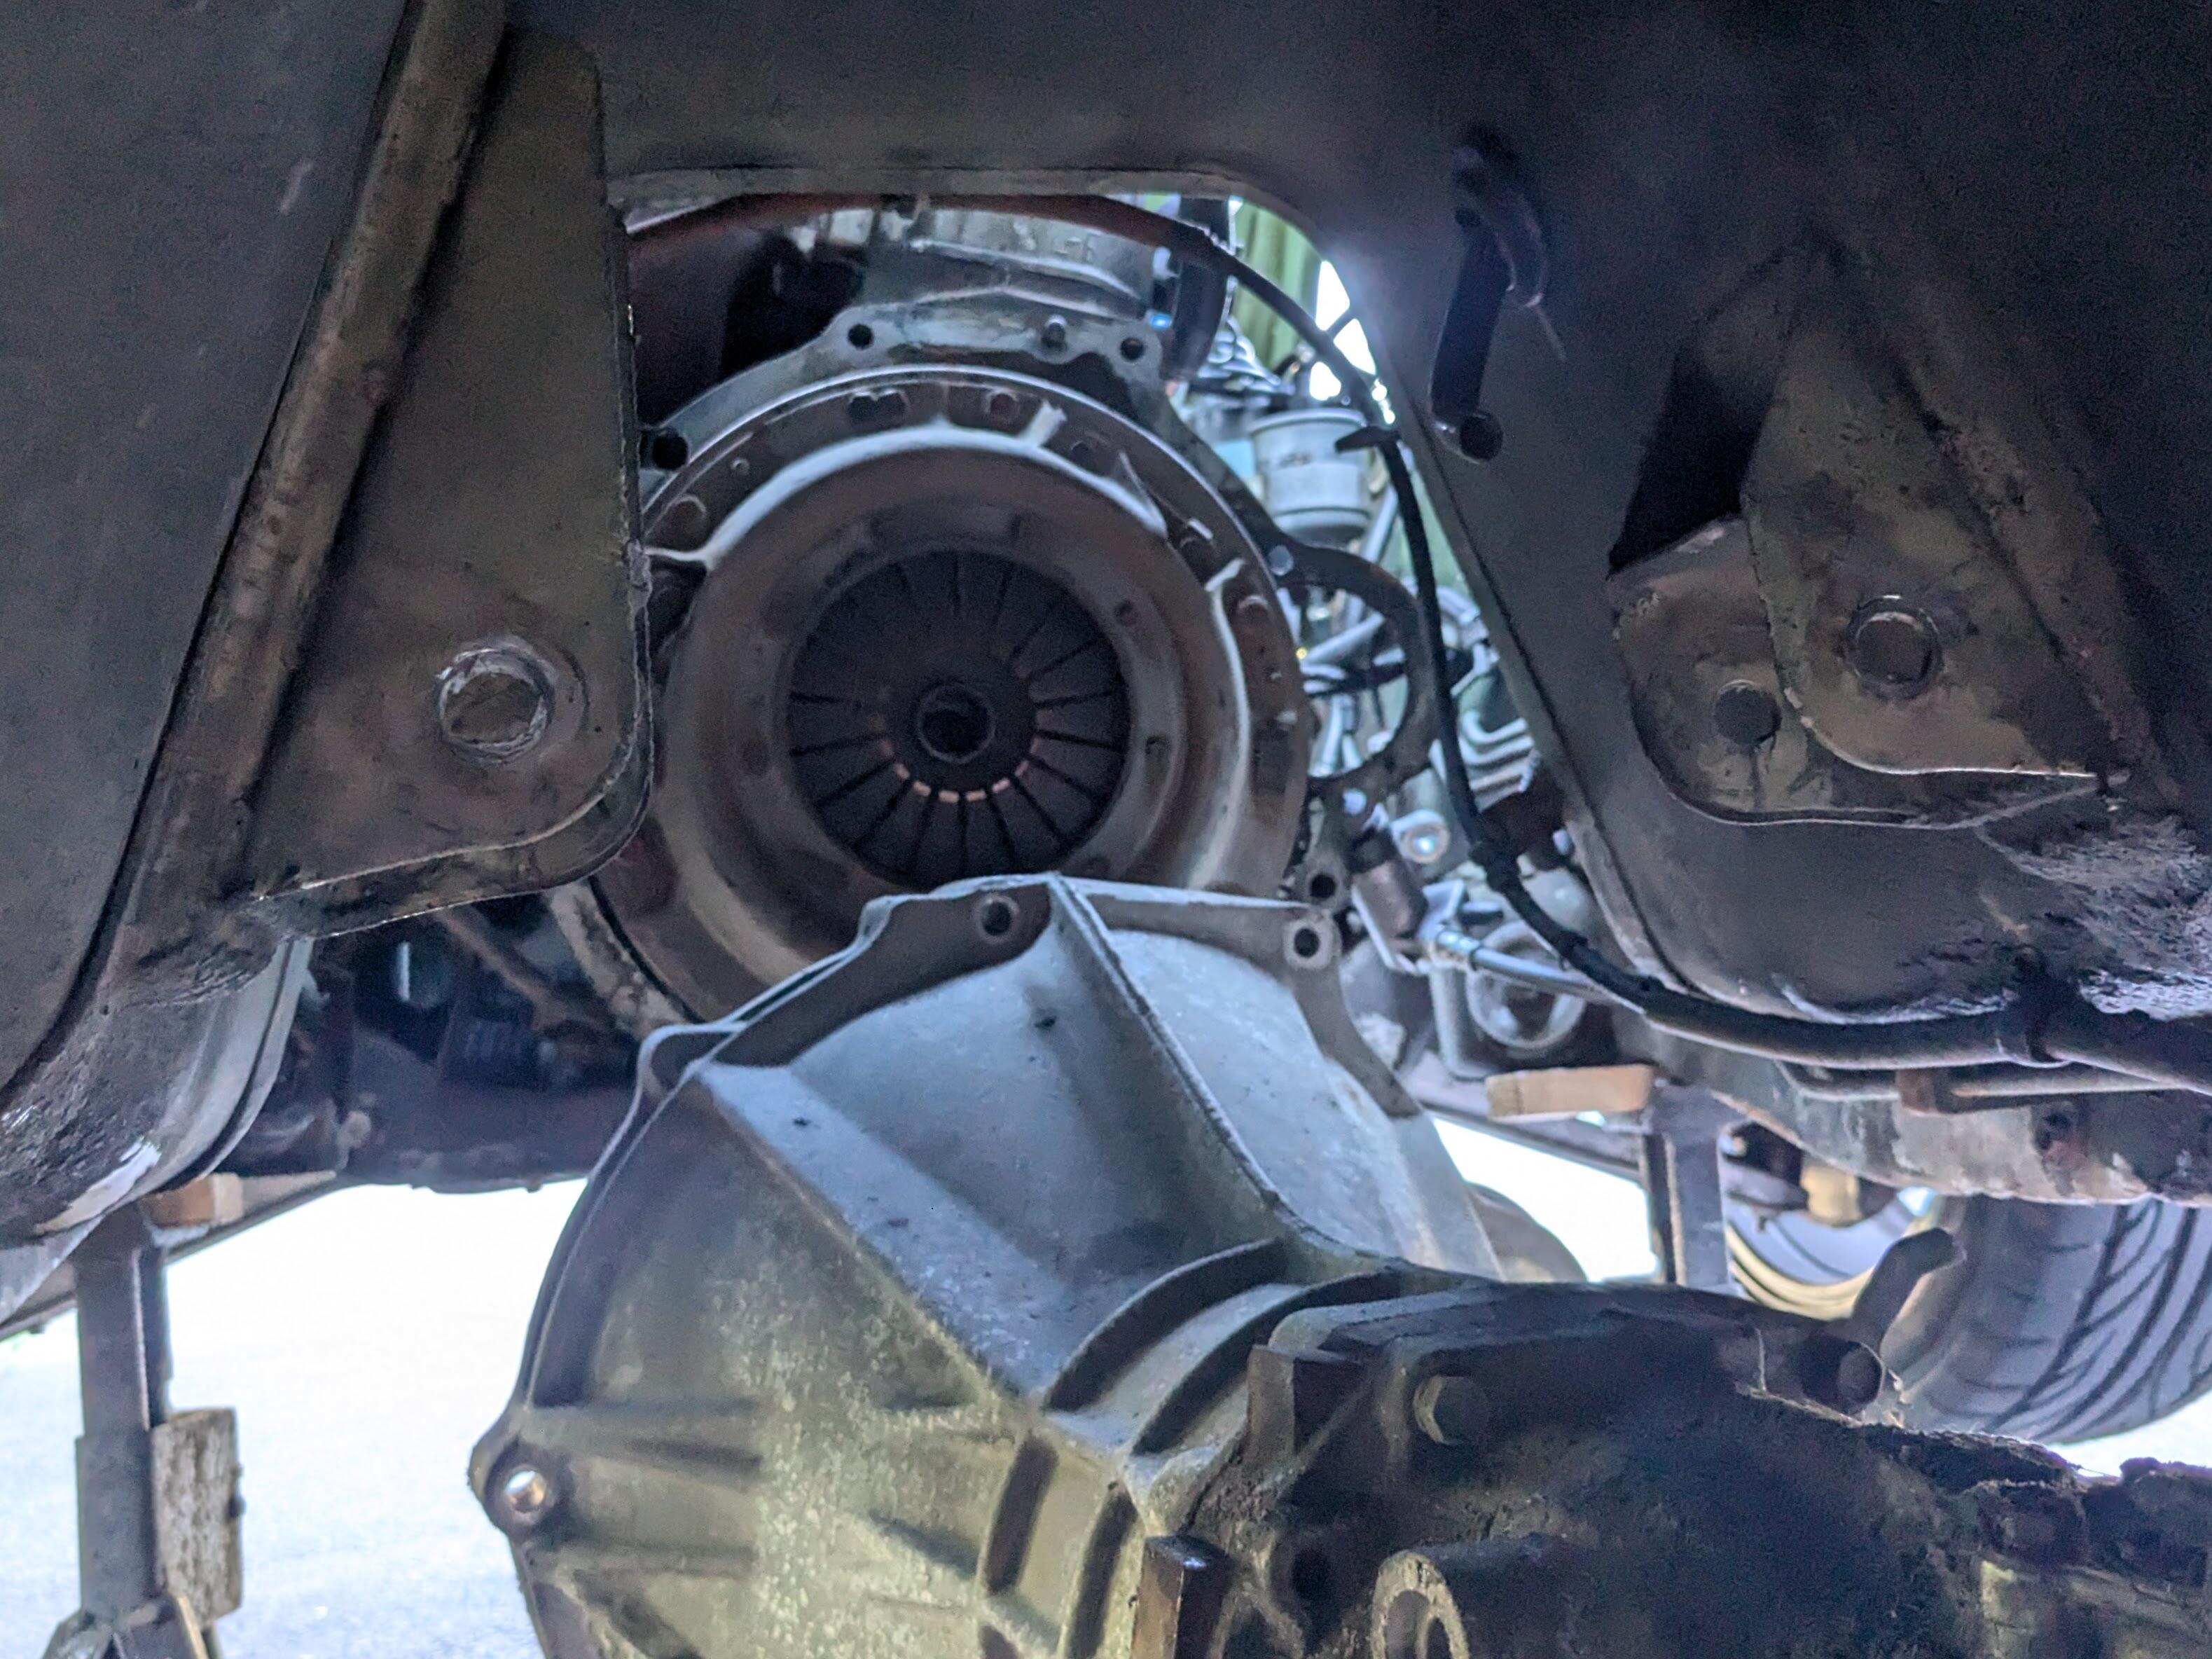
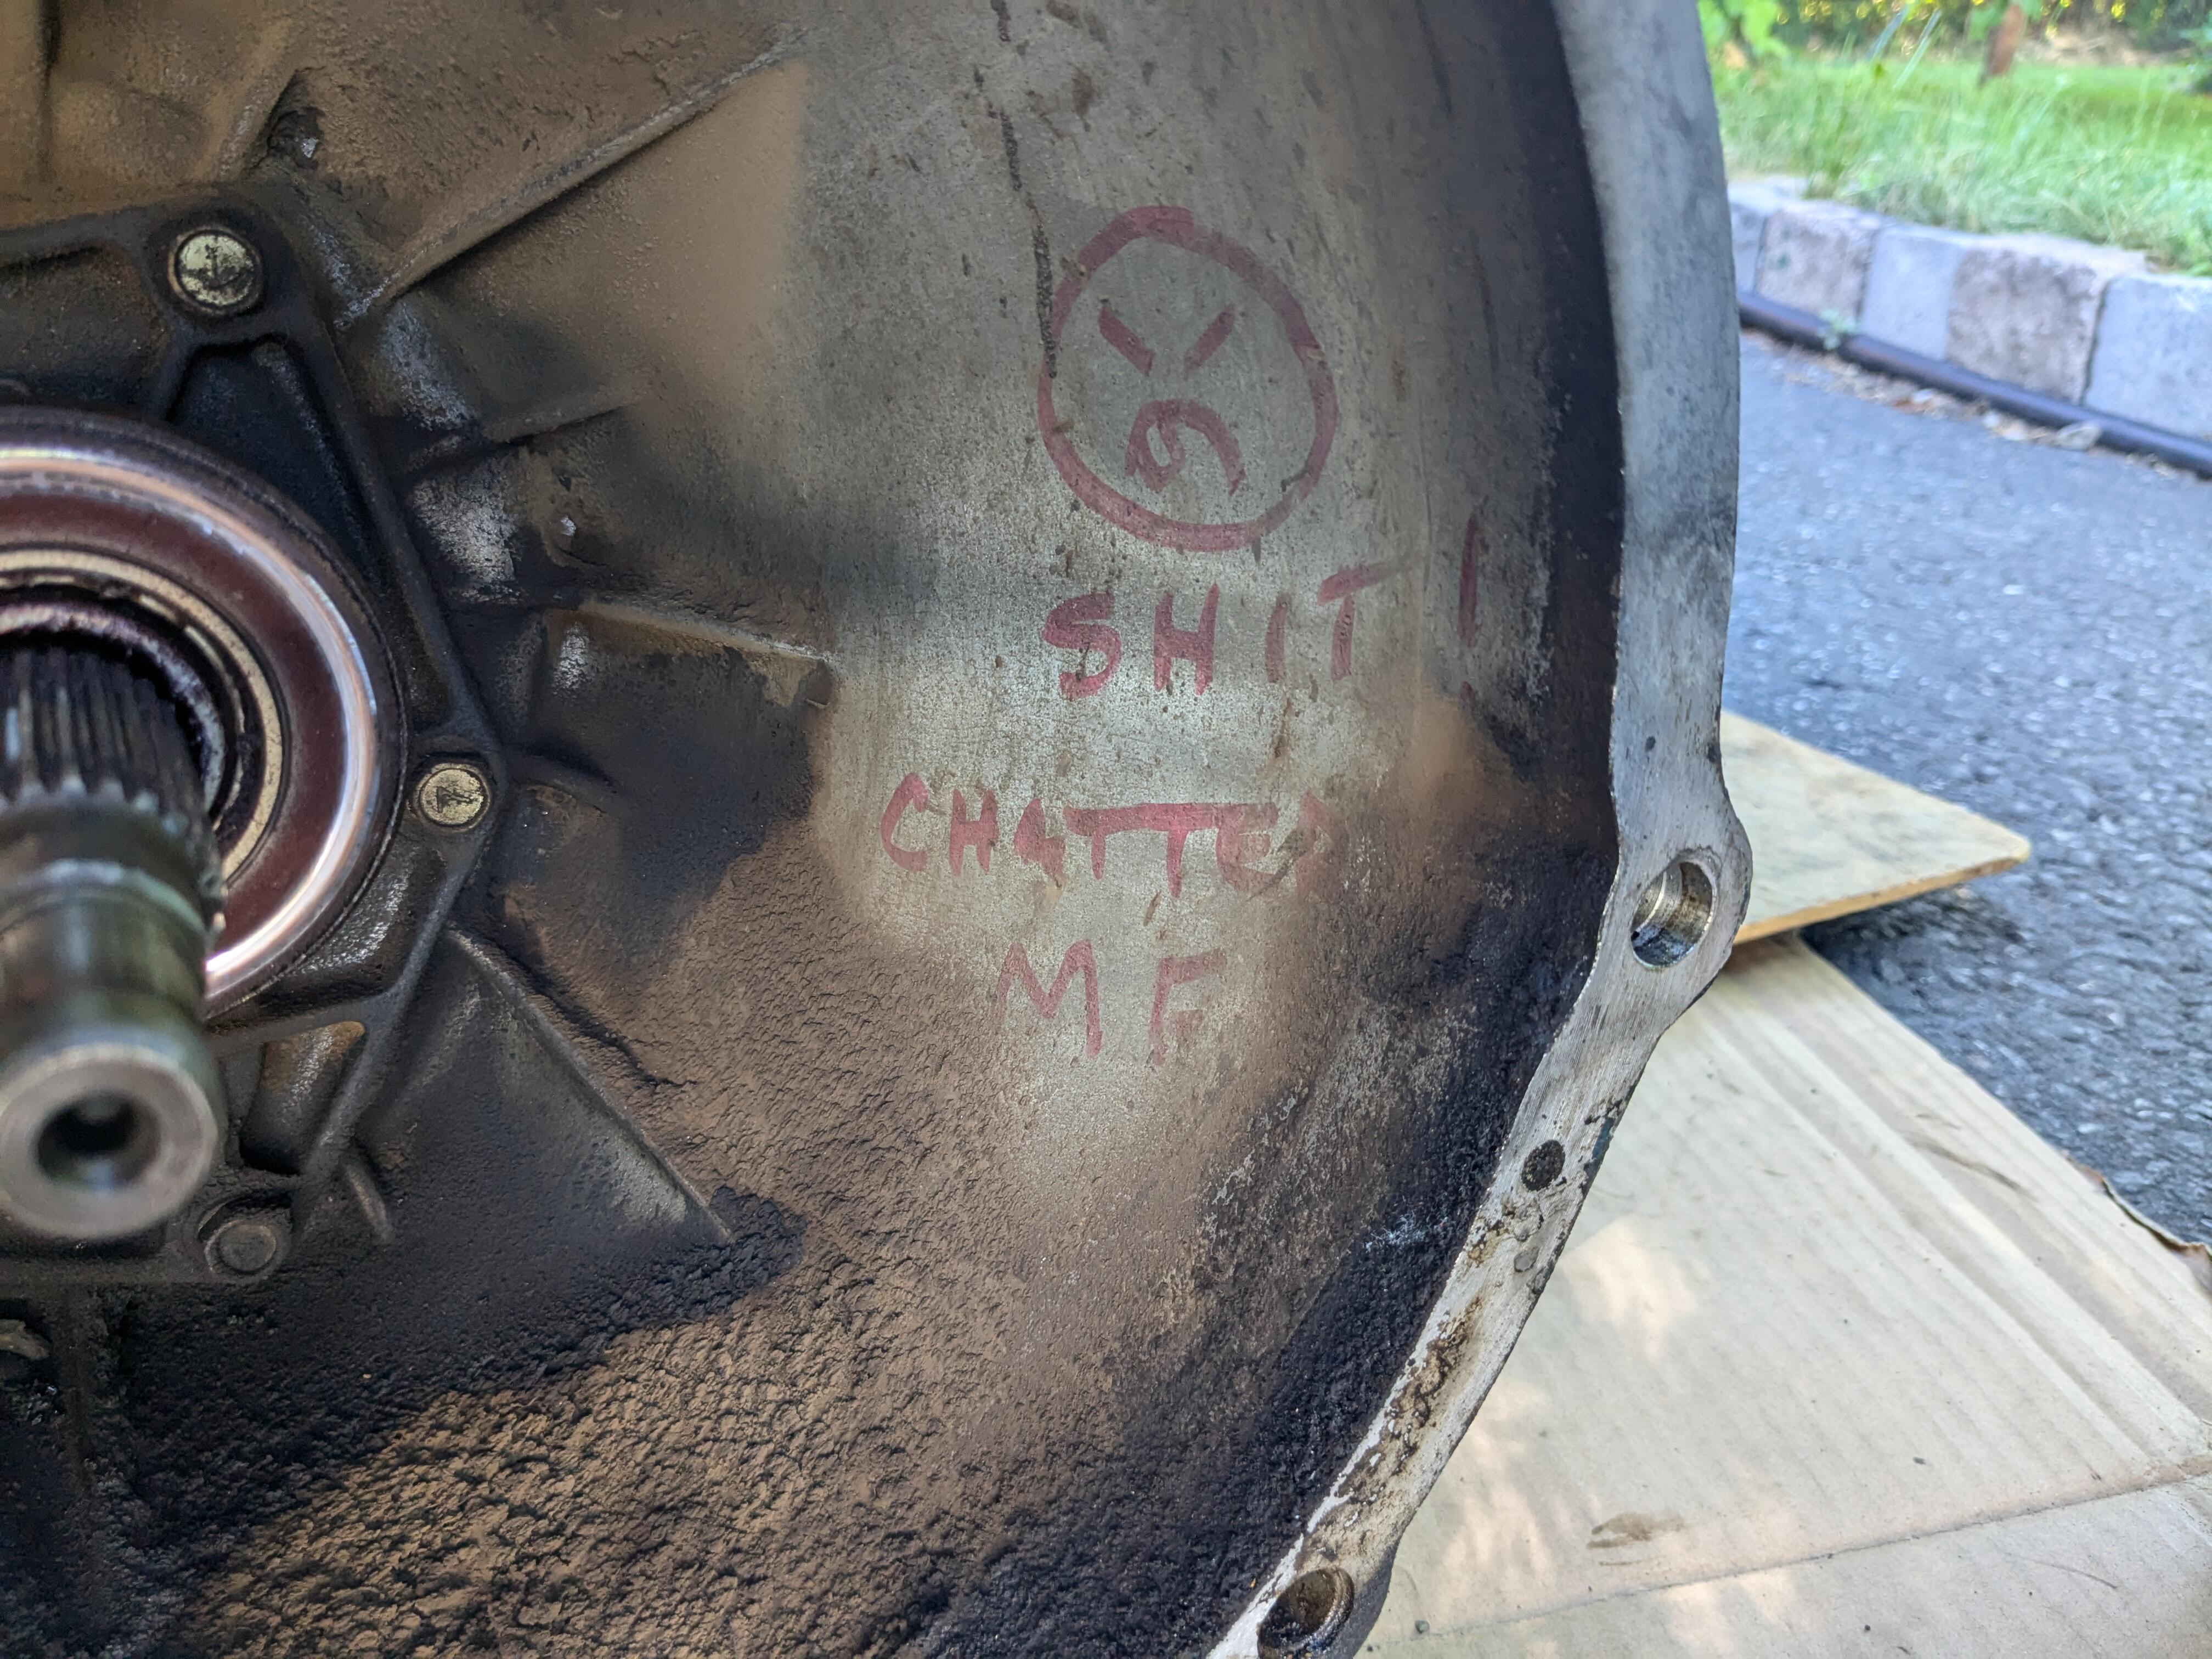
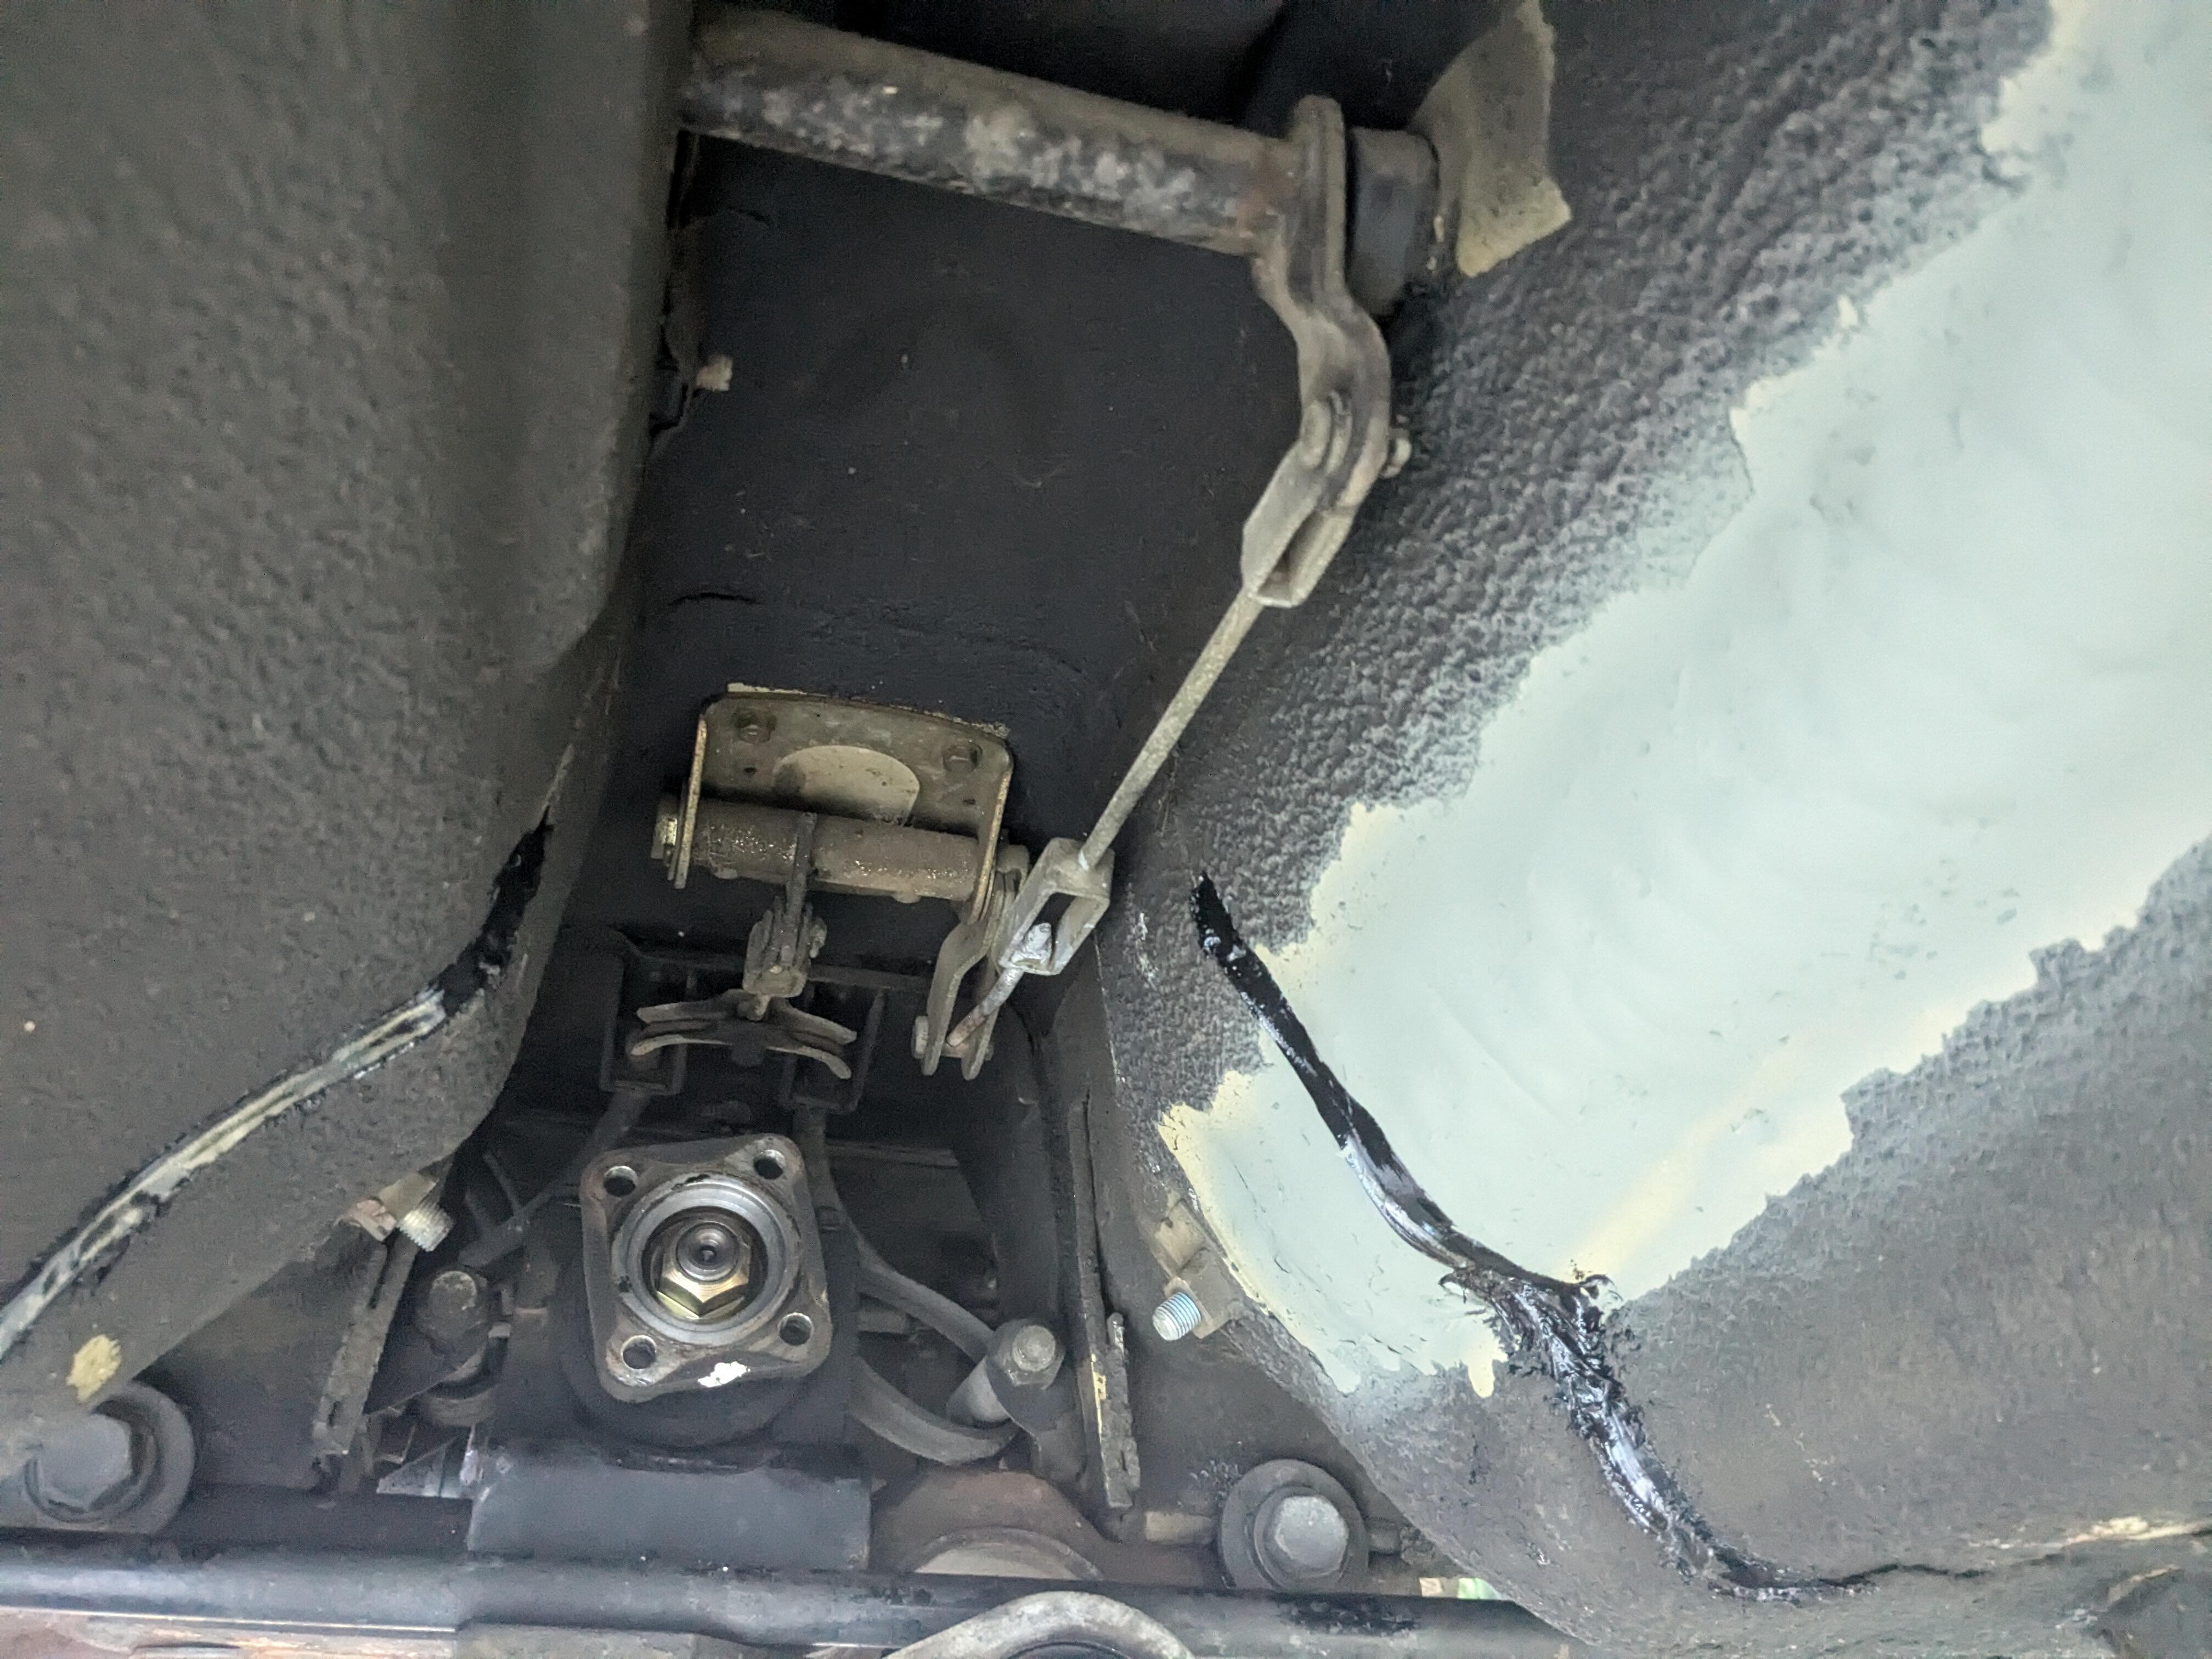
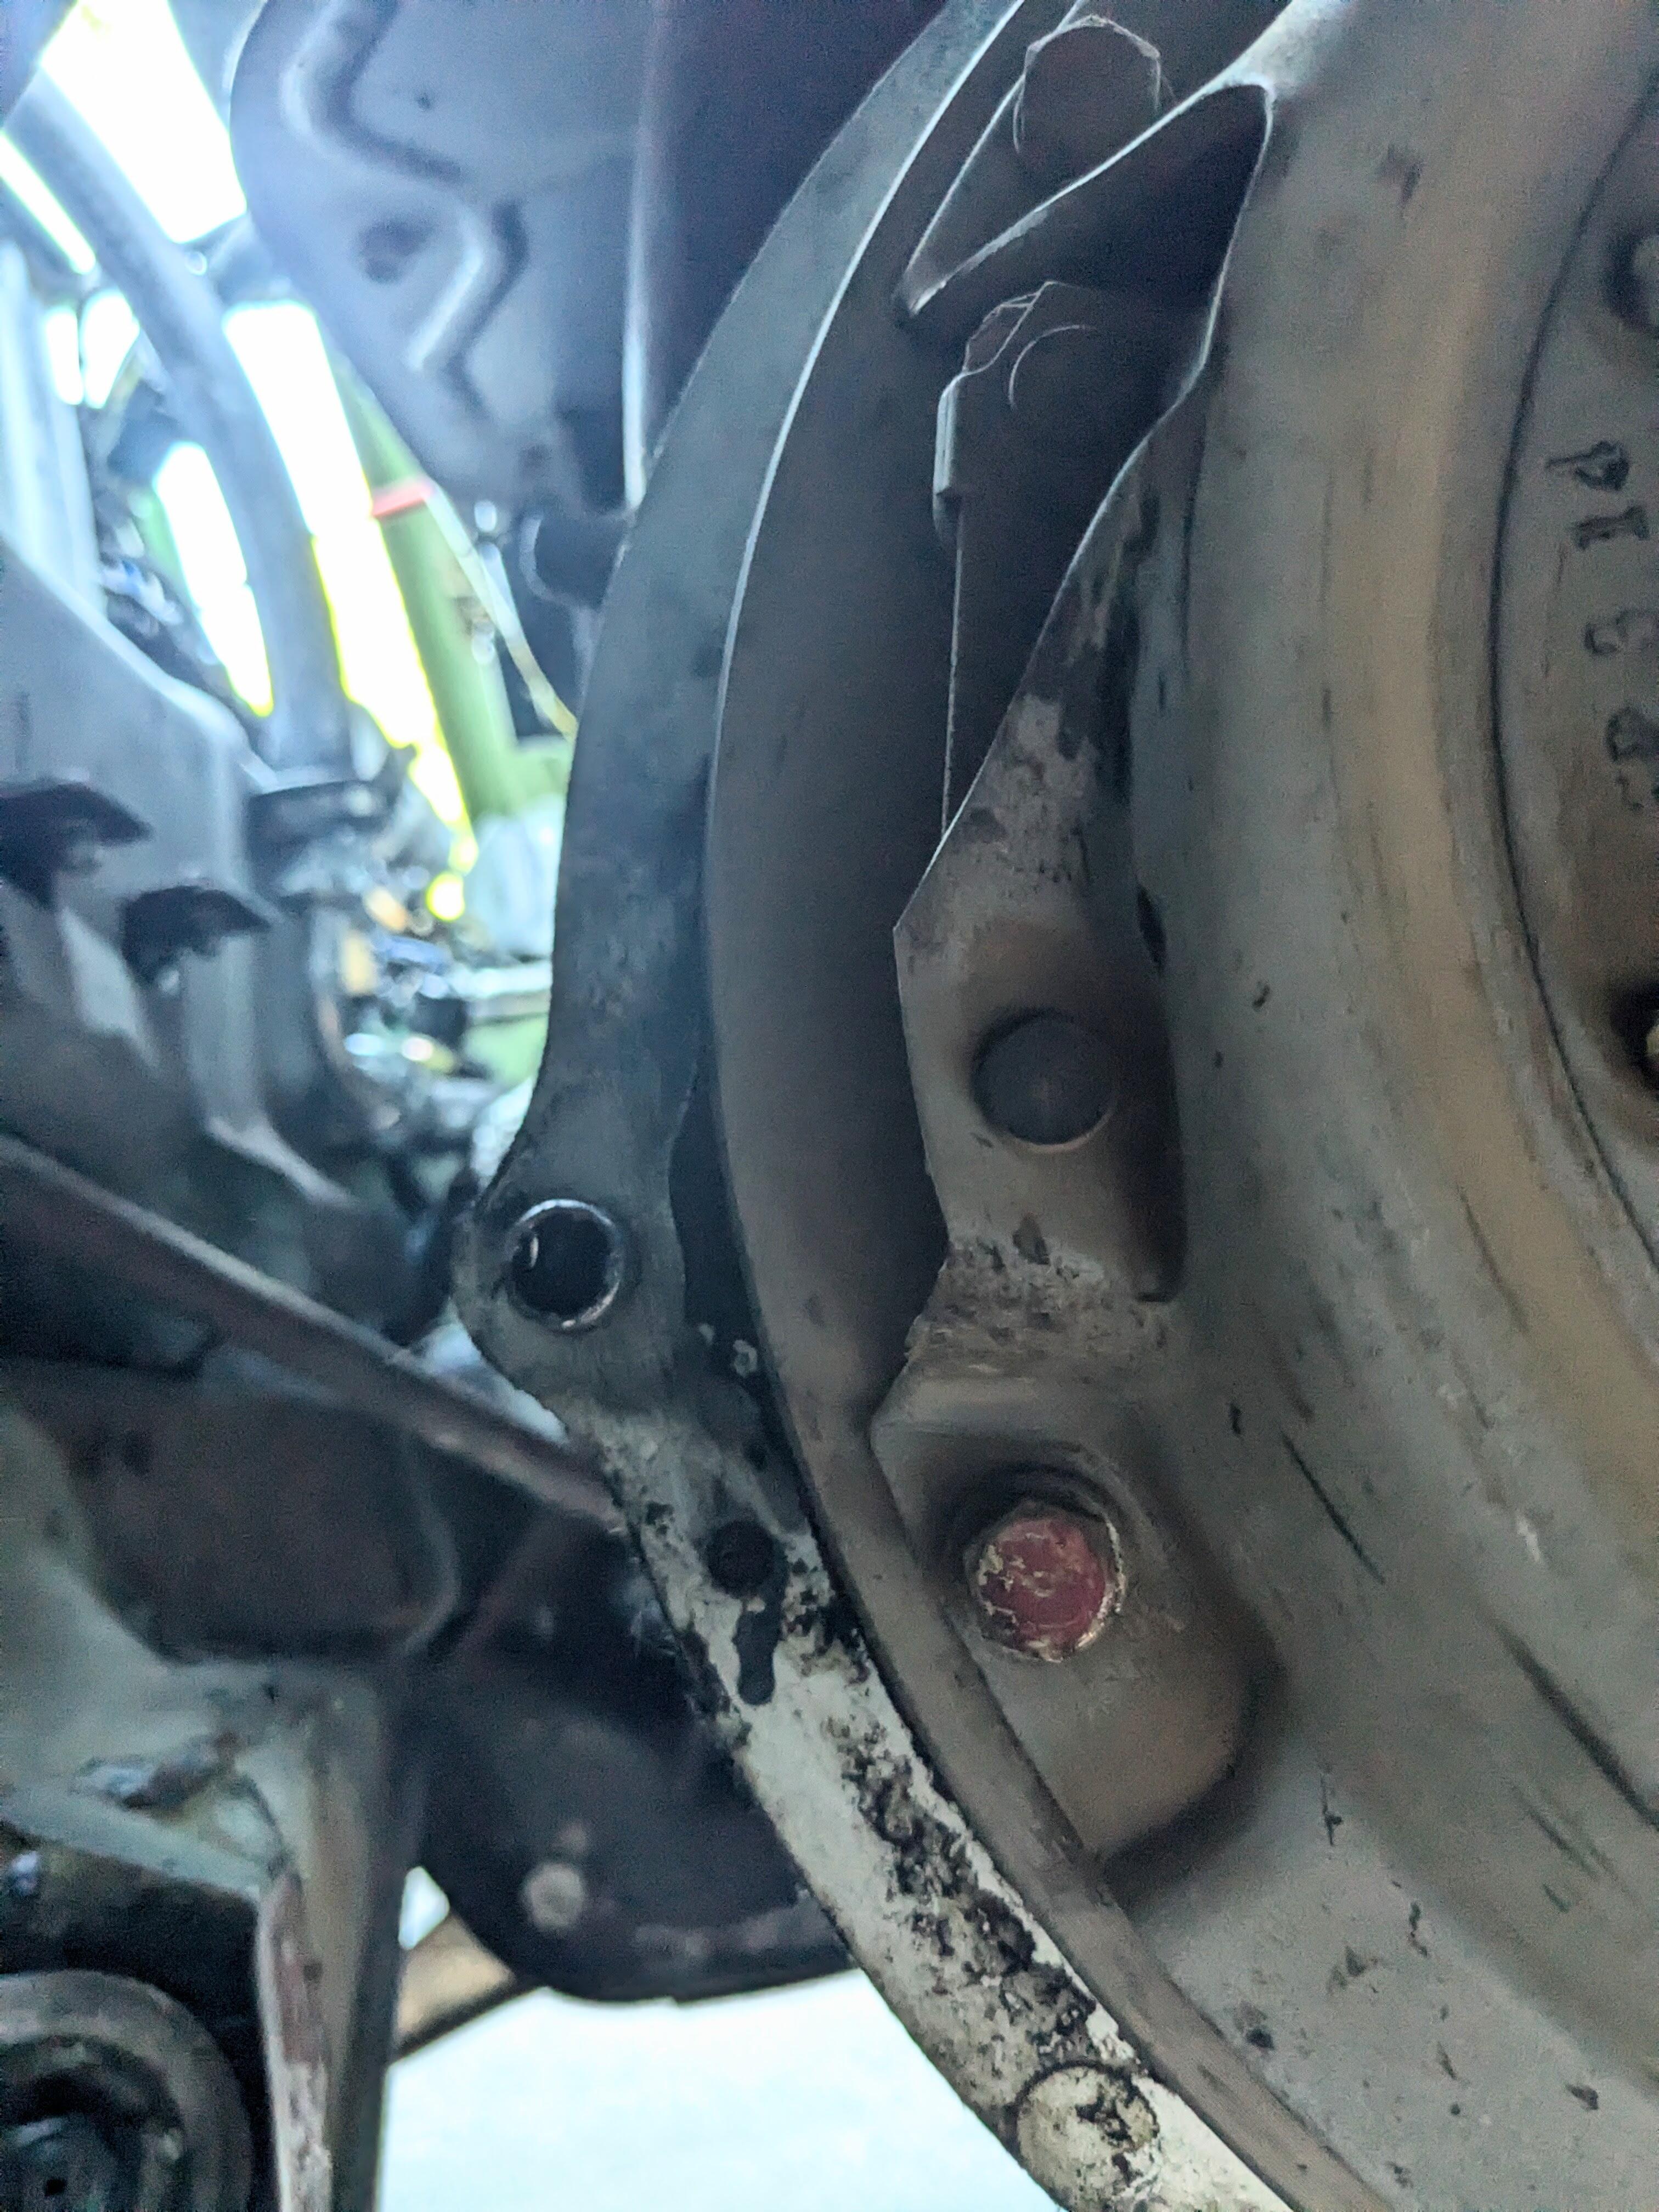
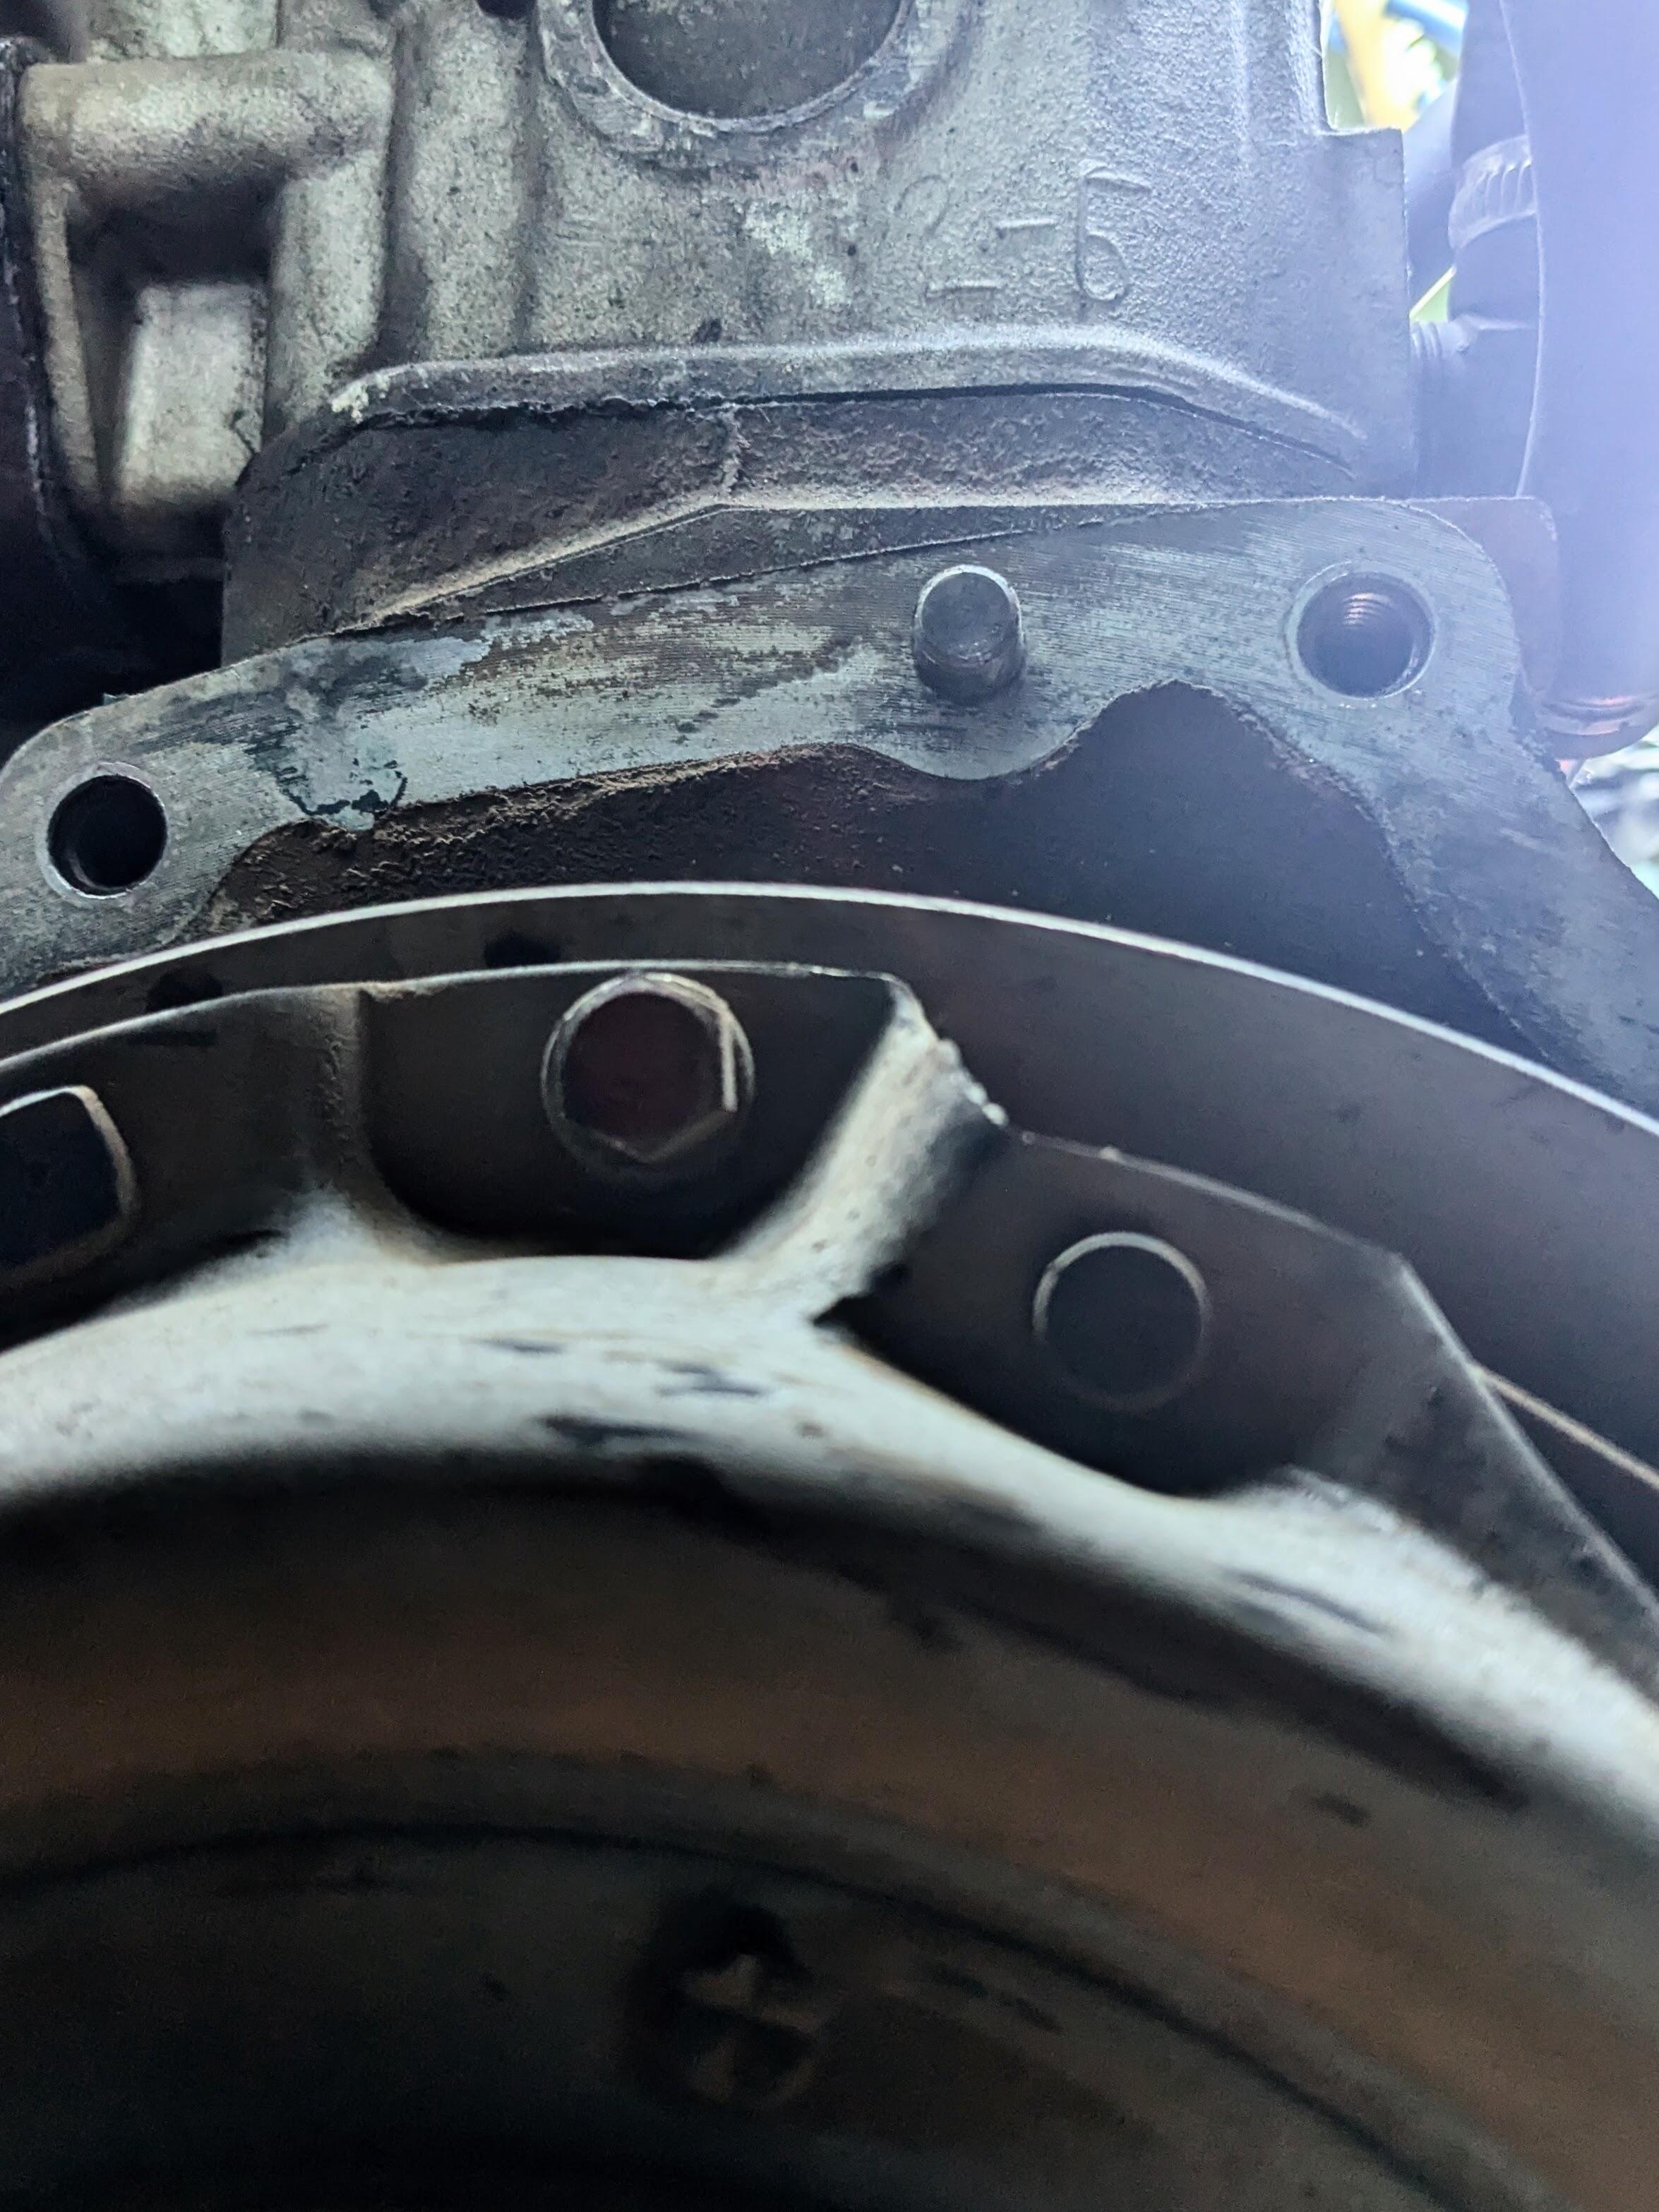
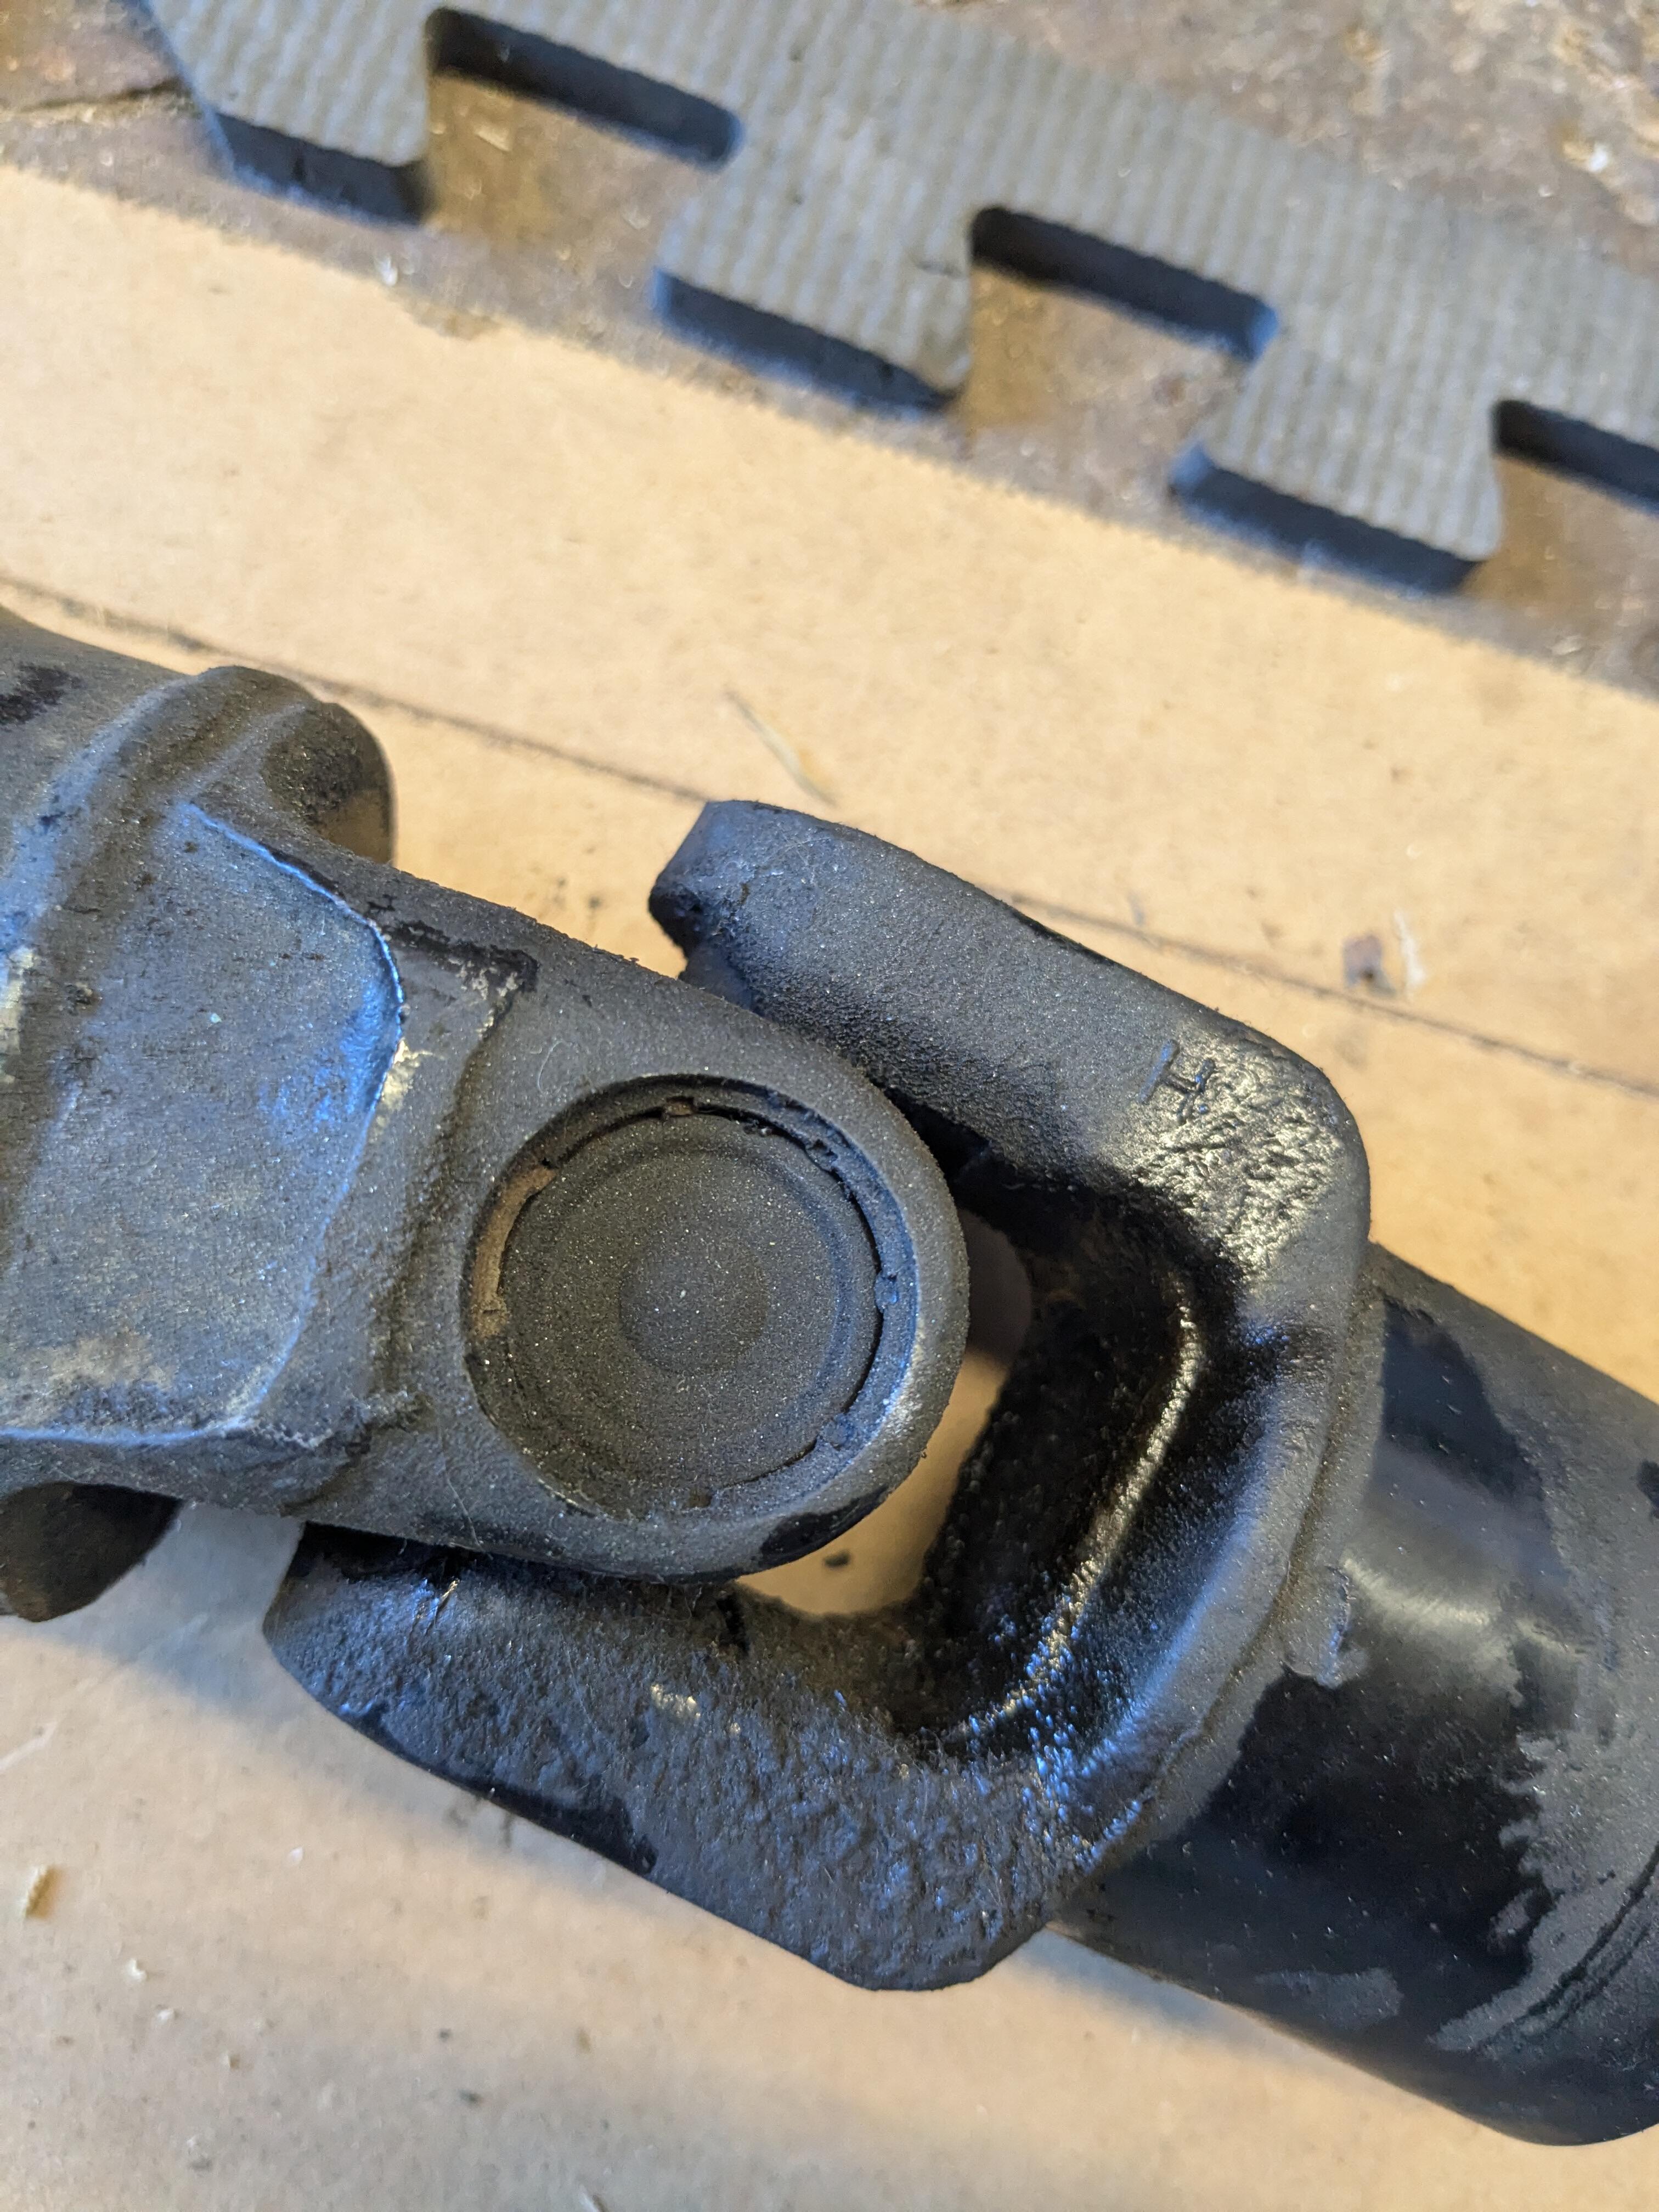
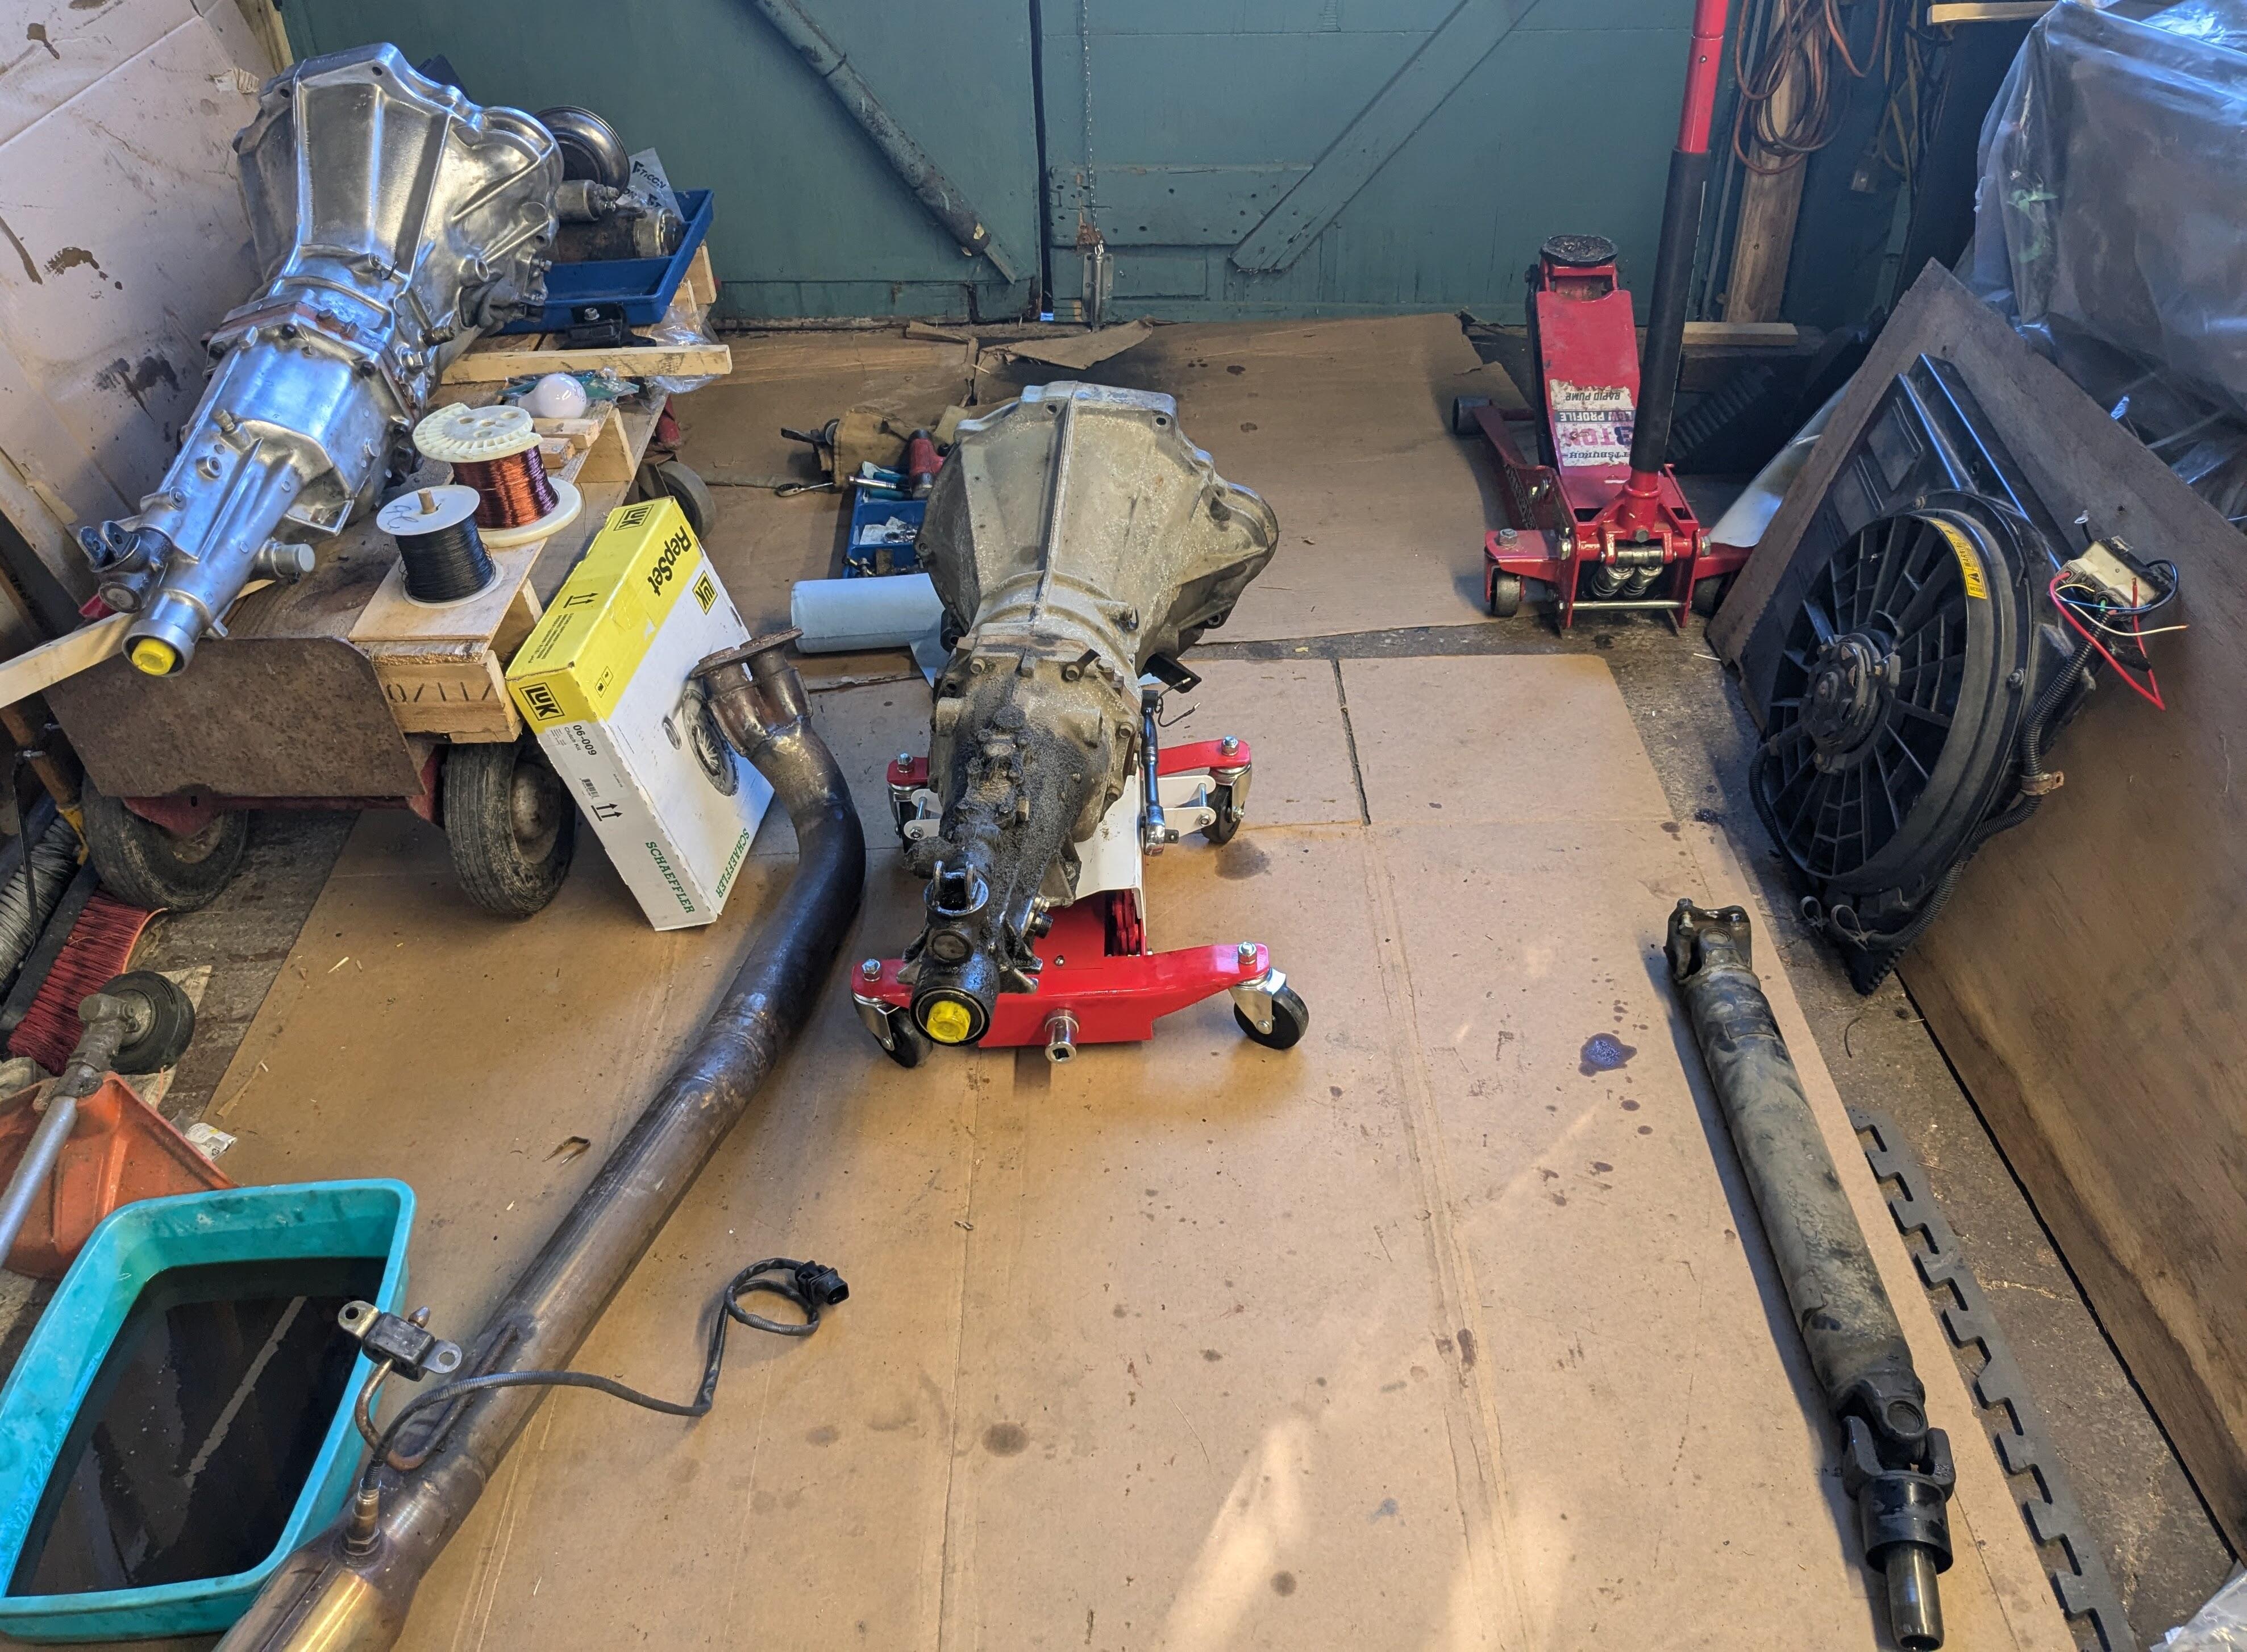
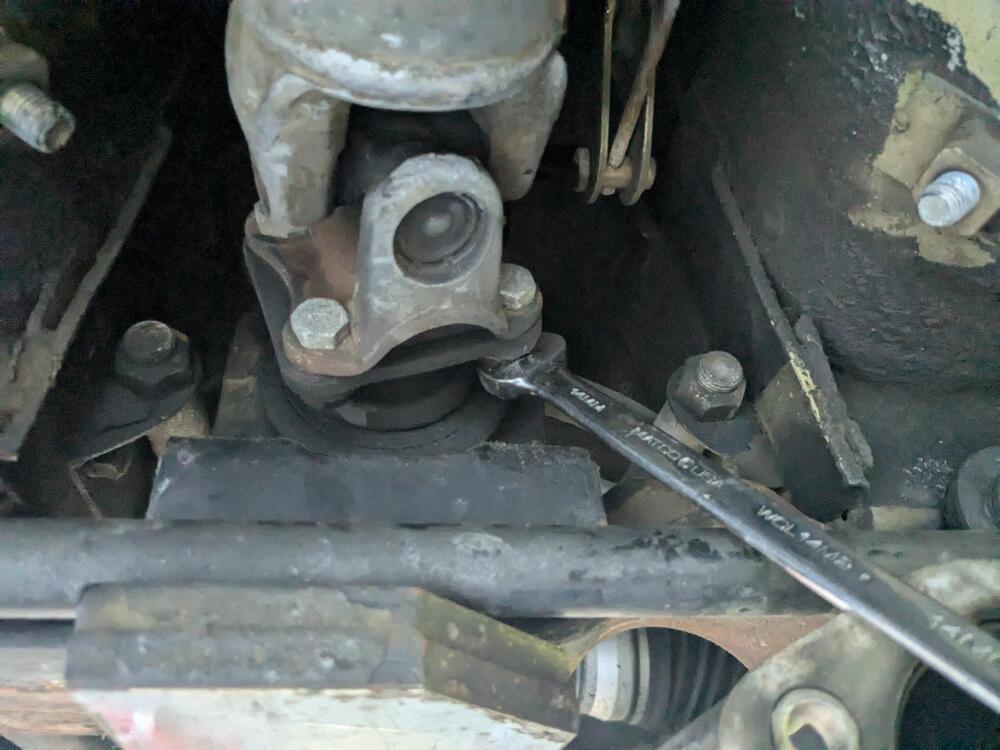
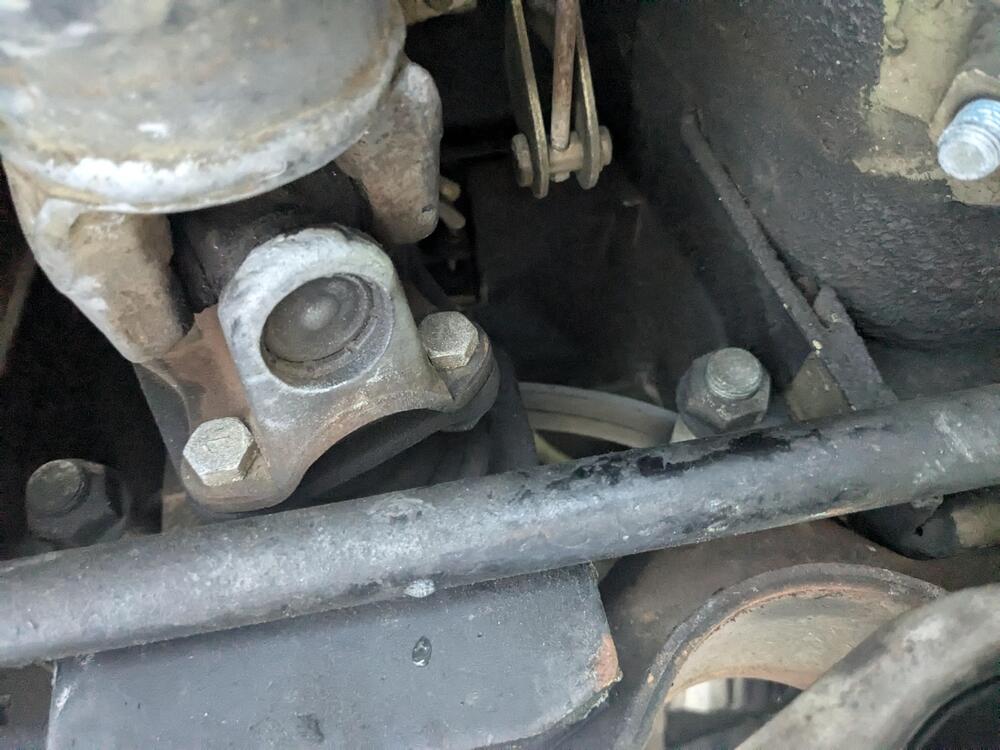
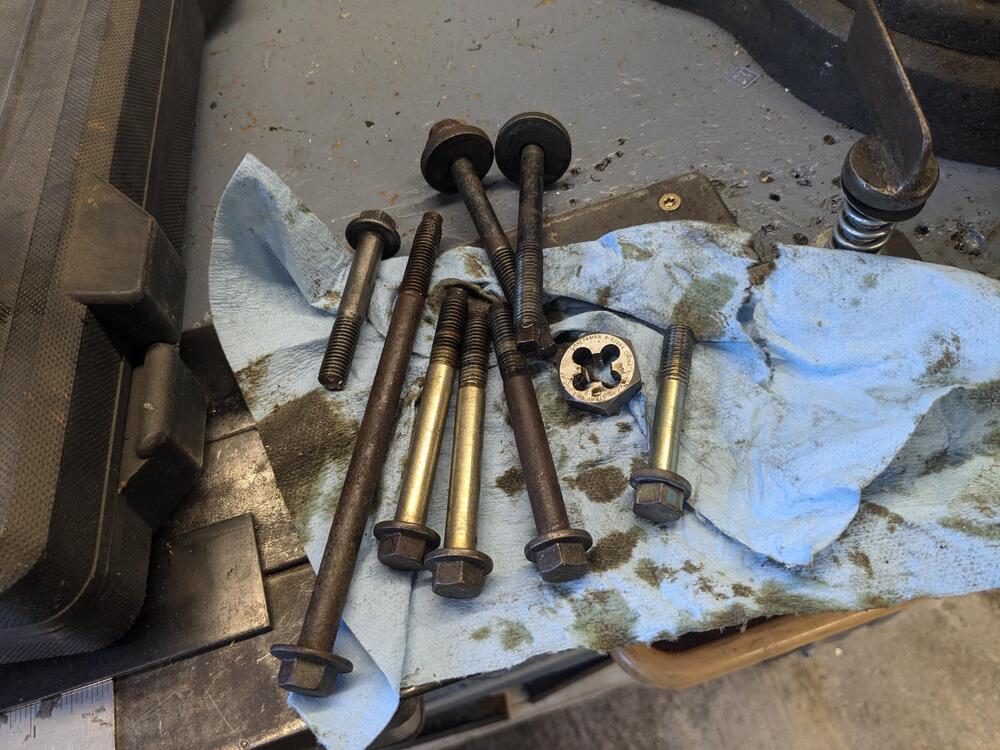
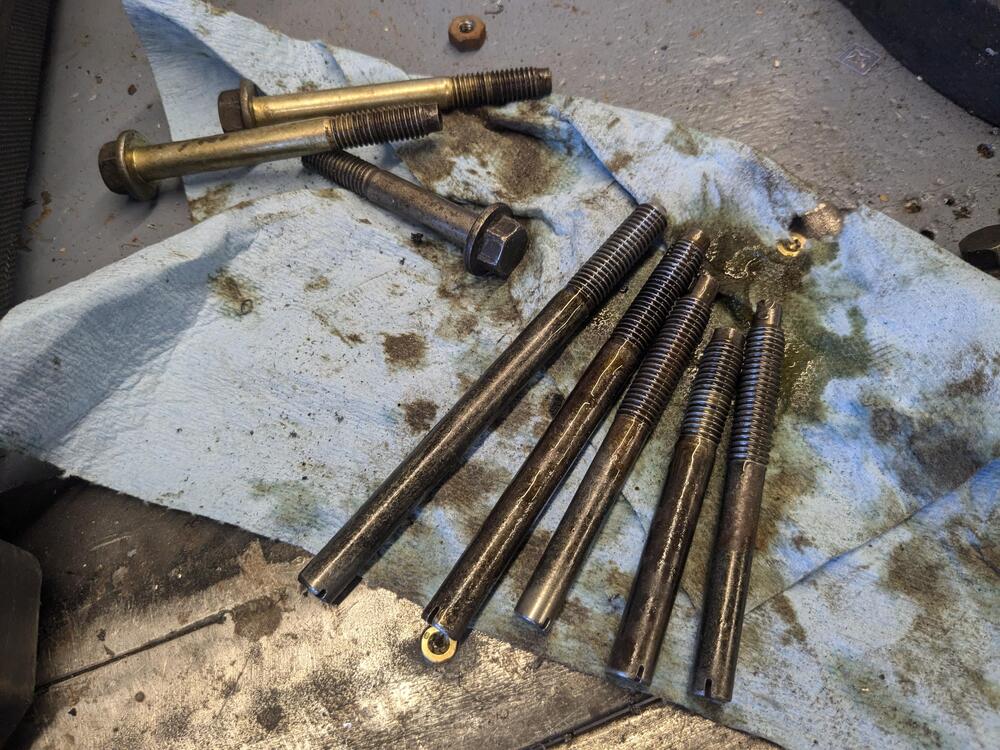
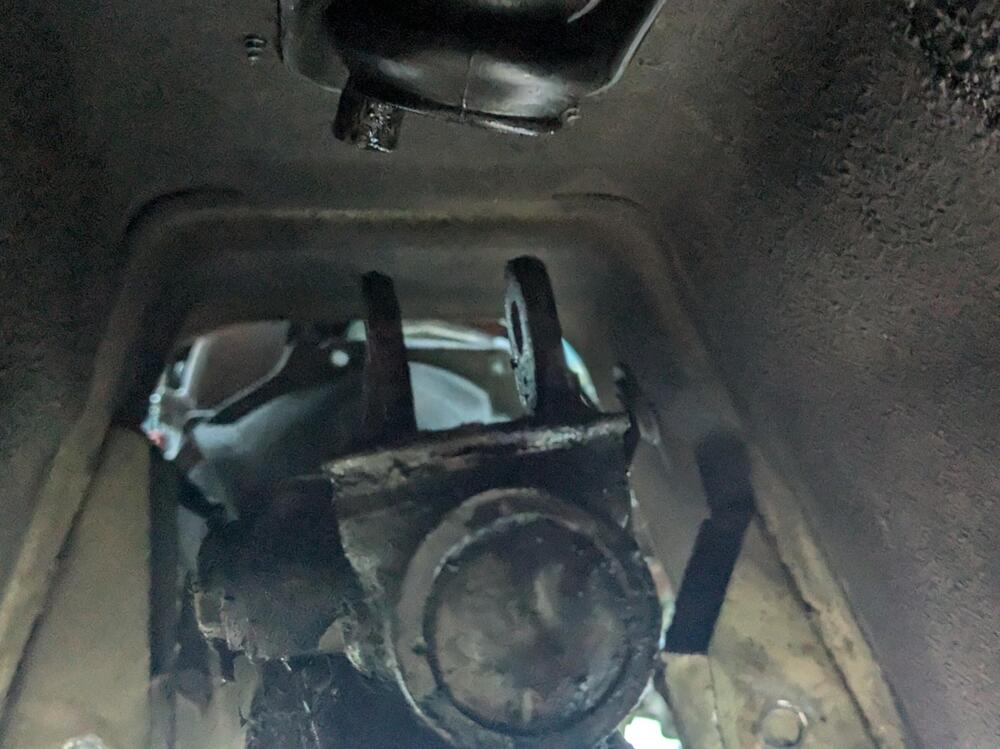
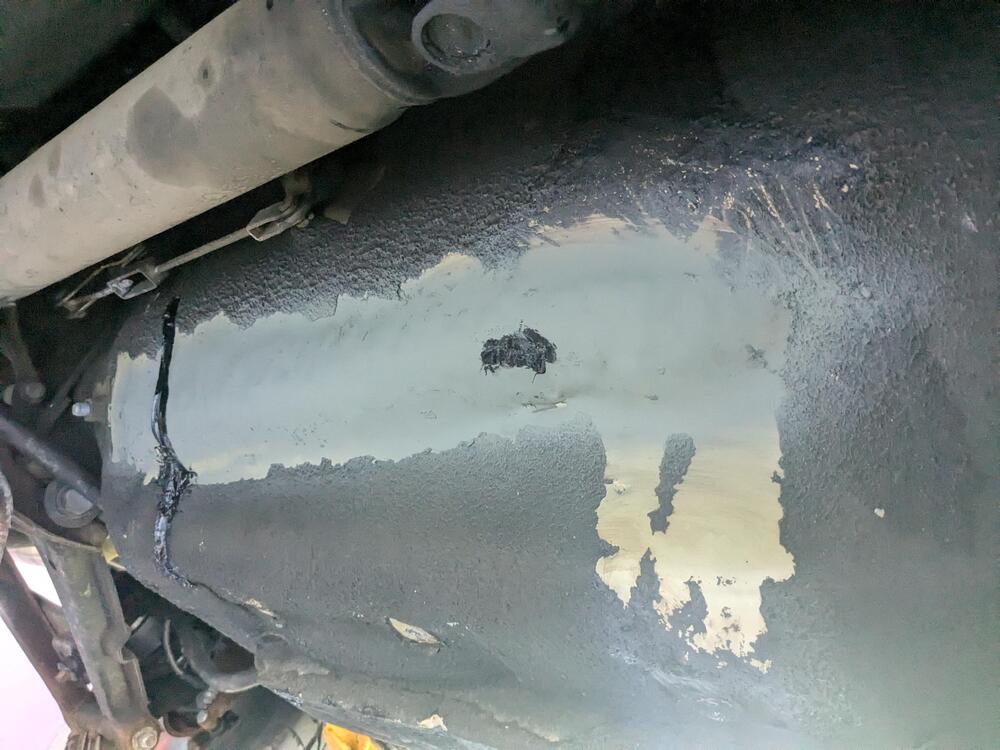
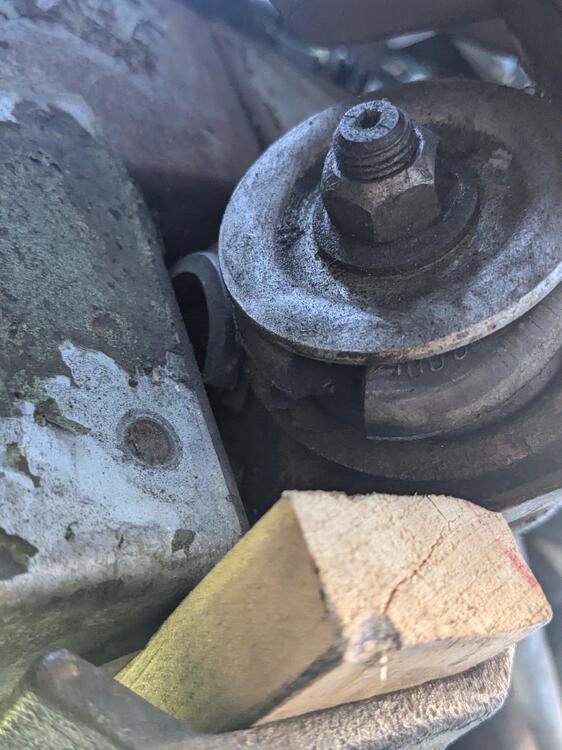
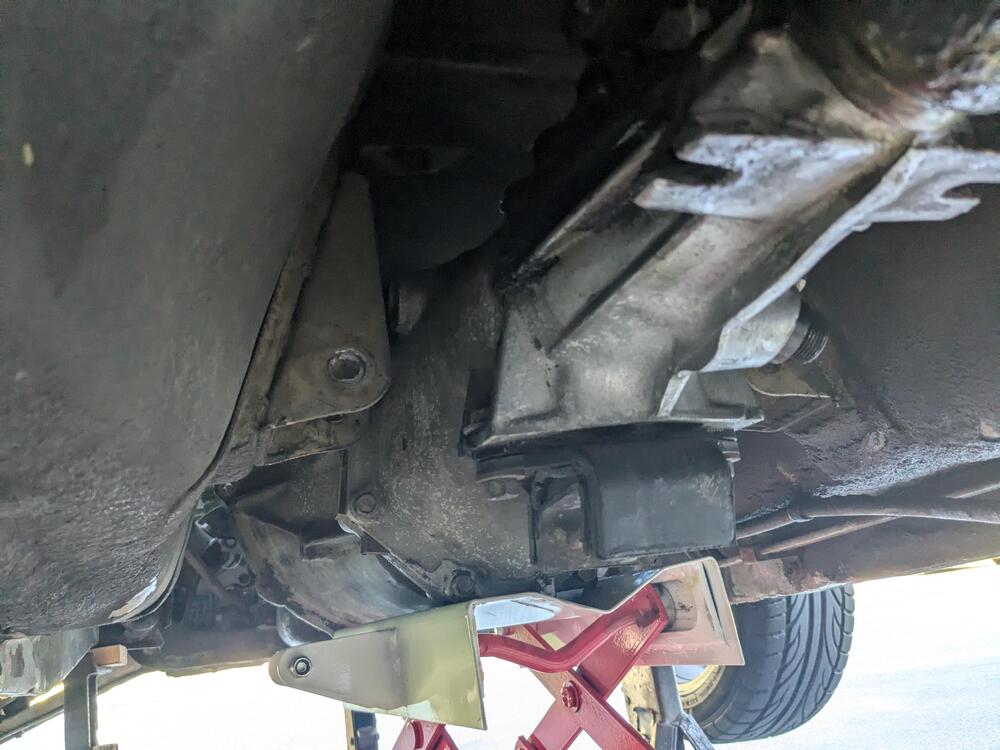
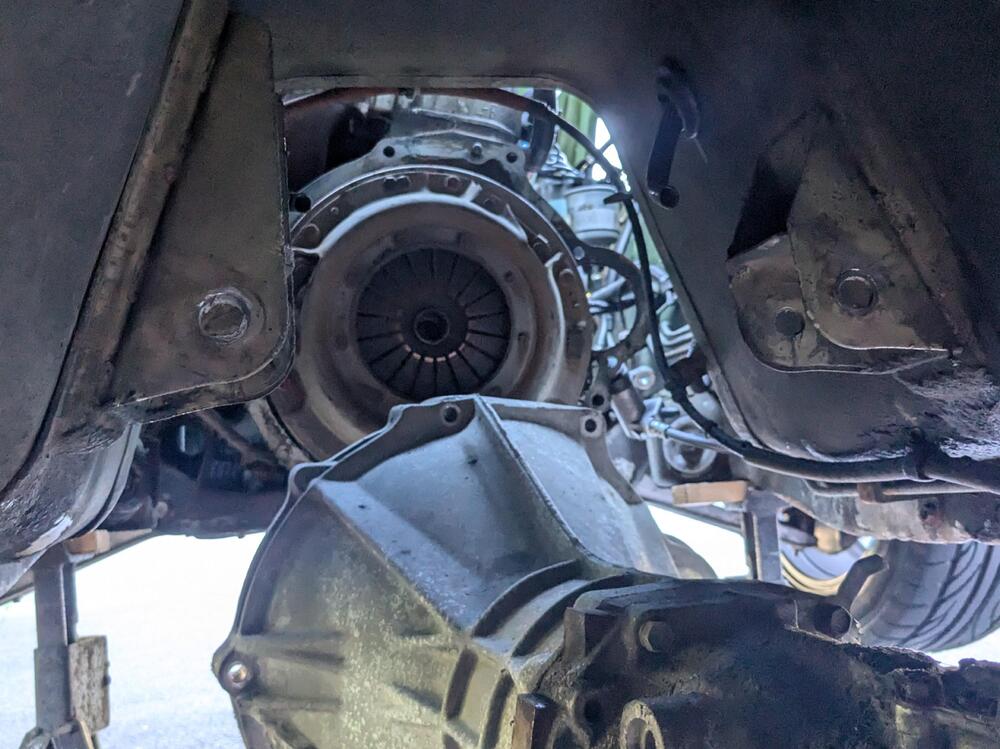
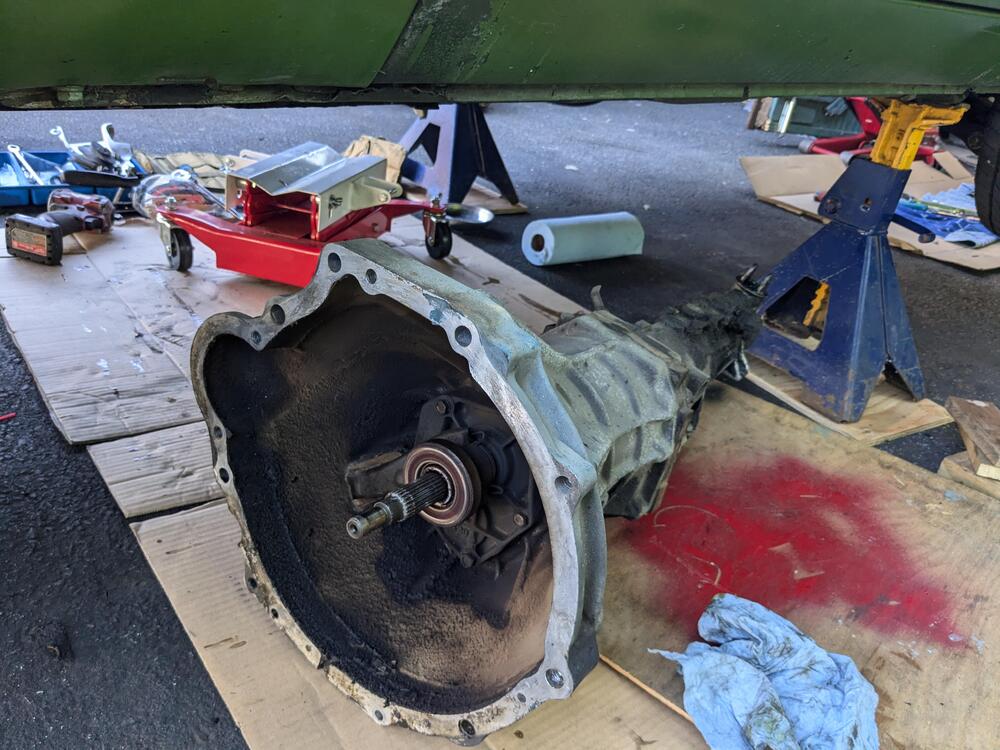
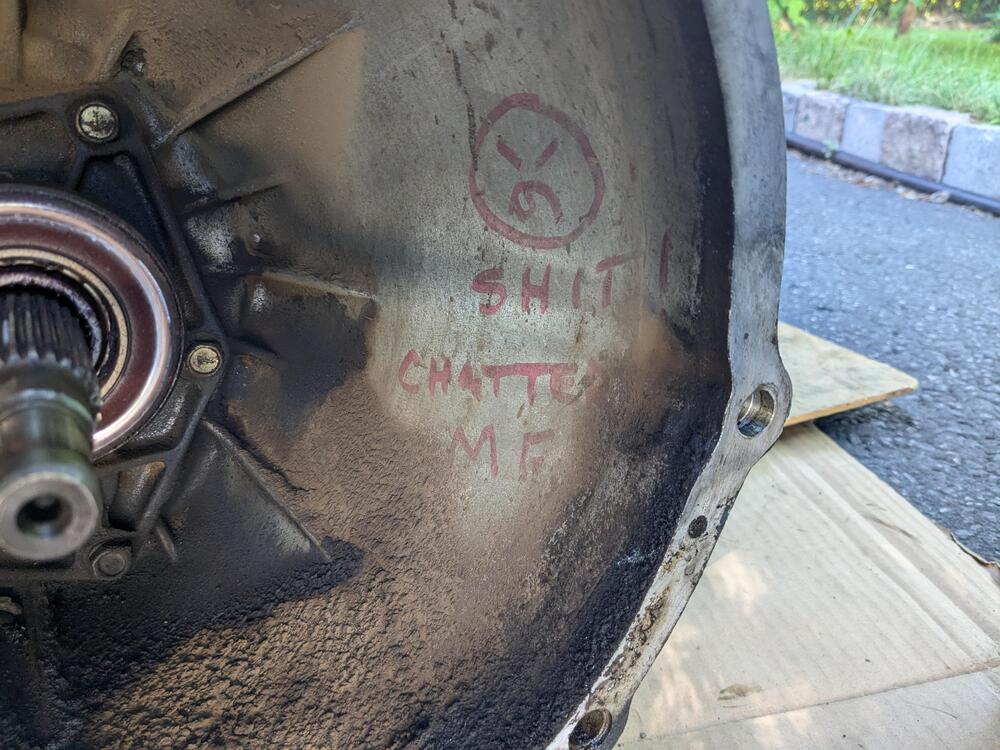
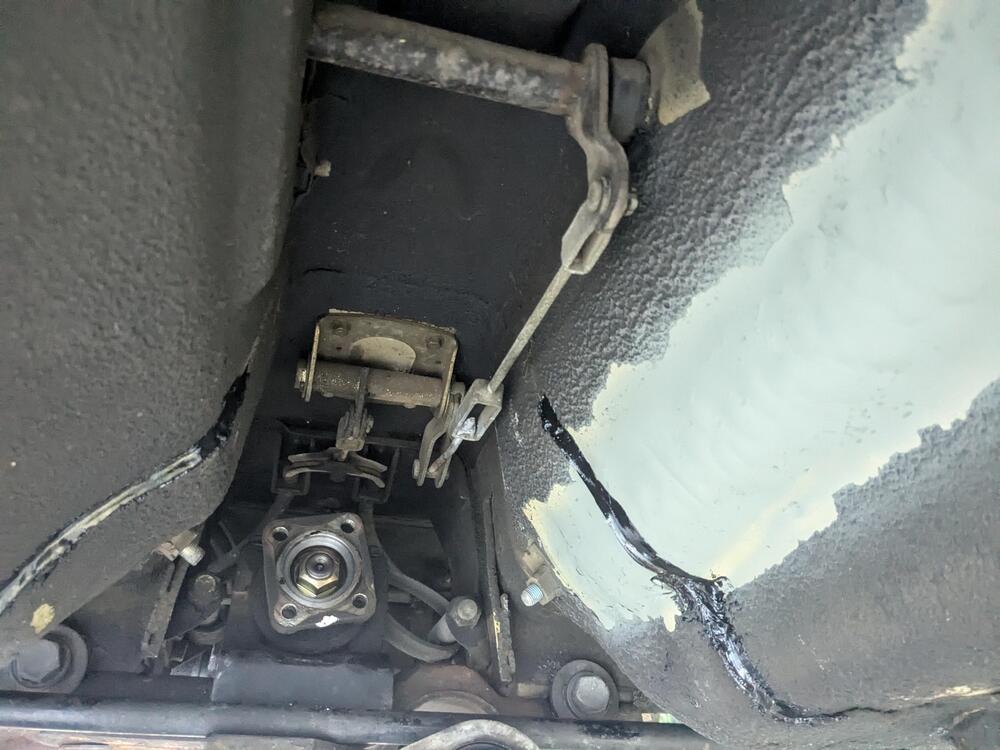
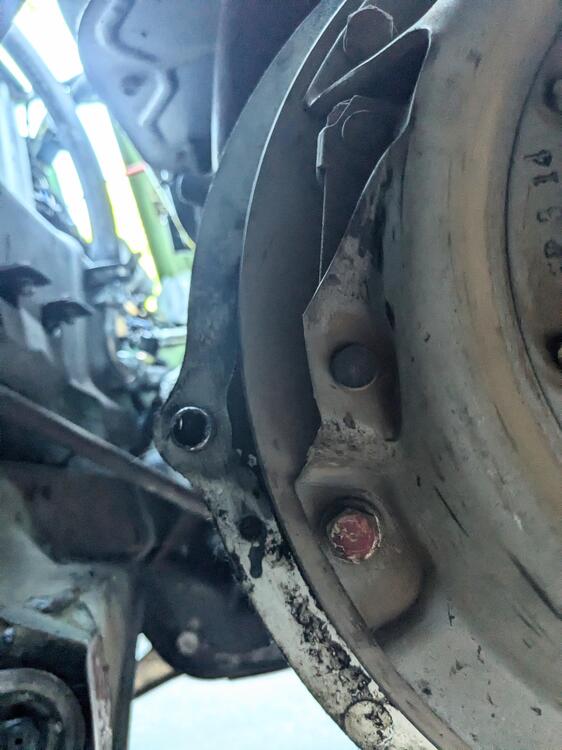
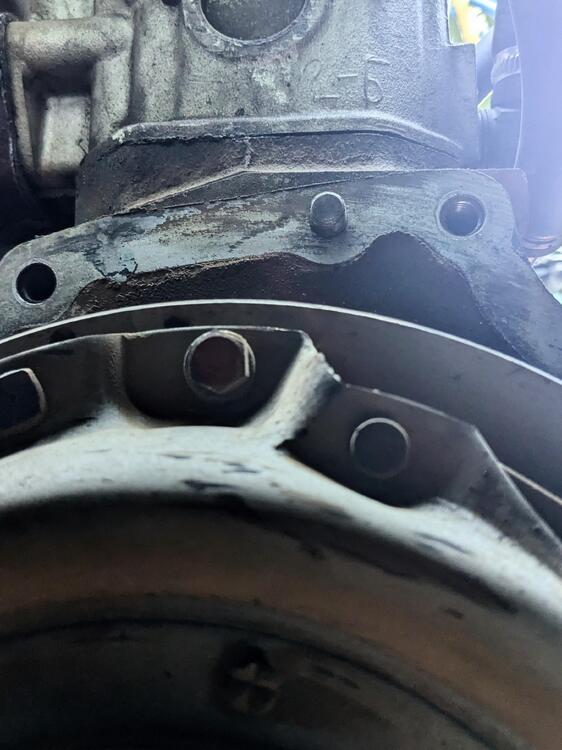
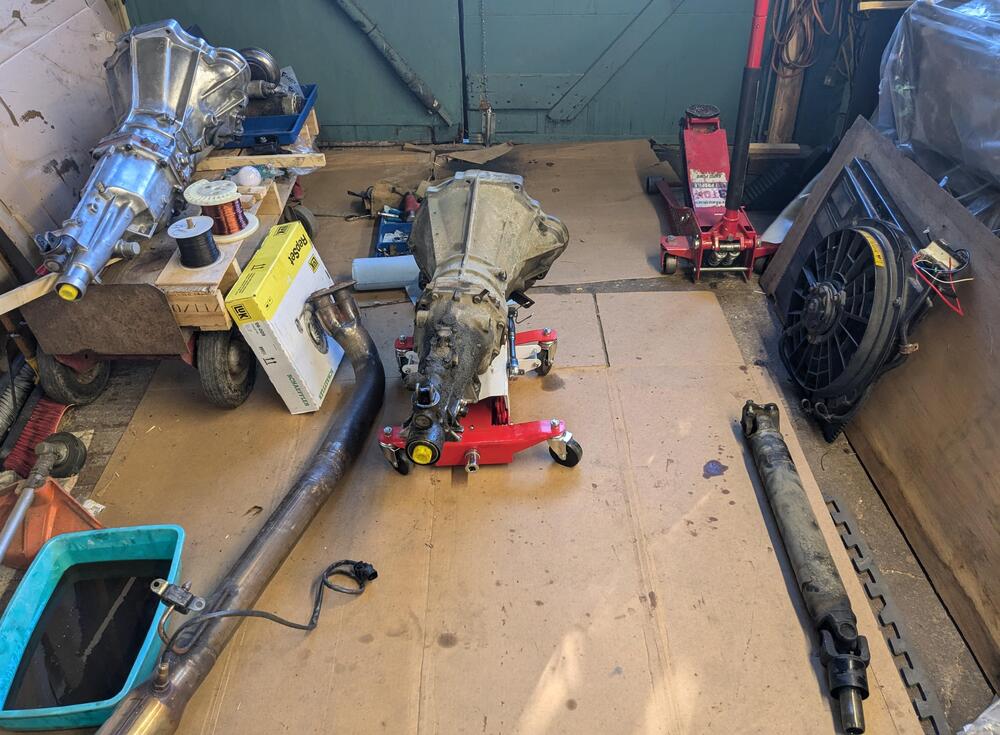
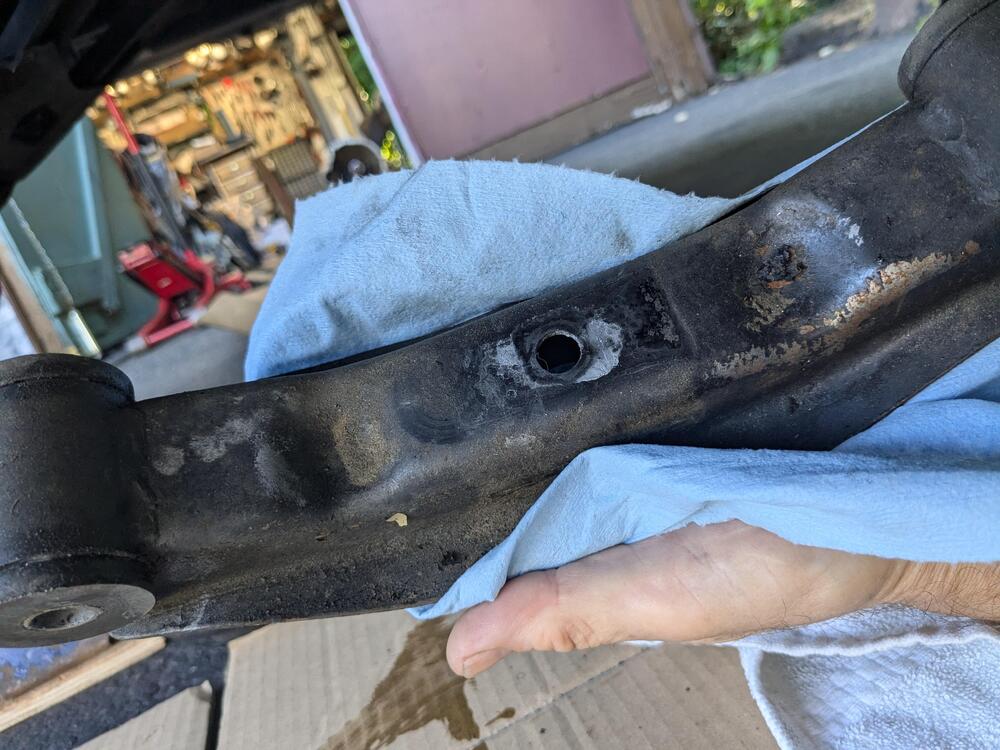
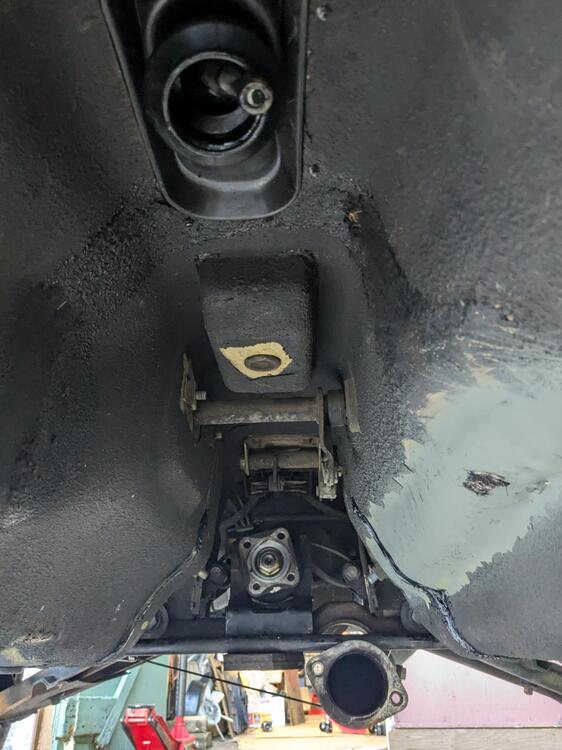
Finally got to pulling the transmission. Removed the fan clutch/blade, and disconnected the throttle linkage at the firewall. Removed the 2 upper bell housing bolts, and removed the starter motor Removed the front exhaust pipe and heat shield. Manual doesn't say to remove the rear swaybar, however there is no access to the driveshaft flange nuts with it in place angle is all wrong, until I dropped the sway bar. Made guide pins to ease the re-install . M10x1.5 threads cut a screwdriver slot in the ends got the shifter pin/clip out cleaned up the area where I had pounded the tunnel to fit the 350Z seat Tranny jack in place Out. Took some leverage between the bell housing & engine to free it. I'm gonna say the last tech to work on it (new clutch at some point) was not happy with putting back the worn trans Only one sleeve guide on the lower left guide pin on the upper right Found that the relatively new caster rod rubber bushings are already toast. Other side is the same Also found the forward U Joint is binding - it doesn't look like it is serviceable. Have to look into that I didn't note which way round this was installed - has two notches on one side

-
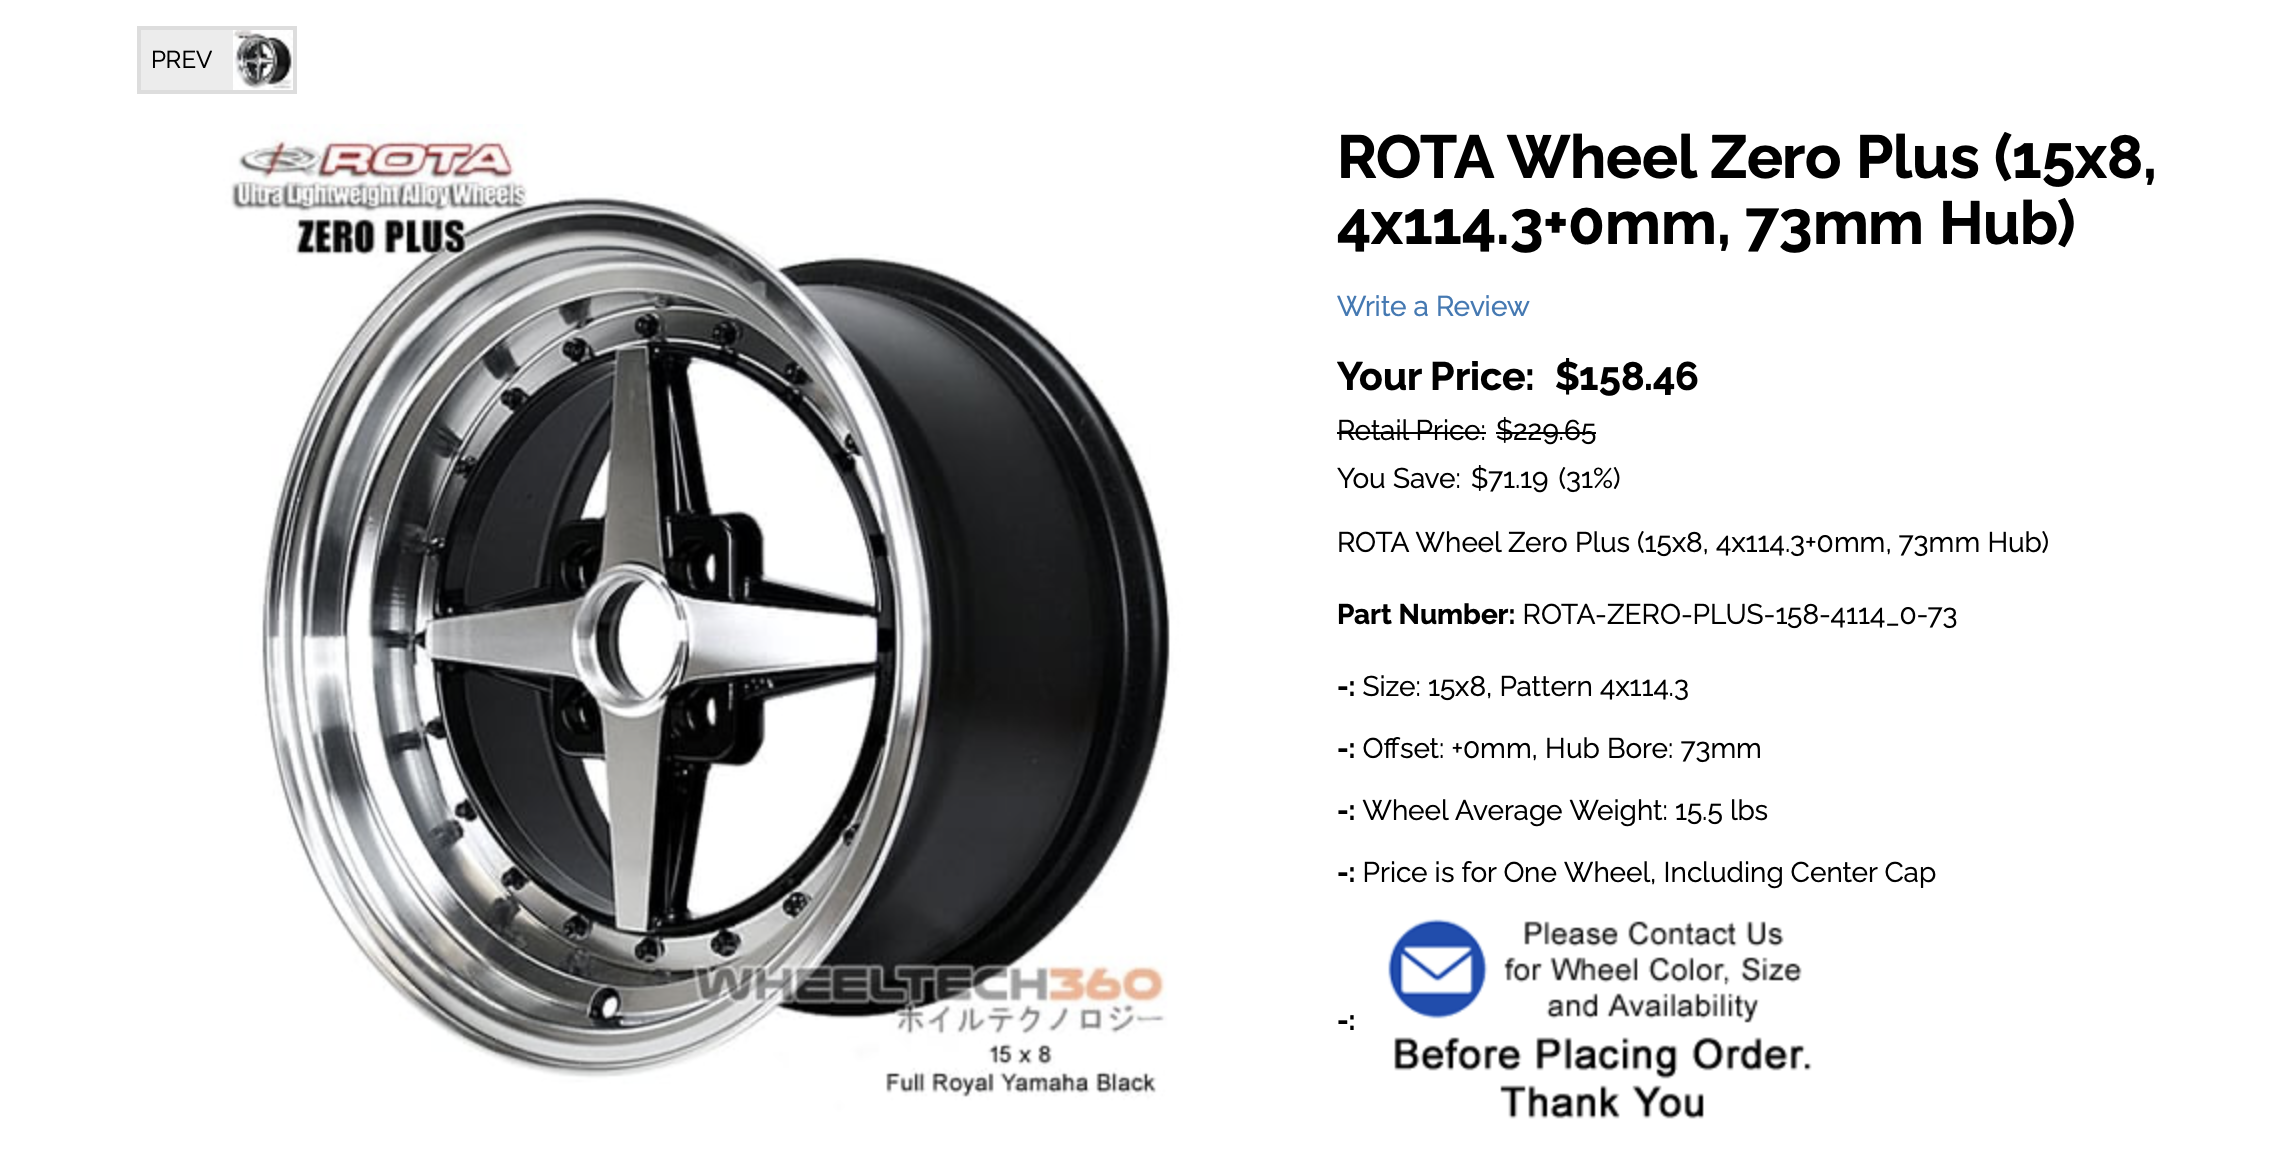
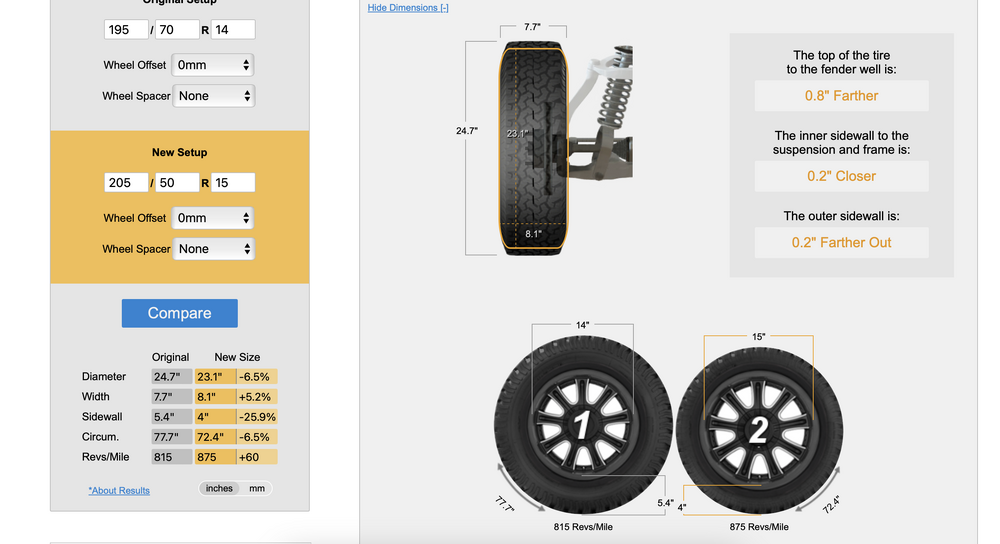
I had to go find the tire size I used, and look up the OE size - for some reason I didn't document either. I don't recall the spare being full size though - I discarded it not long after getting the car. The problem with most wheels (such as the Honda suggestion) is that the offset for FWD is not going to clear big brakes, I believe Searching for a spare also brought up a range of other 15" wheels I wouldn't mind - I liked the Rota's I had on my X1/9 - that brand has a 4 spoke 4x114.3 - but it's 15x8 - I don't know if that will clear the strut tube. I really don't need another set of wheels & tires to play with right now...

-
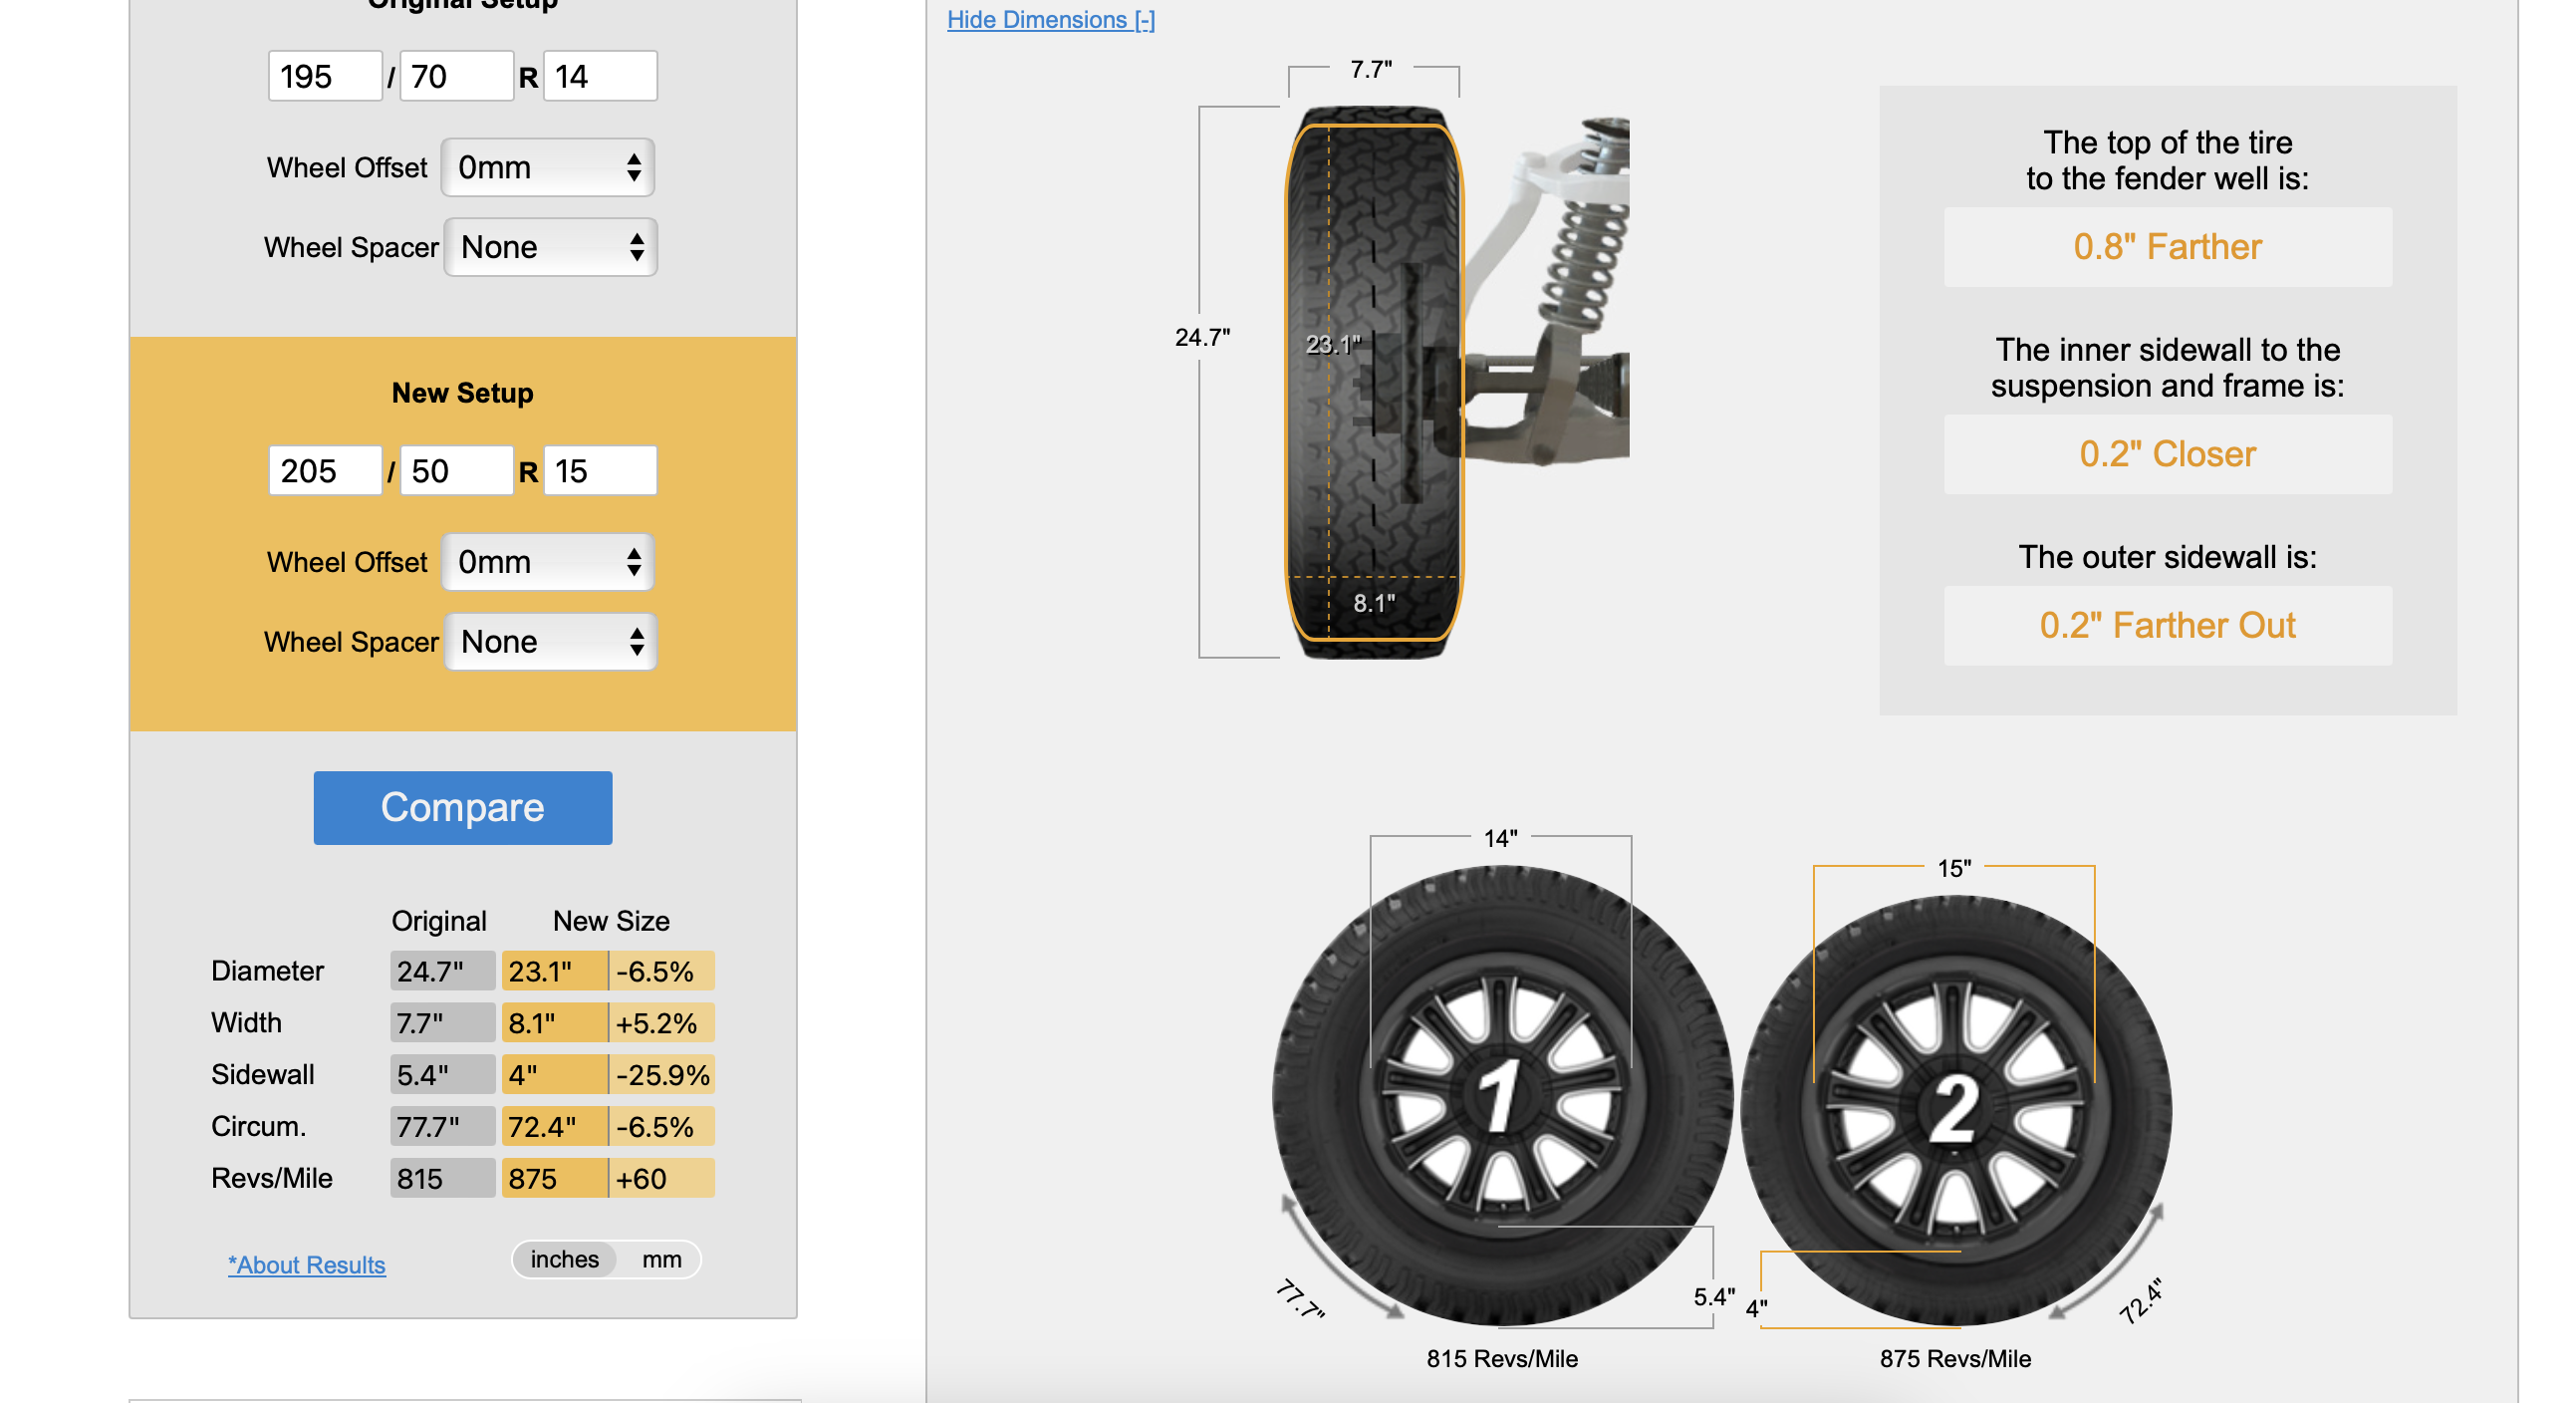
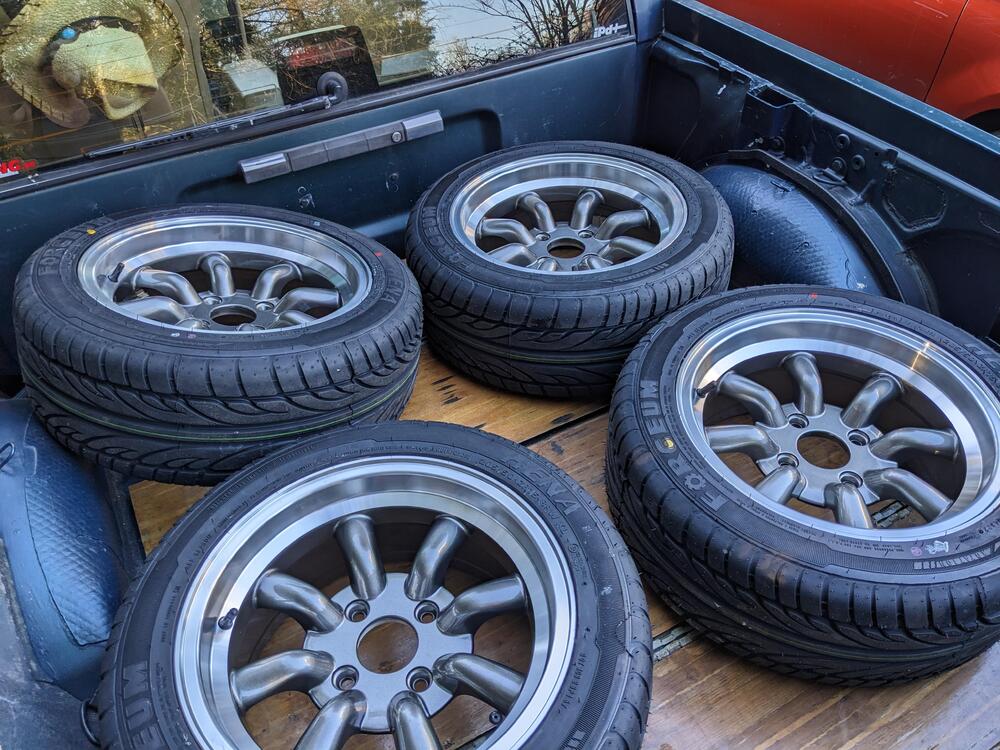
I have 205/50x15's - pretty sure it is too deep, that said, I didn't actually try one..... 🤪
-
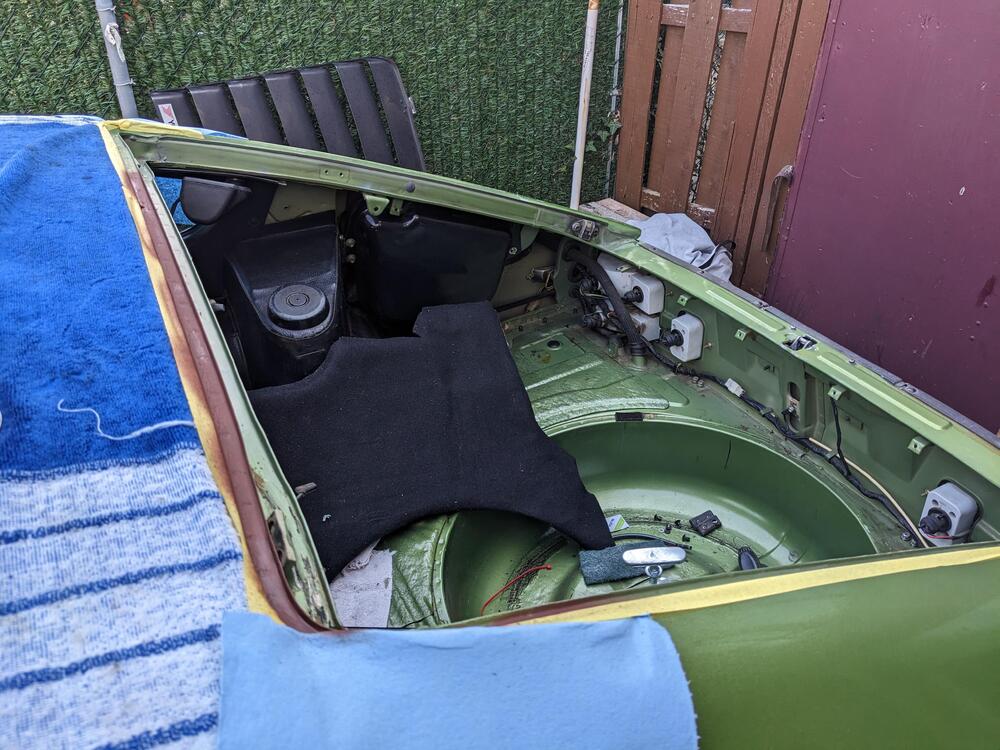
Resurrecting this thread. I have the MilkFab rear disc conversion, and the ZcarDepot front larger brake kit - after my Volvo C30 broken wheel on the NY Thruway construction zone, I'm paranoid about driving the other cars with no spares. I'm going to Ohio in August in the Z - at this point I'm not longer comfortable running with no spare. Before anyone mentions it, I do have AAA, however being stuck for hours due to a flat is not something I'm willing to experinence (again) Some ppl mentioned using a Honda Accord spare - (I'm assuming '05-'06 range based on date of original post). EDIT - looking on line '02 was the last Accord to have a 4x114.3 bolt pattern. I have no access to JY, so I'll need more concrete input if possible, since I'll have to order one off eBay if I go that route. I would rather not get a full size wheel & tire spare, as that will not fit in the well on my 75
-
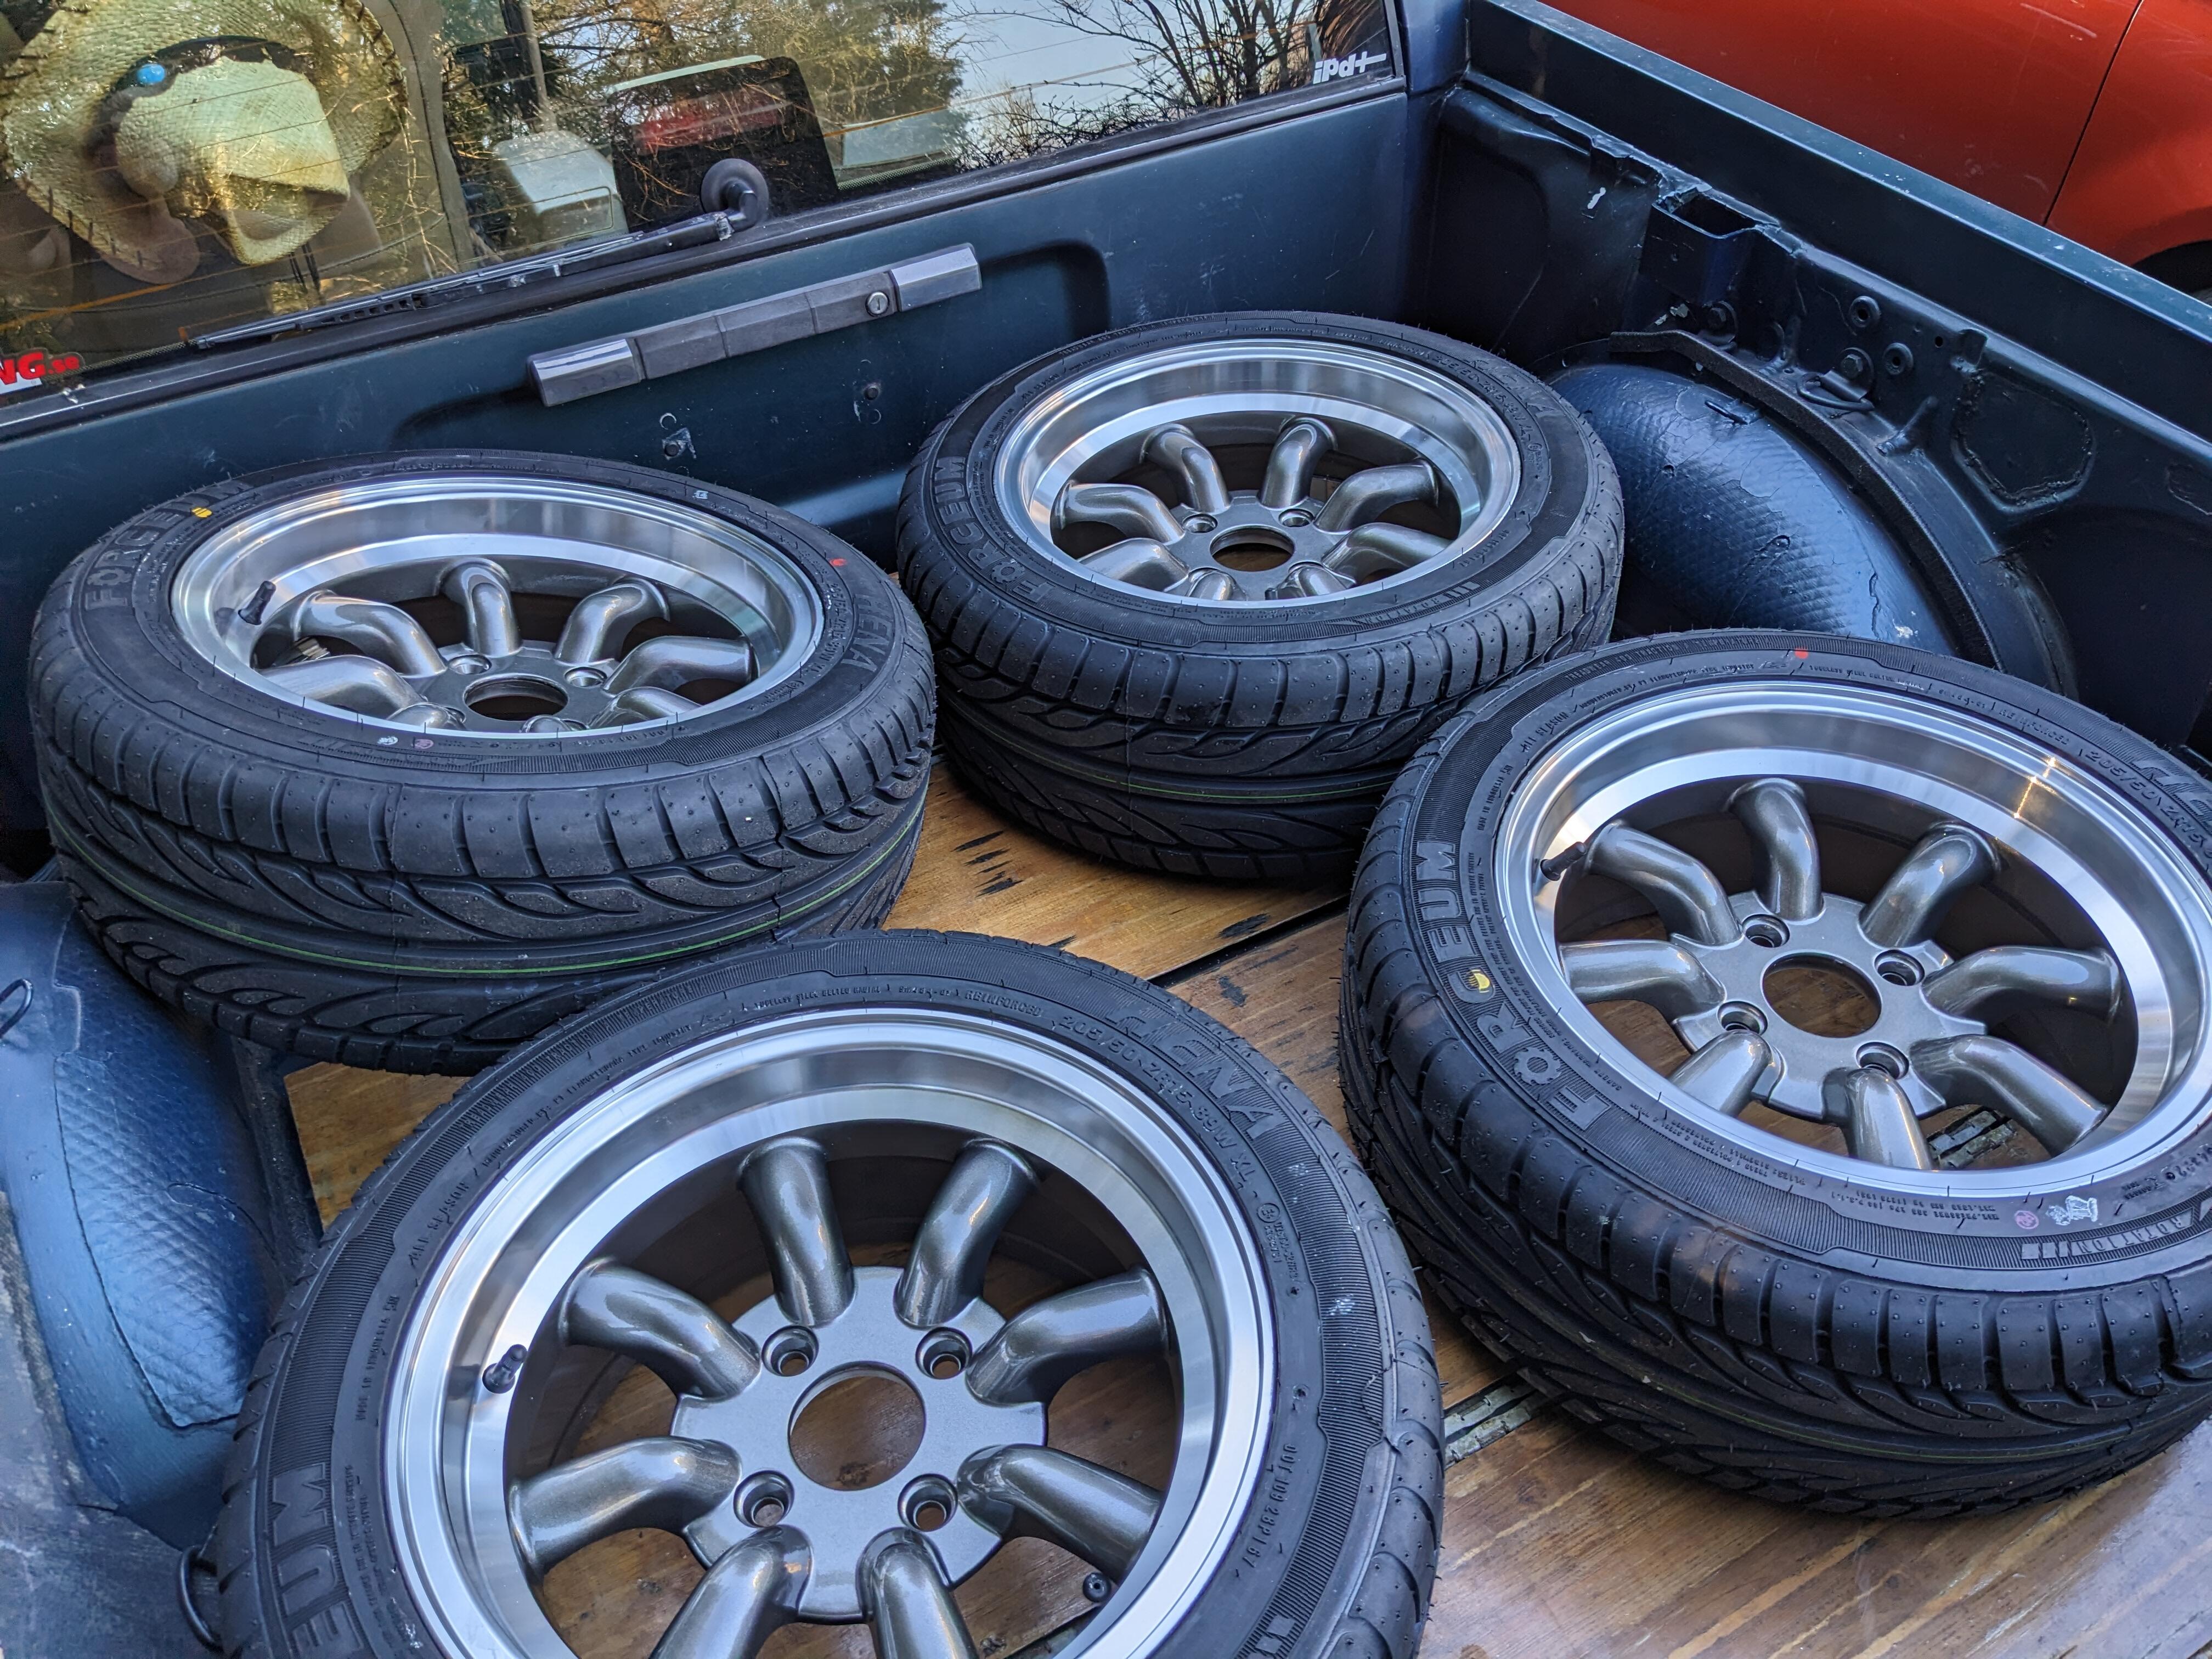
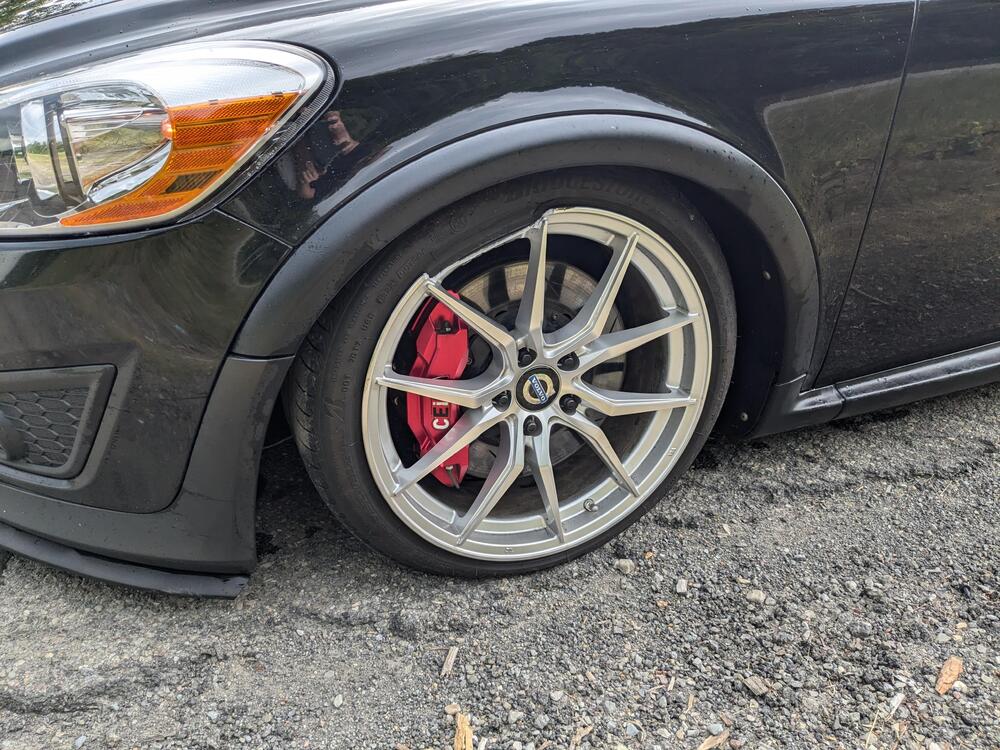
Getting the truck ready for another Ithaca trip, and a short one to Kingston, NY tomorrow - I got a new windshield installed today - the old original one was so pitted driving at night was a nightnmare New wheels & 2 new Bridgestone Potenza T005's for the C30 came - so I got those mounted. Need to check the toe old one new This is what I drove home on last Sunday
-
Lol - my co-workers were singing that to me - emphasis on "Schools Out Forever" 😁
-
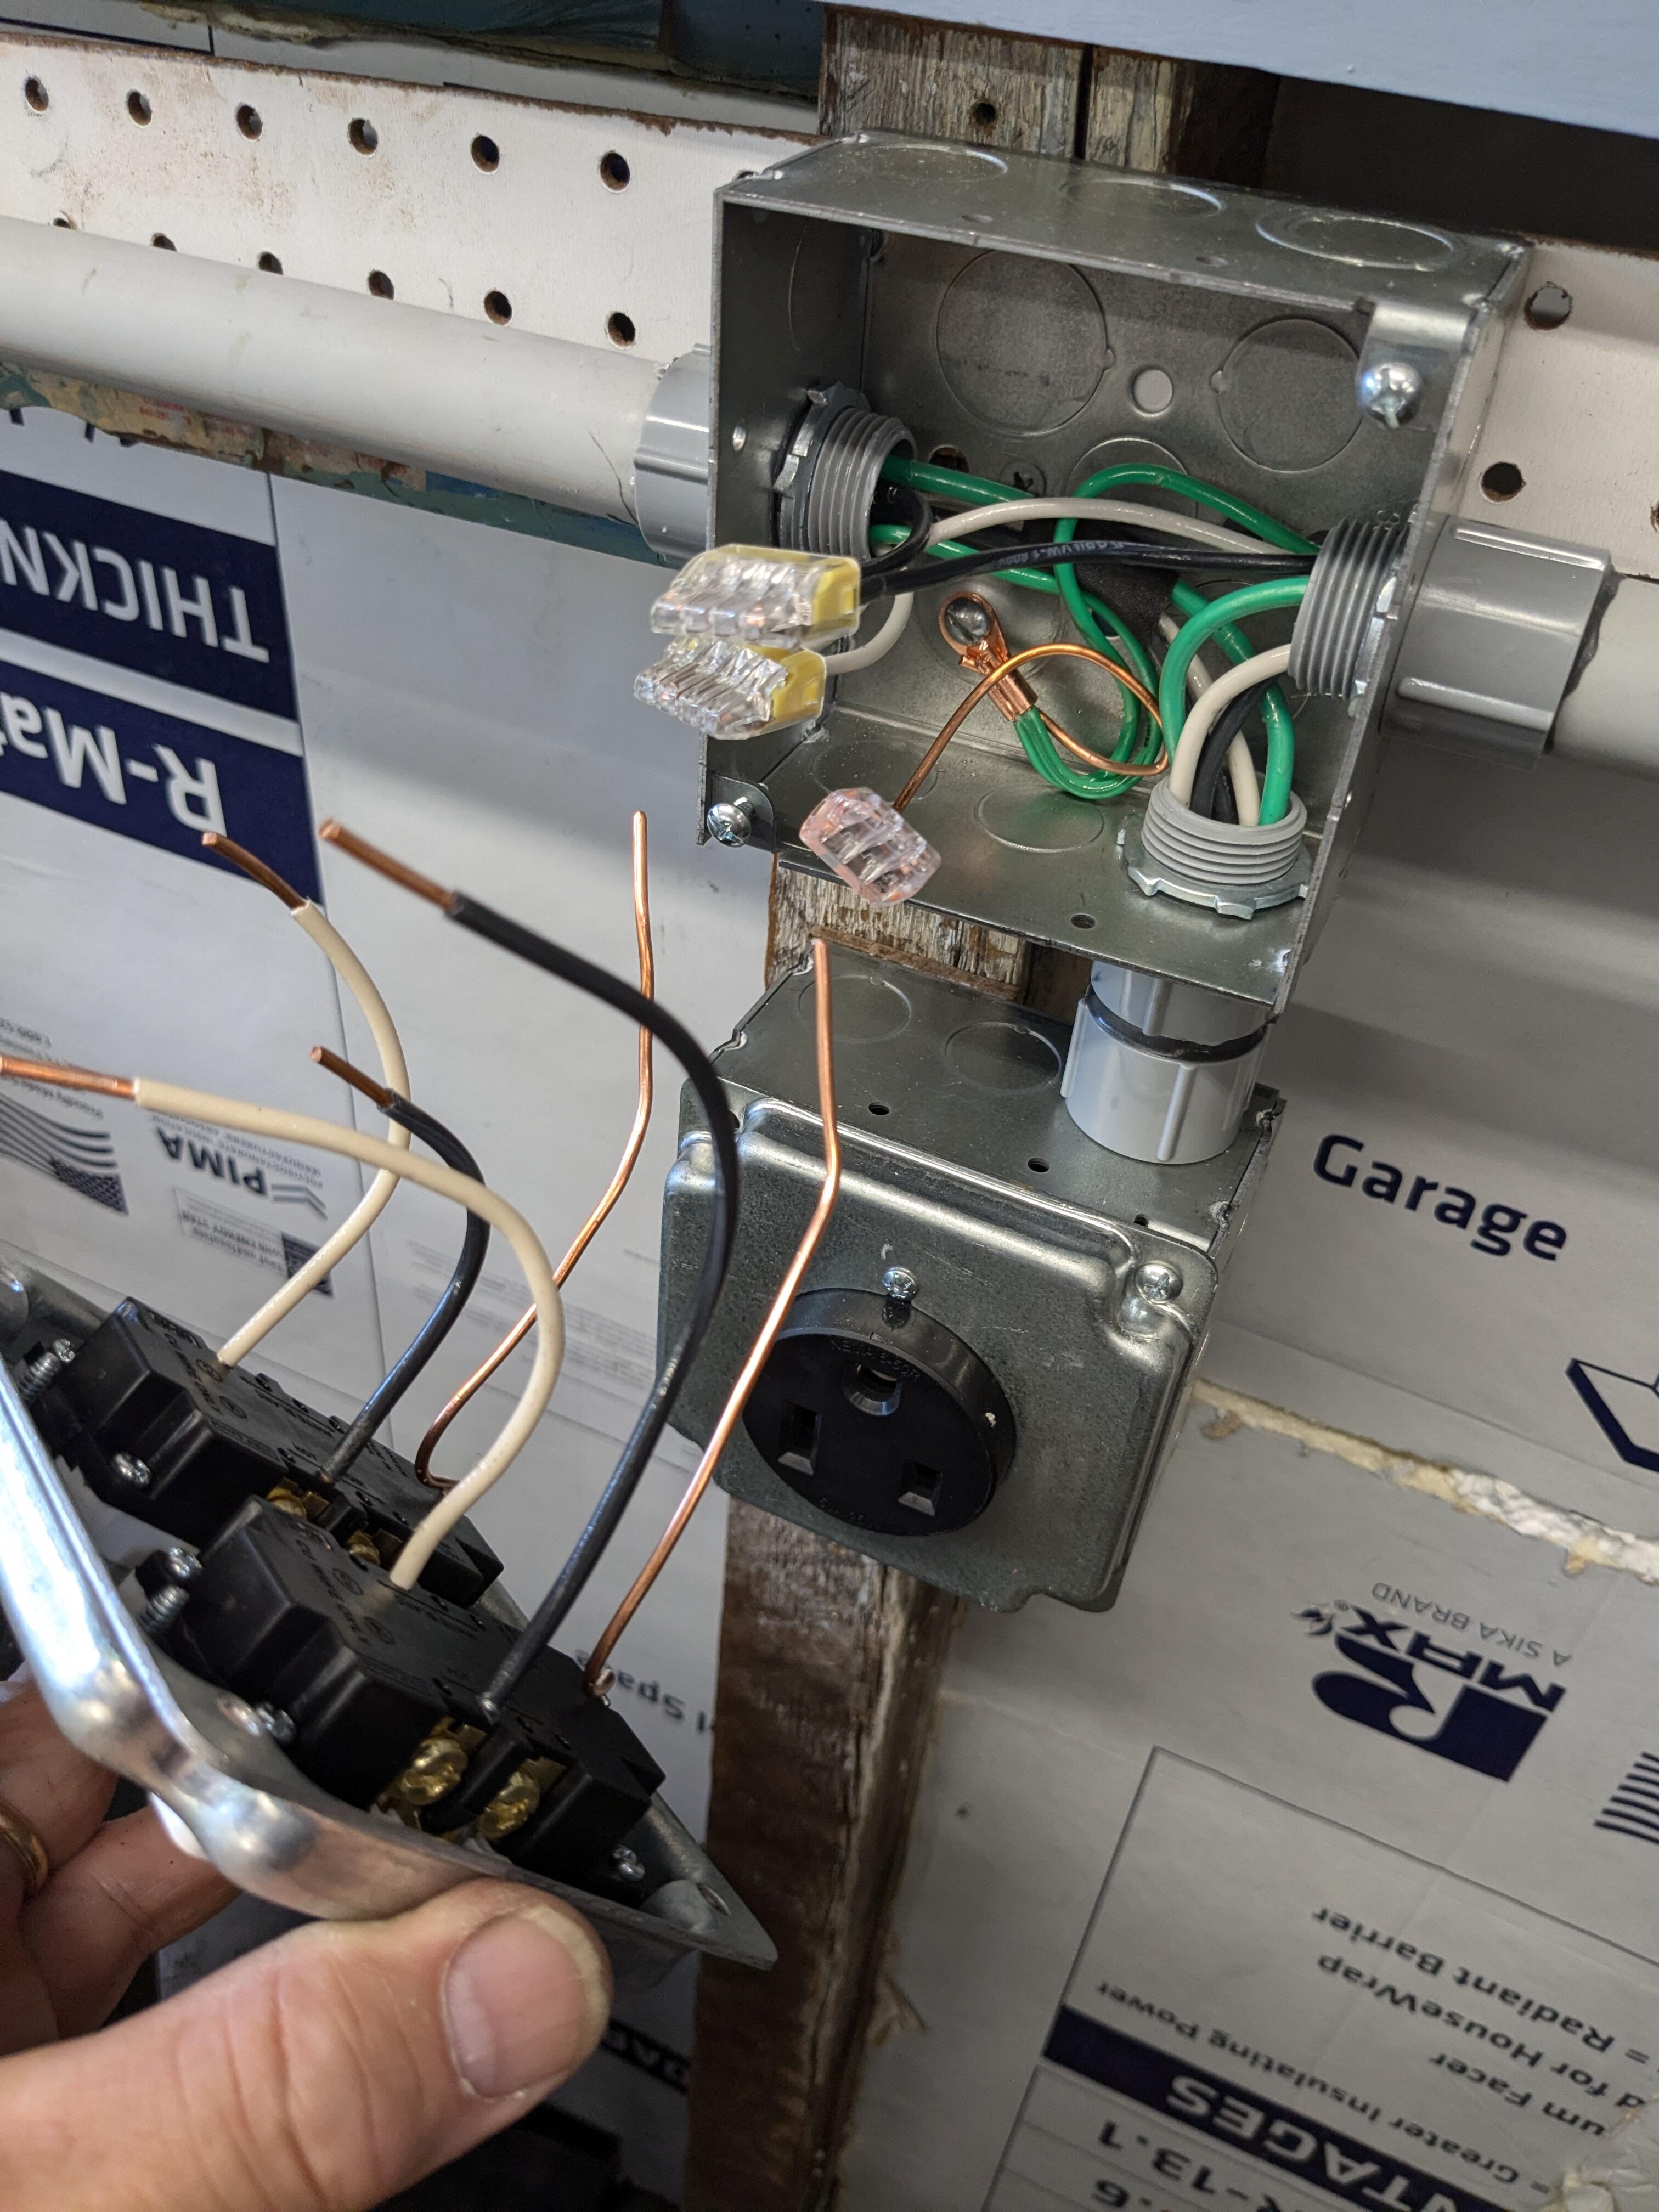
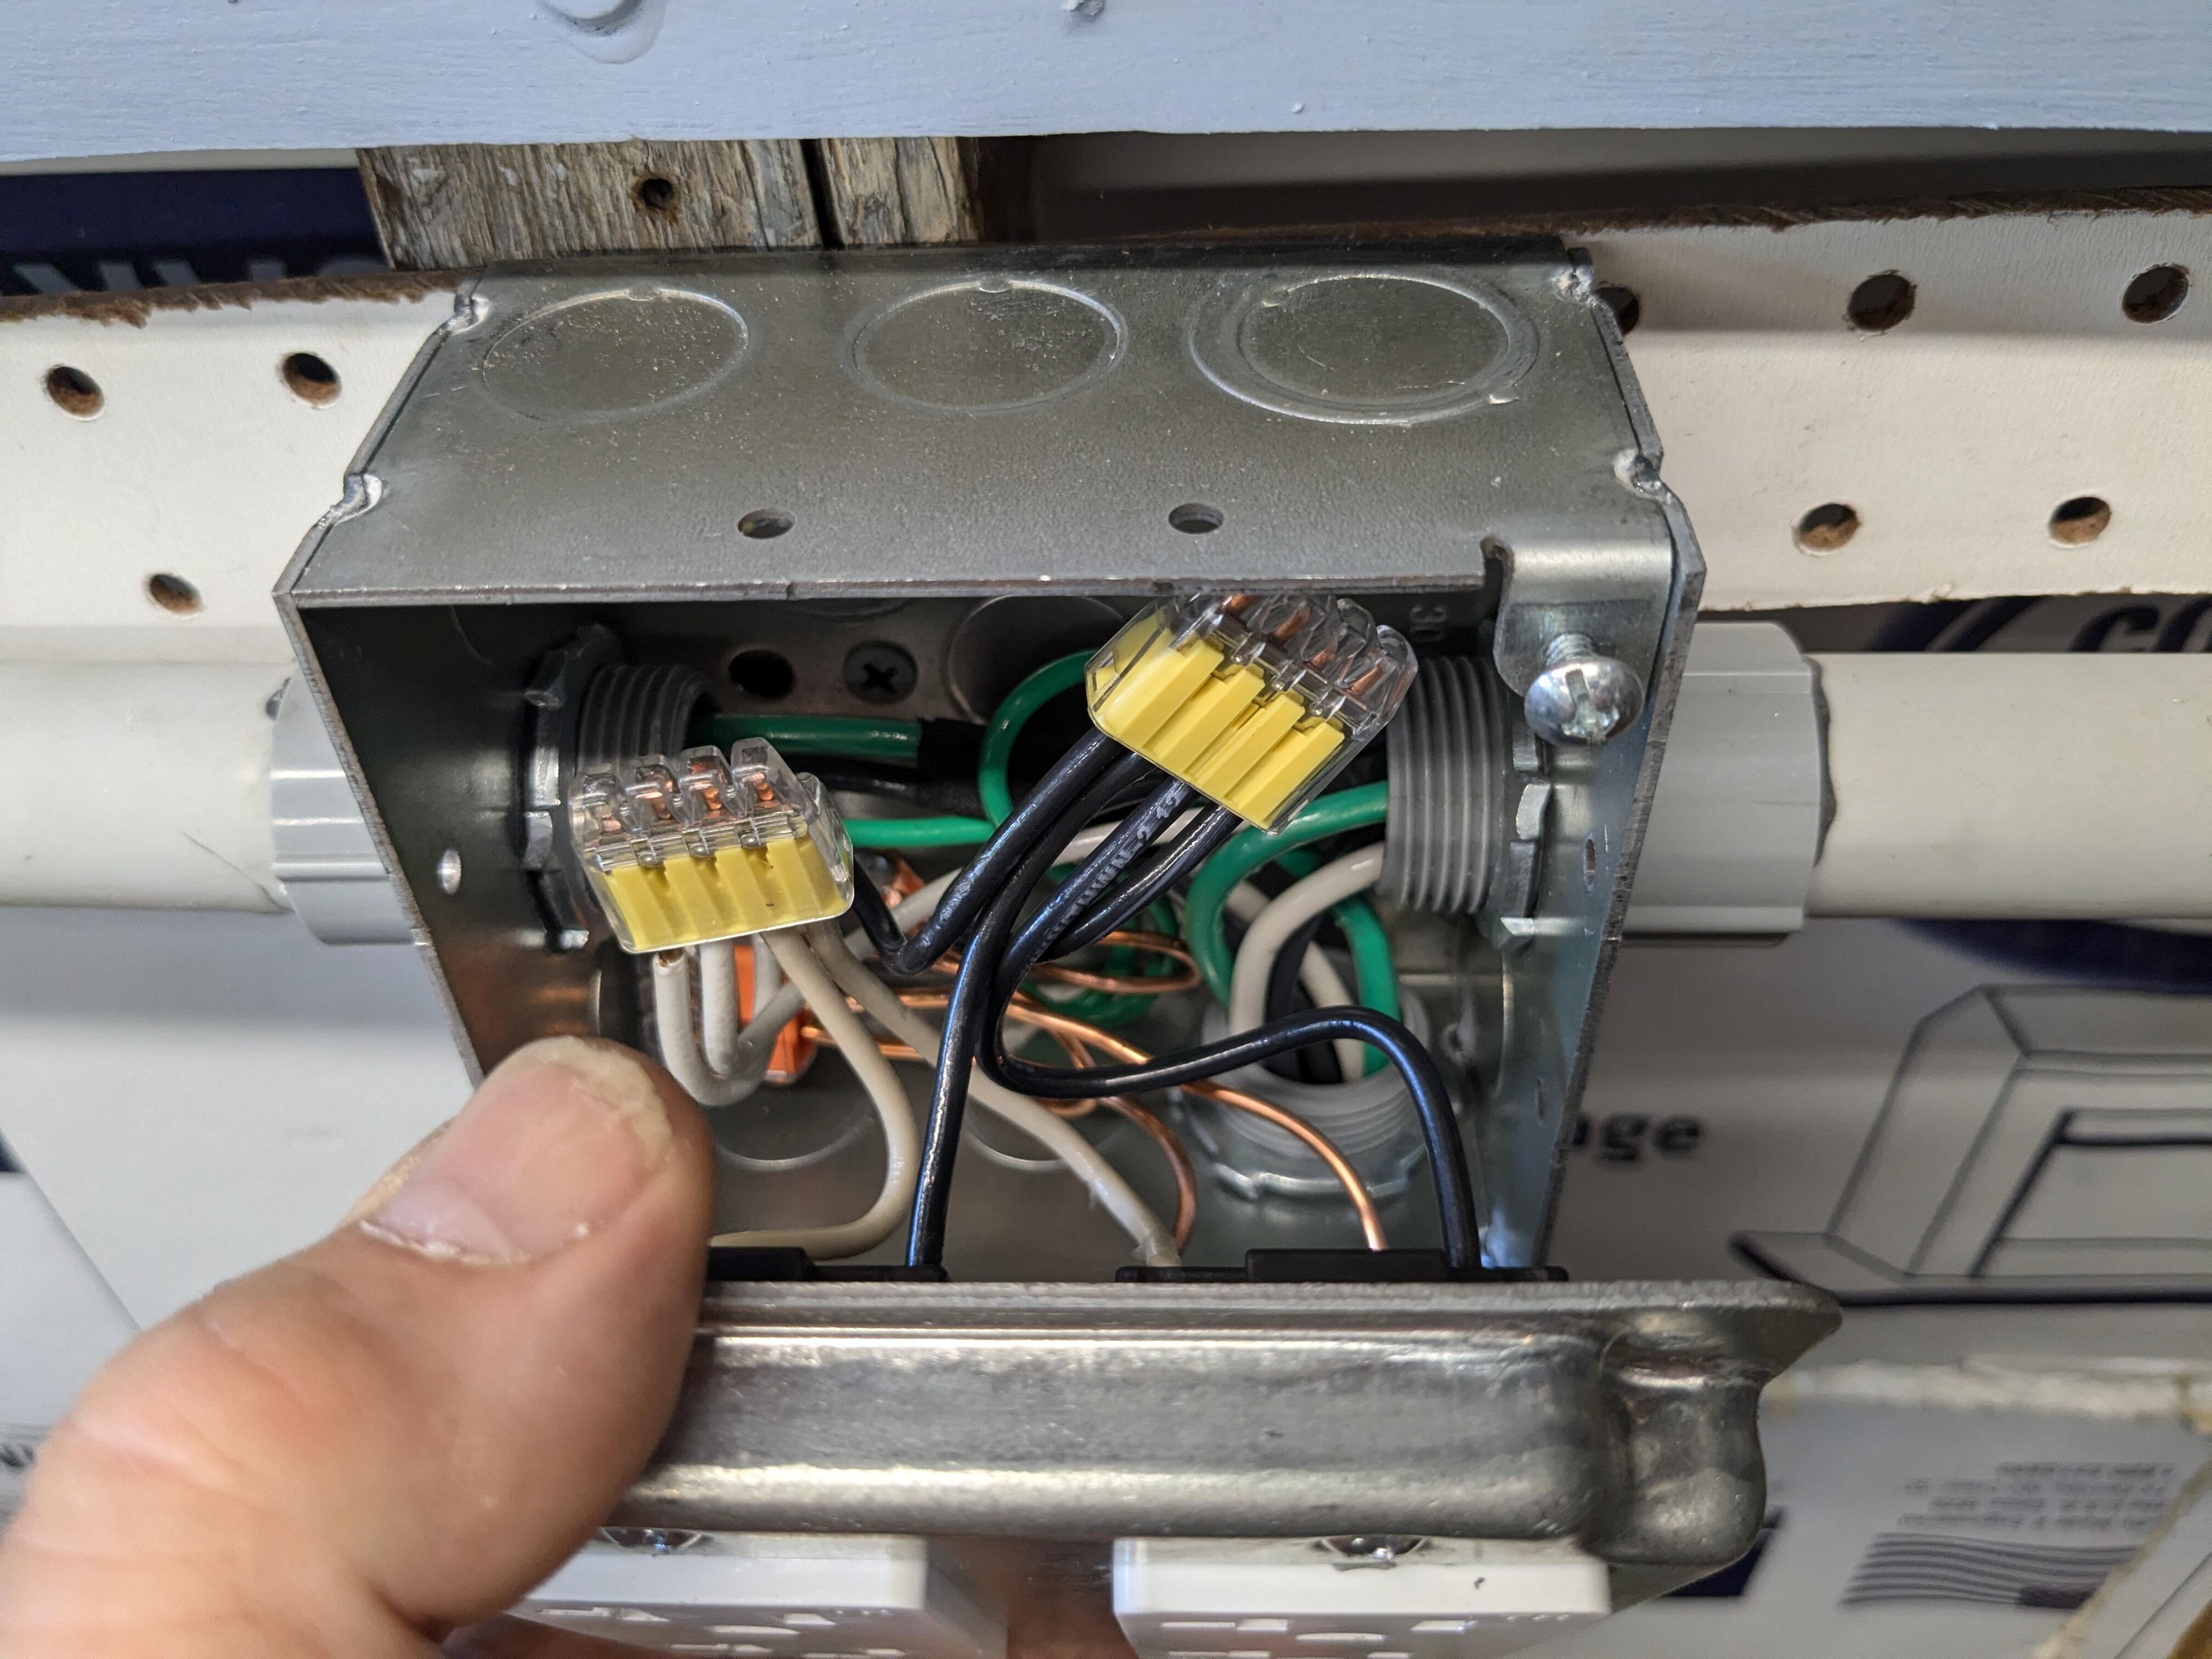
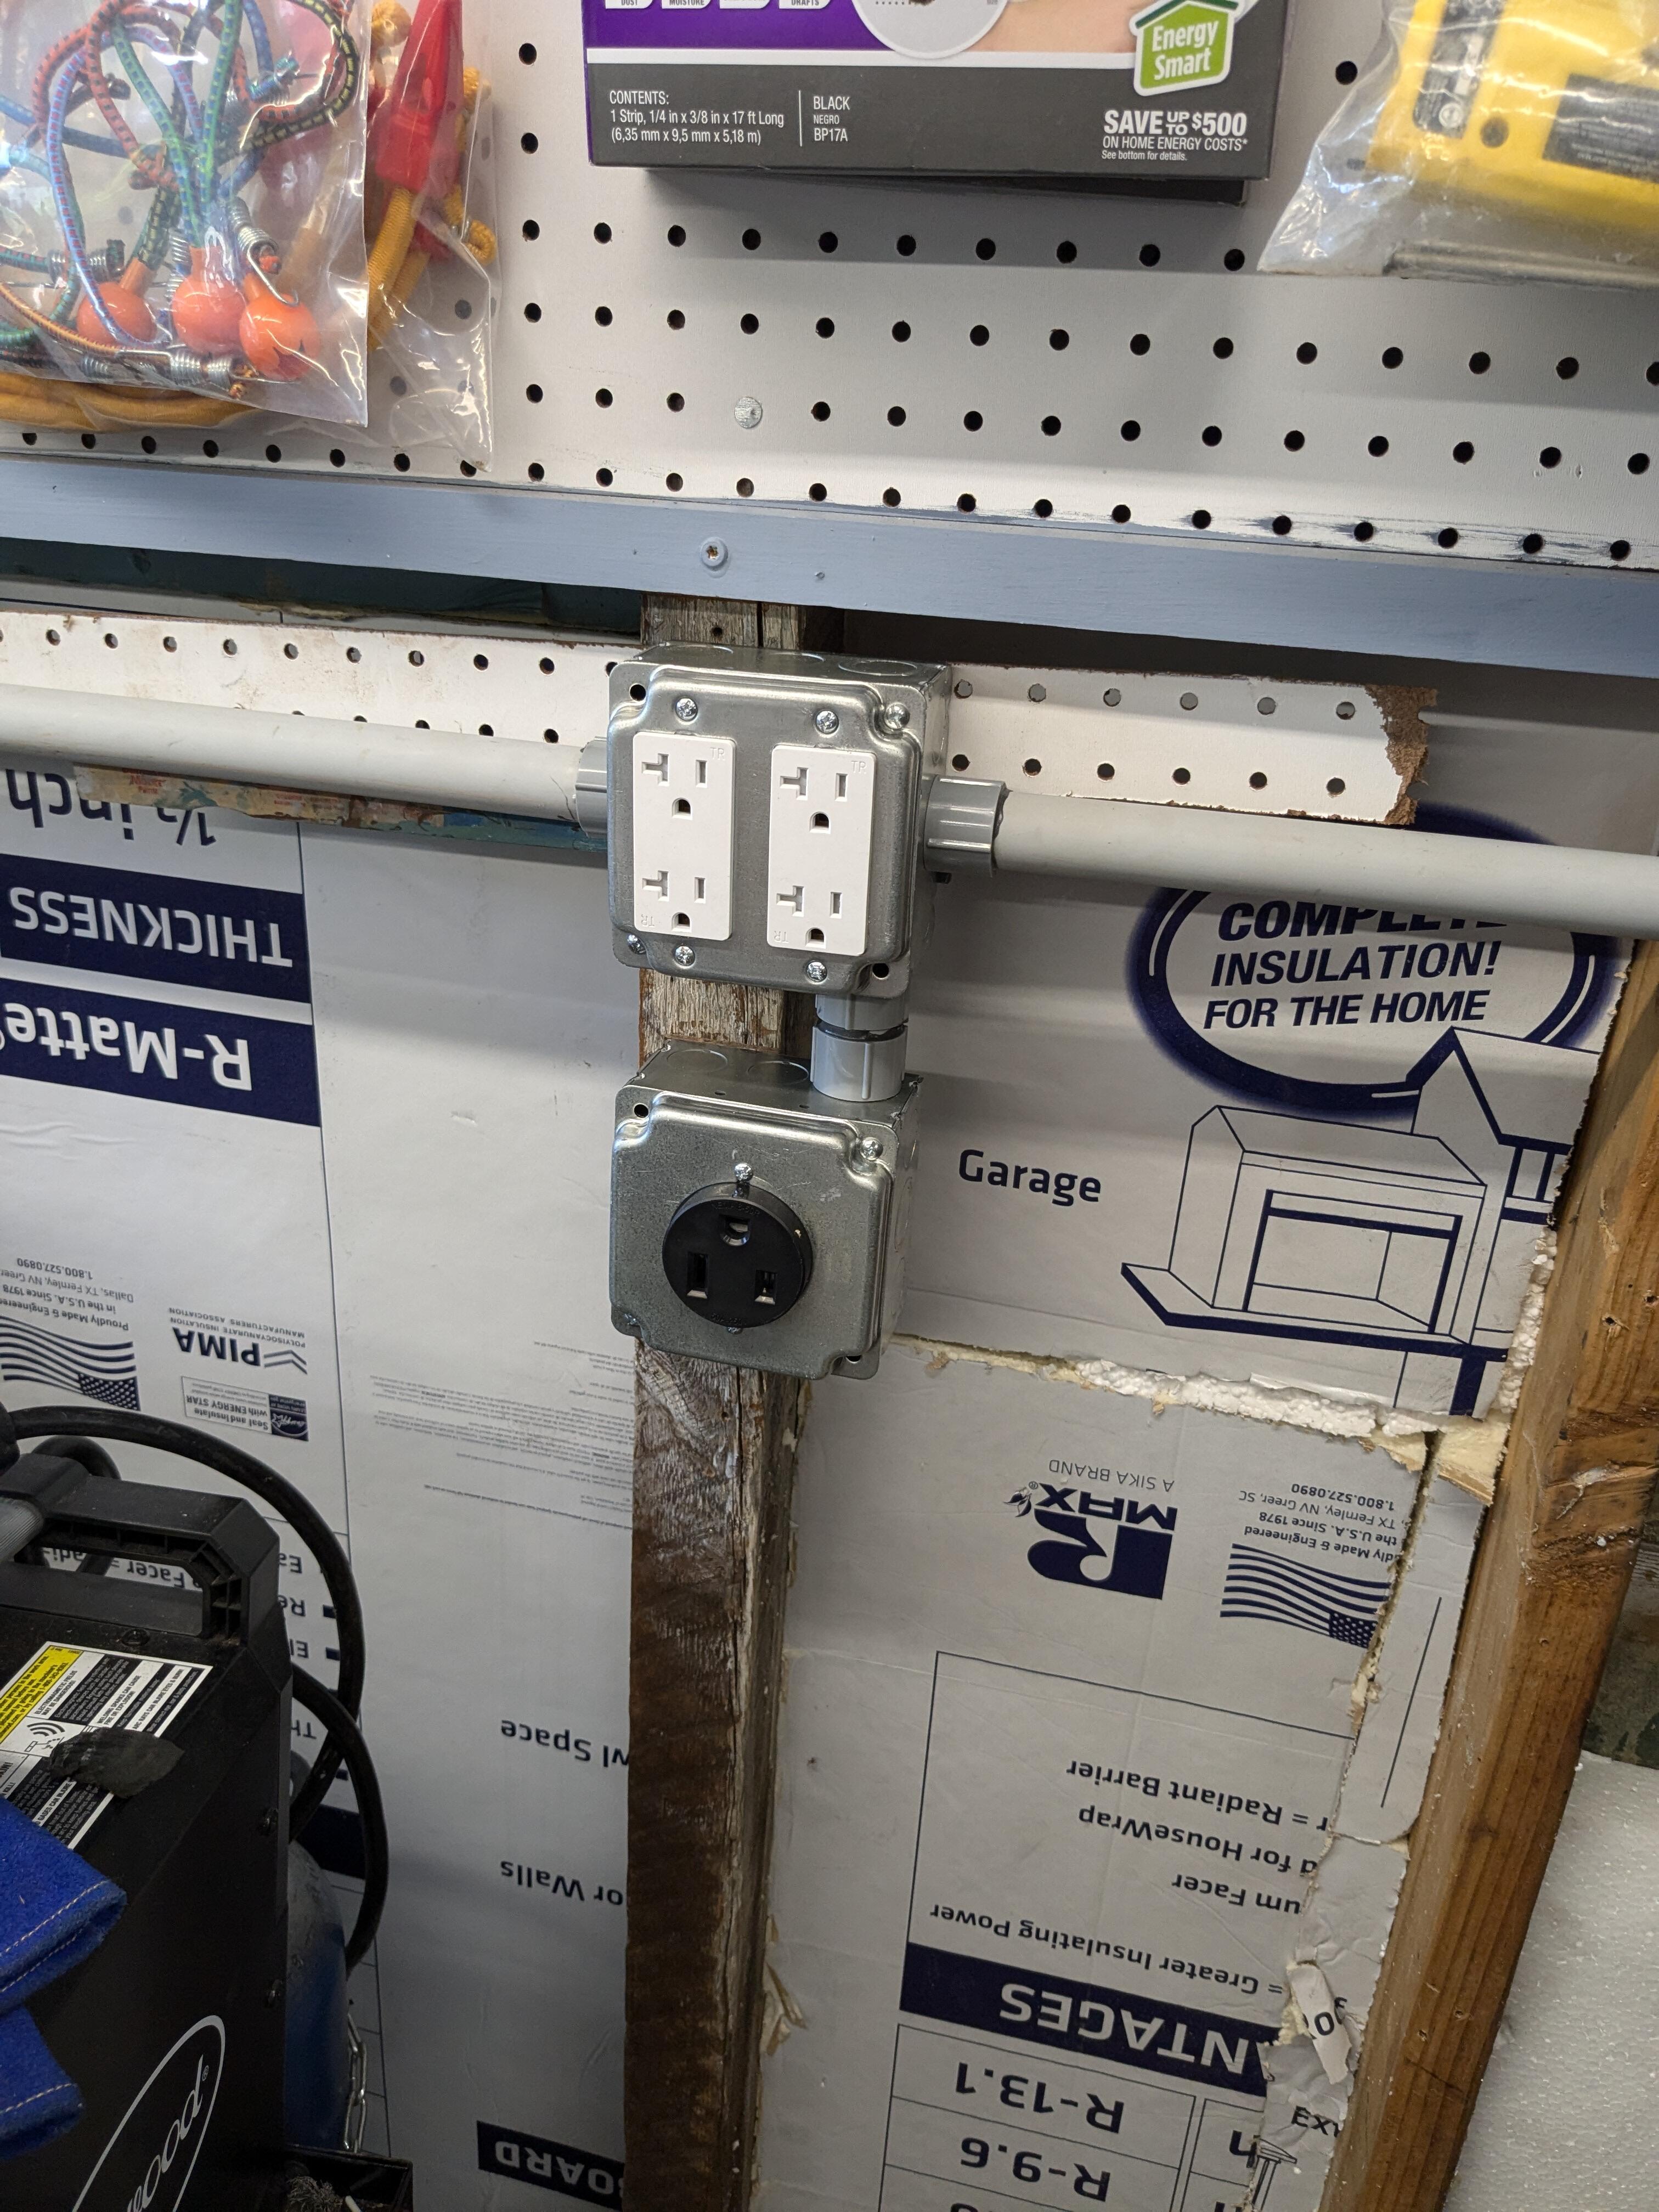
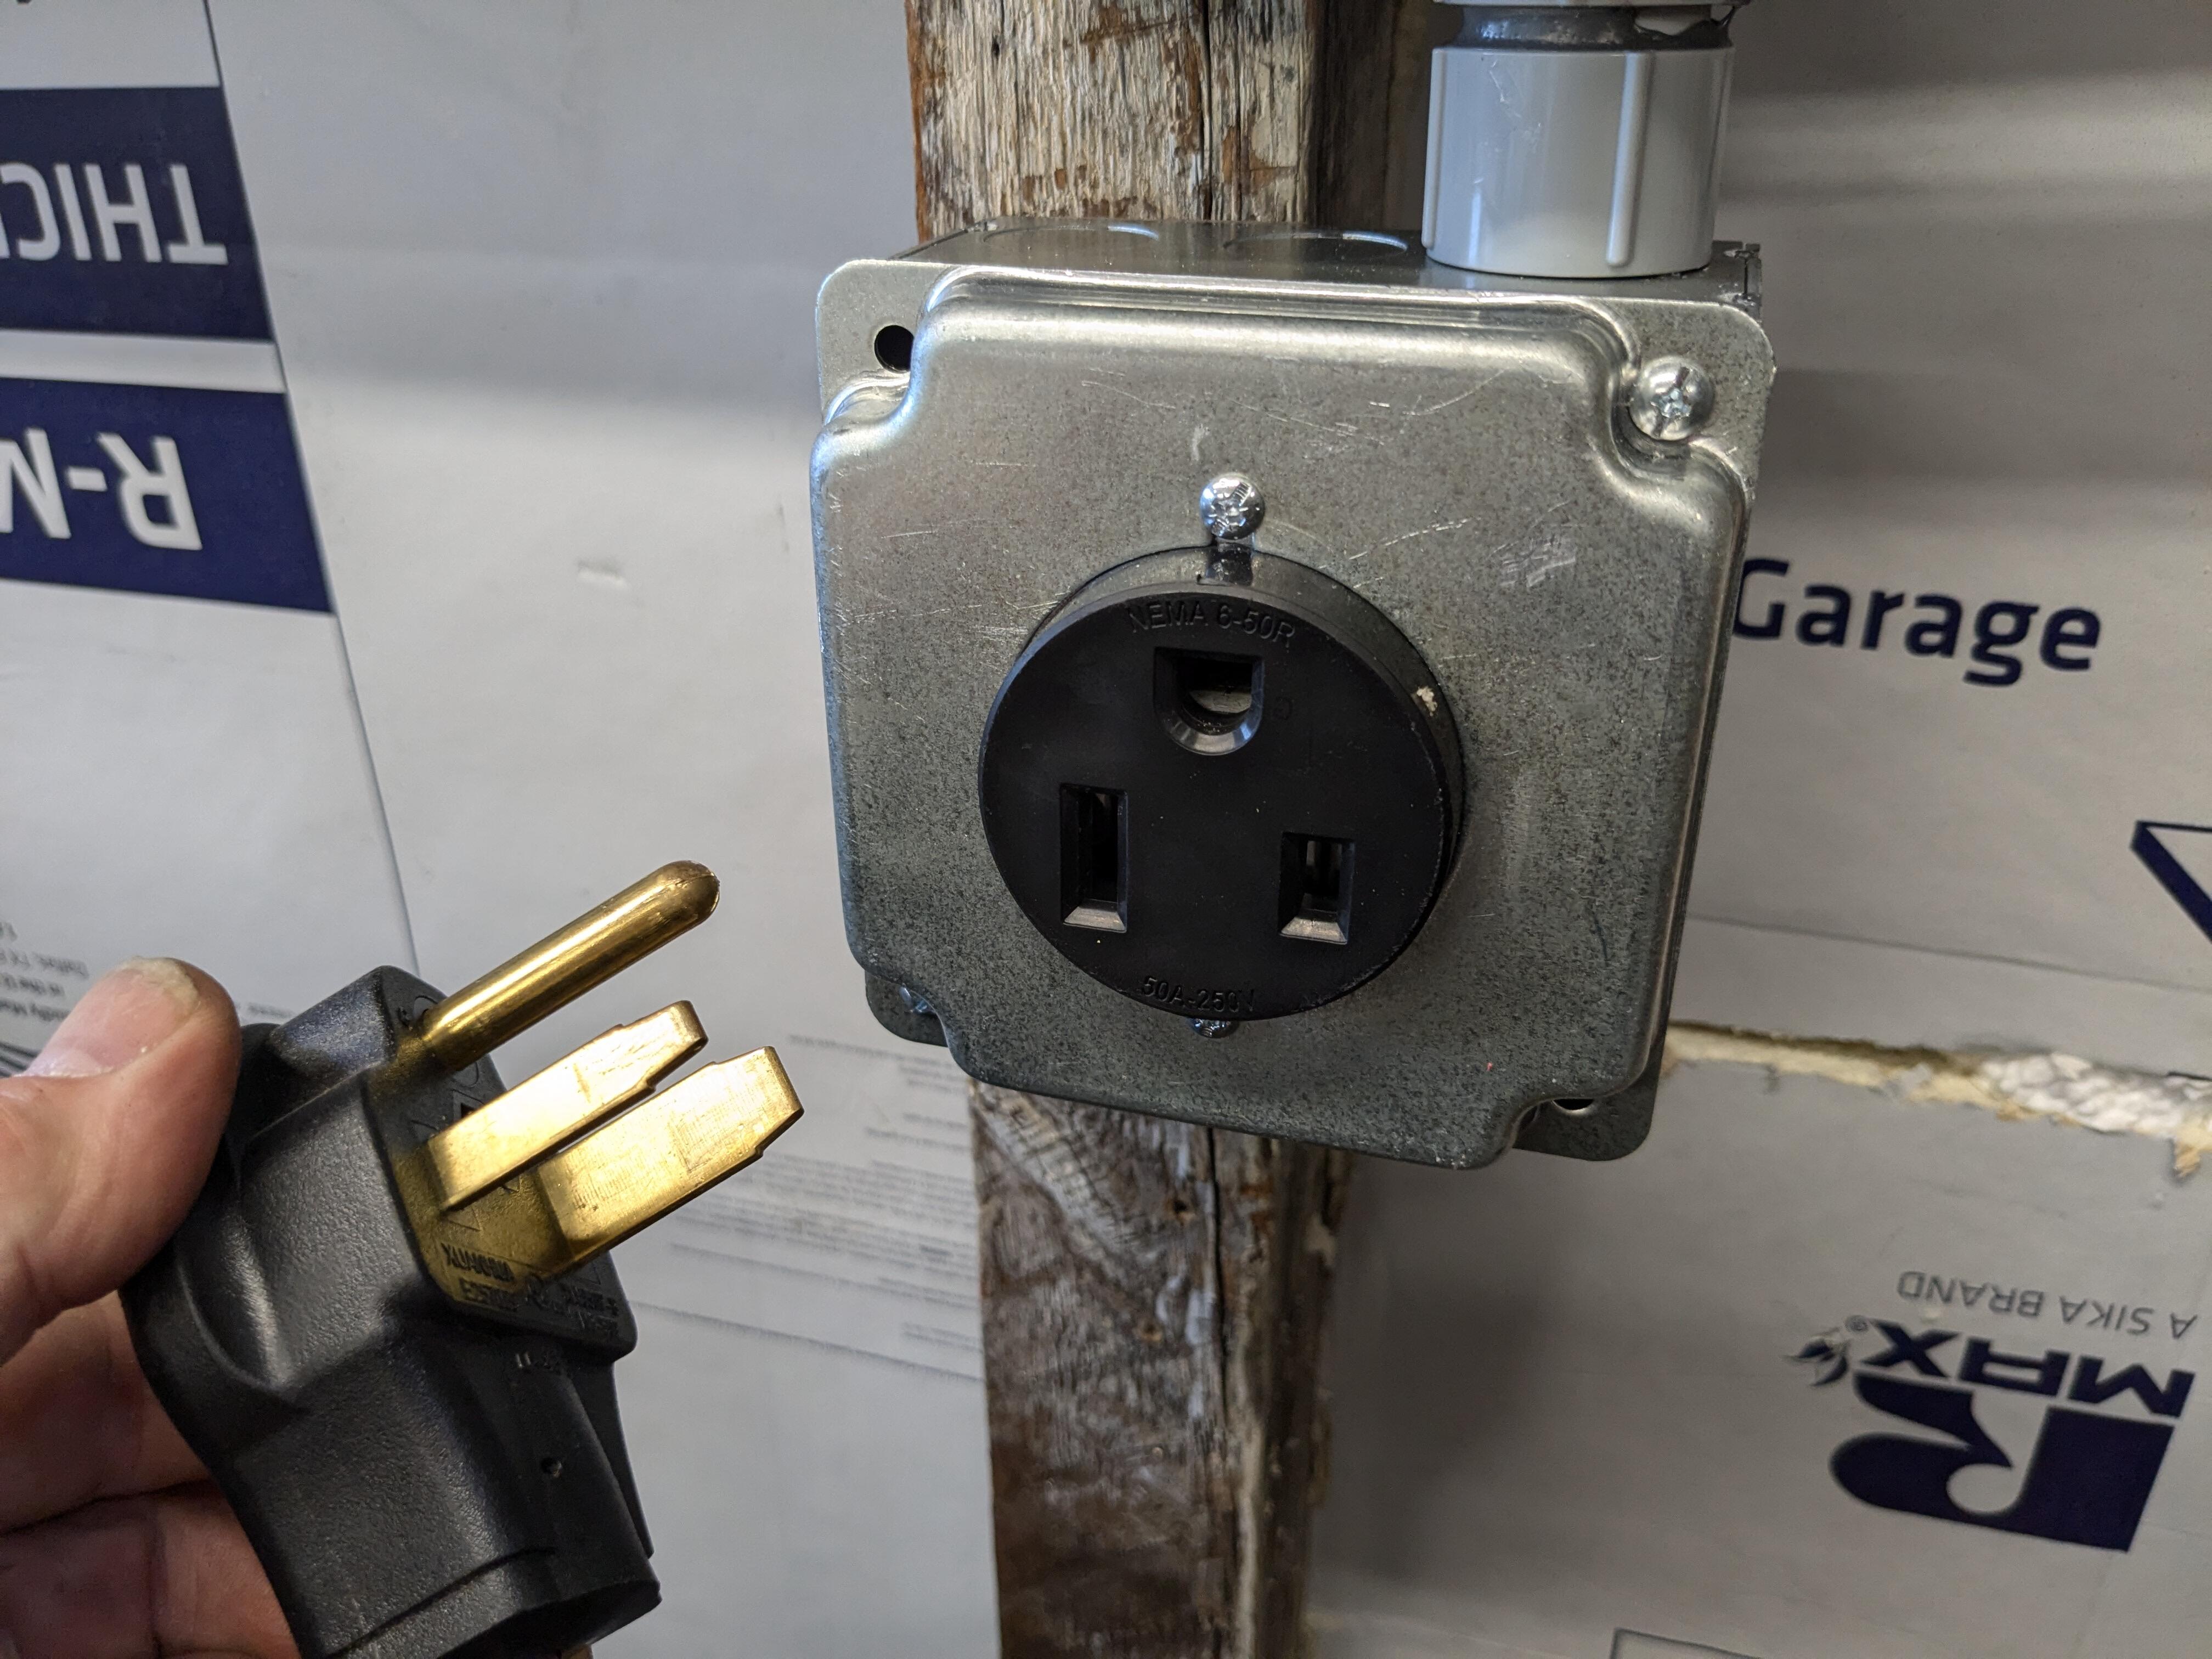
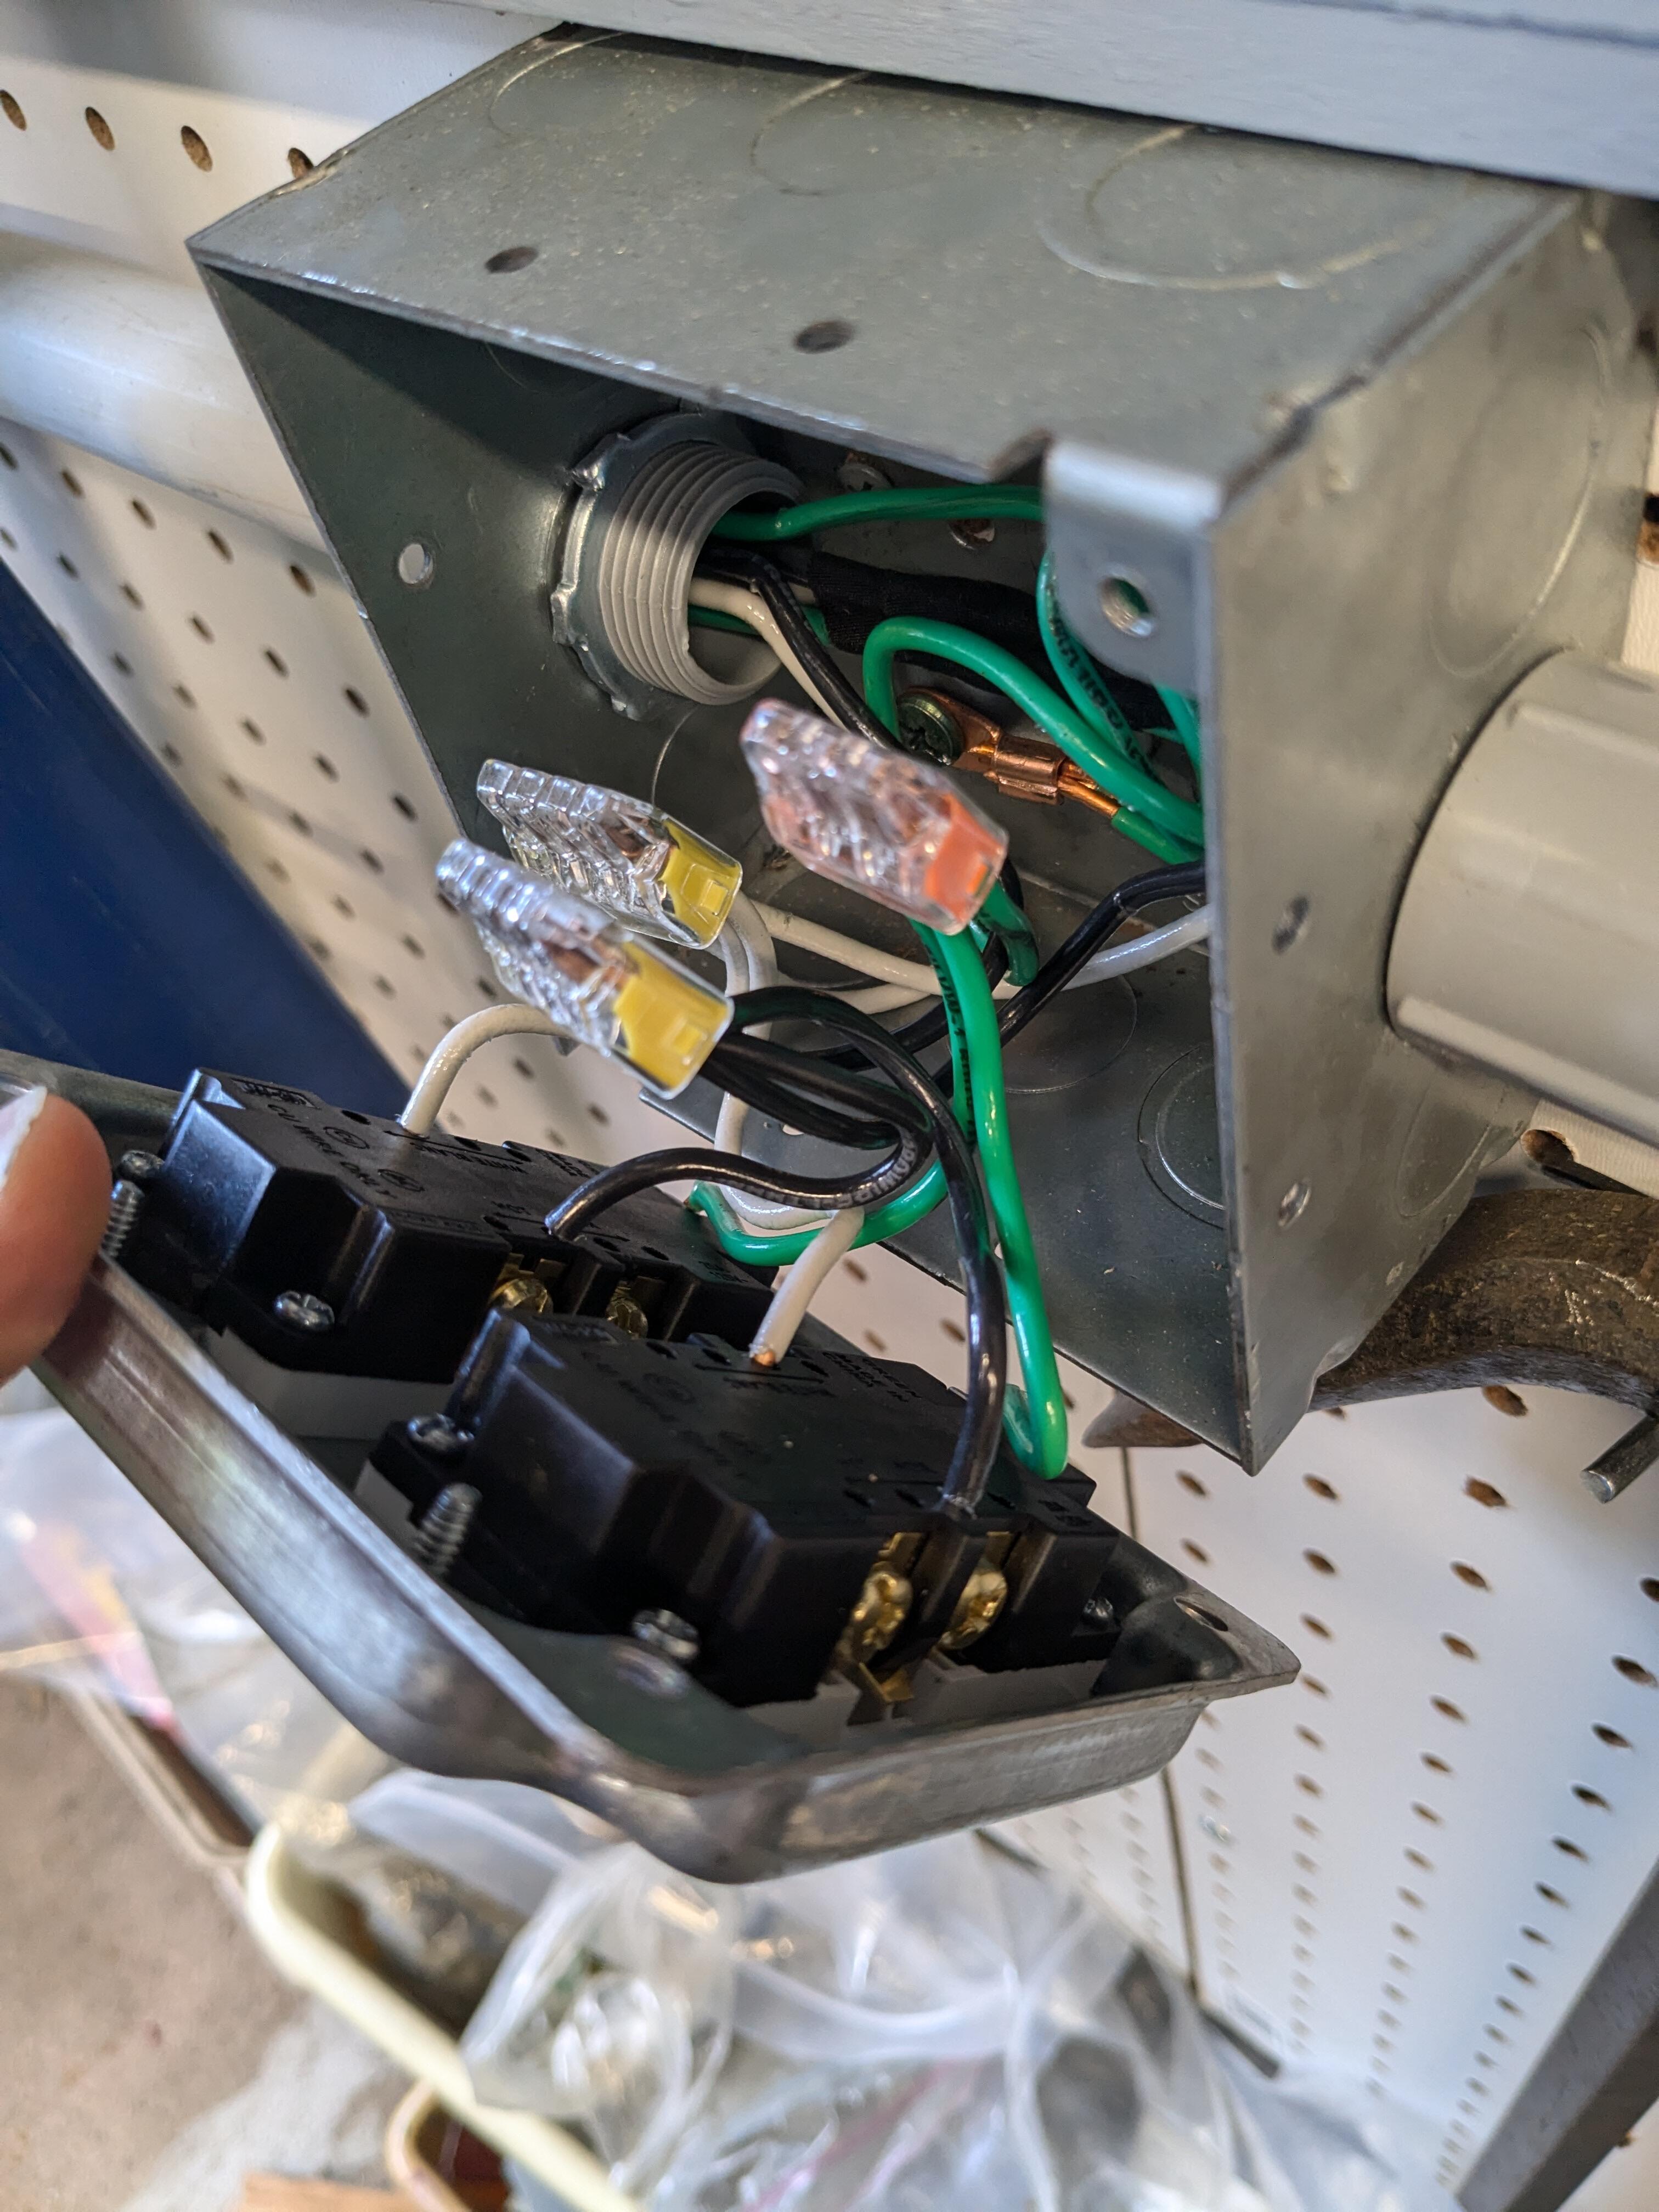
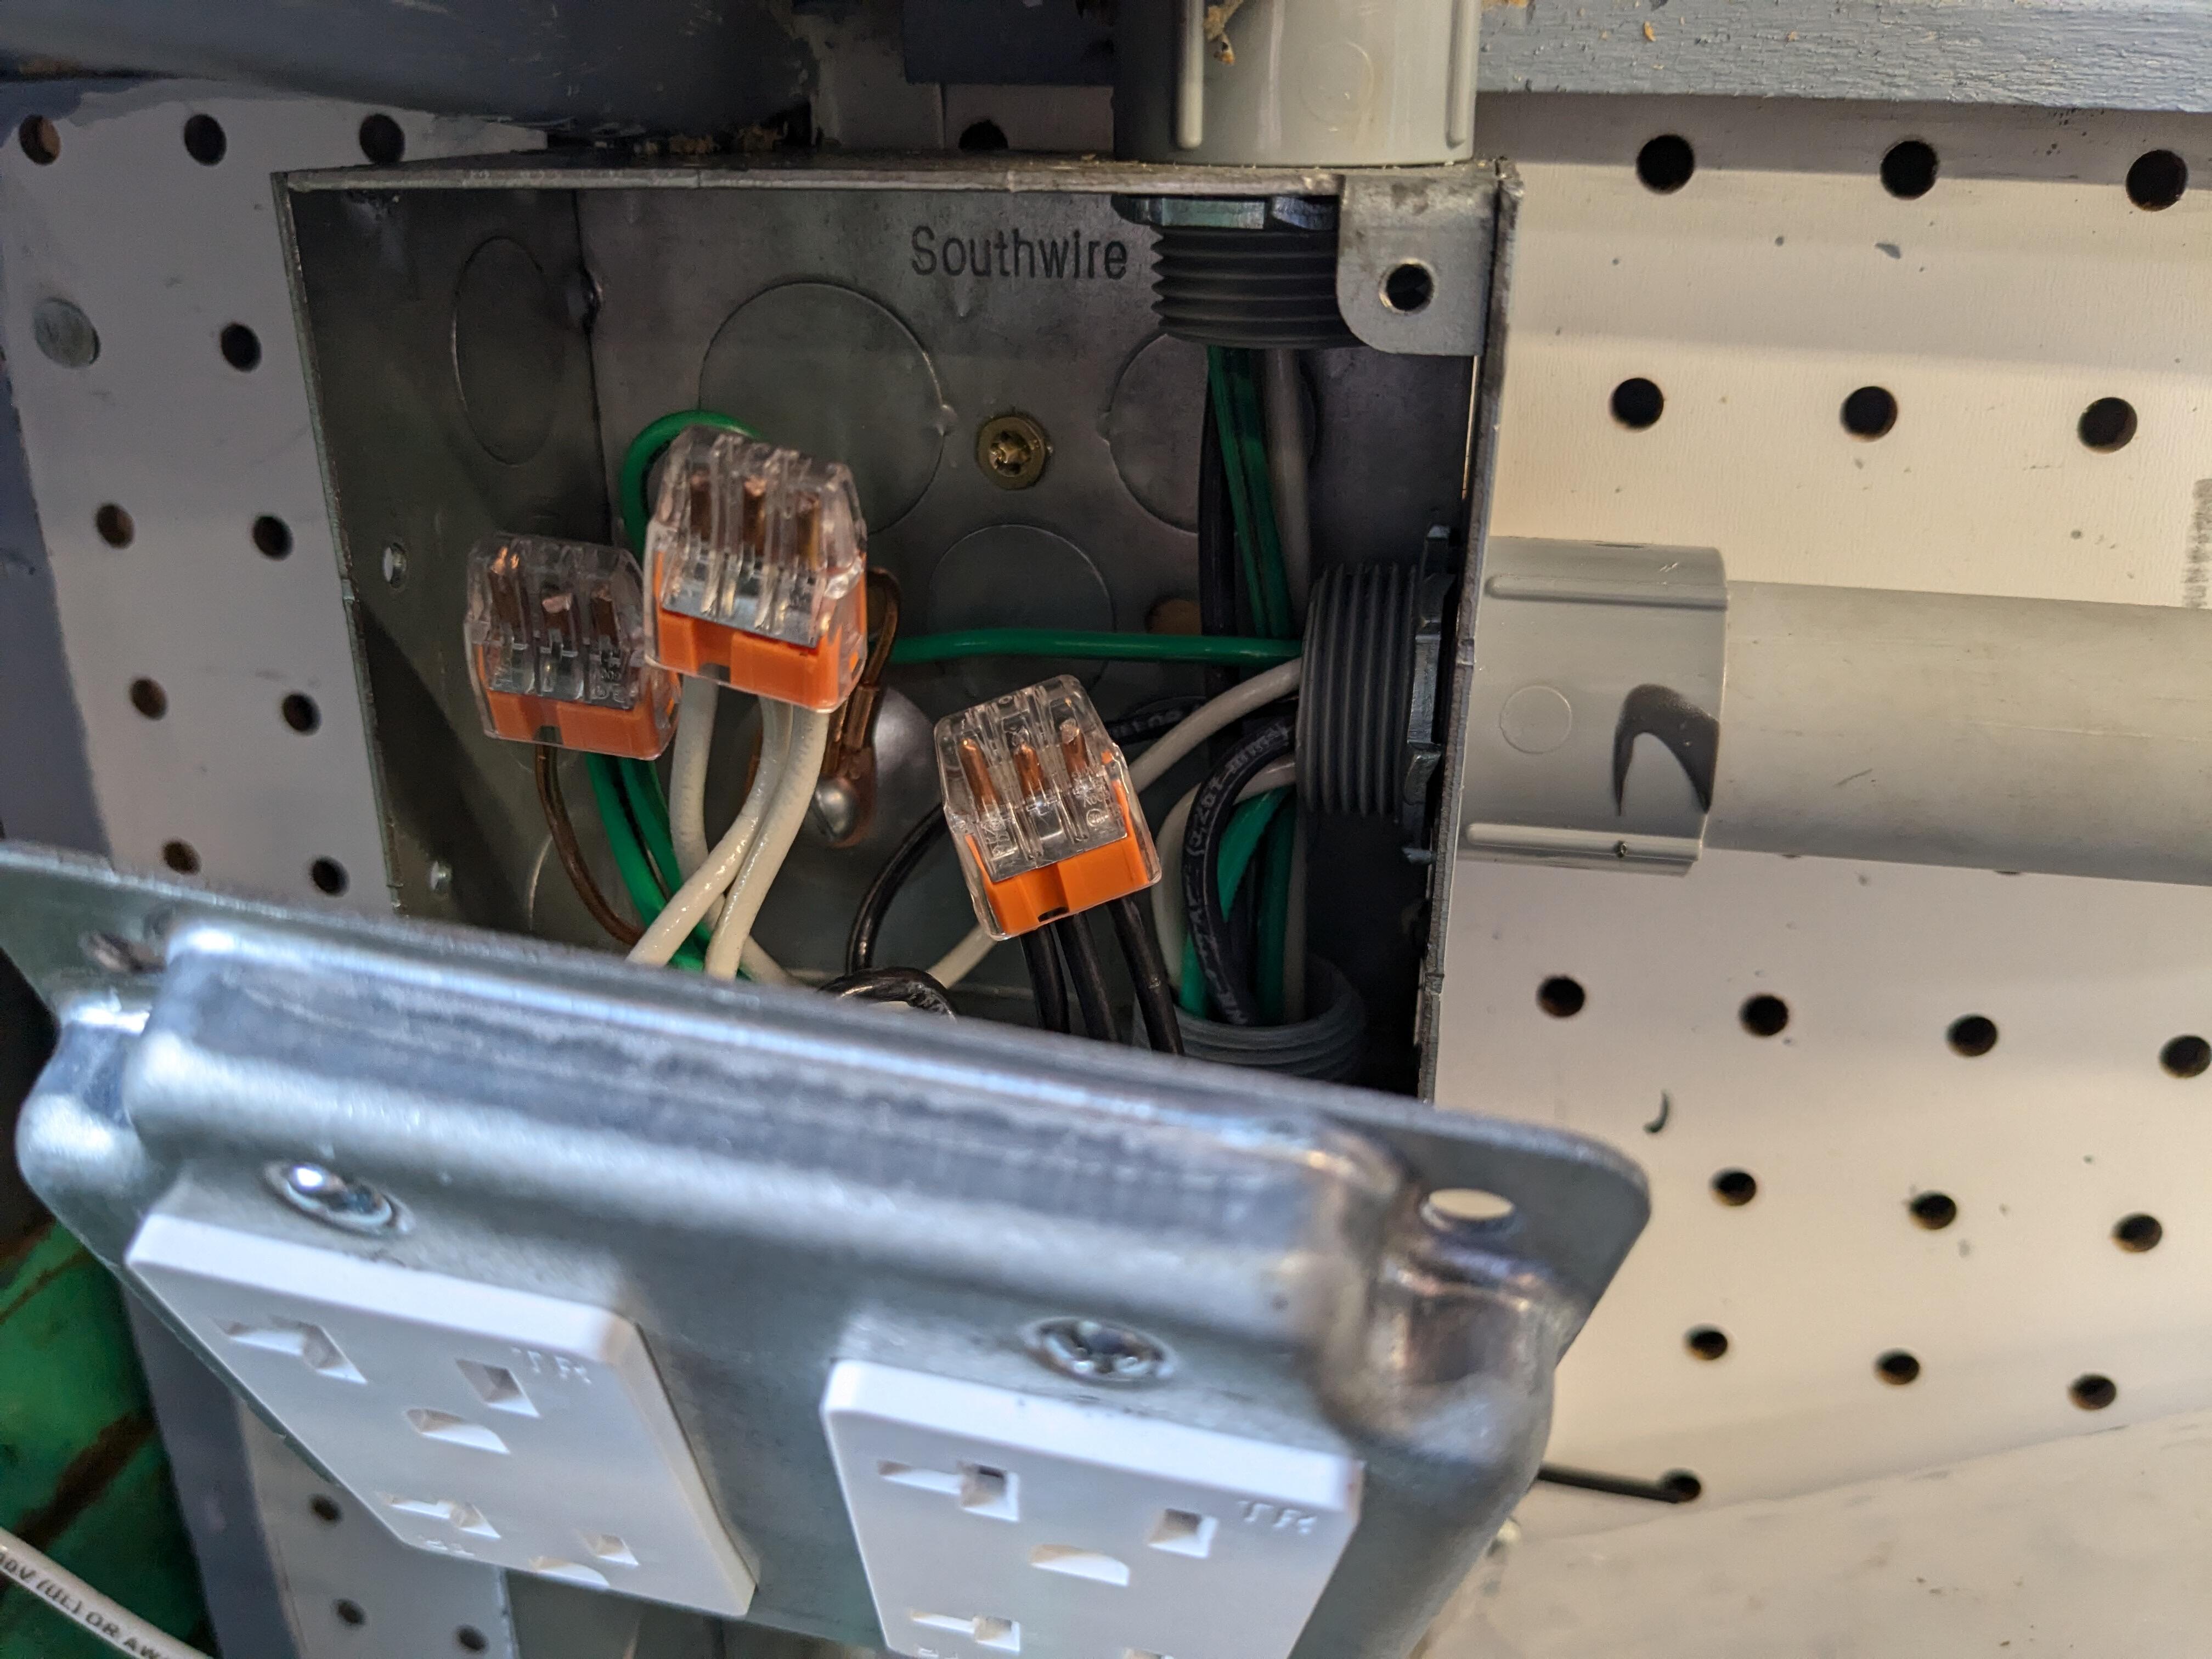
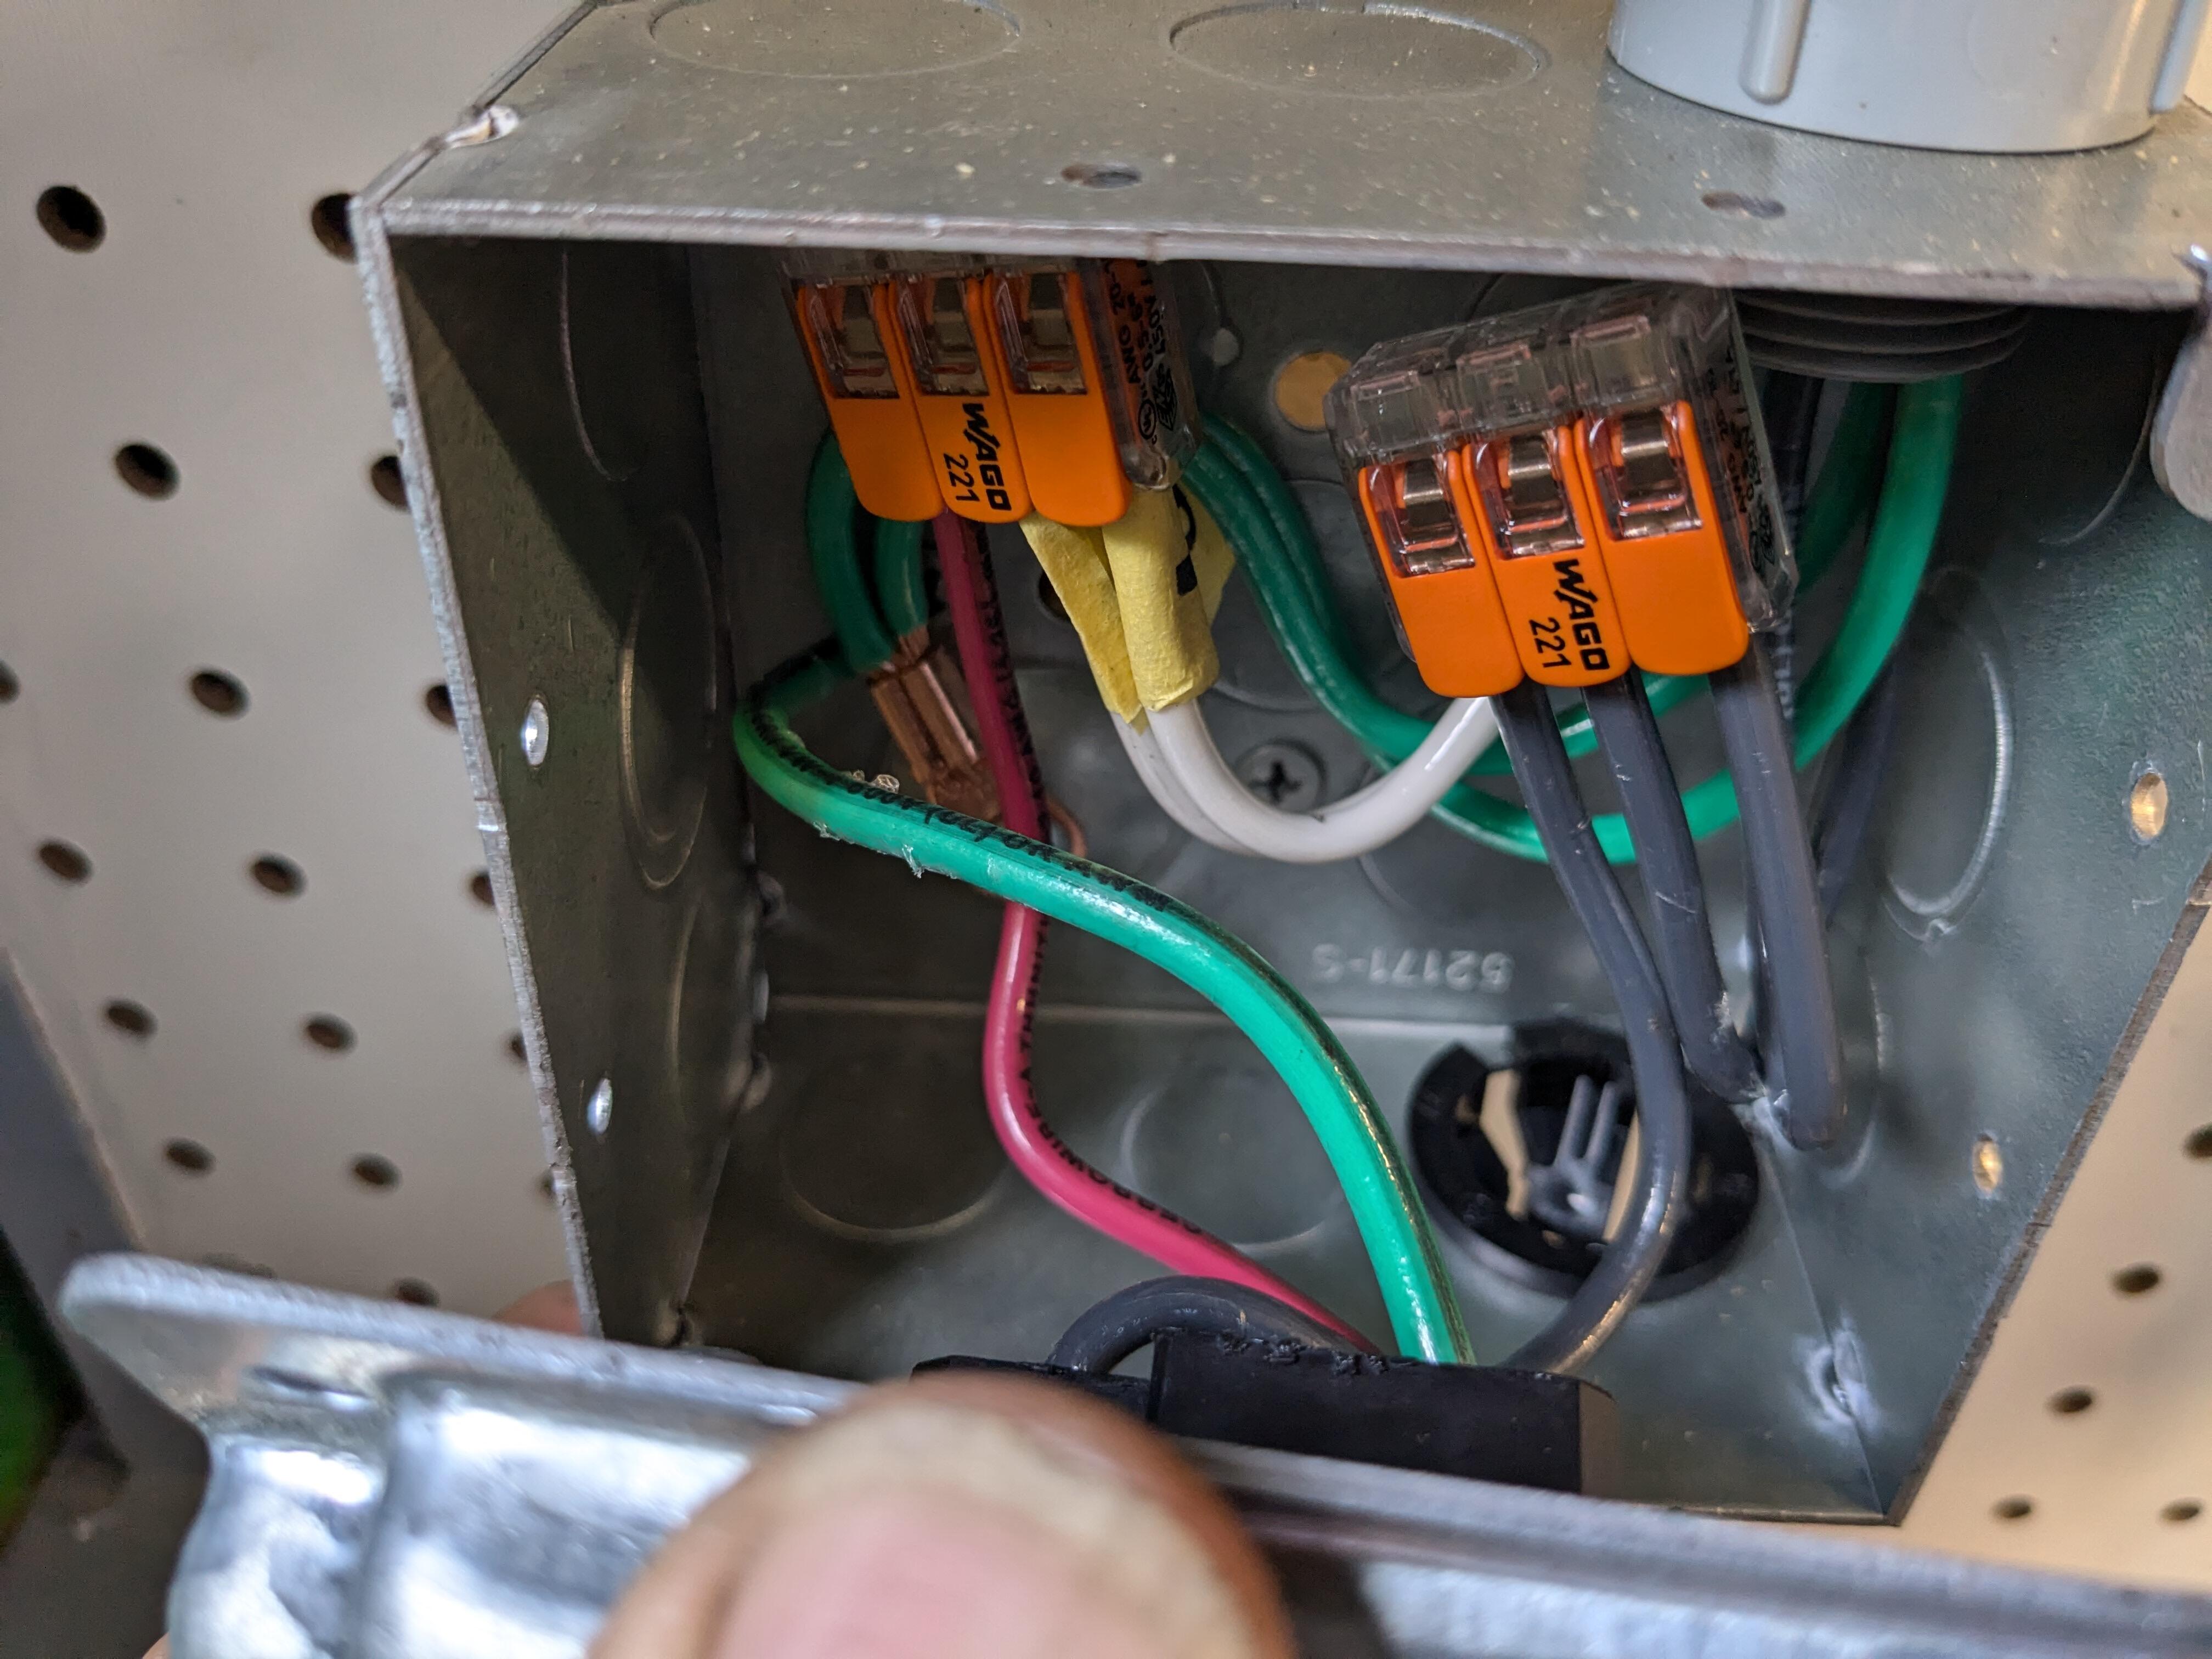
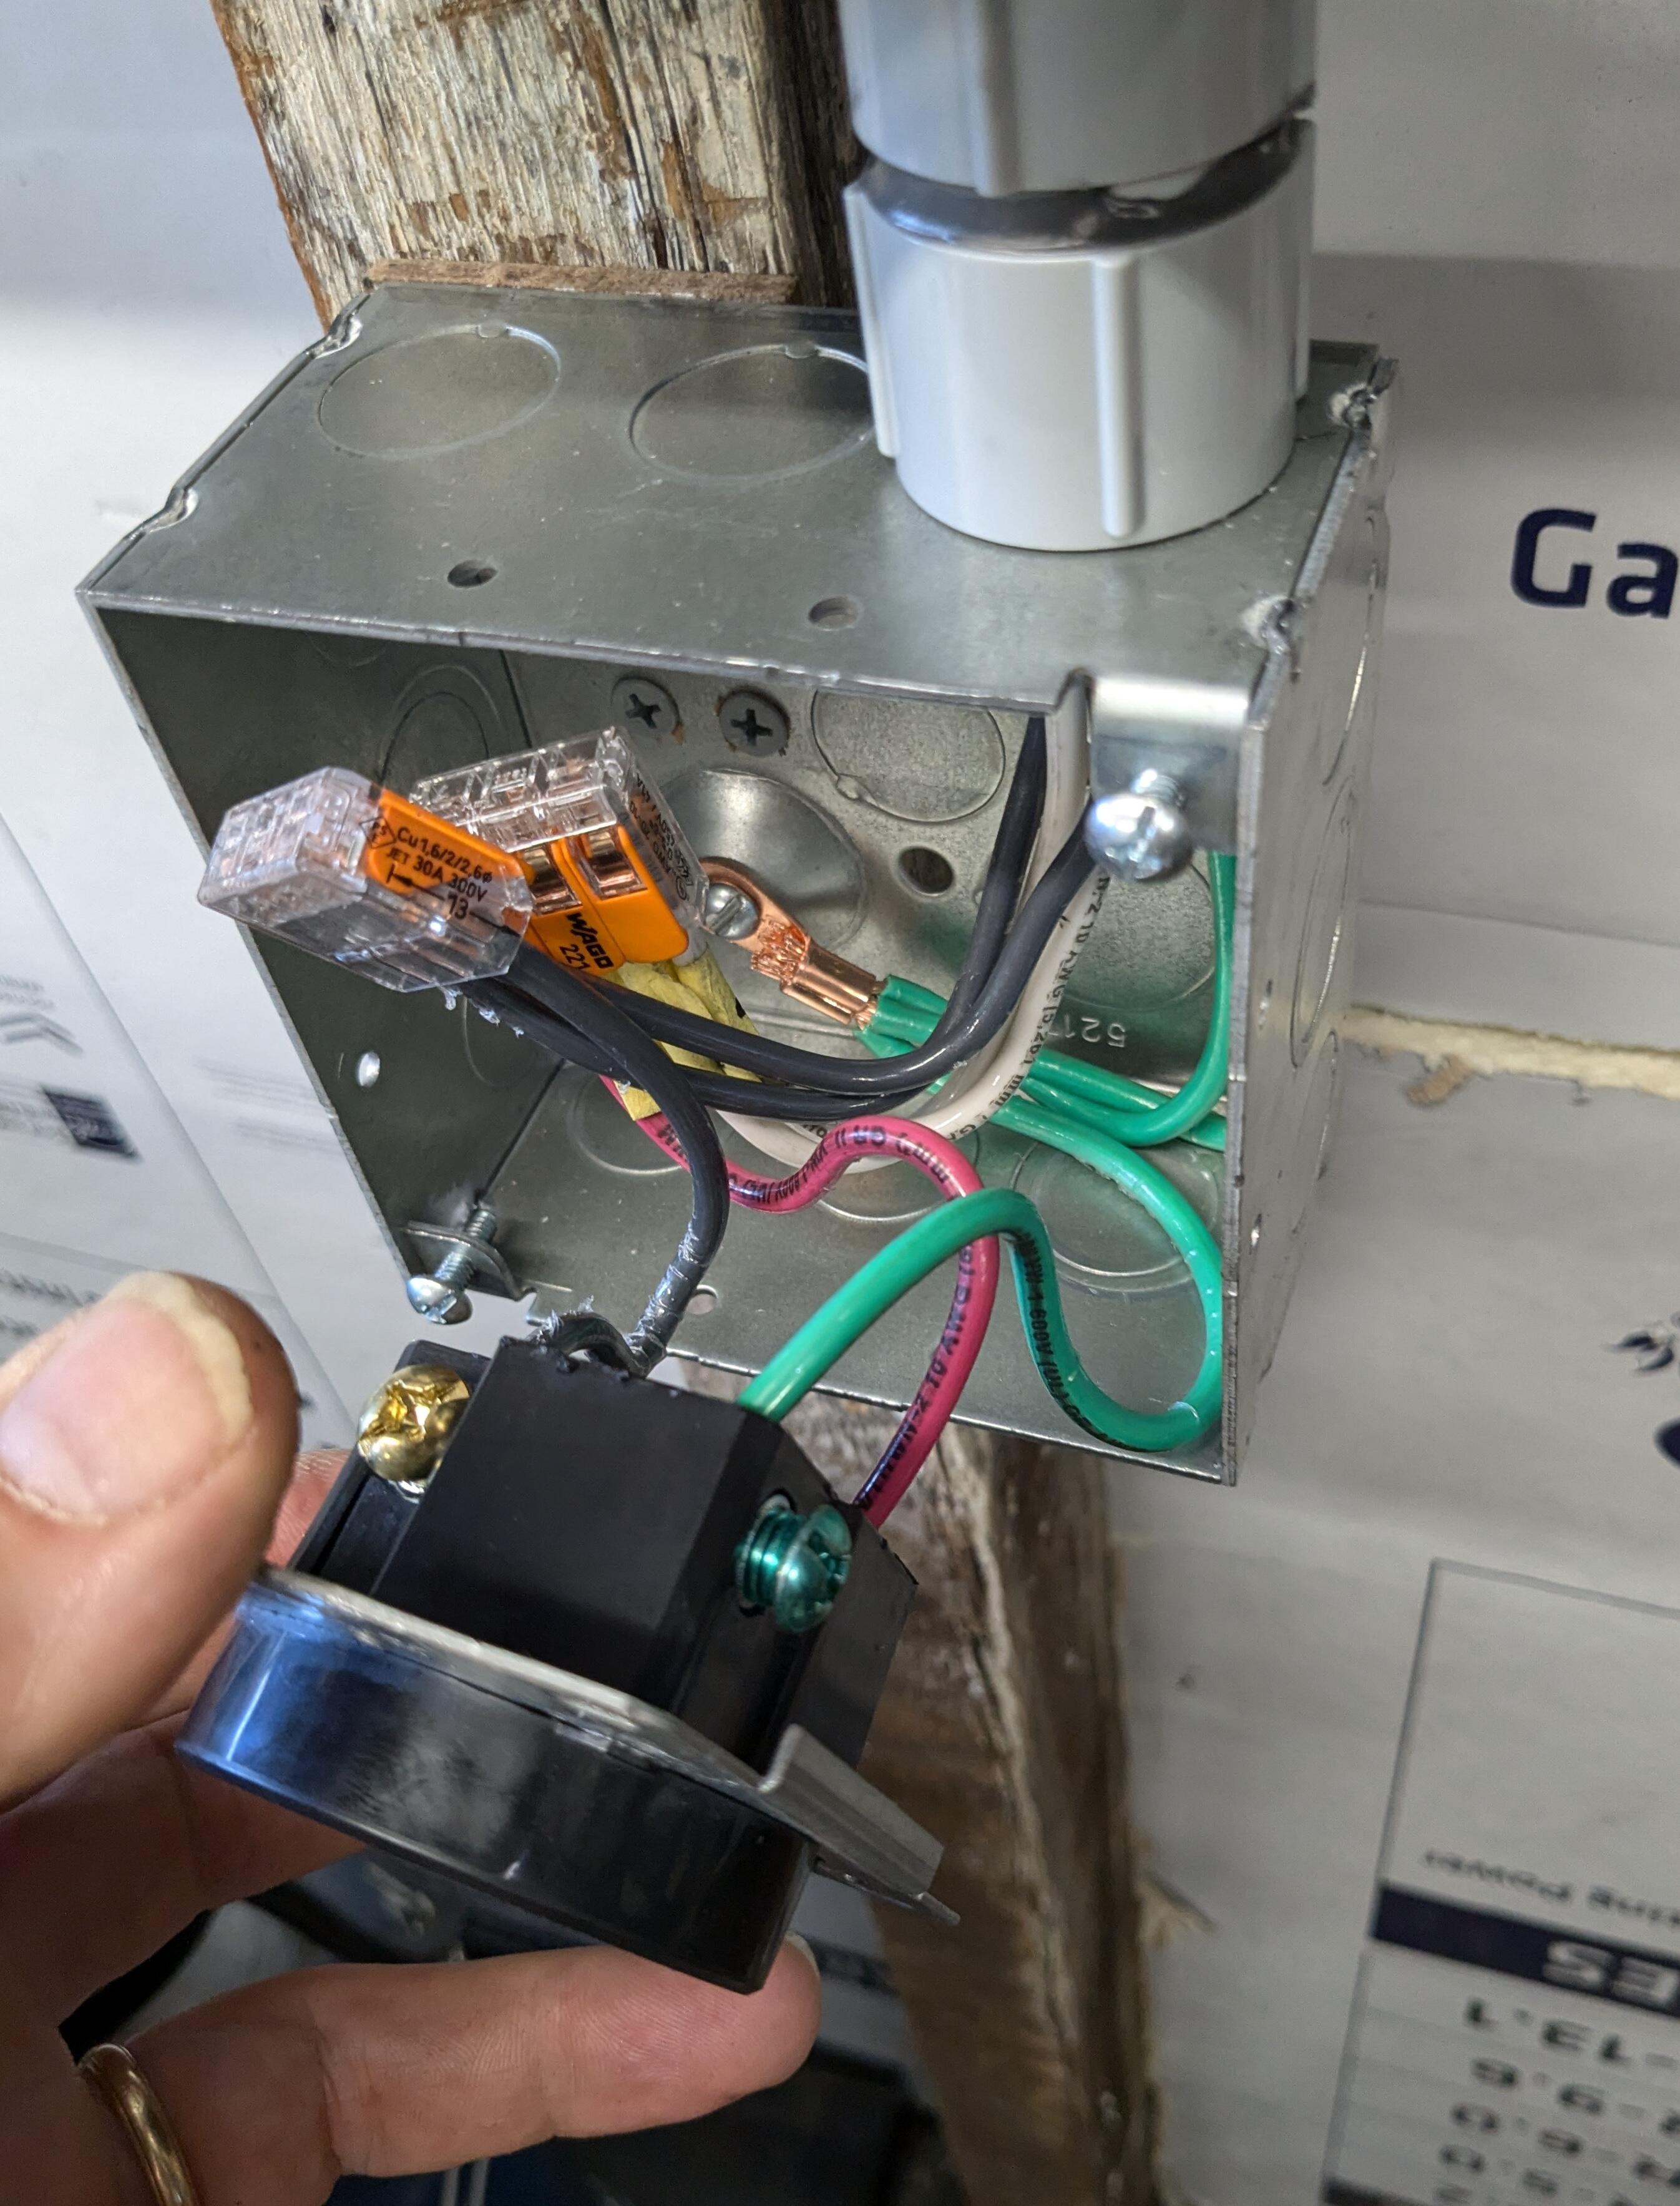
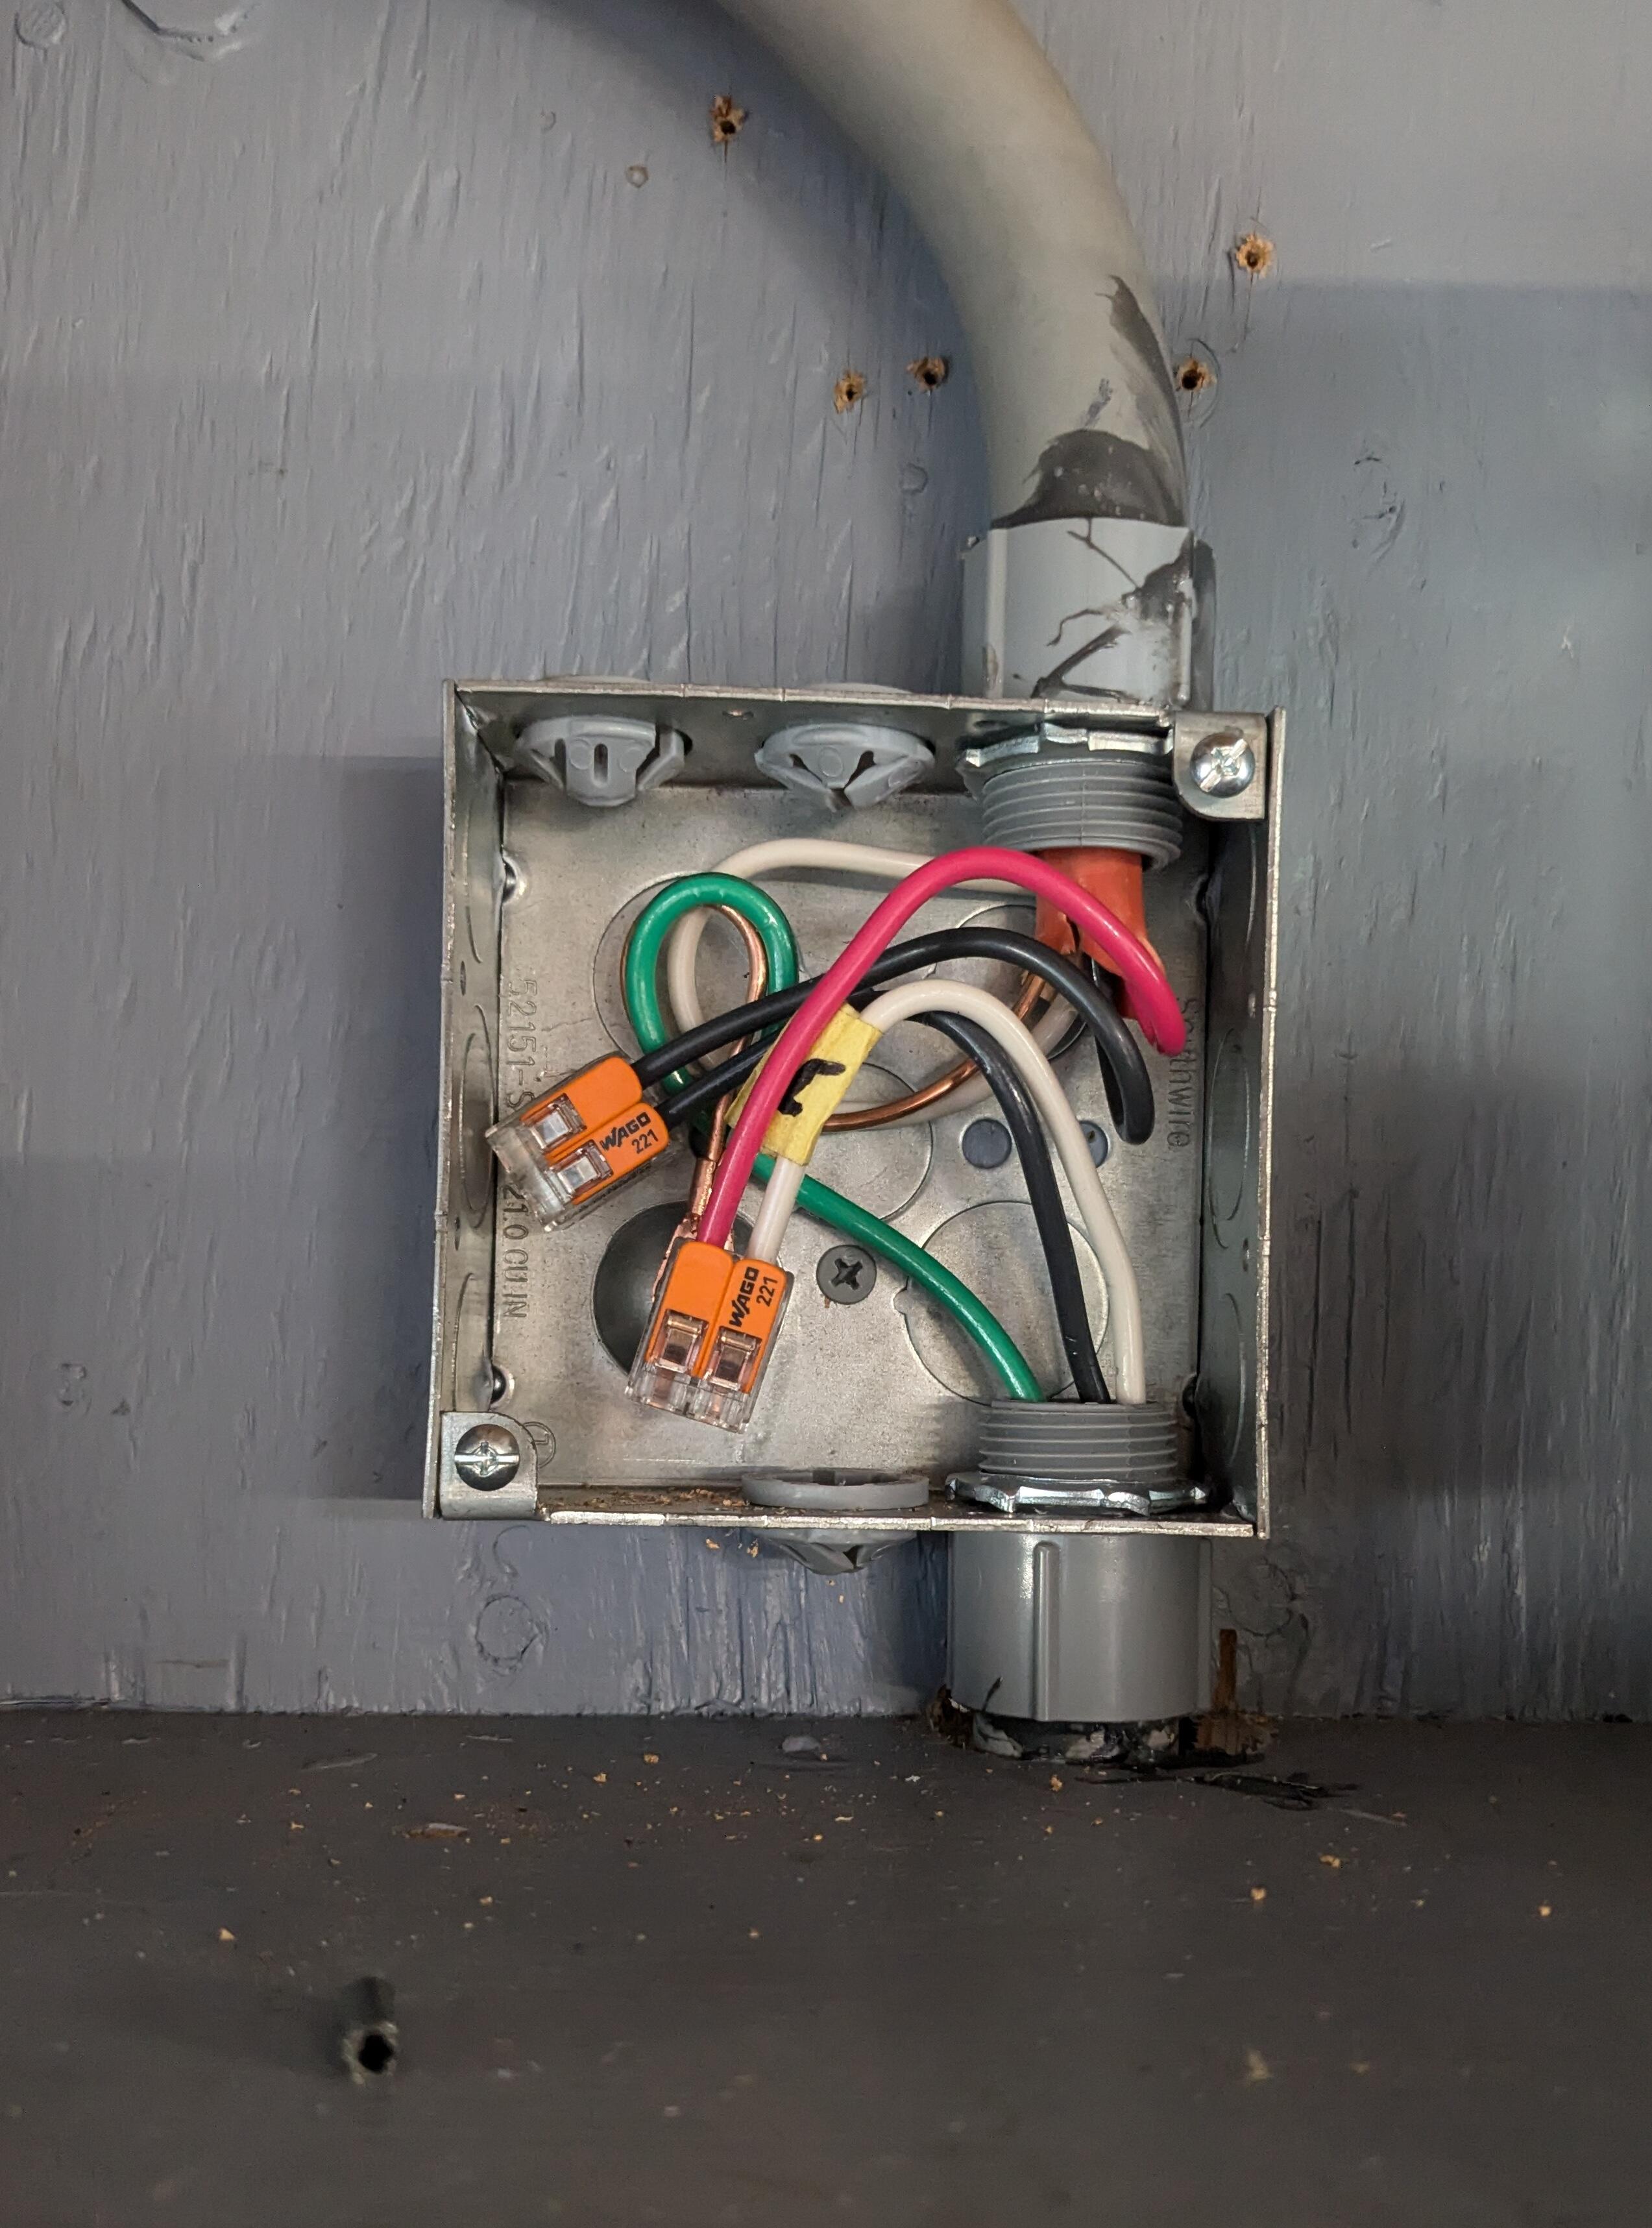
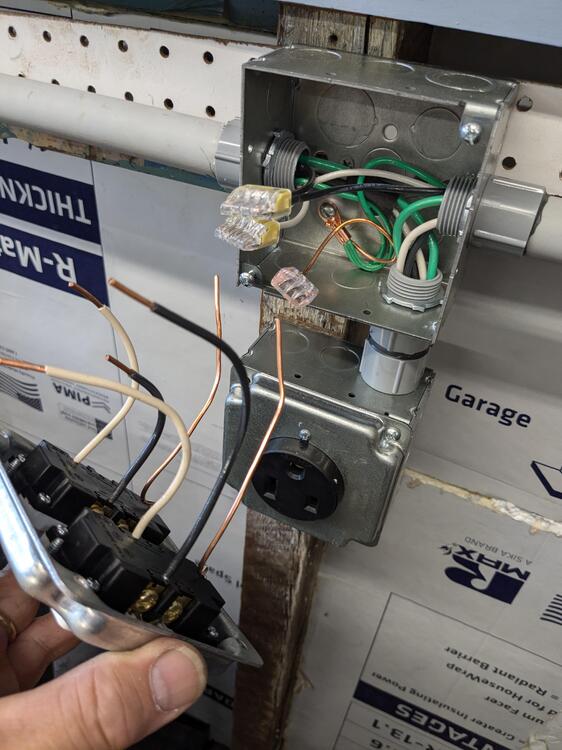
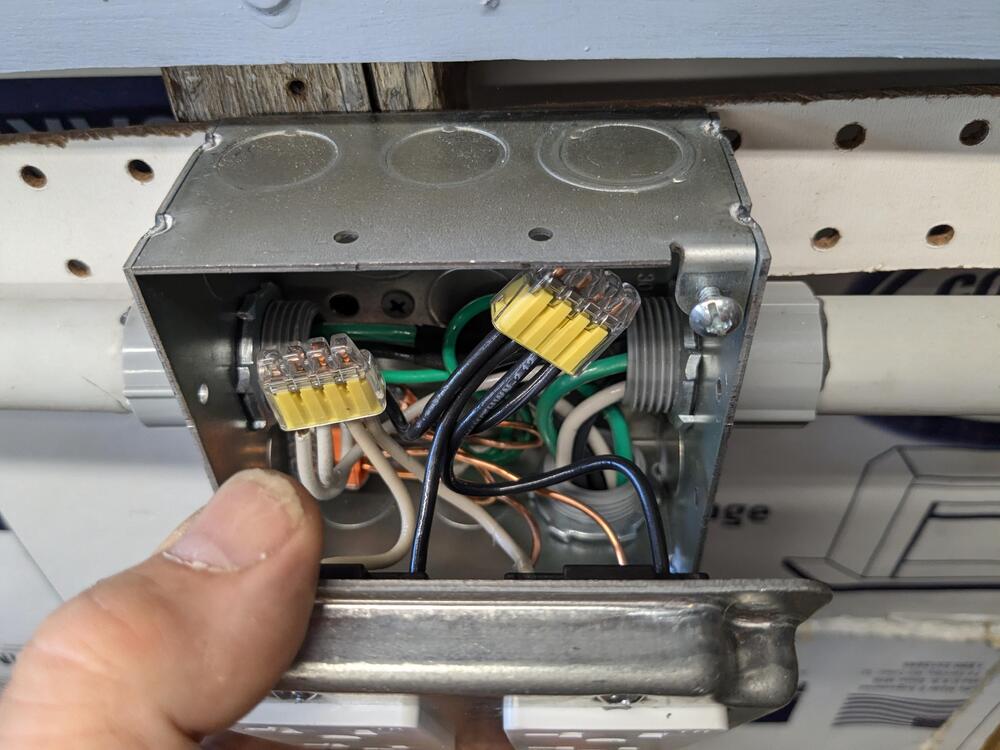
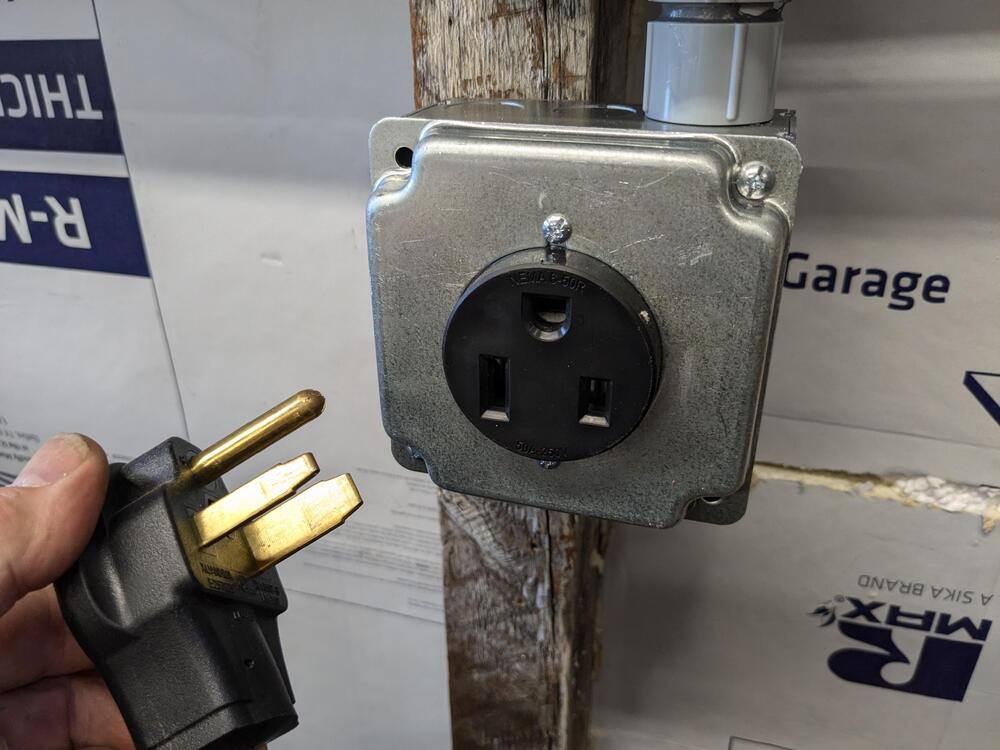
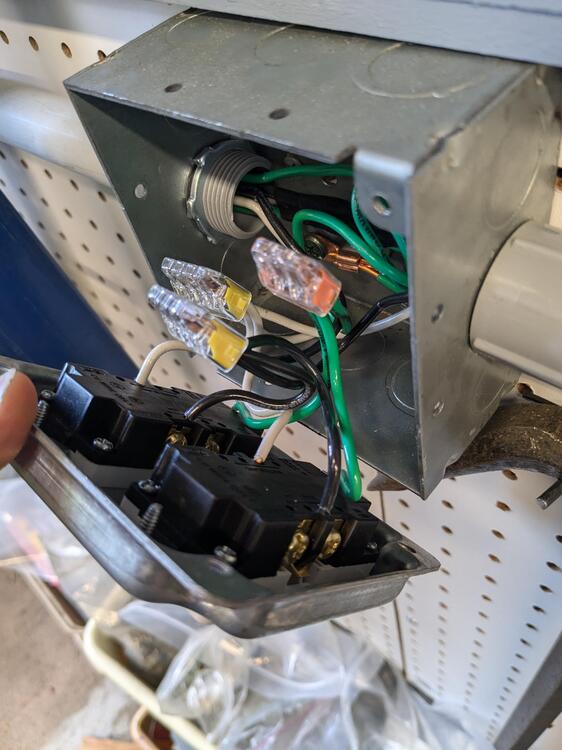
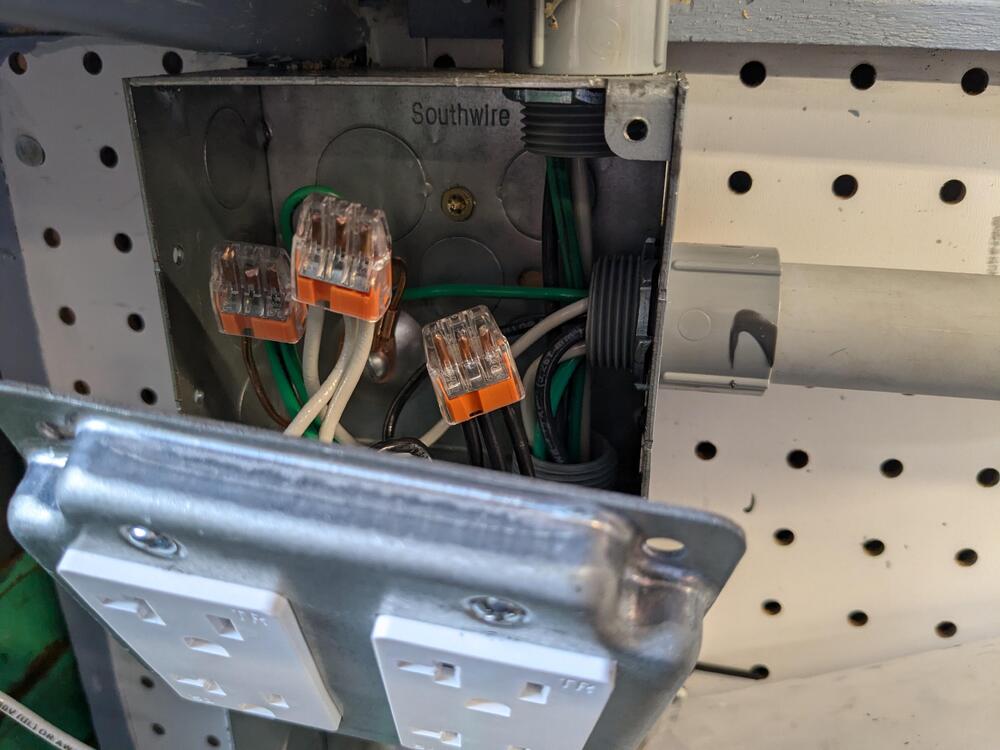
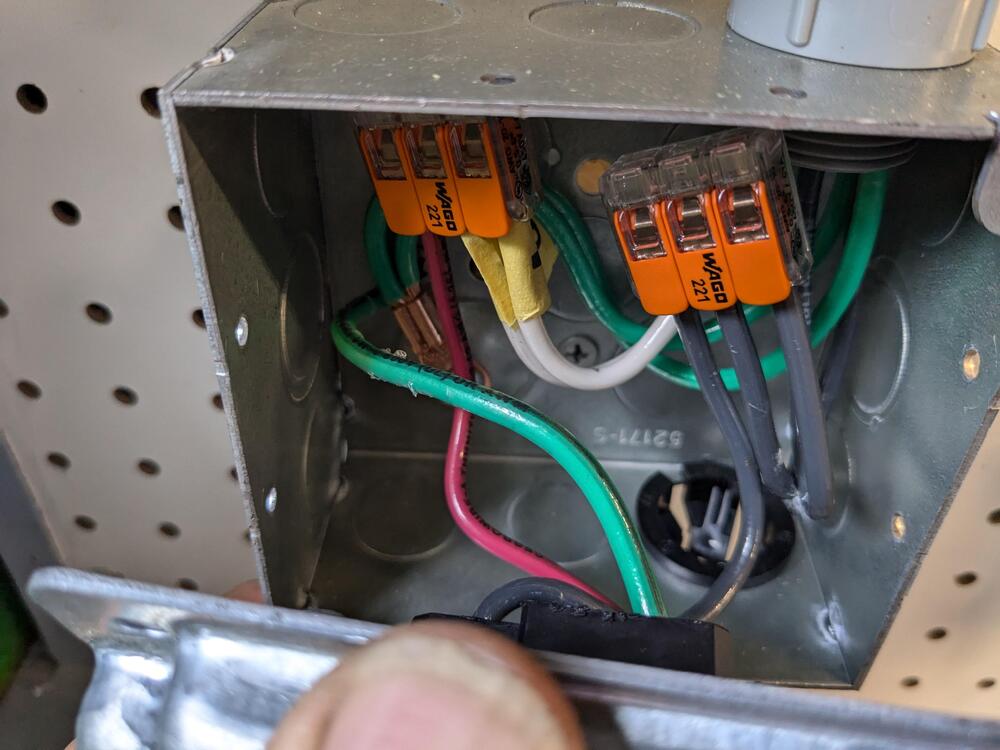
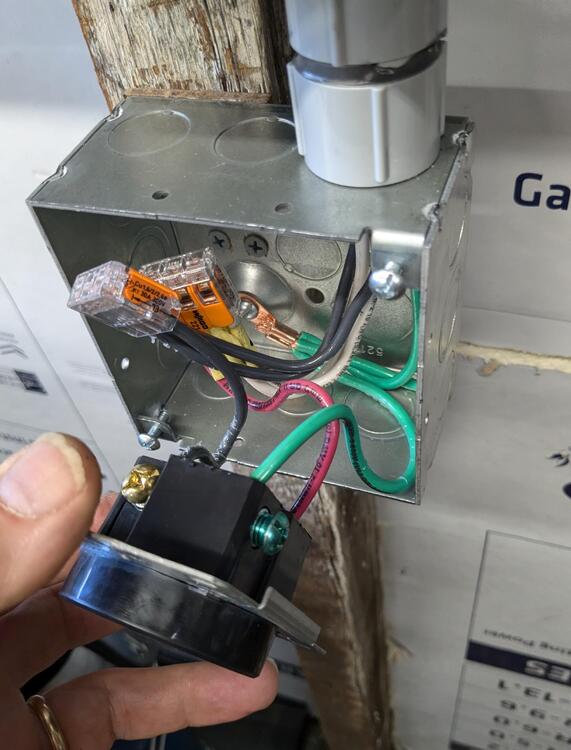
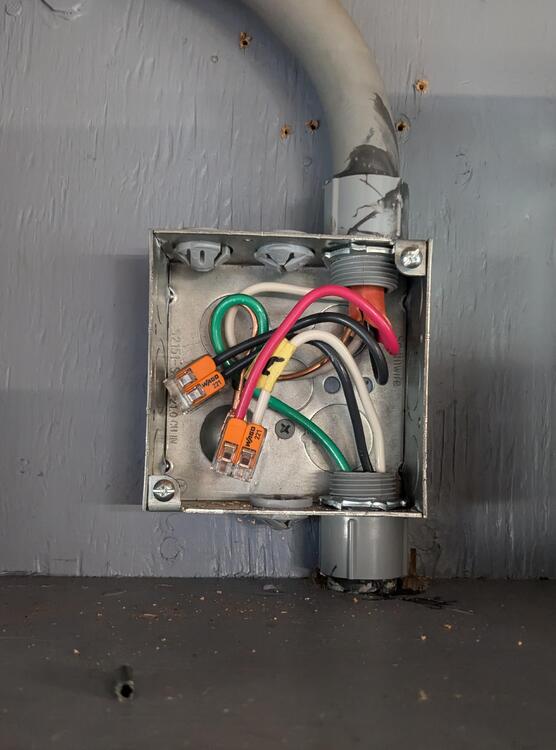
Today was the last day of my teaching career. I'm officially retired 🤪 Got a little wiring on the south wall - finished up the wiring of the 240 & 120 receptacles Used crimp eyelets for the grounds wired each receptacle separately rather than bridging them 12AWG for the 20A receptacles Made sure they were the right version 240V outlet this time 10AWG for the 240V 10WGA Junction that feeds the East center post receptacle

-
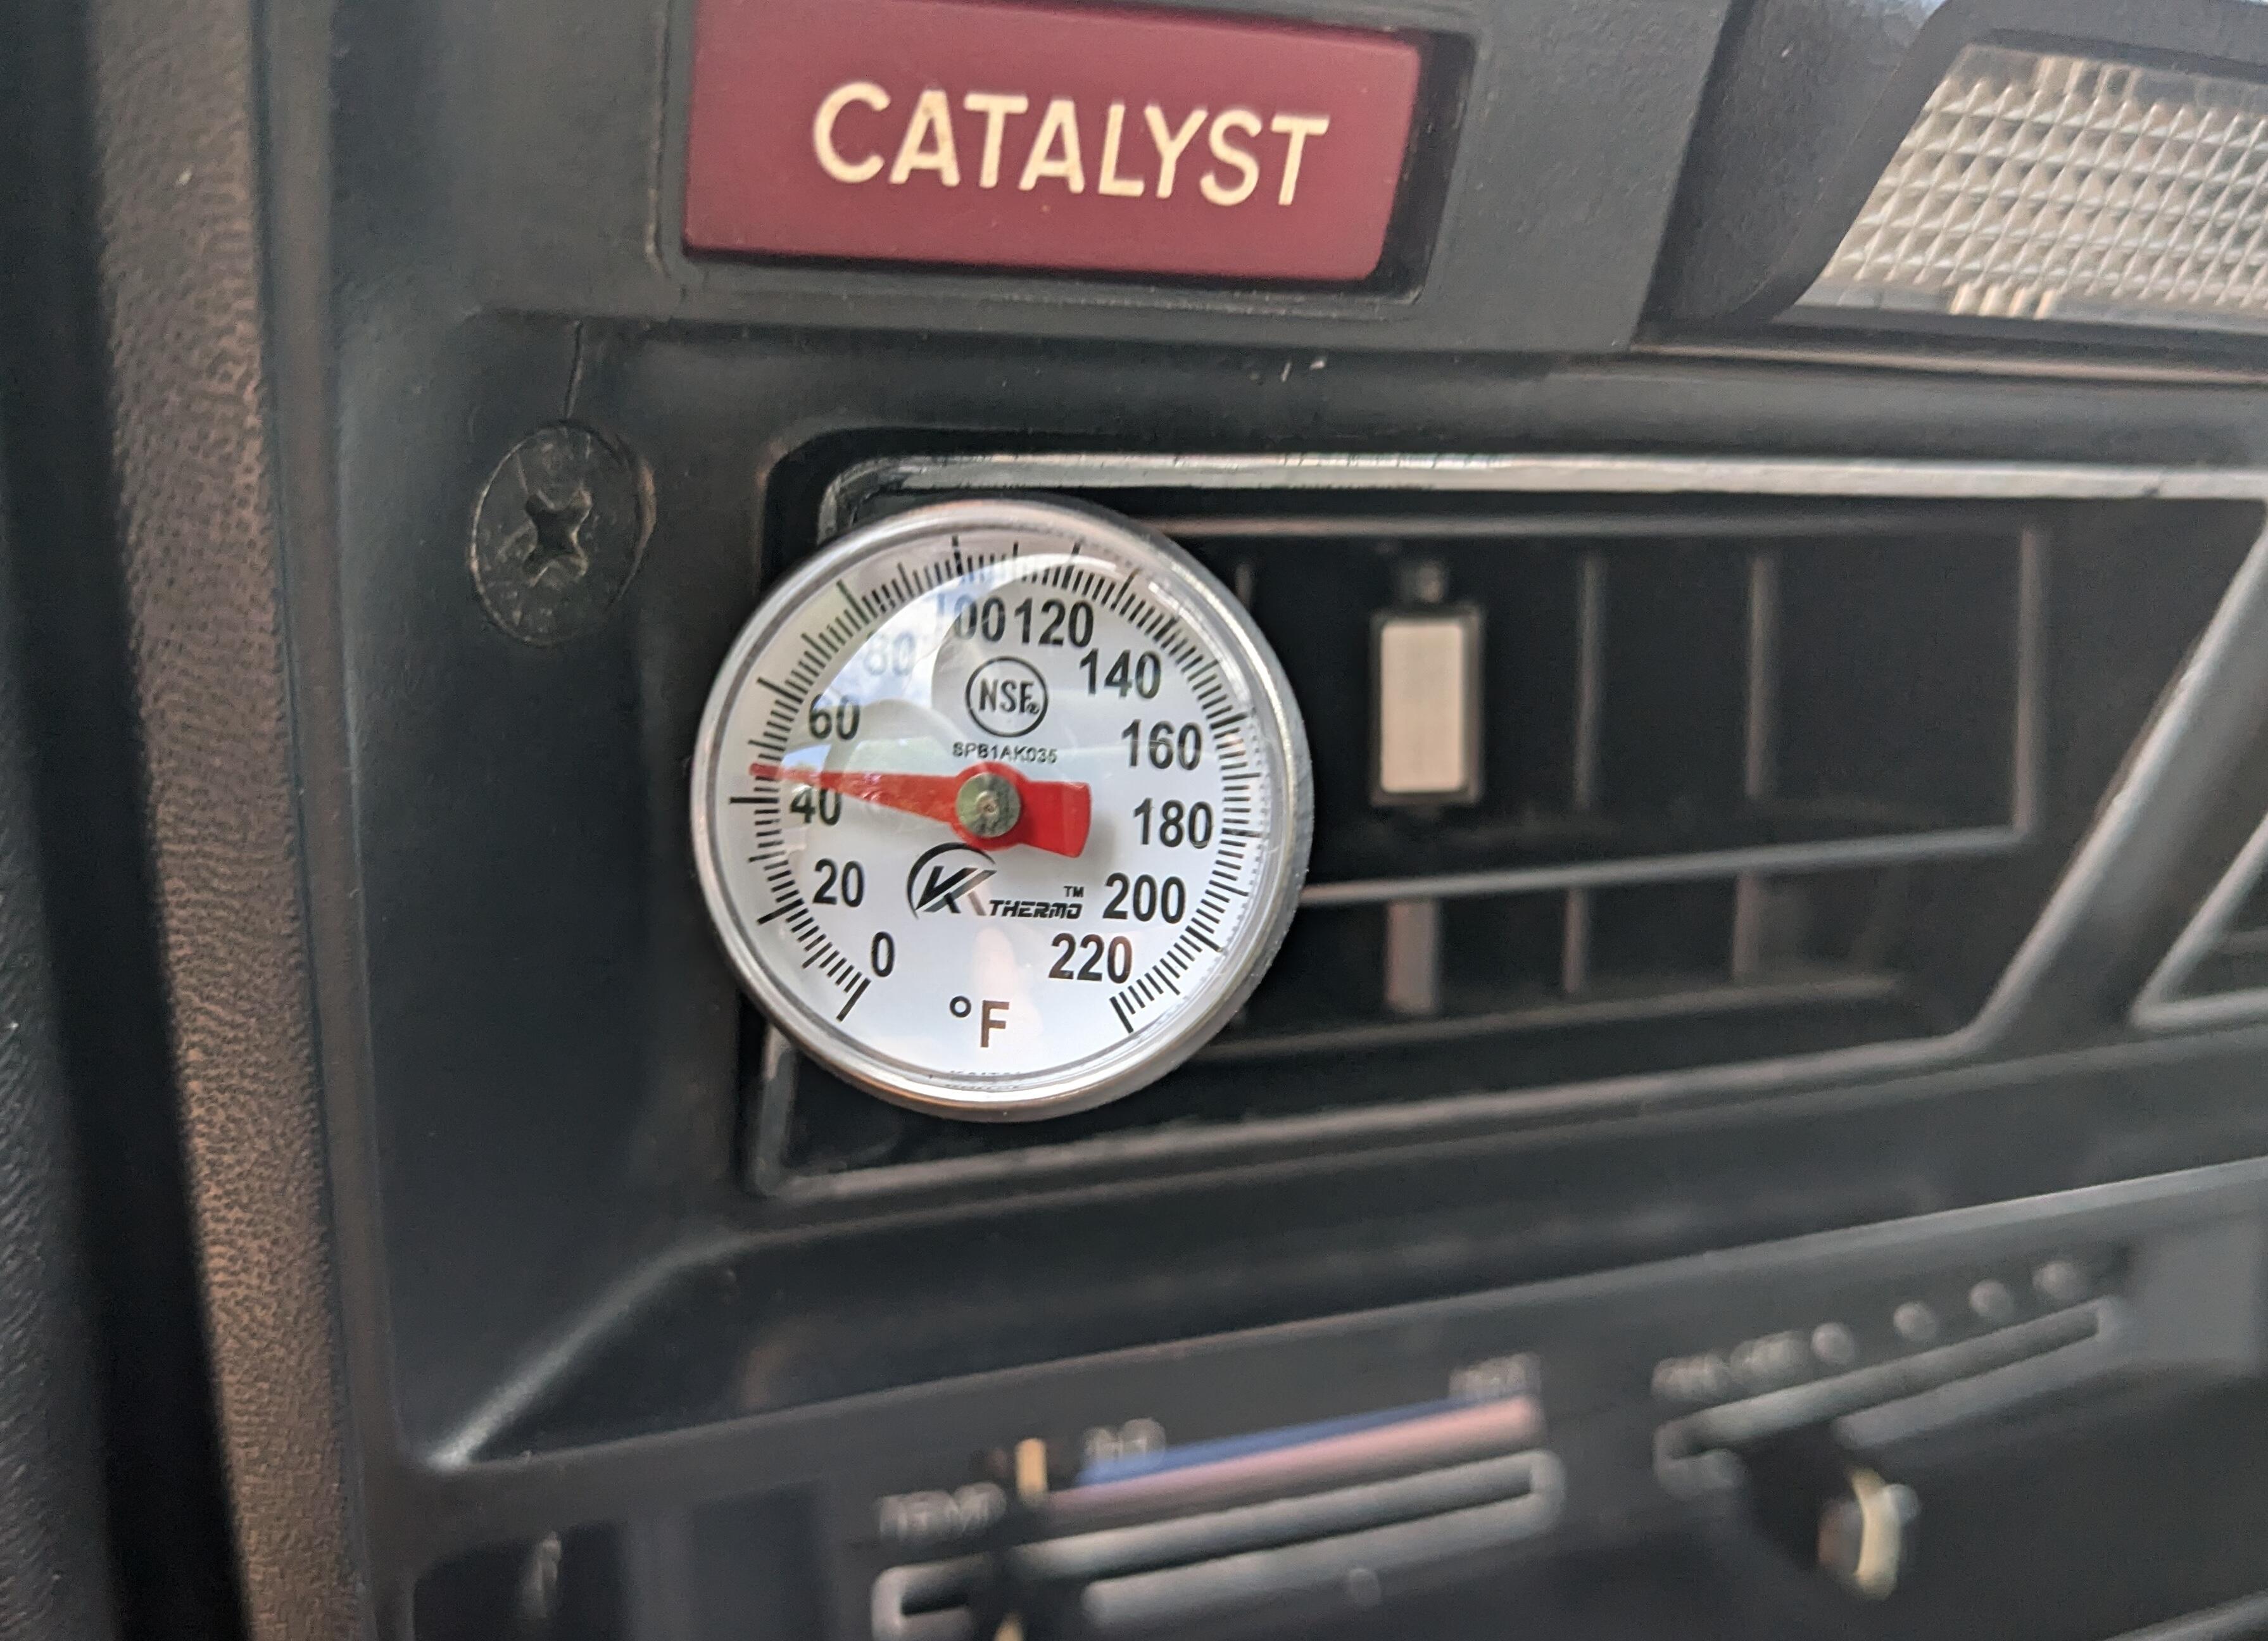
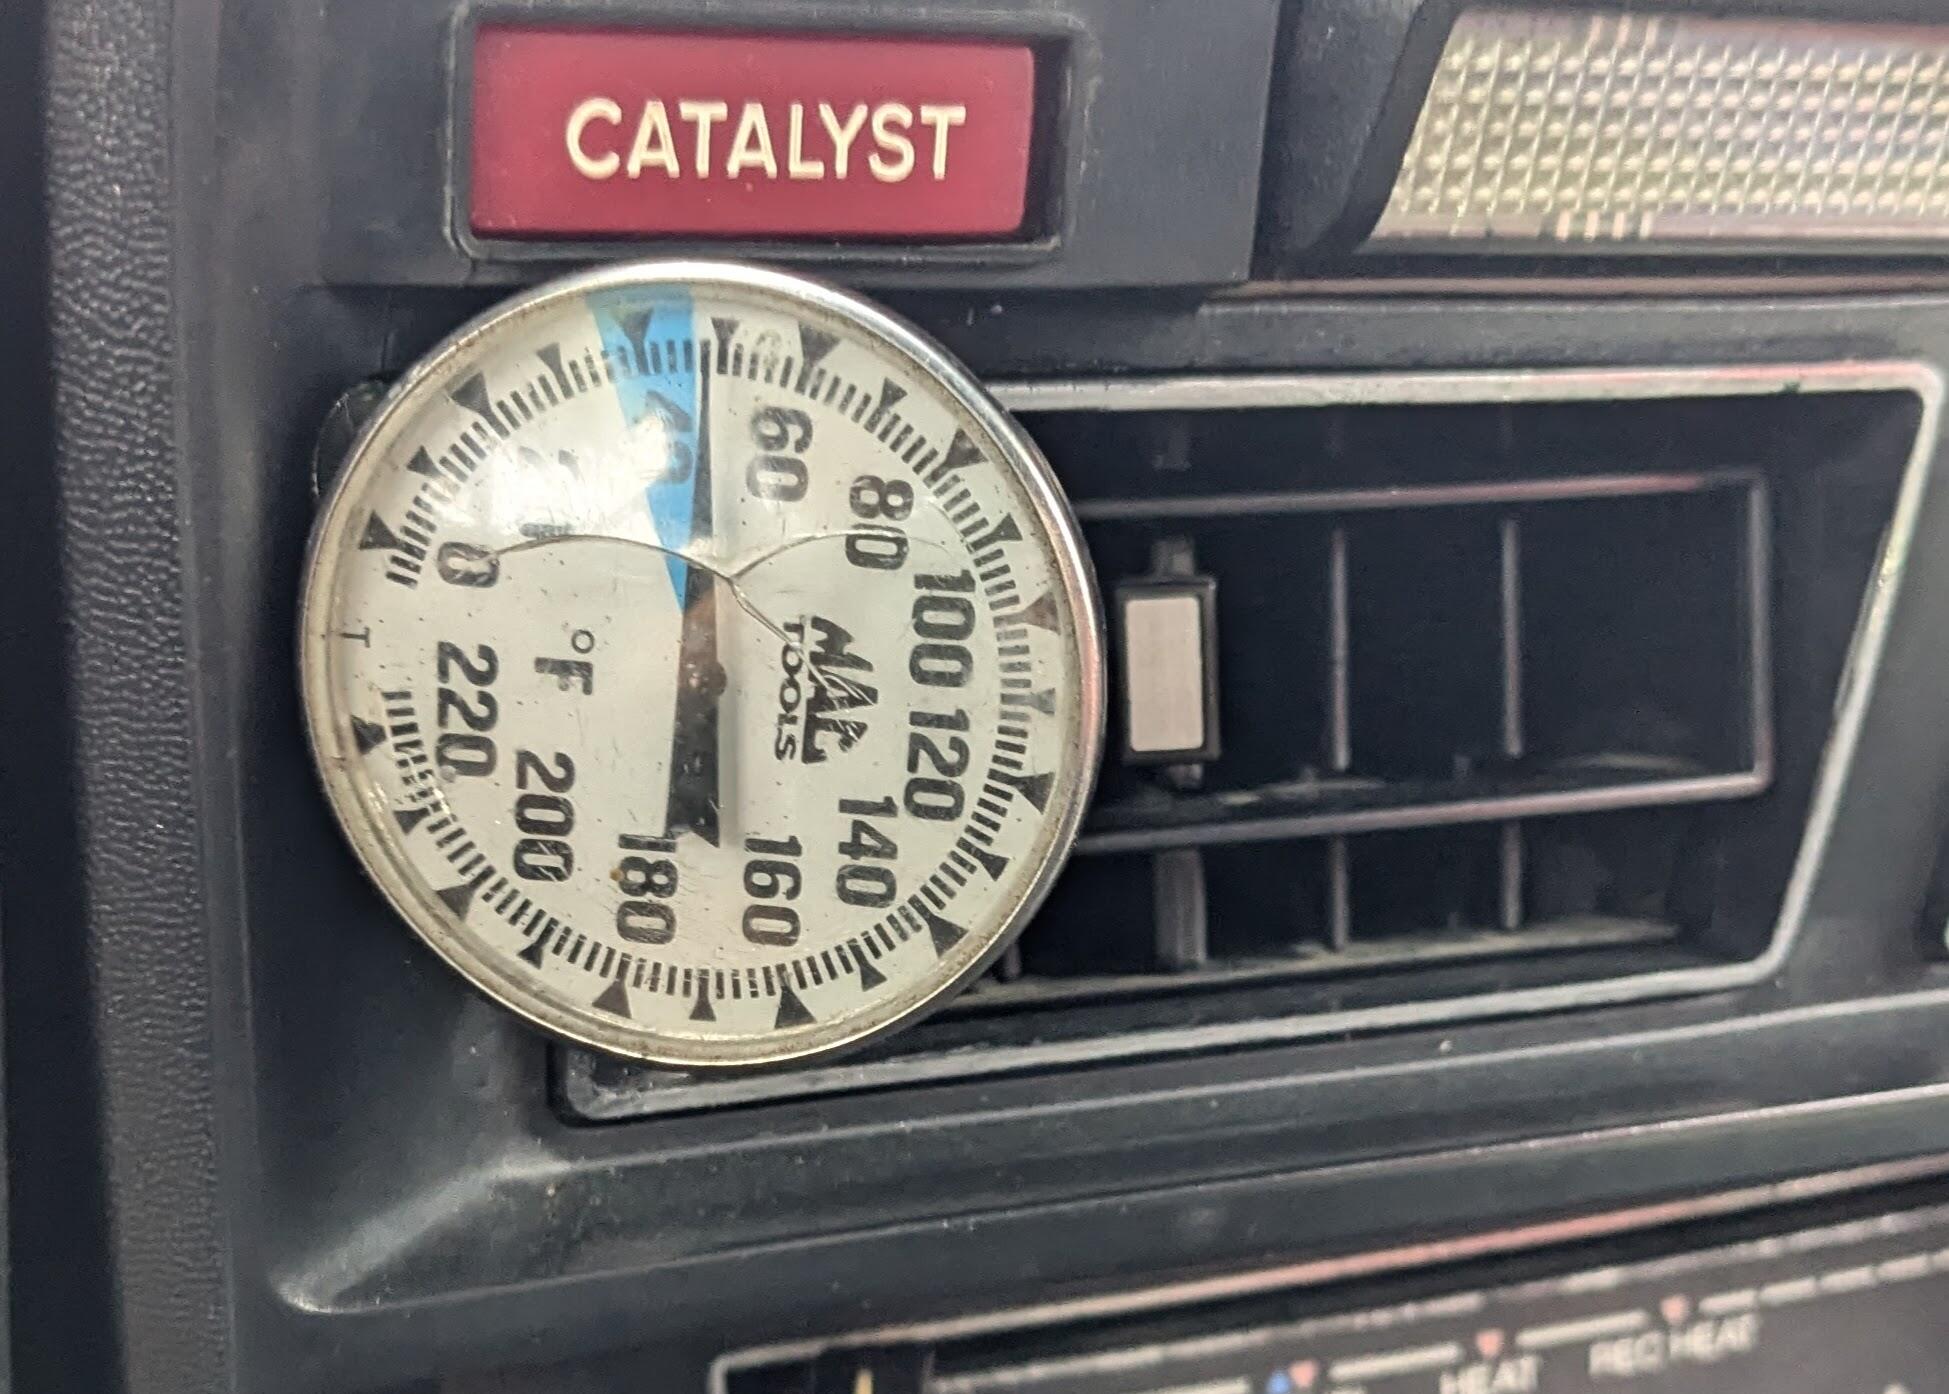
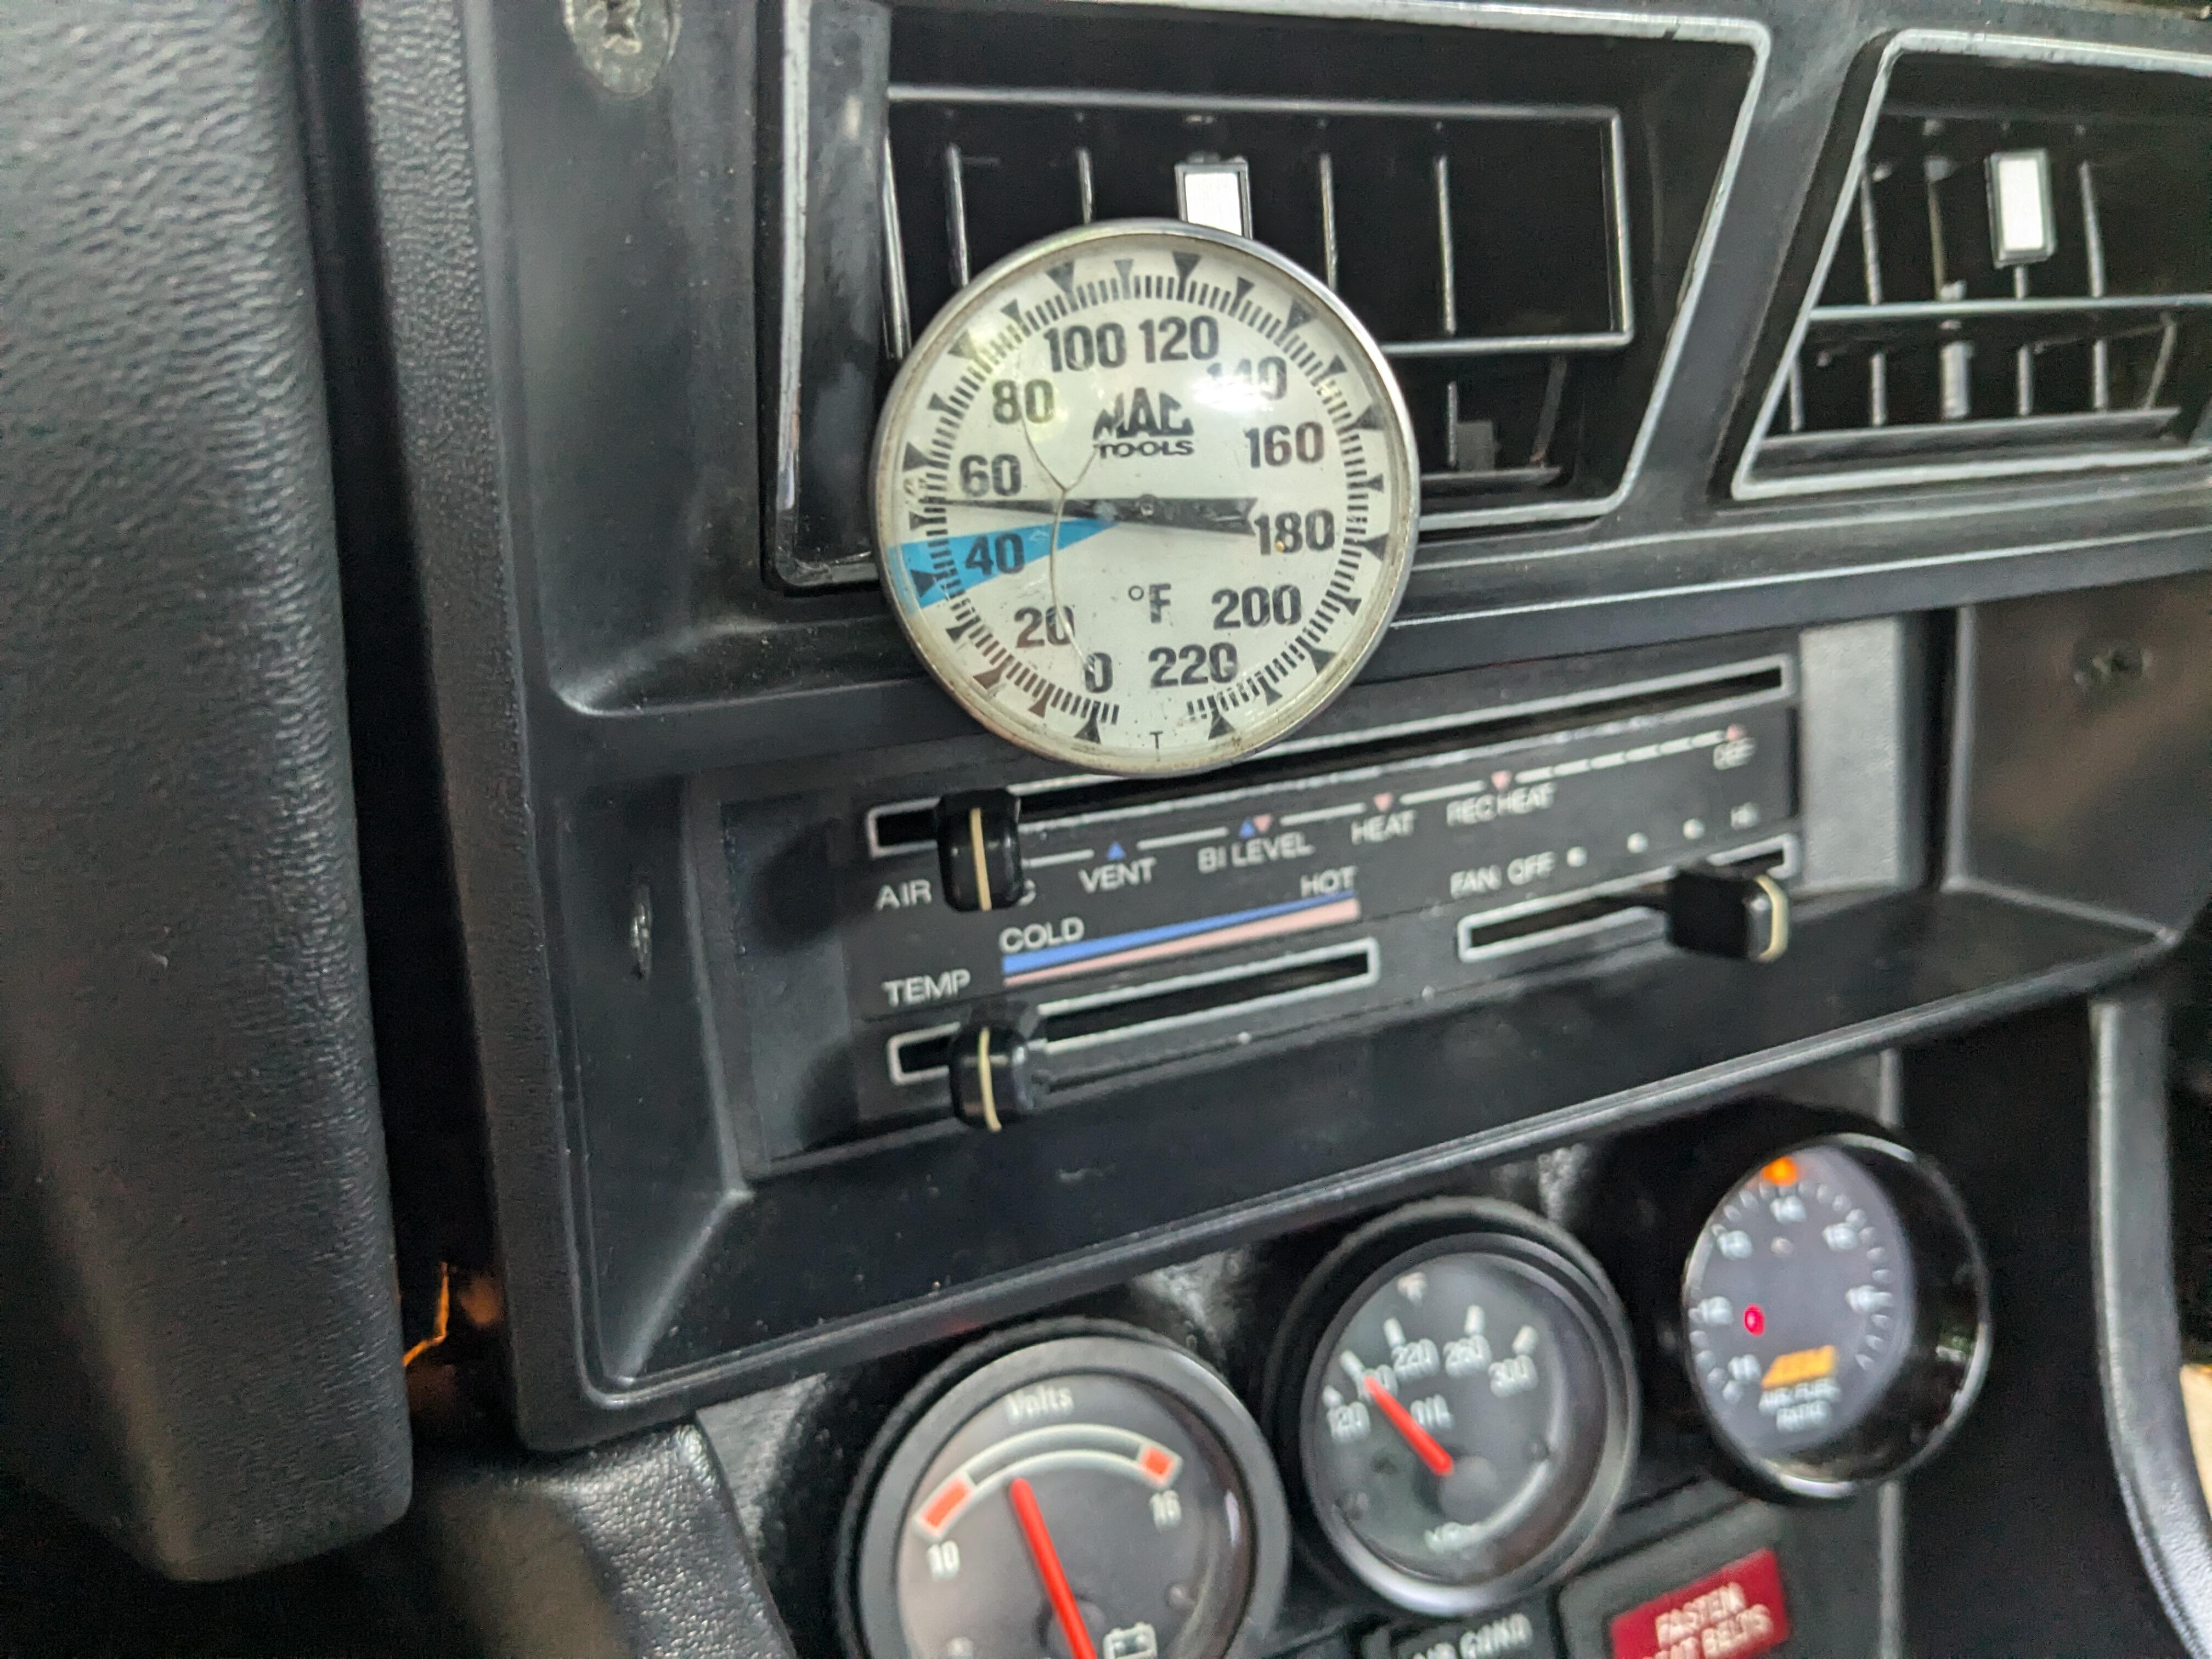
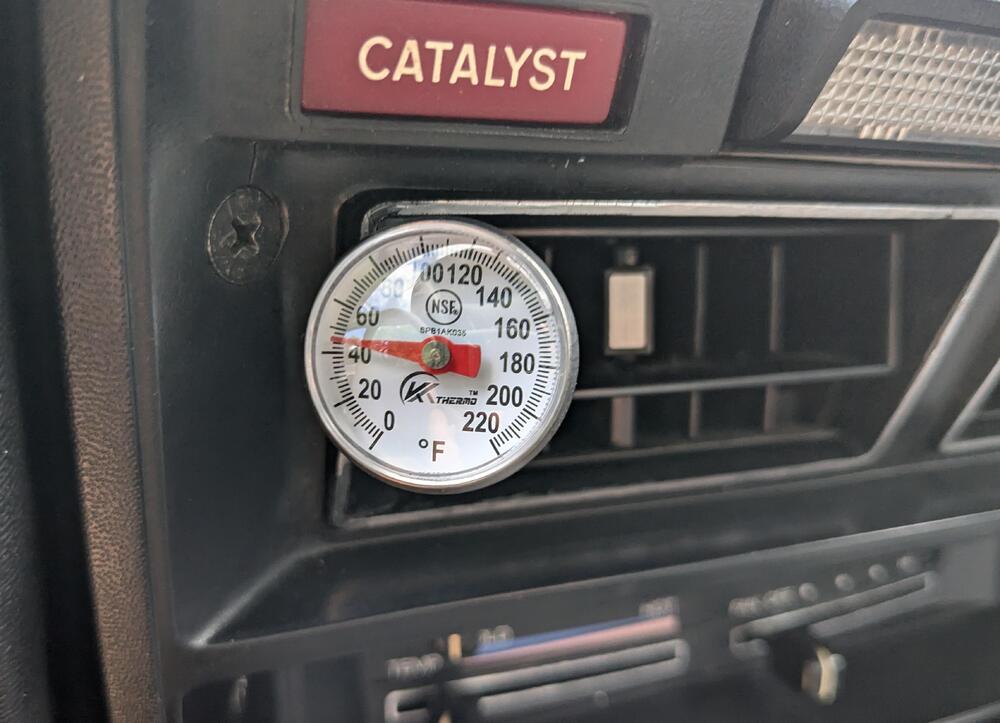
Got the Z in for it's annual safety inspection this afternoon - after driving around some more AC is running around 45ºF - very happy with that
-
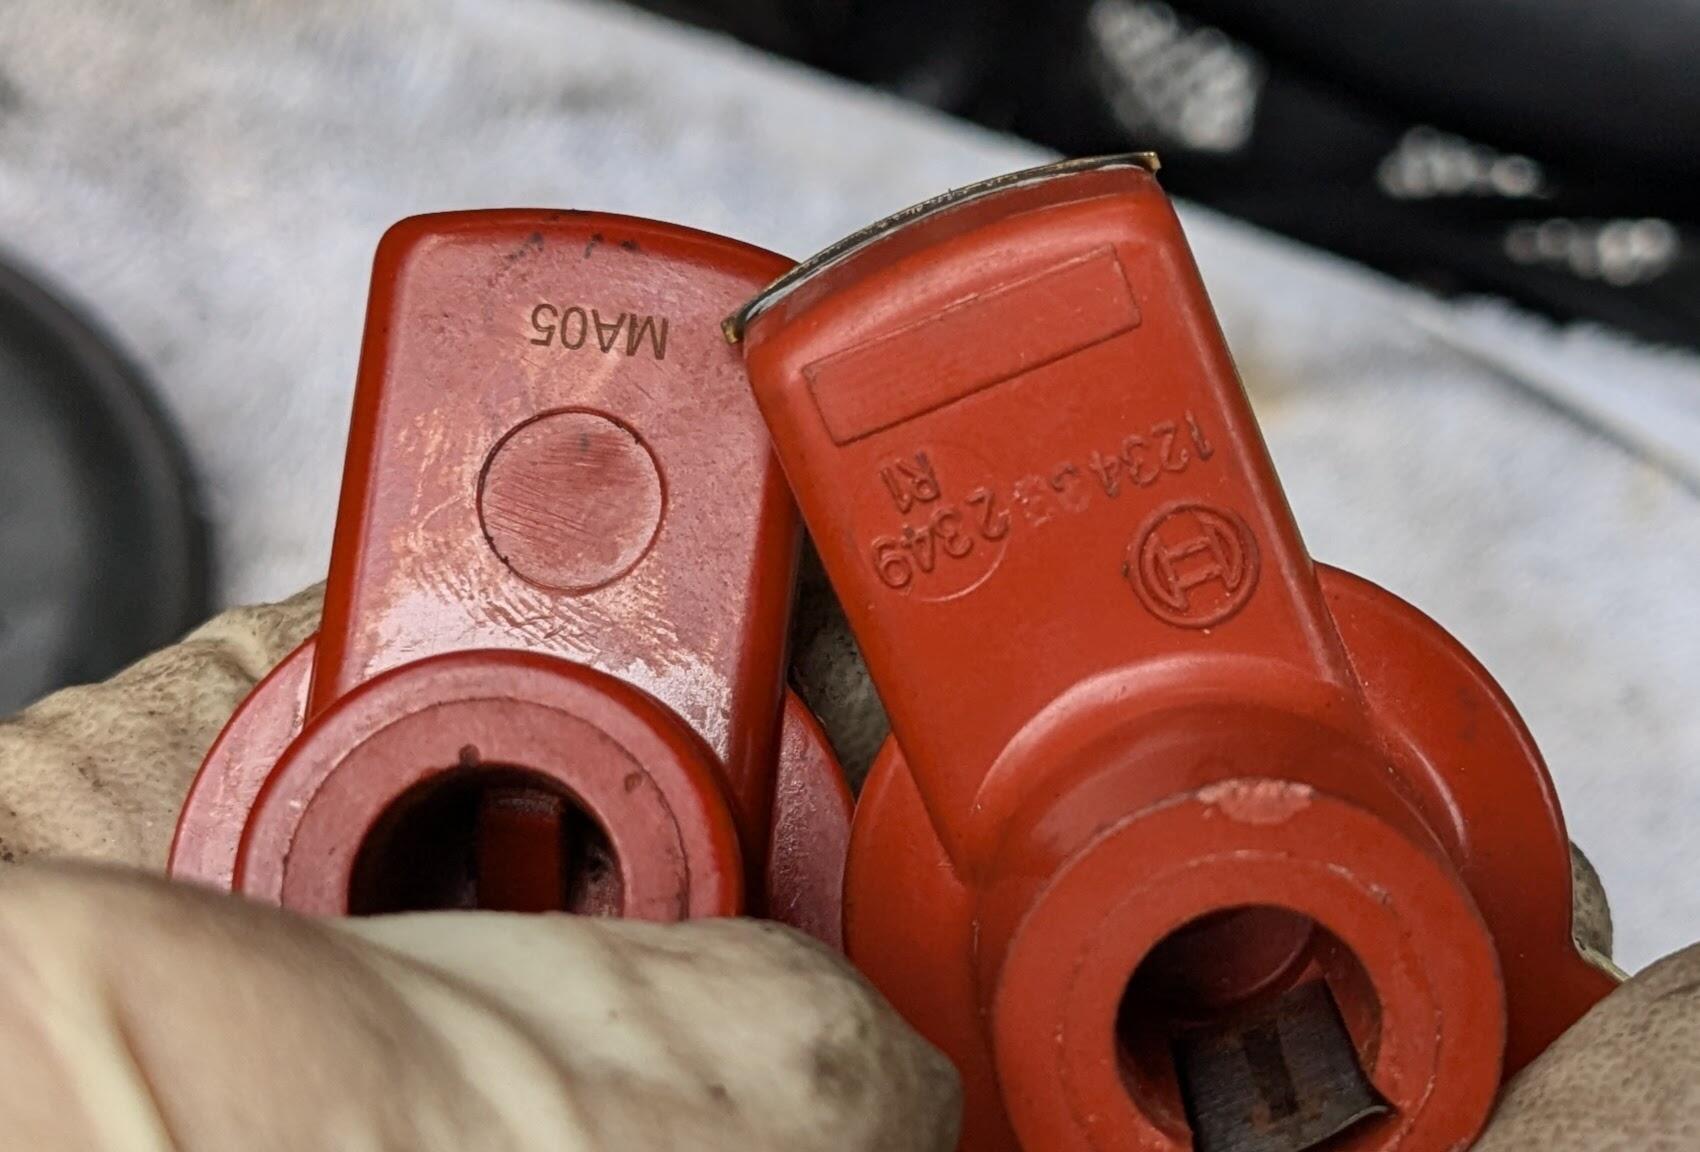
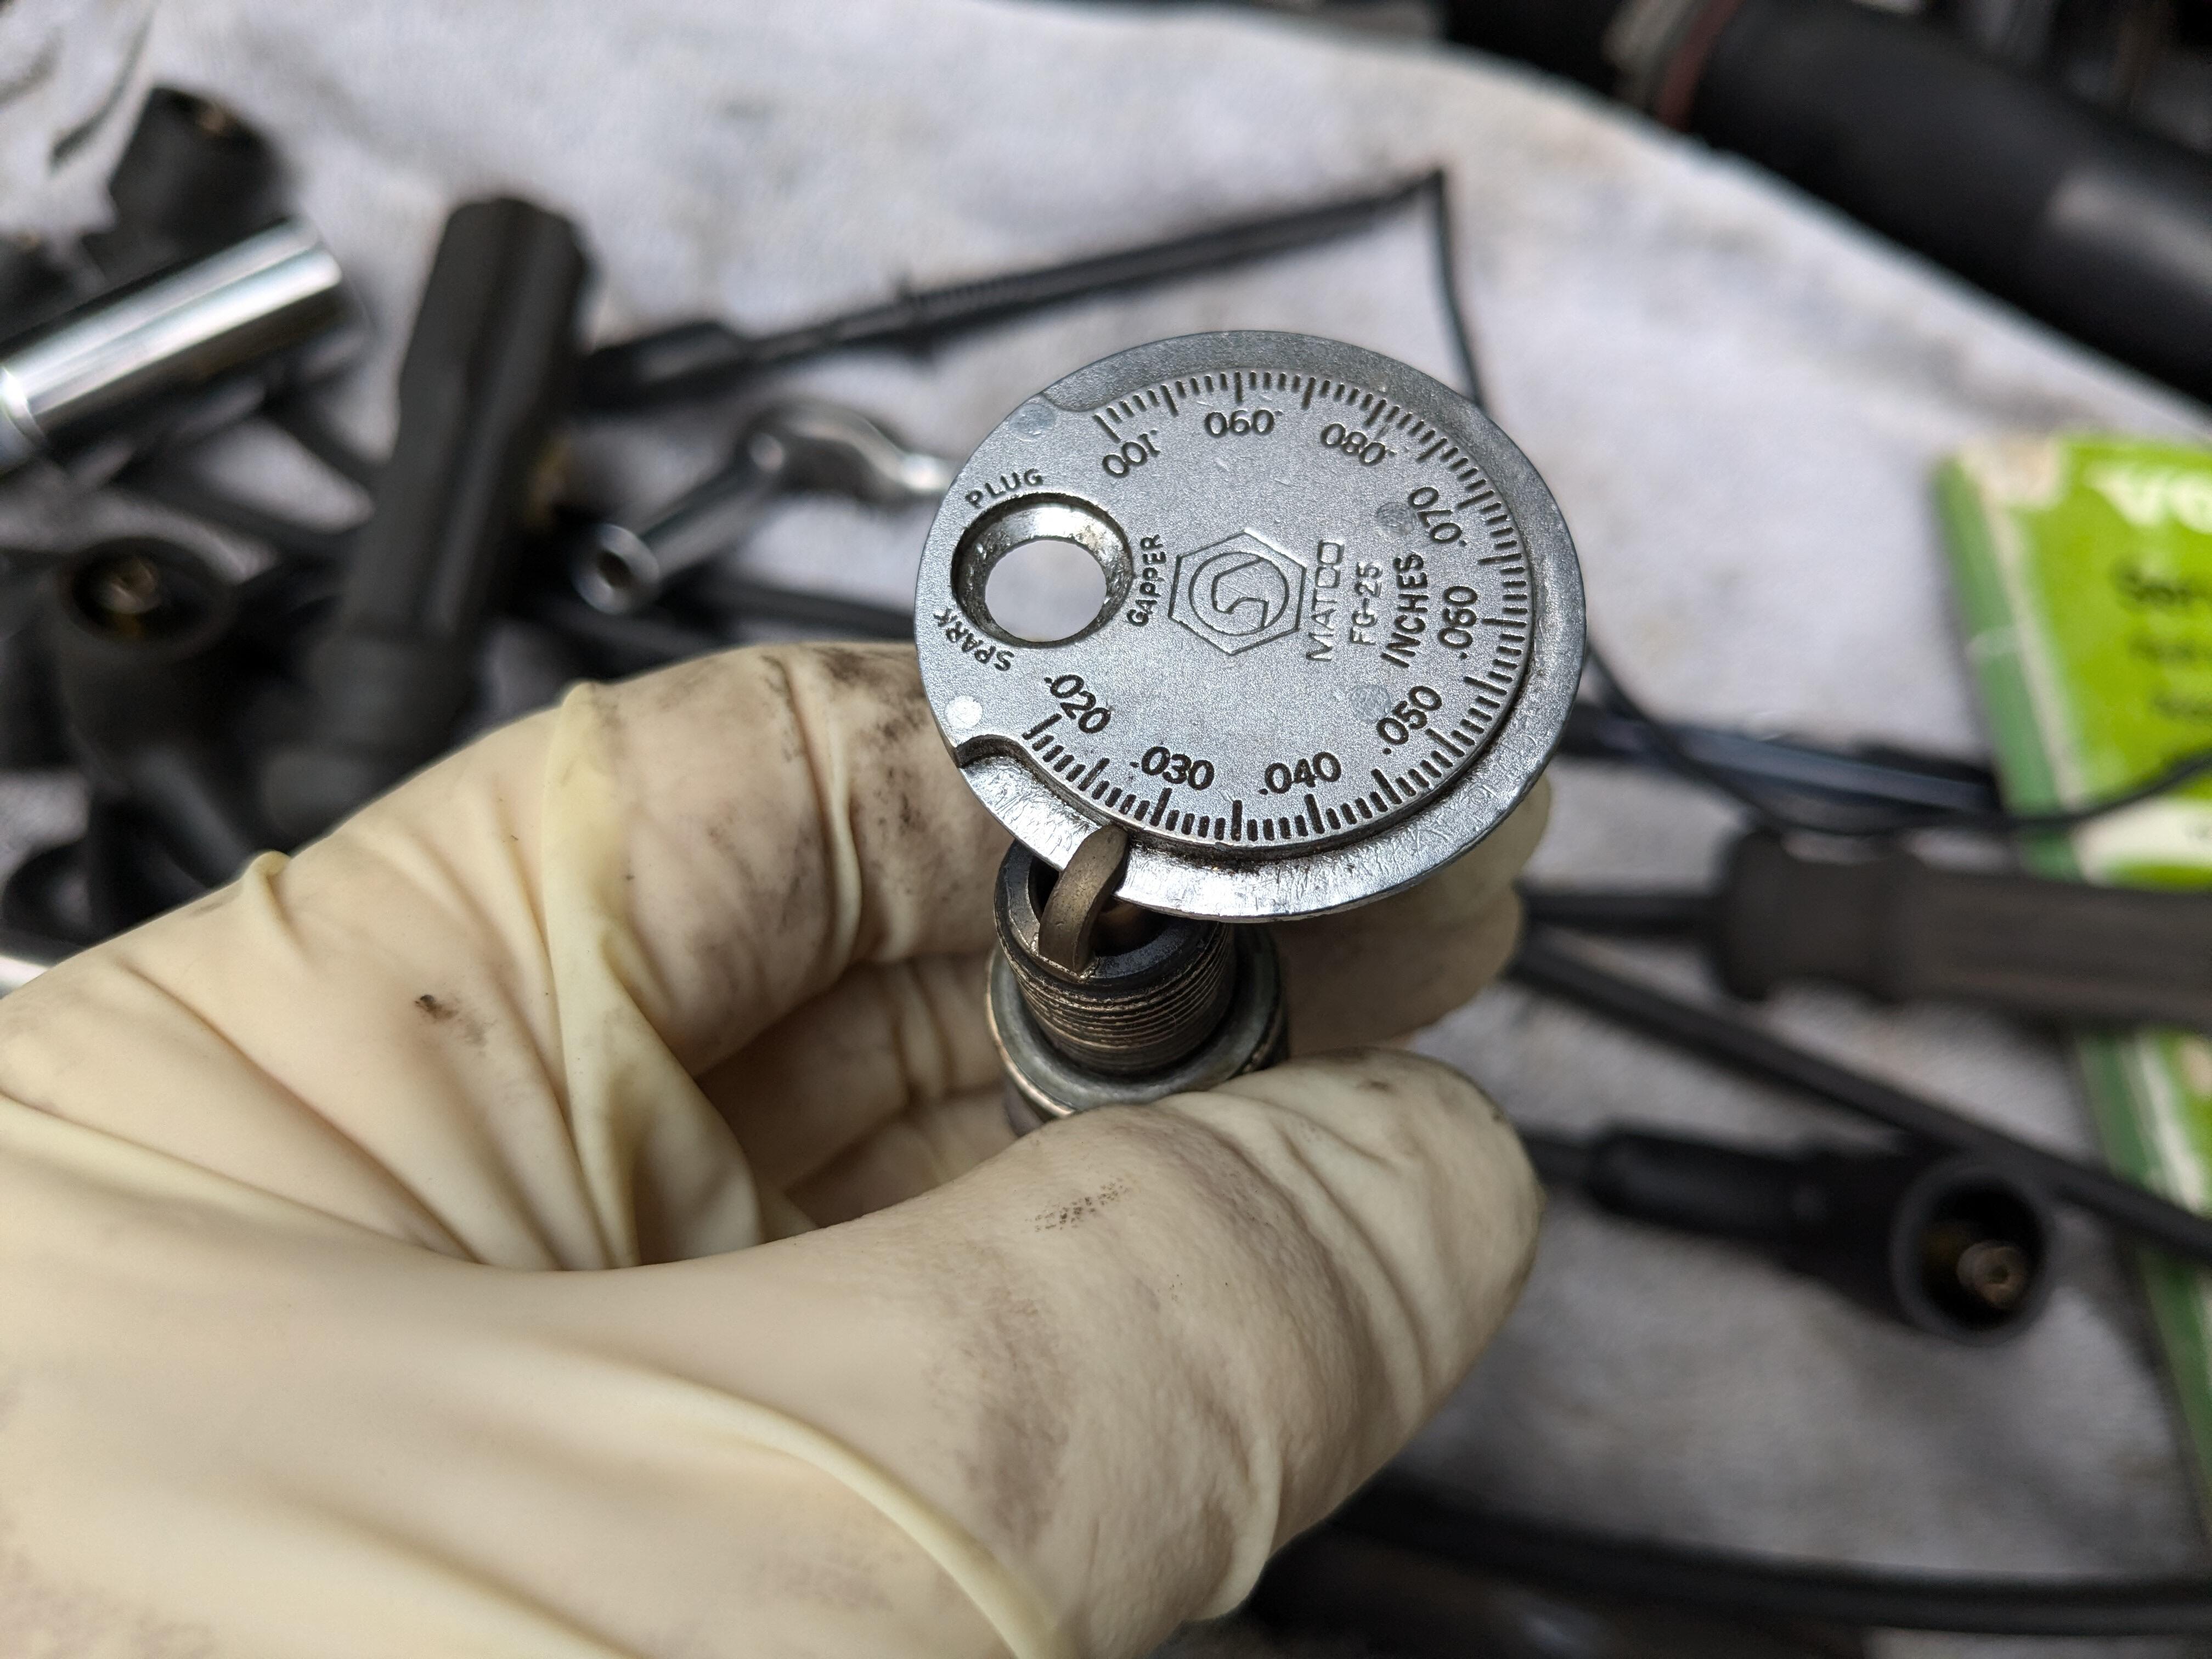
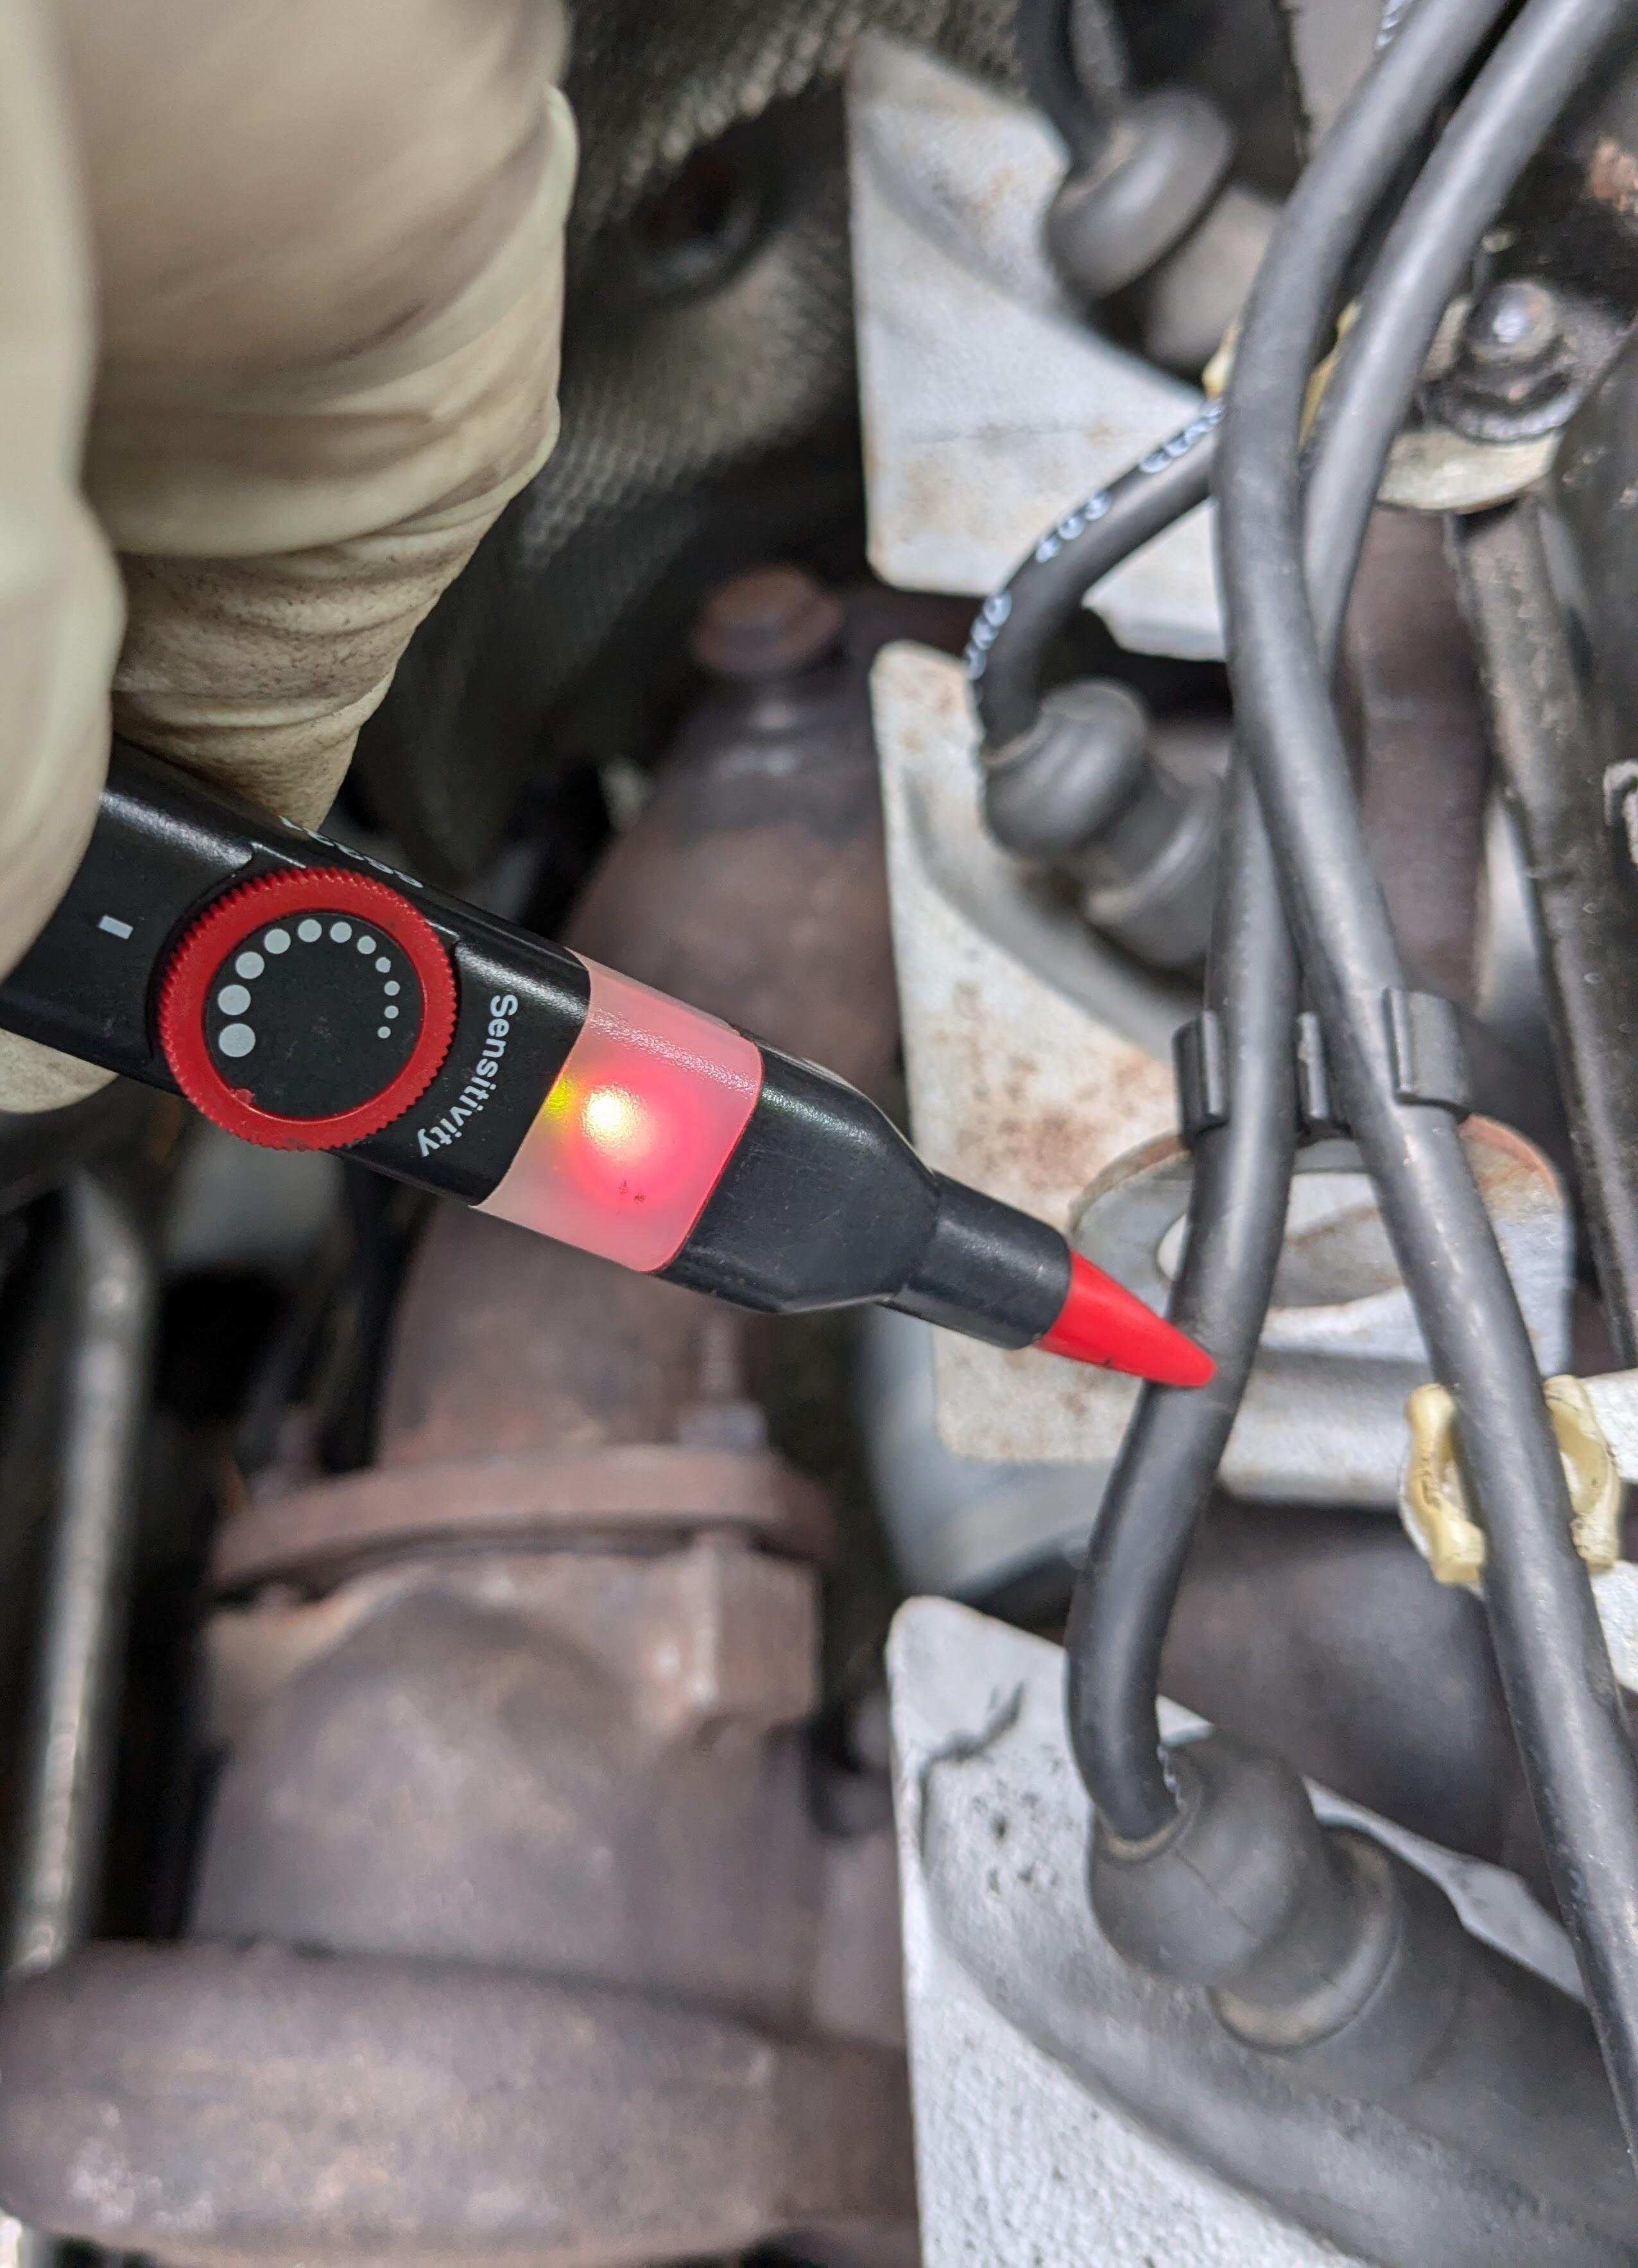
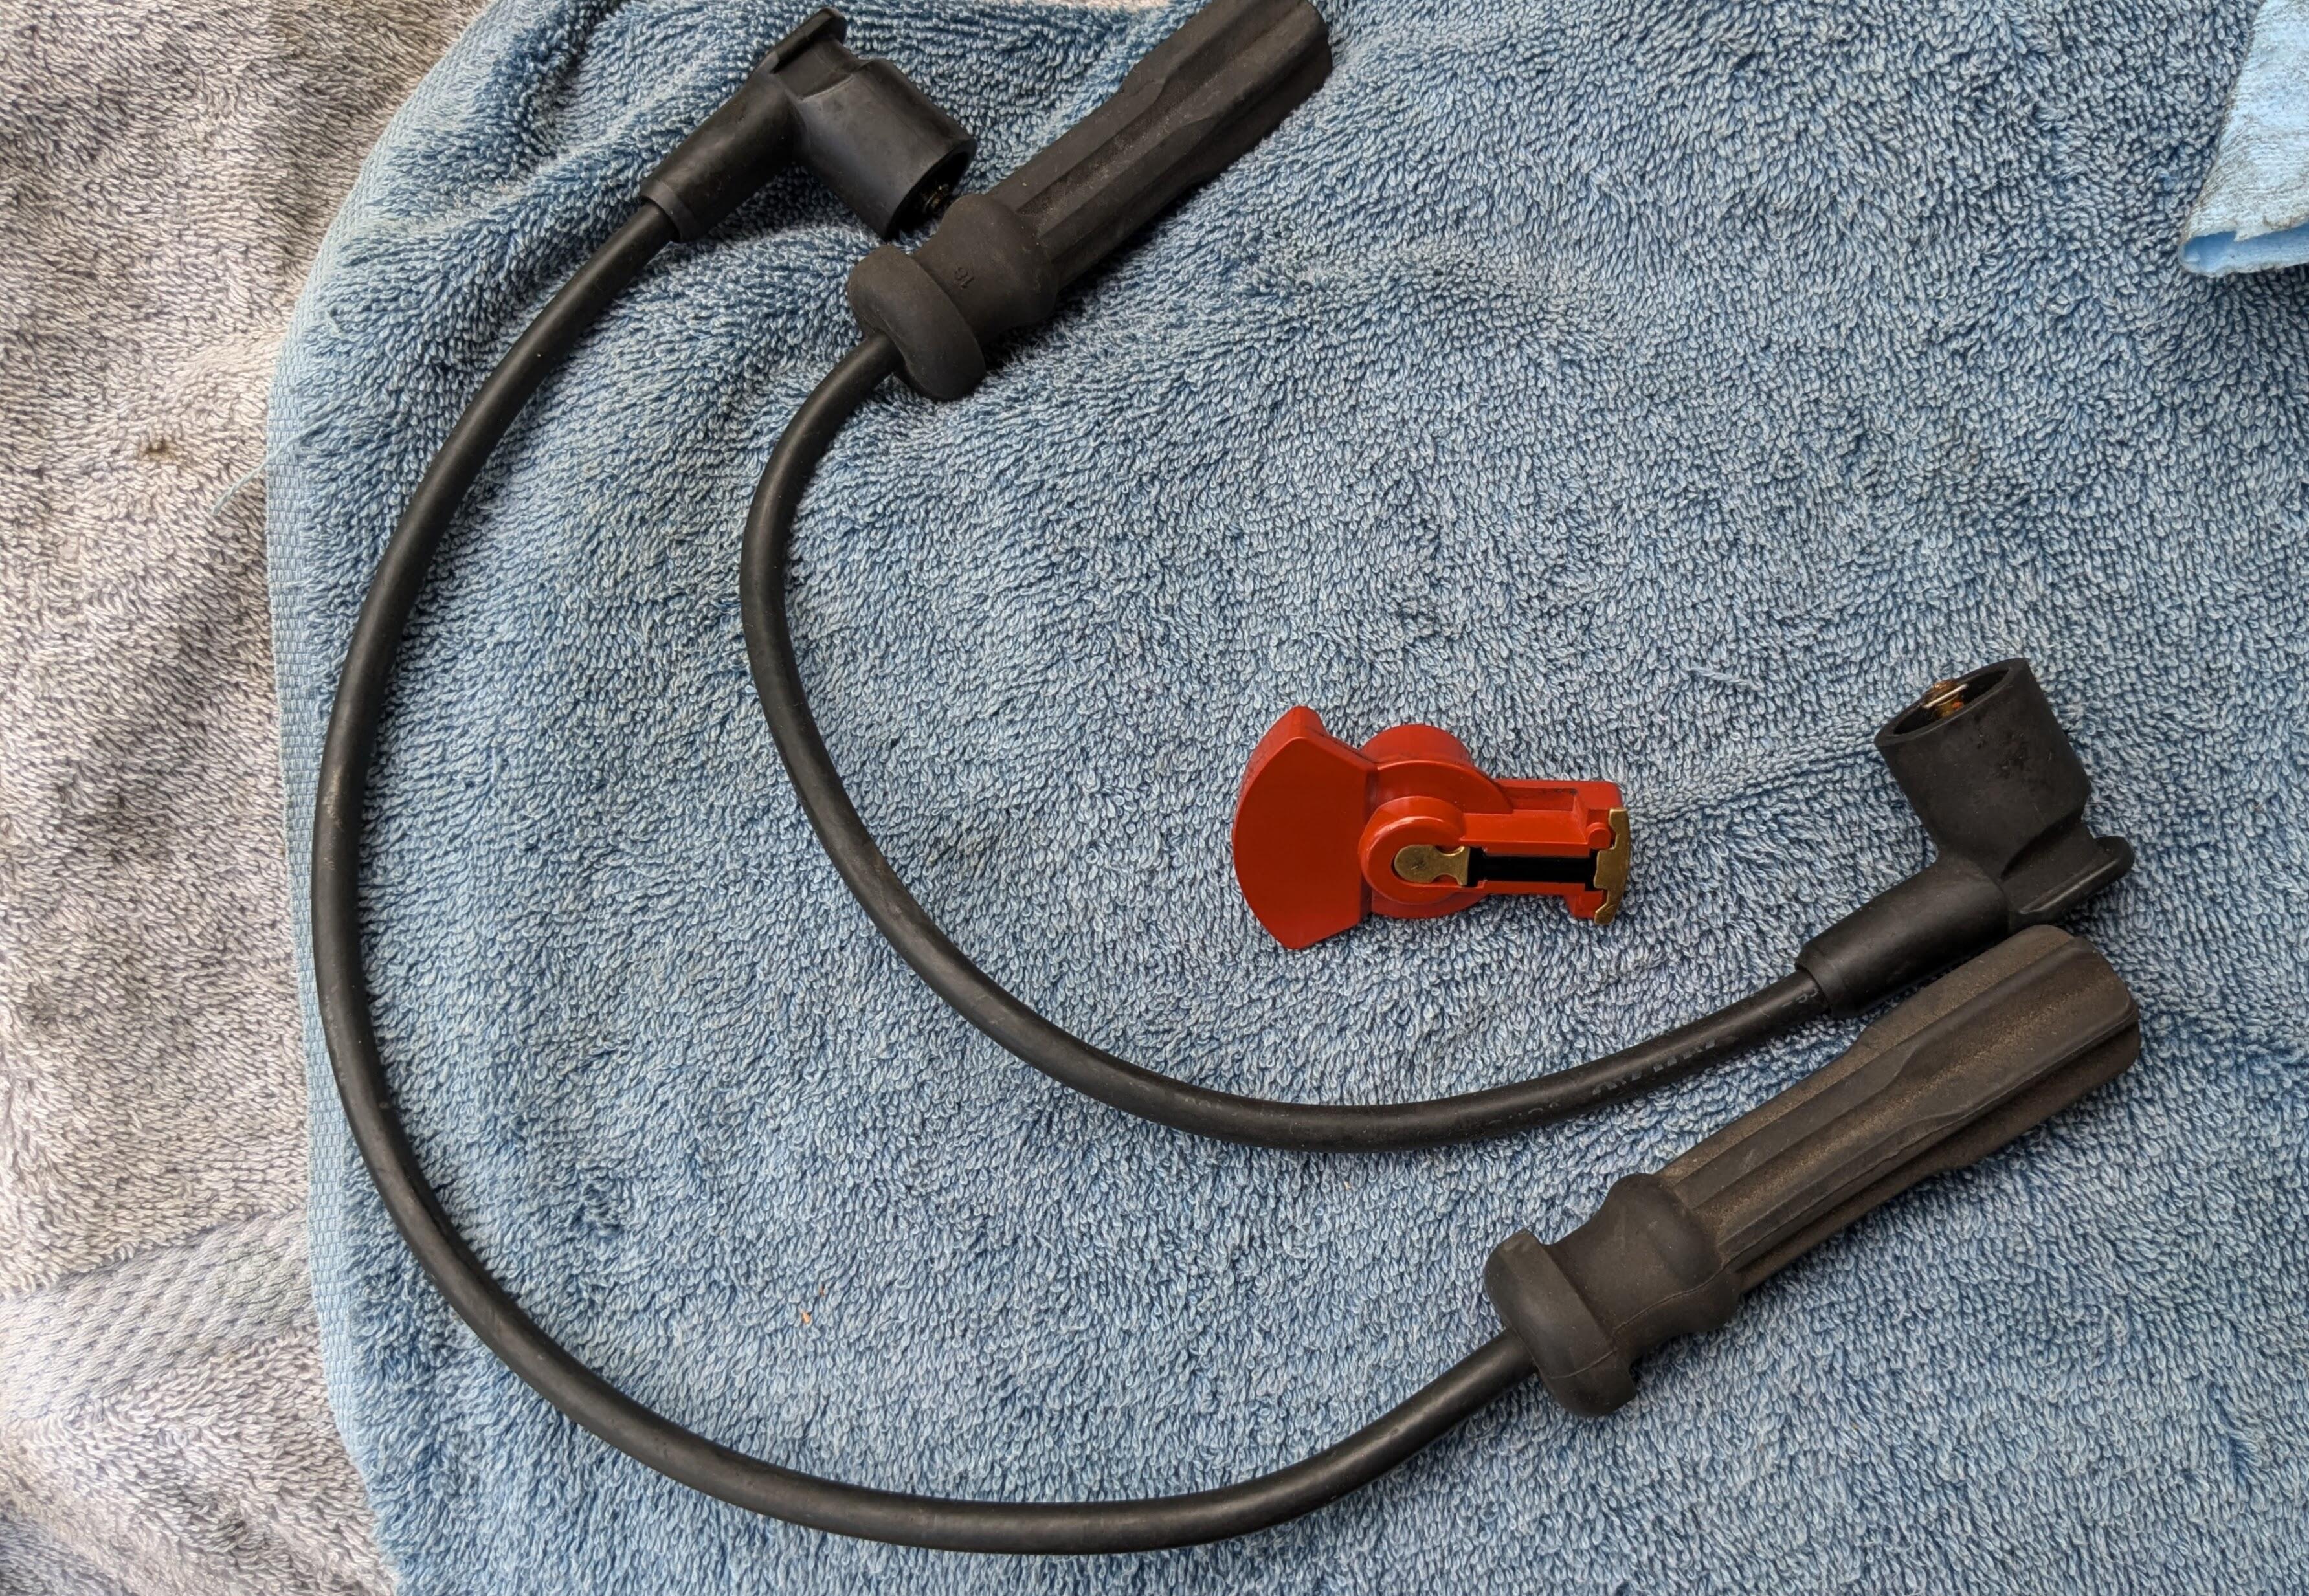
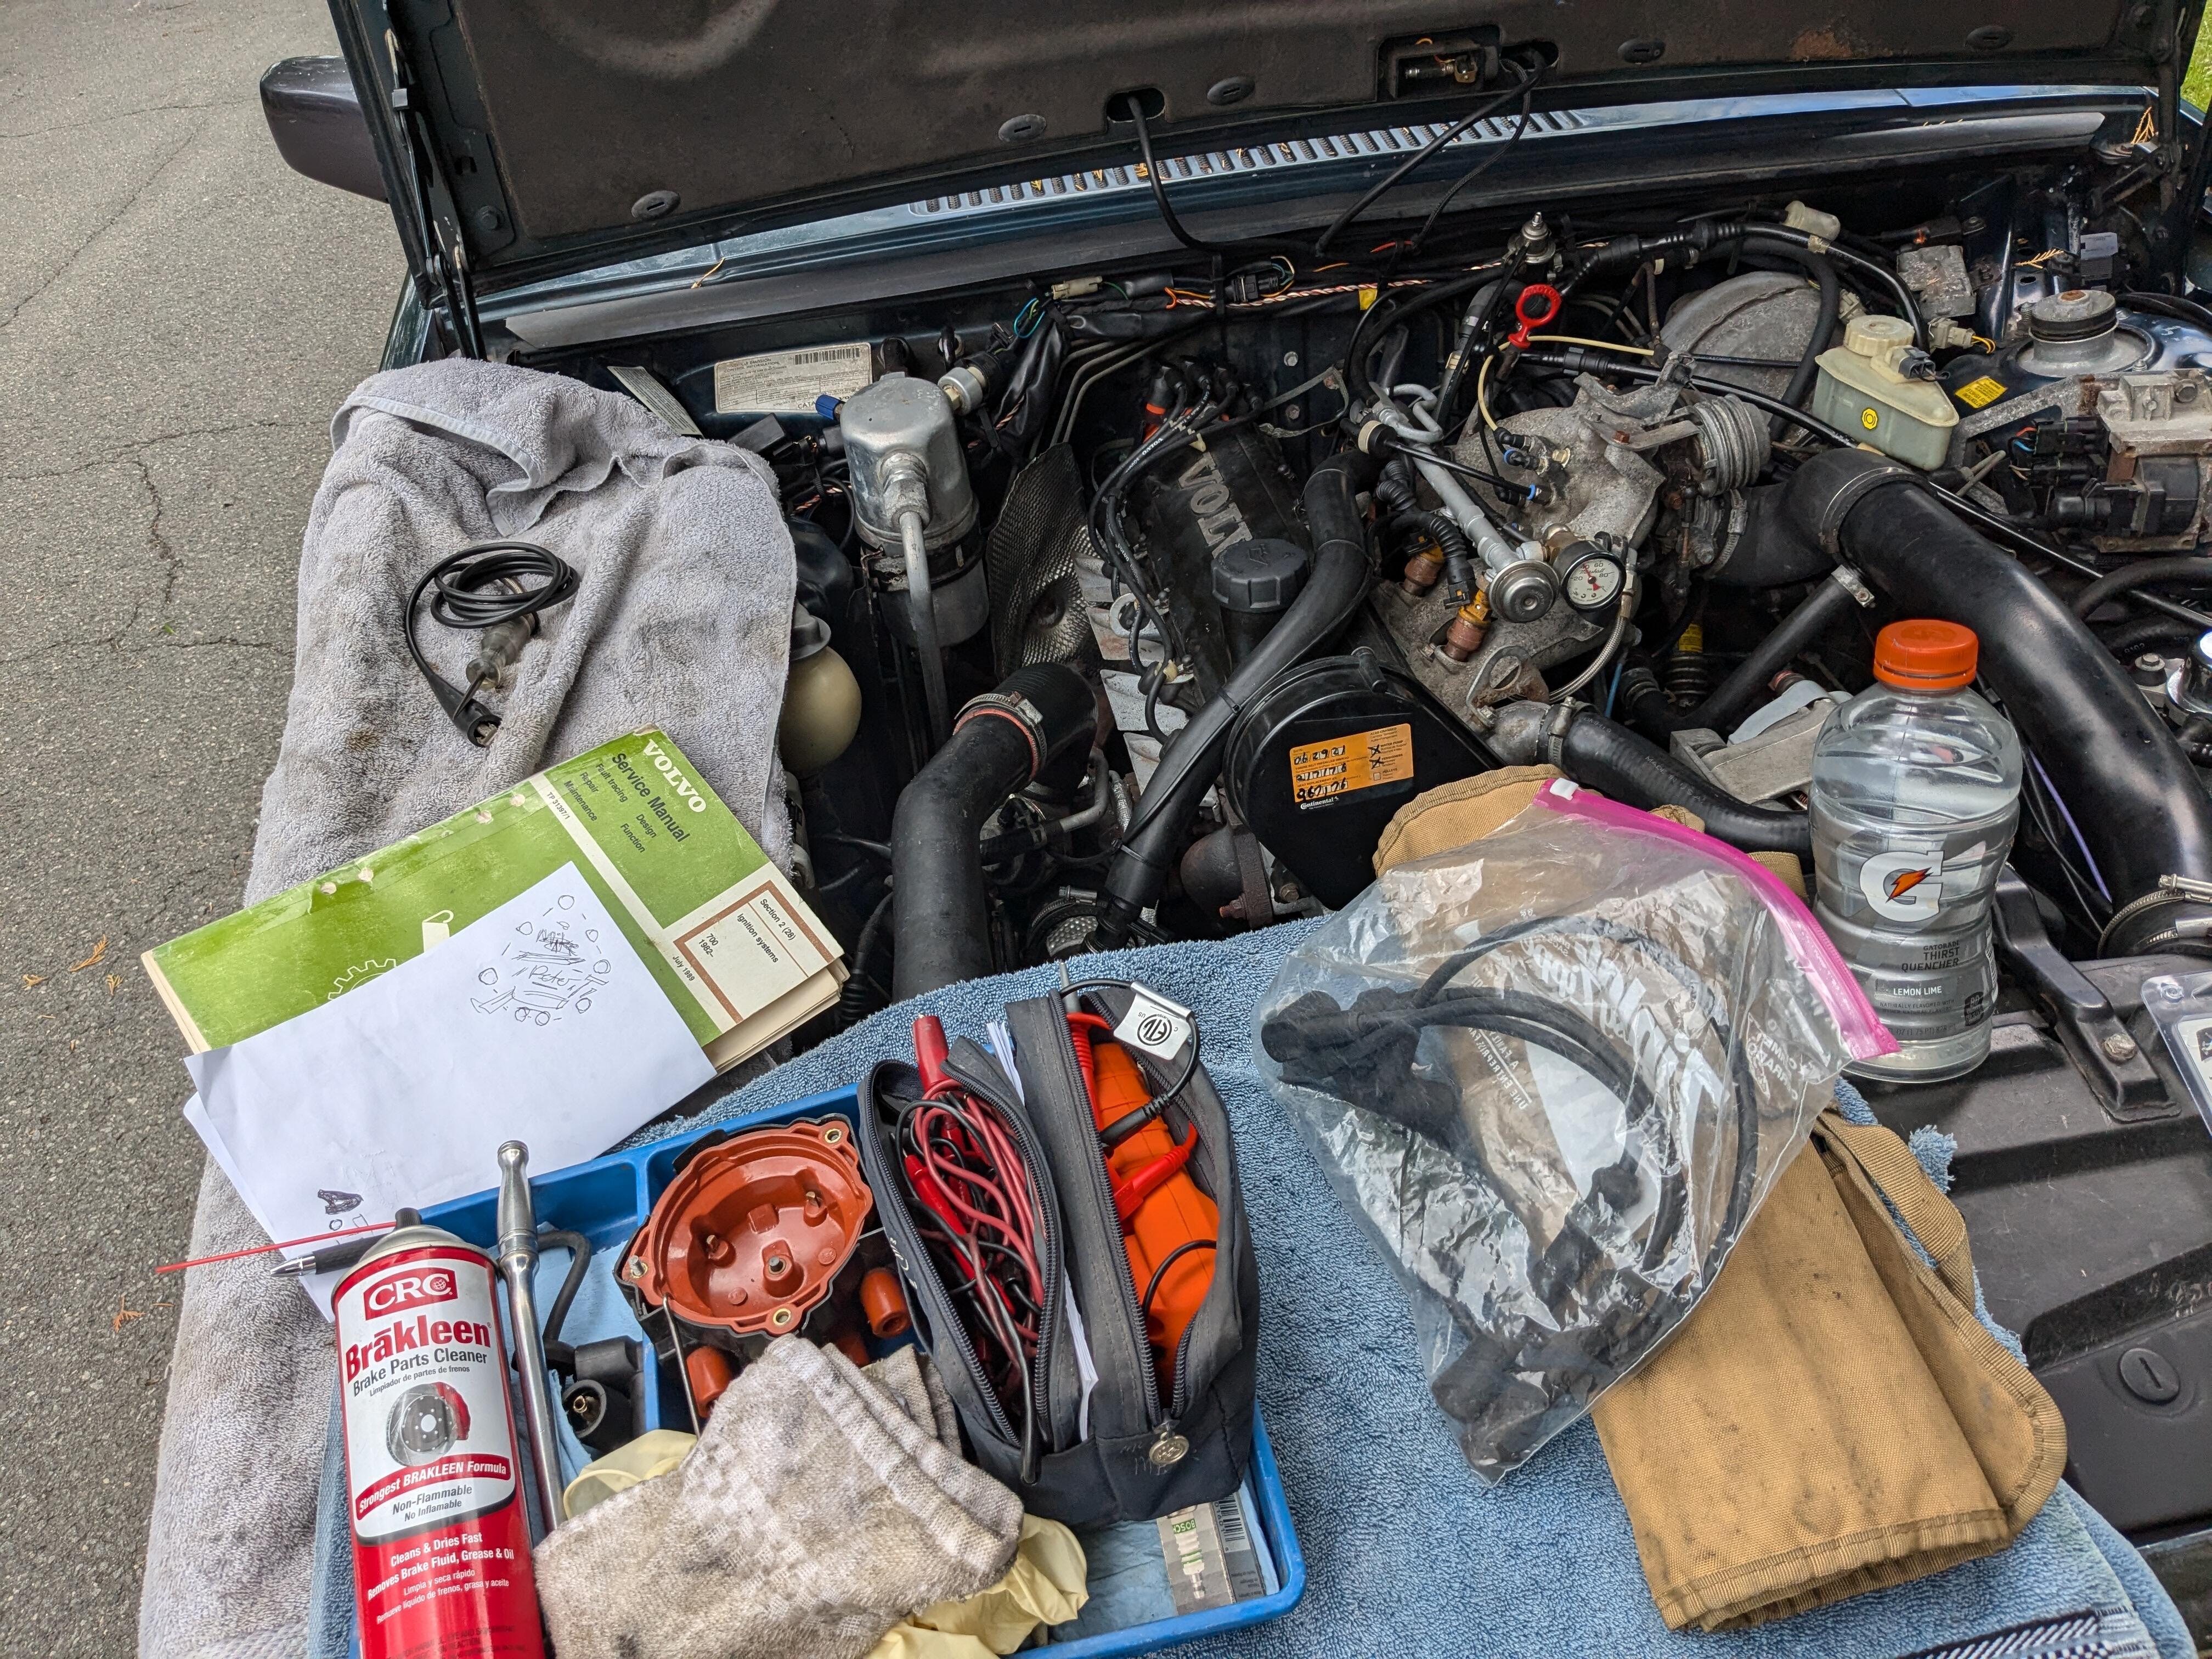
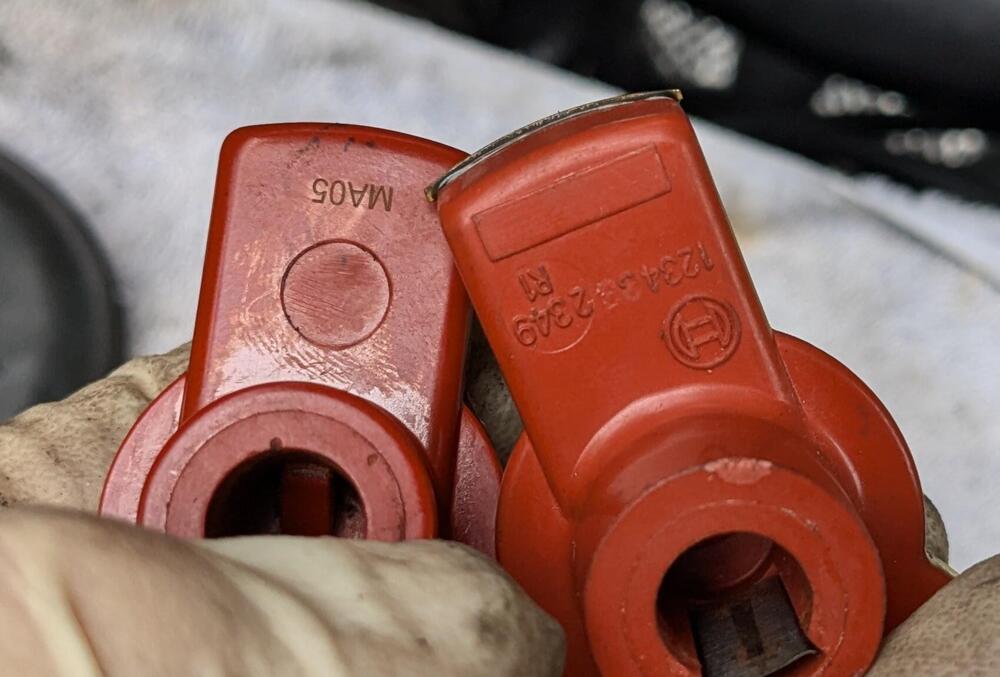
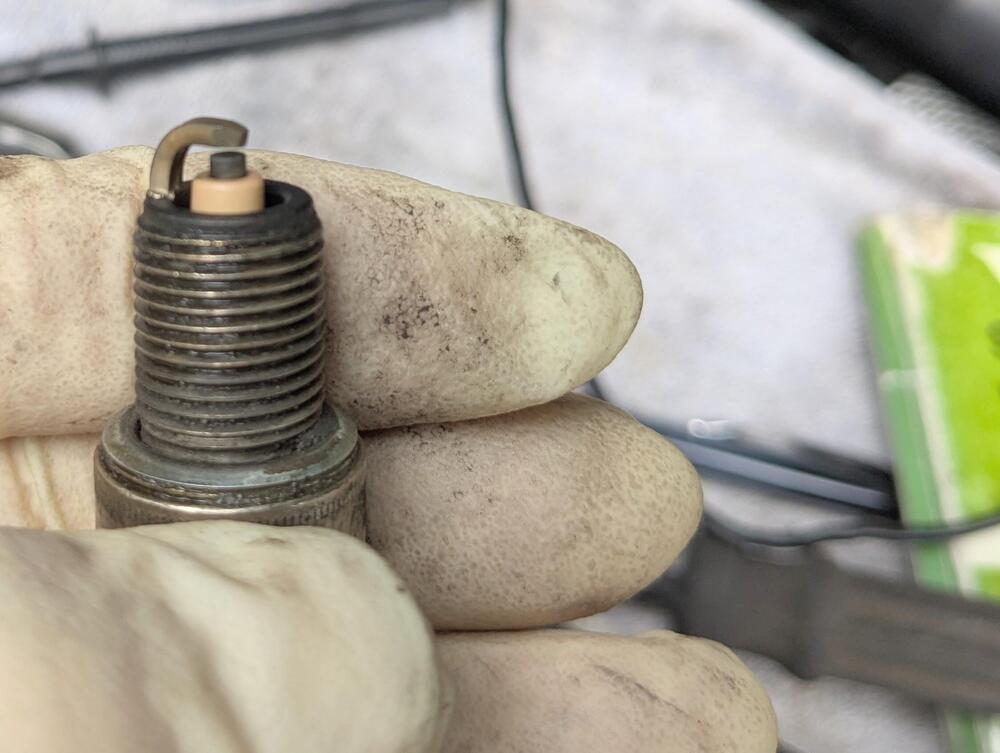
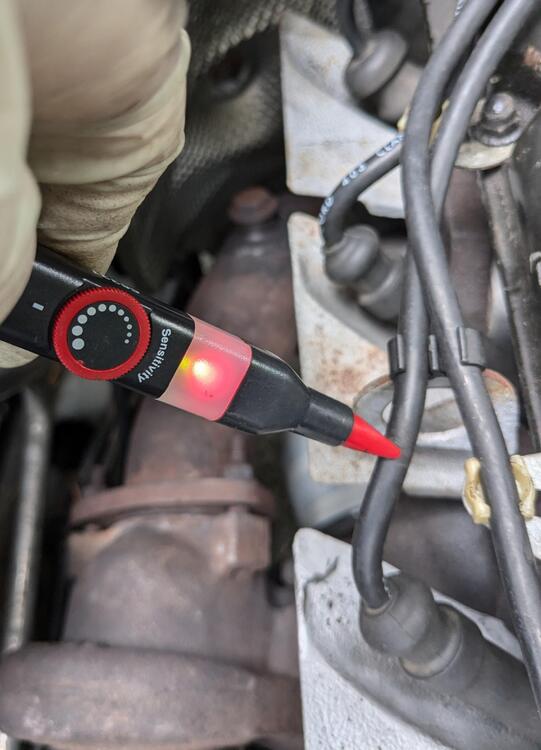
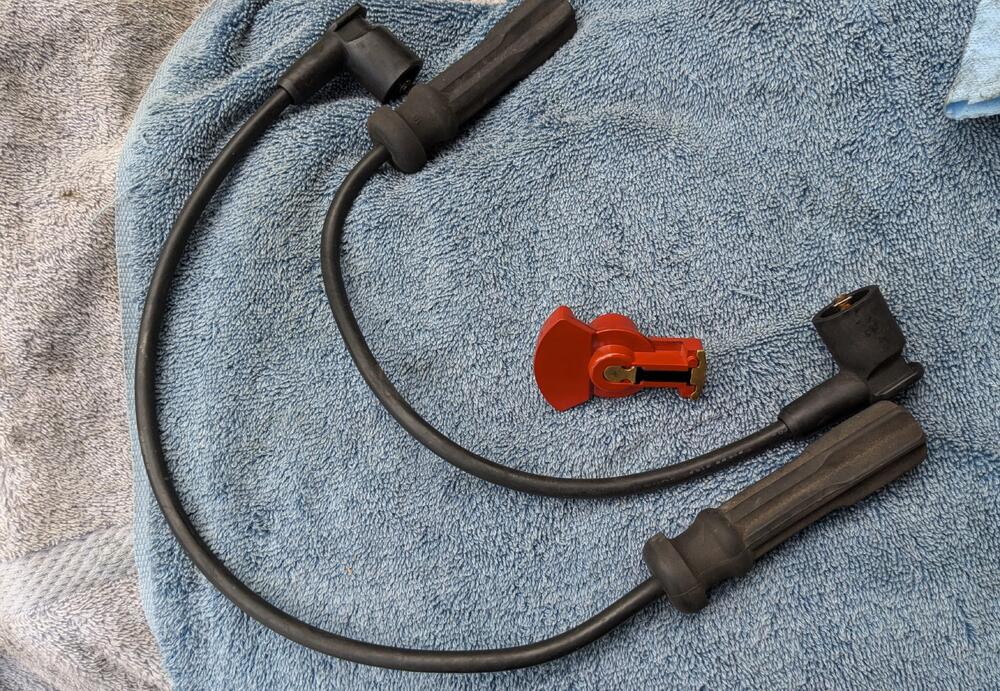
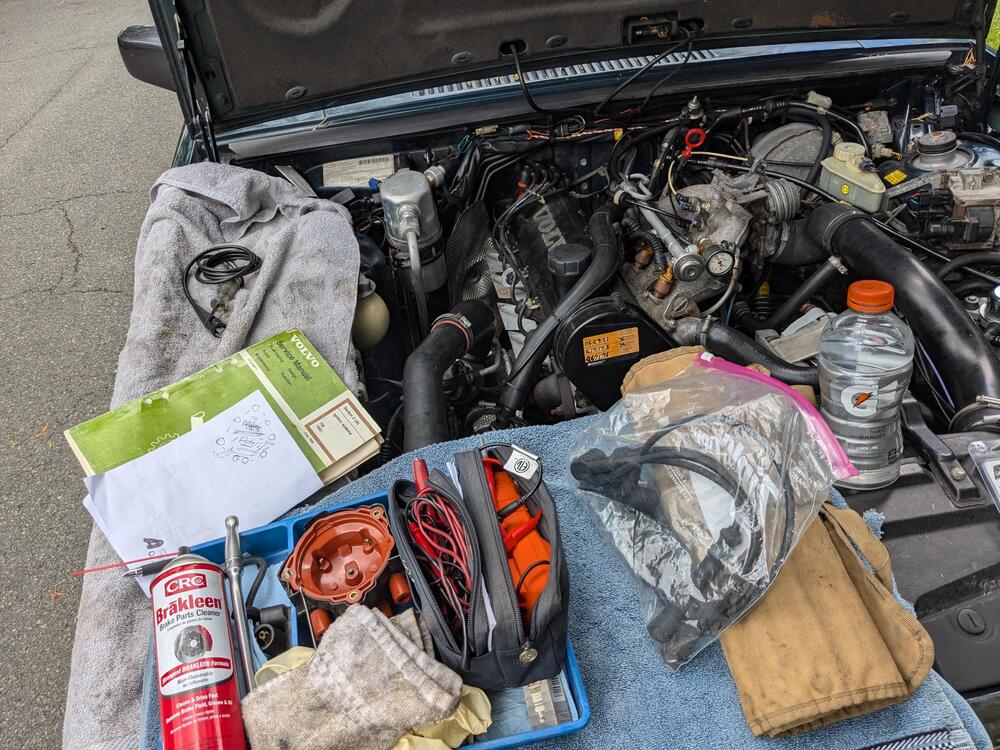
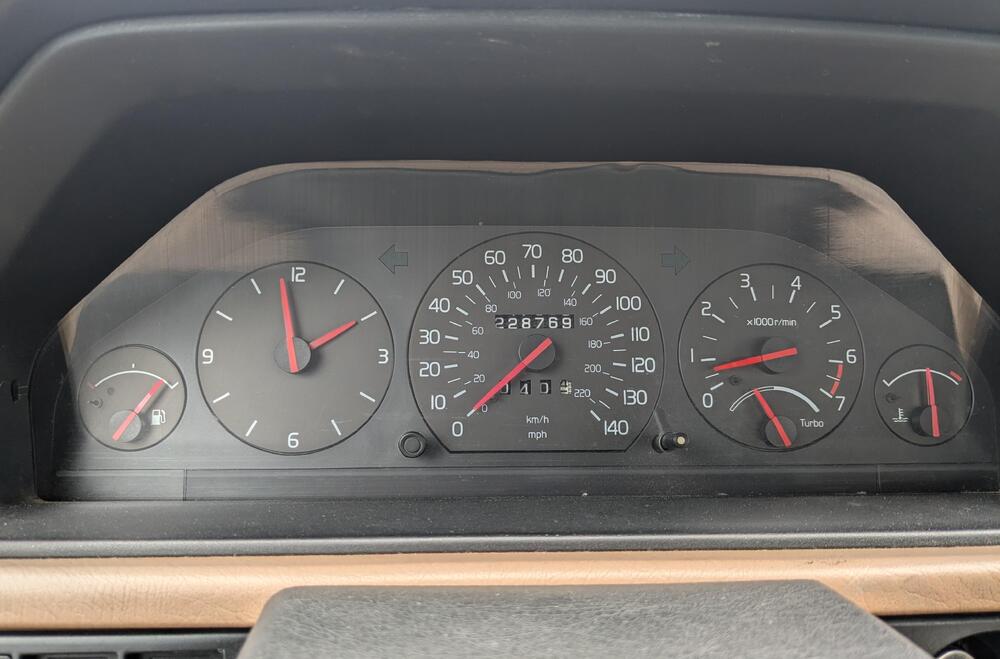
The meet was awesome, I'm glad I went - not so much the actual travel to & from... The pickup issue was pretty straight forward - no spark to the plugs, but spark present to the distributor. I didn't have a spare cap or rotor, or I probably could have fixed it on the road. Ultimately, I replaced the rotor & 2 of the wires that didn't have positive lock on the plug anymore. Actual resistance values of the wires were OK. Plugs were all OK, gaps OK. I had just replaced the cap & rotor a few days prior when I removed the distributor to address the leaking shaft seal. I should have just left the old ones on, they only had maybe 5-6K miles on them. I re-installed the Bosch ones, just cleaned up the contact points Dead (non-Bosch) rotor on left Plugs OK, gap OK (WR7DC) checking spark on each wire after running again , stable idle


-
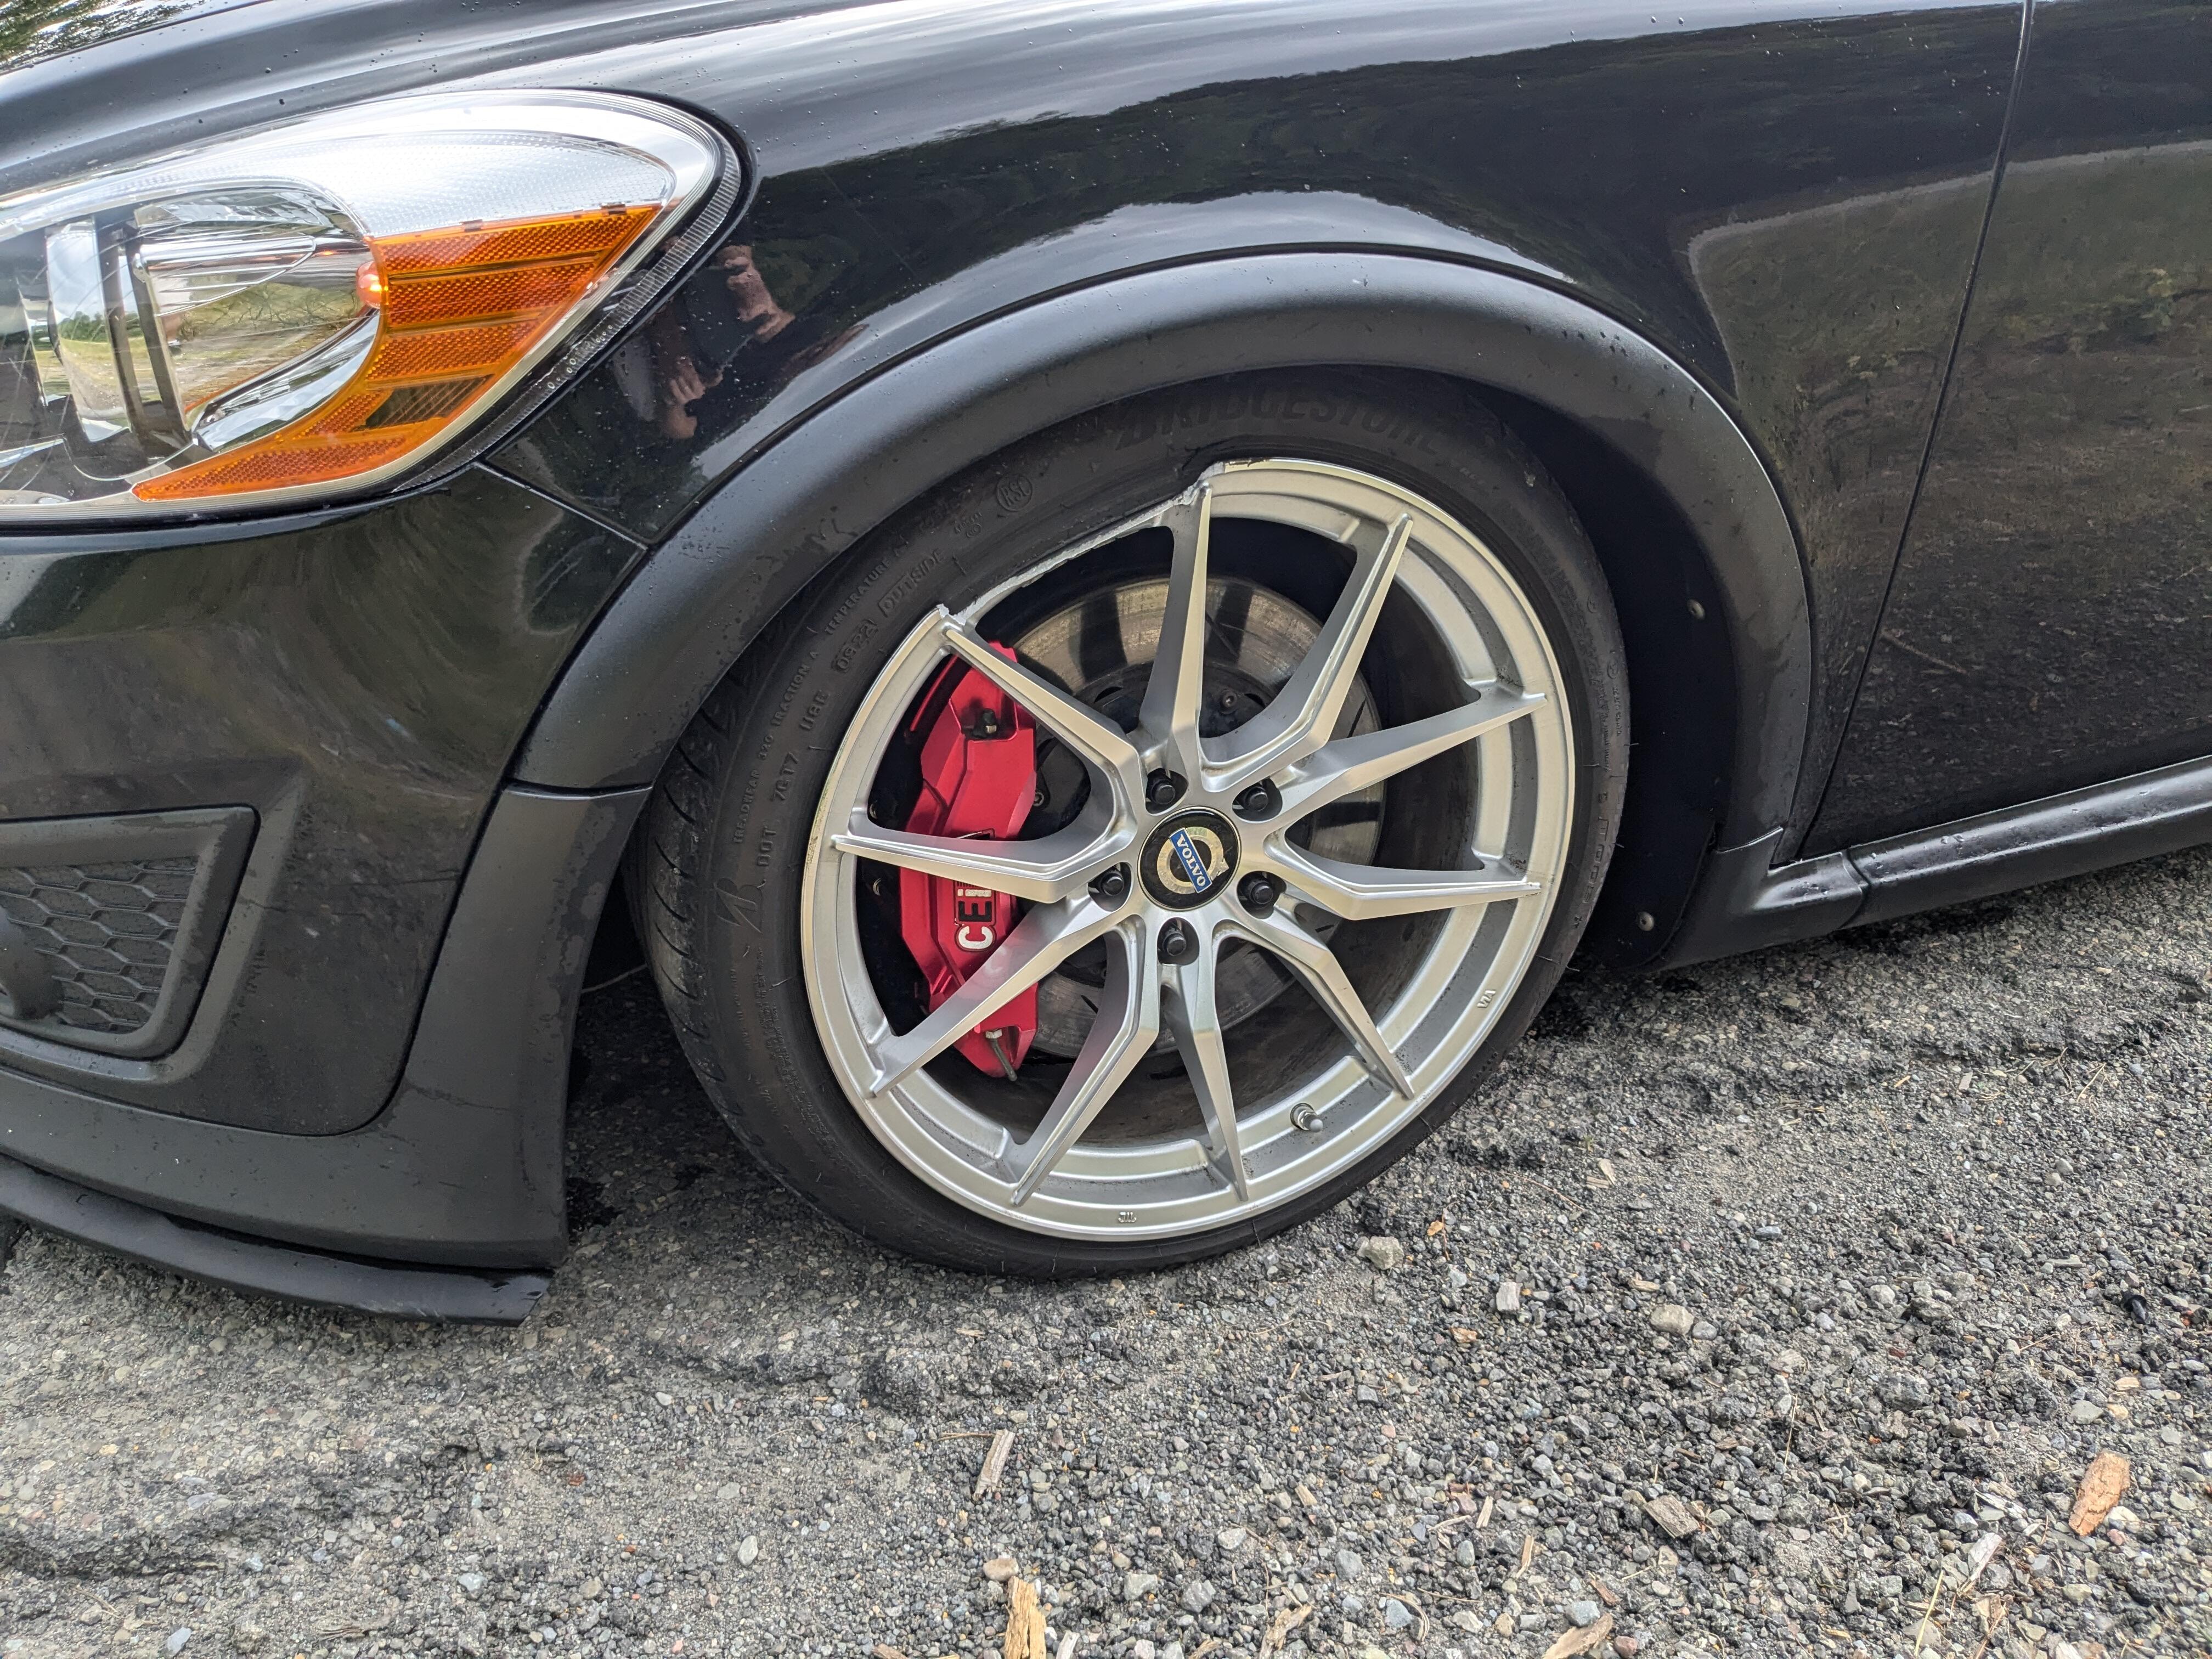
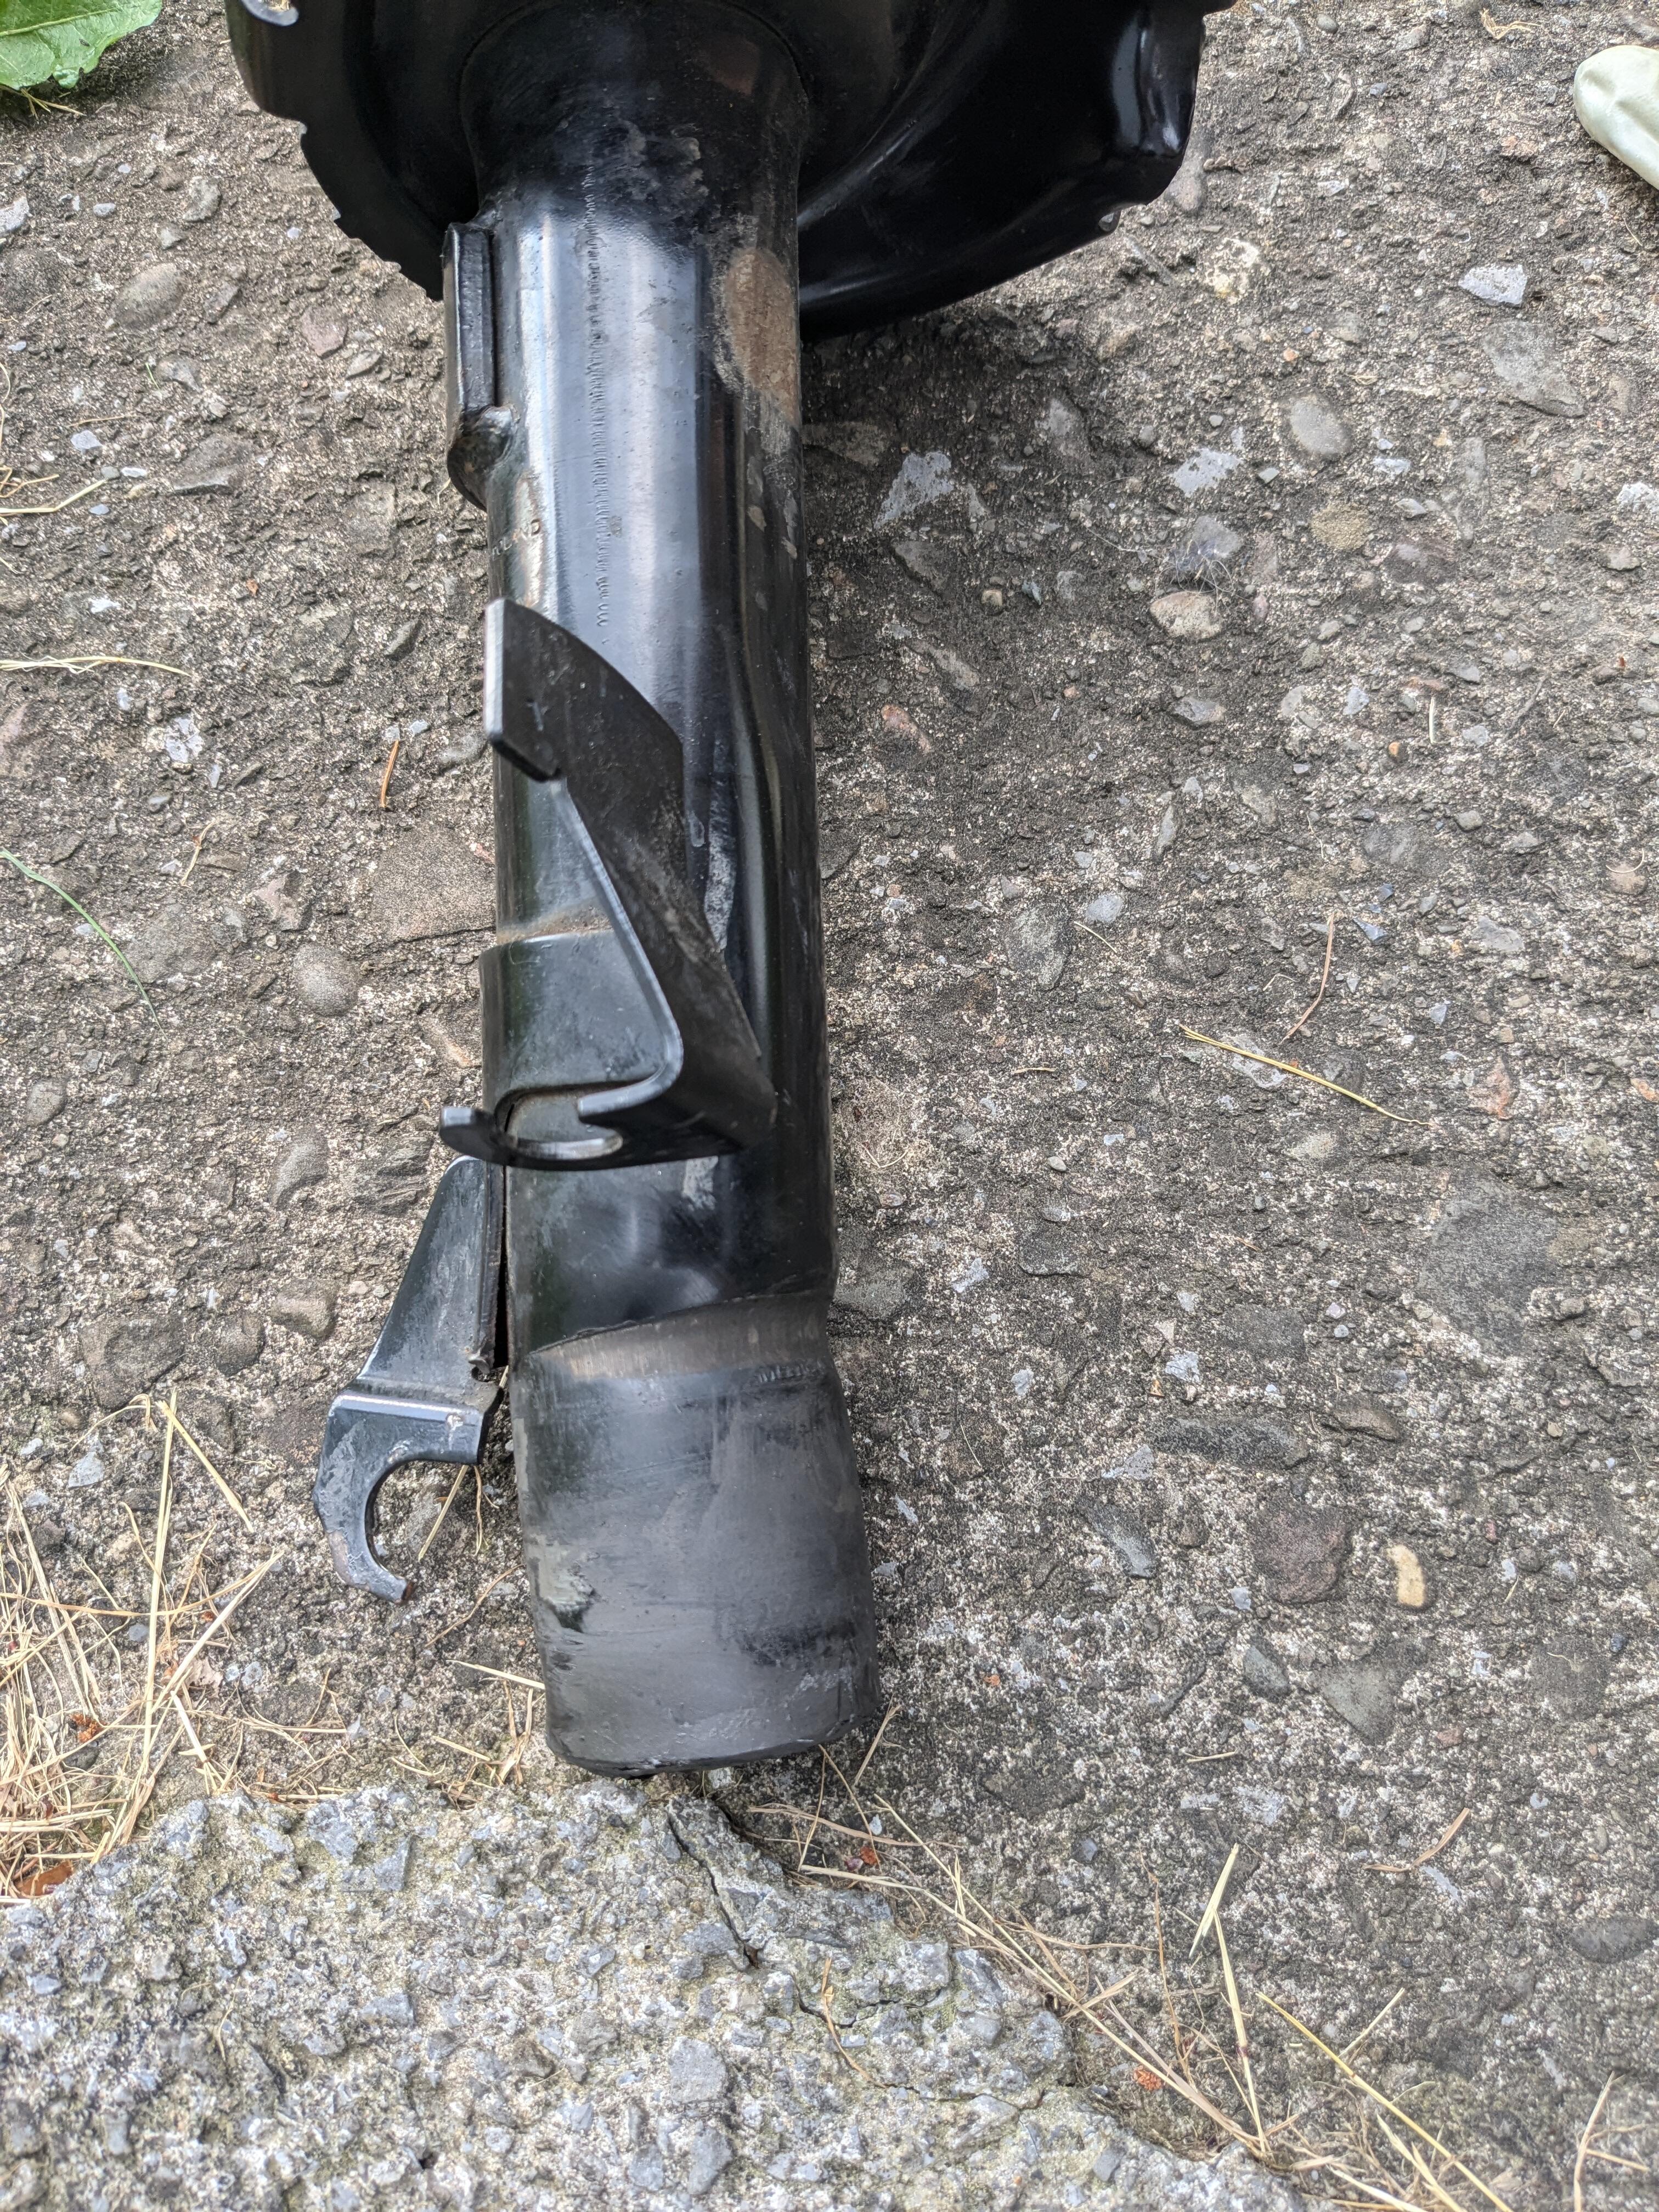
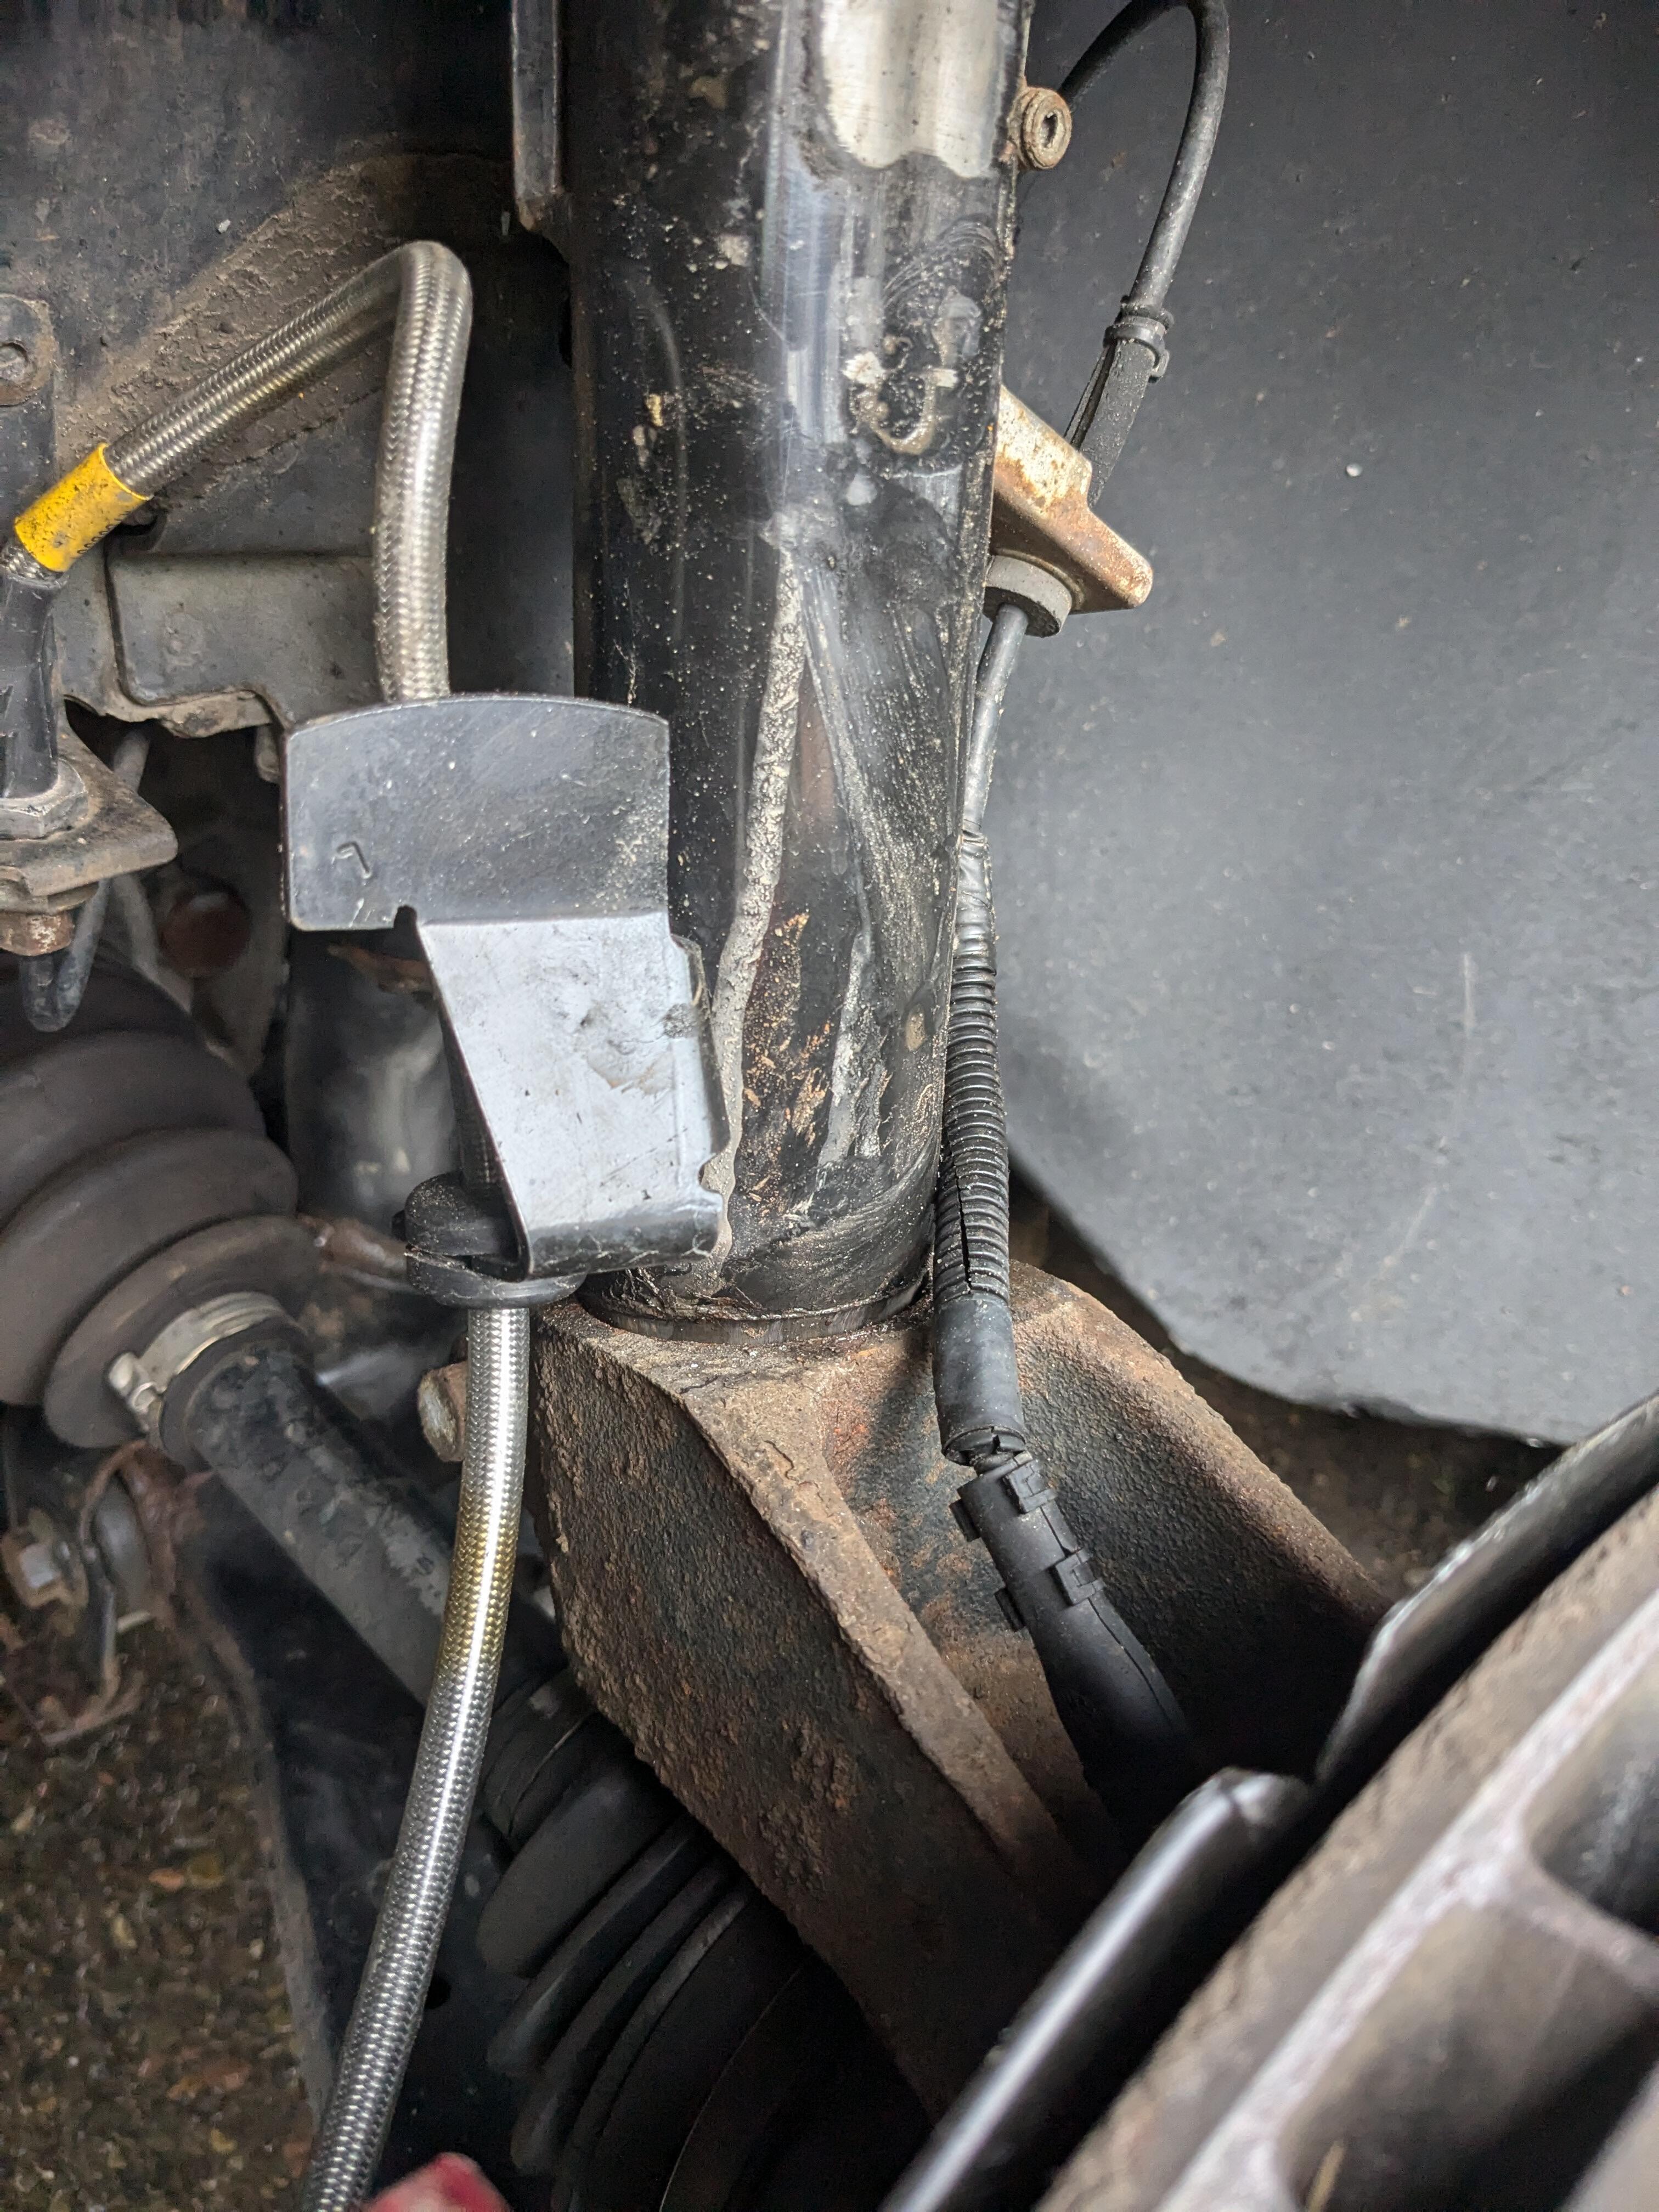
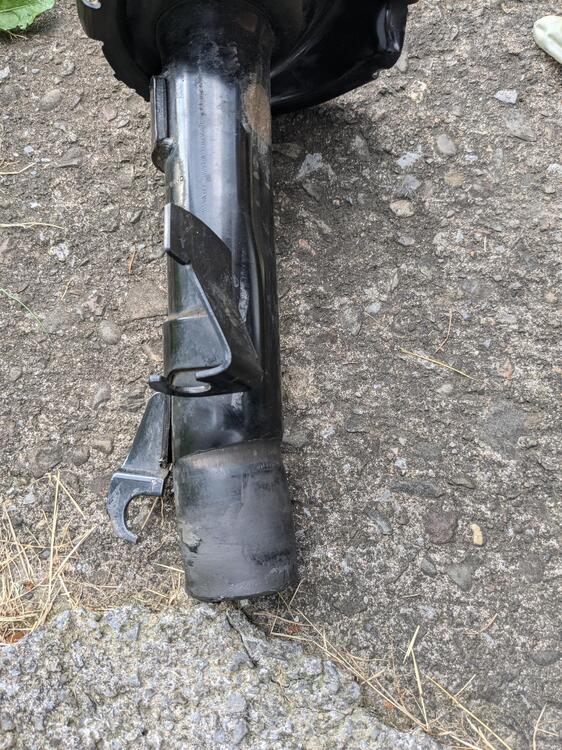
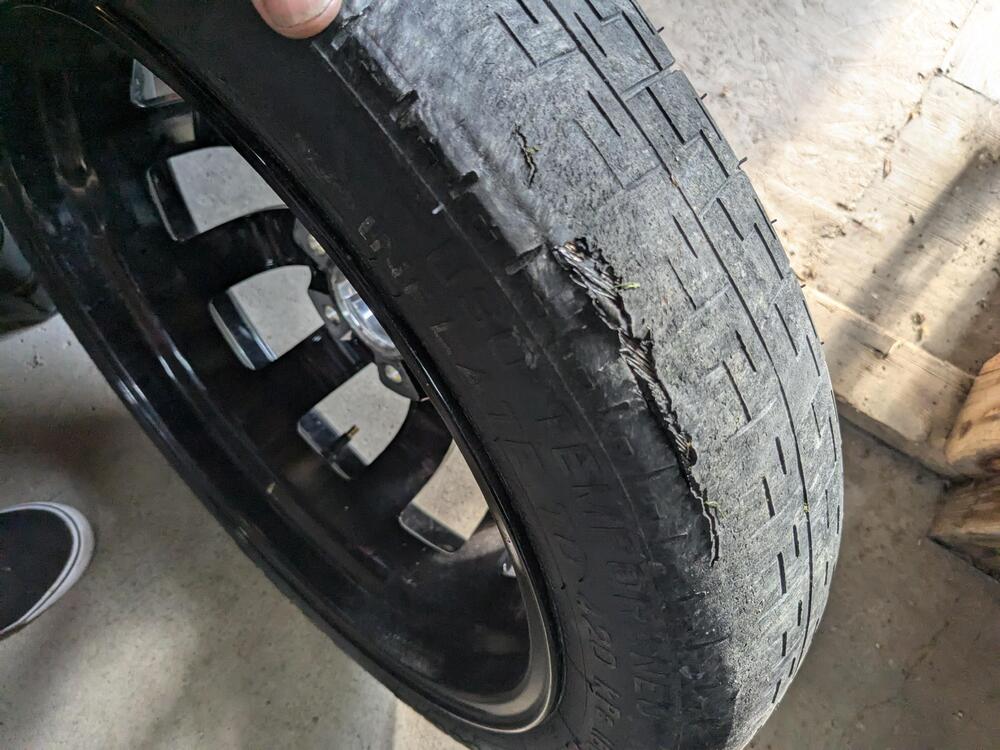
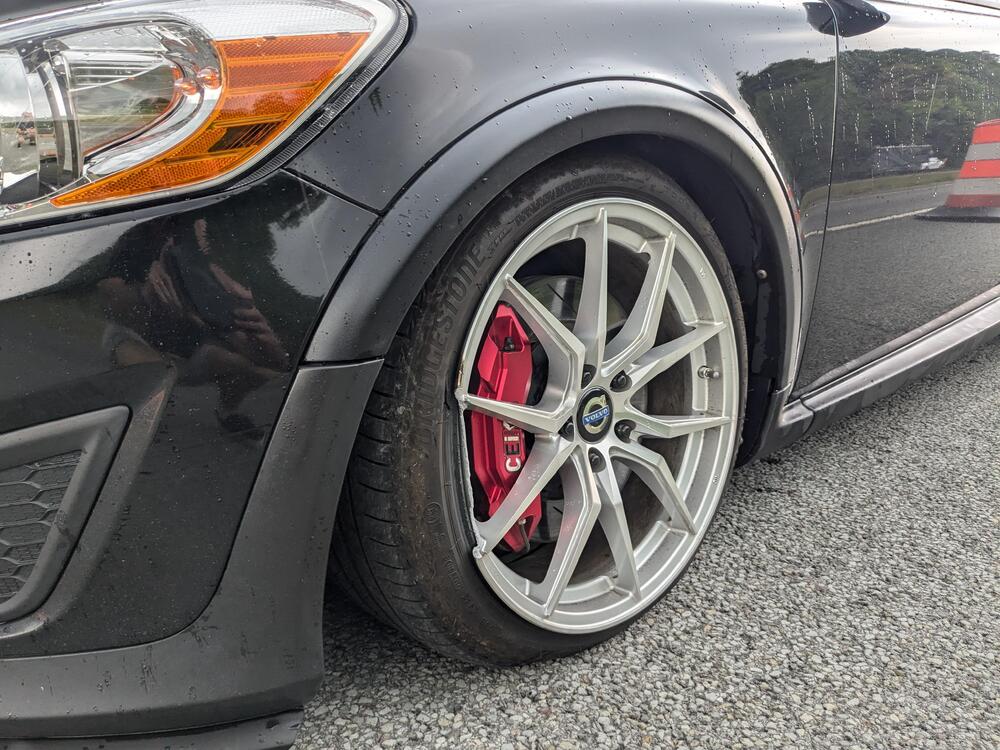
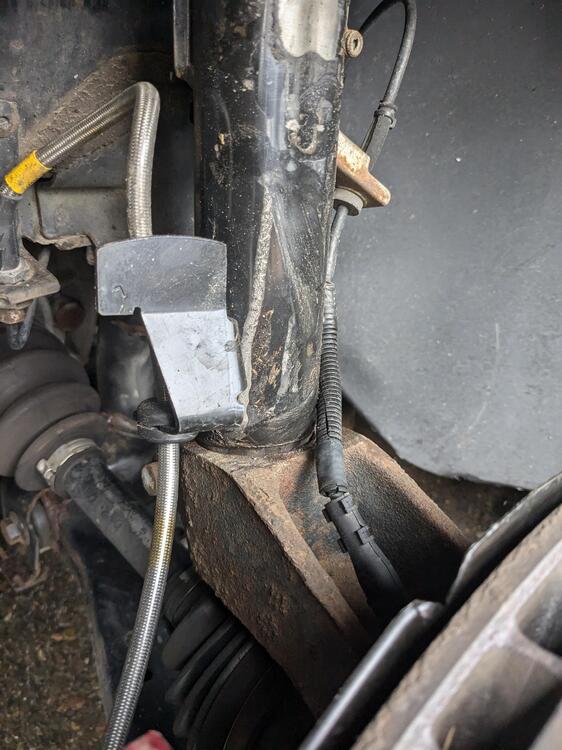
Space saver after 100 miles with extreme camber Bent tube removed Have to keep it 45 or lower to avoid drivability / handling concerns. Made it back to Deposit, NY where the accident happened. took me over 2 hours to go the 90 miles. The remaining 140miles will take about 3 hours, on a replacement same spec space saver (mid 00's Volvo S60Rs came with big brakes - so they provided a space saver with a deep offset, works for my setup.
-
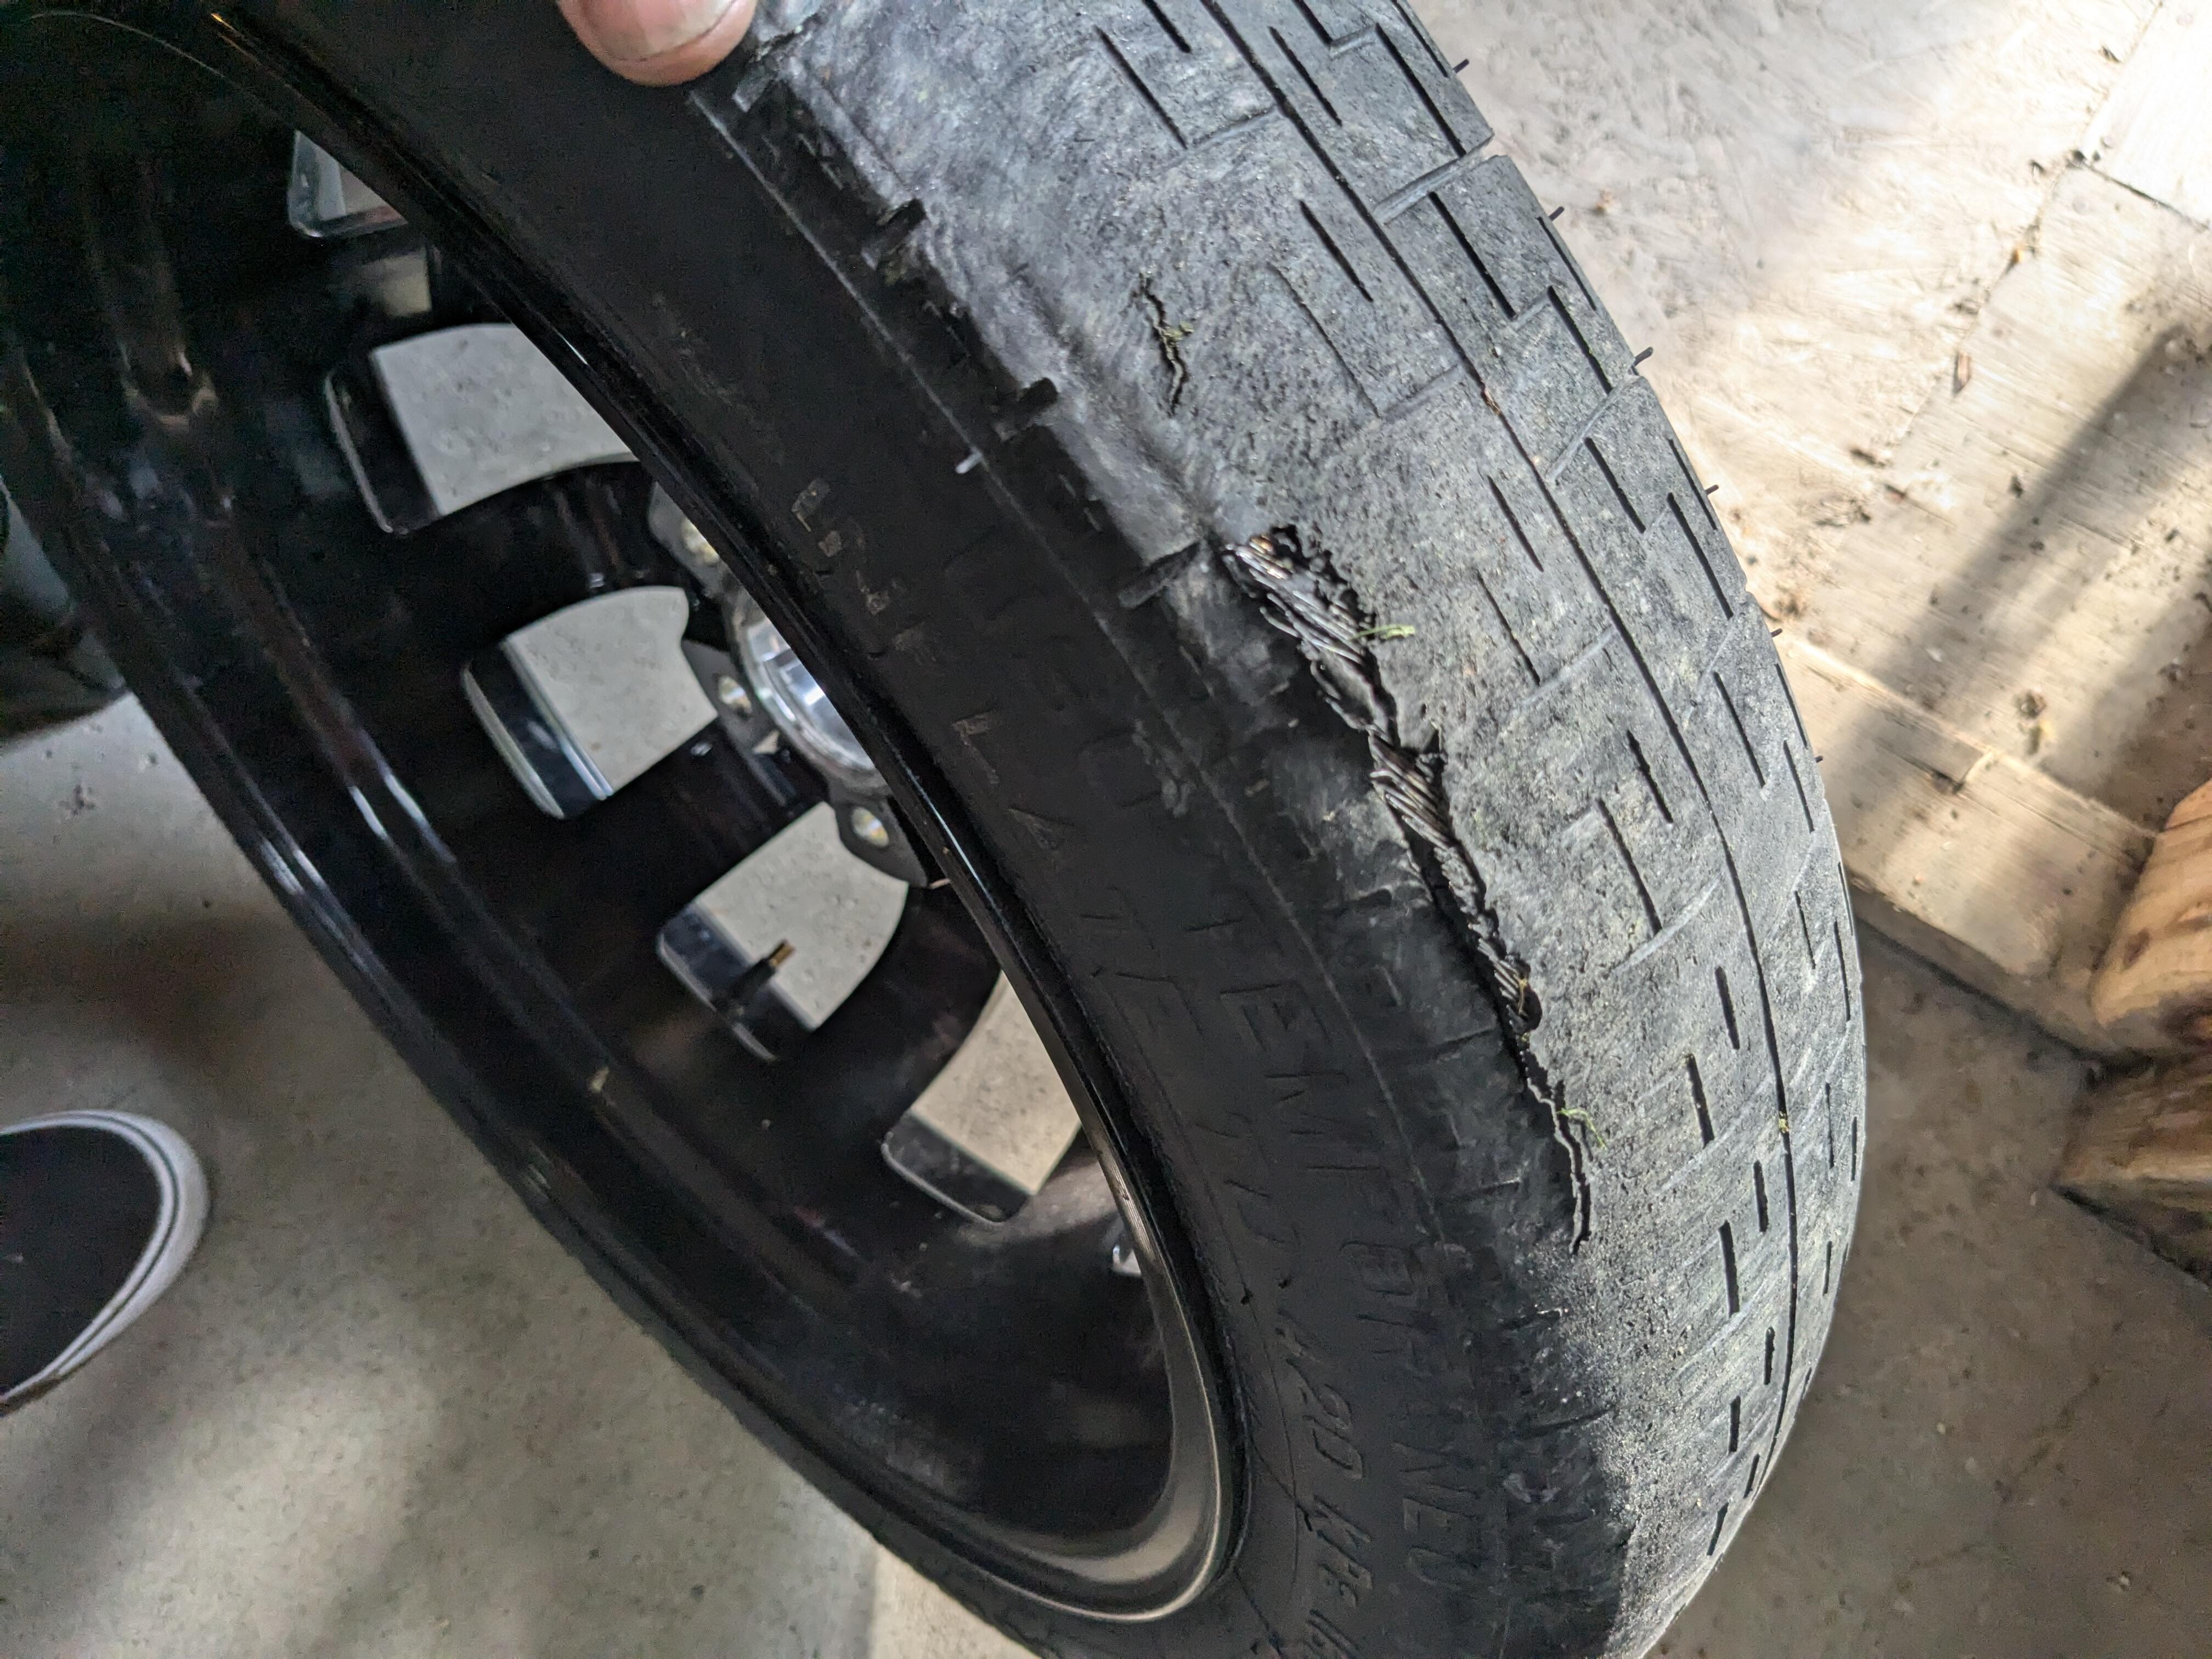
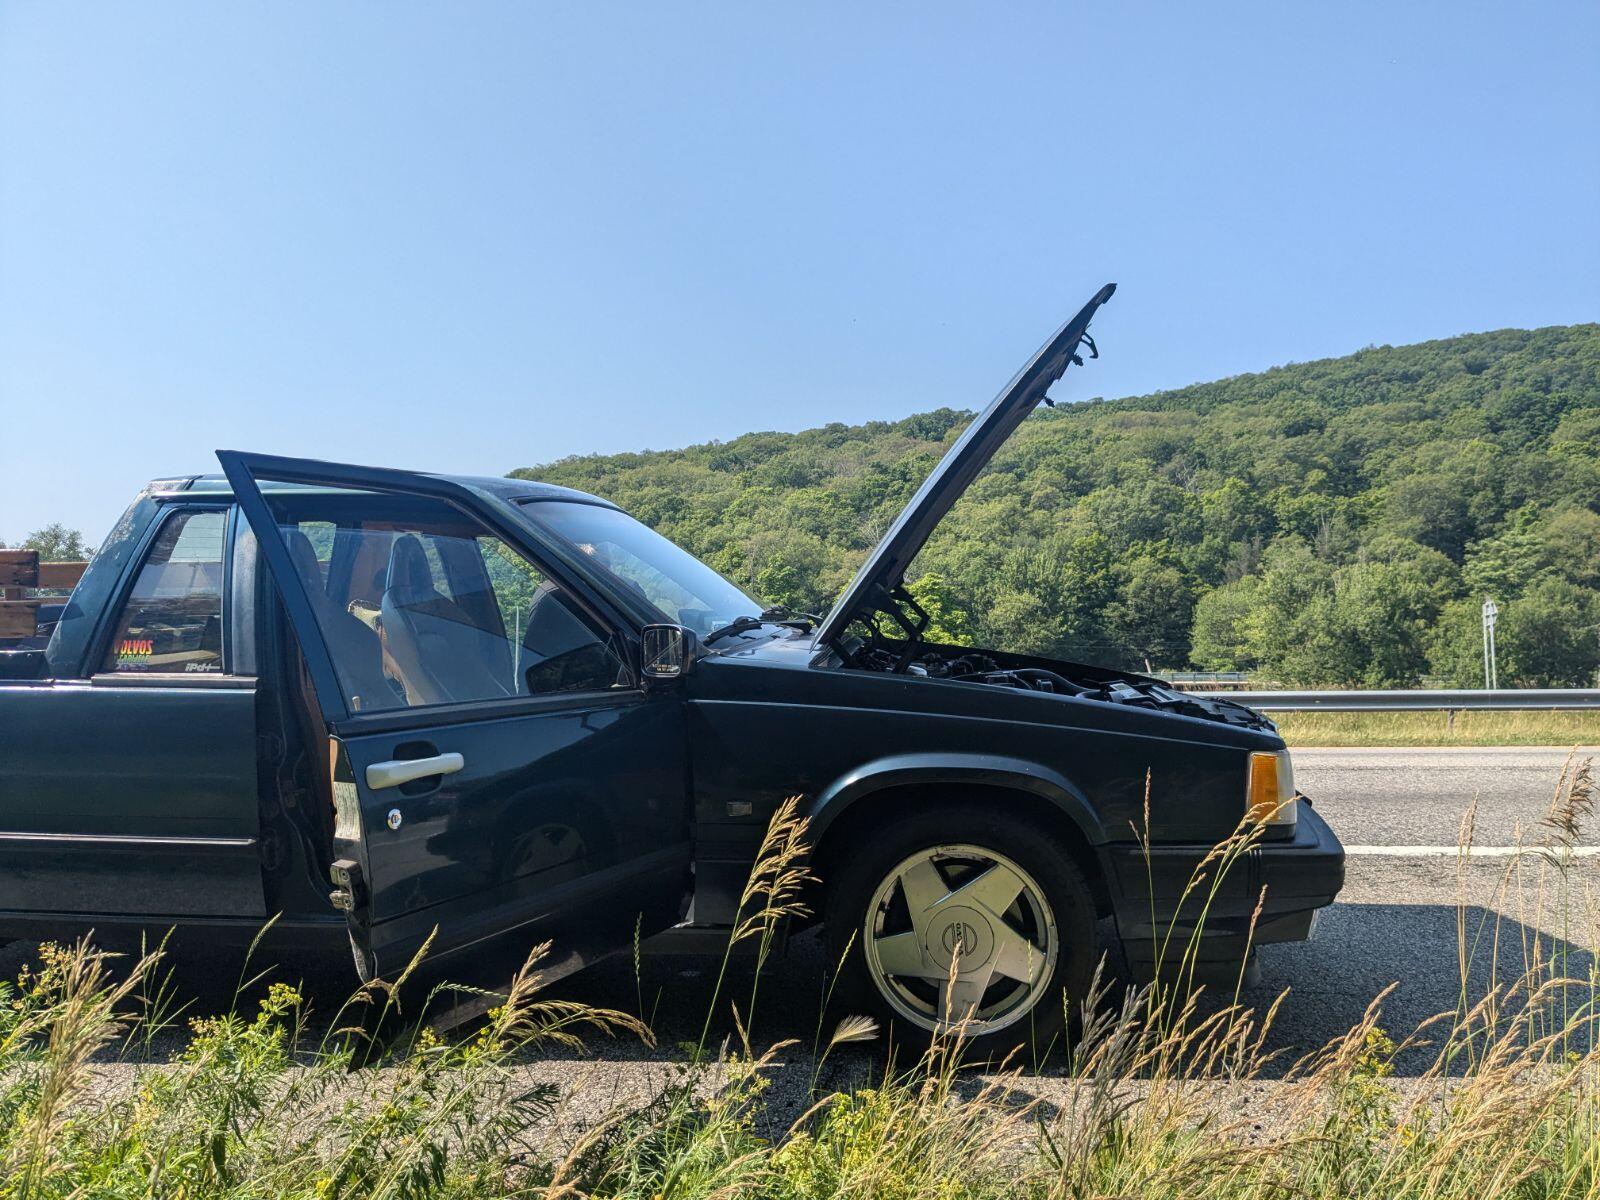
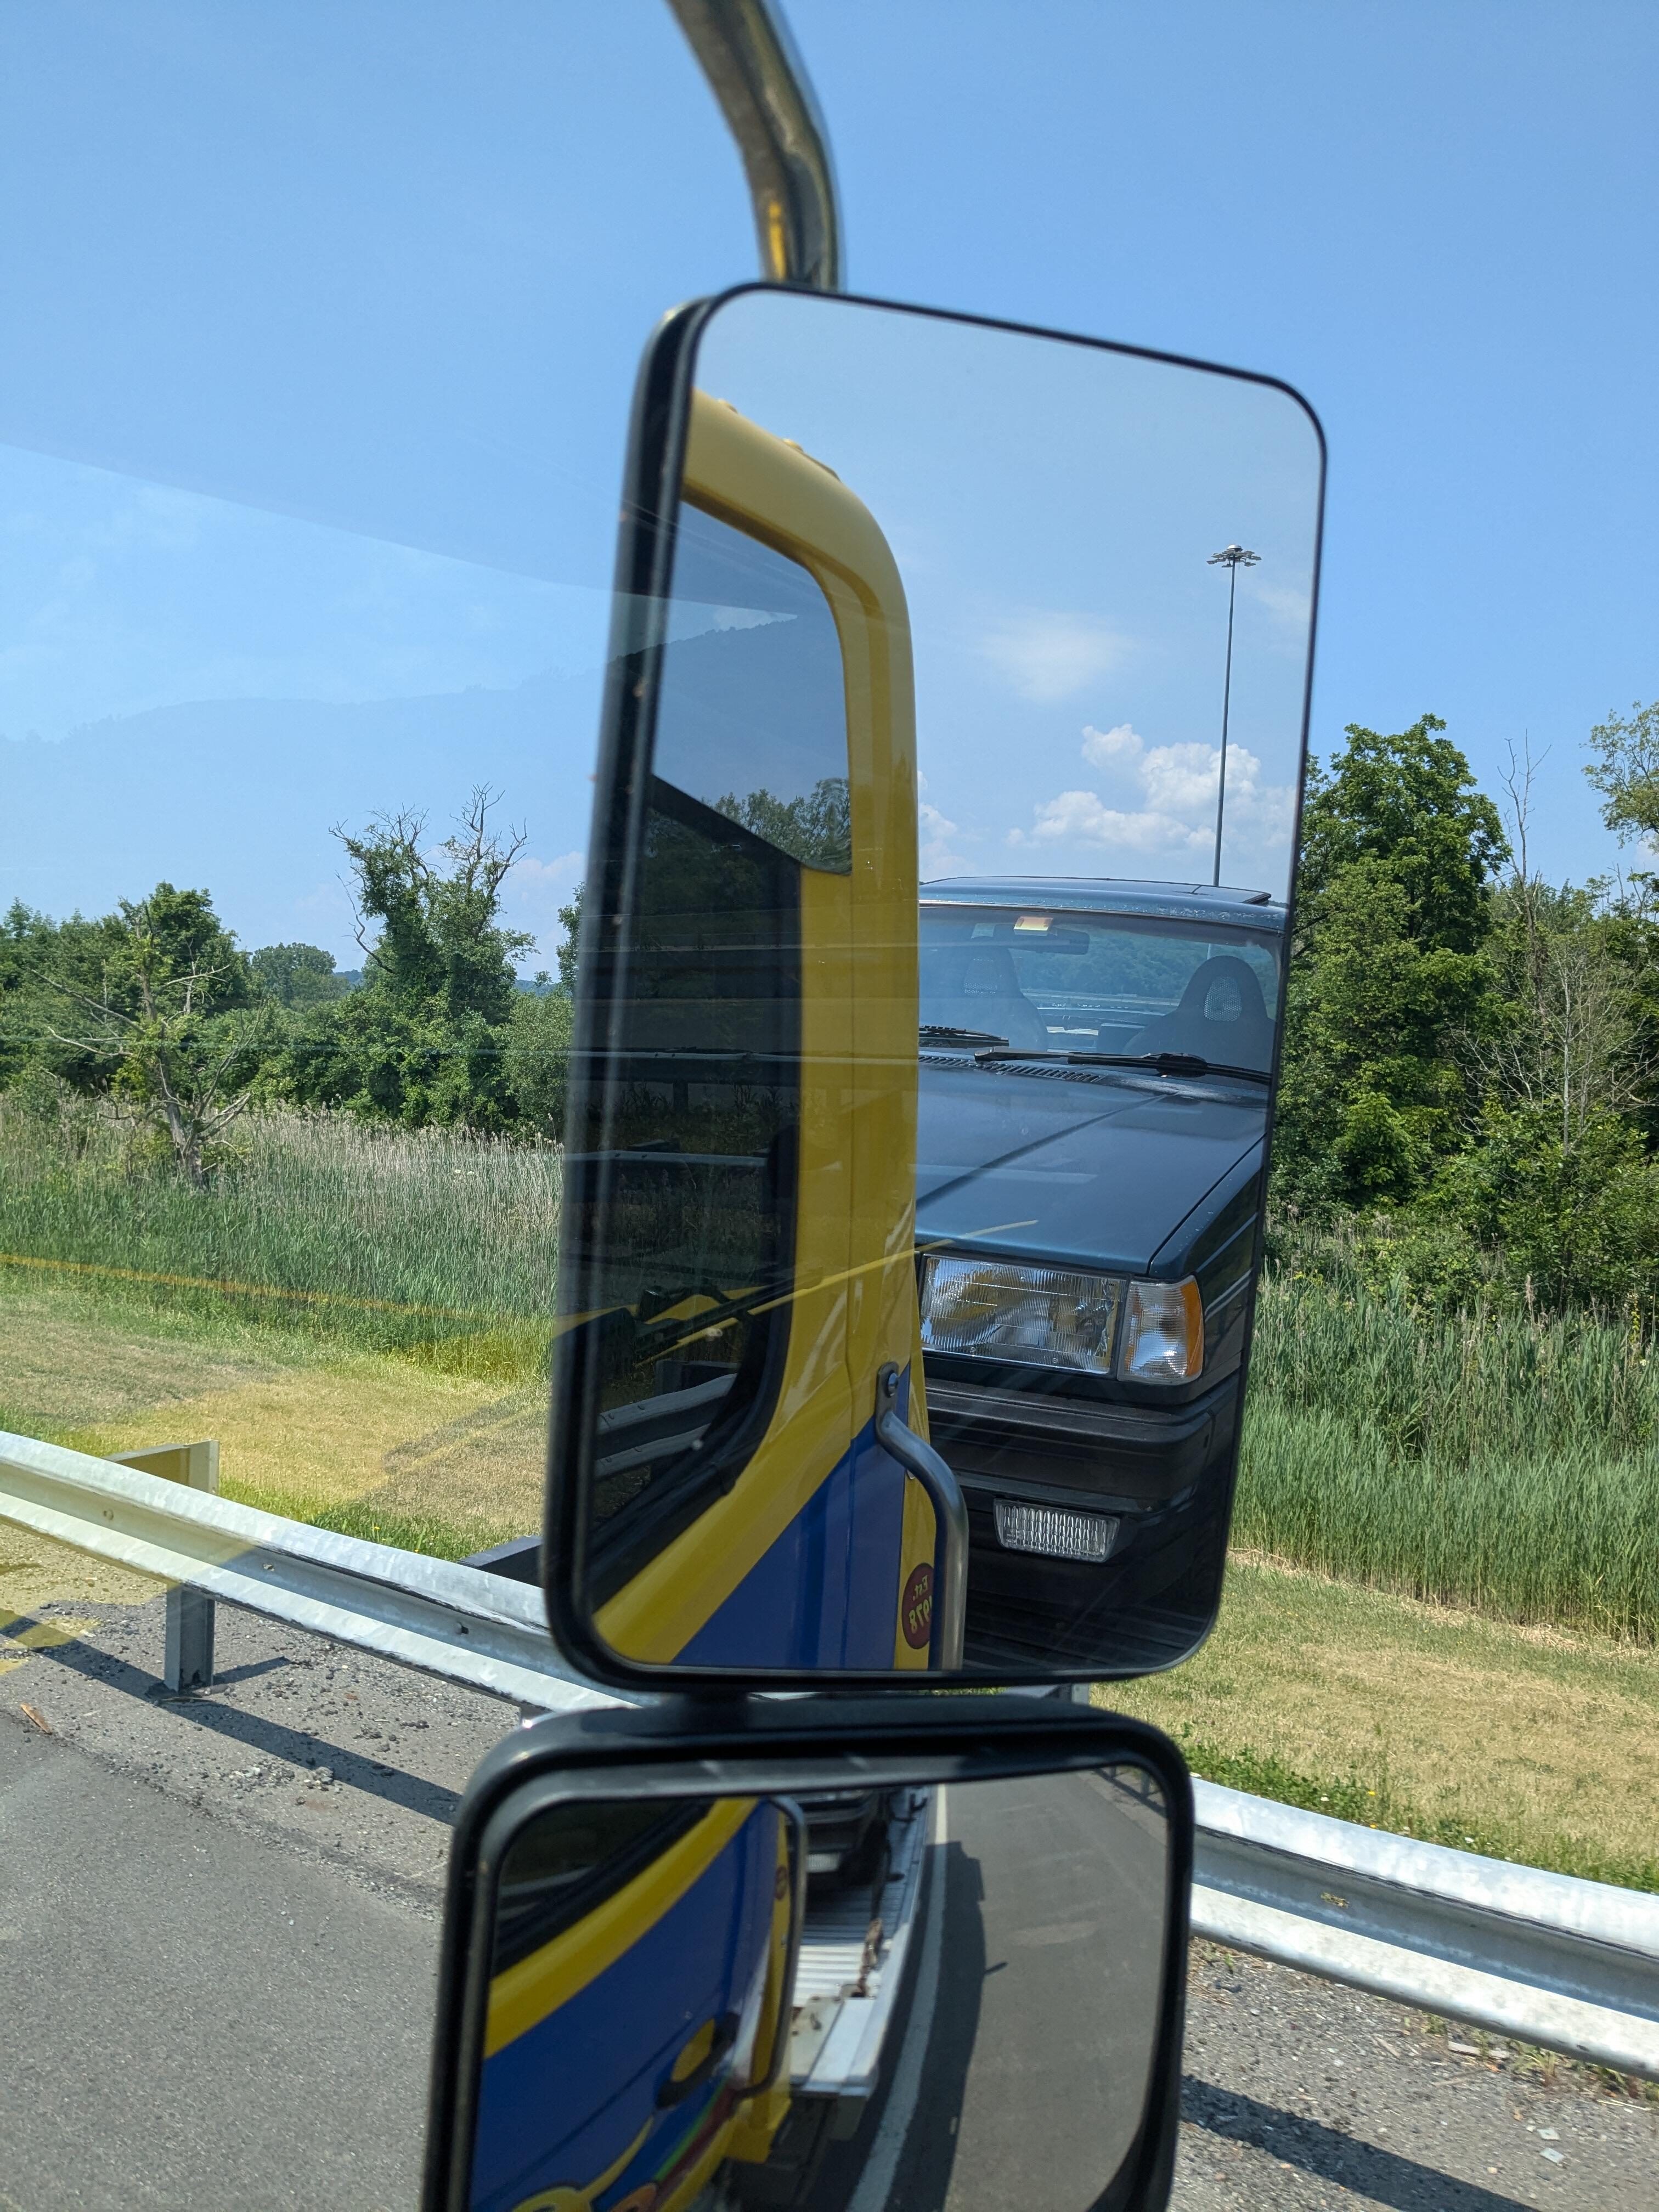
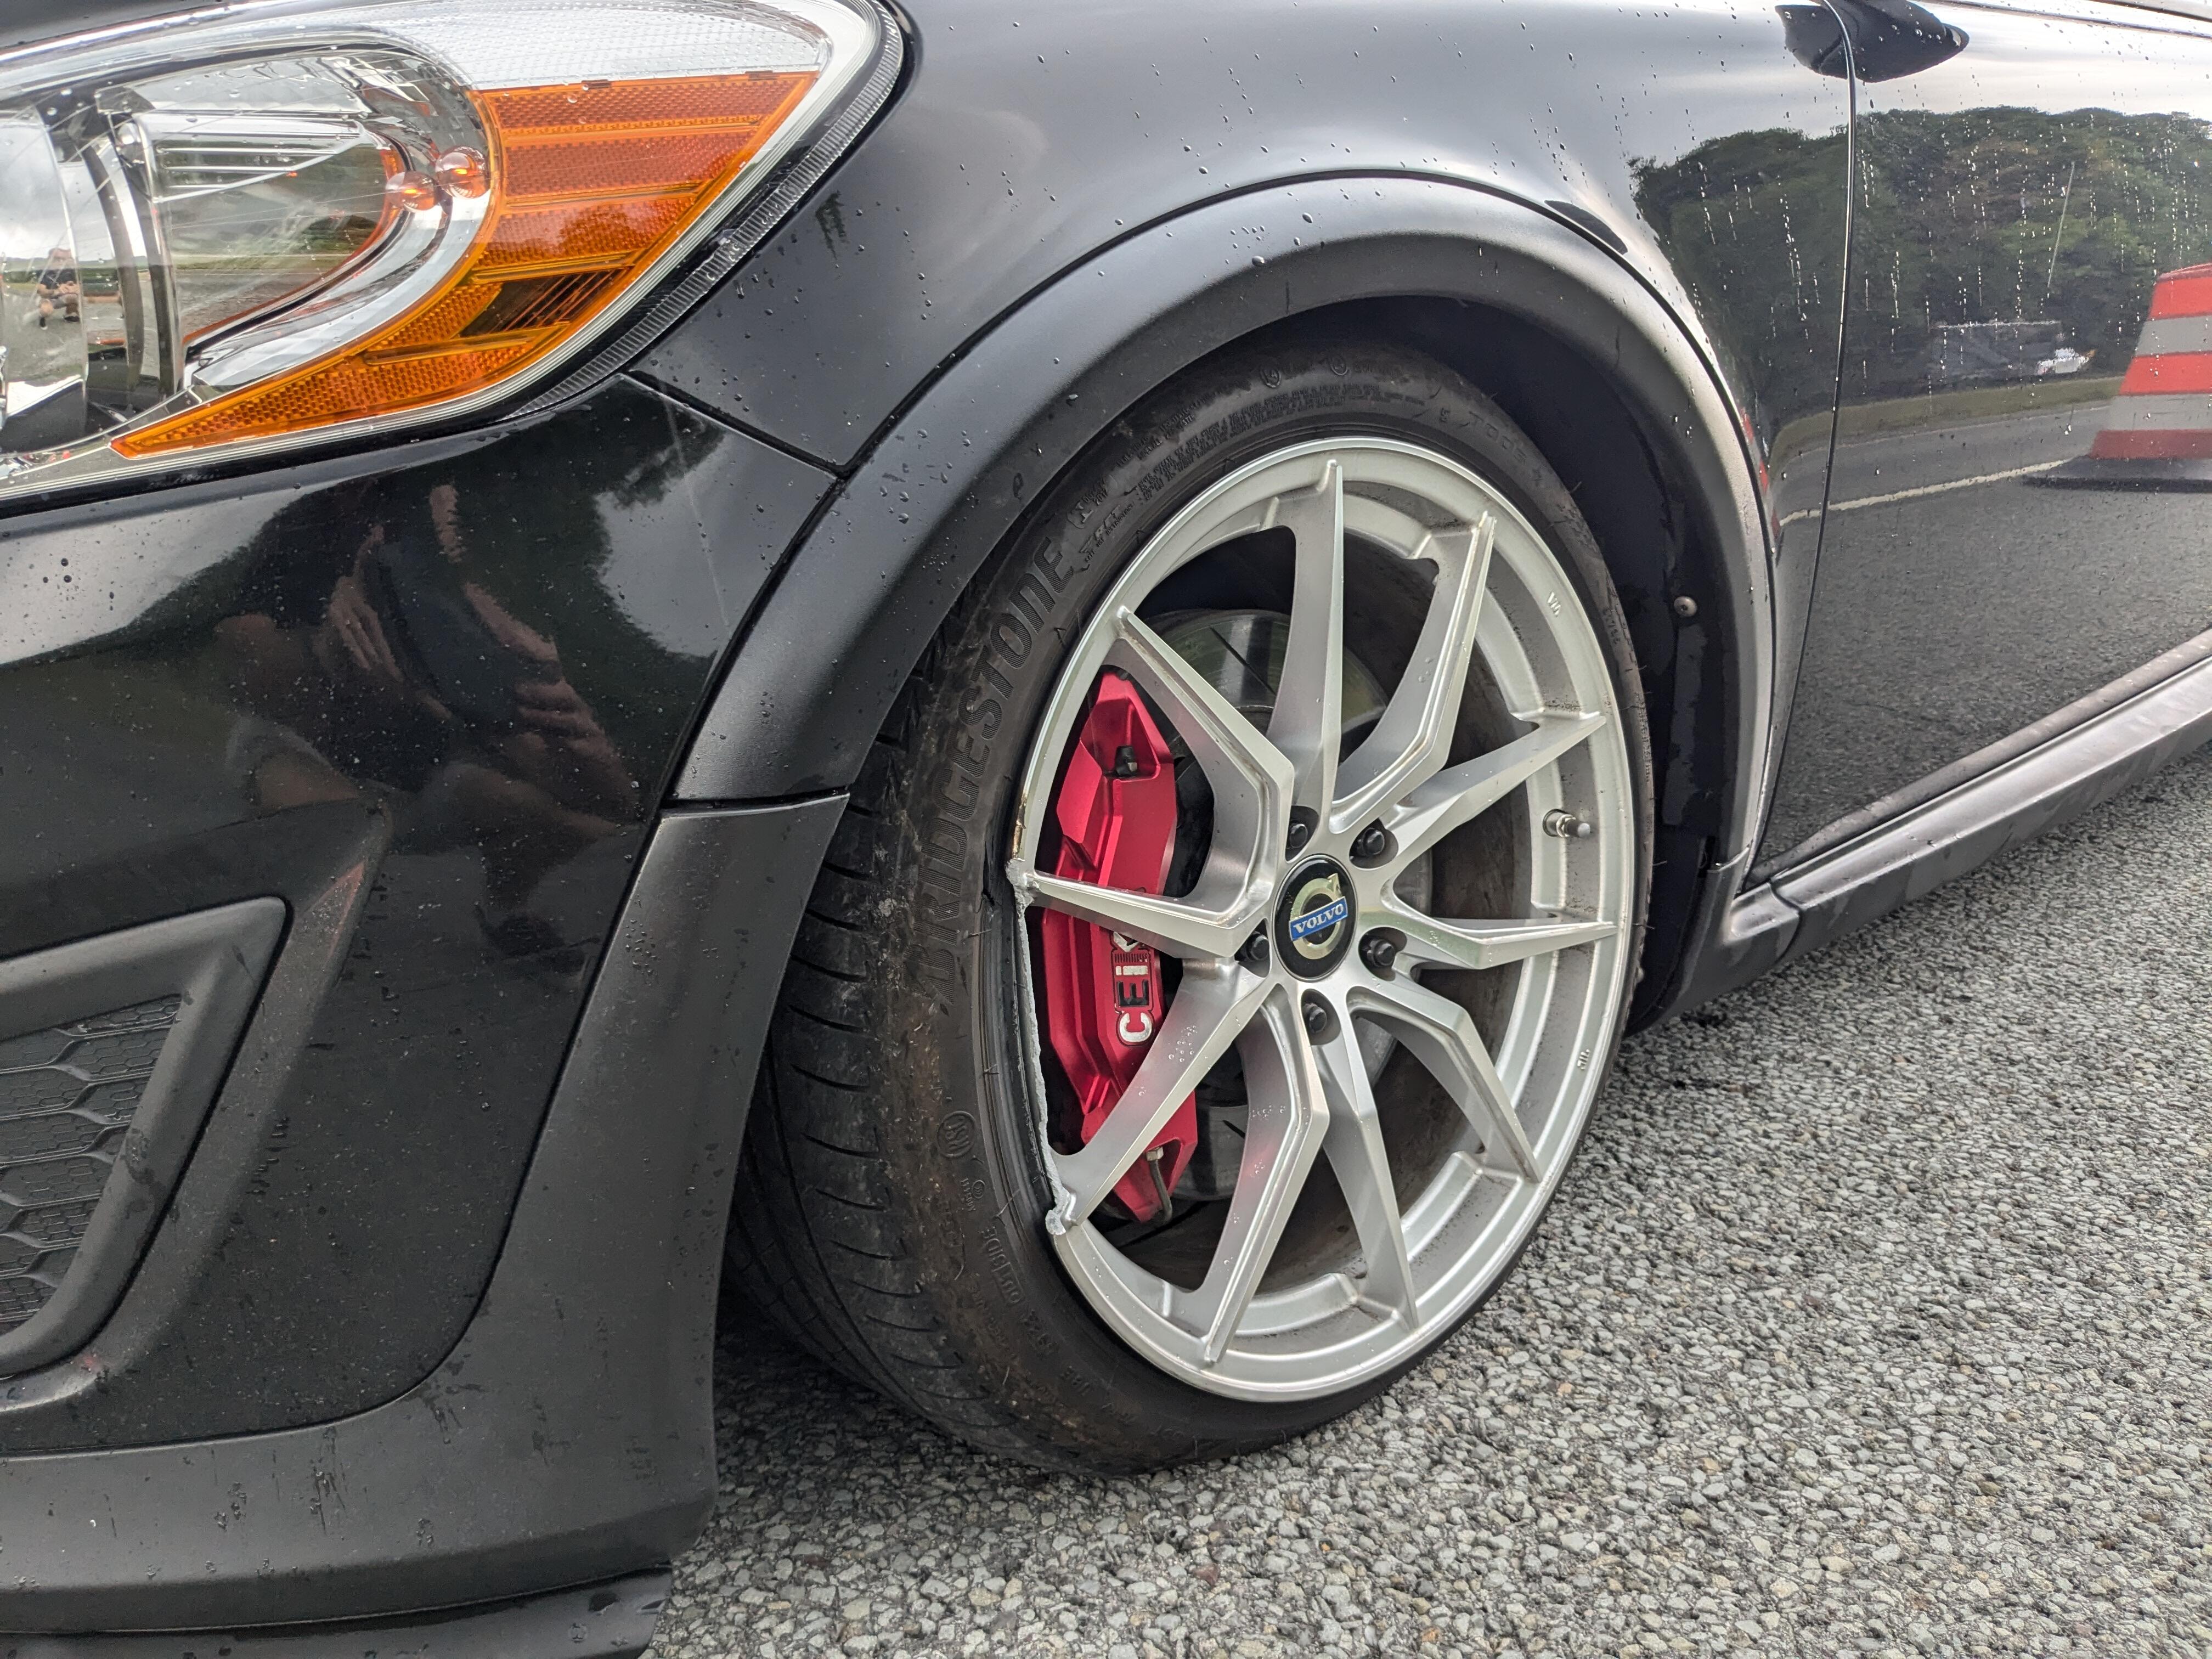
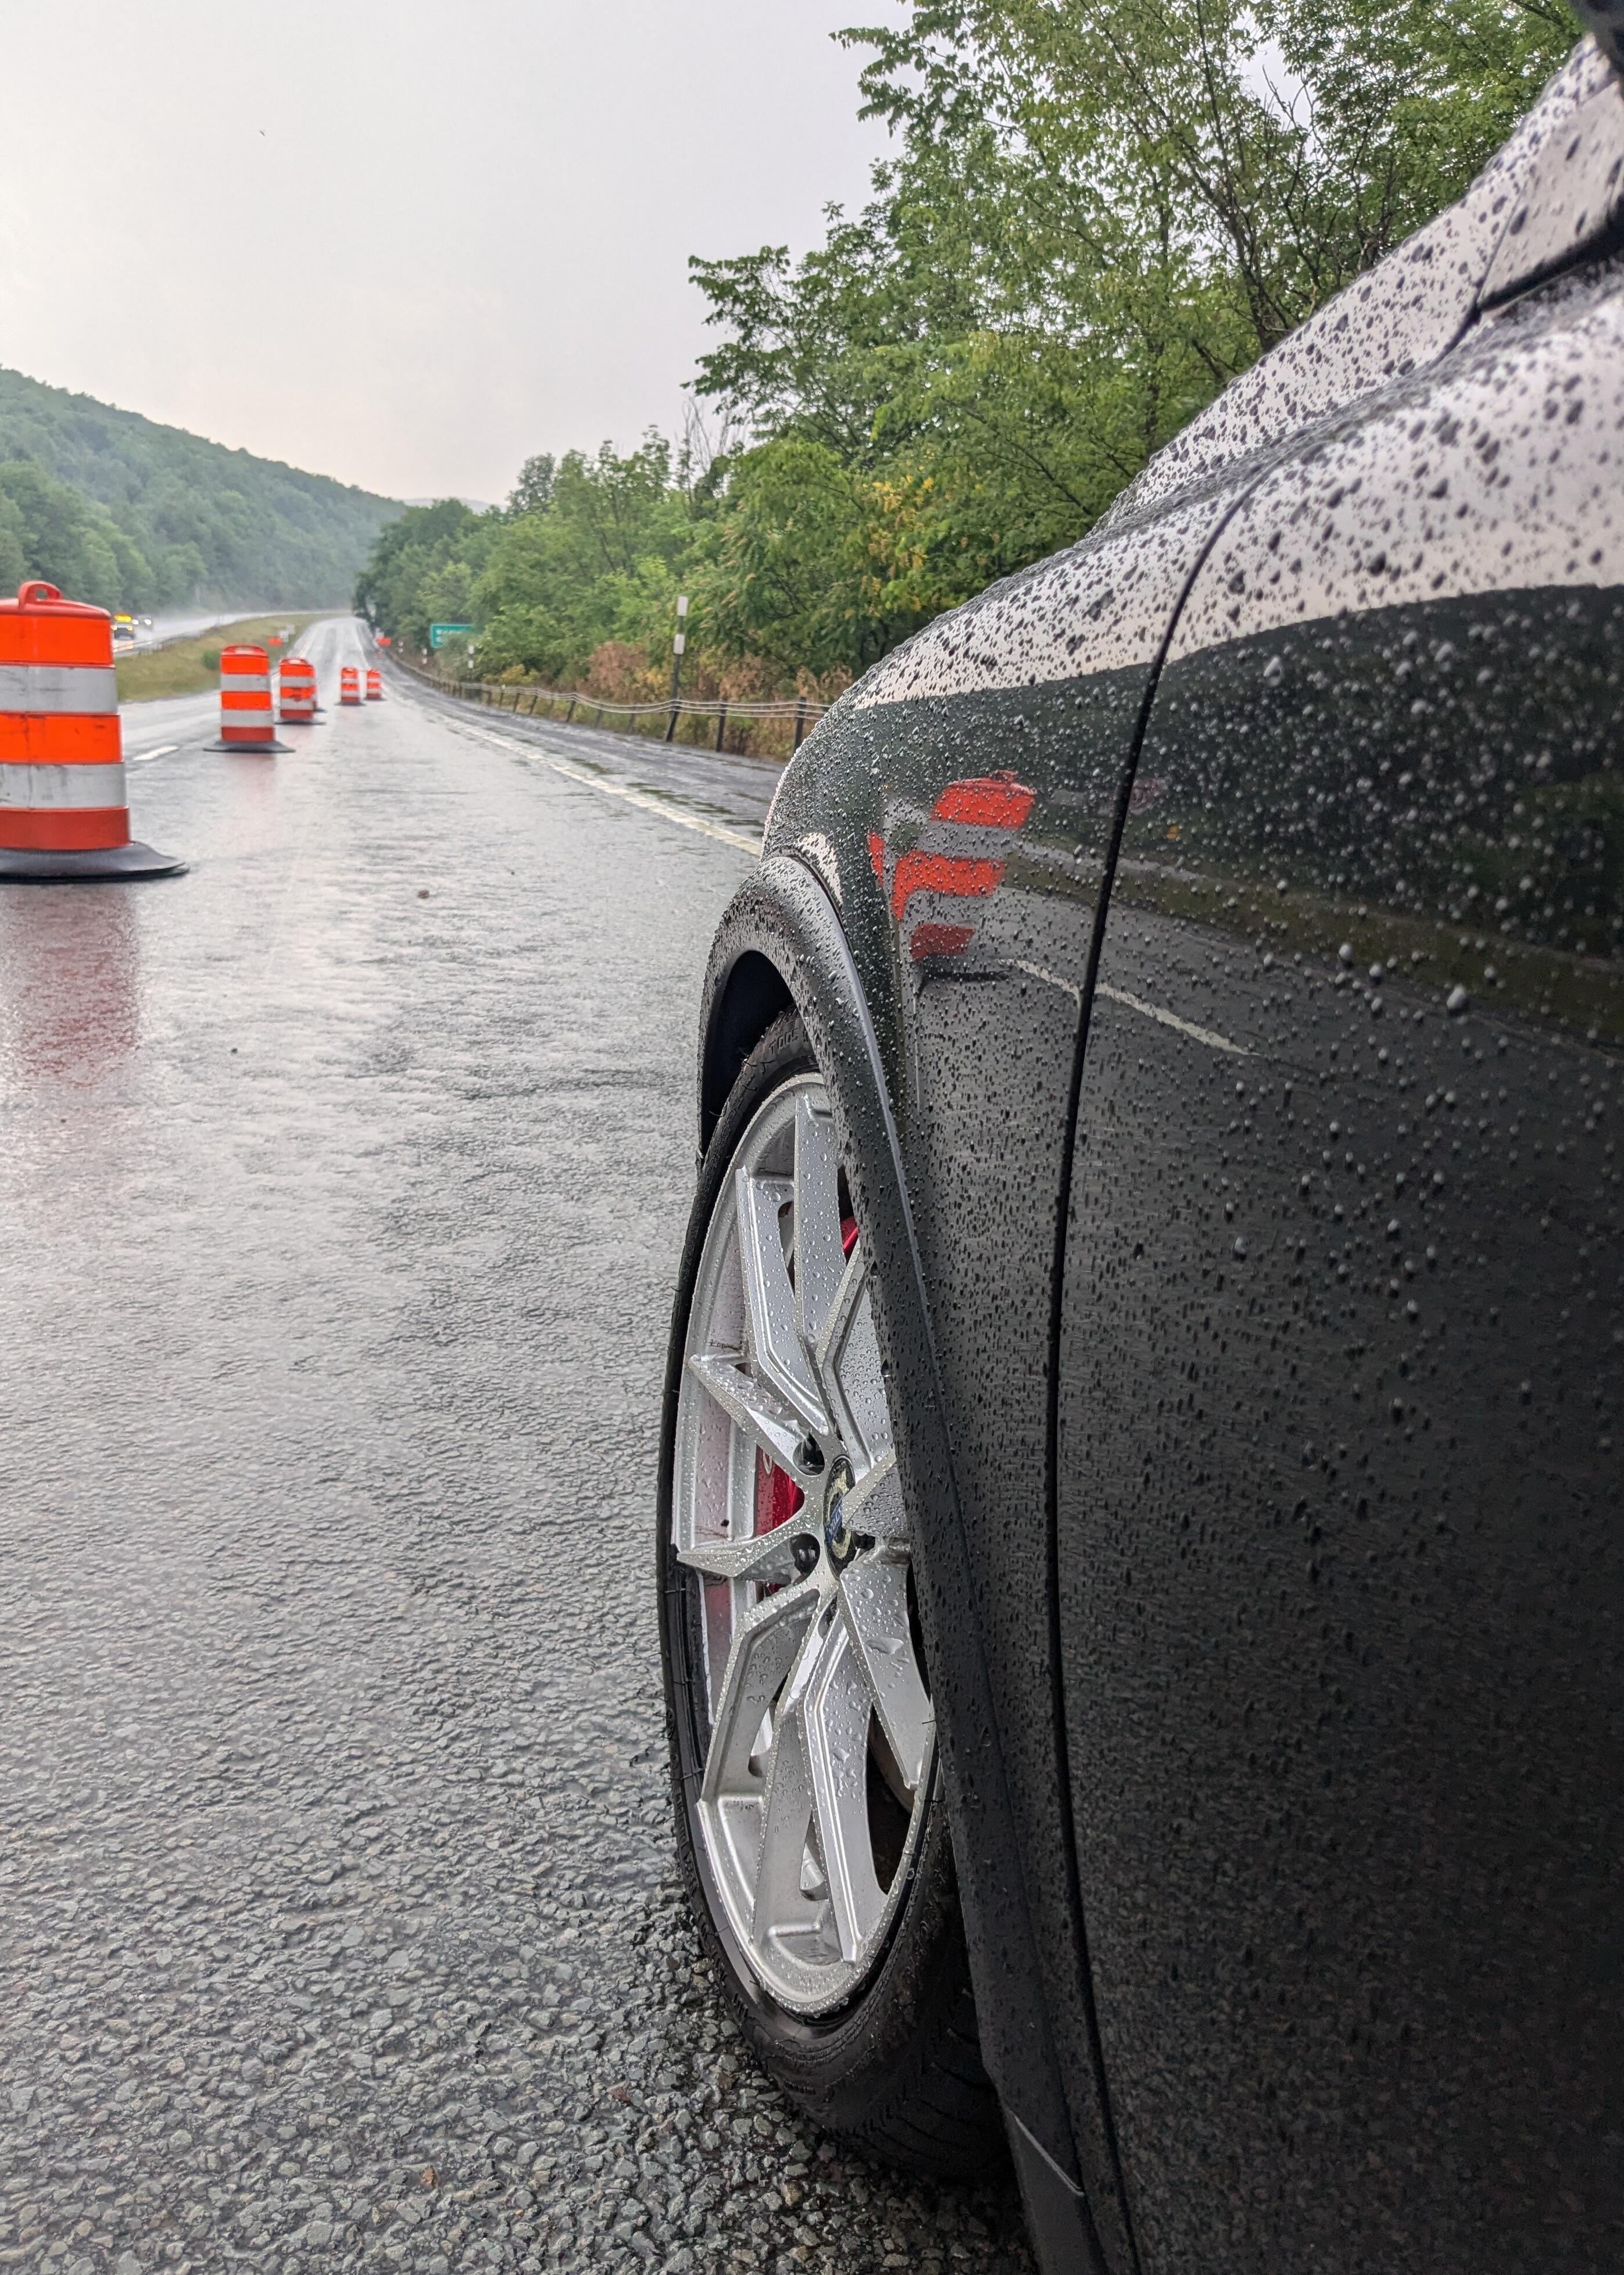
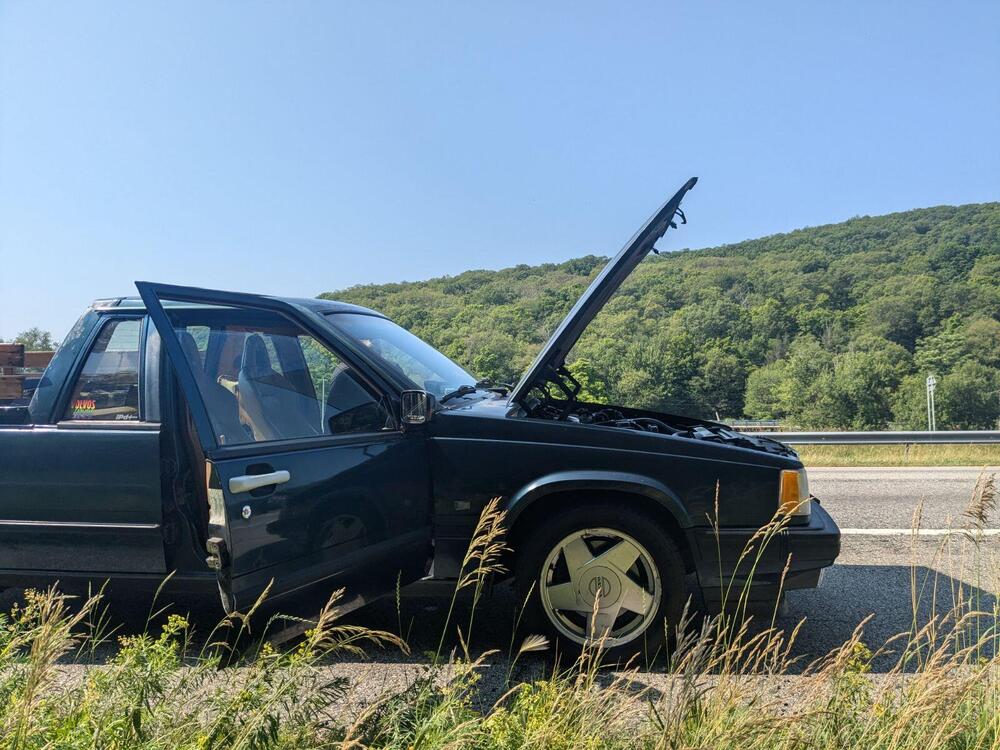
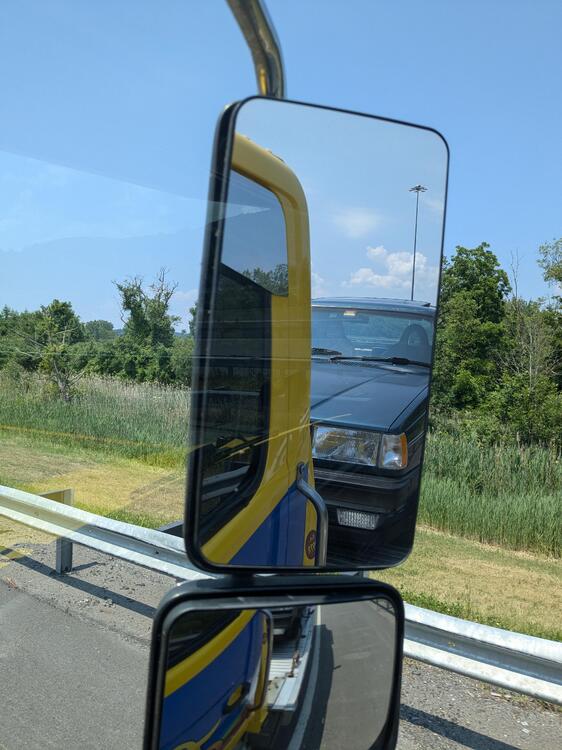
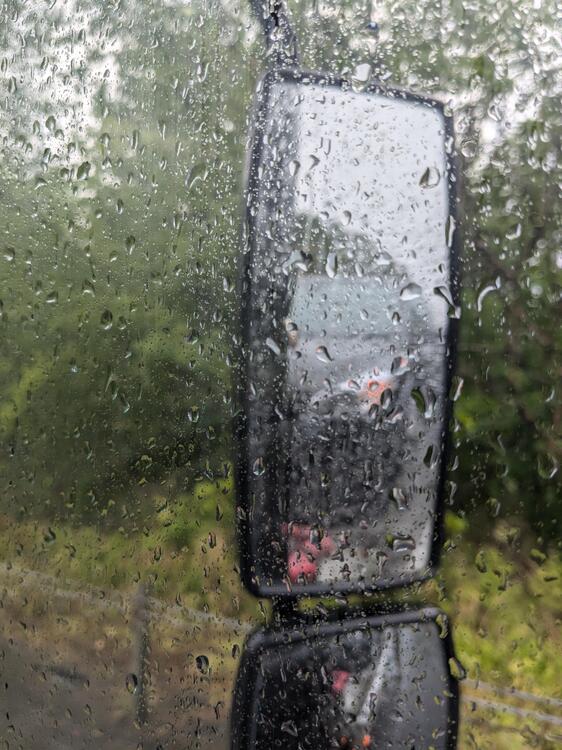
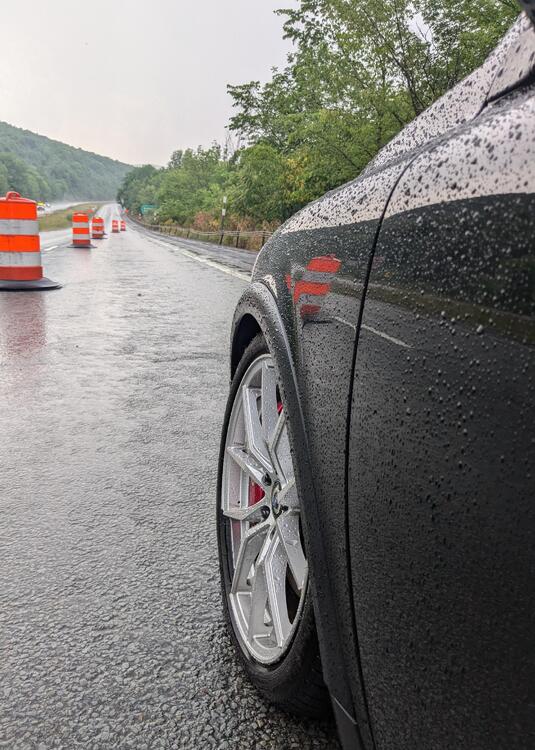
Hell of a day today. Left home with the Mrs. at 9am to head upstate for the annual Volvo car meet. We got about 30miles north & then the pickup died. I tried to fix it, but there was no spark & I had no parts to fix it on the spot. SO, we got towed back home around noon. I still wanted to get up to Ithaca for the meet, so repacked the C30 & left on my own, the Mrs. had had it. I got about 2 hours or so into the drive & then this happened Single lane traffic through a construction zone, basically we were all on the shoulder. Section of roadway heaved, broke the Tesla in front of me, I moved over as far as I could without hitting the concrete divide, and got the broken wheel & a bent strut tube Just a little extra camber I put the space saver on it & drove the remaining 90 miles at 40-45mph. That was excruciating, but at least I made it, and ppl up here were able to source a strut tube, so I can change that tomorrow, if all goes well. I'll have to drive downstate on the space saver, which won't be fun, but at least I won't need to be towed all the way home.
-
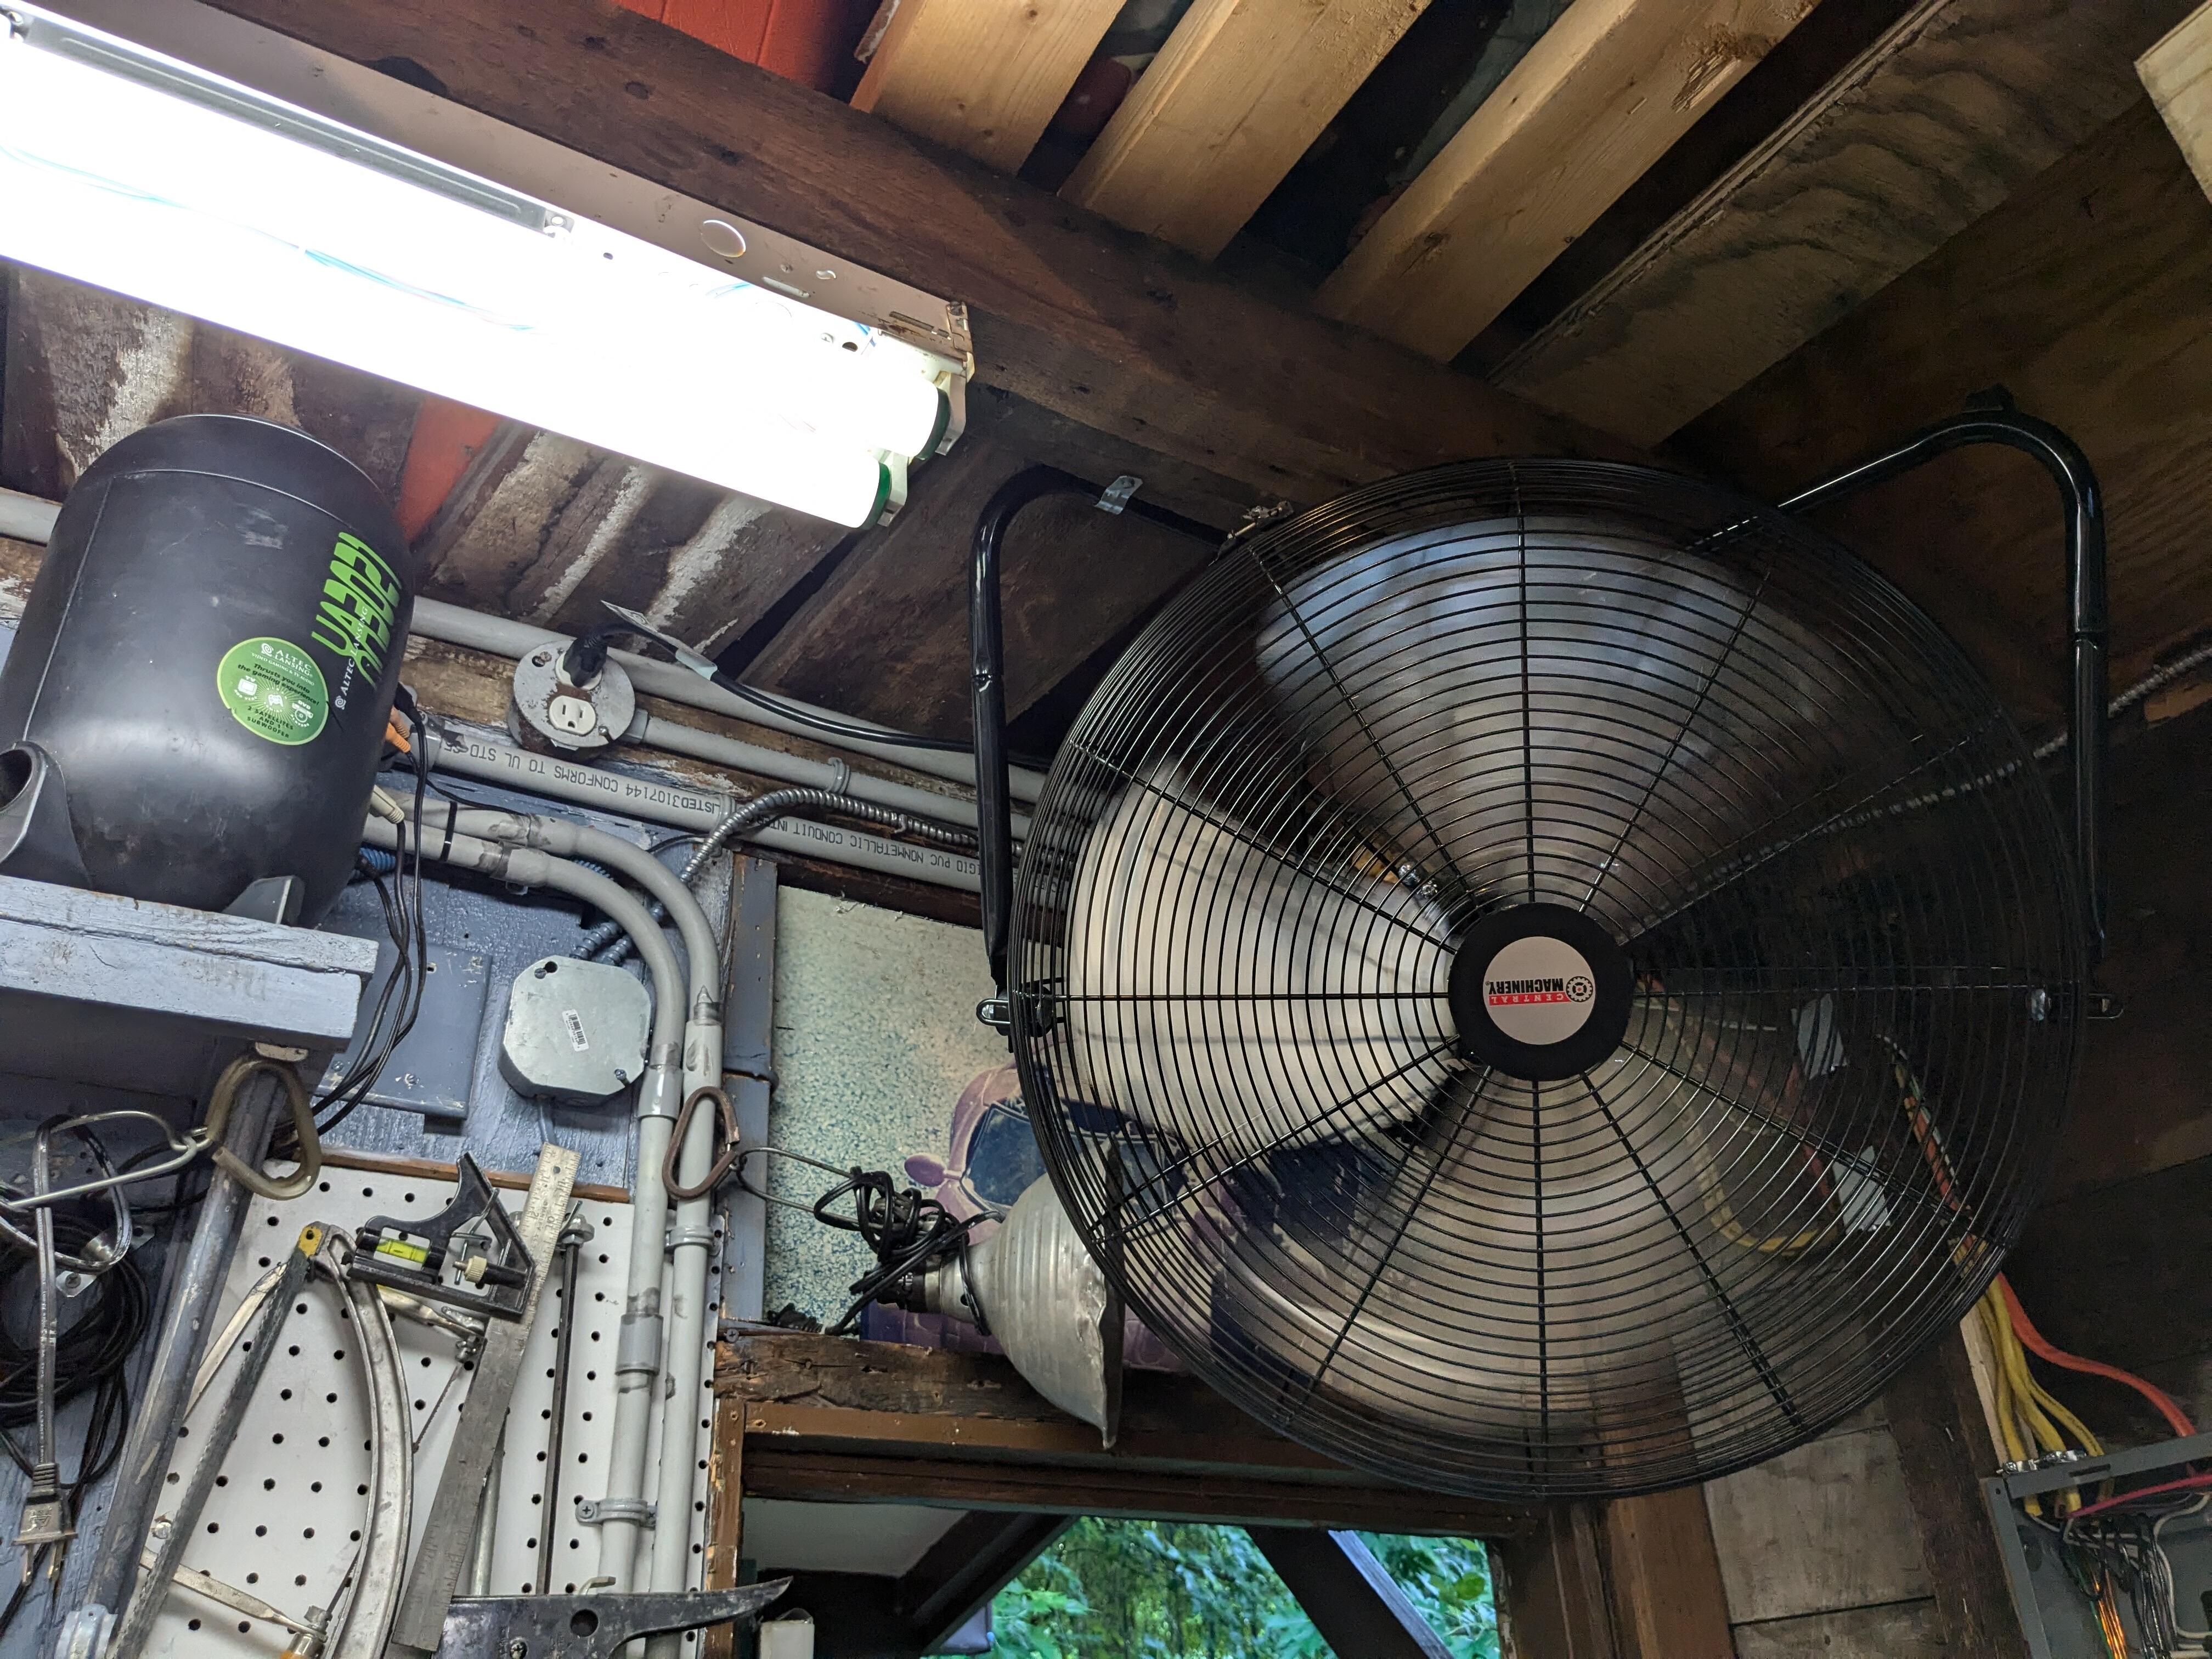
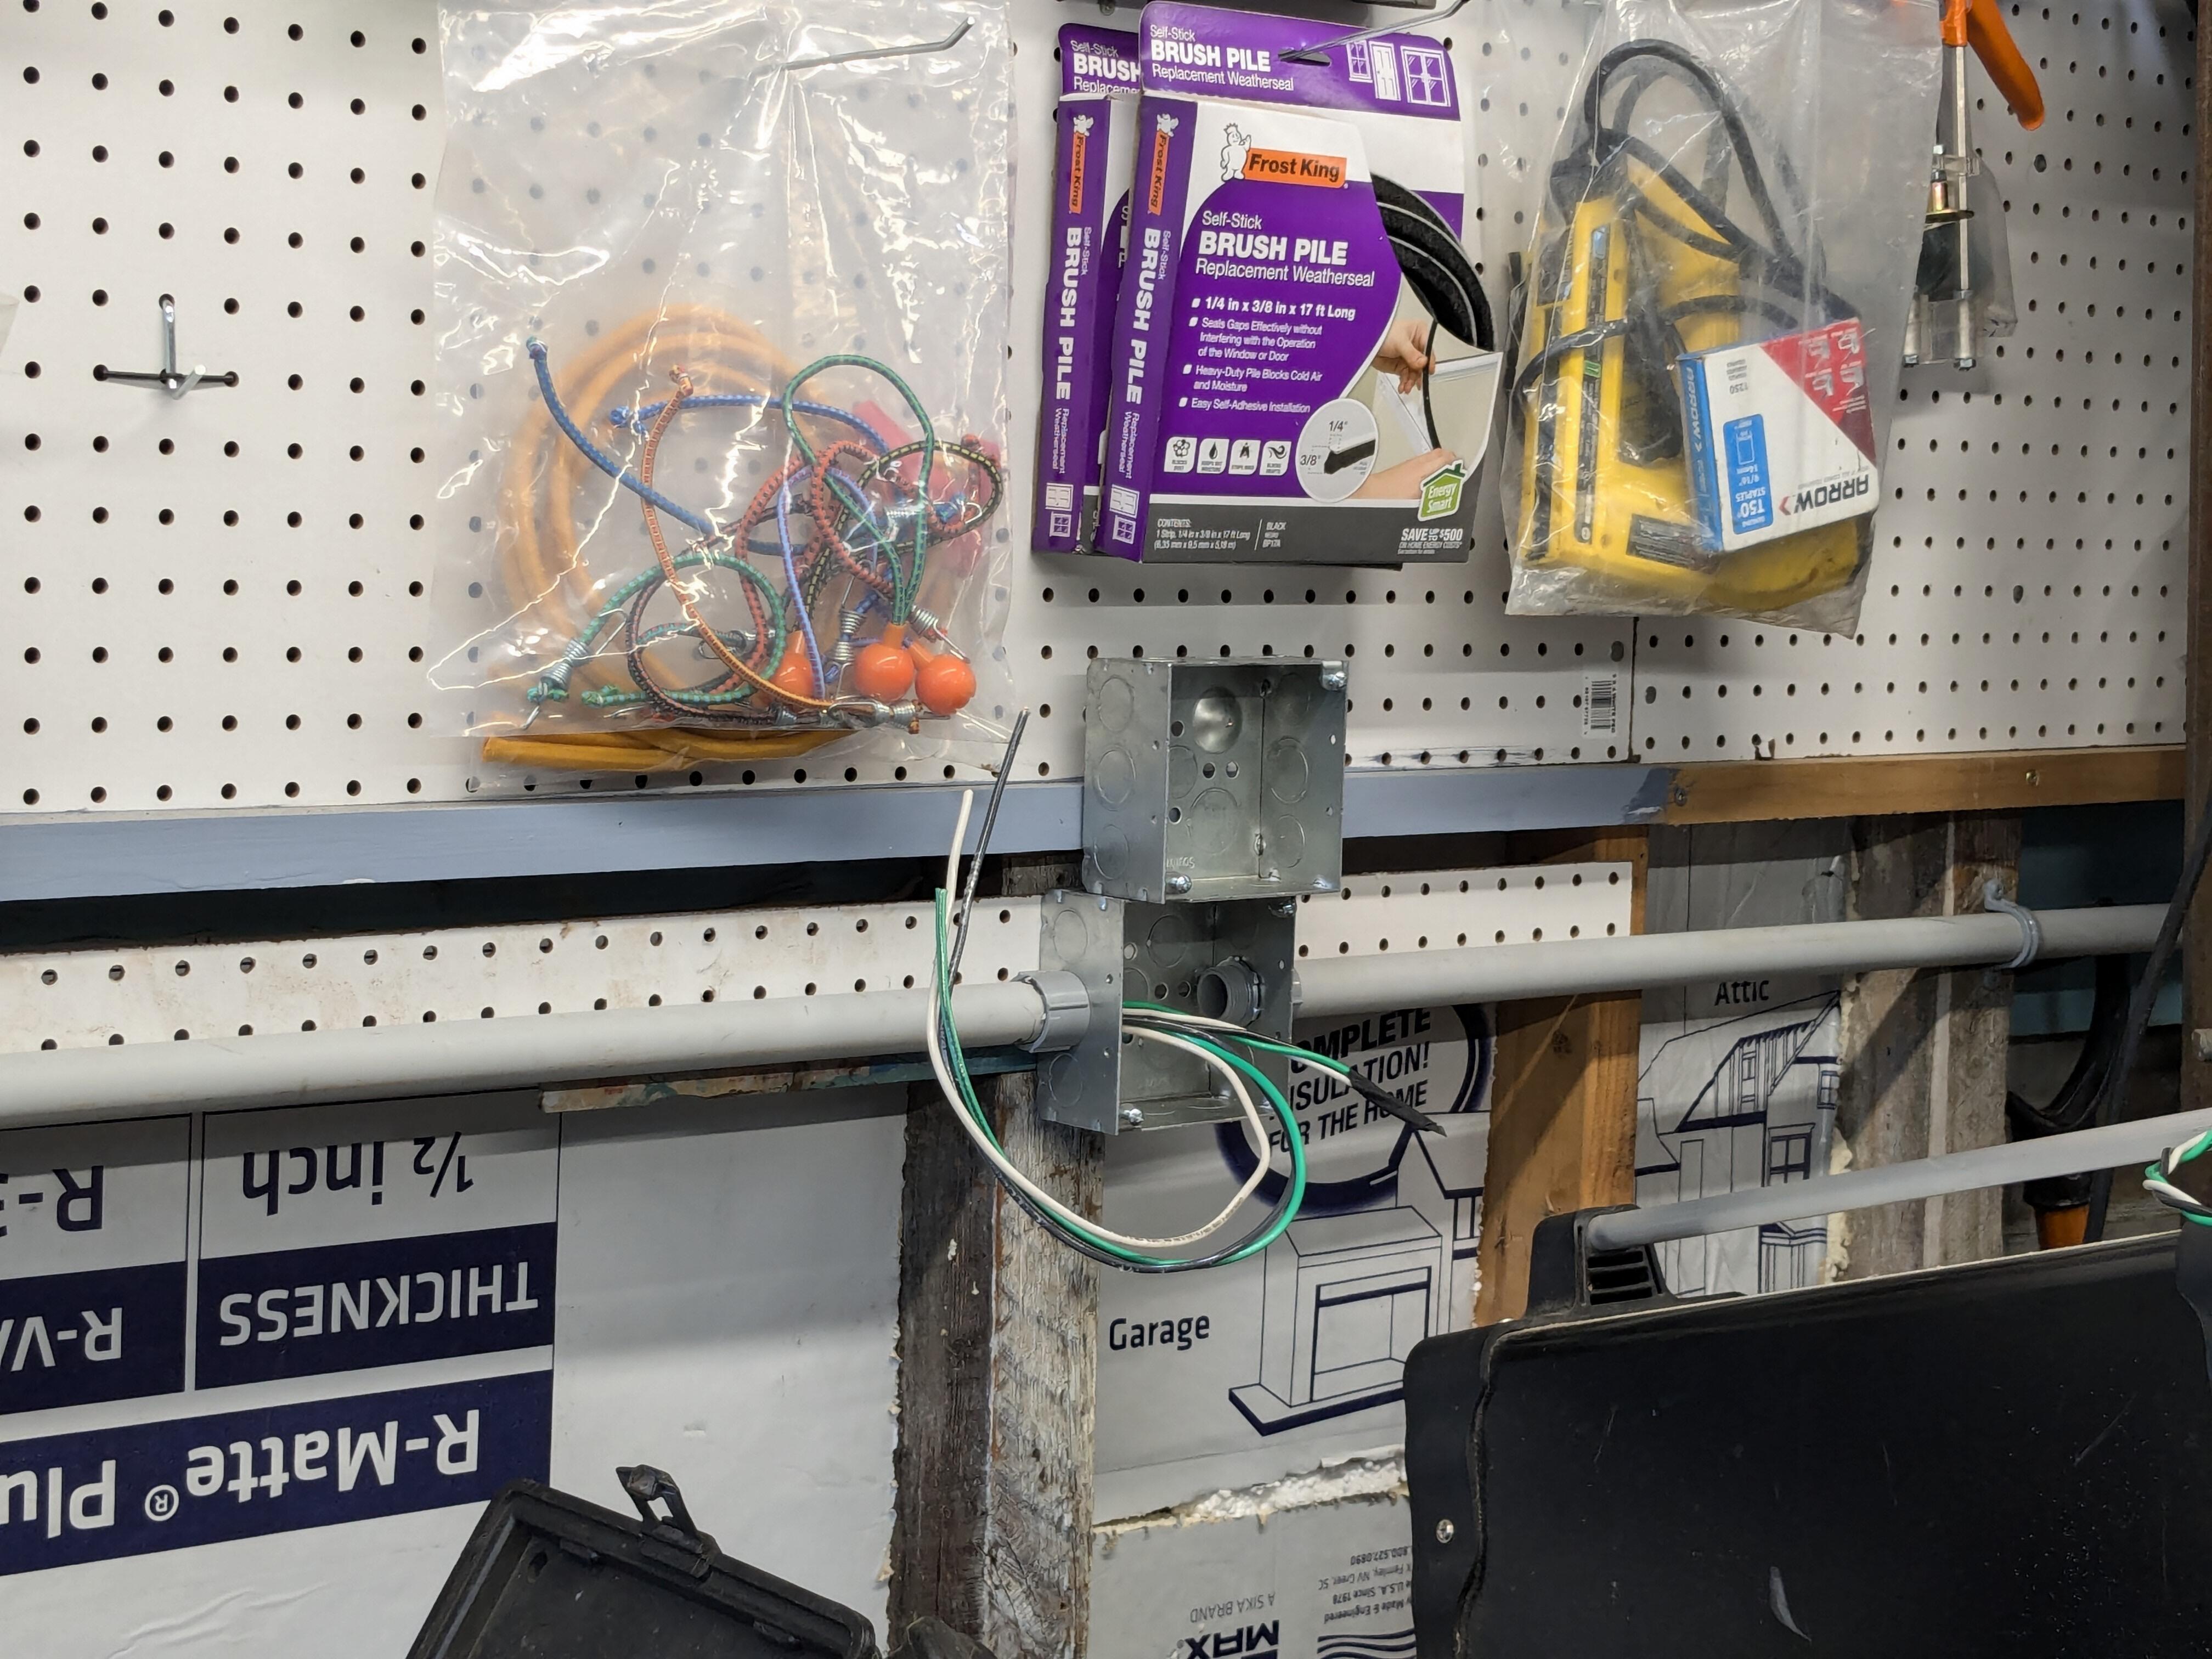
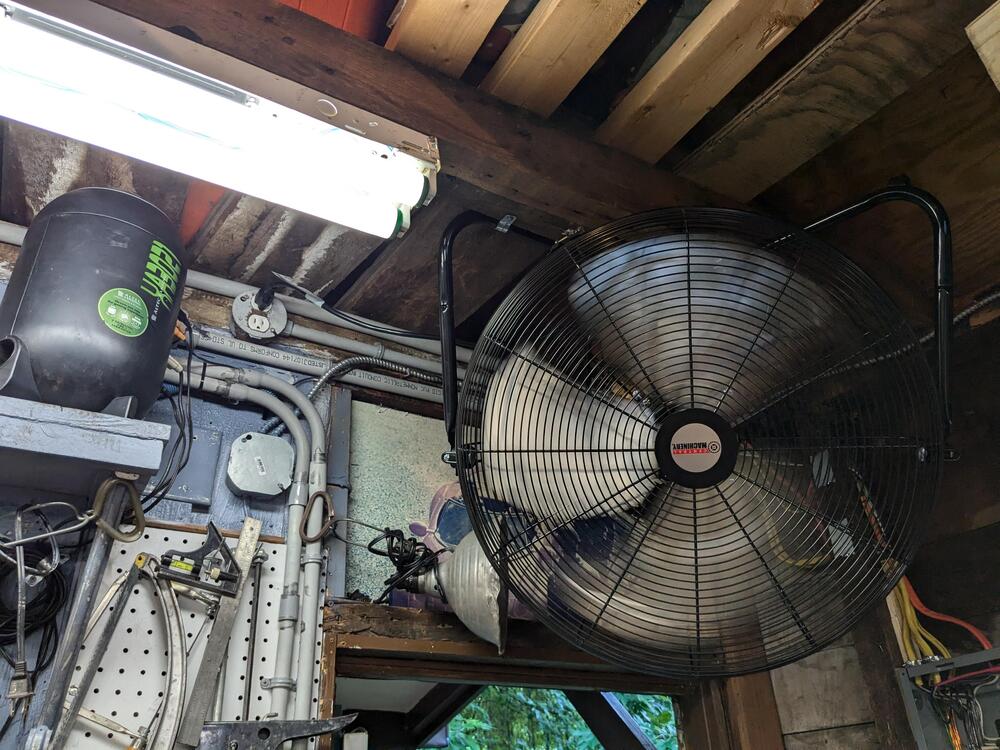
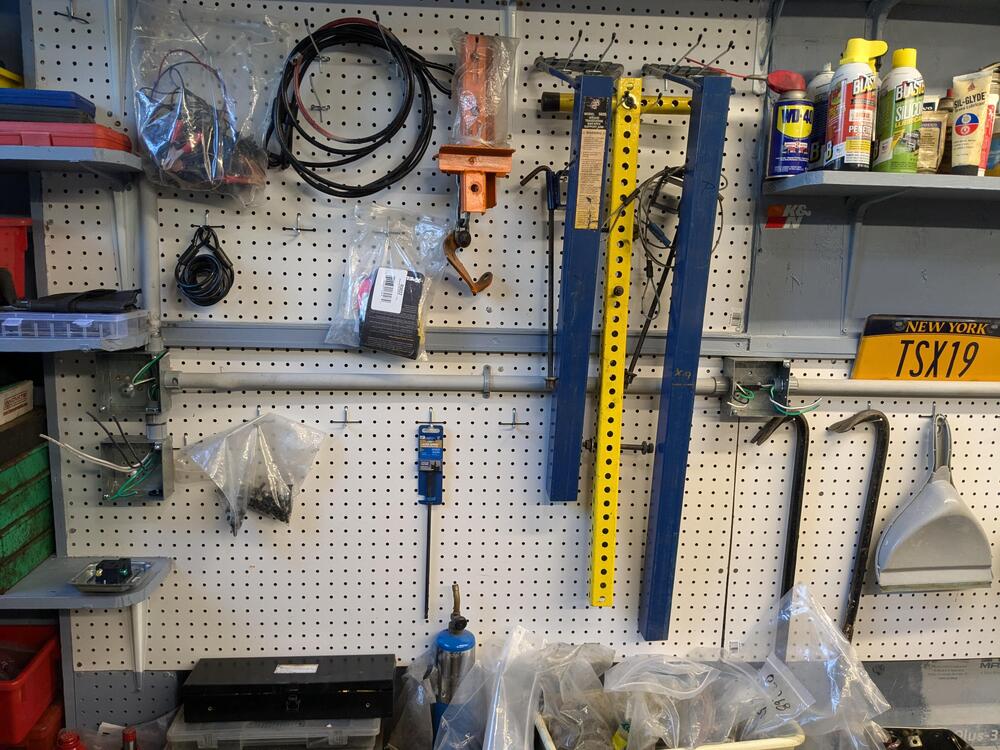
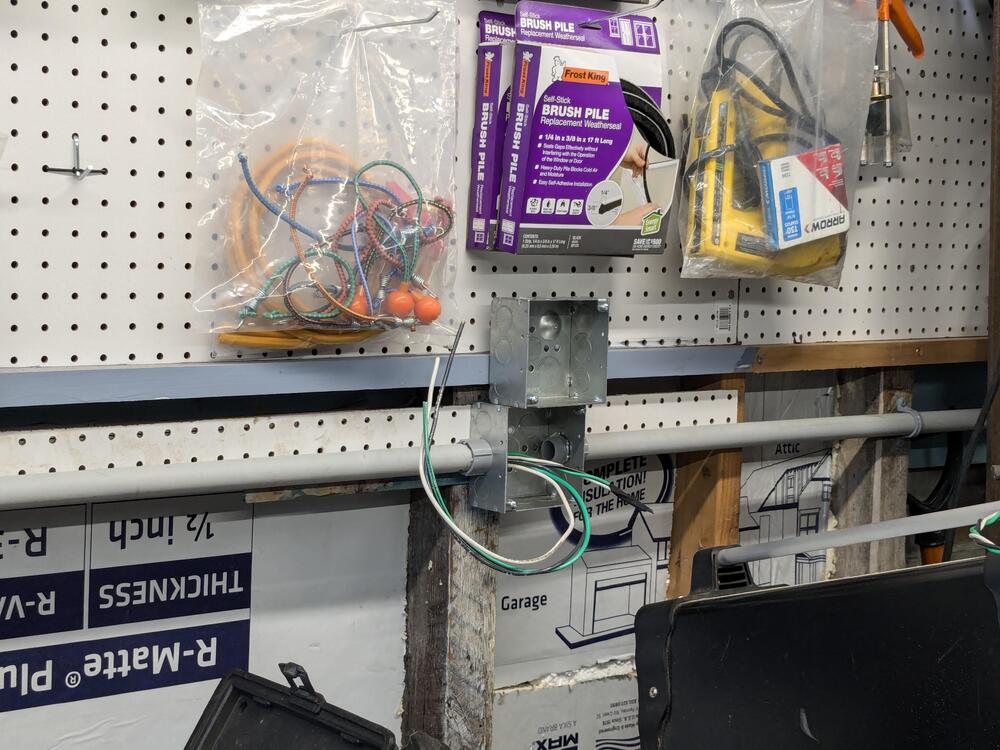
Chipping away at the wiring runs. Added an outlet up high (that I forgot earlier) to plug the fan into running the 10ga & 12ga in the conduit along the south wall 4" deep box sitting above will be mounted below existing for the 240v receptacle, like the East end boxes above, Ran out of 3/4" threaded ends
-
Yes! On the road, it's actually running just under 50ºF, so I'm happy with that
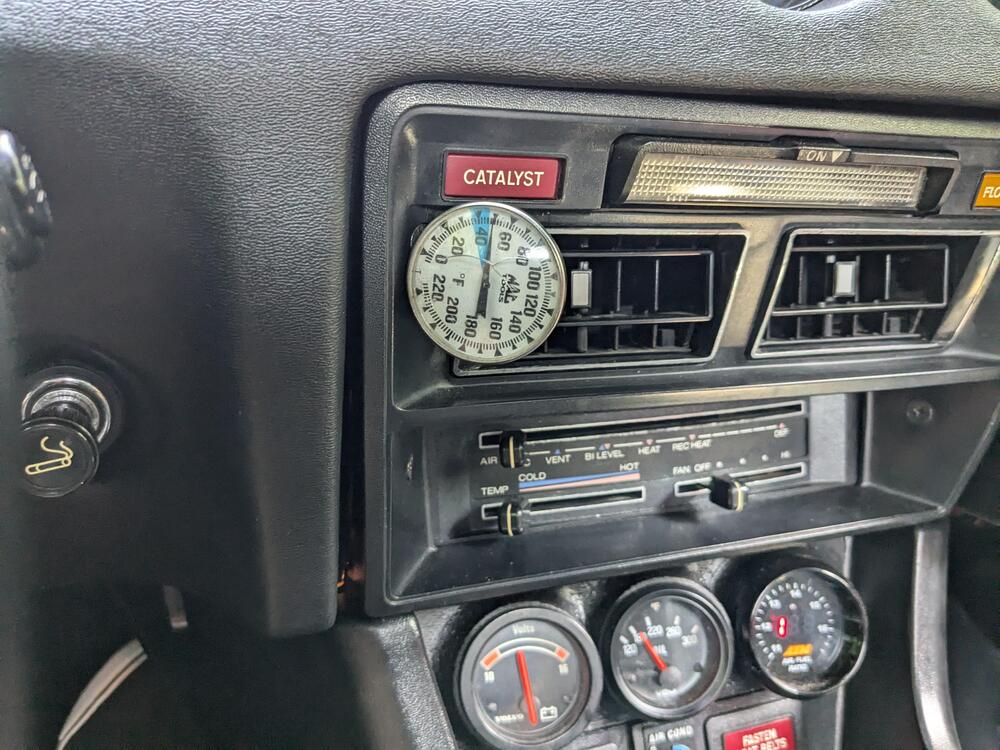
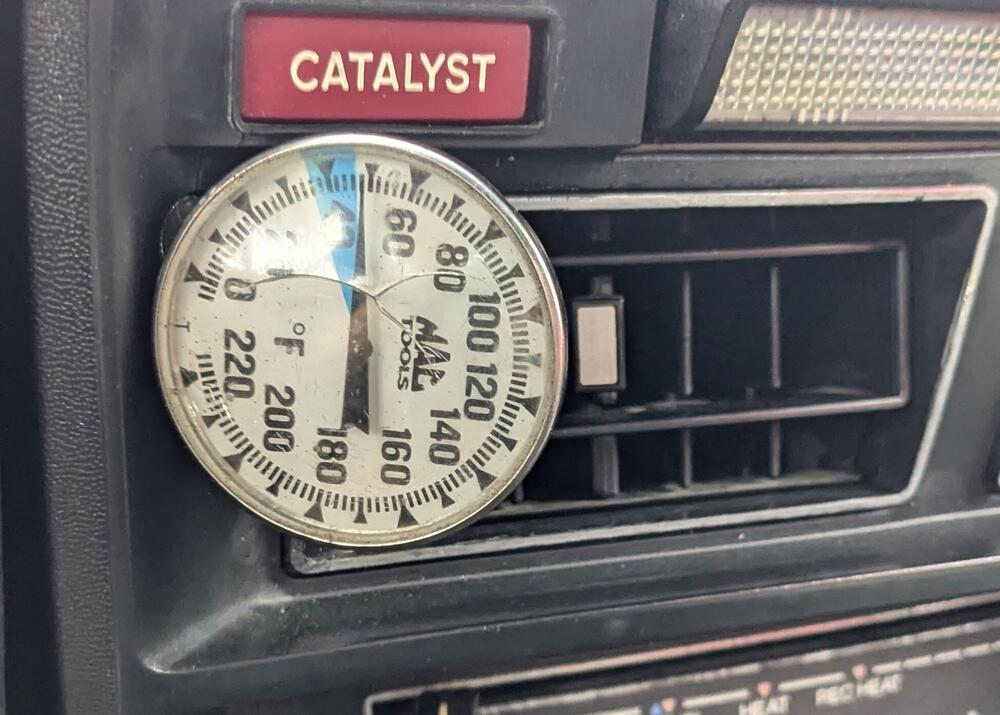
-
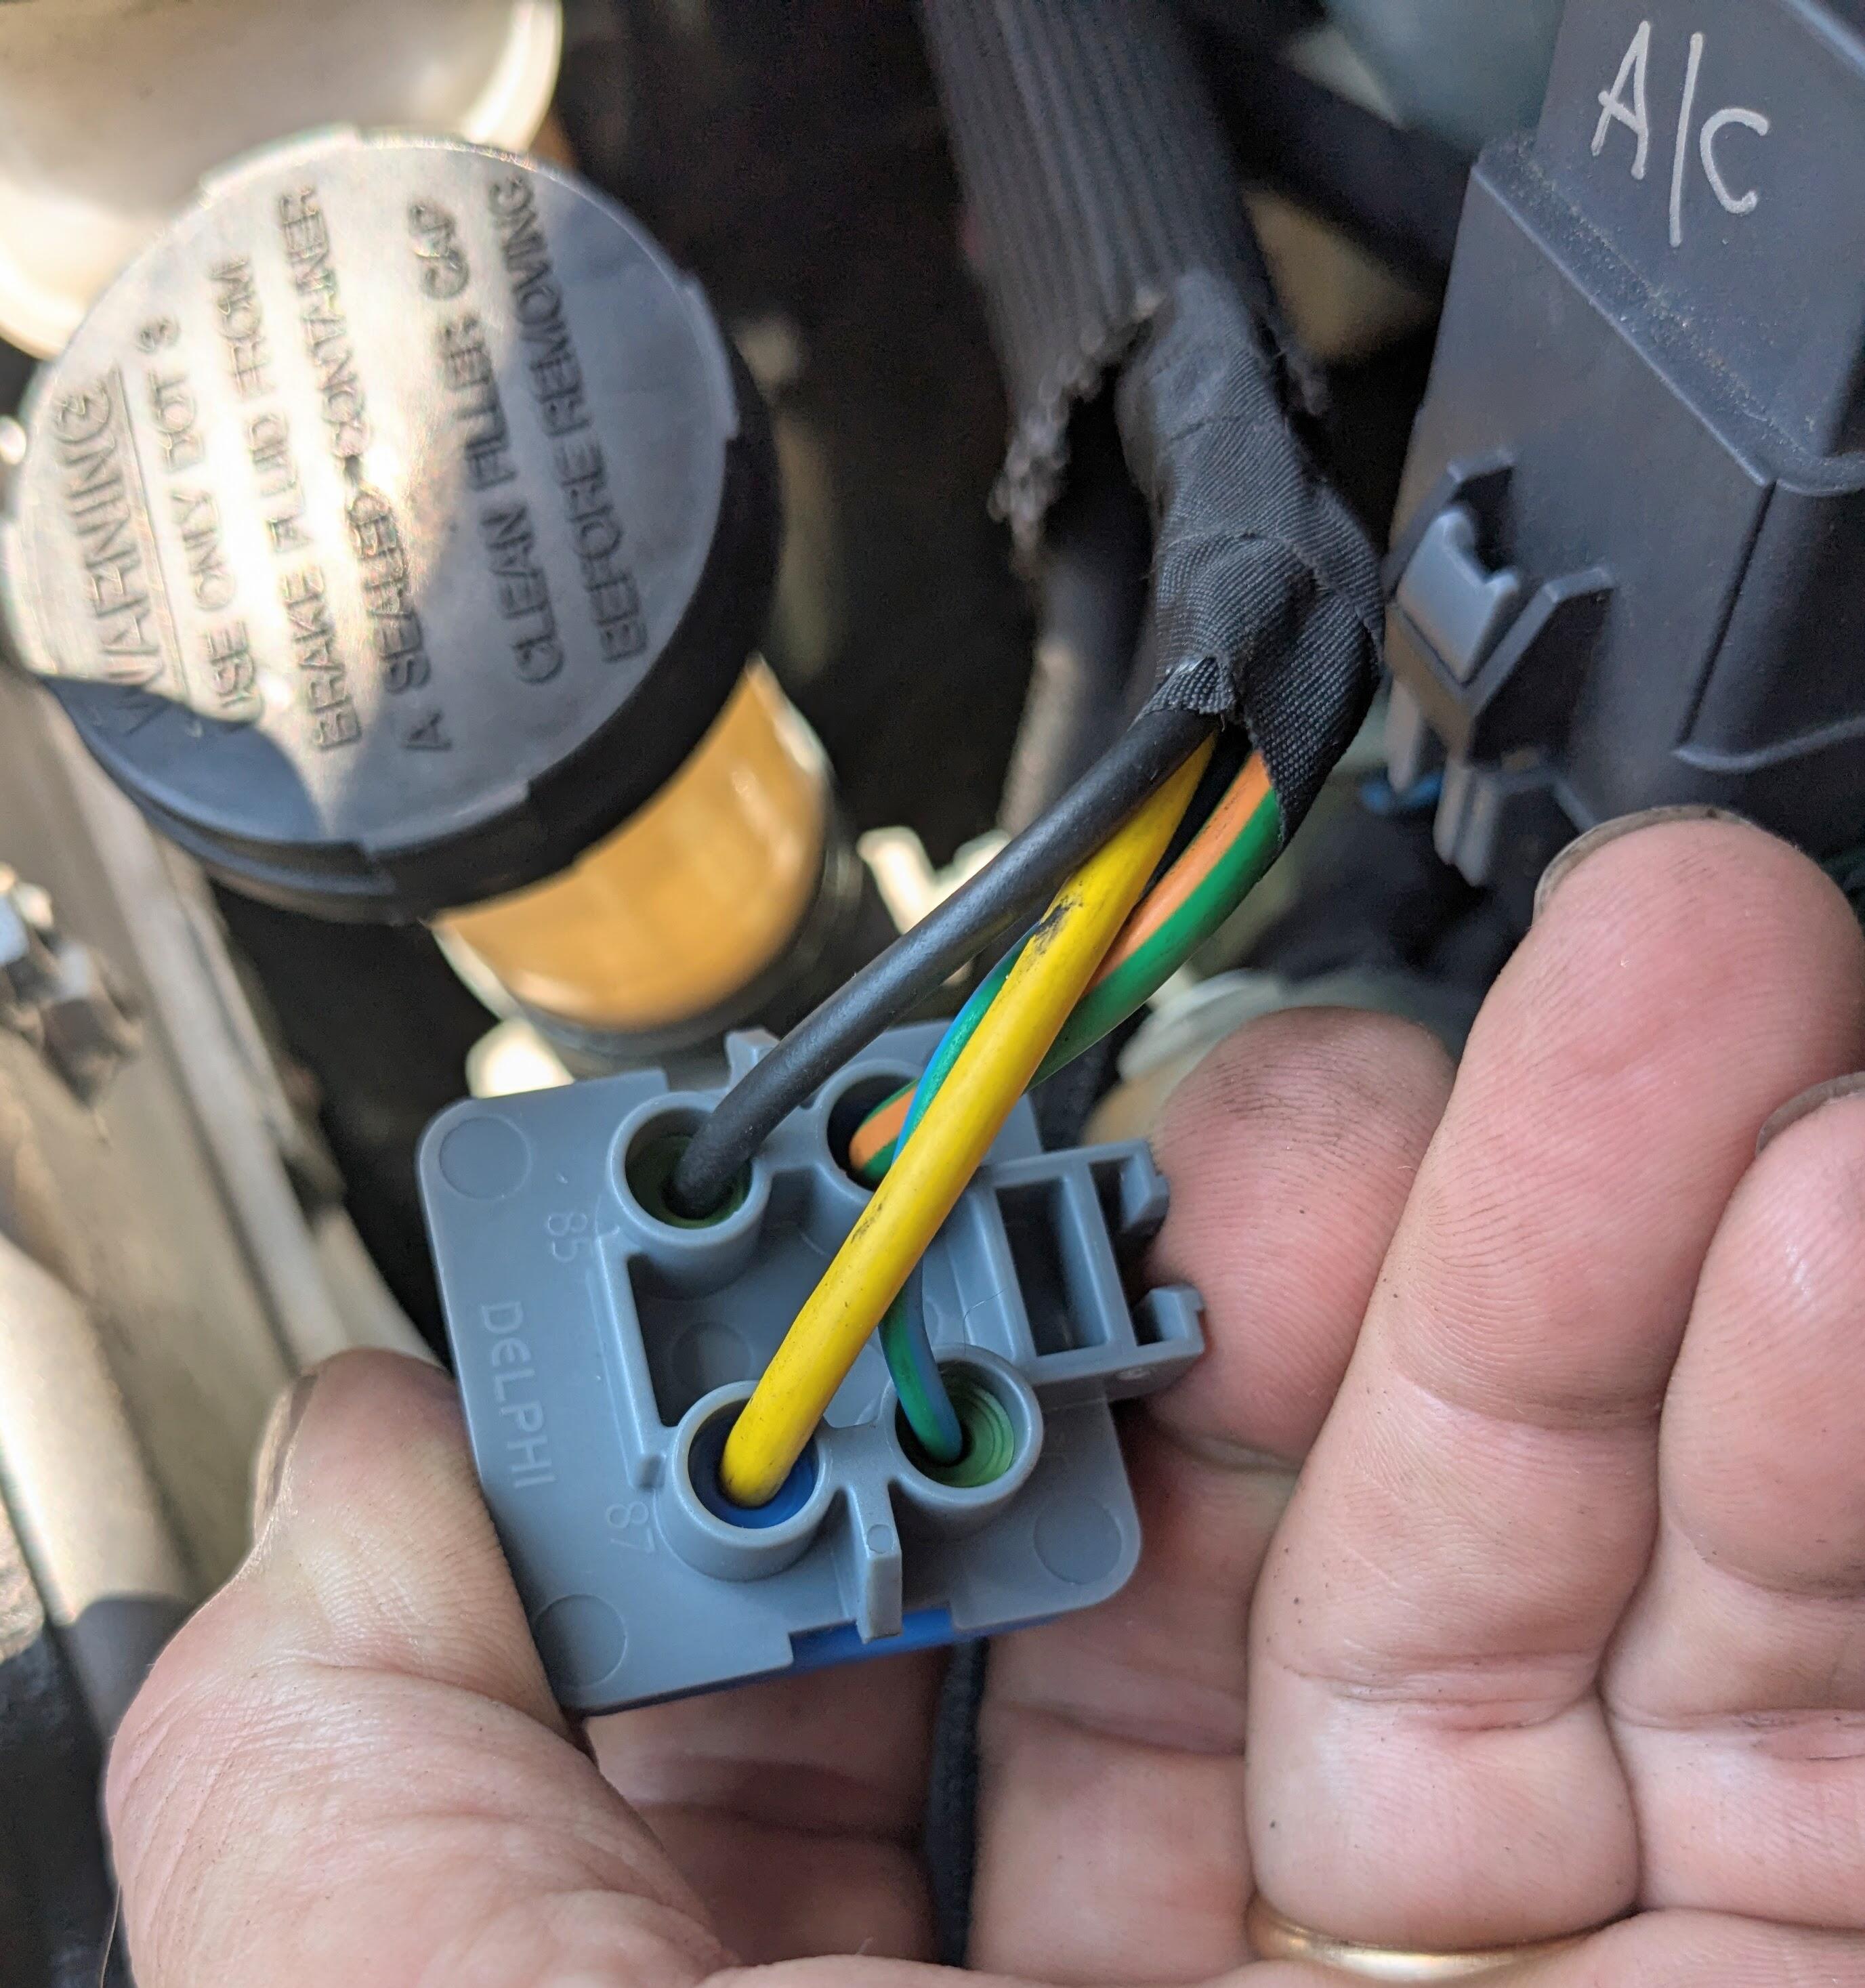
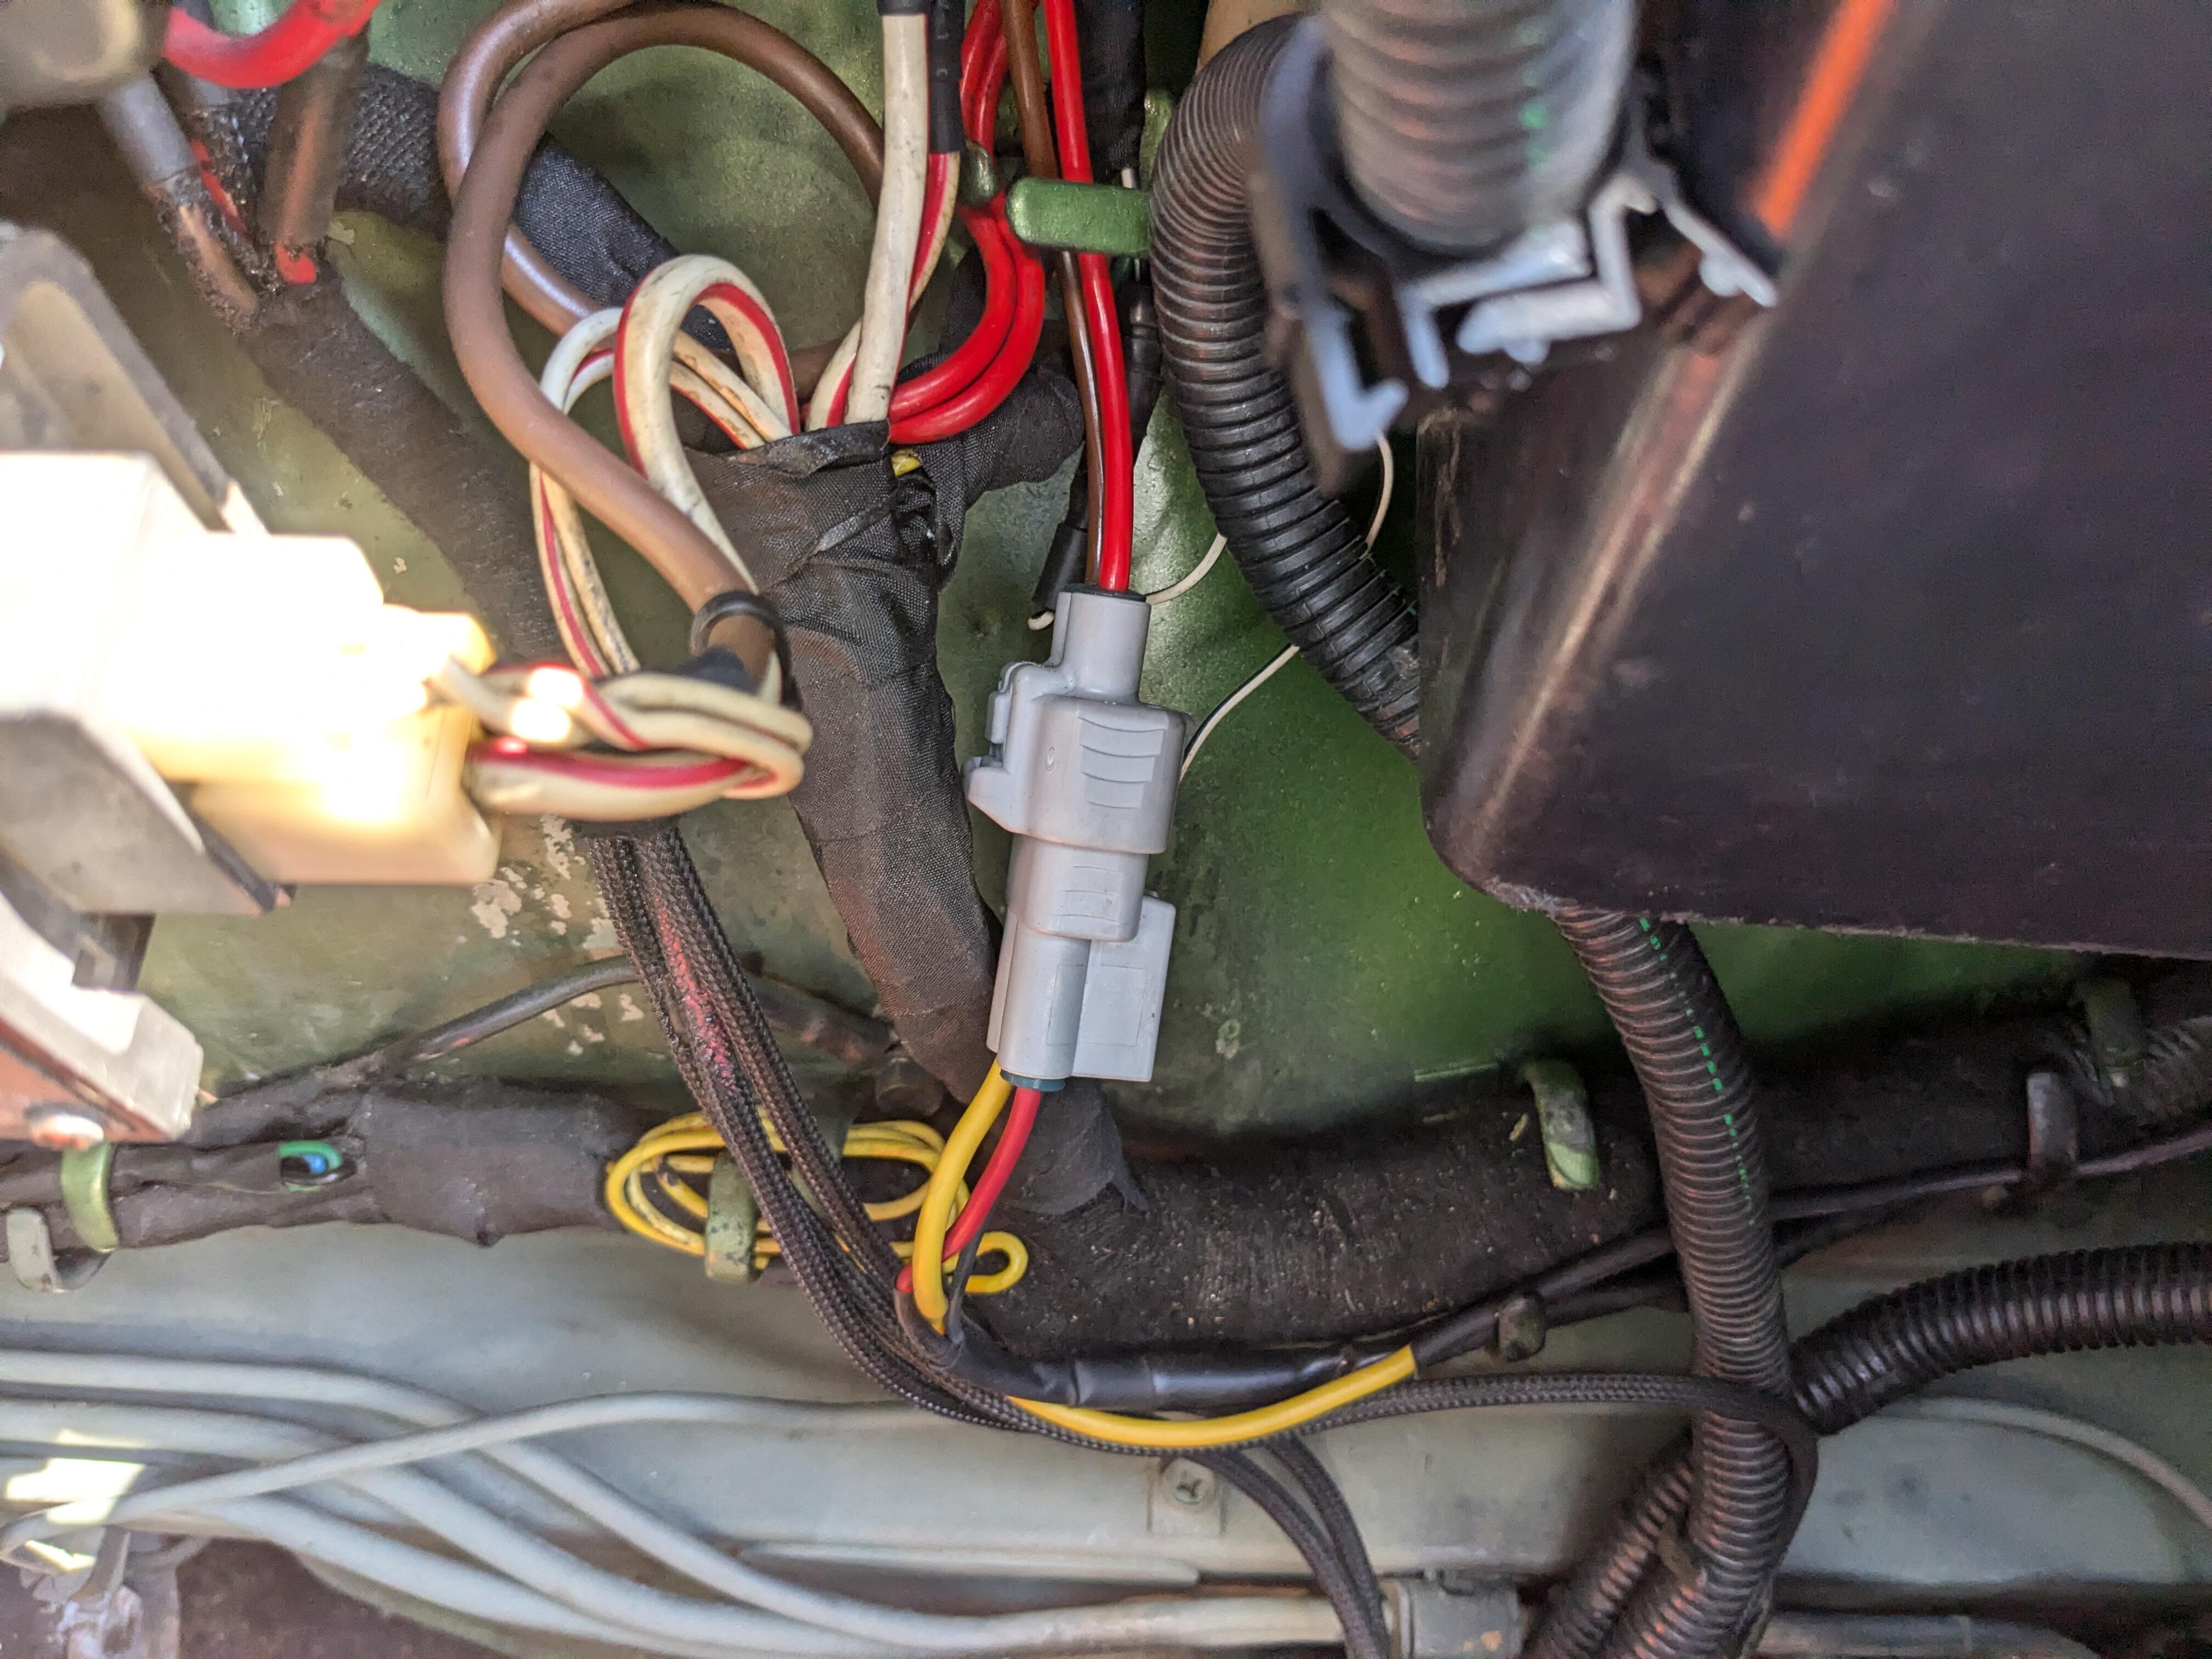
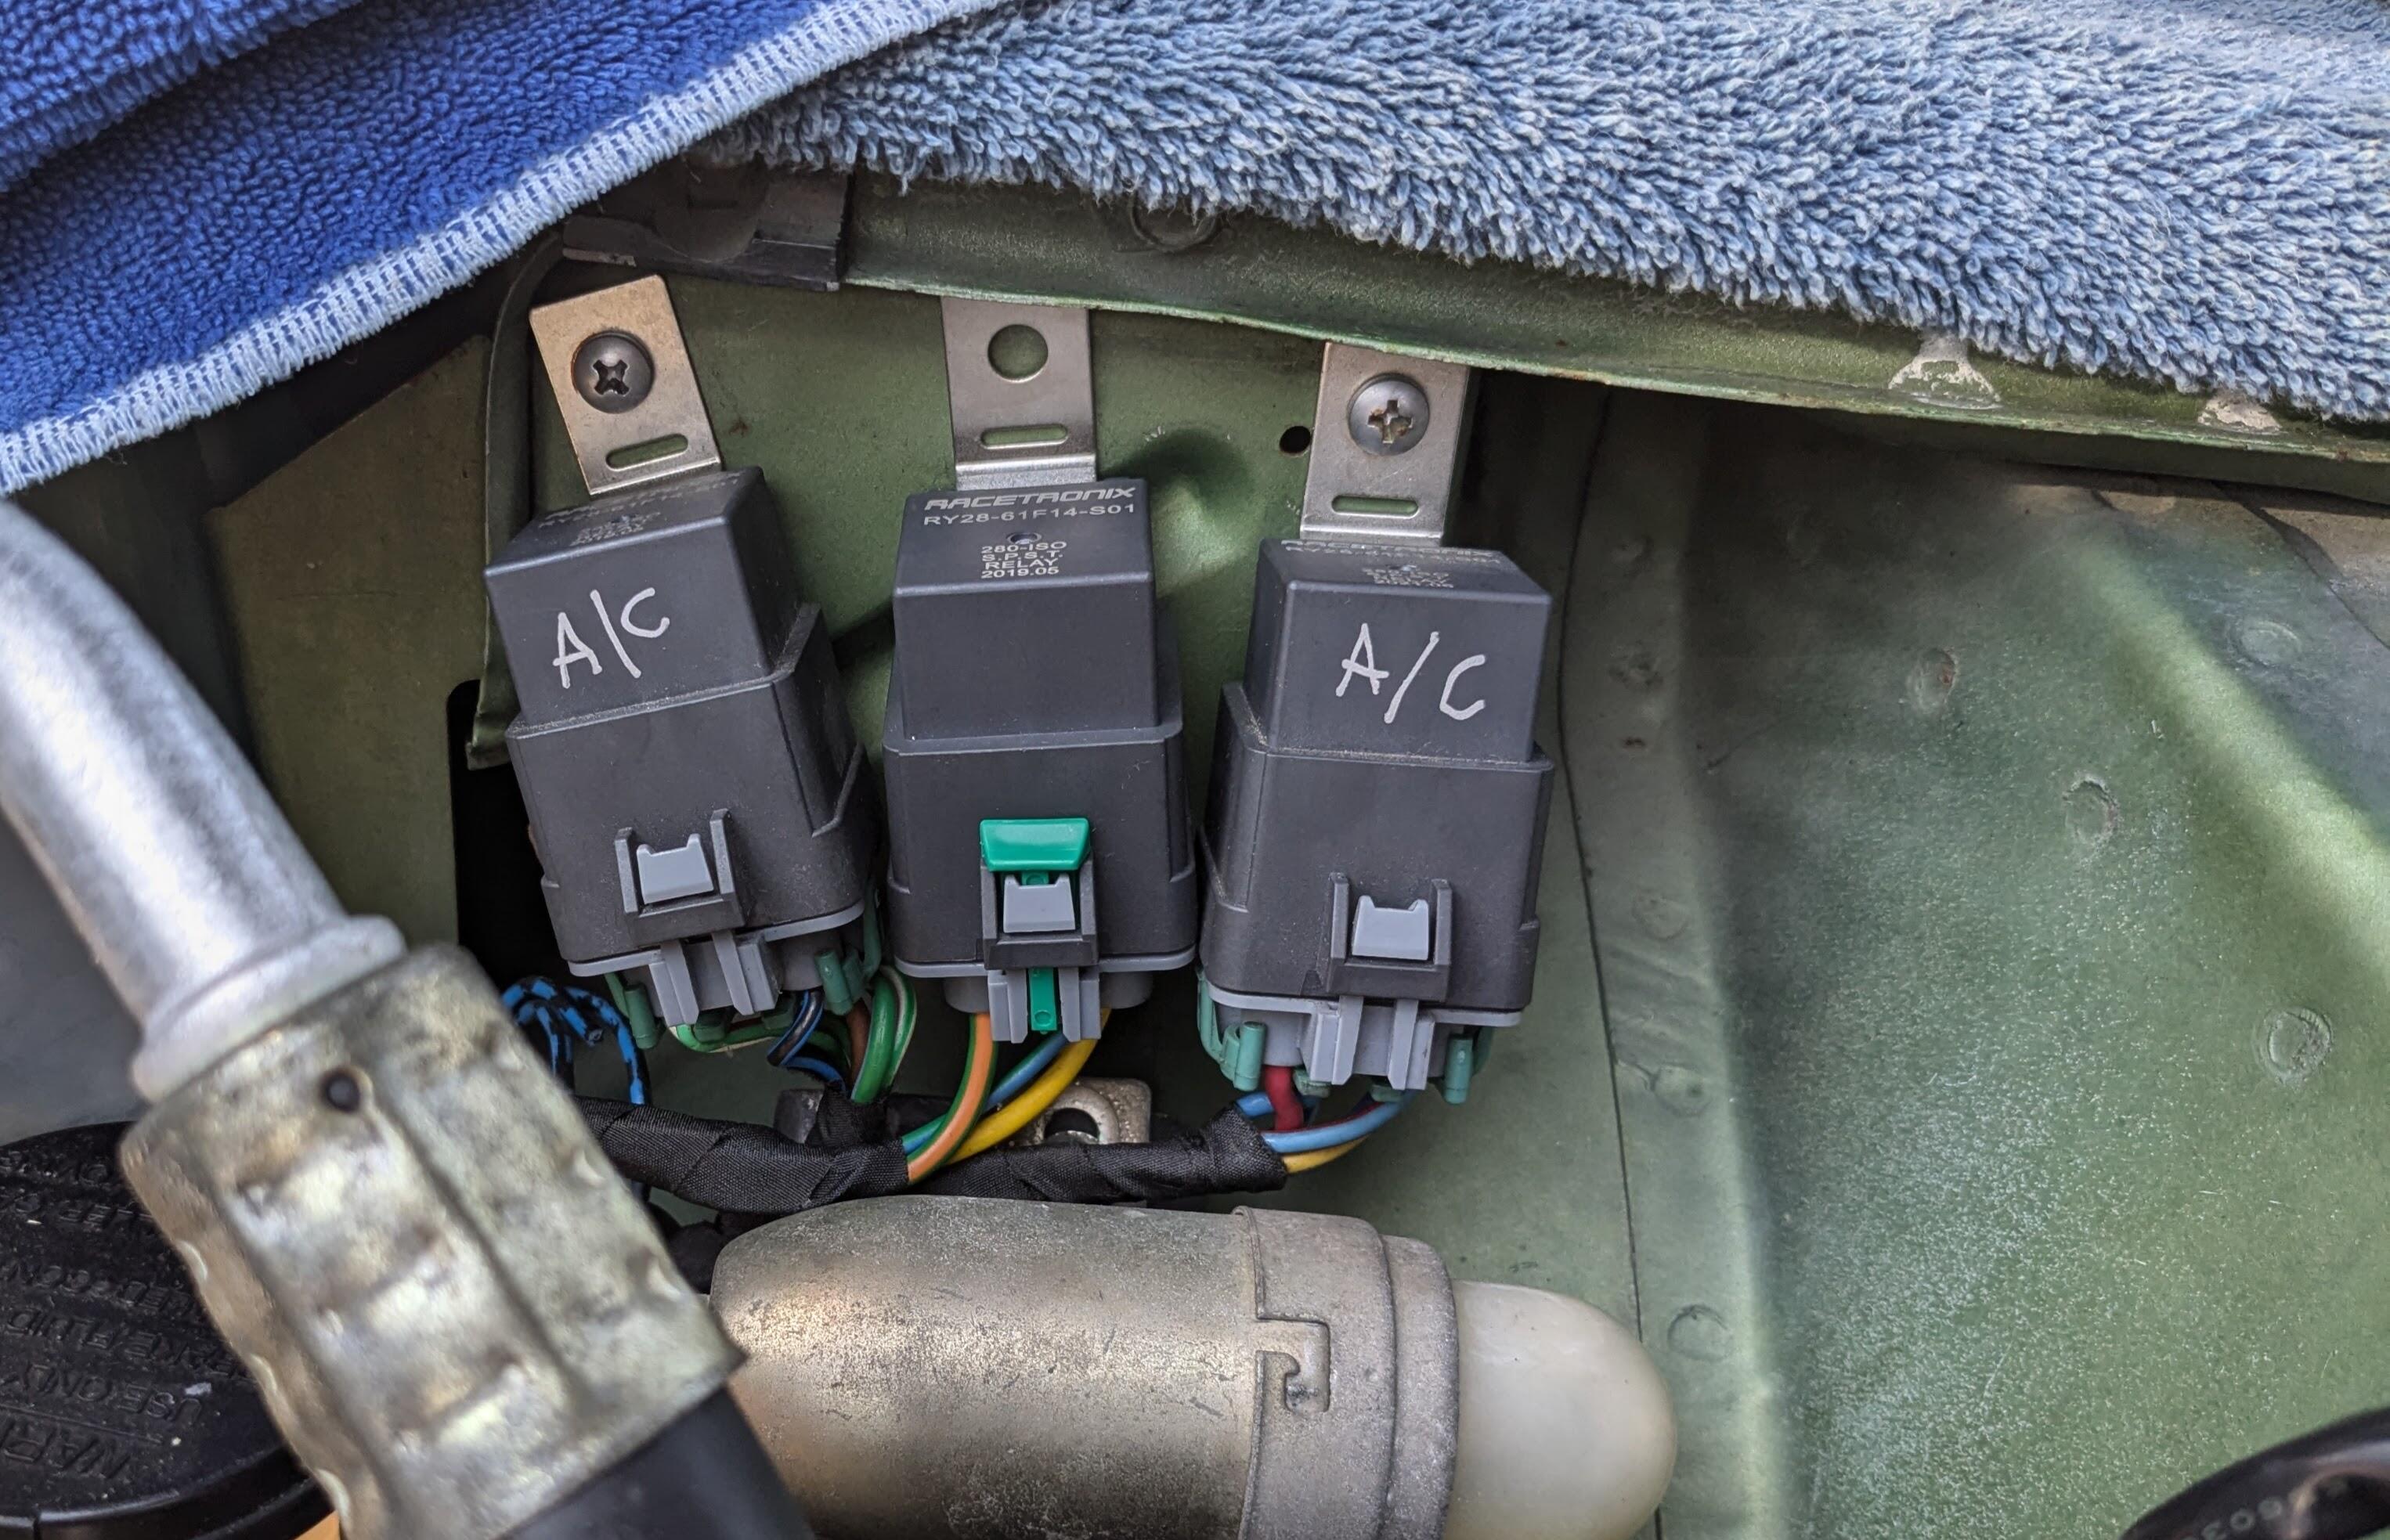
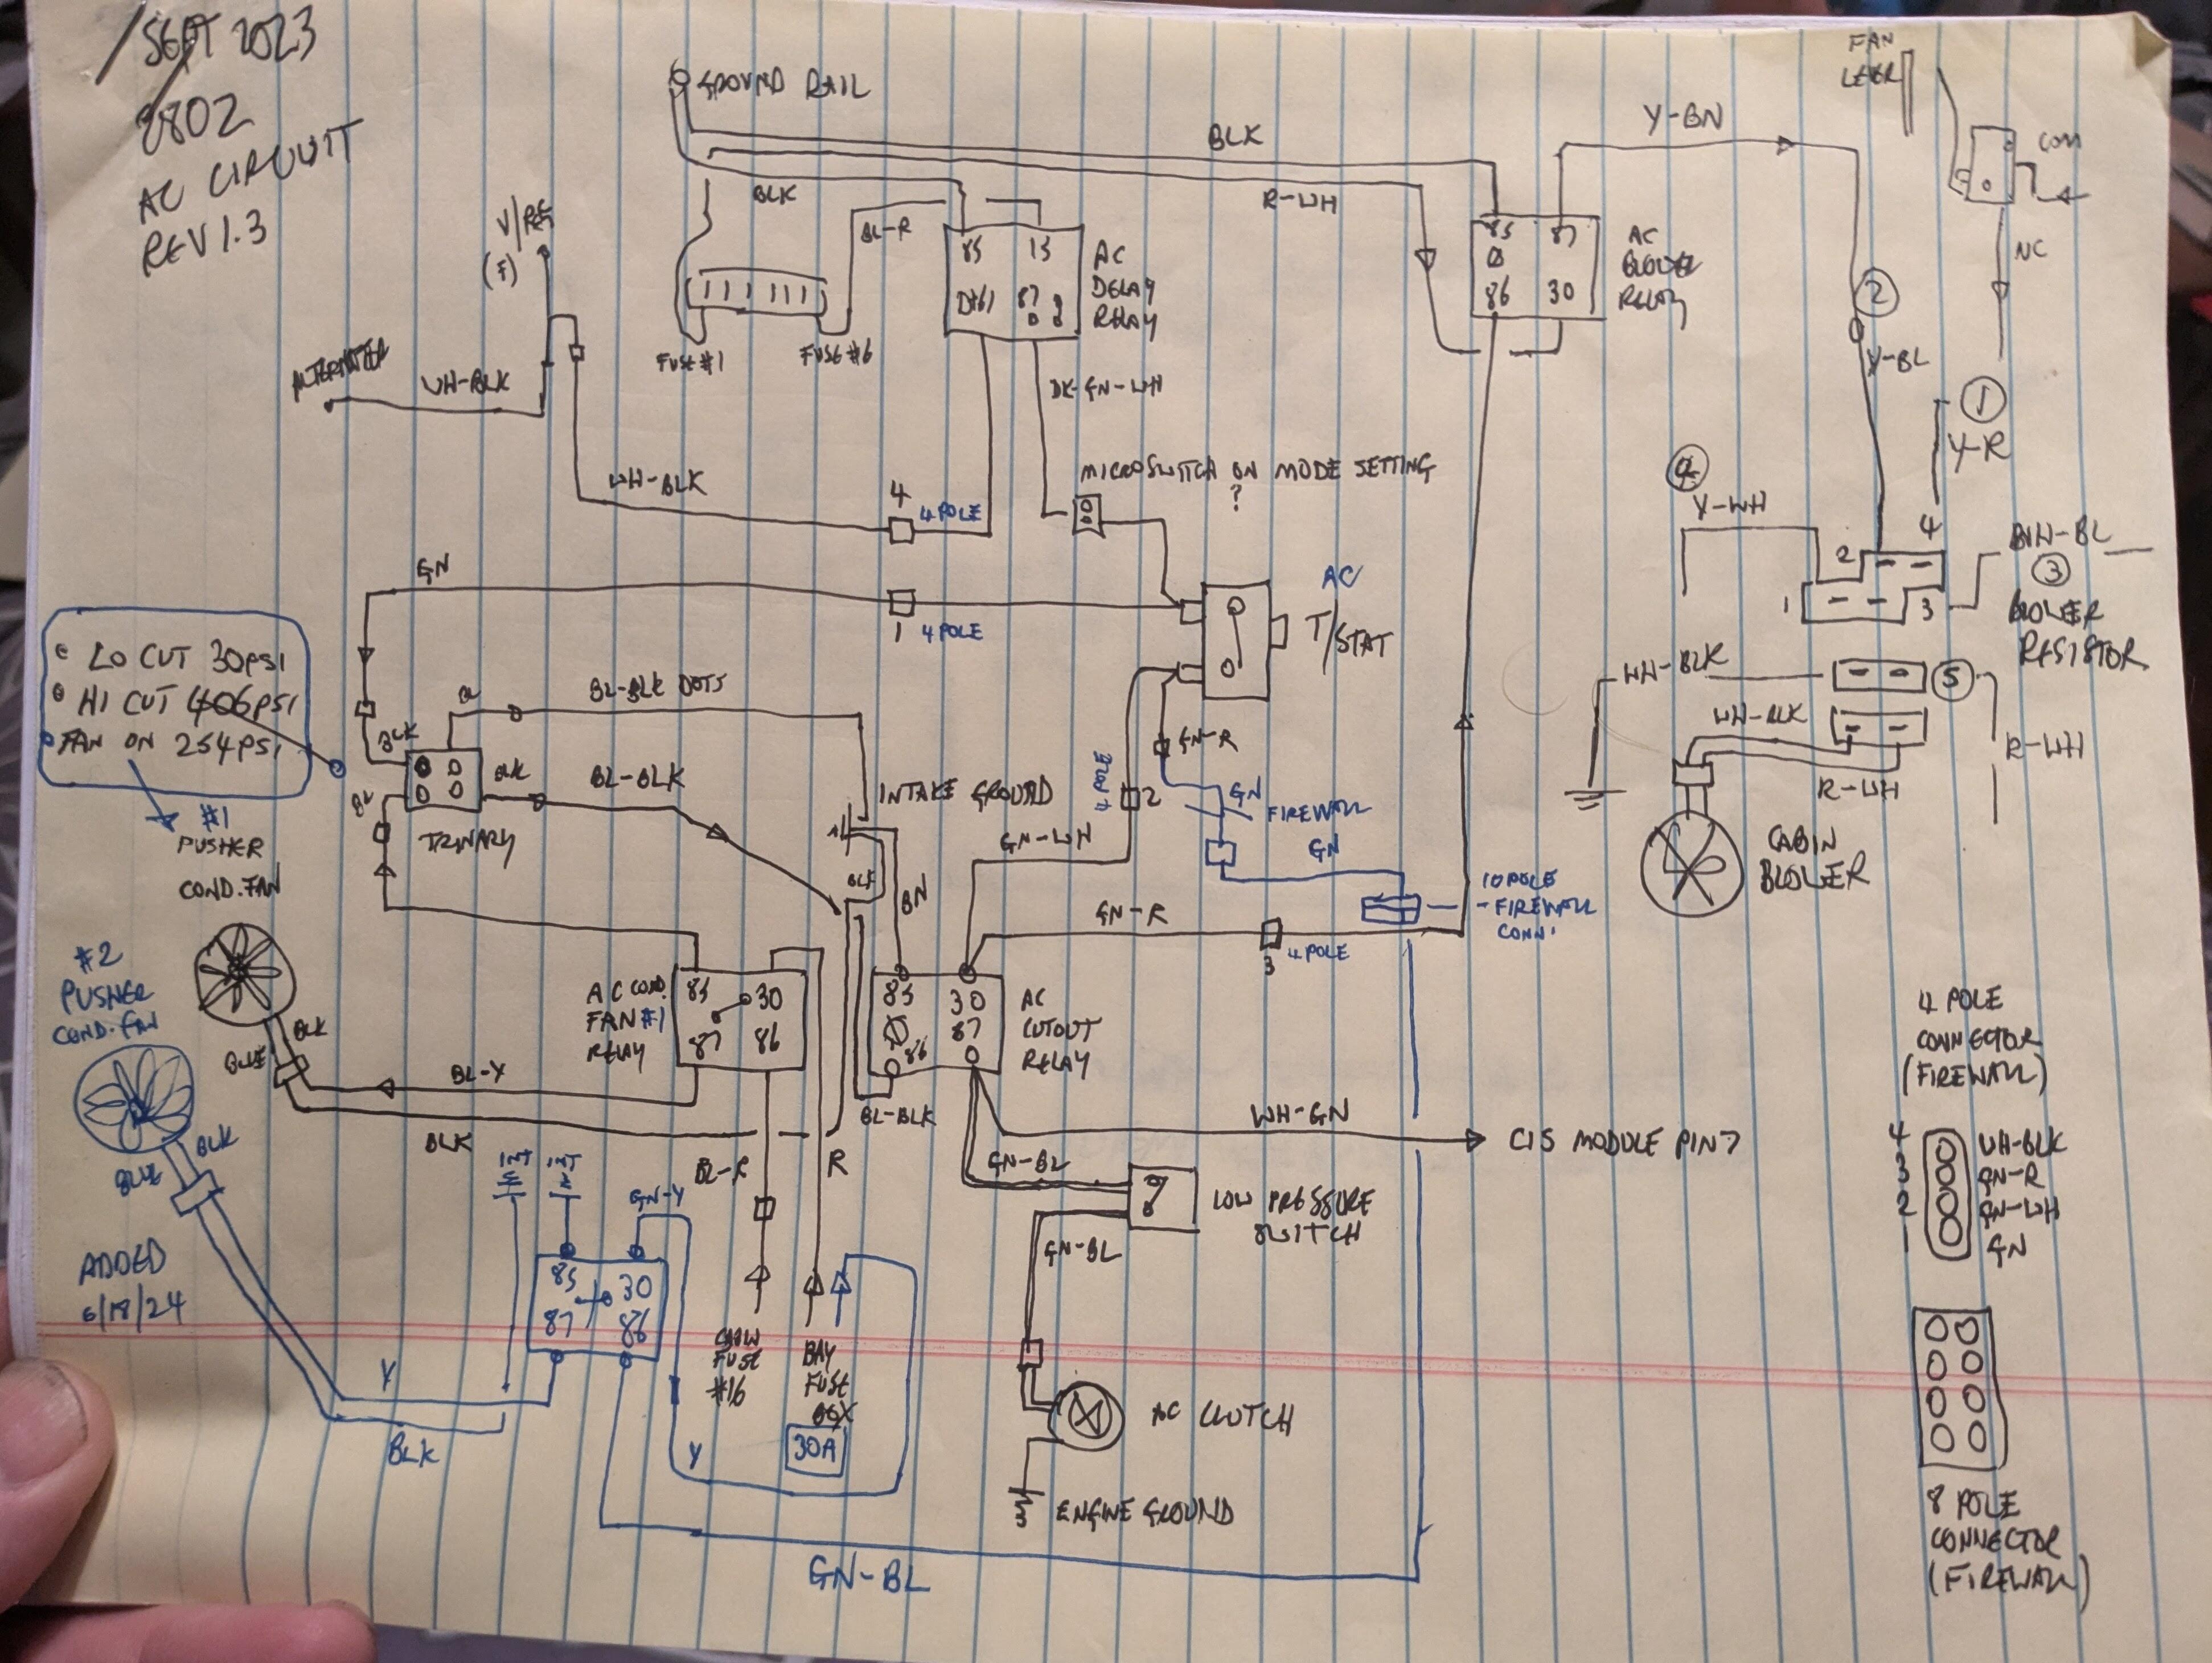
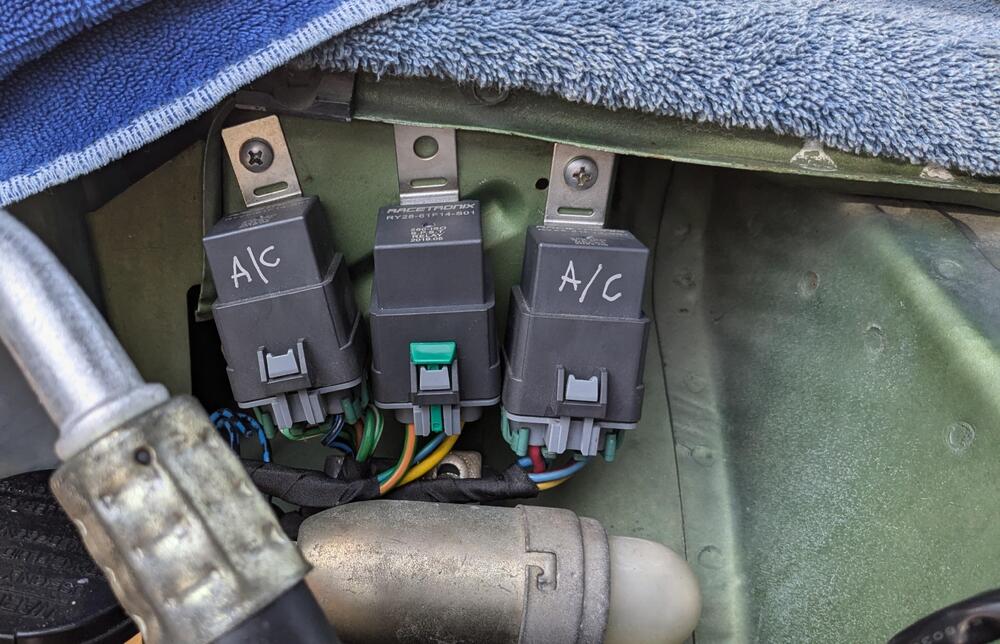
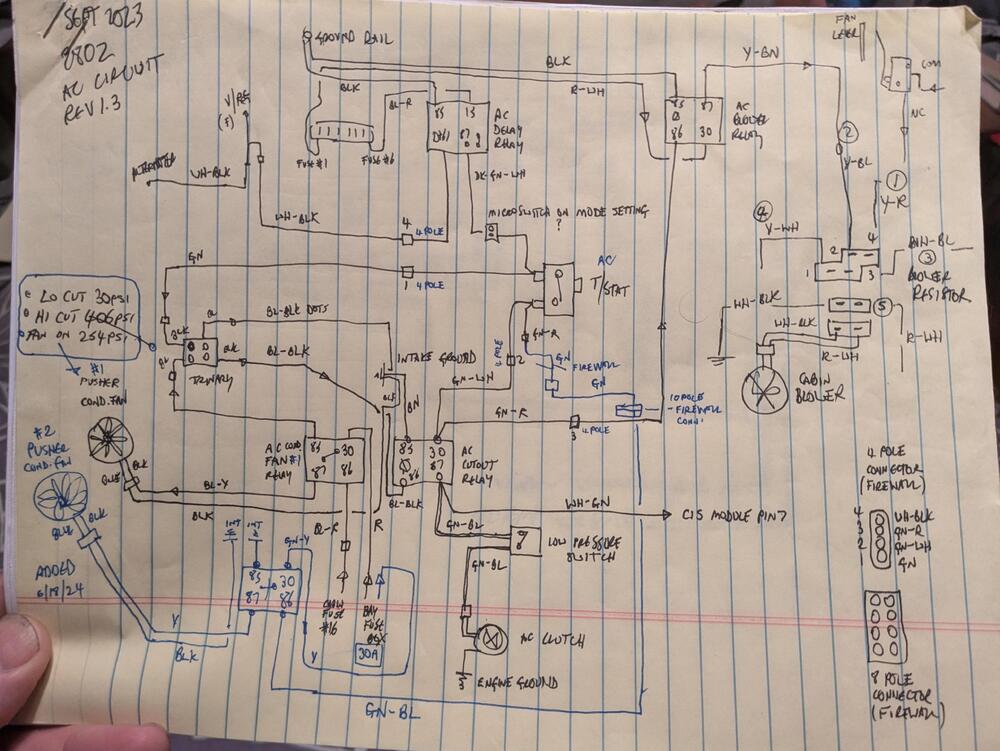
Did the wiring for the 2nd fan. Took awhile. I ended up running a completely new circuit instead of tapping into an existing. Relay connections Racetronix SPST (Delphi components) relays fused power (Y) Switched power from AC T/stat (Gn) 90ºF outside - duct temp 55ºF, not bad. I do need to recheck the system pressures. May need a little more freon (R134a)
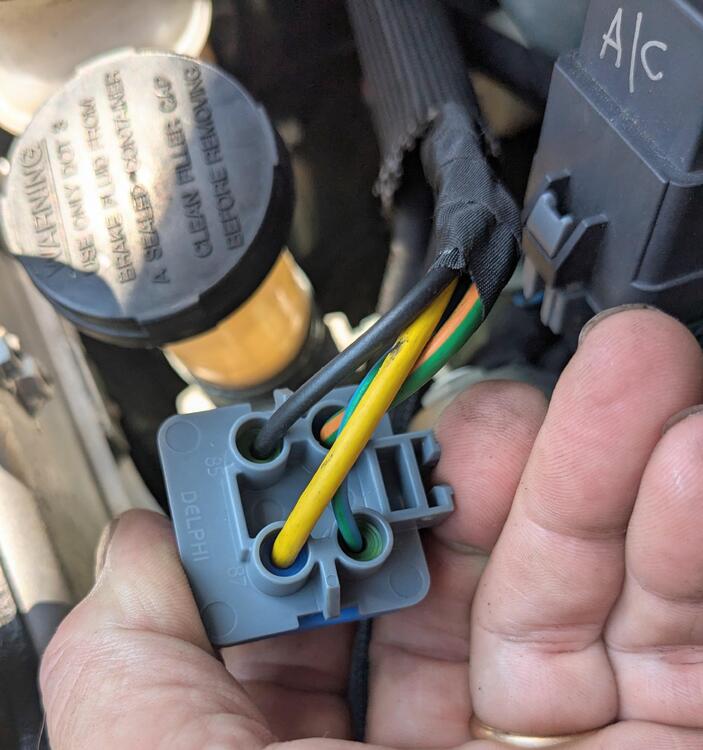
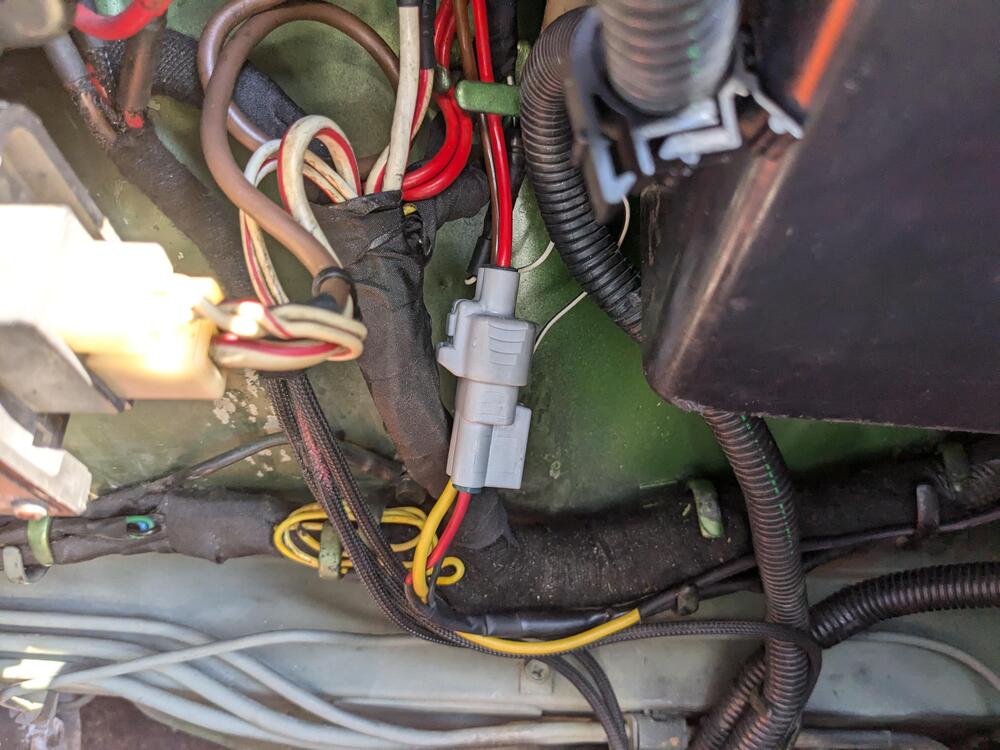

-
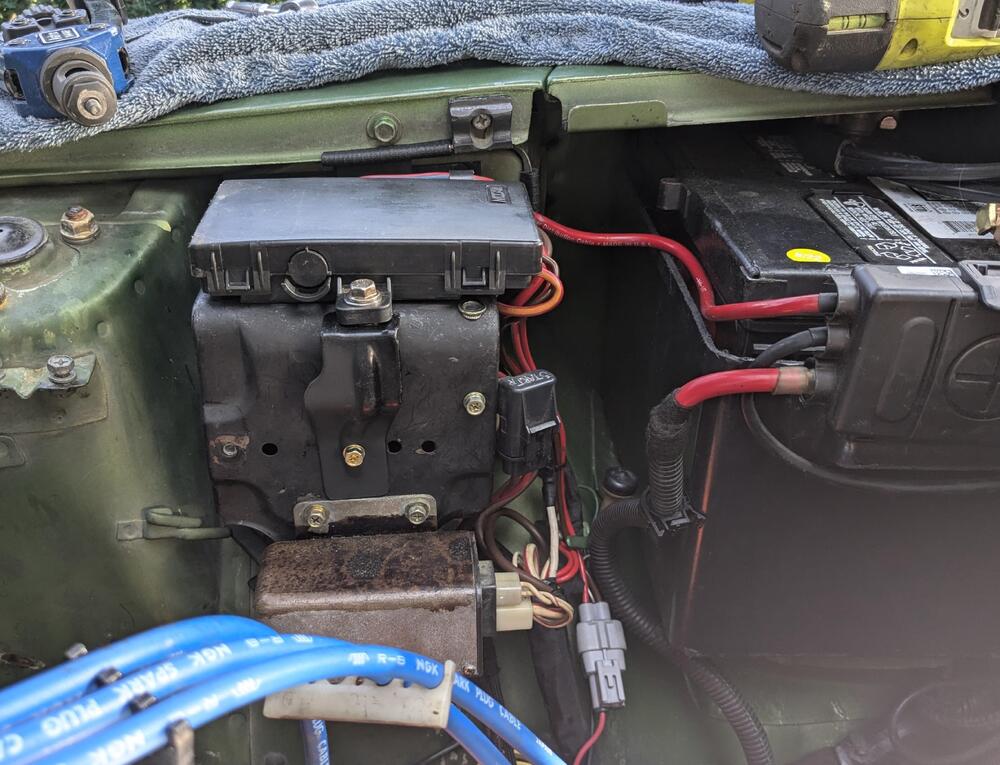
I repositioned the fuse sub panel - to somewhat conceal all the wiring
-
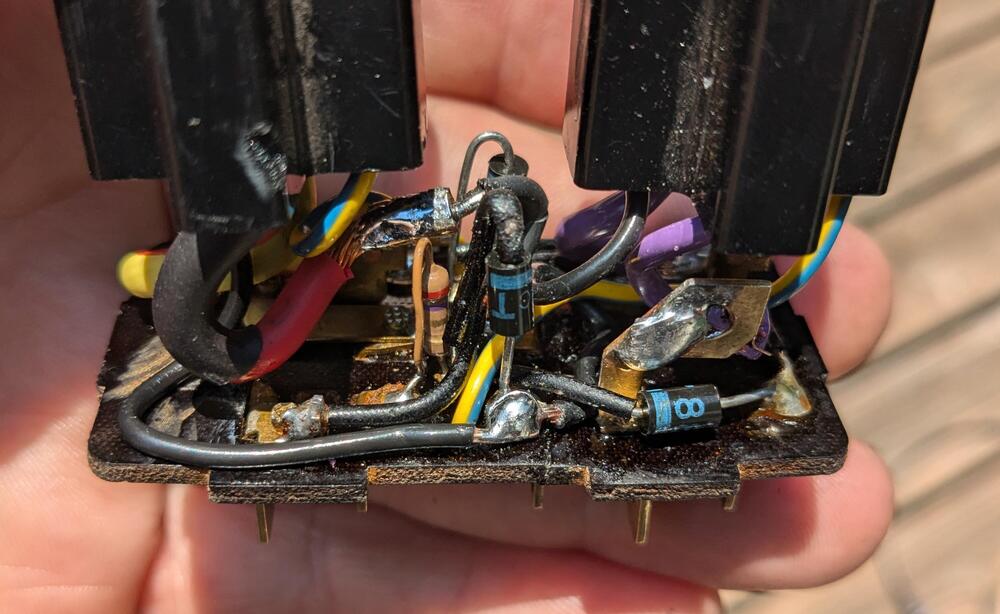
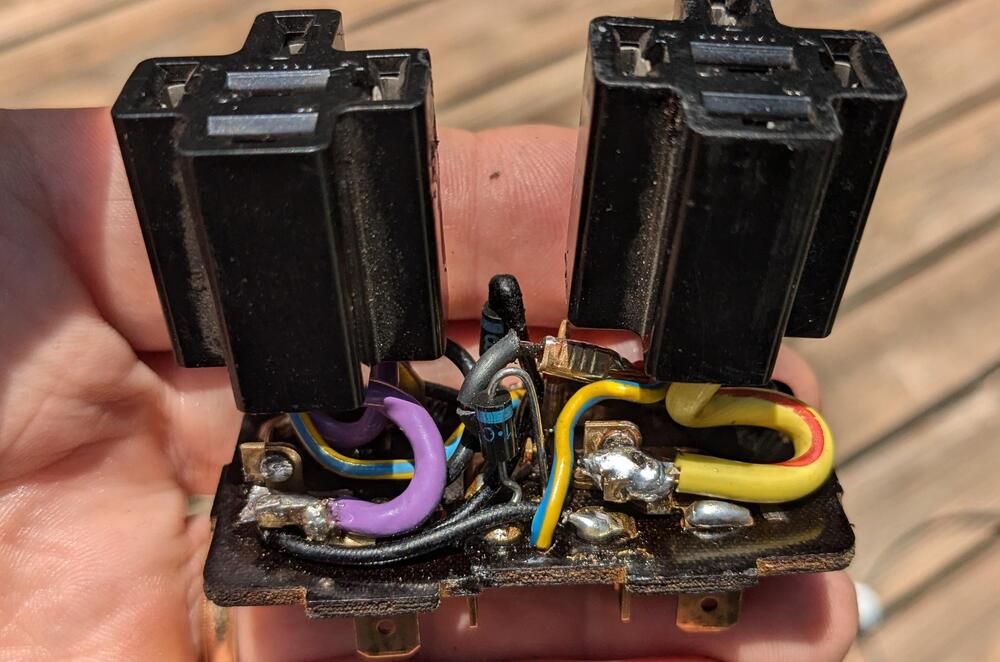
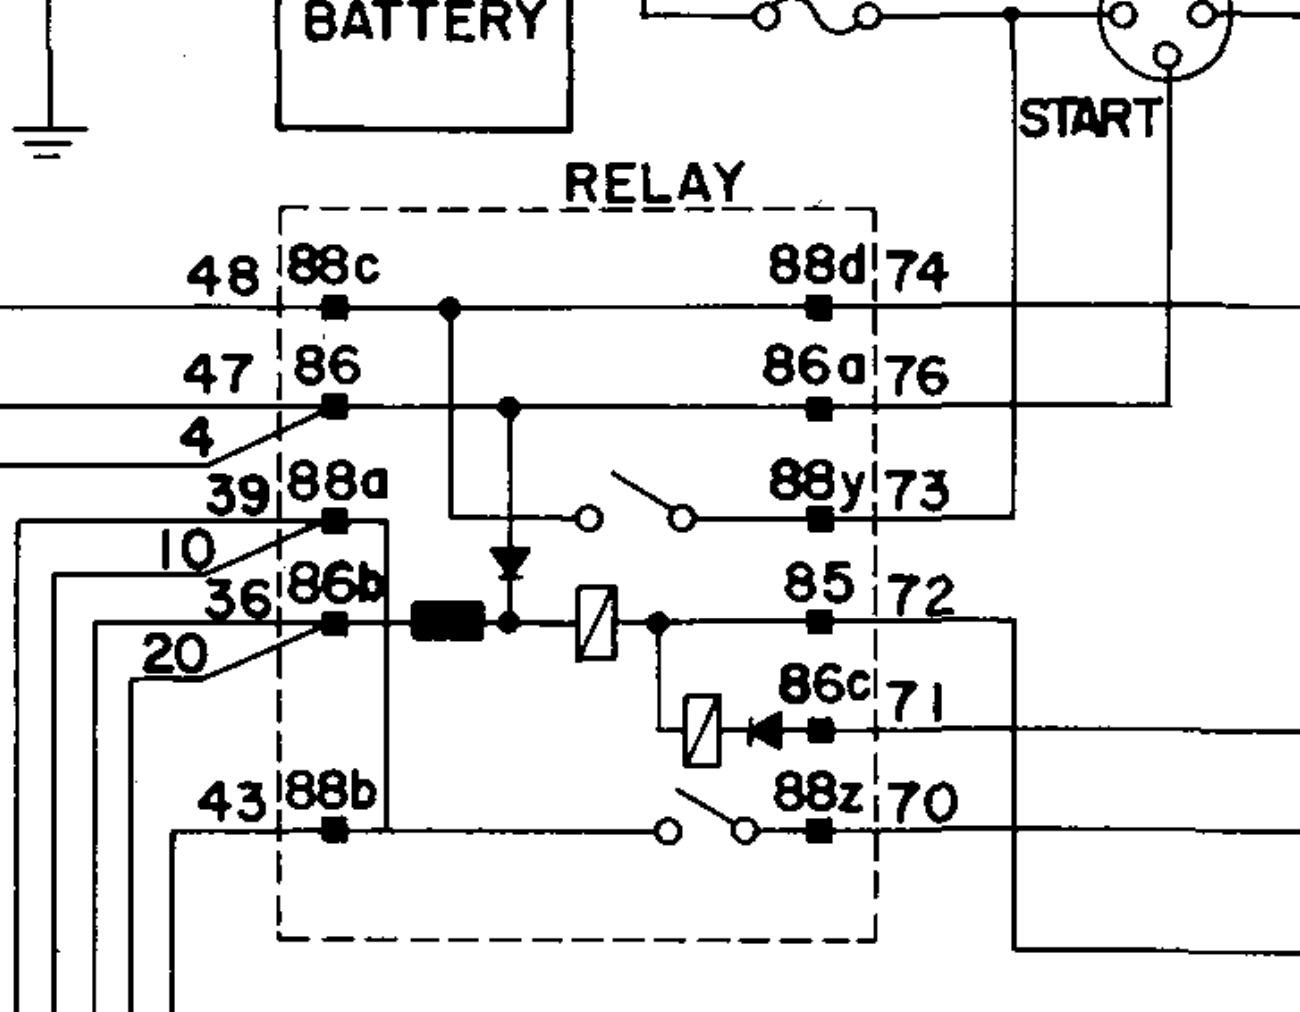
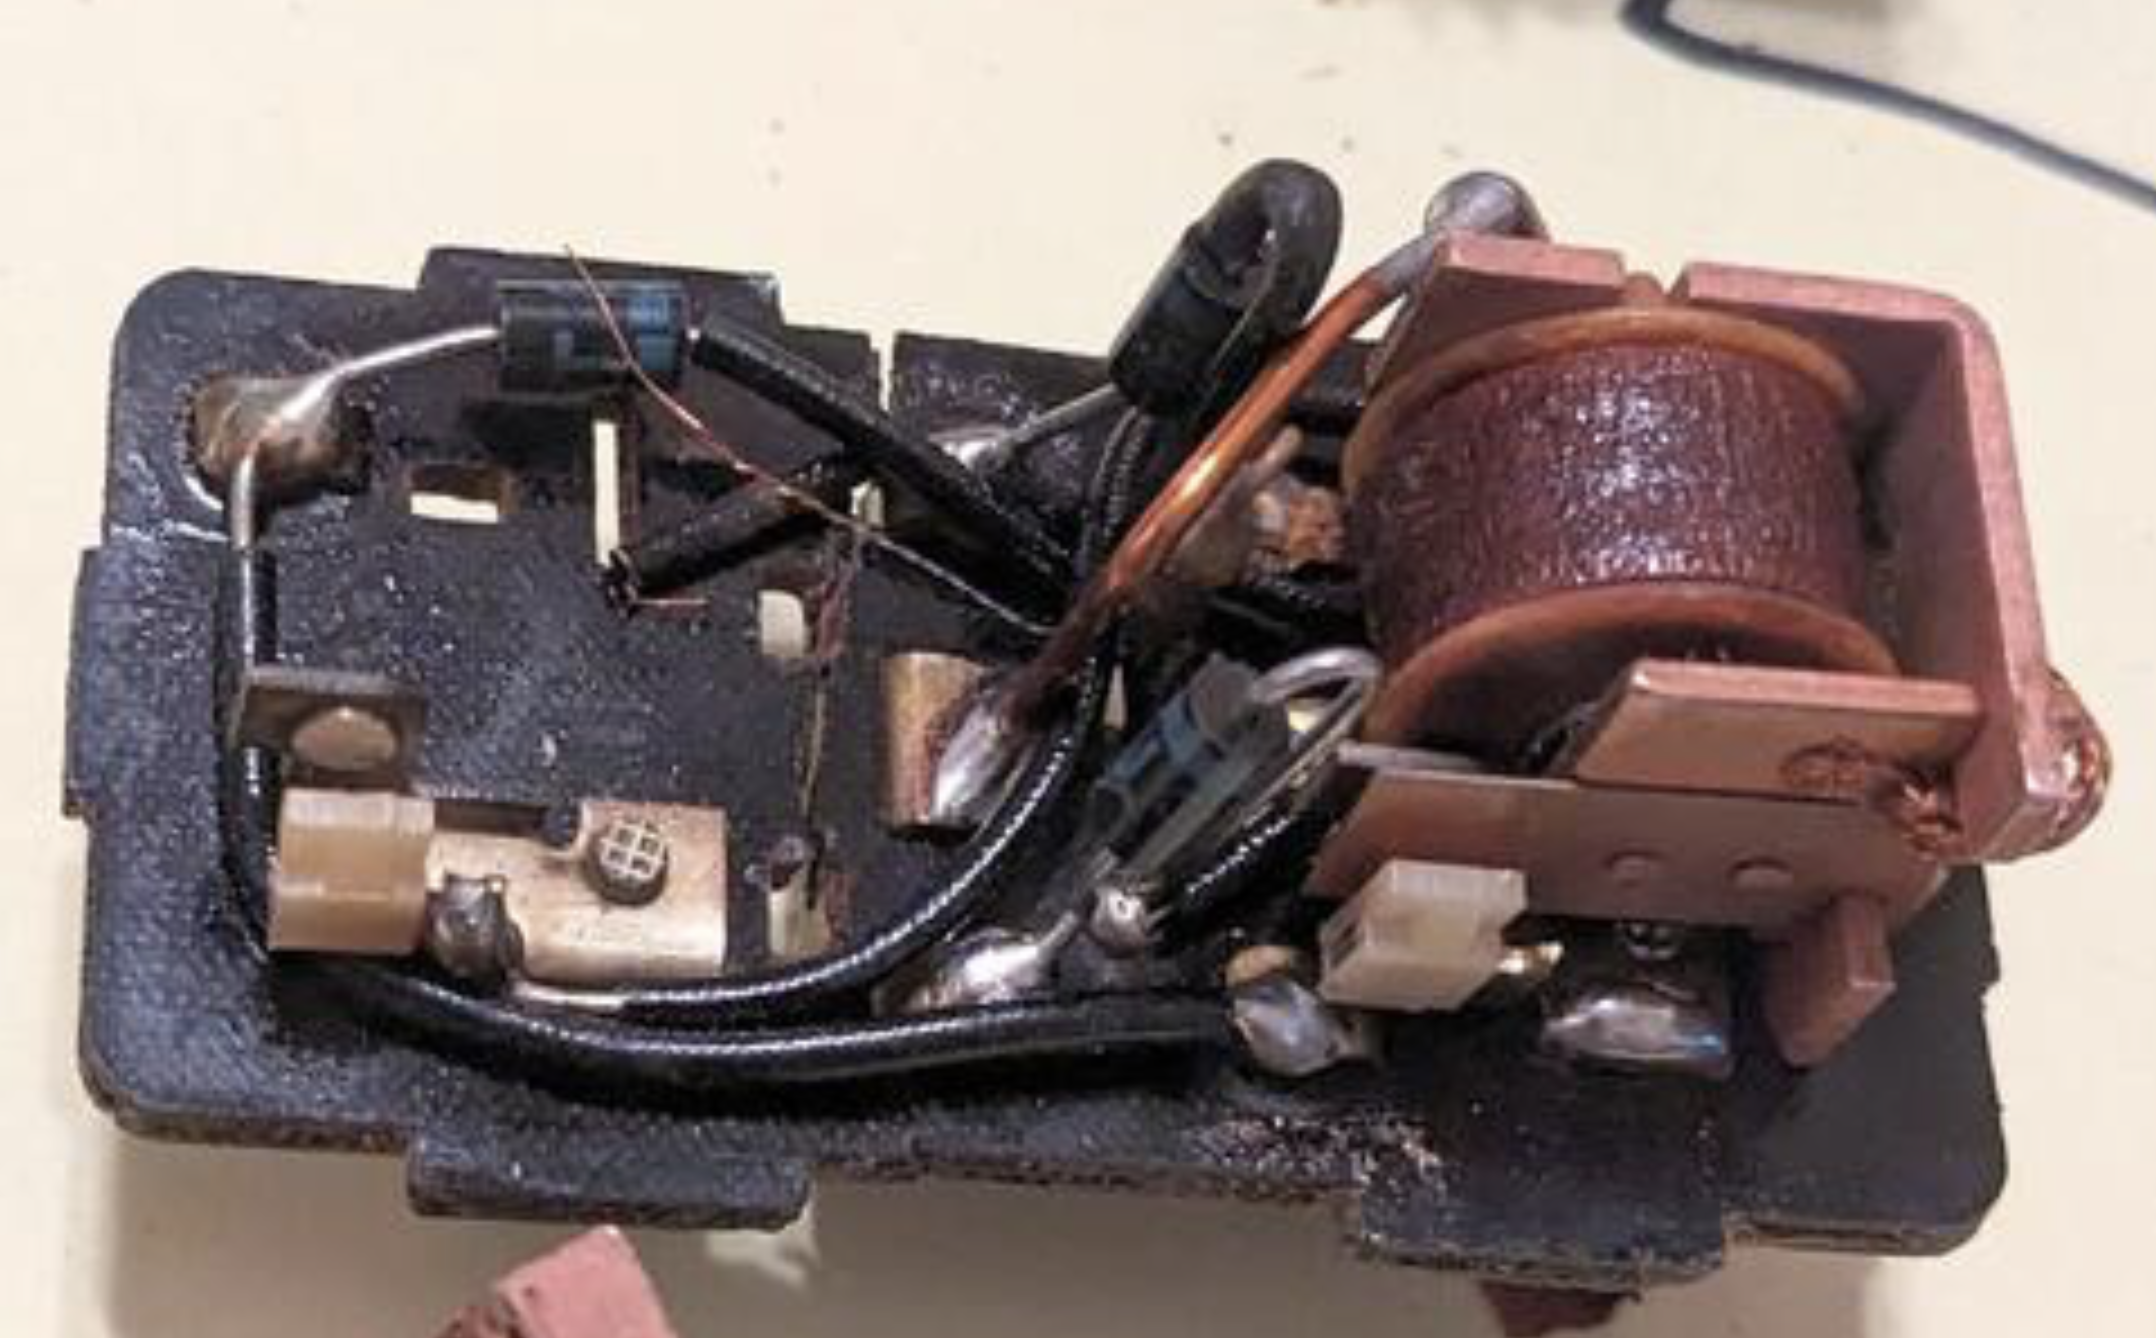
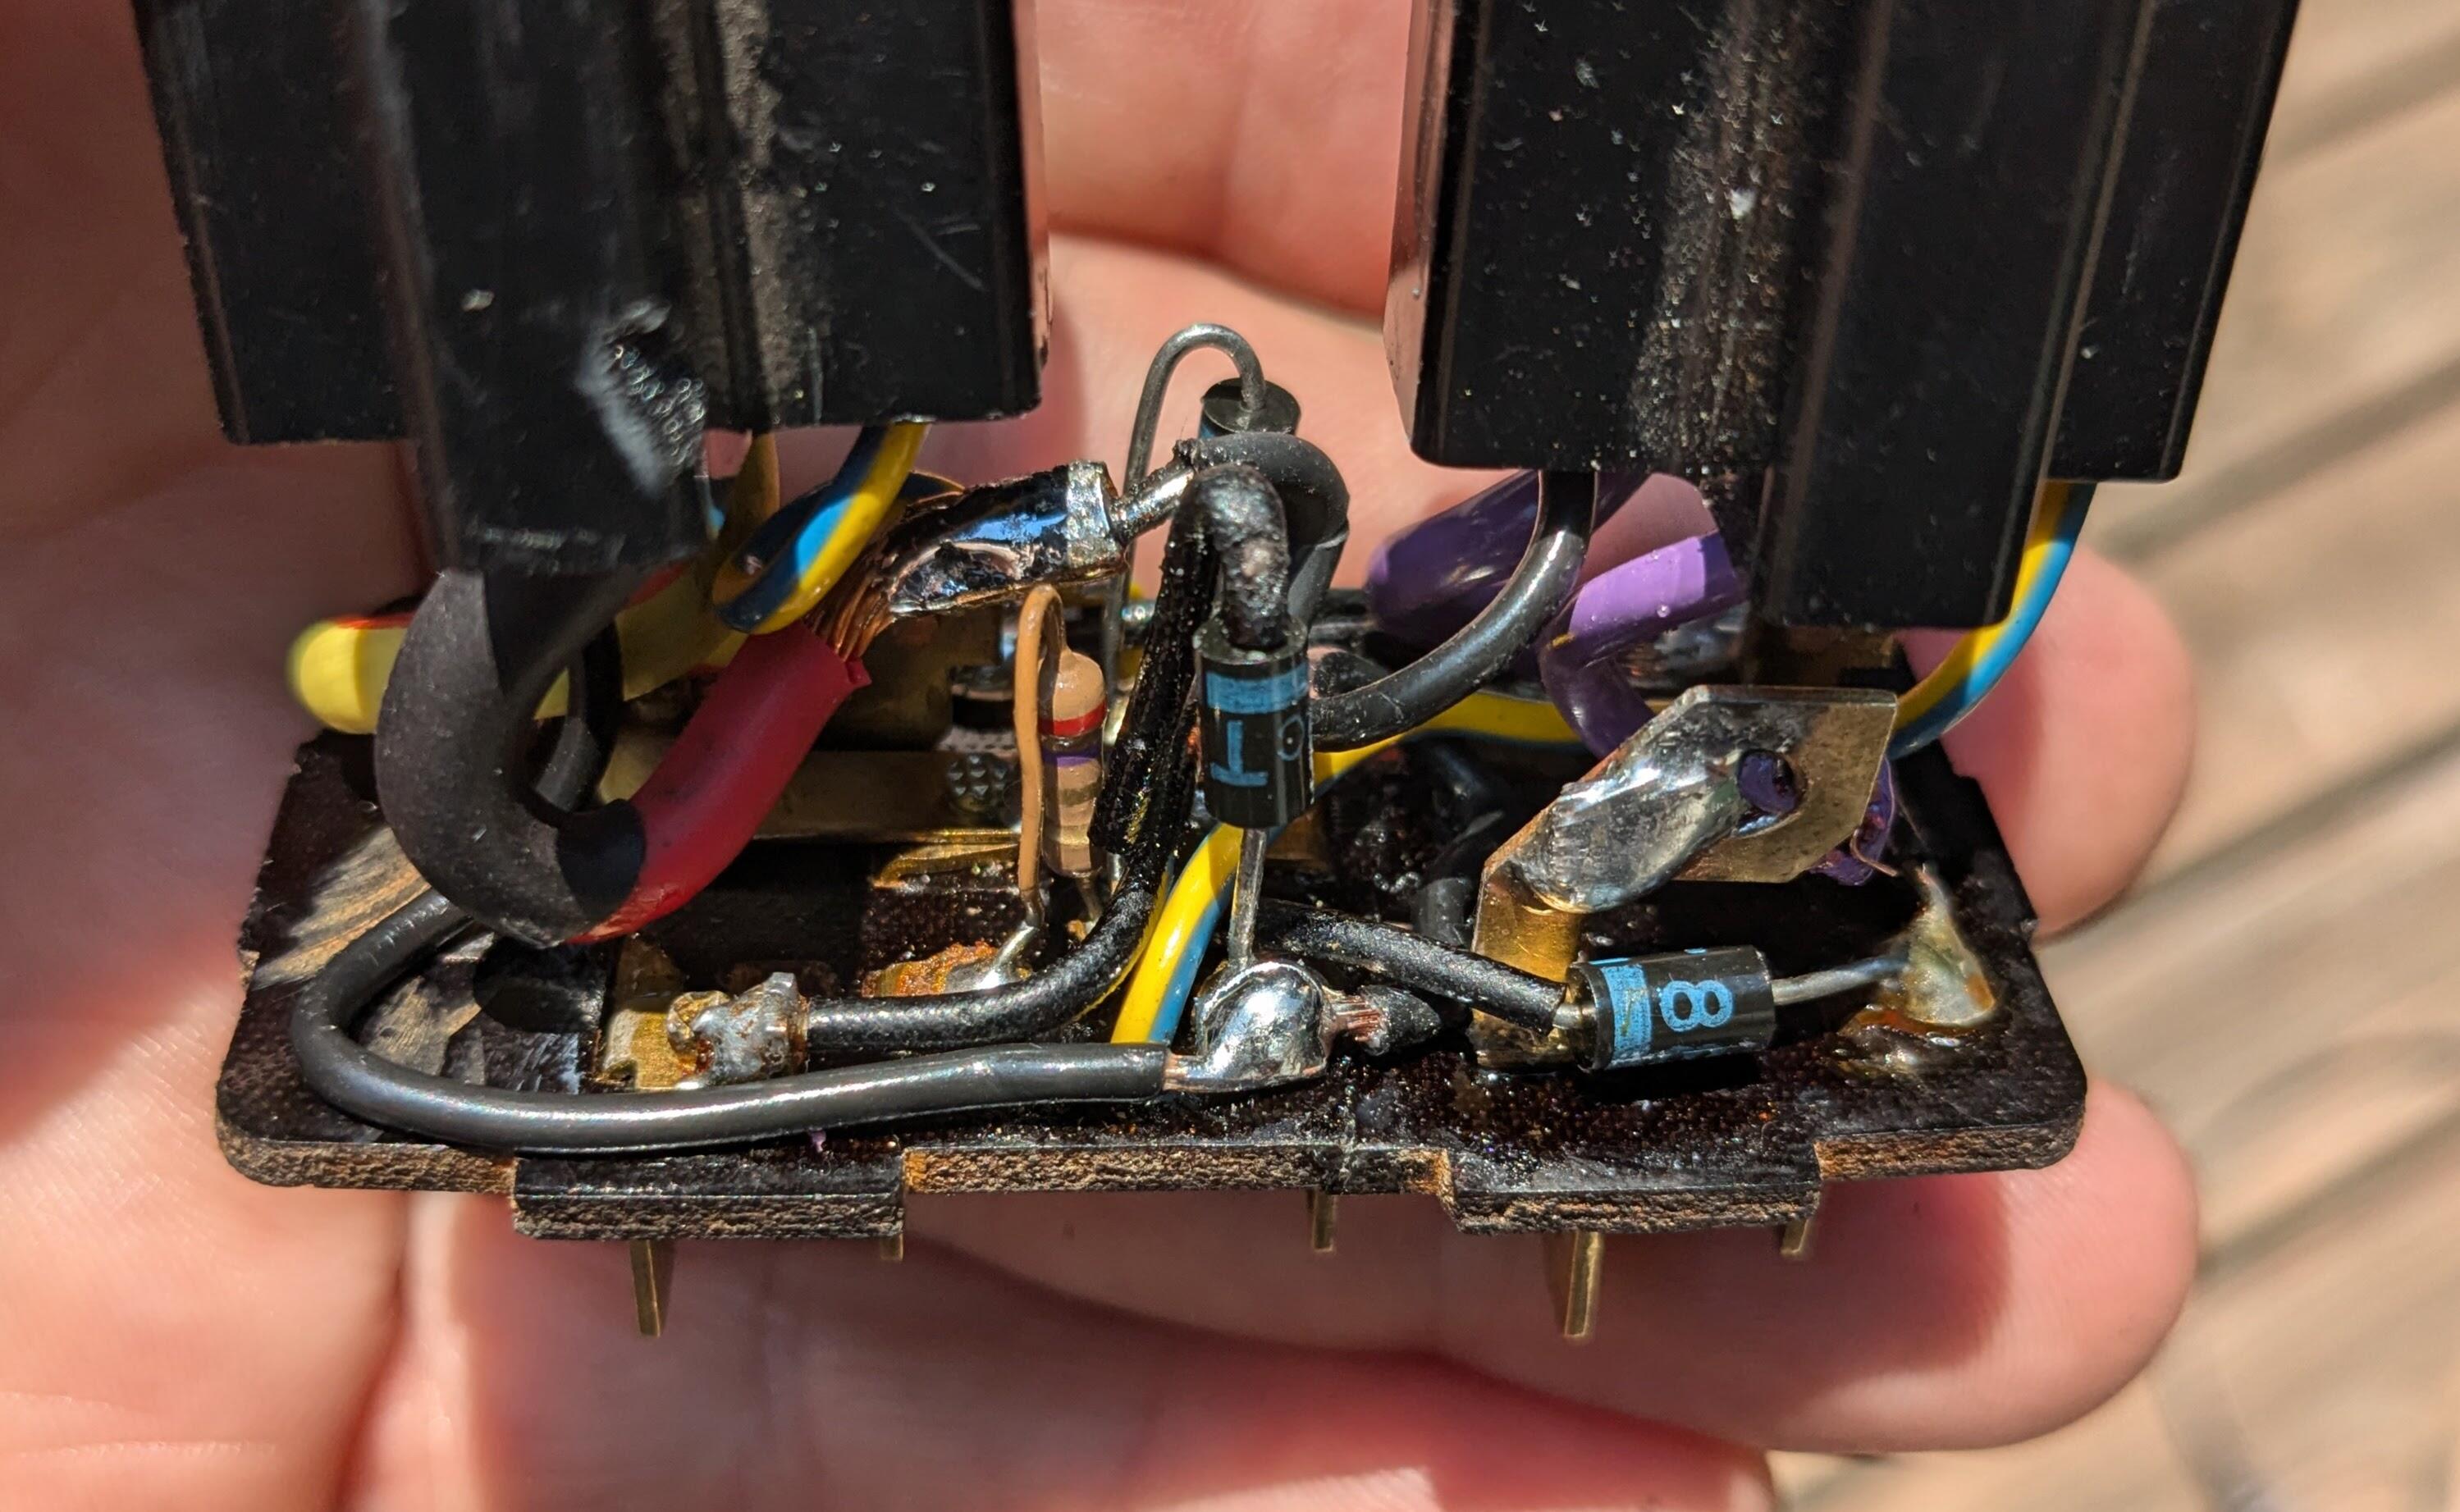
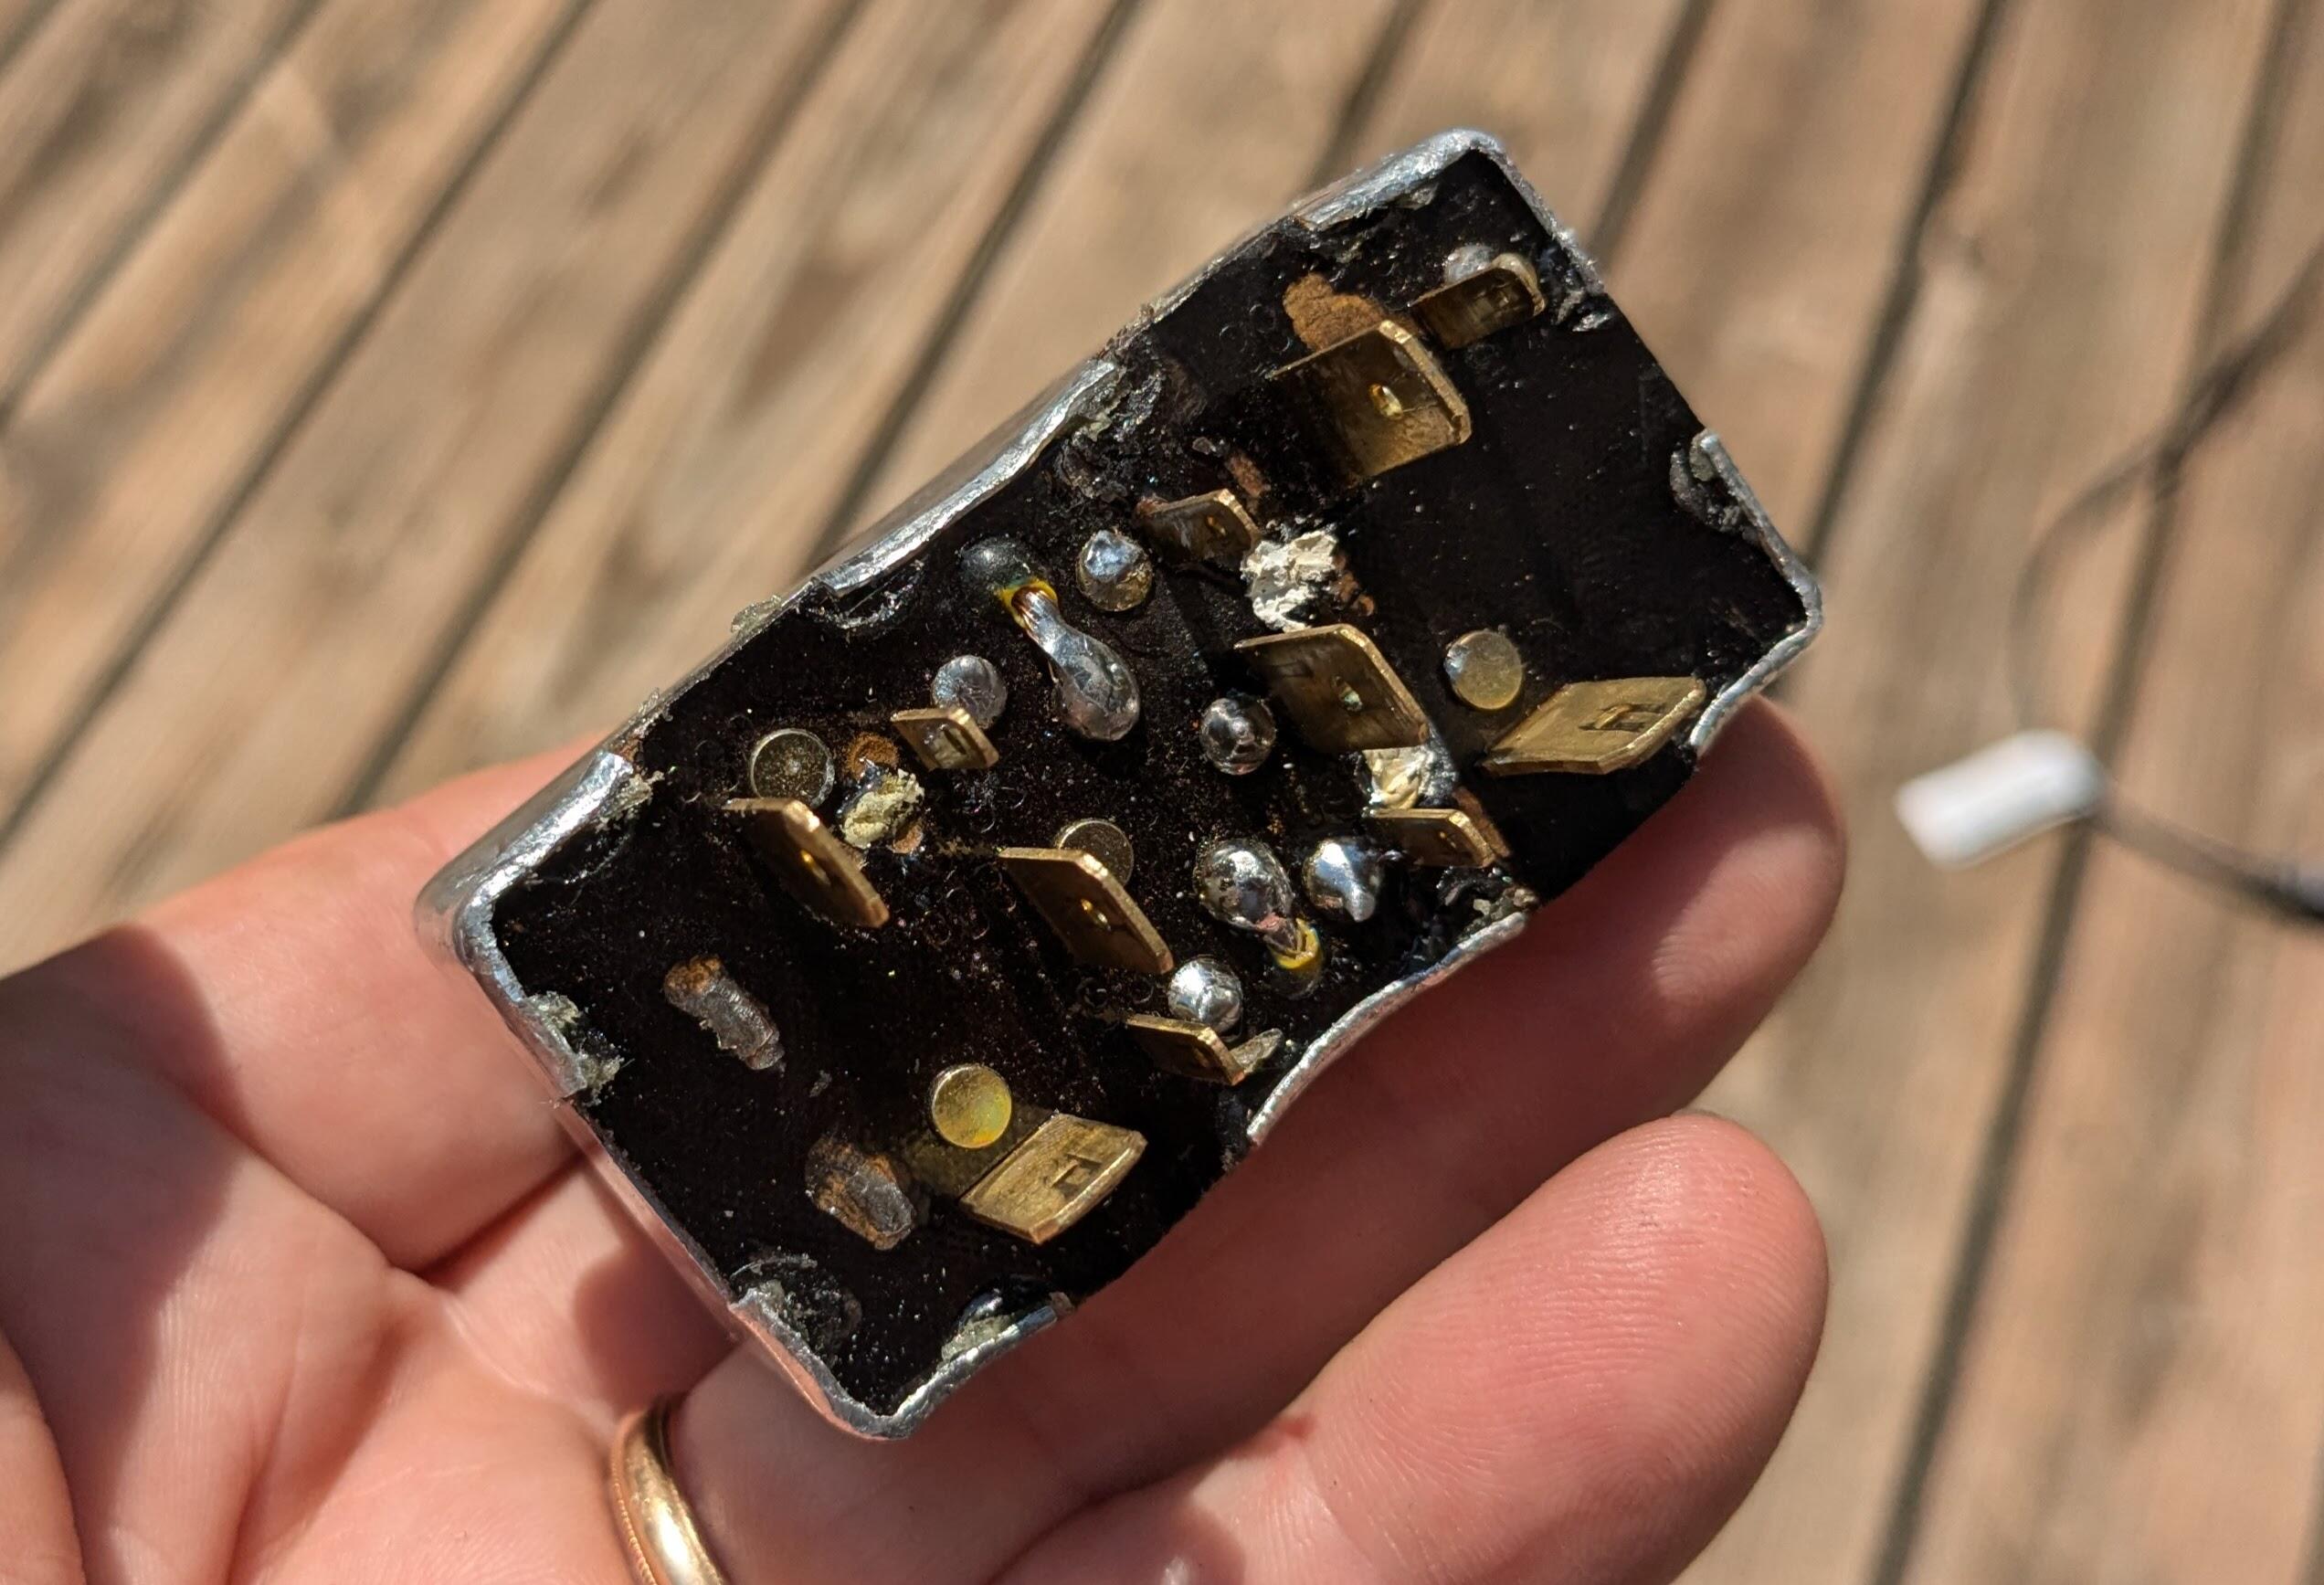
Odd that the diagrams all only show 2 diodes - the one for the crank only enrichment circuit, and the one on (+) 86c - there is another on the combined ground leg (85 terminal) Horizontal mounted diode is on the (50) crank only enrichment /pump signal circuit. Diode on top right center is on the ground leg (85). Diode on bottom right center is on the power relay coil feed (86c)
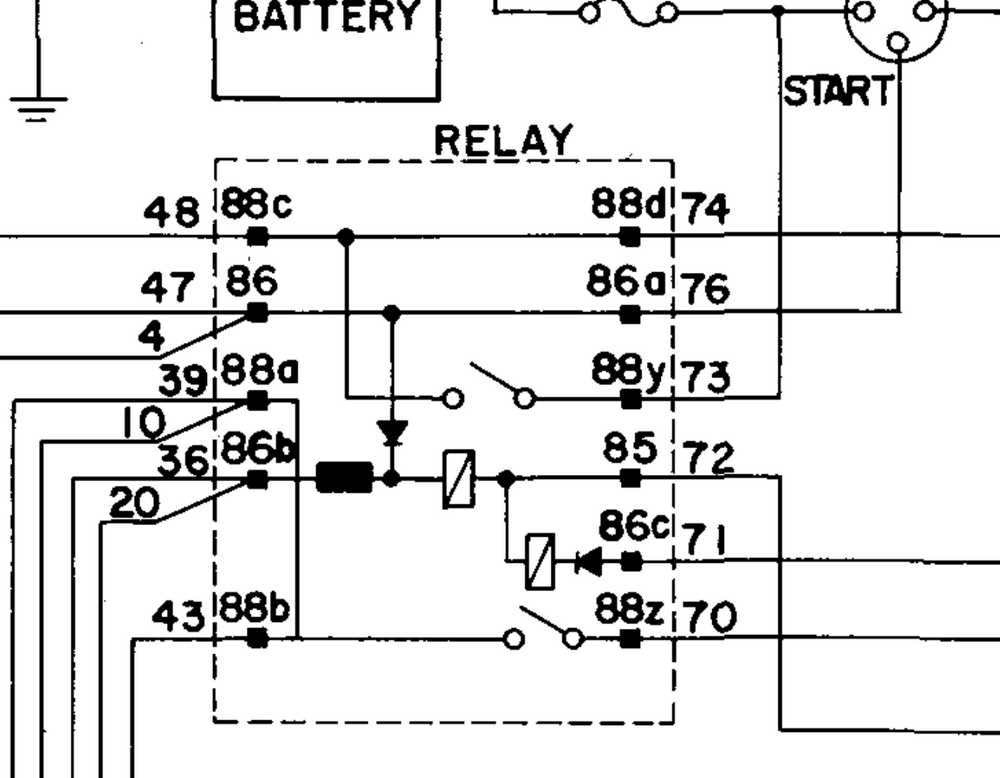
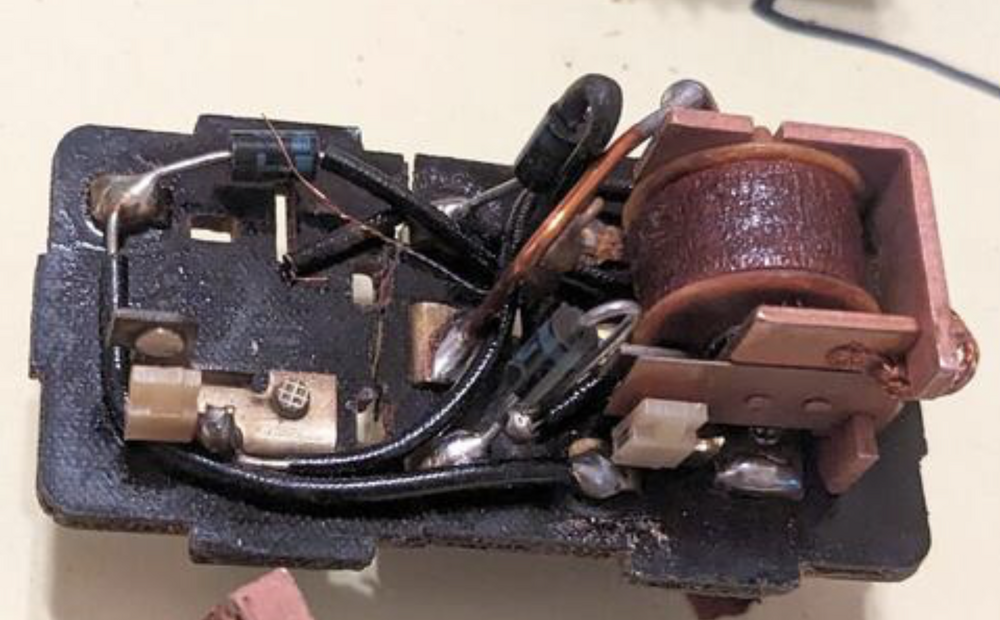
-
Driving this afternoon, I got stuck in heavy highway traffic for about 20min. With the A/C on, idling, the coolant temps started to creep up over normal. I don't want to have to turn the A/C off in such situations, so I'm adding a second condenser fan that will run as long as the A/C is on. The existing fan ONLY comes on by way of the Trinary switch, which is set to engage it when pressure exceeds 254psi - which basically means it doesn't come on very often, definitely not when I need it to. On the Volvo pickup, I had rewired the fan onset when the stock pressure switch died - it made the A/C keep cooler & lowered the high side pressures. Added rivnuts to the AC condensor riveted anchoring plate at the top 2nd Fan installed, now I just have to fiinish wiring it
-
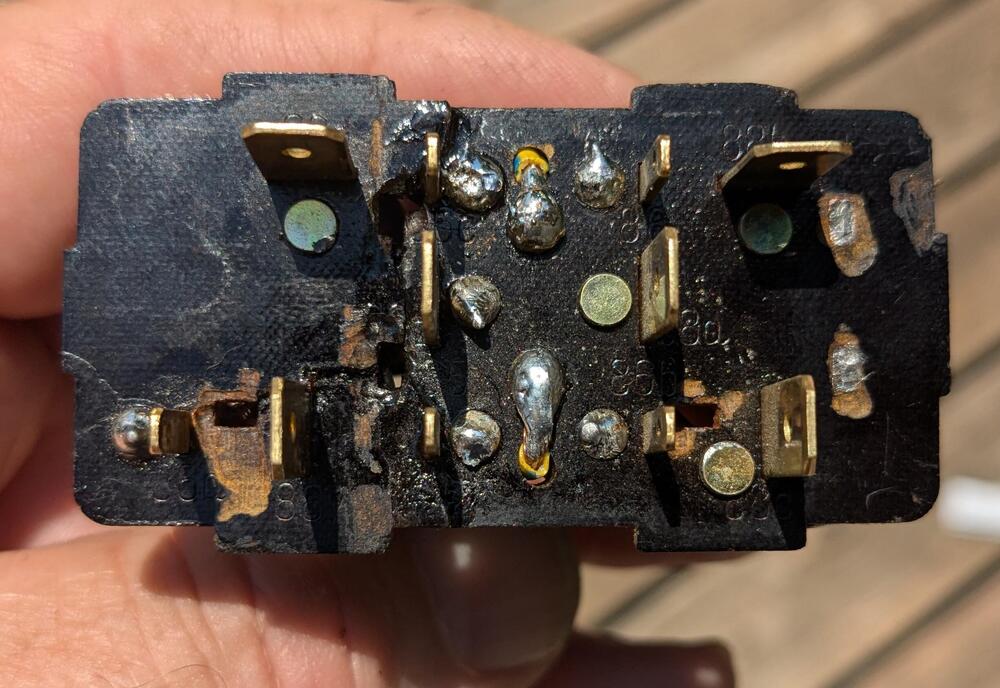
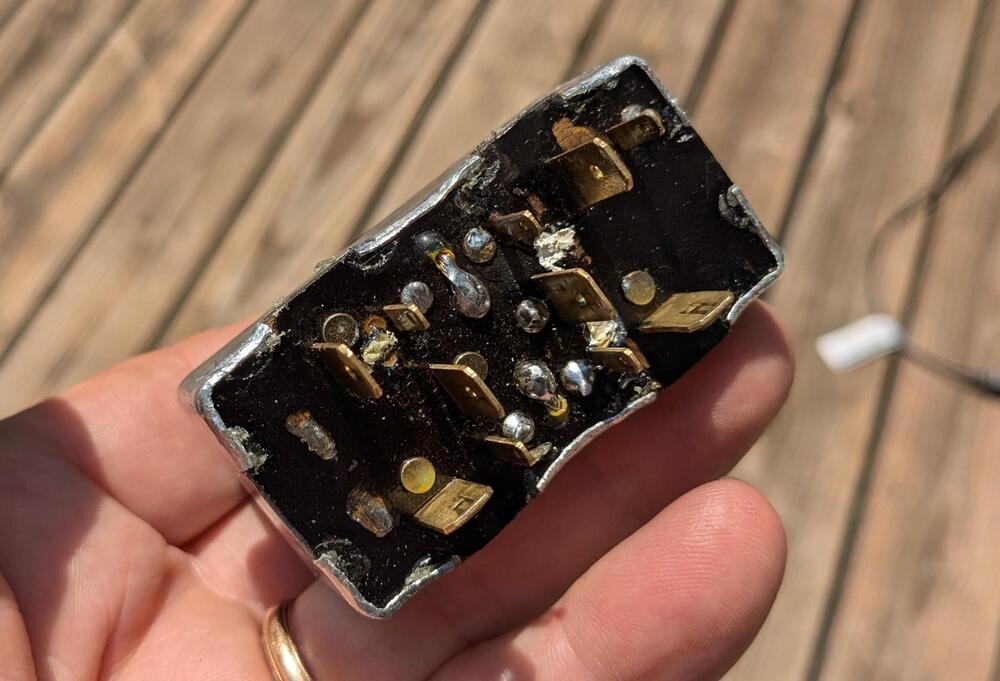
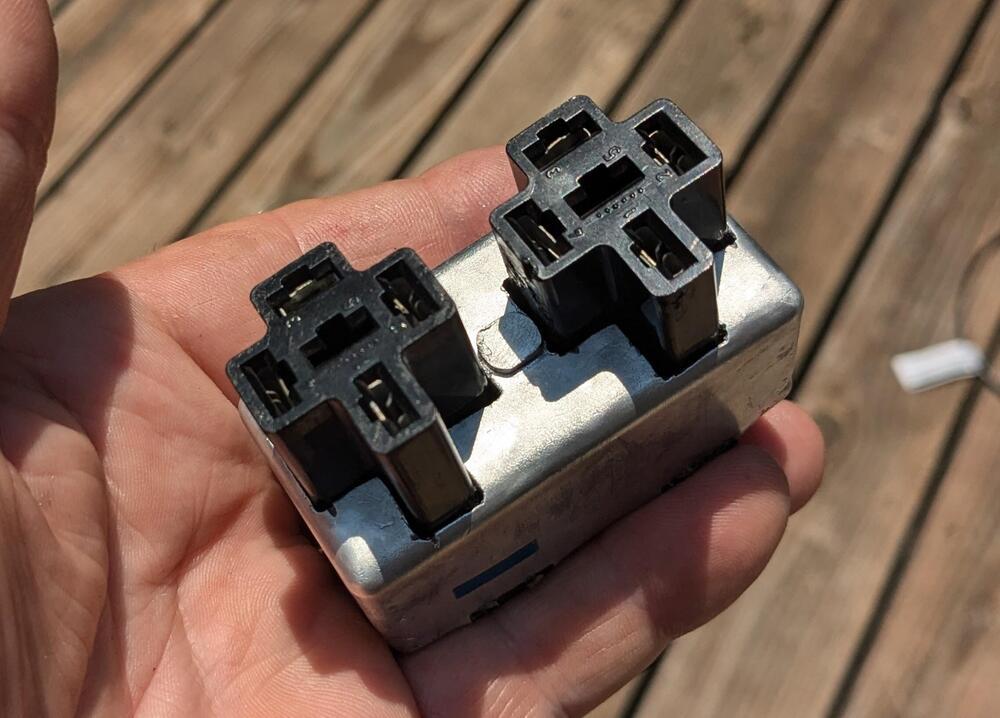
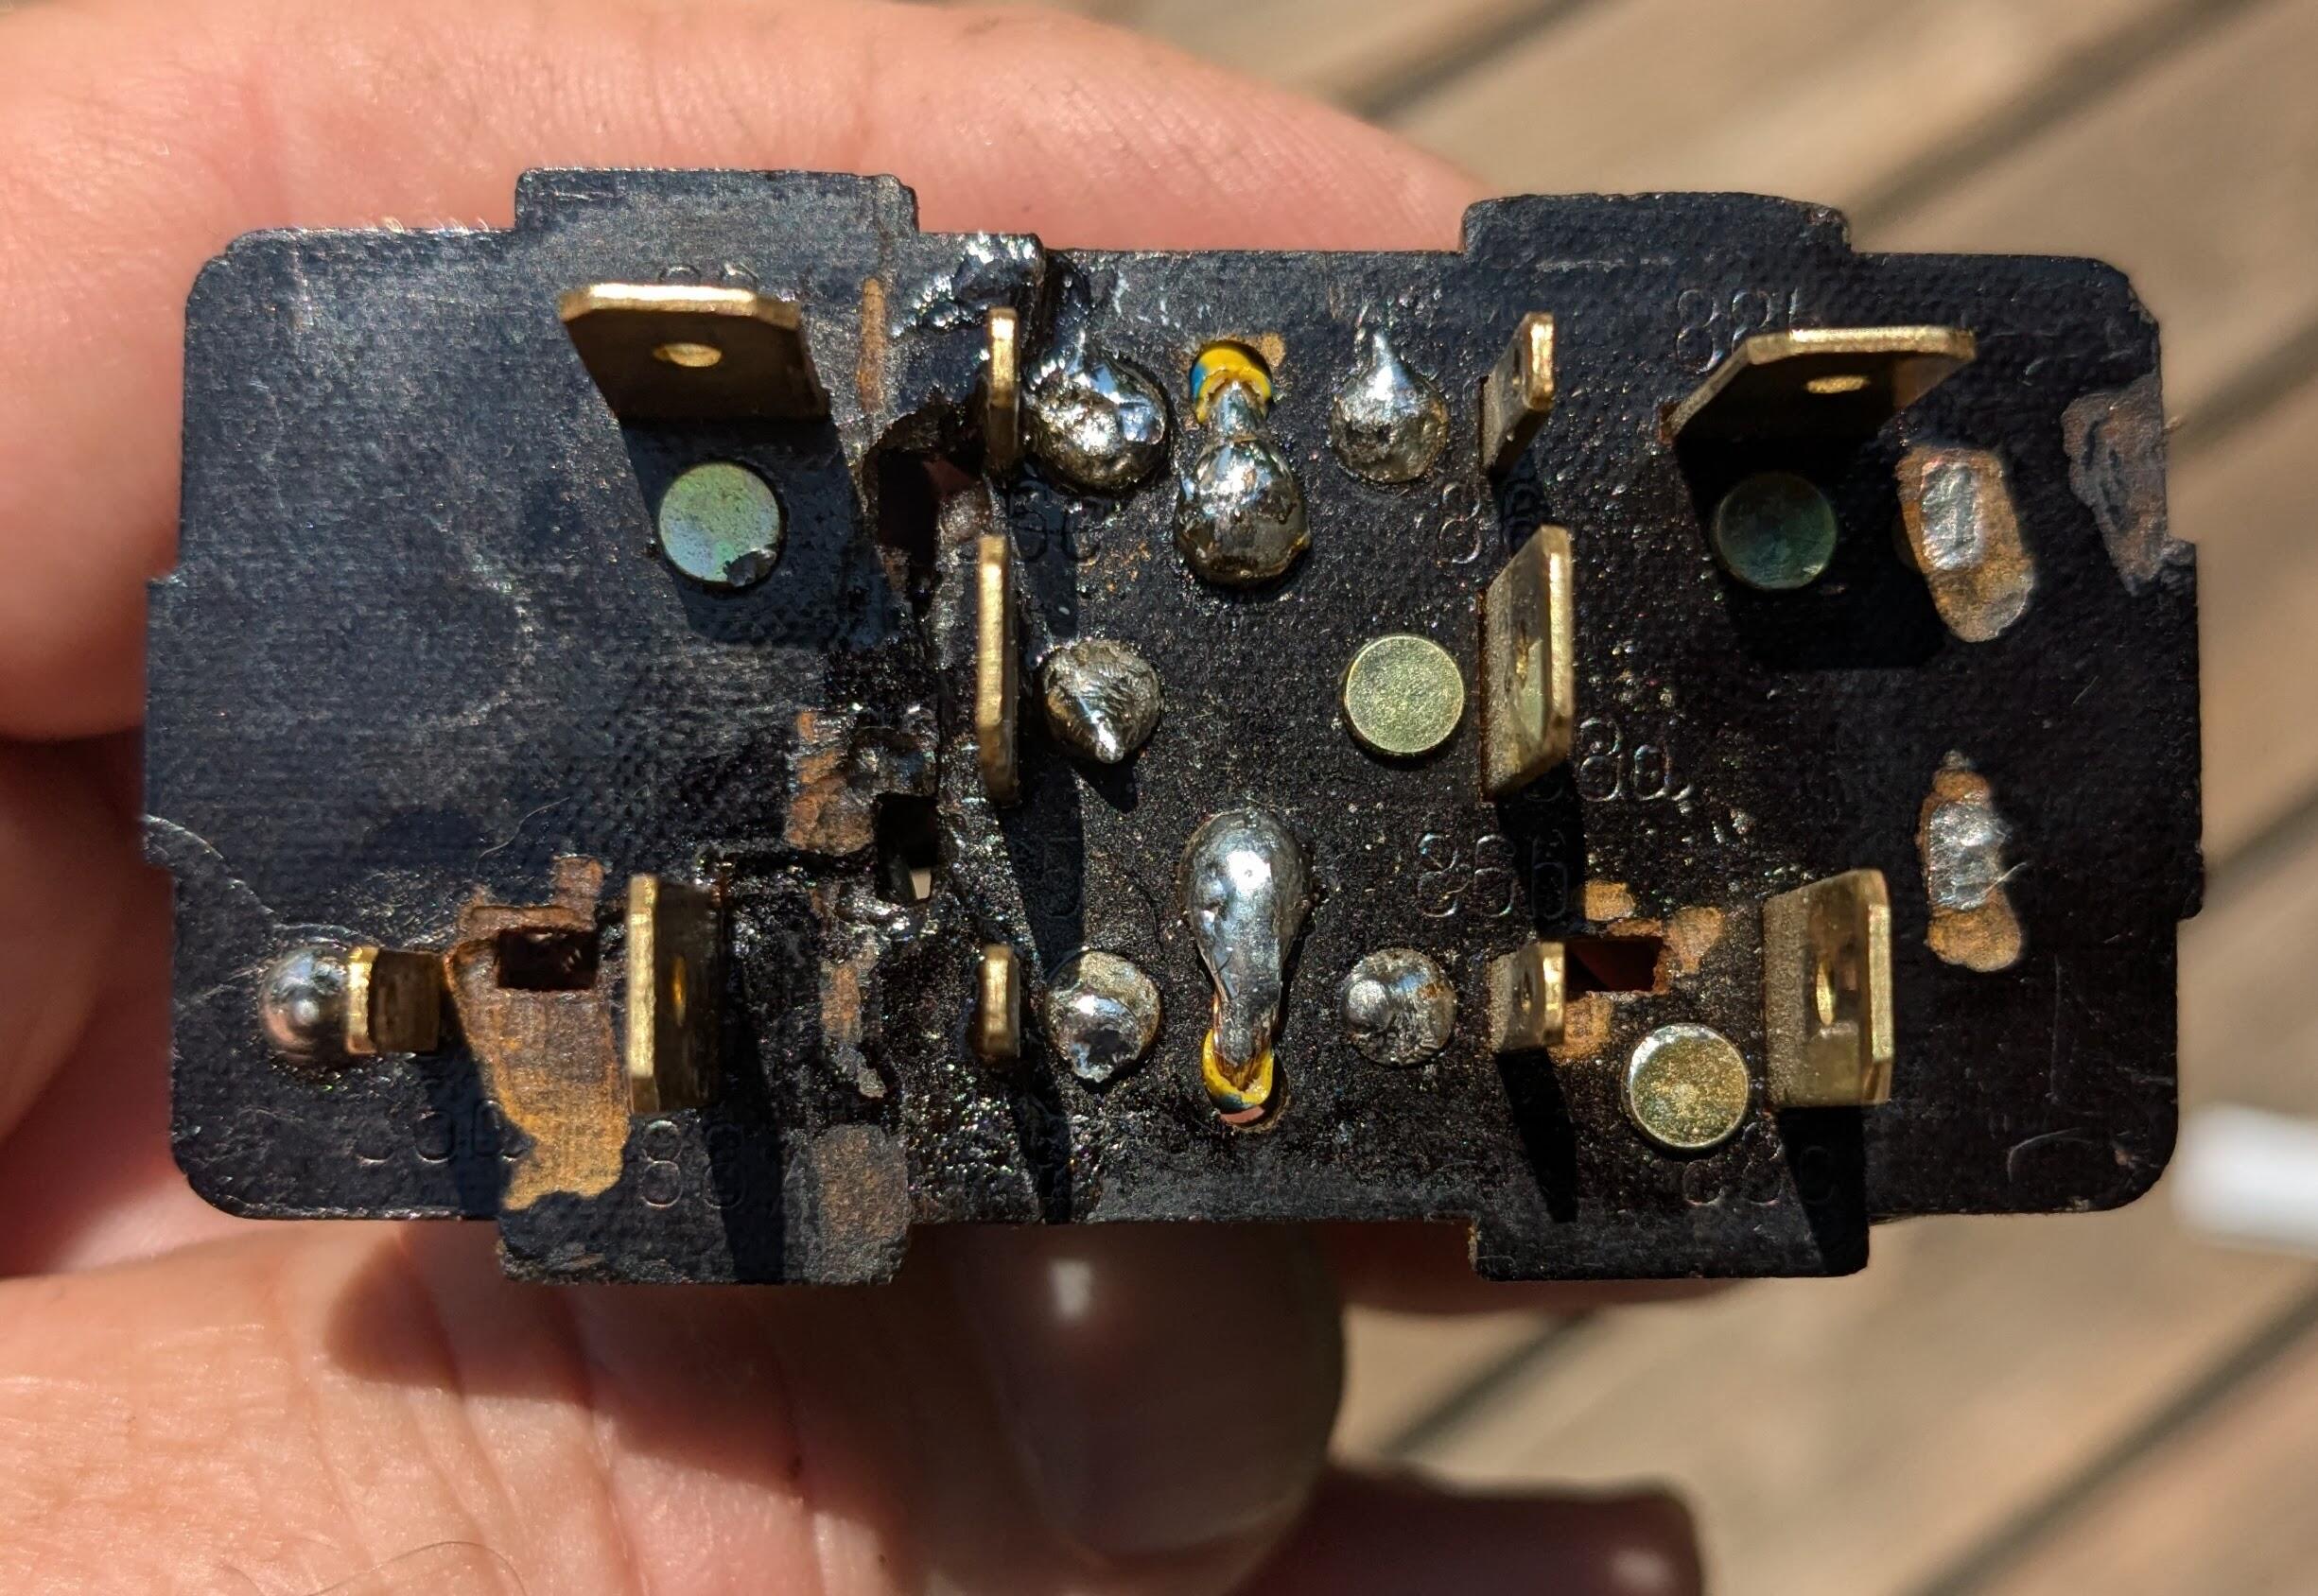
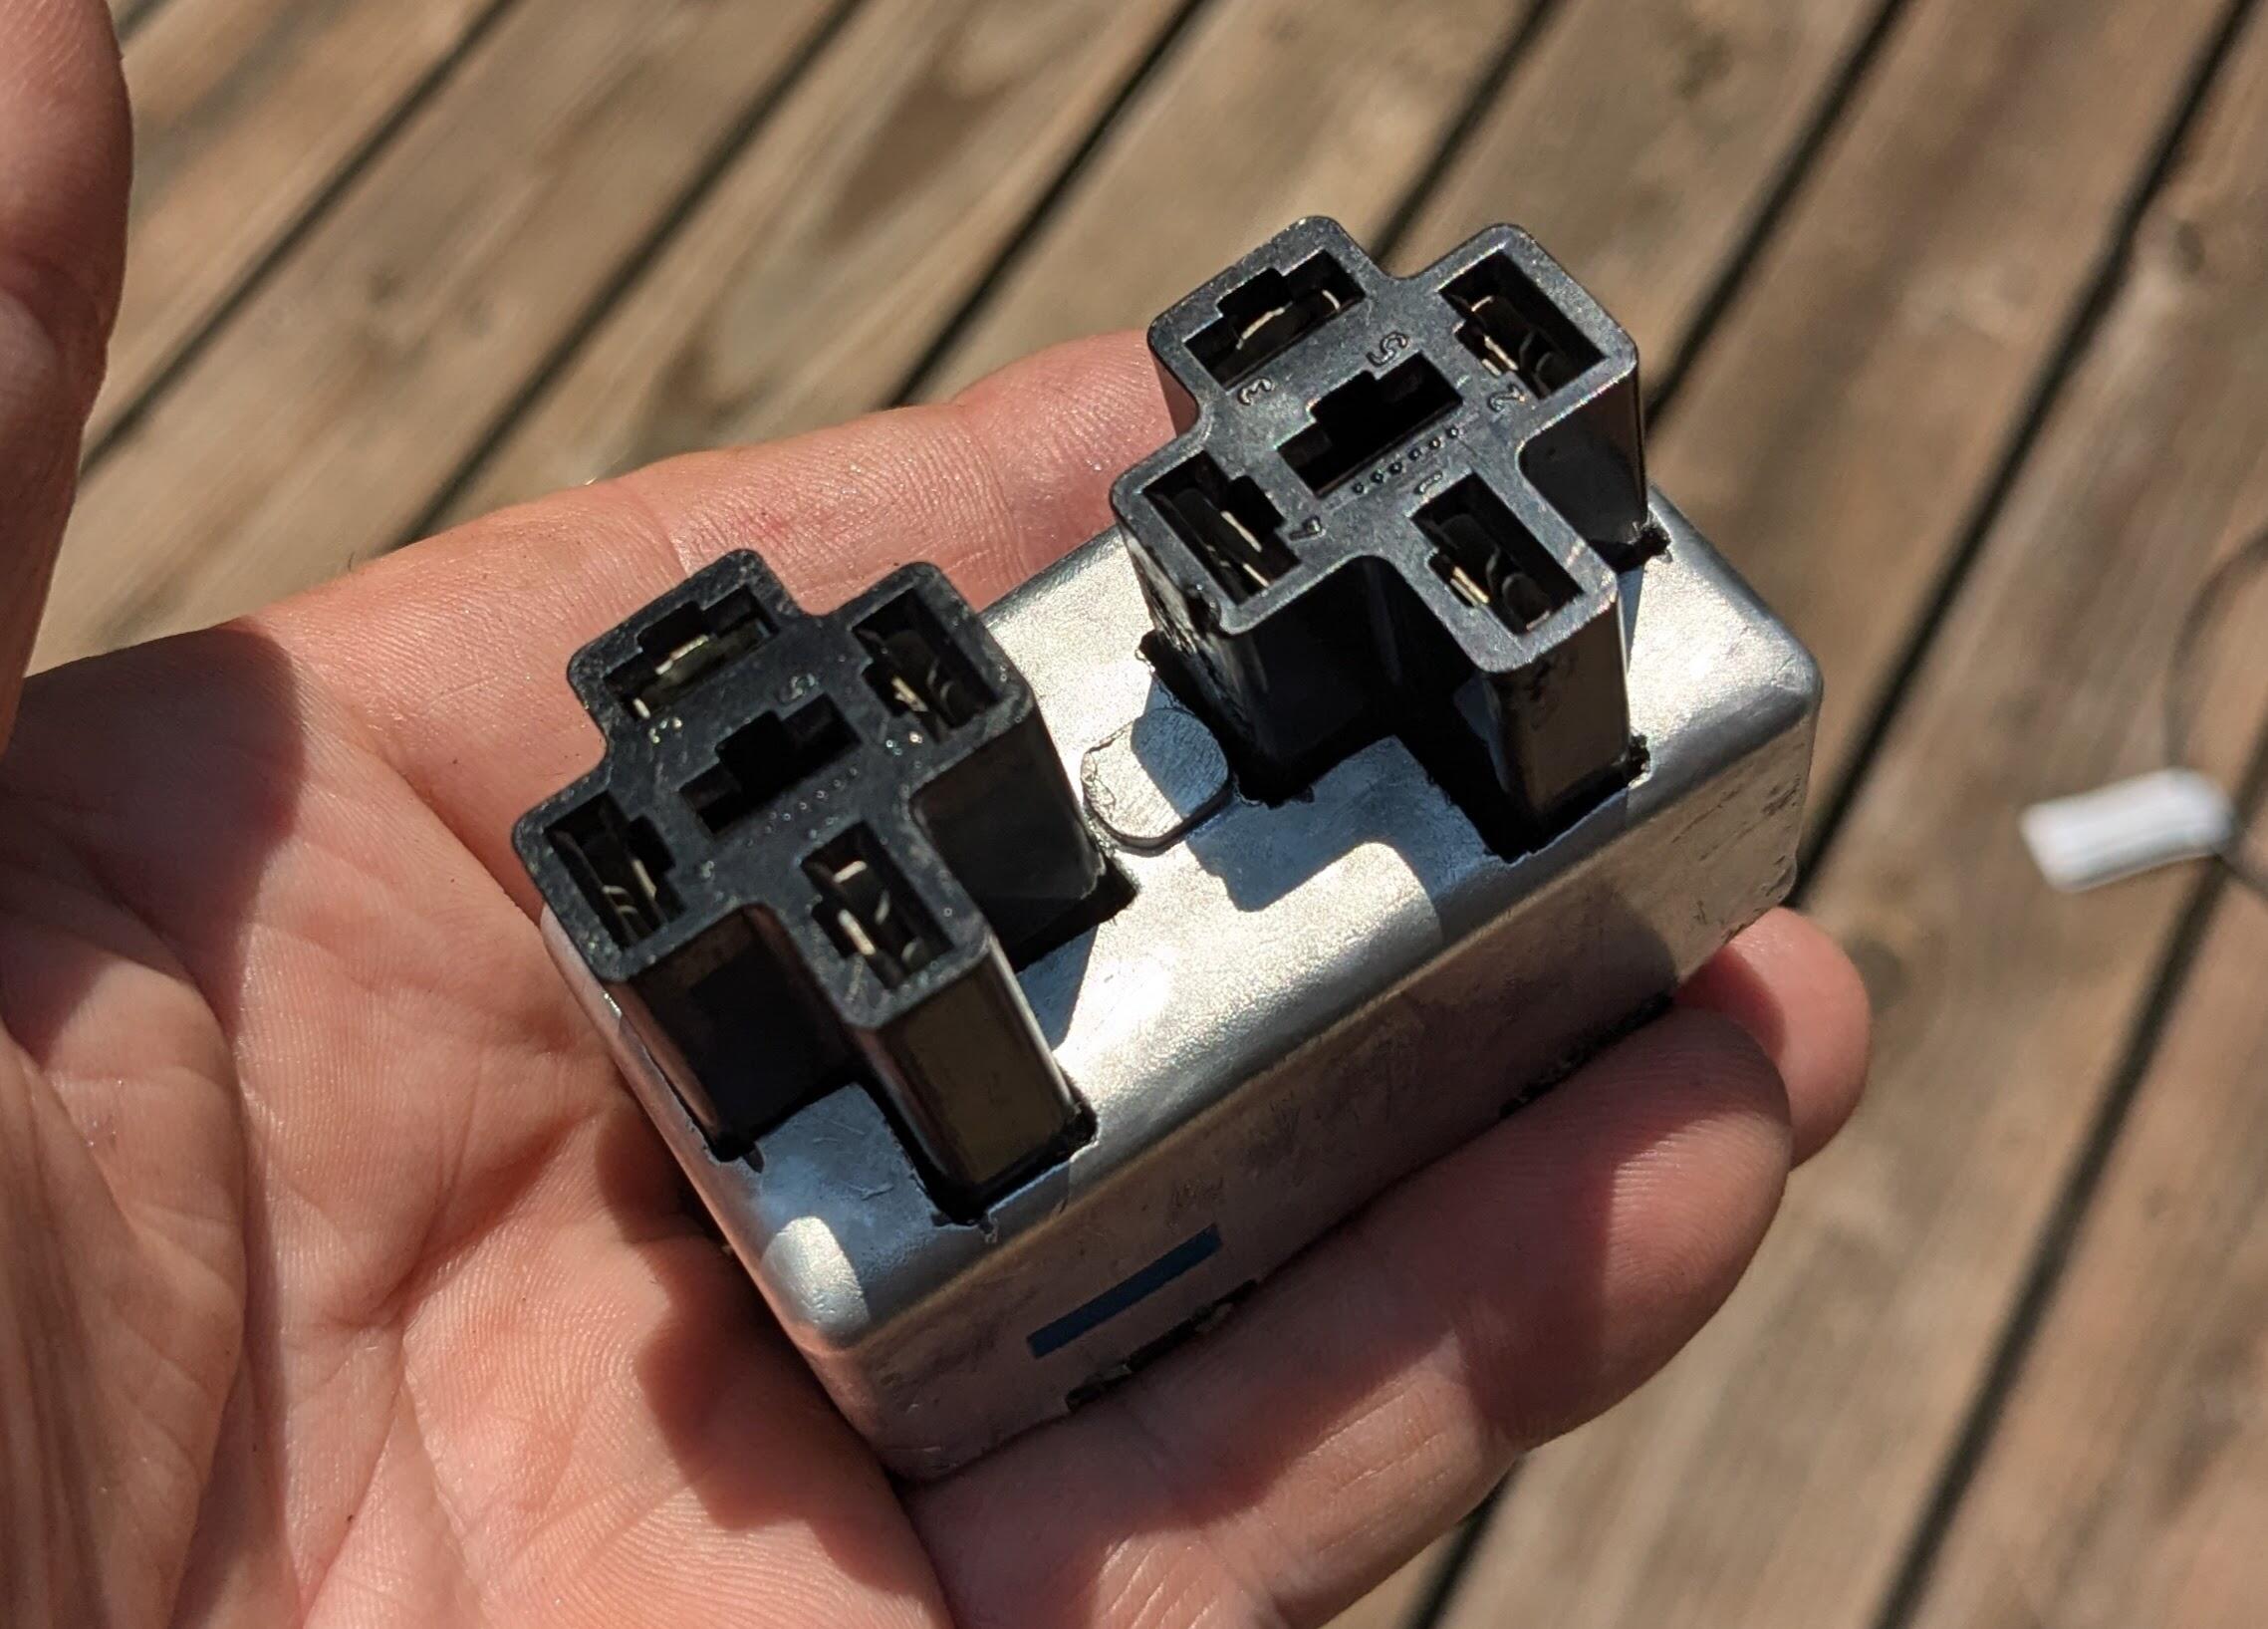
Finished the 'adaptor' socket Ran the switched coil feeds through to the underside - not enough room to solder them on the component side After I tested it in the car, I epoxied the base after - I had cracked the base when I pried off the first coil, so I wanted to make sure nothing was going to move. Put the cover back on to retain the new relay sockets