Warty
Community Member
-
Joined
-
Last visited
Everything posted by Warty
-
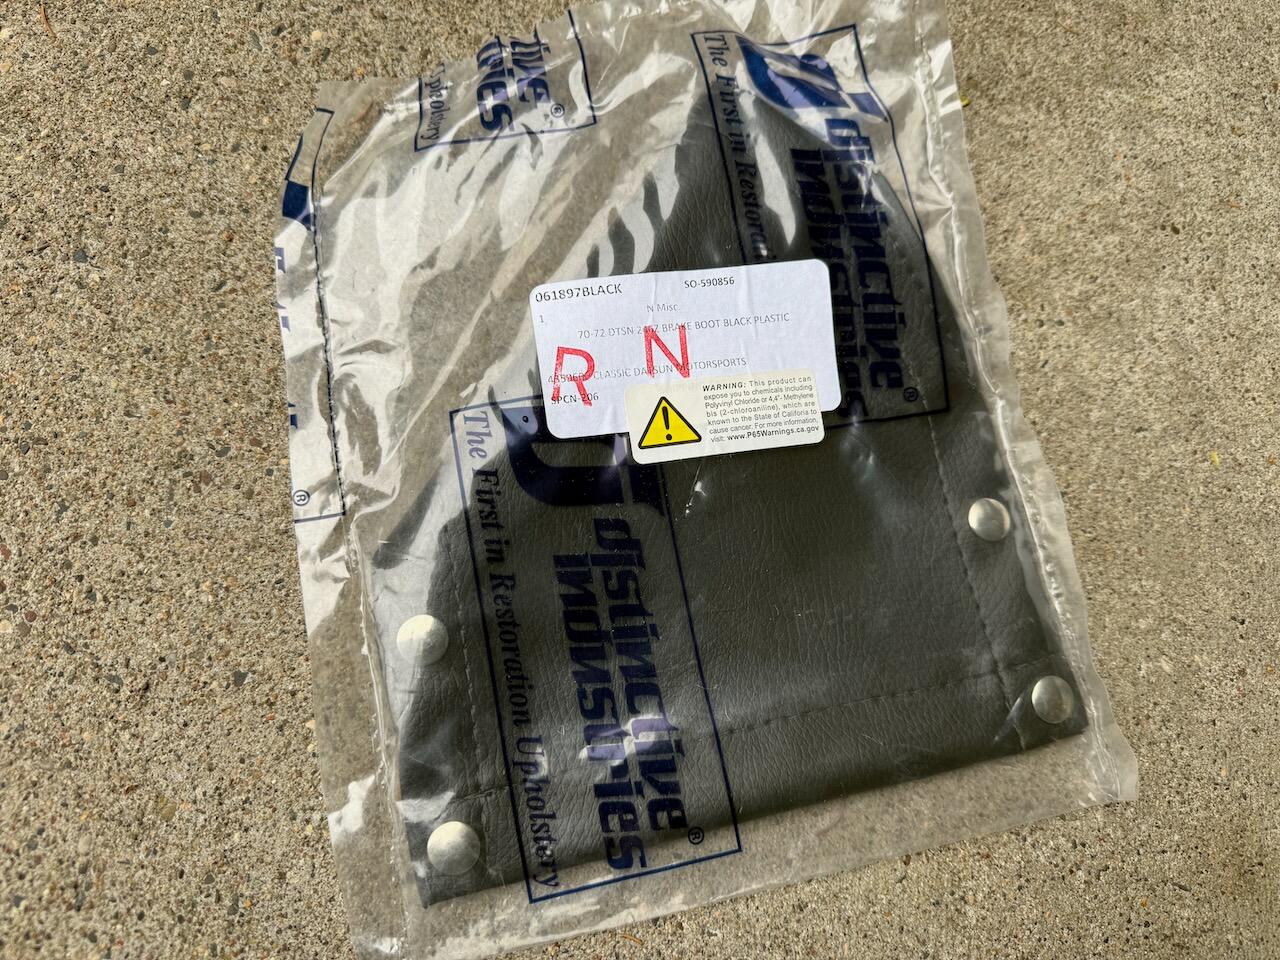
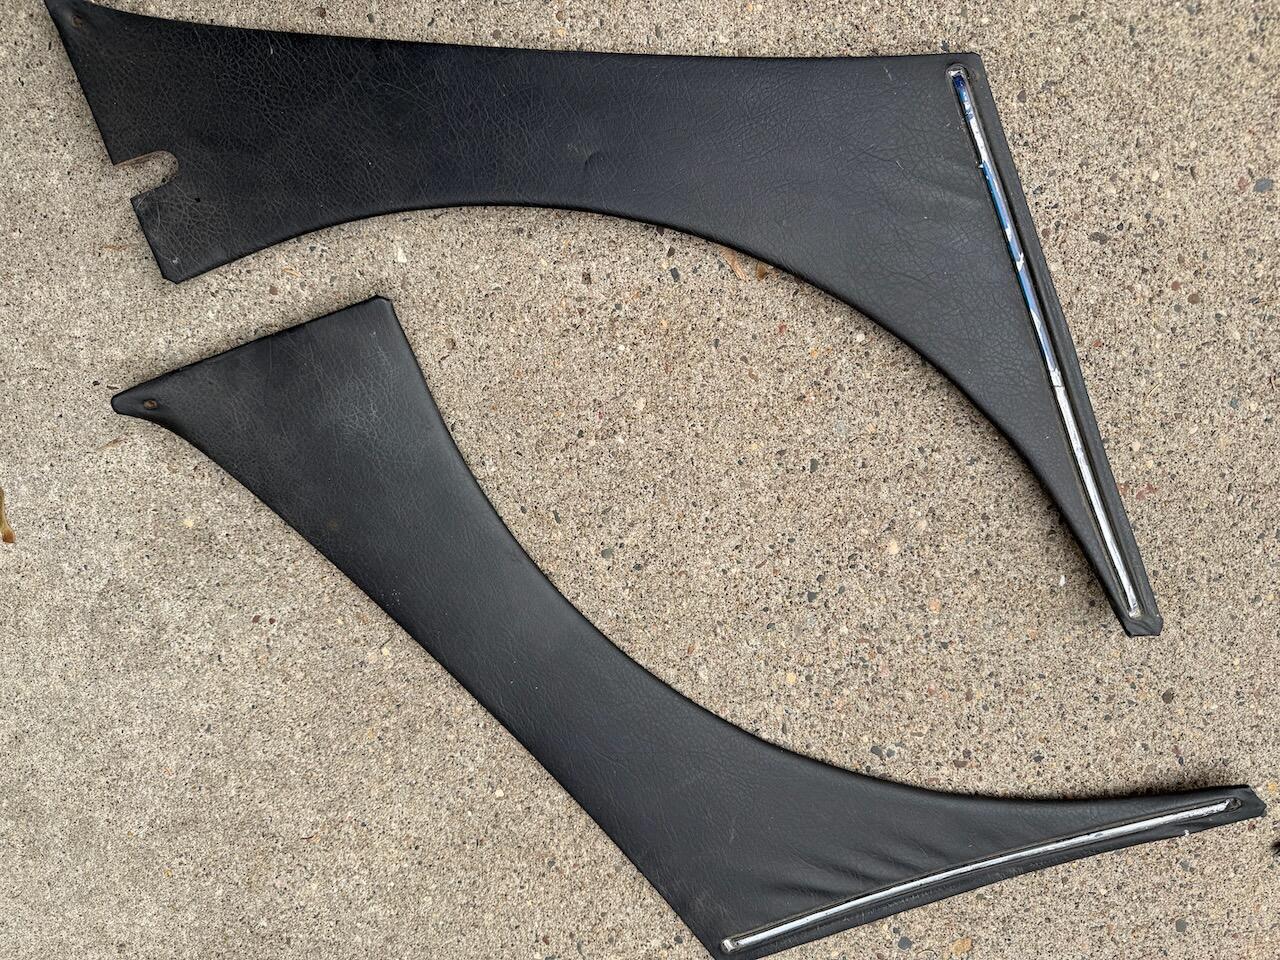
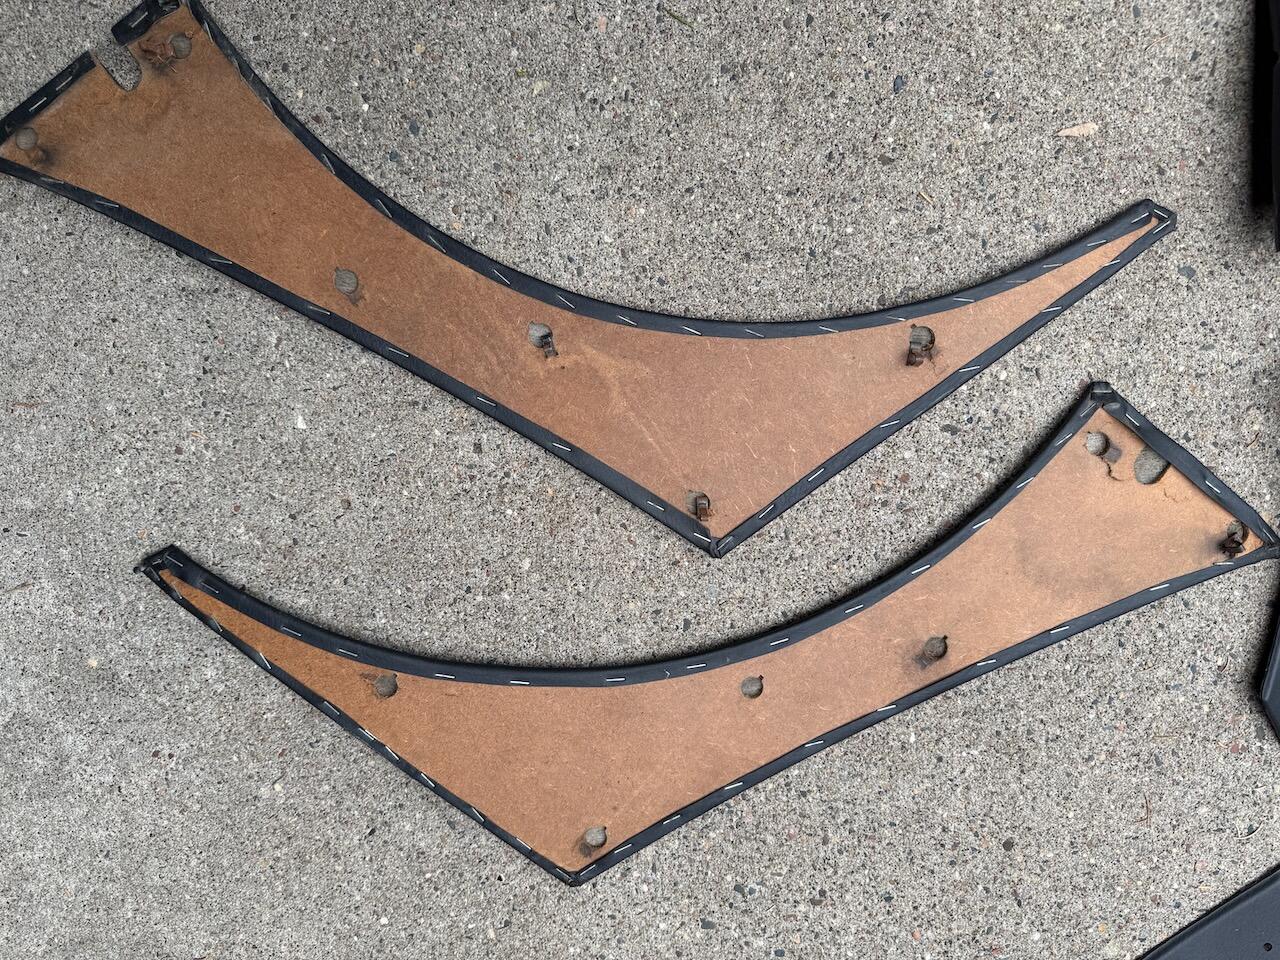
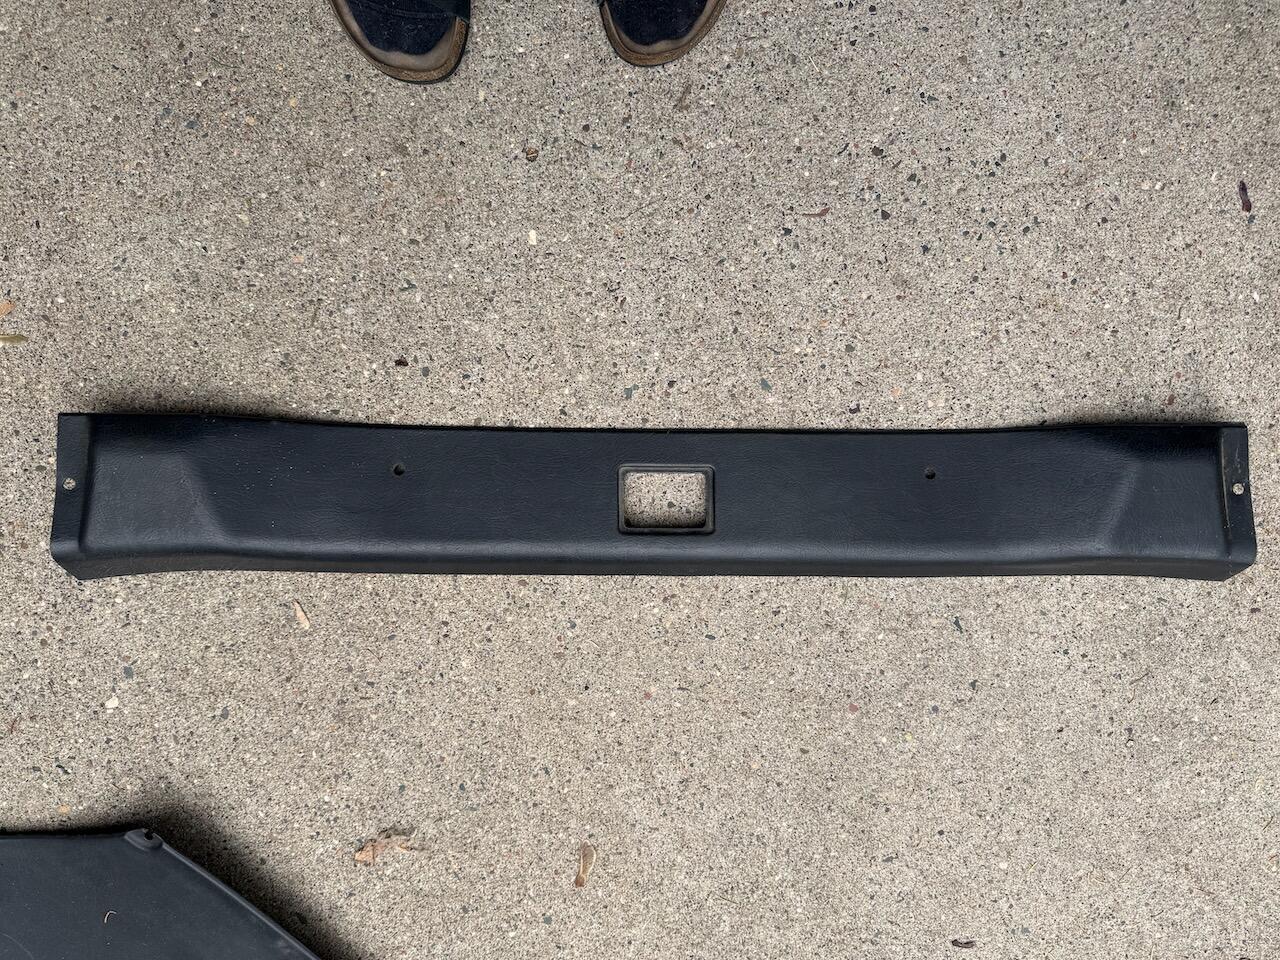
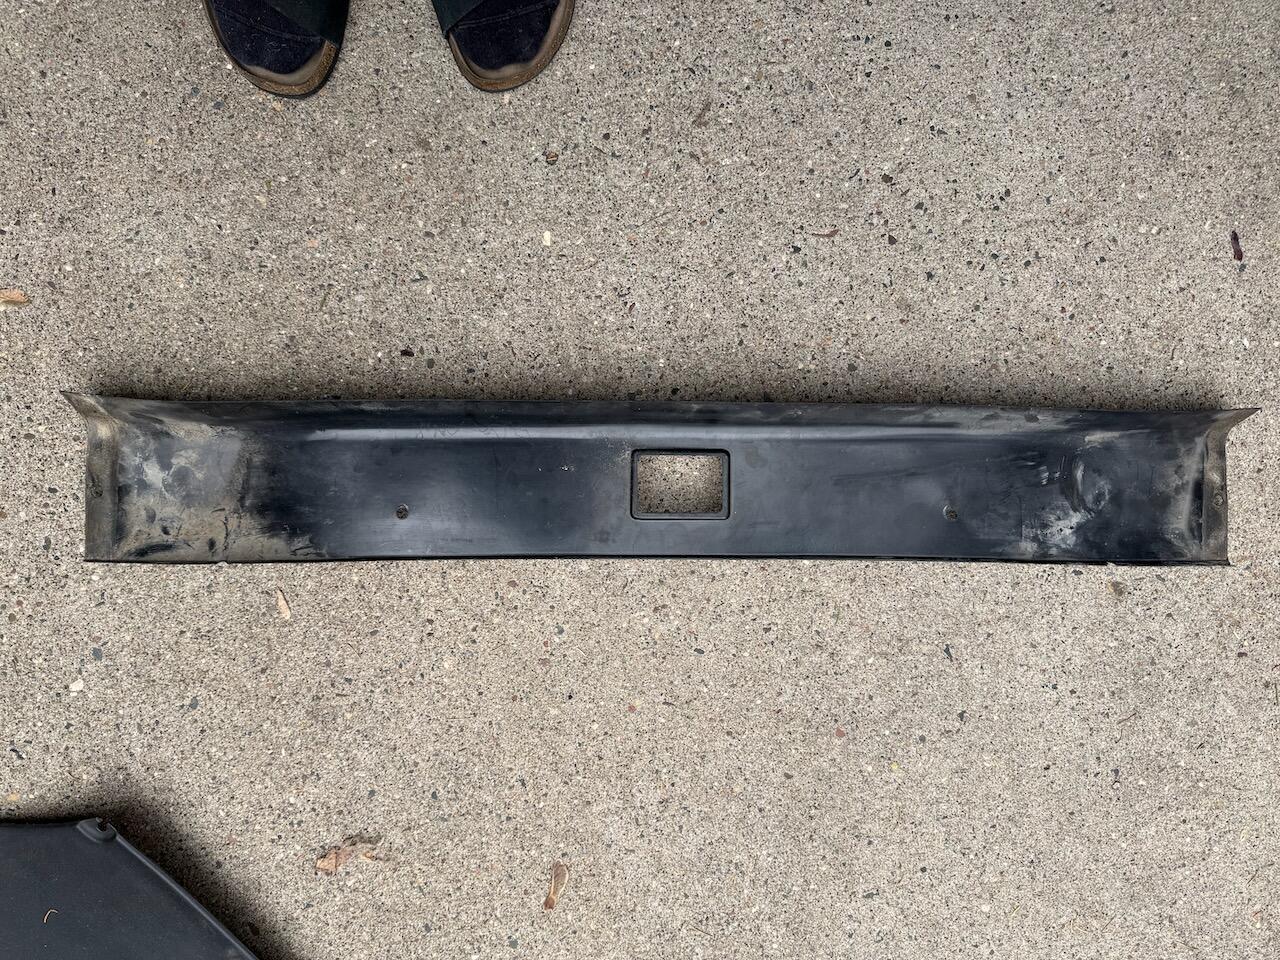
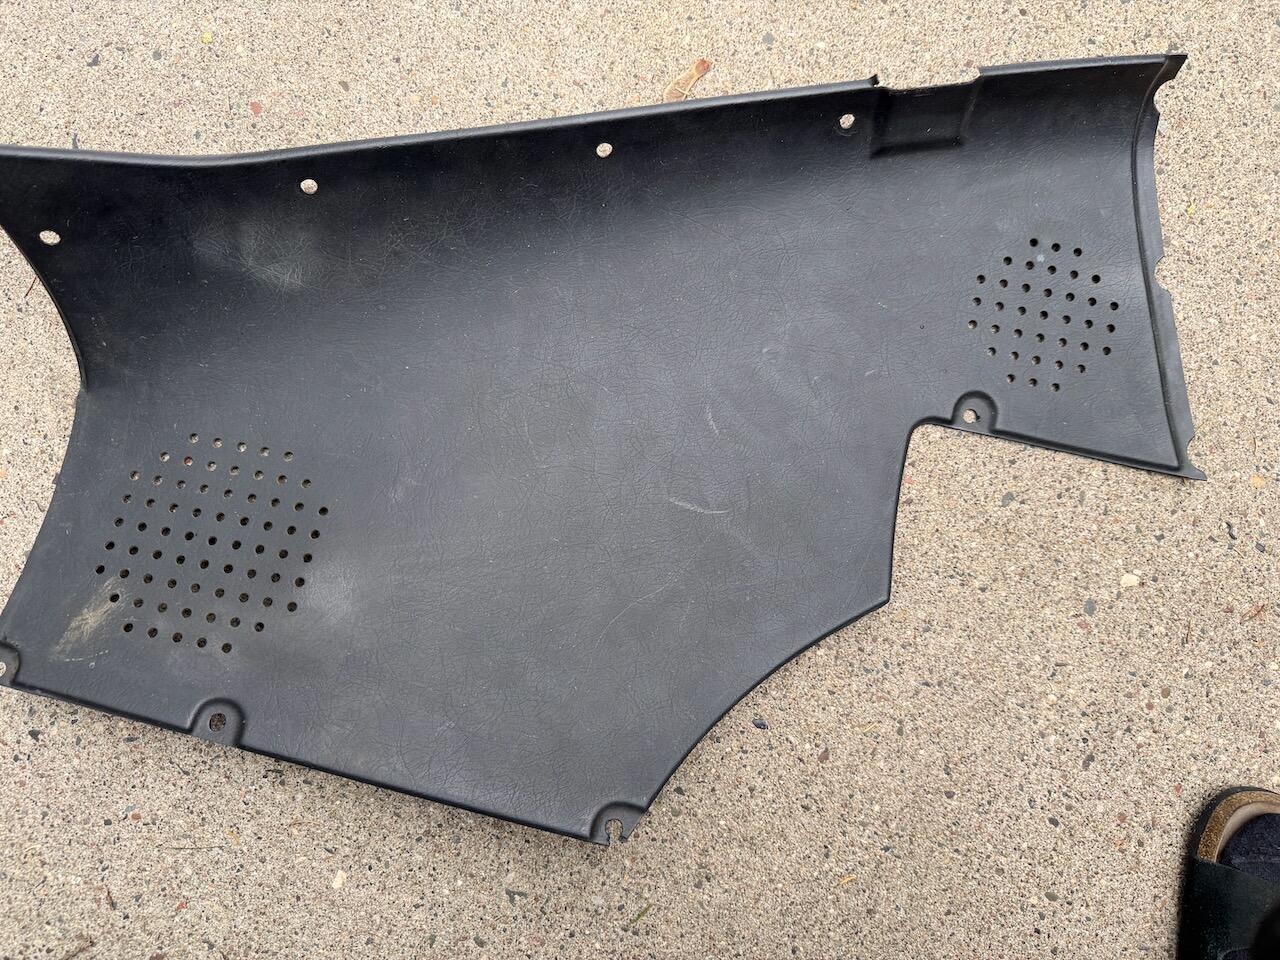
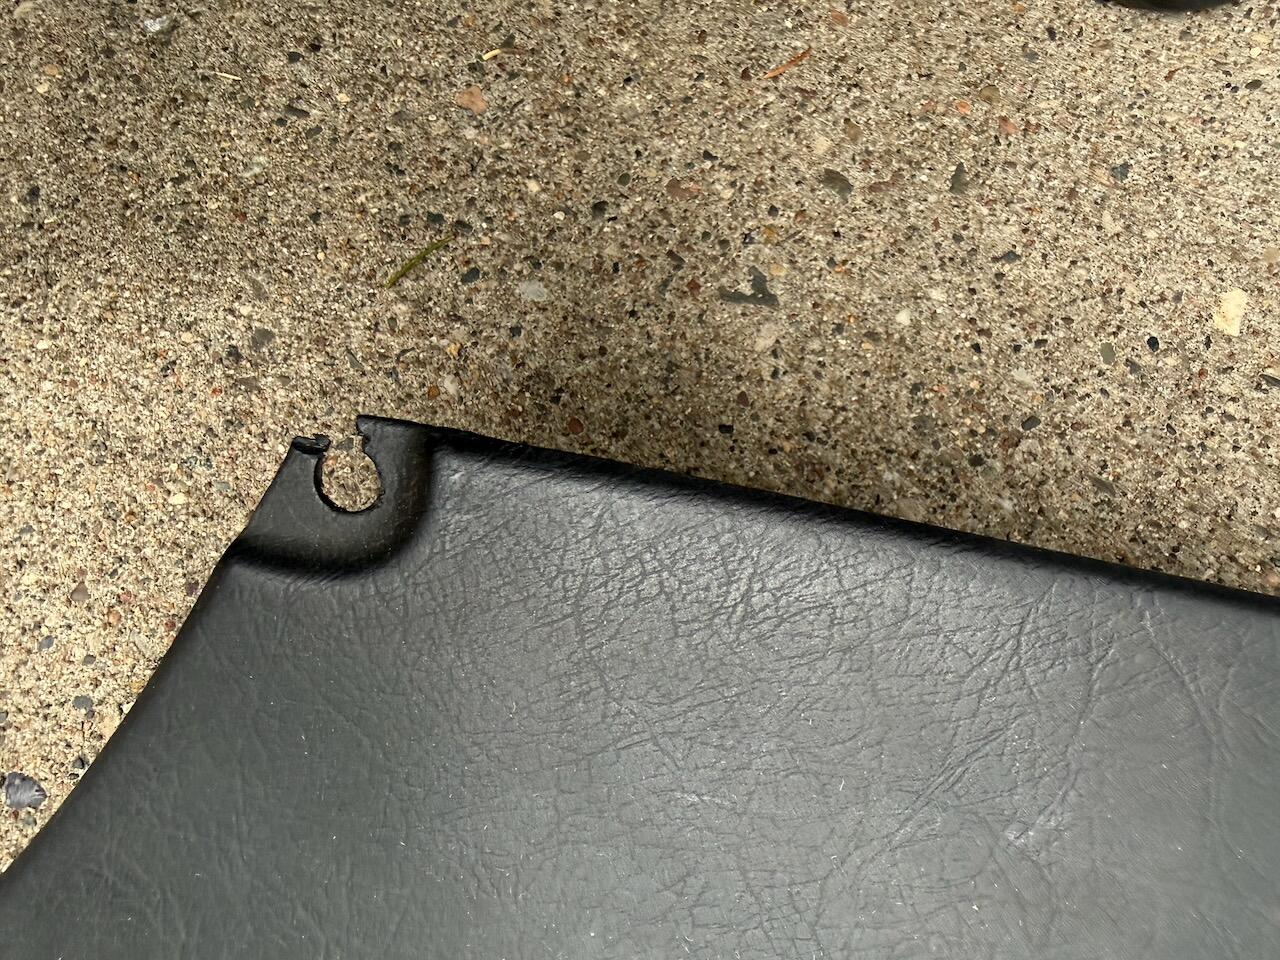
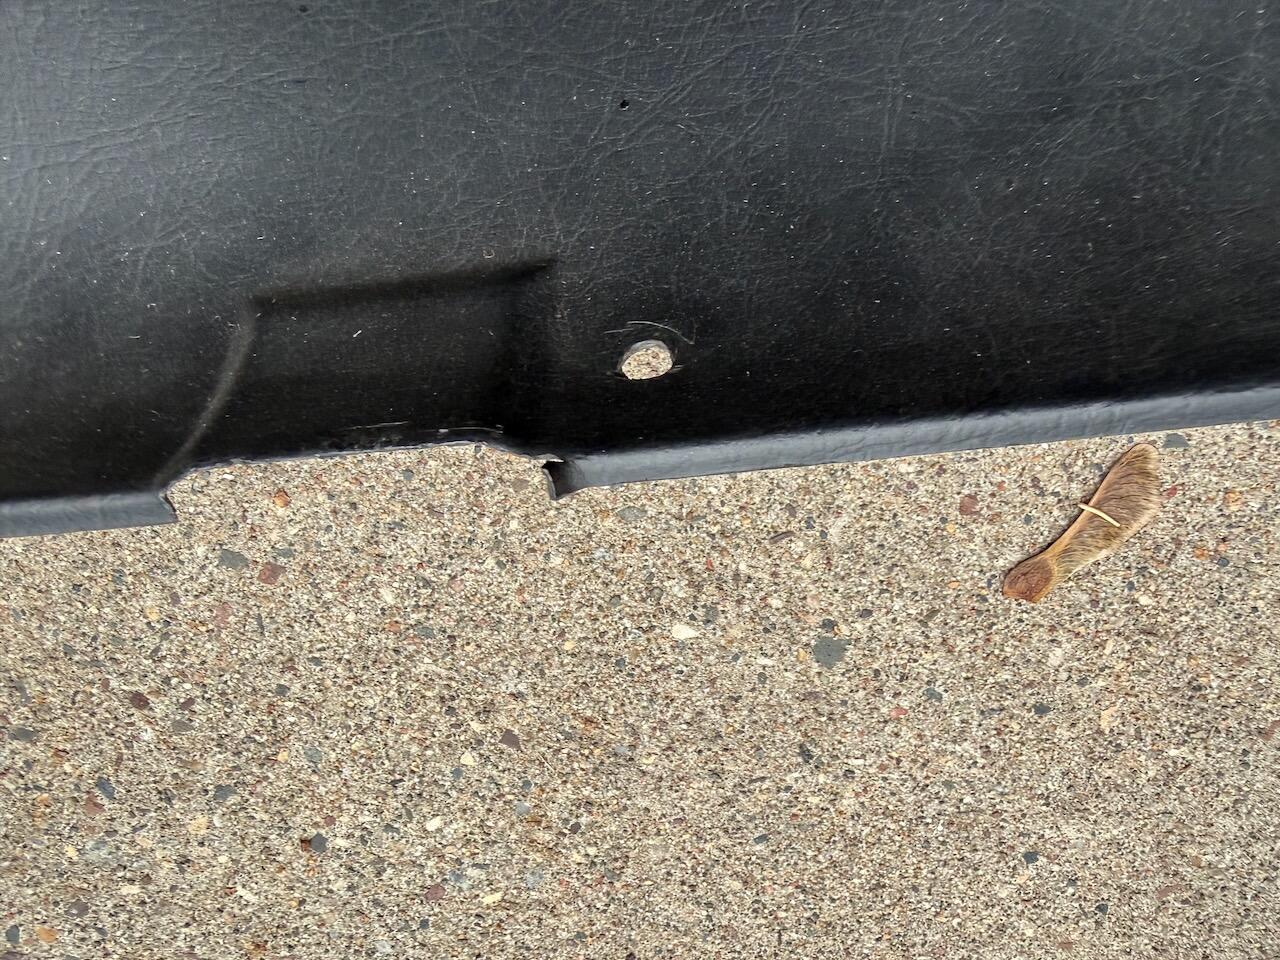
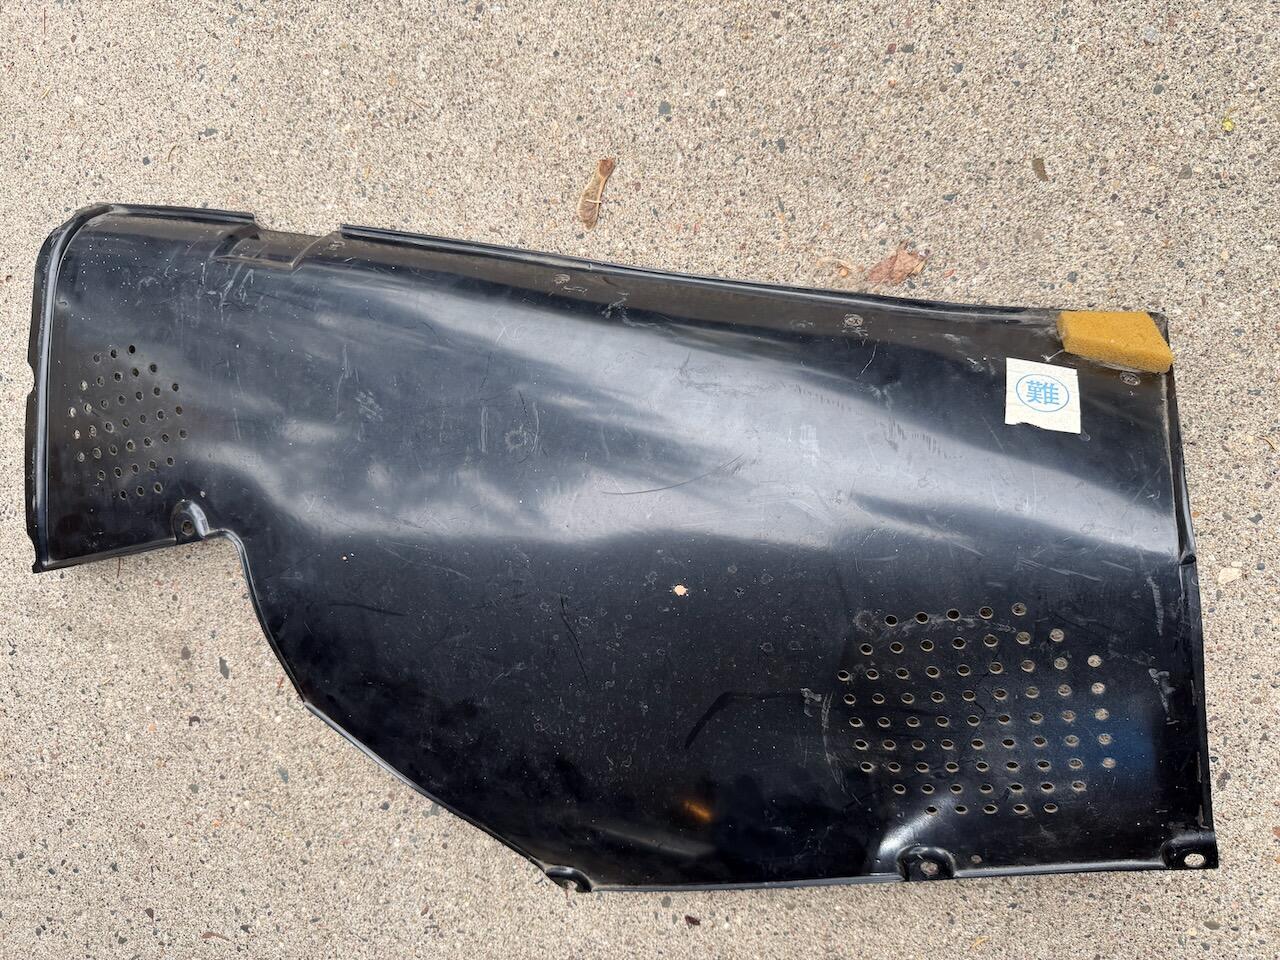
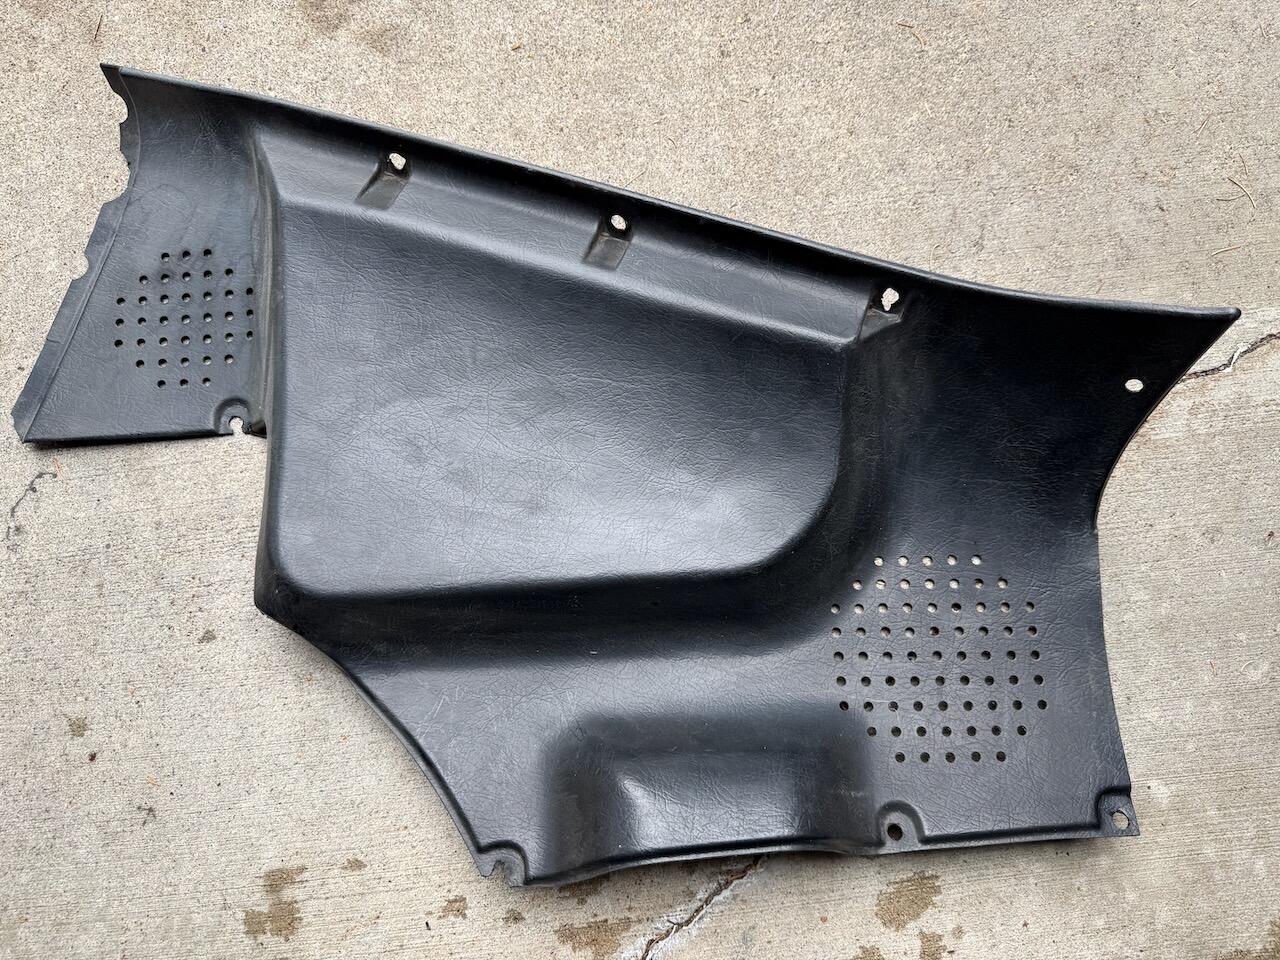
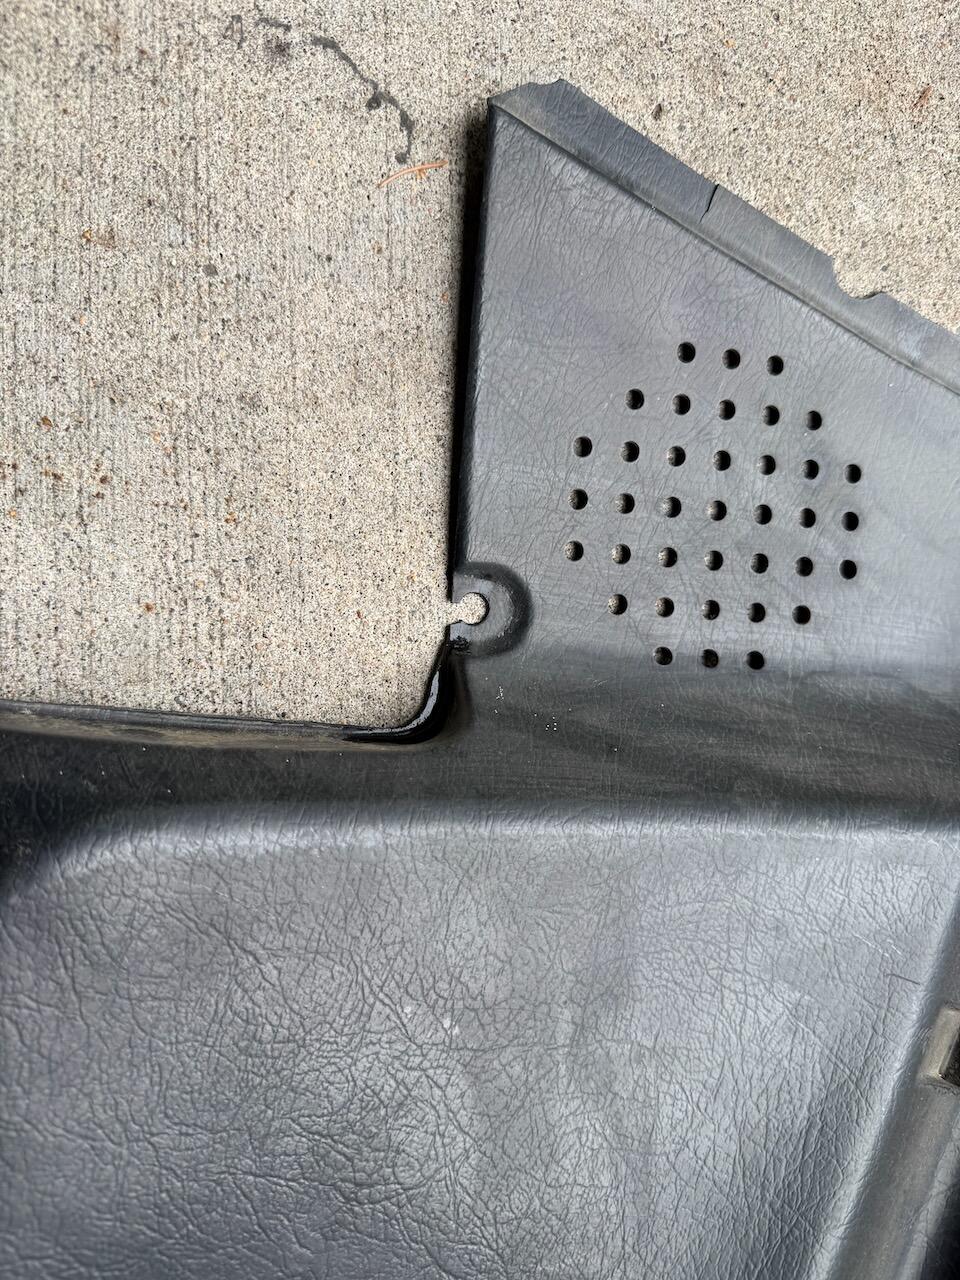
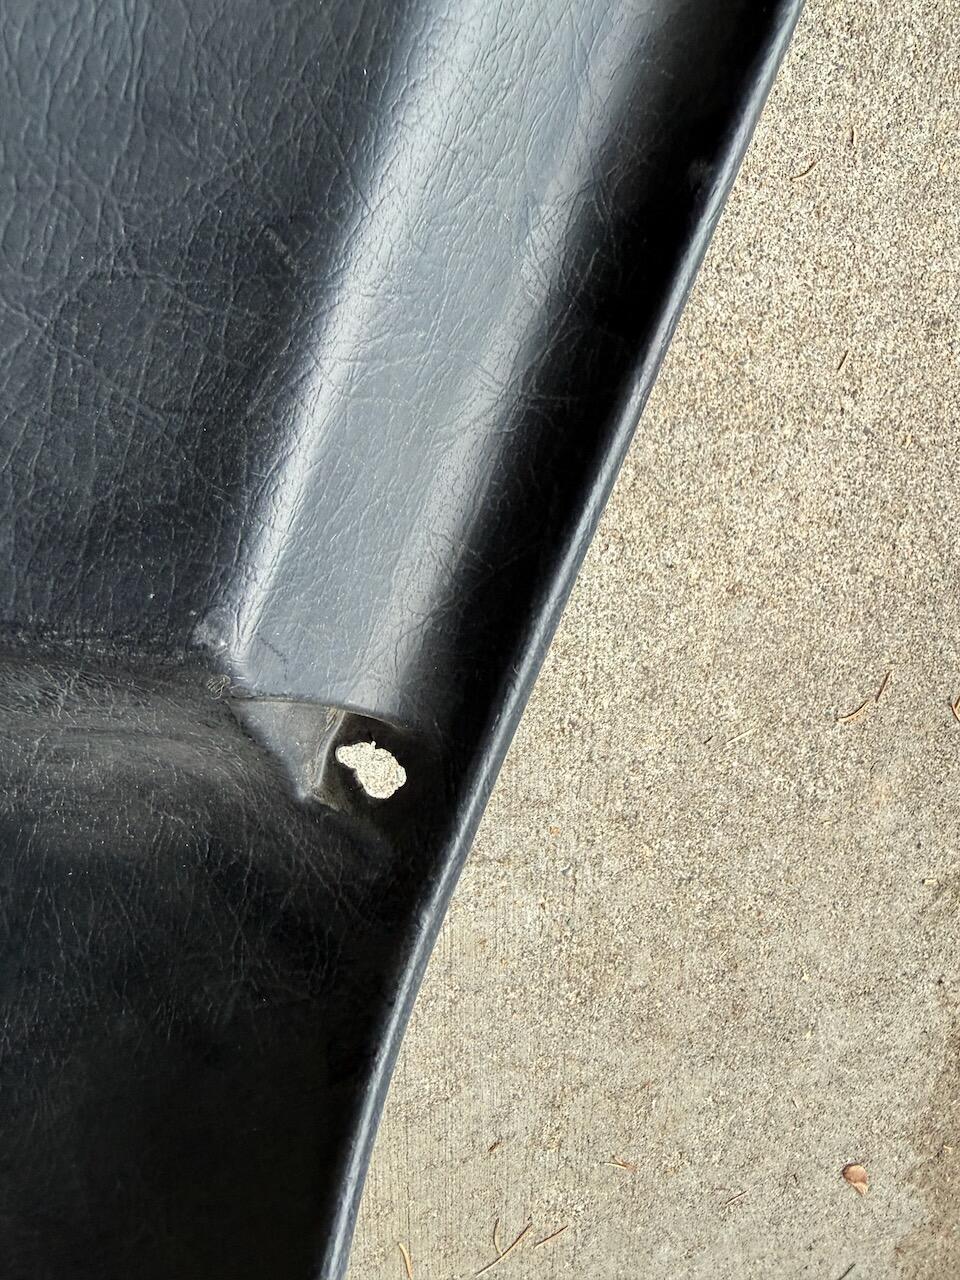
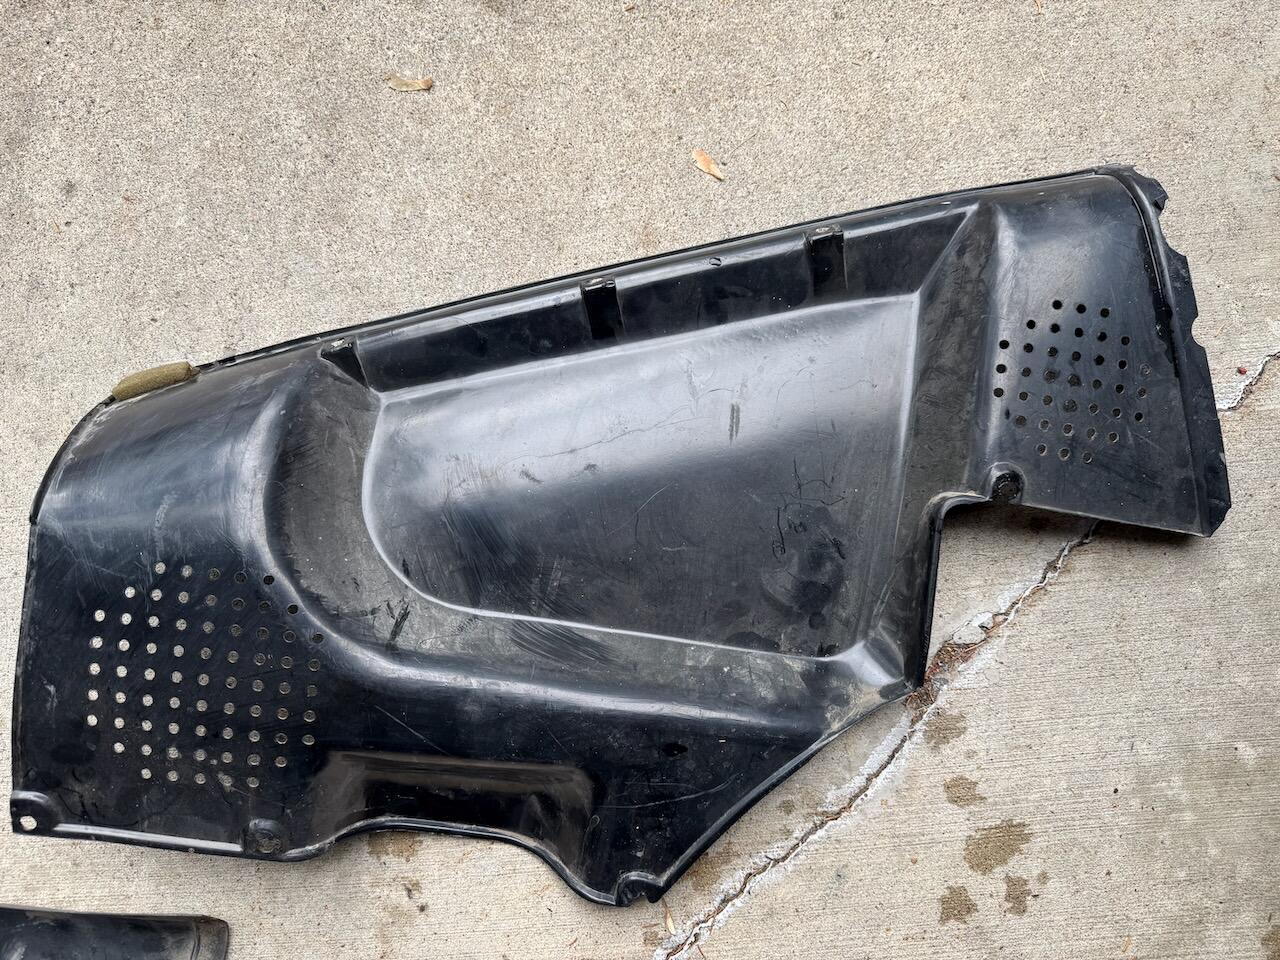
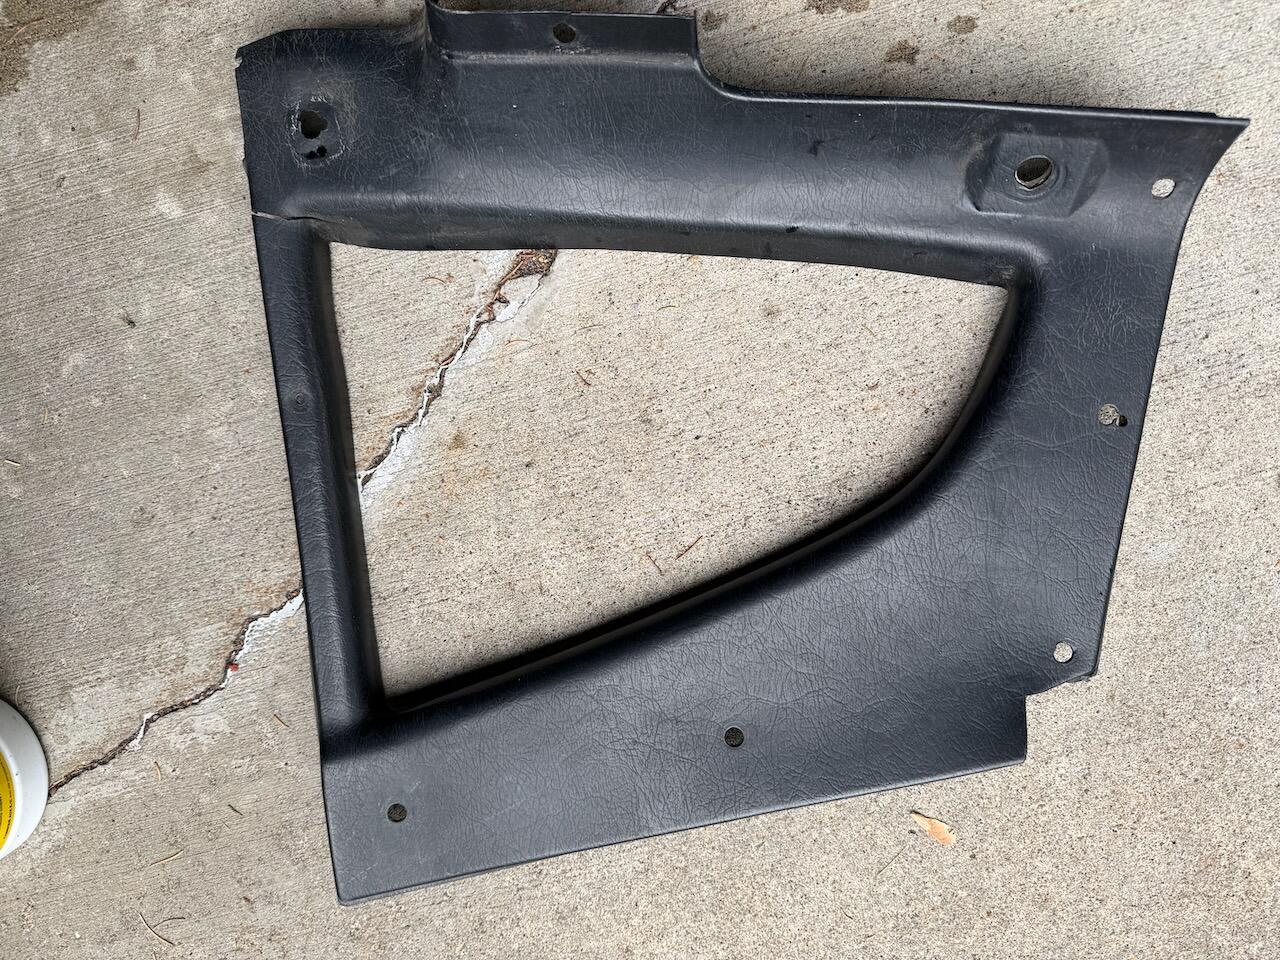
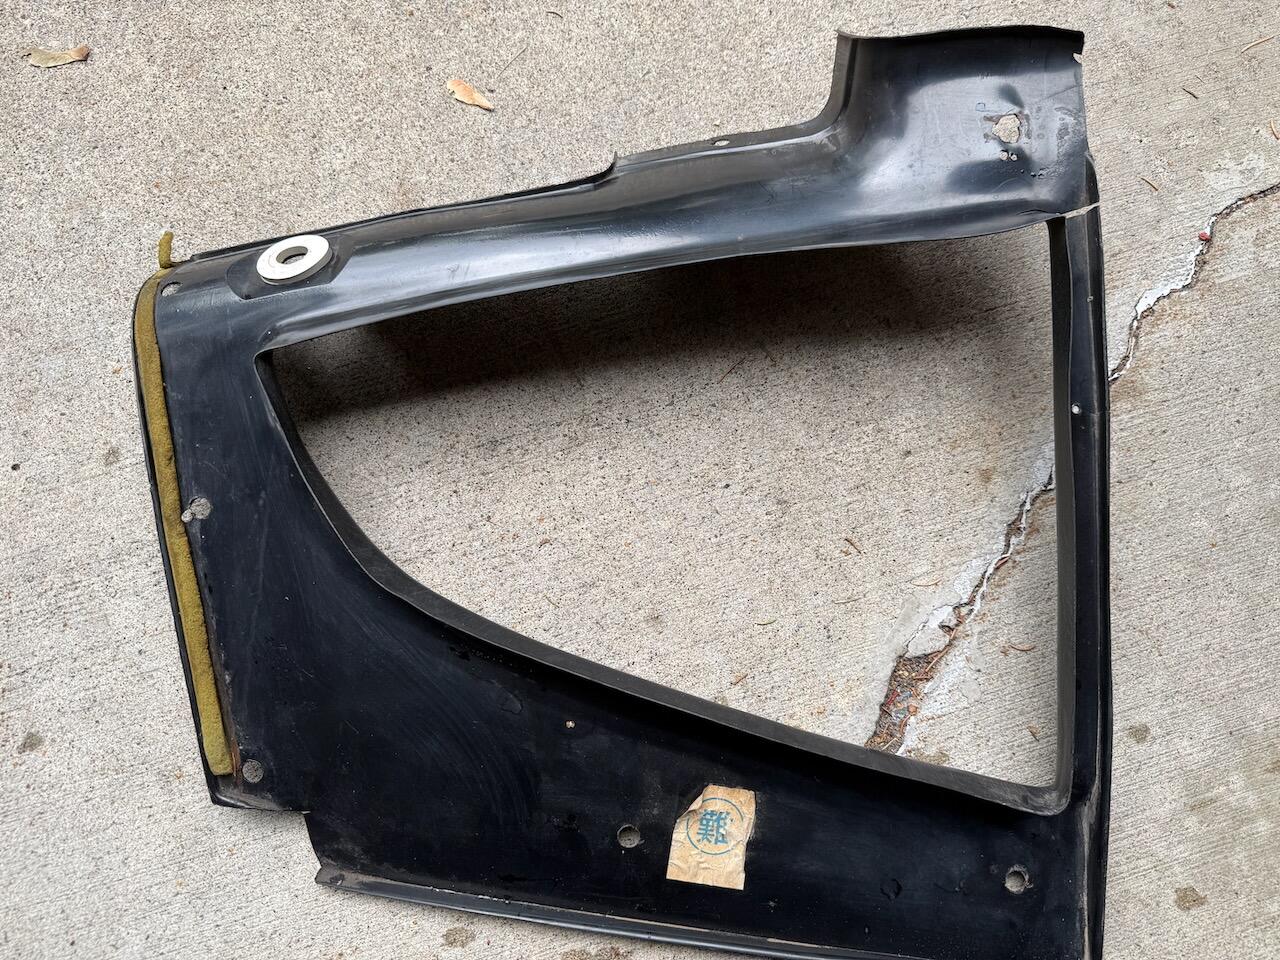
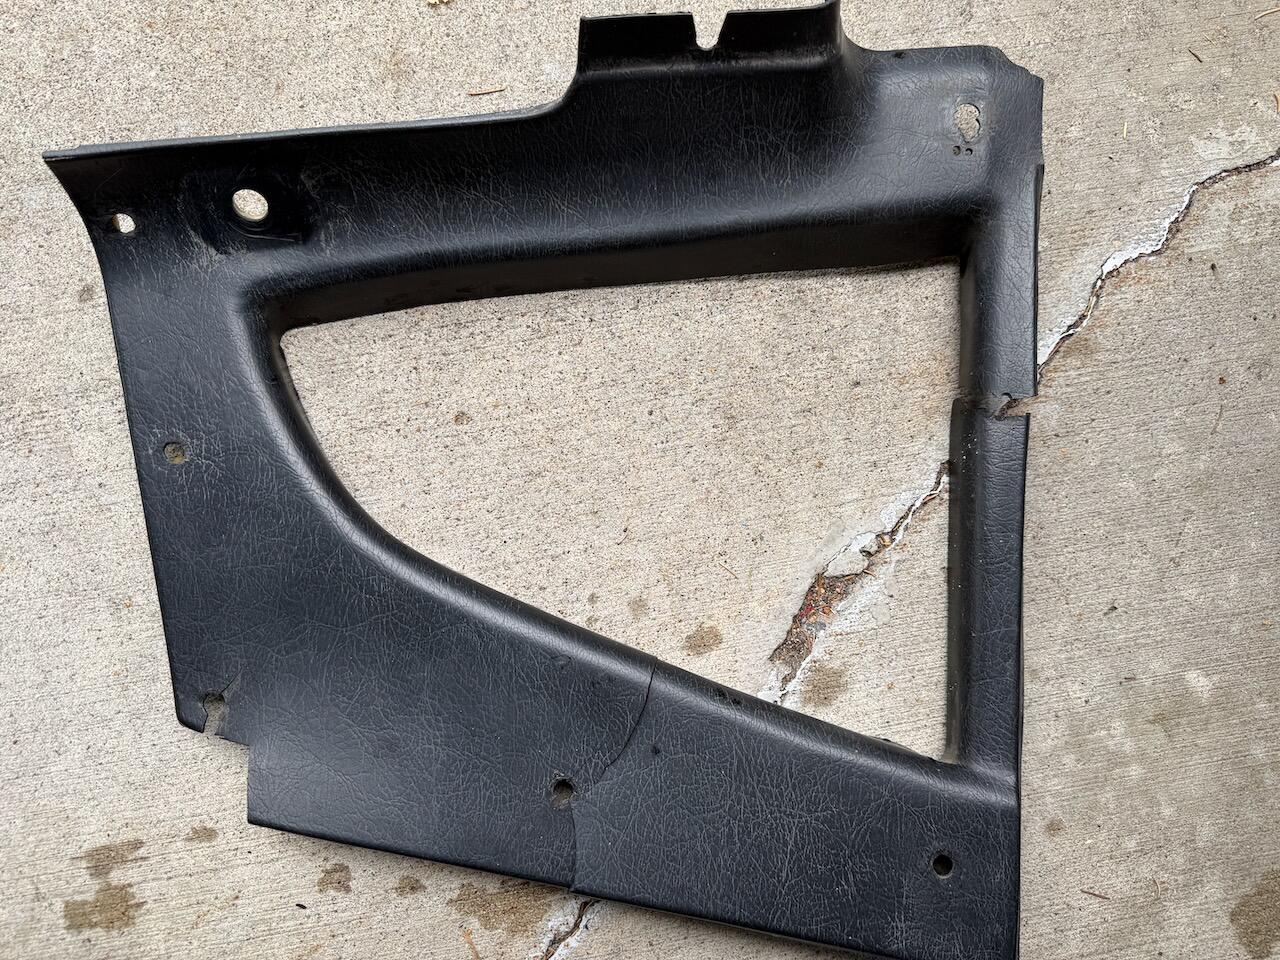
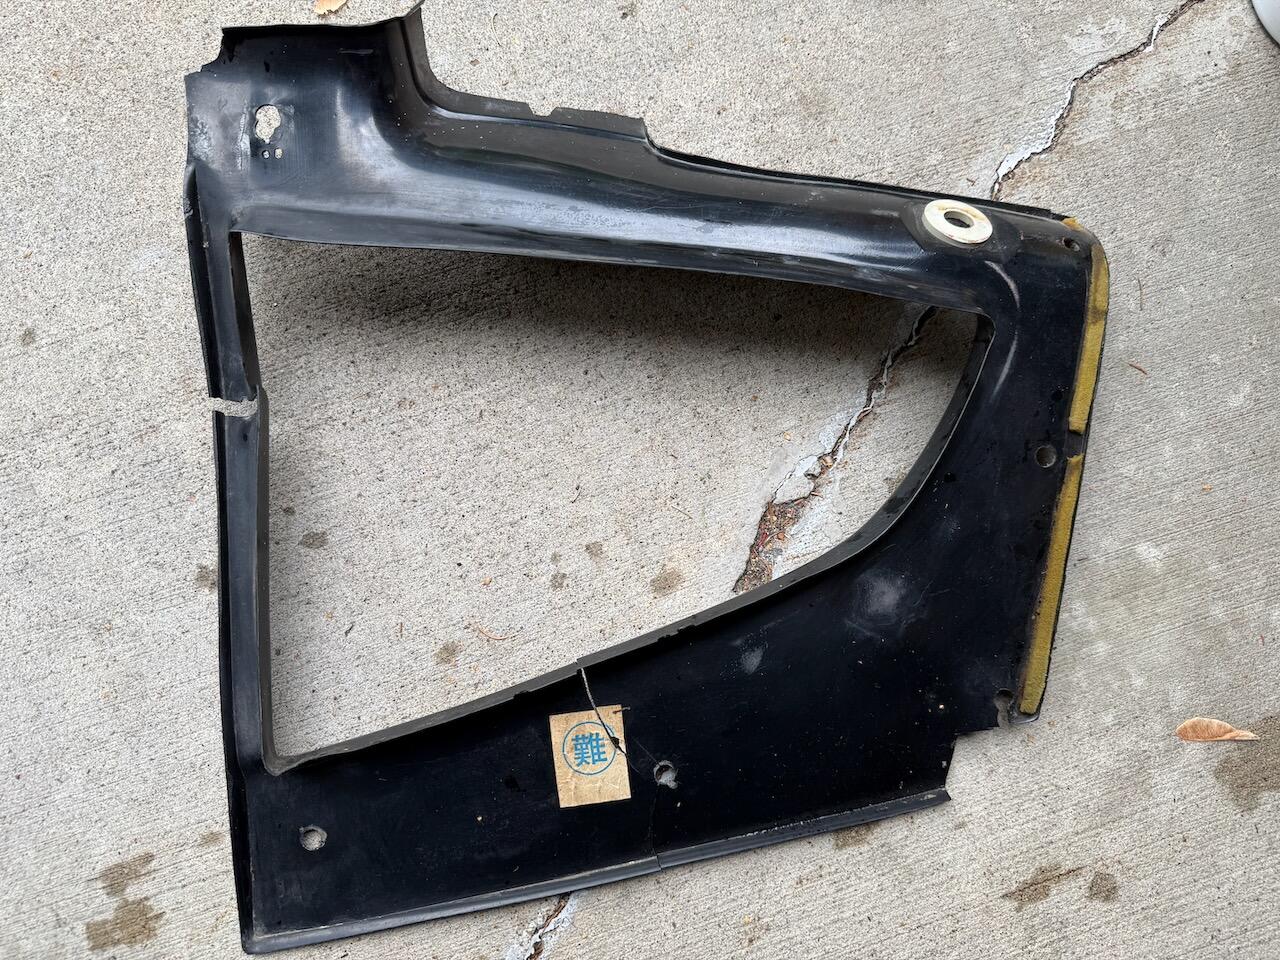
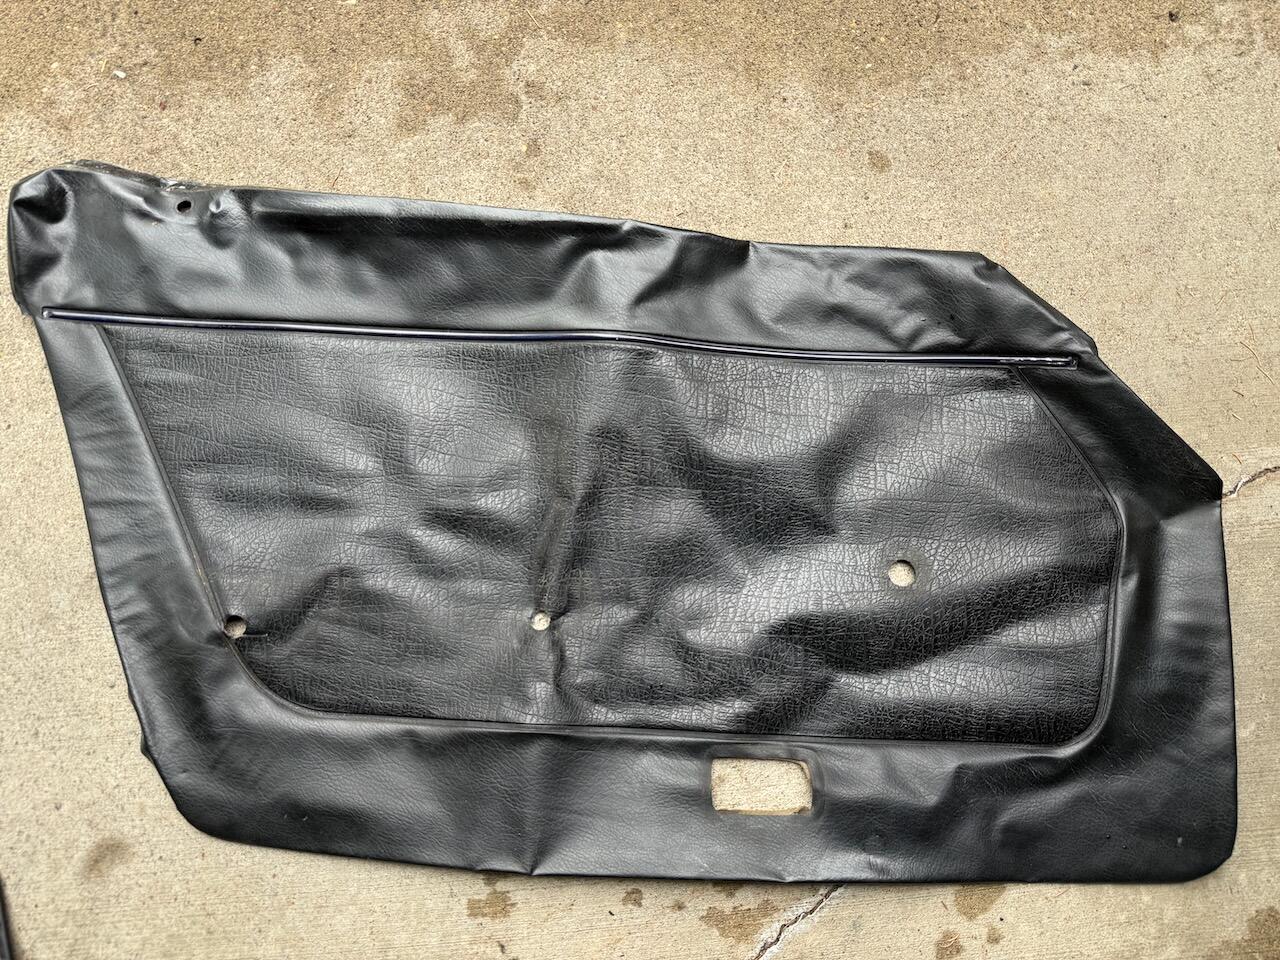
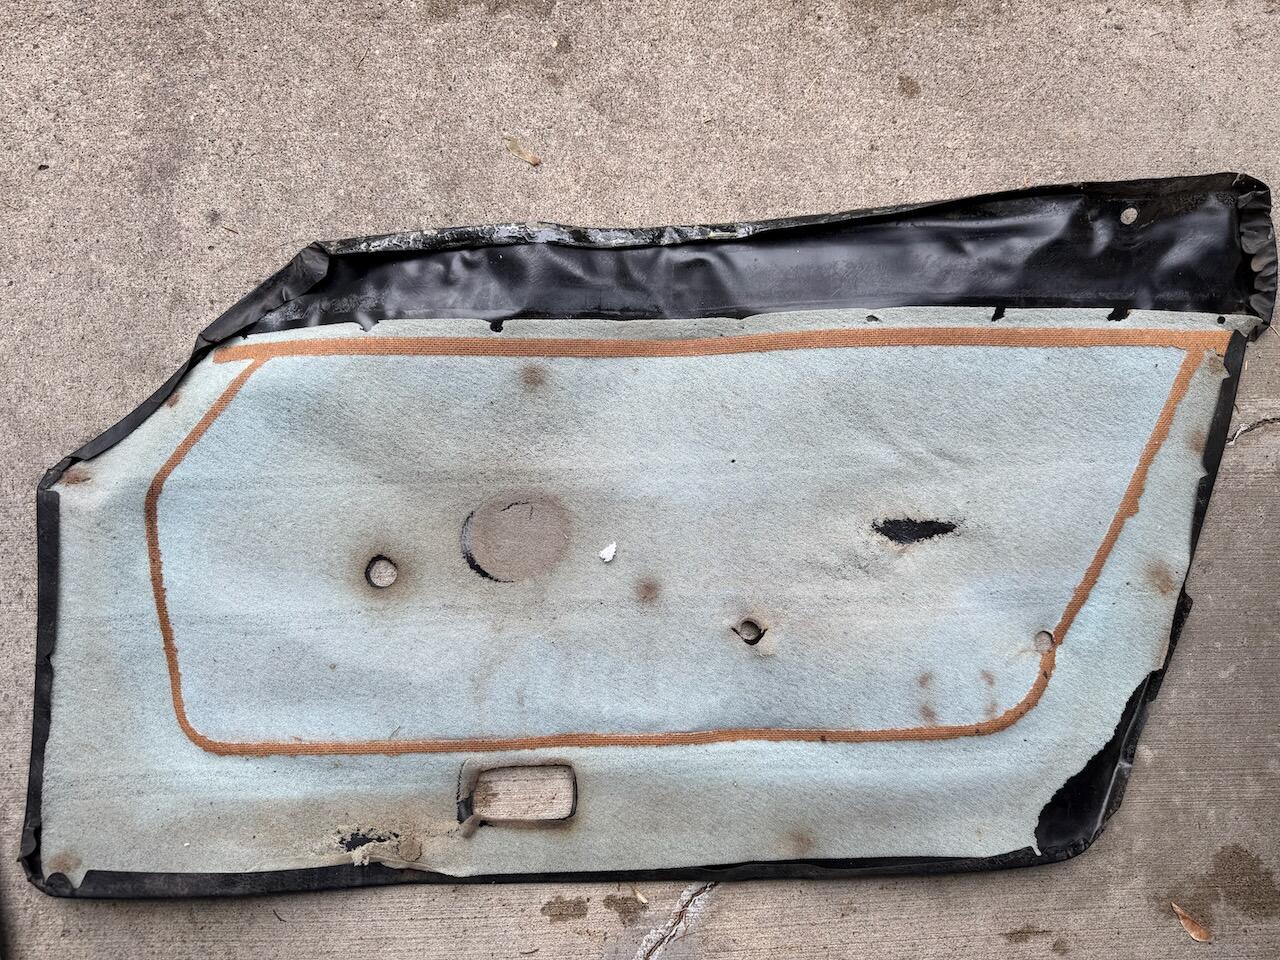
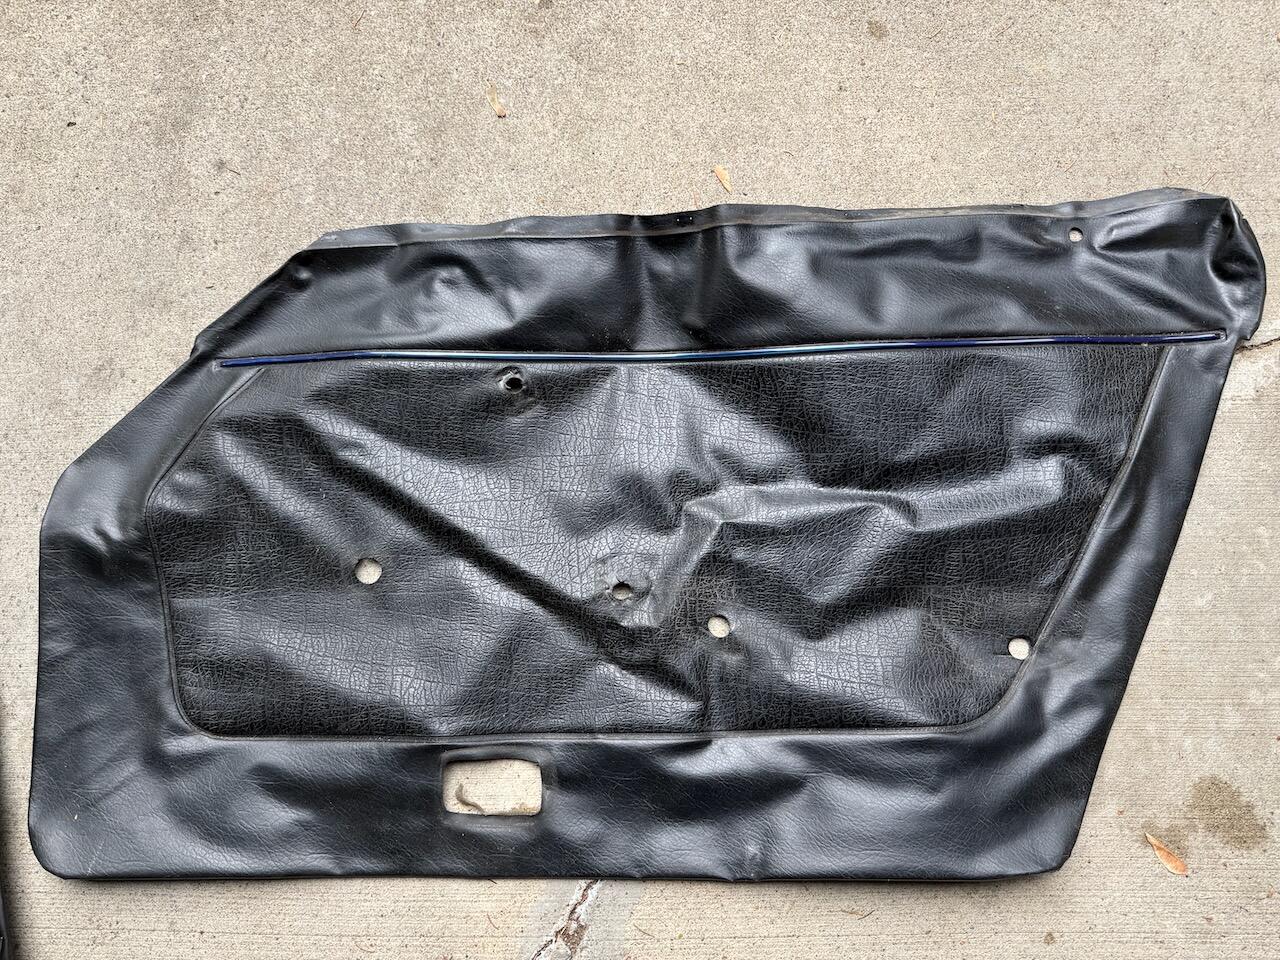
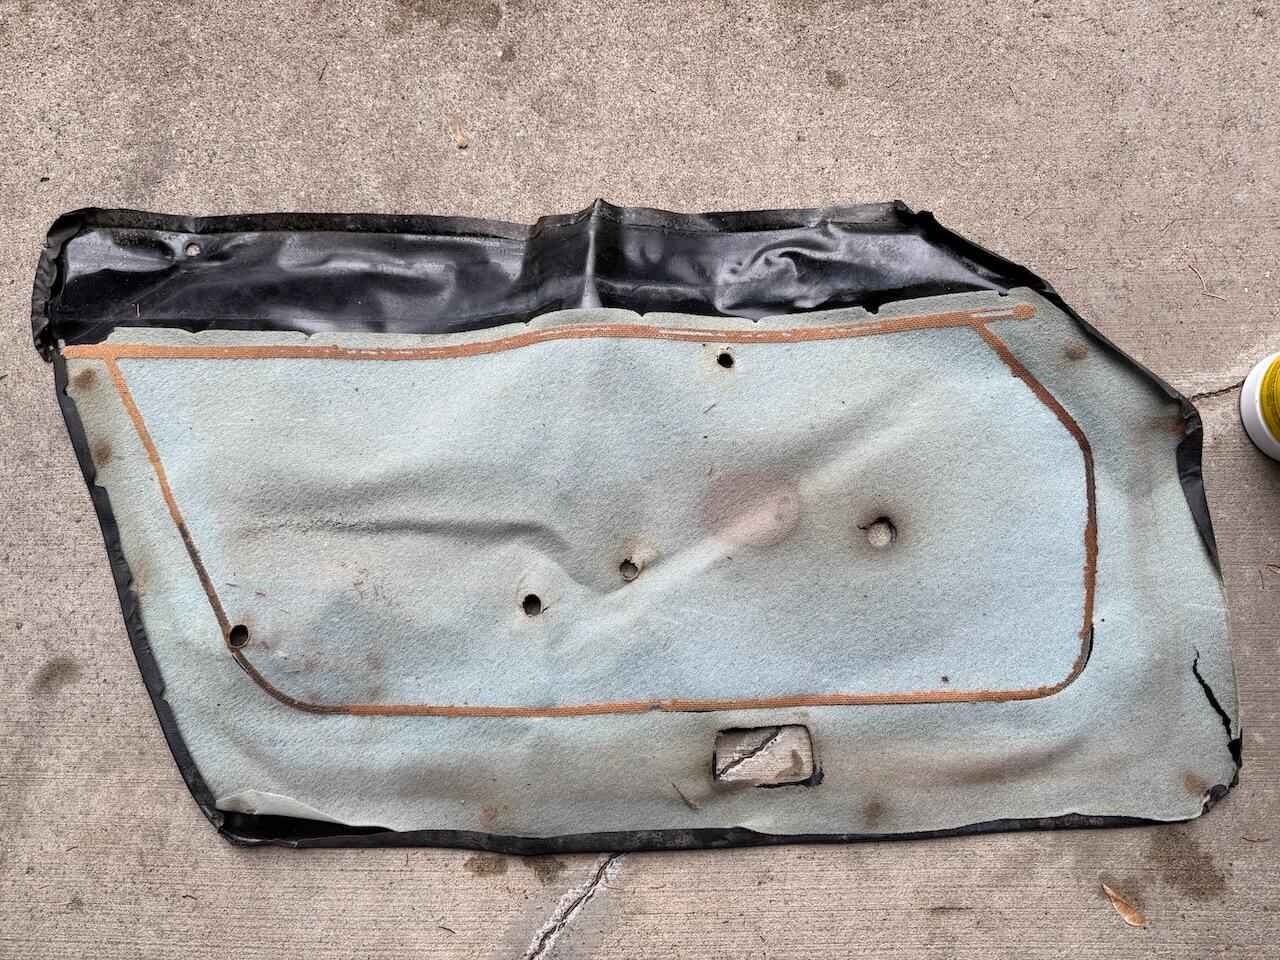
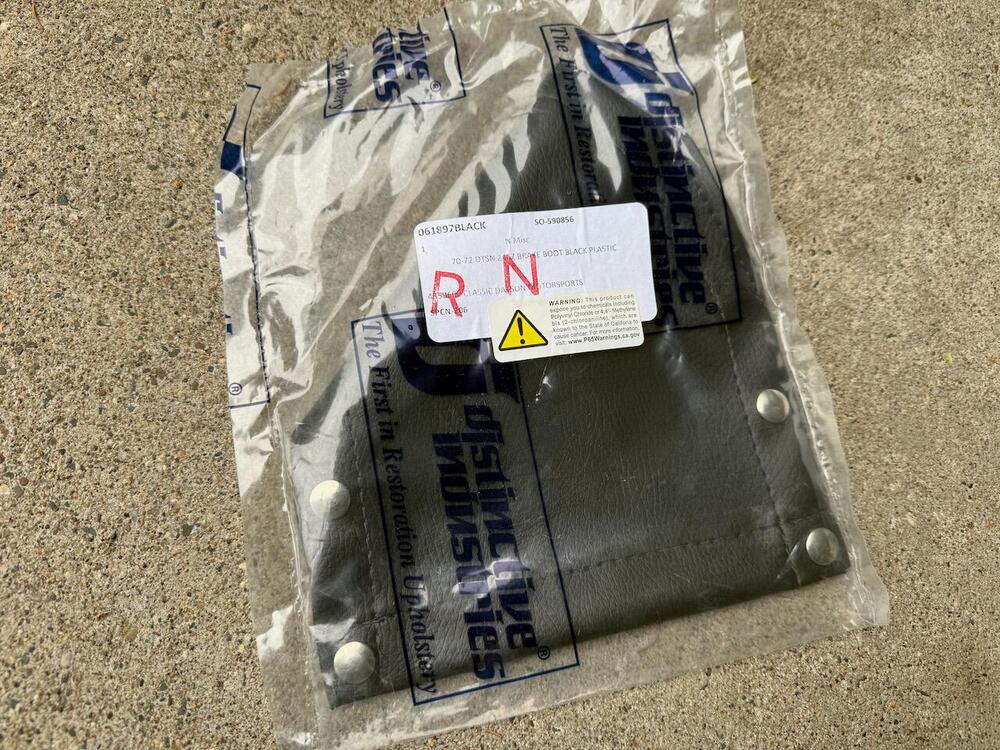
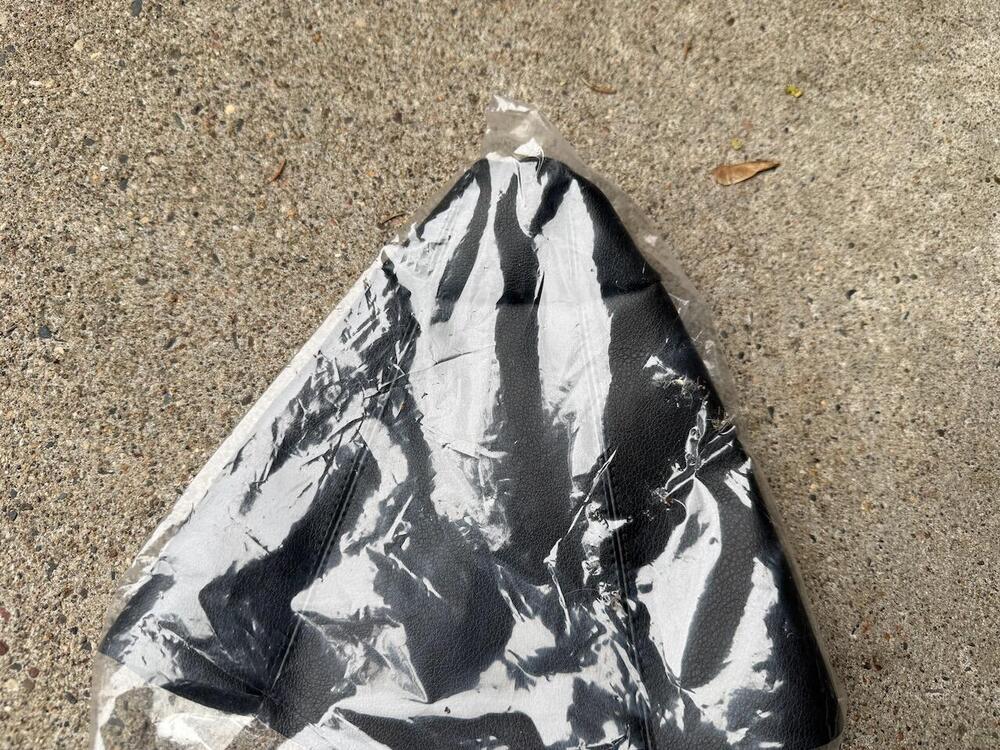
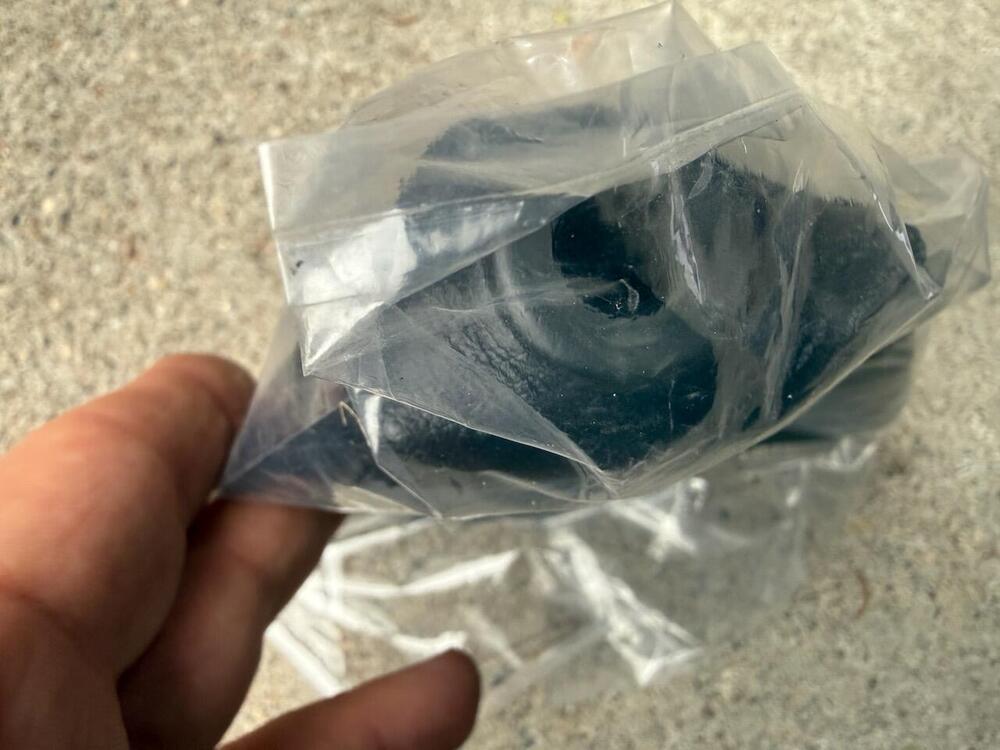
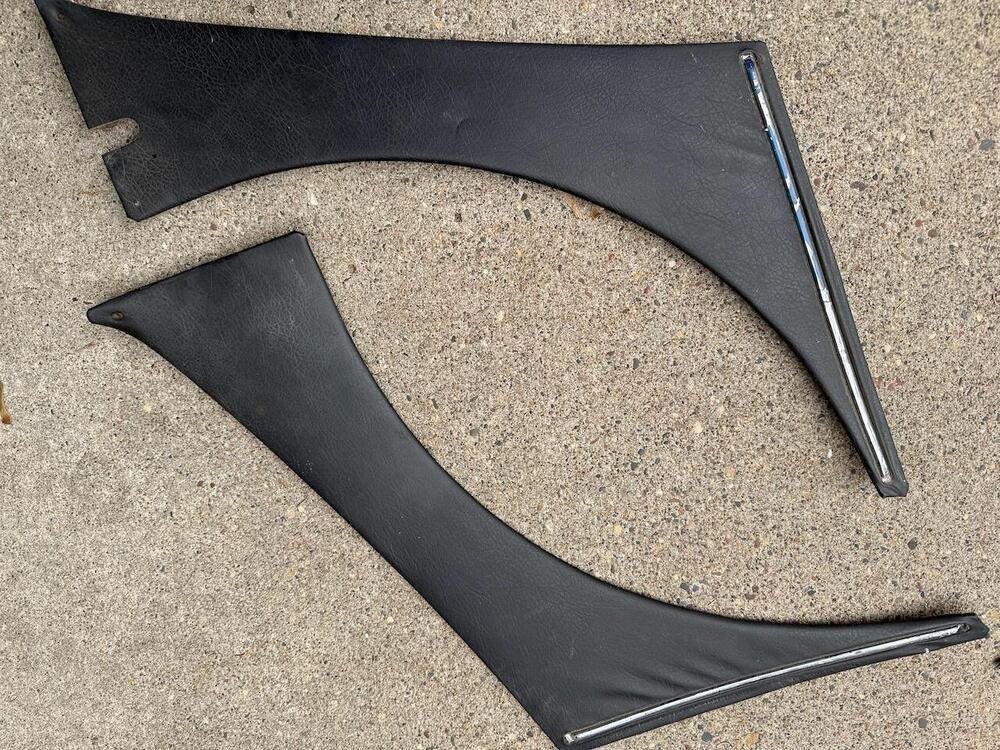
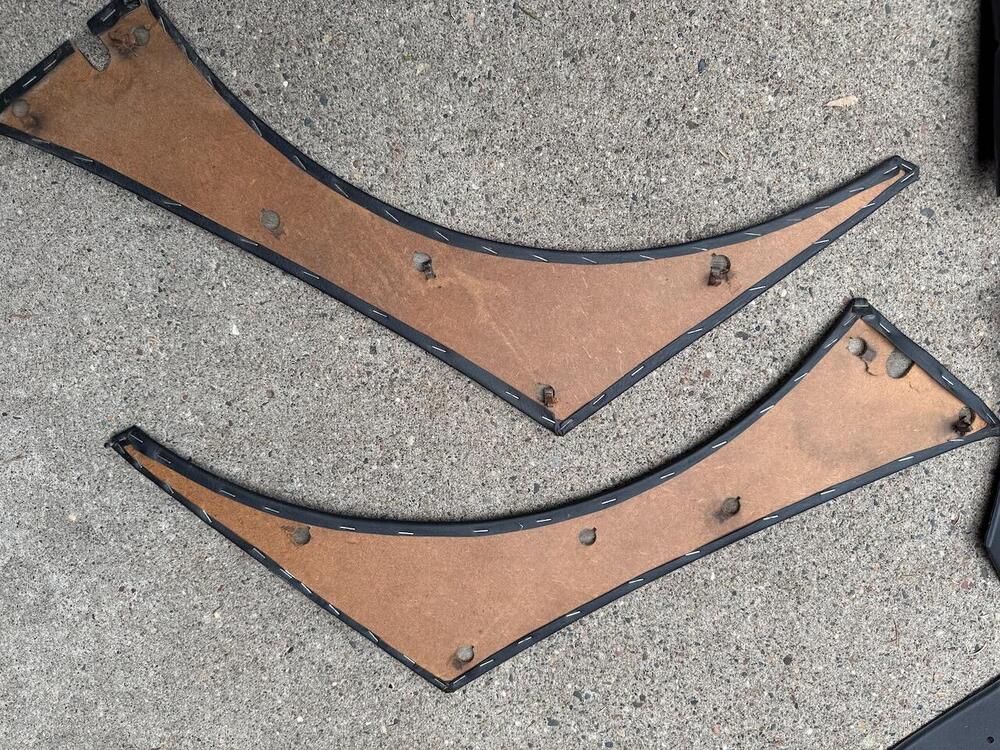
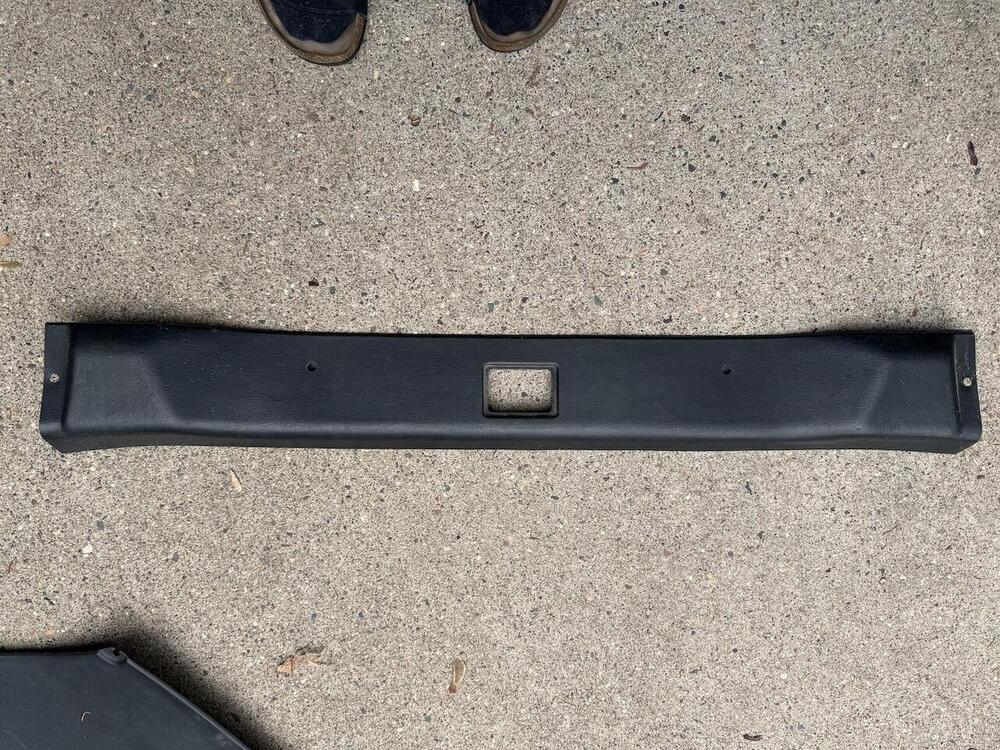
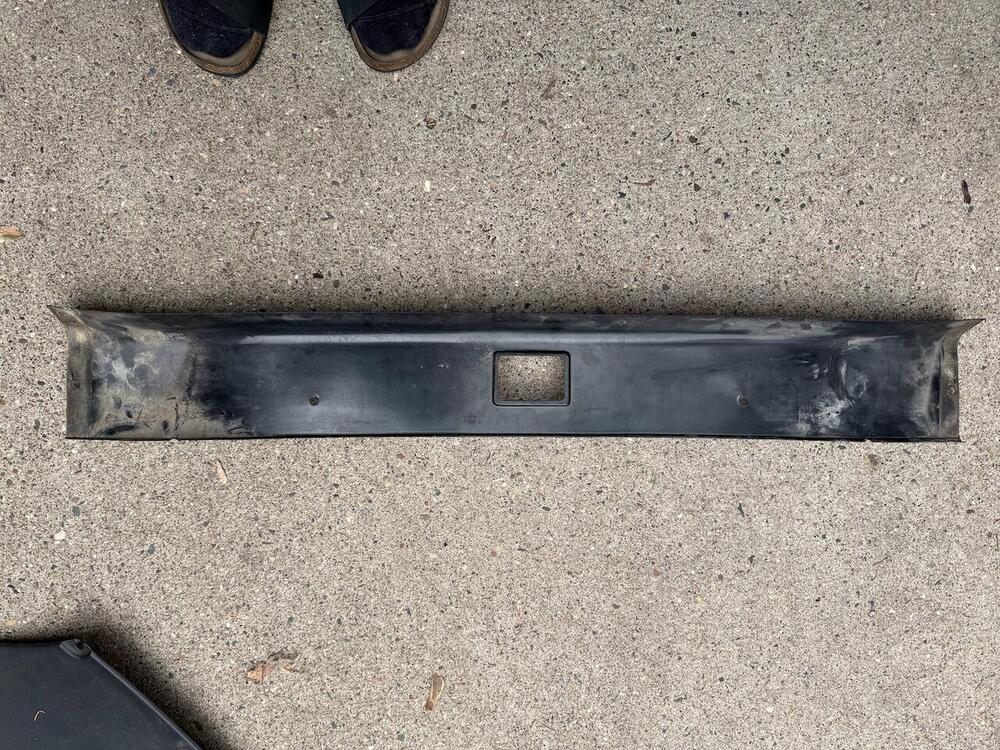
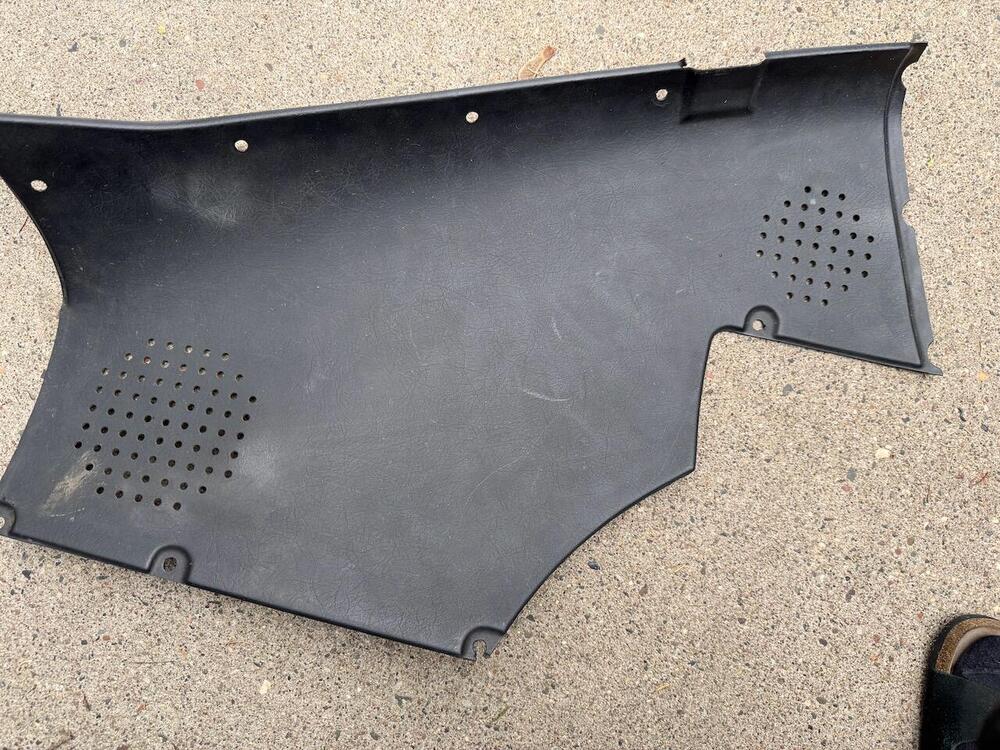
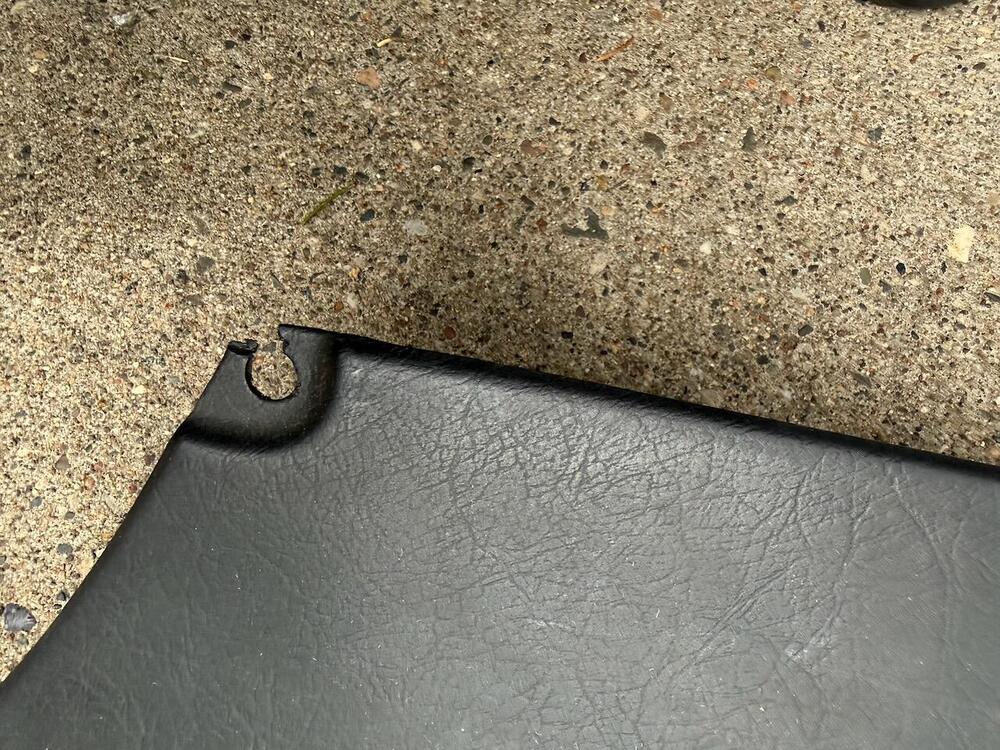
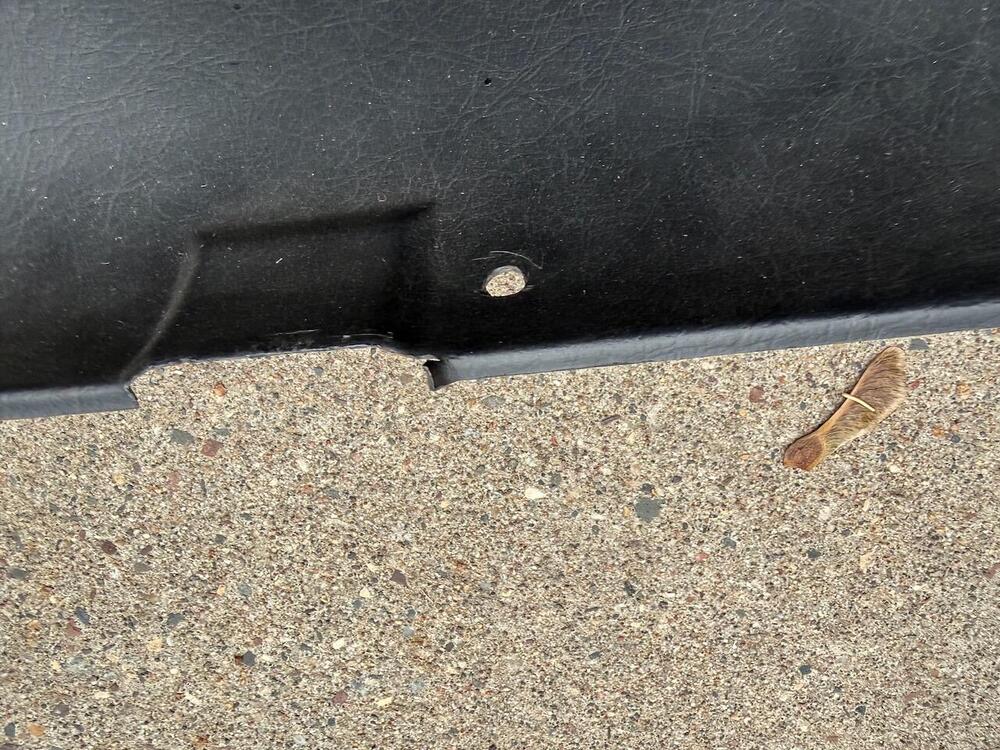
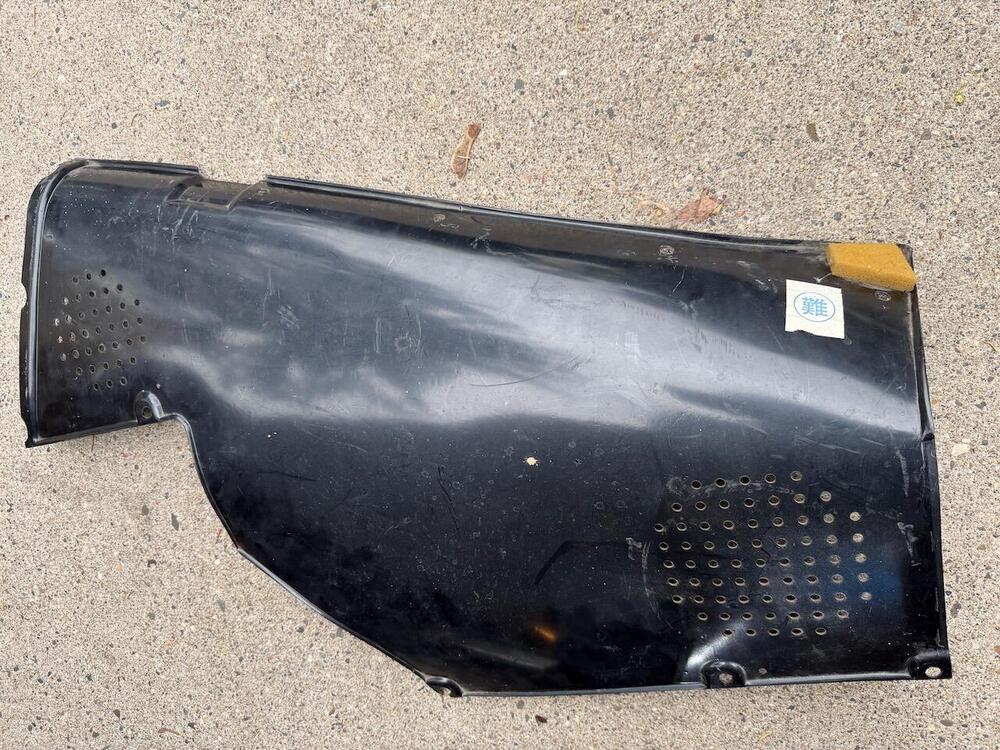
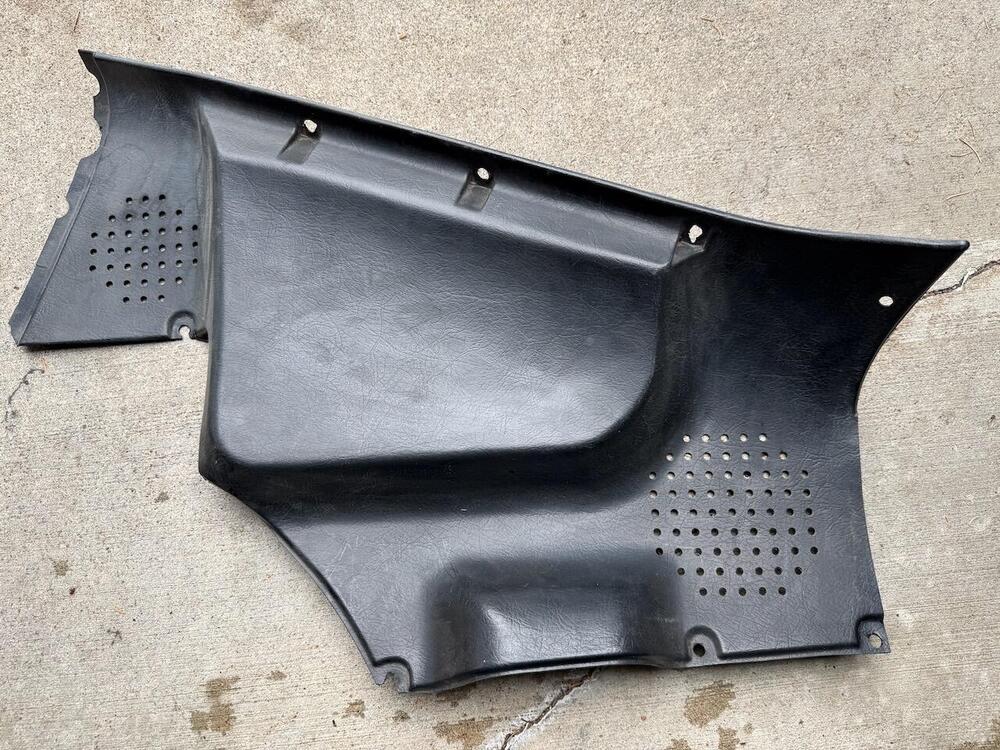
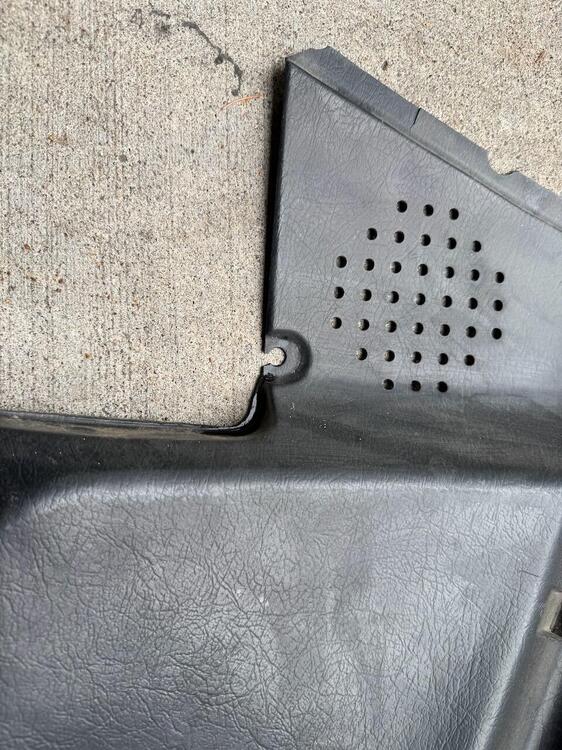
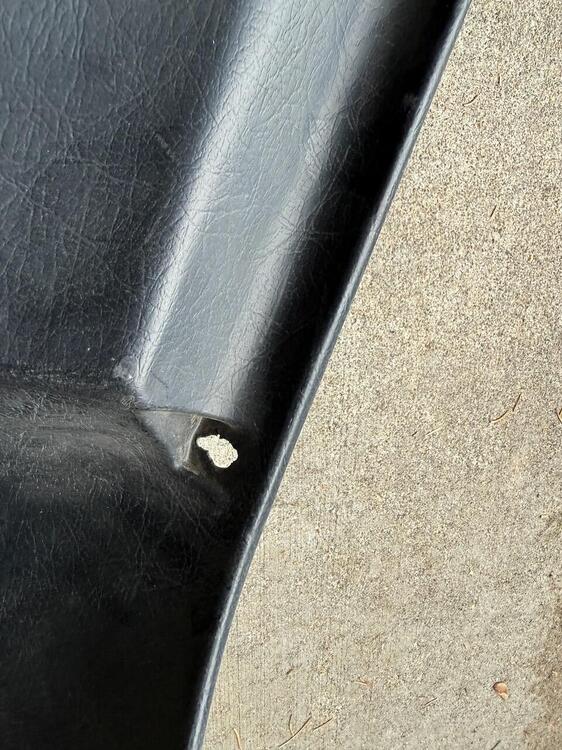
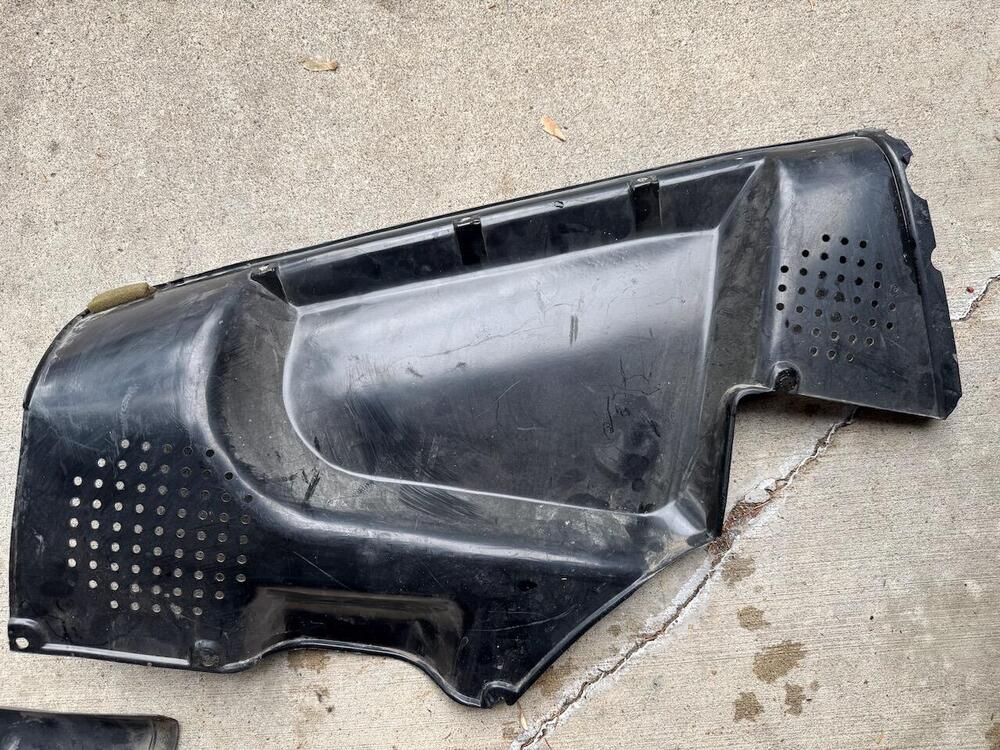
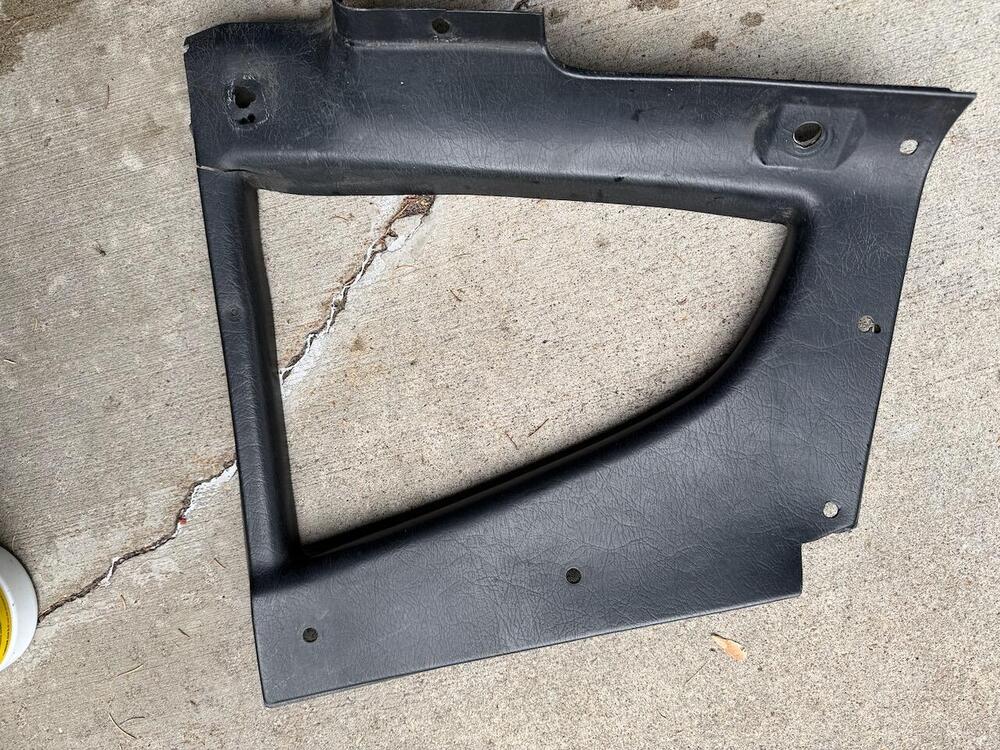
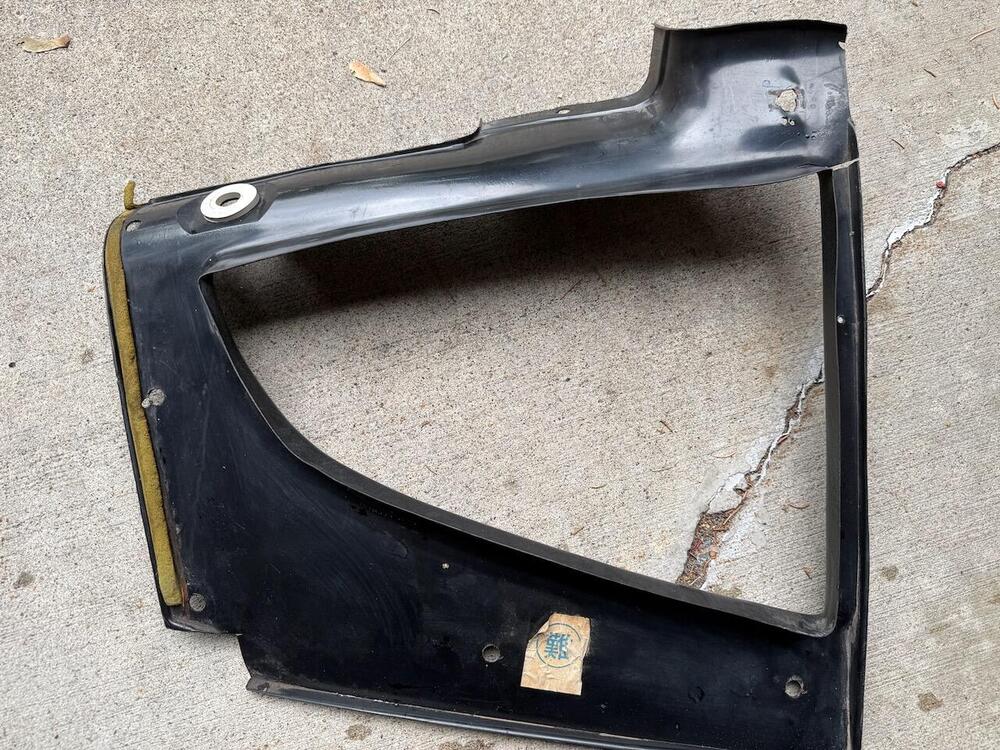
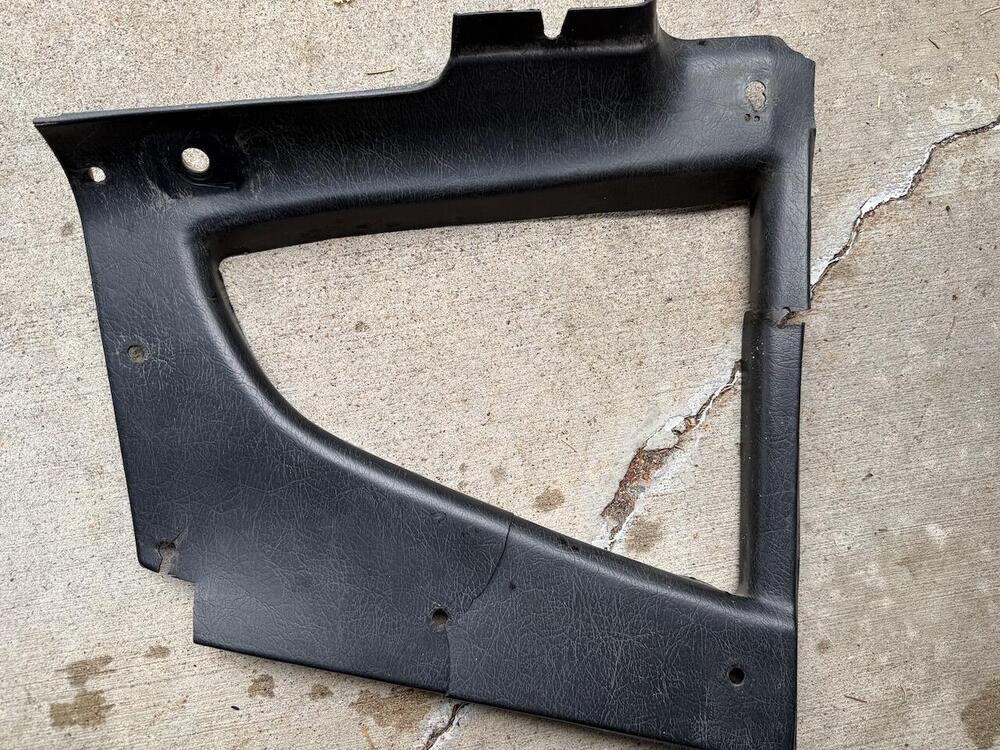
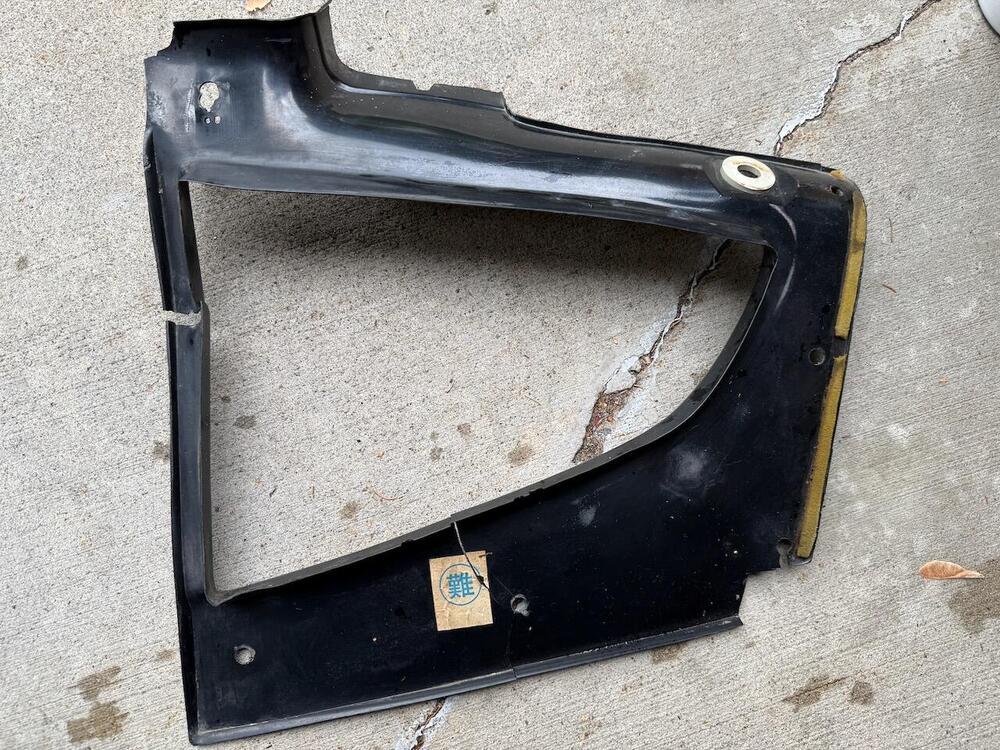
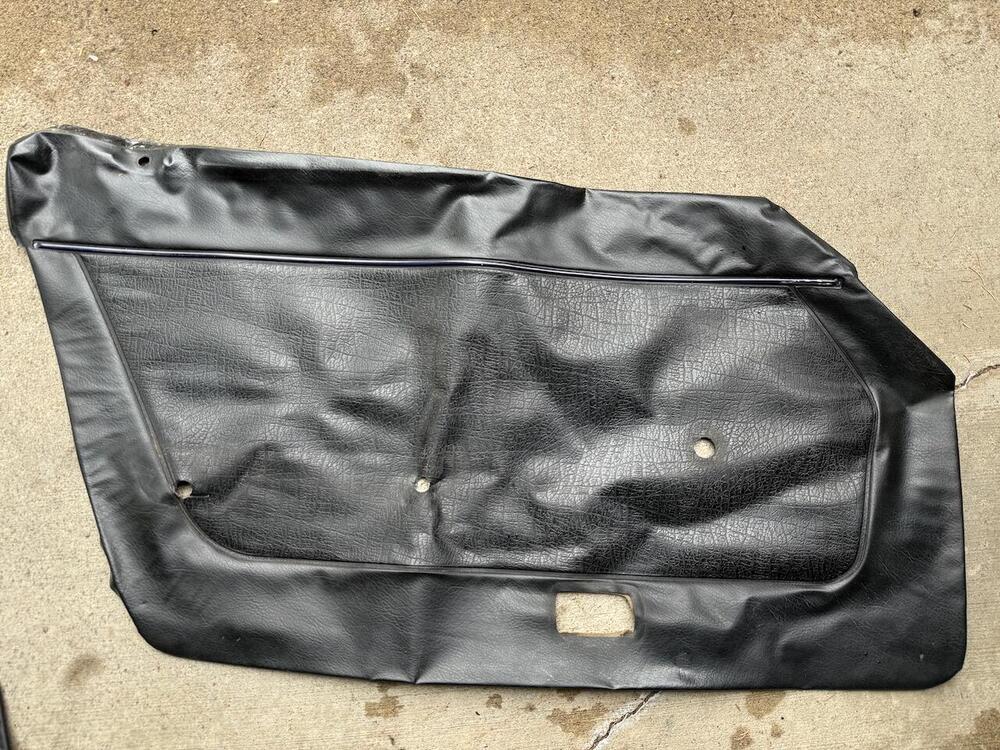
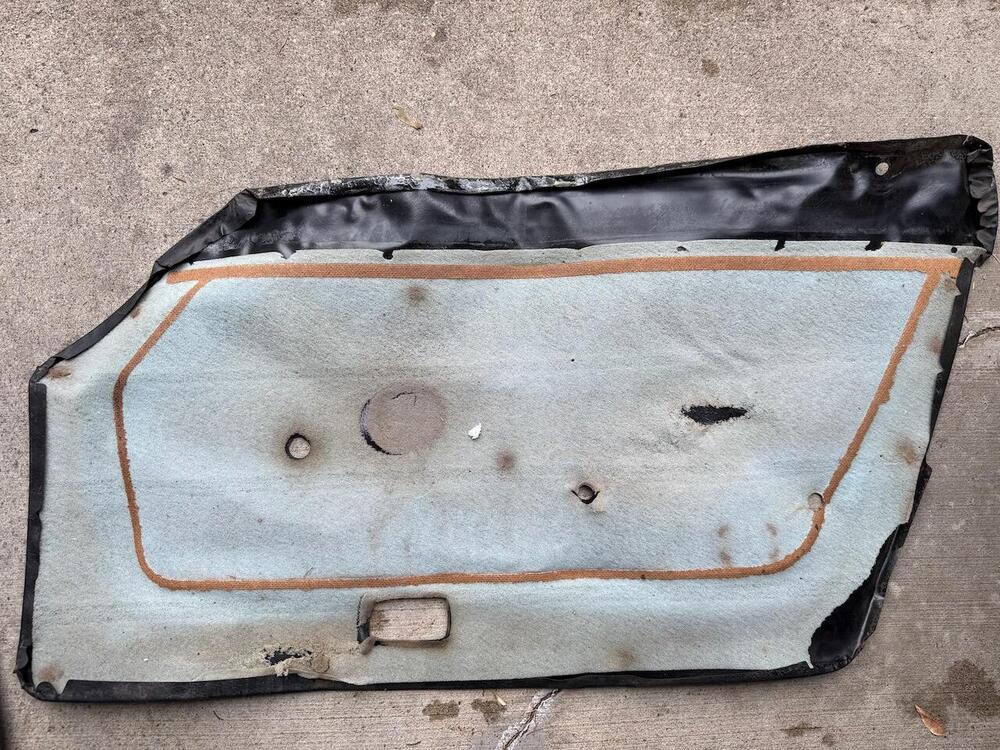
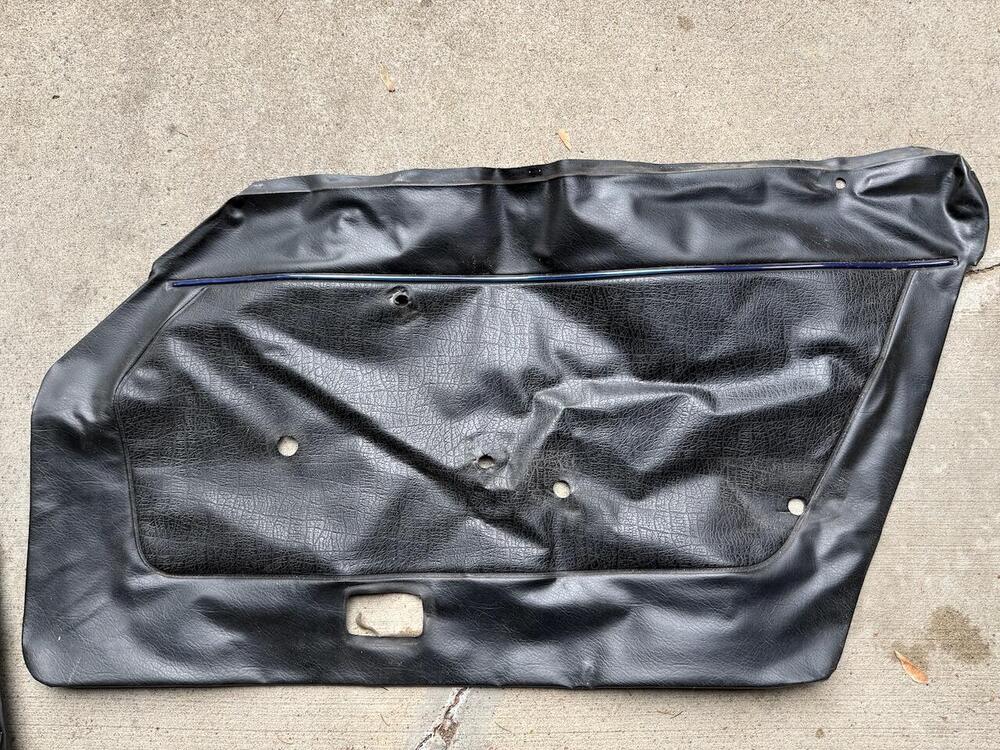
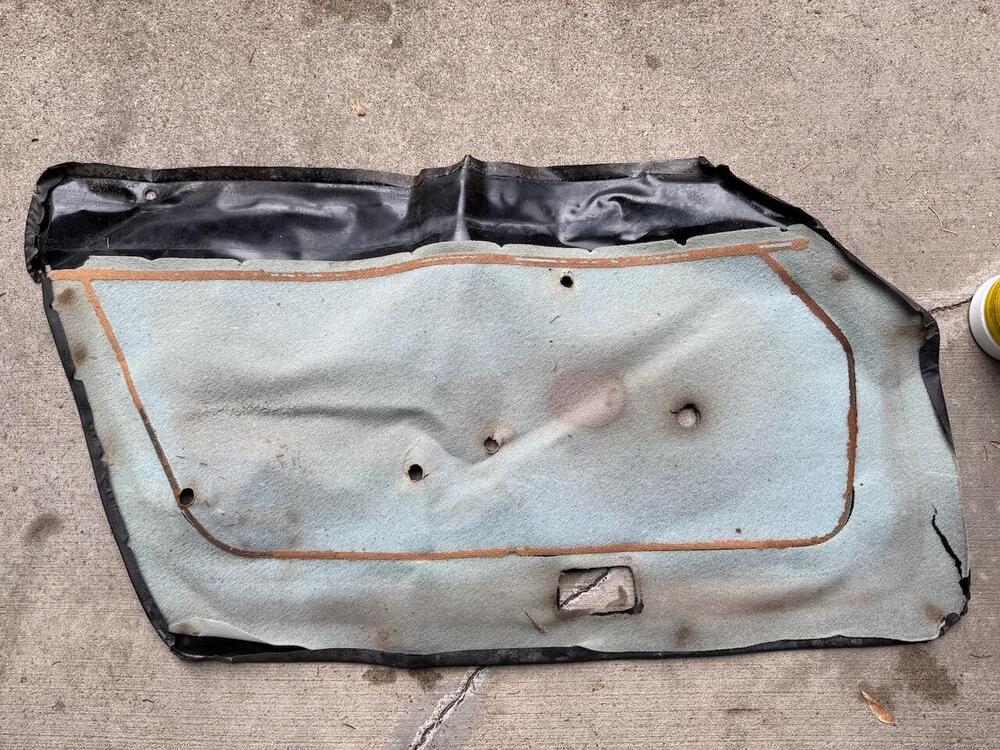
I finished the interior rebuild of my 1970 car this summer. It was originally blue, then got a 'restore' to black interior in 1991. Some of the panels are in pretty good condition, some of them are not (one of the quarter window panels is pretty bad). Door skins are ok condition. Anyway, don't consider these to be 1970 originals, that seems very unlikely to me. Free local pickup in twin cities area of MN, or I can try to ship them if you want to pay shipping. I can't imagine these panels are going to survive shipping intact. they are much thinner than the reproduction ones I put in to replace them (not saying thicker was better, made install a pain). passenger and driver dog legs Overhead plastic trim passenger and driver quarter window panel trim passenger and driver rear deck trim passenger and driver door skins (new) shift boot - this is not original style with the laces. Ended up restoring the one on the car. (new) E brake boot with snaps - accidentally bought 2 of these
-
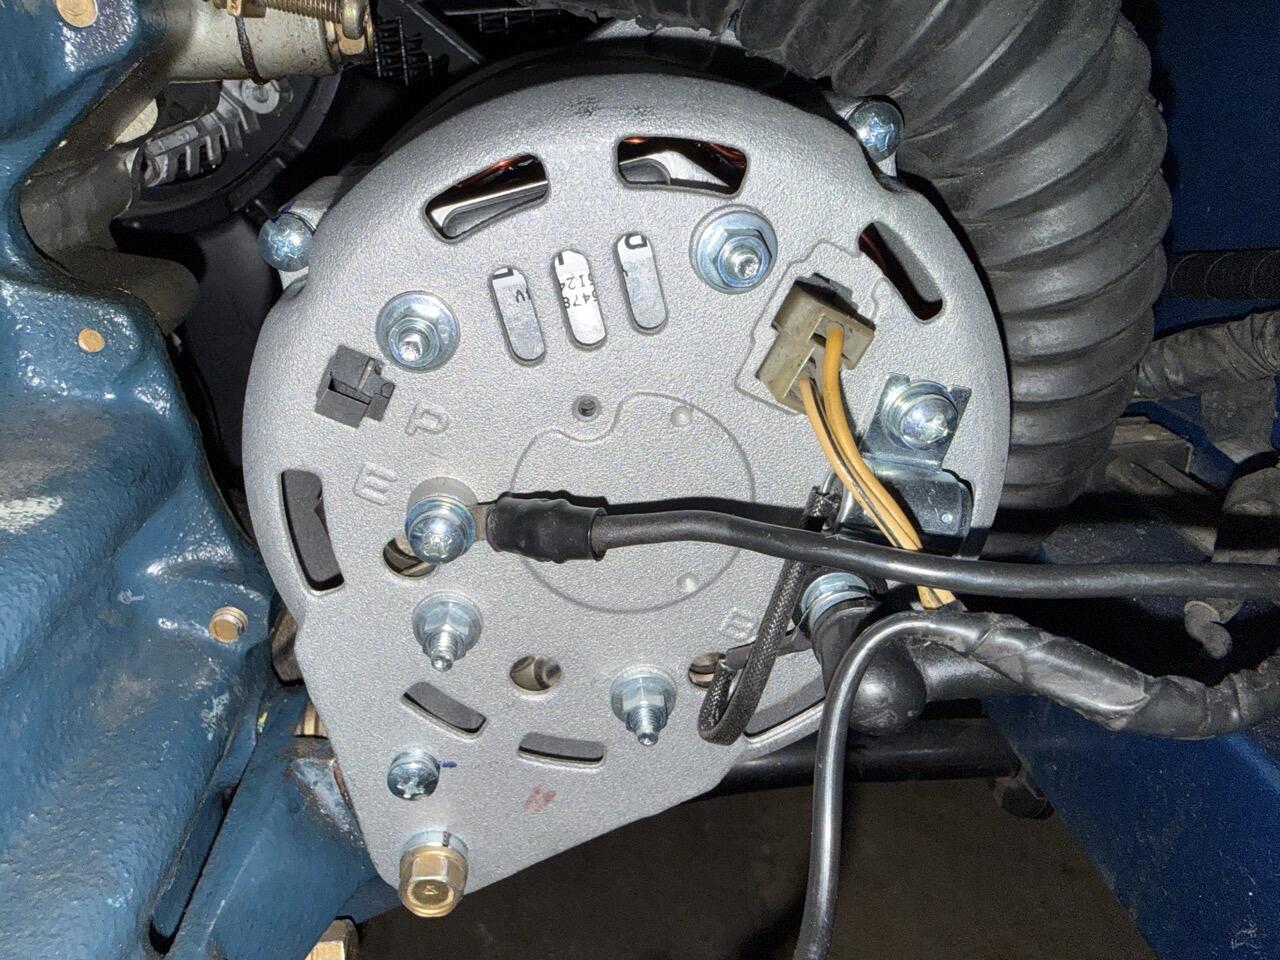
Put the old alternator back in for now, we'll see what MSA says on Tuesday. Should have just got the plug from MSA and bought the remanufactured unit locally. ah, well...
-
The alternator came with an 800 number to call and unbelievably someone answered right away on a Saturday afternoon. He said the 2-pin readings were normal but the power pole resistance to ground meant it had a problem. Said send it back to z store.
-
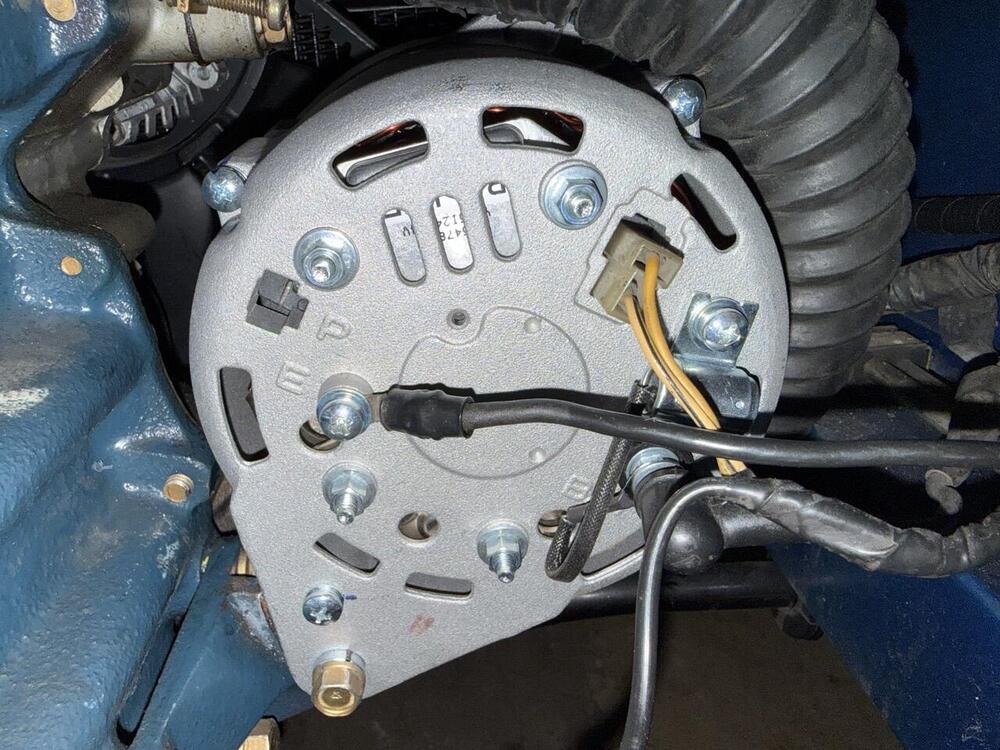
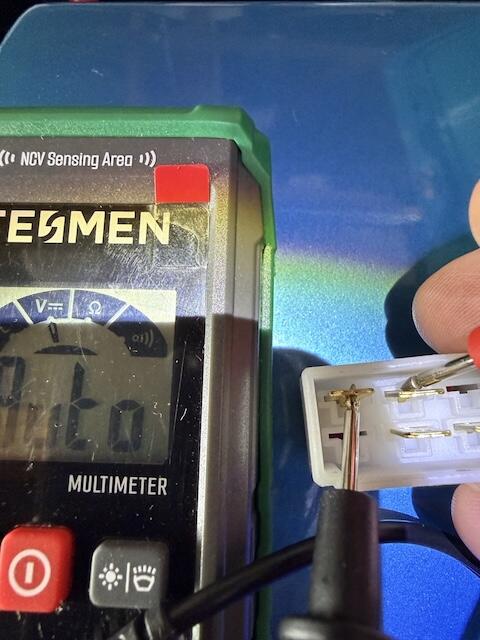
With everything disconnected from alternator and battery also diaconnected: bottom pin (vertical one) has 7.9kohm to case. top pin has nothing to case. power pole has 4.3 kohm to case. with battery connected and alternator still disconnected and key to ON the MSA adapter doesn’t get hot. waited about 3 mins on that.
-
I bought the alternator upgrade kit from MSA for my 1970 car. It's a 280ZX rebuilt alternator with a pre-built adapter that plugs into the wiring harness. Not sure what's going on. here are my observations: engine cranks, does not fire. Was running normally earlier today before swapping alternator. After cranking a bit, I went to inspect. The white plug that fits into the wiring harness was hot. In a way that didn't need normal, and felt short-y. disconnected battery checked continuity between car ground and case and E post: ok. reconnected battery for test: getting 12+ V at the B post Didn't know what to check with the little 2-wire T plug. no continuity between B and E post / B and casing. On the adapter plug, with the stick-out-y bit at the bottom, the bottom pair of plus show continuity. The top 2 do not. have the plug out and the battery disconnected until I know what's going on.
-
Well, that took a lot longer than I thought, but alls well that ends well. I got a new MC from ZCar Depot (the cheaper of the 2 7/8th options). This one has reversed reservoirs from the one that came with my car, but flex lines from California Datsun worked great. Did bench bleeding, installed, bled the corners... brakes kinda work, but not really. tighten up rear wheel cylinders, do the whole thing over again (tried different angles when bench bleeding, for example). Checked for reaction disk having fallen. tried adjusting the setup with the pedal. everything I could think of, but still only felt solid when pedal is already half way down. Probably everyone knows by this time what it was, but it took me a long time to think of it. the MC that came with the car basically had the piston cup right up against the end of the cylinder where it fits into the booster. The new one, upon removal and examination, sits about 1.1-1.2 cm further inside the cylinder. so the pushrod wasn't even contacting it until the brake was half way down. Took out the pushrod, extended it (seemed to be pretty extendable, but a little worried I didn't keep unscrewing until I knew how long it was in there. felt solid anyway). et voila! brakes are firm. Went for first "joyride" in 8-9 years. all of 3 blocks away before I turned around and came back. the shock bump stops crumbled to dust and I'm still waiting on new struts from MSA. Don't want to hit any bumps too hard. Now for a nice water free wash.
-
ah, cool. ok, that's the plan. I took it apart one more time, and almost got it working. I replaced the new seals with the original ones (which probably weren't original, but age unknown). This allowed it to actually start working, and I could hear shoes clapping into place, but it revealed another problem which had been hiding in there: the long stop bolt (hole) was stripped out. Probably by me, but I can't say. So that was also leaking. On the plus side, I am now really good at bleeding MBCs and wheels in a relatively mess-free and fast way.
-
I think it would take something 5 hours to fill from there. If it even could be done. But I get what you mean now… you would eventually fill past the max level where the actual fill plug is.
-
I’m not seeing any available early style master cylinders. Anybody know of a source? Failing that I buy a tube bender and cross the front and back hard lines to work with the newer style large tank in bank cylinders?
-
Well I did try. What might I have done there damage wise? If you just meant gear oil would go everywhere outside the diff then that did indeed happen.
-
So new wheel cylinders finally came and I installed them and tried to bleed the system. I had blown out all the hard lines and removed the proportioning device and kind of spiffed it up but yeah not much to be done with that. what I’m seeing is this: Fluid gradually transfers from front tank to rear tank as brake is pushed and let up. If I push brake down the front driver wheel won’t spin (1 person team so can only reach driver side wheels). Except then it will spin after a bit. I took the master cylinder off again and checked the seals. Looks like I initially had one of the seals in the piston closest to the firewall reversed. Can’t see that in FSM but found a couple photos online. But when I put it all back together and rebled the cylinder and wheels I get the same thing. Feels like the transfer rate is a bit less this time. time to give up on this master cylinder? One thing that is odd and probably wrong with it is that one of the valves has a gray kind of cup at the bottom that is not attached to the MSA whereas the other one that cup is solidly attached (or seized depending on what’s correct). The front valve is the one with it fixed in place rear valve it can move.
-
Luckily I didn’t try to hard to get it out so it seems to be fine. Cool that Nissan still has them. The way I found that was a vent tube was by scanning images on google and came across a similar looking one for a Chevy. Light bulb finally went off at that point.
-
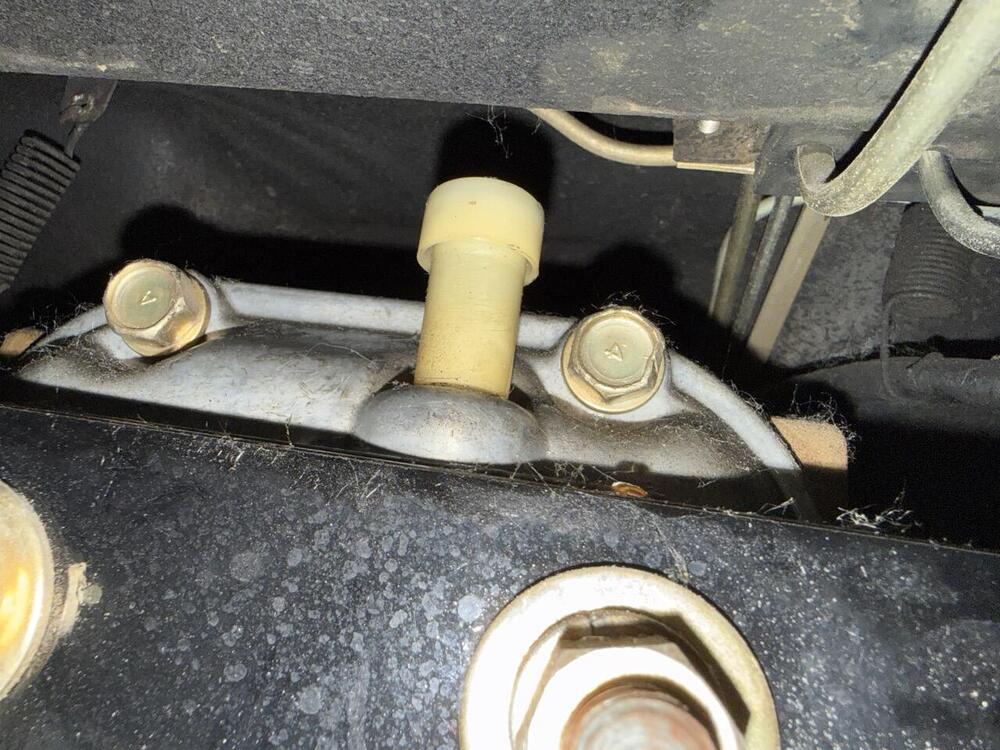
Thanks Steve those are the photos I should have looked at before starting. I looked in the FSM but didn’t see the actual plugs. Honestly it was so stupid. When I was under there the cross member hid the fill plug from me and my eyes went right to the vent pipe. The really dumb thing though is I took pictures before I touched anything and if I had just looked at the pictures I could have seen the fill plug. It’s just angles and the cross member. Anyway no harm no foul I guess it’s done. Harder than it needed to be but on my next Z….
-
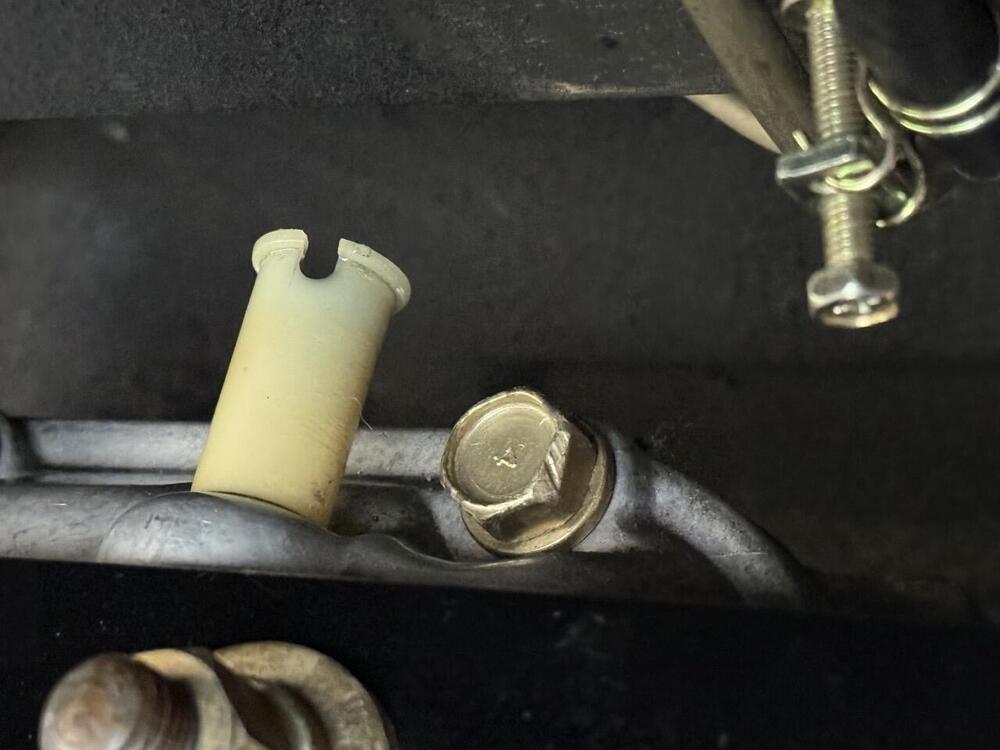
EDIT: that's not the fill plug replaced, it's a vent plug, doing its thing. Nothing to see here except a newb learning as he goes... :) And now very much hoping the fill plug is not stuck, because oil is already out... I'm trying to change the differential fluid on my 1970 car. A PO seems to have removed the fill plug and replaced it with a plastic thing with a pop off top. (thanks for using up another 1.5 inches right there, makes getting a hose in there pretty fun). I tried removing the entire plug: it twists, but I don't know it's screwed in. It's not actually screwing outwards. Is this a common type of plug? The main problem is this: when I fill, it pretty much immediately overflows from that tube. I'm not 100% sure that NO oil is going in, but it can't be much. I've tried flowing it very slowly. I don't have tube tight in it any more either, just holding it over it, so air bubbles can get out. This thing isn't a valve of some kind is it? Anyone have experience with these? Can I safely remove it without plastic bits falling into the differential? do I even want to replace this?
-
Reading up on procedure for installing new bump stops. Seems like a good time to also replace the shock inserts? Front and back while I already have the brake lines drained? Are the KYB ones at zcardepot recommended?
-
This is maybe a modern alternative? Doesn’t sound like foam to me. https://zcardepot.com/products/strut-bump-stop-poly-240z-260z-280z?variant=31994410336369¤cy=USD&utm_source=google&utm_medium=cpc&utm_campaign=google%2Bshopping&gad_source=1&gad_campaignid=17820837536&gbraid=0AAAAADgHqXubWS9vzOZNsLdNoFCRC4Msa&gclid=Cj0KCQjwteTUBhD4ARIsAEYjs3qiOWp8hezXGBa0n2MG2spTJOGrIwF7mBO42Ki_2Jx9OU-R9_g4aMMaAid9EALw_wcB
-
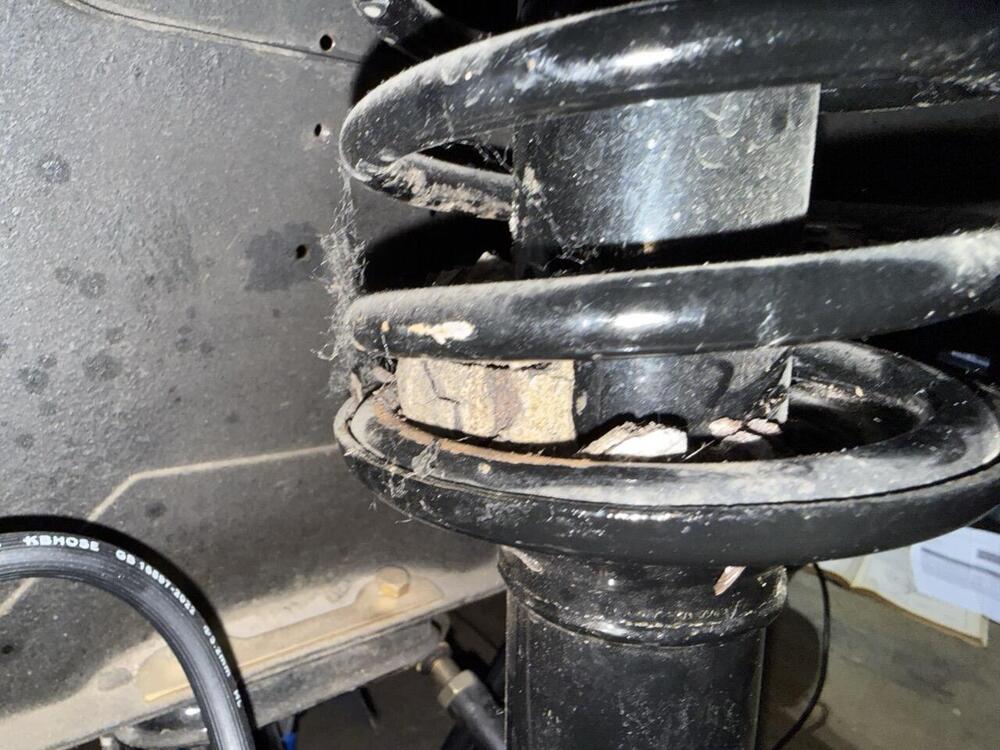
I'm getting a 1970 car running again after 9 years. Interior is redone, engine is now running. Rebuilding brakes right now, working on clutch next. Noticed some gray chunks at bottom of shocks today when putting calipers back on. on both front right and left. Seems to be foam (stuck my finger through and one of the chunks just disintegrated). So what died here, and maybe more generally: what should my shopping list look like for getting car back in shape, as far as the suspension is concerned? I'm not worried about trying to keep car stock. Wouldn't mind if it say a bit lower than stock, as long as that helped it corner a bit better, but it's not a big deal to me one way or the other. Would appreciate any recommendations, and also warnings if some procedure is risky for me to do myself. Practically everything I know about working on cars I learned on this project, so if you assume I know nothing and am a drooling idiot, you're not going to offend me.
-
cool, thanks.
-
Thanks for evaluation. I ordered new ones for both sides.
-
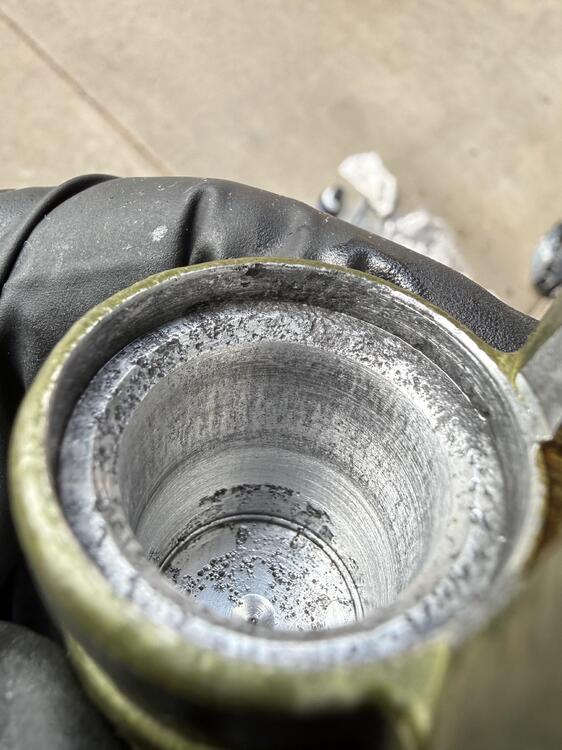
Bought a honing tool. The pads can’t touch the bottom of the bore so just used some steel wool on that. Sides look ok to me except for right at the bottom where some pitting remains. Salvageable? What would failure look like if I use this? Leaking brake fluid all the time and eventually mushy rear brakes?
-
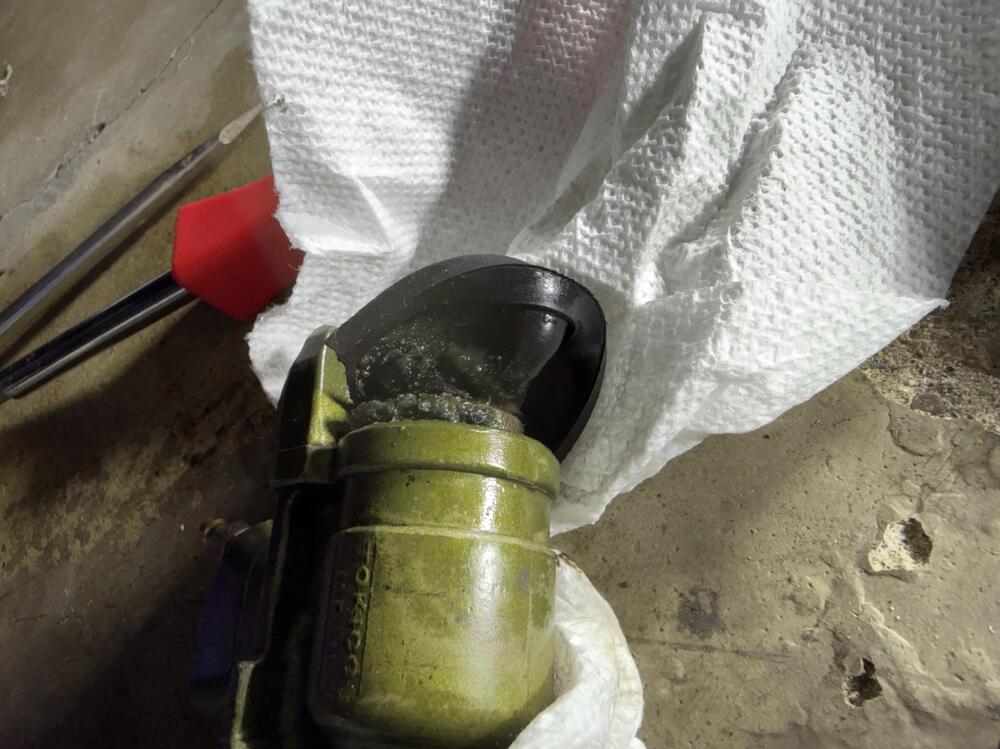
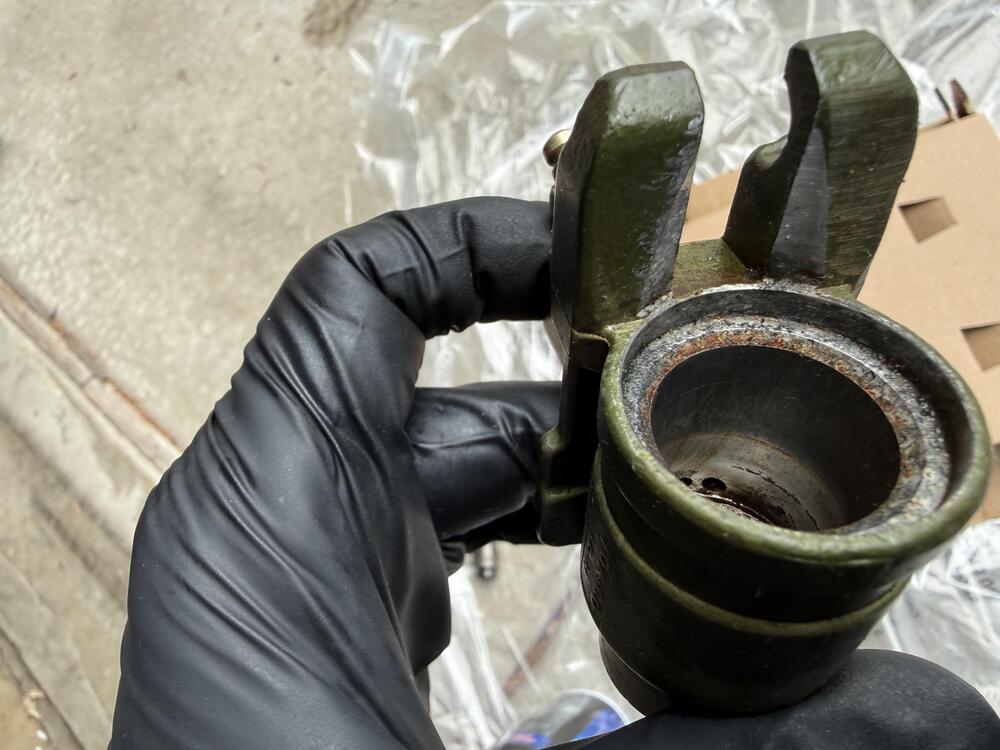
Update: I got the wheel cylinder repair kit from zcardepot (and new shoes, springs) so took the wheel cylinder off the driver side. I noticed immmediately that there was more of the greenish crystalline goop under the circular dust protector. Quite a bit really. I see some pitting on the piston. The walls of the cylinder aren’t pitted except a bit down by the bottom. The spring was a little rusty looking. Is this level of pitting ok with new seal? Or do I need to just replace the whole unit?
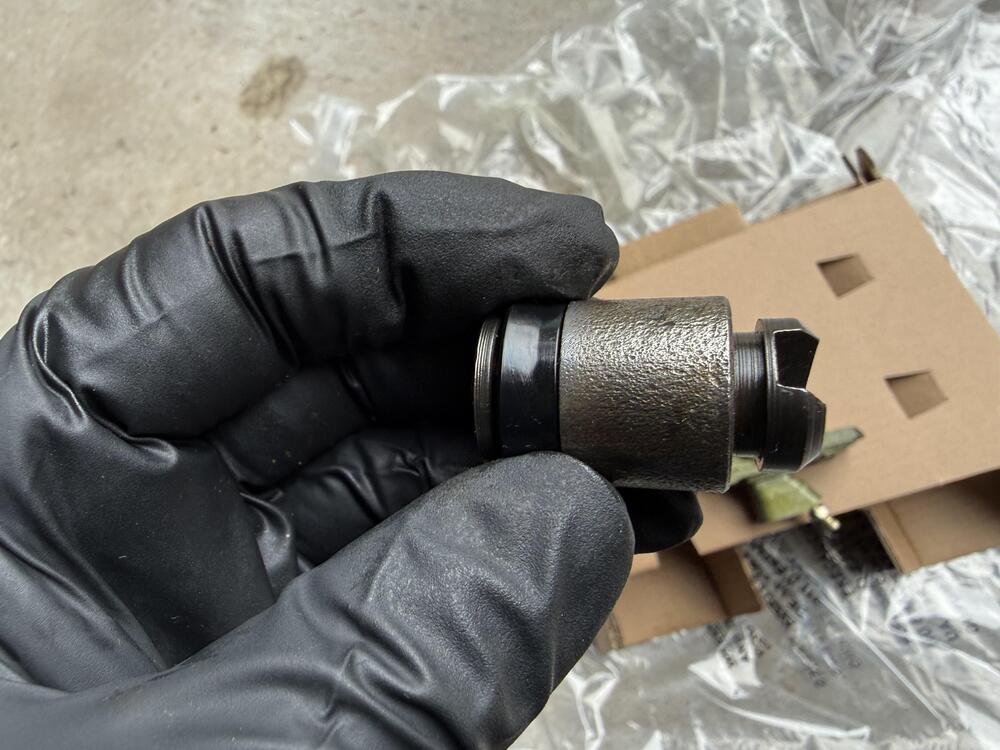
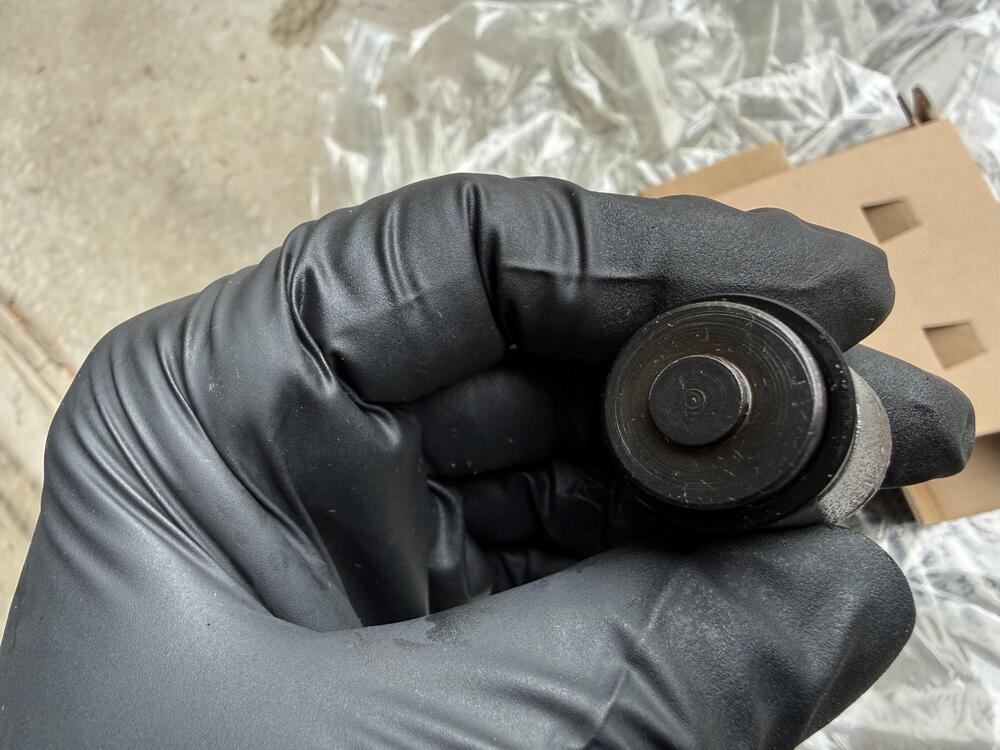
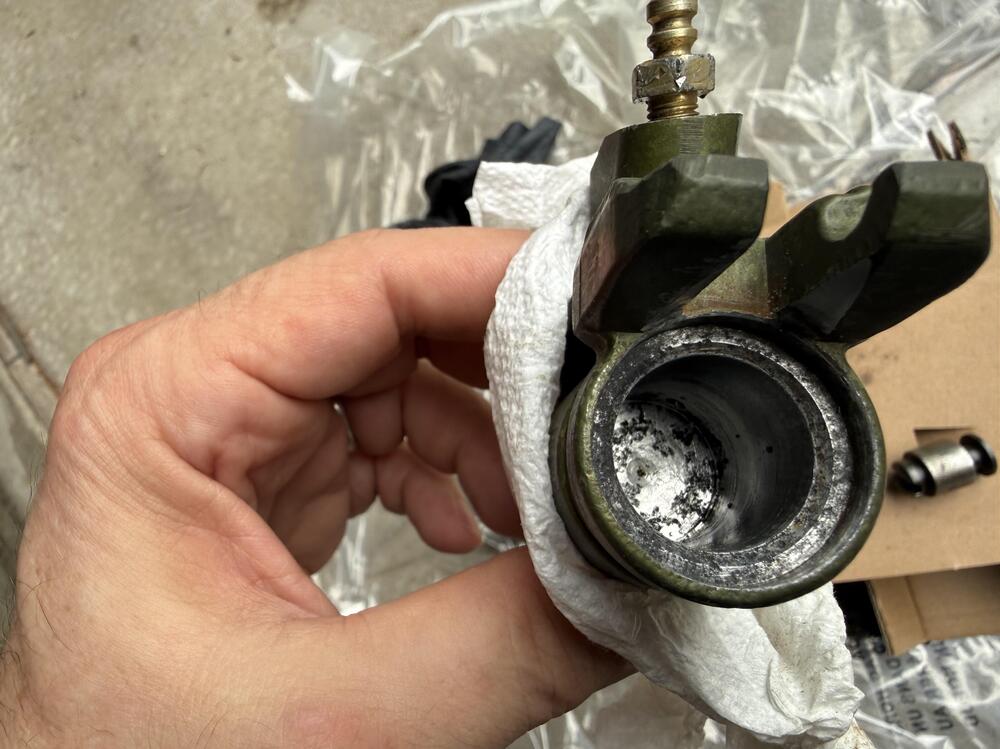
-
Am I doing this the right way? This is a Wesco roadster 3 point set I bought a few years ago and can finally install. At first I didn’t have the 90 degree adapters and that was a head scratcher. It seems more “right” with the 90 adapters. I wish they were more like 120 degrees. Is my car weird with this acute angle of the anchor bolt? I tried to put the sheath on the other side of the adapter at first but would have had to cut off the rounded bottom for that to work. I haven’t tried putting seat in yet. I think it will be ok.
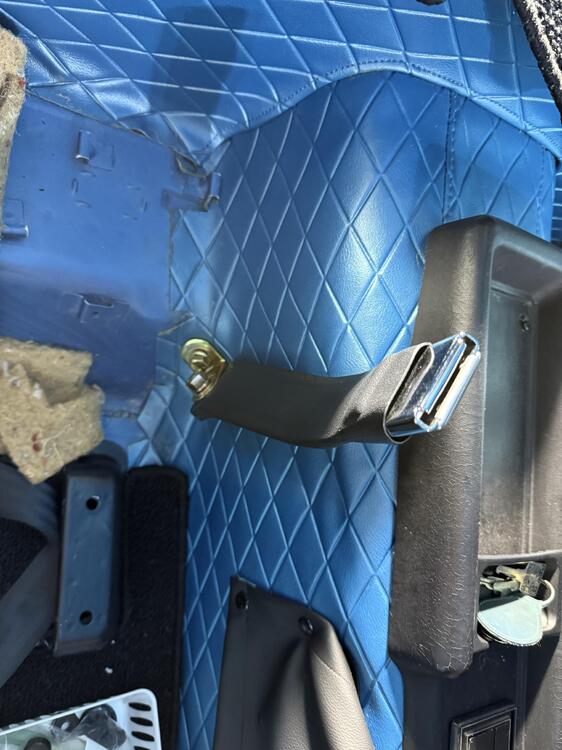
-
Ah, perfect. I was going to solder the old wires on anyway, they still have the right terminals. Thanks!
-
I would have to cut up the rubber boot that holds the motor to the tank with that one. The power connector is too tall. I think I saw a replacement motor plus boot somewhere.
-
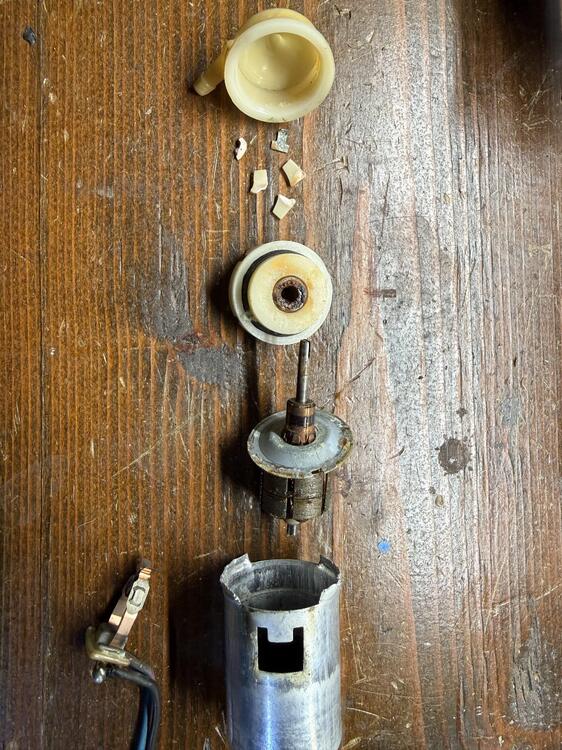
Can I take it apart? Yes. Put it back together again? We’ll see… as soon as I got the top part off some plastic bits fell out. I would say those are what’s left of the impeller. Might work with a new one. In for a penny…