Patcon
 Subscriber
-
Joined
-
Last visited
Everything posted by Patcon
-
 I think it would be great to locate some builders all across the country. That way people can use the one close to them or a cheaper builder if the freight can be offset. BTW: When is that surgery?
 -
White Post Restorations (This shop does some high end cars) Charles, Yes, we sleeve/rebuild the master and rebuild the booster as a unit. Cost is $470 plus return s/h. If you would like to use our service, please complete the attached form and include it with your order. Best regards, Billy Thompson IV
-
It's a shame we are losing these craftsmen as they age out and retire. I am afraid with enough time it will get very difficult to reproduce some of these details.
-
Vanco responded: Charles, We no longer re-build vacuum units, BUT you can call these 2 companies & see if they can. Karps Brake 909-985-0800 Ask for Jeff Power Brake Sales 916-446-7829 Ask for Kathy Edward VancoPBS I heard back from Harmon: Yes, we can as long as the can is a twist & lock (Bendix Type) We can not rebuild the booster with the band around the can $135.95 + Shipping Thank you, Harmon Classic Brakes This is also who I ordered the Mustang booster kit from. The kit was $75 shipped, but could probably be cheaper for our boostes as we need fewer parts. I will have to see if he would cobble a kit together and post them on Ebay. For the extra $60 he would do it all plus shipping, which is not insignificant depending on where you live.
-
I sent them an email a couple of days ago too ?
-
Nice car. 5 days to go $37.5k
-
There are several tank cleaning threads on the forum. That might be easier than rehashing it
-
I believe Grannyknot is probably correct on all points although I have had clutch disc rust to the flywheel which makes the clutch pedal inoperative. It took a good shock to break the disc loose
-
-
Ordered. It's funny, I sent that vendor an email yesterday. He is in Canton, GA and was like 4 or 5 pages back in a Google search
-
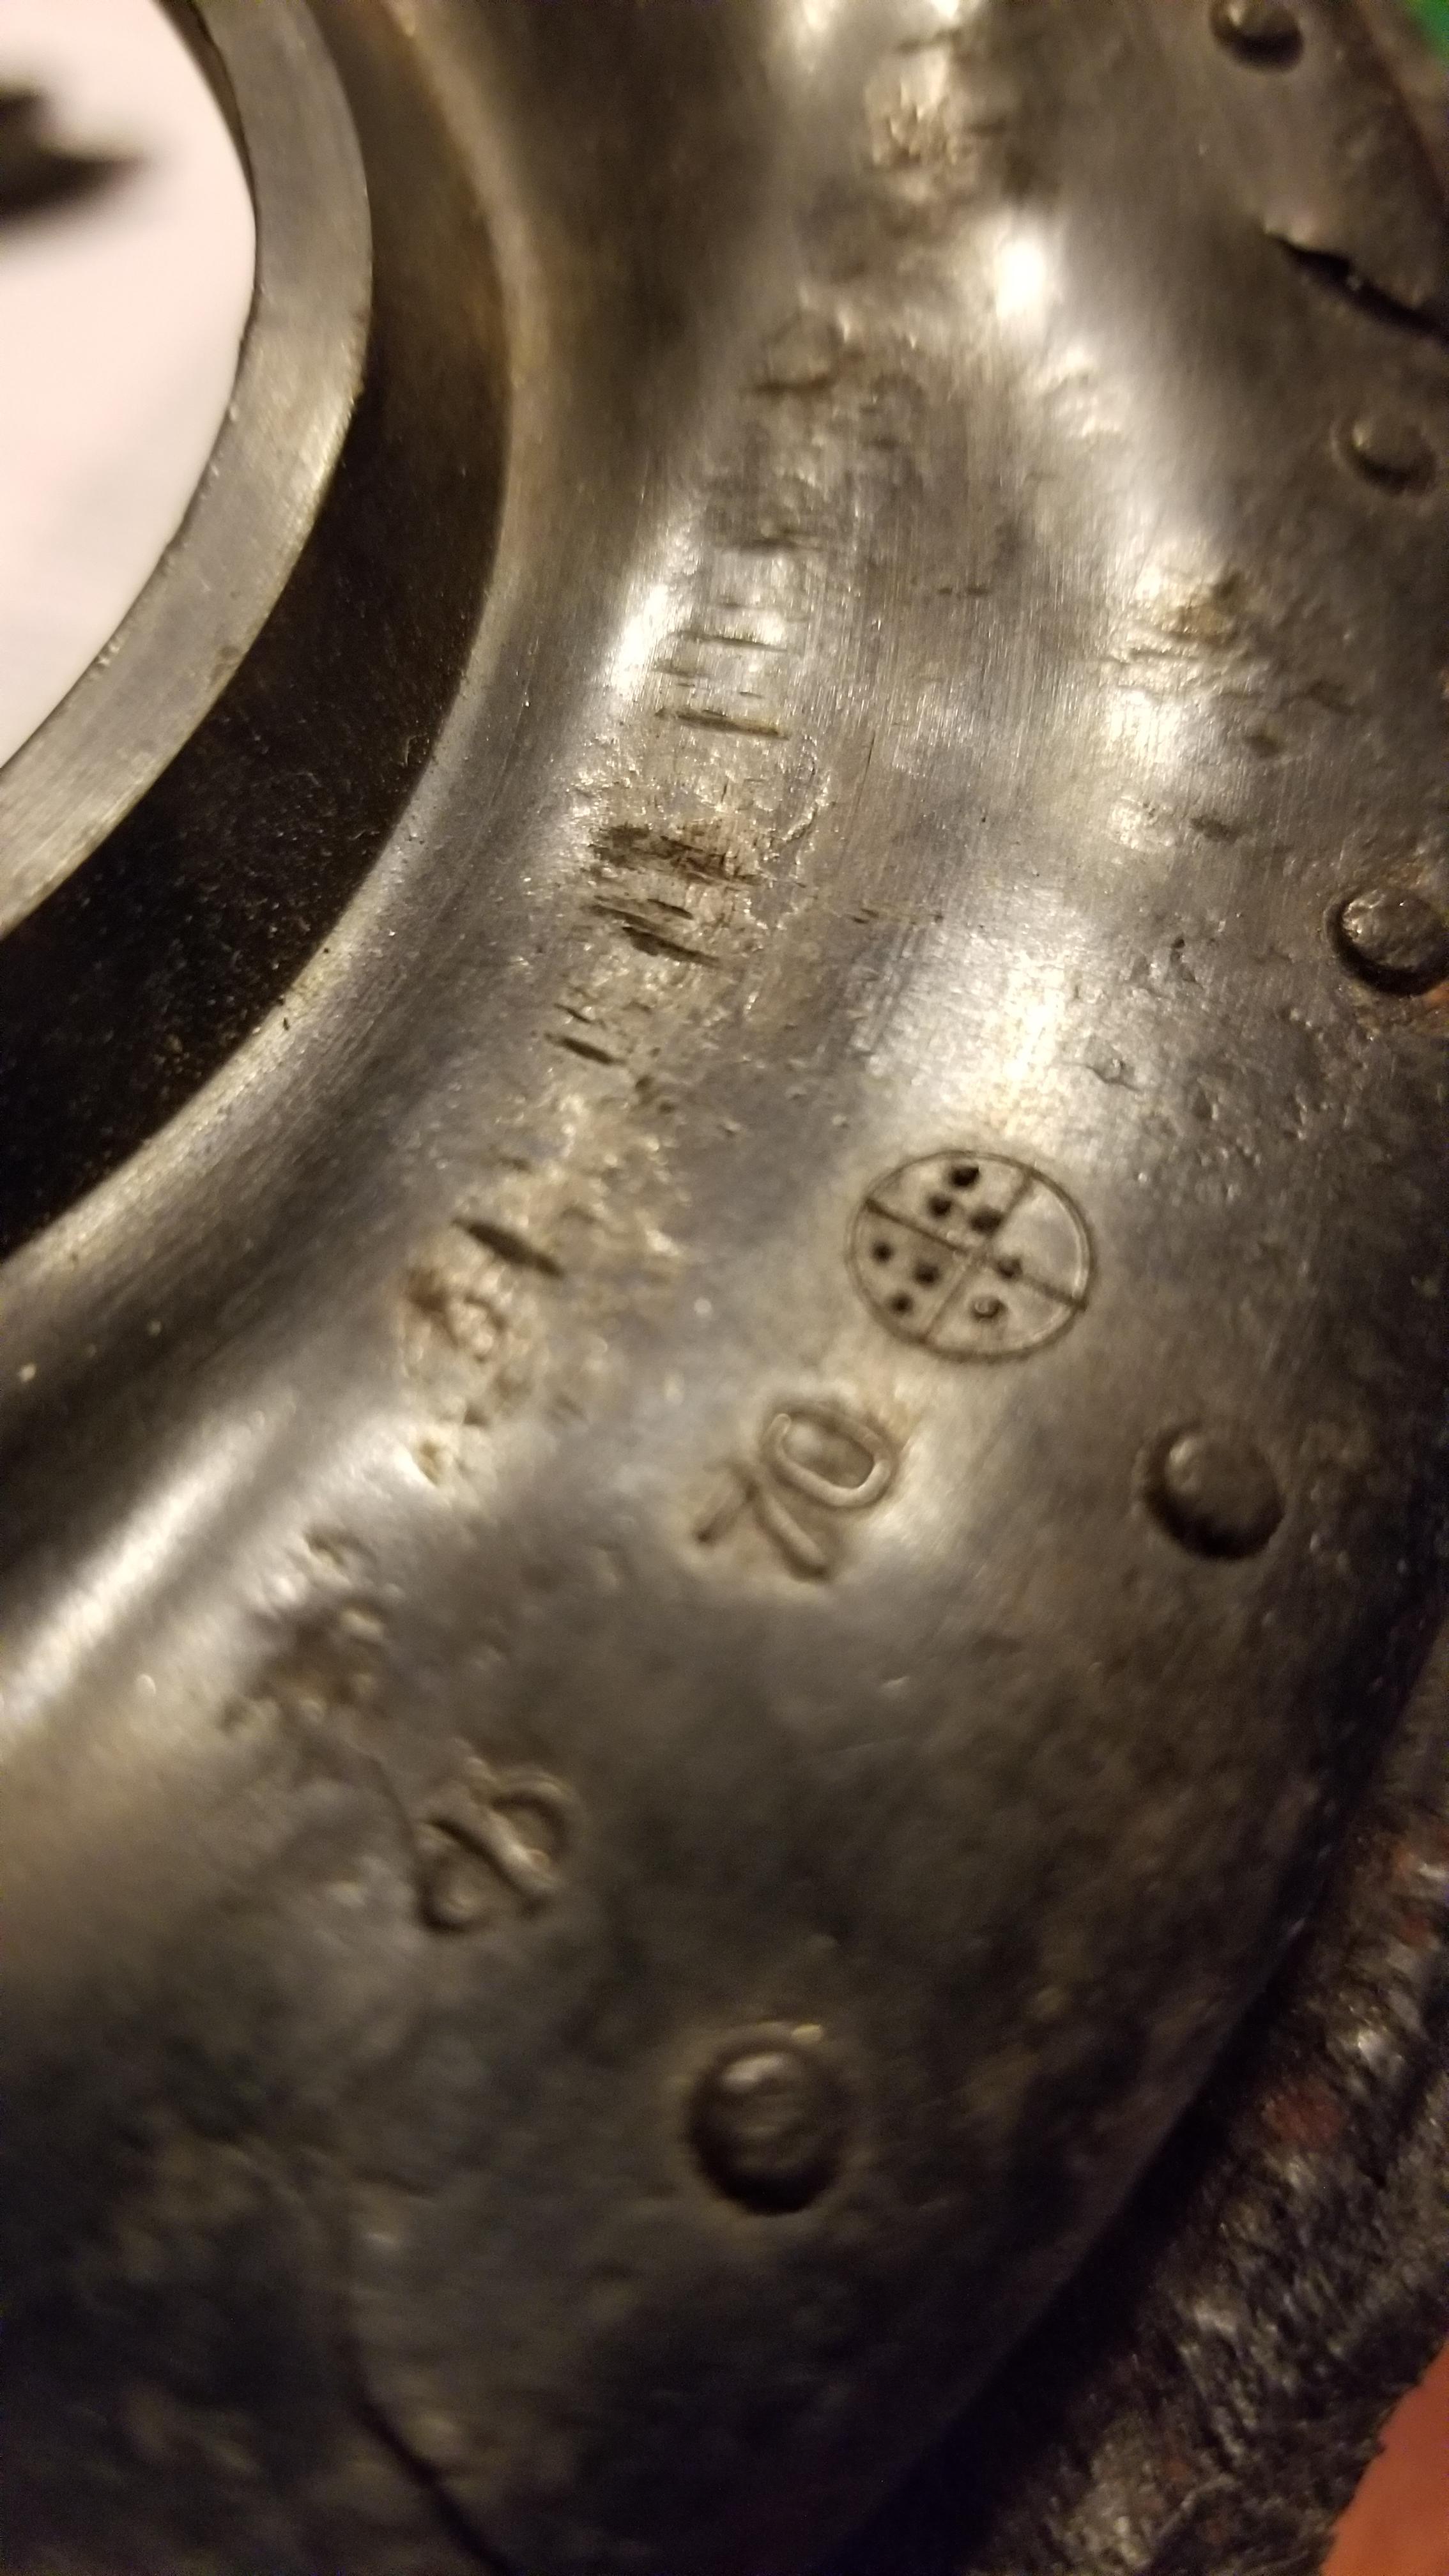
DUDE!!! That Mustang diaphragm looks really promising. The same dots around the perimeter and everything. That would be a home run if it fit! Mustang parts aren't going anywhere. I'll order one. I am ok with the risk...
-
So you need a 240z strut. I don't think I have one...
-
I would like to see some of that end up in retail too
-
What year car? It always helps if that is in your signature line
-
any body good with Italian? They have parts https://www.emmetec.com/en-us/cat/servofreno-03-diaframmi/500?p=0
-
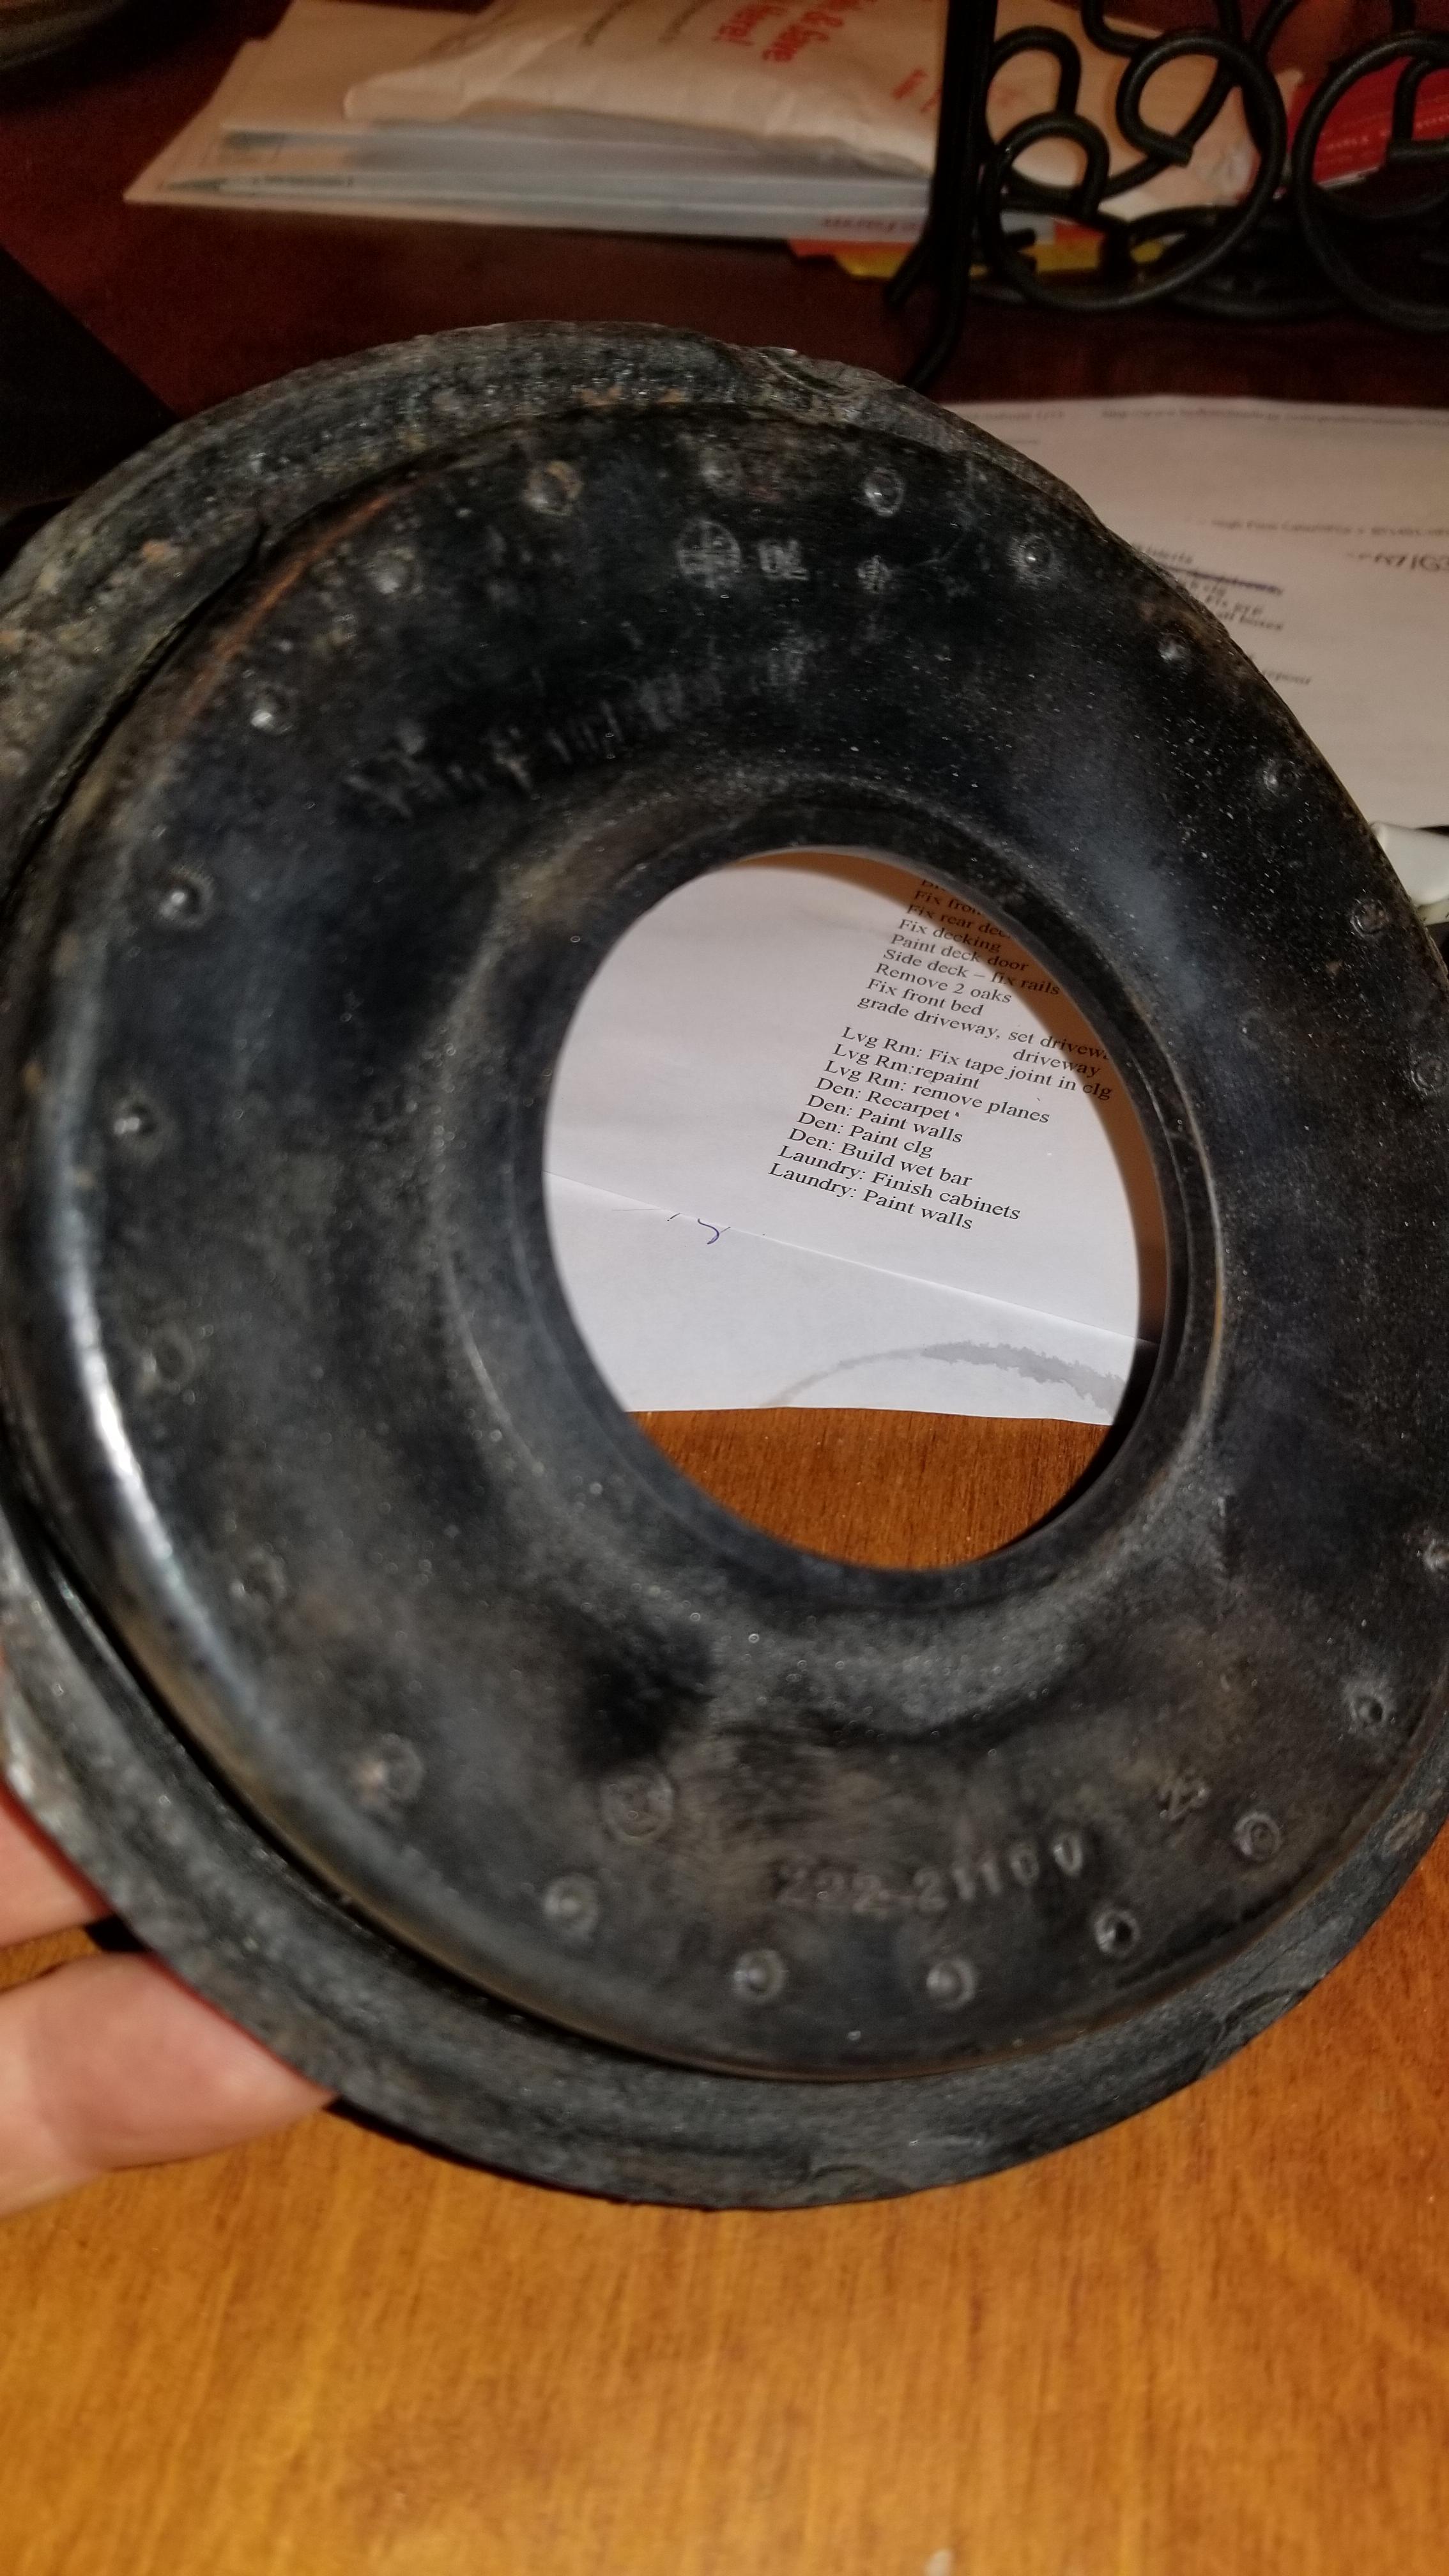
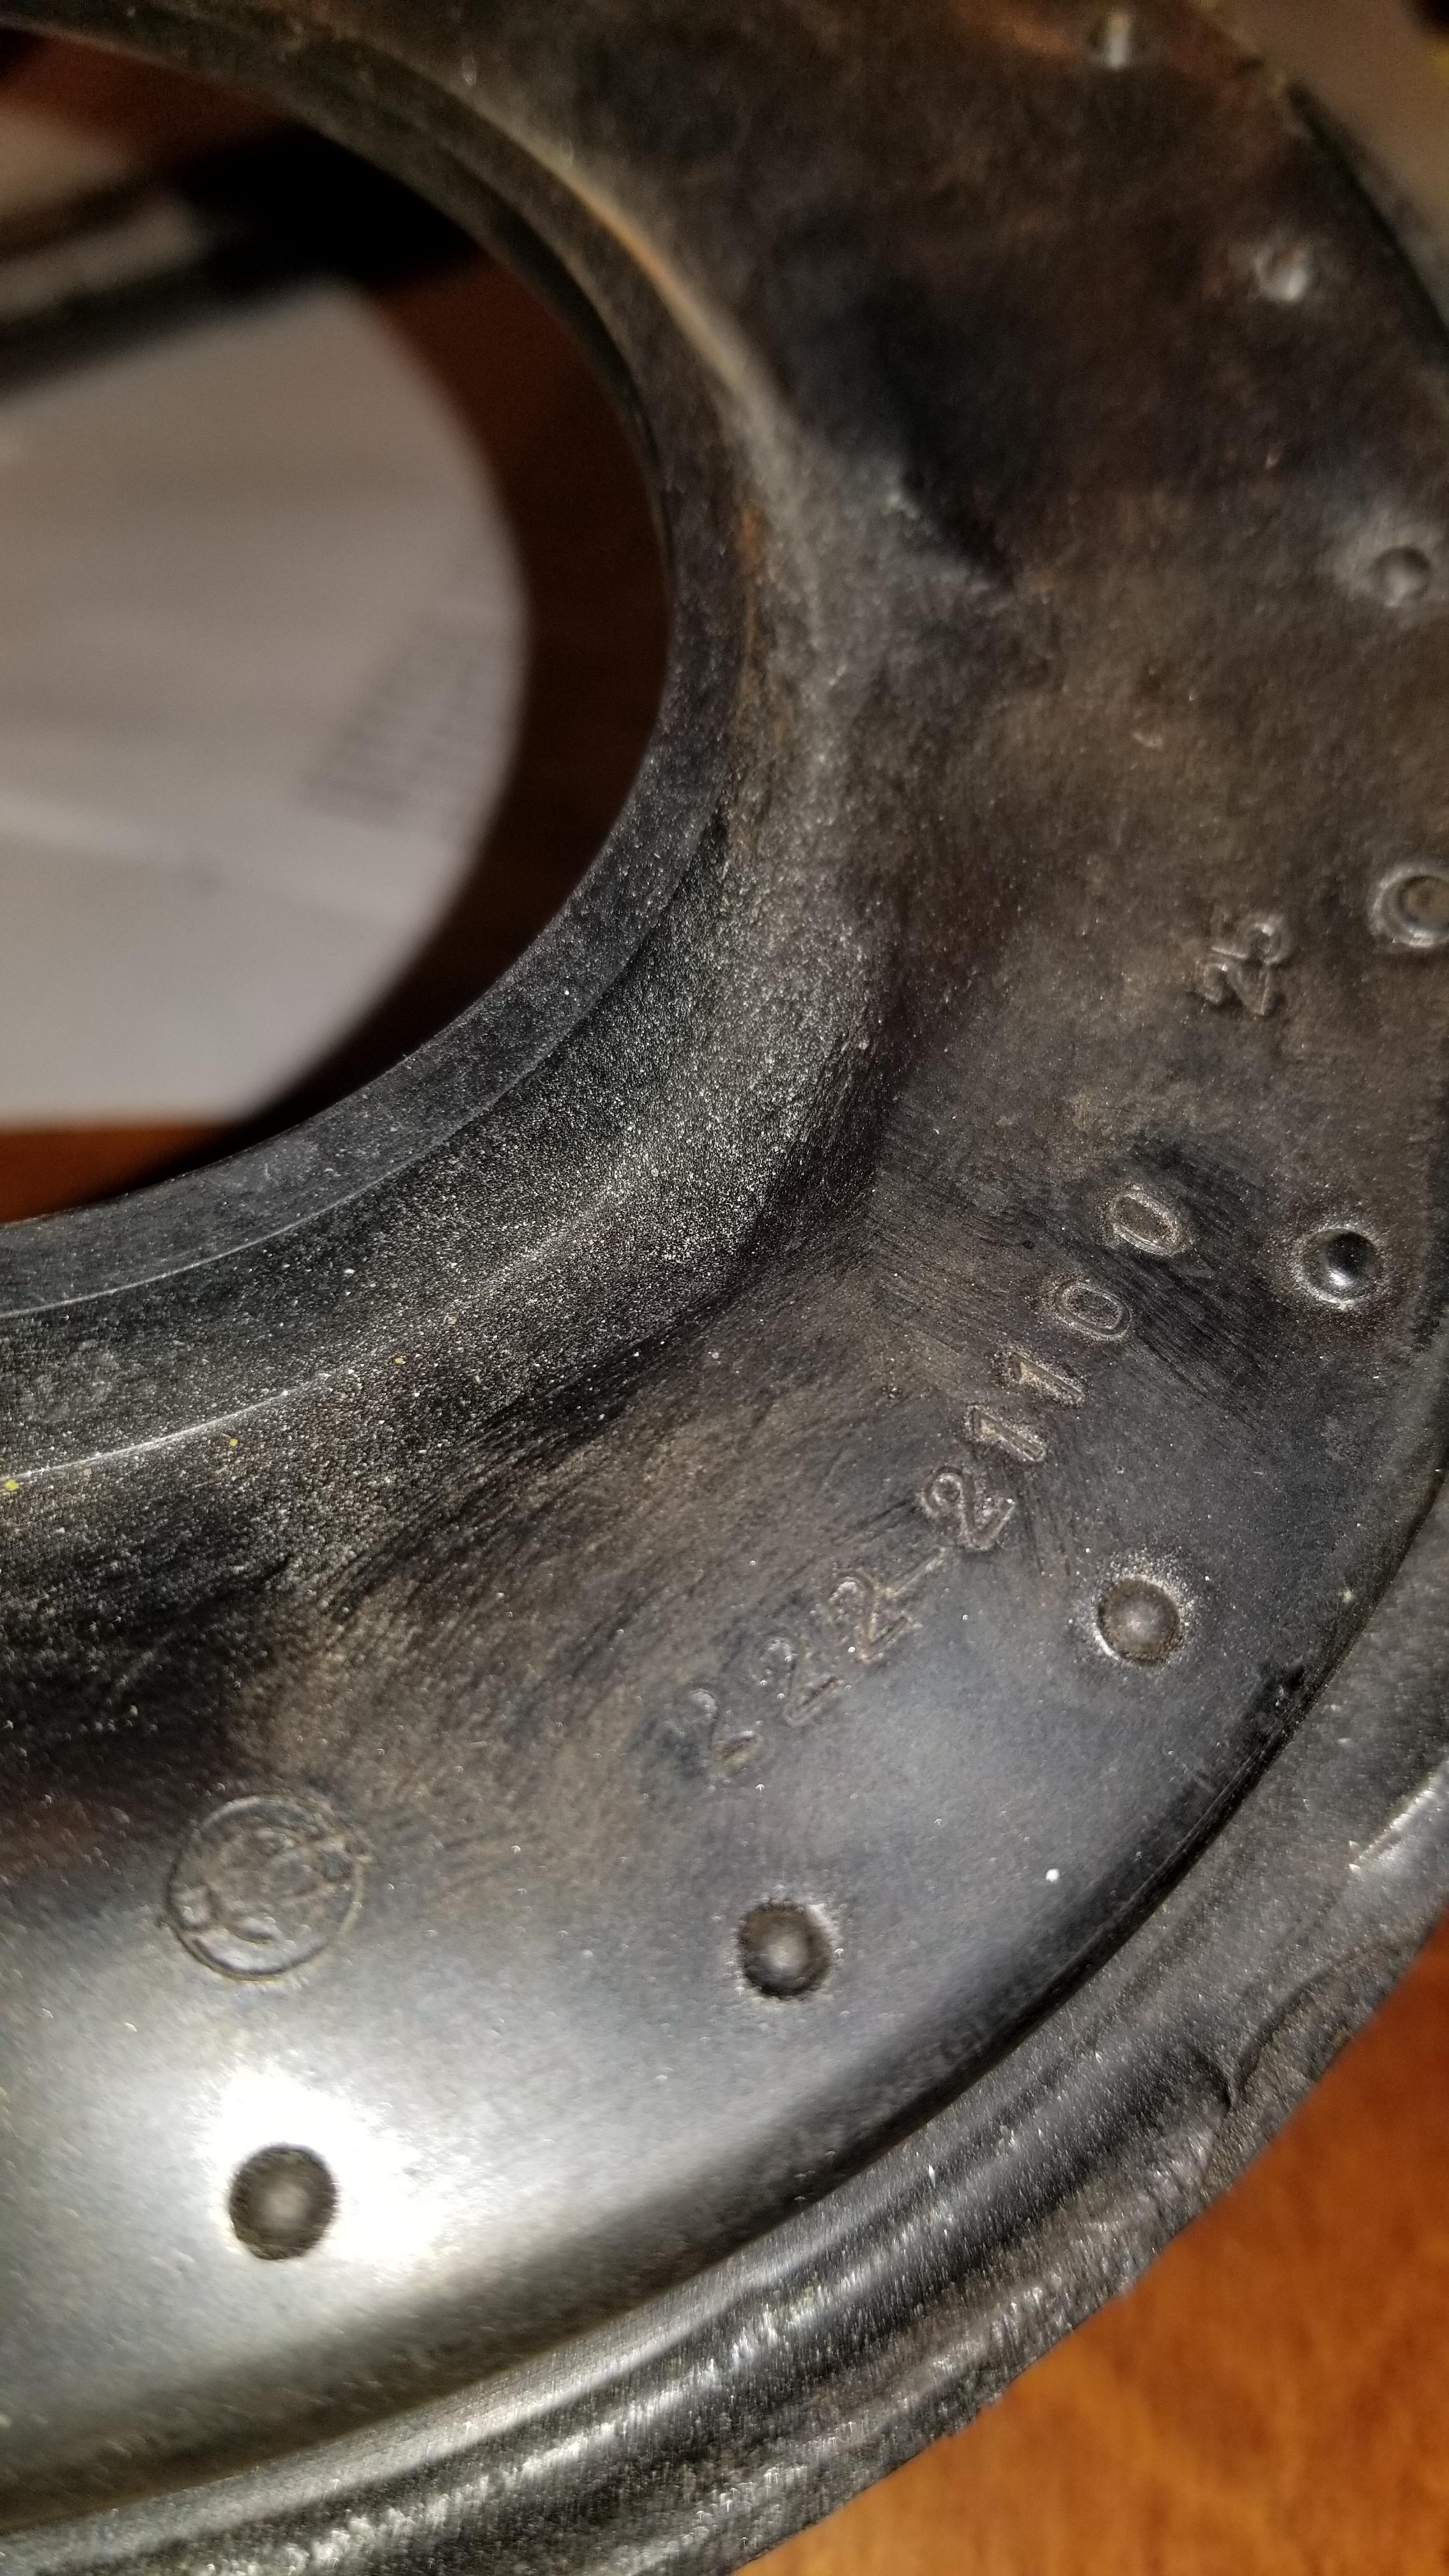
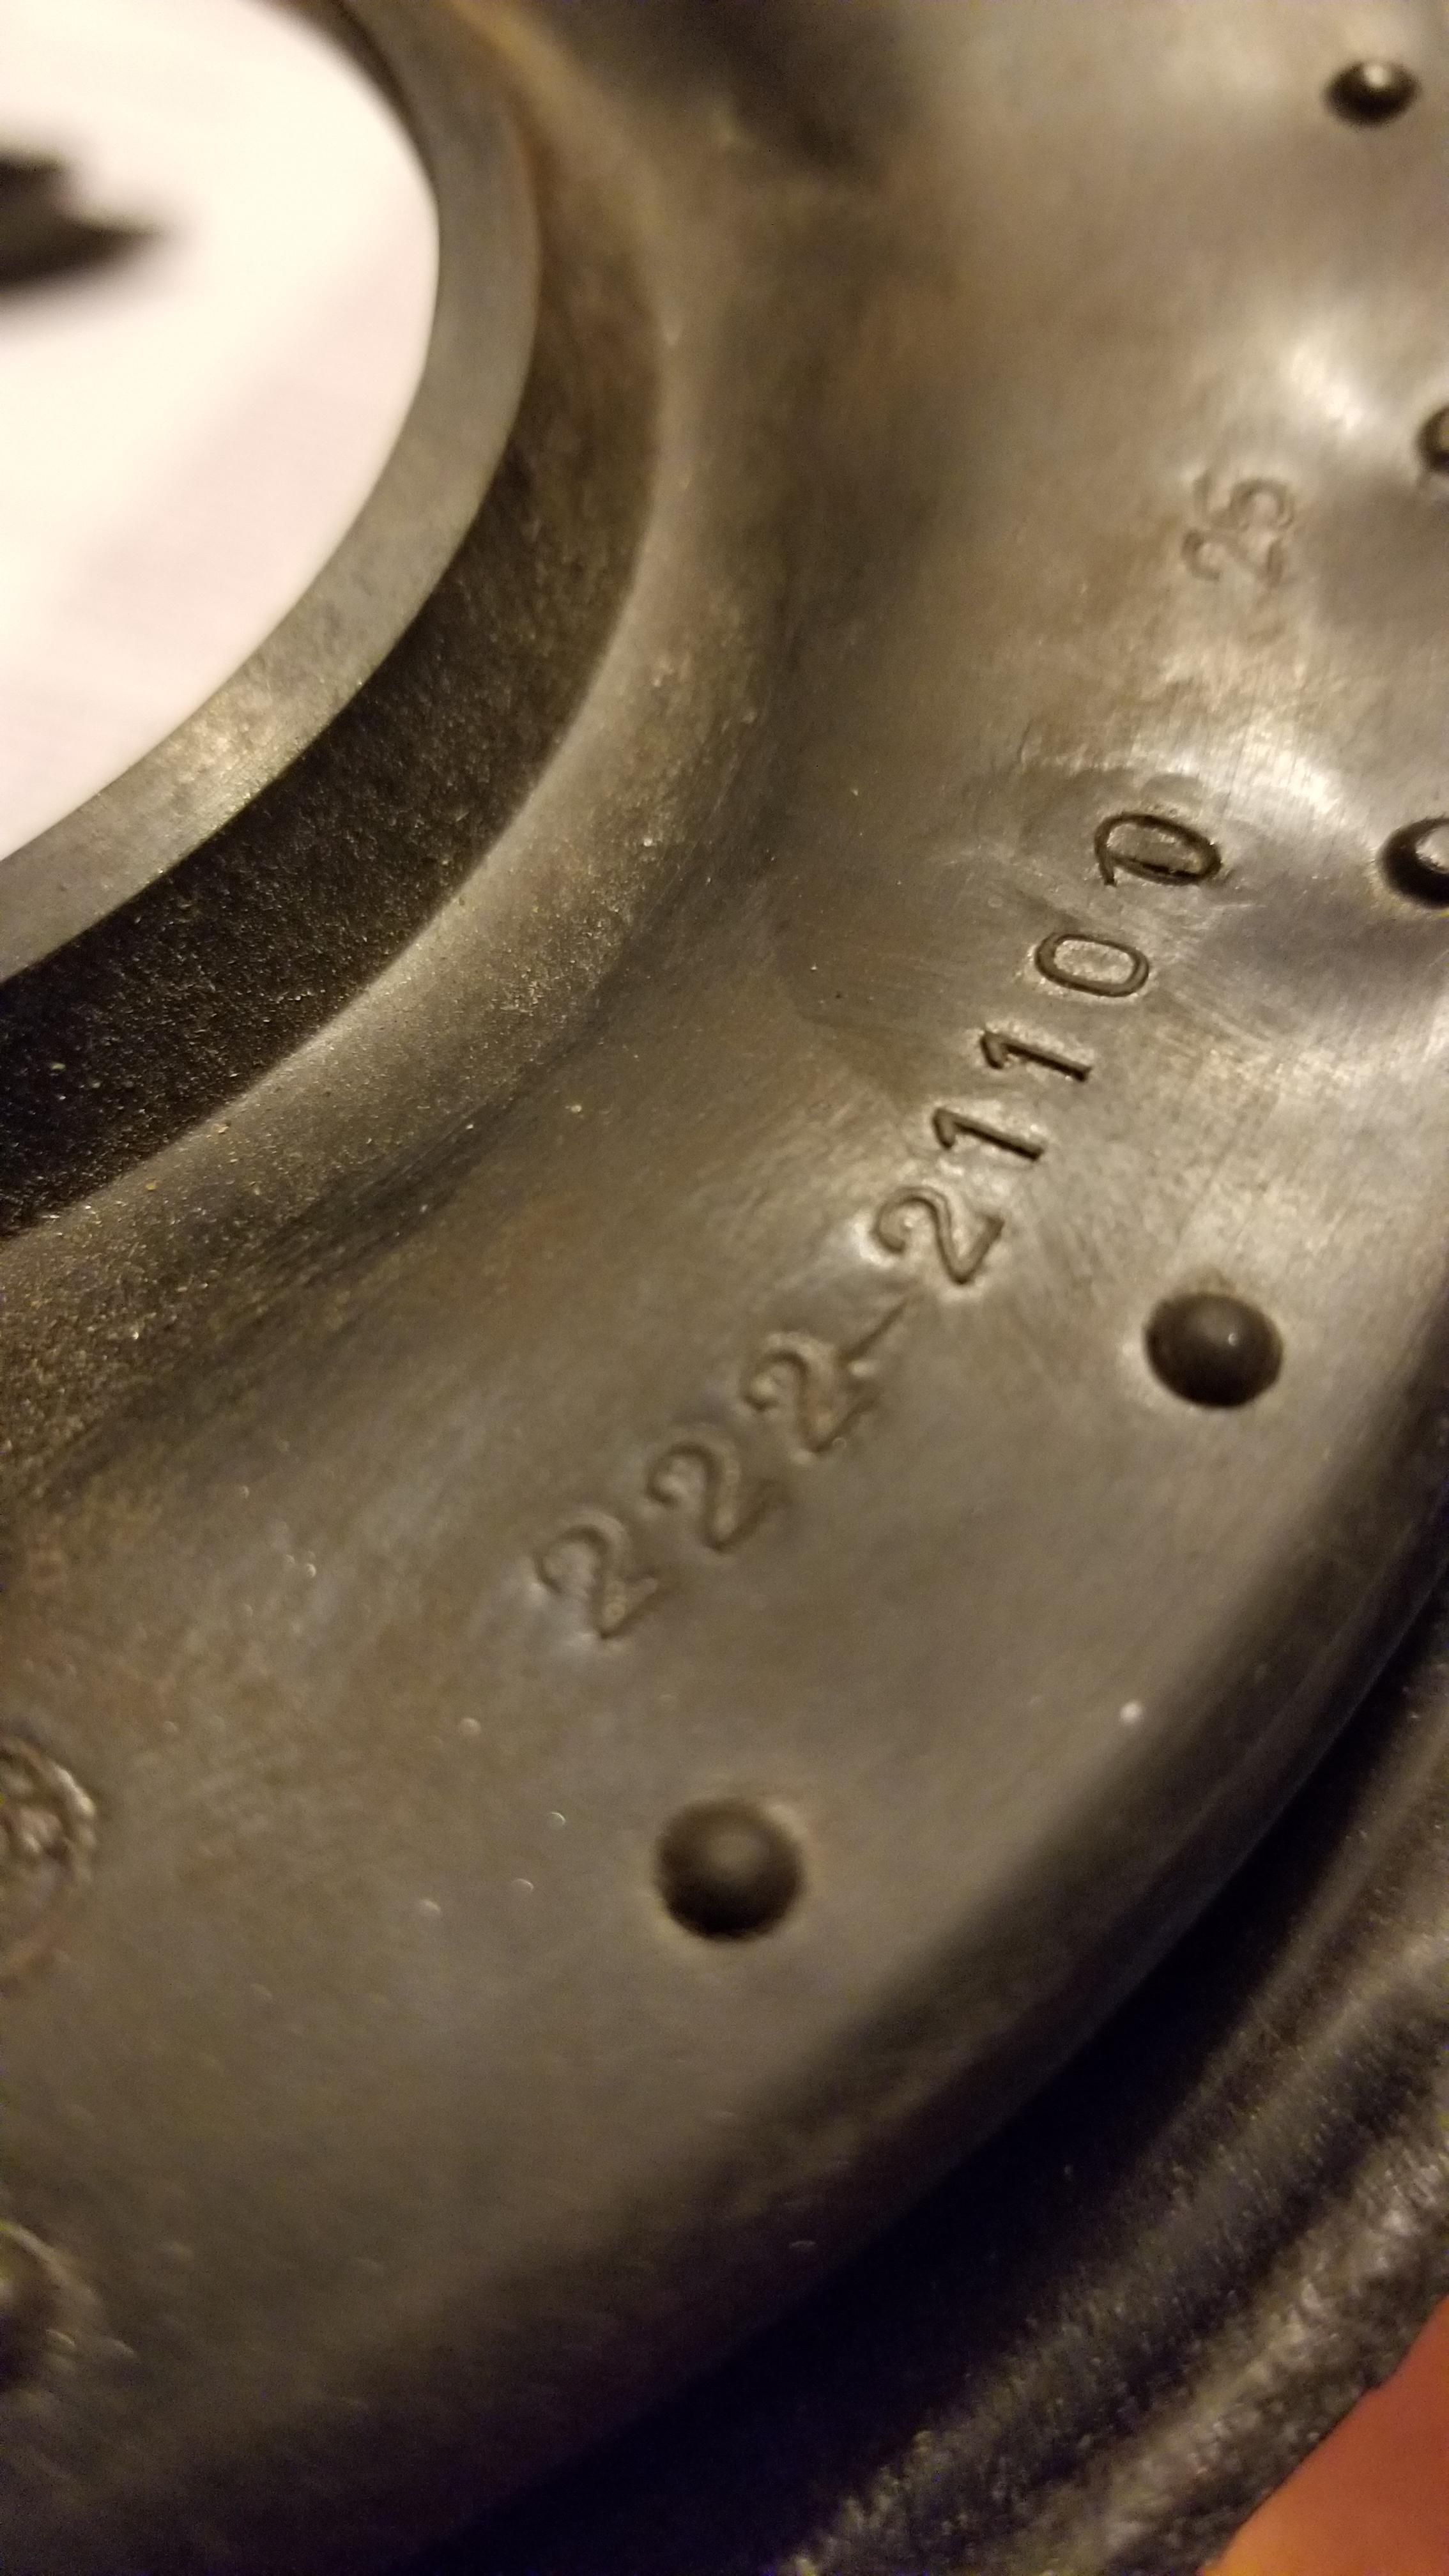
Here is the 7" diaphragm Hoover what can you find???? @240260280


-
That wouldn't surprise me. What we really need to find is the guy that sells parts to these rebuilders. They probably can supply a diaphragm that would work. I'm willing to pursue all options
-
Yes you are probably correct on all points. I don't believe there is that much liability risk. If you make them under an LLC company your liability is very limited, and even if it fails you still have brakes. I suspect there are a number of z's out there with bad boosters that get driven and don't even realize it. I have considered making them myself but I really don't want to get another project added to the pile. I found some diaphragms a couple of years ago but I would have had to order like 1000 and that was a "non-starter". So we'll see what I can come up with. You would think a rebuilder would be fine with throwing some parts in a box and adding $50 on top and shipping it. That's probably better margins then they actually make on a rebuild in the shop, and easier too.
-
Yes, I read every entry. Fascinating, but above my paygrade
-
I have seen some of that. I have also attempted that kind of repair with mixed results. We really just need to find a source for the diaphragms then we could repair our own
-
Nope, I doubt it. If you find the strut is damage, you would be better of to replace it. I think it would be hard to straighten with out damaging the ID of the strut tube. That would make strut removal or installation impossible.
-
On the spindle pins, I found that the locking pins had flared mine from previous installations. I took a flat file to remove the flaring until I could slide them into parts by hand. Lots of antiseize and reassembled
-
I tried to listen for air leakage but the Mity Vac makes too much noise and pulls air too slowly. I had planned on posting up a rebuild source if I can come up with something
-
Well evidently, I have 5 used boosters and none of them will hold a vacuum. I even blanked off the MC side of the most promising looking one and nothing, I spent about an hour emailing companies all over the US to see if I can find someone that can rebuild the little booster without forfeiting a valuable body part...we'll see.
-
$2200, good luck! My rusty project in the yard keeps getting more valuable every day! ?