jfa.series1
 Subscriber
-
Joined
-
Last visited
Everything posted by jfa.series1
-
 Awesome!!! Thanks for posting.
 -
Update: Per Mike, Mr. K is dealing with mobility issues but is otherwise in good shape and as sharp and feisty as ever.
-
"Mad Mike" Taylor just returned from his annual trip to Japan, I will see him tonight at our club Christmas party and try for some updates on Mr. K.
-
Ahhhh... be still my beating heart And - big thanks for the parts list! Jim
-
Eibach progressive springs to replace my 40-yr old Interpart Mulhollands. Picked them up at great price from the MSA Holiday sale. A safe and merry holiday season to all!
-
+1 on the alternative shape. Mine went the way of rubber rot but I recall it was similar to other "flat" firewall grommets. Glad someone has one available for a photo! Here's a link to a roadster part that seems to be the right shape/style: Datsunparts.com Partnumber 2374 Datsun Roadster 65 - 70 Body & Firewall Grommet and another one that would also work: Datsunparts.com Partnumber 2372 Datsun Roadster 65 - 70 Firewall Grommet
-
Steve - any thoughts of making the speedo cable firewall grommet? It is another NLA, most replacement cables today do not come with one. Thanks, Jim
-
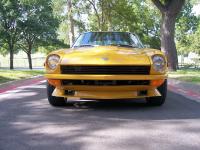
Matt - the DATSUN decal is from BRE. It was already on the car like this by the dealer when I first laid eyes on it years ago. I got used to it being there and seeing the naked spoiler after I finished the project, I knew it had to be replaced with same positioning. BRE always placed it at the right side of the spoiler but with no other badging on the back of the car I like the center position to reinforce to others just what that is in FRONT of them! Thanks for your compliments. Jim
-
I've finally organized my project photos into some semblance of editing and order and put together a slideshow "video". Speakers on to checkout my music selection - yeah its all old stuff just like me! Critiques welcome from you more experienced 'Tubers.
-
Thread hijack alert!!! Dan and George, I'm sure you both will agree that any original owner of a Series 1 car is a certified, card-carrying member of The Old Farts Club! I'd say that puts us all in very fine company. Dan - I recall a thread from earlier this year with a mention of a Series 1 VIN of 205XX, possibly the very last of this run. That would certainly put your car almost next in line to the last of these classics. Jim
-
The Series 2 cars began production in February 1971 so it looks like the production range for your hatch would be 02/71 - 07/73.
-
Slick and innovative! Nice work.
-
Mike McGinness at Banzai has the bumper mount blocks for both front and rear if you can't locate them used. As they usually age out pretty badly, new ones are often the answer.
-
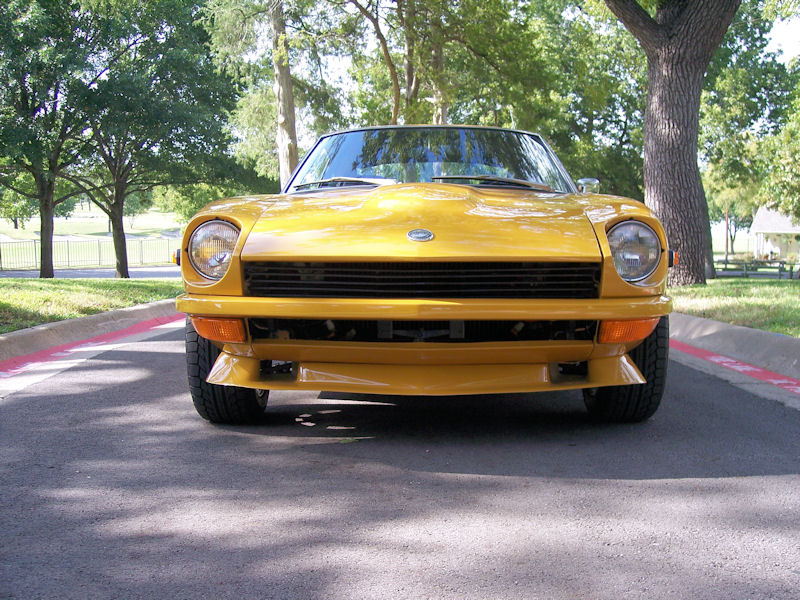
In early 1971 I wanted a Z just like so many others - but they were unobtanium. I was just about to pull the trigger on a Porsche 914 when a close friend staged an intervention. He said "Quick, go right now to Jack Crew Trophy Datsun in Dallas - they have 2 Z's for sale and one can be test driven". Sure enough, a red one was out front for a test drive, and yes I did - and yes I took it to 7,000 RPM redline on the city street out front. The salesman just about pissed himself! Inside on the showroom floor was my baby-to-be: Safari Gold and loaded to the hilt, including outrageous and illegal 10" wide race tires. The price was equally outrageous and no one wanted to pay it. I reminded the salesman that the rubber was illegal on the street and had to come off, so did many $. They also pulled out the horrendous 8 track unit and stuck in a Datsun AM/FM head. The deal was done and a long-term marriage was underway!
-
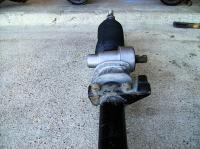
Here's my front suspension just as it was dropped from the car. Look closely just to the right of the left rack bushing clamp and you can find this little clamp and see it touching the cross member.

-
The bumper rests on the cross member. It looks like it is to prevent the rack from rotating and placing a bind or lock on the steering input shaft, possibly after an impact as suggested. if it was not on the earlier cars, it may have come about as a result of lessons learned.
-
Here's a close-up of the clamp with the bumper. I took this shot during my resto to ensure I could get the clamp location and rotational position back to the factory install. Hope this helps. Jim
-
The engine bay pic shows mostly OE hoses and OE hose clamps. The hoses will have to be replaced but hold on to the OE clamps and resist the urge to replace them with modern stuff. Get them thoroughly cleaned up and them replated in yellow zinc to add some flash and maintain authenticity under the hood. FYI - those old clamps are always in demand by Z restorers! Welcome to the group and good luck with the project. Take your time and throw NOTHING away until you already have its replacement in hand. Bag and tag everything IMMEDIATELY as it comes off the car - don't trust your memory, it will fail you! Don't start a bolt/nut can and expect to remember where each one goes, bag and tag them individually. We're here for your questions and updates, looking forward to keeping up with your progress. Jim
-
Hey - its a v6, very rare and probably worth a lot of $$$$$.
-
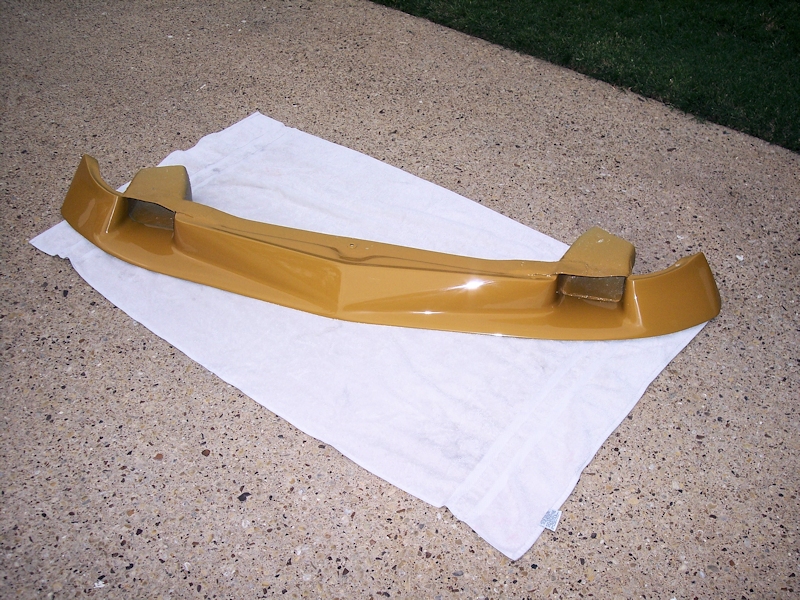
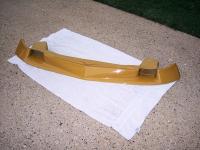
Brian, I presume you are referring to my Spook. That is the 1st generation BRE Spook, used only in their 1970 competition season. It and the rear spoiler were already installed by my selling dealer when I first saw the car. This version was replaced in 1971 by the more chisel-shaped model you find today at MSA and others. You can see the different models in the historic photos for sale on the BRE site. My version is NLA and I'm not parting with the one I've got. Jim
-
Dan's comments are spot on! Don't overlook the fact that your original color sample has 42+ years of ageing and would not look like it did when the car rolled out of the factory. Its time to relax and get your head into the fun and therapy of completing the project.
-
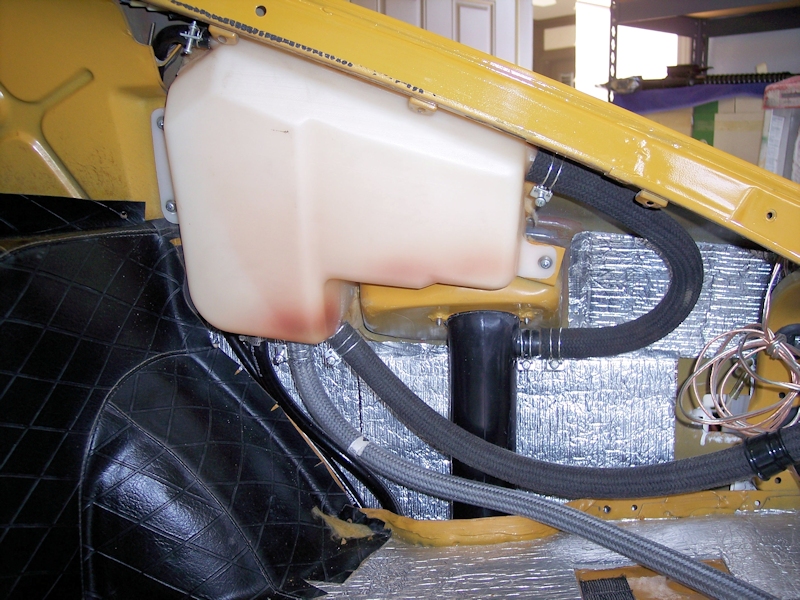
Here is a pic of the tank and plumbing on my '71 as I was re-installing it. I think the "T" you are talking about is at the bottom of the short hose at the filler tube. Hope this pic helps.

-
Very nice job - especially creative with the aluminum tape. If you want an even higher polish on the lenses, hit them with a buffing wheel and a bit of jeweler's rouge or similar polish.
-
Check out the Brewster Ford at HVA: Hershey's Coolest Car: 1934 Brewster
-
Look below your brake master cylinder on the inner fender wall and spot a junction block for all the brake hydraulic lines. On top in the middle should be a electrical post - your wire goes there. As I recall, this is a low fluid/pressure sensor and will cause the e-brake light on your dash to light.