Zed Head
Free Member
-
Joined
-
Last visited
Everything posted by Zed Head
-
 I have them on the back wheel cylinders on my 76 (with 78 struts and cylinders) and they work great, especially if you want to flush a lot of fluid through the lines (like, for example, if the car has been sitting for years before you got it). The final bleed seemed fine, the pedal is high and firm.
 -
carpartsmanual suggests that they changed in 76 then stayed the same. At least the date of change is there. There do appear to be some possible errors on the site though, for example, the S30 front hubs are shown as all the same but some 240Zs seem to have a different type. http://www.carpartsmanual.com/datsunS30/DatsunZIndex/Body260Z280Z/2Seater/RadiatorGrilleBumper/tabid/1772/Default.aspx Good luck. I don't think that many people mess with their bumper shocks so finding someone with actual experience with both might be difficult.
-
Pretty sure that the fuel injection relay is by the hood release handle inside the cabin on the driver's side. It's combined with the fuel pump relay, two plugs in to one relay body. The only relay I see that would be by the battery, close to the voltage regulator (for 1977) is the seat belt relay or the AC compressor relay. If it is a 78 harness though, you'll be missing the voltage regulator (VR) wiring. Maybe the VR is what you're thinking is the fuel injection relay, it's in a similar looking housing.
-
You could compare drawings from the factory service manuals.
-
For what it's worth, I've removed mine and haven't noticed any unusual or irritating noises or vibrations. I have an RT-style diff mount also, so with the weight removed and no bottom diff mount, the cross bar with the suspension mounting points is much cleaner plus I have more ground clearance. Extra benefits.
-
30 Ounce, you're right, apparently, that it's a vibration or noise damper. Maybe it helps with the clunk. But the four plates on the front are stock. They all look like that, like someone learned how to weld while making them. I have a couple sitting n my garage. Many people take them off, and don't notice any difference. Clearance is clearance though. Do you need more than 2 mm?
-
Looks like someone's garage toy - http://www.luxurysportautos.com/detail-1976-datsun-280z-premium-used-8837479.html Might even have the original tires. Shiny.
-
That's some good info beerman. I had wondered if they were tied together by the regulator. I think it might explain why my temperature gauge started reading lower after I swapped oil pressure senders recently. The new (used) pressure sender reads more correctly now but the temp gauge reads lower, but also more correctly, assuming that my 180 degree thermostat is working right. The new sender had 0.2 ohms initial resistance while the old tested at zero. The old oil pressure sender looked aftermarket and the used replacement looked factory, for anyone looking to fix the fairly typical "zero" oil pressure indication at idle on their dash gauge. Just some odd facts for anyone else digging in to their gauges.
-
:bulb:You know, that much stretch looks more like a POs tuning trick, to get more advance sooner. Why would one stretch and the other not? How did you determine spring rate, for the auto store replacement spring?
-
Pretty sure that she bought Bosch injectors for her 75 car. Her current 78 car uses Standard injectors, if I remember, similar to those in your EBay post. I'm missing the point of the rock reference...
-
Do the input and output shafts move after the bellhousing is on? And are you putting the trans. in to 3rd or 4th gear when you install the bellhousing? If you don't, the 1-2 and 3-4 shift rods will move in to gear at the same time as you slide the bellhousing on, locking things up. Try putting the 3-4 rod in to 3rd gear before installing the bell-housing. Once it's on, you can install the shifter and pull it back to neutral.
-
Look about half-way down this page - http://www.datsunstore.com/index.php/cPath/11_35 Door gasket. I bought a set and they fit well. I think that they might be on sale because they have some marks from being stored folded up. Not perfect, but you don't see it unless you already know it's there.
-
If you're only getting only one backfire, and your AFM tested correctly by the AFM procedure, you should probably hold off on getting a new AFM. Since I've been reading the forums I haven't seen many cases where the AFM was clearly bad. I seem to be the only one (that I can recall right now) that had one that tested bad, ran bad (lots of backfiring, popping and stumbling at mid-throttle), and was definitely the problem, completely changing the way the car ran when I got a new one. Yes, 36 +/- about 1 should be the high pressure, then the FPR will draw it down when intake vacuum is applied. So, at idle you'll see about 31, then if you remove the vacuum hose from the FPR it will rise to about 36. The backfire and the fact that you bottomed out the idle adjustment screw are signs that you might have a vacuum leak. Don't forget that the crankcase is connected to the intake manifold through the PCV. So any leaks in to the valve cover or dip stick tube will end up as a vacuum leak. And, apparently,the EGR can rot out internally, feeding exhaust fumes to the intake constantly. I don't know if this would cause your symptoms though. Here's the thread describing it - http://www.classiczcars.com/forums/thread40886-3.html I would spend more time on the small stuff before going big on the AFM.
-
How long had the car been sitting before you got it?
-
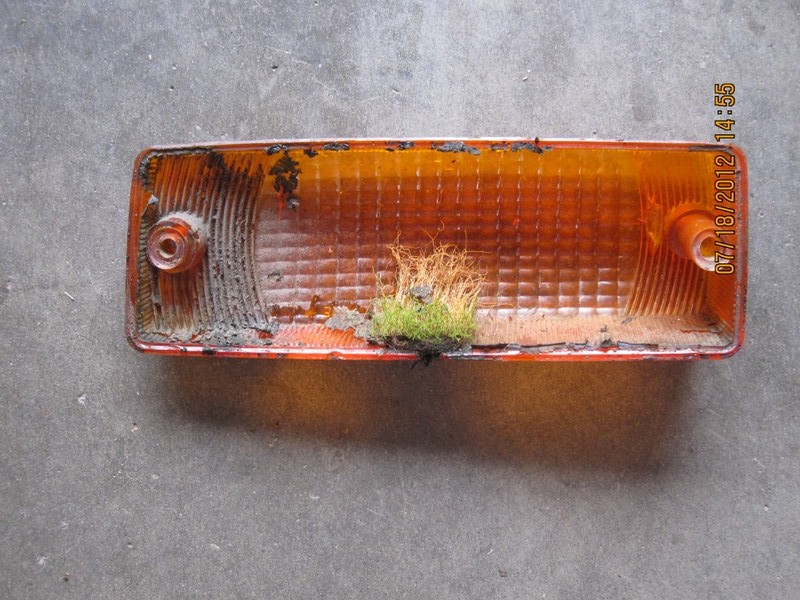
The crop is from a car that is daily driven and parked outside most of the time. Plus it's been up in the low 80s here recently. Maybe it's a soy-based life form.
-
It's possible to get the top of the strut out without taking the lower control arm mounting points off but the brake line will probably get stretched and it might bind up and not flex enough to come out. I've got one out on my car but the other side wouldn't come out. Removing the four bolts holding the inner control arms on is so easy though, it's barely worth trying to get around it. After I loosened mine I said "I should have done that 1/2 hour ago". If you loosen them you'll have more room to drop the top of the strut. If the springs are stock you'll need a spring compressor. If the car's been sitting 10 years, the brake lines probably need work anyway. I would just take the whole assembly out, strut and control arm, with disconnected brake lines, and do the work. You'll probably end up there anyway. Wheel cylinders replaced, check the brake lines, all of that. On the wheel cylinders - the 76 and earlier (maybe 77 too) cylinder are expensive, like ~$45. You can swap in the whole assembly from a 78 car and use $15- 20 cylinders, if you want to save some money. Just mentioning before you get too far in to it, if it's possible.
-
For future readers. Might be a turbo AFM. I posted the same link in your other thread - http://forums.hybridz.org/index.php/topic/108020-afm-does-this-look-right/page__pid__1010448#entry1010448
-
Just saw this thread over on Hybridz. You might have a turbo AFM. The counterweight may not be missing after all. http://forums.hybridz.org/index.php/topic/108020-afm-does-this-look-right/page__pid__1010448#entry1010448
-
-
Finally took my lenses off to brighten things up.

-
An experiment that might tell something would be to lodge a piece of rubber or urethane or maybe even wood in between the bracket and bar to see if the clunk goes away. Just a thought. I'll let the R180 guys in now.
-
I get it, I missed the point. Wouldn't there be signs of rubbing on the bar and brackets if they were touching when clunking?
-
I think that I ran in to a similar problem. You'll find that there are certain projections on the plastic pieces that stop the rotation of the various plates at certain points. You'll probably have to put it together (and maybe take it apart again) to see how it works. If I remember right, the way the whole thing worked was that one "plane" of bearings rotated a certain amount then the other plane/set took over for more rotation. The thing that I keyed on was that the ball bearings were always sandwiched between two metal wearing surfaces. Also, don't forget, that the amount of rotation is limited in usage by the travel limits of the vacuum advance canister's rod. The most vacuum advance I've seen described is 9 degrees (18 degrees of crankshaft advance) for the Z distributors (not ZX) so it's really not much rotation movement. I felt like I had it right when I could move it that small amount repeatedly back and forth and the ball bearings rode in the same tracks, and the metal wear plates were locked in place. Best I can do, I've never seen a drawing of the breaker plate taken part. Good luck.
-
Clunking would be caused by looseness. Do you have any loose fits on the diff's points of contact with the body, the two mustache bar ends and the mount itself? And the two nuts and studs that bolt the cover to the bar? And did you use a snubber and keep the original mount, or a GM mount and removed the original mount? I have a self-made RT-style mount and poly bushings on the mustache bare ends and don't have any clunking beyond the lash in the diff gears. I'm using the poly GM trans. mount though so the nose of the diff can't move any farther than the urethane flexes. If you had a misalignment in your RT mount you would probably a get drive line vibration, but not necessarily a clunk. If you show a picture of your setup you might get some constructive comments.
-
You don't need the adapter, it's for the Multi Spark Discharge (MSD) ignition module. But the Blaster coil might not be right for your 76 ignition module and ballast resistor. You should match the resistance of the Blaster coil circuit, with or without resistor, to the resistance of the original 1976 coil with ballast resistor. Otherwise, you might have too many amps through your ignition module, or you might not be getting the benefit of the Blaster coil if you use the ballast.