motorman7
Supporting Member
-
Joined
-
Last visited
Everything posted by motorman7
-
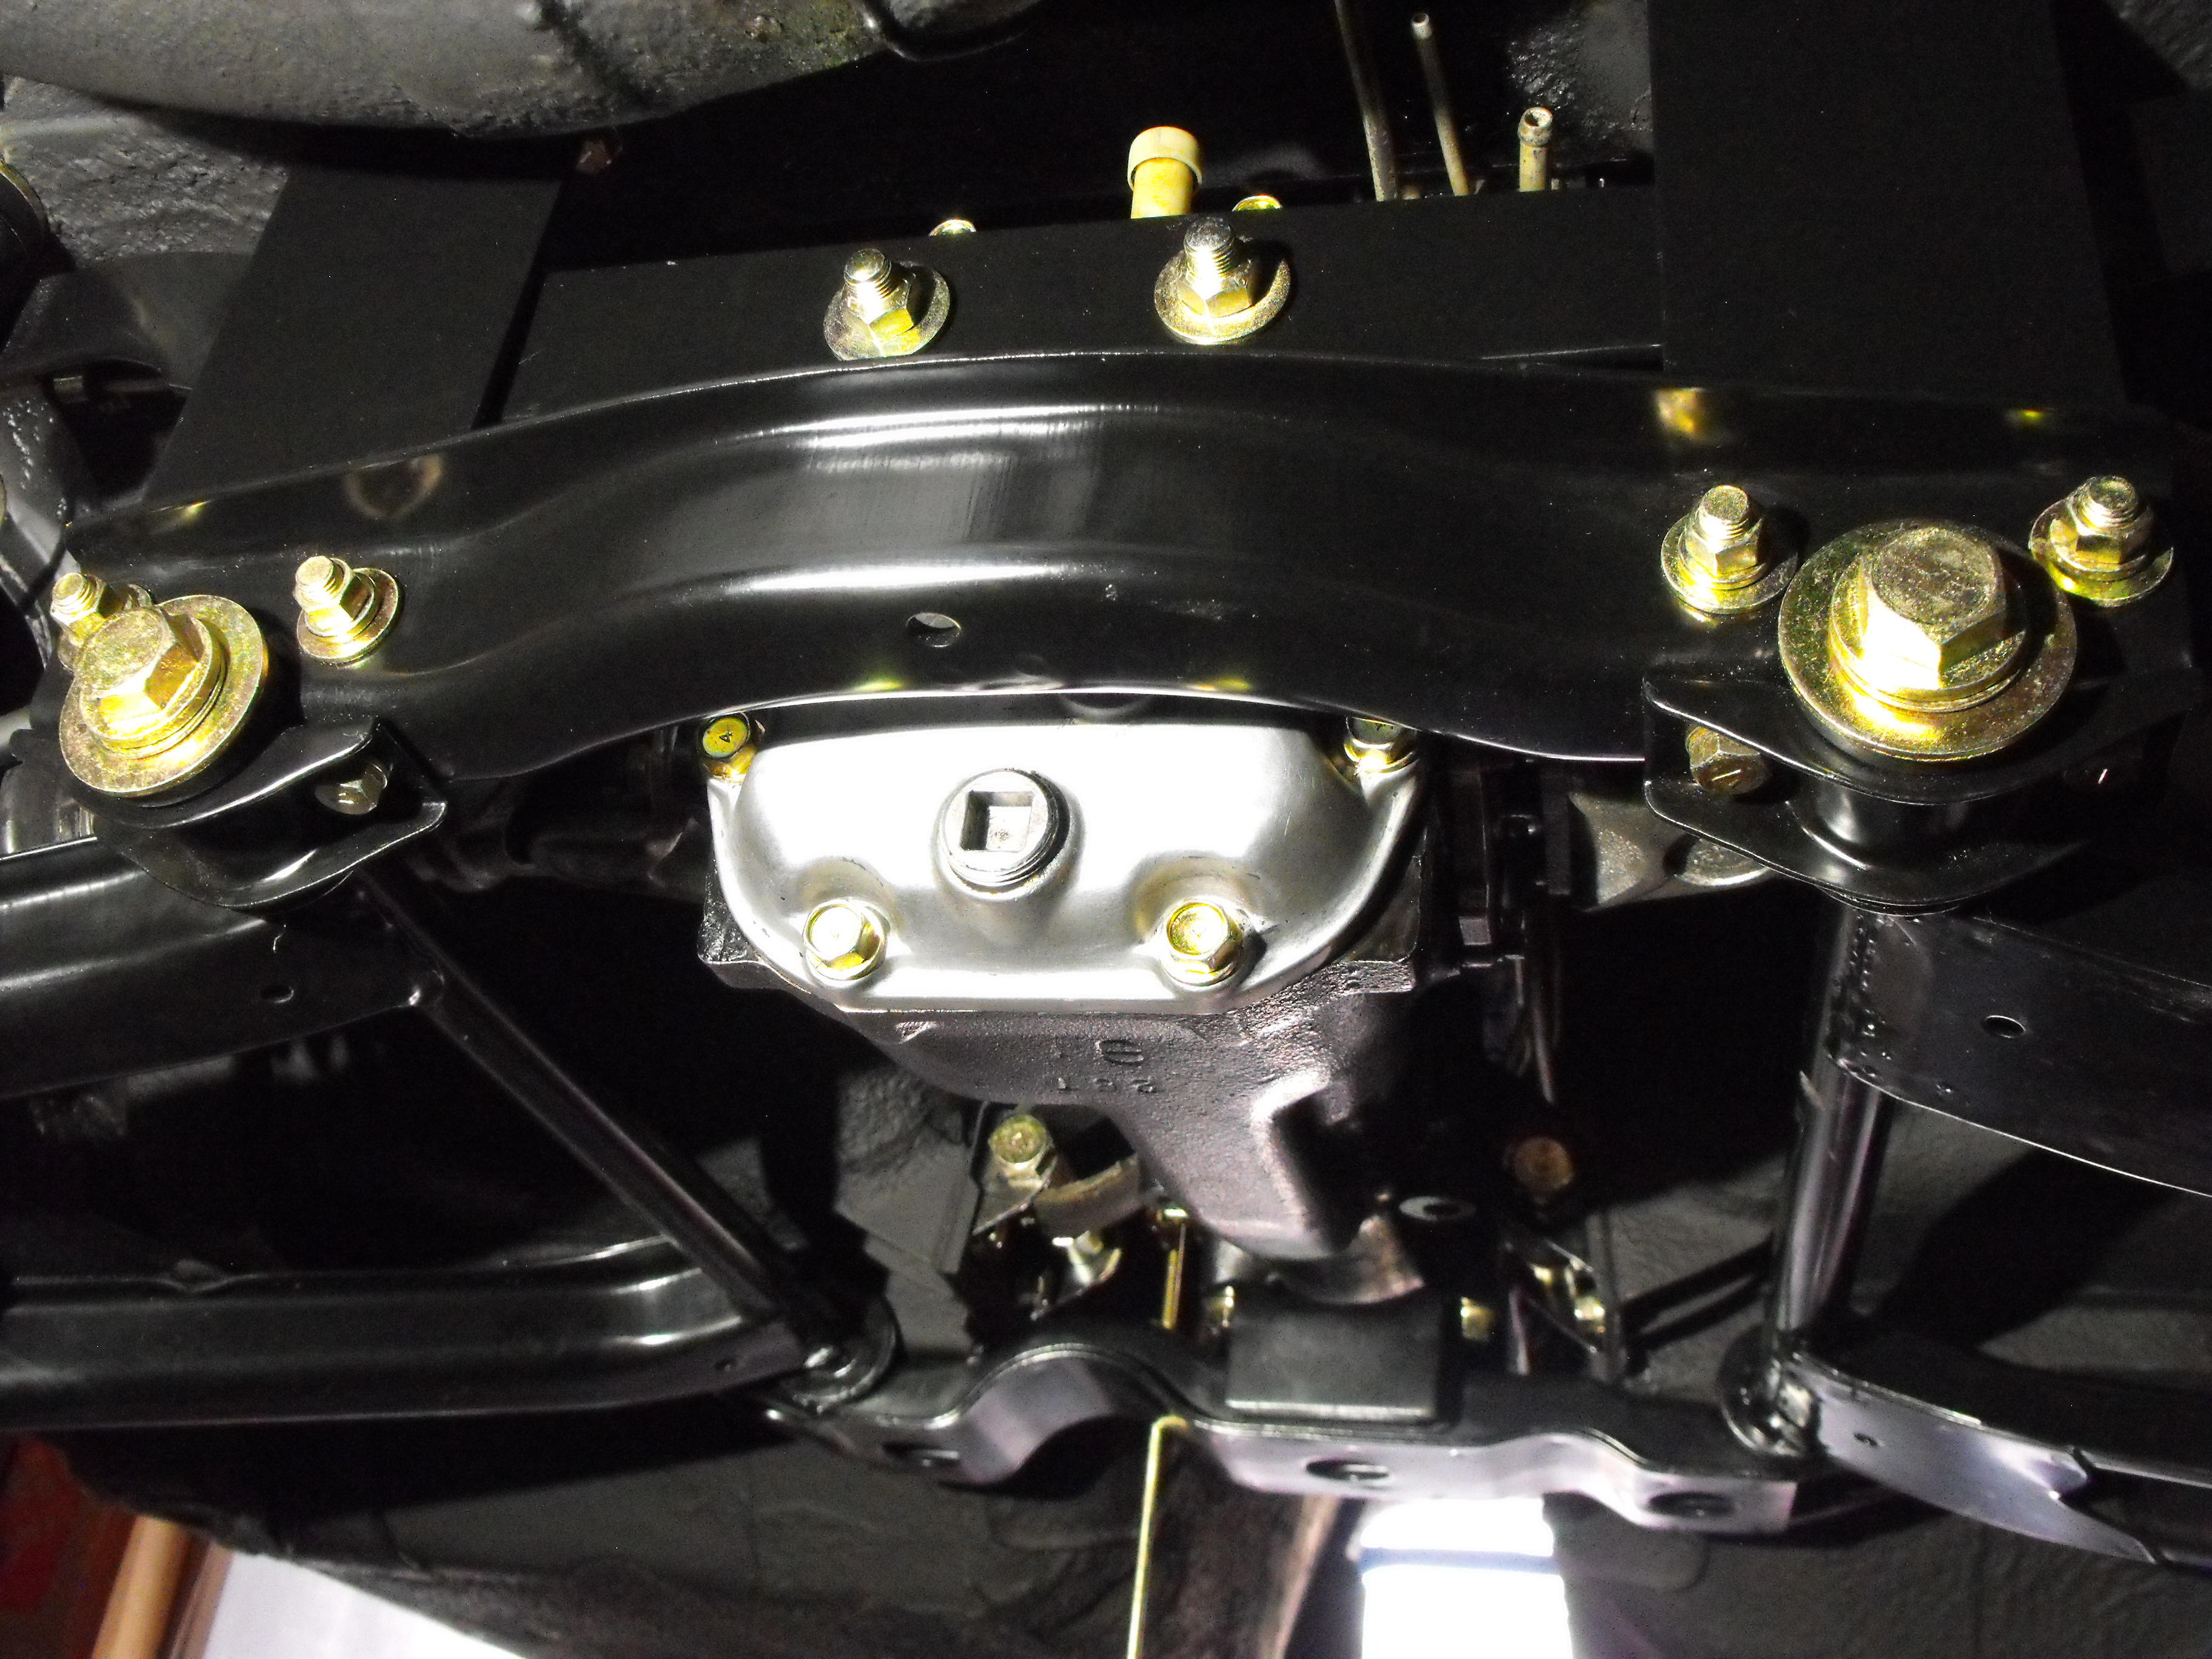
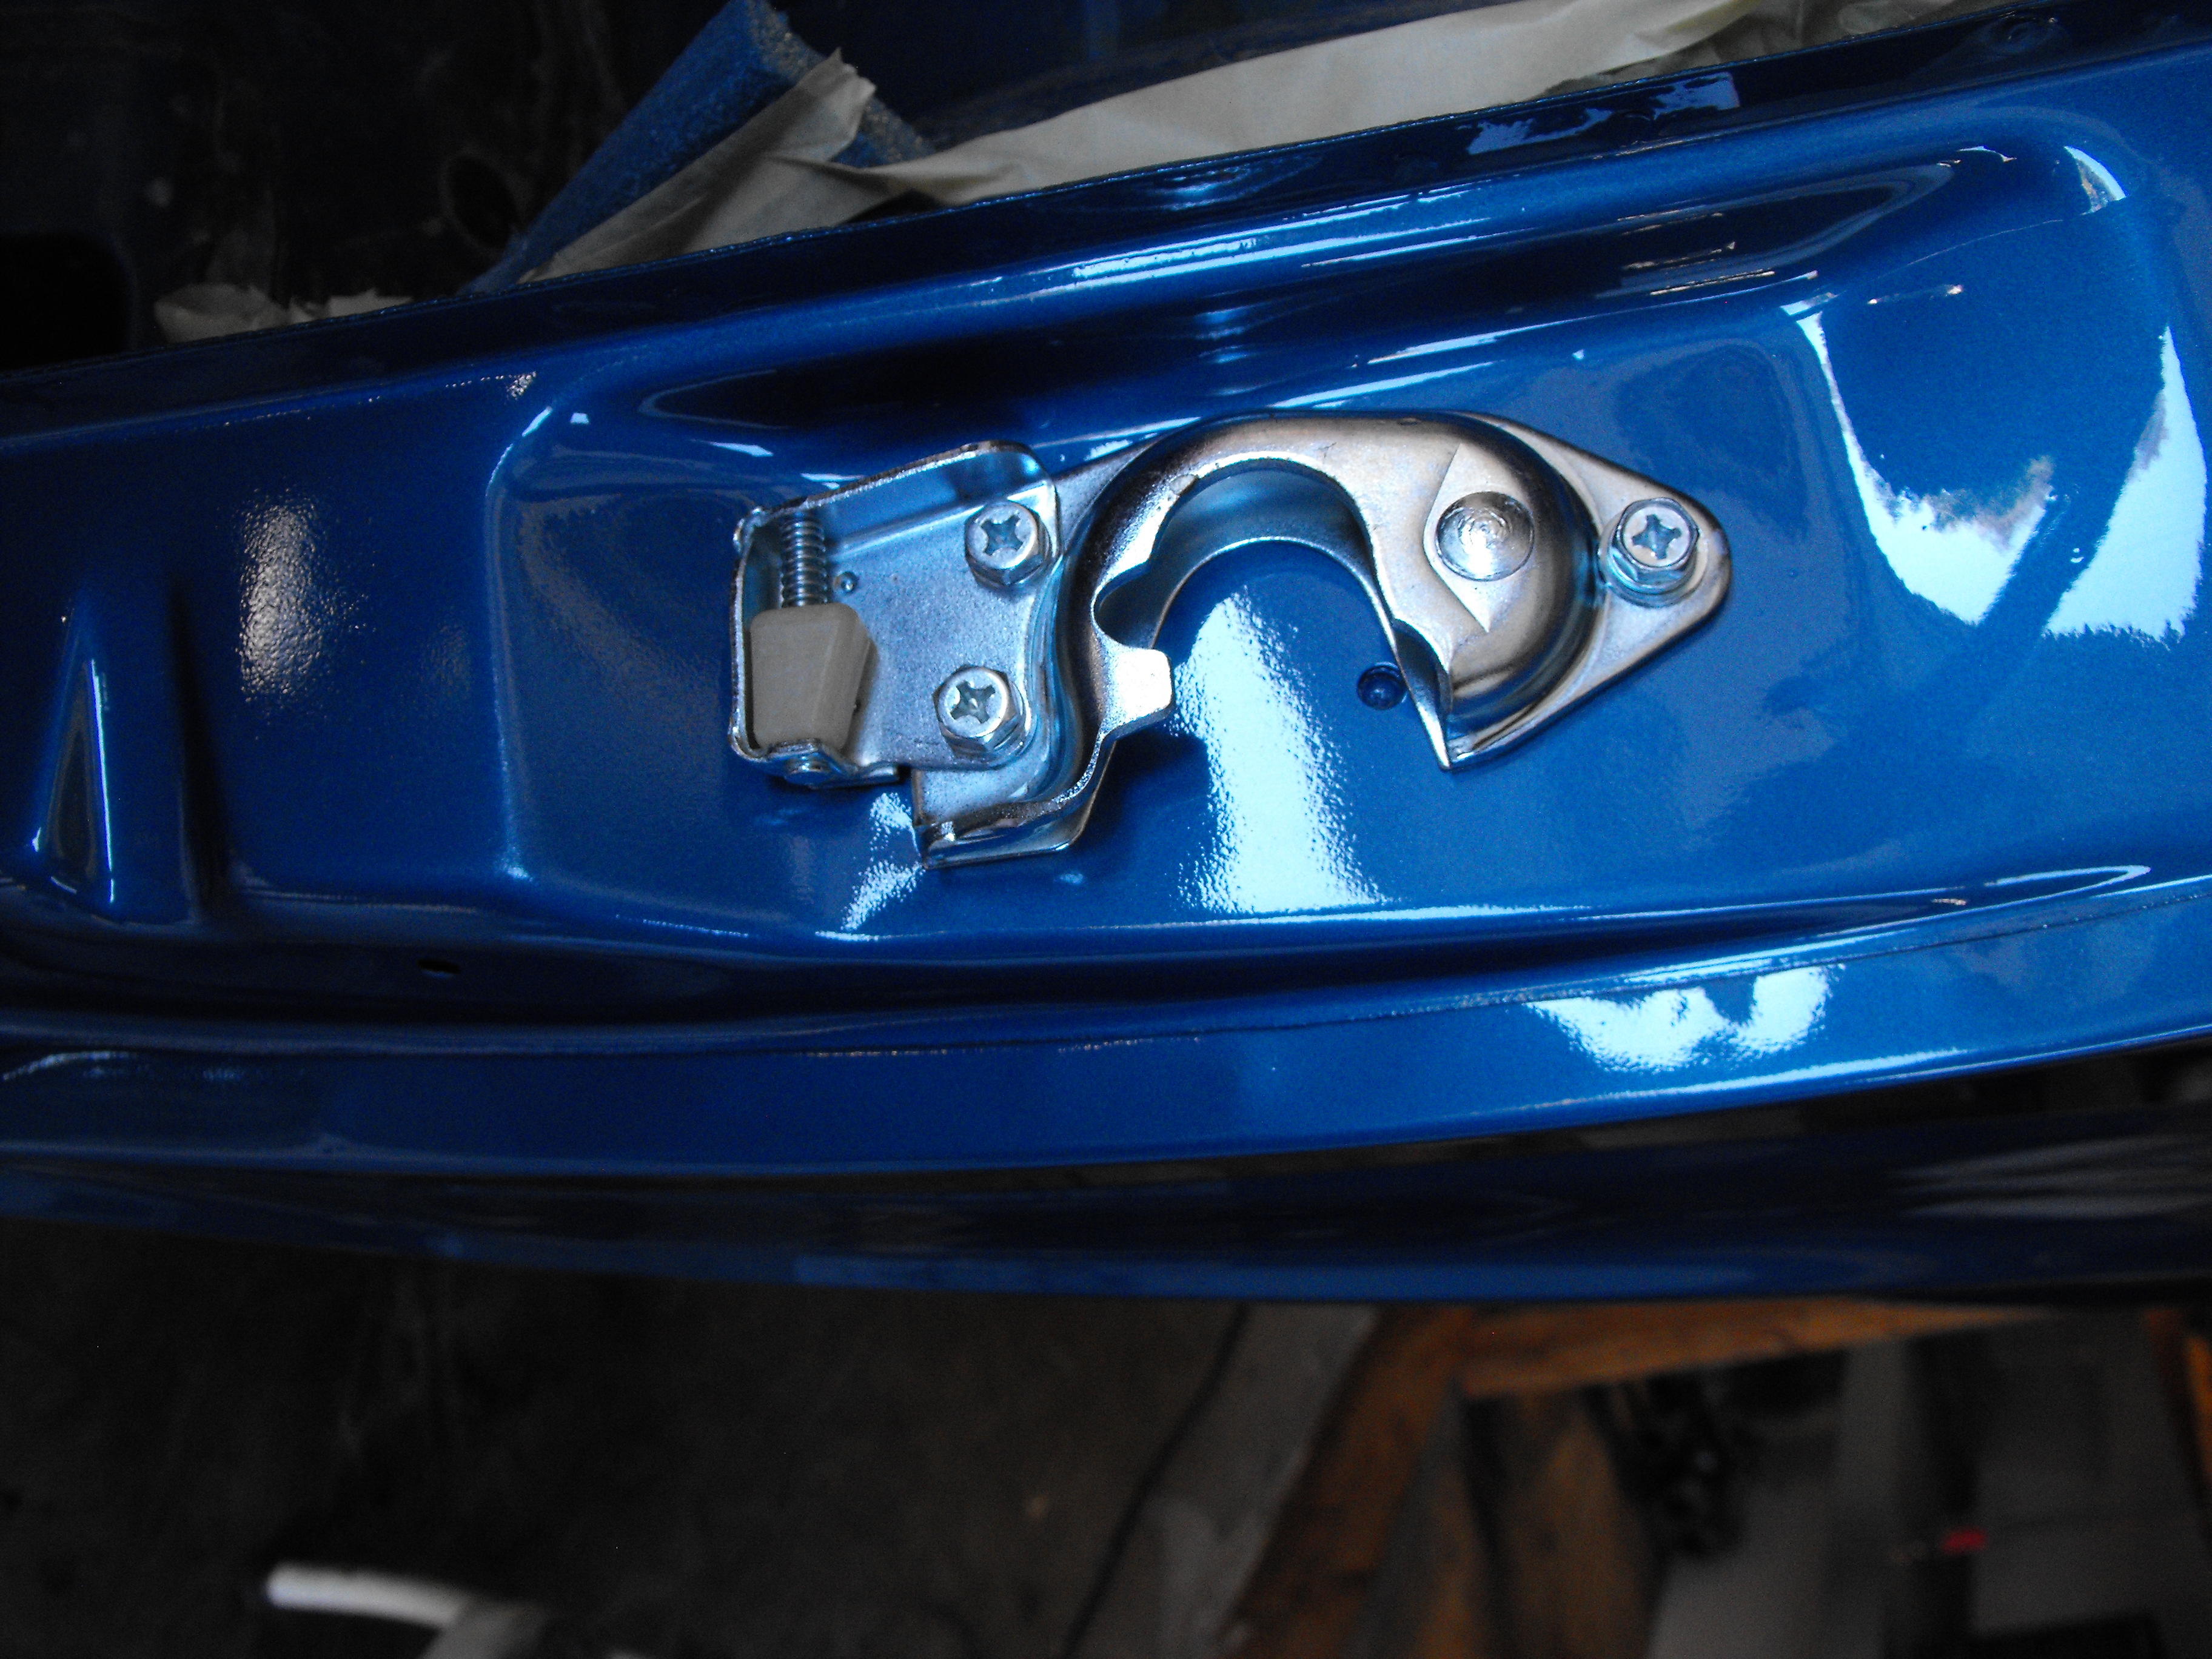
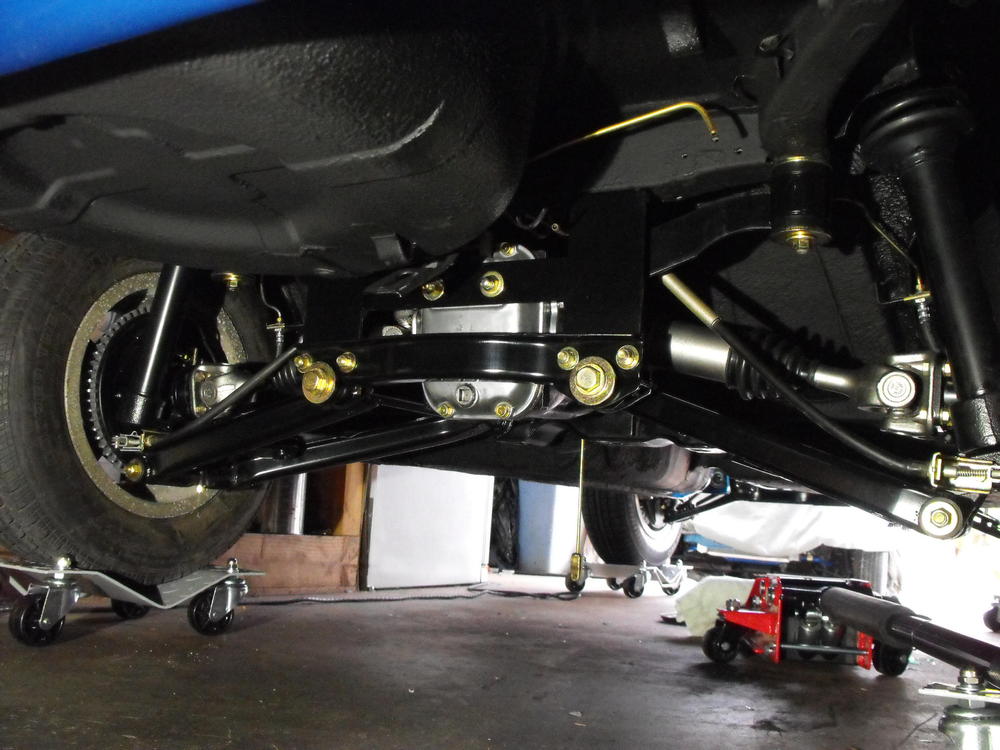
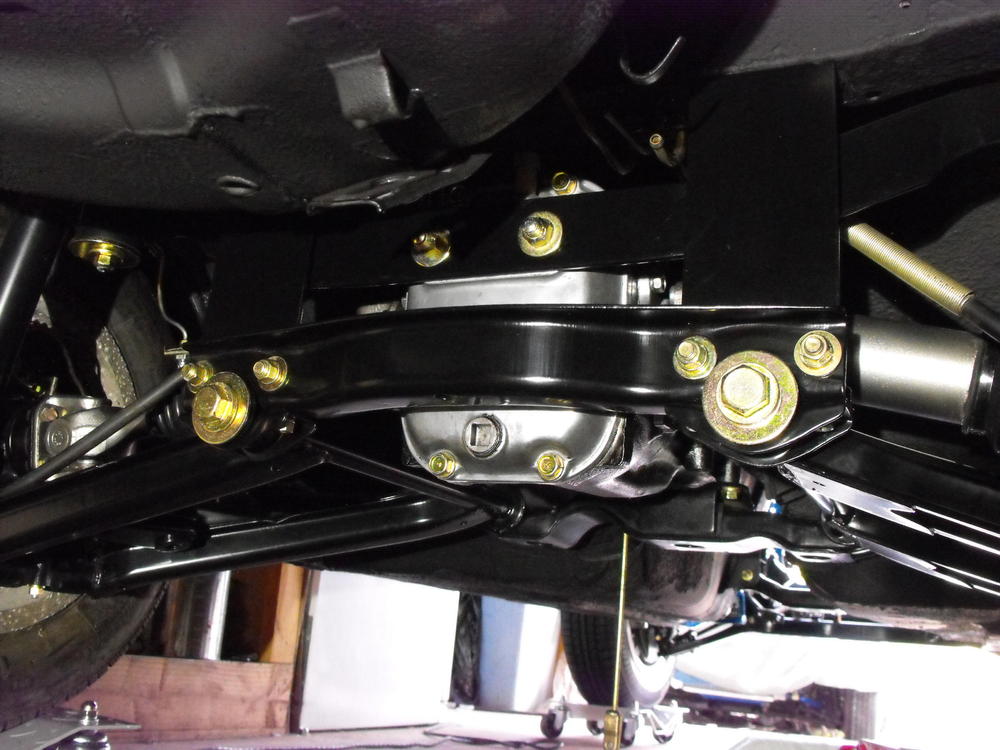
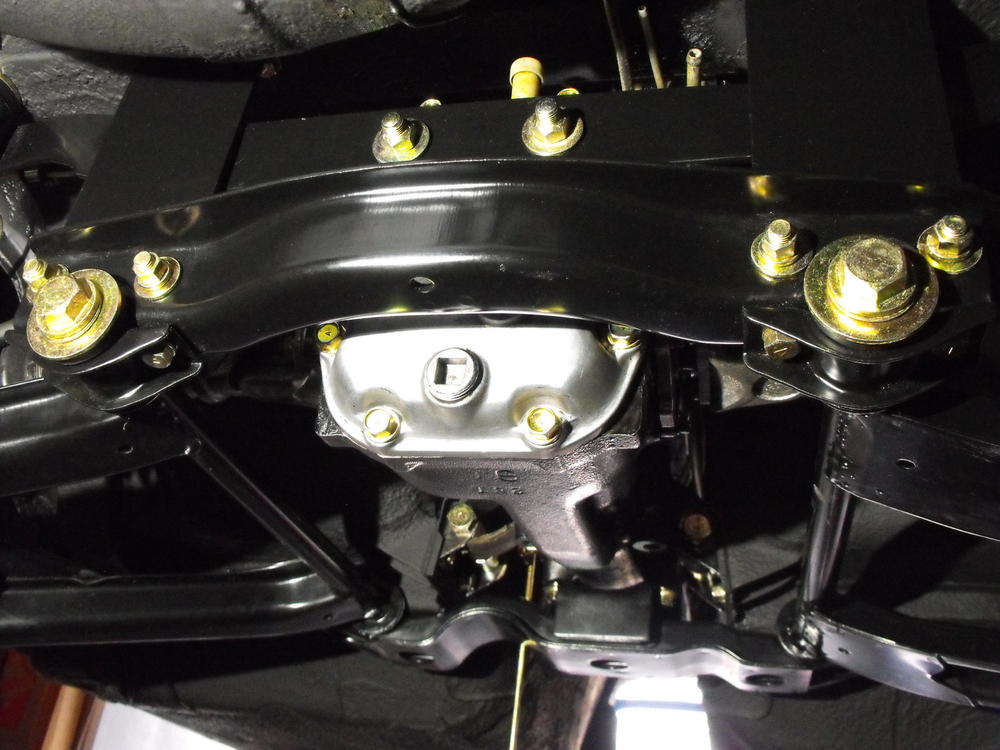
Made some nice progress this weekend. Got the front grill and bumper brackets installed. Got the differential restraining strap, differential and half shafts installed. The differential went in pretty easy with my new Costco jack. Just set the diff on the large rubber pad and lifted it into place. Also, @jayhawk stopped by to look the car over. Glad he was able to see the car in person, instead of just the pics.


-
@Captain Obvious Cost is $140 per batch. A batch is probably about 2/3 of a 5 gallon bucket. Parts that are fairly large, longer than 12", will be done separately at an added charge. As @Zup mentioned, be careful with parts that have internal cavities, diaphragms,etc. They will retain liquid and then bleed on your parts during shipping, discoloring the plating. I put parts in zip lock bags just as Zup mentioned. First time I sent parts USPS shipper, it weighed 33 pounds. I felt bad for the postal guy. Next time I broke it up into two USPS boxes, approx 20 pounds each. I do minimal prep. Paint needs to be removed from parts, other than that grease and rust seems to be acceptable. I usually do a quick wire wheel on parts that have a lot of rust or gunk on them. The color or the parts is about perfect. Let me know if you need any more info.
-
@Captain Obvious I like the looks of that Hyundai filter. If Nissan was making the filters today, it would probably look more like those.
-
@Zup Wow, that kit is impressive to see. Those filters are probably worth their weight in gold or more. @jayhawk will bring these filters by on Saturday and we will check them out. The collar is a bit long and it is not 'crushable' but we will check the fit.
-
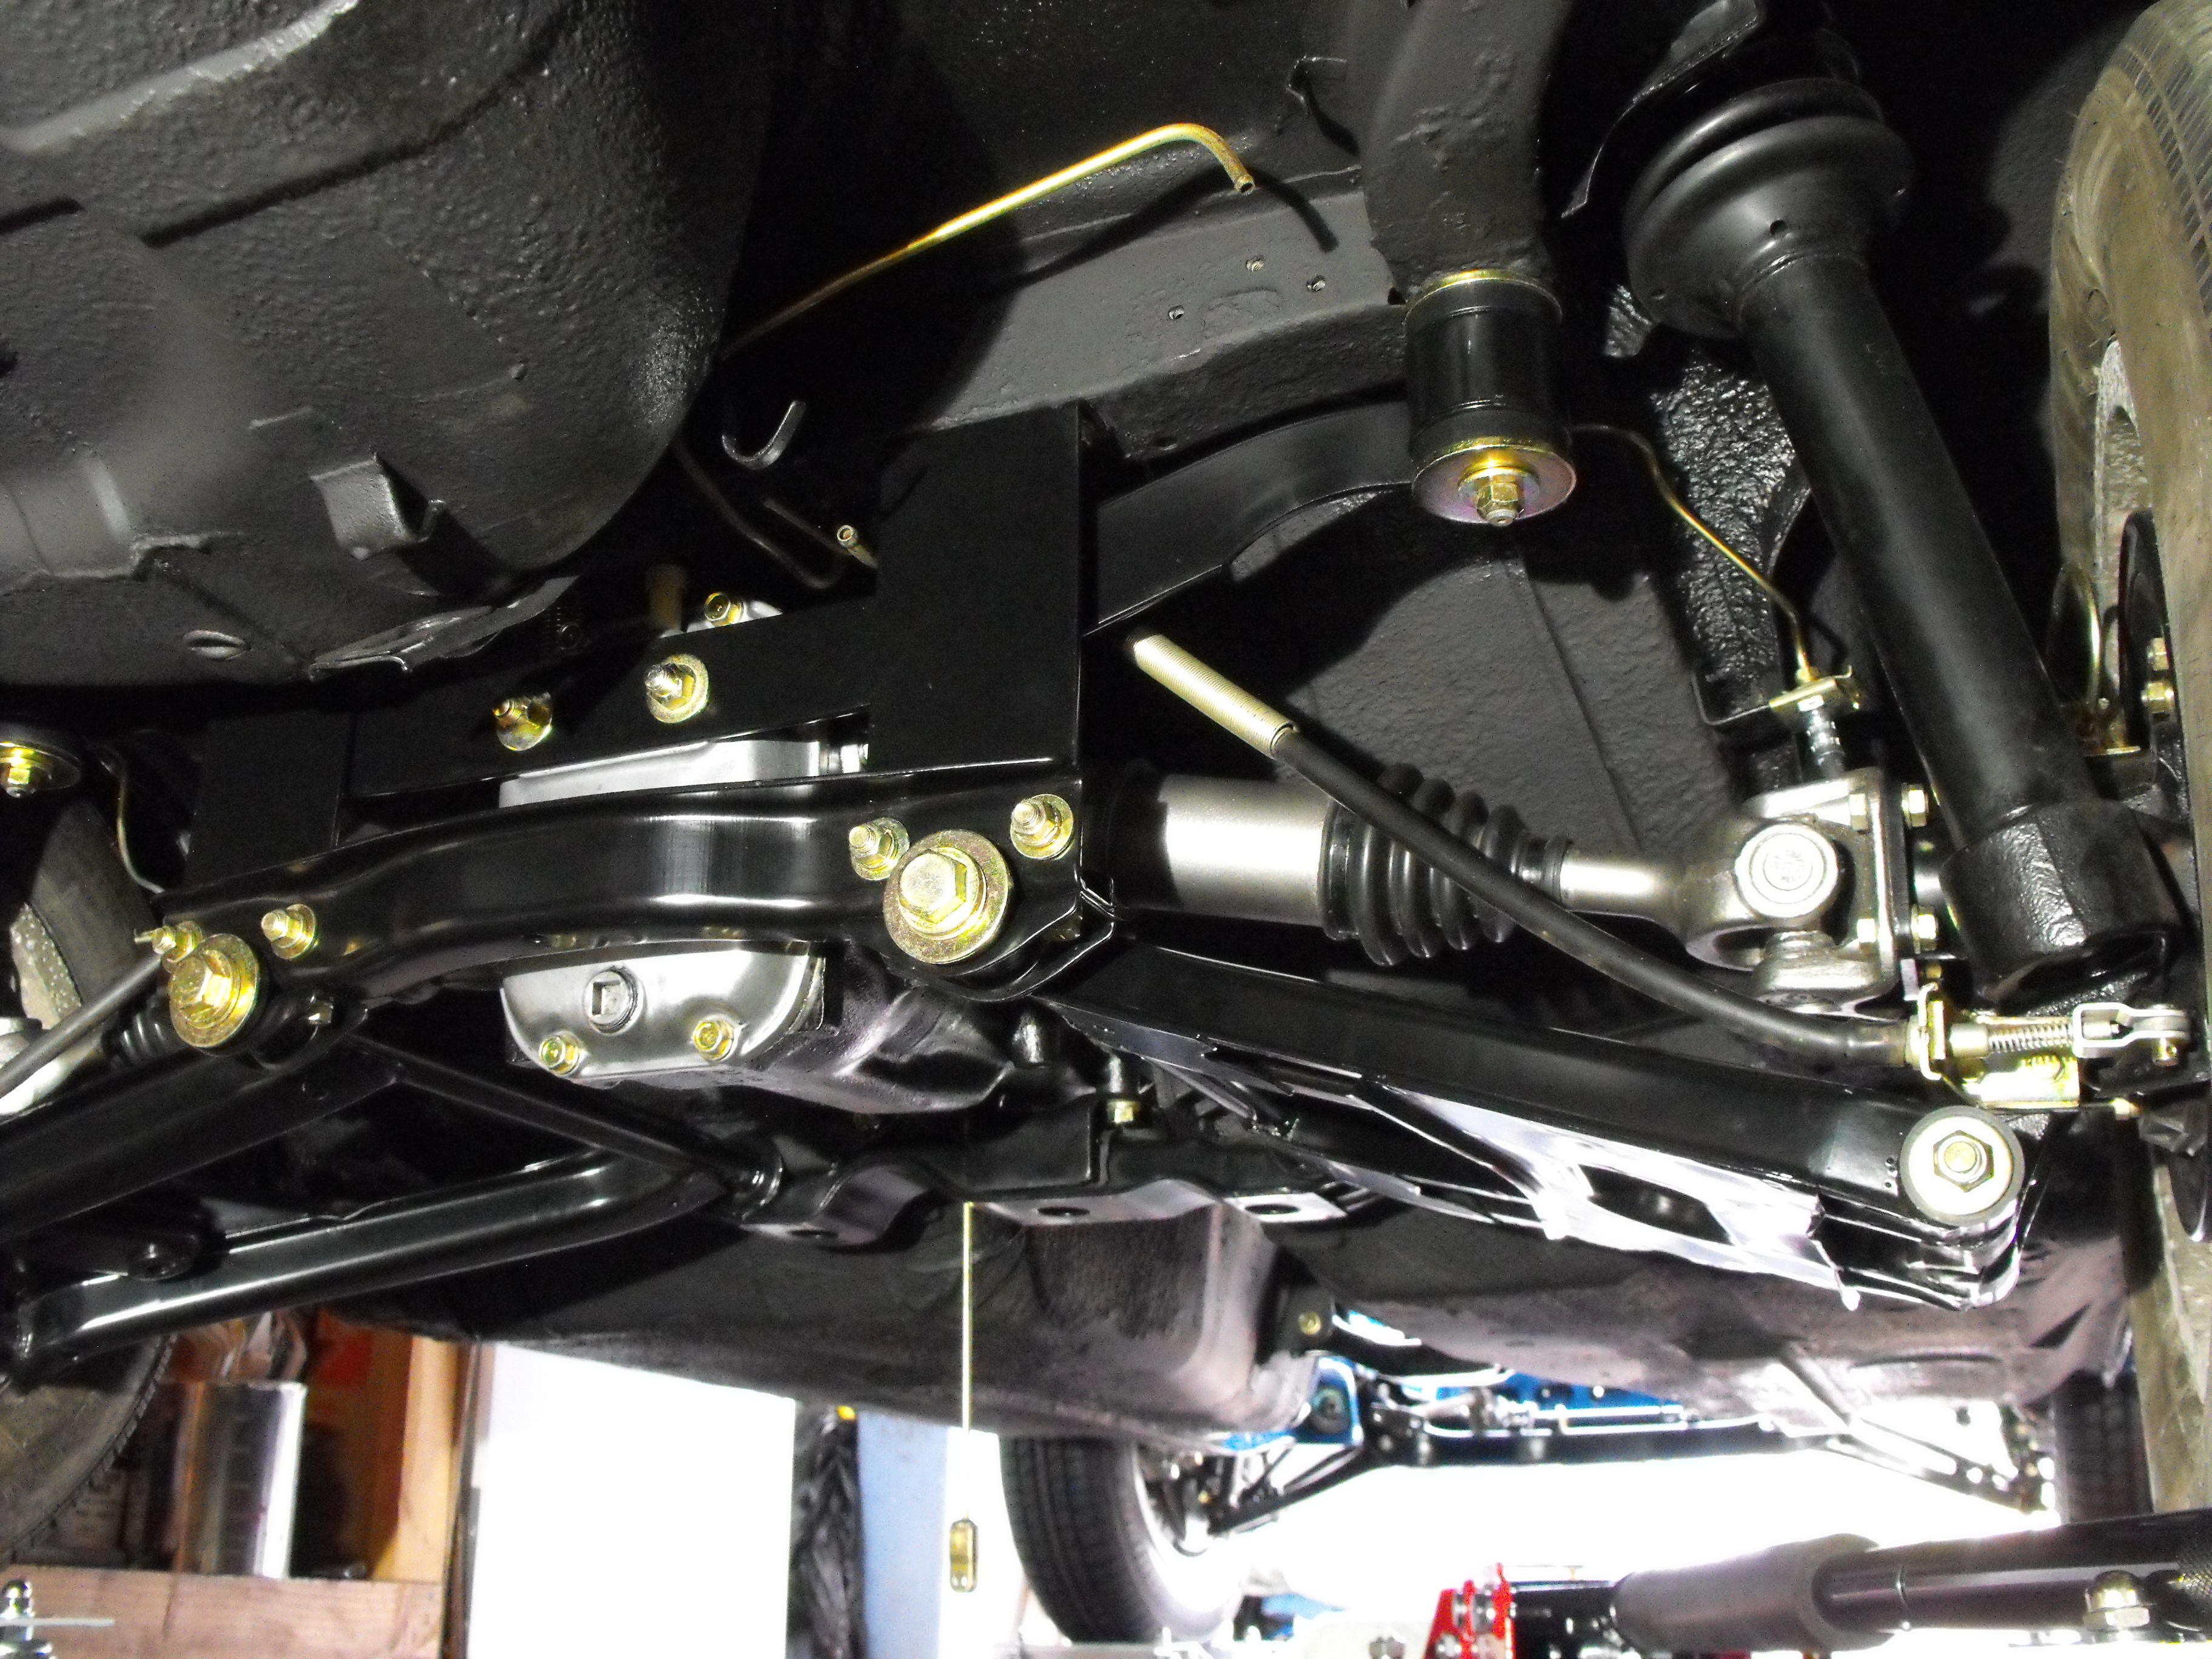
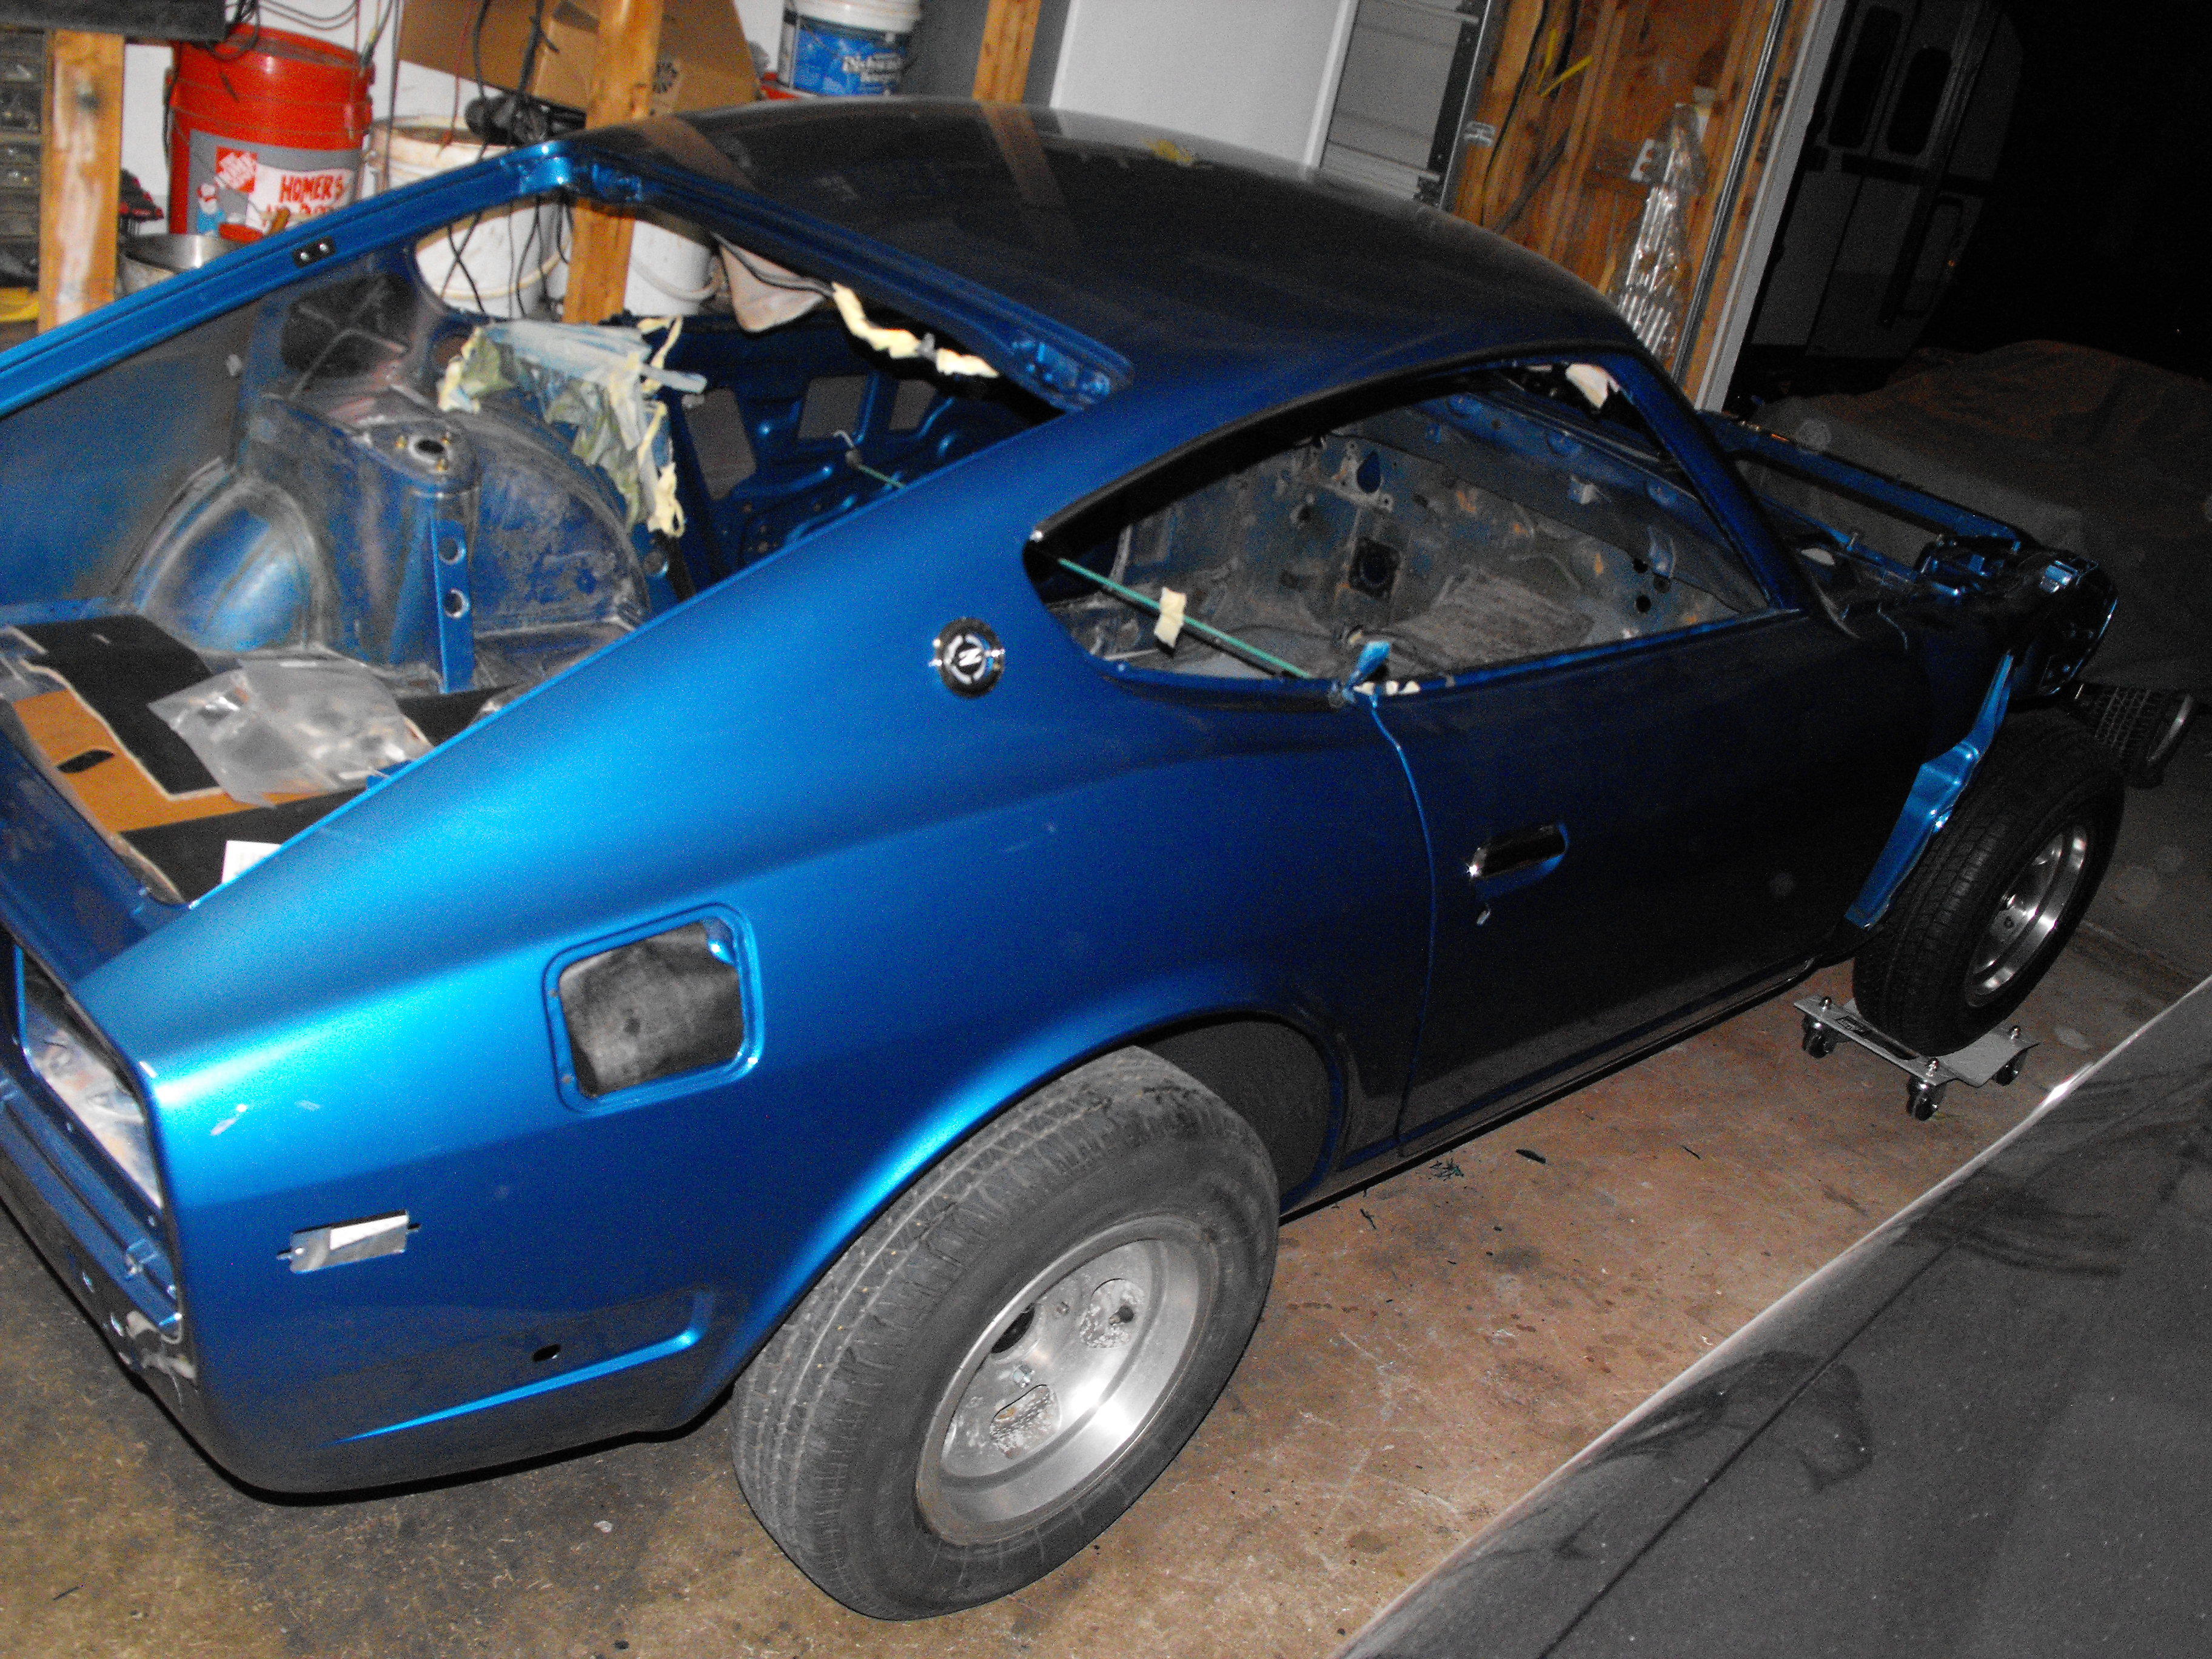
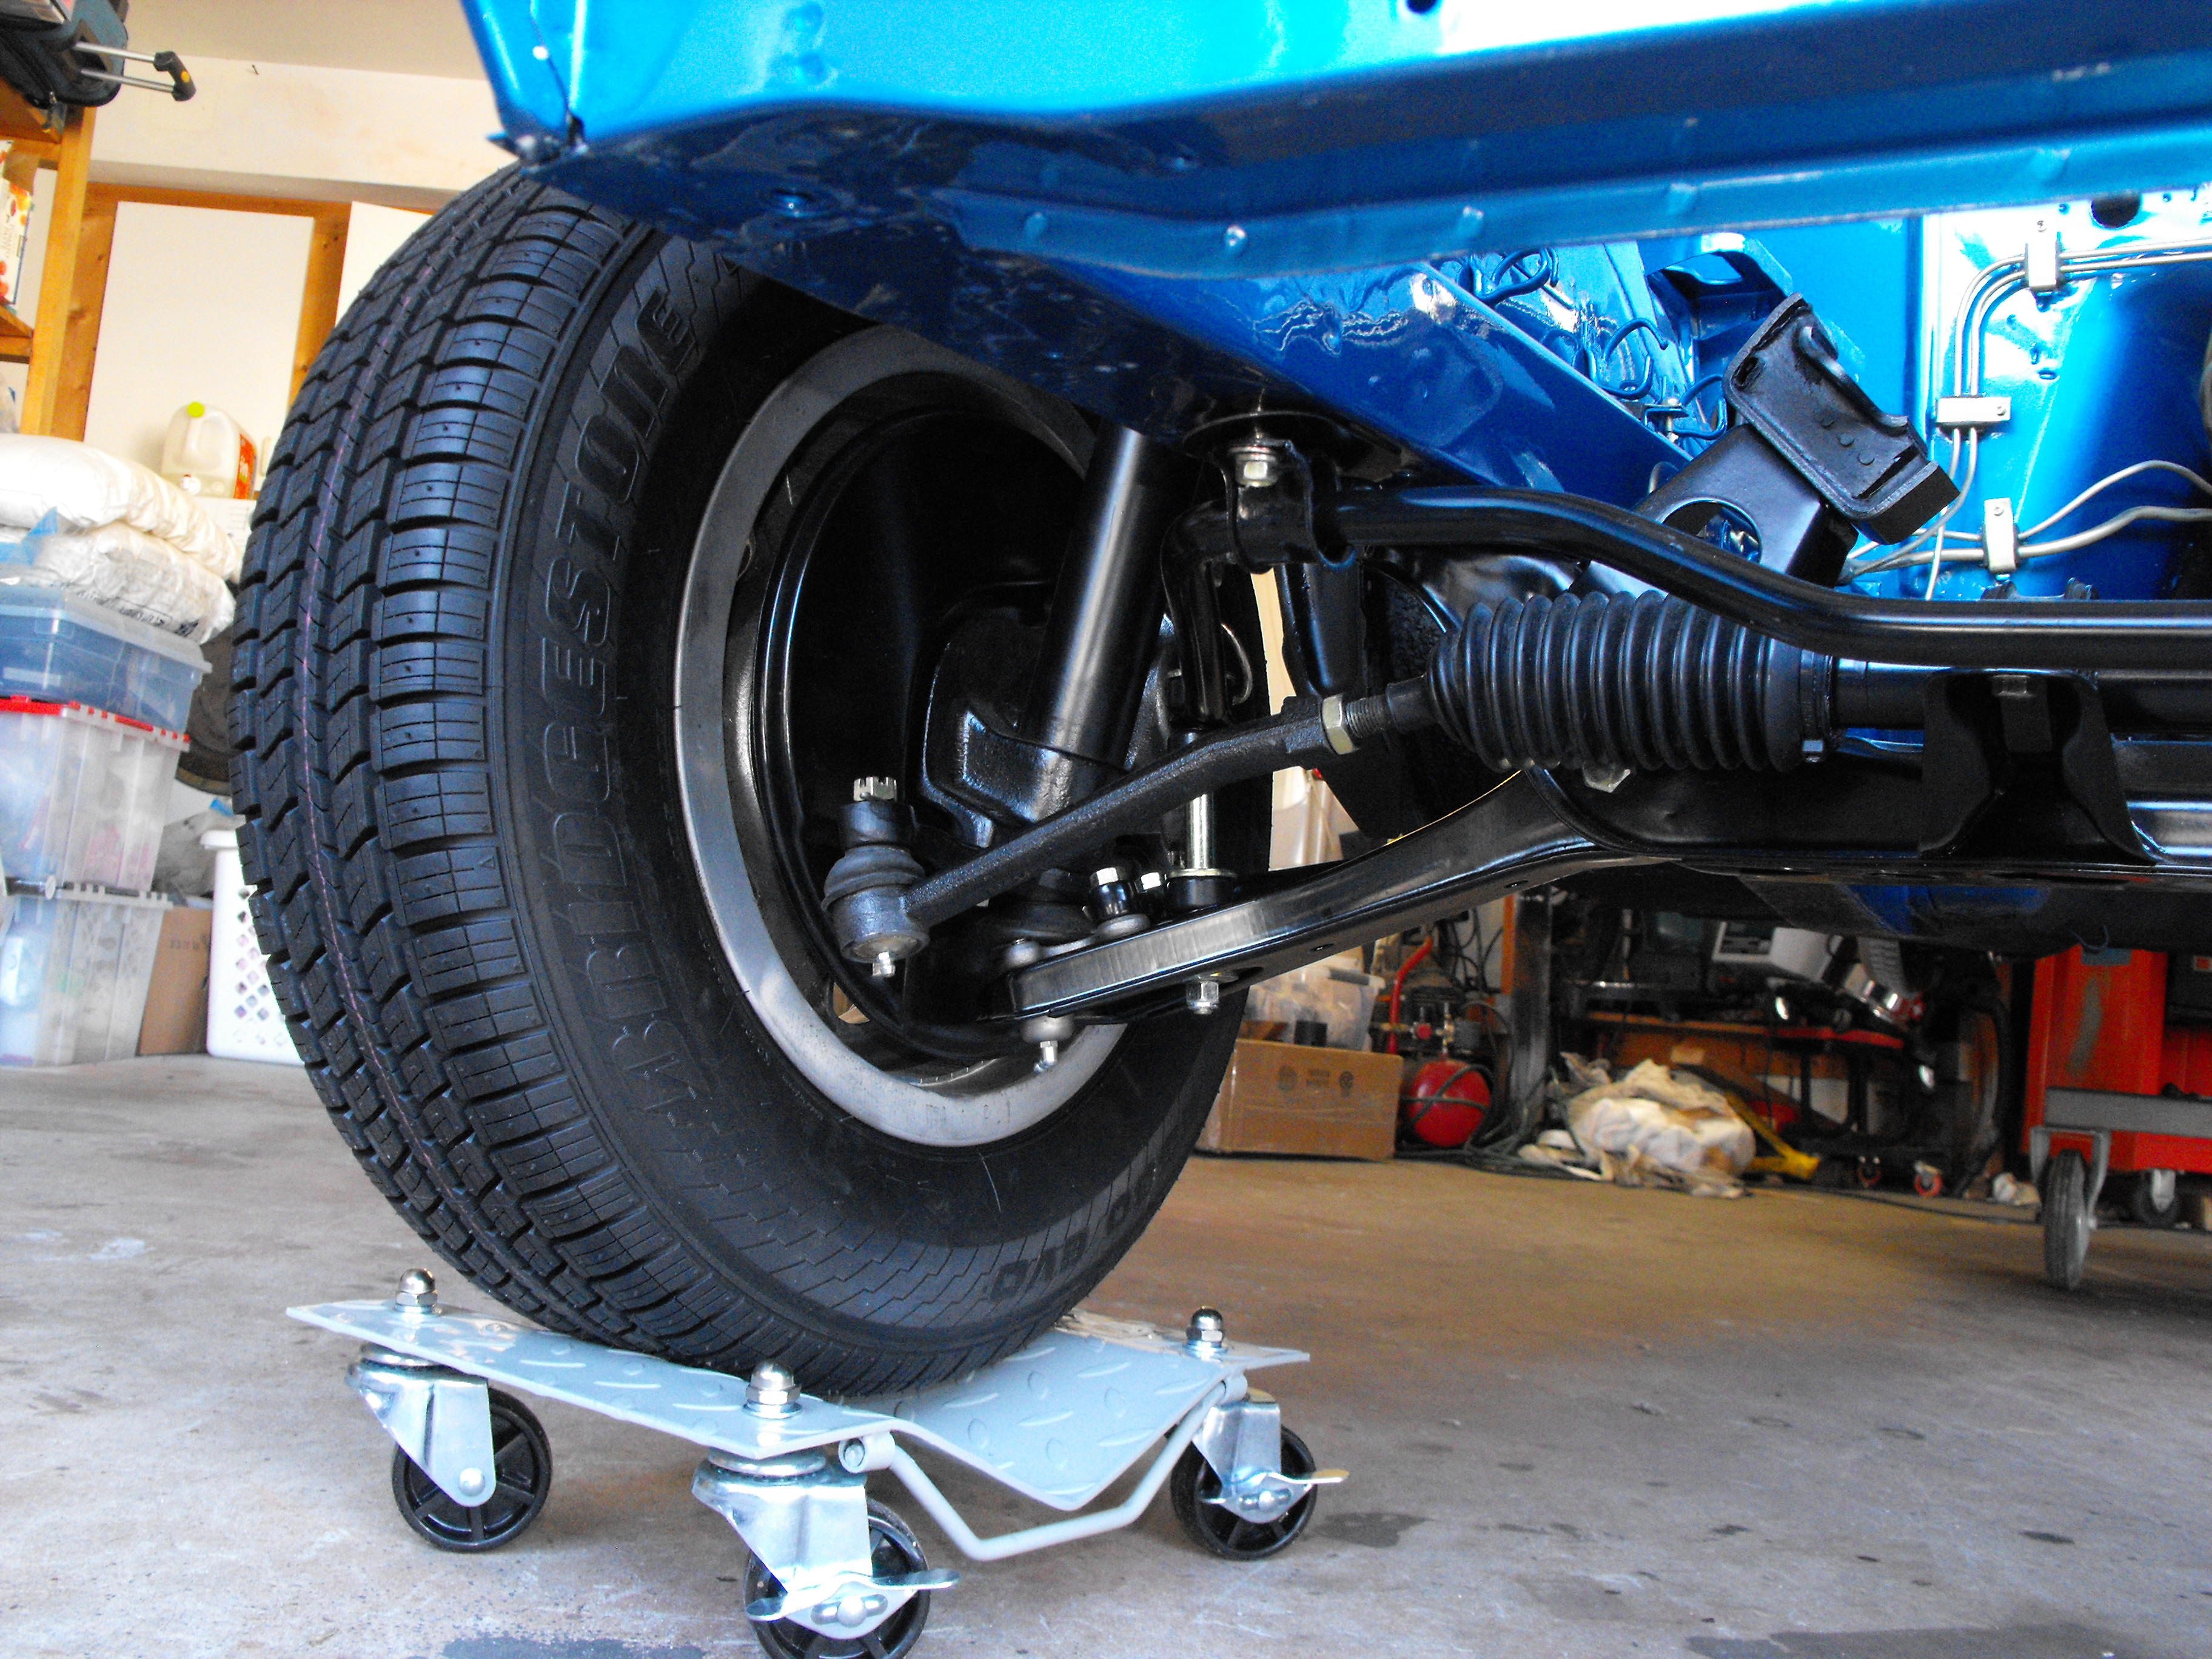
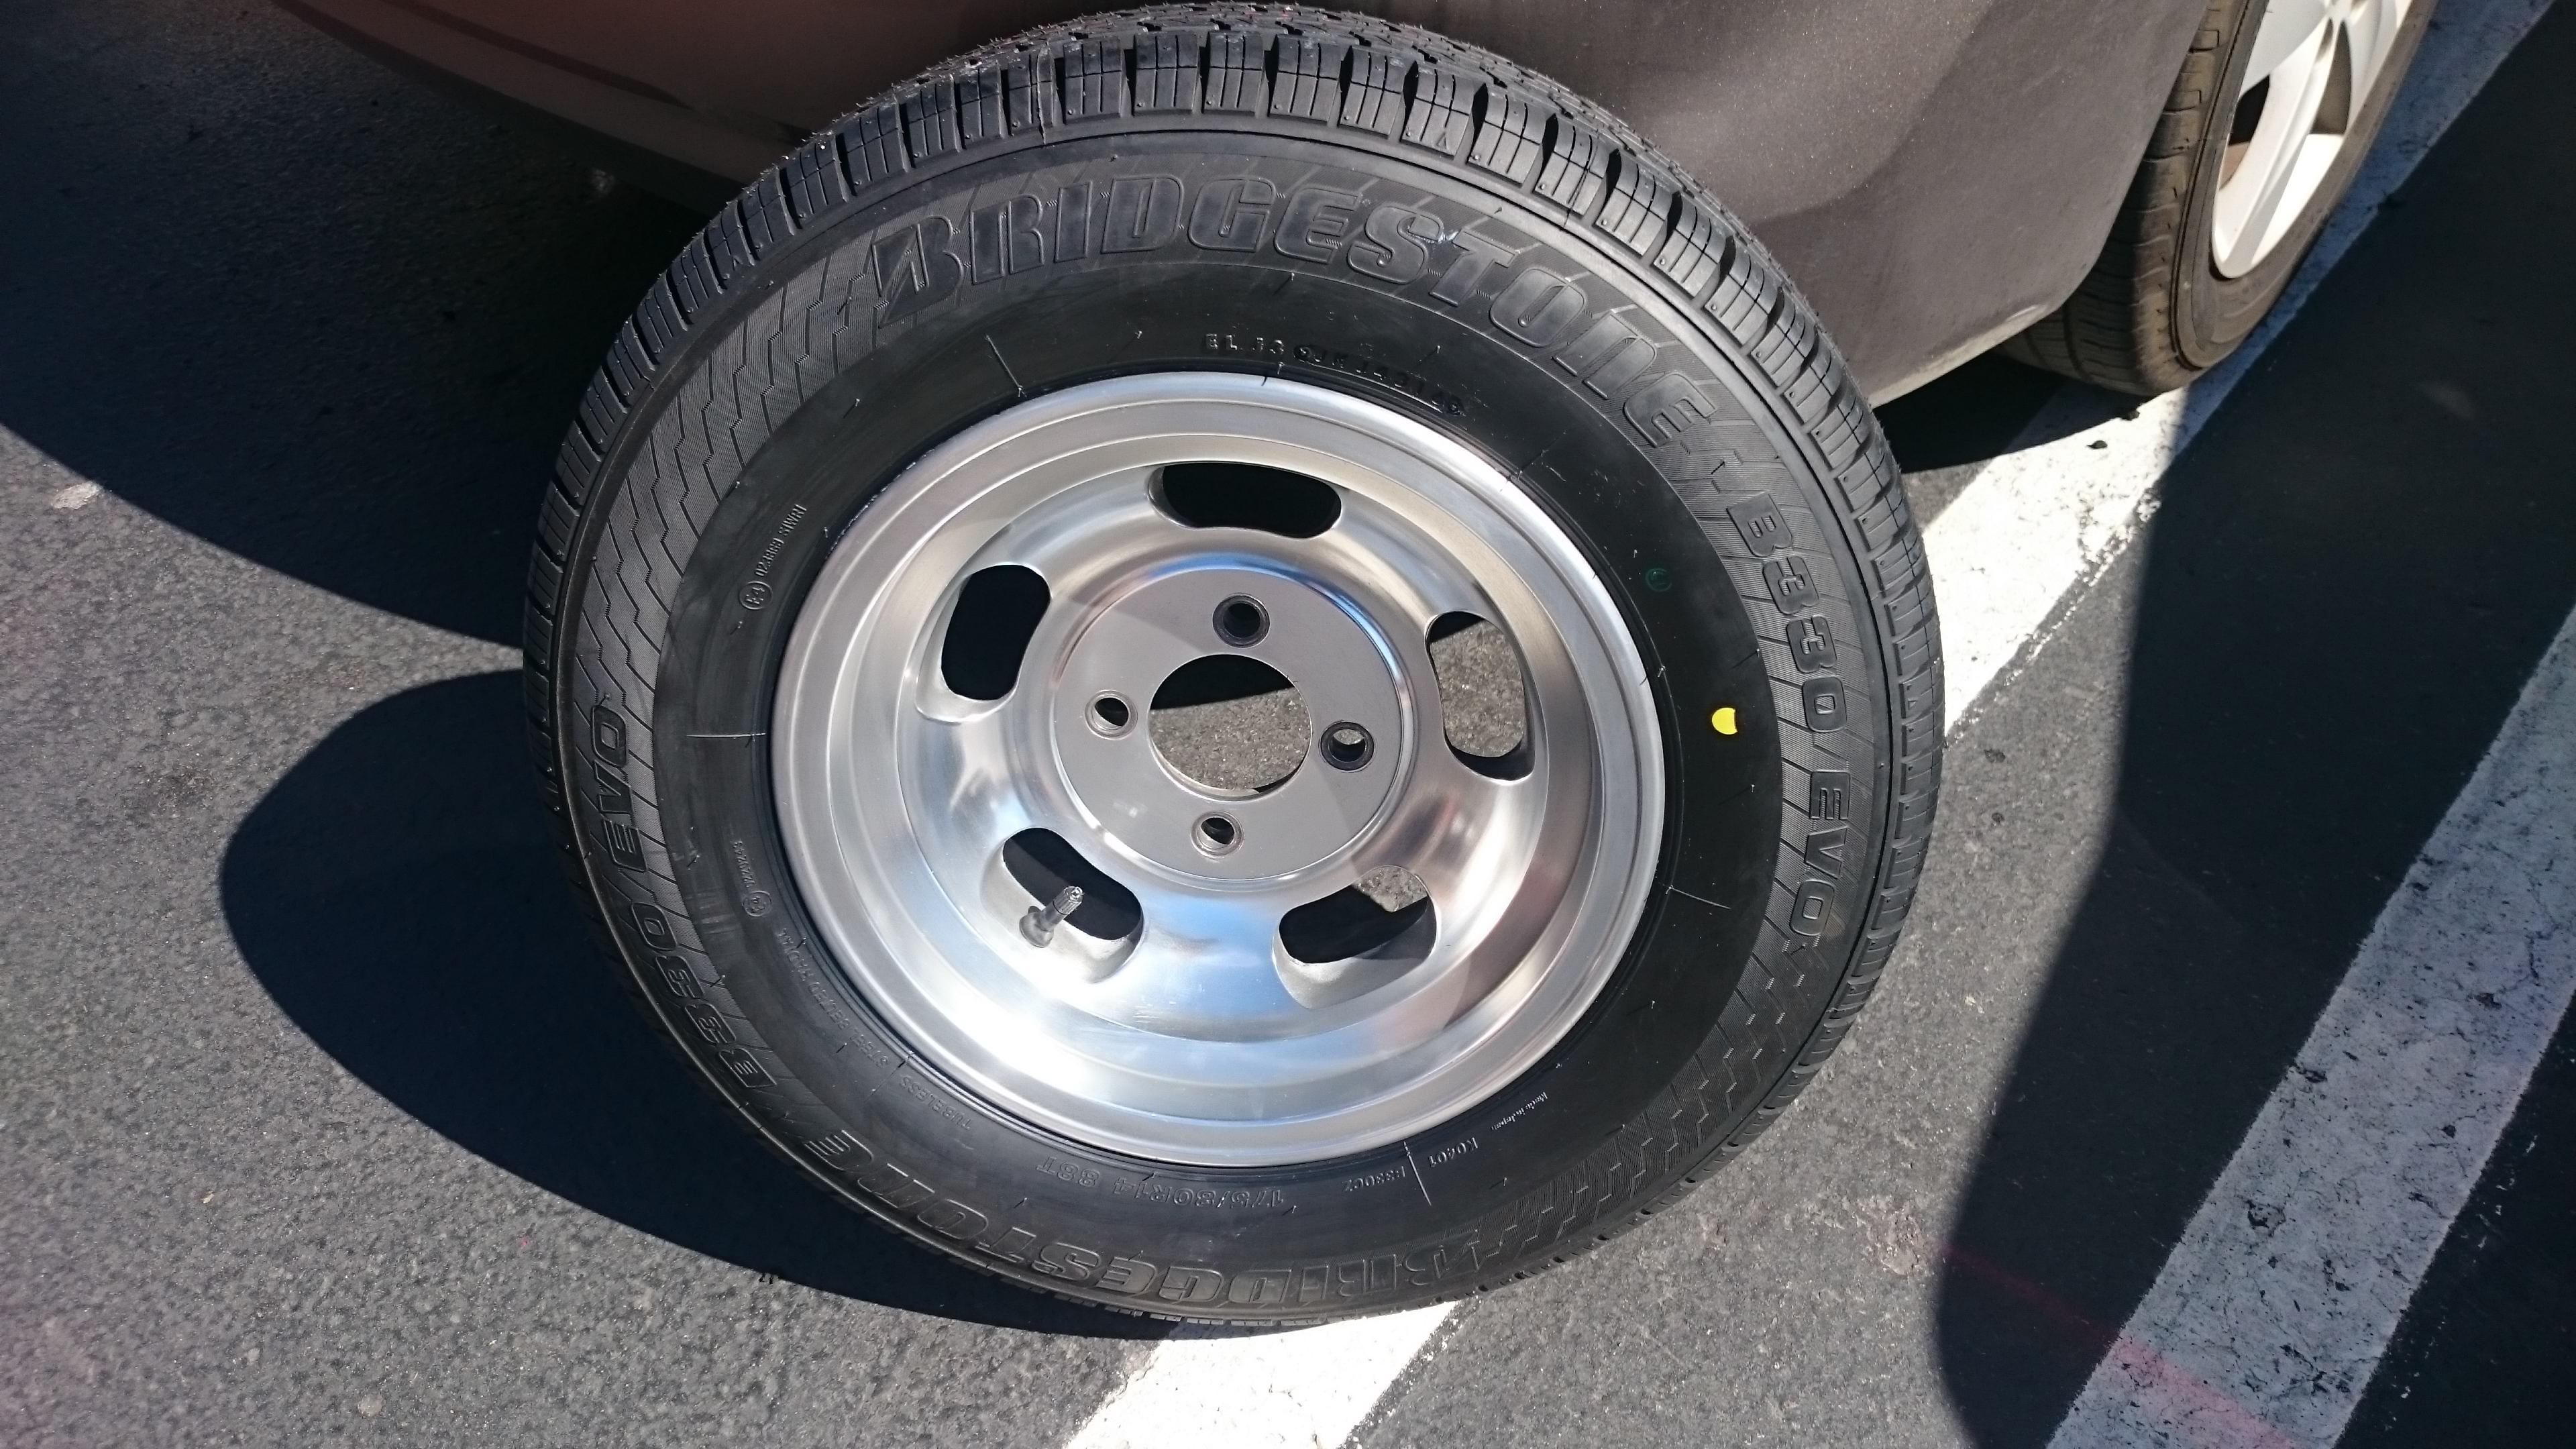
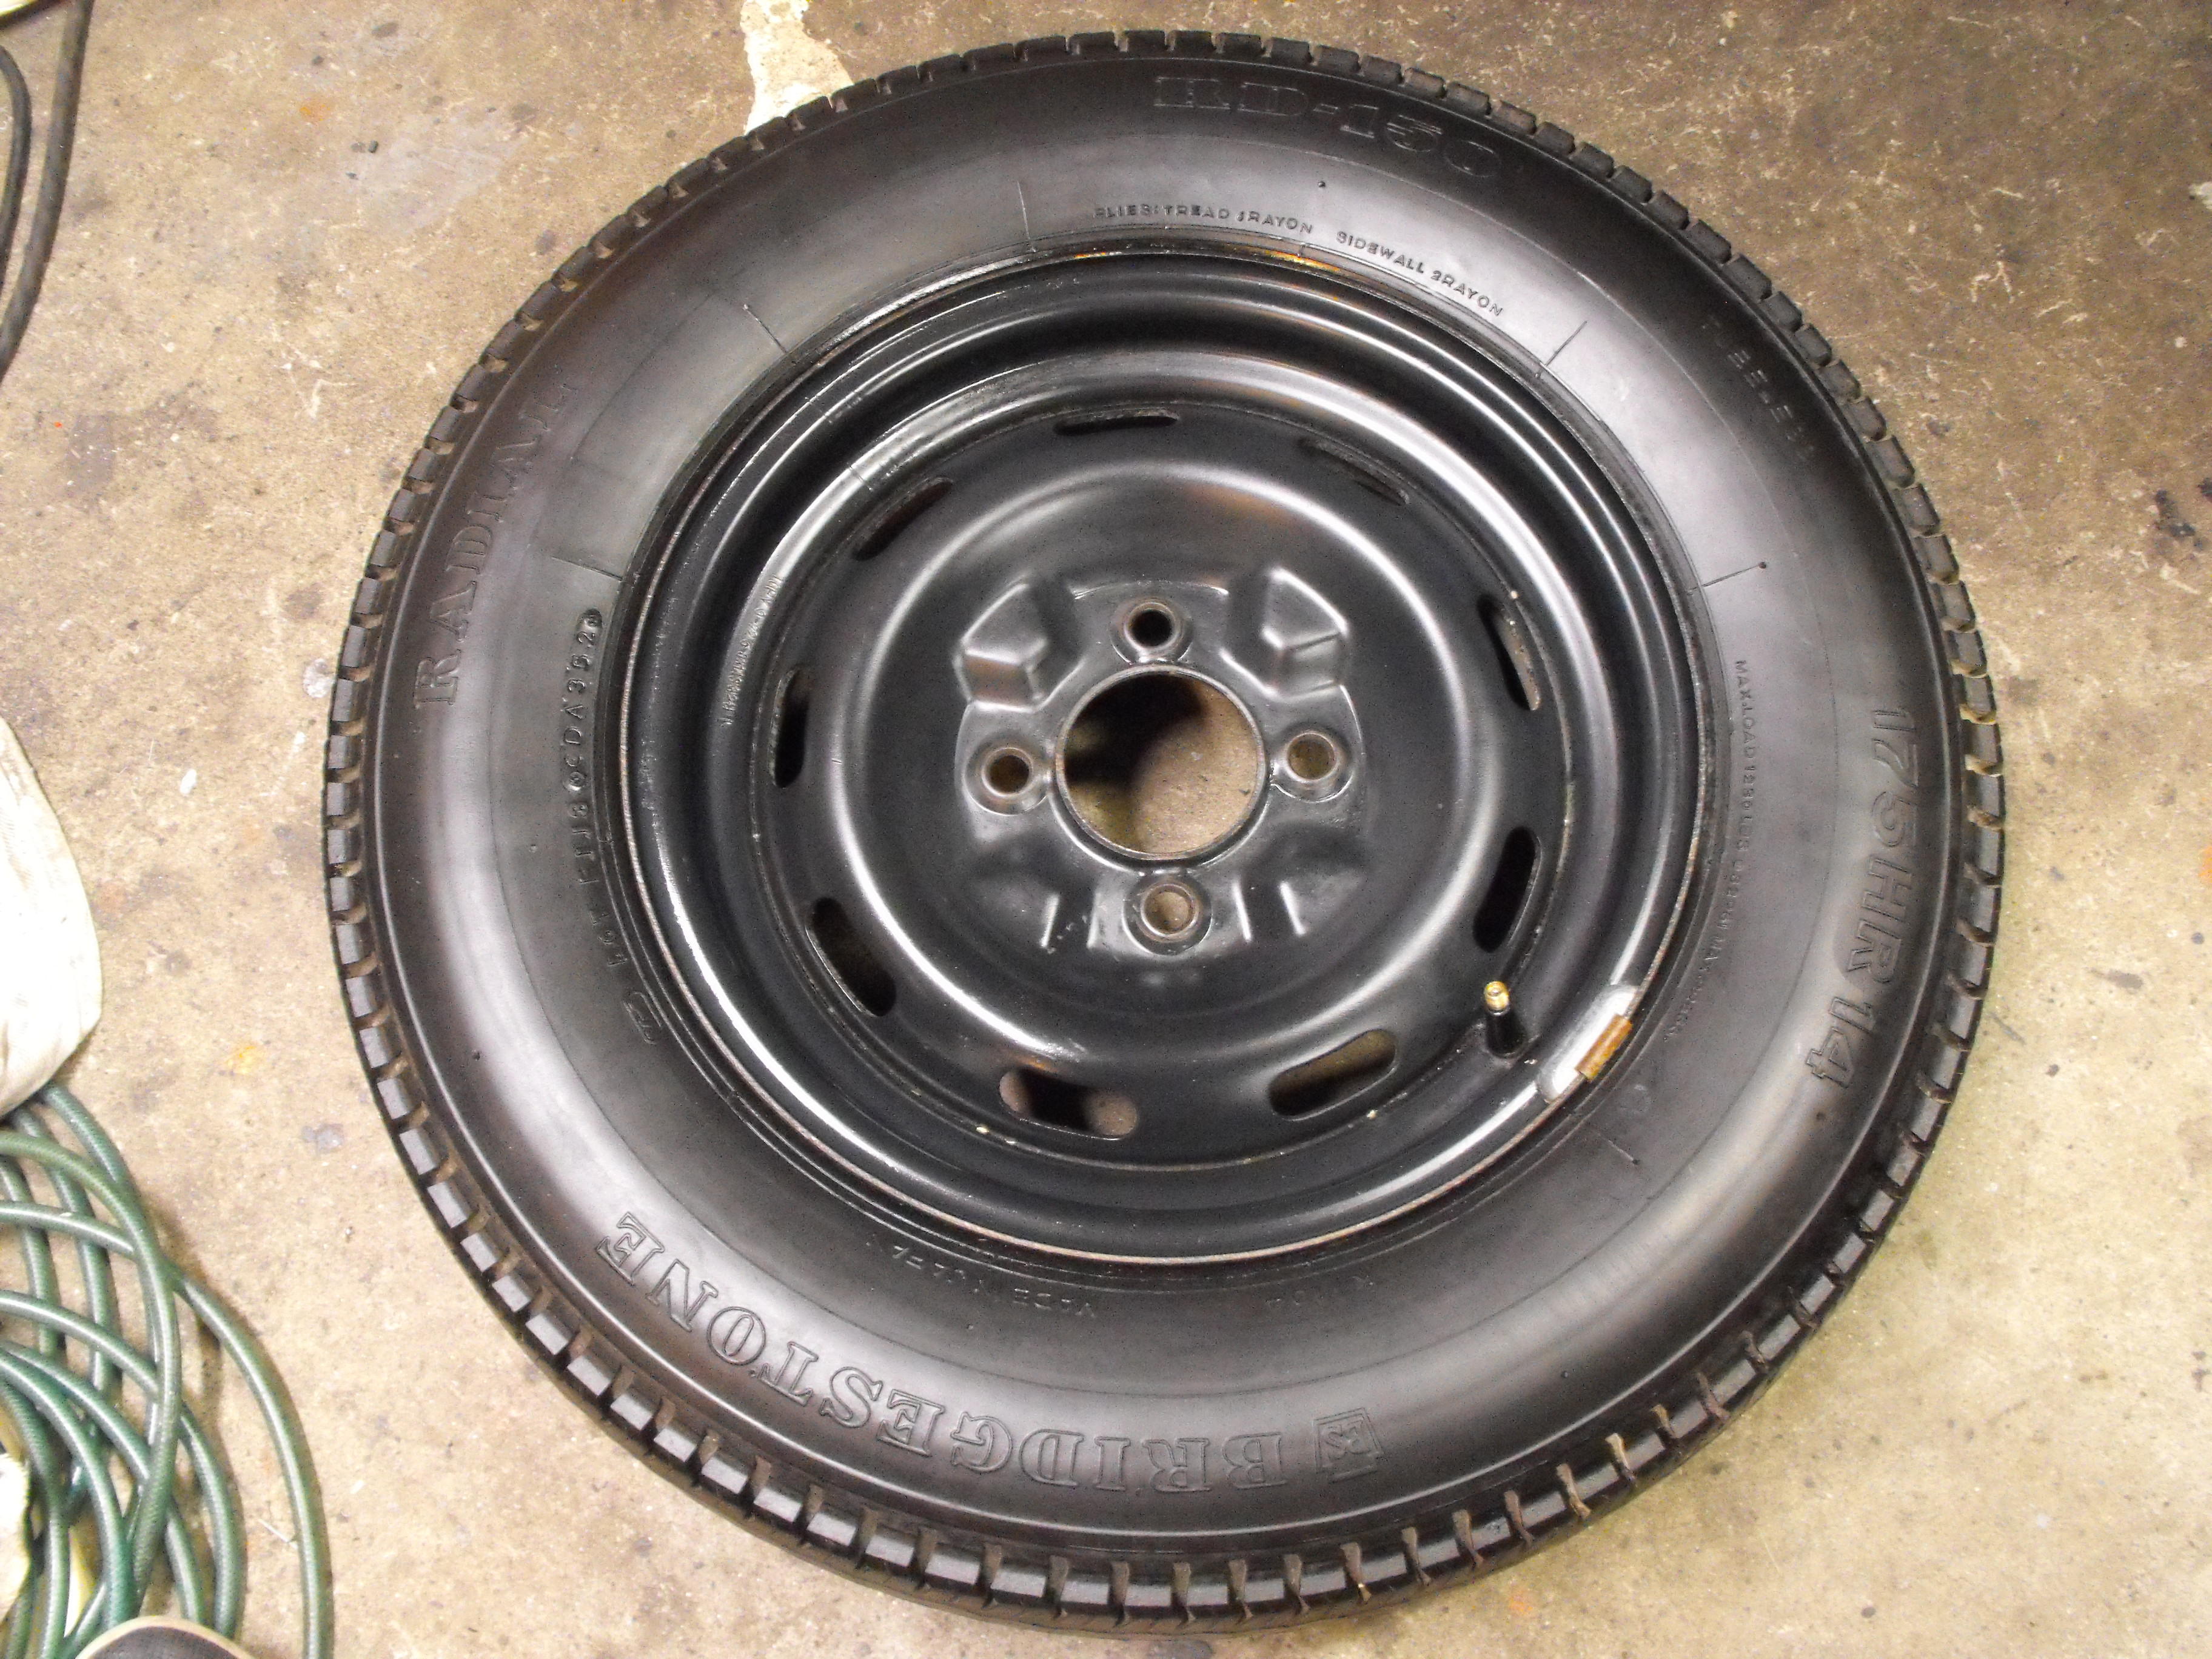
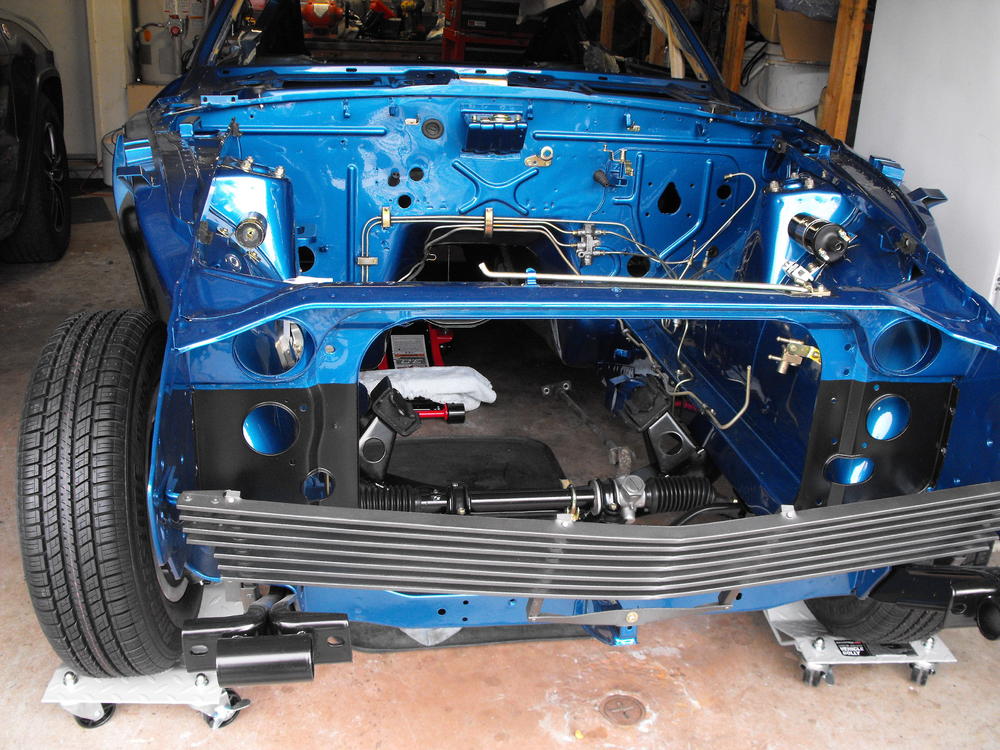
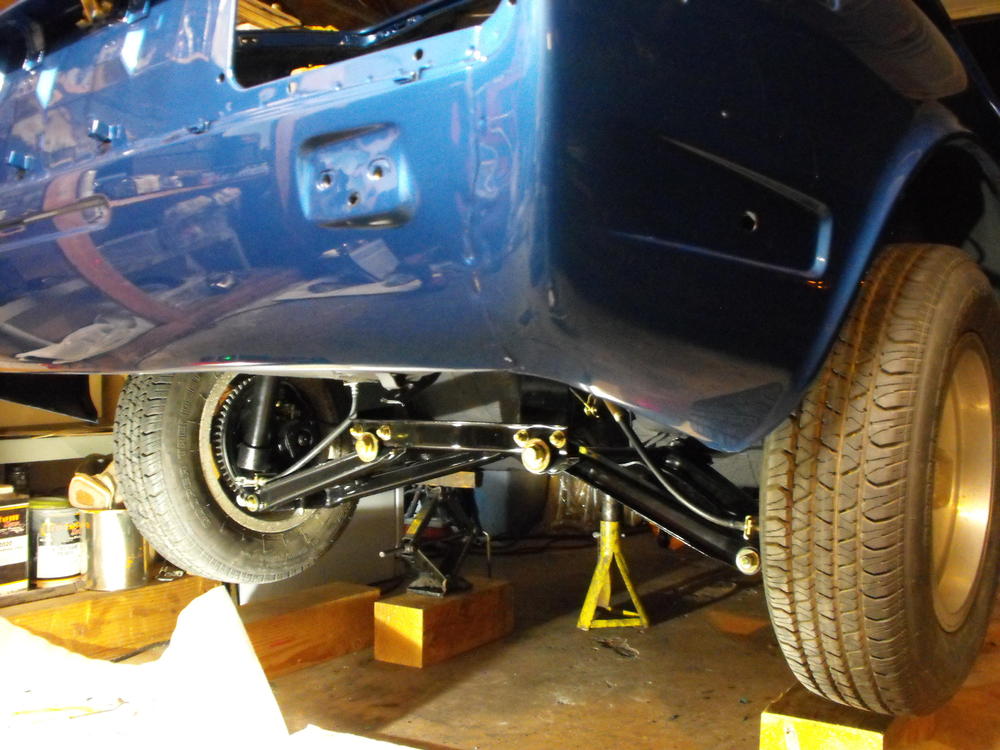
Put the rear suspension in this evening. Borrowed a couple tires for the rear. Two more Bridgestones will be here on Saturday, so this is temporary. Lighting is funny as always. The undercoat looks gray. It is actually flat black.


-
Your right, I should have kept it and left it on the car. Unfortunately, I sold the car late last year and now the beautiful NOS knob is gone. ☹️
-
I agree with you on the shift map. Bought one and was disappointed, so I ended up re-selling it for a bit of a loss. I ended up buying an NOS one for almost 3 times the price, which looked absolutely gorgeous. But then, the problem I had is that it looked so nice that I didn't want to touch it and cause any wear. Had to shift by just using the stick. ? Oh well
-
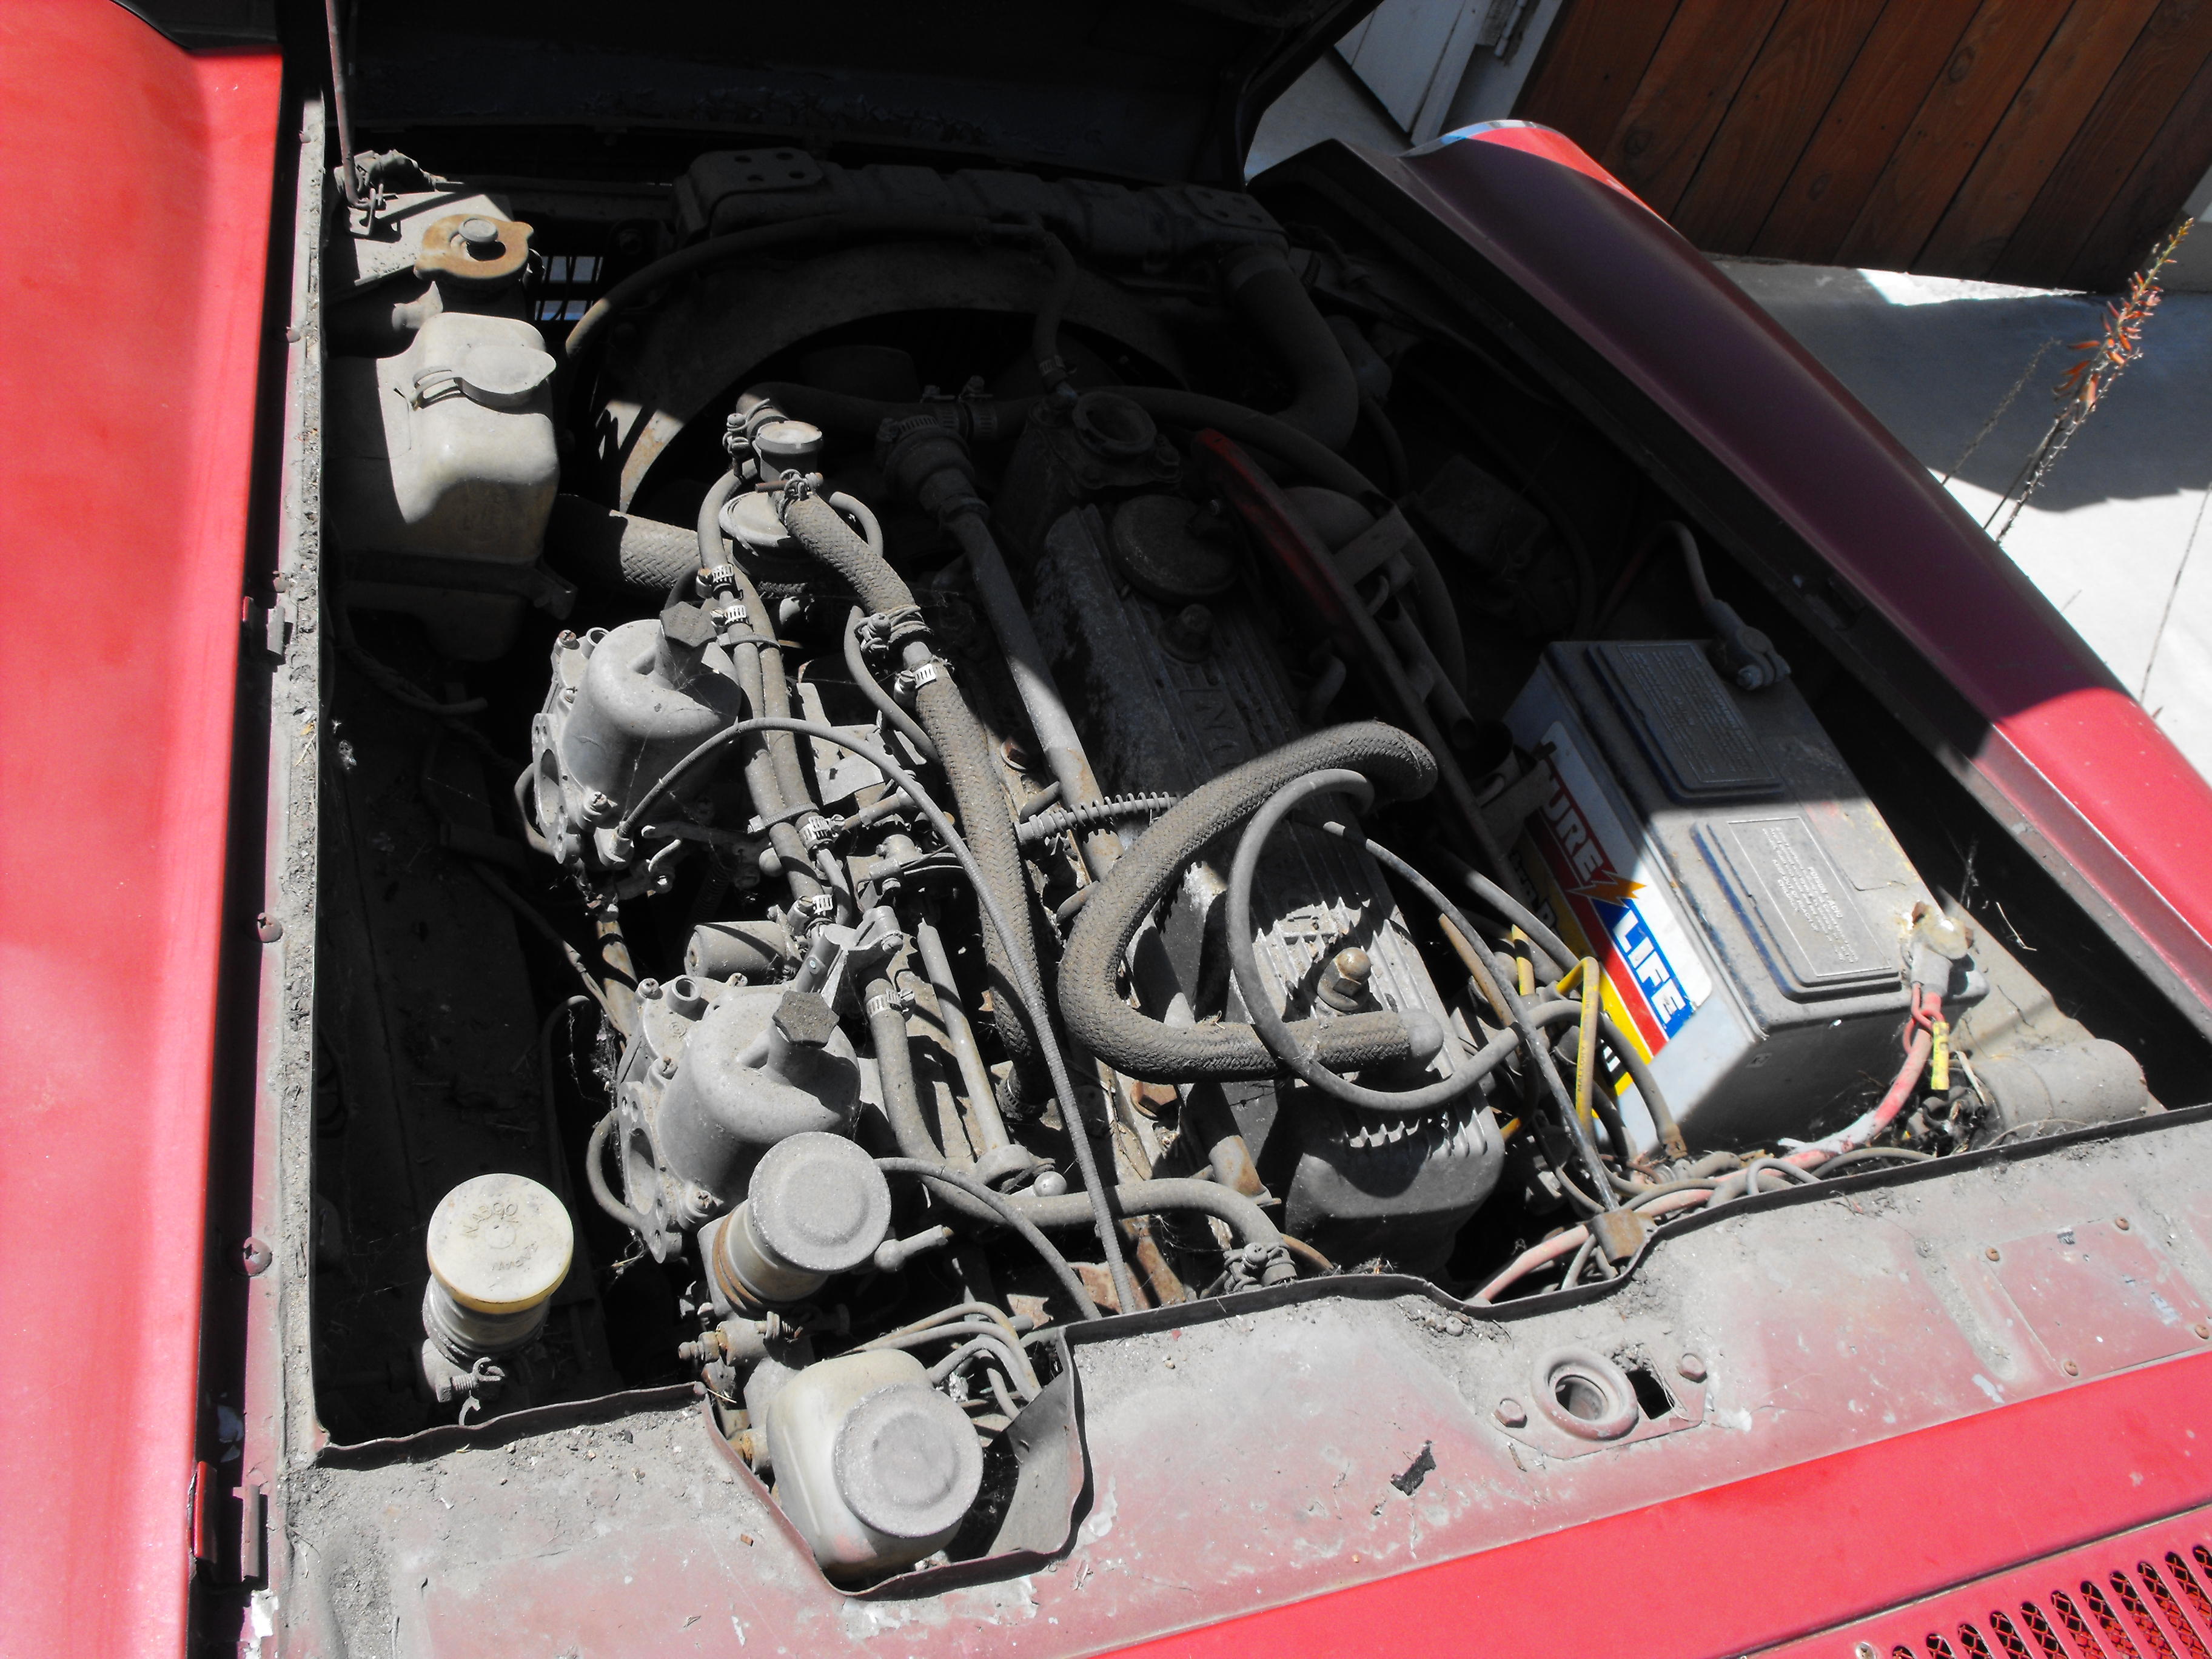
I am running an electrical and a Nikki mechanical fuel pump on my Yellow 1971 Z. I have the electrical on a switch and typically just use it for when I start the car, otherwise I run it on just the mechanical. I use the electrical because I park my Z on a hill and don't drive it very often. Takes forever for the mechanical to get the gas into the carbs when the car sits for so long. With the electrical, I flip the switch, wait a couple seconds, then start the car. Works like a charm.
-
I'm looking forward to following your progress on this. Will help out with info when I can...Enjoy!!
-
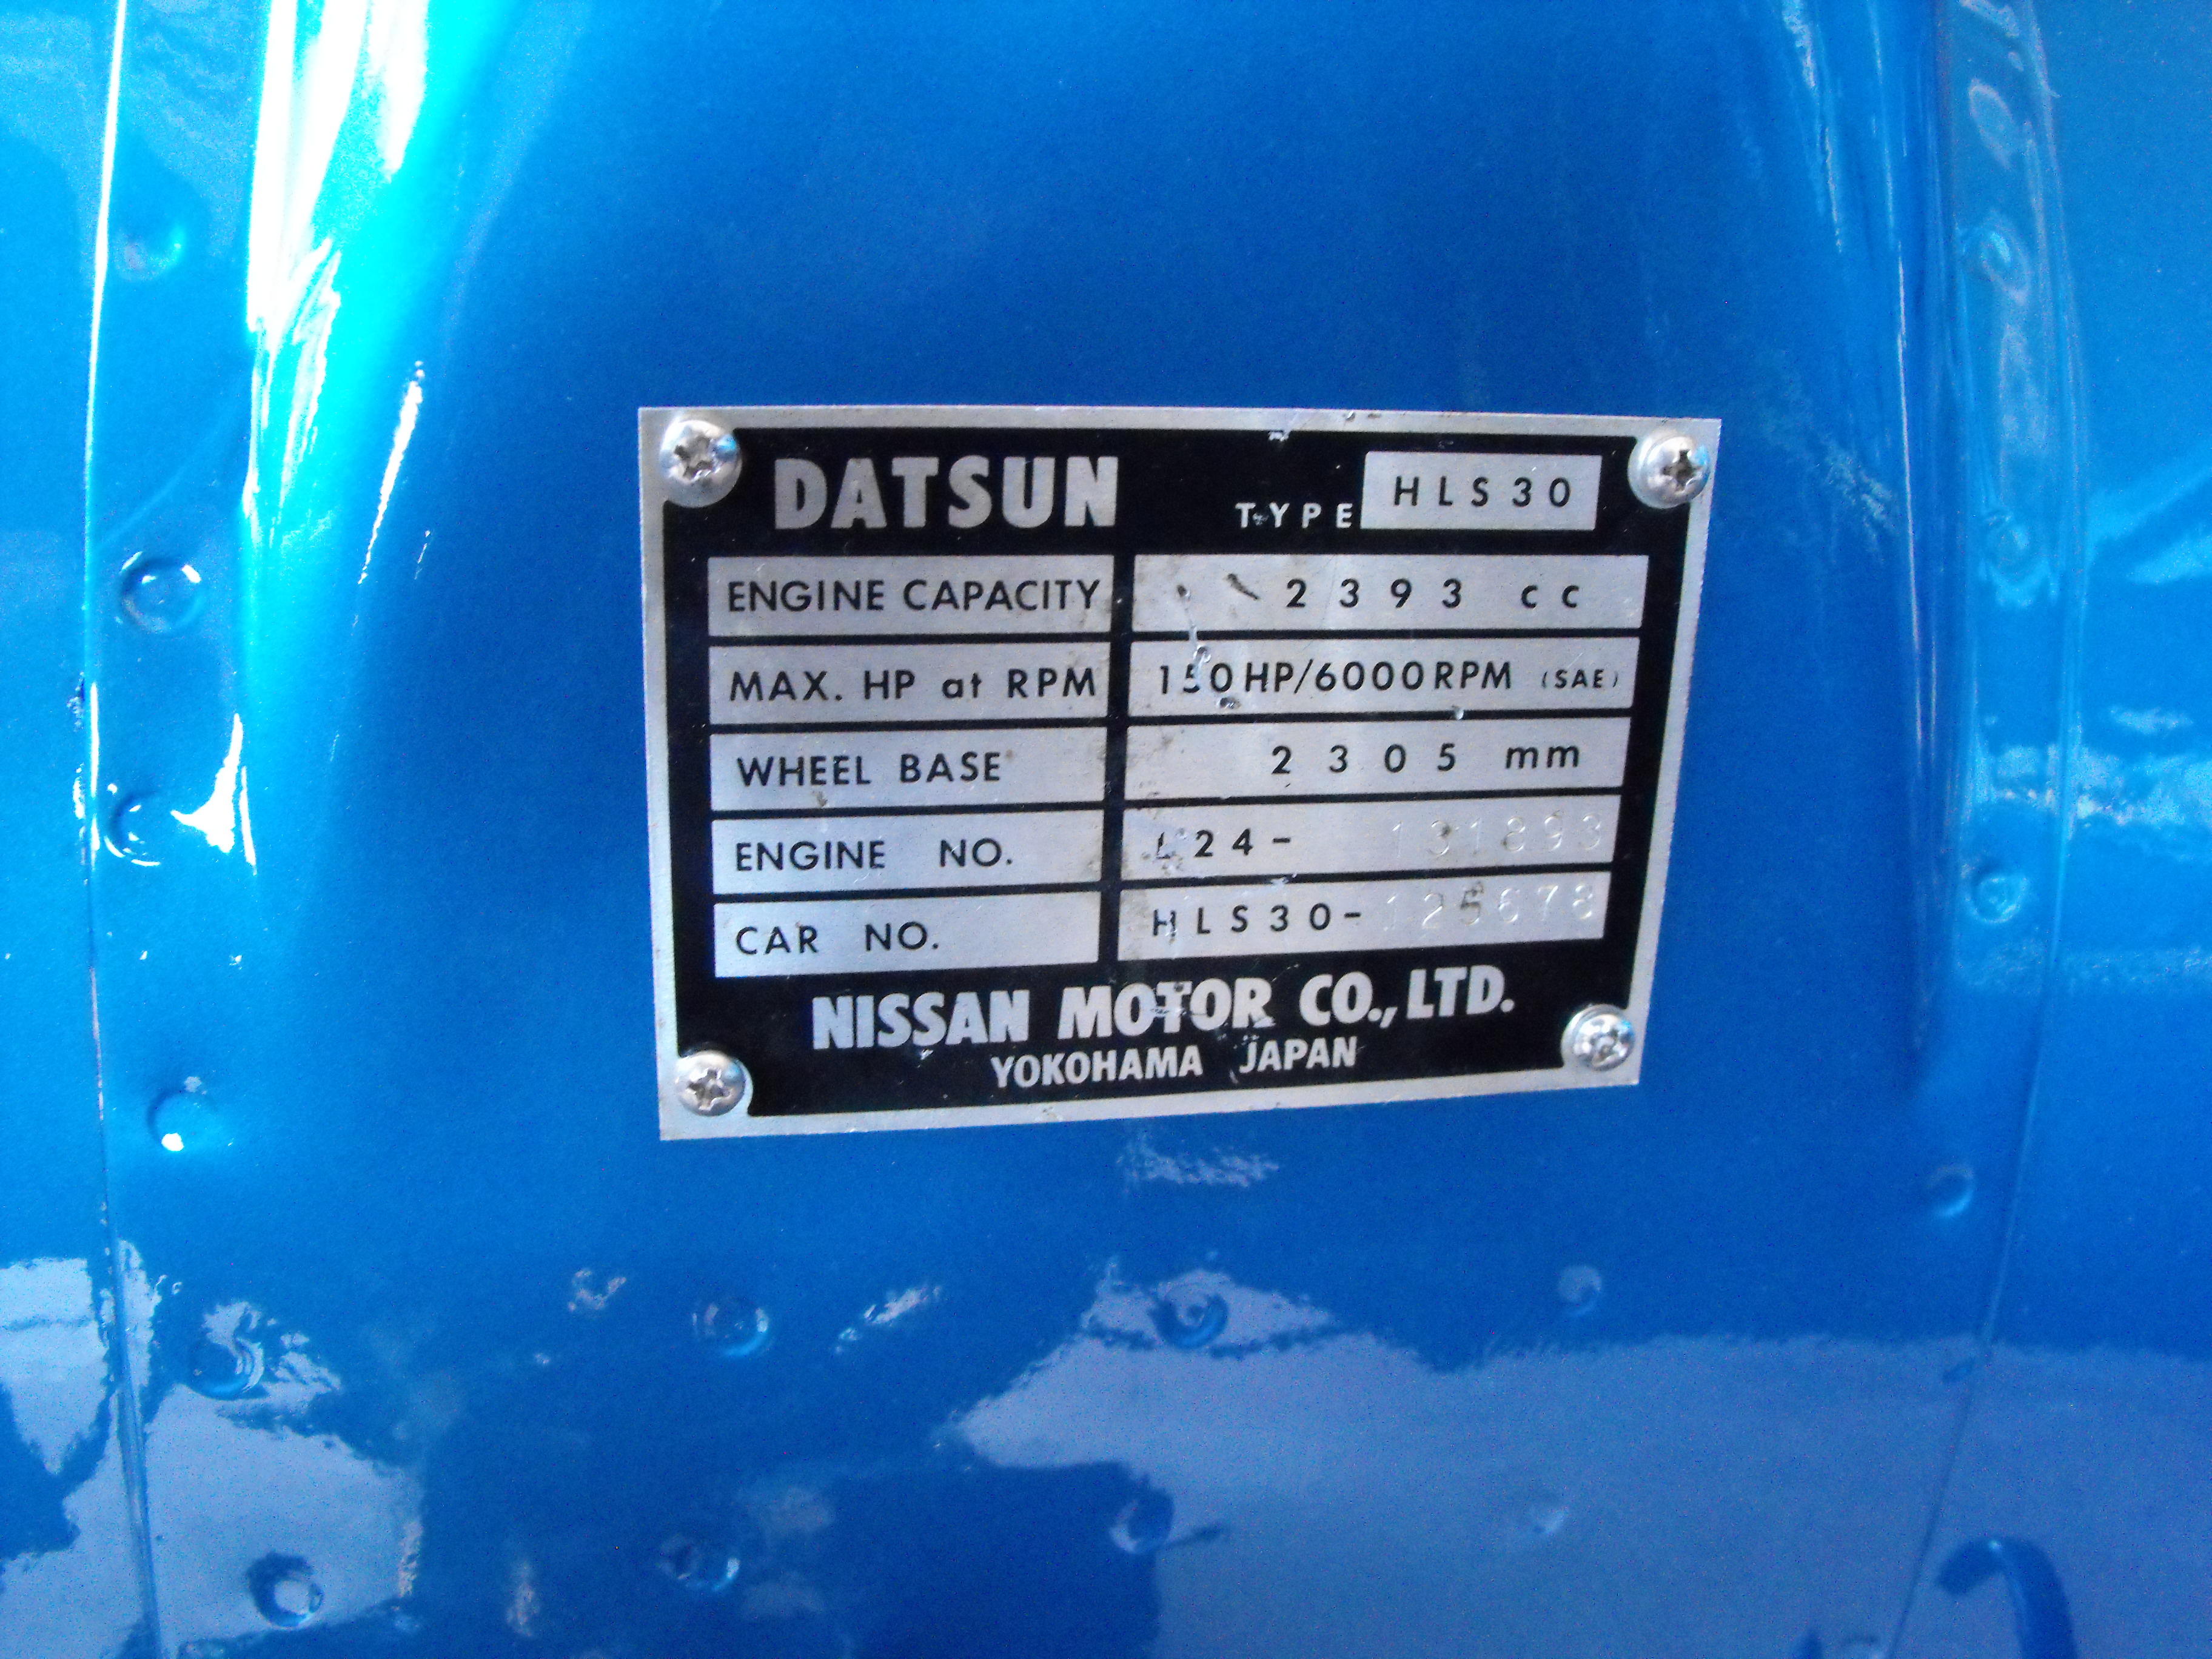
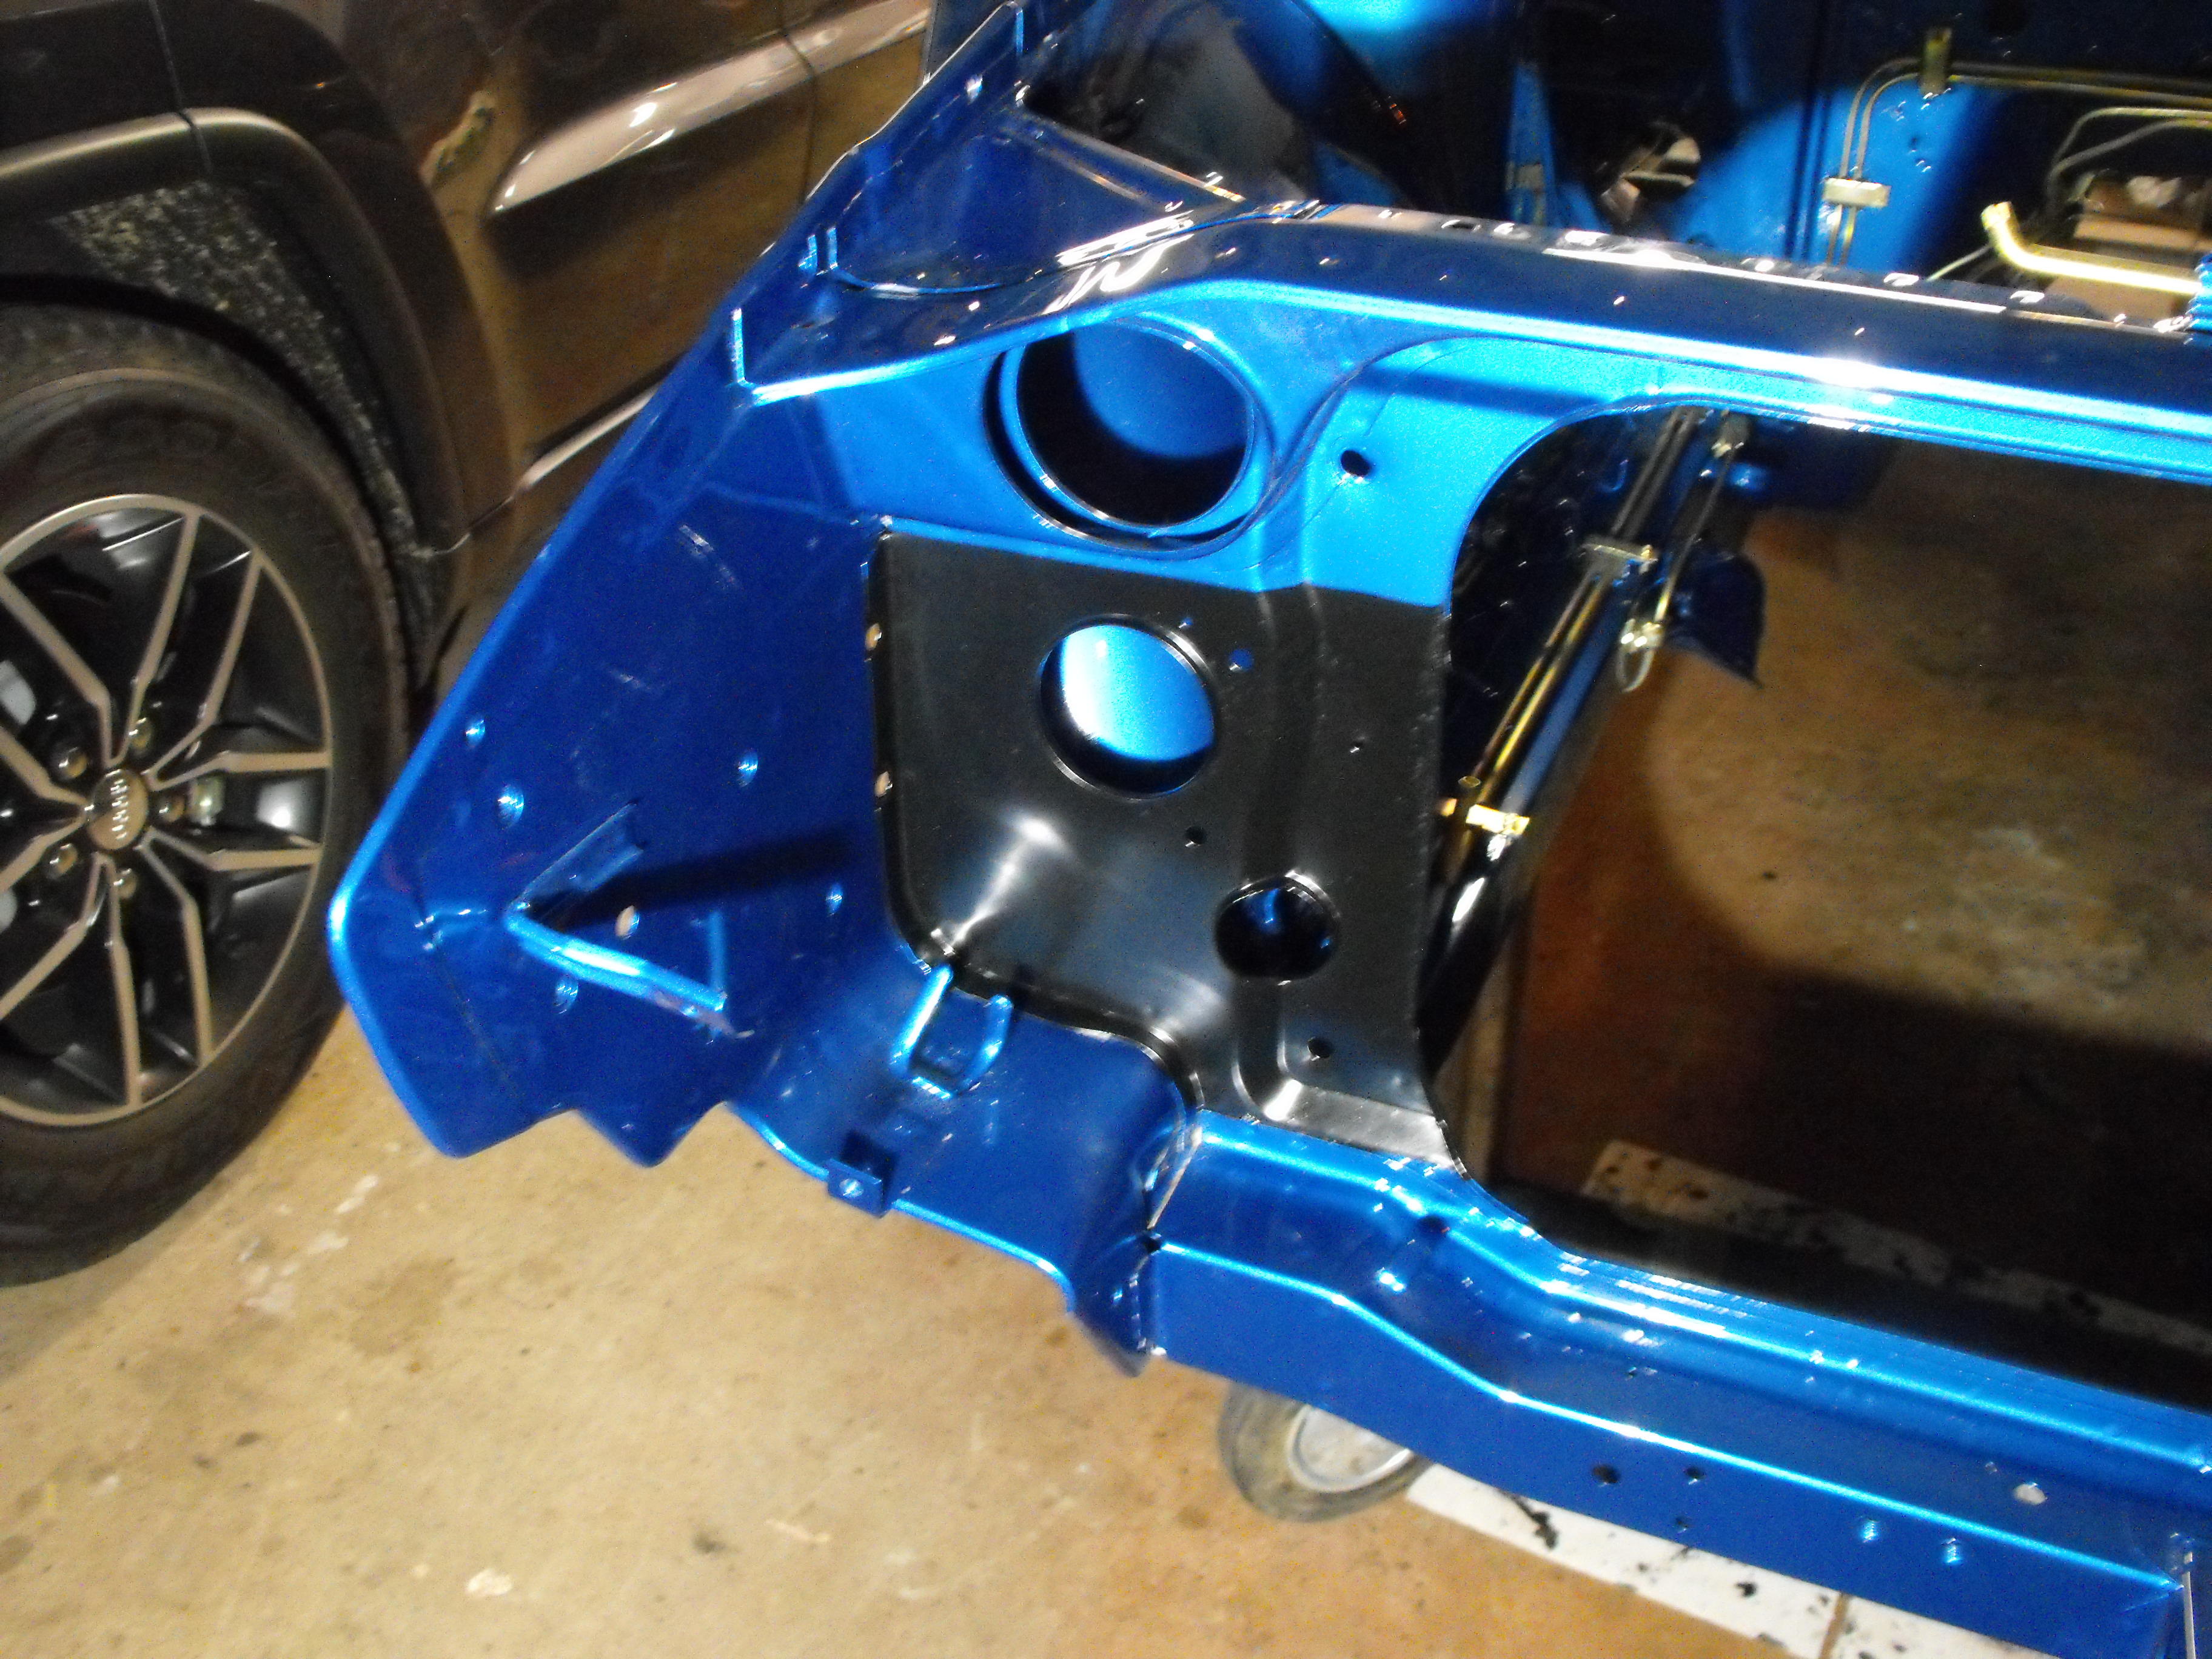
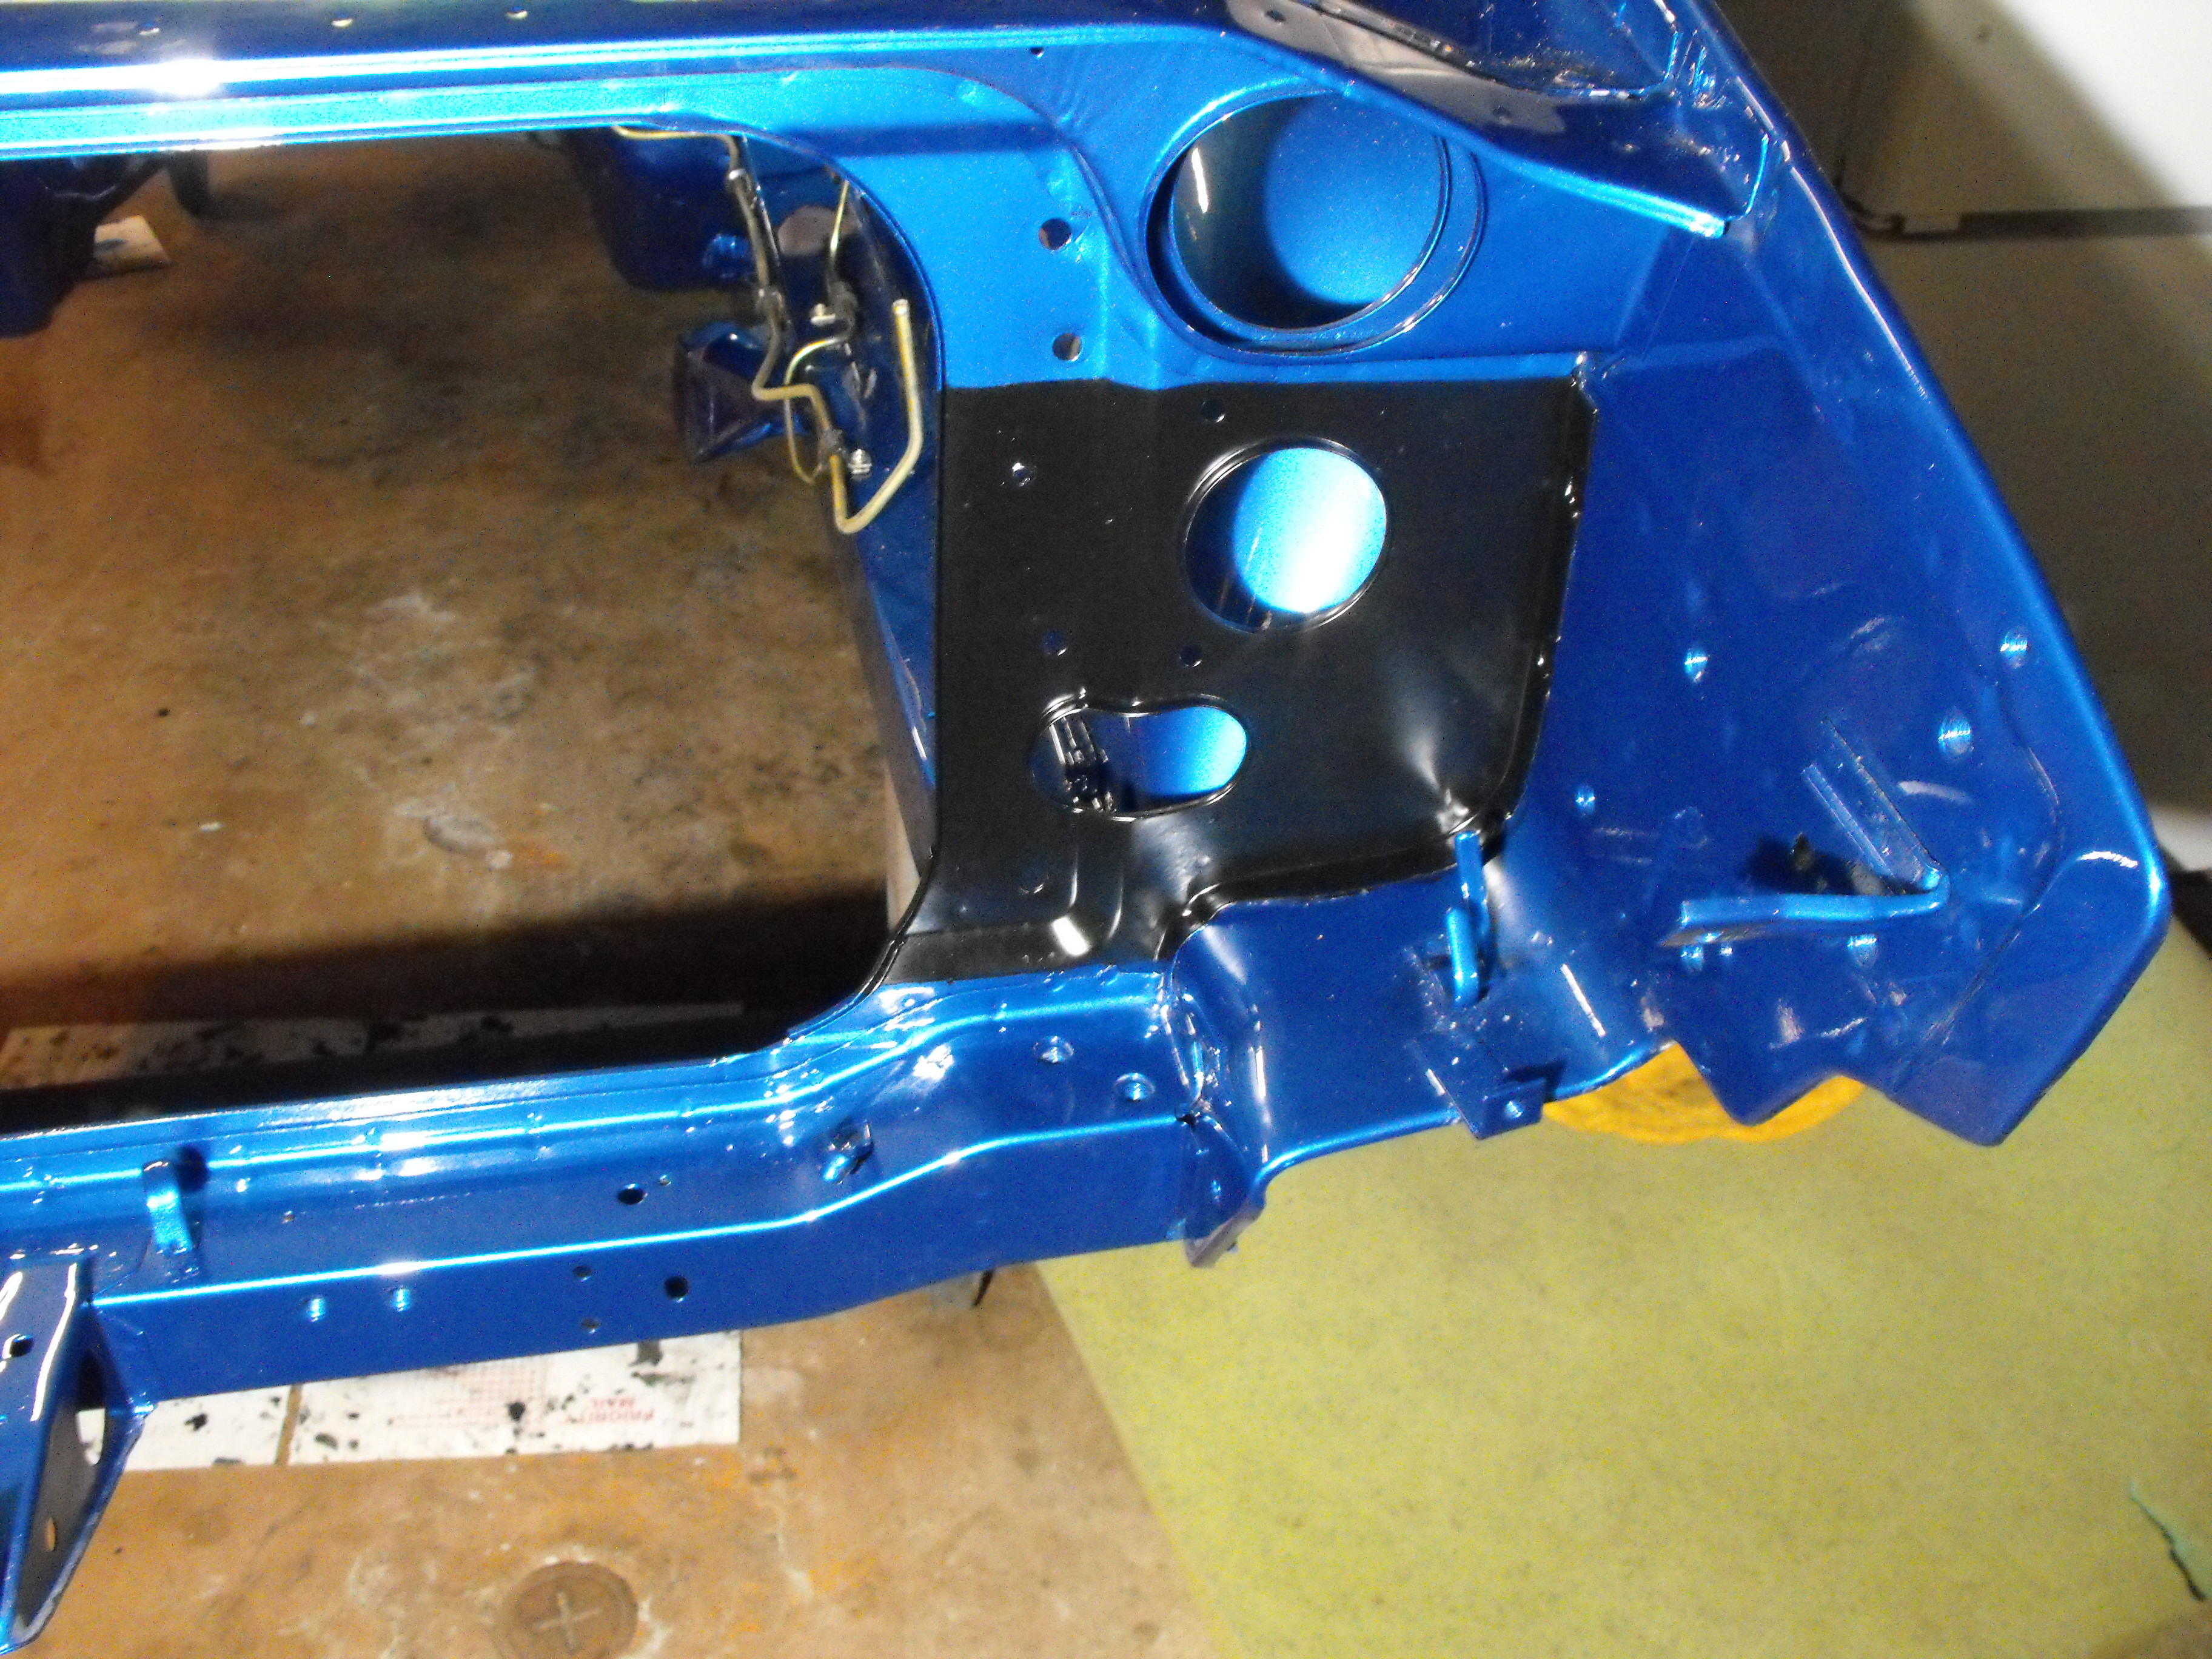
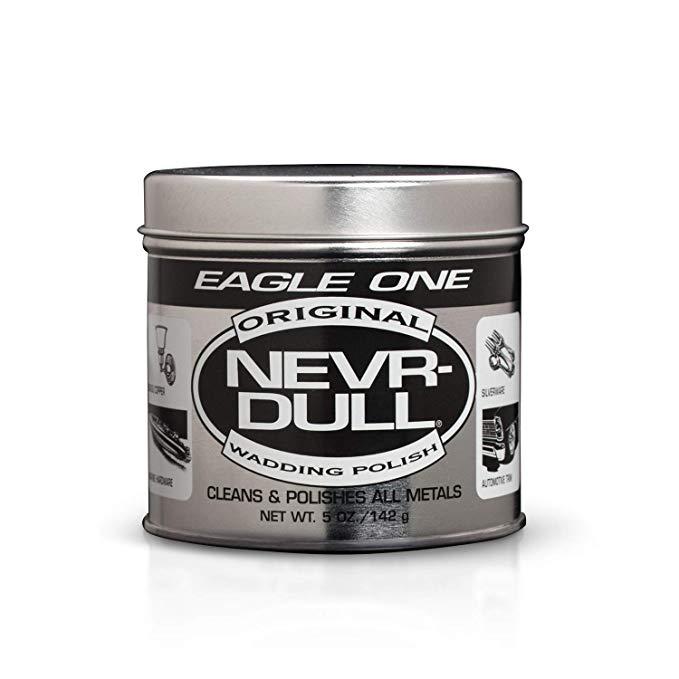
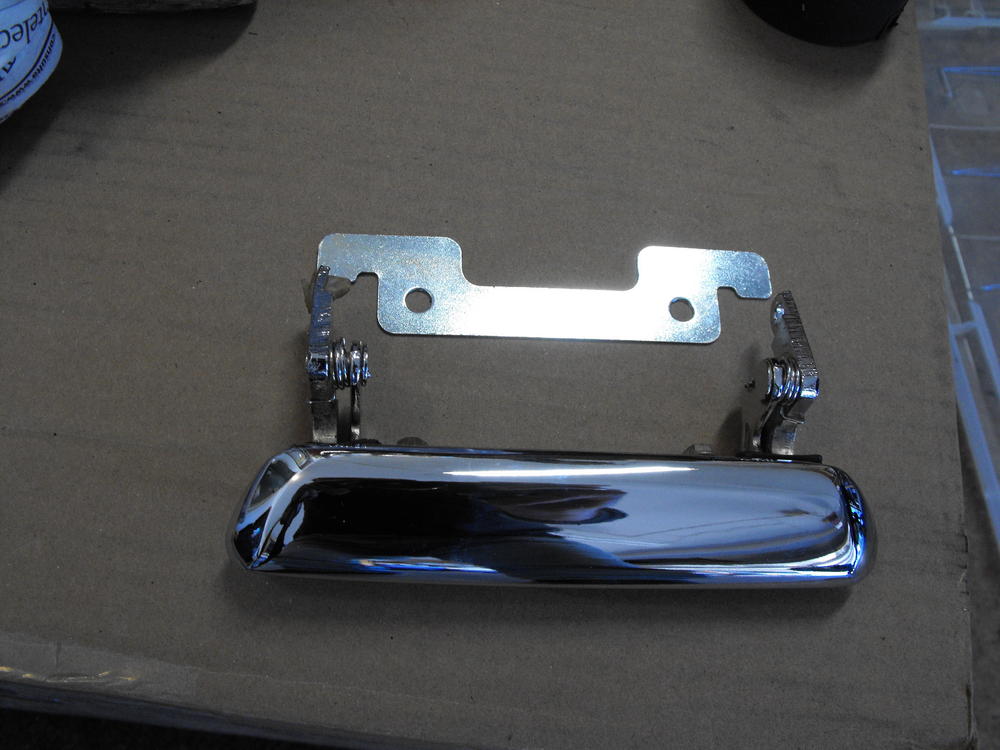
I used this stuff one the engine bay plate. I like this stuff a lot and use it on the rain gutter trim and similar items.
-
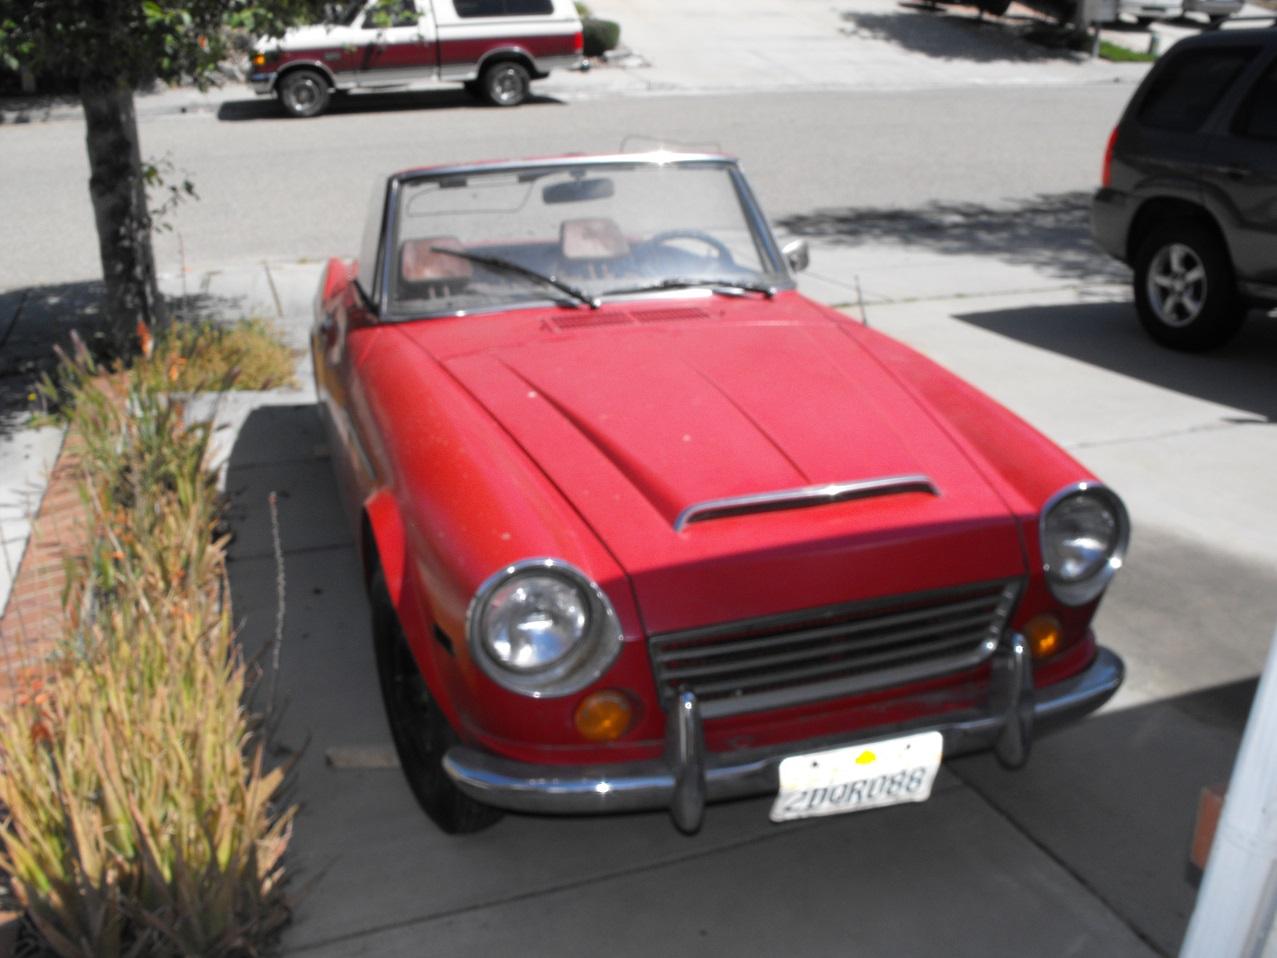
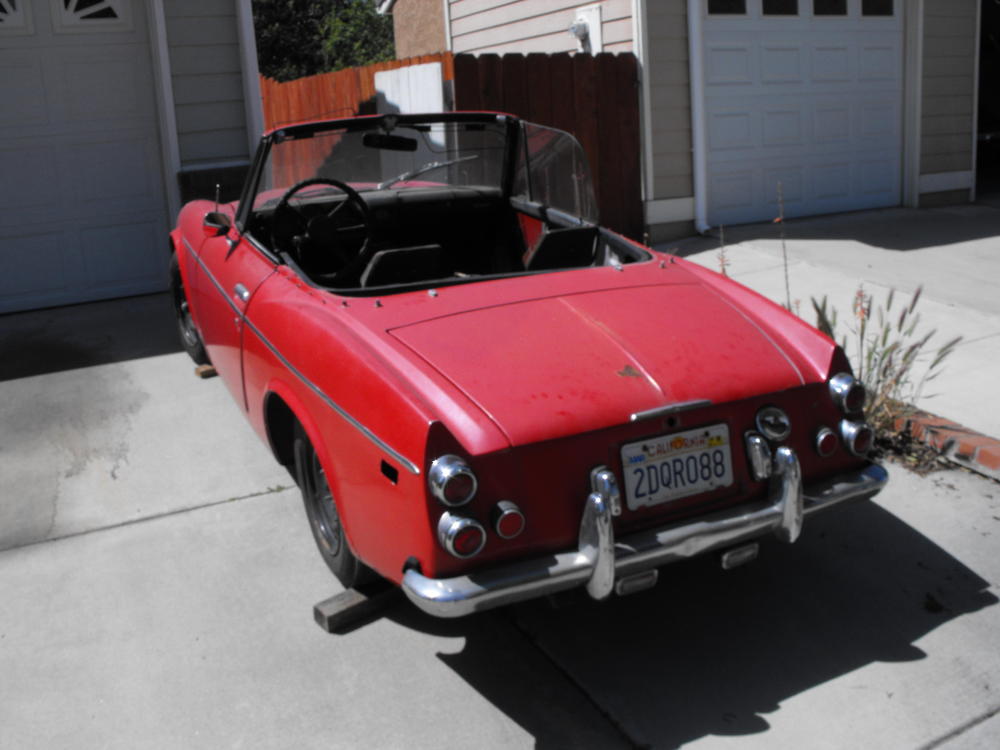
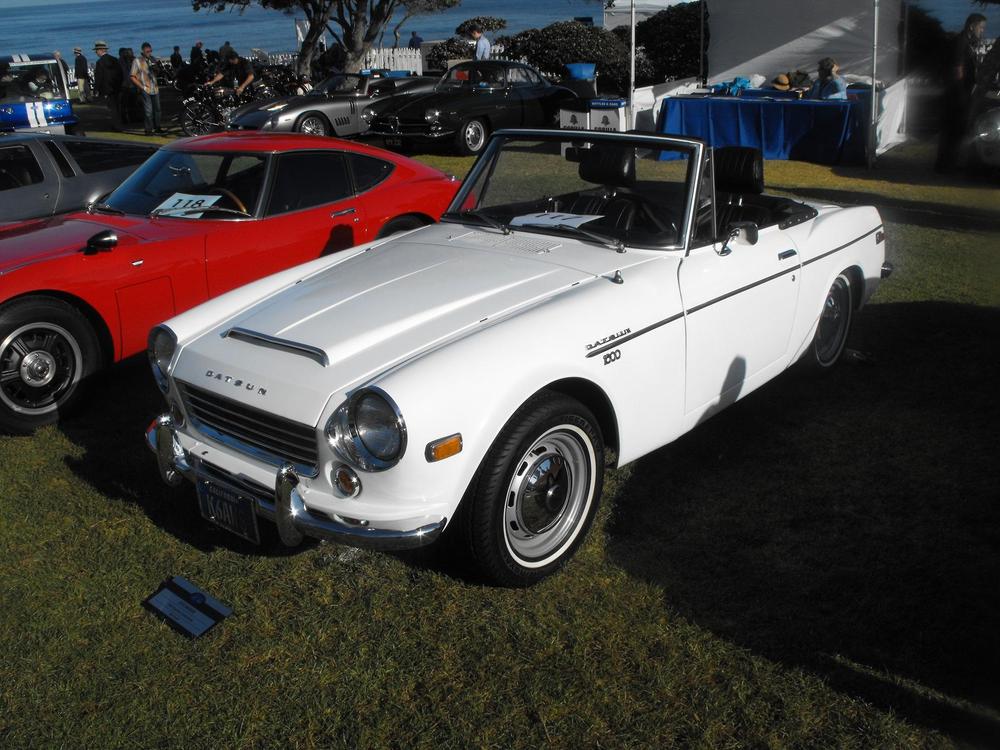
Sorry, just one more post. Here are my roadster before and after pics.


-
Actually it was the 2000 that had the timing chain problem. The 1600 motor is overhead valve and if I am not mistaken, the crank is geared to the cam 2:1. 5 speeds came on the 1967.5 and on 2000, never with the 1600. Also the 1967.5 2000 roadster is the Holy Grail of roadsters, very pricey.
-
Congrats! That is totally awesome. I have to be honest here, I actually like driving my 1600 Roadster more than any of my Z's. I think mostly because it is a convertible. The roadster are also pretty peppy and quite nimble, great cars. And, the women love them! Whenever I bring my roadster to a car show, the ladies are always checking out the roadster. Who cares about that original low serial number Z when that cute little roadster is right there. Oh, and that original gas cap is pretty pricey....keep and eye on that thing.
-
Got those from Harbor Freight for $48 after the 20% discount with coupon ?. They had cheaper ones, but these ones had the wheel locks which I preferred.
-
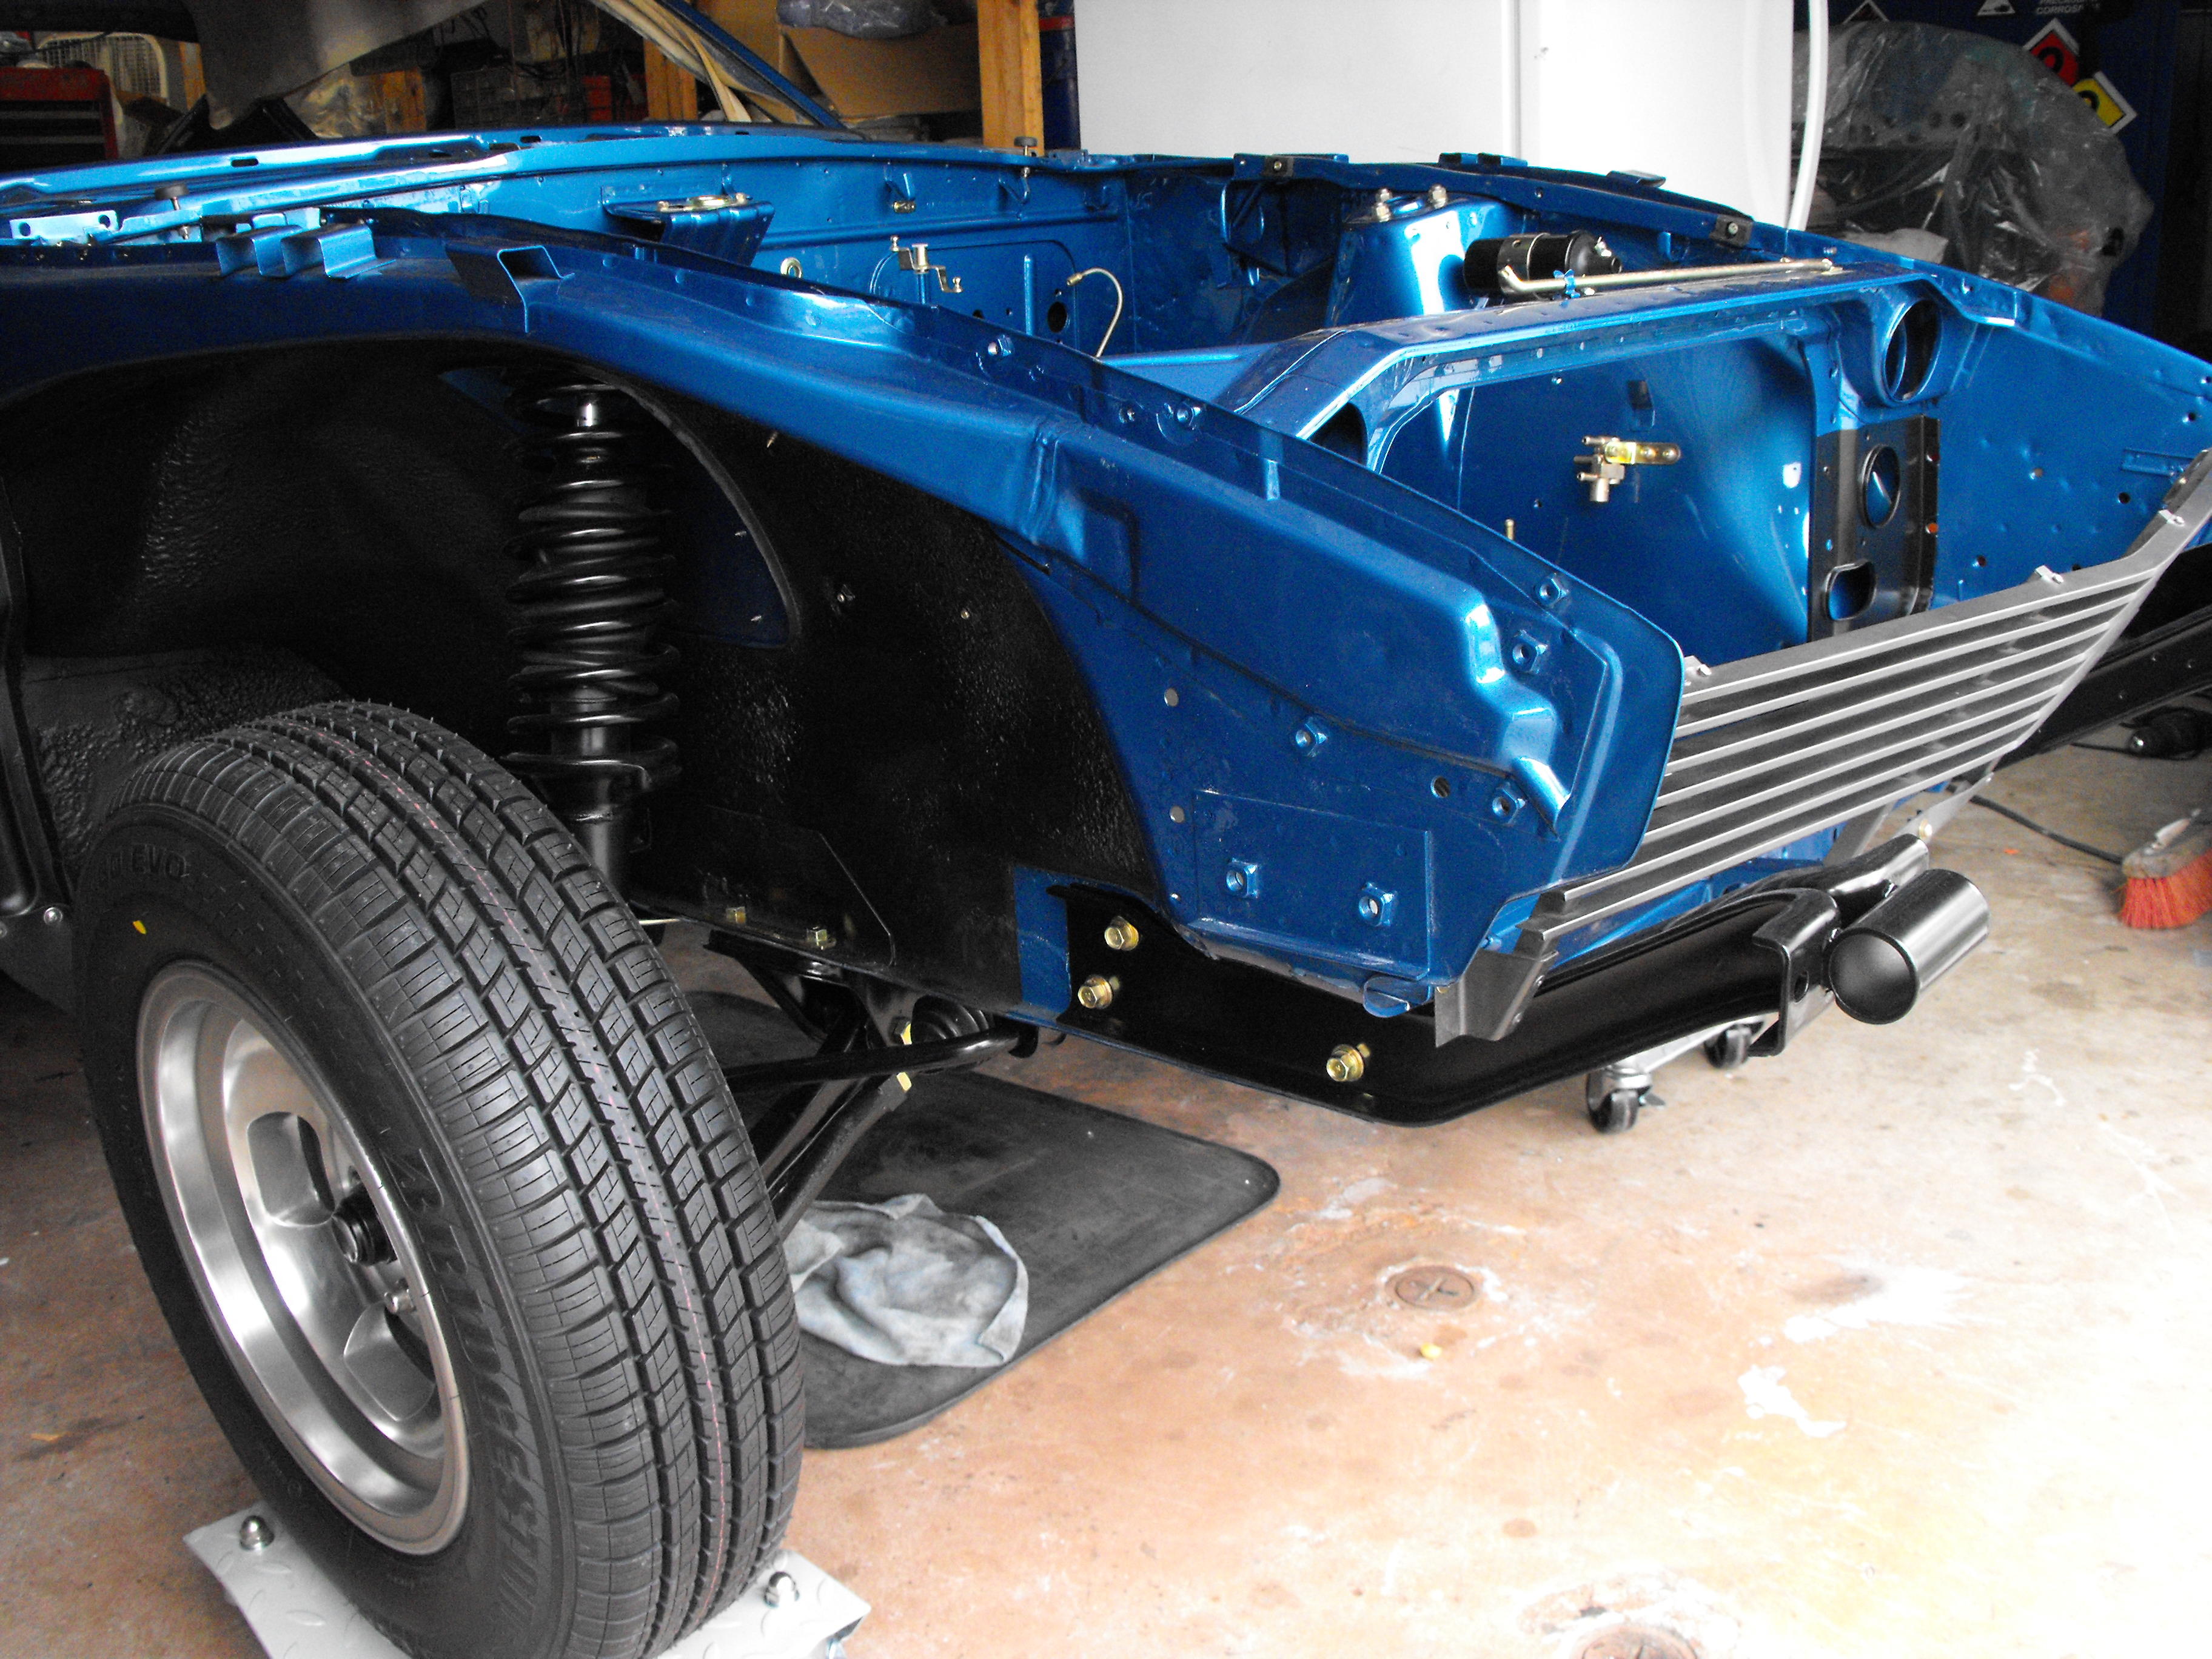
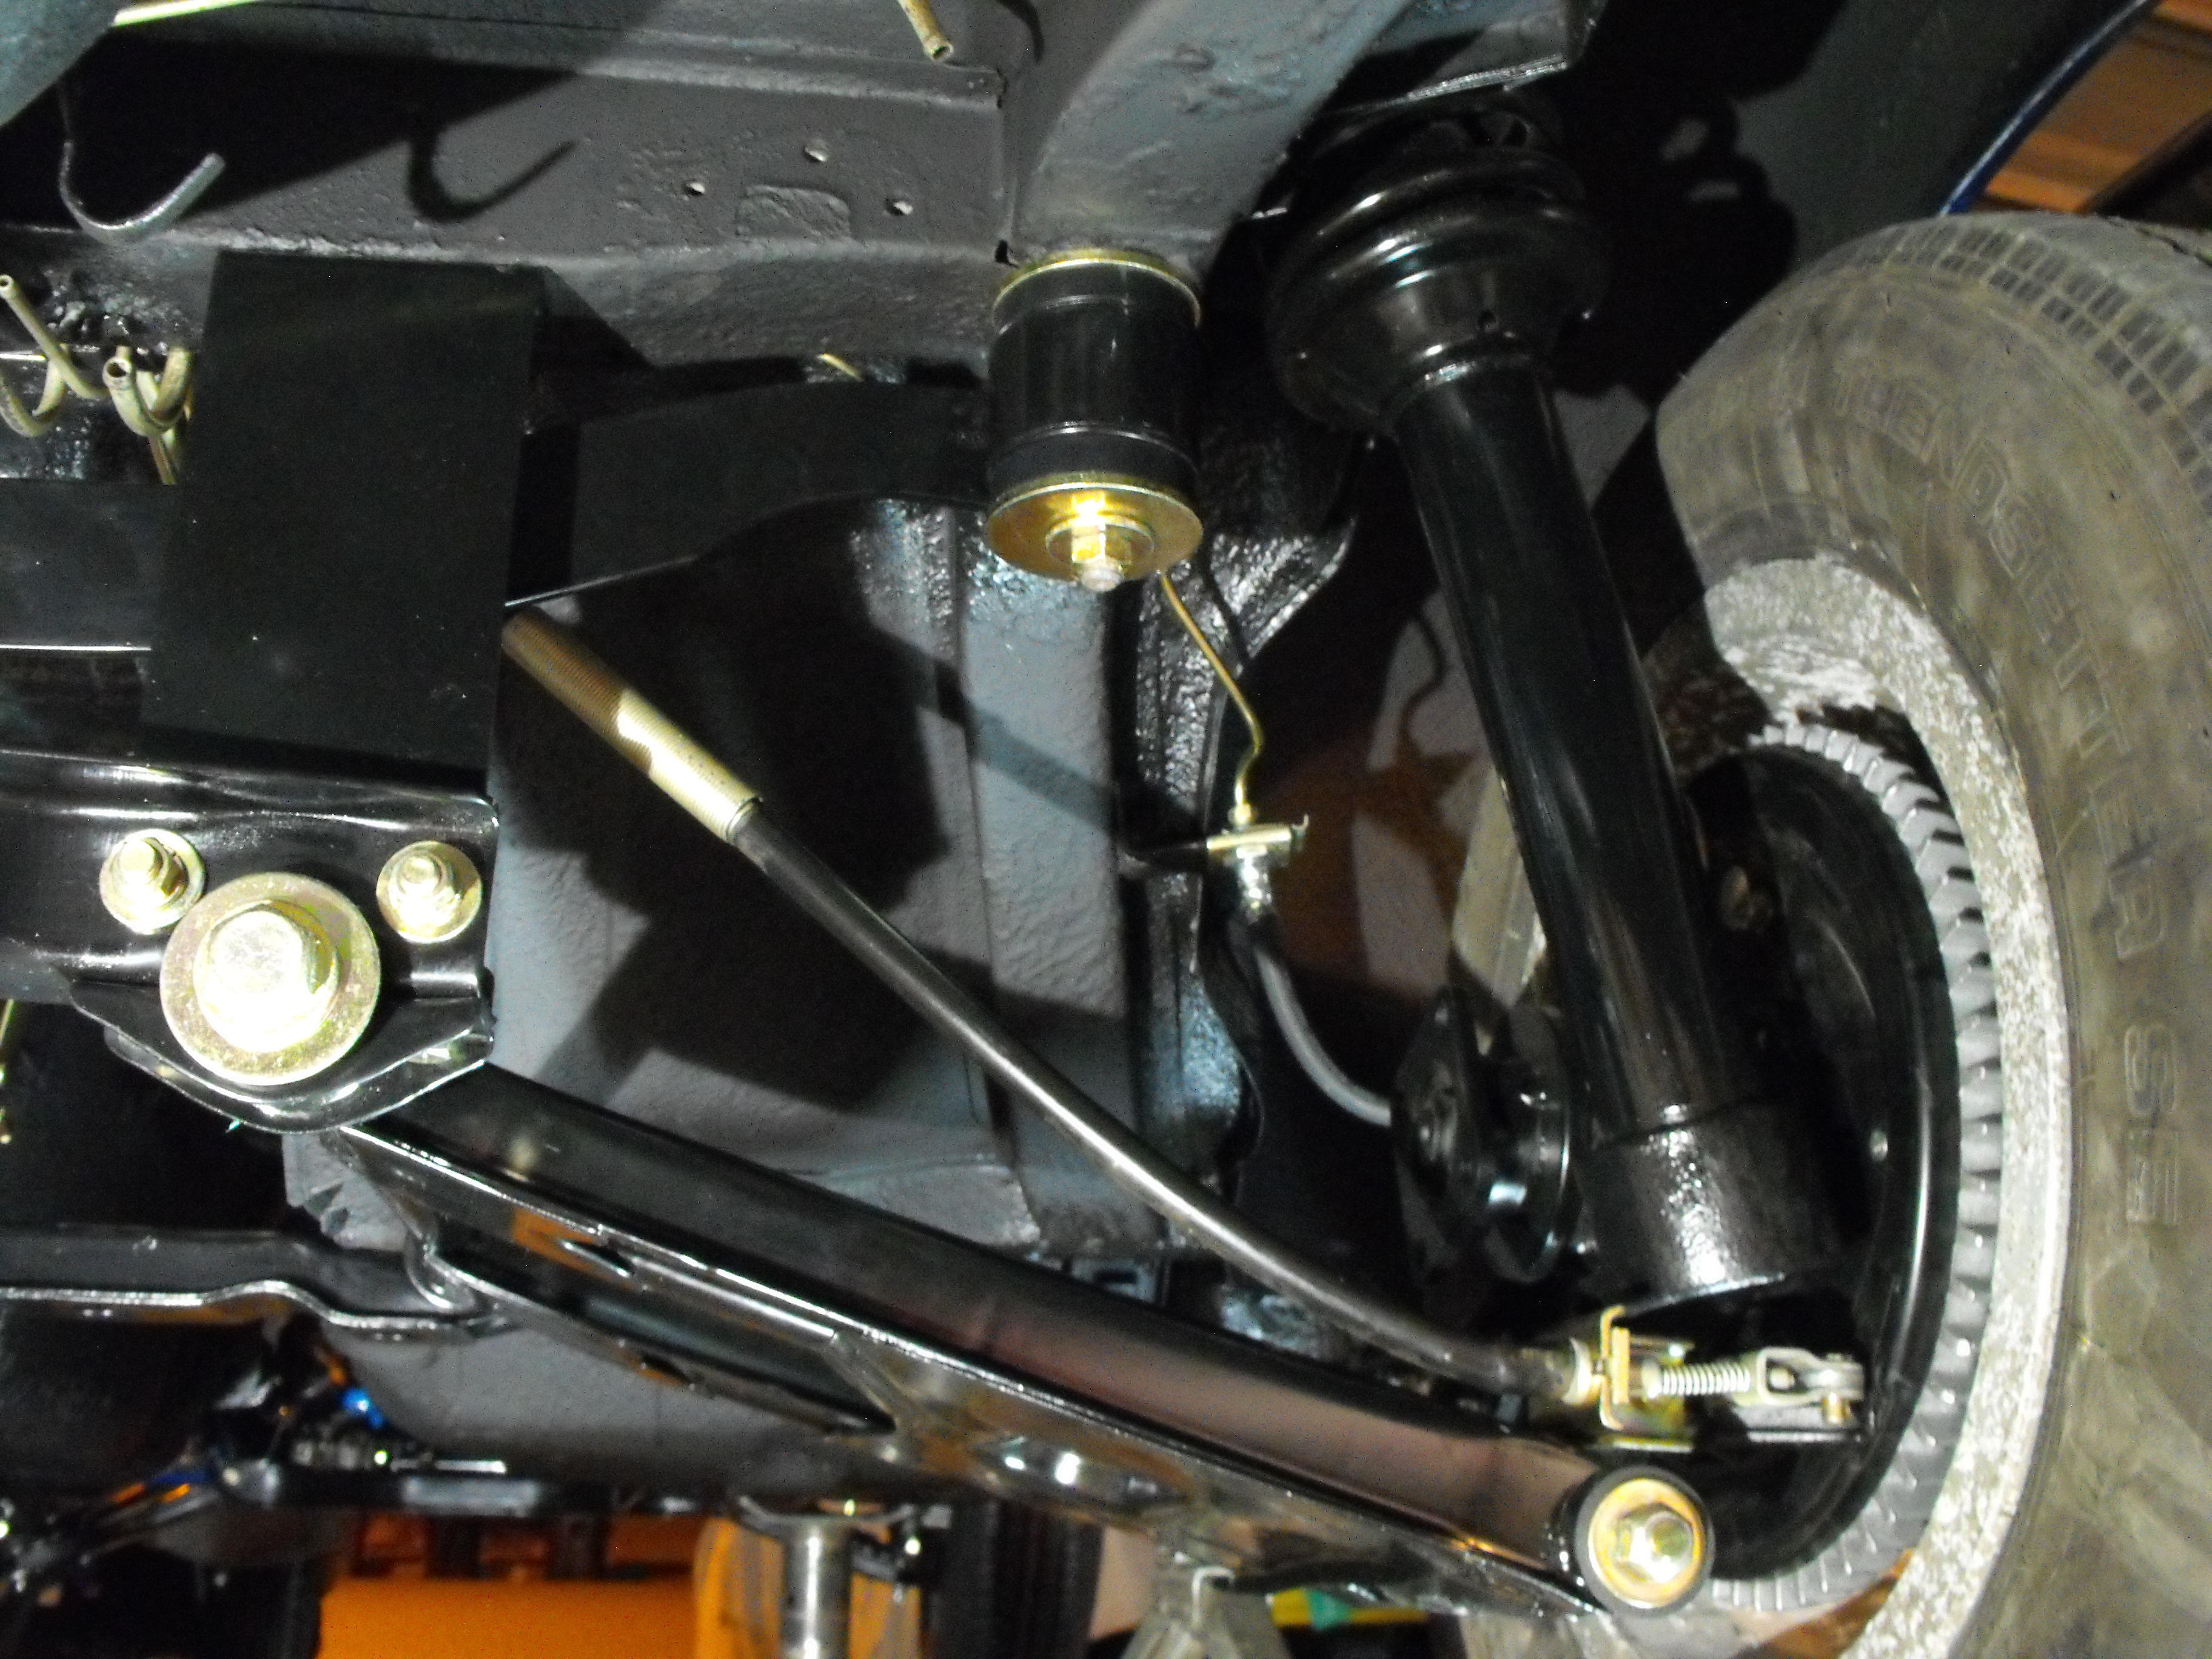
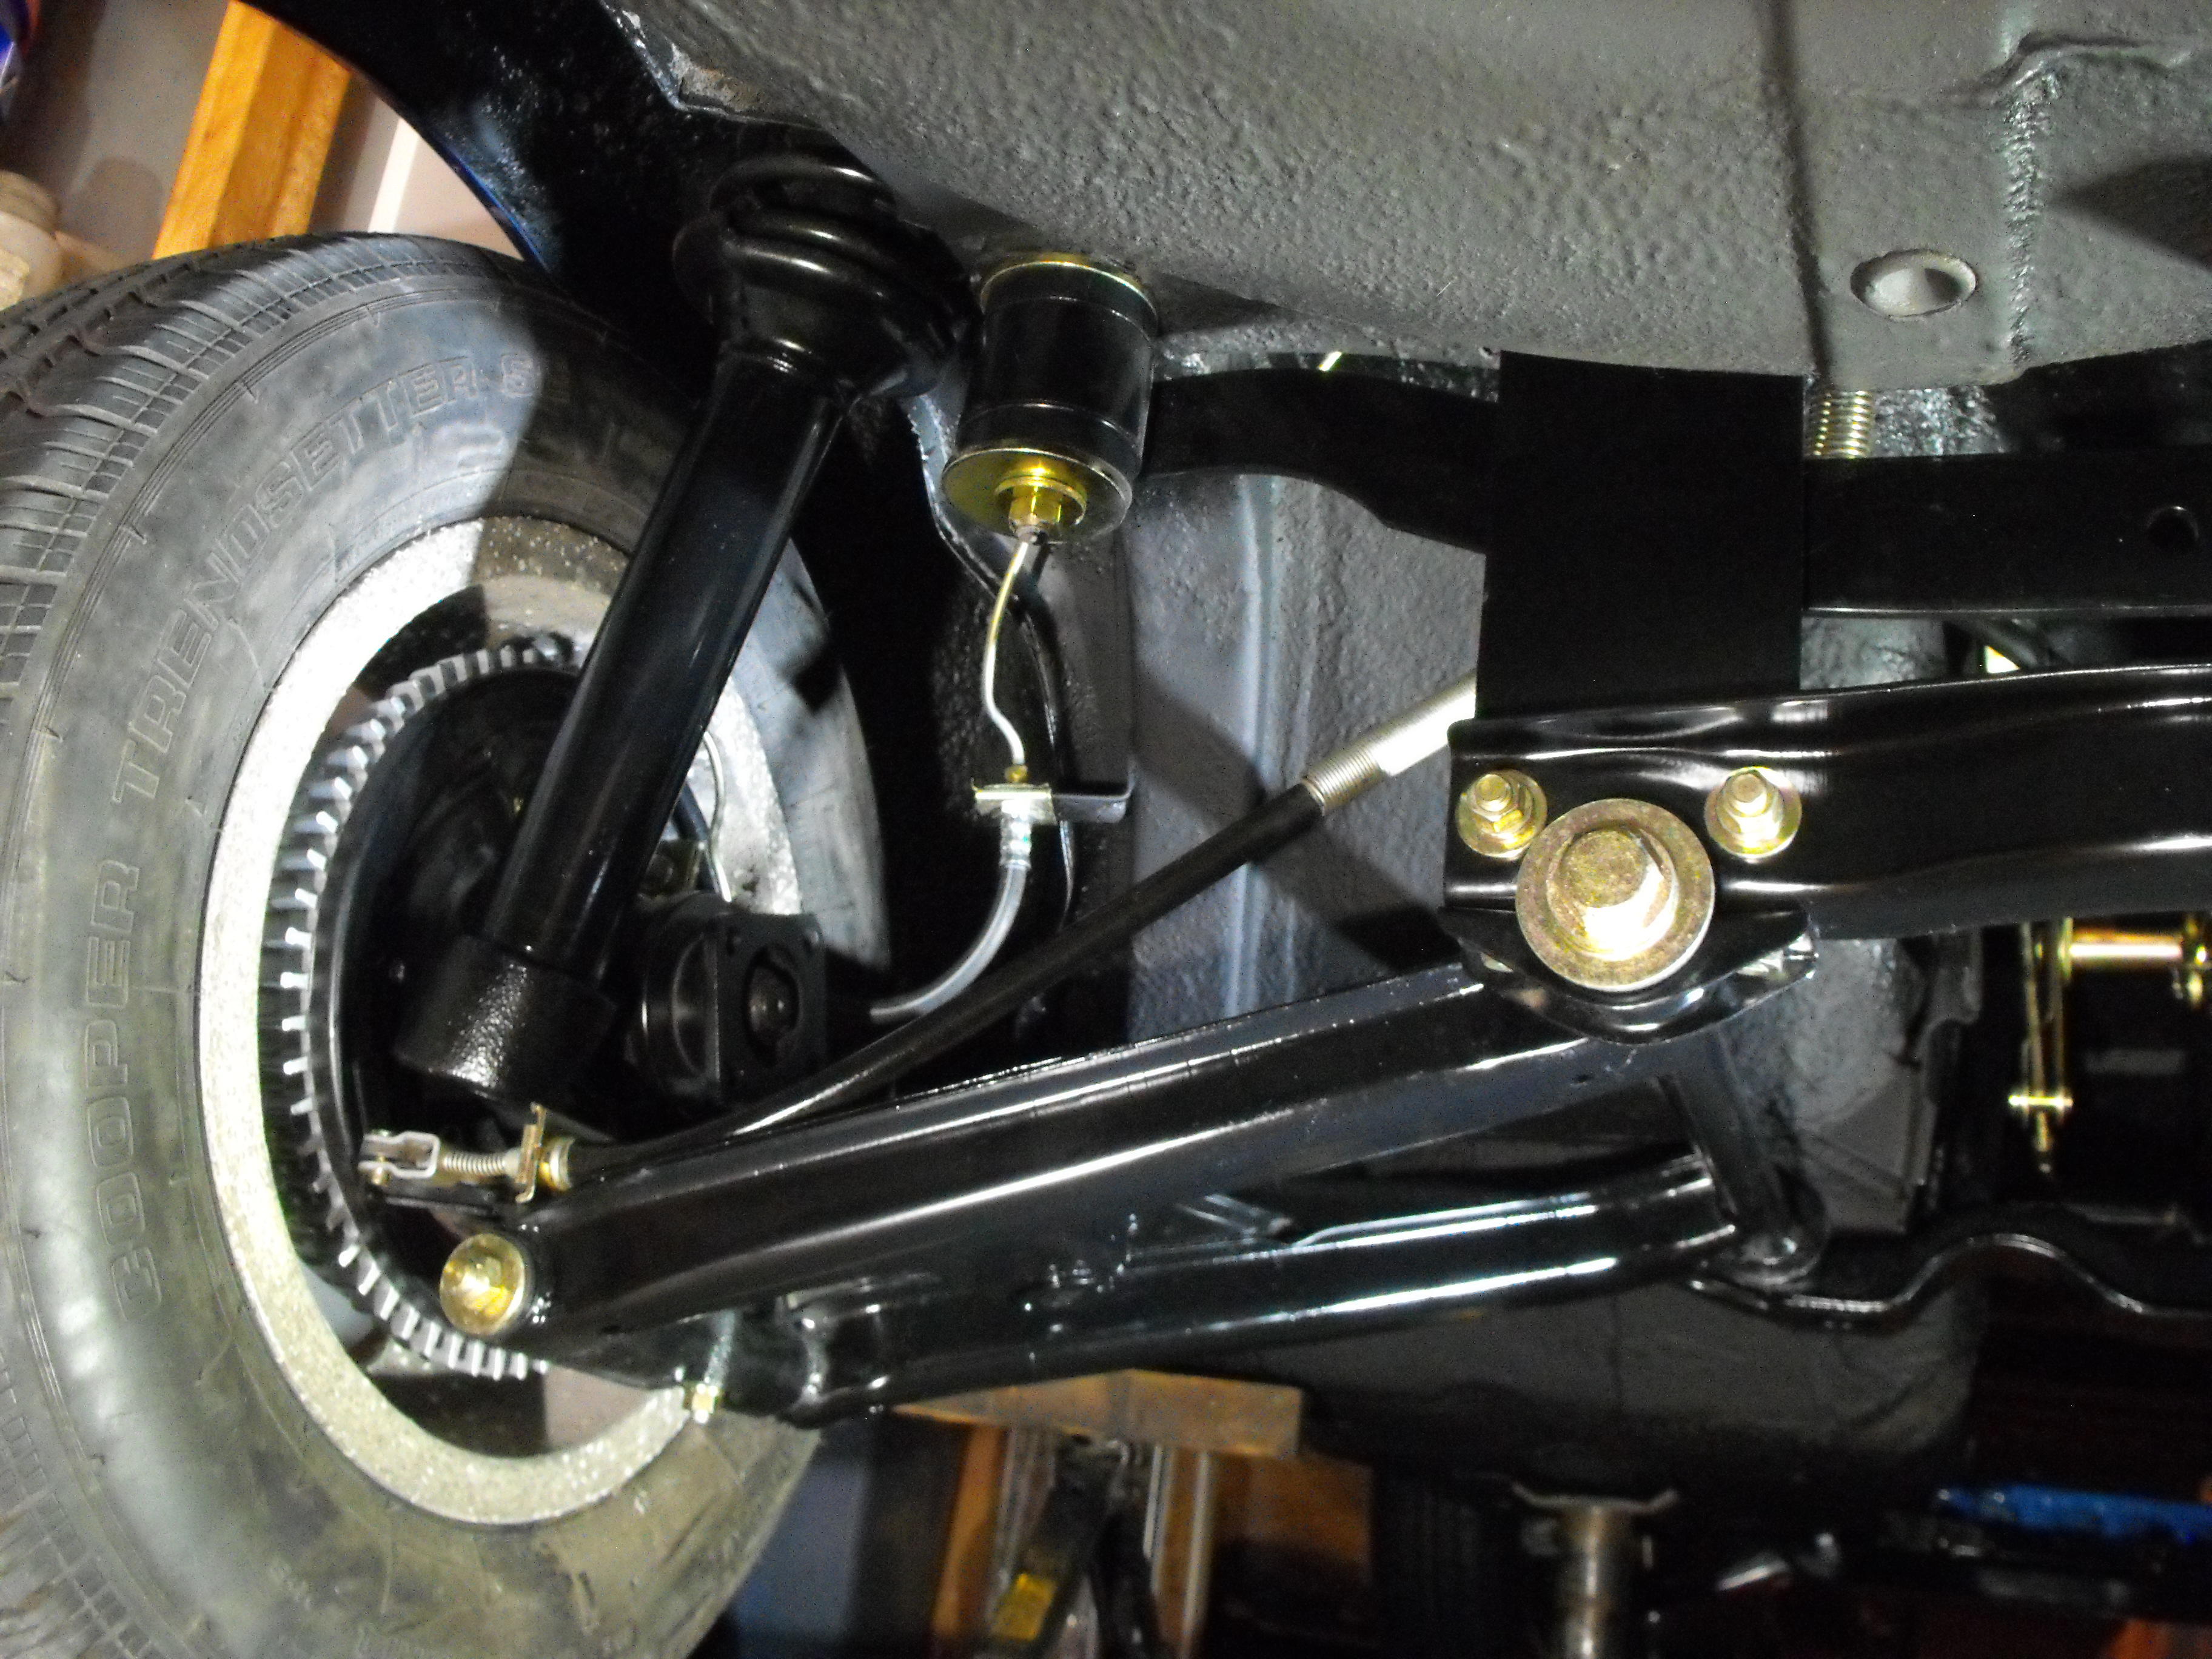
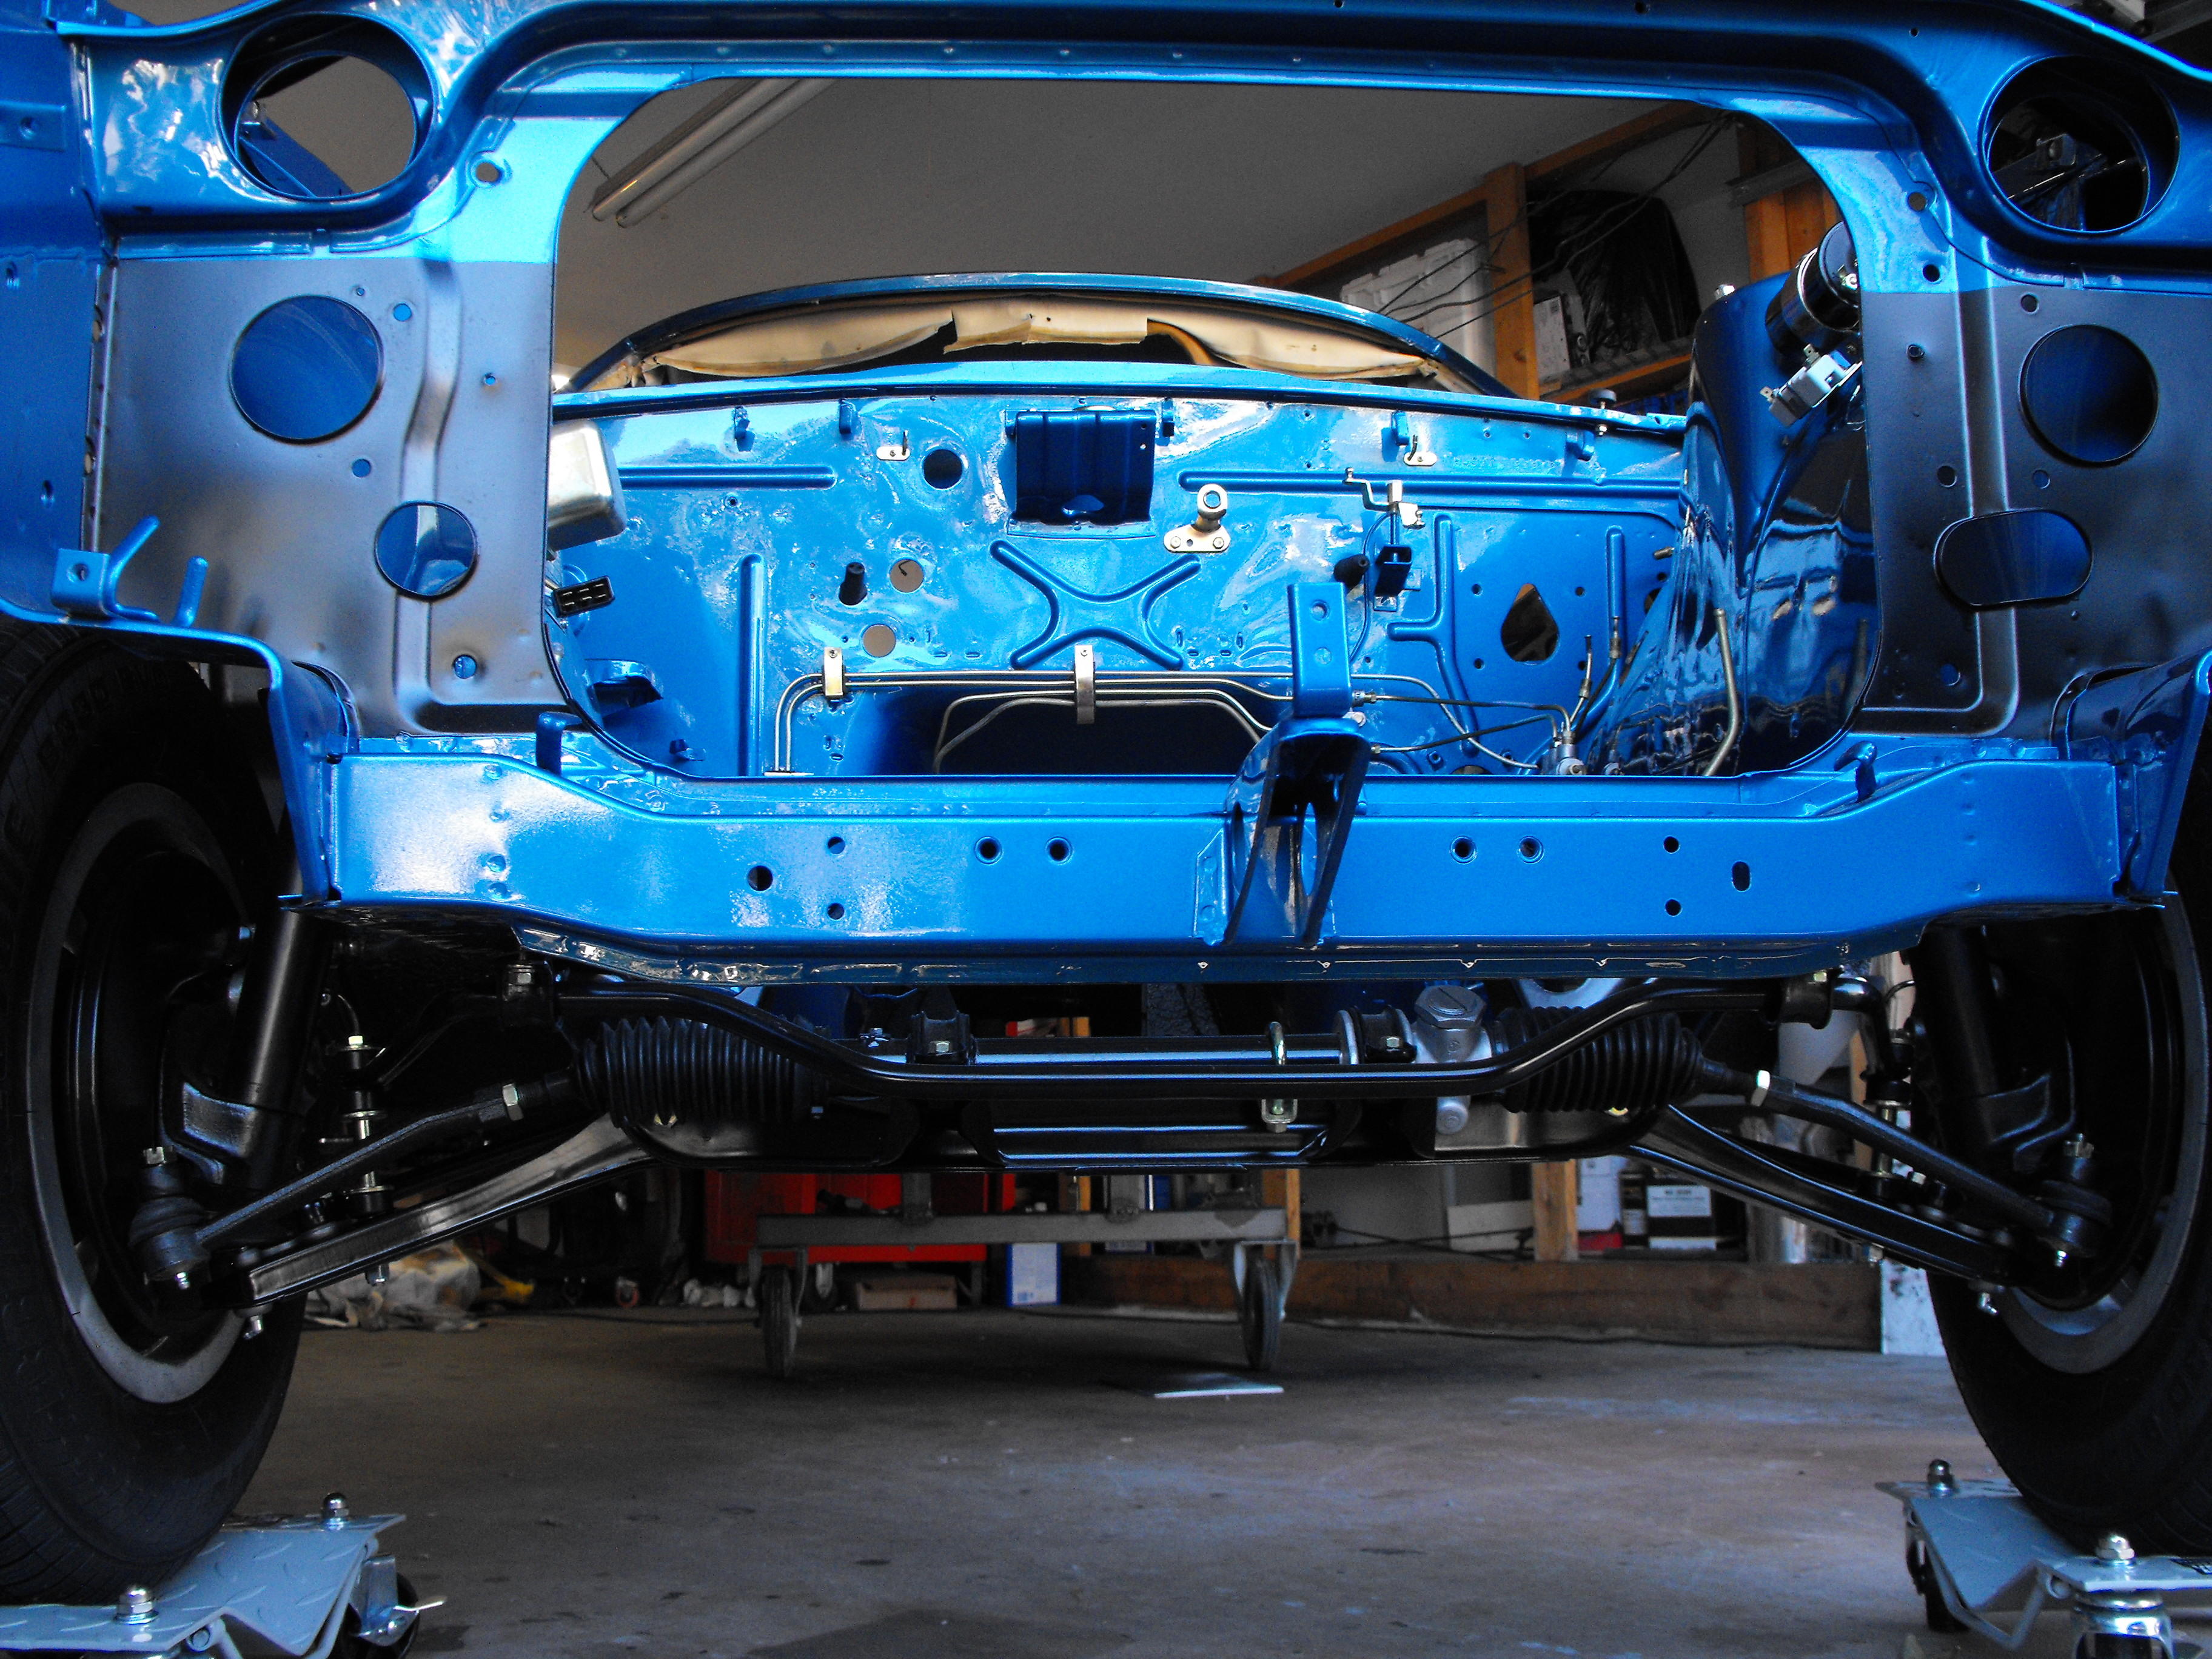
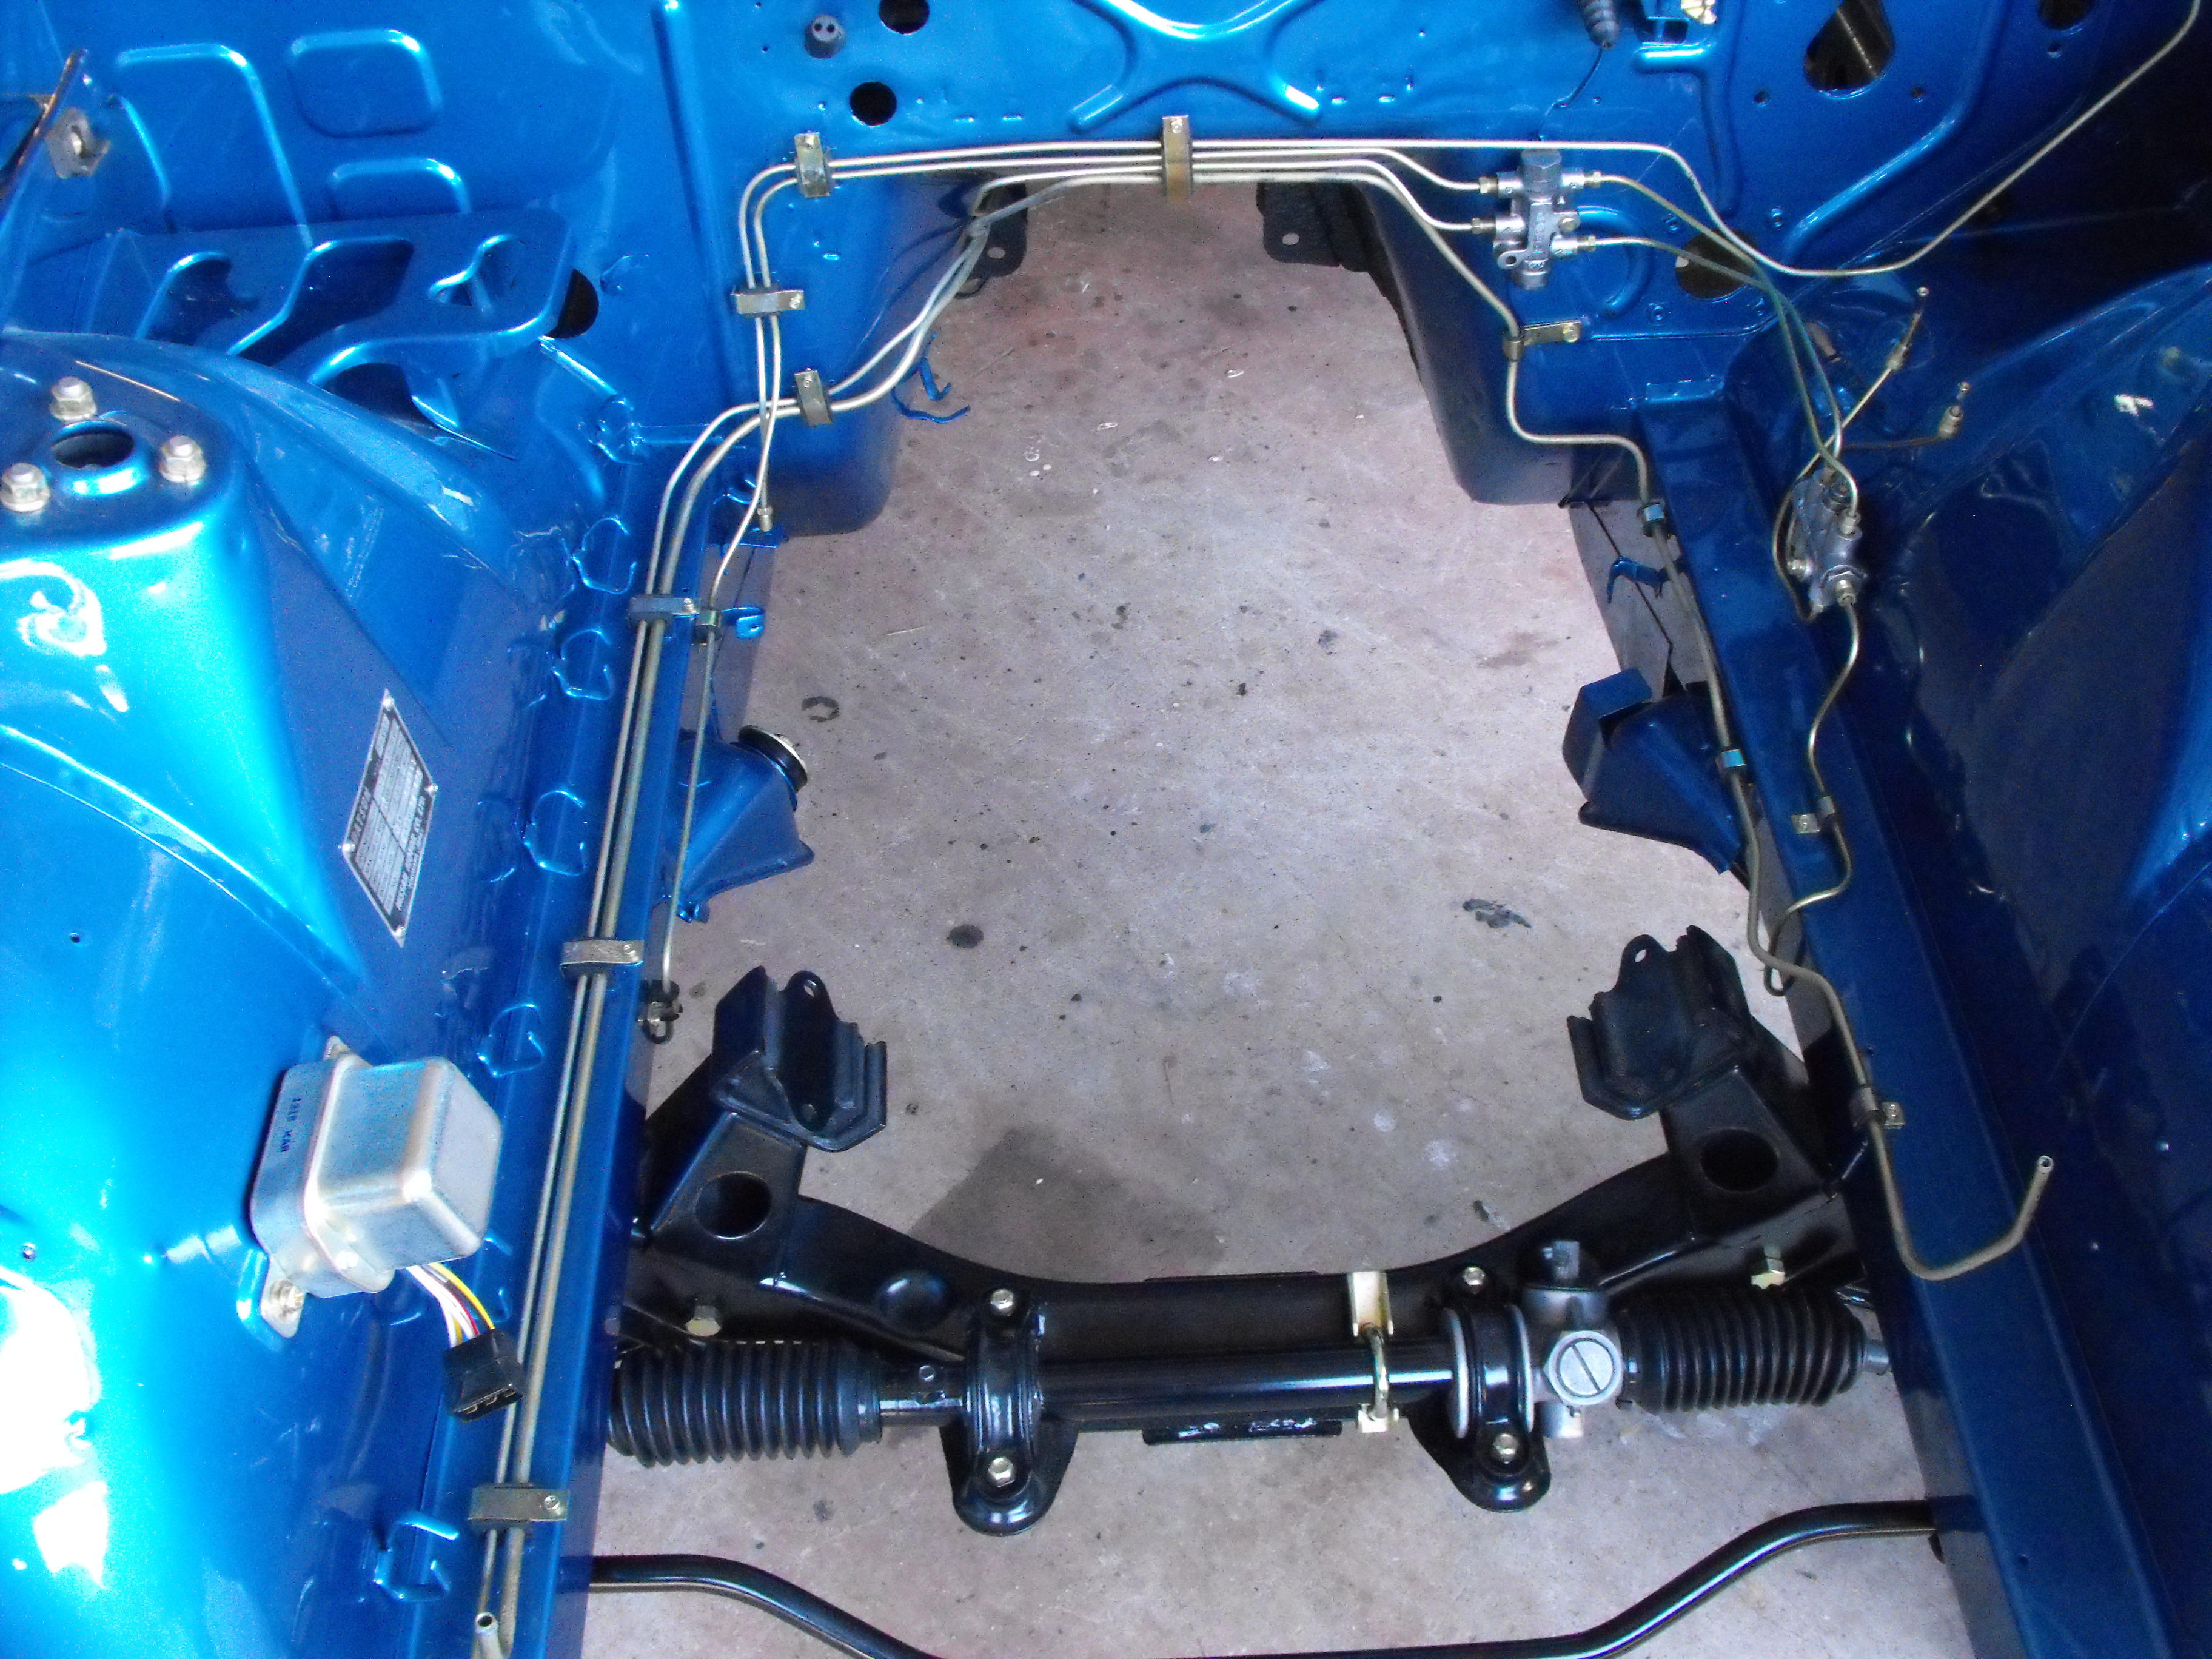
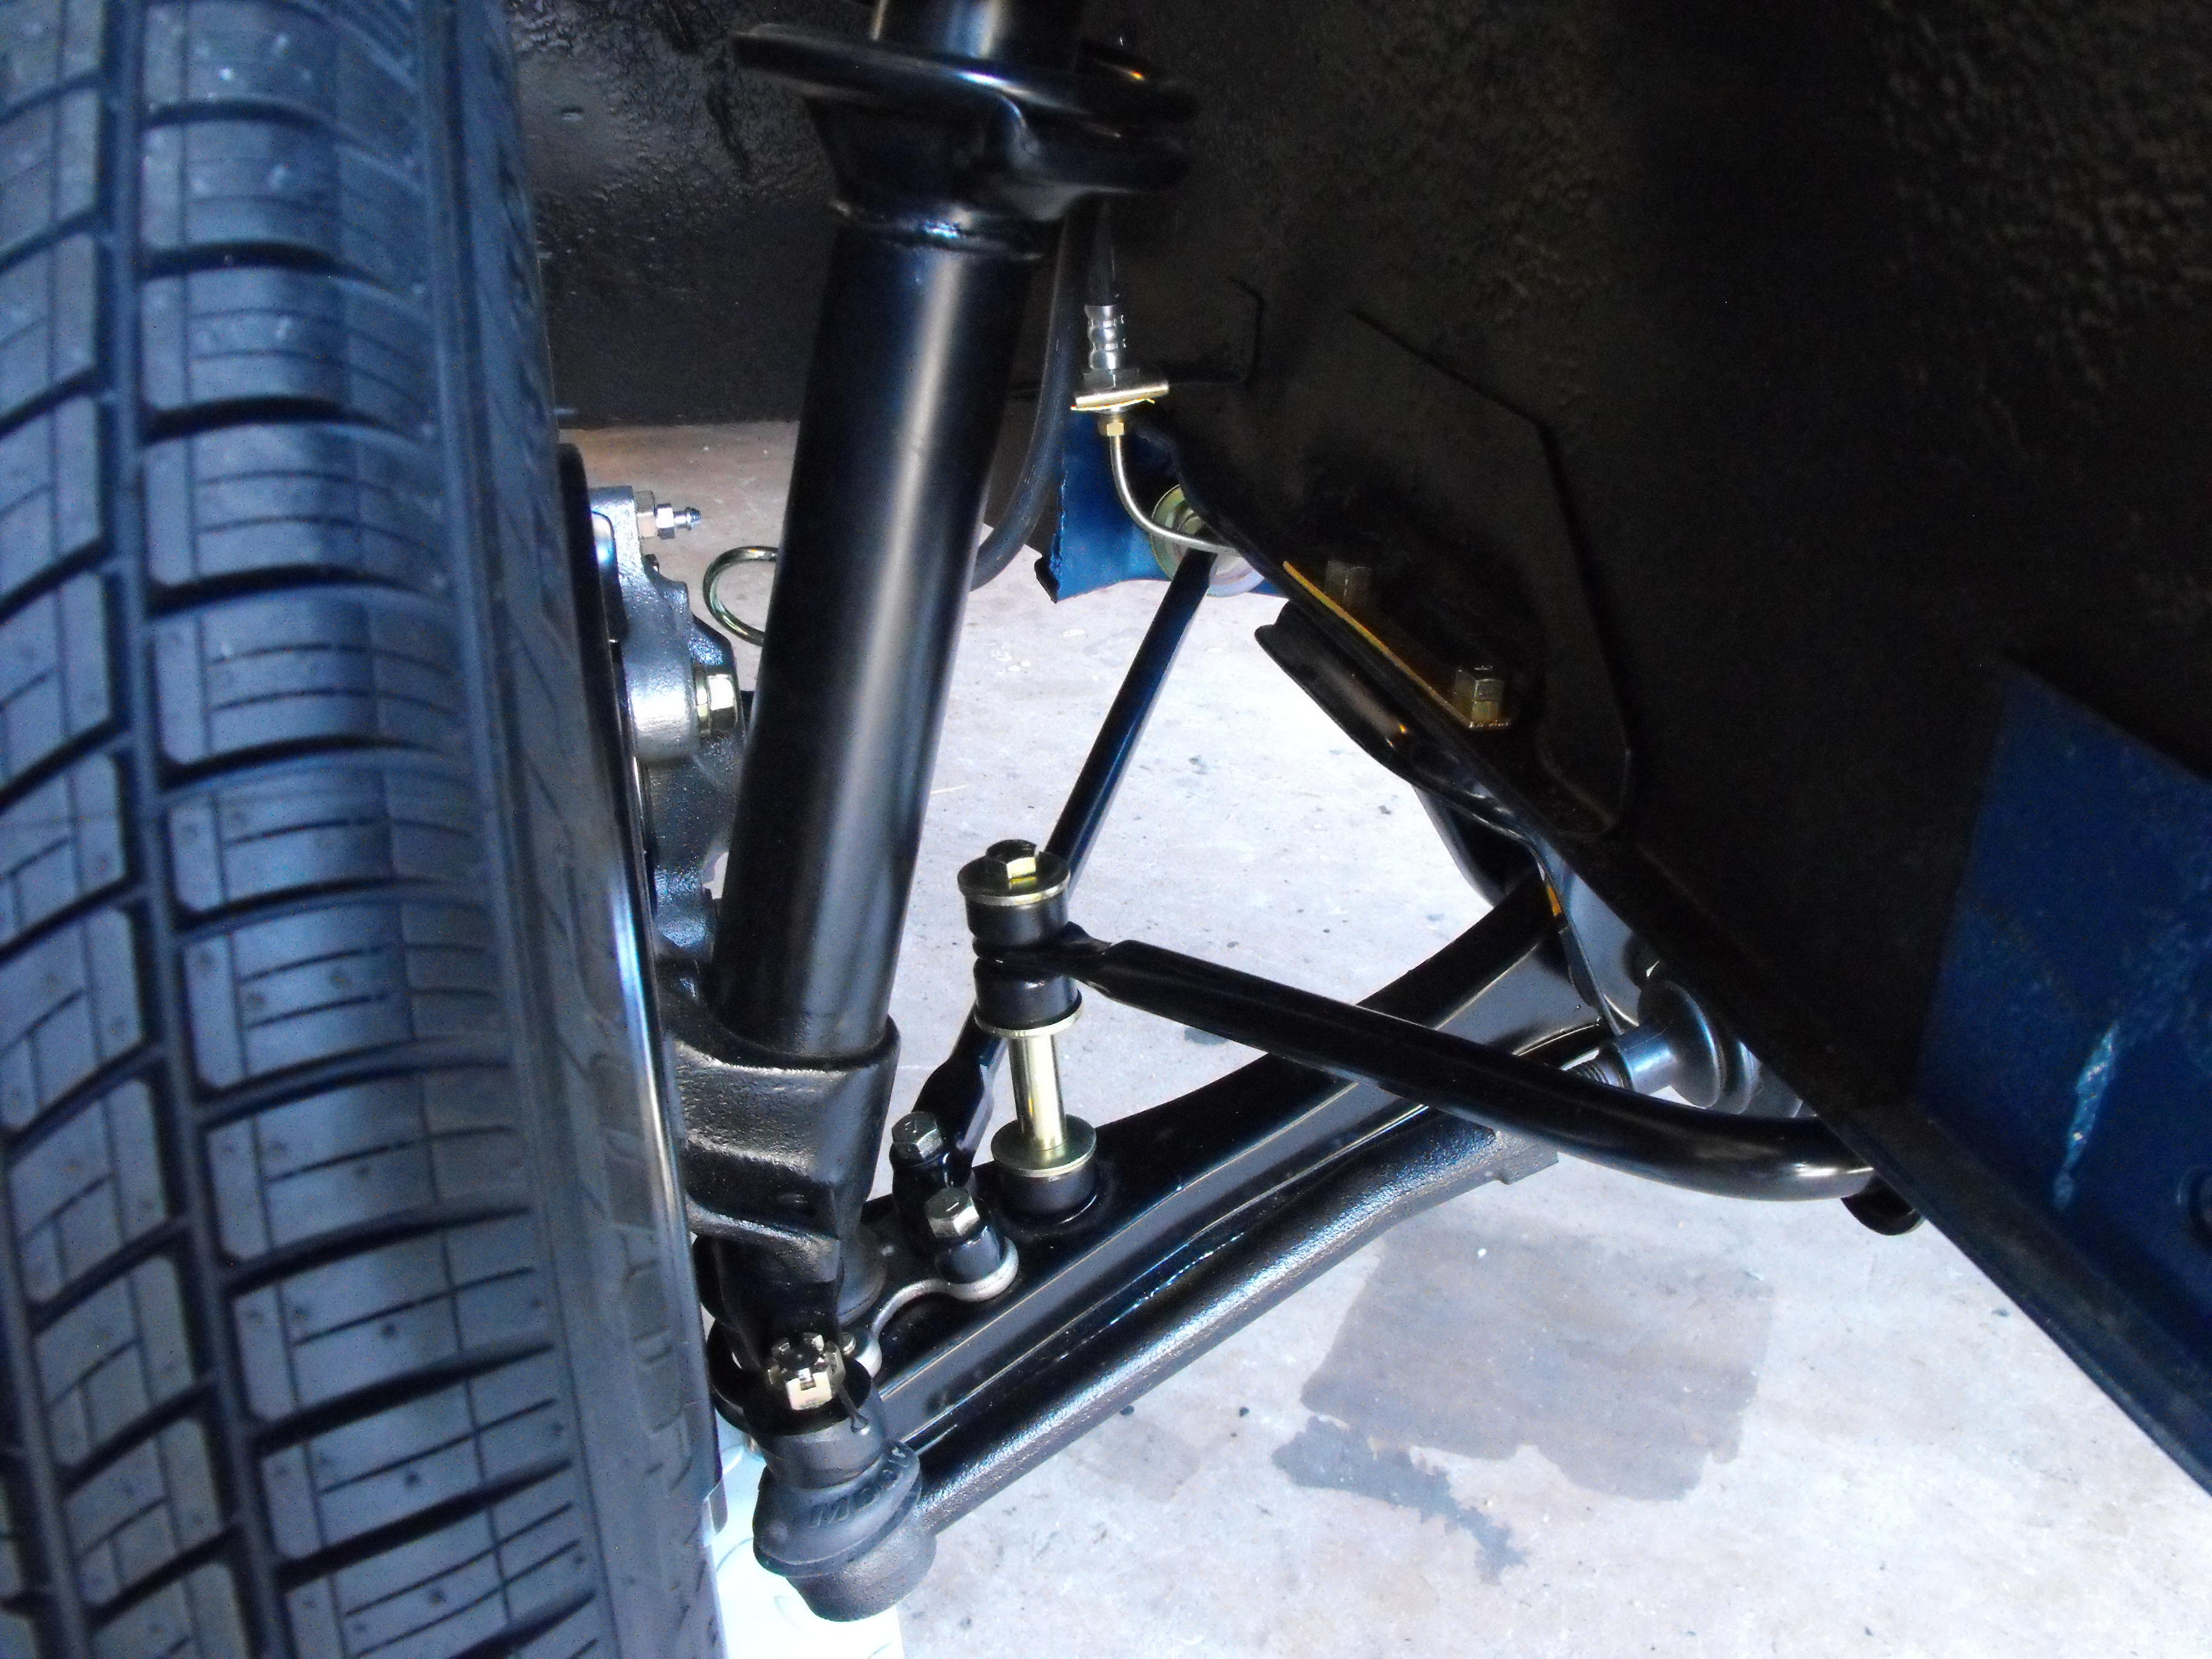
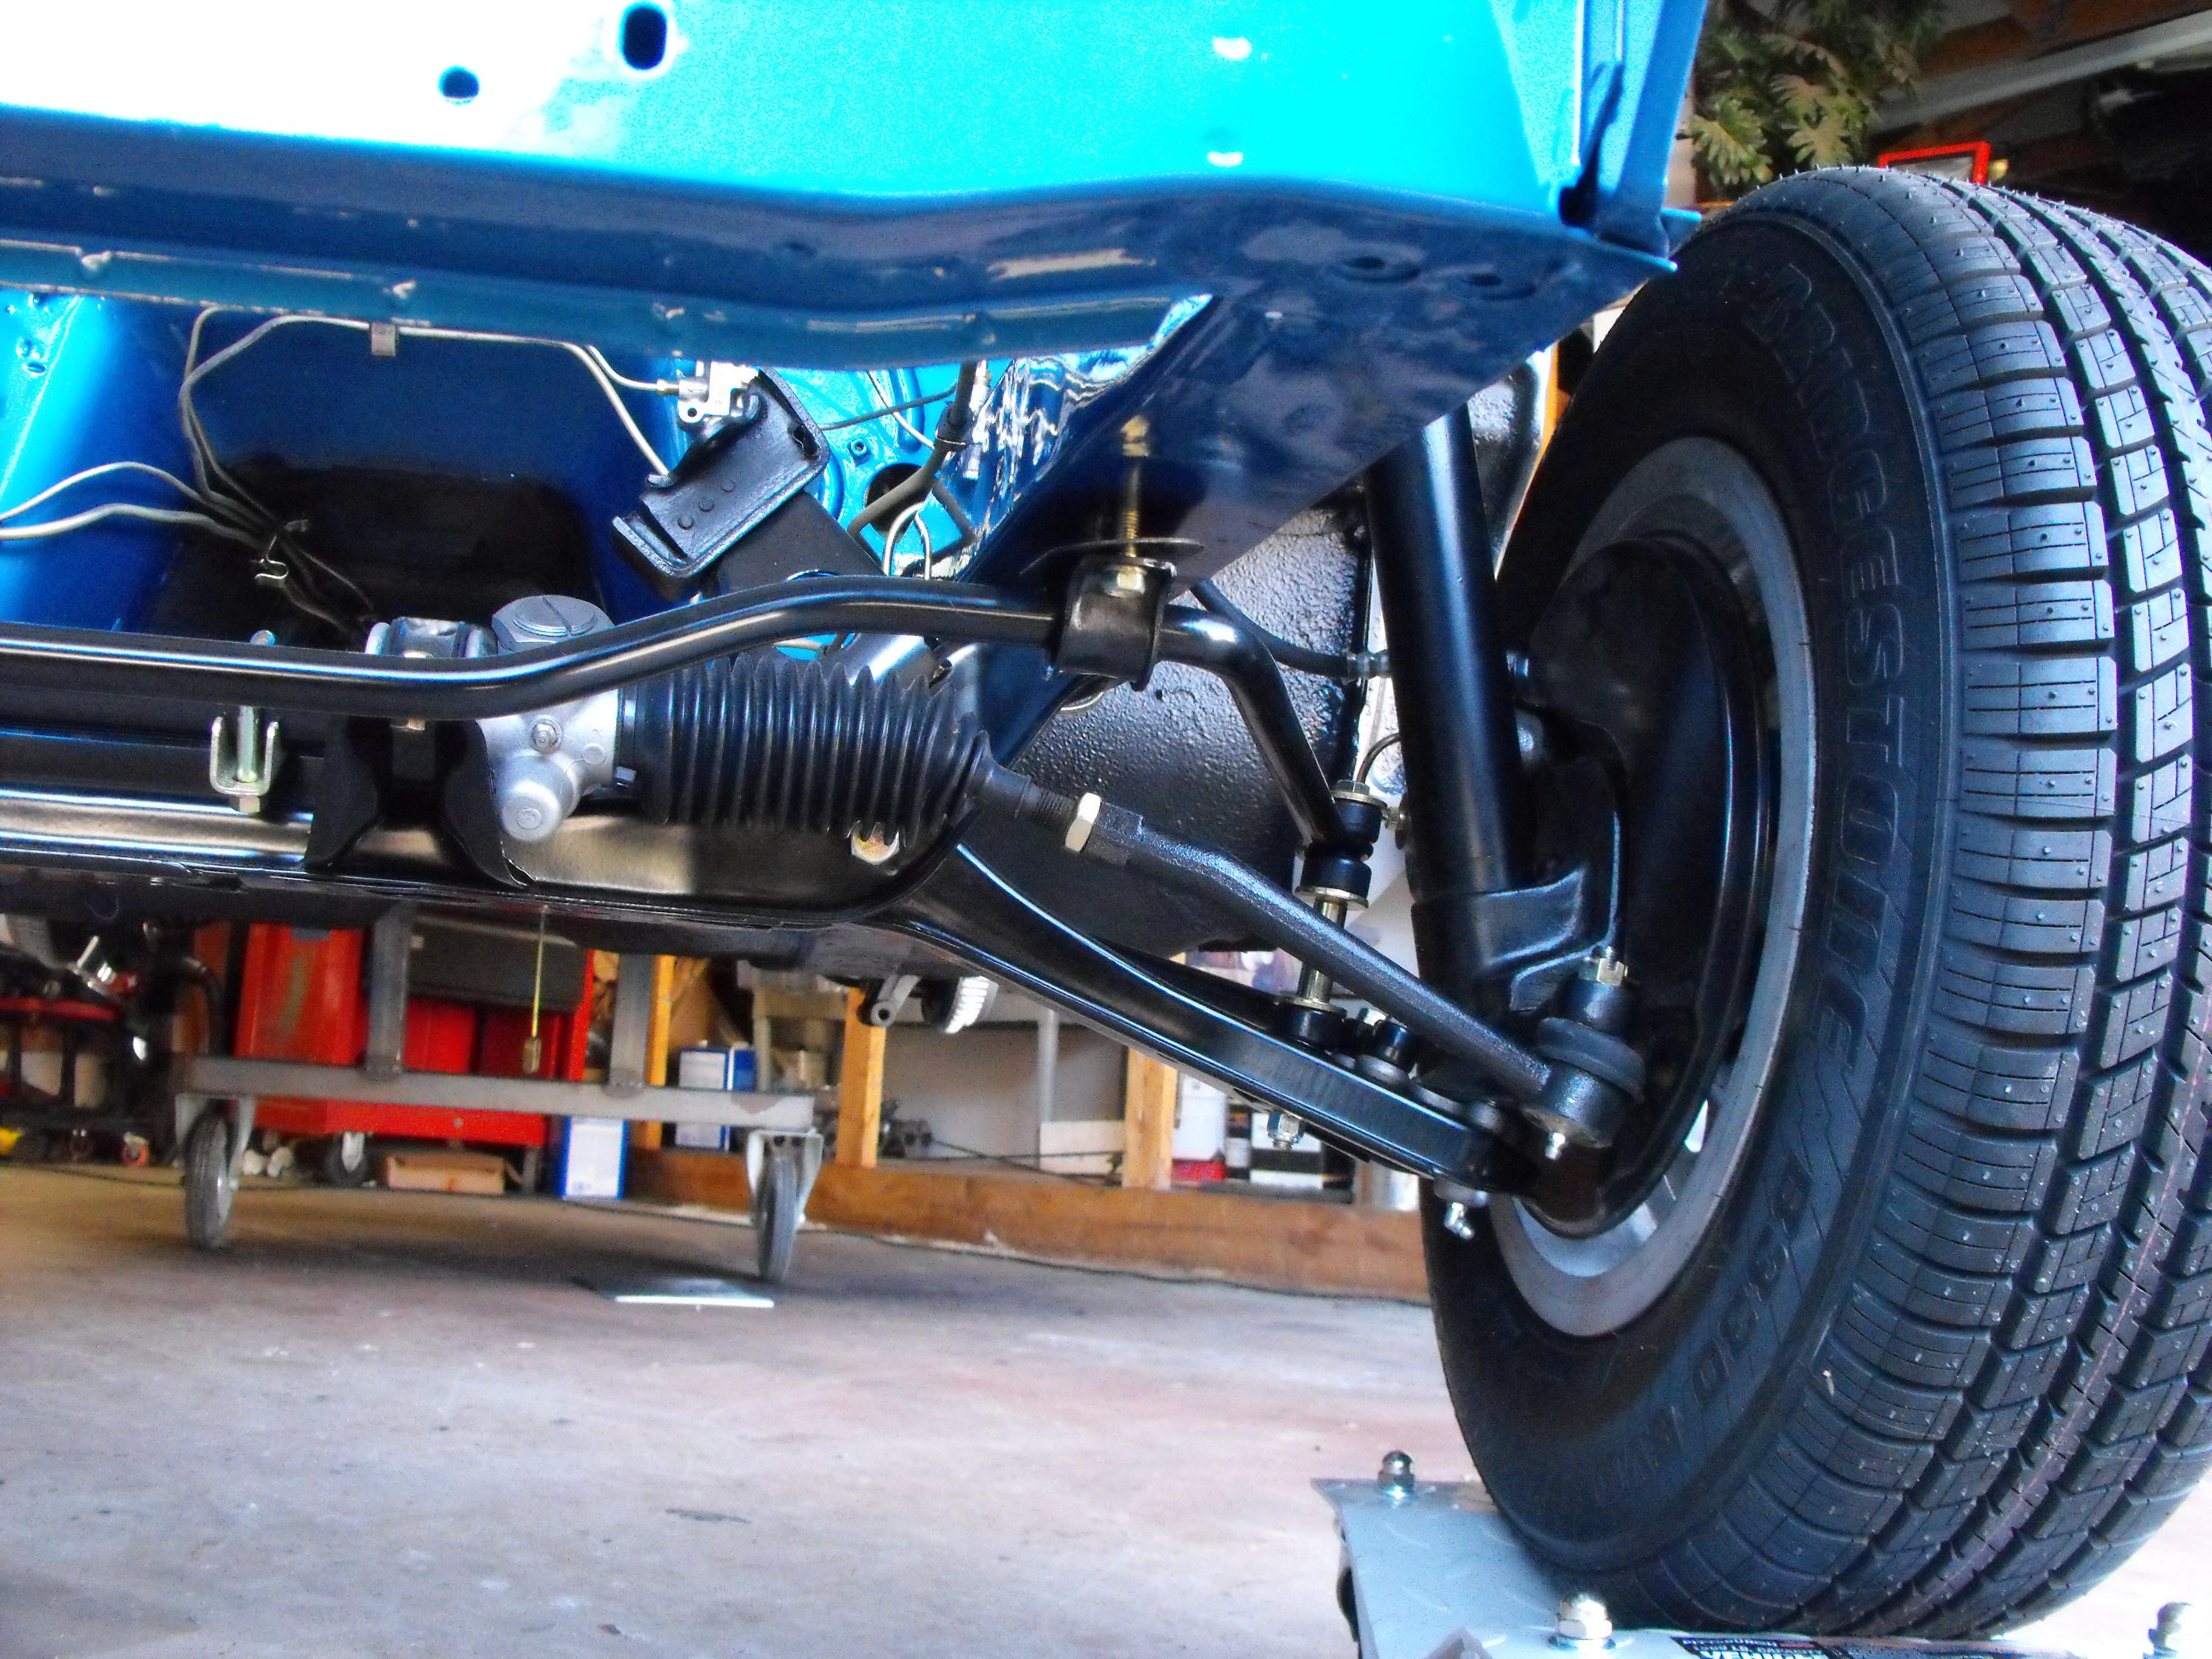
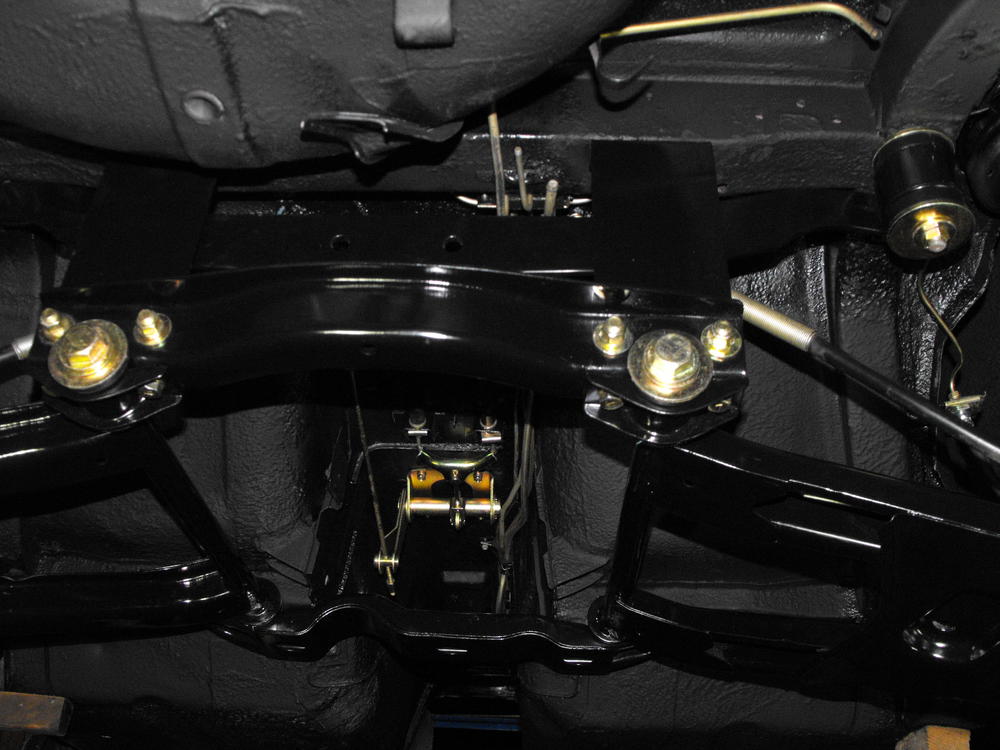
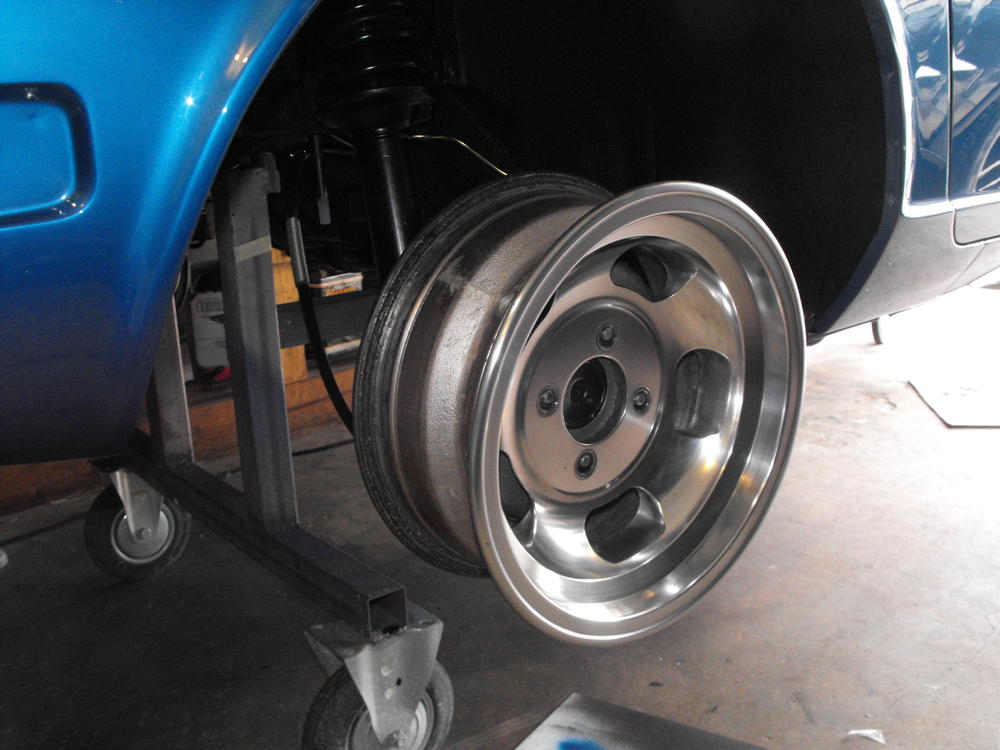
Put most of the front suspension in, except for the sway bar bushings. Also put in some of the other attaching hardware. Here are some pics. Pics look a little better with the natural light. May try and get the rear suspension in tomorrow.


-
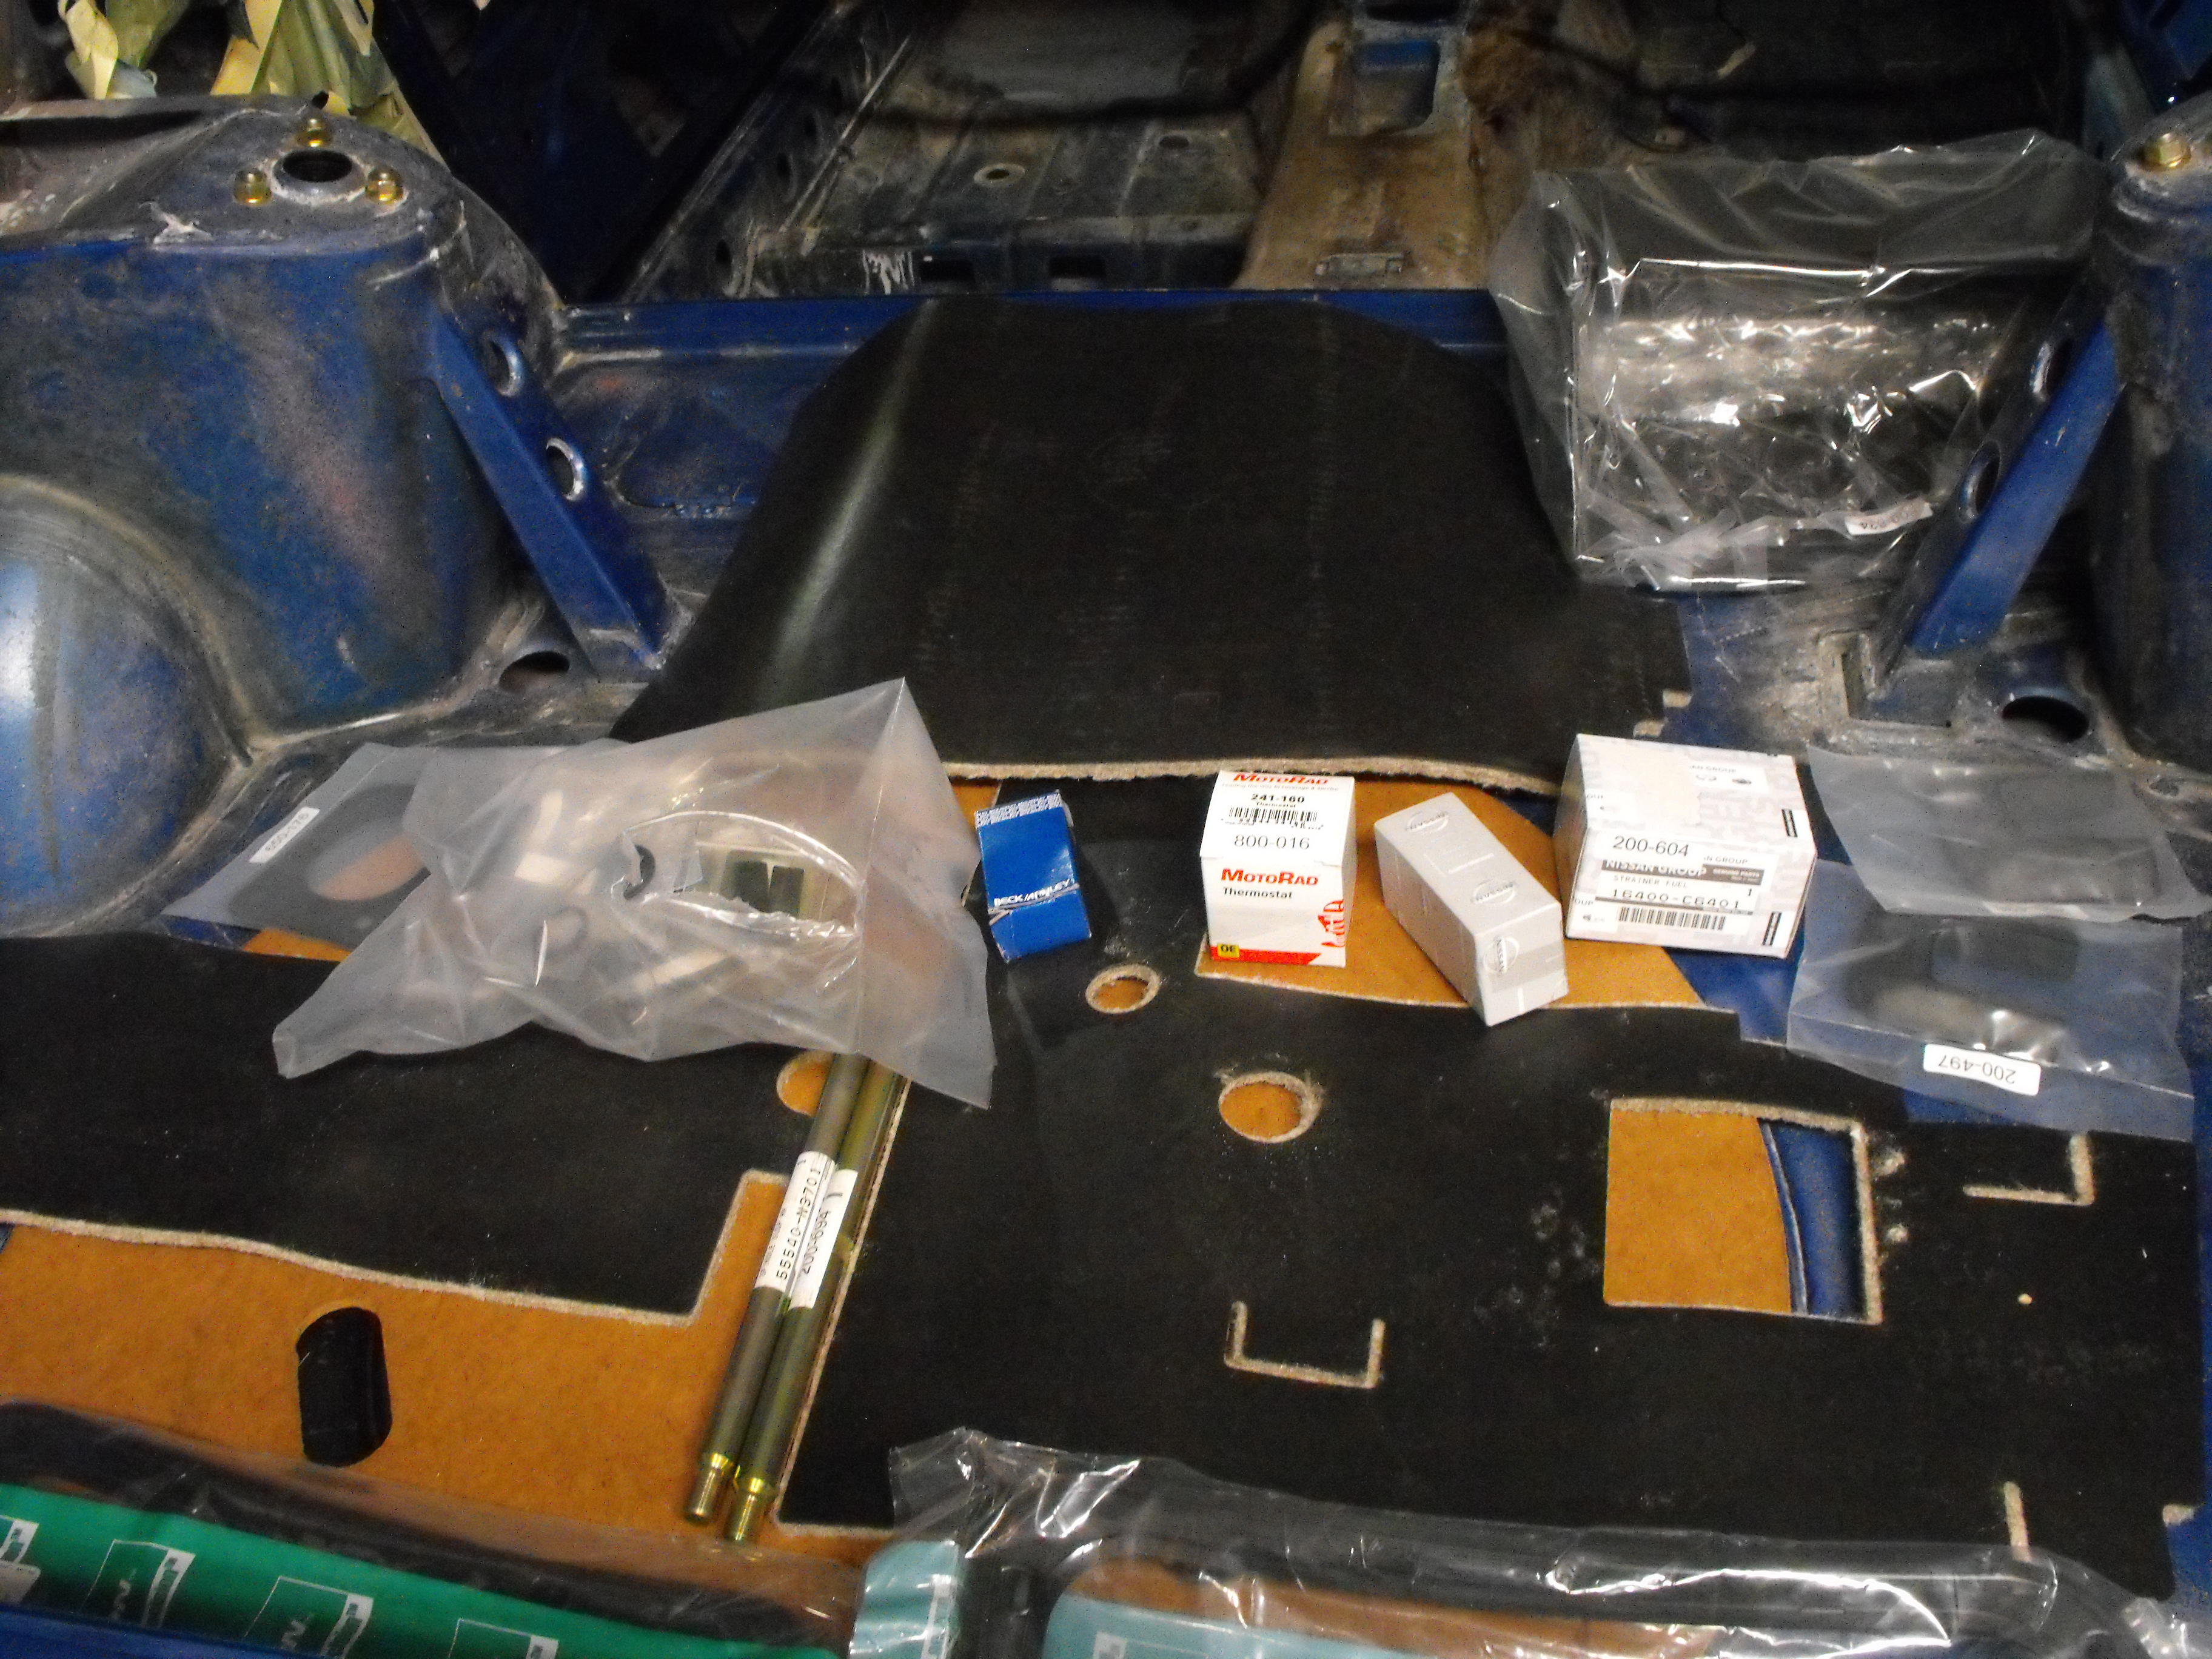
Got my parts shipment in from Zcardepot. Firewall insulator, glove box, emblems, spindle pins and lots of small rubber parts. It's the little details that make everything look great. Still having a hard time getting the pics to come out well. I have to use the flash, otherwise all I get is reflection.


-
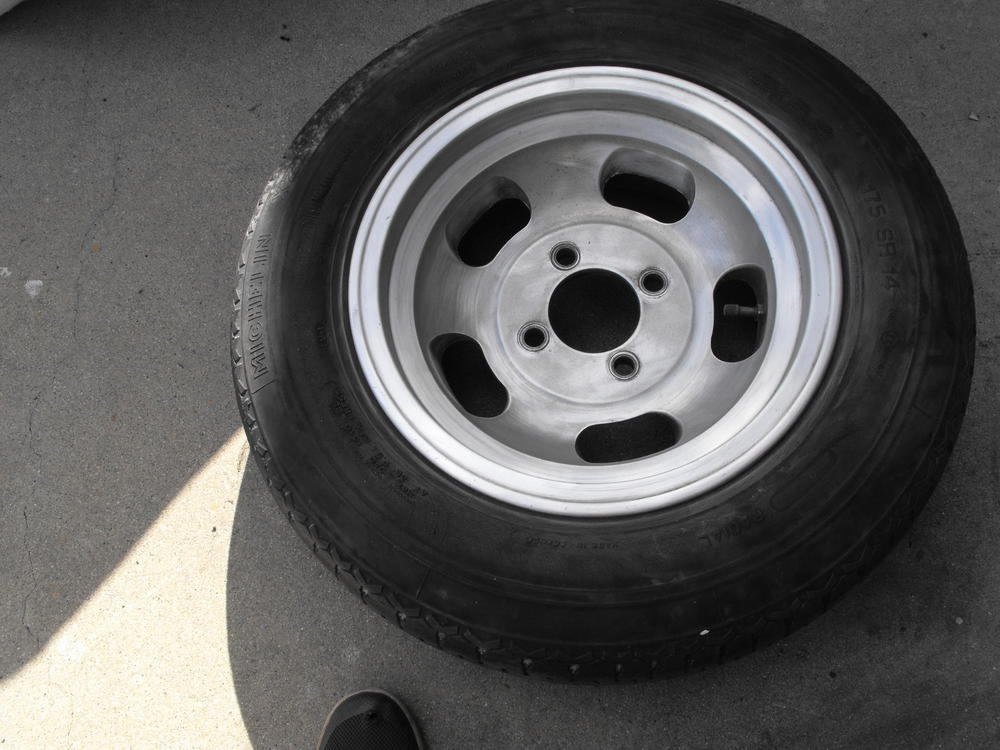
Got two of the Bridgestones mounted, 175/80R14's. That's pretty hard to find.

-
Never thought of that. (not sure if I've ever seen that) Would only be an issue for the back side. Maybe I'll hit it with some gloss clear just in case. Wouldn't hurt and would actually make it easier to clean Sent from my C6902 using Classic Zcar Club mobile
-
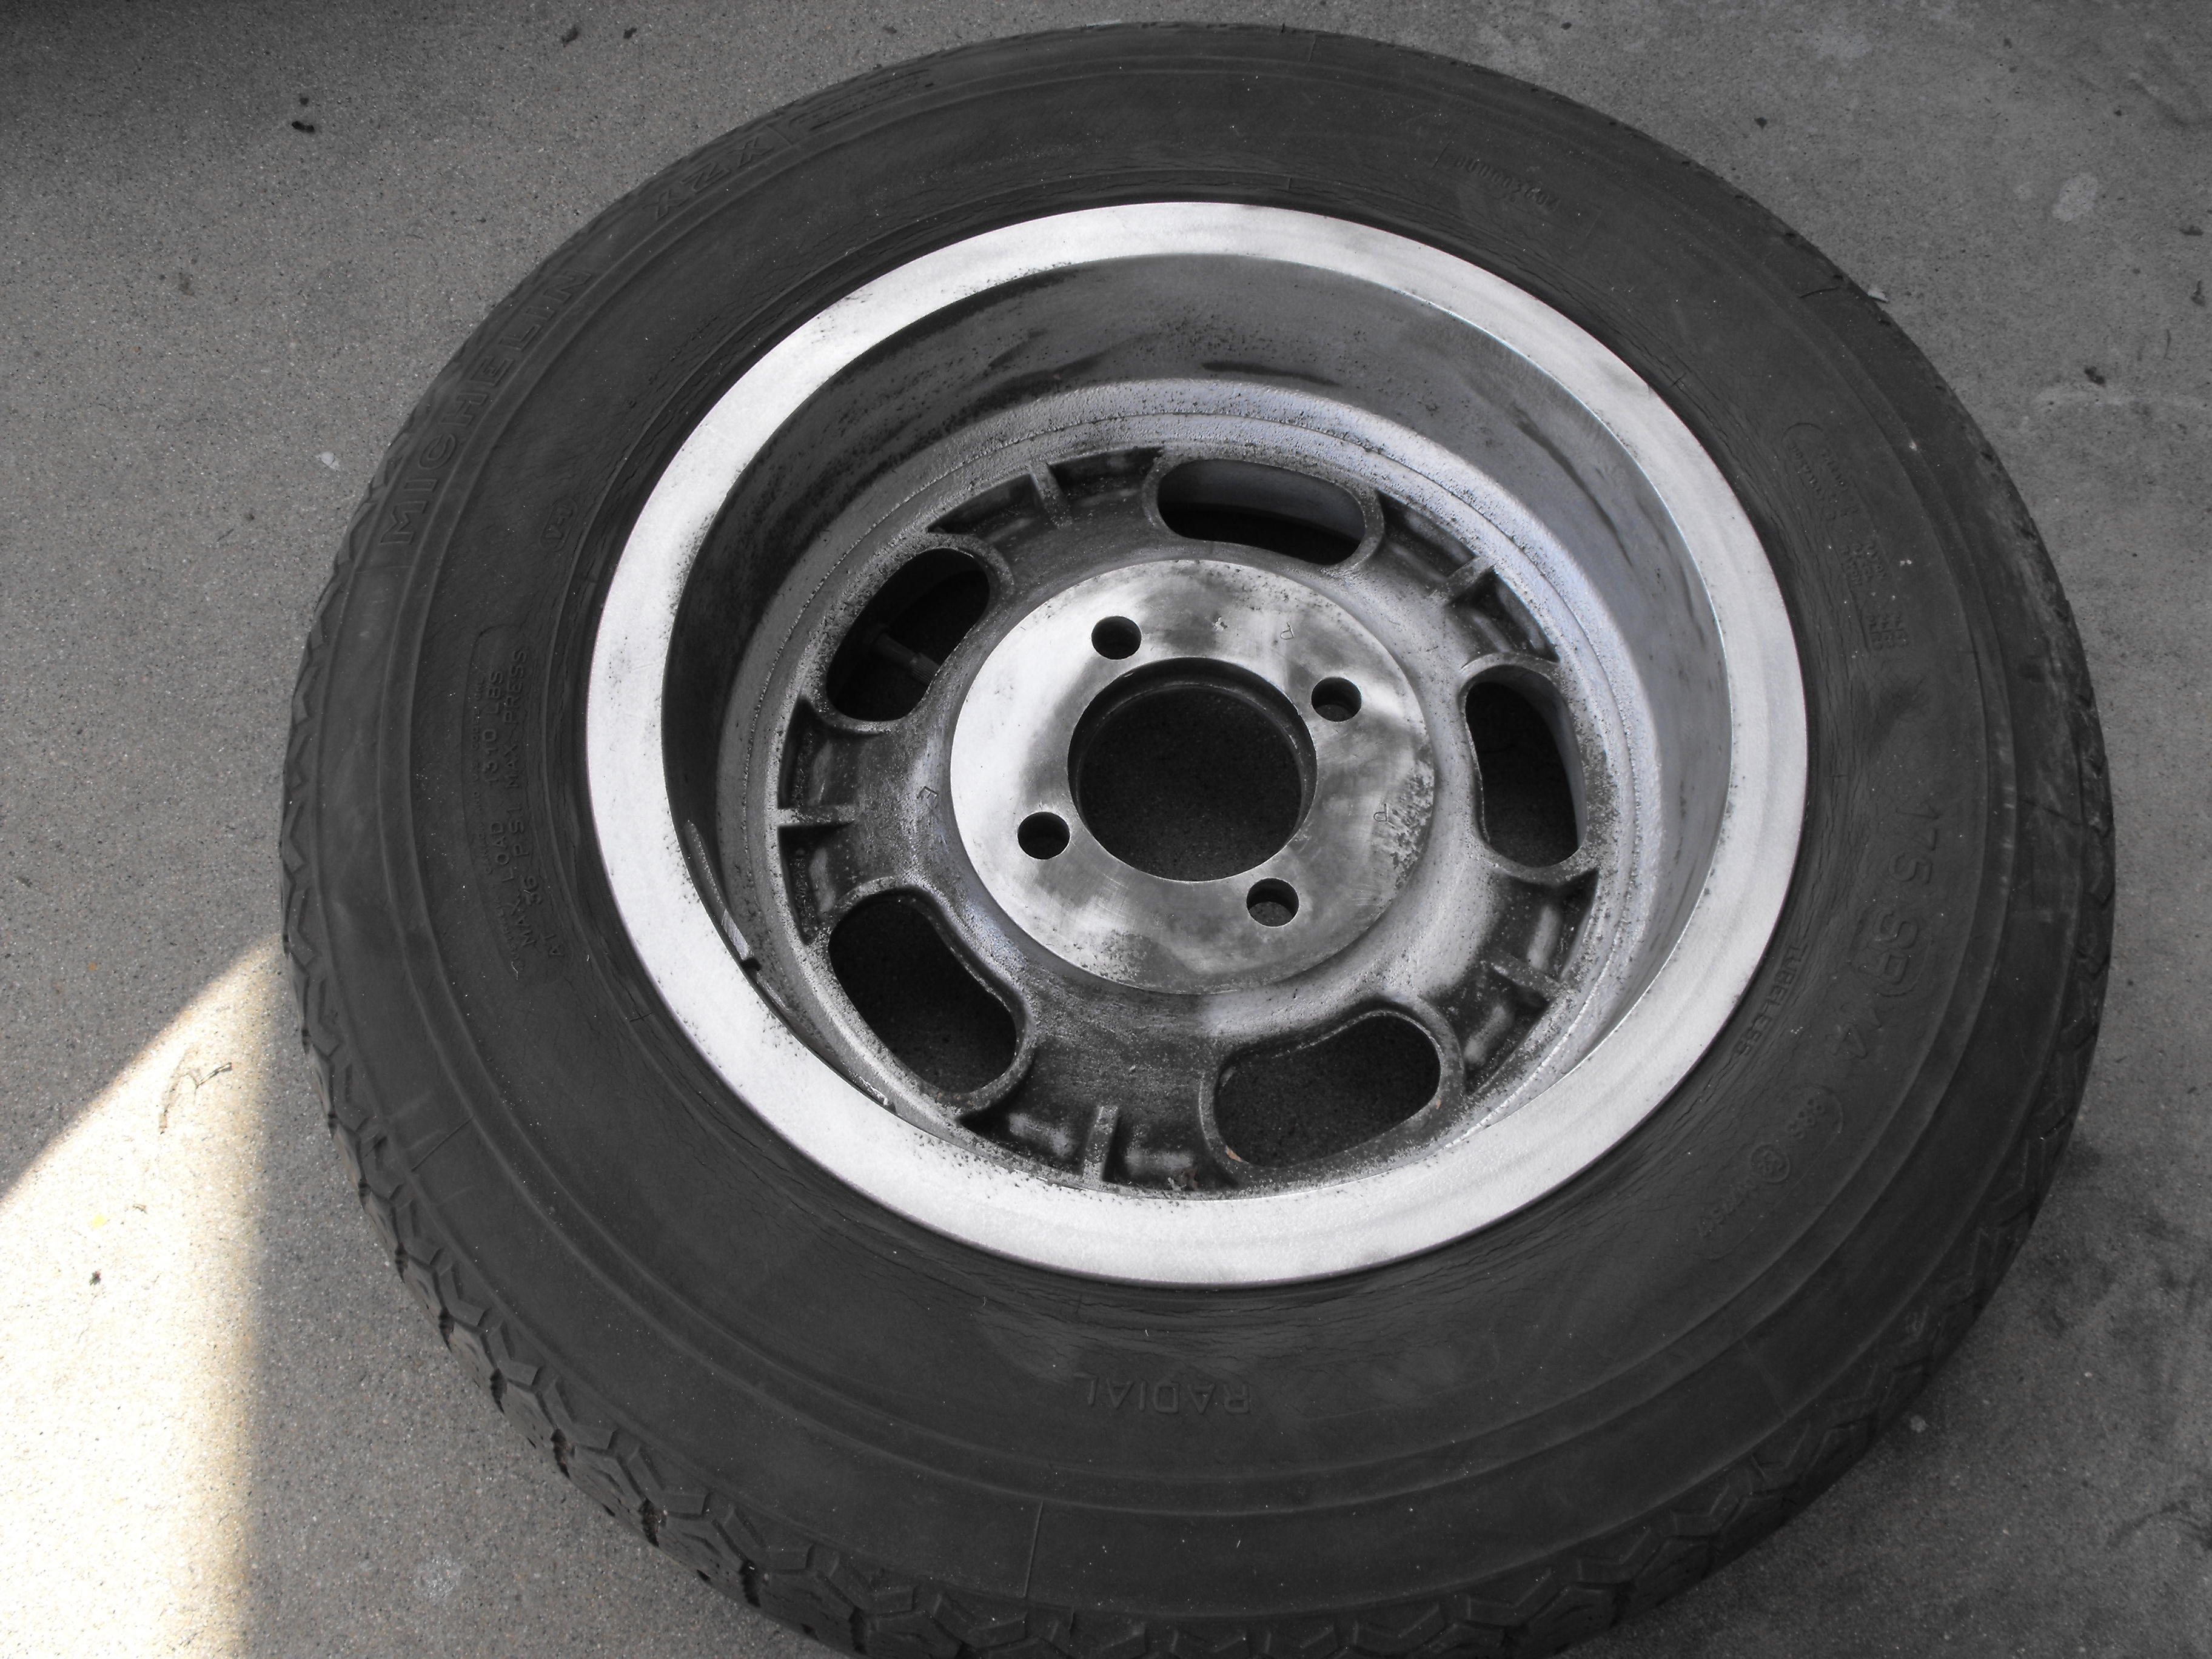
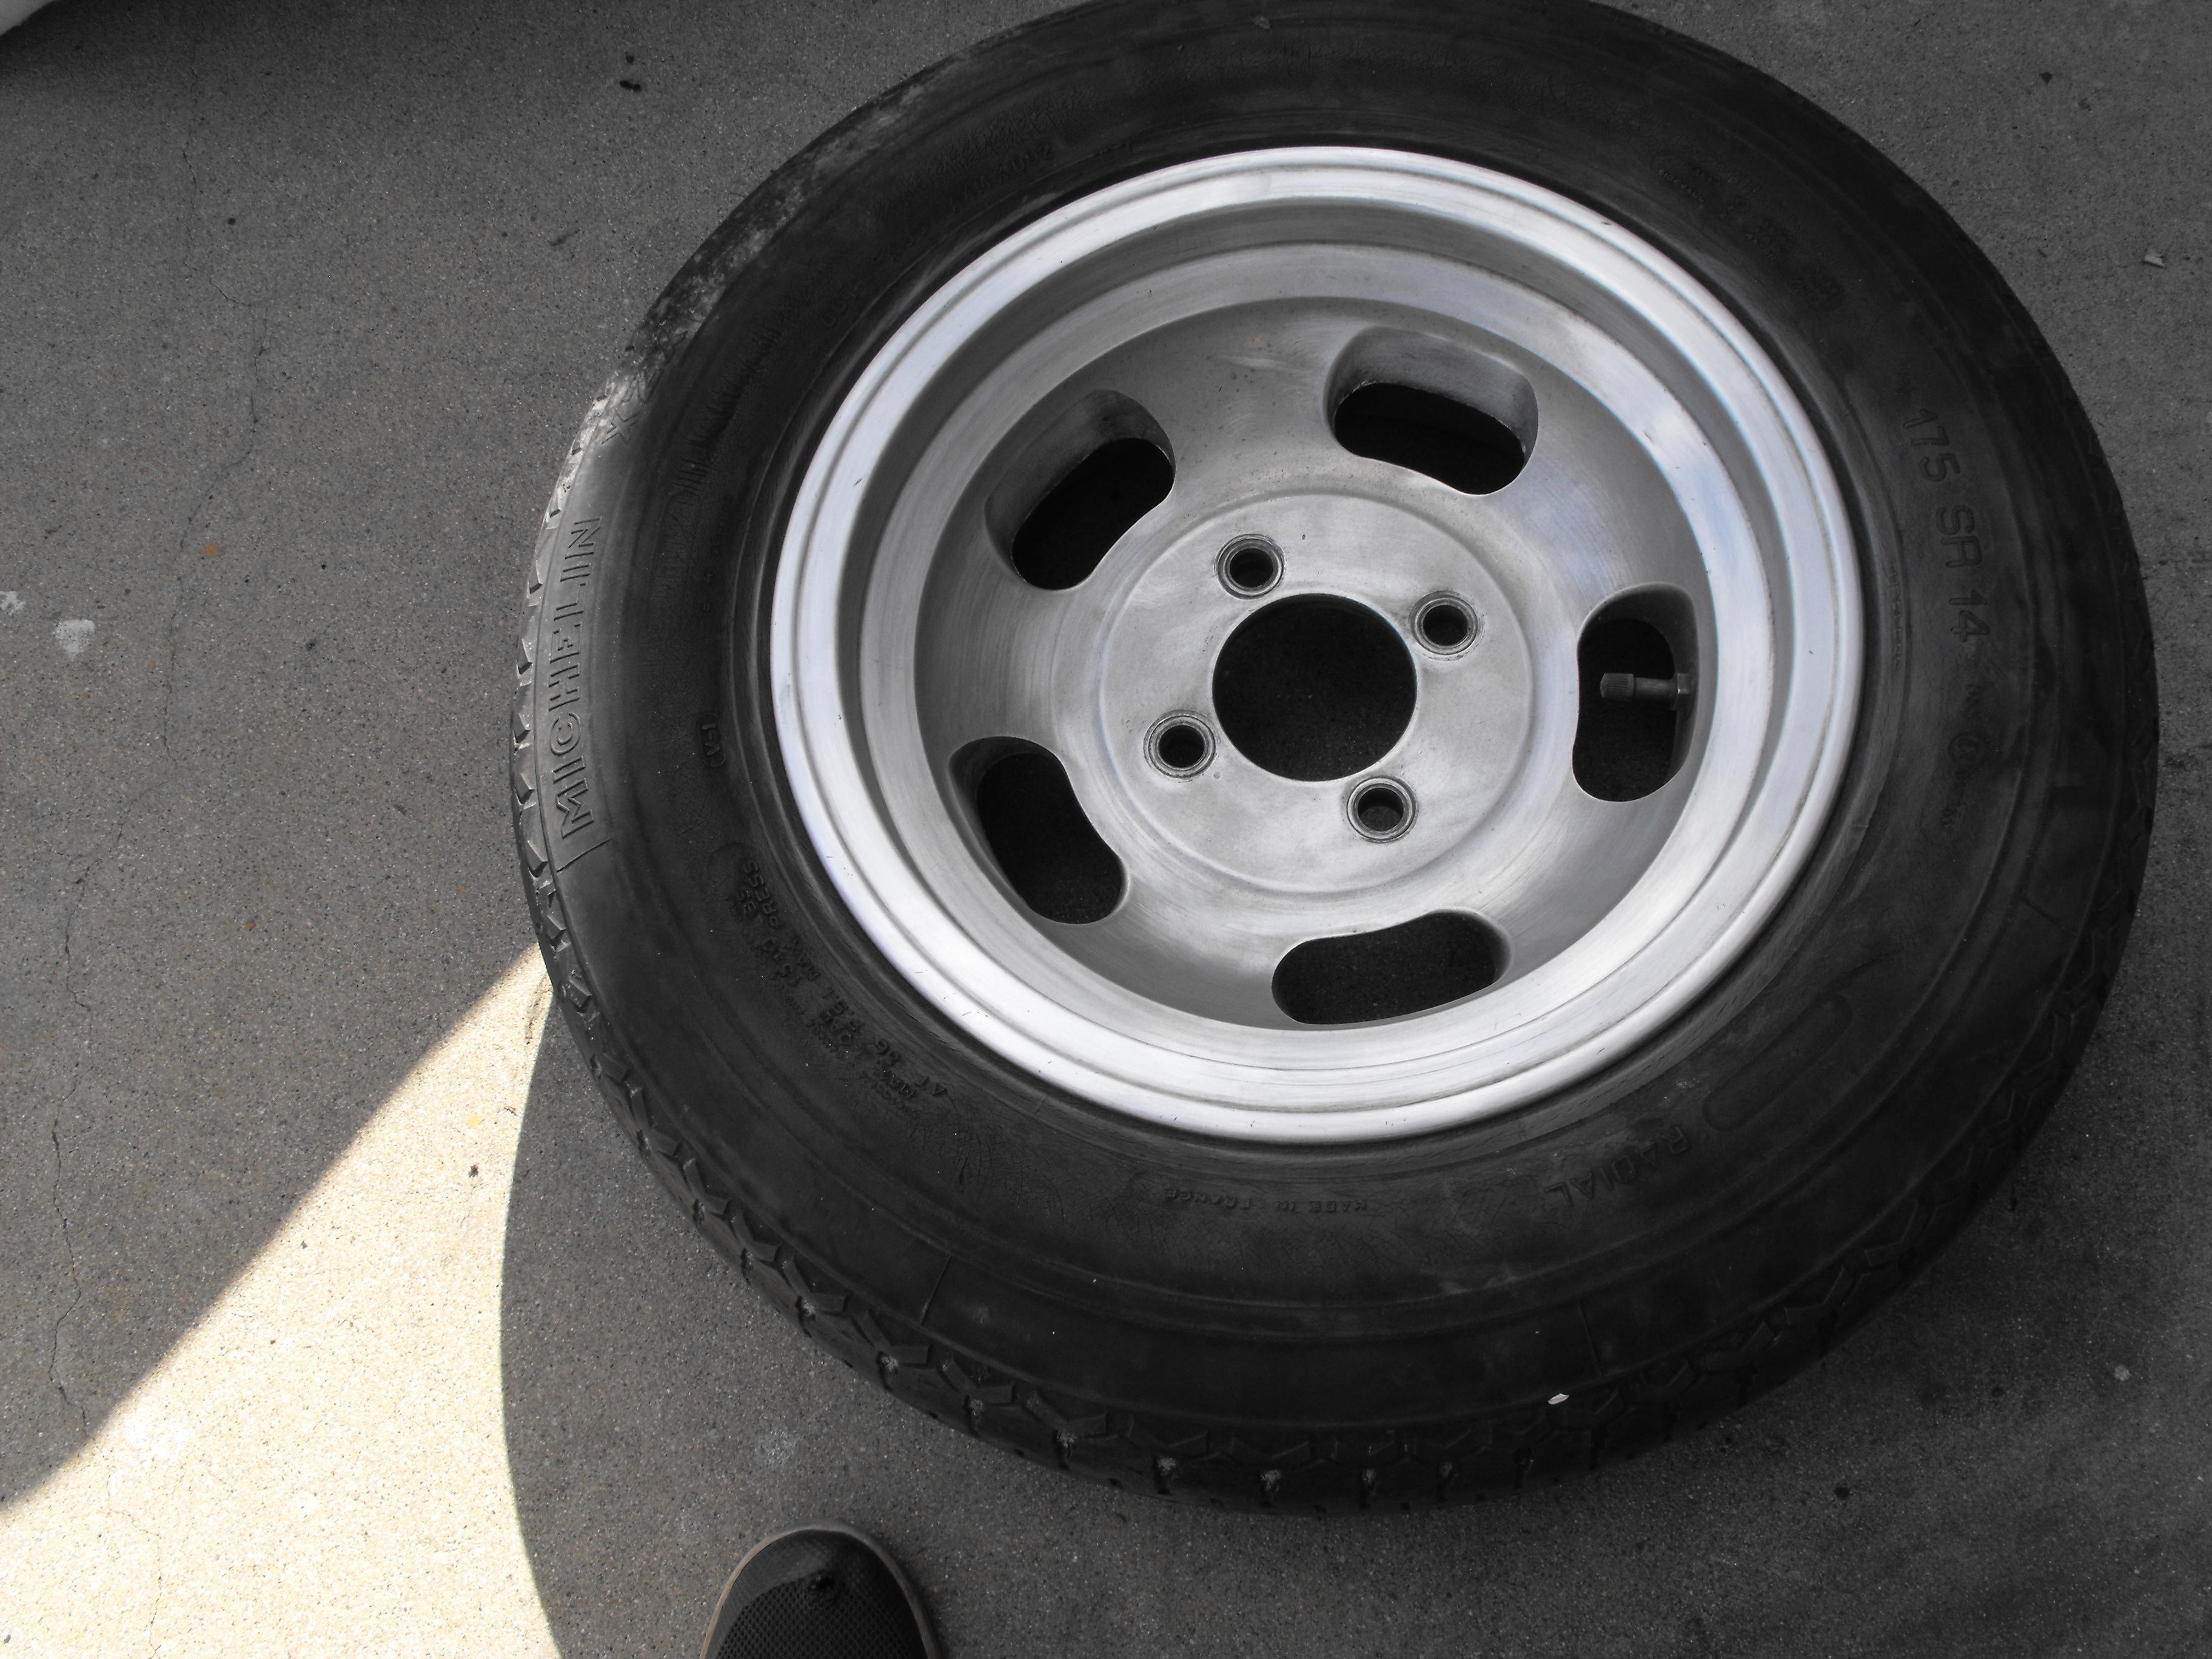
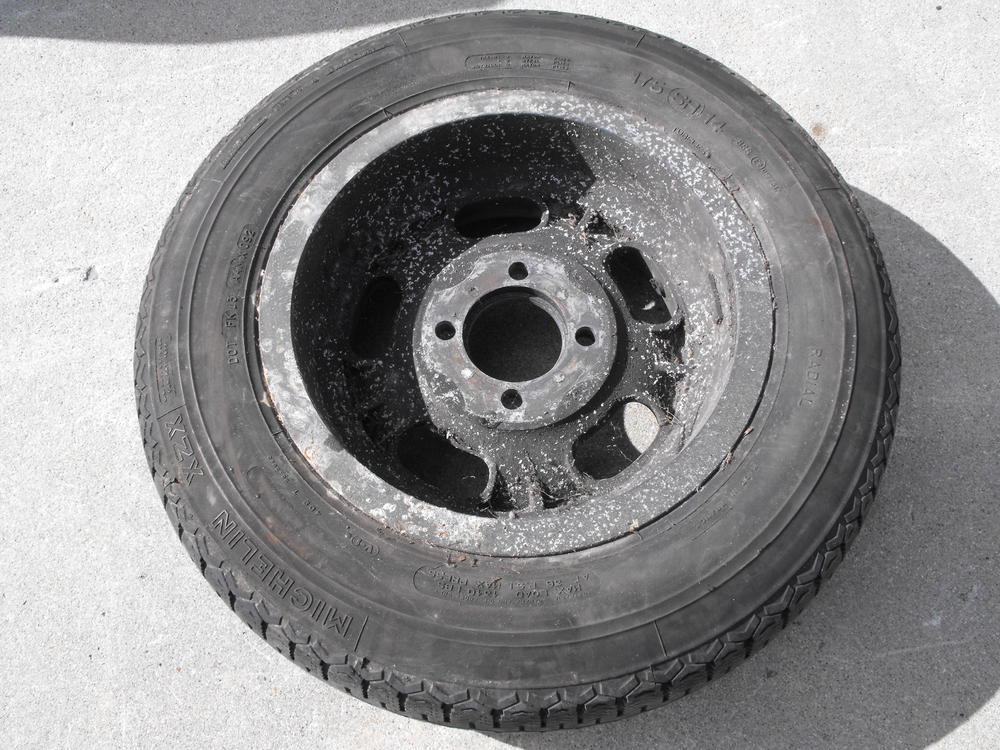
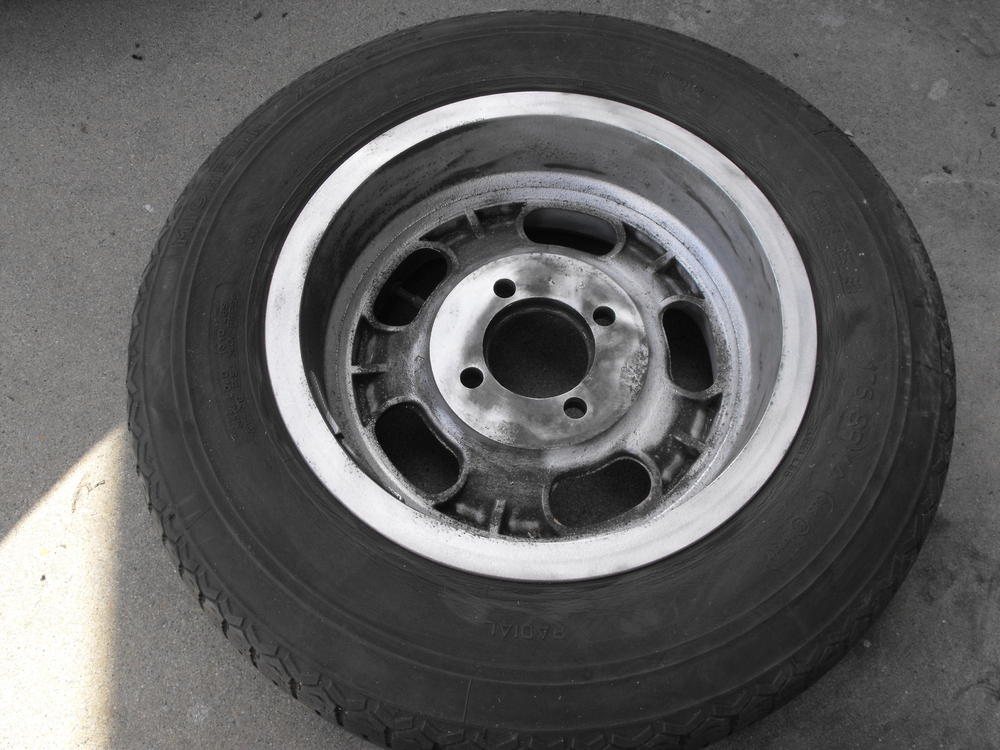
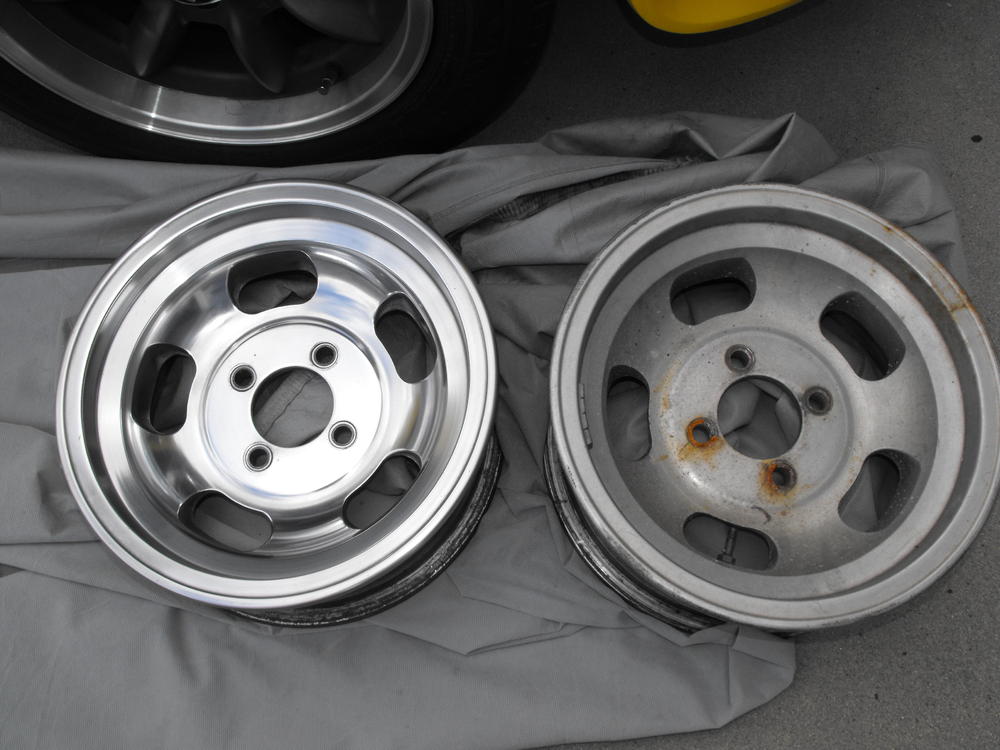
Technique is pretty old school. No vapor blasting here. For the Back side which was pretty caked, I attached an old wire wheel from my bench grinder to my Makita angle grinder. It worked great. Plenty of power and RPM's. It cut through the corrosion pretty quick without eating up the aluminum. Then I Used my cordless drill with the little conical wire brush attachment and got the crevices. For the front, I used small wire wheels on the slots. Then I used sandpaper, then polishing compound, then Mothers Power Ball to finish out. I used 220 grit on the road rash that was on the lip. Otherwise it takes forever to smooth things out. Then I used 500, then 1000, then 1500 grit on the entire front of the rim. I sanded mostly in a radial direction. Then used the Dark Gray polishing compound with polishing wheel attached to my $18 Harbor Freight 3000 RPM corded drill. After that I went over it again with the finer white polishing compound. After that I used the Mothers power ball along with the Mothers polish and then wiped clean. It takes about 2 hours per wheel going through the whole process. Also use the sandpaper and polish on the slots. So, that's it.
-
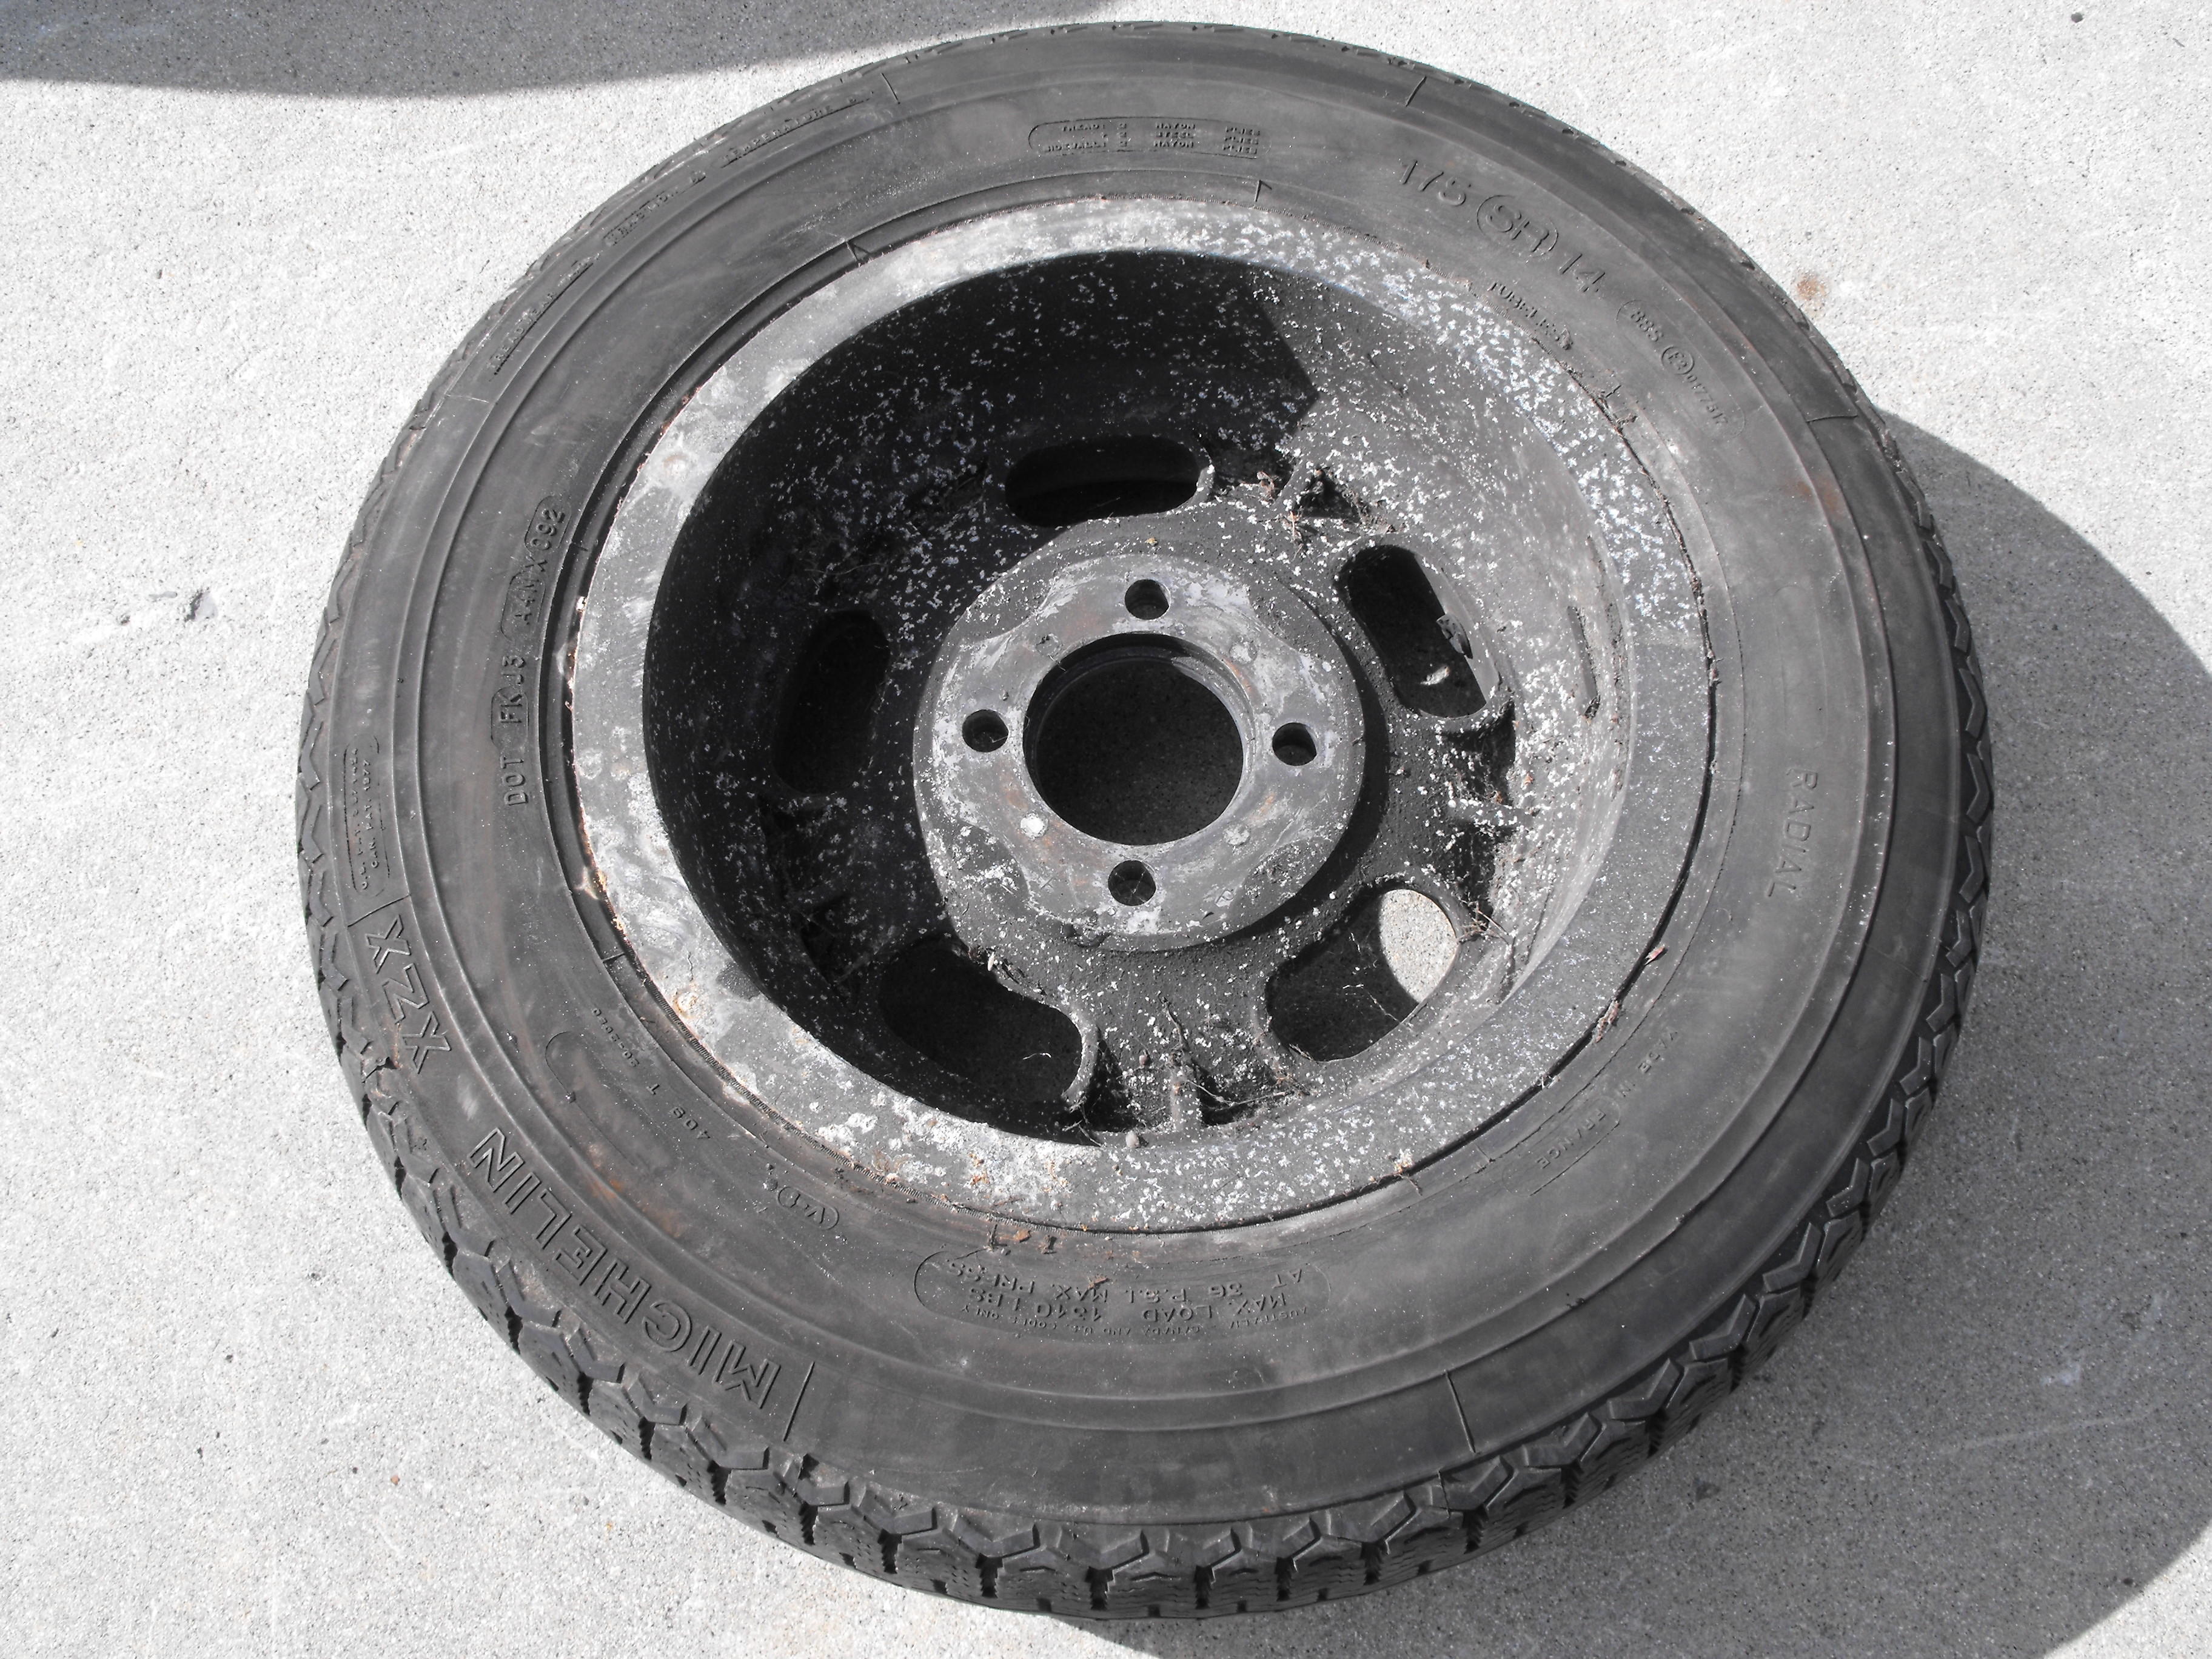
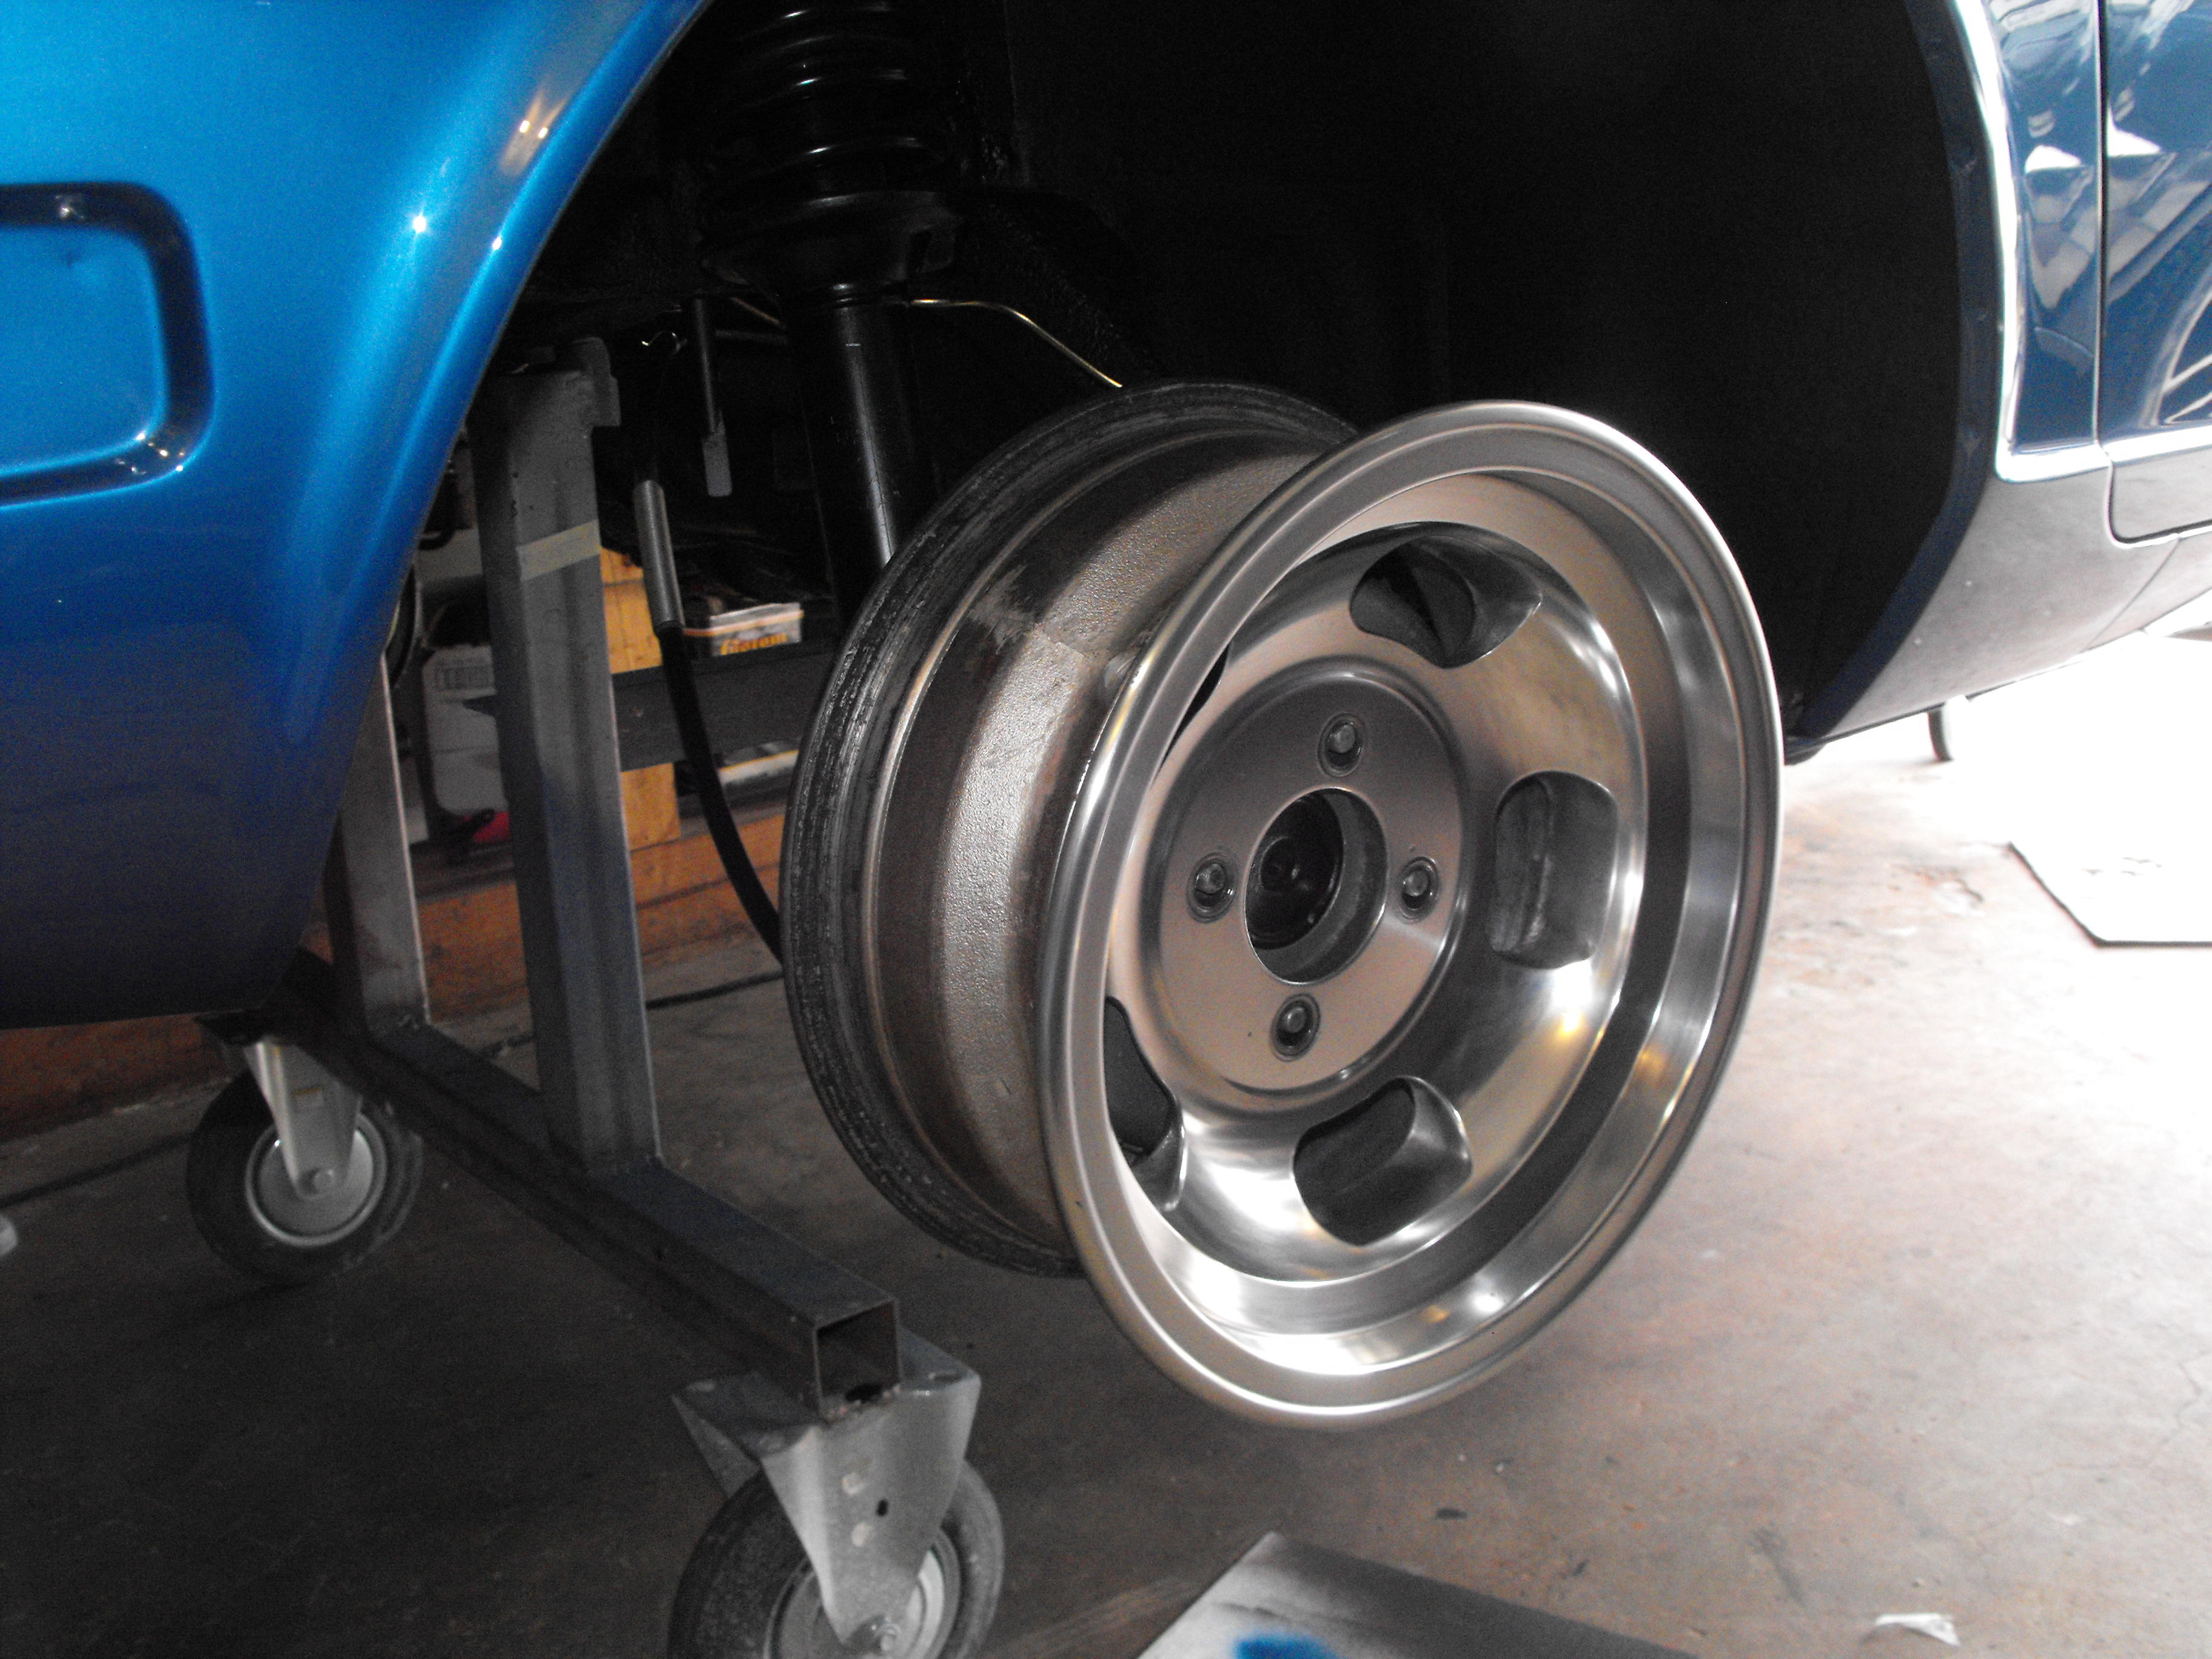
Cleaning and polishing the aluminum mags now. The back side was pretty corroded. Cleaned it up a bit before taking to Discount Tire to have the old tires removed. With the tires removed, I will start polishing these up.
-
True. And as @jayhawk noted above, sounds like some re-builders don't see the filter as necessary.
-
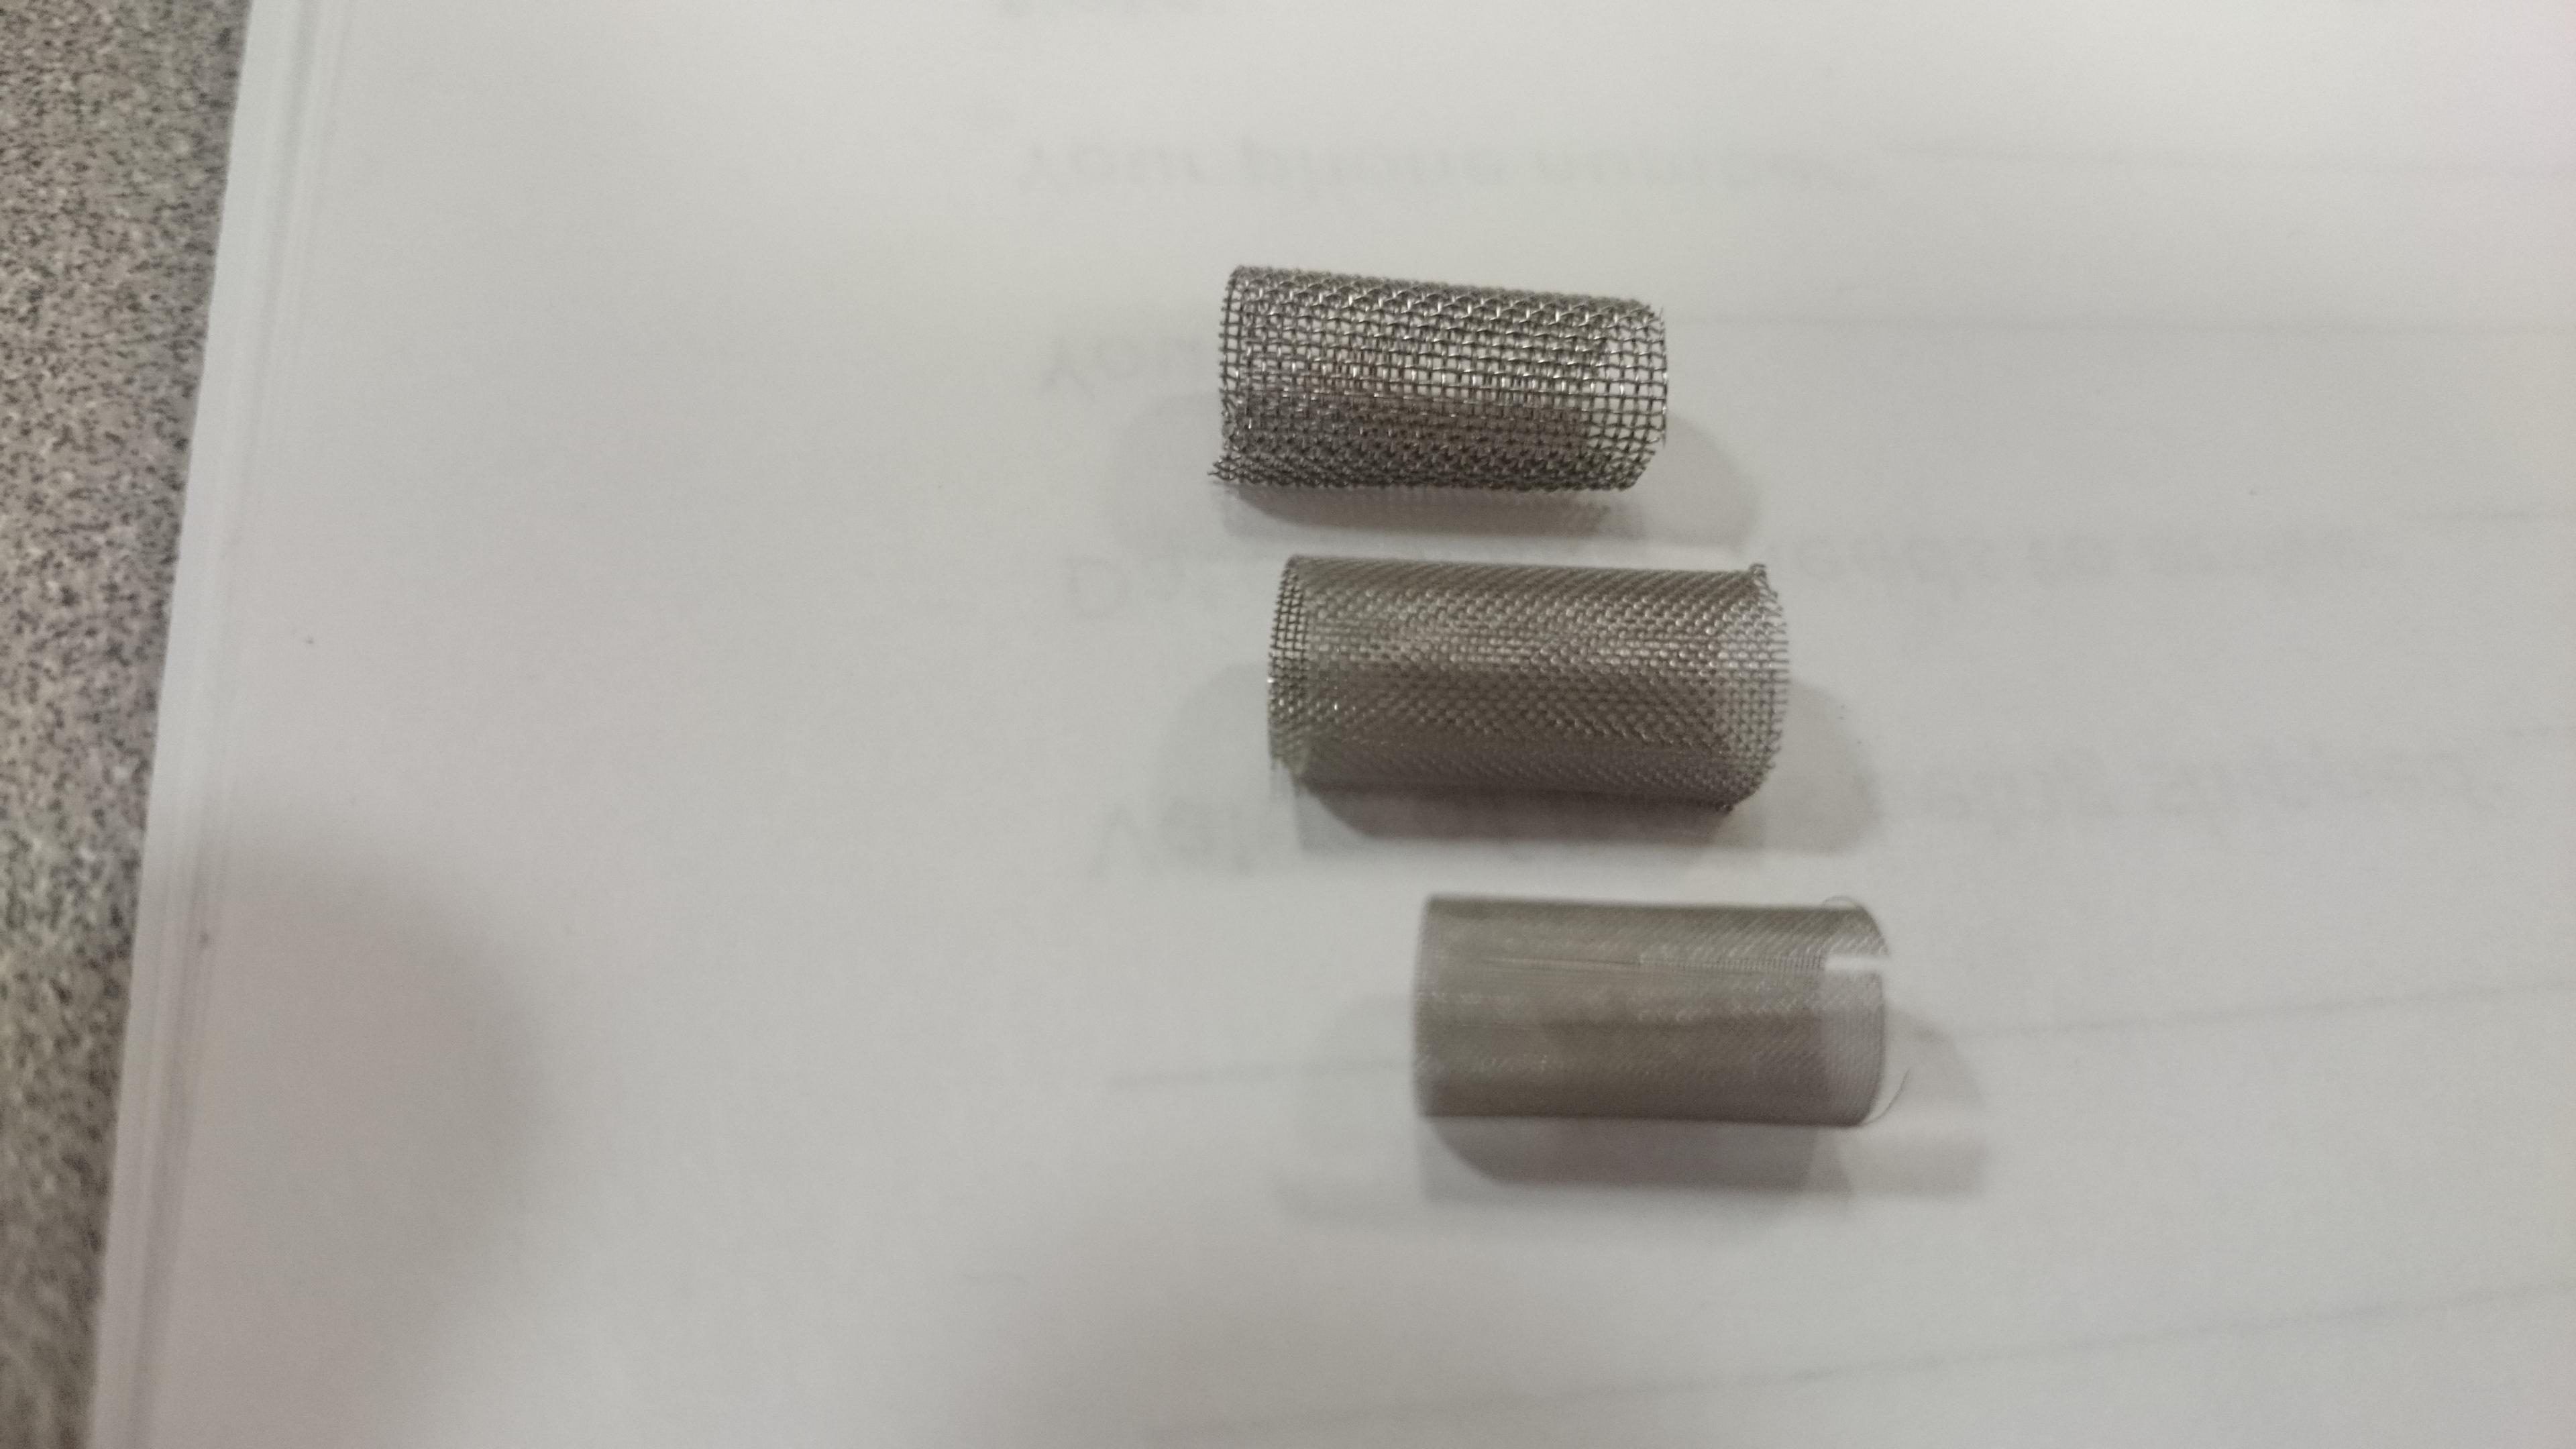
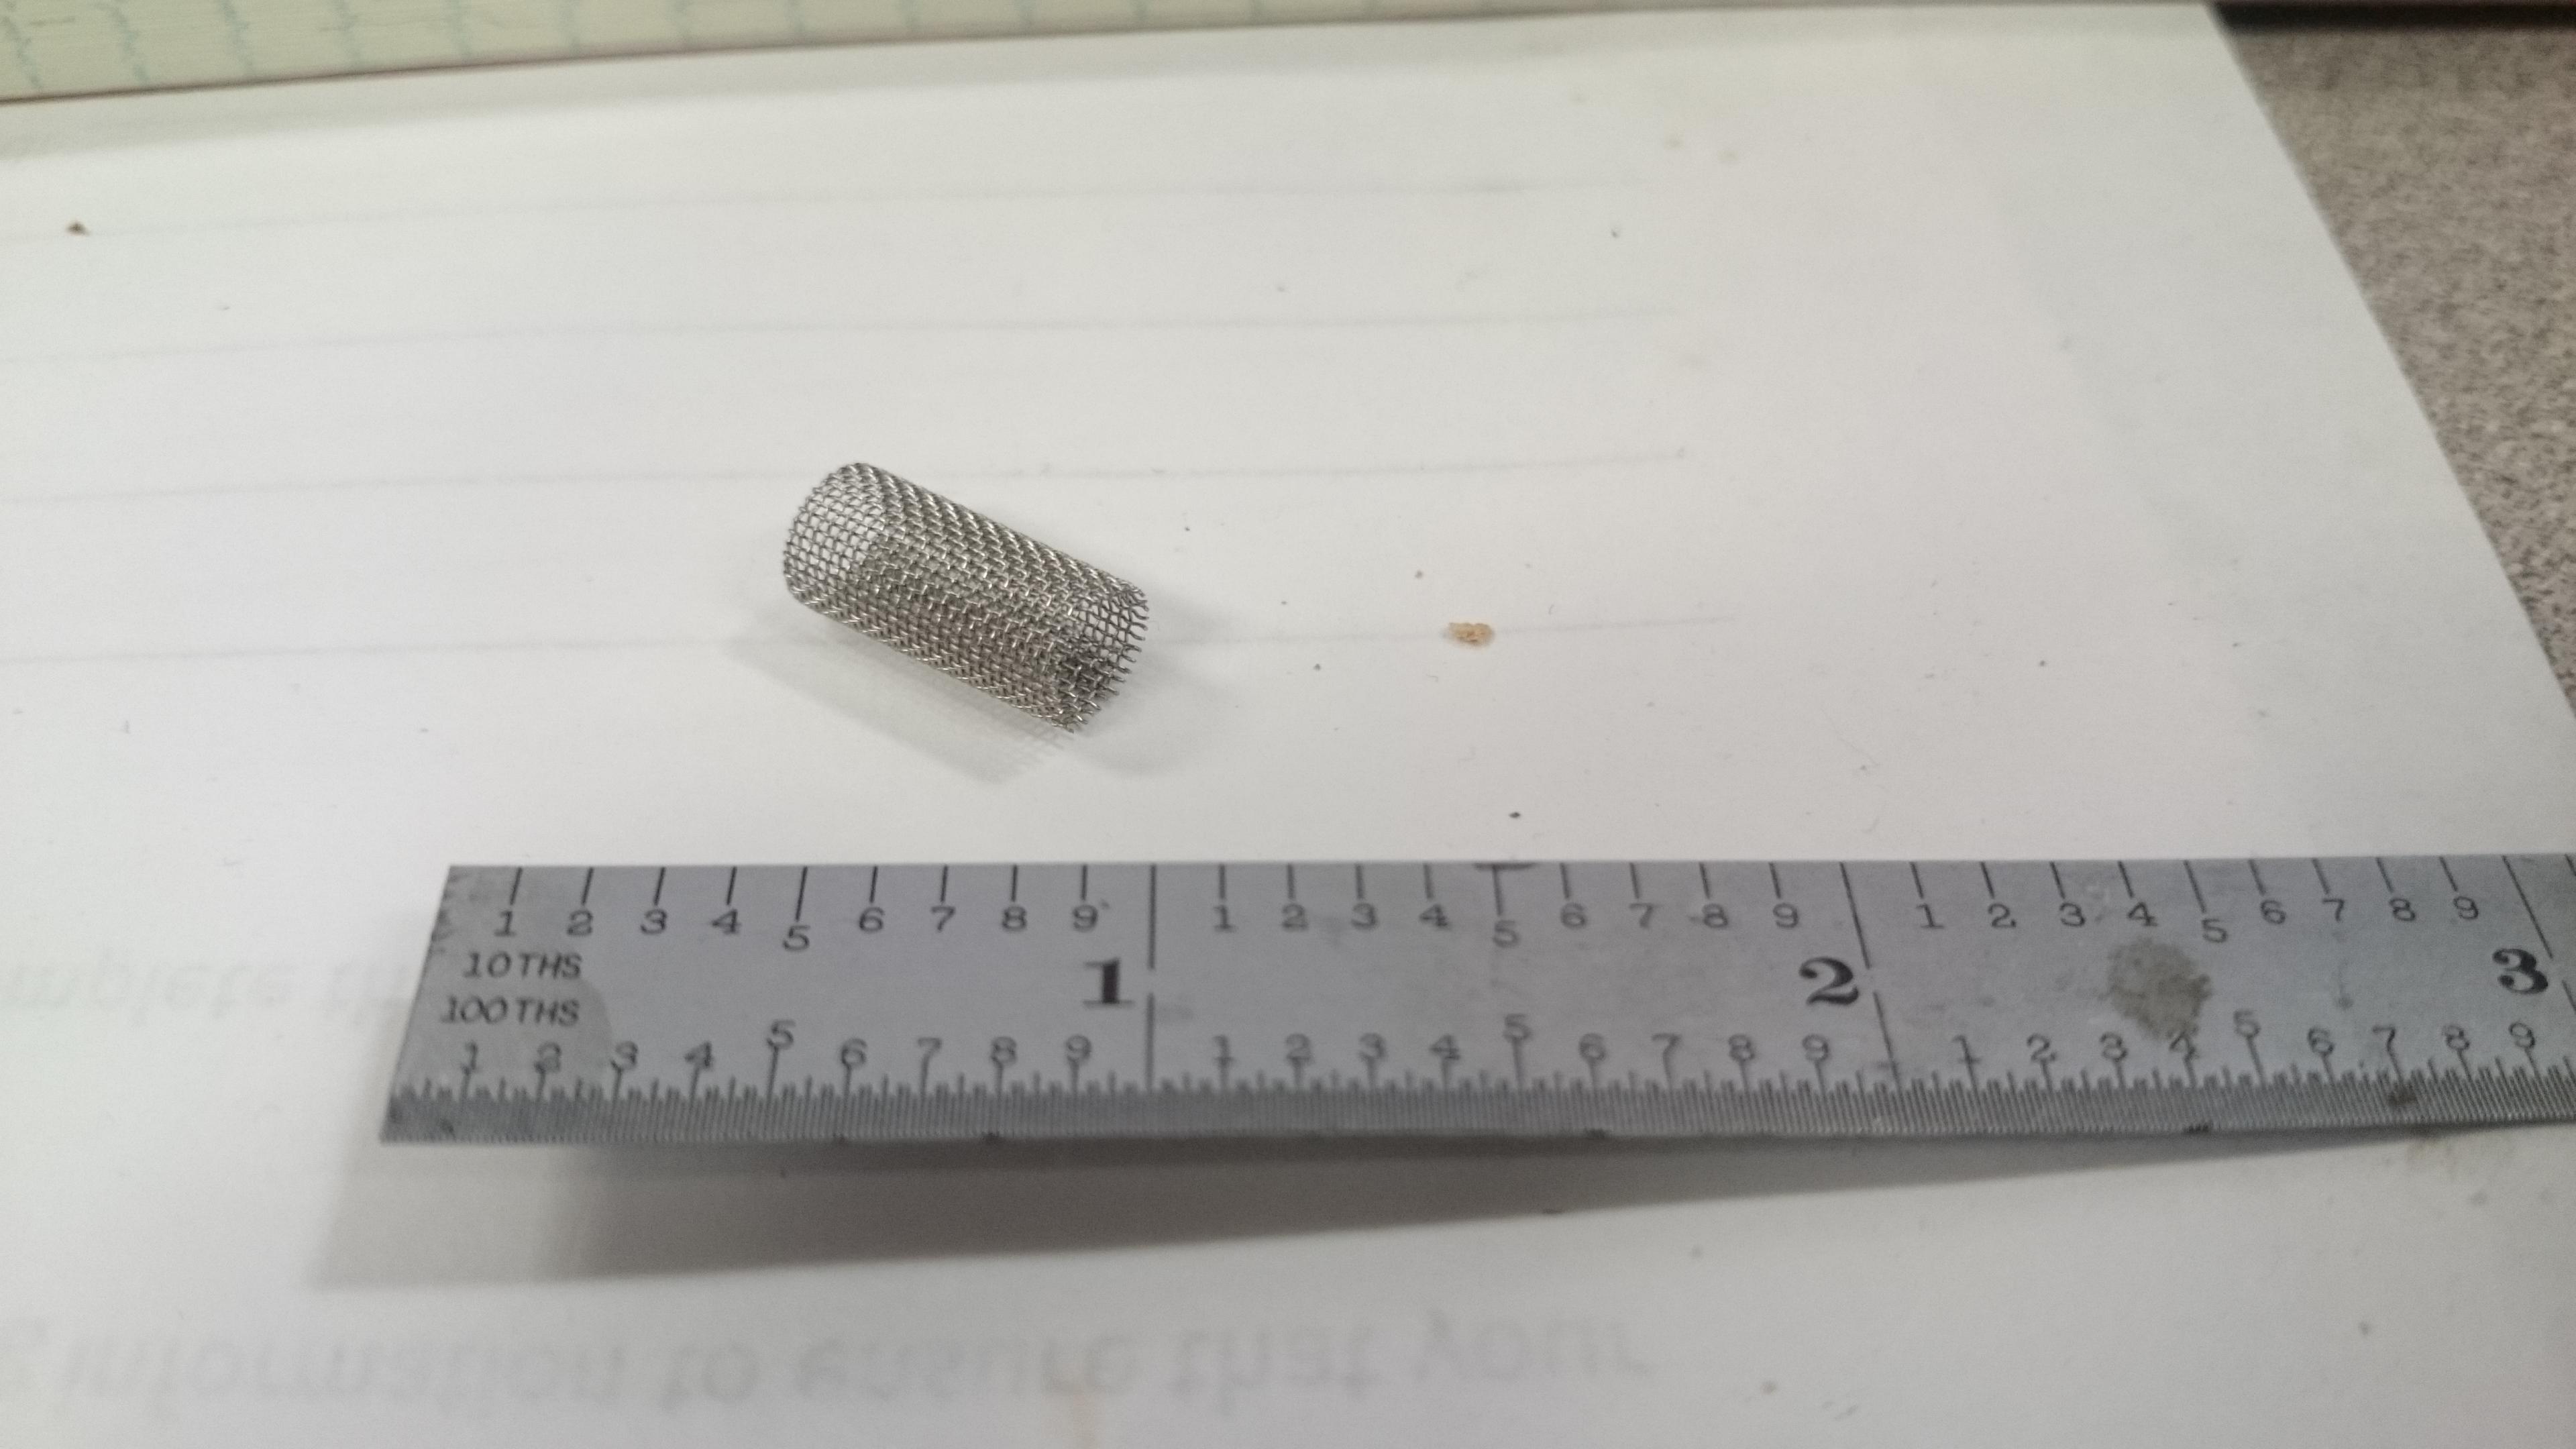
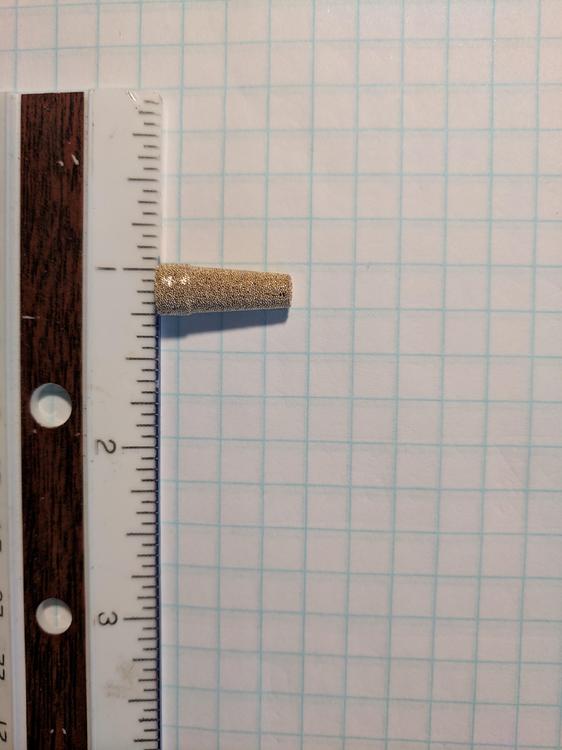
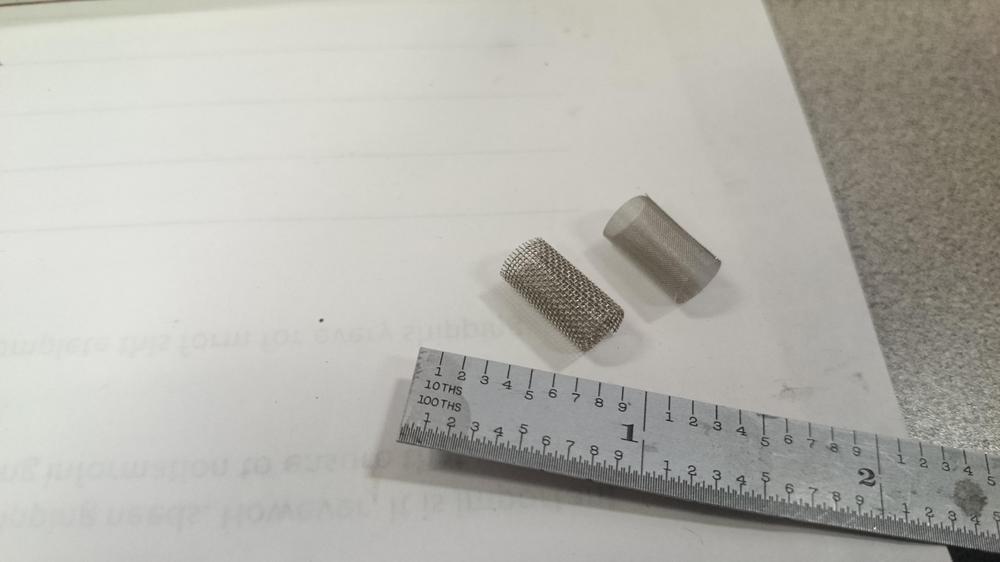
I am pretty impressed that you have two 'reasonable' looking filters here. Of the 6 carbs that I had at my disposal, 4 of the filters were completely disintegrated. And, I think your two are better than mine. It will probably be about a month before I put the carbs on so I have a little time to piece something together before then. Below are pics of the SST 60, 80 and 150 mesh. The 150 mesh appears to be more like the brass mesh size. The 80 mesh (in the middle) is actually pretty nice because it has reasonably small holes and is still somewhat stiff. The 150 mesh has opening size of .0041" while the 80 mesh is .006", 50 mesh is .011".

-
These are probably pretty close. Made these at my desk at work. Also, looks like stainless steel would work well in a gasoline environment. http://hayata.com/stainless-steel-chemical-resistance-chart-f-l/


-
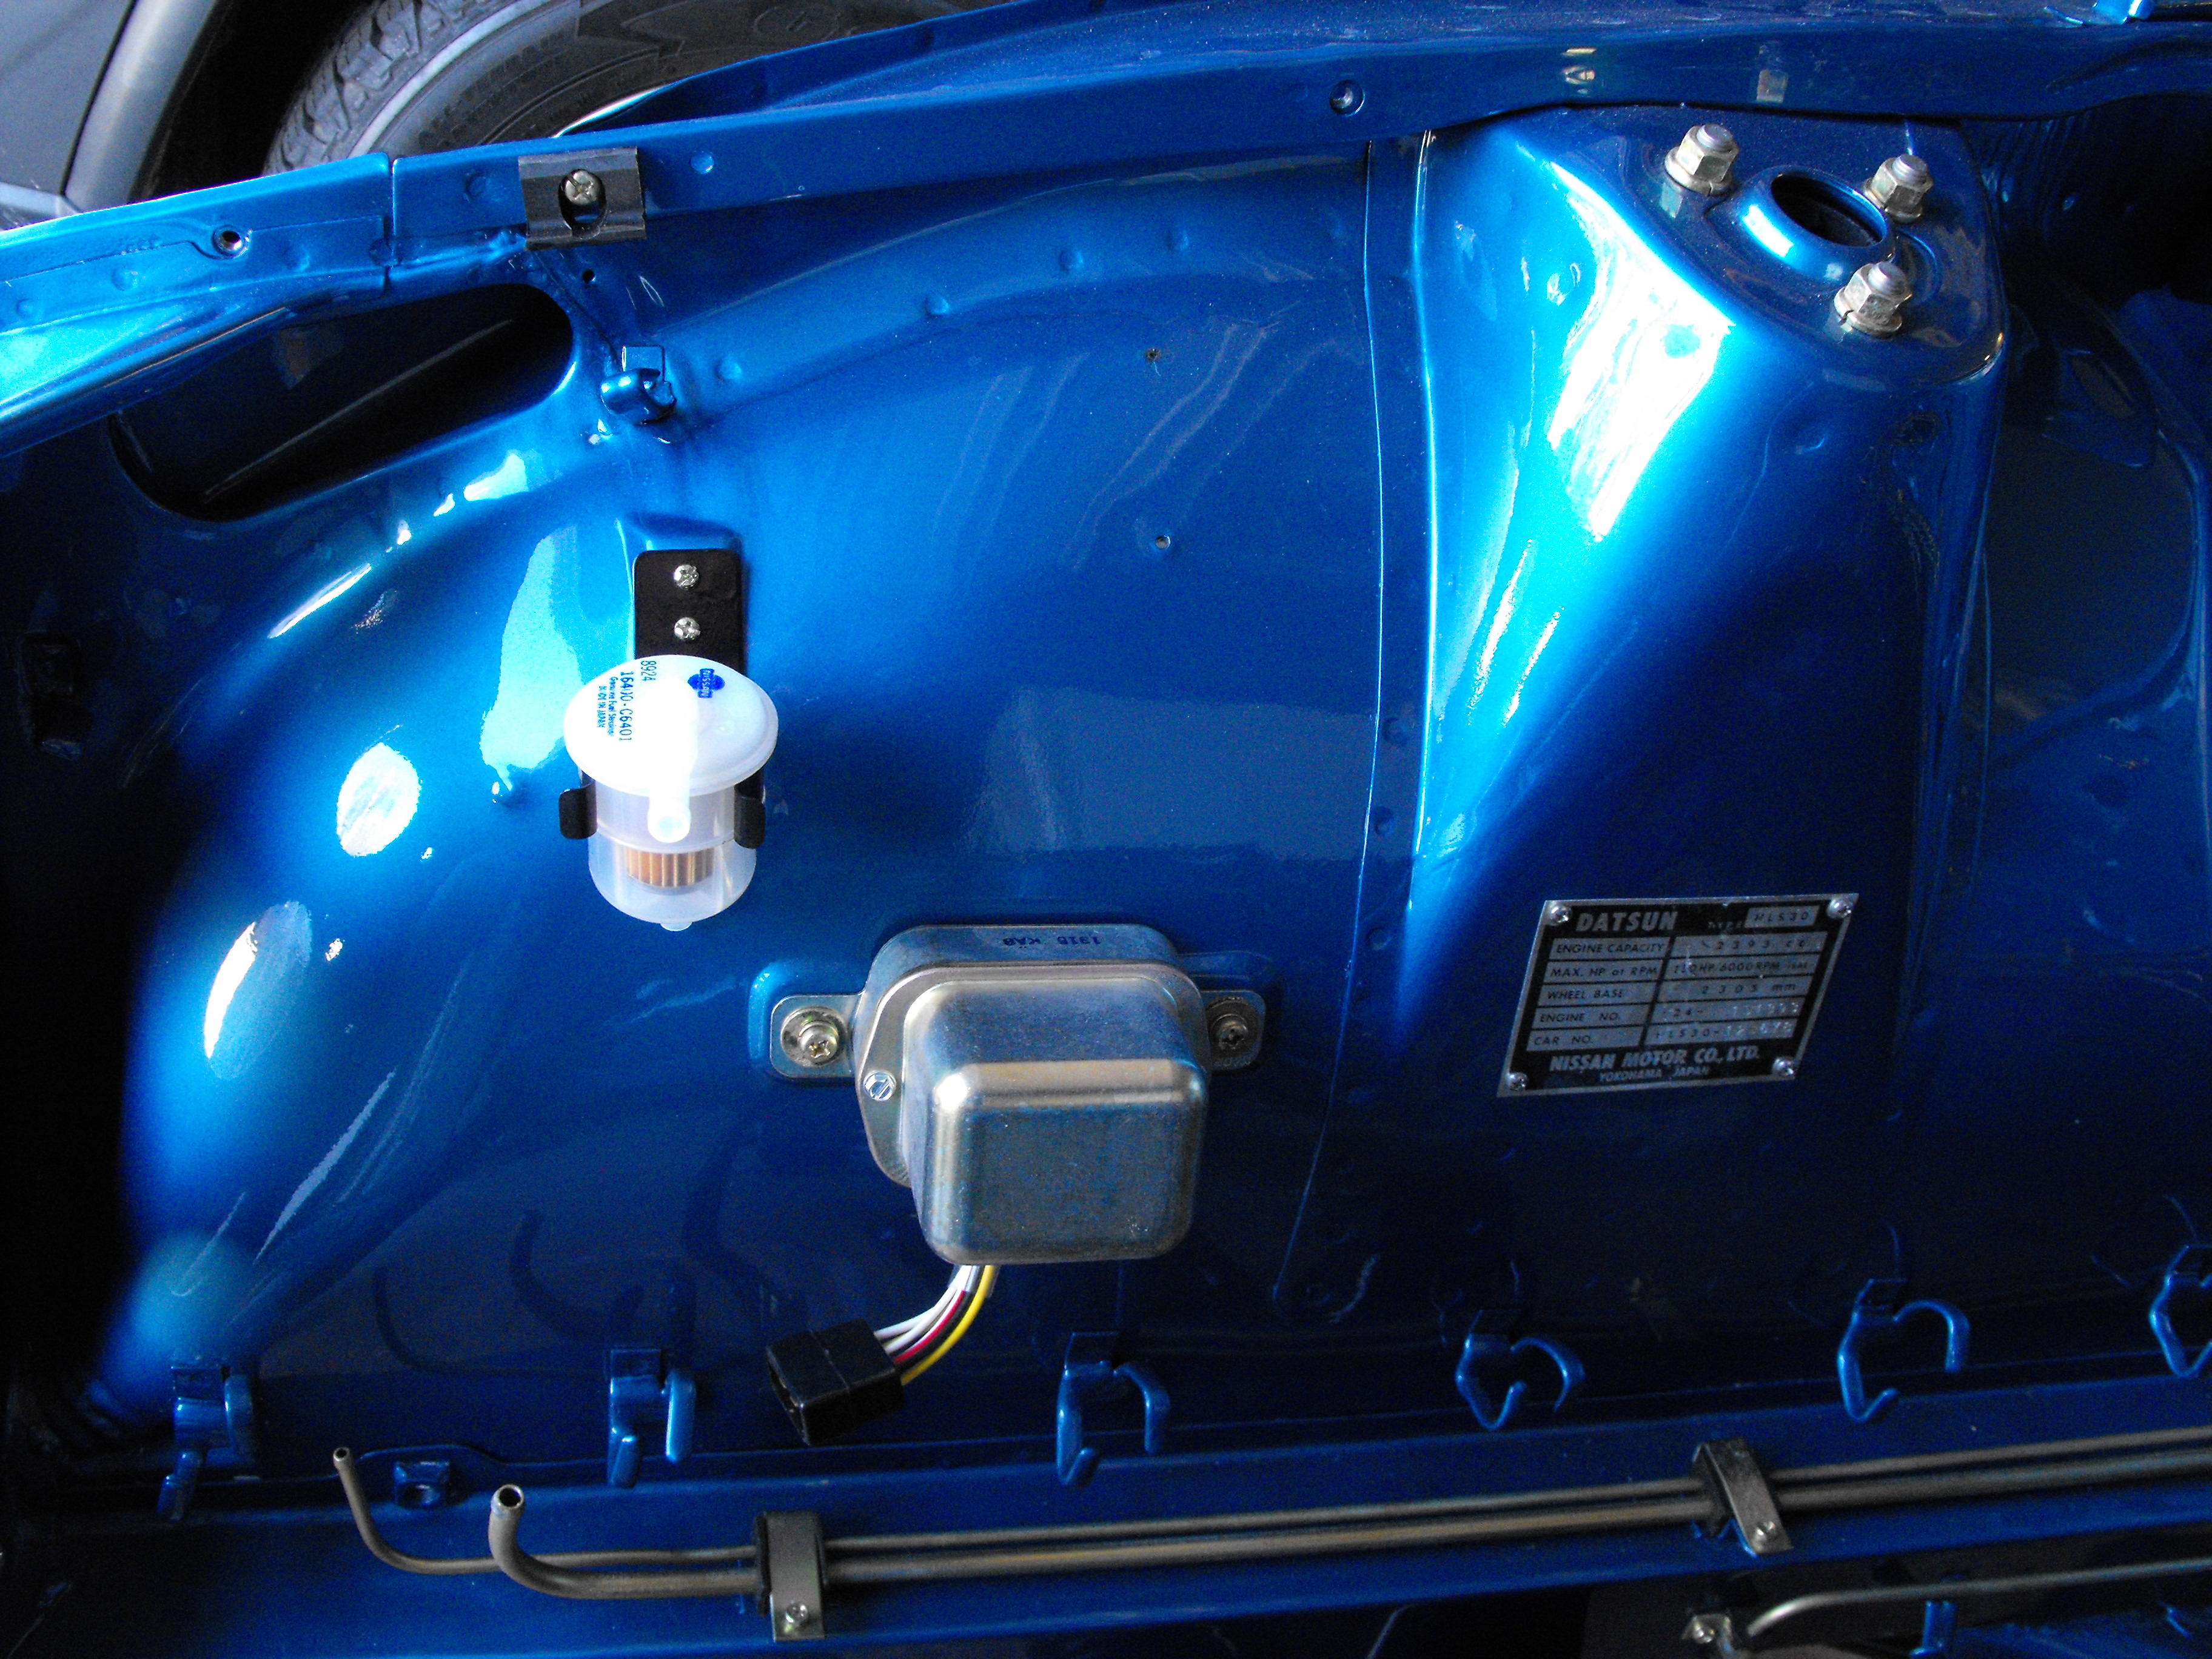
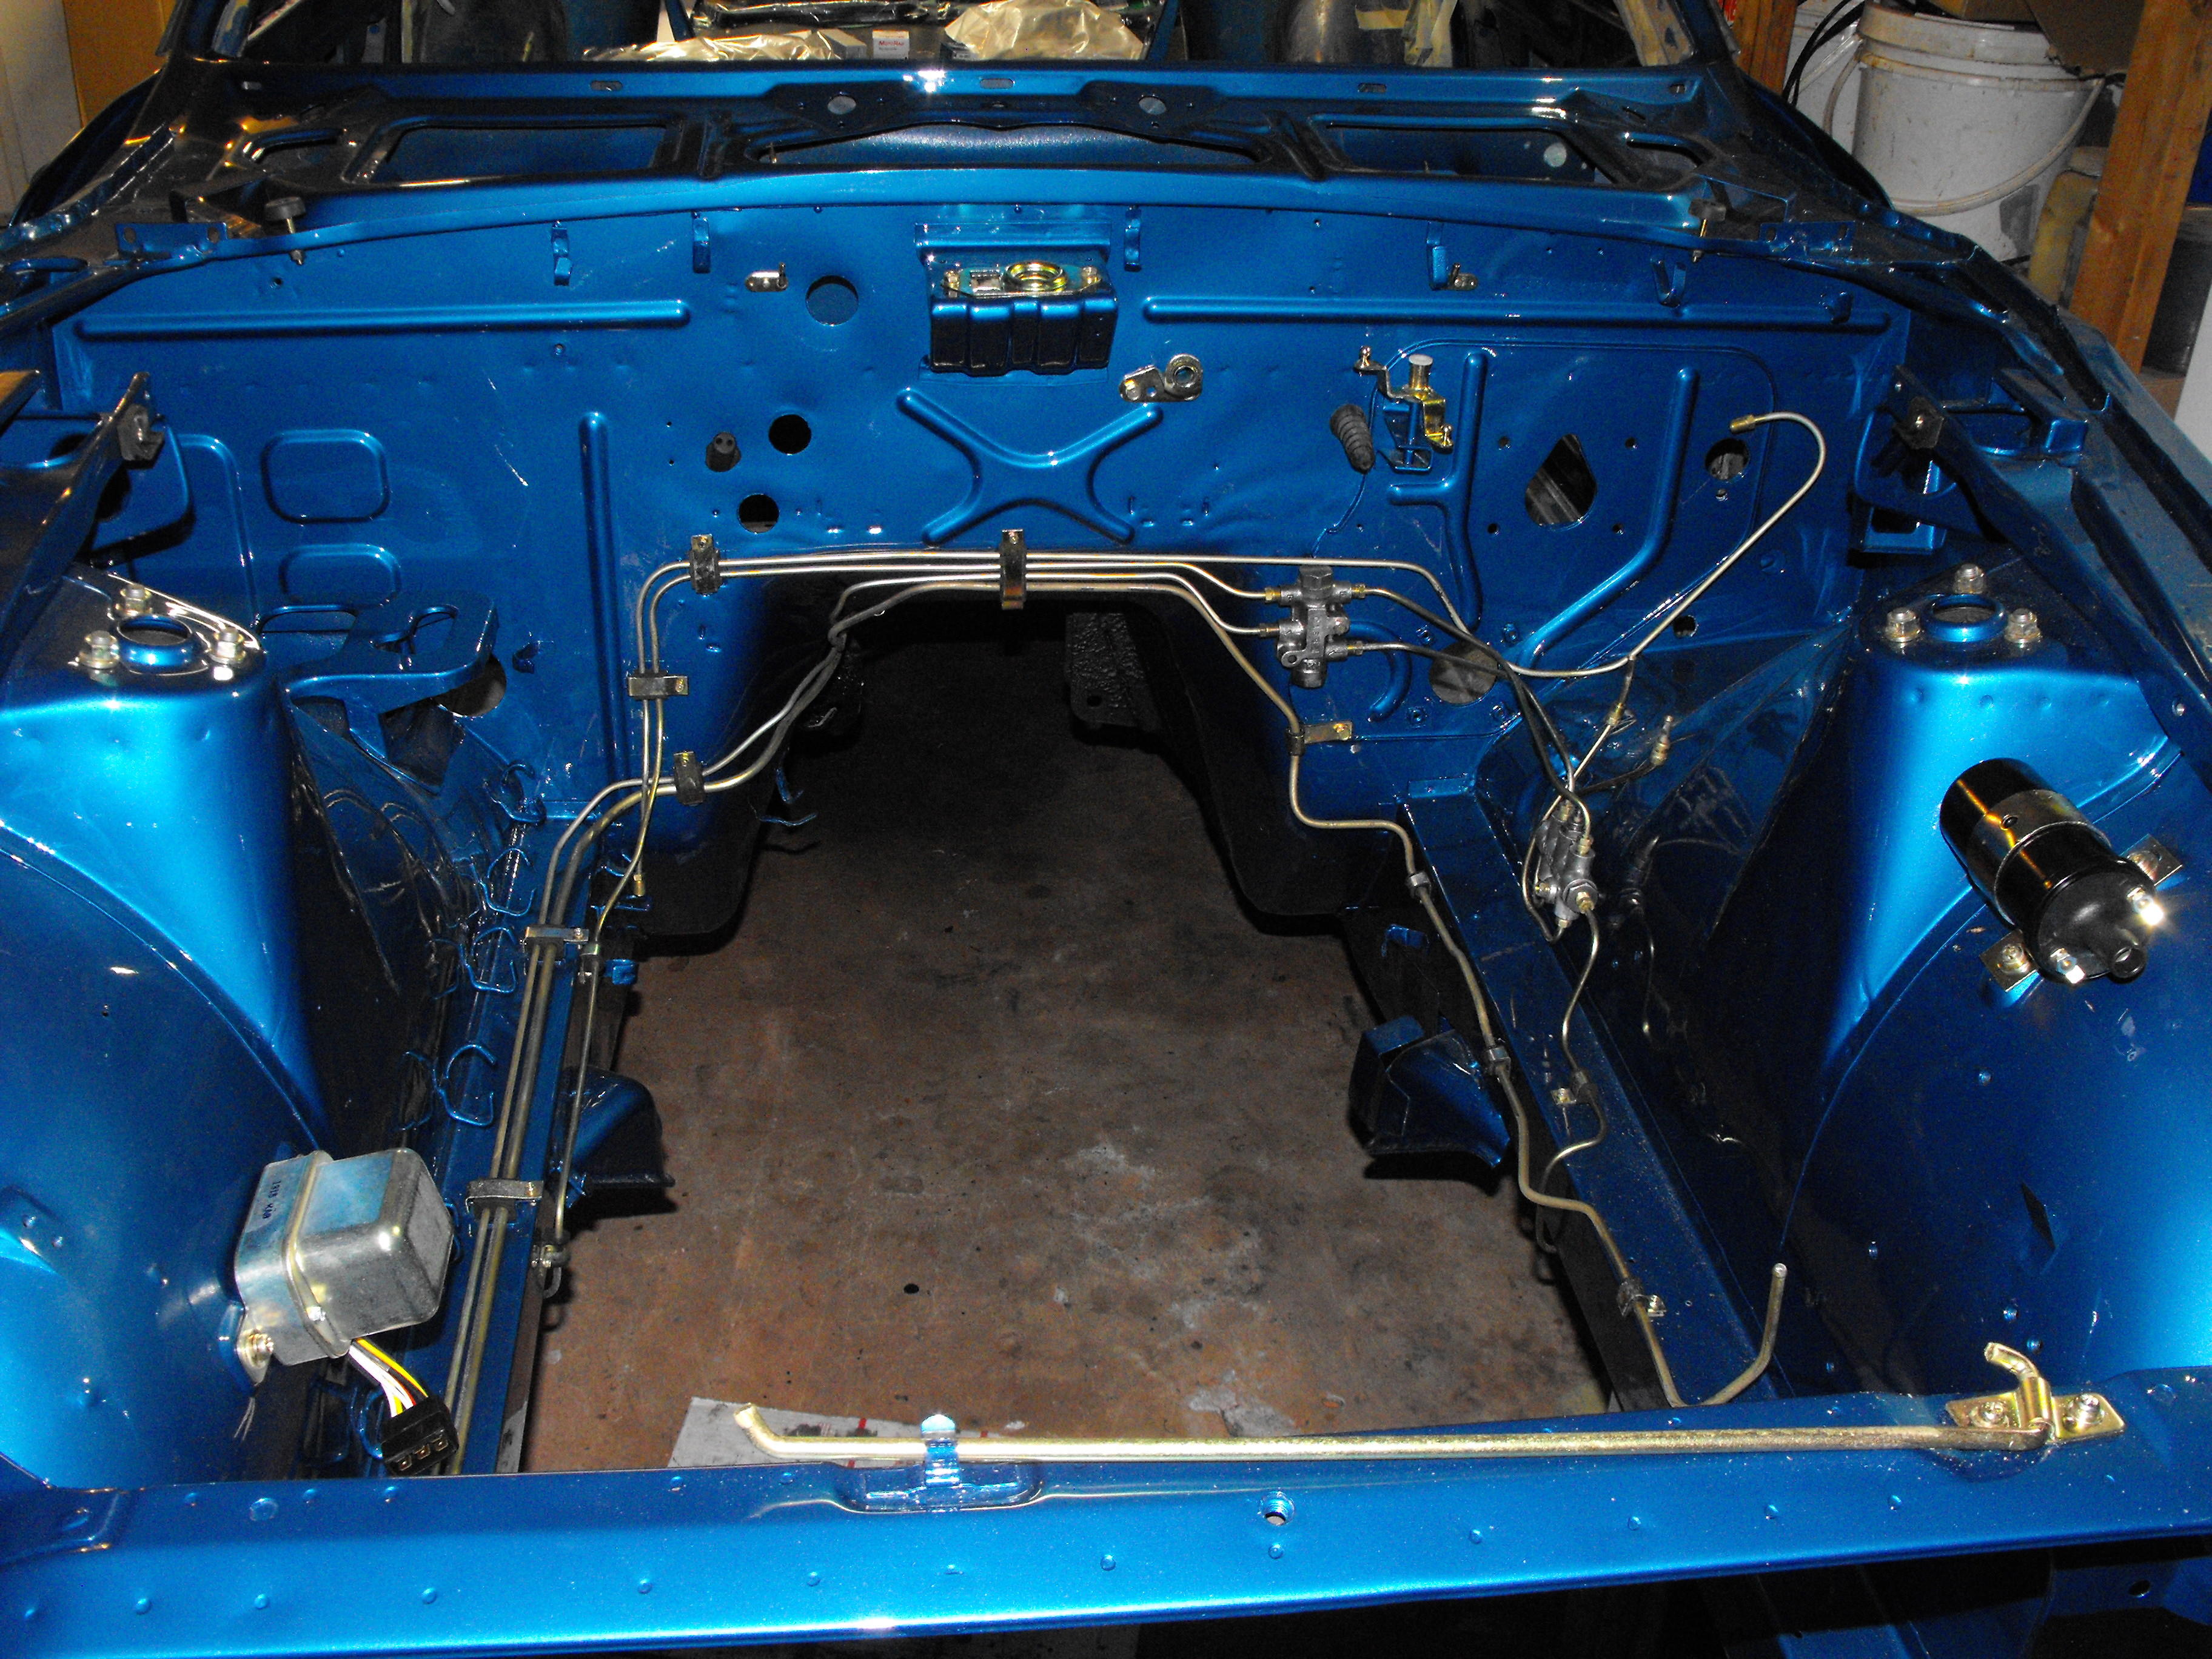
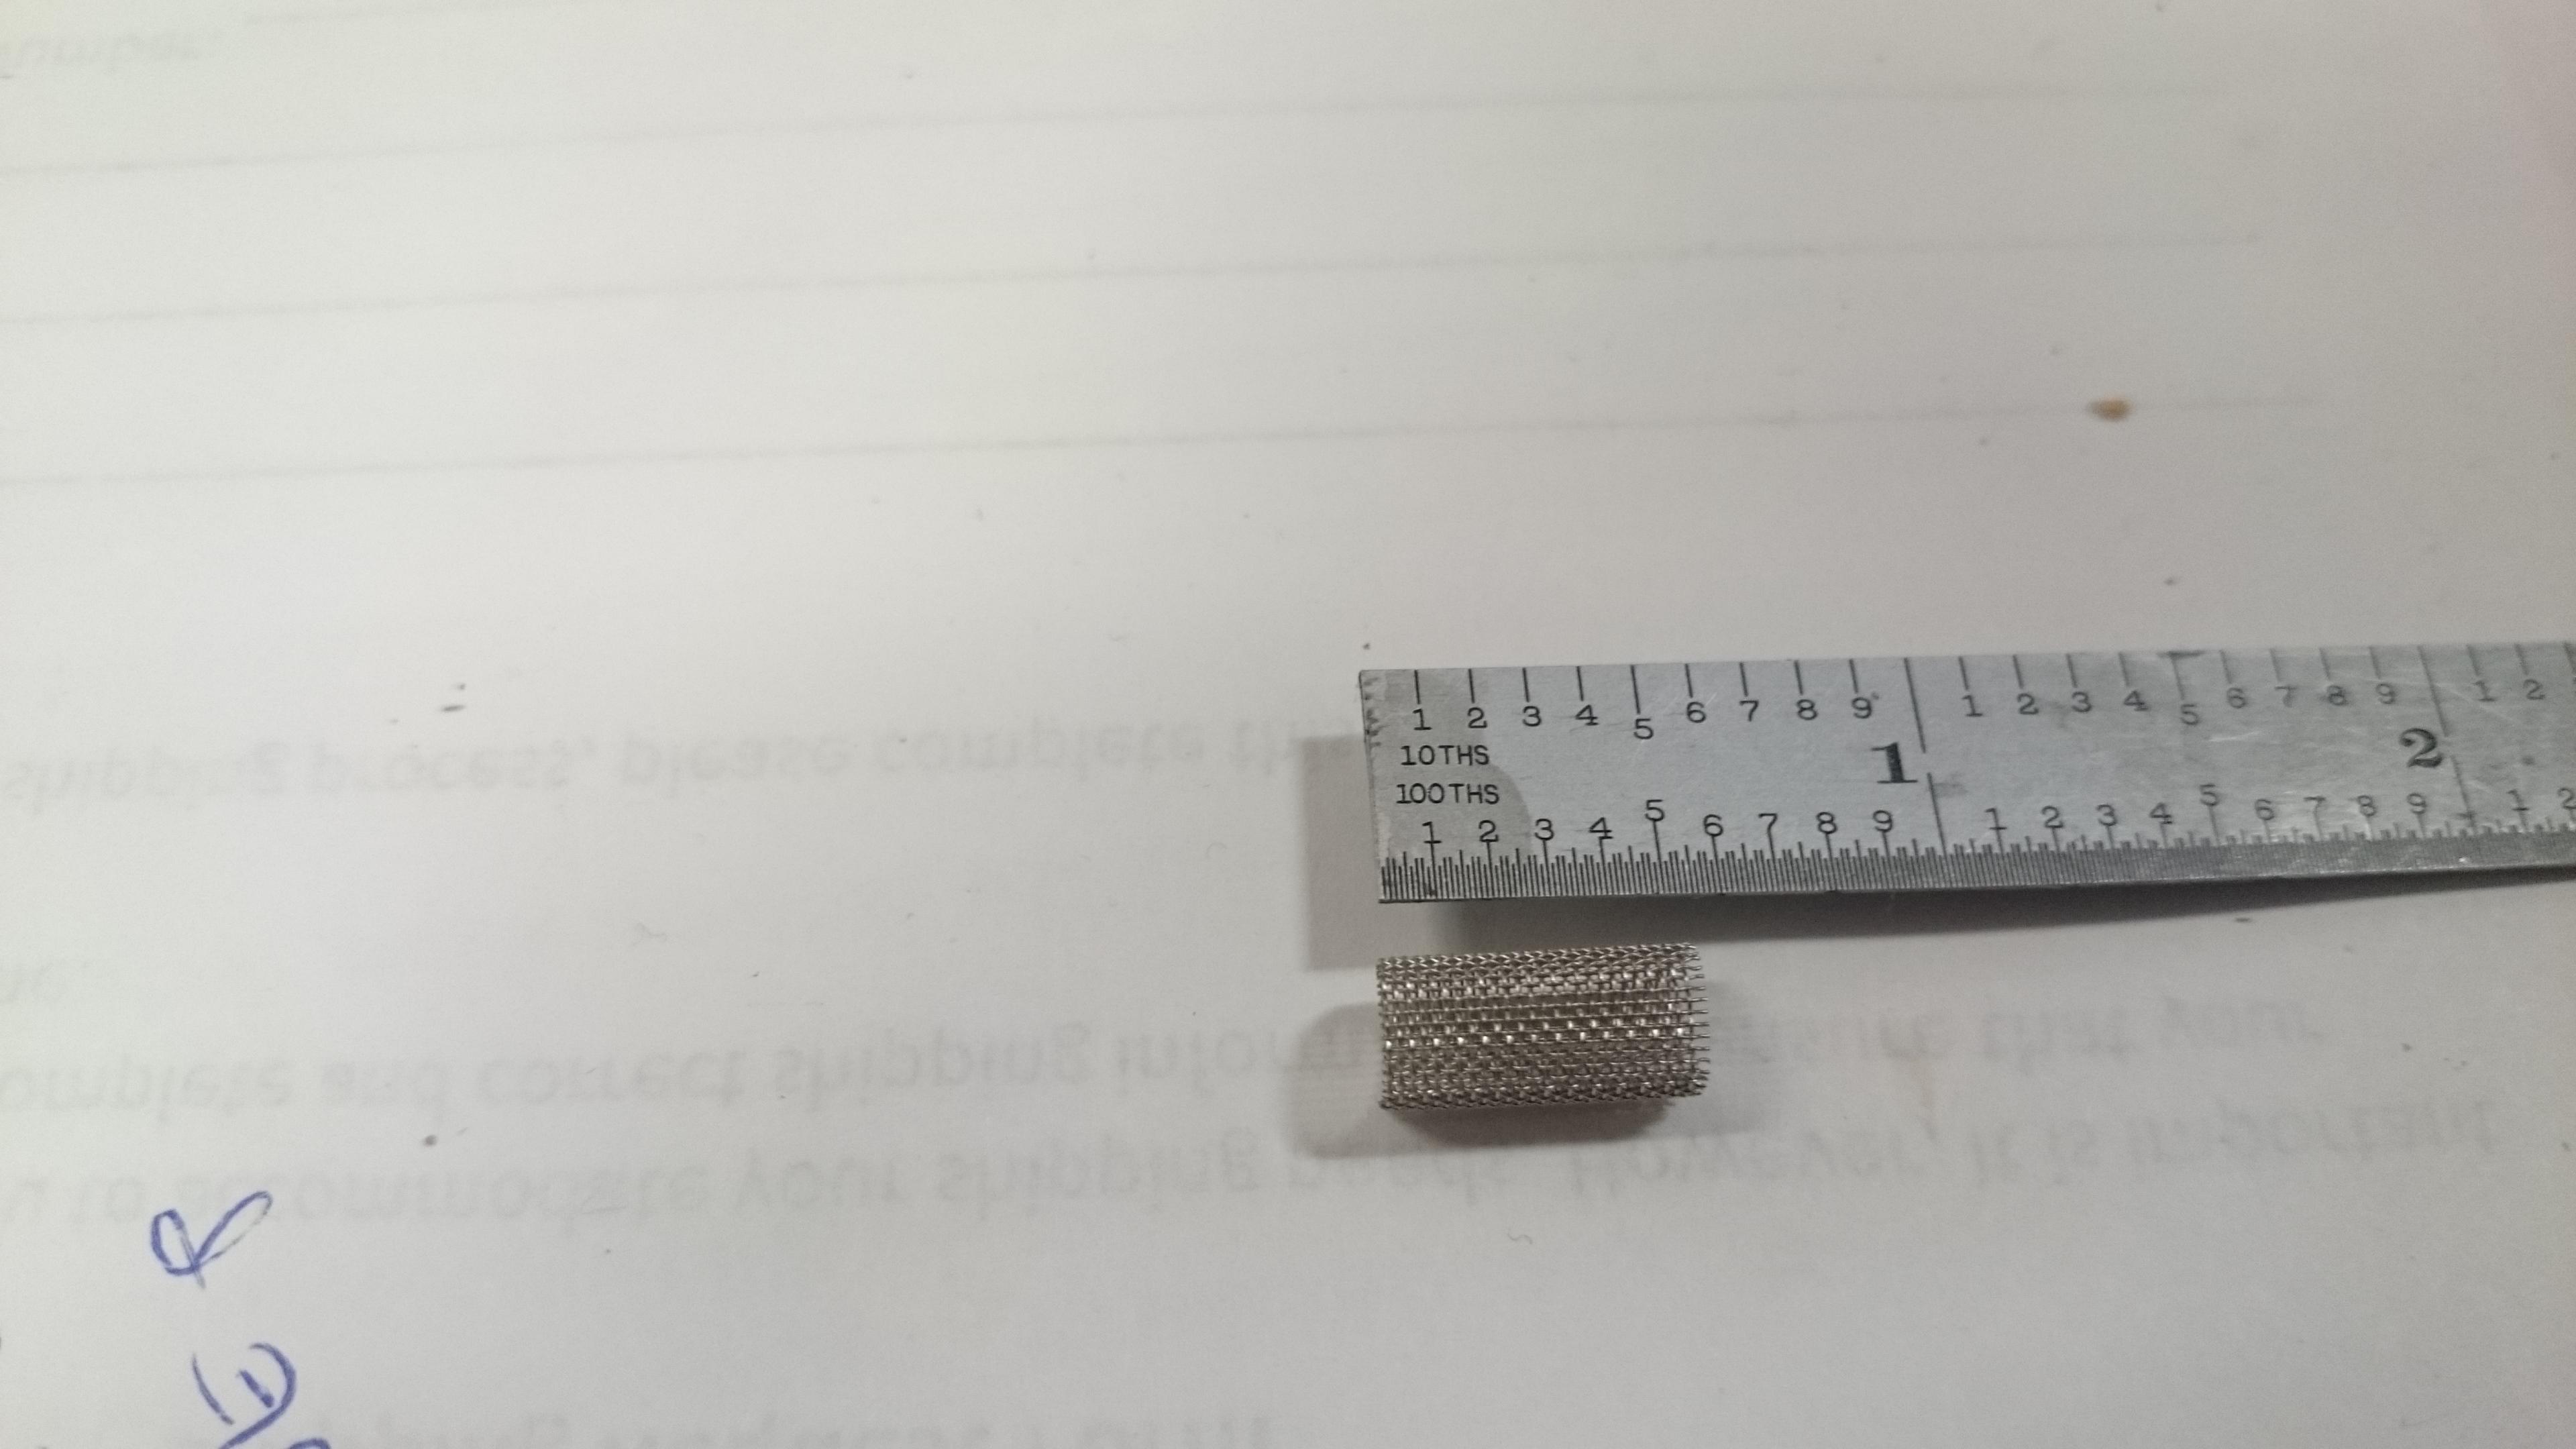
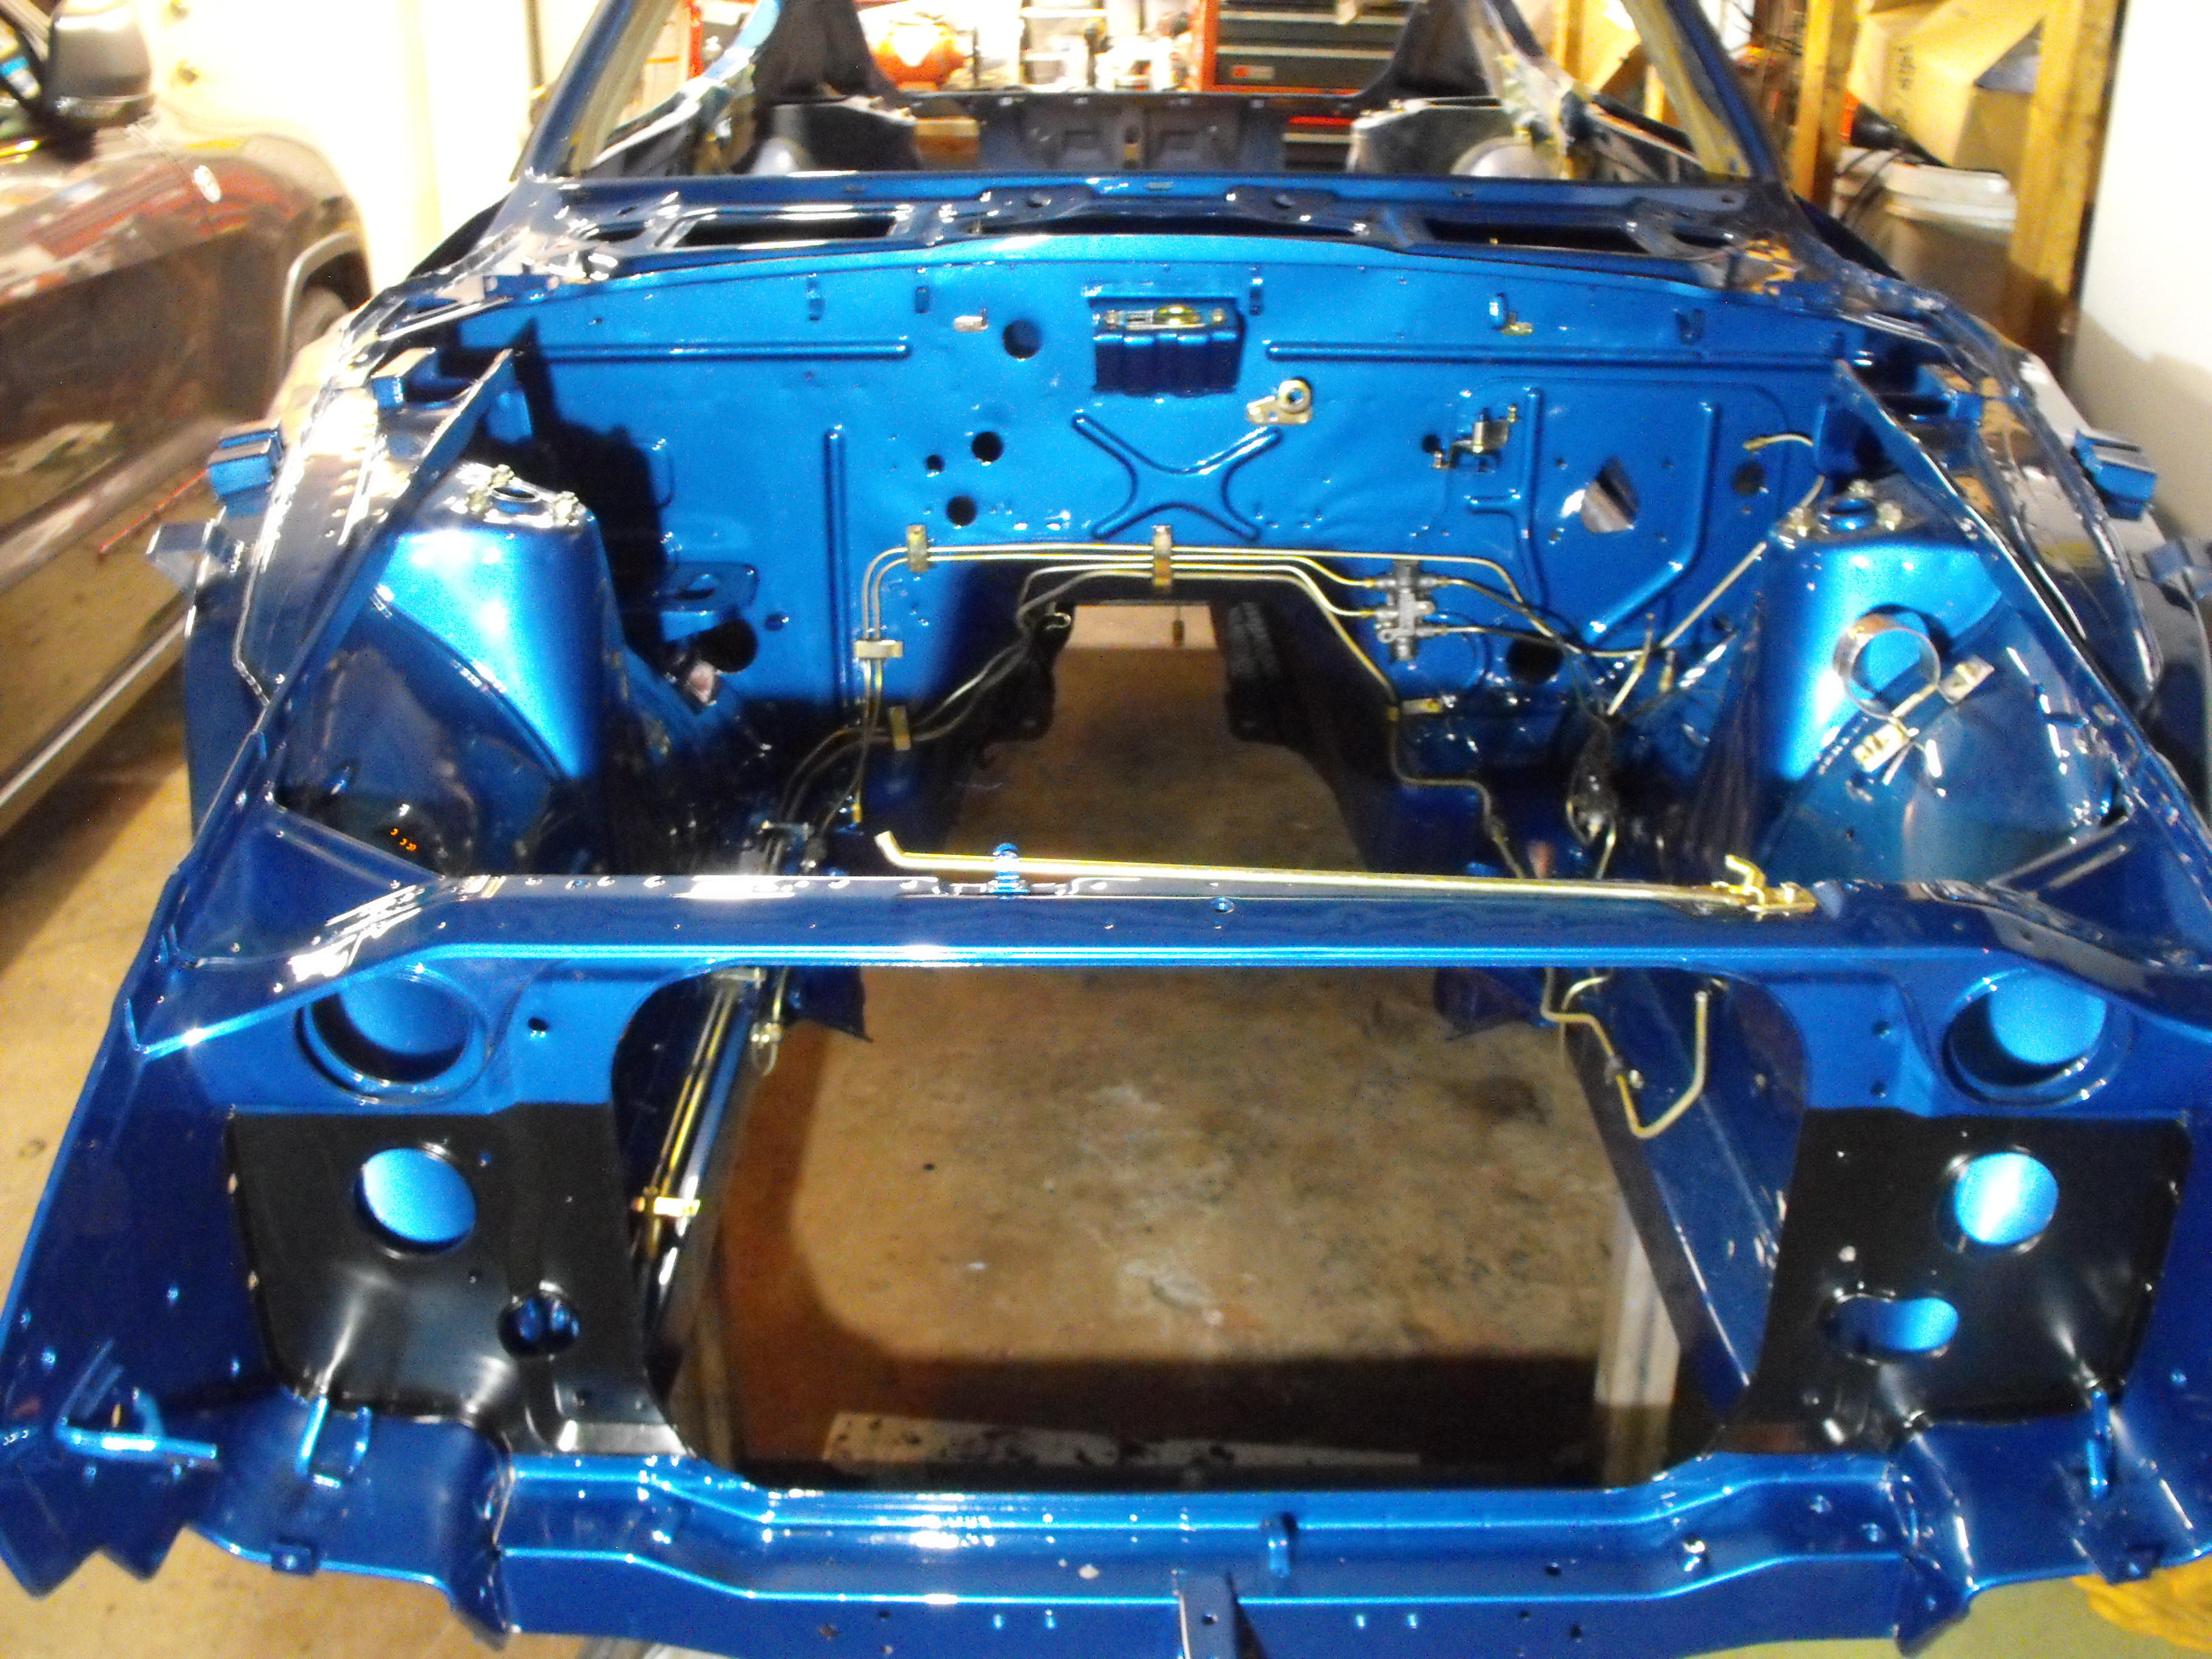
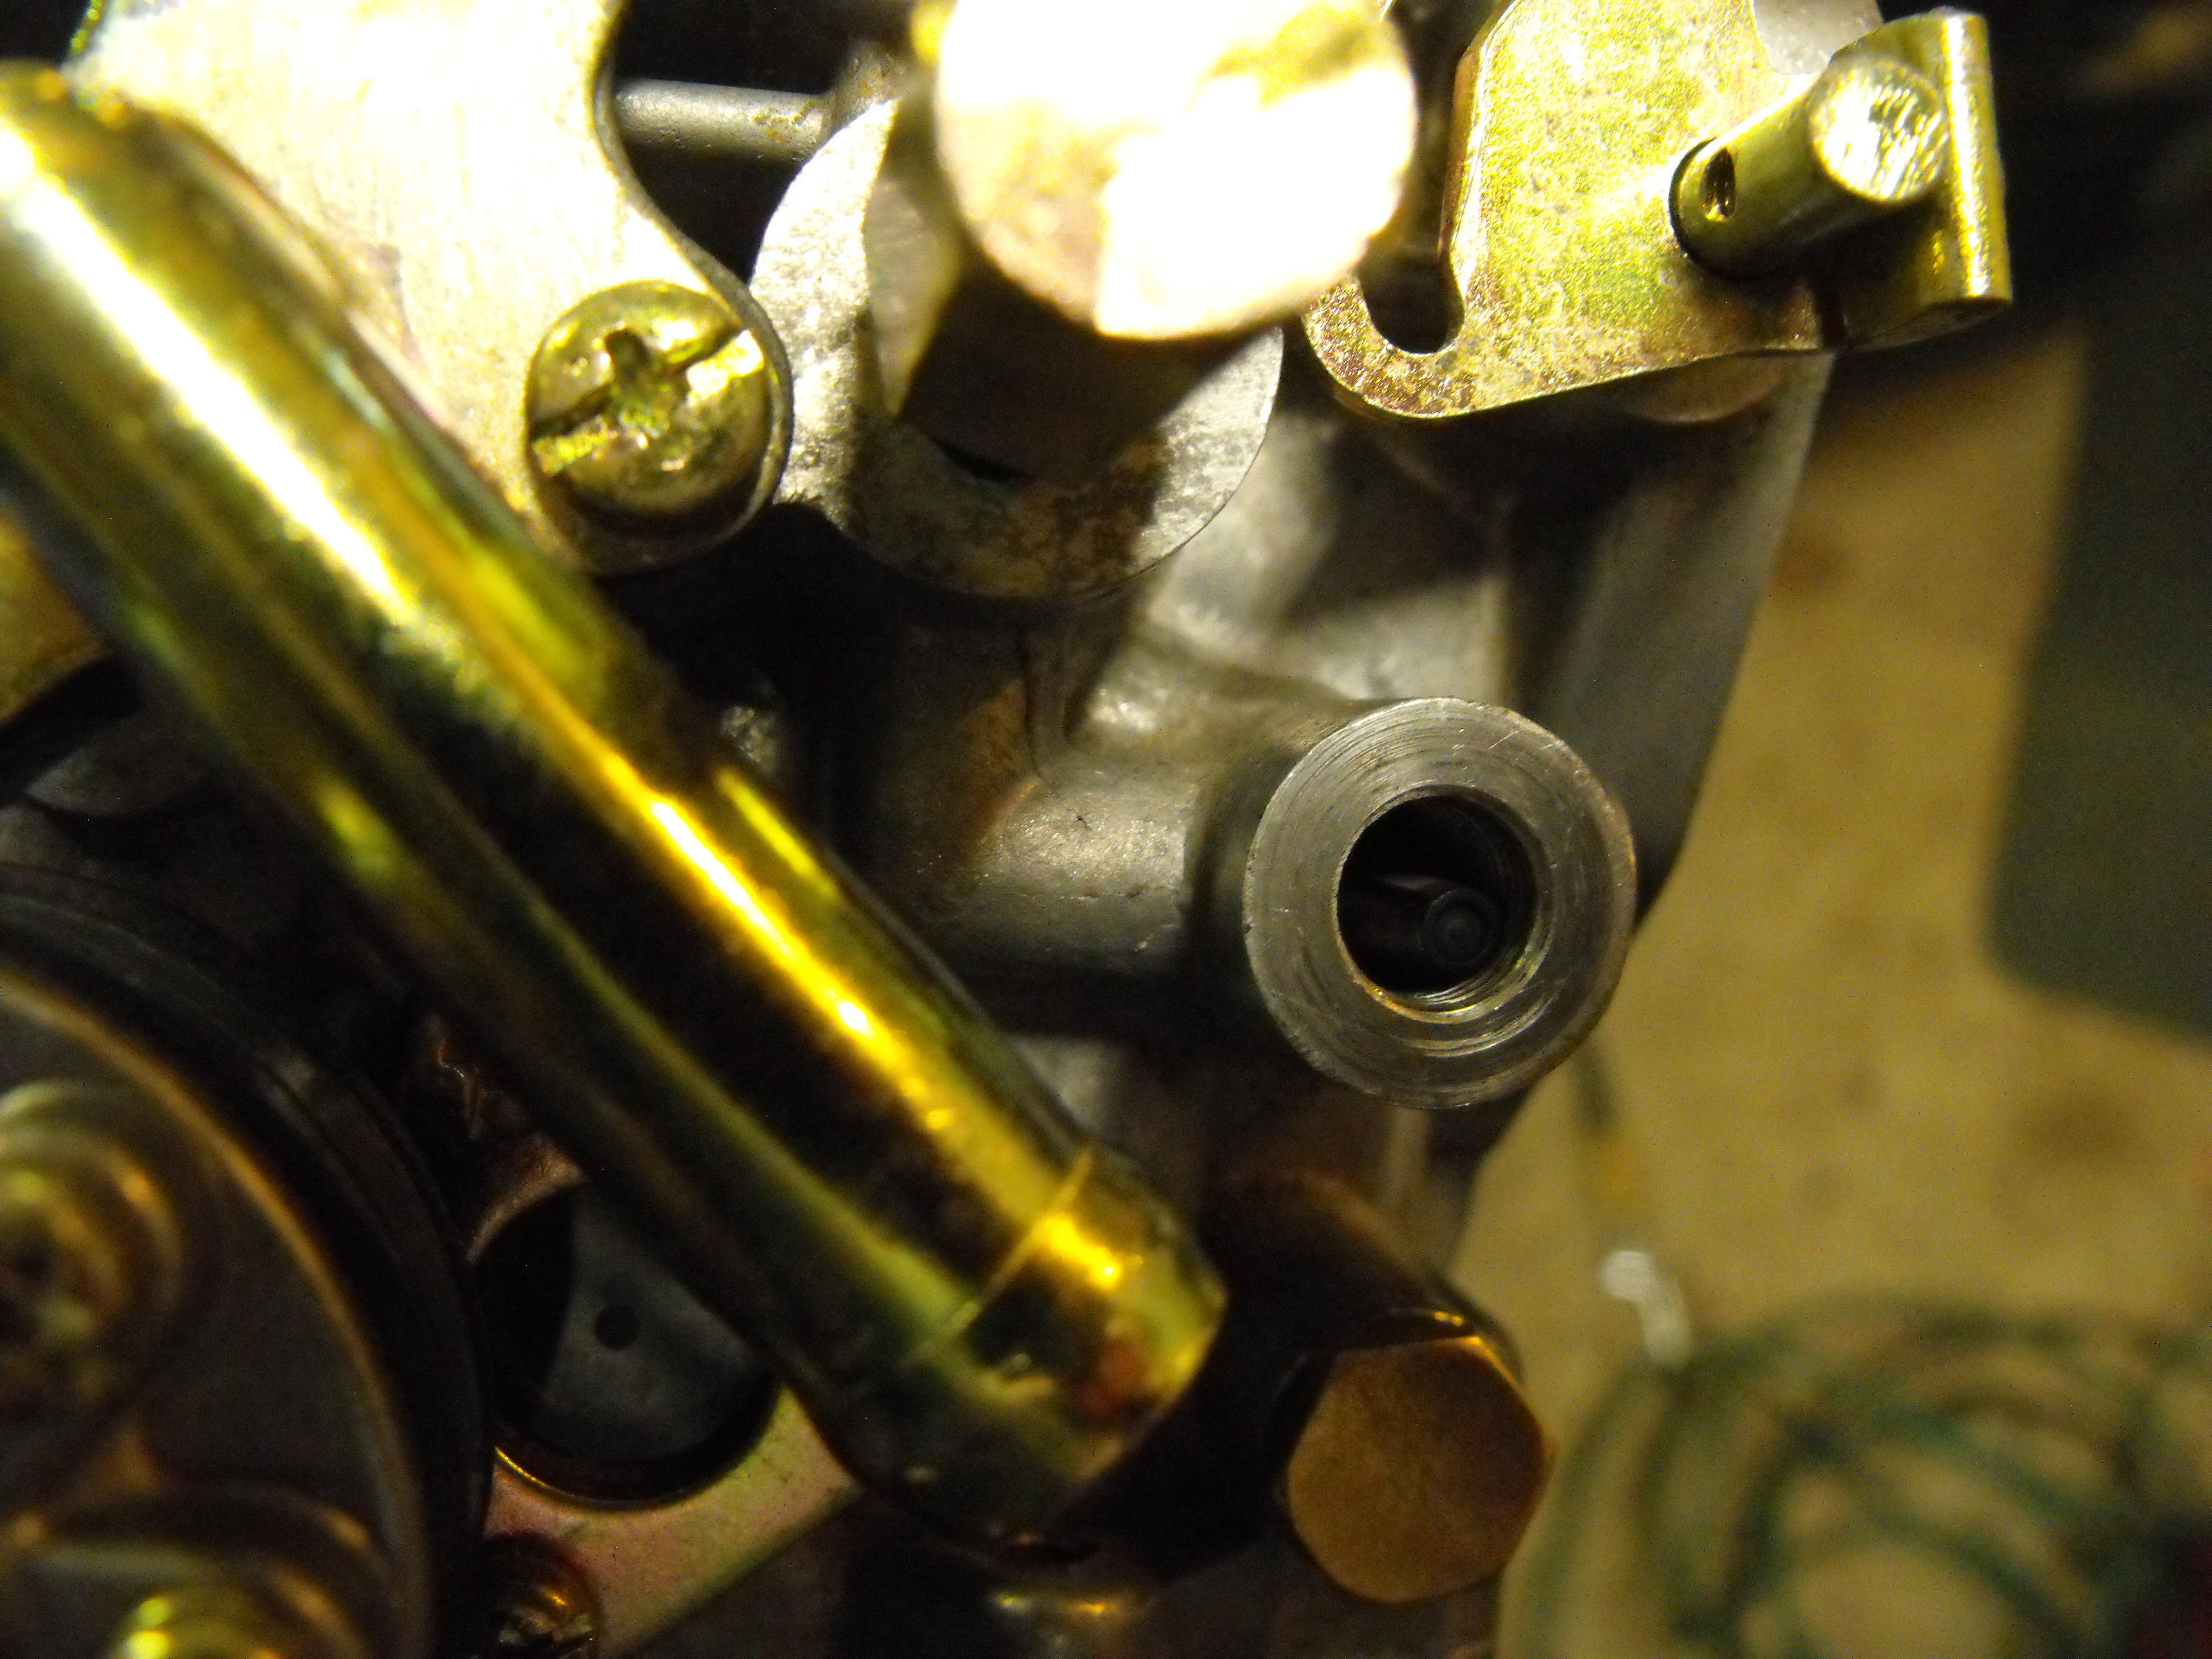
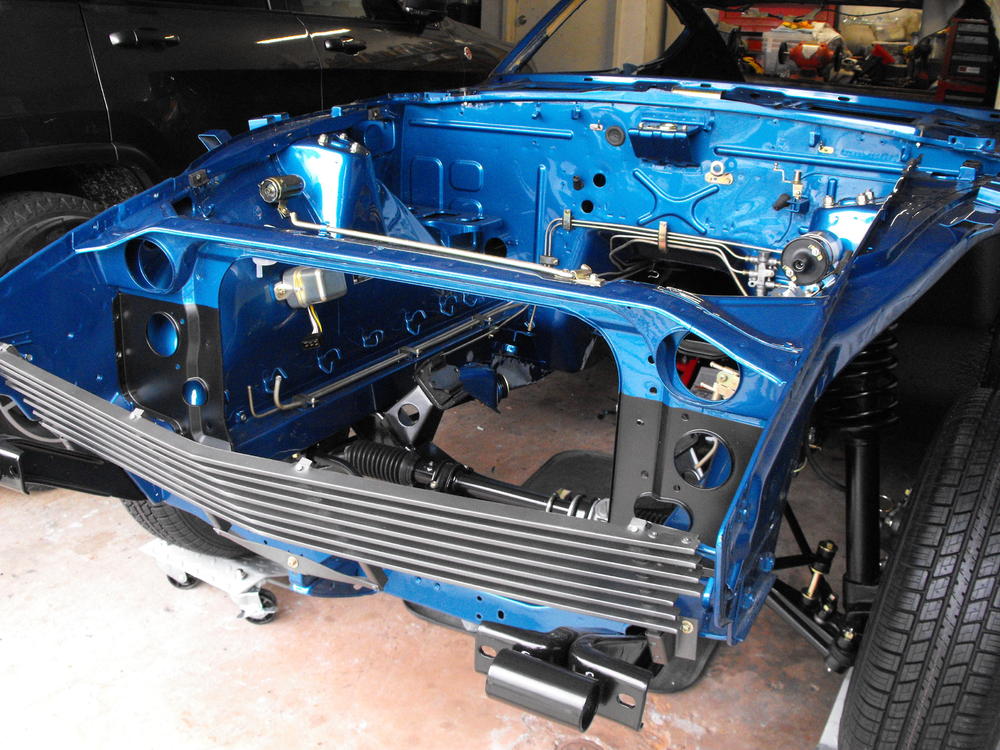
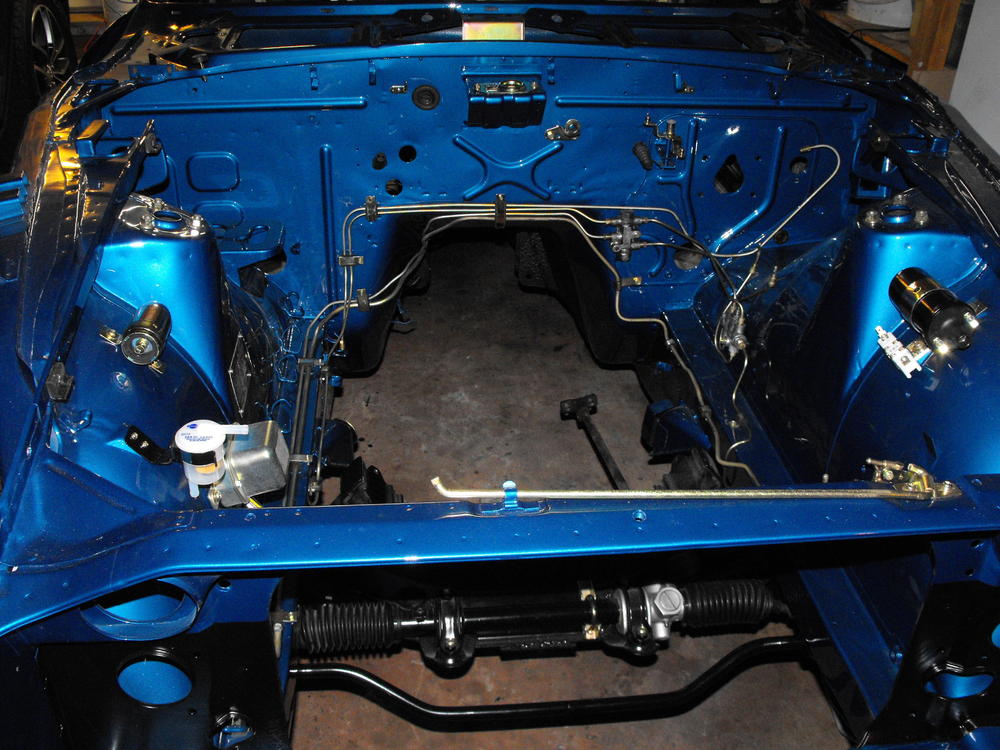
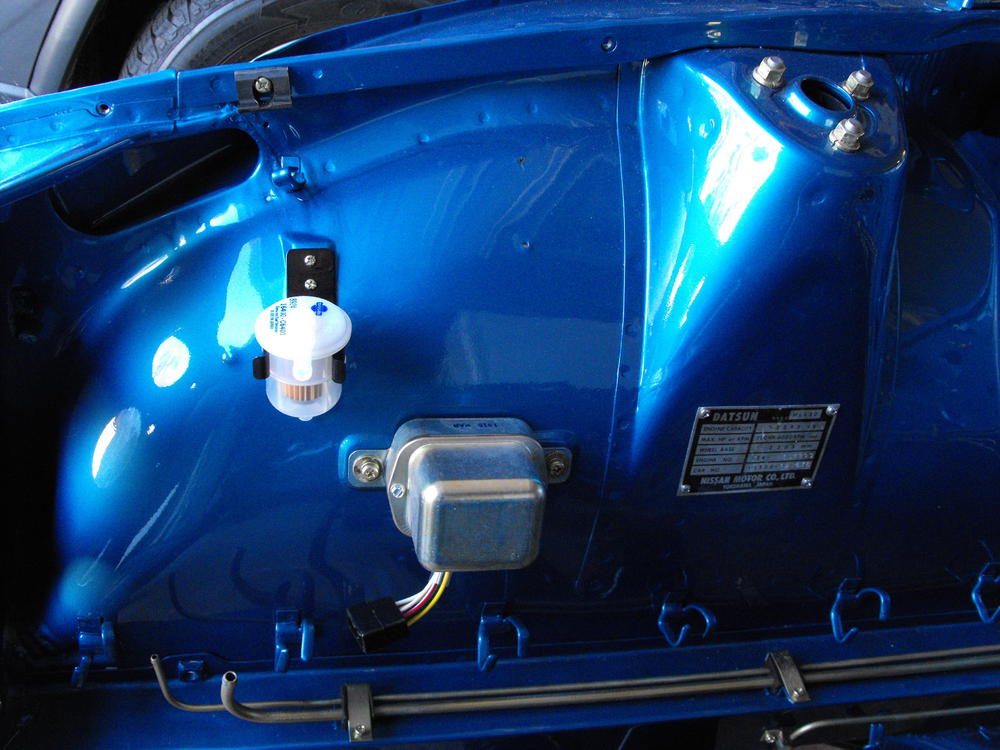
Painted the engine bay front panels satin black. Also installed a few more parts; coil bracket & hood prop (Just a side note: with fresh paint, pretty much all holes need to be re-tapped before installing screws, otherwise they don't go in very well ?). Polished up and installed the trim that goes on the rain gutters. Also cleaned up the spare and set it in it's compartment. @Captain Obvious you were right about the filter being too long. I set it in the carb and it is pretty close to the threads as you can kind of see in the picture. Looks like I will need to find a different method.


-
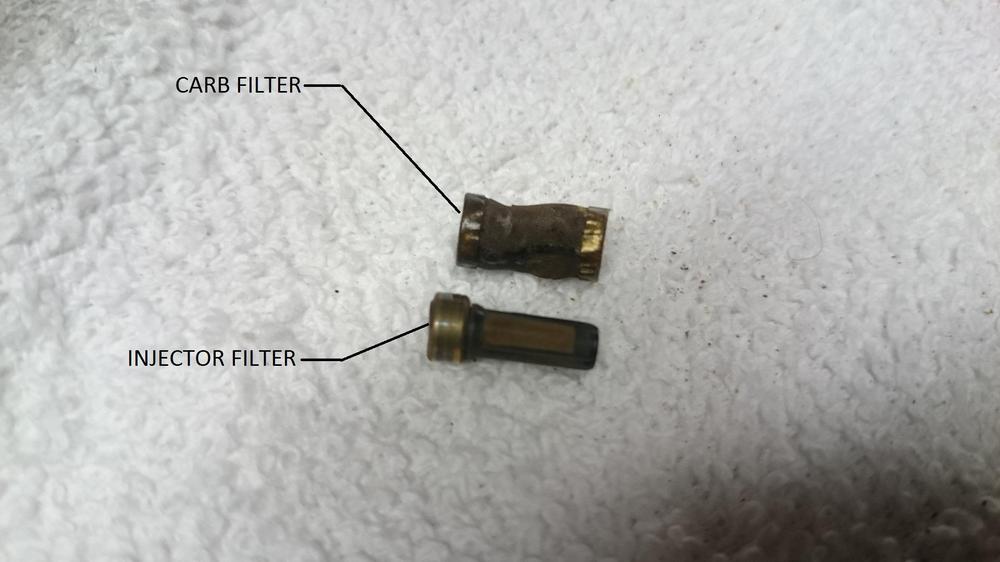
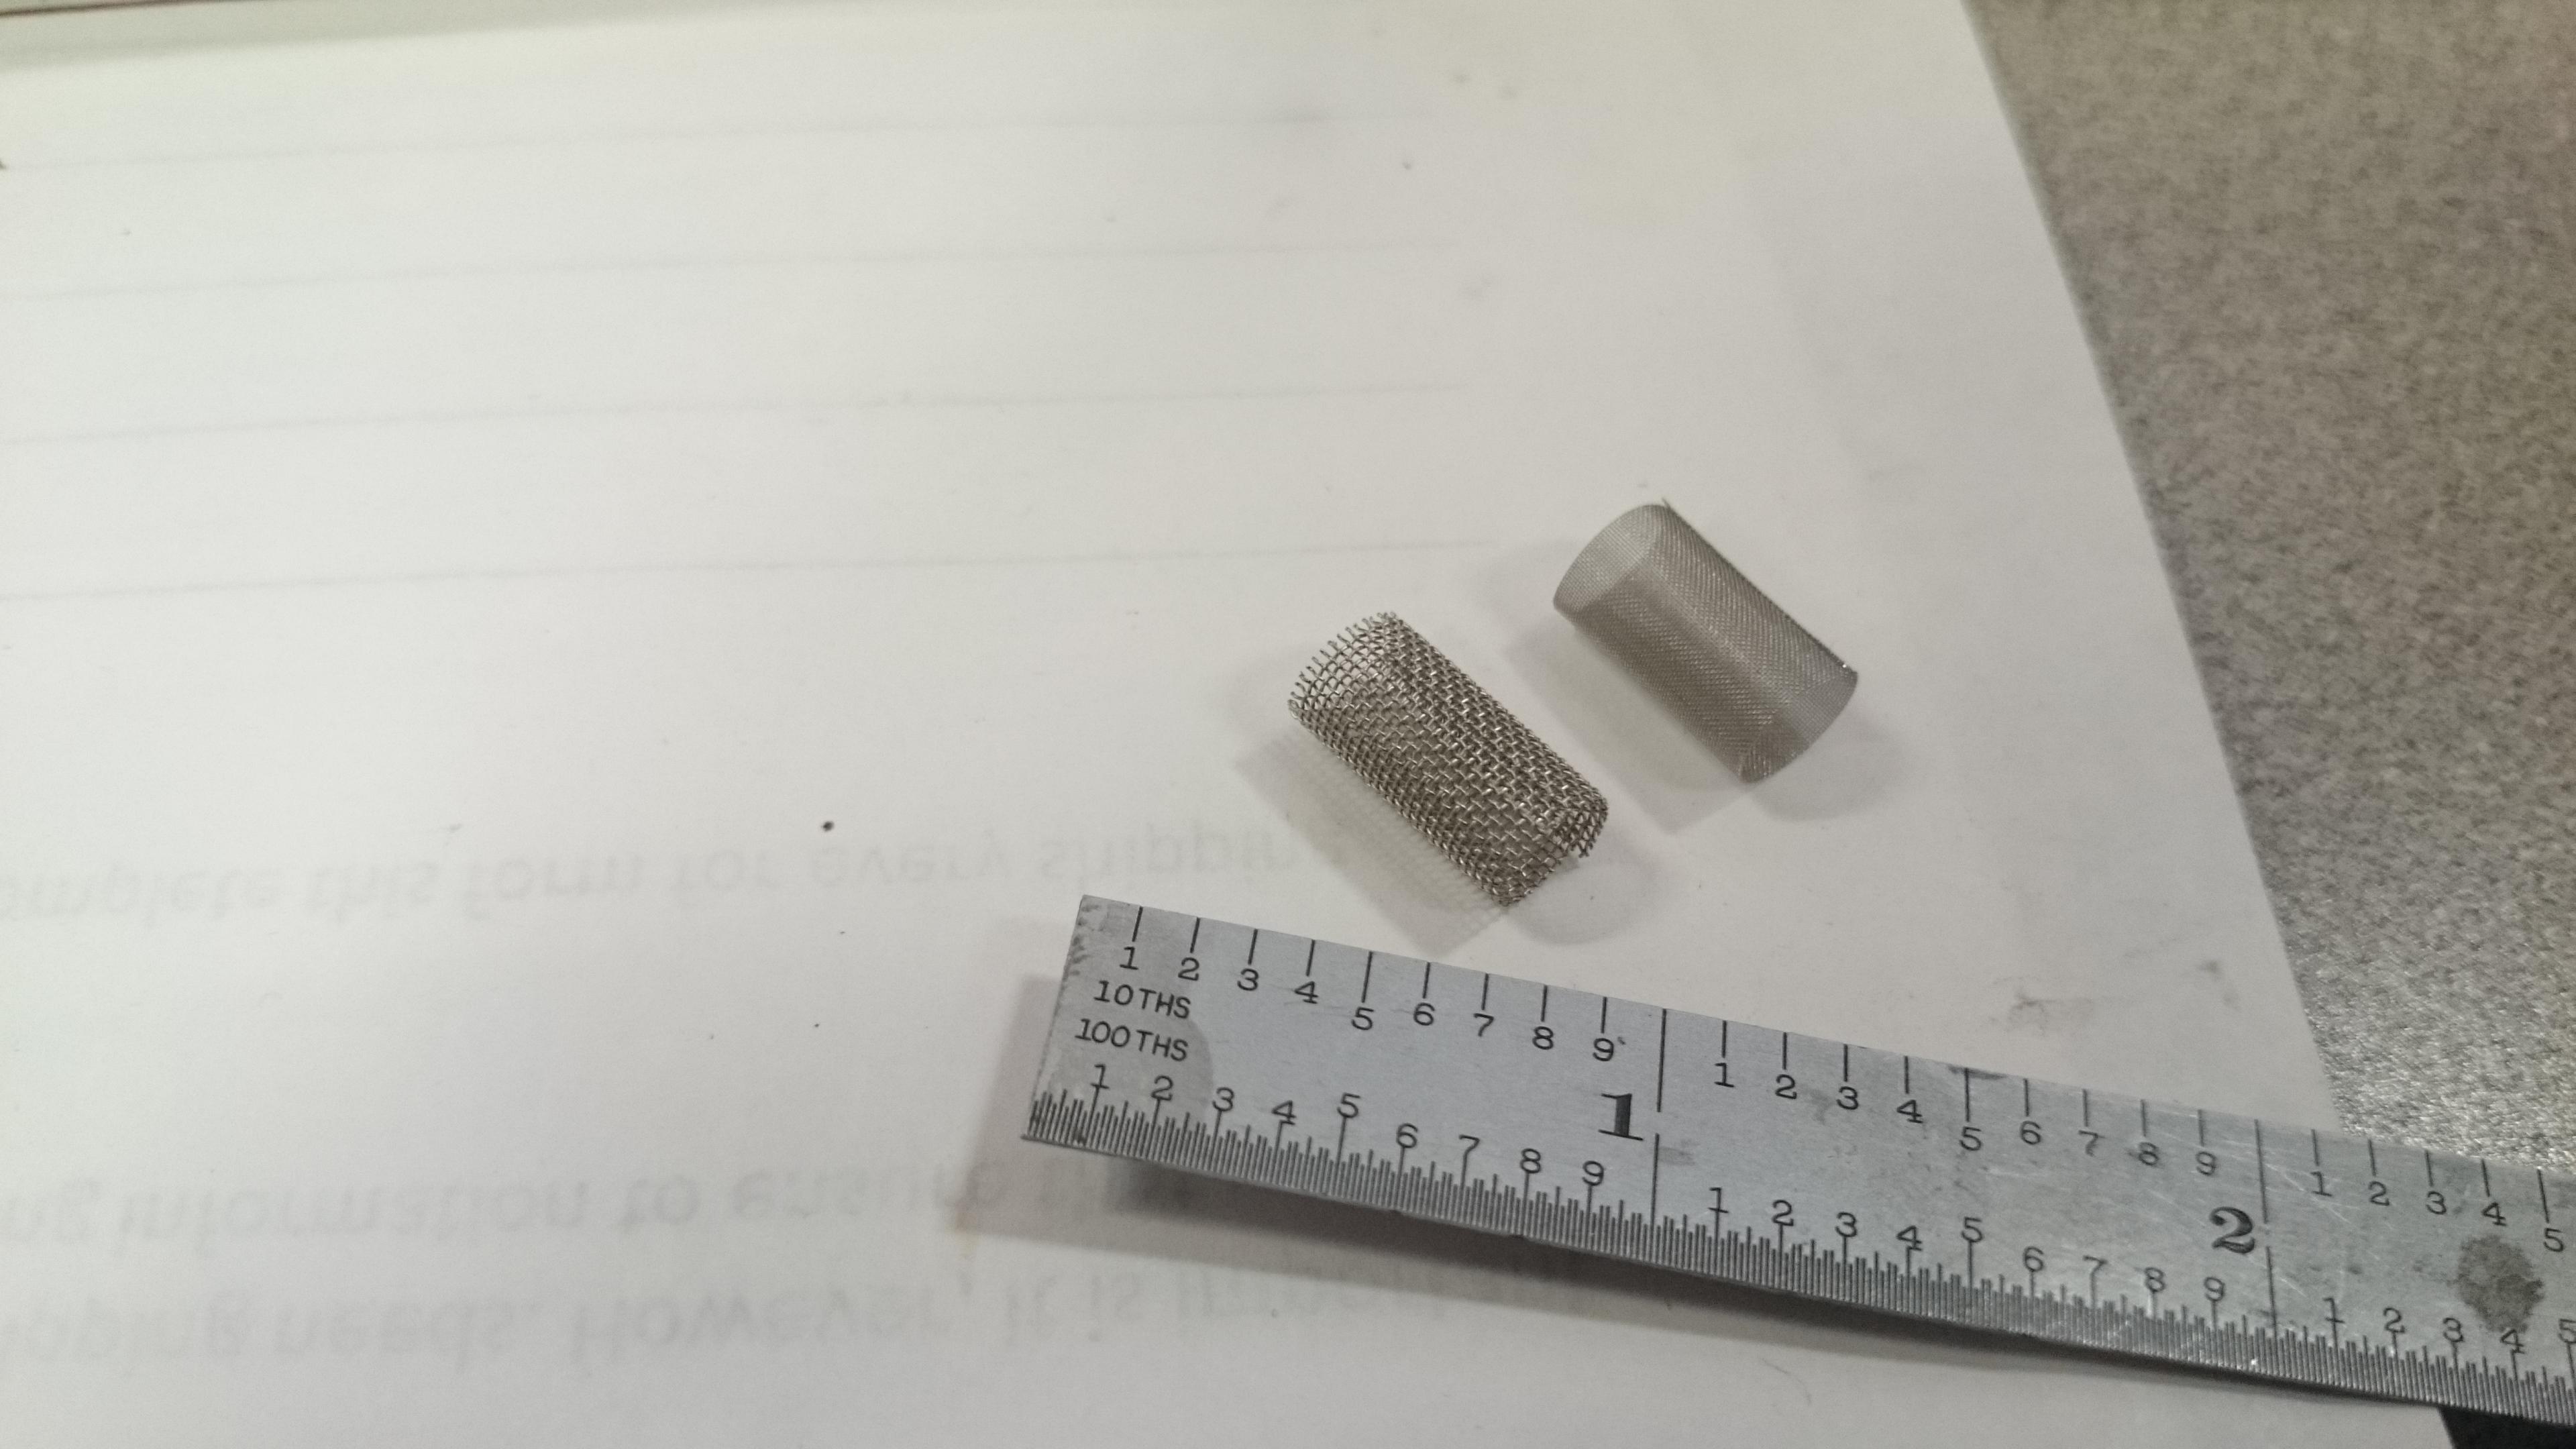
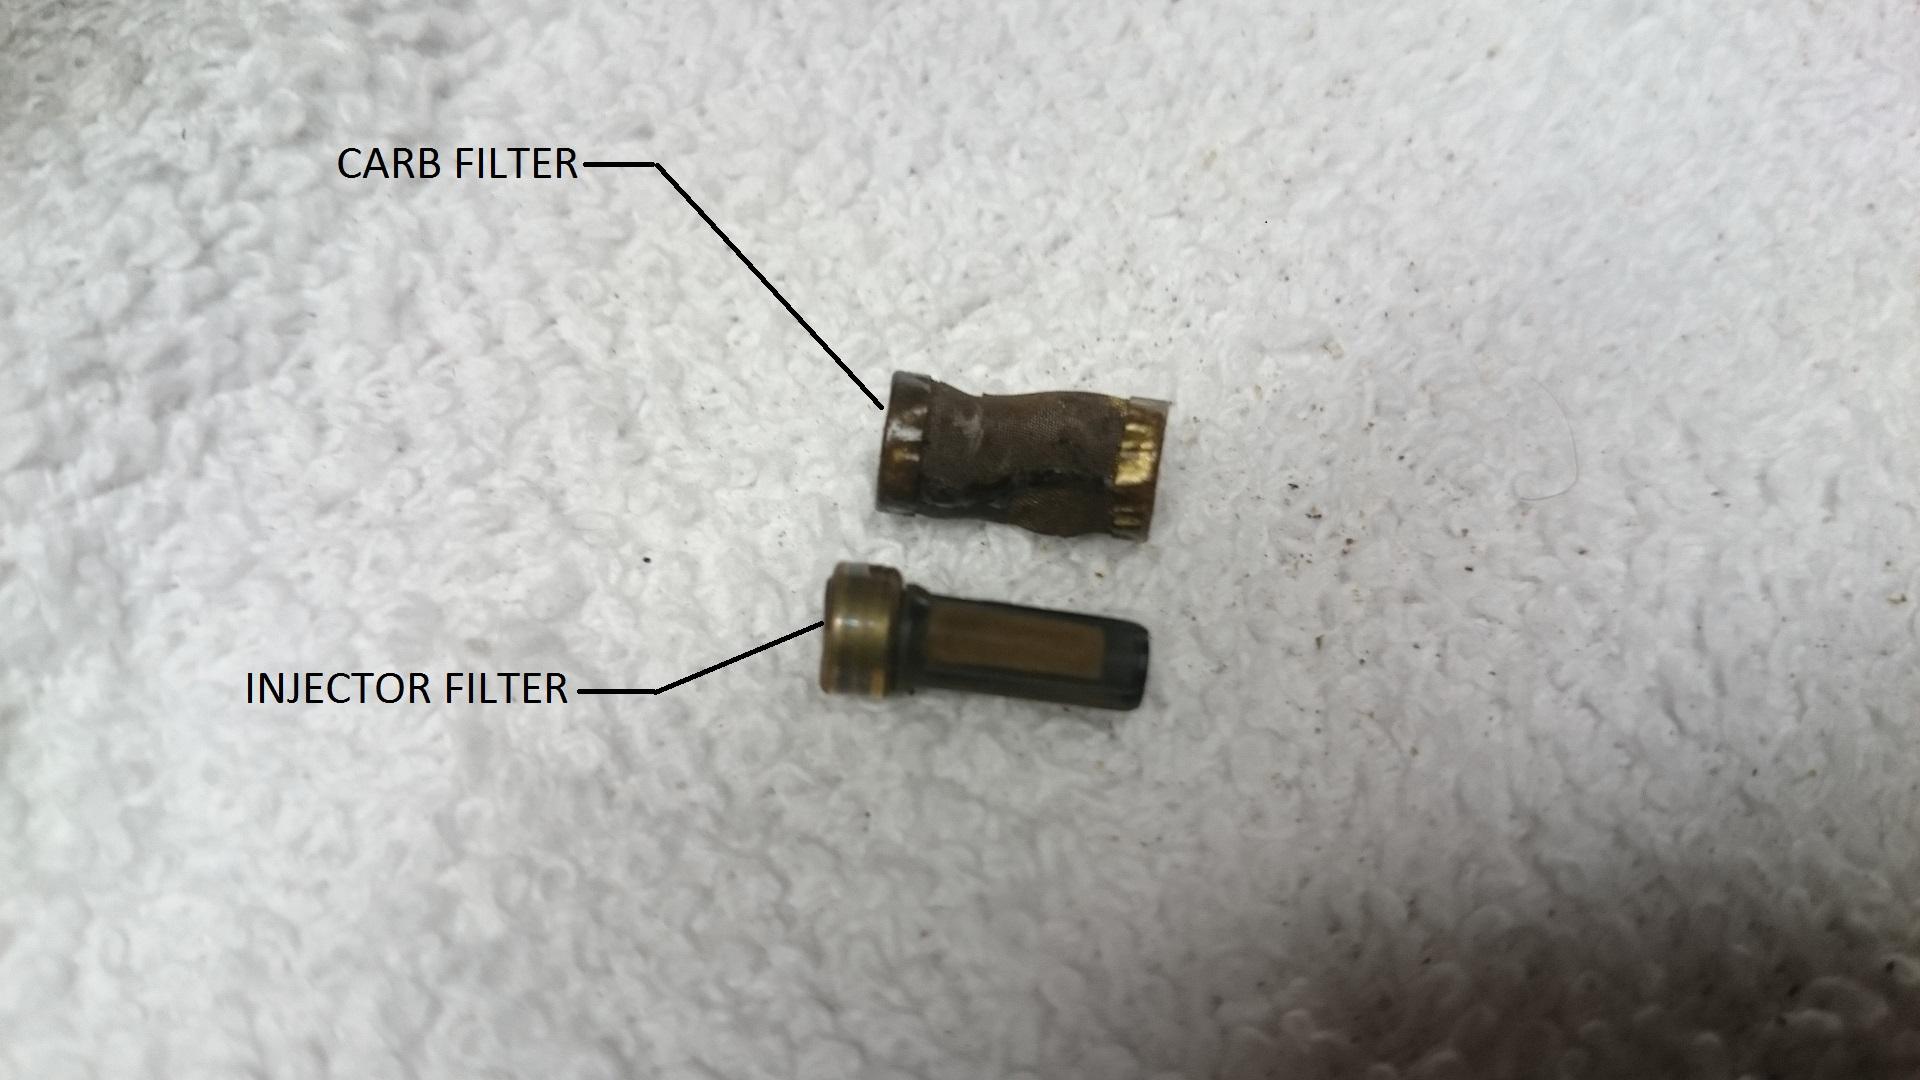
So here is a side-by-side pic of the Original Carb filter and the Injector filter sent by @grannyknot. Looks like this may work if the injector filter is not too long (I guess I could file some to make it fit lengthwise if needed). From the carb design, it looks like the open end of the Carb filter is 'capped' by the bolt that holds it in place. Since that is the case, looks like the closed end of the injector filter will be OK as is. It's actually a nice design for filter replacement since you just remove the short bolt on the side of the carb to access the filter. I checked the filters in some of the other carbs and they were pretty much completely disintegrated. I guess that happens with age. I know, the challenges that we here in San Diego face with our weather is tough. If its not 80 degrees and sunny, we have a hard time with things. I think there has been a run on jackets at Costco...and I have to wear socks.