


zKars
 Subscriber
-
Joined
-
Last visited
Everything posted by zKars
-
 I have been searching for u-joints for the steering shafts again, and my usual suppliers seem to having stock issues. I searched around in the threads for old links and sources and found a bit of a mess so after finding out tons of additional information about part numbers and such, I thought I would leave a single thread with as much information as I can I'll divide this into the two sizes of u-joints. The 16x40mm early un-staked type with the snap rings, the later 15x39mm ones that you have to deal with the stake and un-stake. Won't get into how-to in this thread, just sizes part numbers and companies etc
 -
Interesting. Text and pictures from another thread I responded to. Site bug I suspect.
-
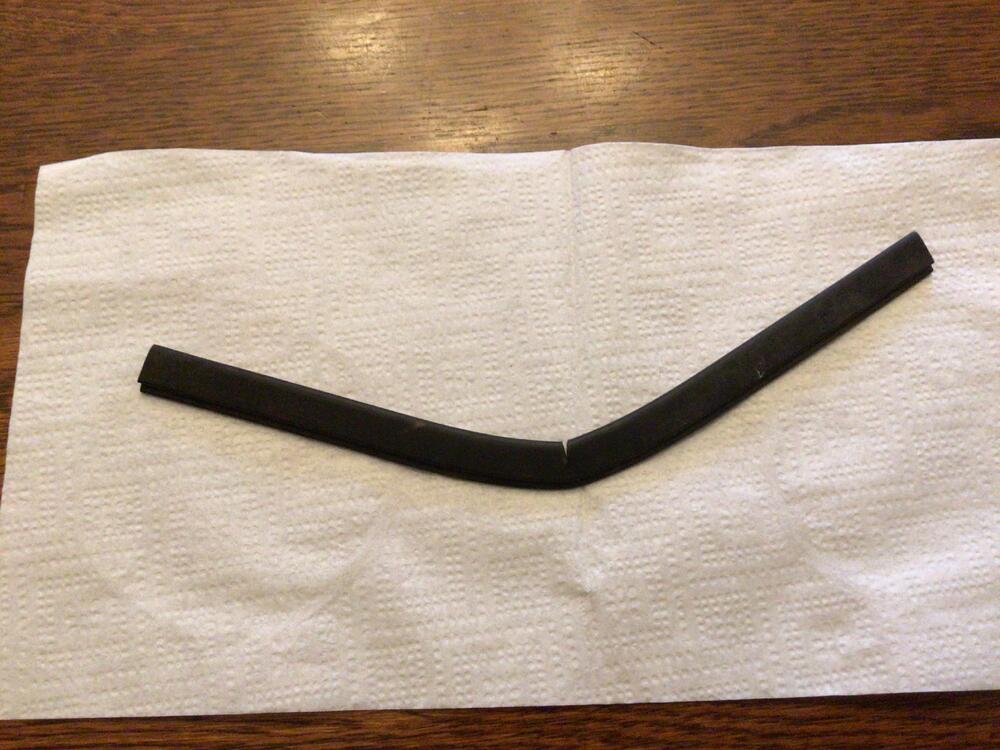
9 inches long, 1/2” wide, slit is for 1/32 sheet metal. Strangely the width of one side is slightly narrower than the other. Not likely going to find replacement material with that, but no one will notice. They take a little wedge out of the center to help it conform to the corner
 Cost analysis, The CIBIE housings where $78 each, the bulbs a hun, so for $200 bucks I got pretty decent (and easy to install) lighting. Not bad.
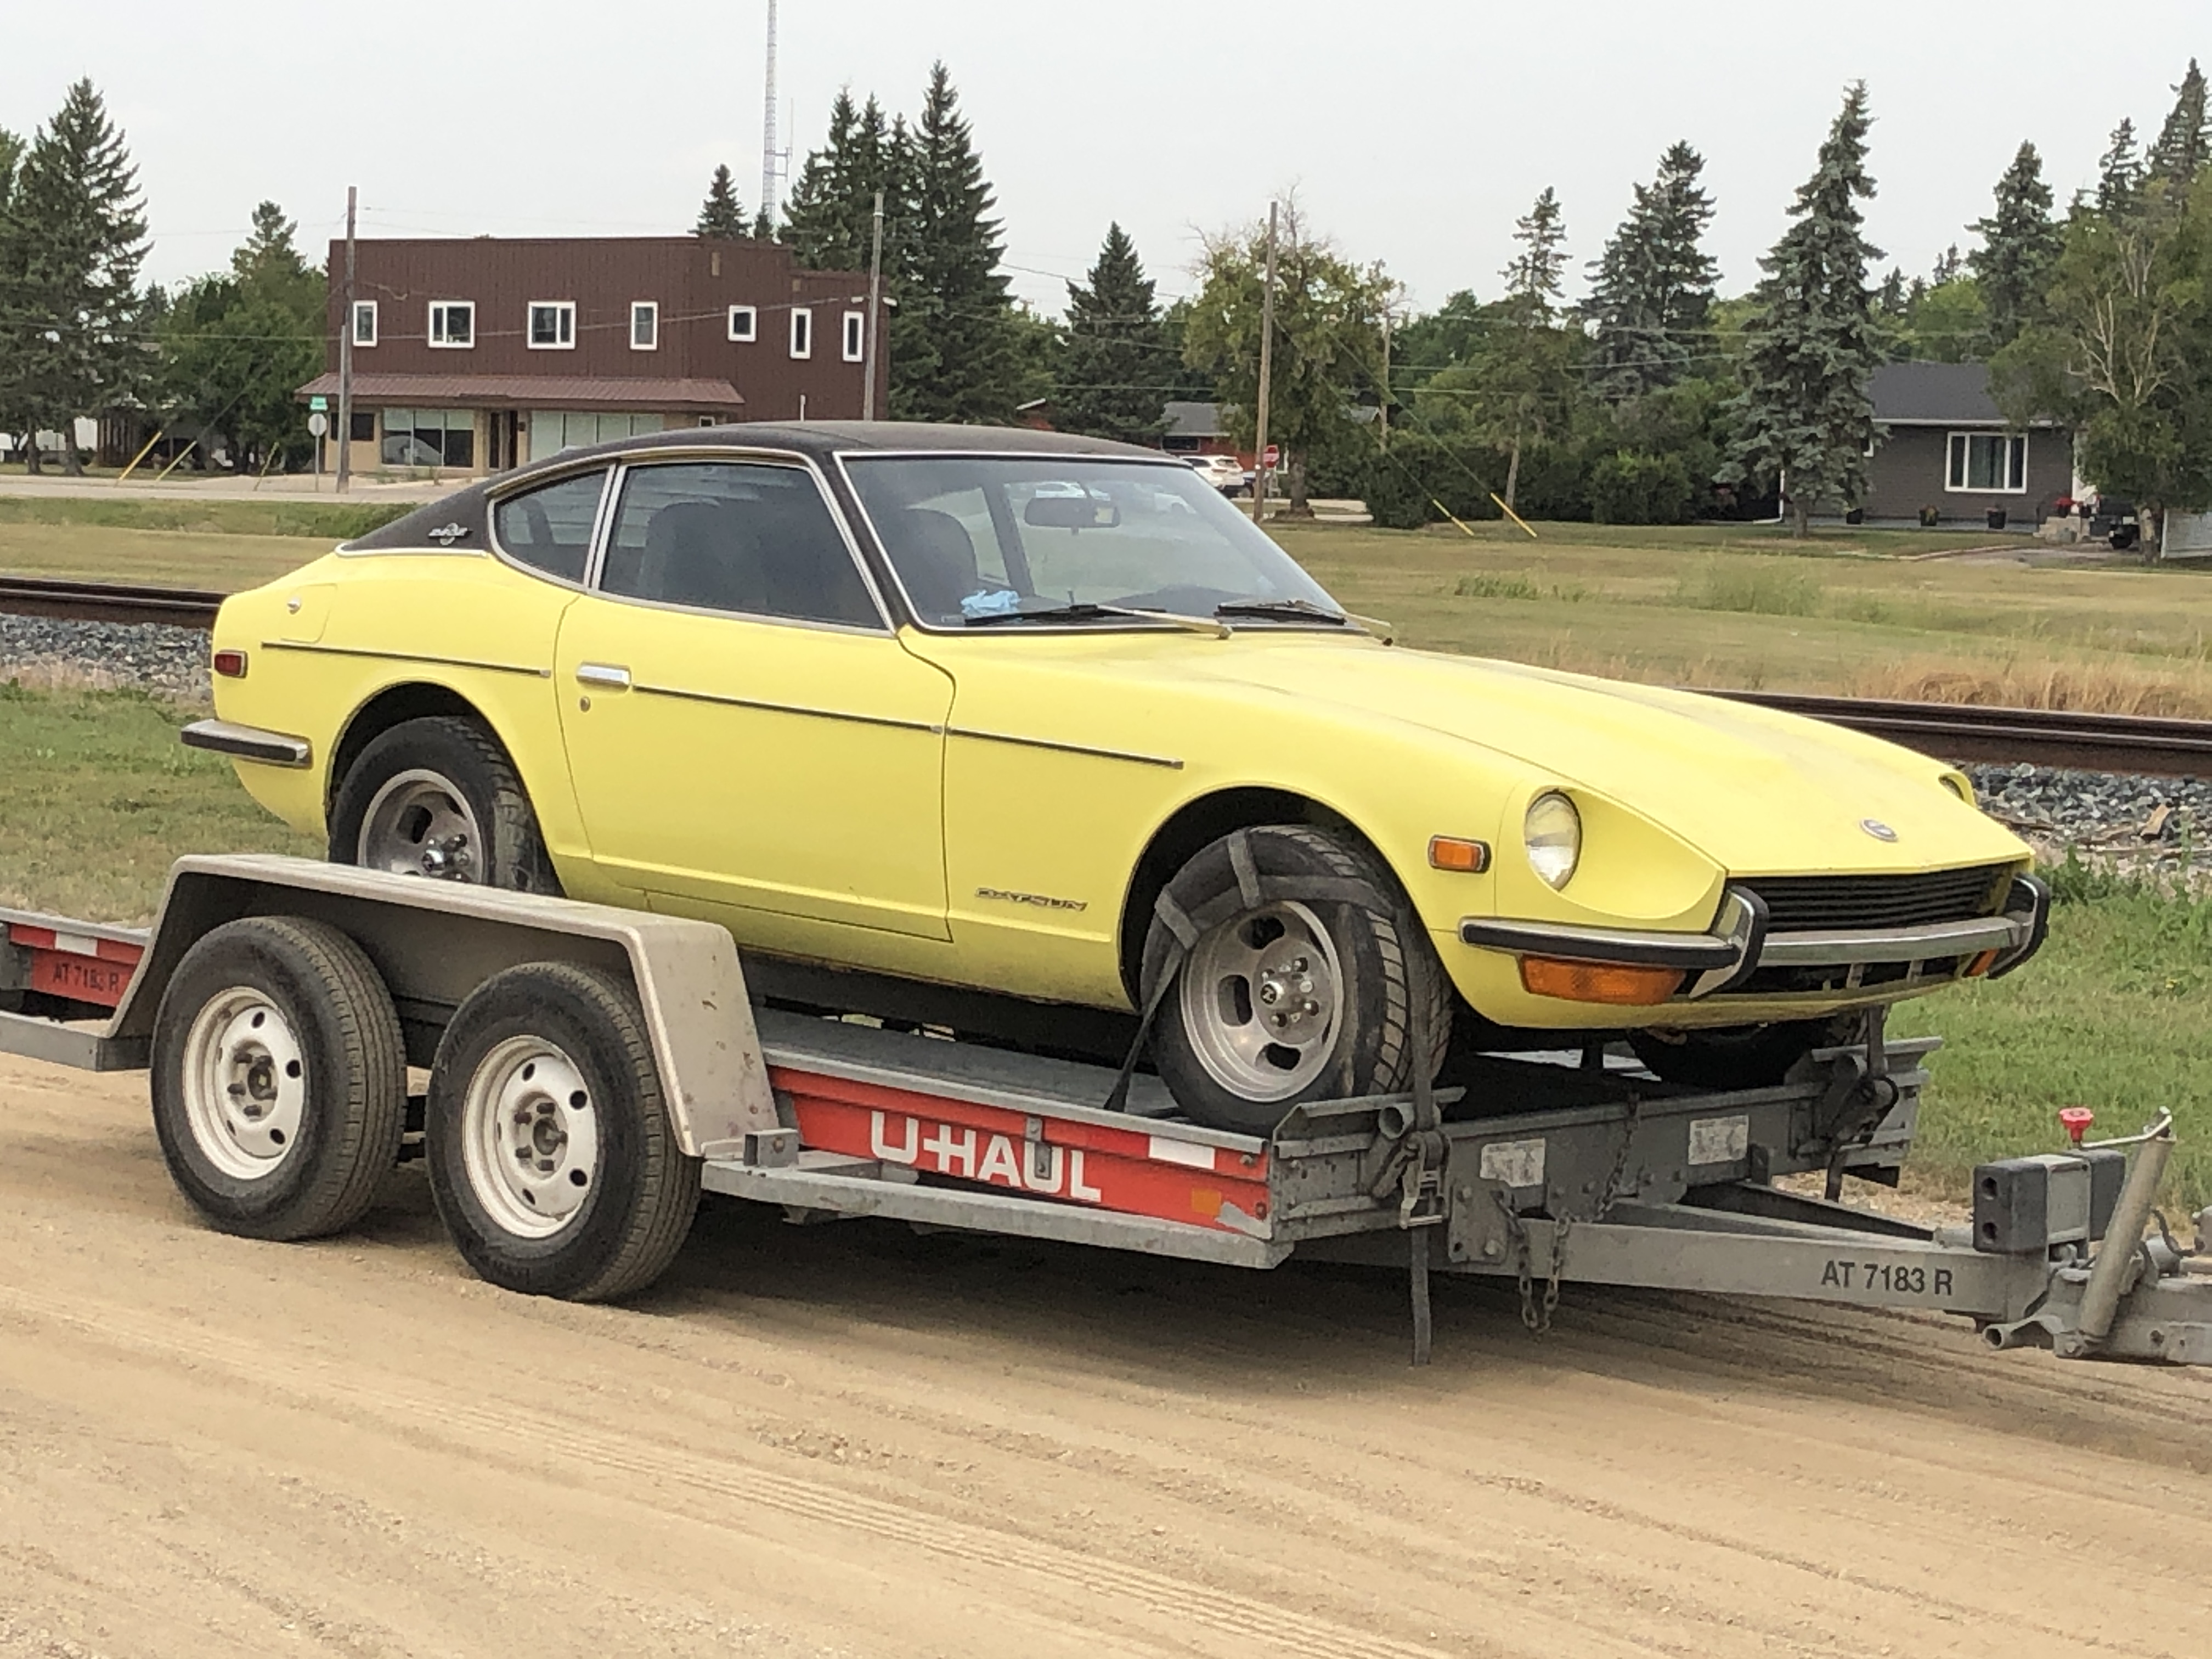
Who doesn't love a little butter on their Z after all!
Cost analysis, The CIBIE housings where $78 each, the bulbs a hun, so for $200 bucks I got pretty decent (and easy to install) lighting. Not bad.
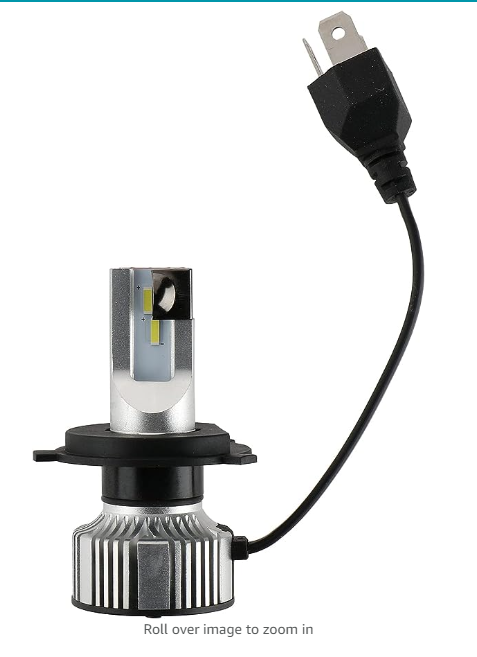
Who doesn't love a little butter on their Z after all!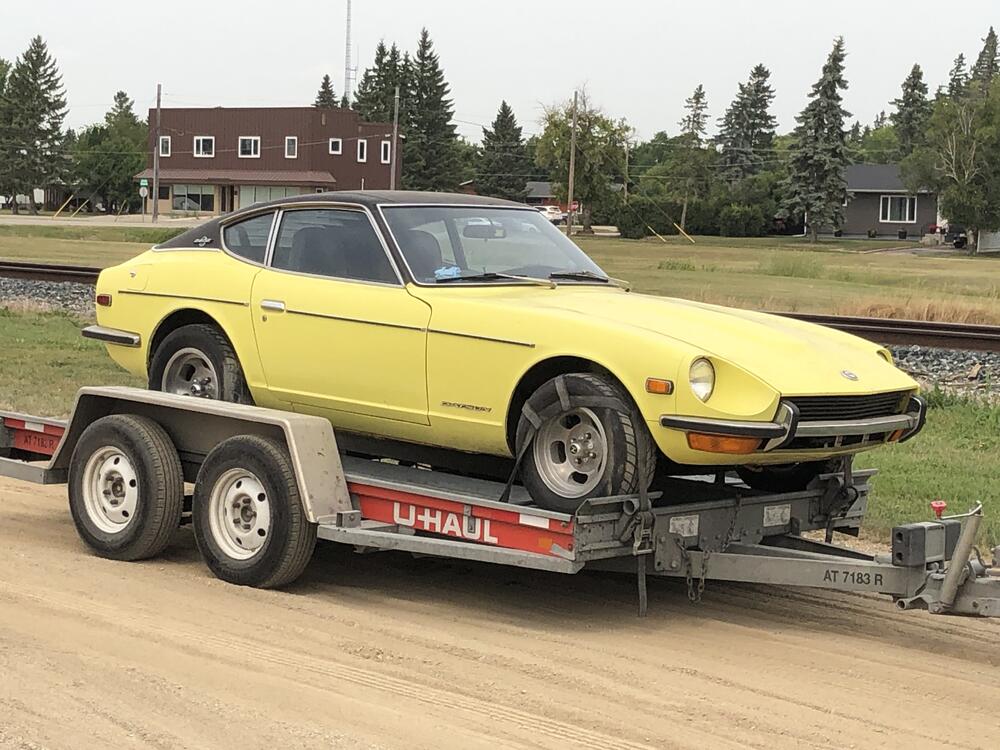 So doing this all again on a bit of a budget 71 Z that I'm restoring (Dapper don't fit the $$ profile), I decided to hunt down a better LED bulb solution, and maybe I have it. Philips has a nice LED H4 that has a small fan and NO driver box. Here is my Amazon screen. Two bulbs for $!00 CAD, about $12.85 USD..... It fits in the headlight can without a struggle, and although I've only played in the daylight shining against my tool box, the patterns look pretty decent. Will report better results shortly.
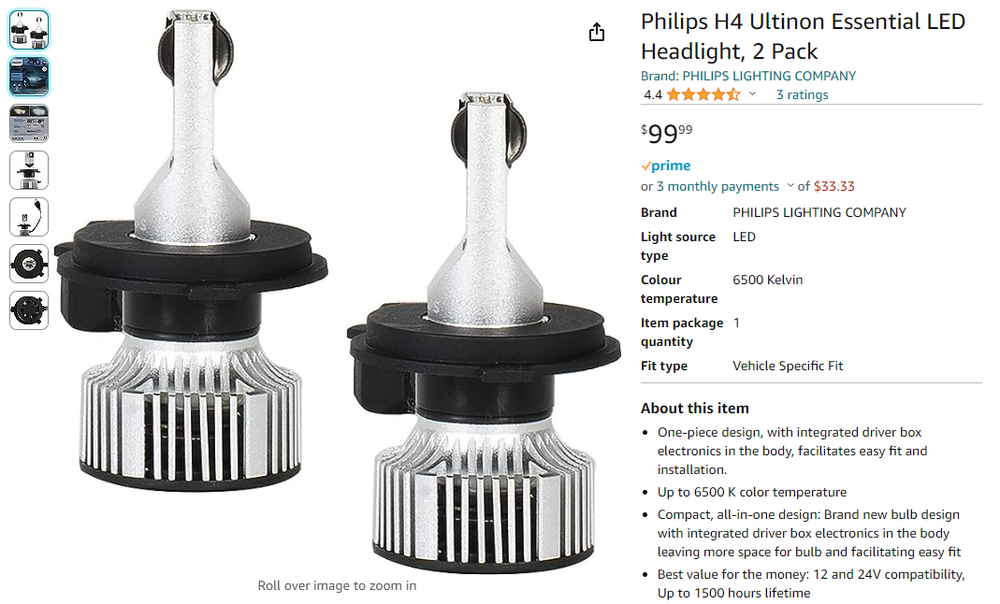
 So it has been very common for me to "upgrade" Z head lights using CIBIE H4 housings, and then stuff in either H4 halogen bulbs, or more recently, LED H4 bulbs. Save the ol' headlight switch contacts with lower current LED bulbs and maybe you don't need to add a relay harness I say. All good. Lord, but there are SO many options for LED H4 bulbs out there. Which ones to choose? There are tons of prebuilt fancy one piece LED 7" round headlights out there (thank you to the millions of classic Jeep owners), but most of them are far too modern looking for any Z restoration I'm doing. I want a classic looking lens, then jazz the innards. There is a basic issue with stuffing an LED H4 in a housing designed for Halogen H4 bulbs, primarily with the exact positions for the light elements once in the housing. This can have a major impact on your beam pattern. Very easy to get this wrong. I have fallen in love with Dapper's solution, (https://www.dapperlighting.com/collections/1970-1973-datsun-240z/products/oe7) where they supply a matched housing (made inhouse apparently) with an LED bulb that lines things up perfectly. I have the 575 version in both of my 510's (anyone want one?) and love the pattern perfection and light output. But. $$$$$$$ Have put them in a Z too, but there is a caveat. There is a driver box attached to their bulbs, and that thing does NOT fit inside a S30 headlight can. I had to (cough cough) "make room" with a ball peen hammer..... Many of the aftermarket H4 LED bulbs I see on Amazon for example, ALSO have a driver box and sometimes a rather large fan attached. Buyer beware of the need to do a li;' shapin' as they say.
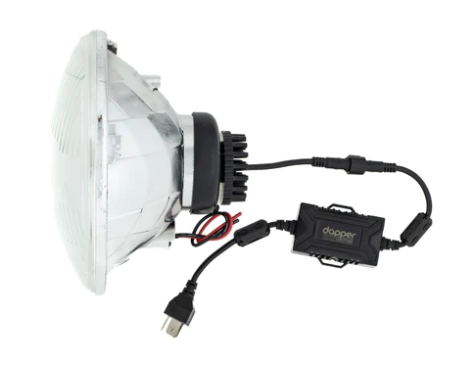 Yes but your paint, decals, carpet, bunk, rubber and wiring will be just fine. Love the label.
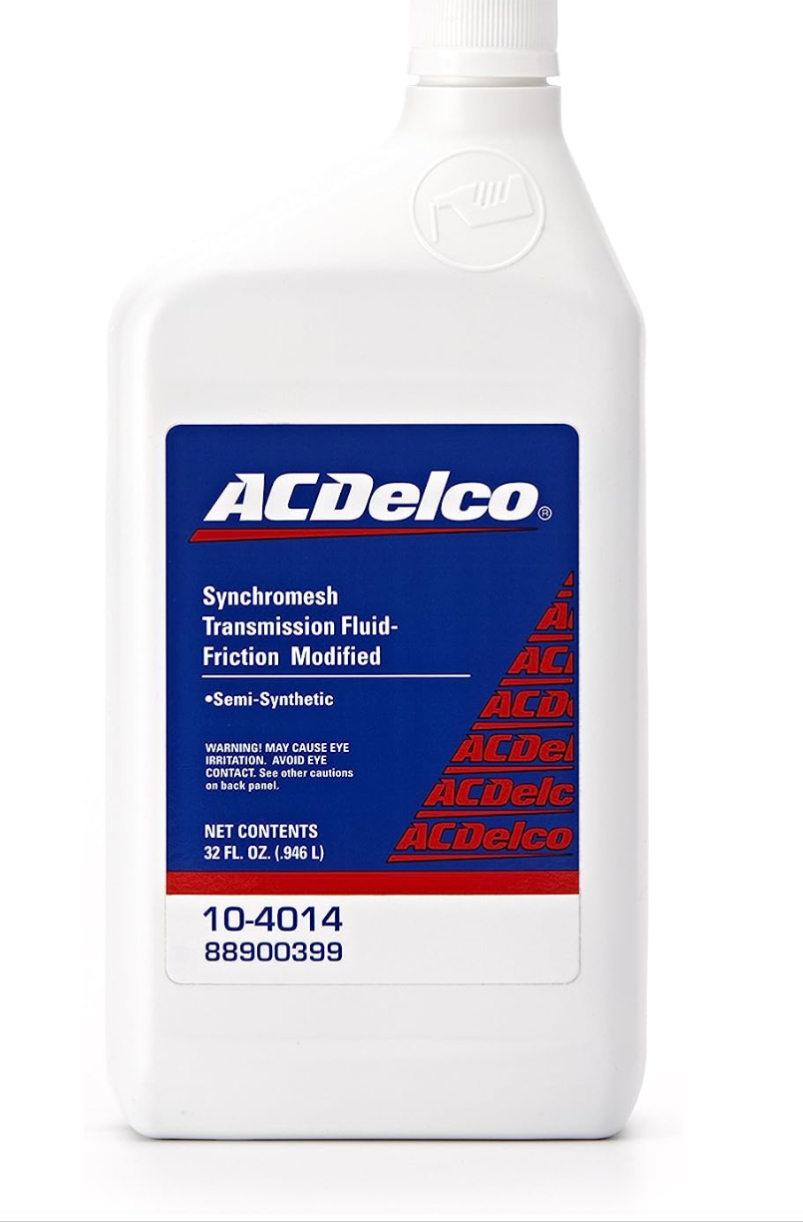
Yes the cleaner. I should show a picture of the bottle.
Yes but your paint, decals, carpet, bunk, rubber and wiring will be just fine. Love the label.
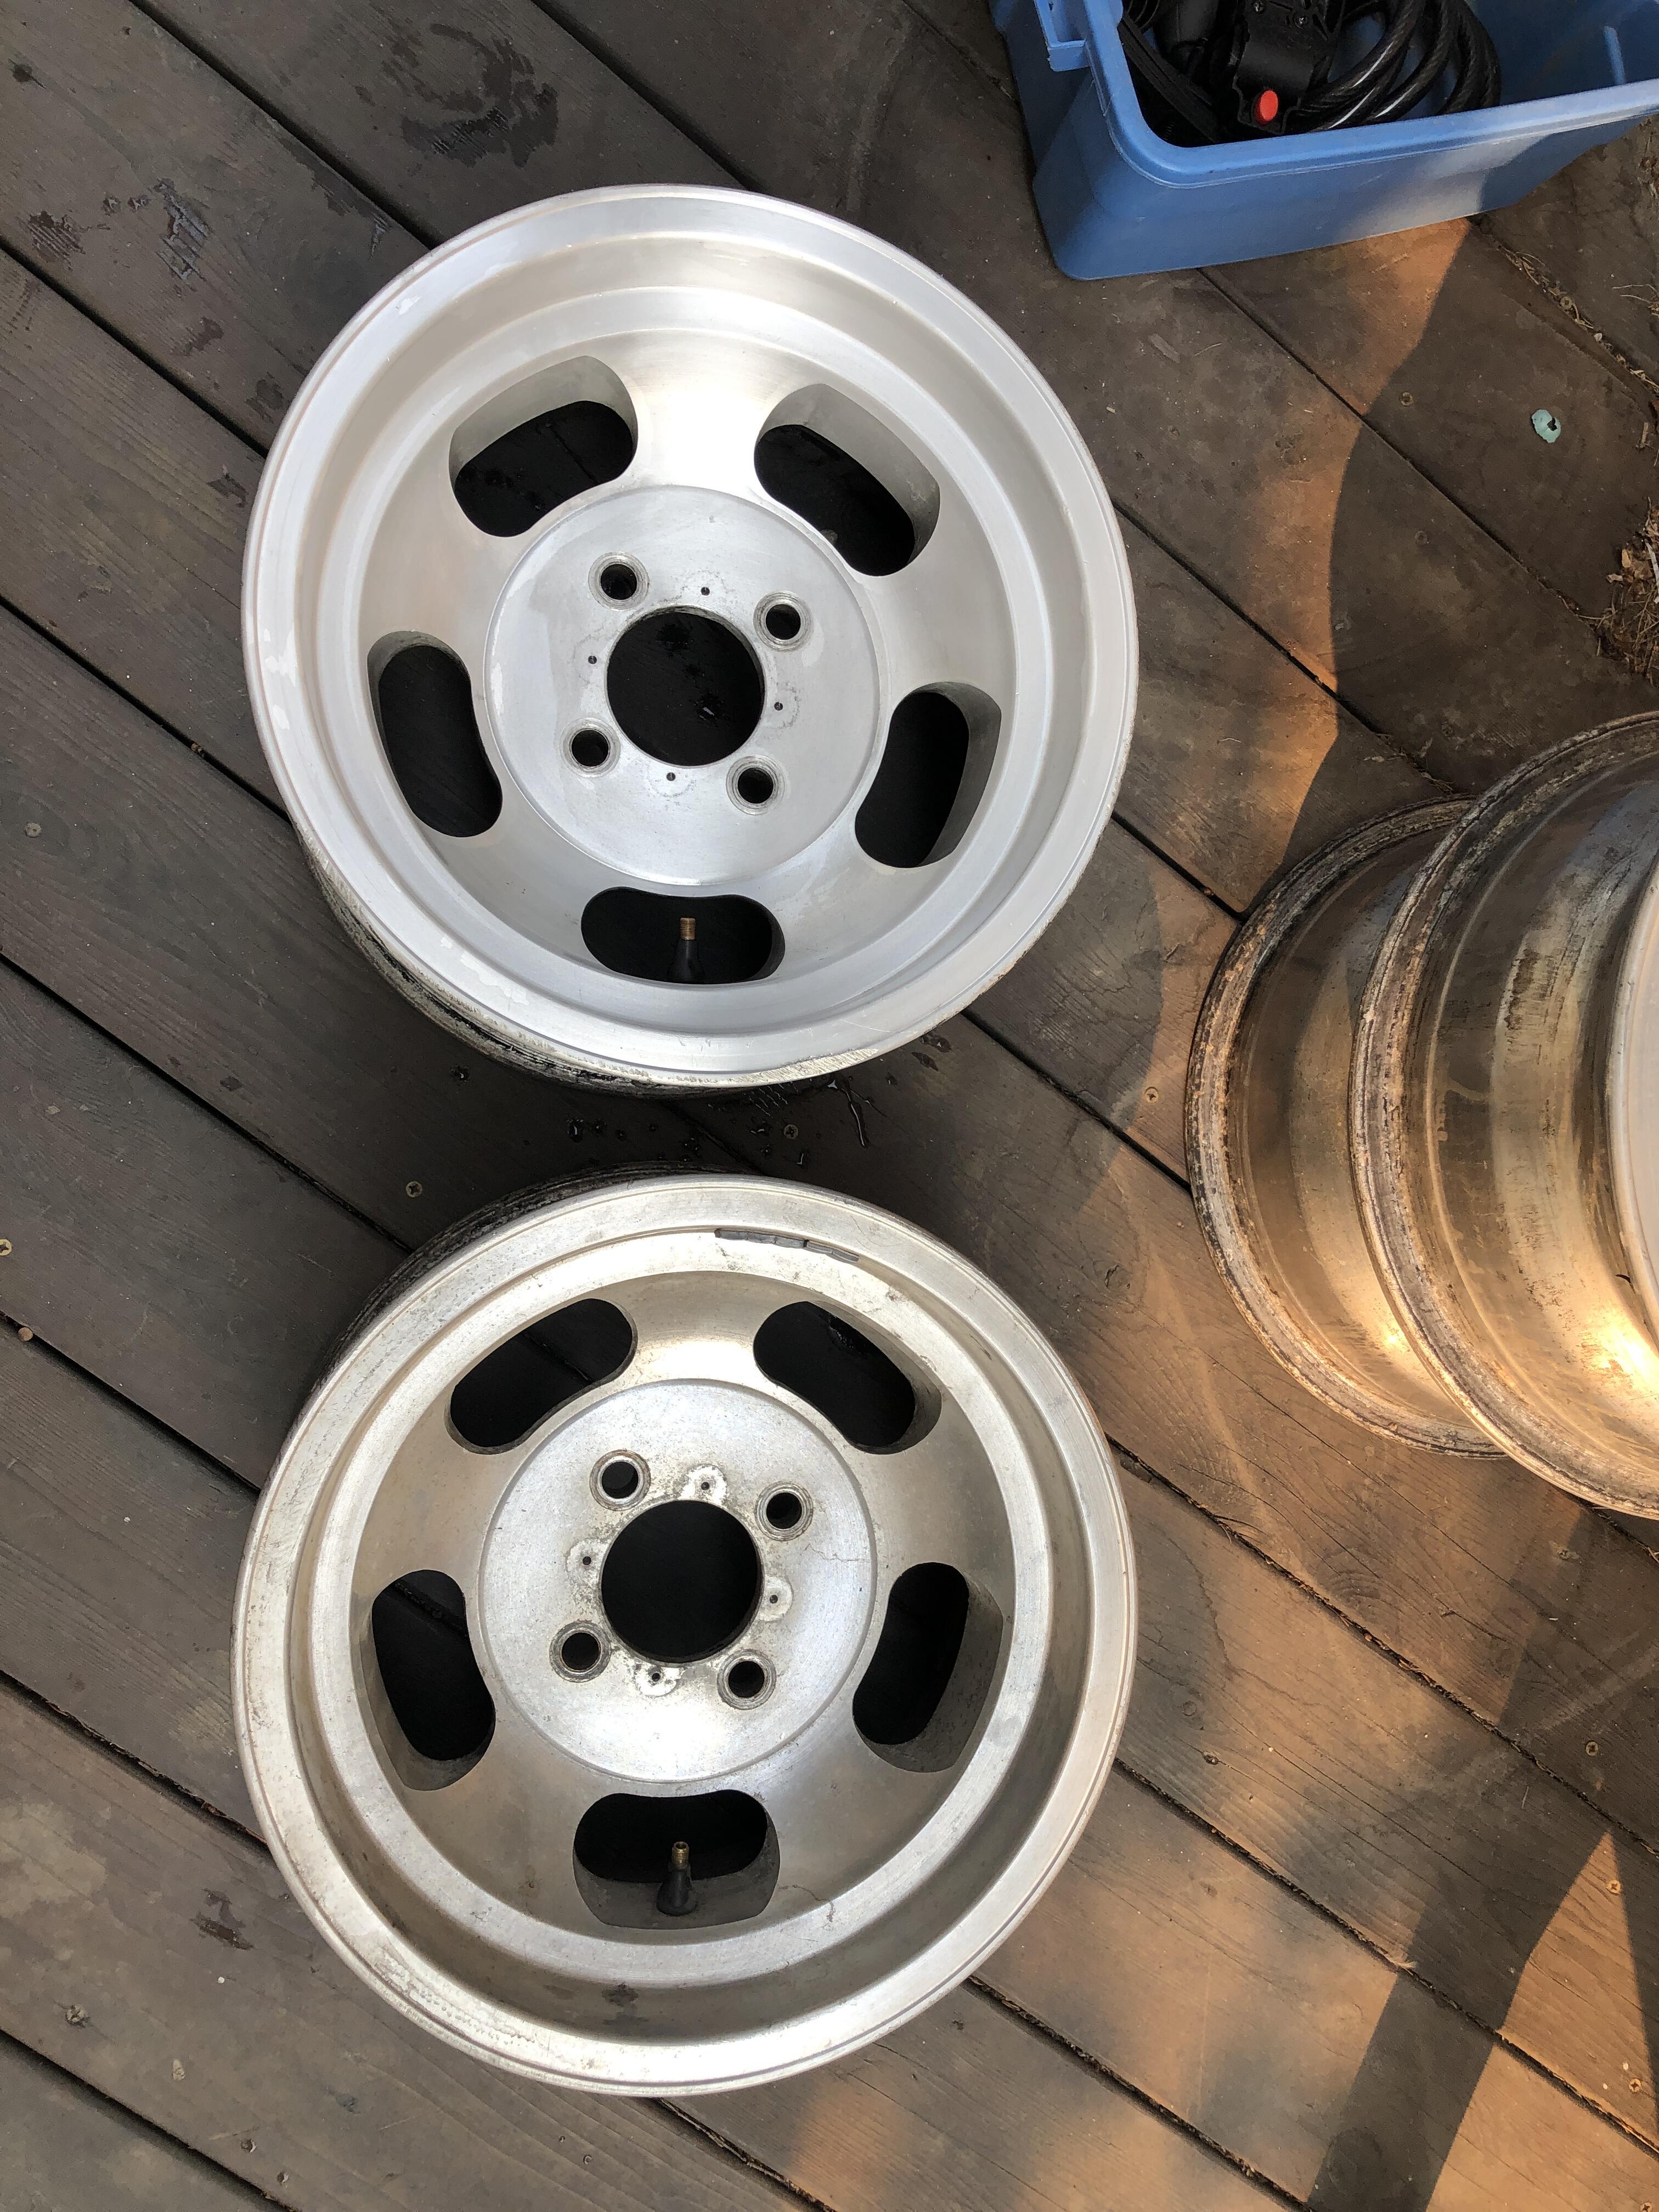
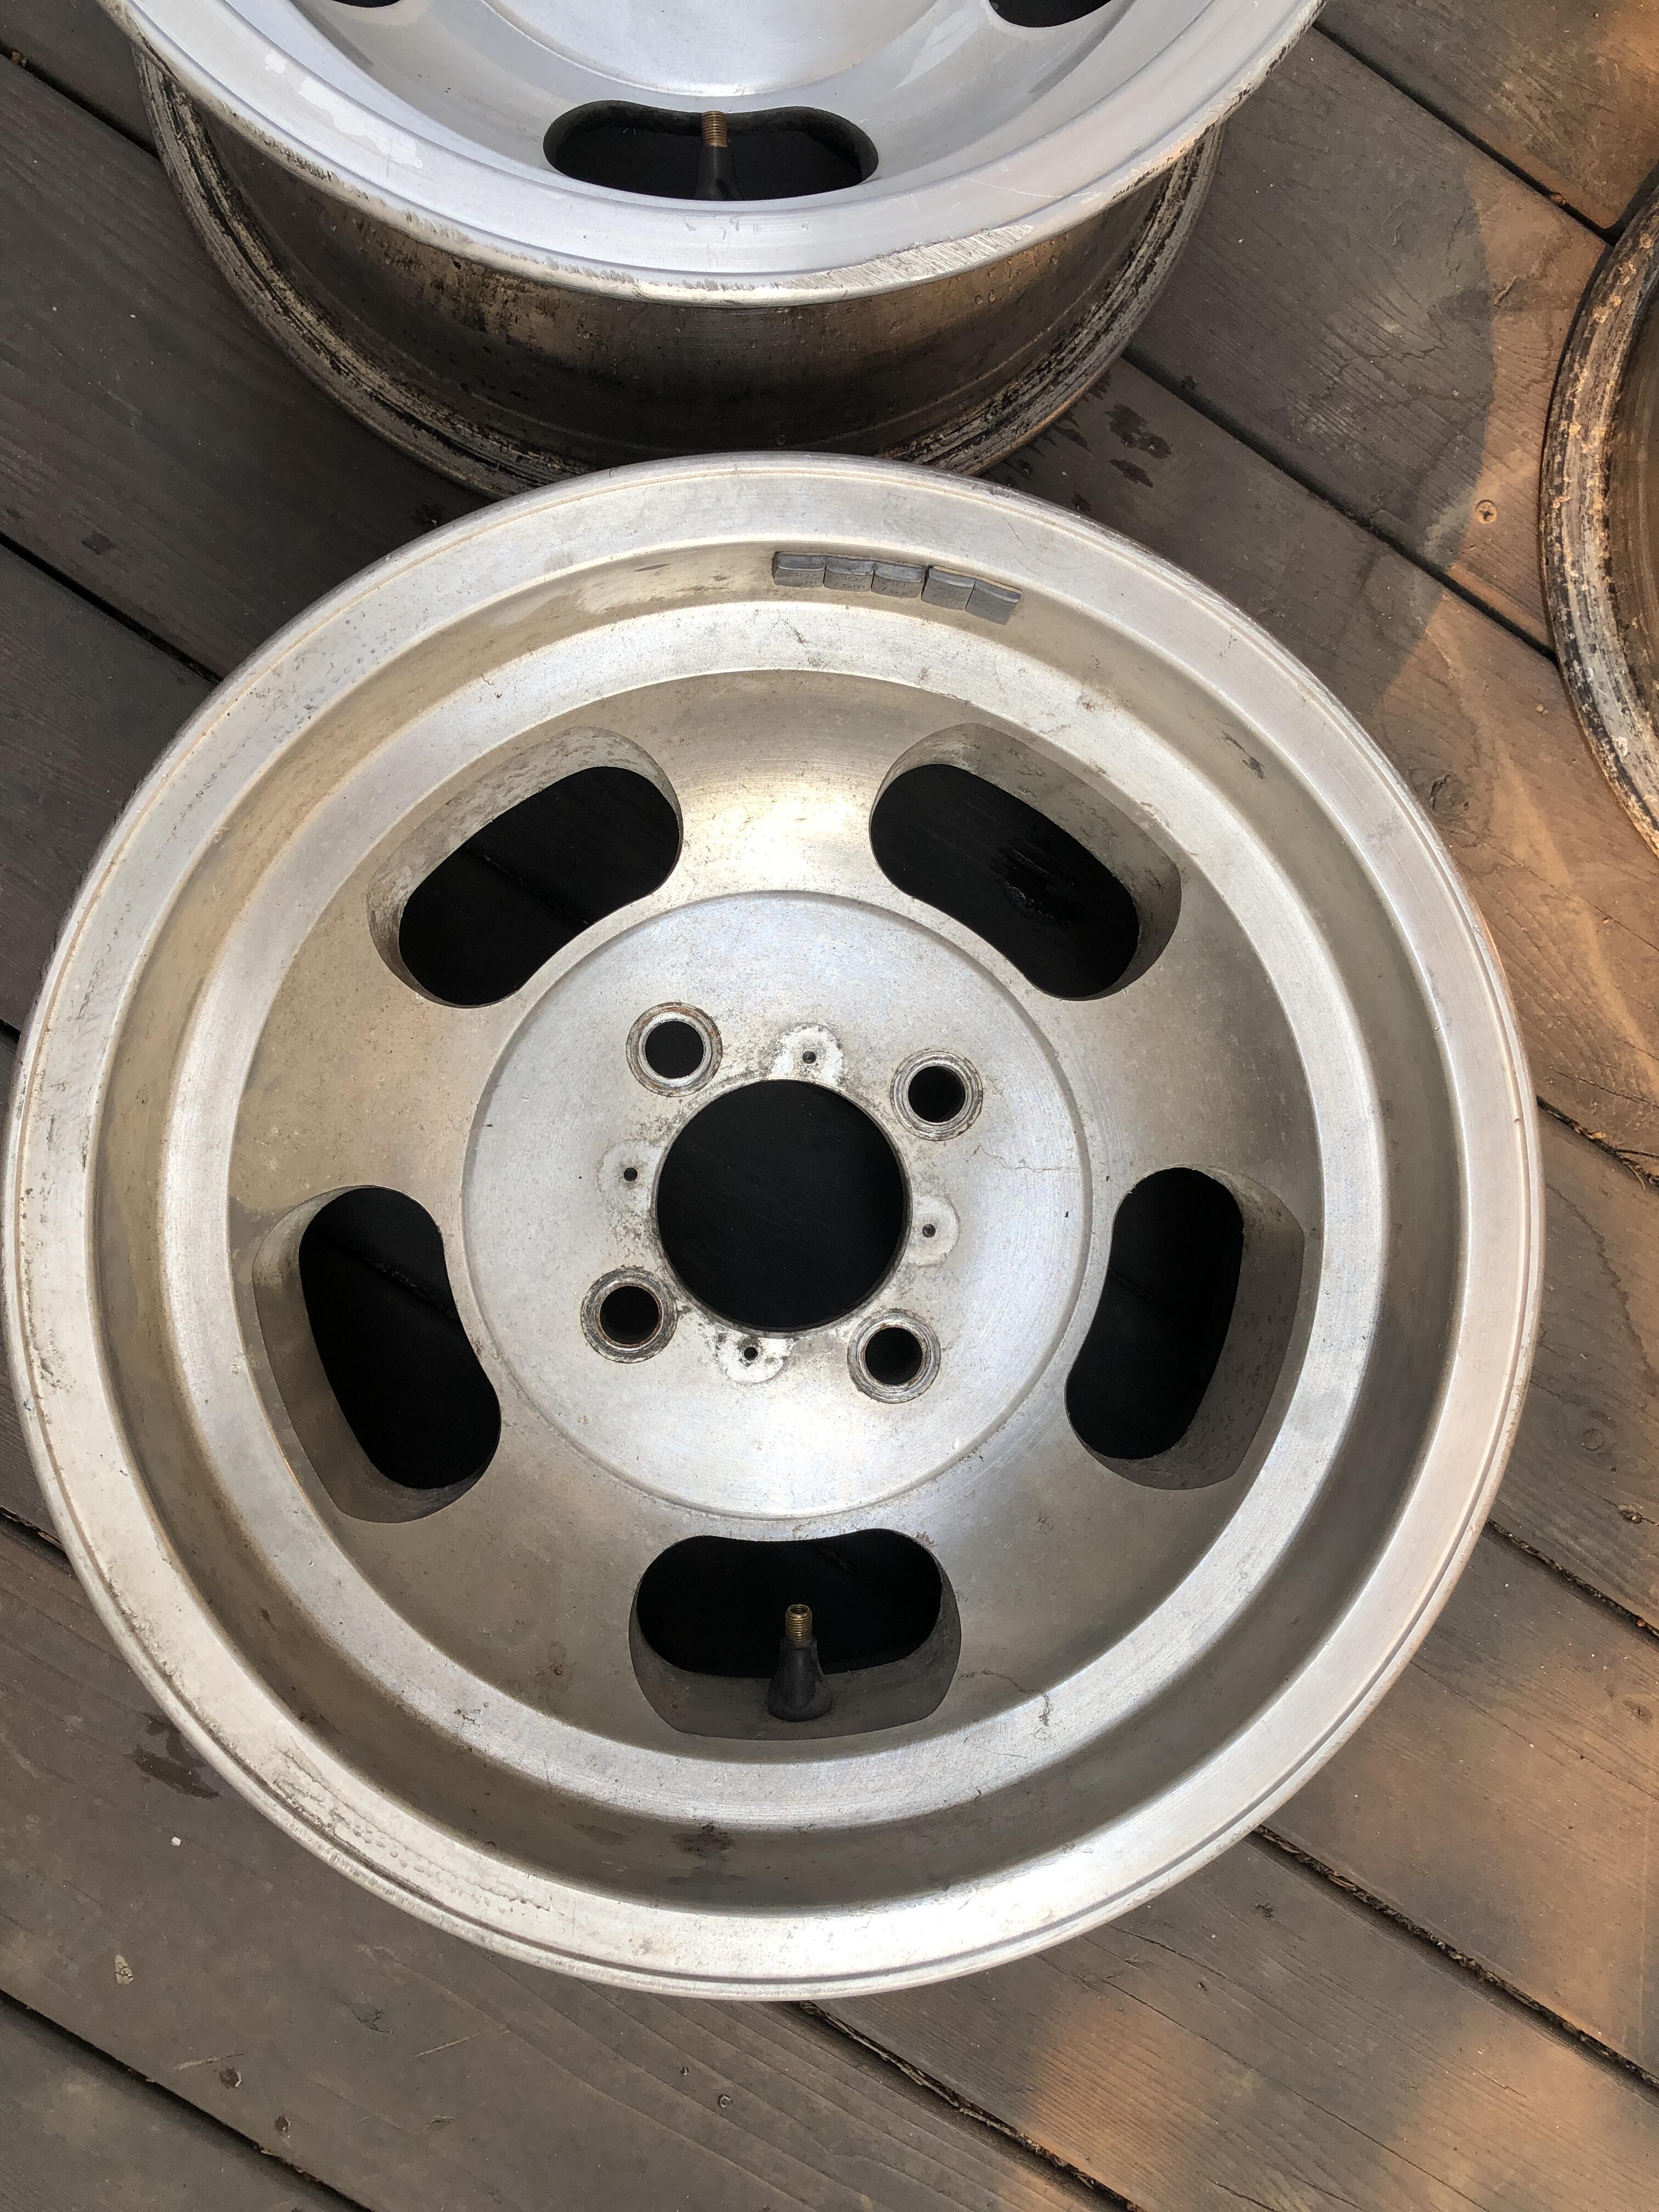
Yes the cleaner. I should show a picture of the bottle.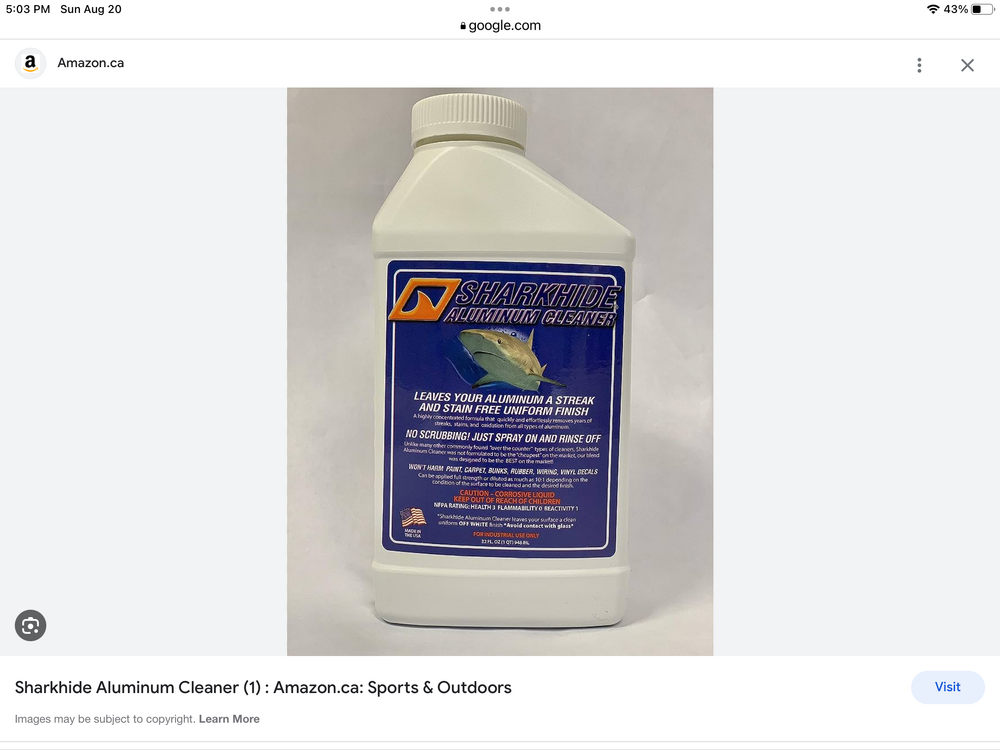 I bought a product called SHARKHIDE several years ago with the intent to clean many aluminum Datsun things like wheels and valve covers. Finally got around to trying it today. THIS SHEITE IS DA’ BOMB! I have a set of lovely original D-slot mags on a 71 that I’m restoring, and this stuff took them from grim to perfect in the fastest easiest way I’ve ever imagined. This stuff is seriously bad for you, the instructions have scared me away from even trying it until today, but damn, it does what it says it will do. Just ragged it on, scrubbed the grime with same gray scotchbrite scrub pads then rinsed it off. 15 min per wheel tops. Obviously you have to the clear coat off first, not sure these ever had any. At the time I bought it, 10 years I think, it was only available thru boating companies, no retailer would ship it, so I picked up a bottle in Salmon Arm BC on the way back to Calgary on vacation that year. Now I see it on Amazon of course. I’d buy it from sharkhidestore.com, it’s $29.95 a quoart vs $97 on amazon, big surprise. If you want serious power, this stuff is what you want. Just be dang careful with it.
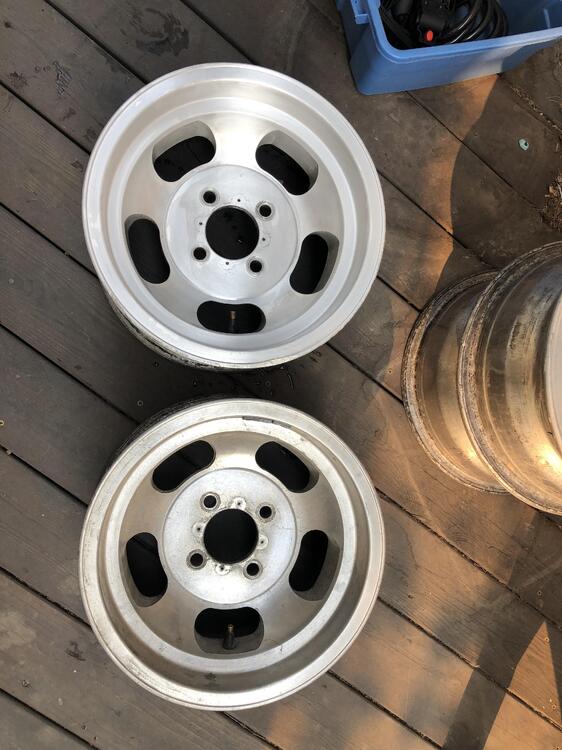

 Weber's have an accel pump jet that sprays fuel in the bore when you push the pedal. Little jet that sticks down in the bore from the top. You can get reversed weber choke mechanisms as well. I mean "inverted". One example https://www.mecatechnic.com/en-GB/choke-mechanism-for-weber-dcoe-and-idf-inverted_UC40223.htm
I agree. Time to find a better alternative. Even their pictures on the amazon page that show various shots of the equipment, shows one with the Bosch sensor, and one with the fake. During one of my discussions with AEM, they said “whatever is shown on our website is exactly what you get” and they had inconsistent pictures then as well. Just looking today they show a clearly non-bosch sensor FAE brand, and bosch depending on where you look. To be fair, I purchased their 30-0319 X series controller for use in my latest EFI project and it came with a Bosch sensor, and has been working great all summer. It’s the one that just has the little controller box inline, no gauge, and you use it’s CAN bus (or analog) output to feed into your ECU for AFR data. I have also purchased stand alone Bosch sensors from Amazon and gotten the real thing at a decent price. This is typically what I buy to replace the shitty AEM sensor.
Weber's have an accel pump jet that sprays fuel in the bore when you push the pedal. Little jet that sticks down in the bore from the top. You can get reversed weber choke mechanisms as well. I mean "inverted". One example https://www.mecatechnic.com/en-GB/choke-mechanism-for-weber-dcoe-and-idf-inverted_UC40223.htm
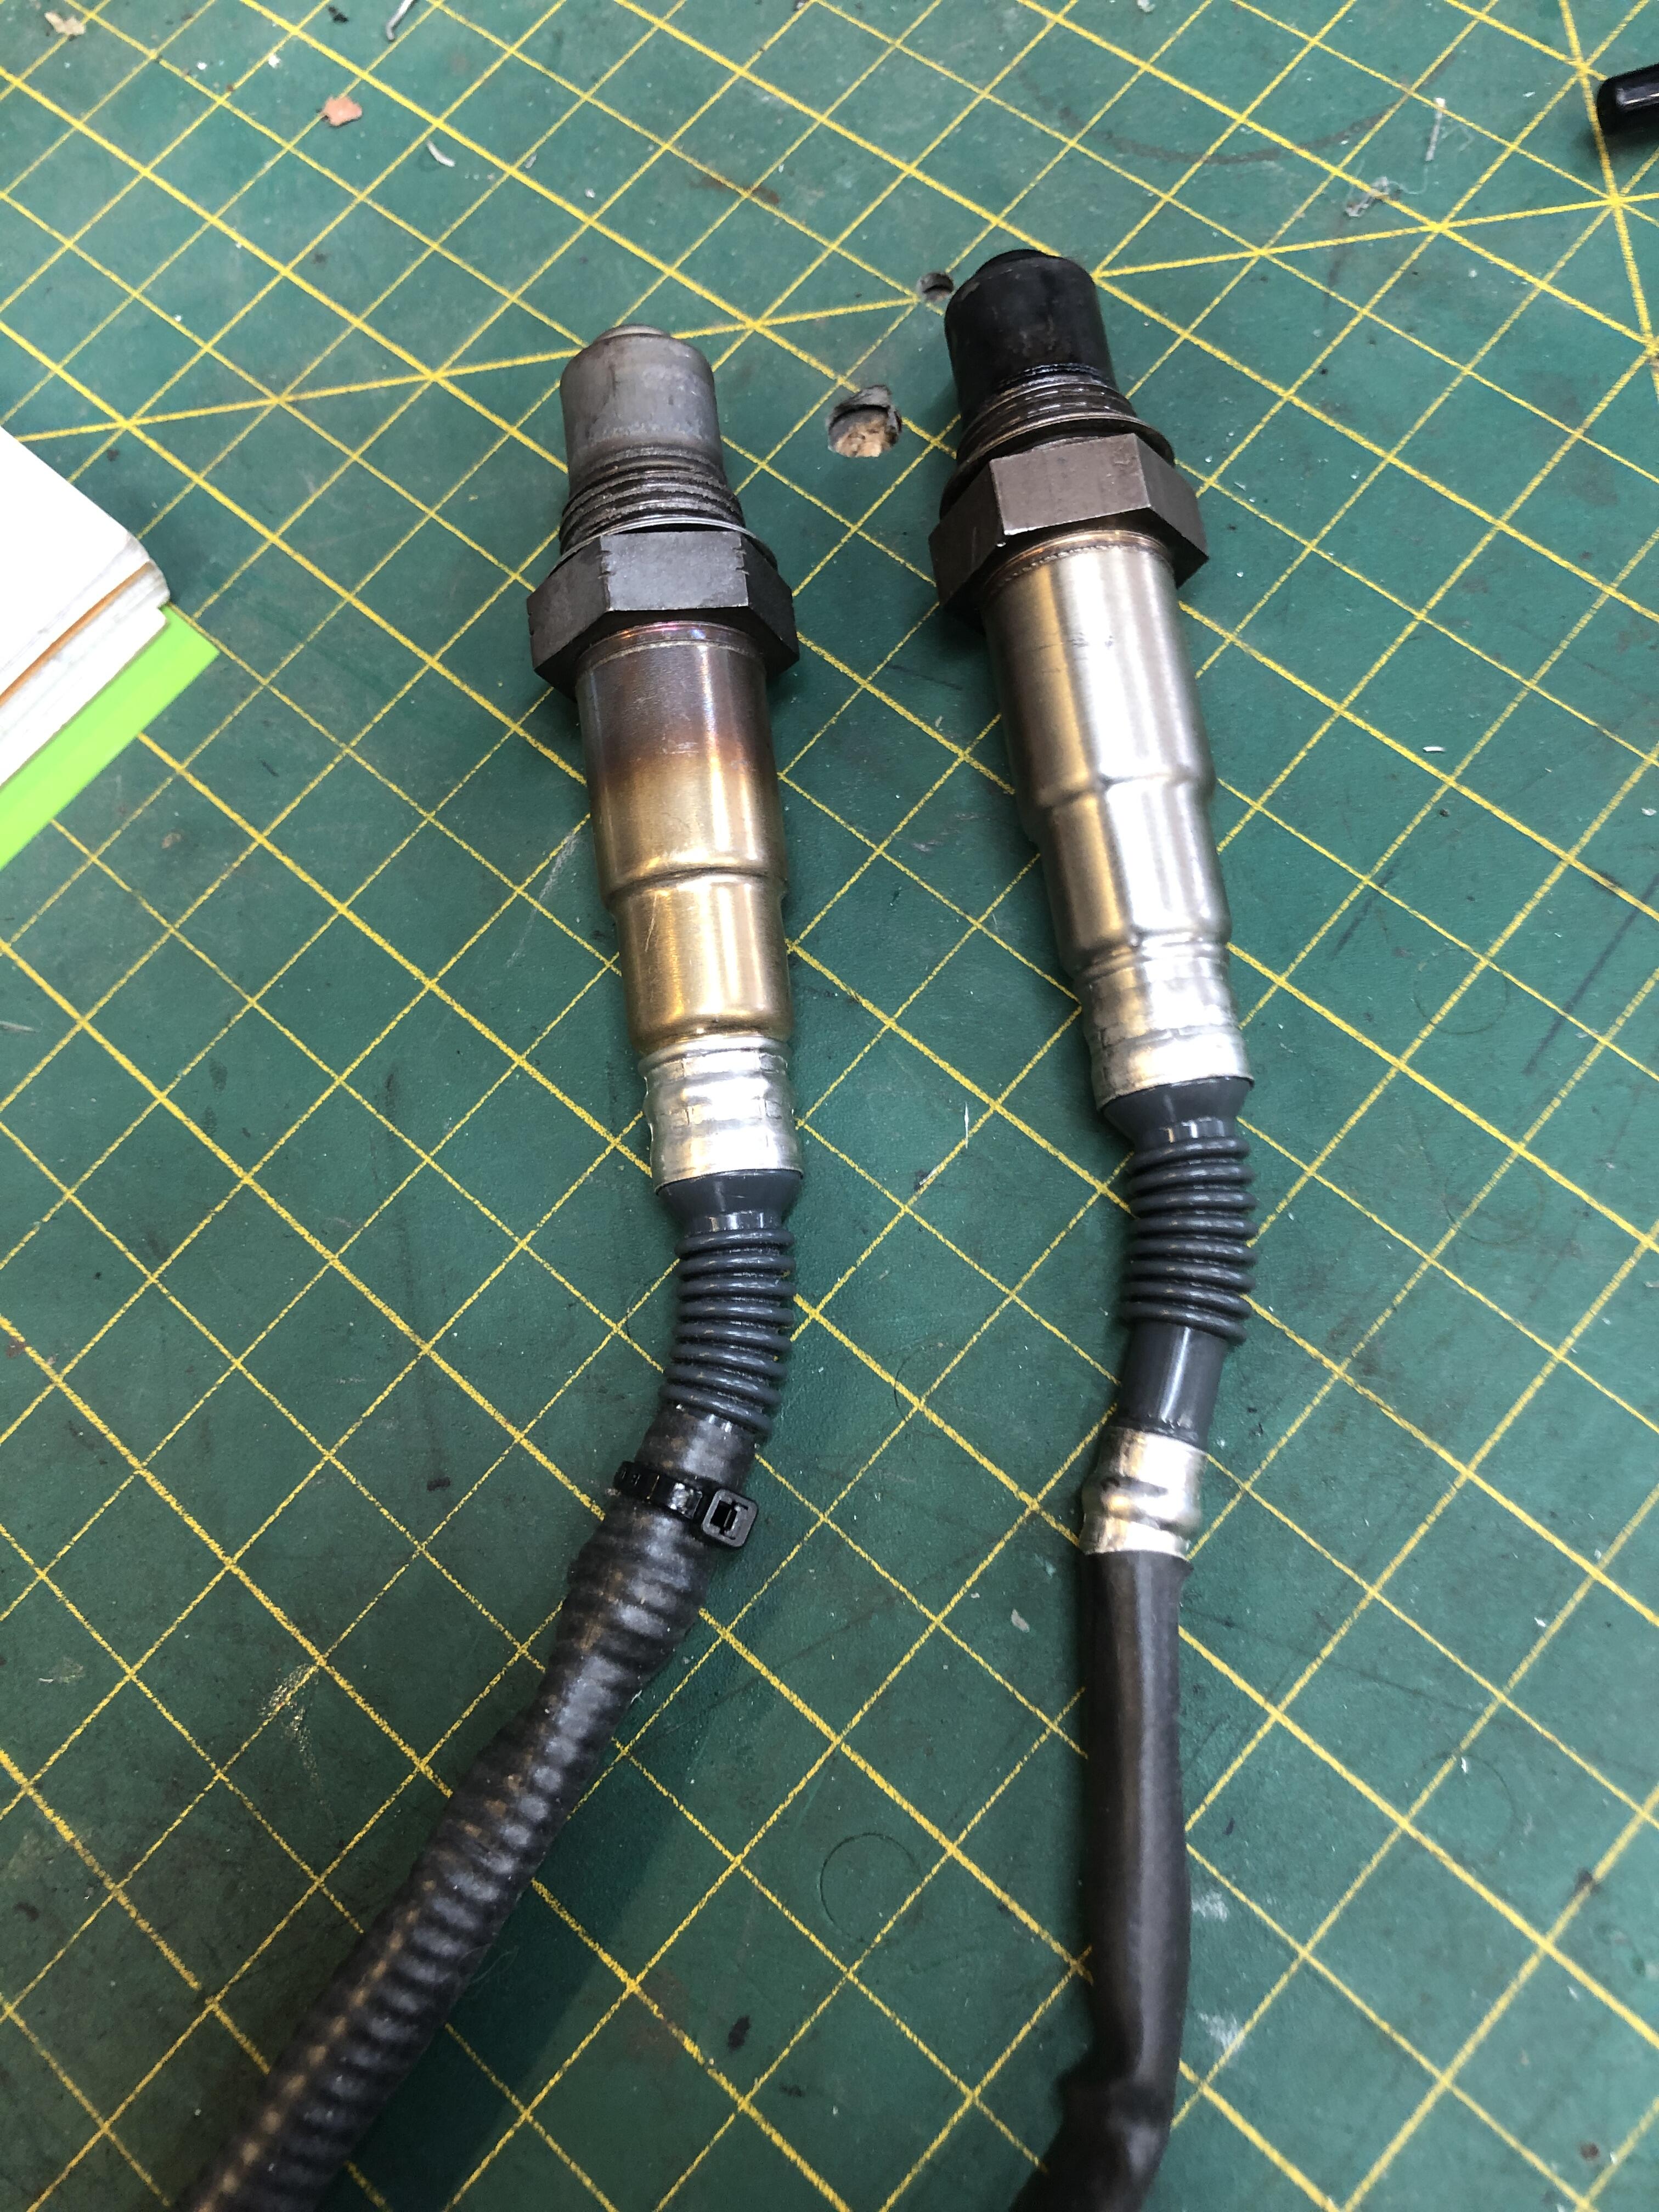
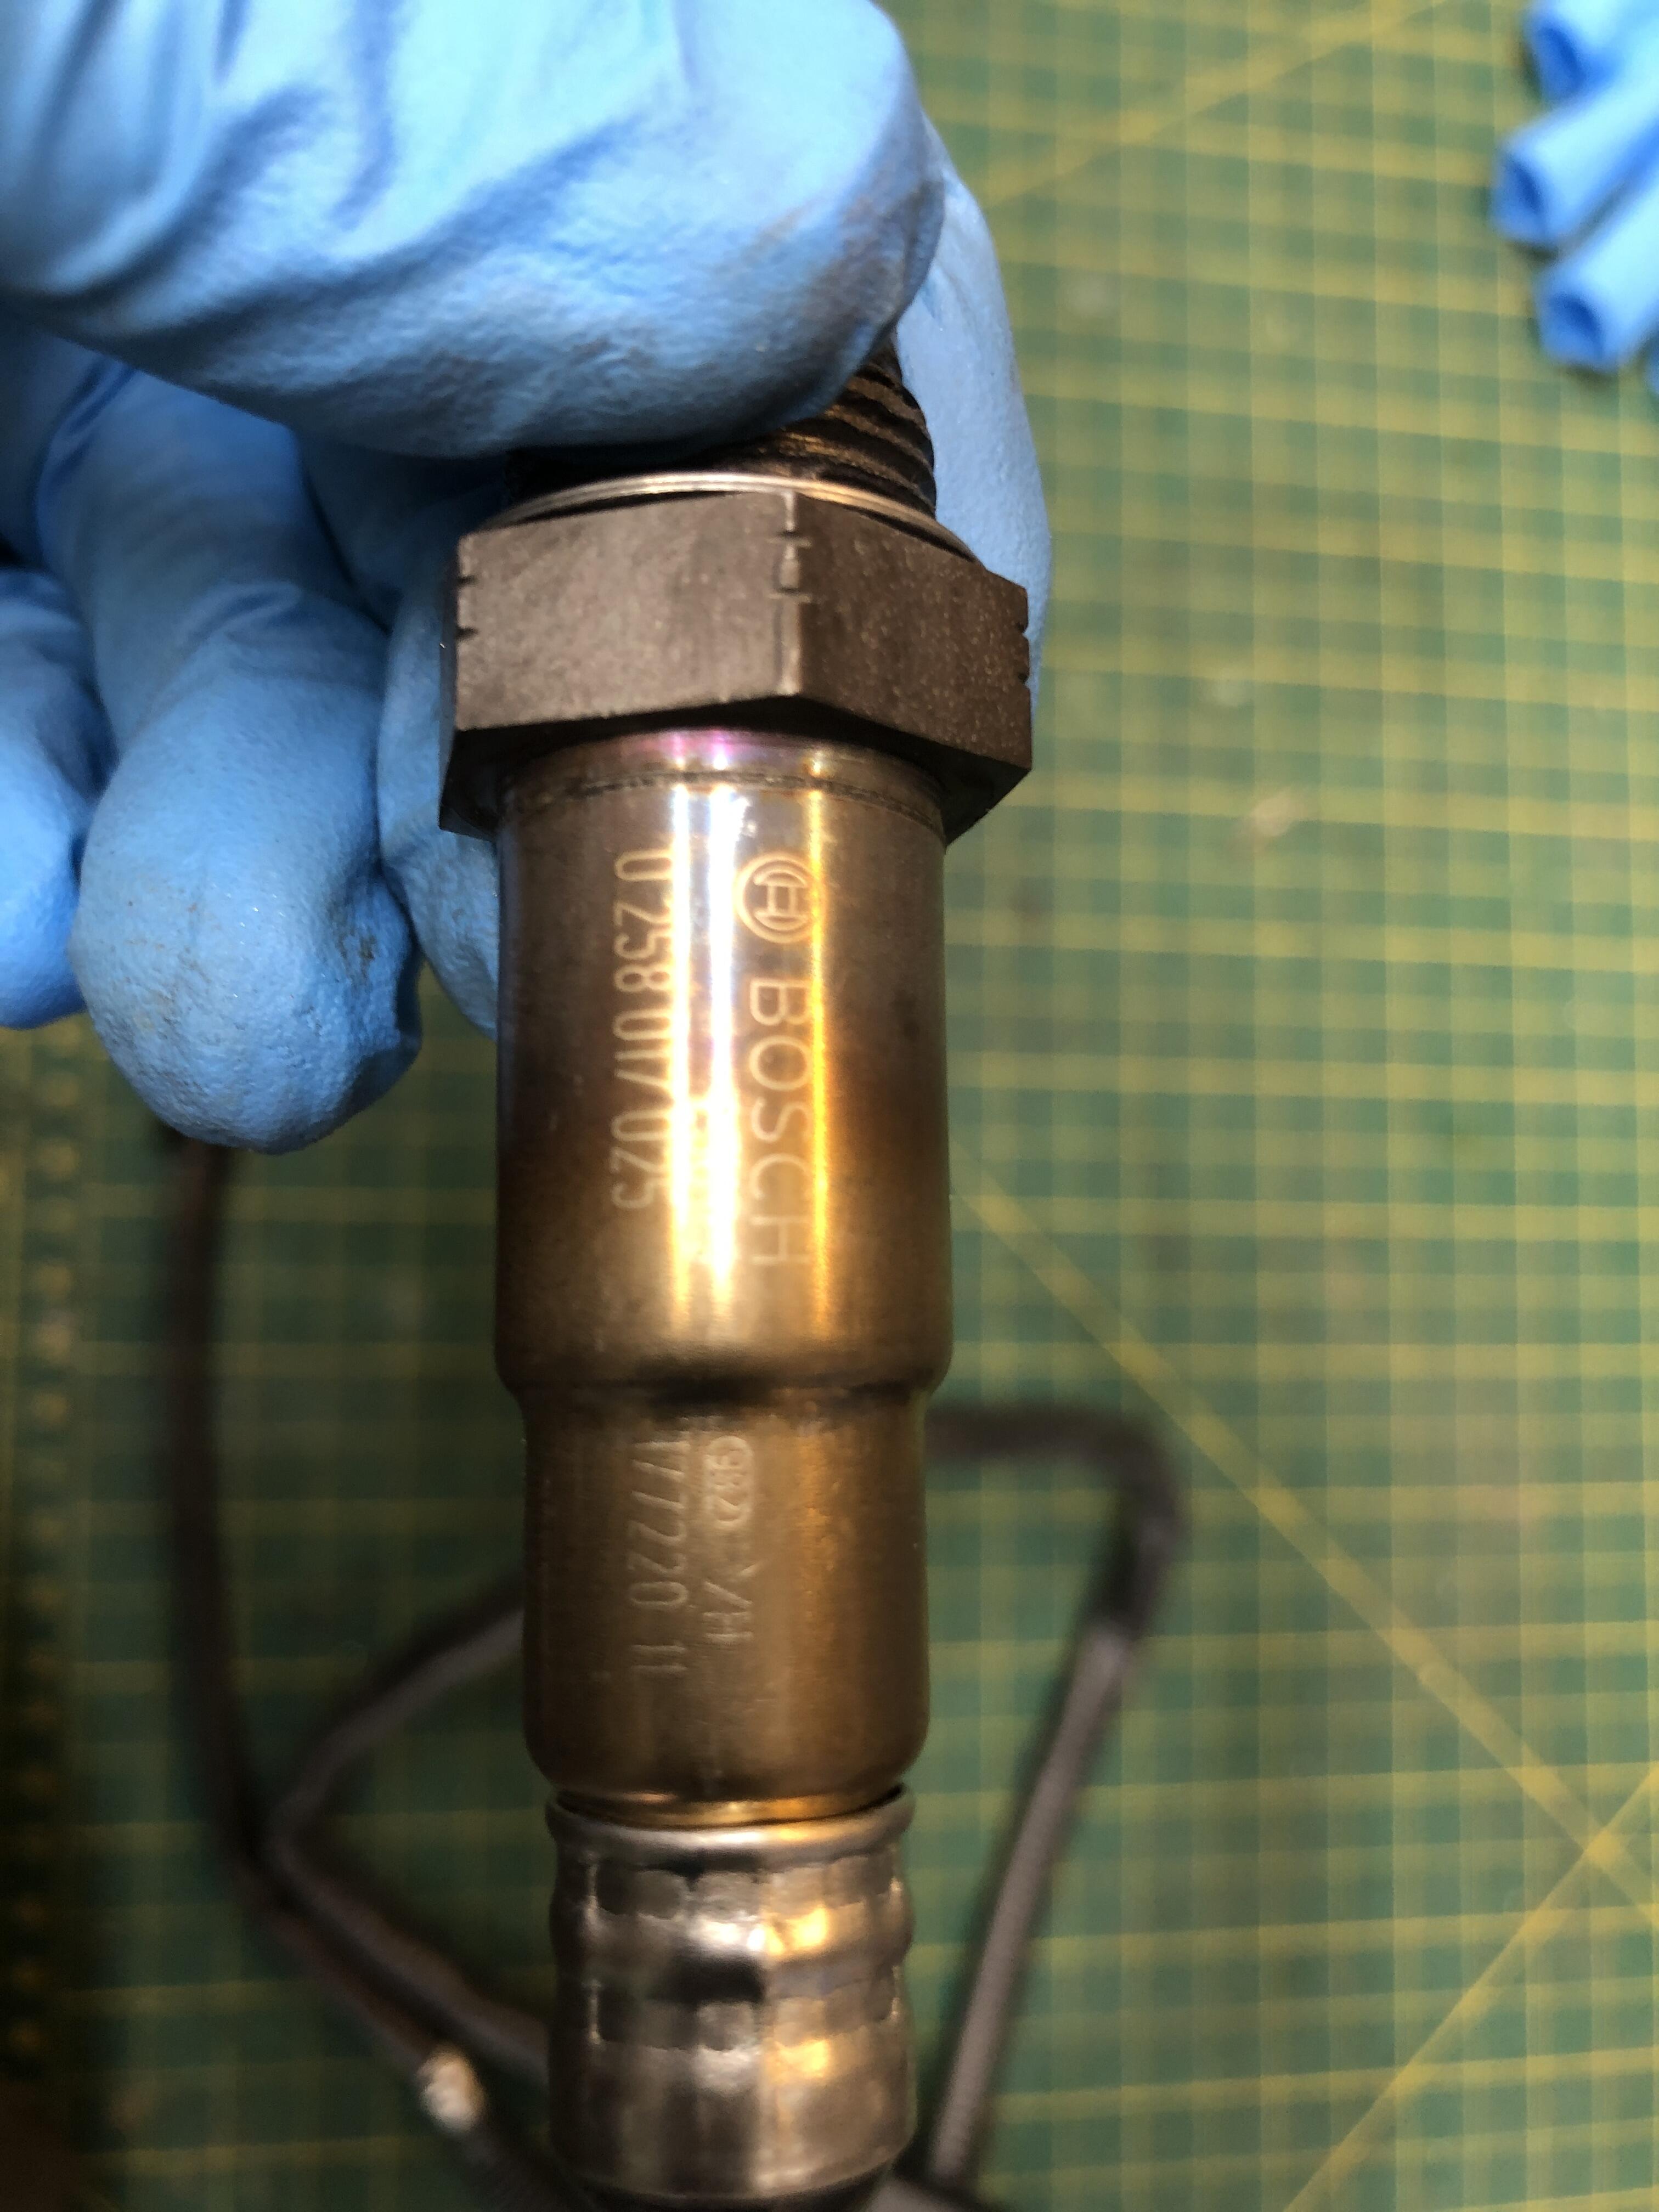
I agree. Time to find a better alternative. Even their pictures on the amazon page that show various shots of the equipment, shows one with the Bosch sensor, and one with the fake. During one of my discussions with AEM, they said “whatever is shown on our website is exactly what you get” and they had inconsistent pictures then as well. Just looking today they show a clearly non-bosch sensor FAE brand, and bosch depending on where you look. To be fair, I purchased their 30-0319 X series controller for use in my latest EFI project and it came with a Bosch sensor, and has been working great all summer. It’s the one that just has the little controller box inline, no gauge, and you use it’s CAN bus (or analog) output to feed into your ECU for AFR data. I have also purchased stand alone Bosch sensors from Amazon and gotten the real thing at a decent price. This is typically what I buy to replace the shitty AEM sensor.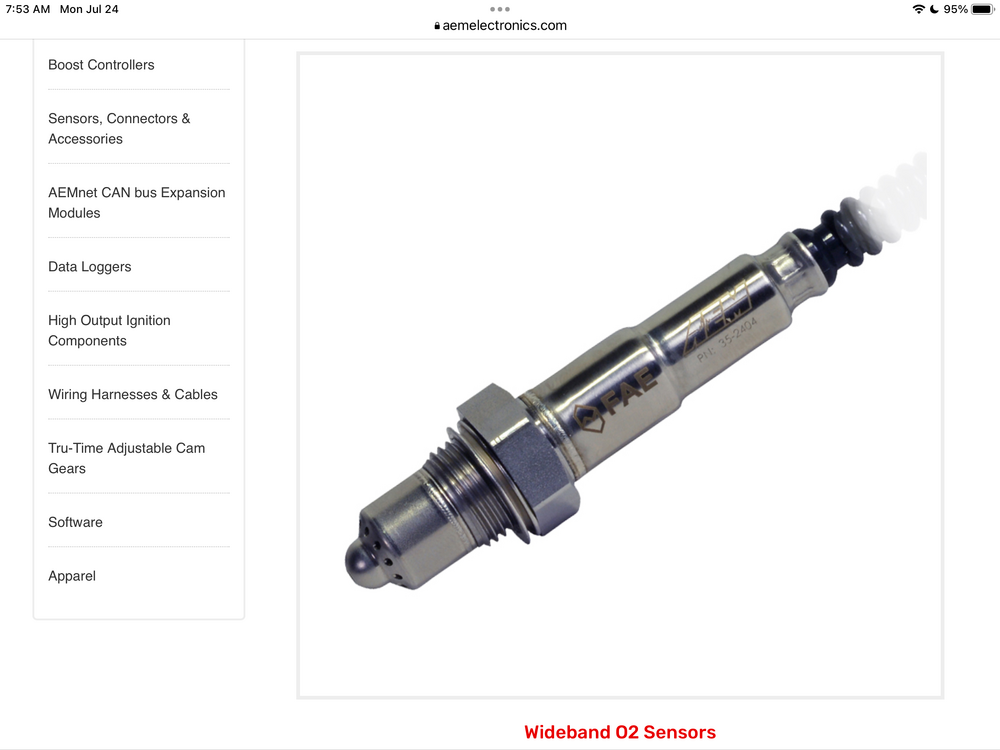 So lets show the real vs fakes. Here are the two business ends. Bosch on the left, fake on the right. The Bosch sensor has that graduated heat coloring, a zip tii holding the sheath material over the accordion boot. The fake is shiny polished. And has no markings. The Bosch sensor has the markings you'd expect Lastly the wiring length of Bosch sensor is much longer.
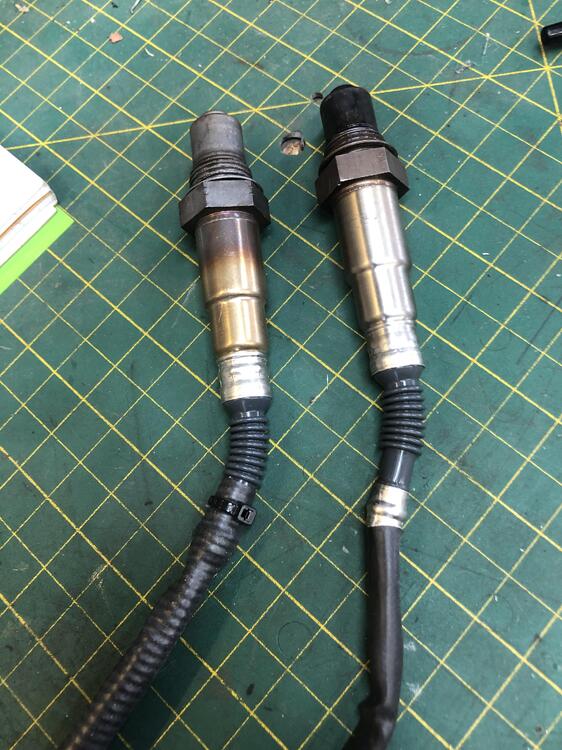

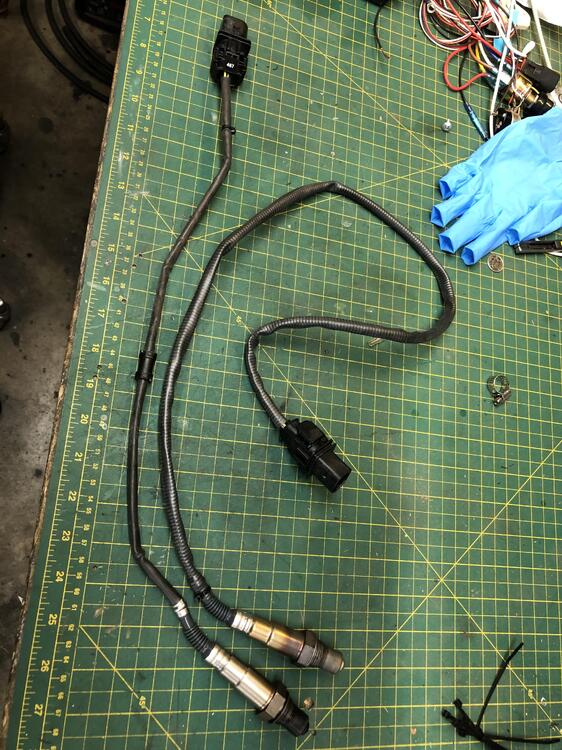 I have been bitten several times now (you'd think I'd learn...) by oxygen sensors that fail in the first few hours of life. I typically buy the AEM 30-4110 kit from Amazon, good price, shows up quick, blah blah. After a few rapid sensor failures, and me telling AEM, and them quickly sending new sensors under warrantee, and me going and buying "real" (more real??) Bosch sensors, I now have some details to report so you can determine if you get similar "bad" sensors.
There. See? It was the loose dizzy cap. Guess it went wonky (sorry for the technical term) above 4k. I knew if I asked you guys would help me solve it! Even if only in spirit..... So what did we learn today? -Misfires can cause a lean condition as read on the AFR gauge, just like the reverse. -Change a bunch of stuff and get the same result? You are changing the wrong stuff. -Tunnel vision is blinding.
Hmmmmm. I wonder if a loose and floppy distributor cap could have anything to do with it. Can a spark mis-fire read lean just like lean can cause a mis-fire?
Ok, I'm having a bad week with nice stock L24 with SU's. Runs fantastic until you get over 4-4.5K RPM, then it leans out and misfires. Facts and Observations SM needles (been trying several others....) Four screw early carbs. Fresh and minty. New AEM AFR gauge in the exhaust. Never leave home without it. AFR's 13-14 around town below 4K RPM, car pulls like crazy super smooth 800 RPM smooth idle, but crawls up to 15-16.5 or higher and misfires when you get over 4K. Doesn't fall on its face, just gets rough running and power falls off and has trouble getting to 6k RPM. Fuel deliverability confirmed. NOS stock pump and then with an NOS electric pump (mechanical out of the circuit), both behave the same way. Both produce buckets full of fuel when I free flow them into, well, a bucket. Float level confirmed. Was a tad low, now perfect. No change in behavior before or after. yes there is oil in the domes. If I pull the chokes on and get the jet tubes down 1/8 then it runs better and the AFR's stay near 15, but turning the mix screws down to 5 or 6 turns to get that same result makes the idle-4K range pig rich and awful. No surprise there. Not a solution. Tried another set of SM needles, (these dang things are typically too rich on a stock L24!!! Not this time) same thing. Valve adjust and vacuum are normal. NGK BPR^ES usual at 0.036. All 6 look identical and lean-ish after a few hard pulls. I'm about to start sanding down the lower half of a set of SM needles to try to get it richer up top. Not easy to tell where to start sanding. Suggestions? What am I missing?!?!?!?!?
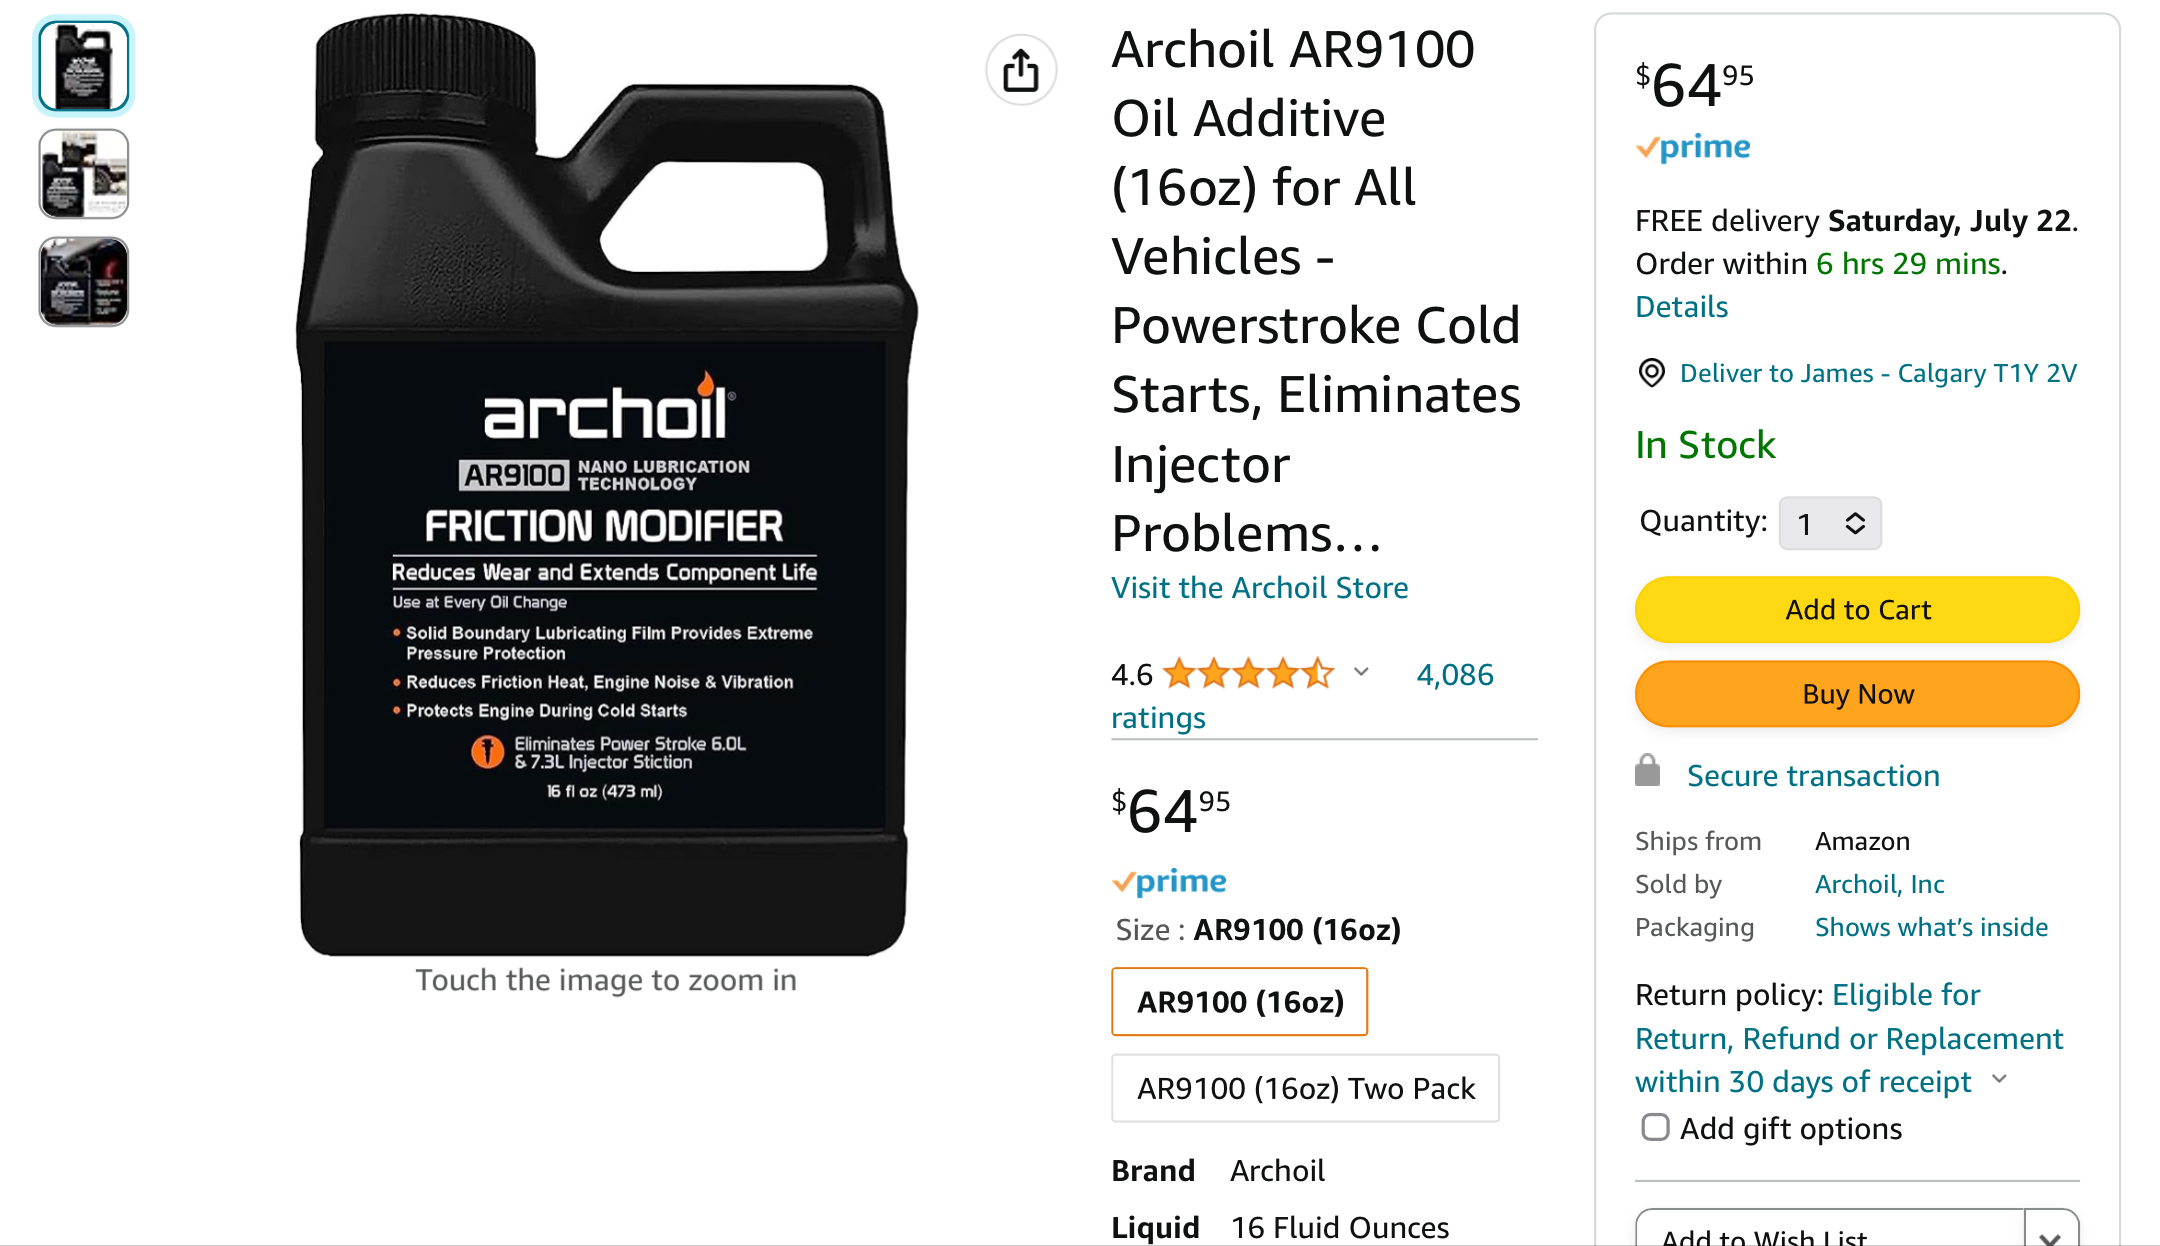
Toss your tranny in the mail, I put some fresh synchro’s in. Never look back. Or learn to double clutch! I even threw in some ARCHOIL in the last transmission to see if it would improve the noise level. Didn’t help.
I have been bitten several times now (you'd think I'd learn...) by oxygen sensors that fail in the first few hours of life. I typically buy the AEM 30-4110 kit from Amazon, good price, shows up quick, blah blah. After a few rapid sensor failures, and me telling AEM, and them quickly sending new sensors under warrantee, and me going and buying "real" (more real??) Bosch sensors, I now have some details to report so you can determine if you get similar "bad" sensors.
I have been bitten several times now (you'd think I'd learn...) by oxygen sensors that fail in the first few hours of life. I typically buy the AEM 30-4110 kit from Amazon, good price, shows up quick, blah blah. After a few rapid sensor failures, and me telling AEM, and them quickly sending new sensors under warrantee, and me going and buying "real" (more real??) Bosch sensors, I now have some details to report so you can determine if you get similar "bad" sensors.
There. See? It was the loose dizzy cap. Guess it went wonky (sorry for the technical term) above 4k. I knew if I asked you guys would help me solve it! Even if only in spirit..... So what did we learn today? -Misfires can cause a lean condition as read on the AFR gauge, just like the reverse. -Change a bunch of stuff and get the same result? You are changing the wrong stuff. -Tunnel vision is blinding.
Hmmmmm. I wonder if a loose and floppy distributor cap could have anything to do with it. Can a spark mis-fire read lean just like lean can cause a mis-fire?
Ok, I'm having a bad week with nice stock L24 with SU's. Runs fantastic until you get over 4-4.5K RPM, then it leans out and misfires. Facts and Observations SM needles (been trying several others....) Four screw early carbs. Fresh and minty. New AEM AFR gauge in the exhaust. Never leave home without it. AFR's 13-14 around town below 4K RPM, car pulls like crazy super smooth 800 RPM smooth idle, but crawls up to 15-16.5 or higher and misfires when you get over 4K. Doesn't fall on its face, just gets rough running and power falls off and has trouble getting to 6k RPM. Fuel deliverability confirmed. NOS stock pump and then with an NOS electric pump (mechanical out of the circuit), both behave the same way. Both produce buckets full of fuel when I free flow them into, well, a bucket. Float level confirmed. Was a tad low, now perfect. No change in behavior before or after. yes there is oil in the domes. If I pull the chokes on and get the jet tubes down 1/8 then it runs better and the AFR's stay near 15, but turning the mix screws down to 5 or 6 turns to get that same result makes the idle-4K range pig rich and awful. No surprise there. Not a solution. Tried another set of SM needles, (these dang things are typically too rich on a stock L24!!! Not this time) same thing. Valve adjust and vacuum are normal. NGK BPR^ES usual at 0.036. All 6 look identical and lean-ish after a few hard pulls. I'm about to start sanding down the lower half of a set of SM needles to try to get it richer up top. Not easy to tell where to start sanding. Suggestions? What am I missing?!?!?!?!?
Toss your tranny in the mail, I put some fresh synchro’s in. Never look back. Or learn to double clutch! I even threw in some ARCHOIL in the last transmission to see if it would improve the noise level. Didn’t help. I do like this stuff. Getting pricey and harder to find, at least in my kneck-of-the-woods.
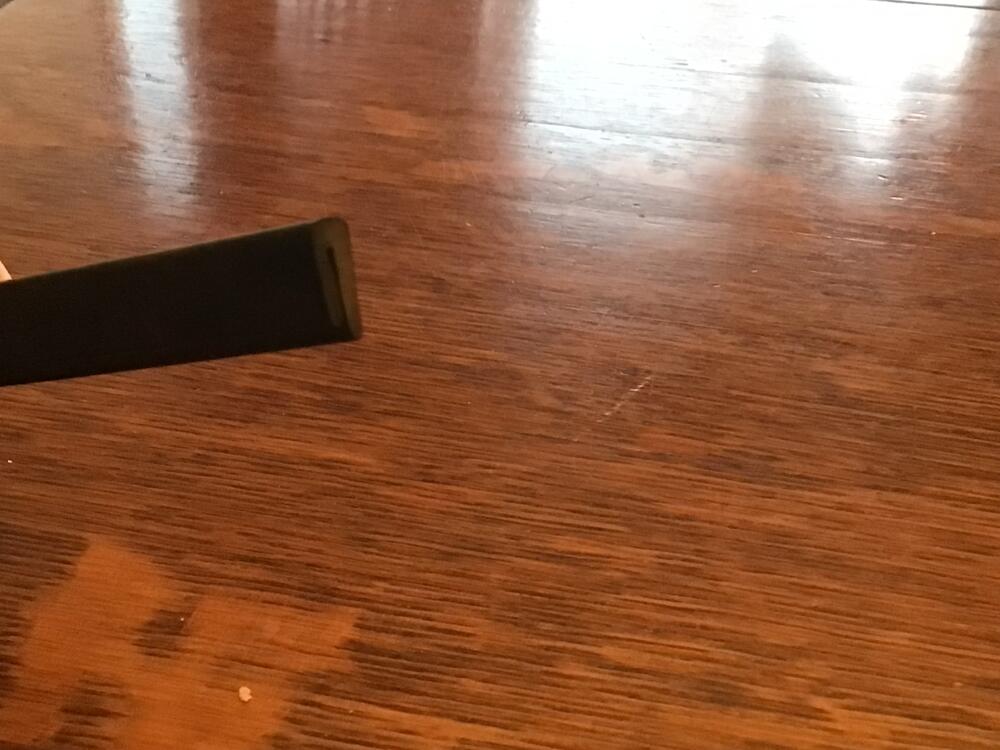
 Not much magic here, the three trapped nuts in the mounting brackets at the back are M5x0.8 thread, the bolts are black nearly flat headed phillips (ok, yes, JIS…) about 16mm long, The front two on the sides are self taping metal screws, now what size is a bit of a trick to describe, they thread into spring clips on the sides of the mounting bracket, something akin to #8 wood screws. They were oval headed, but whatever sits flush and doesn’t catch your knee…..
I suspect talcum powder is 99% corn starch. I know Johnson’s Baby powder is. Corn starch is $1 per pound, any commercial product like talcum or Baby powder is 10x the cost. Nope, talc is something different. “Often mixed with corn starch….”
Not much magic here, the three trapped nuts in the mounting brackets at the back are M5x0.8 thread, the bolts are black nearly flat headed phillips (ok, yes, JIS…) about 16mm long, The front two on the sides are self taping metal screws, now what size is a bit of a trick to describe, they thread into spring clips on the sides of the mounting bracket, something akin to #8 wood screws. They were oval headed, but whatever sits flush and doesn’t catch your knee…..
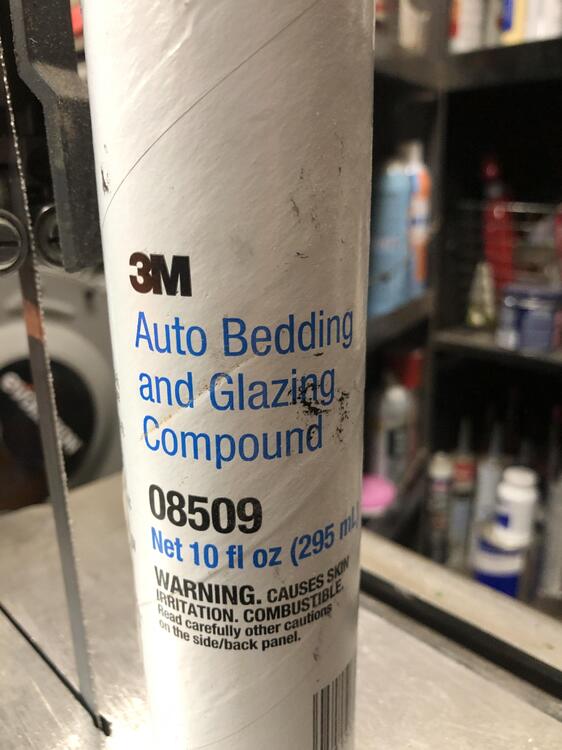
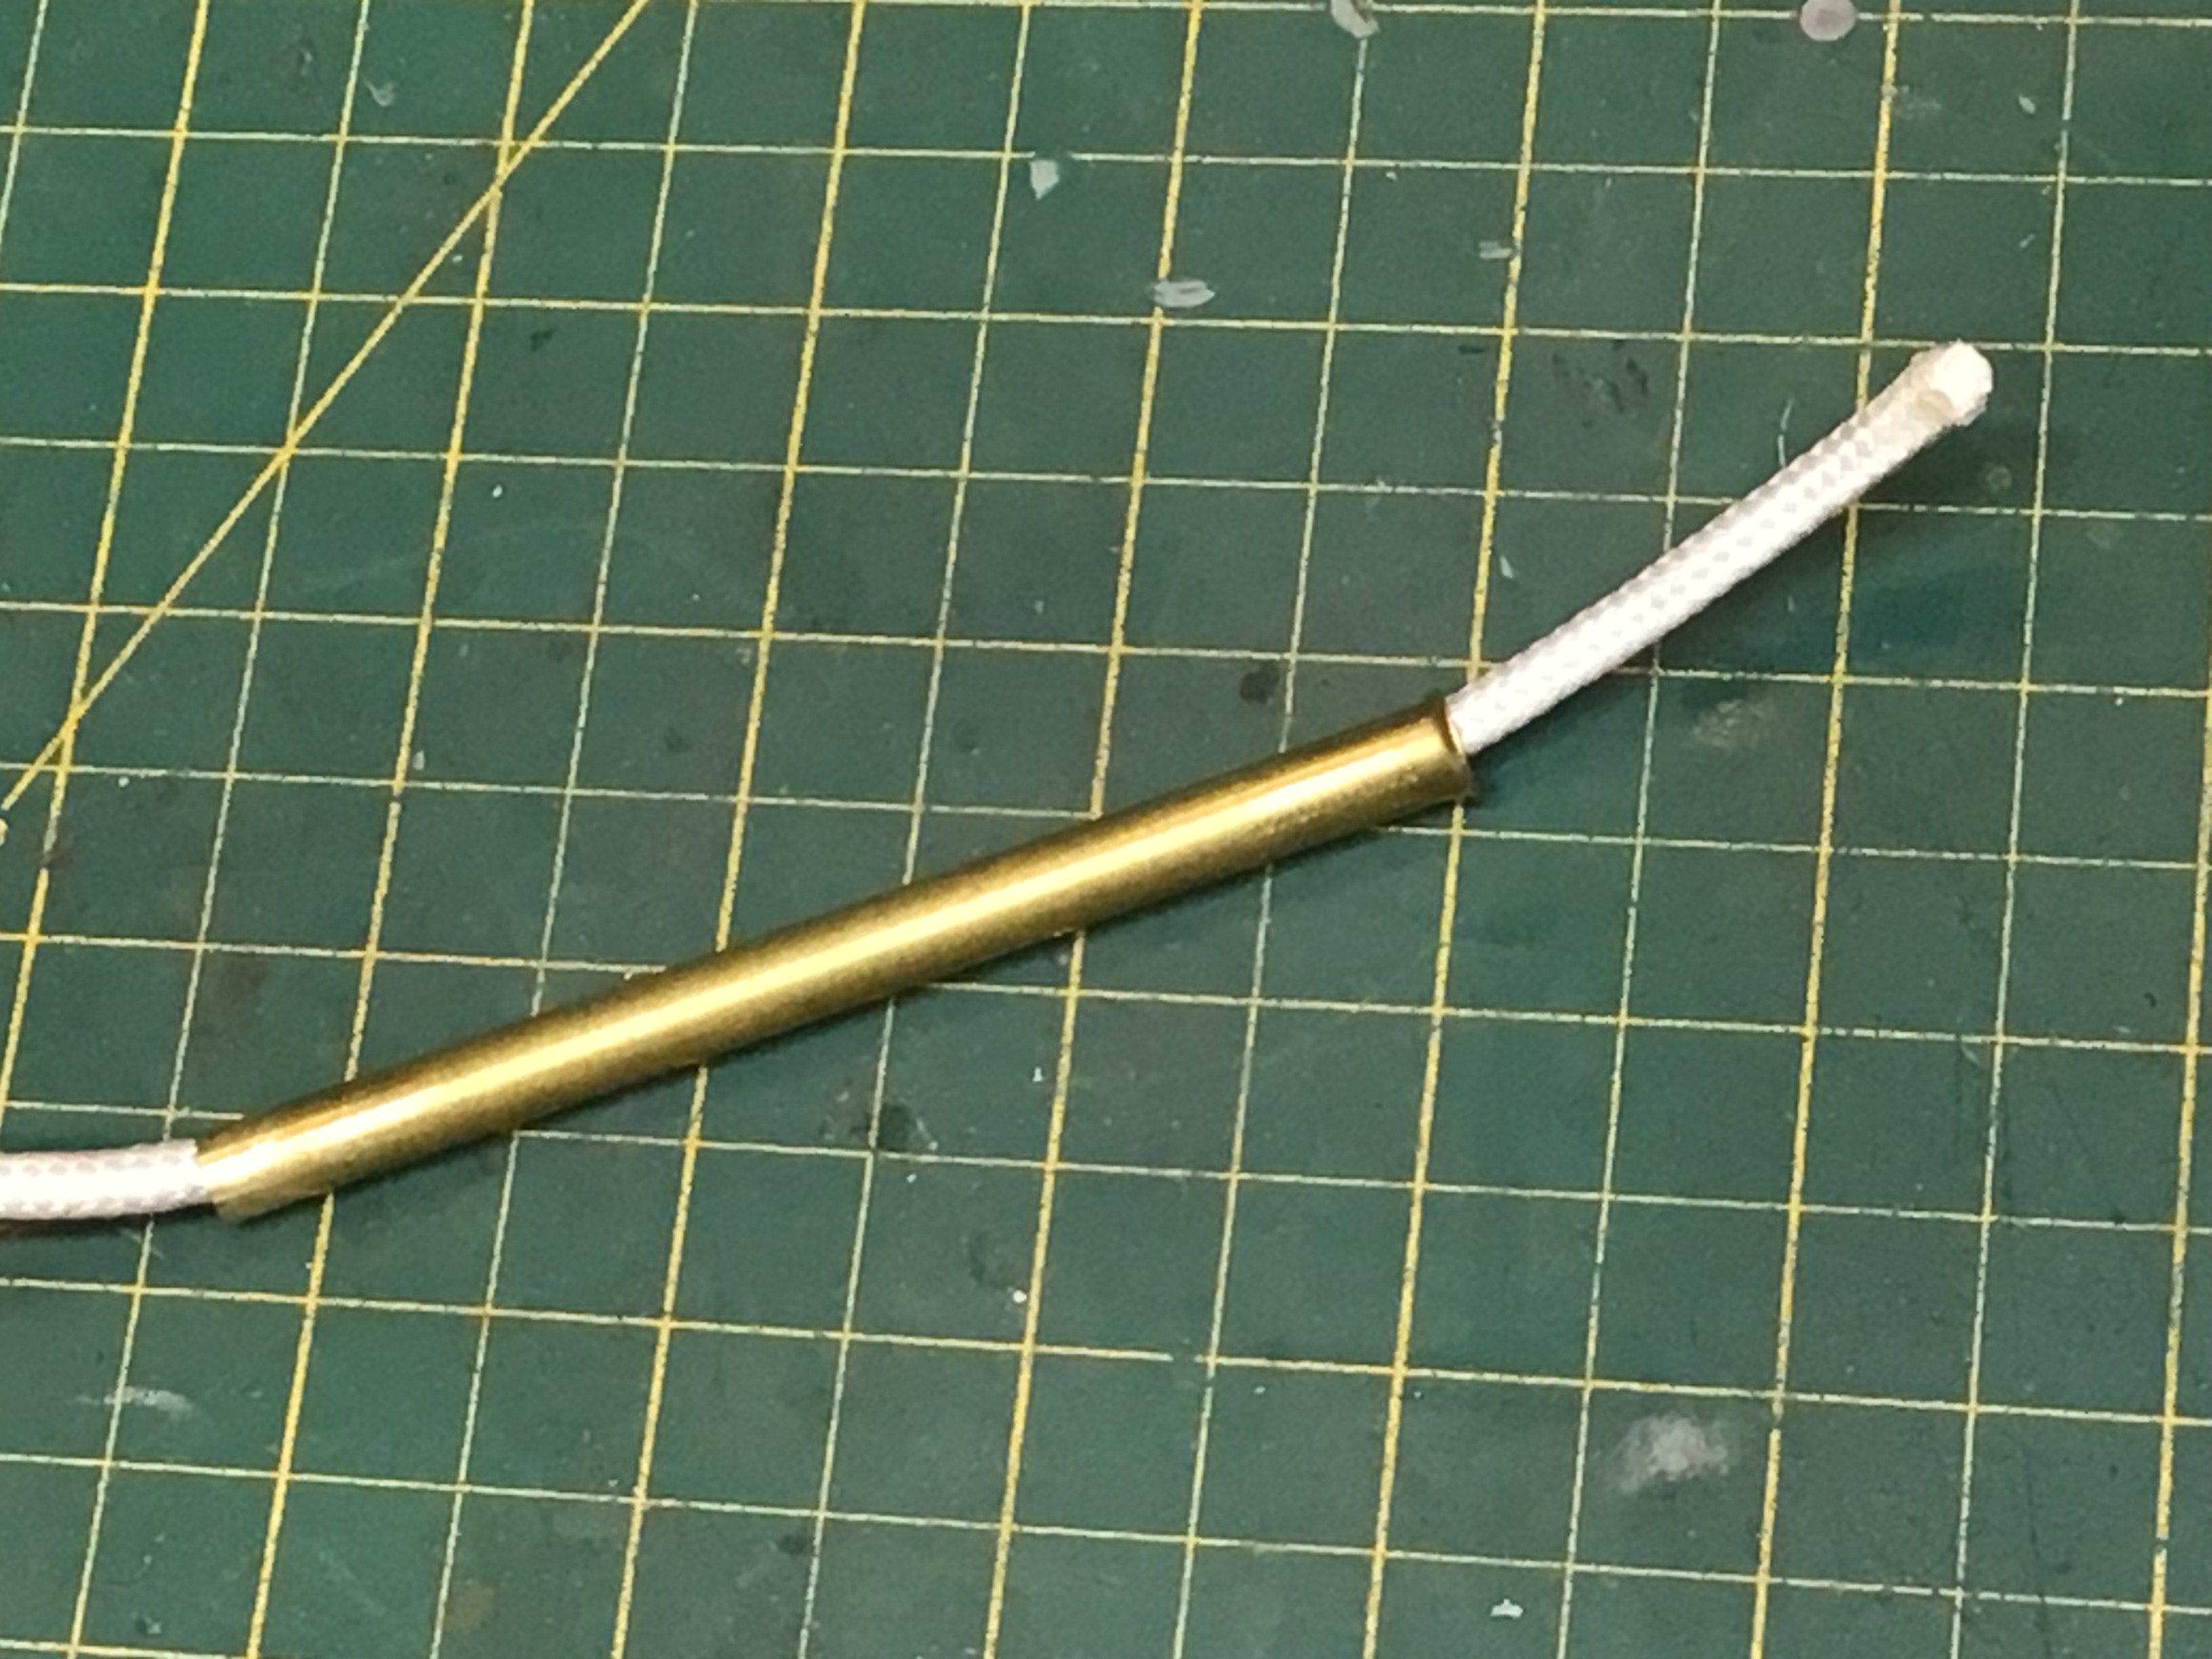
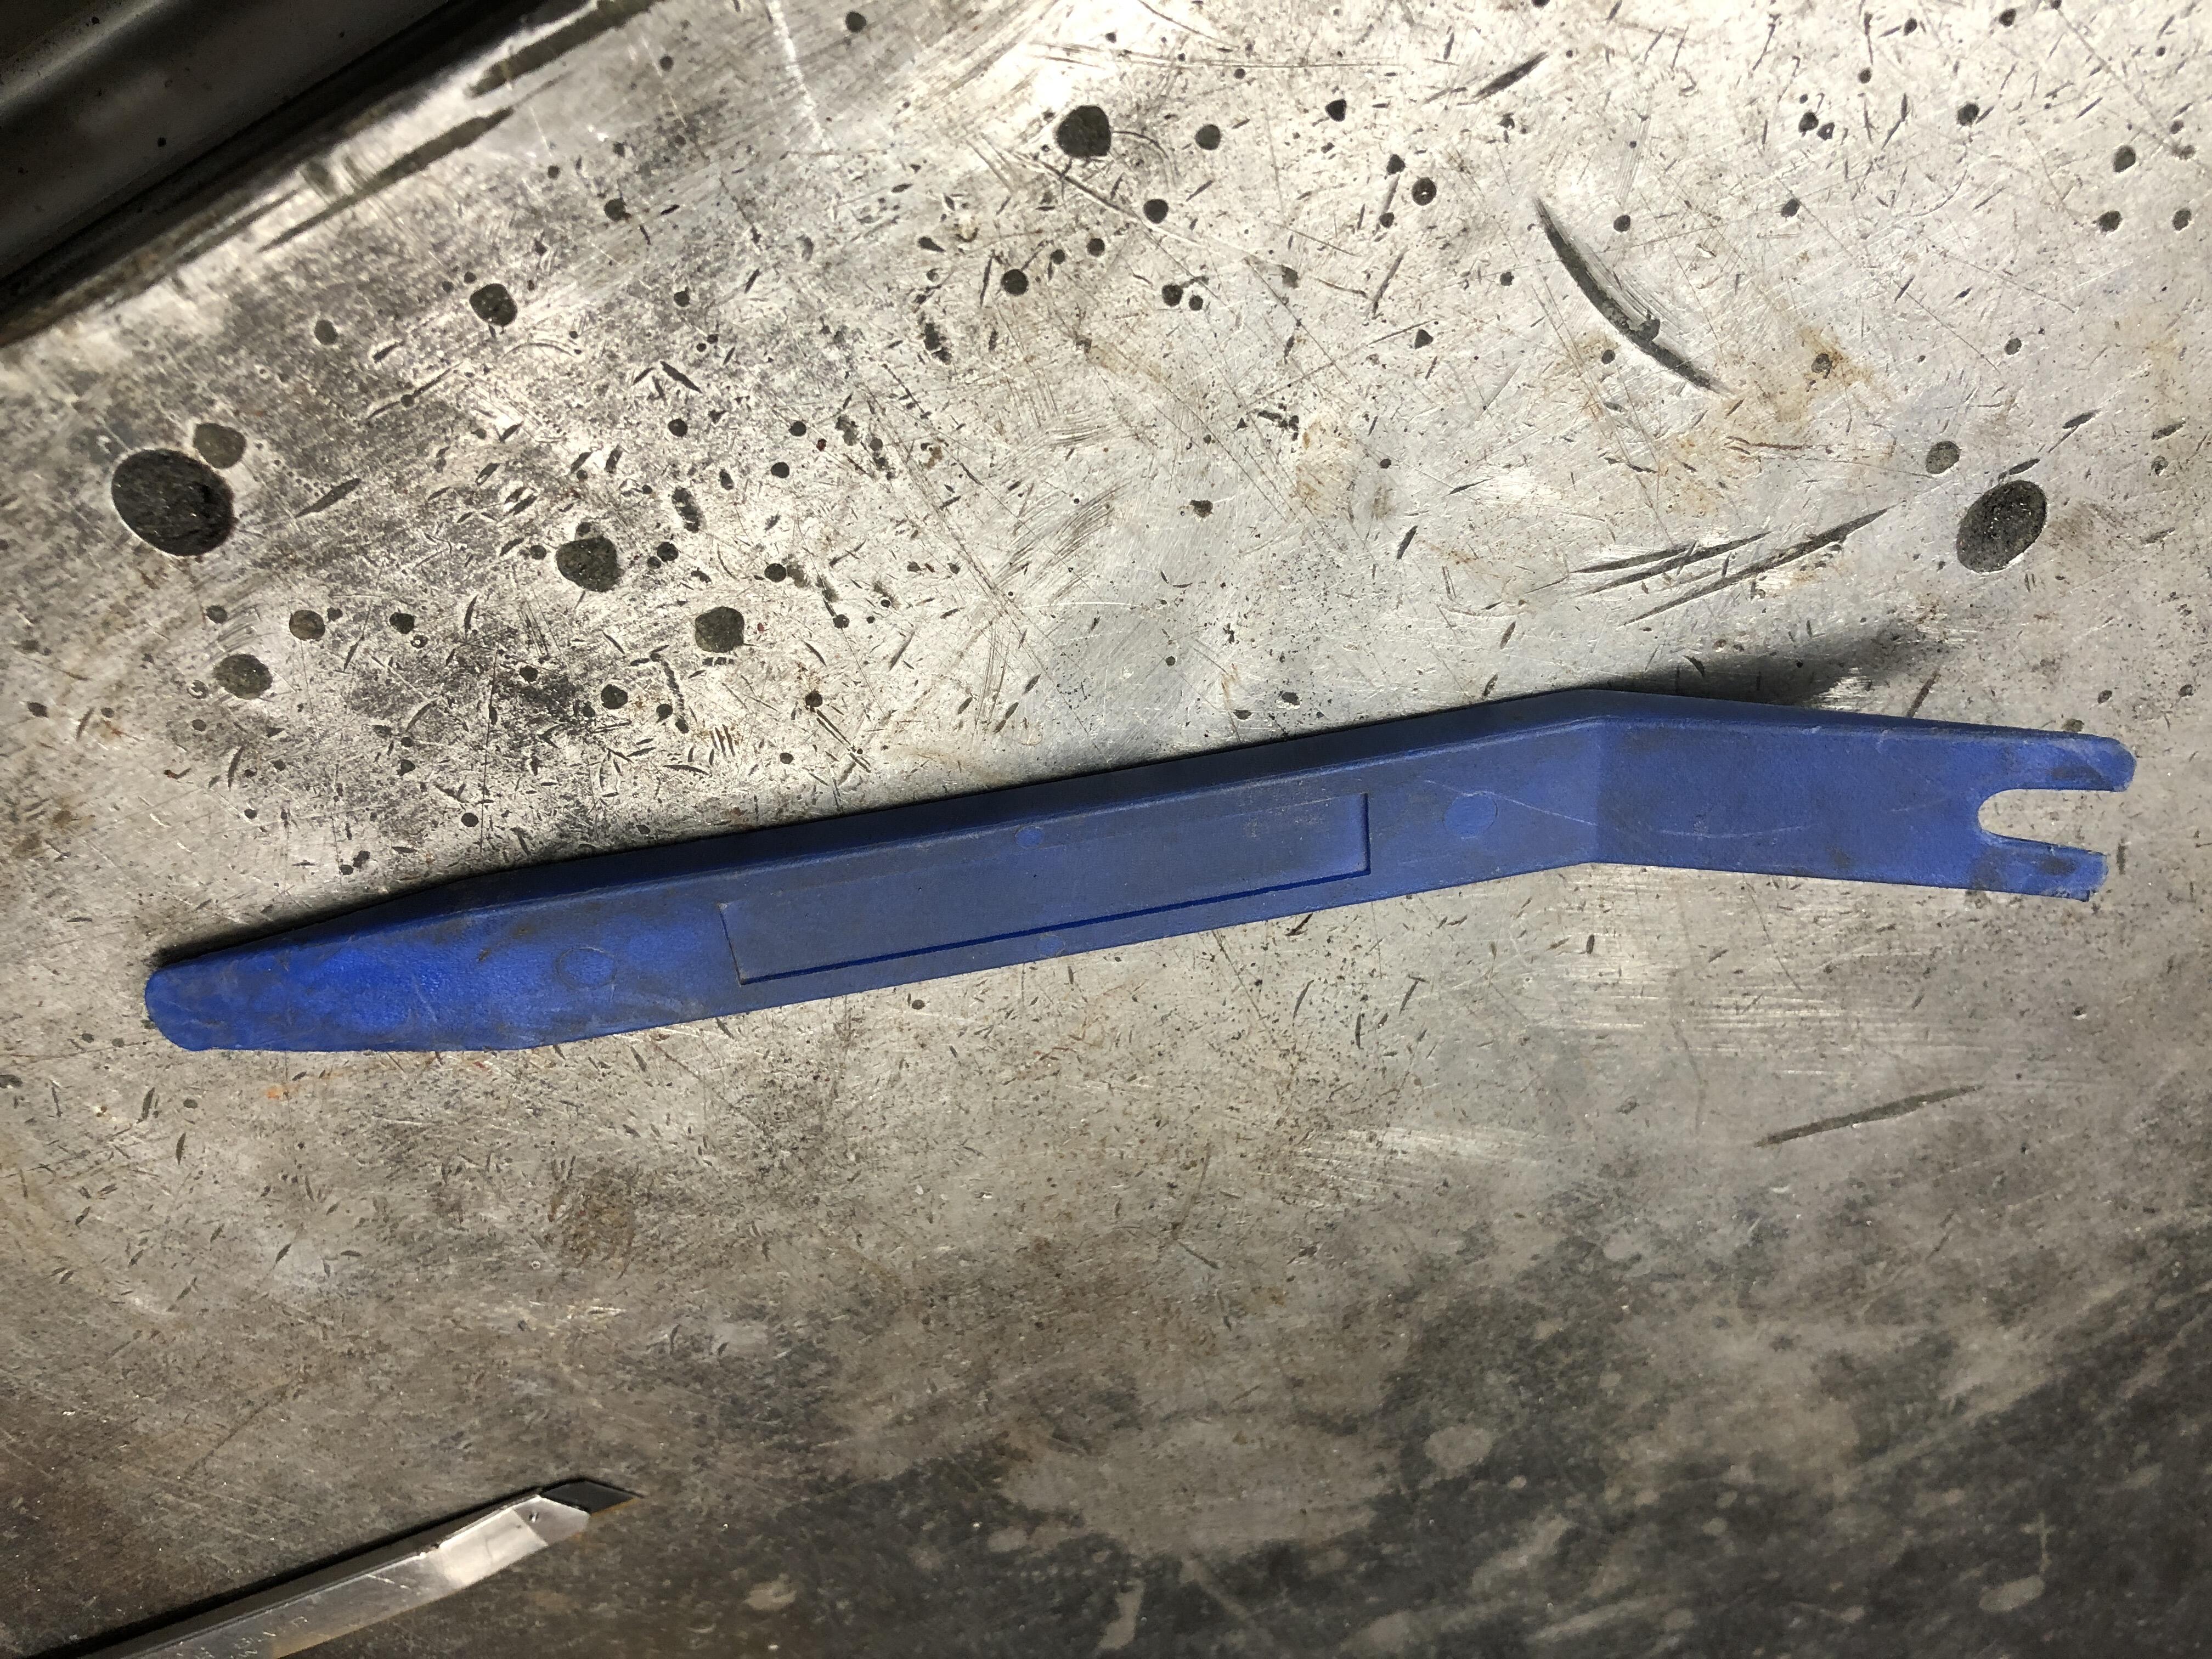
I suspect talcum powder is 99% corn starch. I know Johnson’s Baby powder is. Corn starch is $1 per pound, any commercial product like talcum or Baby powder is 10x the cost. Nope, talc is something different. “Often mixed with corn starch….”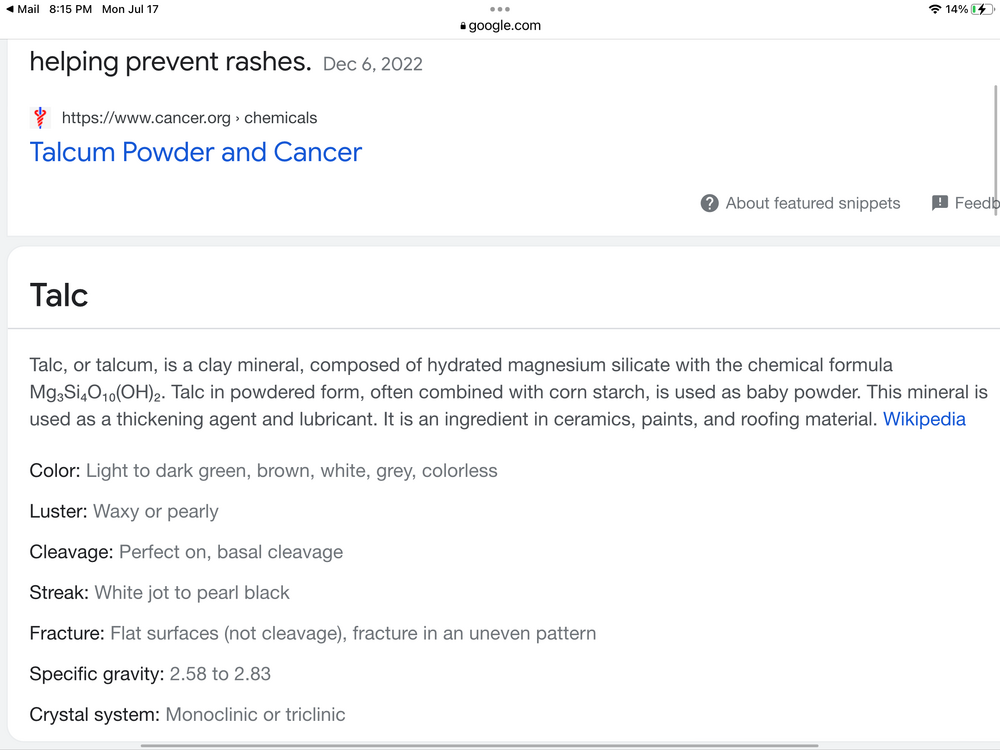 Excellent write up. If I may add a couple of personal experience notes. 1. Putting the cord in the groove. I use a short piece of brass tubing, 1/4 OD or something, 4 inches longish, whatever will let your cord of choice pass through easily. Poke the end of the tube into the groove and drag it along, it will deposit the cord in the groove like magic. Should take you literally 30 seconds to do the entire circumference. 2. Lube. Tried all kinds of wet lubes, none were all that useful. If you feel compelled to use lube, try corn starch. Dry, stays put, cheap, easy clean up (blows away without doing anything actually) and makes rubber slippery without being greasy or drys out like soap. 4. Spend more time than you think you should getting the gasket/glass sitting as low and close into the window channel as you can, flush with the body all around, and centered left right. This will ensure an easy cord pull as the rubber lip is nice and close to the pinch weld. 3. Biggest trick of all is to use two cords instead of one. Start one top center and go around left, end at bottom center. Same for the right. Leave a foot at each end top and bottom. Pull a bit of the bottom, left and right six inches, then repeat on the top, left and right, continue left and right, balancing your pull top and bottom. Go around bottom corners first, then the top, though it really doesn’t matter. Why is this such a great deal? Balance. All the problem I had during the first dozen installs revolved around gravity. I always started at the pull at the bottom and ended at the top, if I went the other way, gravity would pull down and make the bottom sit far too far away from the pinch weld. At least if you set the bottom first, then the top is likely to stay closer. Still by the time you get around the top corners 3 of the 4 sides are in, and the top “tends” to be farther away from the pinch weld than is ideal and you end up fighting to get that rubber lip over the pinch weld. If you do the top and bottom at the same time, you have balanced gravity and trap the glass top and bottom, which are also the longer edges, so by the time you get to the sides, it’s all over but the beer drinking. You can also see if you’re slightly off center left/right before you do the sides, and have a chance of easily pushing it back out to start over. You do NOT want it off center of course. Leads to leaks. Bad enough that most seals I see don’t have molded bottom corners. Rubber never seems to sit right often exposing those bottom corners. Sealant time. See the picture below of what I use. Doing this balanced technique, I often don’t need a second person pushing on the glass from the outside. As long as ensure you get the glass/gasket down as tight to the body as possible before you start and maybe get out a couple of times to push it down as you get going around the top, or just before you start going around the corners. If you’re a social person, then get four buddies, one on each corner and you’ll be done in 5 minutes. 4. Setting the lip over the pinch weld. As you pull cord and the rubber lips slips over the pinch weld, I spend a few moments pushing the lip firmly down onto the pinch weld, seating it more completely than just where ever it sits after the rope passes that point. Makes double sure the glass is pulled down into place. I use a flat plastic tool to get between the glass and lip and press the lip away from then down over the pinch weld. I use a 5/32 white nylon cord, but I like the idea of thick string trimmer cord. Should have less friction. Whatever you use, wear thick leather gloves so you can pull without pain. Too old for that grin and bear it crap.
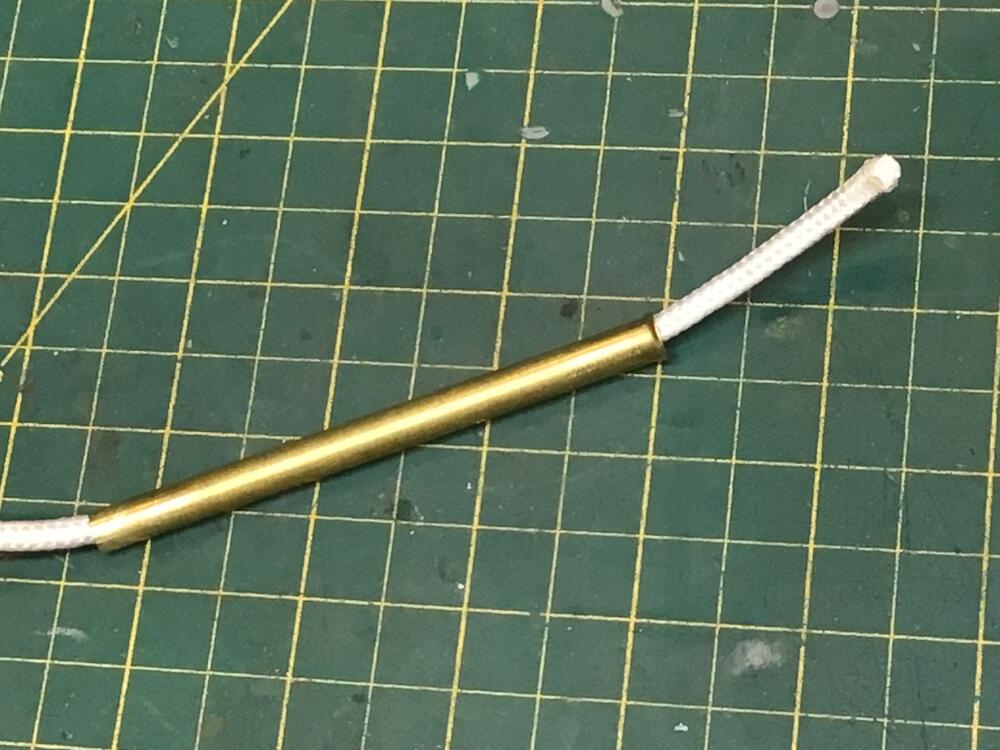

 No I never did get the SummitRacing ordered windshield I got lucky here, another Datsun guy that specialized in 510's worked out a deal with a US Pilkington rep years ago and was having batches of 10 windshields for Z's and 510 brought up to a local glass shop. He has moved on and I have now taken up that function. I still have about 5 of each in stock for local users. I'm getting really good at doing Z and 510 windshields now. His information was that virtually ALL auto glass is now made in one of two Chinese factories. I have seen differences in thickness, and one windshield was noticeably undersized when I installed it, but that's about it. The factory codes on all the glass show it made in the same specific factory in China. BTW And I have NEVER EVER broken a front or back glass while removing it. I remove the weather stripping face first with a HB olfa blade (flat to the glass) then just tap and push until it comes free. I've had cases where I've thrown old windshields and hatch glass in a dumpster hoping for the big crash and been disappointed as it just landed flat and intact. I'm sure it was laughing at me. I have not been brave enough to attempt a removal of a windshield whose weatherstripping is new and soft enough to flex and remove. I know that is a technique, it just never has come up enough that I had to learn it. Someday.


Important Information
By using this site, you agree to our Privacy Policy and Guidelines. We have placed cookies on your device to help make this website better. You can adjust your cookie settings, otherwise we'll assume you're okay to continue.