Leaderboard
-
Persimmon240
Free Member1Points63Posts -
saridout
Free Member1Points192Posts -
240260280z
Free Member1Points5,426Posts -
Mike B
Free Member1Points2,195Posts


Popular Content
Showing content with the highest reputation on 02/19/2015 in Posts
-
1 pointSteve, I just went through the fuel tank install. Man was it a pain! Ok this is what I did: I did mine on the floor with no lift, just jack stands. 1. put blankets or cardboard on the floor and underneath the tank so the jack stands don't scratch it. 2. make sure all your grommets are in place. 3. connect all the hoses to the tank and route them through the correct openings(longest hoses). 4. guide the fuel sending unit harness near the sending unit, don't connect it at this point just put it out of the way. 5.Tighten the hose across from the fuel return and sending lines. 6. attach the bands to the rear of the vehicle(not the J bolt ends) and support them while hanging. 7.use a little soapy water on the main filler neck and attach it to the tank with the clamp. 8. Have someone hold the tank up while you install the main filler neck, or use jack stands to hold the fuel tank up. 9. attach the other end of the band(j bolts) 10. tighten and connect all the hoses. 11. tighten the j bolts. 12. connect the fuel harness. I'm pretty sure I am missing something but I hope this is helpful.1 point
-
1 pointHi Kats. When did you get the 1972 240Z? It looks nice. Is that the one that Jay Ataka had on his website on one point? I recall it was an orange automatic like yours. Also, regarding the muffler, I saw that Jay posted on his blog about differences he claims on the 240Z mufflers . Do you agree with his comments? I thought all the mufflers had the Nichira makers name on them? http://jdm-car-parts.com/blogs/news/16149728-fact-about-factory-muffler-on-early-datsun-240z -Mike1 point
-
I happen to have a set of Grant rings waiting to go into my rebuild. Since Chickenman mentioned modern materials, I pulled out the instructions that came from Grant. Step 4 states: "Check piston ring end clearance. Check in cylinder near bottom of ring travel. Ring end clearance should be approximately 0.003" to 0.004" per inch of cylinder diameter." With our 83mm bores in the L24's, this works out to 0.249-0.332mm. Nominally, this is 0.29mm. Blue said the average gap would work out to 0.416mm or about 0.126mm too large on average. Since this is a circumferal measurement, it equates to a diameter that is 0.040mm undersized. Or conversely, it could be said the bore is 0.040mm (0.0015") oversize relative to the rings supplied. I think the operative word in the instructions was "approximately". The critical dimension is the low limit. Too low and the gap closes down to solid as the engine warms. When this happens, the rings dig into the cylinder wall with catastrophic results. Remember the allowable taper on the cylinder is 0.008" compared to the calculated 0.0015" oversize. Since Blue's cylinders had little to no taper, I would not think the excessive gap would be a problem. Of course, this comes from someone who hasn't rebuild an engine in over fifty years. If I'm full of it, please educate me.1 point
-
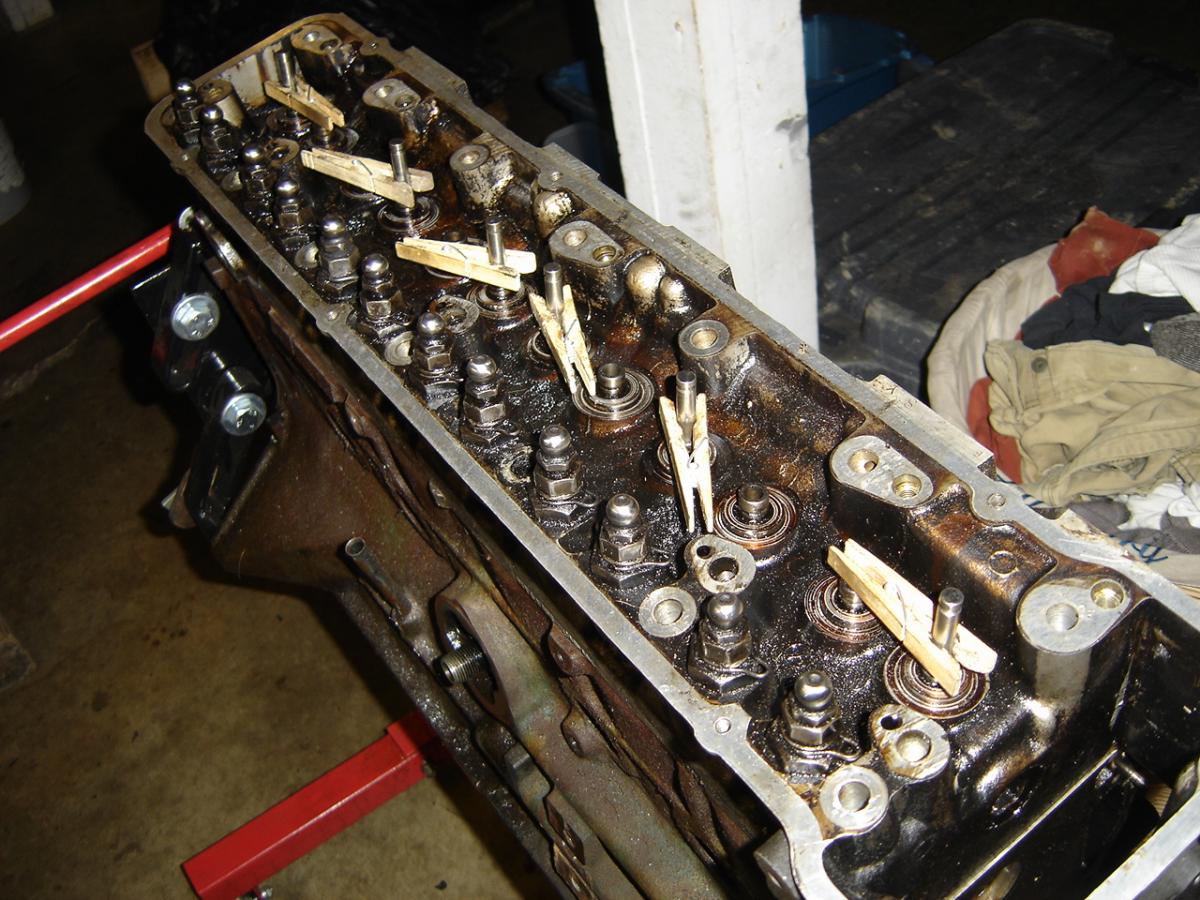
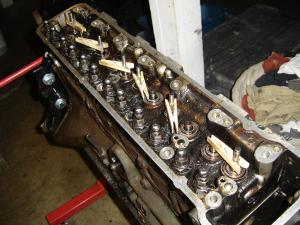
1 pointWell I have an idea of what to do. I took a bare N47 and put the exhaust valves in held up by clothes pins then chucked them to a drill and spun some marks on there. Then I used a pink grinding stone that came with my Dremel. One or two I'm not happy with but I'll get more practice tomorrow.
 1 point
 -
http://www.bbc.com/news/world-us-canada-315221071 point
-
1 pointEric, use a zip tie.... preferably one that matches the exterior color of your car.1 point
-
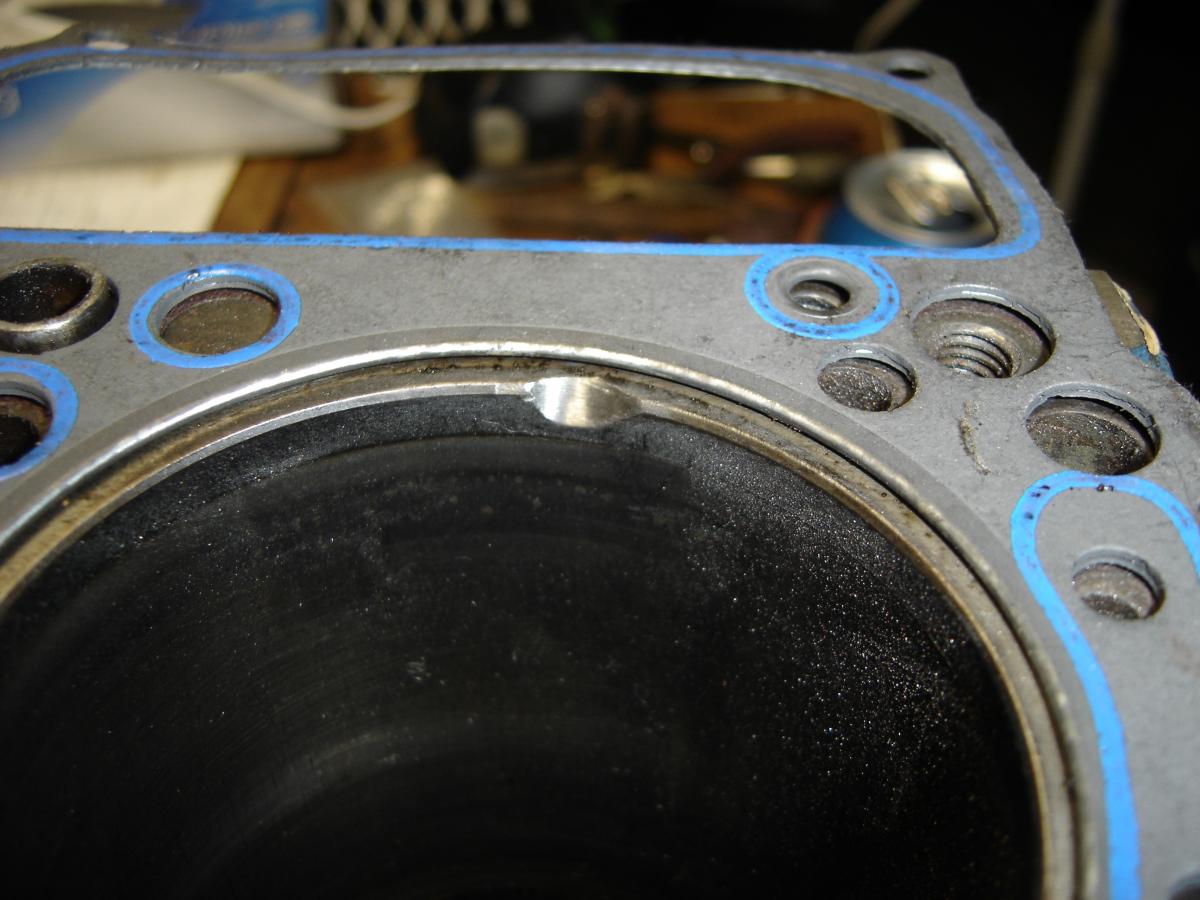
1 pointMight consider doing the notching now while everything is clearly marked. Your piston rings and HG have left you a perfect guide or line to NOT PASS while you are grinding. You can lay the HG on the head and mark a center line for the valve centerline and transfer that to the block. This will show you where the the outer radius or edge of the valve will be. Grinding now before cleaning makes sense too. As far as grinding tools , I used a 60 grit drum sander on a dremmel. It is very controlable and takes material off slowly and smoothly. If it happens to jump around it won't gouge anything like a carbide bit will.1 point
-
i've colorized another wiring diagram and am now making it available for download. this one was much less of a headache than the '76 diagram, being about 1/3 the size and complexity. download the U.S. 1972 240z here! special thanks to EScanlon for helping me iron out a few problems with it. stay tuned for more diagrams in the future. PS: though there isn't a lot of text on it to search, it IS searchable in a pdf viewer.1 point
-
1 pointMiroux Motorsports out of Belgium campaigns a 240Z with an L28, and closed their garage after someone passing through pointed out an "F54" block is not an L24....which is what they insisted they were running.... VA Motorsports Engineering in Sint Odenroede NL has experiencing preparing FIA Appendix Homogolated S30's. In fact, the owner and some friends are in Finland this weekend attending Rauno Aaltonen's Ice-Racing school.1 point