All Activity
- Today
-
Turn switch relay mod
 Happy to explore discussions, share experiences, and learn something new along the way. I enjoy hearing diverse viewpoints and contributing whenever I can. Happy to hear different experiences and connecting with others. Here is my web-site:AutoMisto24 https://automisto24.com.ua/
 -
Extremely Confusing Brake Travel
There's nothing stopping the fluid flow when bleeding, that's why the pedal drops to the floor. The fact that the pedal is hard after bleeding shows the bleeding was effective. All of the air was removed. Before, when you were pumping the pedal you were comnpressing air in the hydraulic lines. Brake fluid is not very compressible, air is. Overall, really, what you're describing just sounds like a booster that's not boosting. No vacuum source or a mechanical problem internally. The system is designed for the force amplification of the vacuum booster. A simple test for a bad booster is to press the pedal with the engine off and note the distance, then compare it to a press with the engine on. The pedal should sink more with the engine on. You changed several parts at the same time so it can be hard to figure out which part had which effect. I would first confirm that you have vacuum to the booster. Do the test above or just start the engine and remove the hose from the booster. The engine should rev higher or die. If it does, you have a booster problem. If it doesn't yoor vacuum hose is blocked.
-
Extremely Confusing Brake Travel
Great questions, When the bleeder valve is open, the pedal does go to the floor and squirts a bunch of fluid. There is the same amount of pedal travel when each caliper is bled (and when the MC is bled) The car slows down, but it takes more time than usual. There's a chance there is something on the pads, I can look into that a bit more. Would you have any thoughts as to why the pedal goes to the floor when bleeding but doesn't move much when I am actually trying to slow down? My thought is that the low brake pressure comes from the pushrod not fully actuating the master cylinder, but I have NO clue why that's not happening. Thanks for the help! This is my first forum post, haha.
-
1971 HLS30-14938 "Lily" build
May have to bring back the card catalog. I remember one too. I will check my bookmarks
-
1971 HLS30-14938 "Lily" build
I hate the modern search engine! Useless! Shows you it thinks you want instead of what you asked for... There is a thread on the forum, not an ancient thread, that shows how to replace the window sweeps on the the chrome door trim. I was going to reread it to see how he dealt with some issues I'm having but I can't find it now :( Can somebody help? Maybe the librarian?
- Yesterday
-
Extremely Confusing Brake Travel
It would help to be more specific on what "bleed the brakes" means. Are you saying that with a bleeder valve open the pedal will go to the floor and squirt a bunch of fluid? That would mean your pedal and MC are working as they should. The booster just adds force on top of the MC pistons. Does each caliper squirt the same amount of fluid with the same amount of pedal travel? When you say not much braking pressure do you mean the car does not slow down? Even though the pedal is pushed as far as it will go? It sounds like the hydraulics are working correctly but the pads aren't creating enough friction. Any chance you got some silicone lube or grease on the pads? I'd also take a hard look at the proportioning valve. If it's set for too much rear bias you won't get much stopping power from the fronts. Good luck. Interesting problem. Or, ignore all of that and assume that you have a bad booster. Maybe put the old one back on if you still have it. Also, check your check valve in the booster vacuum hose. Make sure you're actually pulling vacuum at the booster nipple.
-
Matching Rubberized Undercoating
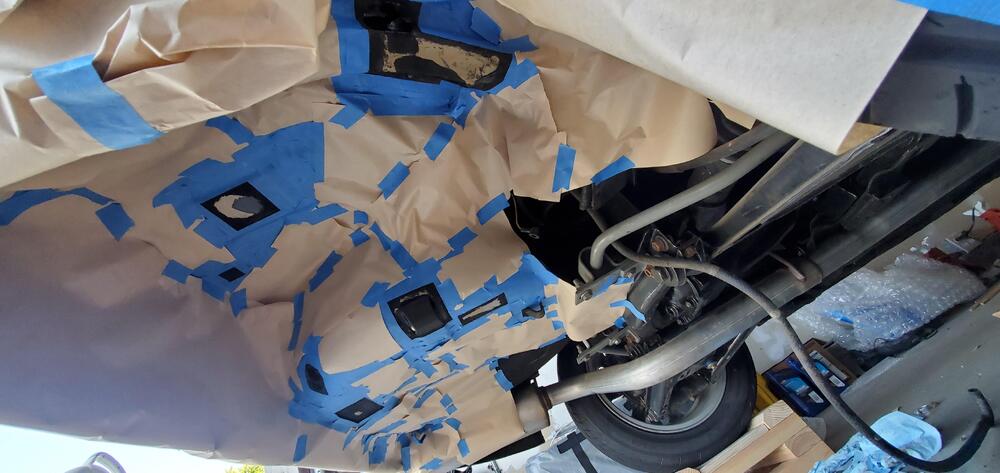
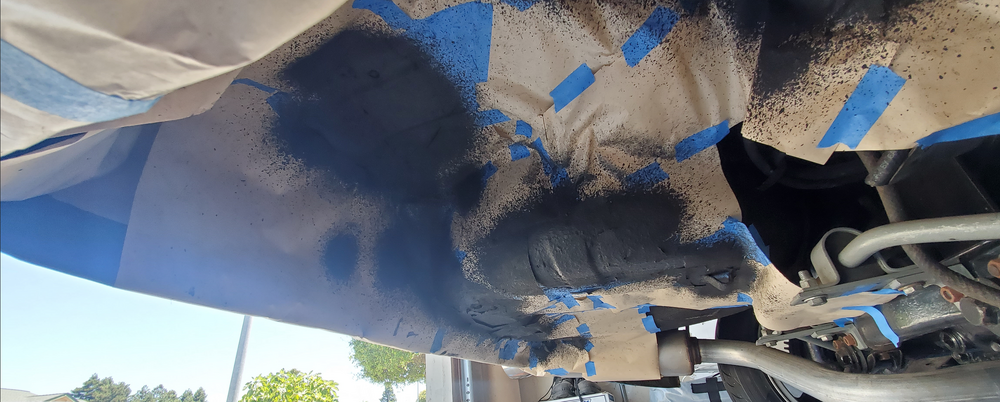
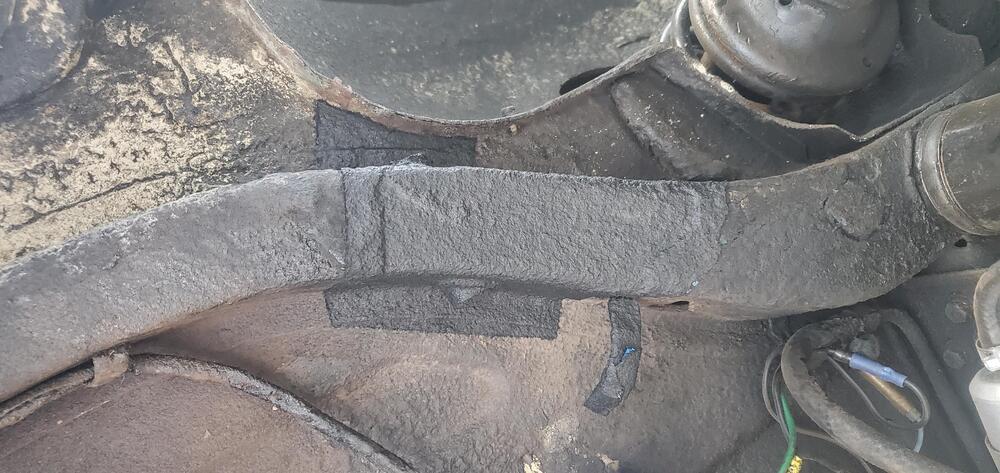
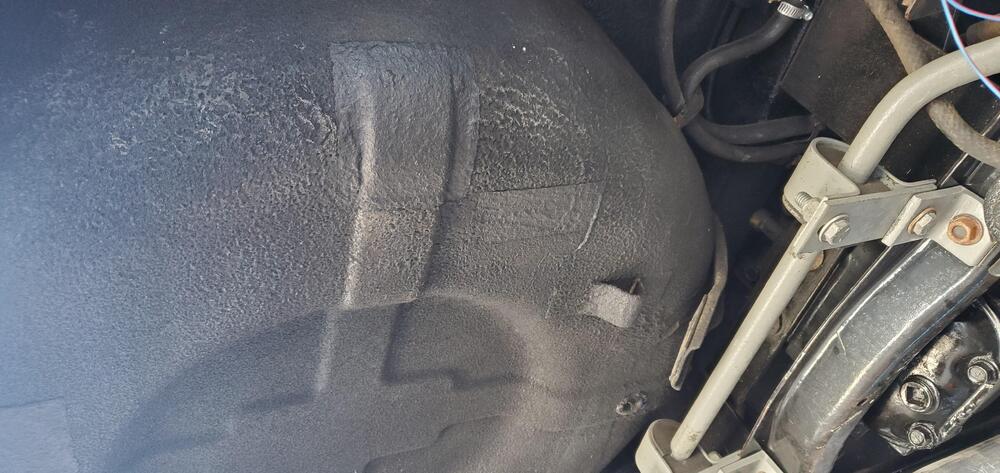
Circling back as I just wrapped this up. My air compressor was having some issues and wasn't very consistent, so I had to do some repair work on that. After getting that fixed, spraying a few more test shots it looked a lot better. Ended up taping up the underside of the car and plugged the frame rail fuel hose pass-through with a piece of fuel hose with some tape wrapped around it to block the holes. Ended up spraying 3 coats, waiting about 10 minutes between each coat and I'm very happy with the results. It ended up being quite close compared to what was there.
-
1971 HLS30-14938 "Lily" build
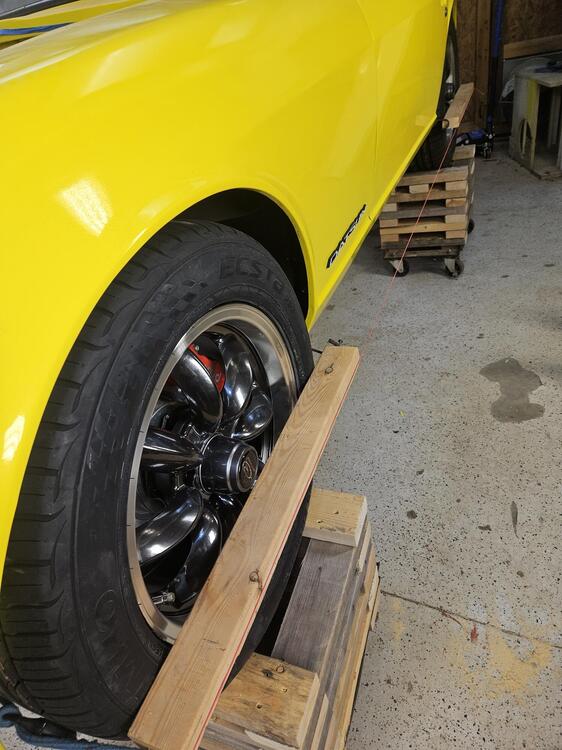
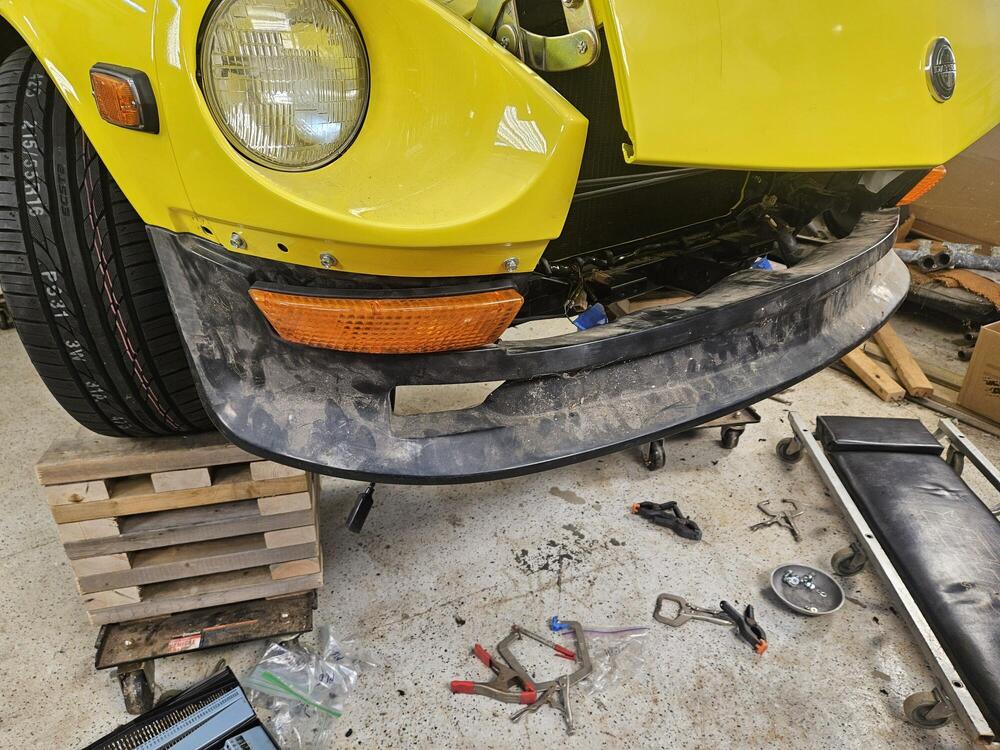
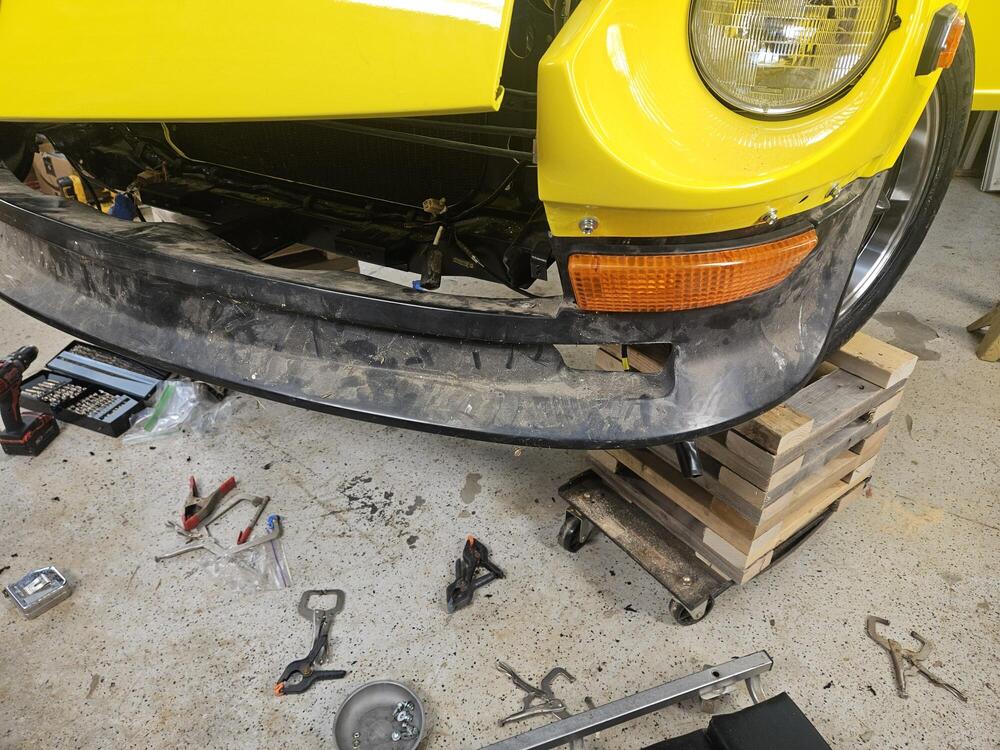
I did a quick alignment on the front wheels today I mounted the air dam up to the car and test fit the turn signals I worked on the chrome trim sweeps for the door glass but I need some pictures of how they mount. Even with the rear of the door shell? Rubber trimmed inside of the chrome frame? I assume I will have to trim the rubber in place otherwise you might trim the front angle in the wrong place
-
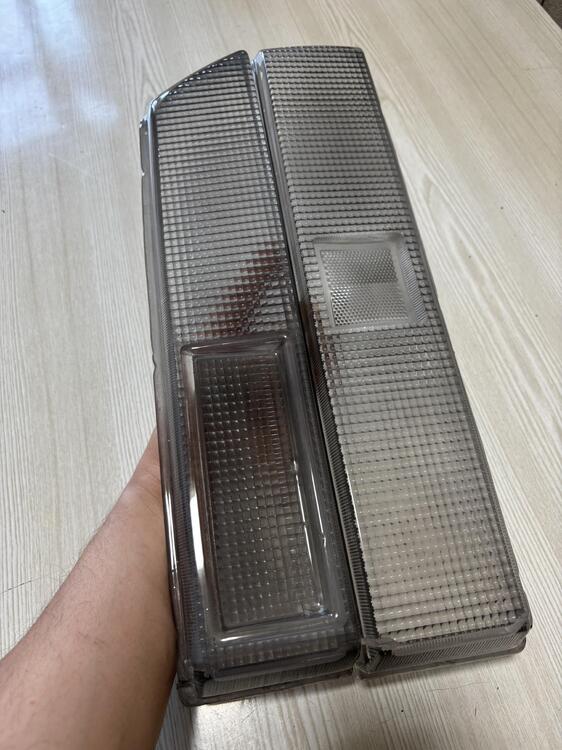
Clear Tail Light Lenses for 1979–1981 Datsun 280ZX
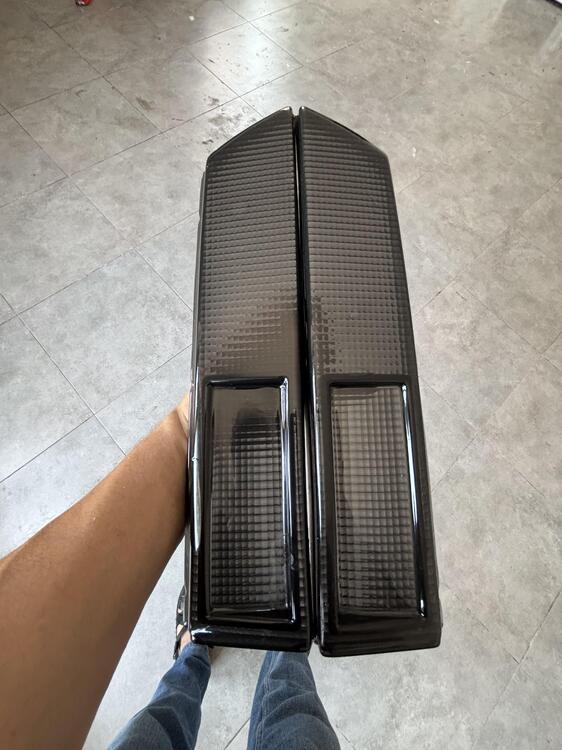
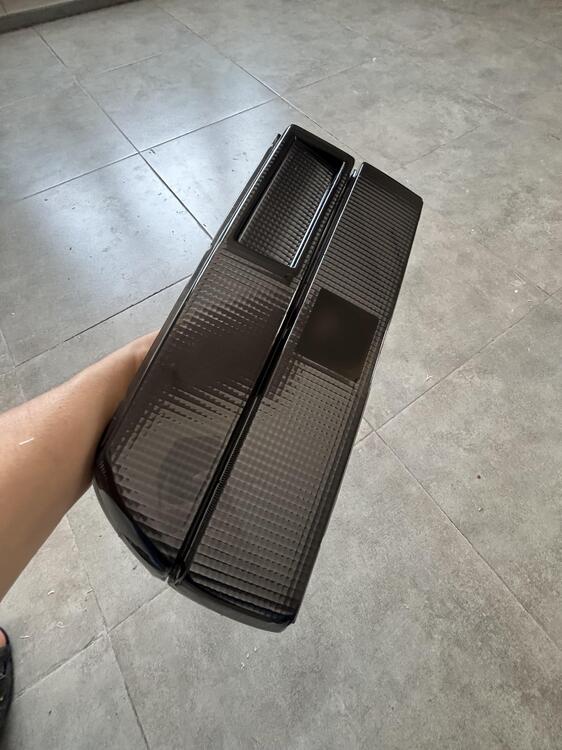
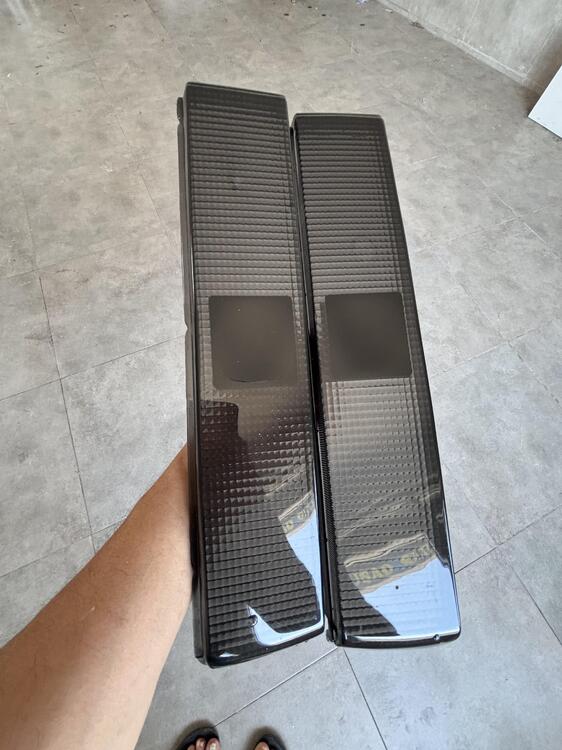
It’s possible to make them. We’ll just need the original OEM parts to create the molds.
-
solly started following Extremely Confusing Brake Travel
-
Extremely Confusing Brake Travel
I've got a few issues with my brakes, and would love some further help. I'm pretty confused at this point. Originally, I was having an issue where I would brake, but require a bit of pumping to slow down at higher speeds. I replaced the booster with a new one from Zcardepot, and bled the brakes and master cylinder. When I bleed the brakes, the pedal goes all the way to the floor, but once the system is closed up, I have extremely minimal pedal travel, with not much braking pressure (I assume because the booster pushrod isn't pushing all the way through the master cylinder). That said, I've adjusted my pushrod length, thinking that it was perhaps too long, causing the system to be preloaded. This caused the pedal to have a longer travel (barely), but had a significant dead zone before starting to slow down like it usually does (not much stopping force). I have Wilwood Forged Superlight front calipers with 2-piece rotors, Wilwood 4 piston rear calipers with functioning parking brake, Tilton adjustable brake proportioning valve. I'm using a wilwood tandem master cylinder. Not that it makes much of a difference, but I've got a Ford 302 motor, generating about 18 mmhg, plenty of vacuum for the booster. Does anyone have any thoughts or ideas as to what might be going on? My only thought now could be a faulty master cylinder, but I'm 90% positive the seals are totally good there. Thanks in advance!
-
solly joined the community
-
Clear Tail Light Lenses for 1979–1981 Datsun 280ZX
How about making lens for other Datsuns?
-
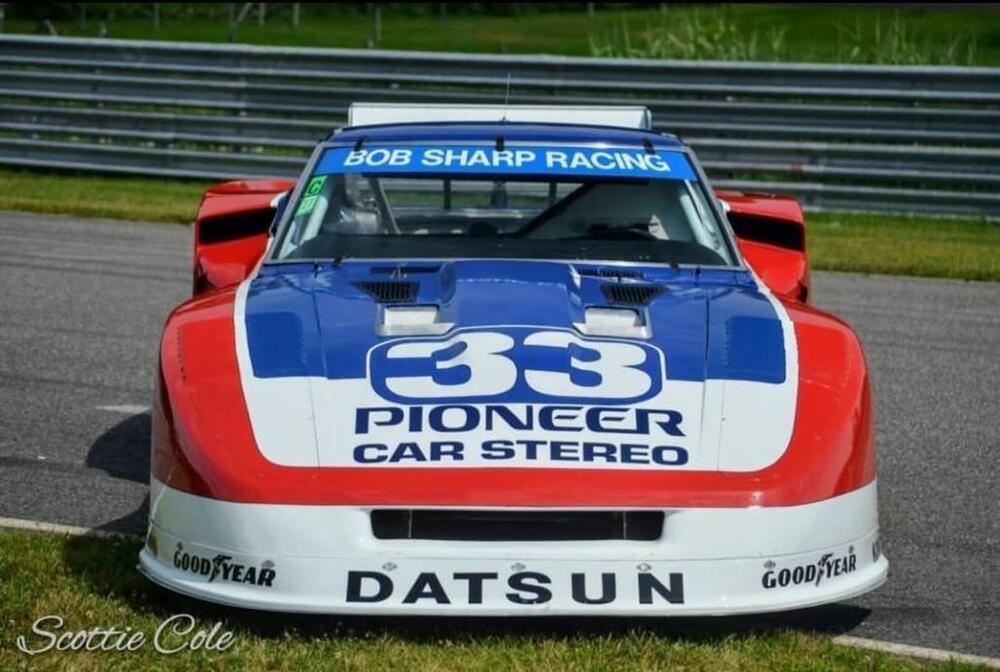
Let's show vintage racing pictures. I'll start.
-
Let's show vintage racing pictures. I'll start.
-
Elmar.M started following Clear Tail Light Lenses for 1979–1981 Datsun 280ZX
-
Clear Tail Light Lenses for 1979–1981 Datsun 280ZX
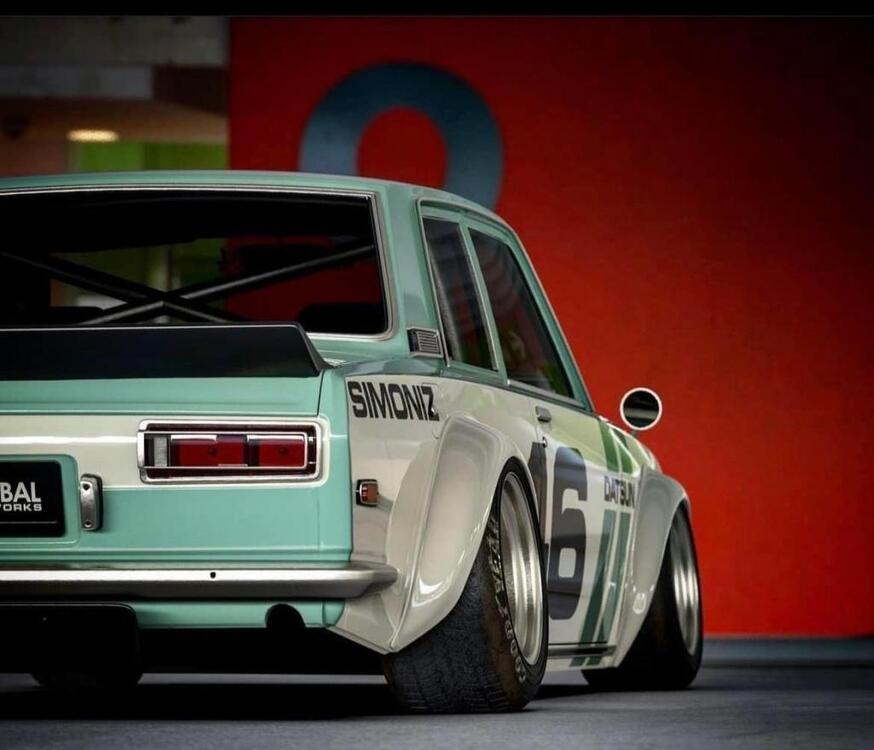
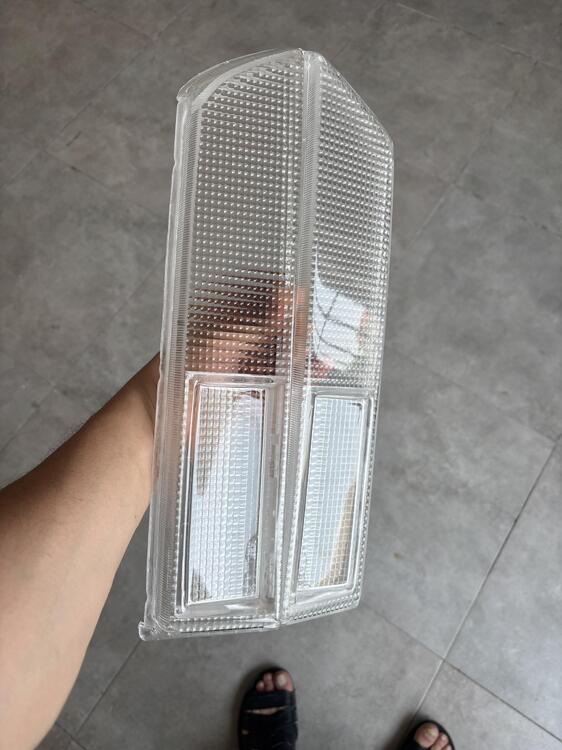
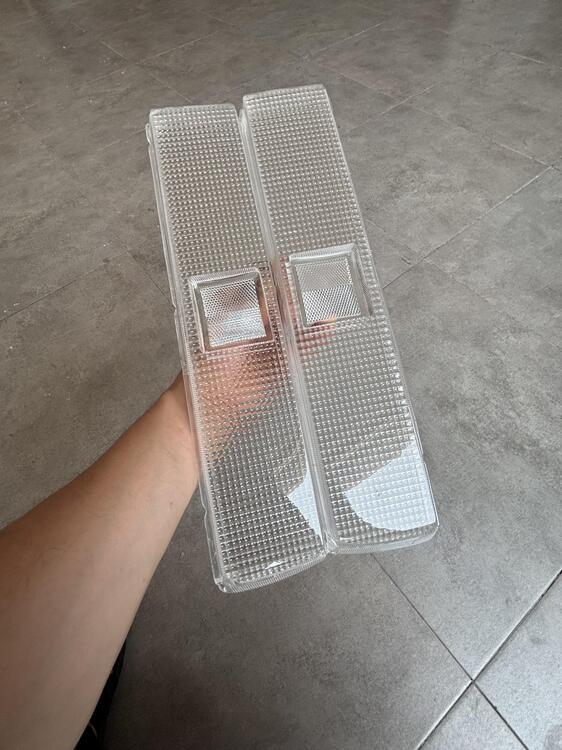
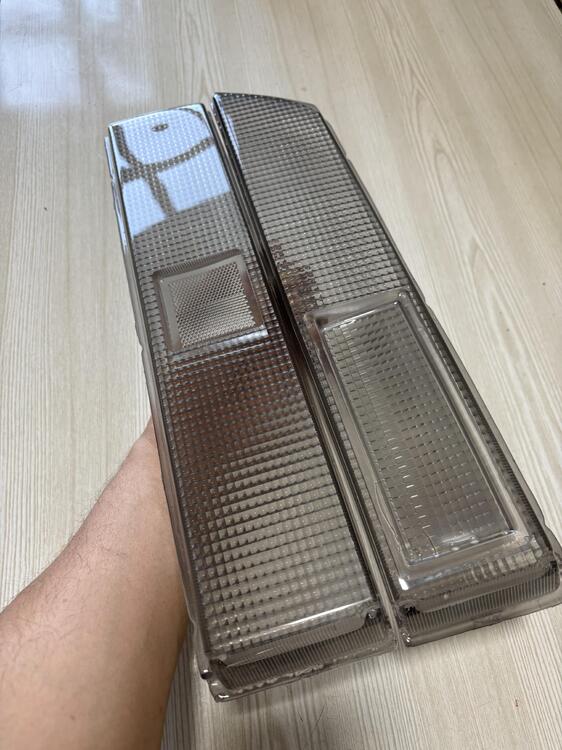
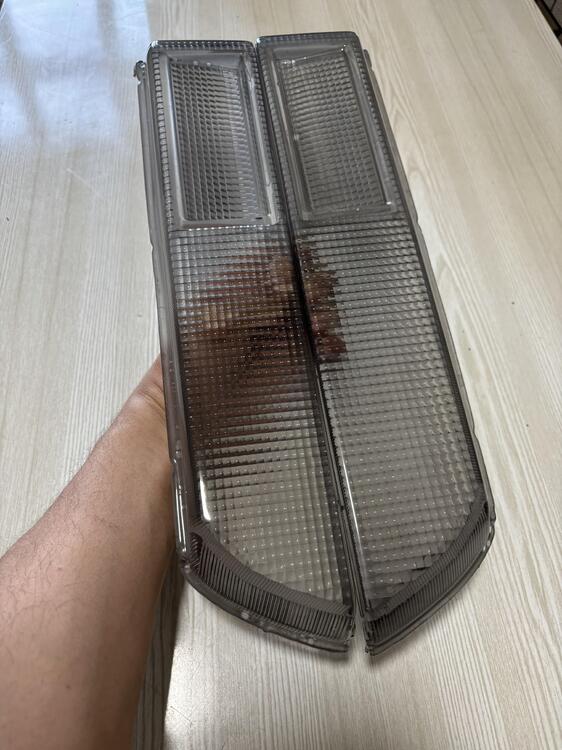
Hello everyone! I'm from Azerbaijan and I specialize in making clear tail light lenses for the 1979–1981 Datsun 280ZX. I produce them in clear, smoked, and red versions. I’d love to hear your thoughts and feedback on which styles you prefer, or if you have any other suggestions or ideas. Thanks and greetings to all Z enthusiasts!
-
-
Elmar.M started following Convention & Events
-
Elmar.M joined the community
-
-
240z Front Brake Calipers - how to read markings on castings... and what is the bridge bolt torque?
Thanks for sharing the PDF with the Datsun Torque Specifications. It'll come in handy for me.
-
saturday night music thread
Some noise.
- Looking for Turn Signal Switch Upgrade
-
Areed joined the community
- Looking for Turn Signal Switch Upgrade
-
Blinker won't stop even when car is off
Hazard switch test: Remove the hazard switch. Use the ohmmeter function on the meter. (I hope it's not just a voltmeter.) Look at which pins correspond to the green/blue, green/red, and green black wires. Turn the hazard switch on. Measure the resistance between the pins that line up to the green/blue and green/red wires on the dash harness. (Note, the switch may have wires with different colors.) Record the result. Measure the resistance between the pins that line up to the green/blue and green/black wires on the dash harness. Record the result. Report the results of this test. Turn signal test: Put your meter on DC voltage. Reinstall the hazard switch and ensure it is off. Turn the key to ON. You don't need to start the car. Find the flasher relay that has a green/yellow wire and white wire running to it. Disconnect the flasher relay. Measure voltage to ground at the green/yellow wire. Record the result and report your reading.
-
Blinker won't stop even when car is off
I just grasped what you were saying here. Your first post was caused by putting the phone on your Hazard switch. Which has identified a Hazard switch problem (maybe) since all of the lights should have been flashing. Your second problem, which is apparently new, is that your turn signal doesn't seem to work at all. That could be caused by the turn signal switch in the combo switch itself, or the flasher, or the fuses. How long have you had the car? Was everything working correctly before you put your phone on the Hazard switch?
-
Blinker won't stop even when car is off
Current symptoms: I do not have a right or left blinker when I use the turn signal. The outside turn signals and the dash indicator do not go on for either direction. When I put on the Hazard switch, only the left side of the car flashes. Yes, I do have a voltage meter. Yes, I did plug the Hazard switch back in before diagnosing. The left blinker no longer stays on when key is off because I turned Hazard switch off.
- Looking for Turn Signal Switch Upgrade
-
Blinker won't stop even when car is off
Was the hazard switch plugged in when you tested? Flasher units? You probably need to test the hazard switch. Do you know how to use a multimeter?
-
Blinker won't stop even when car is off
Not really clear what the "current" problem is. Blinker won't go off would be a short to power problem. Blinker doesn't work at all would be an open circuit problem. Also not clear what you mean by "Both blinkers don't work (lights and dash indicators) ". Just trying to understand. The Hazard switch has a left and right circuit and its own power supply and flasher to flash the lights. I think that it could have been the source of the first problem. Does the left blinker still stay on when the key is off?
- Last week
-
Blinker won't stop even when car is off
First of all, thank you for all the amazing and detailed information. Apologies for the slow response. I had a bunch of trips. So here is where I am at. Half idiot and half mystery. Idiot part-I put my phone on the Hazard light and defroster switches and turned them on. Hazards on wasn't my first instinct, because only one side was blinking. So I started diagnosing it as a blinker problem. After I disconnected the Hazard Unit to prevent it from draining the battery, the defroster still managed to kill the battery becasue I hadn't figured out it was me hitting the switches yet. So next step, solve dead battery problem. Mystery part- Both blinkers don't work (lights and dash indicators) now when actuated by the turn signal stalk. But the left one is the only one that works when the hazards are on (still does that . Fuse is good, bulbs are good. I checked the stalk before like I said and it seemed good. I can take it out again and do a pin out with an ohm meter next. Open to suggestions. Thanks, Adam


