Jump to content

  • entries
    4
  • comments
    0
  • views
    2,659

Entry 2 Engine Bay and Fuel Tank


CaseyByrd72

1,774 views

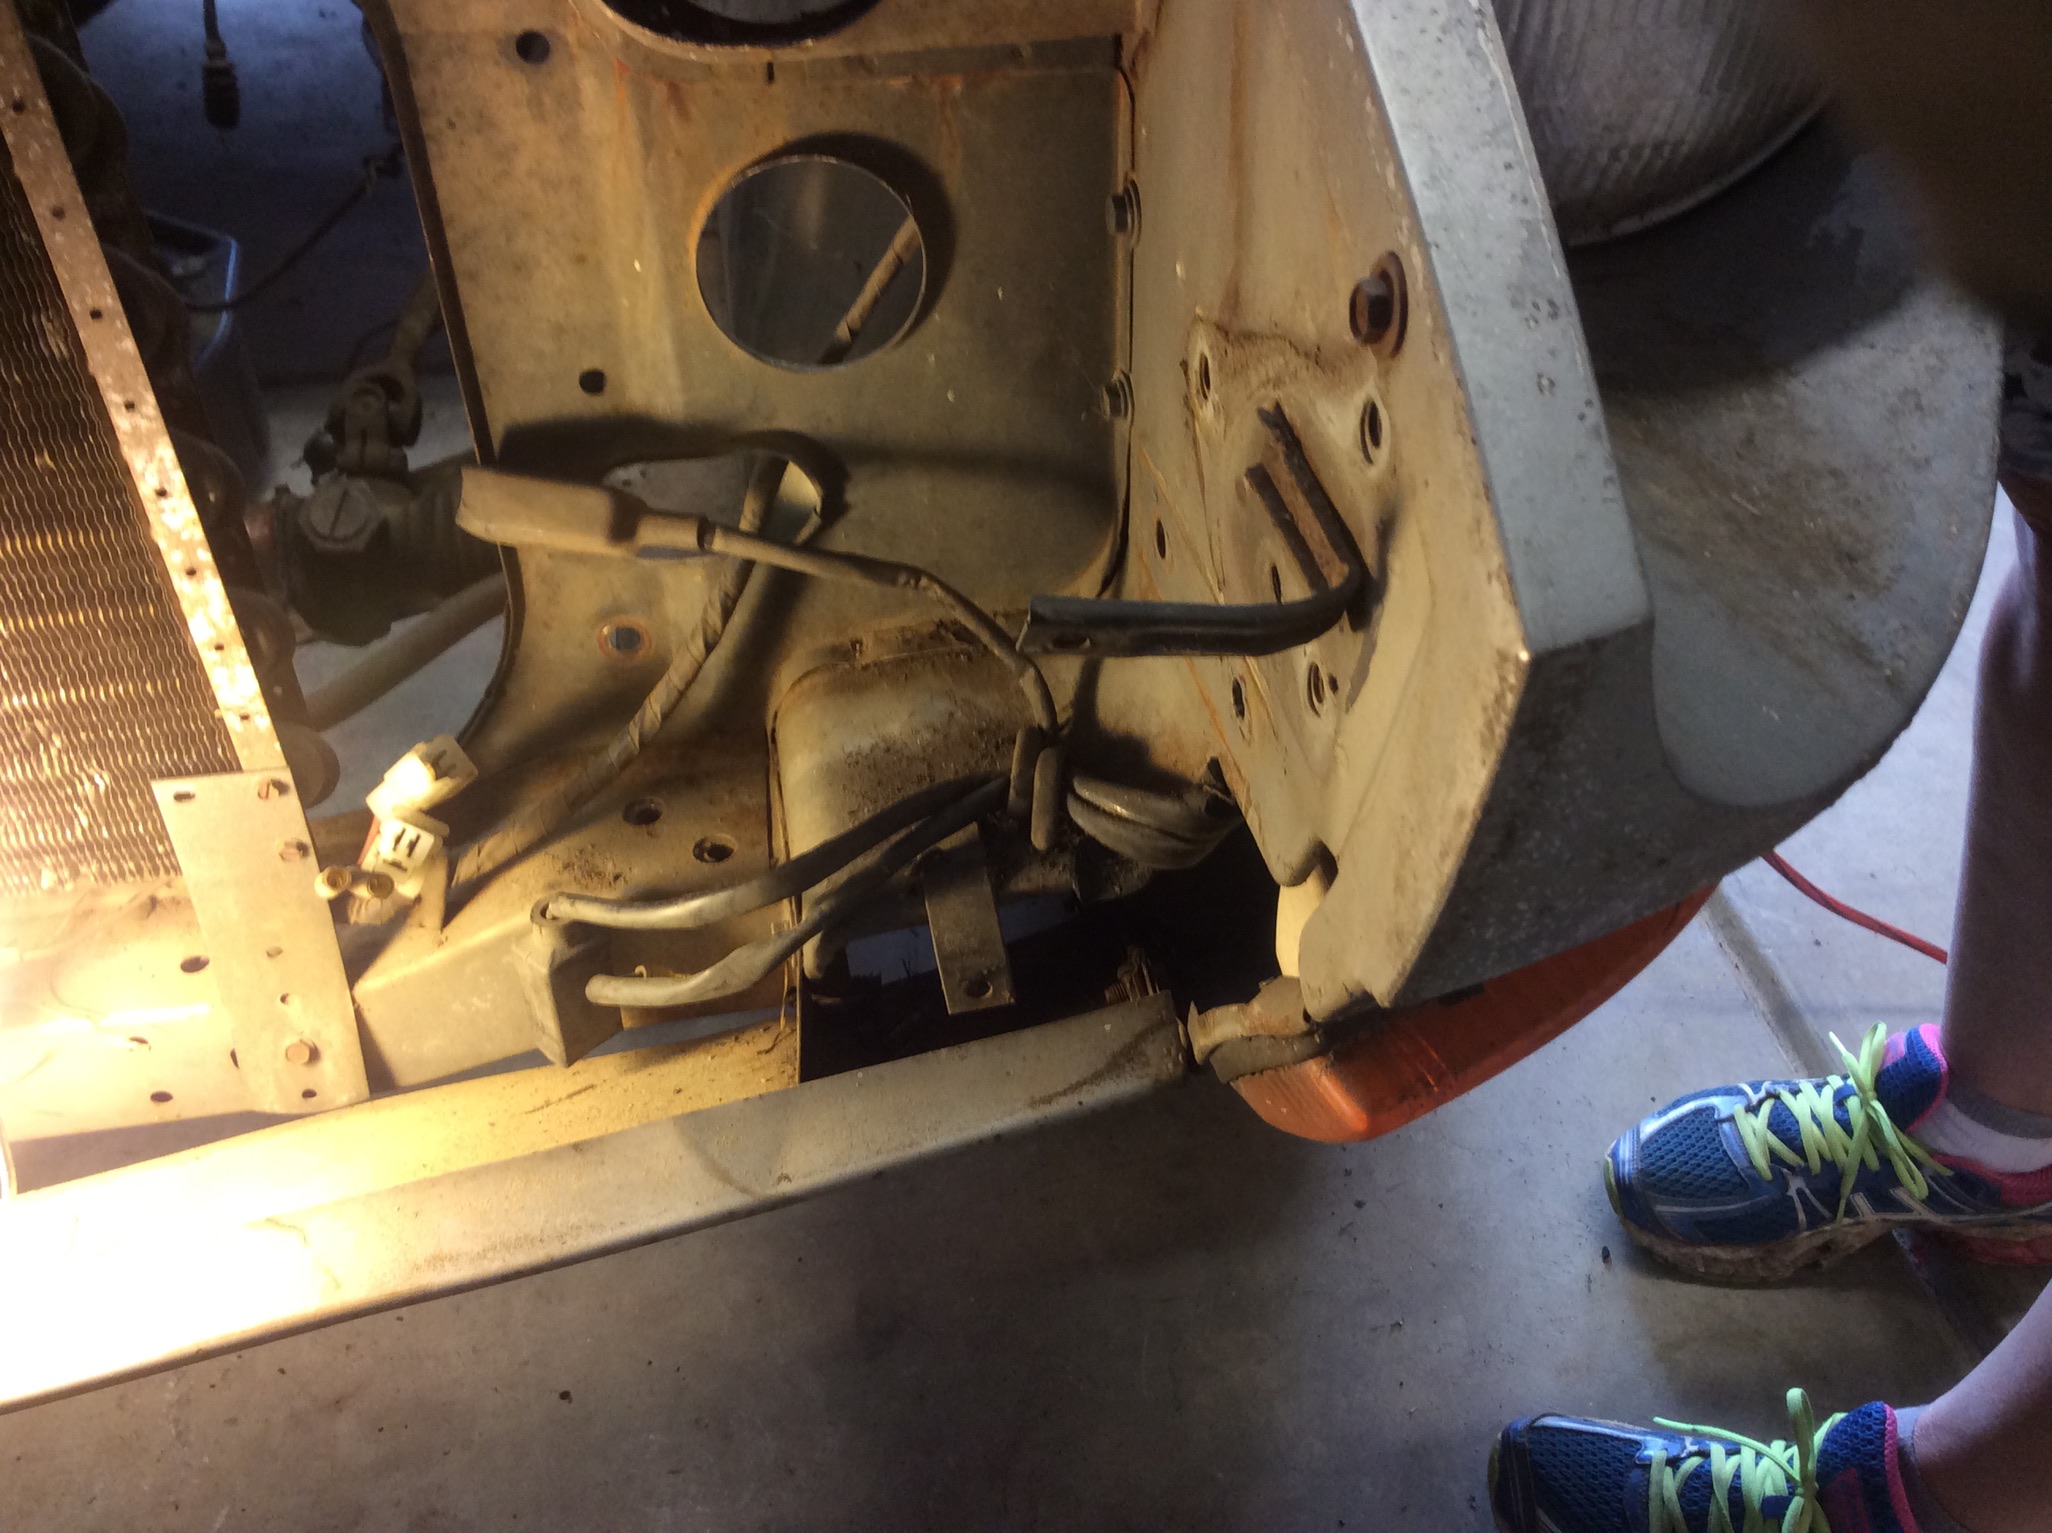
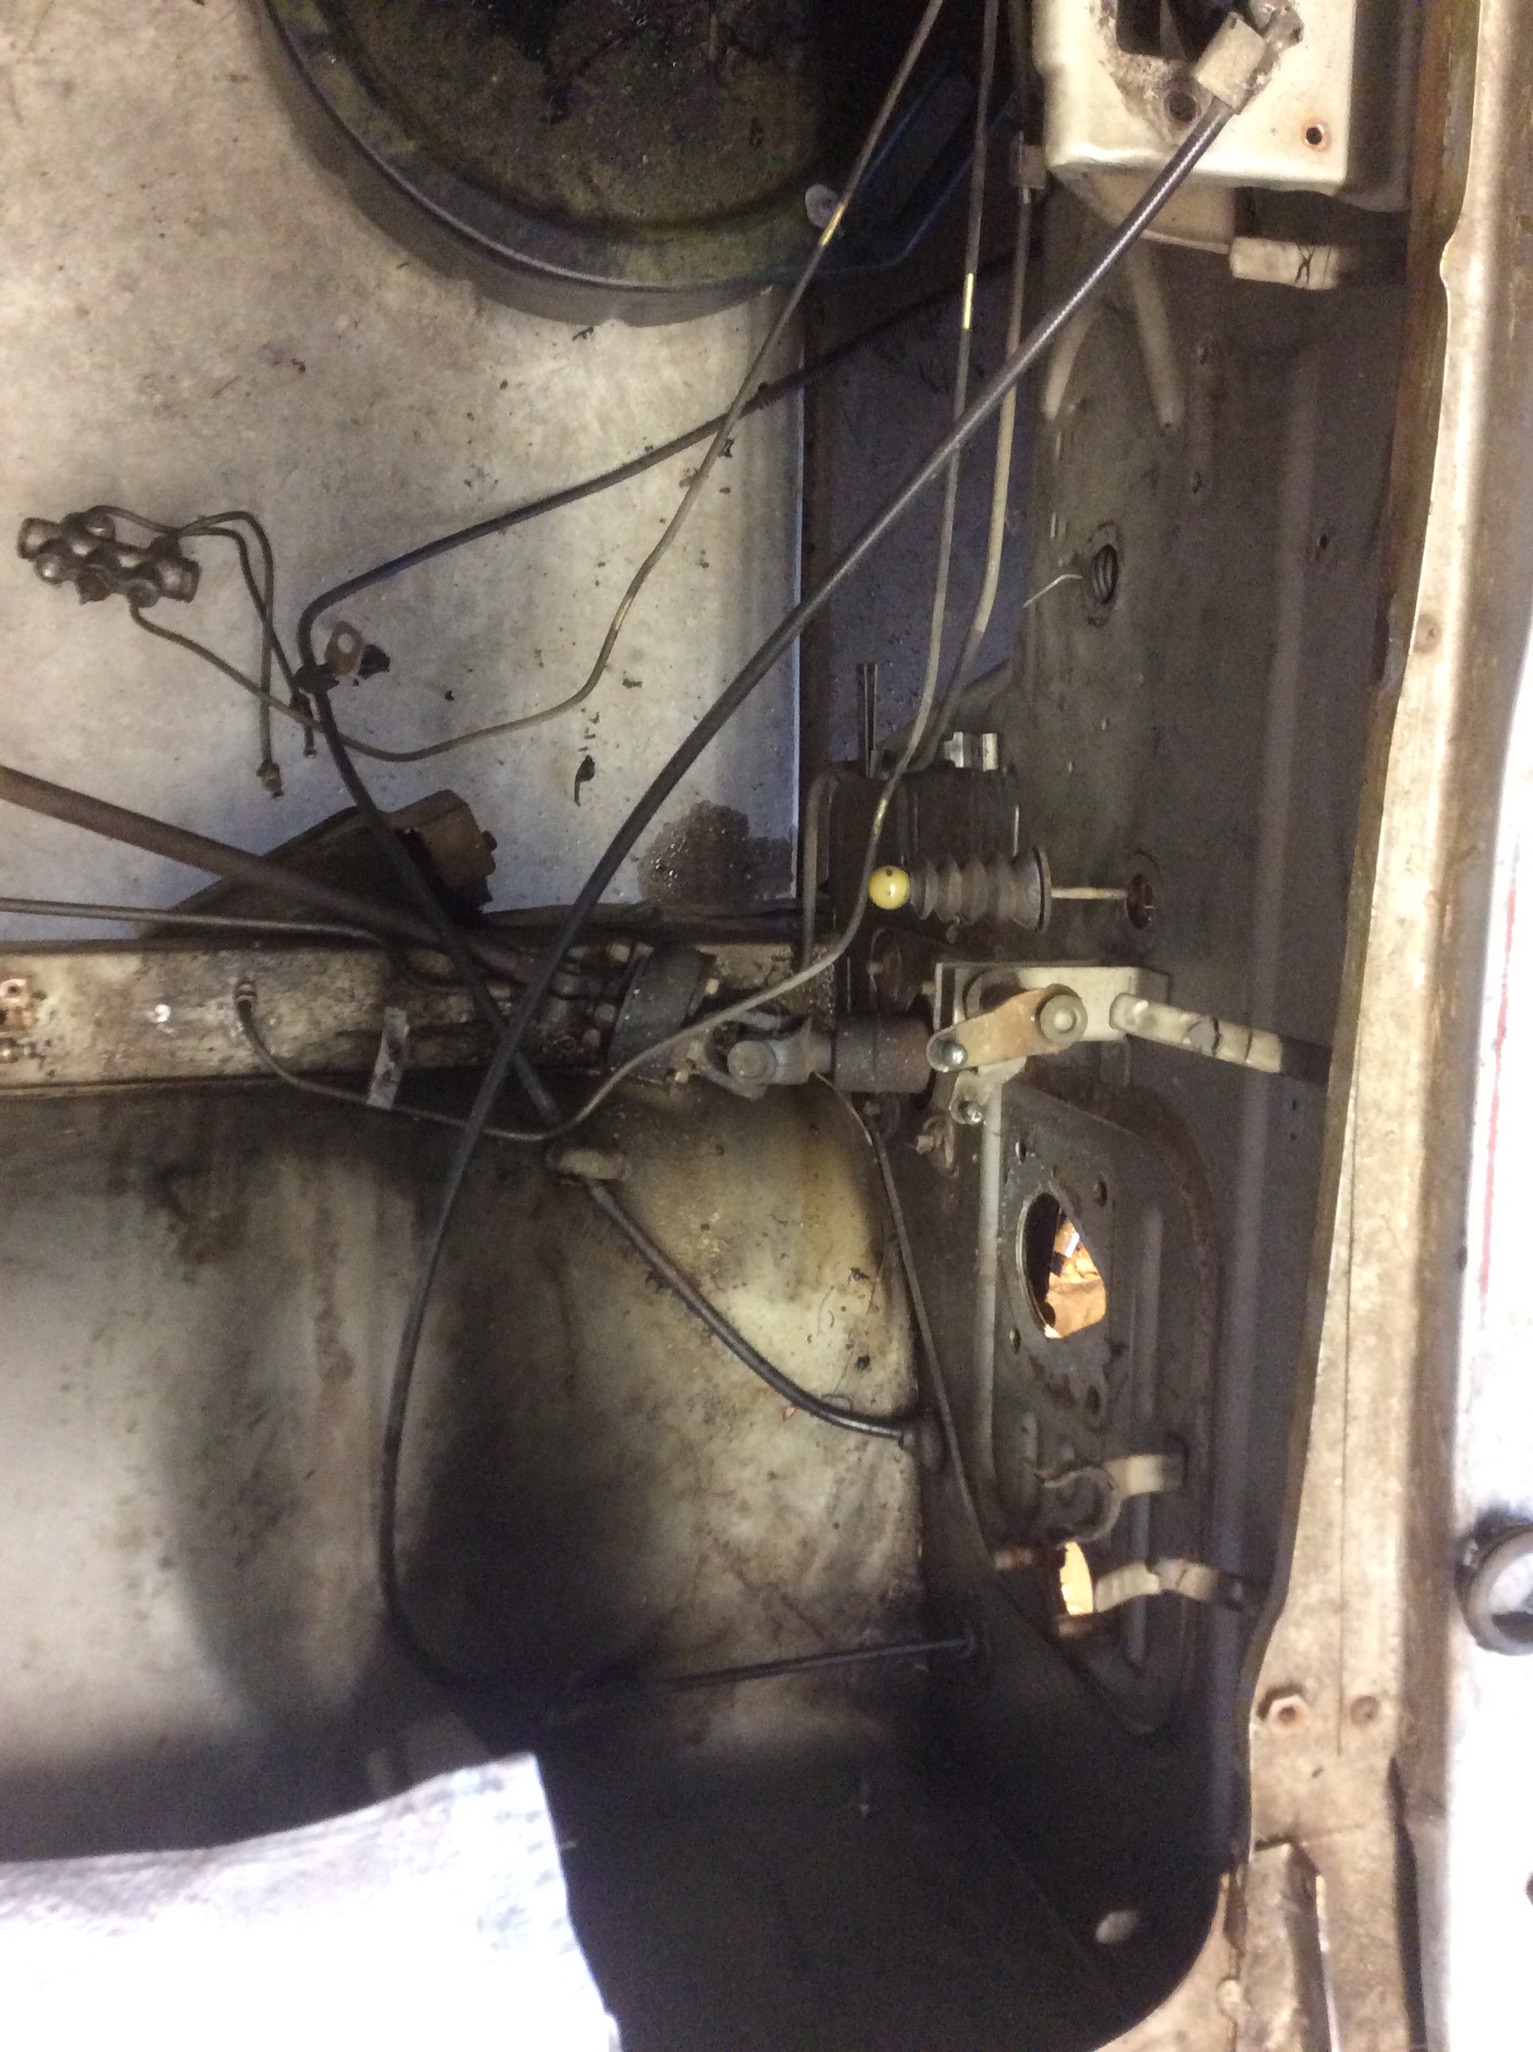
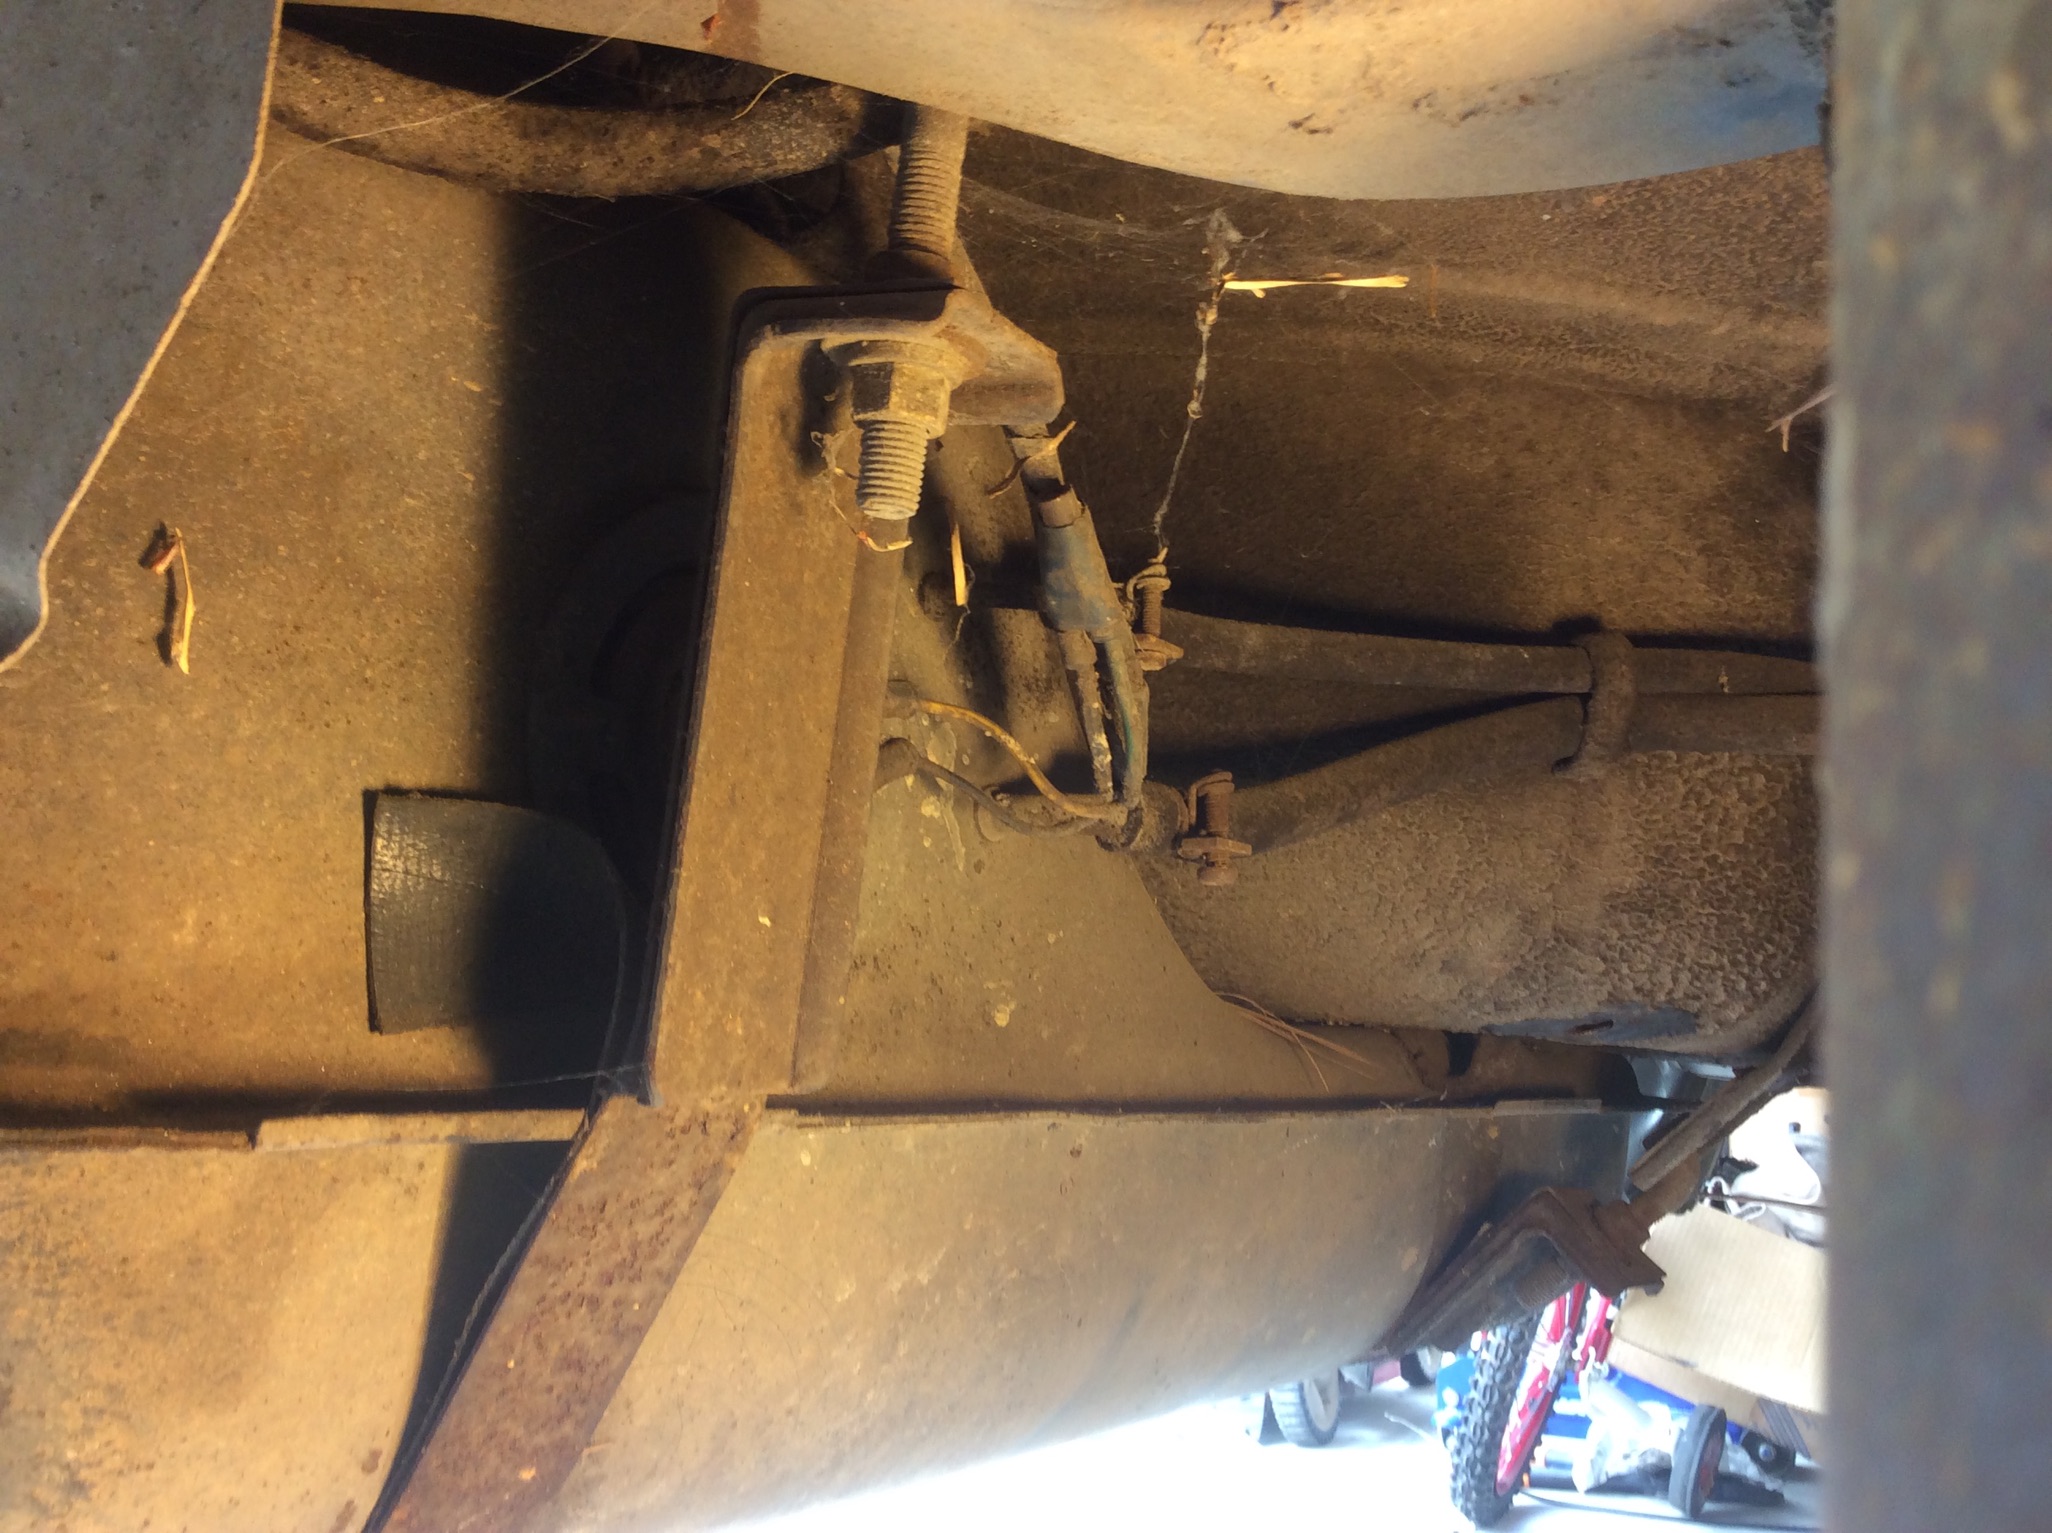
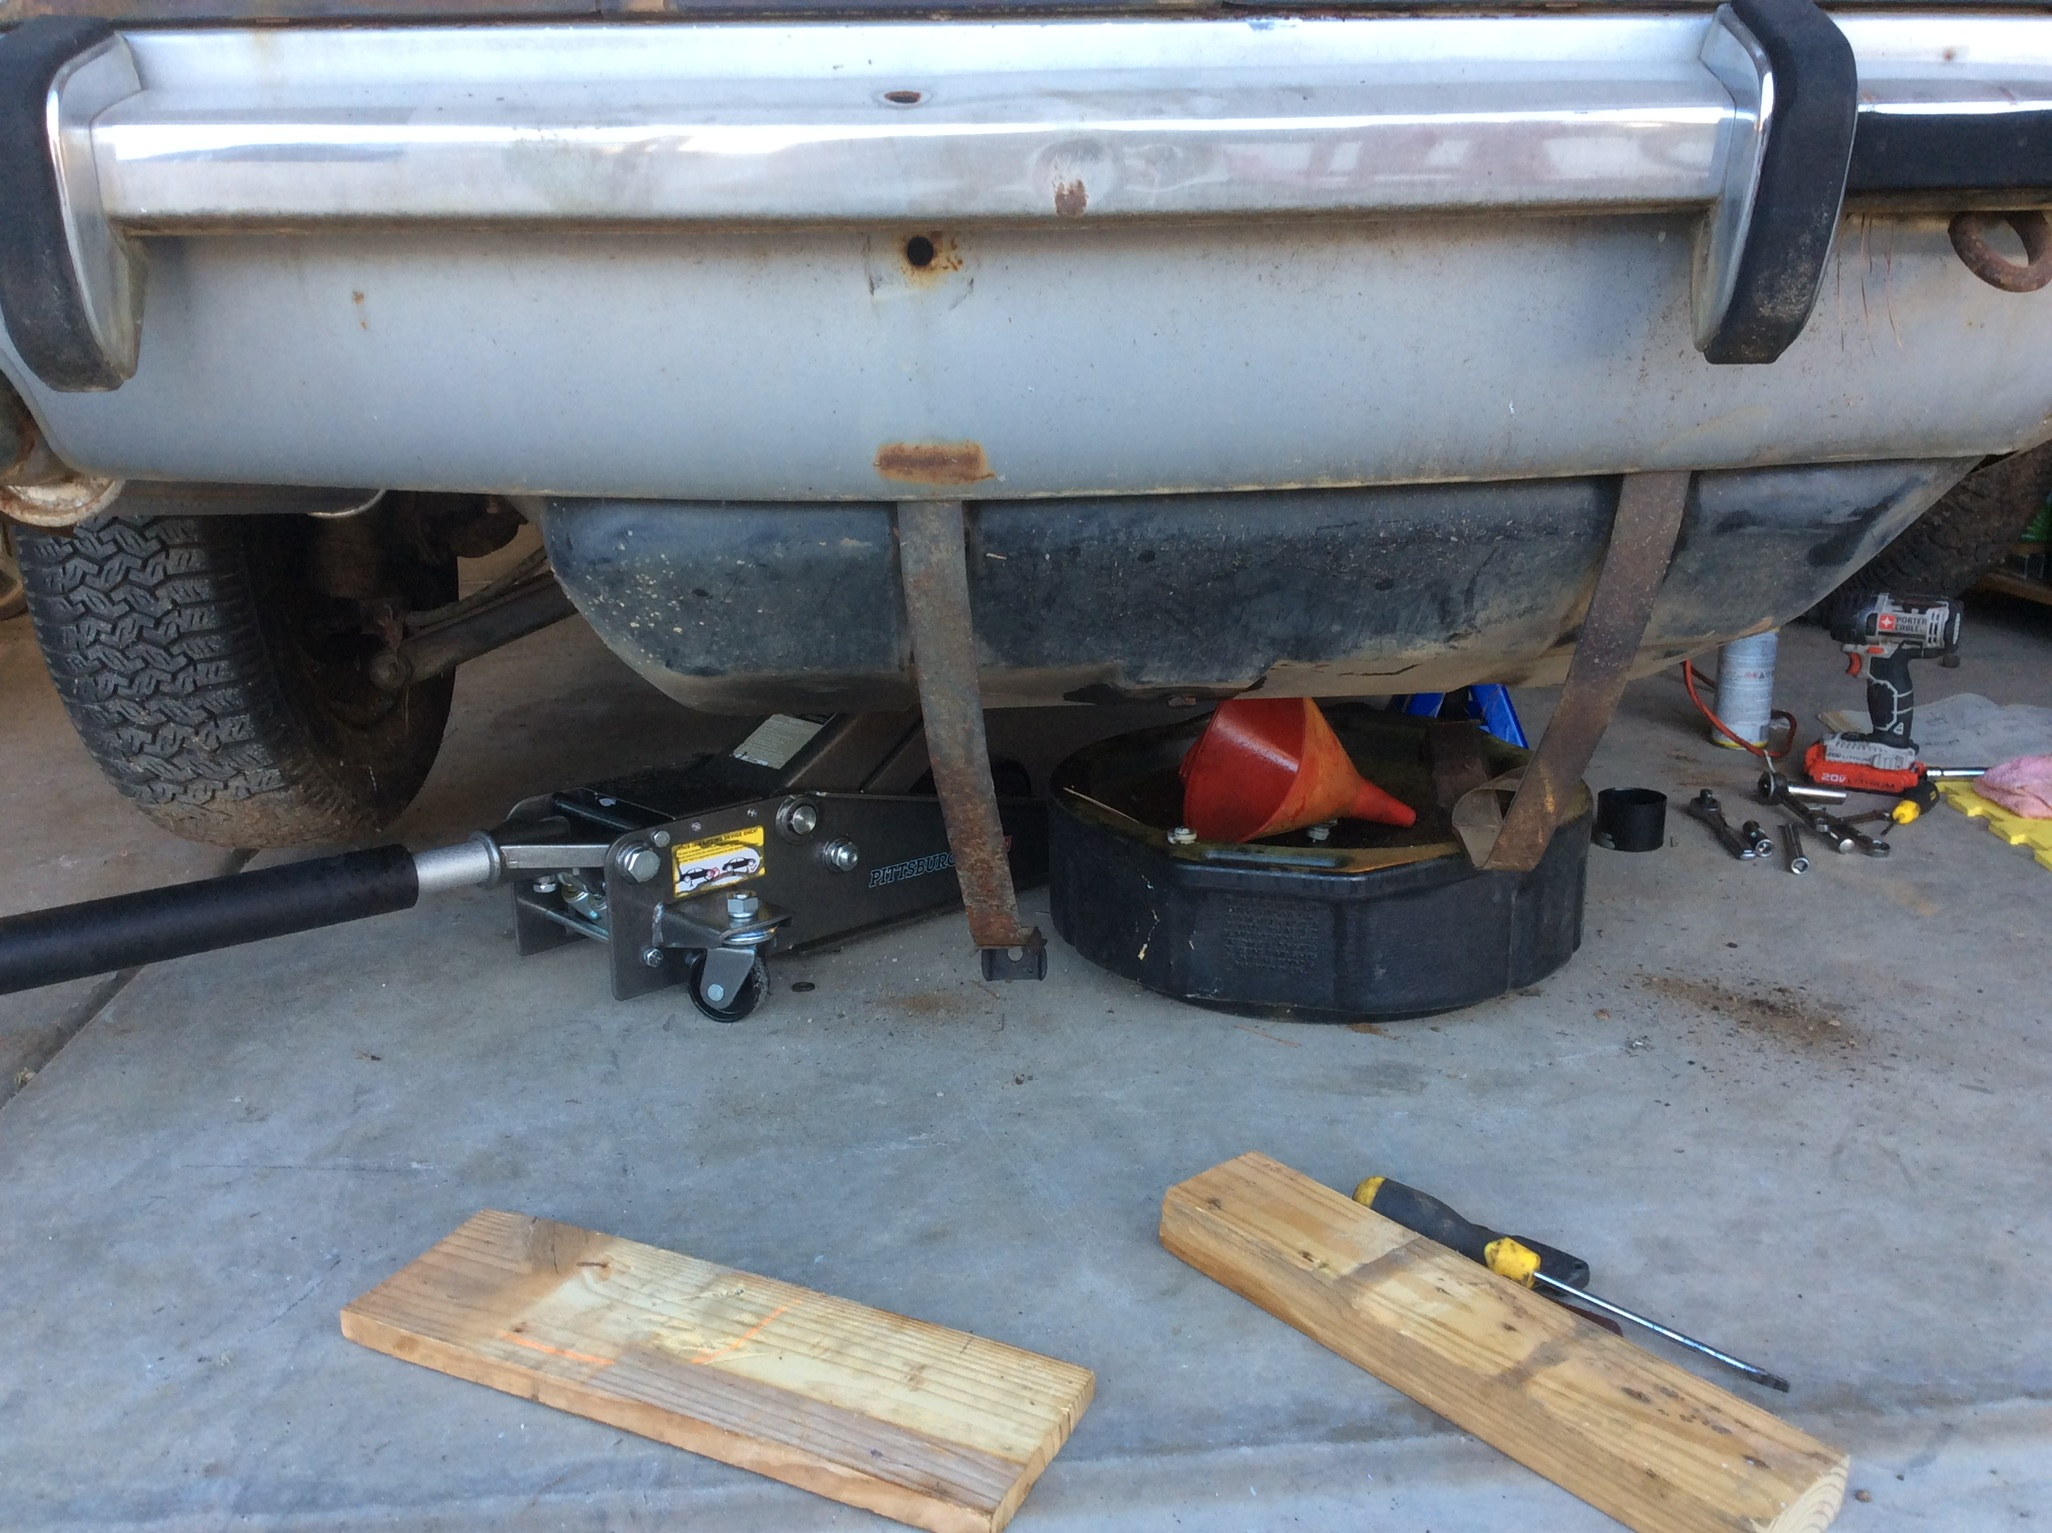
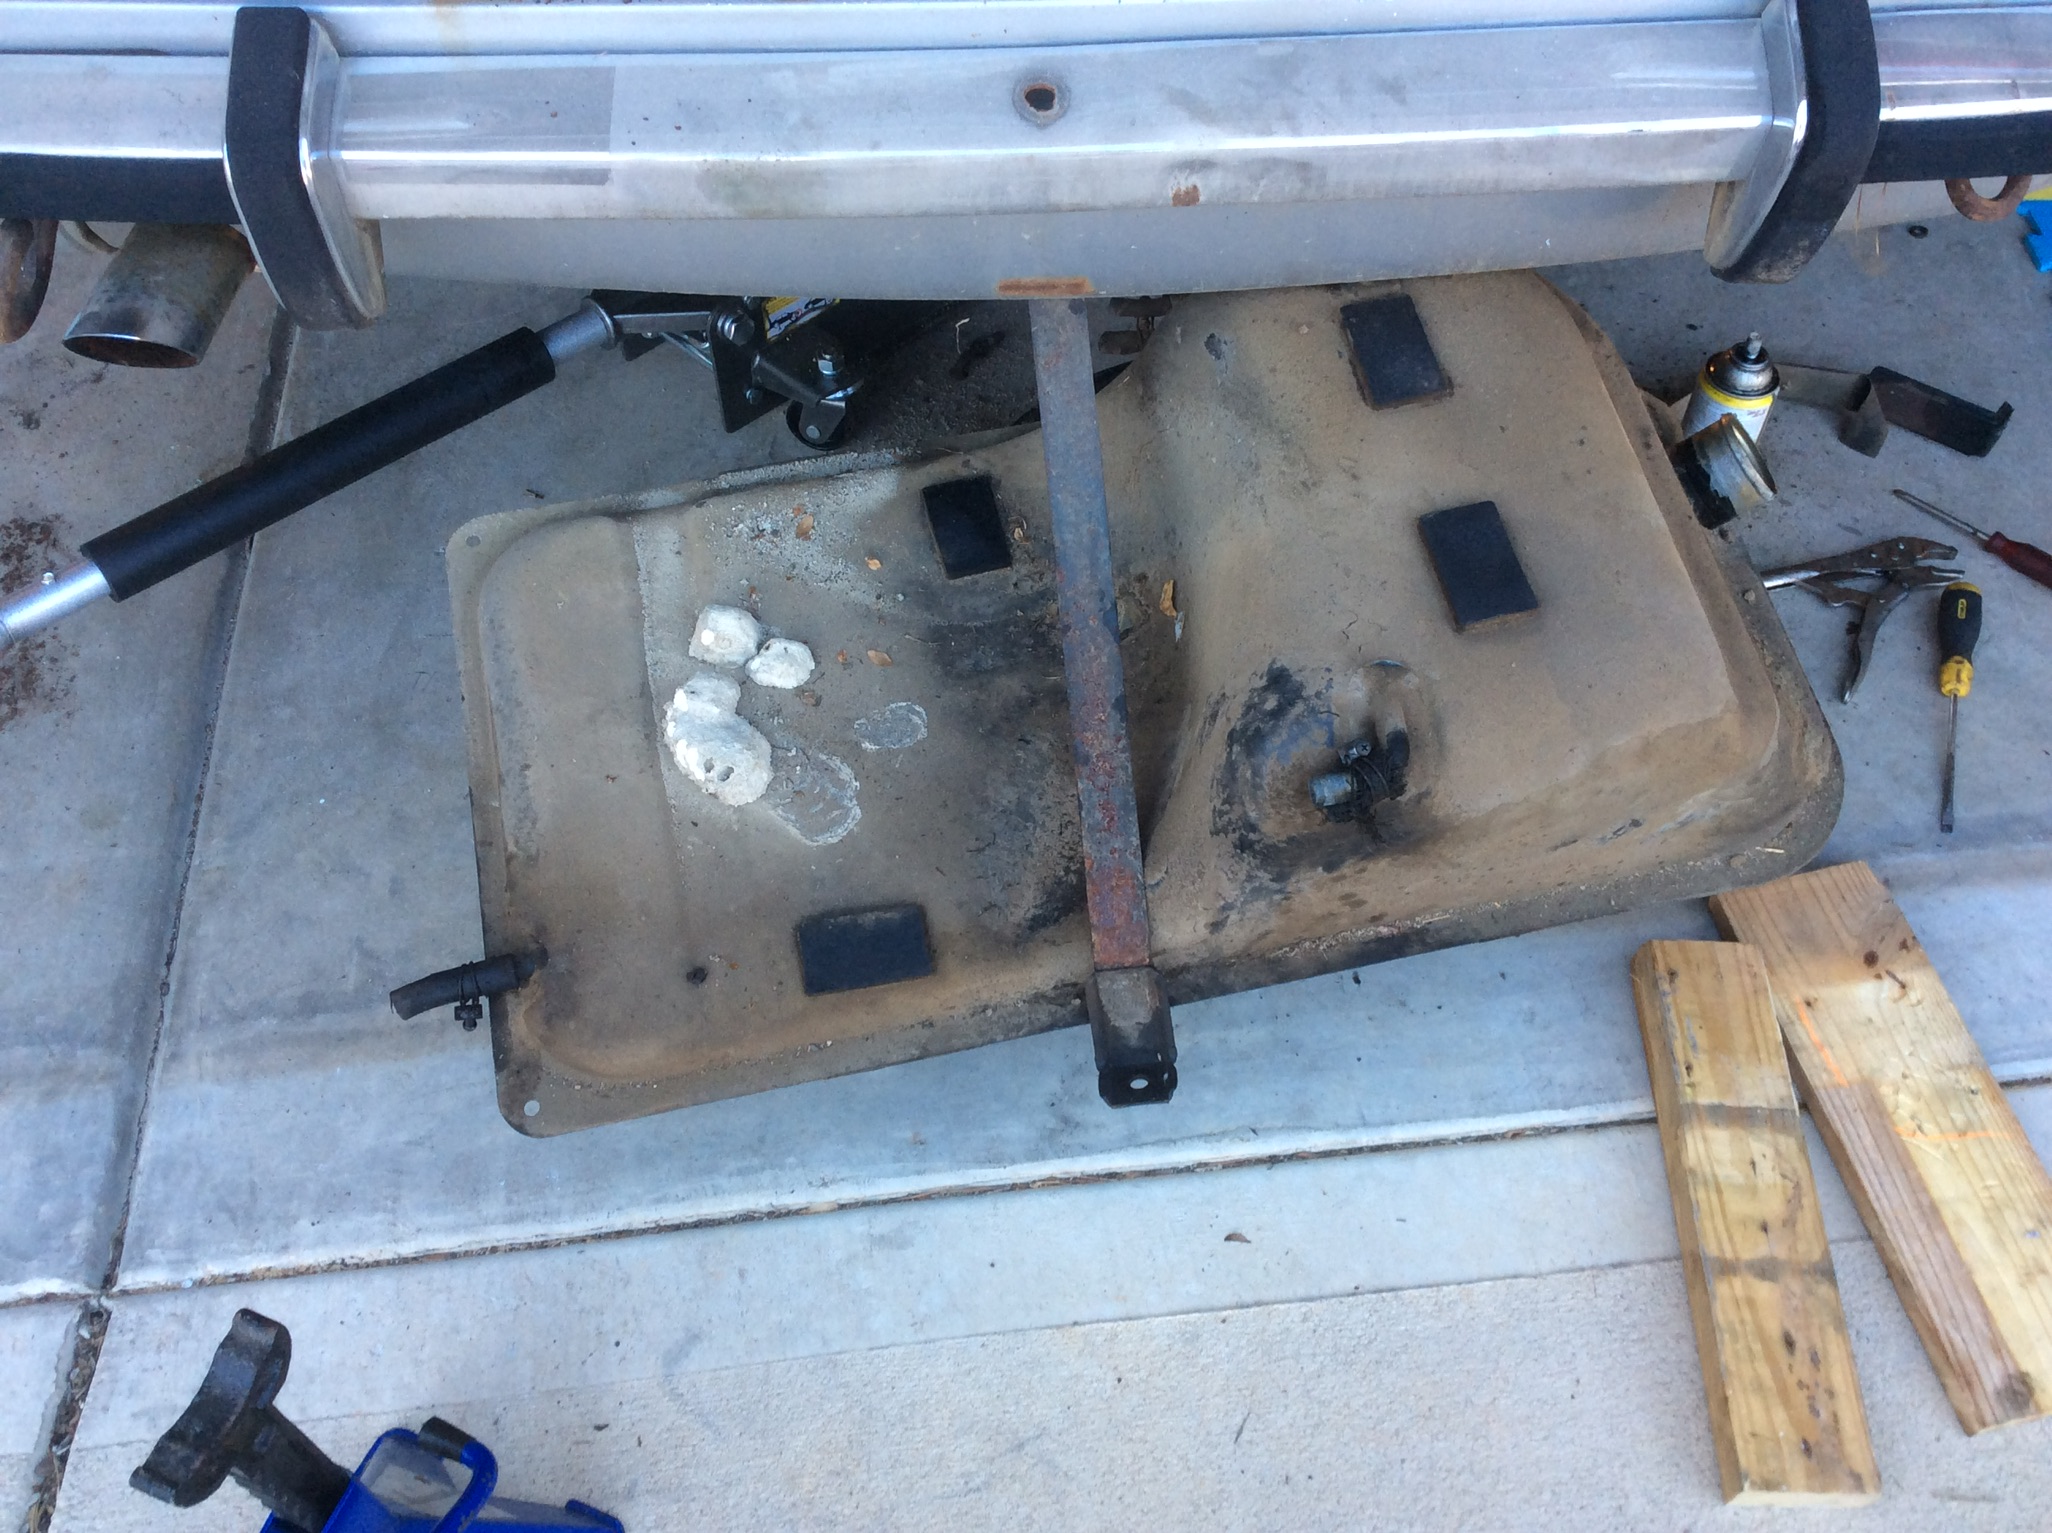
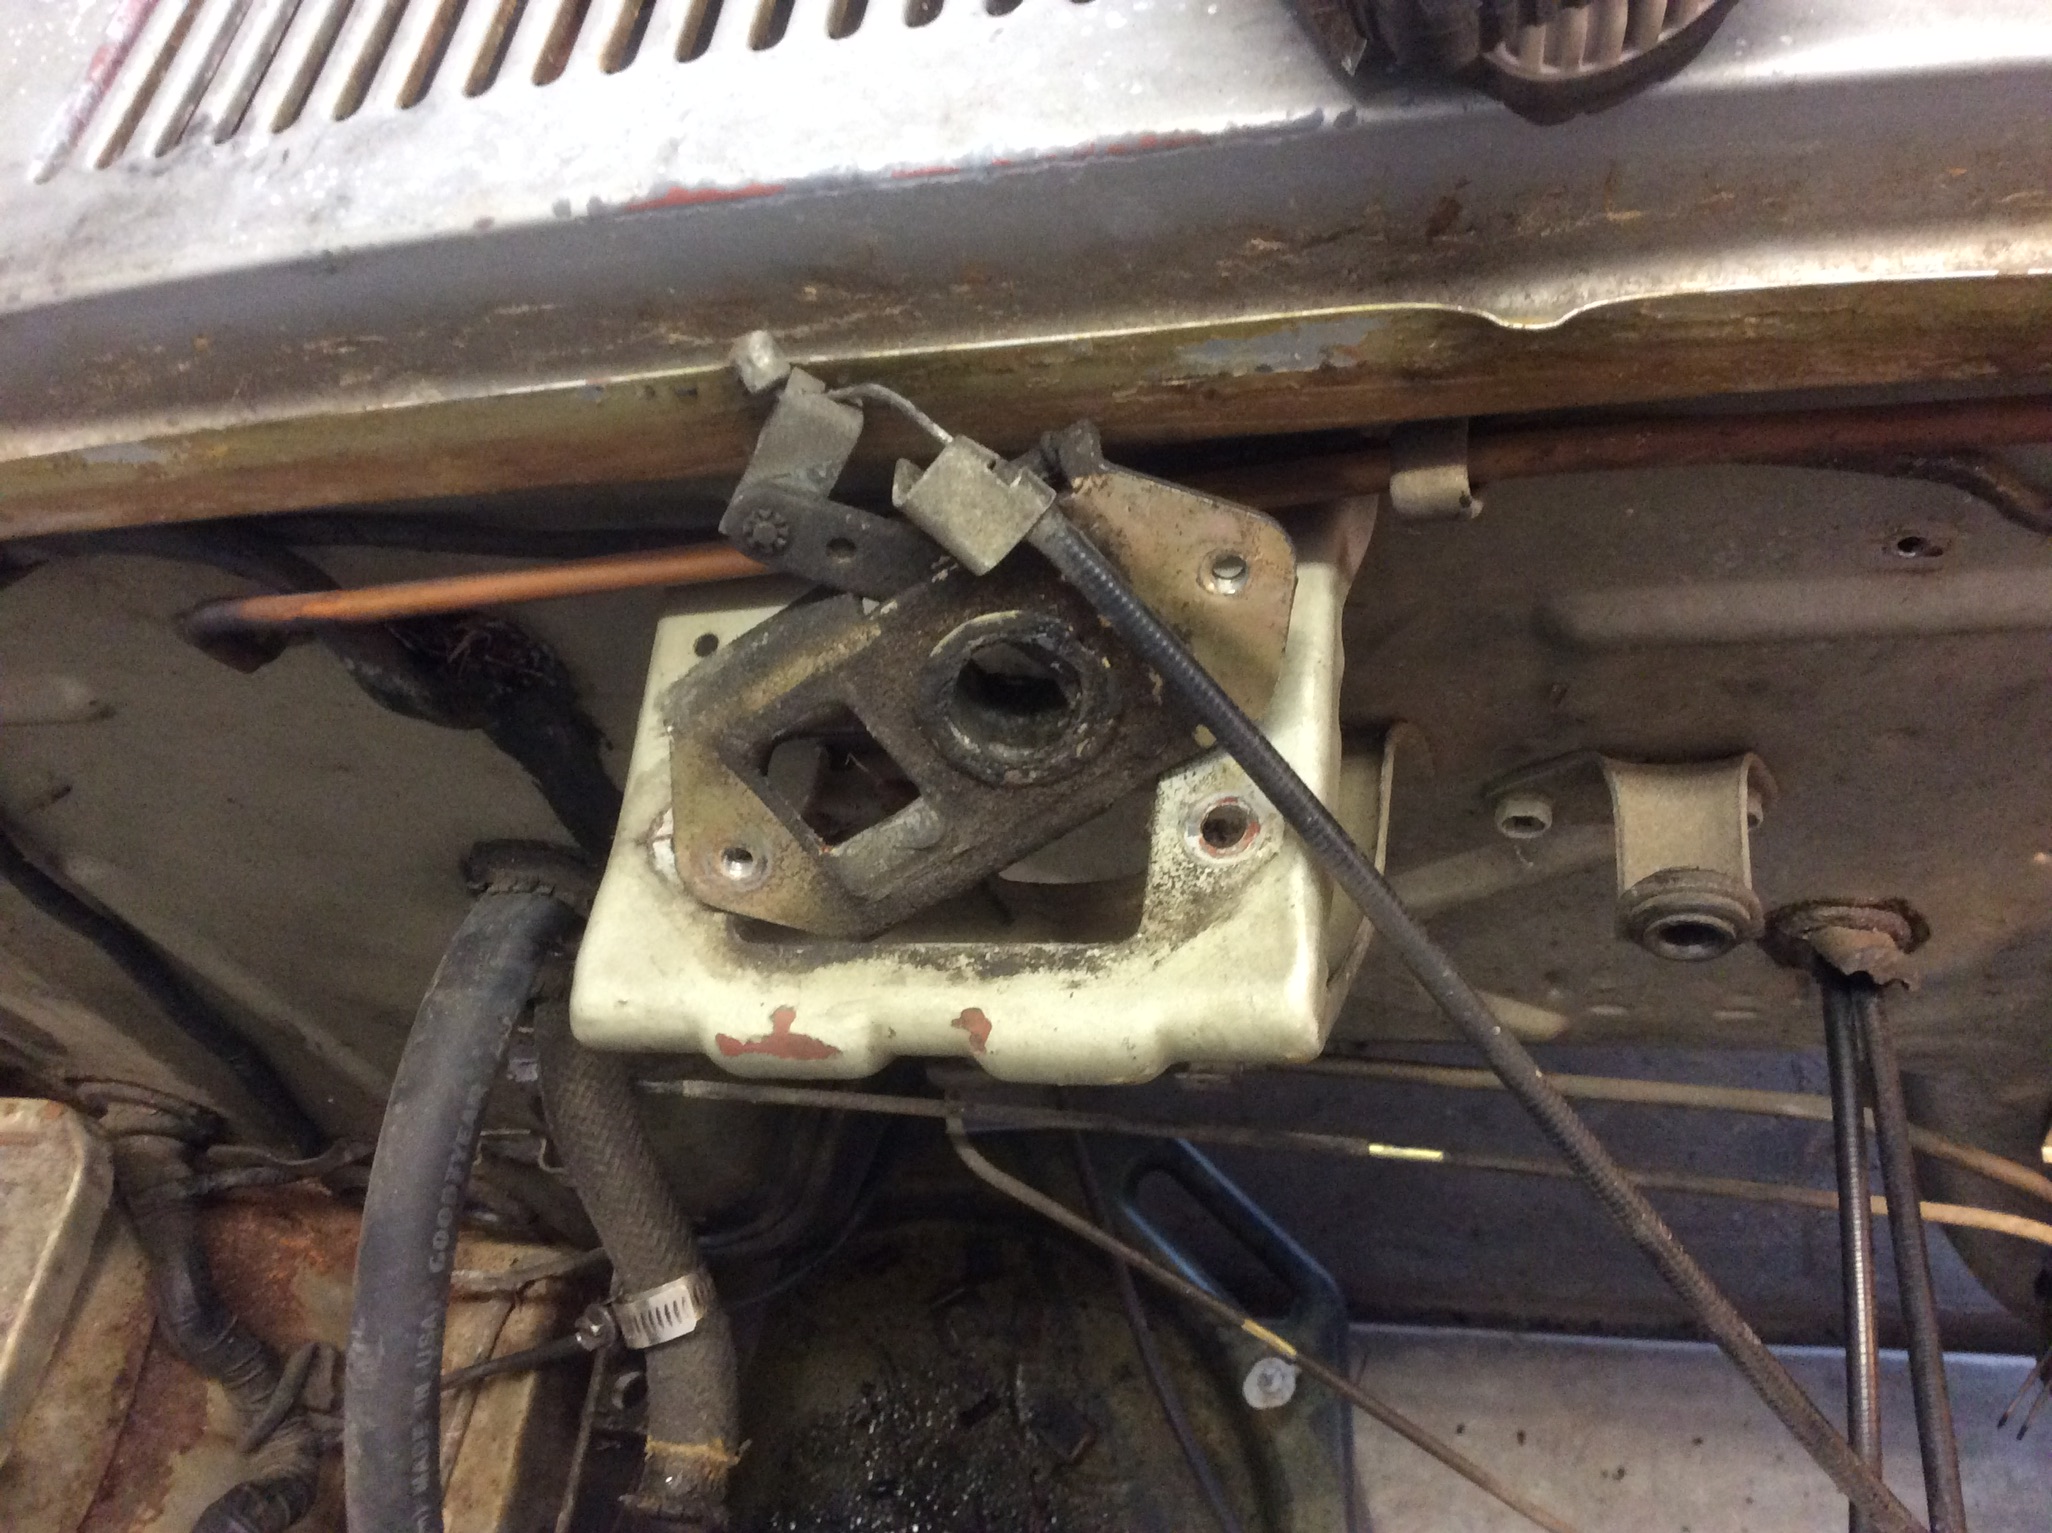
I continued removing hoses and the wiring harness from the engine bay. I labeled all the wires with duct tape and a sharpie. Also removed the gas tank. Other than 44 years of dirt and a small dent, it is in really good shape.  I spent a total of about 4 hours working on it this weekend. No money spent this week, but I have started looking at the complete stainless steel  hardware replacement kits.  Looks like they run about $300, and for that price, well worth the convenience and quality upgrade.  I've set a goal to have everything pulled off of the uni-body by April 2. I think short term goals will motivate me to keep going.  I now understand why some restorations can take years!  Lastly, I noticed that the pics in my first blog were not the best, so I tried to make a conscious effort to do better.  Enjoy, and thanks for reading.

IMG_0126.JPG

IMG_0130.JPG

IMG_0131.JPG

IMG_0132.JPG

IMG_0136.JPG

IMG_0137.JPG

IMG_0118.JPG

0 Comments


Recommended Comments

There are no comments to display.

Create an account or sign in to comment

You need to be a member in order to leave a comment

Create an account

Sign up for a new account in our community. It's easy!

Register a new account

Sign in

Already have an account? Sign in here.

Sign In Now


  • Blog Statistics

    • Total Blogs
      167
    • Total Entries
      251
  • Blog Comments

    • I'm still waiting on a hoist to free up before I can start bolting the new brake parts on my Z, but I did make the drill jig today.  I started with a 12mm thick Mustang wheel spacer with a pilot.  I then made a drawing to layout the holes needed.  I transfered the drawing onto the spacer and I drilled three new 1/8" holes through the jig (spacer) so I'd have the correct 4x114.3mm holes.  One hole is shared from the original 5 lug rotor.  I then bolted the jig onto the Mustang rotor and simply dr
    • Local radiator repair shops used to be plentiful but getting harder to find.  Some of them just specialize in big truck-heavy equipment radiators.  I will be needing to do the same for my project.  I have heard good reports on gas tank RENU but there are none of those franchises in my area.  Good luck, John-Lugoff, SC
    • Decided to go with the 240sx conversion. Main reason is it’s strictly for the street and the parts were easy to source. What I didn’t realize was the 14” wheels won’t clear the caliper. Now looking for a set of 4 lug 15” rims and tires I can use during the build process. Can anyone recommend a temporary solution as far as make and model preferably a steel wheel that I can use until I’m ready to buy the wheel and tire combination at the end of the project? Thanks again for all the help out there.
    • There are several reasons to use the S197 rear brakes.  The rotors are larger diameter than the SVO rotors and they are vented.  The calipers have larger pistons to give them more power.  The big beef with the Maxima rears is that they don't offer as much stopping power as the stock drums.  The S197 rears allow the addition of an adjustable proportioning valve.  The Maxima rears cannot utilize an adjustable prop since the prop needs to be all the way open to get close to enough rear bias. 
    • Any particular reason to use S197 Mustang 5-lug brakes?  The Fox body SVO Mustangs had rear discs with 4-lug.  It's a popular swap to use SVO or T-bird Turbo Coupe rear brakes to retrofit discs to other Fox body Mustangs.  These parts are still pretty common (probably available as a kit).  Might be worth checking to see if they'll fit.
×
×
  • Create New...

Important Information

By using this site, you agree to our Privacy Policy and Guidelines. We have placed cookies on your device to help make this website better. You can adjust your cookie settings, otherwise we'll assume you're okay to continue.