HusseinHolland
Community Member
-
Joined
-
Last visited
Everything posted by HusseinHolland
-
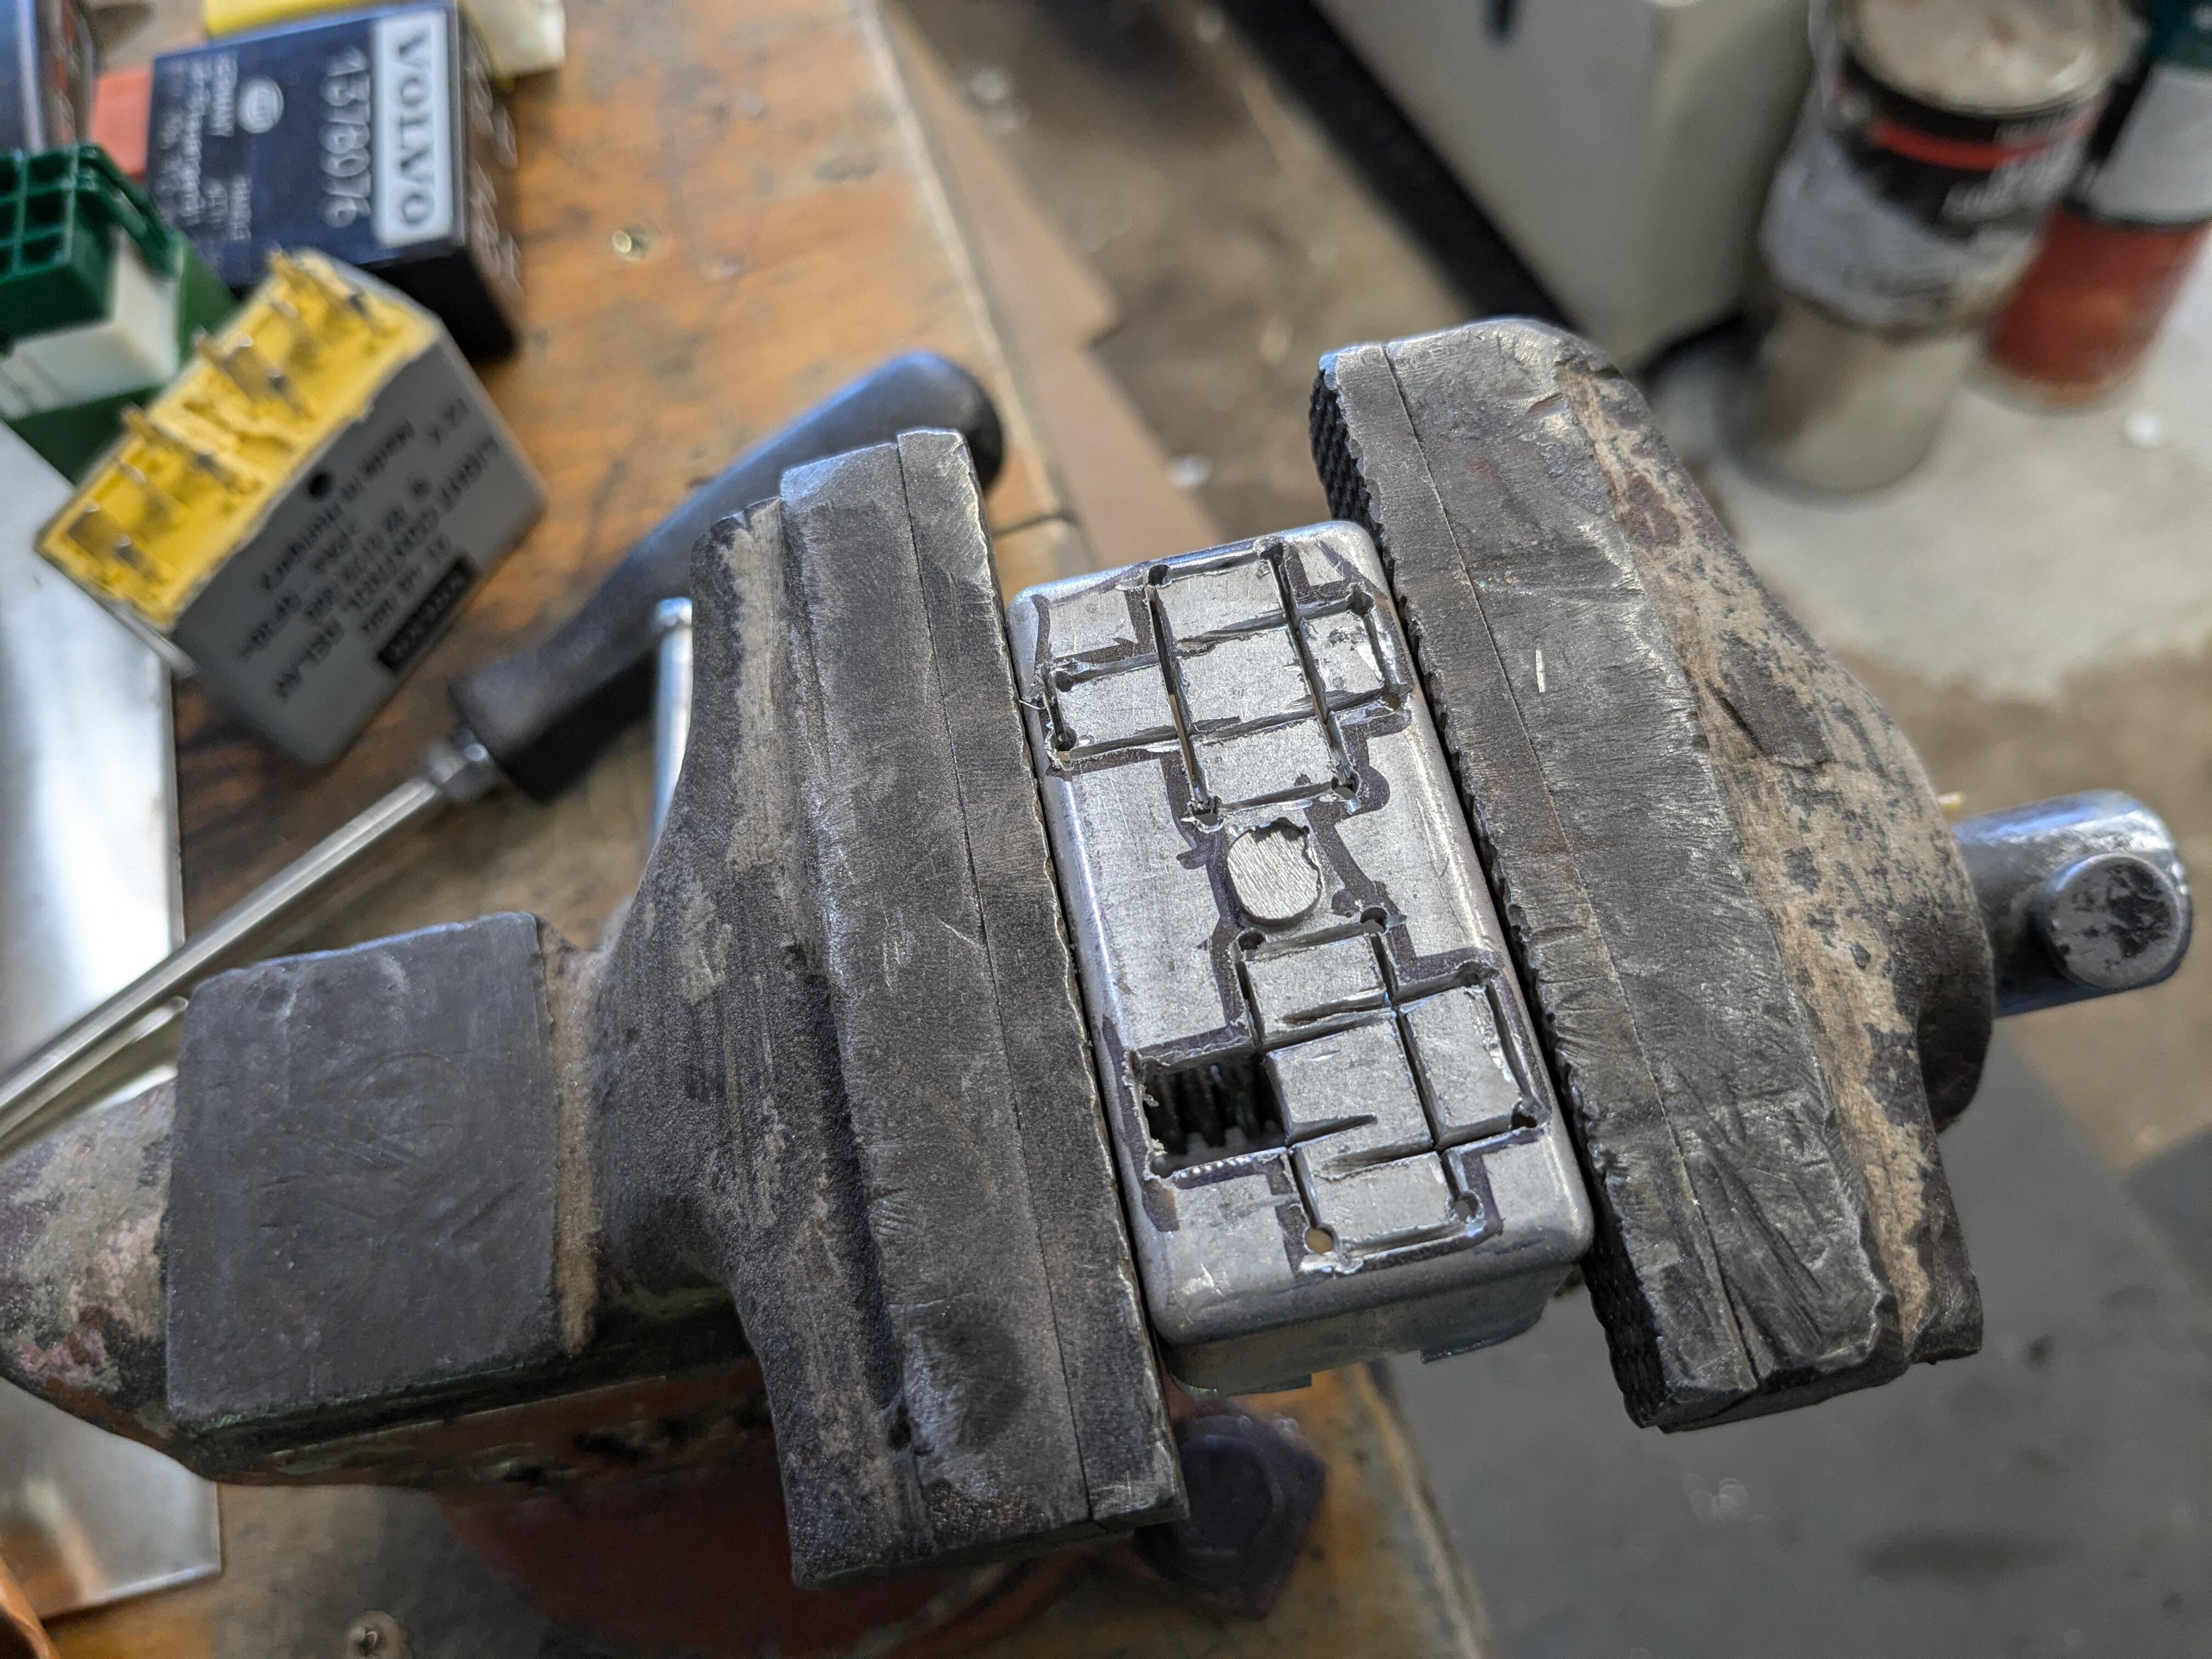
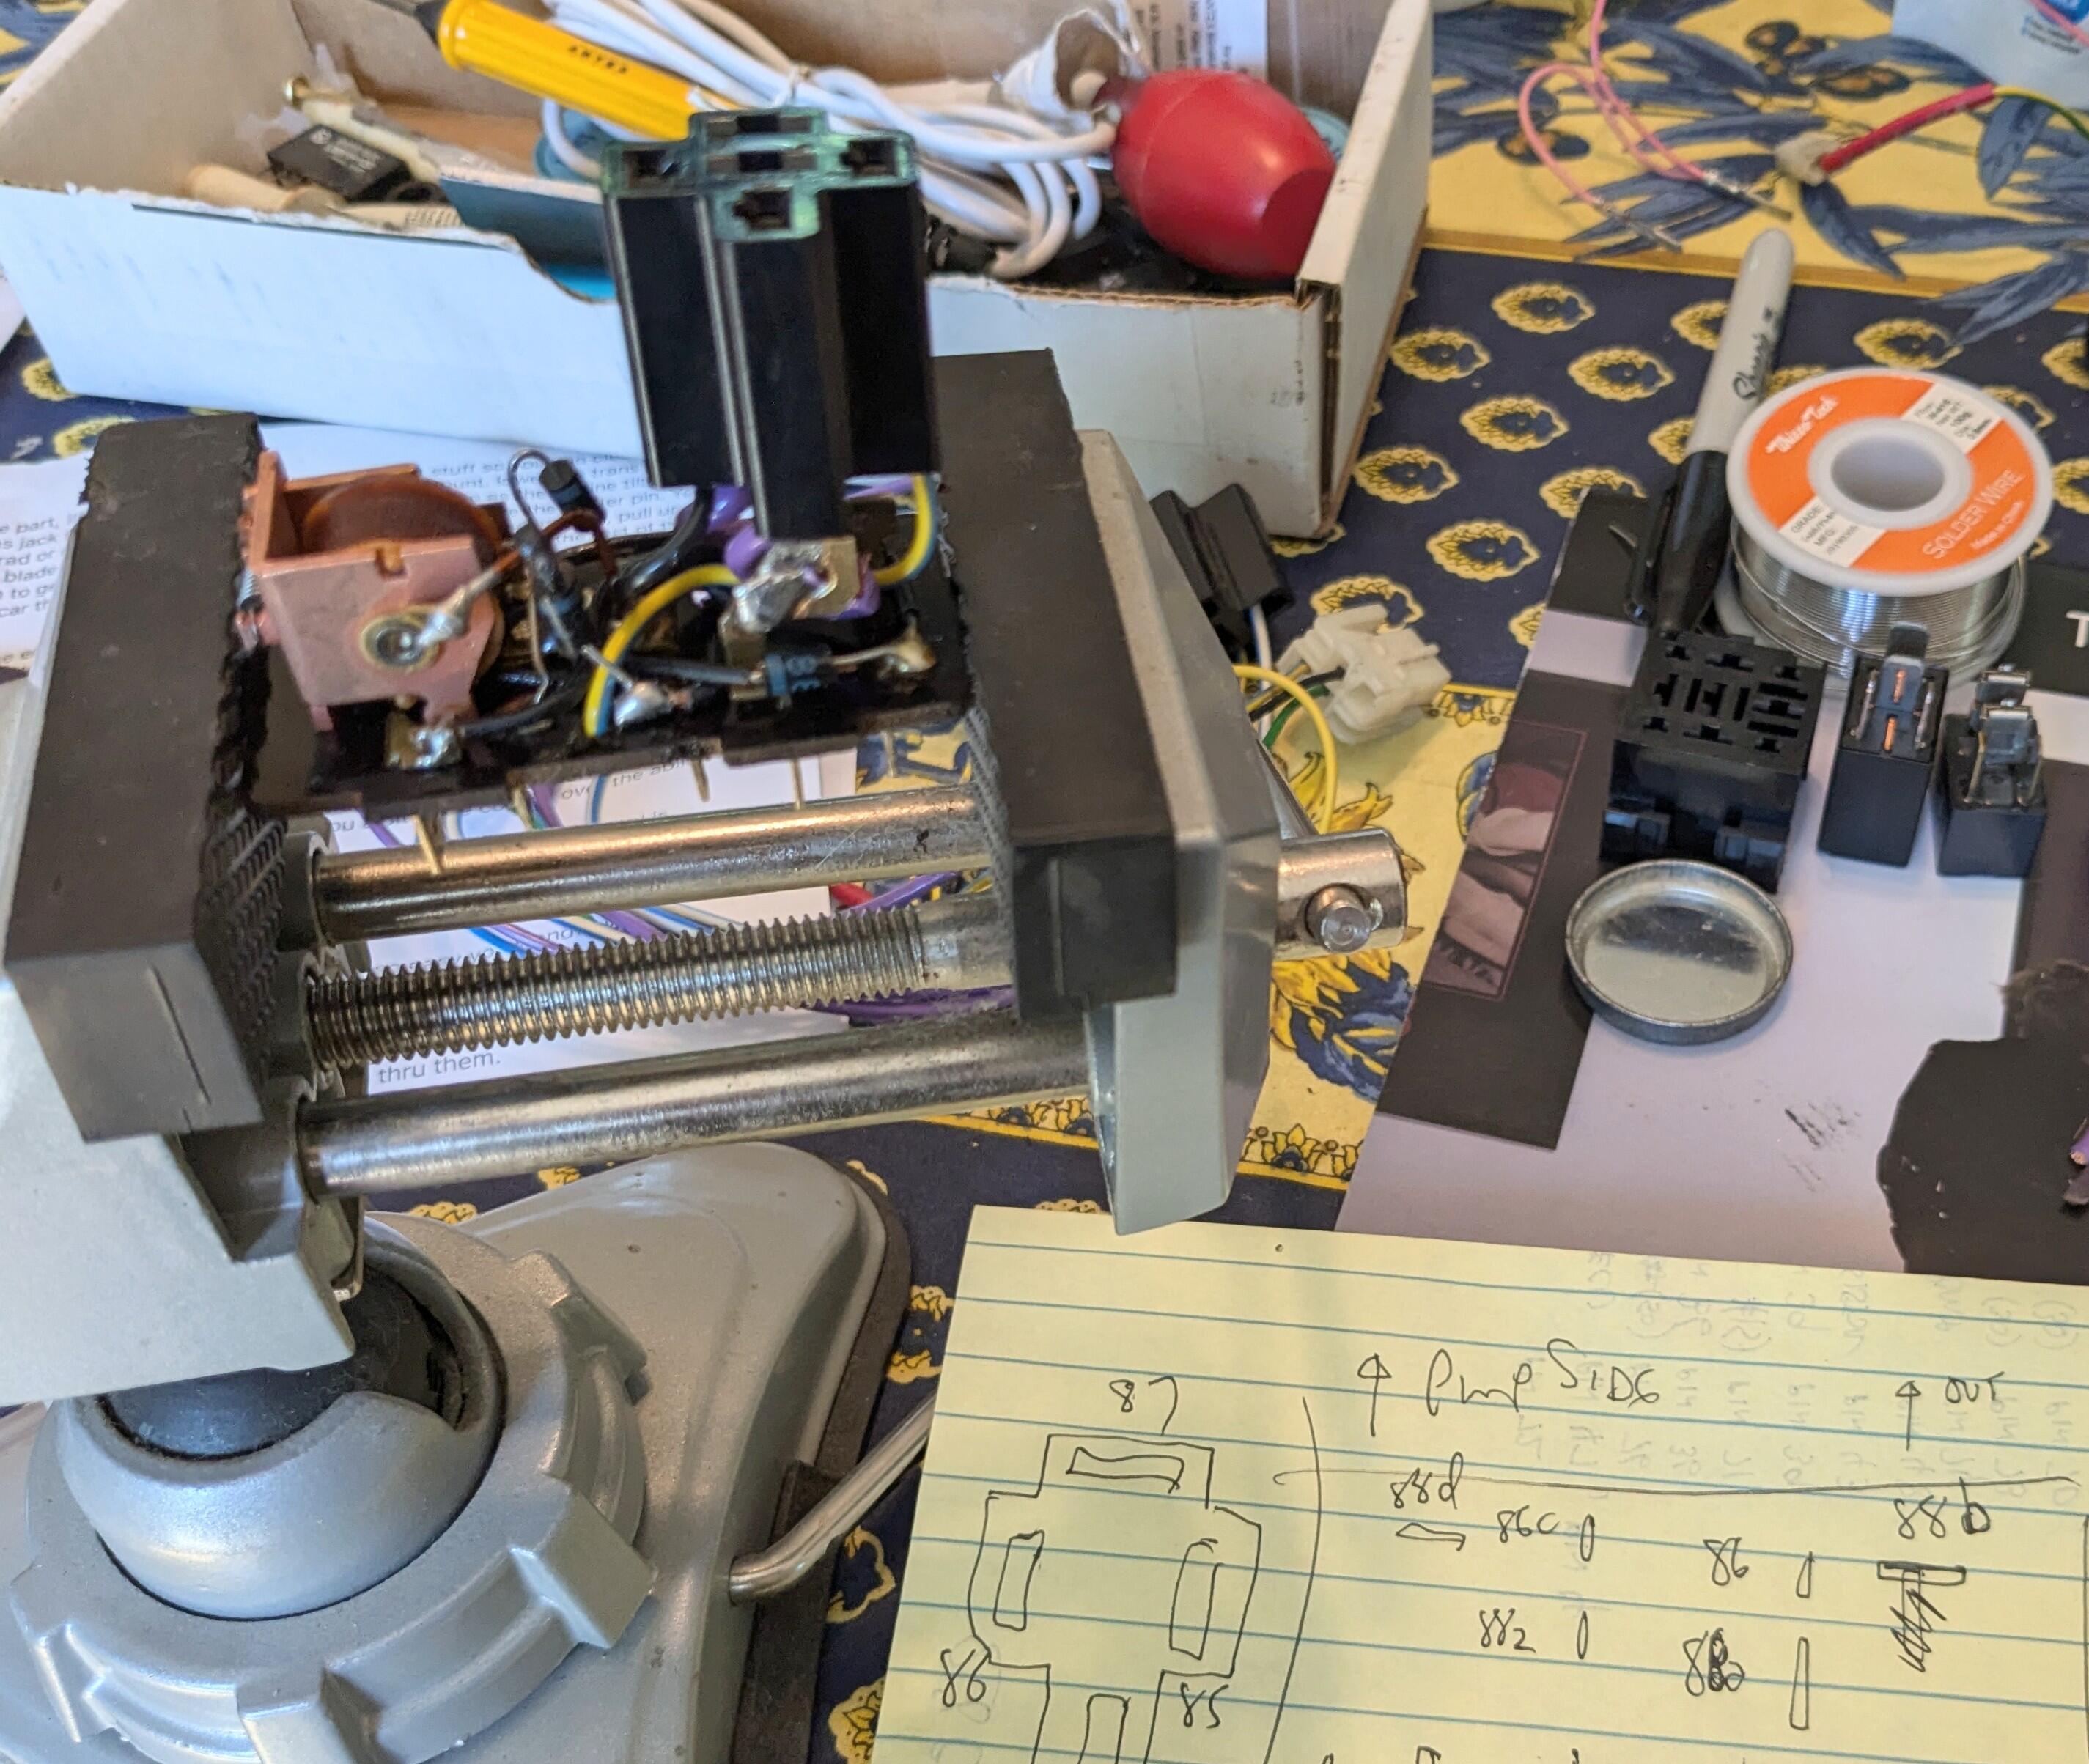
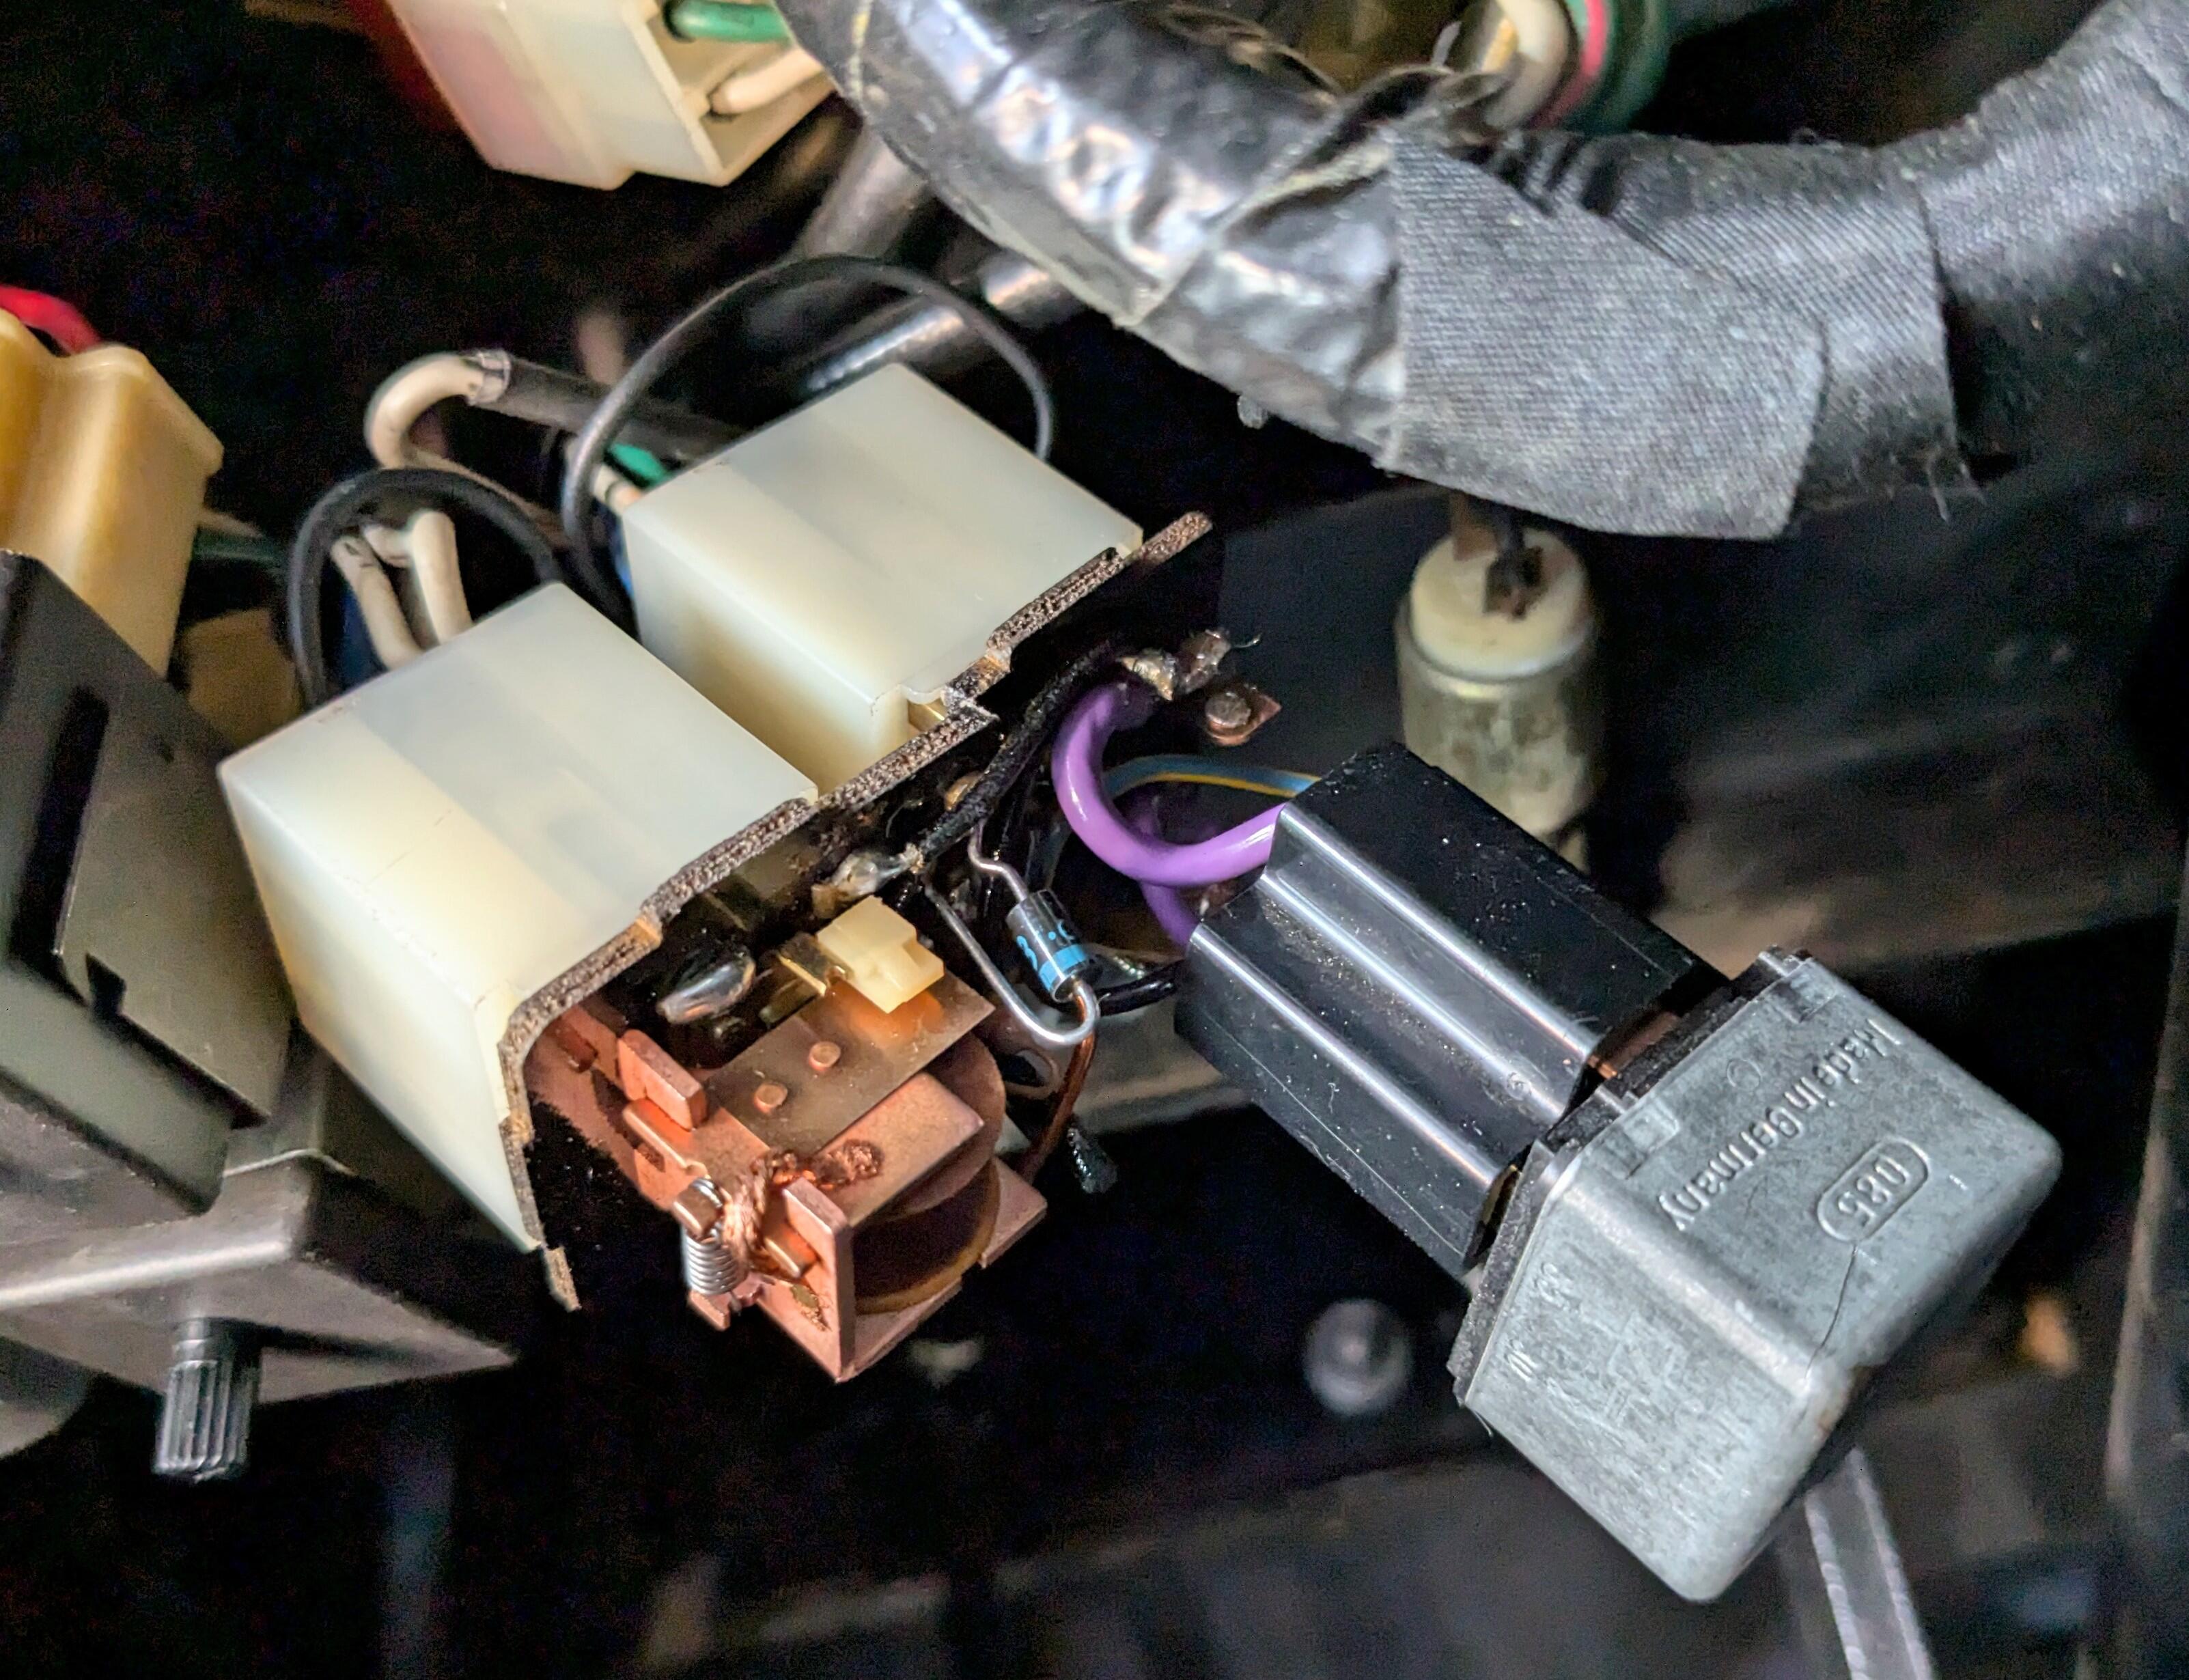
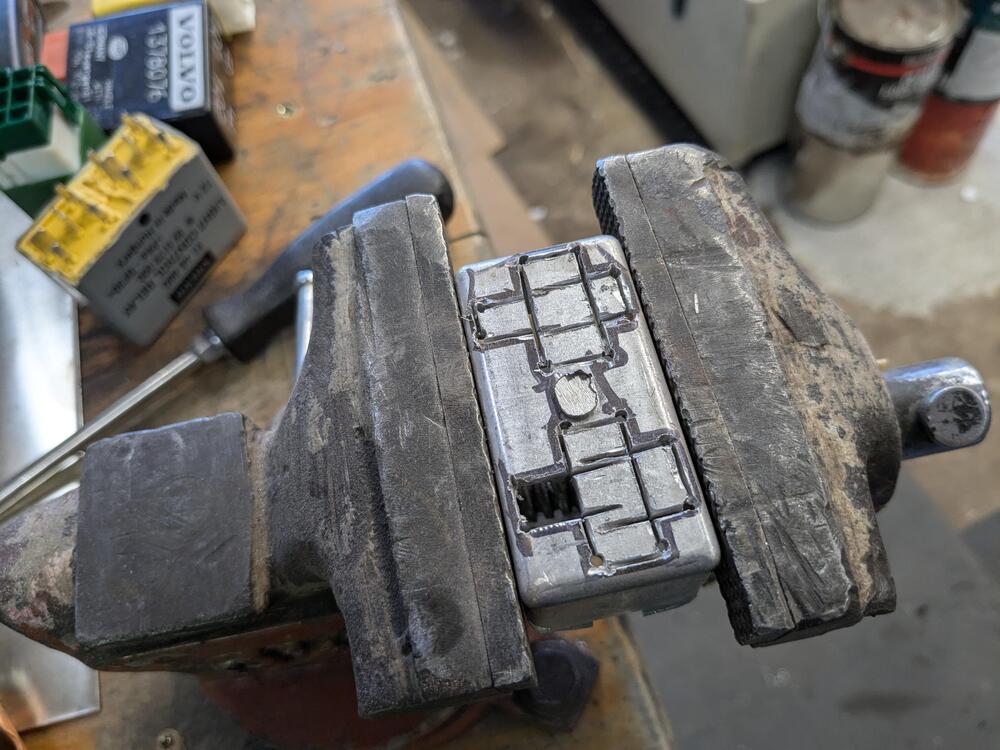
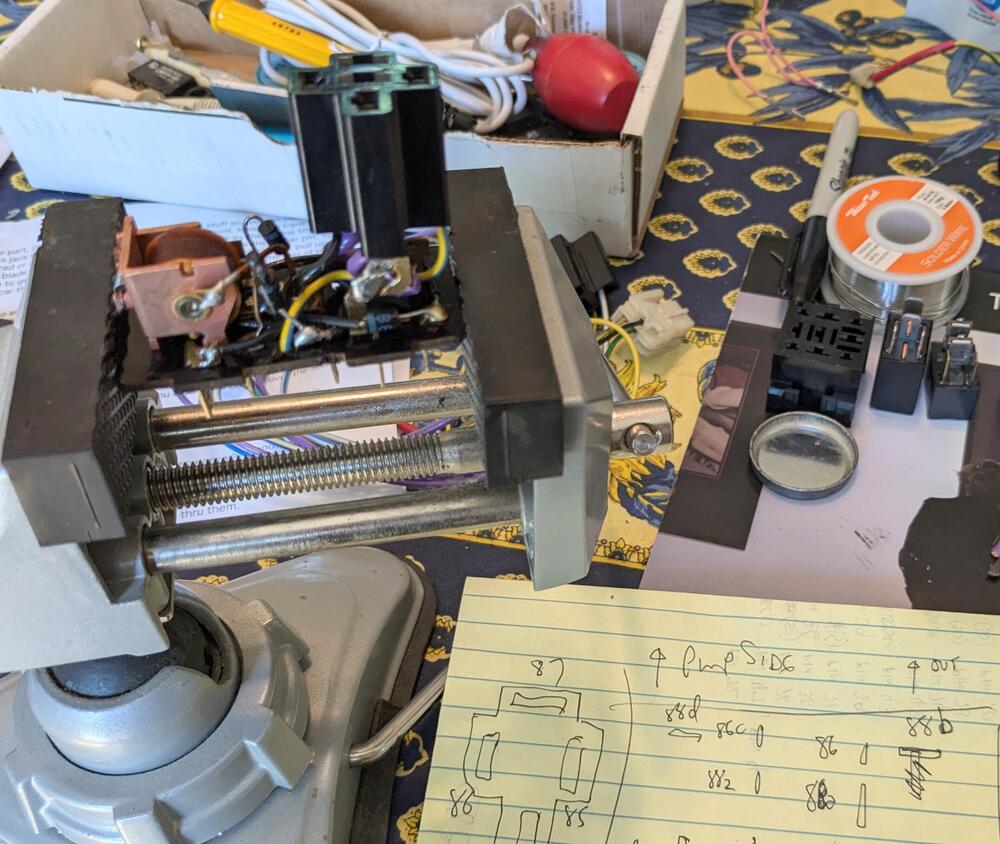
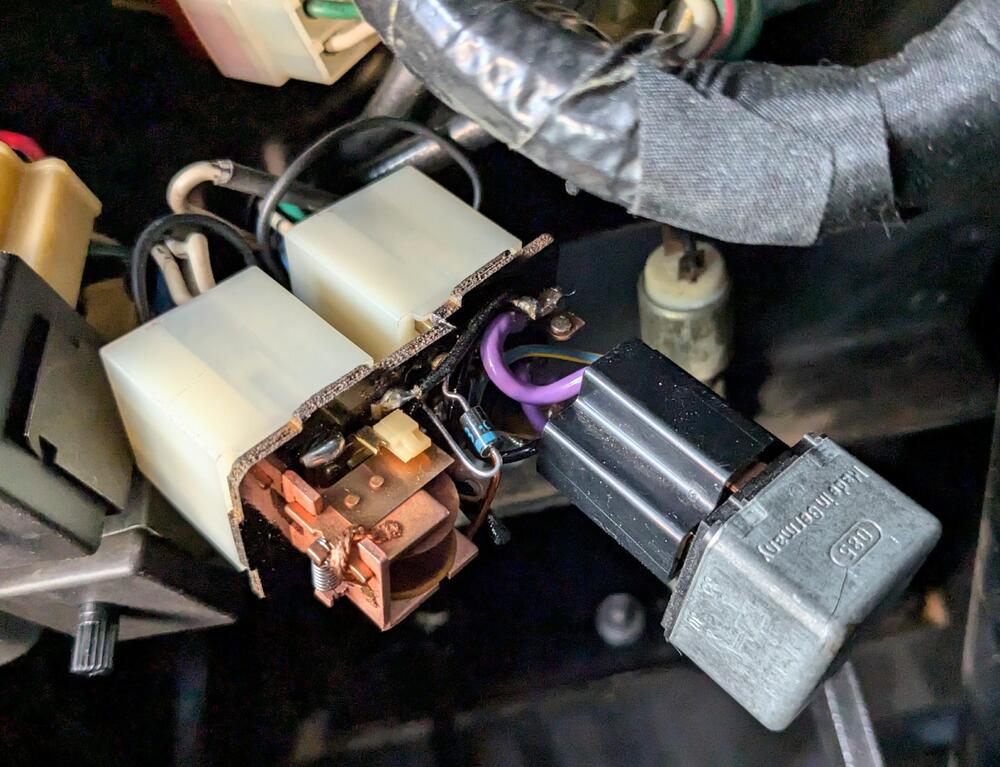
I decided to go a easier softer route - used the factory base, adding standard cube relay sockets that will be secured in the factory relay cover, so easy to replace the part that could wear, without dealing with rewiring the harness Plugged in to test - make sure my wiring is correct before dealing with the other side Cutting the cover Removed the 2nd coil, more to come.
-
If you haven't located a good cannister that will fit without modifications, I could sell one of the two I have - both work. I don't need 2. I'd want more for the original Datsun, vs. the Volvo/GM version. May depend on where you live as far as shipping goes, it's quite large & weighs a few pounds. You can message me if you are interested.
-
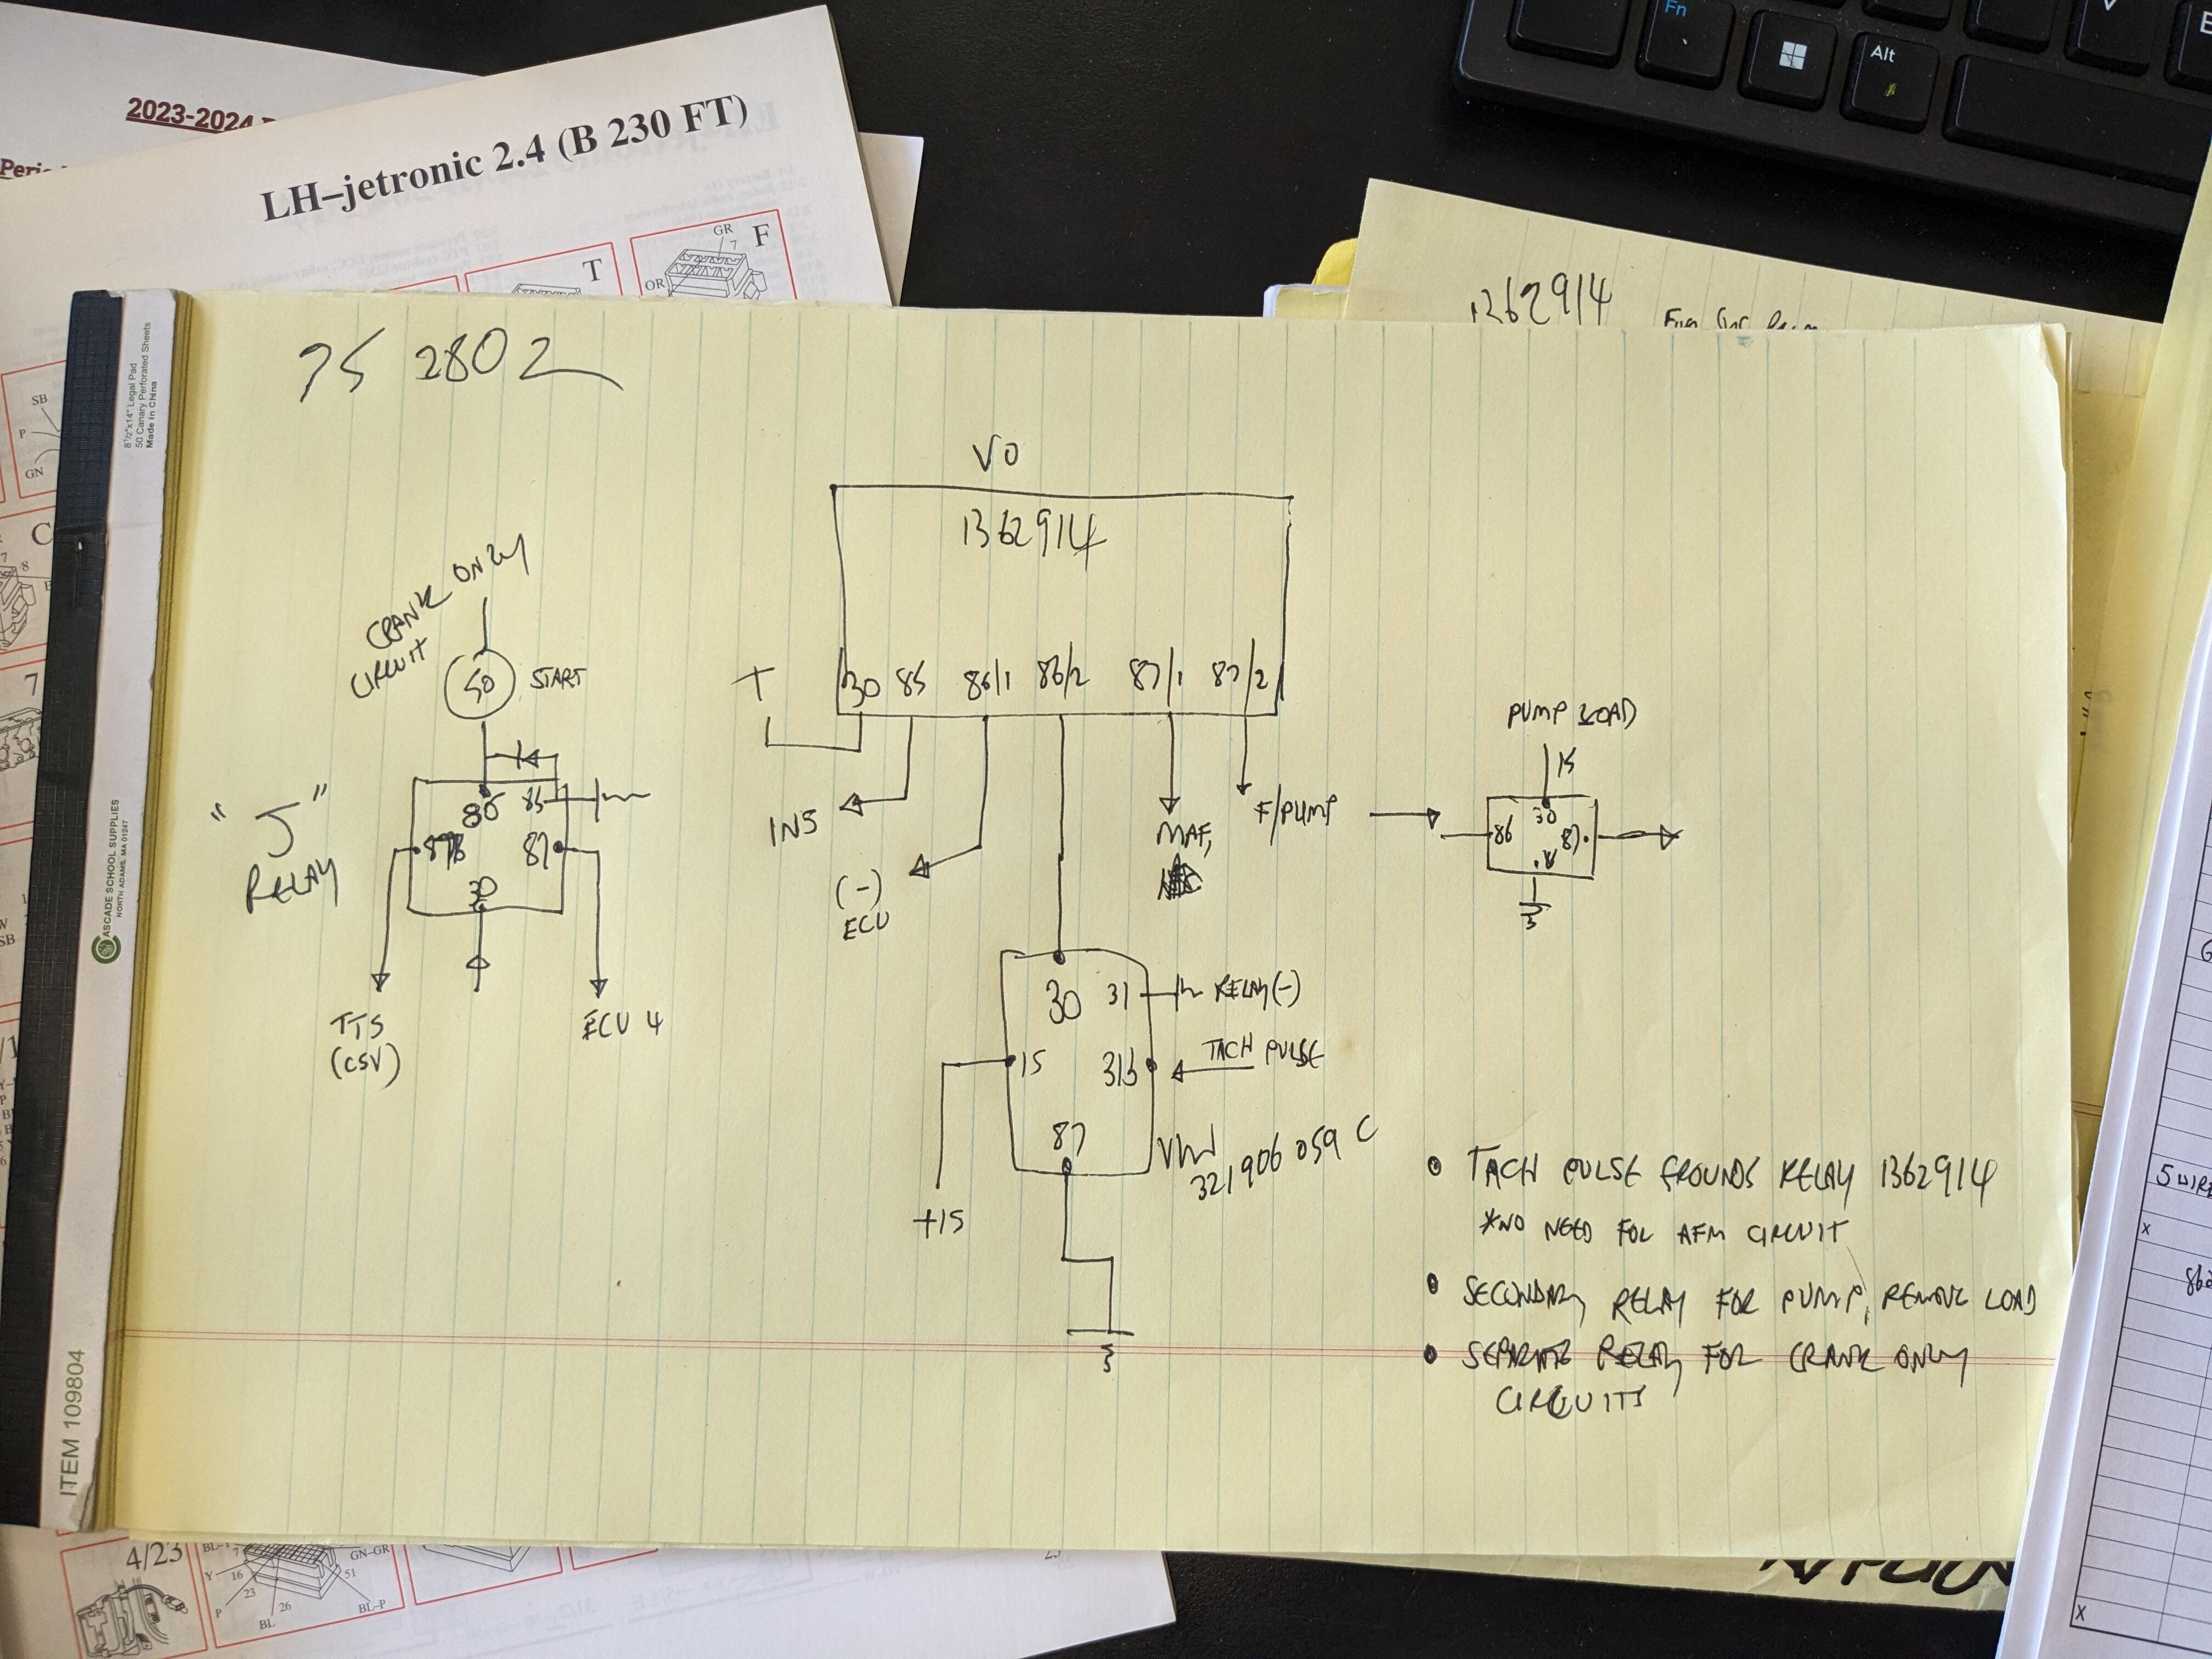
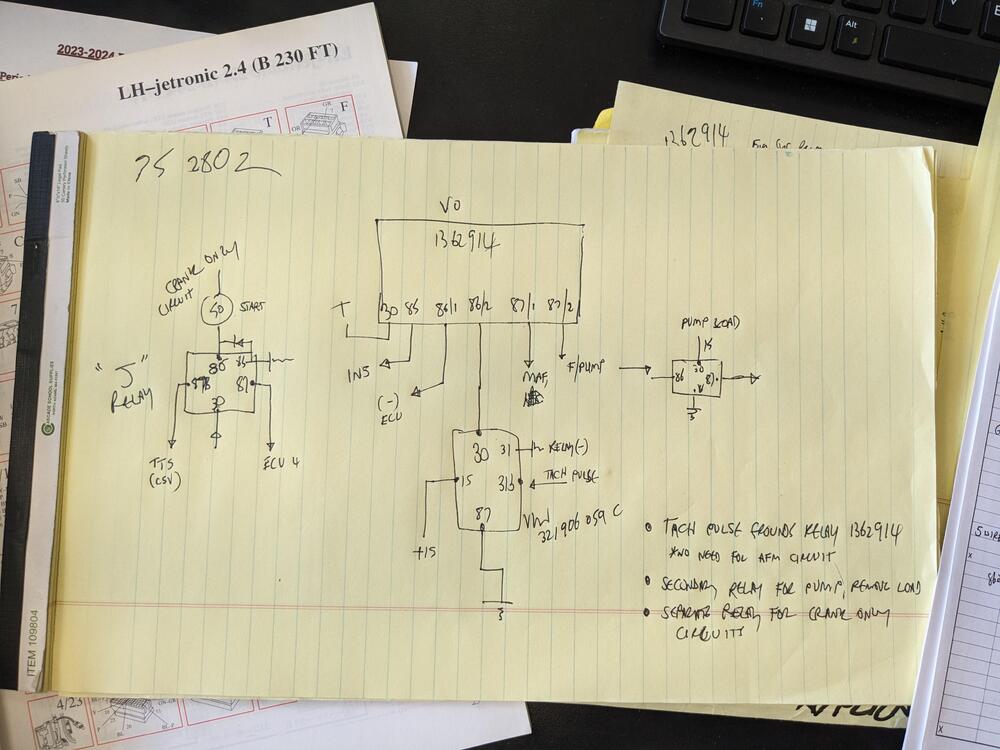
Good point - that load alone accounts for more than half the rating of the fuse I had installed, coupled with under-rated wire gauge. I'm planning on re-wiring the EFI relay to use a couple of standard cube relays for the crank & pump circuits, with a (more readily available) Volvo EFI system relay to govern it. The pump relay will have a separate fused feed. Since I won't have the floating ECU ground normally used to control it, I'm going to use a VW relay that requires a tach pulse to switch the main relay ground. With that, I can do away with the AFM circuit. The goal is to shift the load from the complex relays to the (Volvo/Bosch "J" cube relays that are intended to carry up to 50A loads, and are easily available. I'm driving this to a Fiat meet in Ohio in August - I don't want to drive that far relying on a relay that is essentially unobtanium. along these lines
-
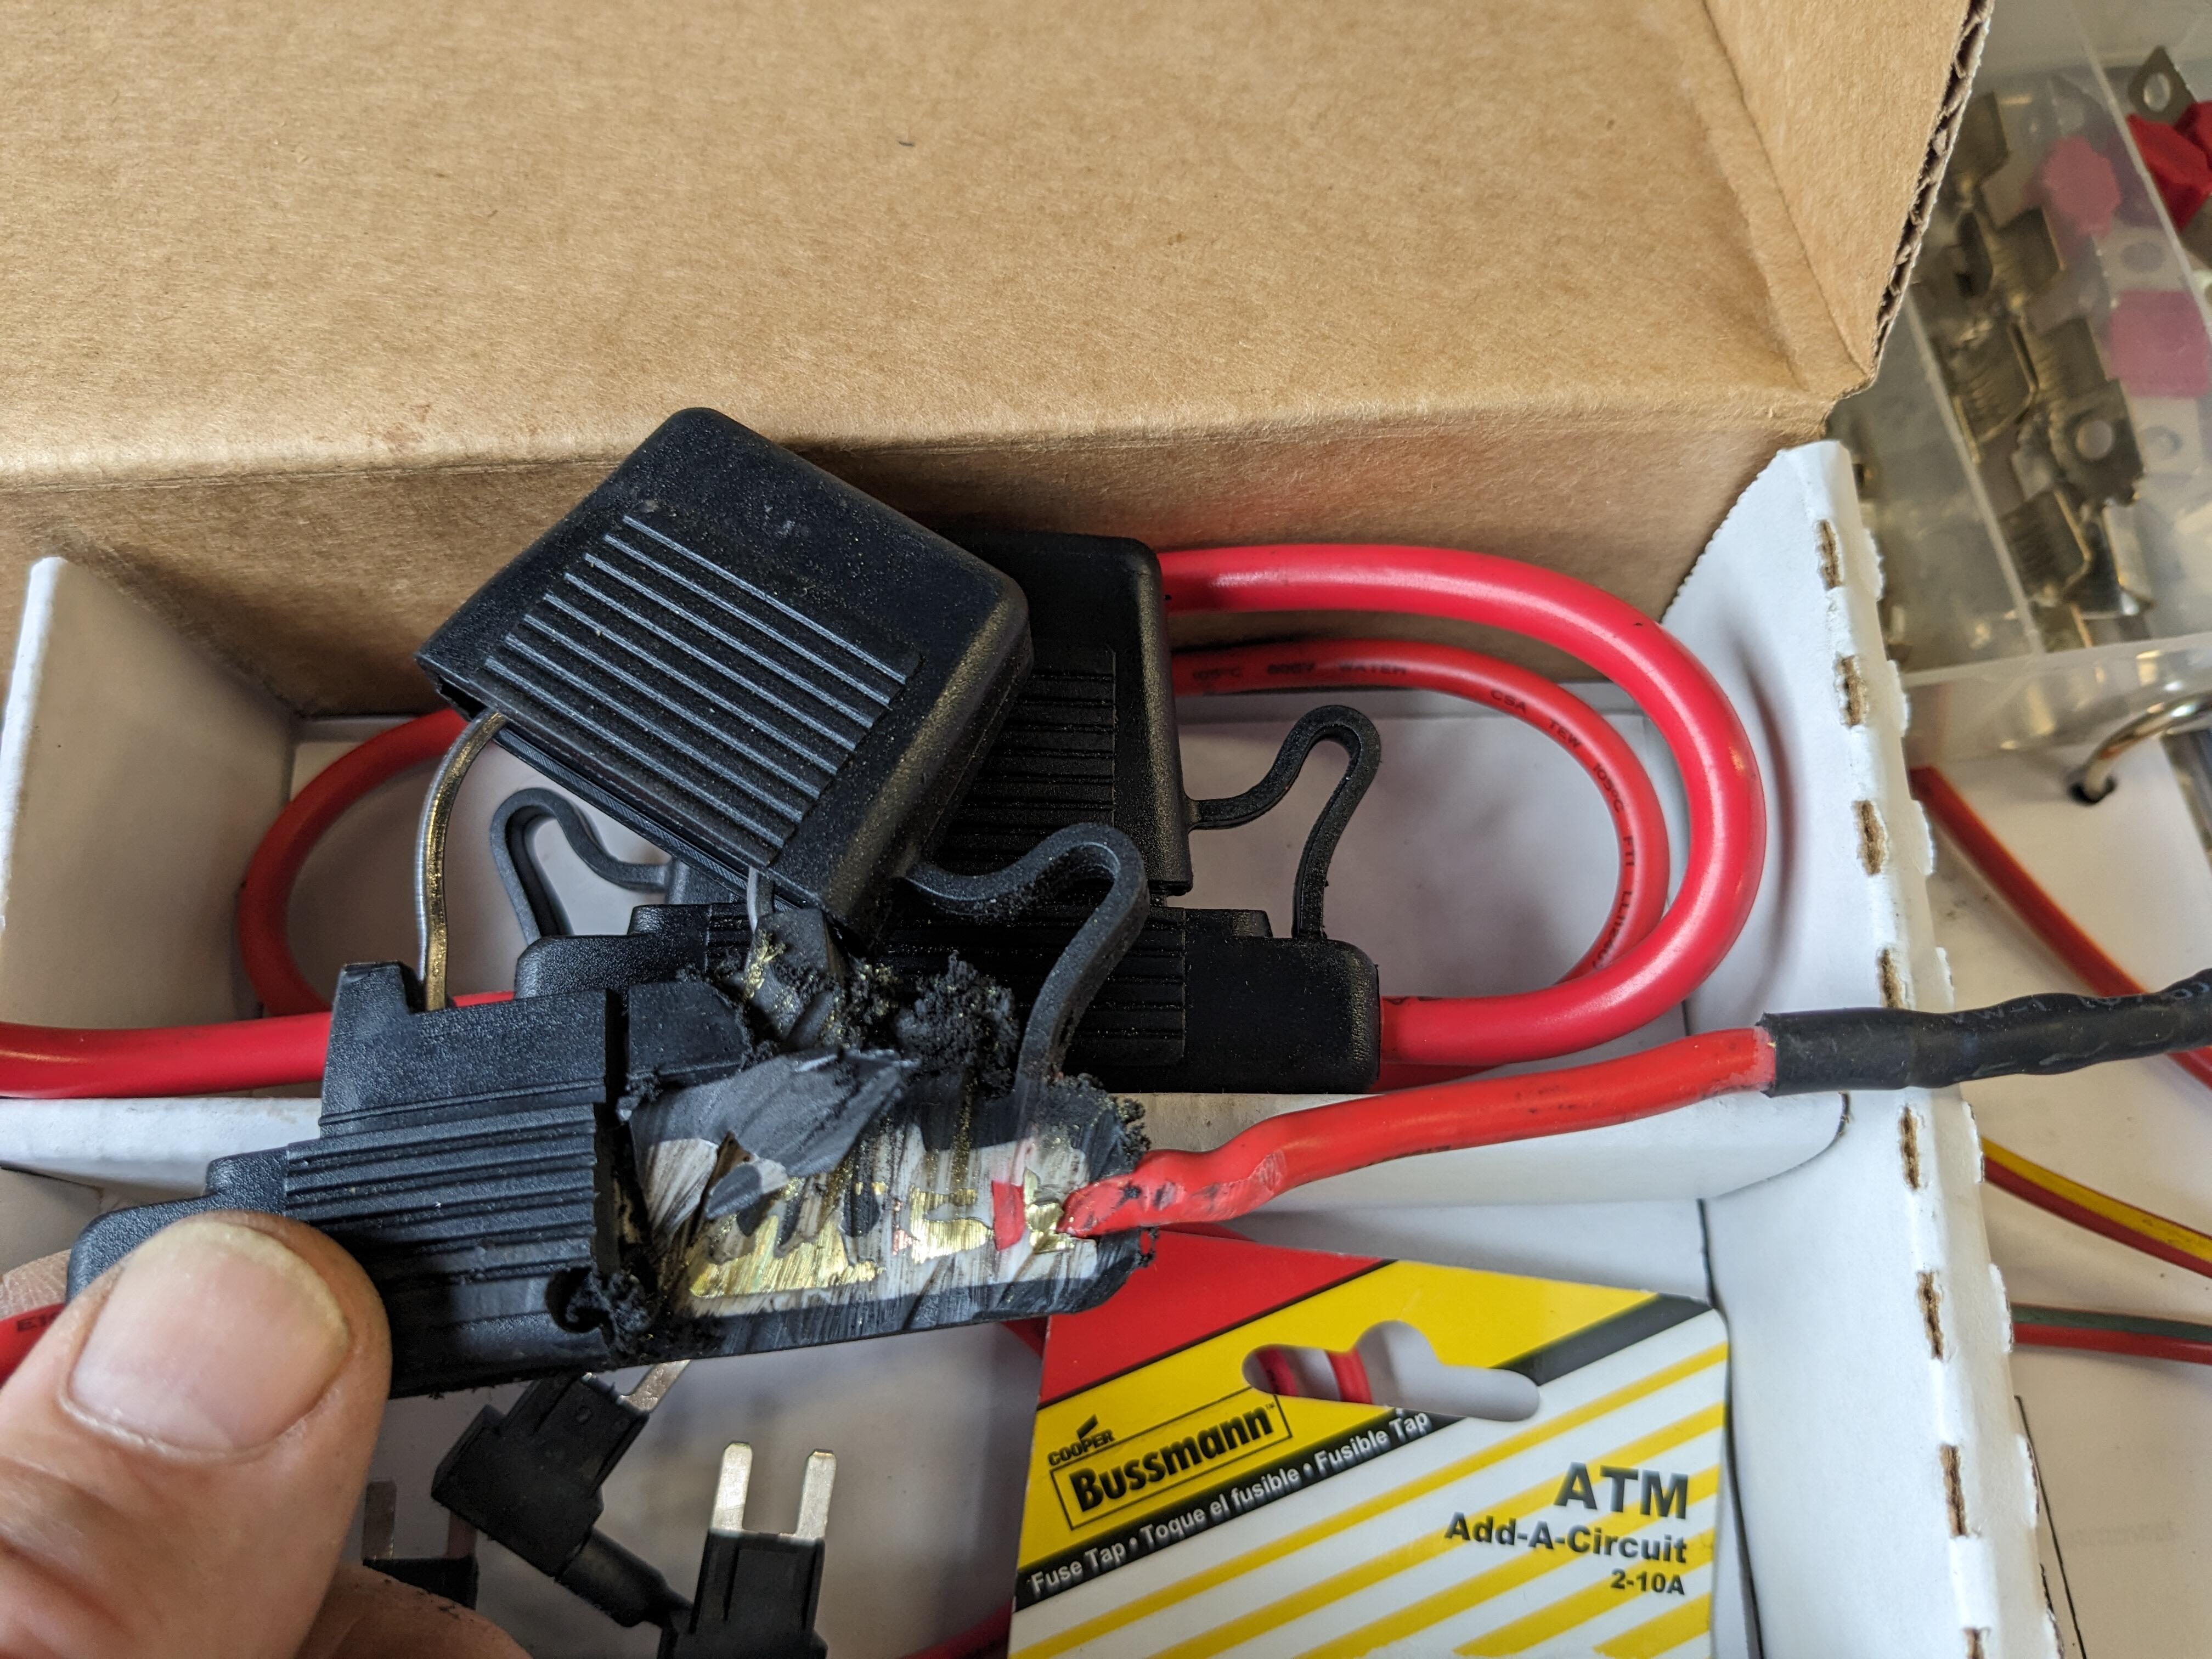
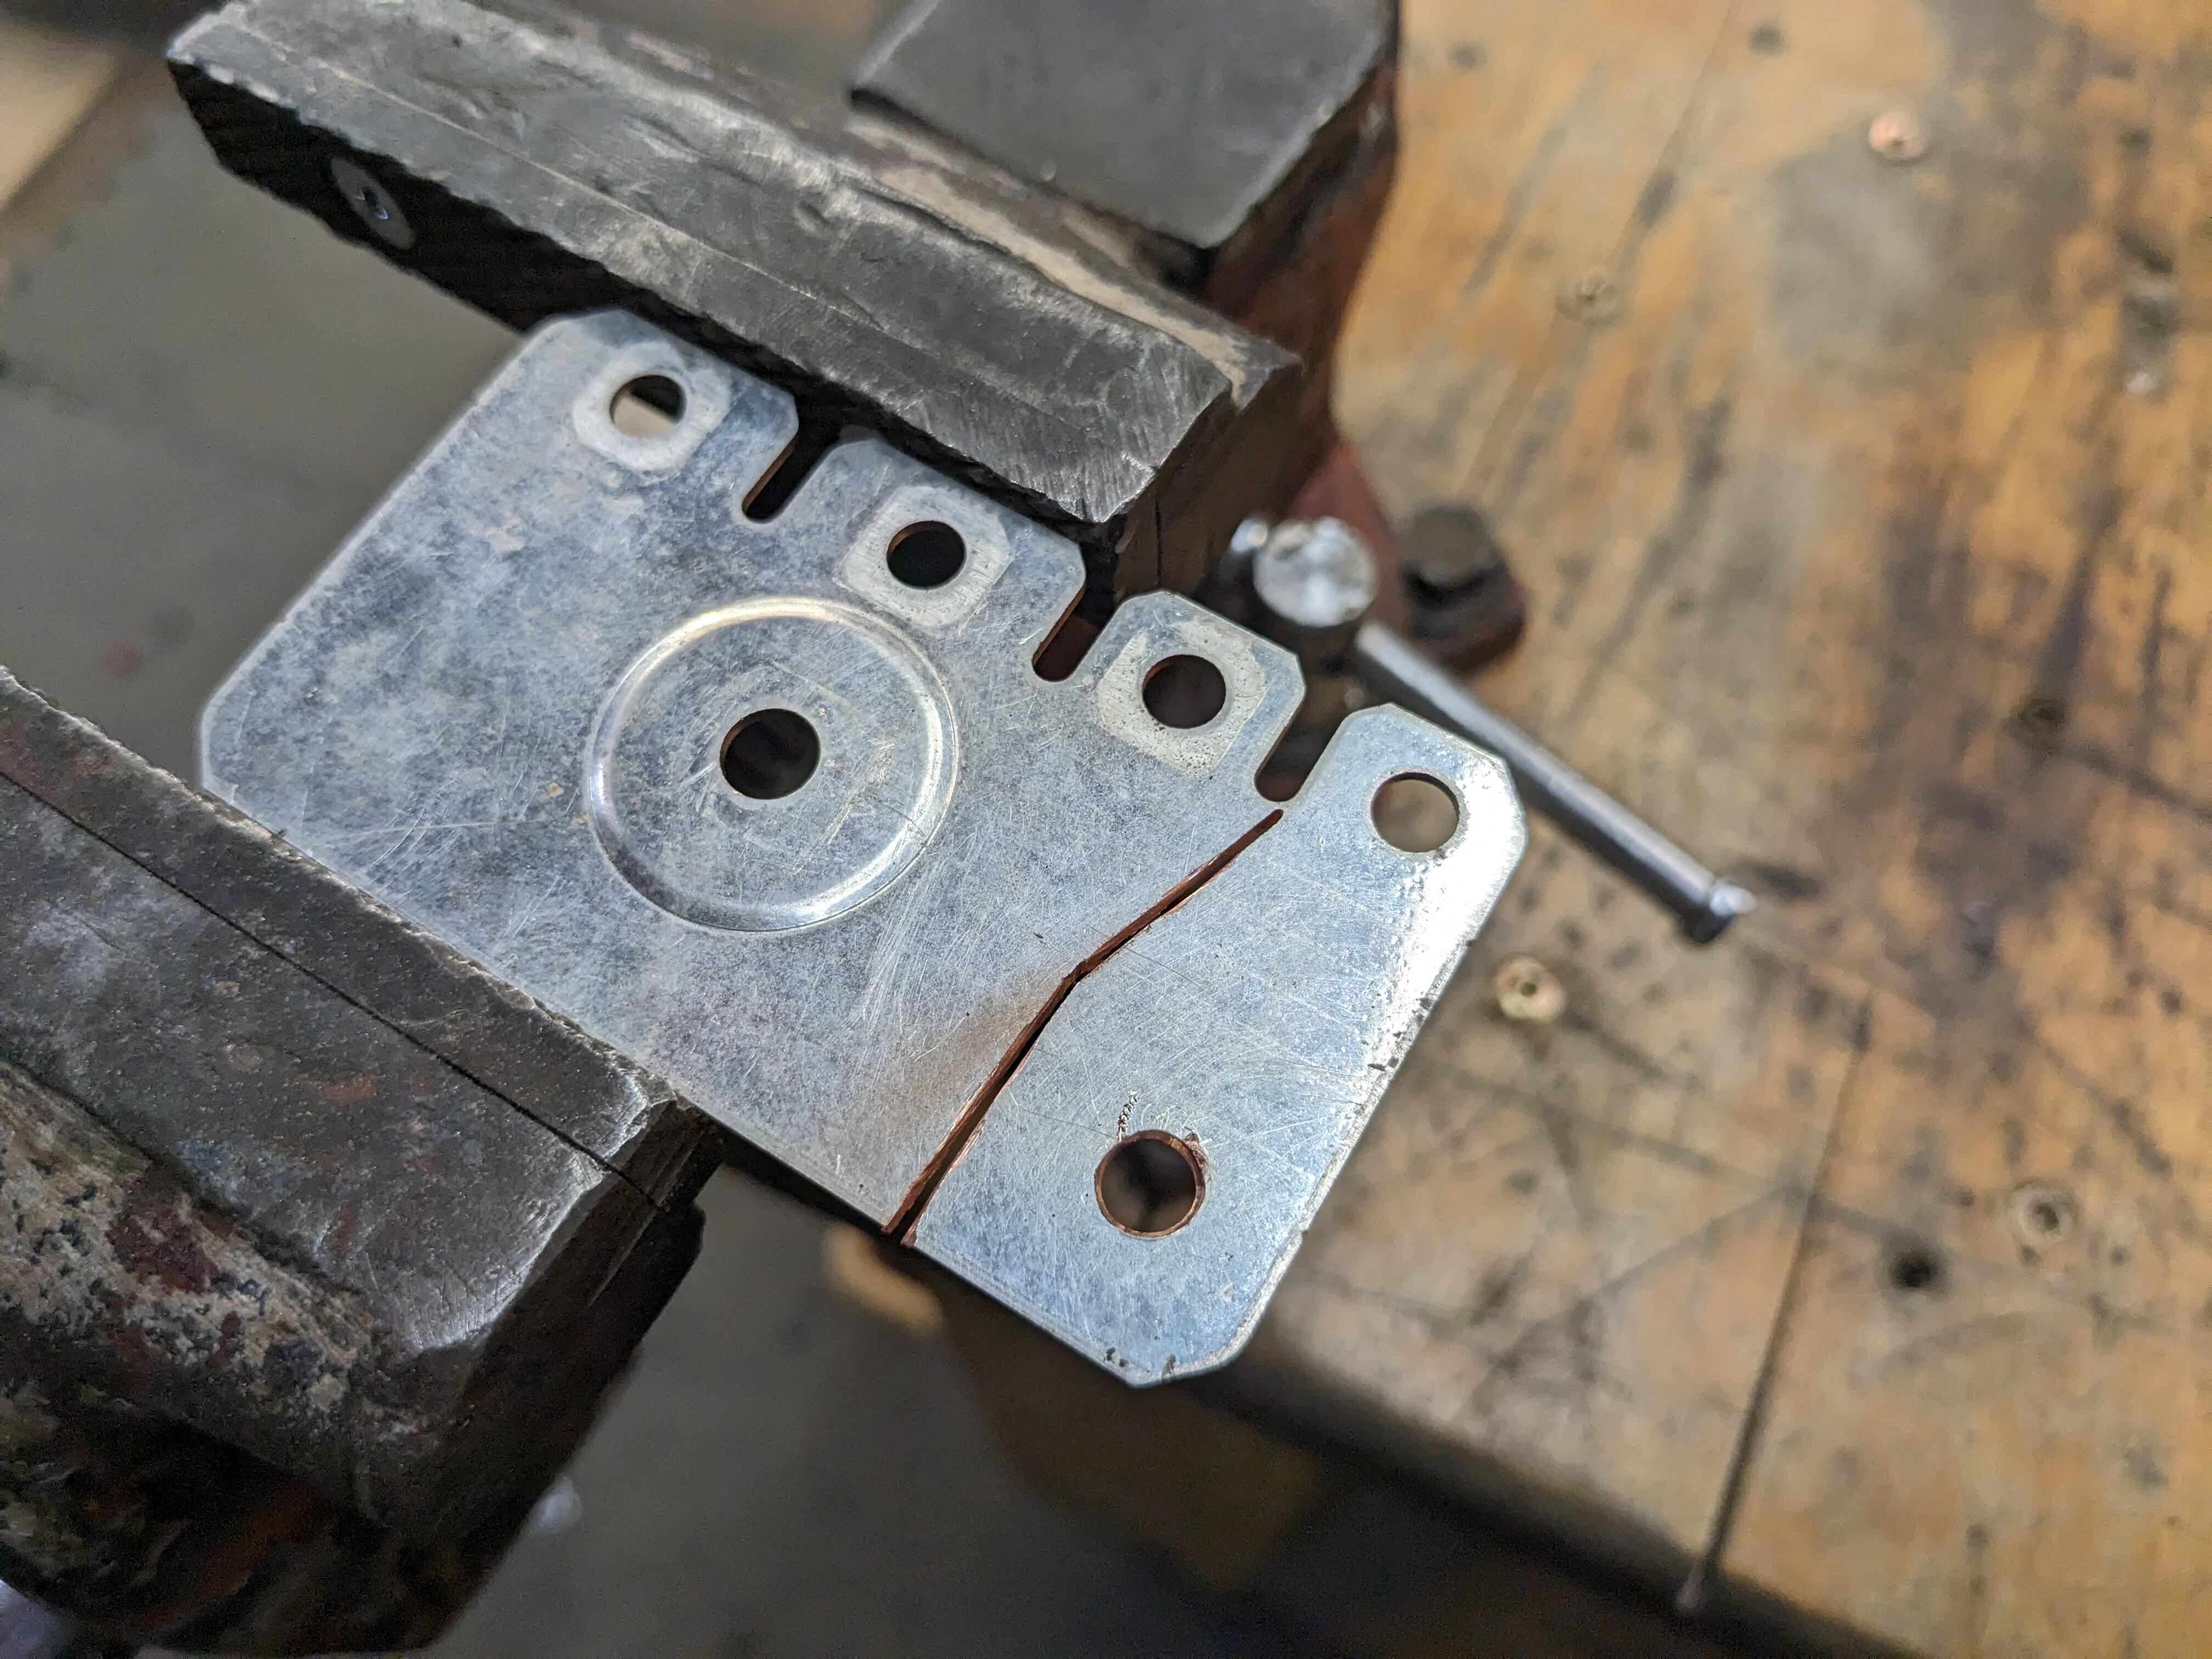
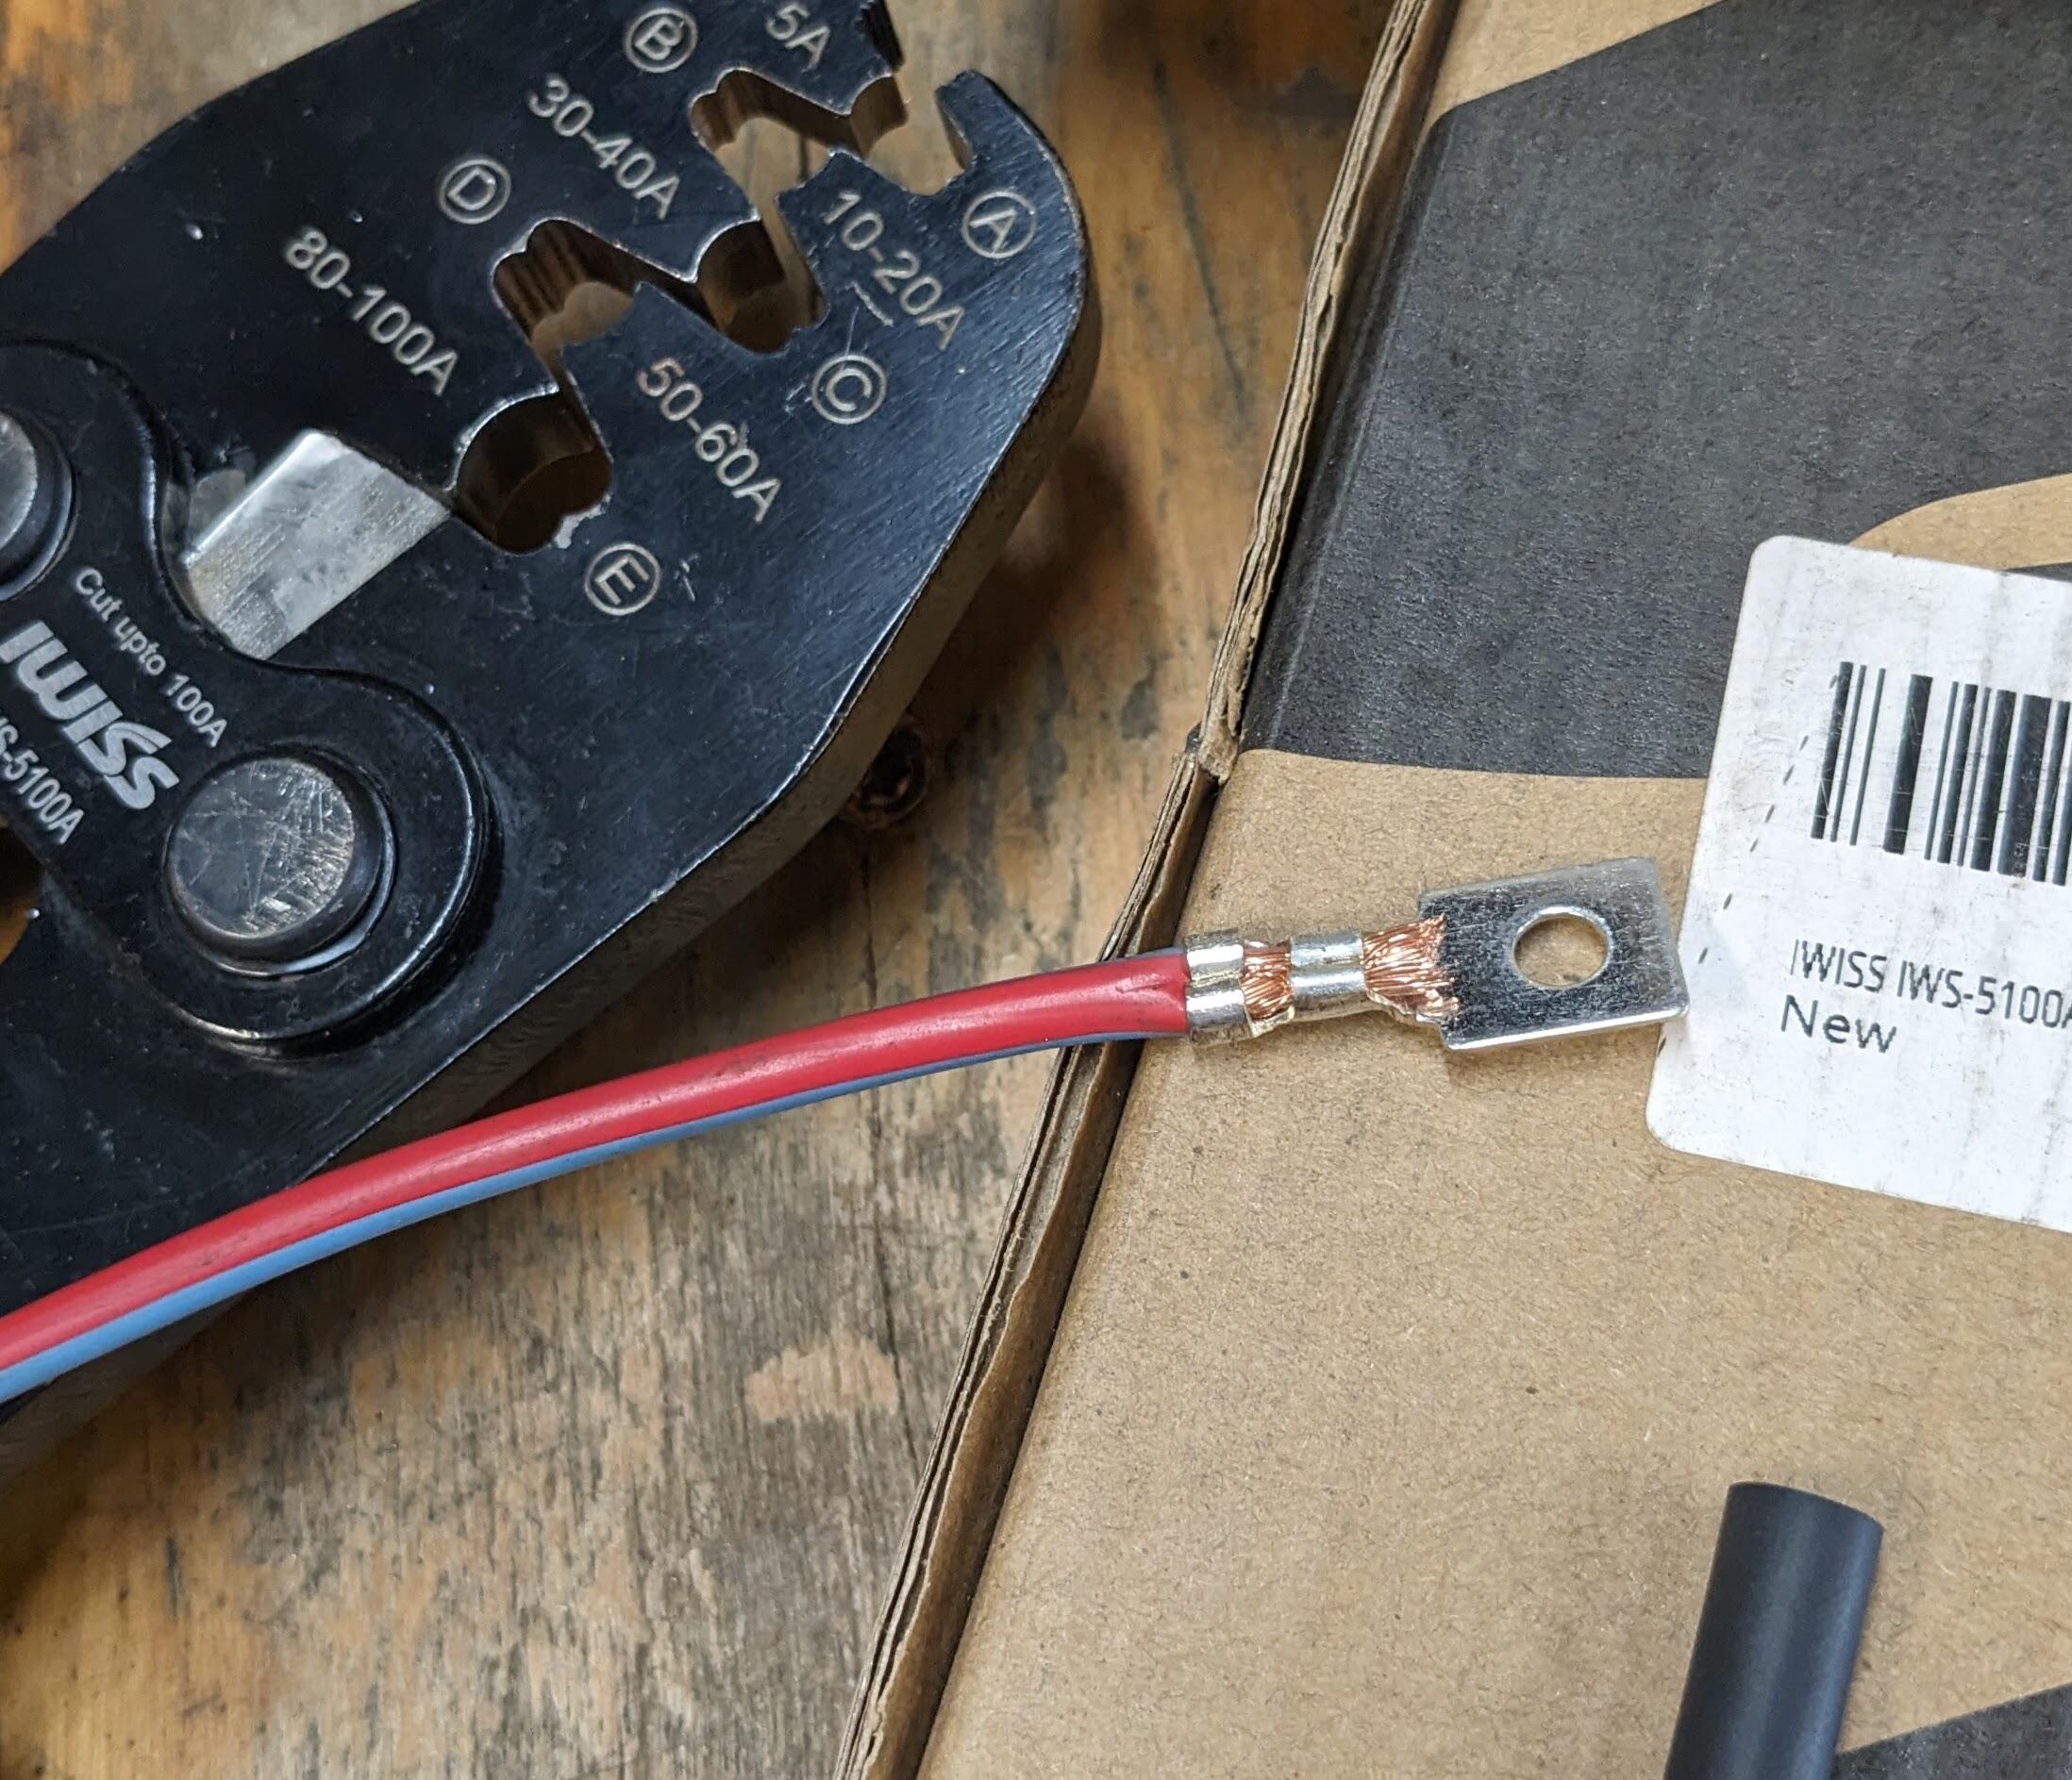
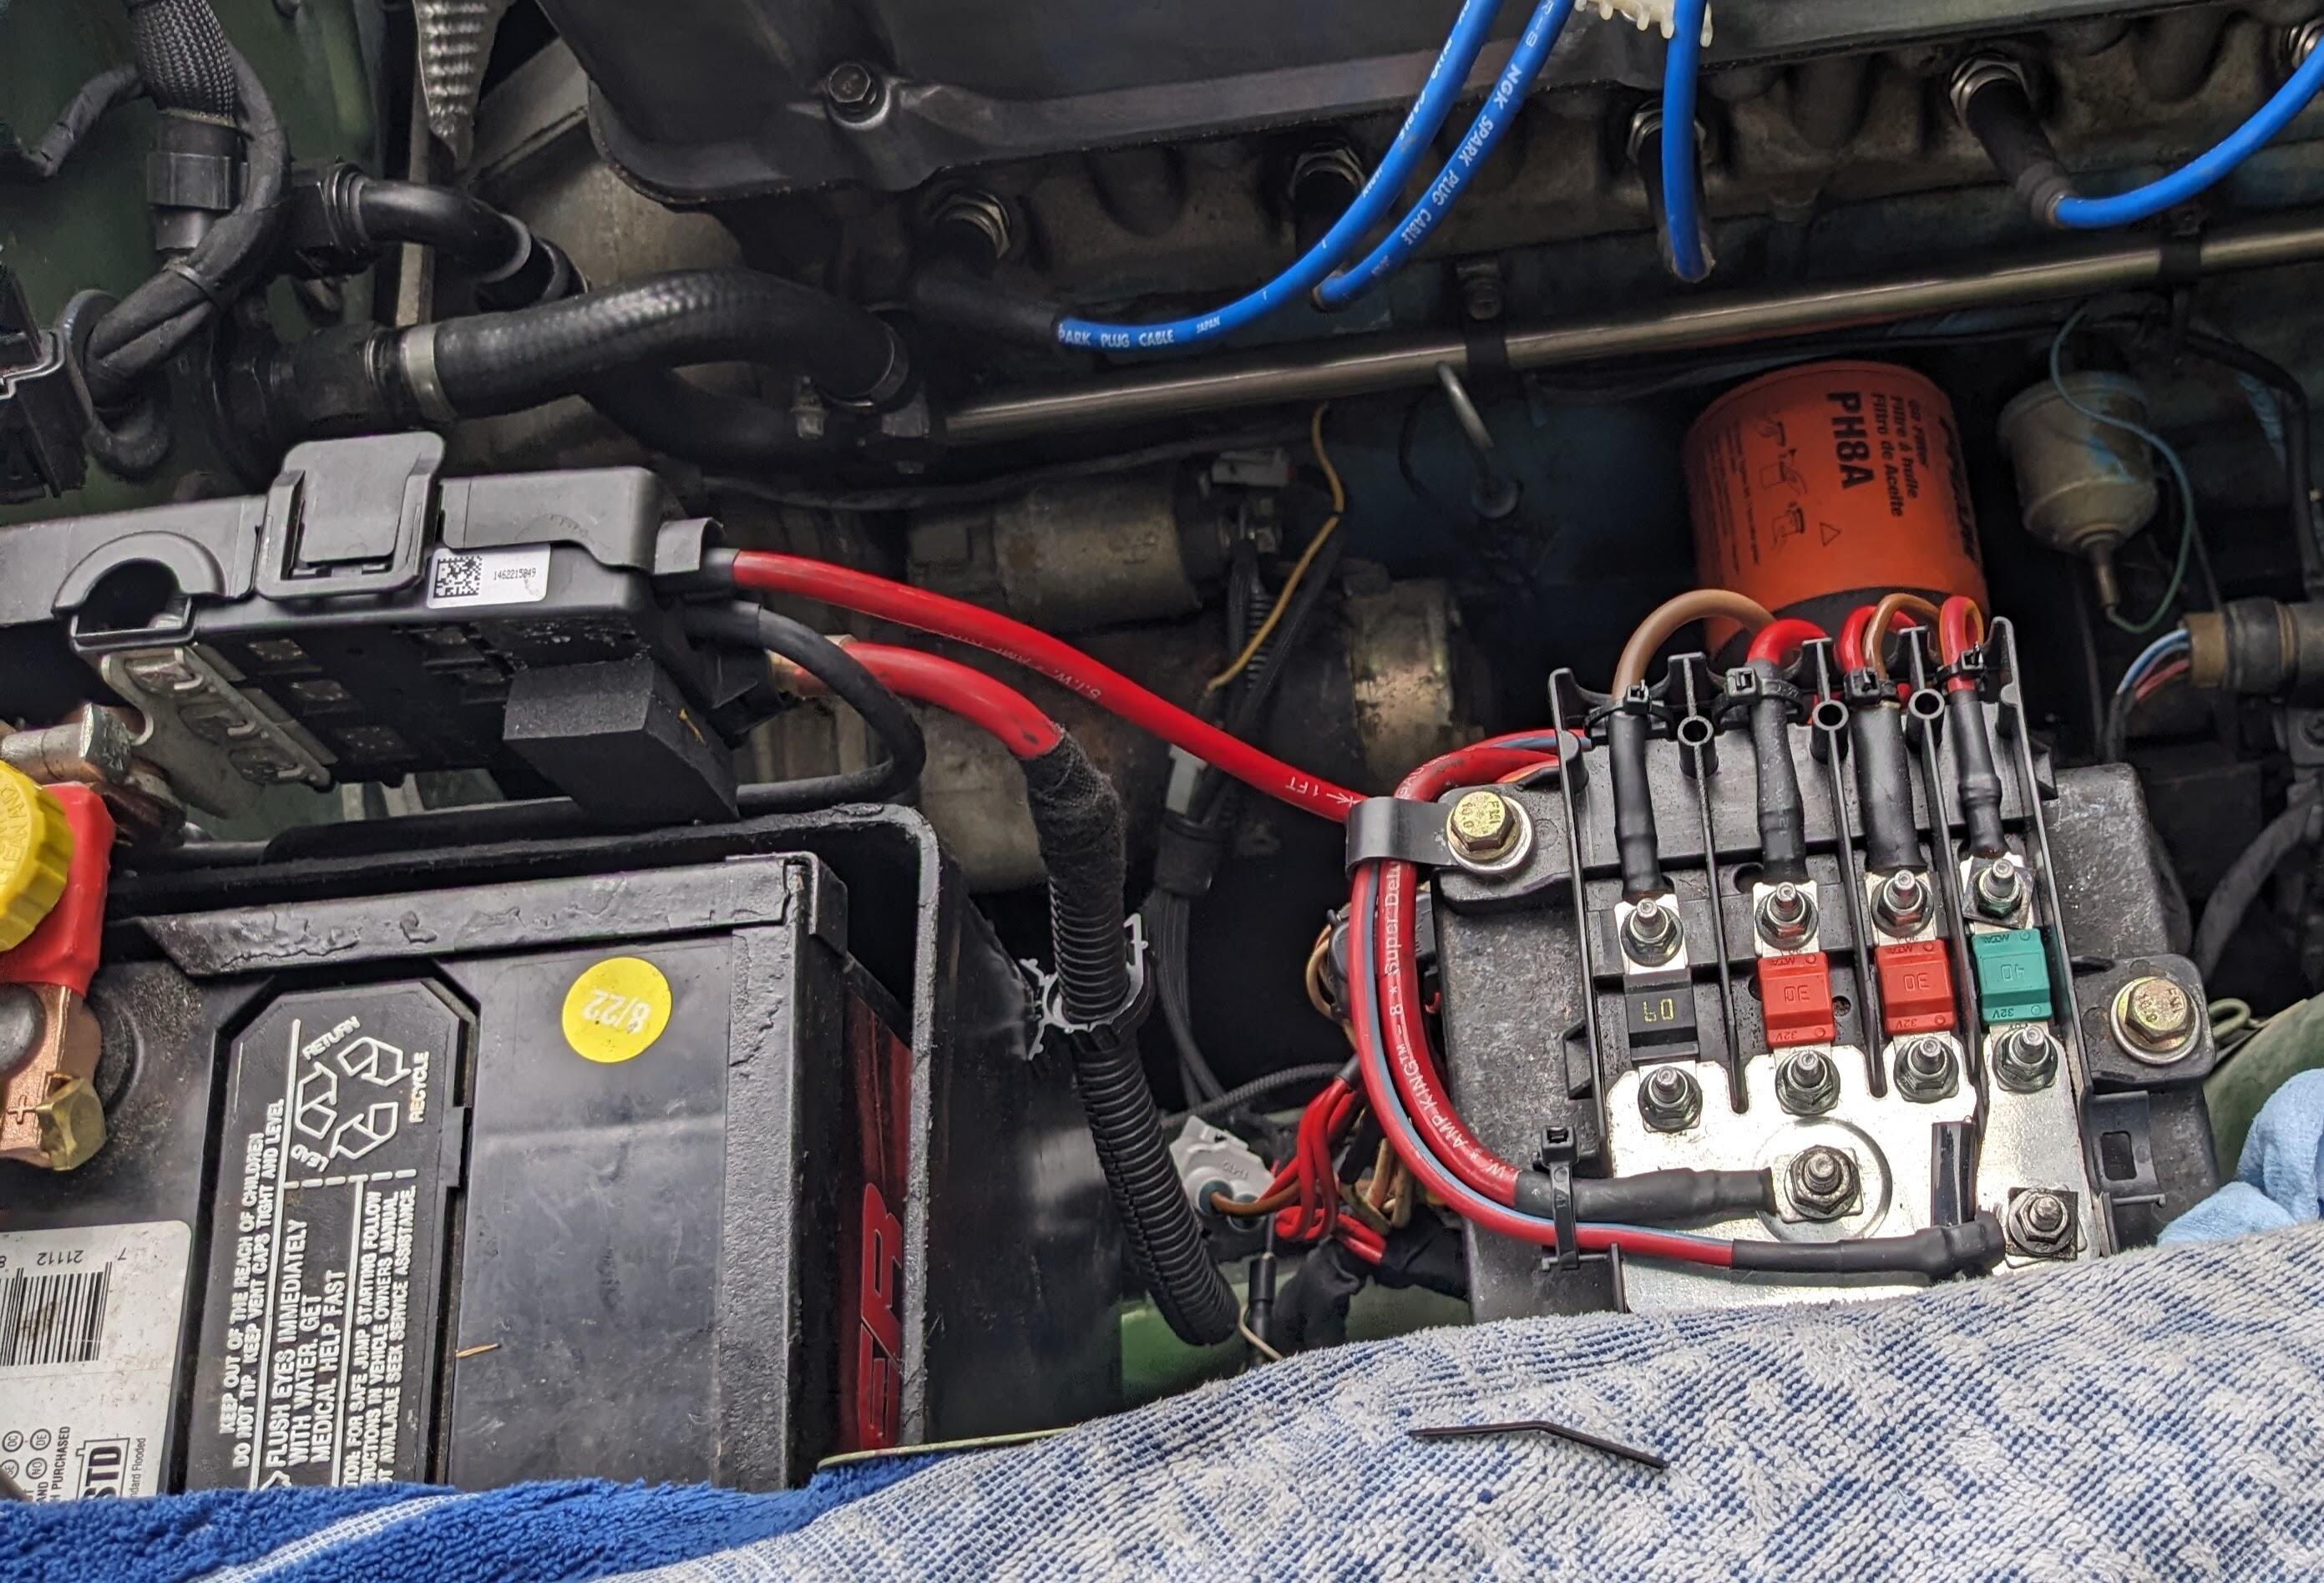
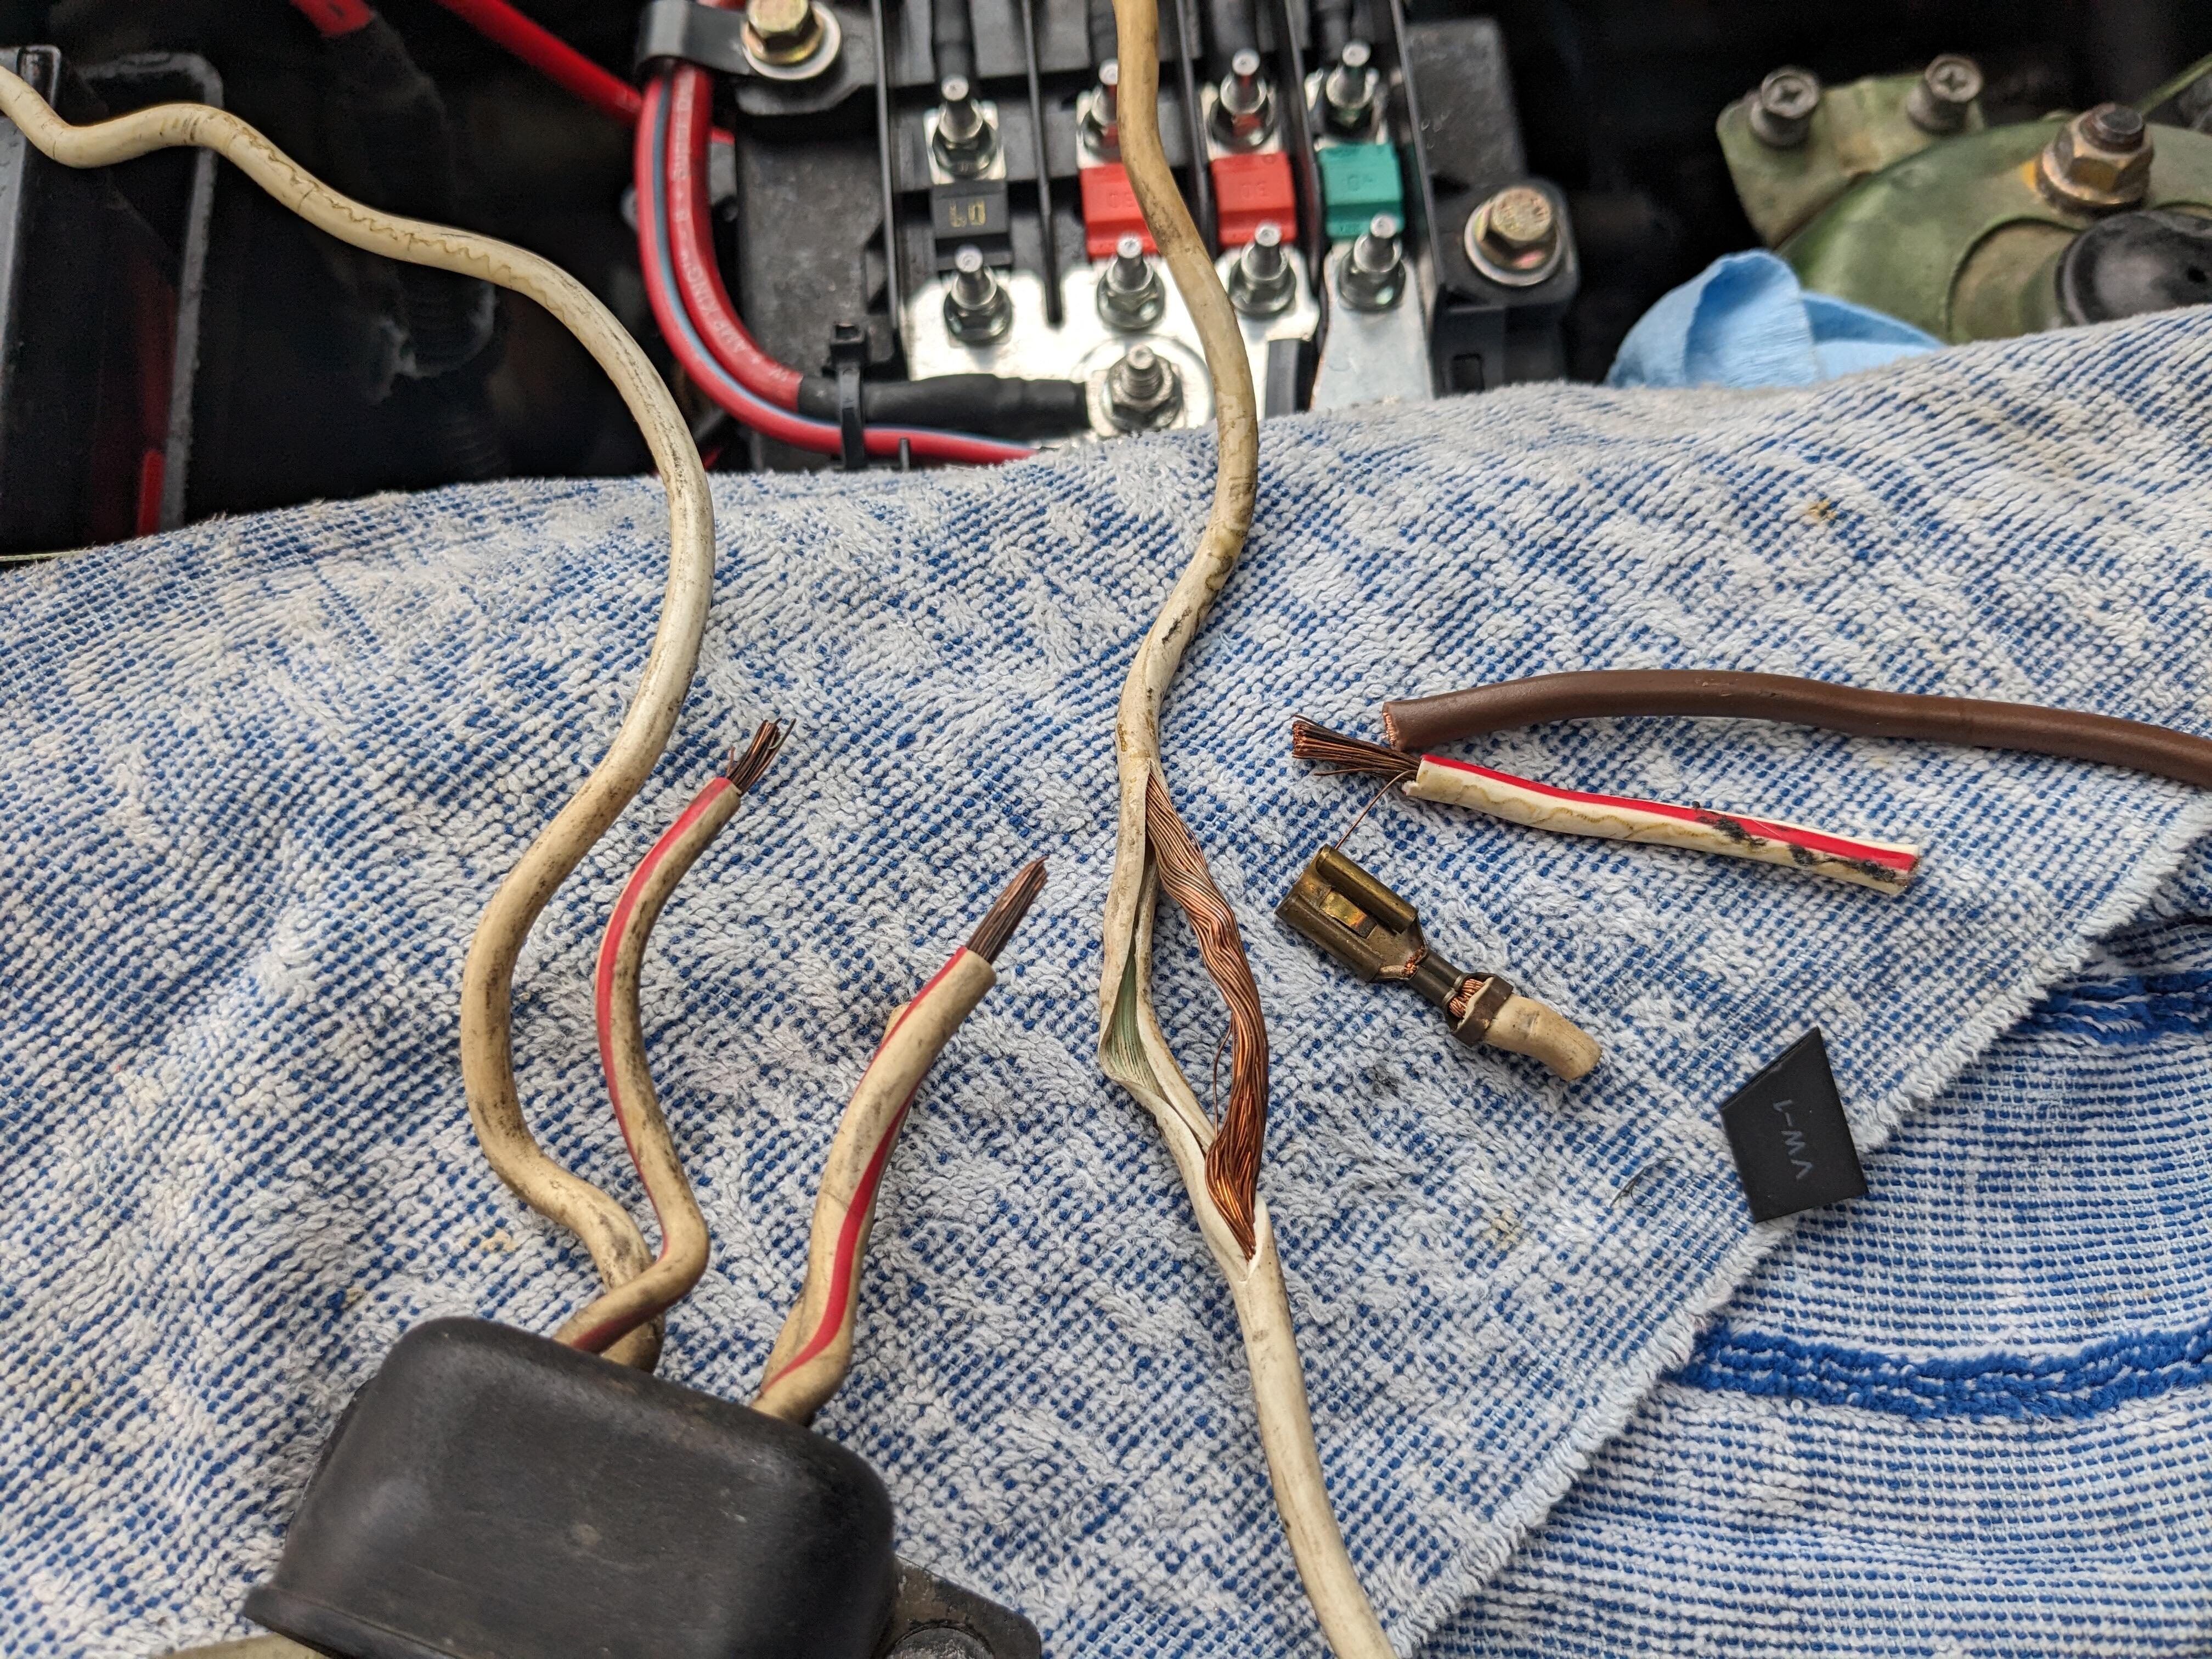
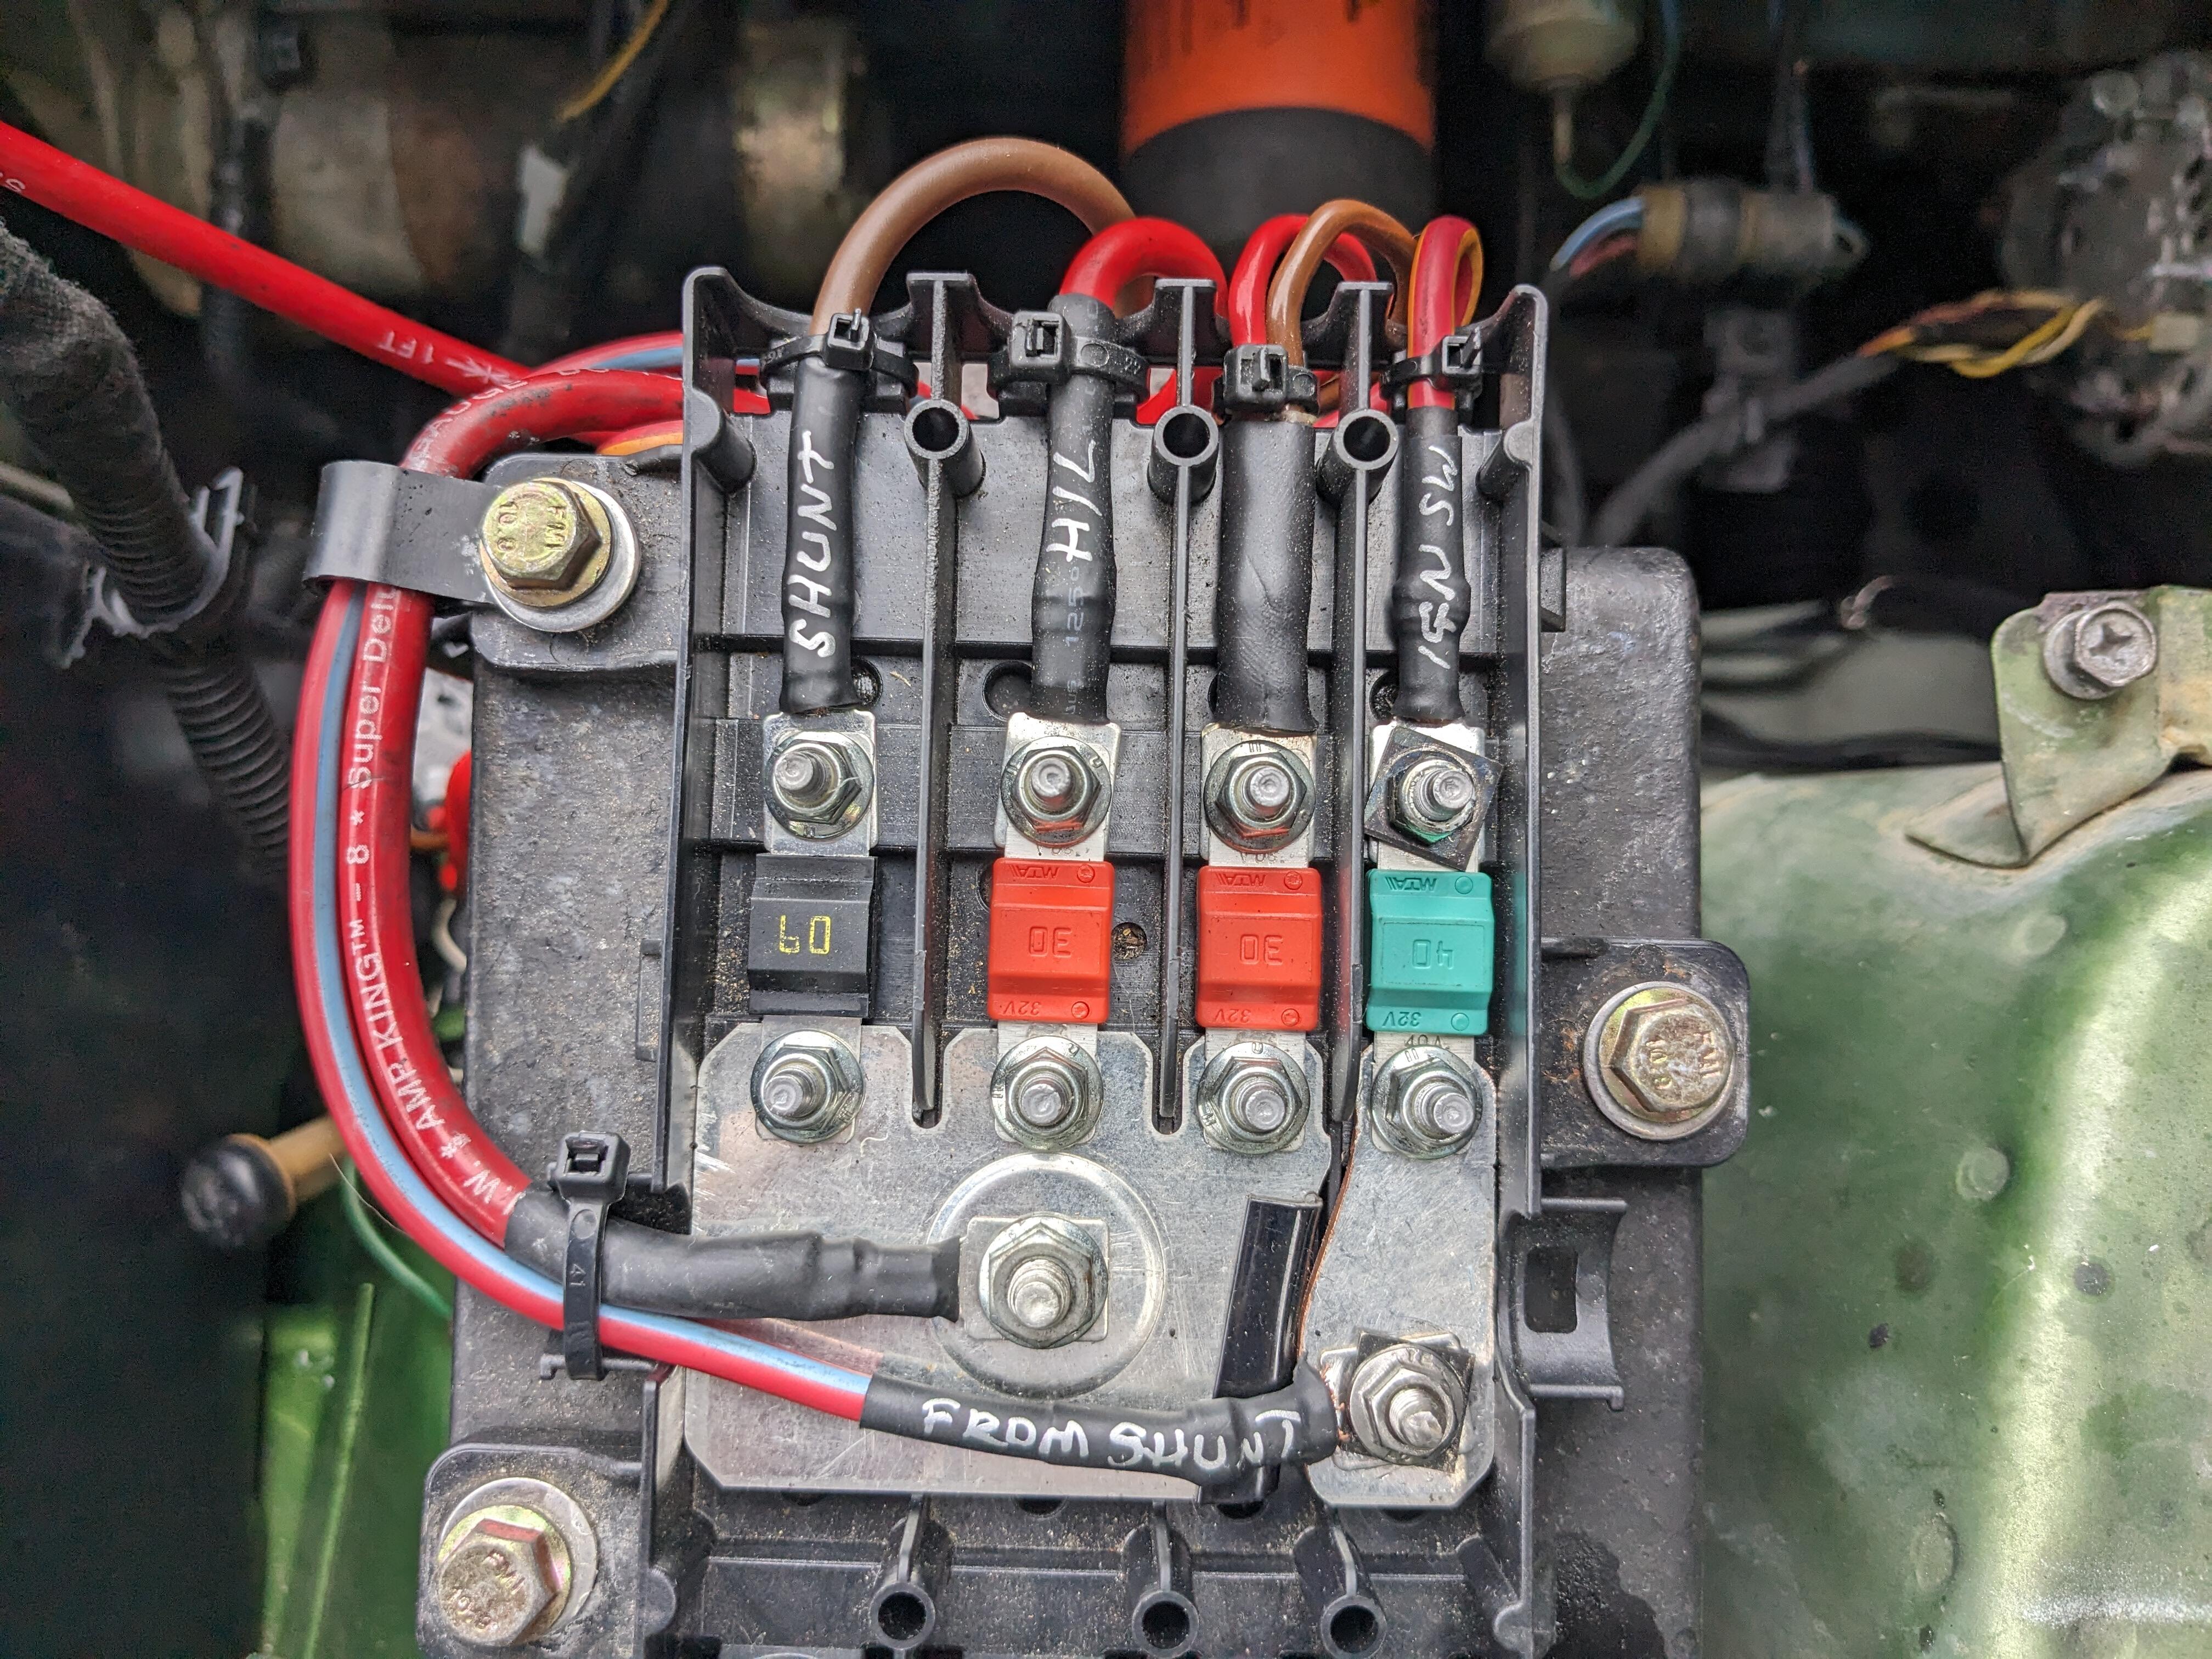
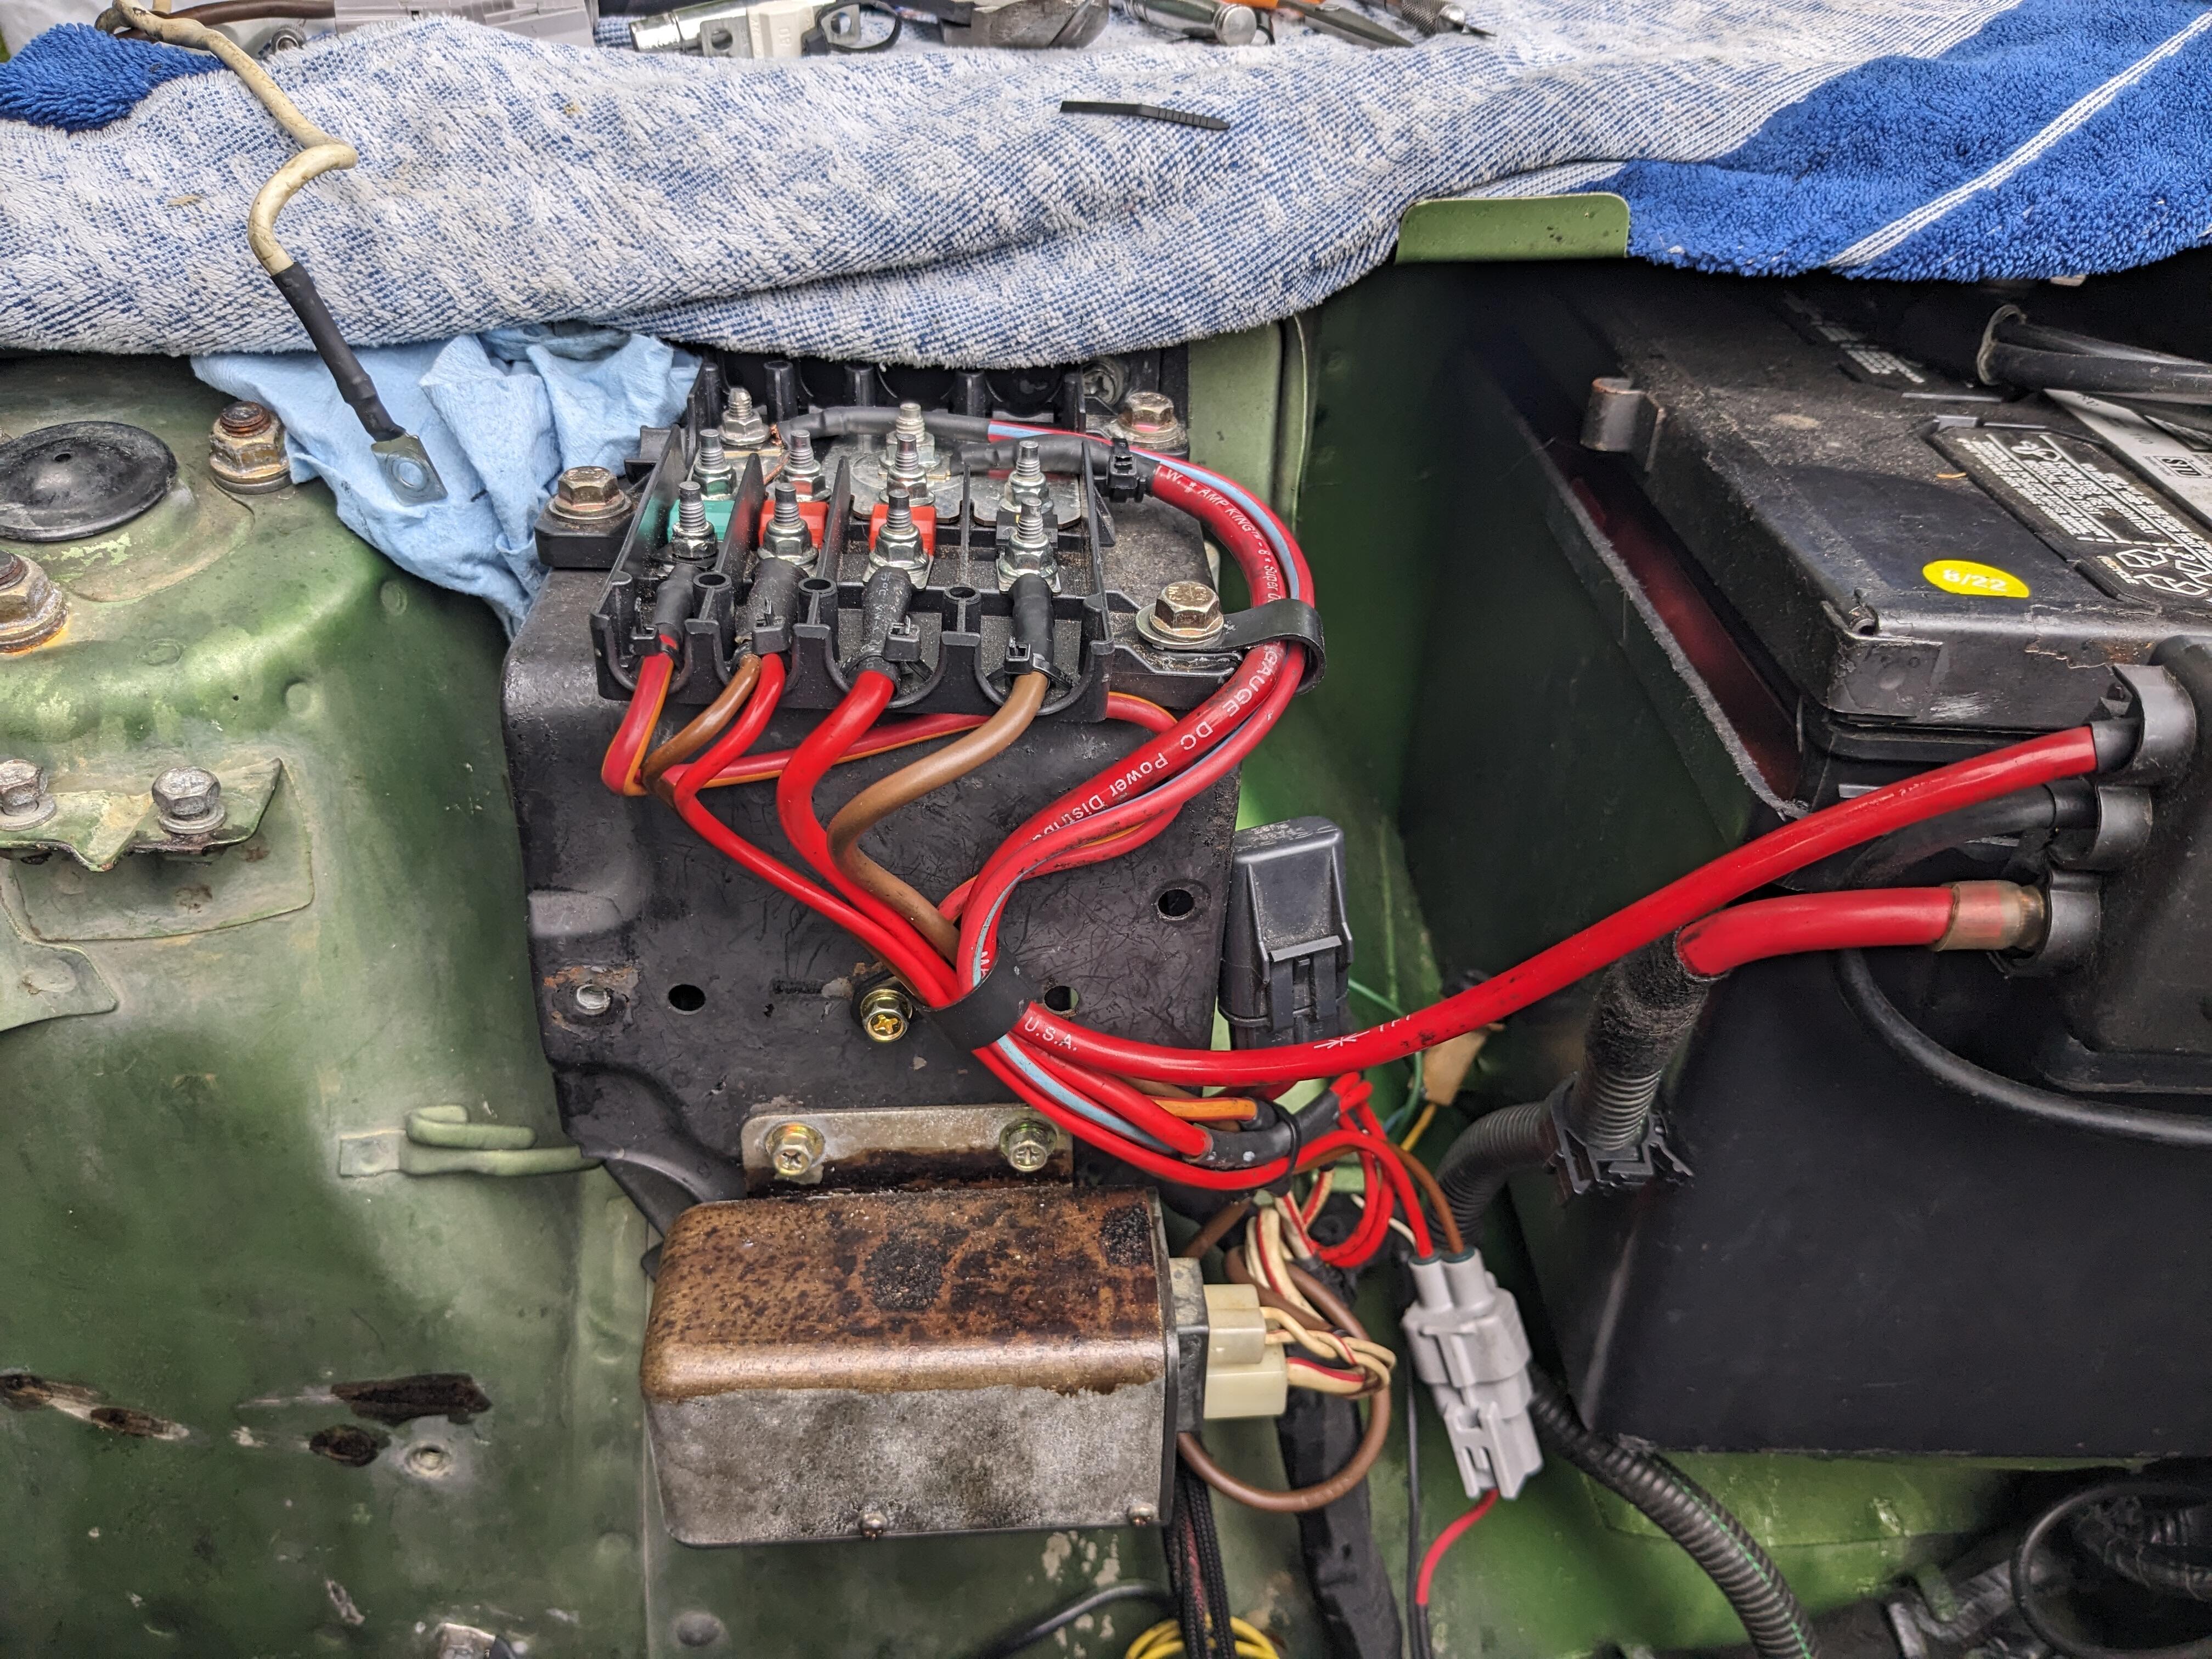
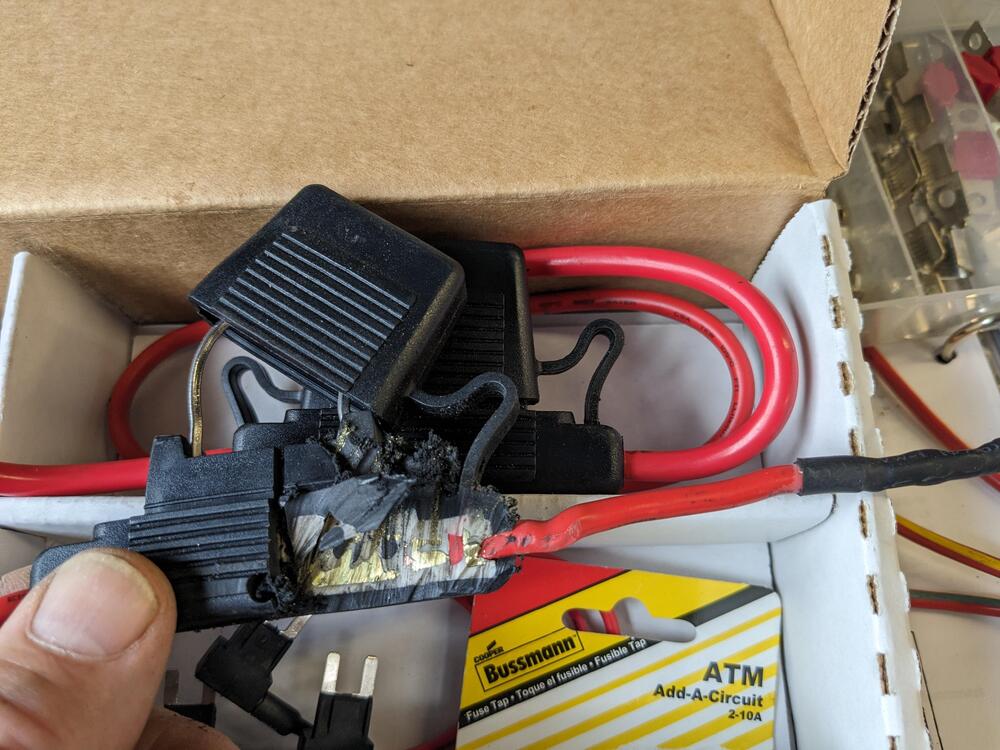
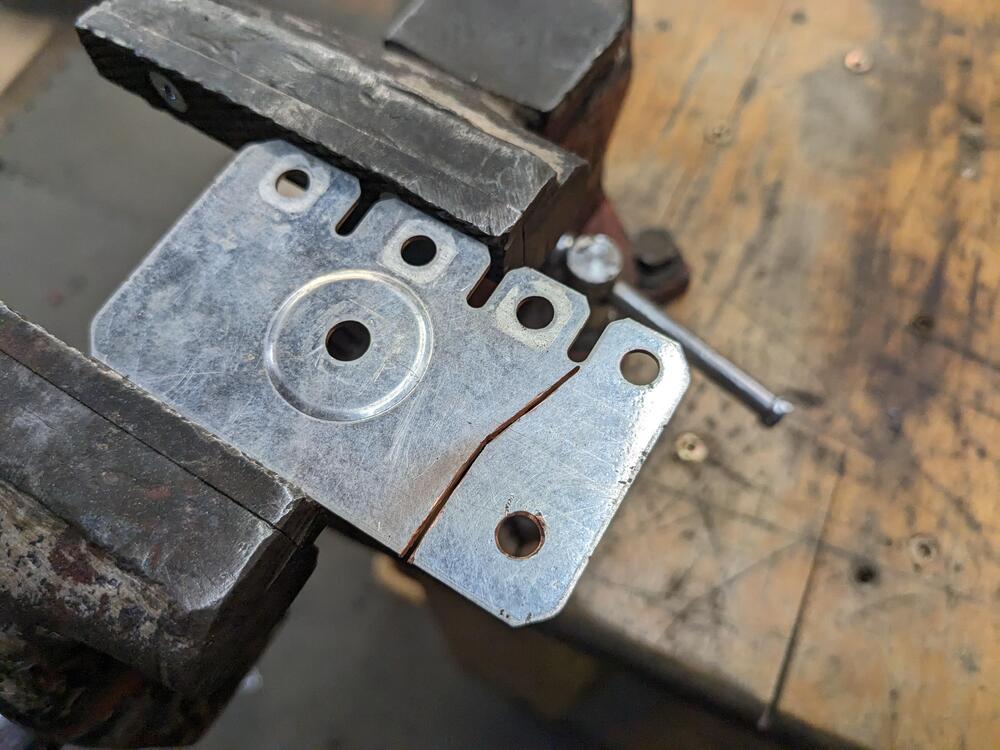
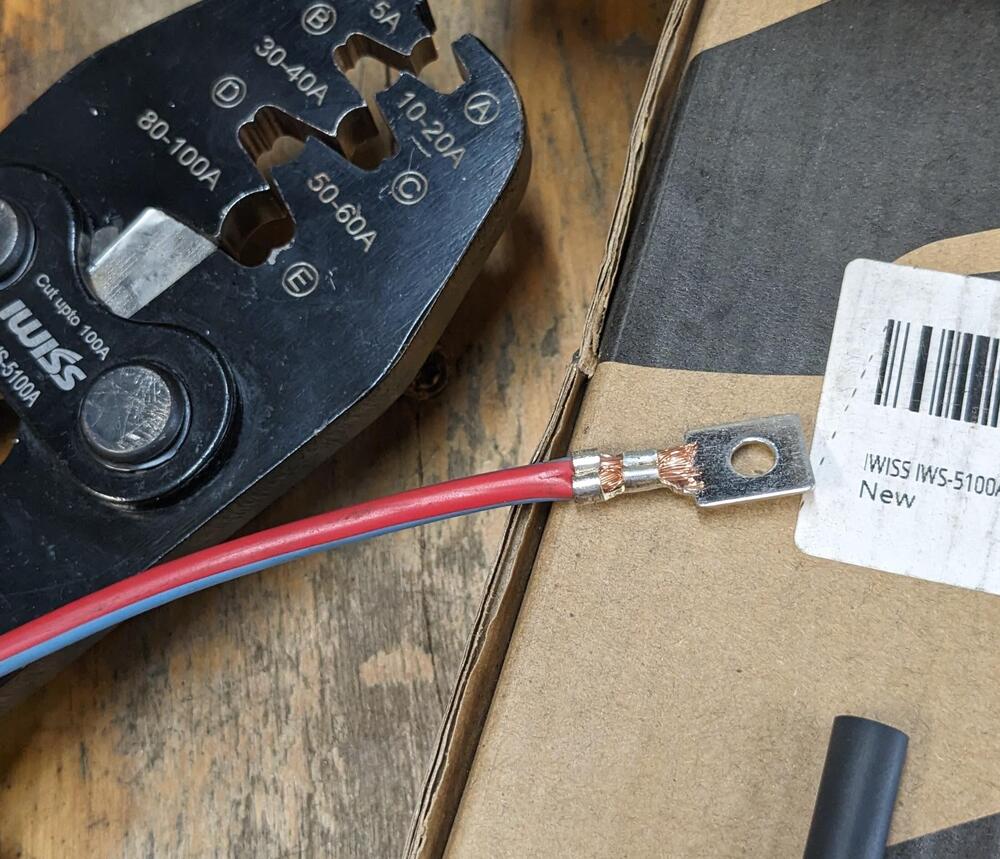
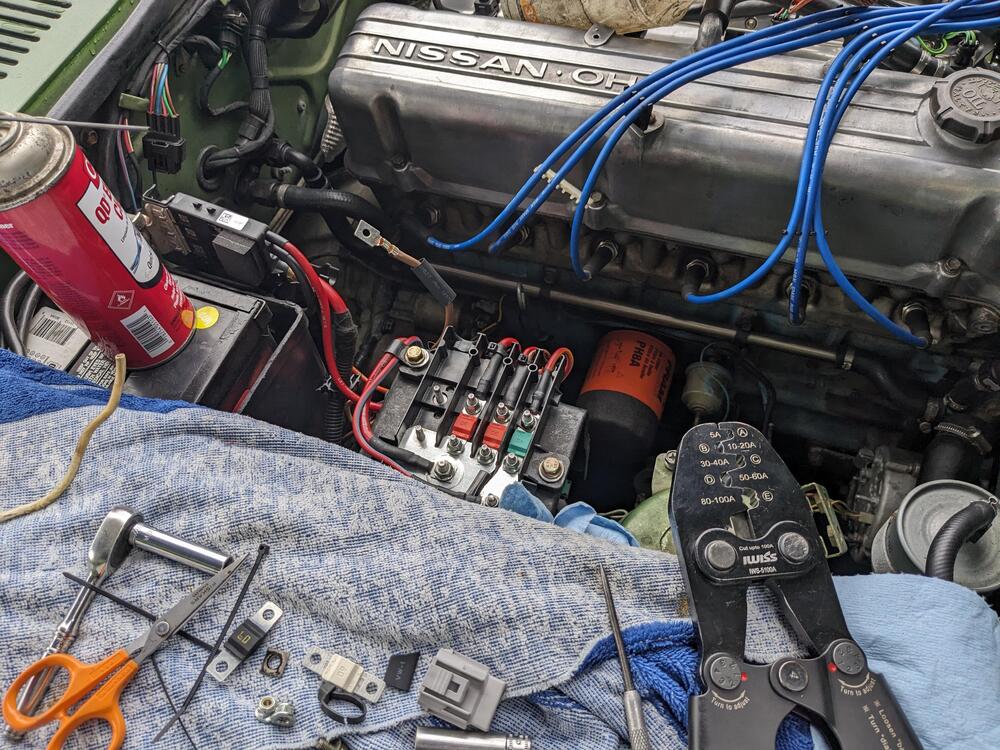
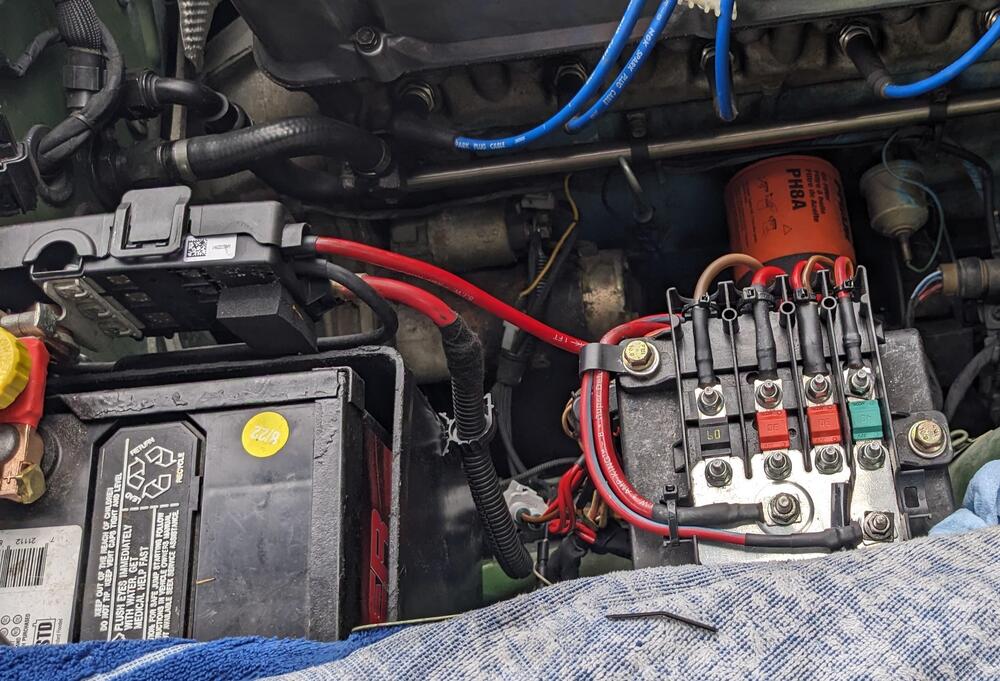
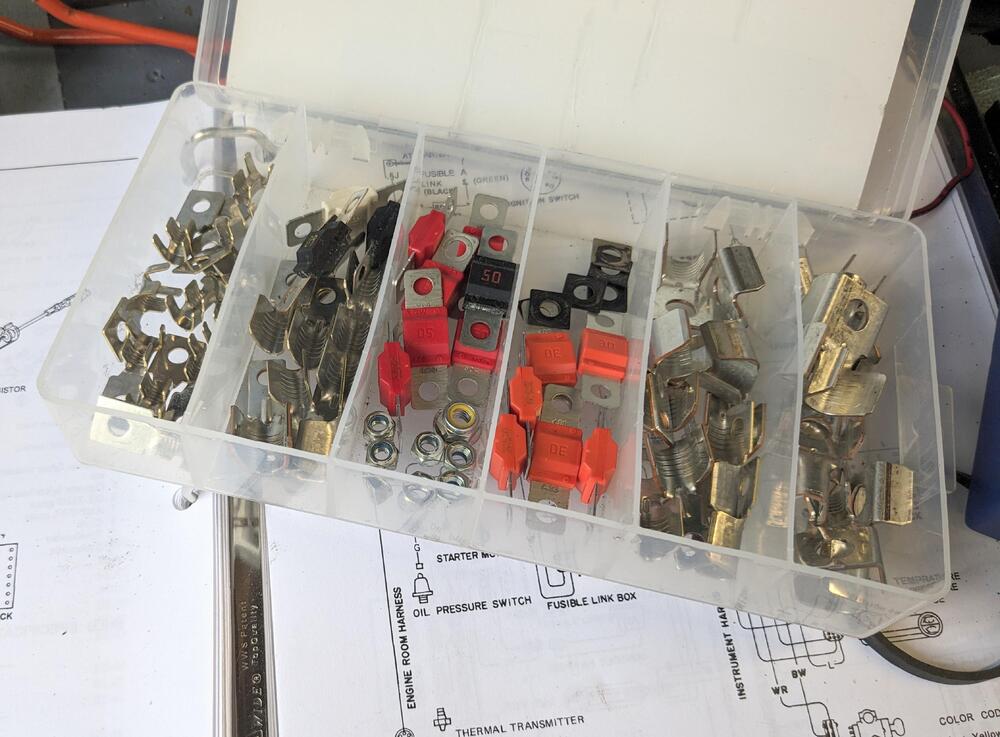
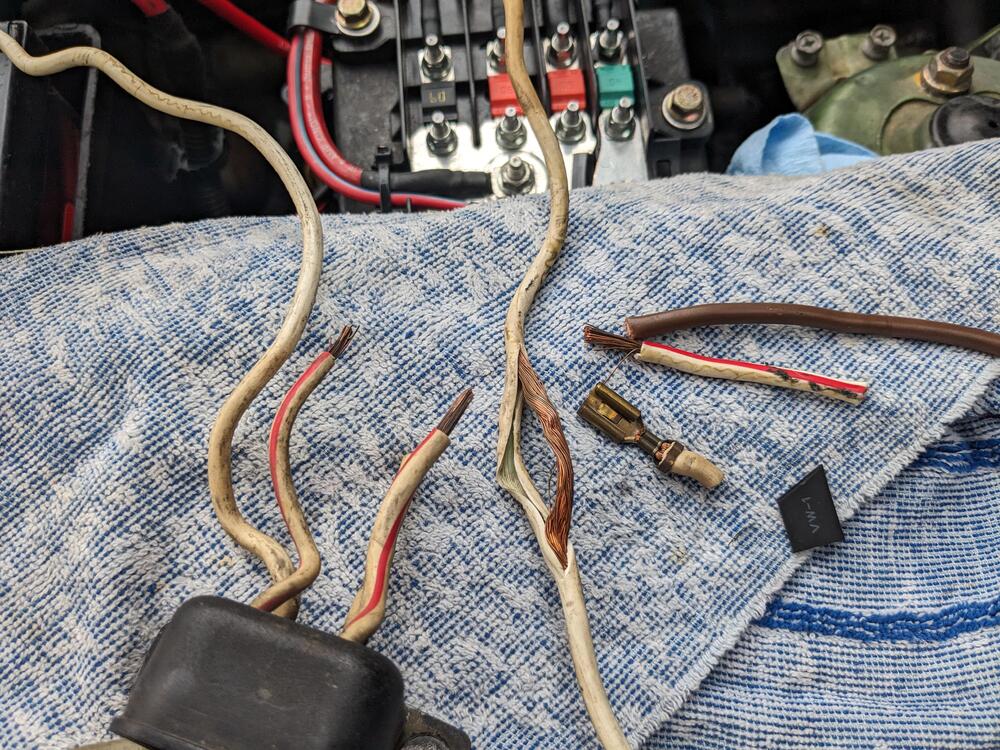
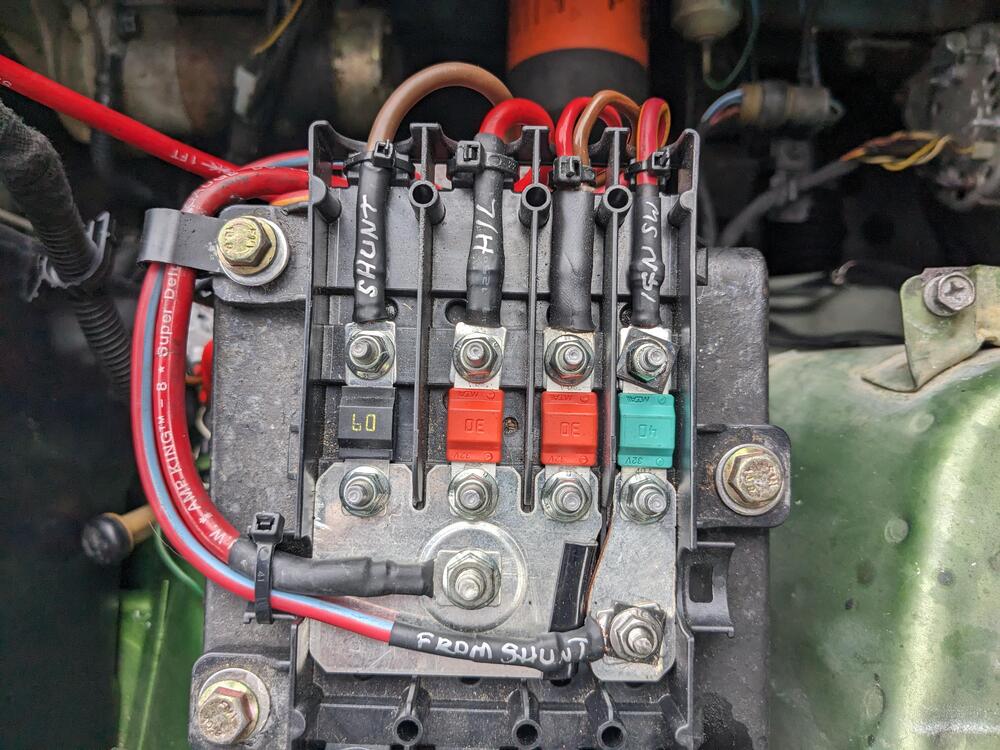
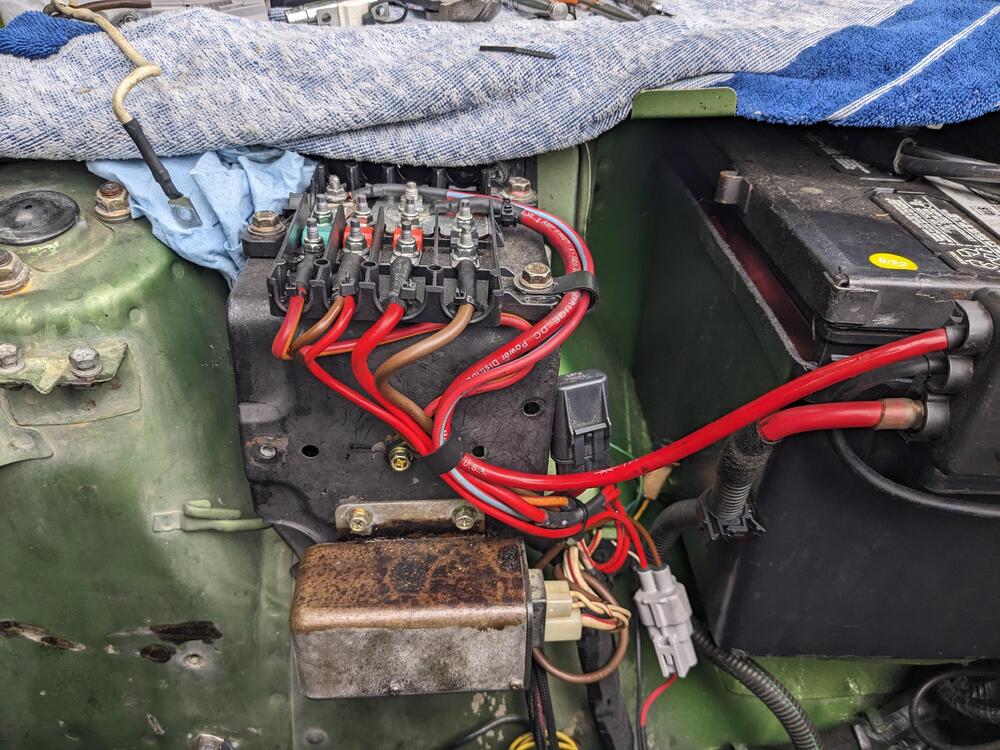
I don't know. I did determine that the fuse holder I used was actually the version rated at 20A (based on the AWG) - I must have swapped out the 20A for a 30A fuse, so maybe the combined draw of all the consumers off the switch was just too much, it definitely overheated. So, I've re-wired the Ignition switch feed (from Shunt) via the Midi fuse block. Using a 40A fuse to match the value of the fusible link previously replaced with the inline blade that melted. Sectioned the supply plate Approx 3mm wga Red/Blue to match original ignition switch feed (Red-White) from shunt to 40A fuse MTA Midi fuses & power supply crimp terminals Replaced (White) feed wire from fuse block to Shunt, approx 3.5mm wga Brown - mine looked iffy. Sliced it open to look at where the wiring was kinked. Actually in better shape than the insulation appeared. I had bought some 7.8mm Female spades of the type used on the Datsun, thankfully. Used 60A Midi fuse - original link was 80a, according to chart. Feed line from main fuse block is 80A labelled so I don't forget what feeds what (have to figure out what the 3rd one is for) l
-
There is no (no aspect of the system is designed to pull a vacuum on the tank) vacuum pull on the vapor line from the gas tank/vapor tank circuit. Vacuum only operates on the cannister. The large vacuum line on the purge valve from the intake is the draw, the small vacuum line from the TB is the "switch" that opens the port to allow the large line to pull fuel vapor from the cannister off idle.
-
I think I found a problem today, car hiccuped & then died, and this time it was dead - the maxi fuse melted. I'm assuming it's just poor quality. Got to bobby pin from a student, but that melted right away, clearly not good for 30A . So I broke a keyring in half and shoved that in there so I could drive home. This was the replacement for the fusible link between shunt and ignition switch.
-
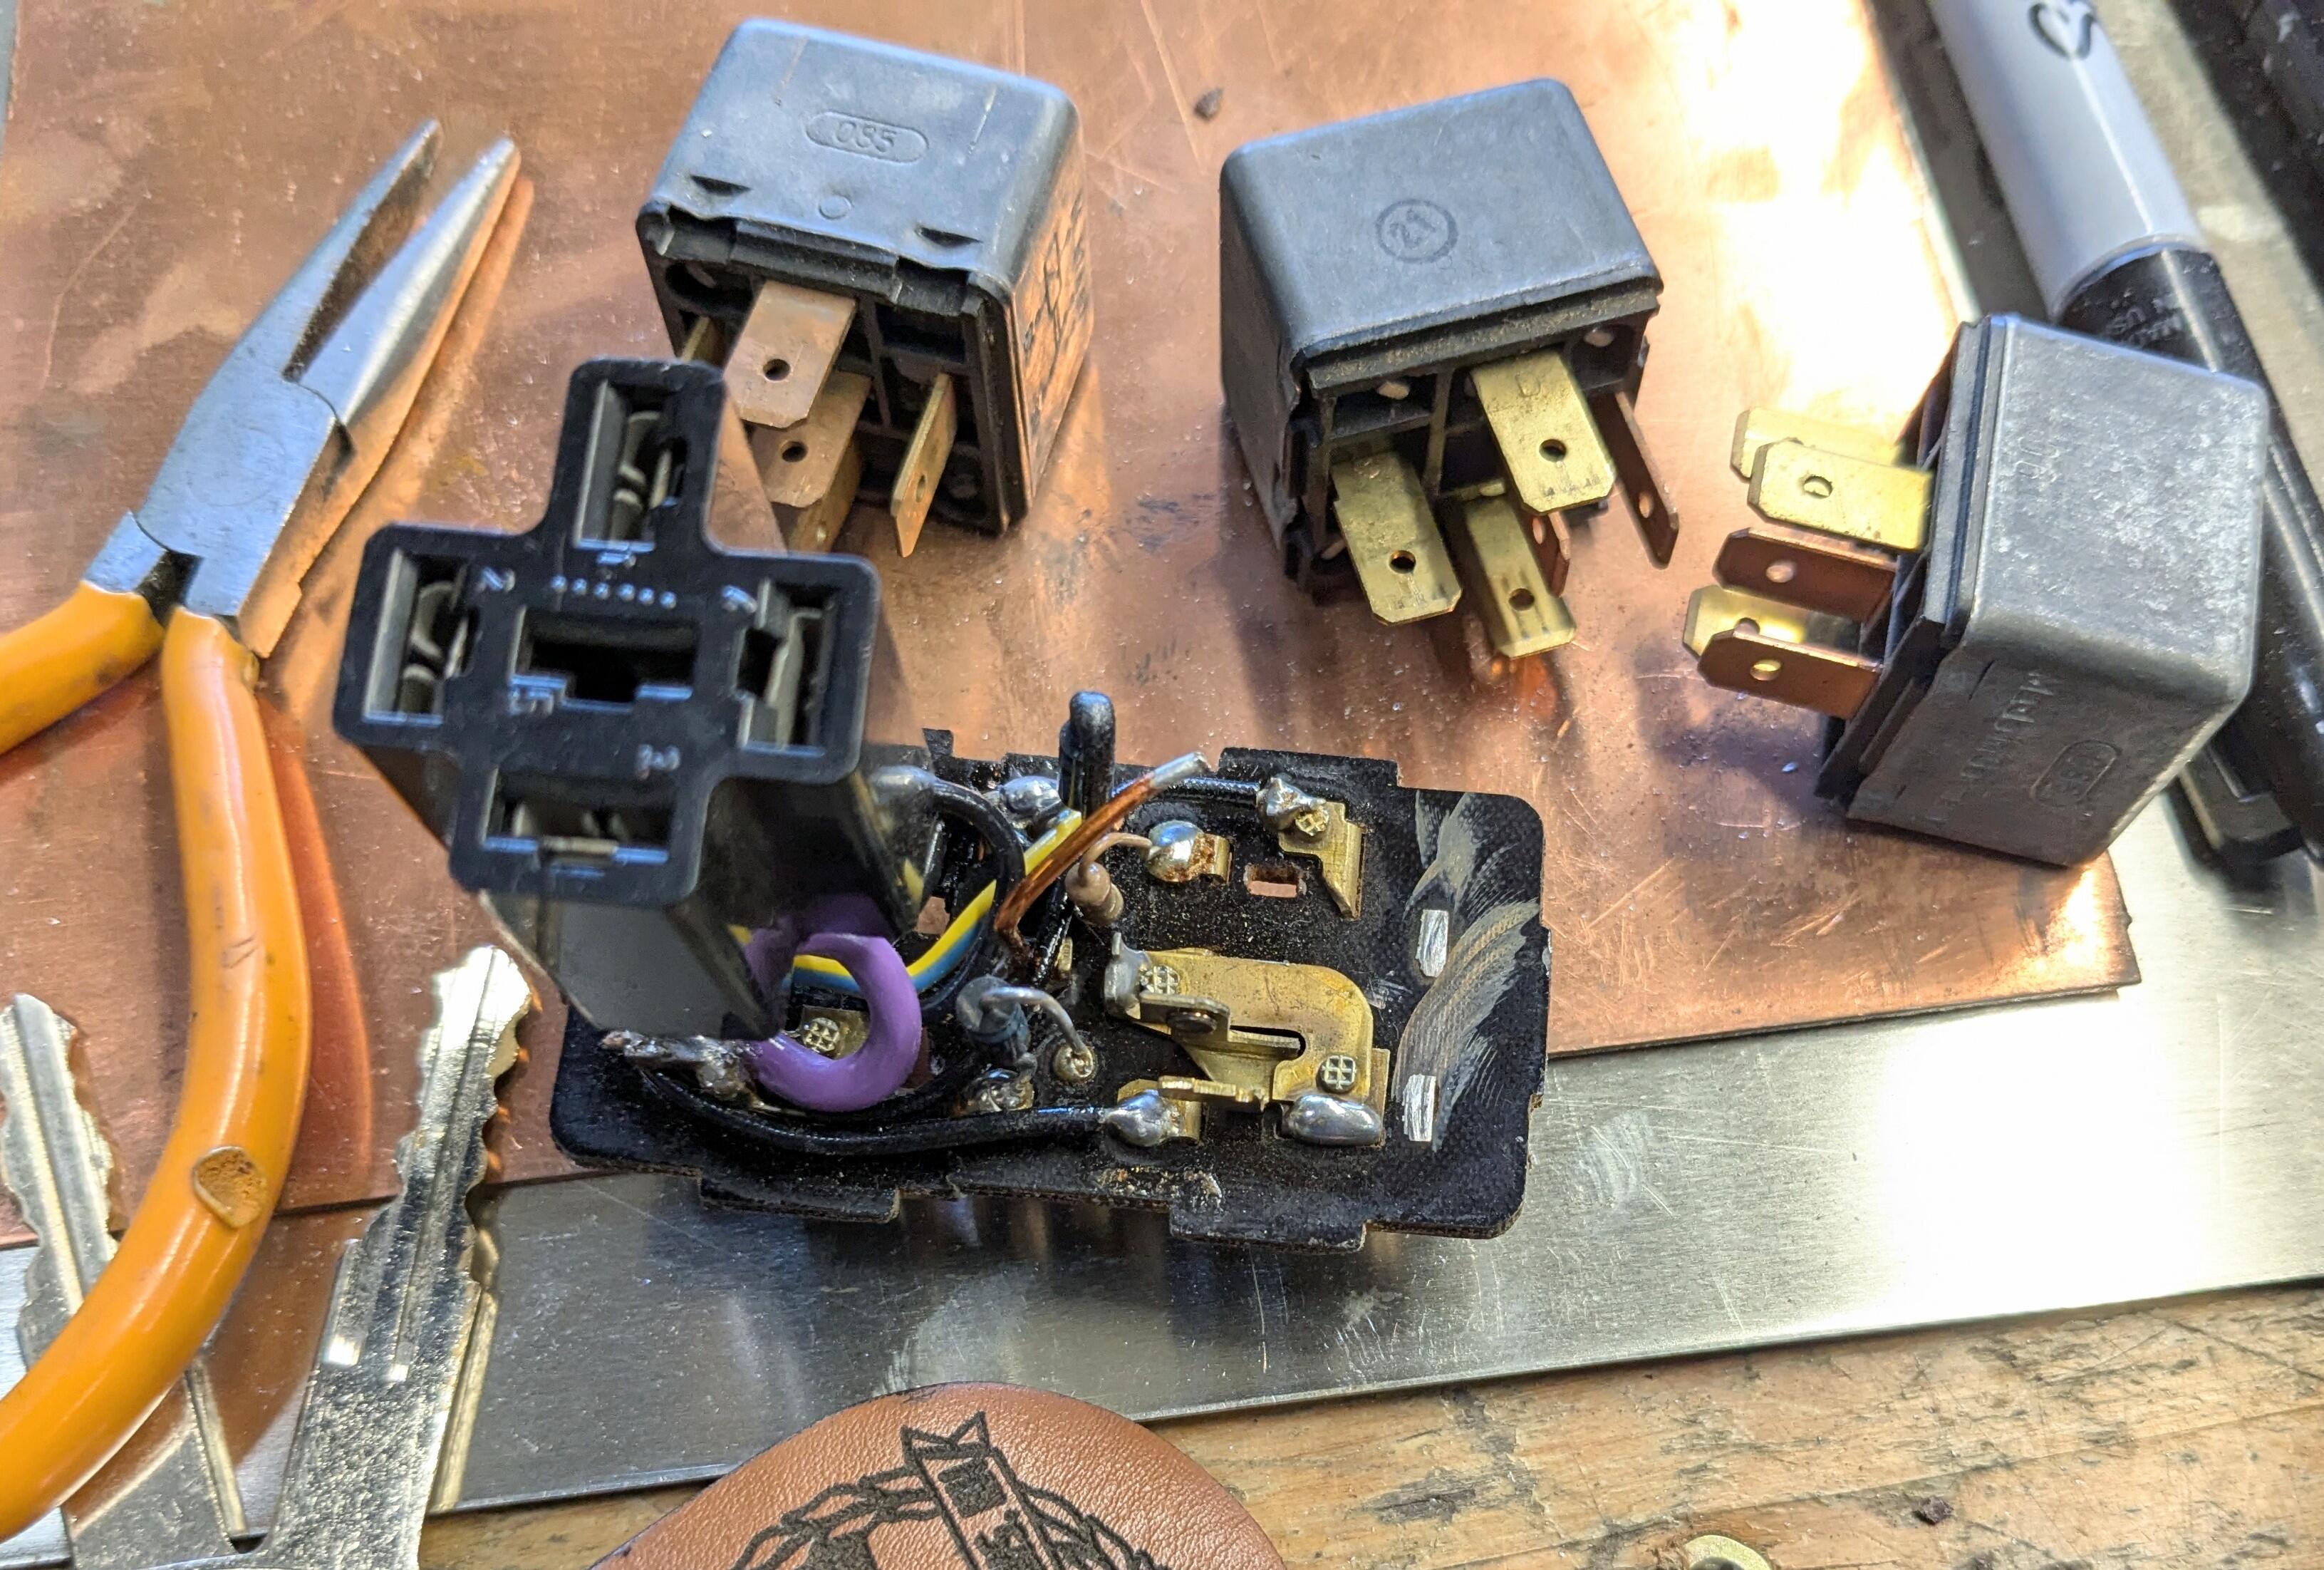
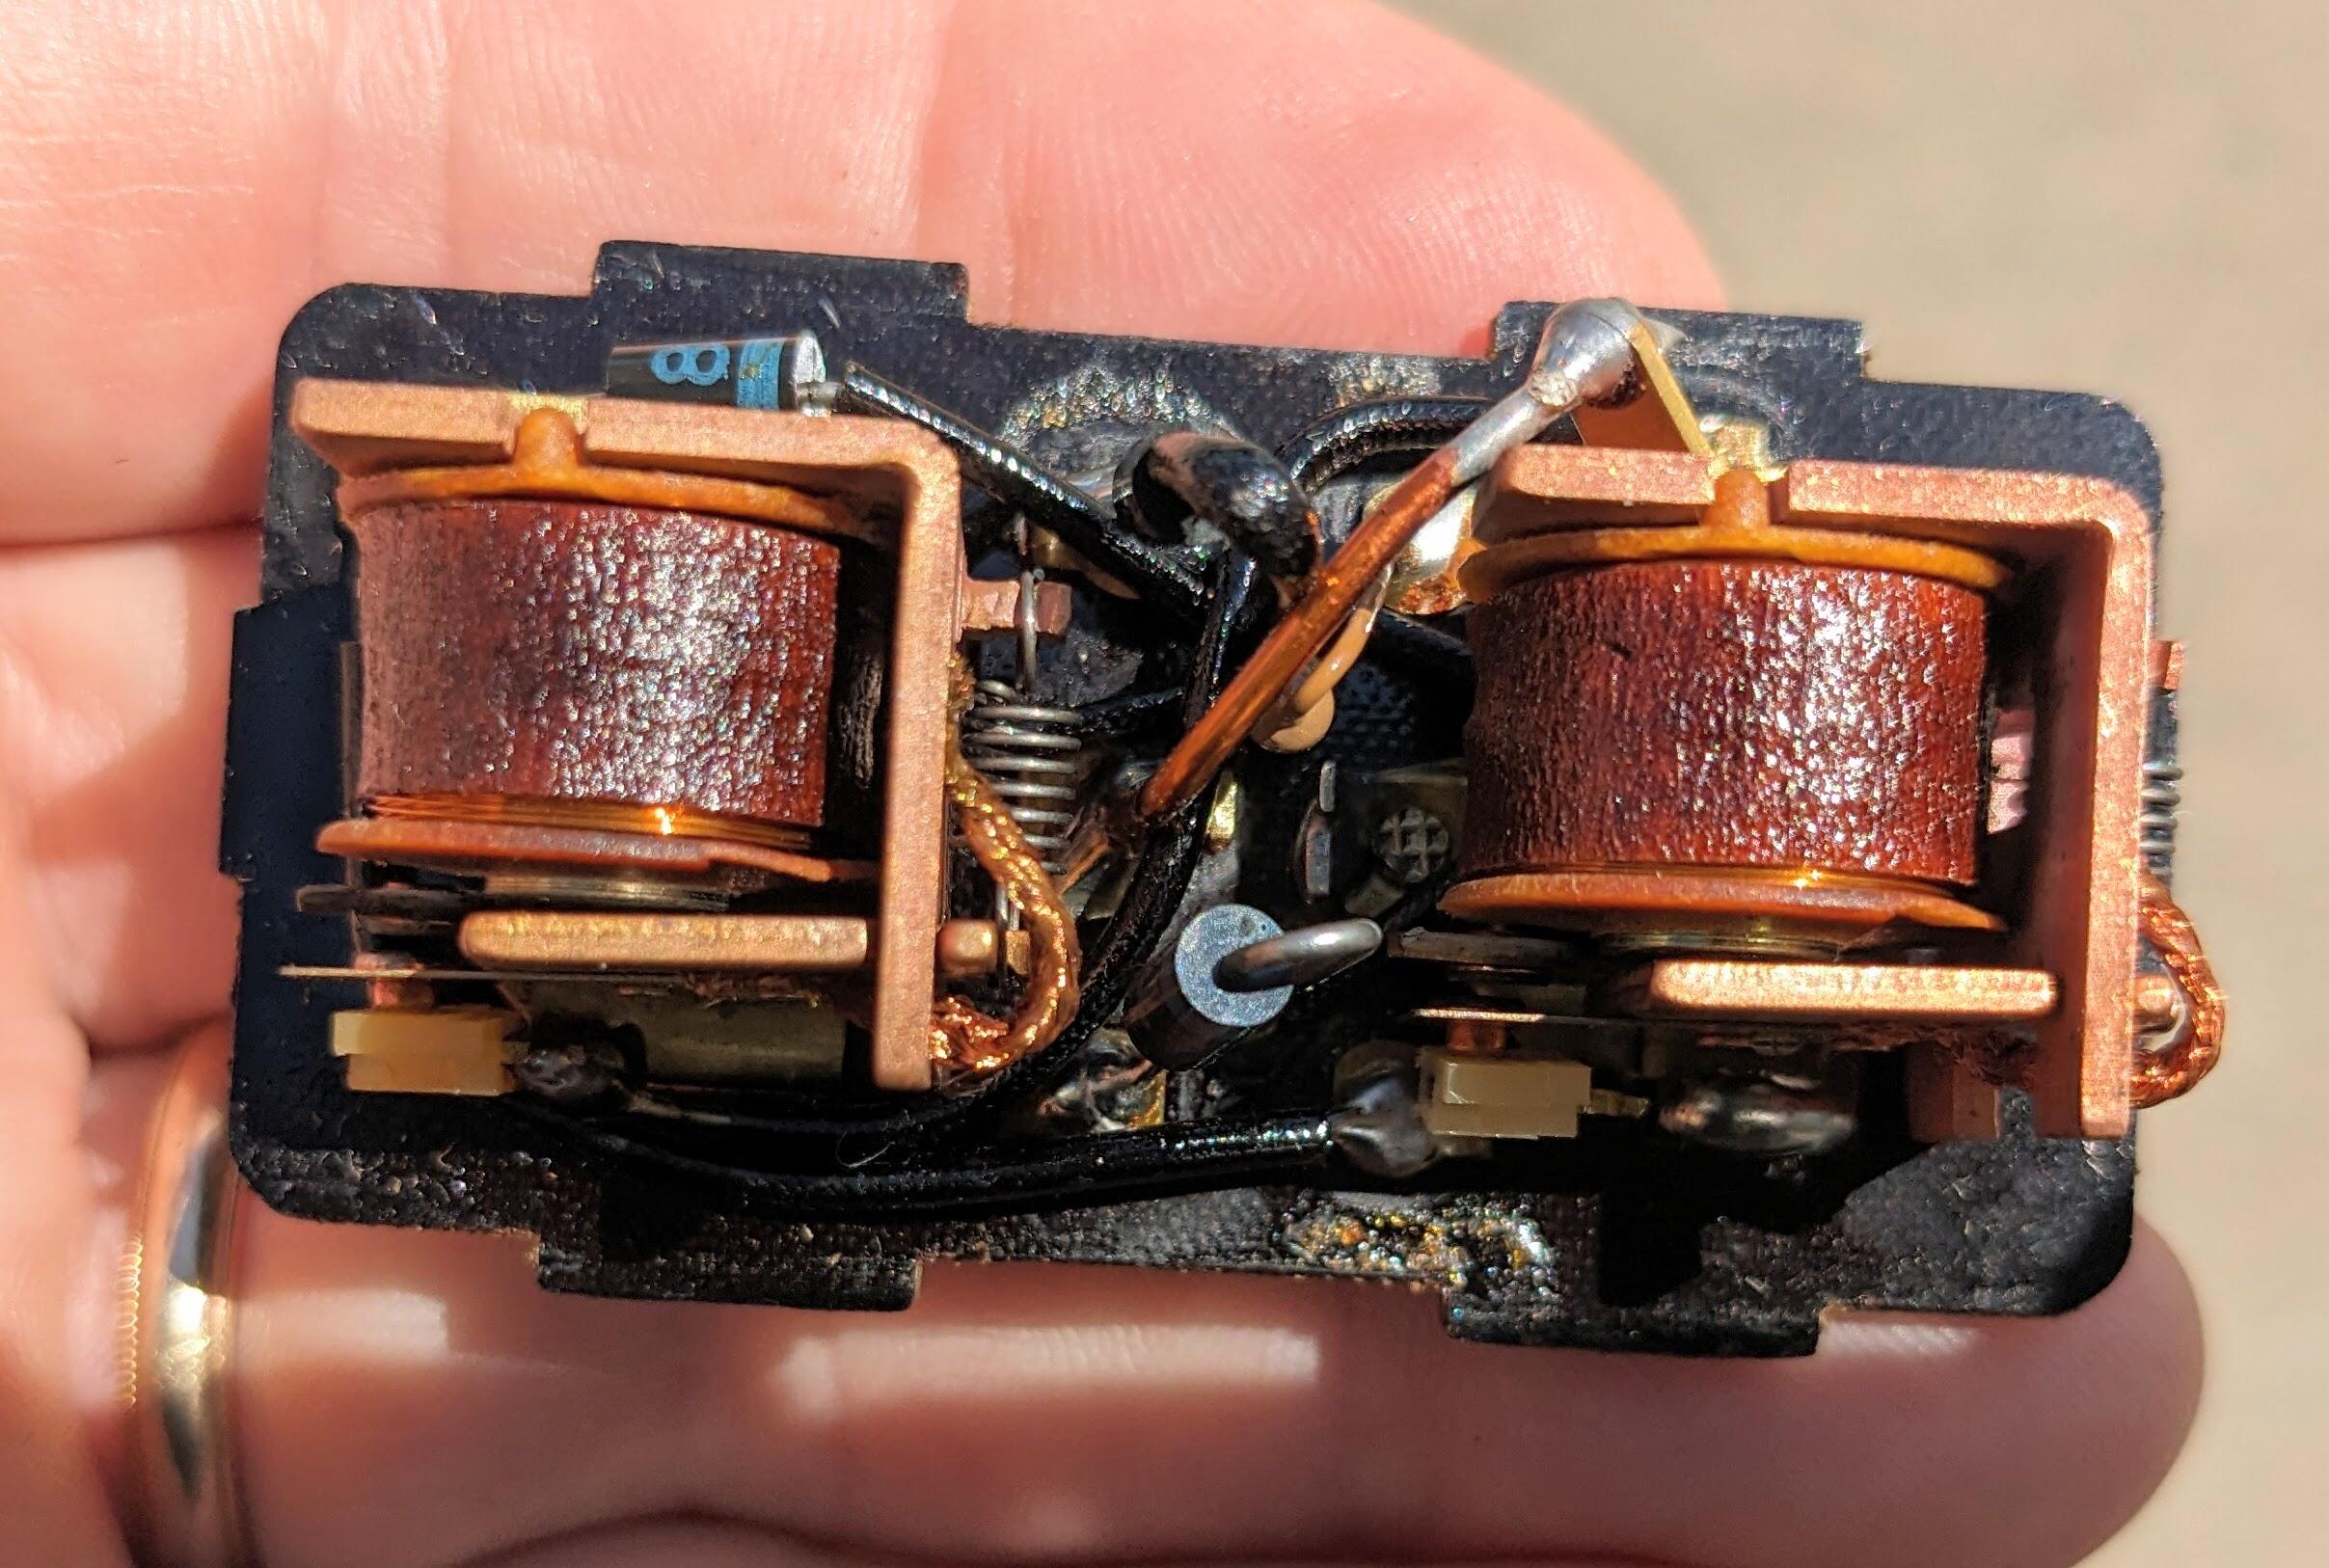
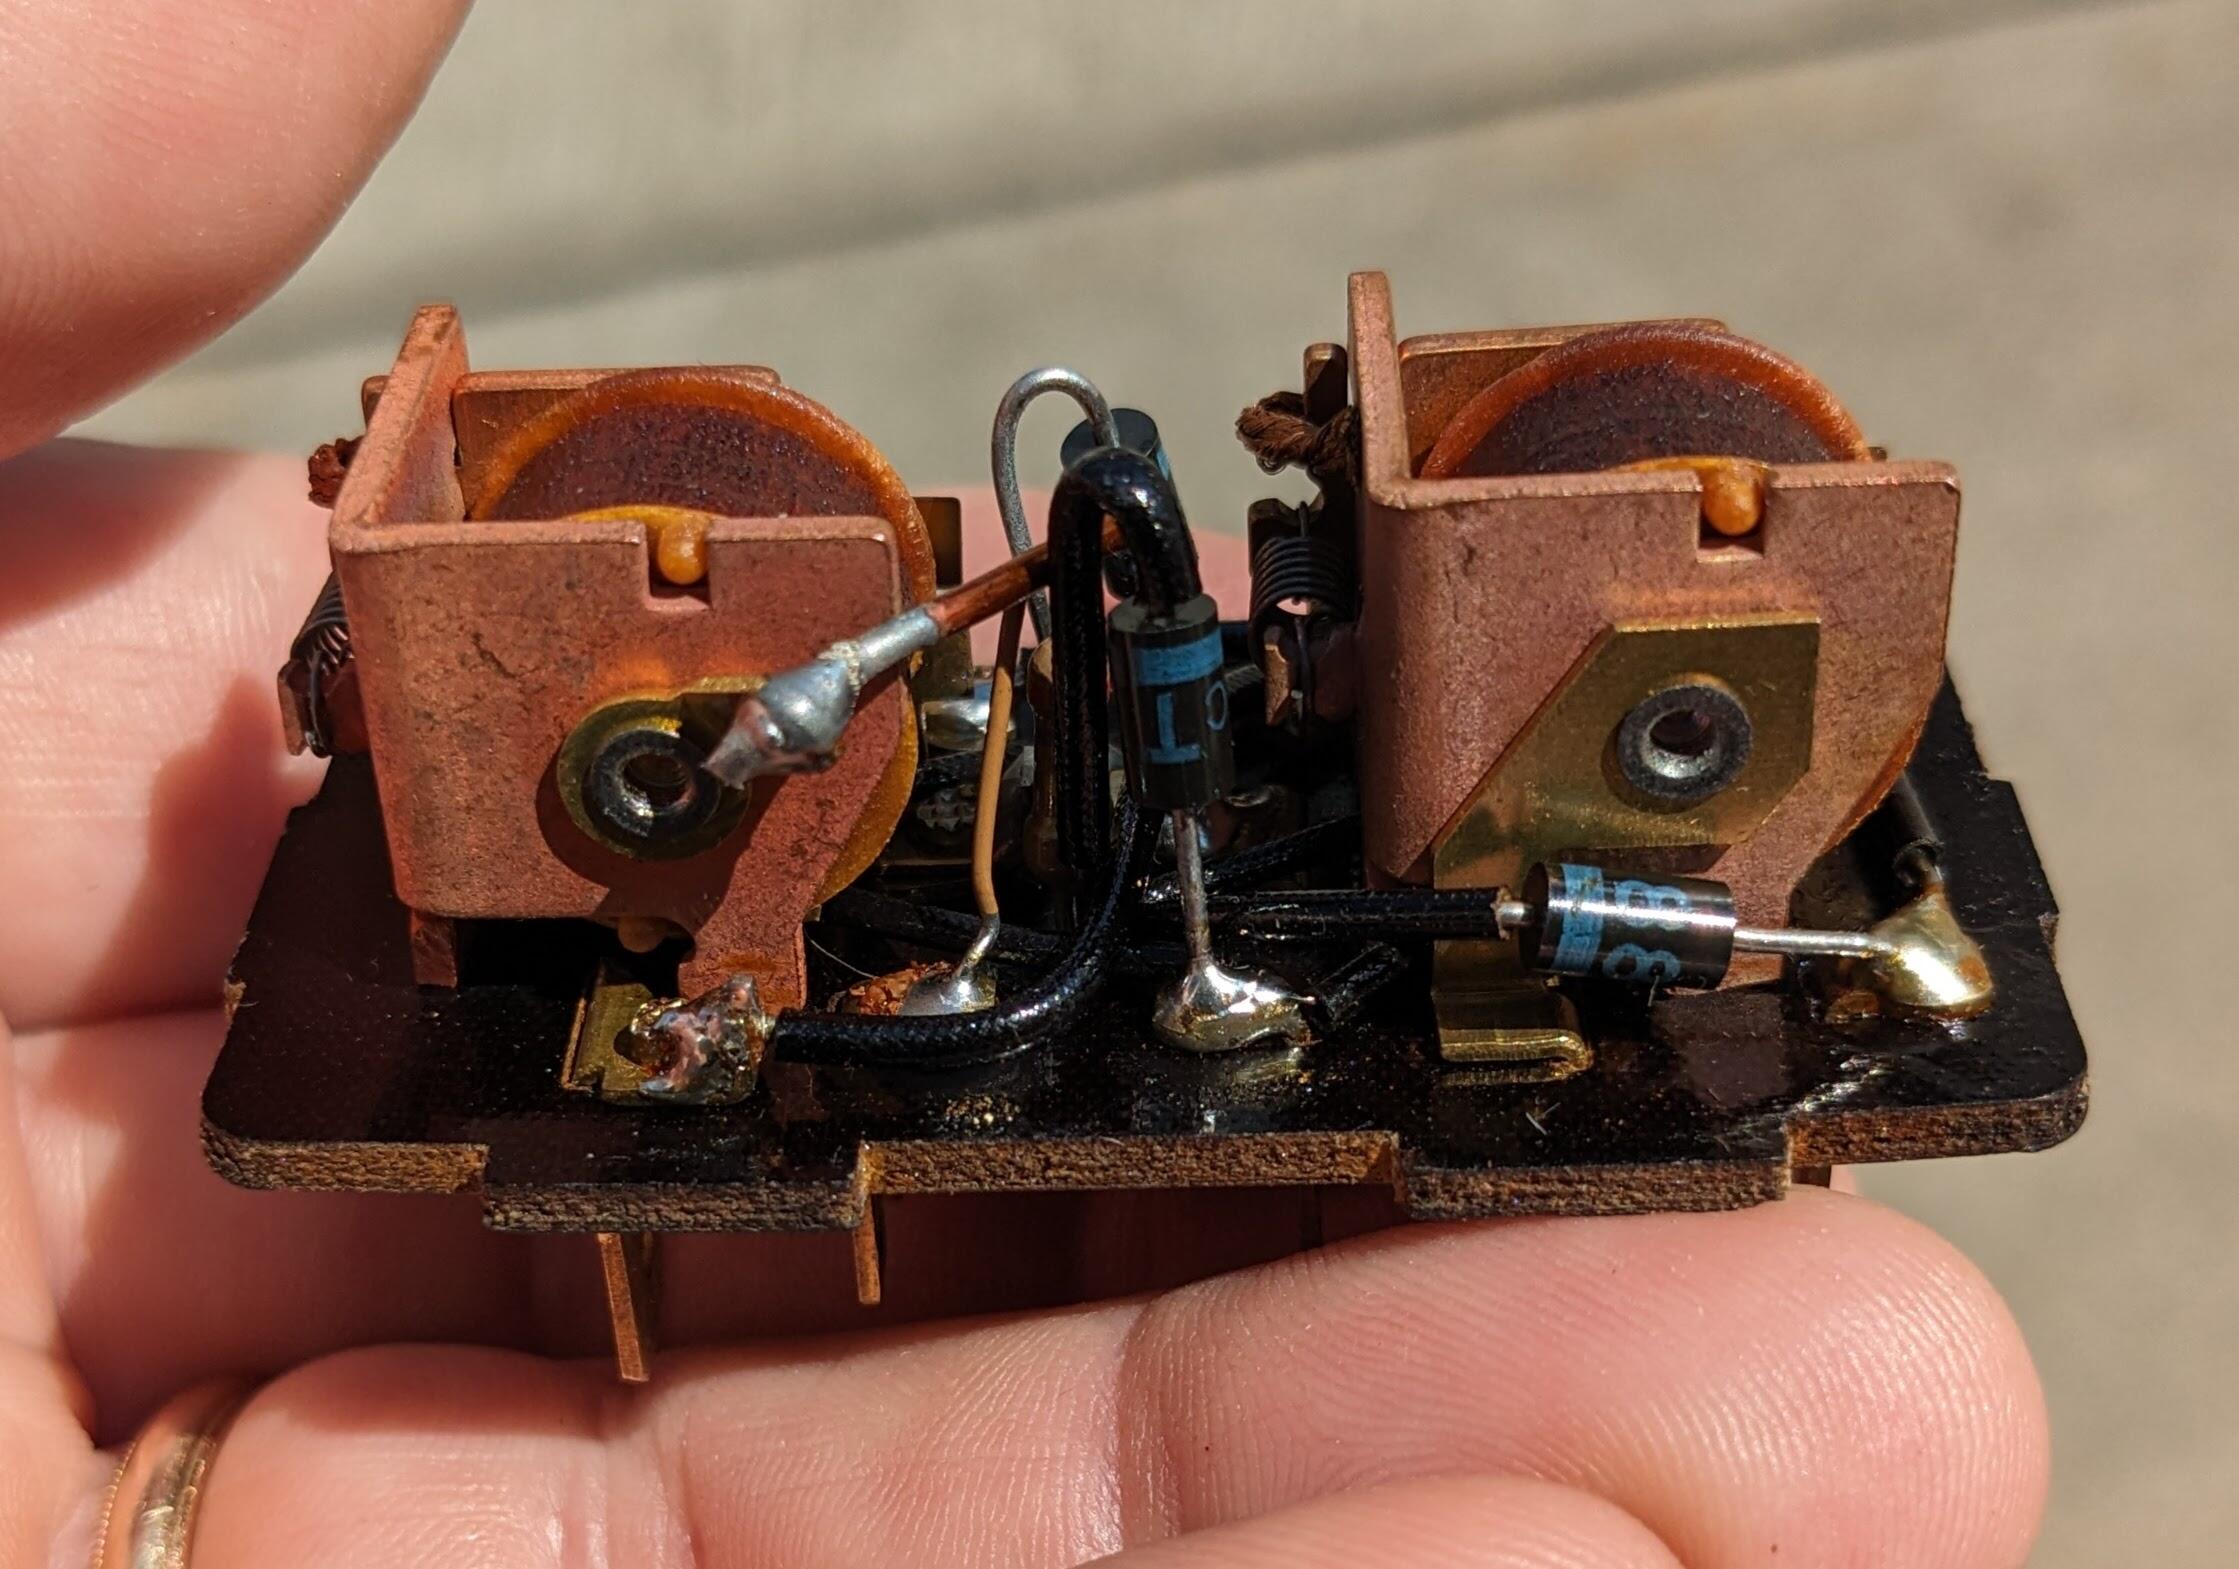
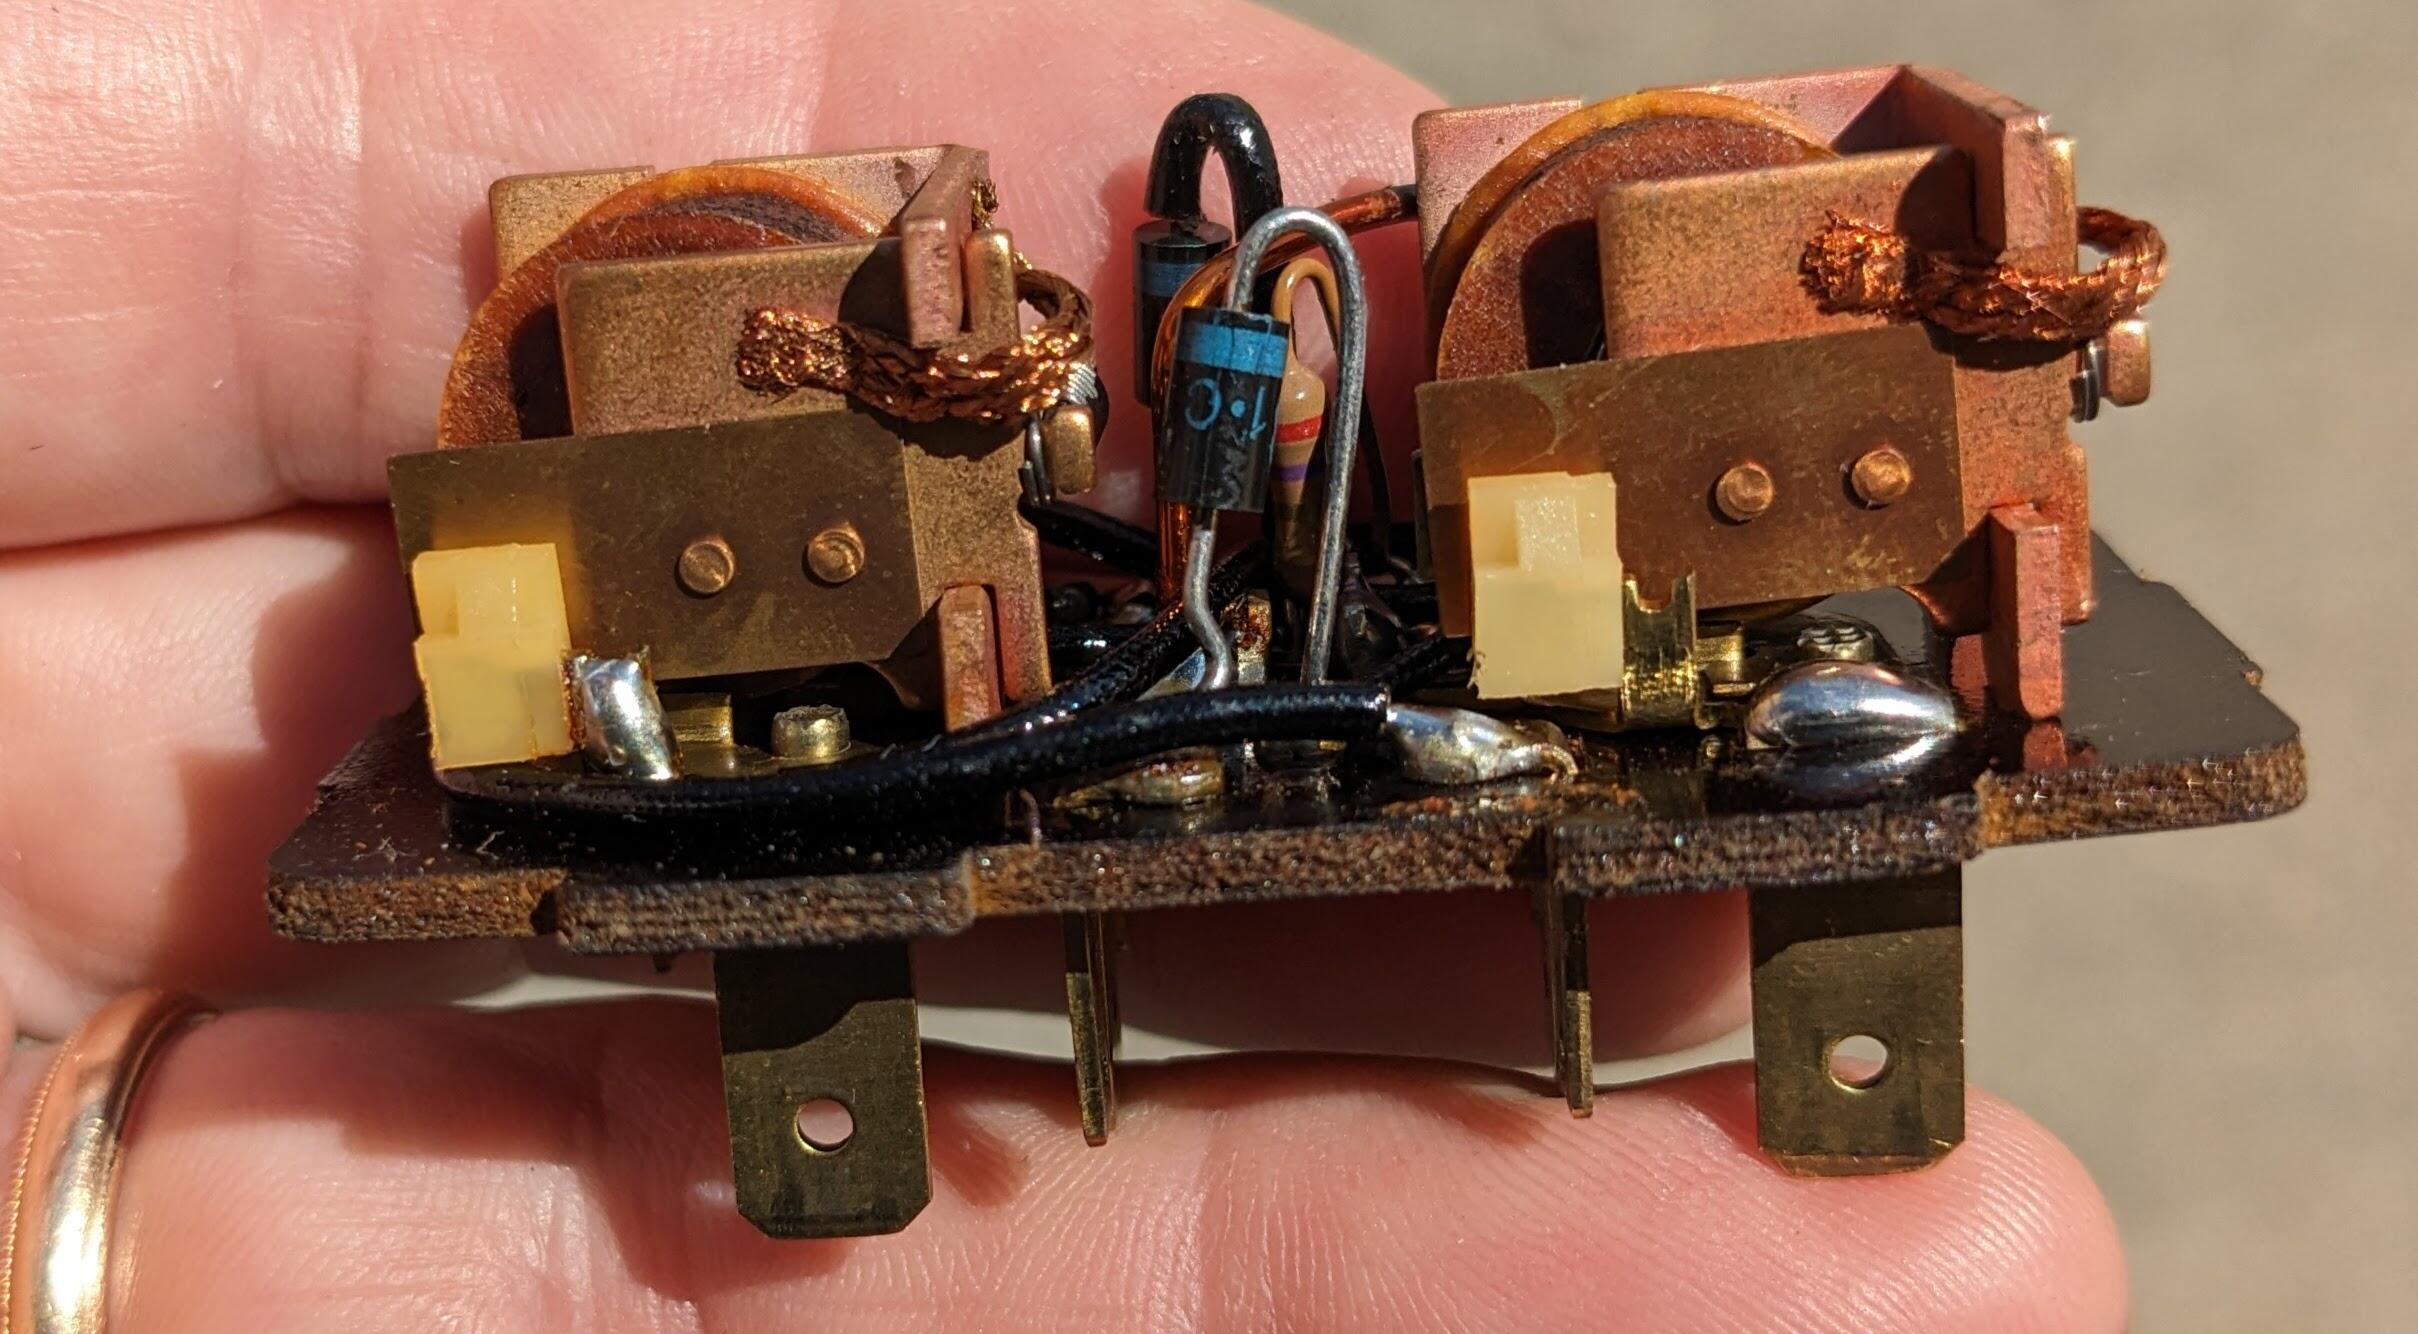
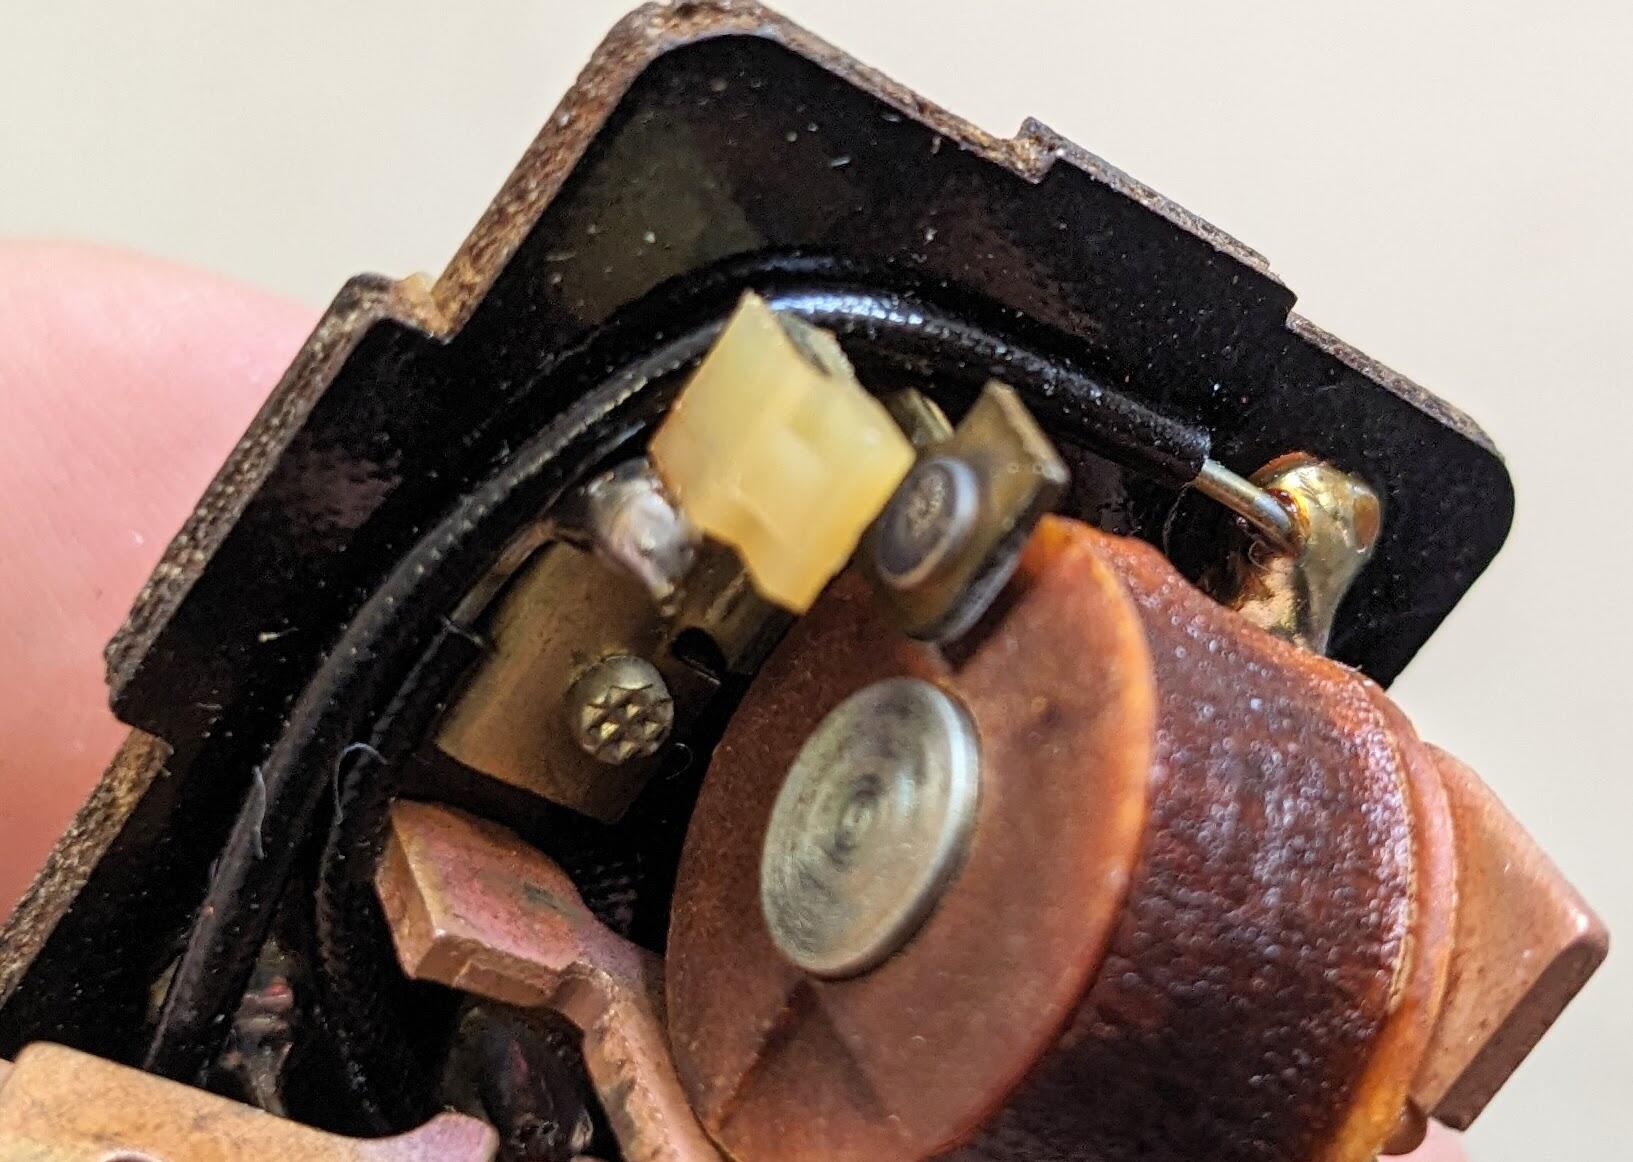
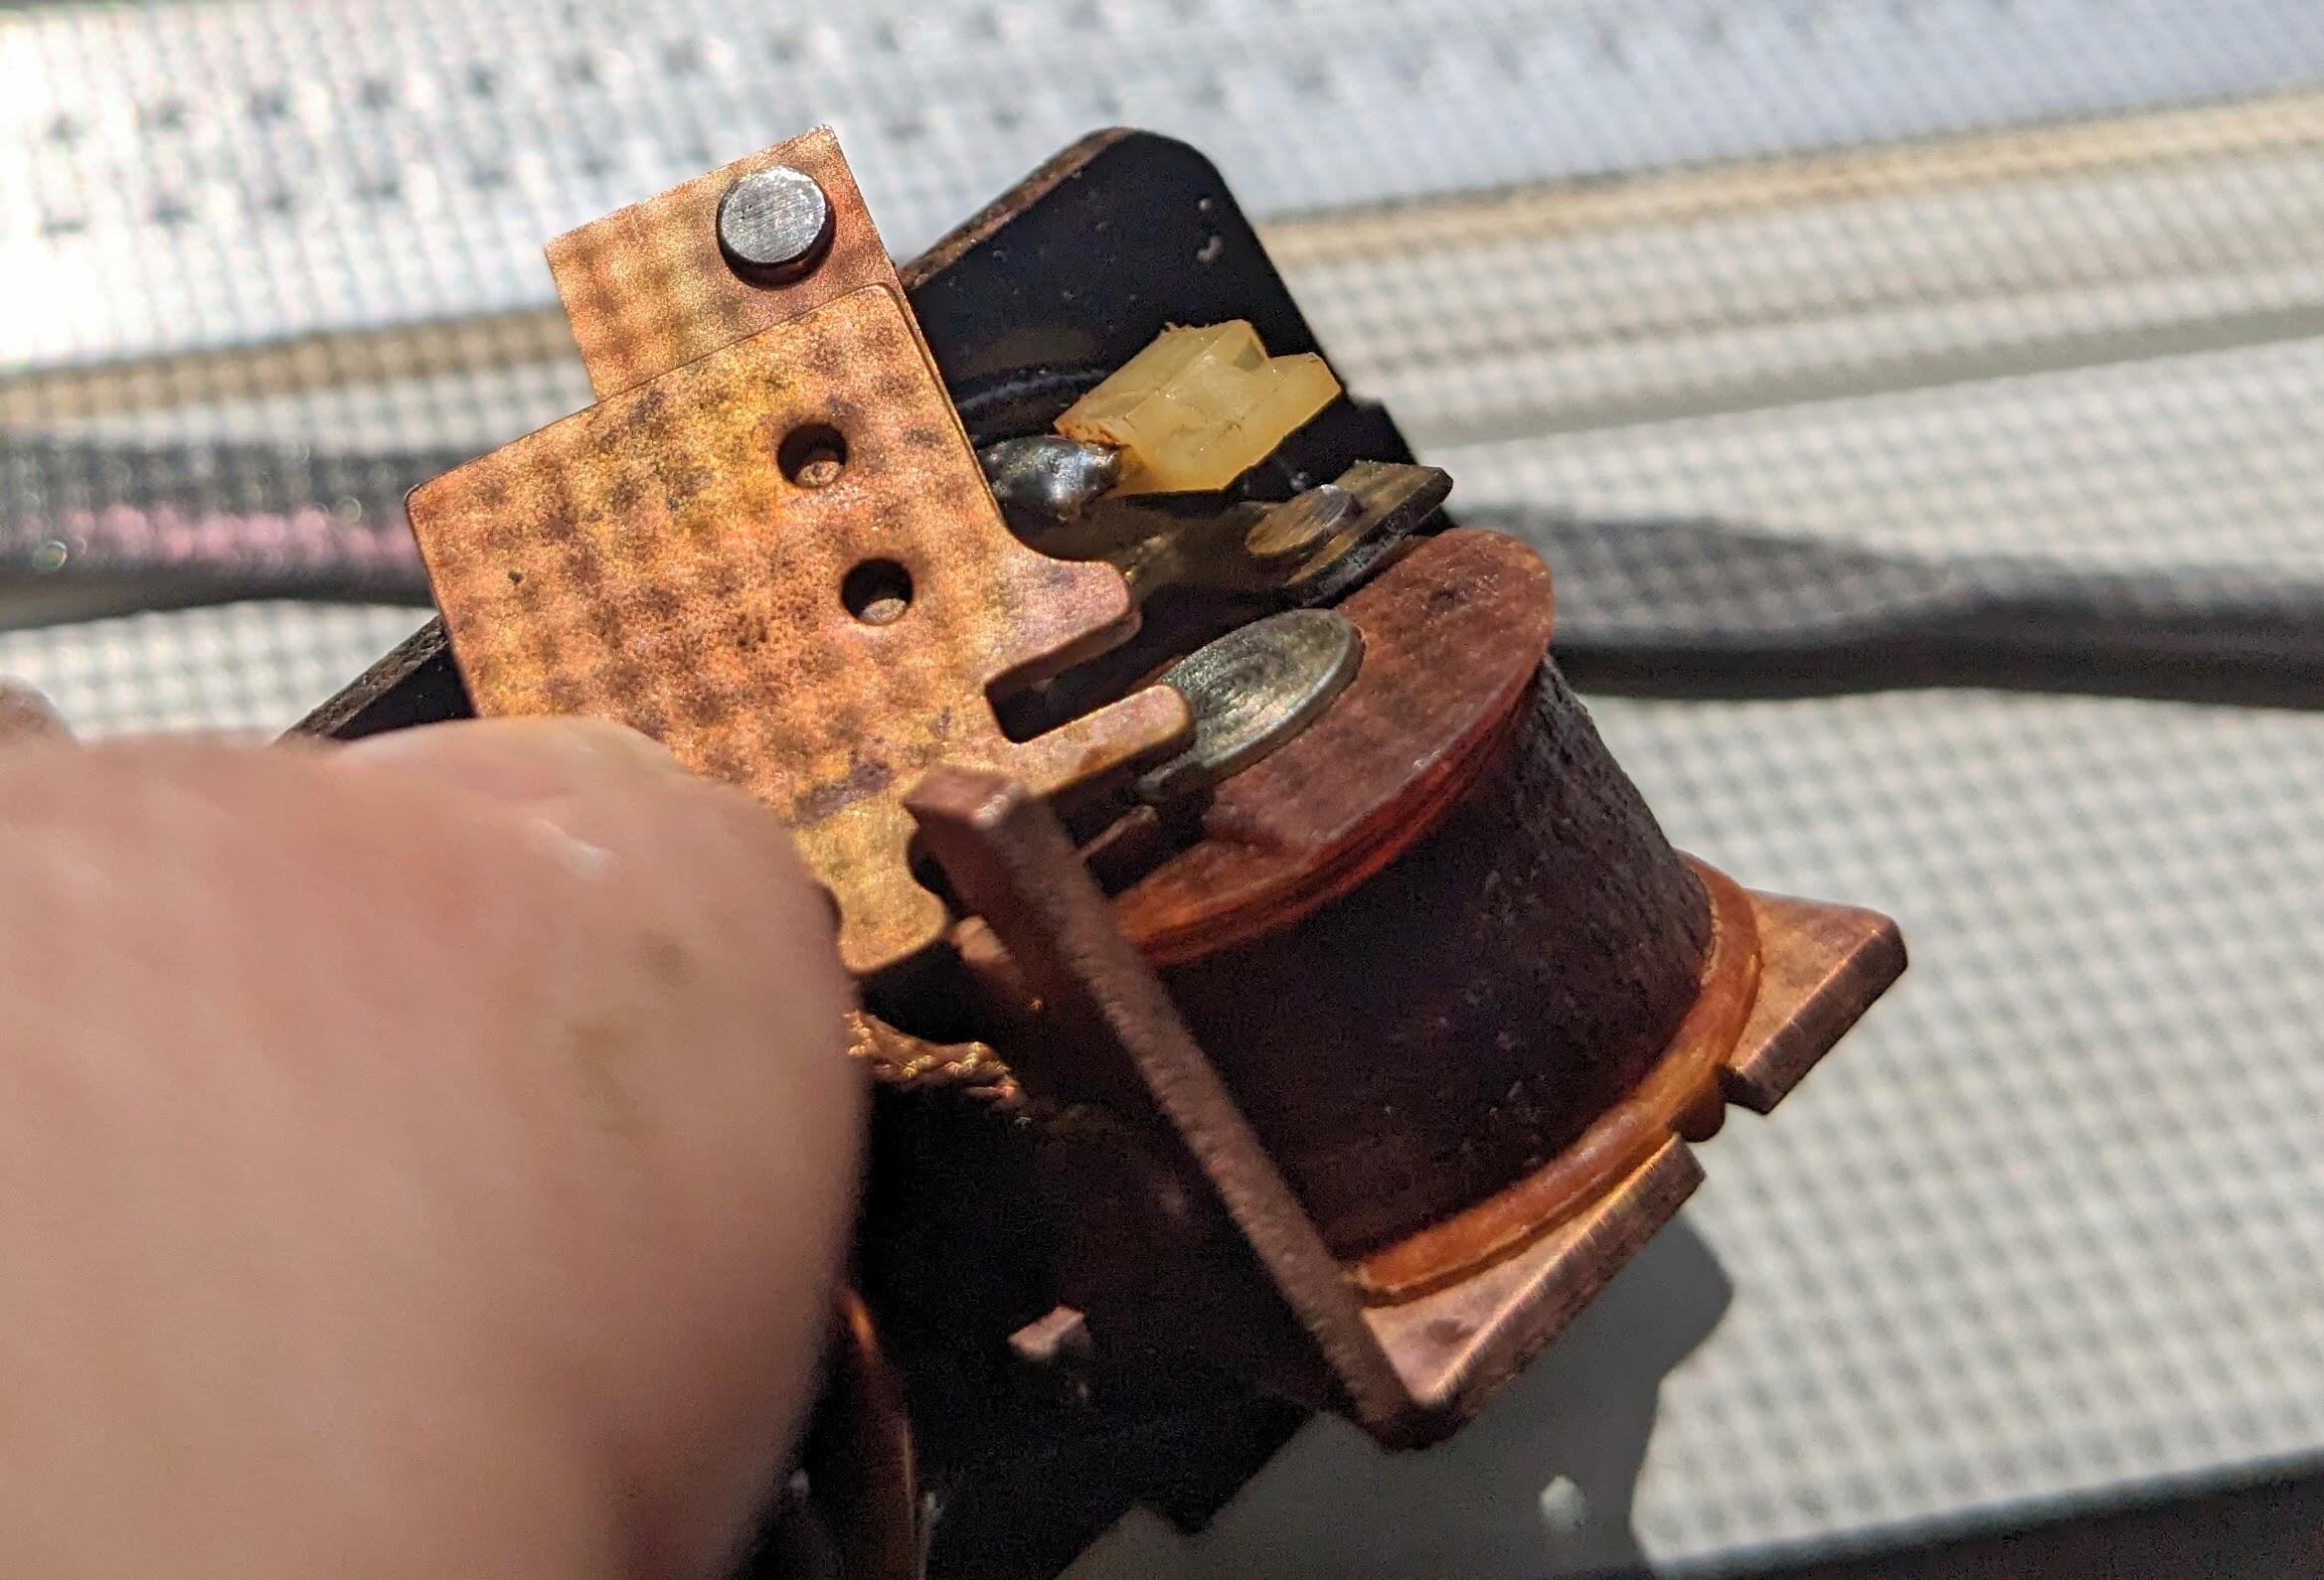
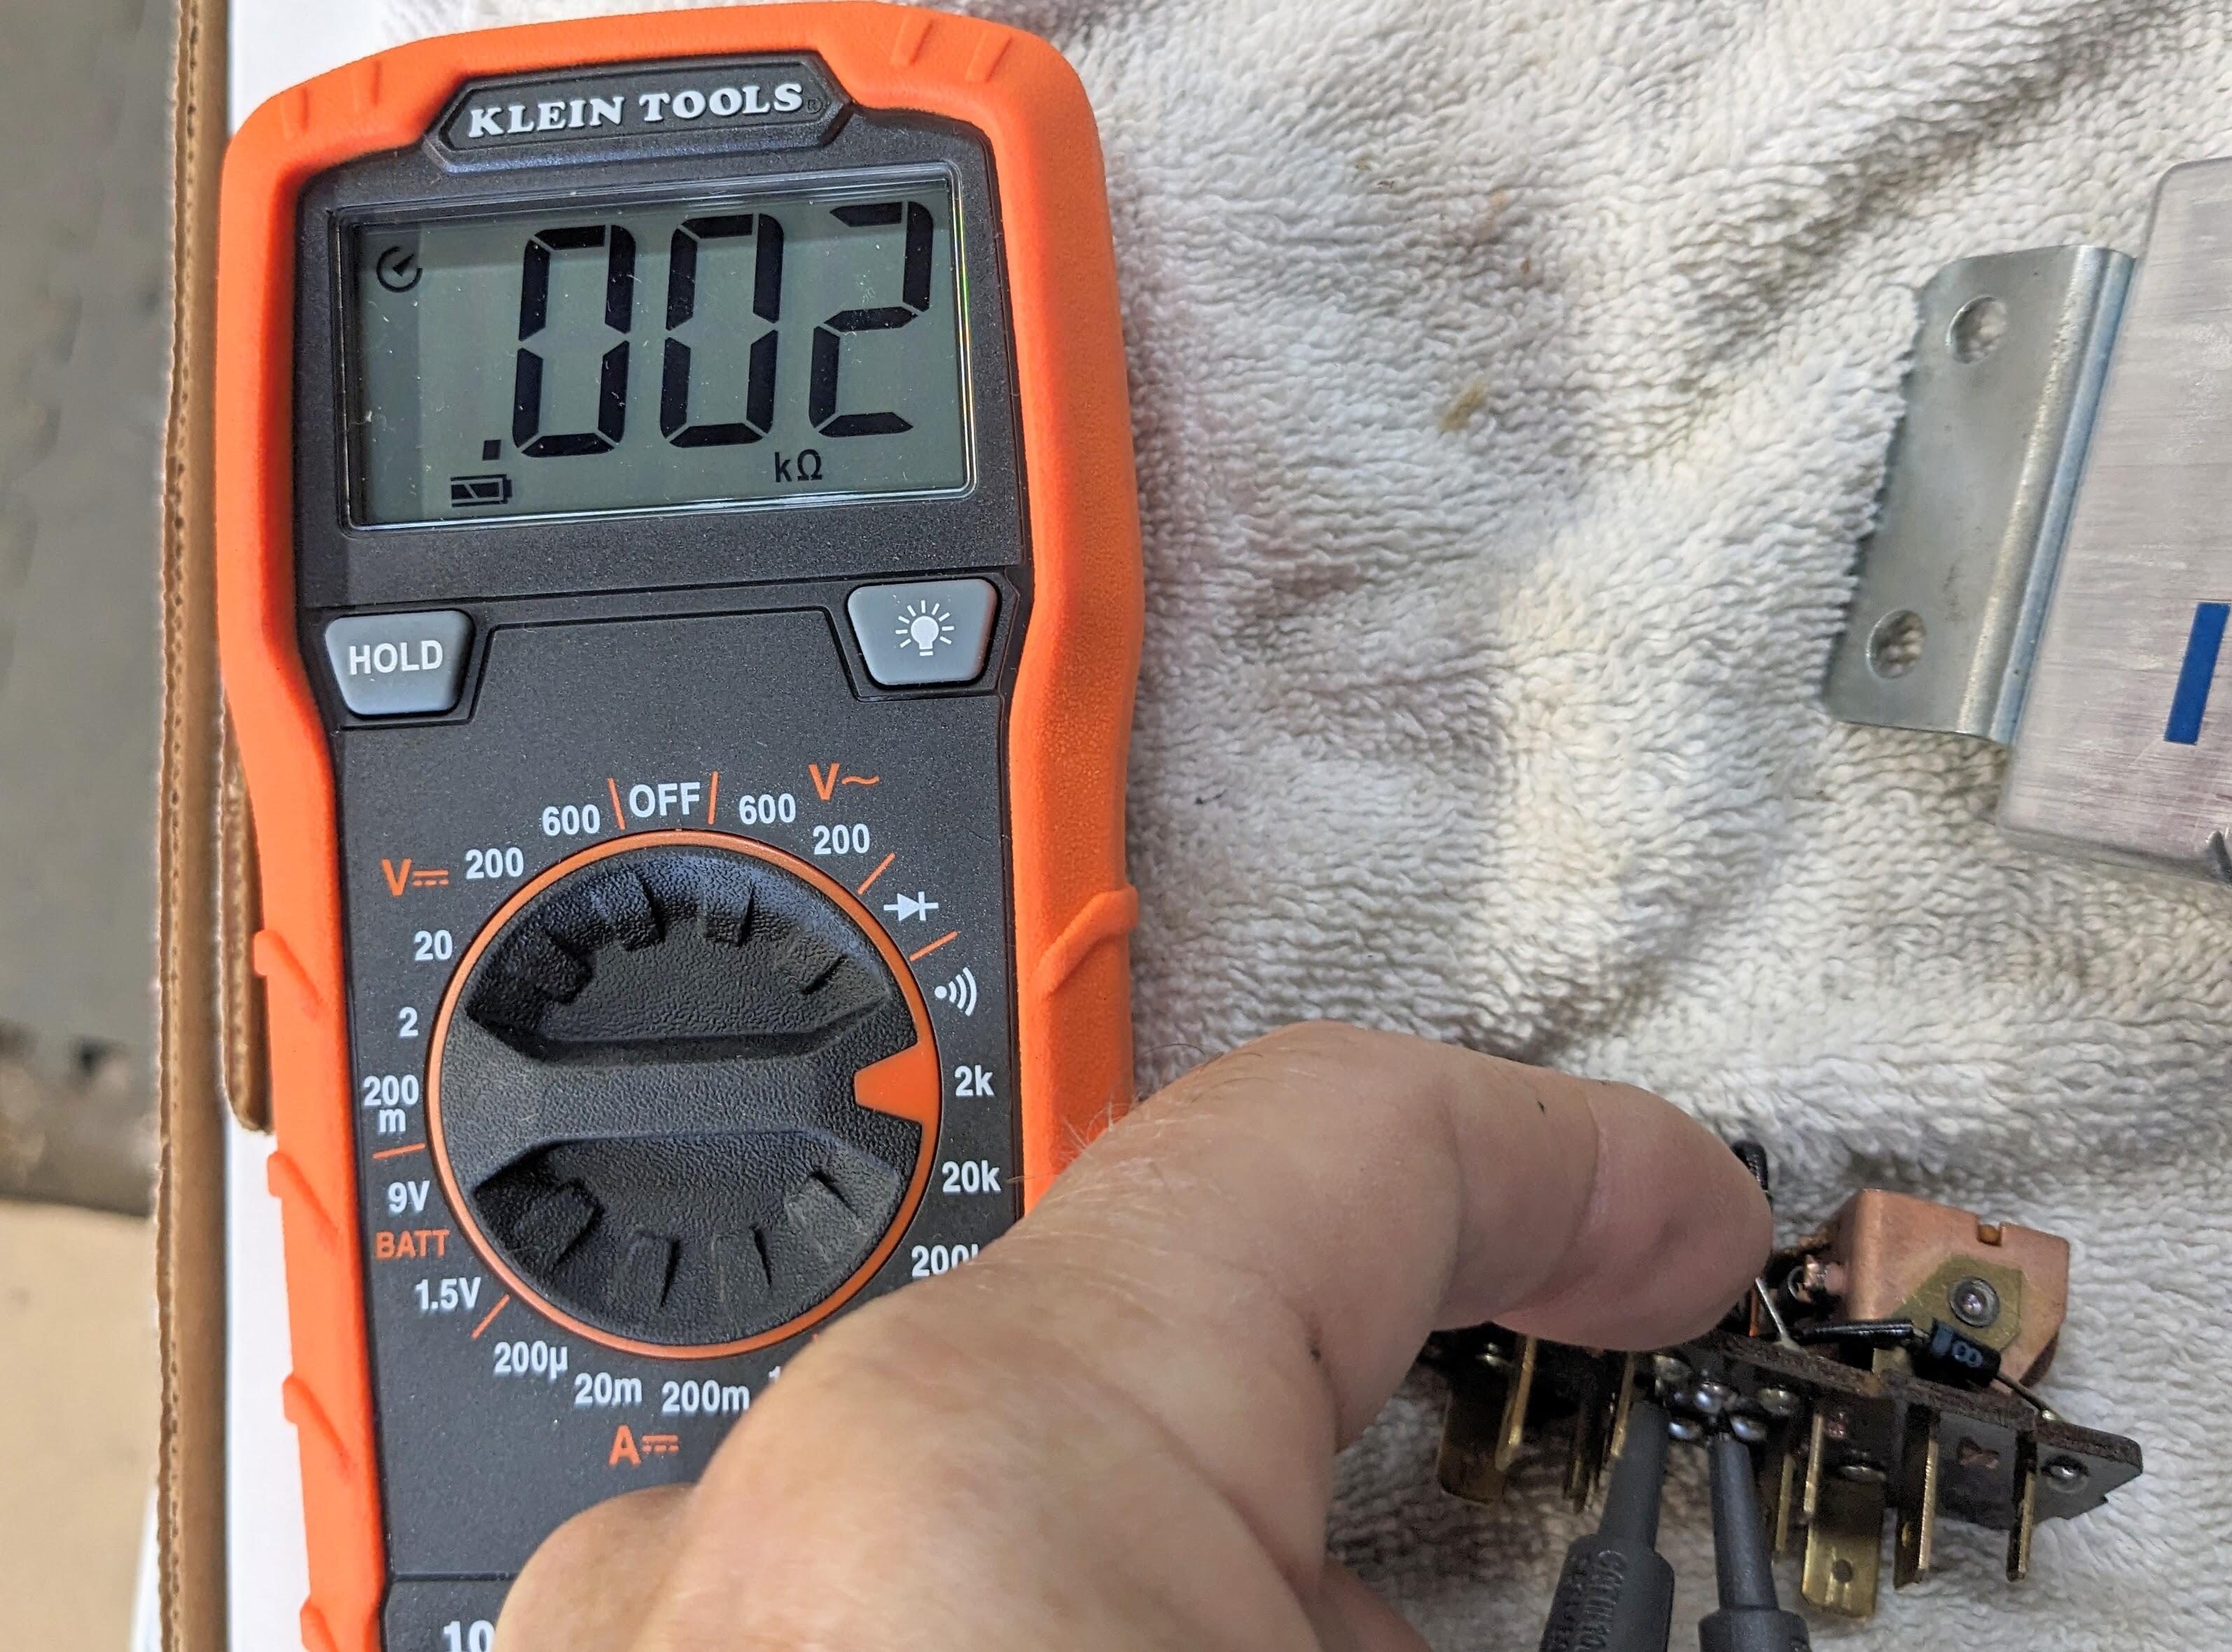
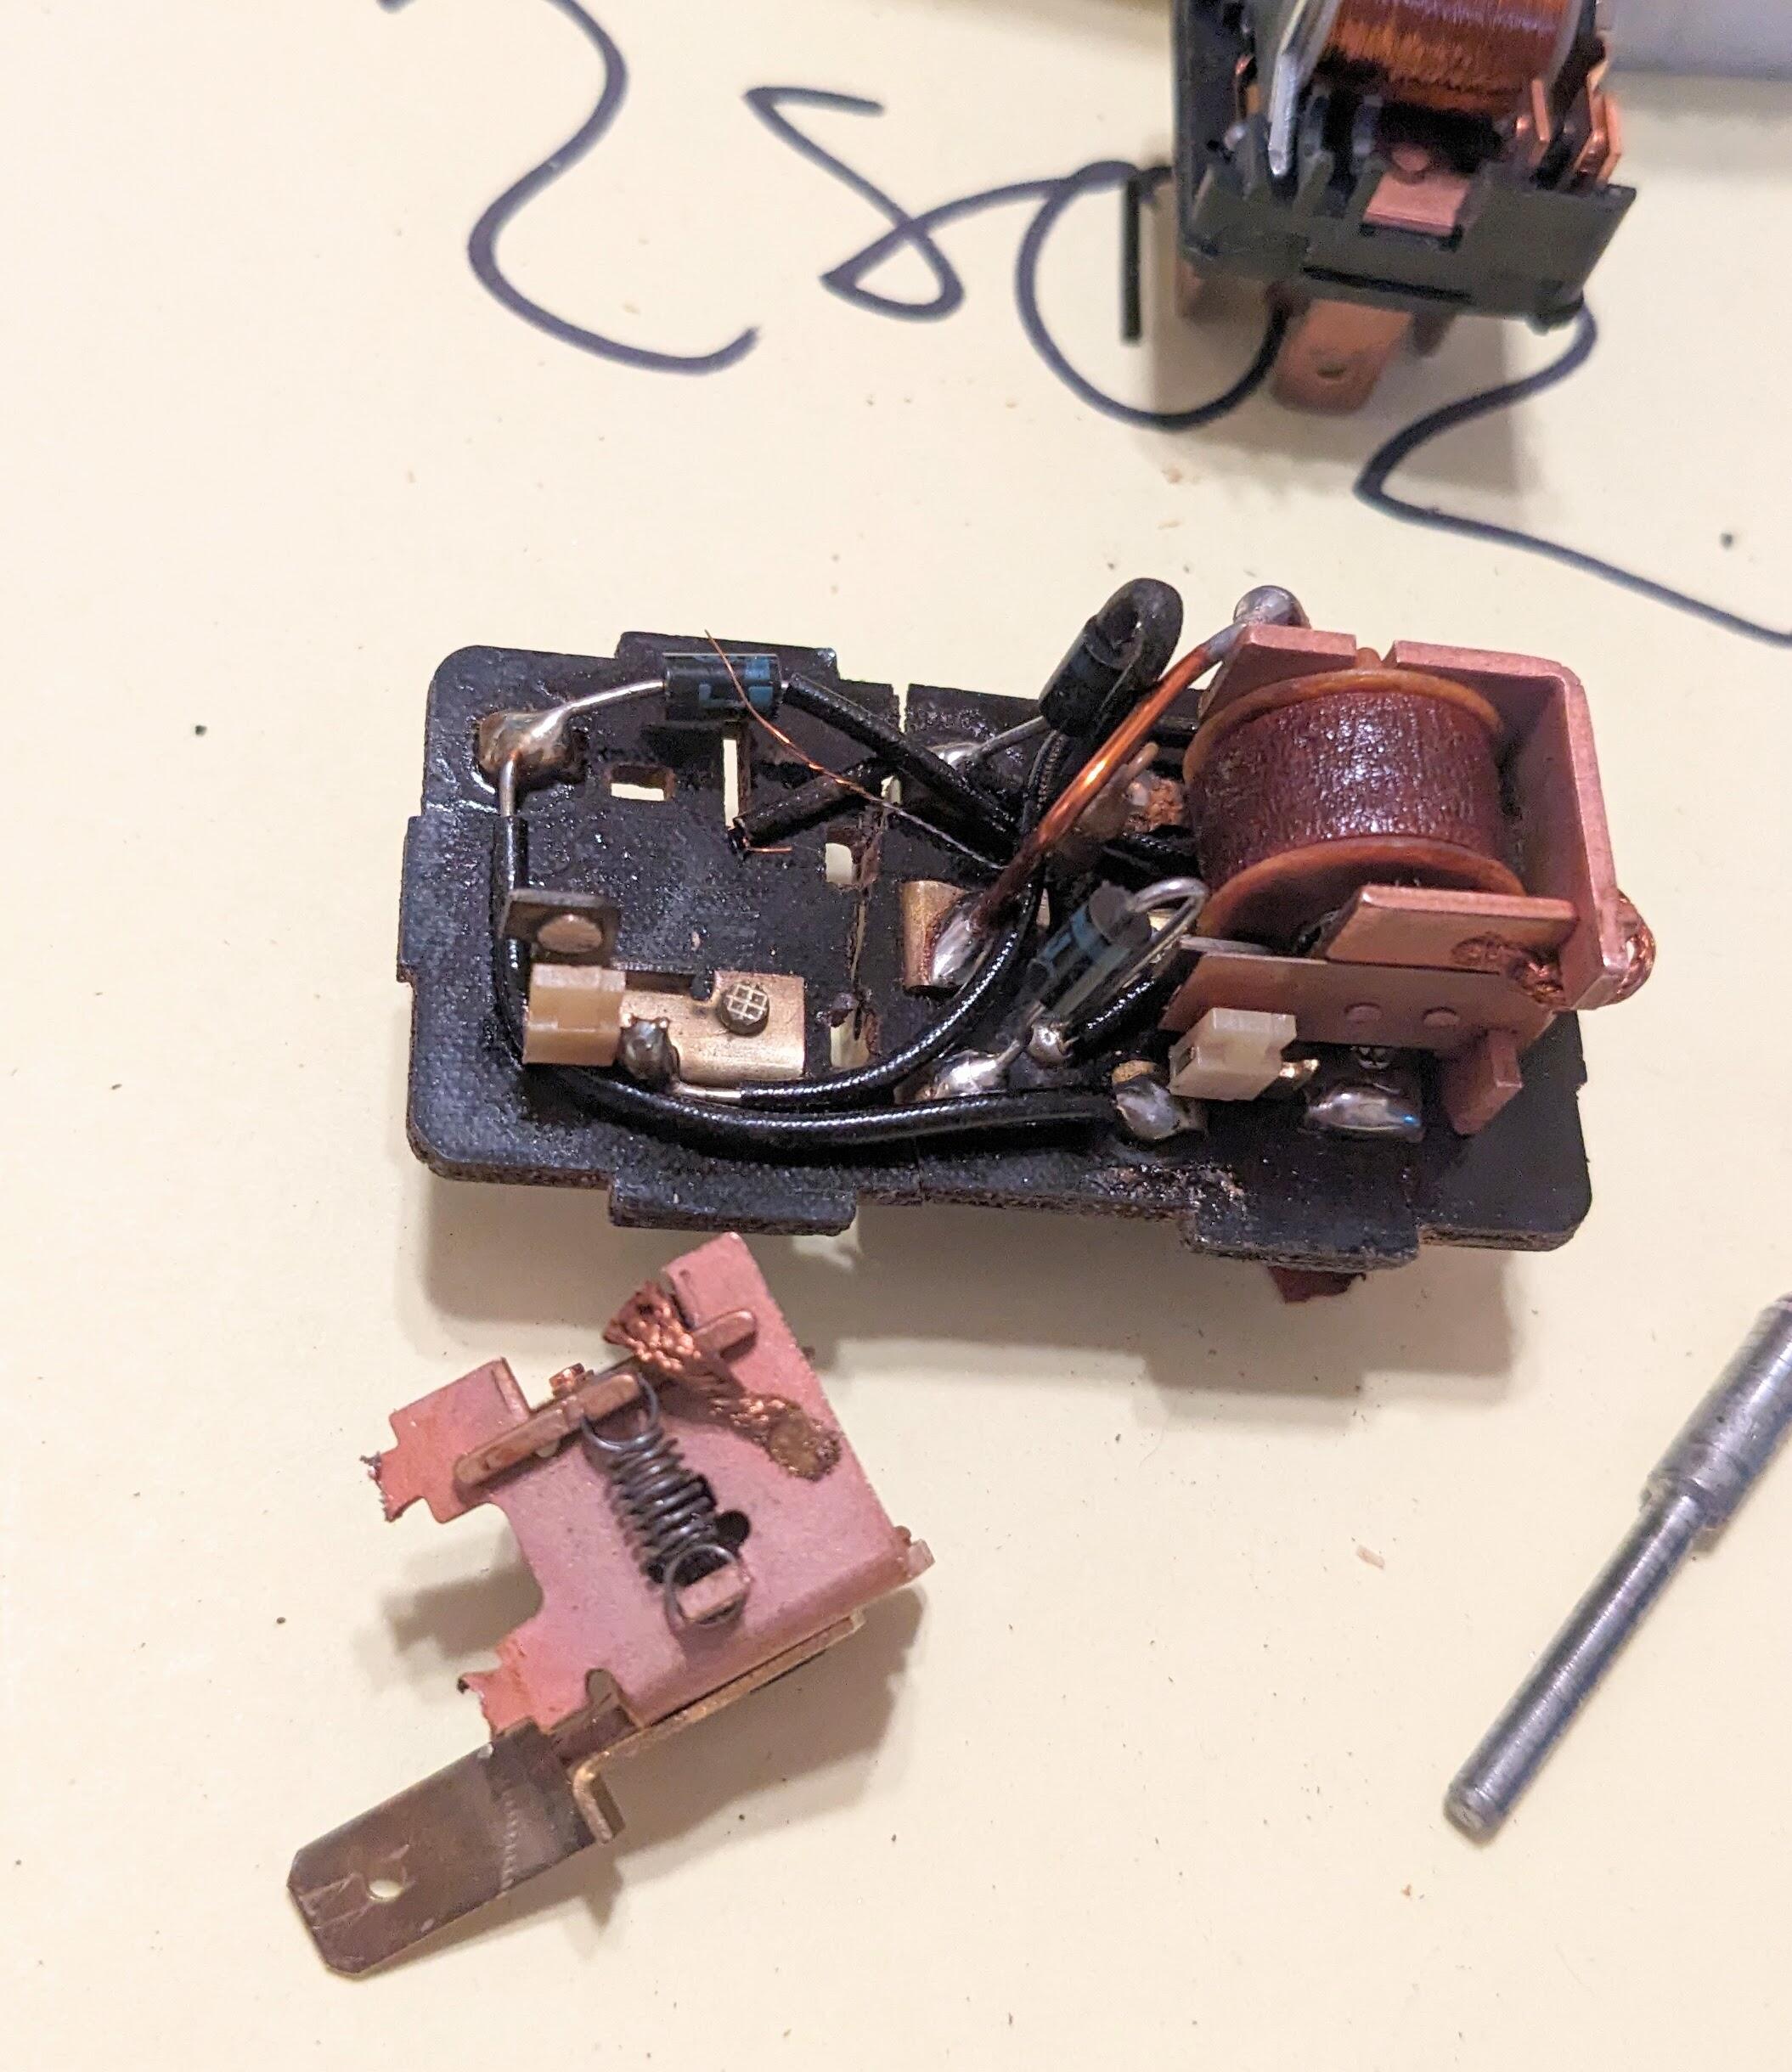
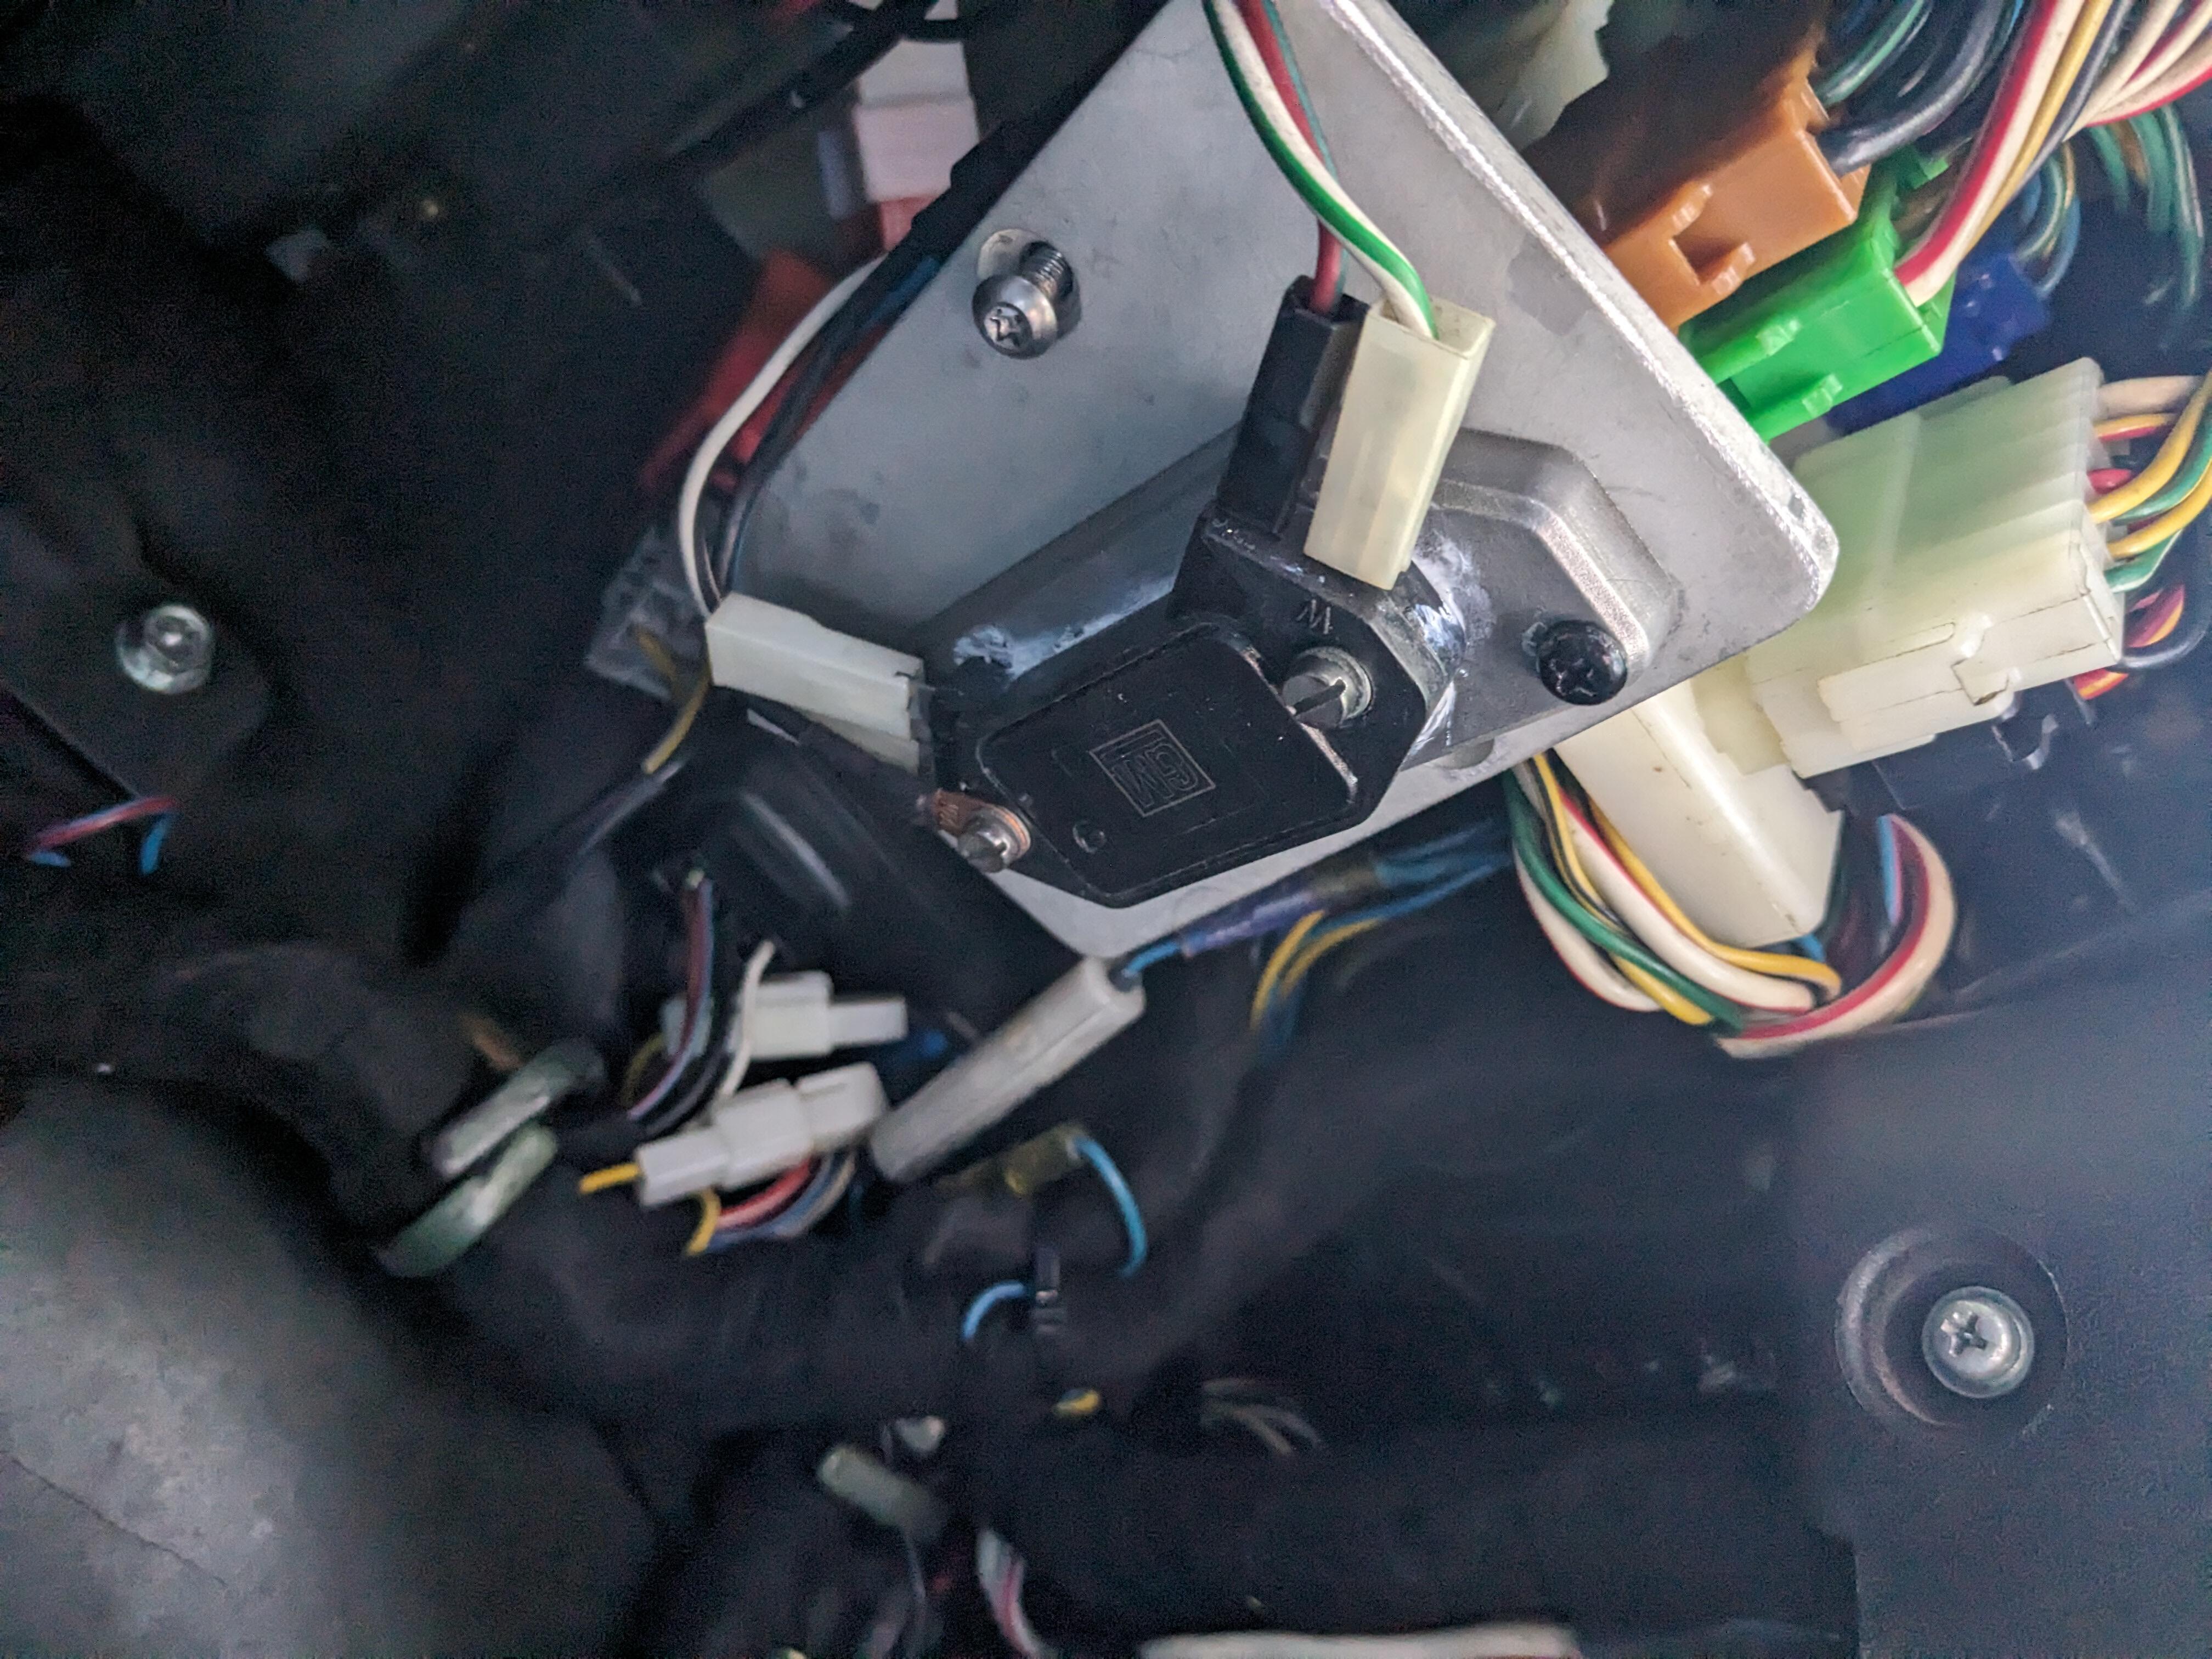
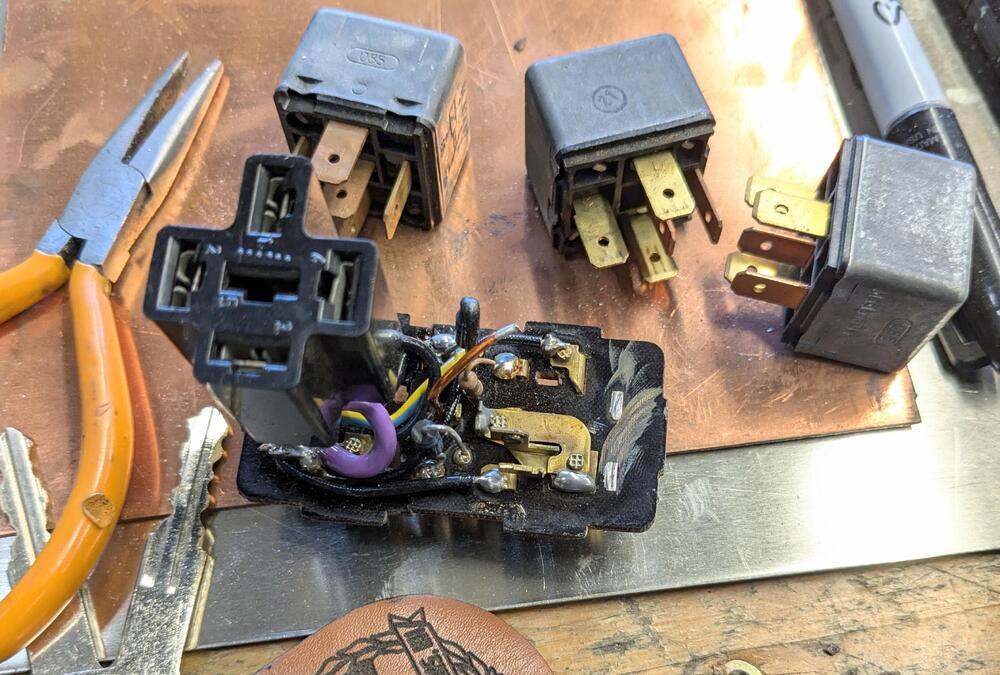
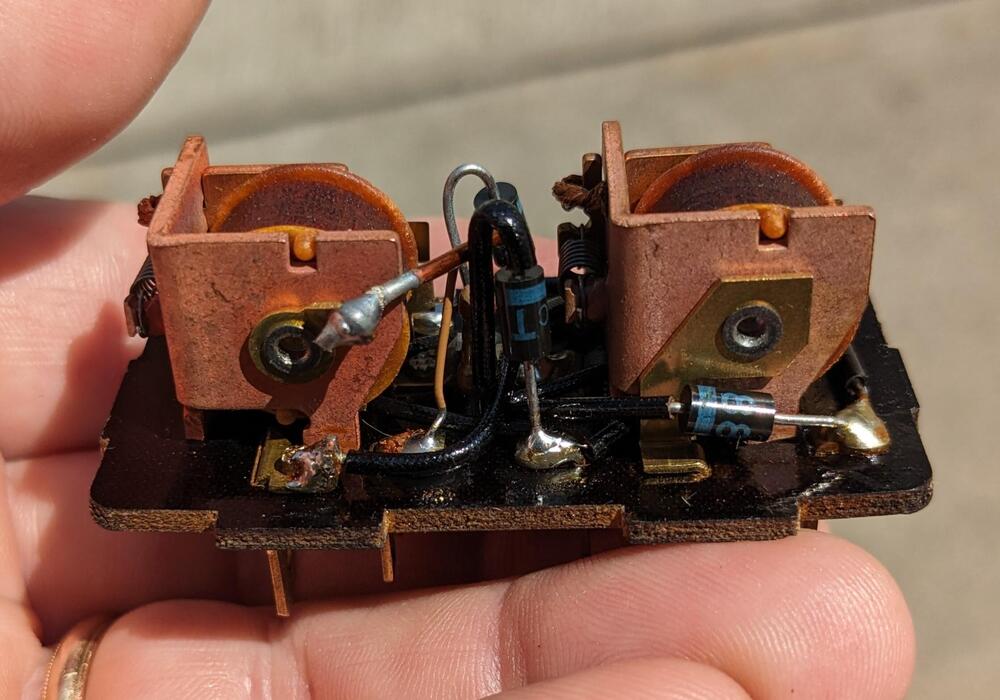
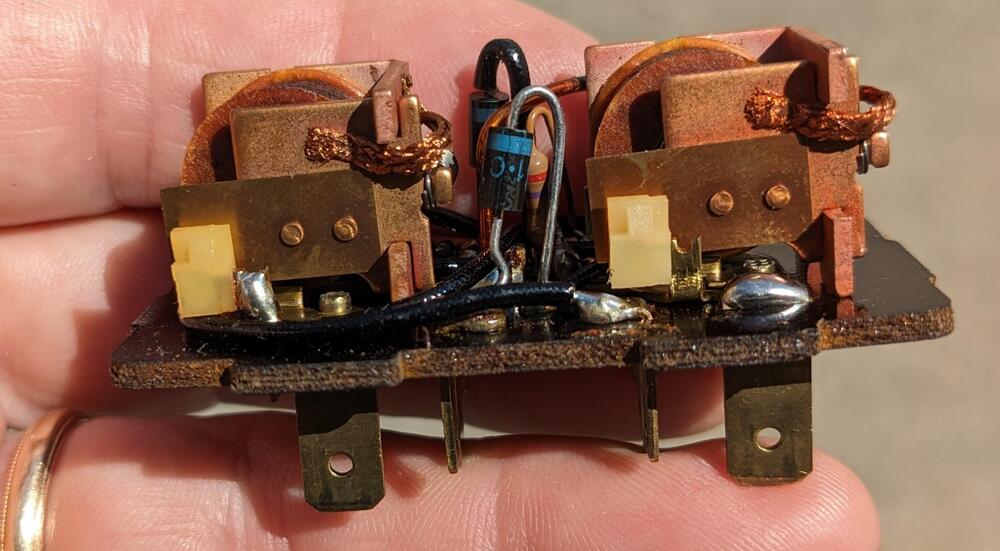
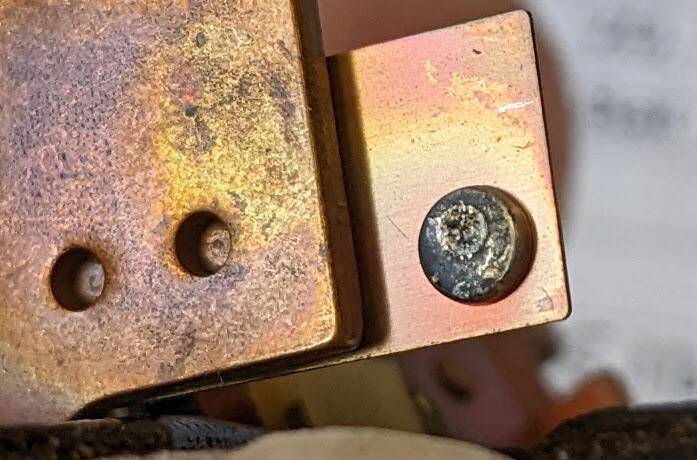
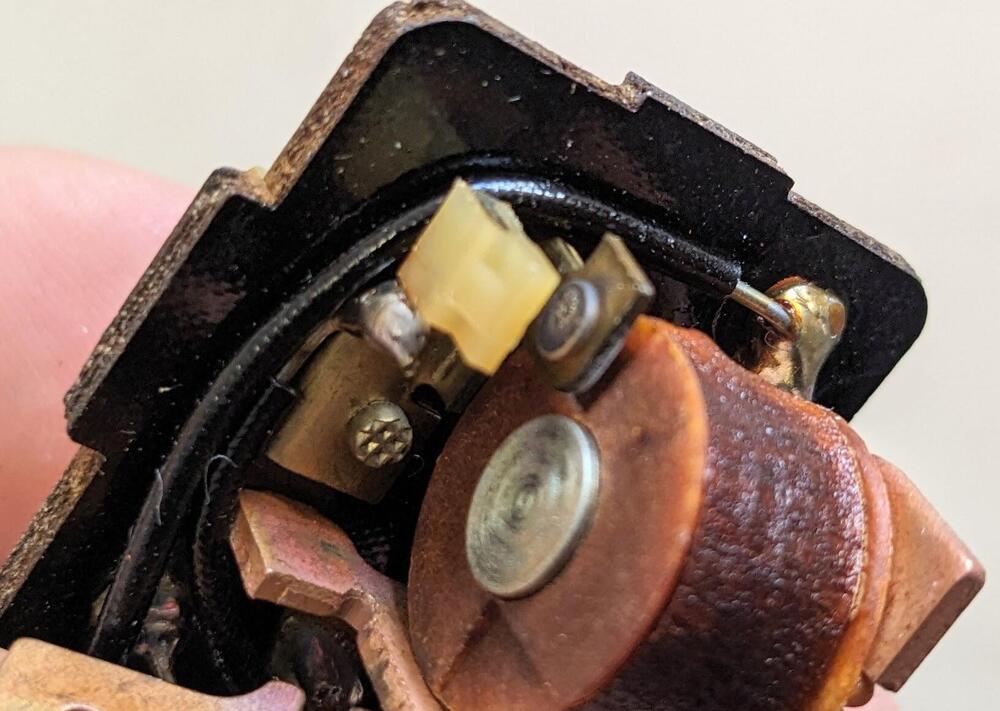
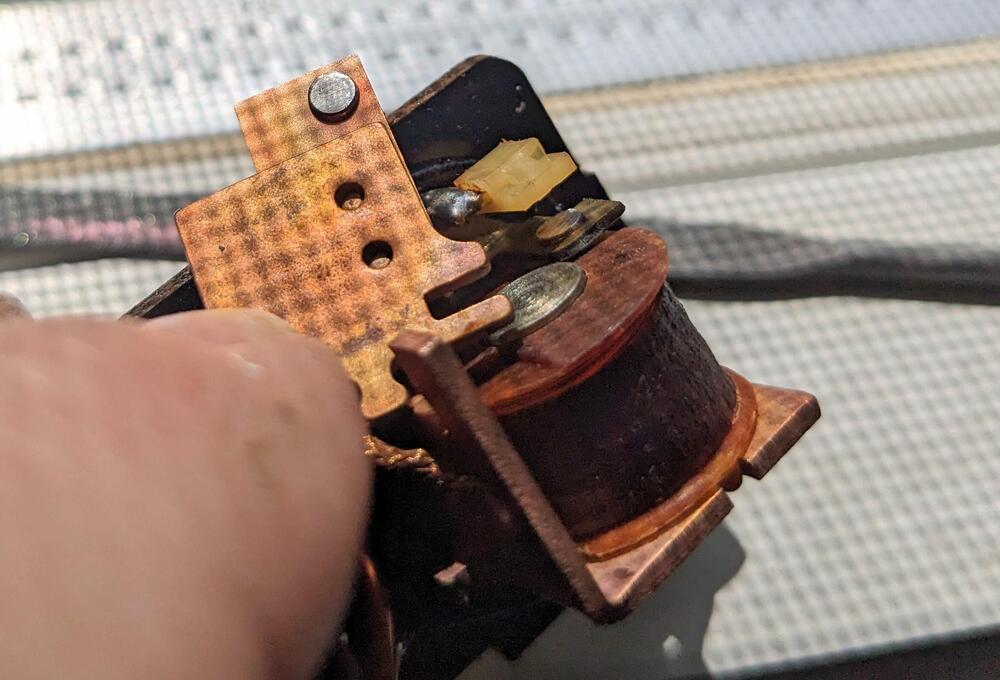
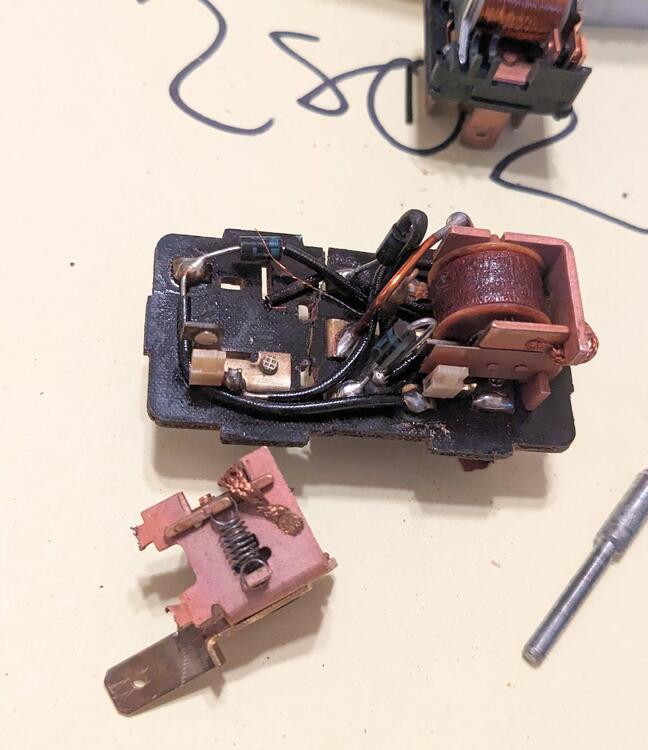
Yesterday, I drove the car with the Mrs., and it acted up - no throttle response & cut out a few times, stalled. Restarted every time. I thought maybe I was actually out of gas, as the (cheap) new gauge seemed pretty inaccurate. Anyway, that wasn't it. Today I took apart the old relay & cleaned the contacts to retry the relay. It didn't a make a difference, the coil is the problem, it overheats & cuts out as before. Took a bunch of pics of the relay, so I could try replicating it. resistor for AFM circuit is 2ohms. I'll probably just make a new relay setup, just didn't want to cut the factory harness at this point. pitted contact after resistor value 2ohm tried to cleanly remove the coil, cracked the board in the process I also added an extra heat sink for the HEI module, as it did seem to be getting pretty hot So, in the end, I didn't find anything conclusive, and after the initial glitch/hiccup in the driveway, I took a short drive this evening & flogged it hard to see if I could make it act up. It ran just fine.



-
I had done the siding then the trim, but I had to go back & touch up the siding. for the stuff that's left (up above the entry) I'll do the trim first, seems to work better. Zonked again today - slept in. I think I did too much yesterday. Back to work tomorrow, I only have till Thursday with my (art classes) students, then it's Regents Exams, so no regular class attendance. They all need to finish their art finals, and I was out all last week, so I know many will have elected to coast in that time without me there to motivate them.
-
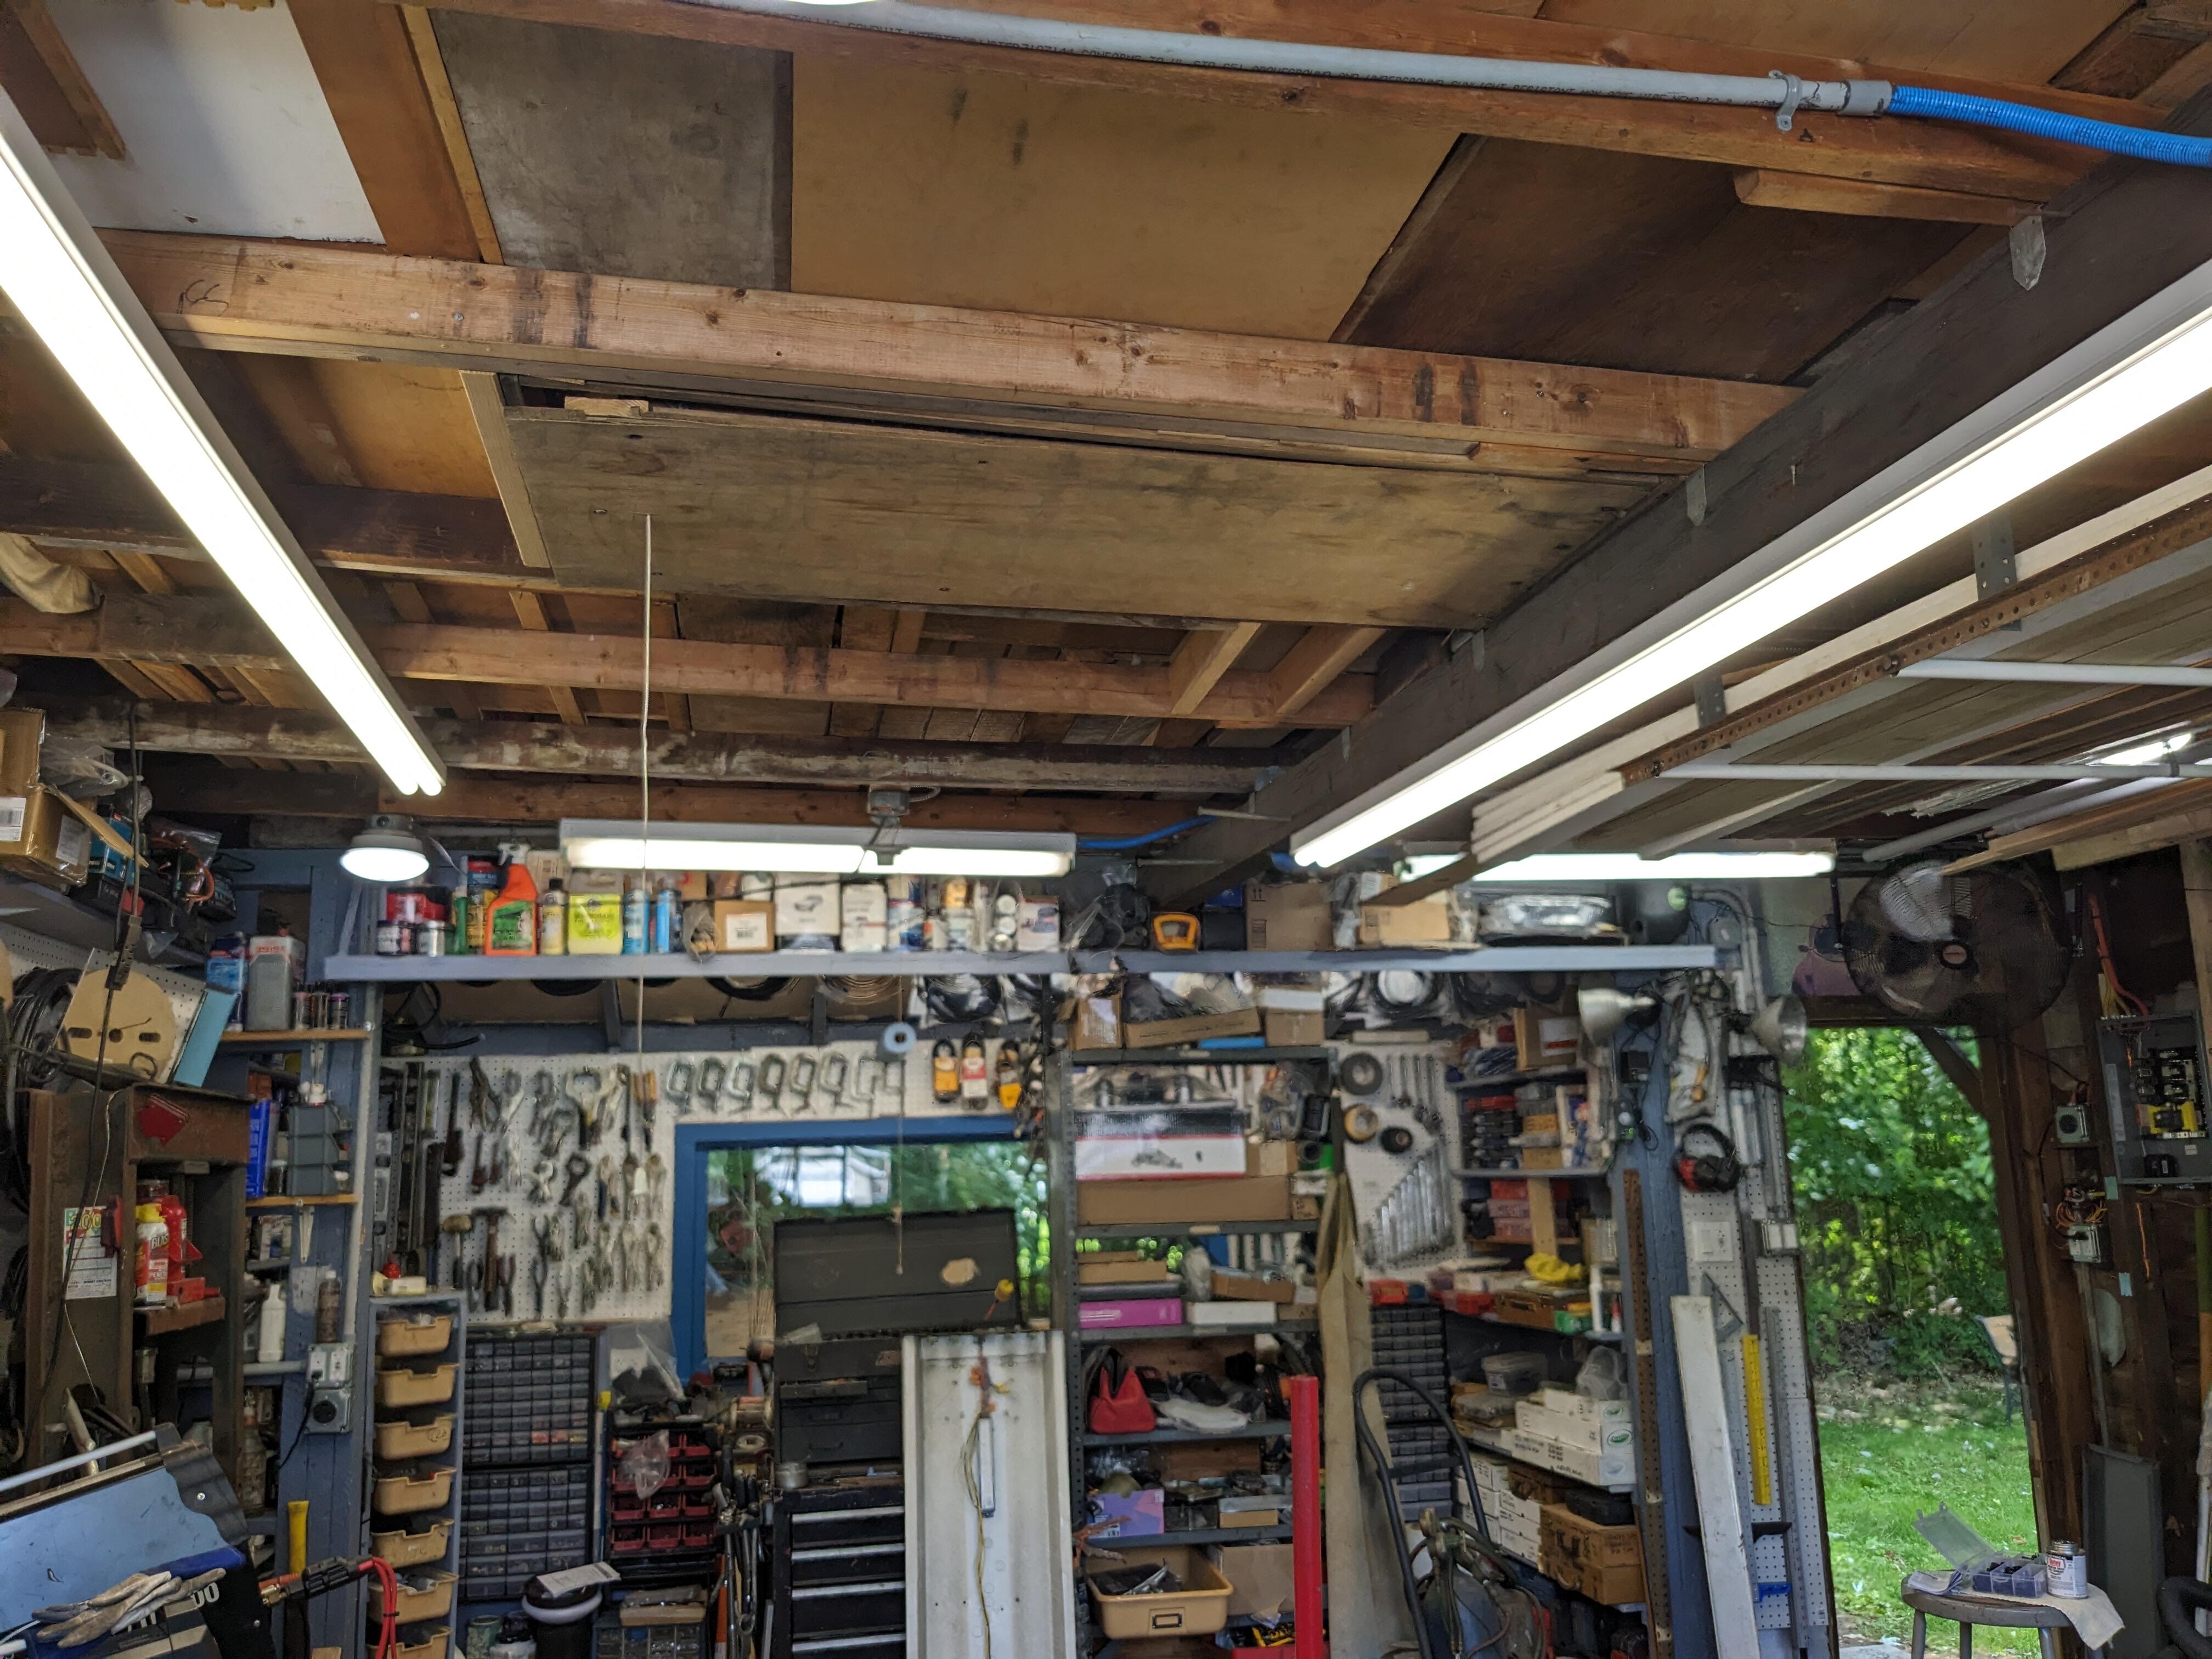
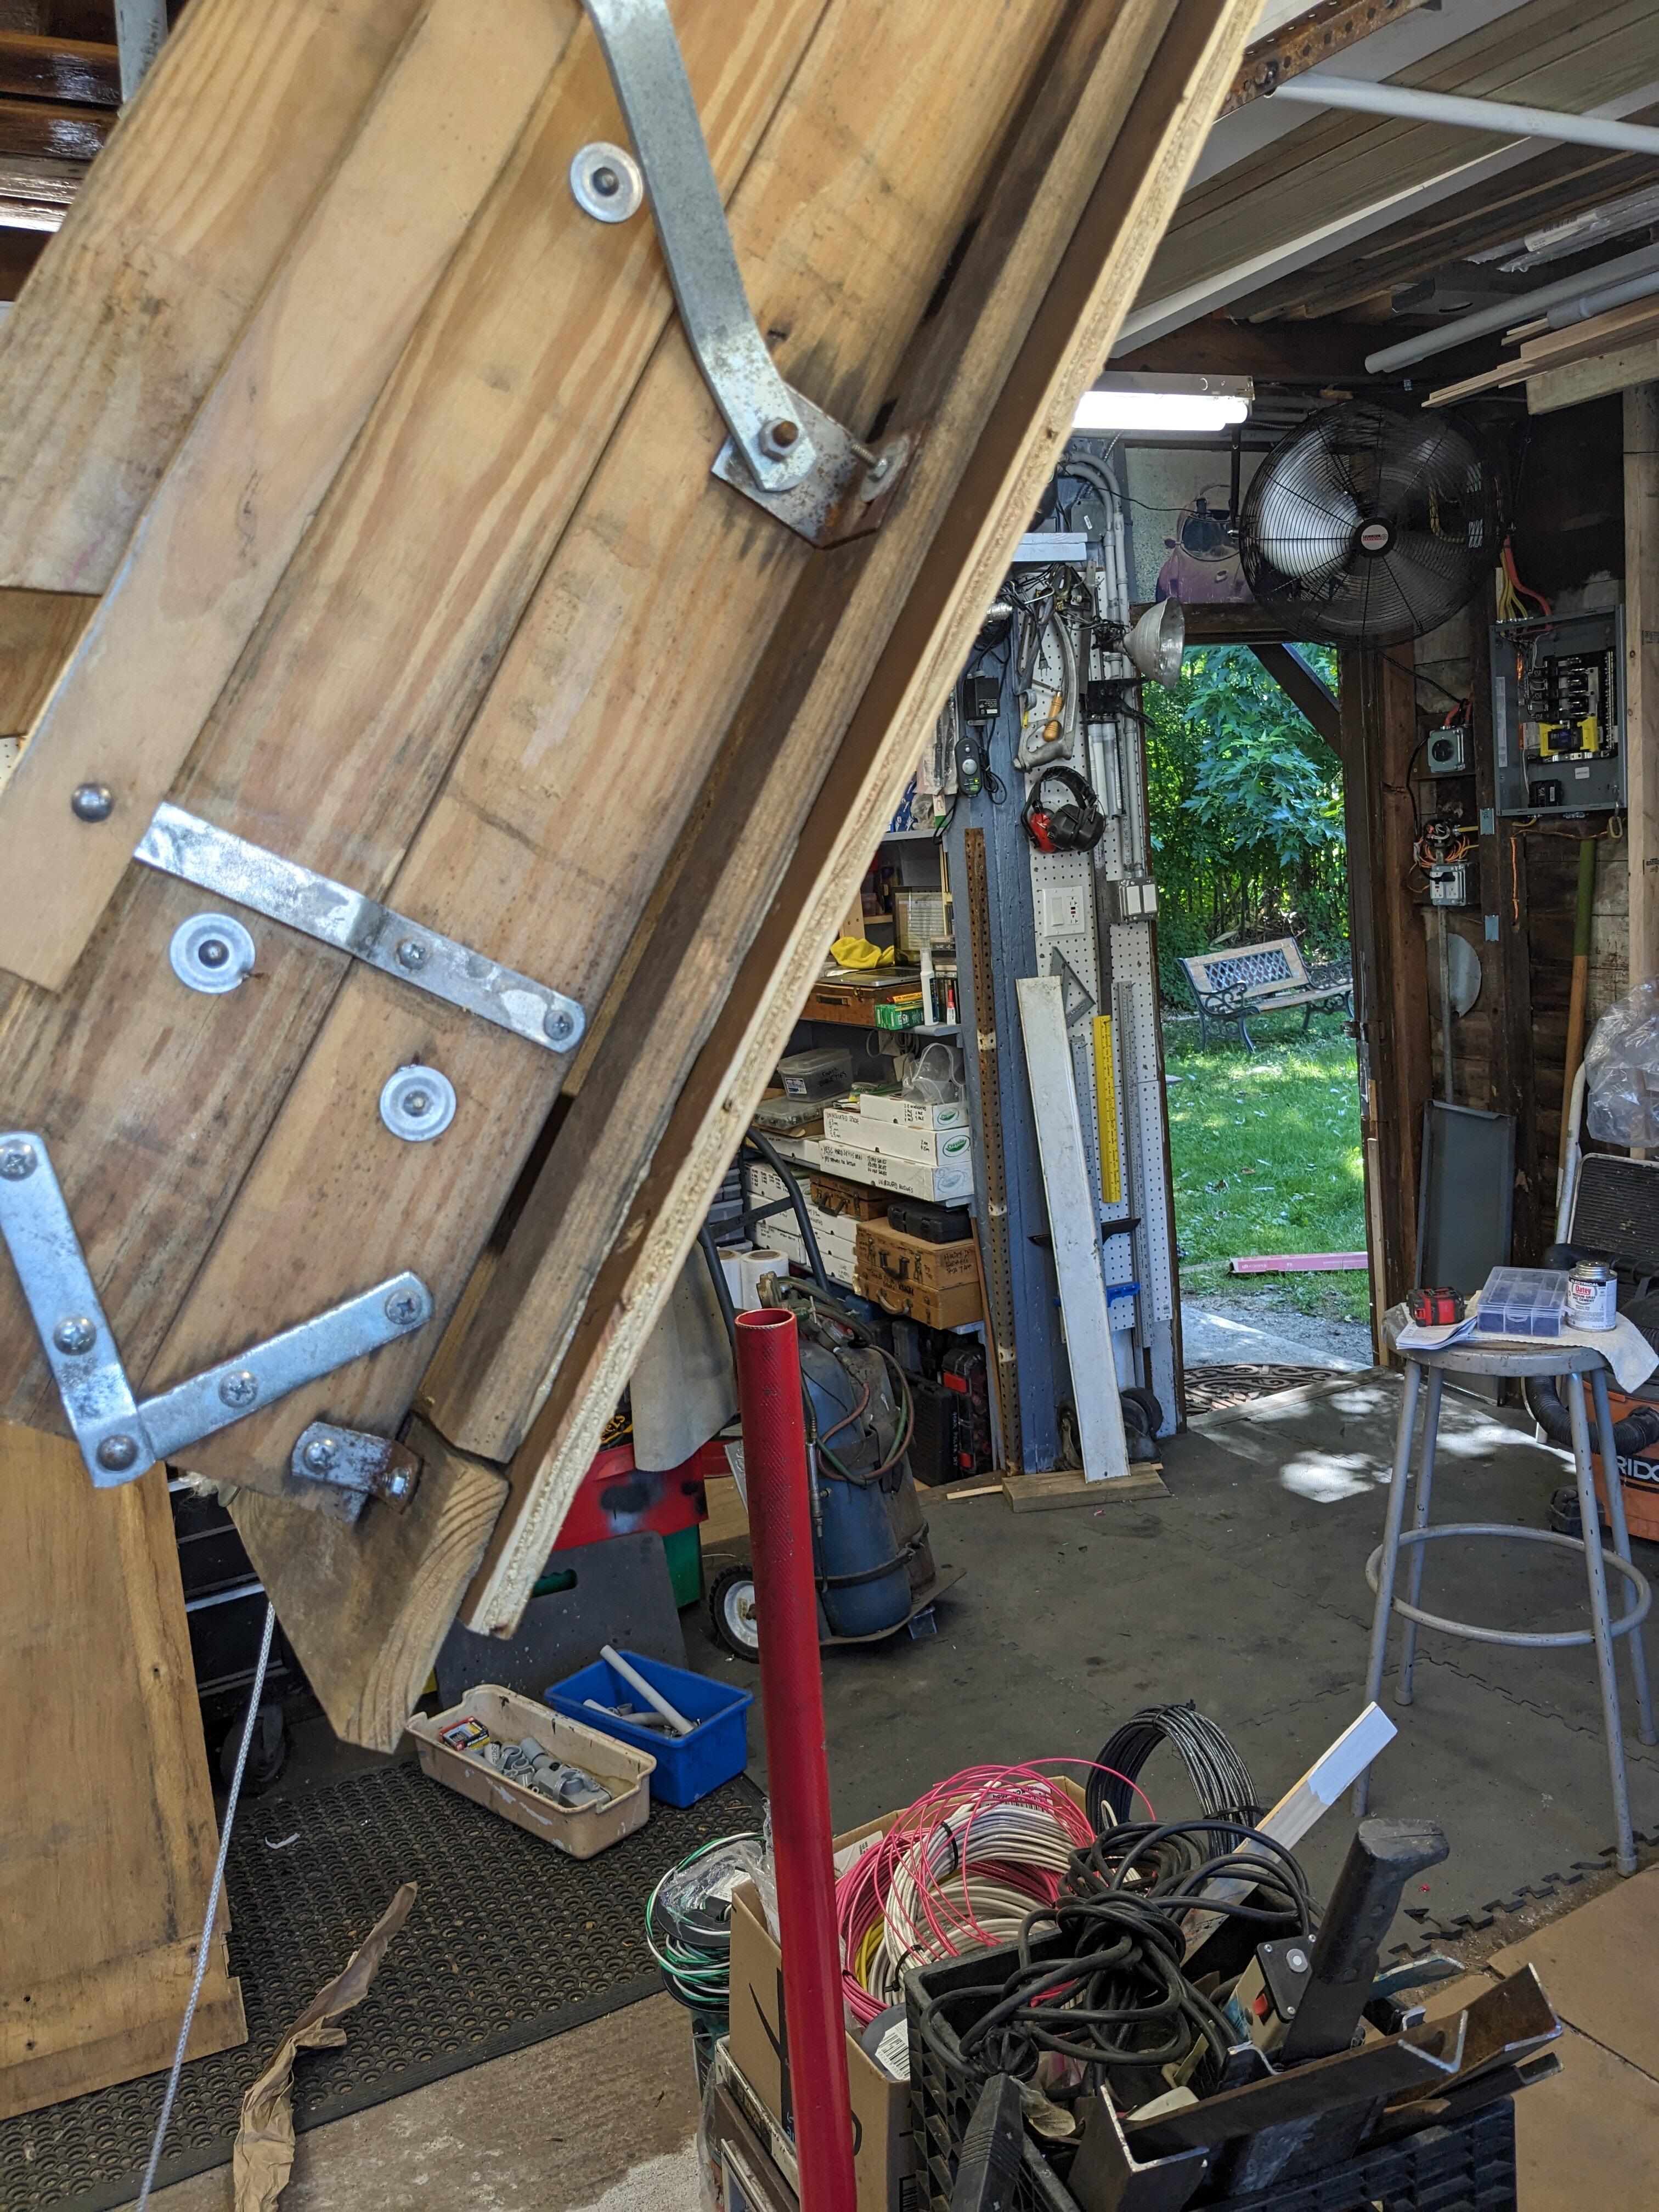
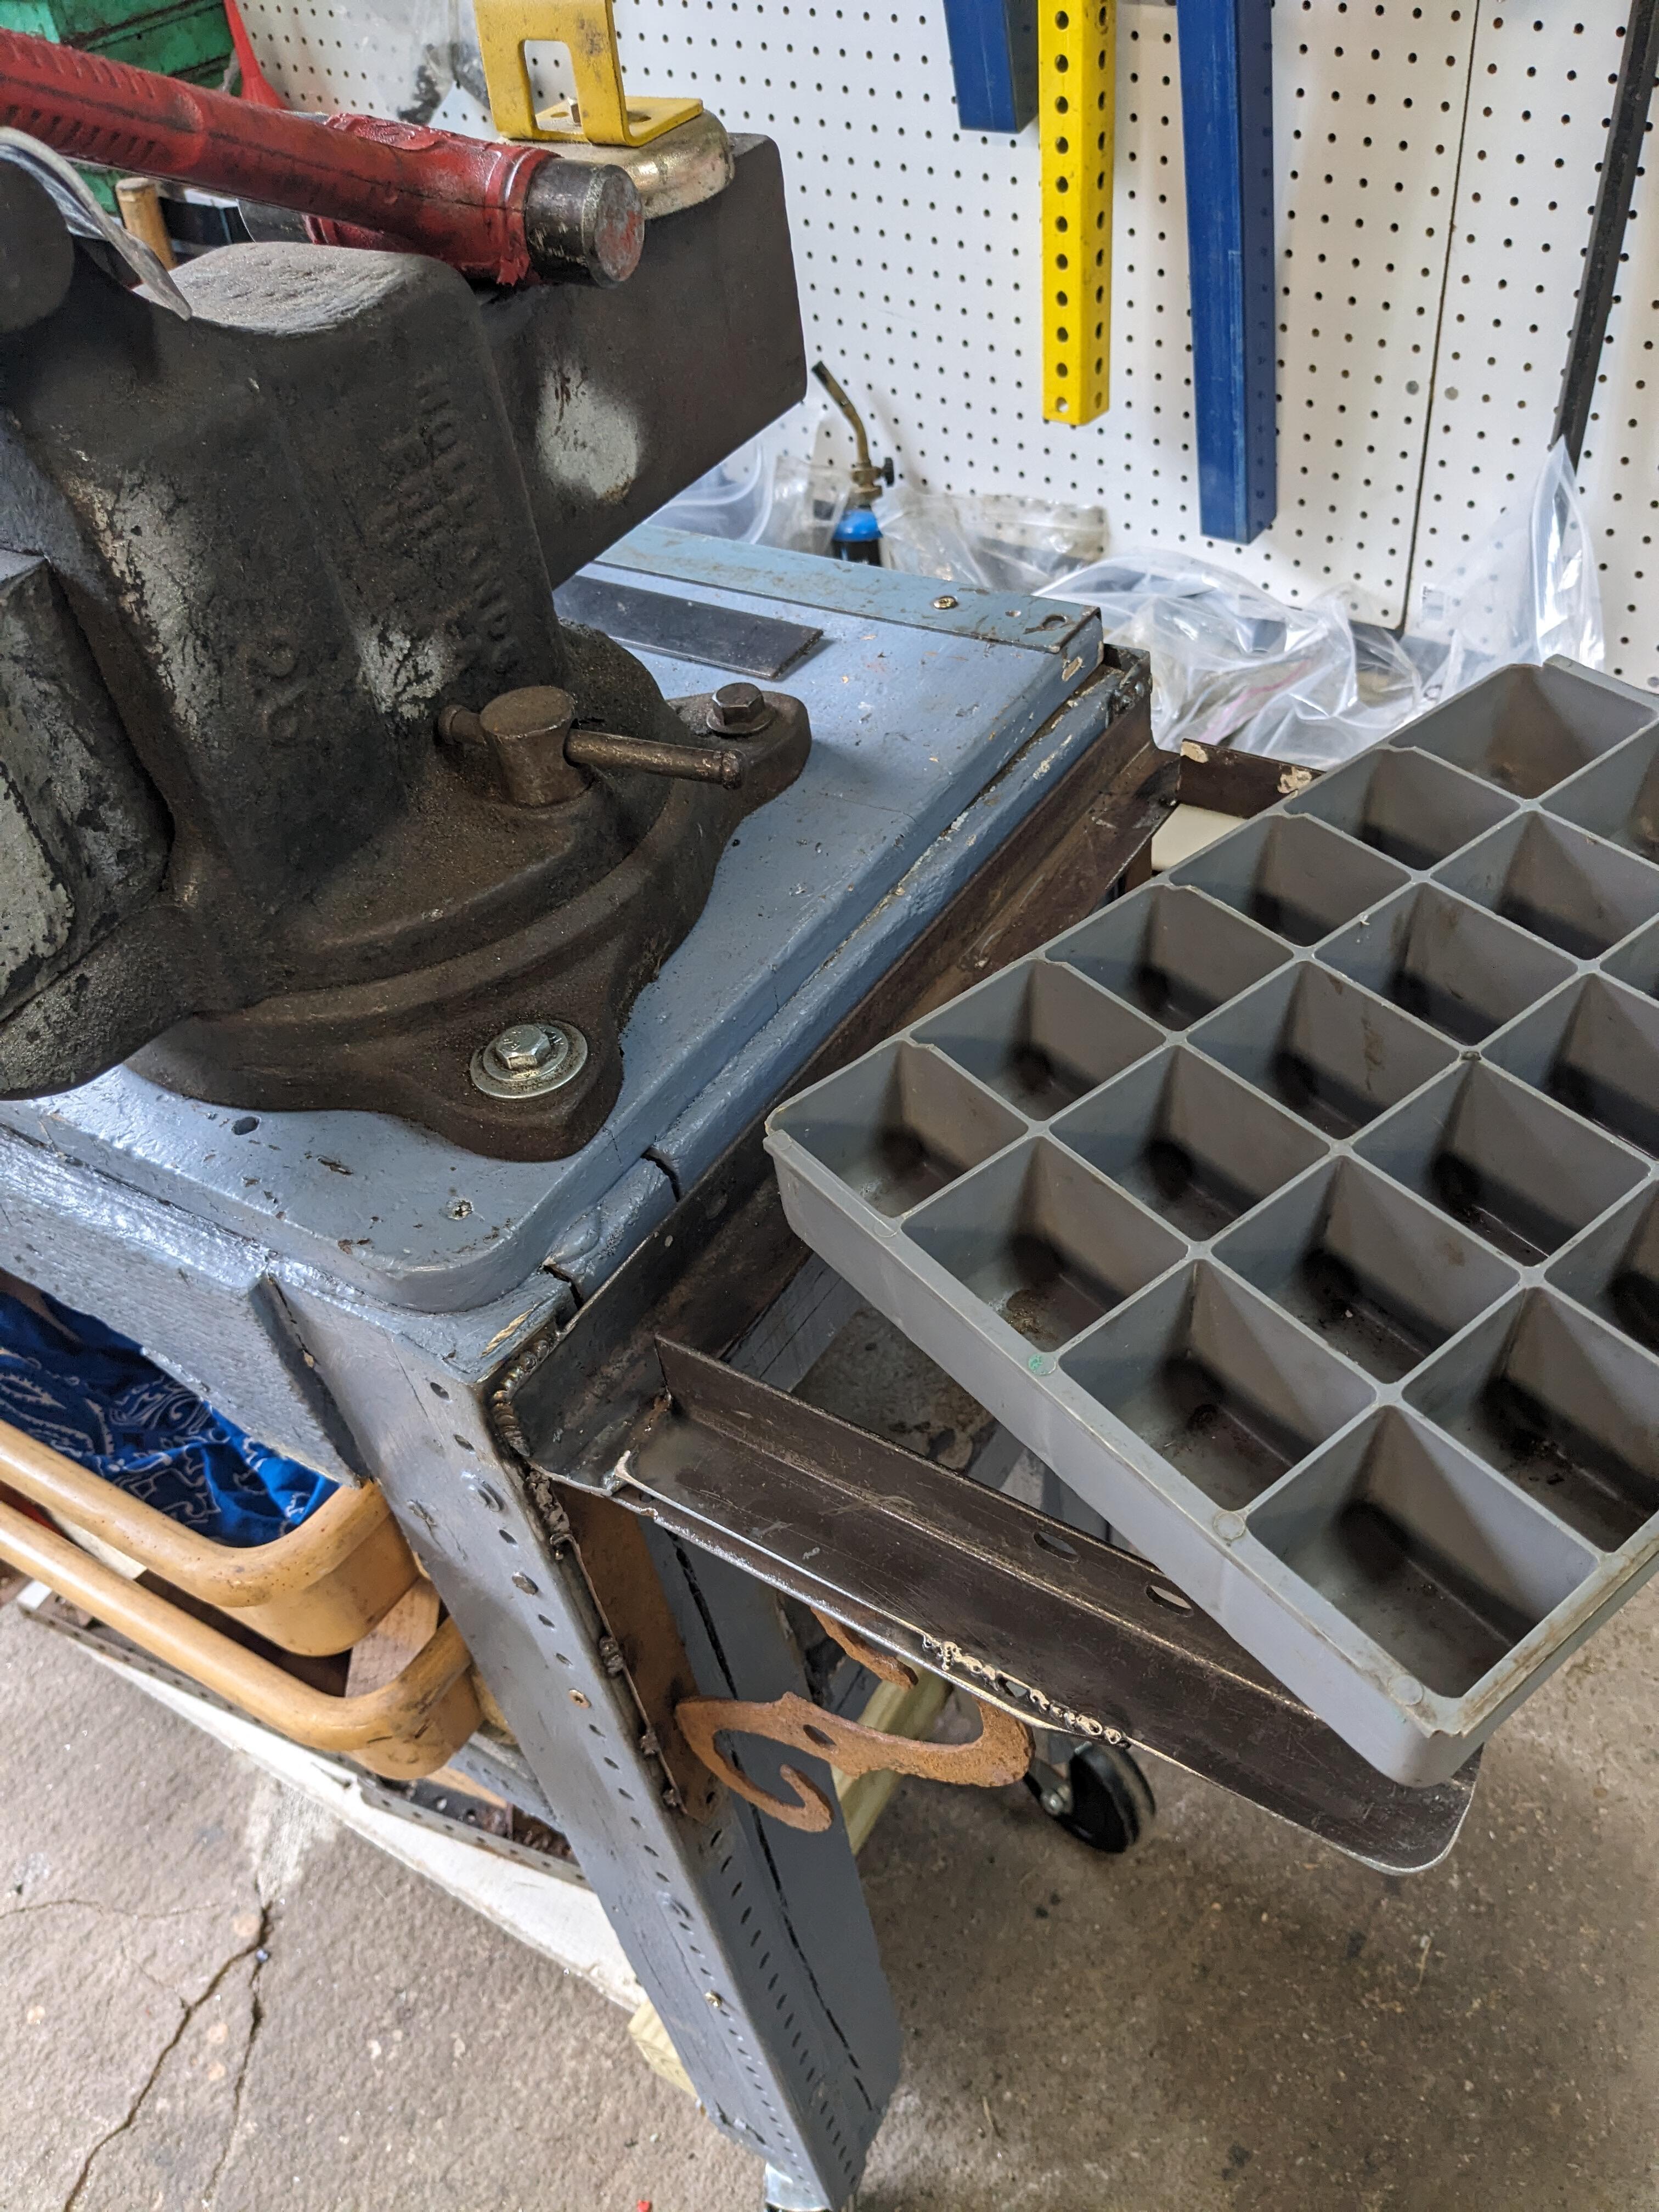
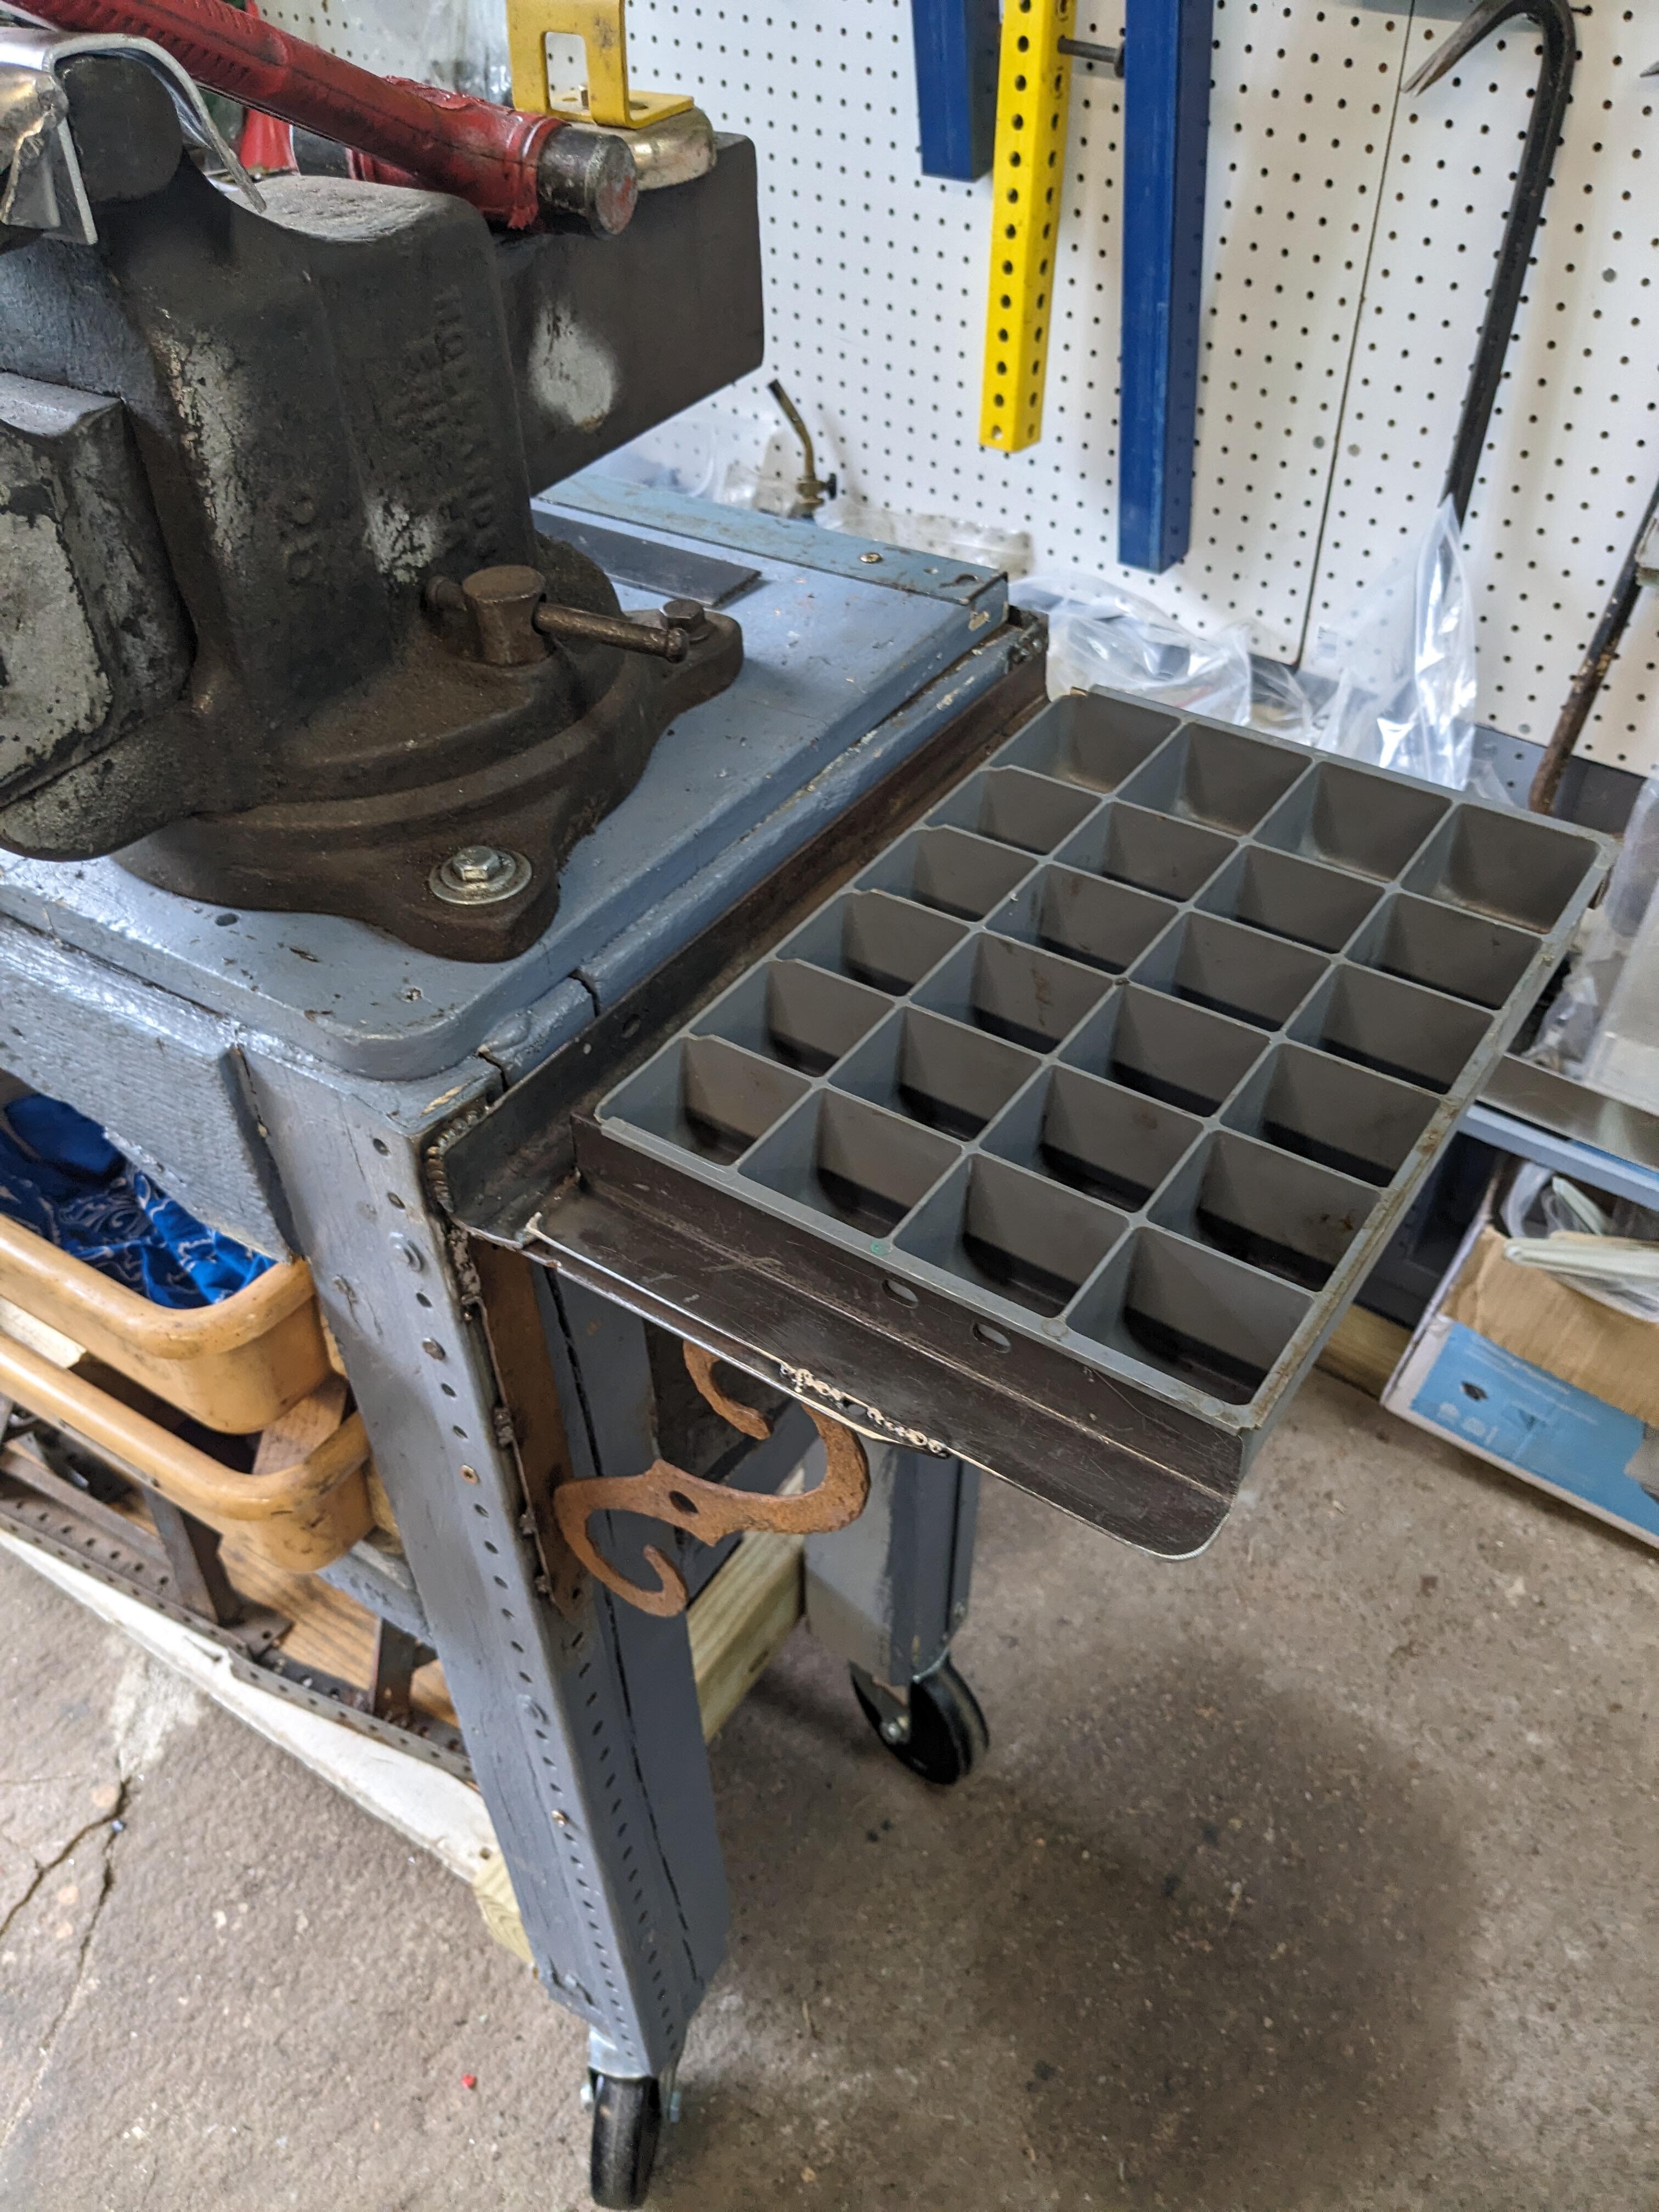
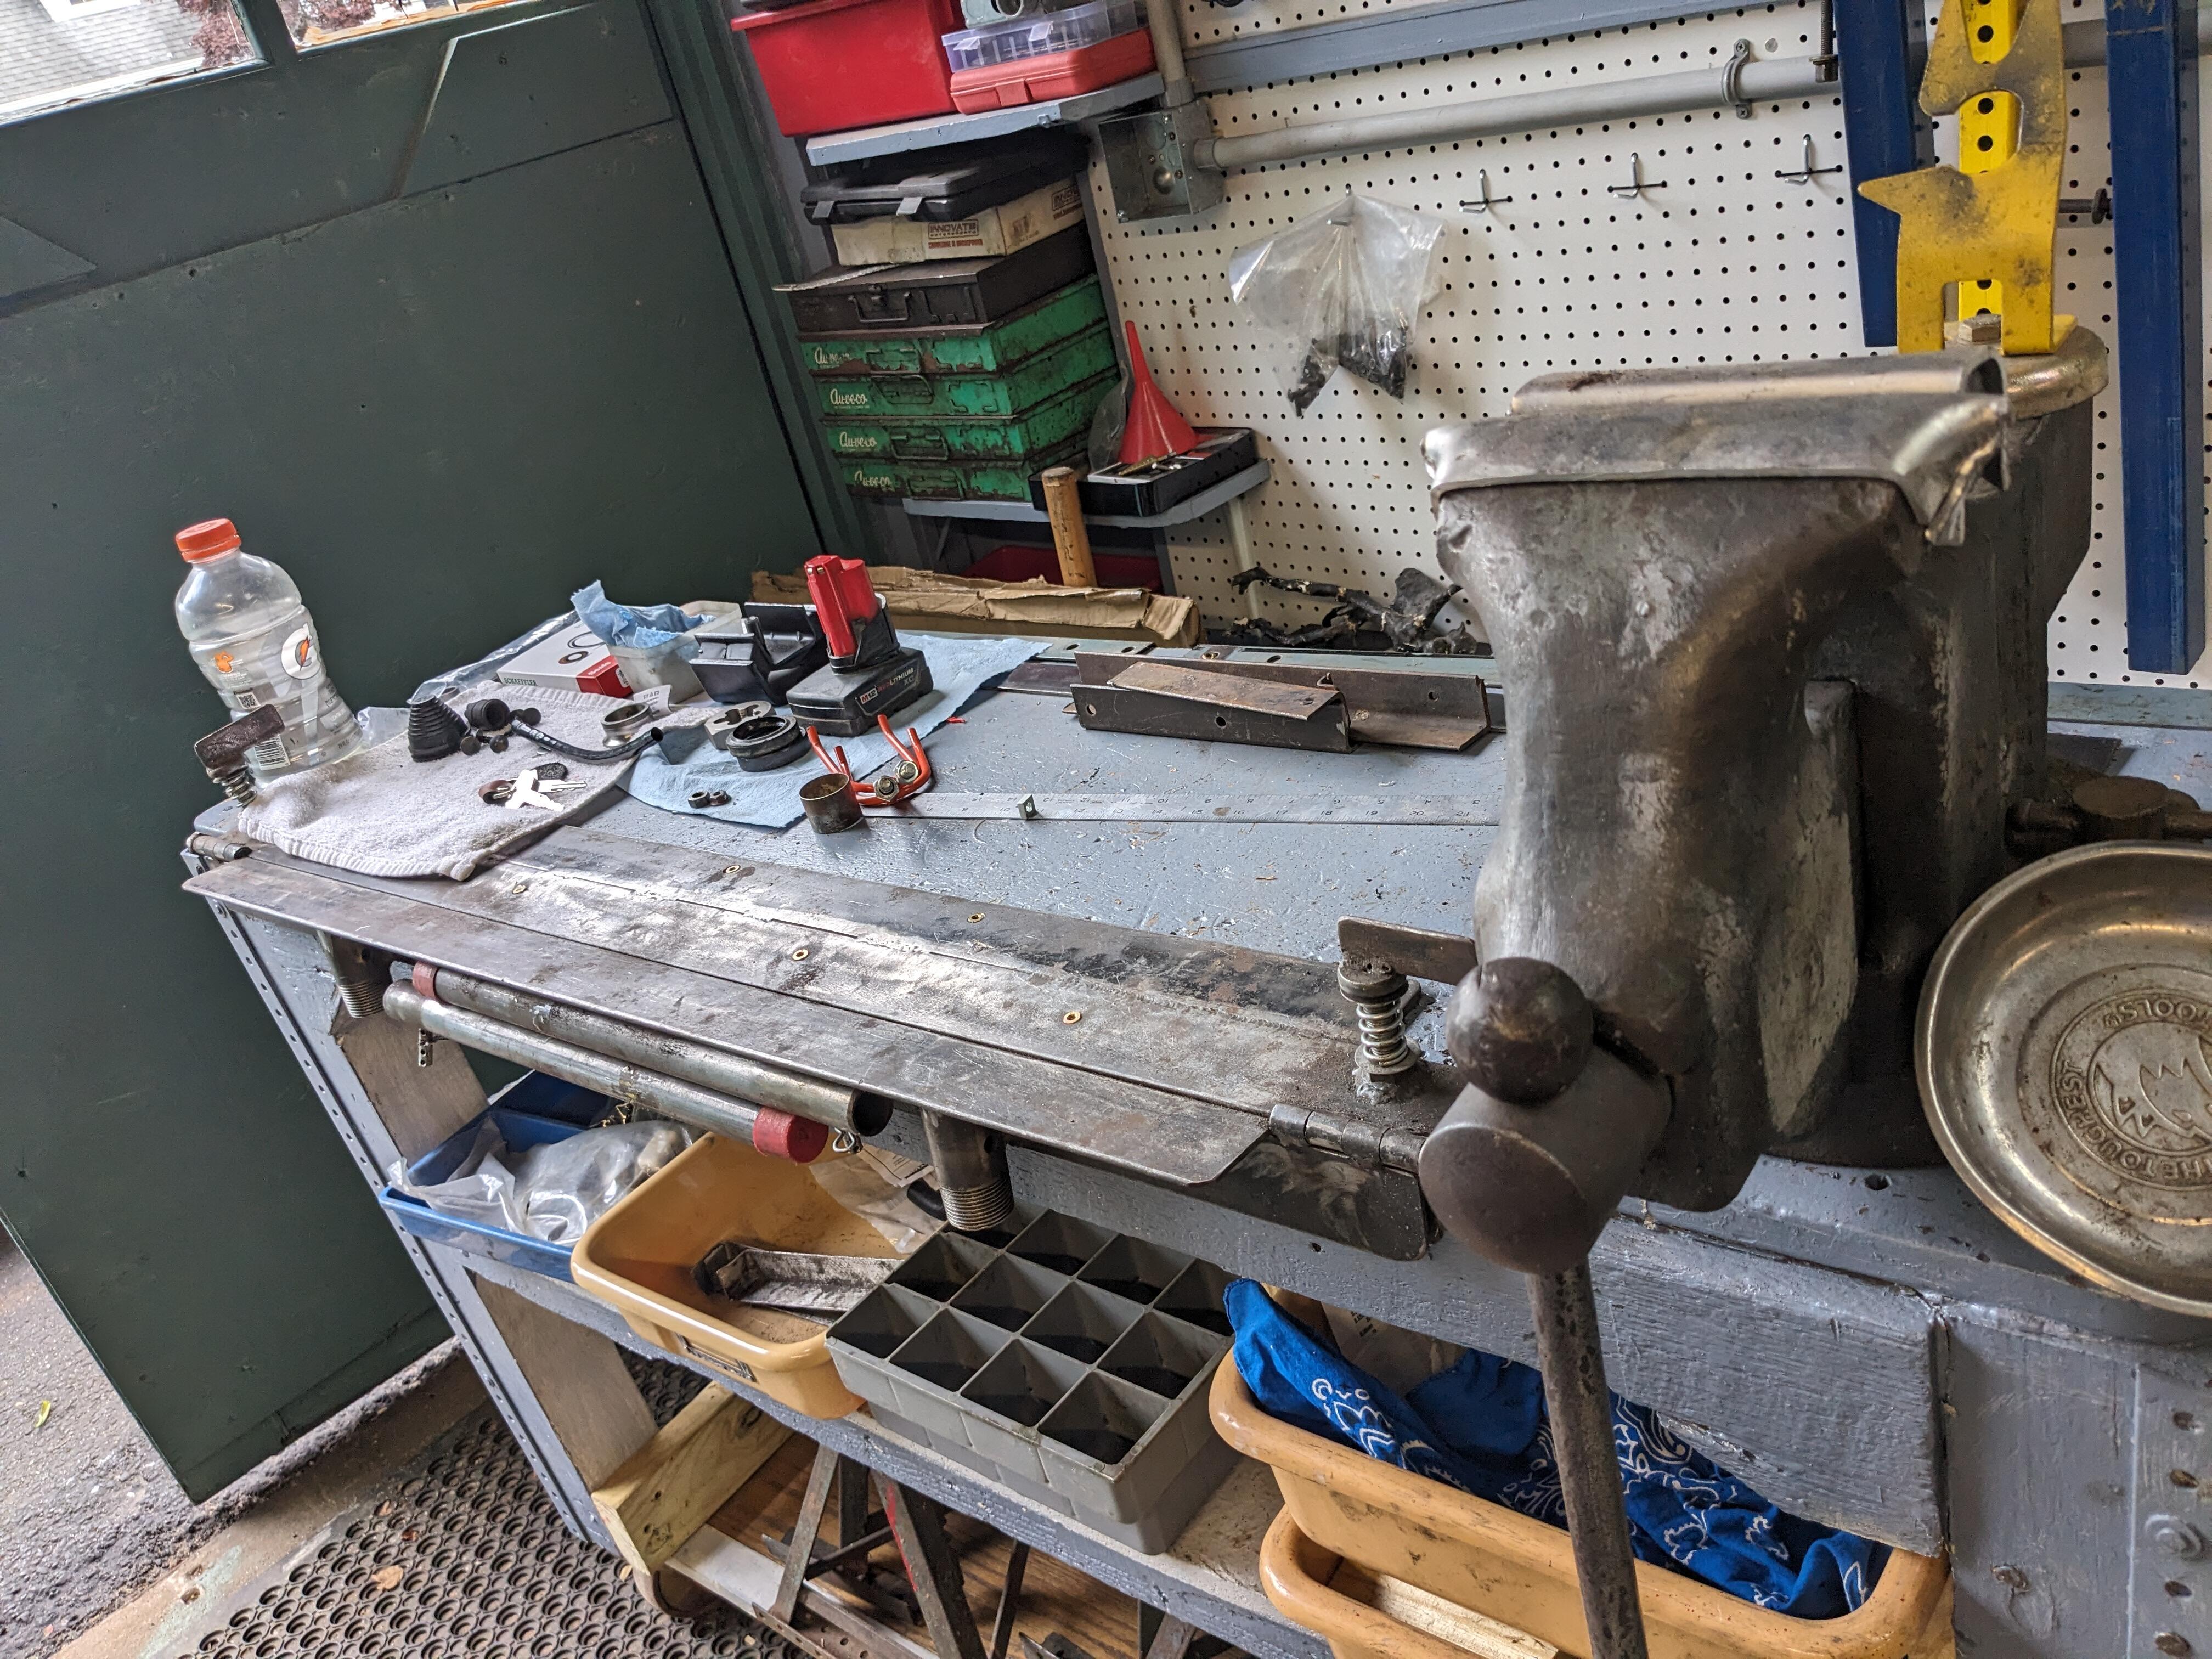
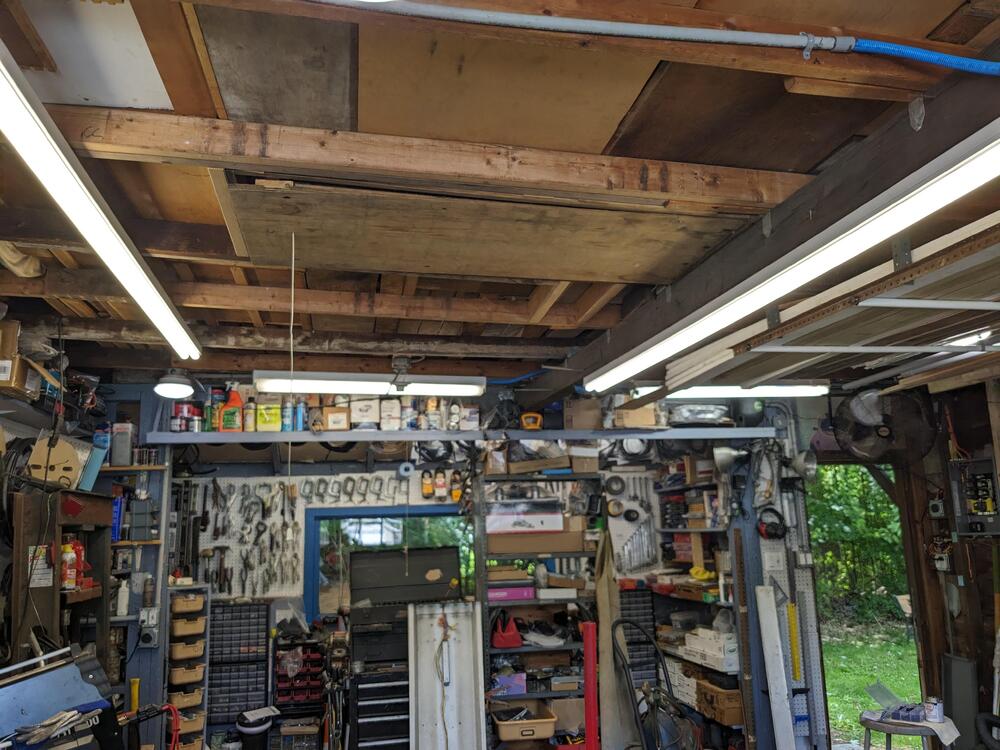
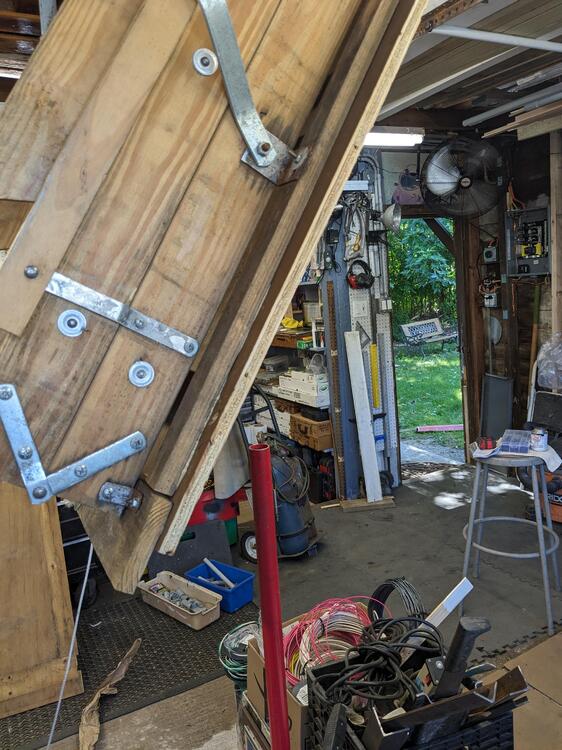
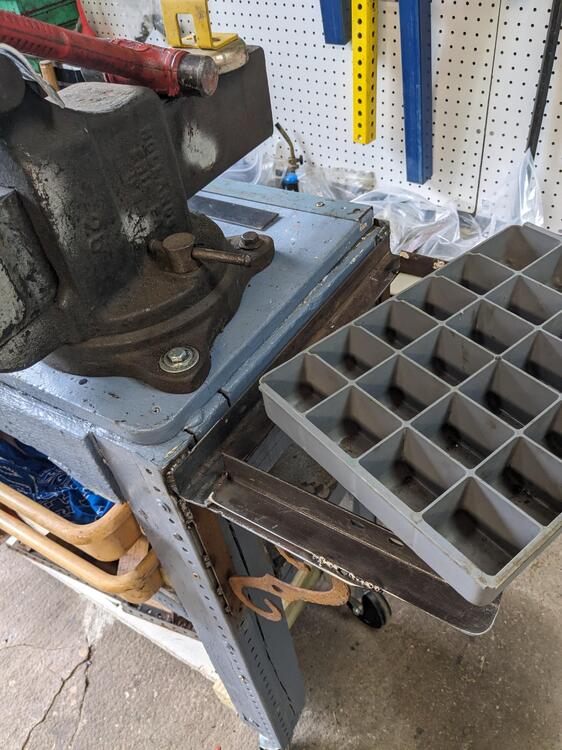
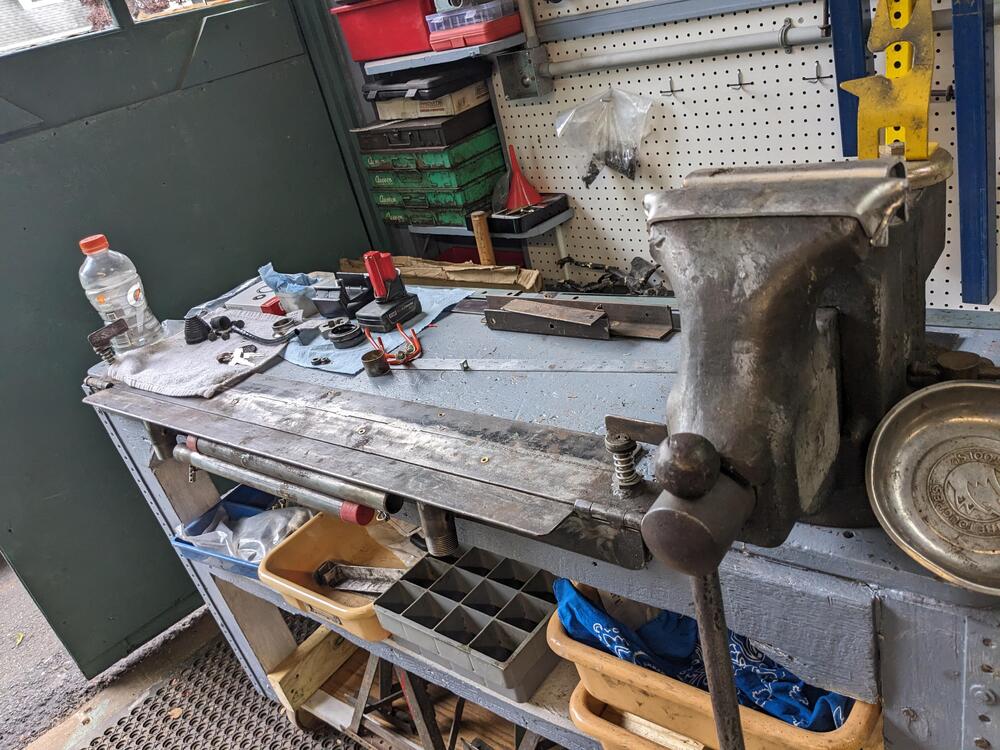
Last few days I've just been futzing on small things - not enough energy to pull the trans Tuesday - after napping most of the day away, I had to get something done so I replaced the 3 kitchen counter receptacles with GFCI - been meaning to do that for years also got another coat of paint on the garage bump out, and started cleaning up the trim. I'm not great at cutting trim Today I added an 8' LED light on the left, 2 fluorescent units on the cross beam Fixed the base of the attic stairs - old base sheet was 1/4" - I changed it with 3/4" and bonded the tie plates to it. Much more rigid & secure now. The other thing I'm always missing is a secure place to put the odds & ends I end up working with - I made a frame to retain 3 trays I have -instead of having to have it in the way on the bench, or under


-
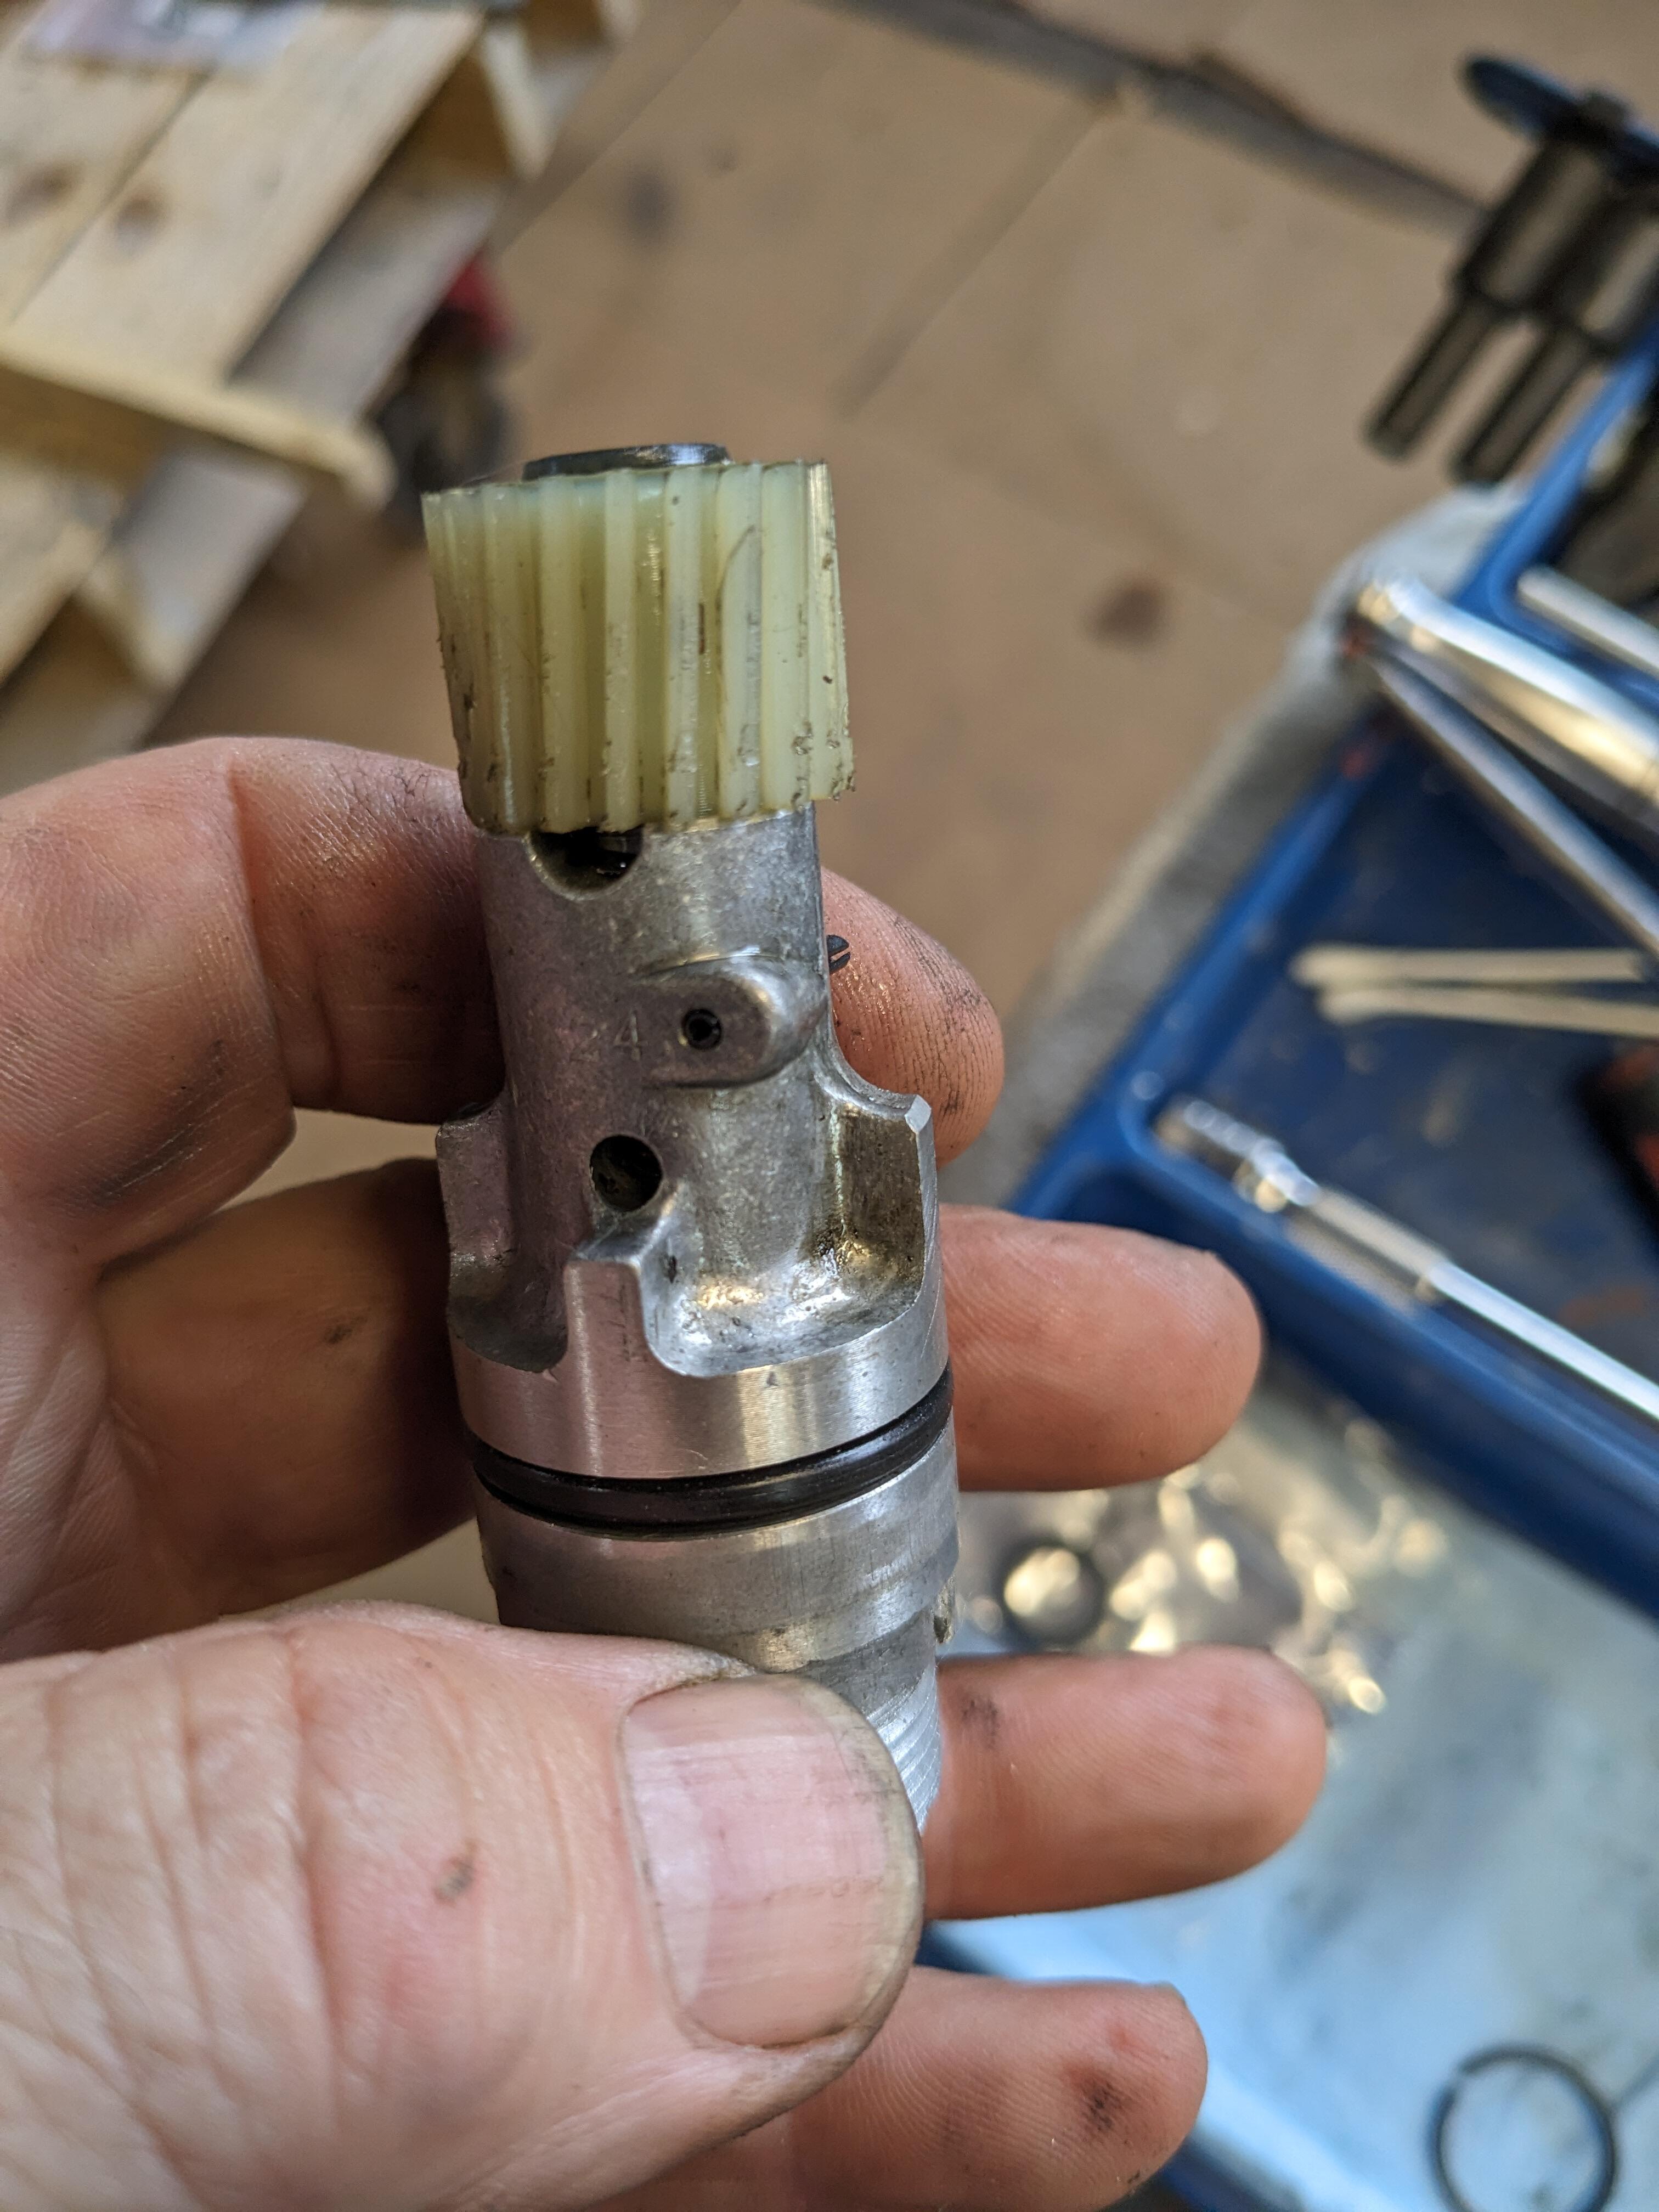
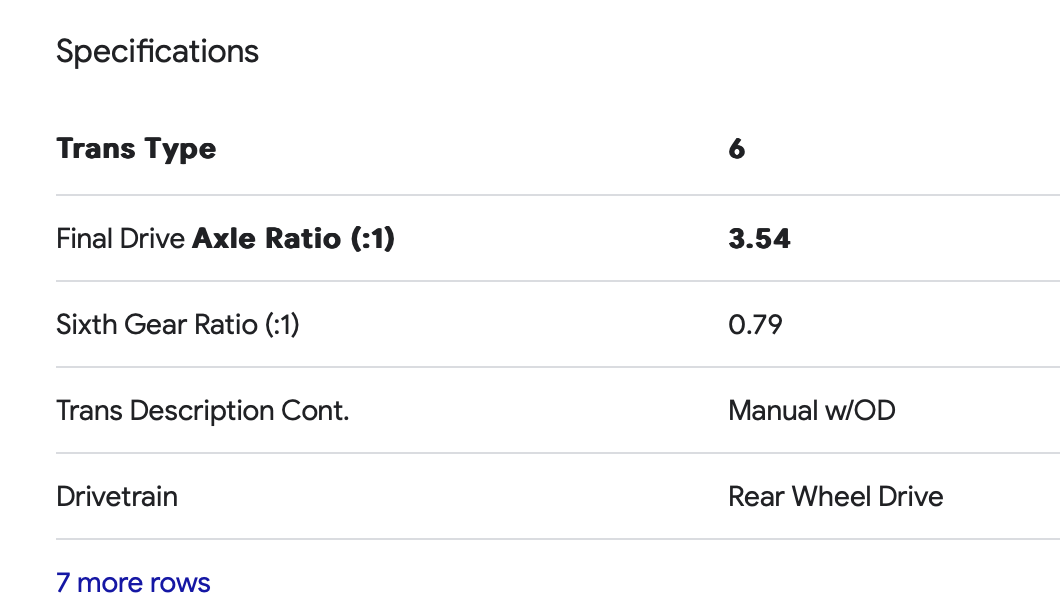
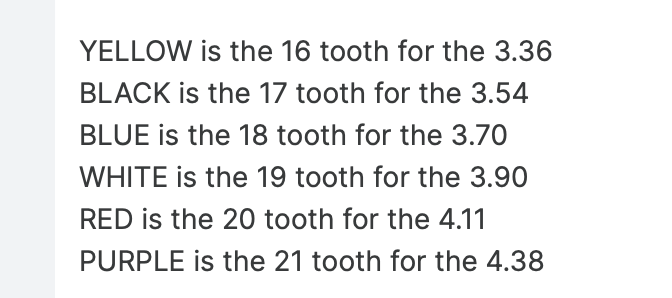
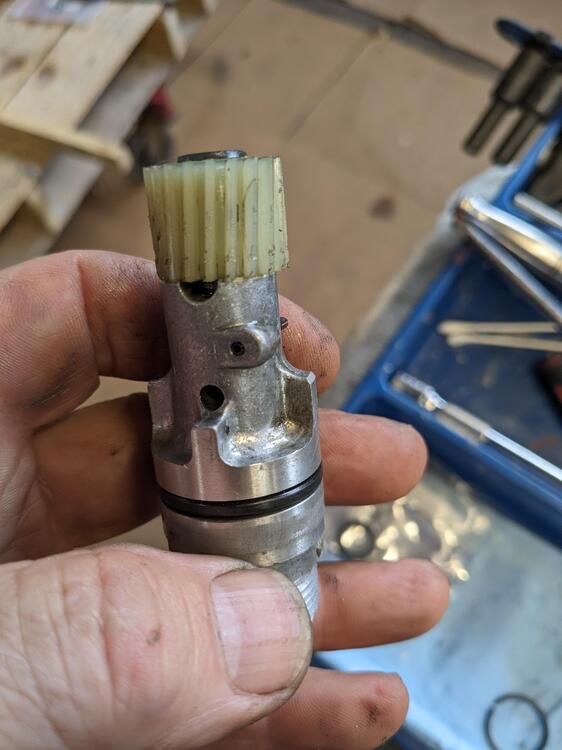
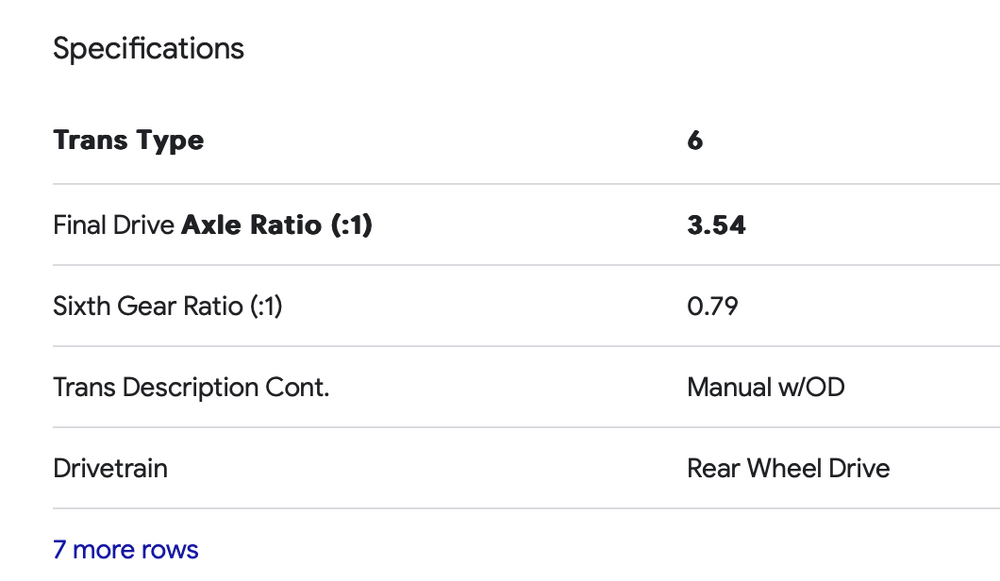
I'll count the teeth on the 75 one when I pull it - according to the linked page the white one I have is 19 teeth. Hopefully mine has only one or two more teeth than that, which in combination with the 5 speed drive gear should slow the speedo cable enough to make it more accurate at highway speeds. Wife & I tested positive for COVID at the local doc-in-abox this morning - we've been playing tag with whatever virus I got at school for the past 2 weeks, but she is in much worse shape than I. So, not much getting done car-wise, just don't have the energy. 😞 EDIT - found this - so I may as well leave the 19 tooth in, as it has 2 more teeth than the black one in my 75 with 3.54 FD
-
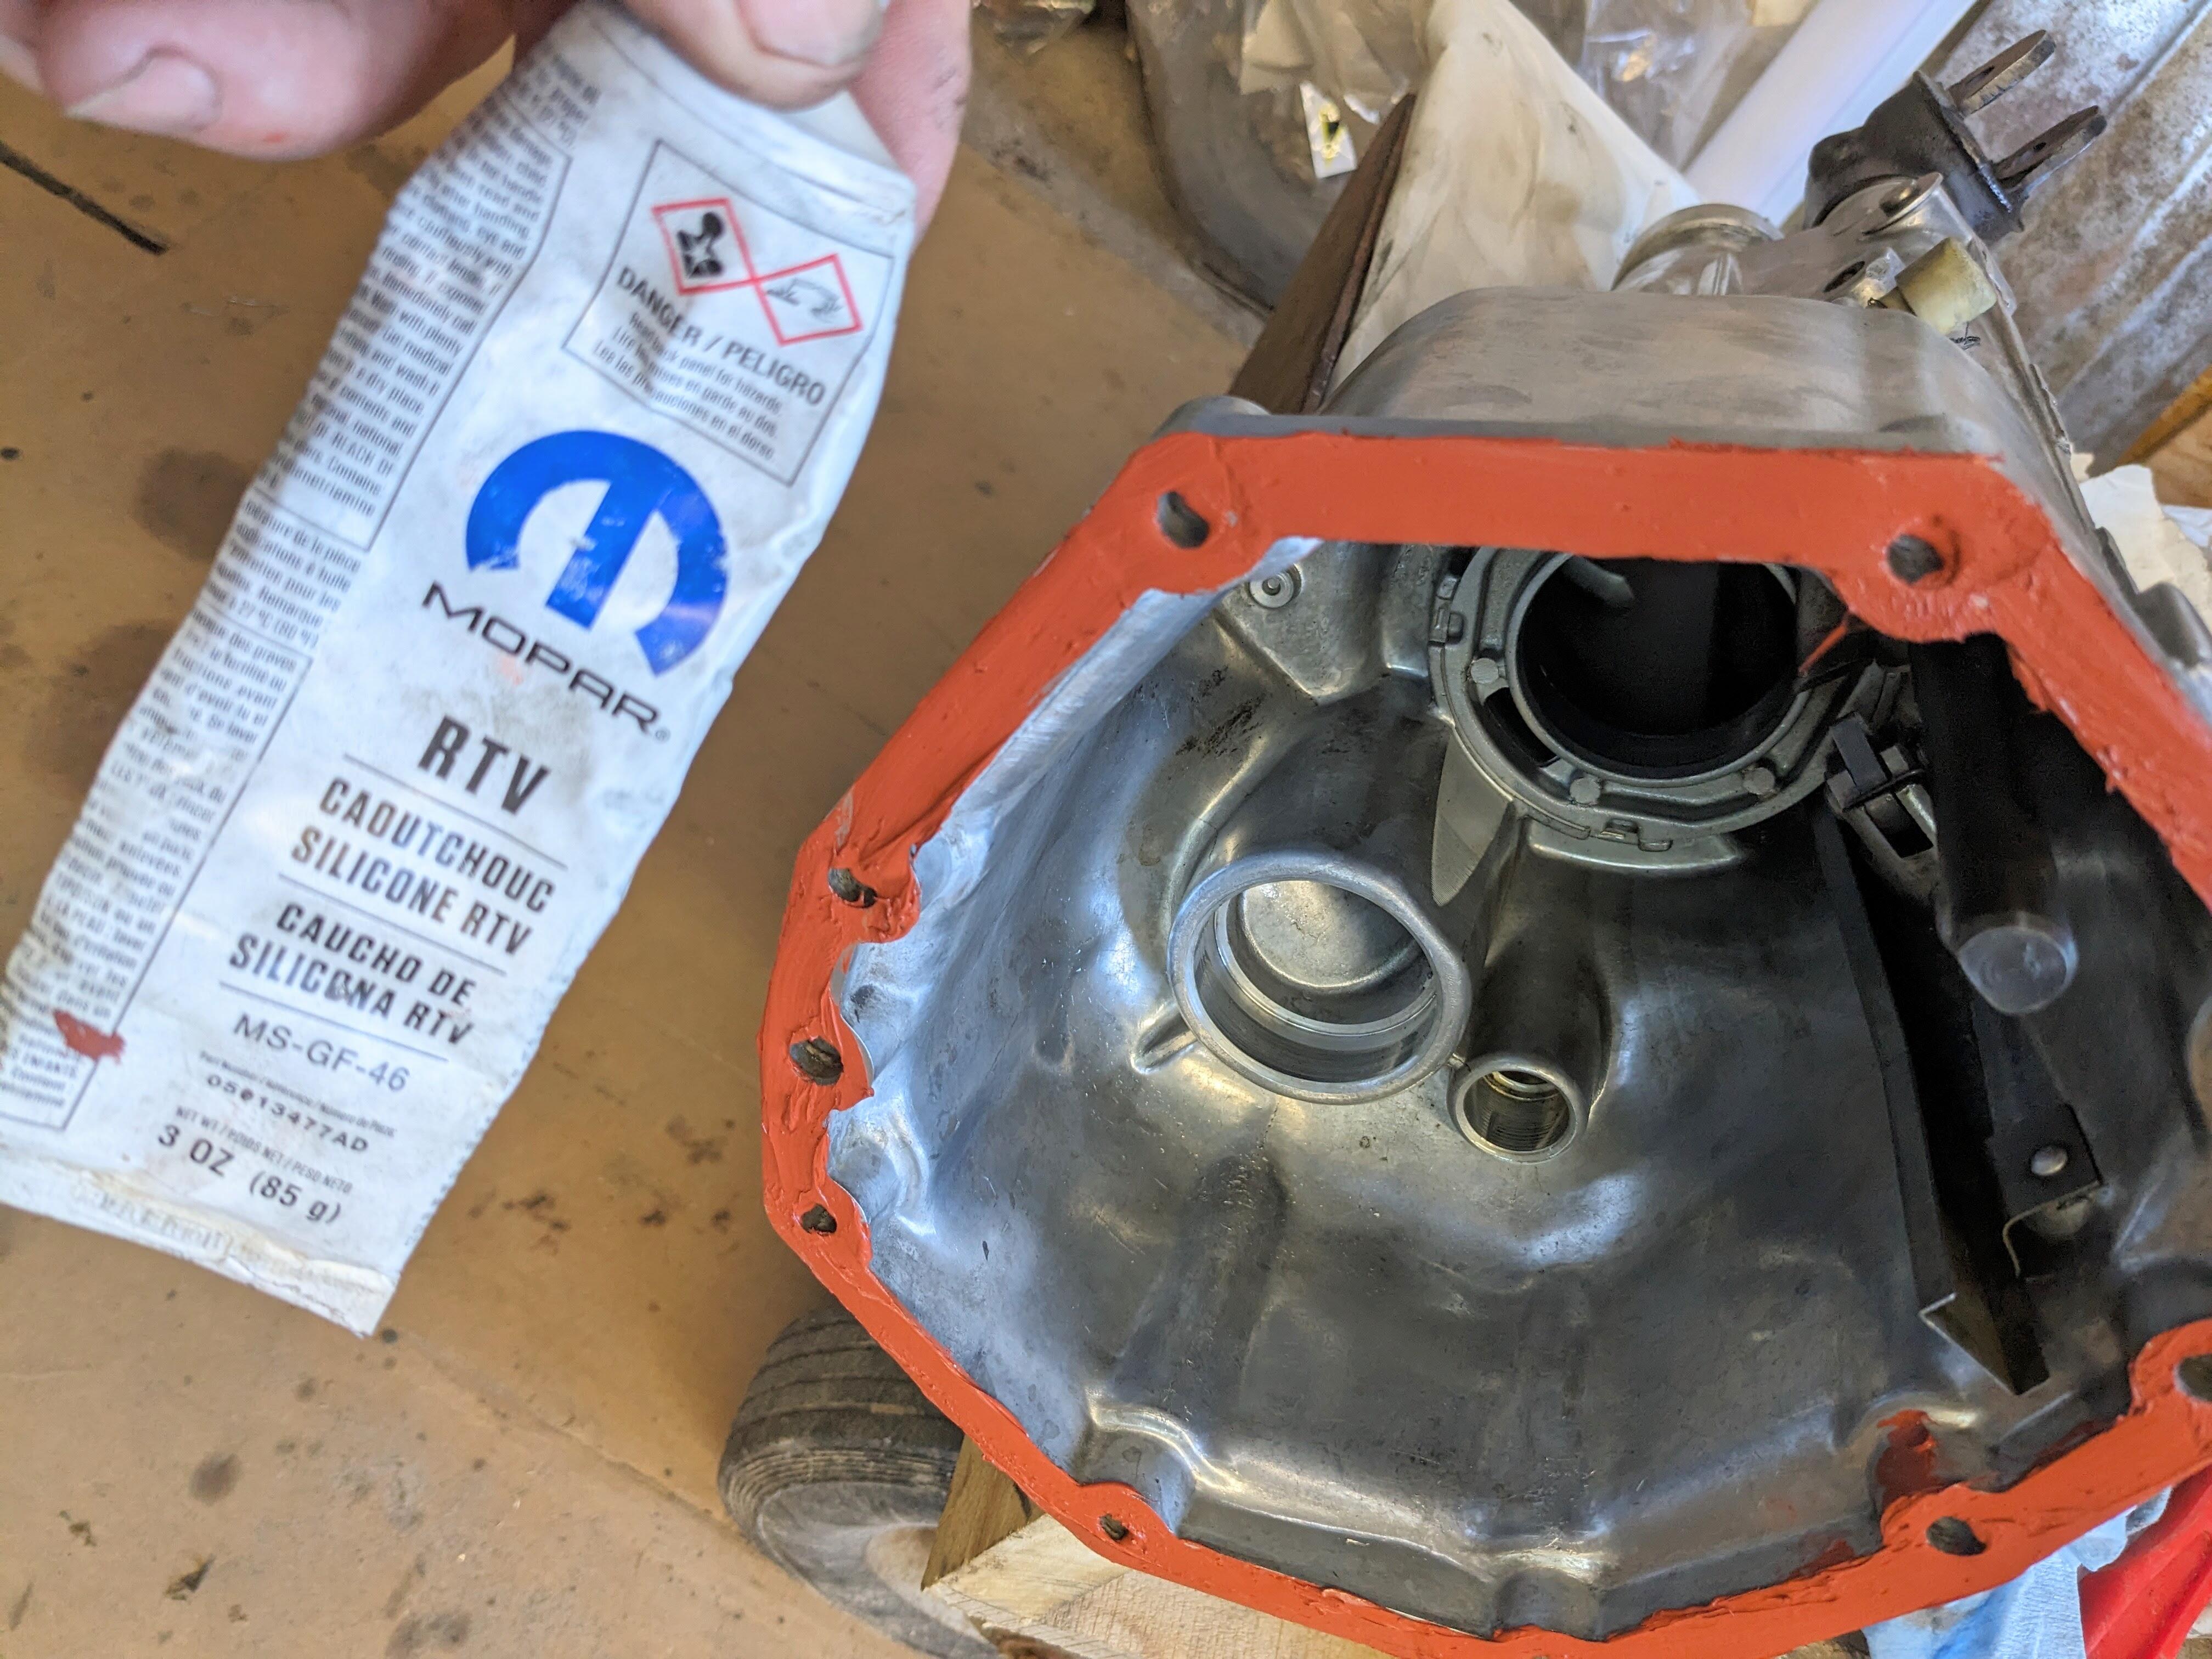
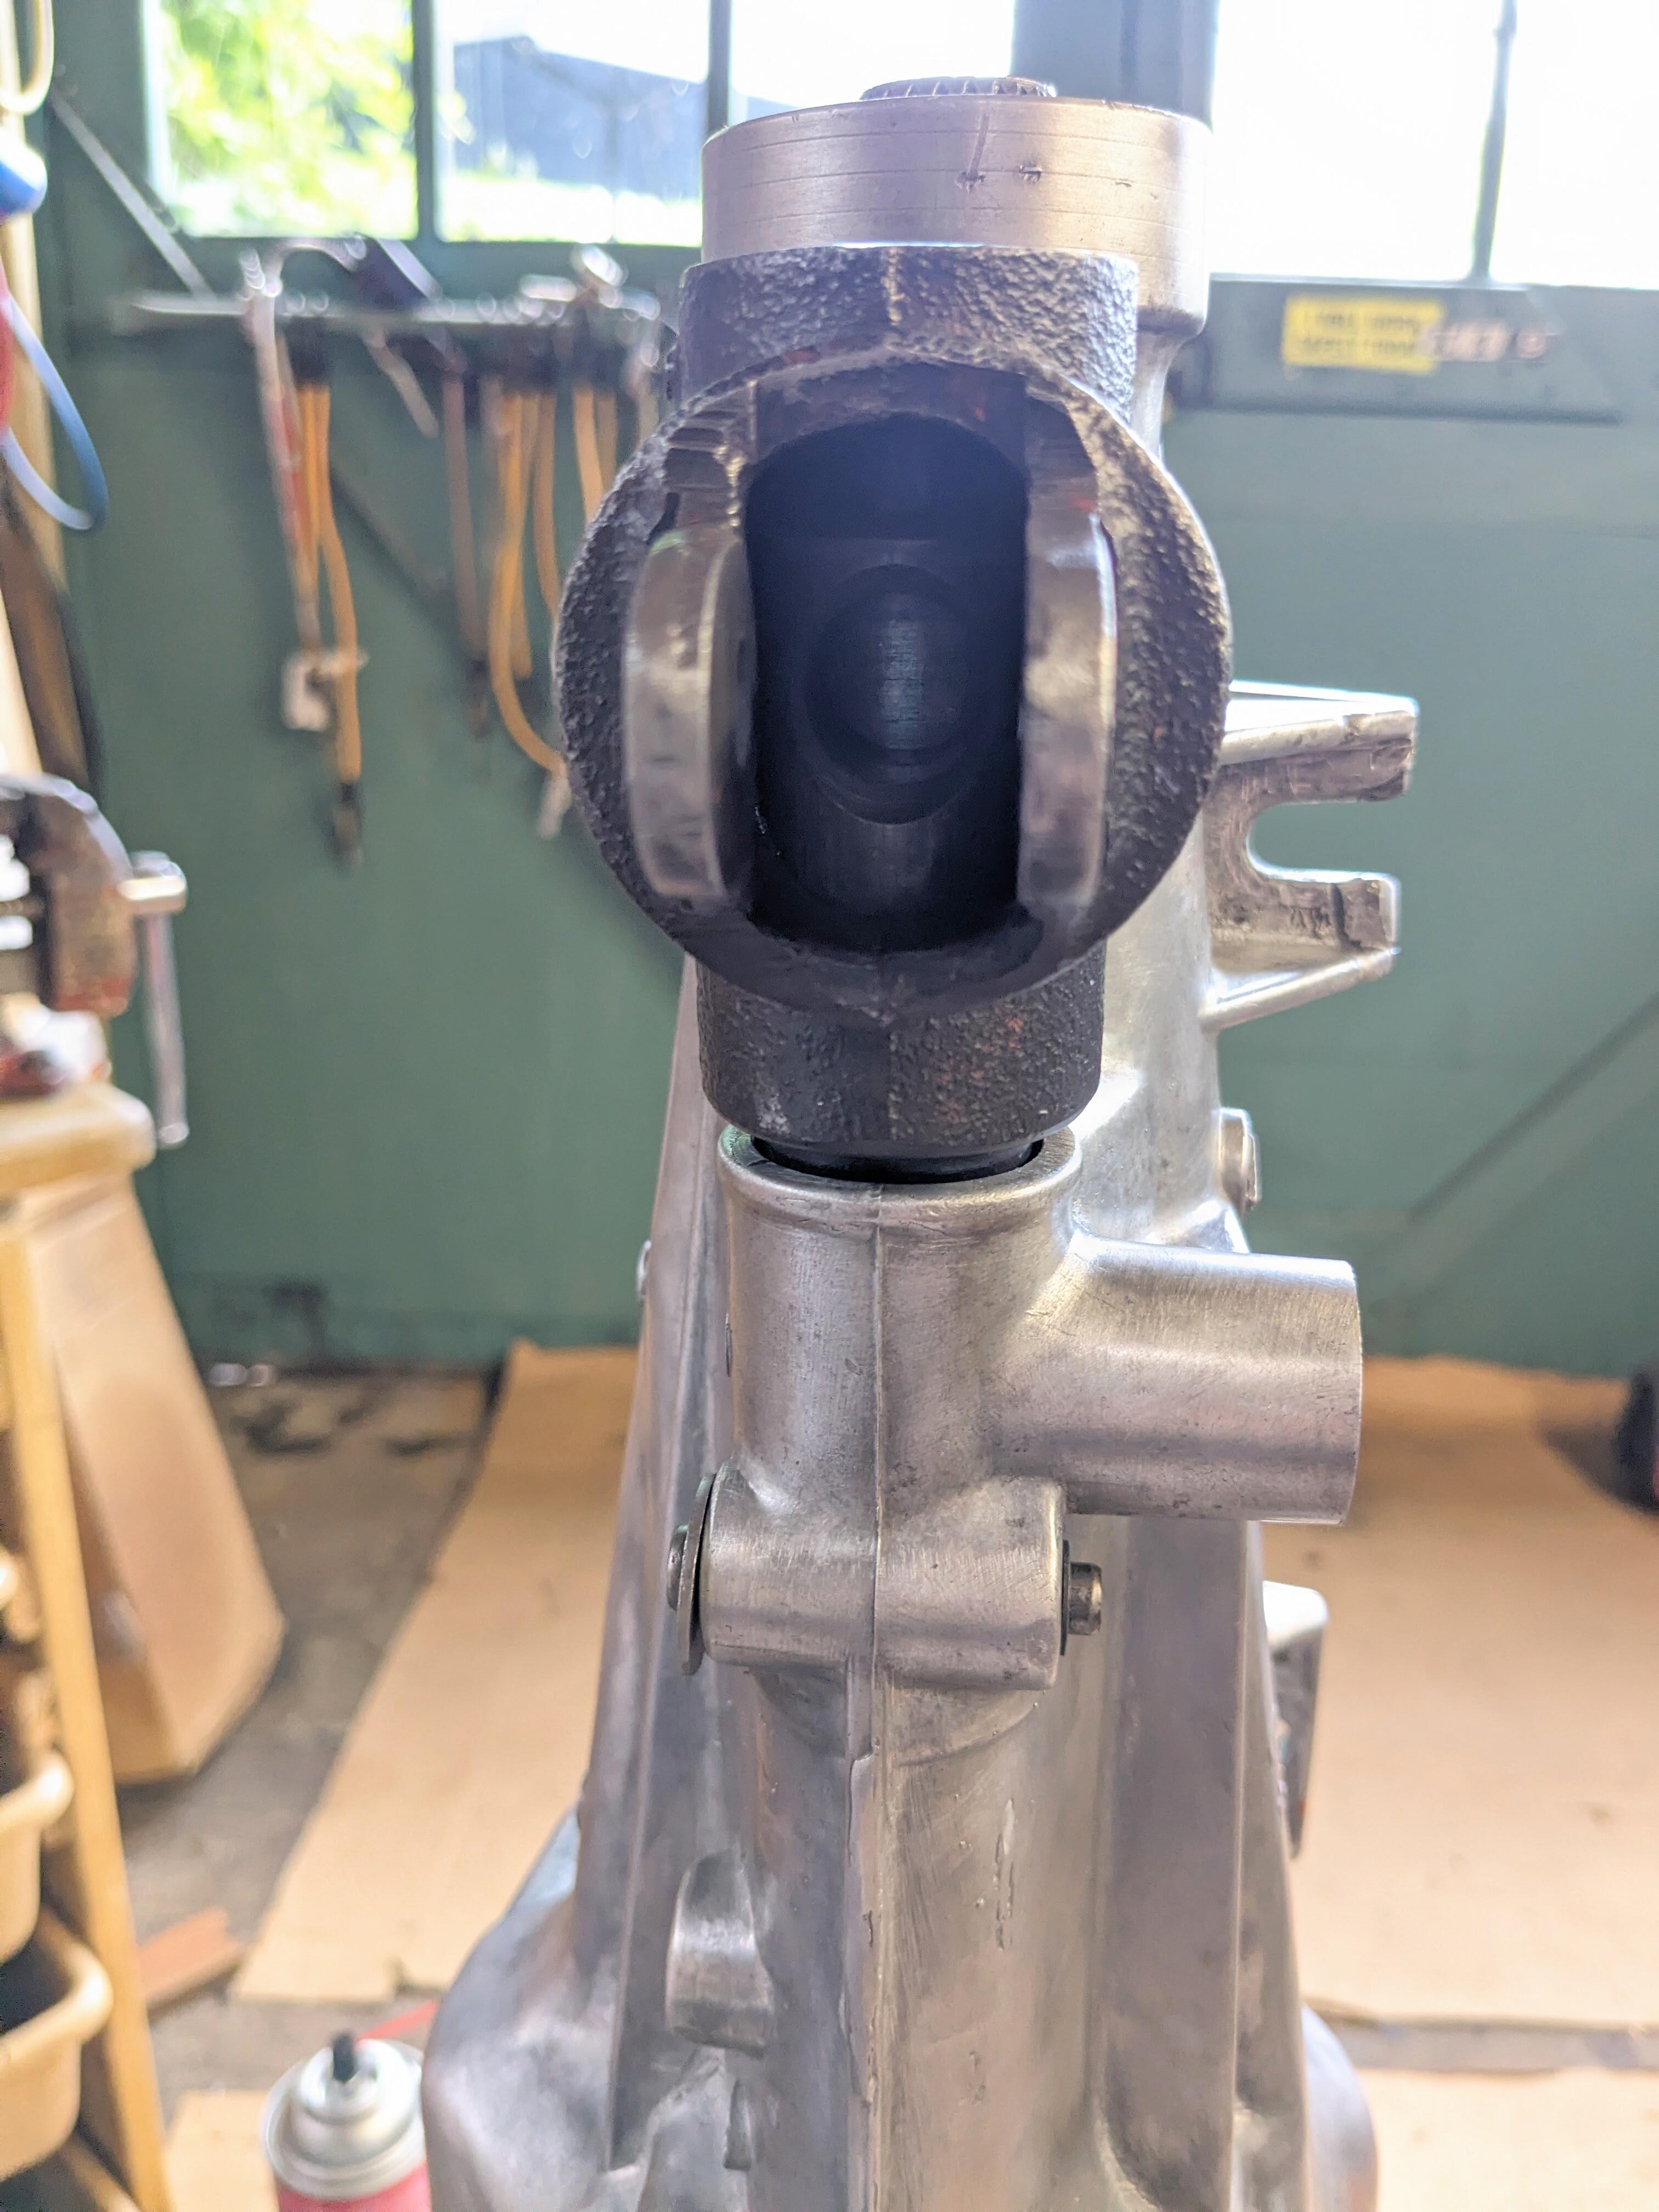
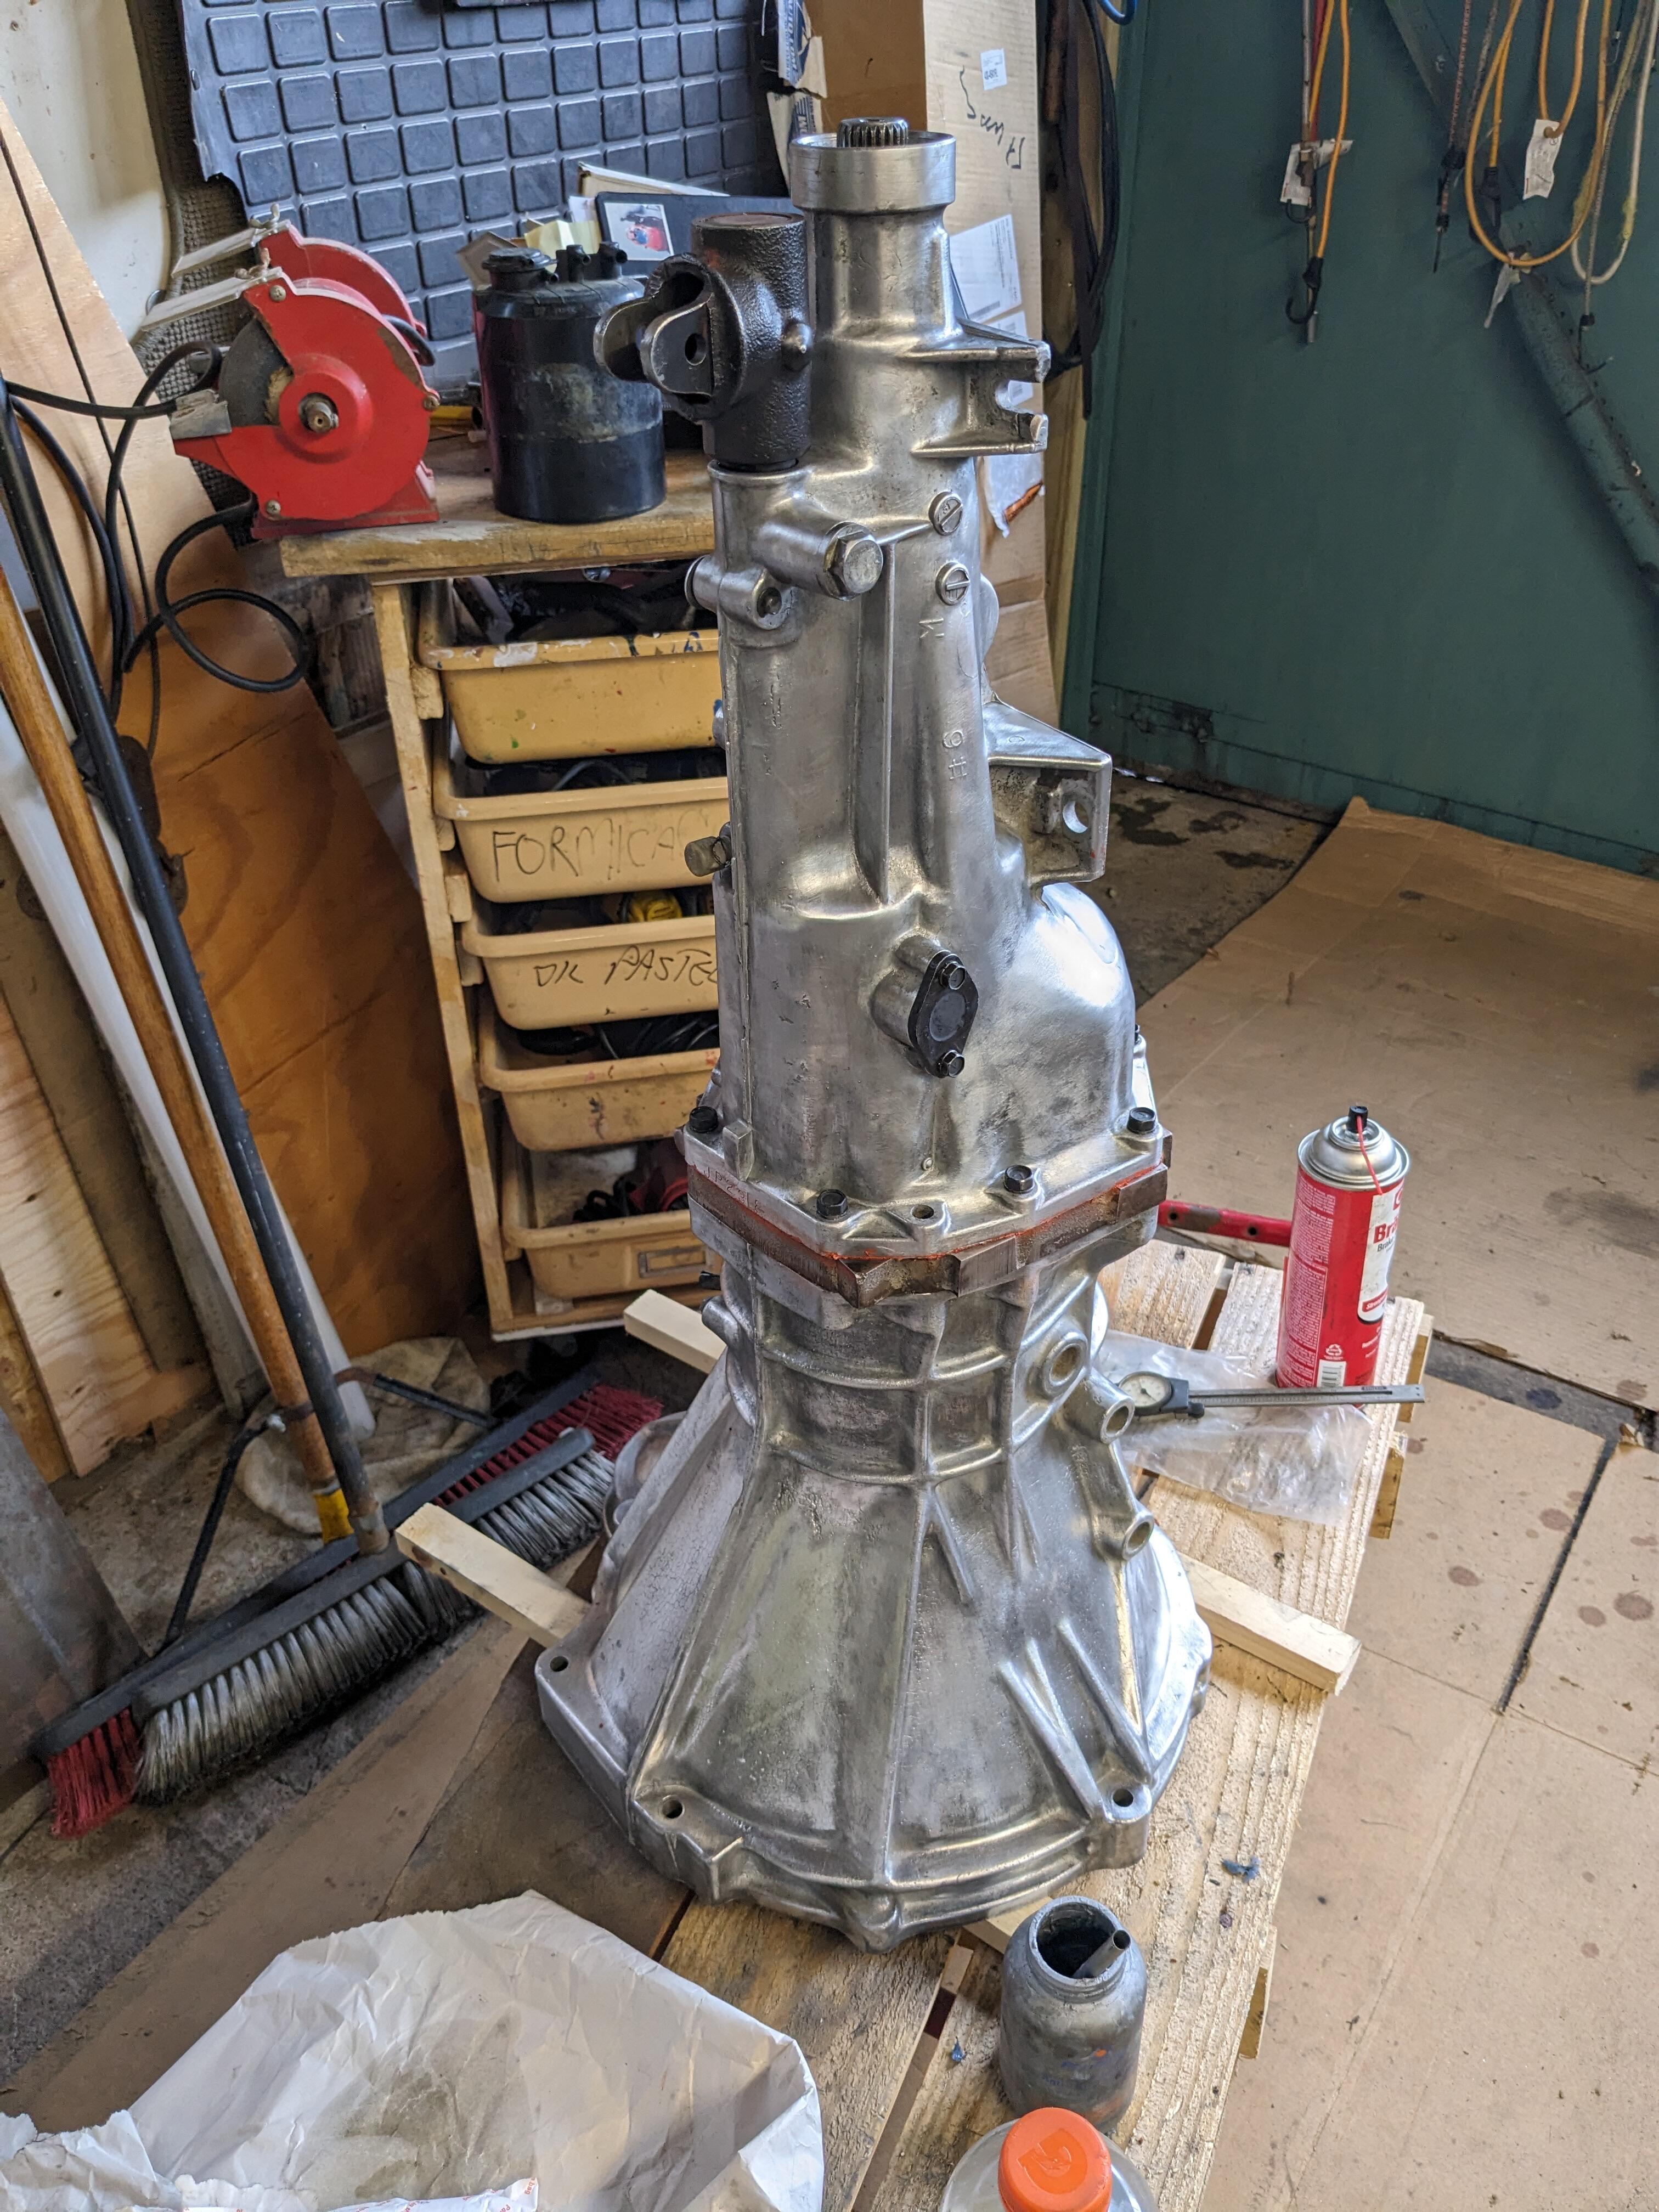
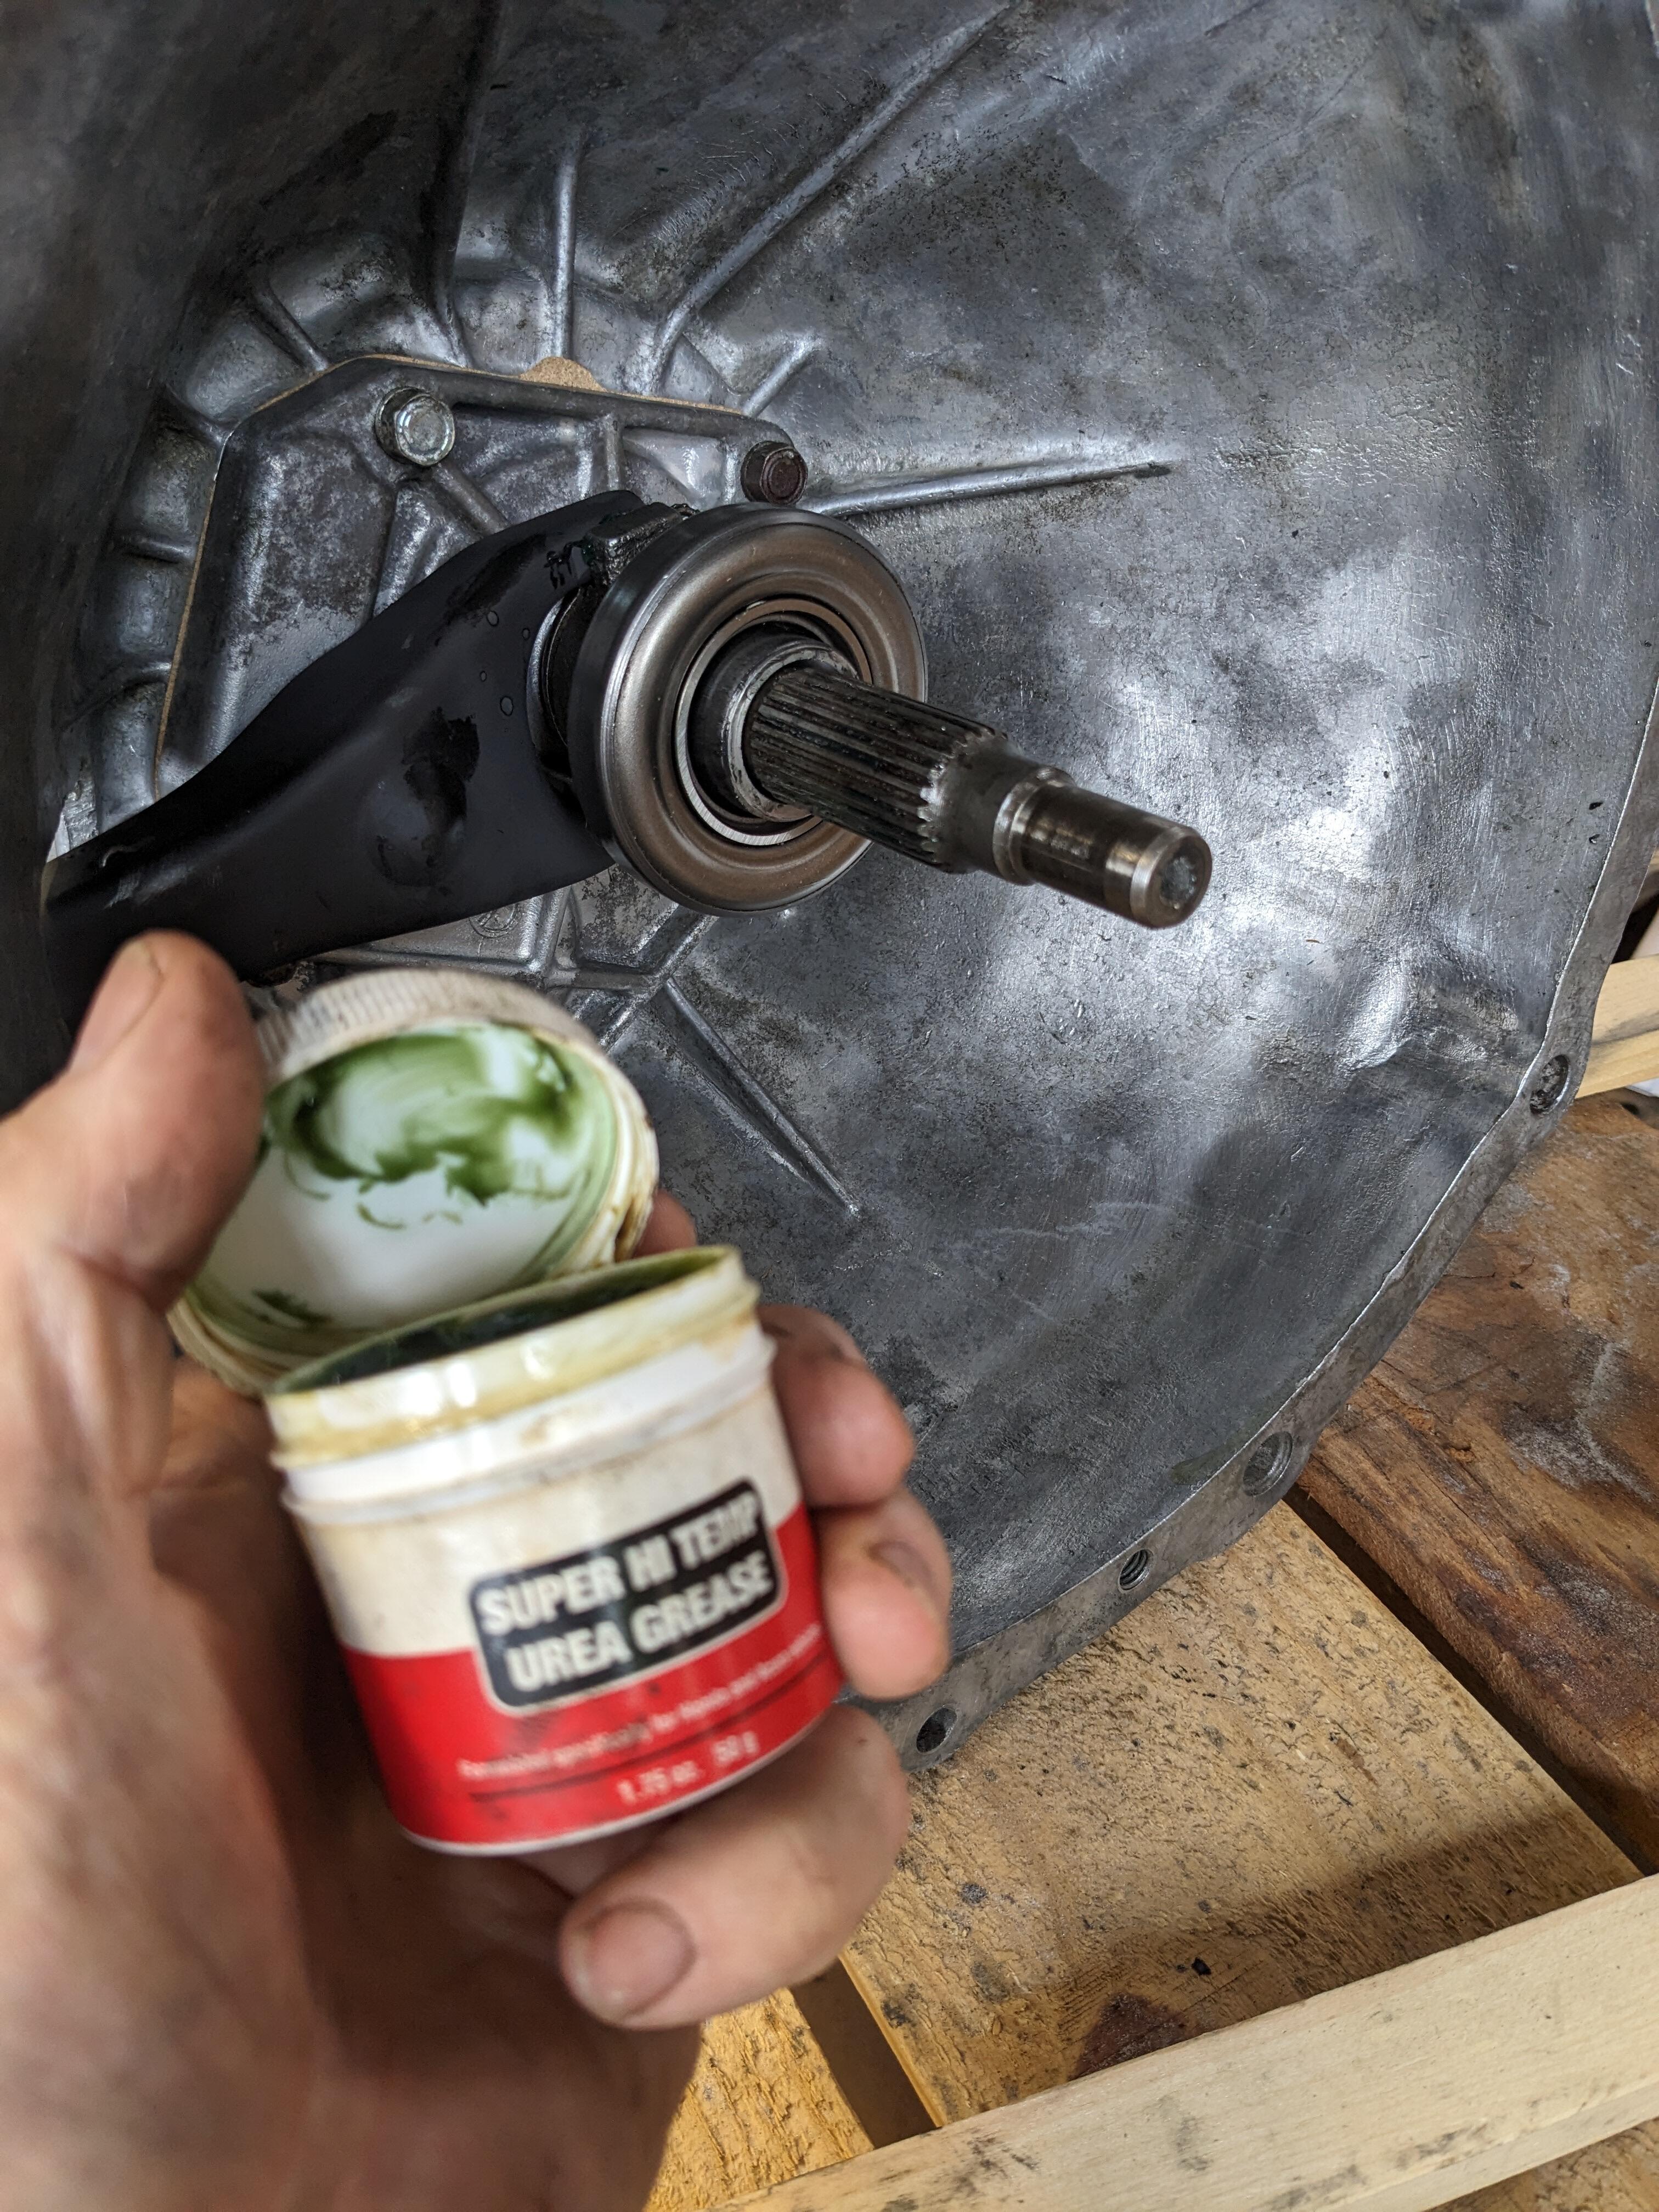
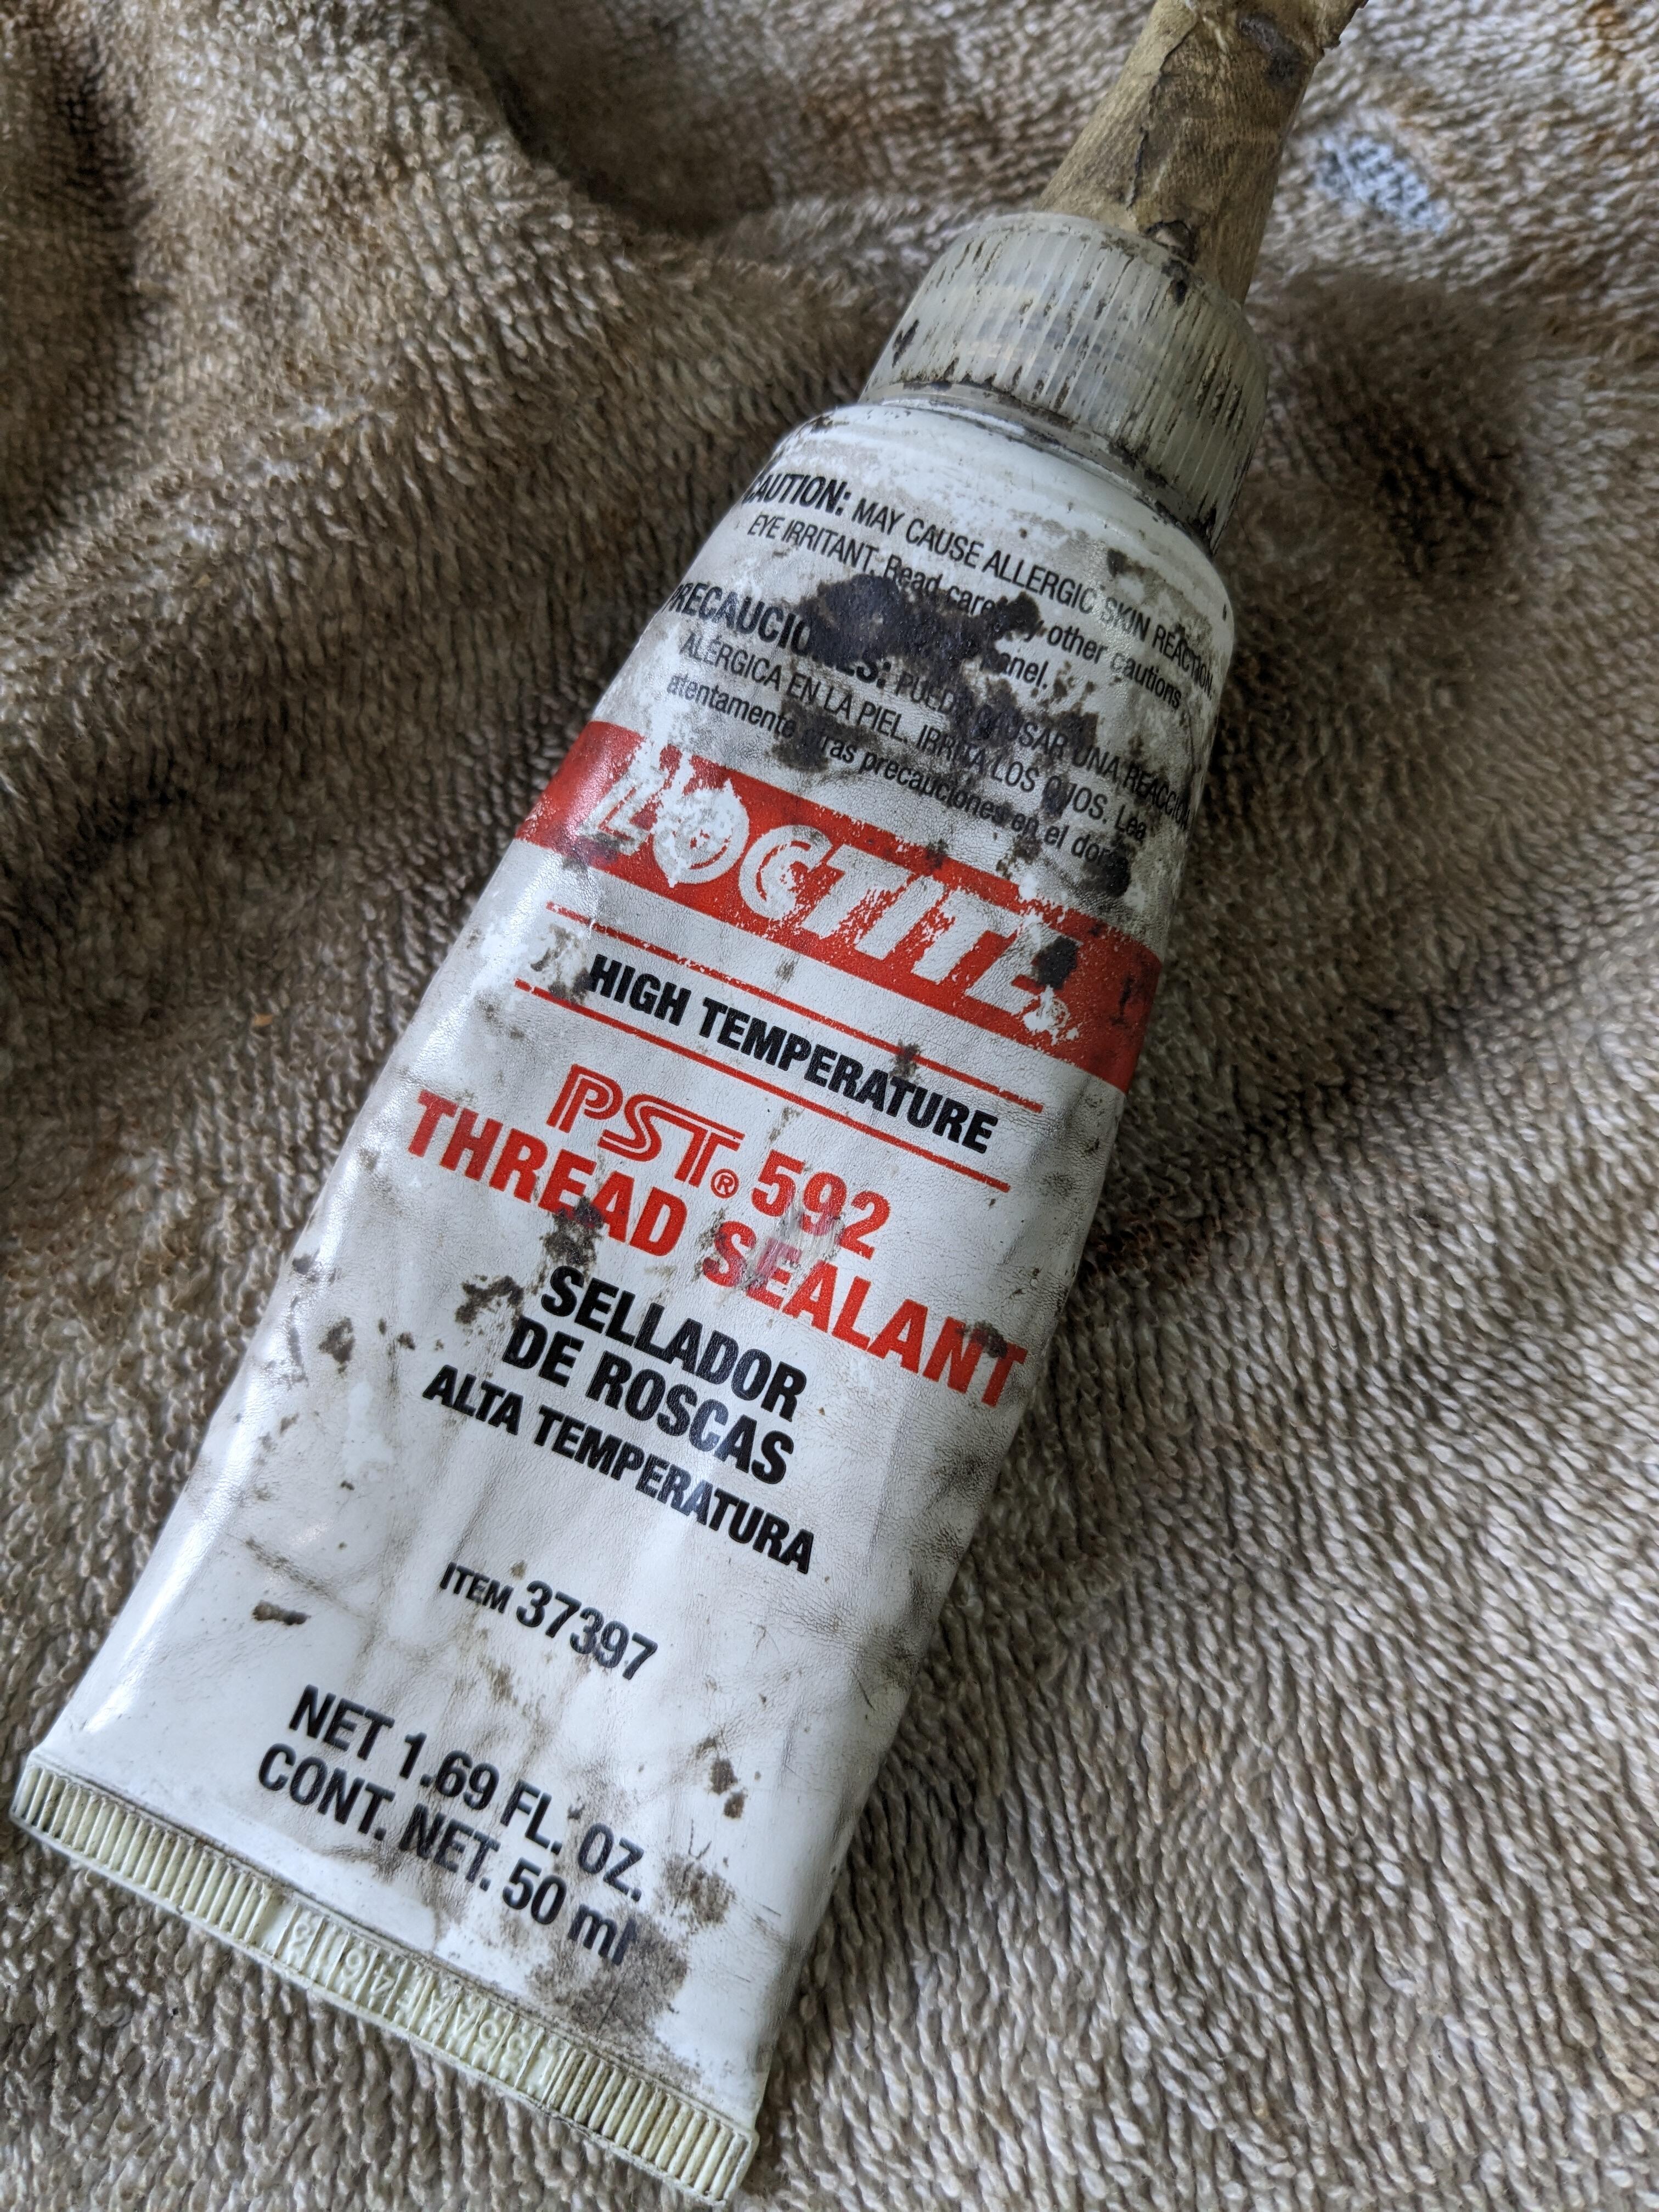
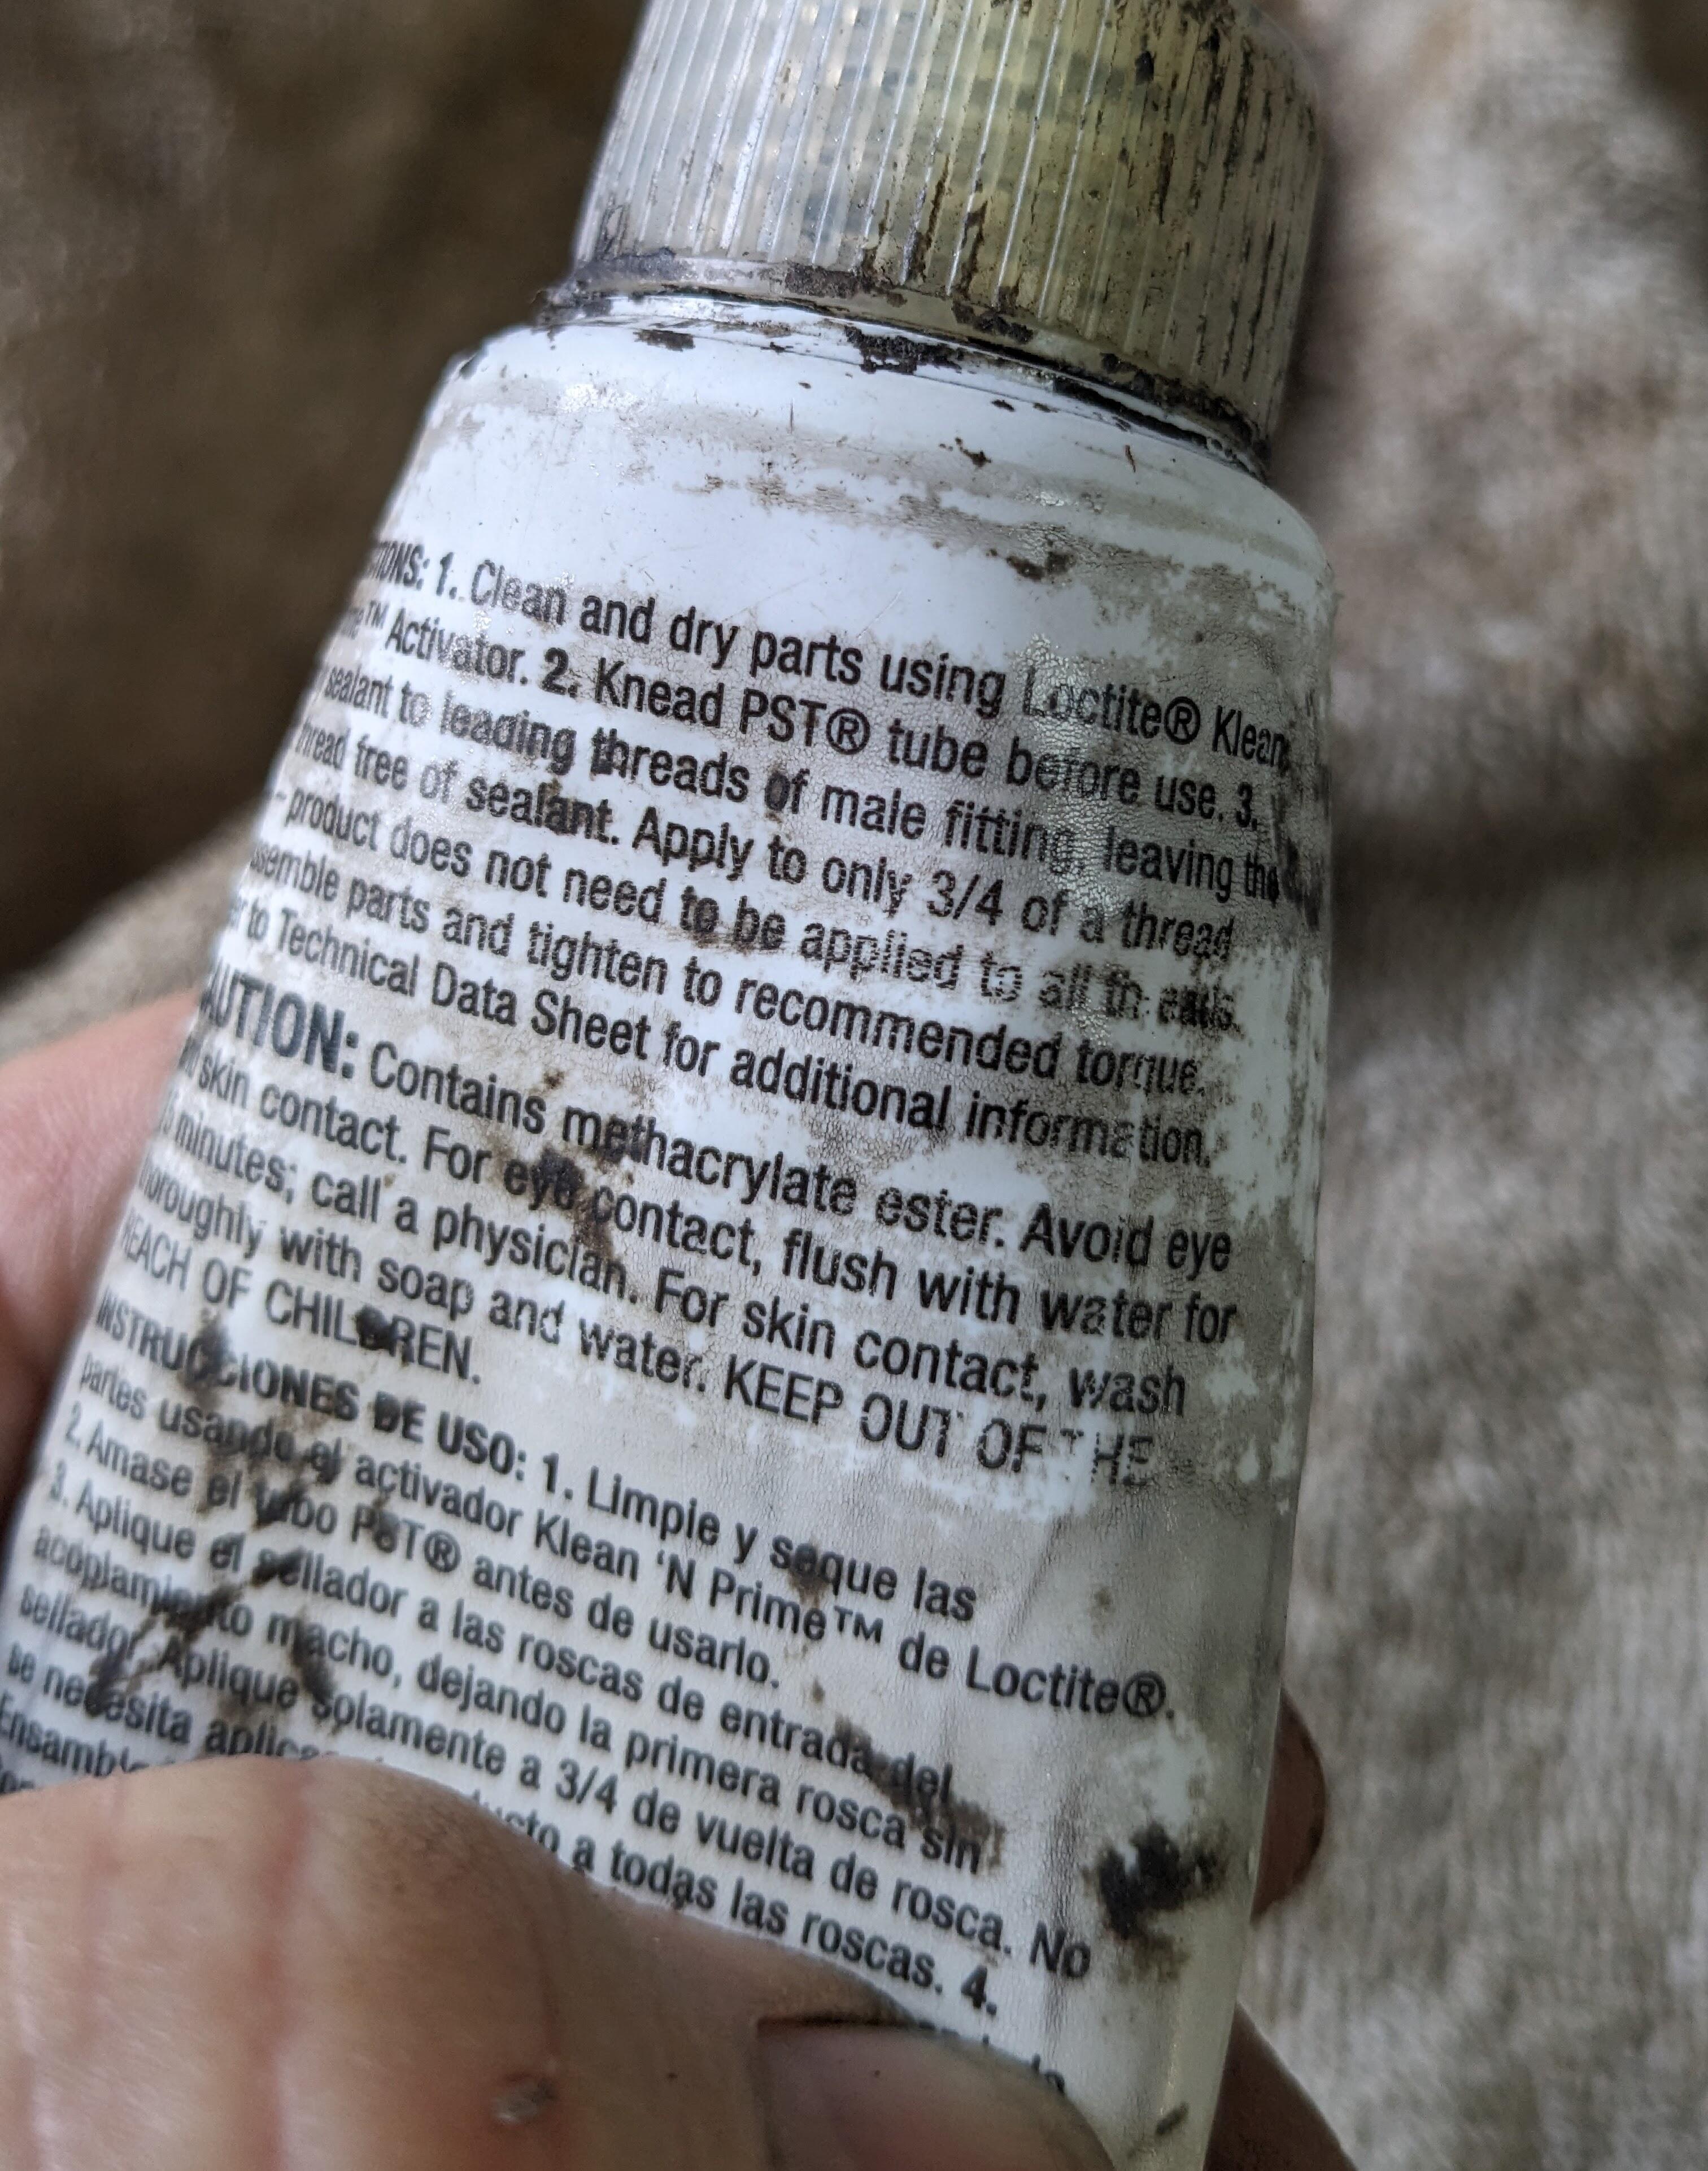
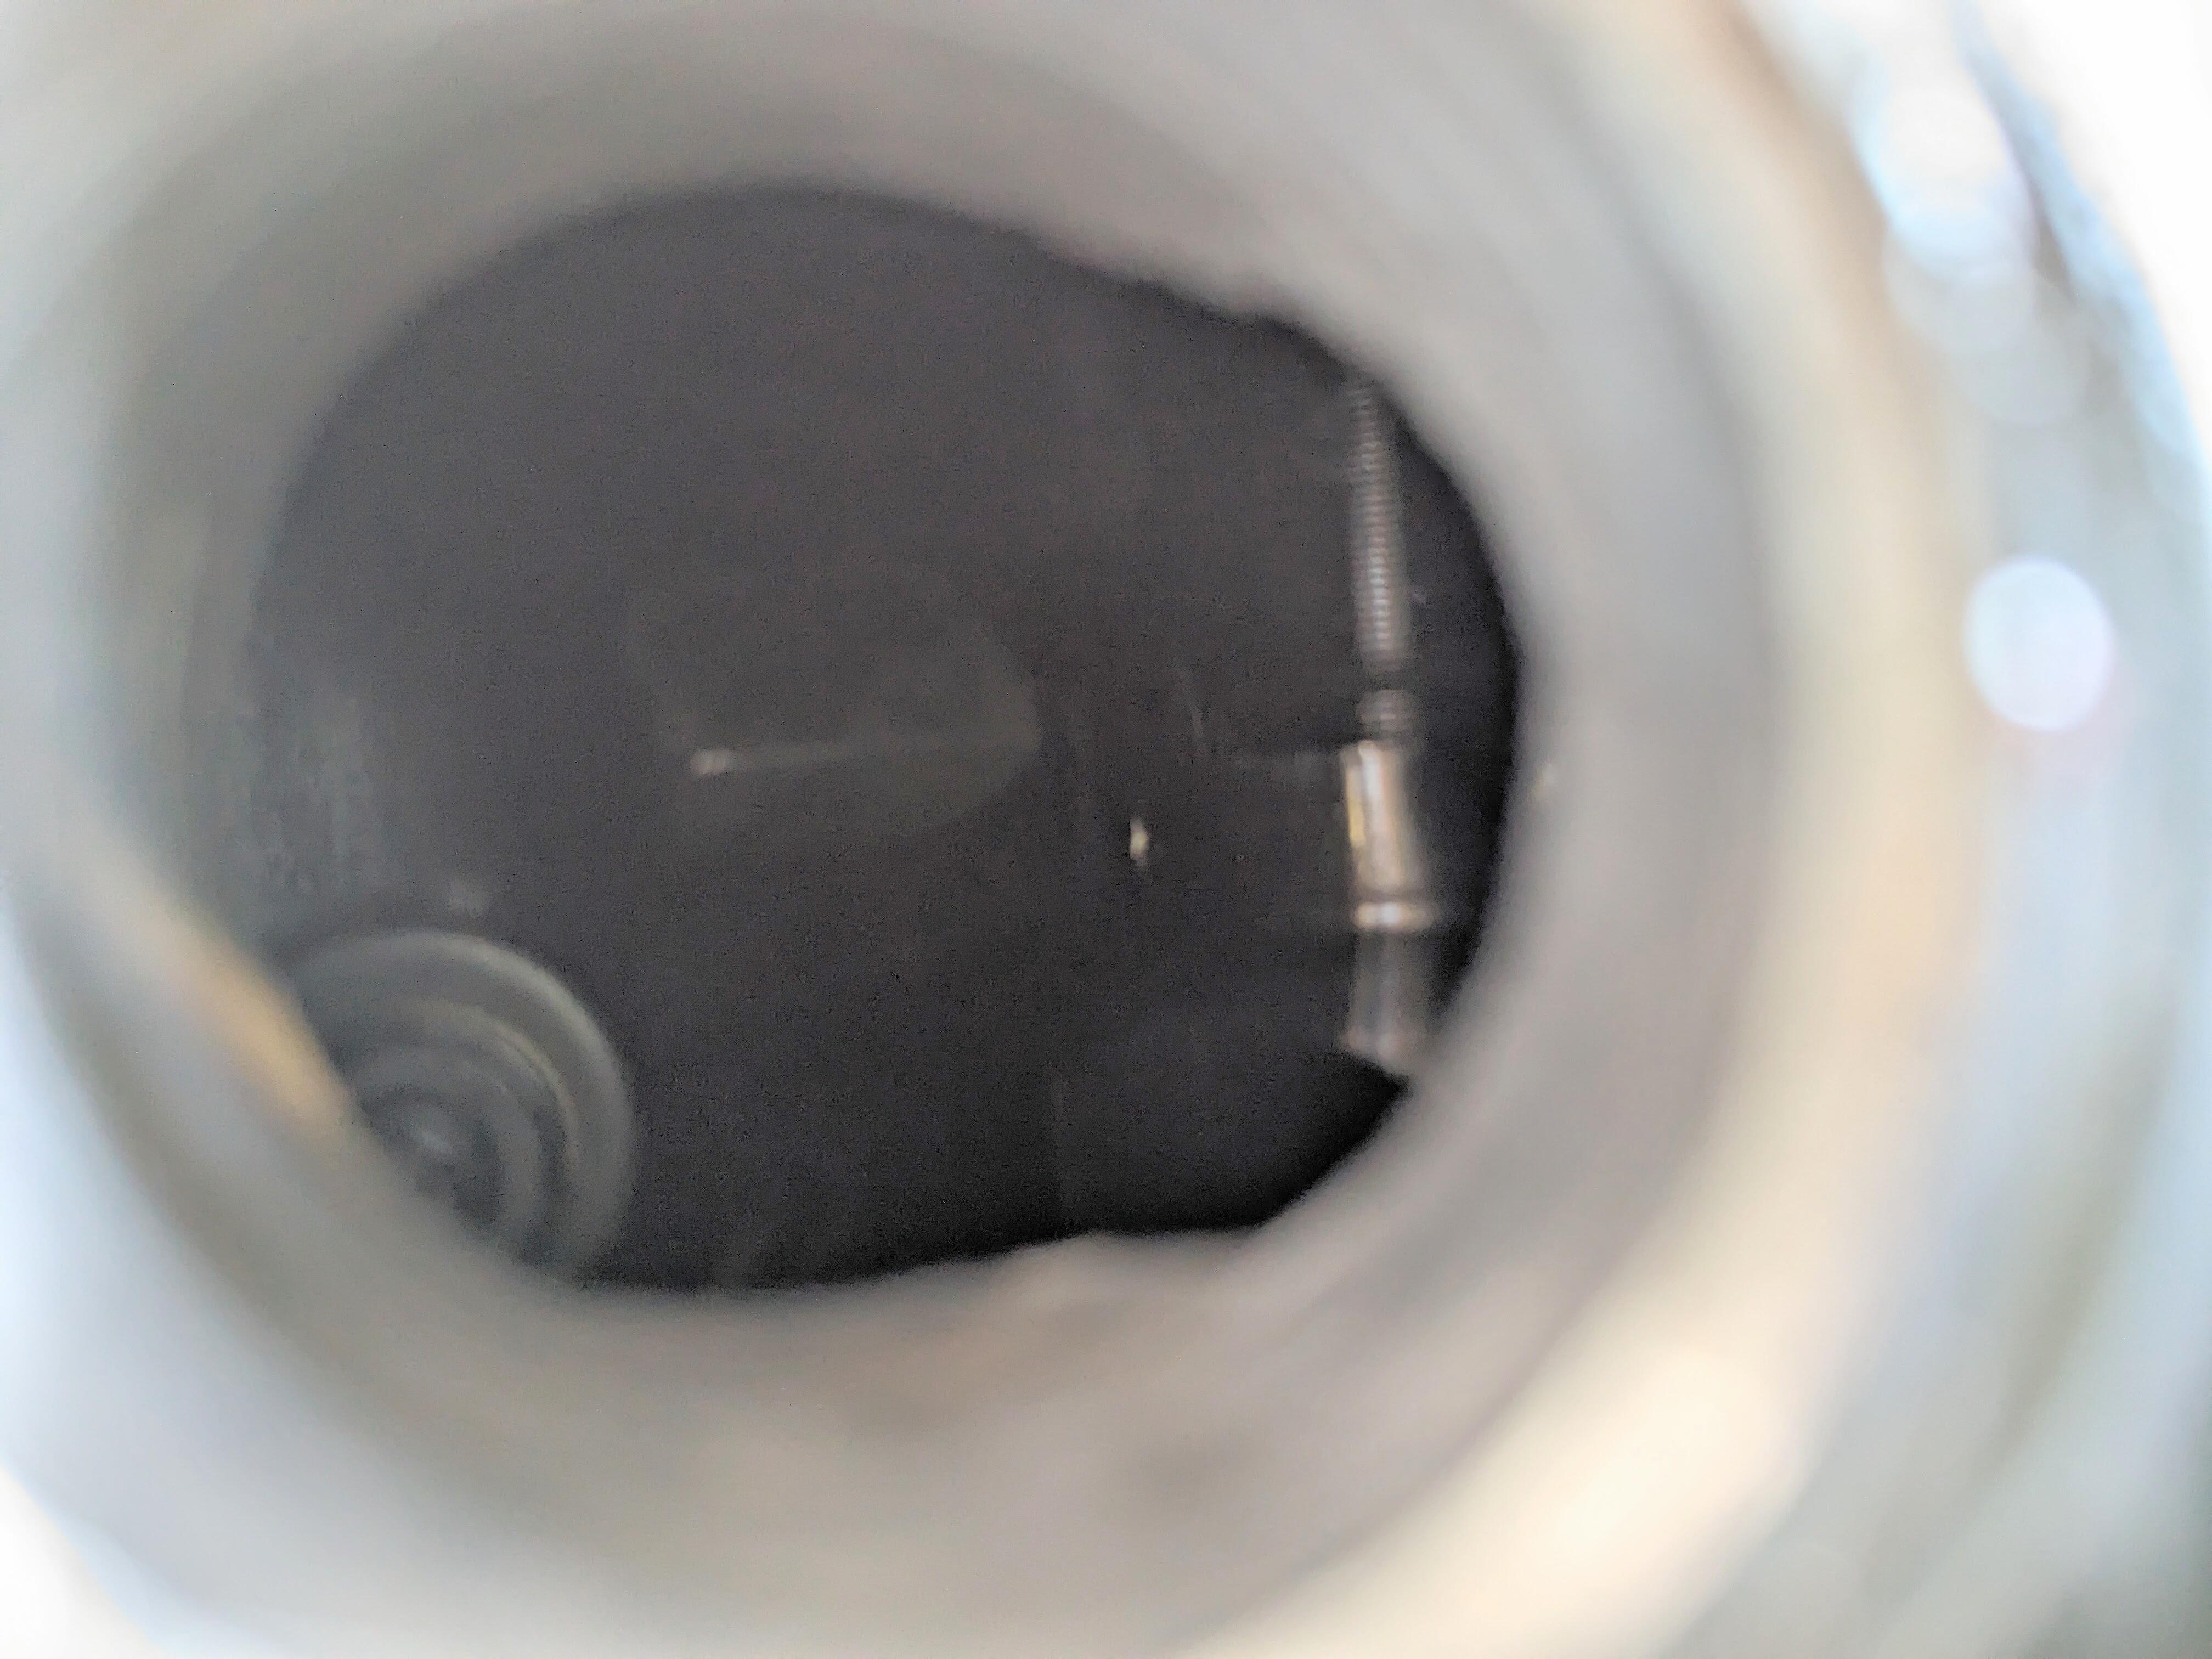
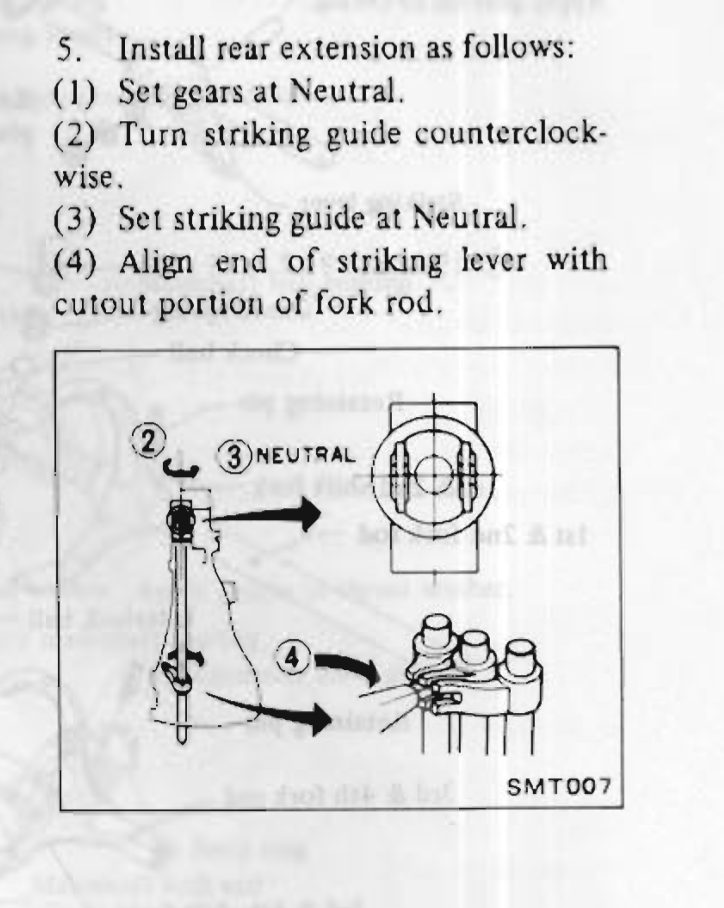
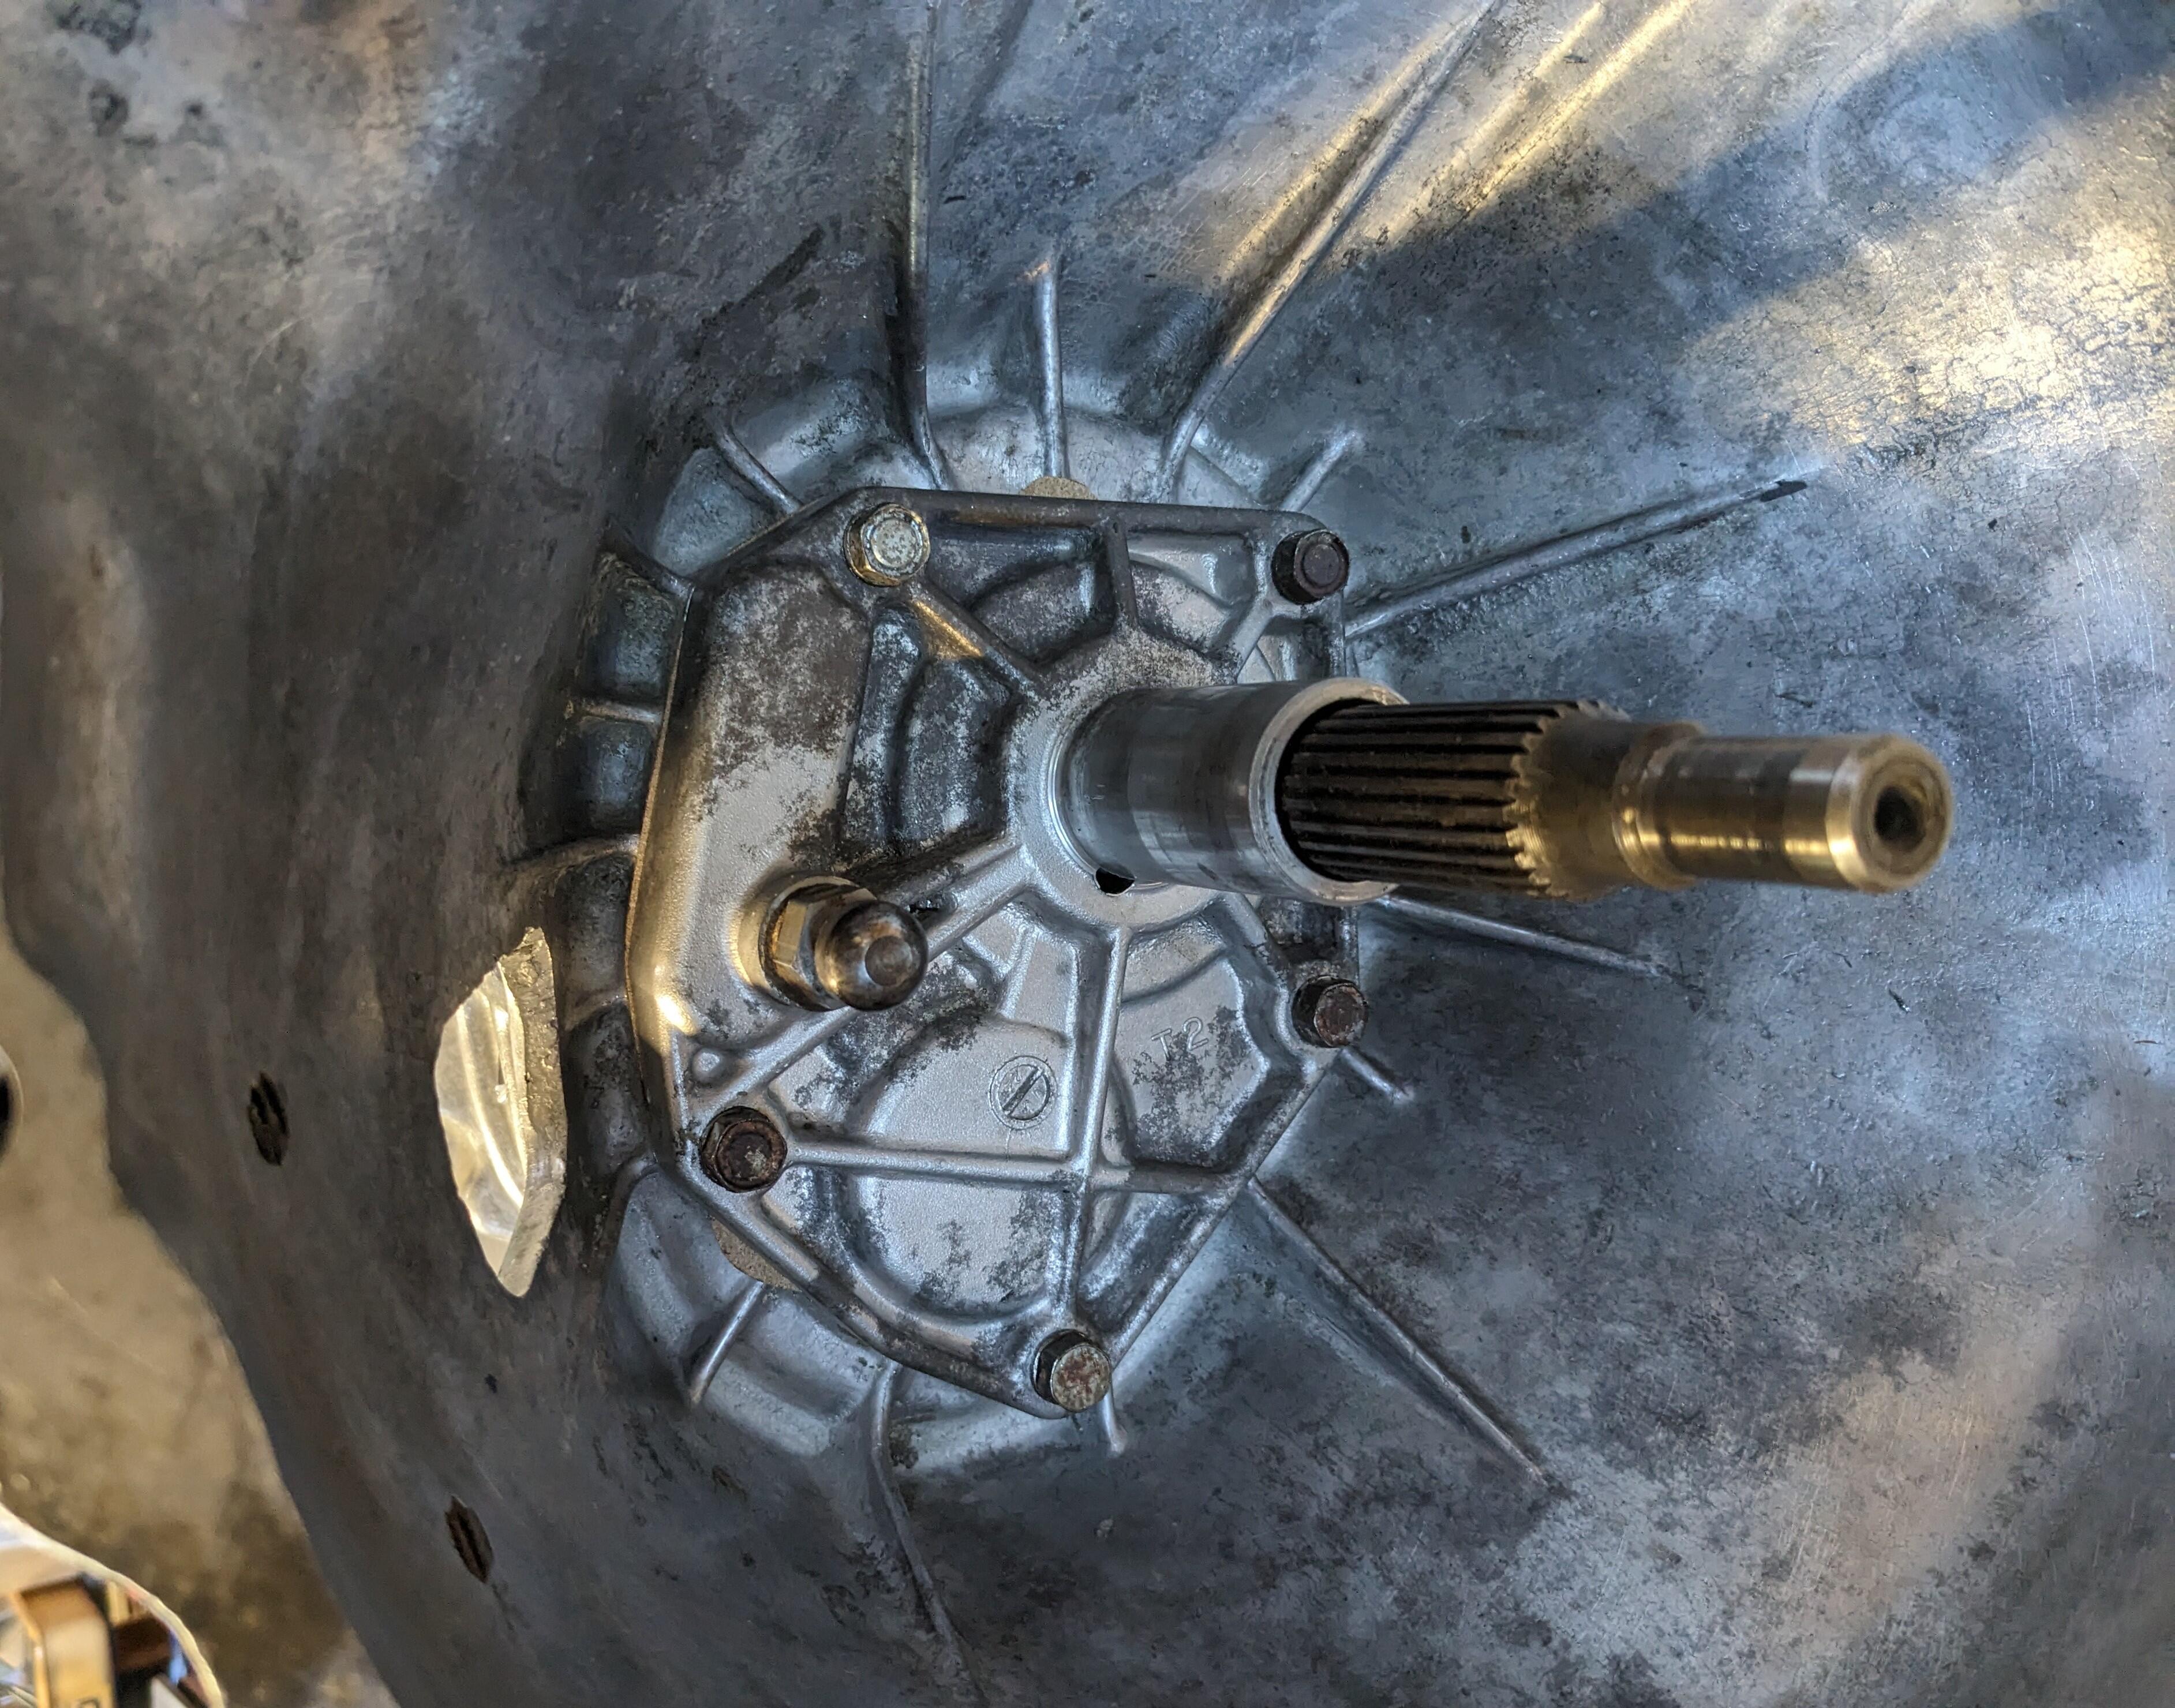
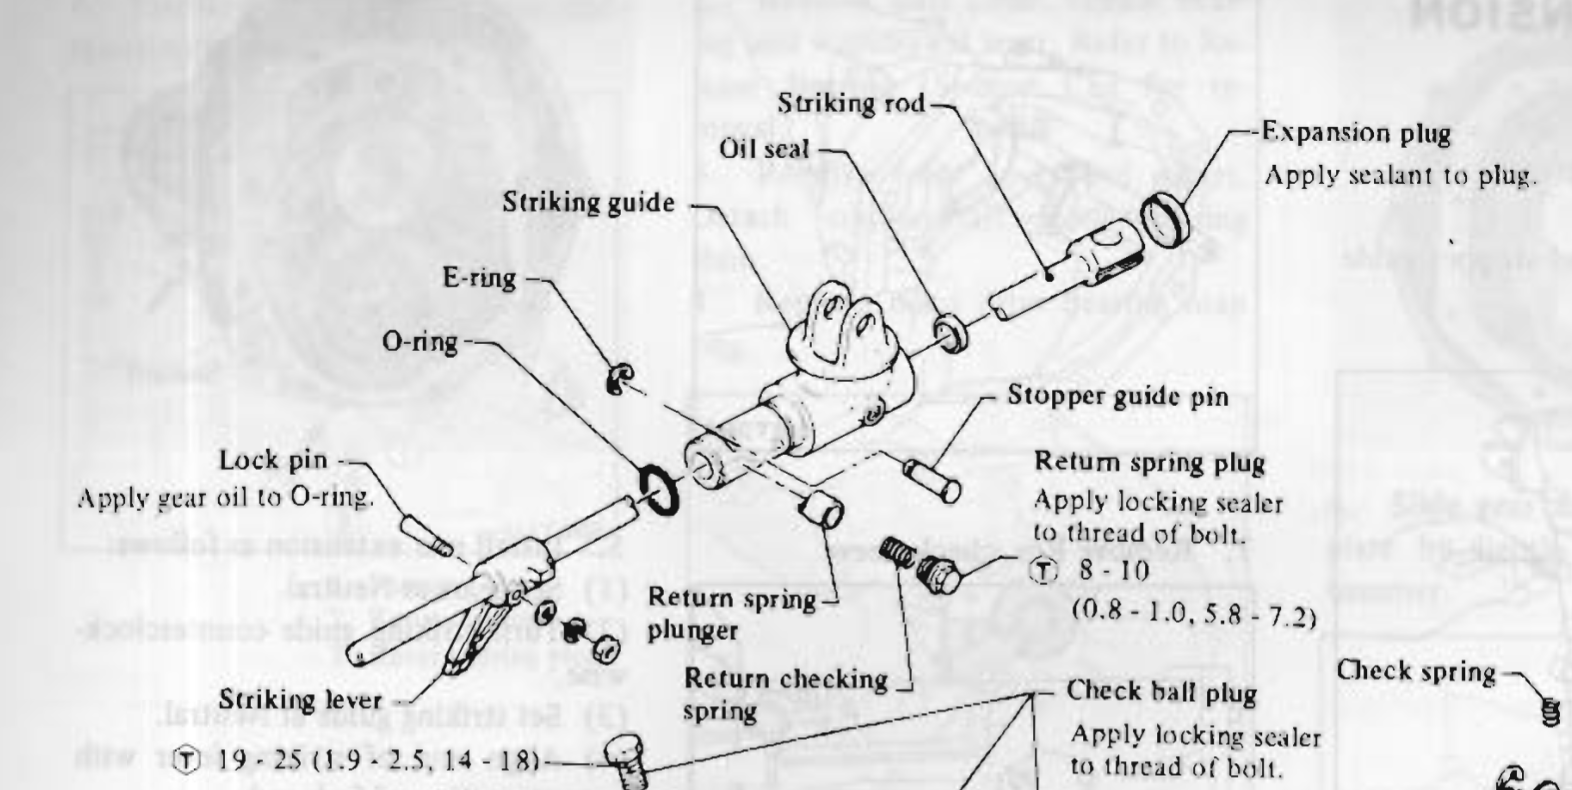
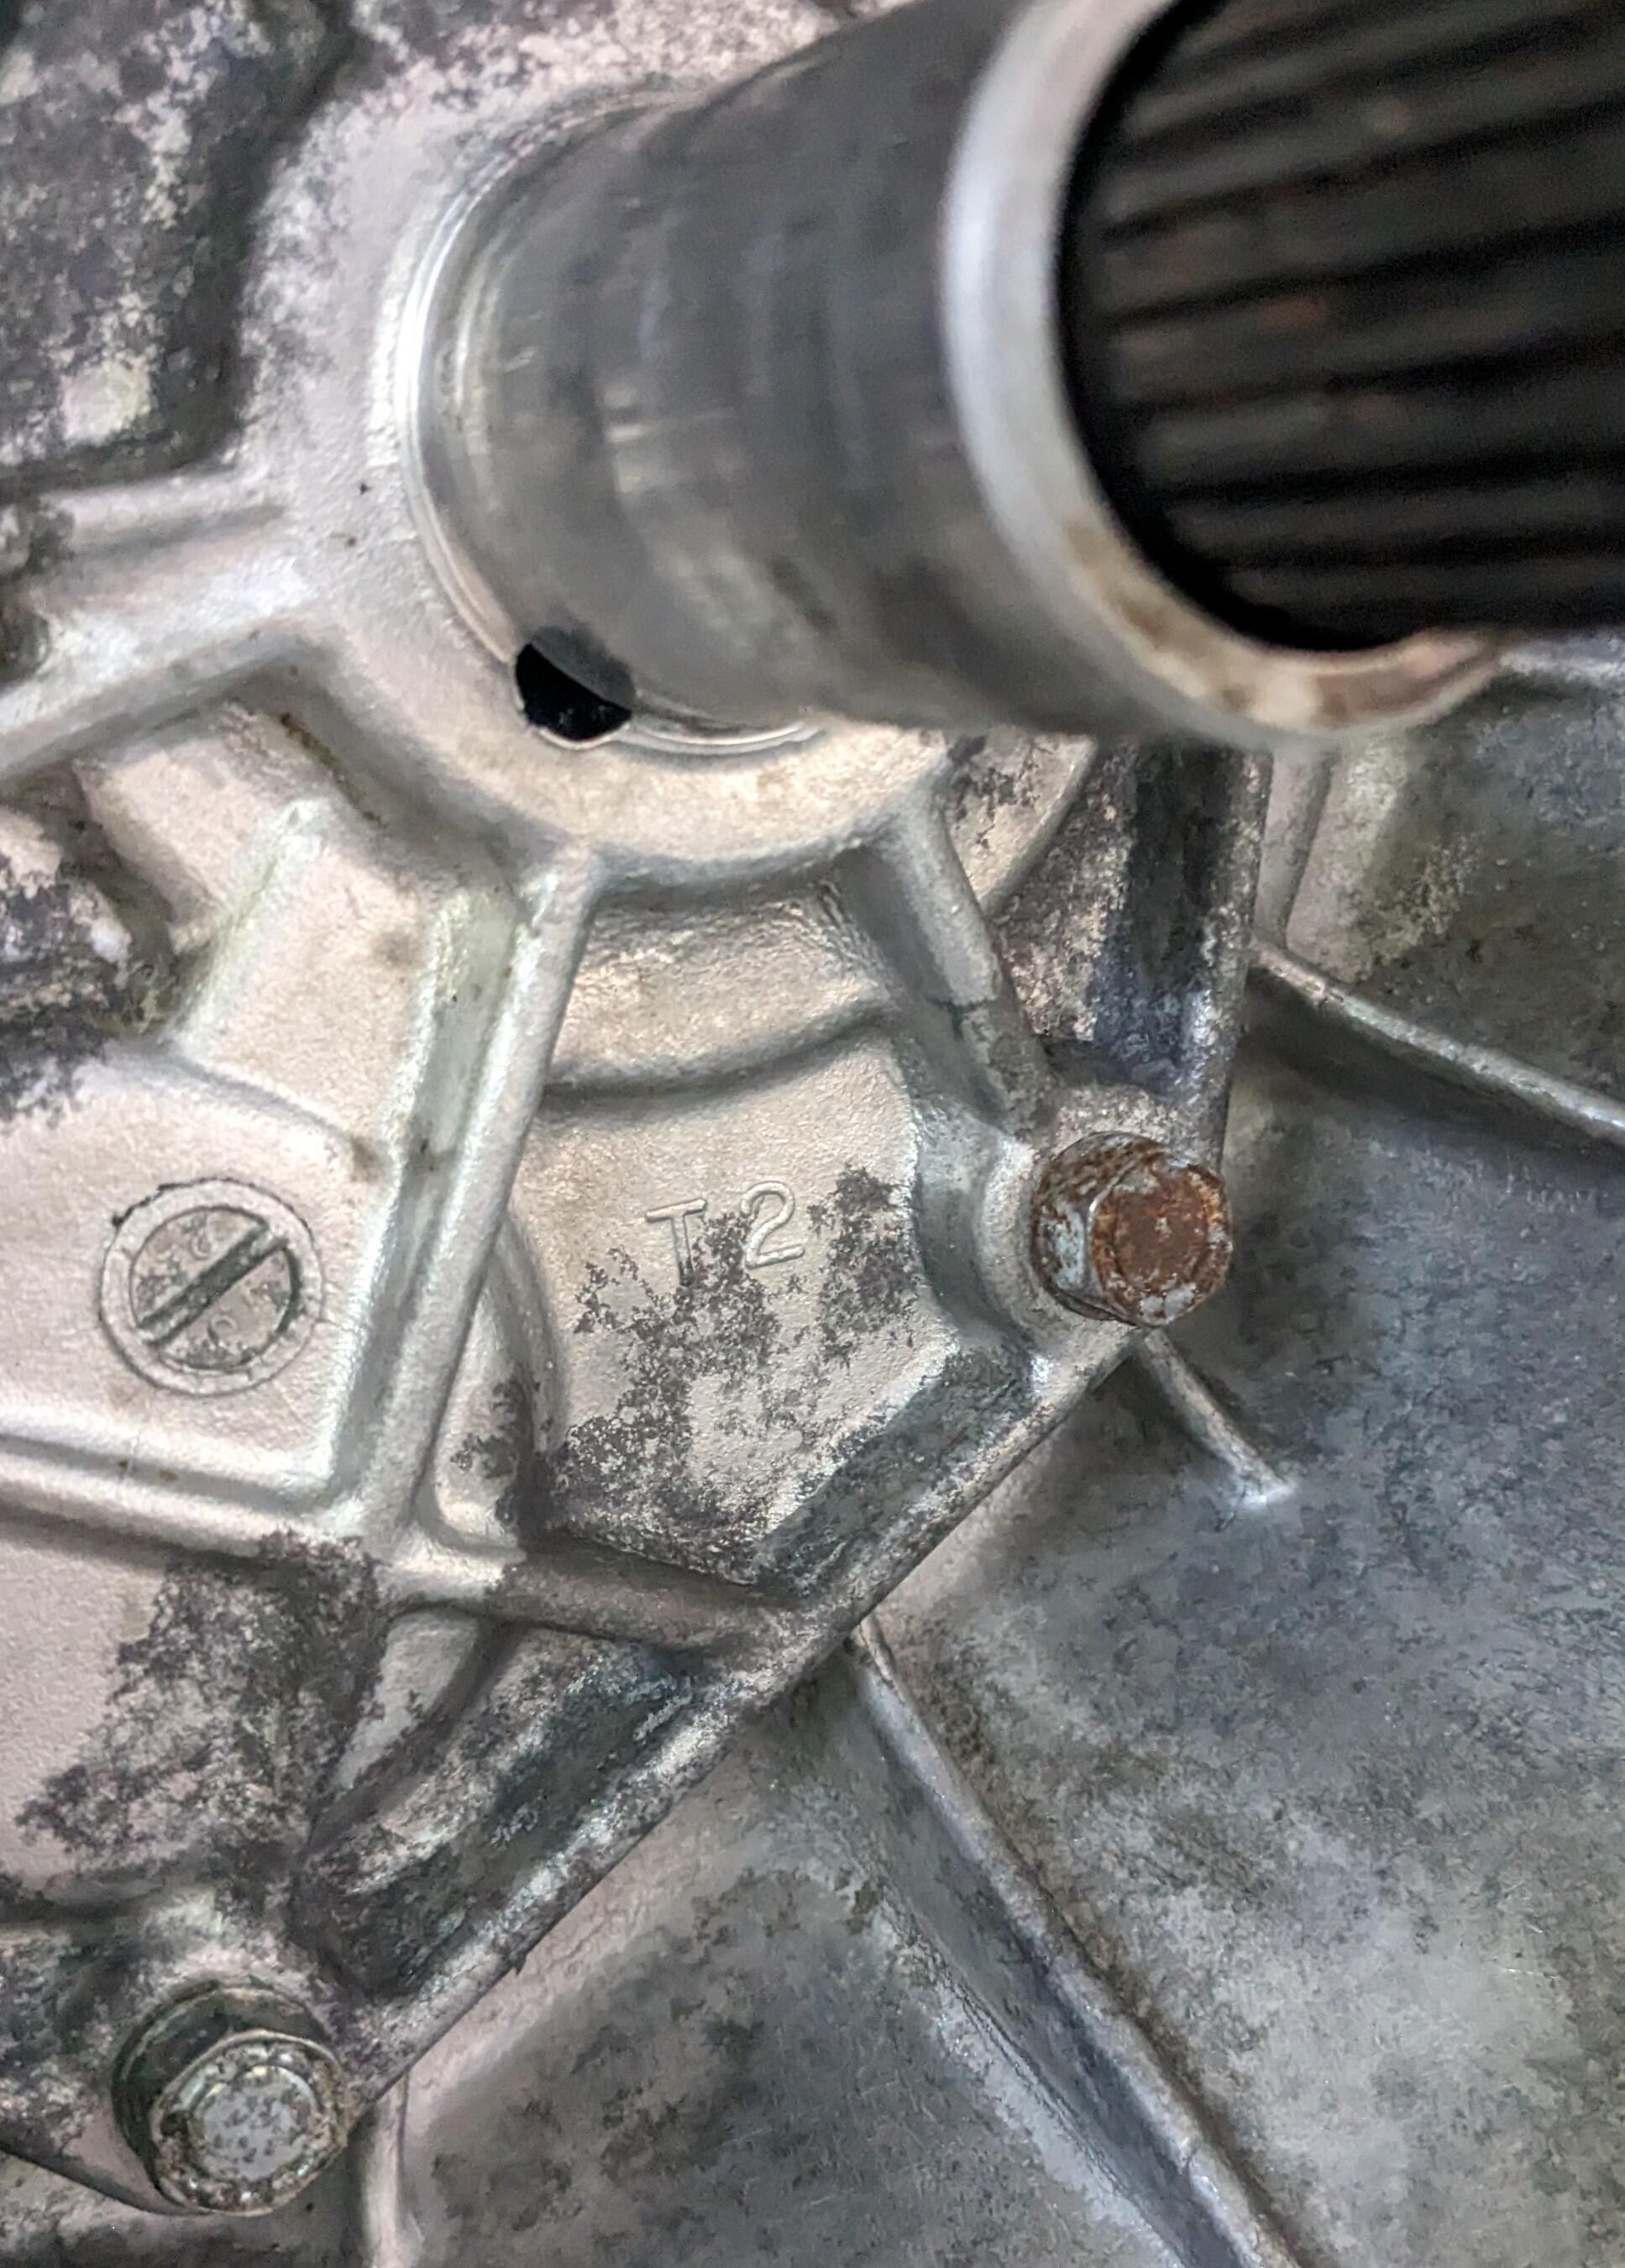
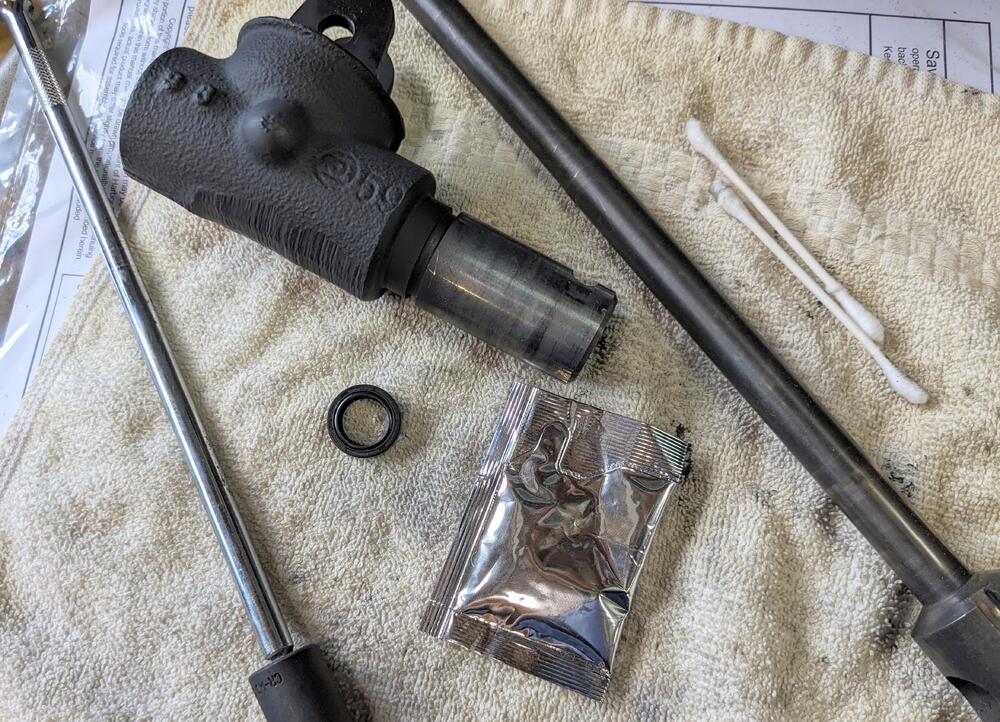
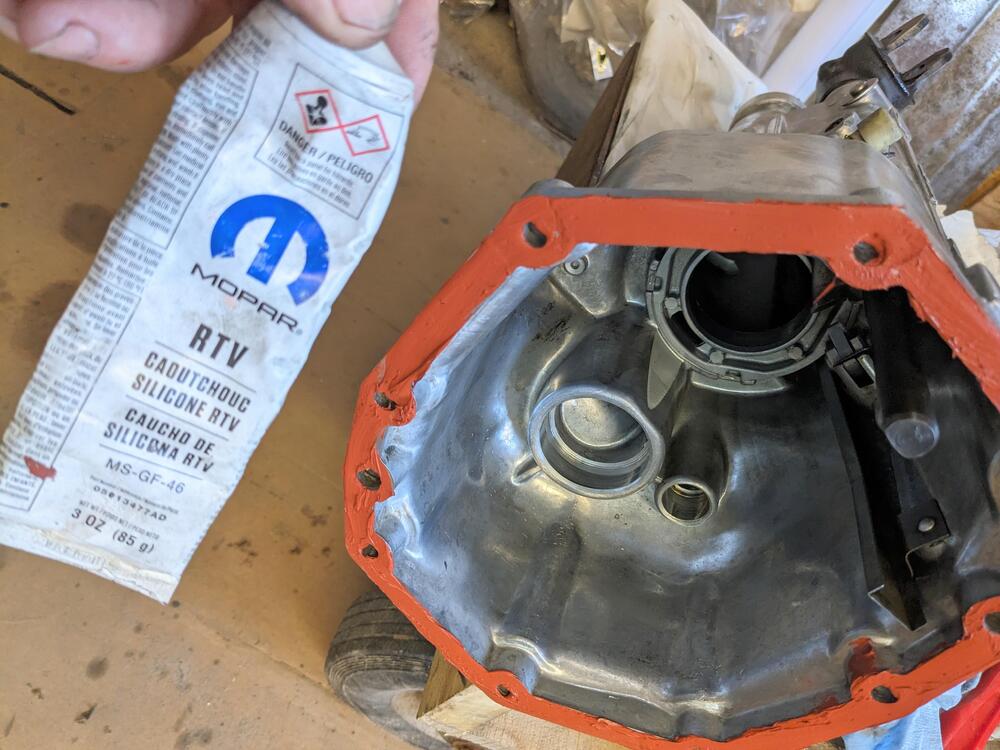
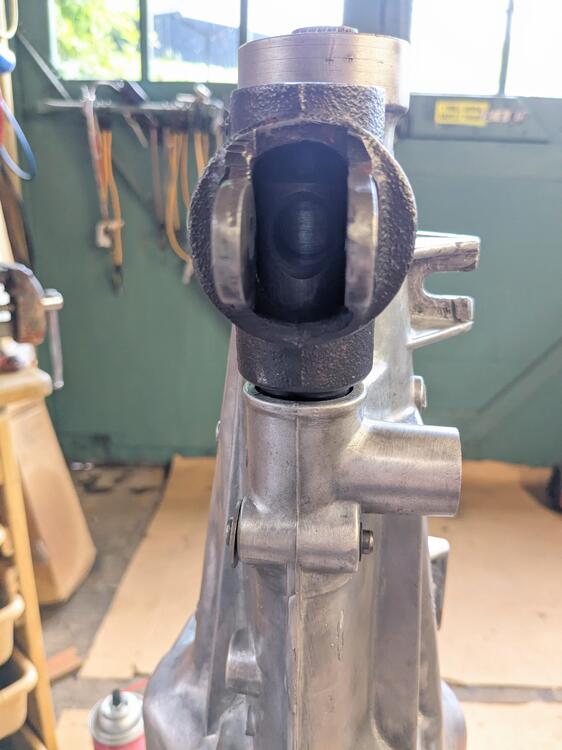
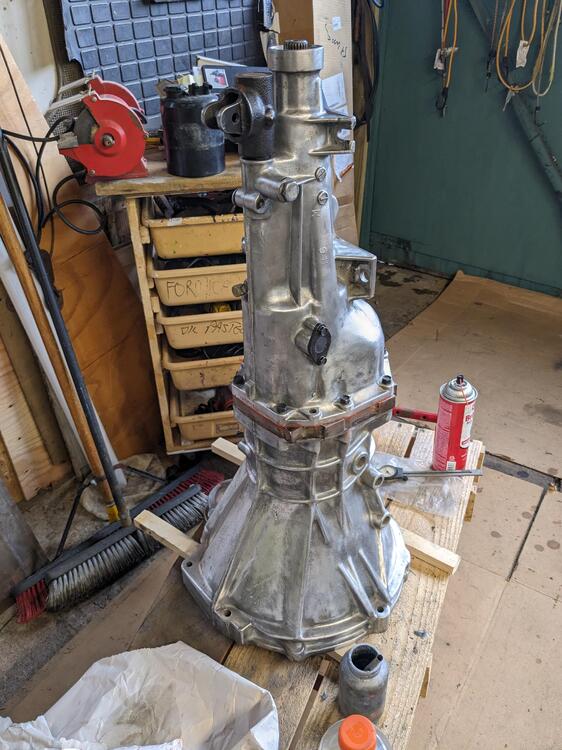
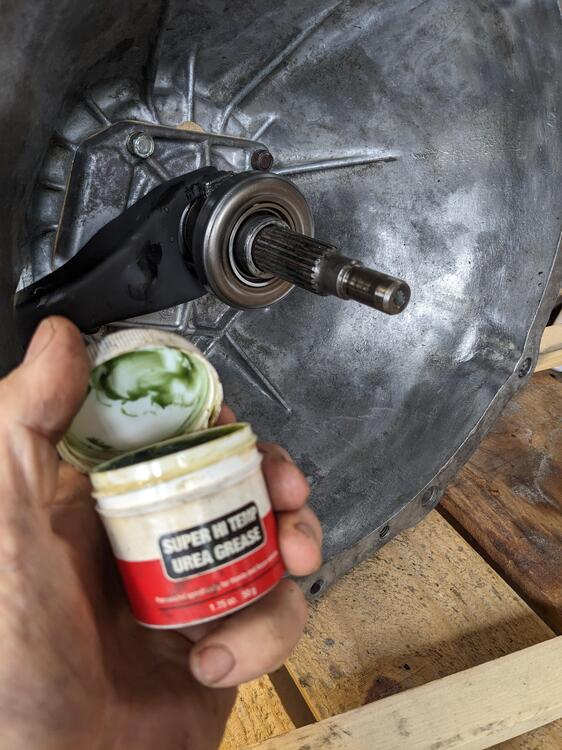
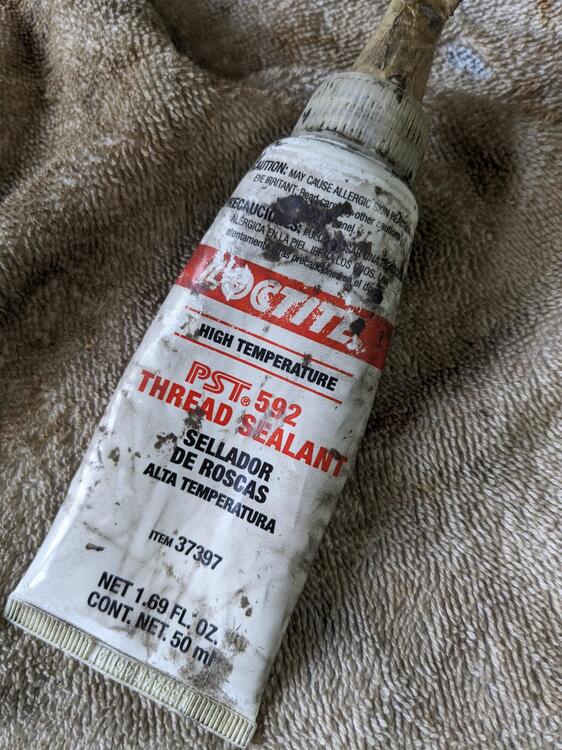
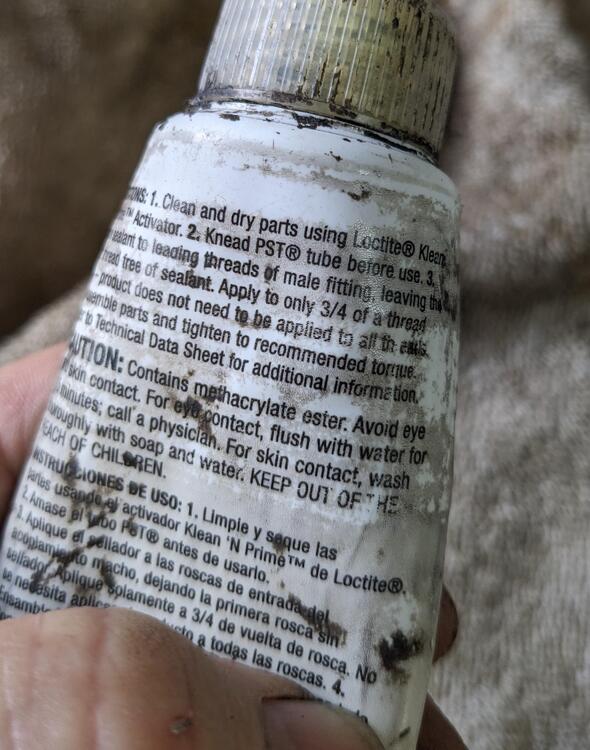
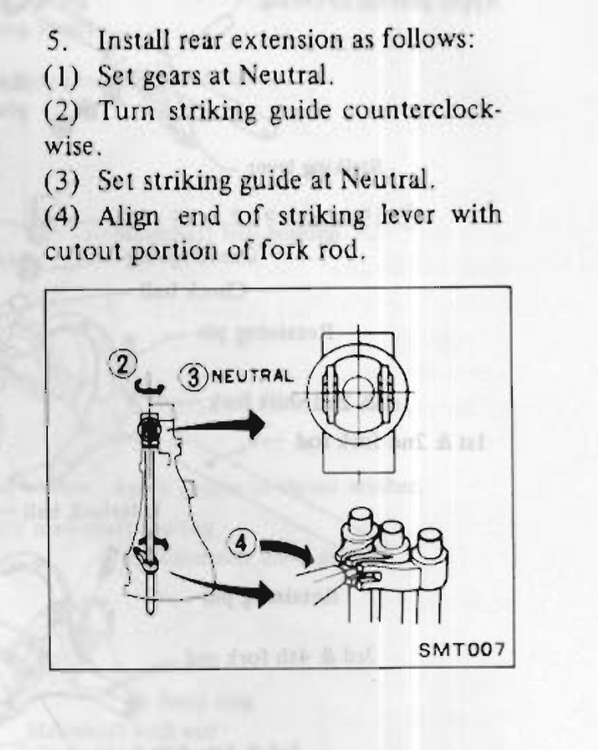
I ordered 2 quarts of the GM 10-4014 Friction Modified Synchromesh - now I can't find the the thread where fluid options were discussed - I know I ordered it for a reason. EDIT - chickenman mentions it here @Dave WM - thank you - I'll make guide dowels. A similar issue happens with the Fiat X1/9 transaxle where the input shaft splines can be a bitch to engage/align, a similar approach with guide pins is used there also. I'm just gong to print you post, so I have it on hand for reference. Had fun getting the rear casing back on today, after replacing the shaft seal & housing oring I had to watch through the reverse check sleeve hole to see if I was getting the 'striking lever' into the fork slot. Took a bit of back & forth & up & down to get it in place. Couldn't photograph it clearly Mopar transaxle casing RTV- since I had it on hand, I decided to use it casing bolts cross-pattern torqued to 13ft/lb Used Honda clutch shaft grease for the T/O sleeve, fork pivot & shaft splines Noted that the Loctite I'm using is 592, not the 567 otherwise mentioned. I'll have to look that one up. Also need to figure out the speedo gear - I think the normal route is to swap the existing one over - but.... mine isn't accurate anyway (with the 15" wheels and tires it's over by more than 10% by 65 (displayed) and goes up from there. I'm wondering if this one will possibly bring it closer? Have to research that.
-
Putting this here before I forget (again) Both cars have the 3.54 FD ratio. another tidbit from NewZed - 75 280 R200 has different flange than later years

-
So, question for those who've removed the trans- can you disconnect the shifter at the base from beneath the car, one video I saw it appeared that he just lowered the back of the tranny, and then disconnected the shifter from underneath rather than removing the entire console. Is that in fact the case? Would make life easier for sure. If anyone can confirm that that would be great.
-
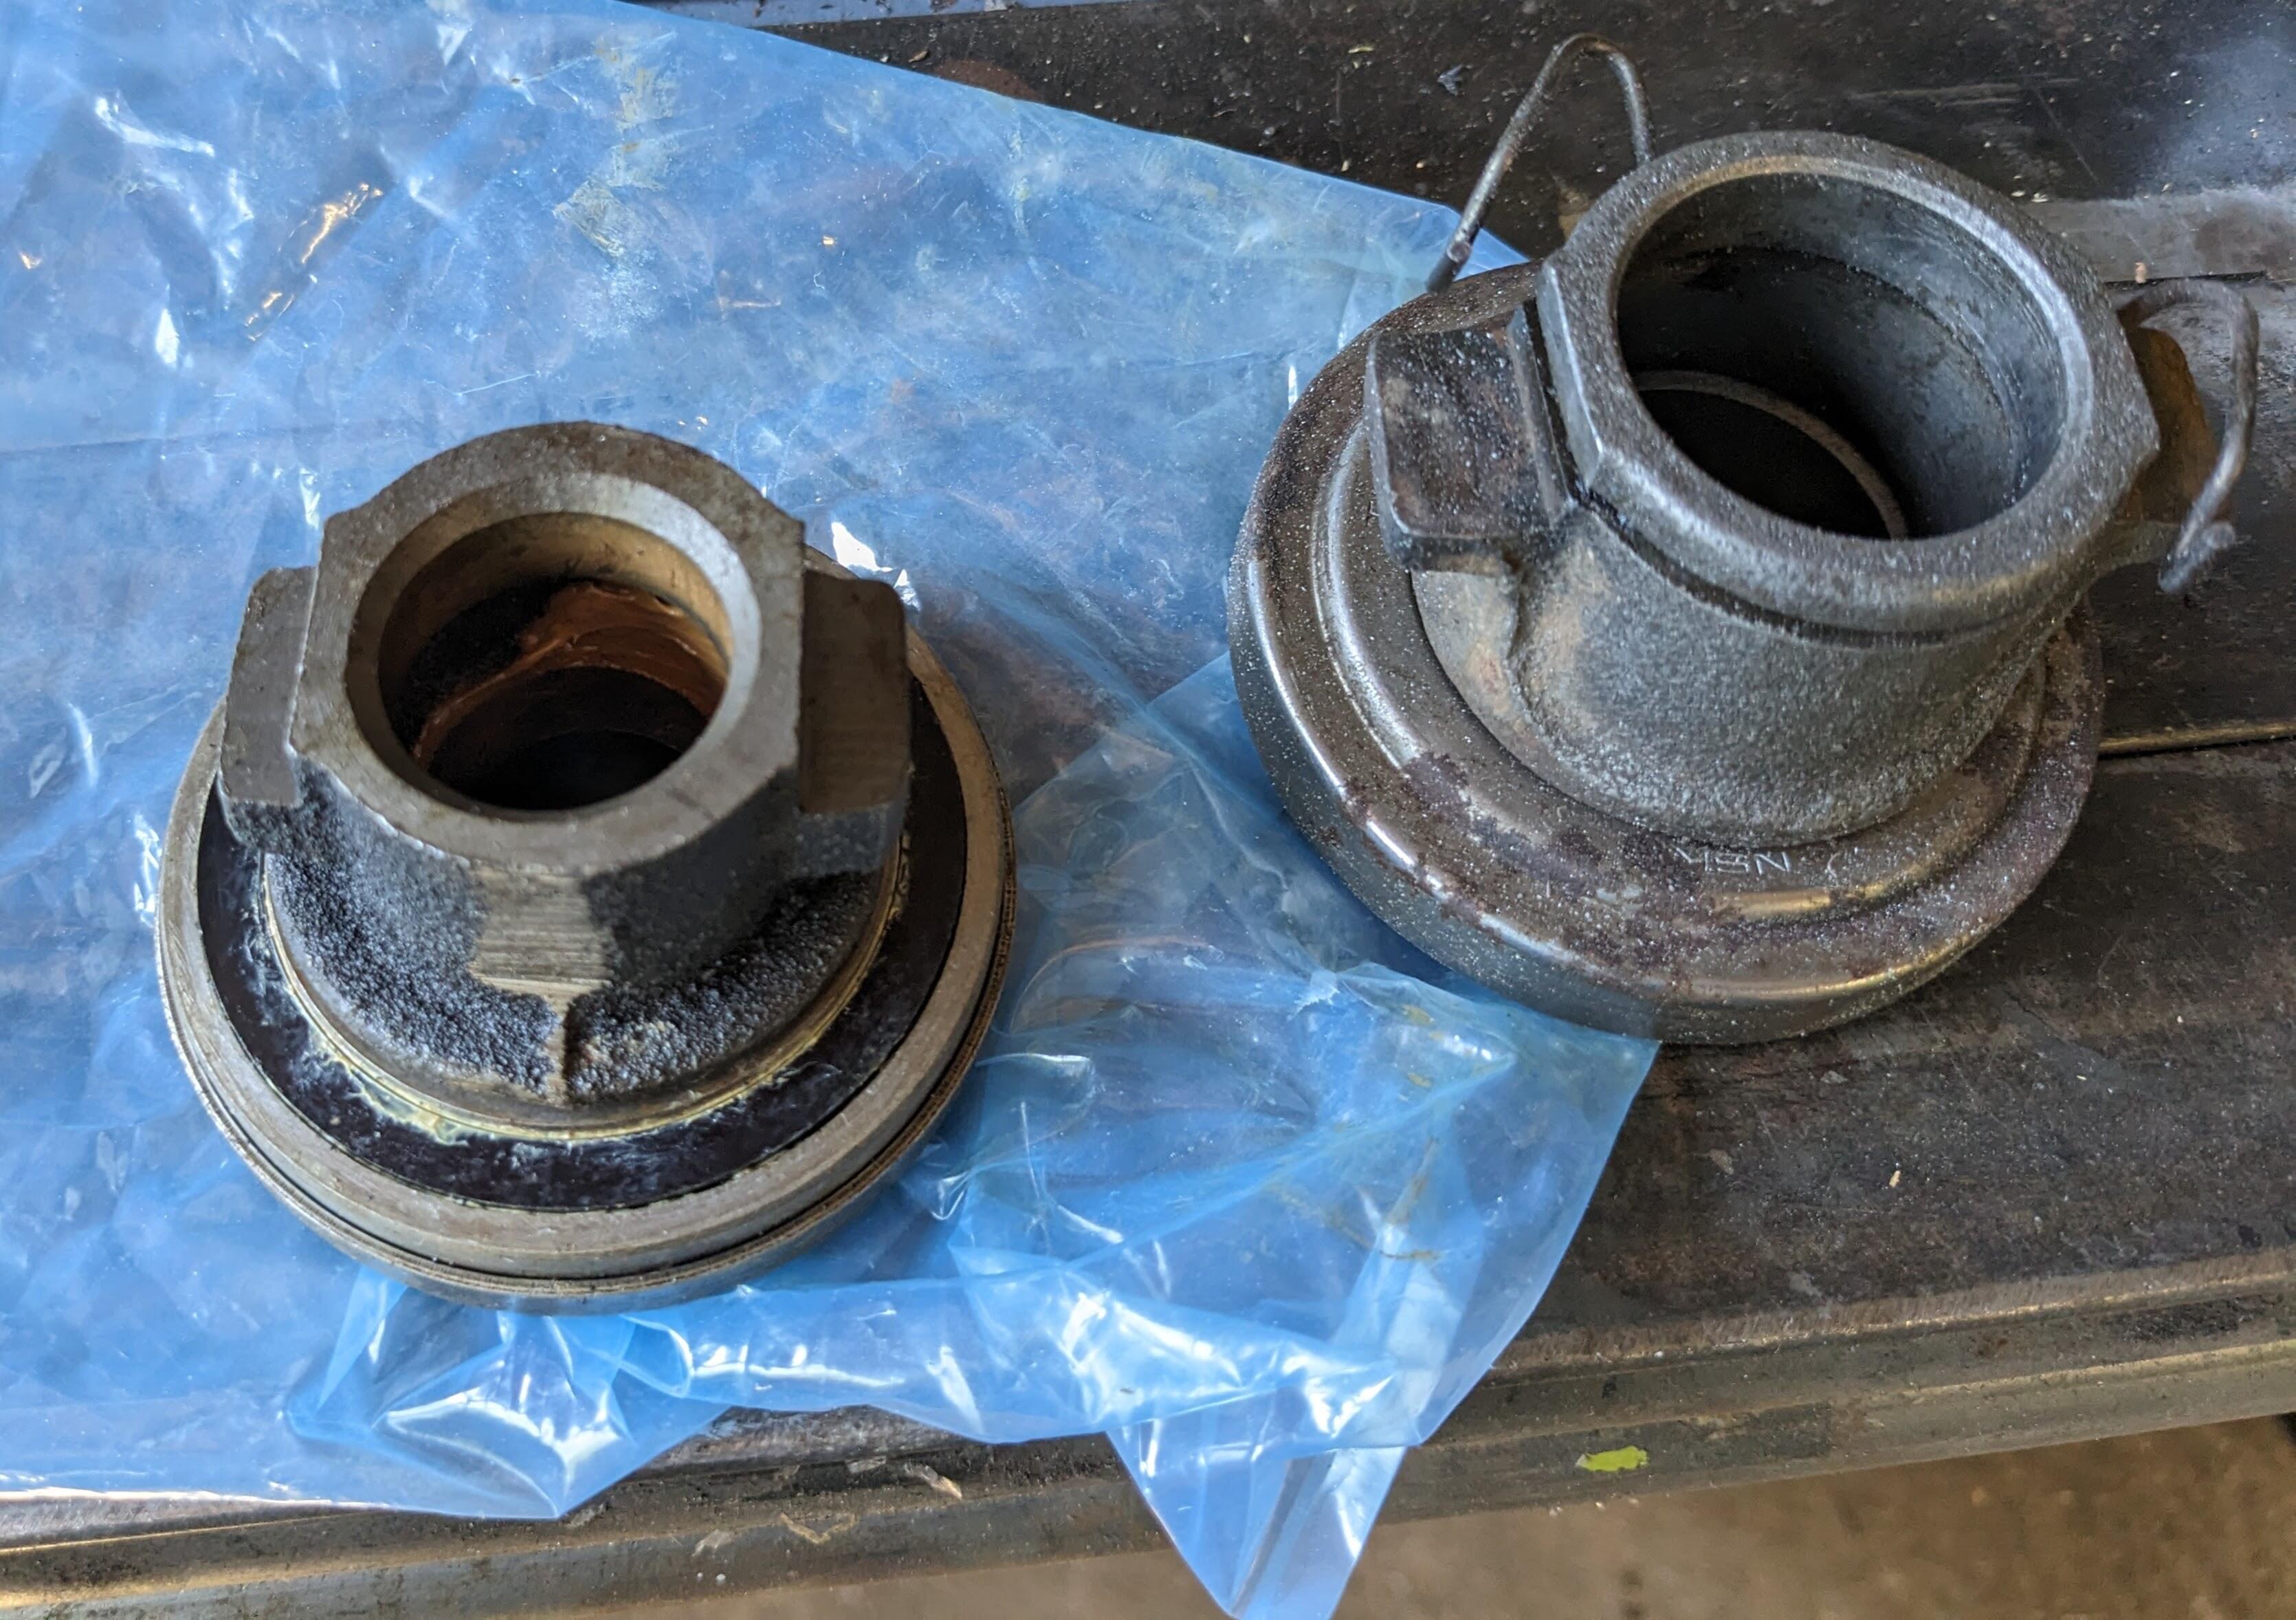
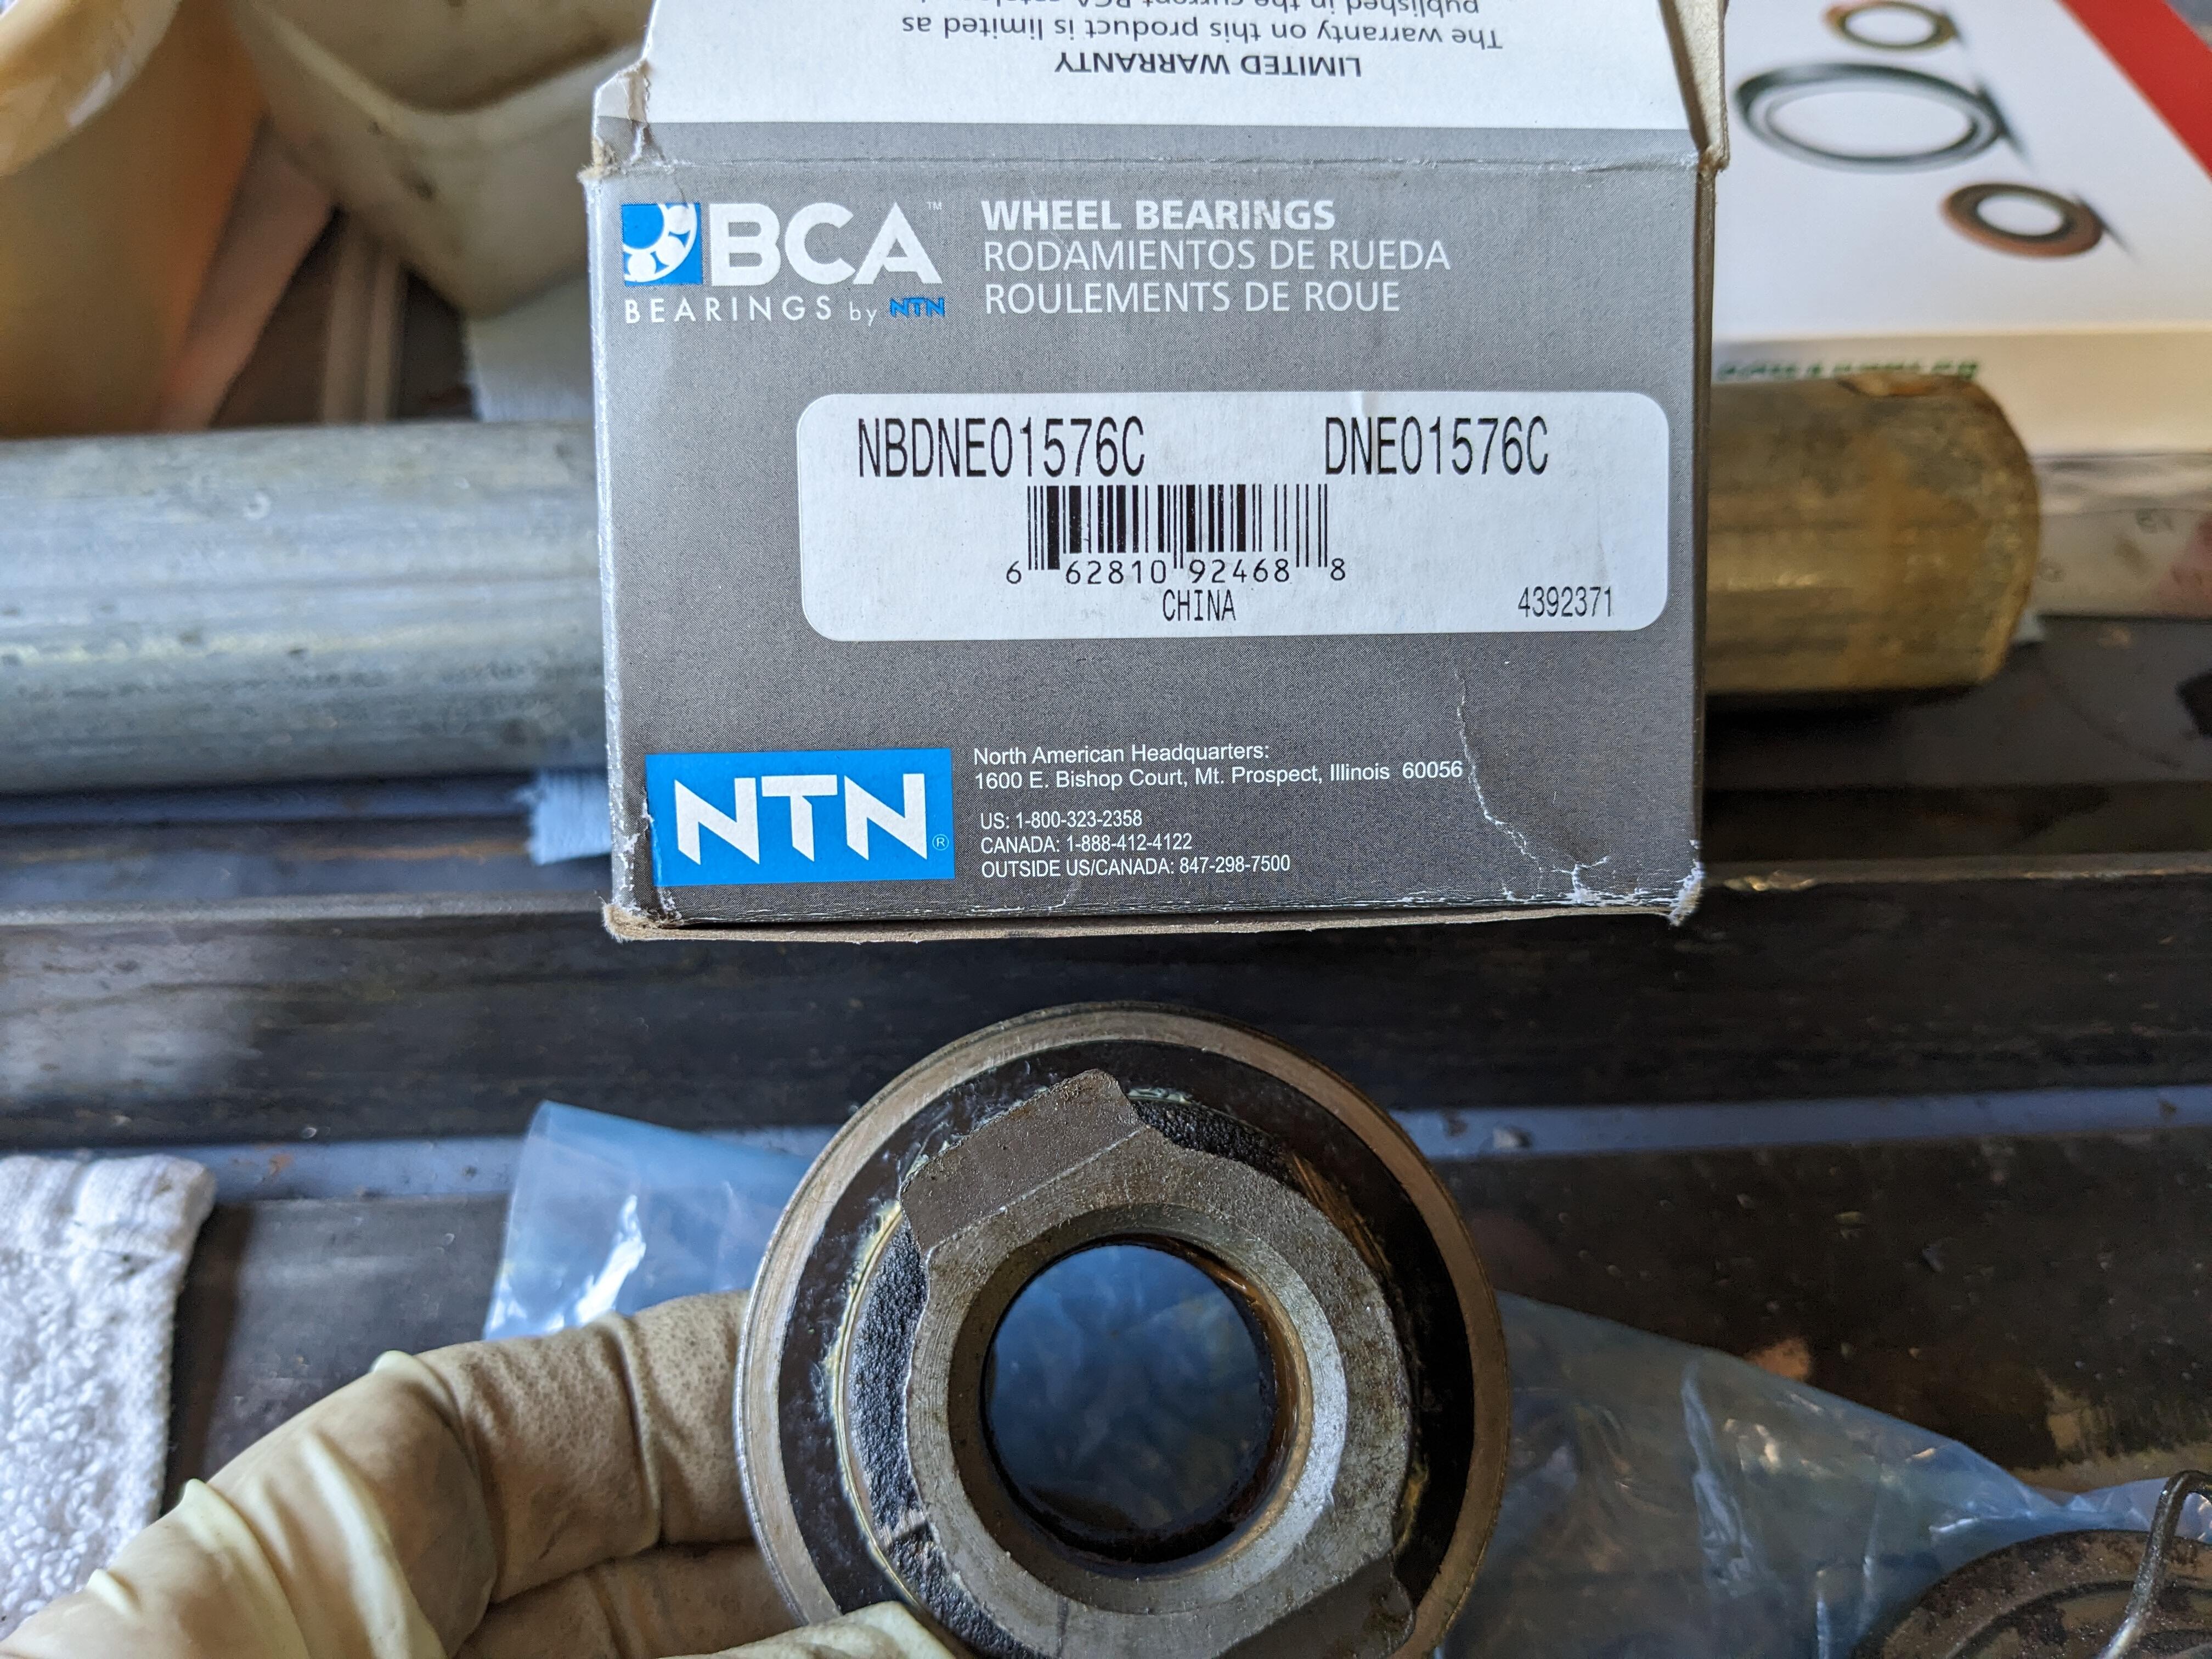
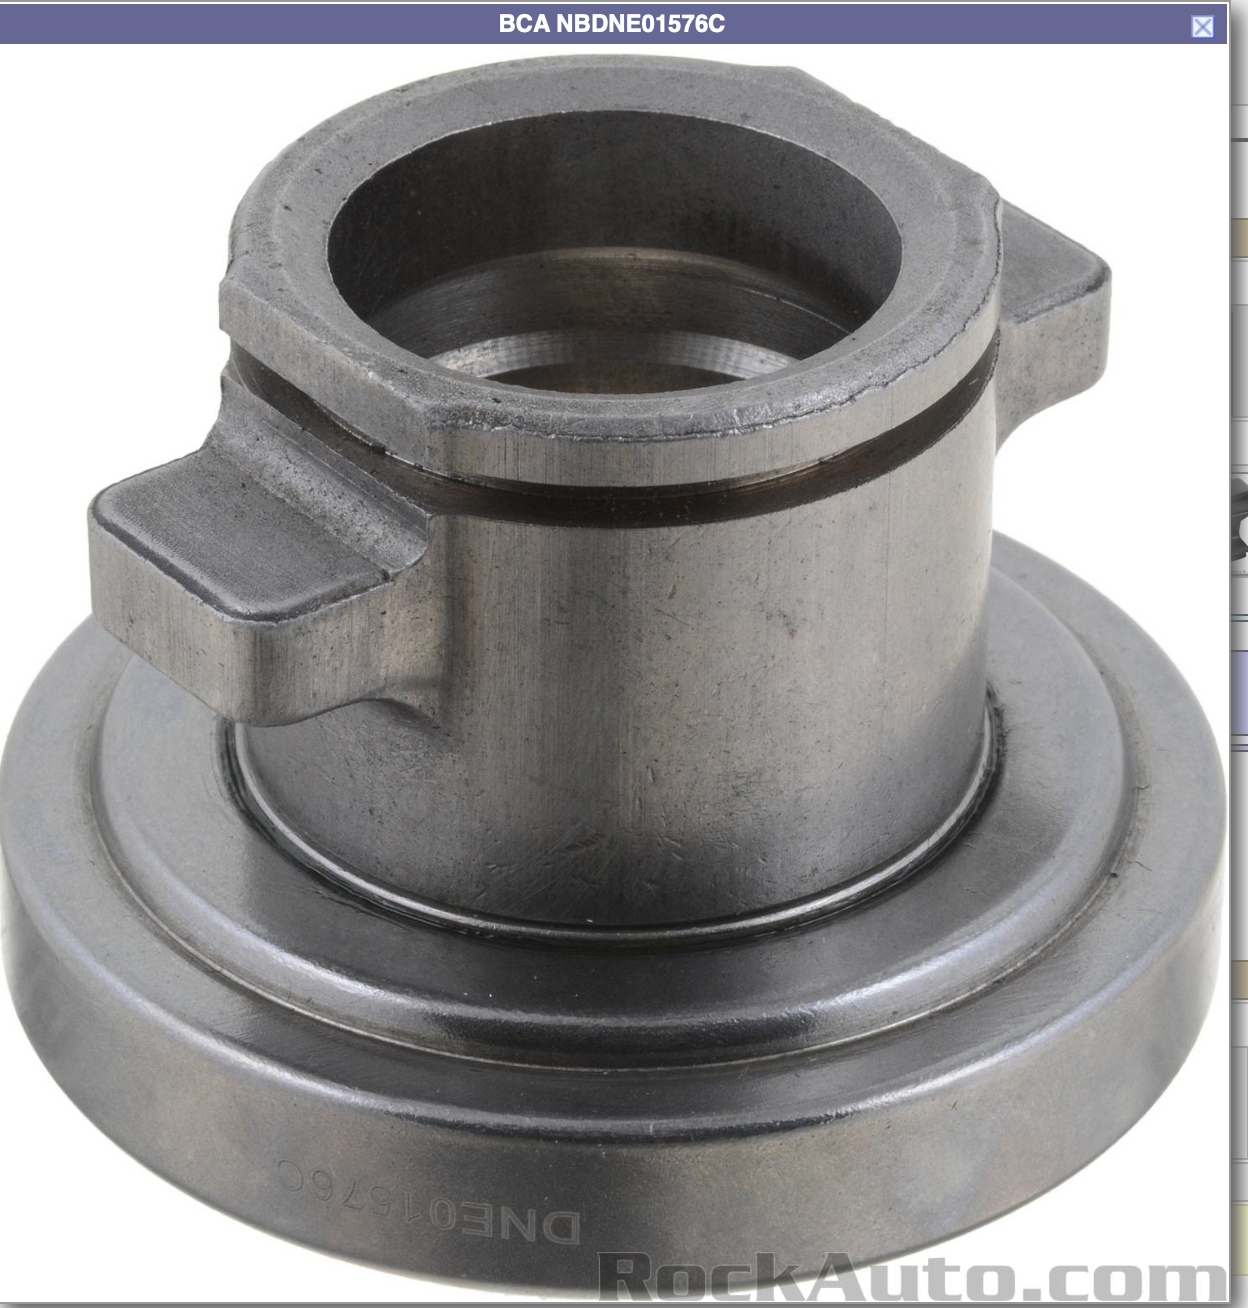
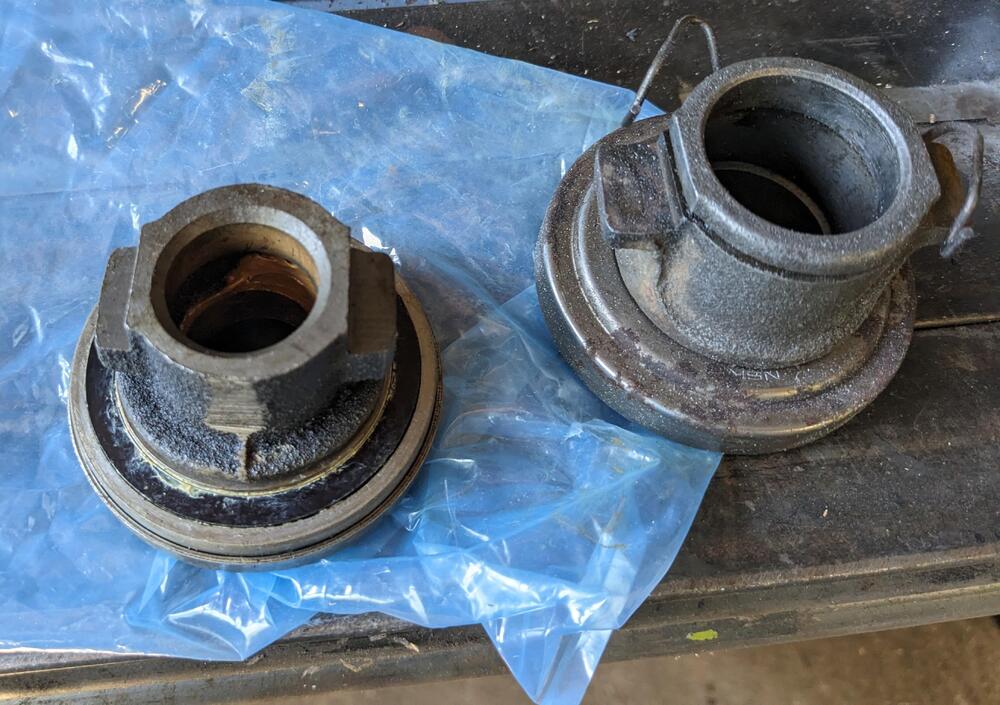
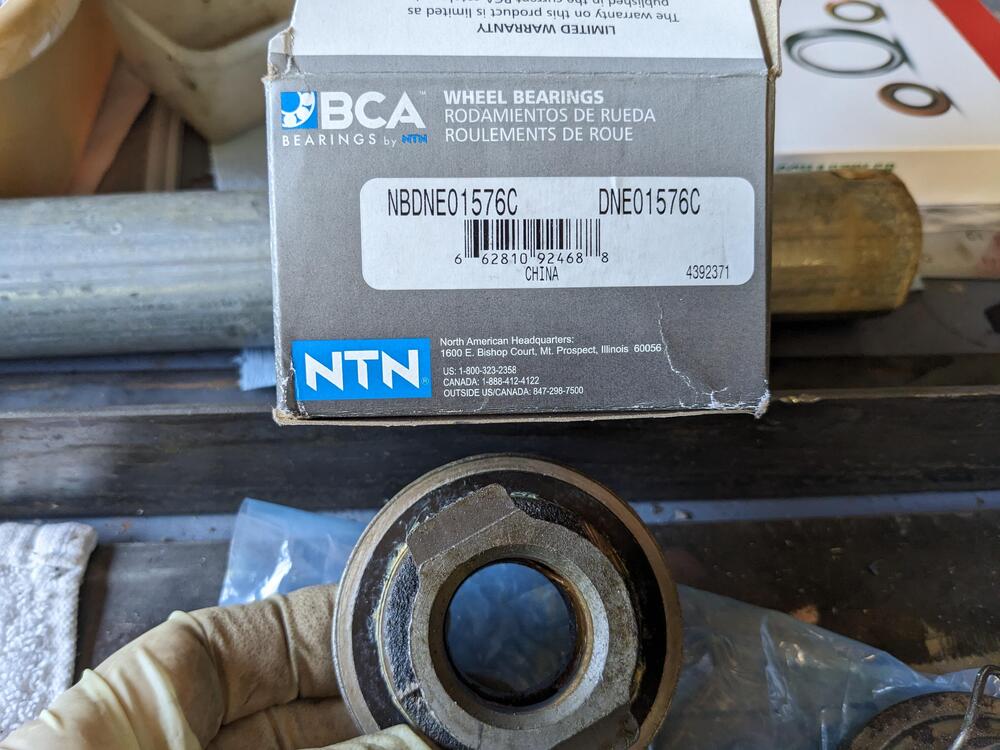
I was going to replace the T/O bearing carrier, however the replacement I got off RockAuto (listed & illustrated correctly on the site) - came as the wrong part form factor & dimensions are all wrong. I just cleaned mine up & replaced the bearing. No evidence of wear in it, or on the input shaft sleeve

-
Had to take another day off work today, the cold I had, I gave to the Mrs, and she gave it back. She just finished a round of antibiotics, so that's next for me. Hopefully tomorrow I'll feel up to working on the Z.
-
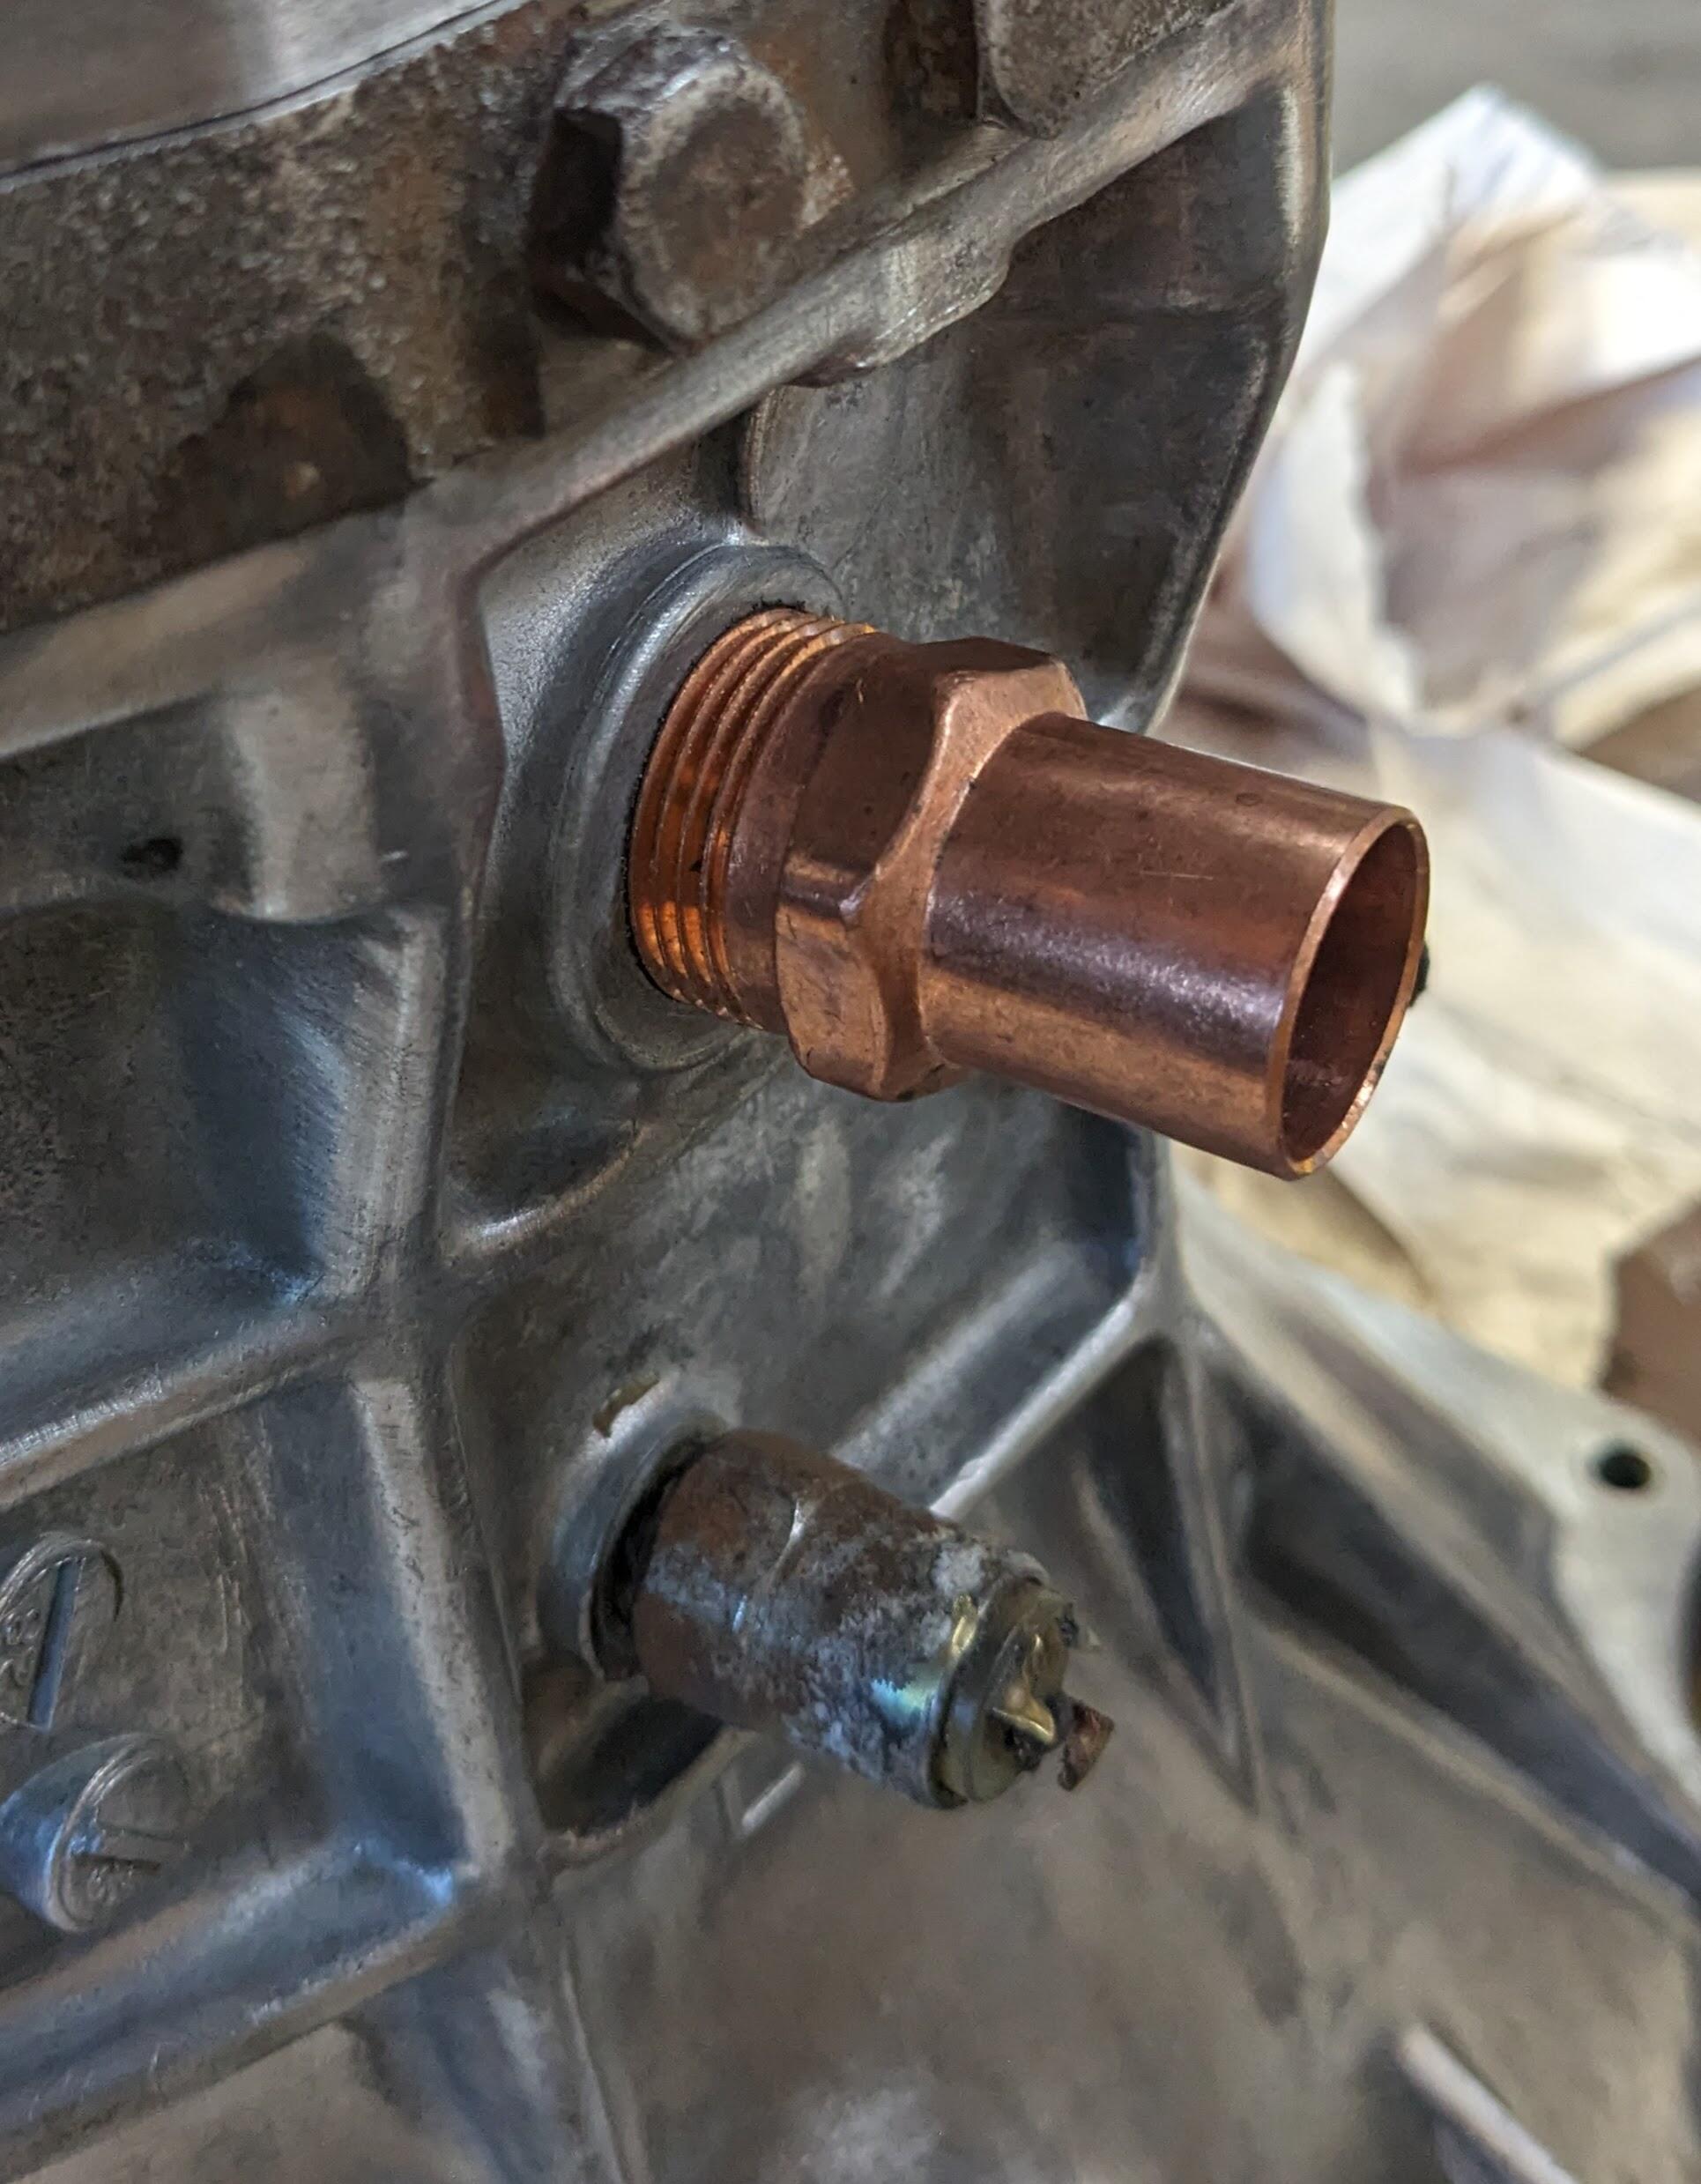
Thank you - I also use Loctite thread sealant on pipe thread, and only snug the plugs. 15 years back when I was modding the crankcase vent system on my 500AWHP Volvo wagon, I used a bunch of 3/4 copper pipe & 1/2" NPT fittings as part of the block vent (occupies much less space than AN fittings of similar ID) - I used to use teflon, but I found it didn't always work well with oil / vapor connections, so I switched to the Loctite 567 😁
-
Thank you for the detail - I don't need them, I have both my fill and drain plug, it was more just I couldn't find a direct answer & enquiring minds want to know, ya know 😁
-
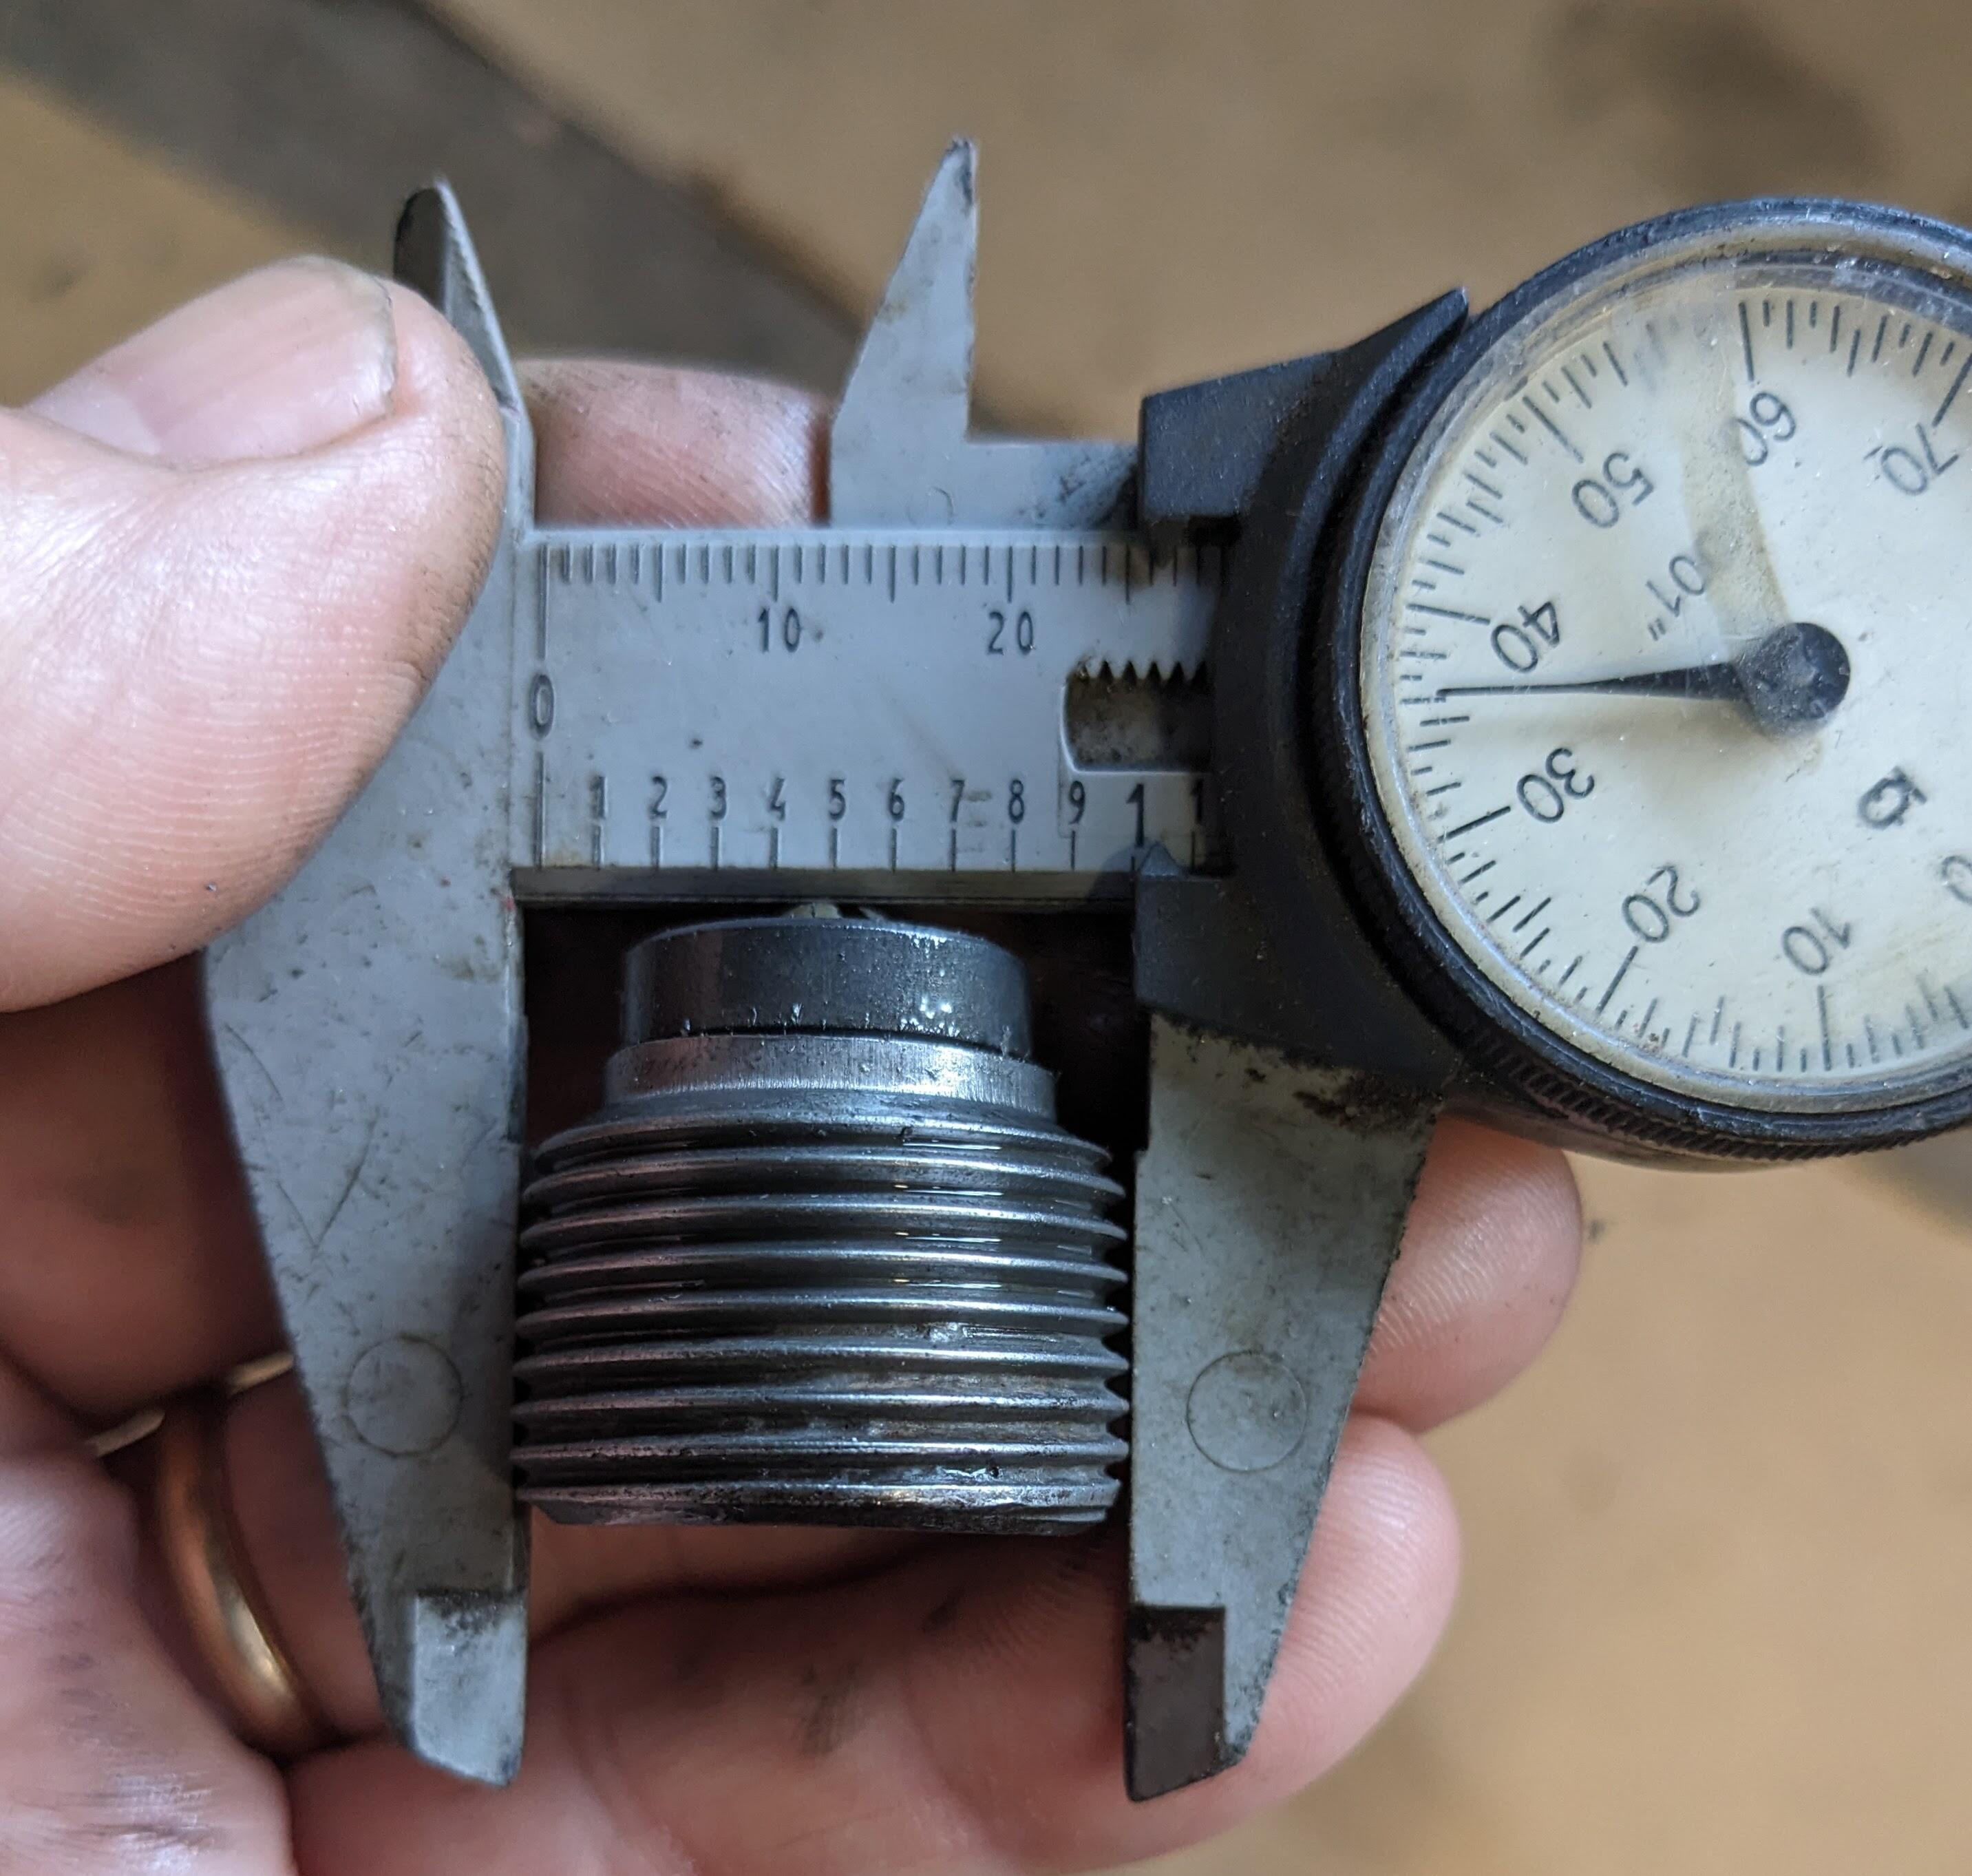
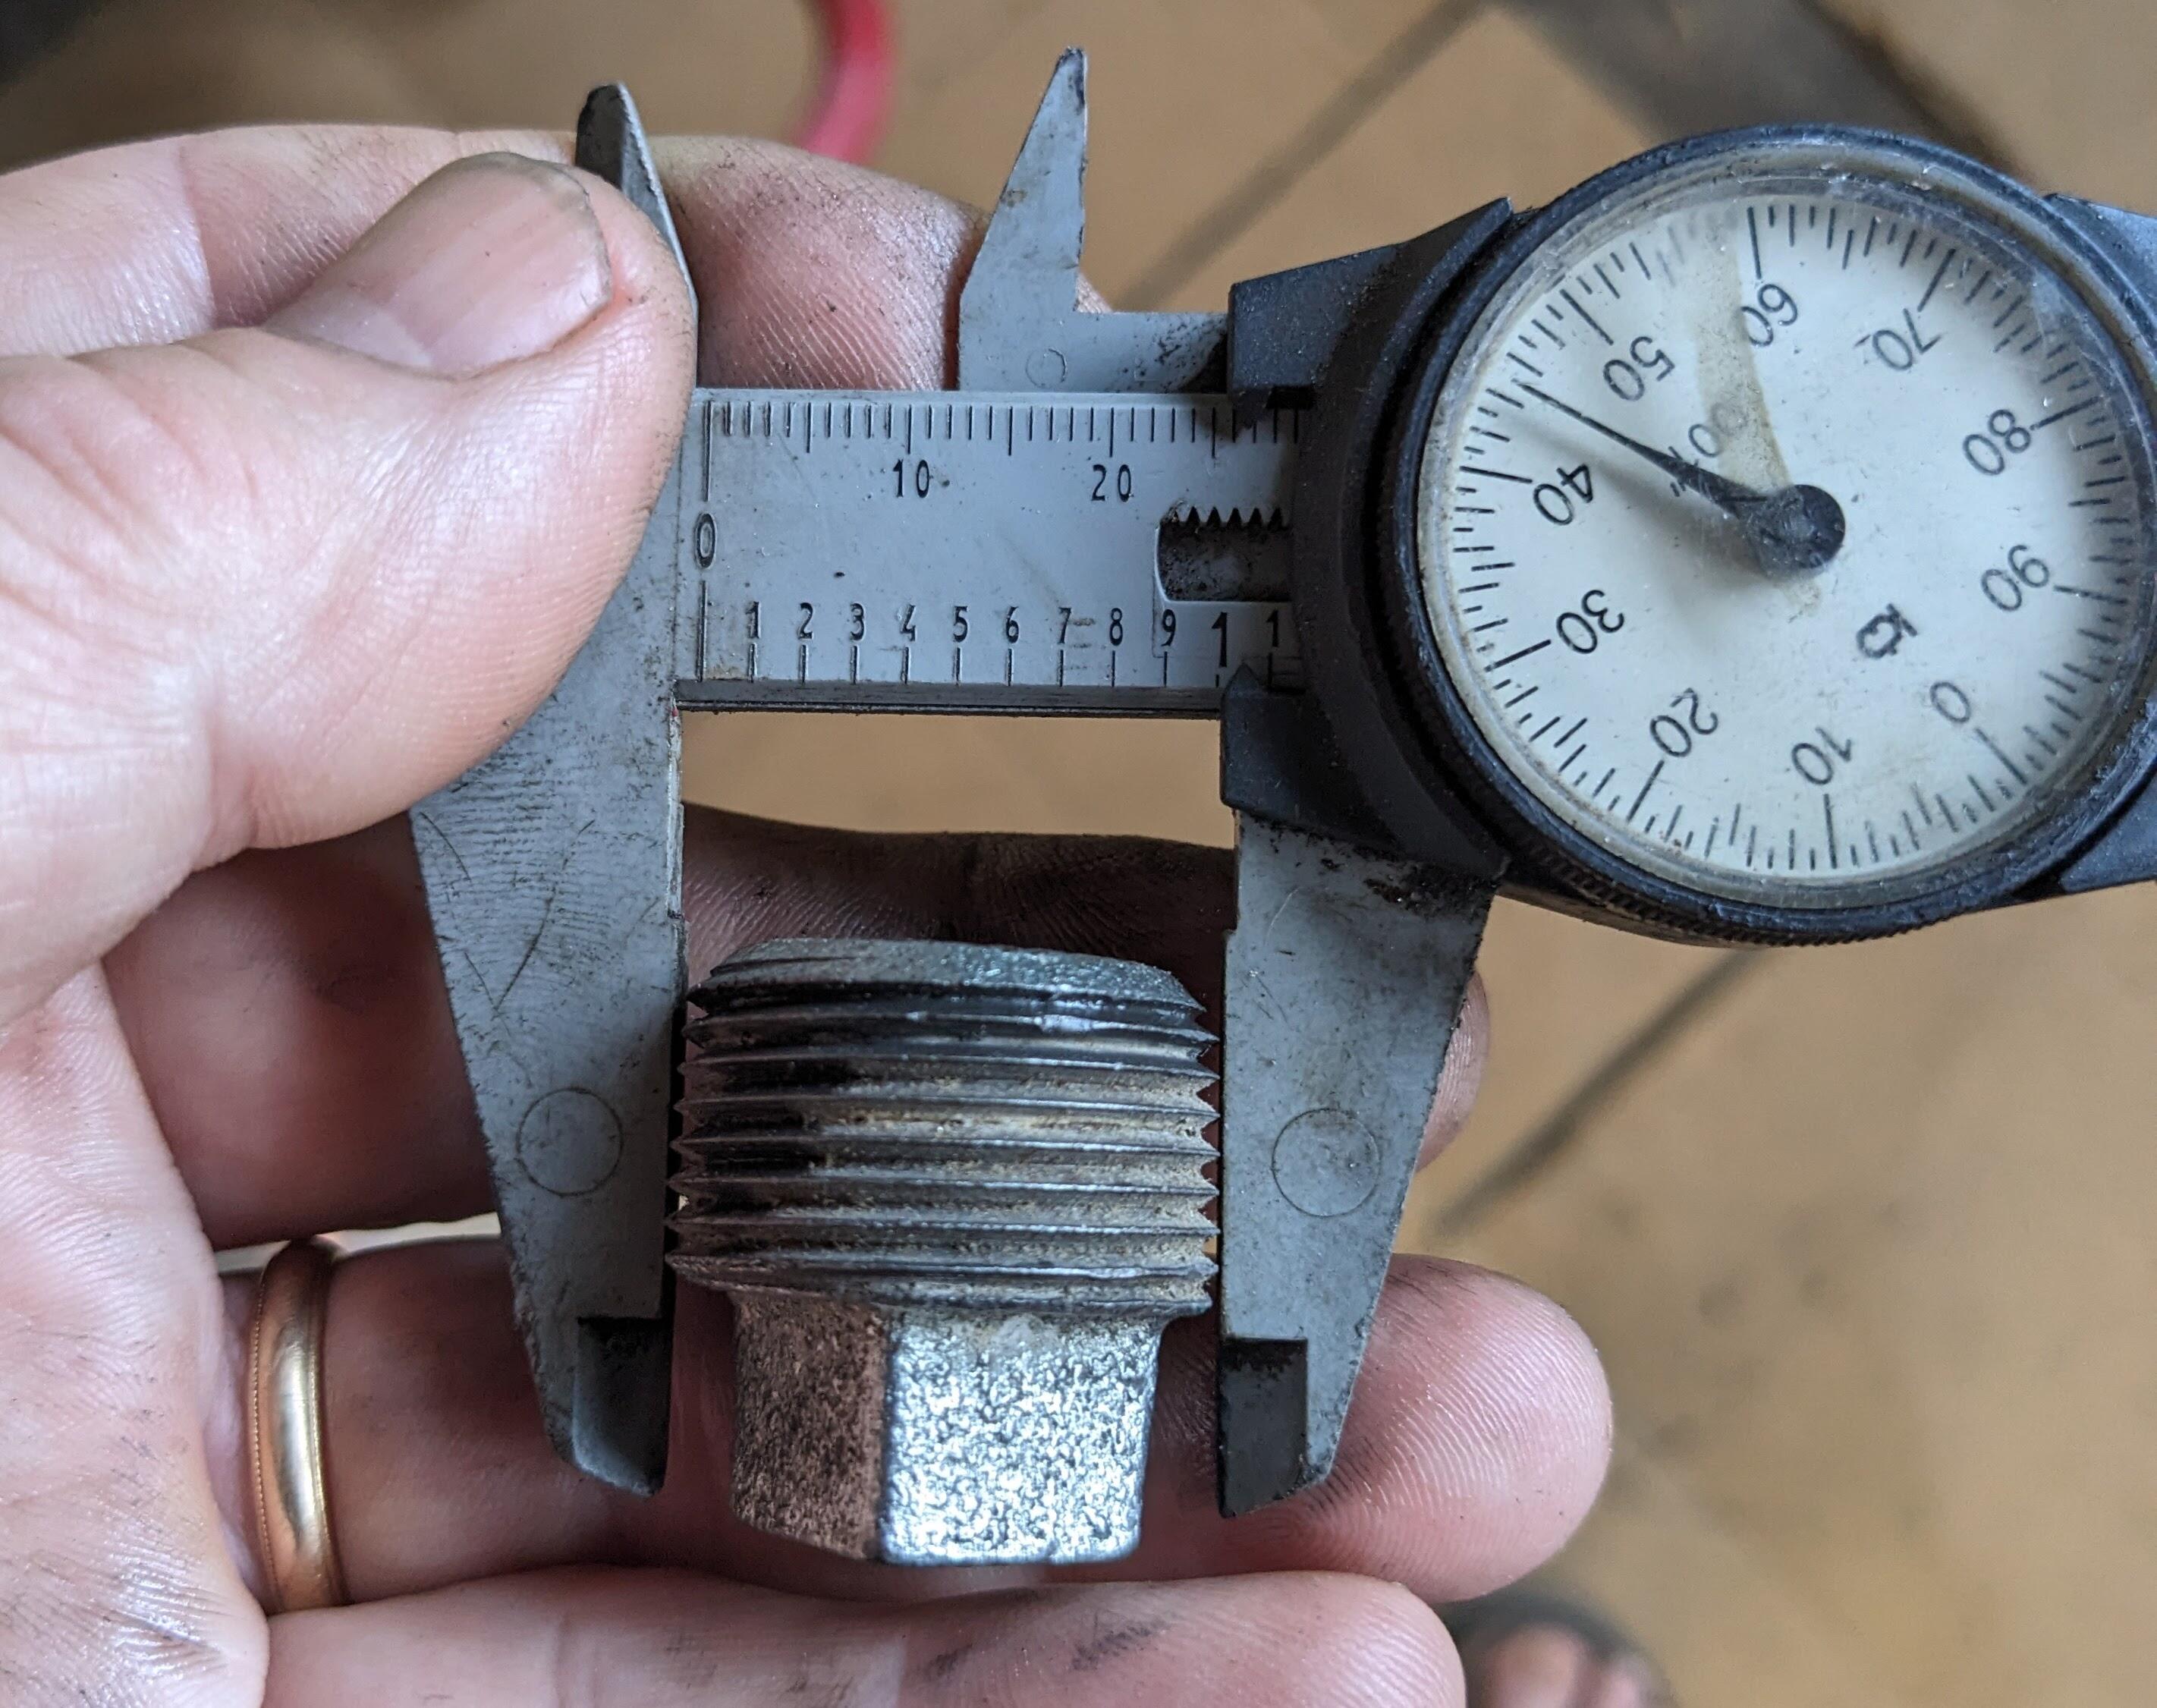
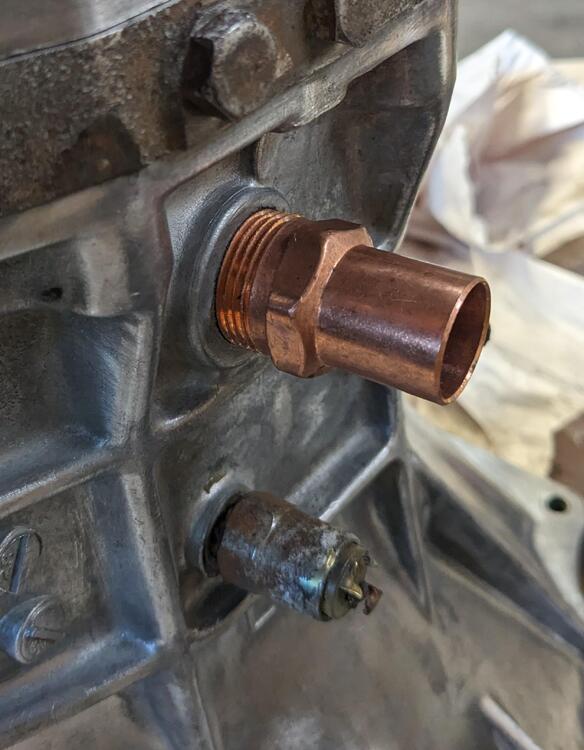
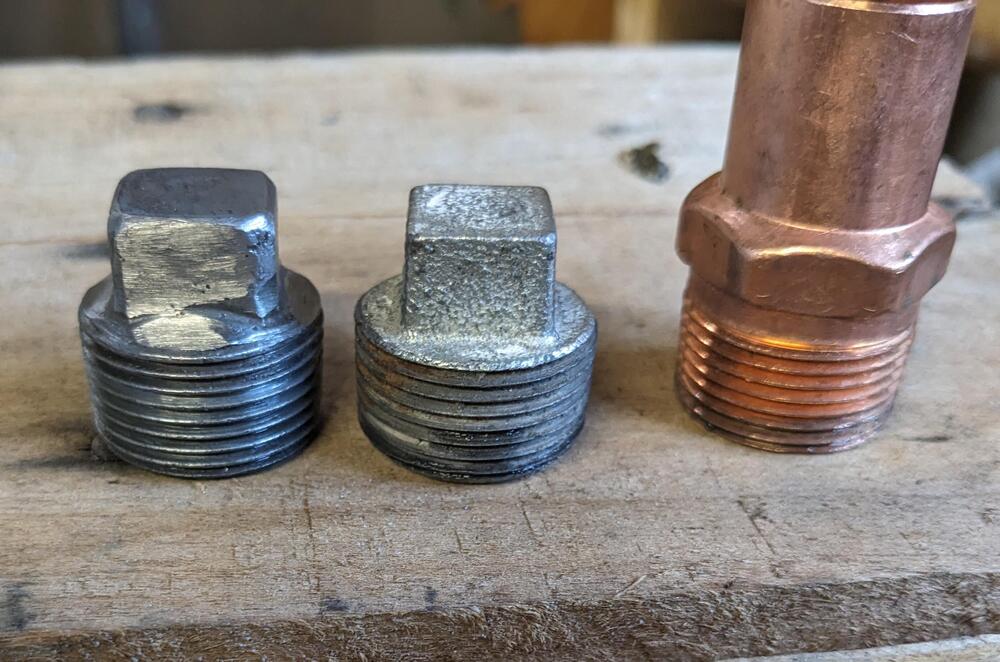
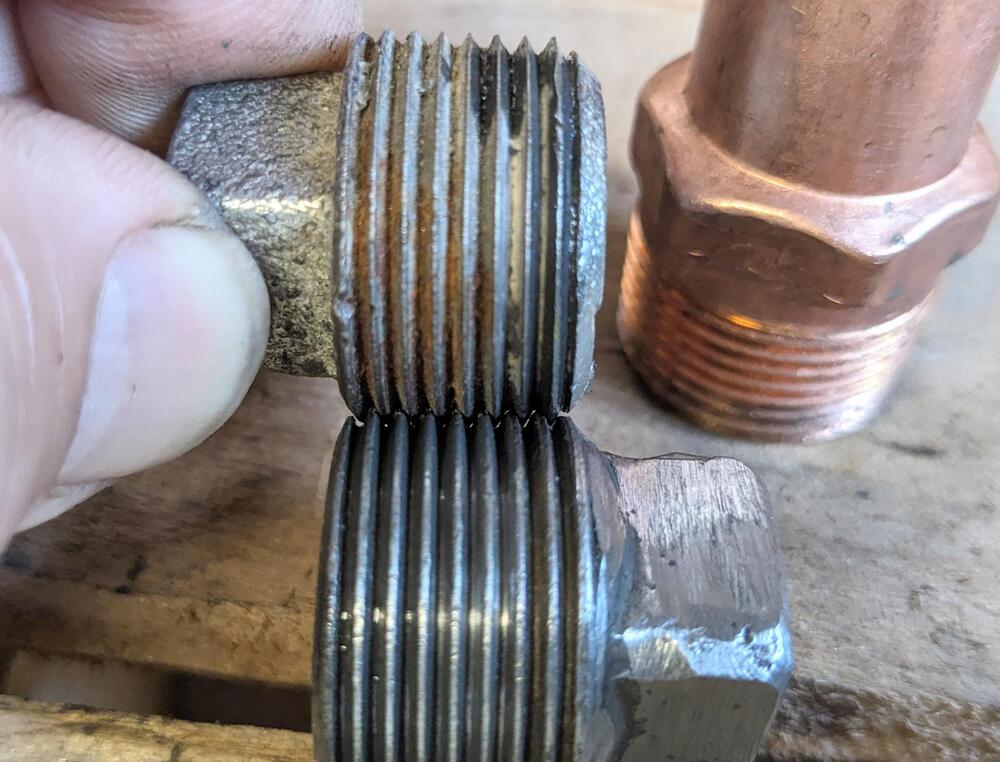
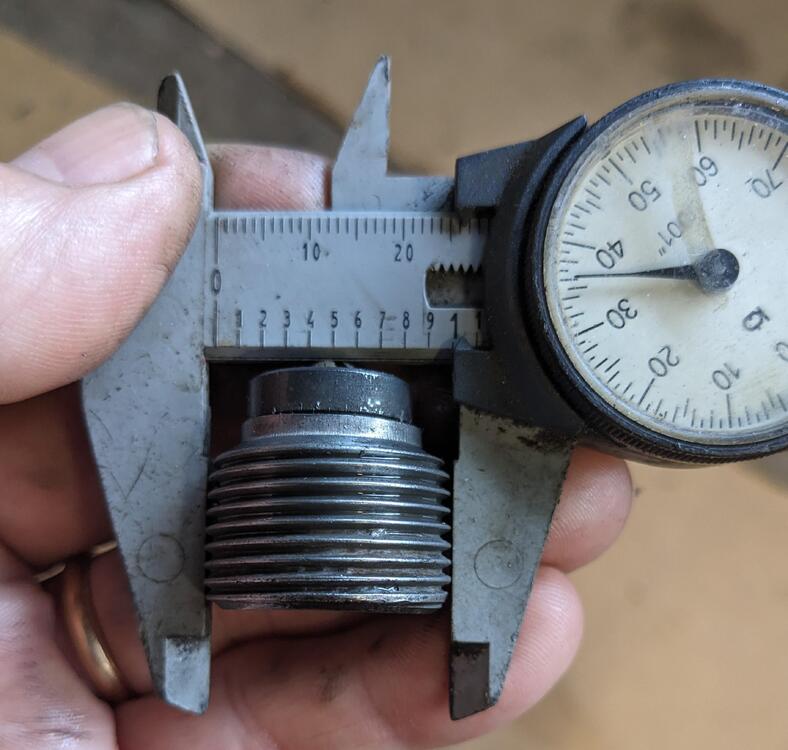
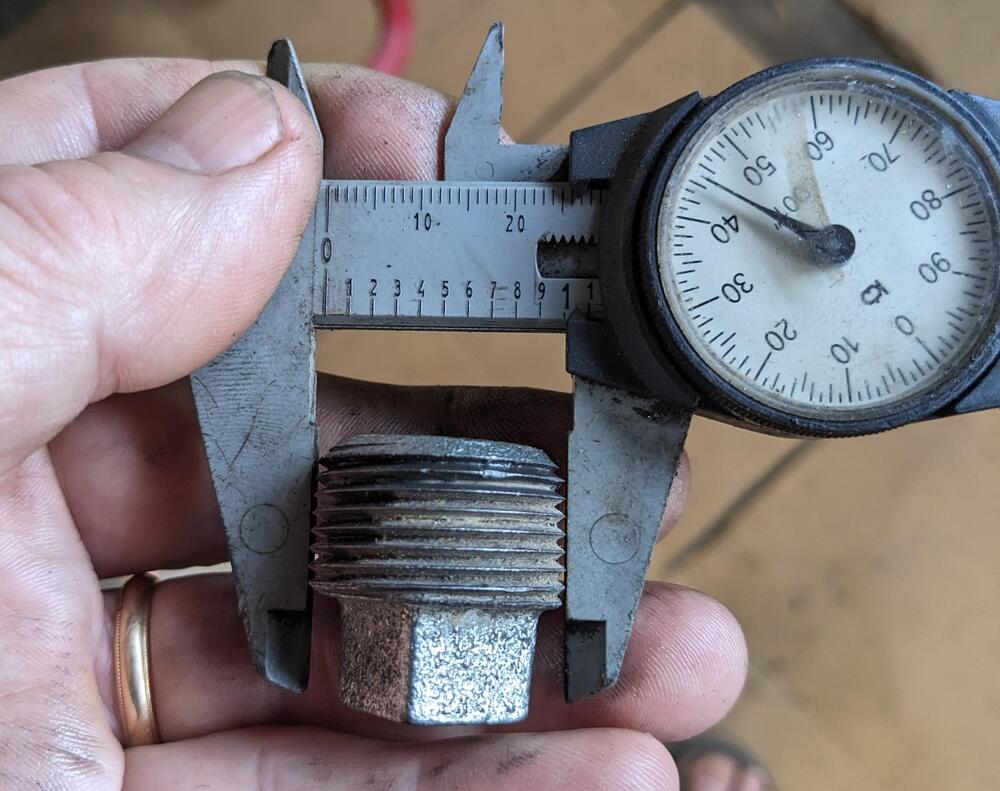
That makes more sense - also the OD of the NPT bung is oversize by about .010" - doesn't thread as far in by hand without more effort
-
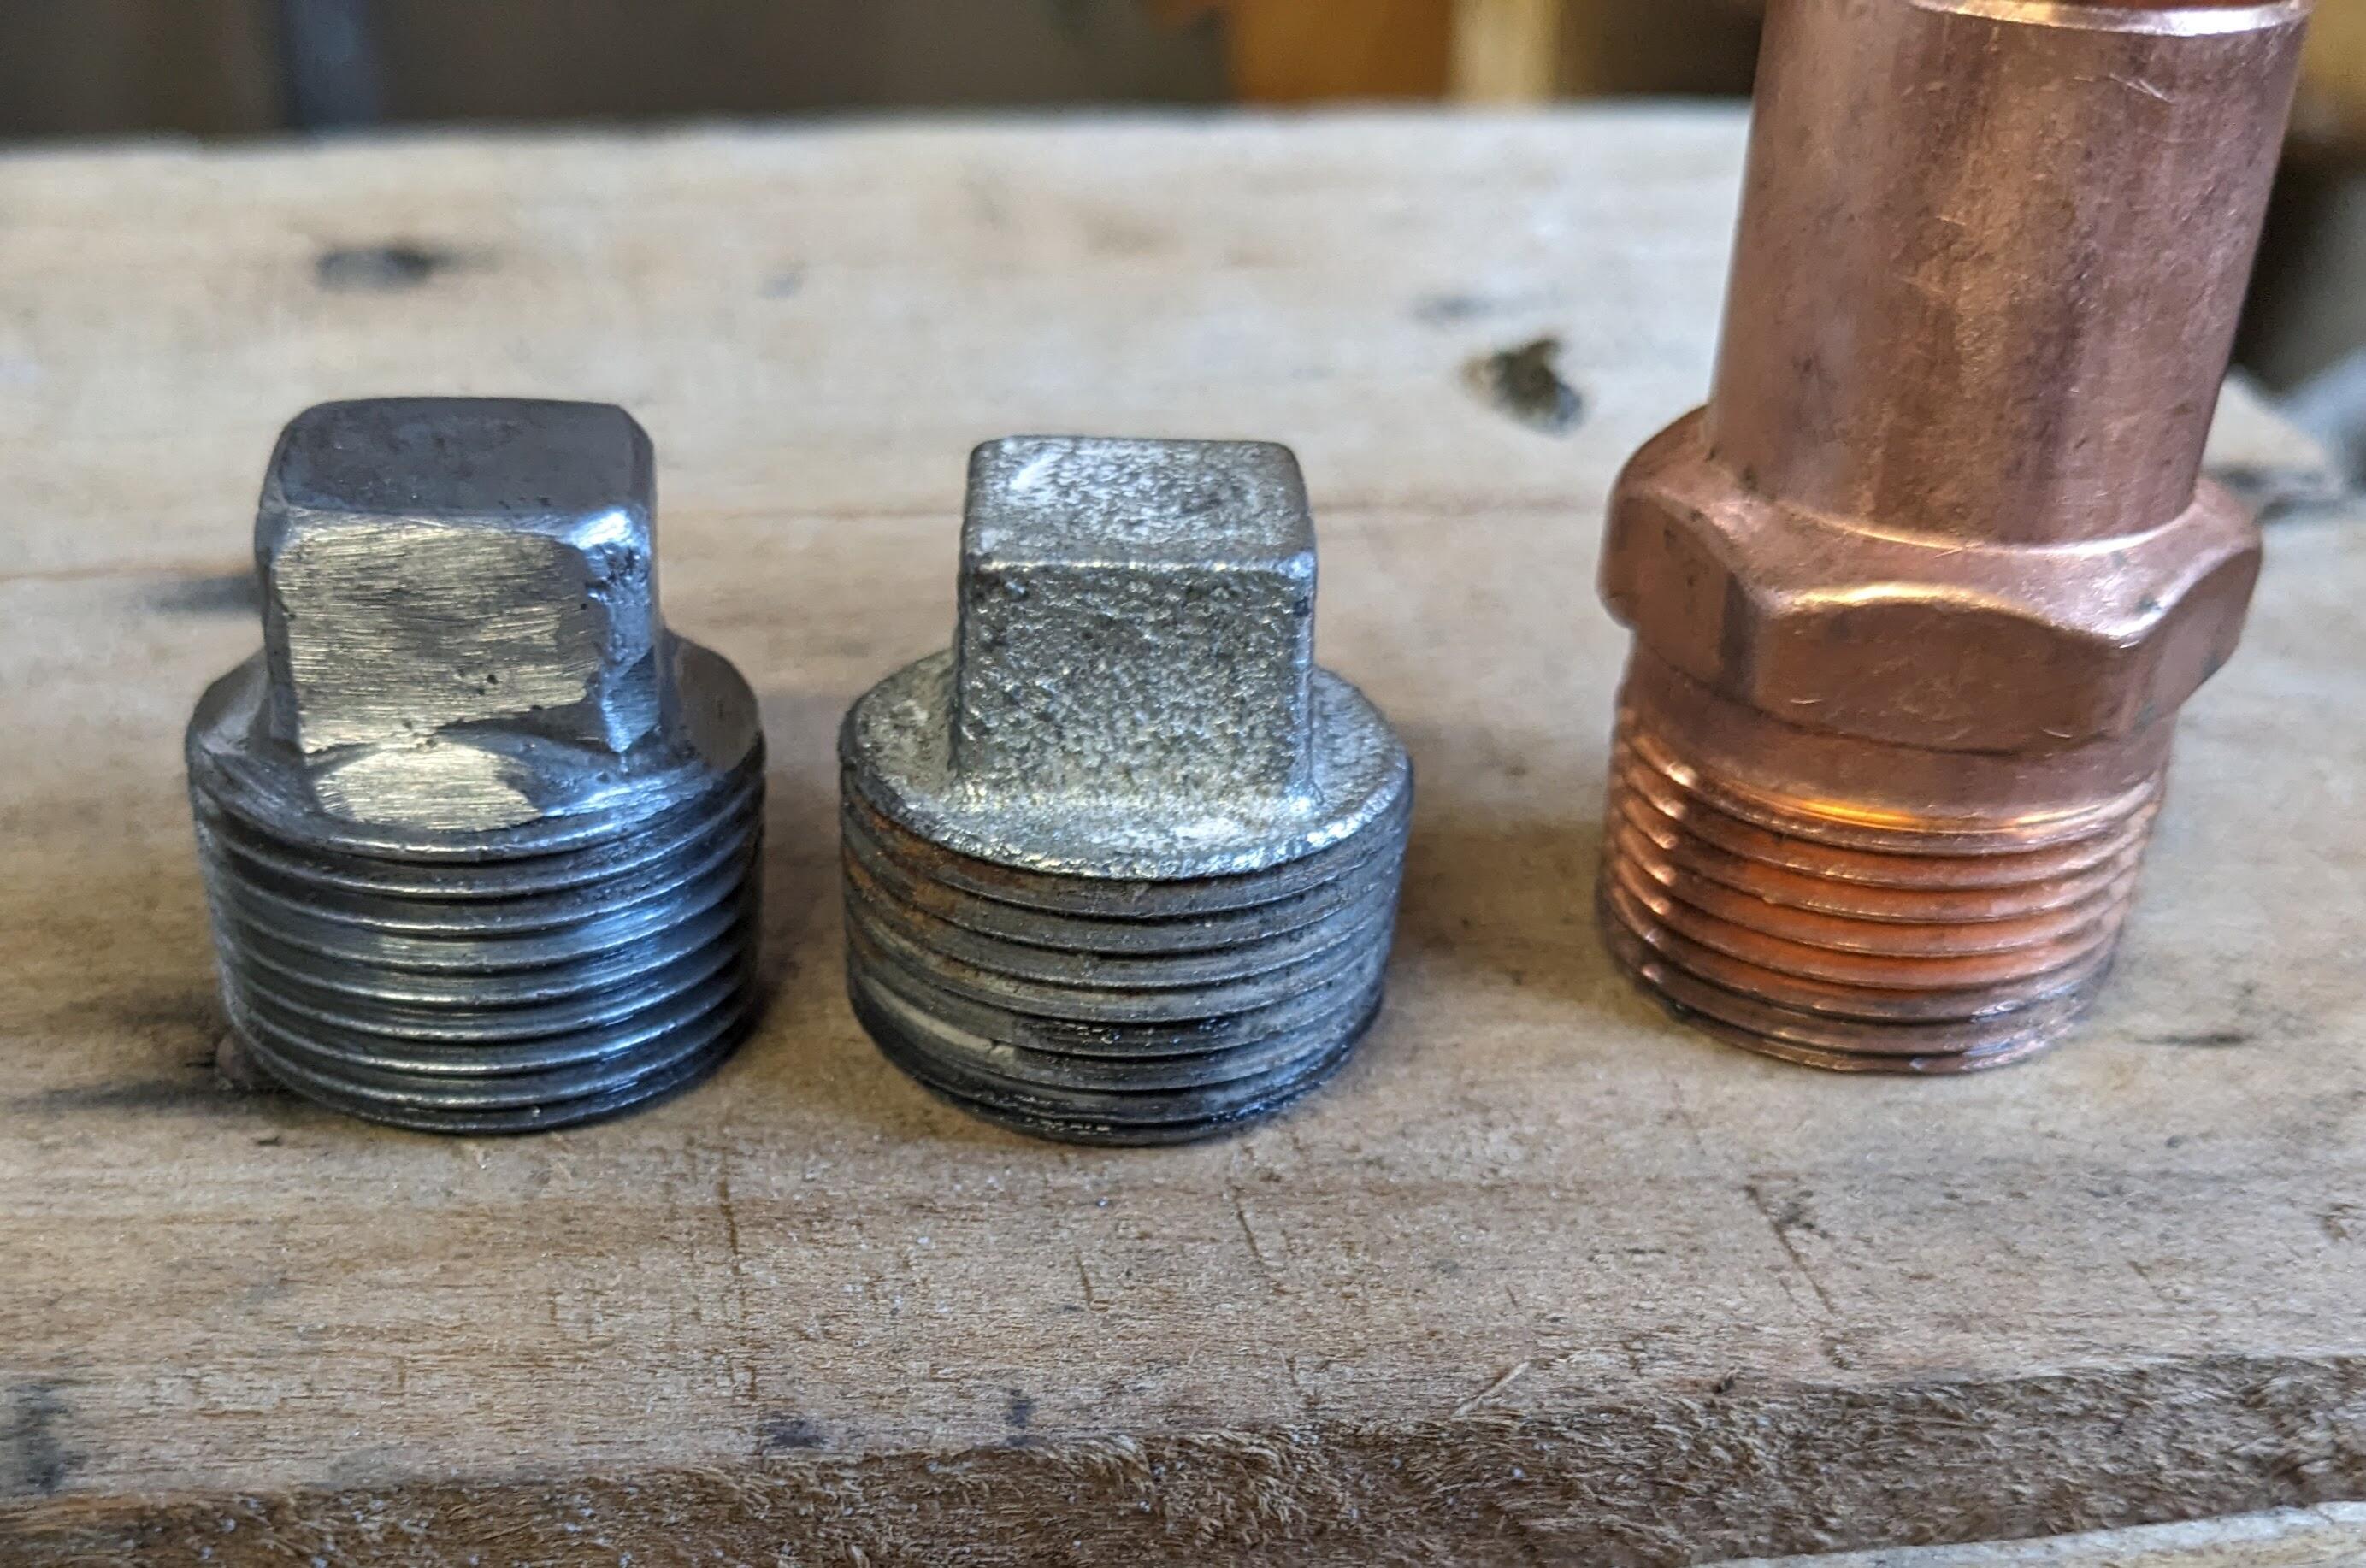
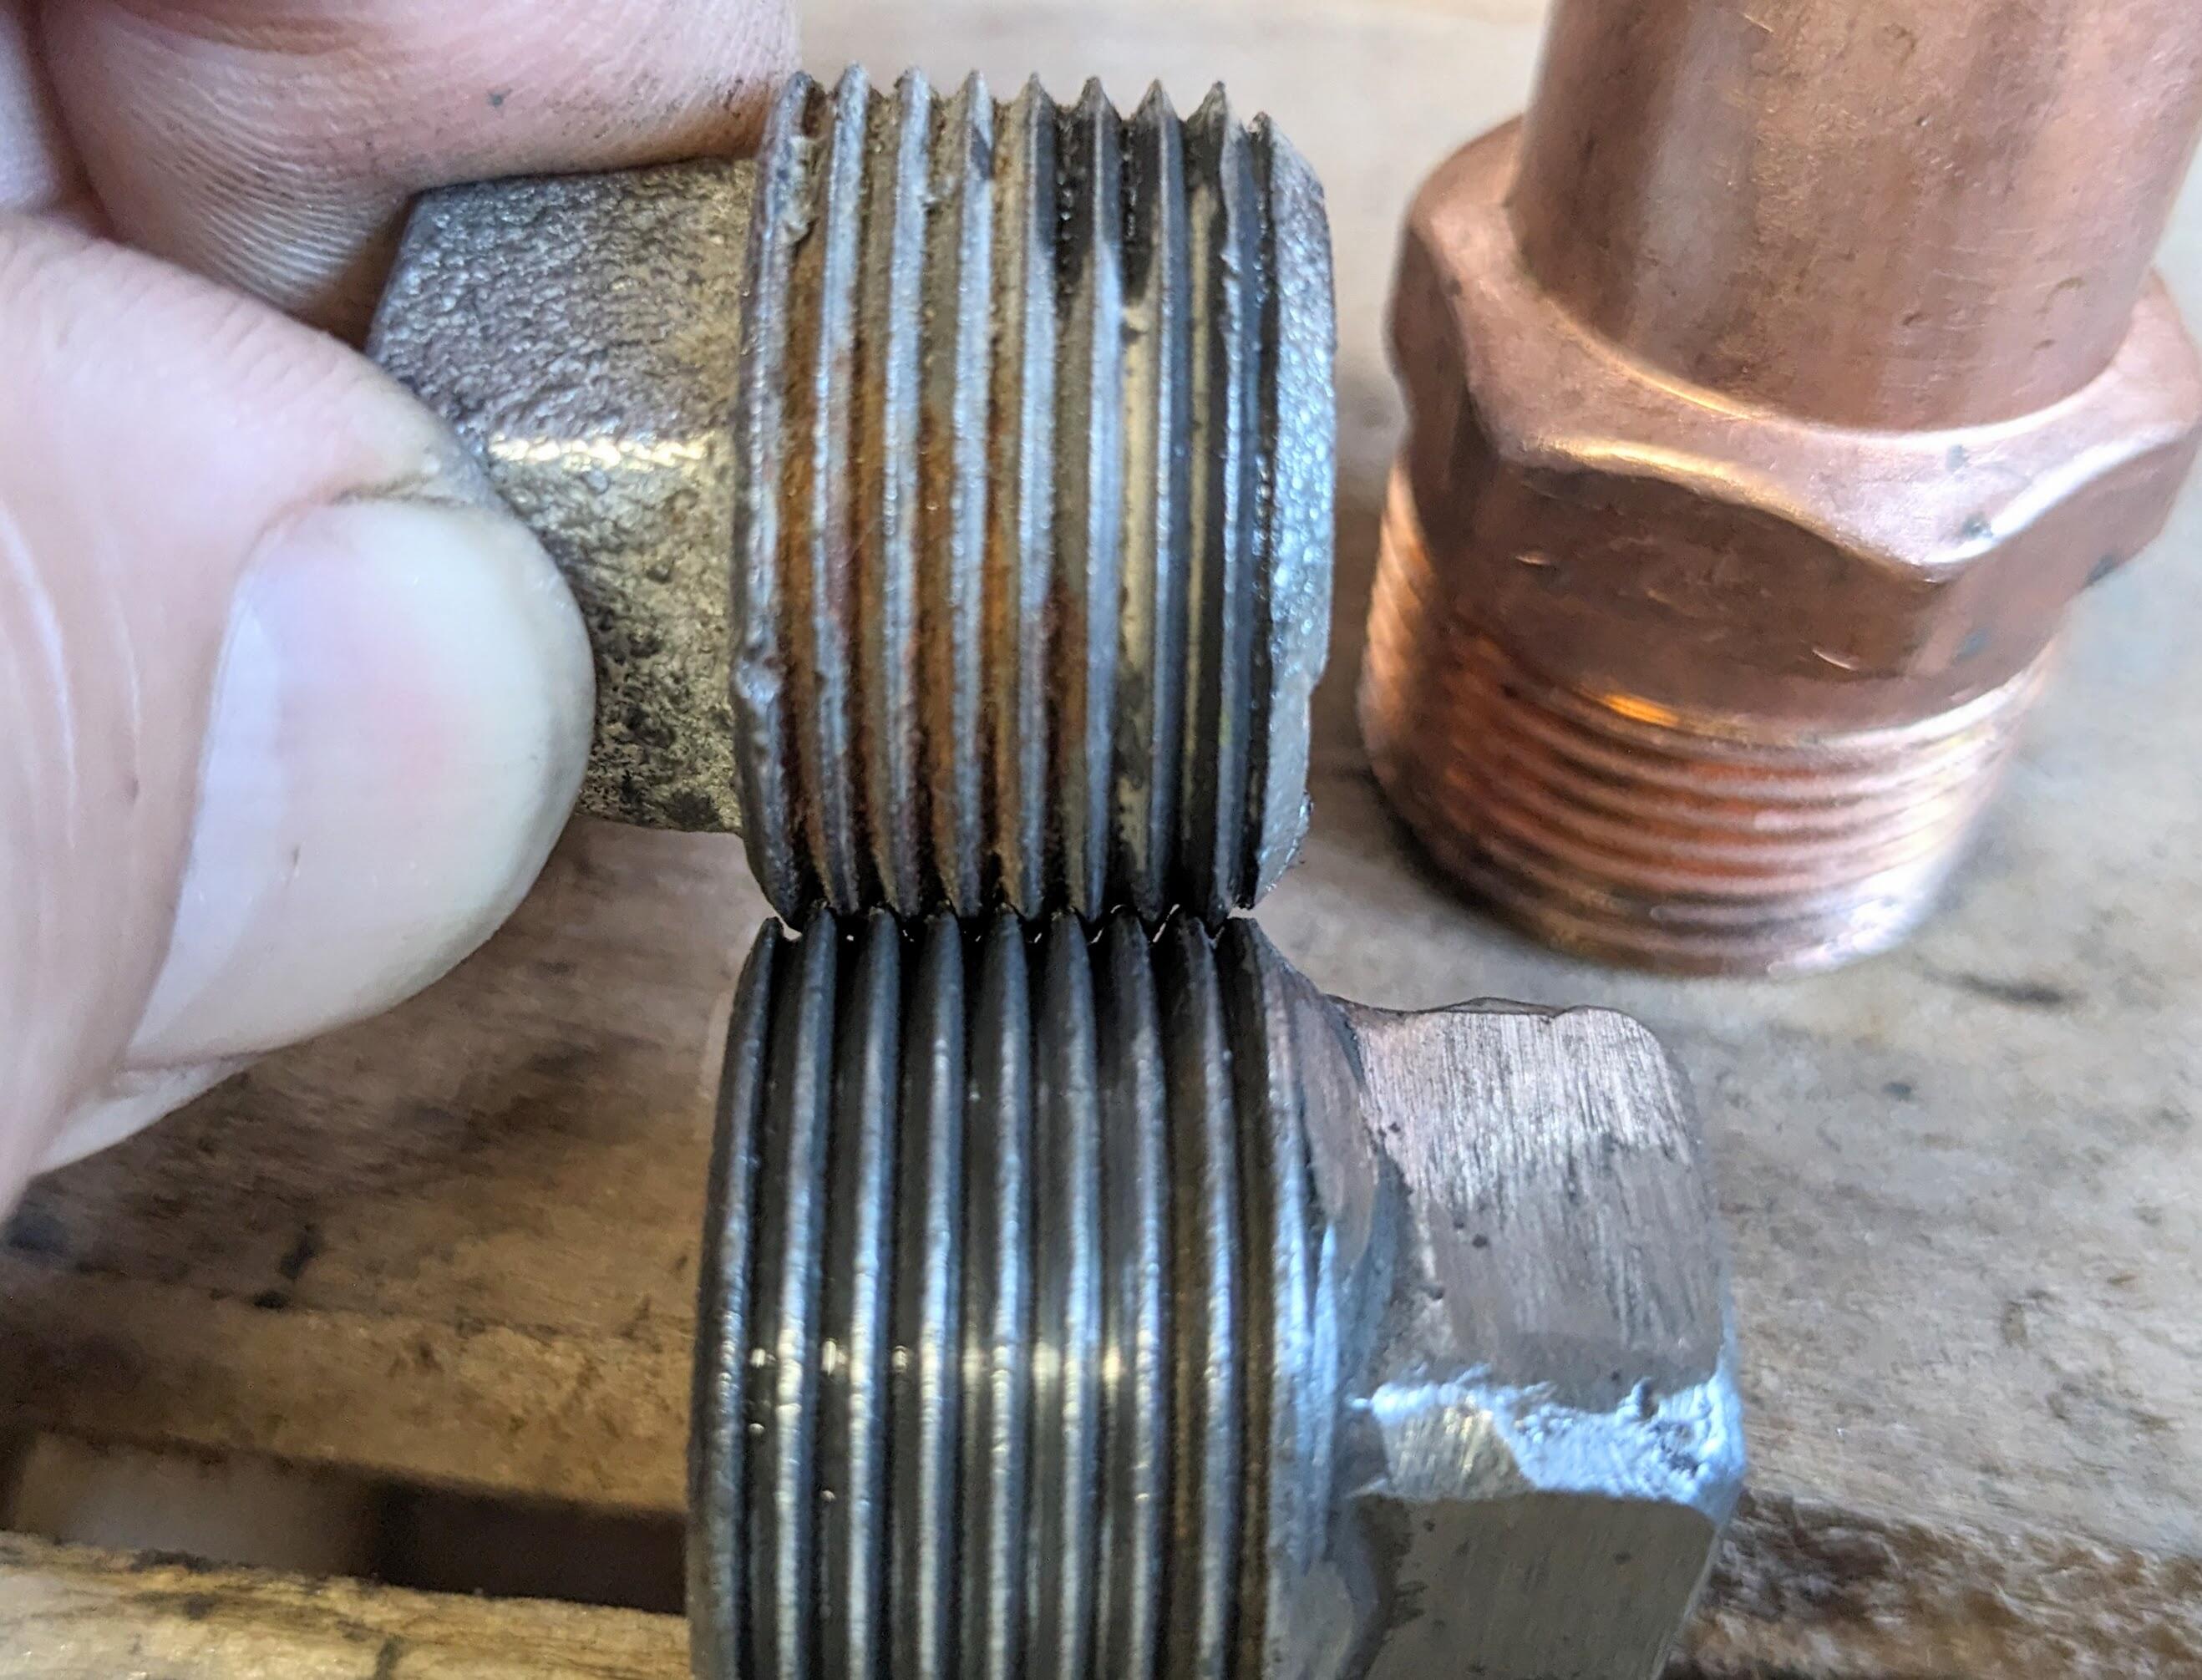
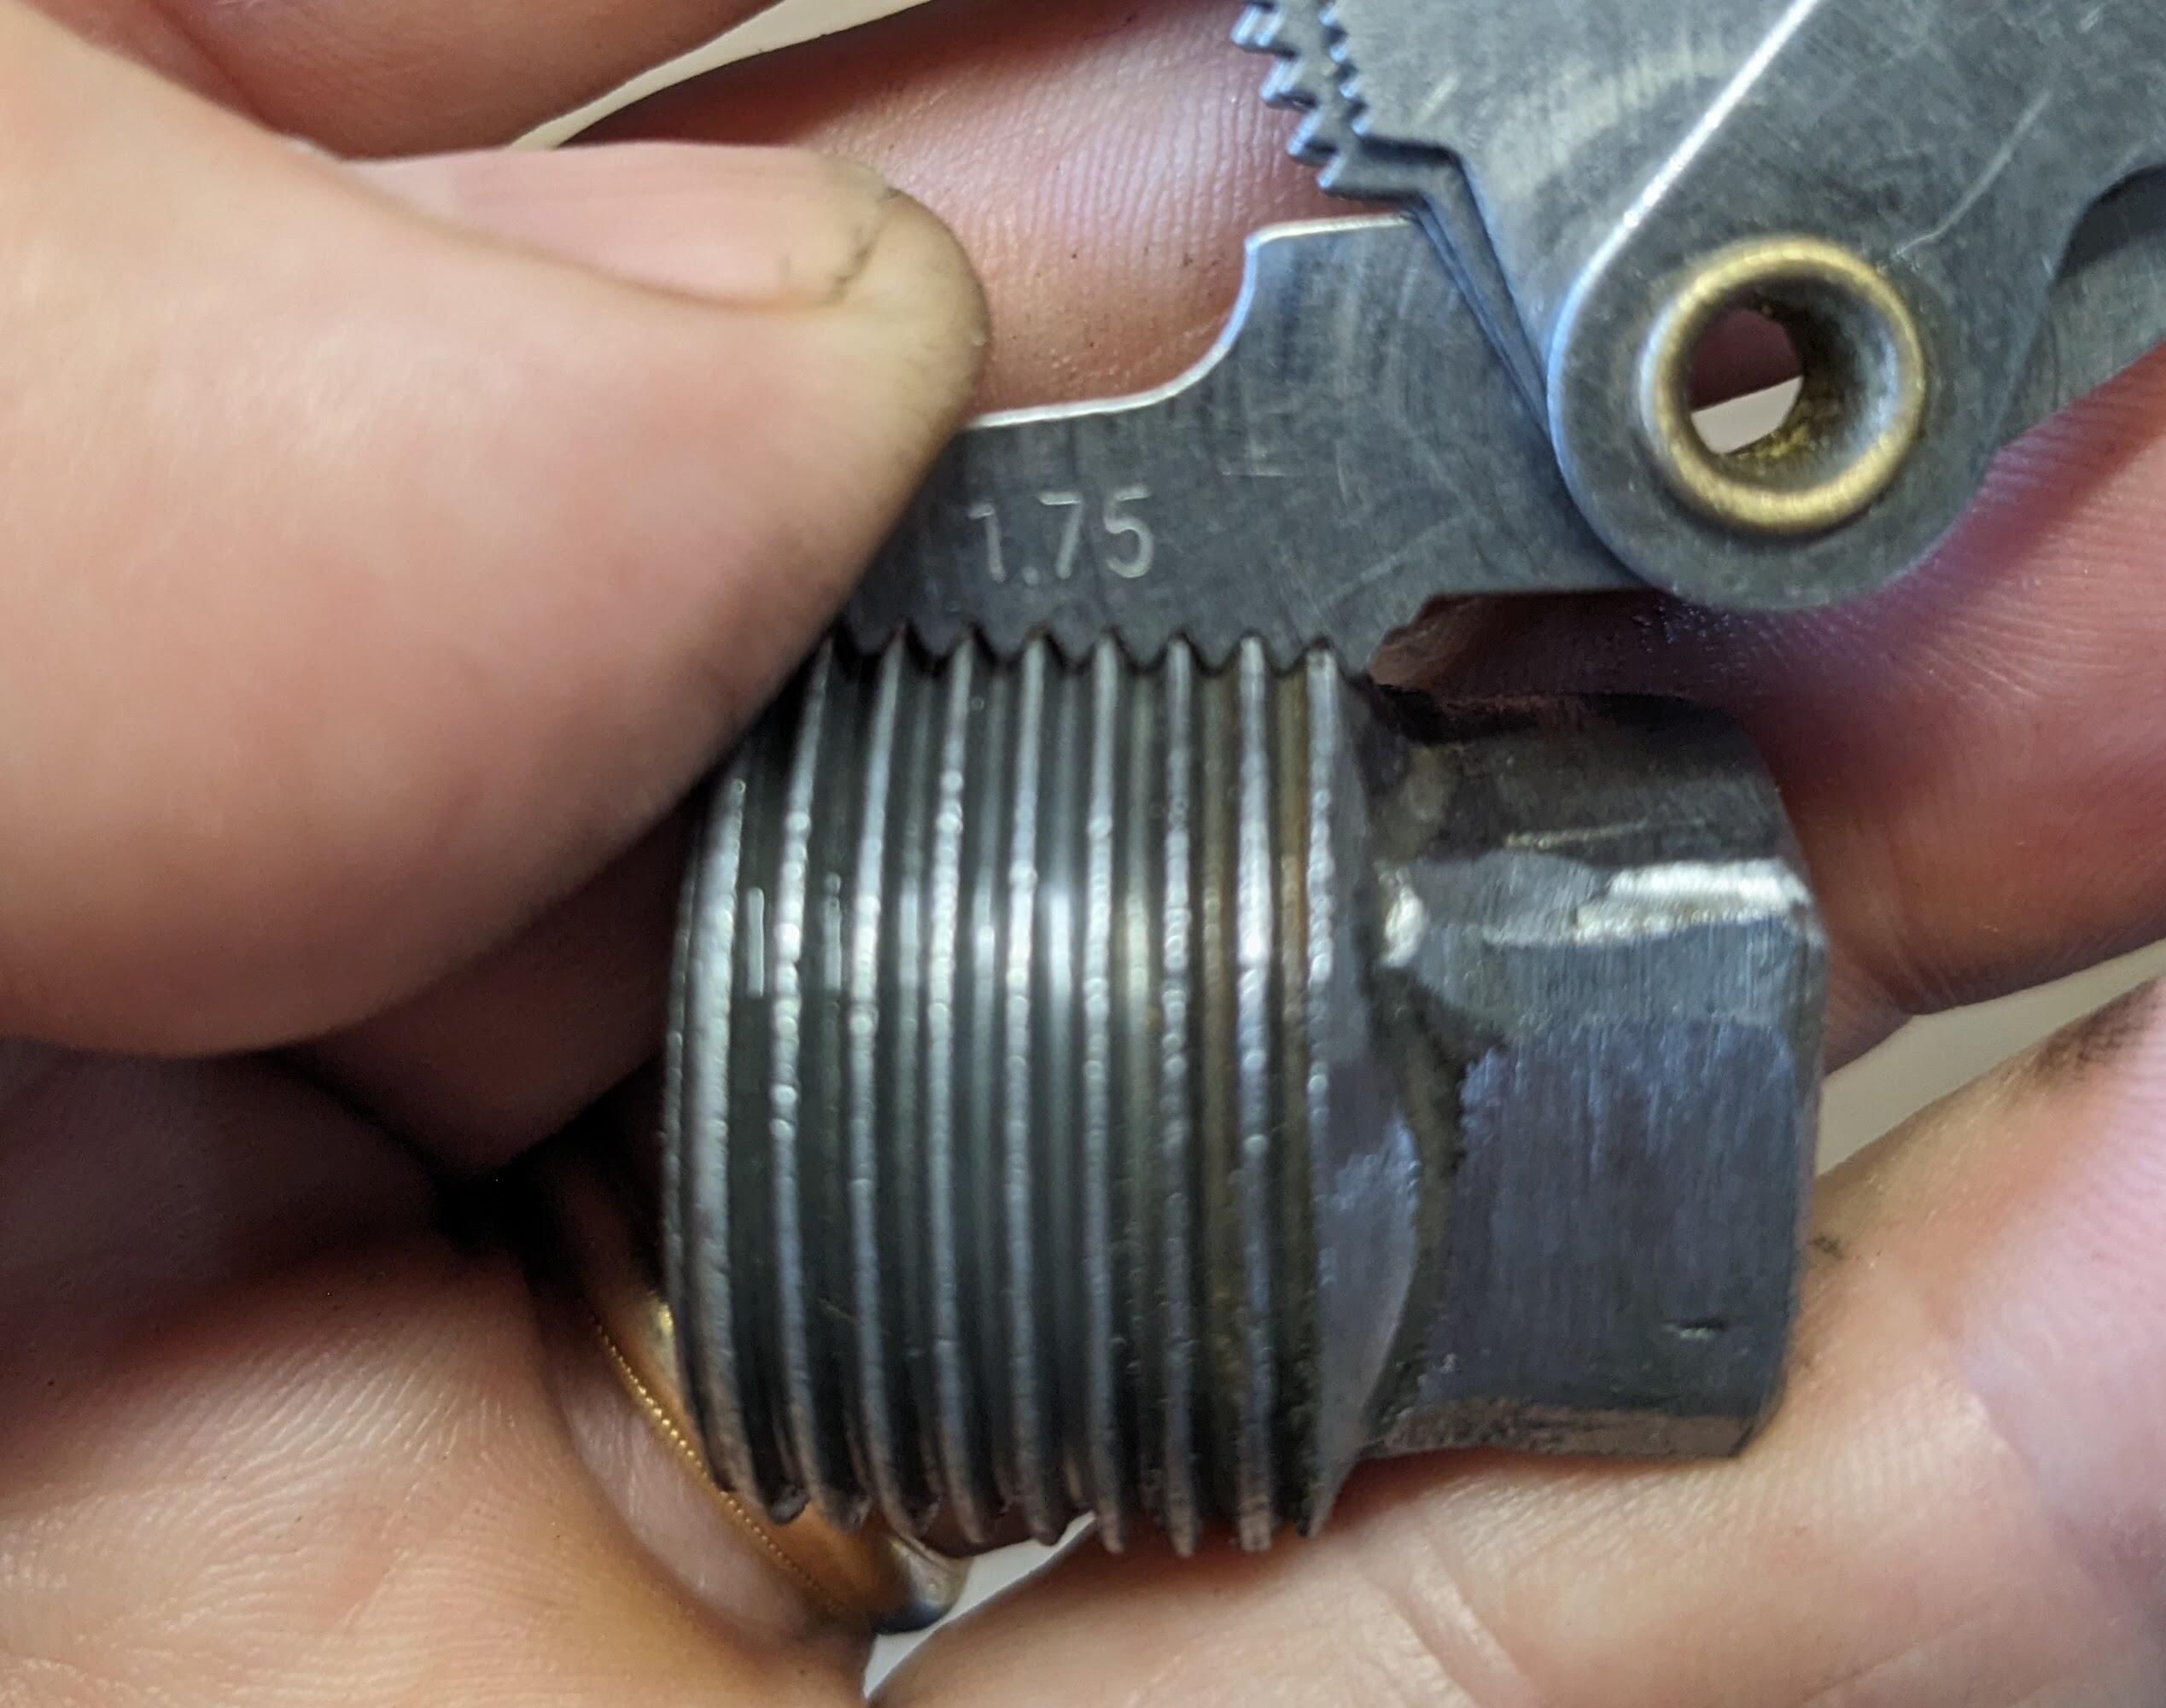
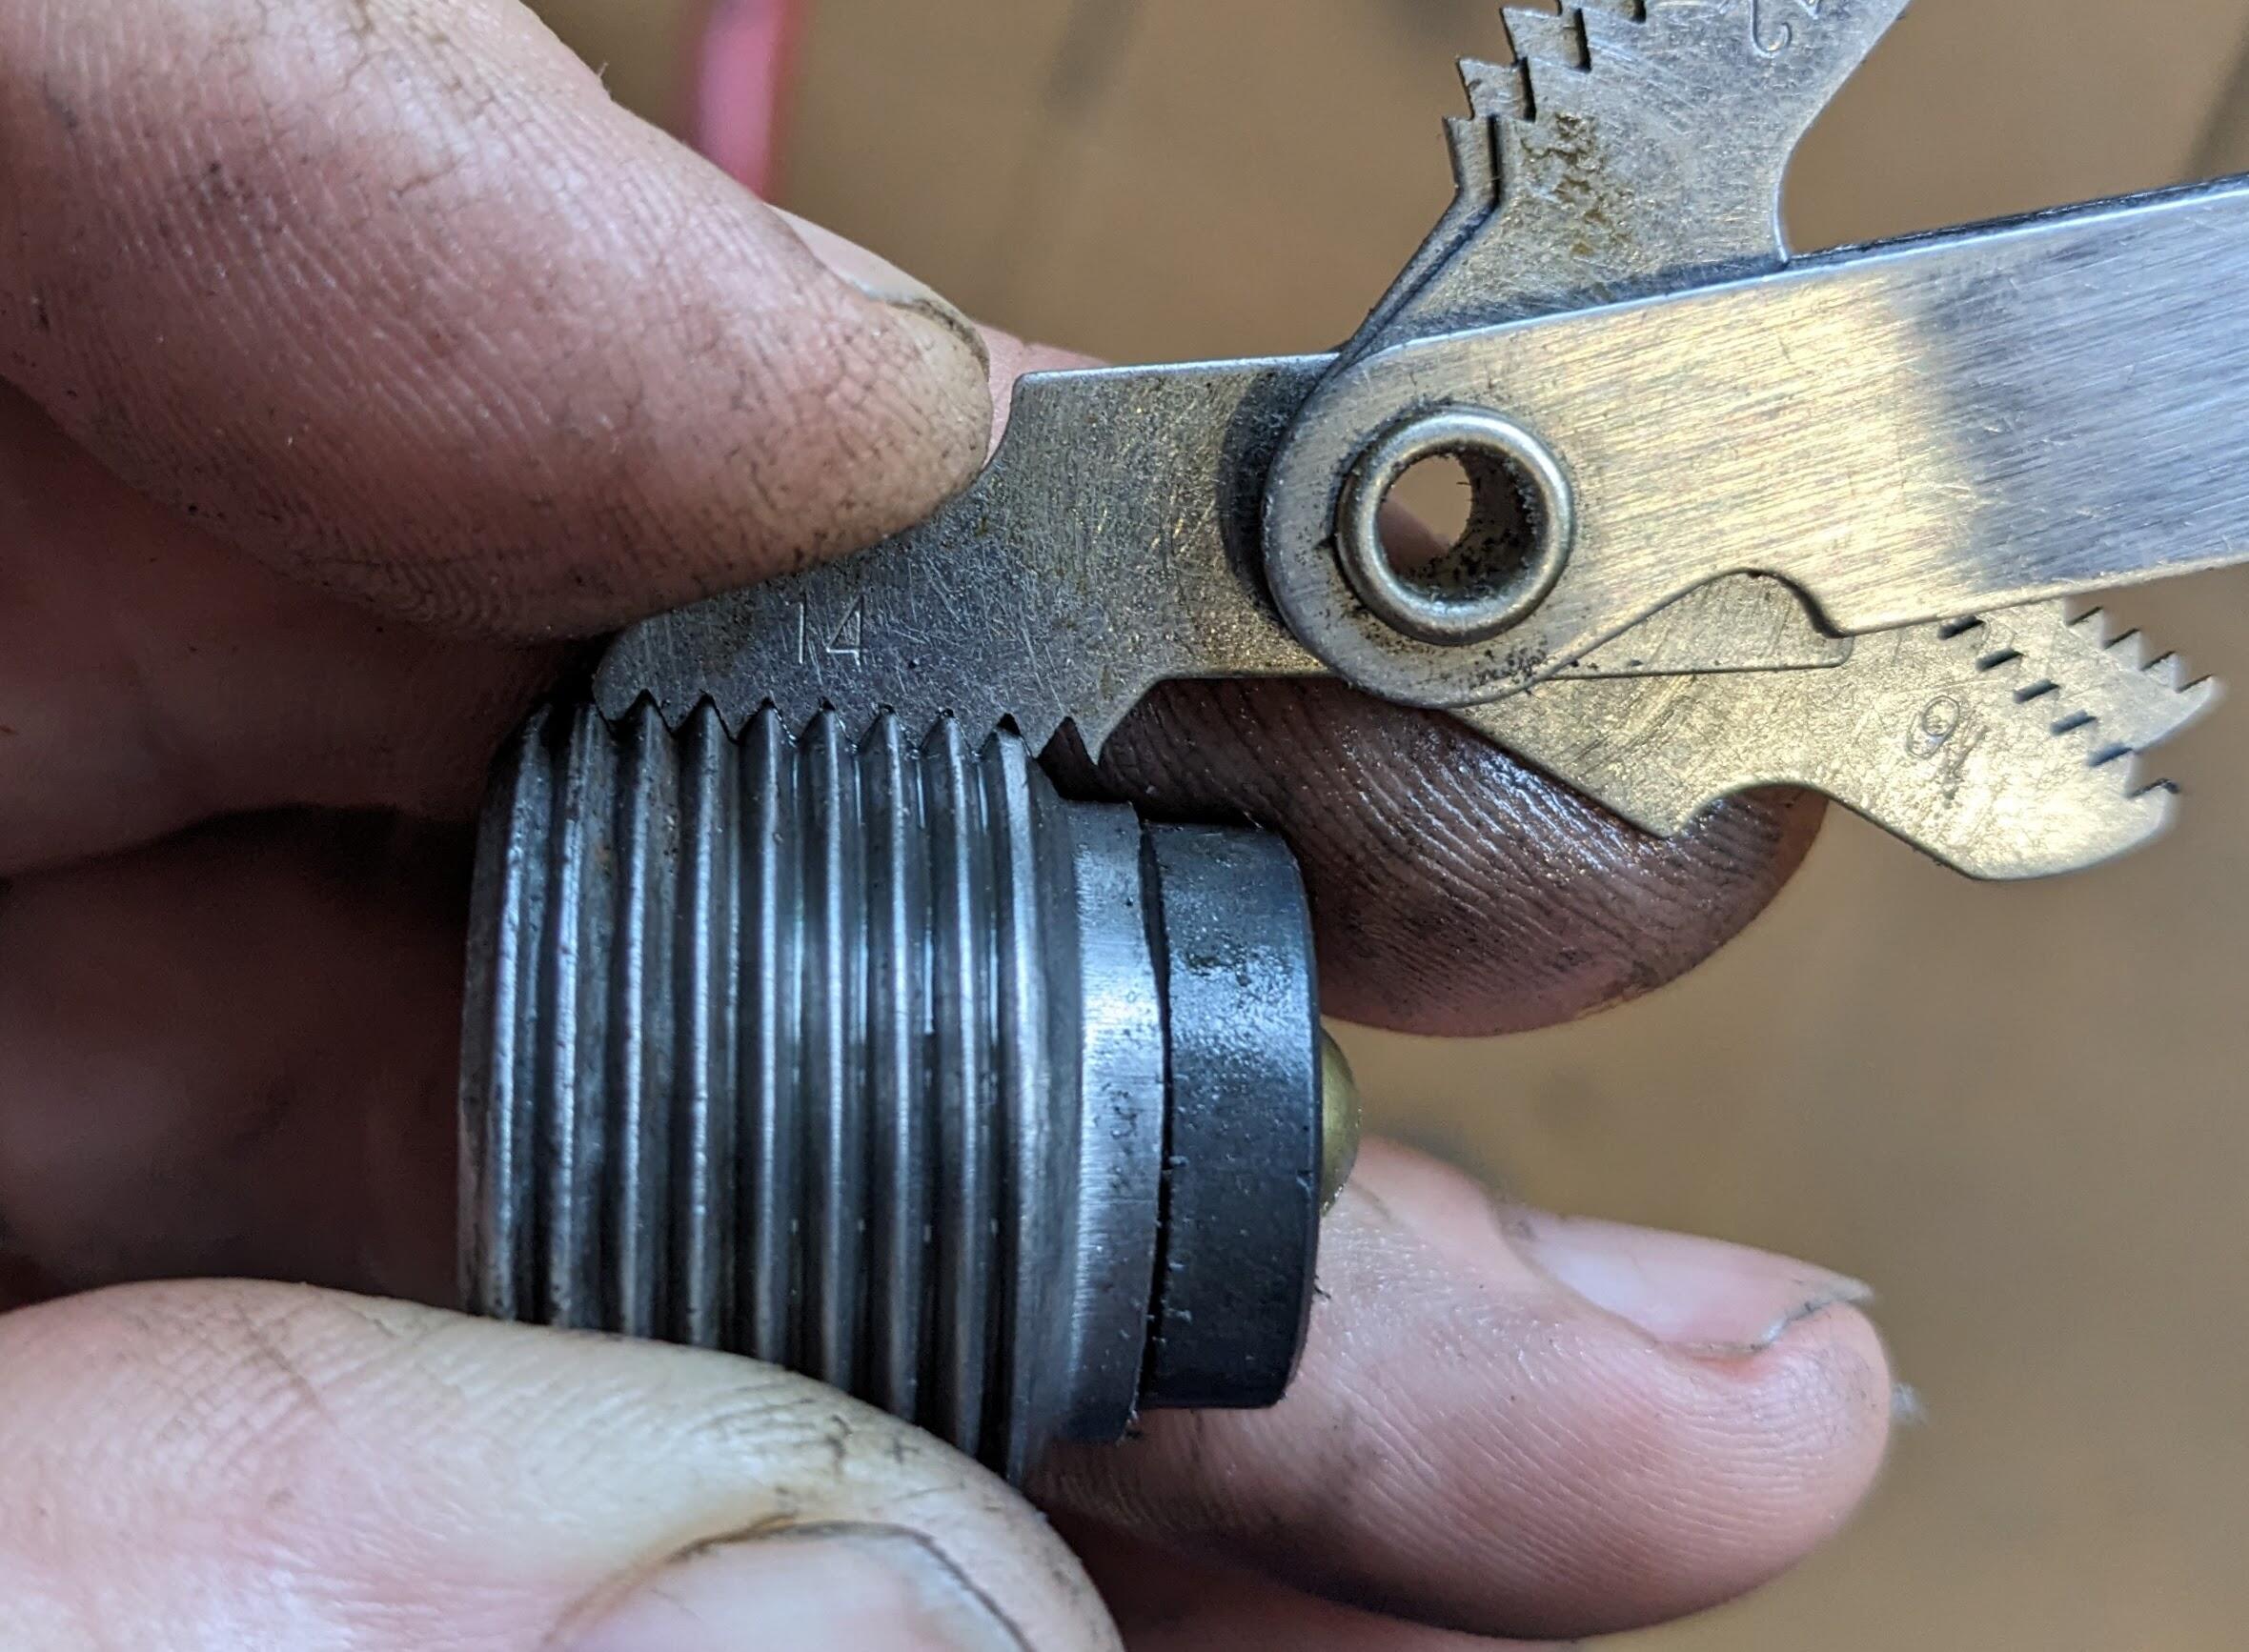
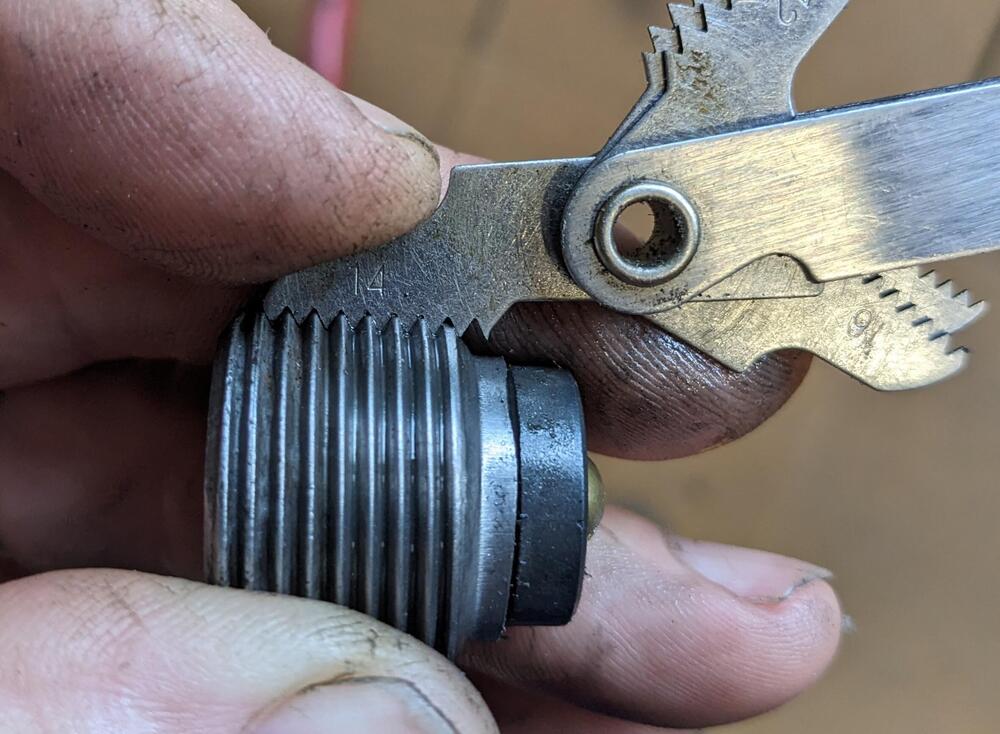
Measuring the fill & drain plugs - it appears they are 1/2" NPT - 14tpi gauge fits better than metric 1.75 pitch. Comparing with 1/2" NPT copper pipe & cast iron plug

-
Thank you EuroDat. I got confused checking against your parts list, as the header says for the 'B" (early 5 speed?) trans, and only notes the "C" in regard to the stubby version footnoted (EDIT : note - I have conflated the "C" suffix with the C,W, designation). Anyway, I went with a seal listed as 70A NBR oil seal, that I could get in a day (arrives today), all other options were 1-2weeks delivery. I found this 240Z life trans id page last night, which I used for reference to figure out what I have. You could amend the parts list header to include FS5C71B, and note the 32858-U6702 as now NLA? Dave WM noted the Omega Machine bushing above - I also searched for it last night & found the listing. I'm going to leave what I have - don't want to wait a week or more for another part - I "reamed" it to remove raised burrs, and the tailshaft sleeve is still a snug fit with no discernible 'slop'.
-
I did make sure the oil hole lined up with the squished end of the oil gutter. I'll look online for Omega Machine. If I can get one promptly, I'd just as soon change it out
-
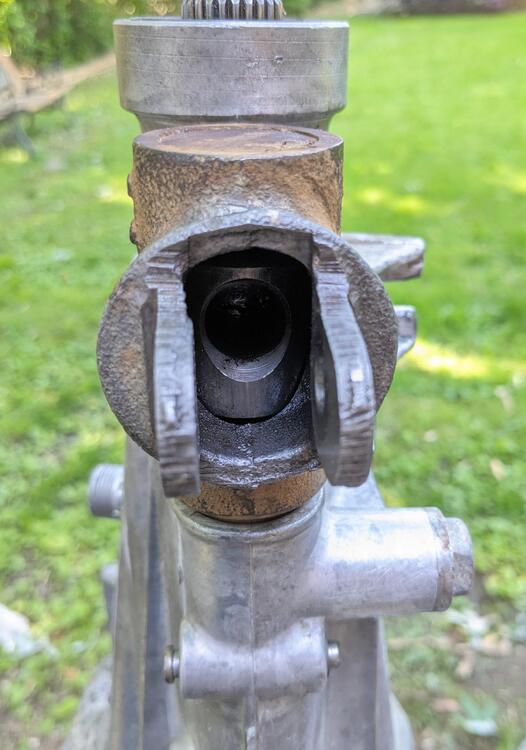
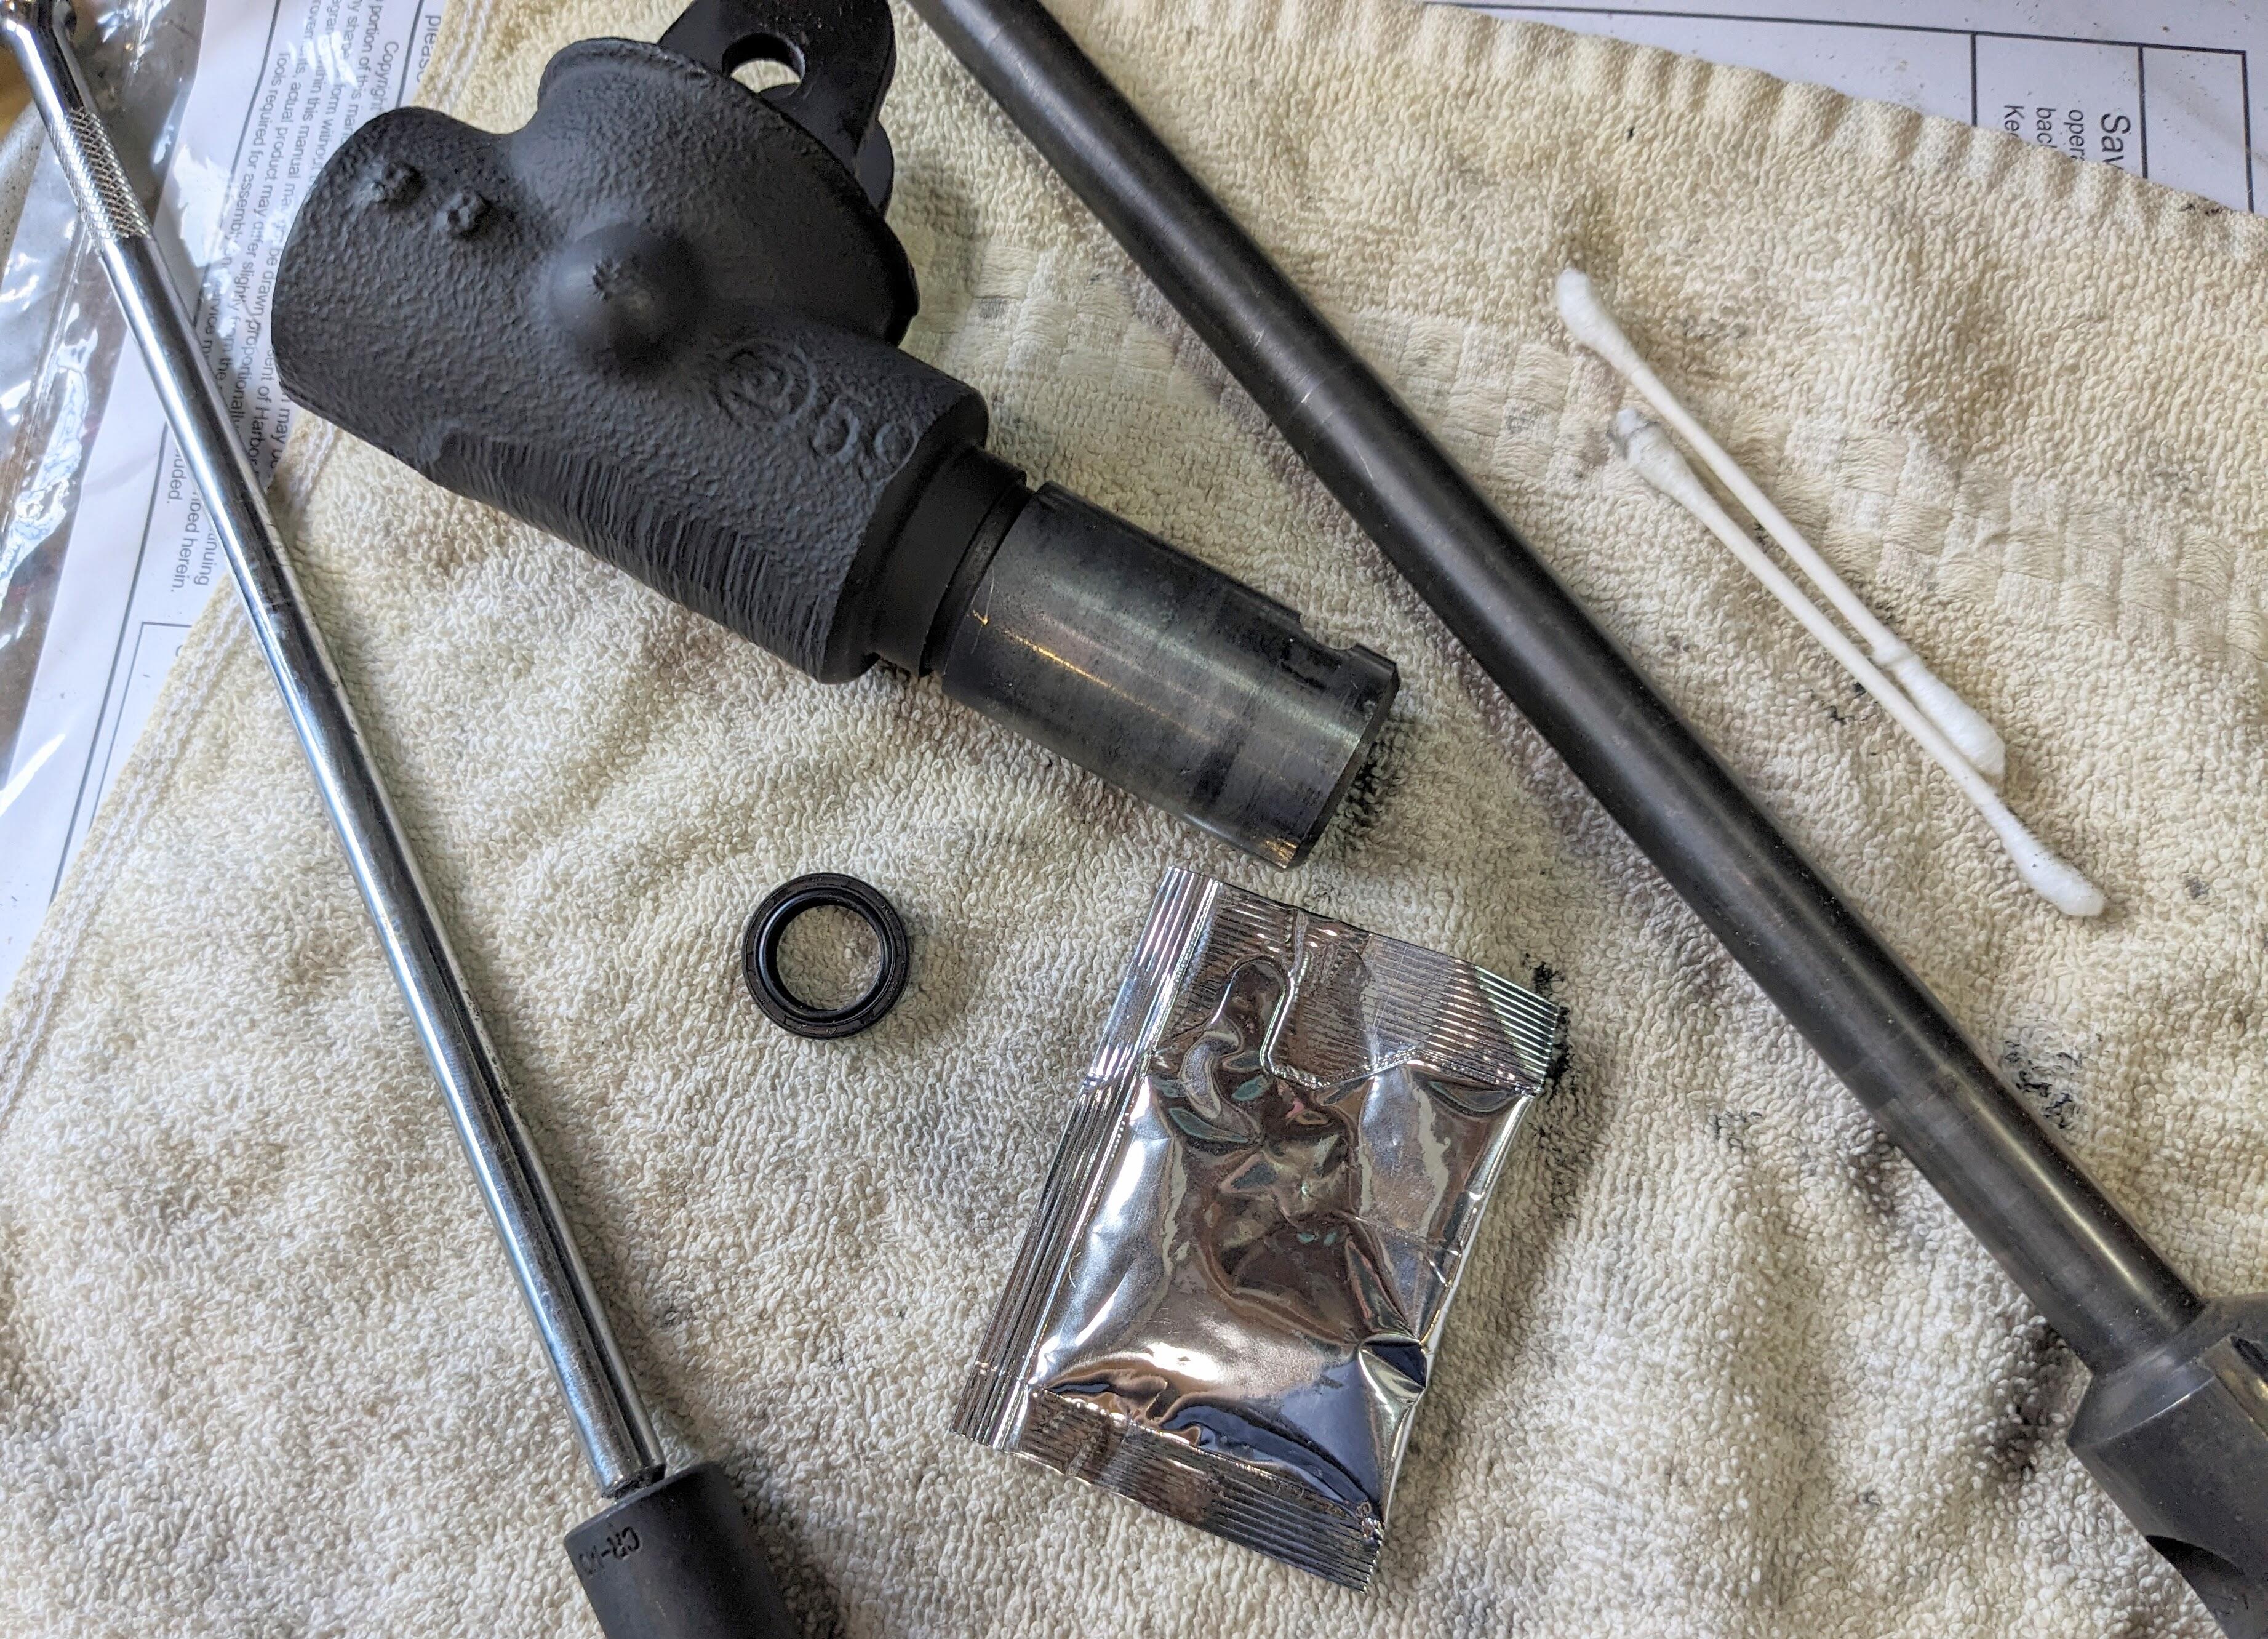
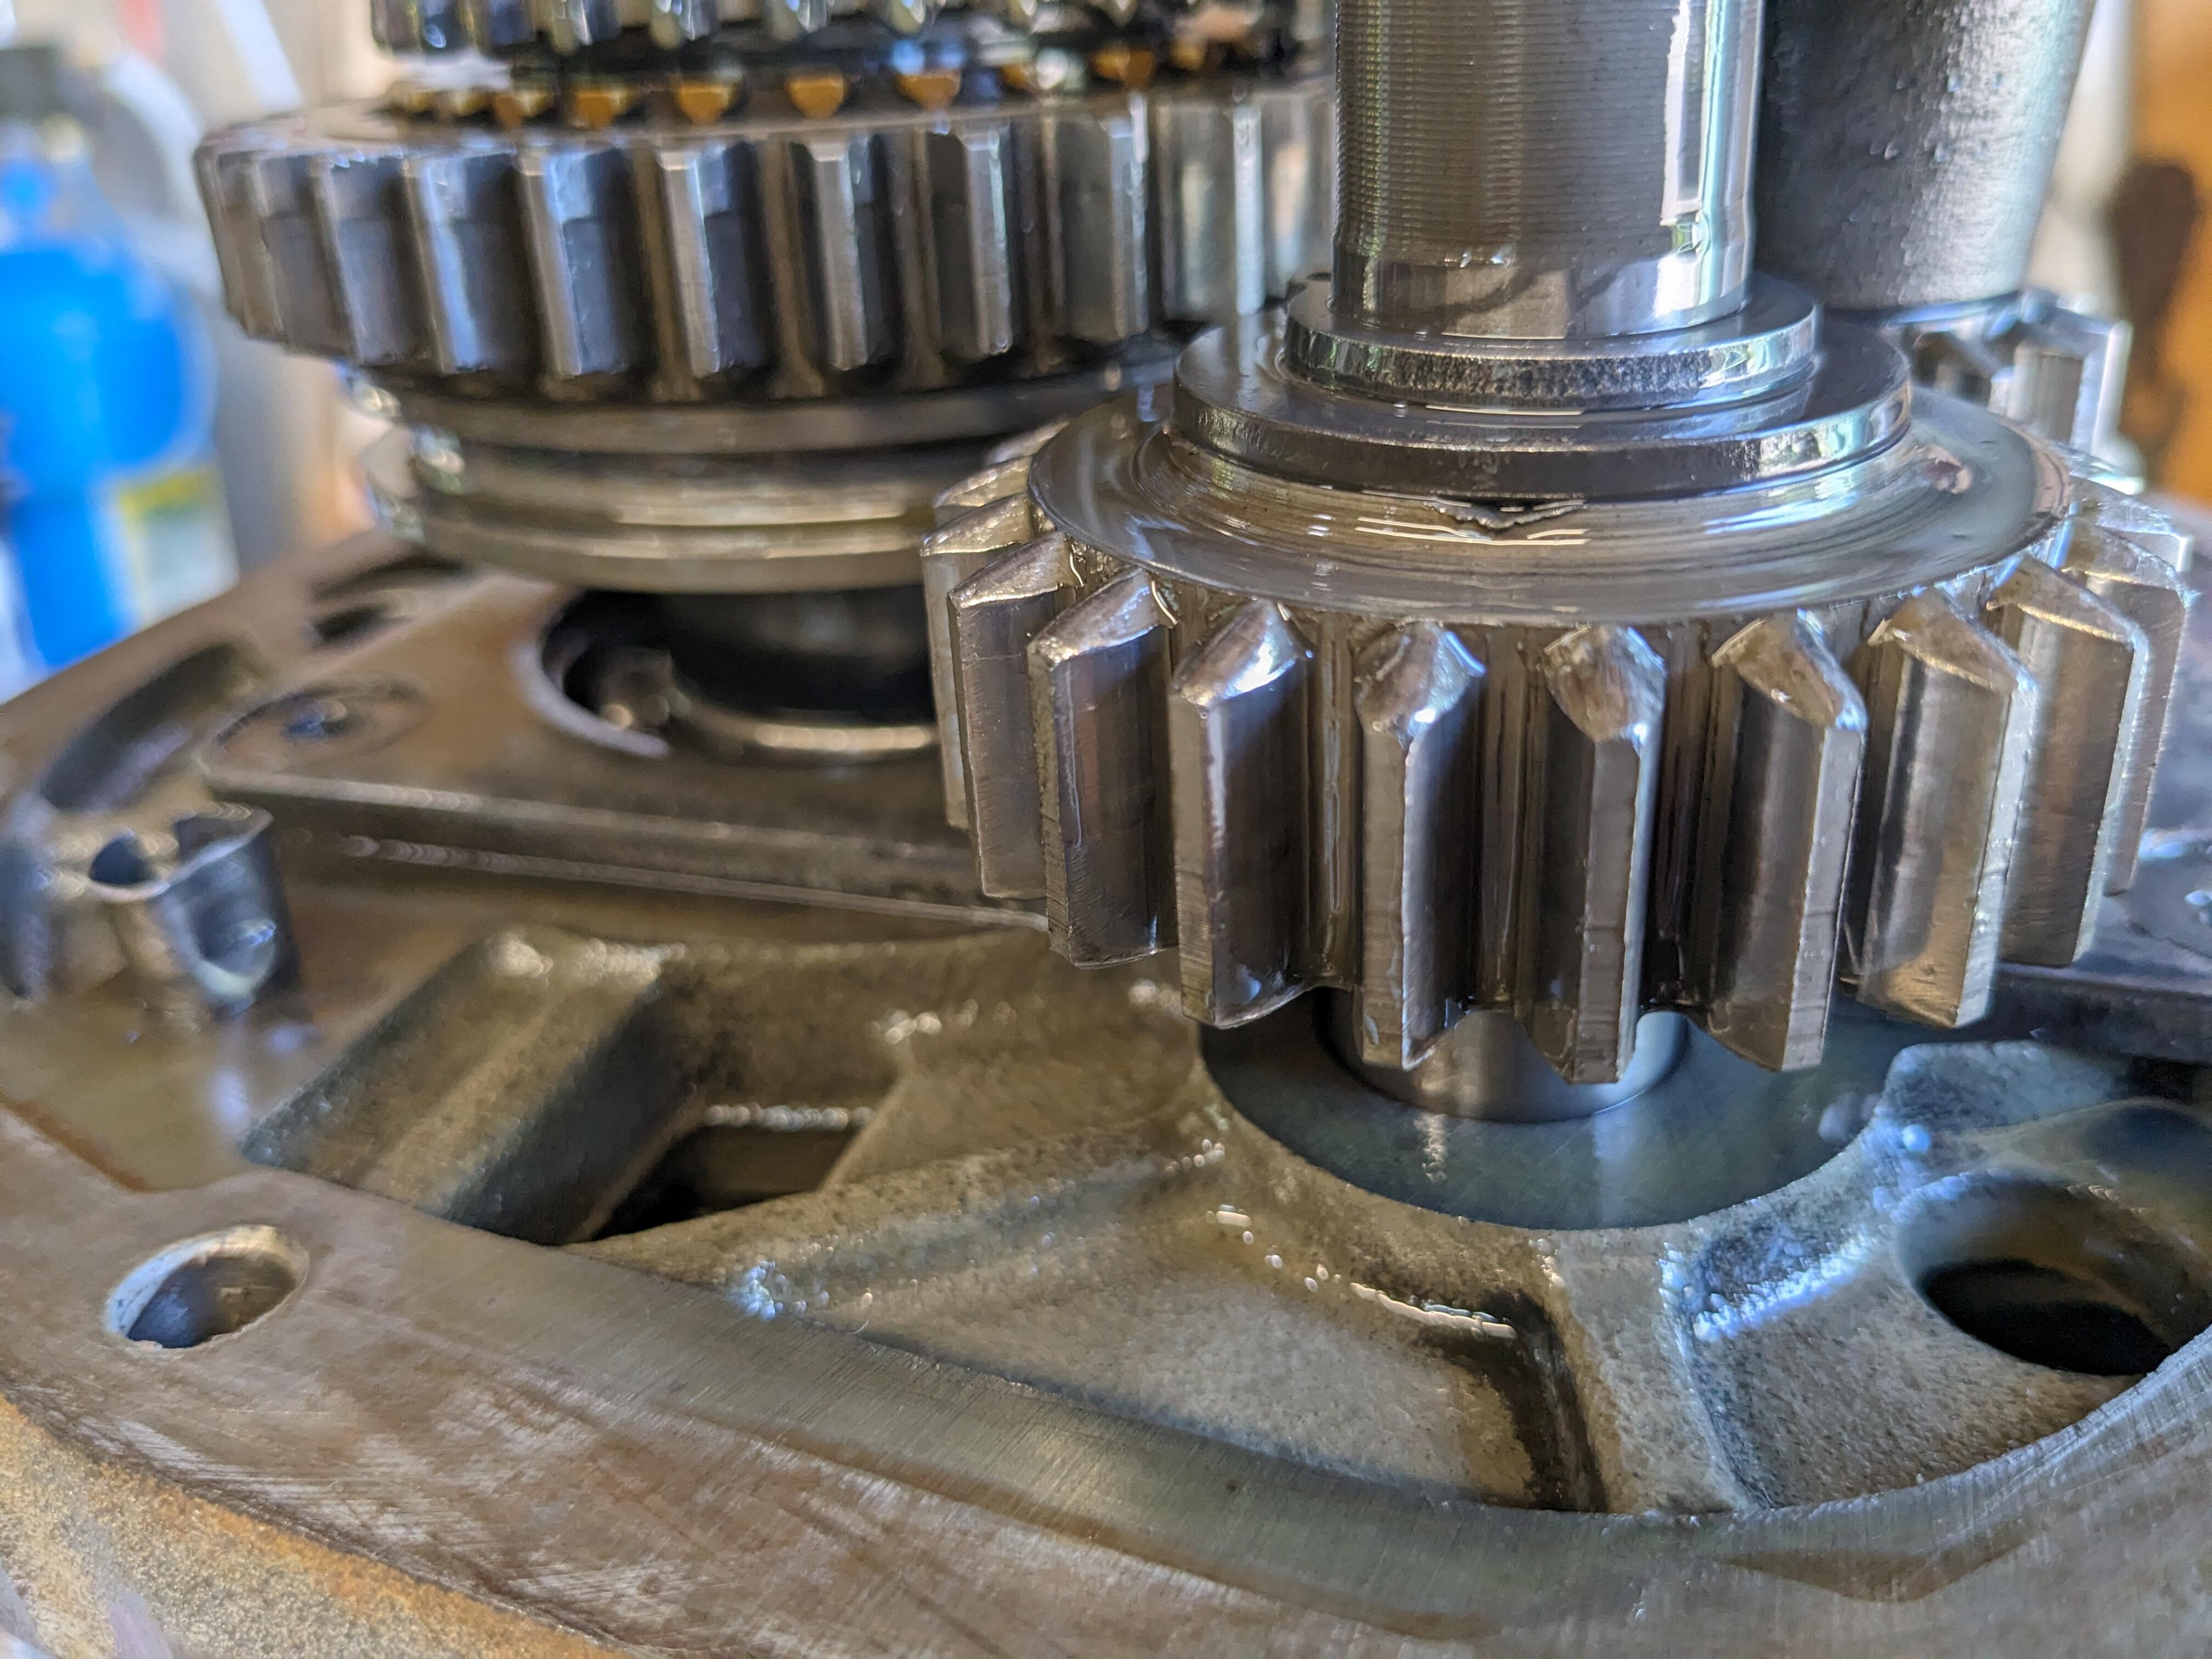
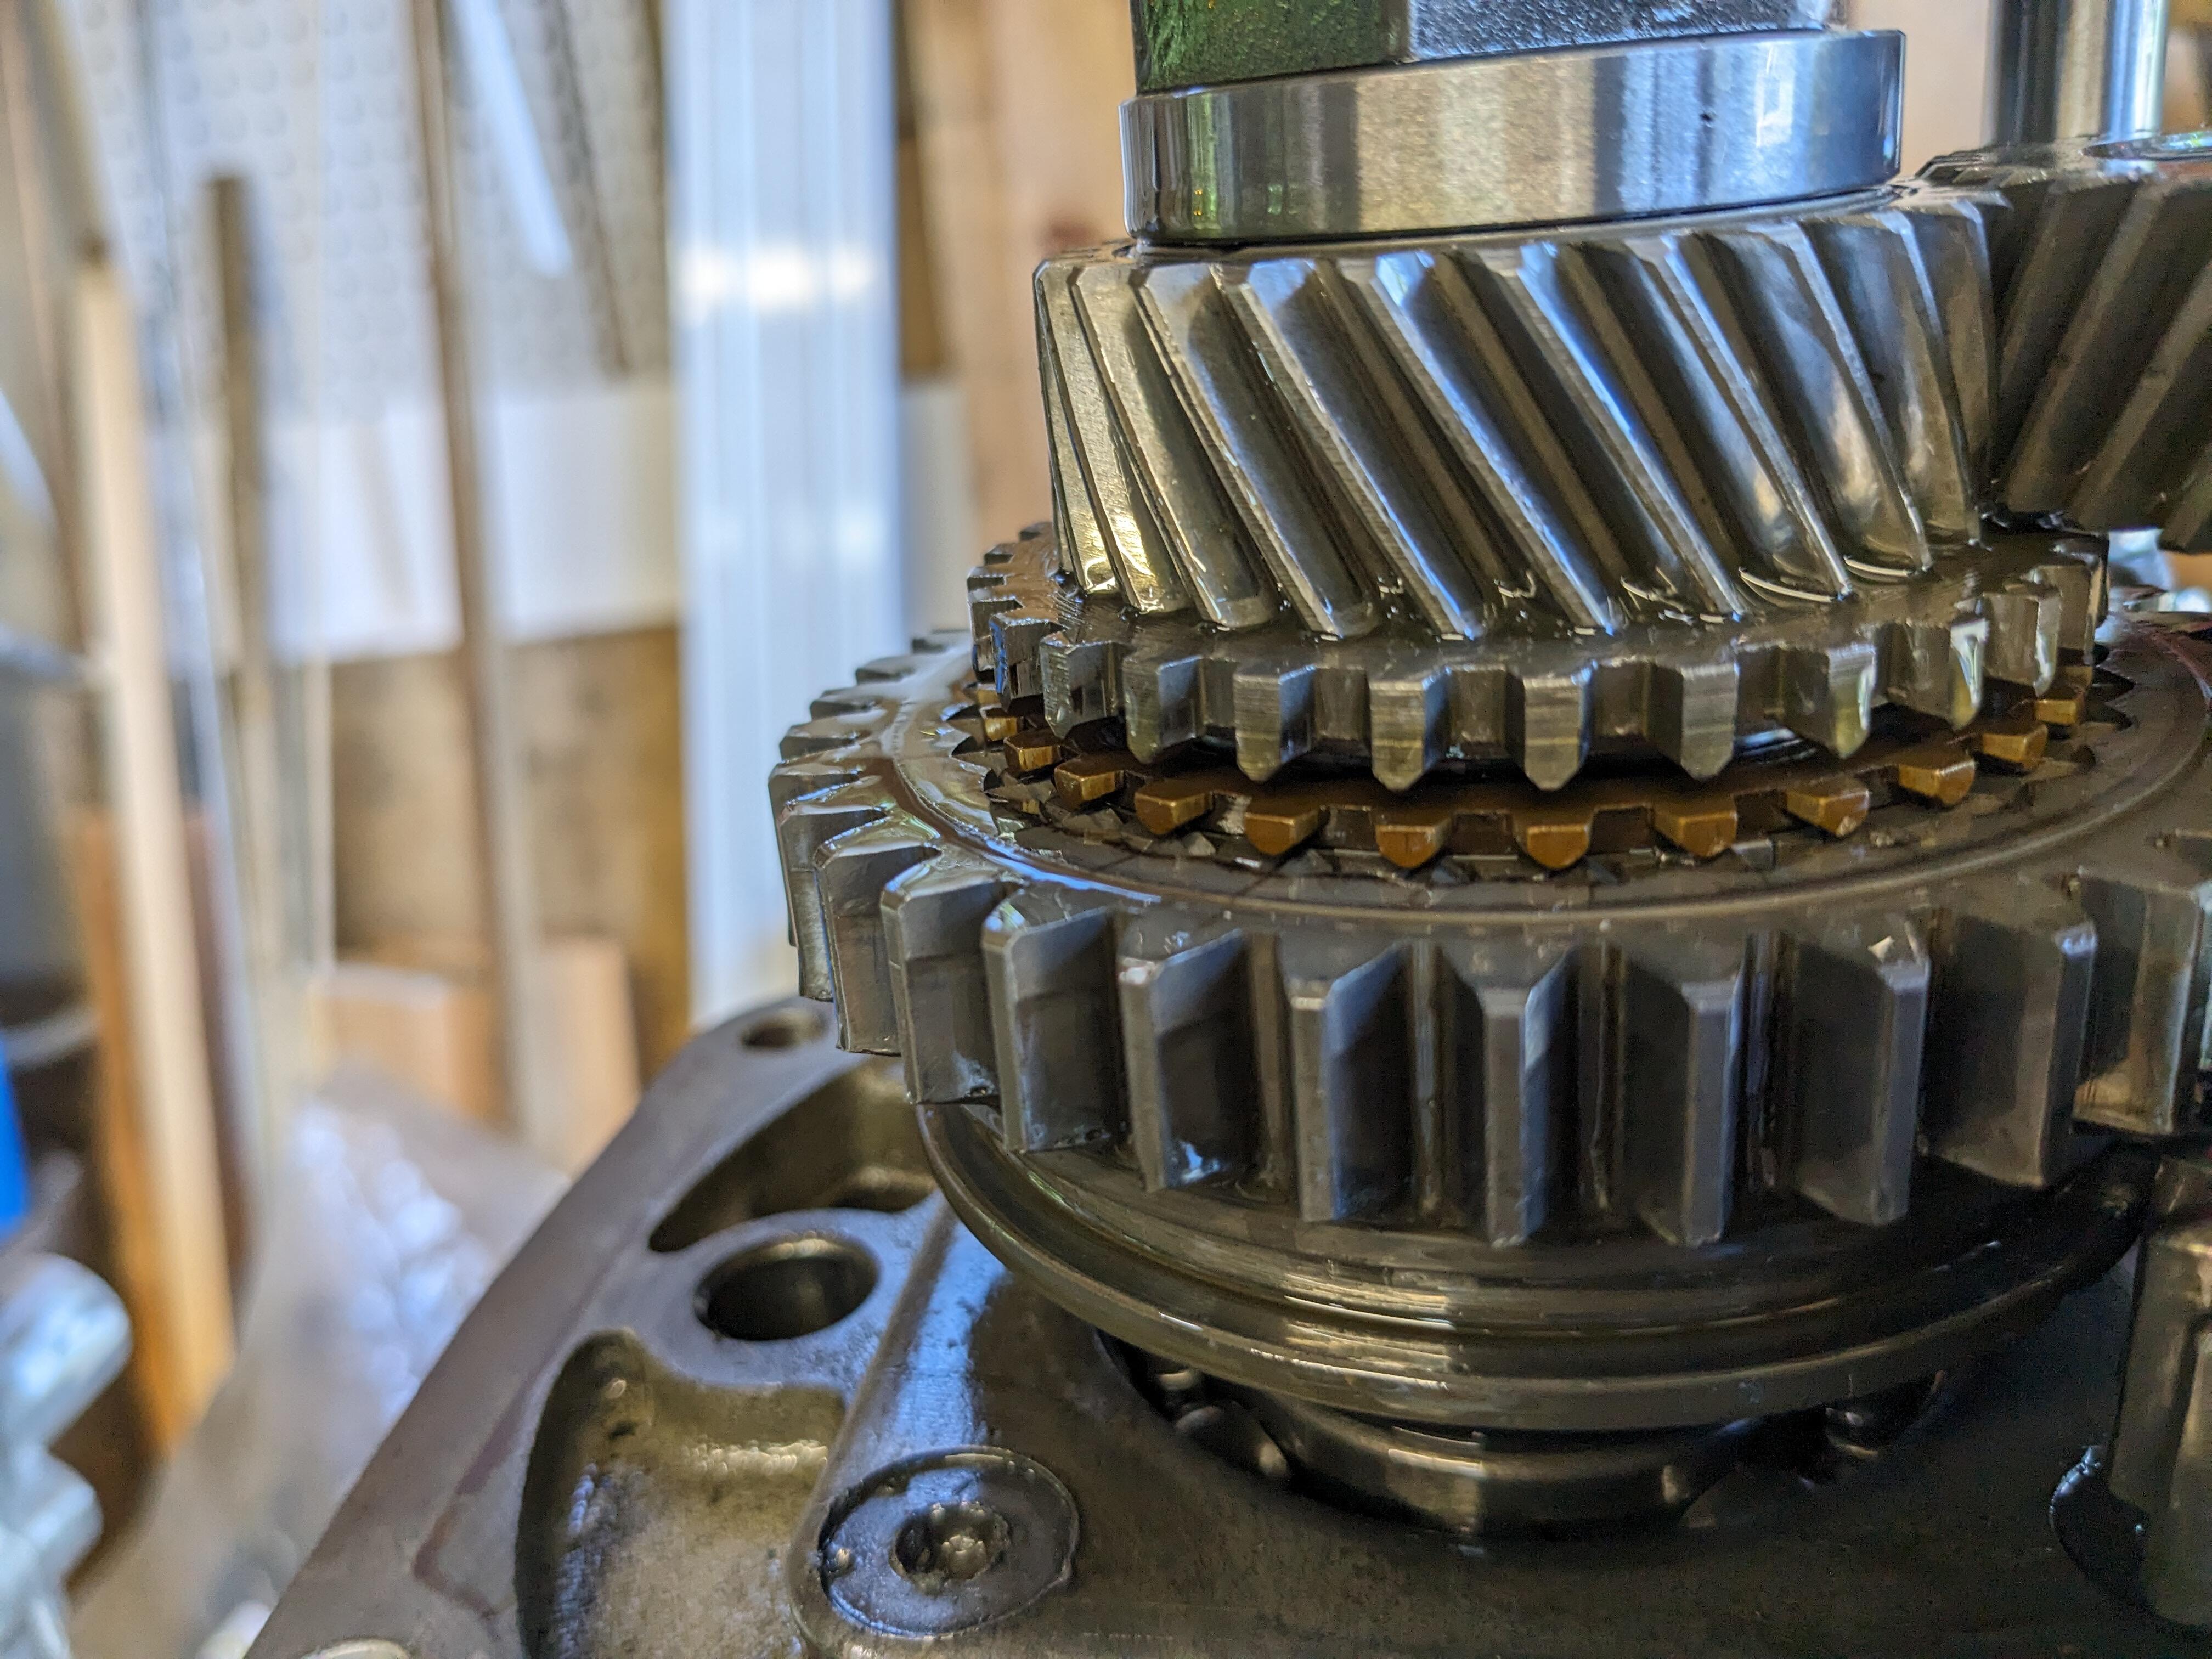
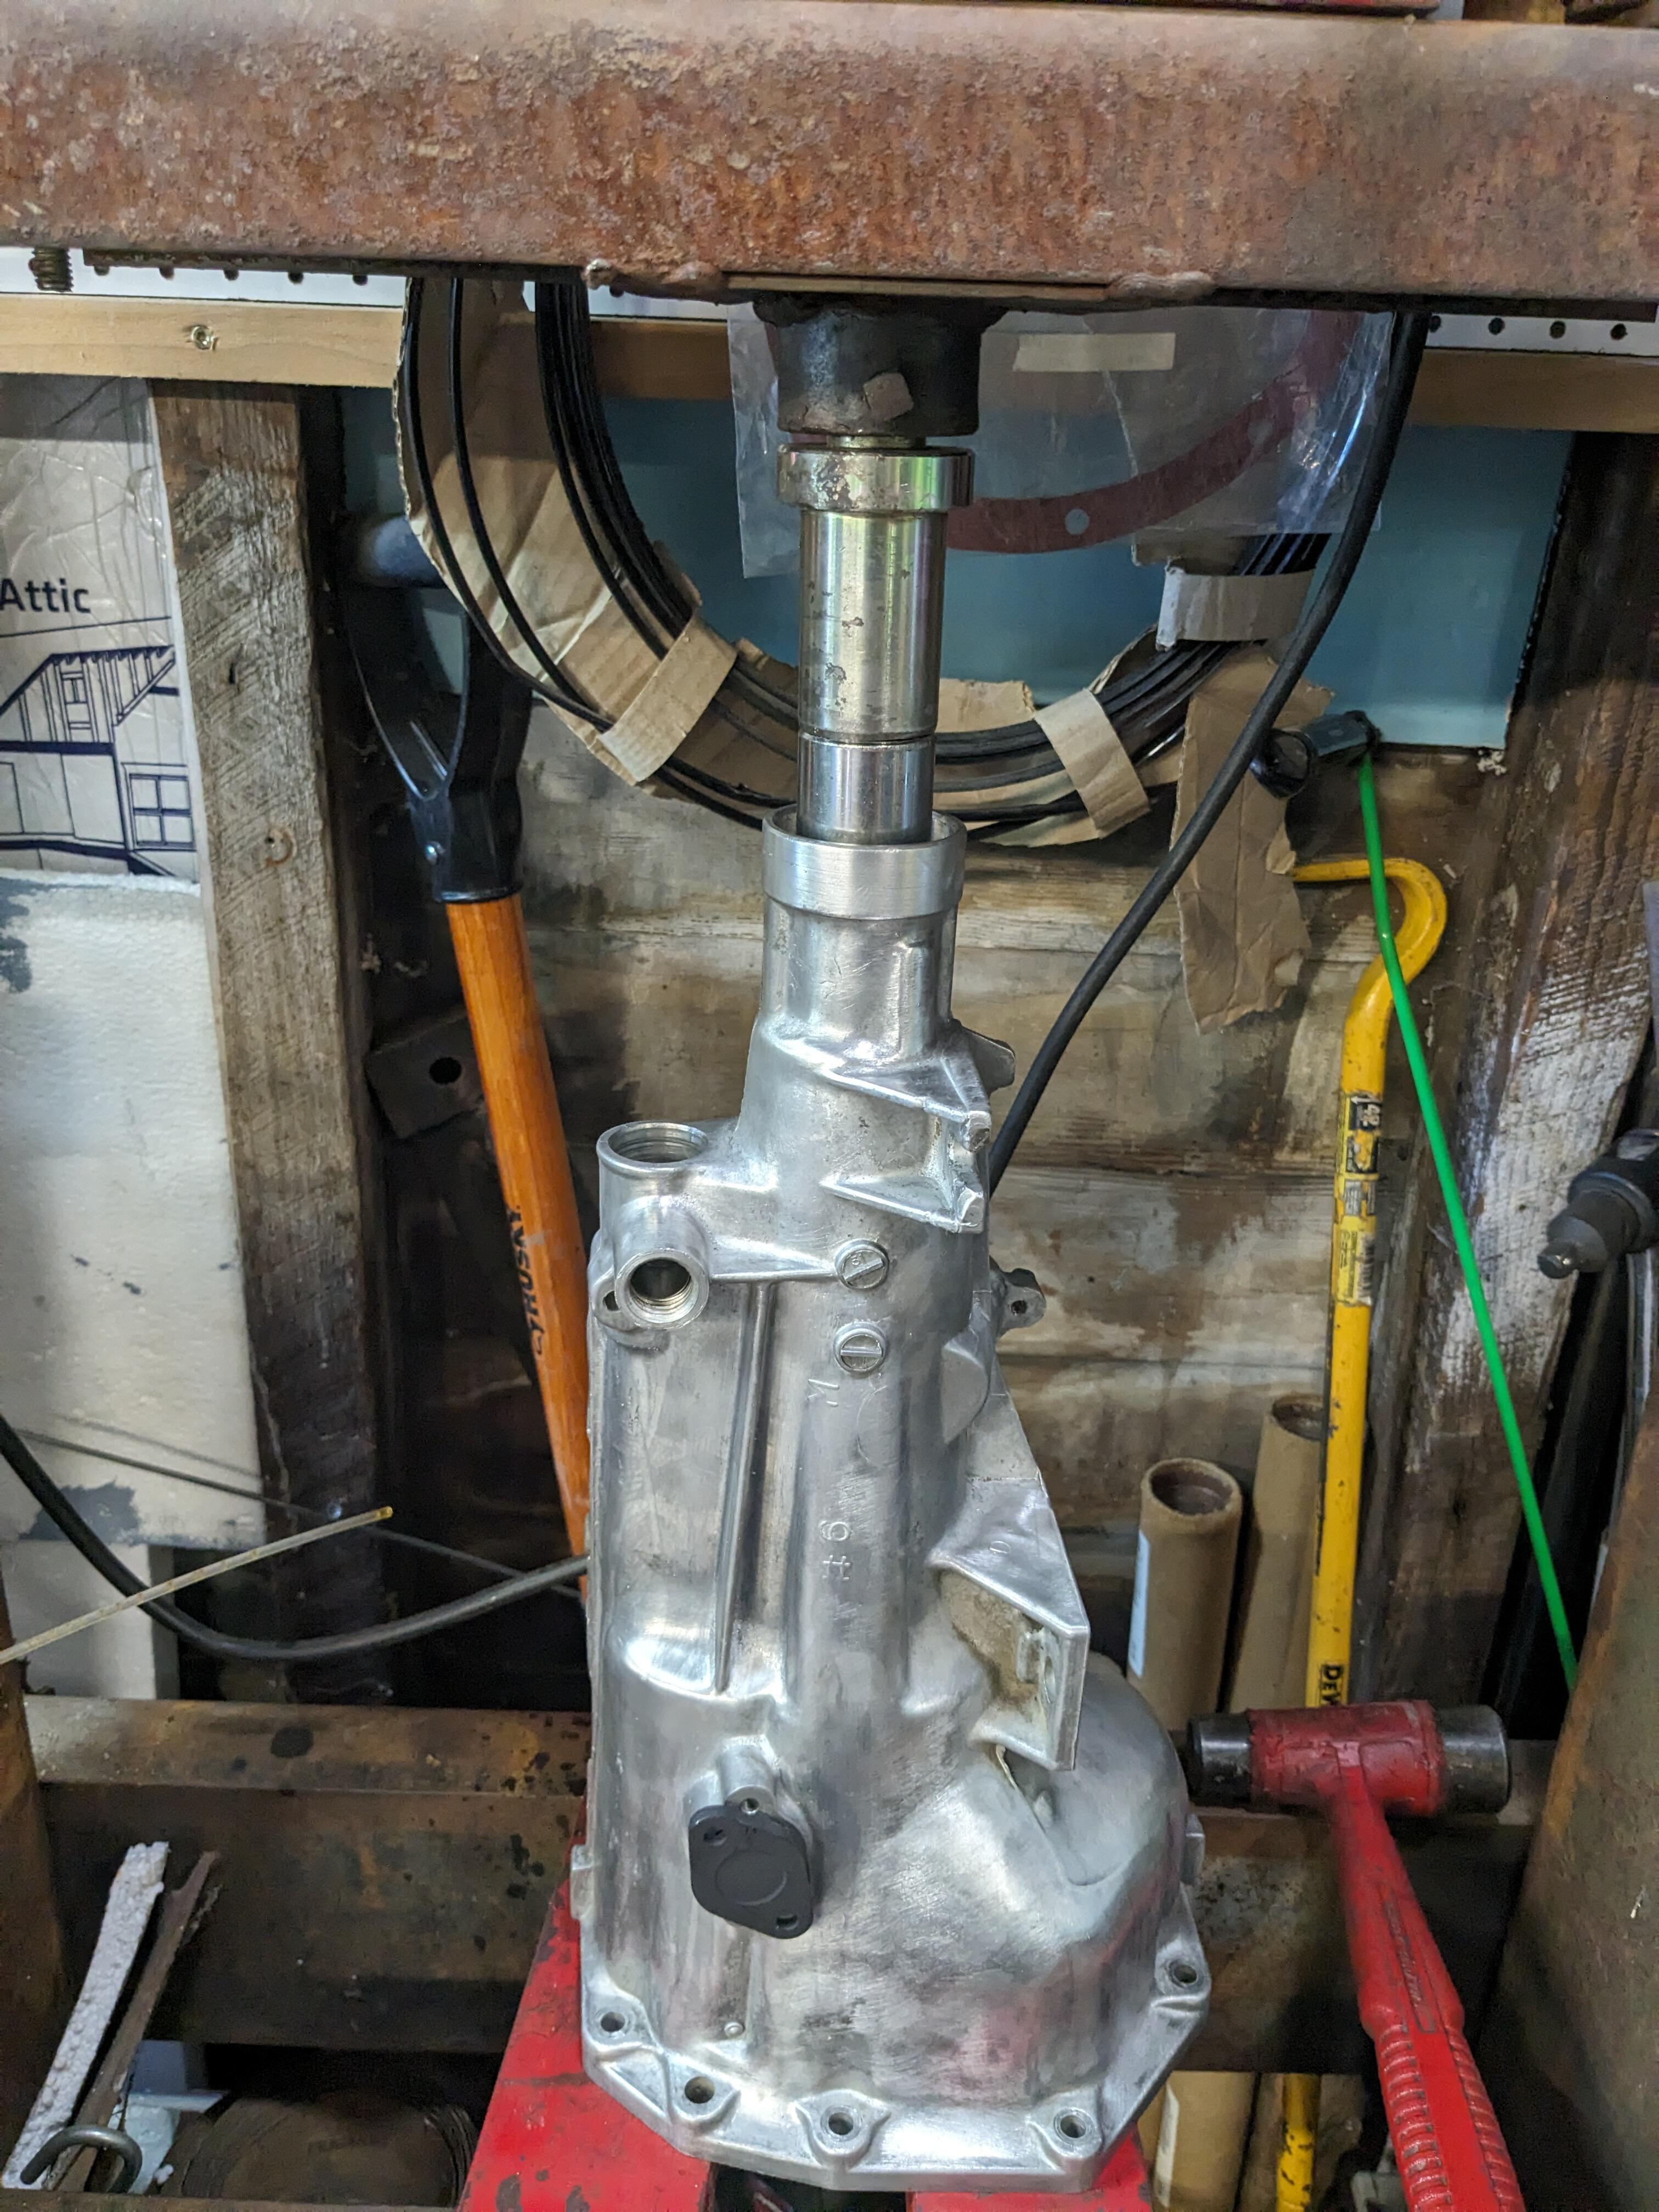
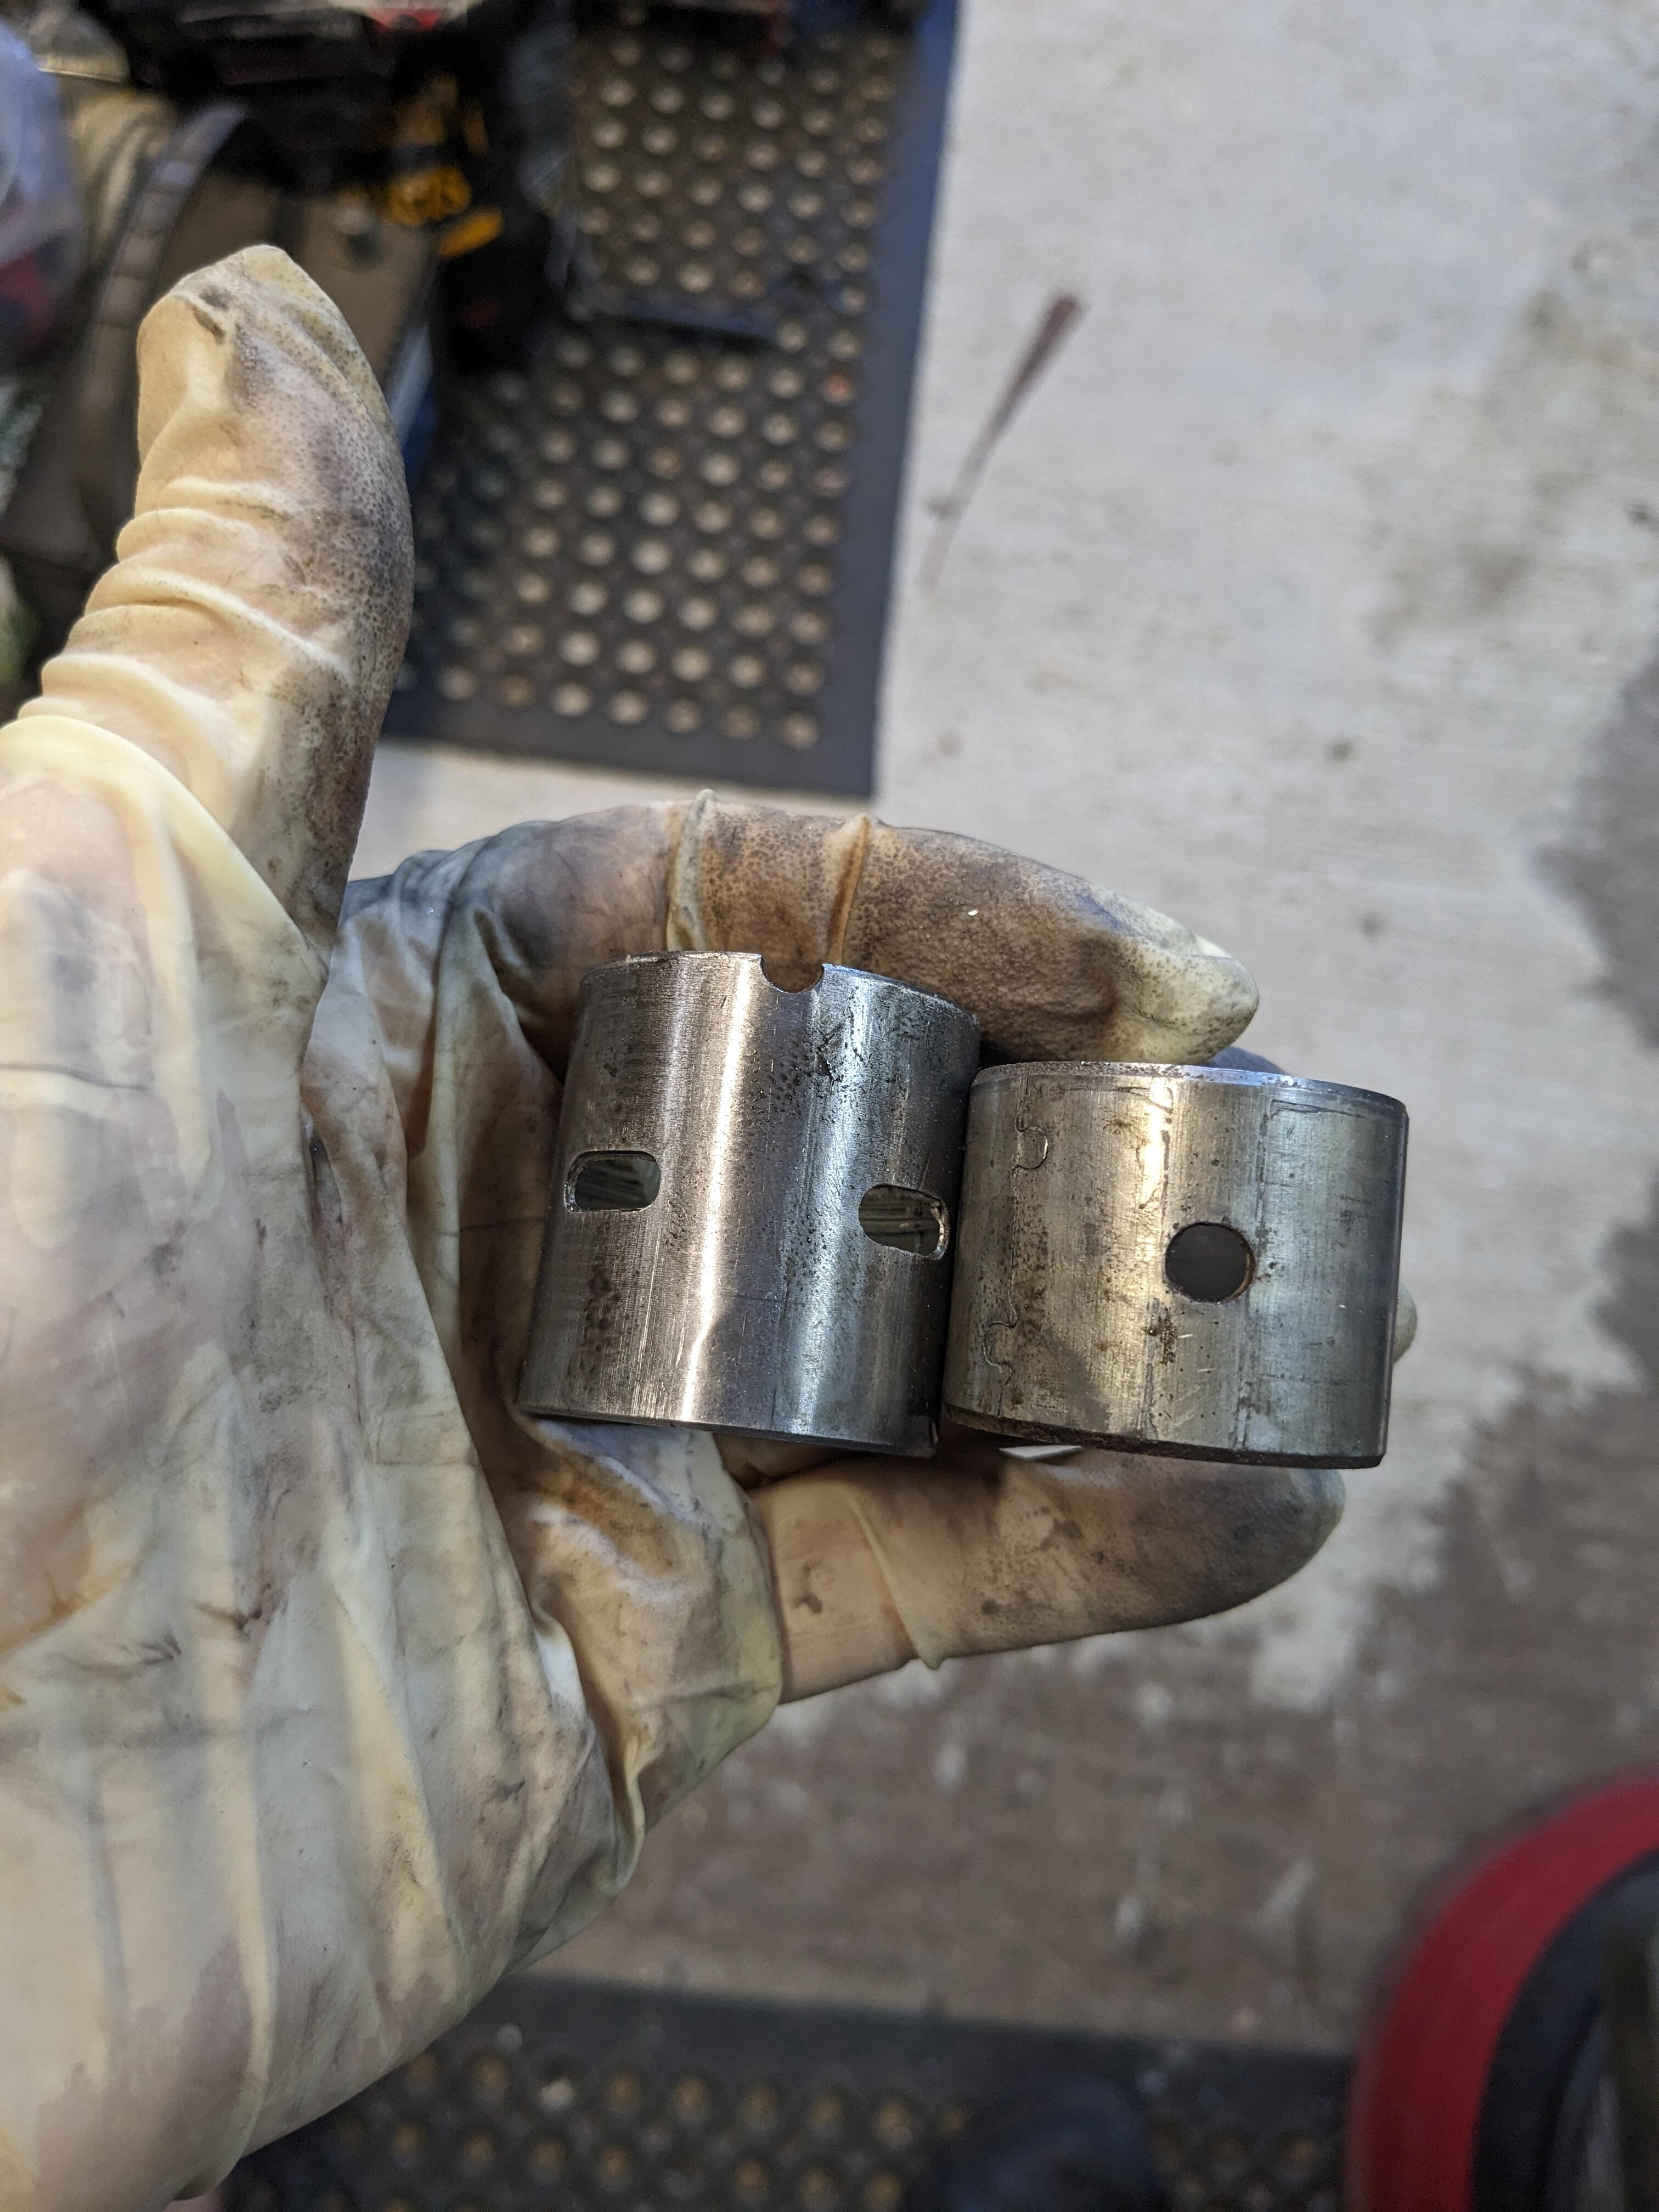
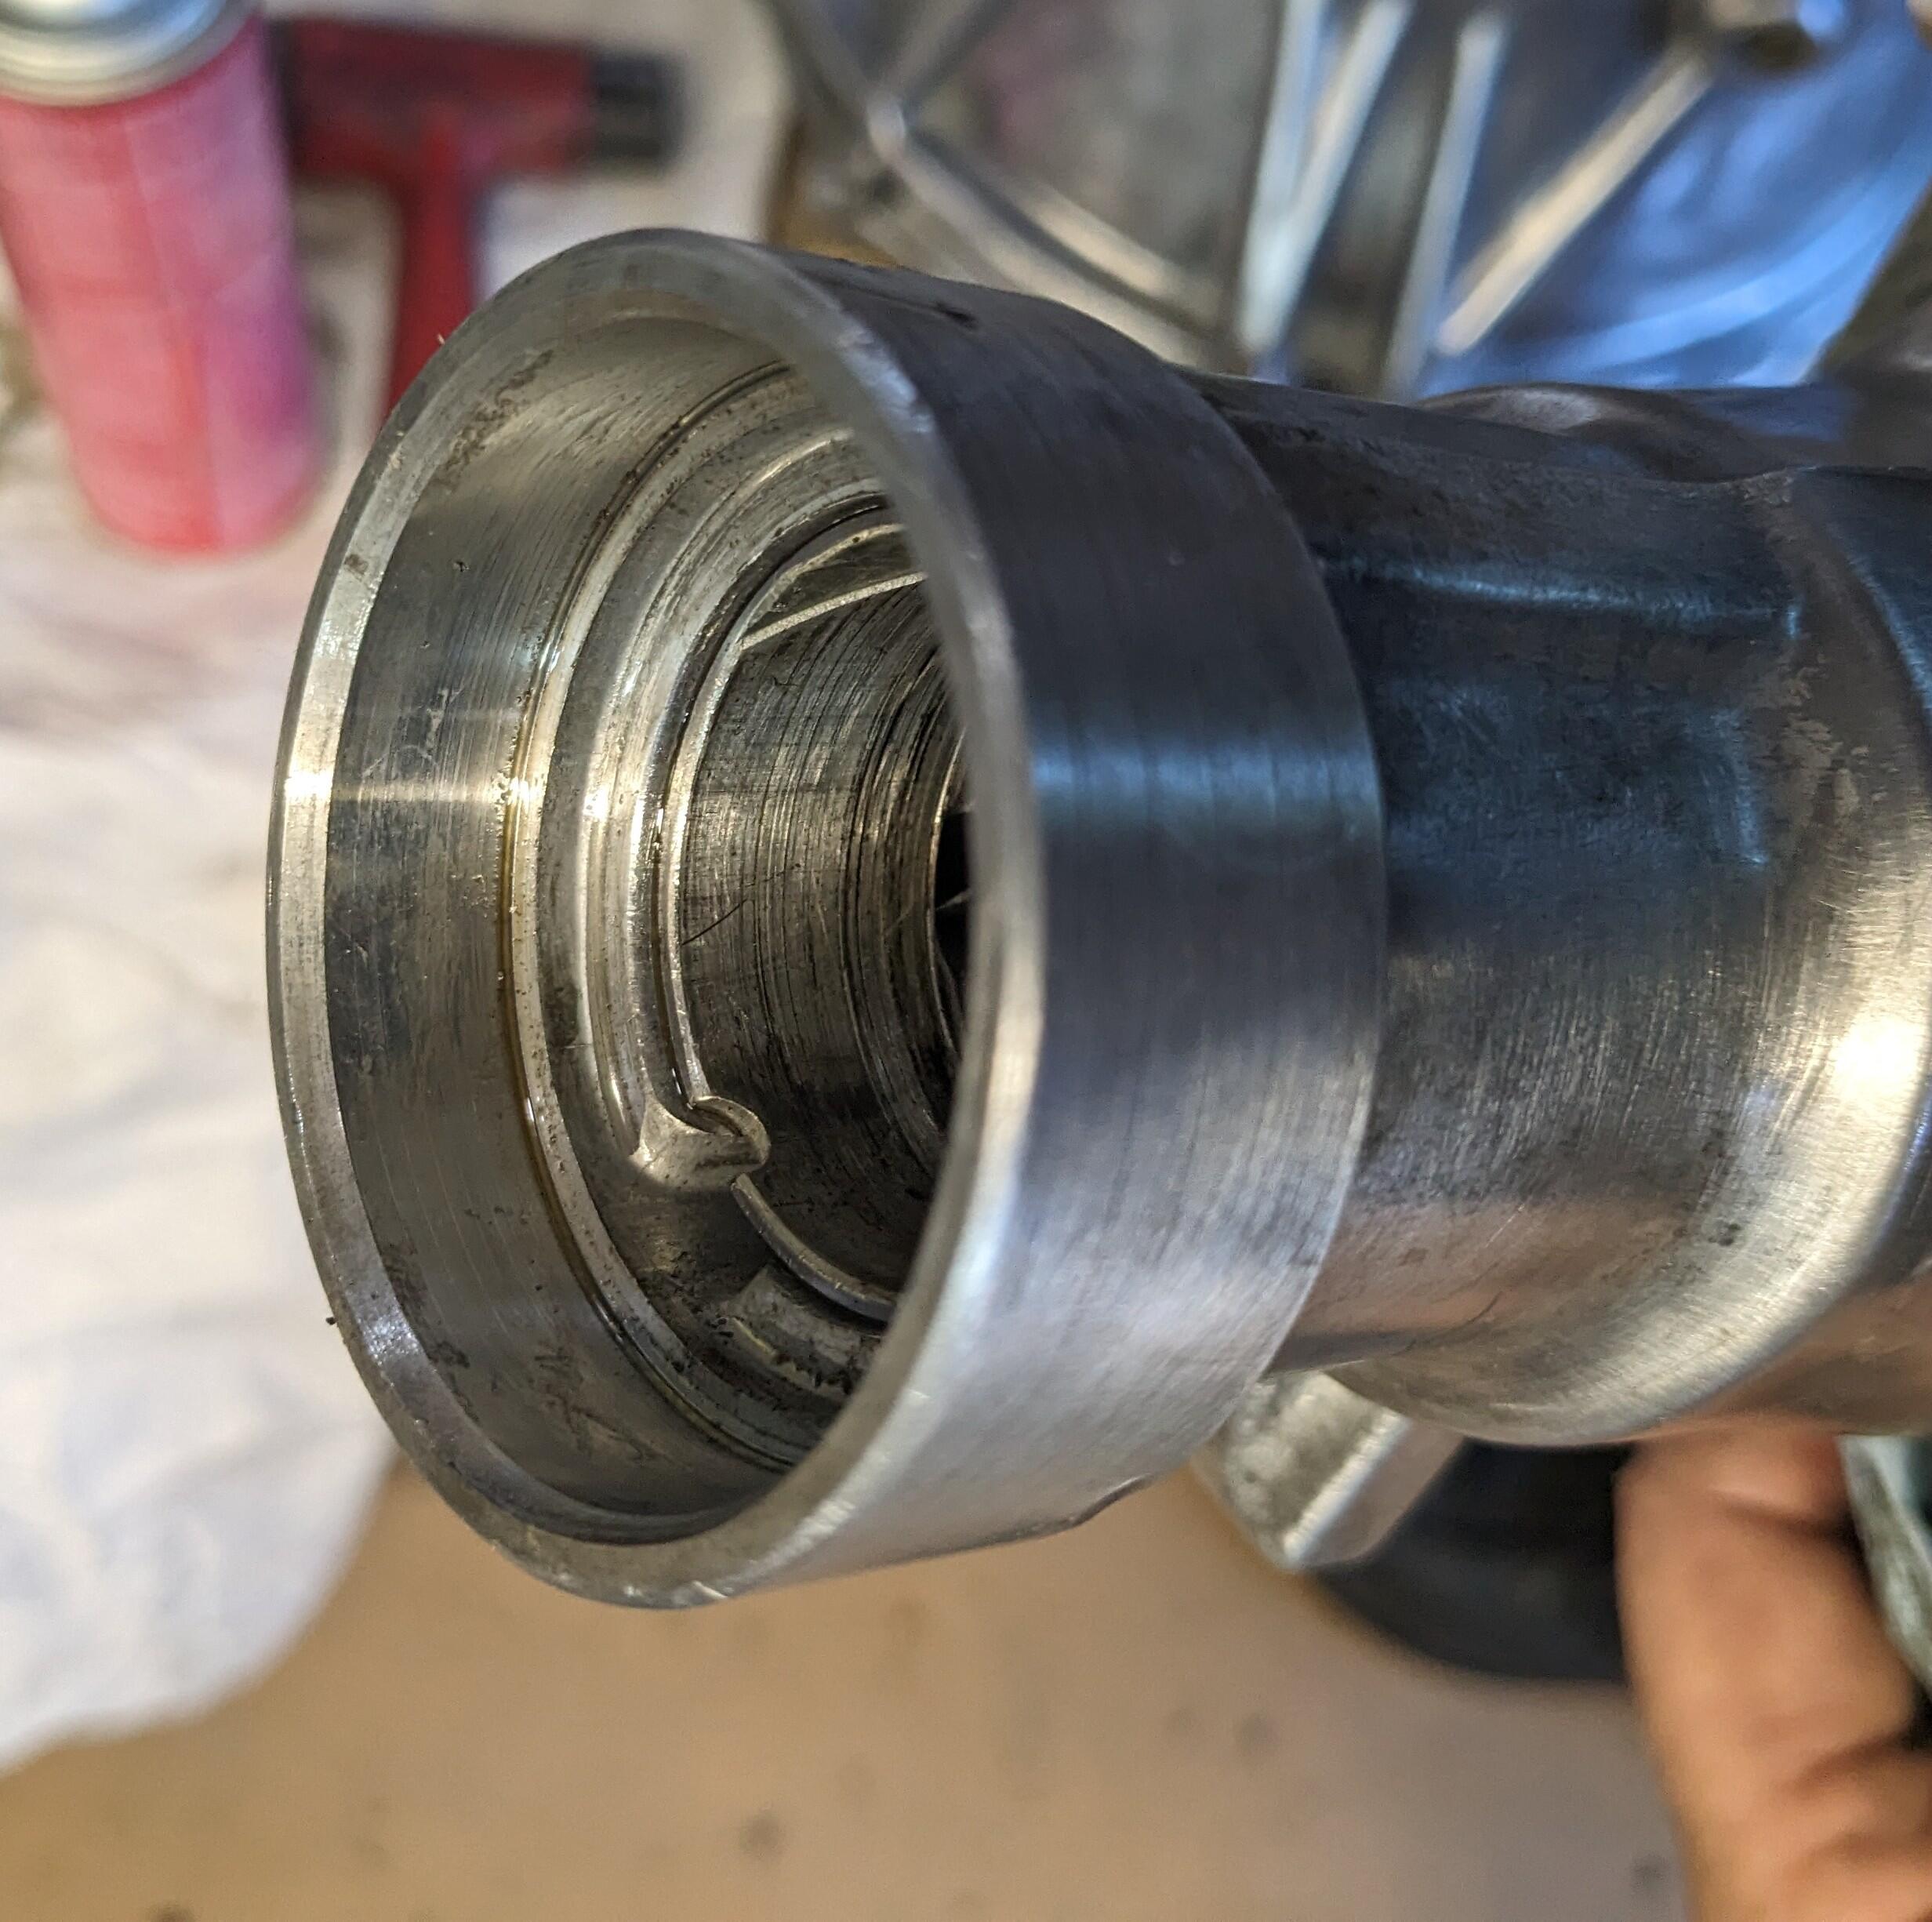
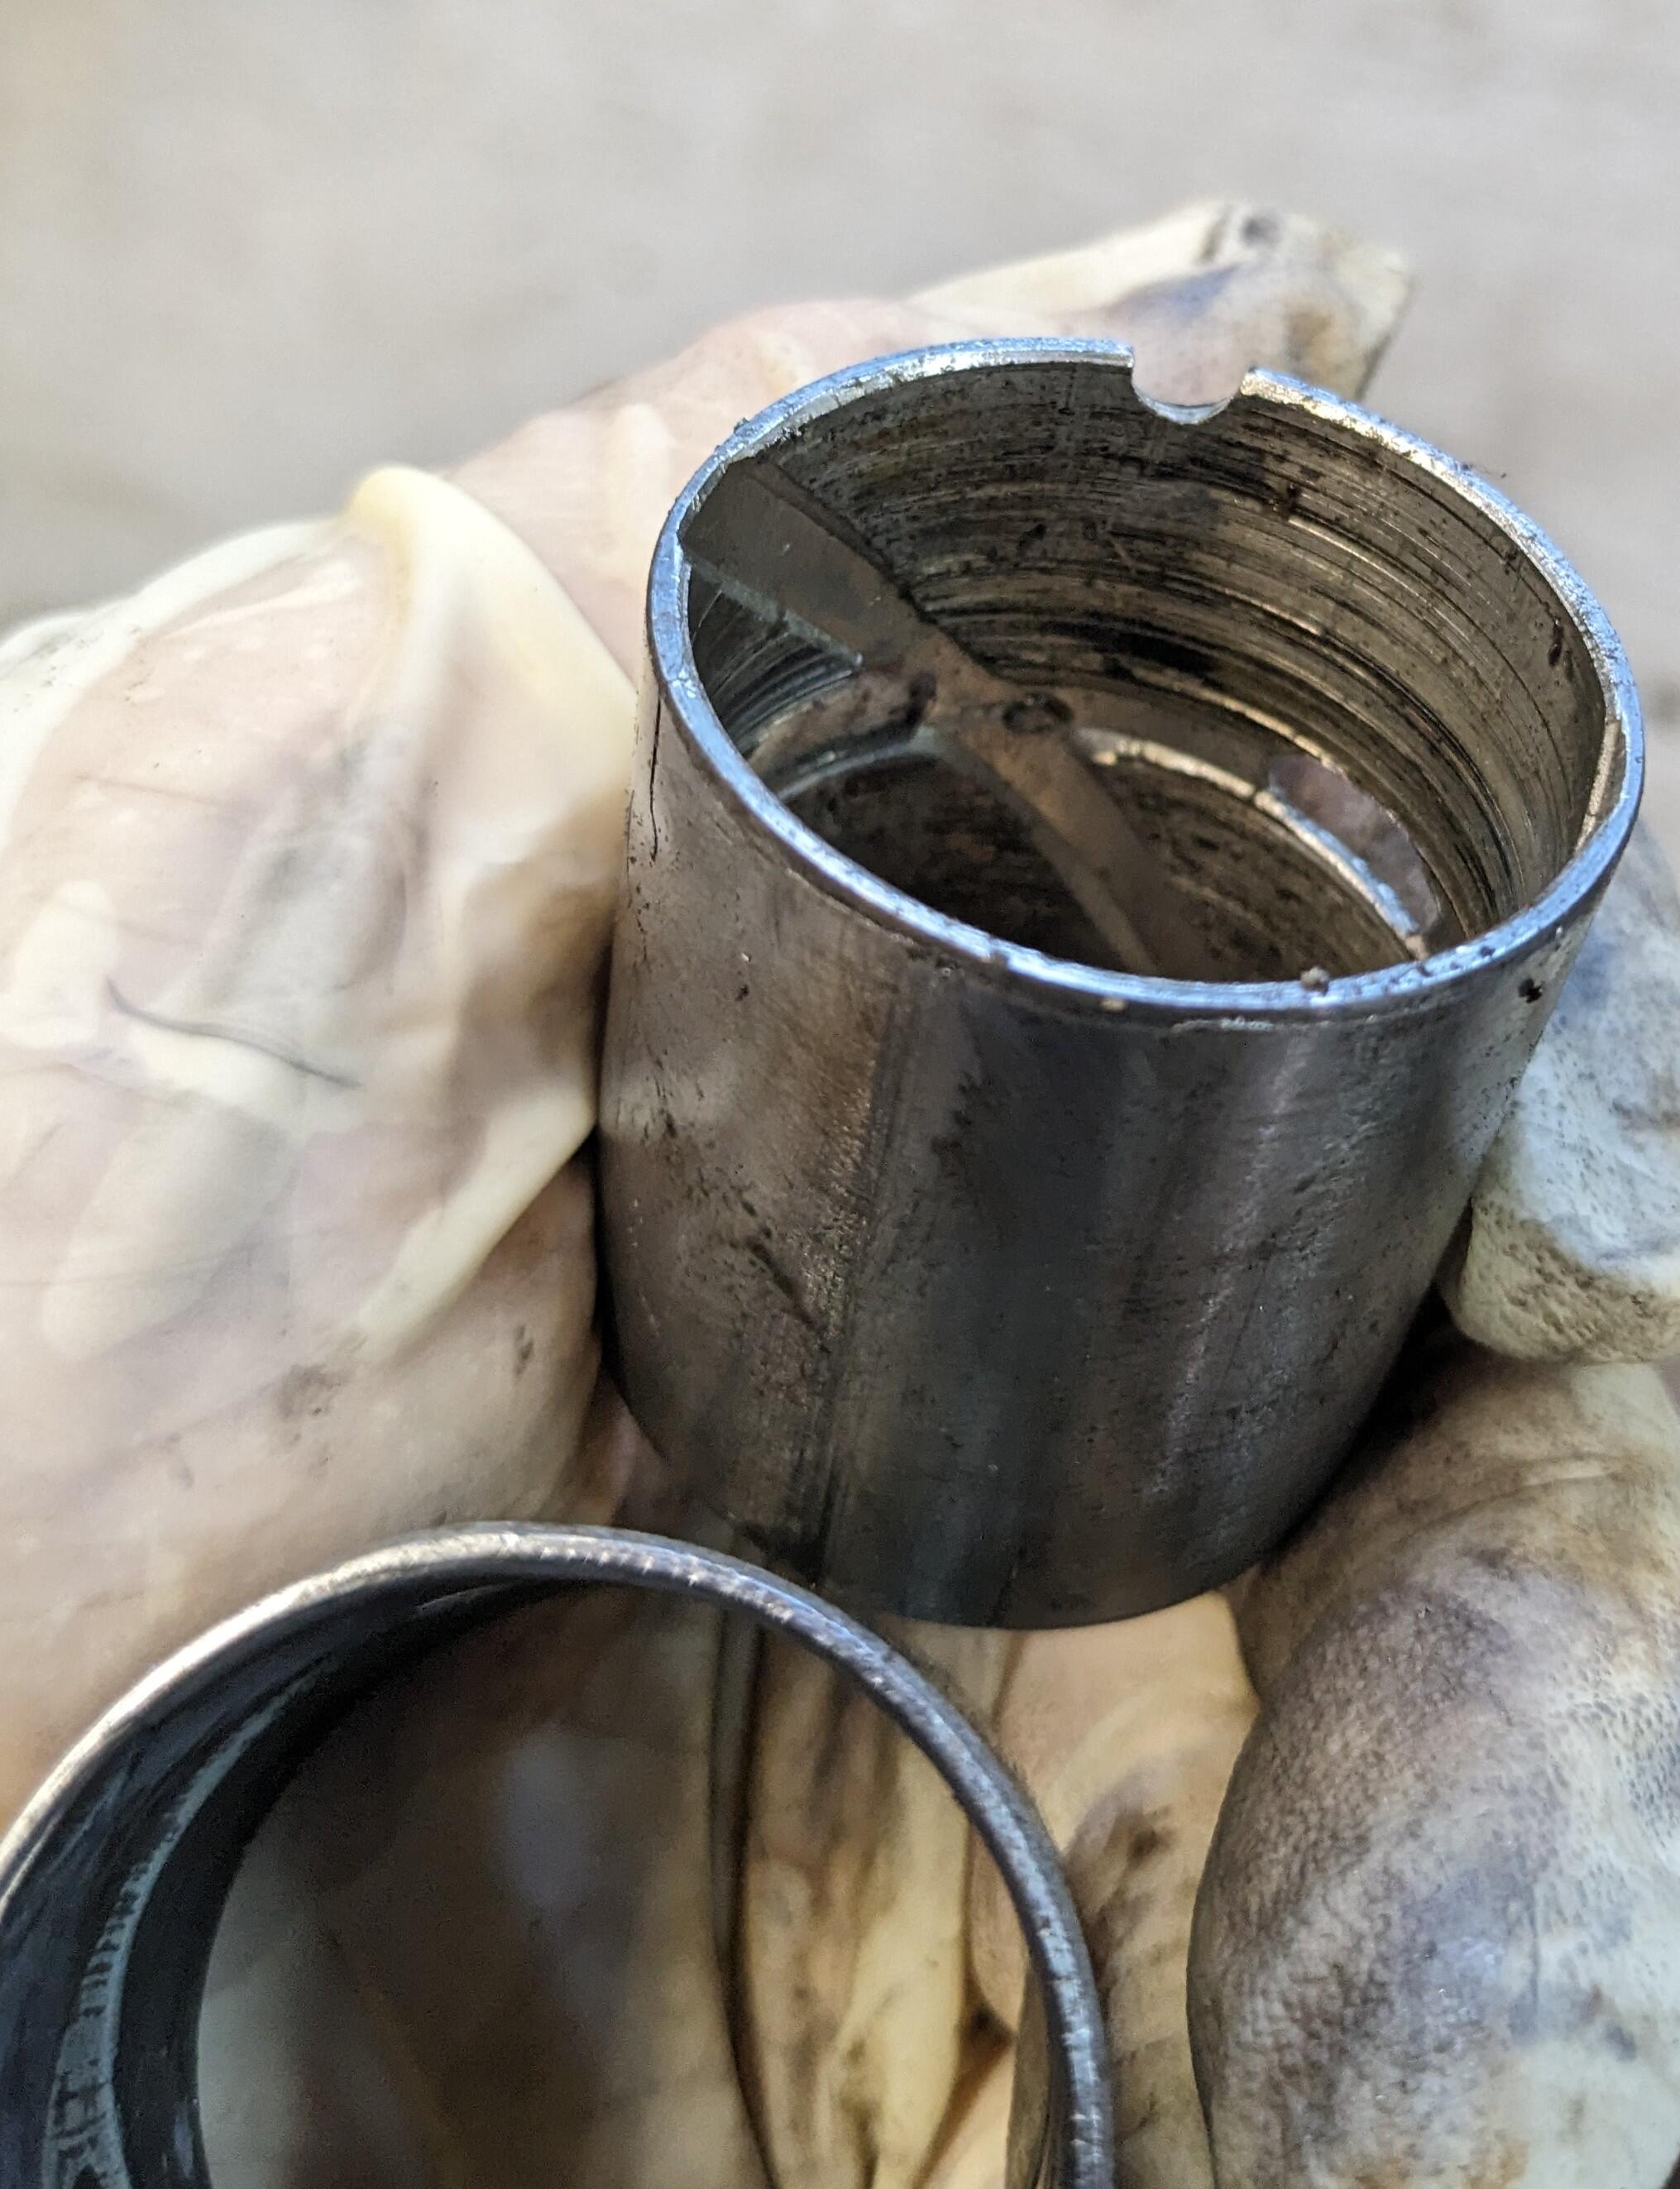
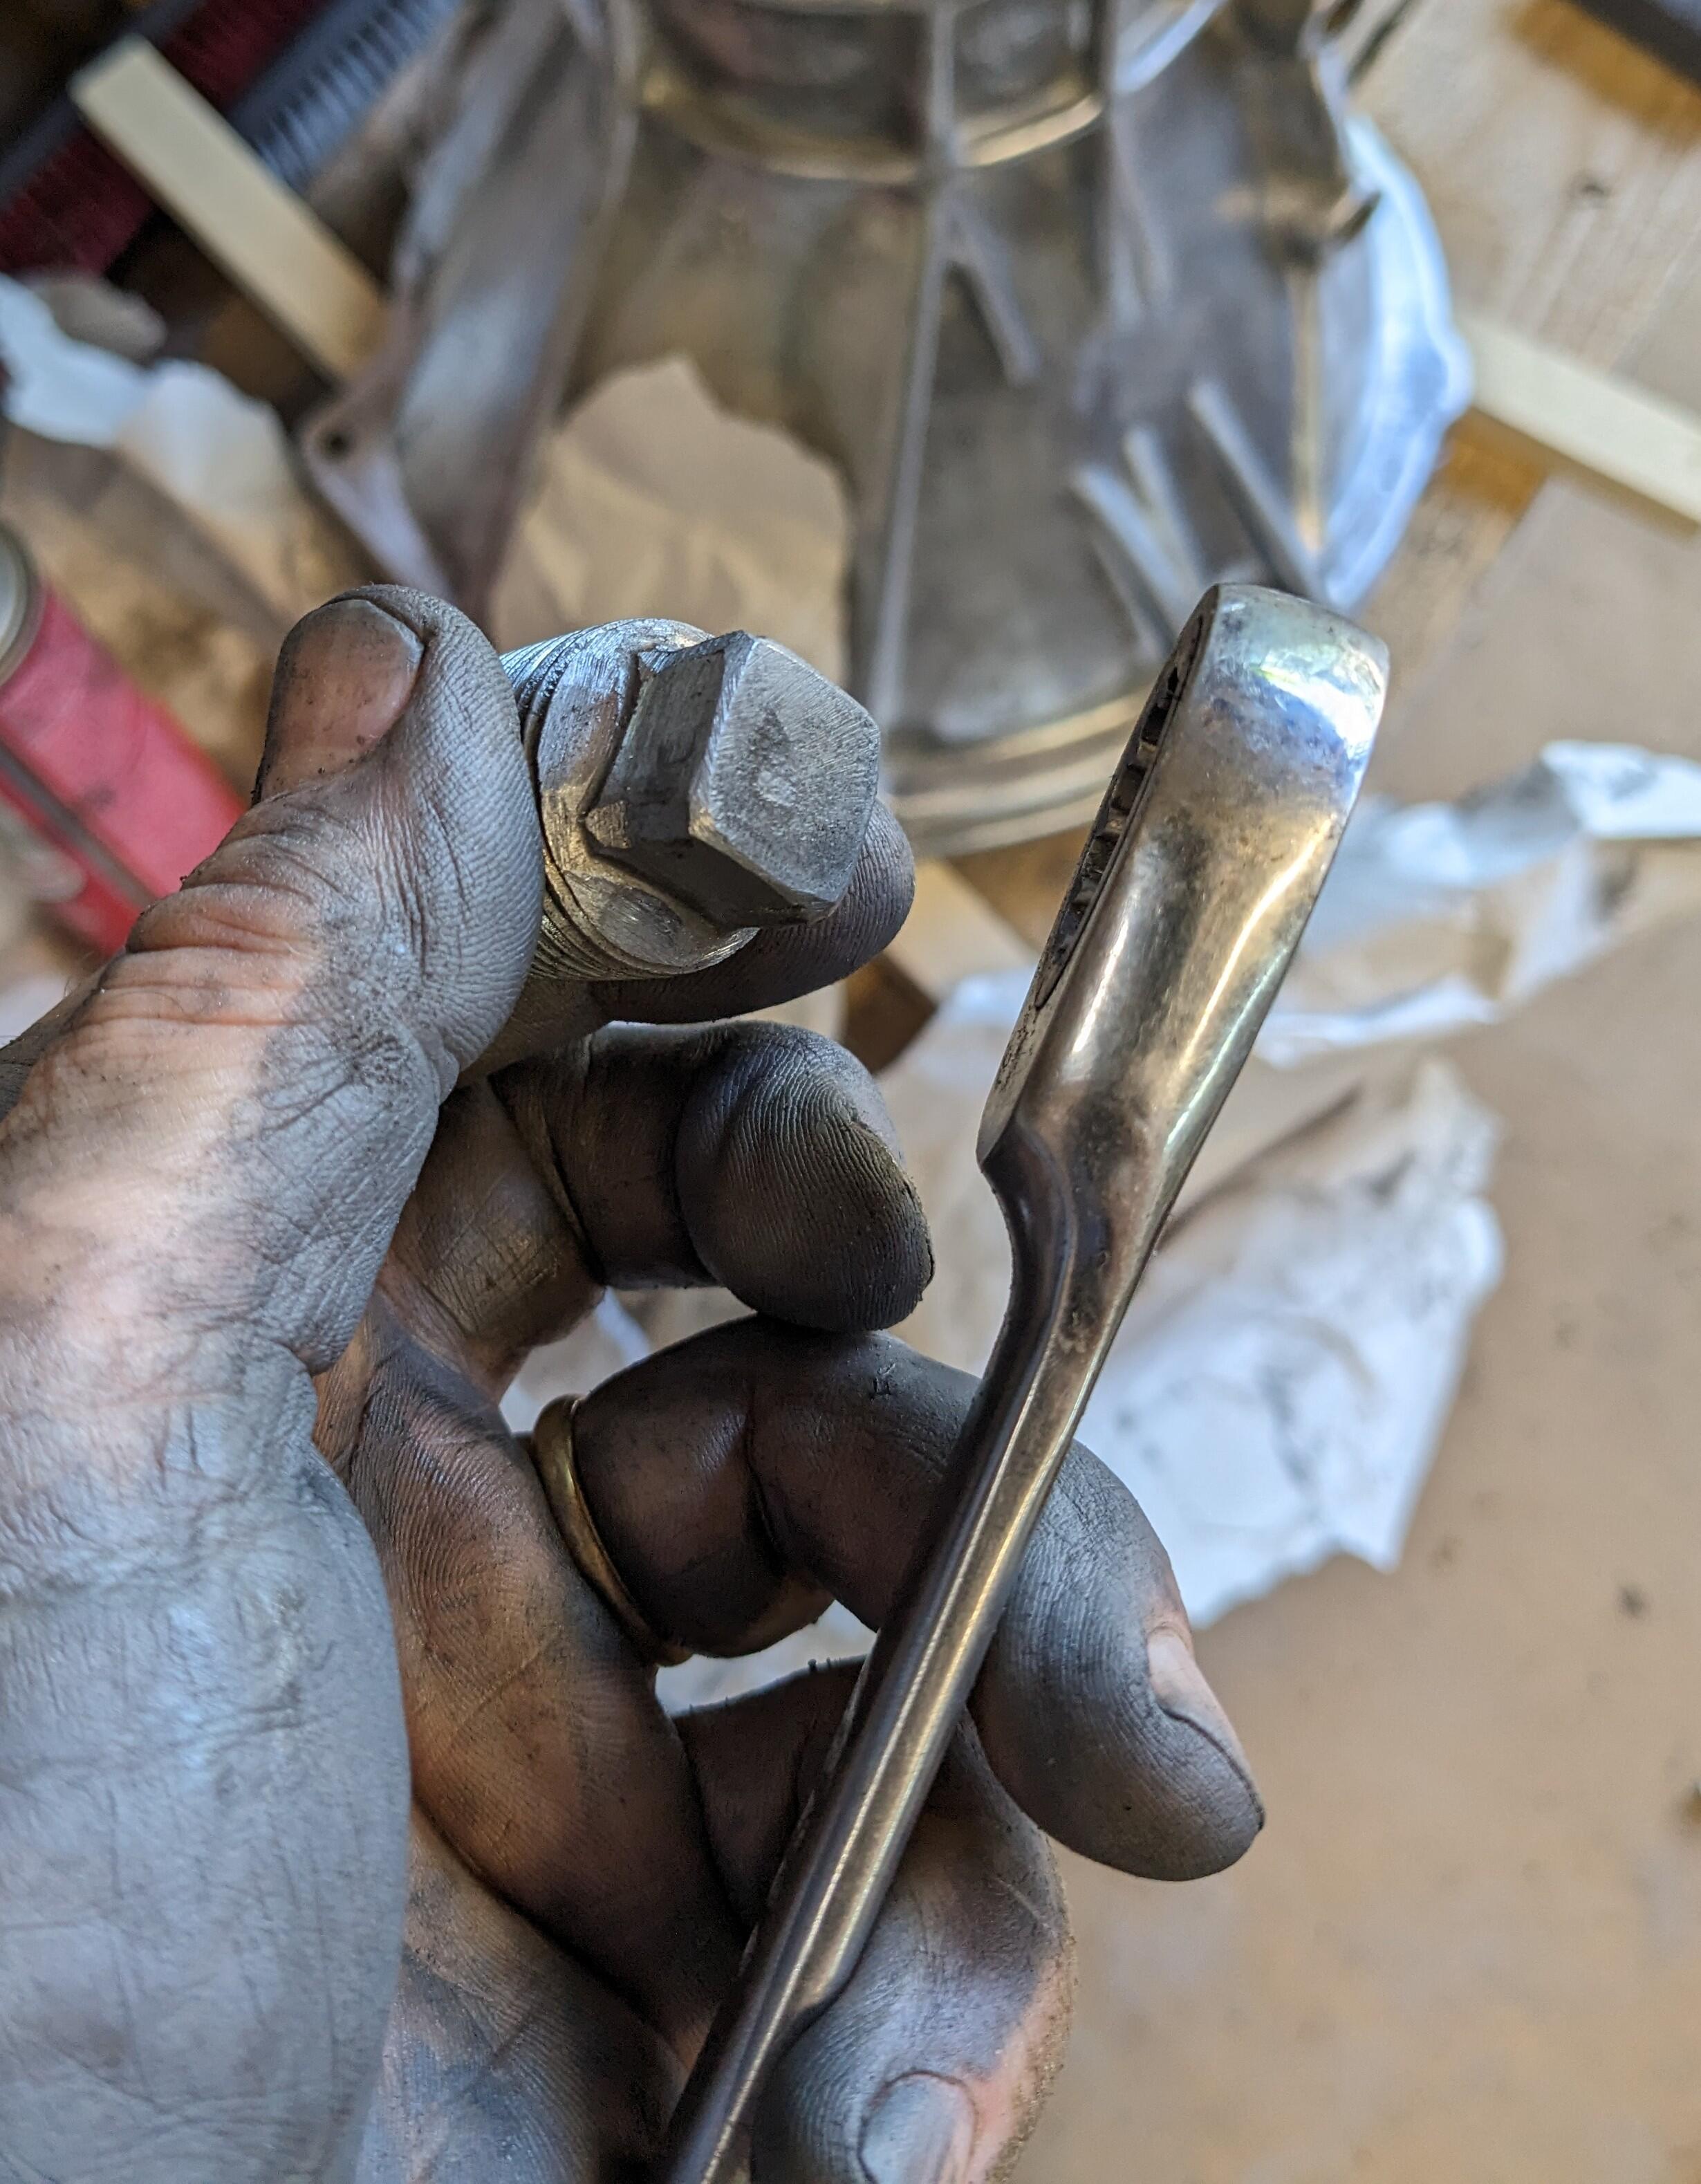
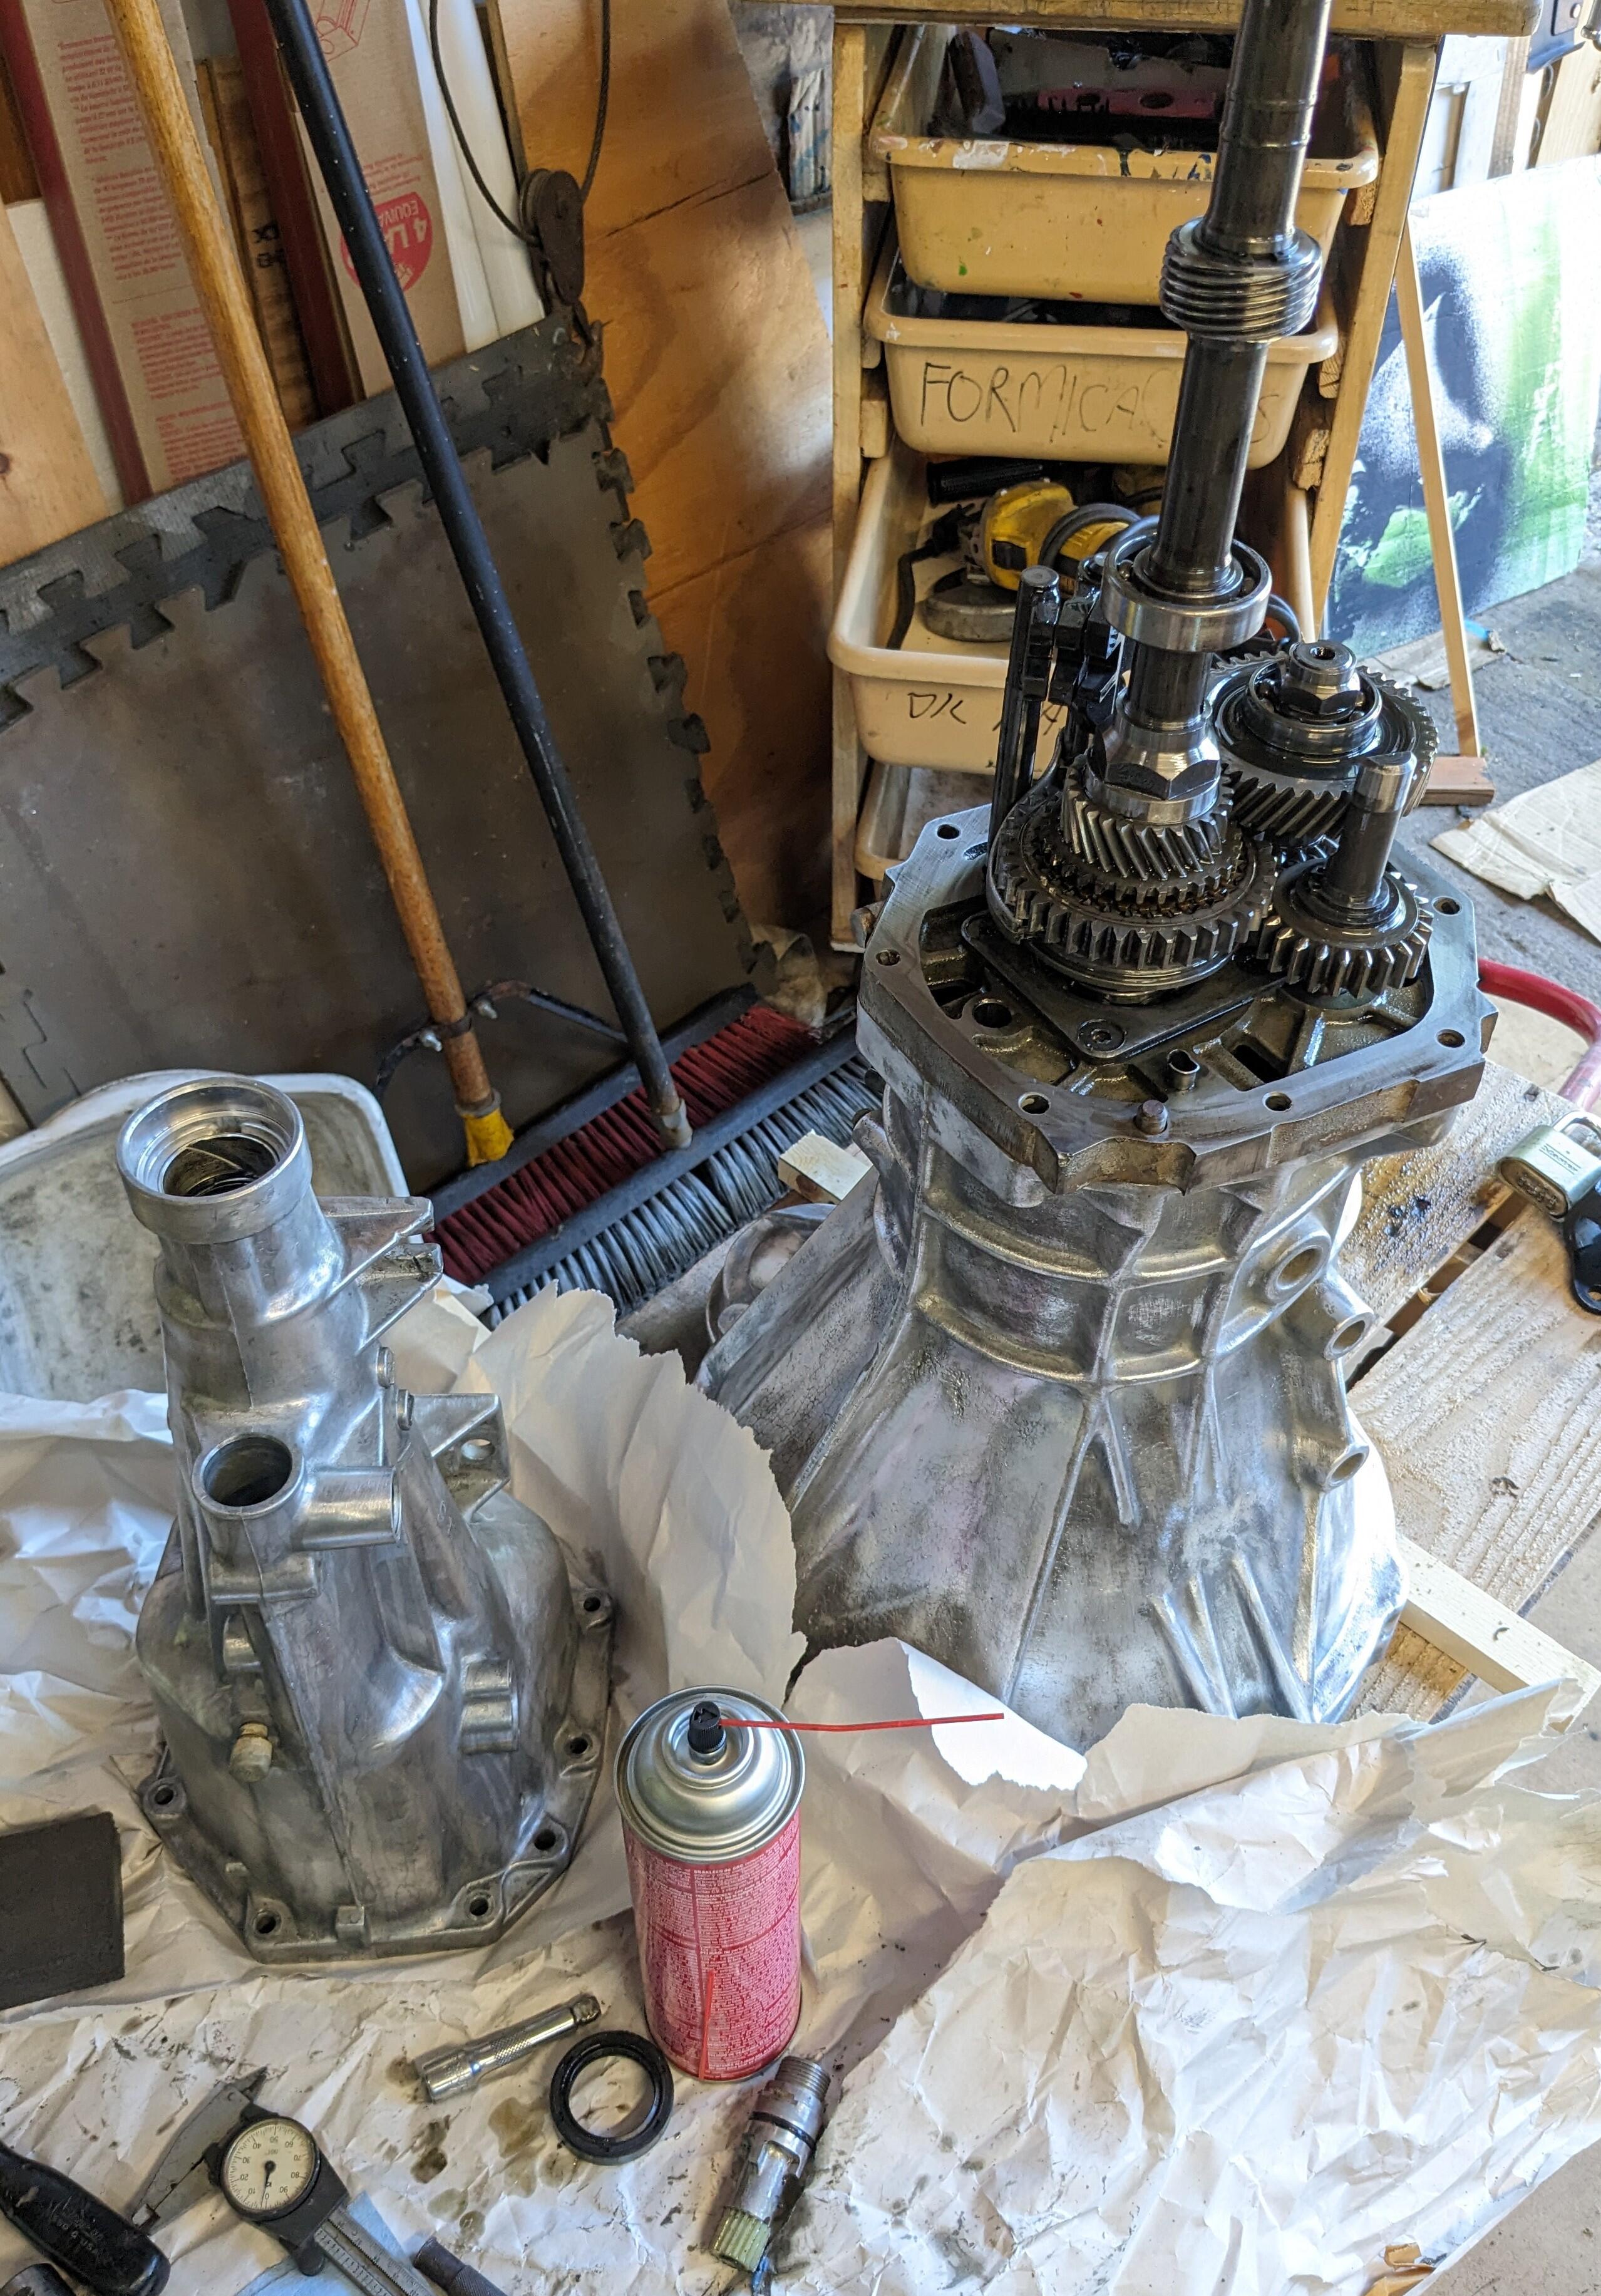
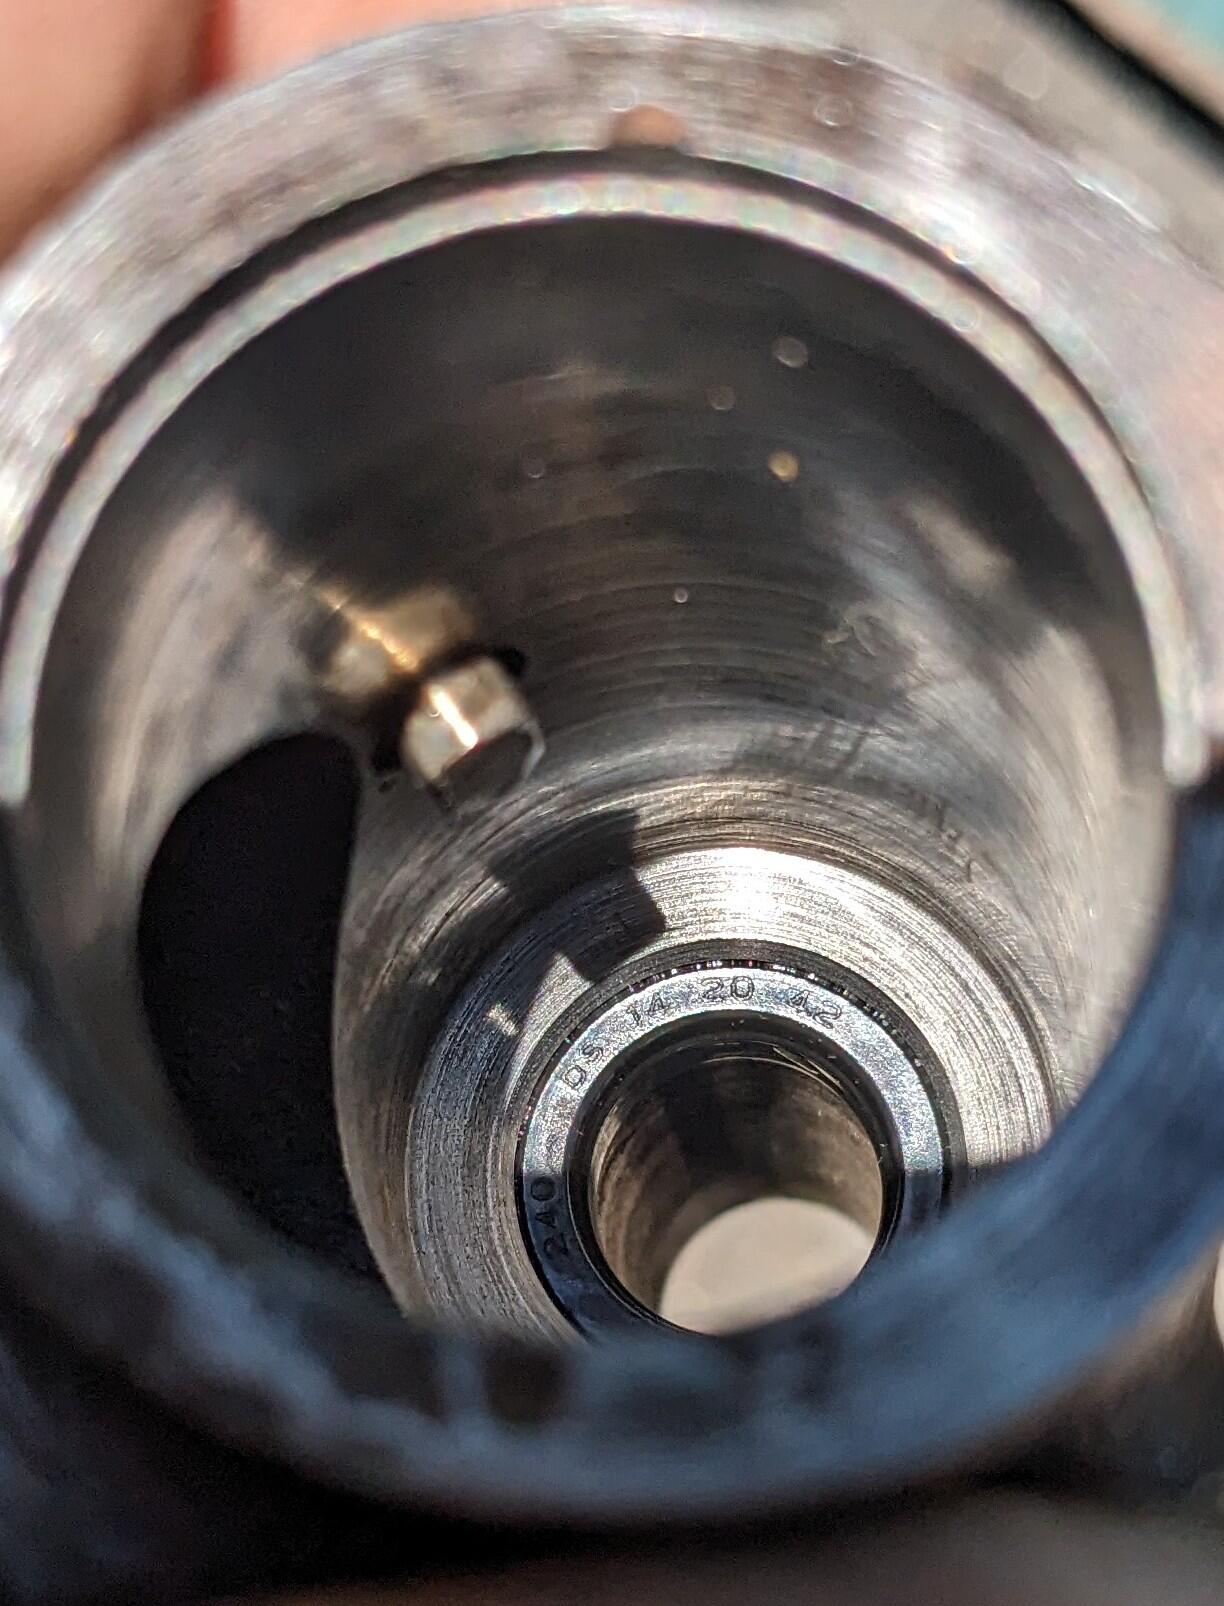
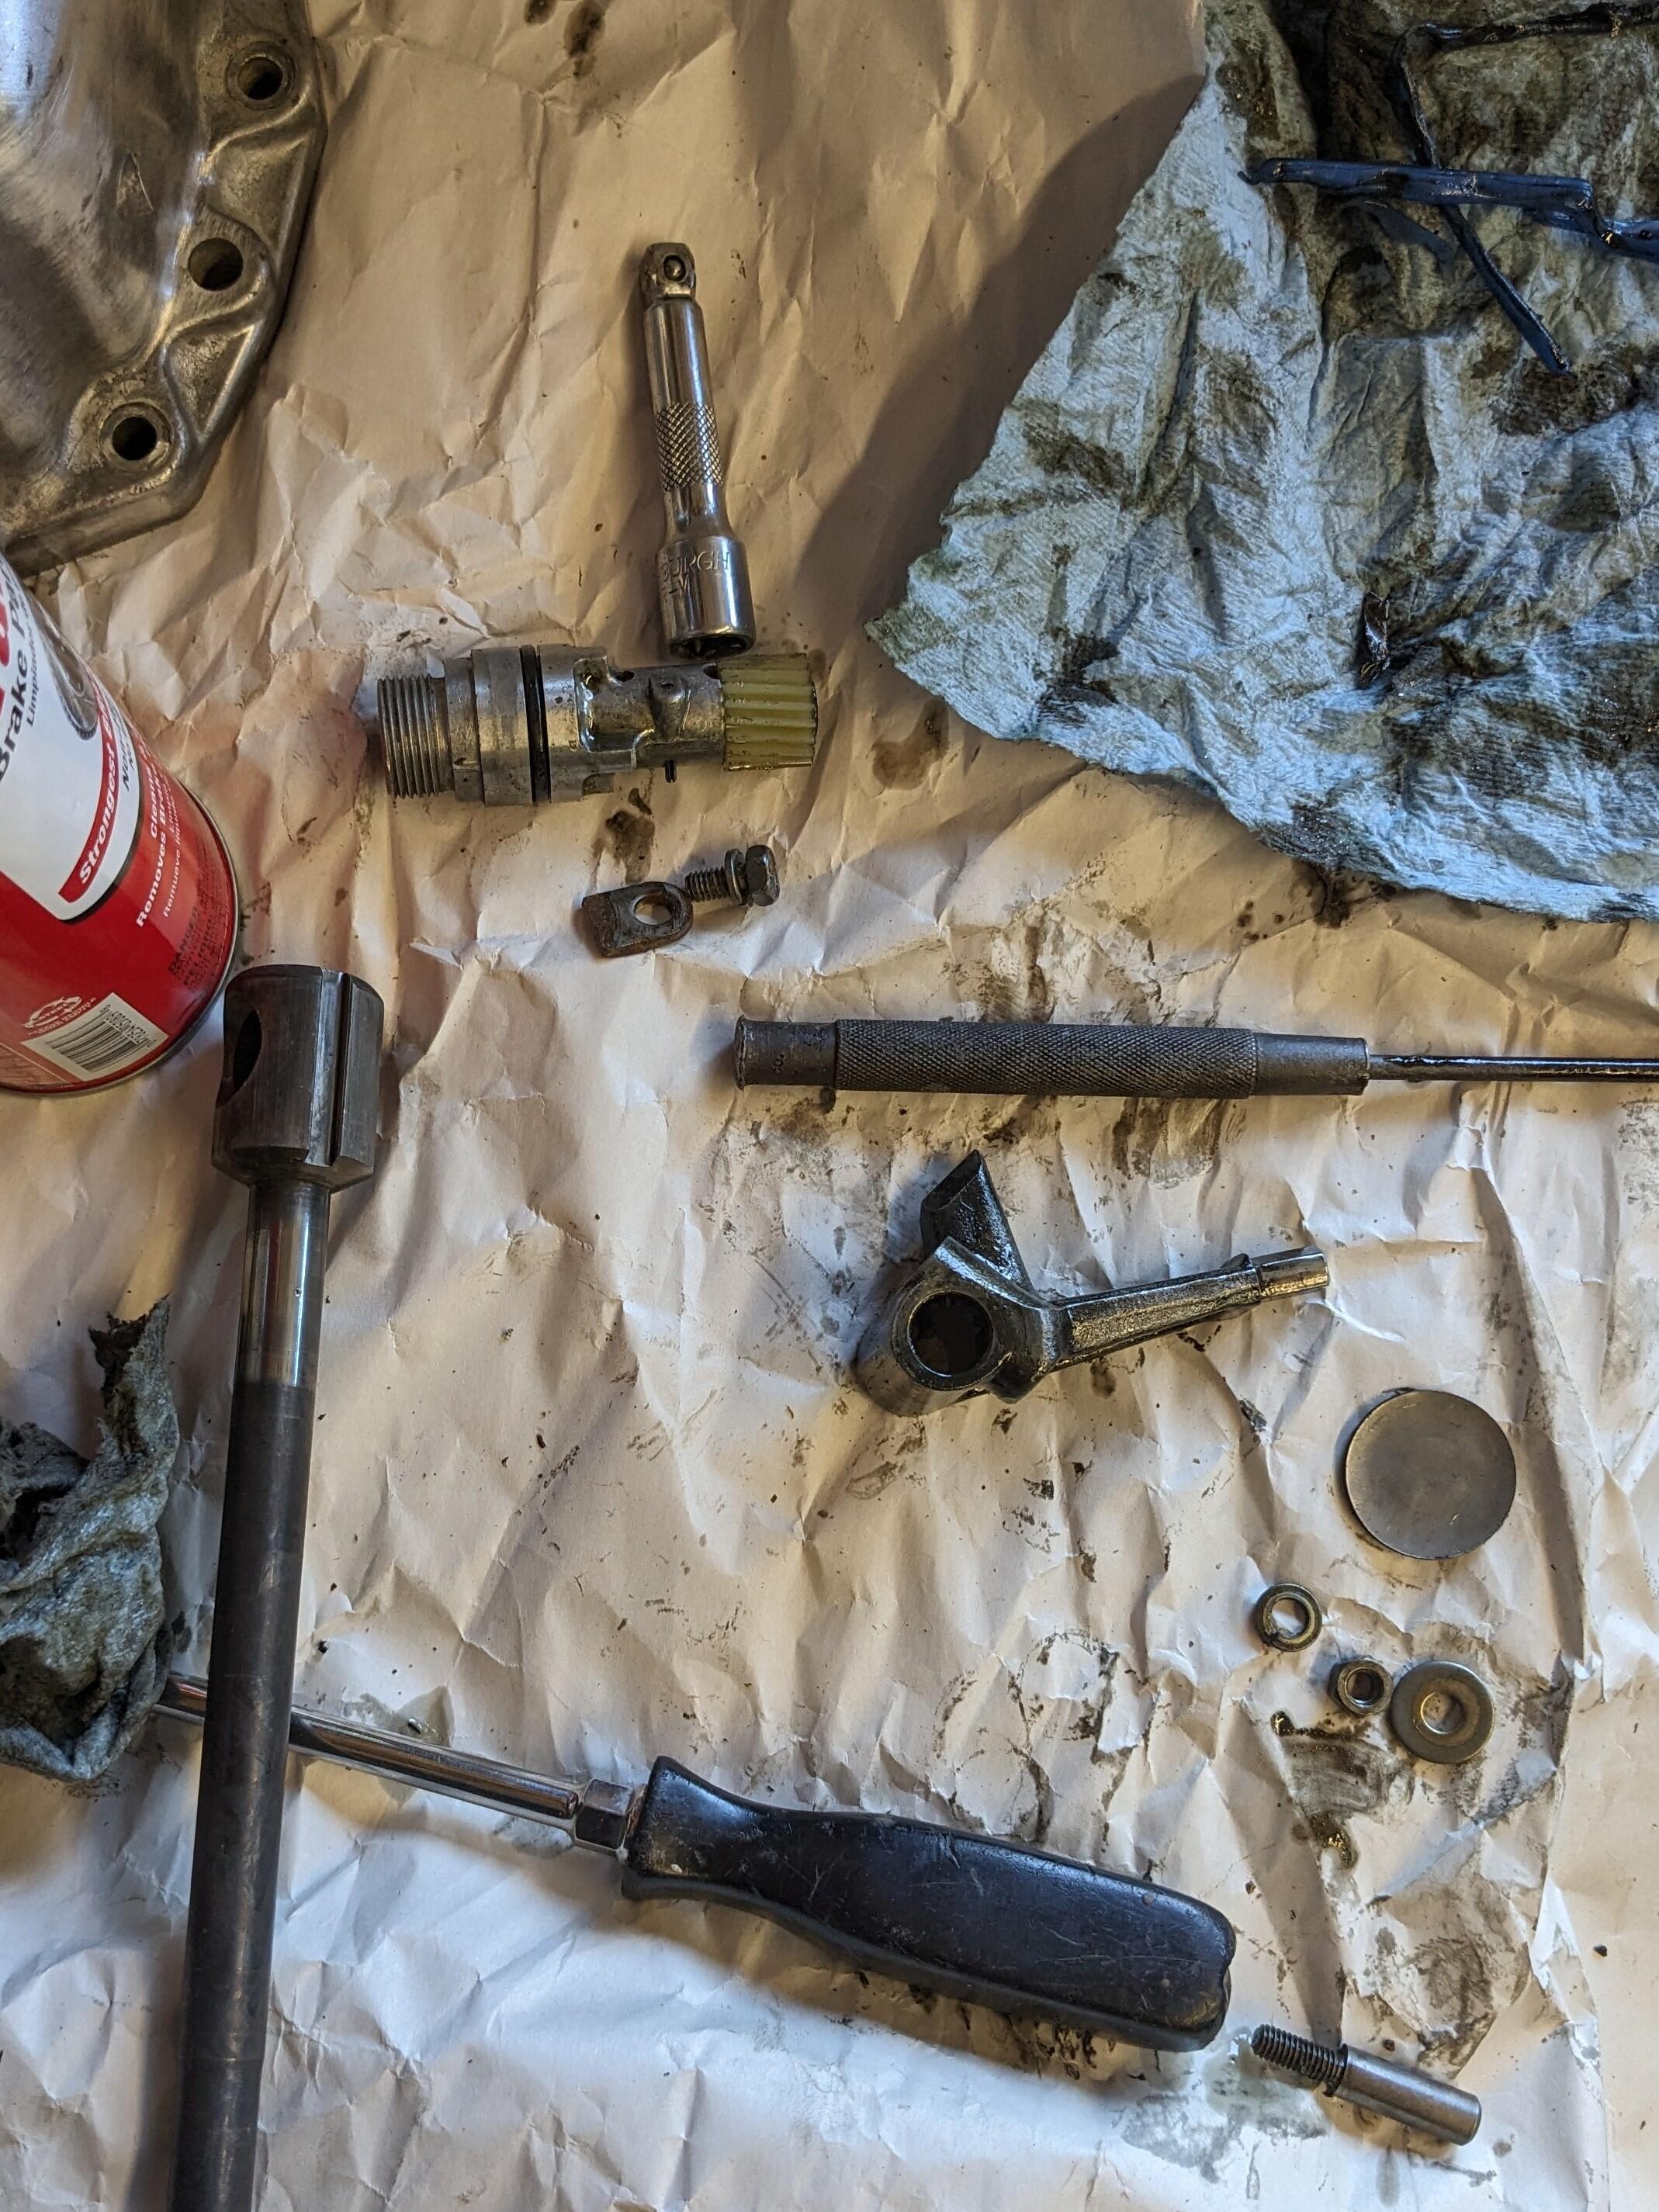
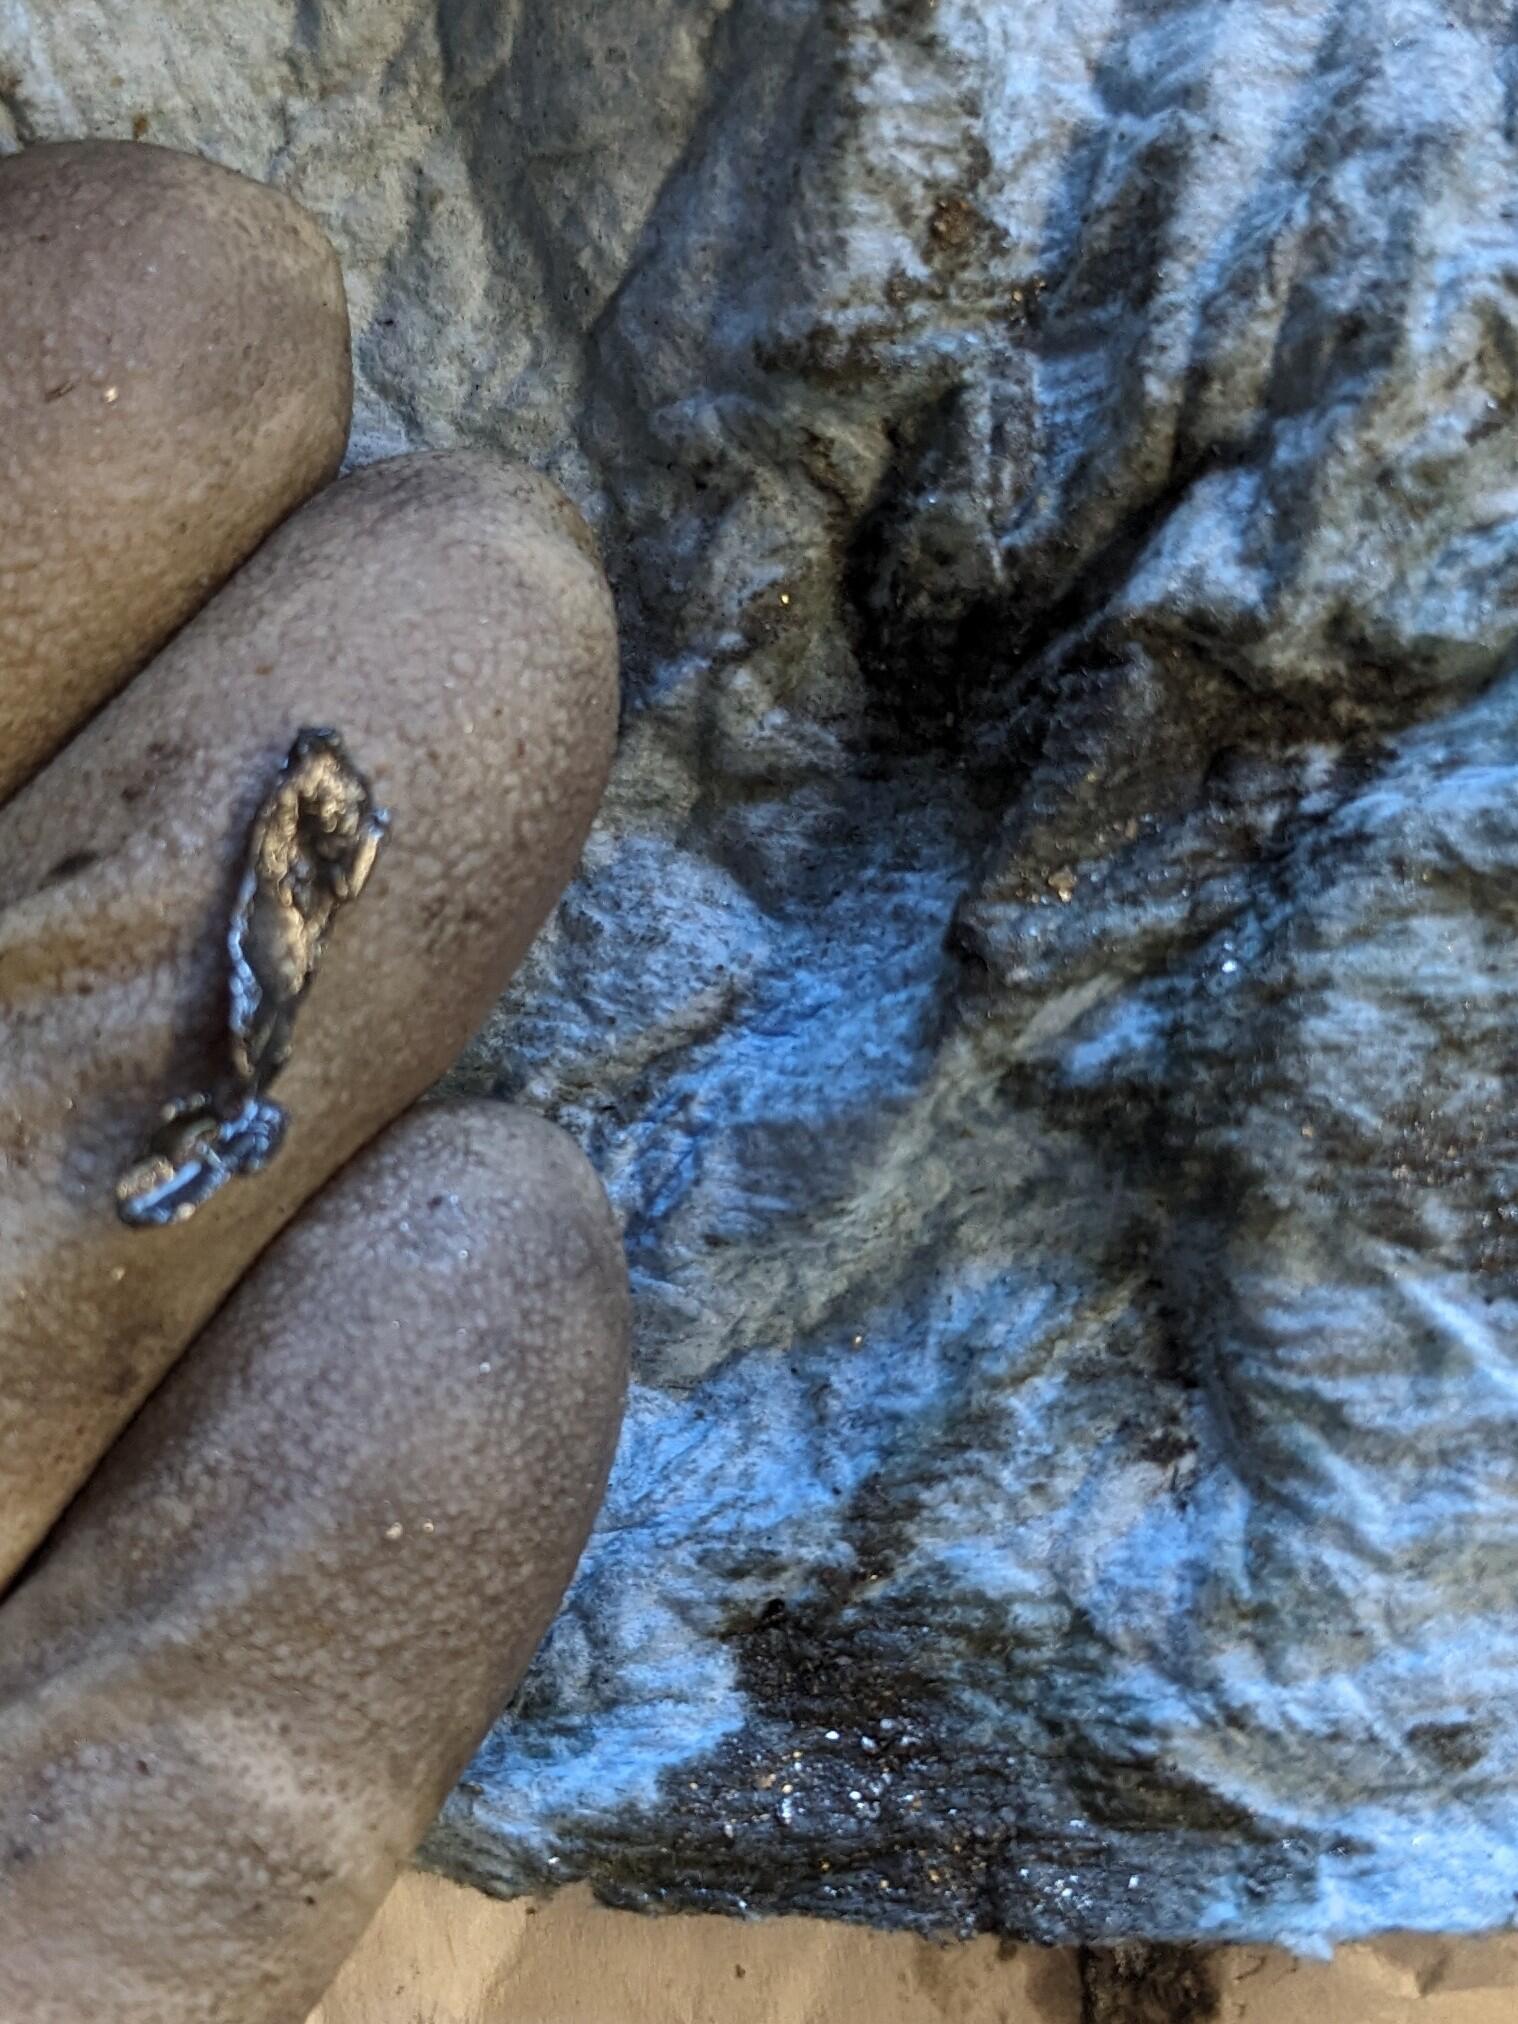
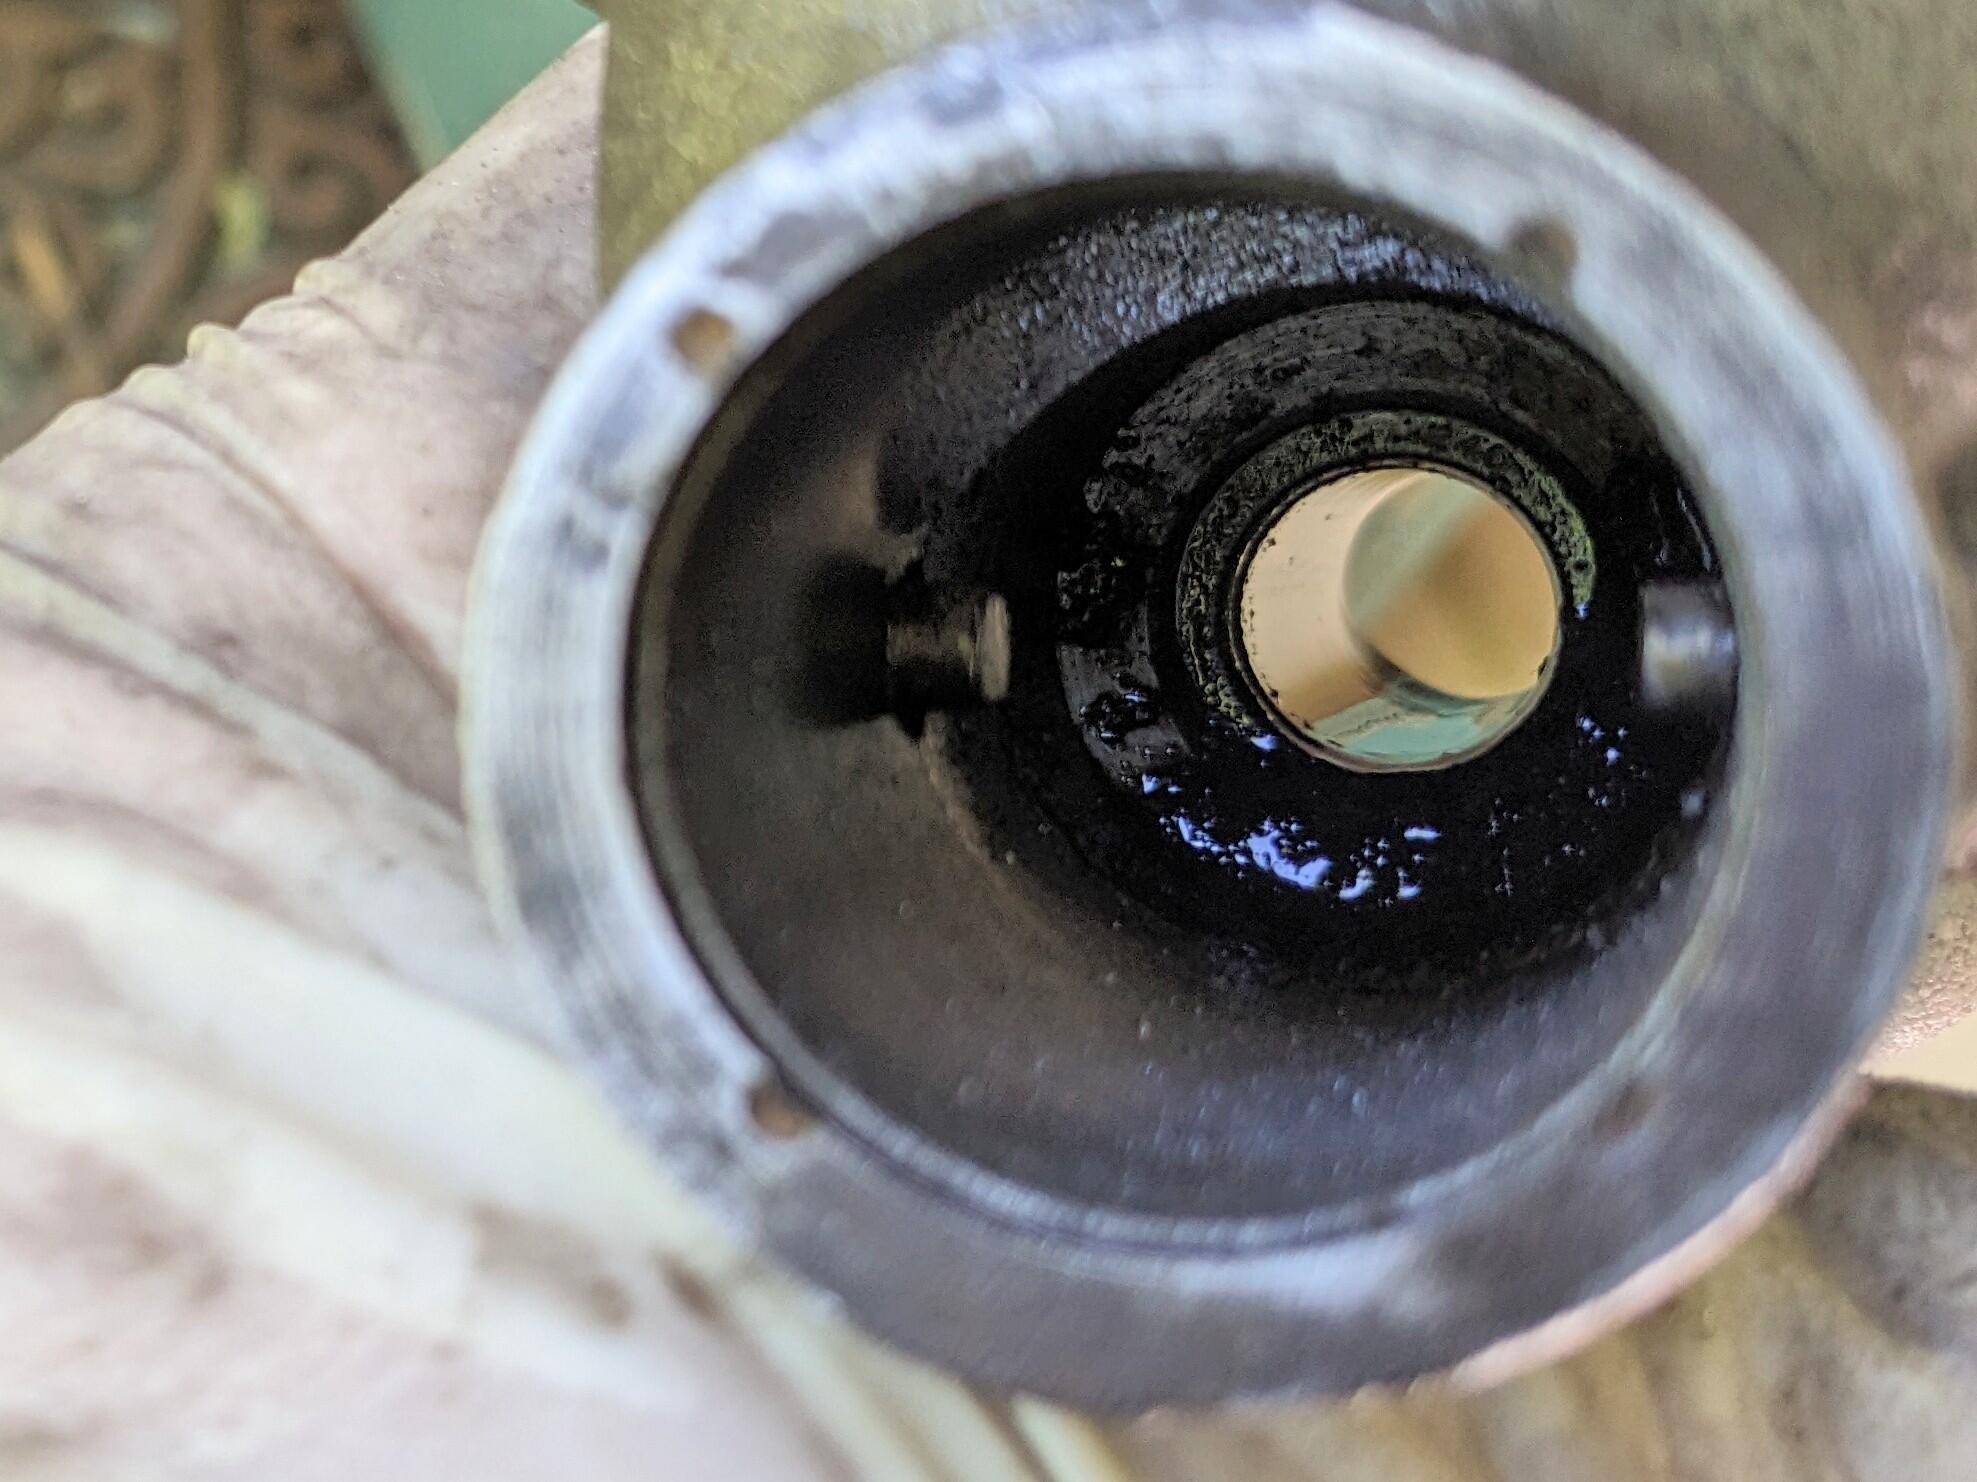
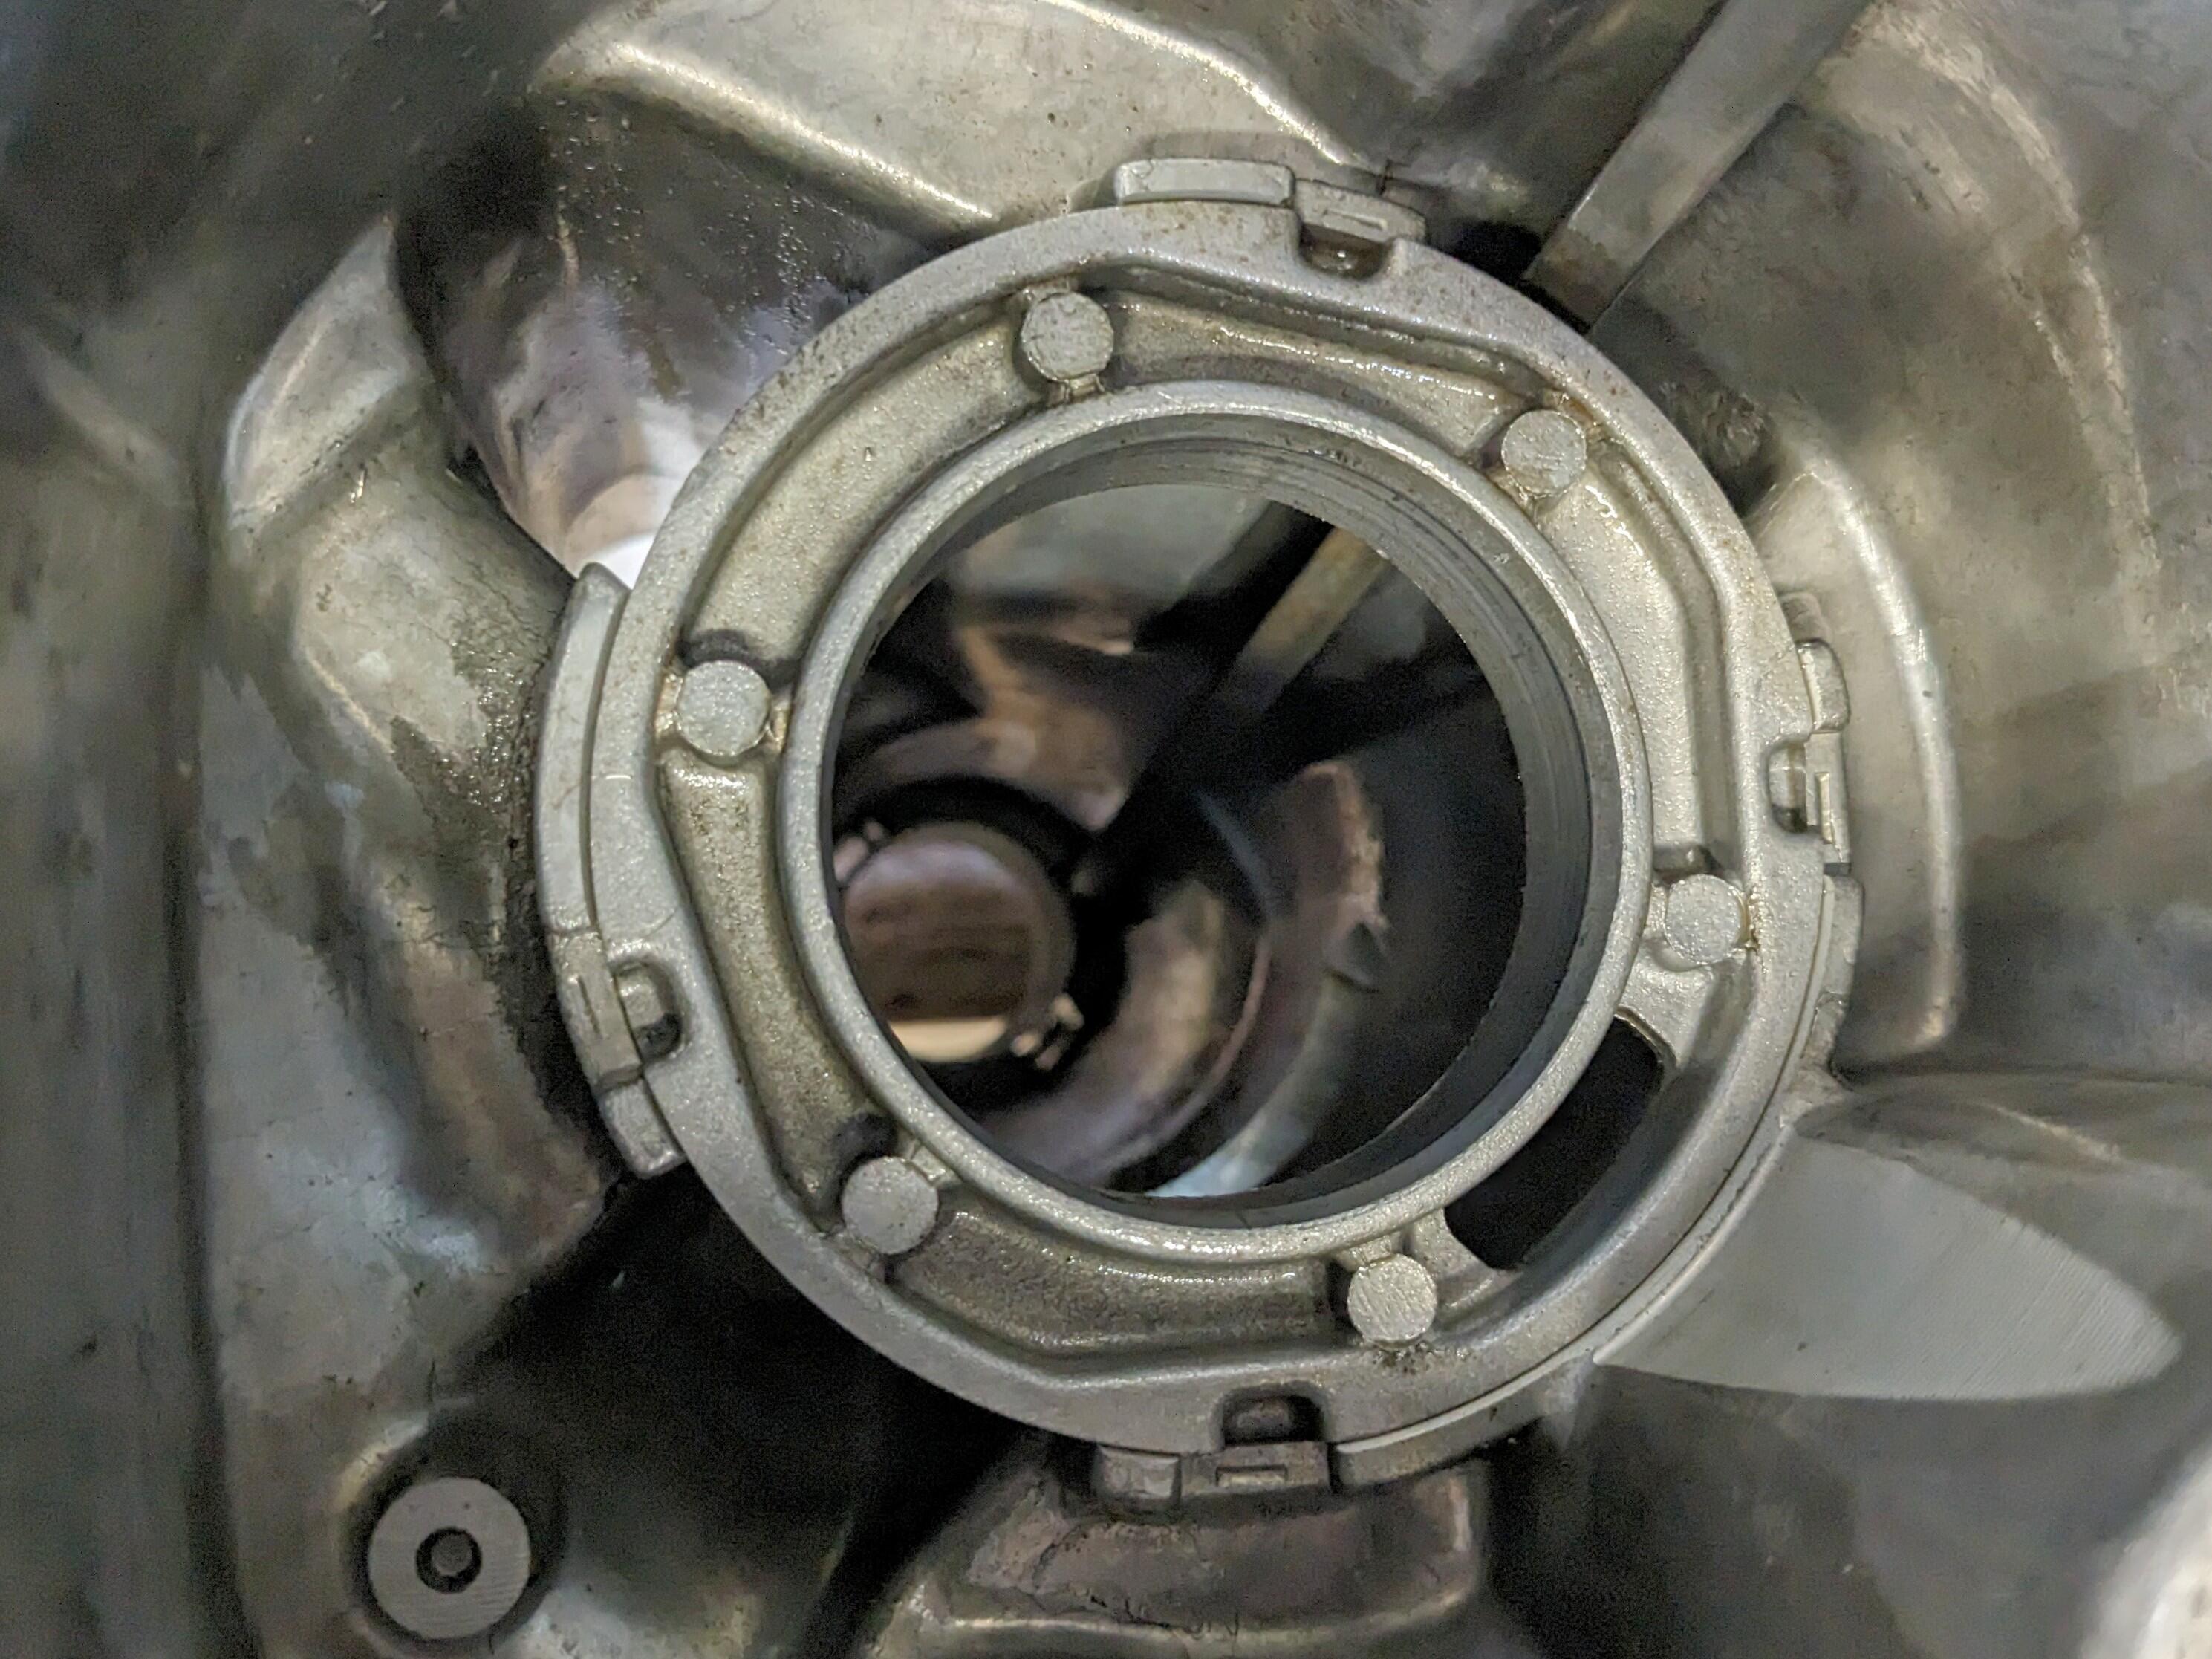
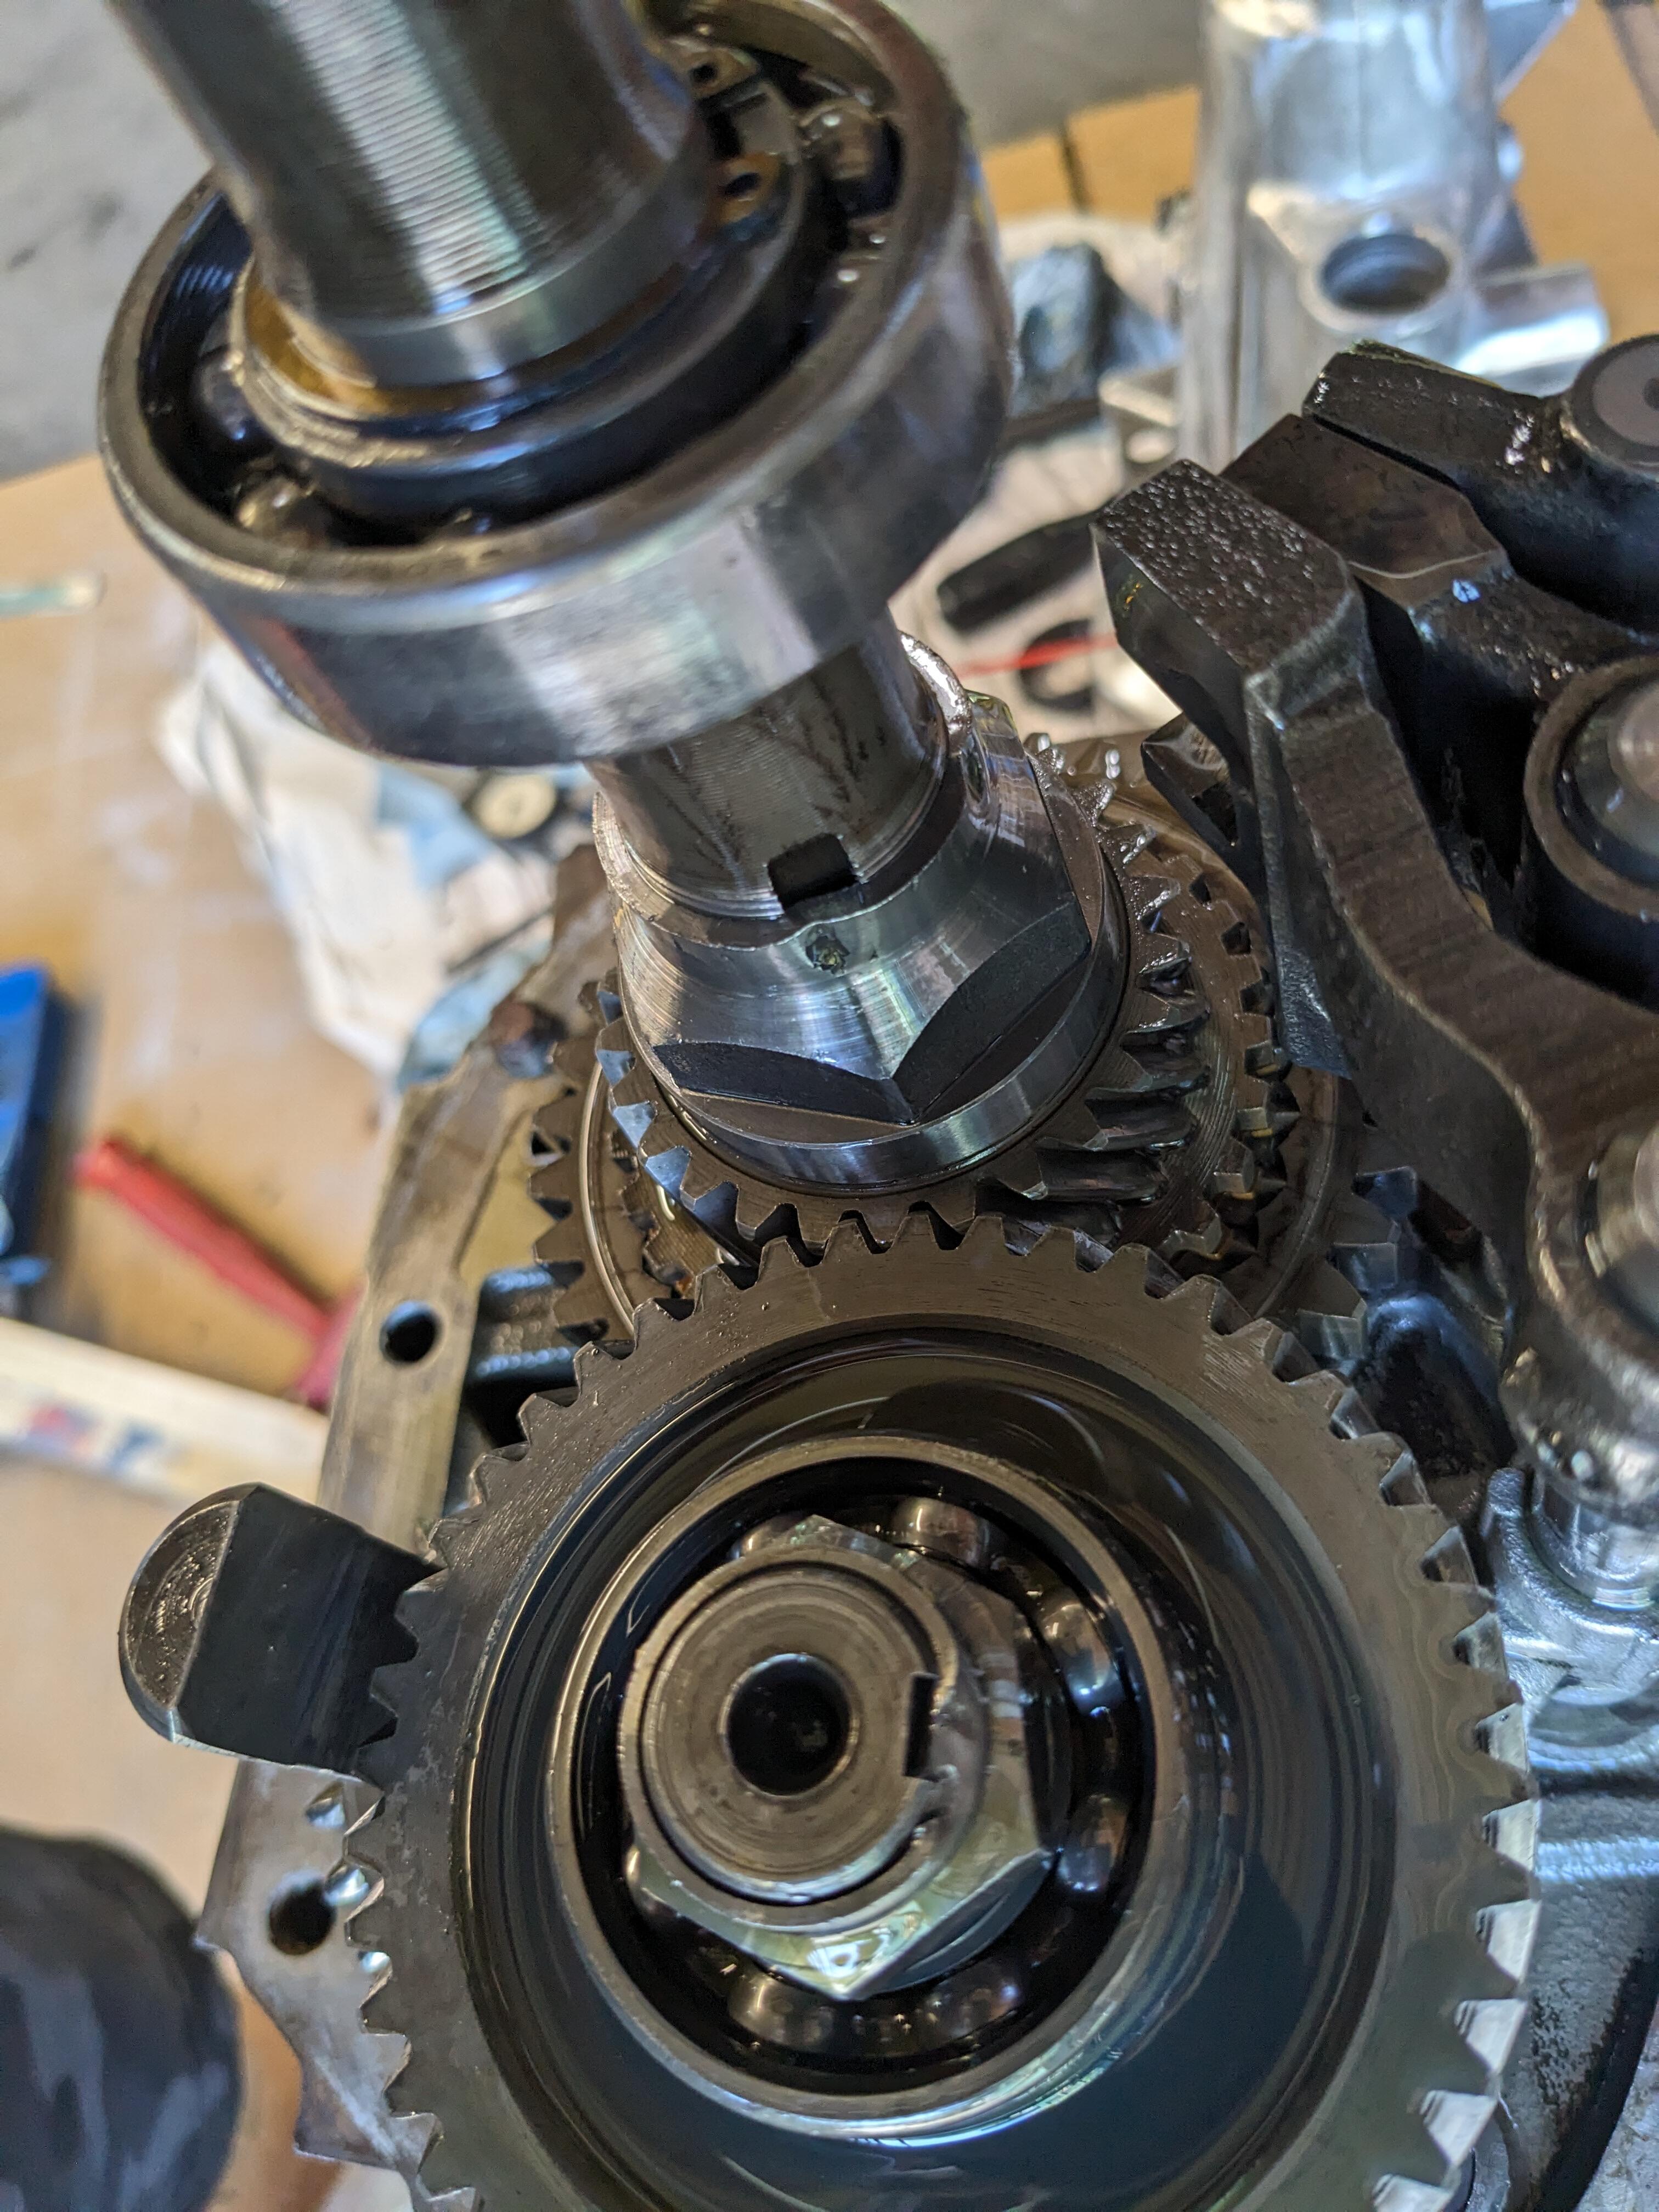
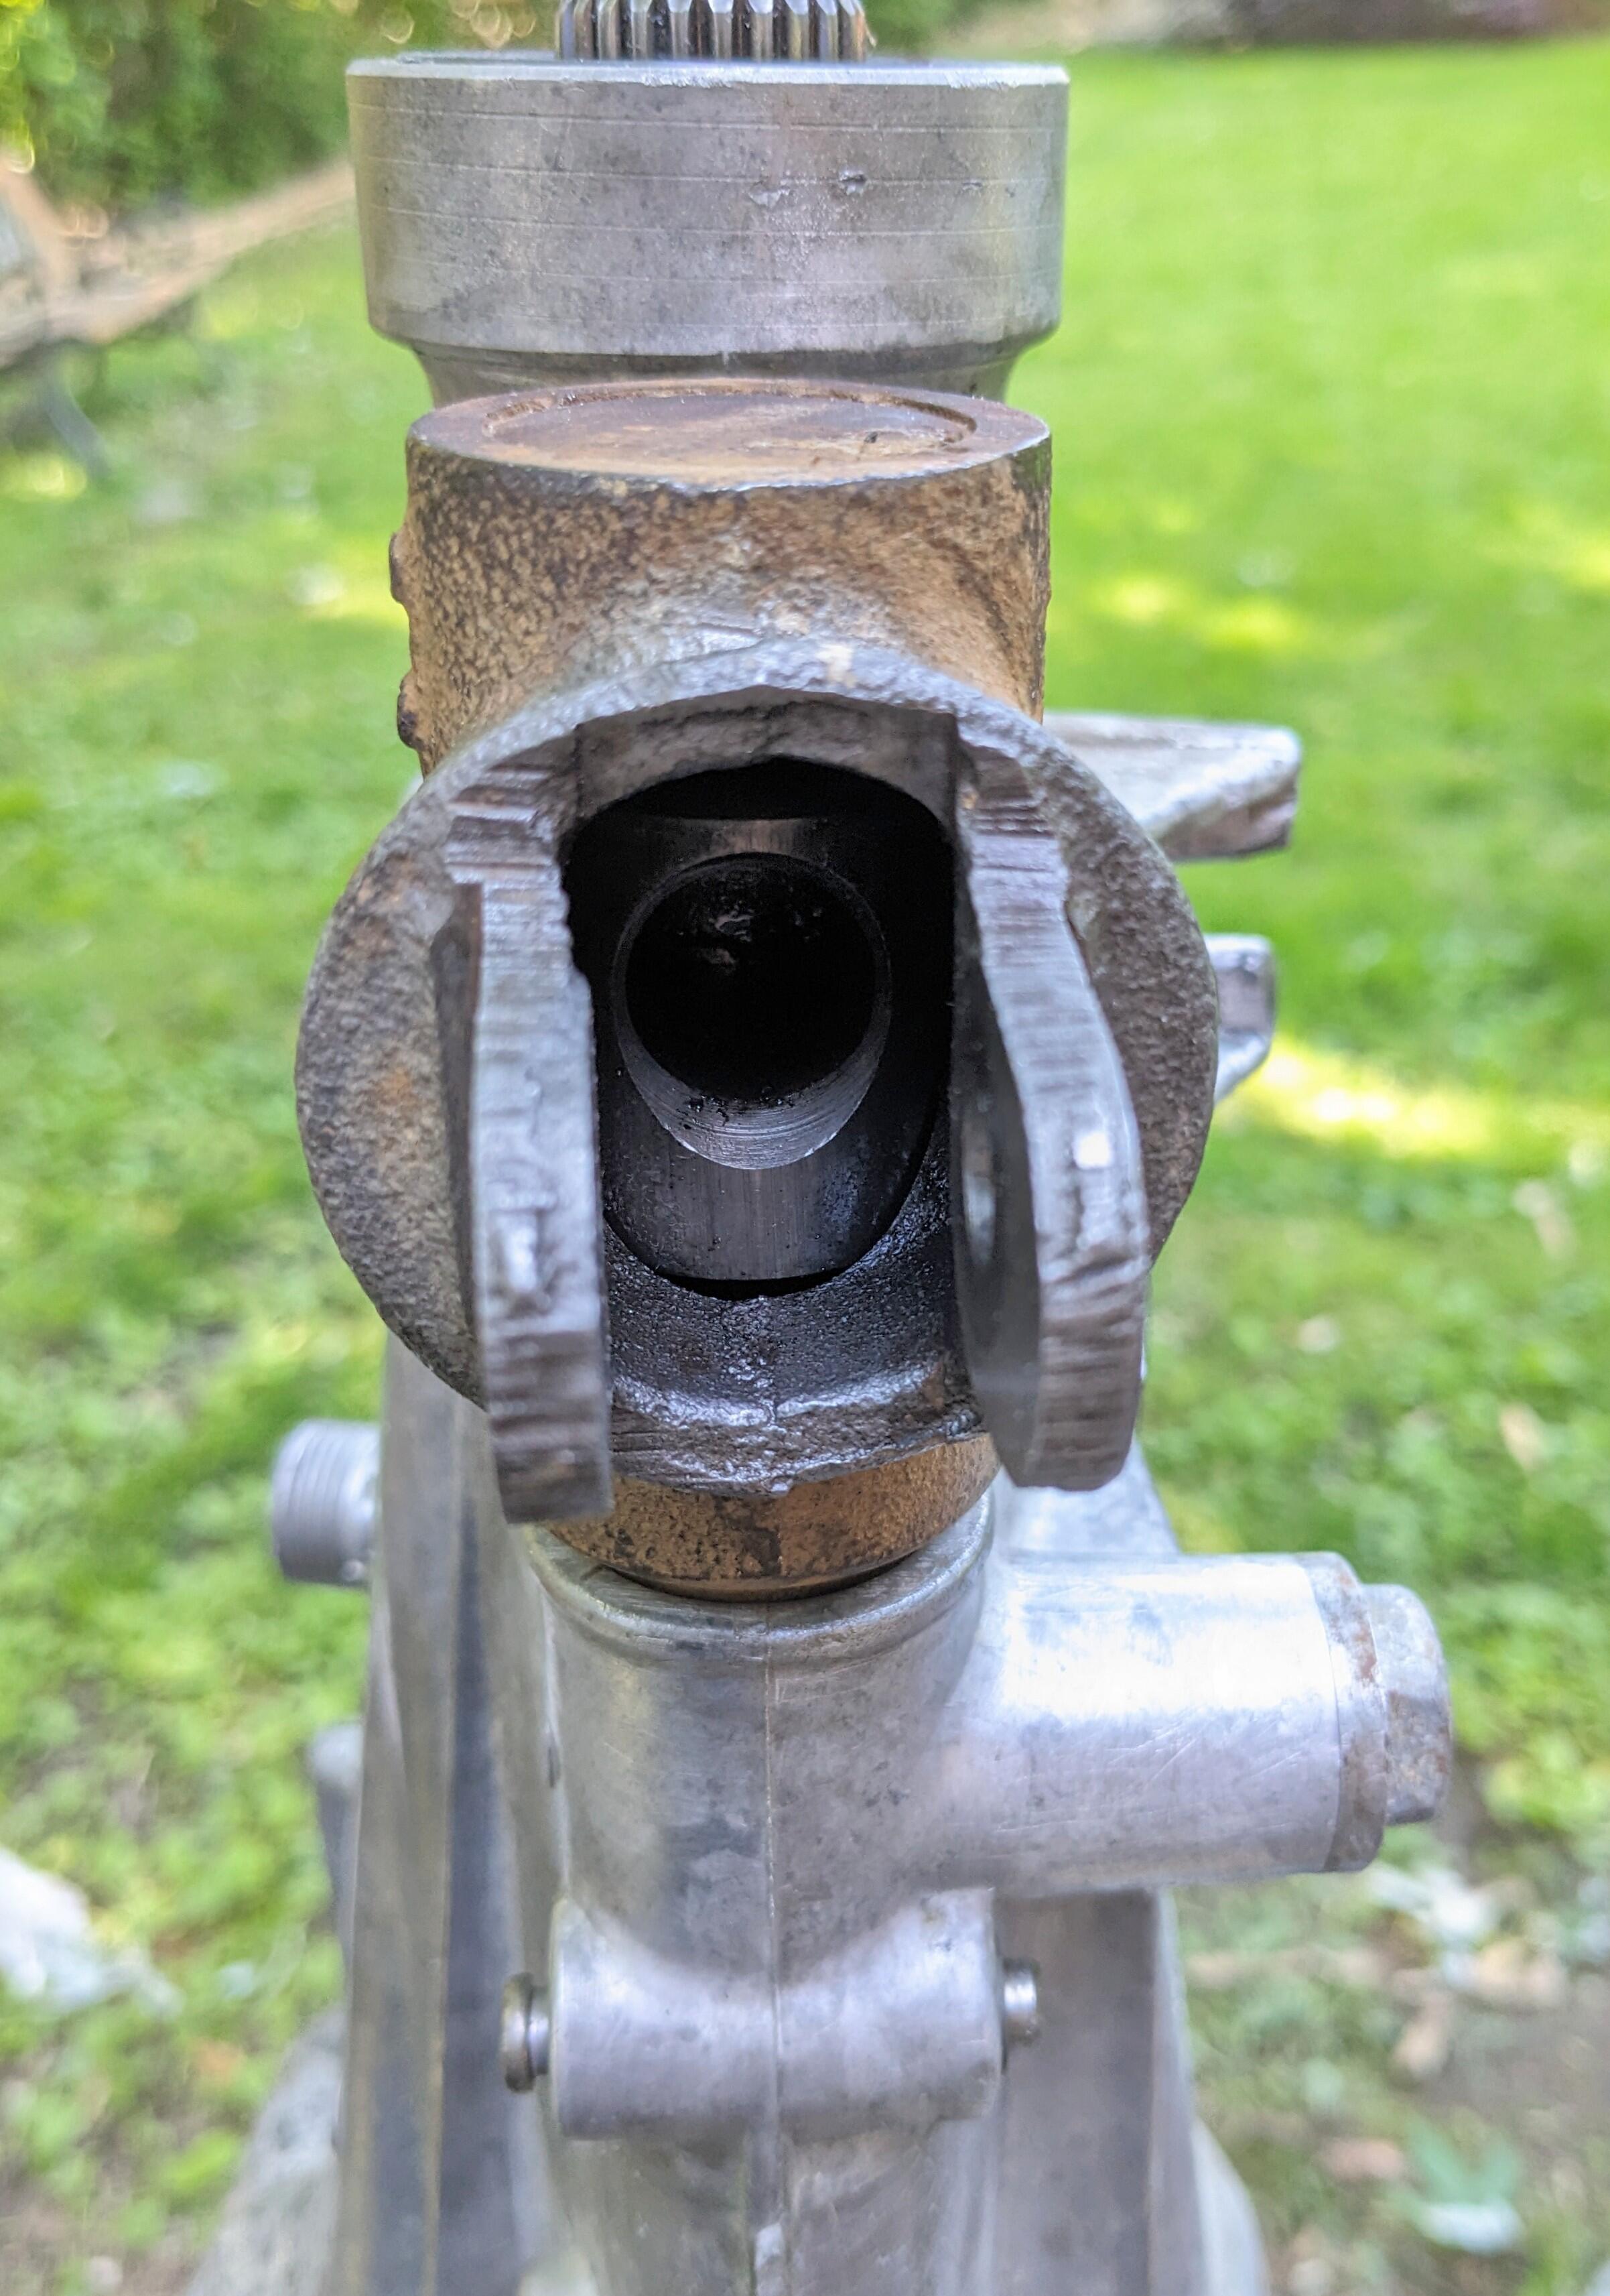
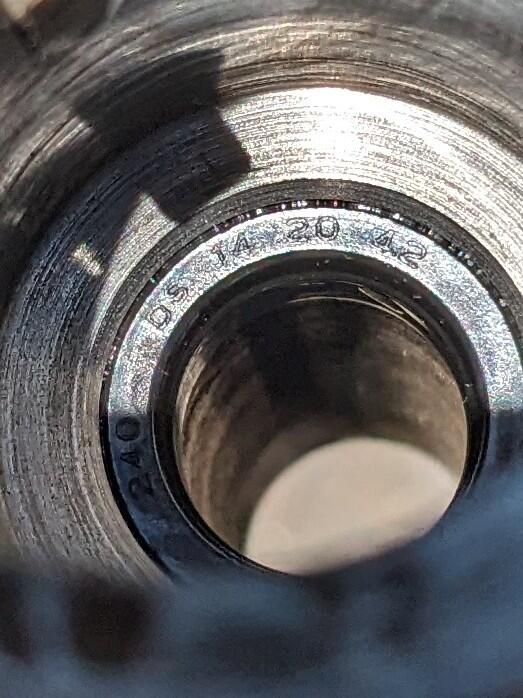
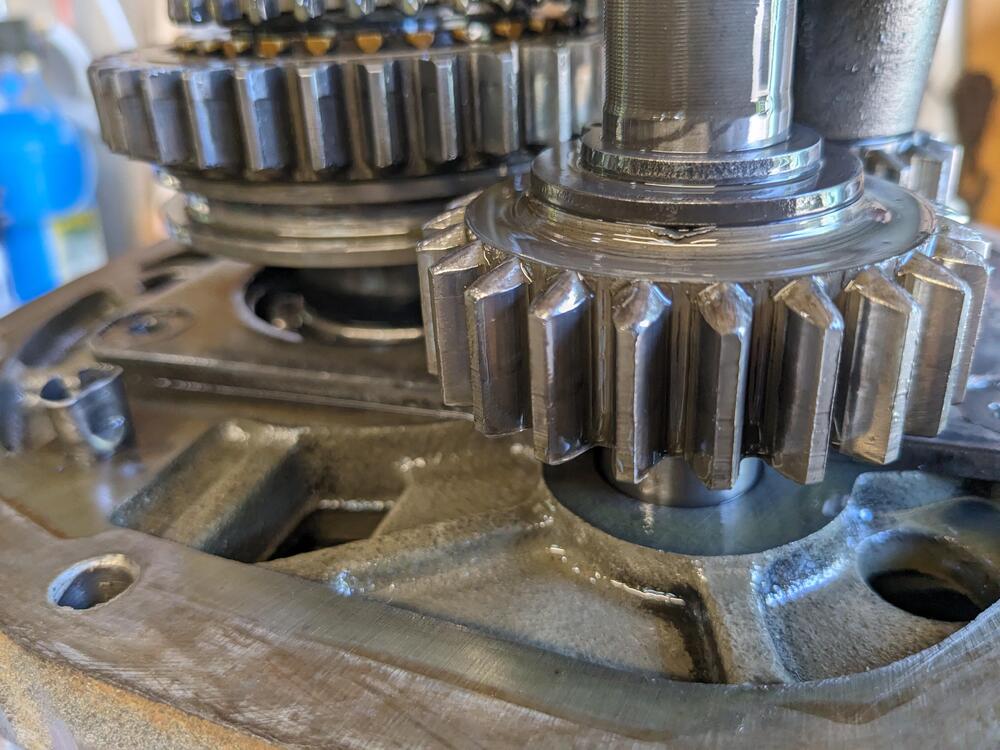
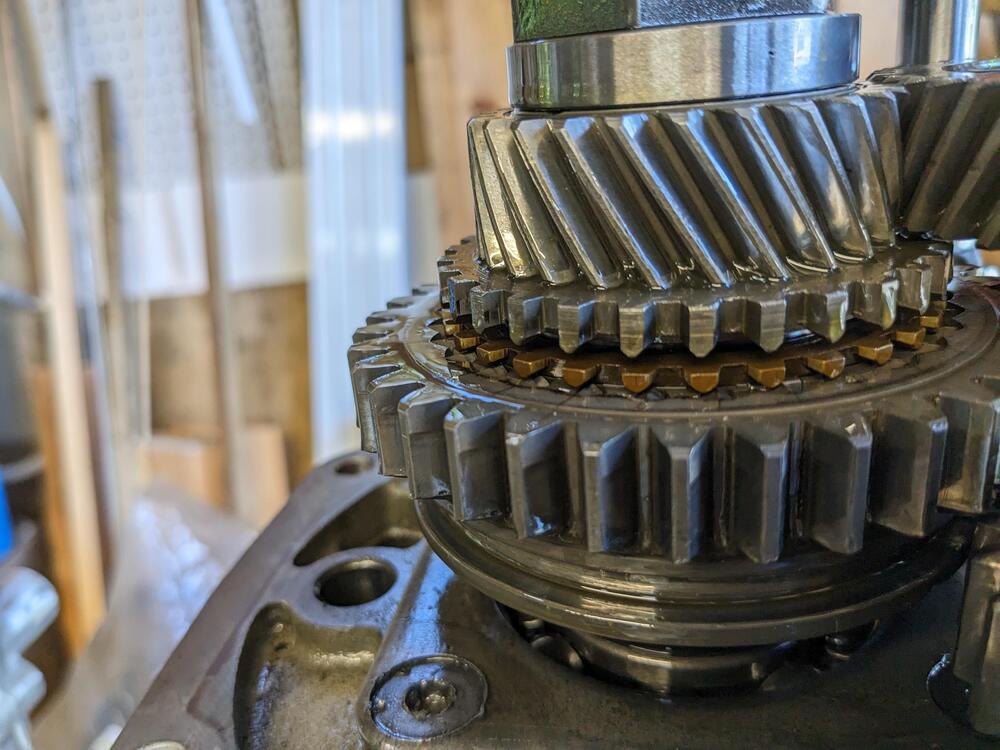
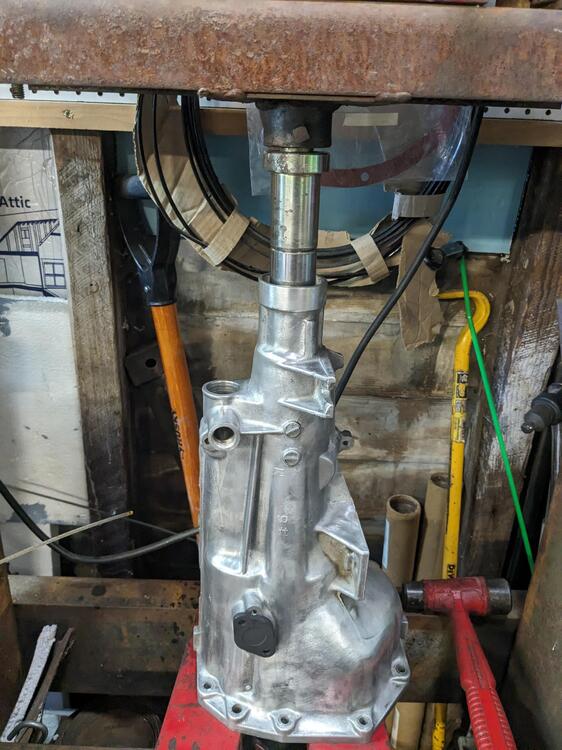
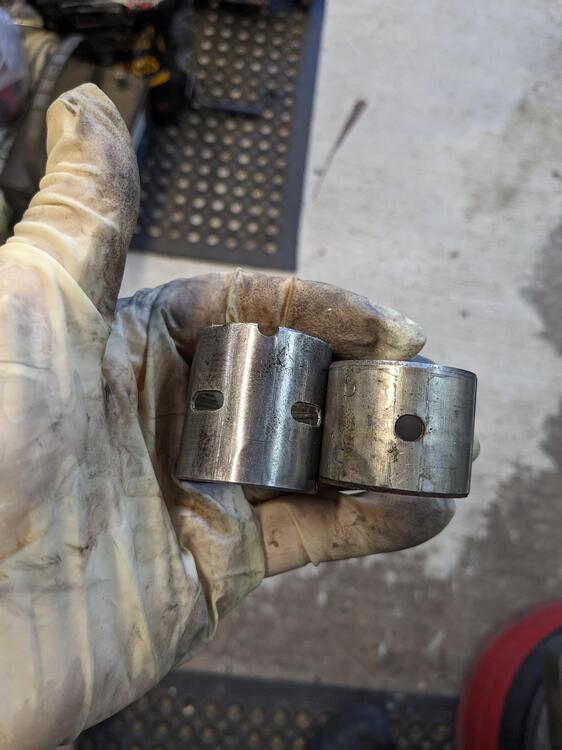
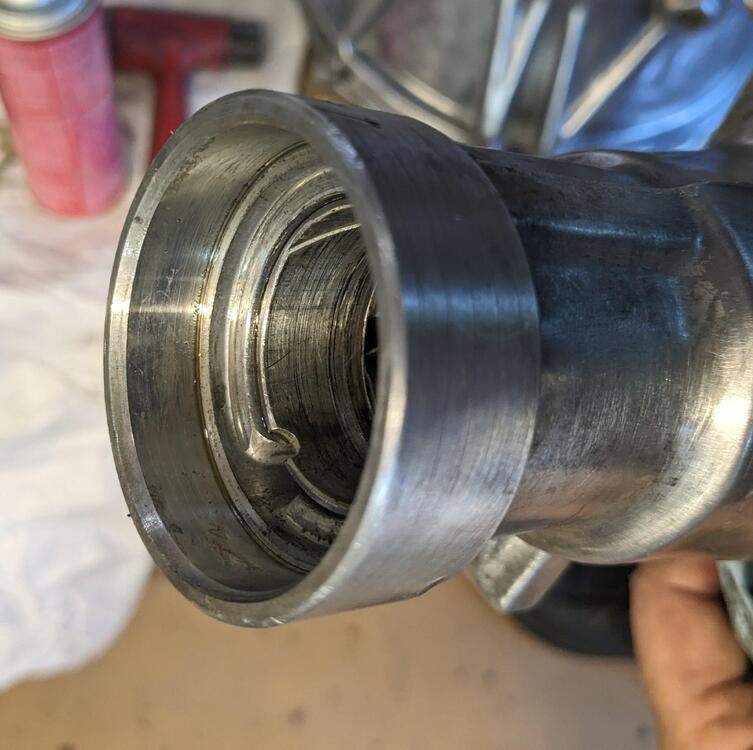
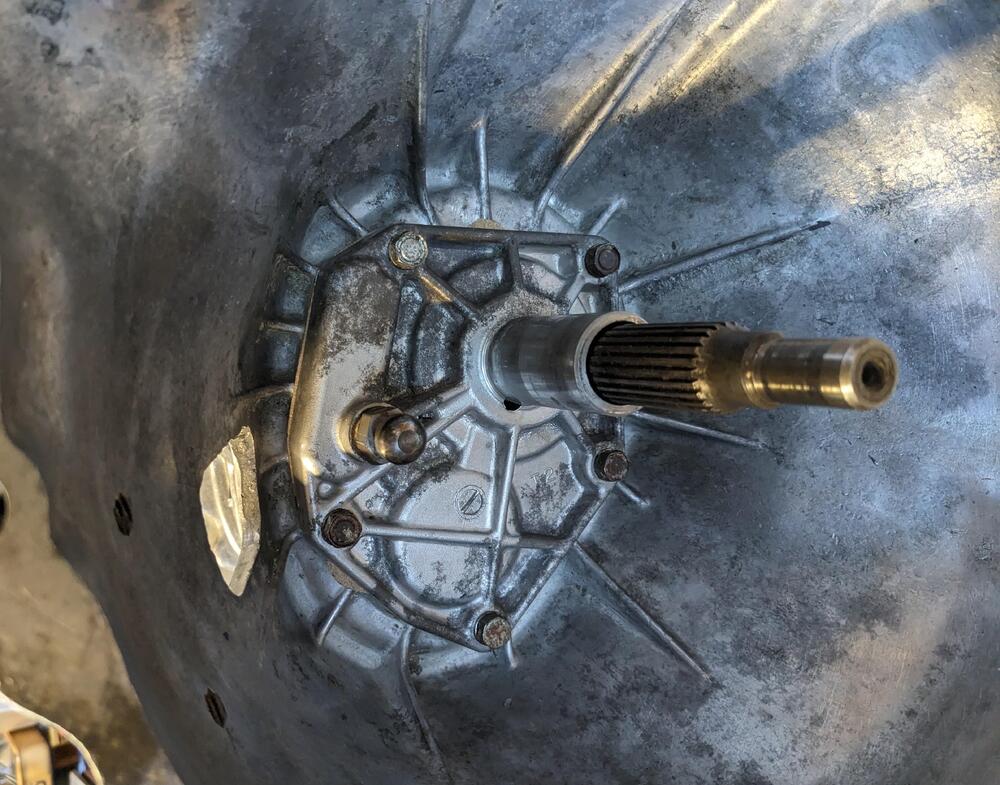
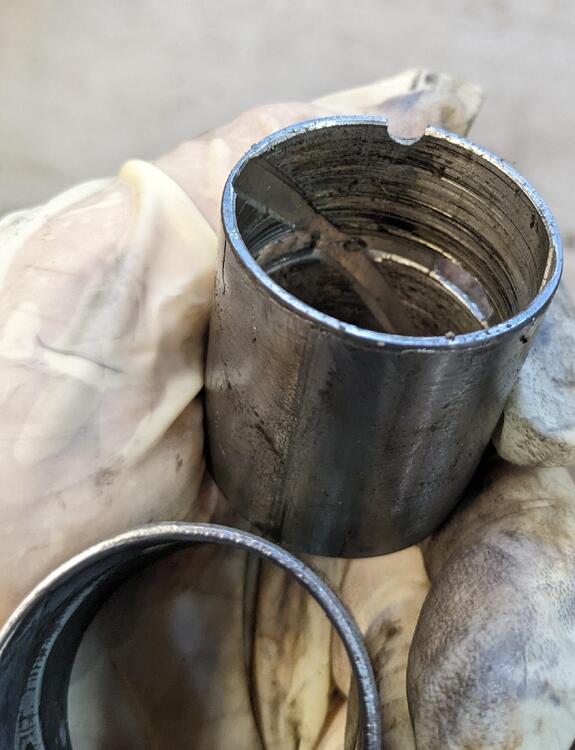
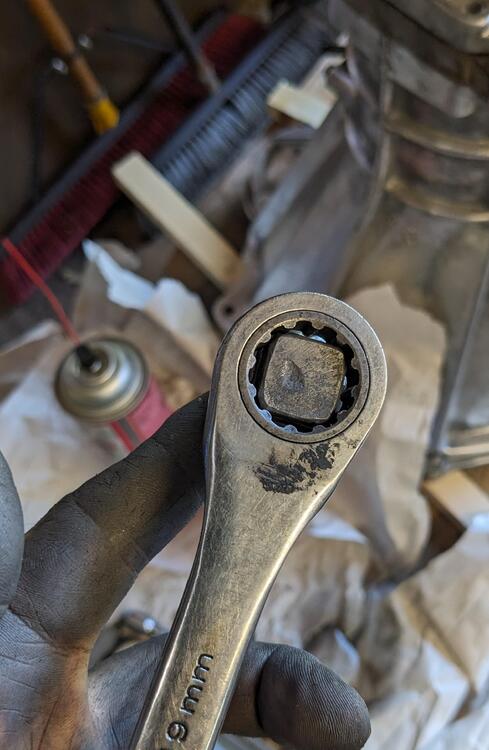
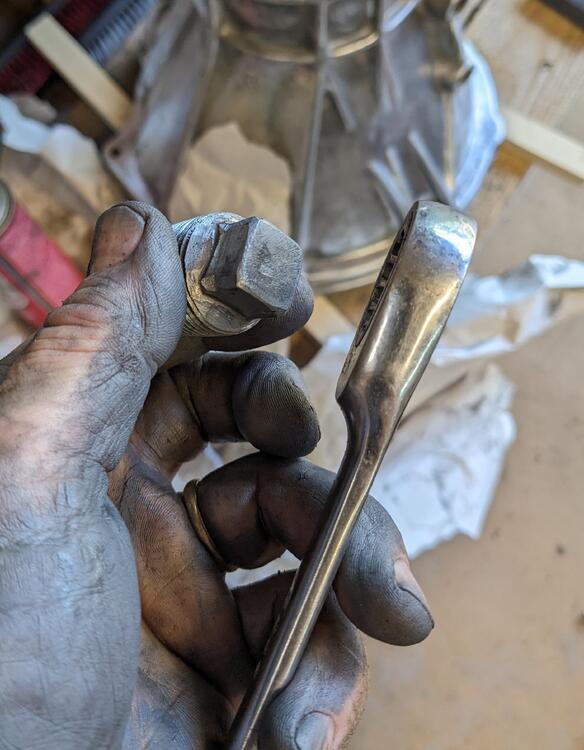
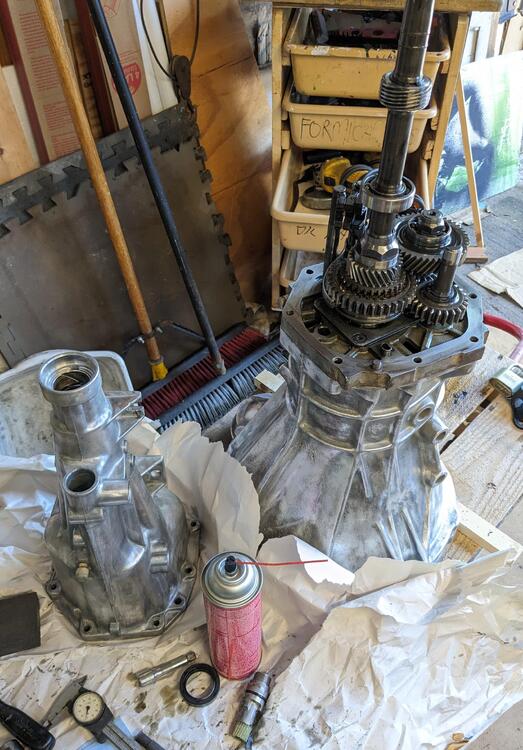
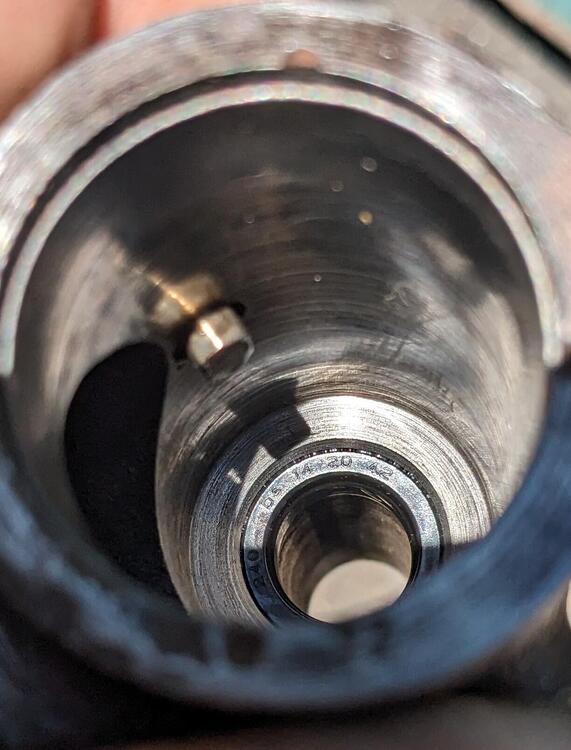
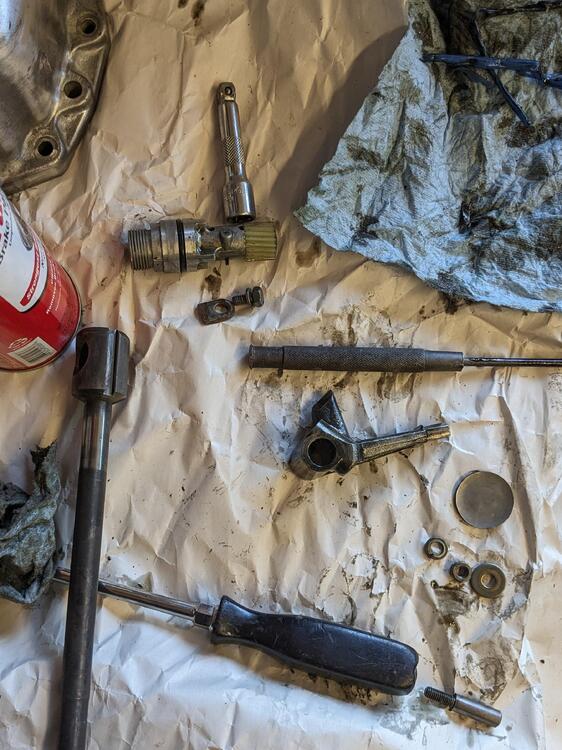
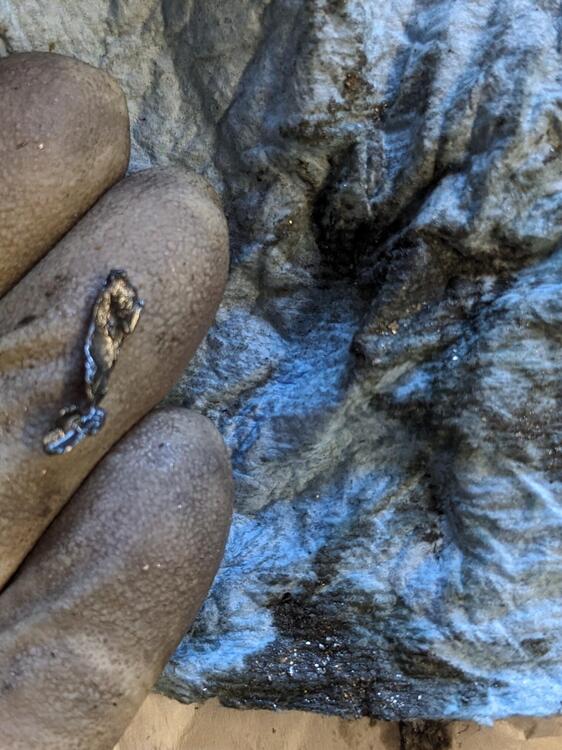
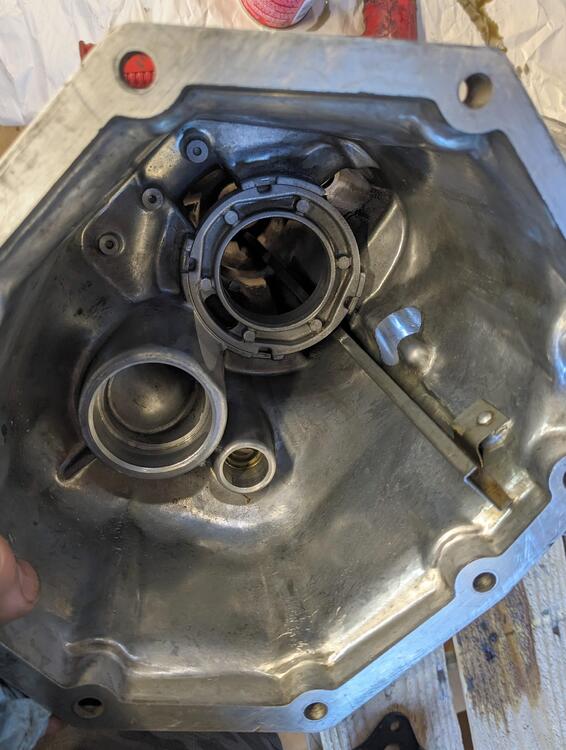
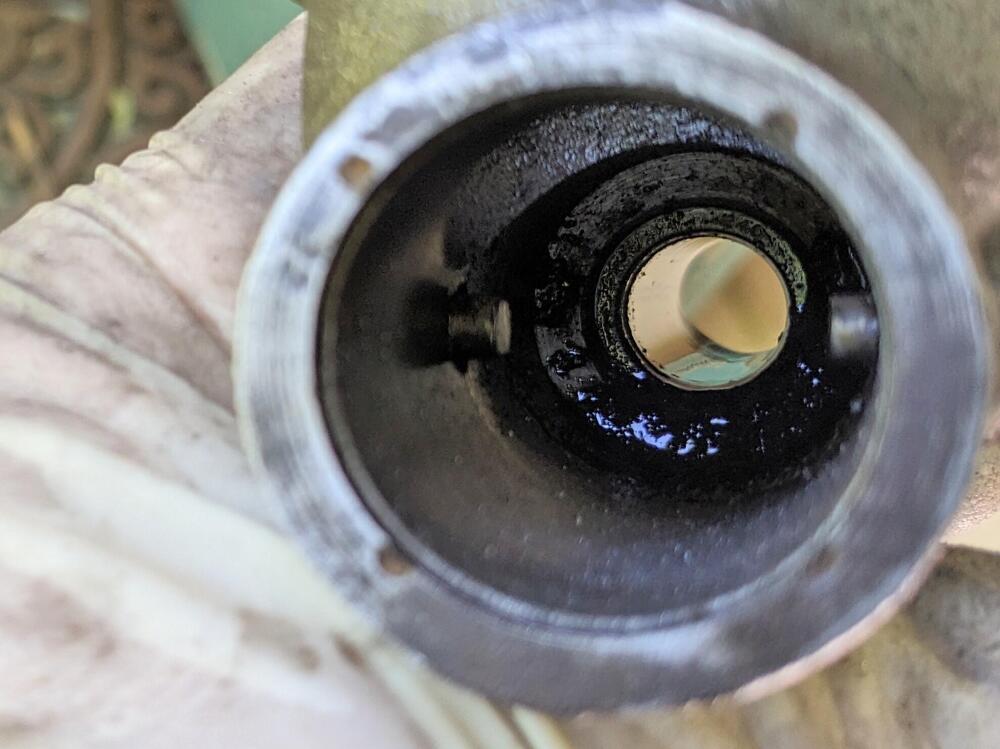
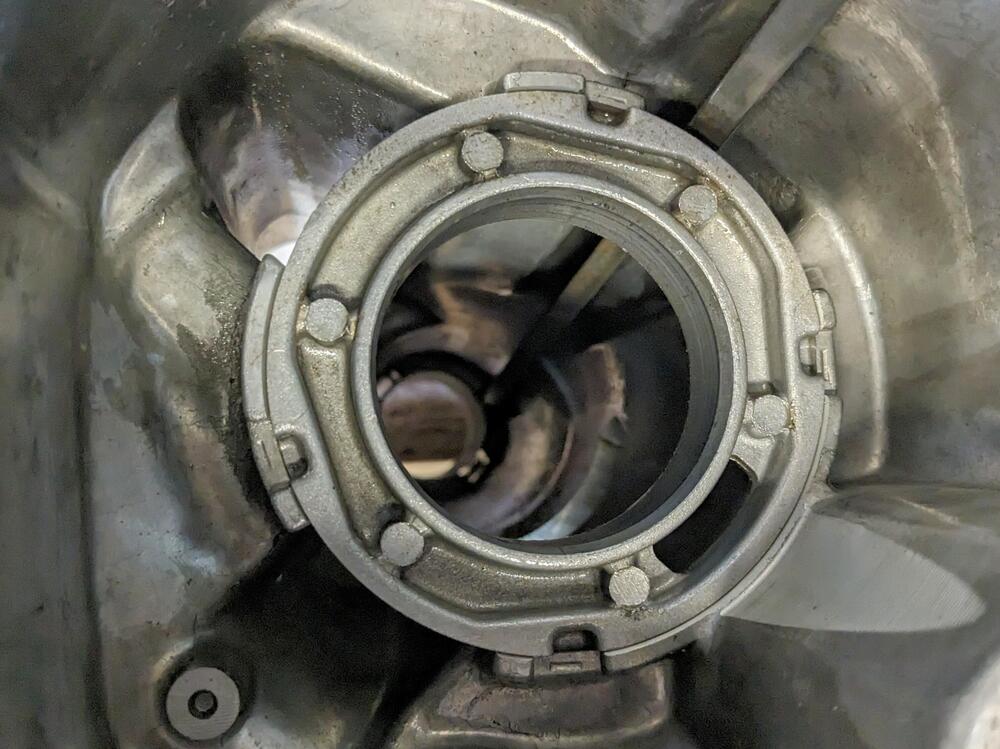
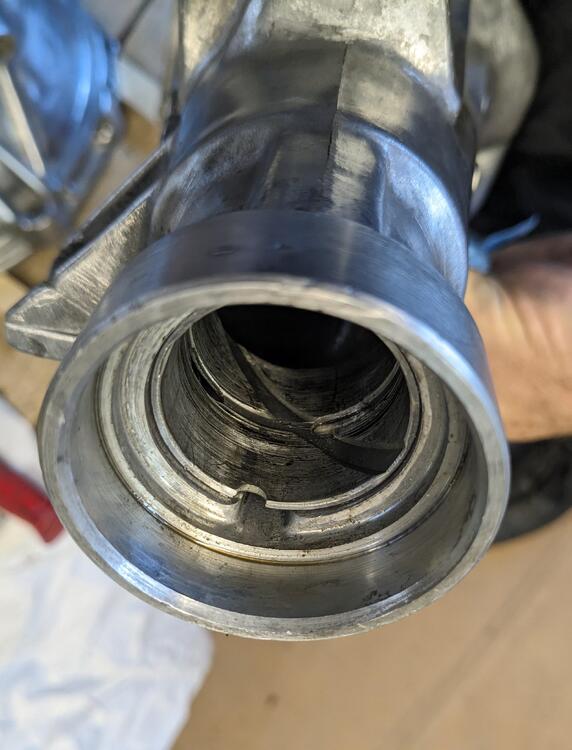
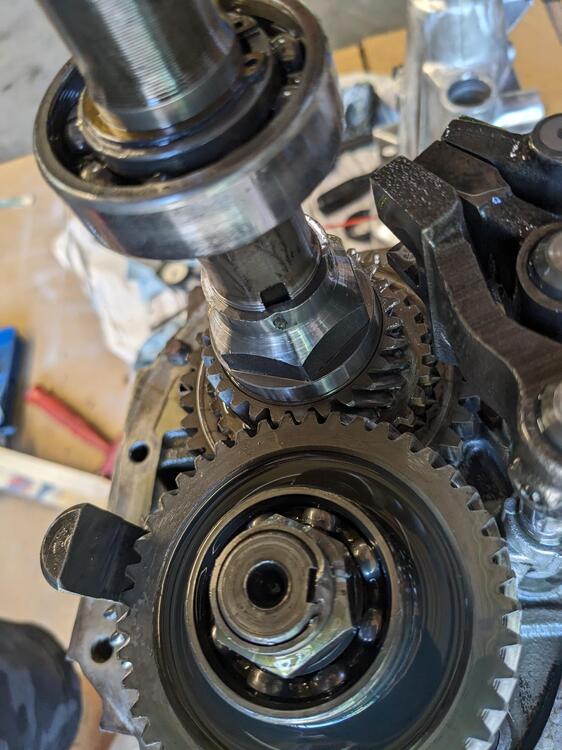
More dismantling. Striker shaft seal has dimensions on it - 5x 14x 20- found some online. Tailshaft bushing is pretty gouged . I pressed it out, and considered installing a Volvo AW71 bushing, but it's about 1/2" shorter, so I cleaned up the original to make sure there are no burrs, and reinstalled it. The trans has been dismantled in the past, I'm not going to take it further apart. gear & synchro teeth look OK pressing out bushing - needed a drift a hair under 1.5" to not bind in the casing Datsun (BW T5?) vs Volvo (AW71) Pretty hairy in there cleaned up front flange, new seal, gasket back in place ground down square nut so a 19mm 12 point fits - it was all kinds of mashed up. I presume they used a pipe wrench on it evidence of restaked nuts dismantled striker rod remnants of a bearing - found this in the speedo drive channel, presumably why the trans was dismantled in the first place. No evidence of any current bearing issues striker shaft seal muck gutter running to tailshaft bushing reinstalled original bushing after cleaning up the scoring

-
I did - he said it's NLA (32858-U6702) . If Nissan listed seal dimensions in the catalog like Honda, I could at least search for an equivalent .

-
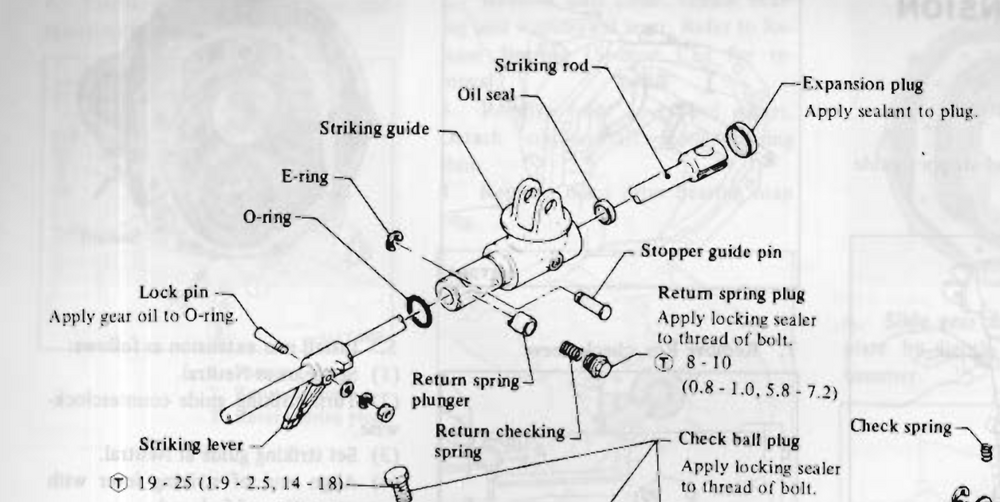
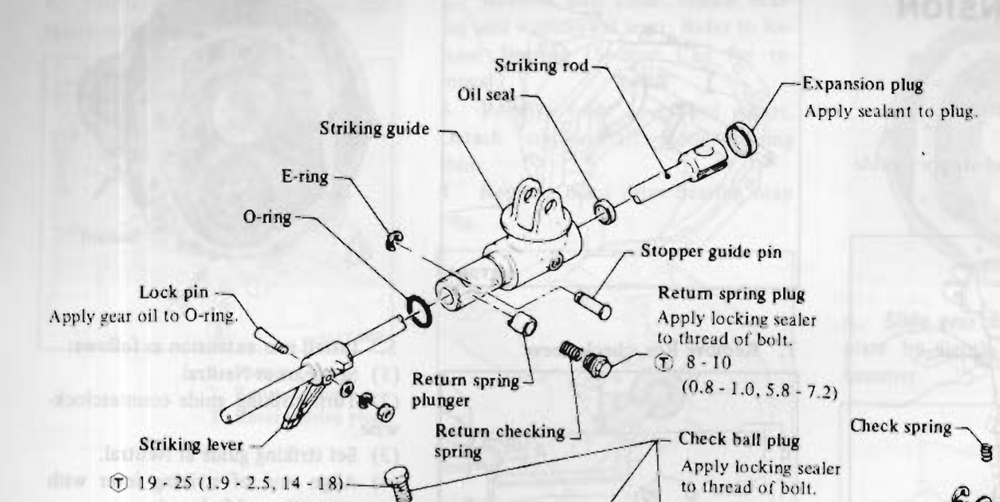
Dave - did you dismantle (and document) the shifter (striking rod) to access the oil seal & oring?. Can't find a diagram of that aspect in the manual. Also the oil seal is NLA from Nissan, wondering if you are aware of a viable alternative? EDIT - found your videos in this thread - unfortunately (for me) the oil seal was still available back then you did it in 2016 - so I'm assuming no measurements of the old seal were ever taken for reference 😞
-
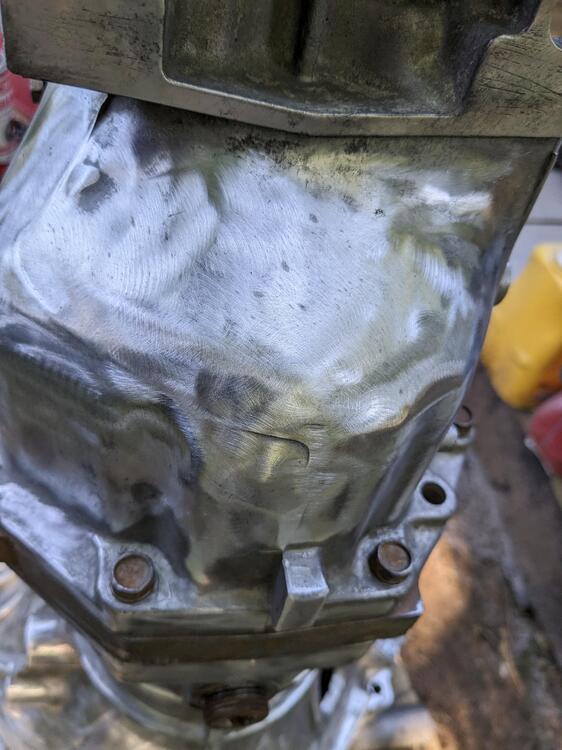
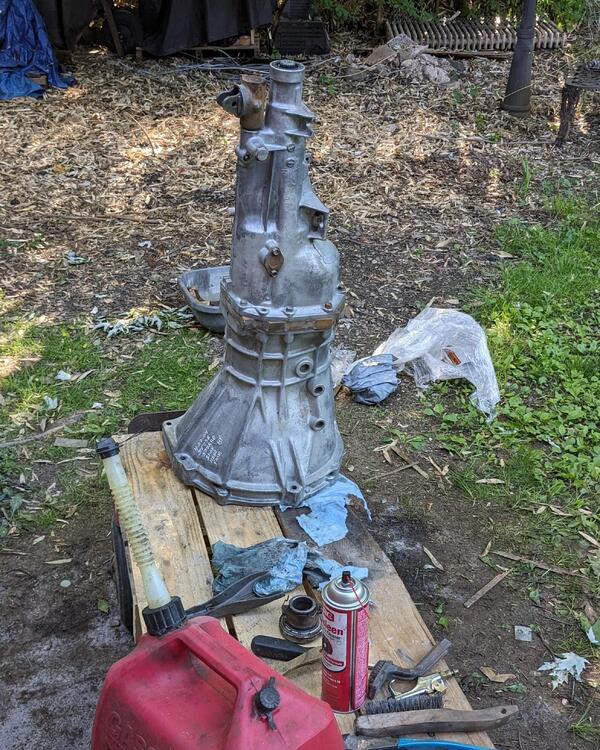
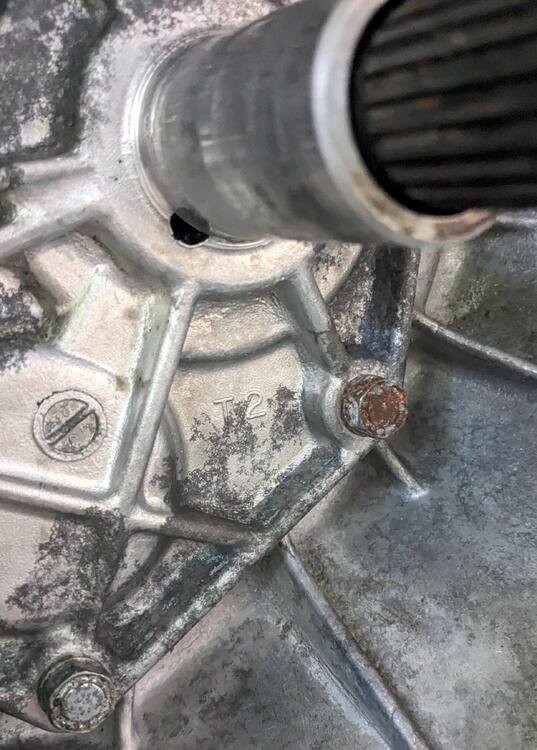
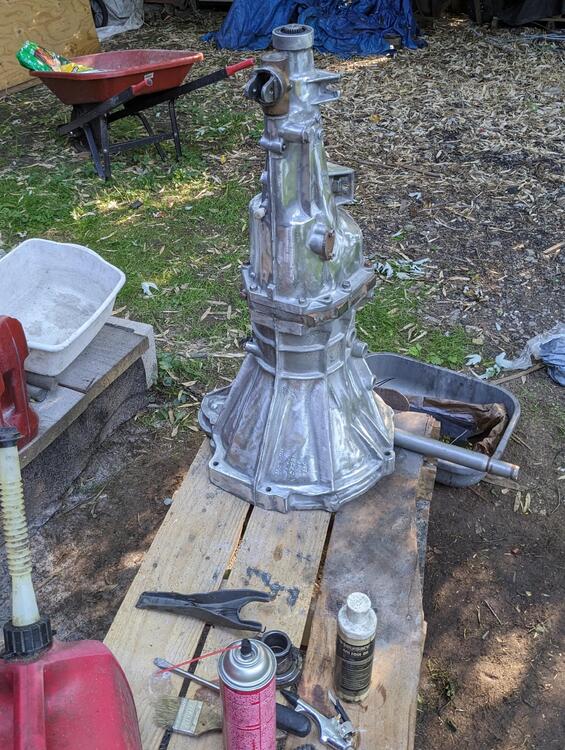
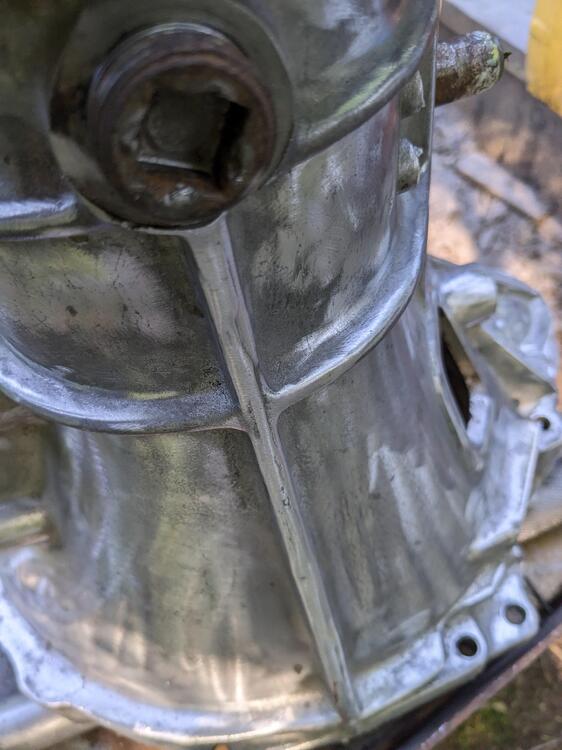
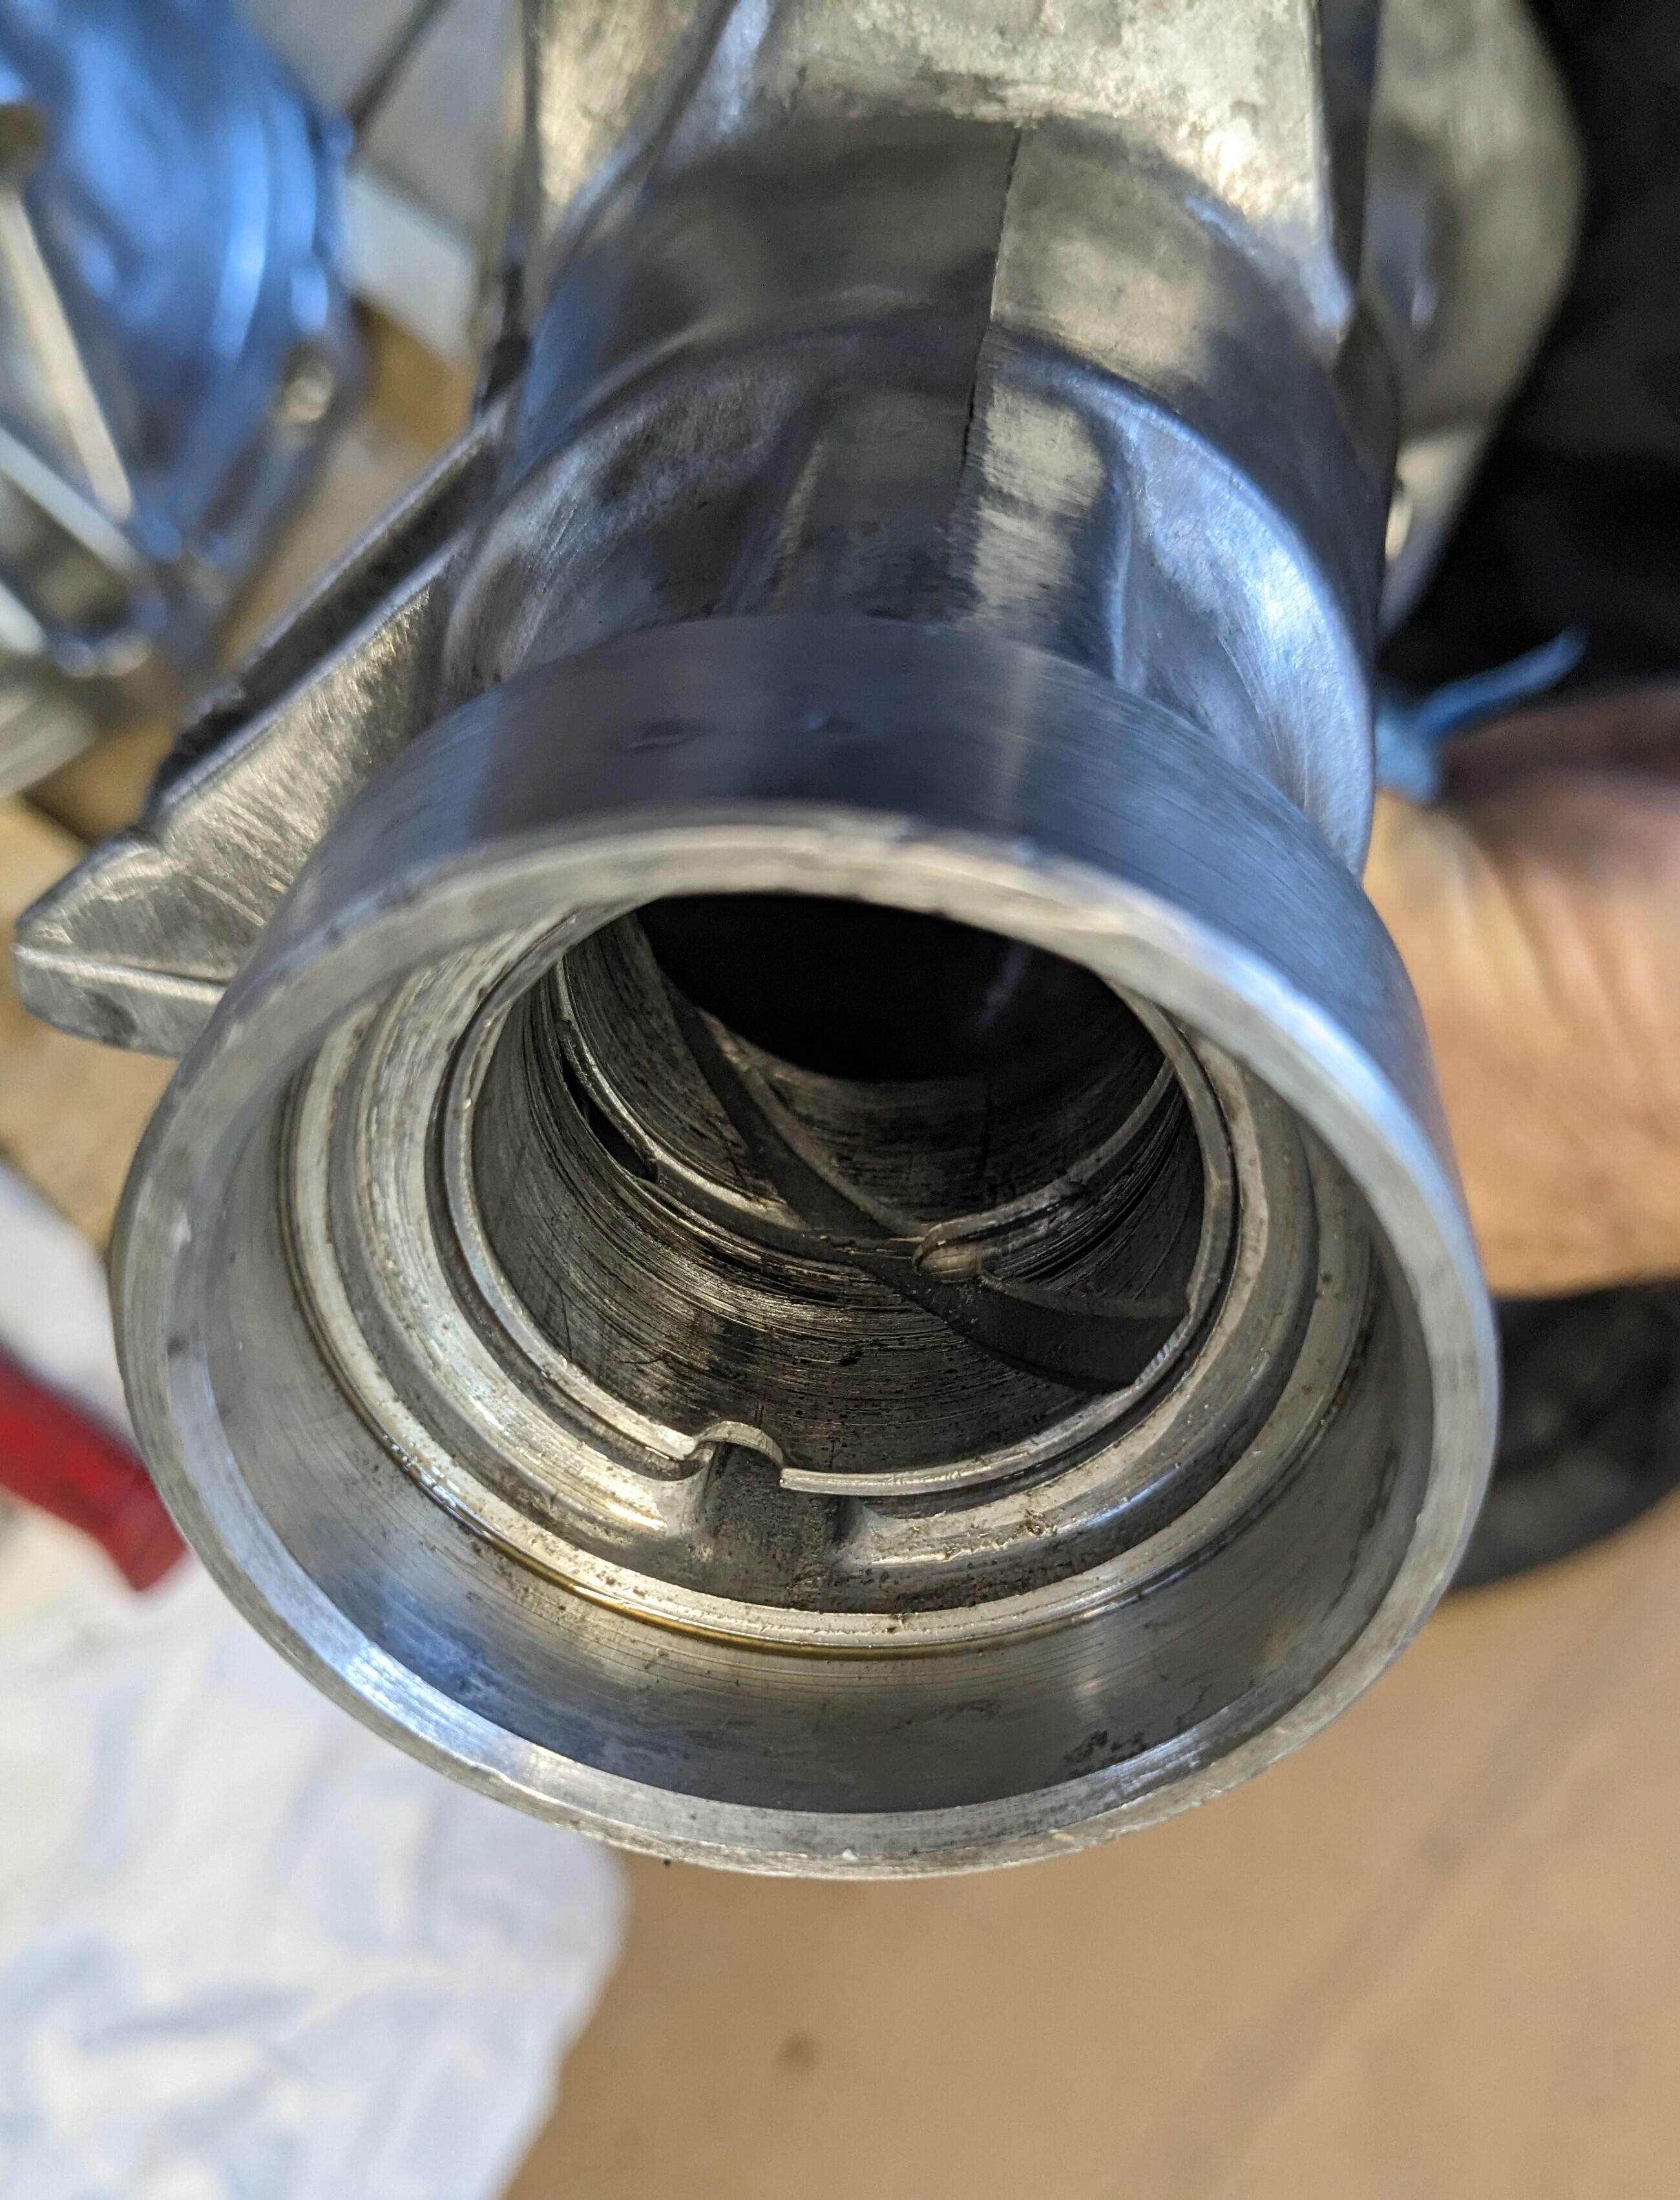
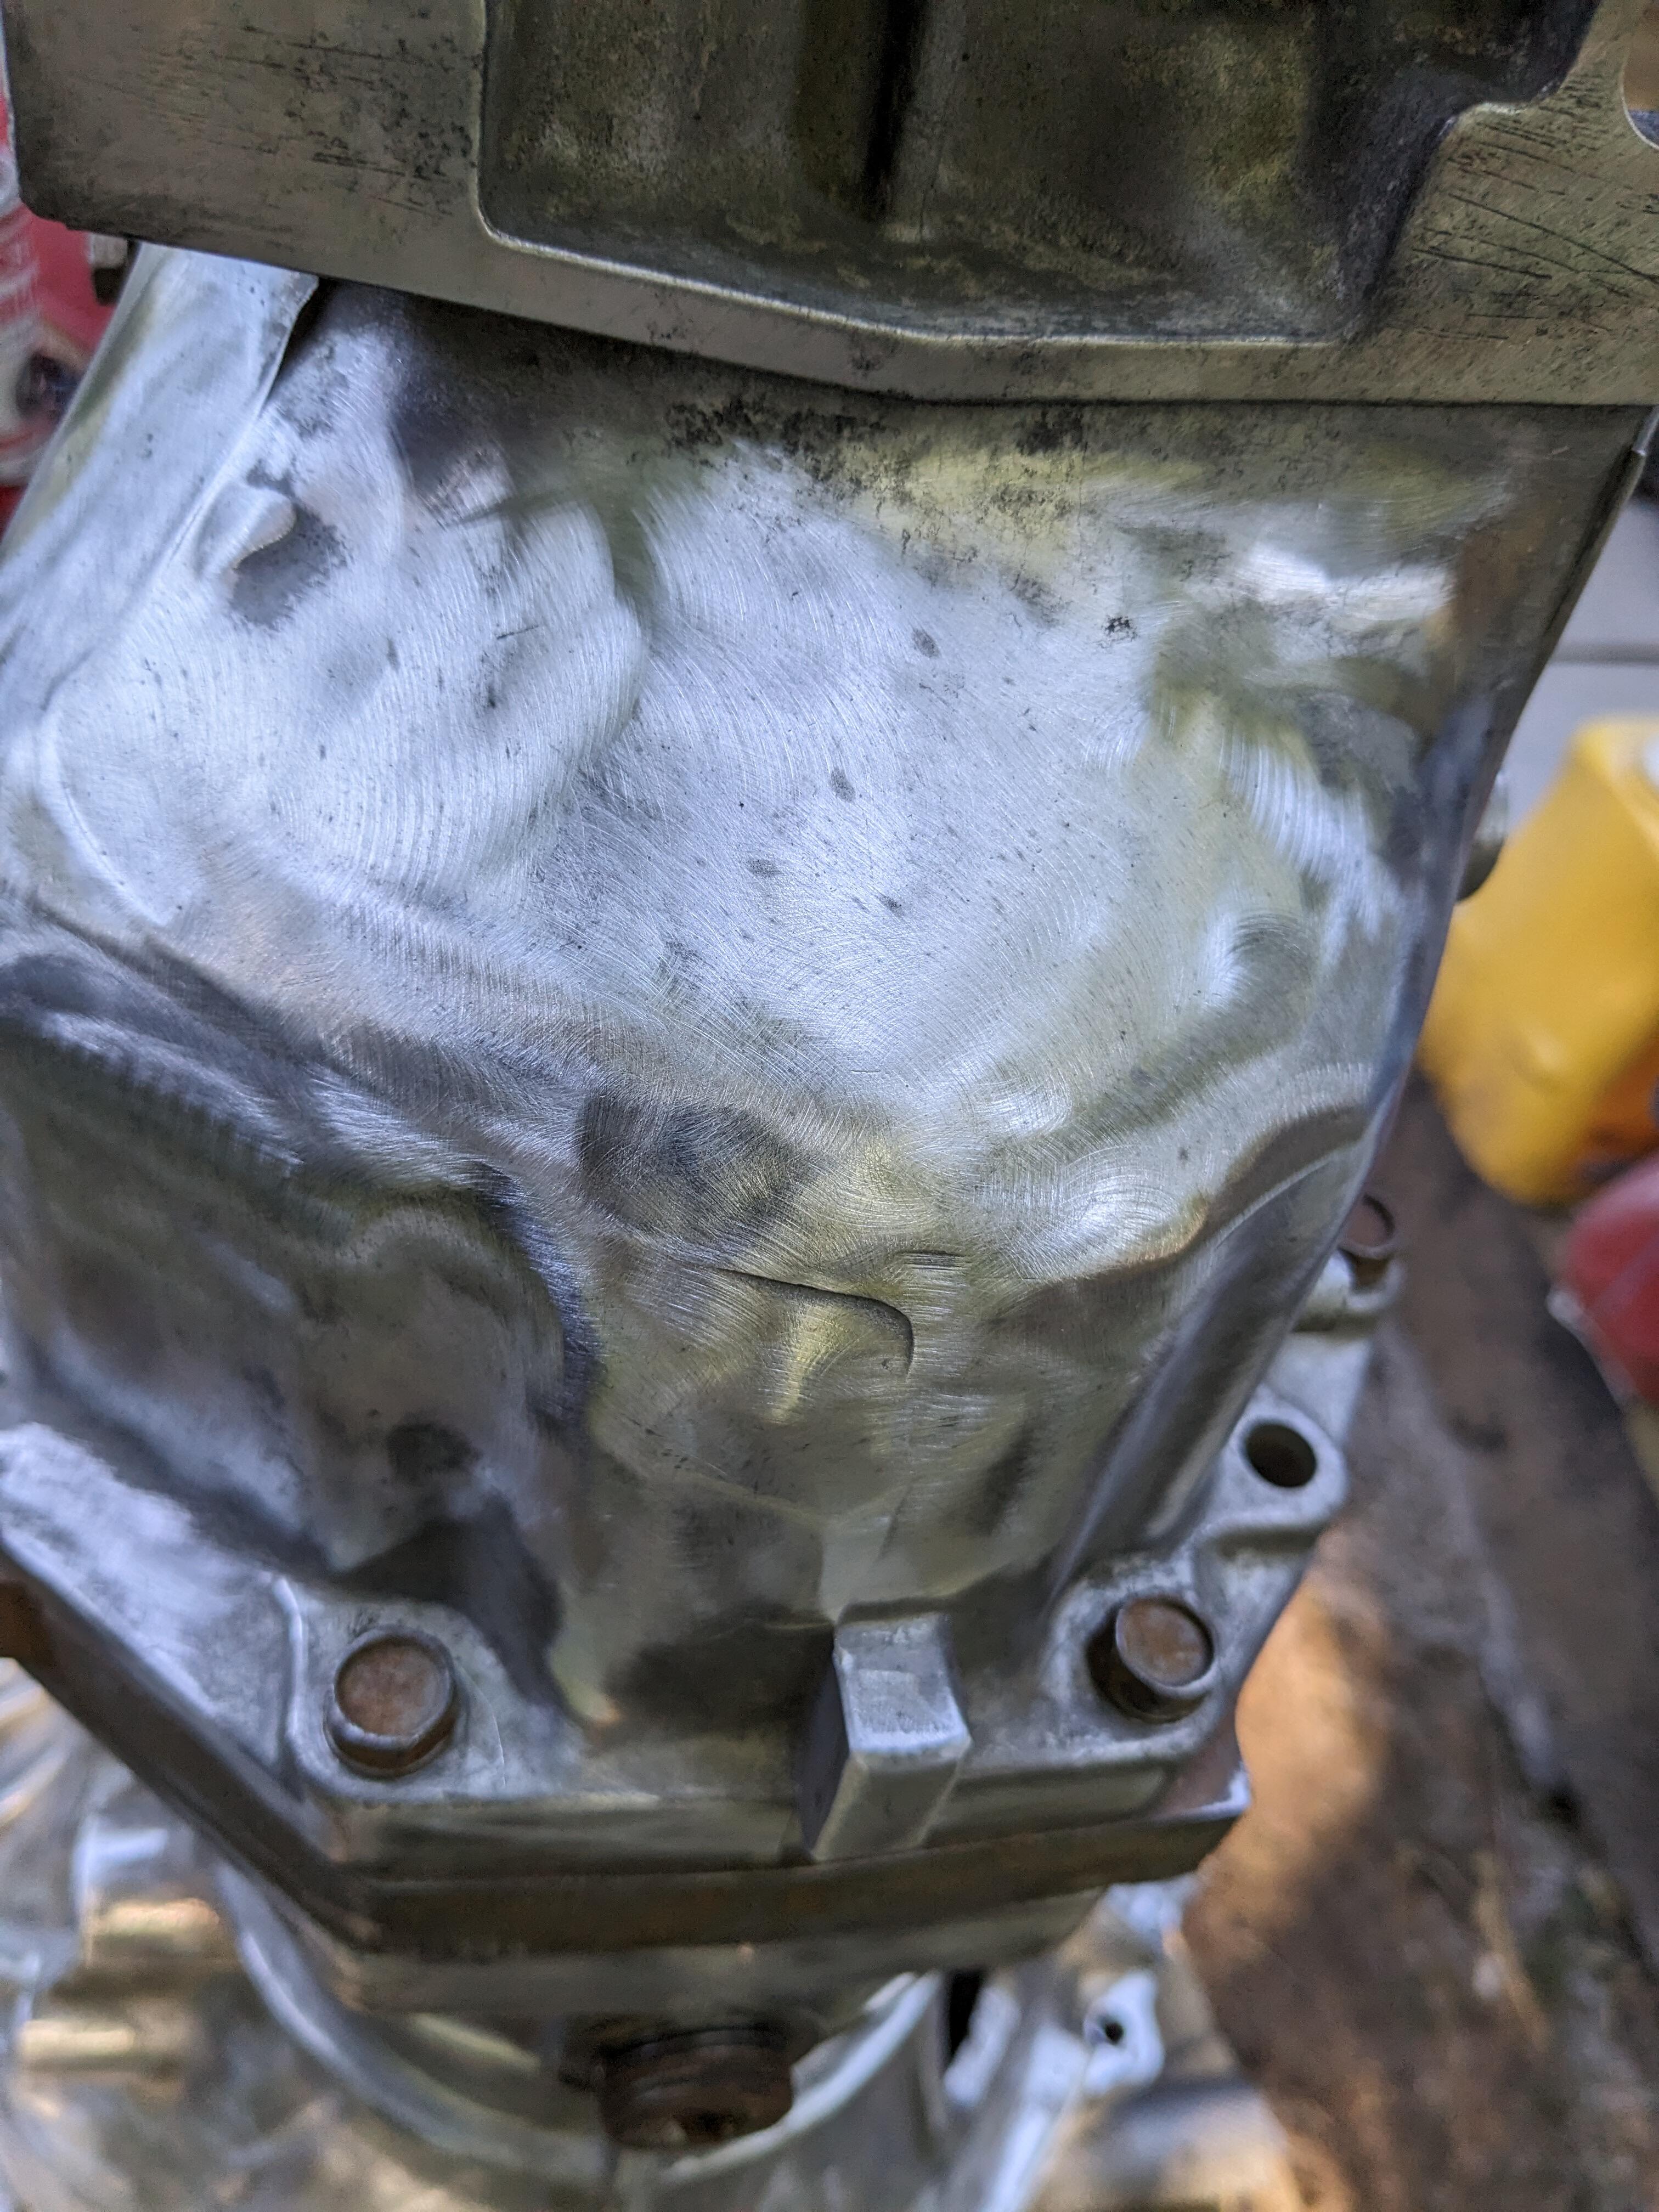
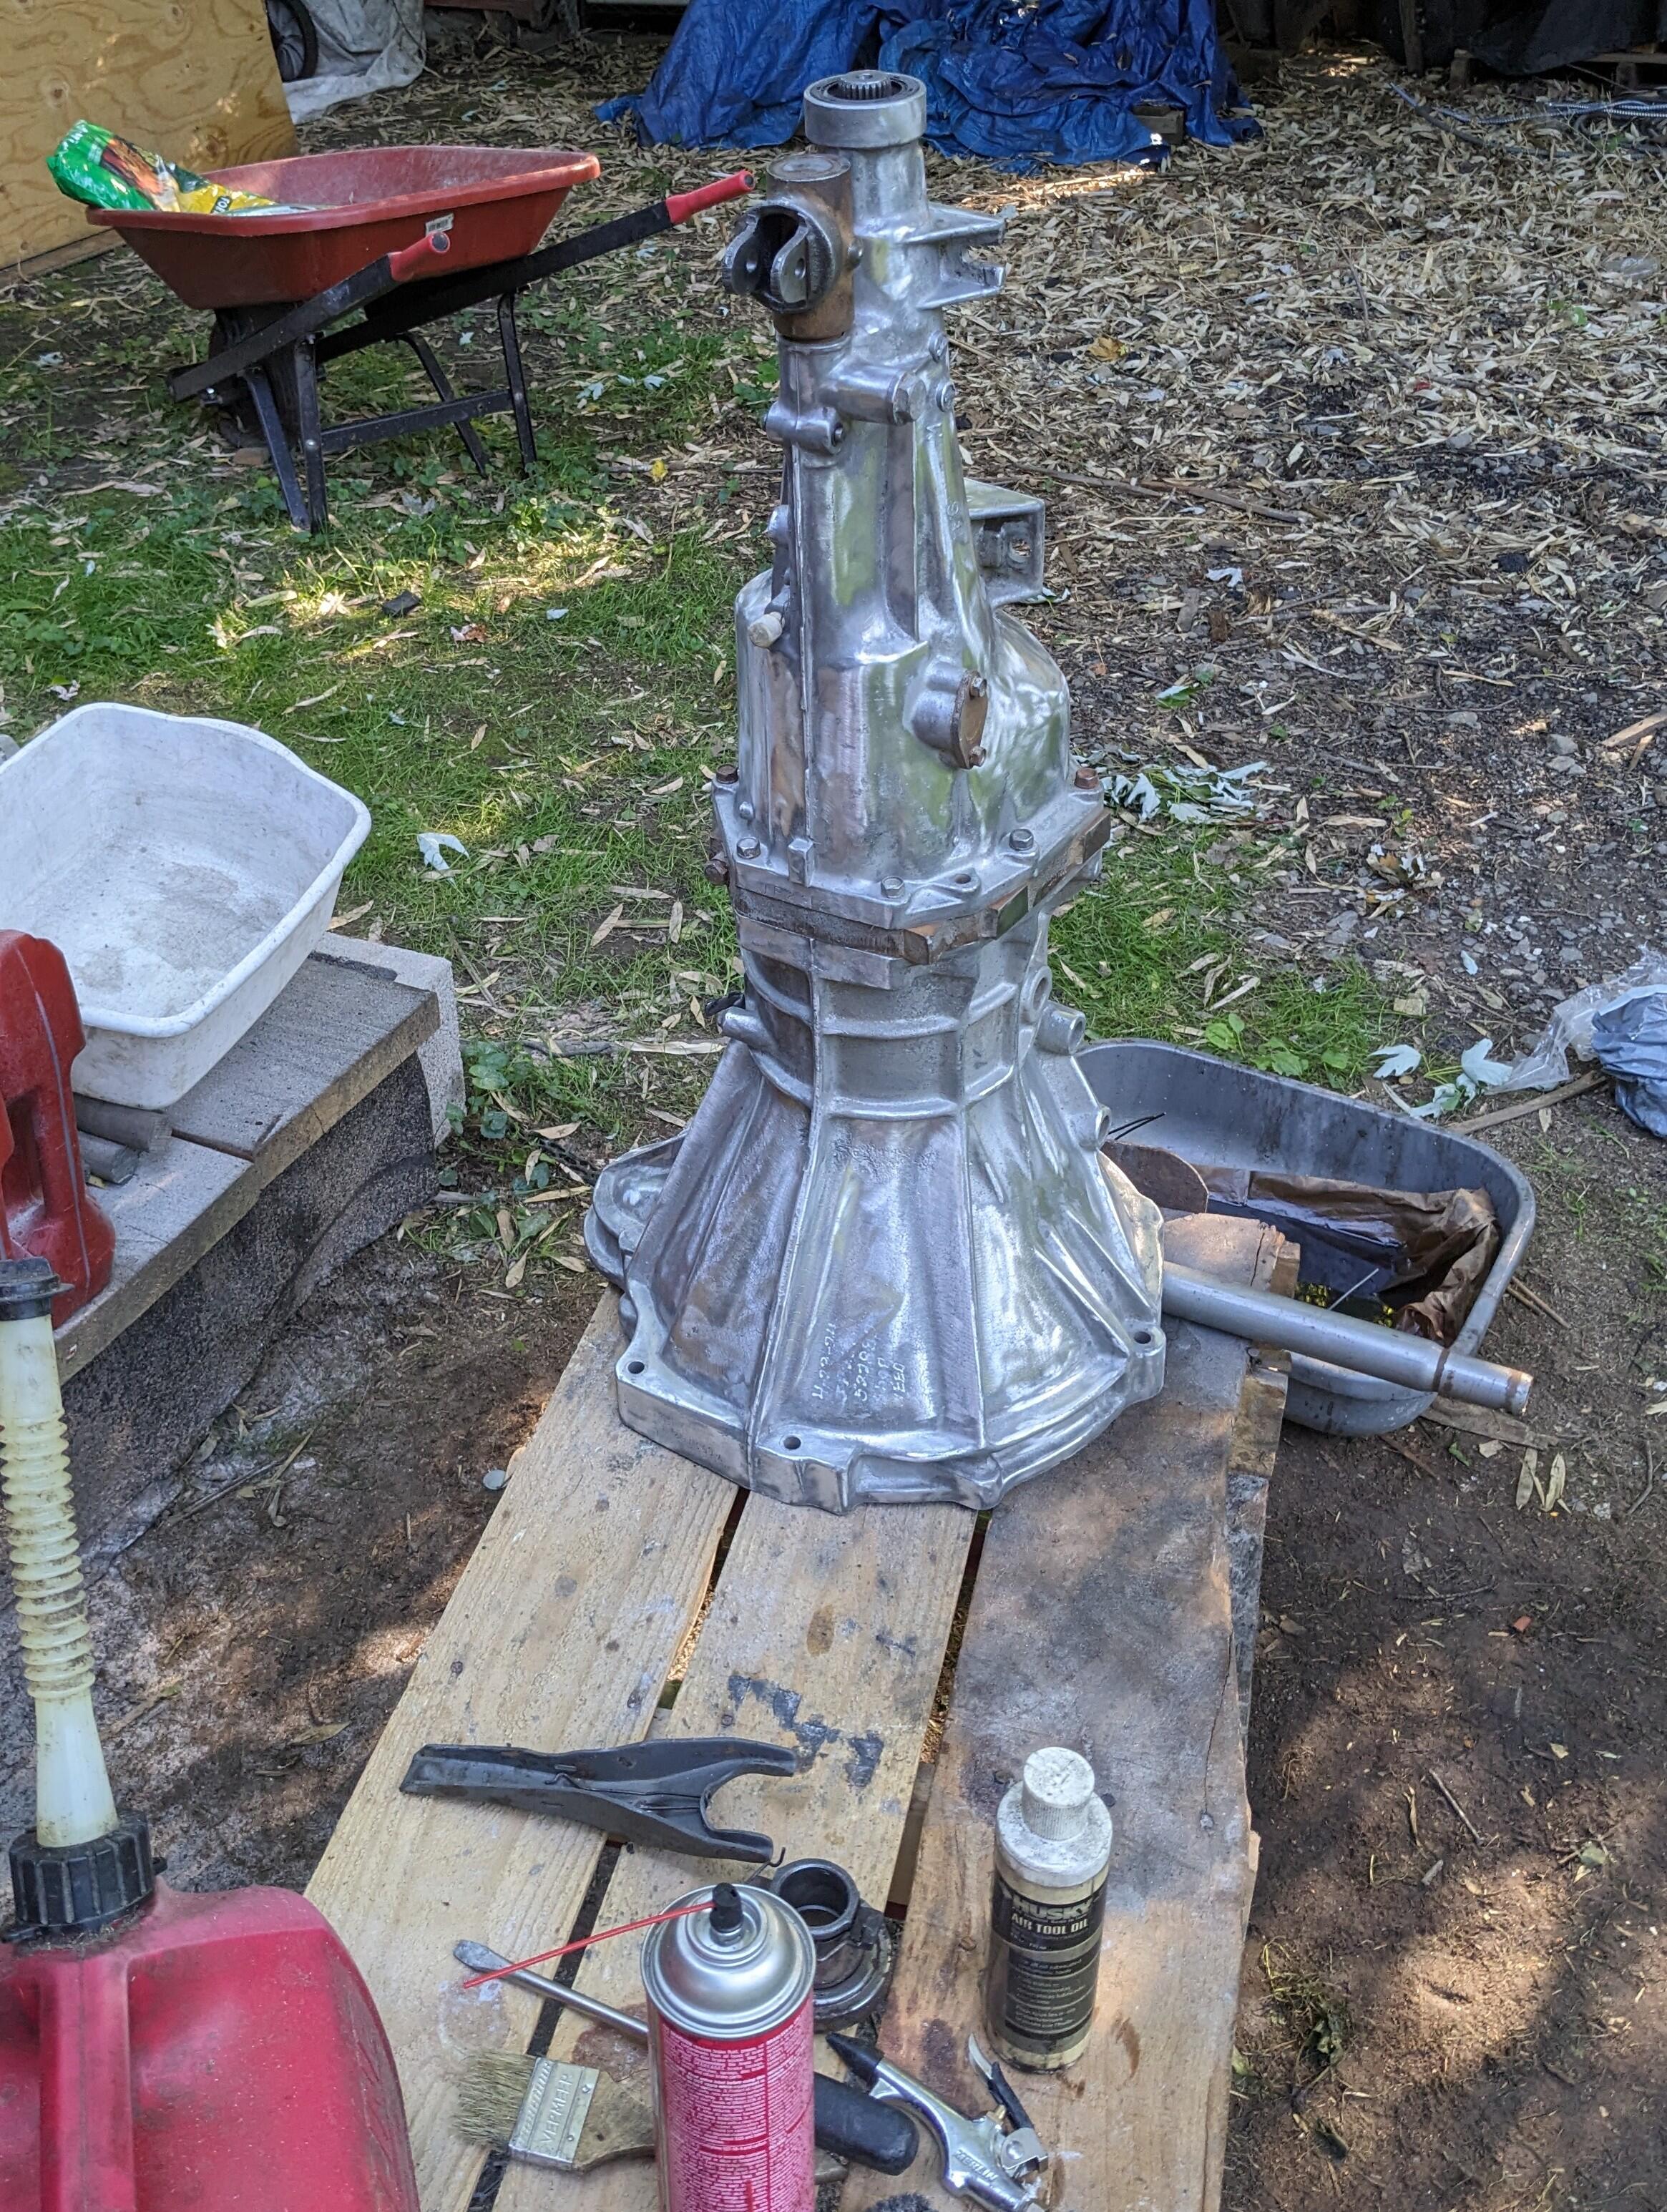
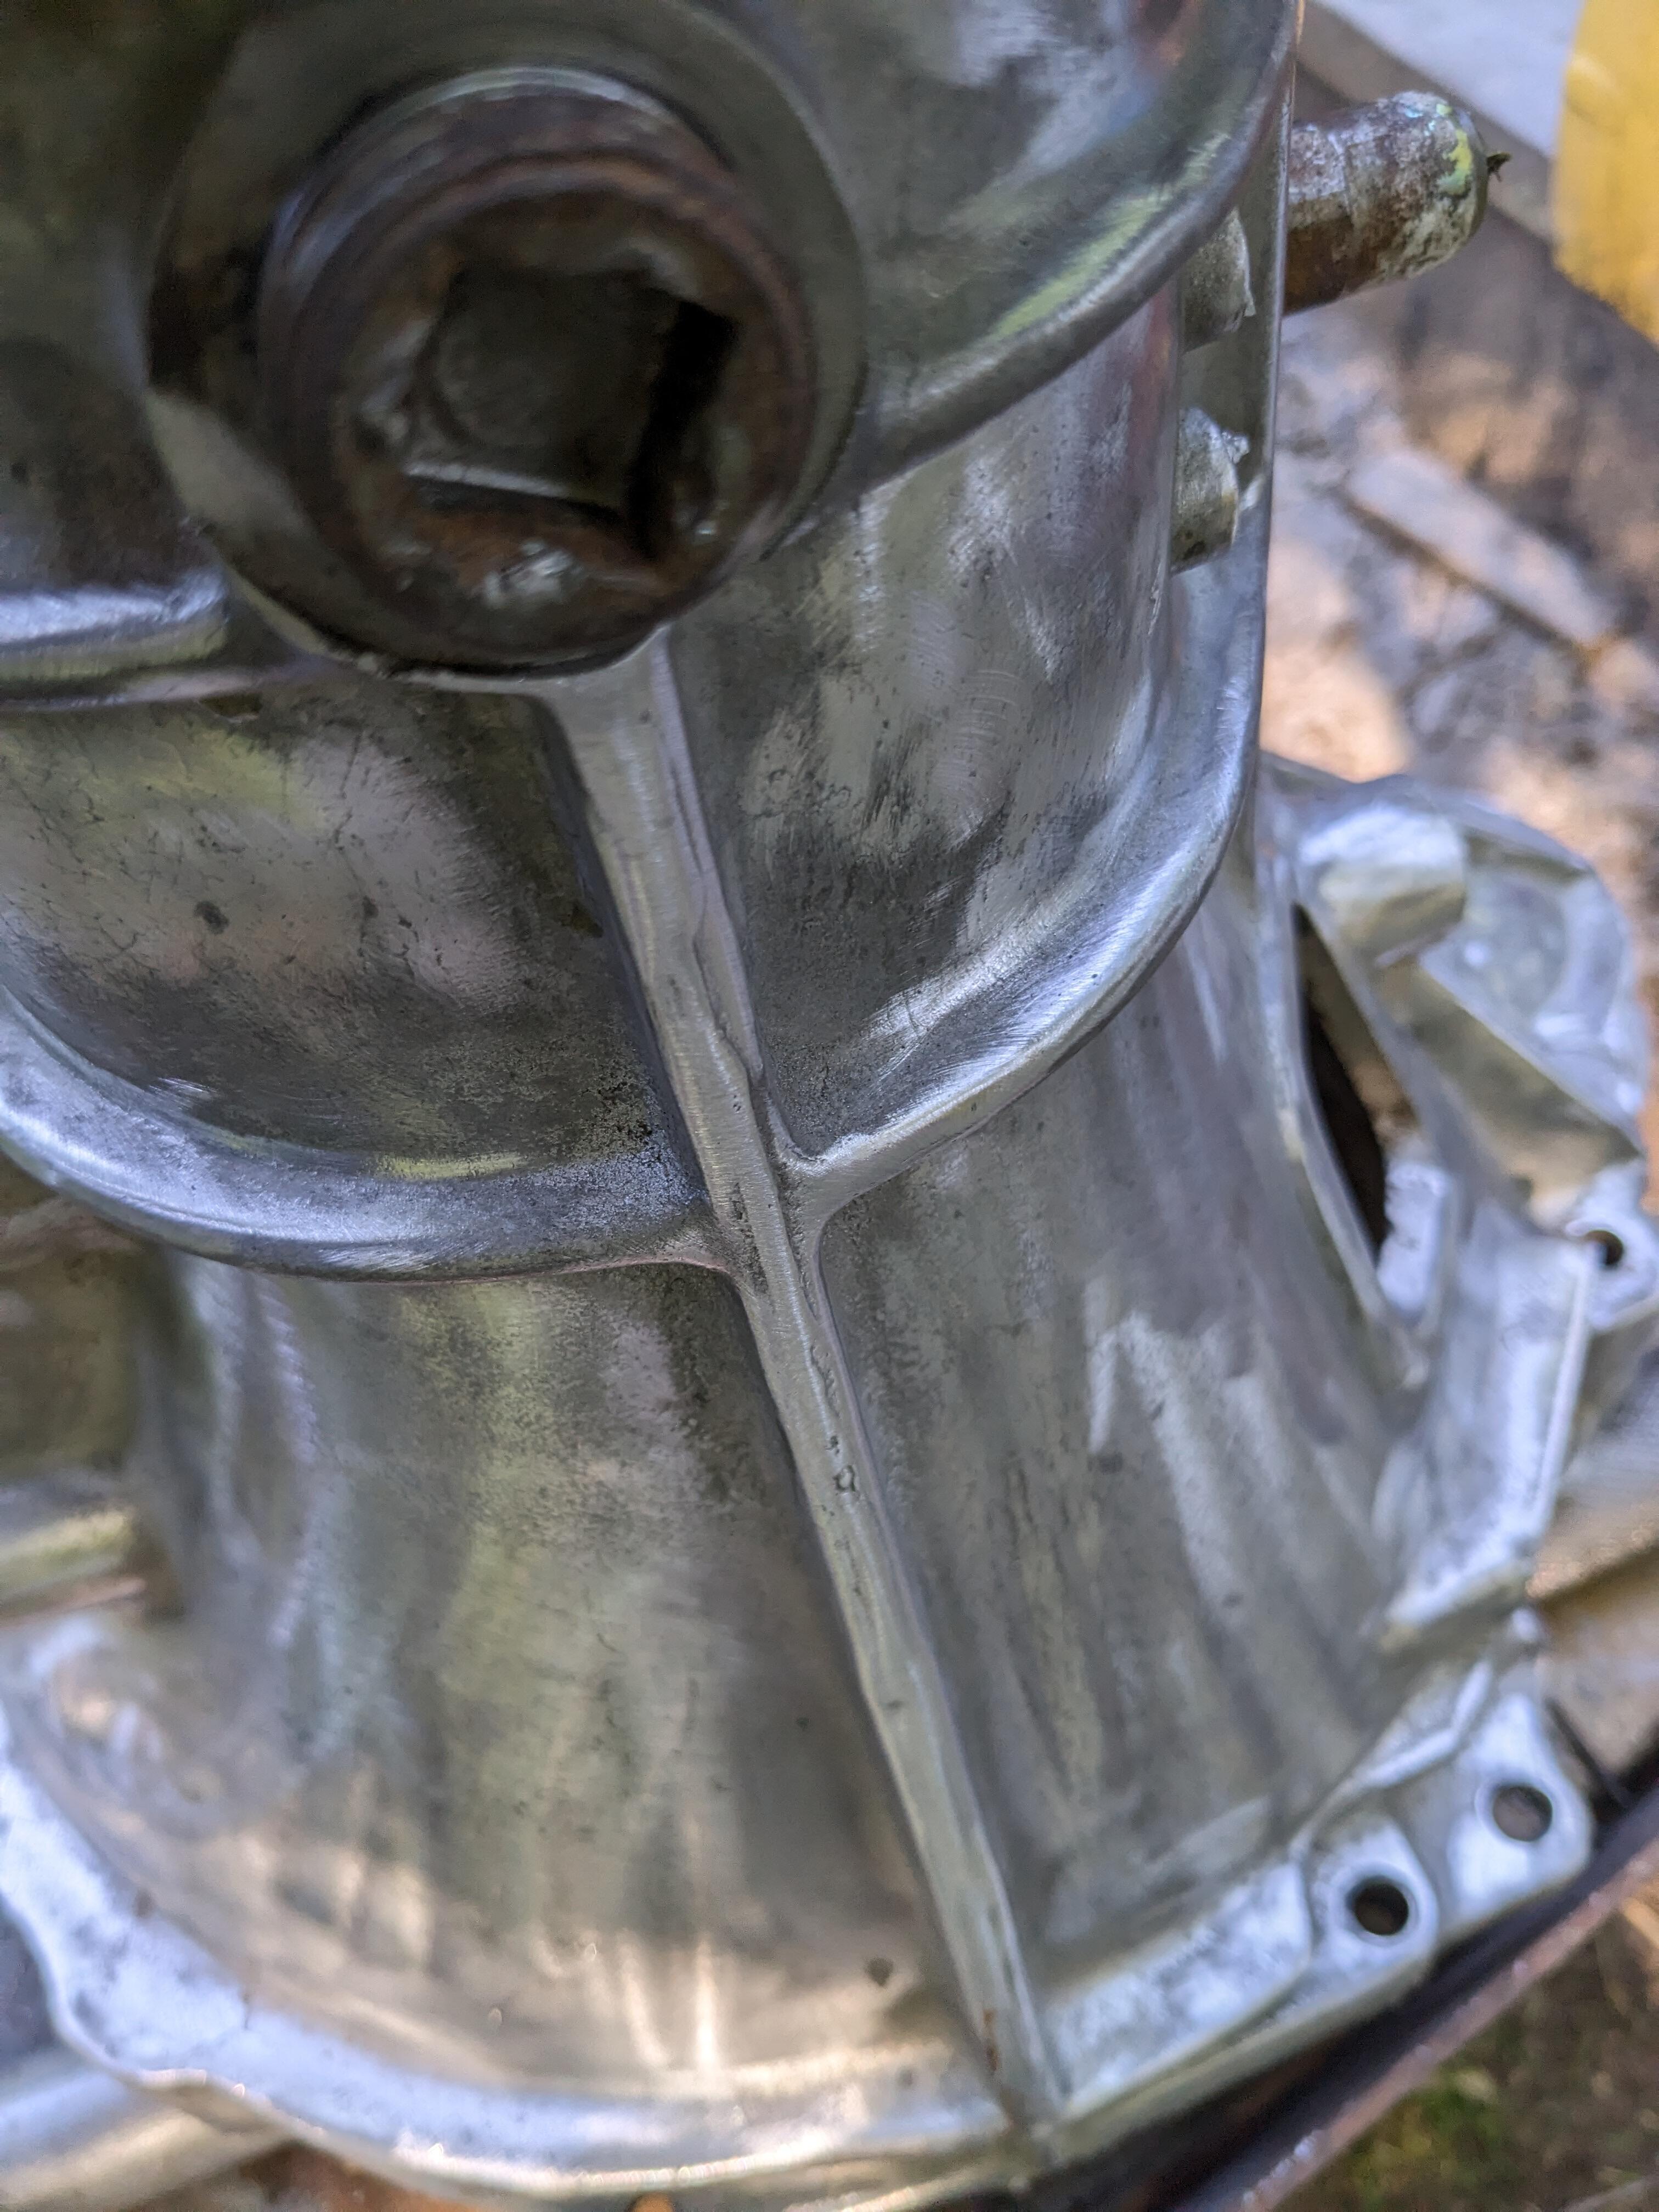
Now I've started feeling better I worked on cleaning up the 5 speed Bleed hole in front cover? There was much fluid in the shifter cavity - I think I'll have to remove it & see what's up. The end oil seal (32858-U6702) is NLA - I could only get the shaft Oring. After degreasing, I started cleaning up the casting lines - a bunch of them were pretty sharp - I'm prone to accidents, so don't want to risk slicing myself when handling the trans for install