Richie G
Supporting Member
-
Joined
-
Last visited
Everything posted by Richie G
-
Glad it's inspiring folks, good luck. It really was a simple and mess free alternative.
-
Since I saw a reaction, I just wanted to check back in and provide an update that even after almost 2 summers of over a 100° here in California, the headliner still looks brand new, no signs of drooping and none of the tape lines show through. So this worked really well for a quick, easy fix without messy glue.
-
Thank you @Zed Head very informative. I'm guessing the PO, who it seemed was just flipping this car, wasn't all that concerned about performance as the brakes barely worked well in the first place. I'm guessing he sourced this MC which wasn't from the original car and just hand mangled the brake lines to match the designation F / R since that's what it stated on the MC. Here's my uneducated take on this. It seems from these posts there was a progression over the years where F started in the front with the larger reservoir, migrated to the back in "gen 2" but the MC still had a smaller reservoir for the R, then "gen 3" left the positioning but upgraded the R to a similar sized reservoir which is what I have now (maybe coinciding with rear discs). As for the @Captain Obvious observation on release, wouldn't that situation affect the brakes regardless of the check valve? Meaning if i had air sucked in it would be happening already just on the other set of brakes? The size of the reservoir for F/R makes sense to me, but the check valve one might be going over my head.
-
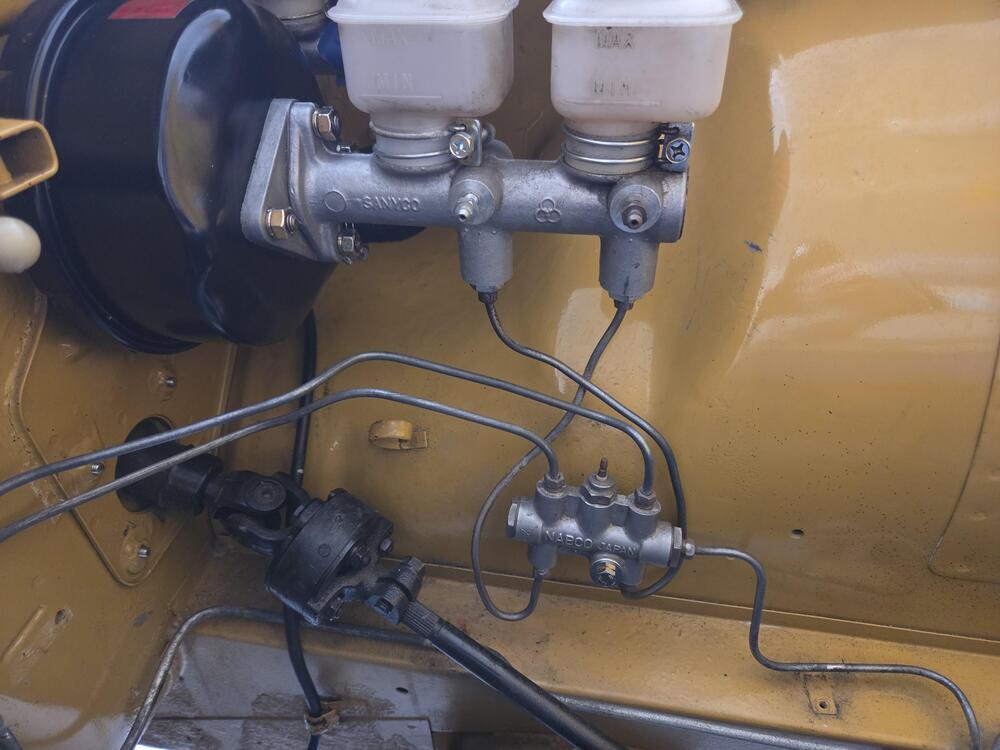
I'm finally getting around to attempting to plate the hard lines for fuel, brake, clutch. As I take these out I just noticed the lines for the master cylinder to proportioning valve are backwards. I'm not sure why the PO did this, was there even a purpose or simply didn't know the correct placement? A little background to add. When I first got this car (its an early 71) a few years ago I was as newbie as you could be. I brought it to someone in the community that I trusted to sort out a bunch of things, one being really squishy brakes without full stopping power. He did the bleeding and typical check of the brake system yet we couldn't figure out why the brakes wouldn't firm all the way up. What he finally realized, and I may not describe this accurately, was that the booster and the cylinder weren't "matched" correctly as he put it. The booster was correct for the car but he said the PO sourced a late 72/73 cylinder and the "adjustment pin" that mated them wasn't long enough to engage the cylinder fully. I saw him machine some type of extension pin, dropped it in and everything was perfect. I've left it alone since and the brakes work perfectly. I'm wondering if the PO routed the lines like this on purpose for some reason rather than fixing the issue he caused by using mismatched parts? Maybe the adjustment pin wasn't long enough to engage the front brakes and so he swapped them to engage first? I don't even know if that's how it works but he must have done something on purpose. My question now is, if I plate these or source replacements to plate should I leave well enough alone or should I "correct" this and route them properly?
-
Boy how things come full circle. I started this thread a bit back asking about plugged balance tubes and come to find out it circled back to the coolant tube which I too want to remove. I have an e46 intake and was able to get the intake valve and thermostatic valve out relatively easy. That's when the problems started. The coolant tube nuts are frozen as heck, in fact I twisted the tube and made a mess of it. I'm looking at either hacking the tube off but probably can't get the threaded nut out anyway. Or, i can source a set of e88 that have no tube. So my question is, any difference if I do go from an e46 to an e88? From all that i read I don't see anything but wanted to ask the big guns. While I'm at it, if I can get the tube off cleanly, any issue with that hole exposed if I can't get the nuts out to plug? From what I read not that big a deal but want to know my options. Thanks all. I also just stumbled upon an n36 pair. So I'll add that to the mix too. Been doing some additional reading and there's tons of folks claiming some hp differences depending which you get, others say its all in your head lol.
-
Update. I purchased a small roll of cunifer but the color was just too copper brassy for my liking. My journey continued and then about two or three weeks ago i stumbled on an ebay seller from China that made steel tubing in 25 ft rolls already yellow zinc plated. He referred to it as rainbow zinc but the pictures looked close enough to the traditional yellow zinc to give it a try. I got 50 ft of 3/16 for brake, clutch and return lines, 25 ft of 5/16 for fuel, and 25 ft of 1/4 for a vapor line plus about 40 fittings I'll probably never use. He was really nice and gave me a discount totaled 150.00 with tax and international shipping included. If you want 5/16 you'll have to ask as it wasnt a direct listing I could find. They just showed up today, about two weeks journey and would you know it, they look like the pics and are pretty damn close to what you would expect. Check it out if anyone wants to do similar. I picked up straightening, bending, and flaring tools to try and tackle this myself over the next month or so once I pull everything for the headers. eBay3/16” Car Brake Fuel Line Tubing Kit 25ft Coil Roll Zinc...Specification: Material: Steel Zinc Brake Line Tubing Diameter: 3/16 In. O.D. ( Note:3/16”≠1/4” ) Brake Line Tubing Wall Thickness: .028 In. Brake Line Length: 25 FT Coils ( 25ft=300inch=7.62M ) Type:
-
Cunifer! Found reference to it. Will see if it is something he'd make for me. If I do go this route opinions? From what i saw it was easy to work with, could be polished to a nice finish, but not sure how close that would be to "original cad type plated look".
-
A little snag in my plan. I was talking to classic tubes and apparently what they call "OE" isn't going to come with a yellow plating to match what I would have expected to be "OE". That might be my mistake. His description of OE was low carbon steel galvanized and top coated with an aluminum epoxy that couldn't be plated after wards. He mentioned he had previous requests for plated material but couldn't ever find any in coils for them to use. Anyone know of any I could offer? I know i stumbled upon a material I think it was on this thread that seems to be what folks use nowadays. It was an alloy that had that look but was more pliable and easy to use. The heck if I can recall its name though so I'll keep searching if no one here has it at their fingertips.
-
No doubt, the camera and video have been my best friends through this journey. Once I get under there if it looks like swapping the old ones out are going to require a lift i may just wait and get someone to do it for me.
-
Thanks guys. Sounds like the sizes will be fine, now the labor to get it right lol. I don't have a lift but do have some mechanical friends to lend a hand. What I think I'll do is get it up on stands, tackle the headers and pipe which should be within my wheelhouse, then assess if the lines can be done. If not, I'll get it to someone I trust who does have a full shop.
-
Decided to replace all the hard lines and had a question around sizing. I checked all the usual sites to find the best deal and noticed Z-Car had both stock and upsized for the supply and returns. I ended up going with a direct buy from classic tube and Cliff is making me what I think are the upsized ones I saw on Z Car. Before I commit, checking in with the crew here to give me some final advice. I went with 3/8 for supply, 5/16 for return, 1/4 for vapor all in the OE plated look. I'm still running SU round top and a mechanical fuel pump but down the road looking to go with triples so that's why I figured I would upsize. How do these sizes sound and am I going to run into any trouble with my existing setup? Engine I am assuming is still stock from previous owner, just rebuilt nicely. Oh and while I'm at it, advice on replacing them? My plan is to do all the hard lines for fuel, brake, clutch while I'm replacing the standard exhaust with headers and new pipes. Hoping I can wiggle my way through it all without removing much else of the undercarriage.
-
If I do decide to do this, any suggestions on the proper coating? Started looking around and there's a bunch of options. I saw some internal methods using spray with a 360 nozzle and 2 ft hose that looked like it did a good job on the interior. Exterior seems pretty easy. @jfa.series1 That thing looks beautiful!
-
Hi all. Its been a bit since I've been here and even did anything with the car, life seems to throw obstacles at times. I've been ramping up to start thinking about my next project and headers / exhaust is probably on the menu. Over the last year I've dipped in and out of here contemplating what it would be, even had an idea of how I would do it but never settled on anything. Low and behold I get a new item notification from RC: https://resurrectedclassics.com/products/stainless-steel-dual-exhaust-system-s30z-240z-260z-280z-datsun-1970-1978-polished Its a polished (but uncoated) header with end to end pipes muffler resonator hangers etc. Seems like a true dual exhaust so I guess its 3-2? States its a bolt on to standard block and all the standard hanger locations. For a quasi-newbie DIY type guy like myself this seems like it would be something I can tackle in my make shift garage without any "professional help". From my research previously its been pretty clear a coated set would be best for heat and longevity so that's my first concern. Of course there's the cost concern too as this seems a bit pricey compared to putting an end to end system together from various components but that may be more work and or require a shop trip. There's also the MSA end to end package I guess which I was contemplating as DIY as well with or without coating. Opinions on this would be appreciated. Ignoring the cost factor (I know I know) what about this would be a pro/con if I were to get this and maybe some VHT to coat it myself?
-
Me neither, but did anyone ever replace the mirror for the correct convex piece of glass?
-
Heres a direct link https://www.amazon.com/dp/B011A8ZPL4?psc=1&ref=ppx_yo2ov_dt_b_product_details
-
If your only problem with the original glass was scratches you should try this first: I had awful roller scratches all the way up and down the window and used that amazon product and it came out like new glass. Pictures don't do it justice.
-
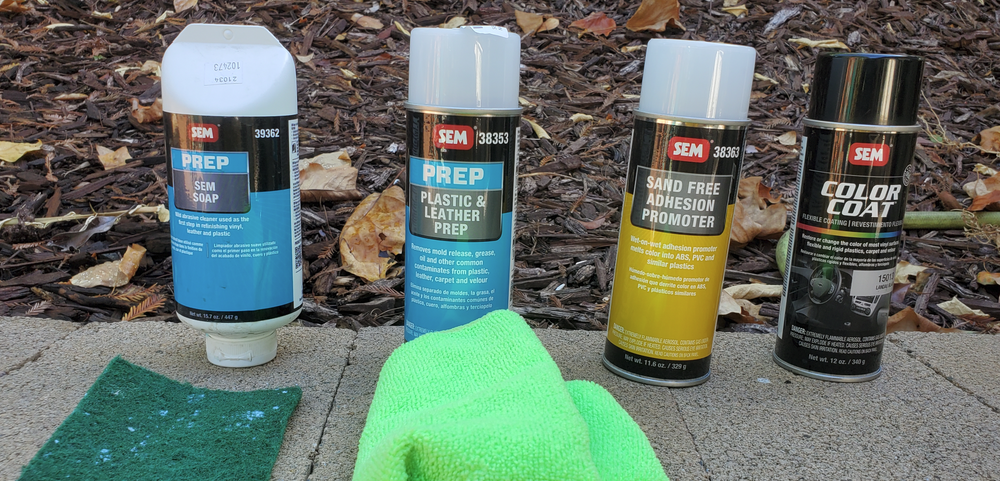
Sorry for the bad pic Yarb, yes 15013. I actually bought them all on amazon june of 21 so the product lasts quite a while in the can. The soap got a little separated but since it was just soap it was fine. the black sprayed a little thick for about 10 secs until the nozzle cleared but other than that it was amazing.
-
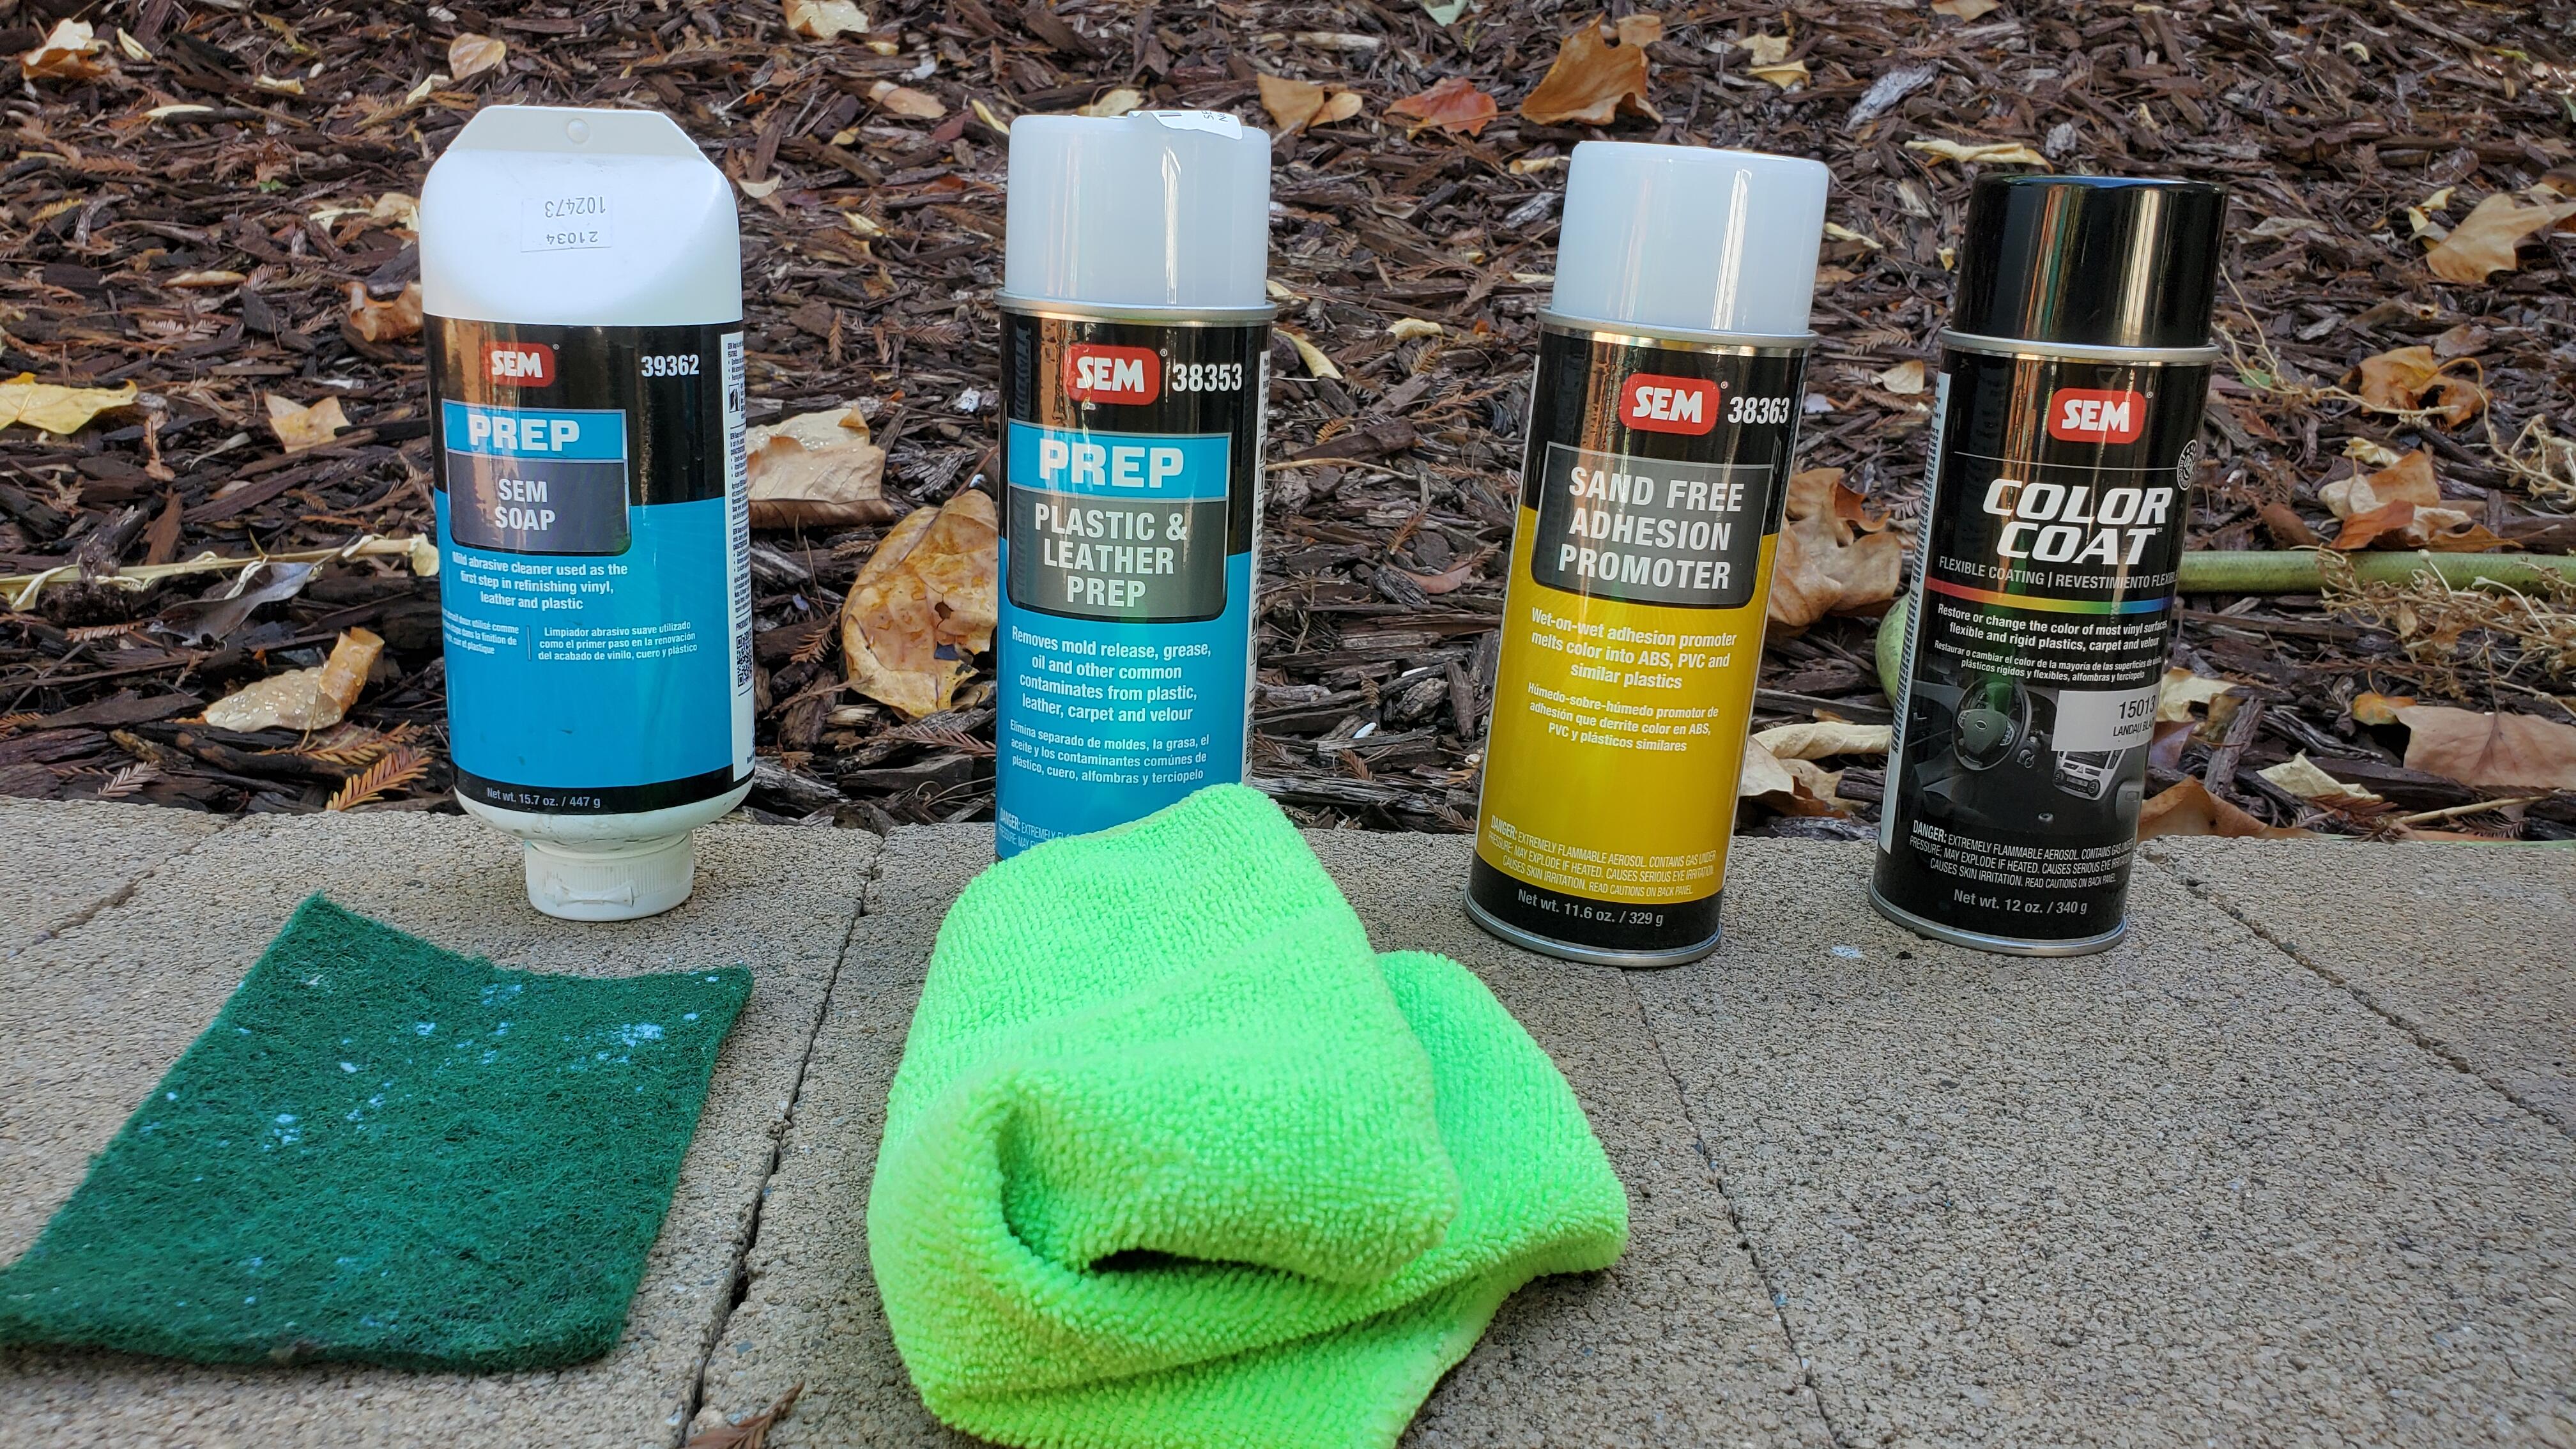
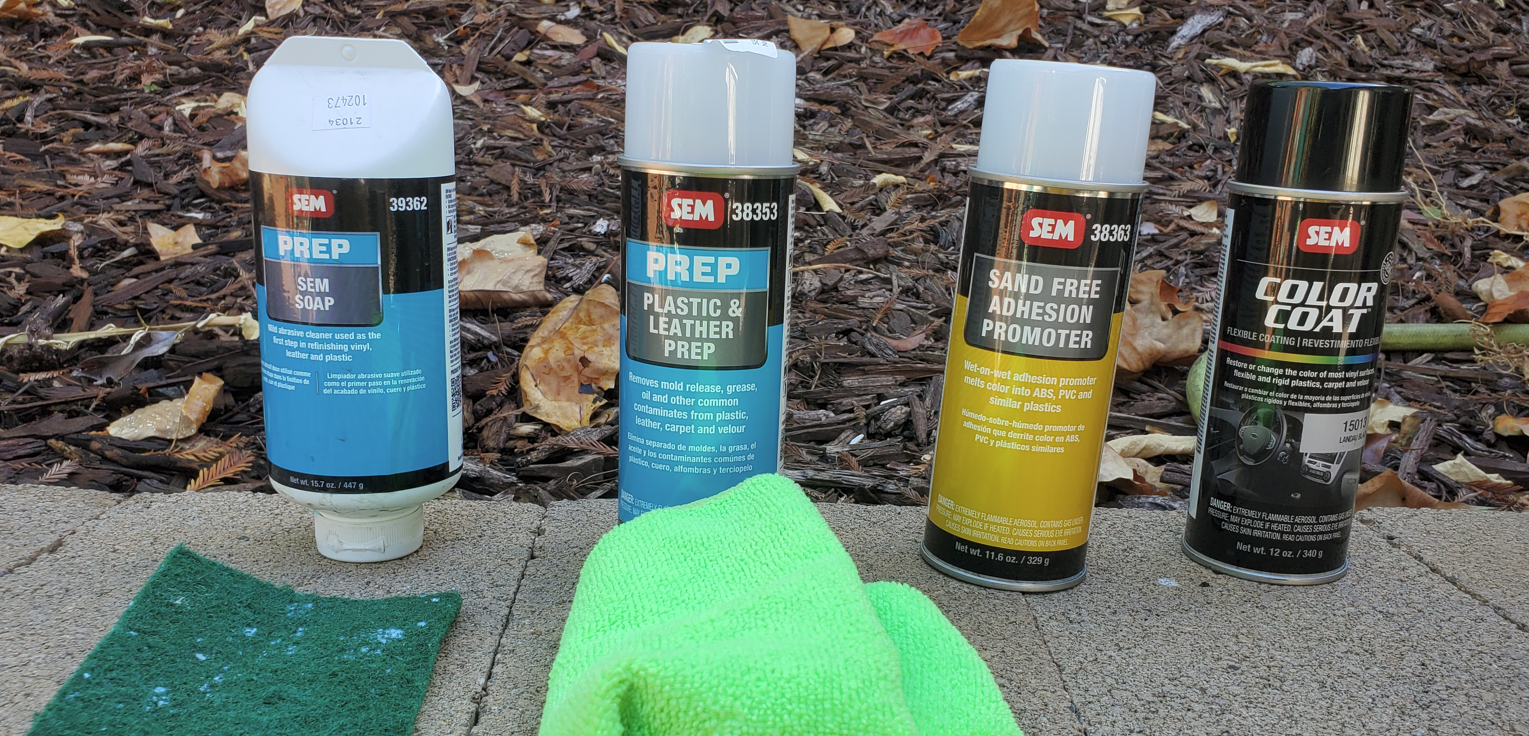
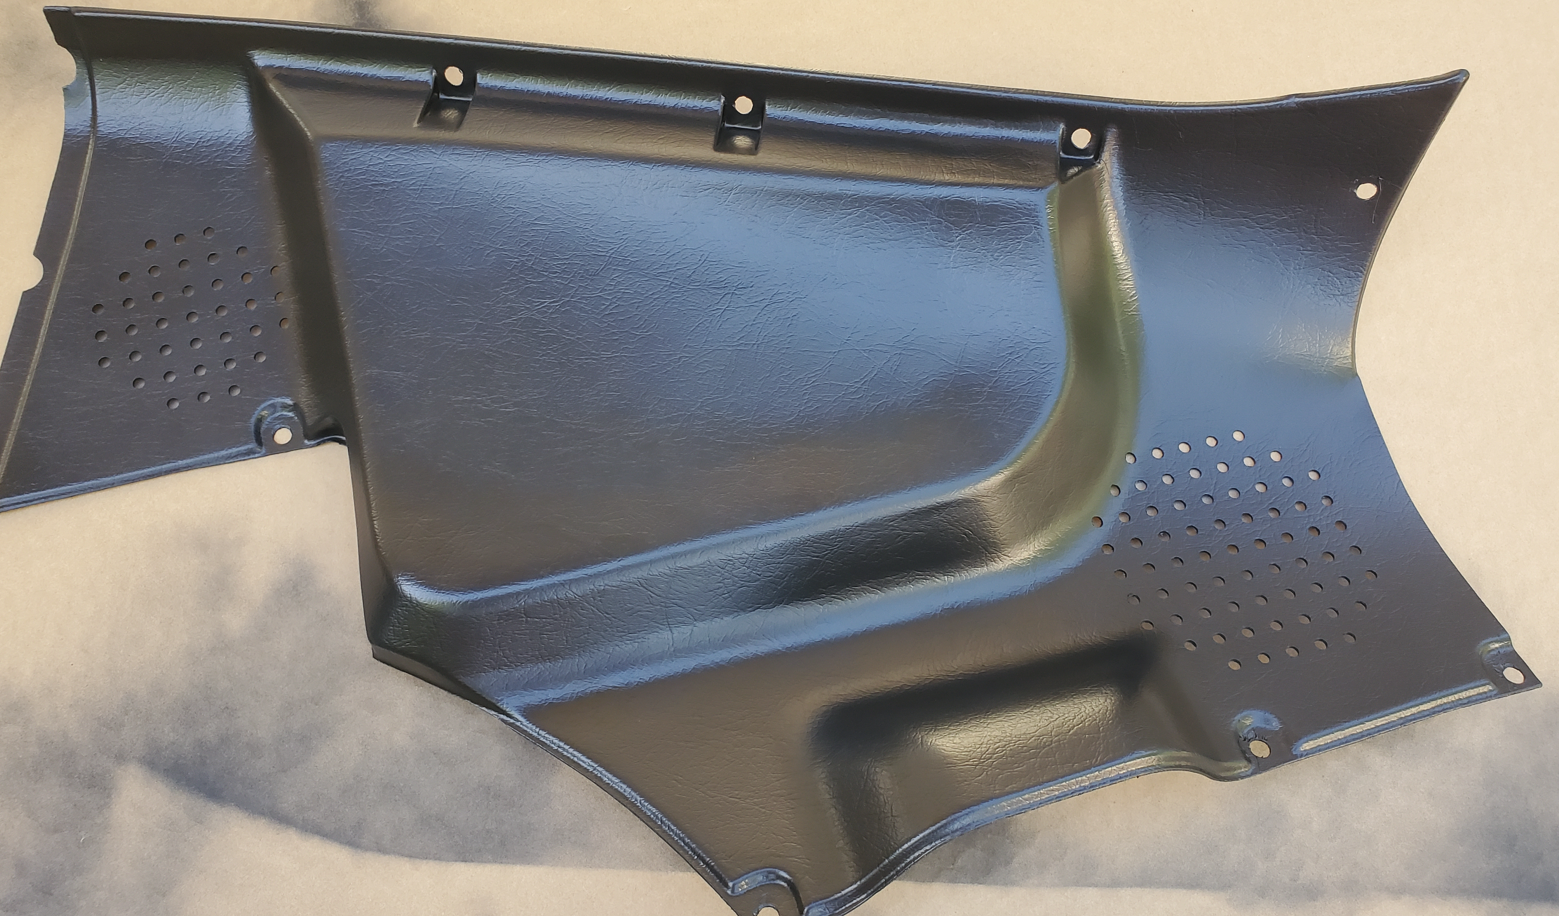
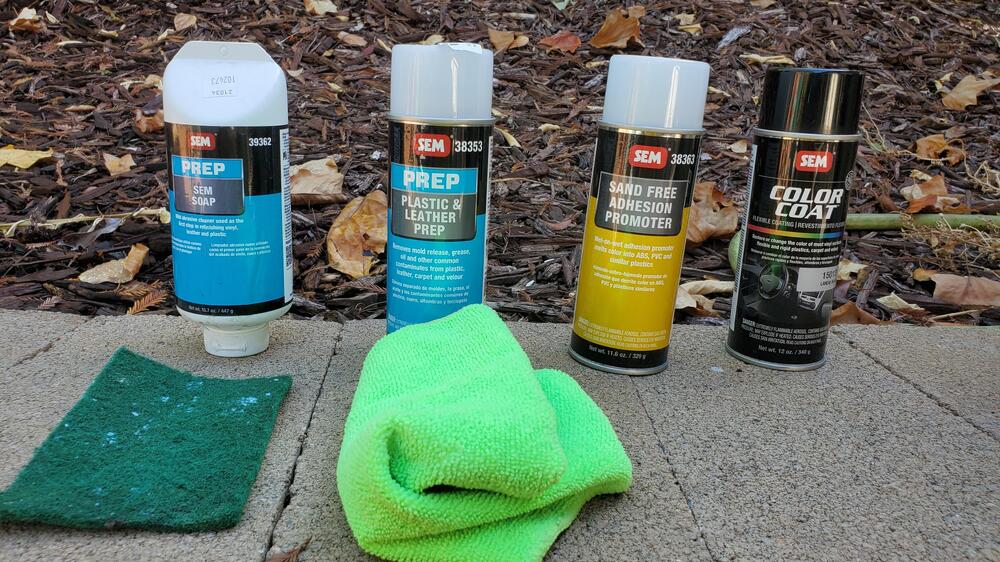
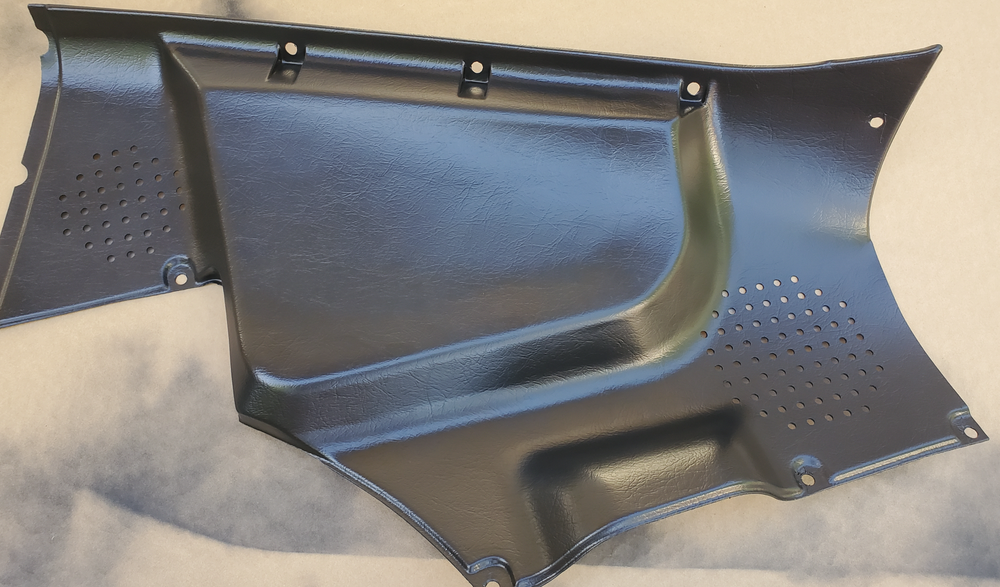
I finally got around to doing the plastic trim and tried this rad paint alongside the traditional SEM way. The SEM way was much simpler than I had imagined and the results were fantastic, practically factory fresh. I followed this demo from the product https://semproducts.com/product/color-coattm-mixing-system/system#product-videos I just did one of the rear panels and it literally took me 20 mins from start to finish and that includes total drying time and ready to install. Sounds crazy, but really it was that easy. If anyone still needs to do this here are the products I used I started from left to right, hosed it and washed it with the soap and pad. Dried it then wiped it down with the plastic prep and it quickly evaporated on its own. Then a quick thin coat of the promoter and quickly followed with several light coats of the landau black. Below is a picture of it fully dry, this is not still wet it literally dried in like 60 secs basically bonding to the plastic.
-
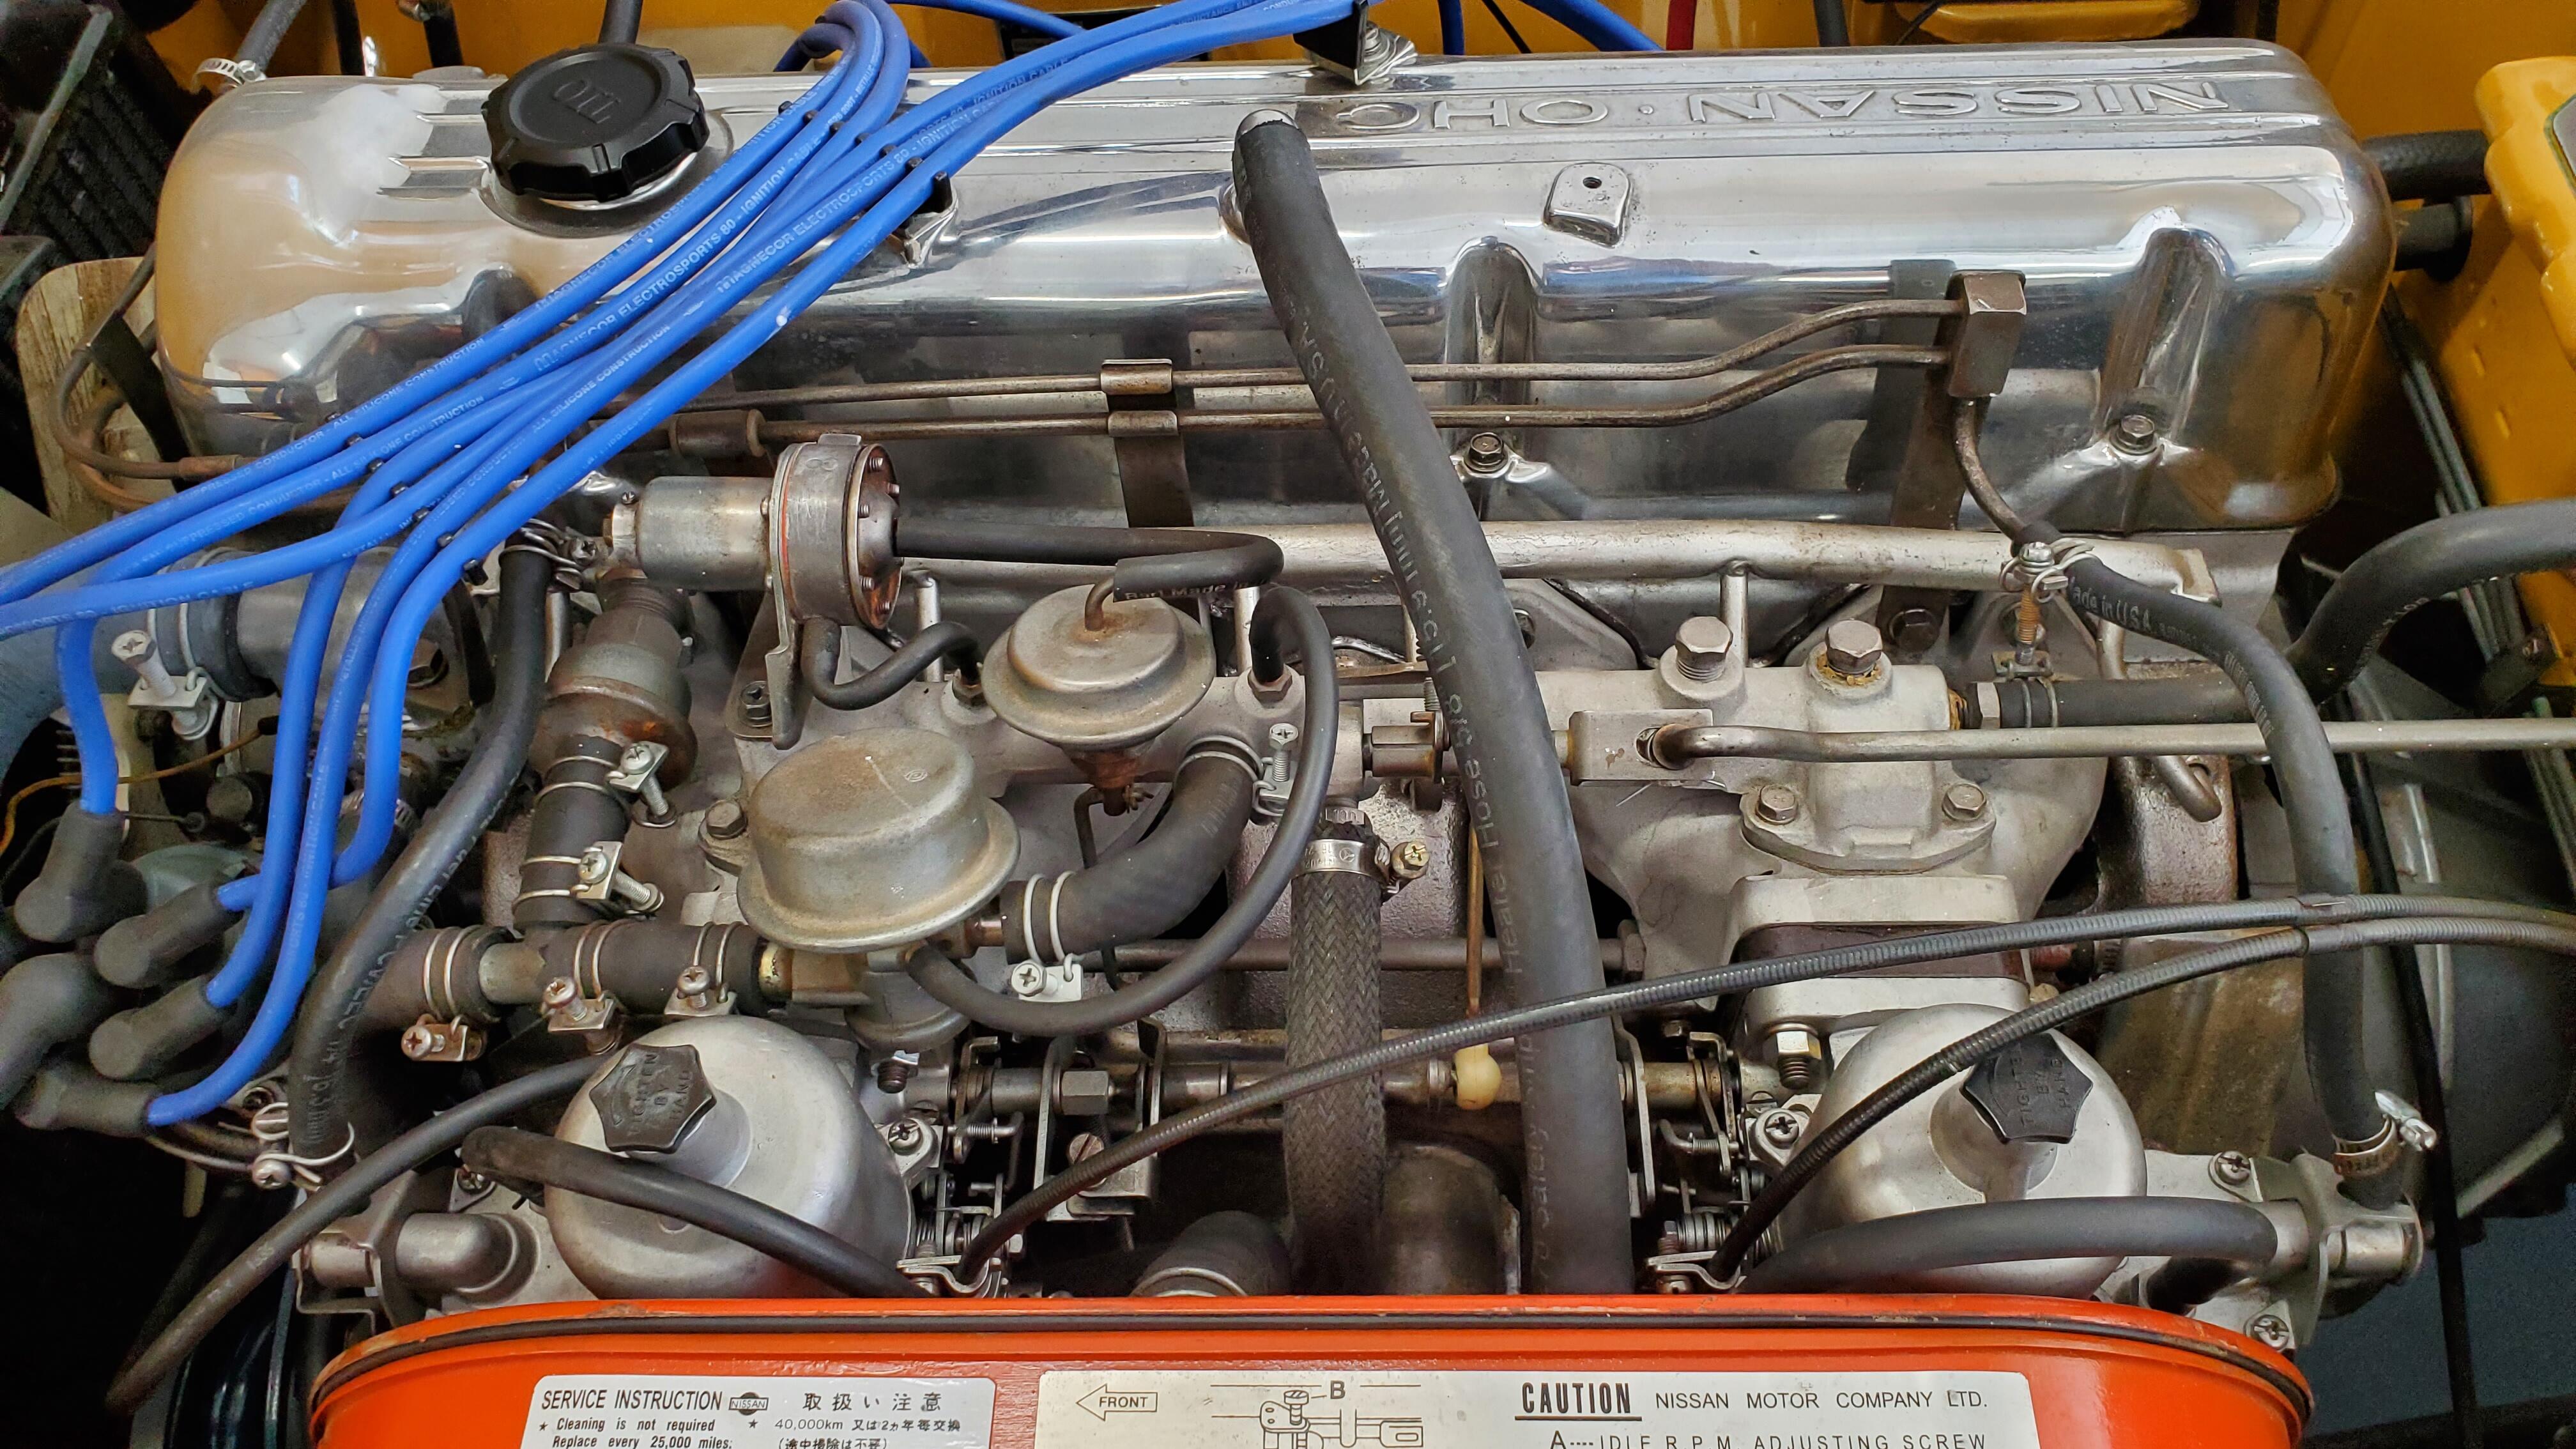
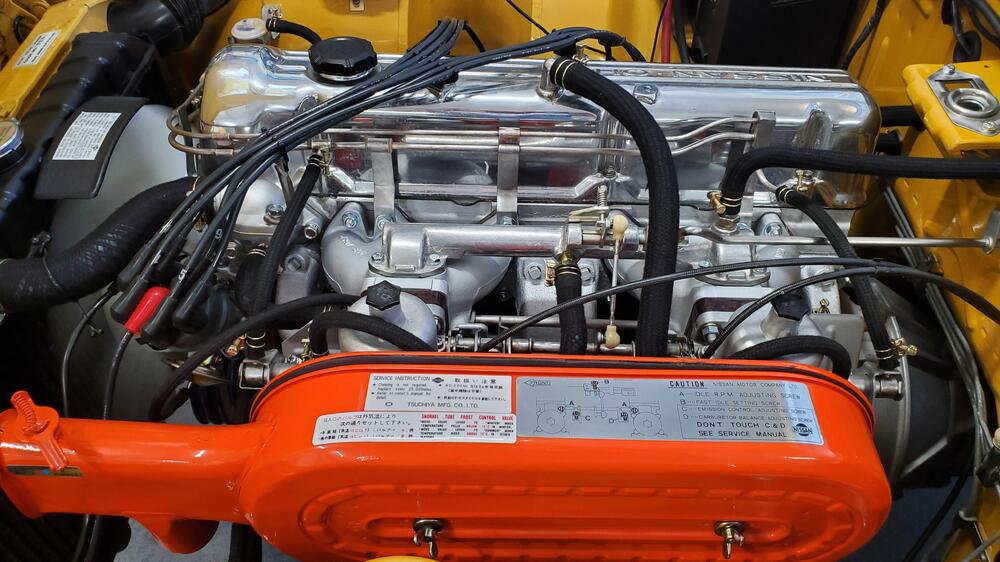
Well, everything is back and Ive attempted to balance the carbs. I think i did it right from all the reading Ive done. i madse sure to balance the airflow in each carb, then tested the mixture by slightly lifting the piston in each. Idle was pretty much un changed after I got them where It felty ok. i didnt have an impedence trype rpm reader was relying on the gauge and the sound of the engine. It feels around 850 from what i can tell. I'll have a friend come by and double check my work lol. One thing i did was go back and find the "before" pic and compare it to my new after. I'm pretty proud of theprogress Ive made as a newbie and 1st time owner. My work is probably not perfect but I continue to advance it little by little. Before, first pic from buying it after with all the changes / eliminations I really want to thank everyone for all the help these past two years. I couldn't have gotten this far without the community. Next up is getting the seats redone and back in so i can test drive it.

-
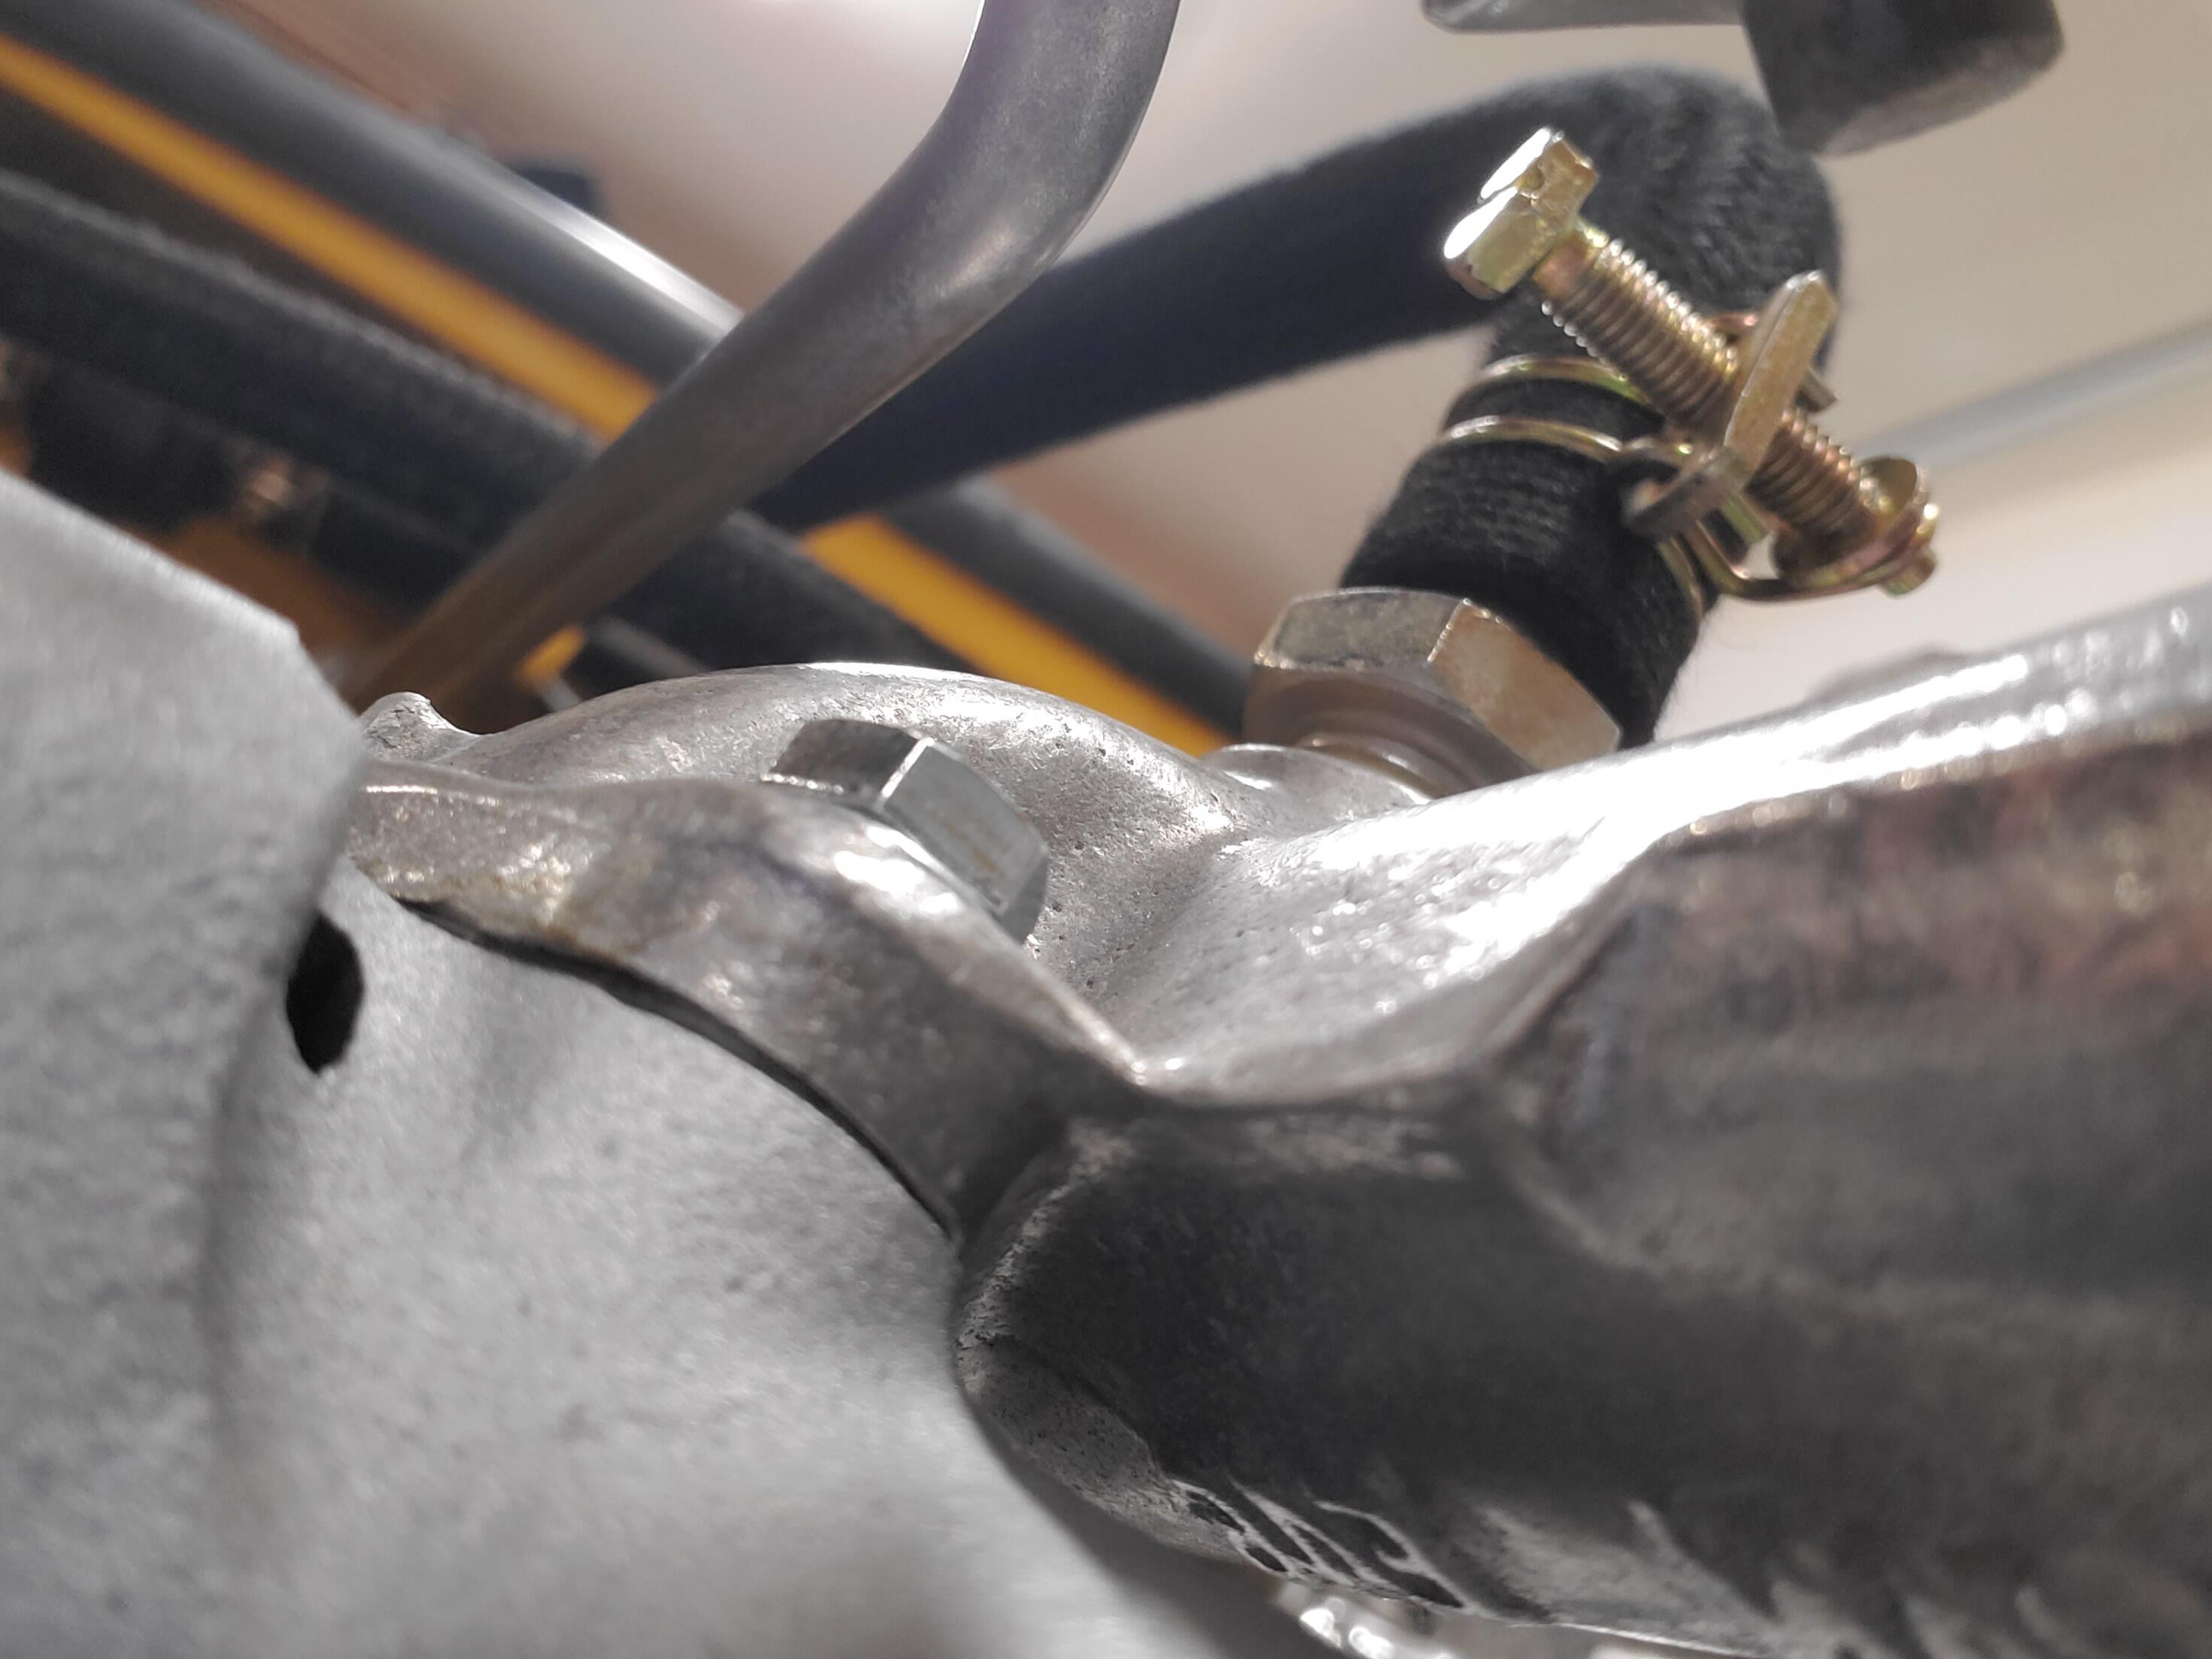
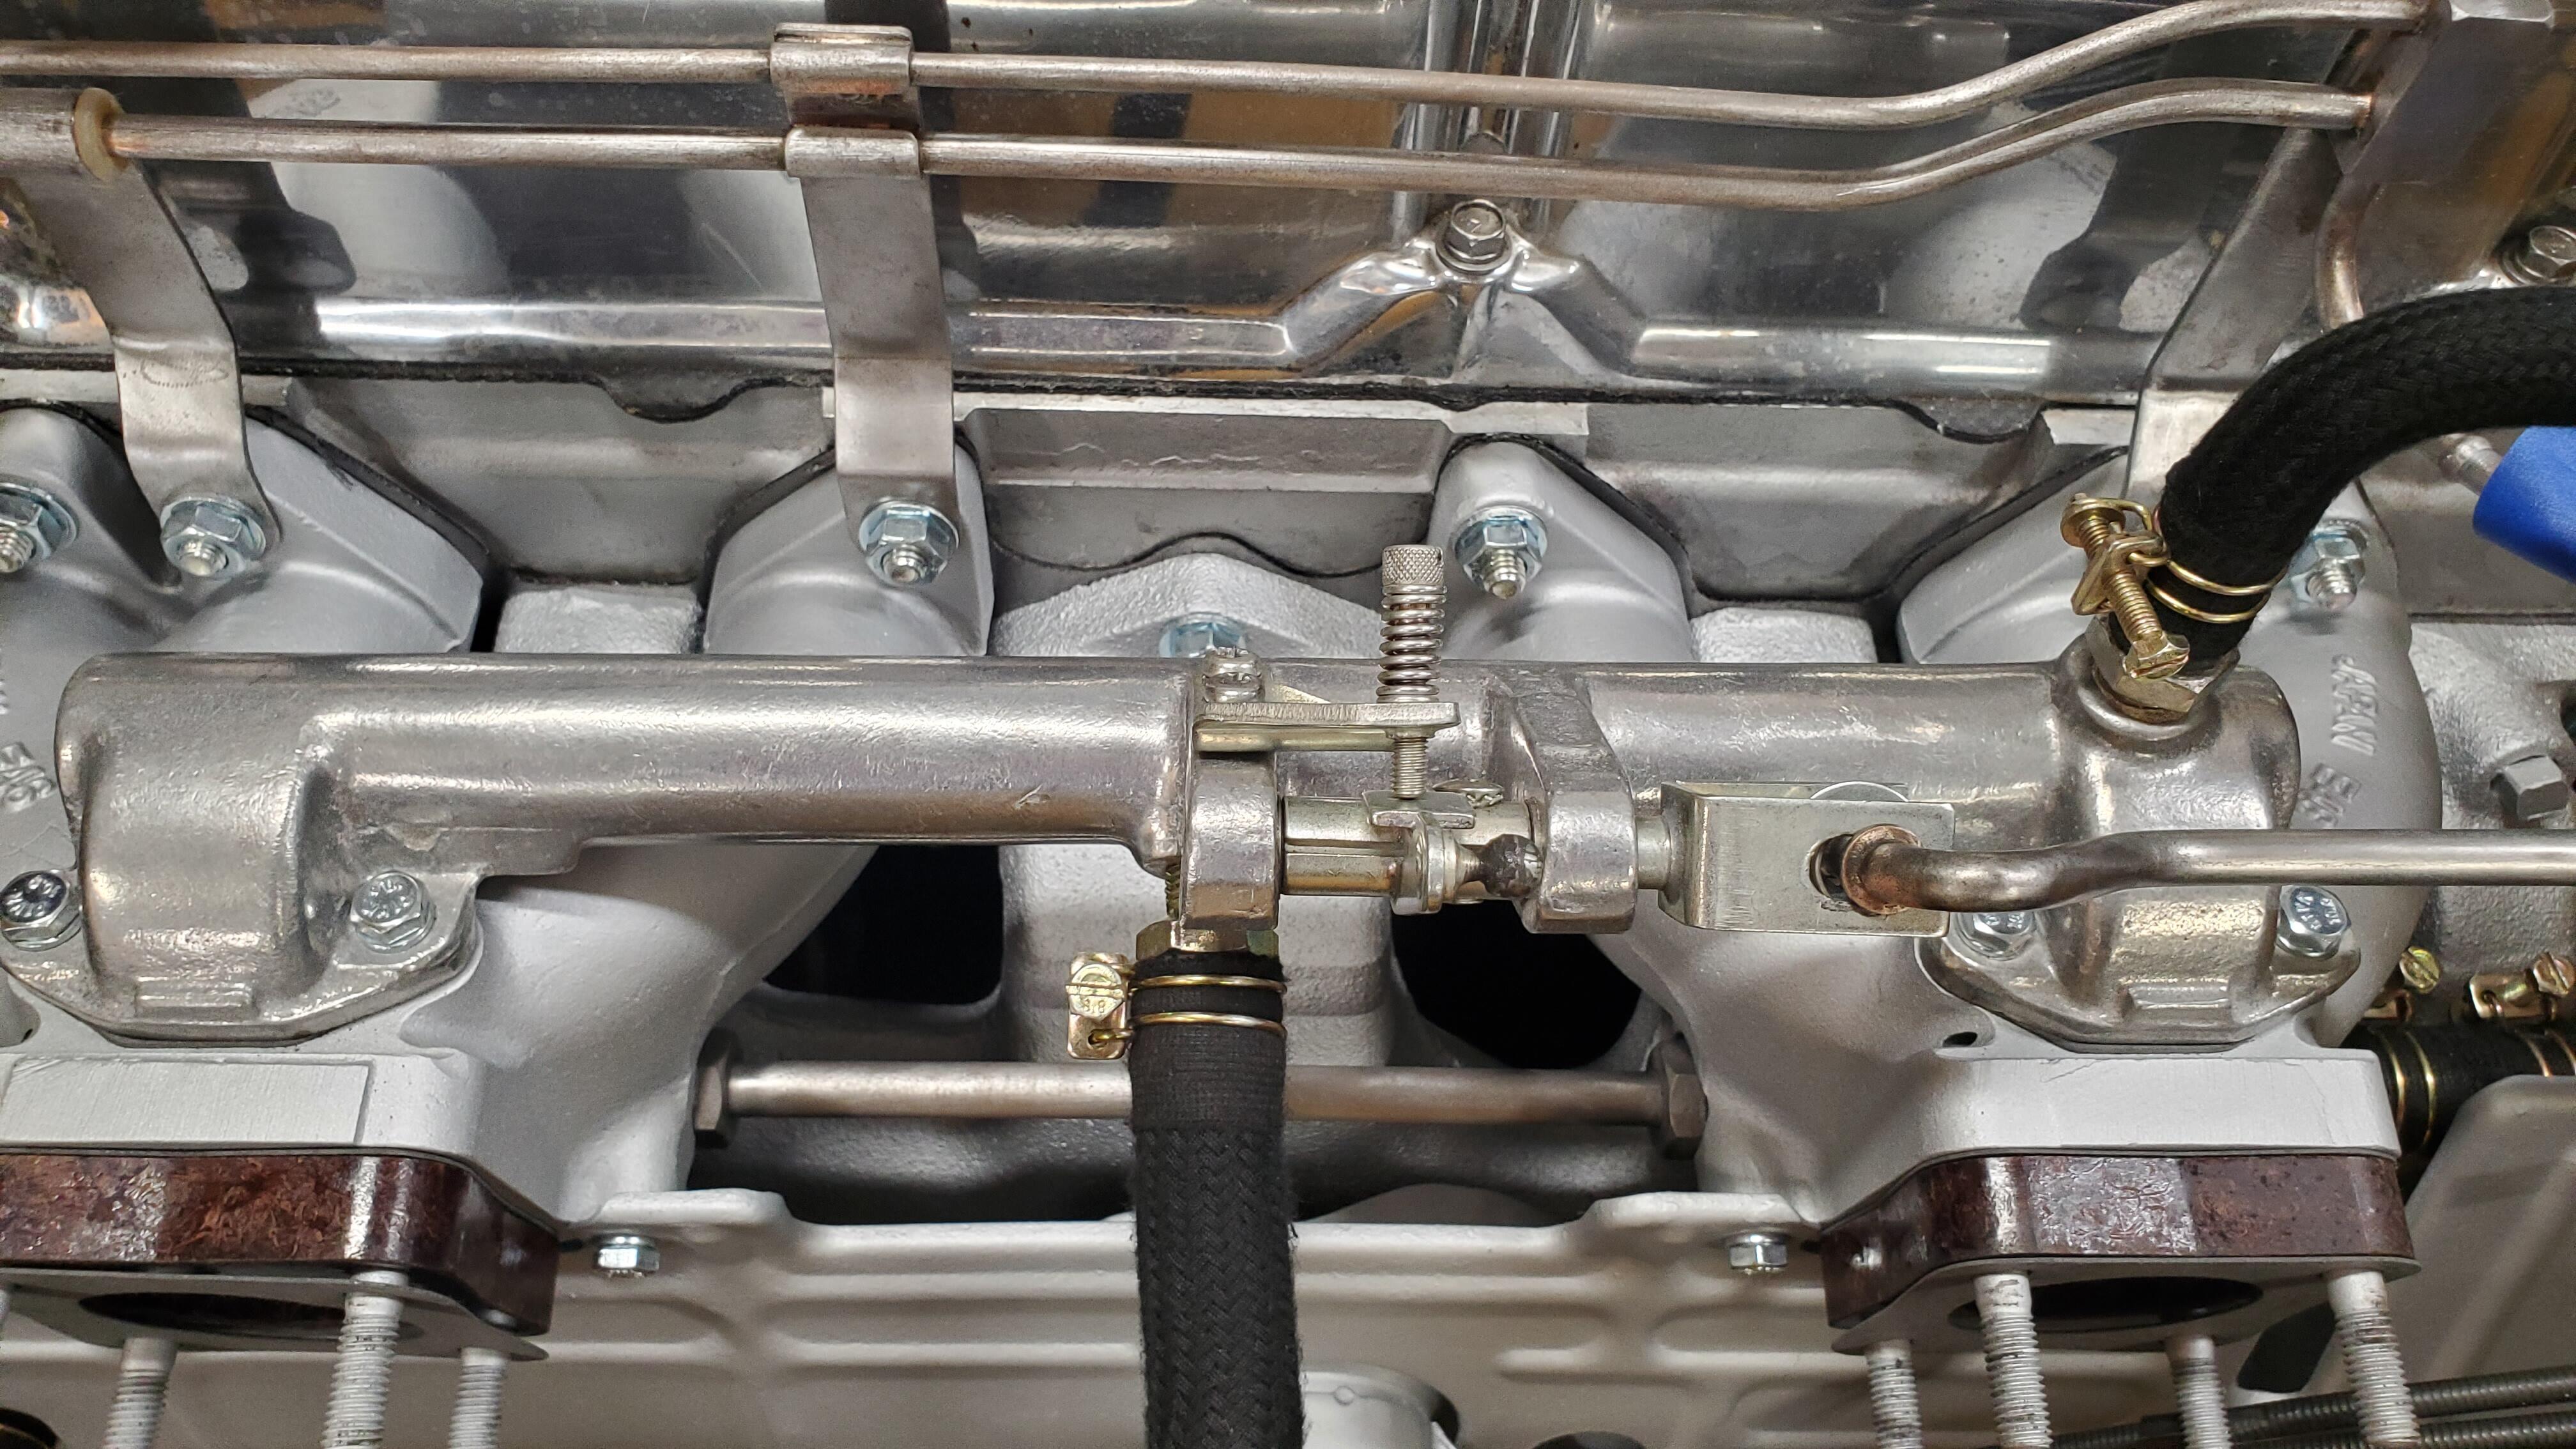
So I just went out and rechecked and sure enough it is stamped Japan E46 but what's weird is it's not where it normally would be it's closer to the firewall manifold then the radiator manifold and I would think if this was a normal 46 even though they ground down the spots where the smog accessories were screwed in there's only the single plug on the horizontal location for the booster not a second plug on top next to where I have my booster connected. You would think even if that was ground down he would at least have to put a plug in there there's no such plug so I have no idea what this thing is

-
if you flip it over you do see an E46 stamped on the tube so it's weird somebody polished this thing it's certainly not that stock look at least what I had before this has that semi glossy polished appearance to it.
-
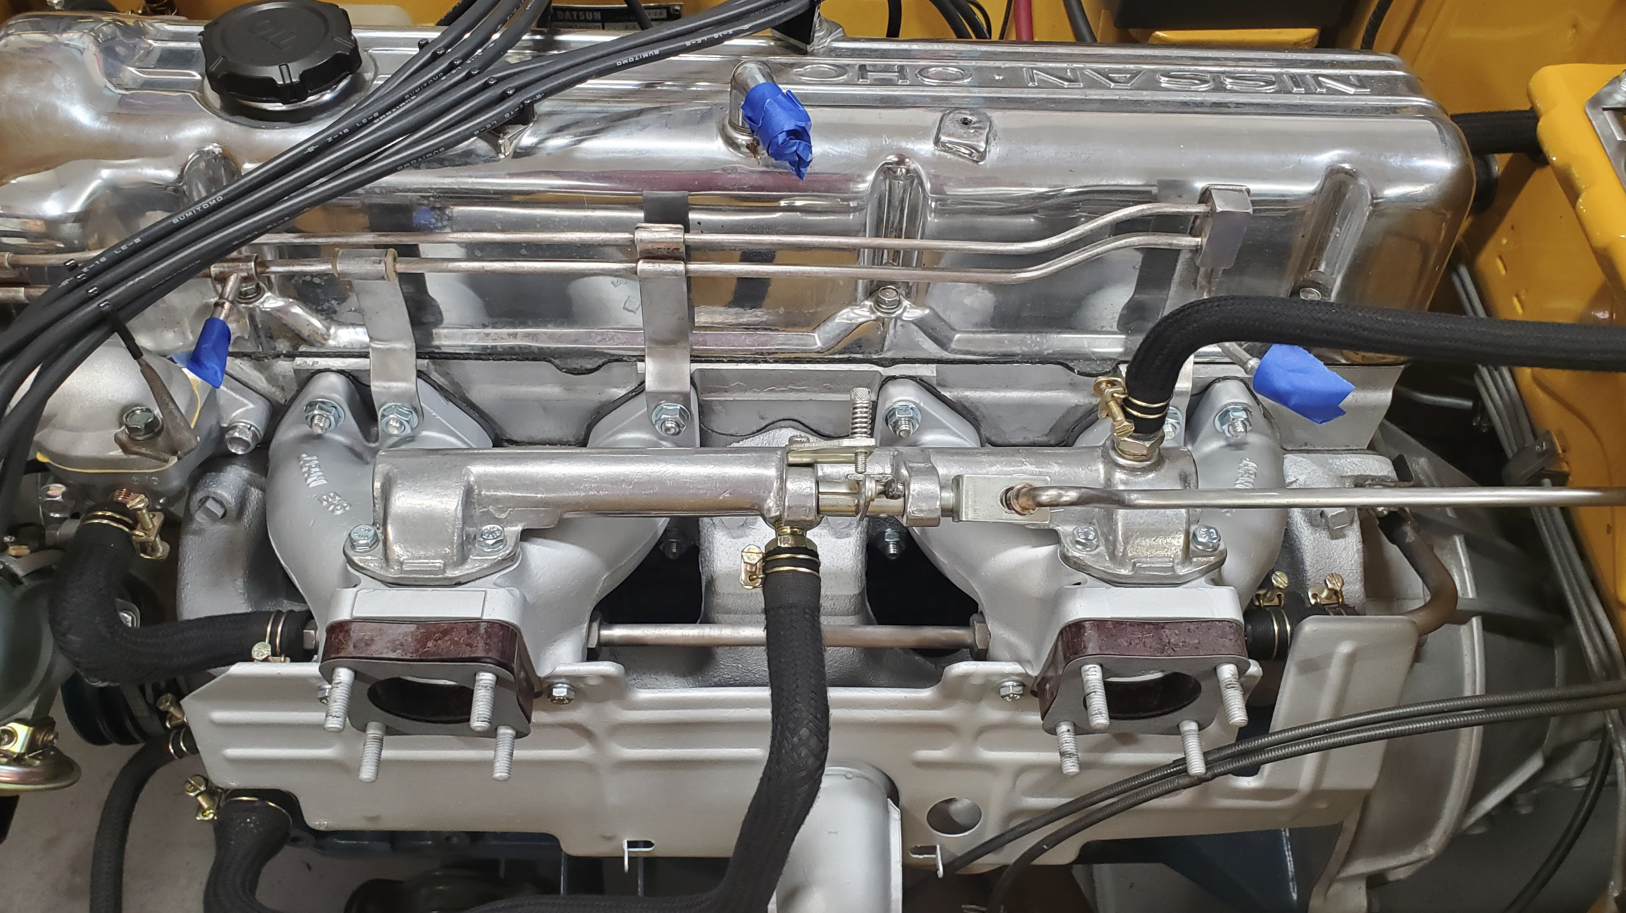
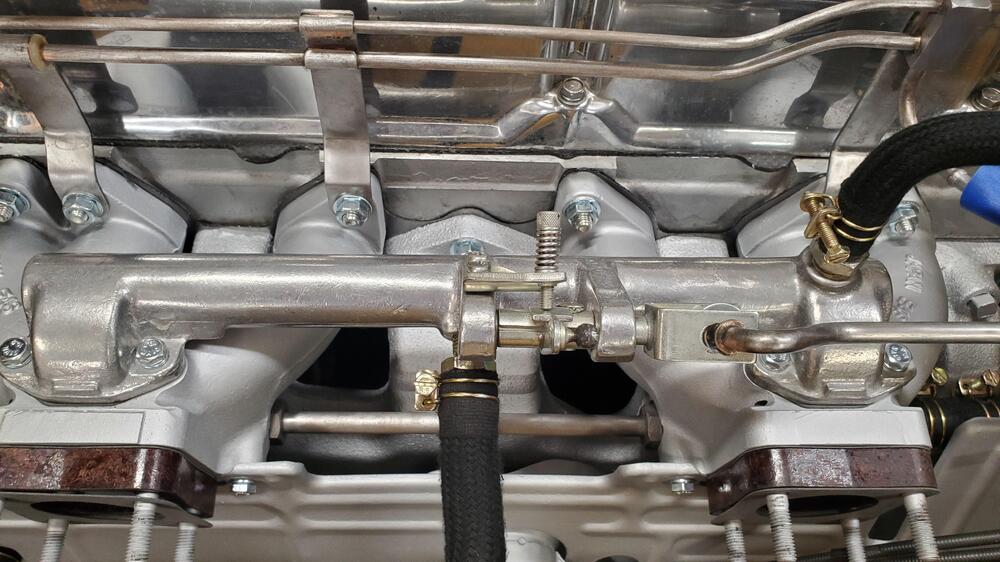
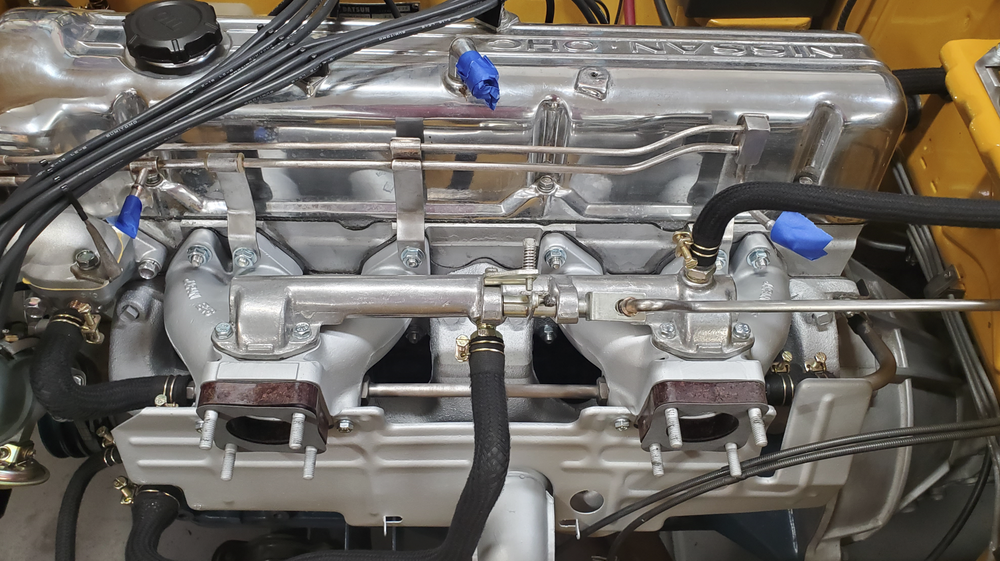
@w3wilkes @KenFirch heres that euro tube installed. Came out super sweet. And Wilkes you asked if it was a ztherapy and I think it might be now that I have an up close look. It has their polished look to it in my opinion. I'm cleaning and readying the carbs for the last step, hopefully attempt to start it this weekend. I'm going to atytempt to time it, balance, and adjust the mixture so fingers crossed its my first time lol.
-
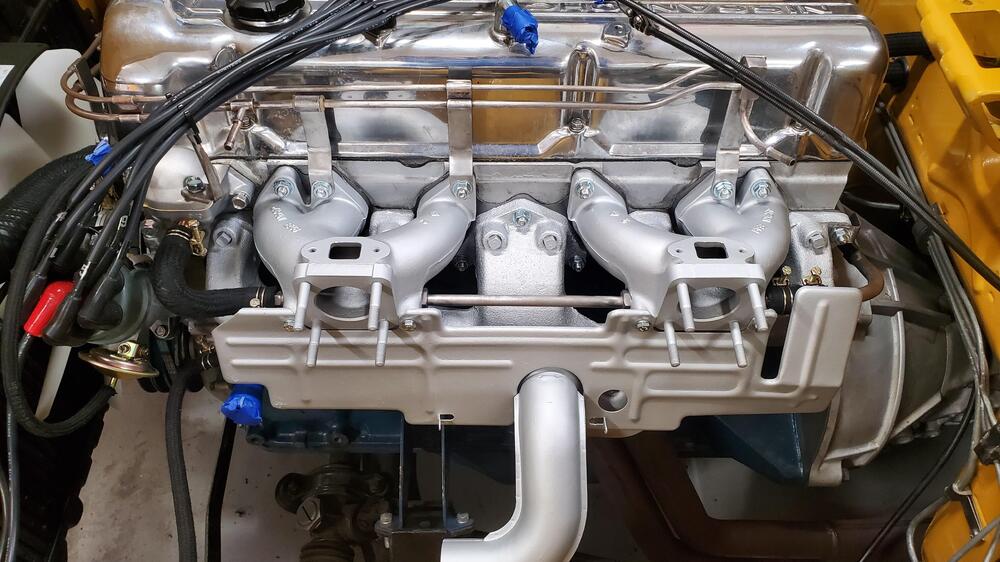
Chickened out on painting the pipes, when I went underneath i can see the PO has a jury rigged j bolt welded on and connected to the rear cross member. The support bracket where the pipe meets the muffler has a broken weld from the frame. It all seems stable but I'm not going to mess with it. I'll repair and replace all the pipes when i go headers down the road. added the shield
-
Oh duh, maybe i drop the pipe and slide it forwards with the car on rhino ramps! that should be much less twisting and work.
-
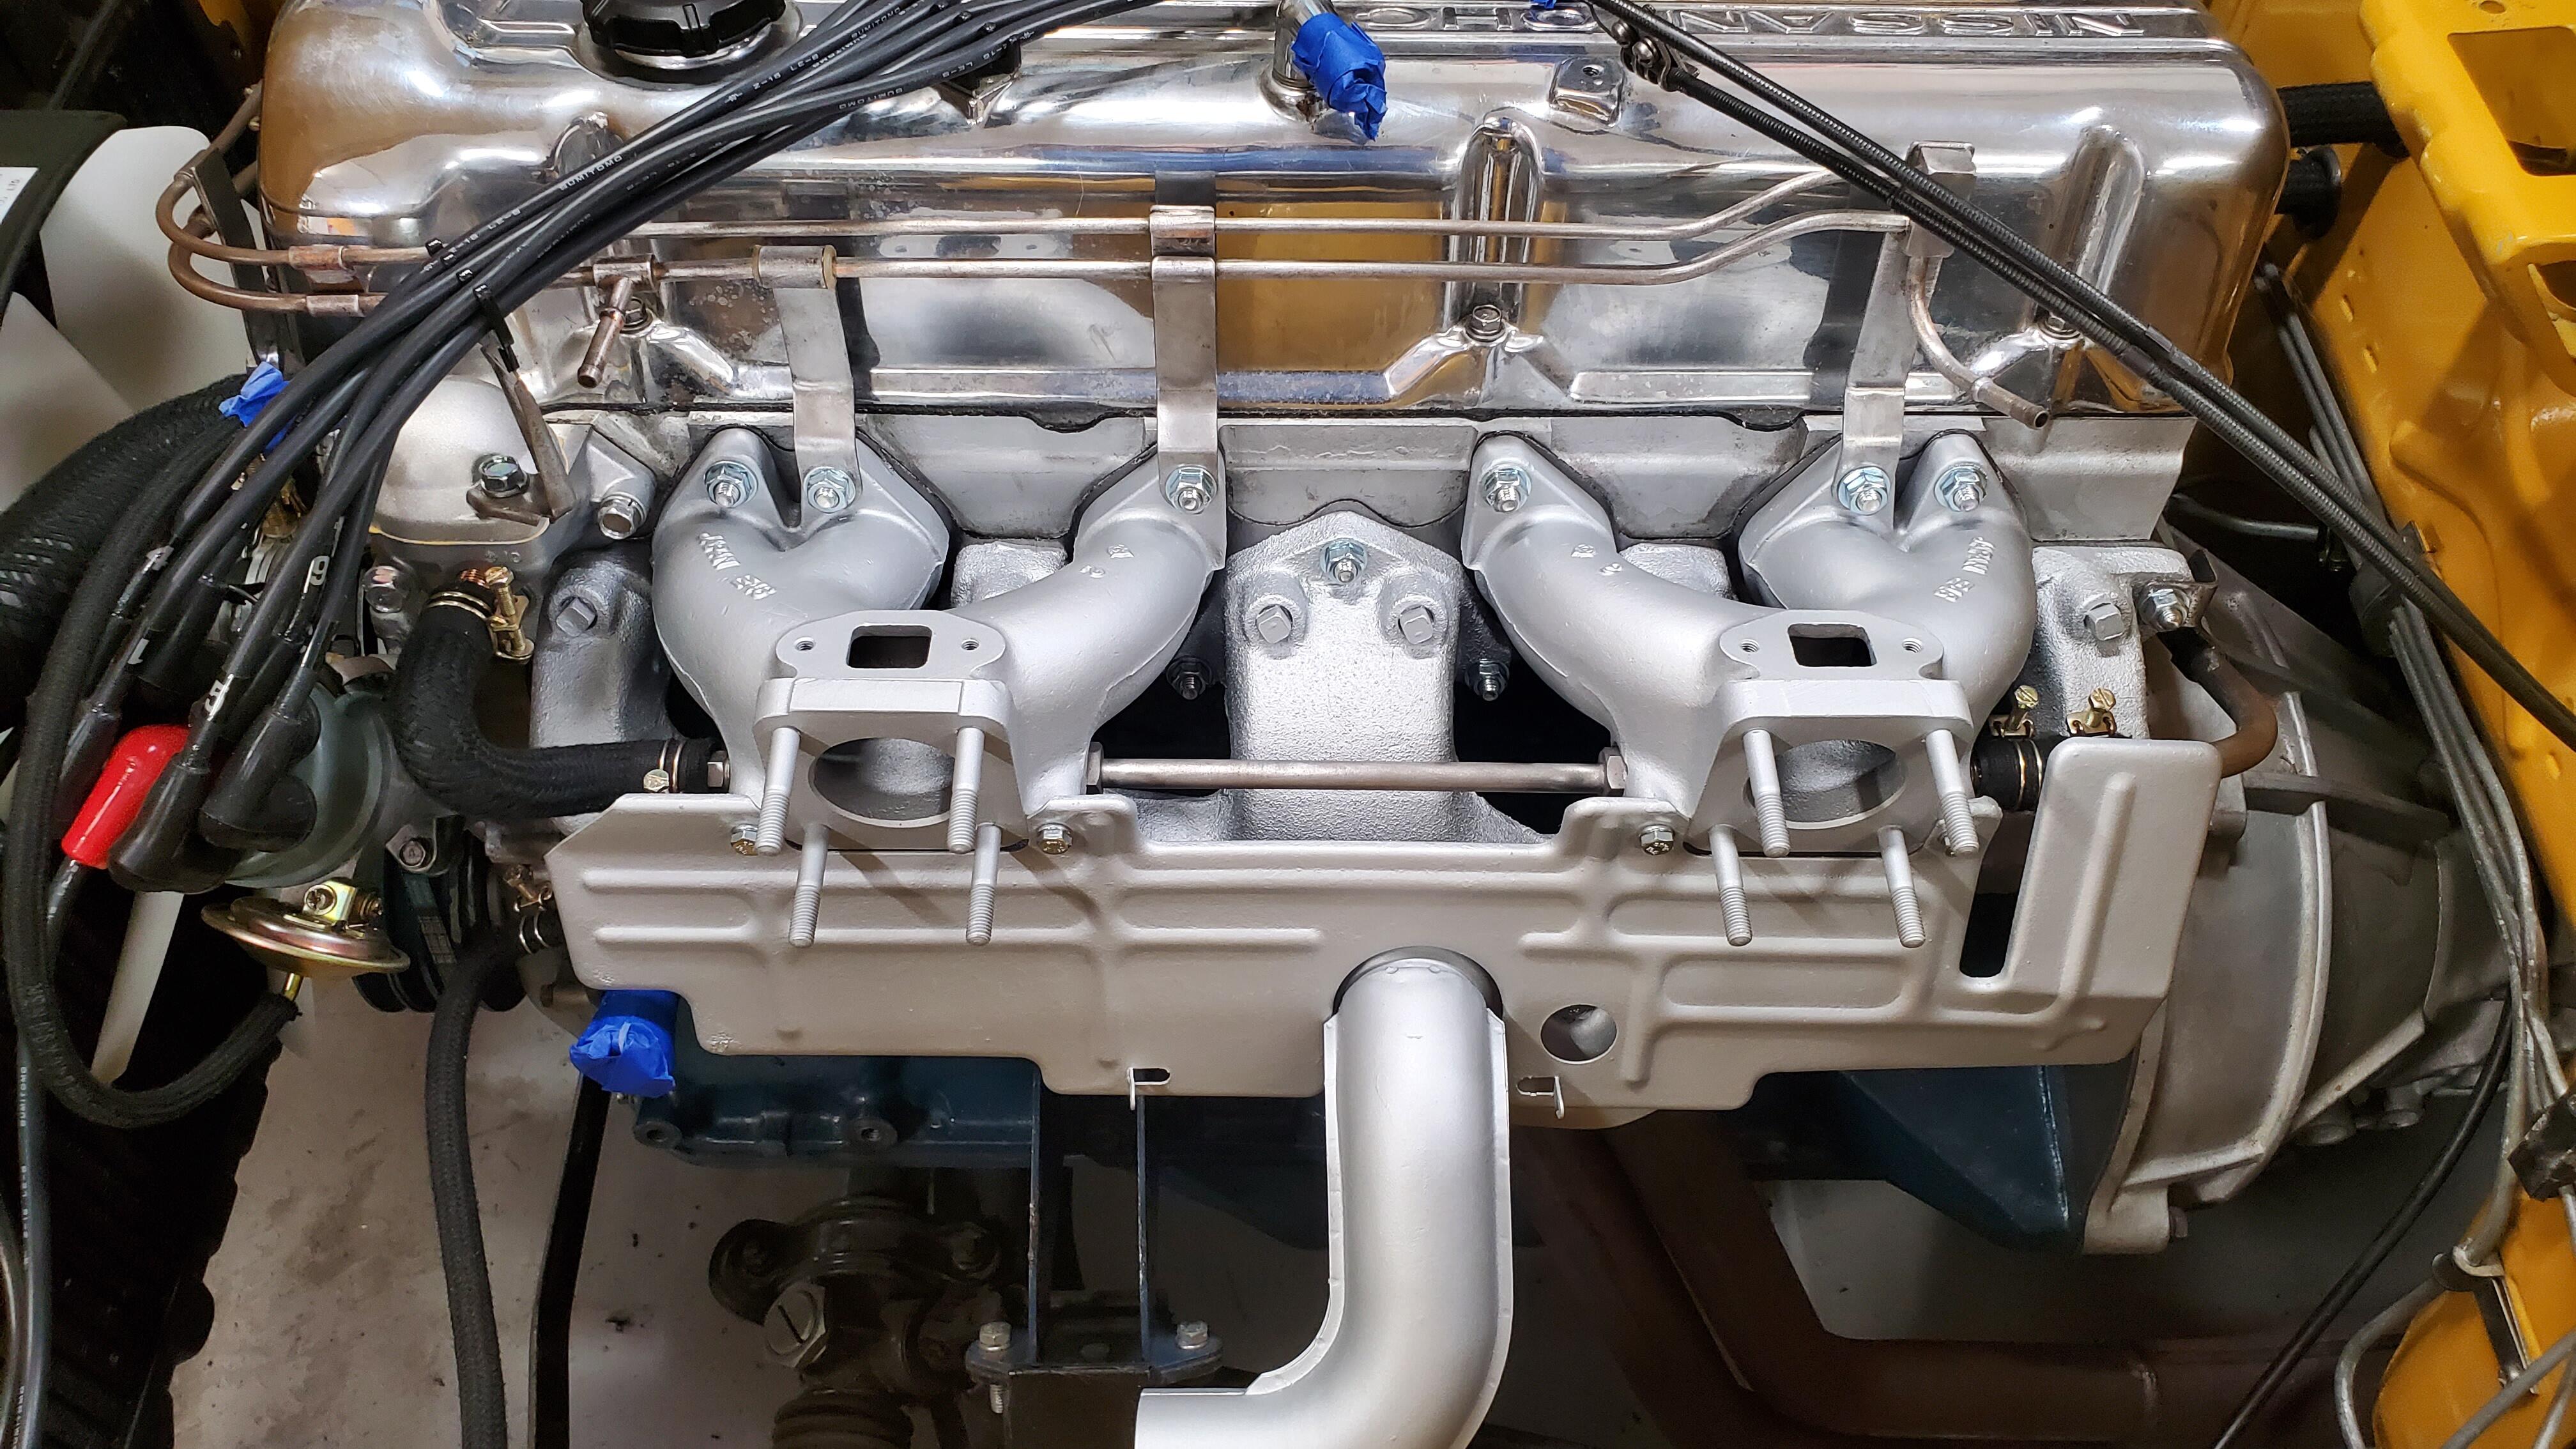
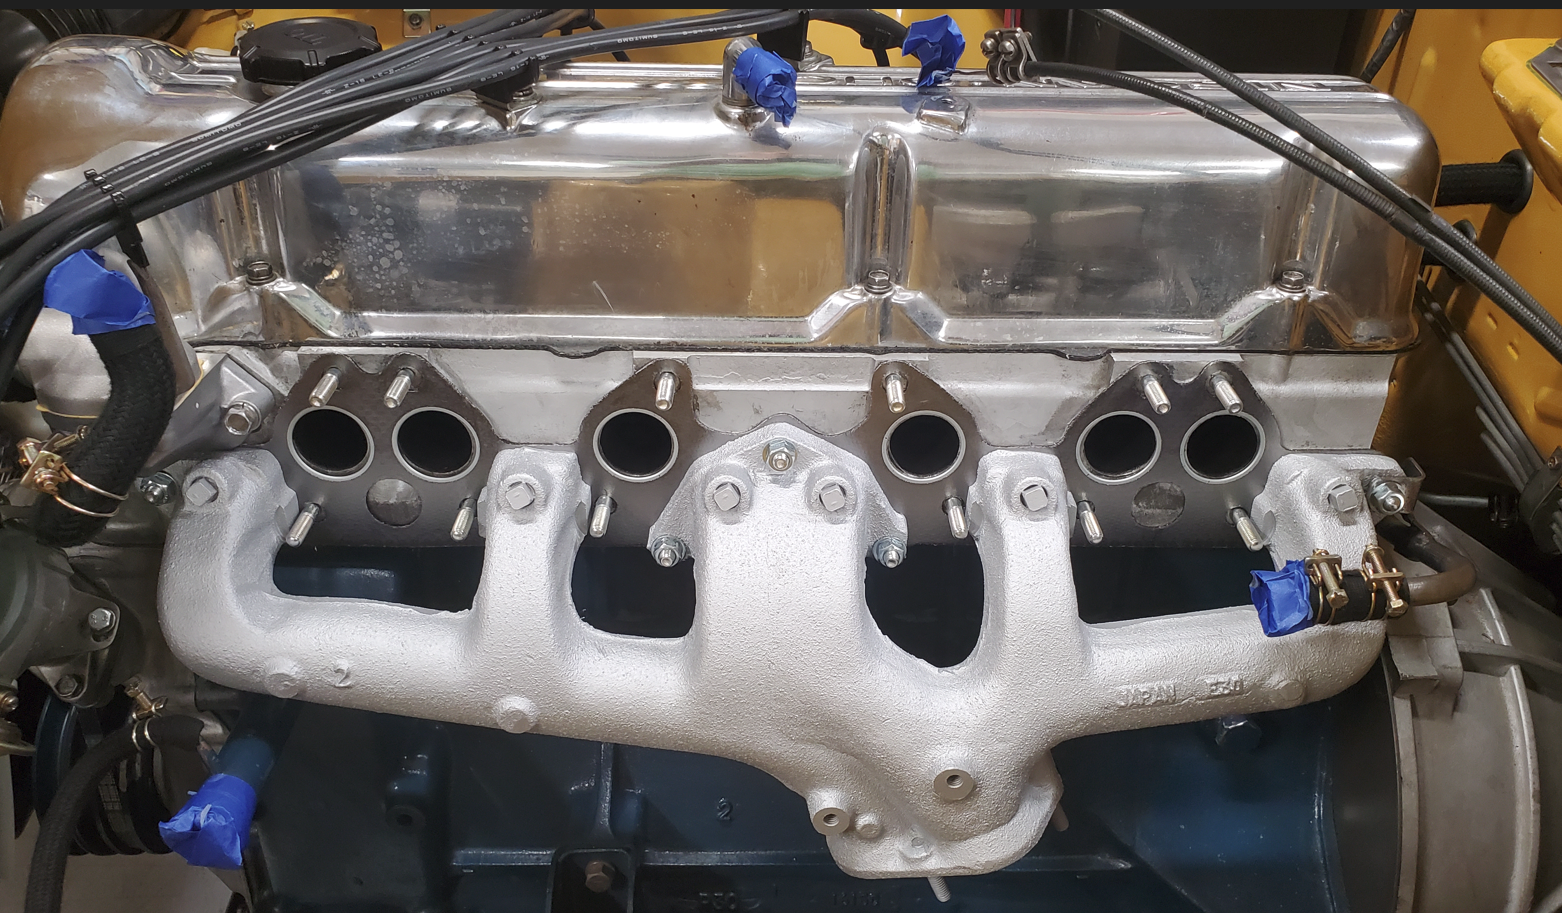
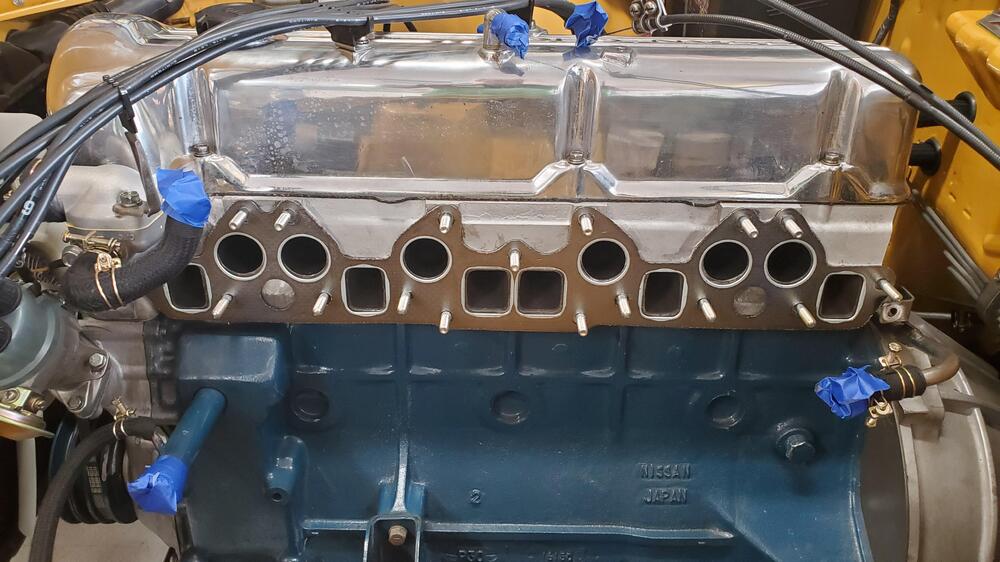
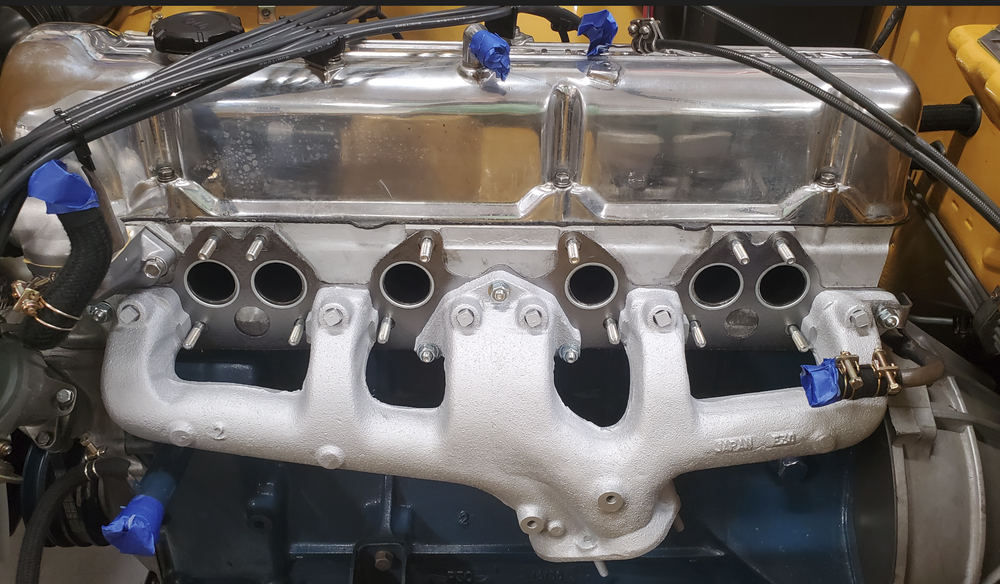
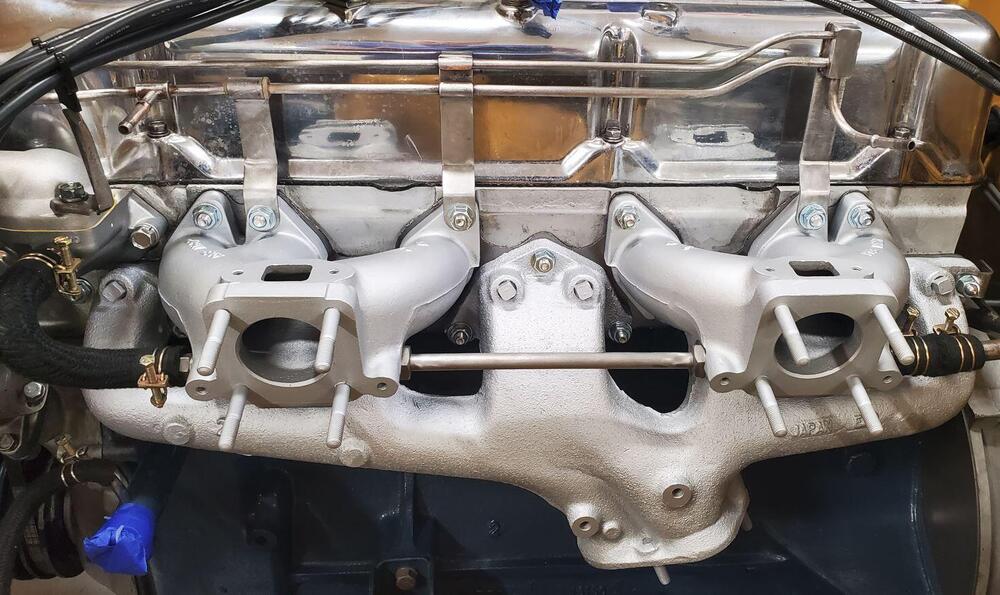
Making progress. A little ways to go waiting on some gaskets for the carbs and balance tube along with the brake booster hose switched to the top load rather than side valve. I decided to get all new studs and HW for the block because the previous set was a mess of sizes. MSA had a decent set all sized and ready to go but it did require me changing out the intake bolts to studs. I kind of like it only because it made the mounting easier rather than having to hold it in place while i bolted it. the exhaust manifold arrived already media blasted nicely but not such a great color so i painted it with vht. I ended up using aluminum to try and match the intake I had already. then i restored and painted the intake, polished the coolant tube and fuel rail Coolant back in and as i wait for the gaskets I'm polishing the linkages as best i can. i'm contemplating painting the front section of the exhaust pipe its currently a rusty looking brown. Without a true lift might be a bit of a challenge getting it out the back but i'll see what i can do. if its not reasonable ill leave it and deal with new pipes anyway down the road with the headers.