Jump to content
Remove Ads

wheee!

Free Member
  • Joined

  • Last visited

Everything posted by wheee!

  1. 1000/1500/2000/3000 grit then cutting pad and swirl and haze remover. This is about an 80% solution to the finished panel. I will do a complete polish after the car is all sanded.
  2. A little more wet sanding and paint correction tonight.
  3. I had some clearcoat run in the cold. It didn’t set up as fast and by the third coat it hard started to sag. I used 1500 then 2000 then 2500 then 3000 then random orbital dual action polisher.
  4. Did some paint repair while I wait for parts to show up. Some wet sanding and polishing.
  5. Smart boy keeps a fire extinguisher handy... [emoji1303]
  6. [mention]zKars [/mention] has already researched and solved the issue I believe.
  7. A friend of mine in town has this kit on his 280Z. You can see it on his instagram at https://www.instagram.com/svanzy_ya/
  8. https://www.classiczcars.com/forums/topic/50908-1976-280z-restoration-project/?do=findComment&comment=586590
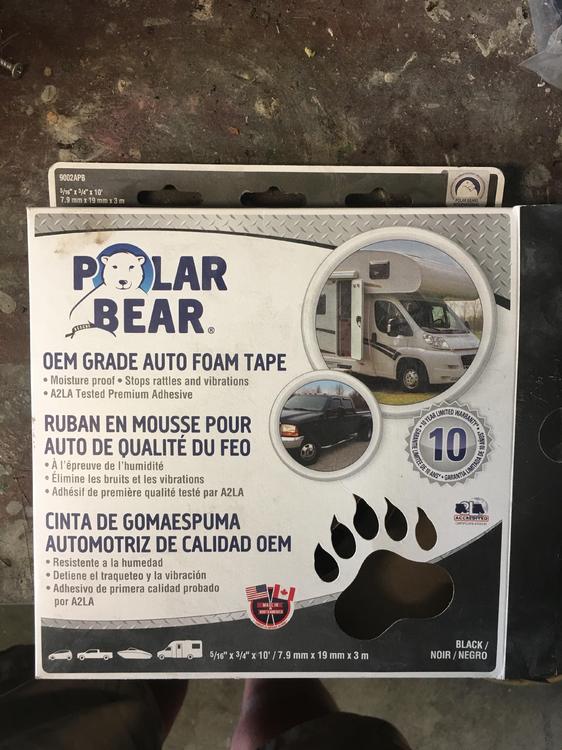
  9. Sorry, the foam tape goes on top of the flat fender supports. The bulb gasket goes over the fender gasket pinch weld.
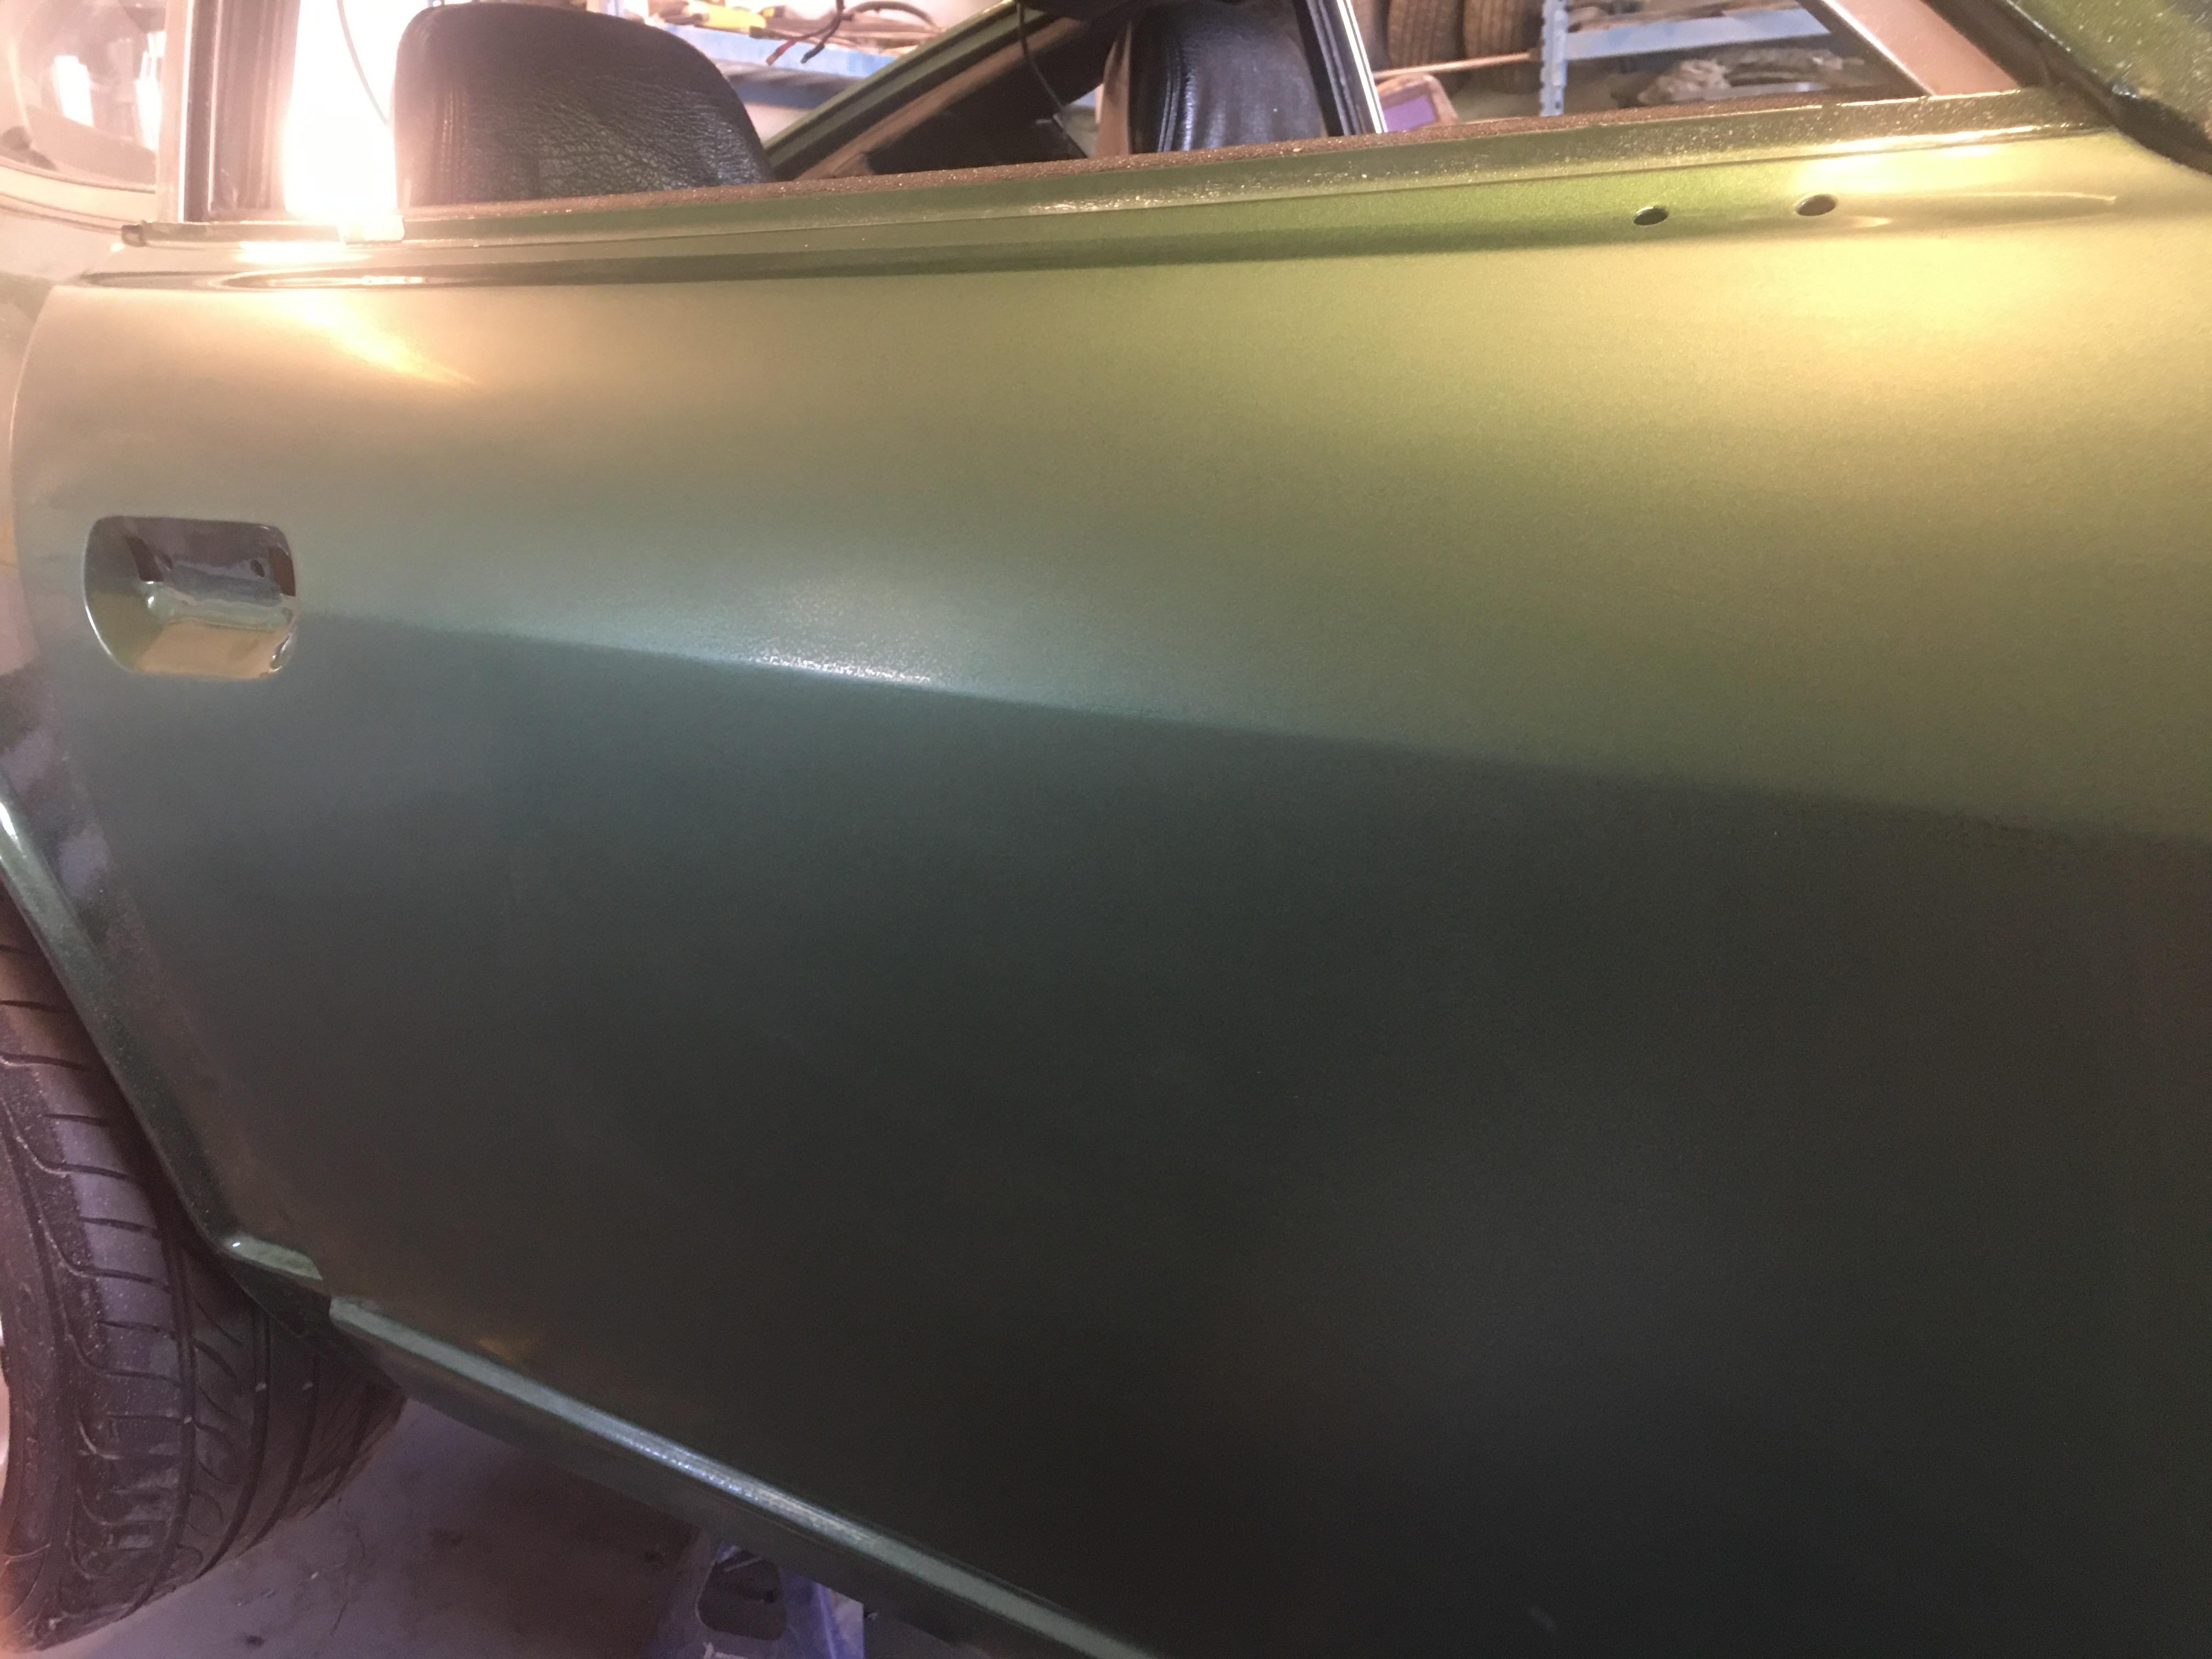
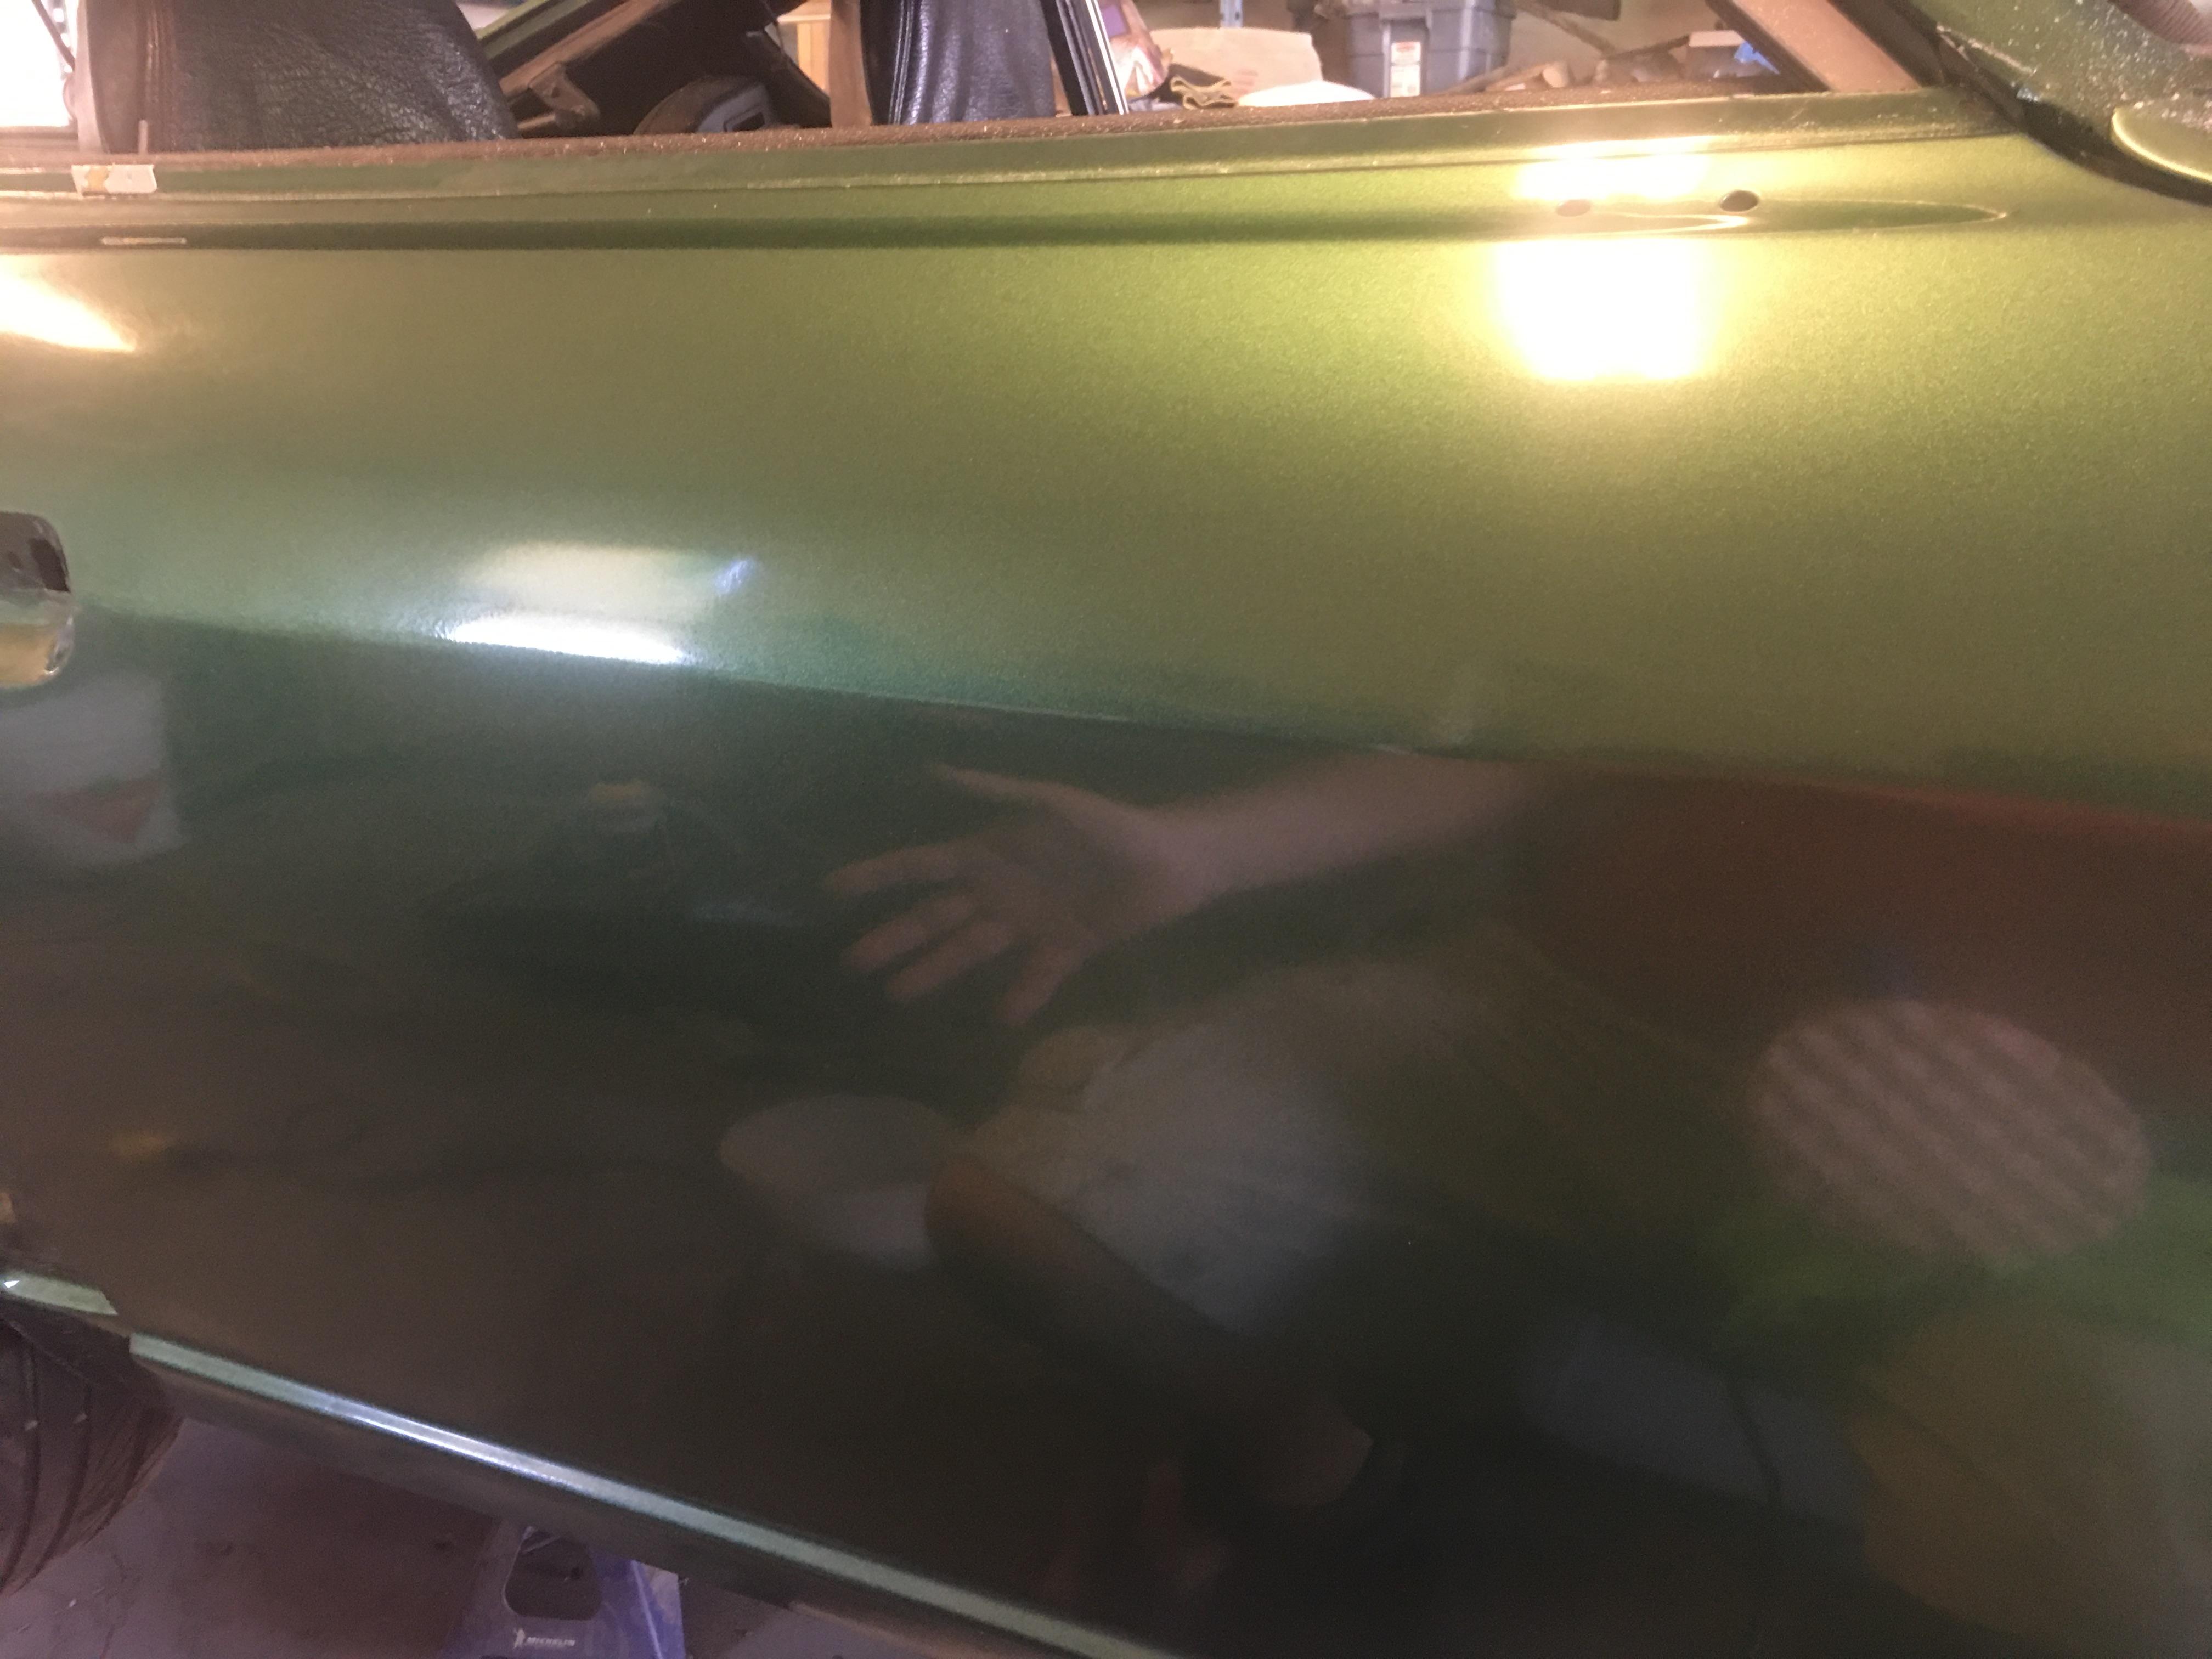
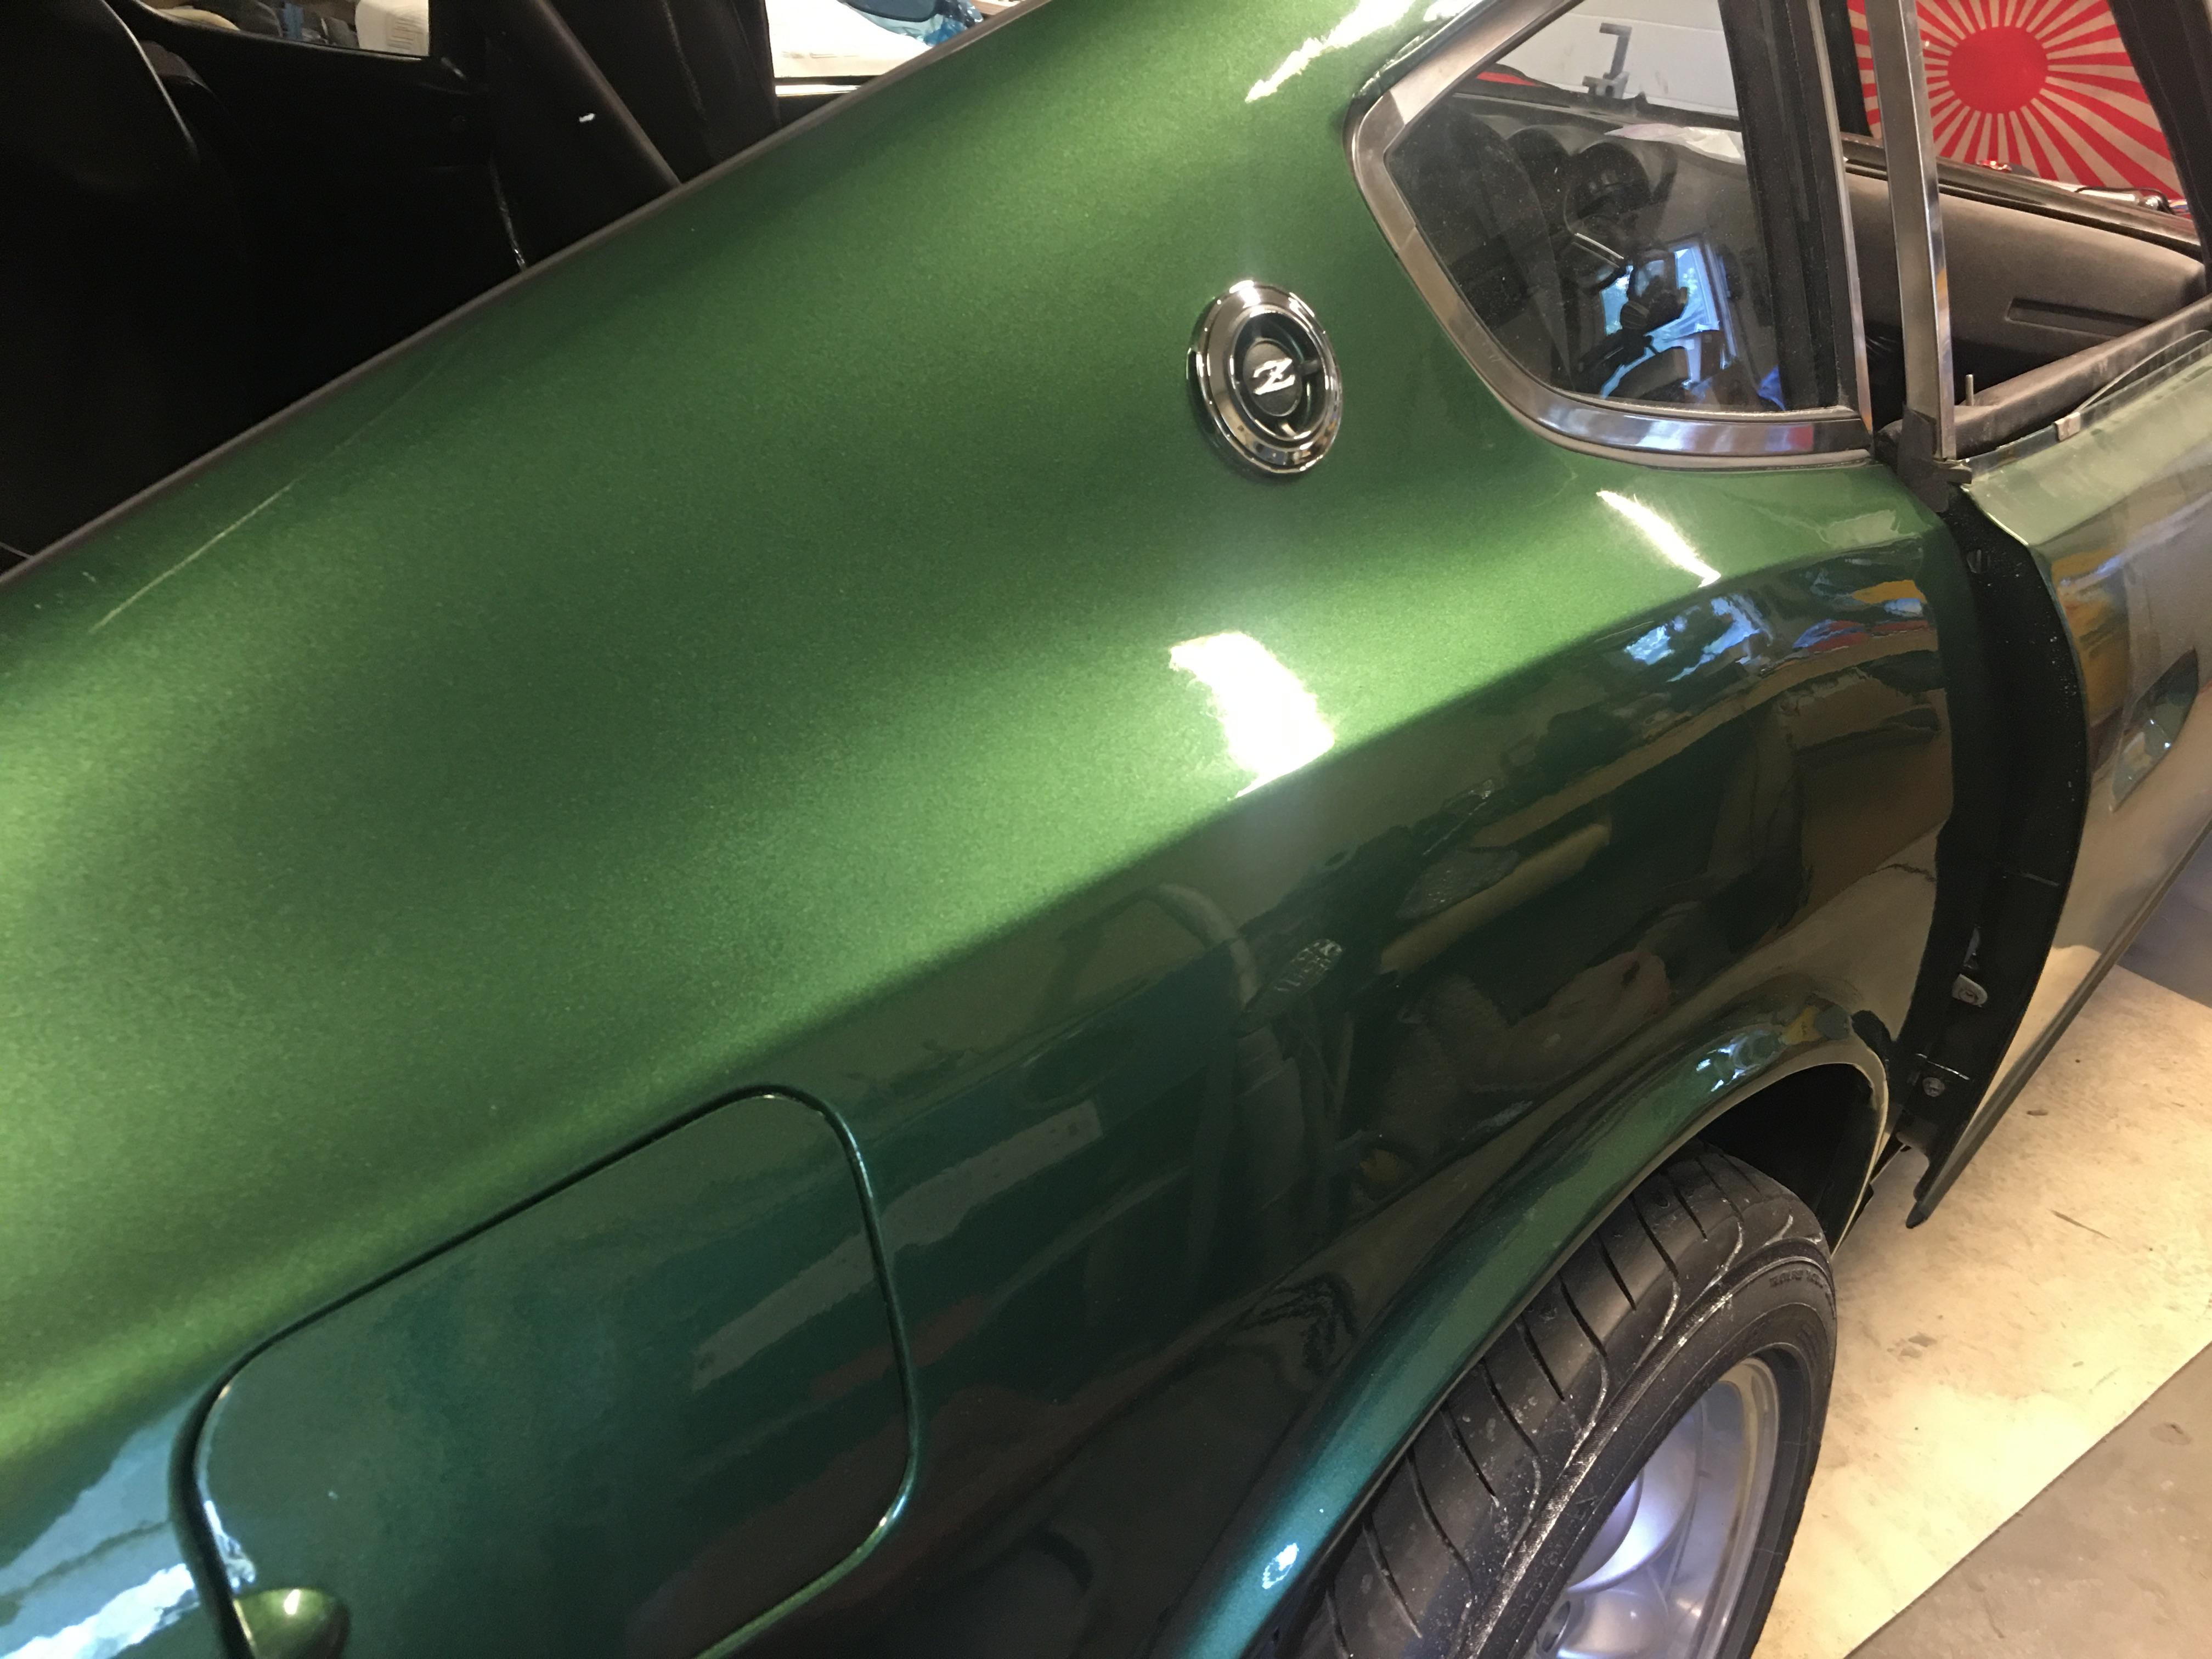
  10. Green cars rule...
  11. It snaps over the ridge leaving a bulb on top to cushion the fender. Super simple.
  12. 5/16 x 3/4” polar bear brand from Canadian Tire.
  13. I used closed cell foam tape. Does not absorb moisture.
  14. Get a bulb seal. No clips needed.
  15. Added a port on the console for the Haltech connection. This is unobtrusive and easy to connect.
  16. Sound system tested and temporarily installed. Sounds good for under $210 Cdn! IMG_2287.MP4
  17. Door panel skins arrived today! Time to build some doors... Leather panels with leather covers for the armrests and green stitching. Final pics in car not fully installed.
  18. Reassembled the horn components and placed the wheel for effect. The cling wrap is just there to protect the paint for now.
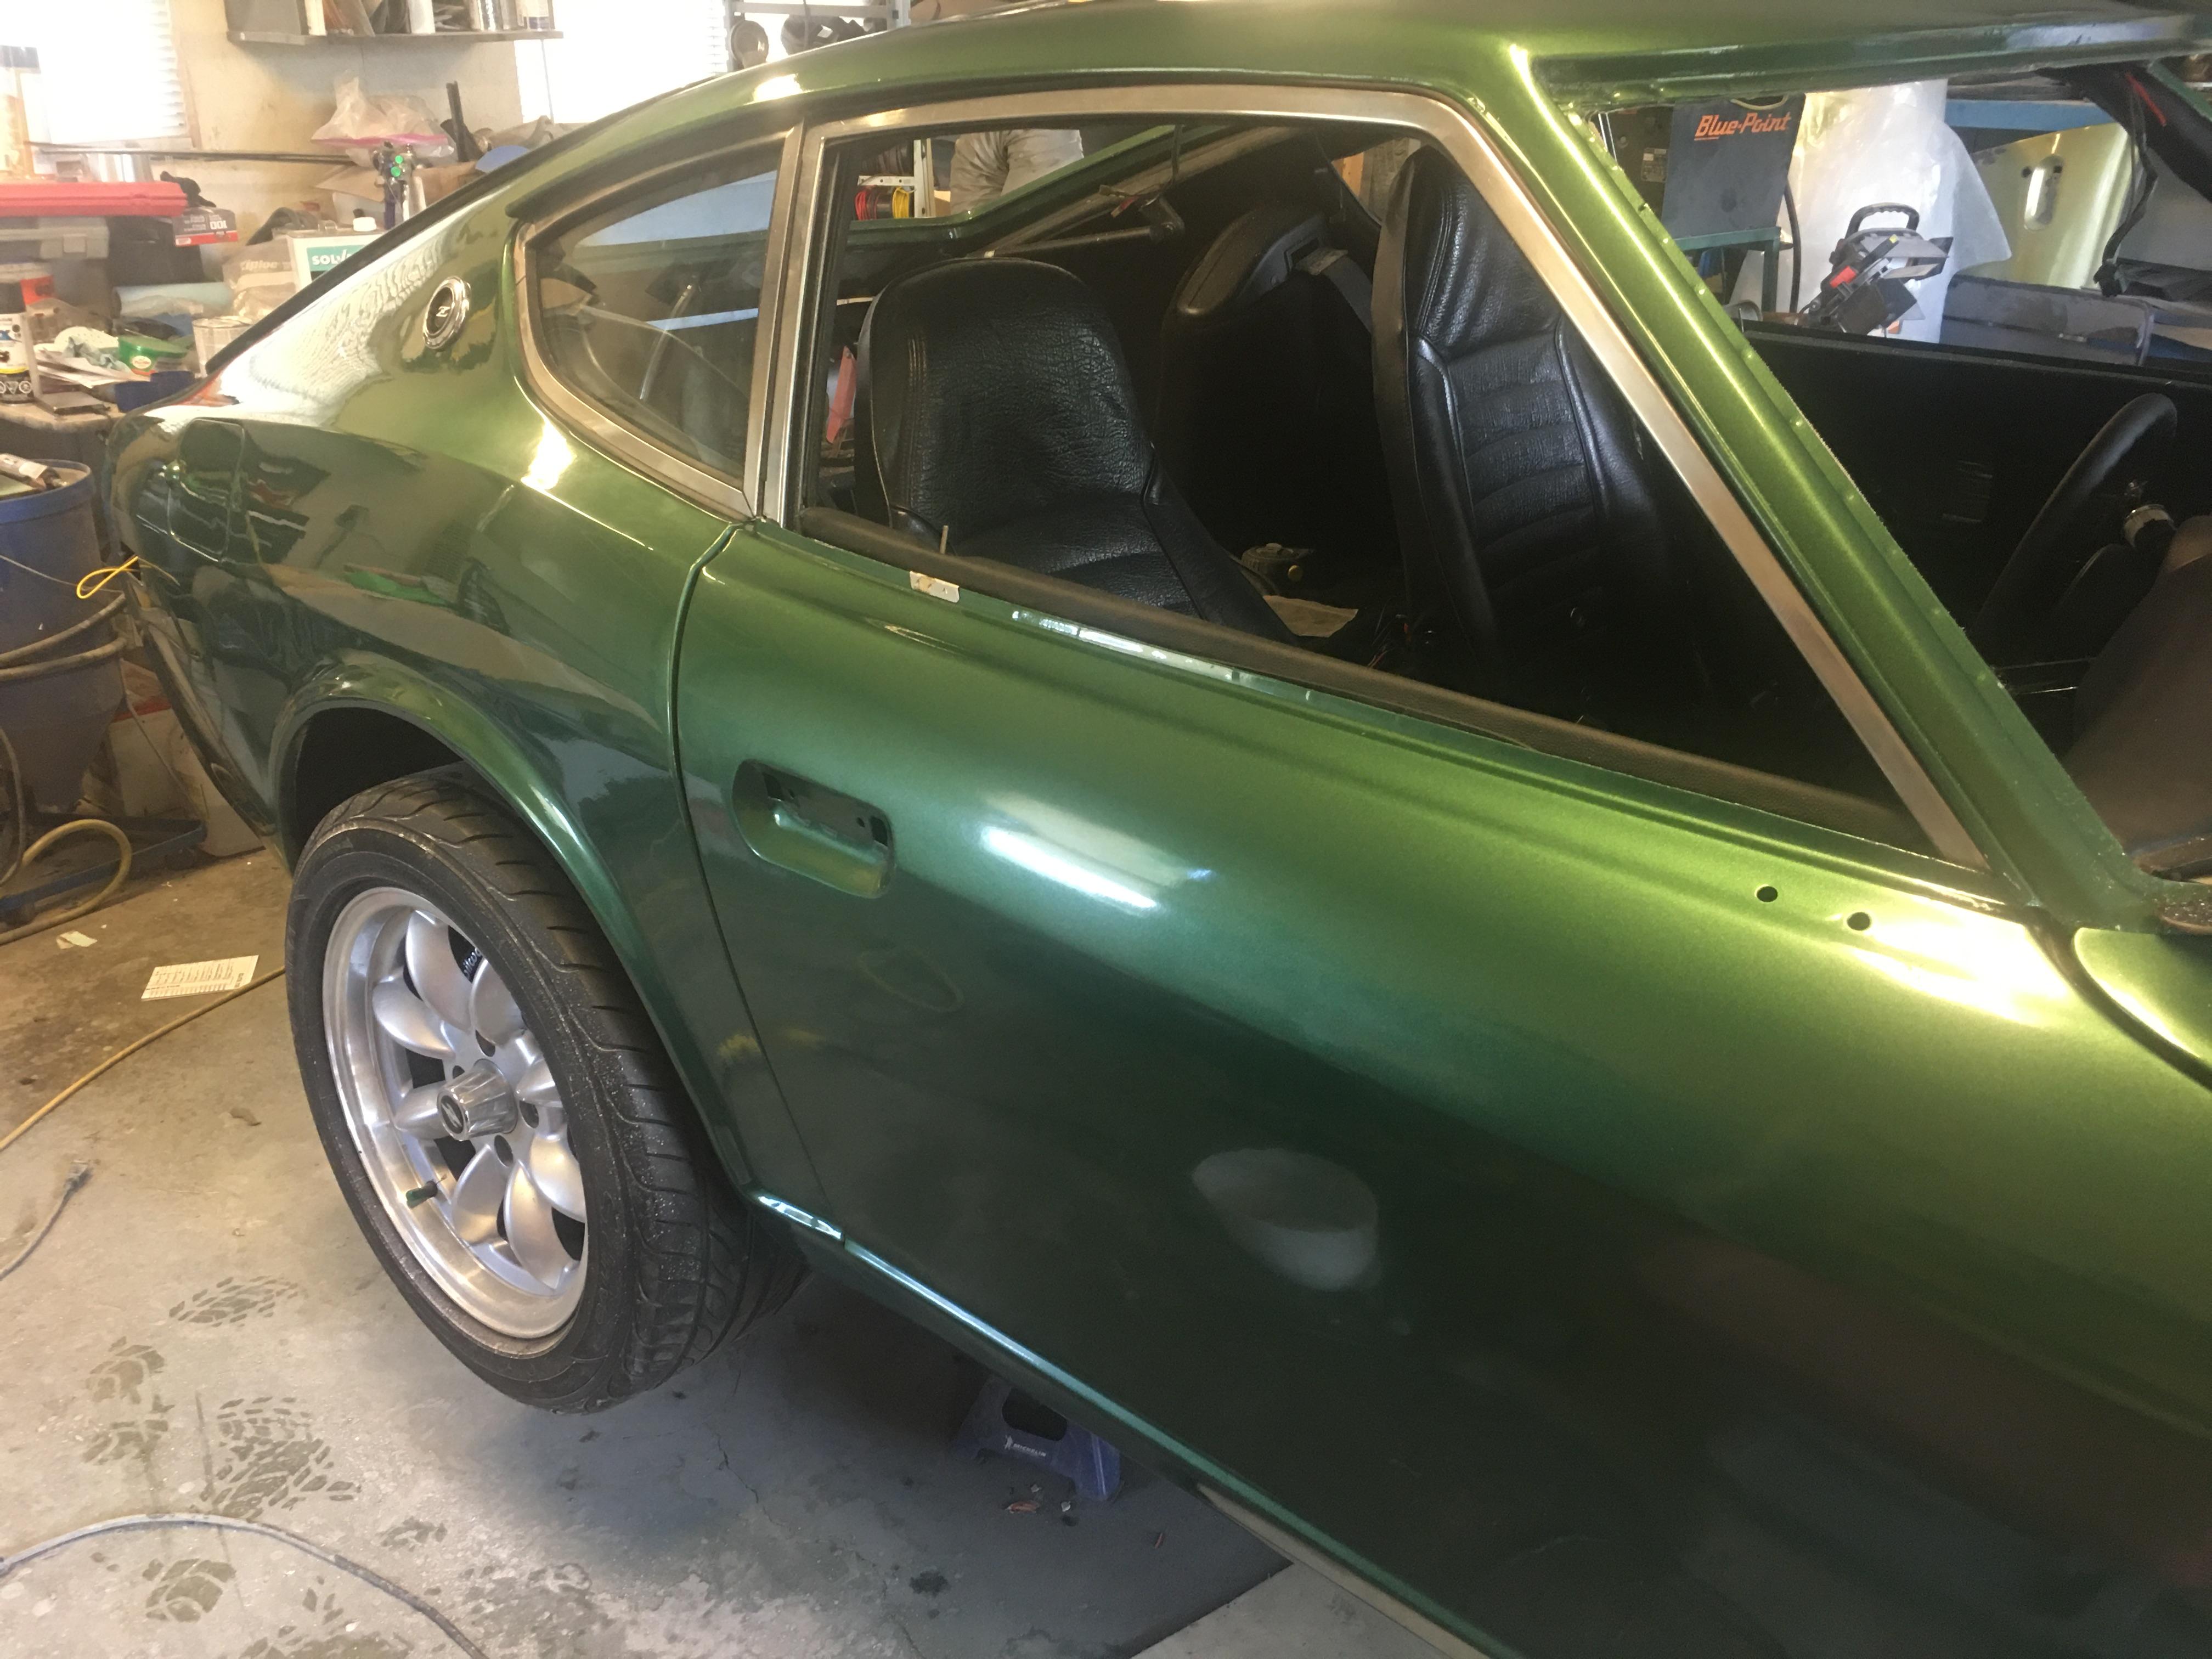
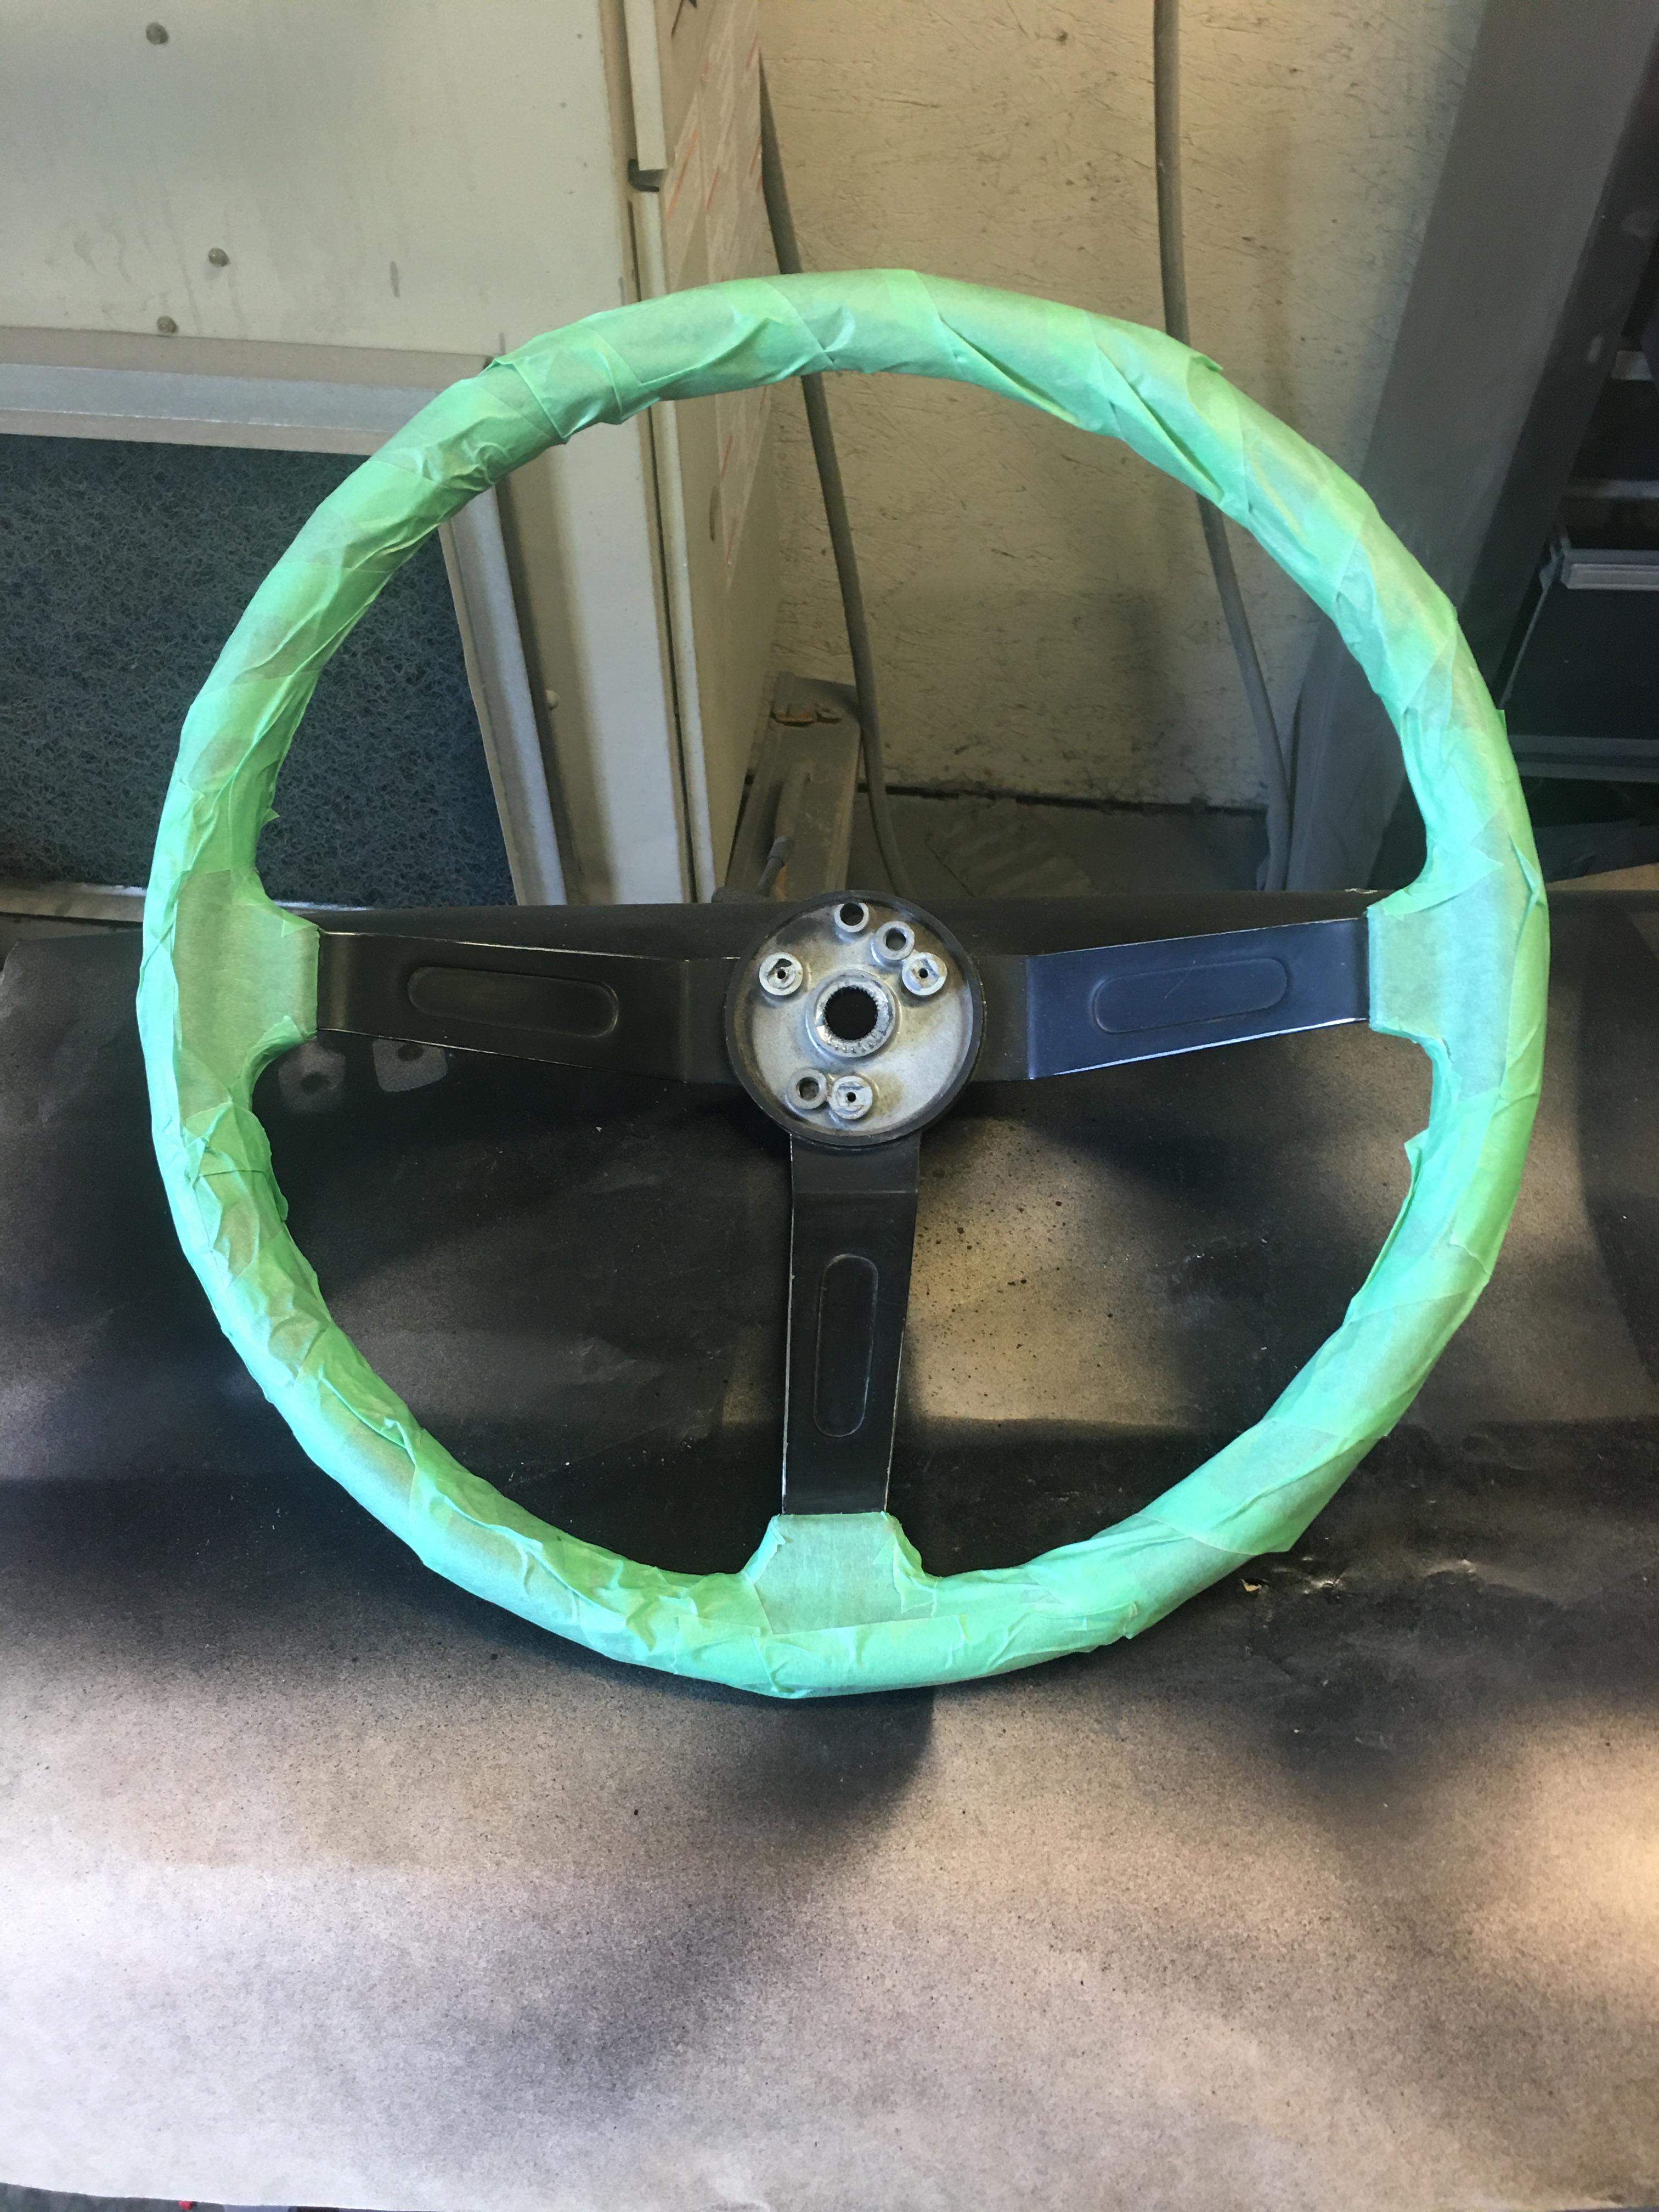
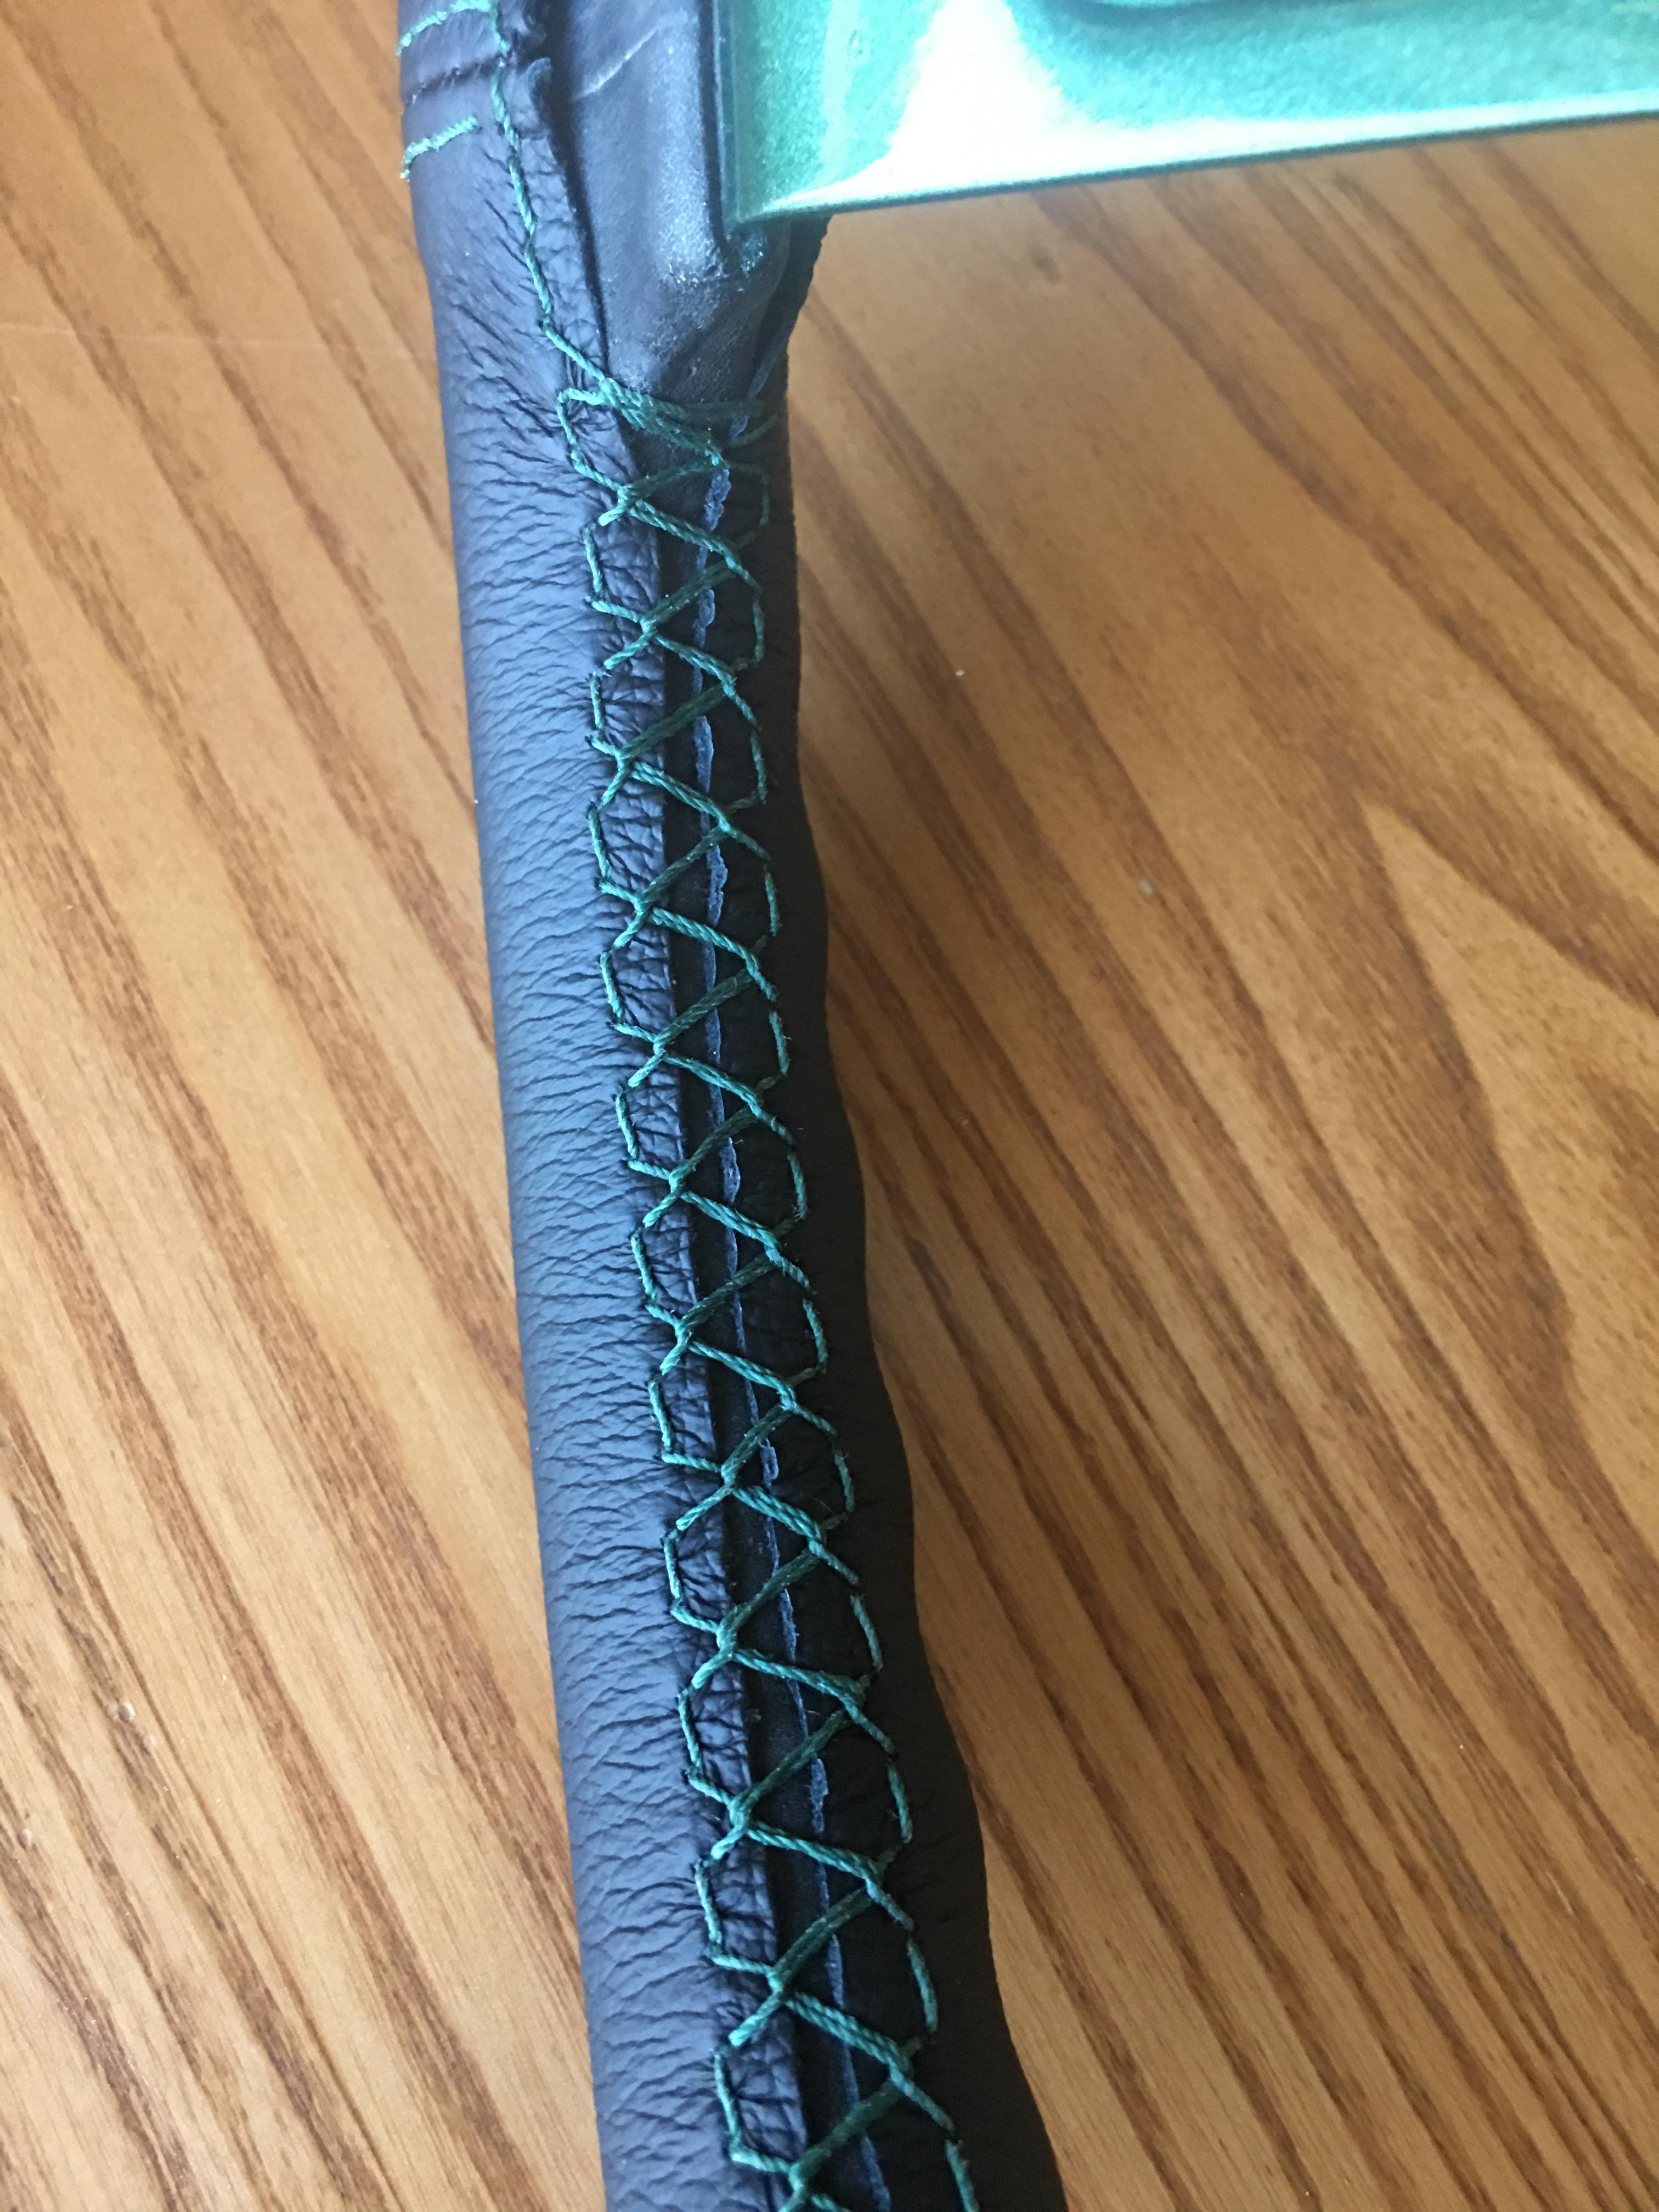
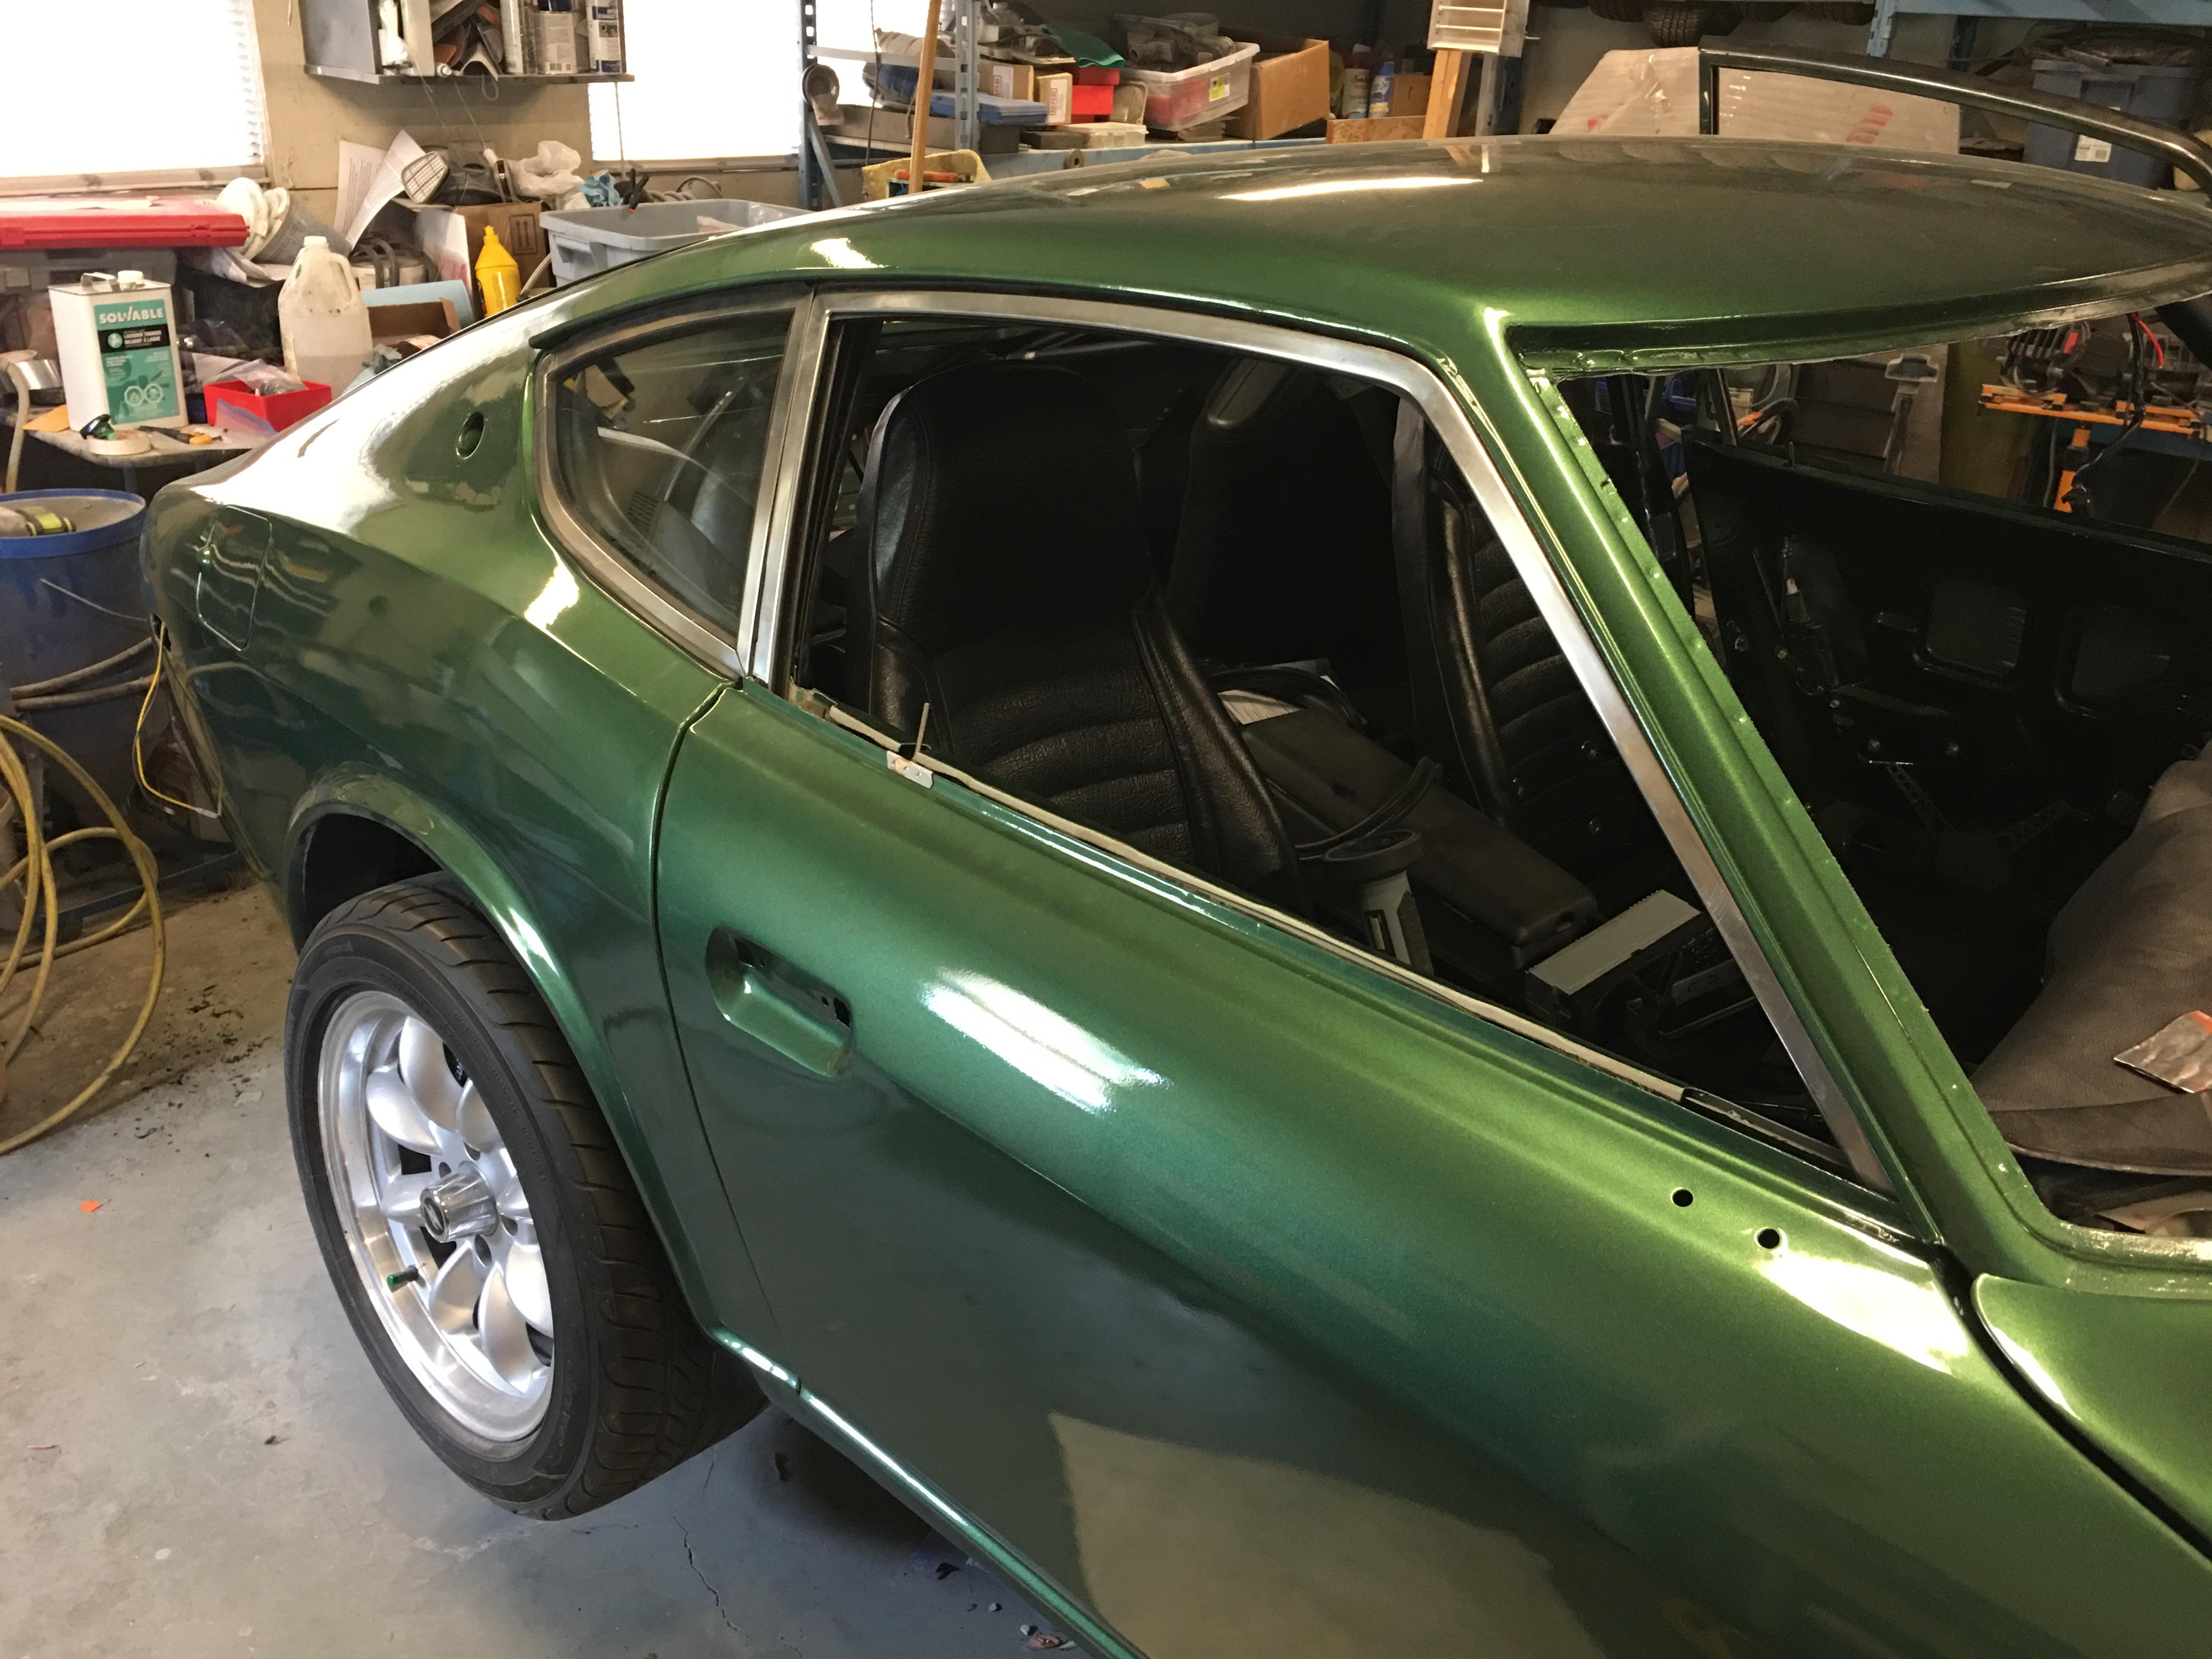
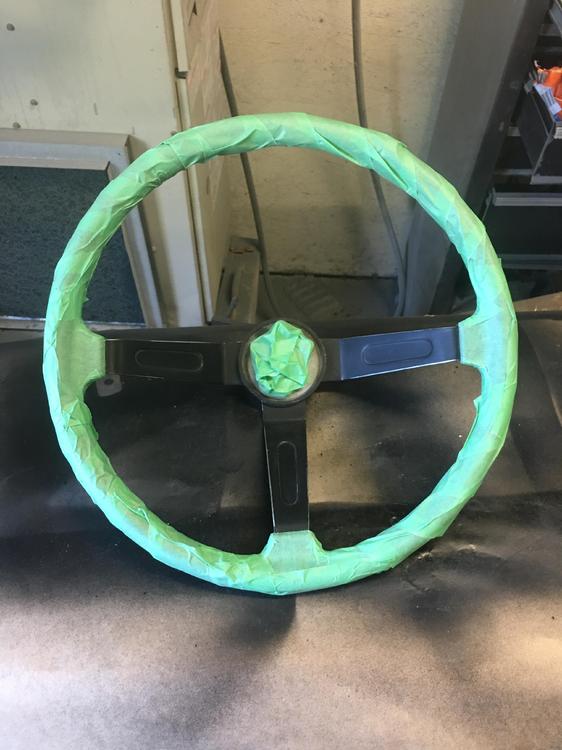
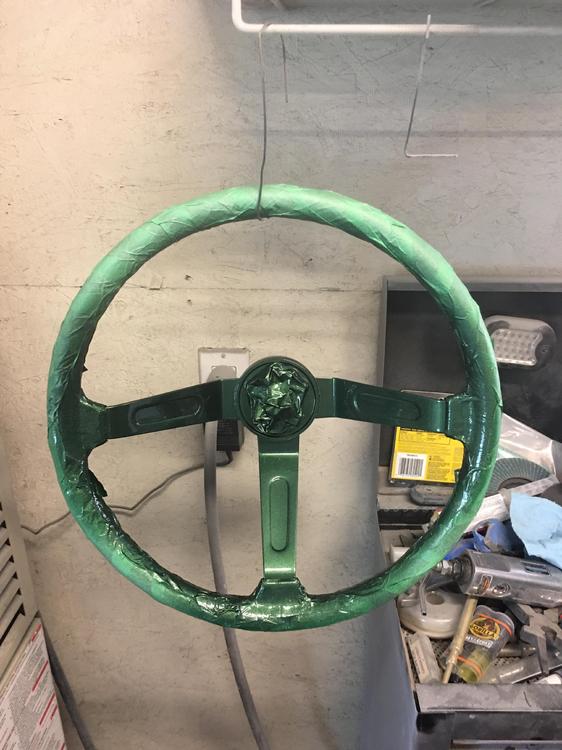
  19. On to the next project. I wanted to redo the original steering wheel as it just felt like the right way to go. I sanded the spikes down and painted them body colour then hit them with a nice coat of gloss. Next, I wrapped a custom leather cover over the wheel and baseball stitched it up in dark green thread. The cover was off an eBay seller in the UK.
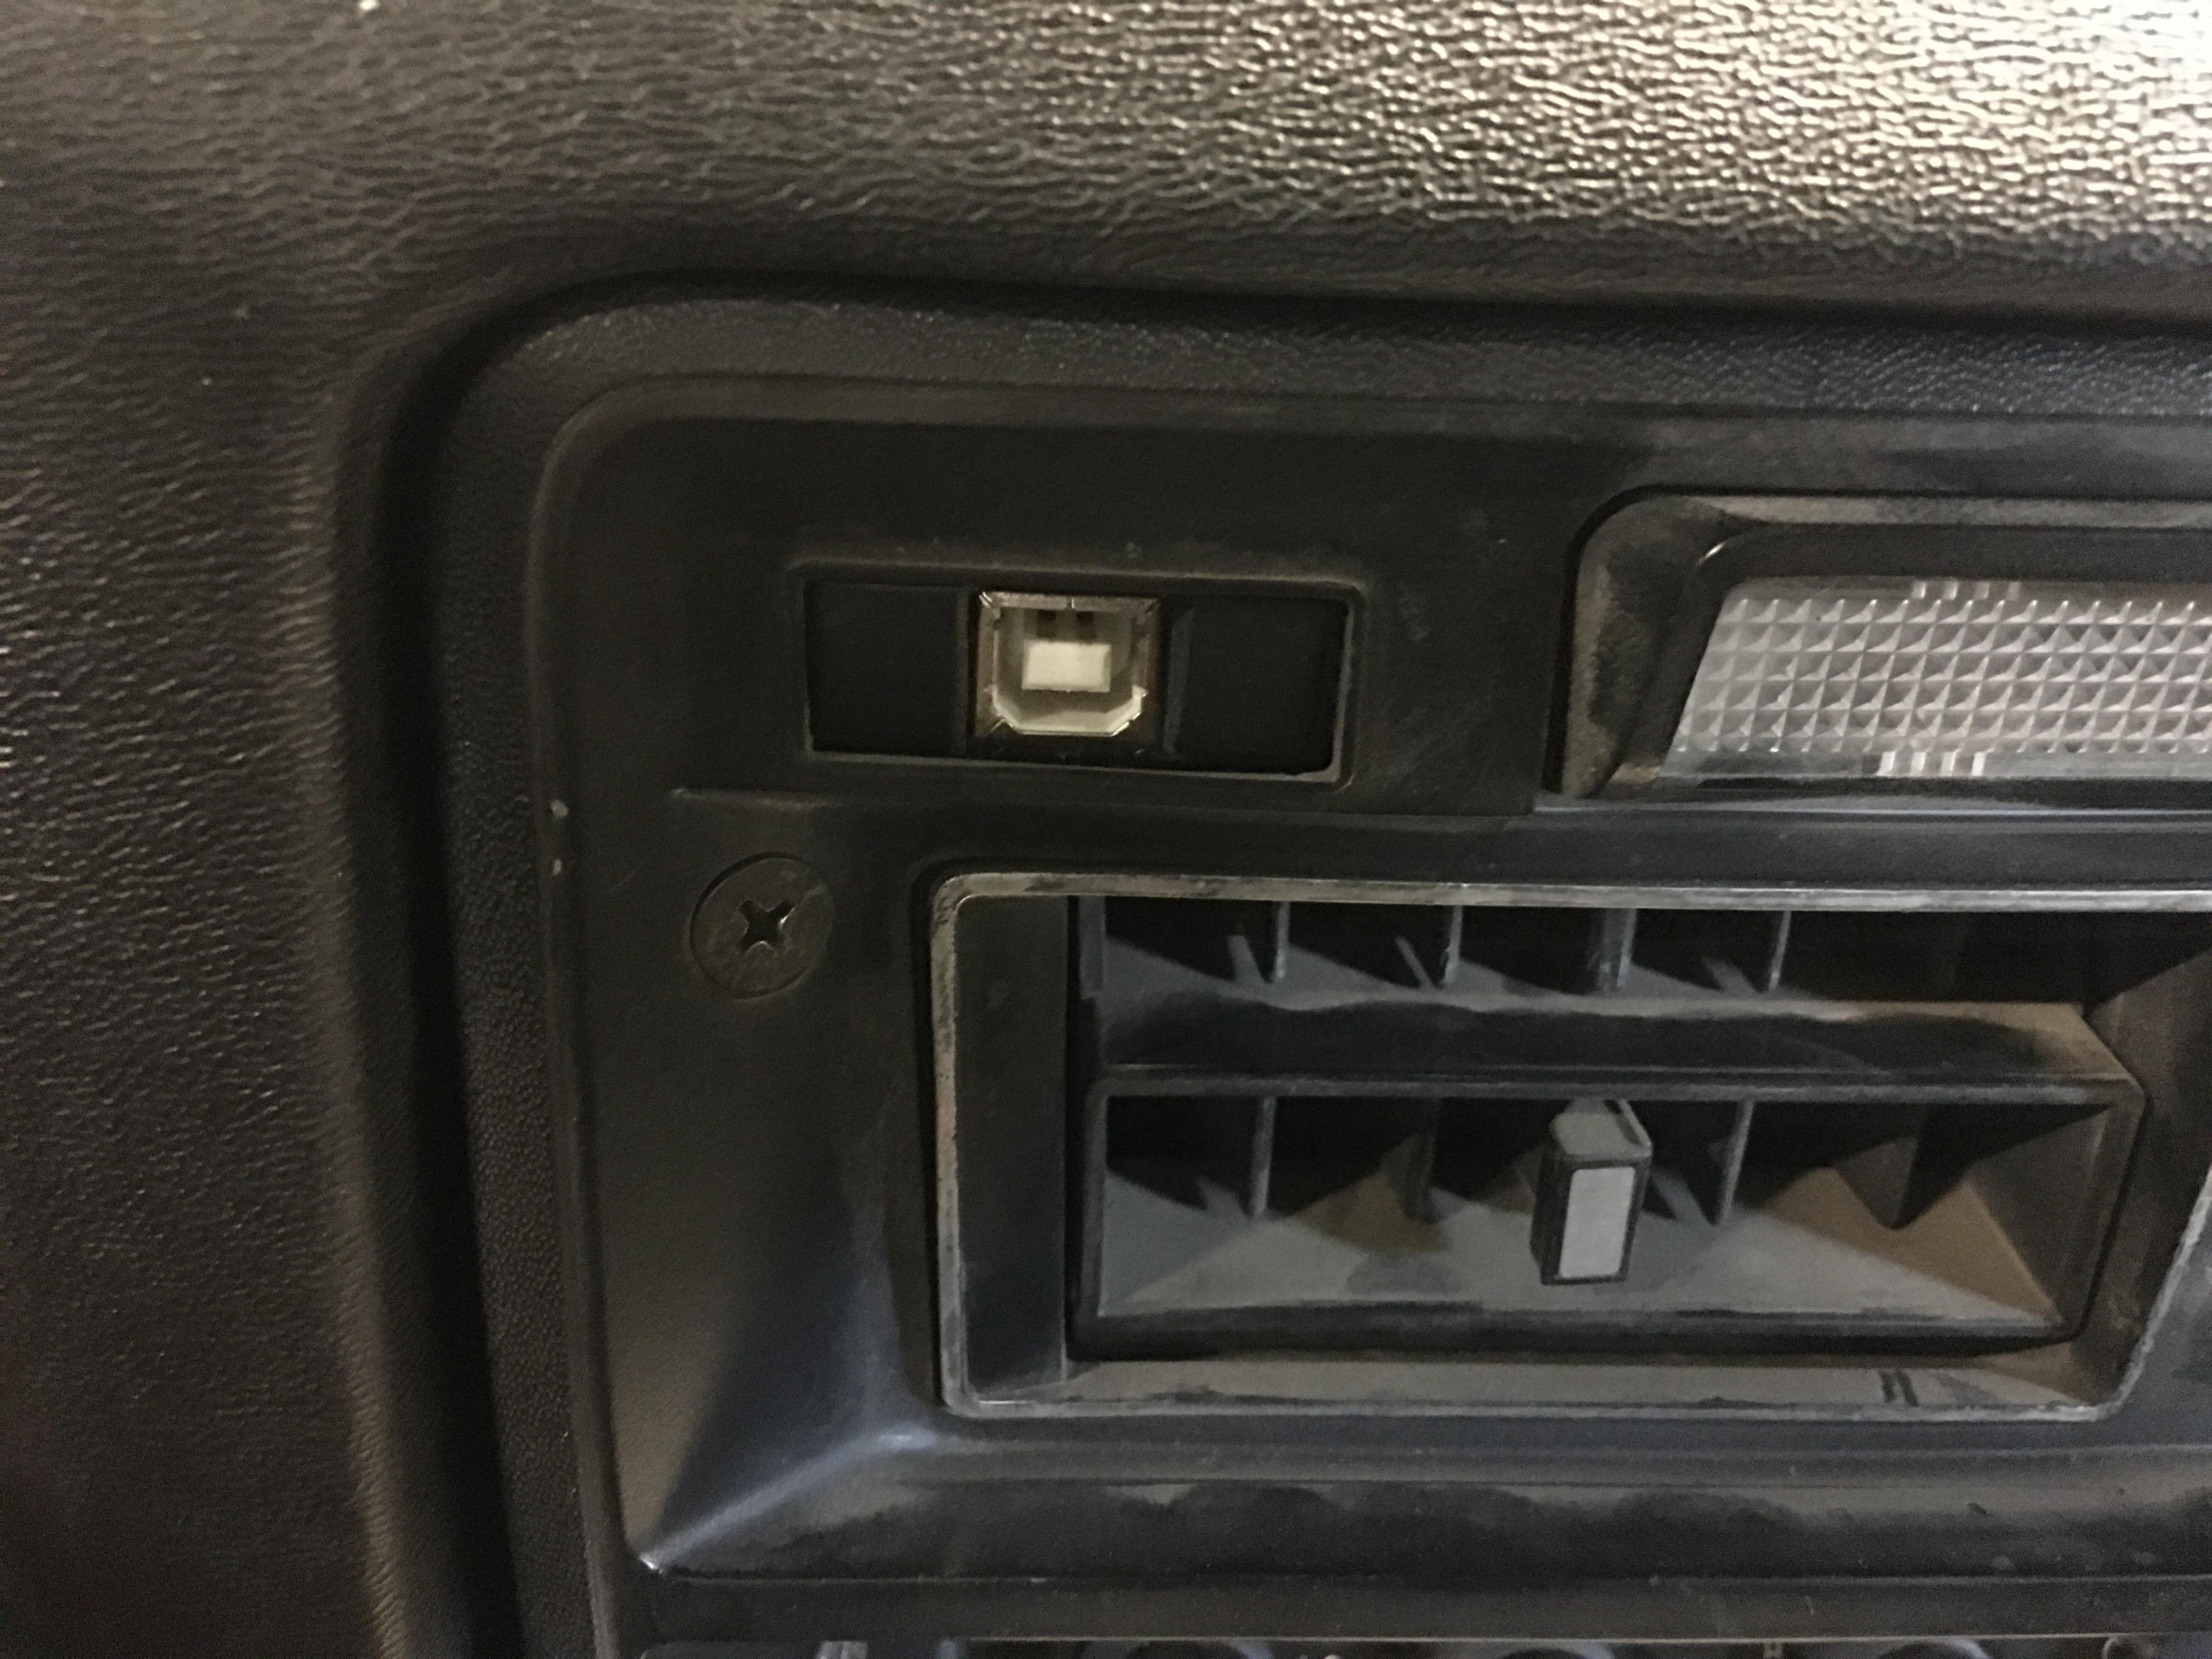
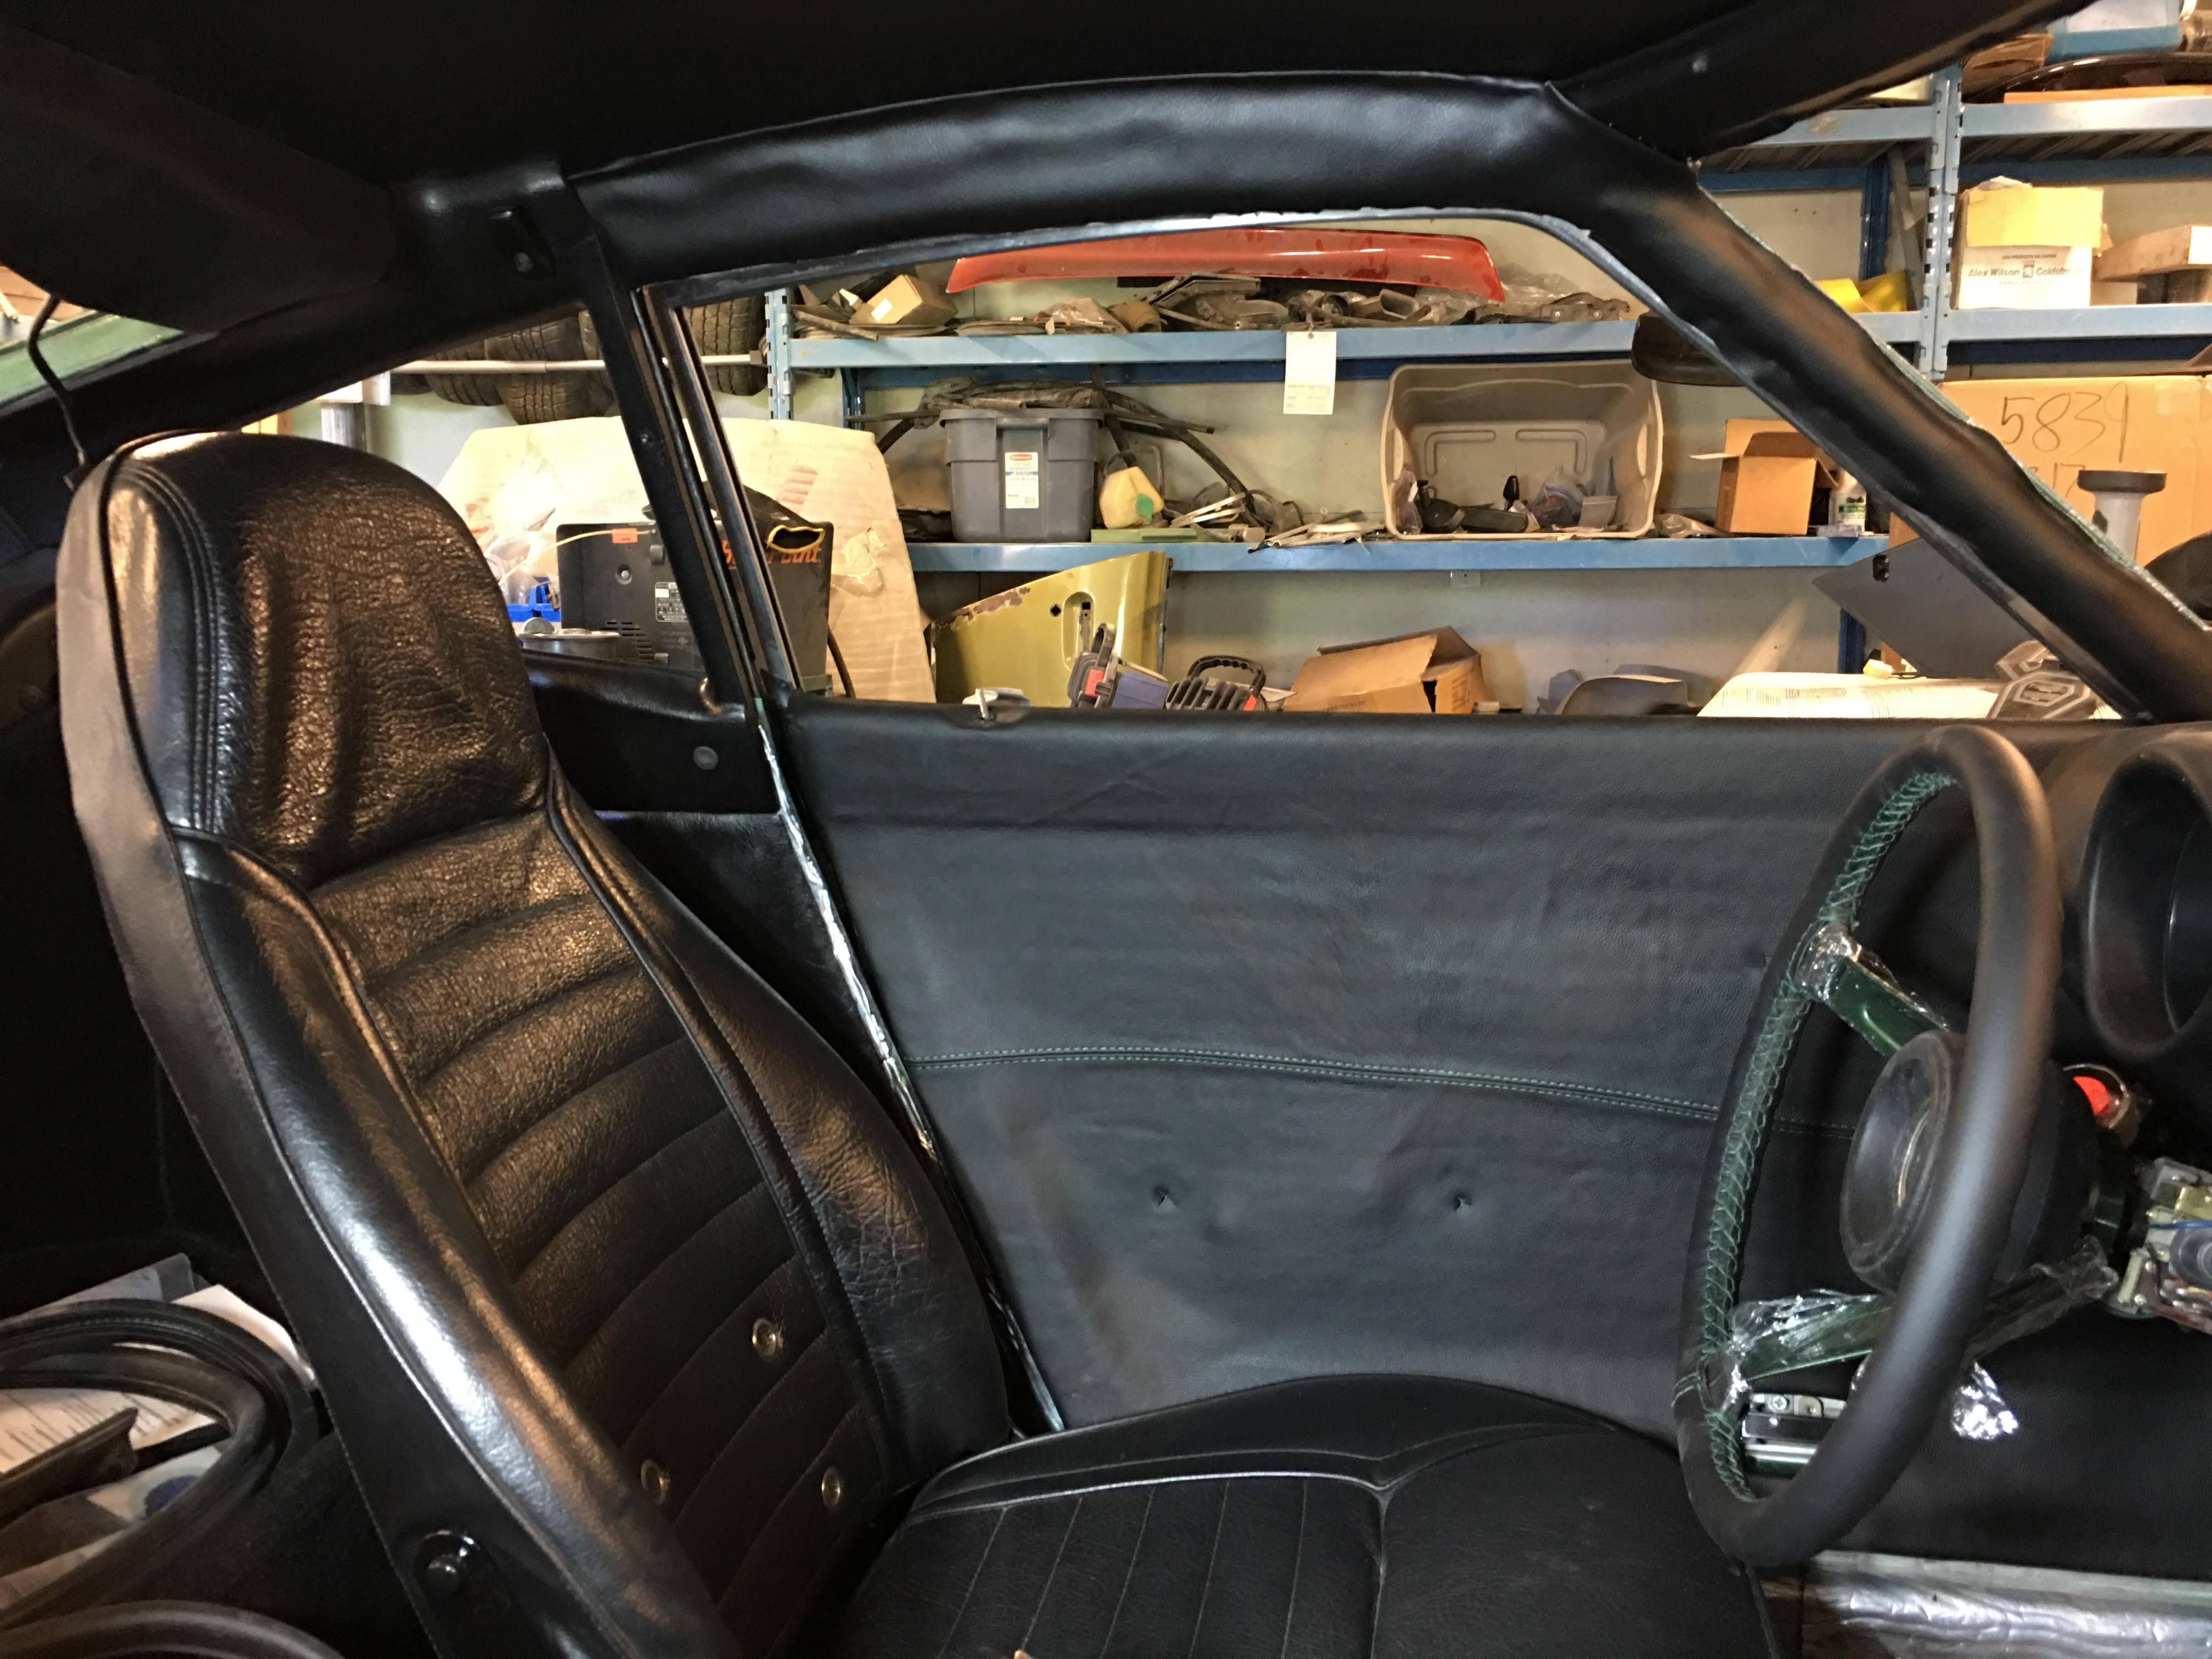
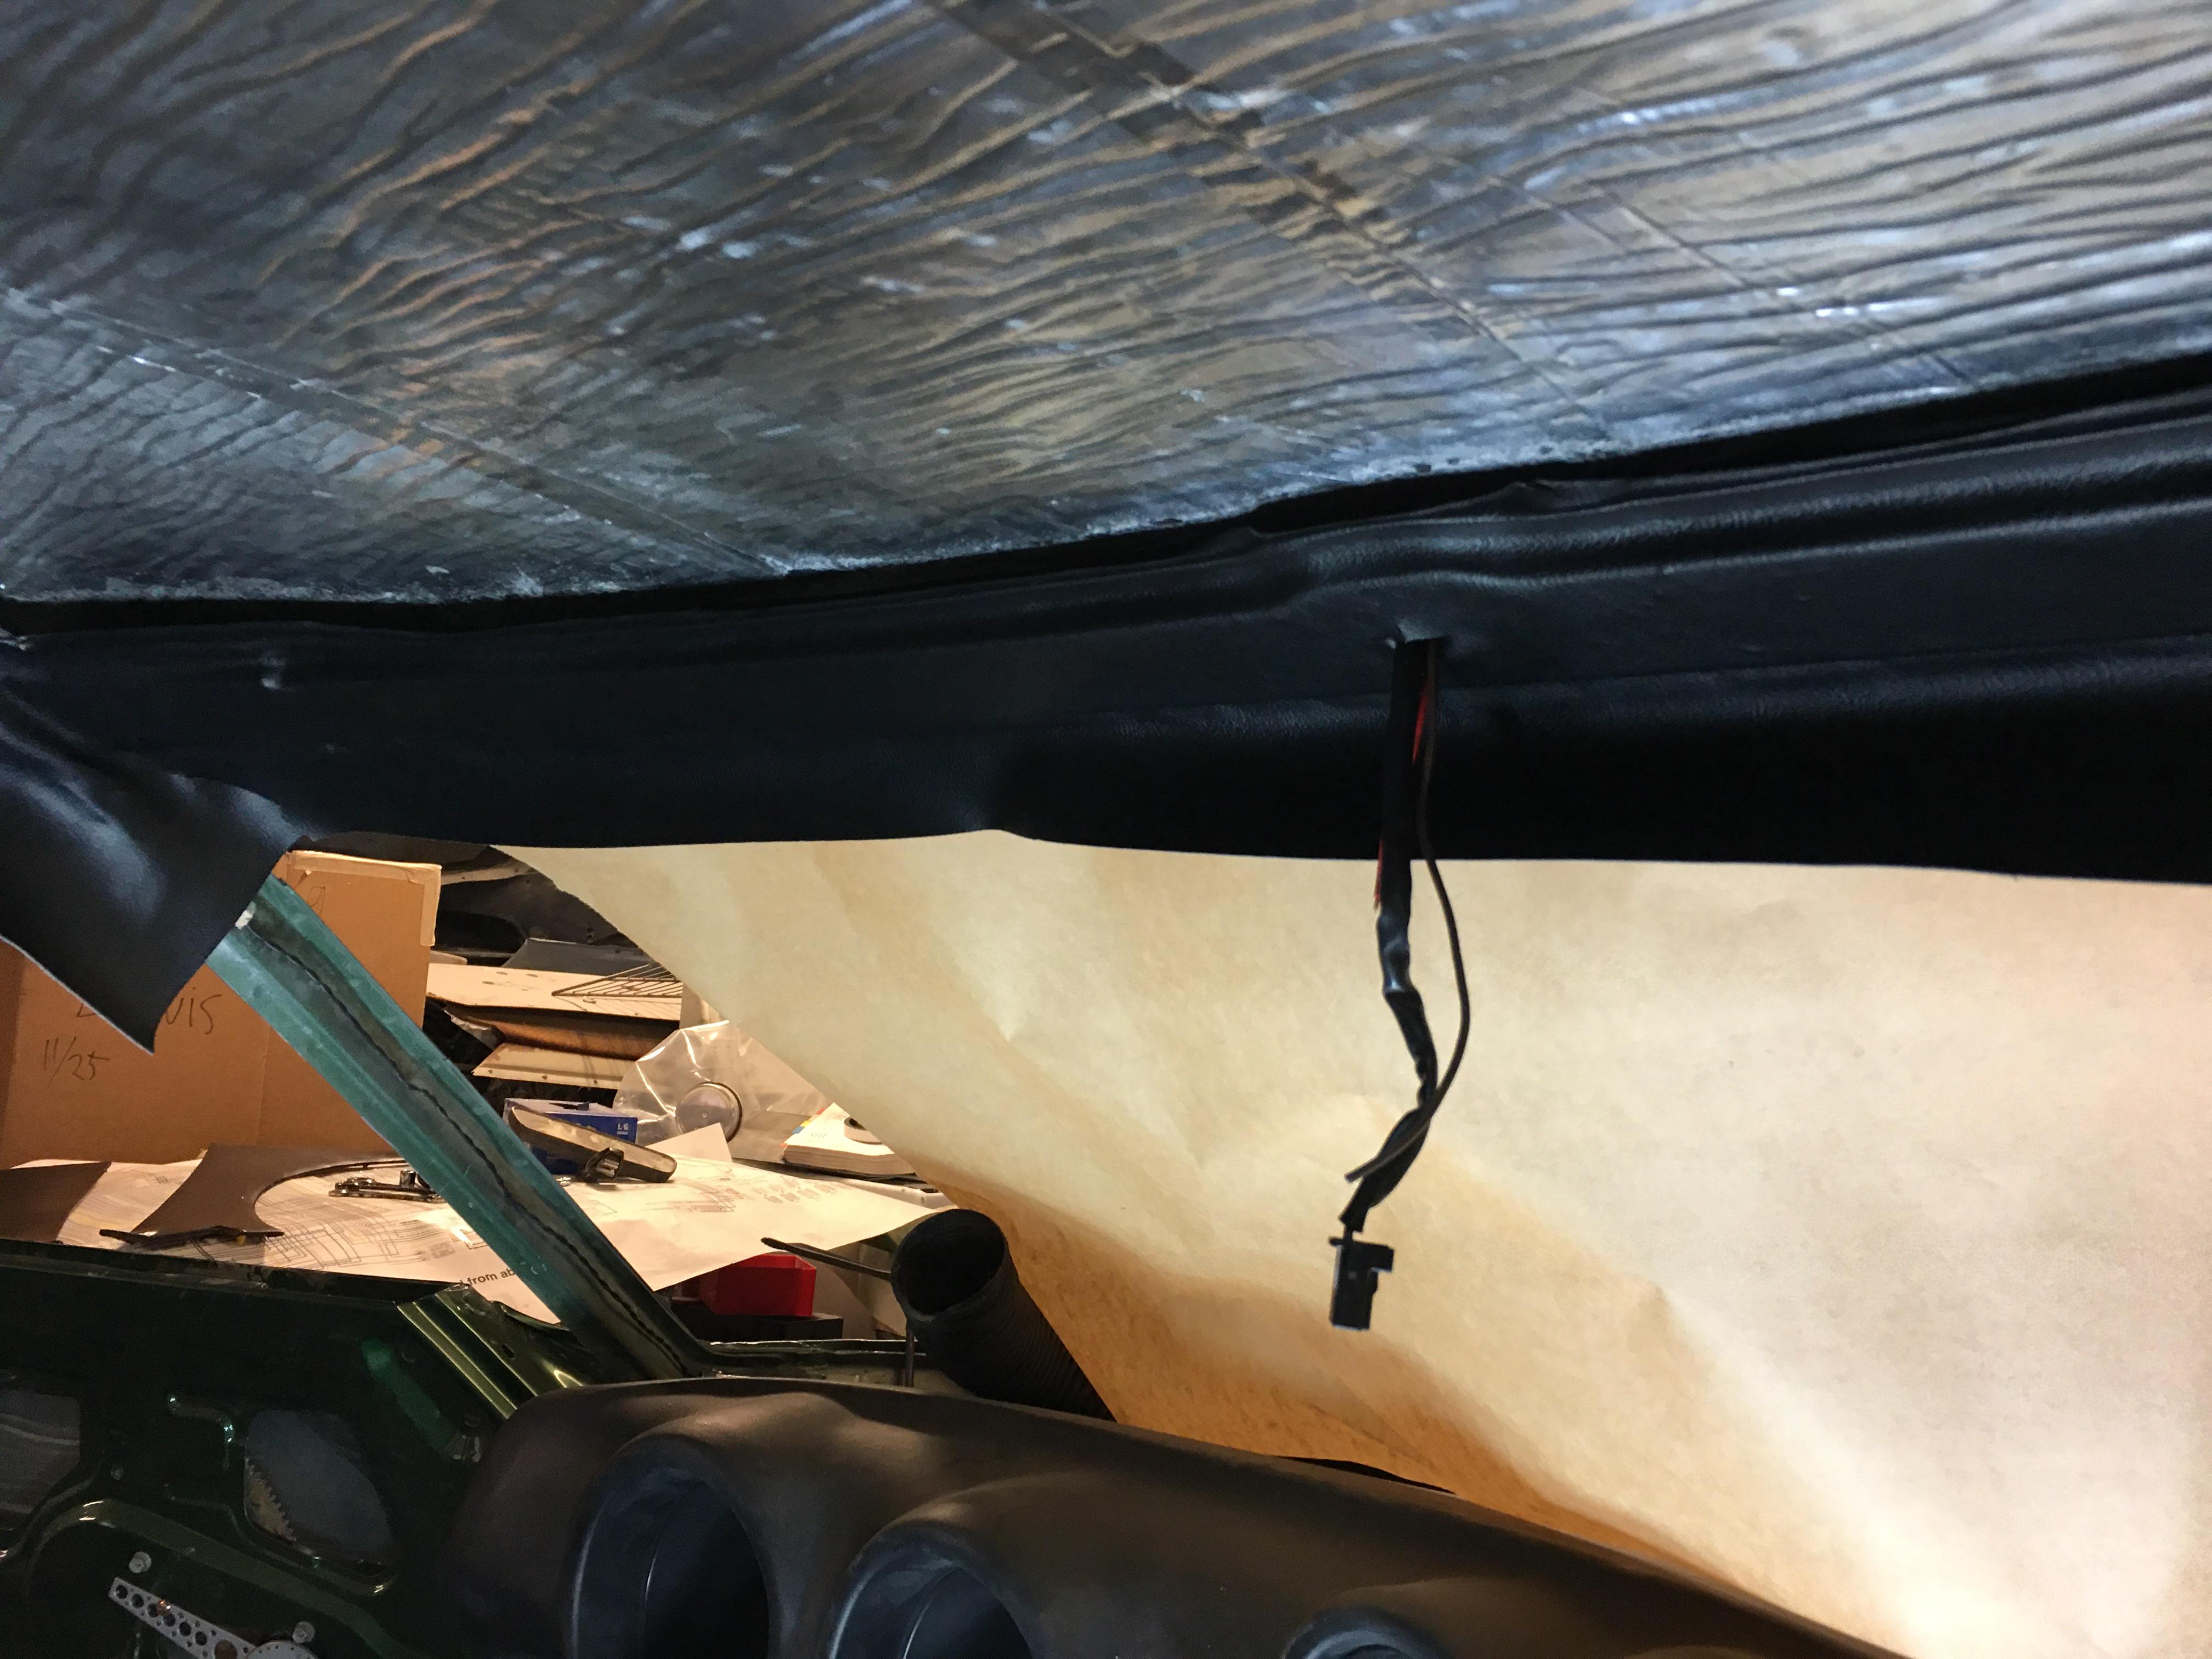
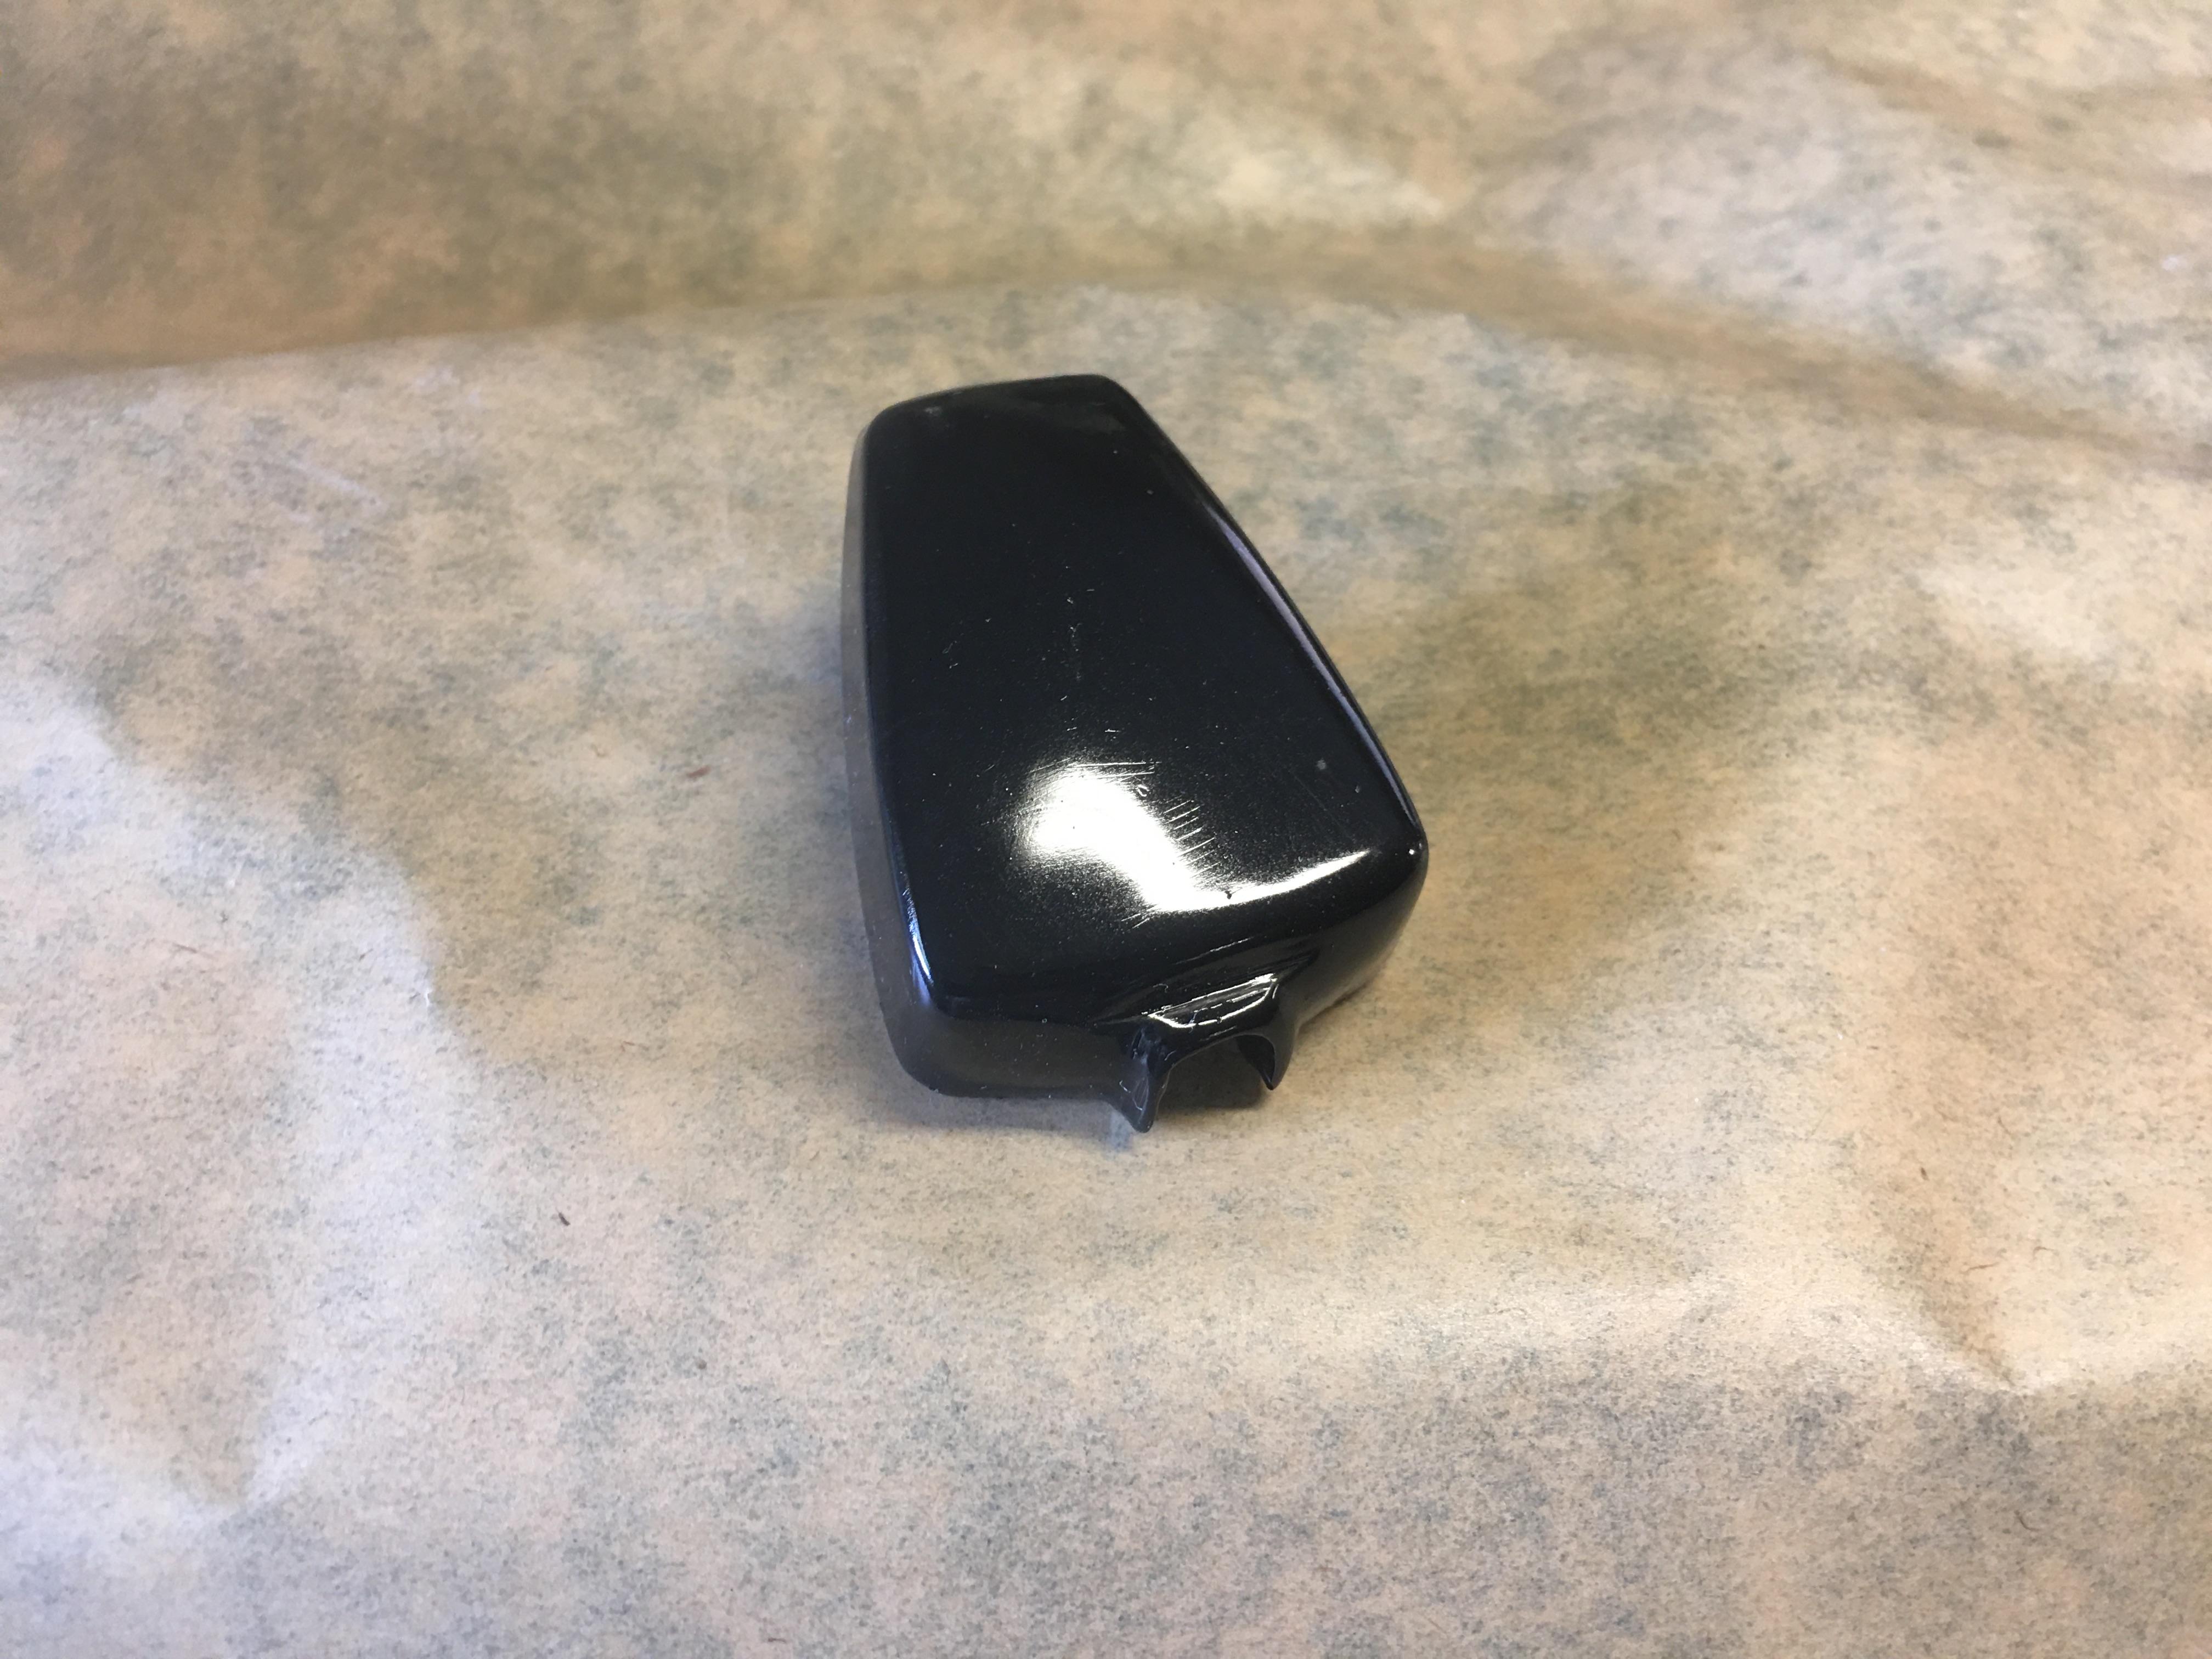
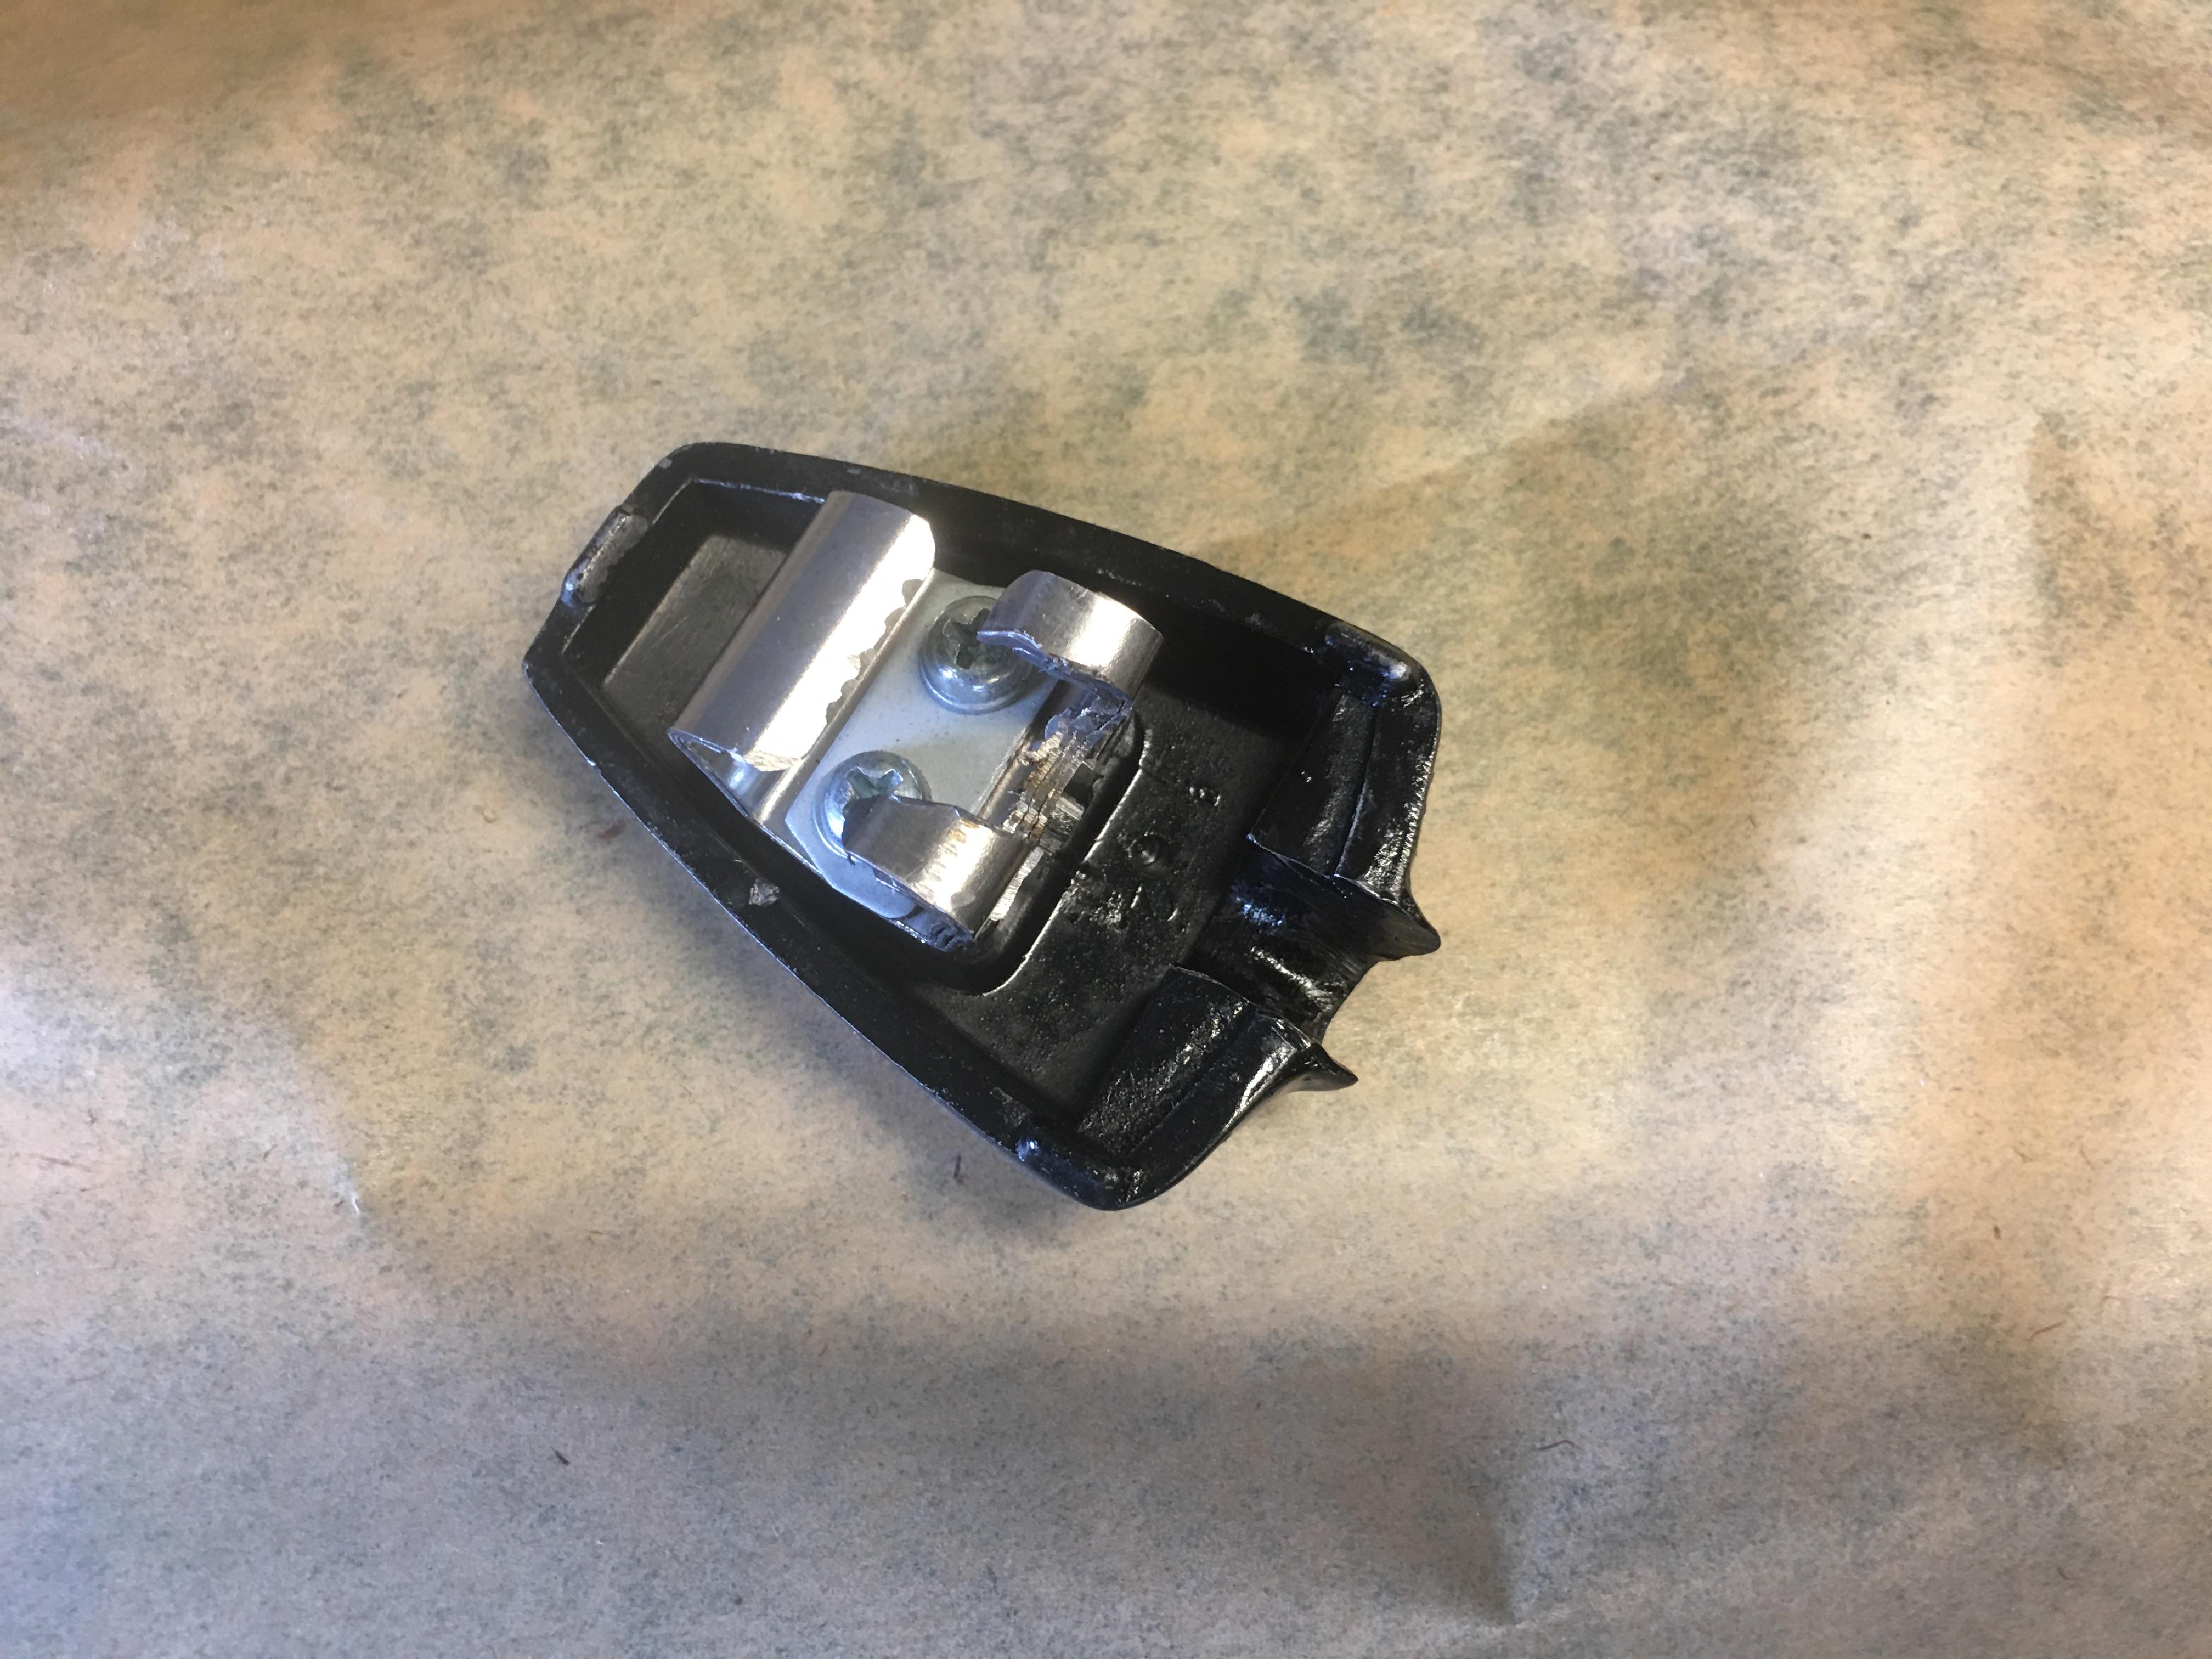
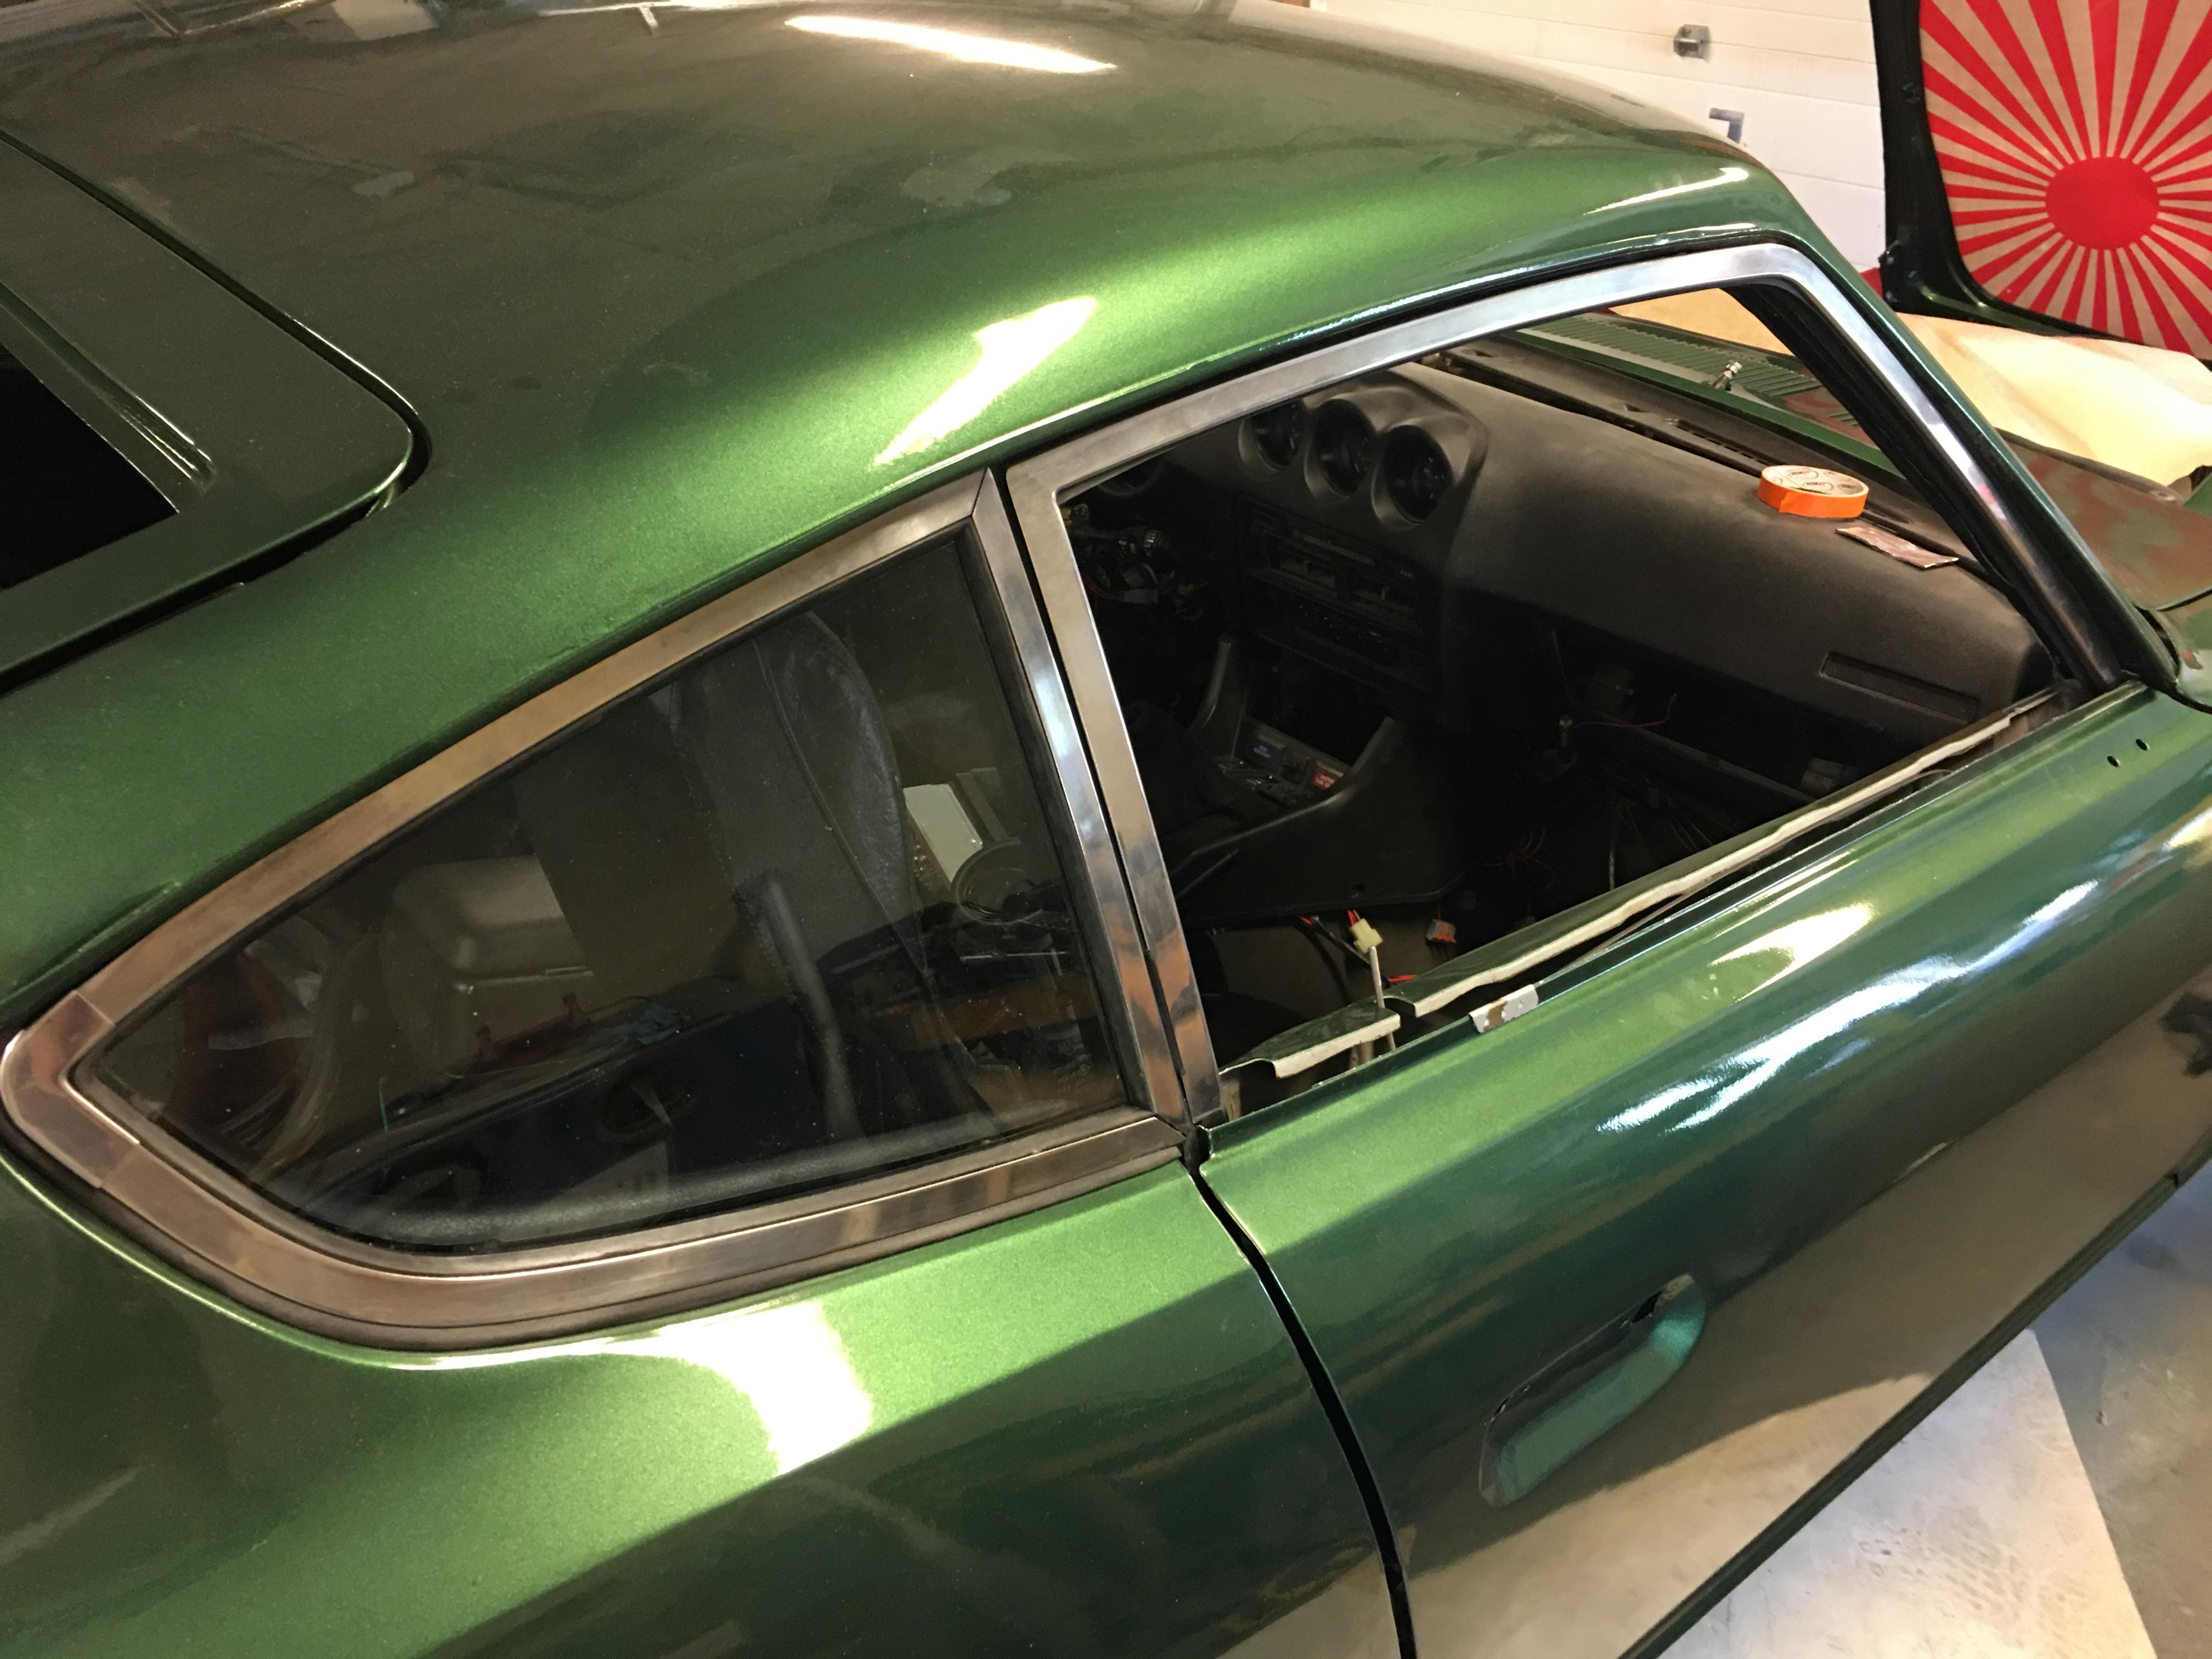
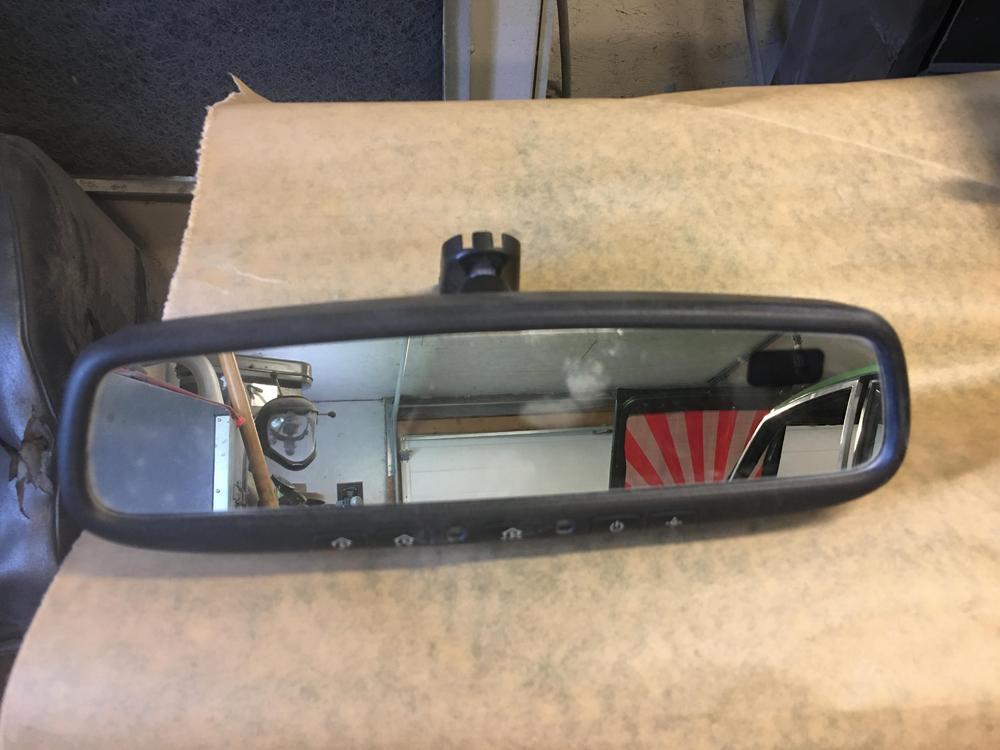
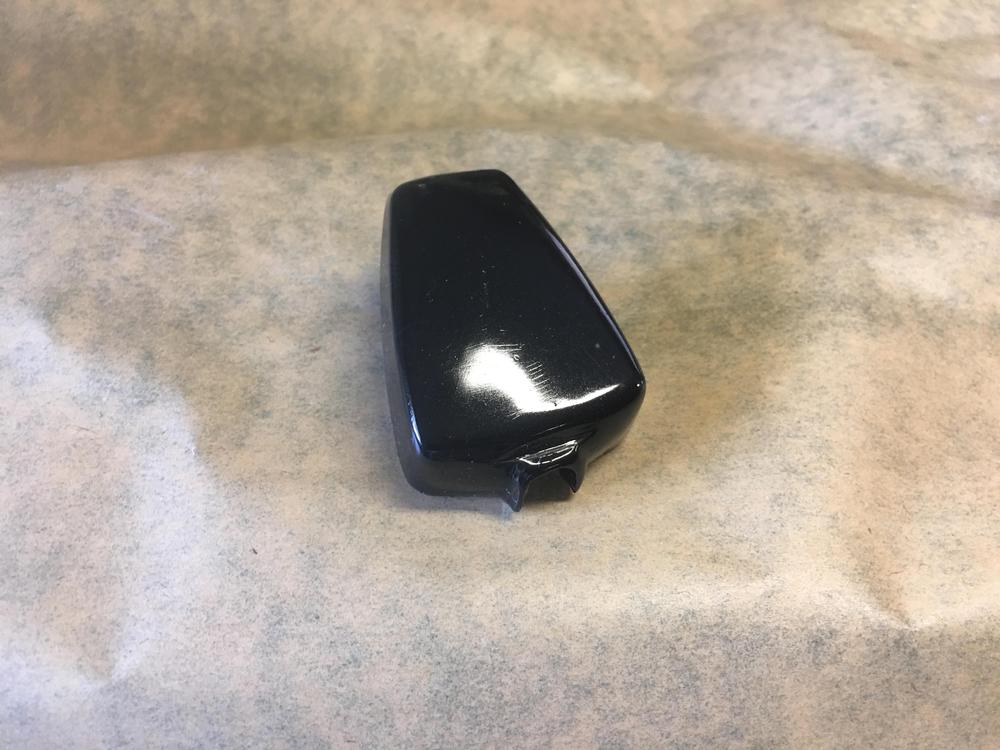
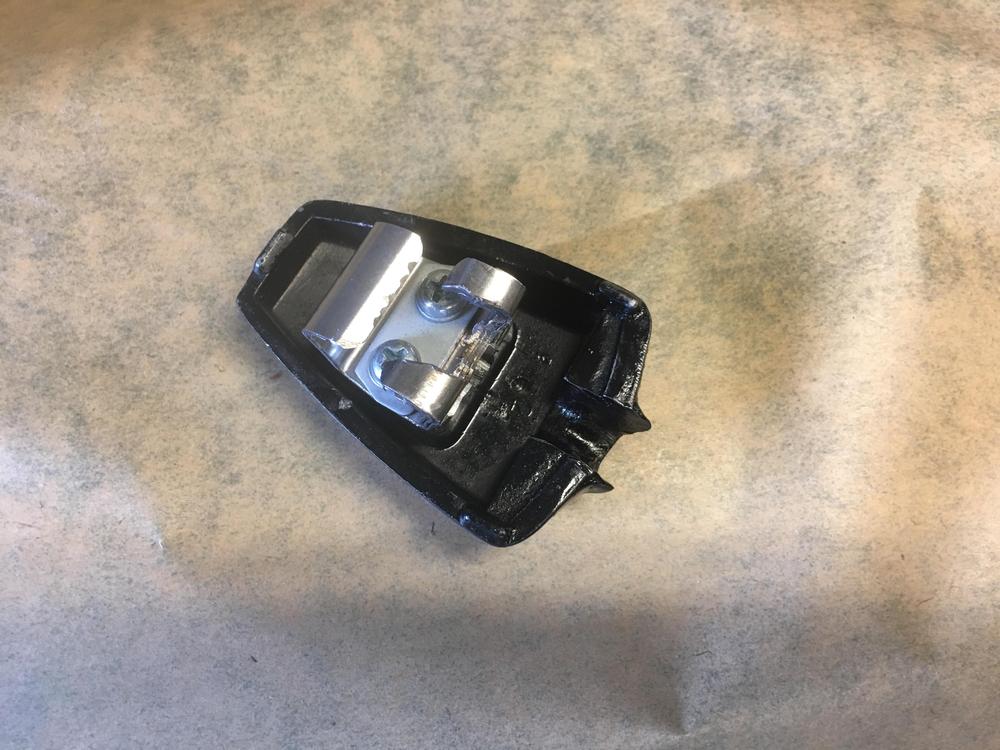
  20. I decided to modify the mirror mount in the car. I picked up another mirror stalk from Jim @zKars and shaped it to allow the wires in the headliner come through the middle and out towards the windshield. Now I have a perfect cap to cover the wires and make the whole unit look stock! Looking forward to having this complete with the glass in.
  21. The windows go up and down but the glass has a little trouble staying in the channels I have all new rubber etc so it might need some adjusting. The passenger door crash bar was pushed in a bit too and it sounds like it makes contact as the regulator passes by.
  22. More warts! Okay, so don’t install the power window motors with any kind of curve. They just won’t work with these old mechanical regulators. I readjusted the motors to accommodate a straight line. Thanks to Pte Grinder for his assistance...
  23. Passenger side in.
  24. I will need to order those new metal and rubber gaskets that go on the edge facing the door. Mine are pretty worn. They’ll do for now as they can be easily removed later.
Remove Ads

Important Information

By using this site, you agree to our Privacy Policy and Guidelines. We have placed cookies on your device to help make this website better. You can adjust your cookie settings, otherwise we'll assume you're okay to continue.

Configure browser push notifications

Chrome (Android)
  1. Tap the lock icon next to the address bar.
  2. Tap Permissions → Notifications.
  3. Adjust your preference.
Chrome (Desktop)
  1. Click the padlock icon in the address bar.
  2. Select Site settings.
  3. Find Notifications and adjust your preference.