Patcon
 Subscriber
-
Joined
-
Last visited
Everything posted by Patcon
-
 I am wondering if the distributor is grounding
 -
The way you've got them stacked, it shouldn't matter. Post a picture of the starter connections and where they go. Also the ground at the firewall near the battery
-
Your 6/3 should be fine. I would run it all the way to the panel. I don't know if that's totally proper but the extra joint just gives a place for higher resistance, corrosion or problems I would run 2 gnd rods. They sell a clamp that attached the ground wire to the rods It's a shame you are so far ahead of me. I really think your going to be overfilled on that conduit size... Will it matter? Probably not. Would it pass? I doubt it
-
It is not strictly legal to run NM cable in conduit and it doesn't become legal if you strip the jacket. MC cable is a good option if you're gonna run conduit. For your feed. It really needs to be 6/3 plus a ground. I would pull it as THHN in a 2 or 2½ conduit continuous. Because the garage is a subpanel, I'm assuming, it needs a separate neutral and ground. I believe the ground can be derated to something smaller. Needs disconnects on both ends. You could alternatively go with aluminum direct burial cable but you will have to upsize to go to AL. I'm not sure I covered everything. 30A is 10ga 20A is 12ga 15A is 14ga
-
A wibeband o² sensor might help determine whether it's fuel related
-
I did a quick check on the quarter glass. They seem like they'll be pretty tight. I'm sure soapy water will help but I'm a good 1/4" or more from lining up
-
Yes, you found a good thread for that. I also have seen that if the early hinges get seized at all those little blades just fold up when you try to close the door.
-
Yes, that too. The pedal stop. I also need to do that after the recent thread pointed that out
-
I would unplug the bulb and test for voltage at the socket. If there's good voltage its probably the bulb. If there's no voltage it's somewhere else.
-
Some cars have proven to be sensitive to the tach being missing but not necessarily all of them. It's a little bit of a mystery. You also need to understand how the guys on the forum help. We don't like to assume or overlook the obvious. So you need to be very descriptive of your procedures. We will get a solution faster that way. 🙂
-
Love the helpers! My first was born about 6 weeks ago. I'm looking forward to shop time with him in a few years! You have the early style door hinges. They can be hard to repair and hard to find. You're missing the spring on at least one of them...
-
So your car started life as an automatic. I had to add that tab when I was doing body work. I will have to look closer at my shifter hole to see what's there
-
Always test before replacing! That's true here much less in central America where parts aren't as plentiful! Im glad you found it! 😁
-
I haven't, I figure it just needs to be close to water tight. A little seam sealer will take care of the rest This is my plan. We'll see...
-
The tab I referred to in my post was also absent on automatic cars. That why I asked. You might want to check that too.
-
Slow down... No the alternator is not needed for short duration running if the battery is fully charged. Don't throw parts at it. That's expensive and the person before you probably tried the same. Some one will post up a diagram of the early ignition system for you to check off of. Do you two disconnected wires go into the dizzy?
-
Is there a tab in the tunnel that mounts the body side of the clutch slave cylinder fluid line?
-
Yes, there is a lot going on right there. One of the main issues is similar at the rockers. To work on the inner pieces properly you have to "peel the onion" and take the overlapping panels out of the way. Increasing the work dramatically! That's alot of spot weld drilling to even get a fairly small panel off.
-
You need to check voltage at the horns and also windshield washer pump. Use a digital voltage meter. Not a test light! Report back with a voltage when pushing the horn and spraying the pump. Unplug the device and test the harness ends w the DVM
-
When you glue the weatherstrip do you just put glue up in the slot of the weatherstrip? Or both surfaces? Do you try to get the flaps in the gutter and interior glued down too?
-
What weatherstrip adhesive are you using?
-
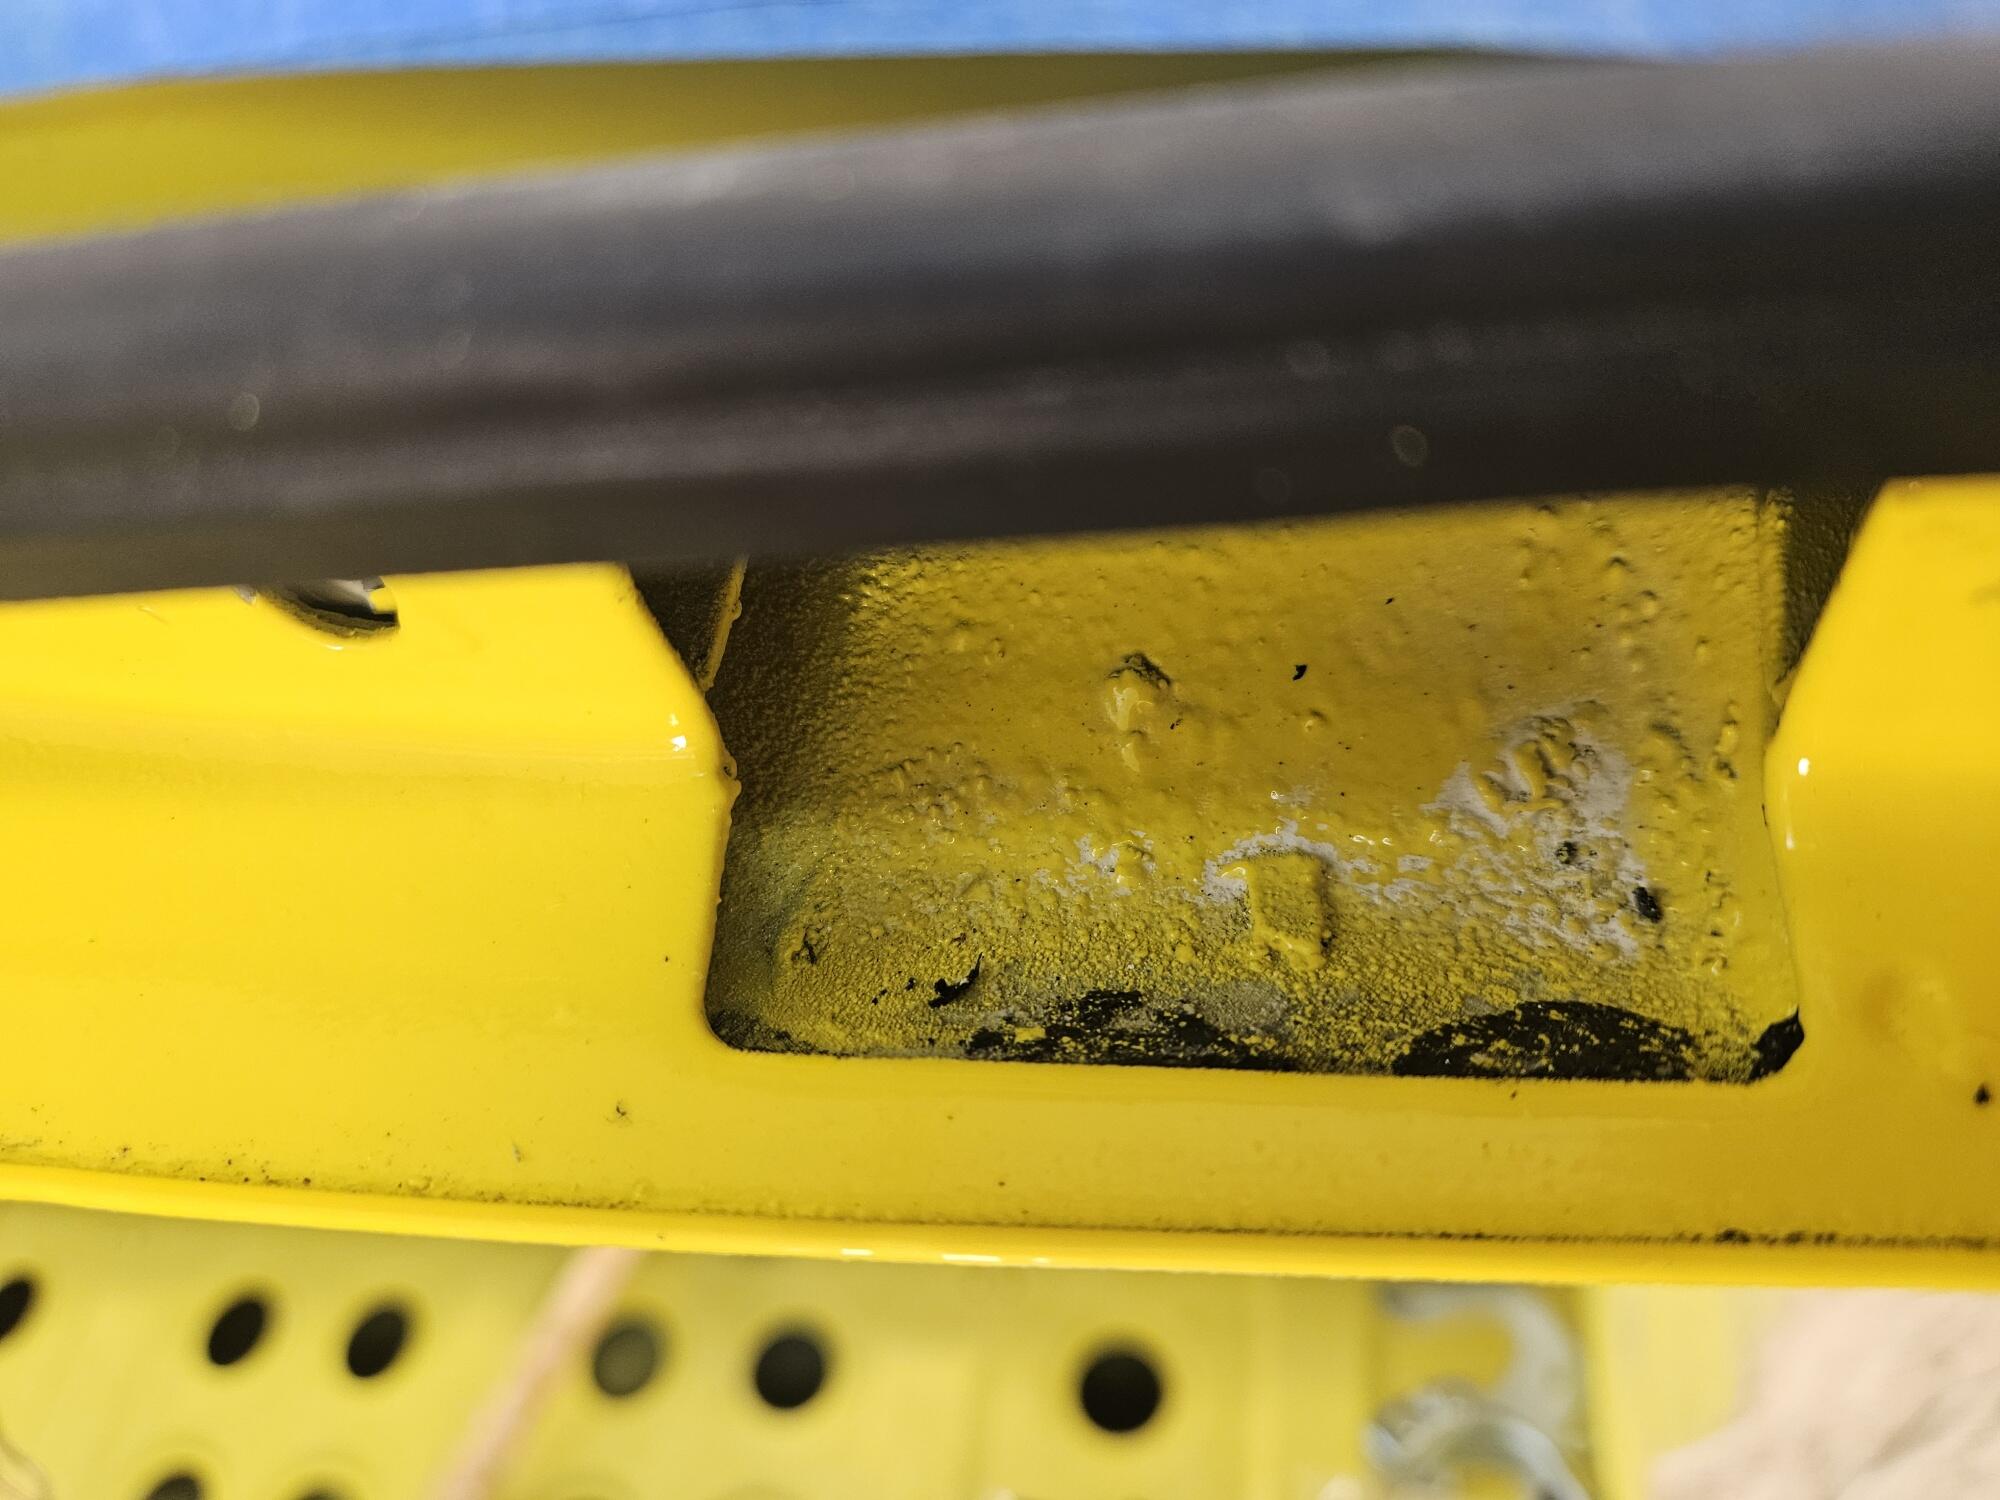
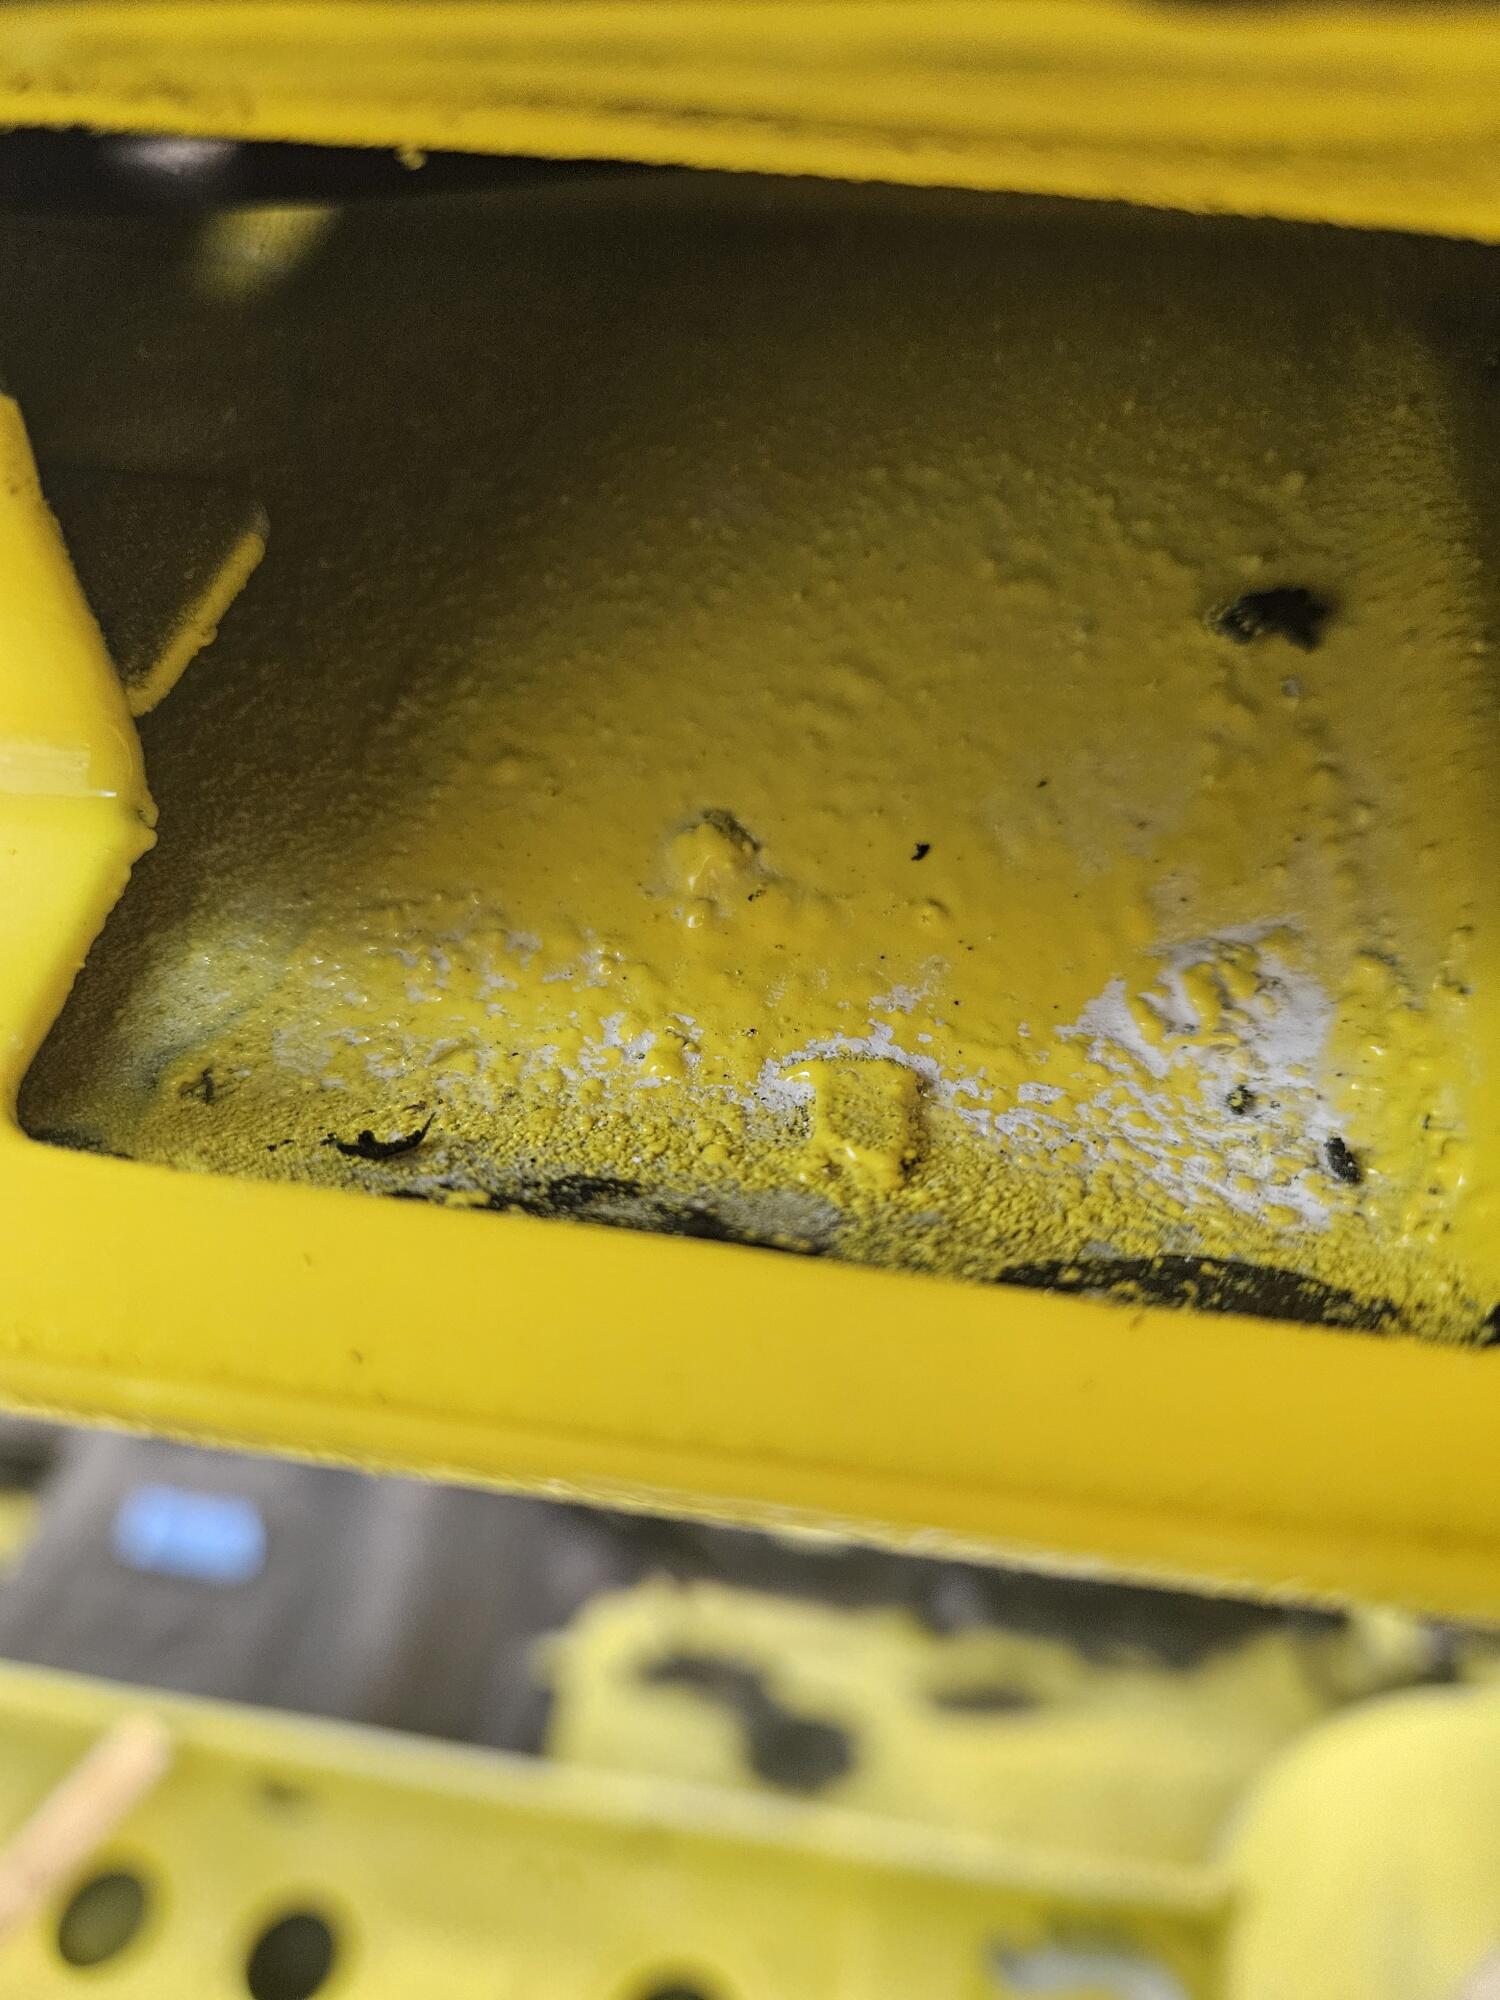
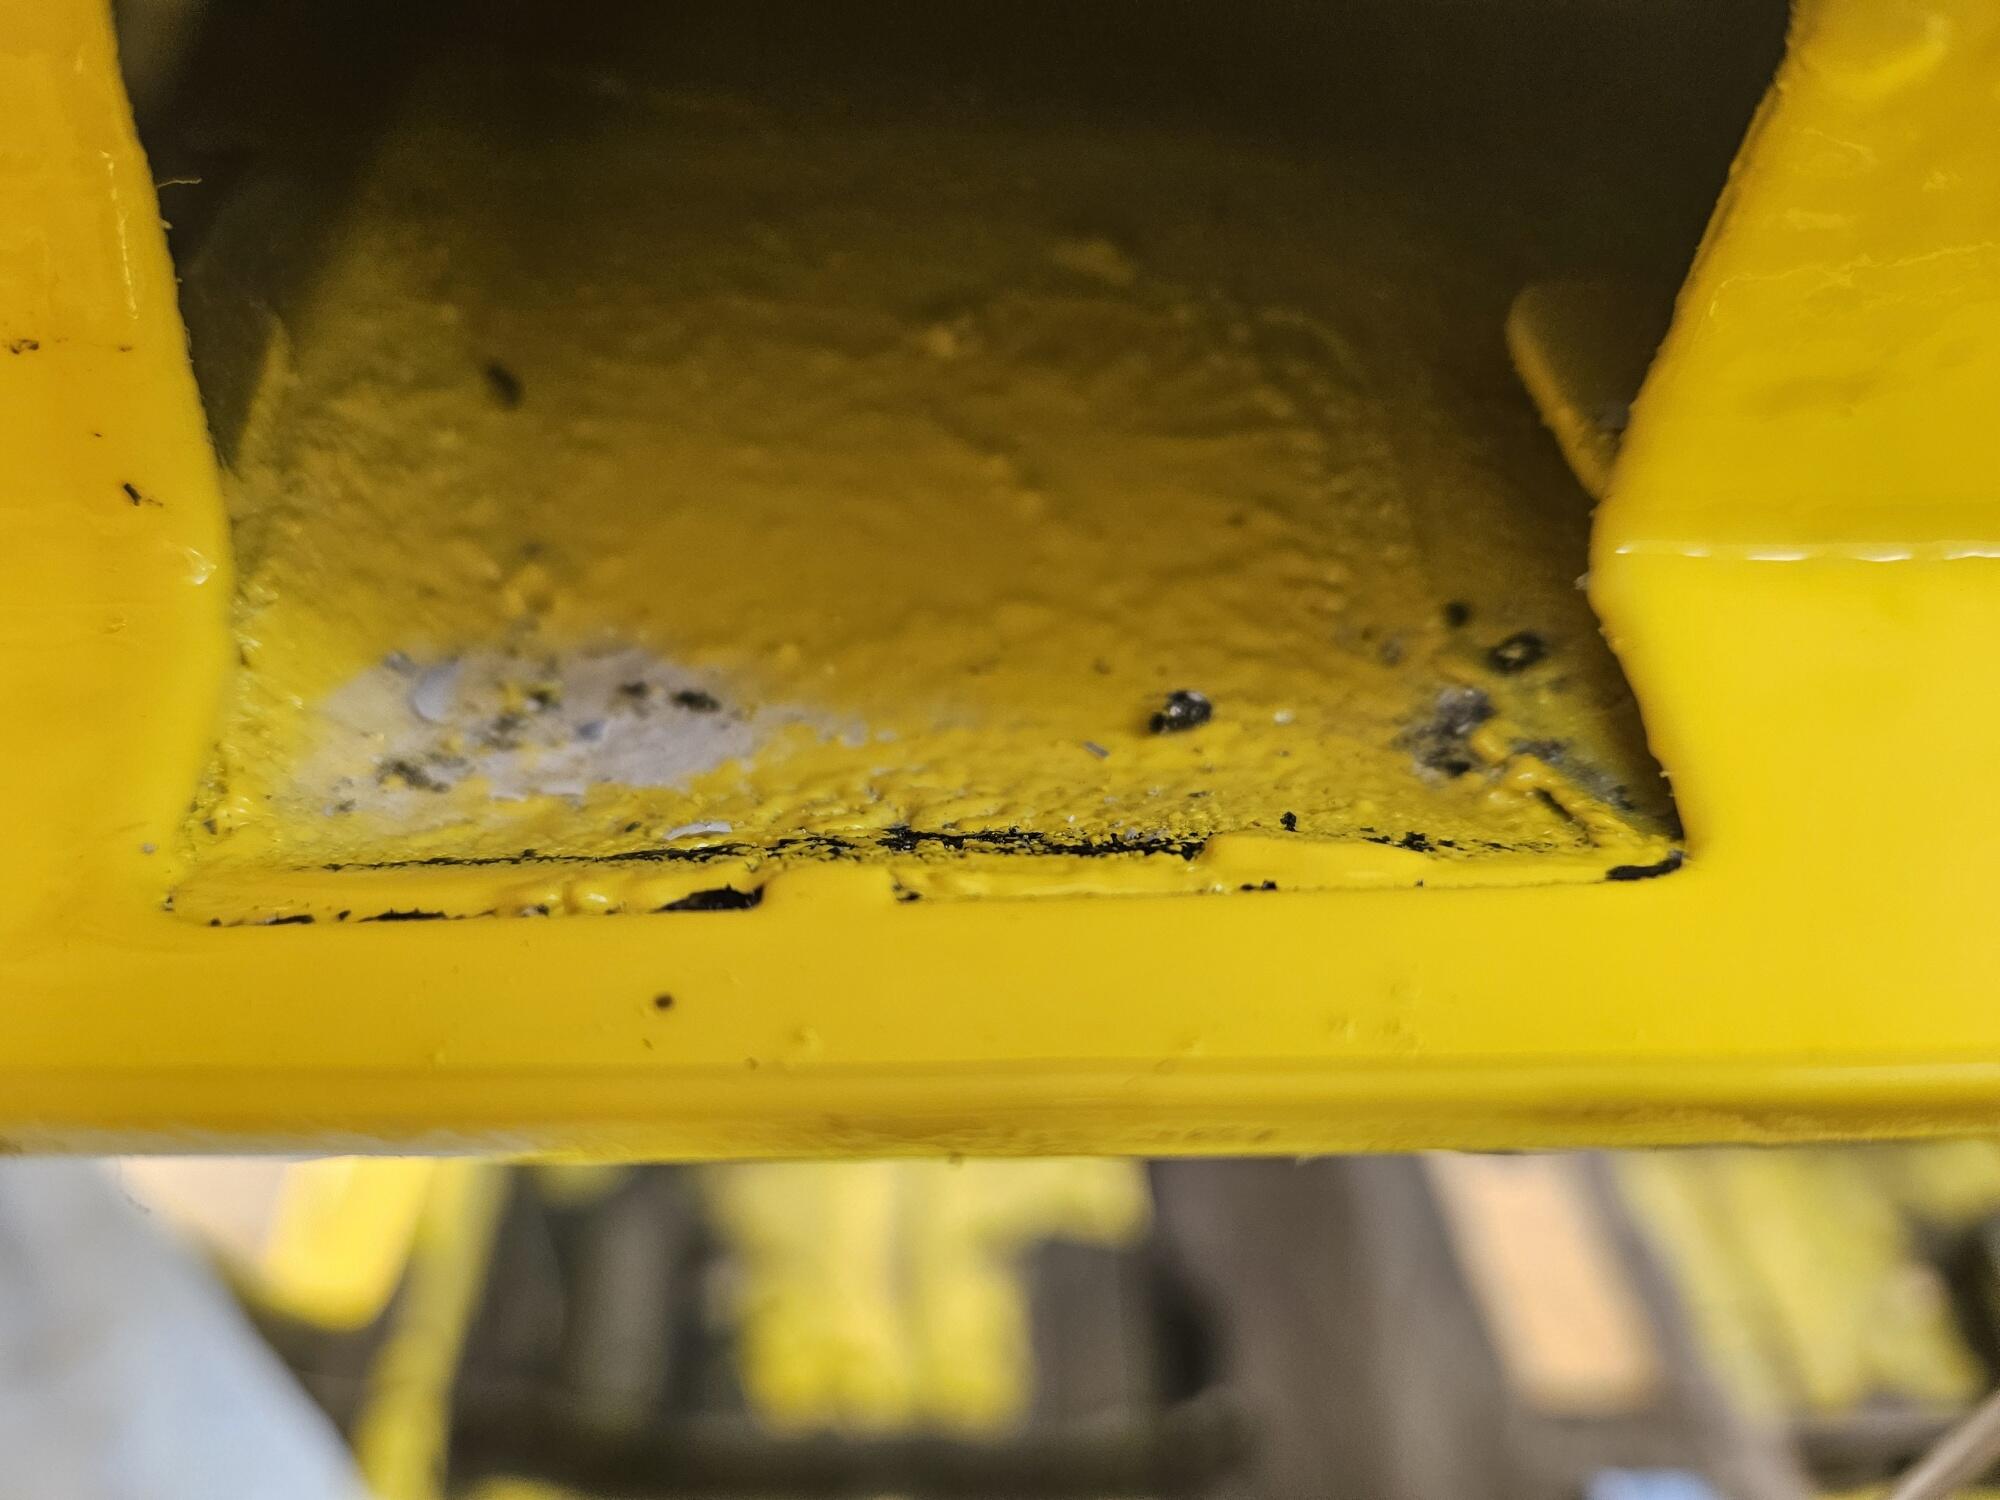
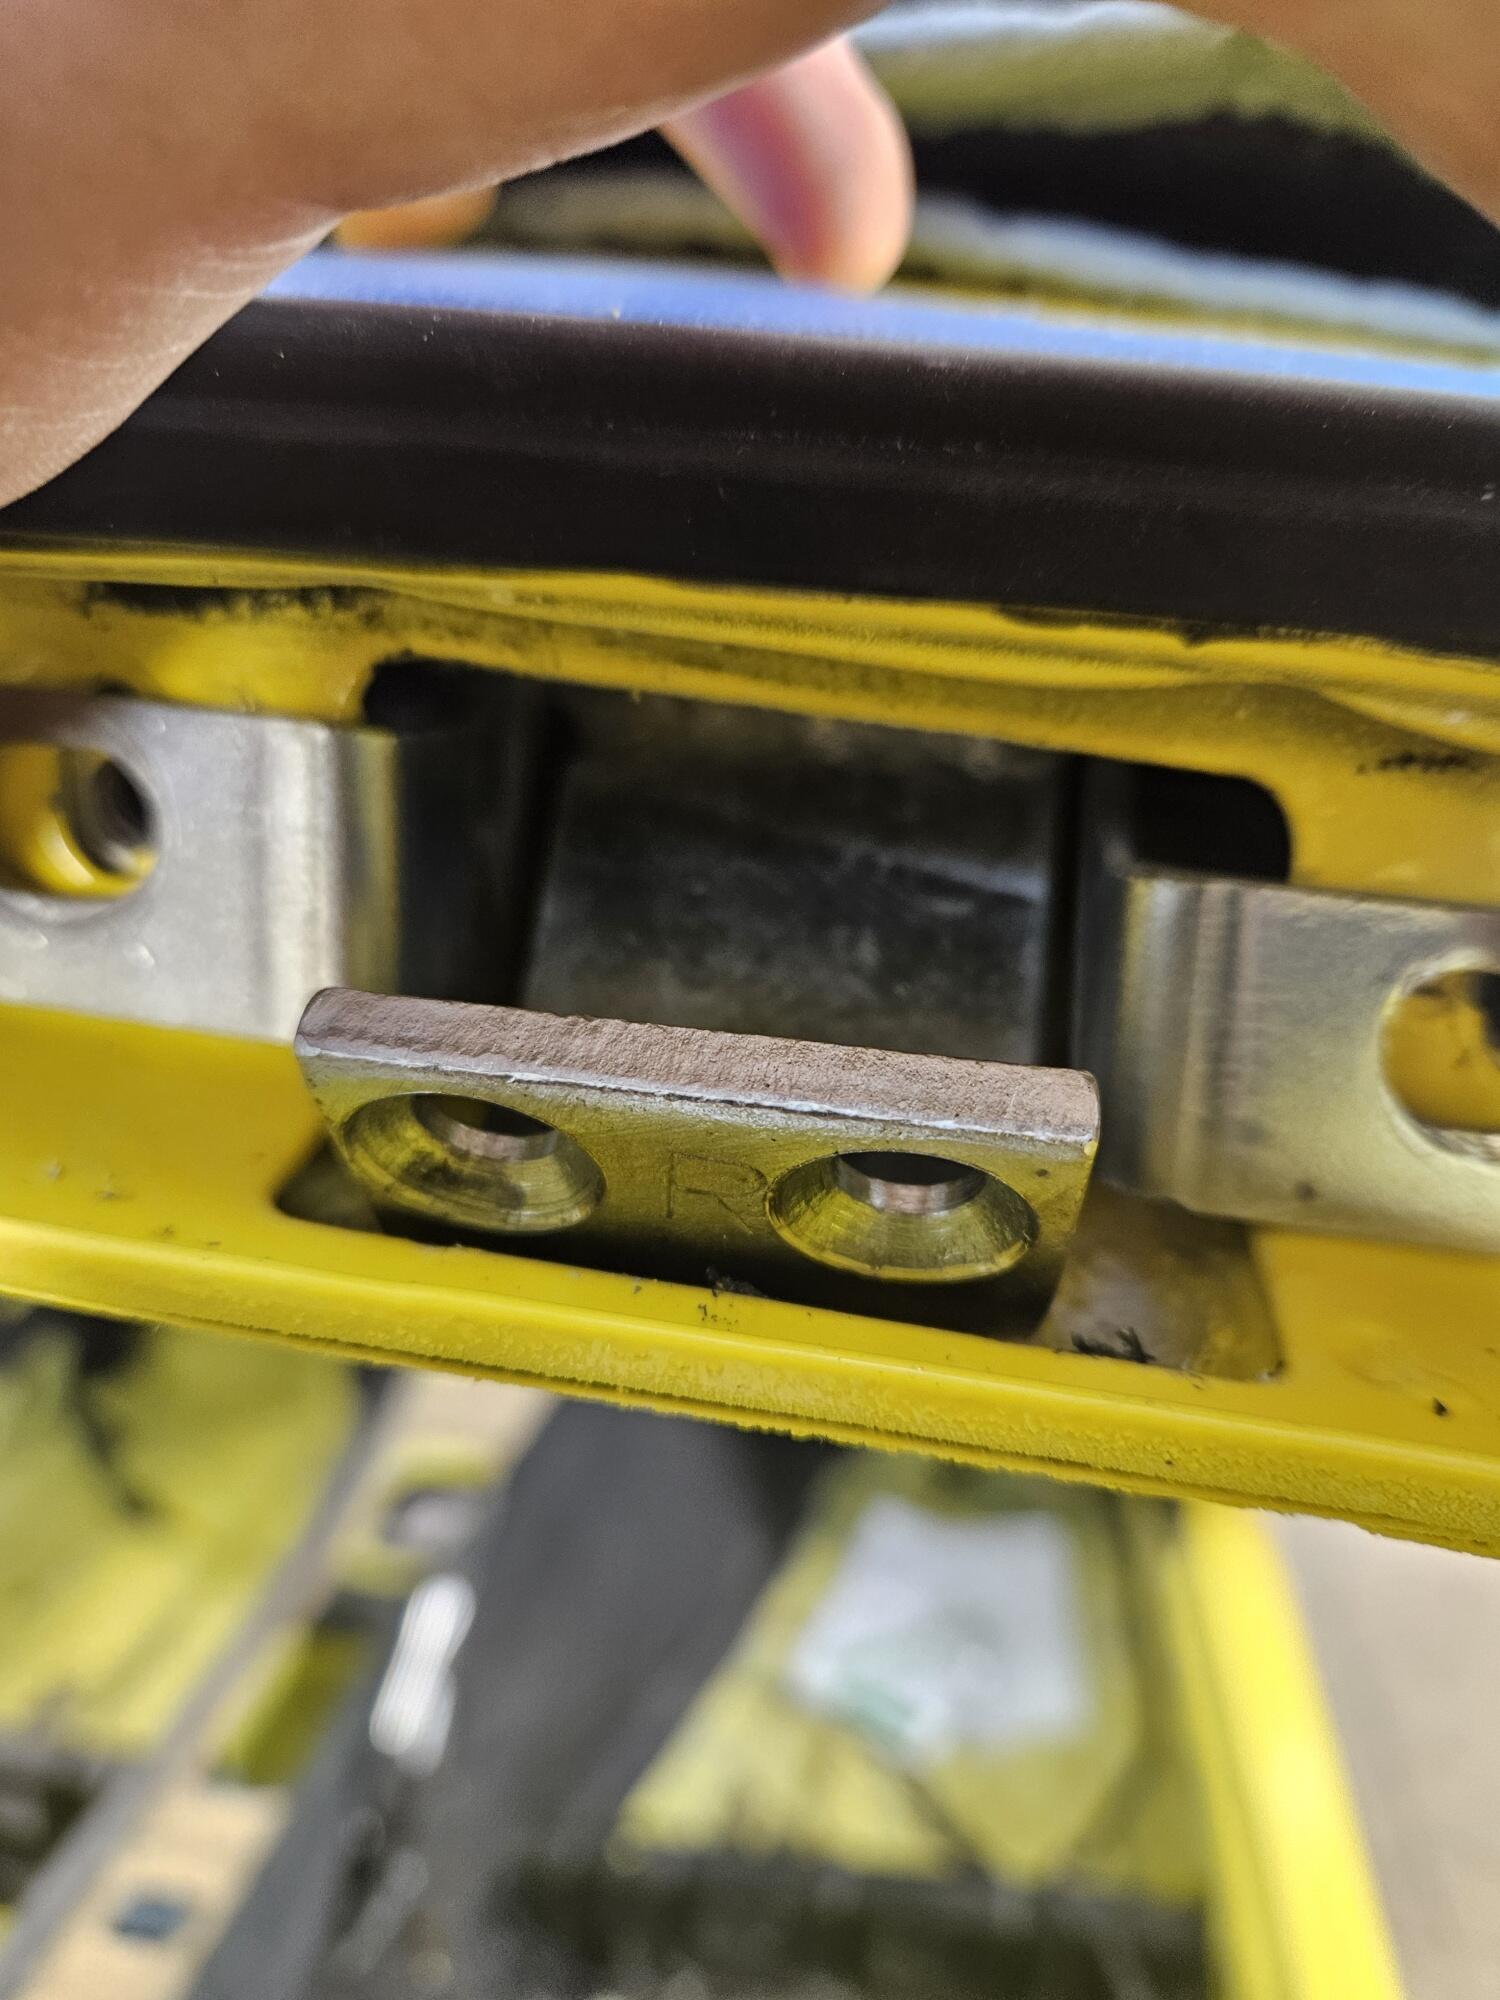
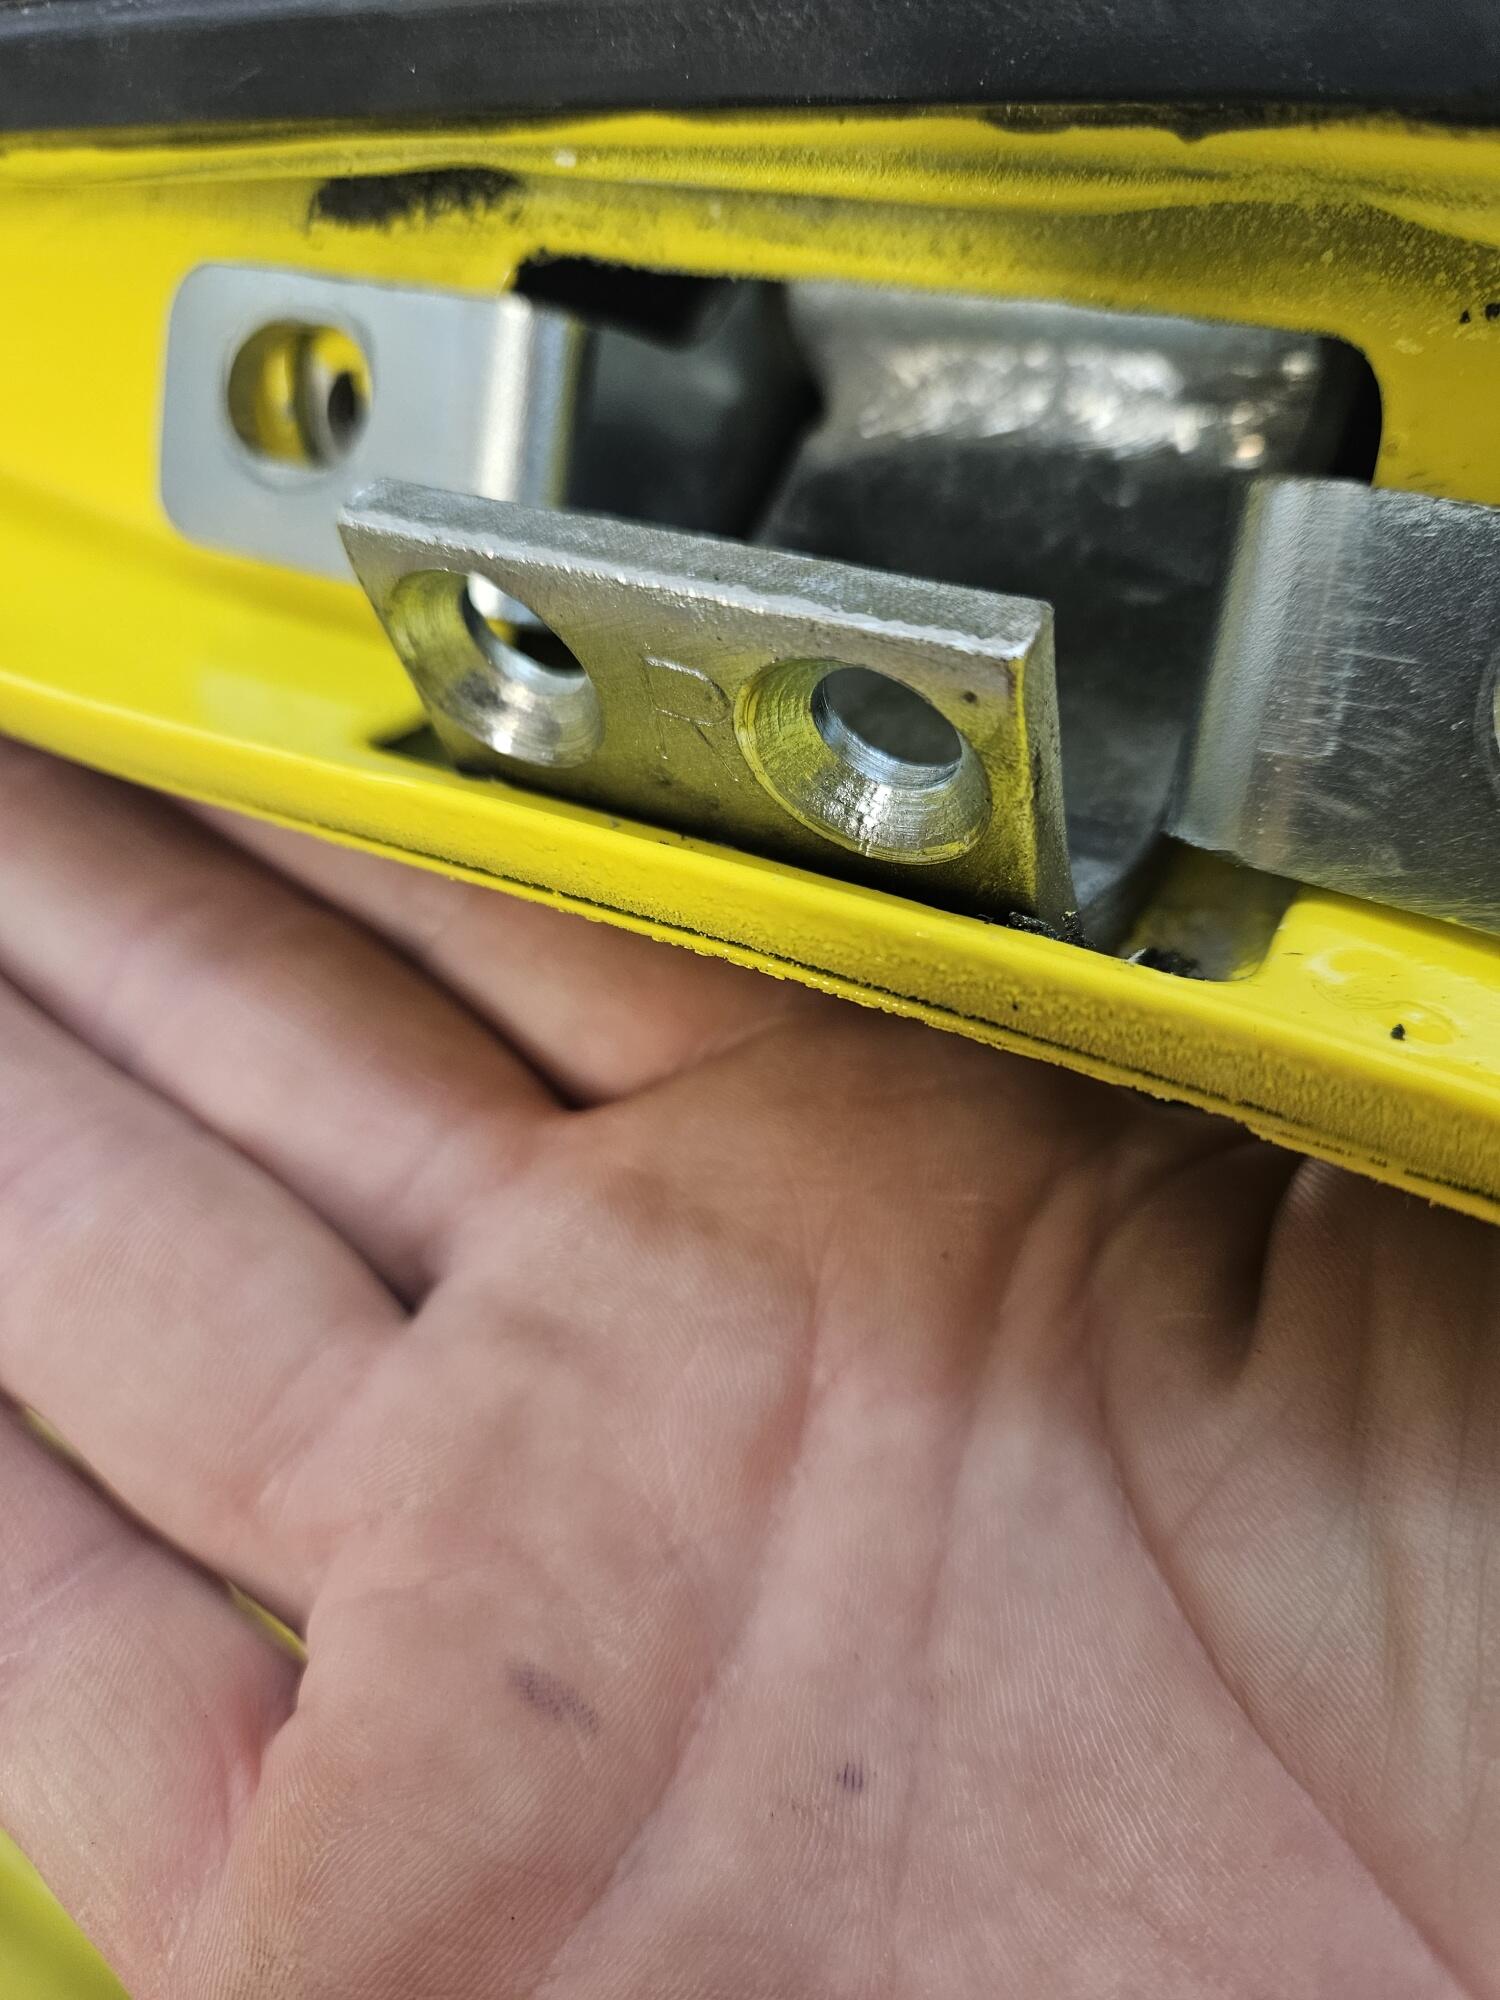
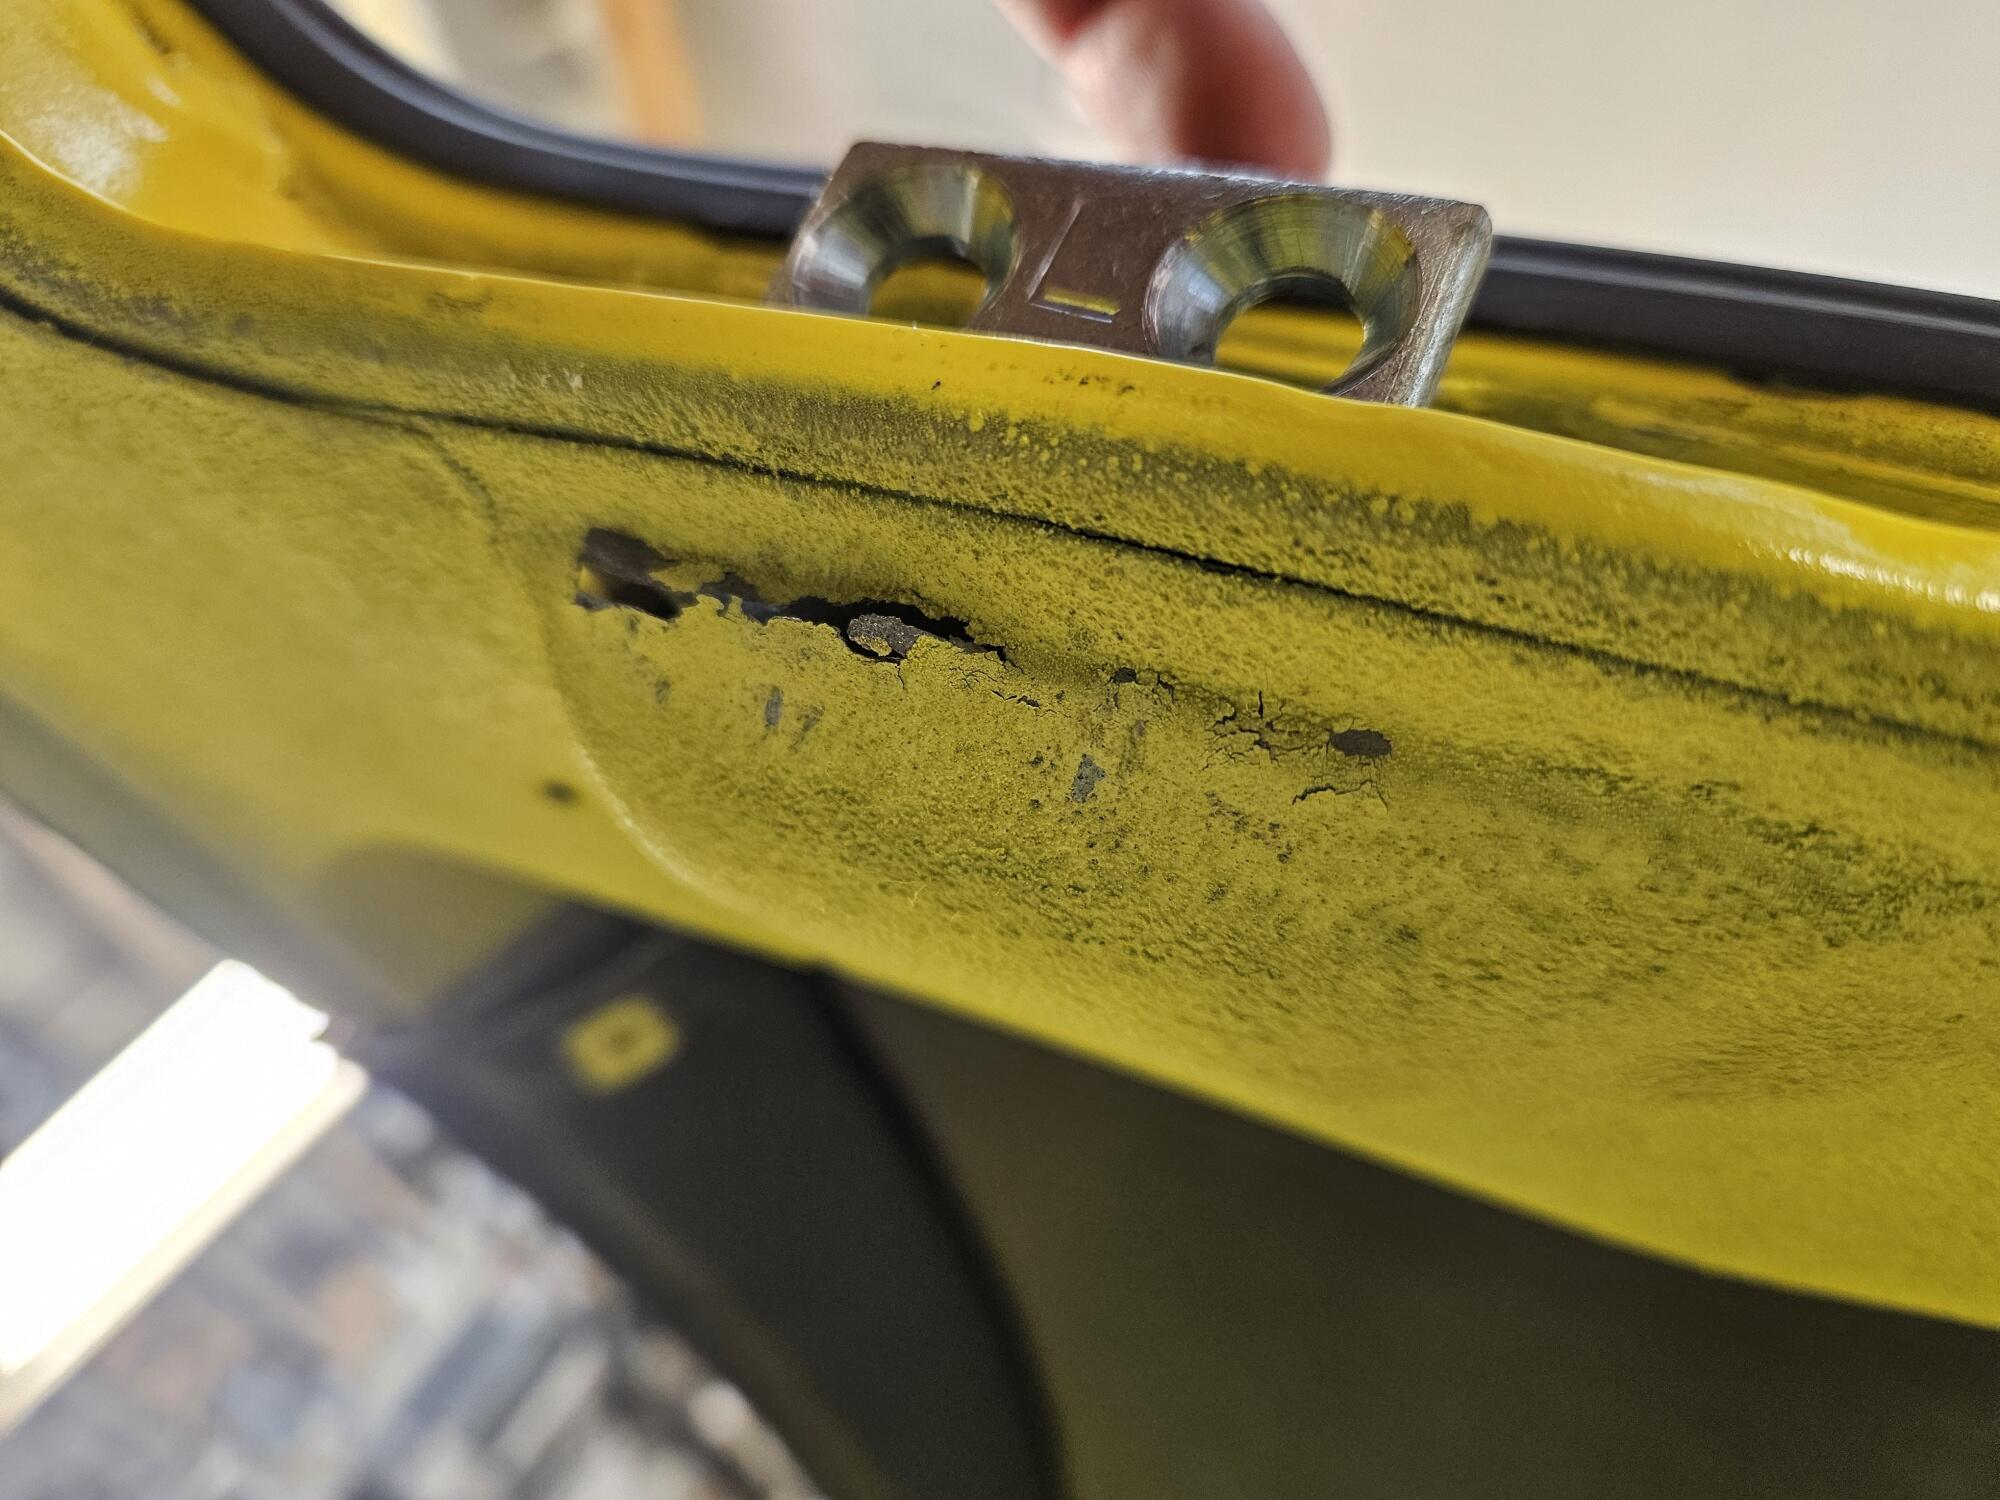
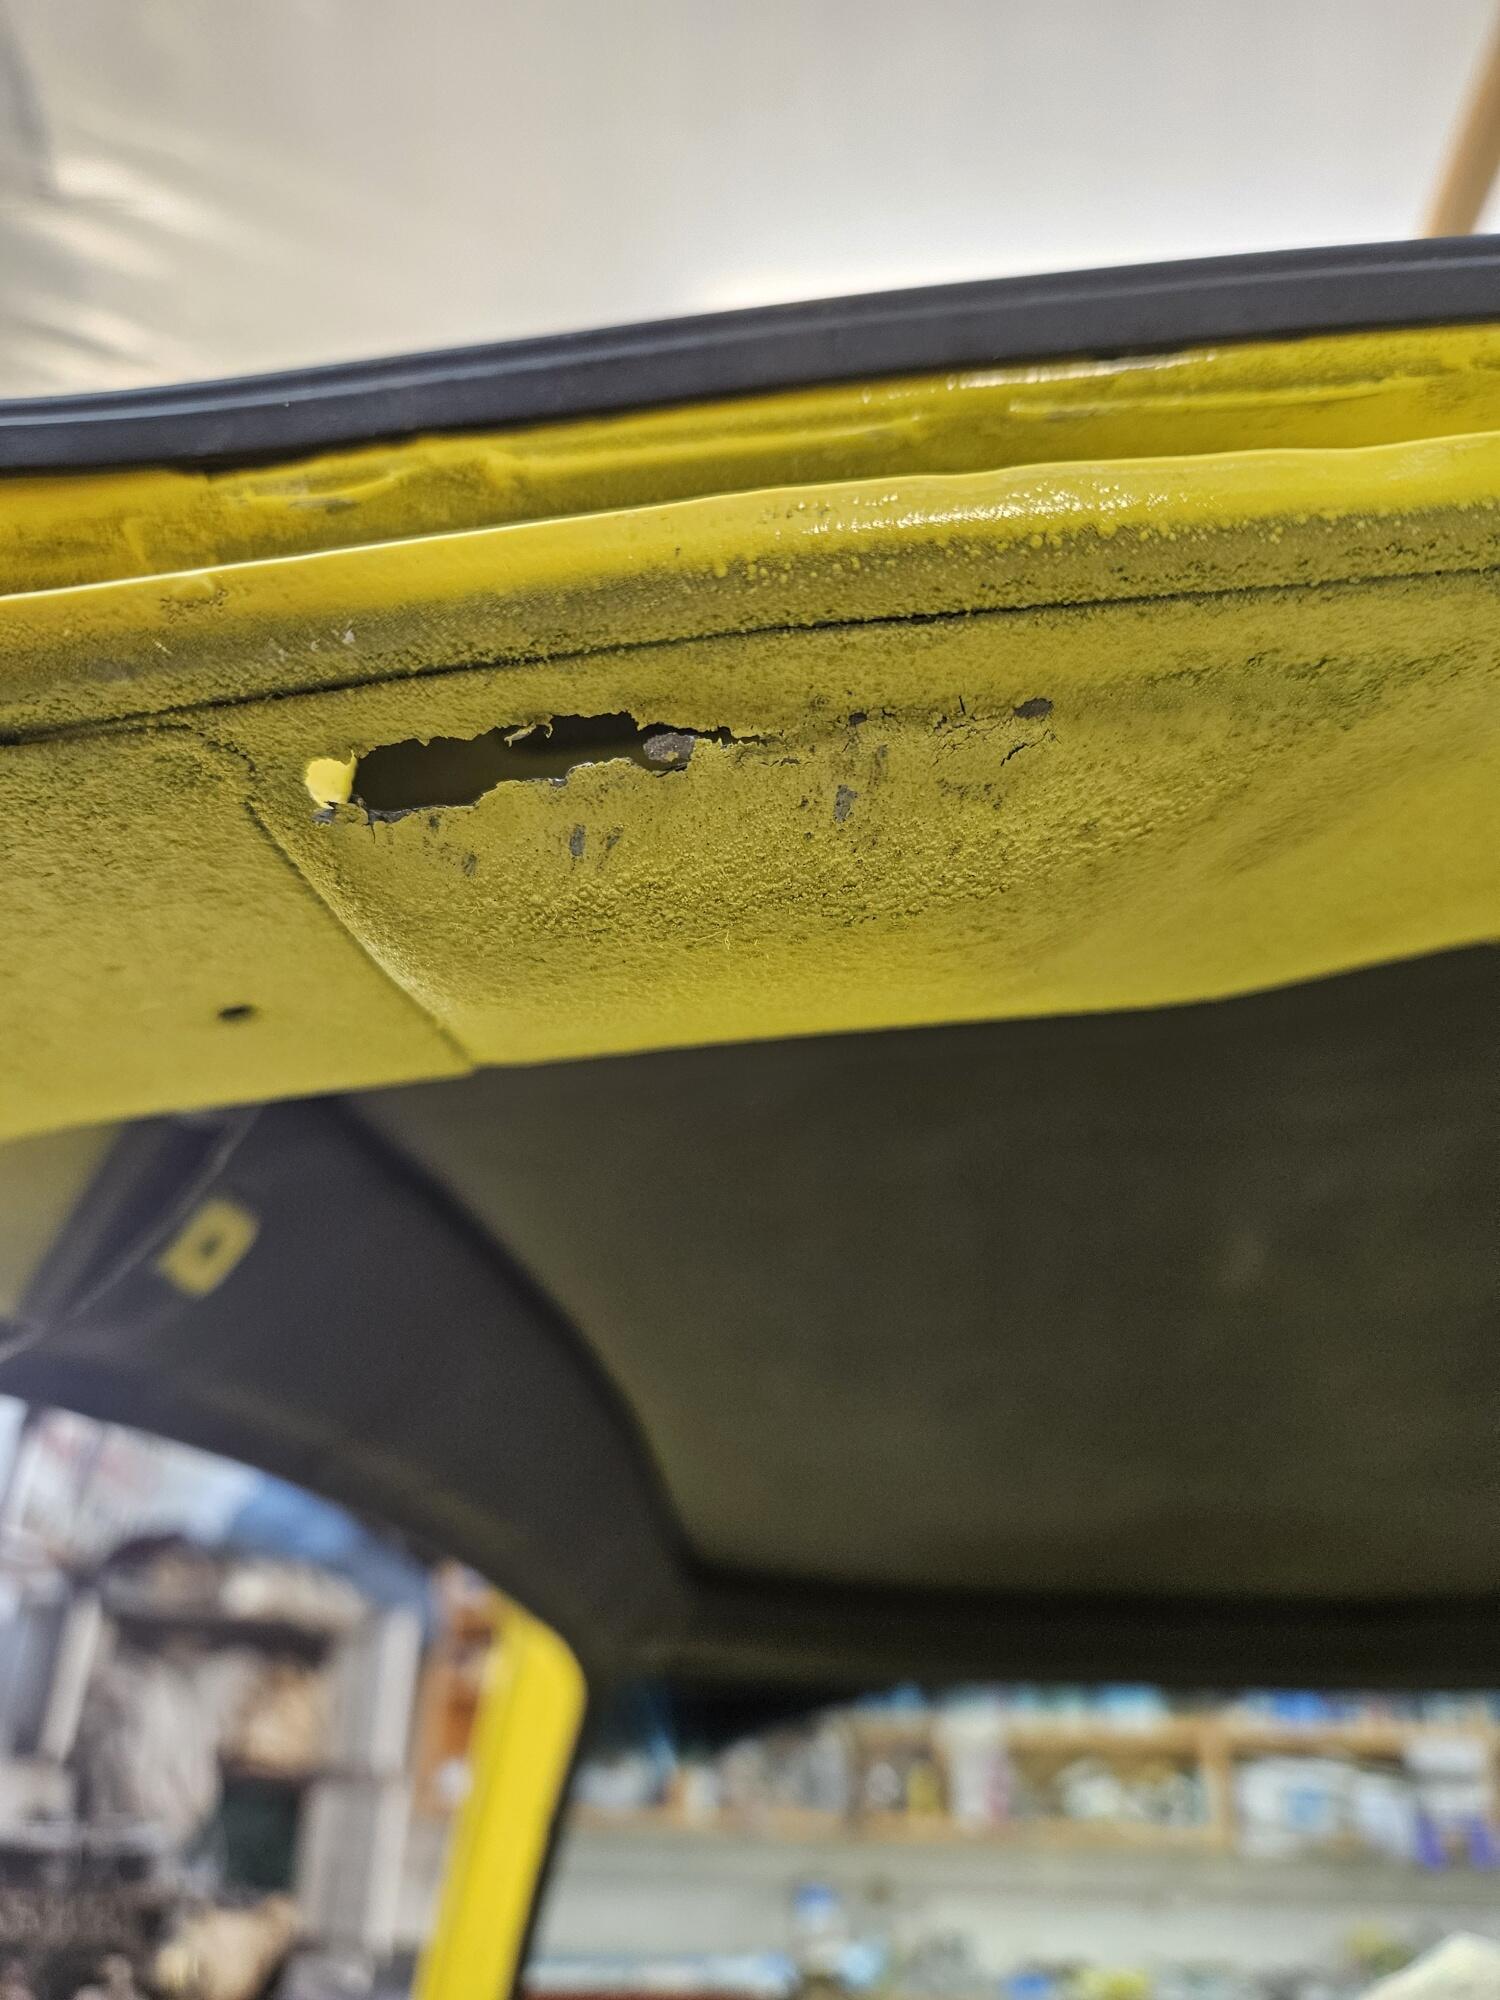
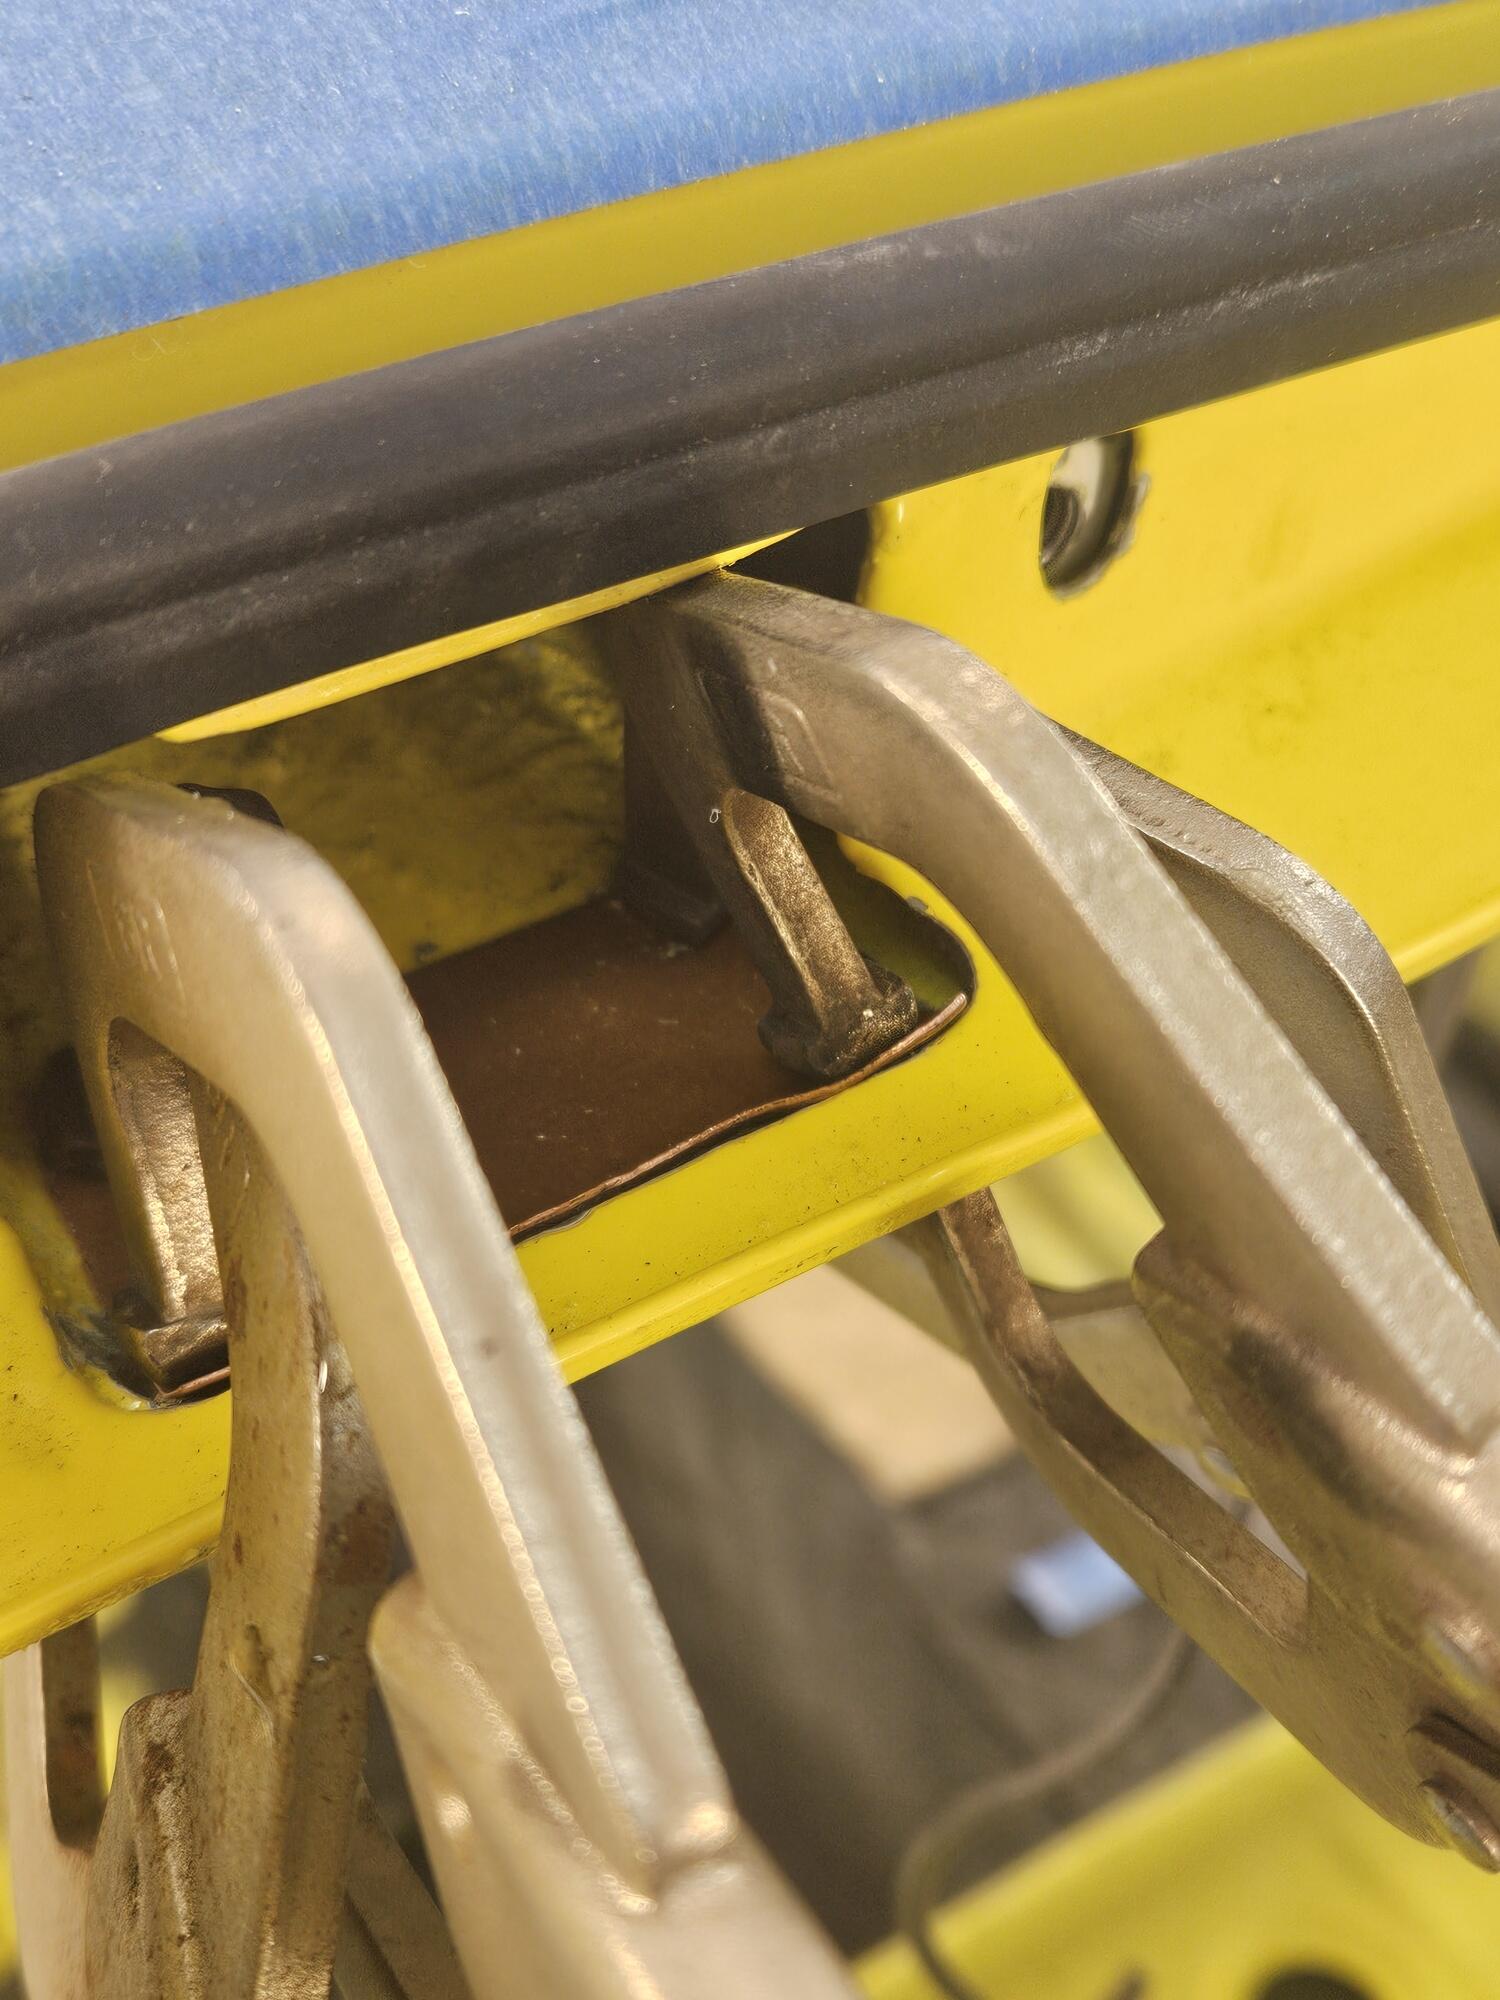
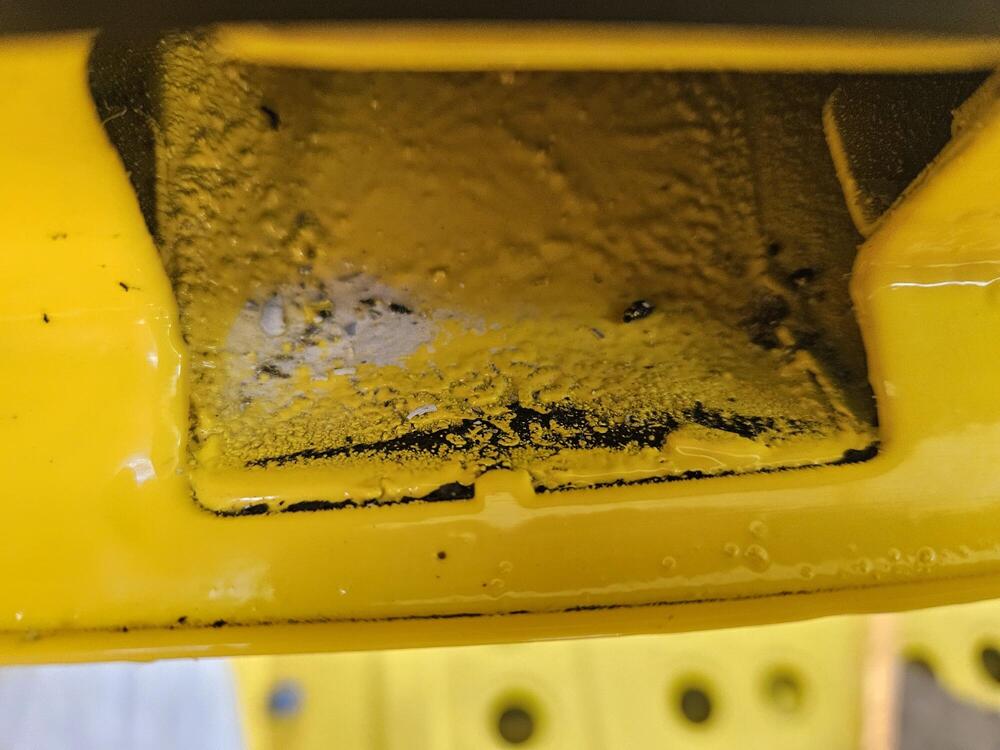
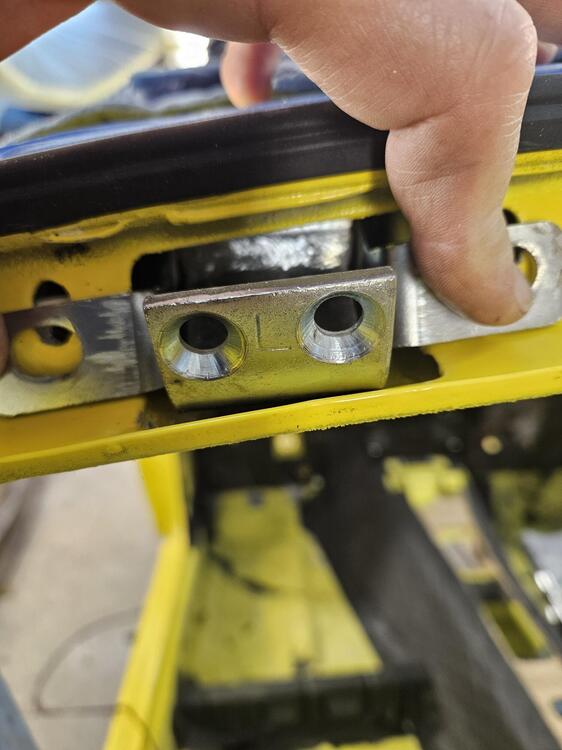
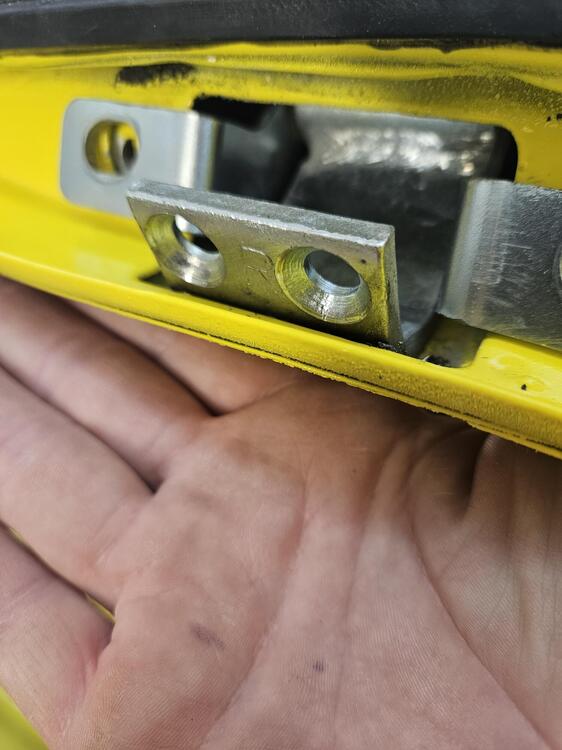
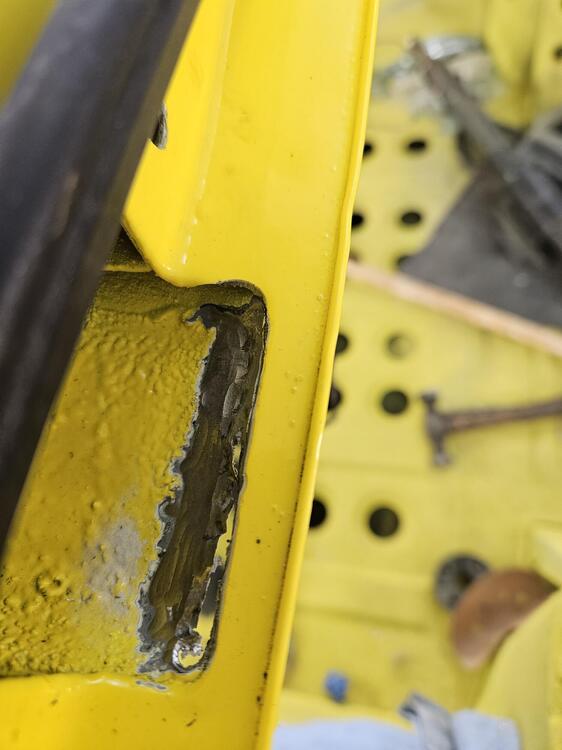
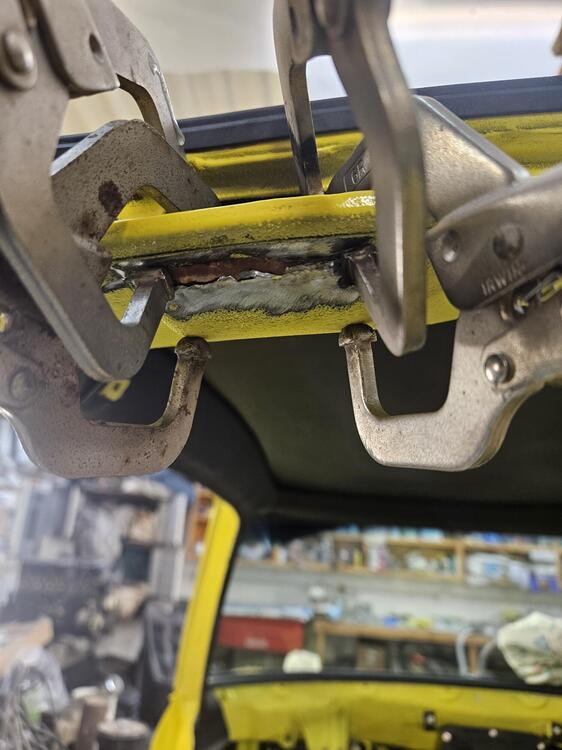
Well I messed with the hatch hinges today. Big sighhh... 😞 I took the bolts out and pulled the hinges, backer plates and the hinge cups out. I cleaned off the excess sealant and set the hinges back in place. At the the lowest location here is the RH hinge all the way down... Edge of the bolt holes almost even with the gutter Here's the LH side No where close! That's weird...?? It's hitting the pocket. The RH pocket The LH pocket Different locations!! Look at the panel edge under the gutter RH LH The car was not assembled even on both sides from the factory!! So I took the die grinder to it and clearanced it. Then drove it down some more with a punch and hammer. Unfortunately, I have a hole now. So let's weld on our nice yellow car. 😞 Backed it with a piece of copper. I'll procrastinate on this for a few days probably. Will be an awful welding position and will probably get burnt some. As I recall I had to weld one or both of the hinge tabs back to the hatch years ago when I was doing body work. I'm betting that was the LH side that broke from being flexed back and forth from years of use. I could go look but I'm too lazy to dig through 80 pages of posts. So note to others check these pockets for clearance before you get this far along. 😉


-
I suspect lead is more forgiving of movement too. I think the move away from lead was because of the health hazards and the skill needed to get it on properly. Plastic filler gets more brittle with age but lead does not. Lead is also very maleable. Lead was a great additive for paint too, but was done away with for health reasons too. Sometimes the cons outweigh the pros...
-
I have seen pictures of the qtr to roof joint over the years. There have also been pictures posted up of roof cuts that show how many layers are in this area. I don't remember what threads they were in. It is a very complicated joint with multiple layers
-
No I don't recall that part of the conversation.