motorman7
Supporting Member
-
Joined
-
Last visited
Everything posted by motorman7
-
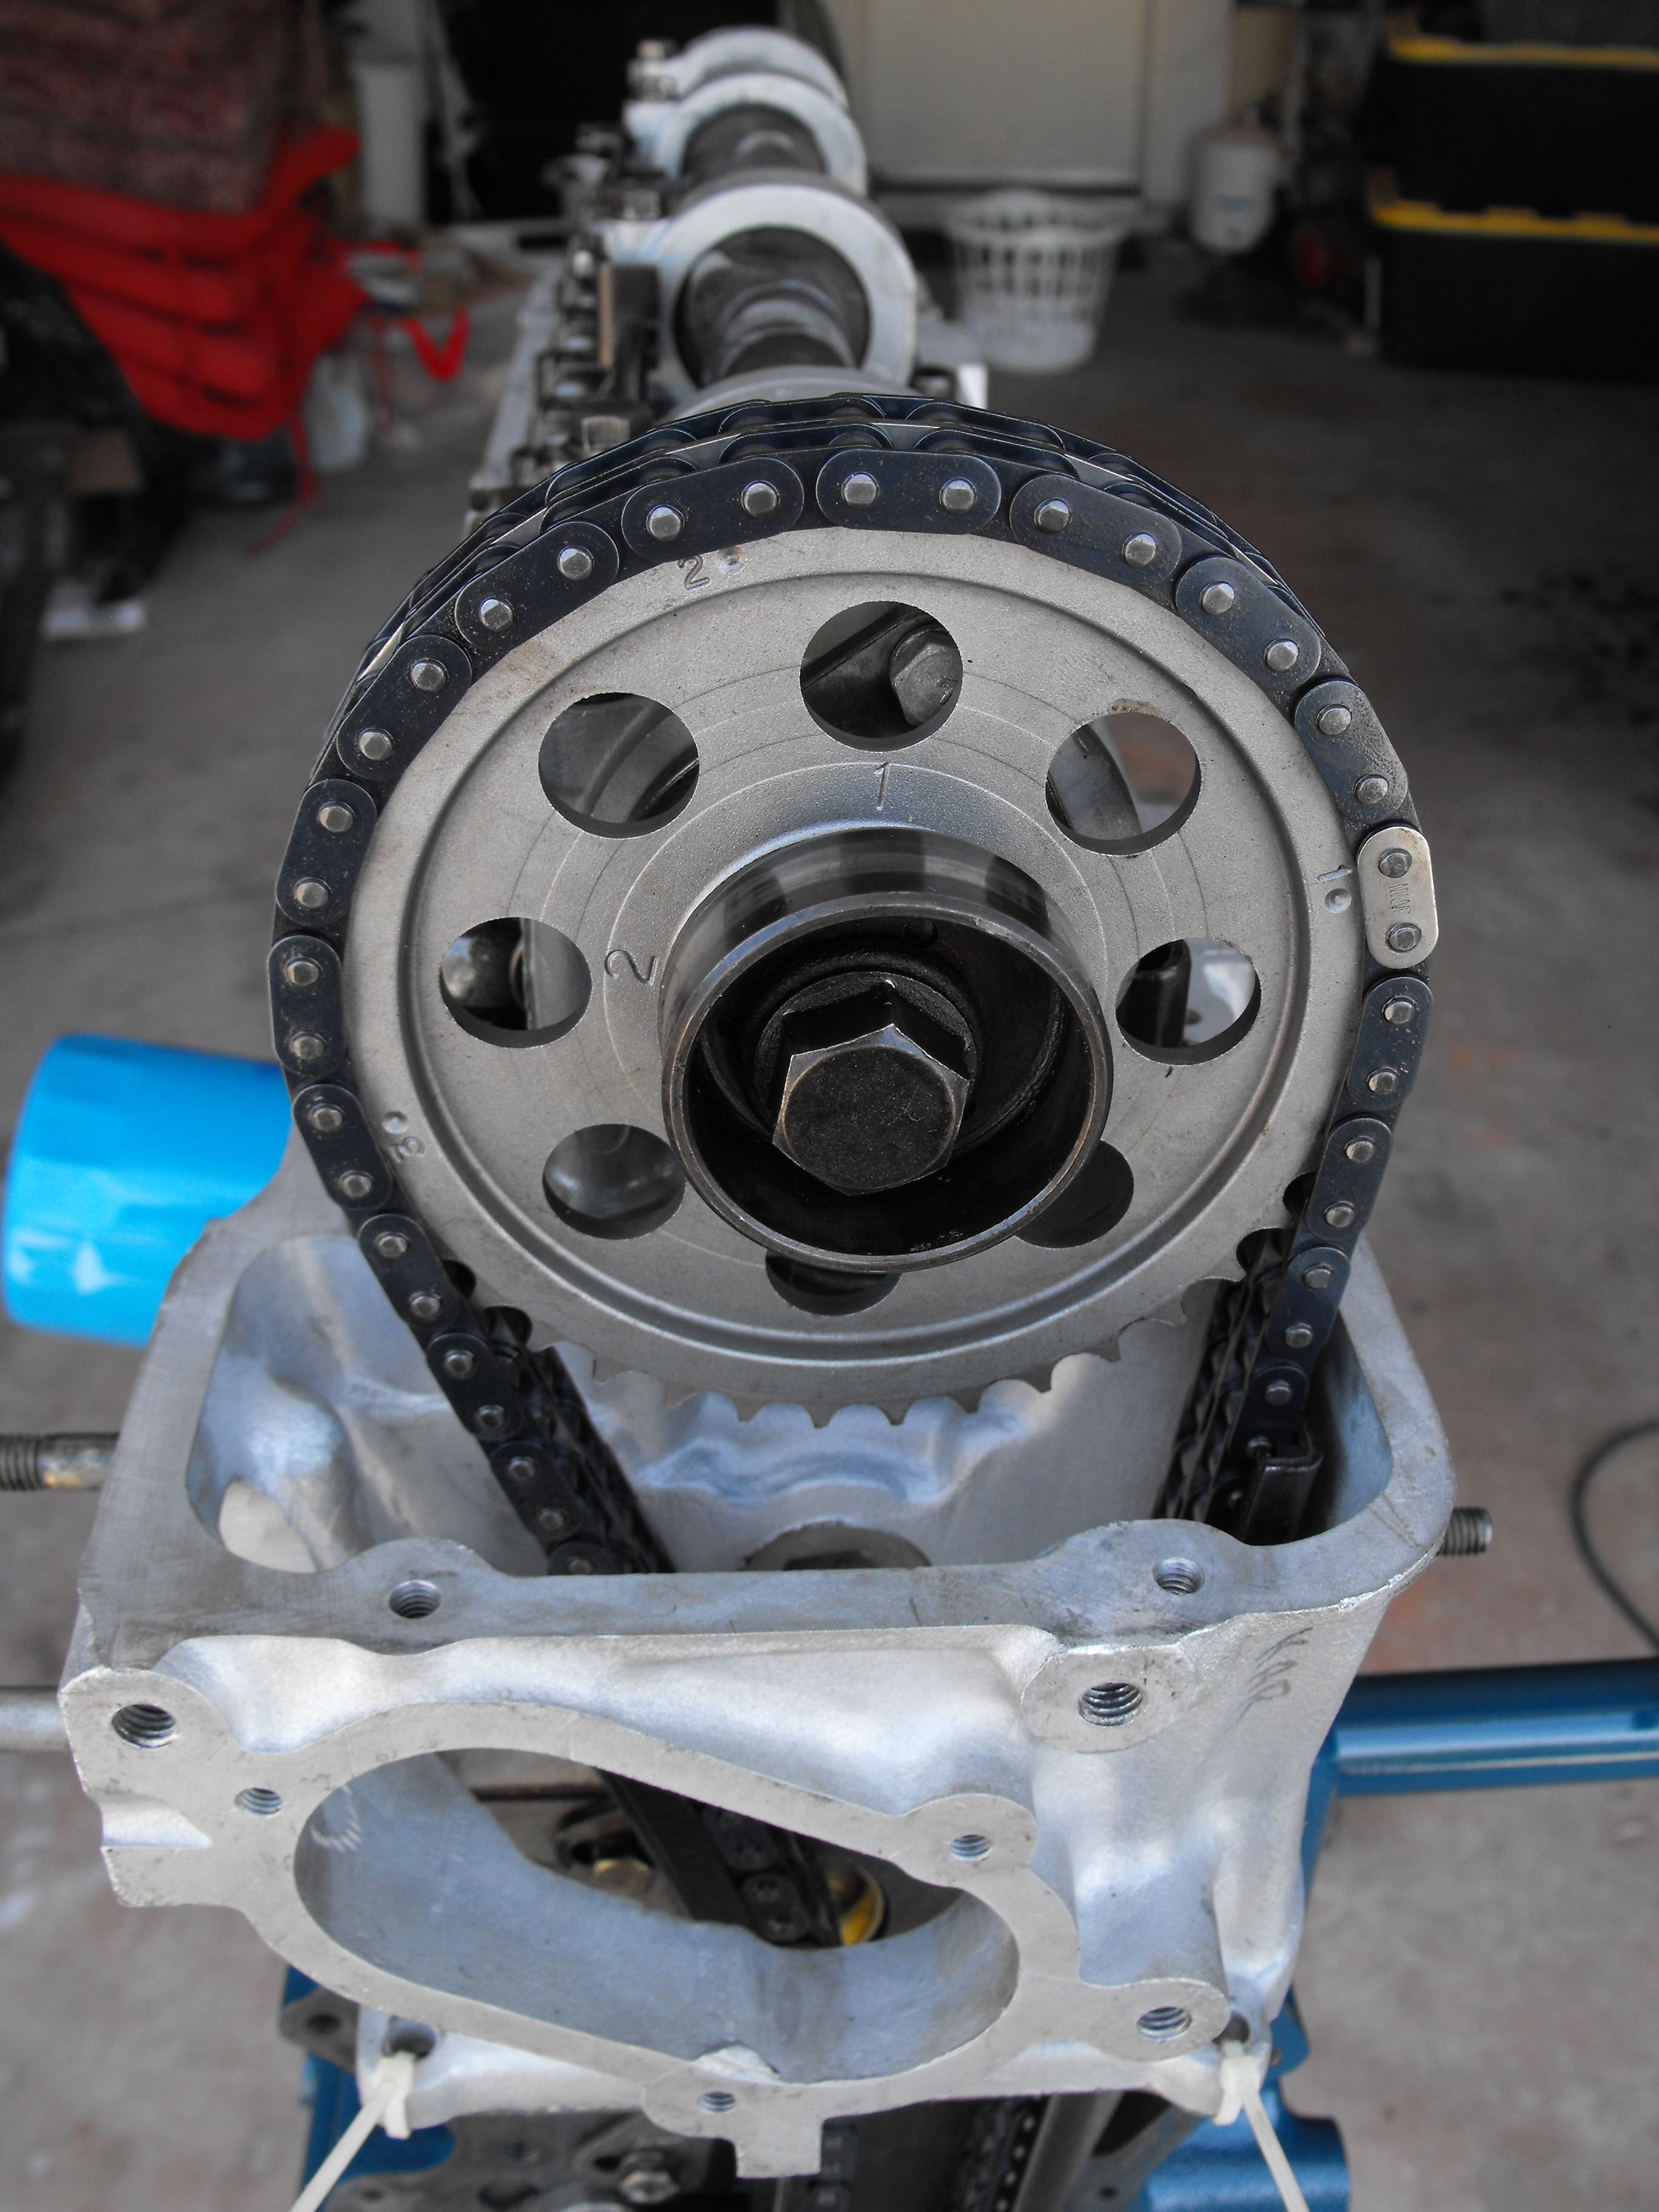
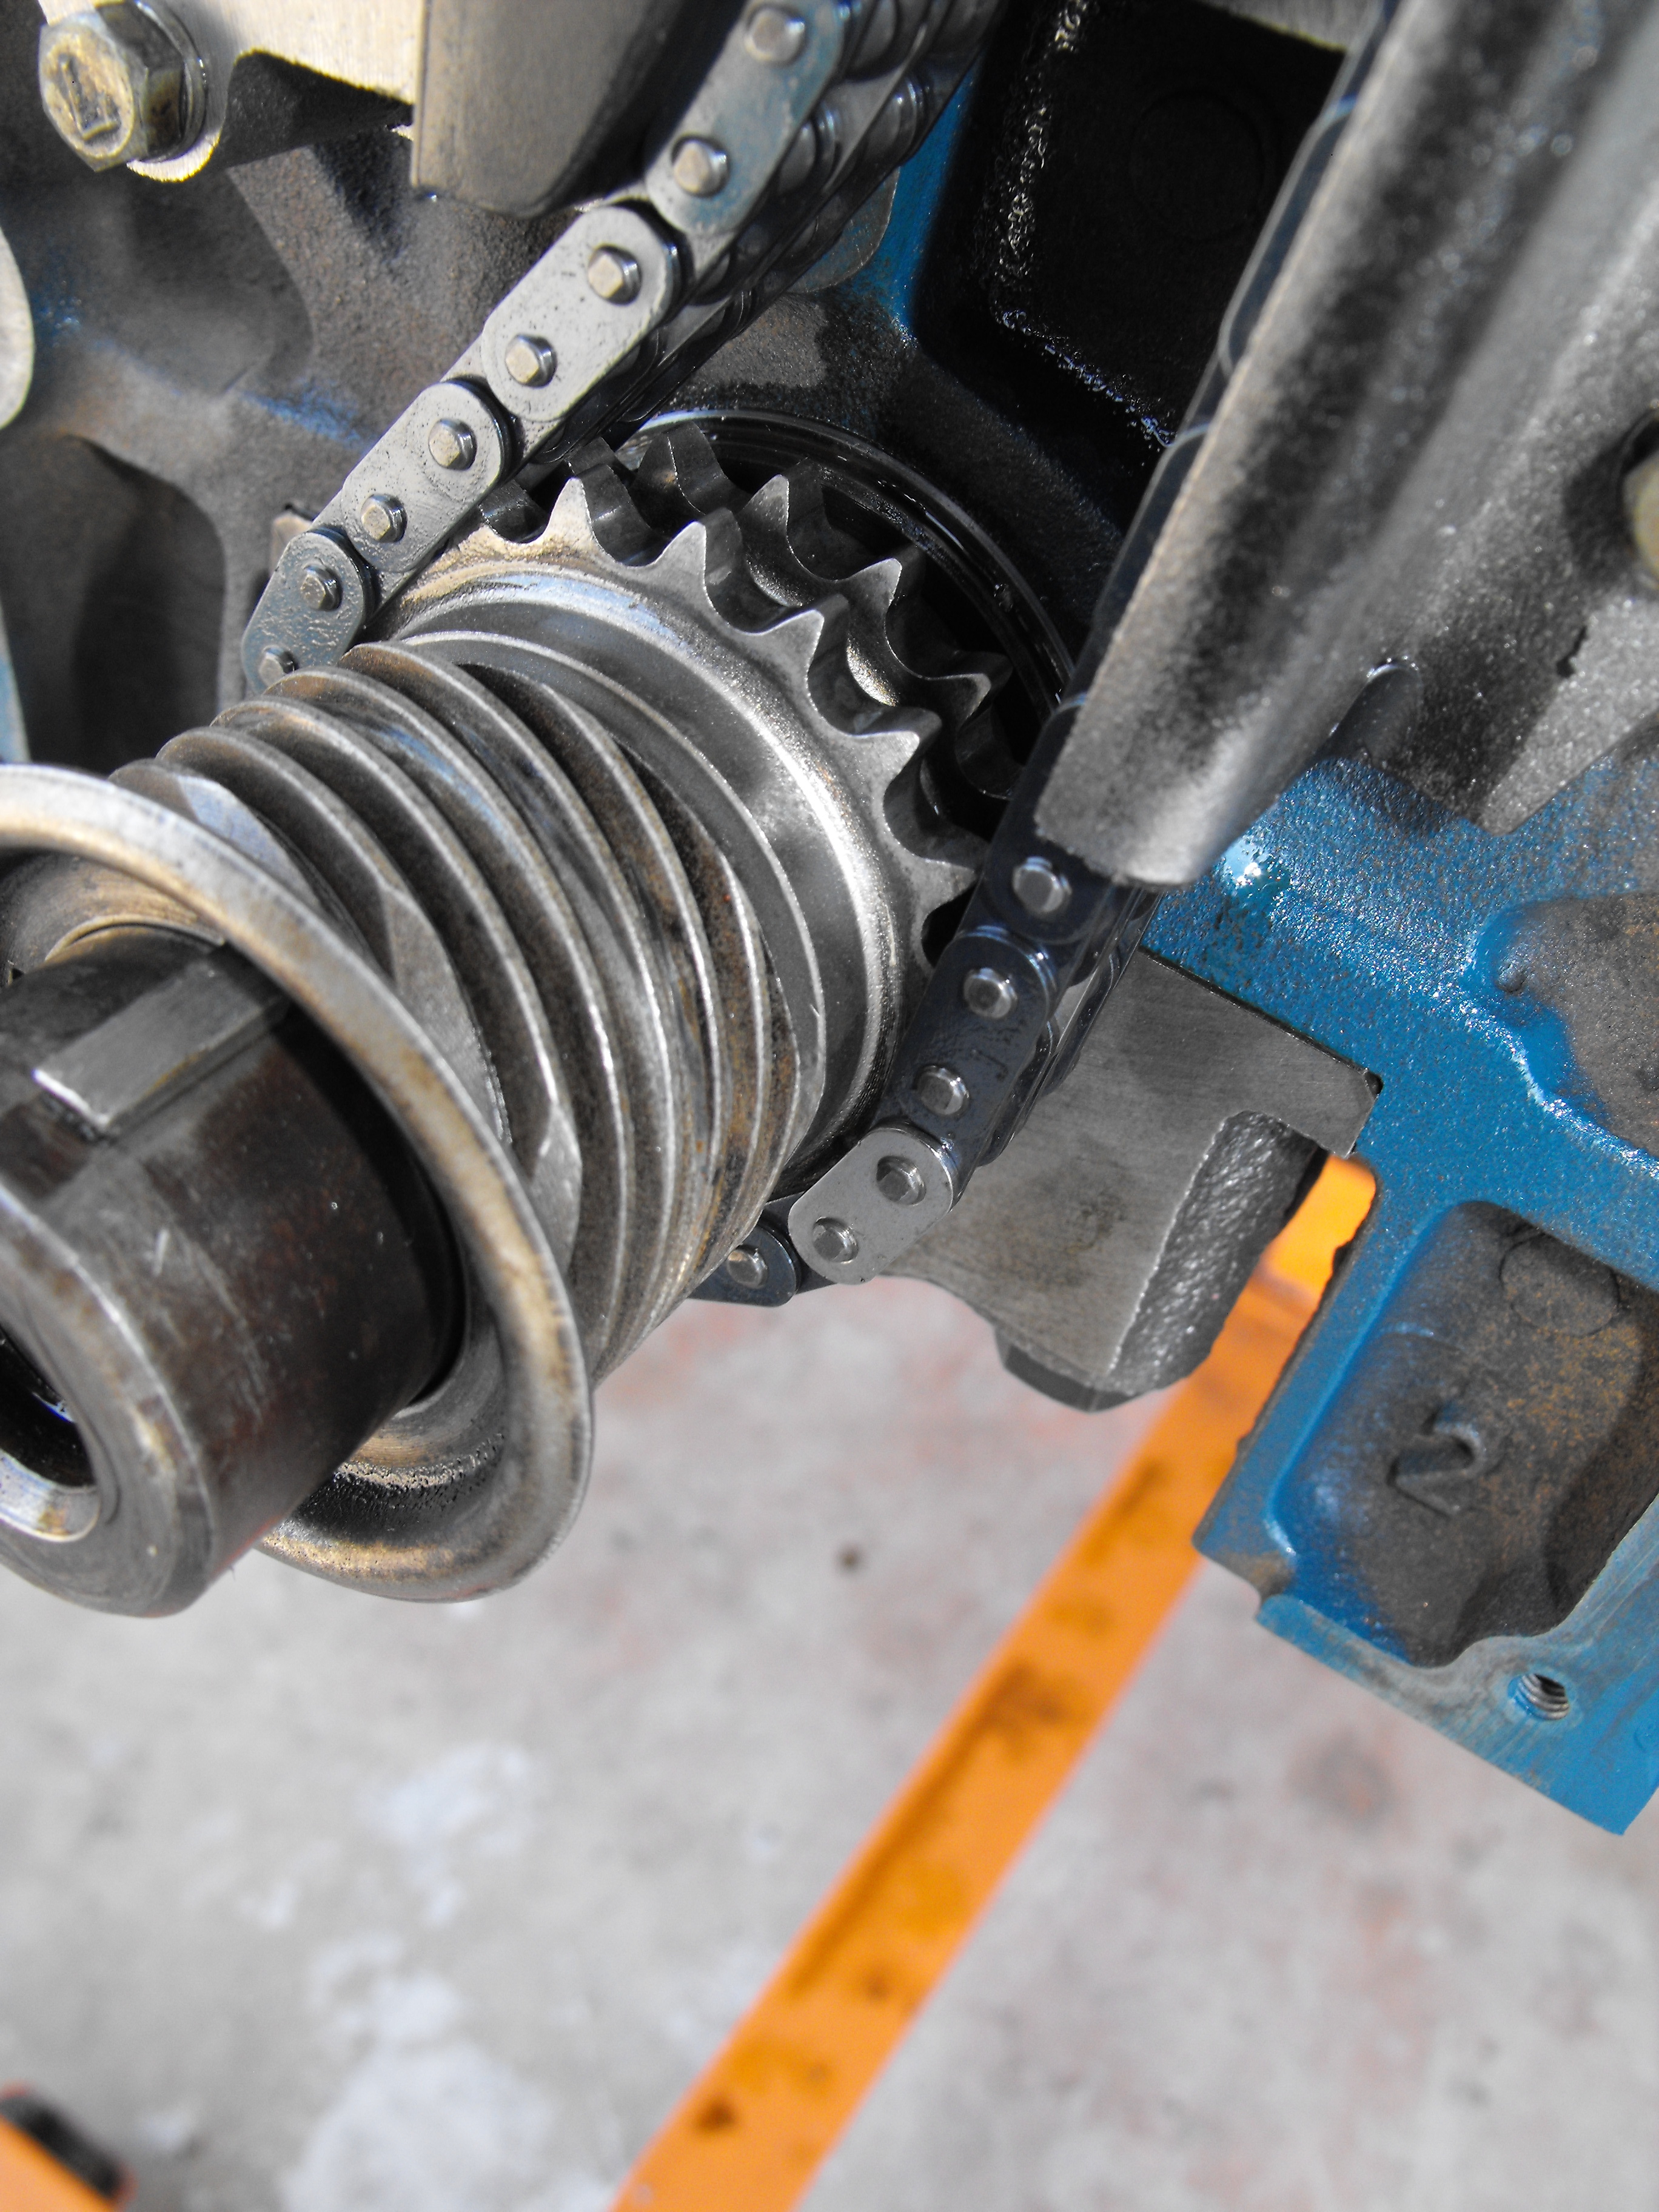
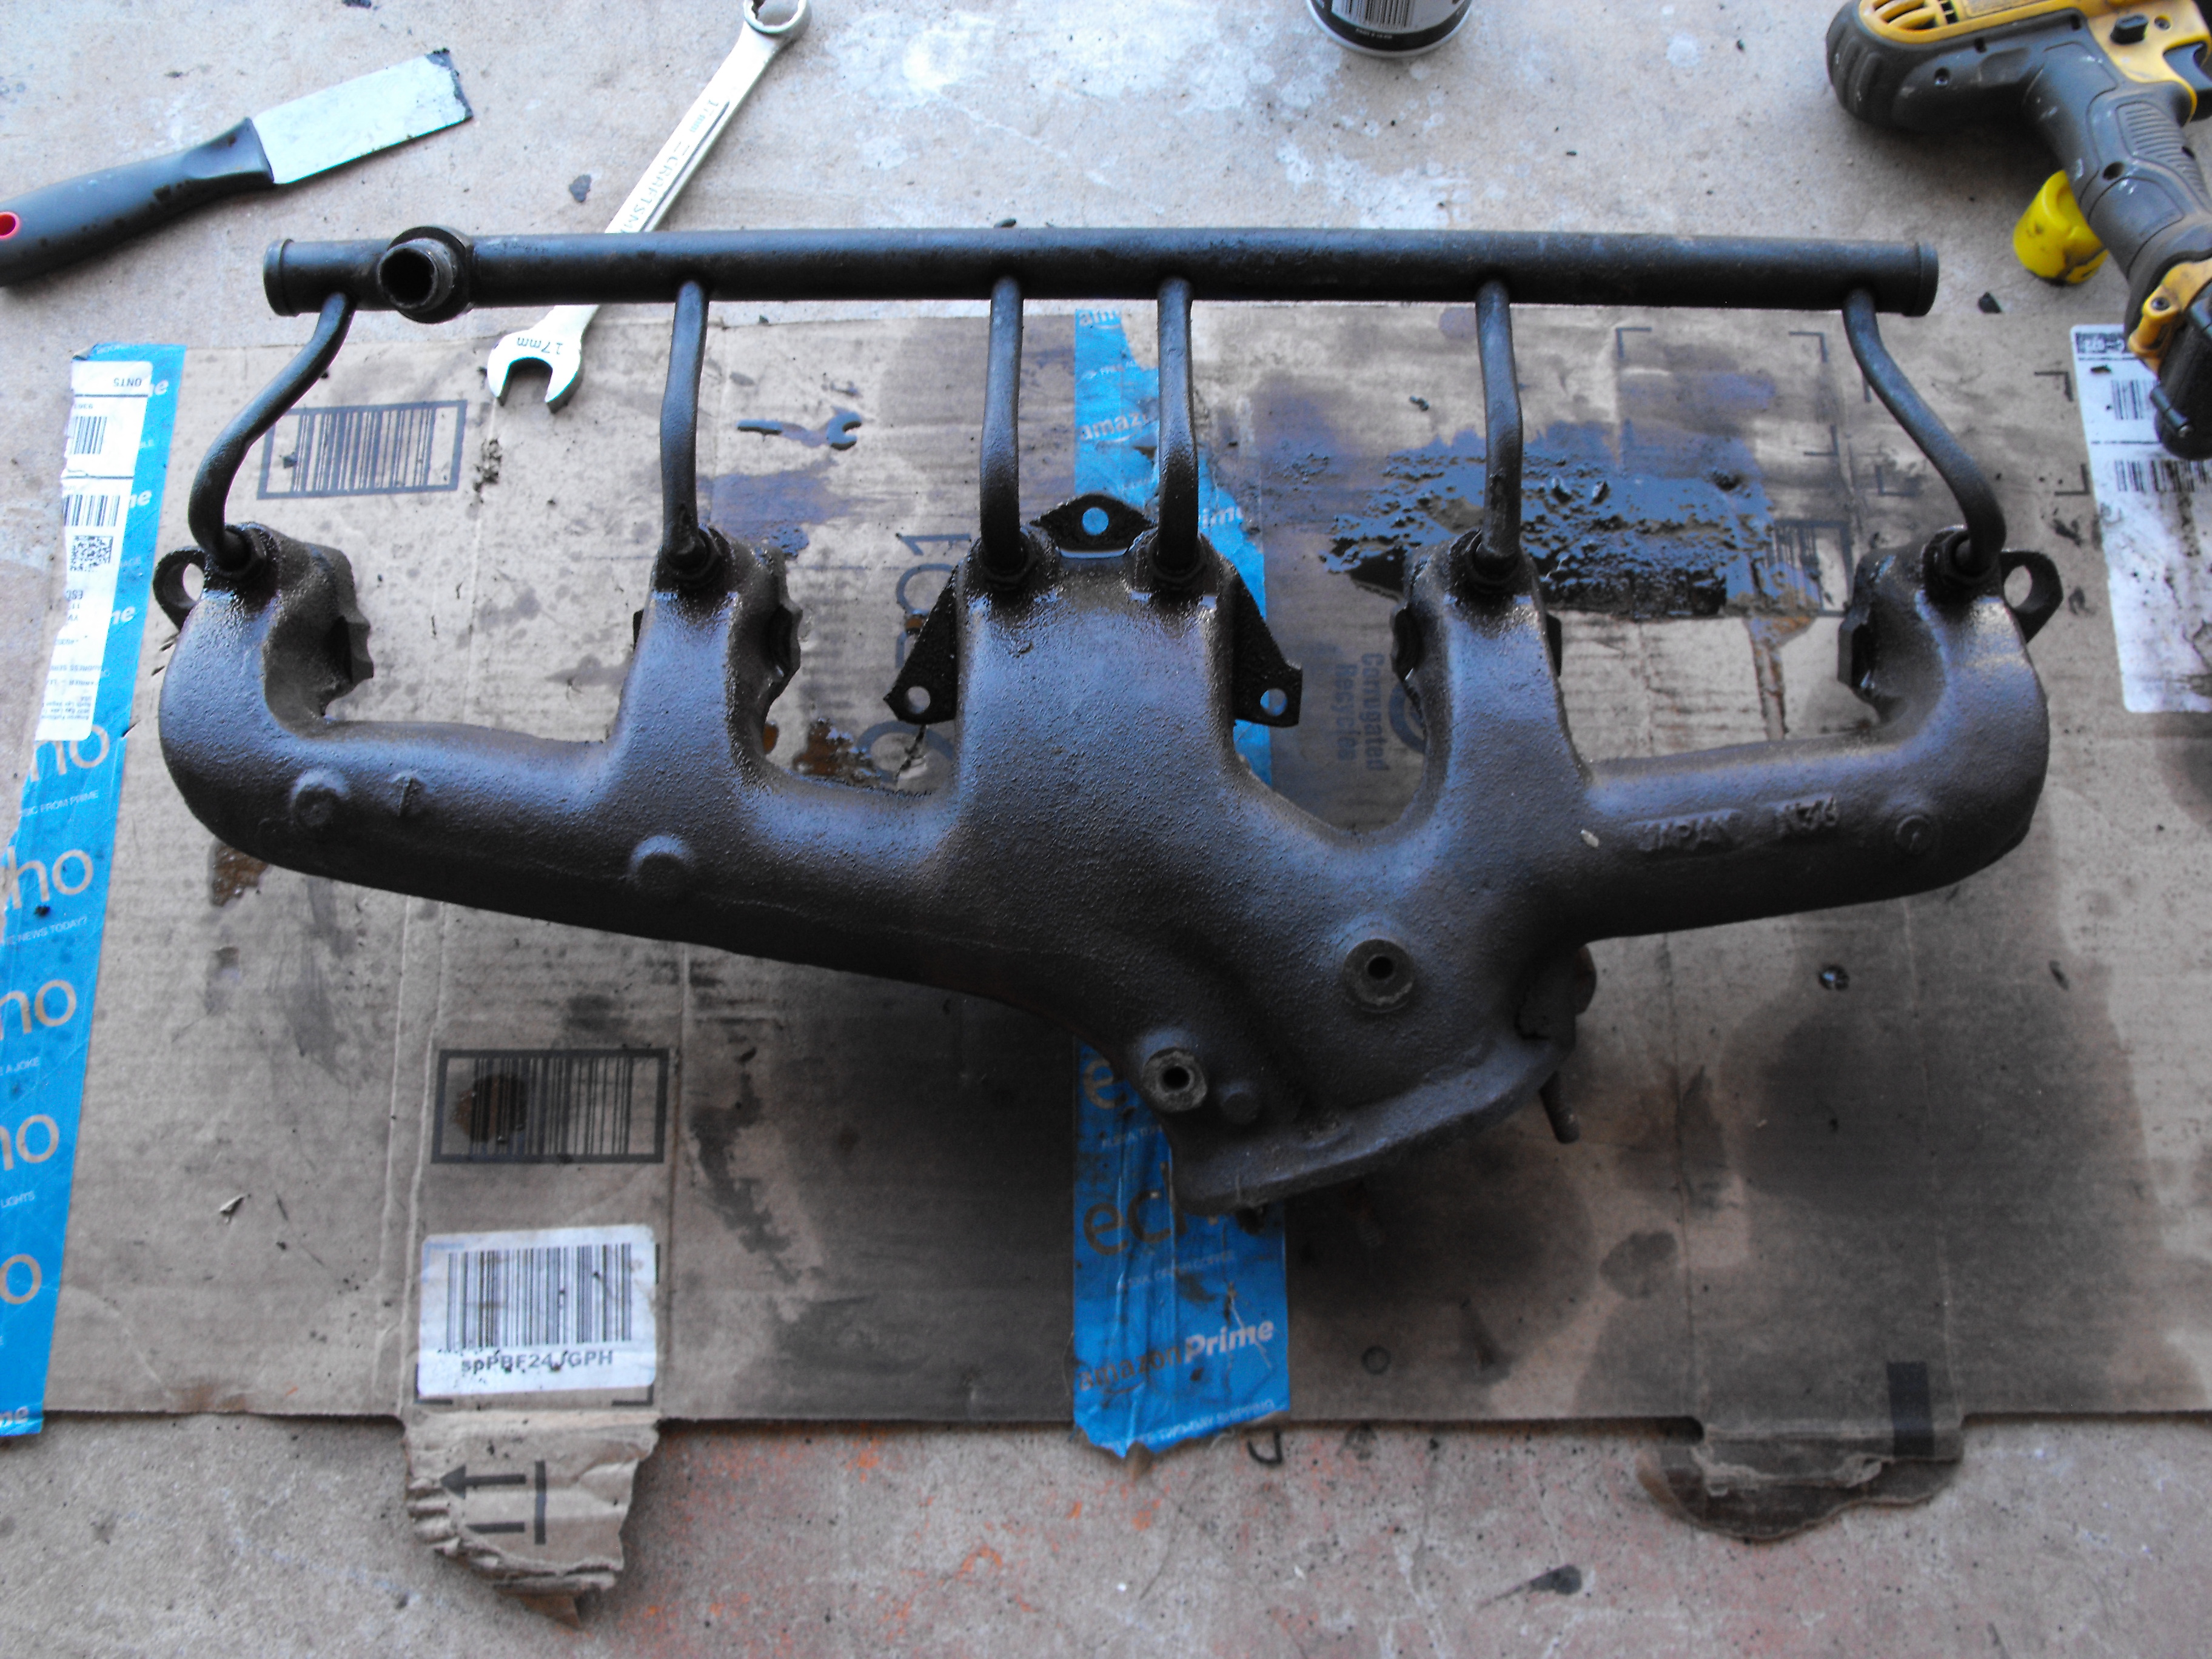
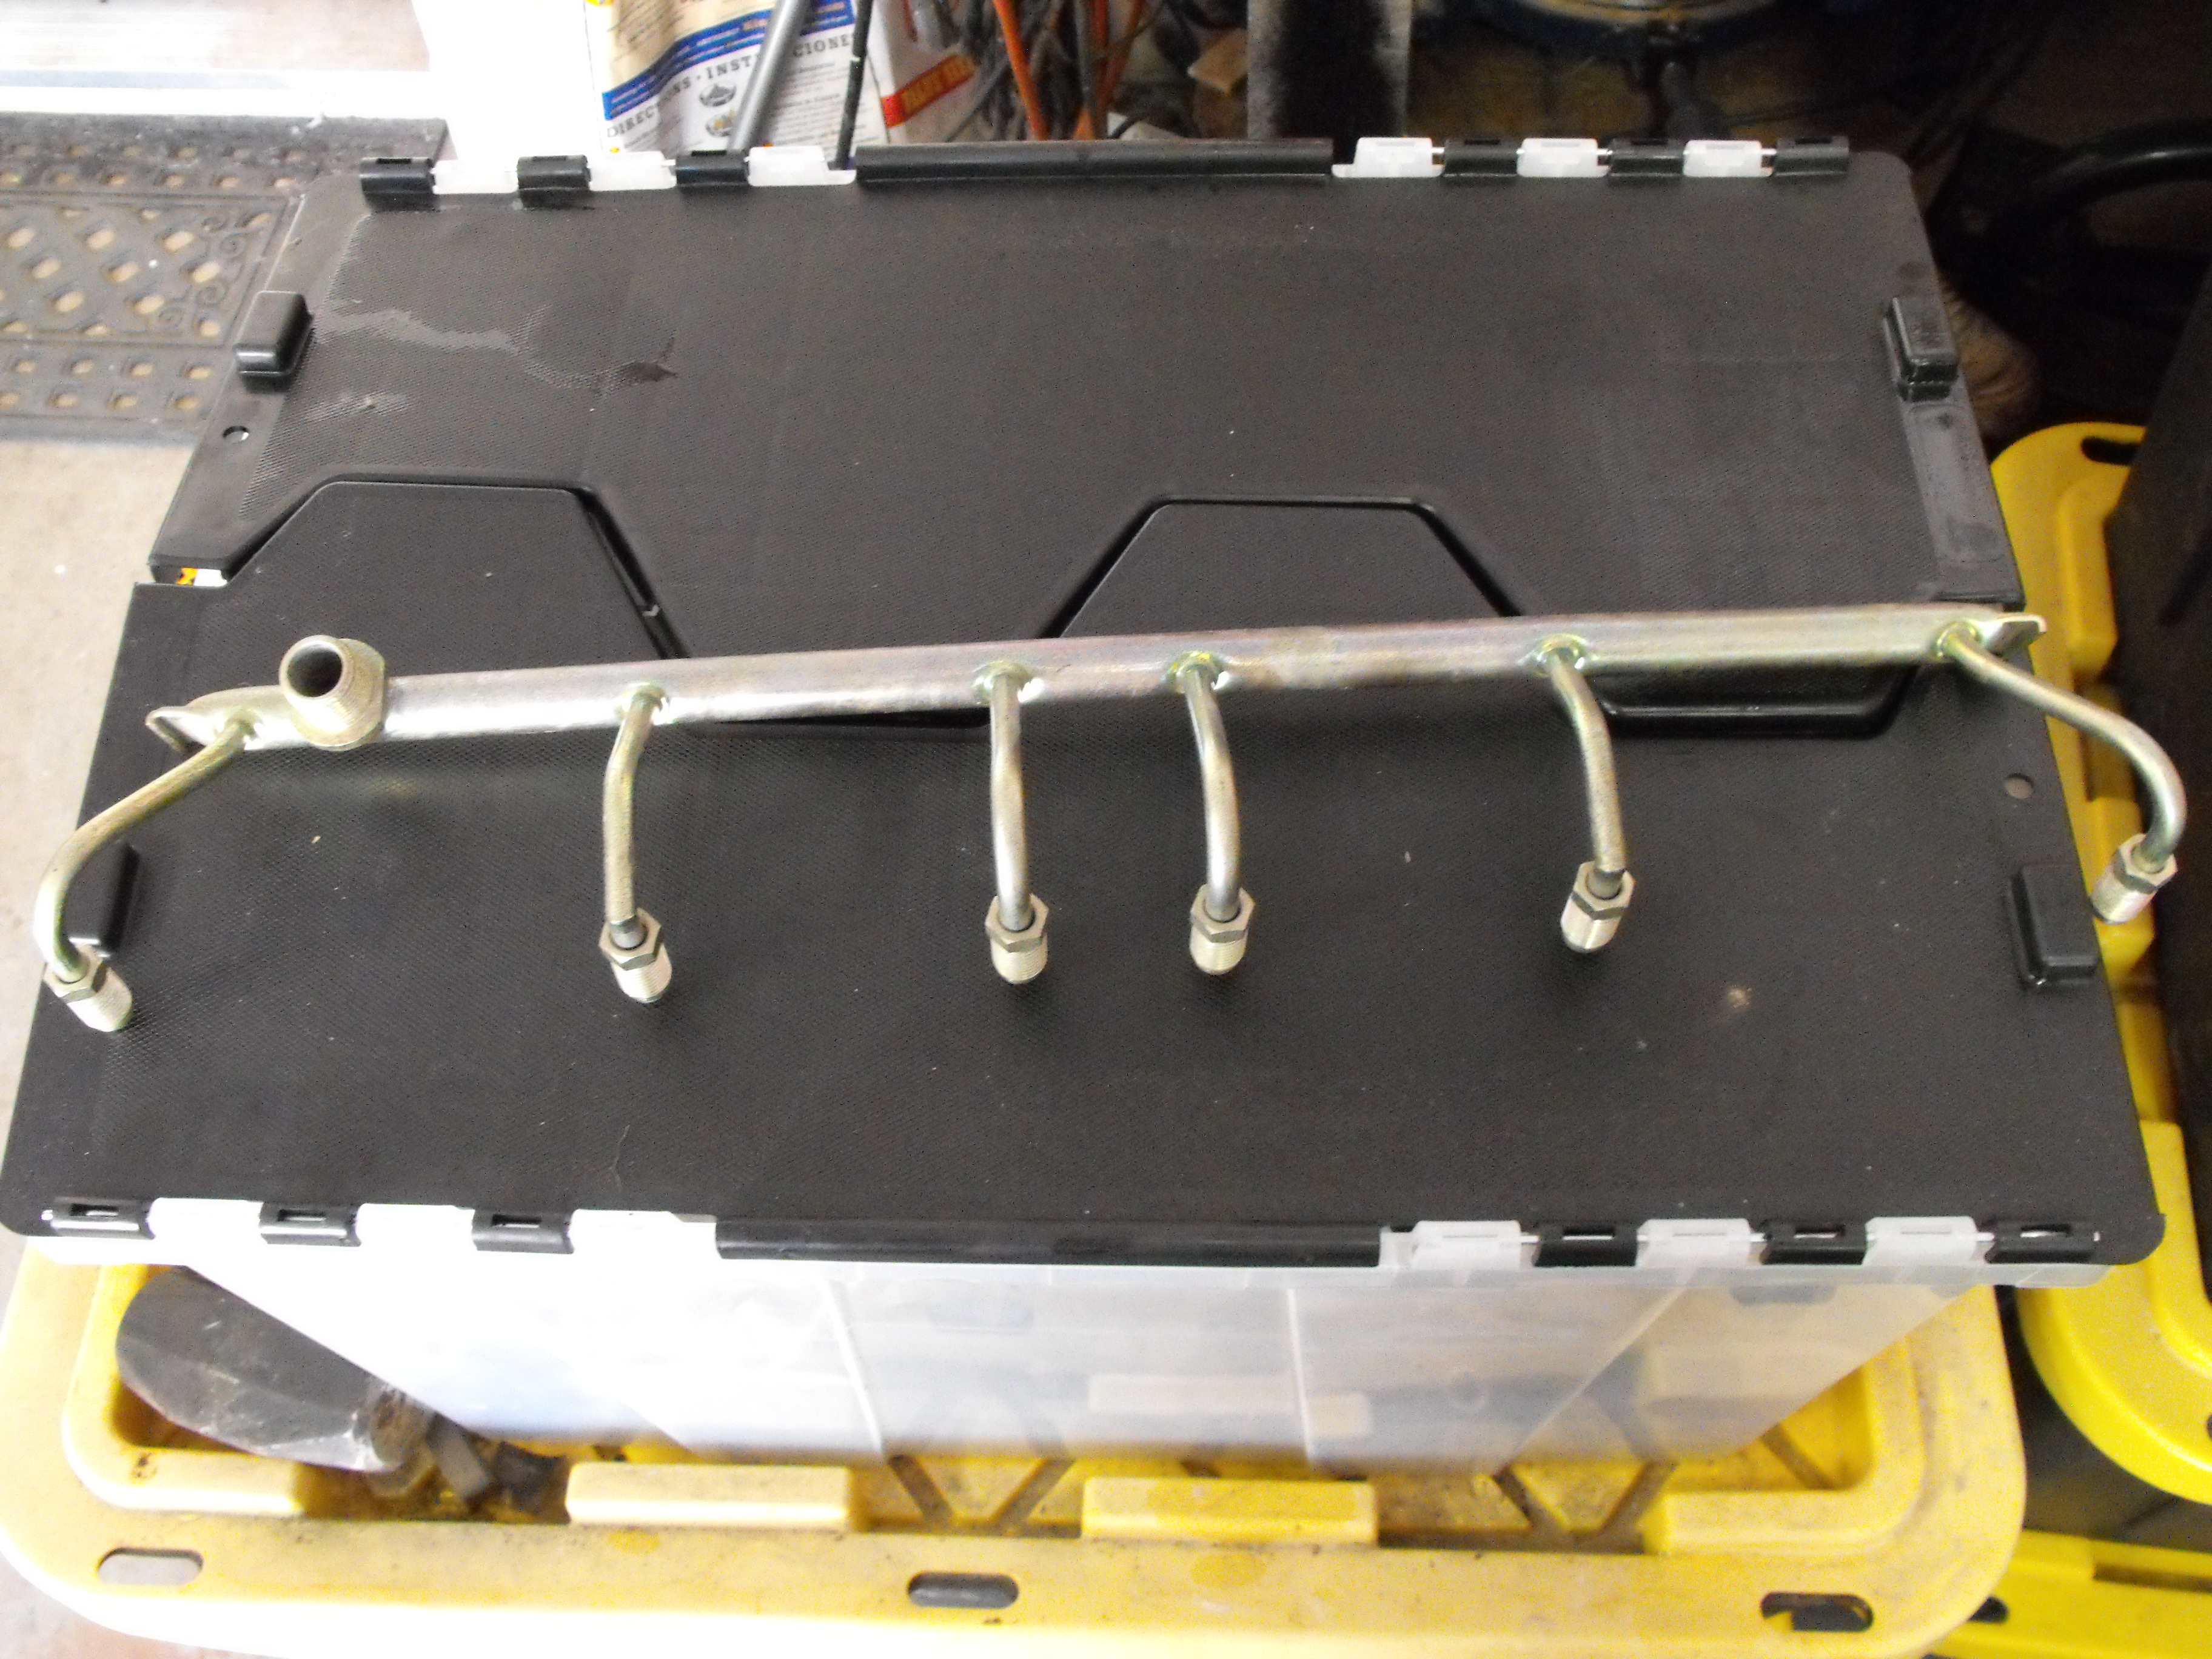
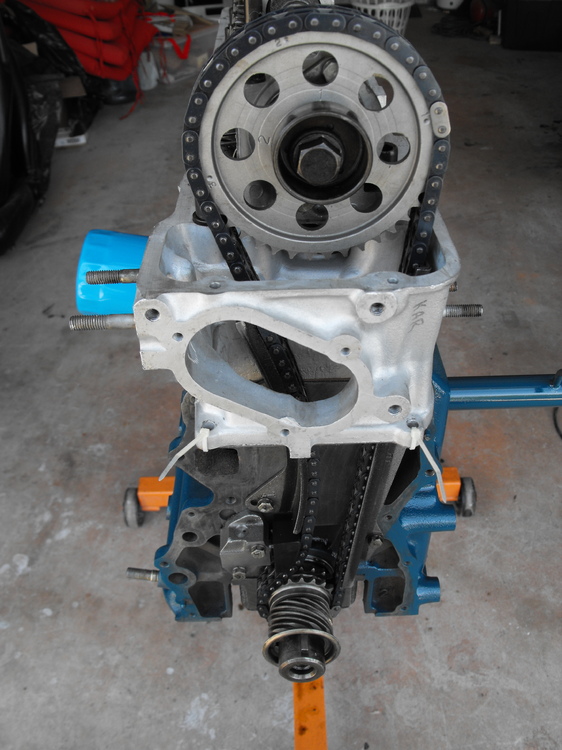
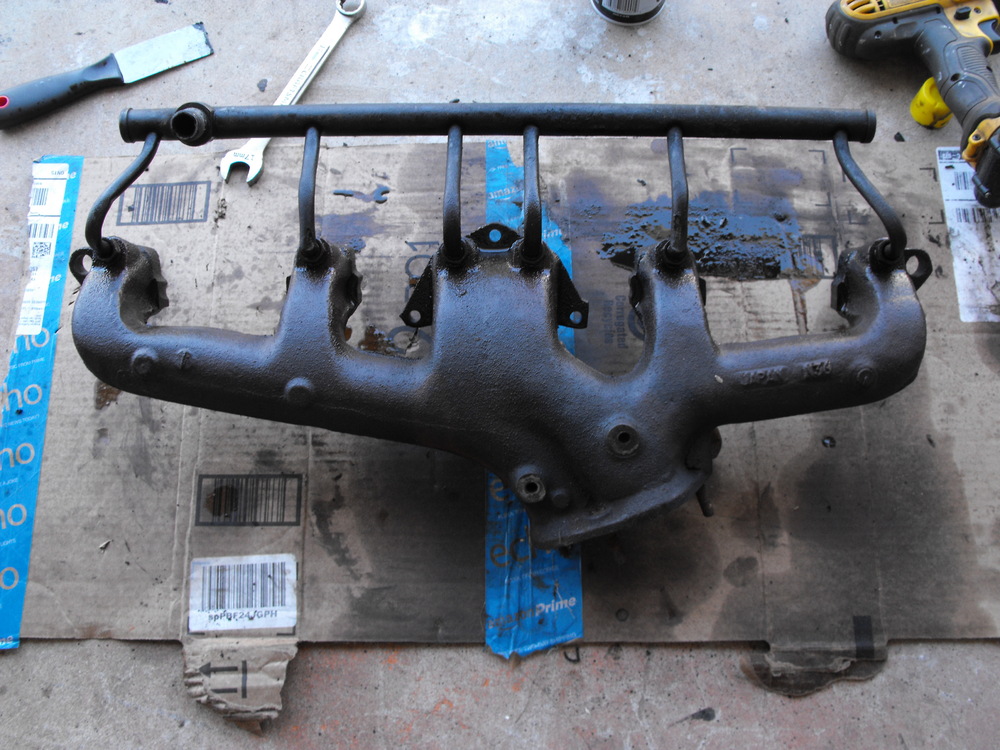
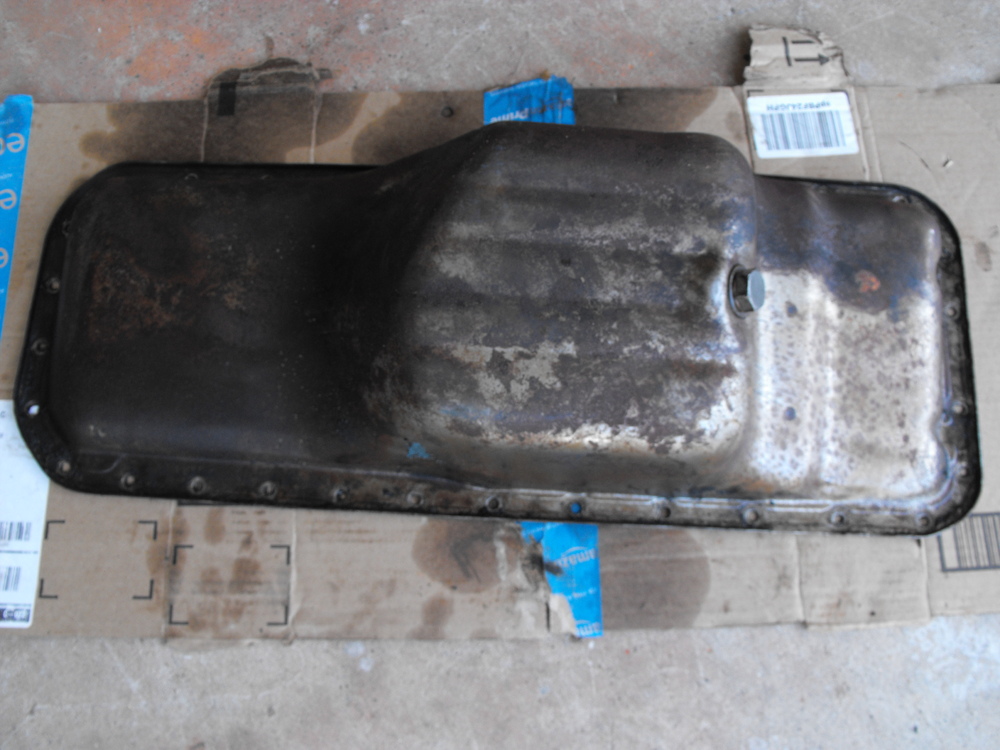
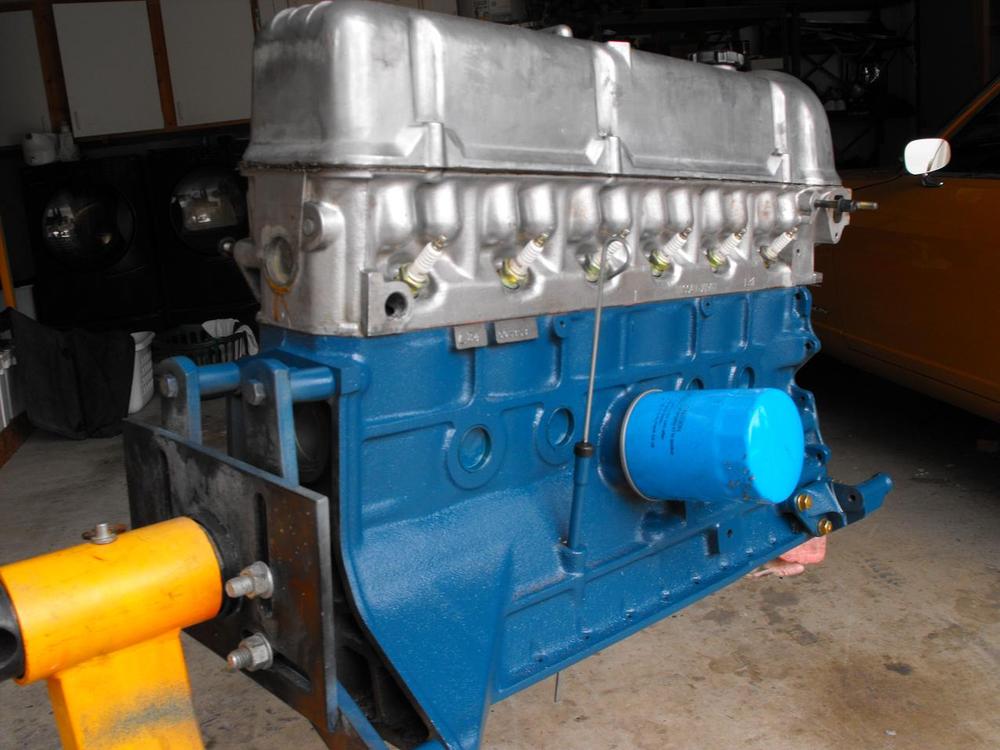
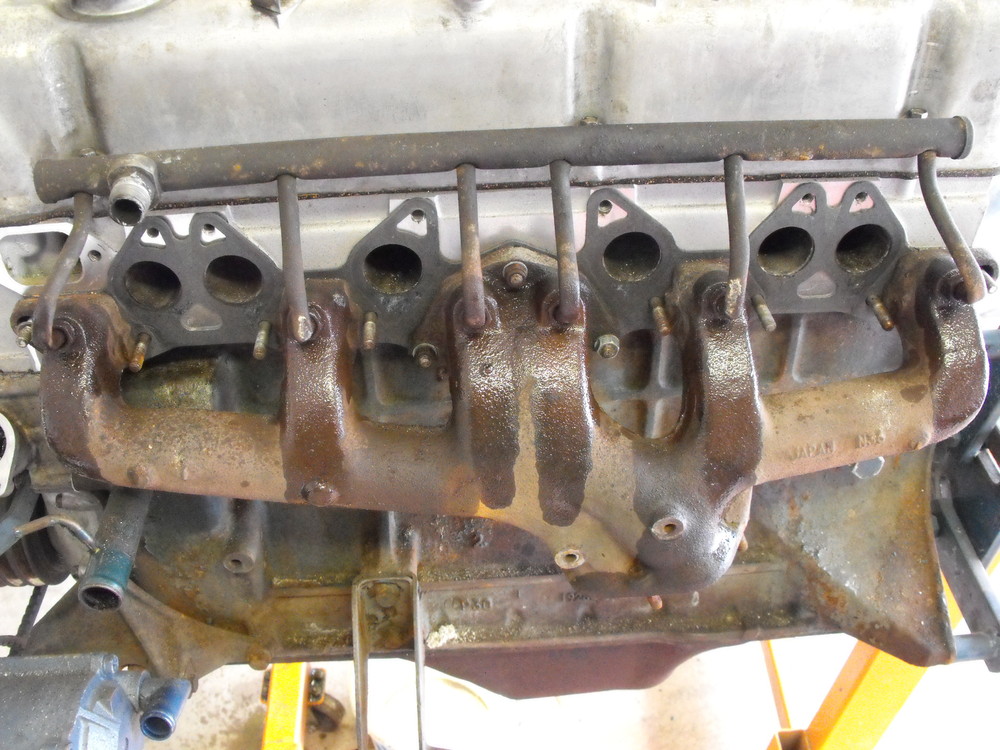
Got the head on and torqued down. Put on the timing chain with number one cylinder at TDC and aligned the shiny links to the dots. Adjusted the valves, .007" gap intake and .010" gap exhaust. Put on the oil sump. I think this was all the easy stuff. Now it's time to attack the oil pan and exhaust manifold. I got a semi-new air galley for pretty cheap on e-bay so I will install that once I get the after market air galley off. That will be a bit of a challenge. I have been soaking the air nozzle fittings for about a week now in PB blaster with little progress. I am almost thinking that the easiest way to get this off would be to drill and tap. Anyway, things are moving along Oh, and I cleaned off the 'KAR' from the front of the head with lacquer thinner. Not sure what that was from.


-
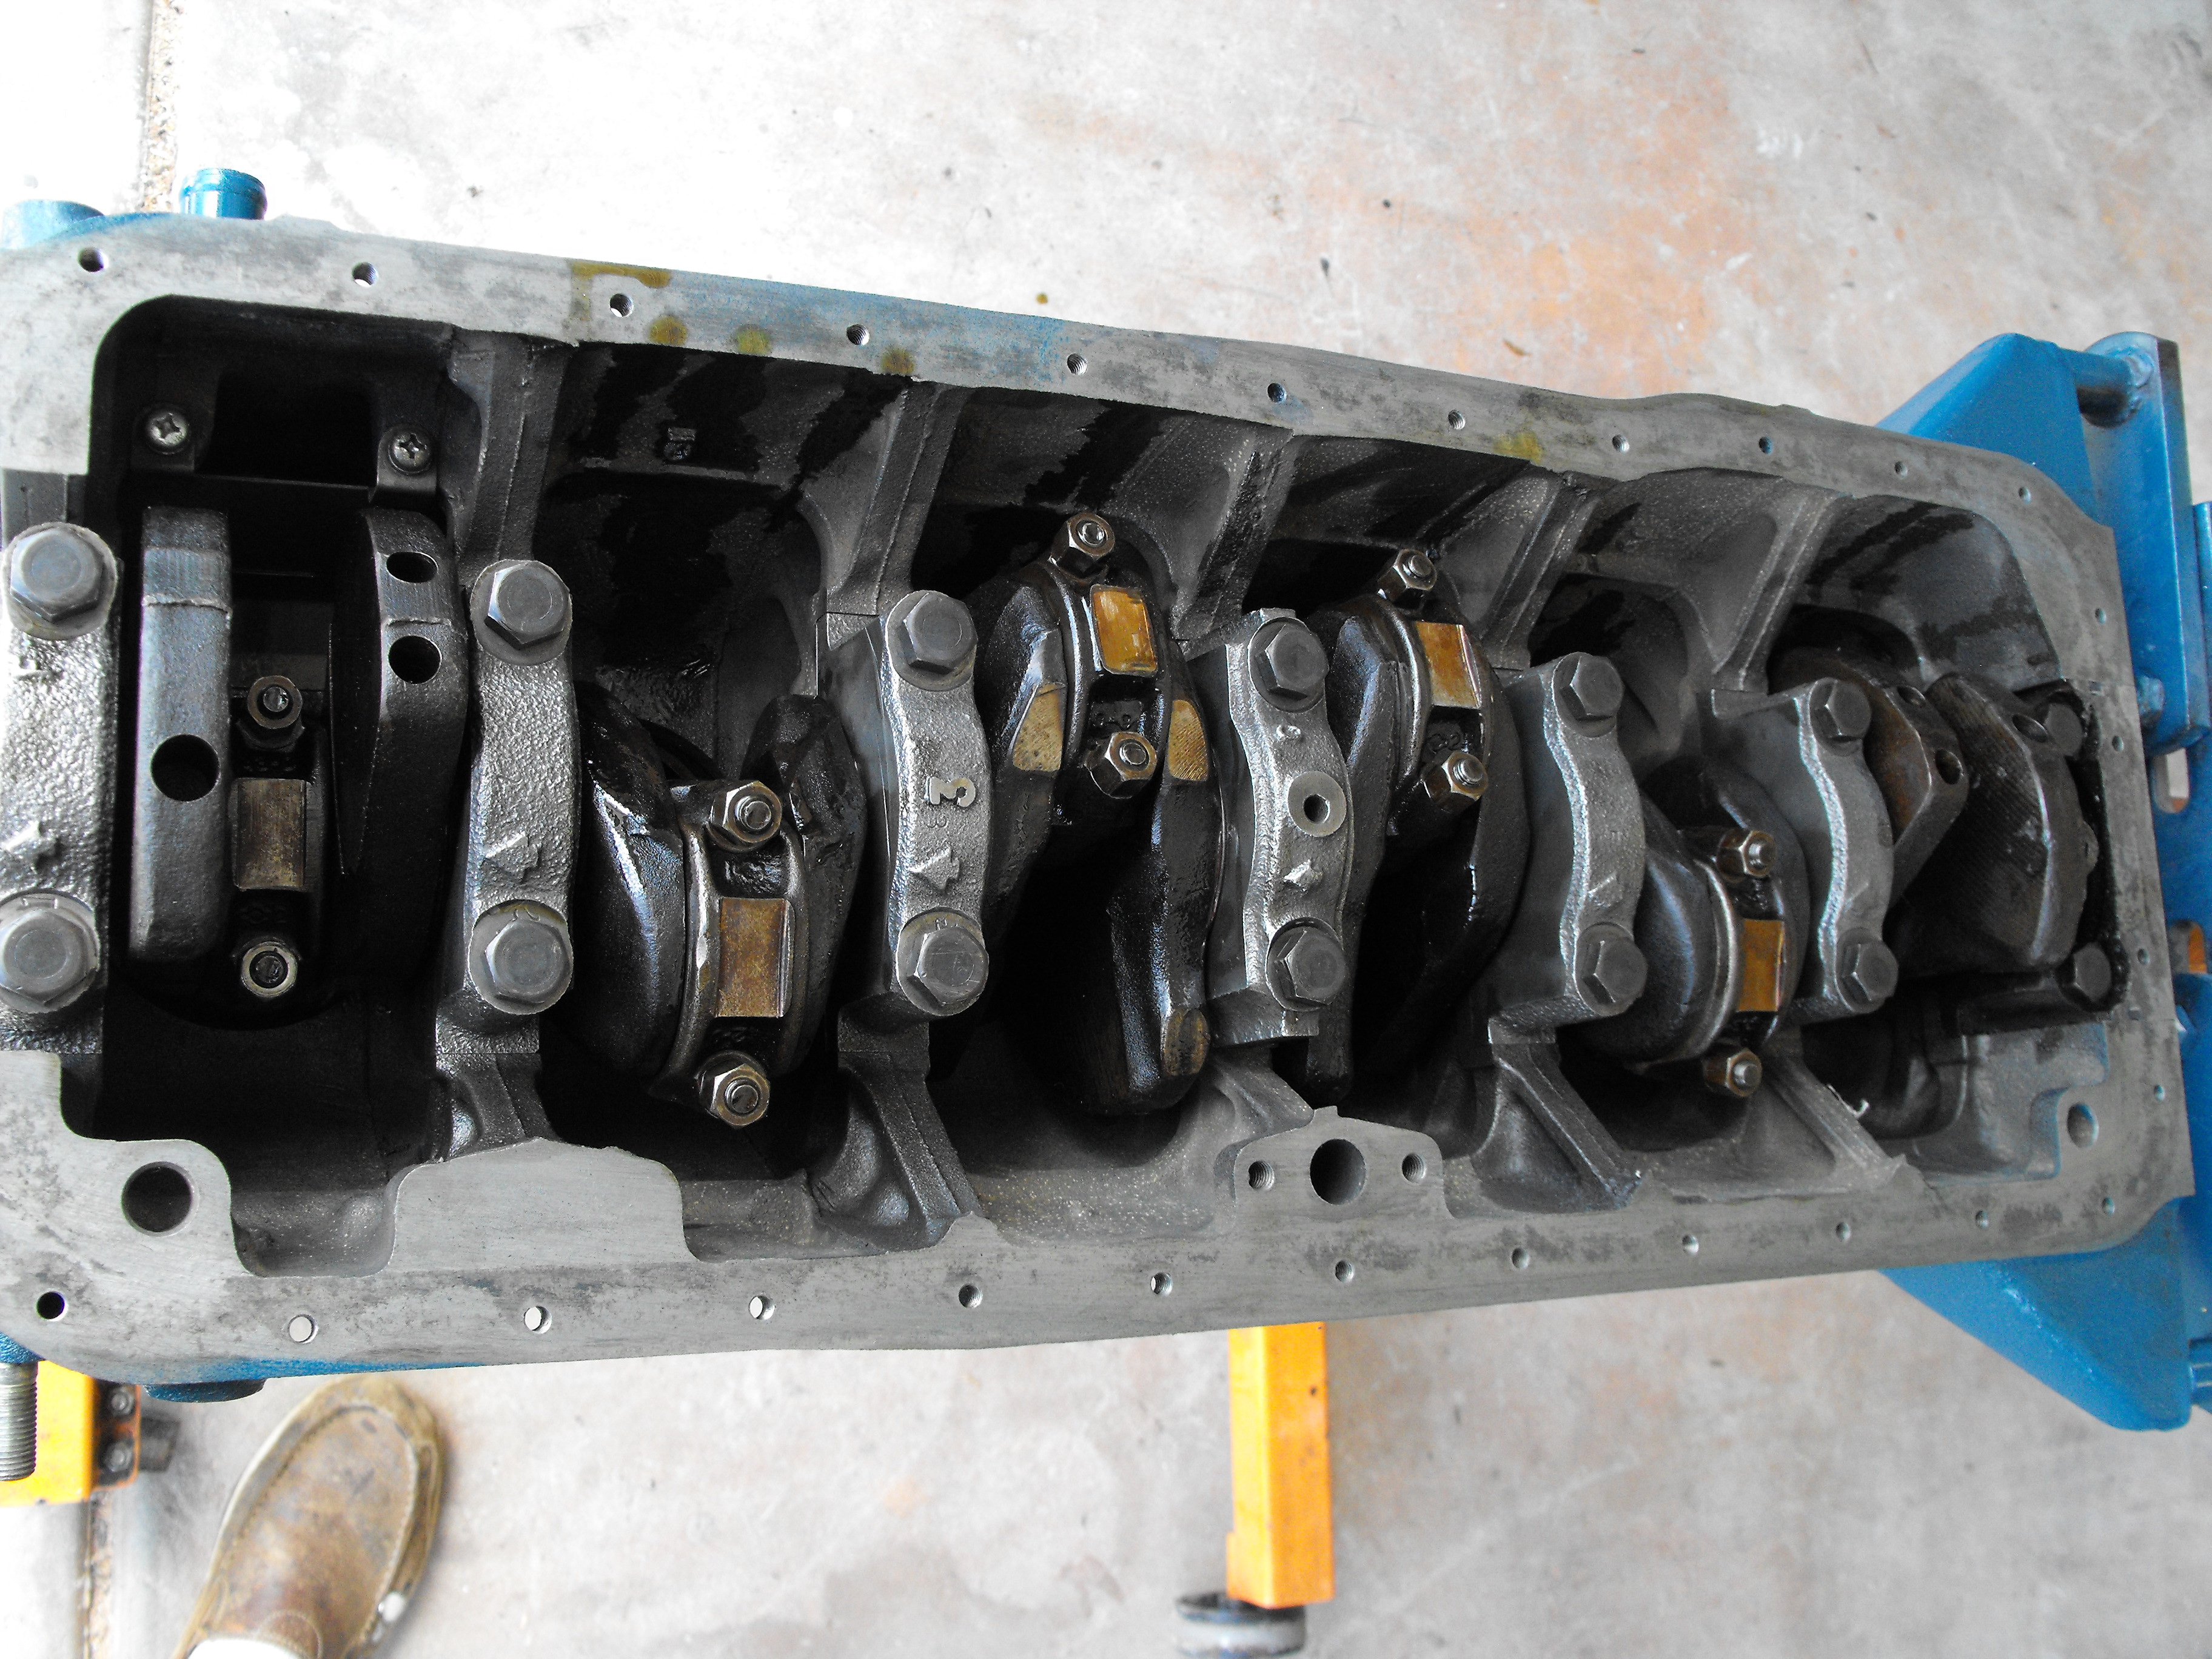
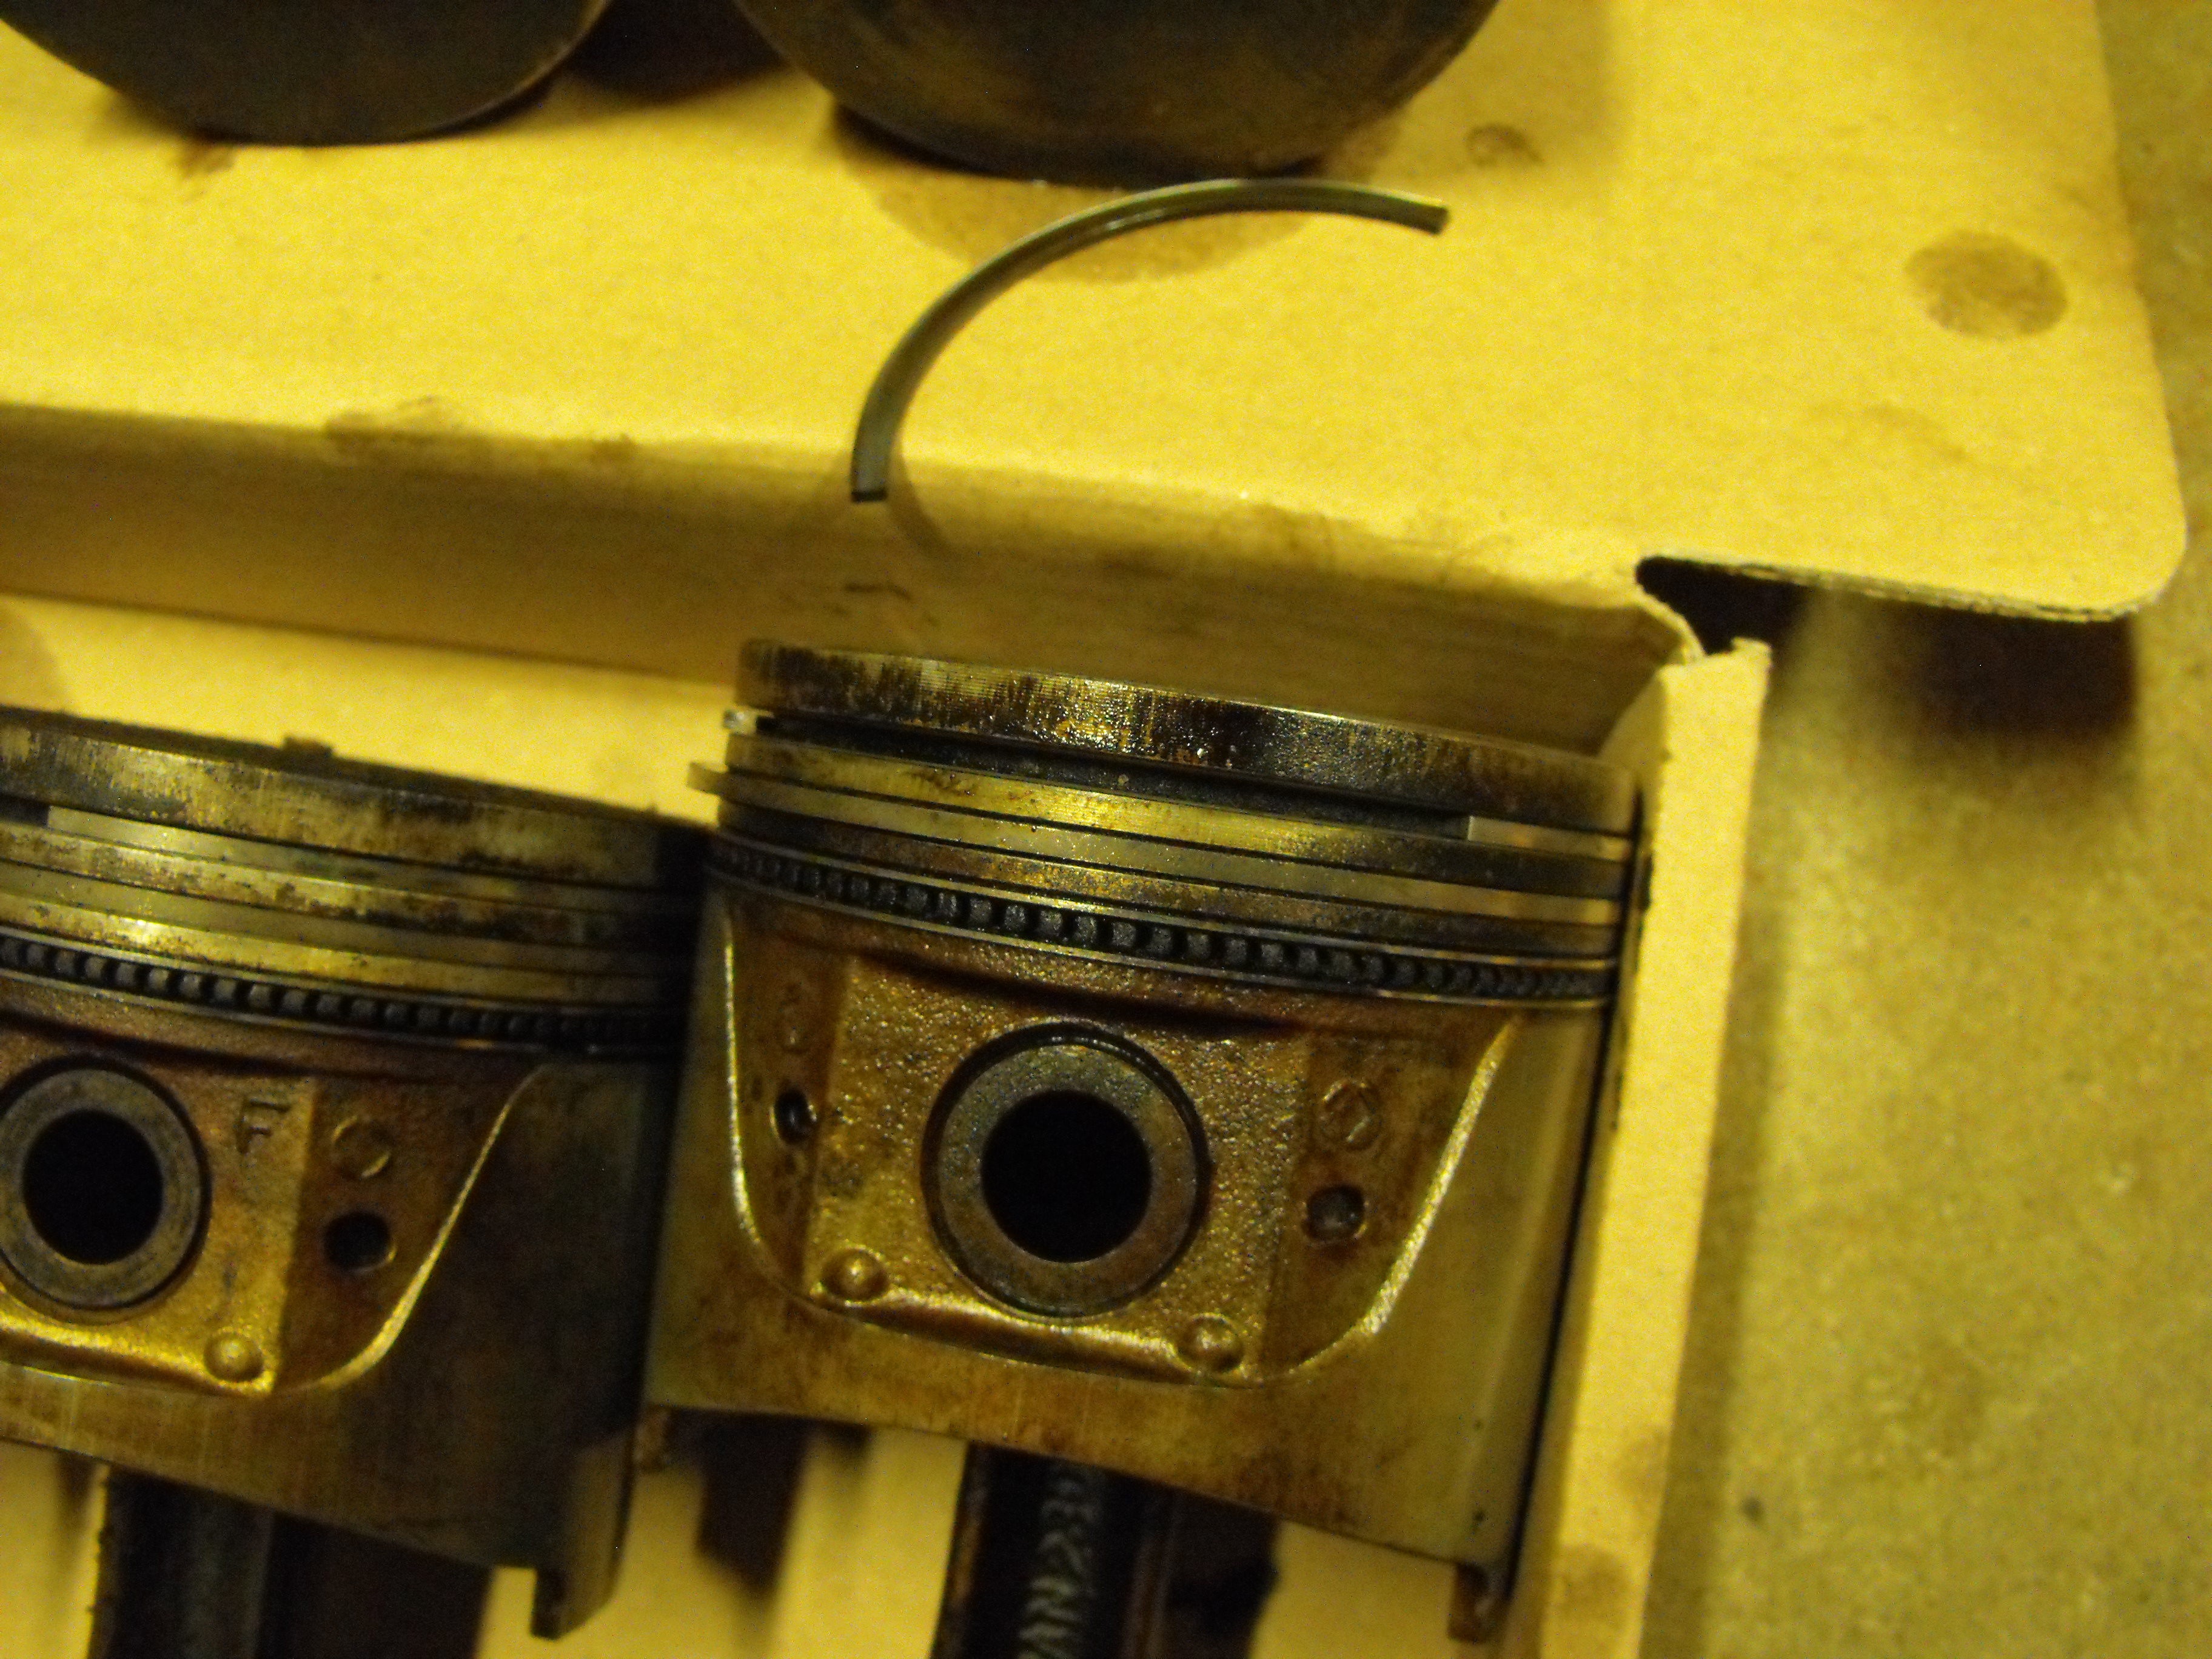
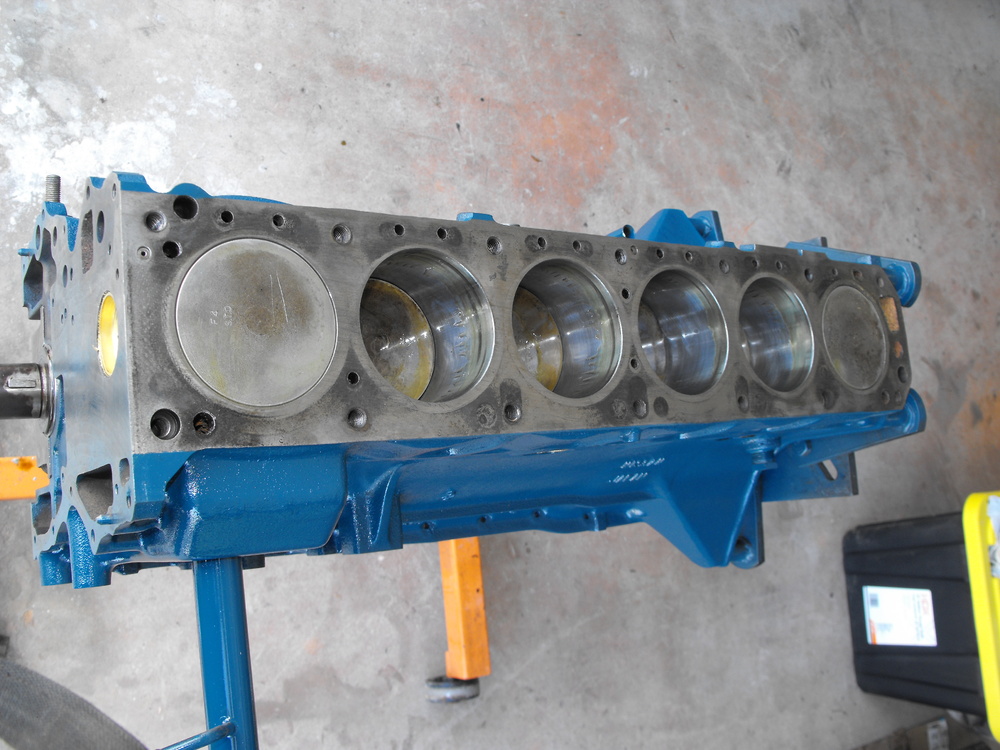
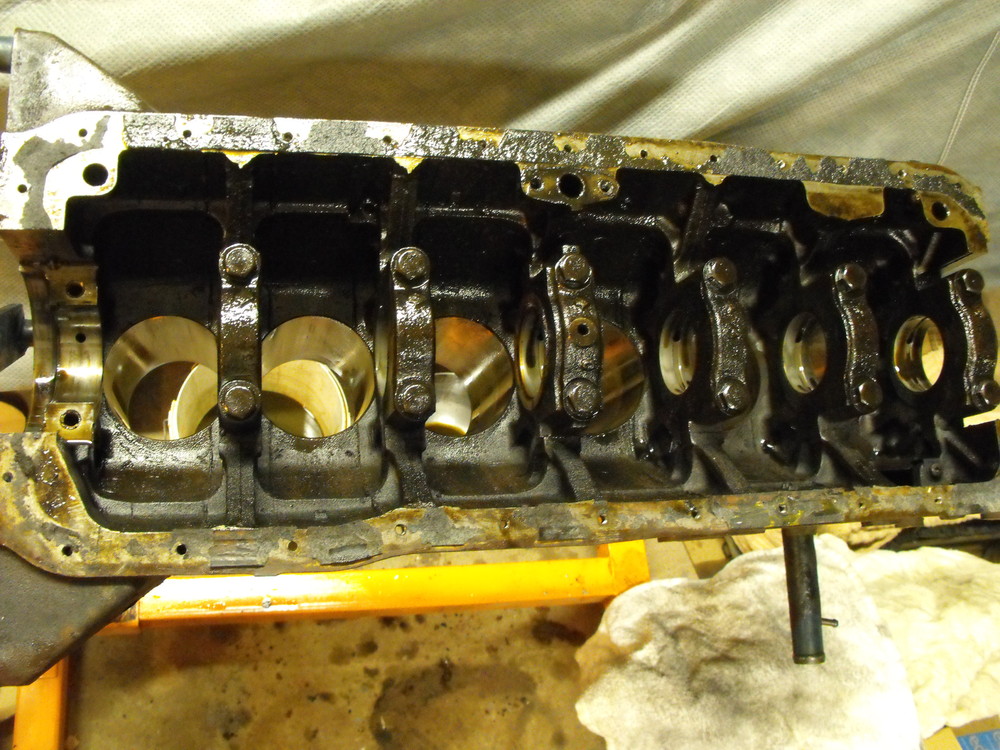
Got the pistons in with new rings and rod bearings. Did final torque on Crank and rod bearings. Crank bearings torqued to 38 ft-lbs, Rod bearings to 23 ft-lbs.

-
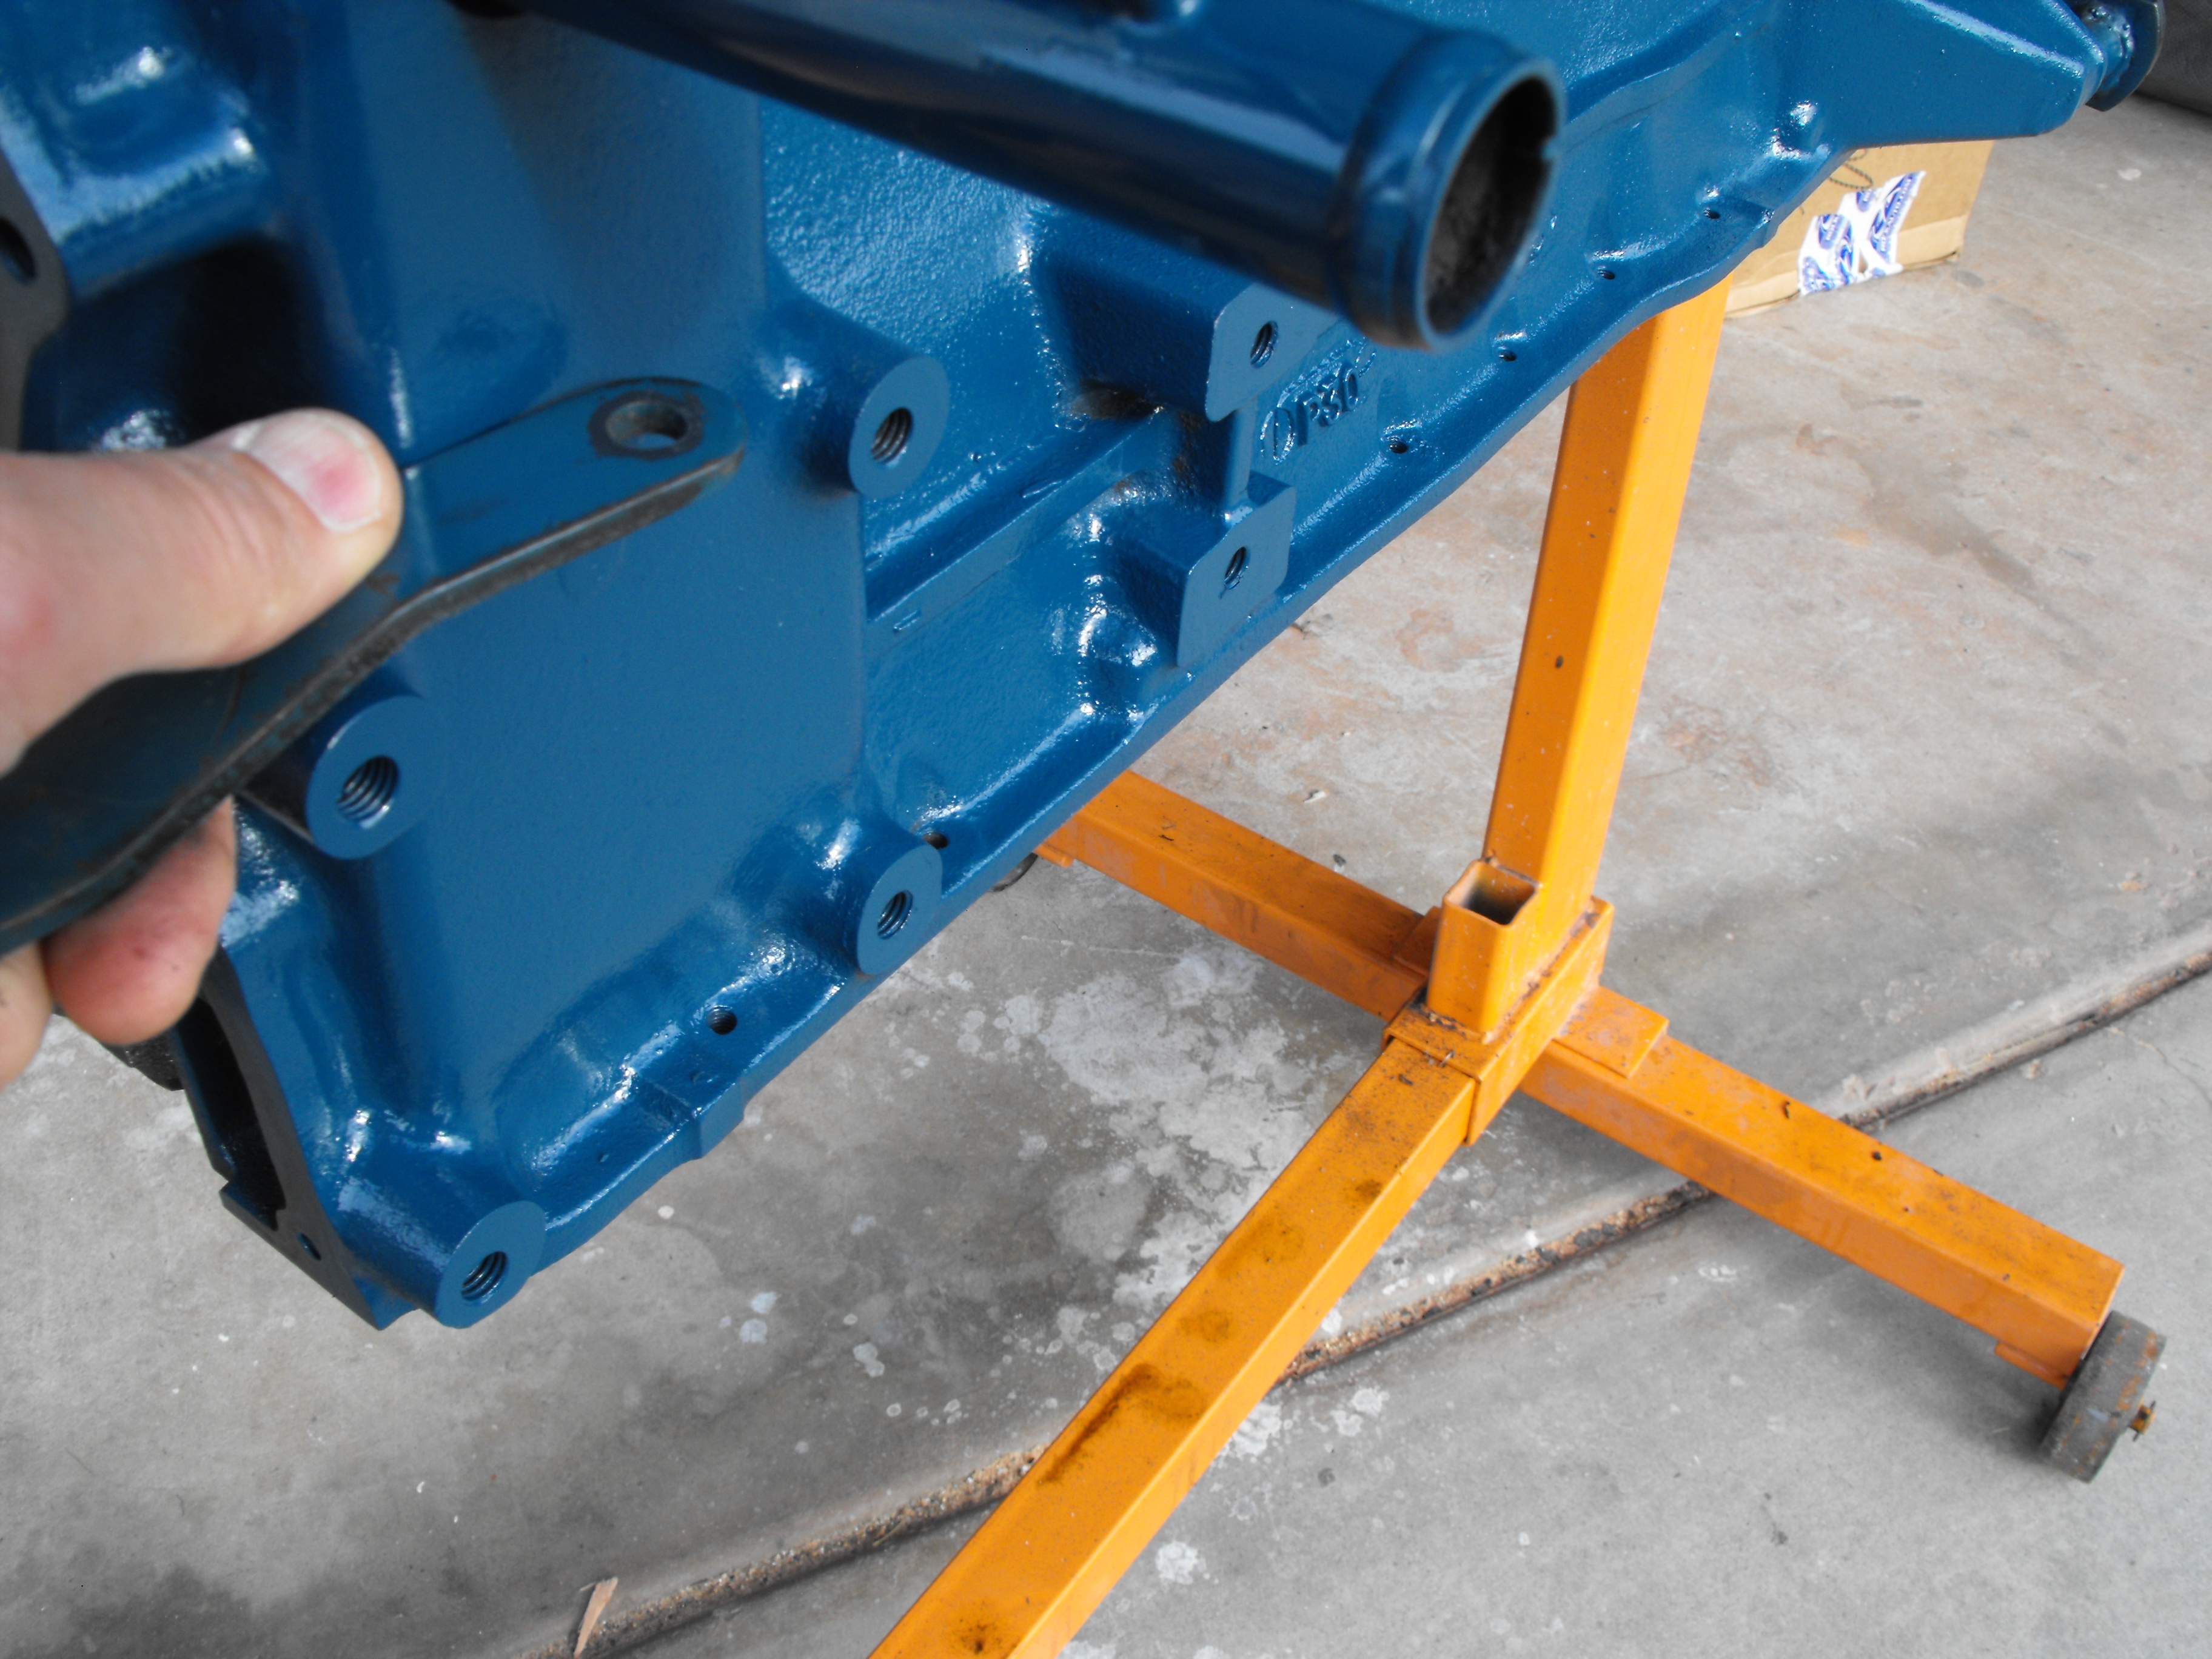
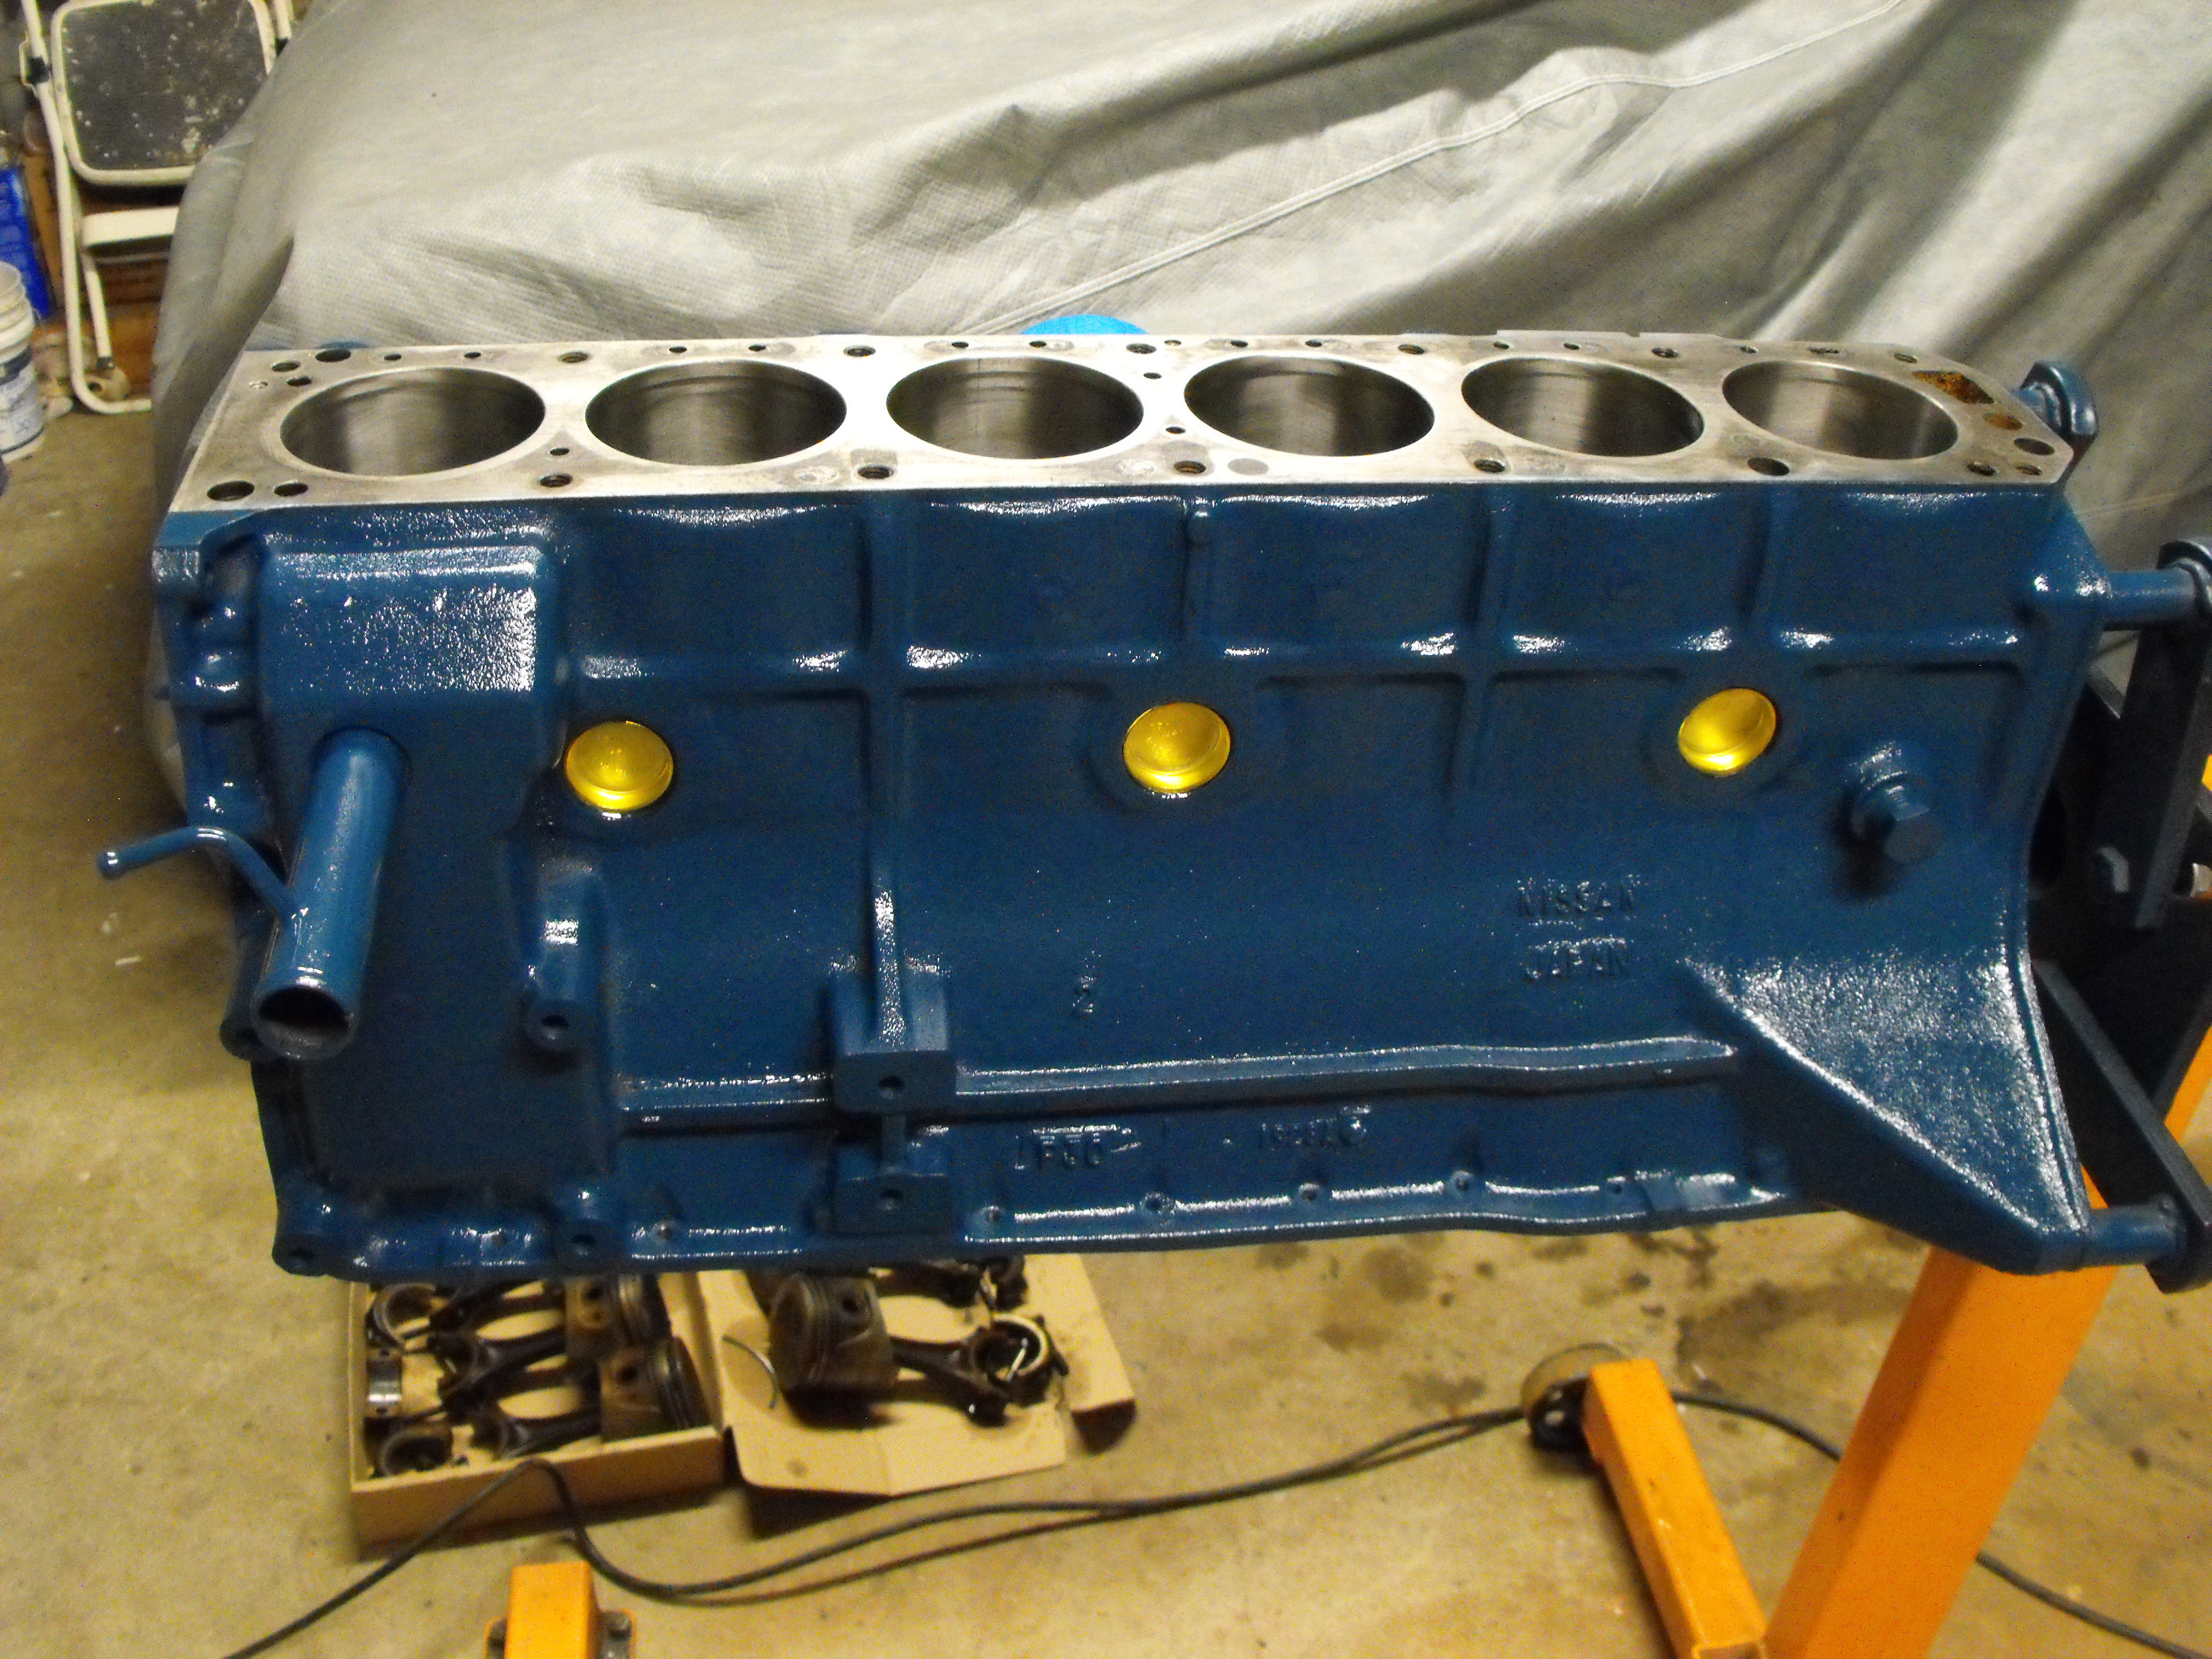
It's overcast here, but you can see the difference the lighting makes. Also, here is a picture with the alternator bracket with original paint from the same motor. Pretty close given the bracket paint is about 45 years old. As I mentioned before, my only issue with the paint is that it seems to be on the glossy side. It should have more of a satin finish.


-
Hi Carl, The pictures above are a bit dark because of the lighting. I just double checked the color using the CDM paint on the lower left flange and there is no difference. I will take a pic of the block a little later today in natural lighting. The blocks below are the exact same color, just the lighting is different.

-
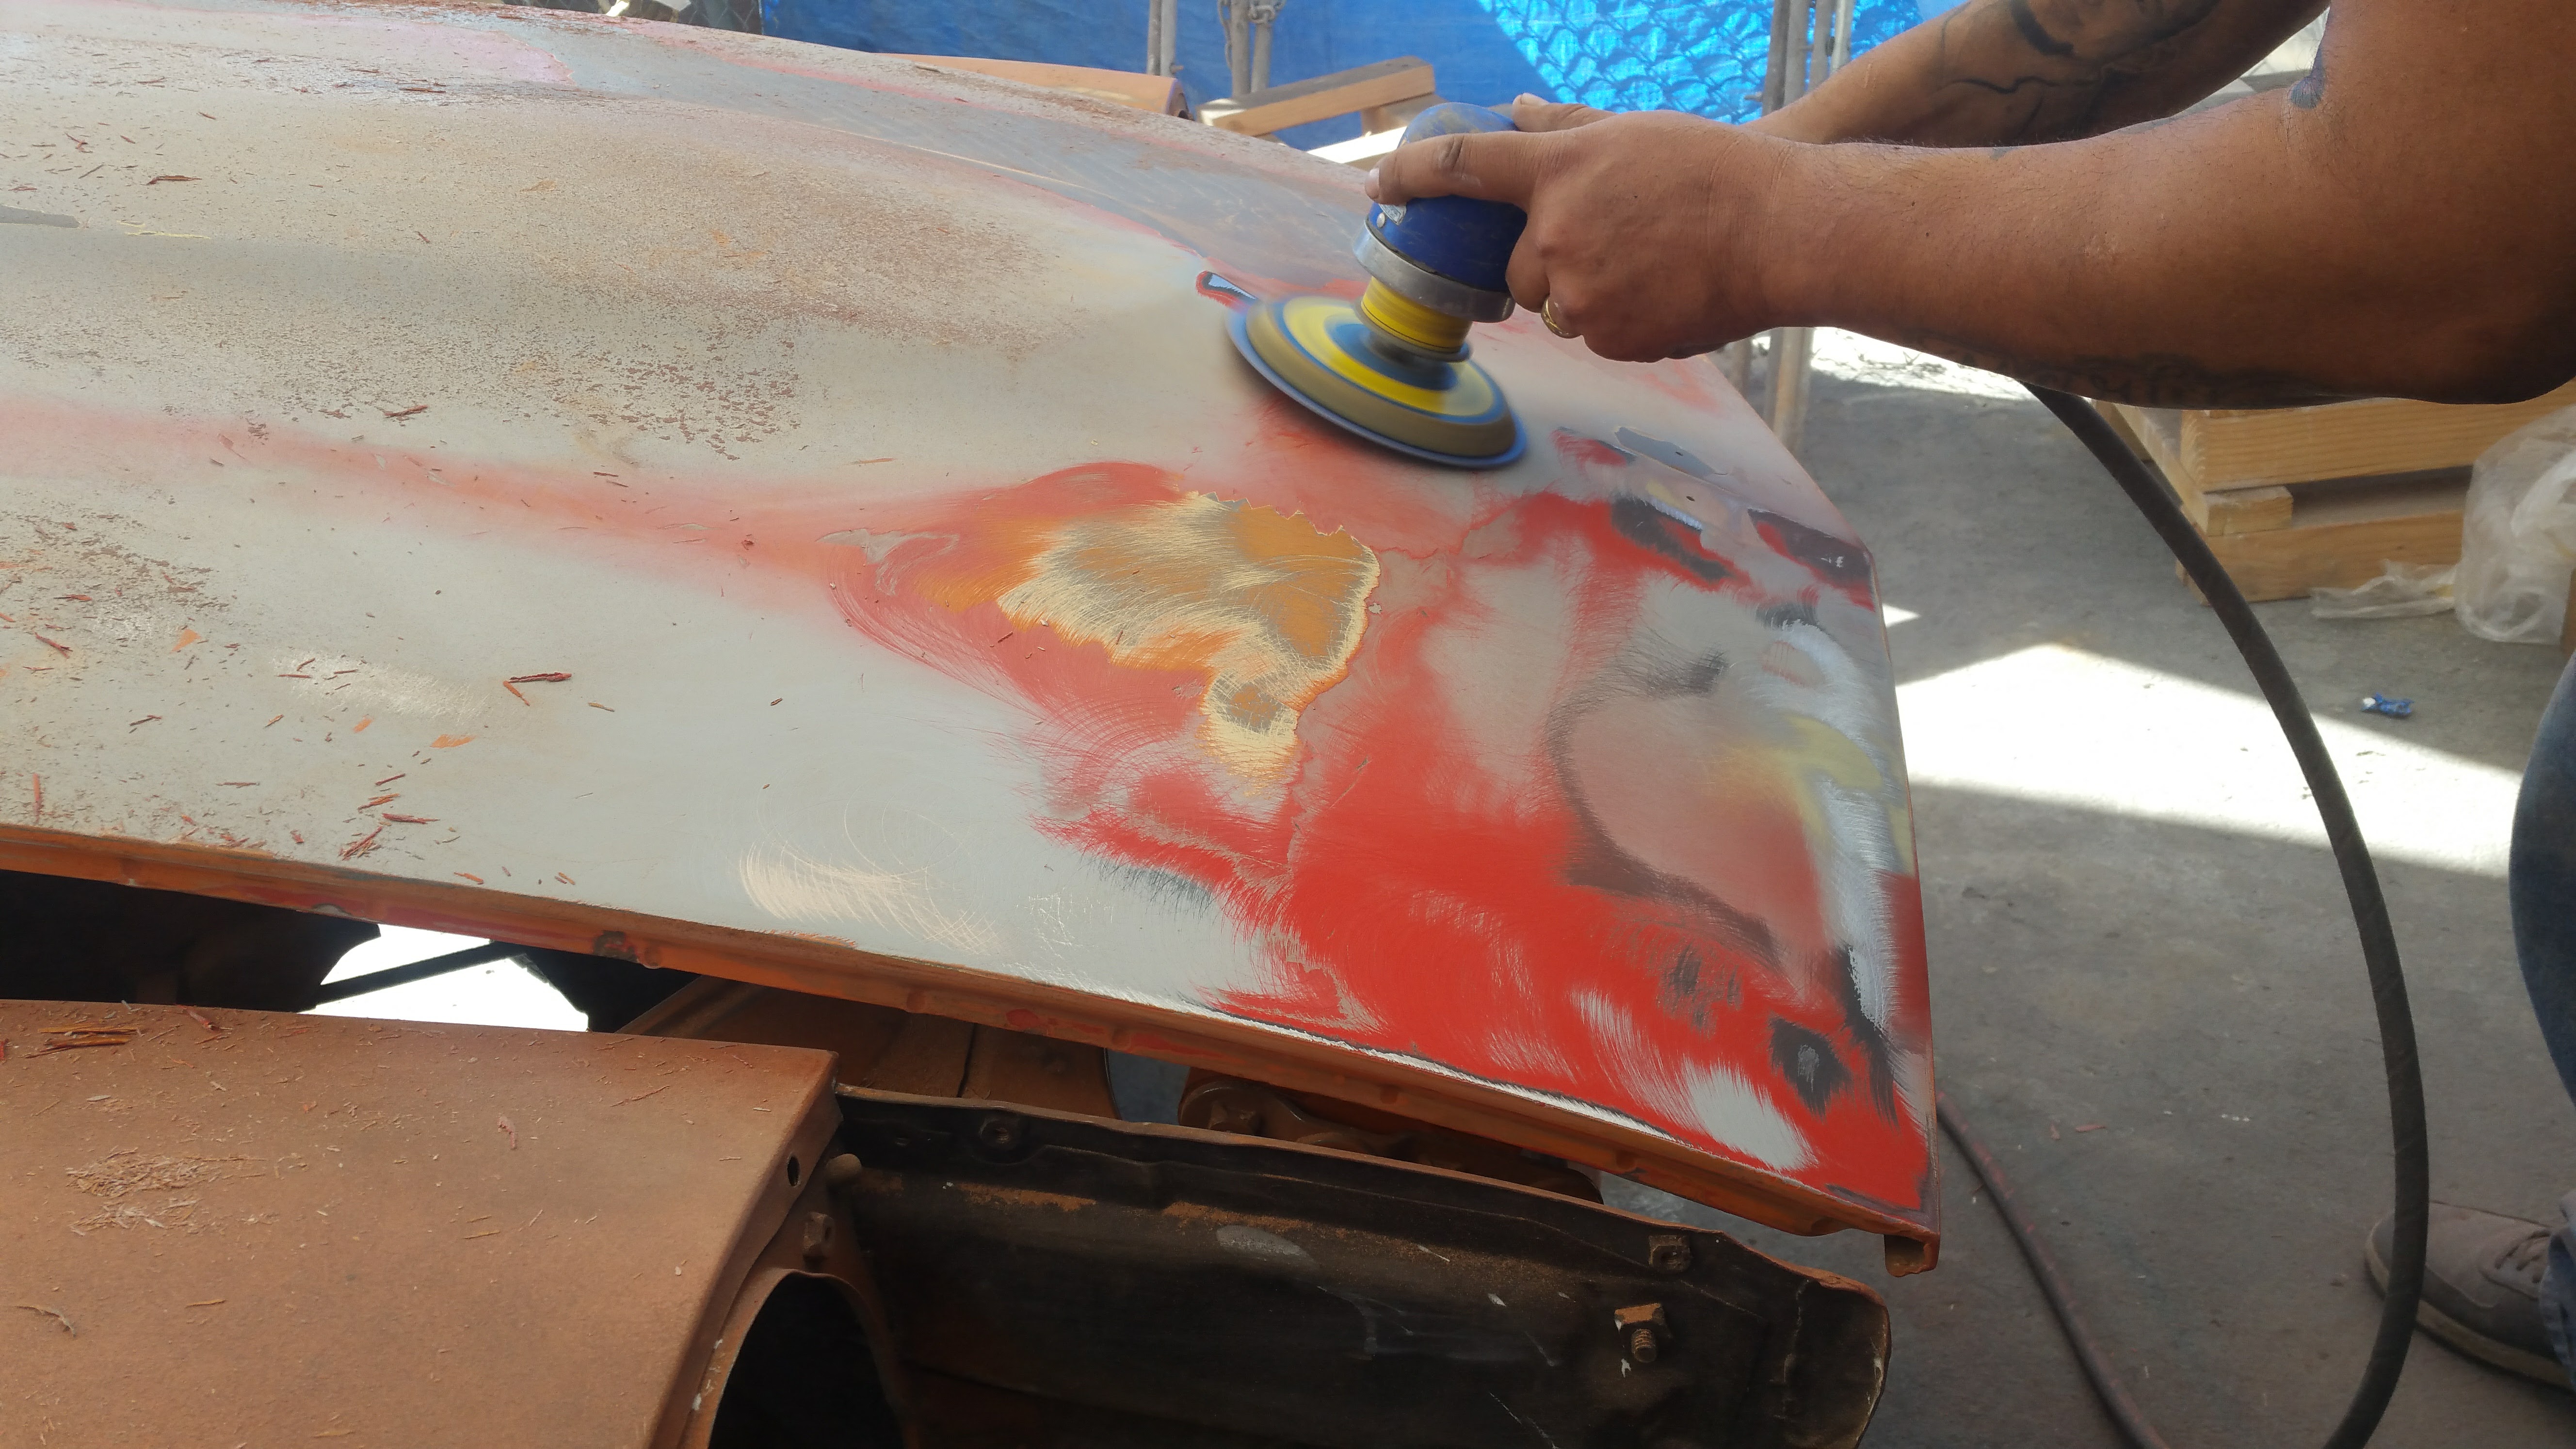
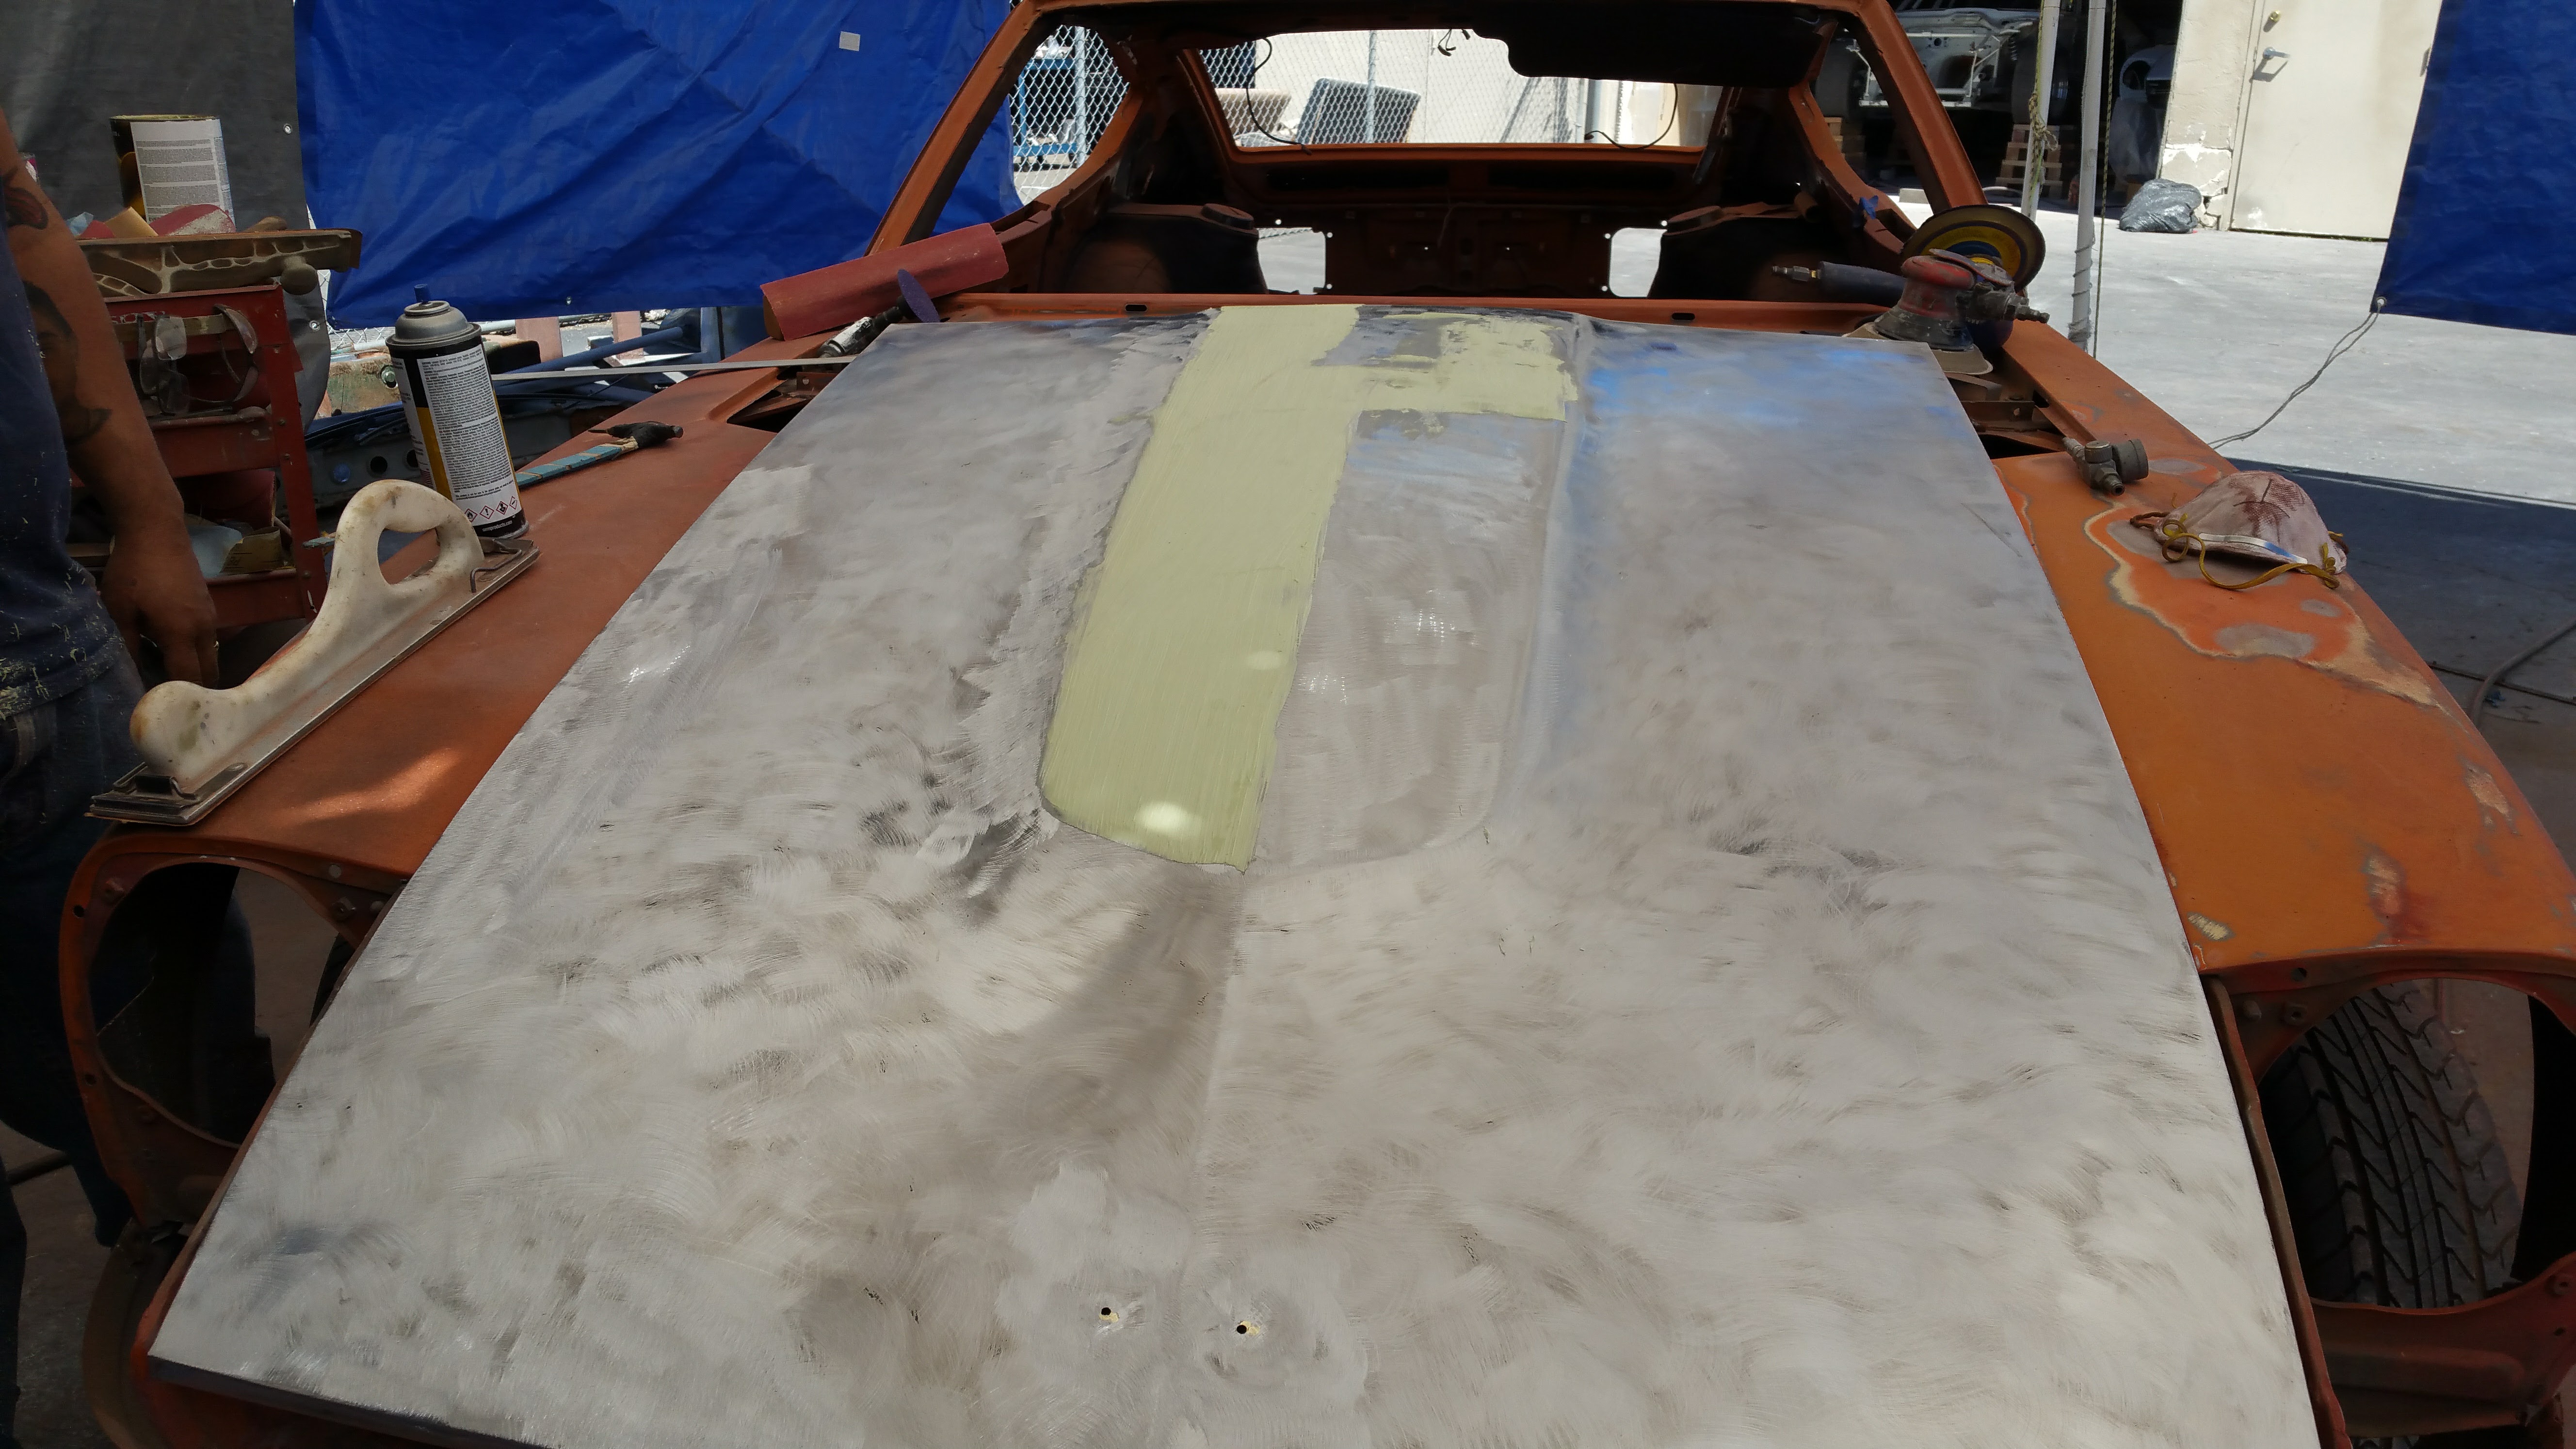
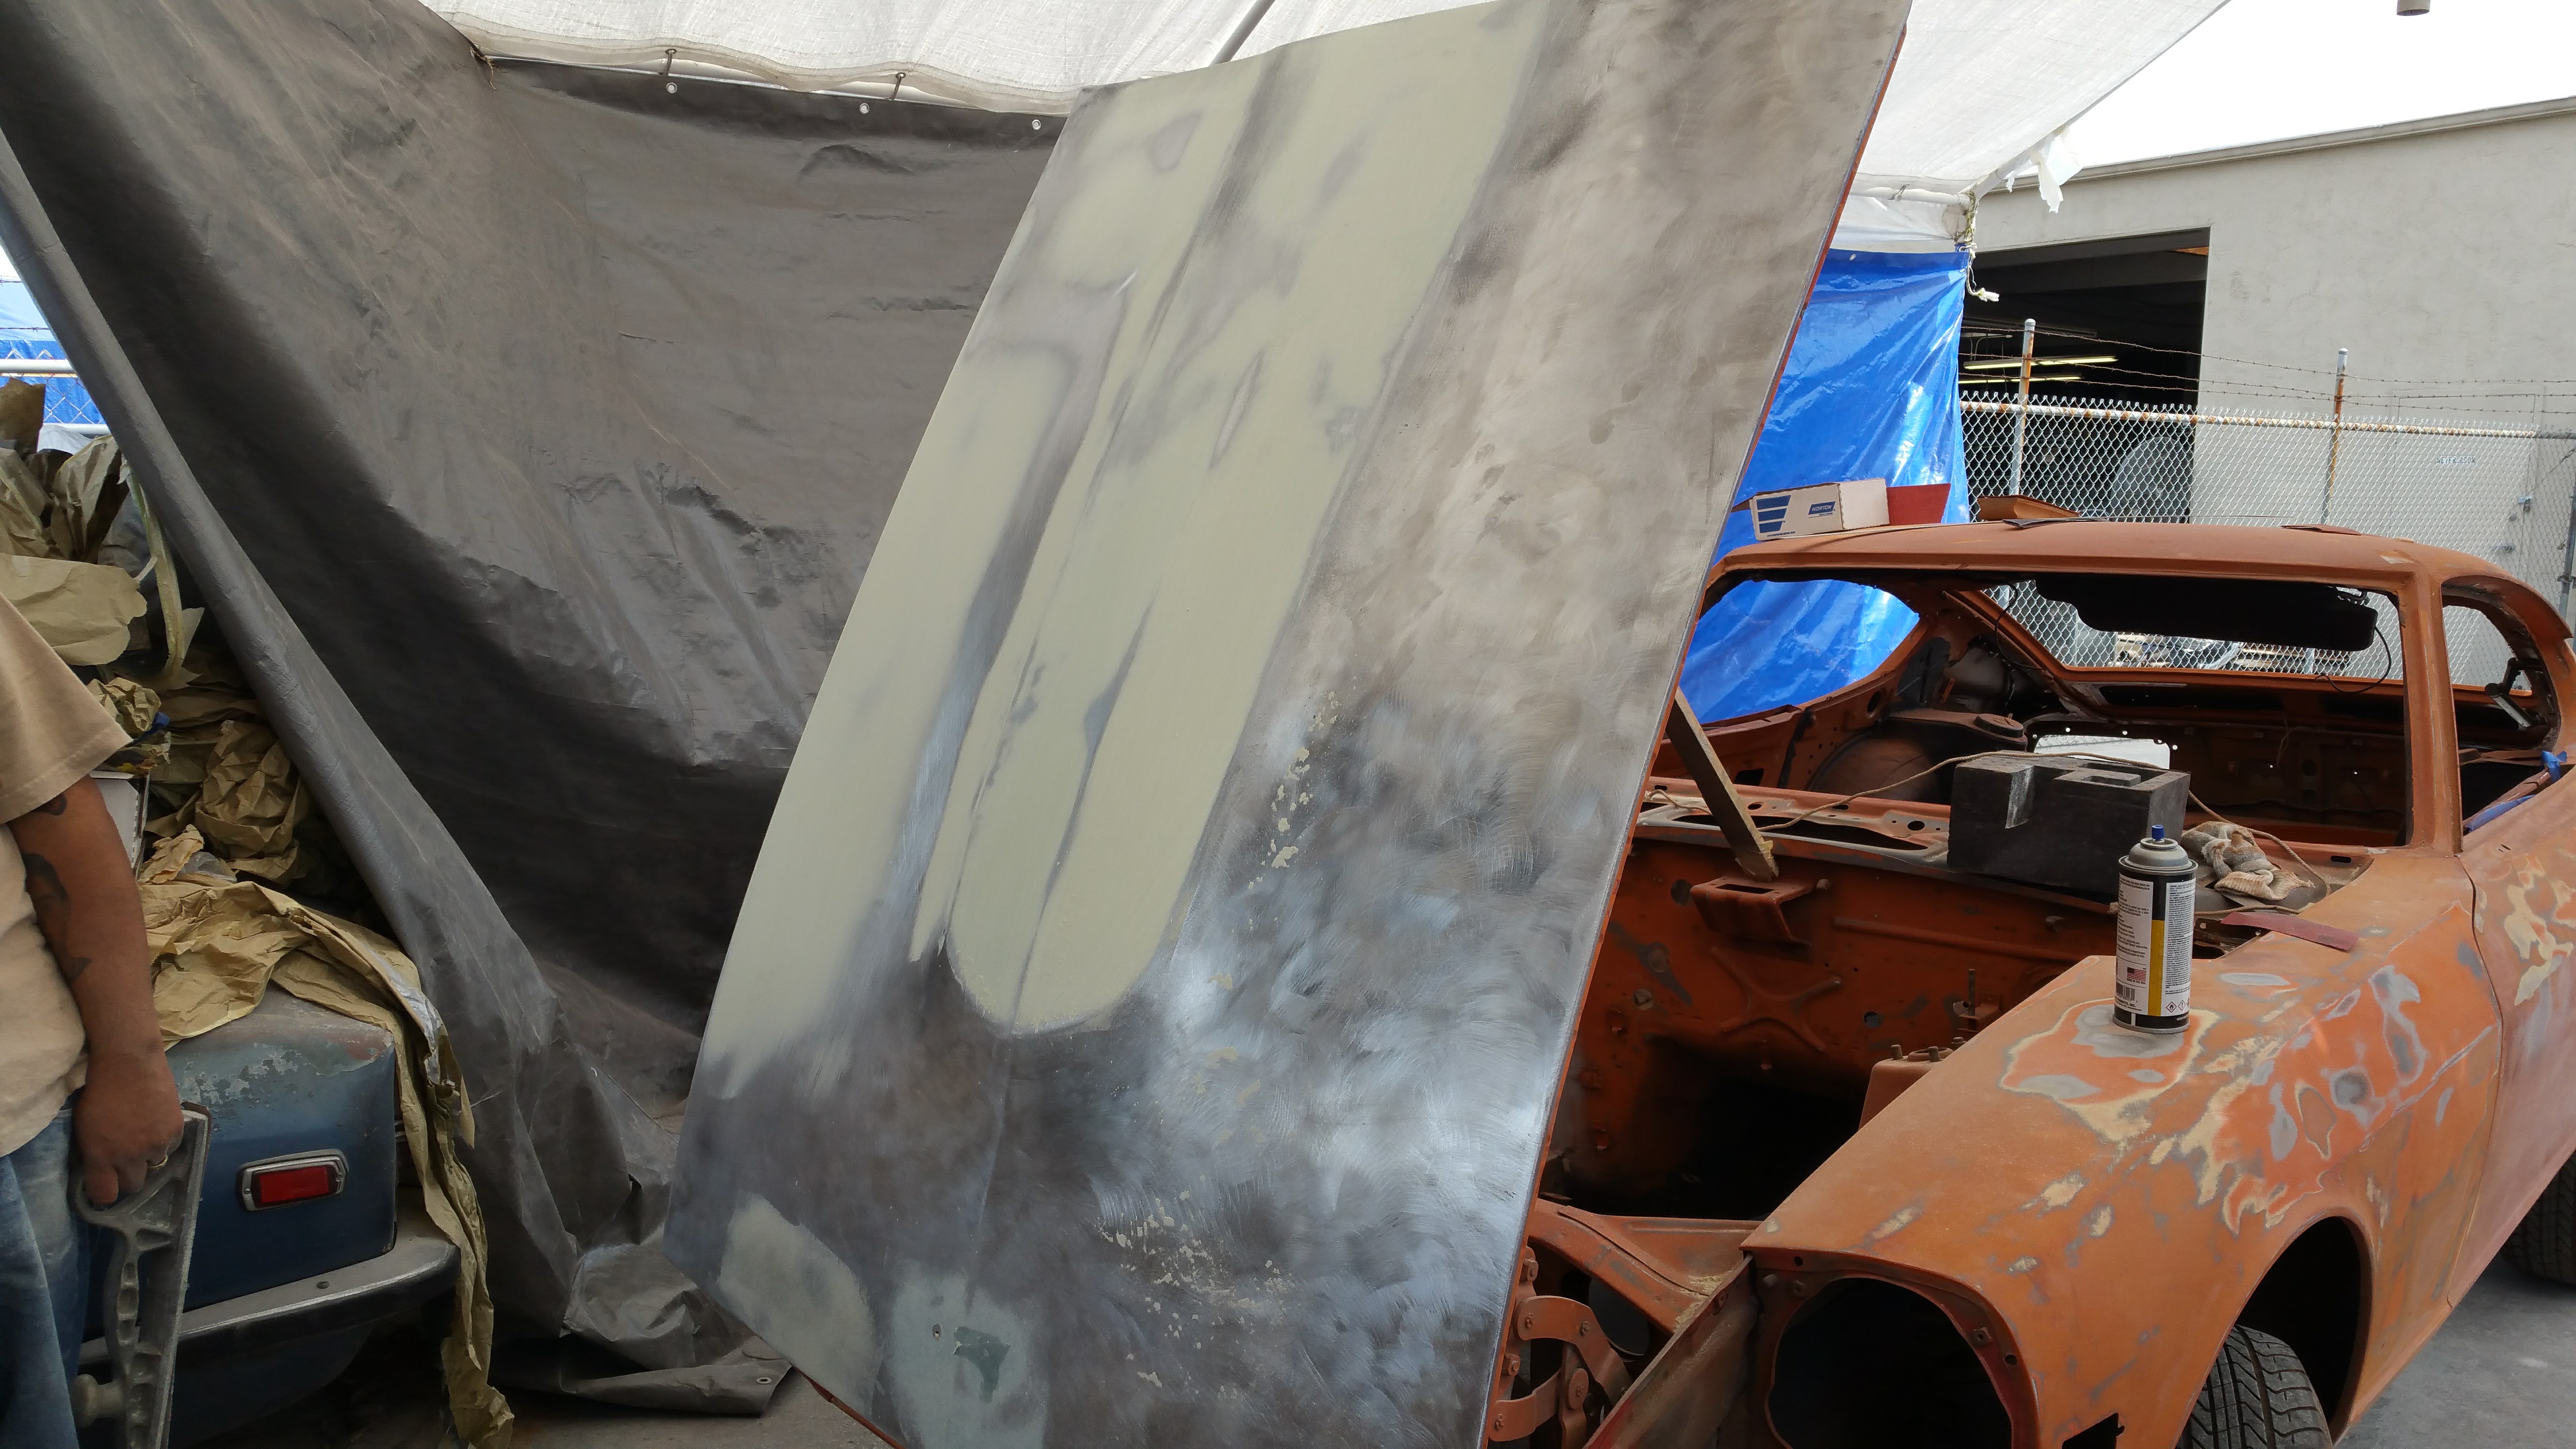
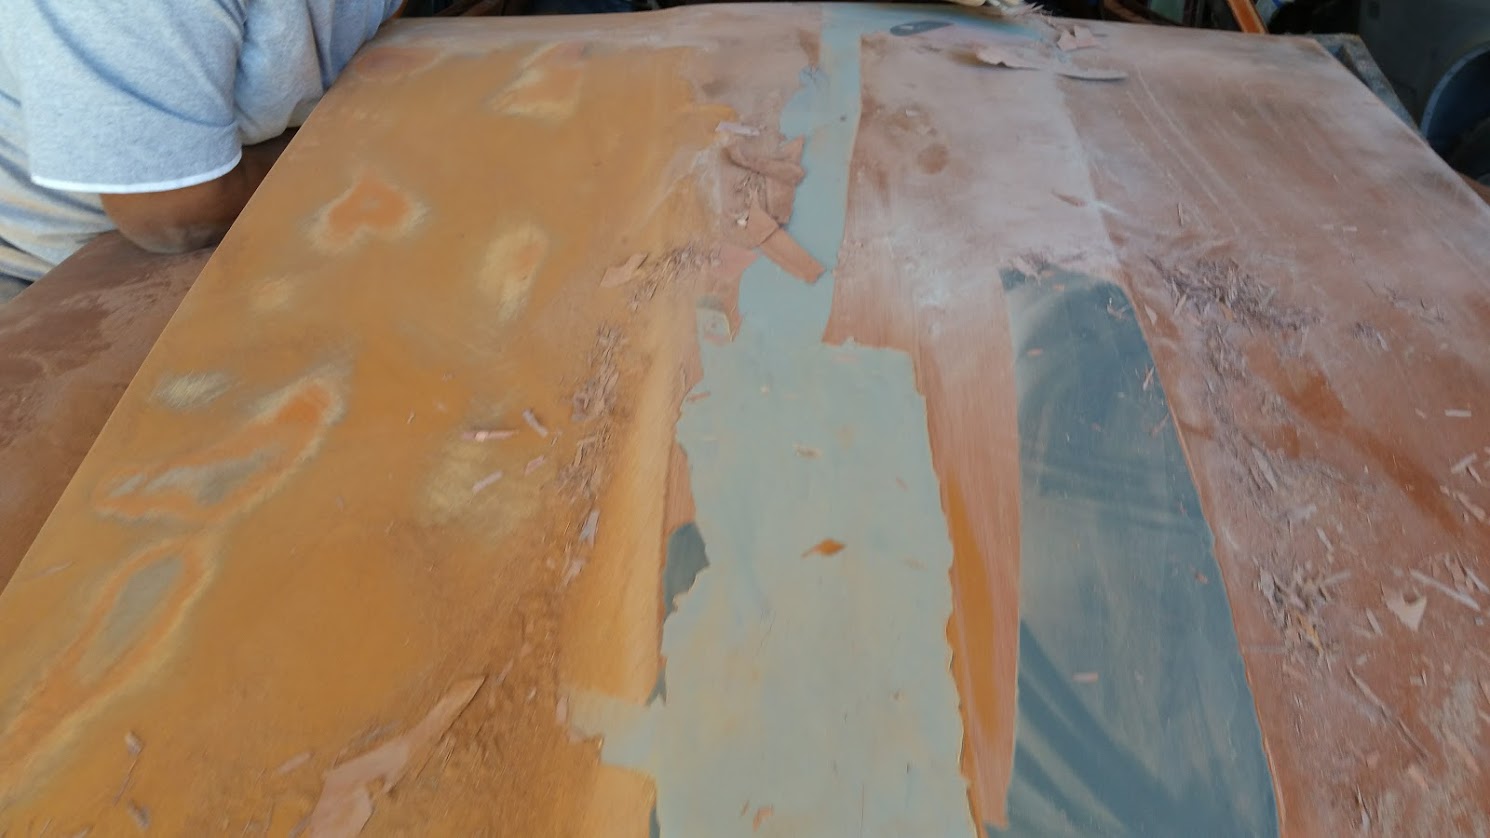
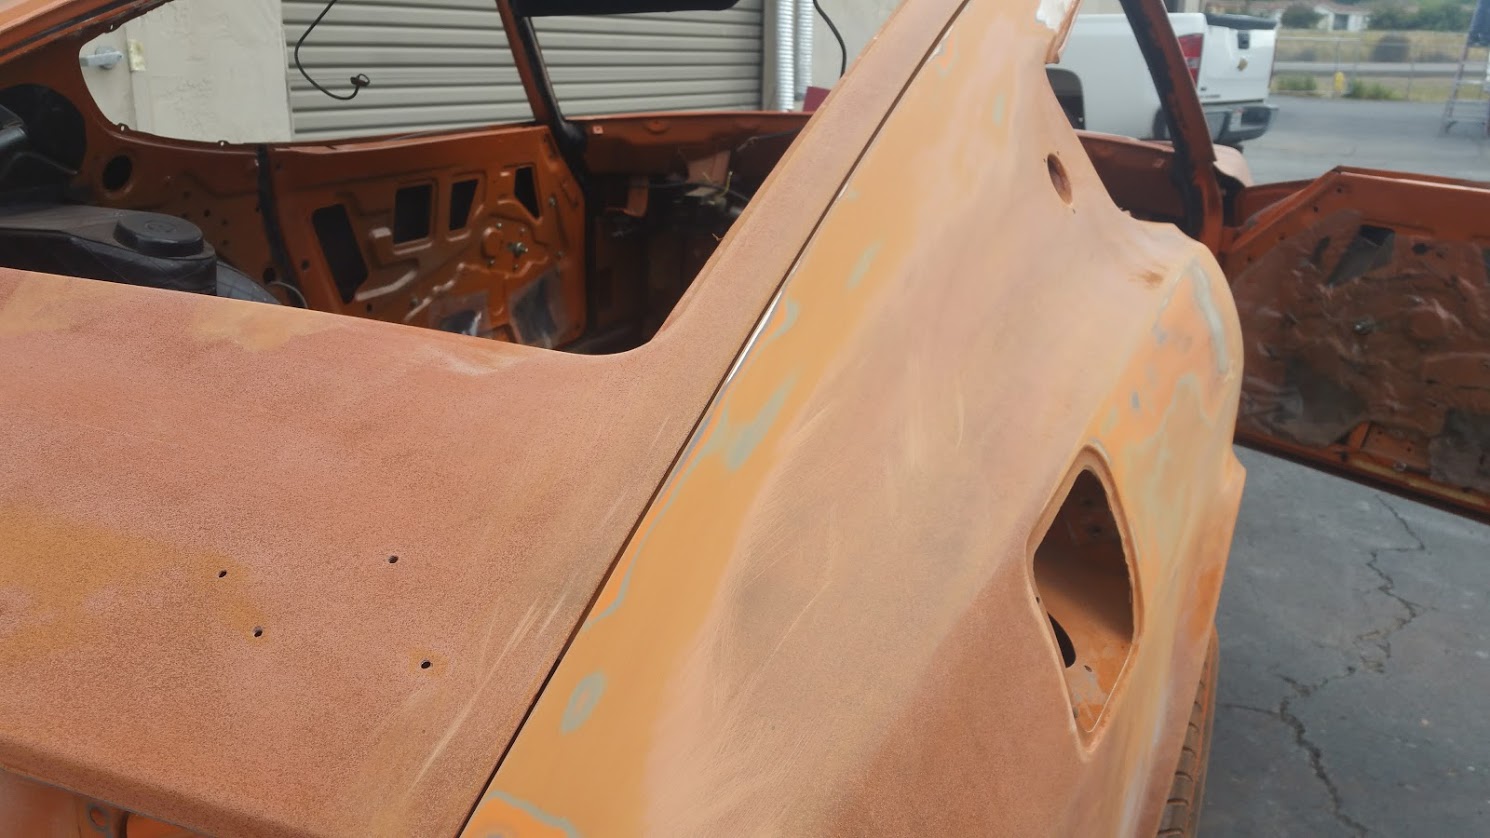
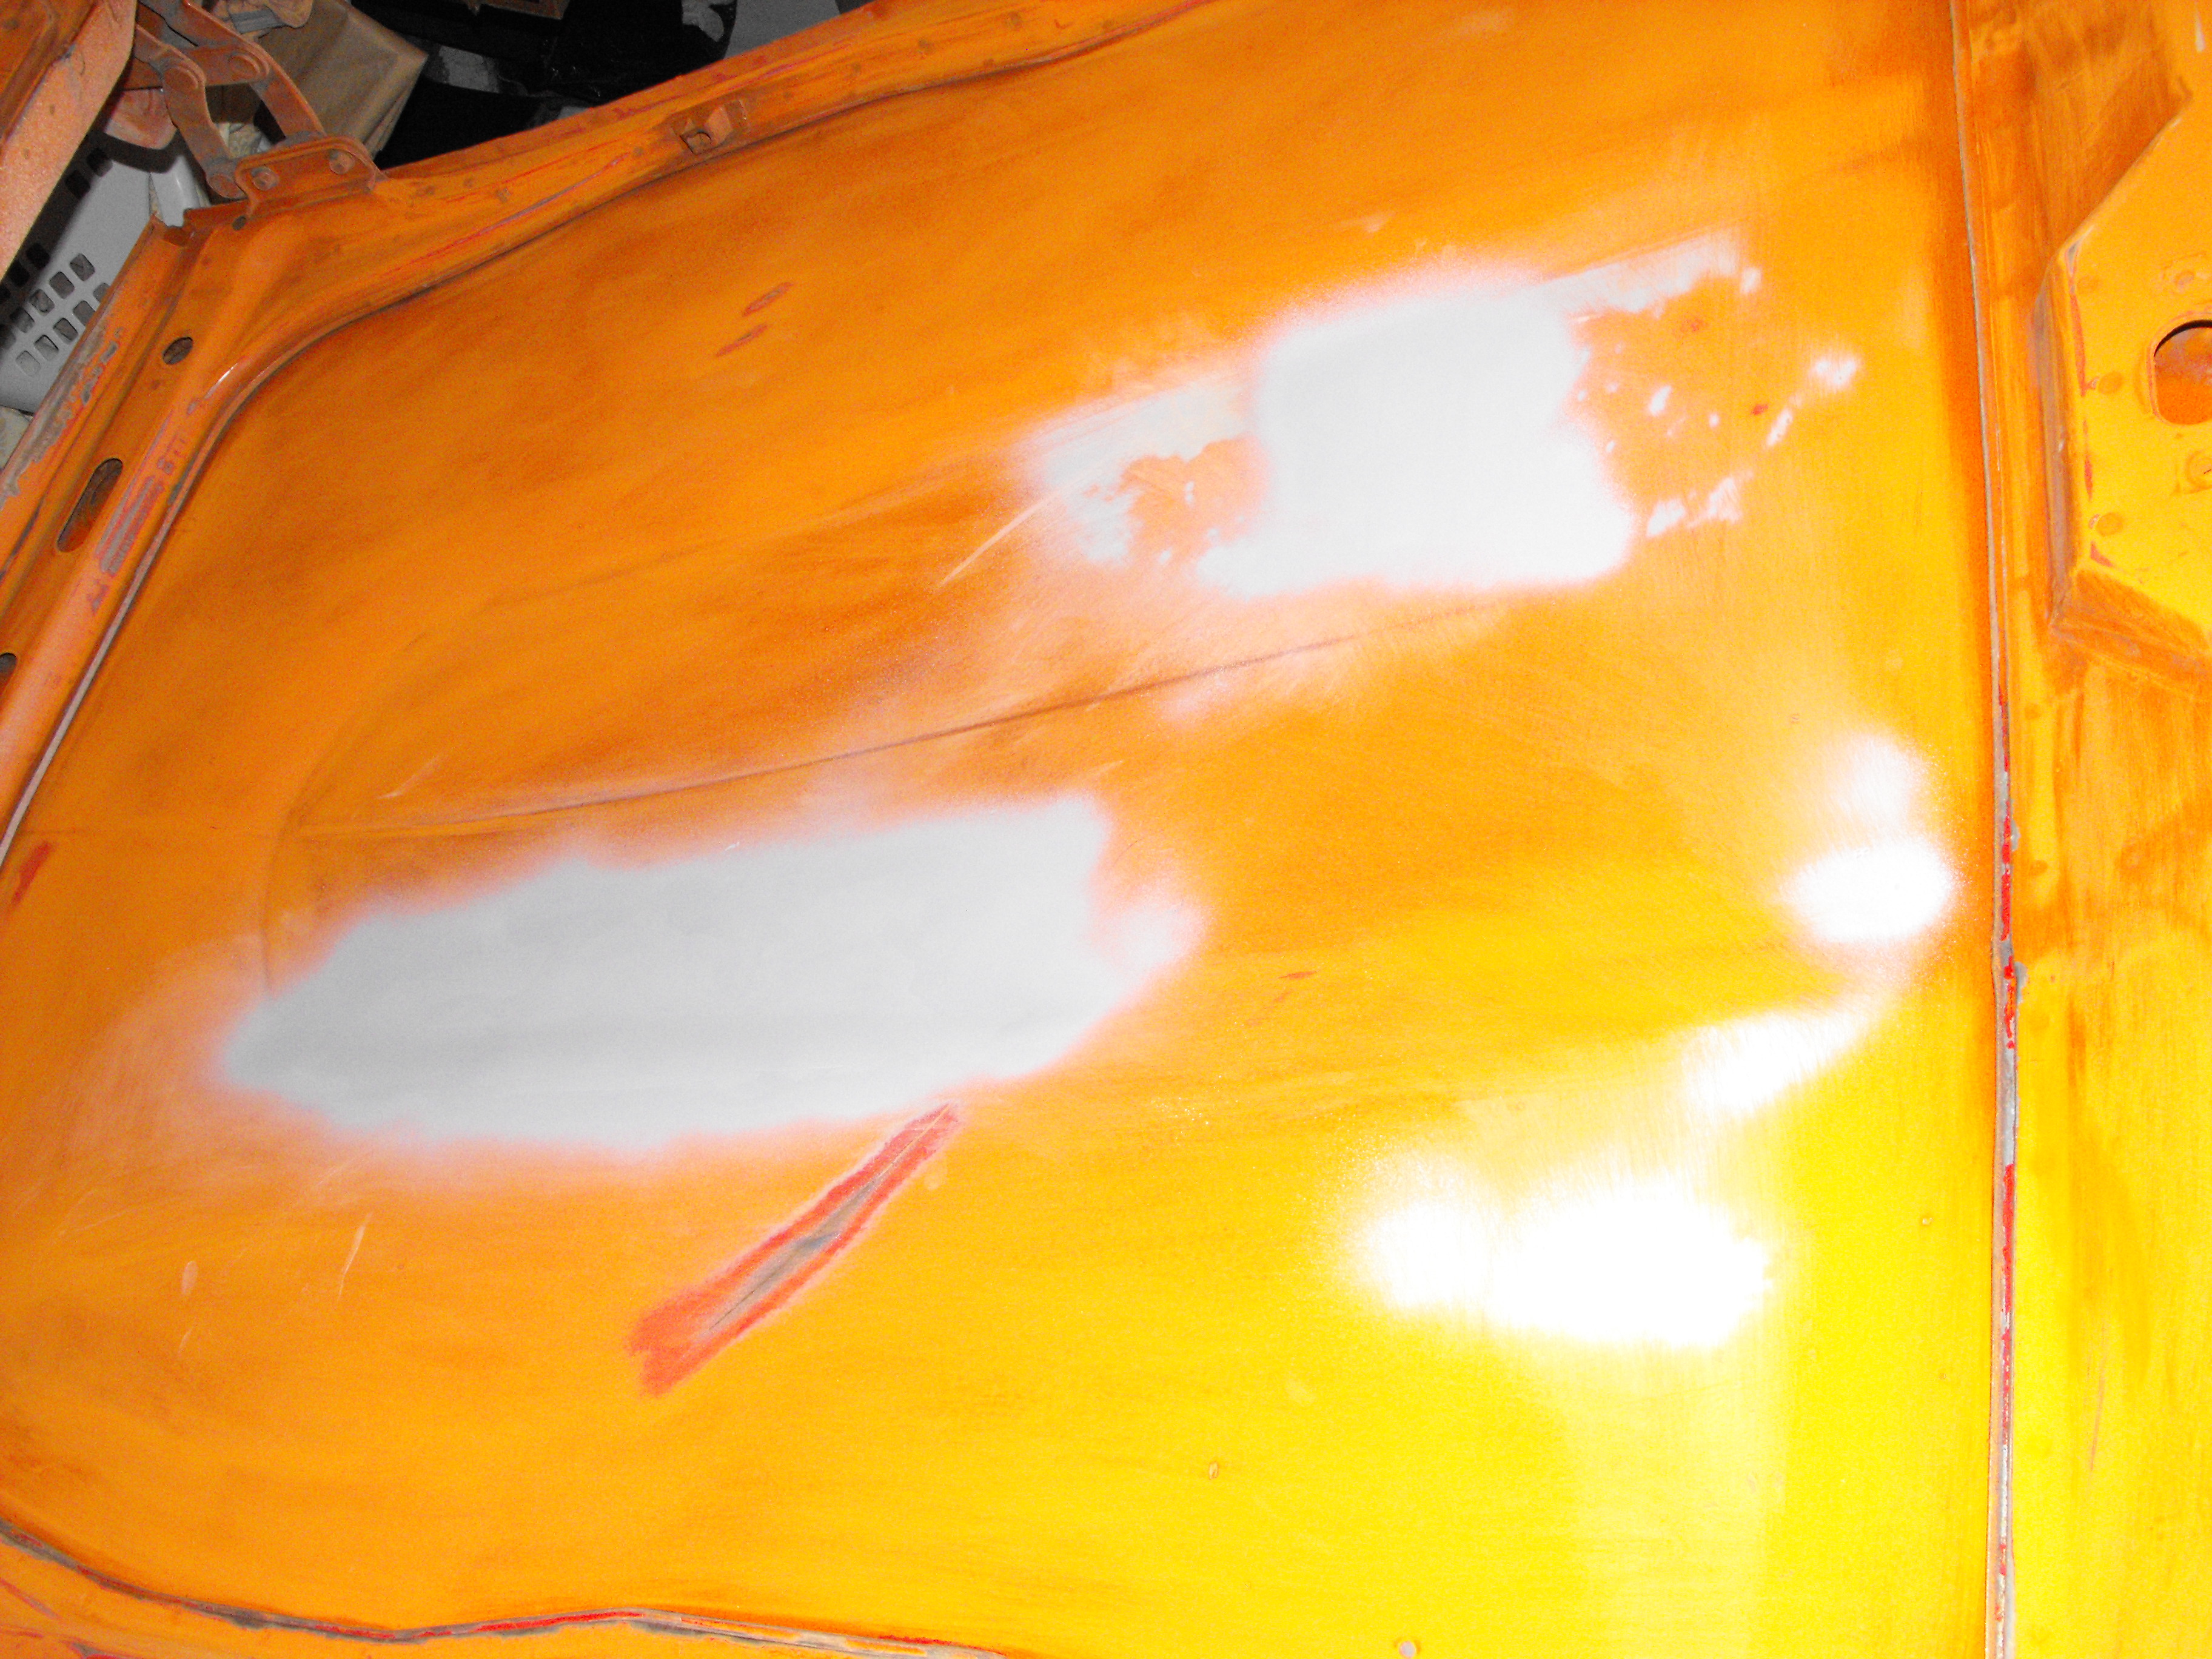
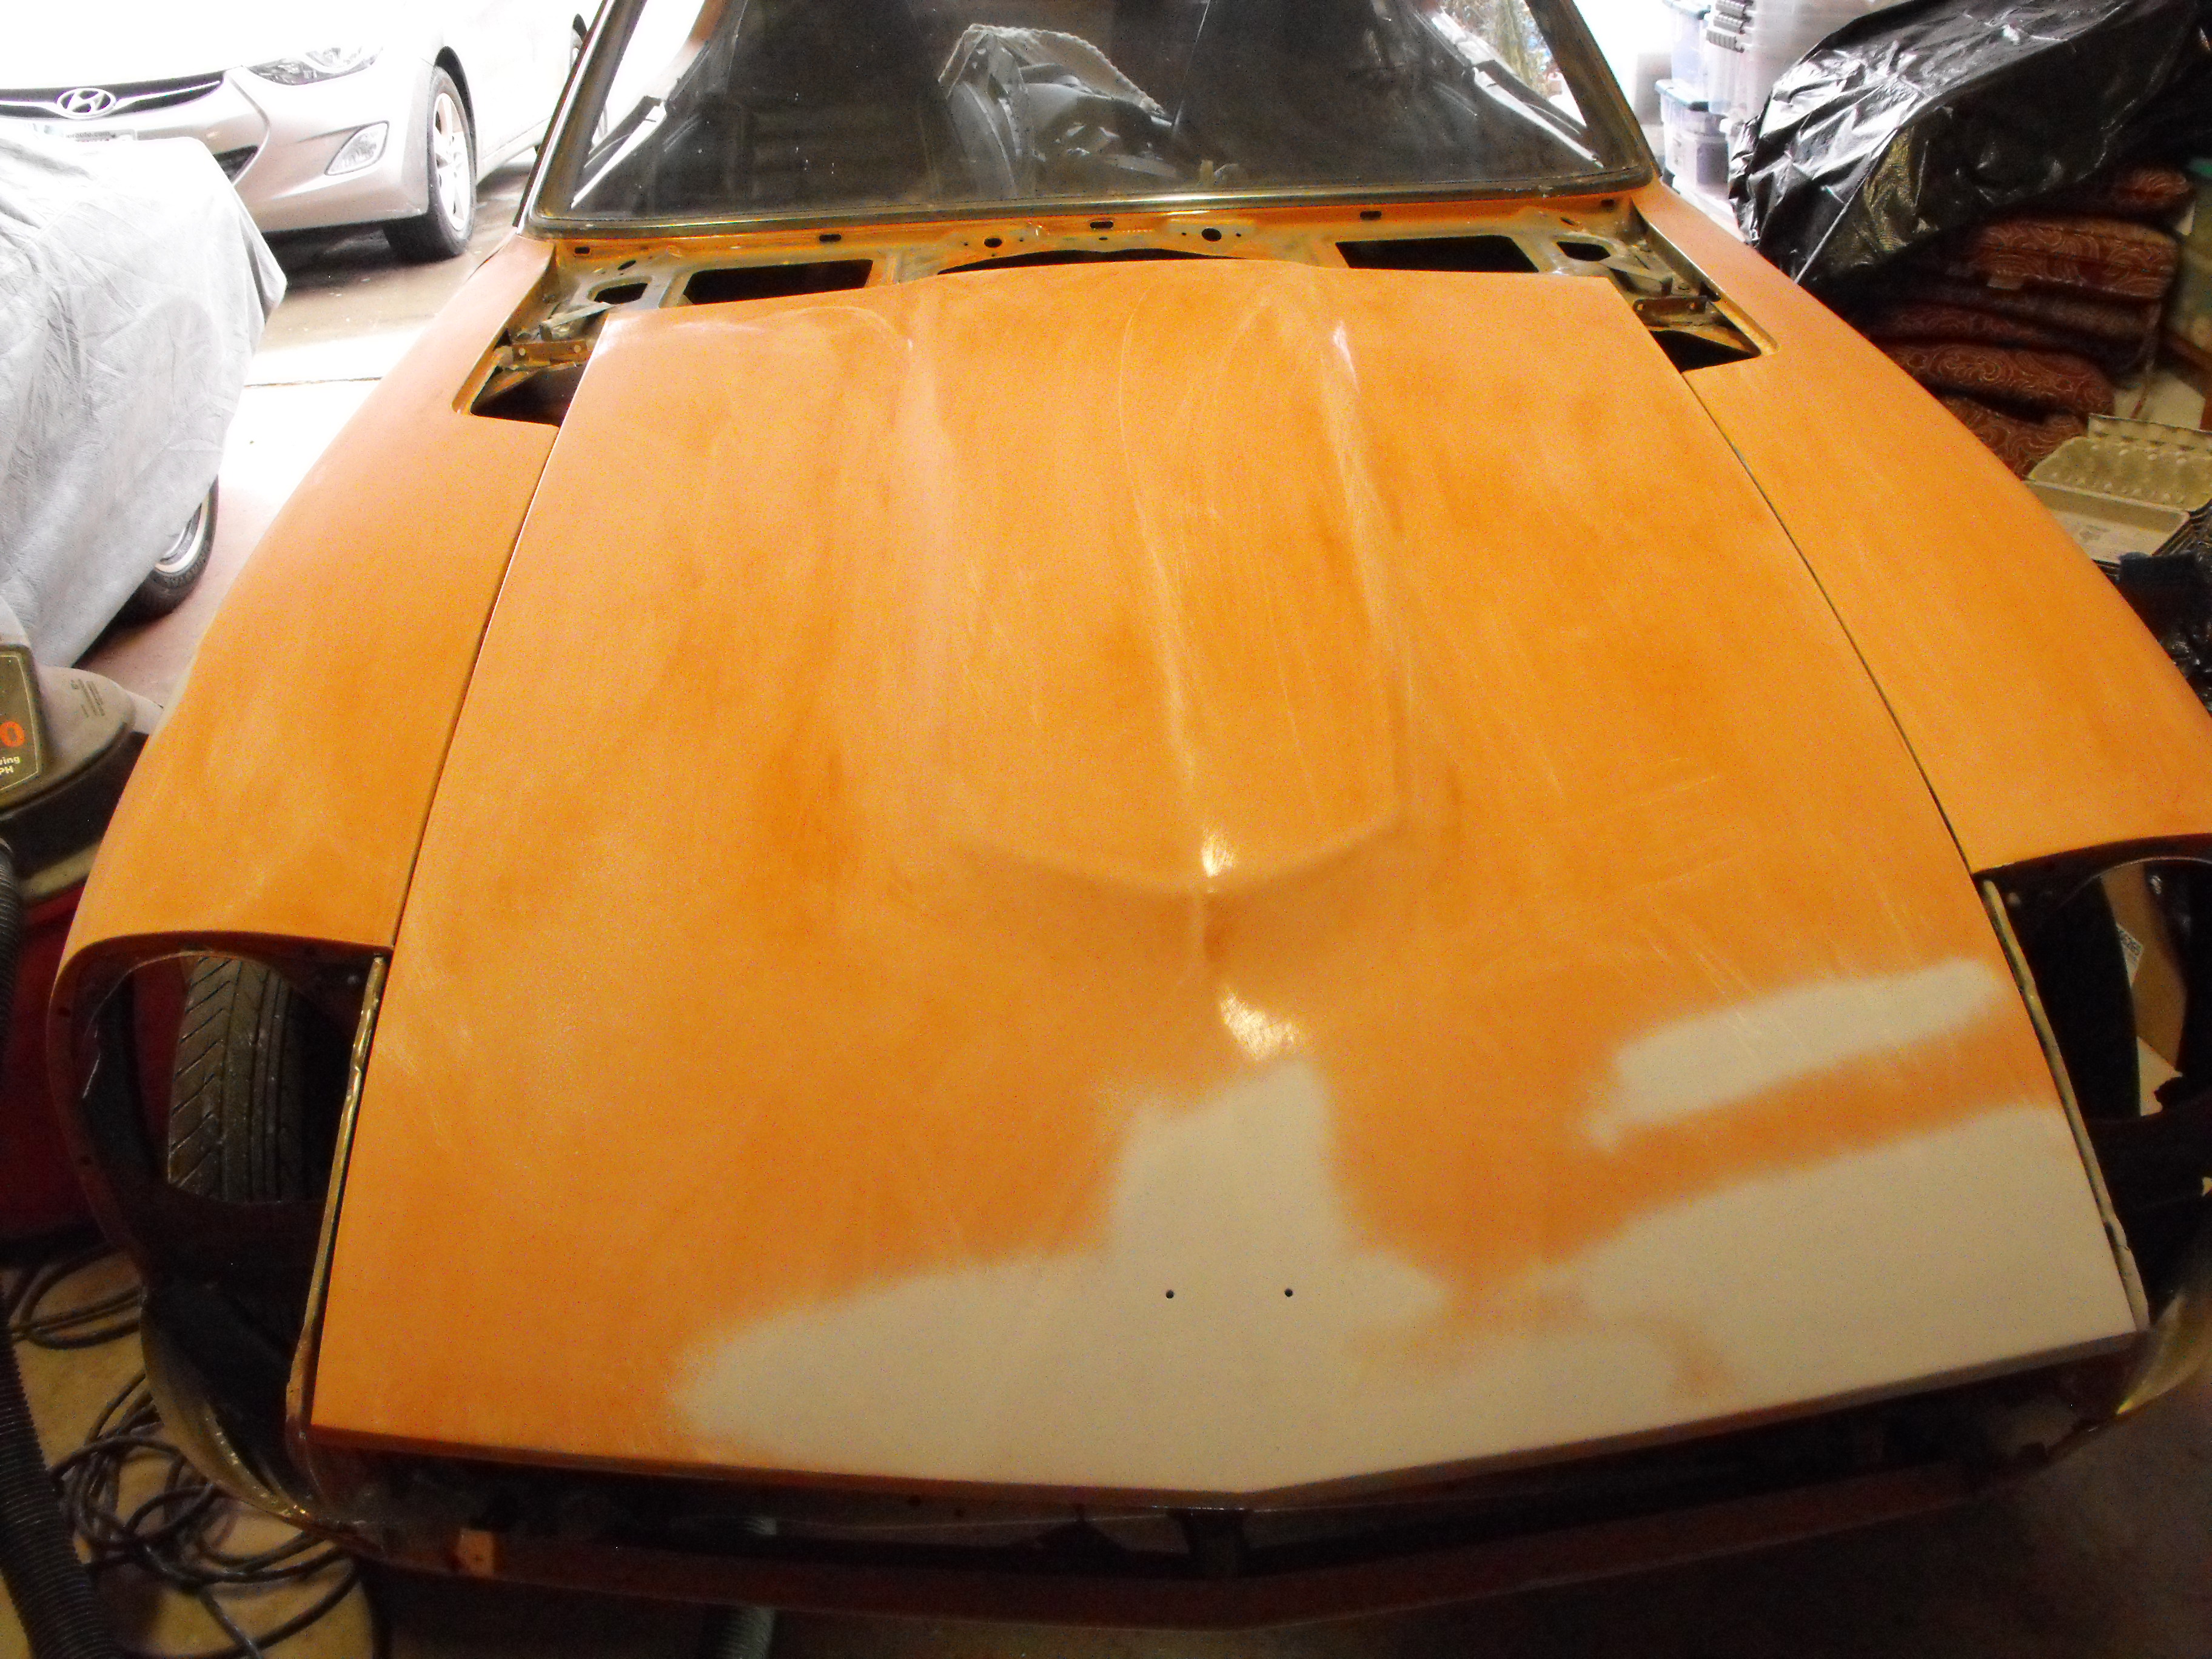
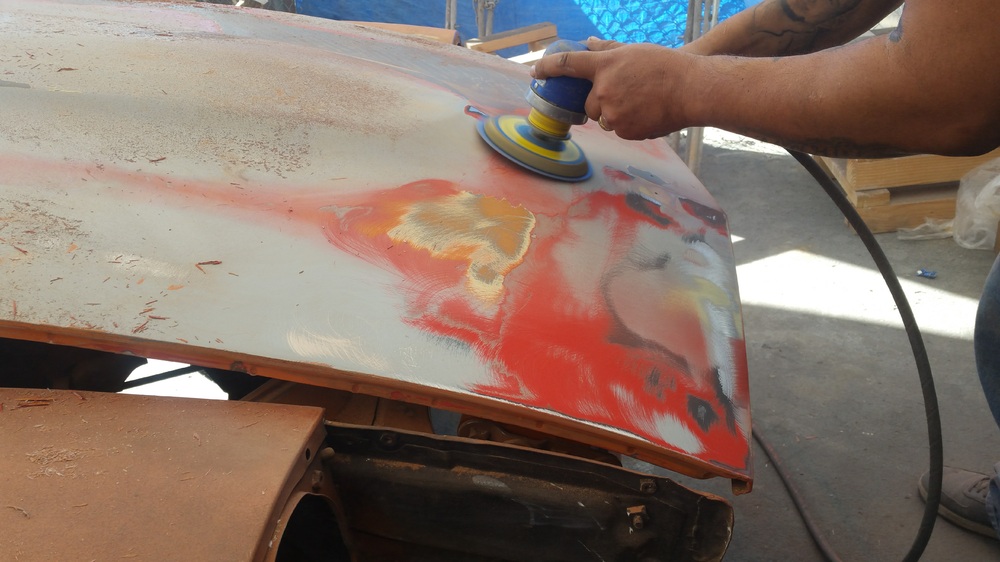
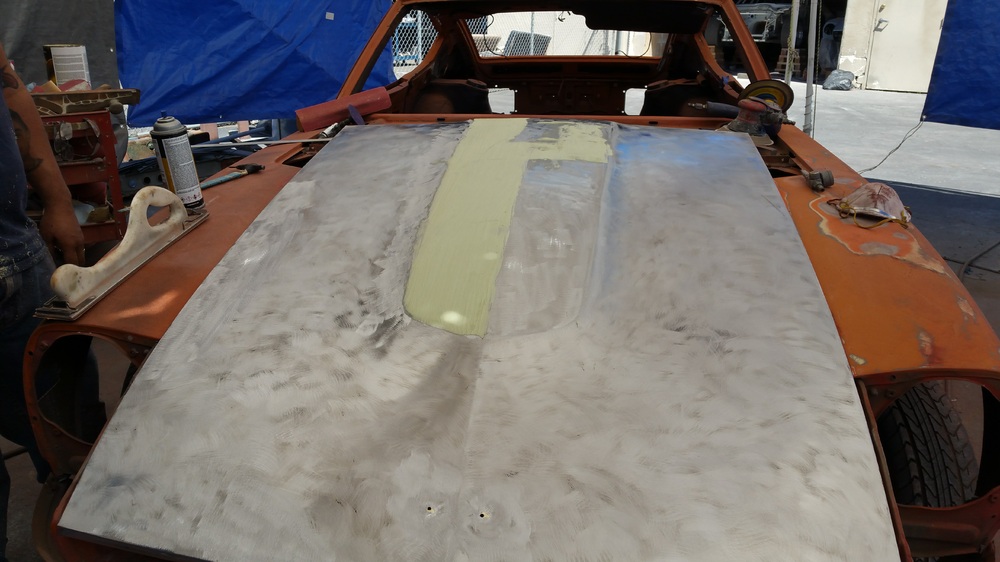
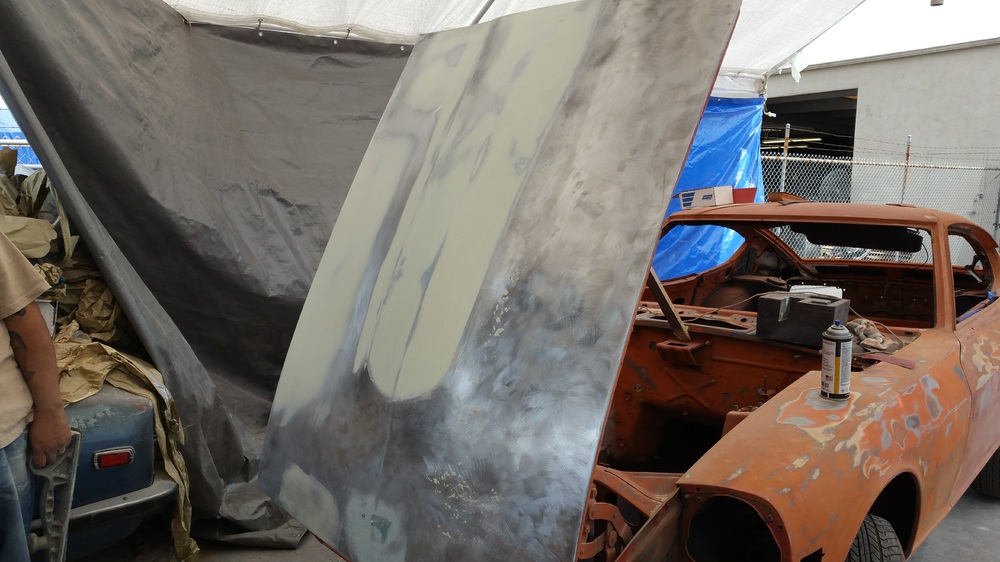
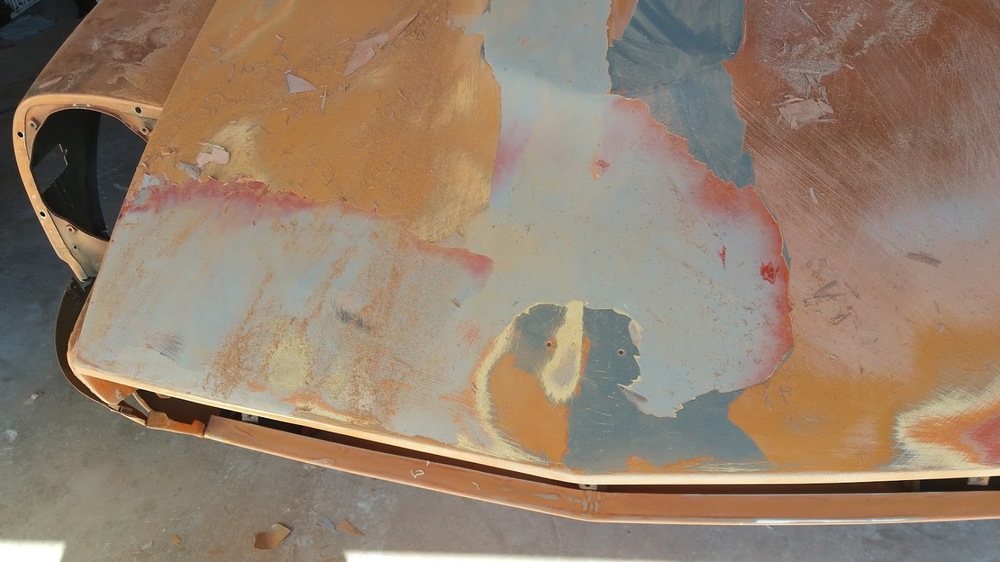
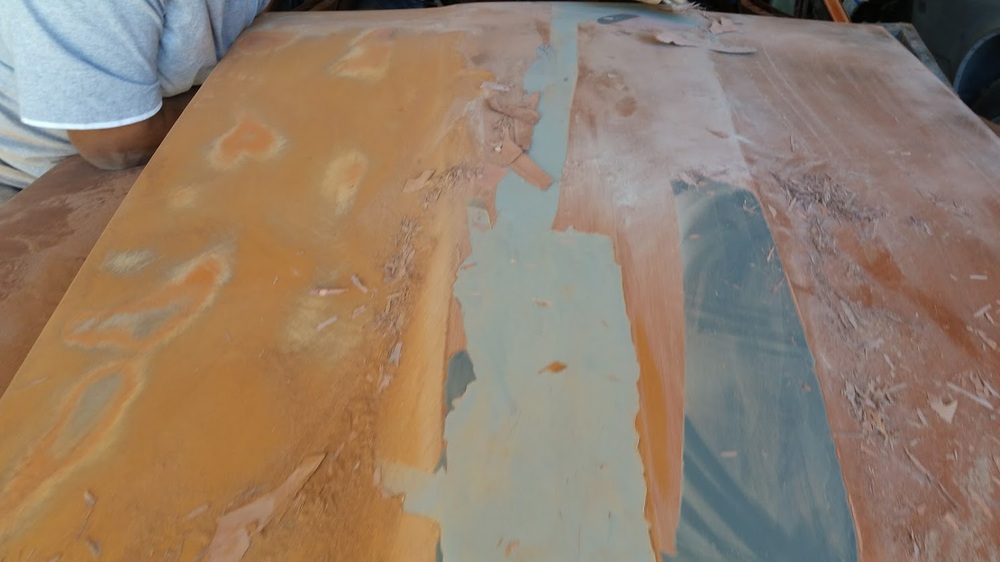
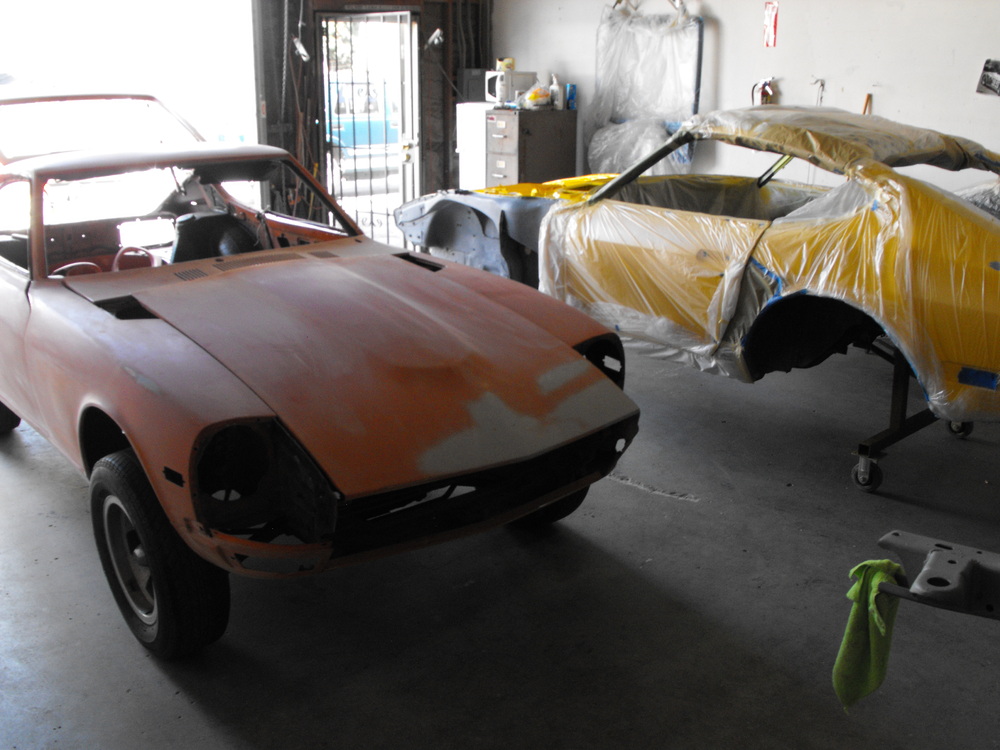
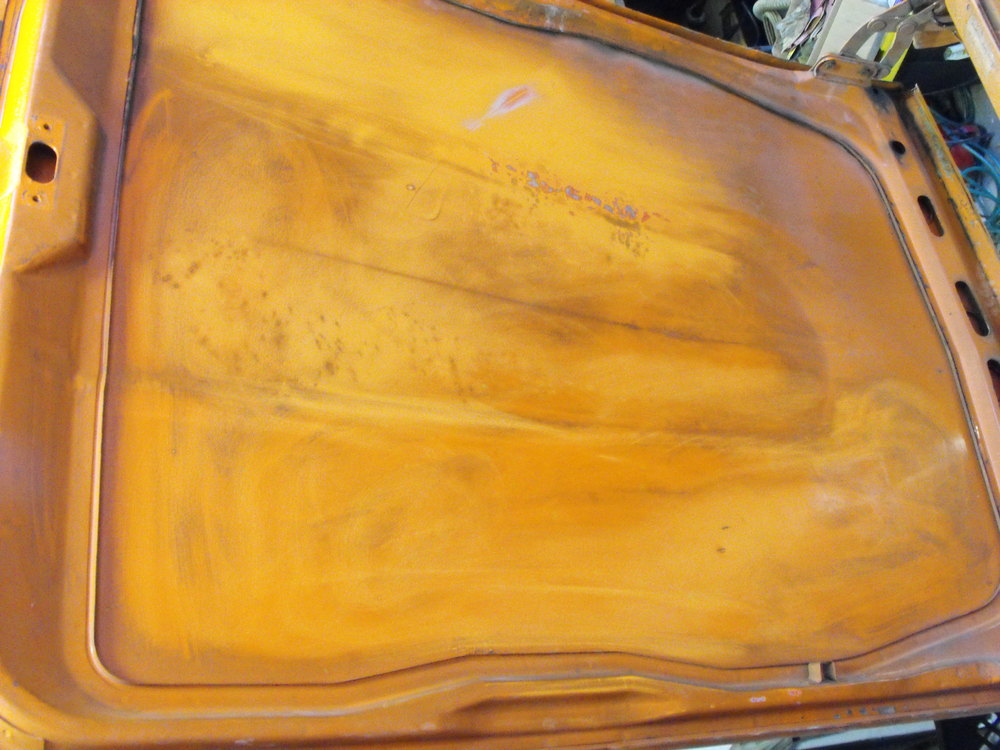
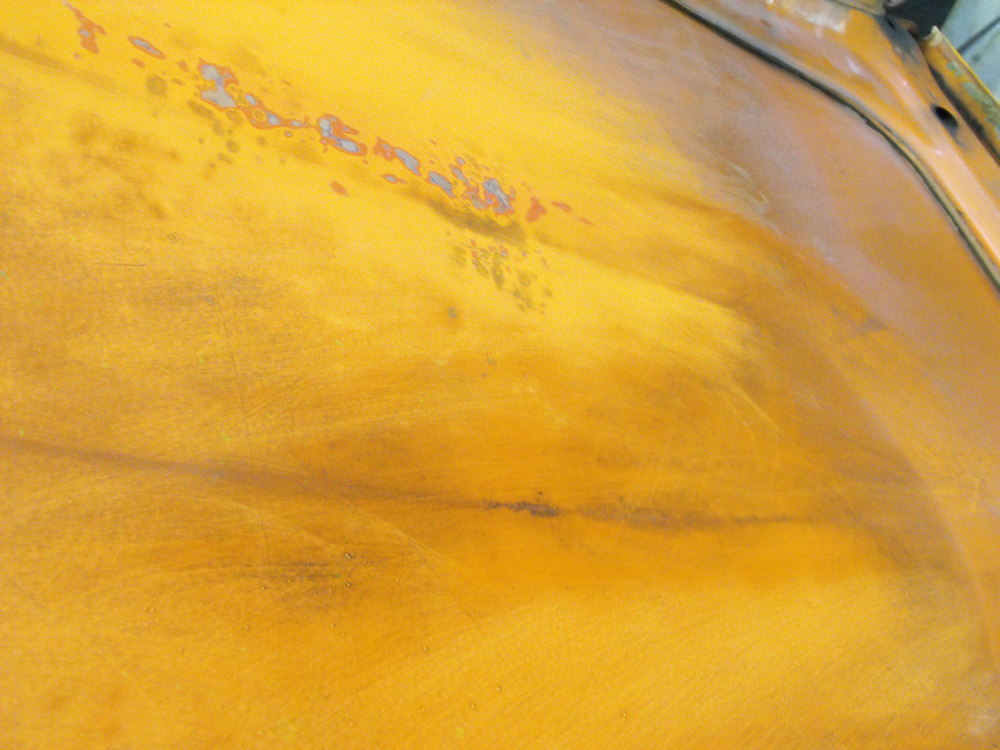
And more paint shop pictures. Looks like we are going down to bare metal on the hood. Looks like the hood has been orange, yellow and red in a previous life.

-
Yes, have that cleared already...I use that a lot. Pretty much all metal on the car needs to be painted or plated. Only metal that may not get some clear or plating would be some of the aluminum motor parts.
-
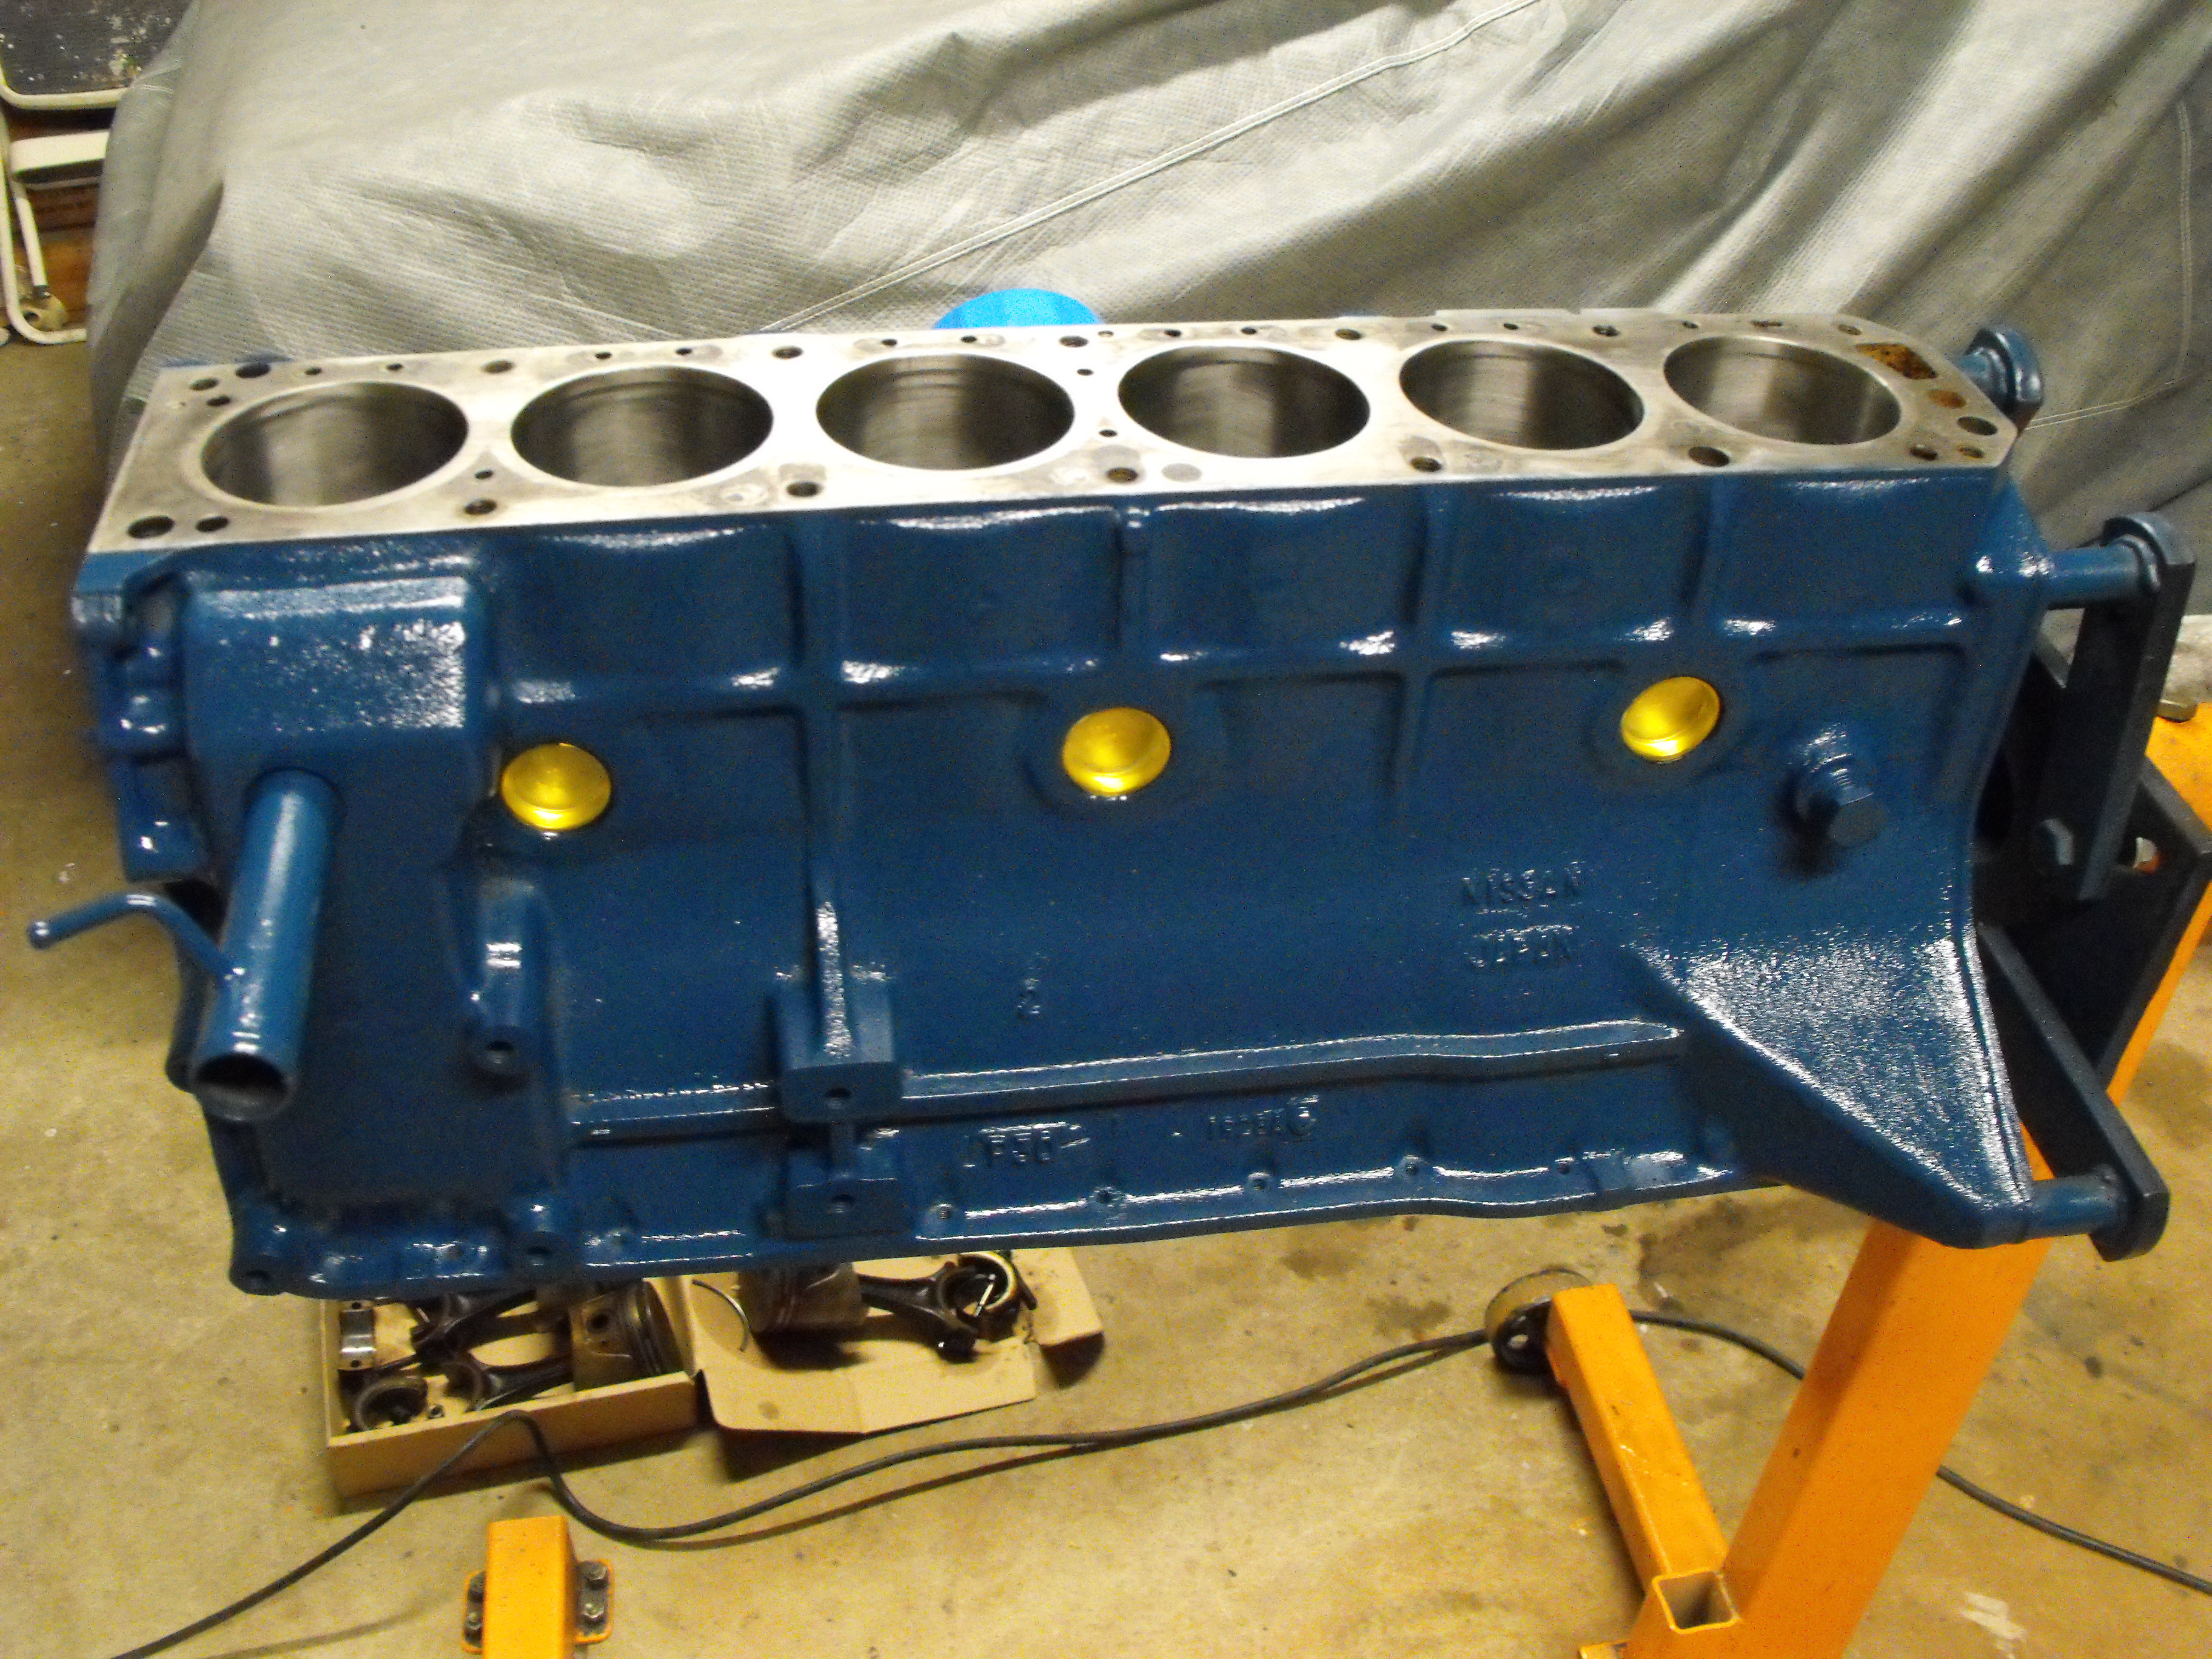
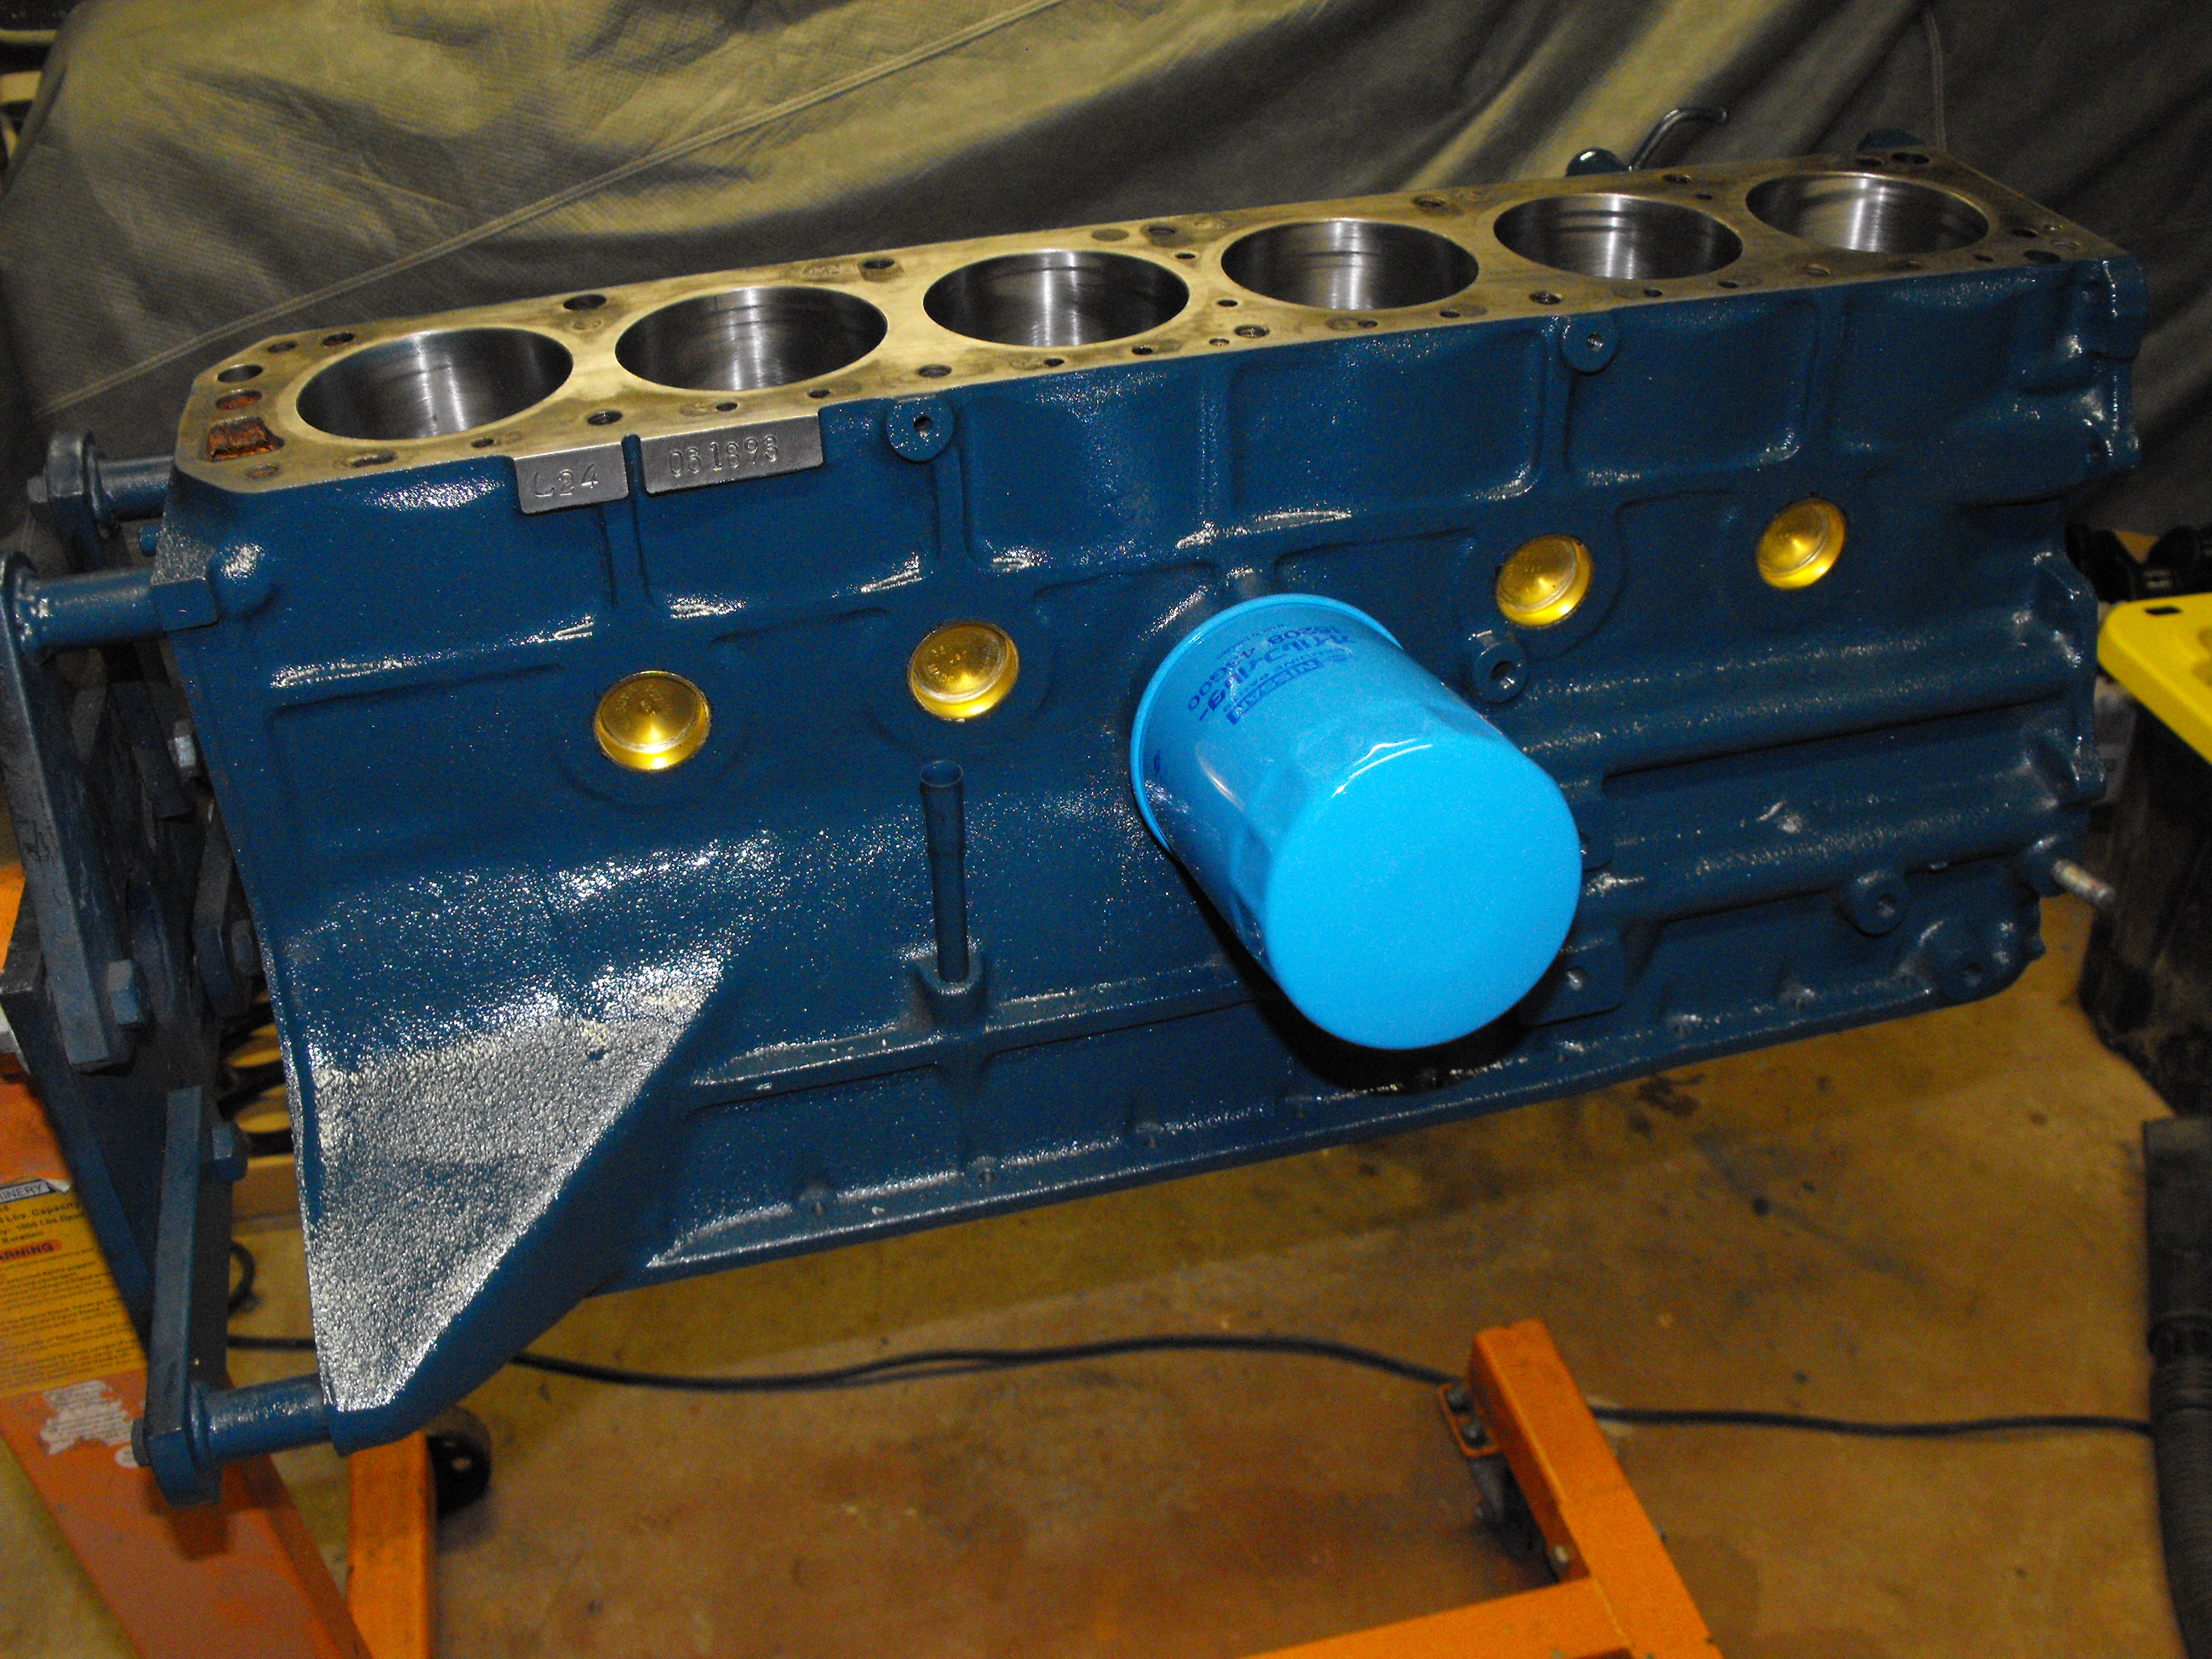
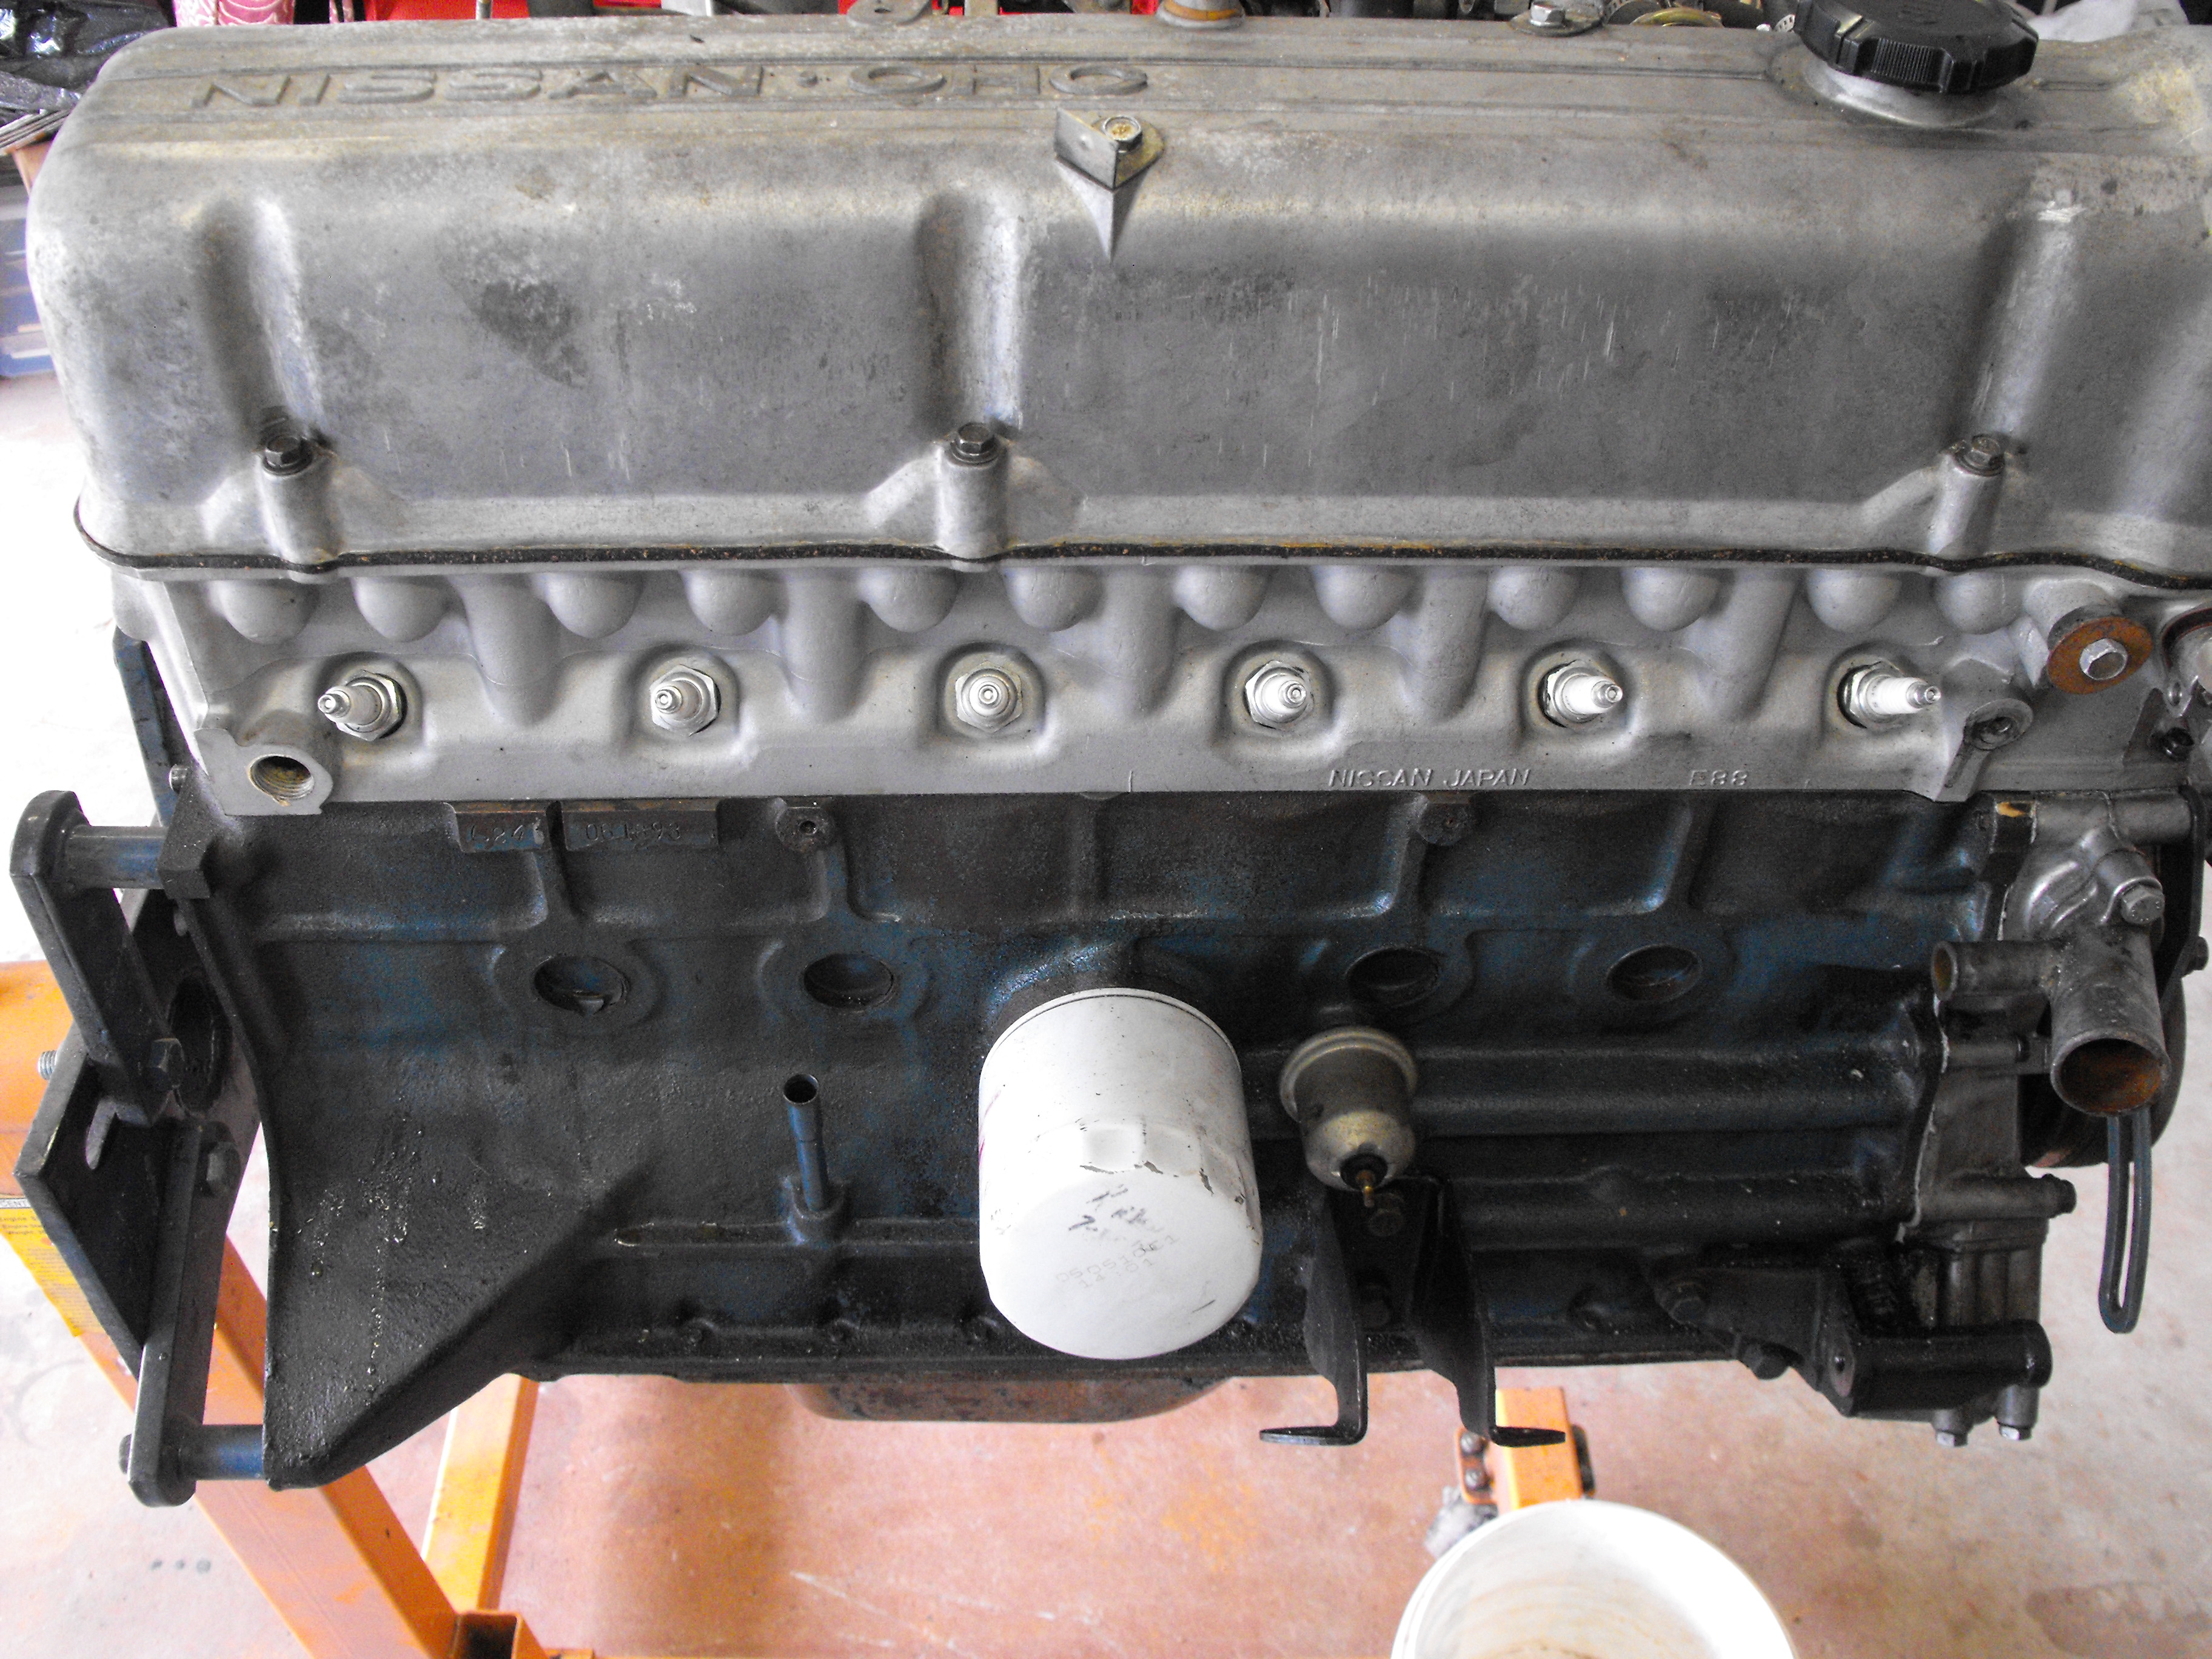
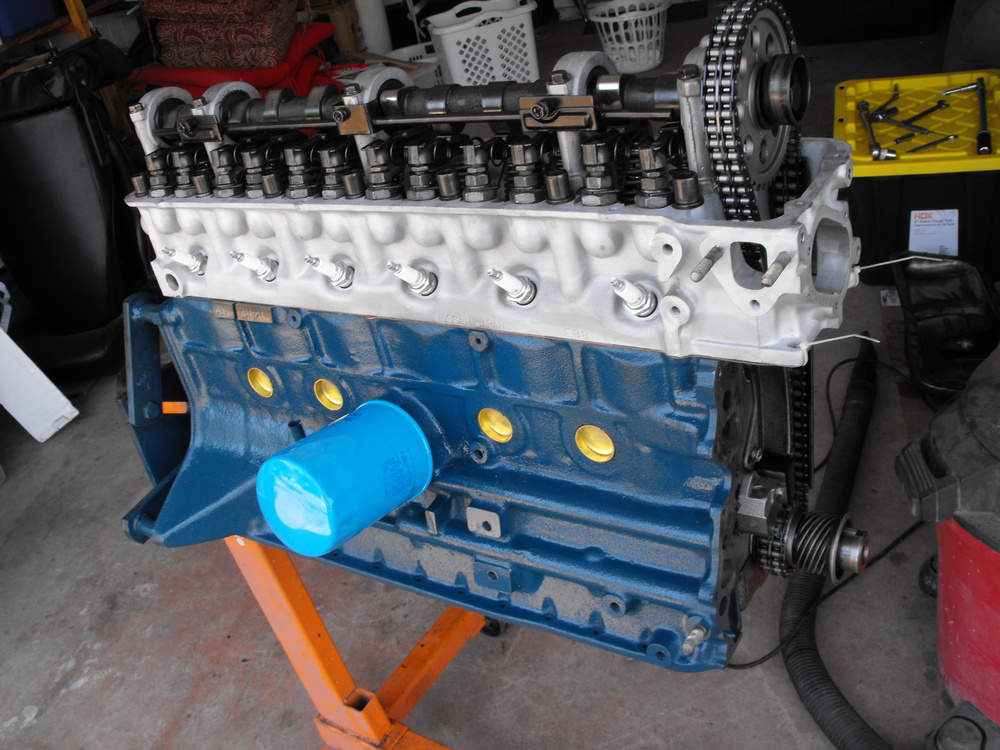
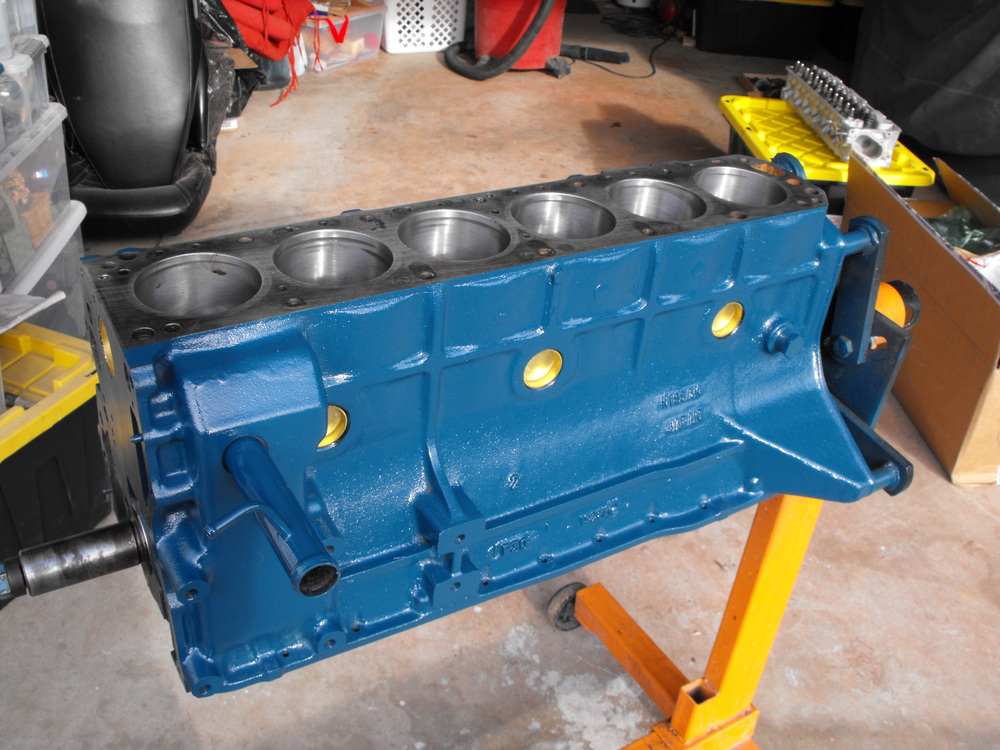
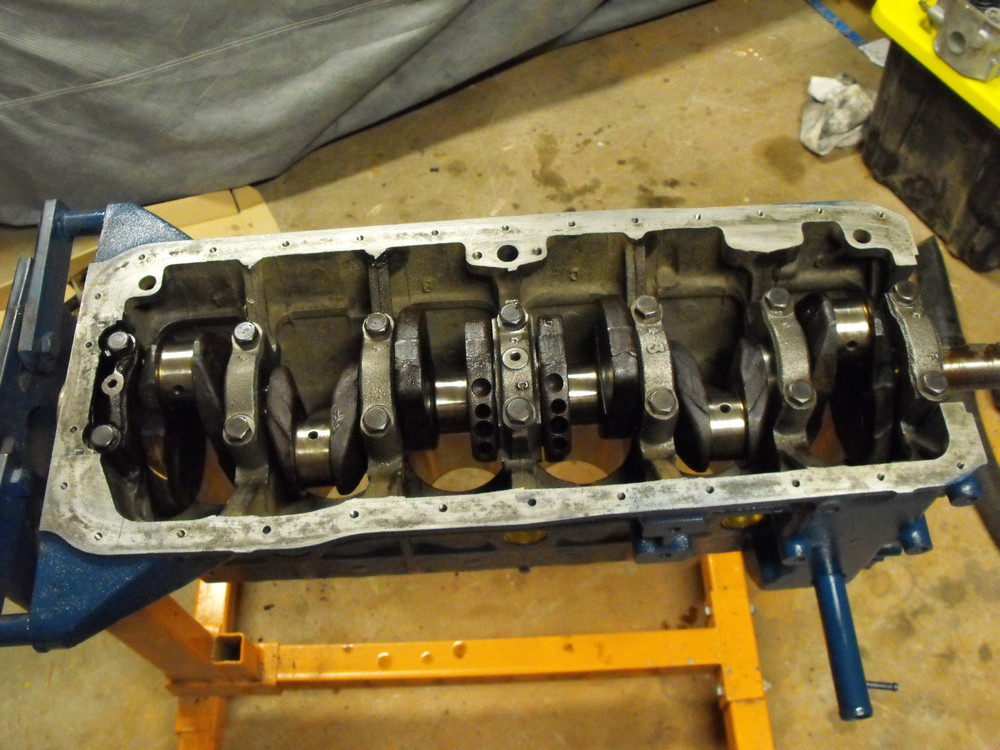
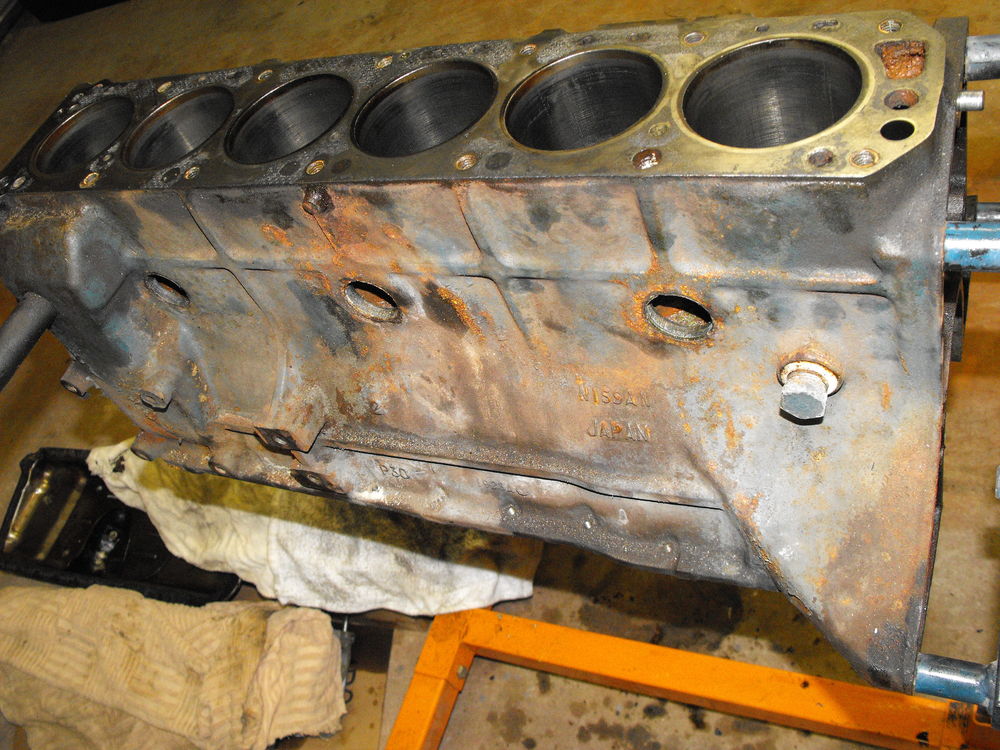
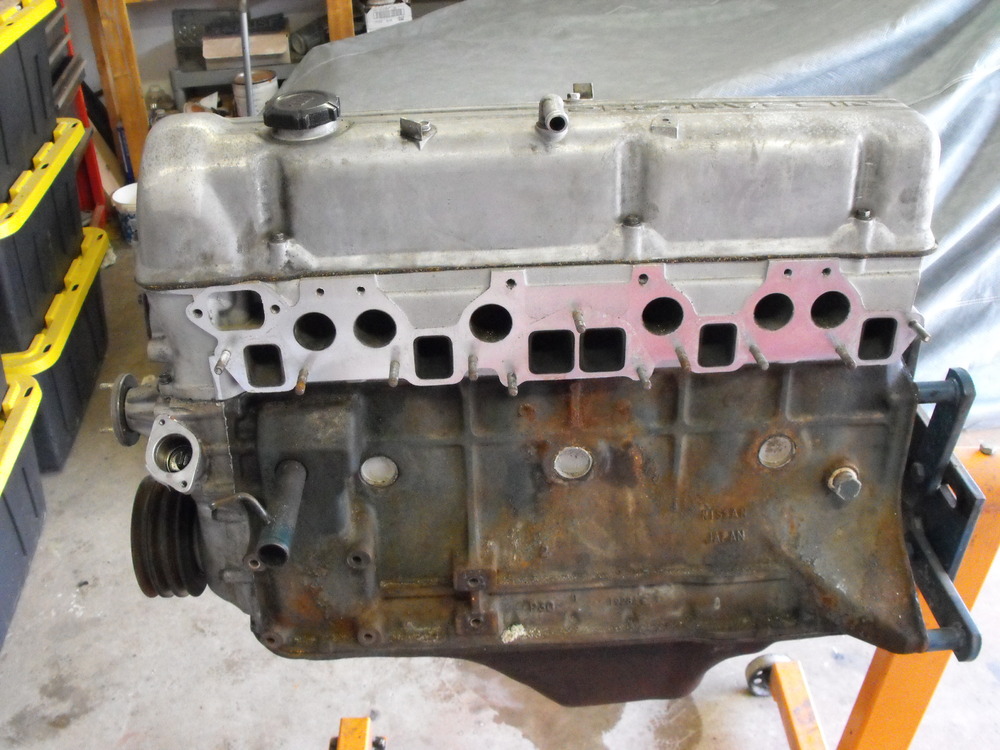
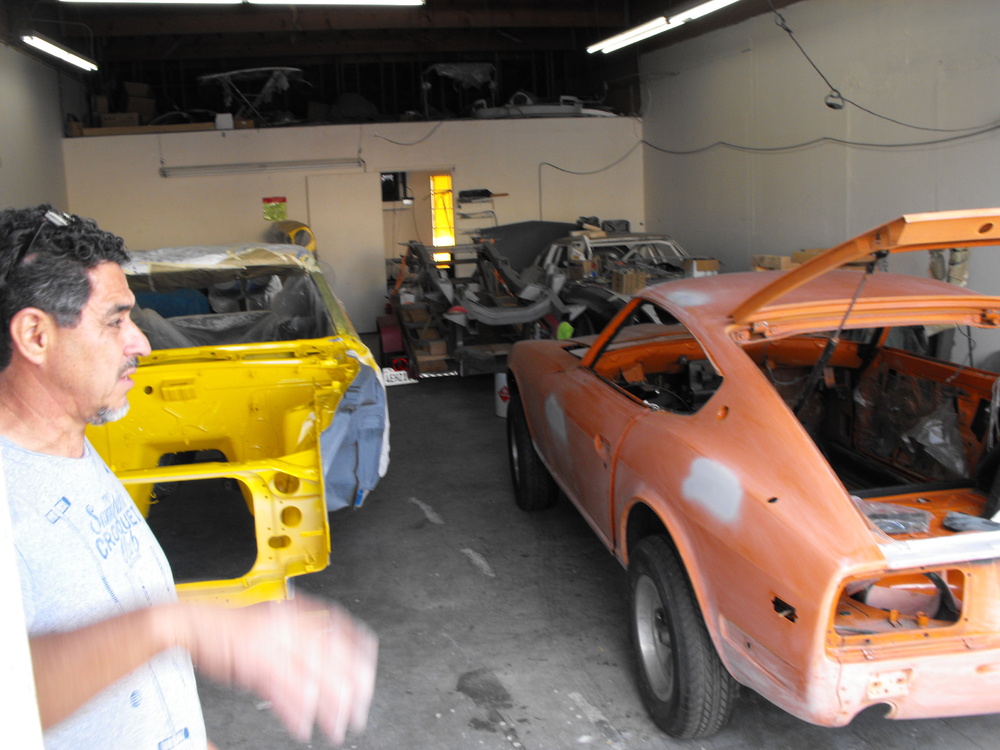
There is really a lot going on with the car now. We are in full production. The body is at the paint shop, the dash is at 'Just Dashes', and I just got the block and head back from the machine shop. The head was leaked checked and the rubber seals were checked. It was in perfect shape and the block only needed to be honed. They did a mild clean on the block also. No significant scratches in cylinder 1 which had the cracked ring. That worked out well. After I got the block and head home, I wire wheeled the block and wiped it down with phosphoric acid and then lacquer thinner. After that I painted the block. The paint was from California Datsun and looks to be the same color as the previous blend from CDM. I think the only difference is this paint appears to be a bit glossier, but I think that will be fine. I also got the freeze plugs in and the crank, crank bearings and rear seal. Before and after pics are below.


-
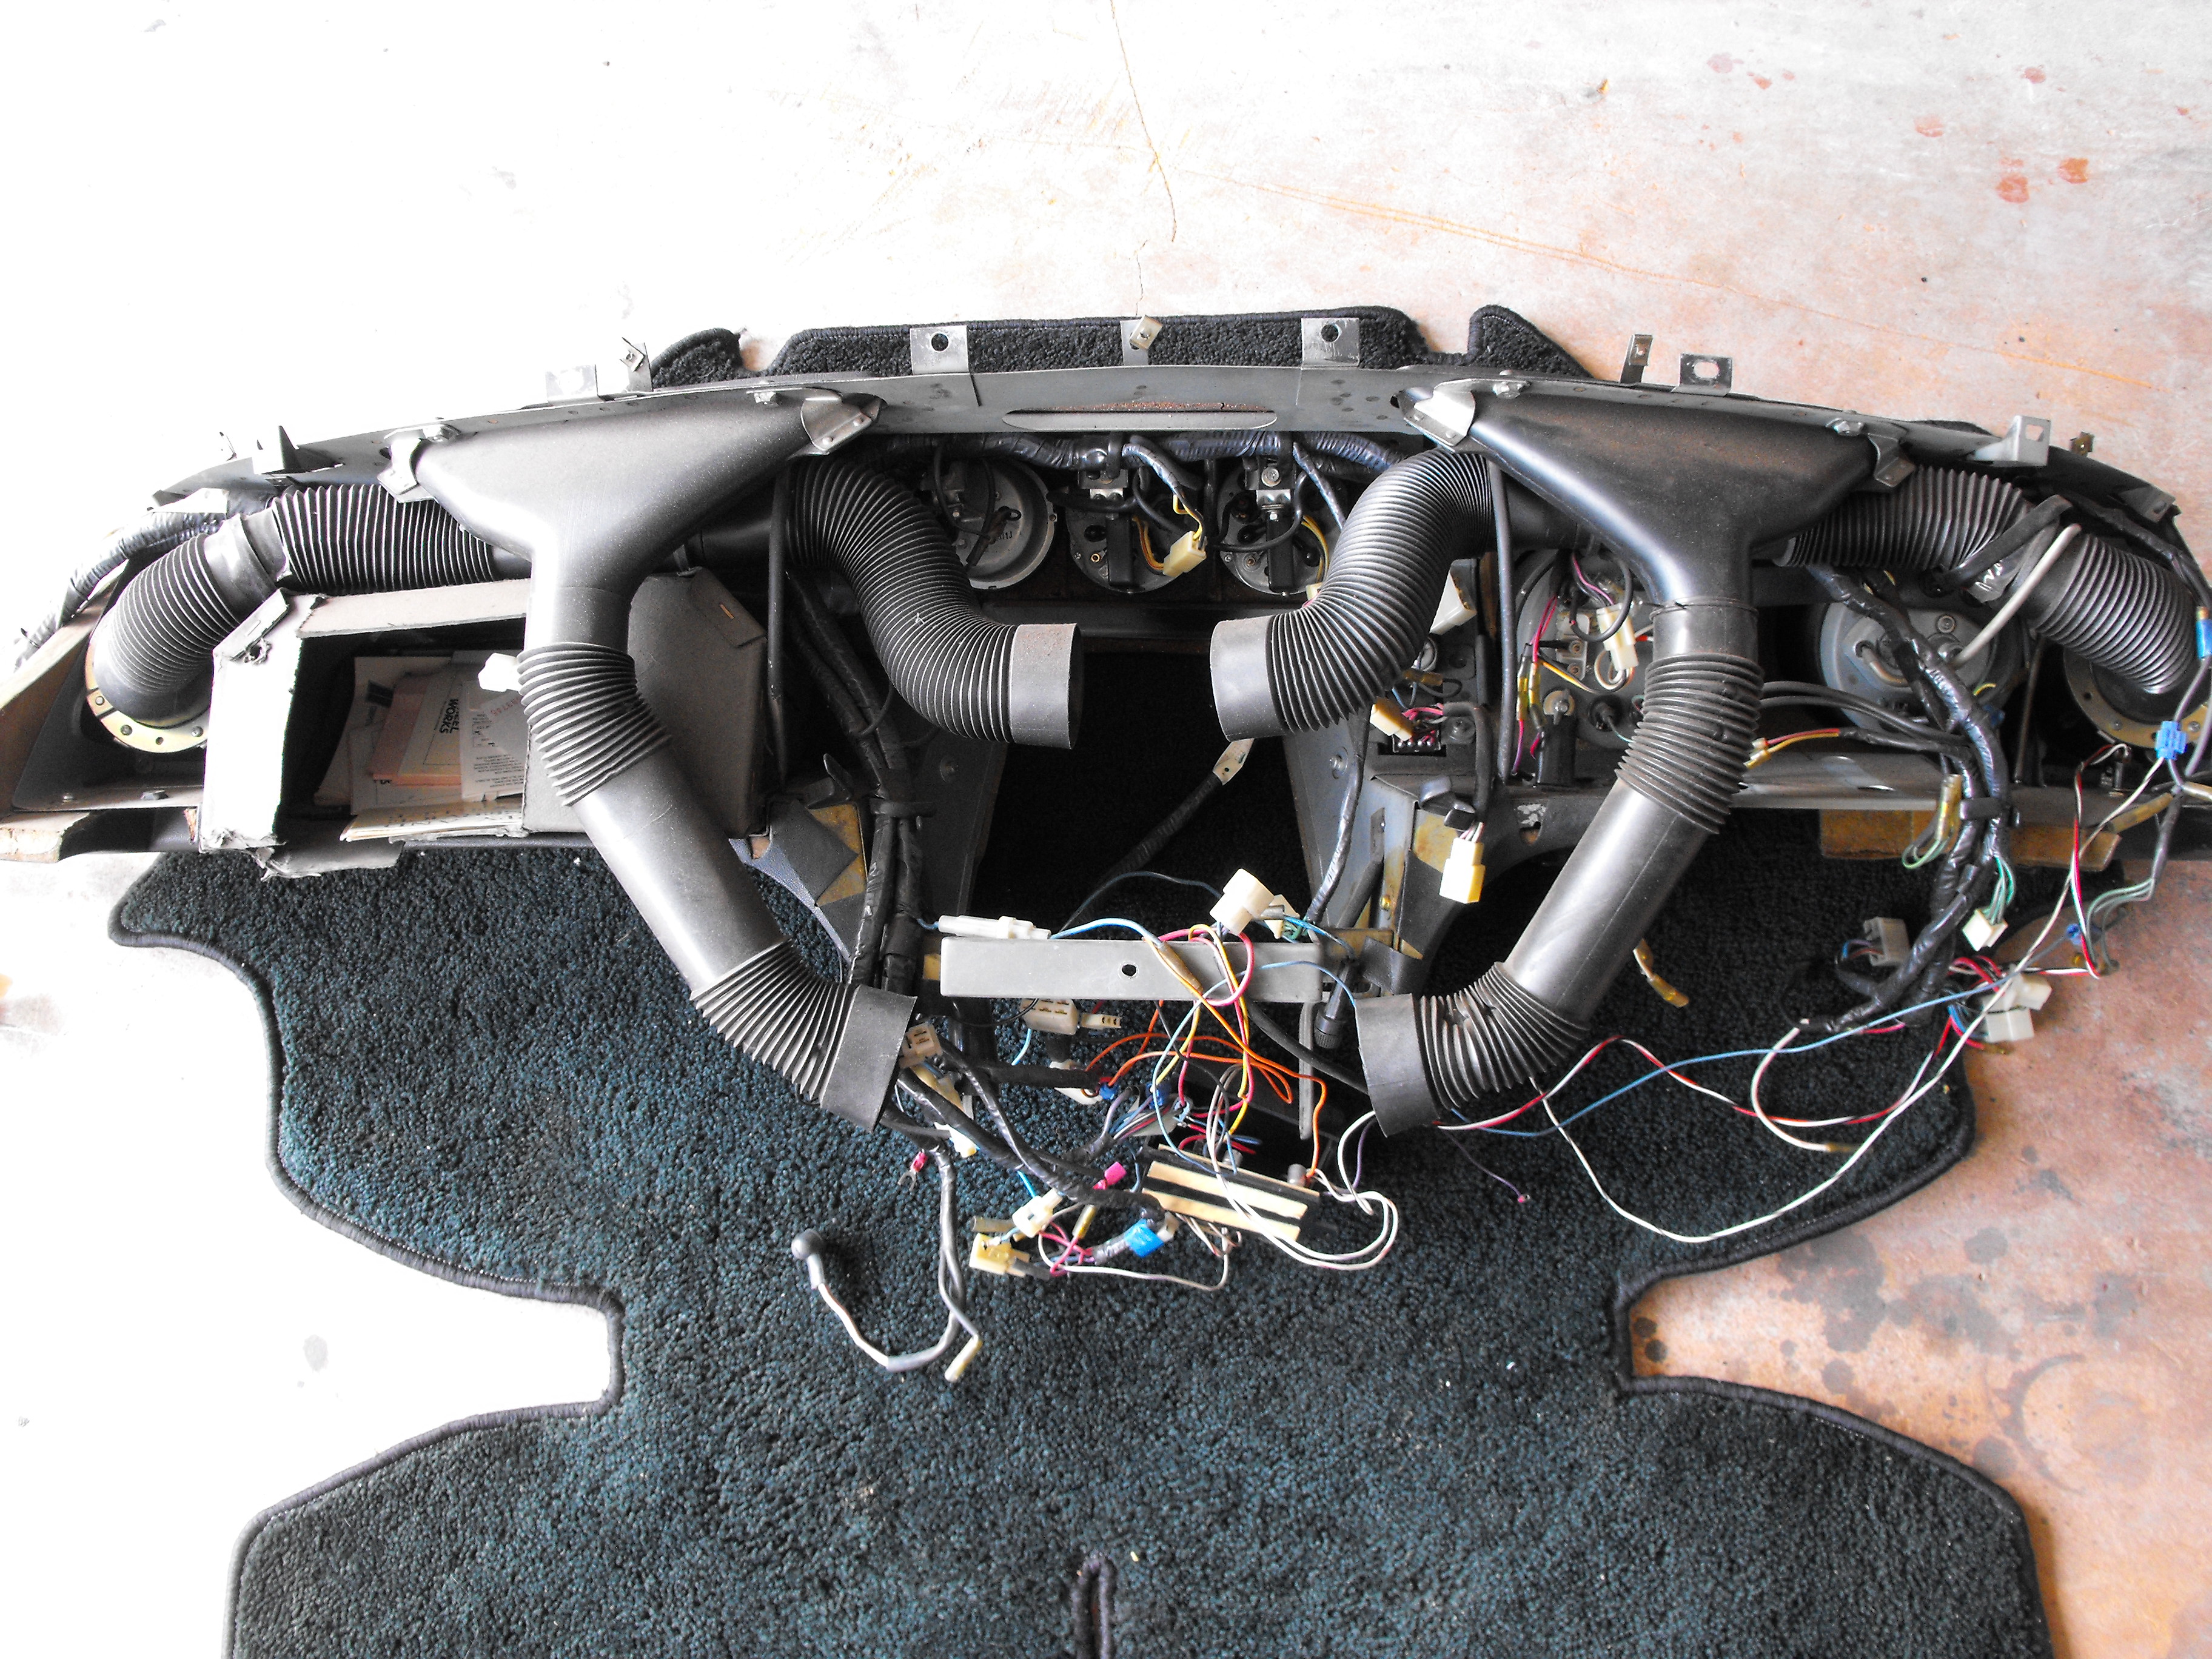
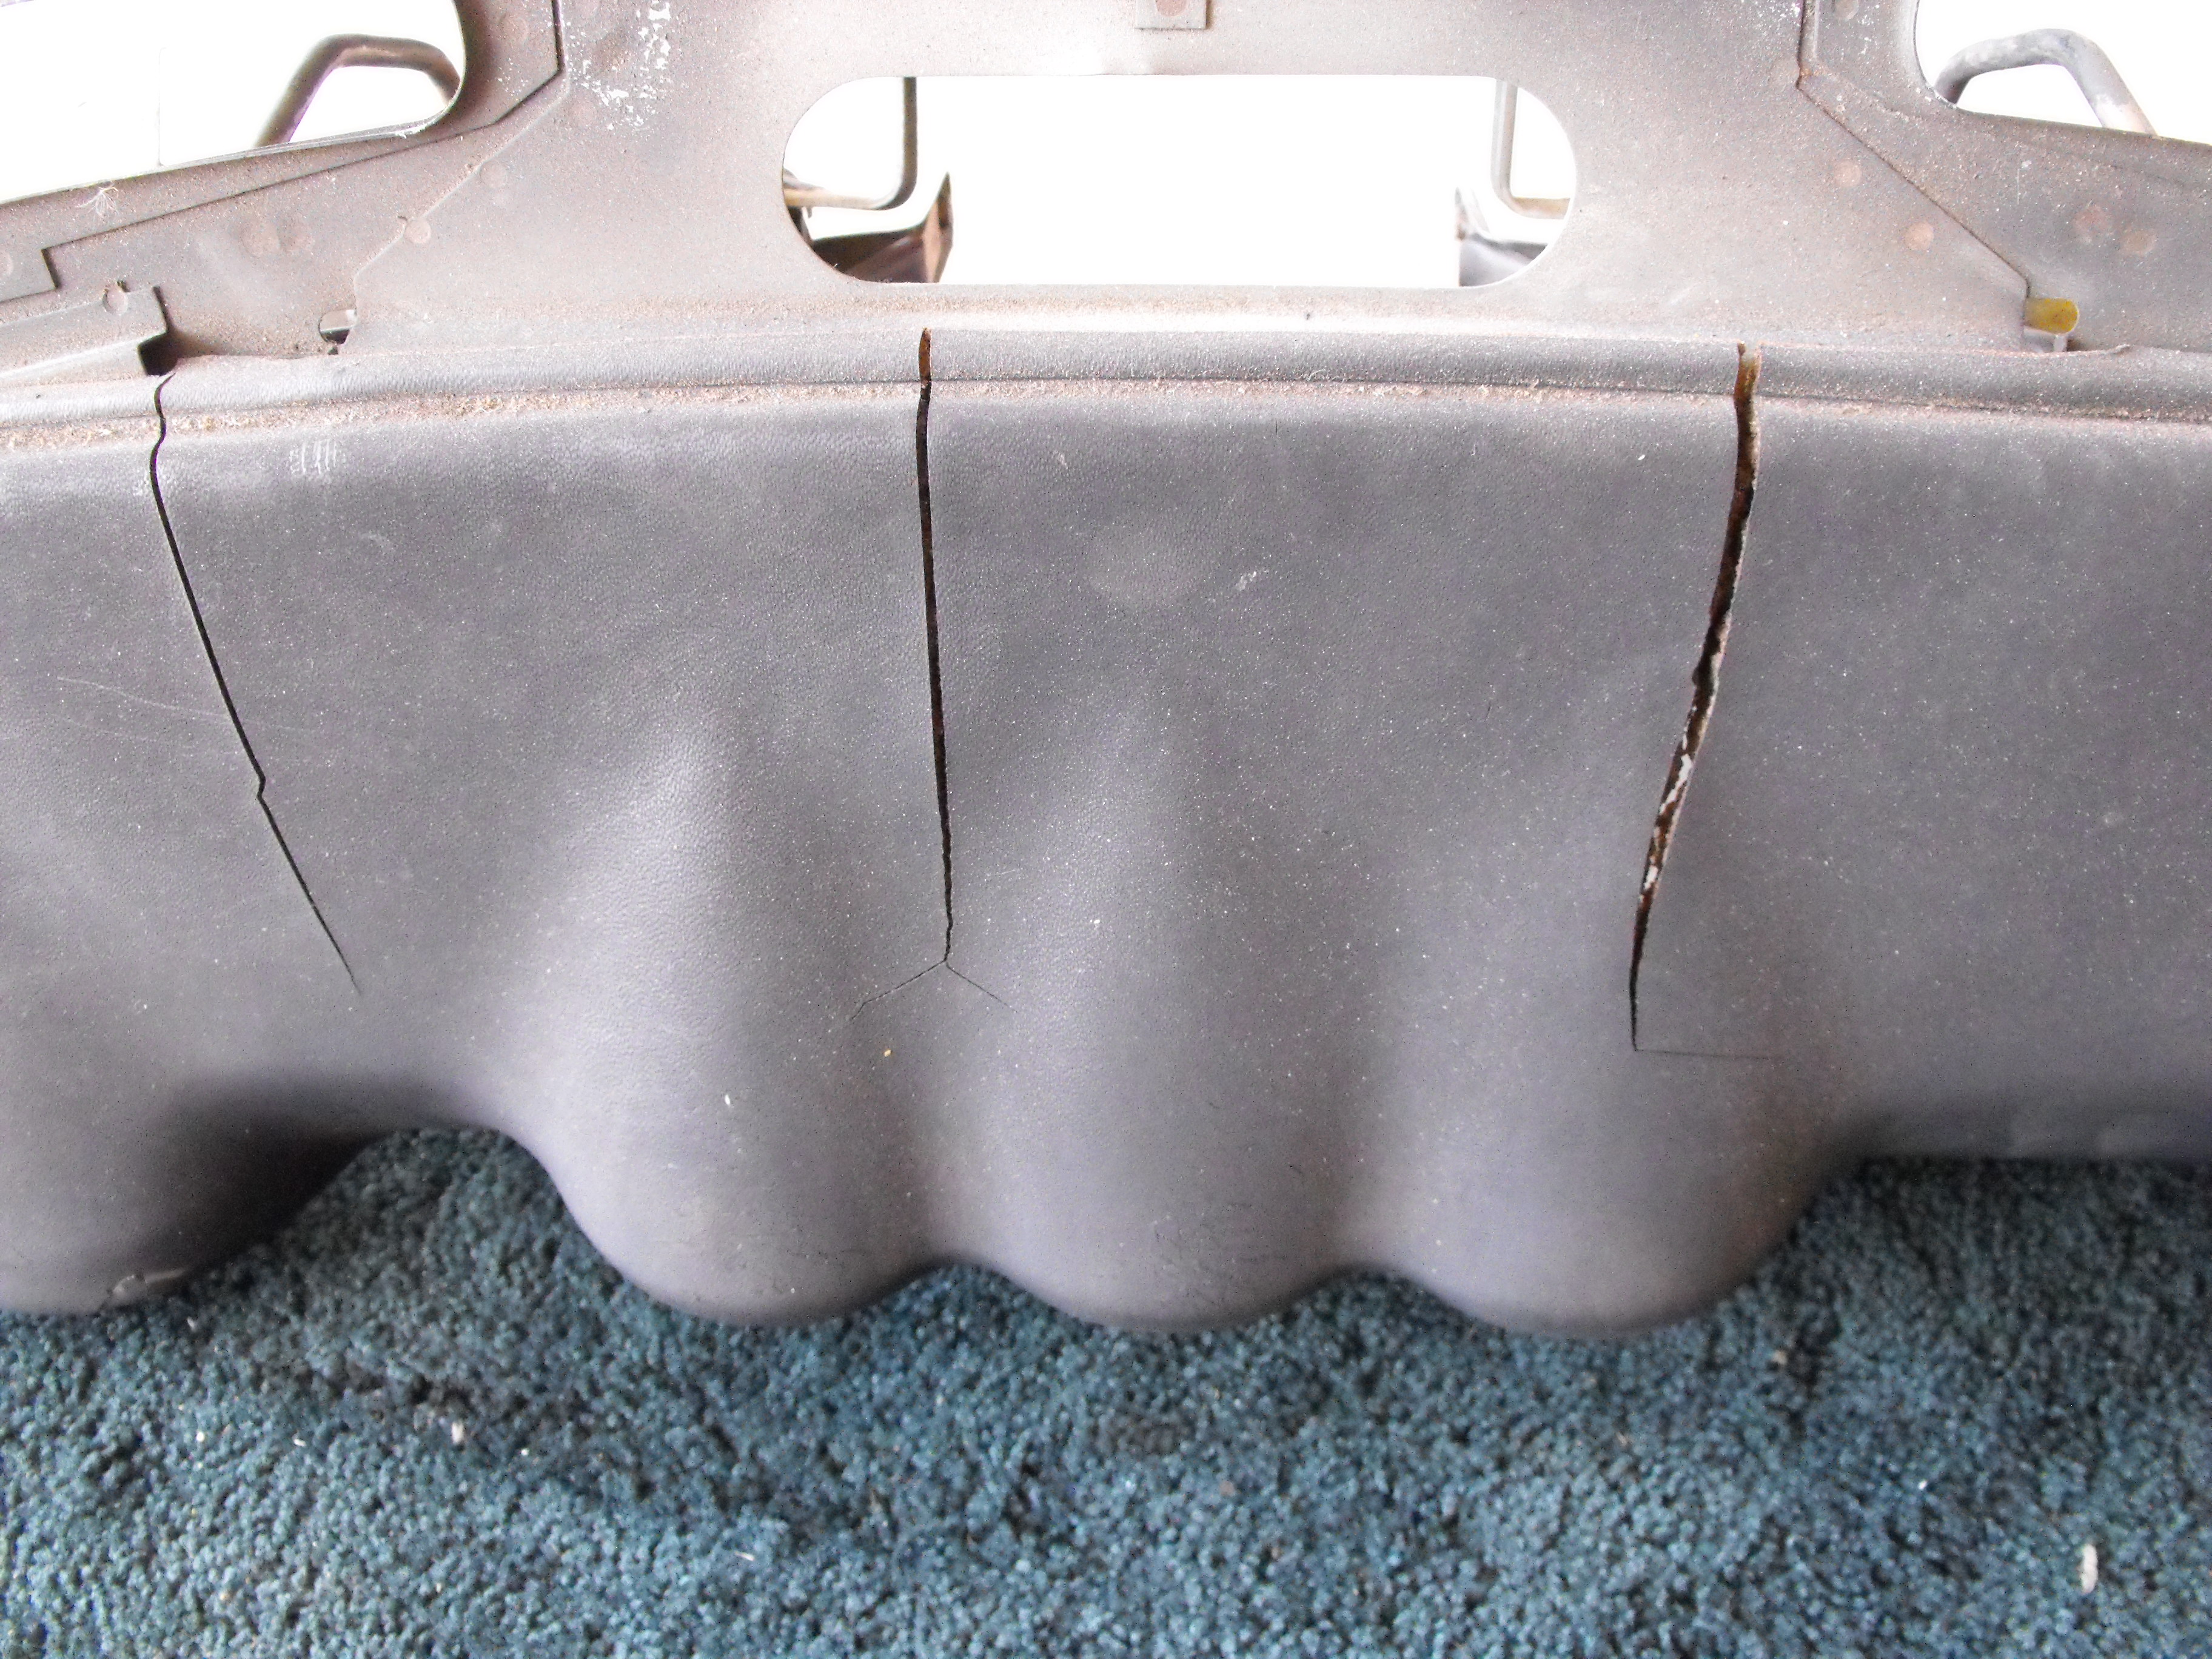
Coincidentally, I was actually at Just Dashes this morning dropping off The '72 240Z dash. Shipping is pricey (that's why i dropped it off) at $179 each way. Cost is $1750 for standard black. Lead time is 10-12 weeks. First payment to be made when they start which is about 3 weeks after they receive the dash. ..Oh, and I taped over the Kanji..and mentioned the importance of that to the guy at the front desk.
-
It's gone.....didn't think that would last long.
-
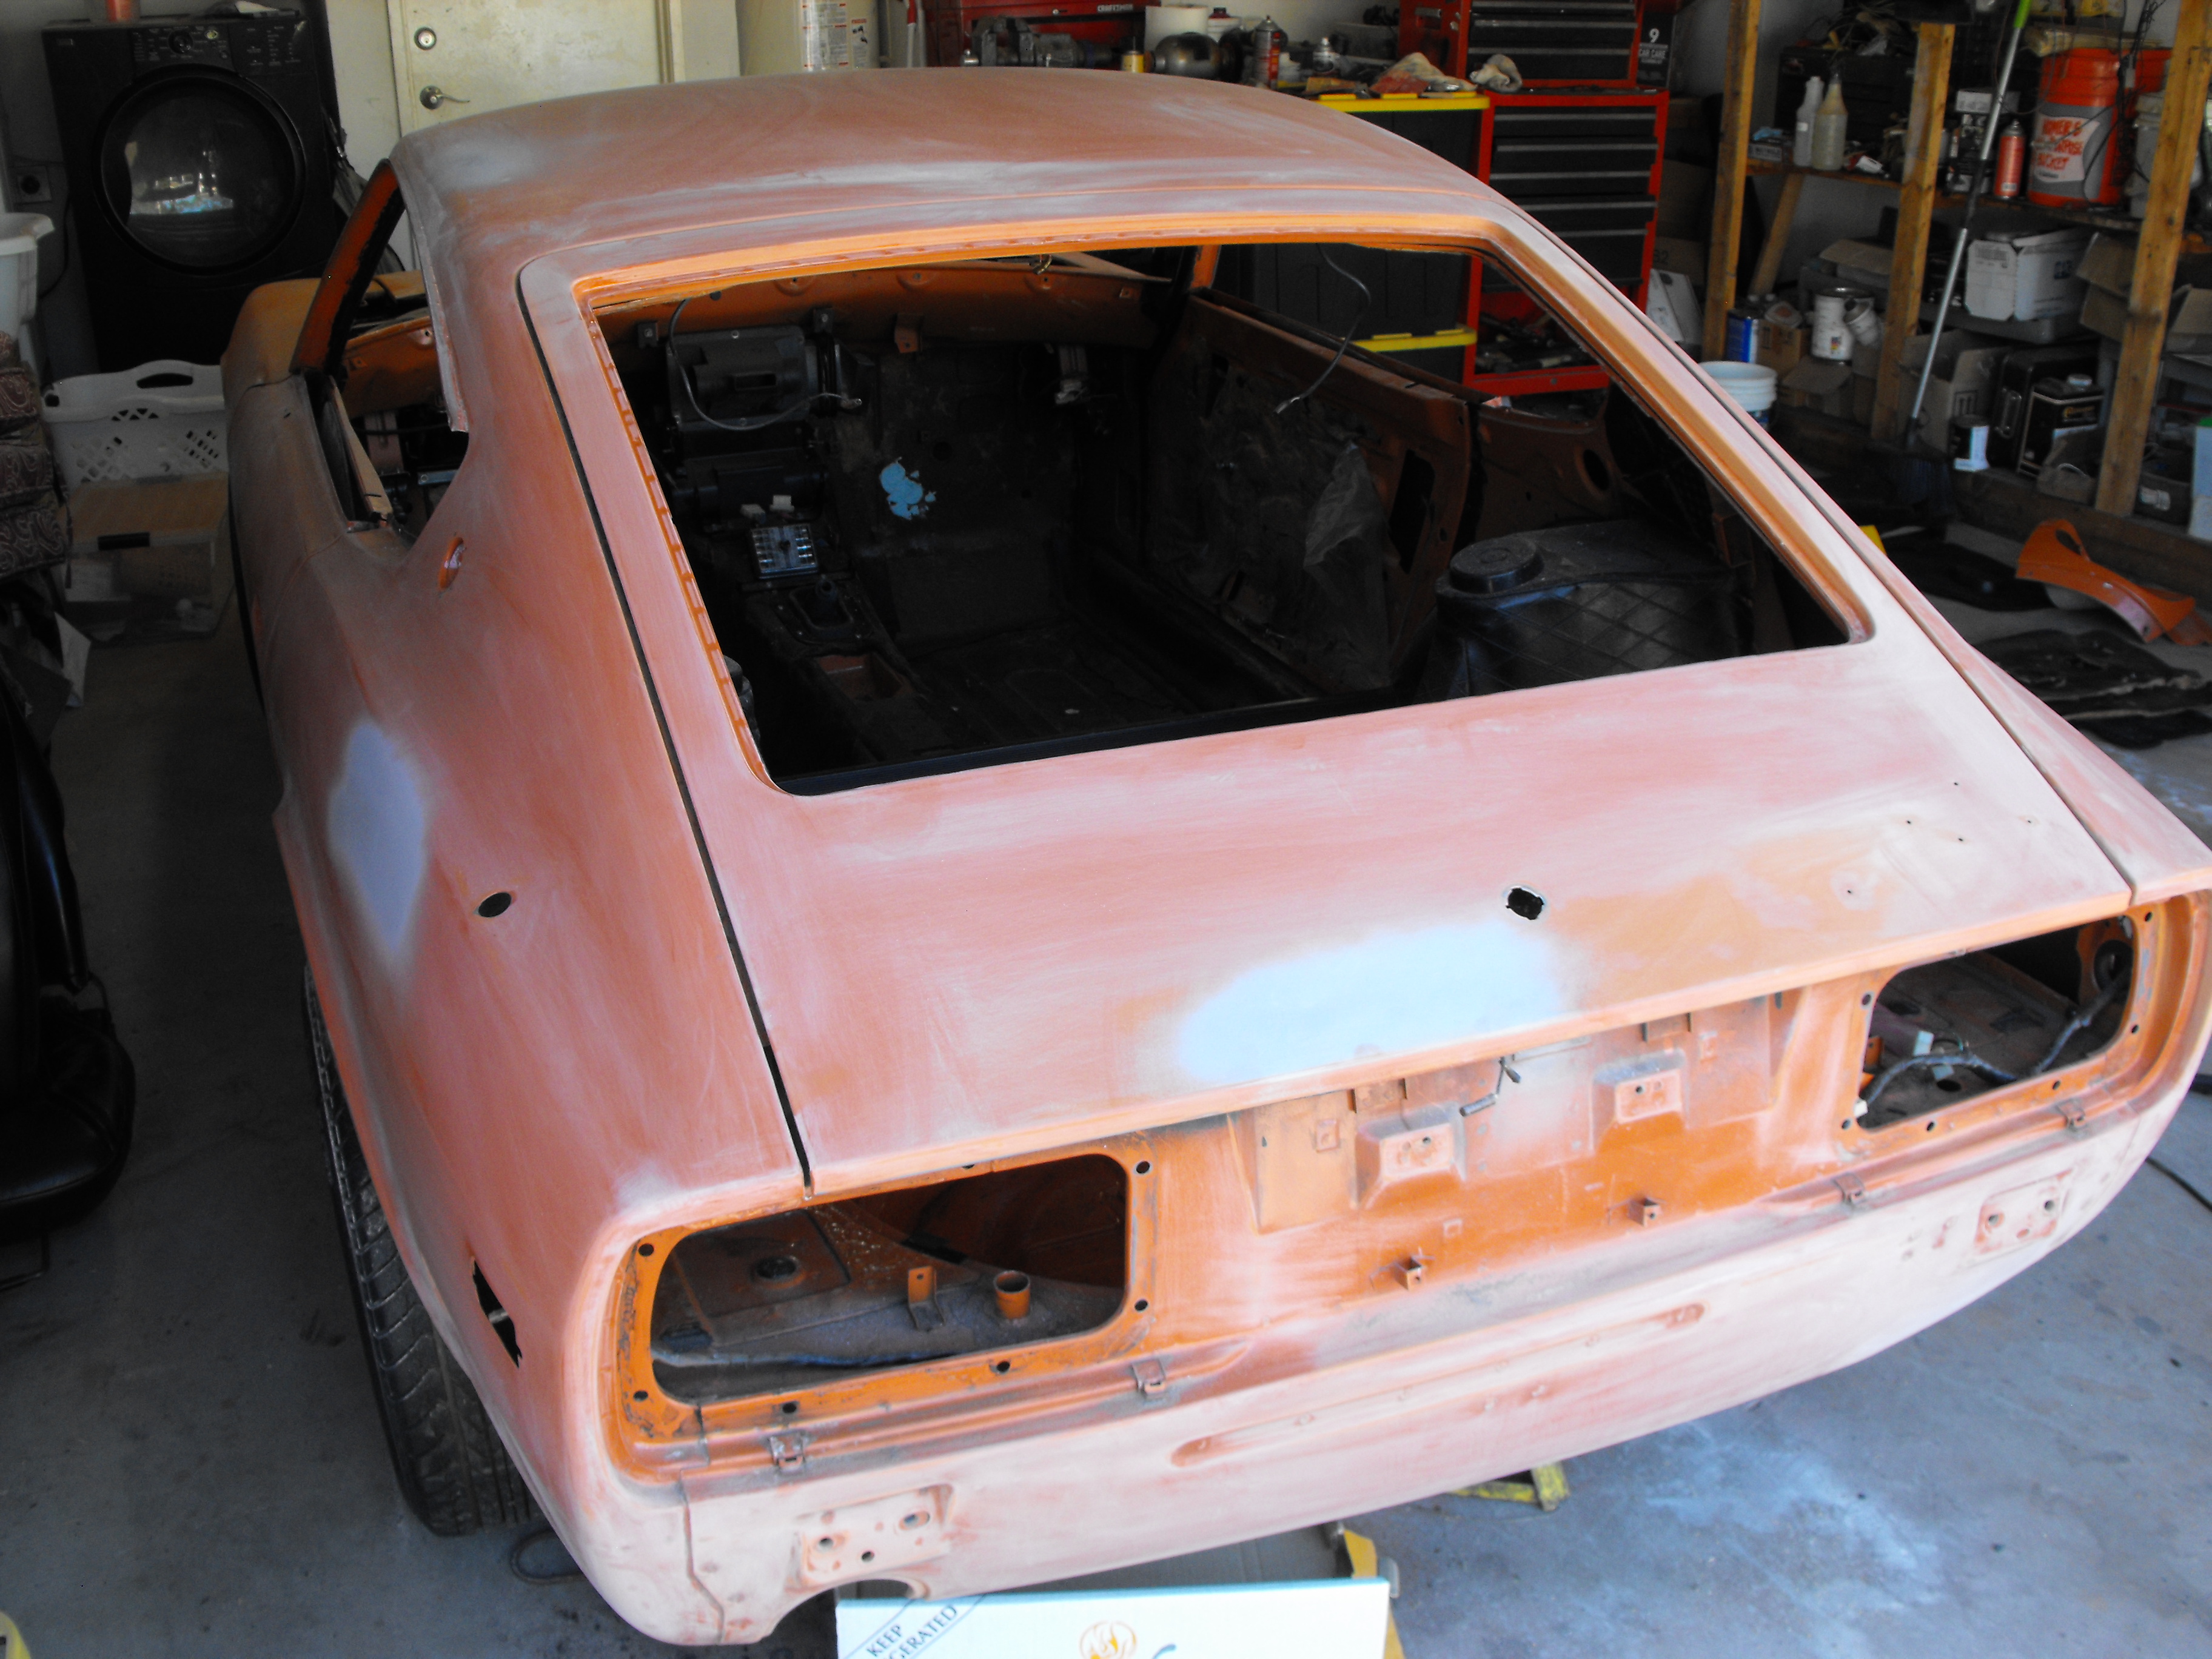
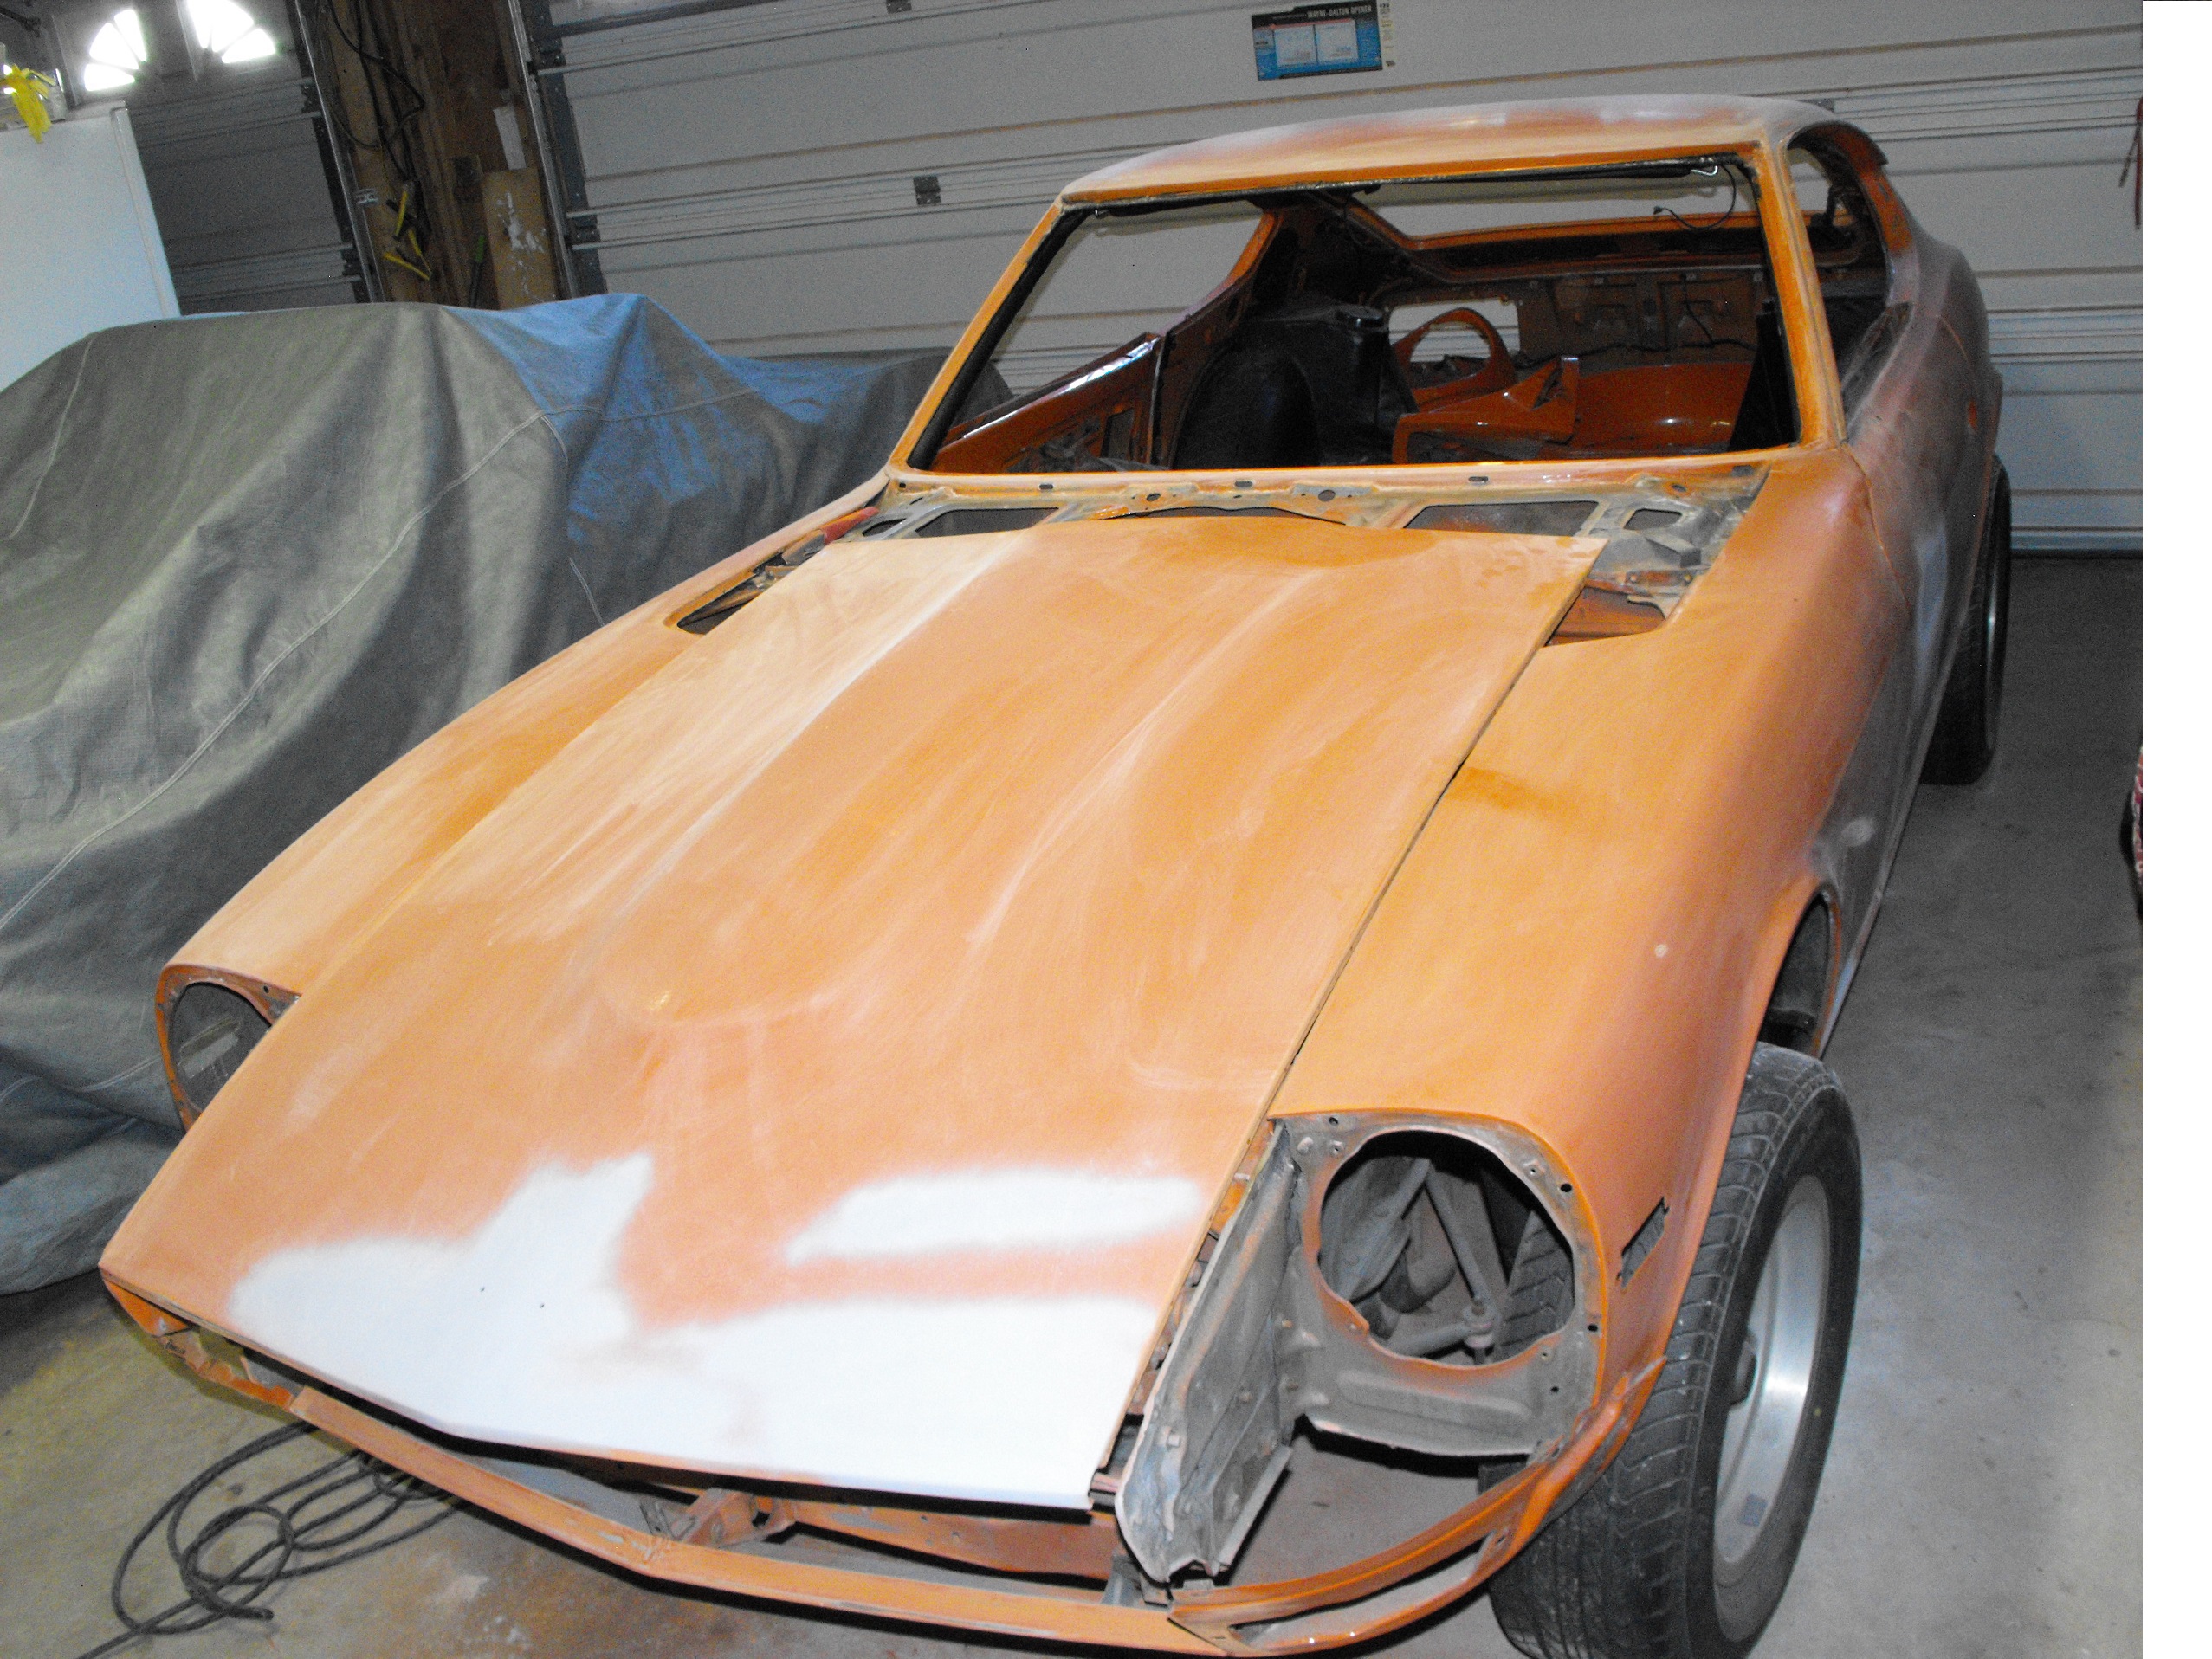
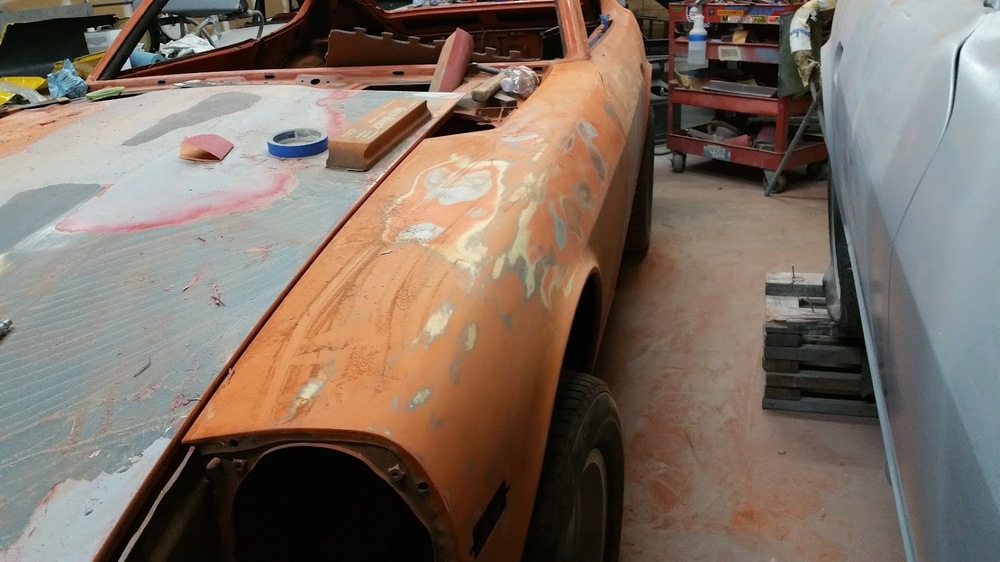
Good question, I will have to check and get back to you on that. Here are some of the latest body work pics. Miguel wanted to remove some of the previous paint work, so he has done quite a bit of sanding. Looks like the hood may have had three paint jobs so he is removing most of that. Nice progress in short time.


-
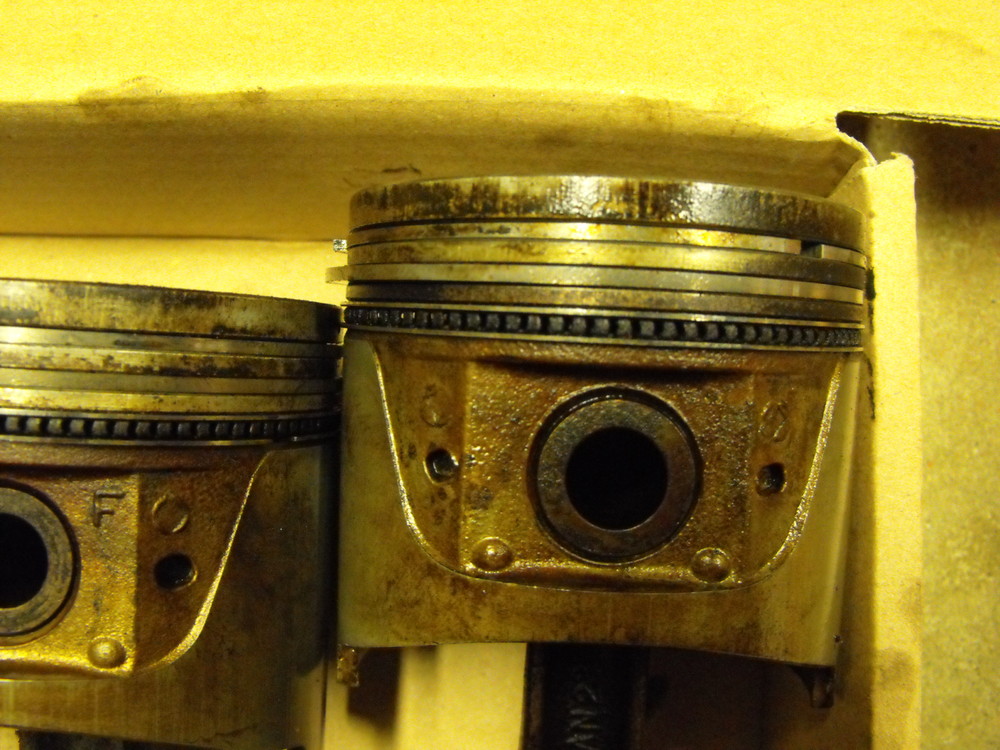
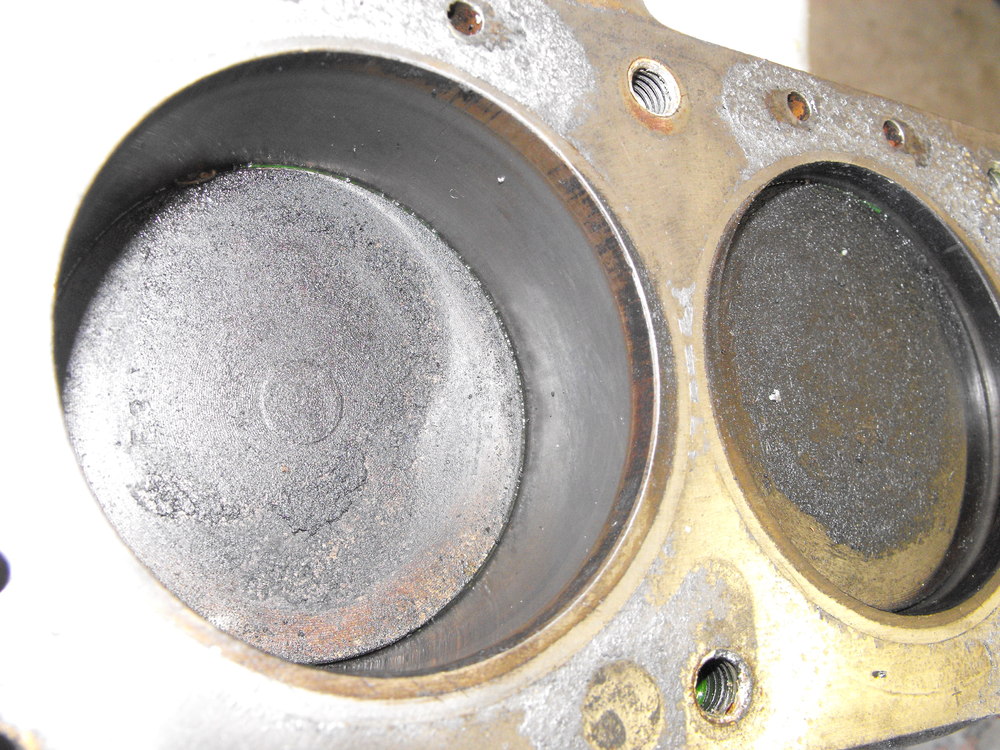
Will take the head and the block to the machine shop tomorrow. The head should be fine, but I want the shop to check the valve seating just to make sure. For the block, I am hoping that we can get away with just a cylinder hone to knock of the glaze. Also want to get it hot tanked to clean it up. Piston ring in cylinder one was cracked. Not really a problem as I will get new rings, but it explains the gritty material in the bottom of the block.


-
Didn't notice that when I was looking at the ad....just saw the pictures. Yes, would be nice to know why it was salvage.
-
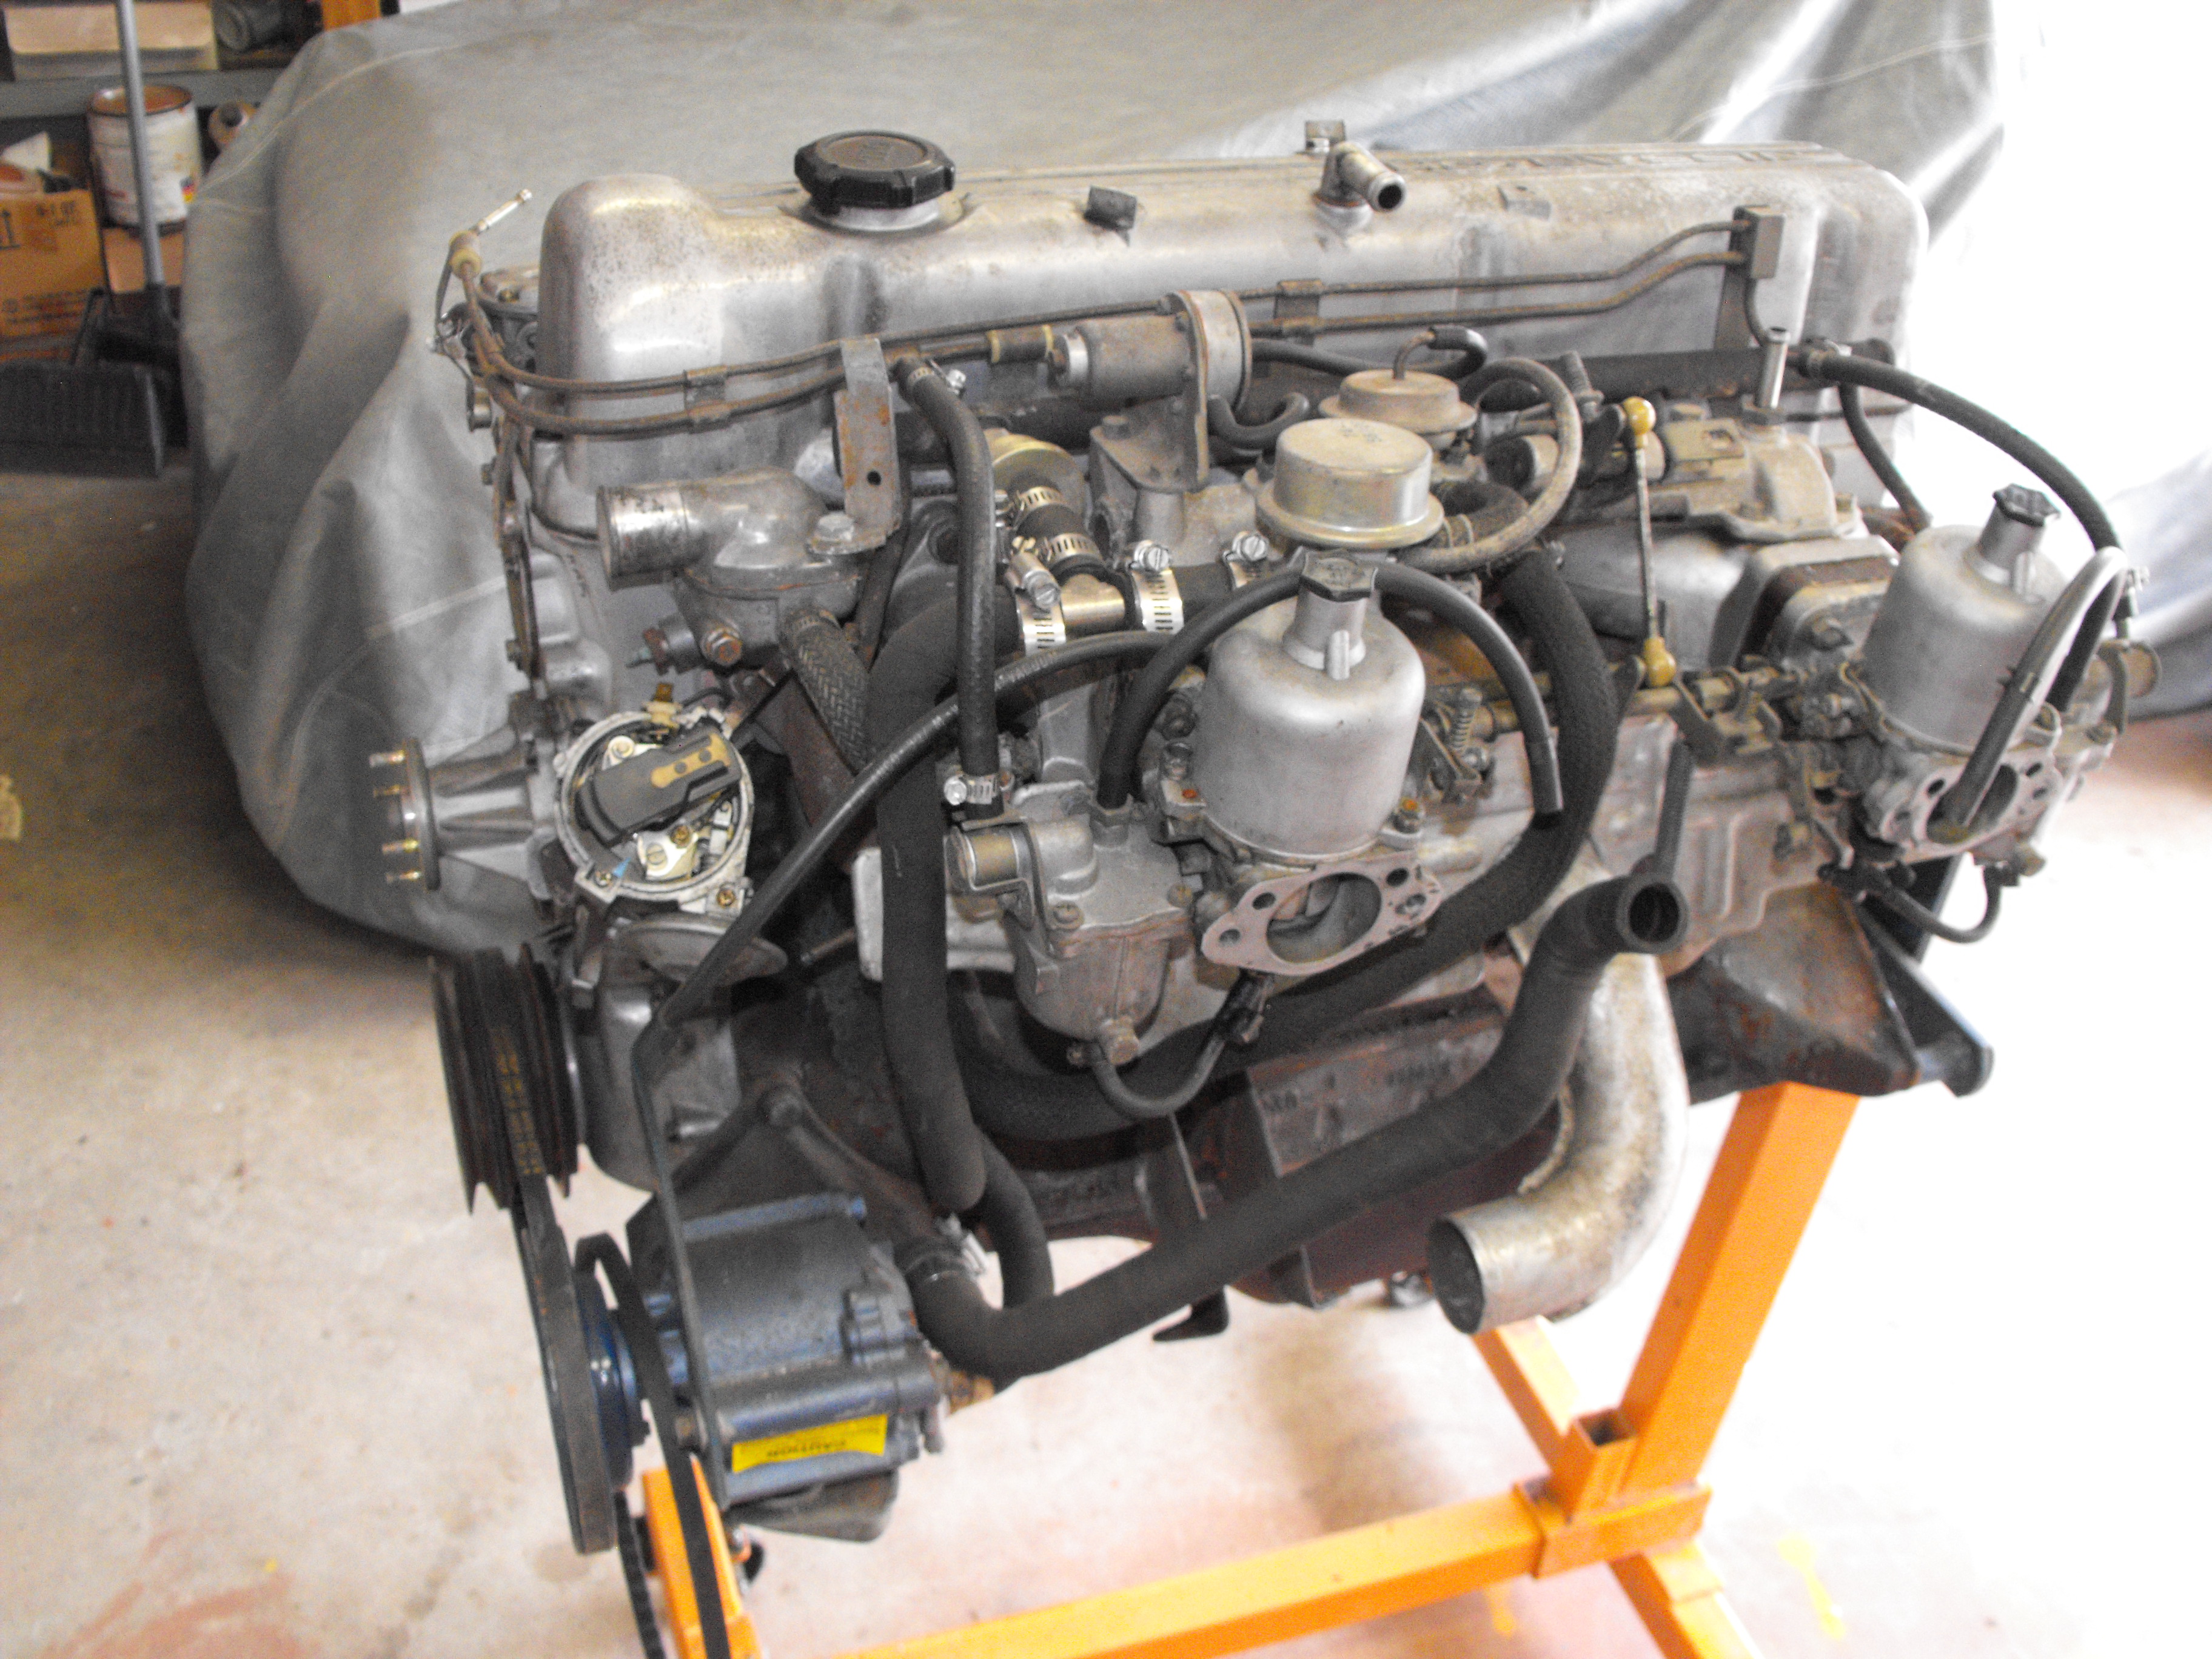
I would probably pick this up if I had space. Looks nice from the pictures. I love the flat tops and the many original parts in the engine bay. Even the plastic cover for the regulator is there. '73s with the original flat tops are getting rare since everyone changes these out to the round tops. Still kicking myself for selling my silver '73. Wish I had that one back. https://sandiego.craigslist.org/esd/cto/6066092298.html
-
Thanks Zup, I will make sure I have the kanji taped off so it doesn't get painted. Nice to know. Thanks Captain, no plans on switching parts. I will clean these up and re-install....eventually.
-
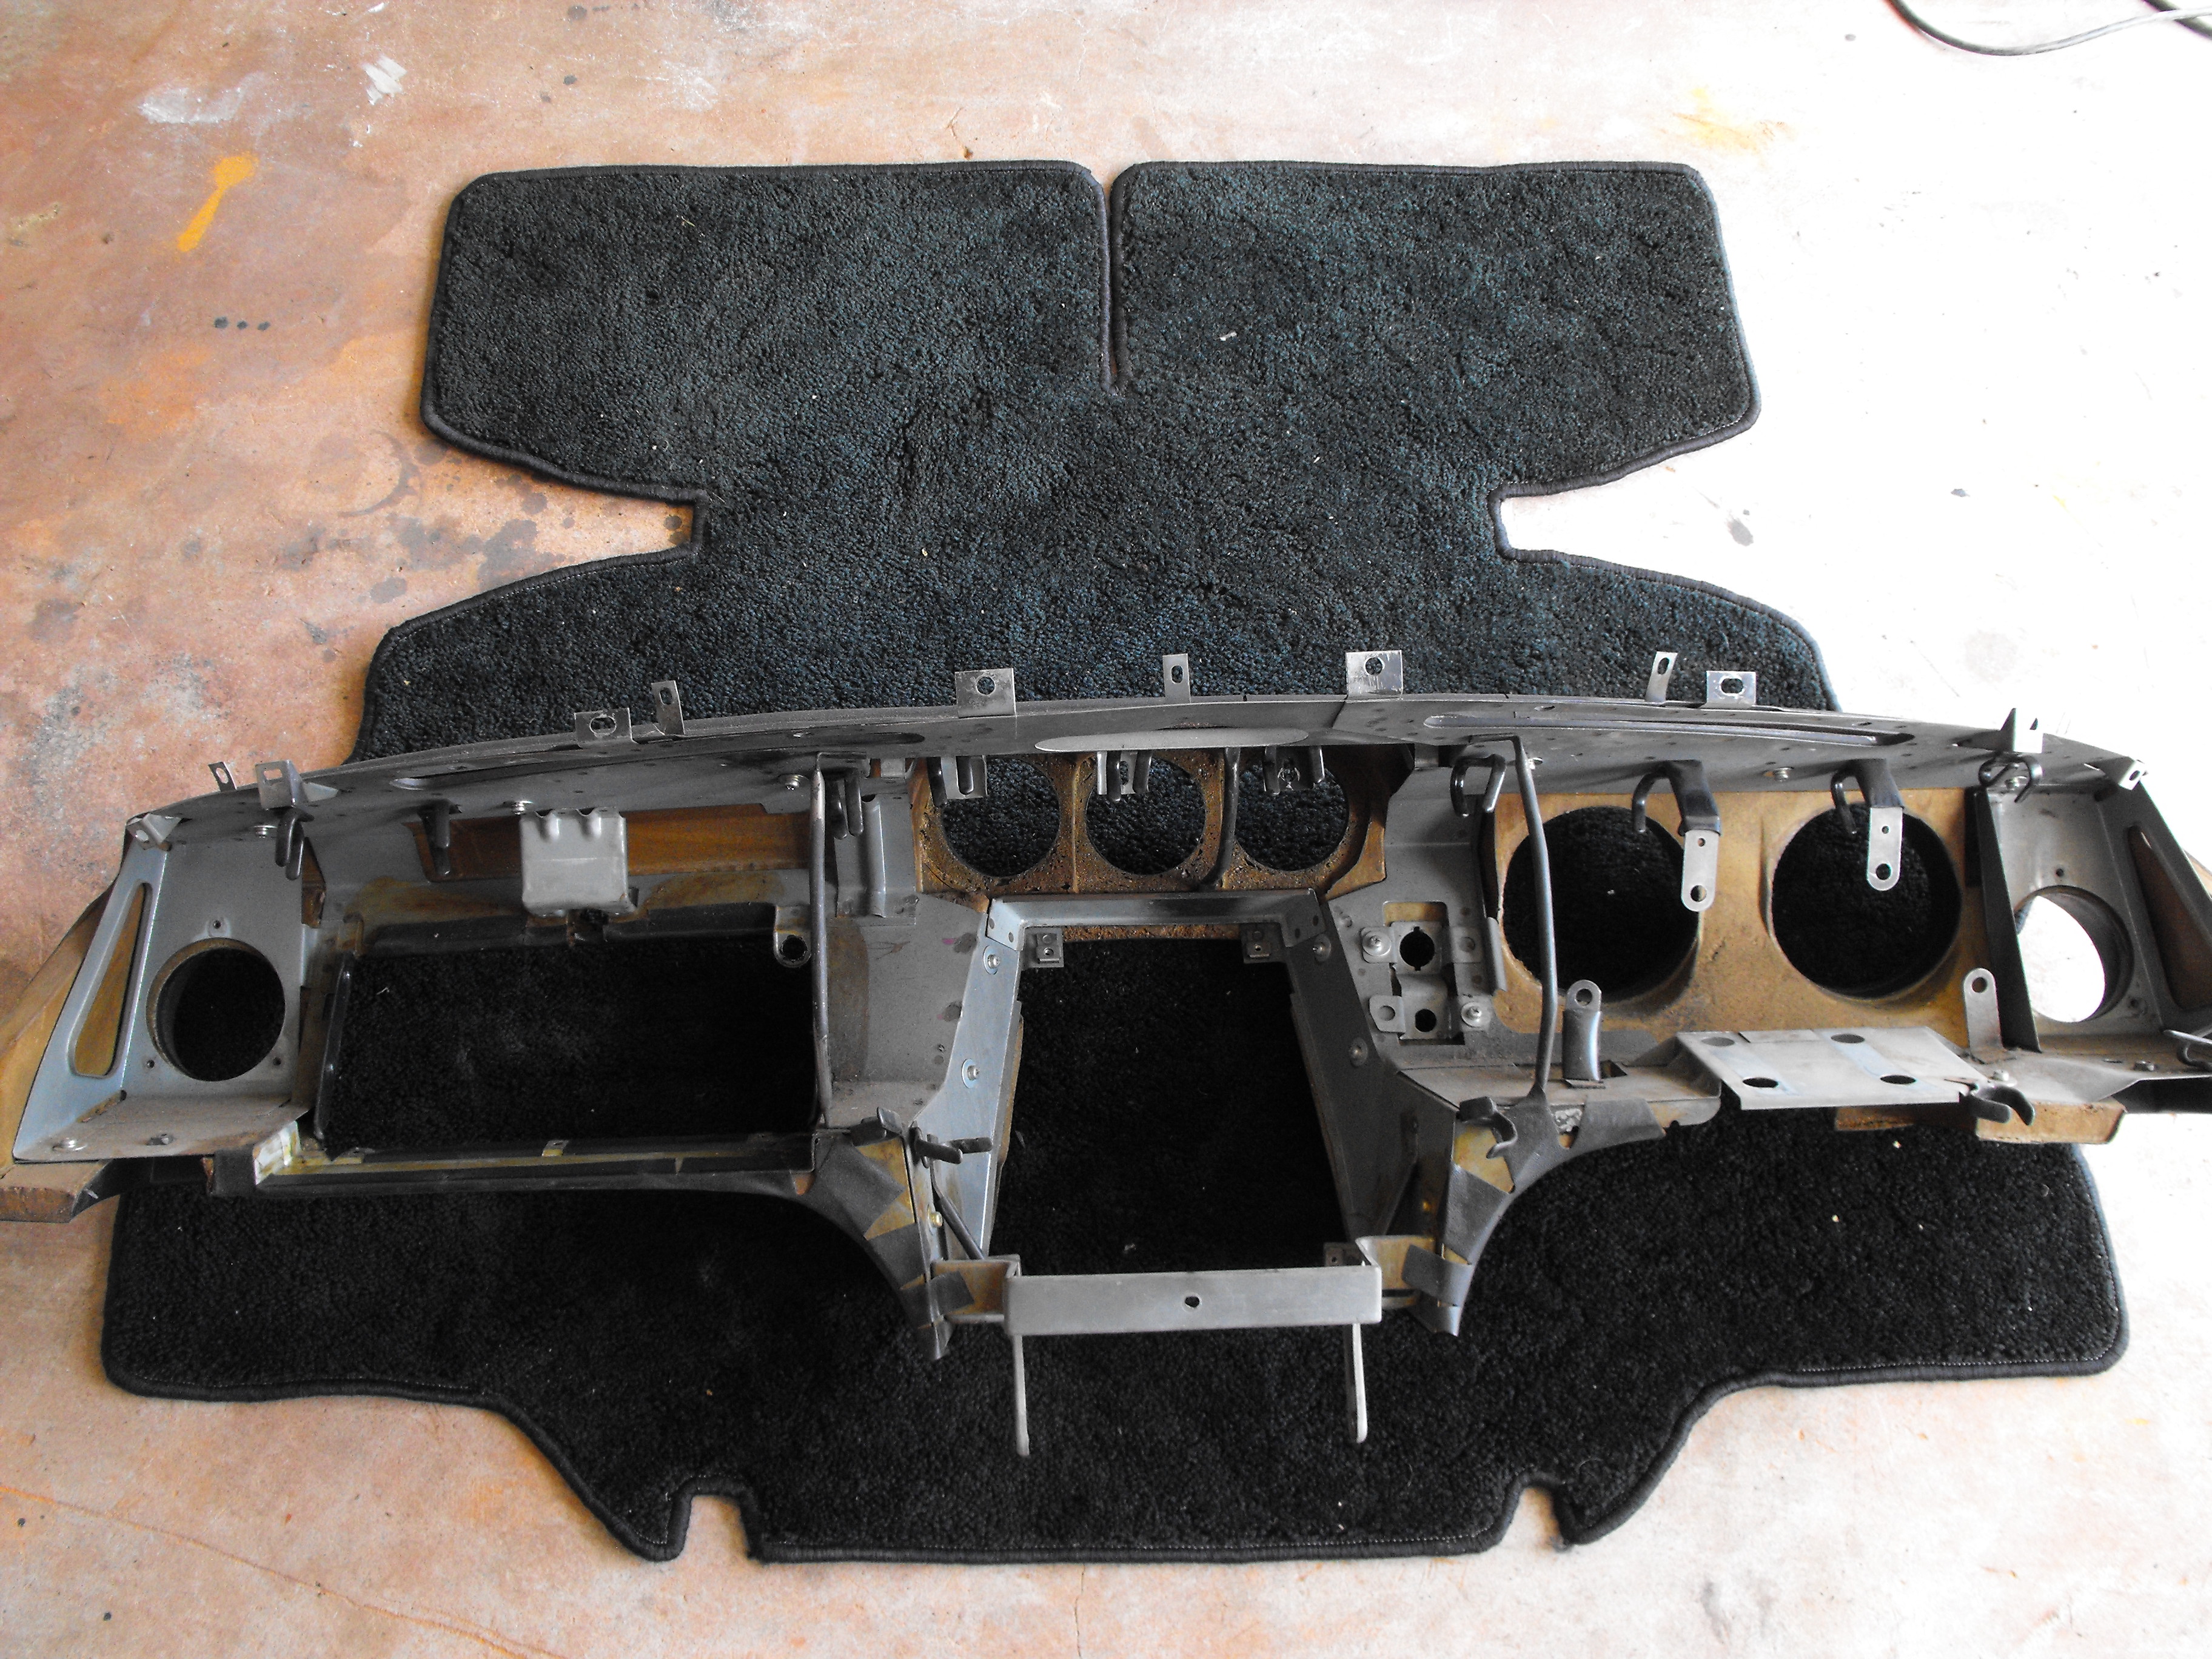
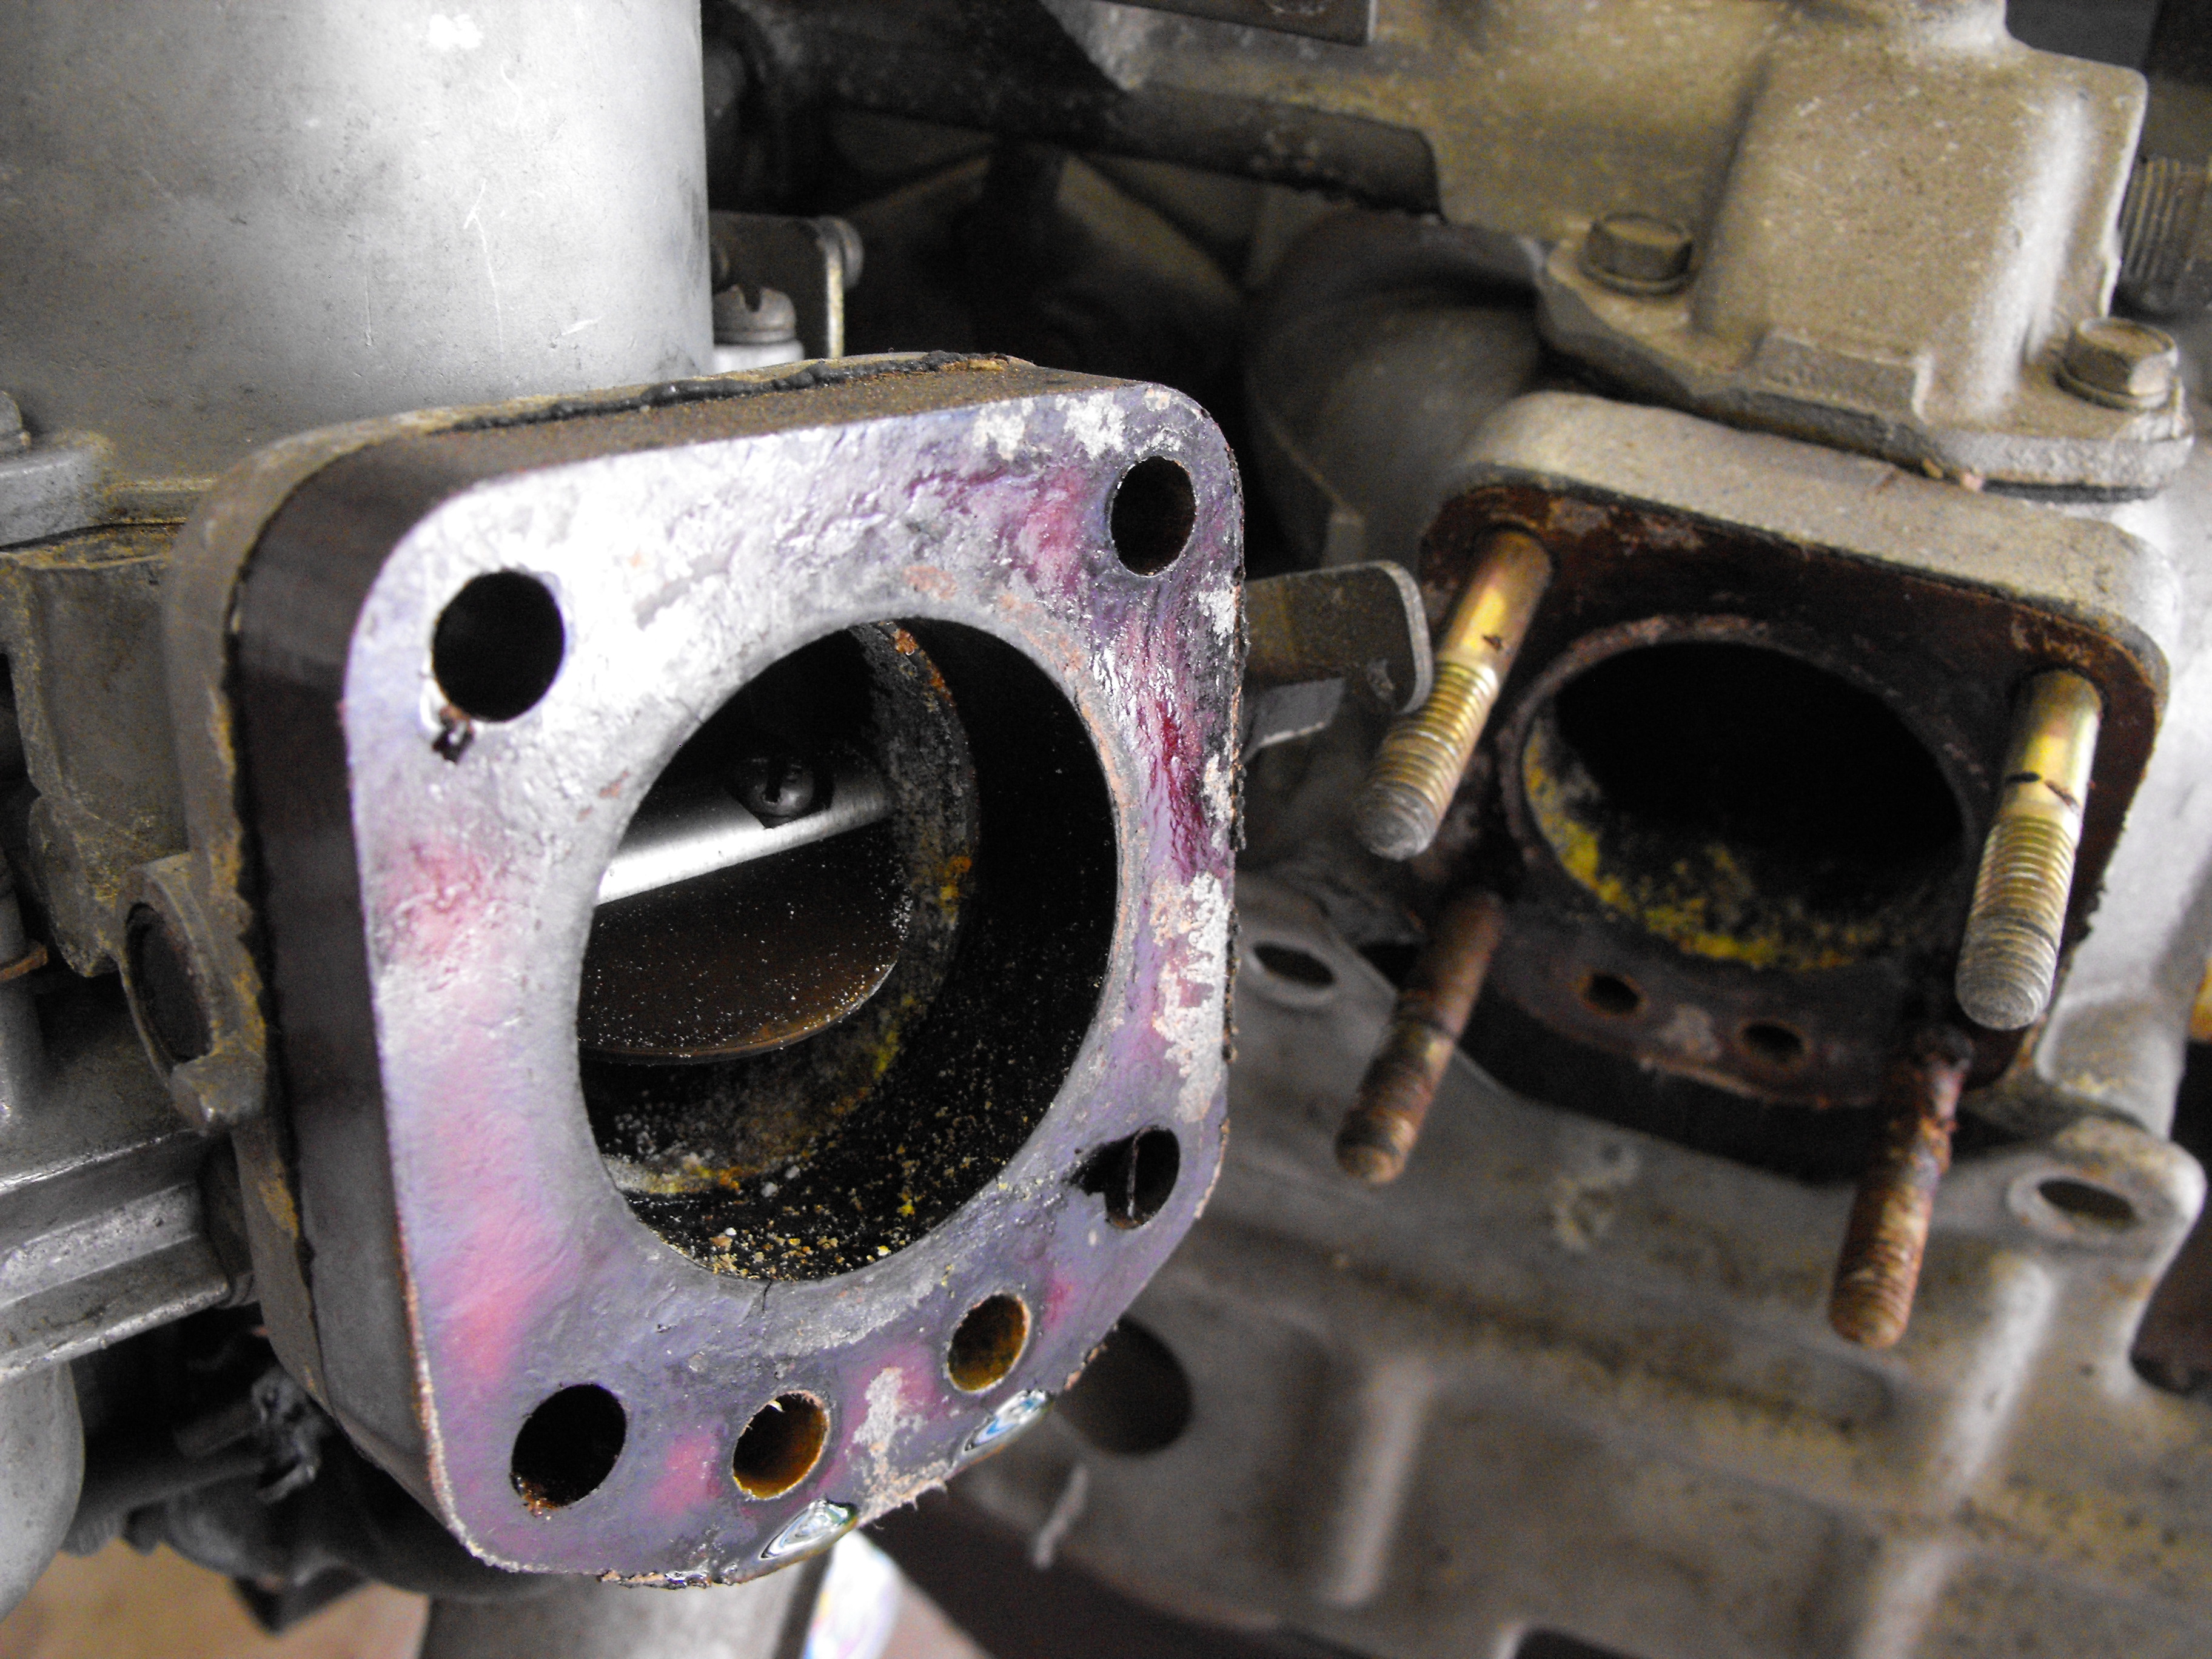
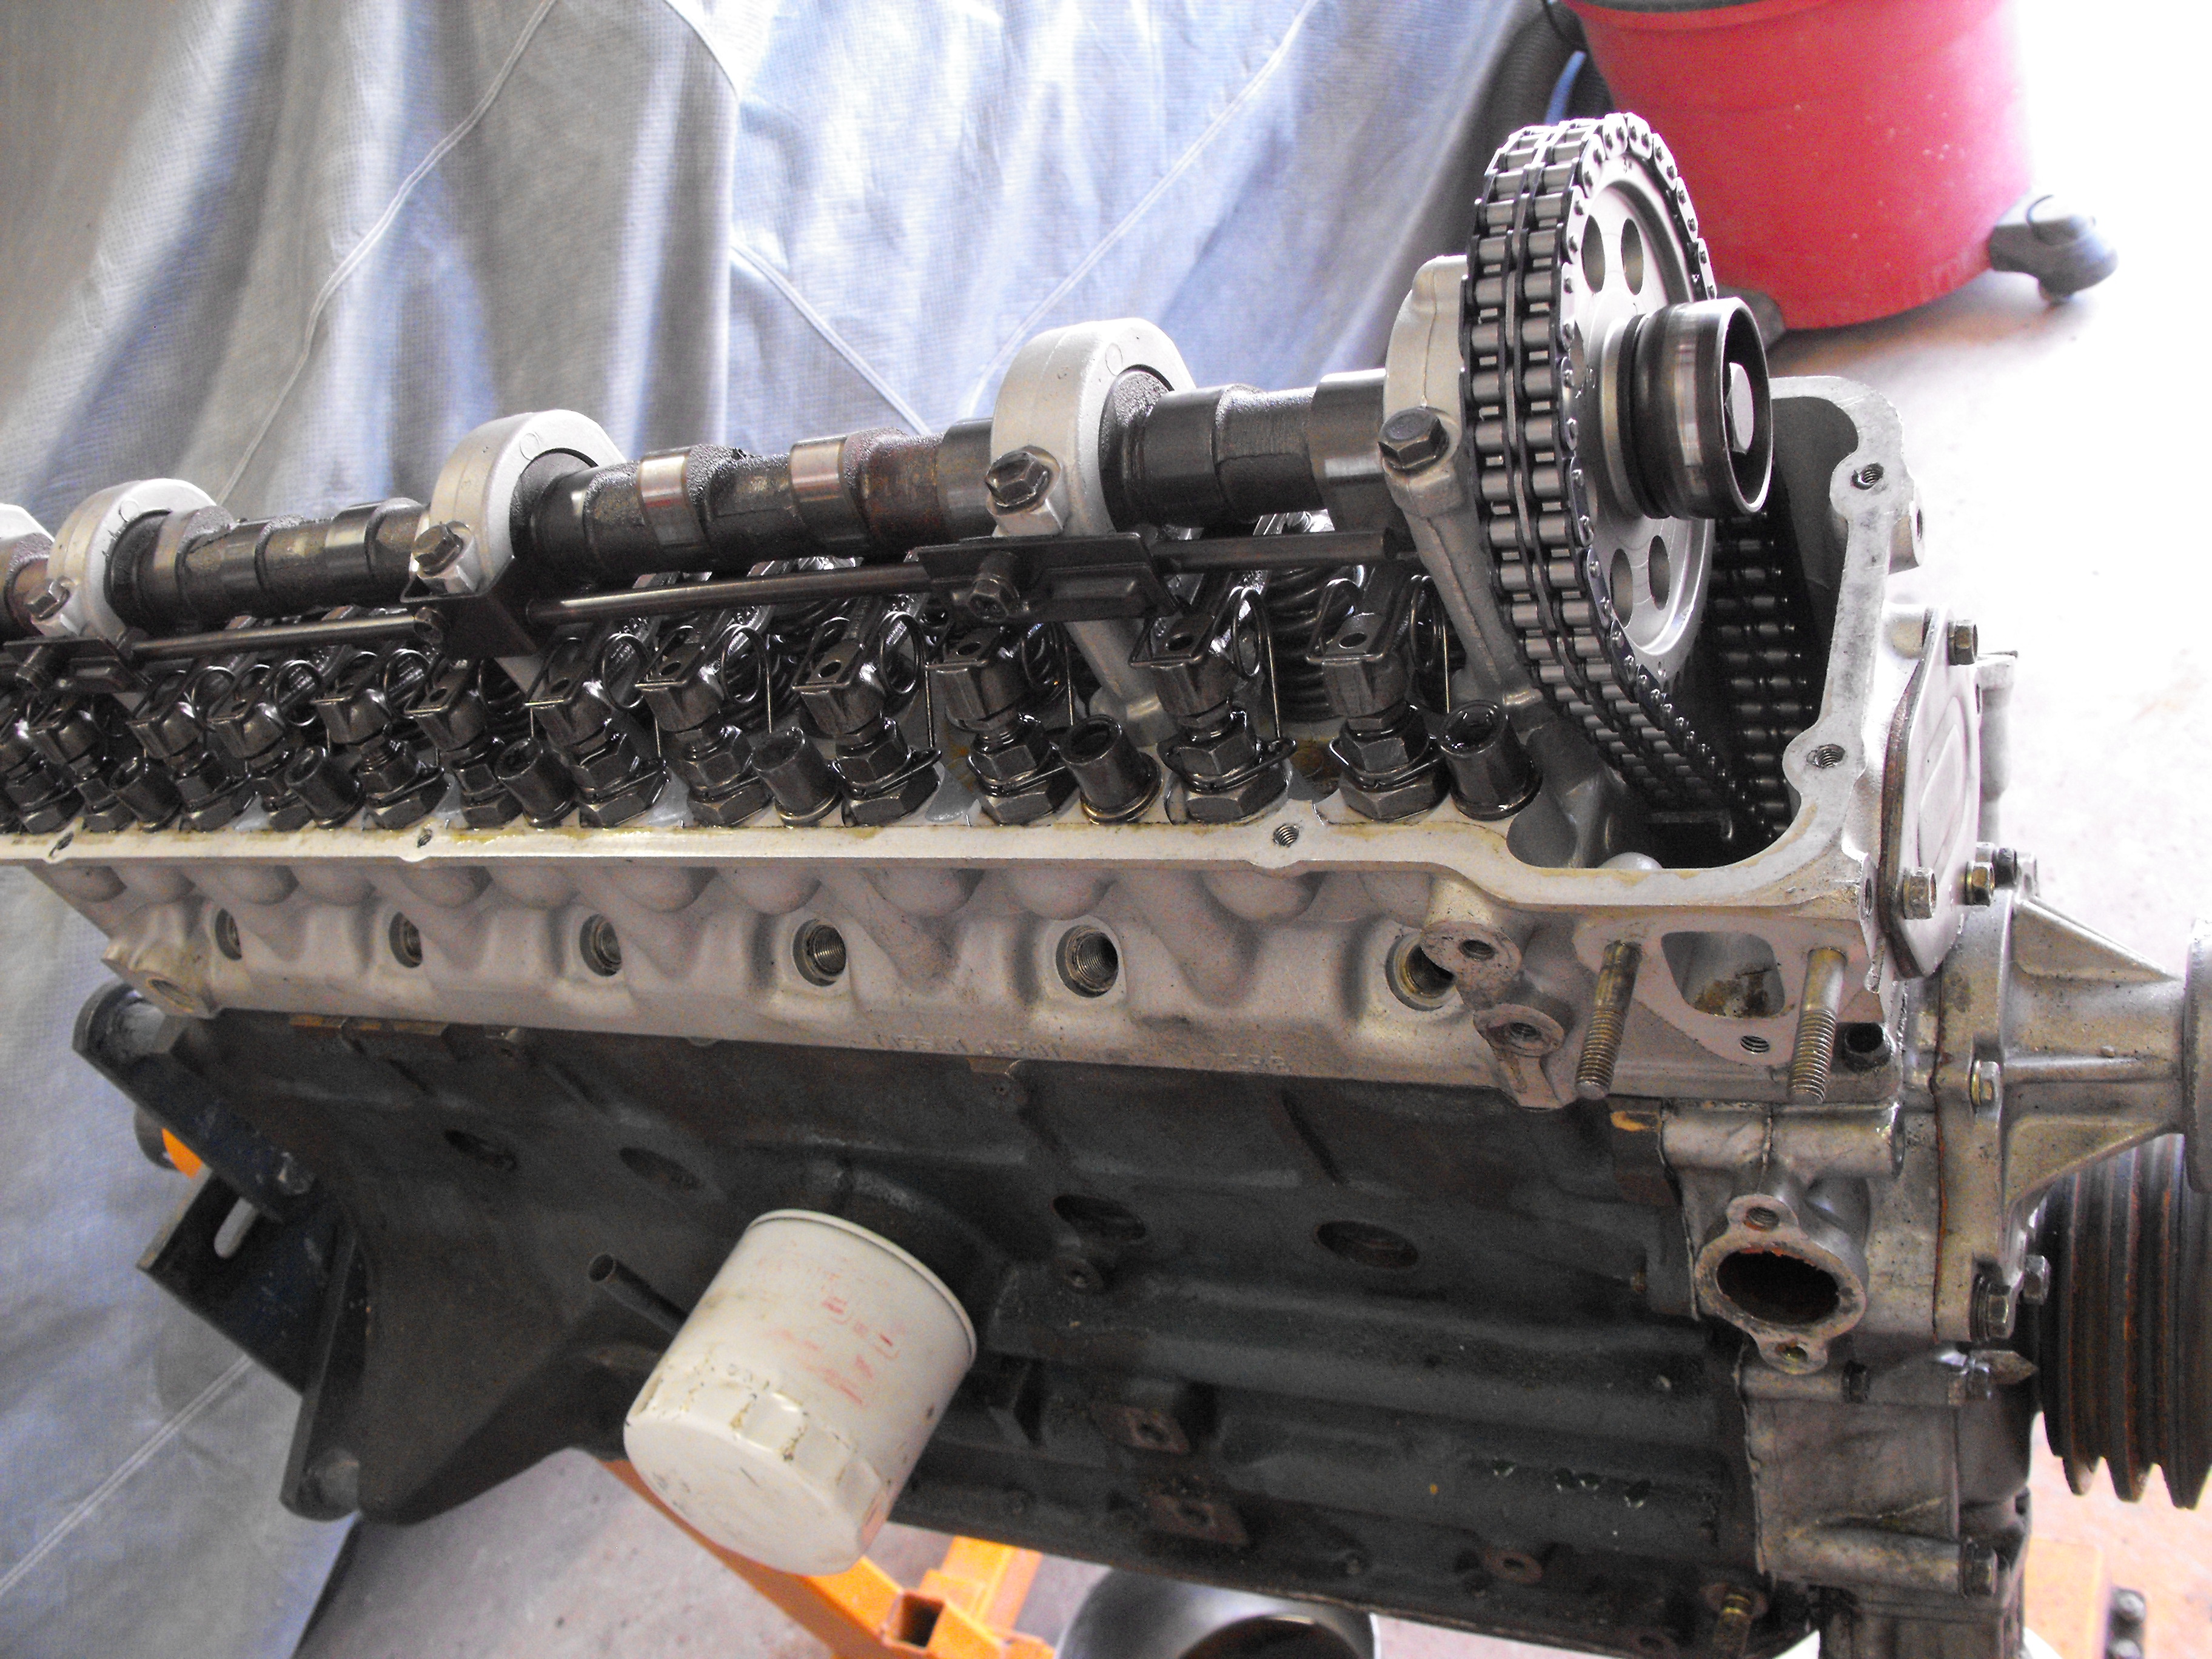
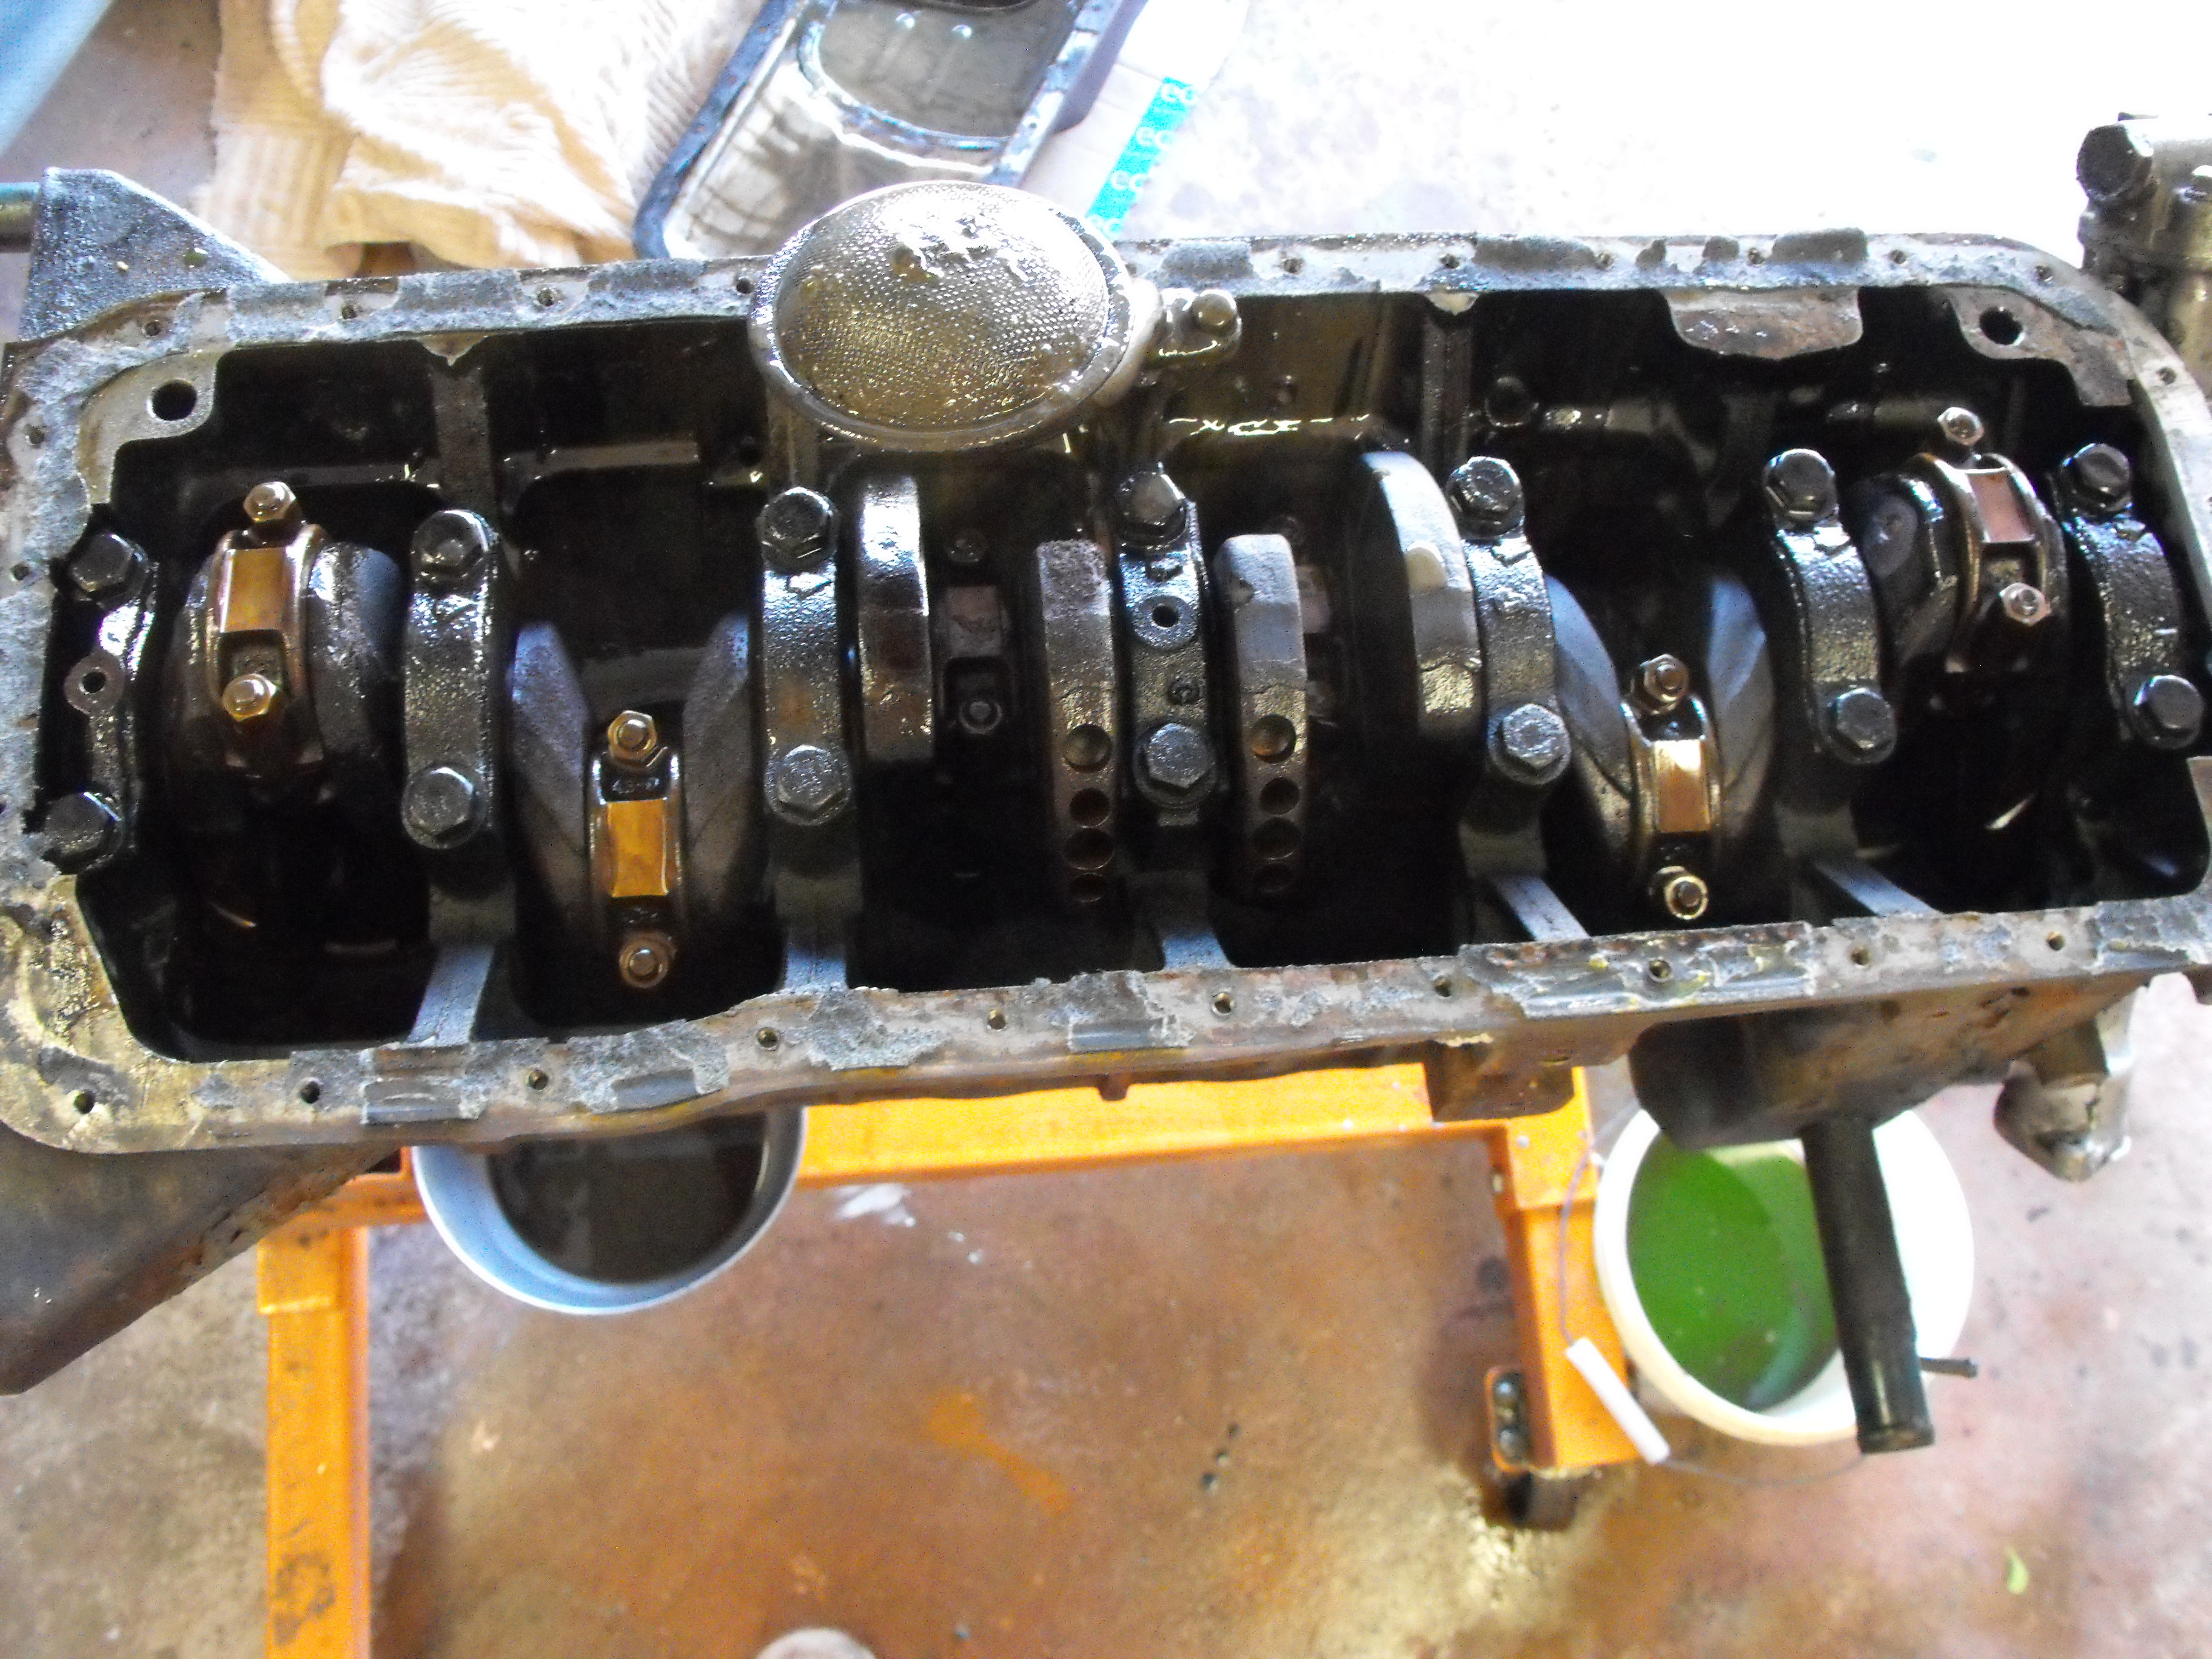
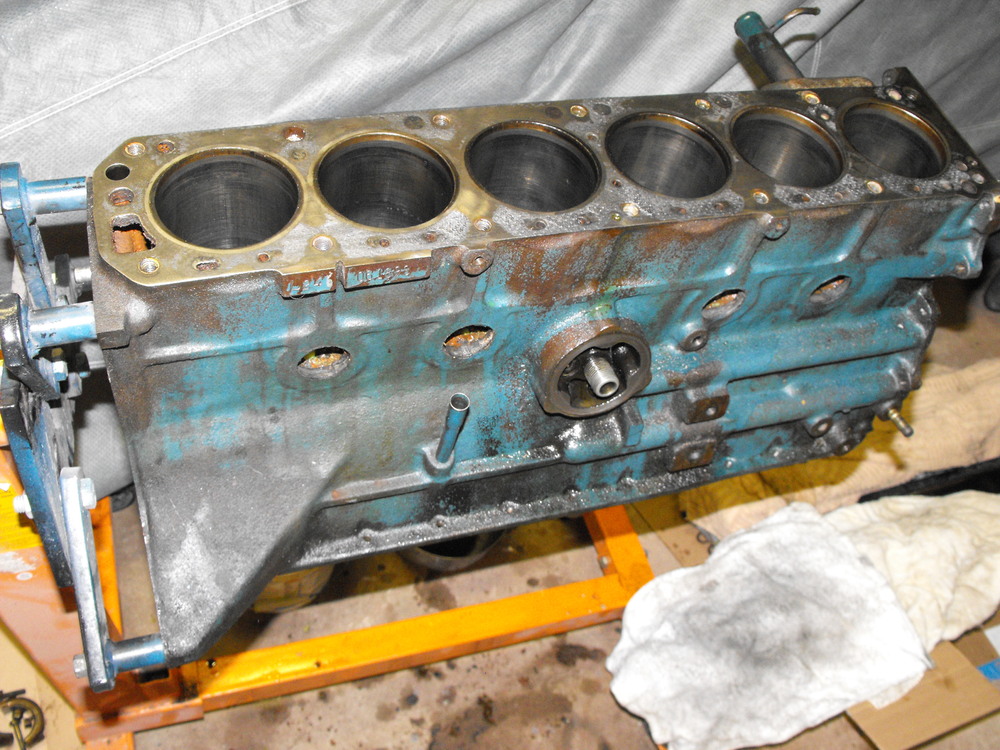
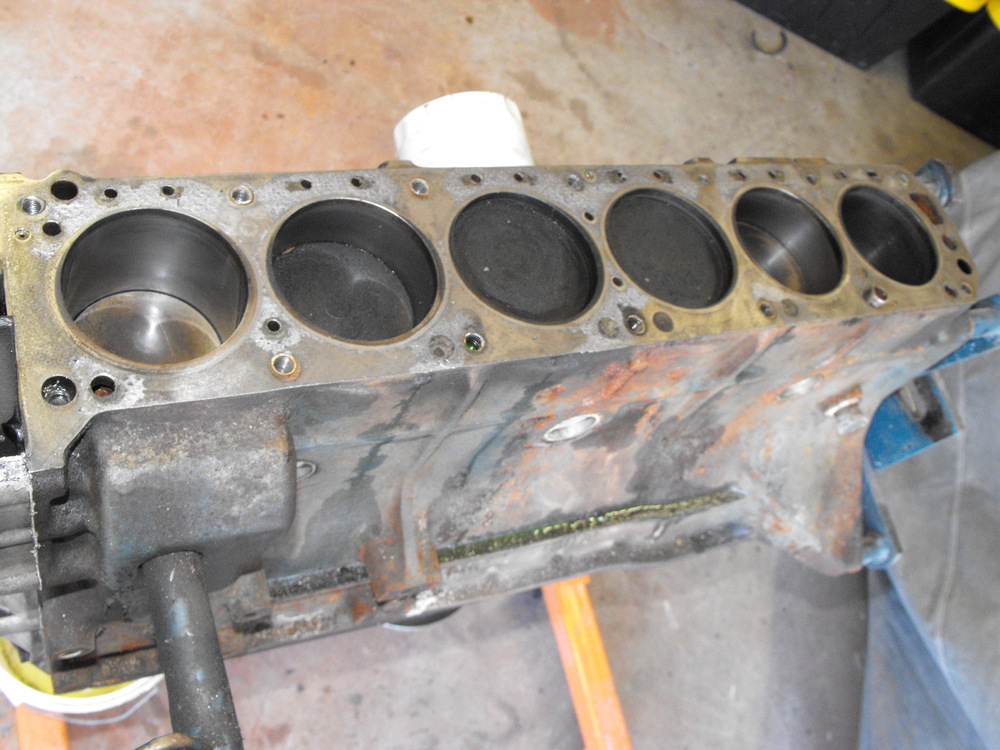
Removed the instruments and harness from the dash this weekend. Will drive the dash up to 'Just Dashes' in Van Nuys and drop it off for restoration. Started the tear down of the motor. I was hesitant to take the head off the motor at first as it looks to be in perfect shape, but I wasn't sure about the block components (a little more car Z CSI). As you can see in the pics, the cam gear and chain look brand new and the head looks very clean. Obviously, the top end had been recently repaired. However, I had no idea what condition the pistons, rings and cylinders were in, so I did take it off. Pictures are shown below. The bottom end looks clean, but could probably use a cylinder hone and new rings. I will take it to the machine shop and get their opinion. I will also take the head in and have them check out the seal on the valves. Also need to check bearing clearances.


-
The price range that we discussed is $5-10K. This includes final prep for paint, final clean-up and some minor welding work on the driver side floor board. The car will get a full primer coat and guide coat. Assuming all is well after that, it will get a two stage paint job in the original 918 orange, color sand and final polish. For the money I think it will be Concours level work at mid-level cost. Miguel does some very high end work. I am looking forward to seeing the final product.
-
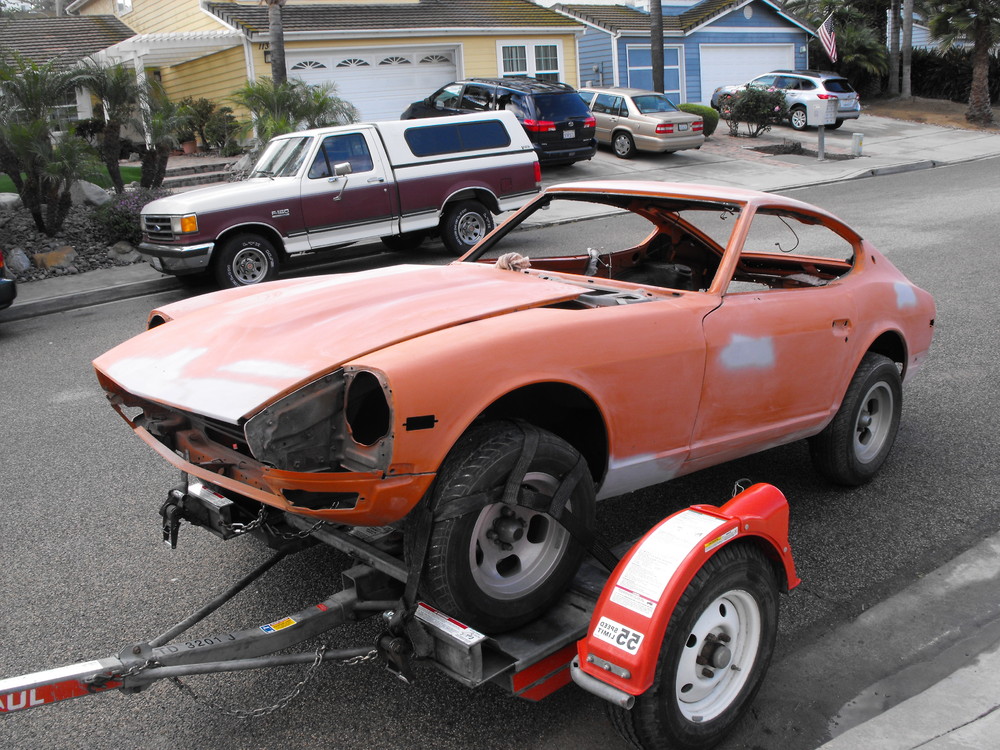
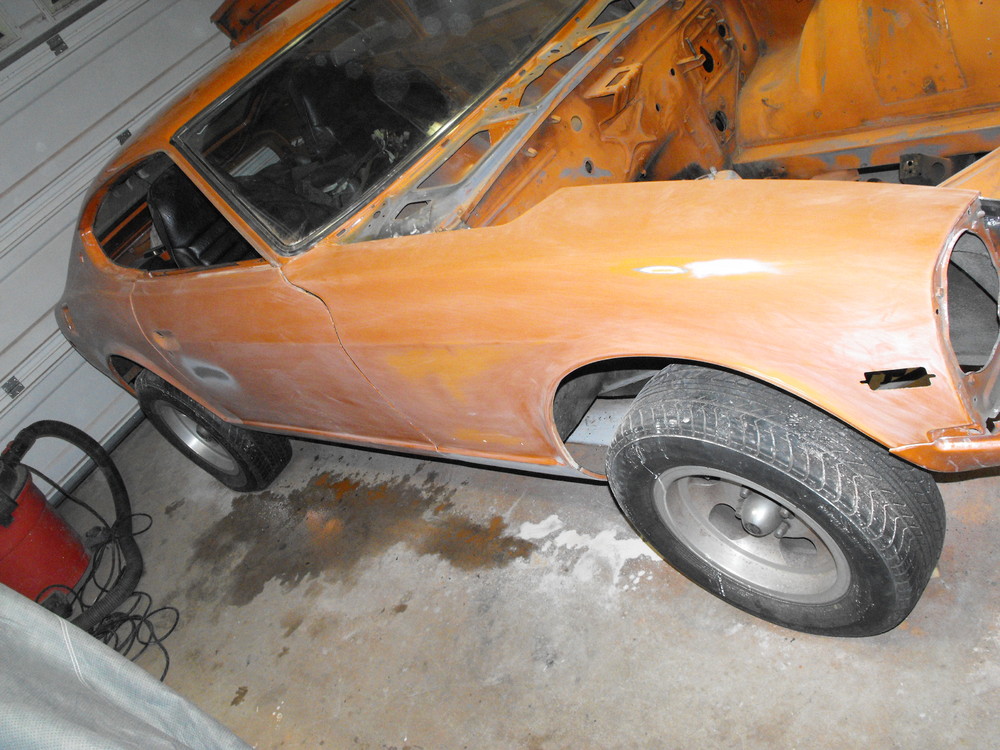
Big day to today. Finally got the car off to the paint shop. Woo-Hoo! I am very excited about the paint shop here. The final prep, primer and paint will be done at 'Customs by Miguel'. Miguel does the paint work for Les at Classic Datsun Motorsports and specializes in Z cars. He also does the paint work for several of the local racers. His work is very impressive so I am looking forward to monitoring the progress. While Miguel is taking care of the paint, I will get the dash ready for delivery to 'Just Dashes' in LA. After that, I will start work on the motor. Things are moving along pretty well. Below are some pics of the car delivery to the paint shop. You can see some of Miguel's work here including the Bob Sharp Racing Nissan prepared for the Amelia Island Concours: https://www.facebook.com/CustomsByMiguel/

-
Finishing off the final loose parts and underside of the hood. Will take this to the paint shop this Thursday. With the body and parts at the paint shop, I will start work on motor. Will also start getting parts prepped for zinc plating. Things are moving along well.


-
Wow, that is such an impressive project. I love your welding work and internal structural supports. Nicely done!
-
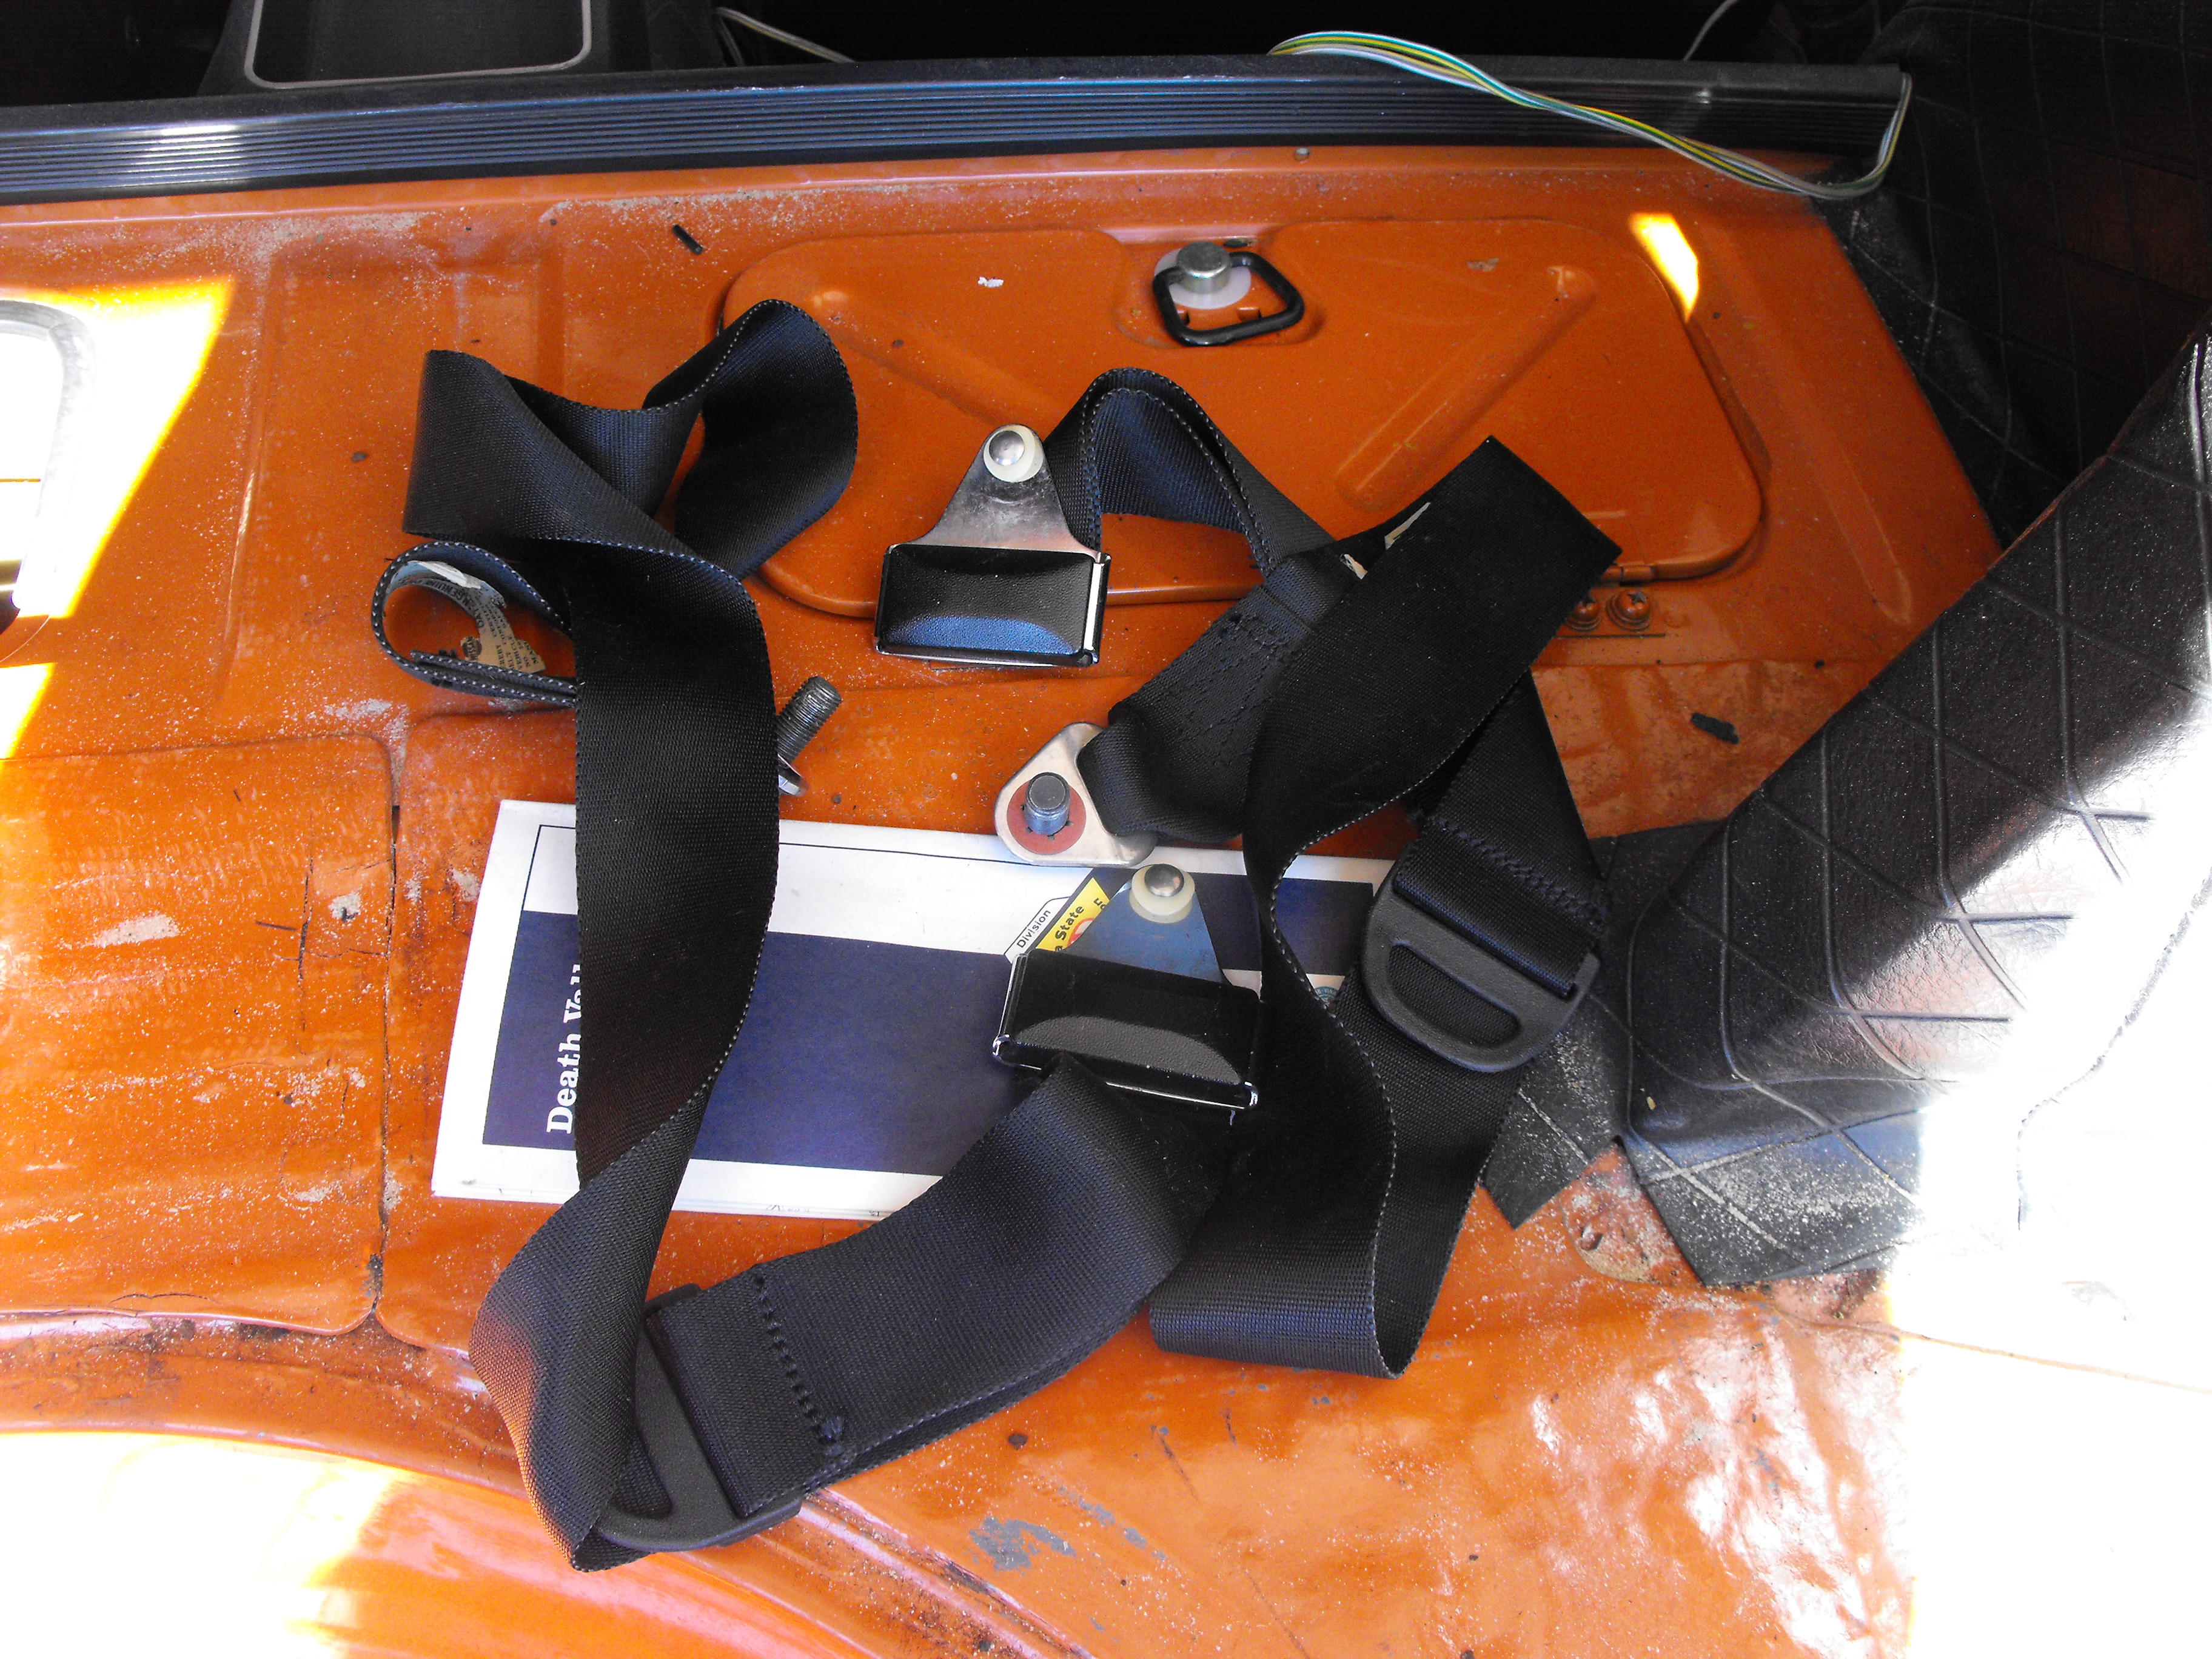
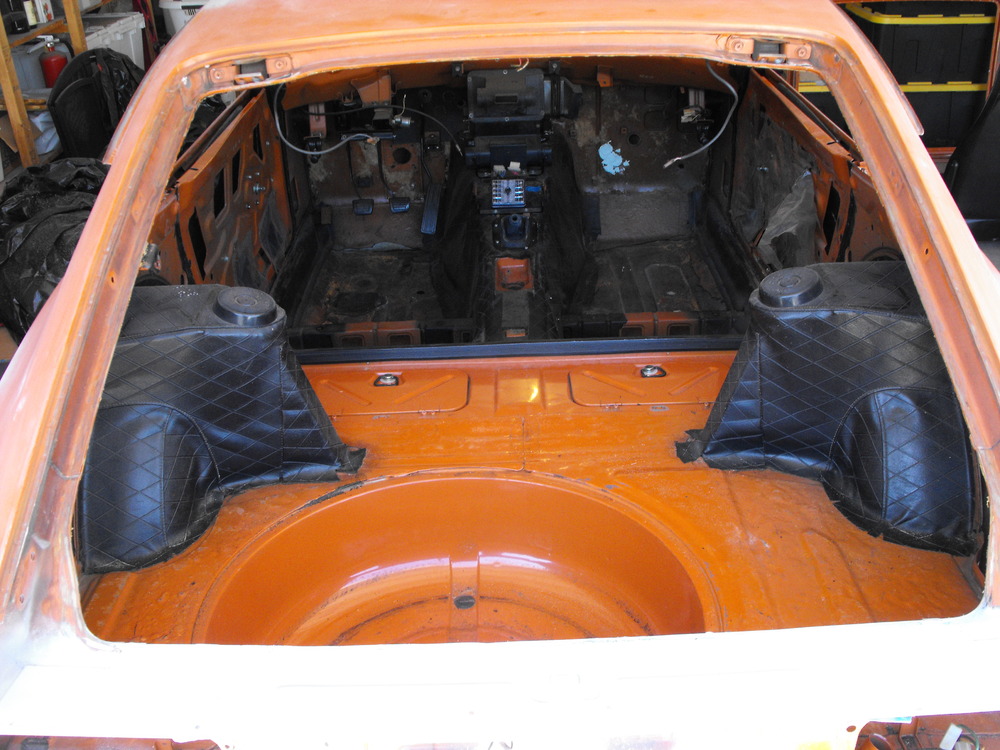
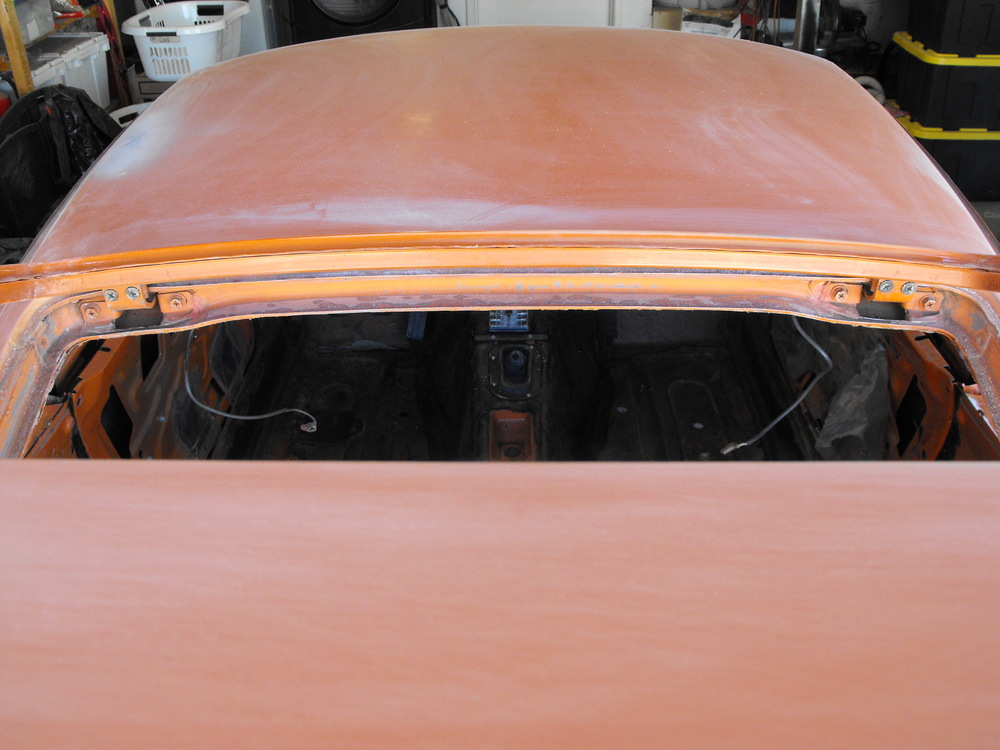
Found a nice little surprise in one of the two rear tool boxes. Those look like brand new shoulder harnesses. Very nice and in perfect condition. I am looking forward to installing them when the time comes. I removed the front windshield and rear hatch glass. The front windshield rubber was a challenge. It had some weird black sealant on it that did not dry but remained wet. It was like some gummy tar like substance that would not dissolve with lacquer thinner (my 'go to' solvent). Fortunately the 'Ultra Clean' surface cleaner that I use before painting was able to dissolve it, finally. I think I went through twenty pieces of paper towel trying to clean it off the paint, my hands, tools, etc before I got the correct solvent. I also took the seats, firewall insulation and center console out and will just leave the vinyl in. I will make sure to have the vinyl covered during the painting process as it is in great condition. I removed the rear hatch in order to access the upper hatch area where the weather stripping goes. I had to clean off all of the old weather stripping glue. The best way to clean that off is with the wire wheel on the end of my drill. After that I sanded the area to remove the wire wheel scratches. I pretty much have all of the dings and dents fixed on the body and will do just a bit more detail sanding in the engine area. Also a few loose items to sand (Head light buckets, windshield wiper cowl, fuel door and access covers) and then I will be ready to send the car to the paint shop. Very exciting as we are getting close to being ready to deliver this to the paint shop.


-
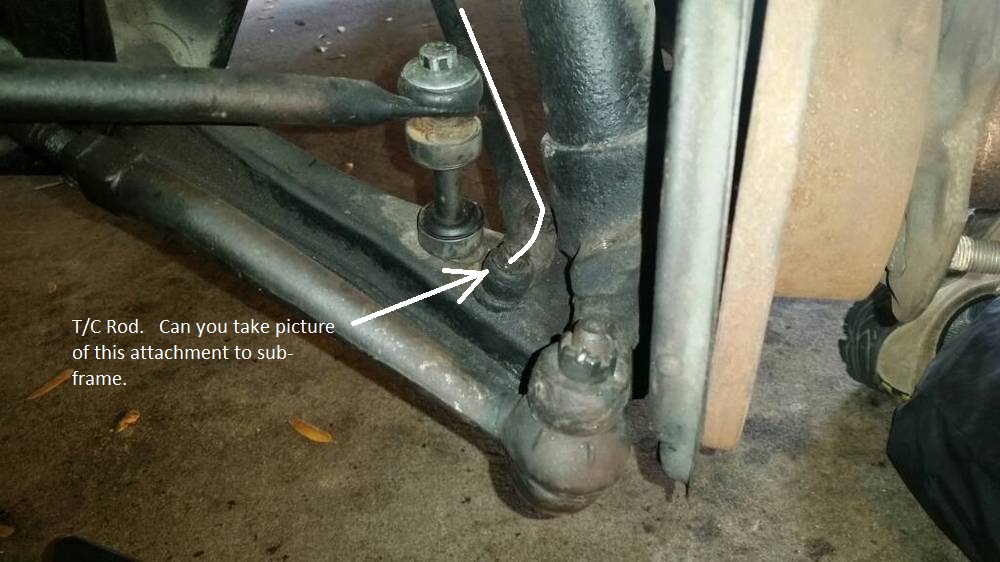
I agree with Jim. Can you show pic of T/C attachment?
-
The round head ones are the 'correct' ones and are hard to find. Hex head ones are much easier to find and cheaper.
-
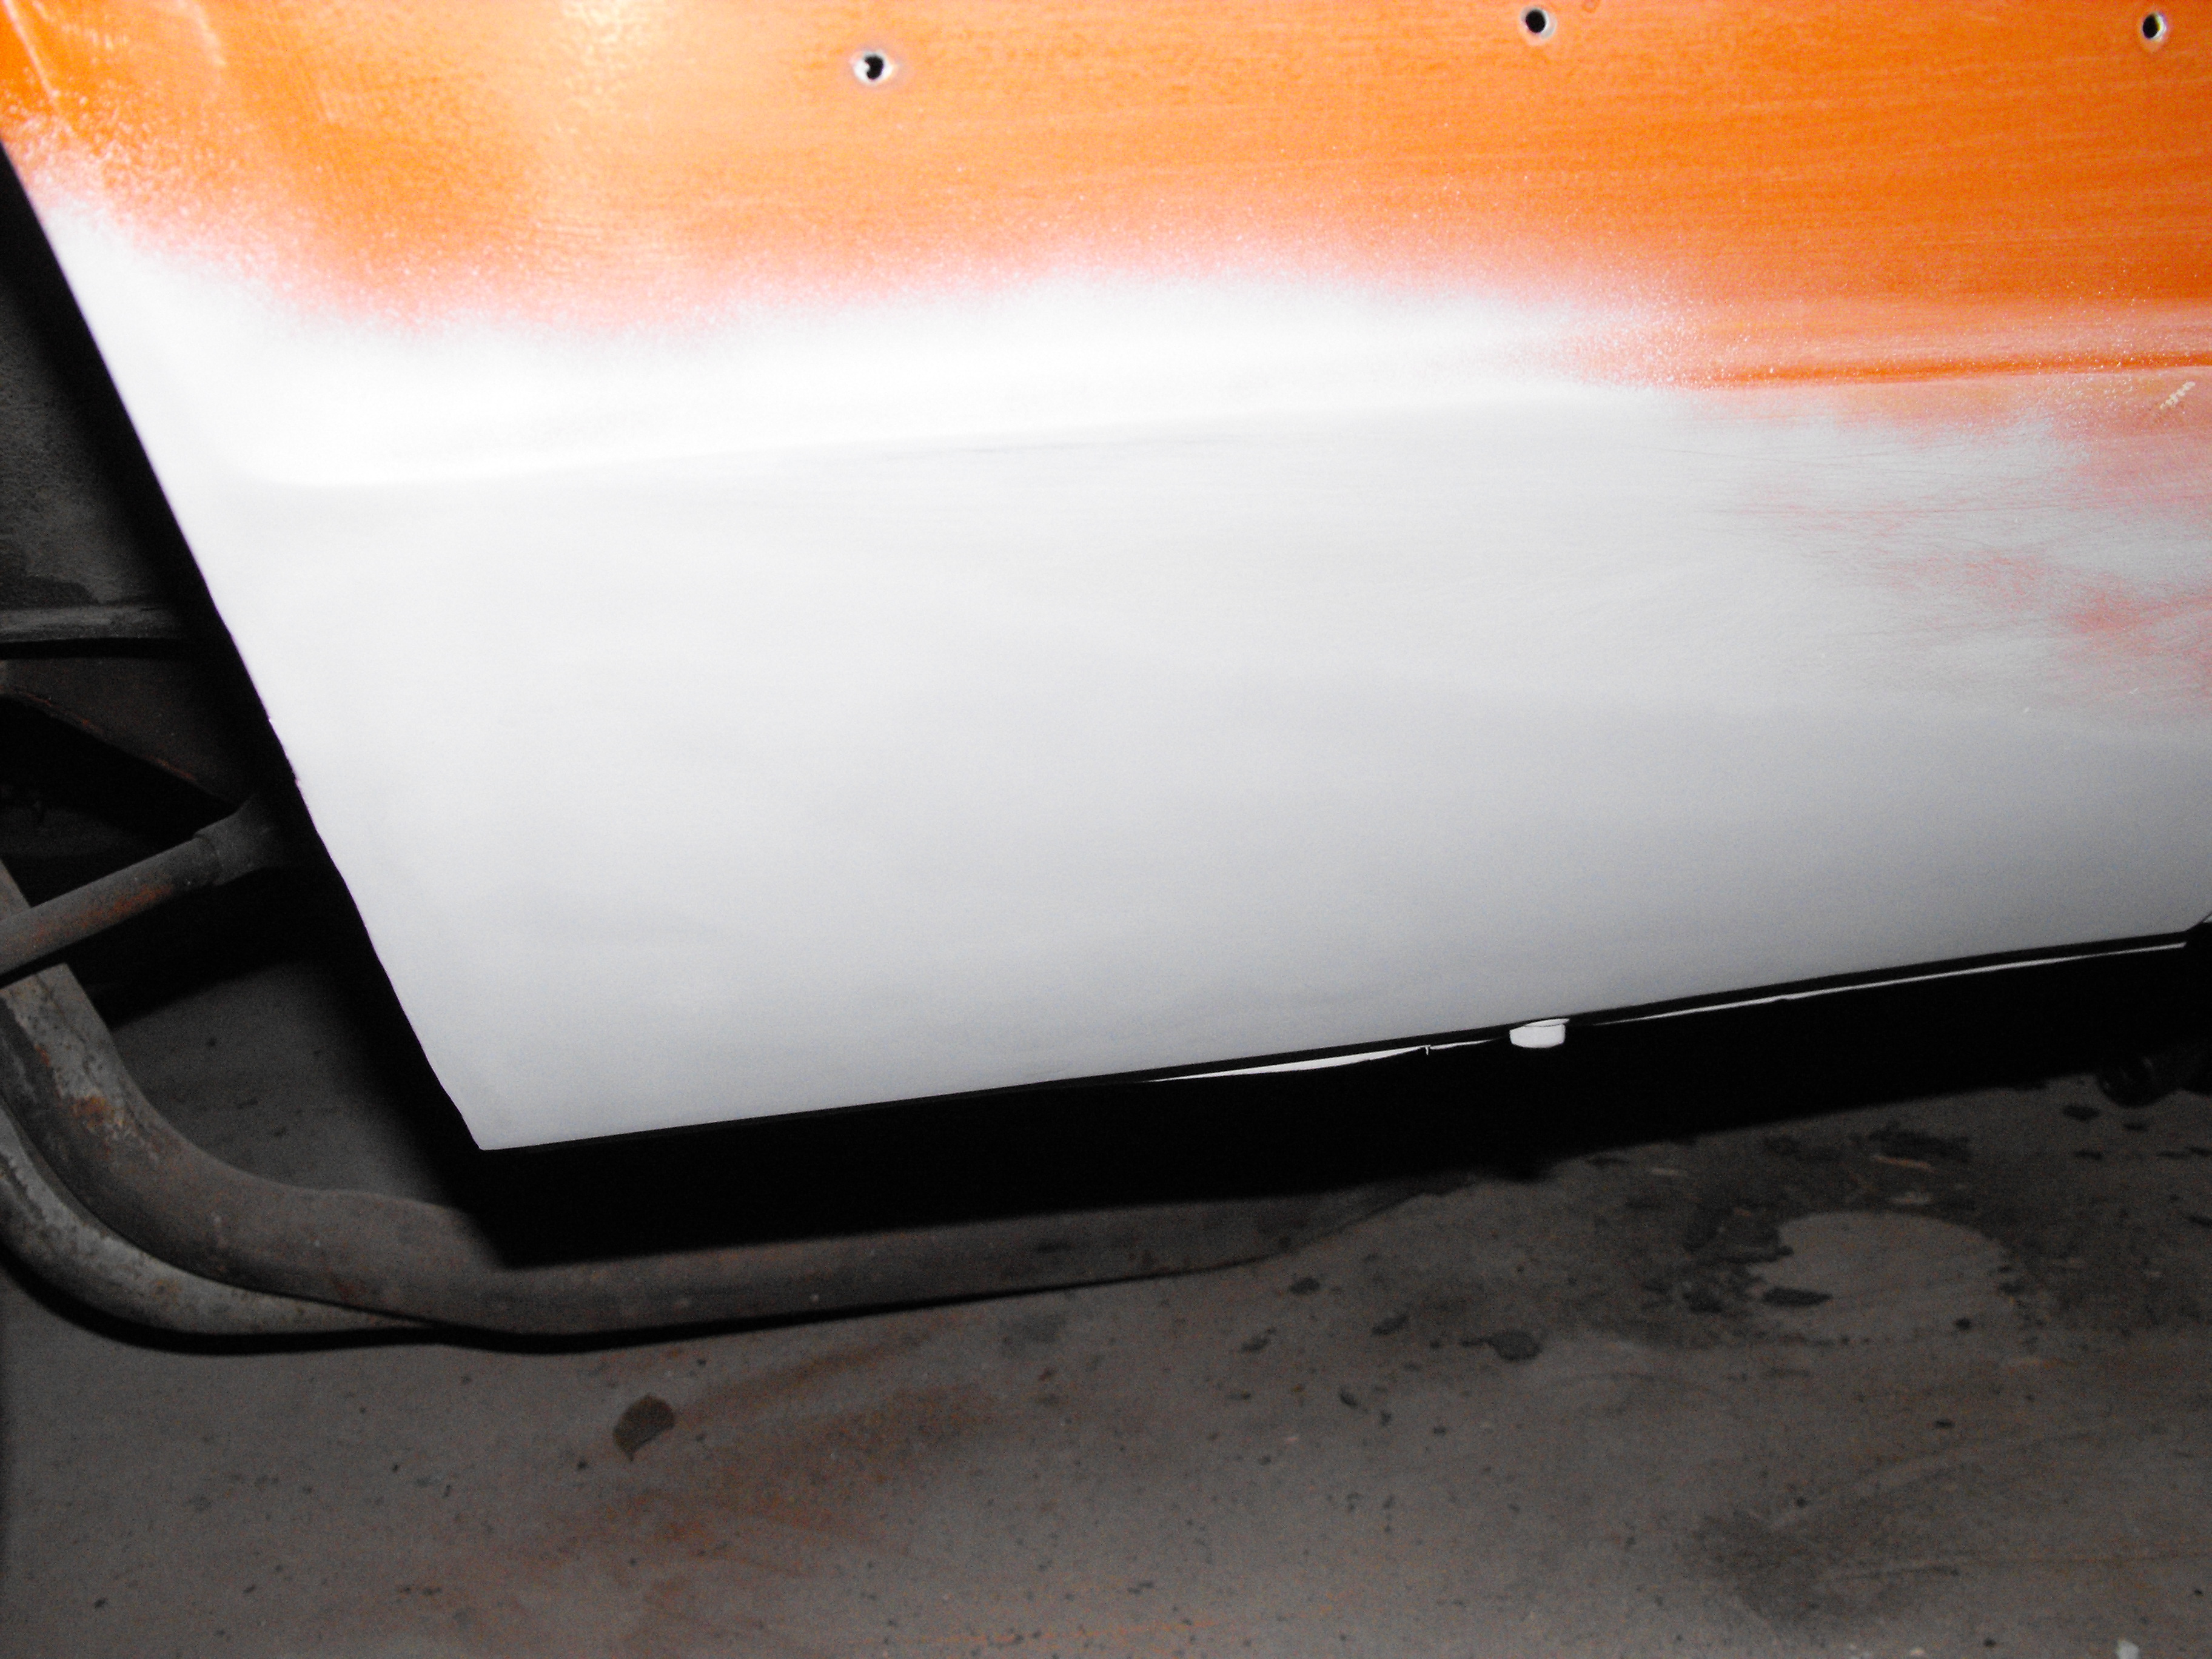
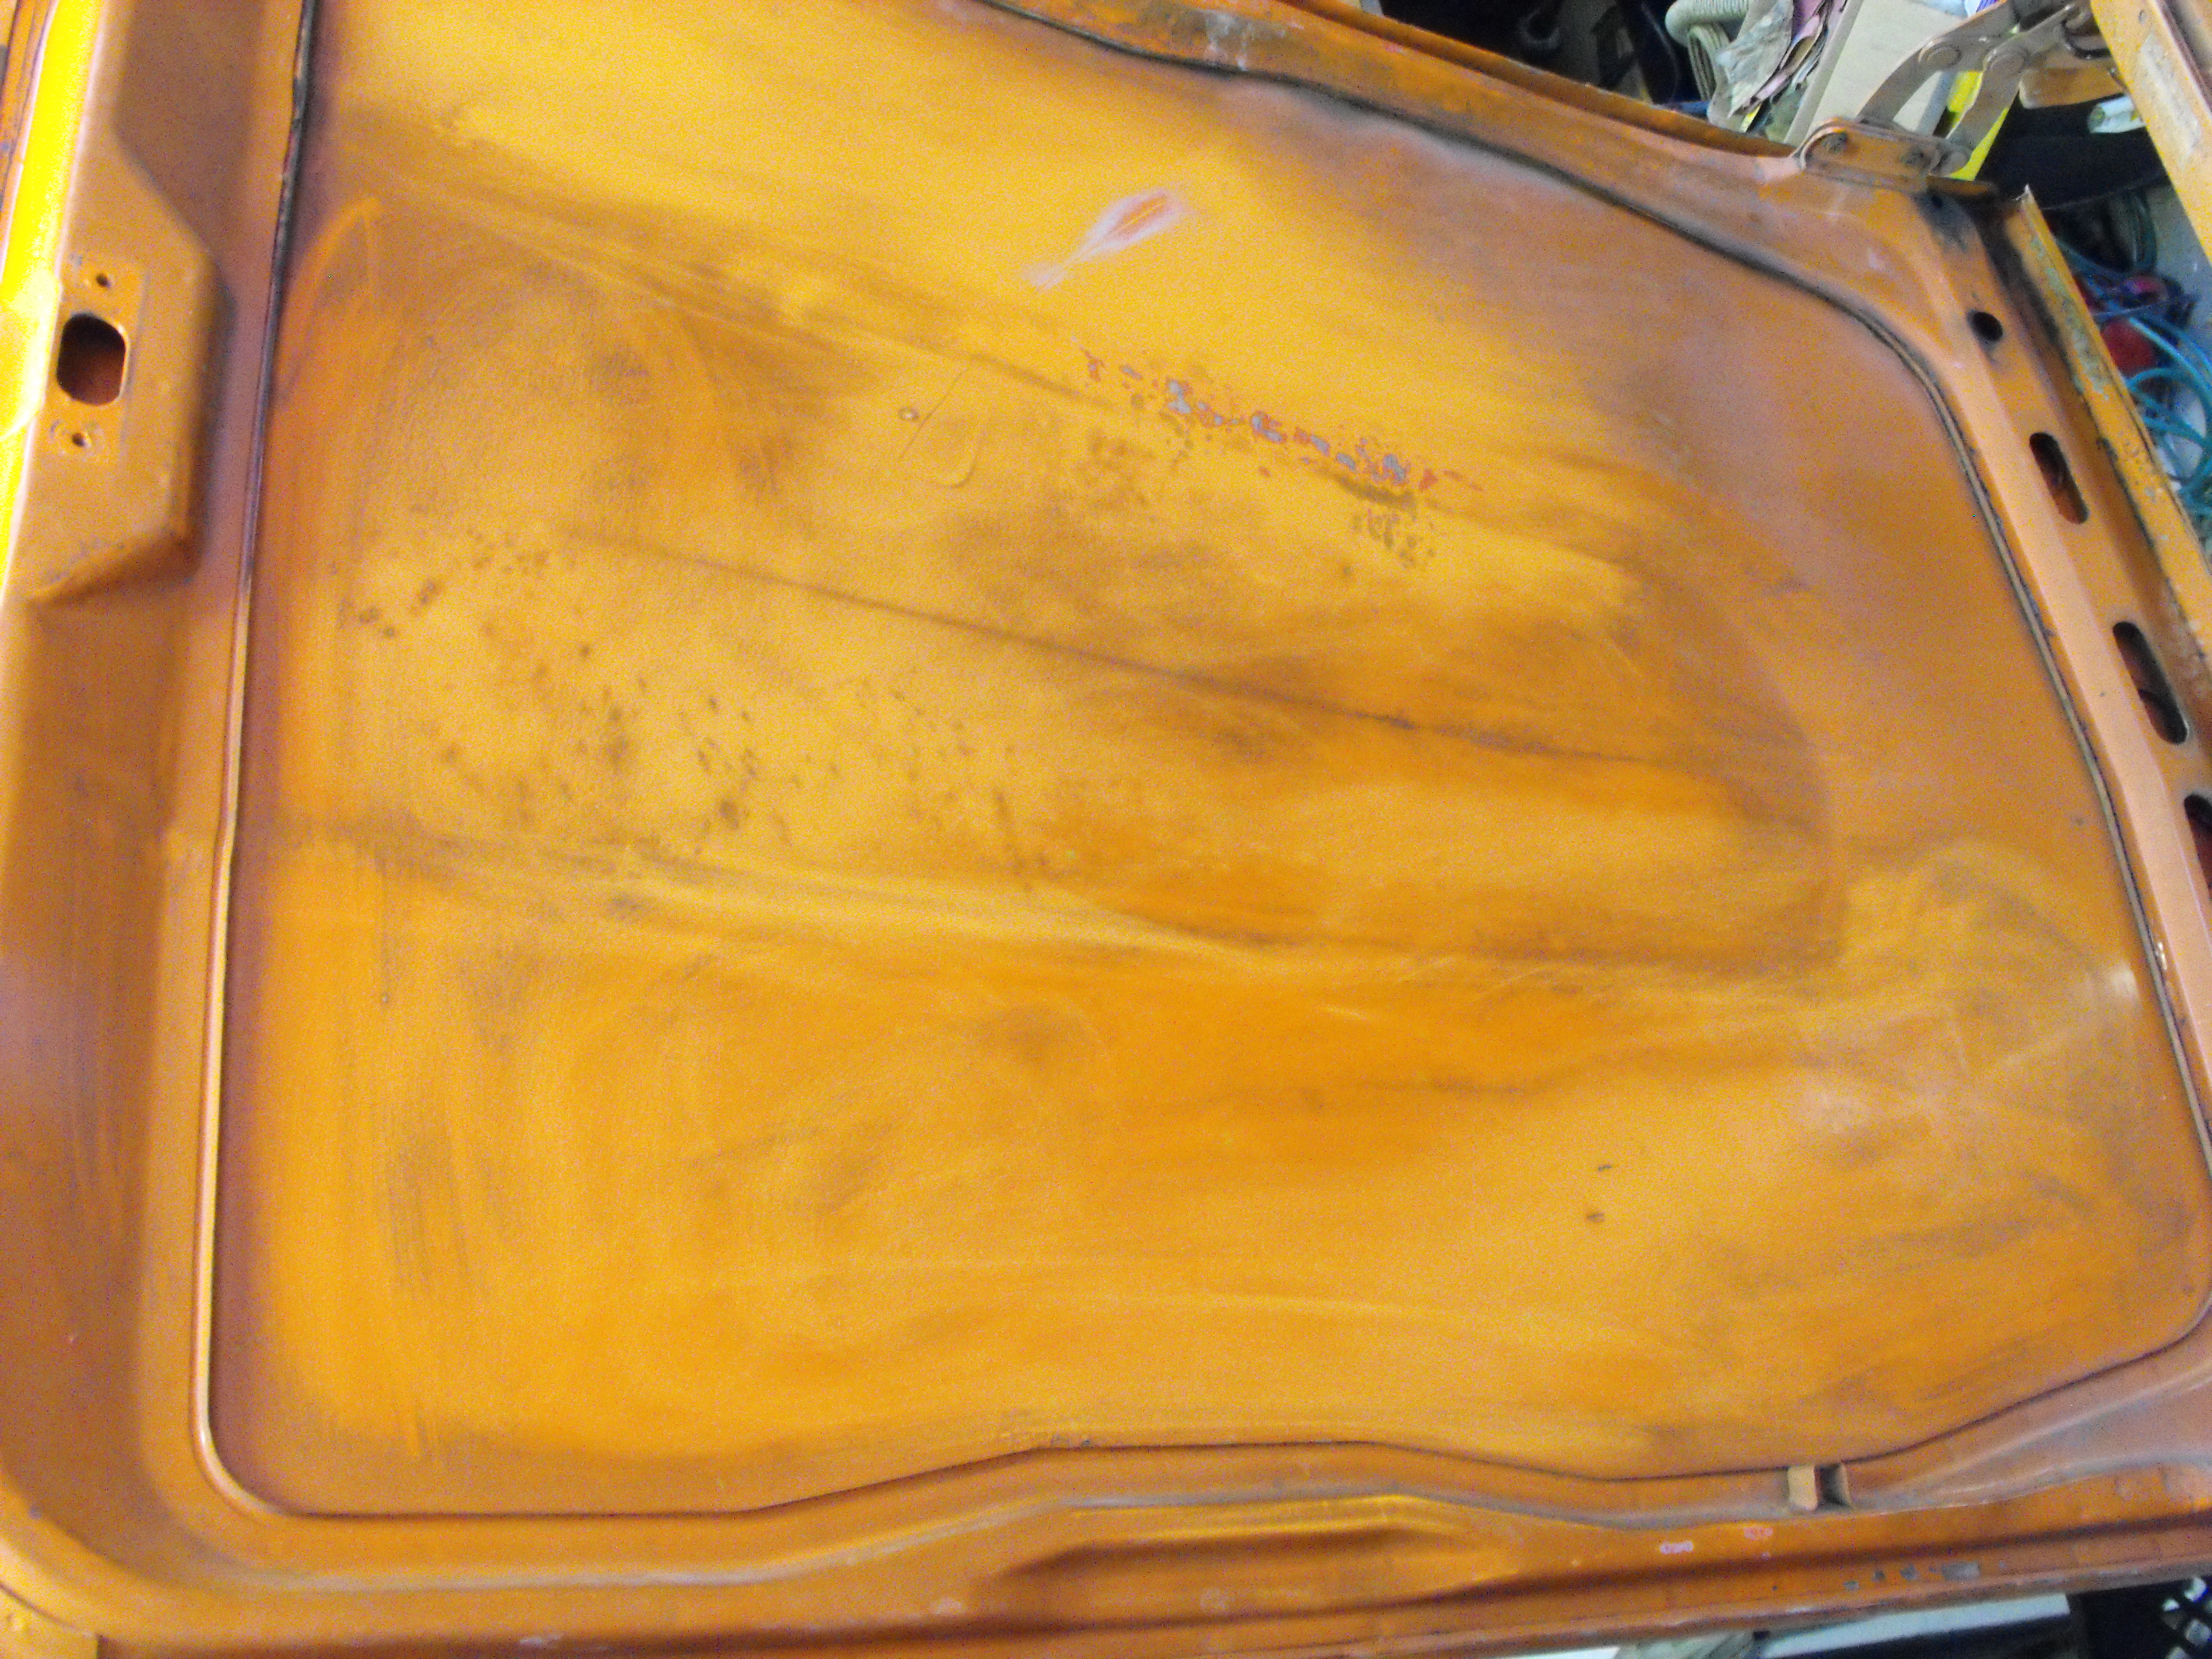
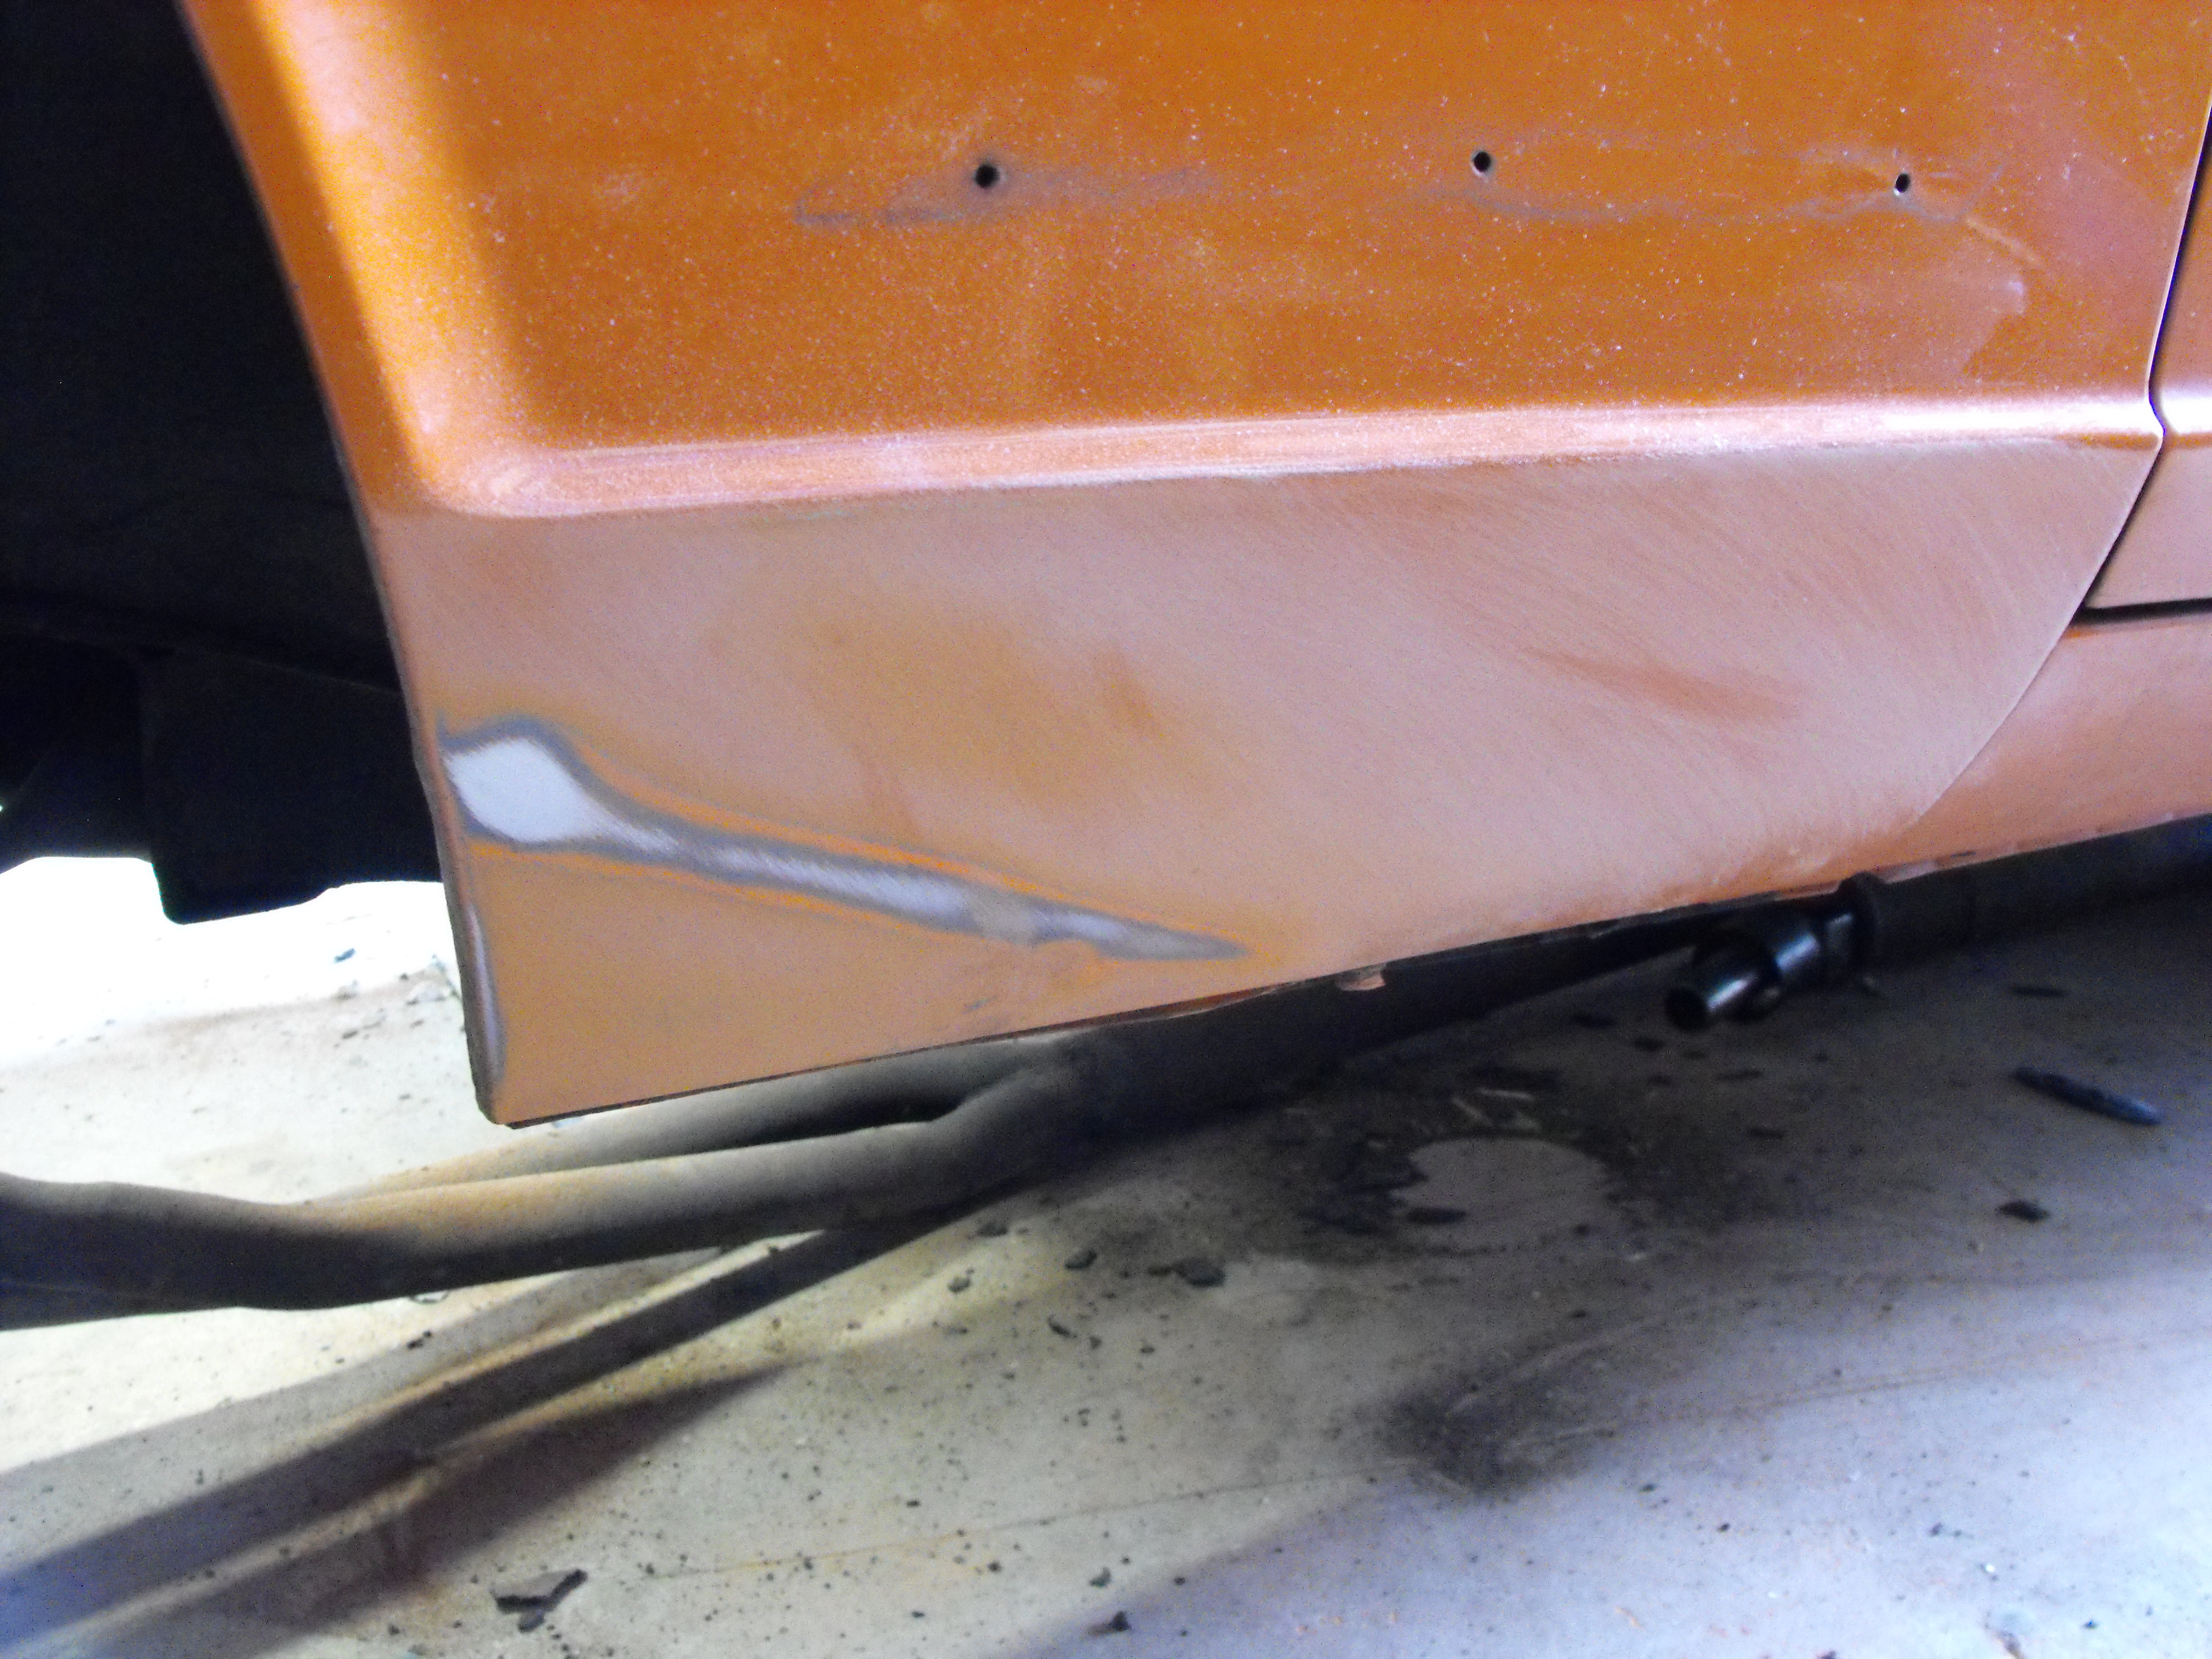
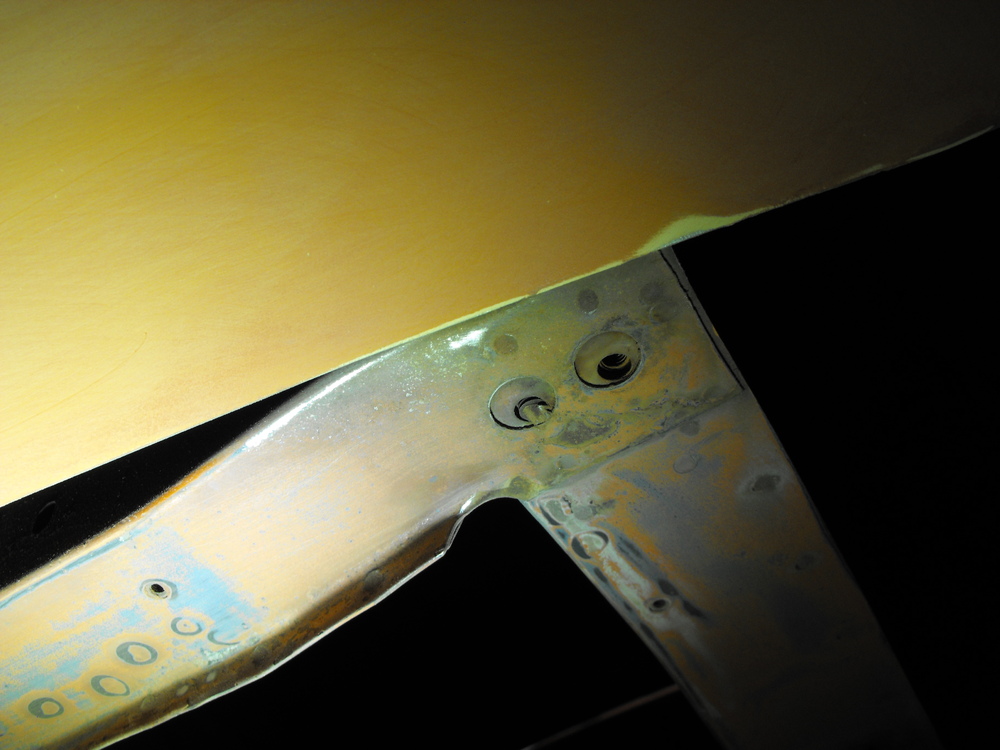
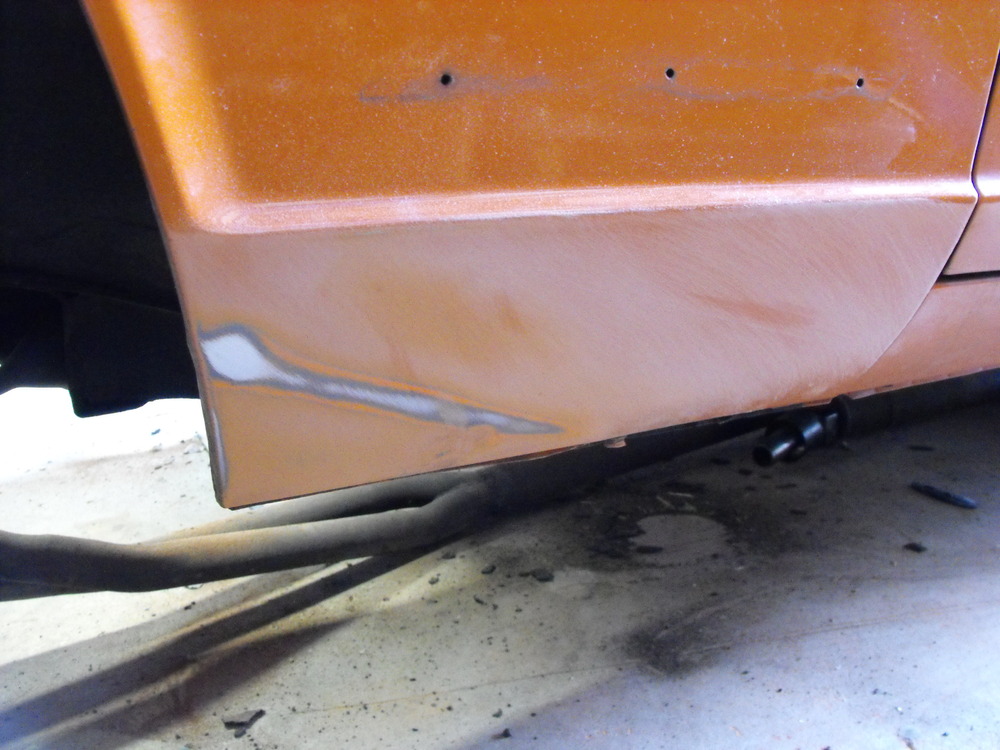
Still working on the body. I cleaned up the lower driver side fender (looks like I still need to smooth that forward edge a bit). I also finished the sanding on the passenger fender outside area. While sanding the underside of the front valence area, I ran across that one broken bolt that I almost forgot about, so now was a good time to fix that. So I drilled and re-tapped the hole. I tried using an easy out after drilling the hole, but the stud would not budge. When I used the correct drill size for the tap, the stud was pretty close to coming out so I was able to pry out sections of the stud that had come loose. I then just ran the tap through and everything cleaned up pretty well. I put the hood back on the car to do the sanding on that part. The top was pretty straight forward with just a minor ding in the front corner, but the underside was a bit messy. Will finish the rest of that next weekend. Also, as mentioned earlier, I got the front valence sanded along with the radiator frame area and the passenger side valence. Also started sanding the upper side of the driver side door and rear quarter panel. I will have the car painted by the shop that does all of the painting for Les Canaday at Classic Datsun Motorsports. They really do excellent work and know the Z's real well. Should have this ready to deliver to the paint shop before the end of the month.


-
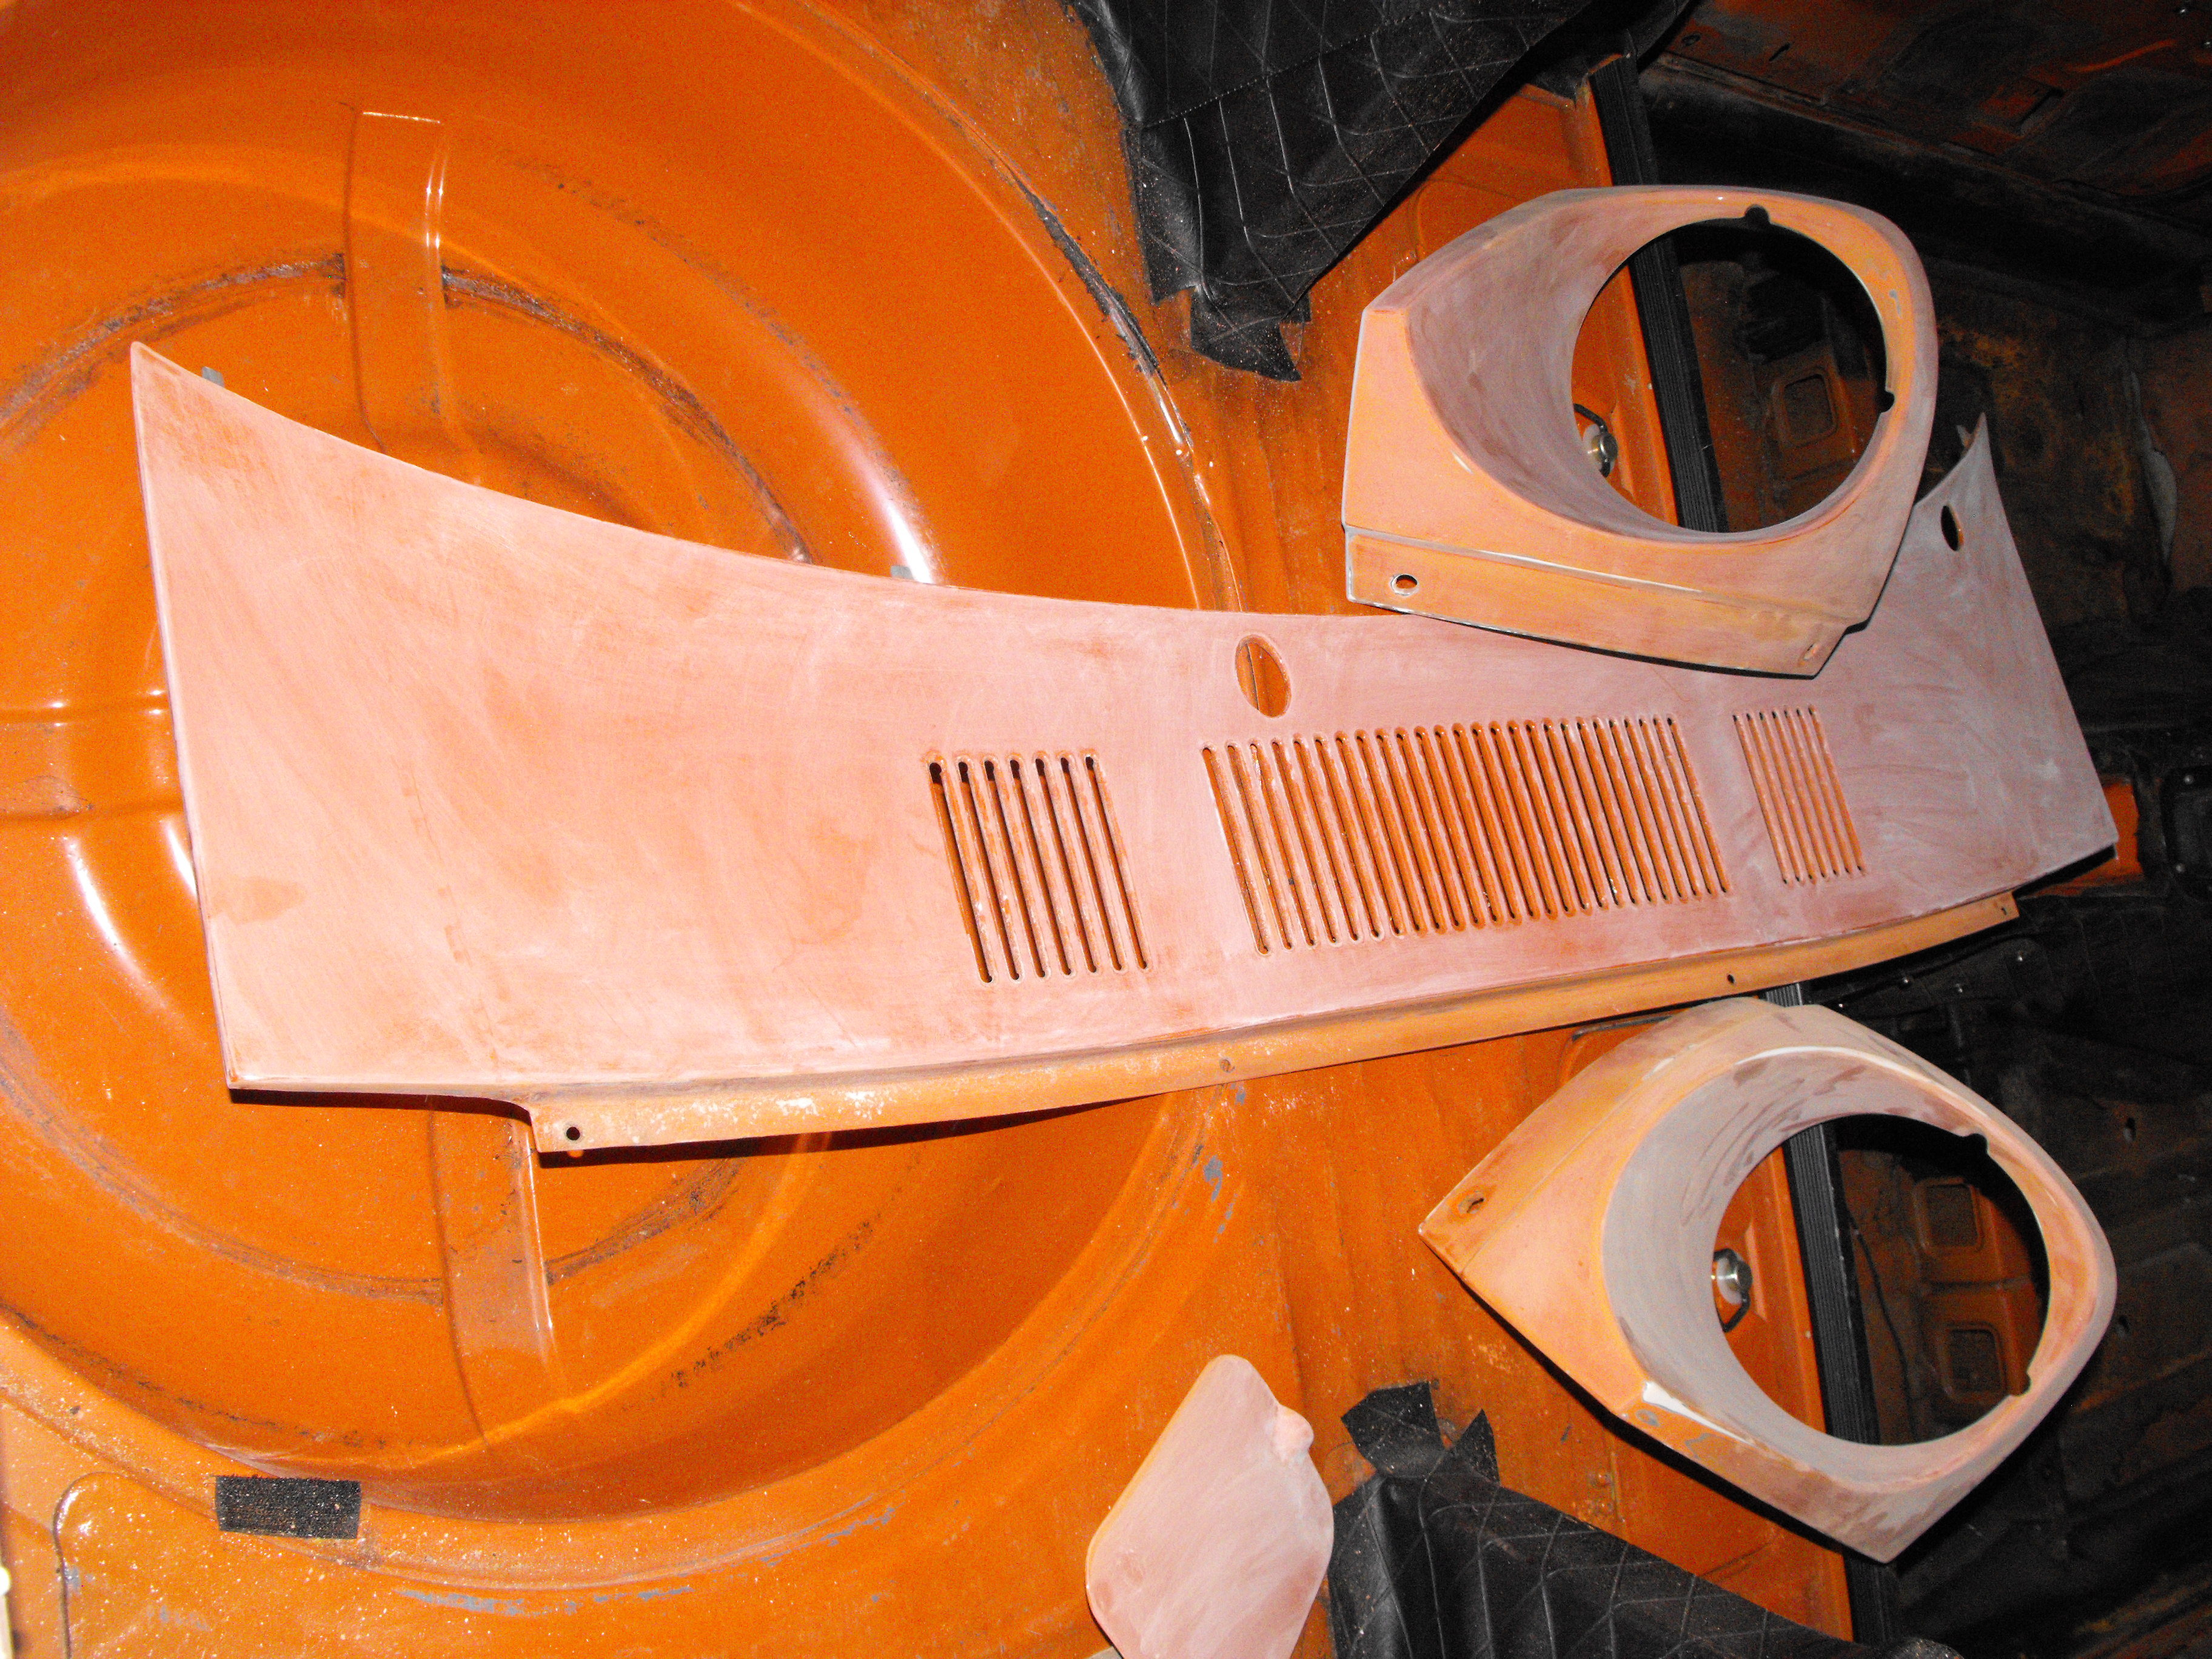
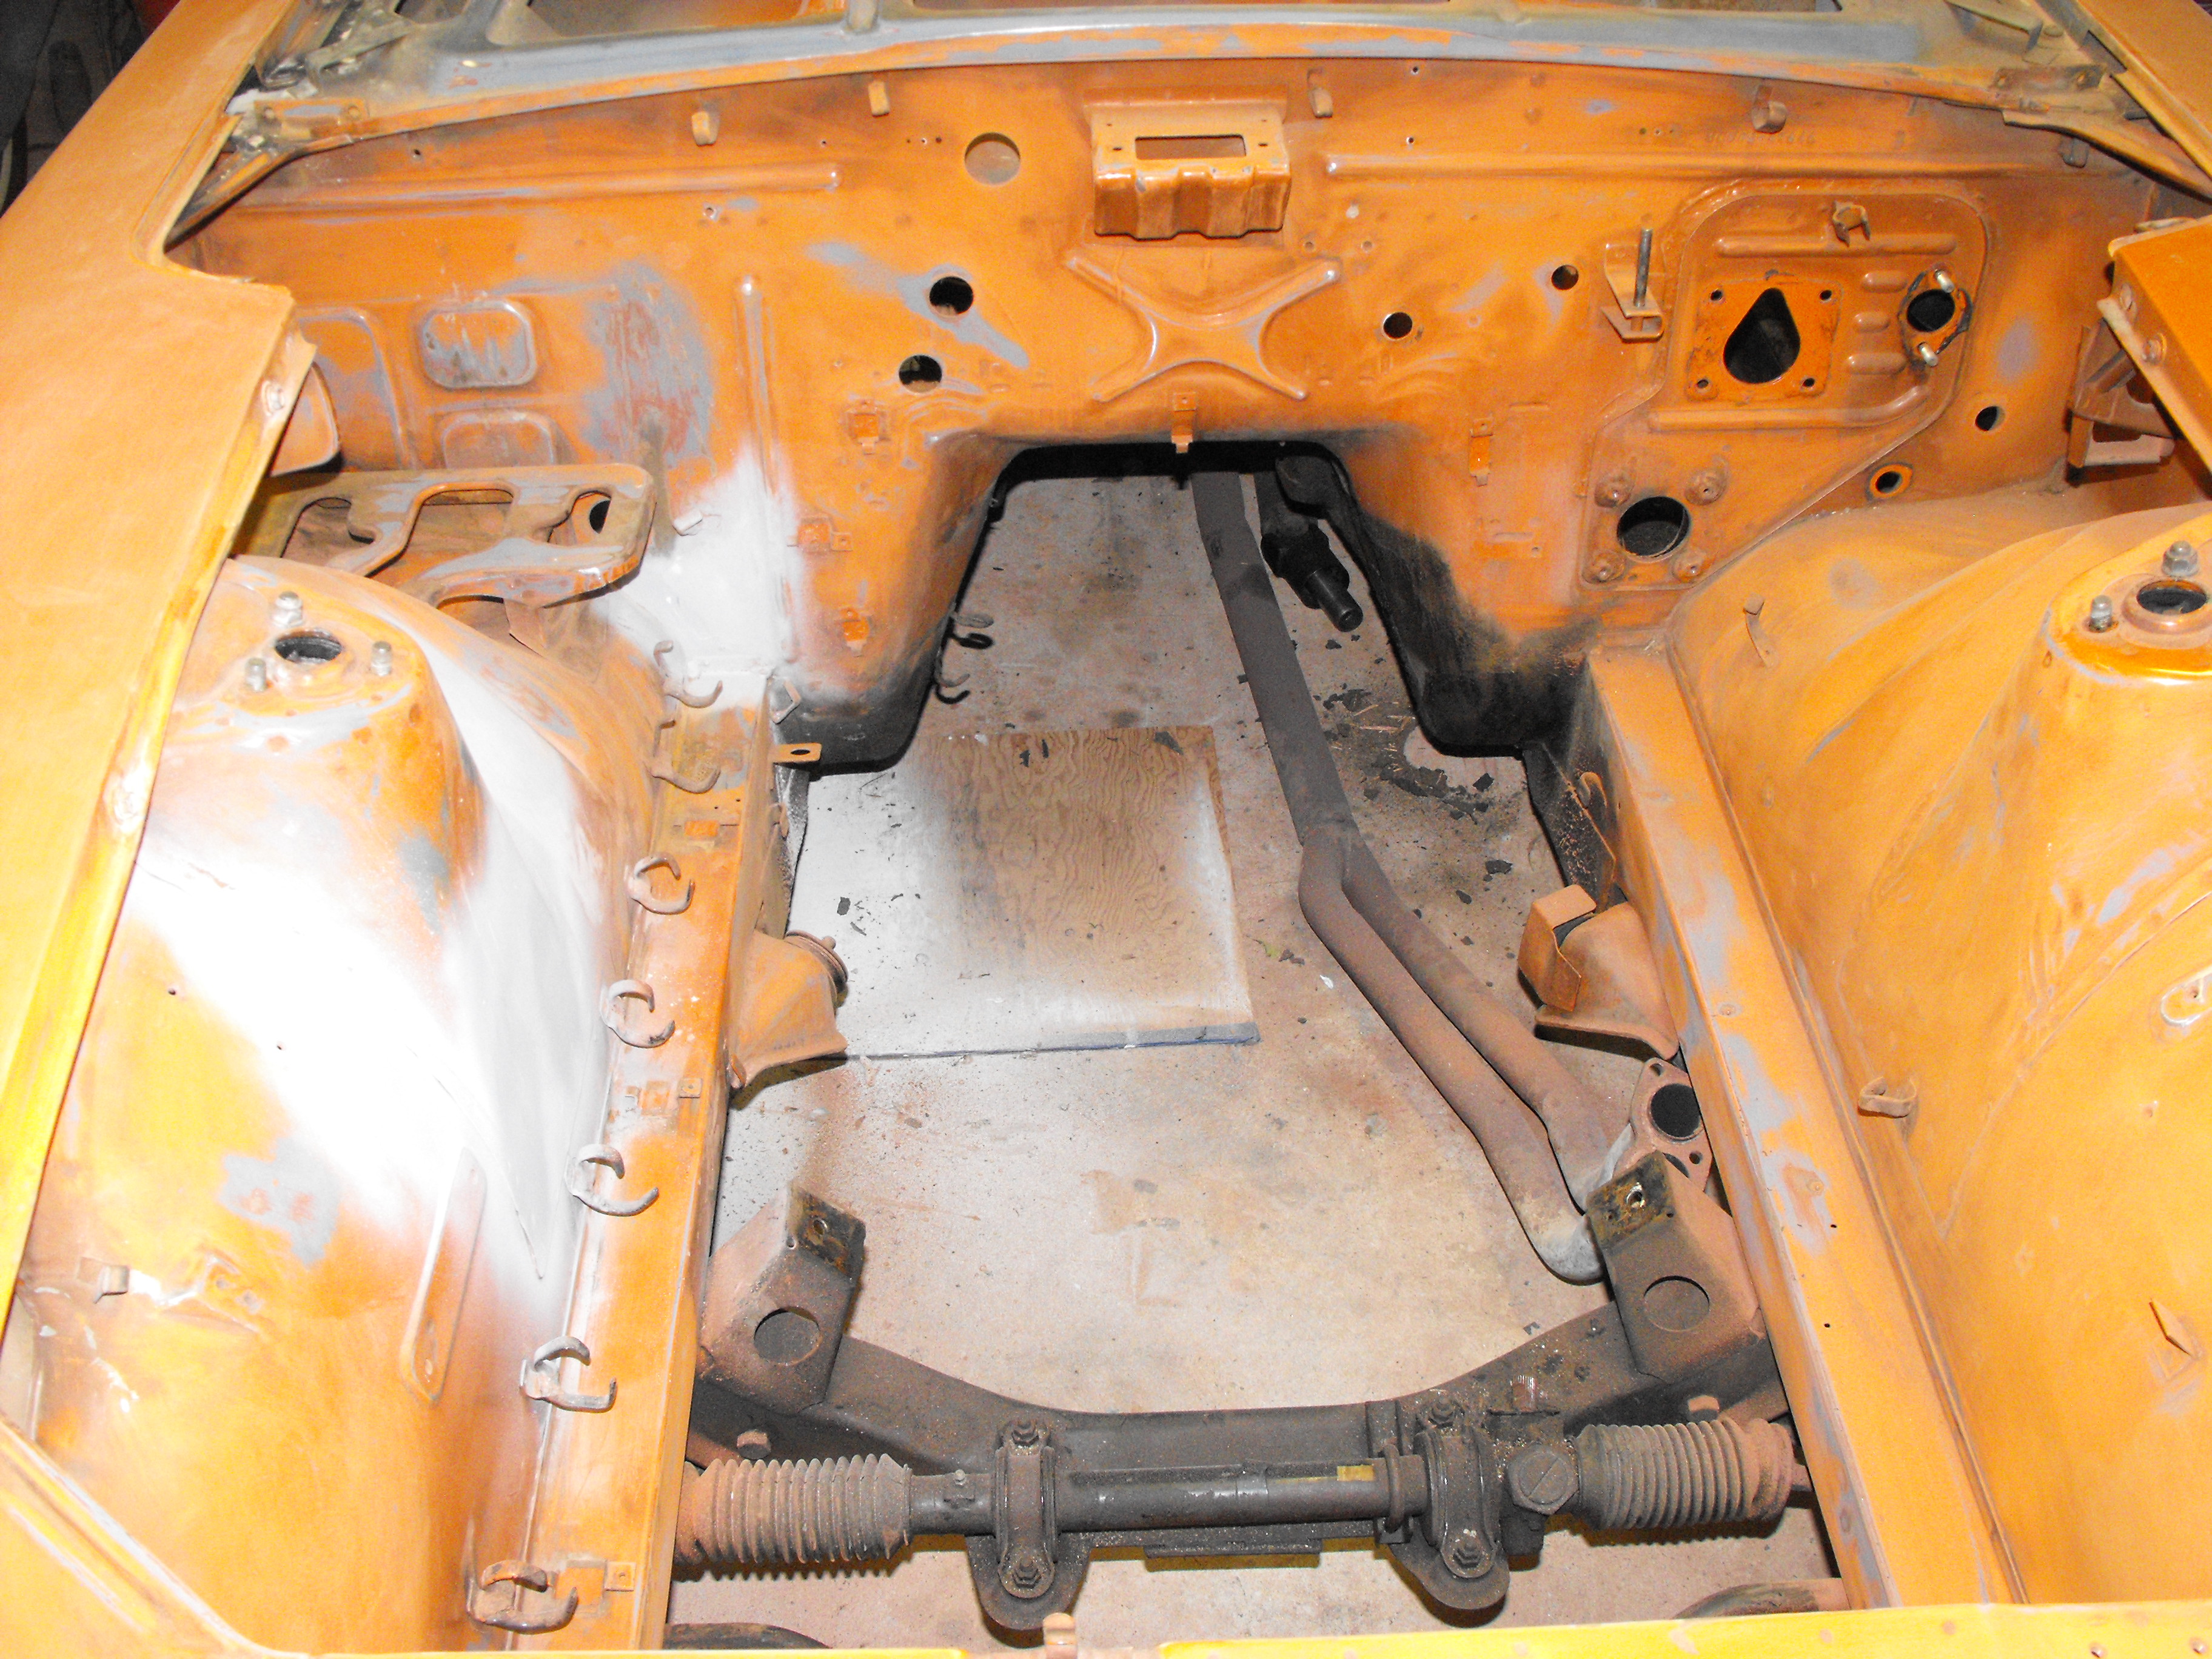
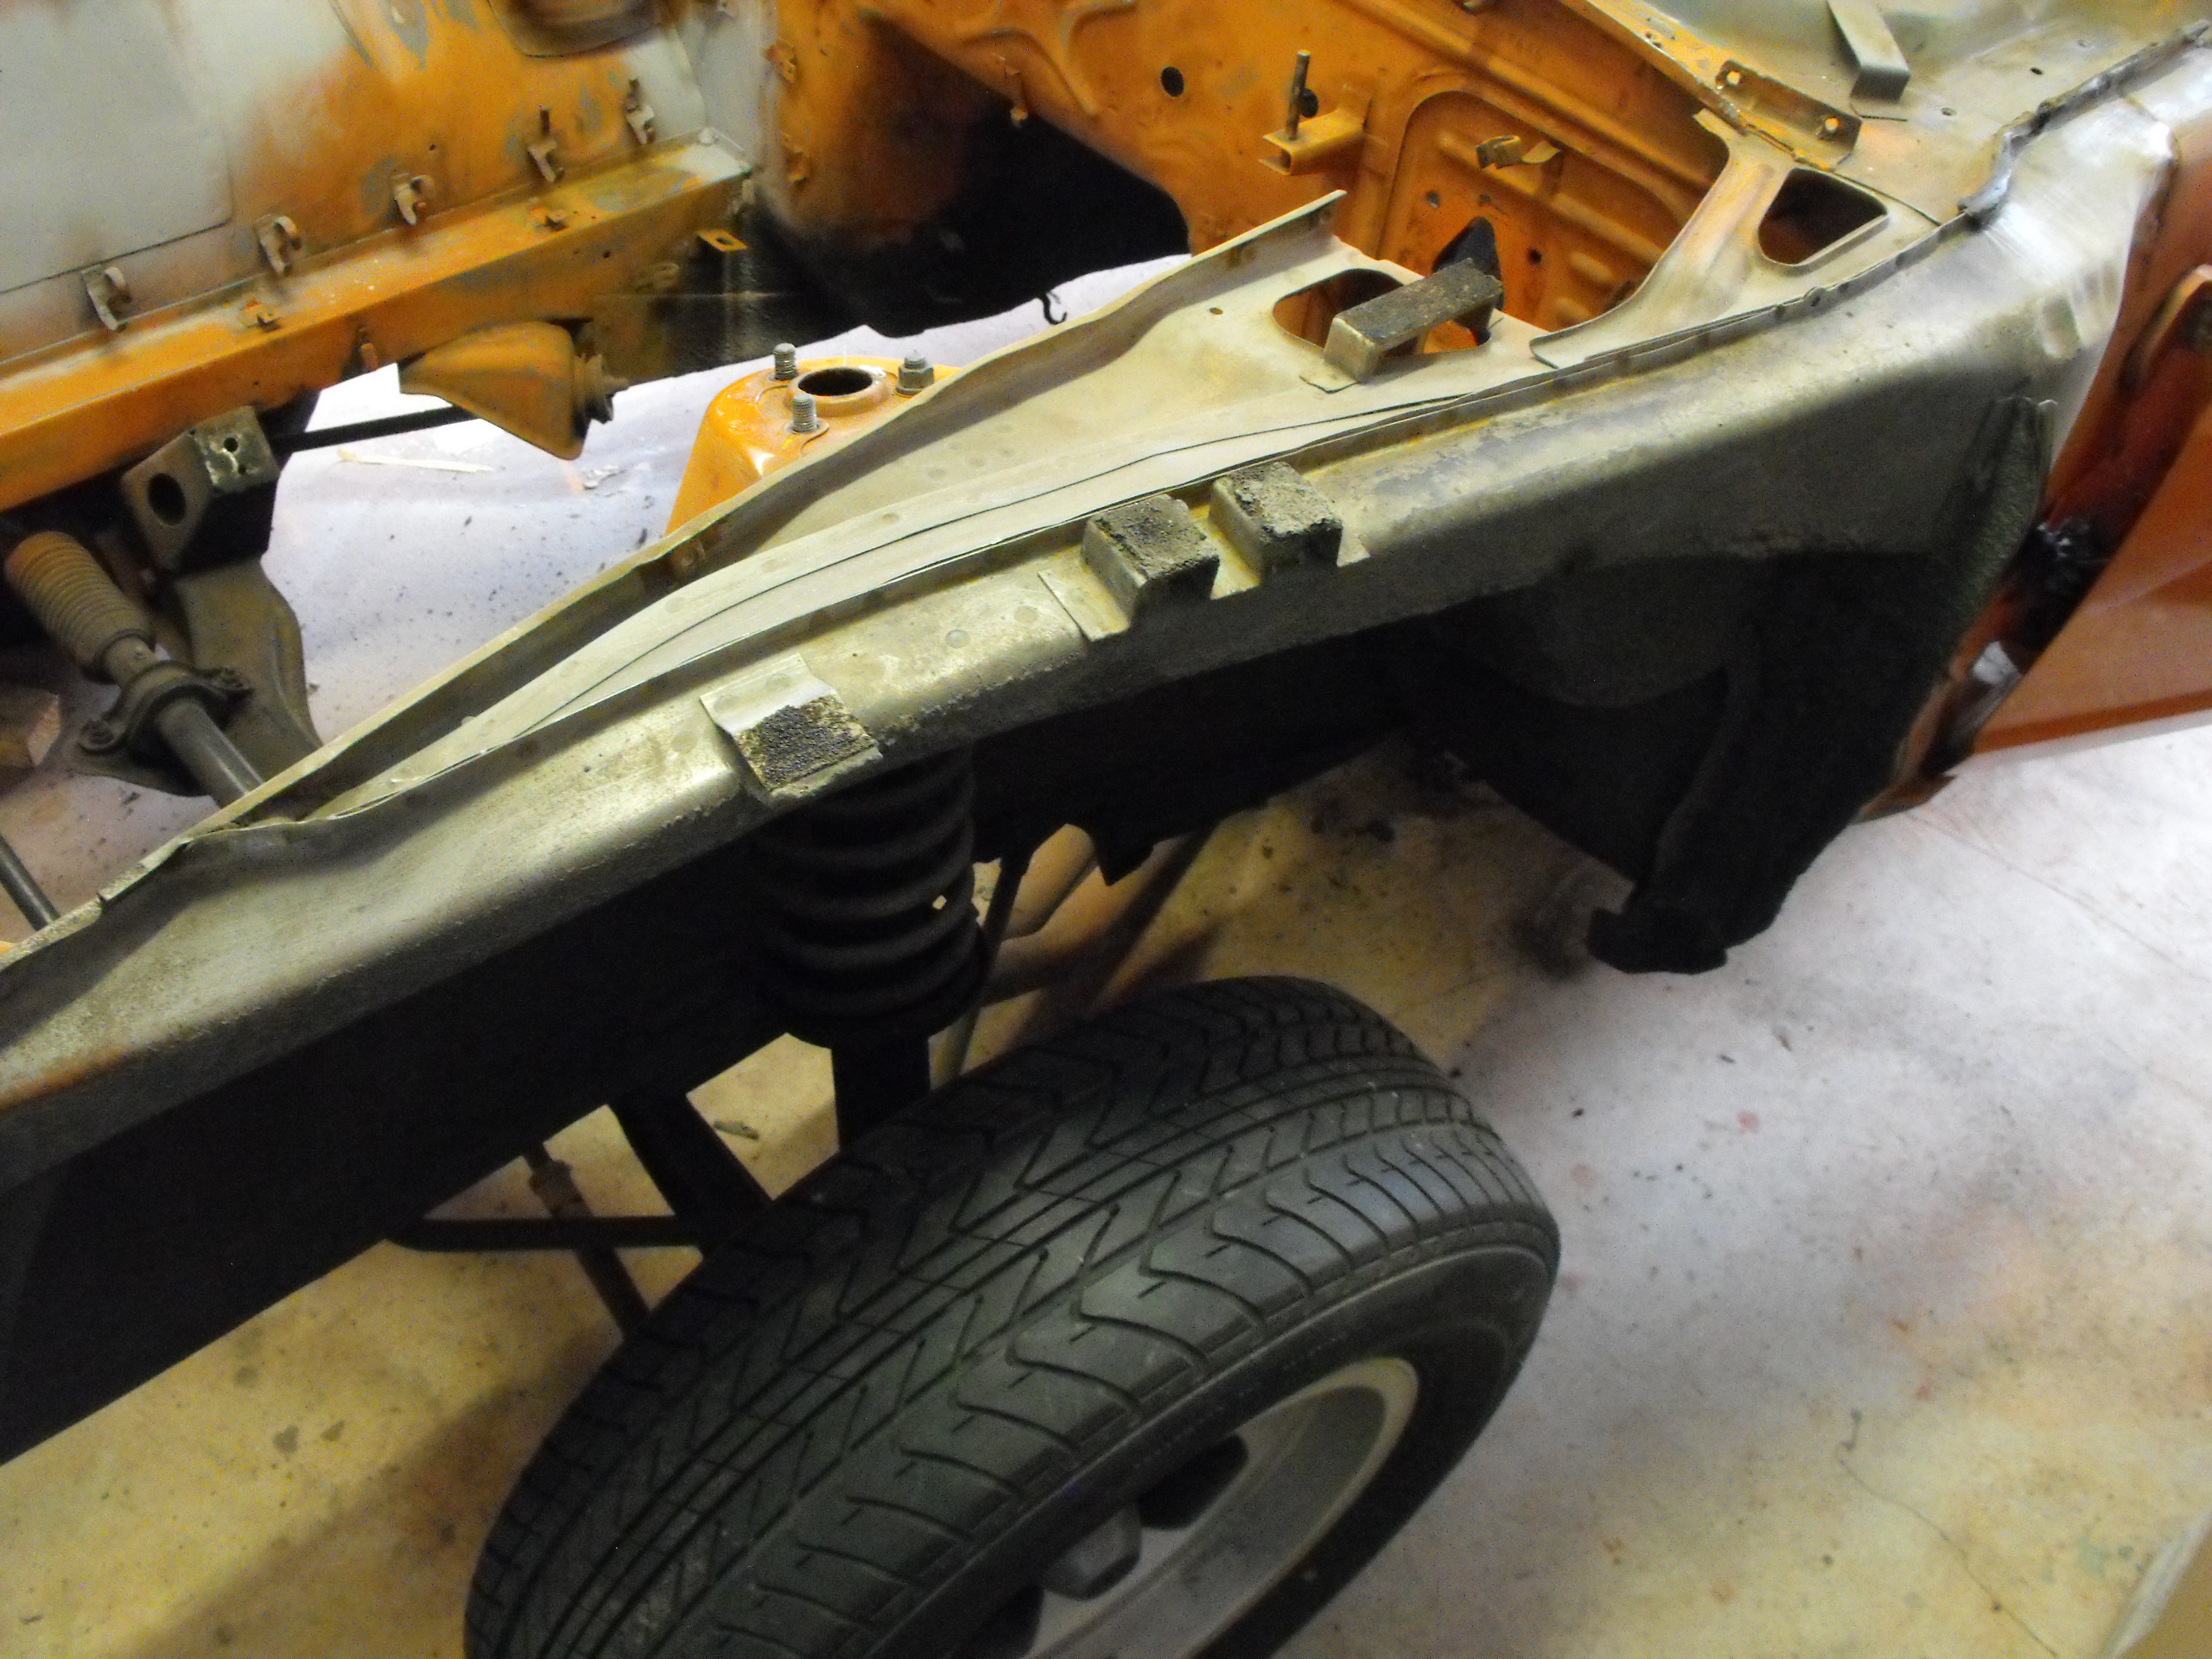
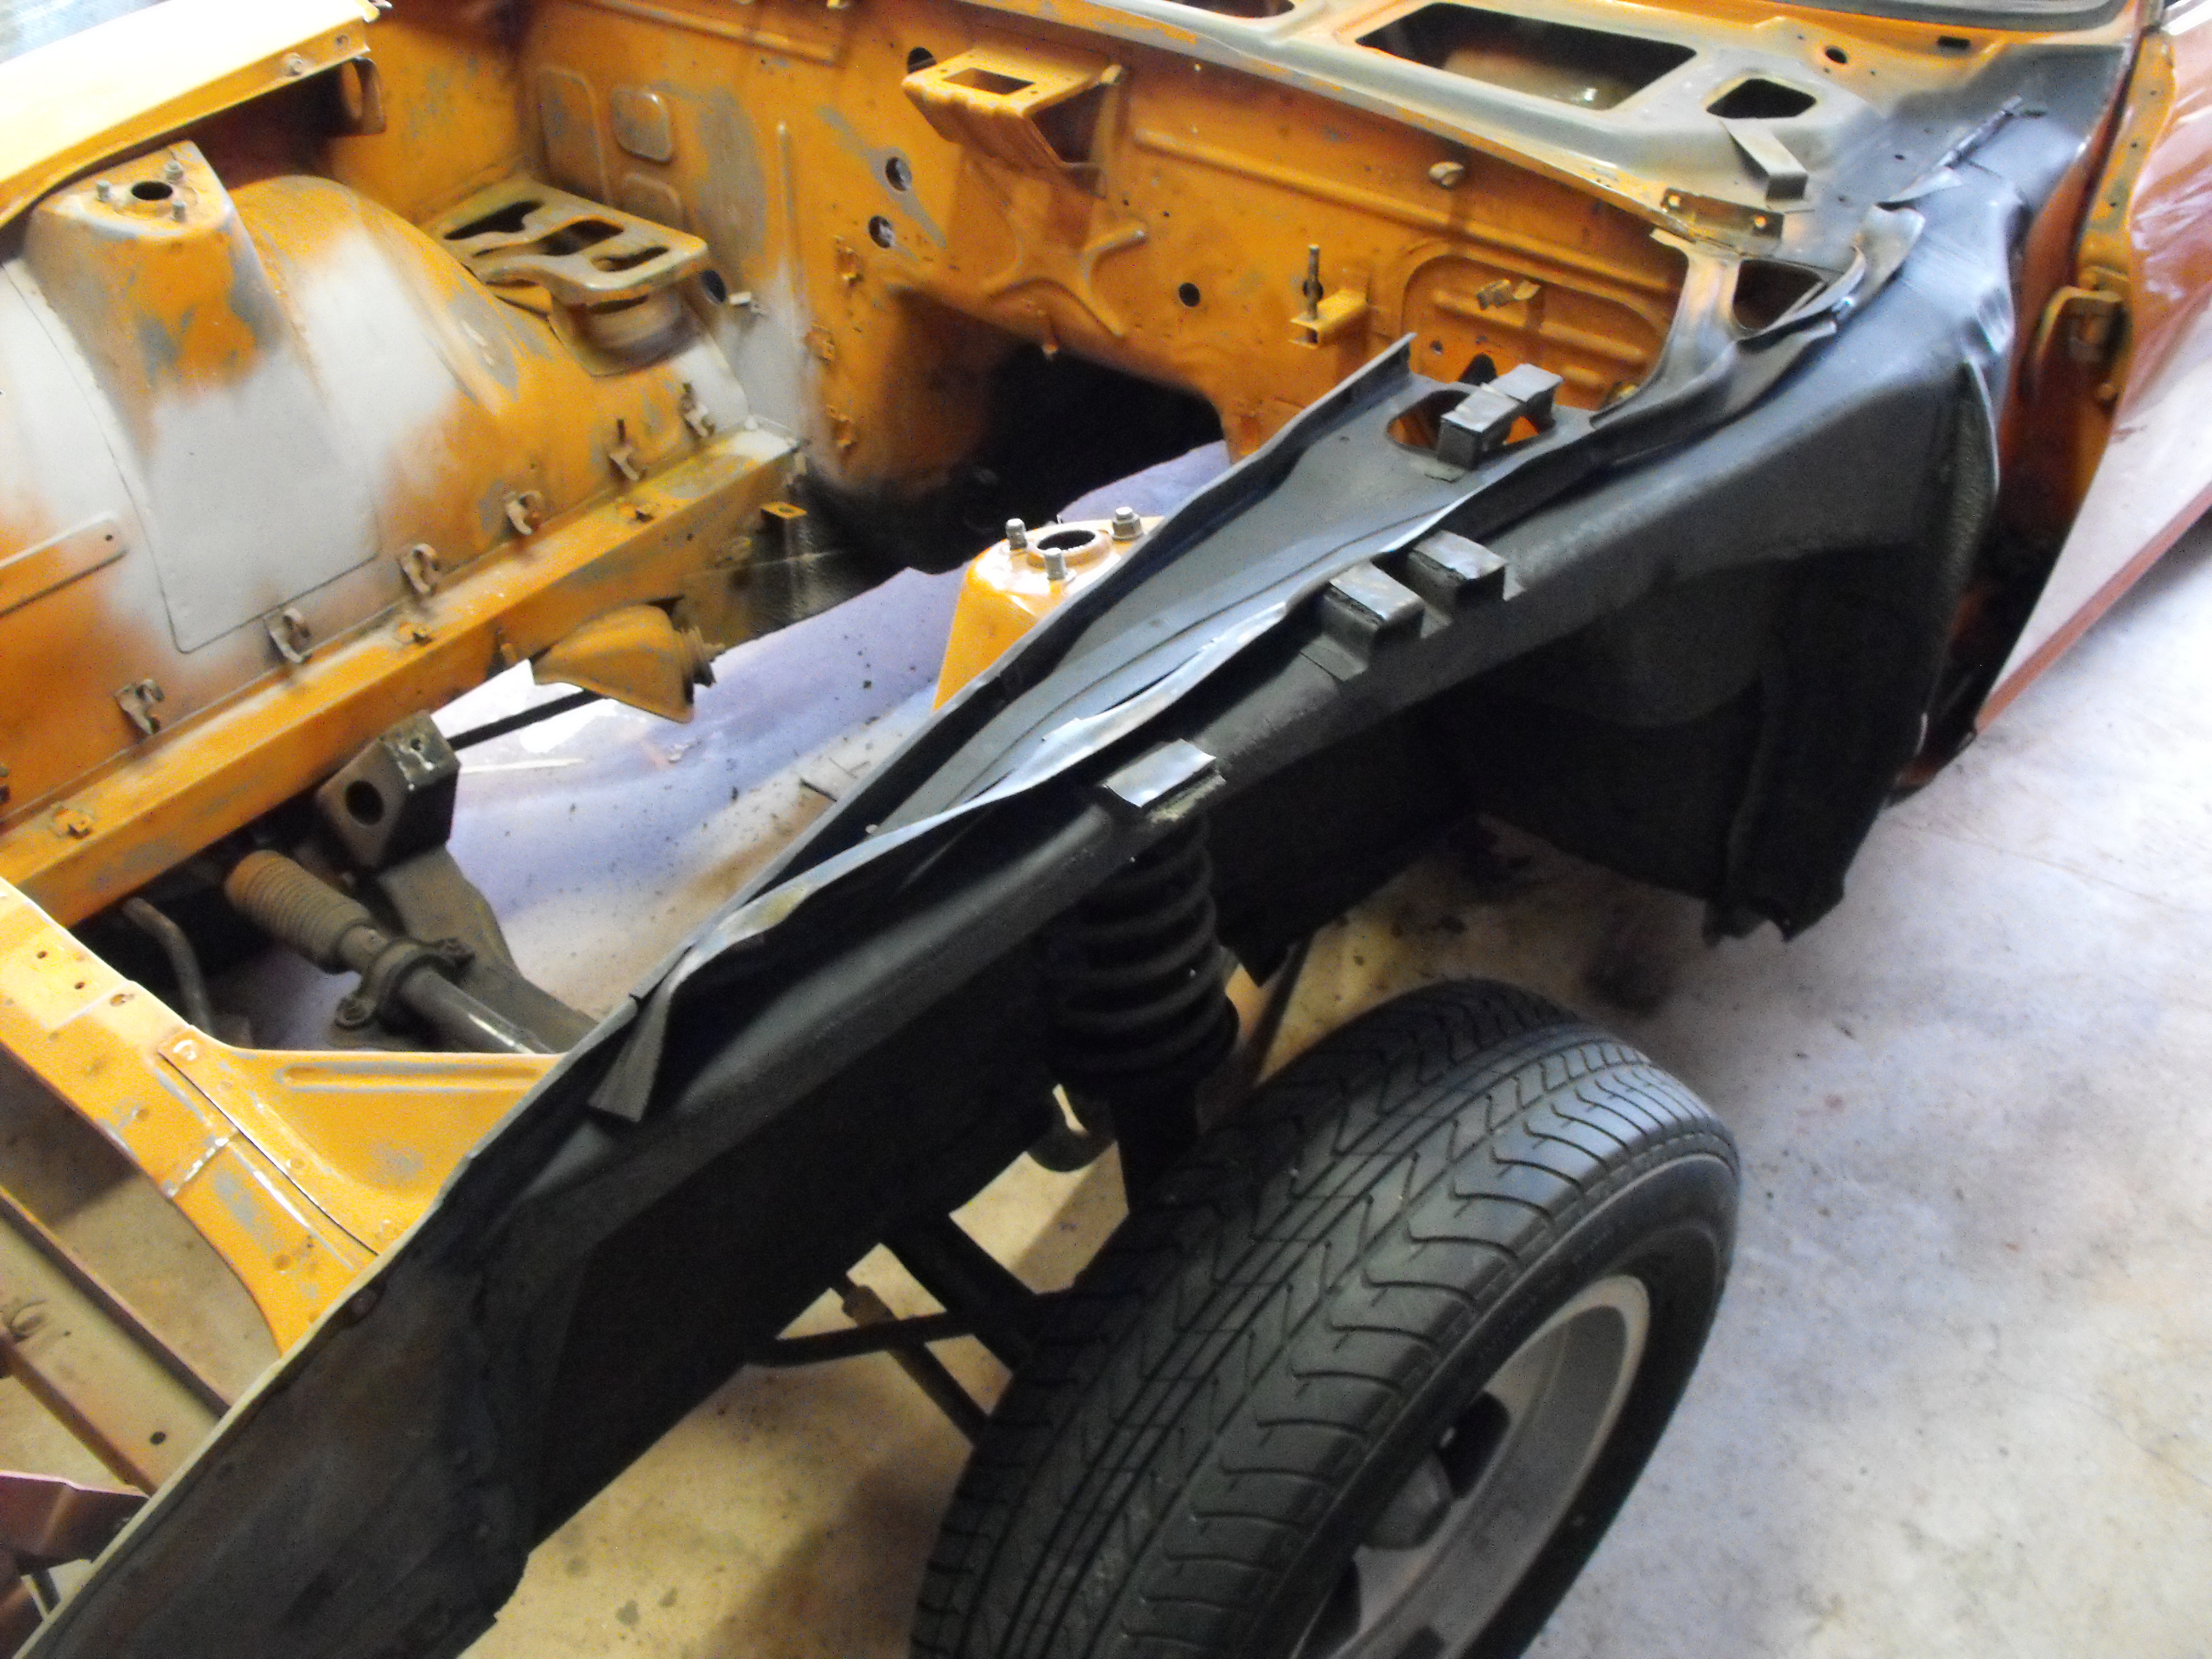
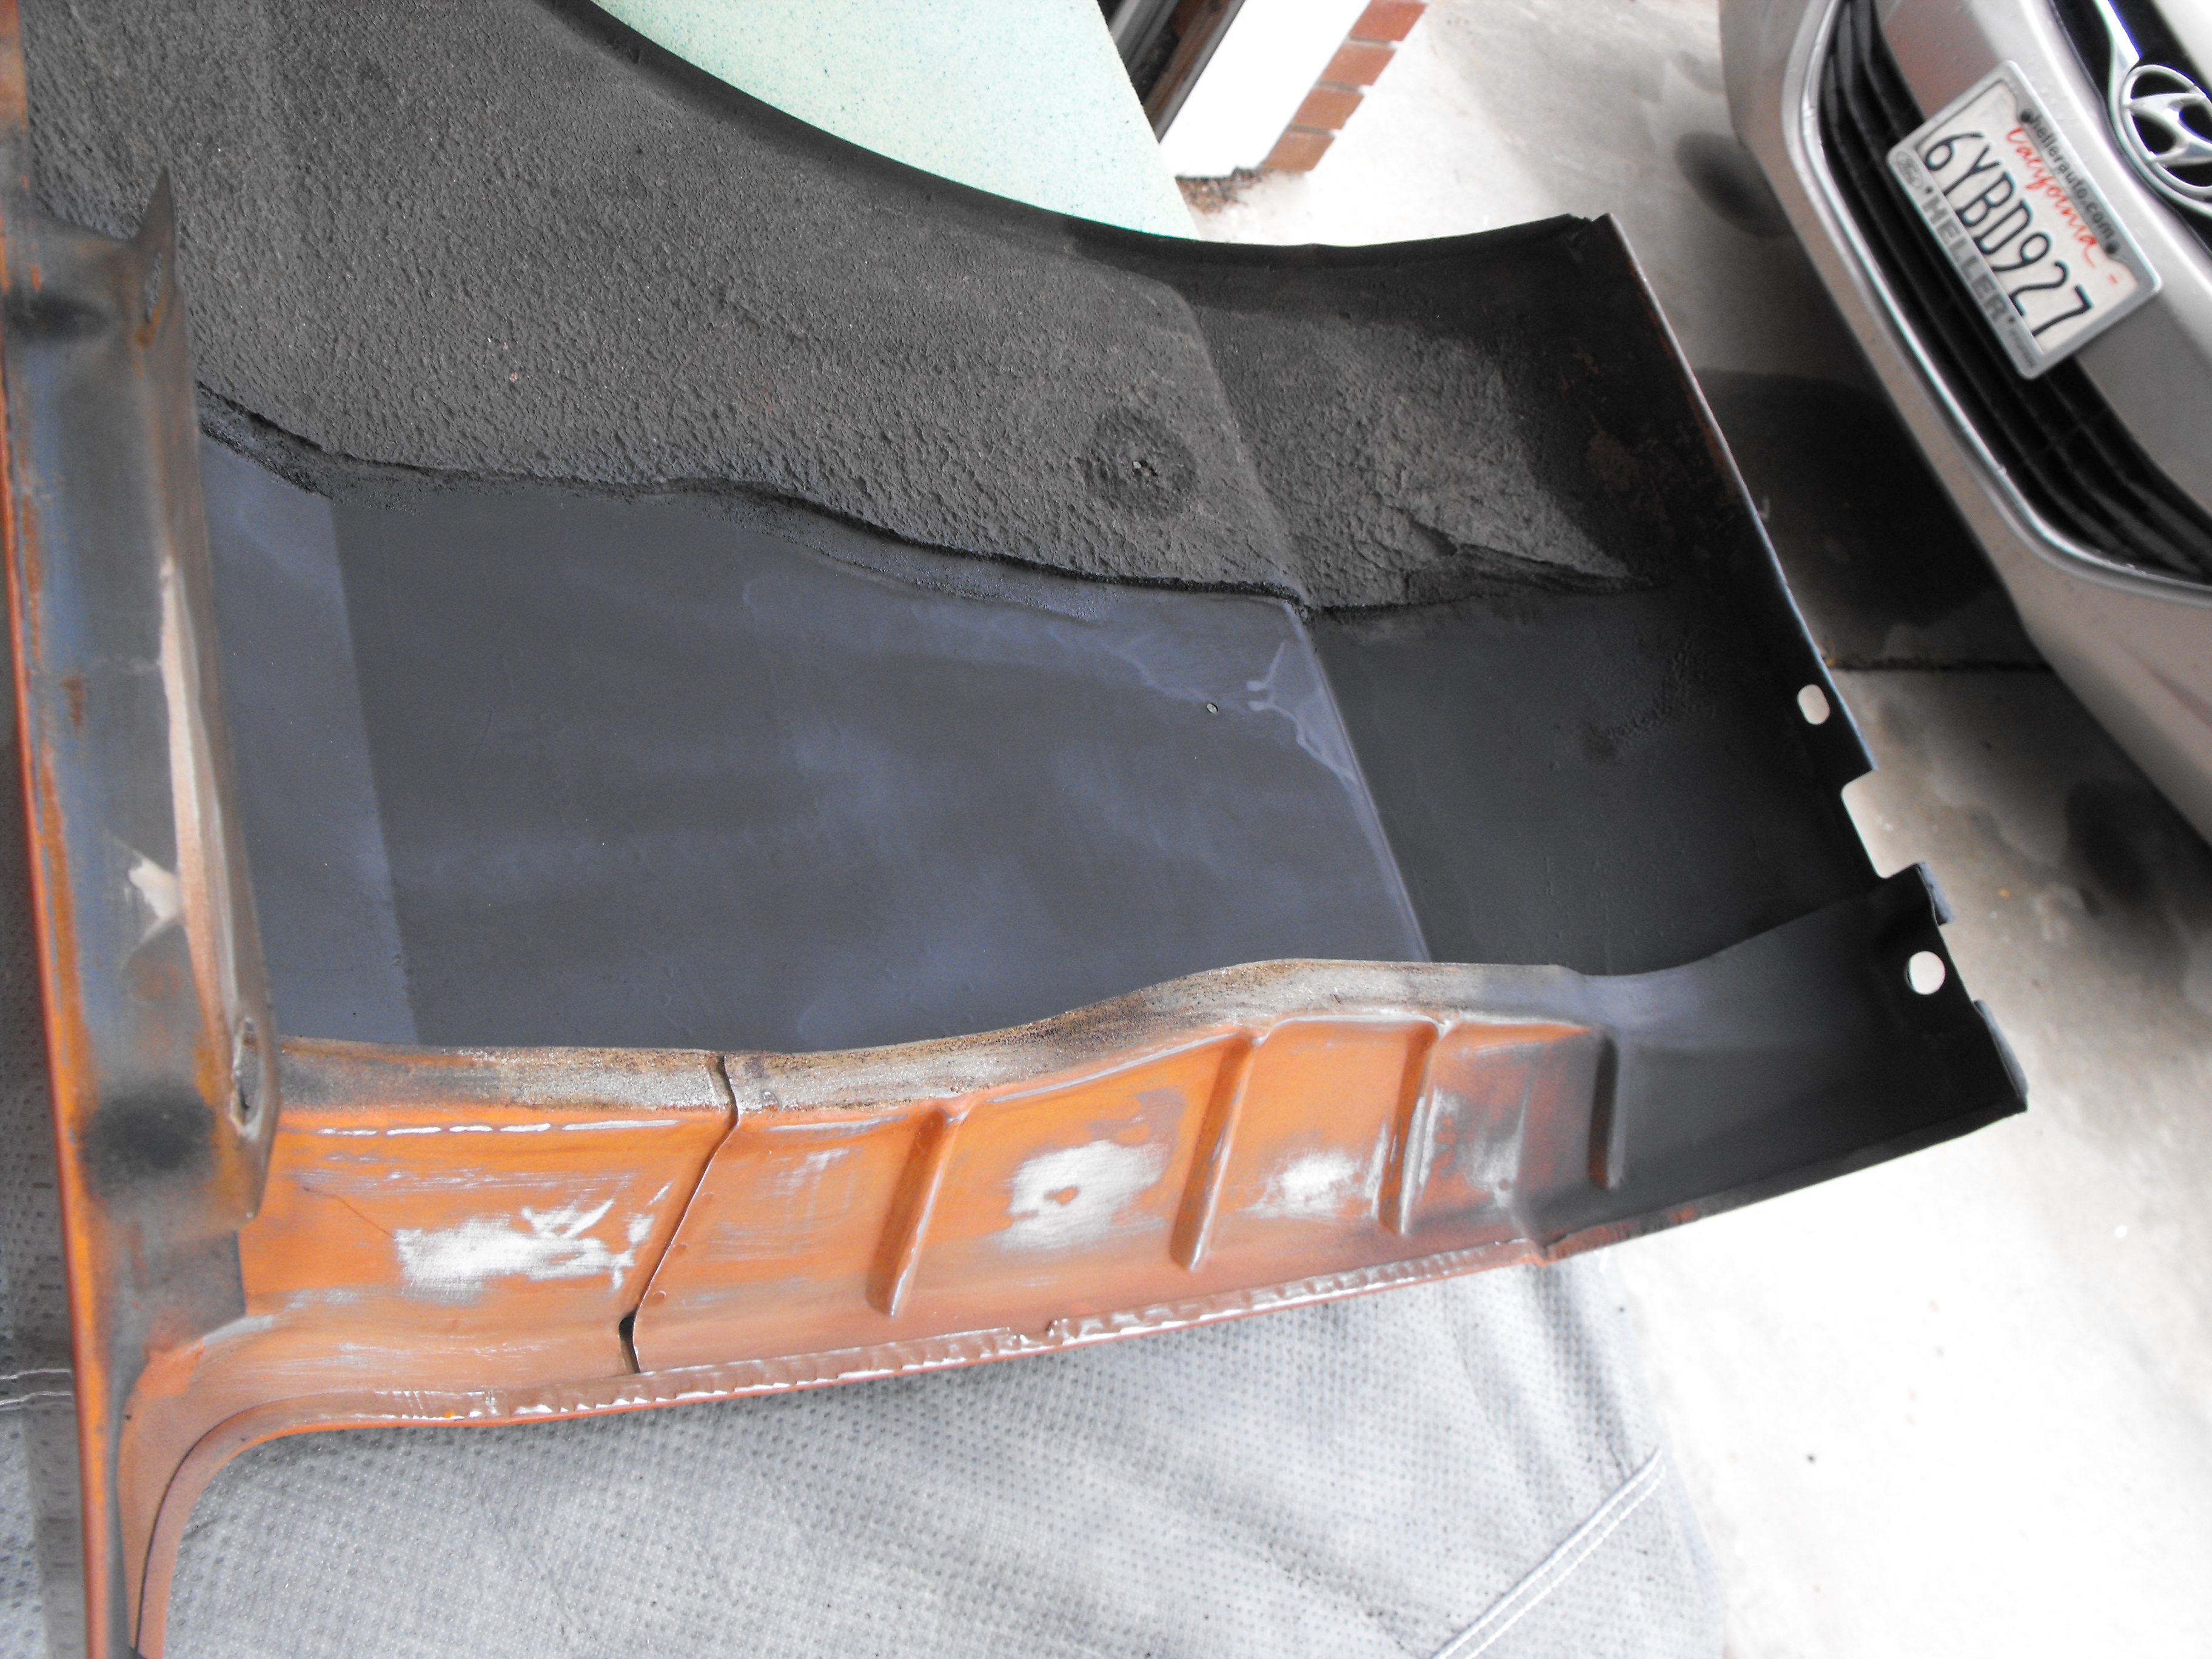
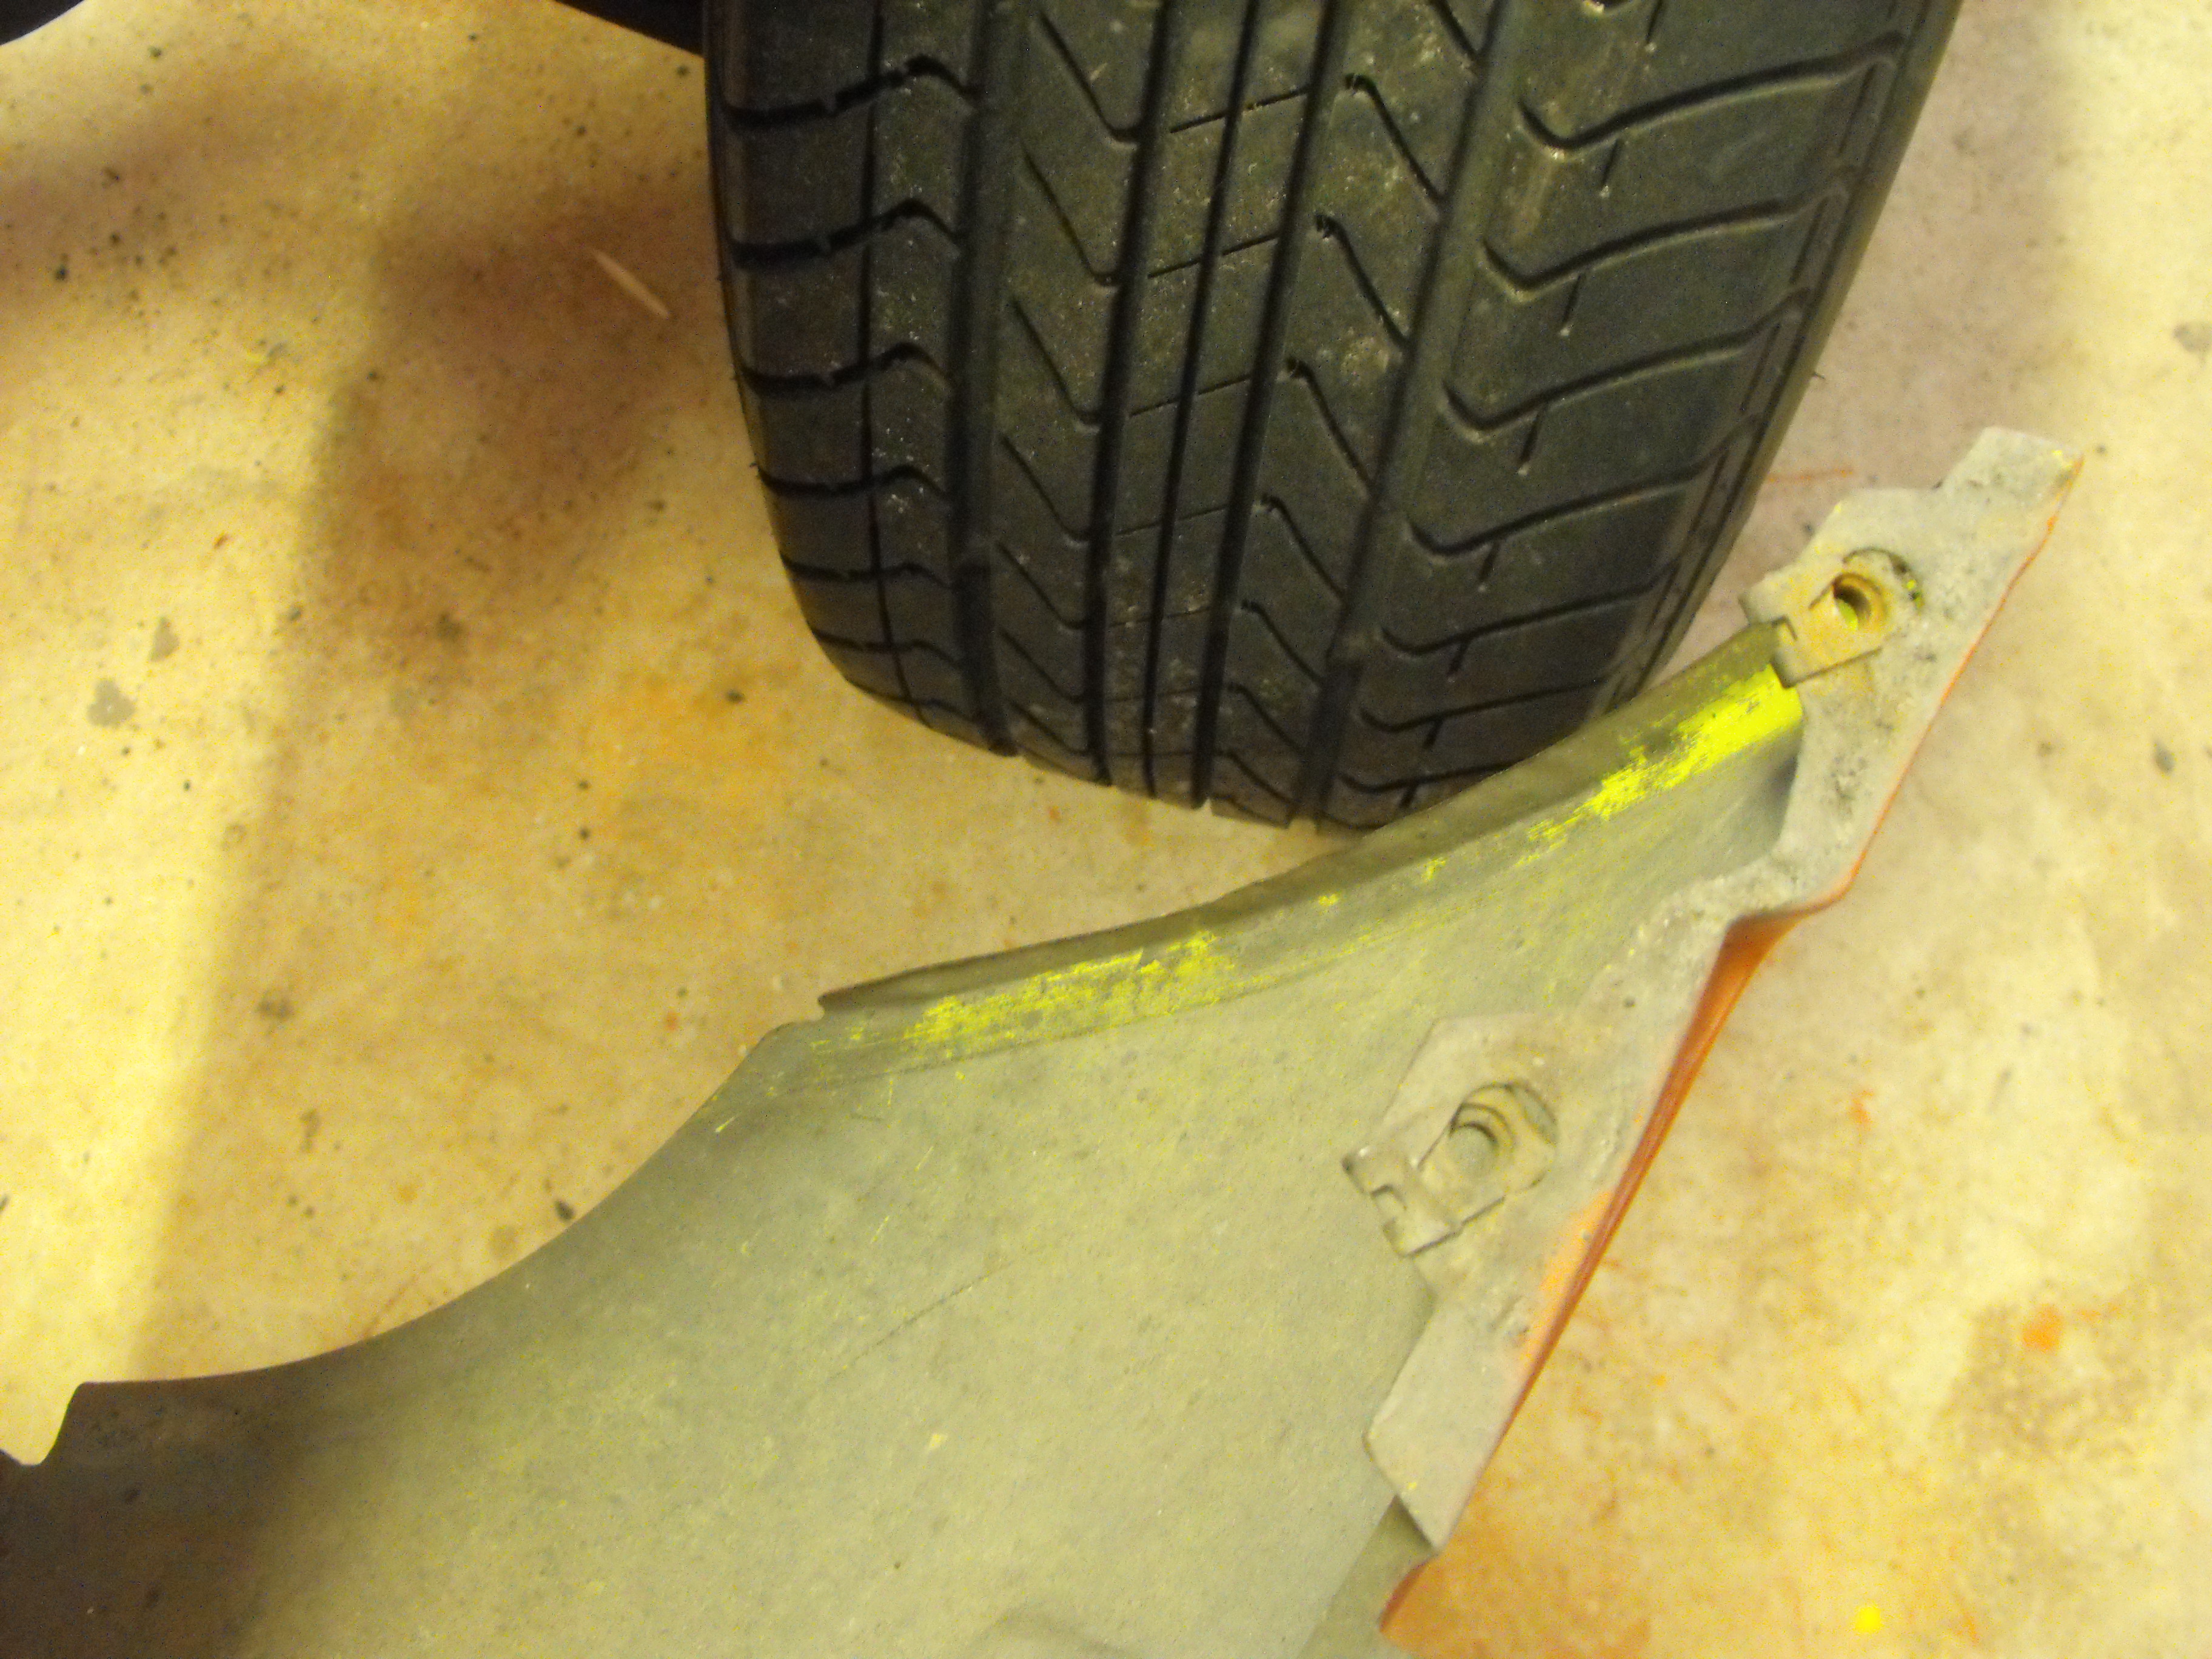
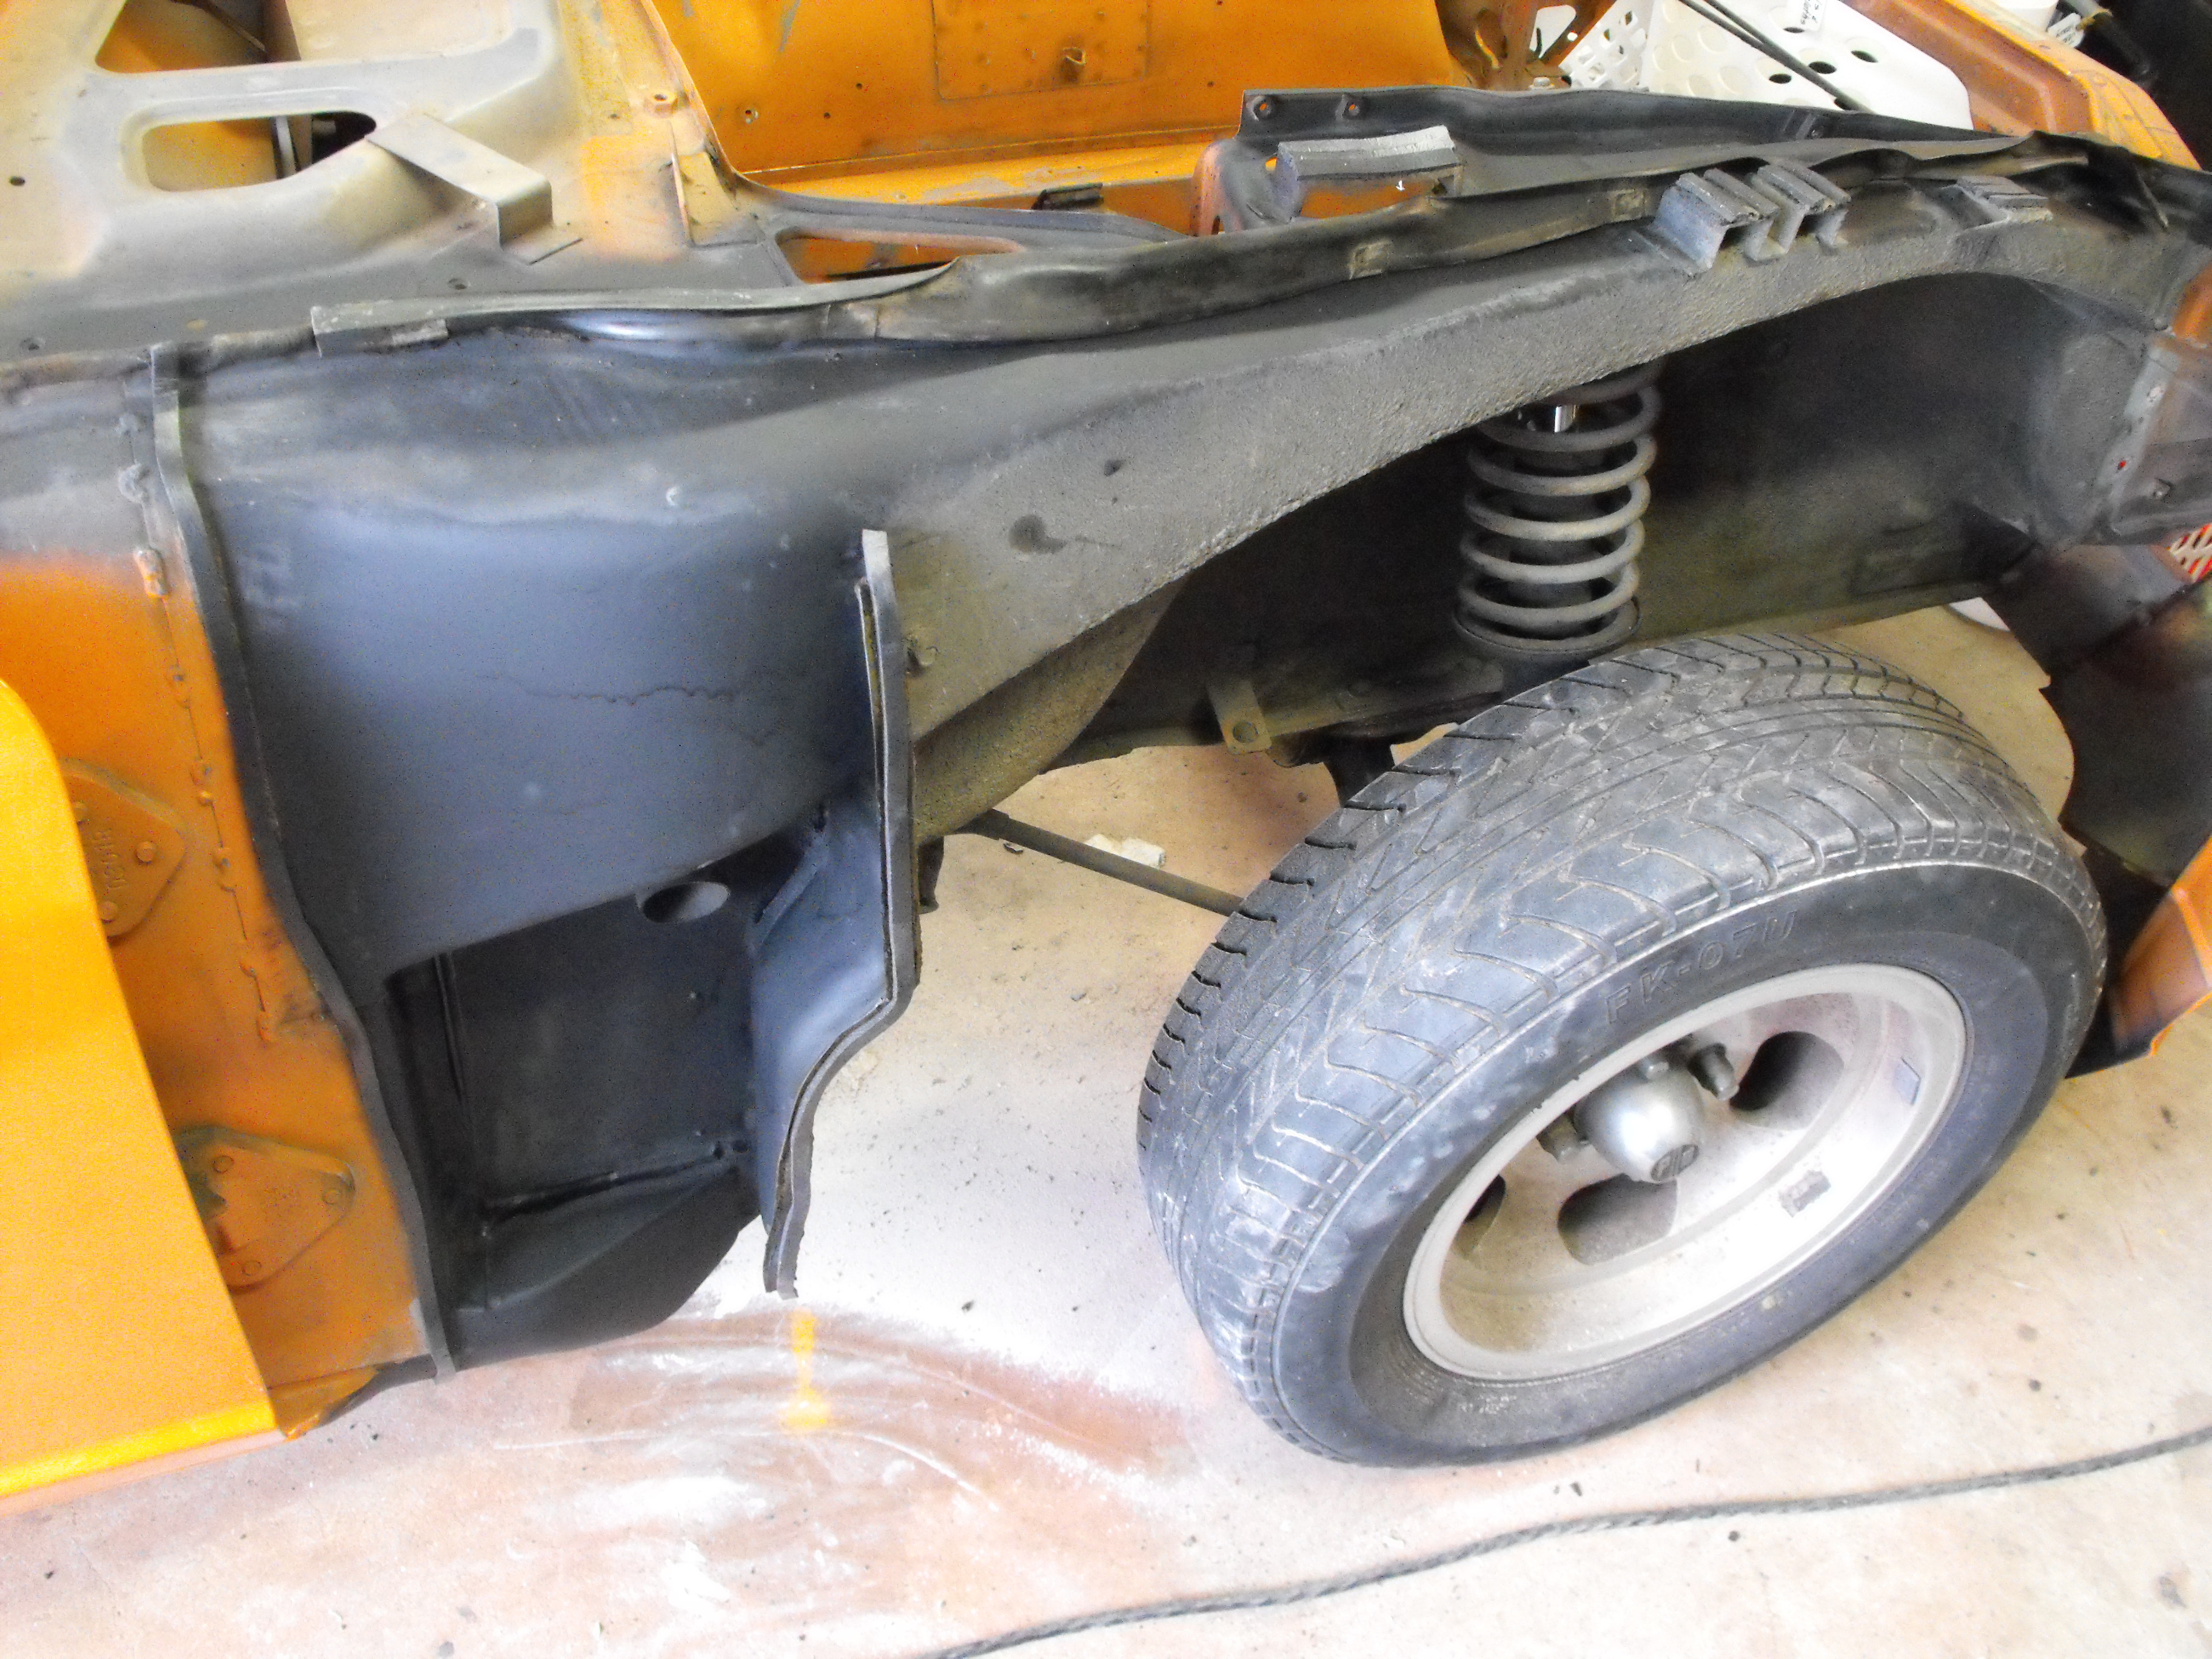
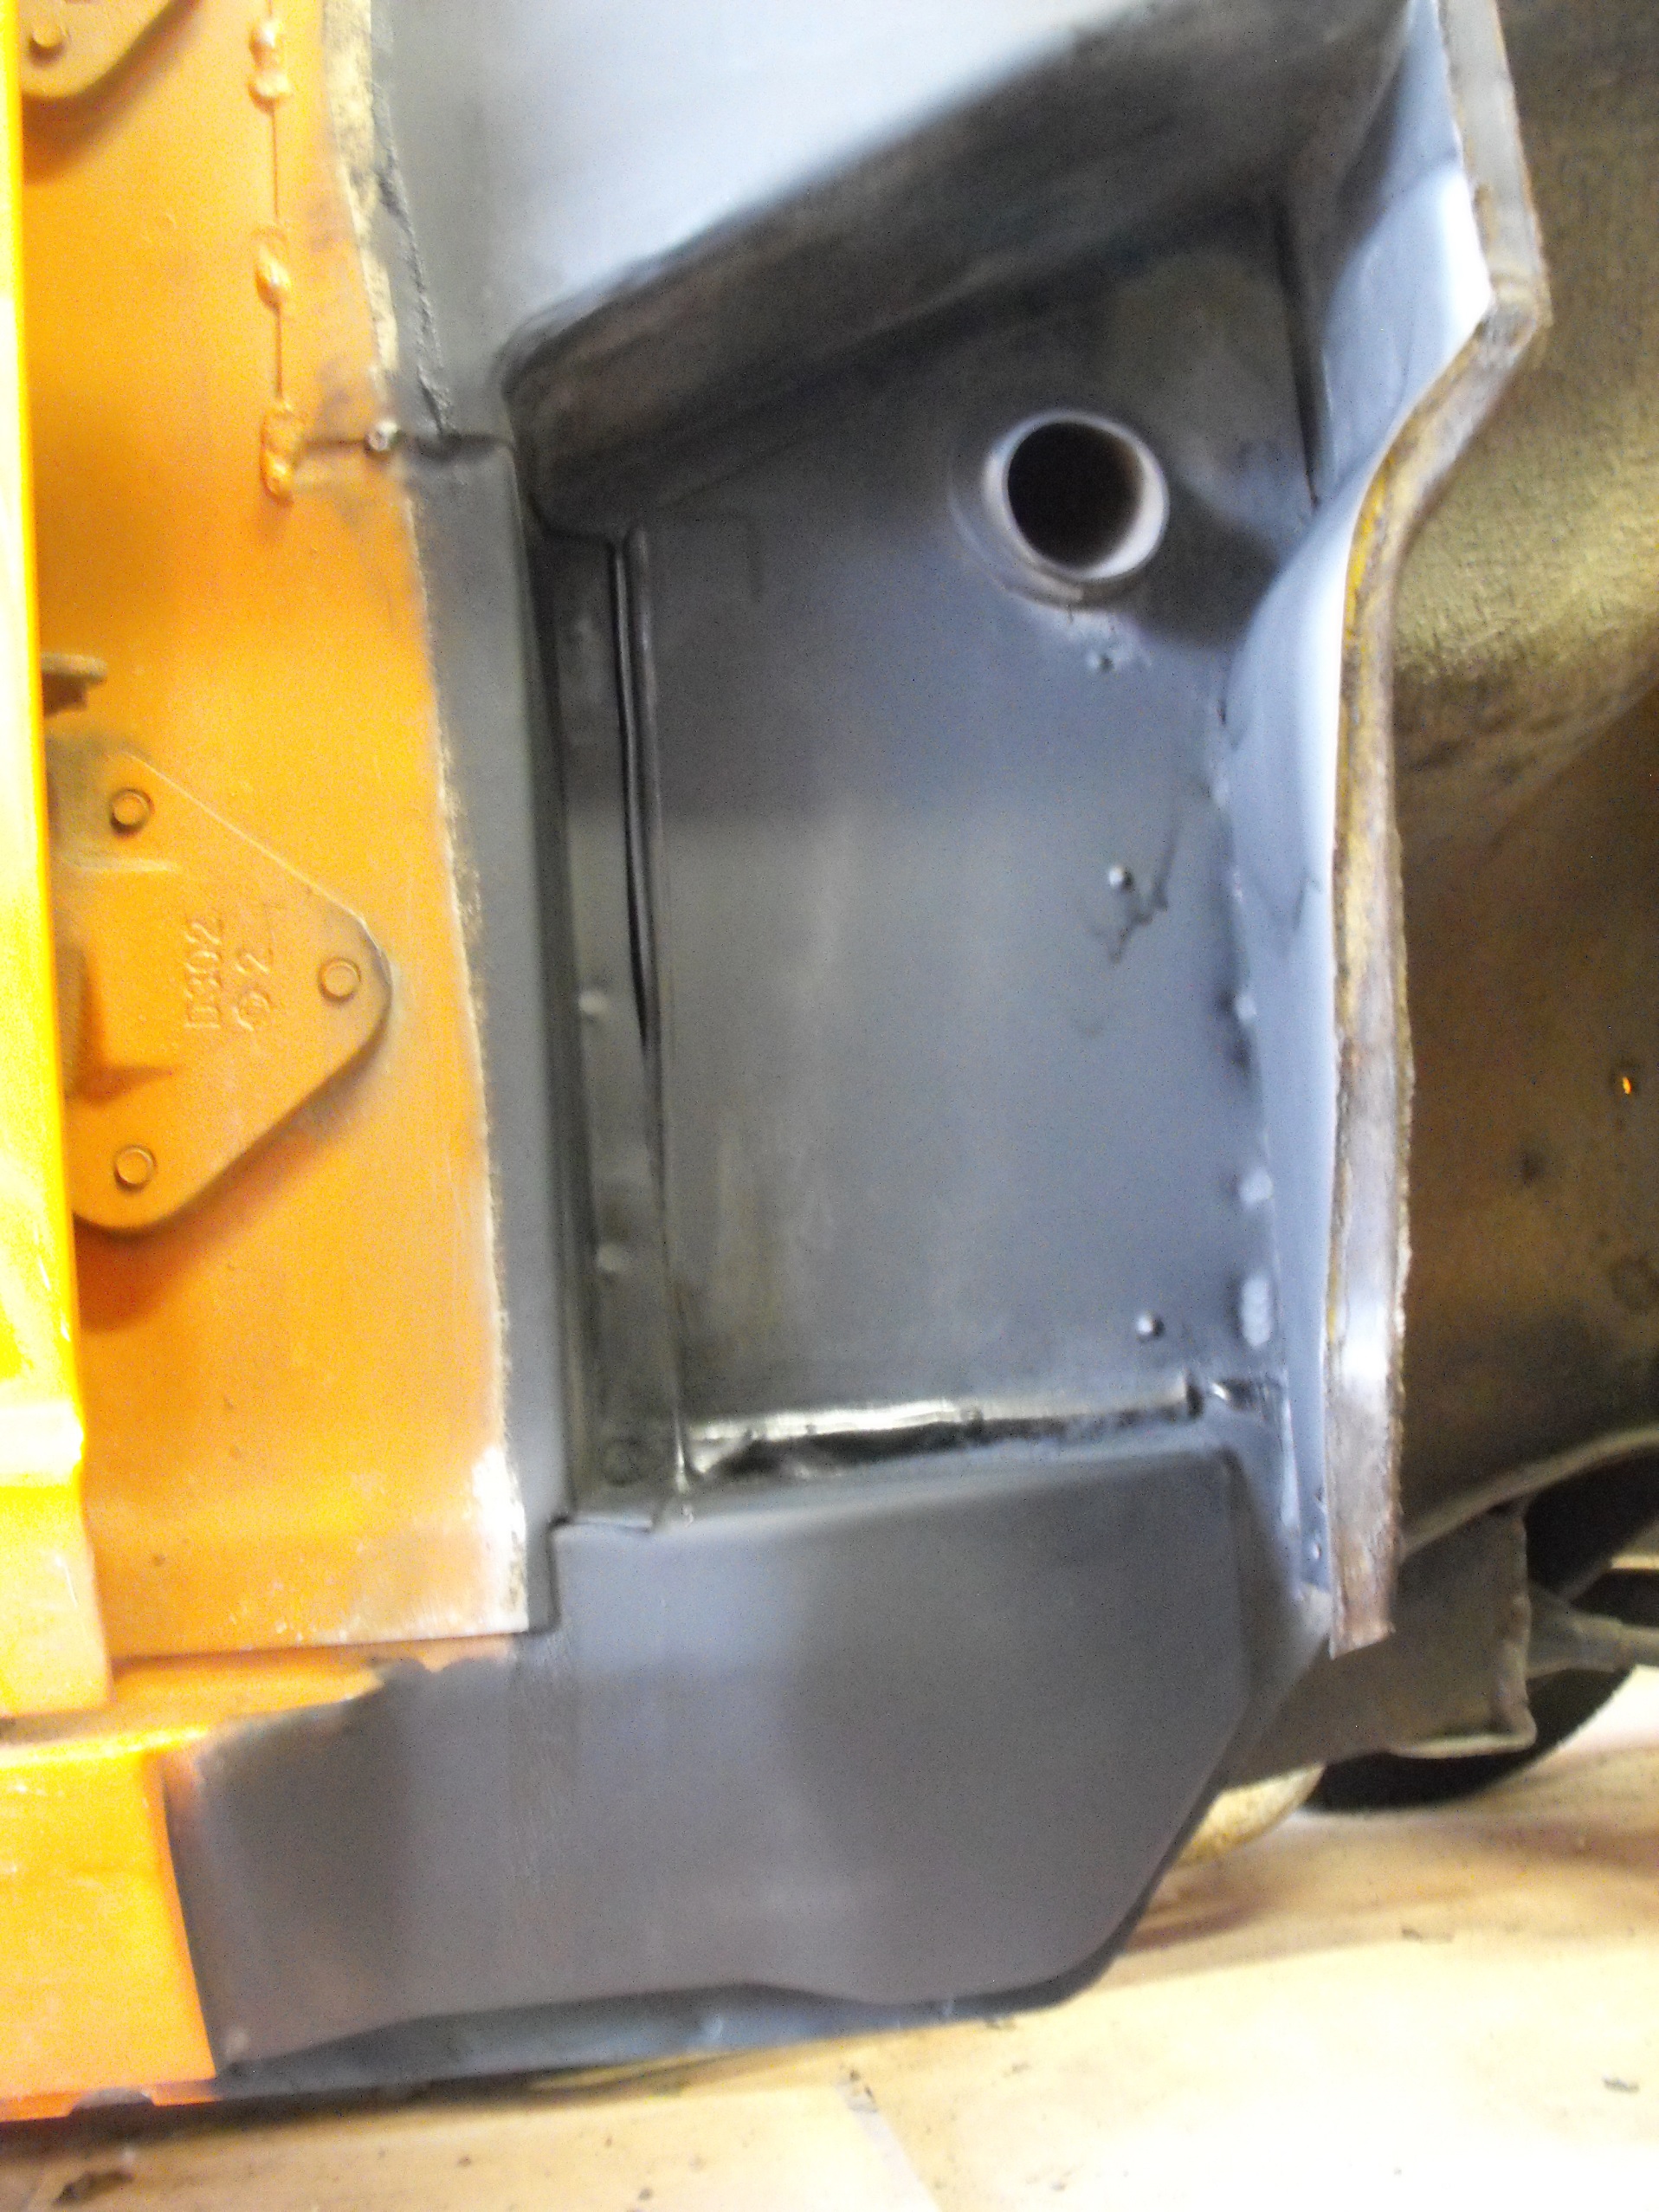
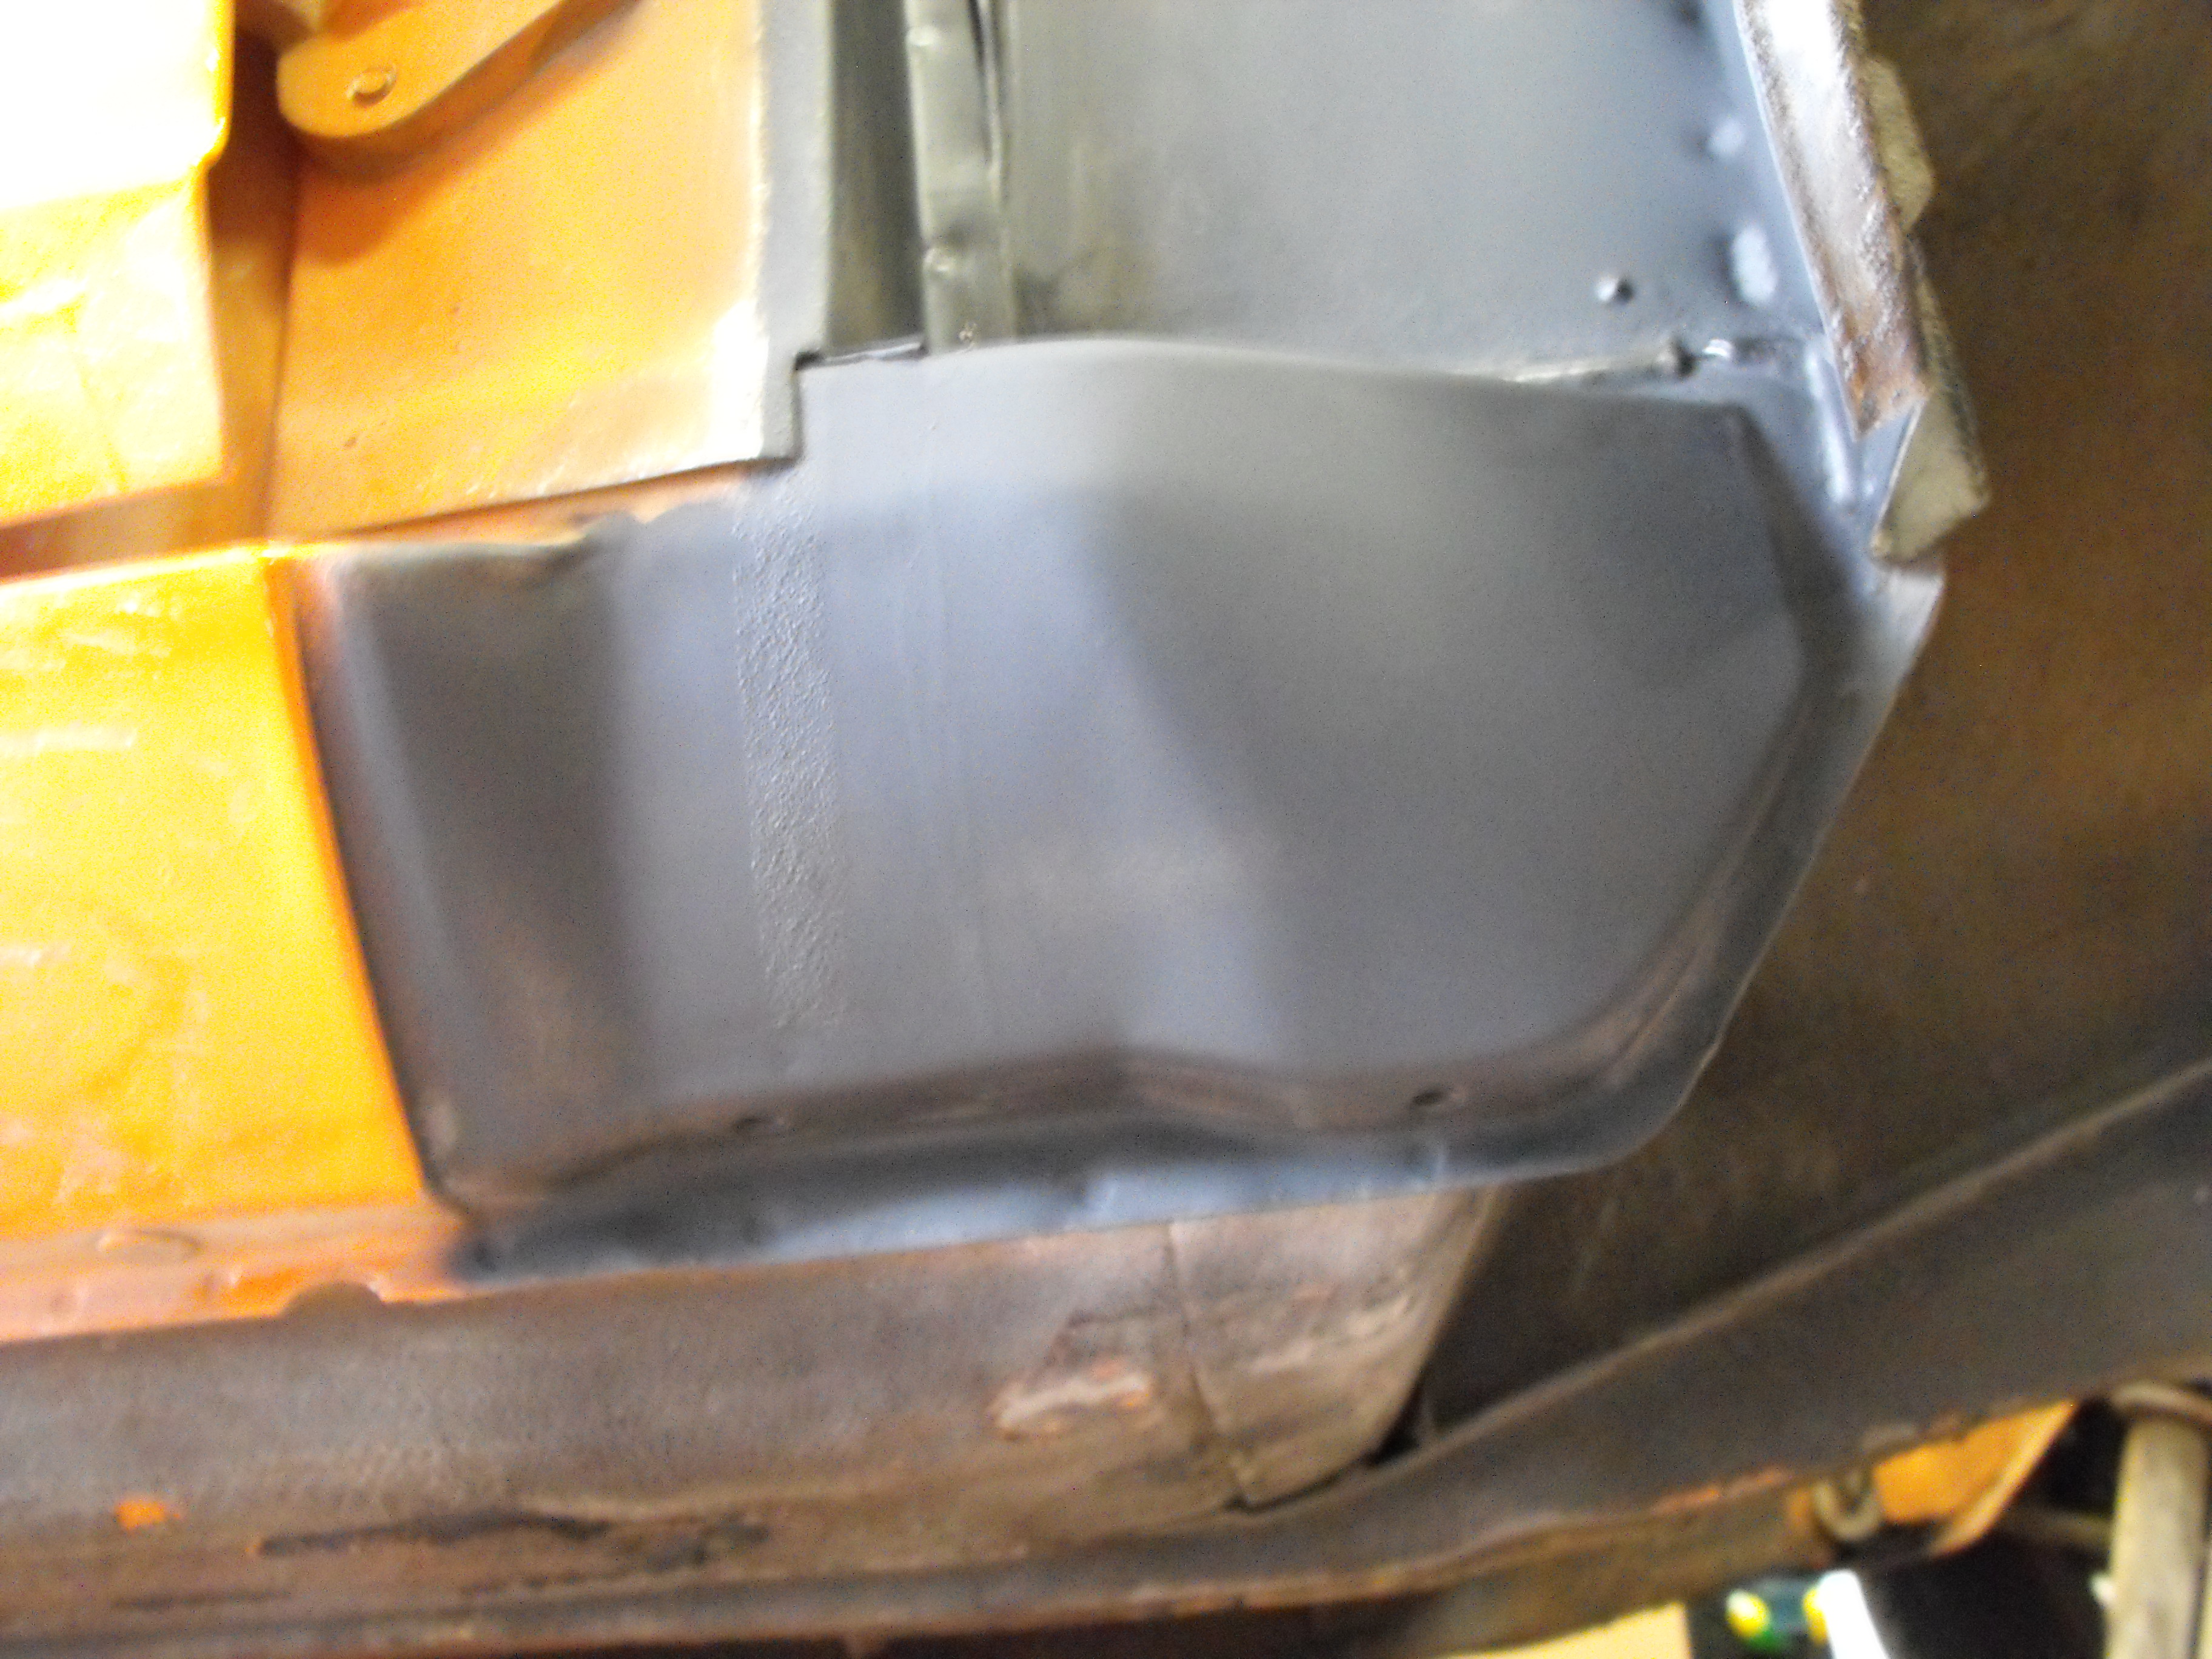
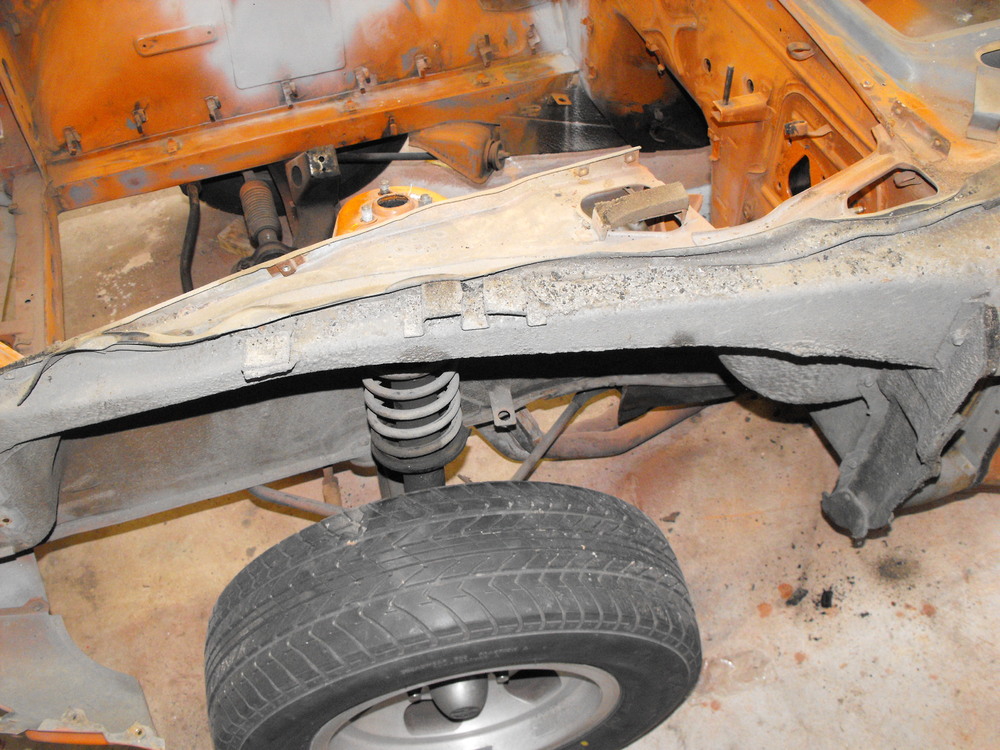
Worked on the drivers side fender this weekend. Removed fender and cleaned up the inside. Wire wheeled and sanded rust areas near bottom of fender and upper attach points. Cleaned up the upper air box area and then sprayed the area along with the fender. Also installed new foam seals and then re-installed the fender. The whole area came out very nice. Spent some more time detail sanding the engine bay in the nooks and crannies. I think I am finished with the sanding on the passenger side. I also sanded the roof and part of the rear hatch. I still have some more engine bay sanding to do and then the drivers side along with the hood, cowl and headlight buckets. So, I am pretty far along here. I am hoping to have this ready for the paint shop in two to three weeks. Also found another yellow car part, the drivers side turn signal valence. Here are some pics of the progress


-
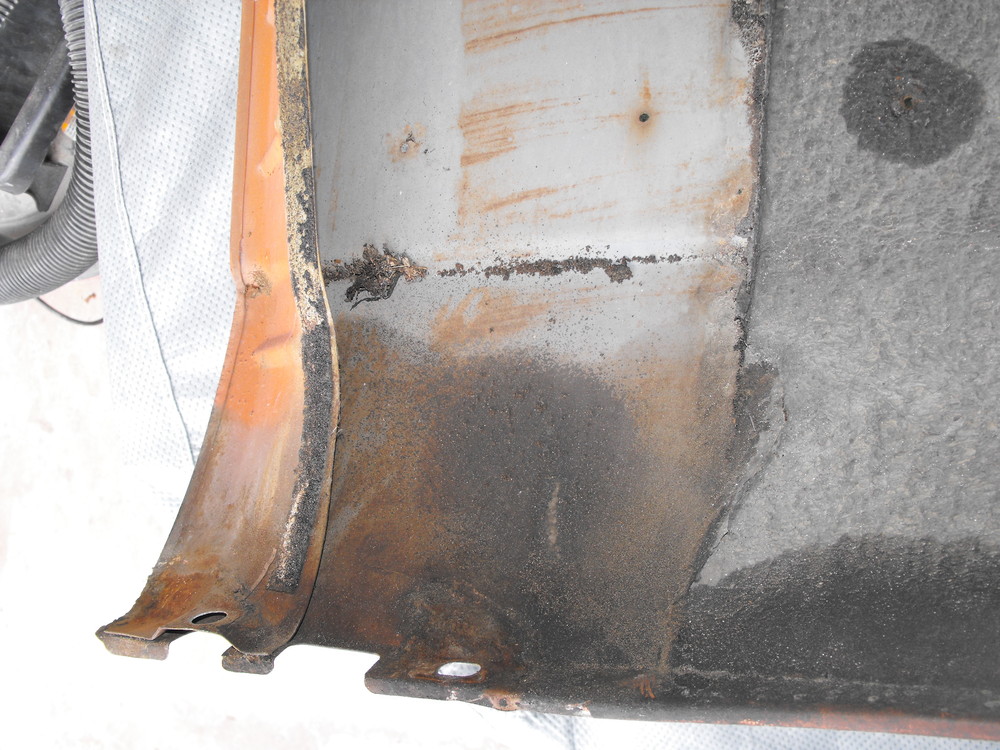
Thanks Carl, I am really enjoying the work and everything is progressing very well. I cleaned up the inside passenger fender area and sprayed with rust preventative since it was off. Also installed new foam seal and cleaned up the fender rubber gasket. That entire area is in very nice condition. I also sprayed the inside of the fender to inhibit rust, and then reinstalled. I am continuing on the overall body sand and cleaning up the small chips and dings. That is actually going kind of slow as the second paint job has a fairly thick clear coat. I would like to sand most of that off, and at least get down to the orange base coat. Not very exciting stuff, but necessary. Here are a few pics of the area under the fender.