motorman7
Supporting Member
-
Joined
-
Last visited
Everything posted by motorman7
-
Thanks! I have my 70 up on the lift so using that as a reference. Definitely gloss black. This is the fuel tank from S30. I am surprised it came in satin. Will probably paint it this afternoon or tomorrow.
-
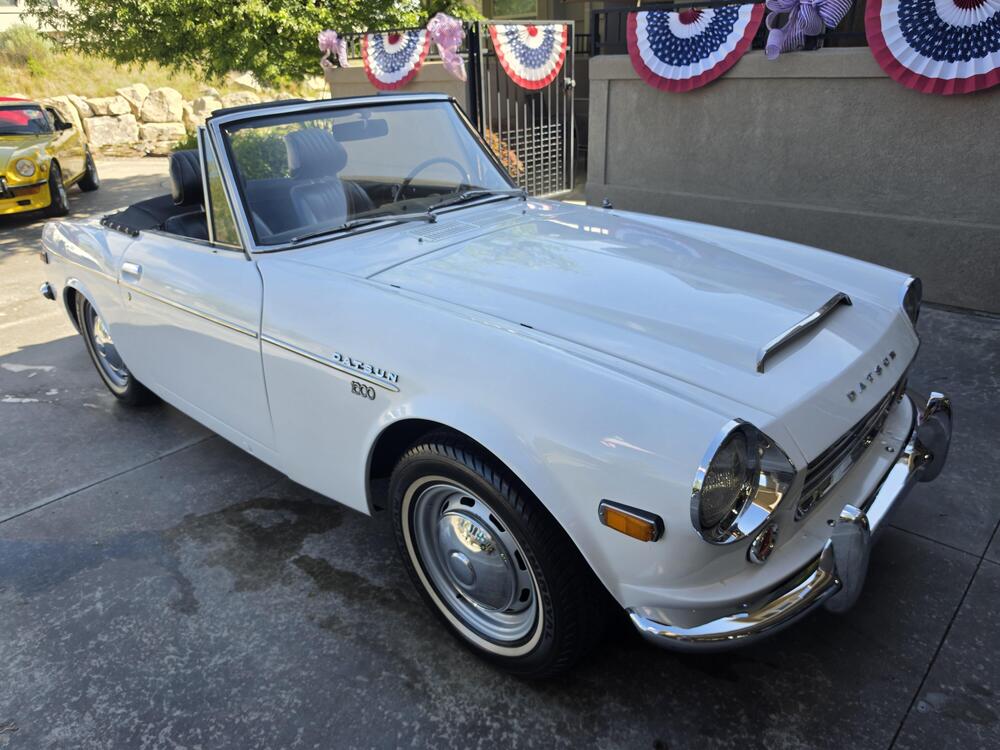
Starting to put a few parts on. Will put in fuel tank, then fuel and brake lines in on Monday. Big car show tomorrow in Emmett, Idaho. Bringing the roadster.
-
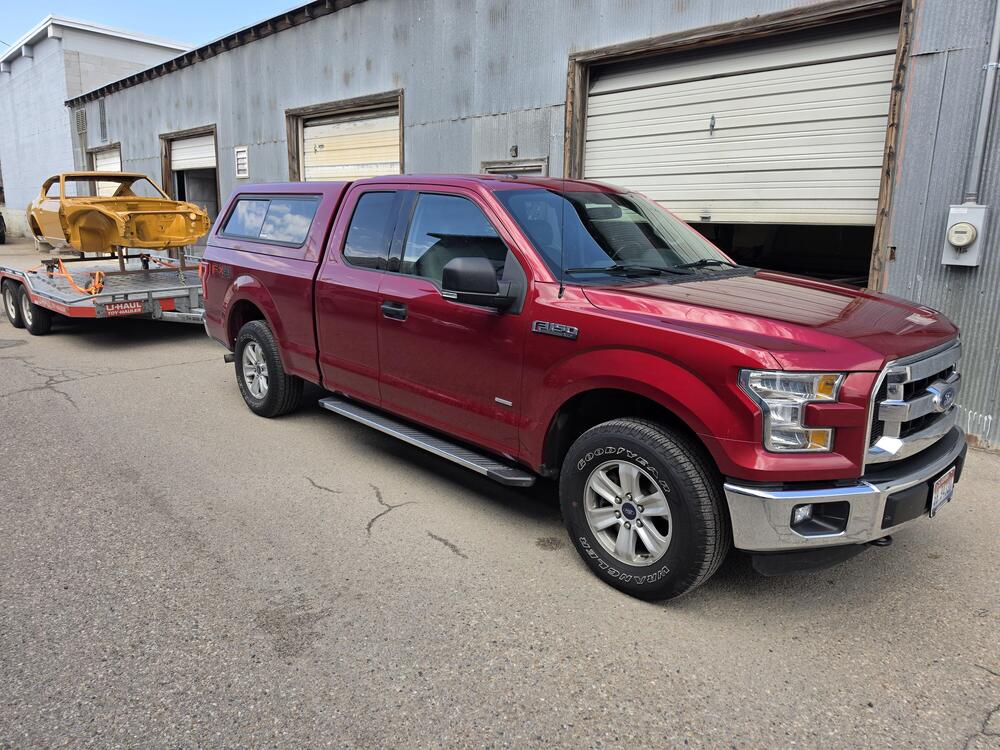
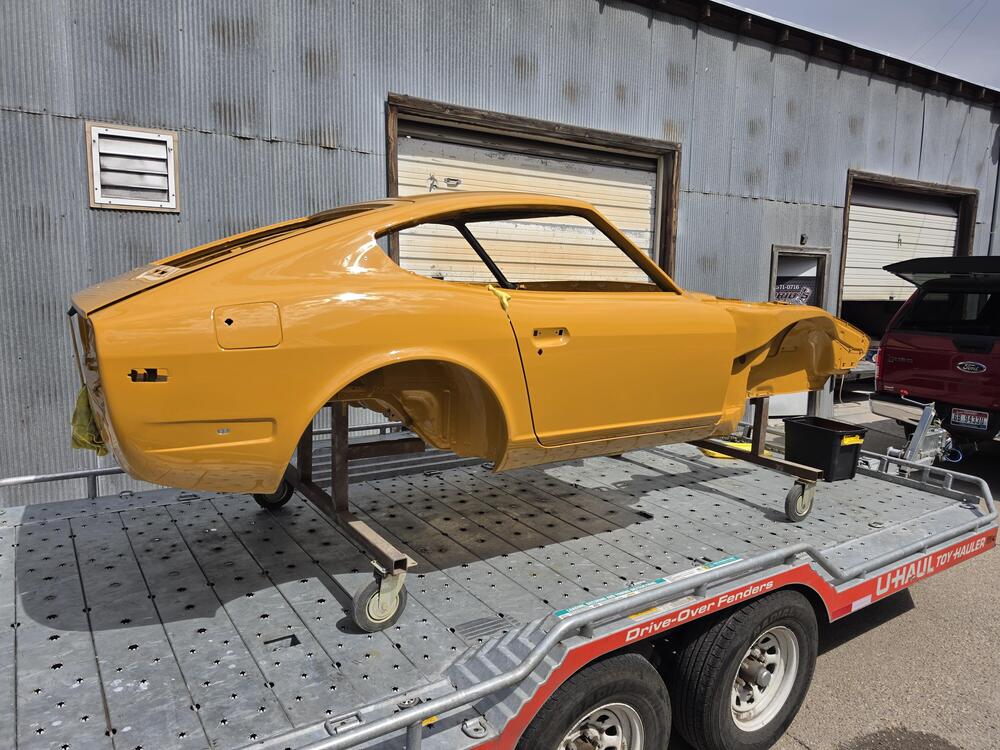
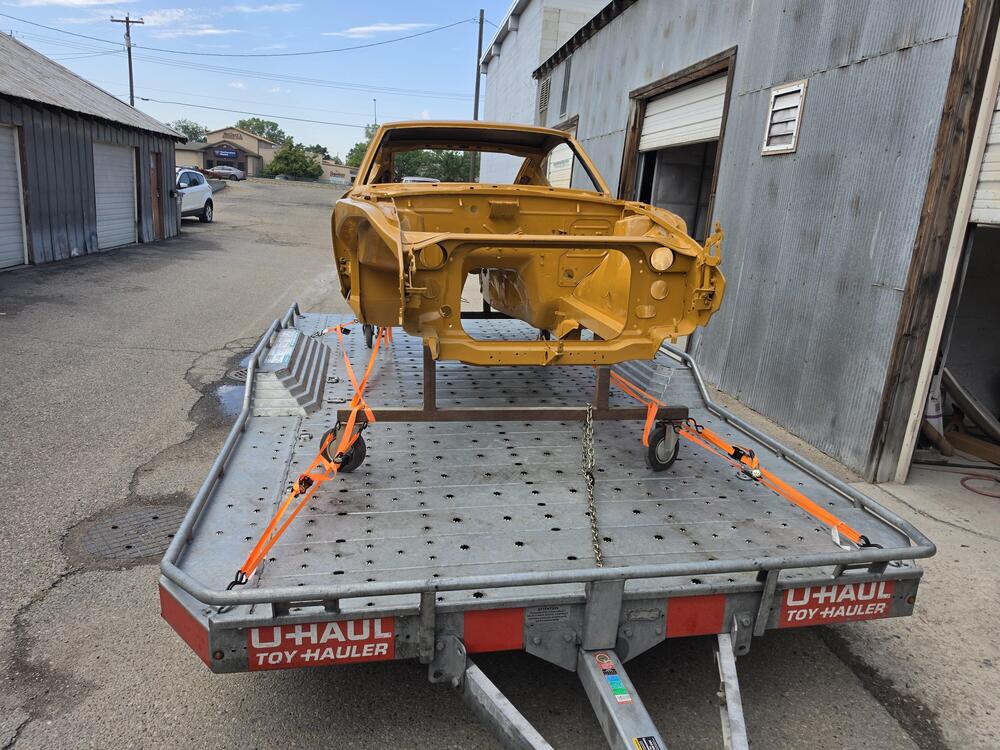
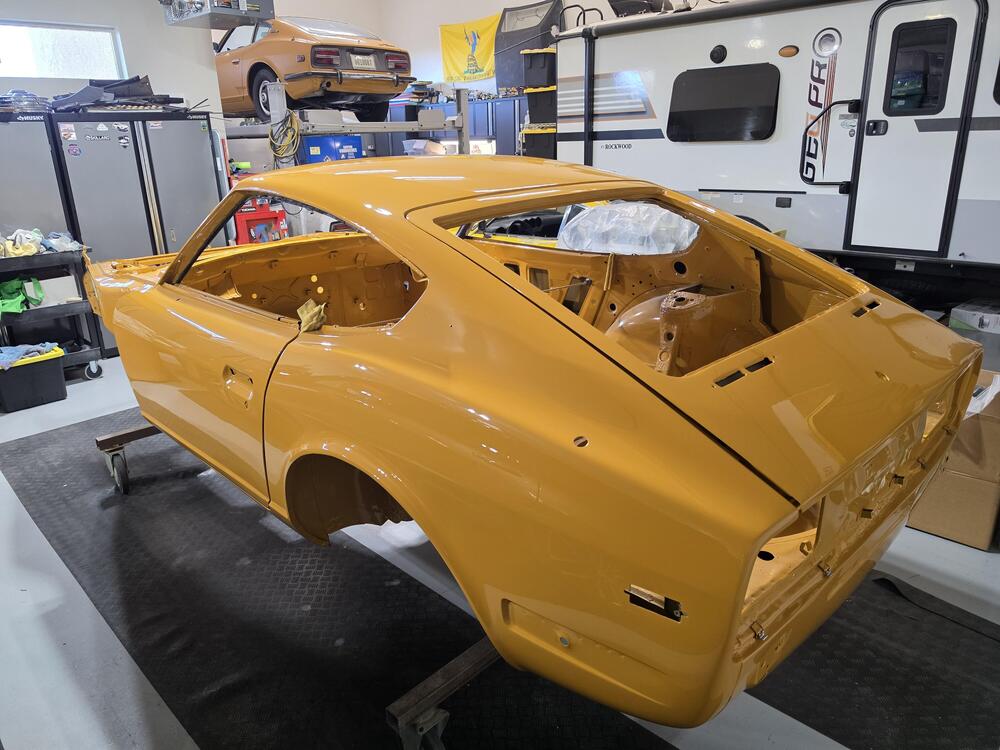
Got her home and safely in the garage. Now, where to start.
-
Thanks! Got the rim today, in great condition. 😀
-
Yes, thanks! The other 3 are all cleaned up and painted.
-
Hi Carl, Car should be completed well before Christmas but the owner is on the west coast. Unless there is something I'm not aware of. 🙃 Also, looks like we got bumped til Friday for pickup. So, should be in my garage tomorrow around 1PM. Will post pics once she arrives.
-
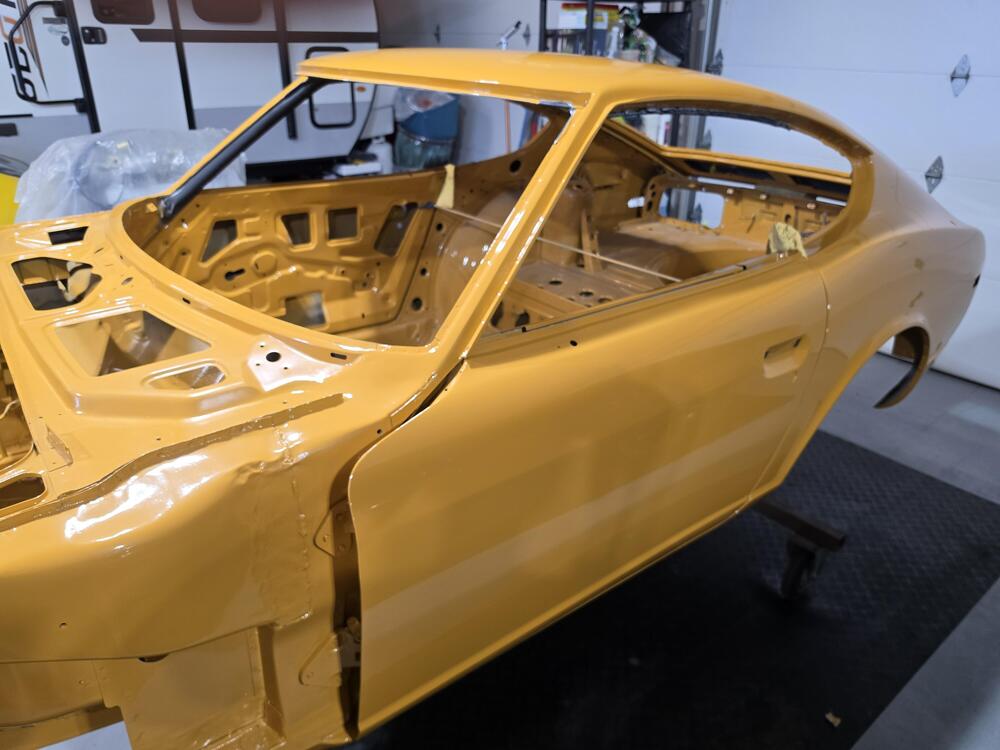
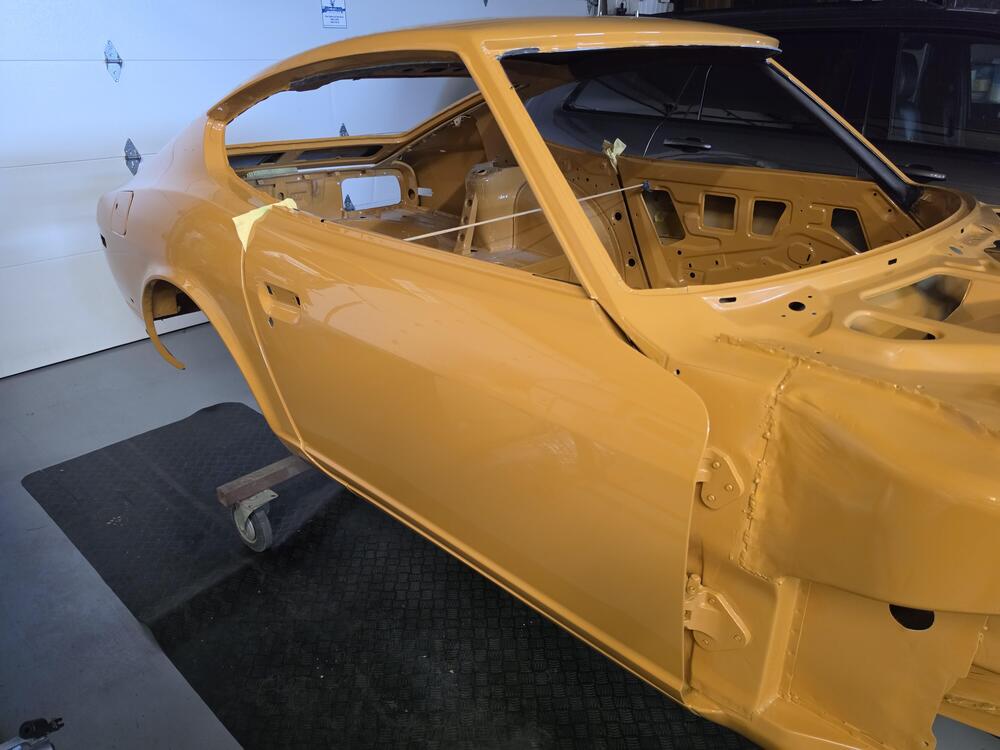
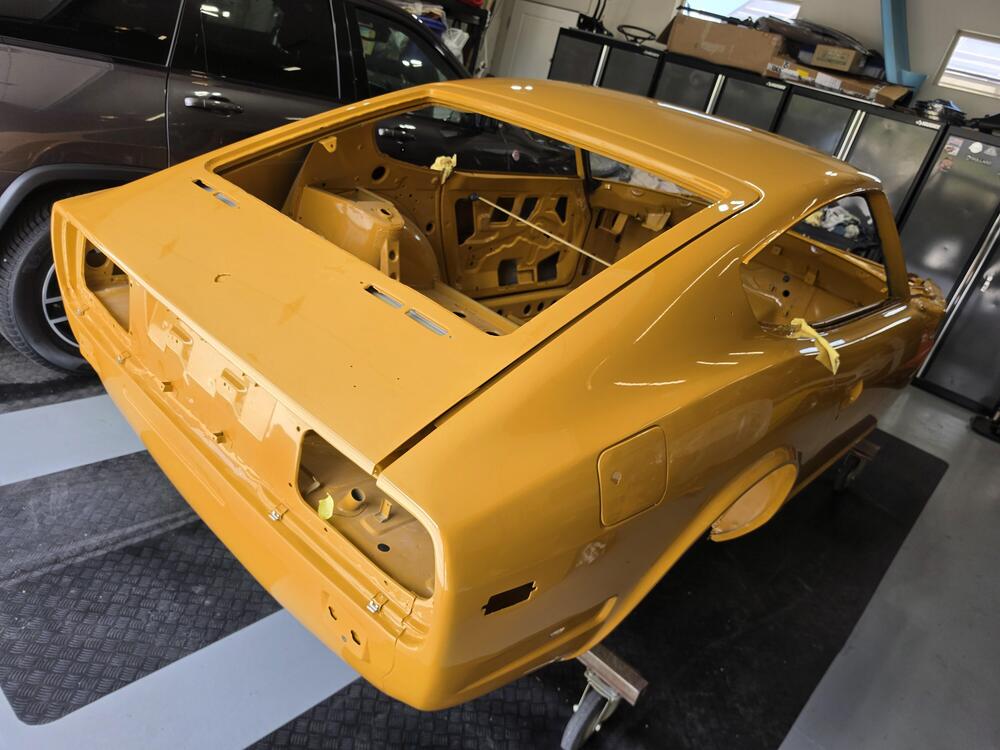
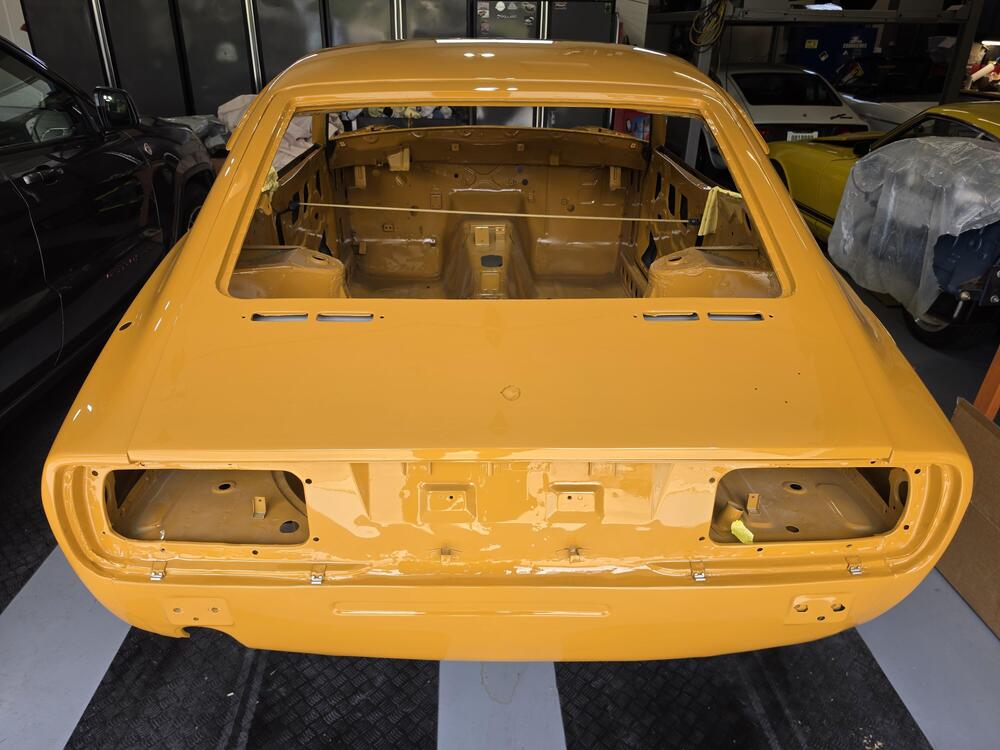
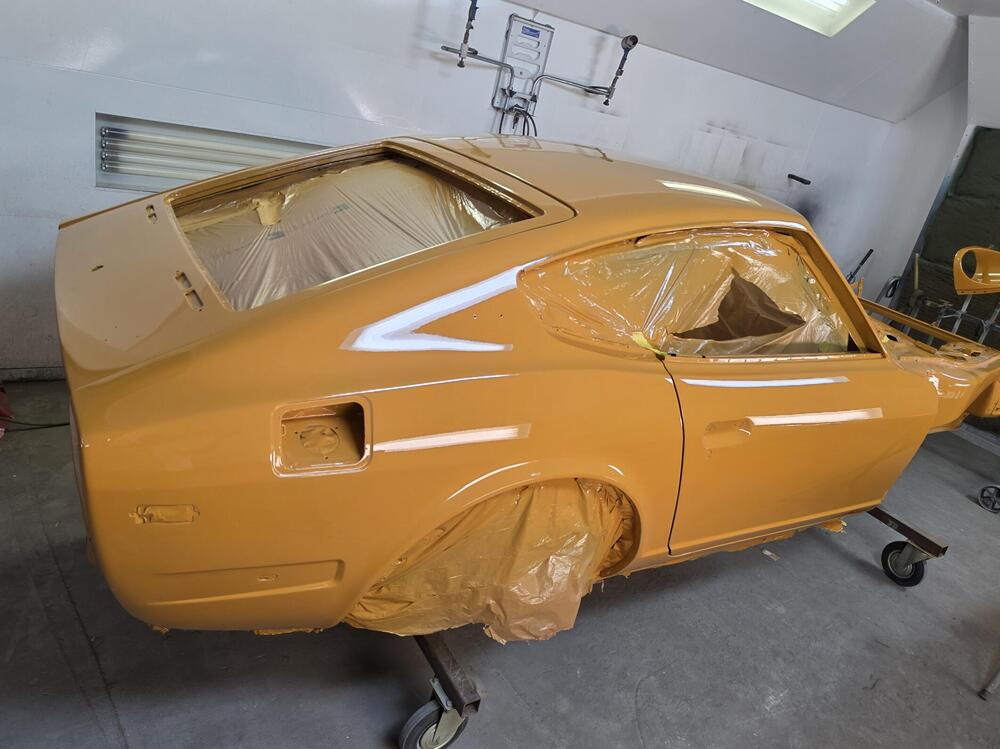
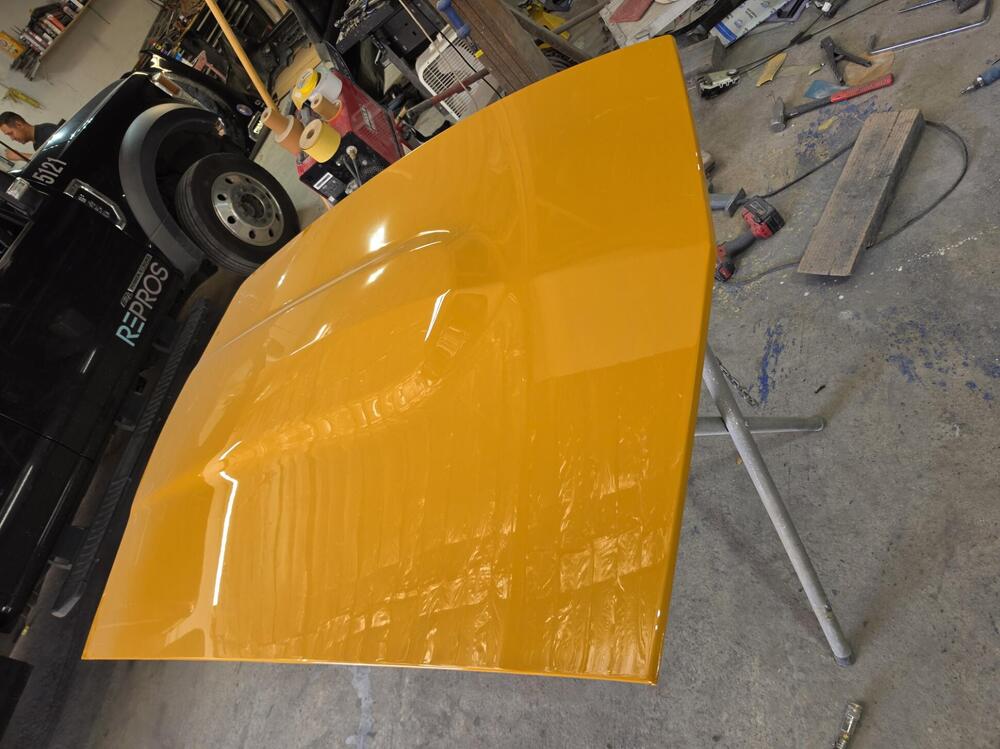
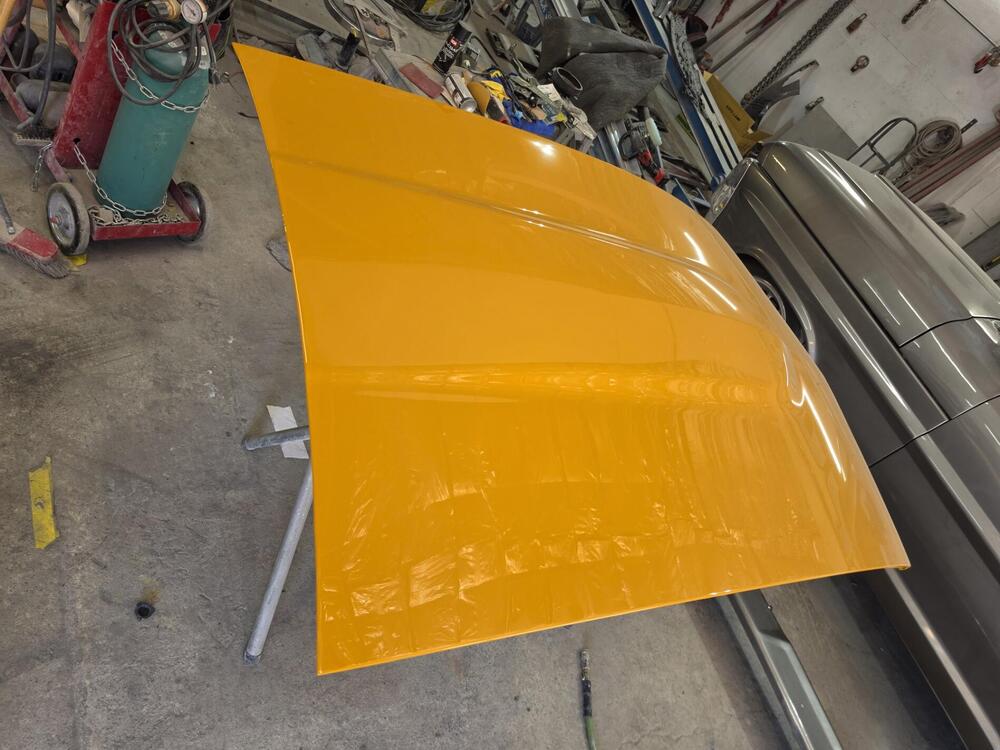
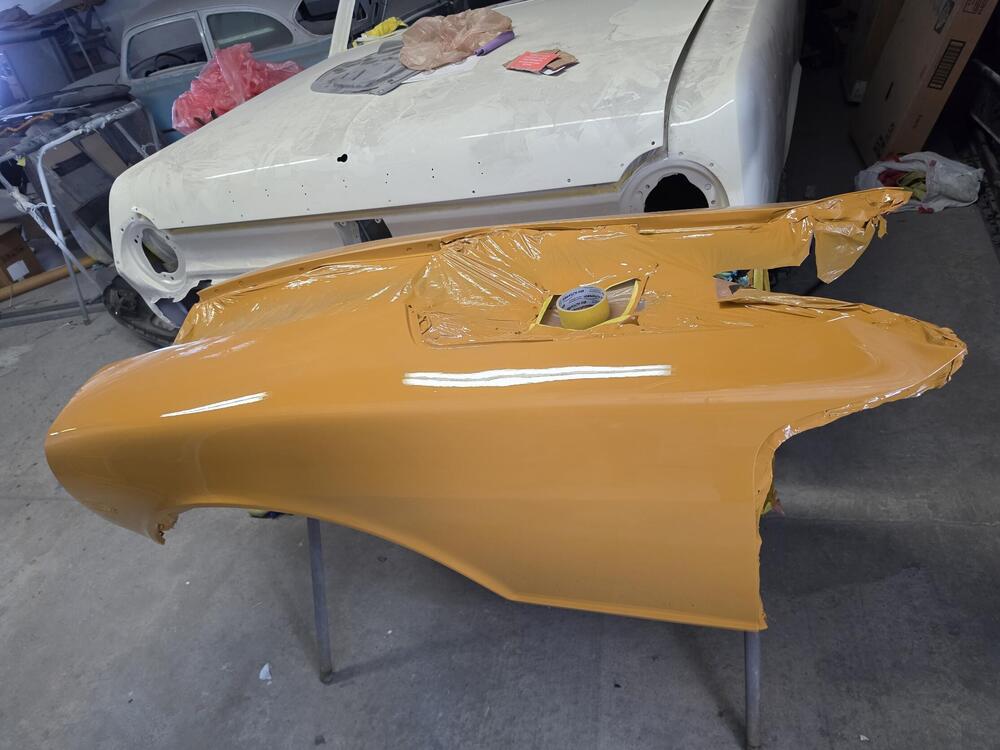
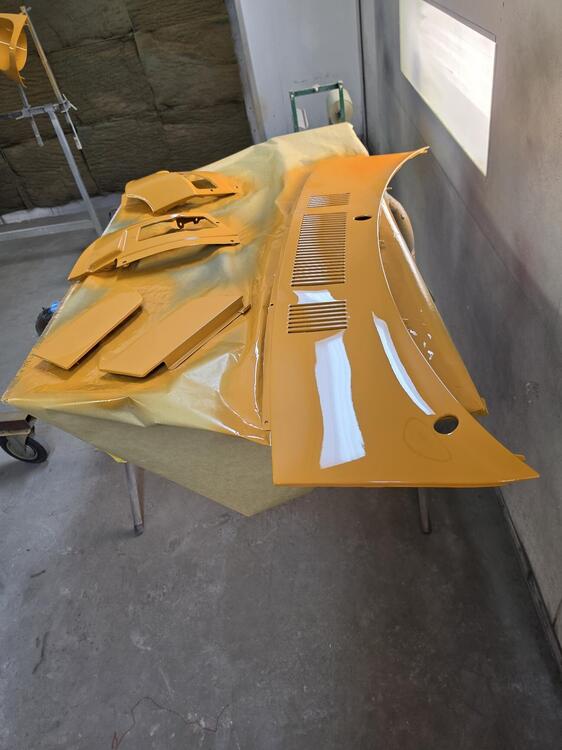
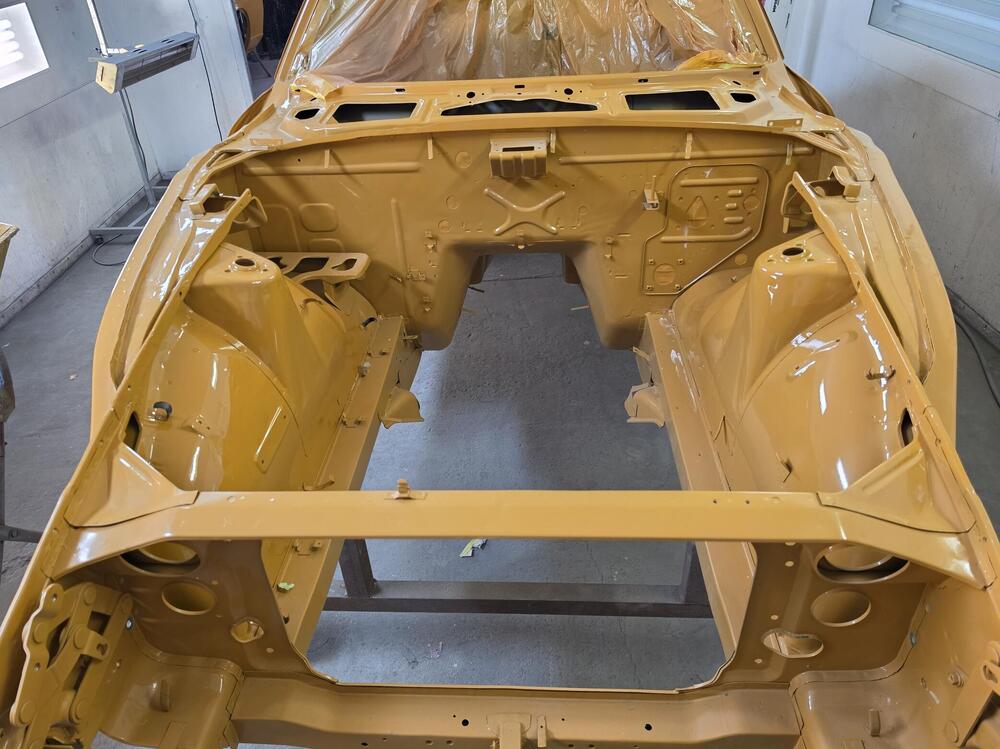
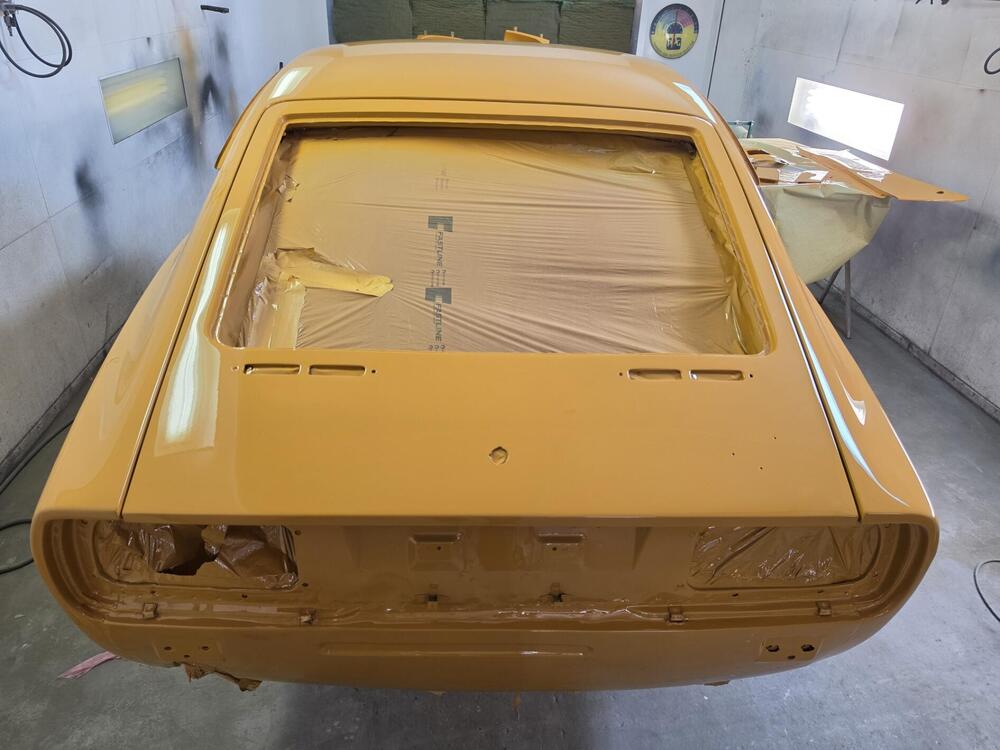
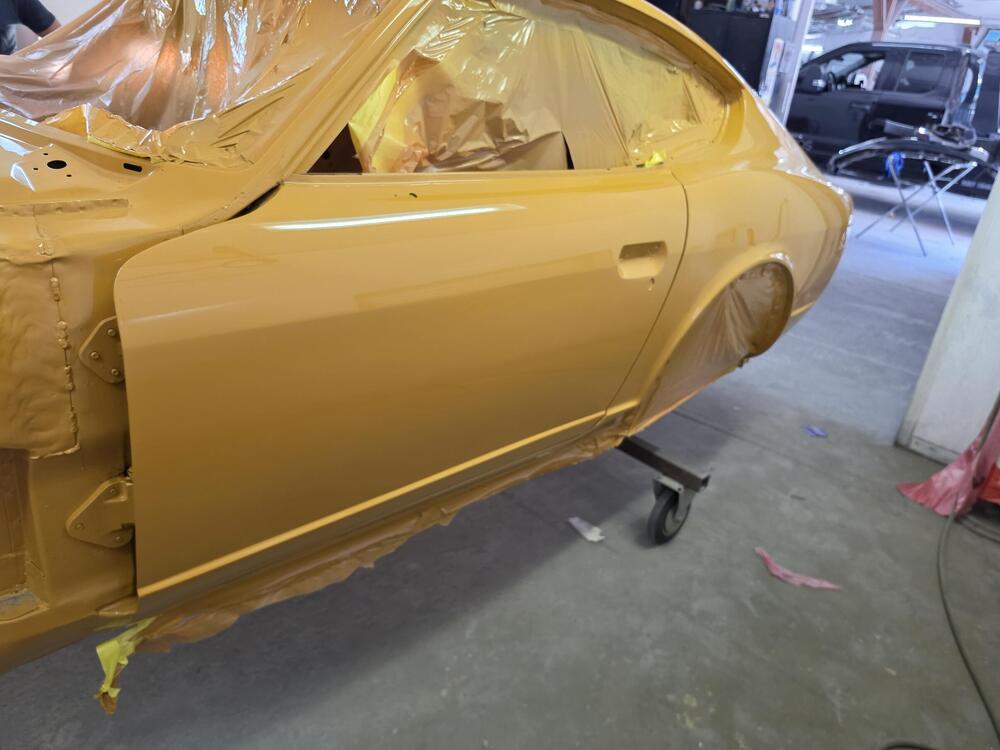
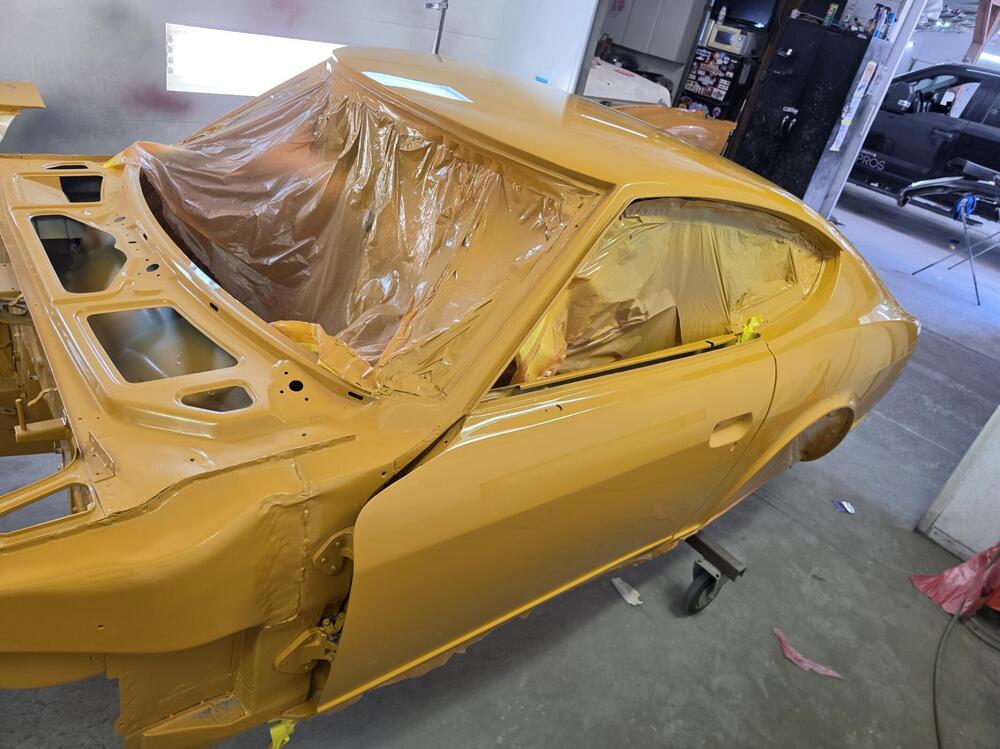
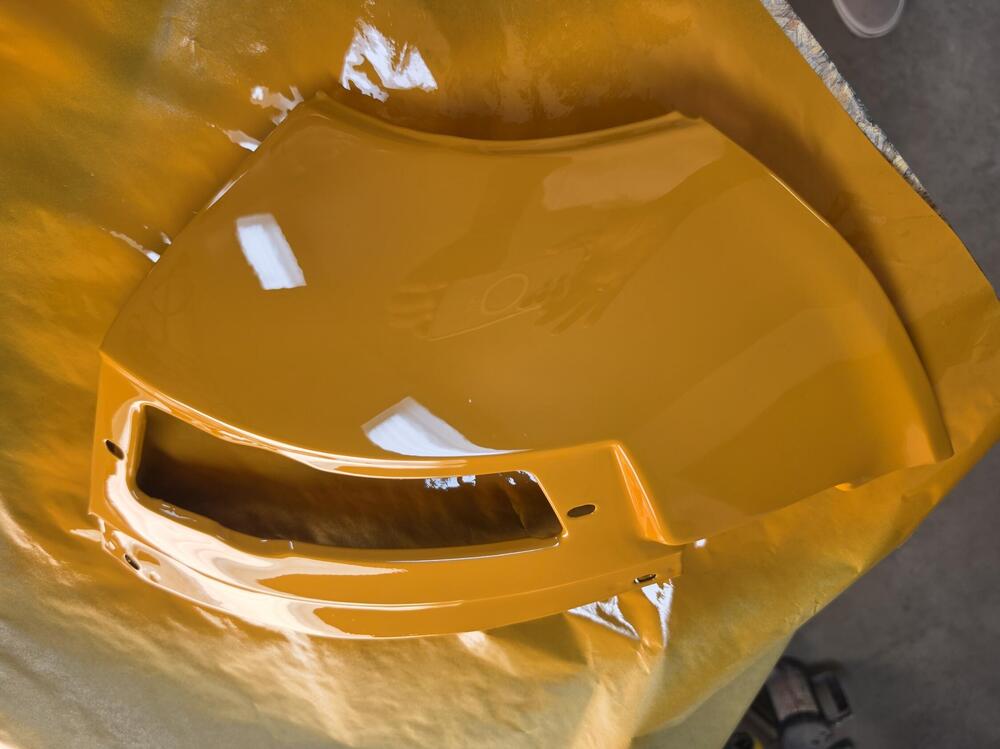
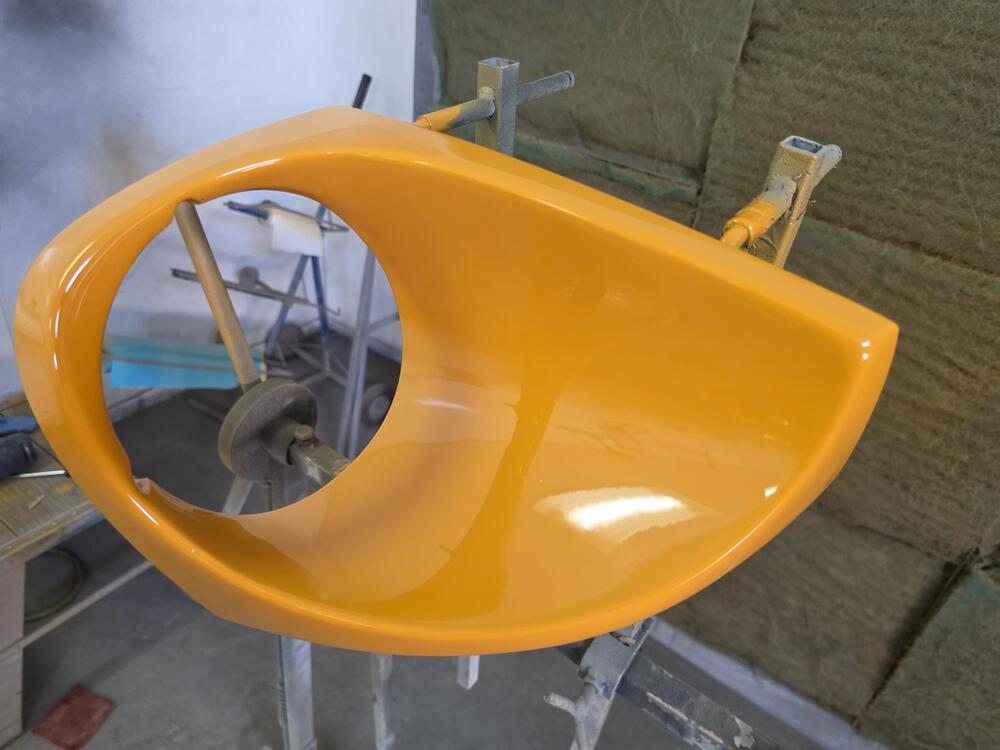
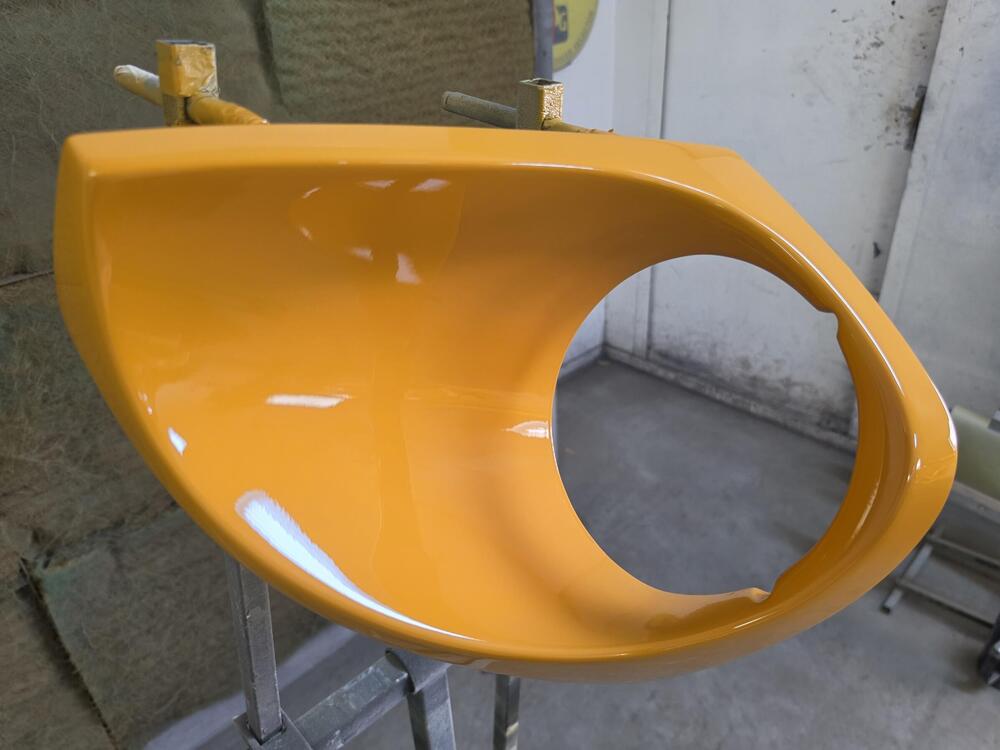
Car is painted and it looks Beautiful! Almost looks like the paint has been color sanded and polished. Carlos says I can pick it up this Wednesday. Looking forward to having that in my garage. Parts have been waiting. Here are some of the finished paint pics. Should have a lot more to post in the near future.
-
Got it, Thanks 😊
-
Thanks, can you send the link. I will forward to owner
-
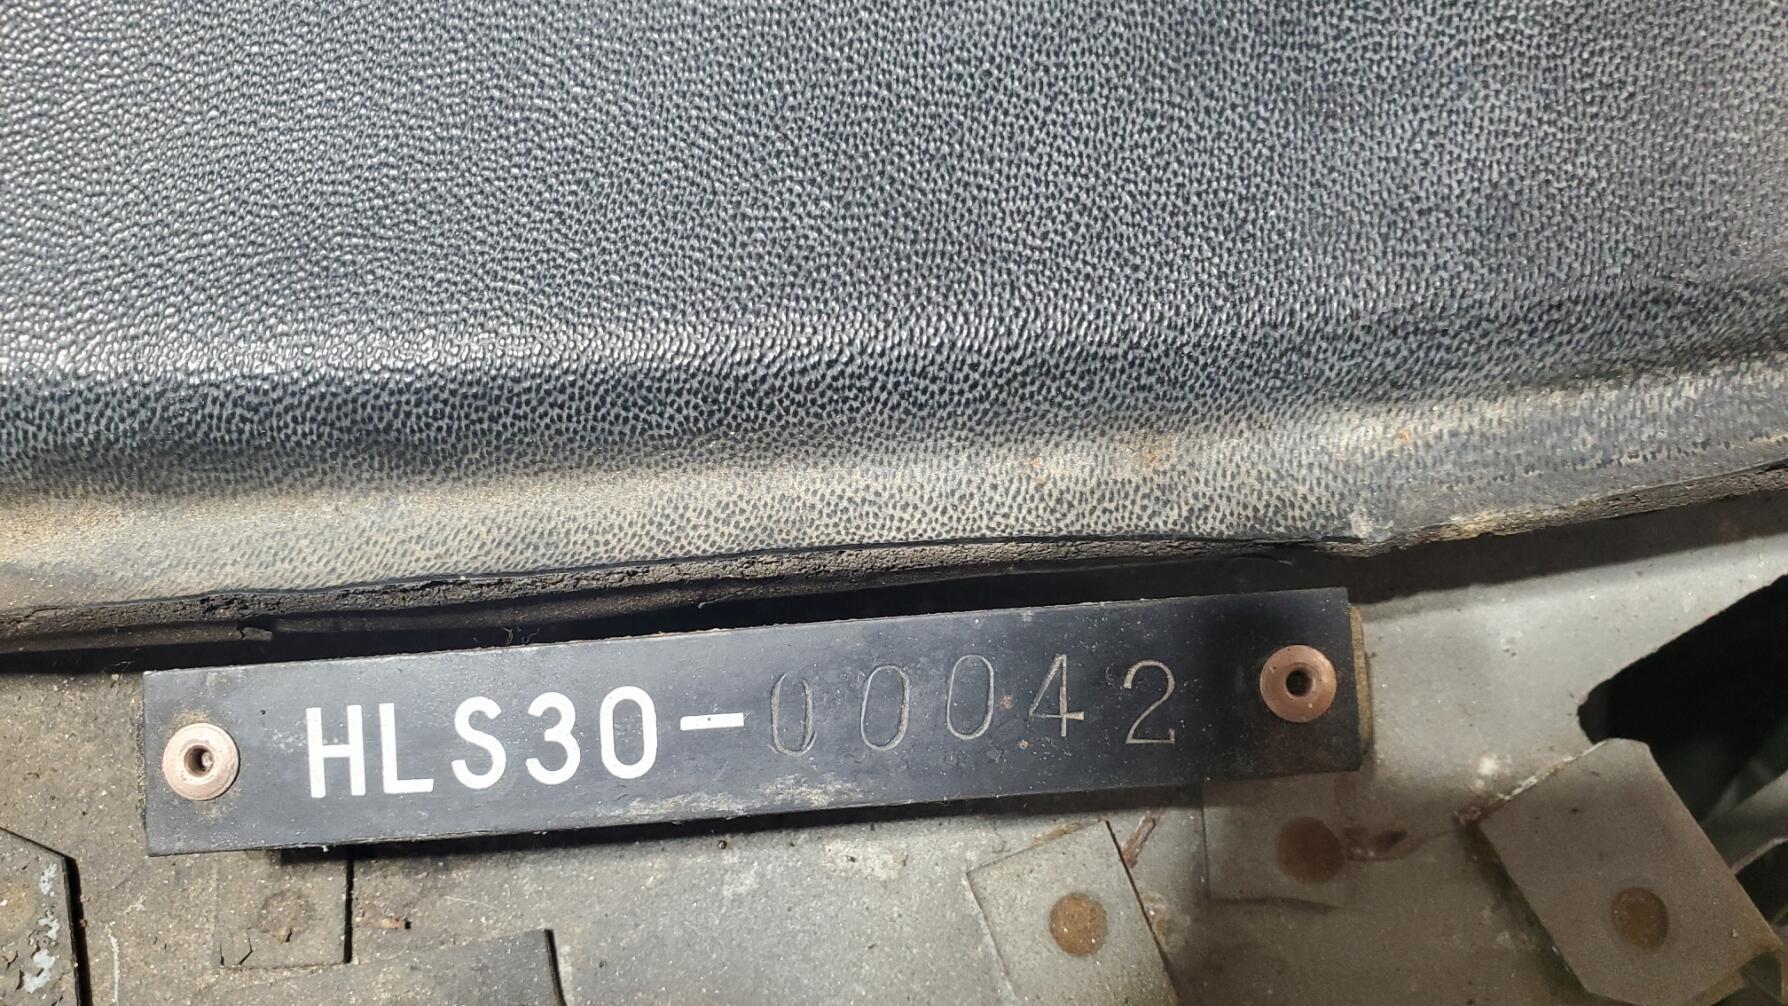
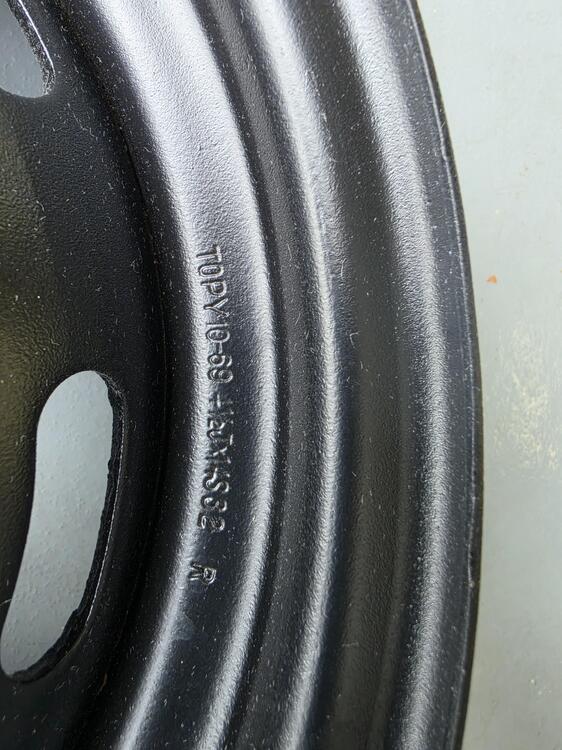
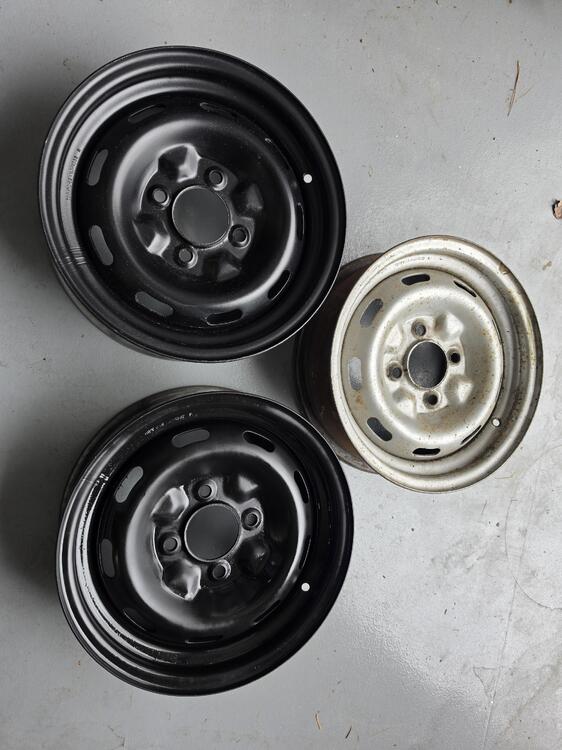
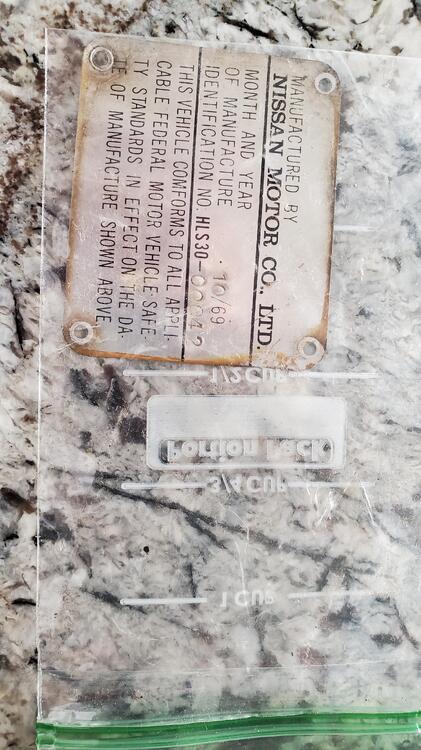
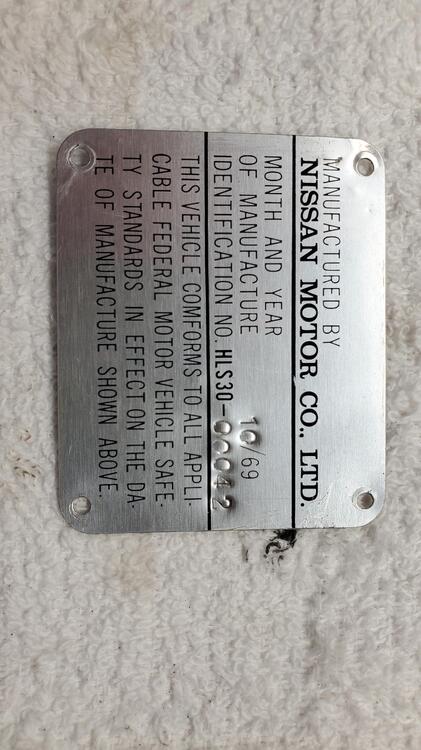
We have 3 TOPY 10-69 steel rims for SN 00042. We are looking for a 4th one. Does anyone have one to sell? Thanks, Rich
-
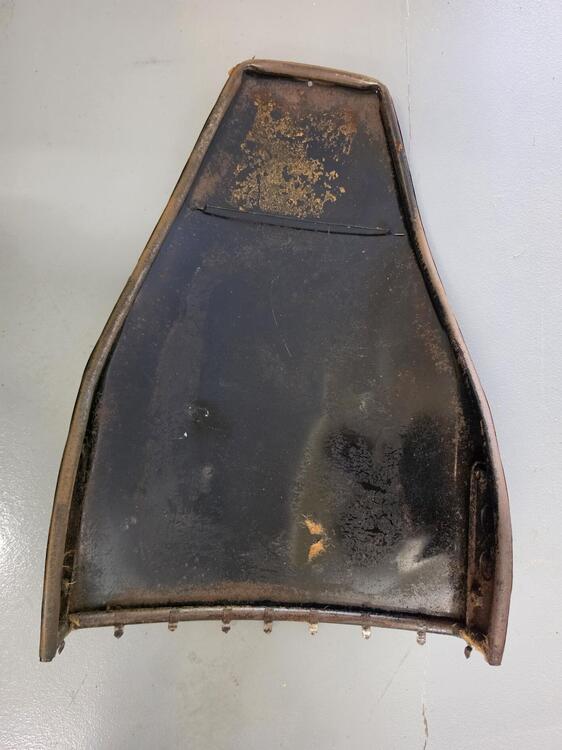
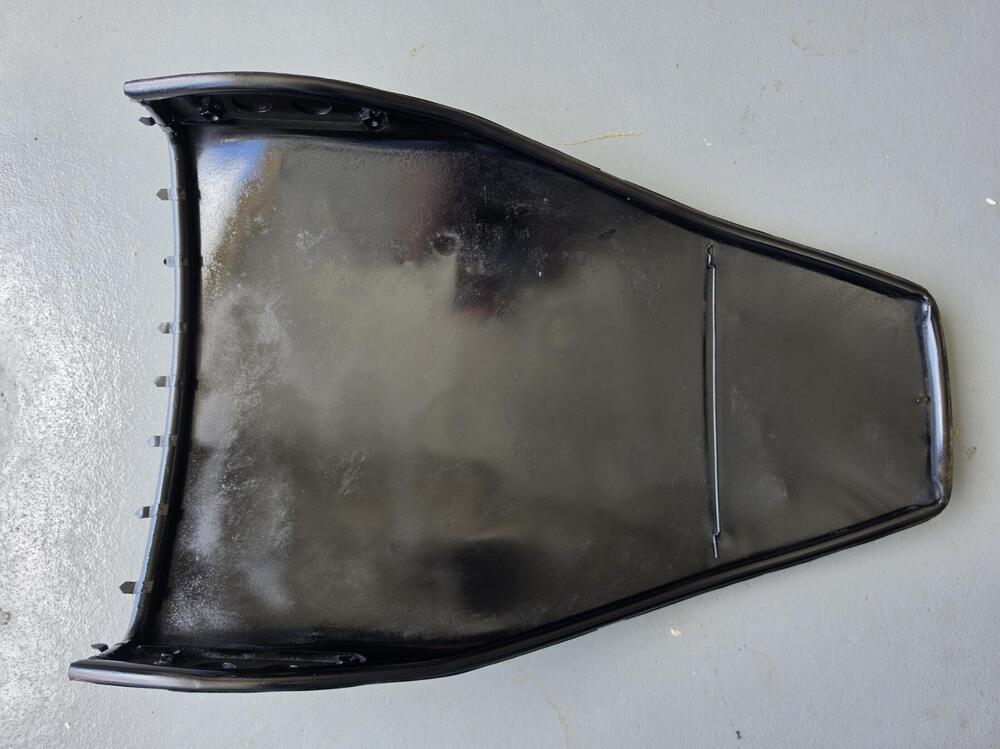
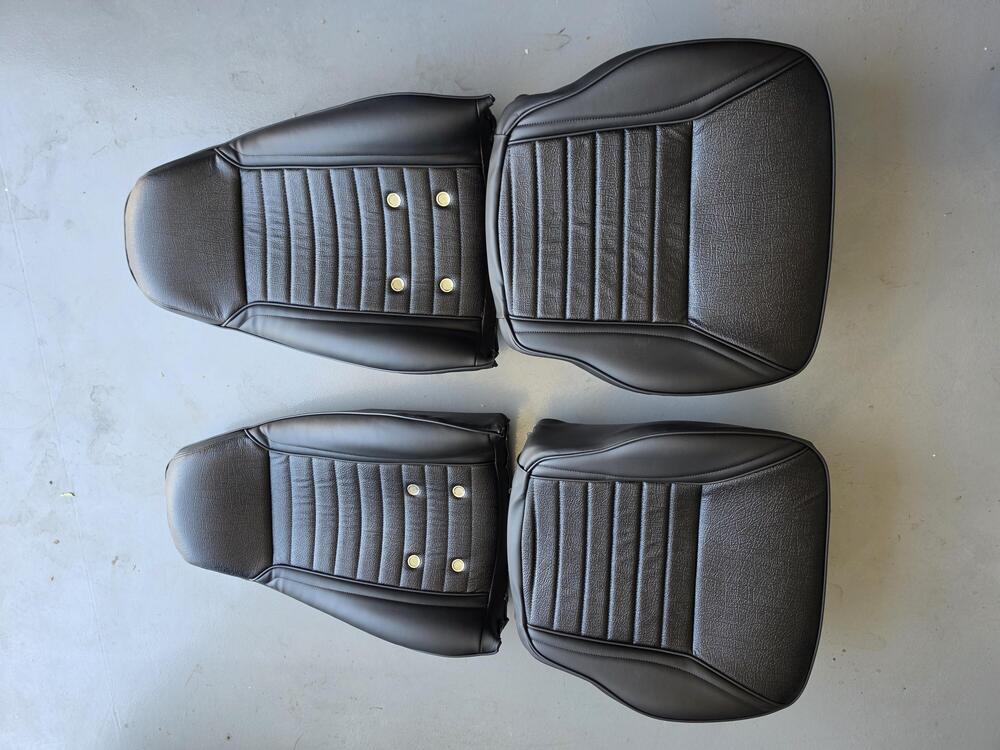
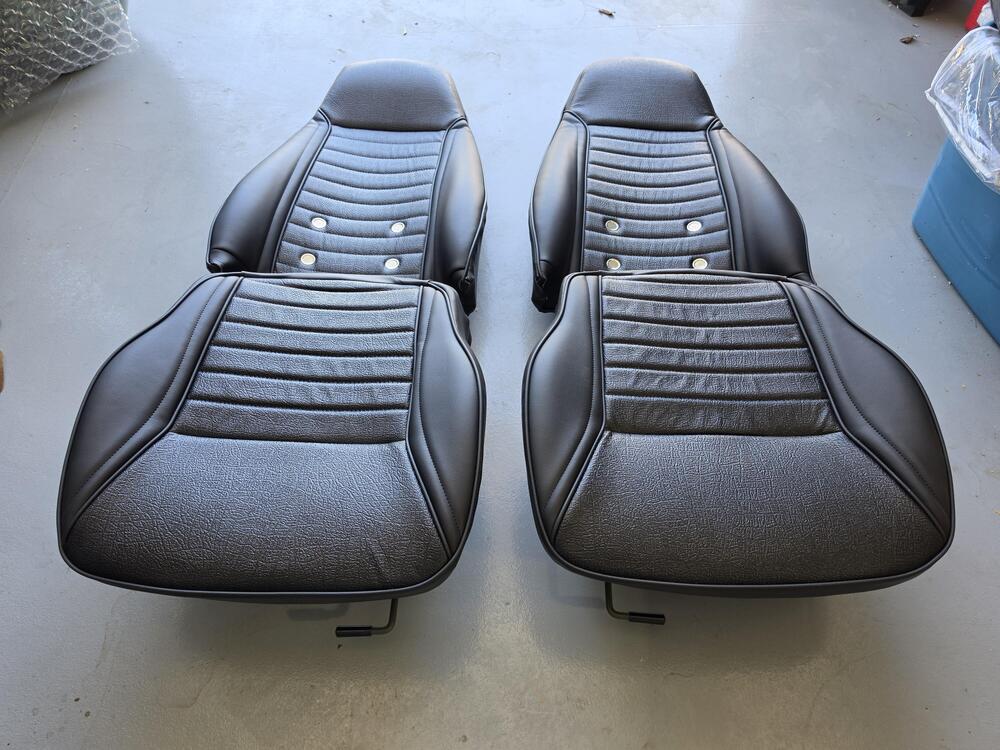
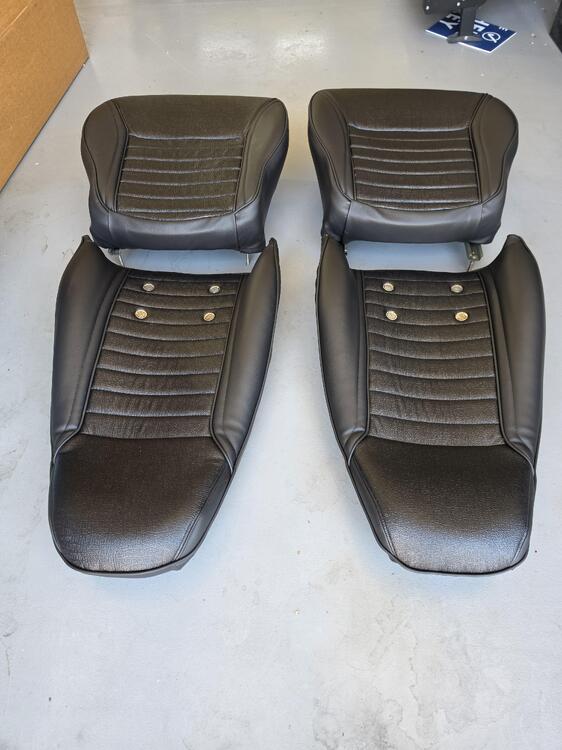
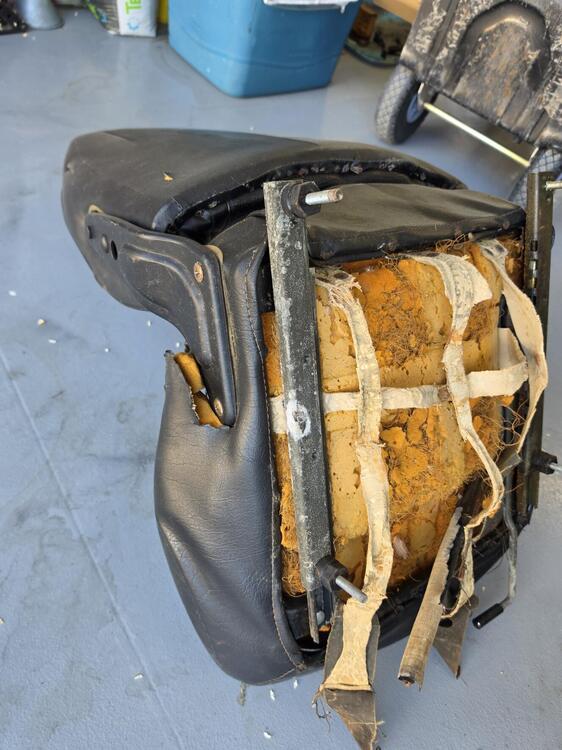
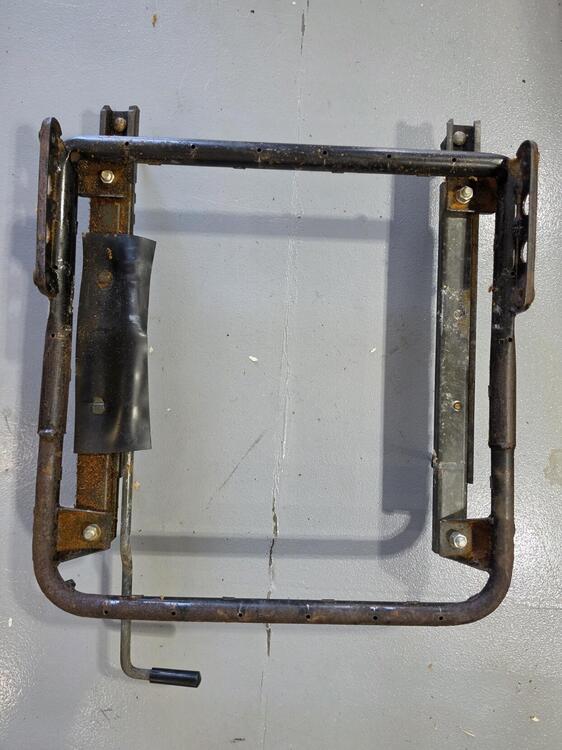
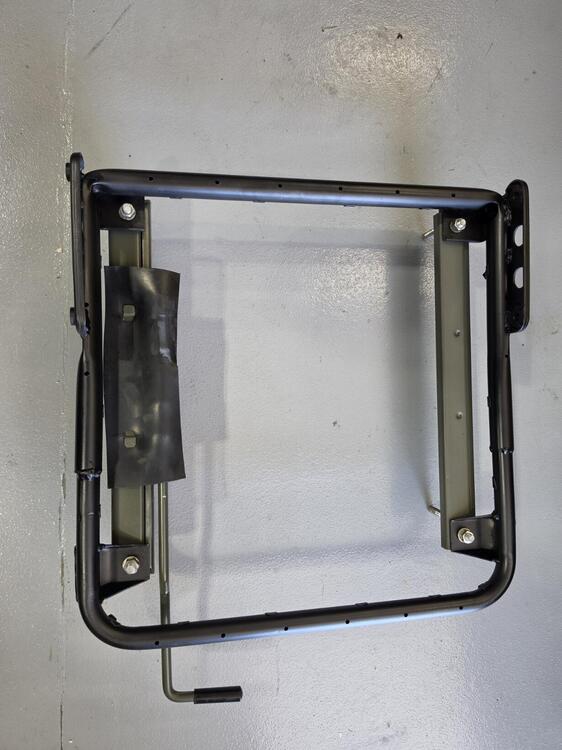
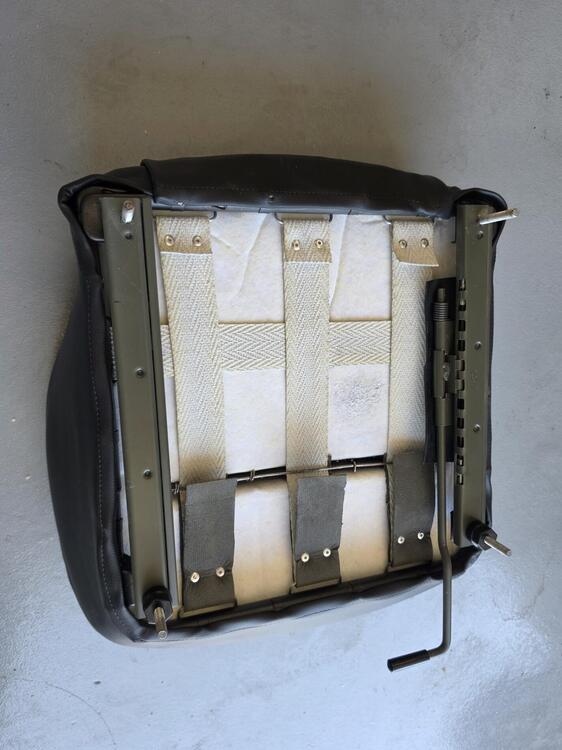
Got the rest of the seat components cleaned and assembled. Will assemble with hinge supports once I get the screws chromed.
-
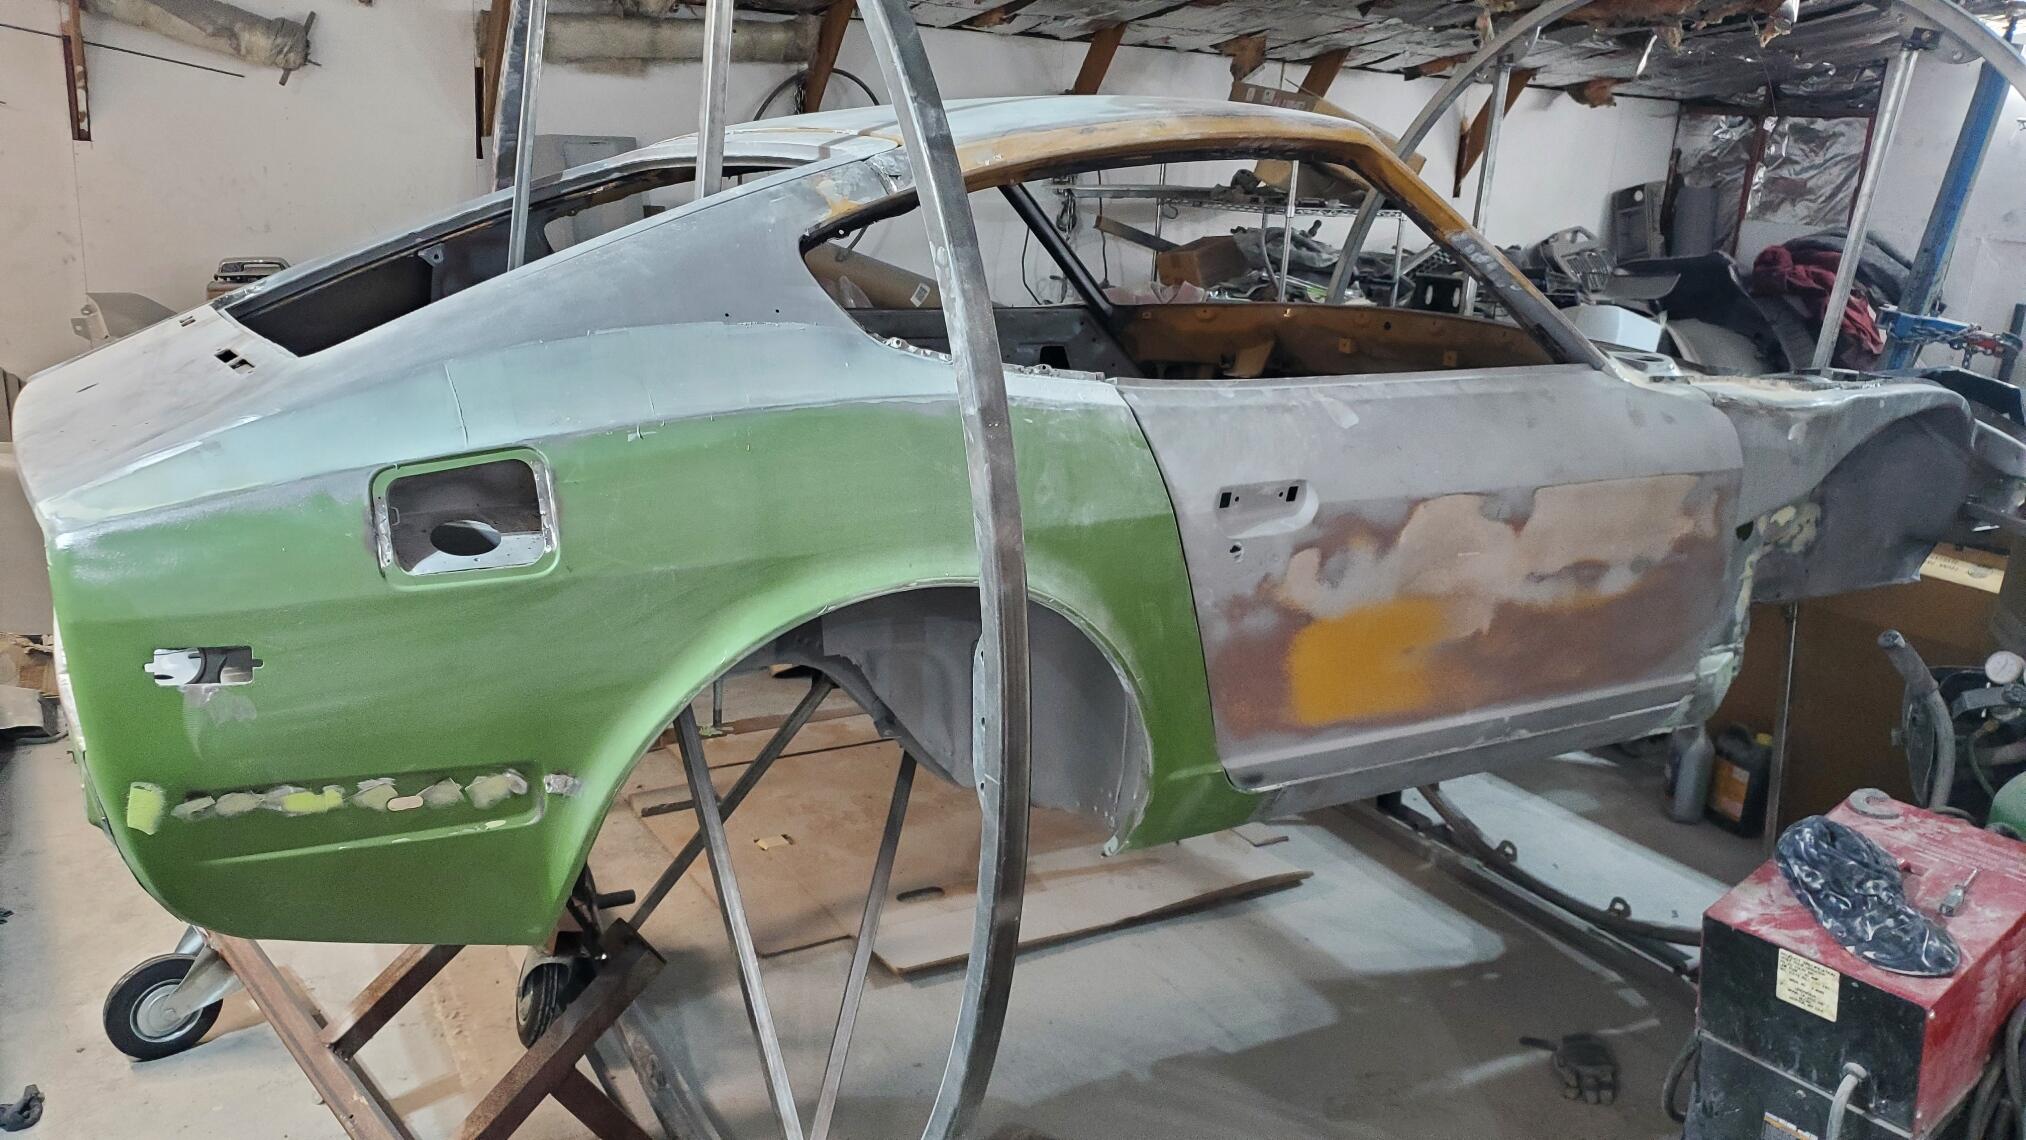
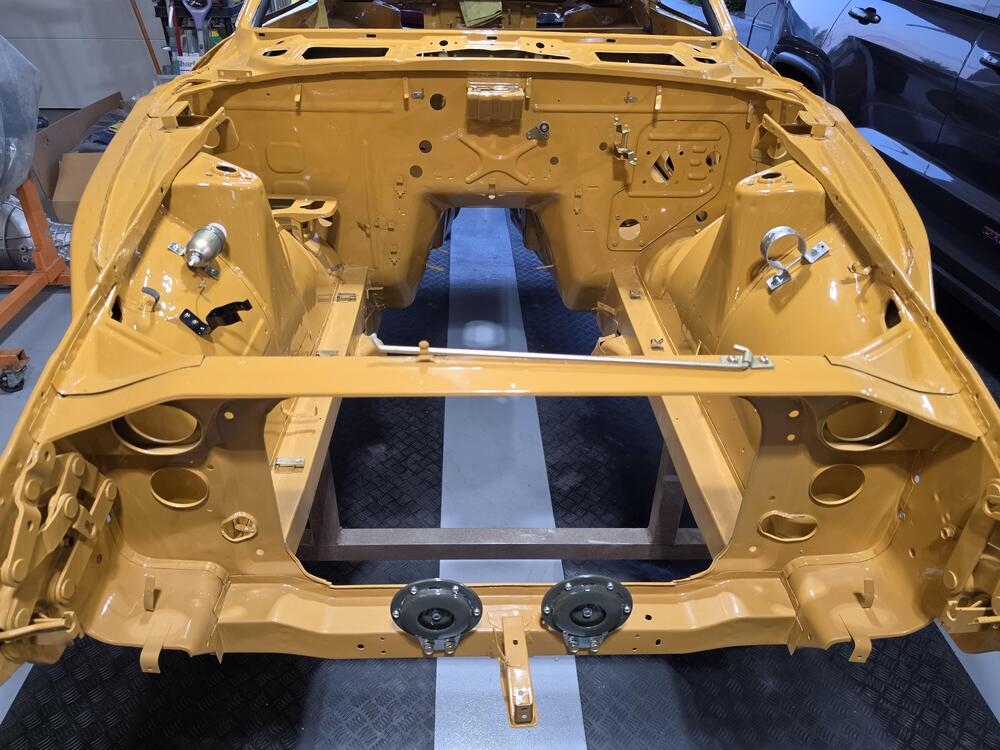
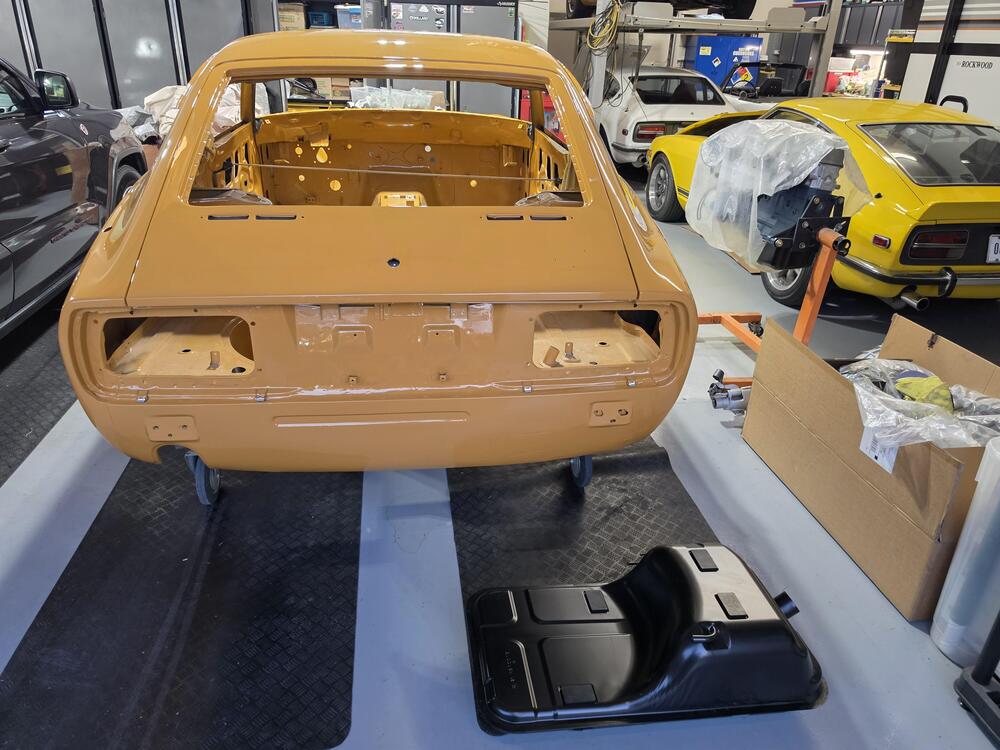
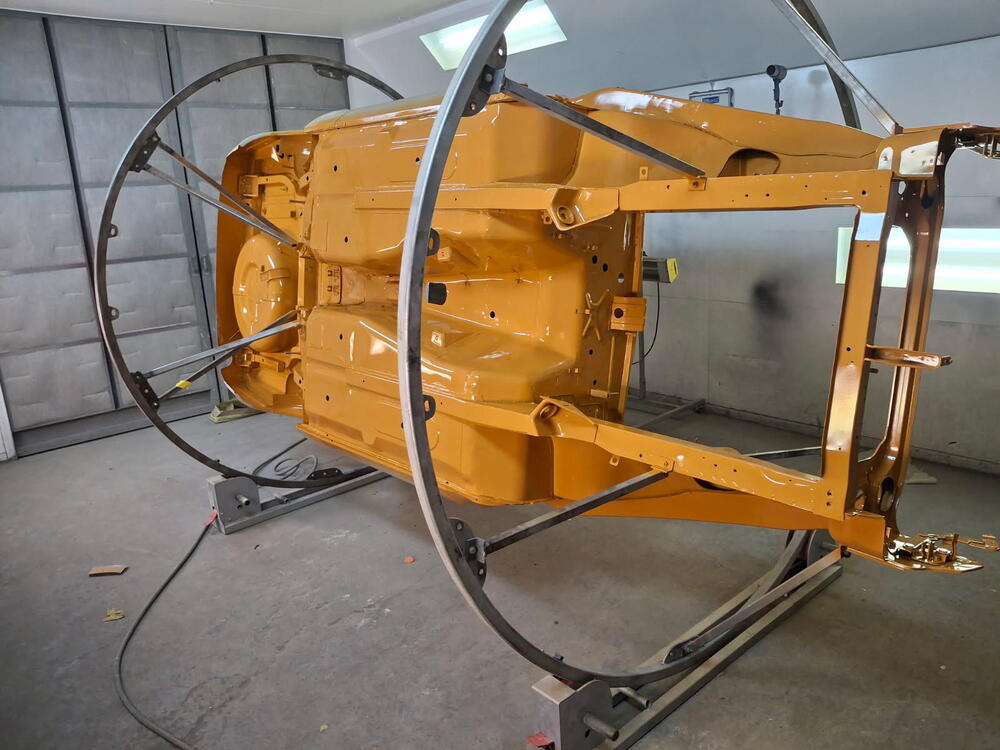
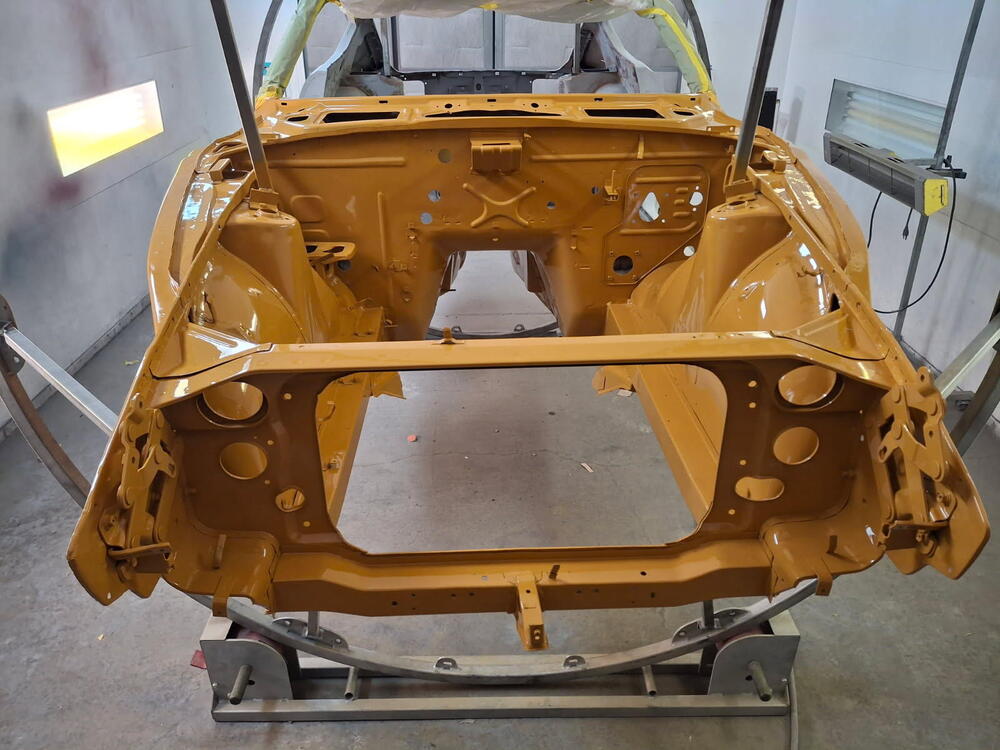
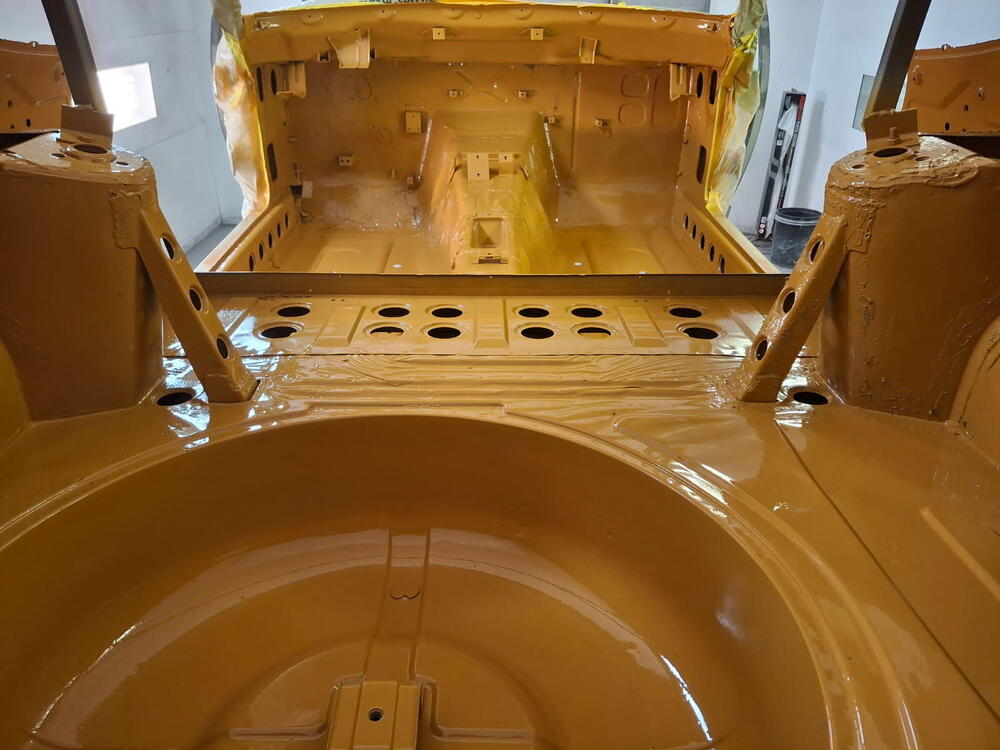
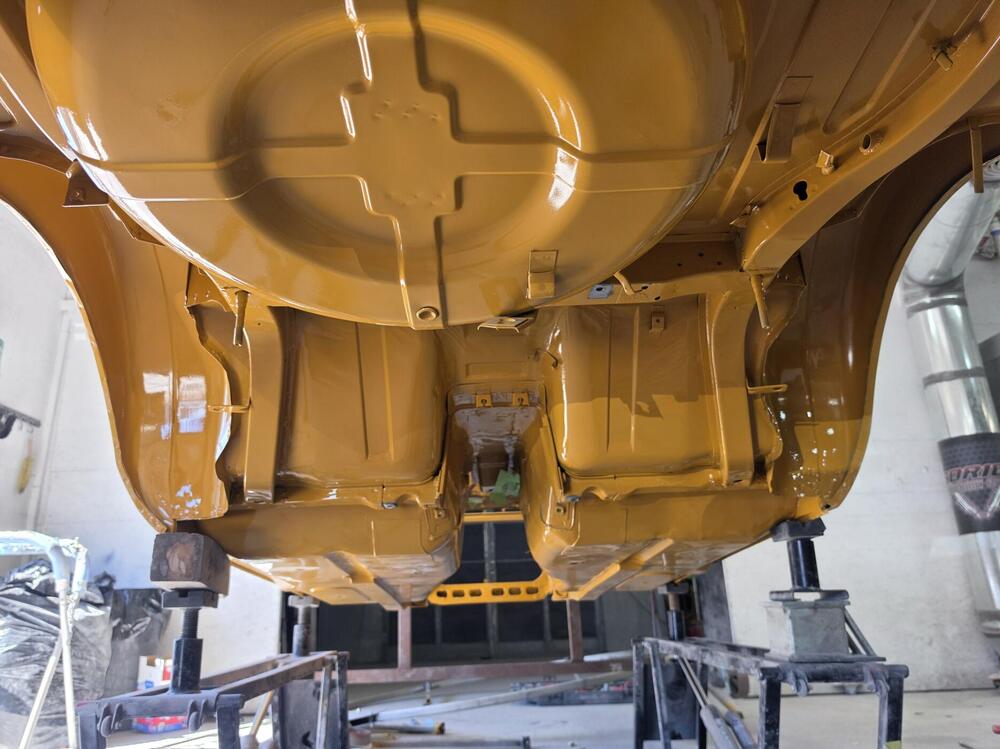
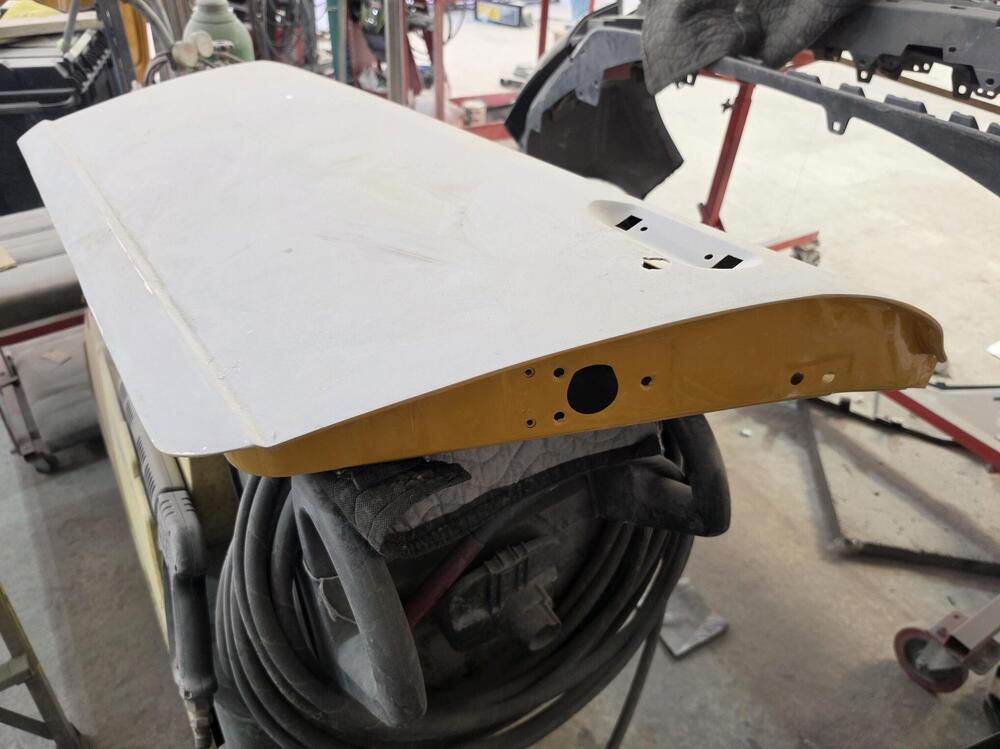
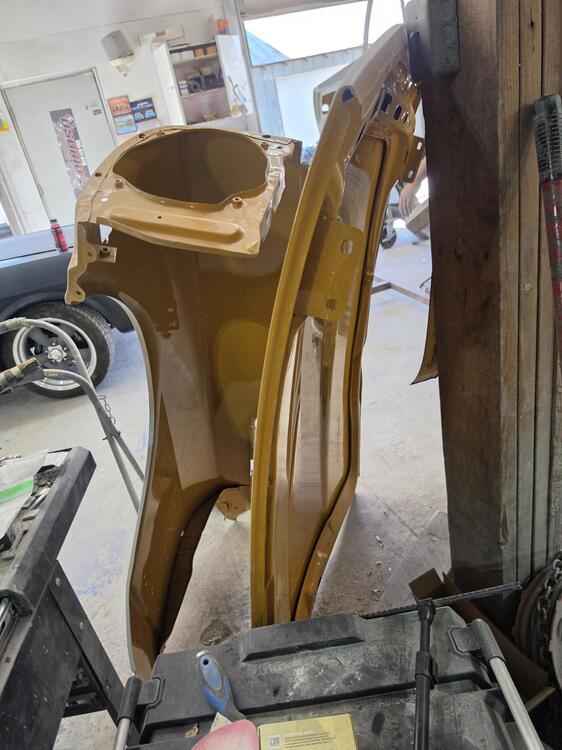
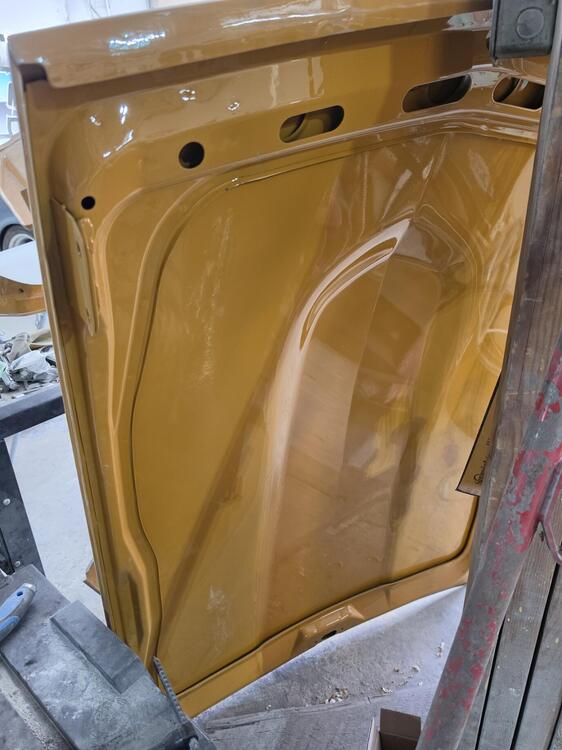
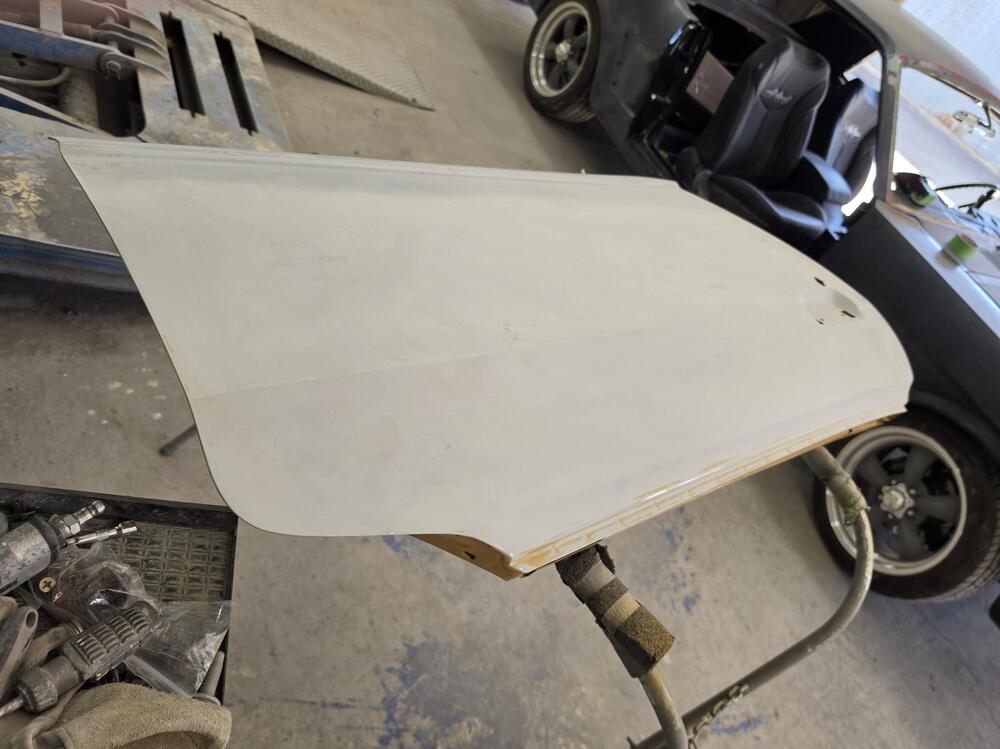
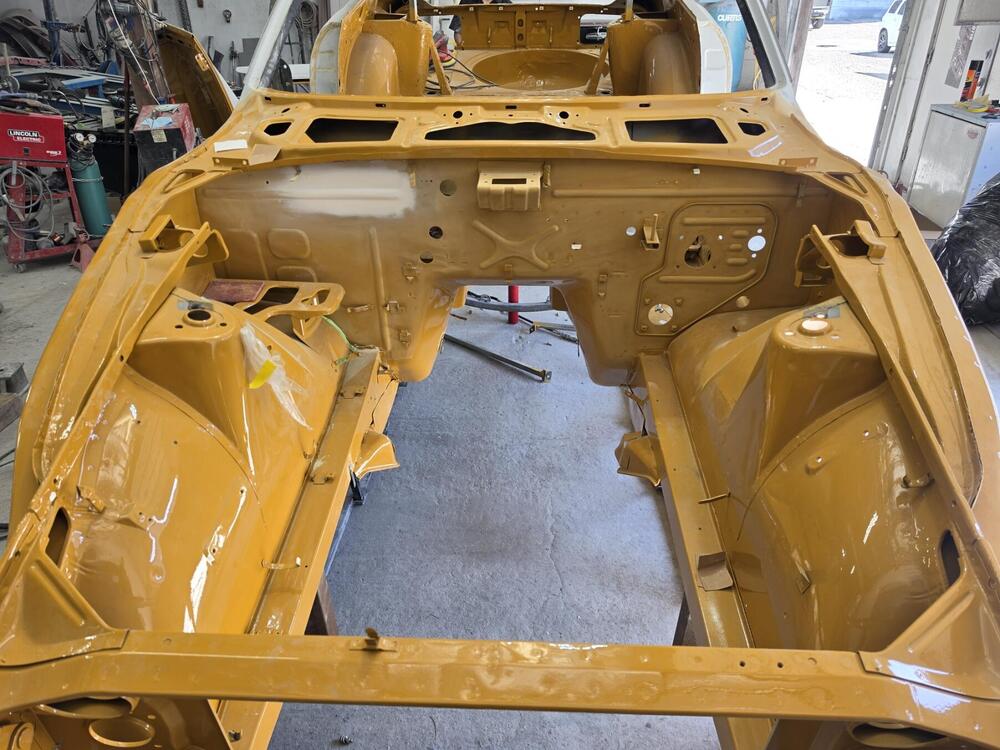
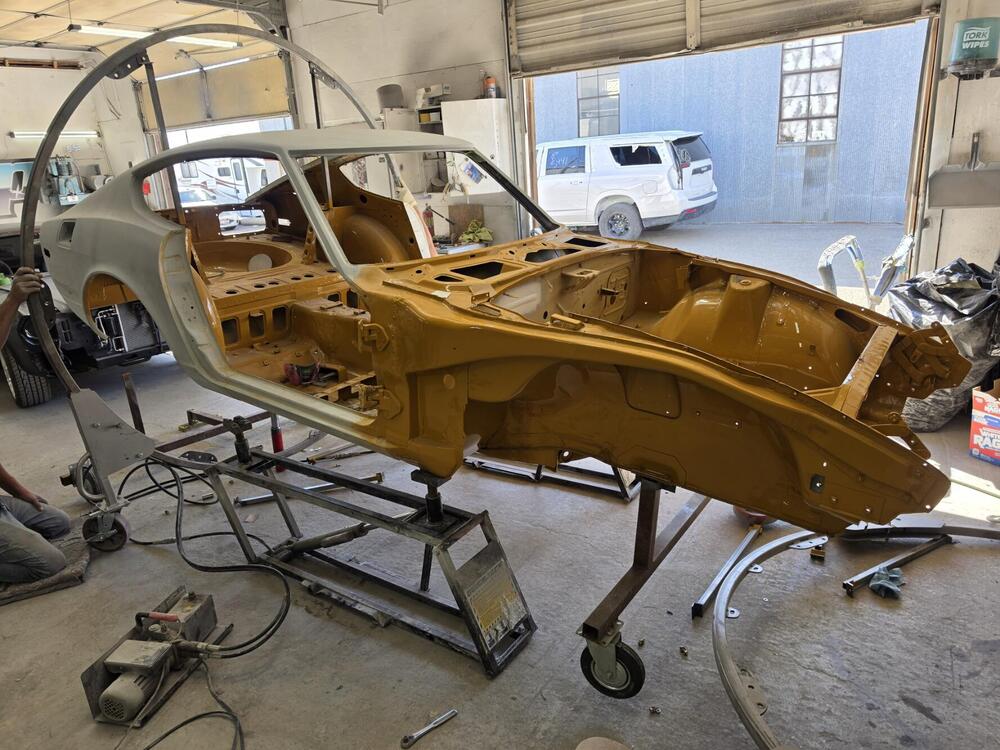
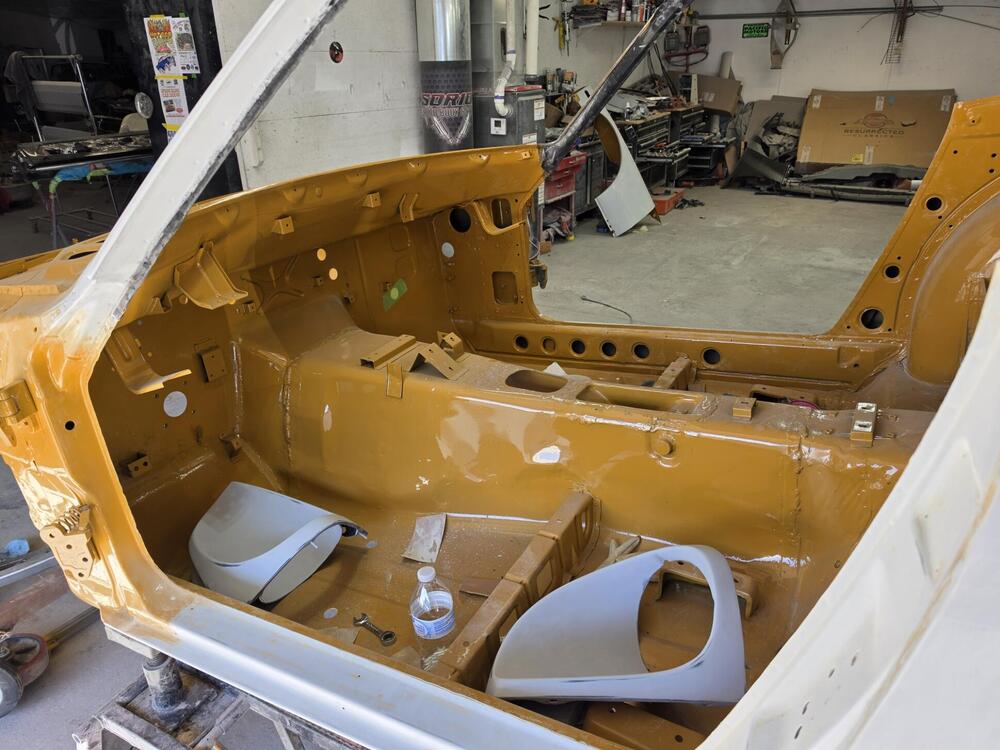
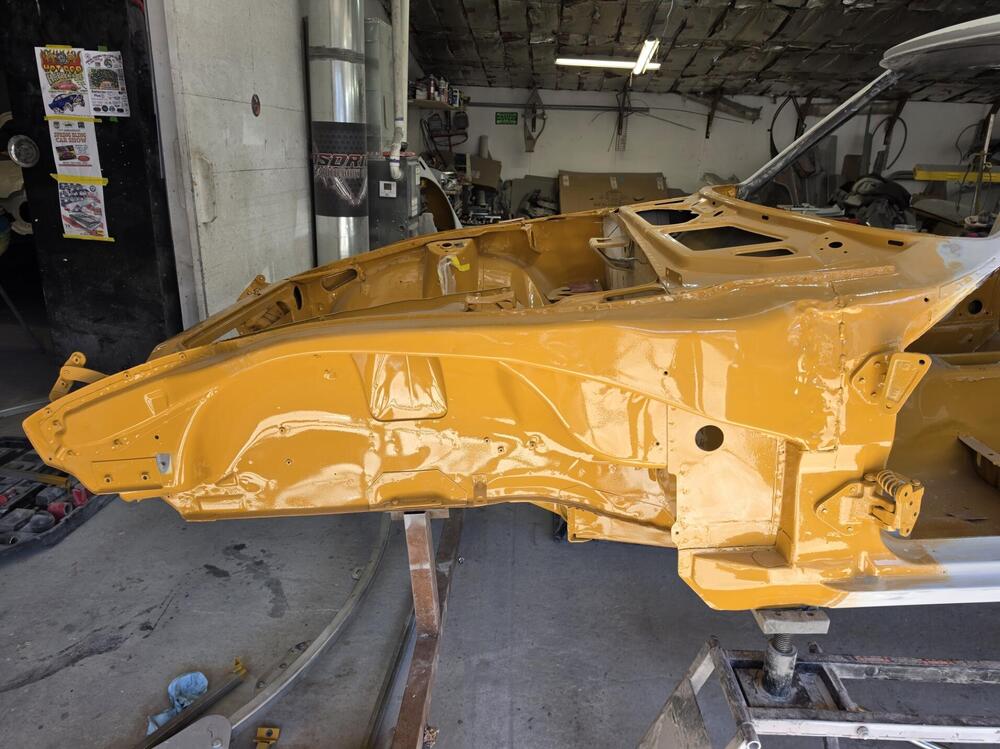
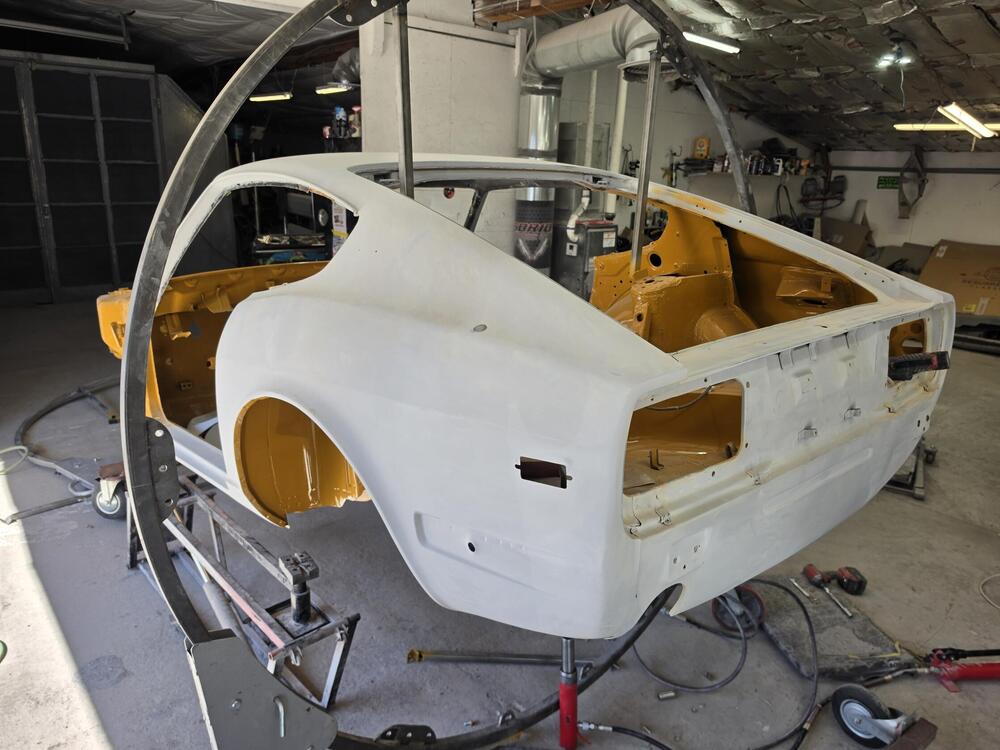
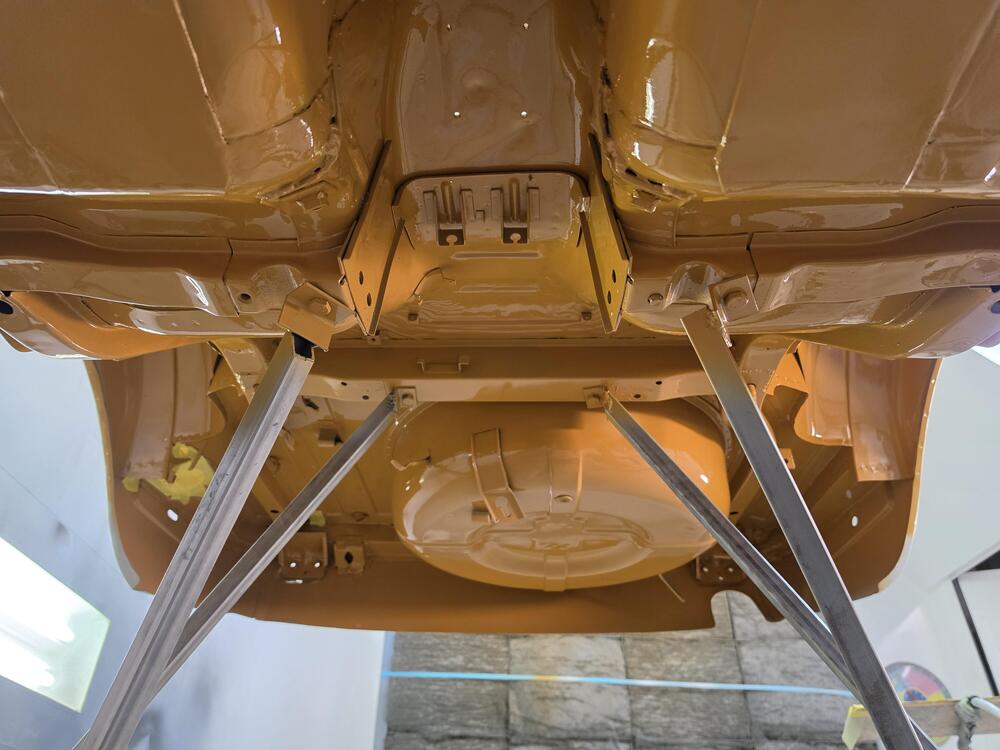
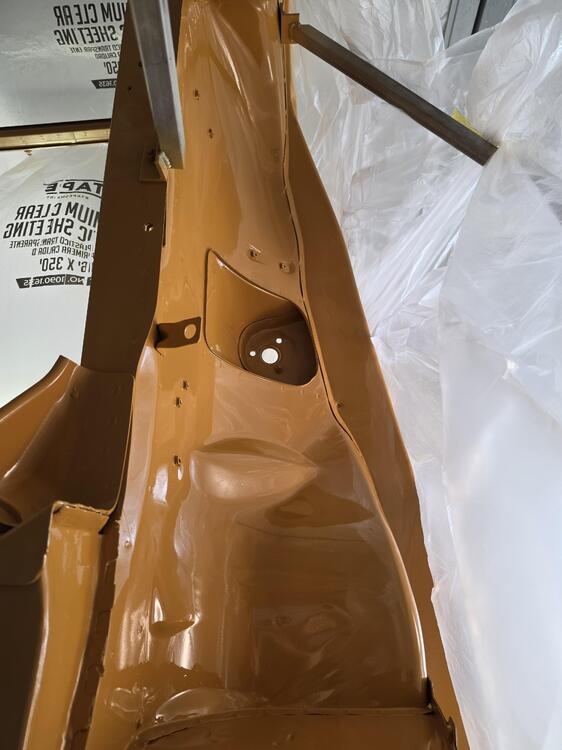
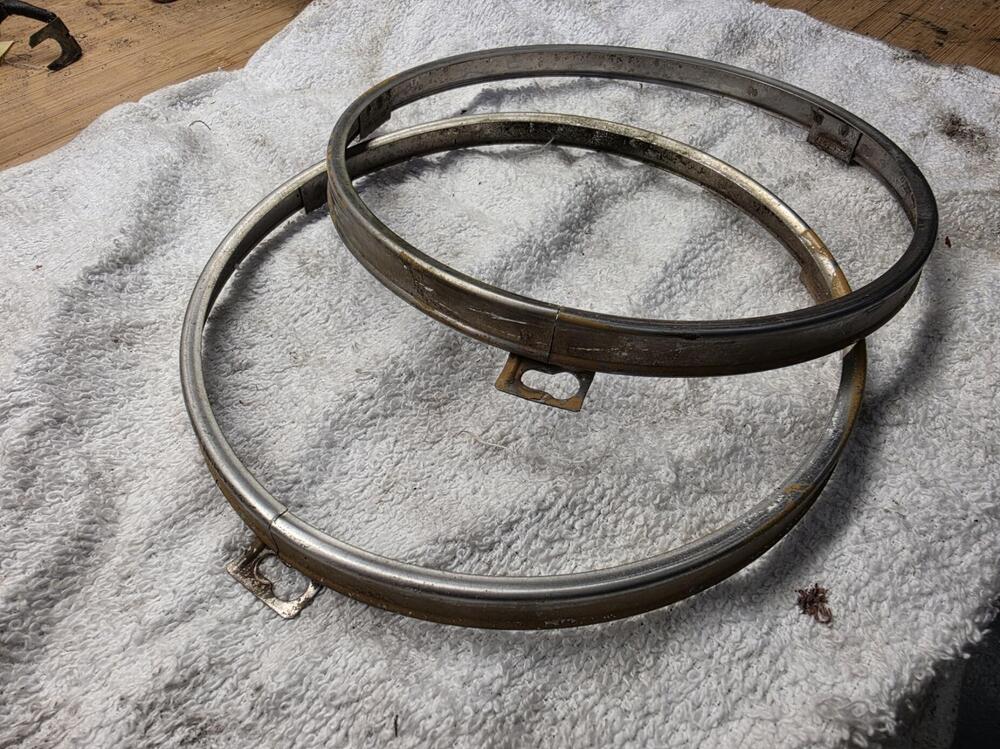
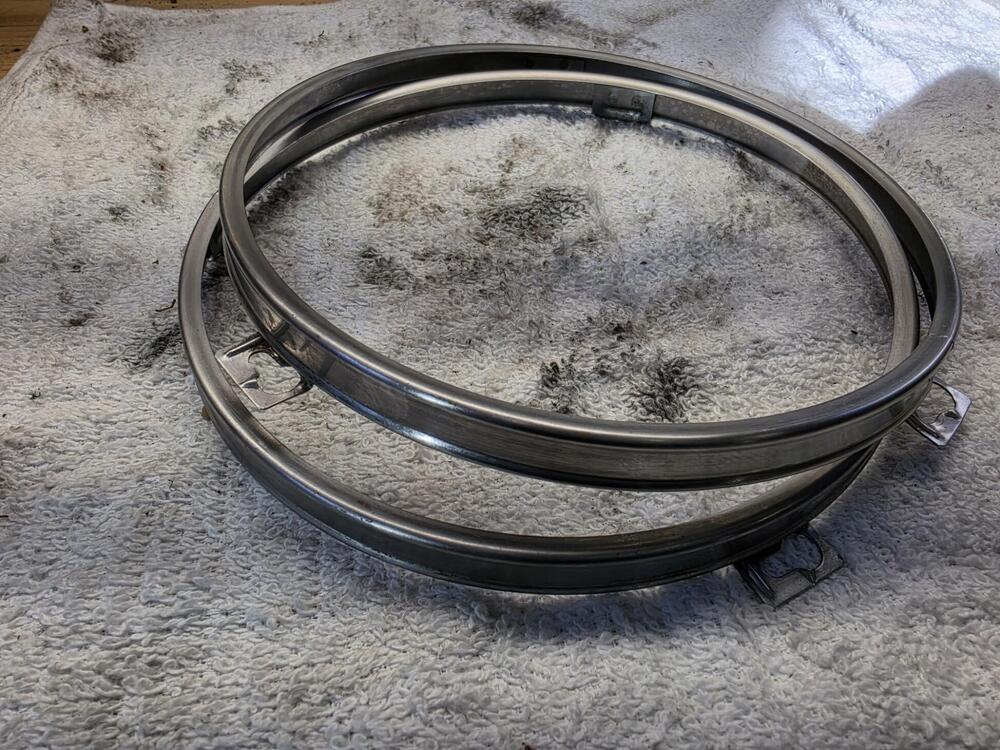
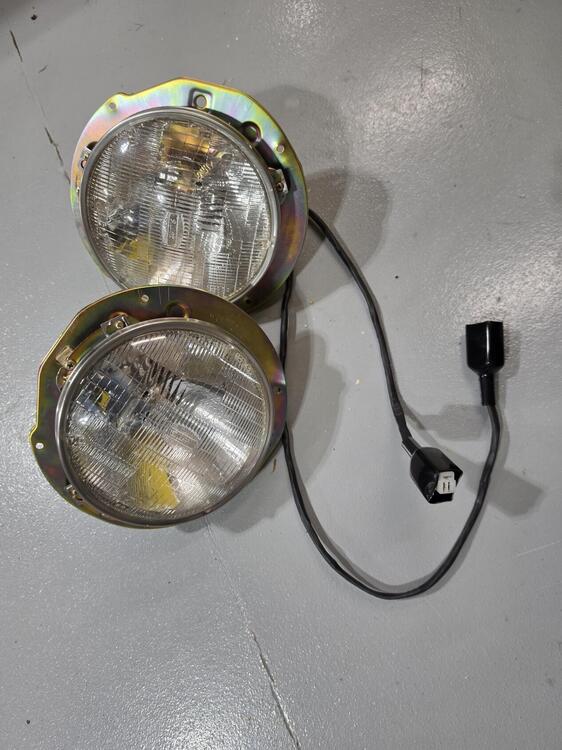
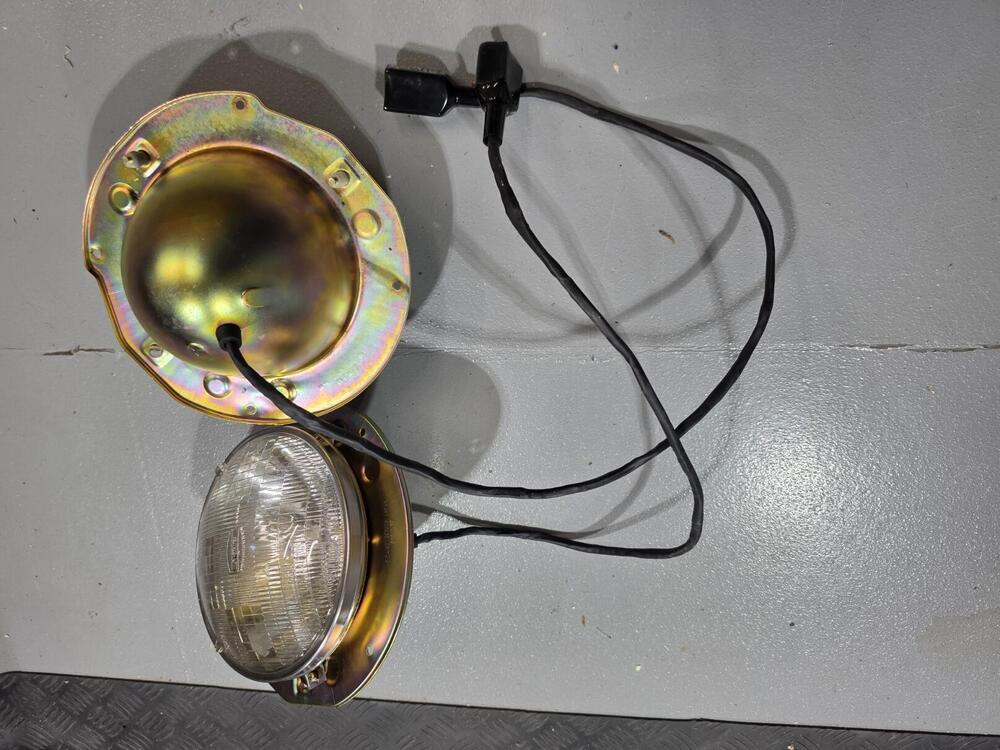
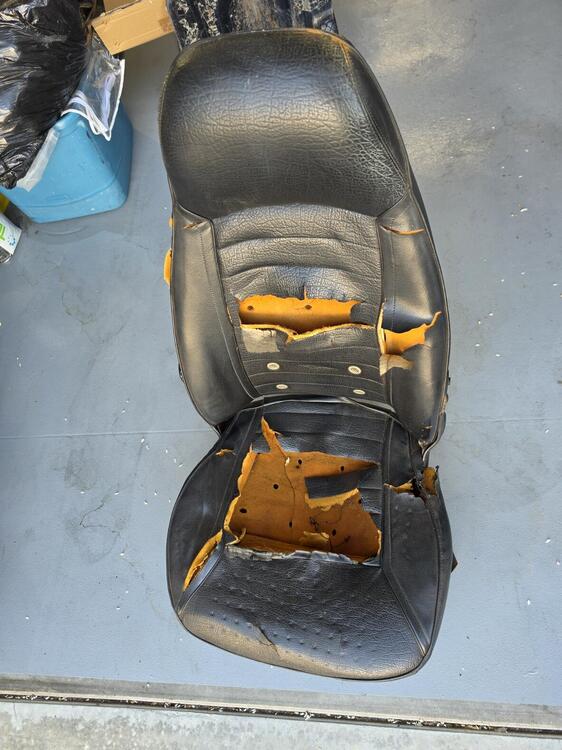
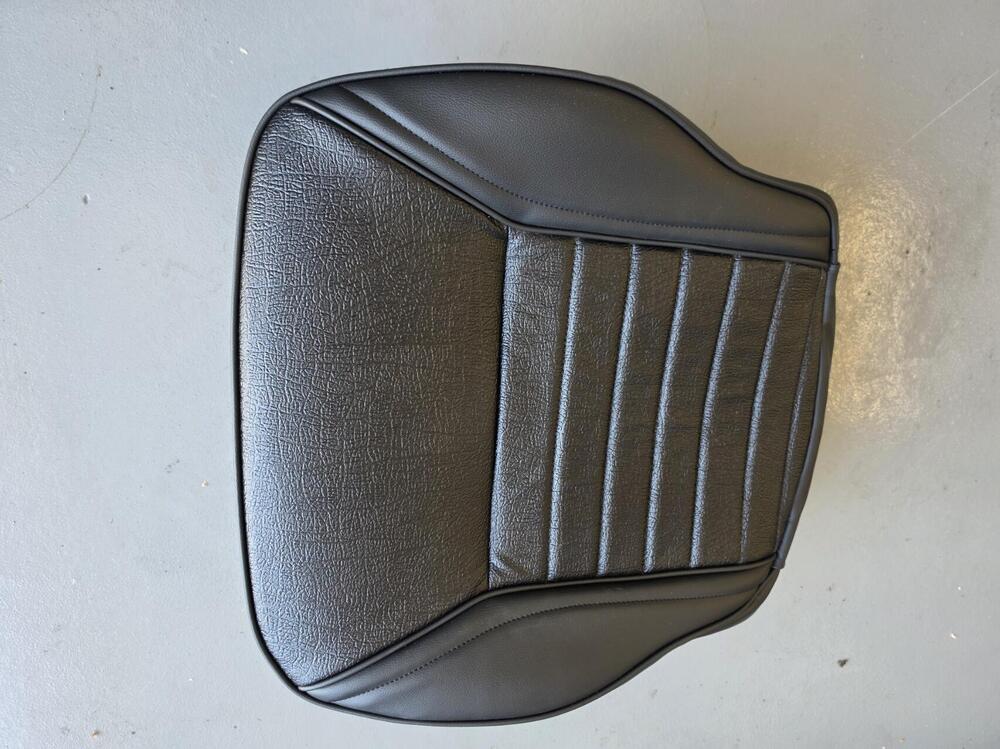
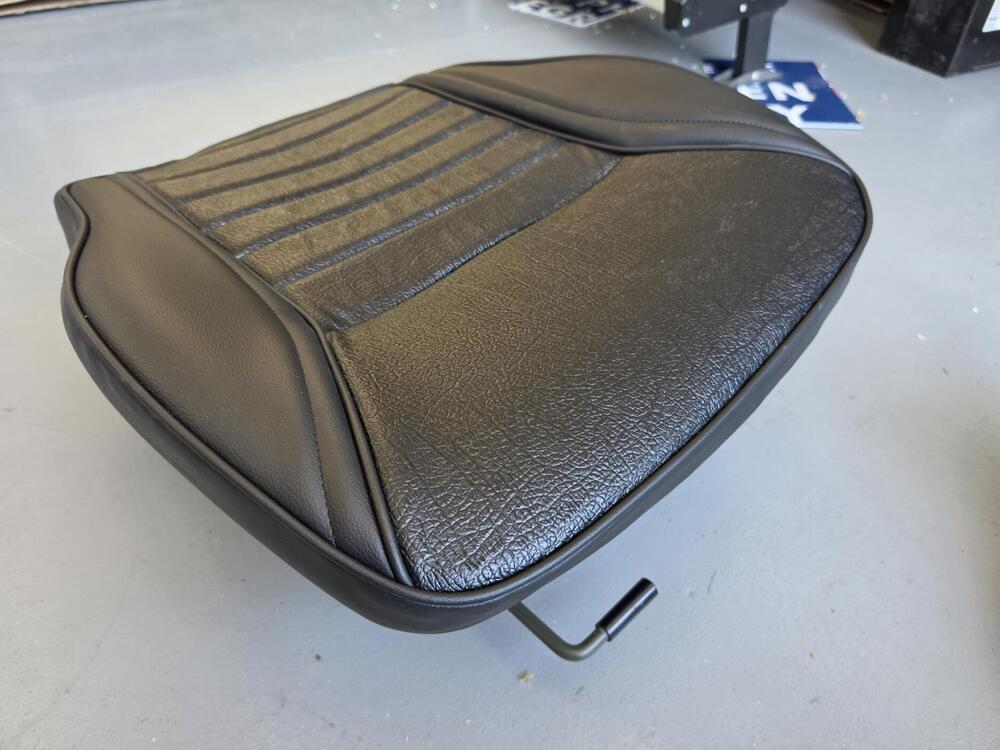
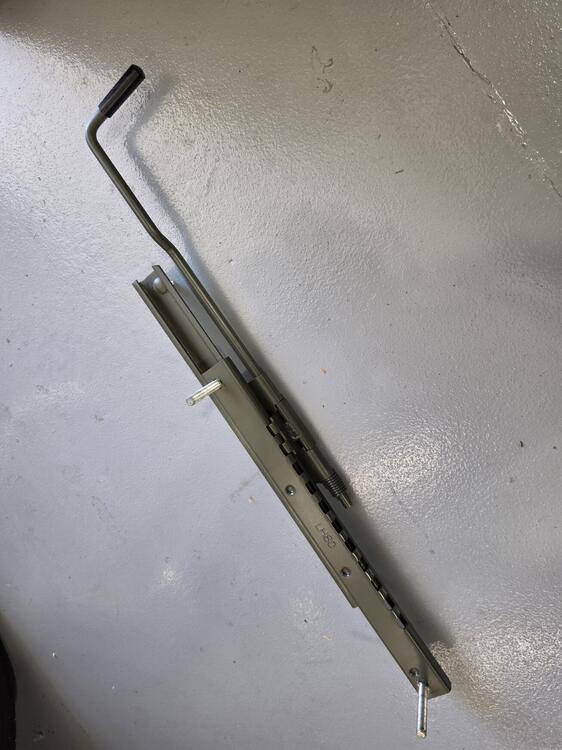
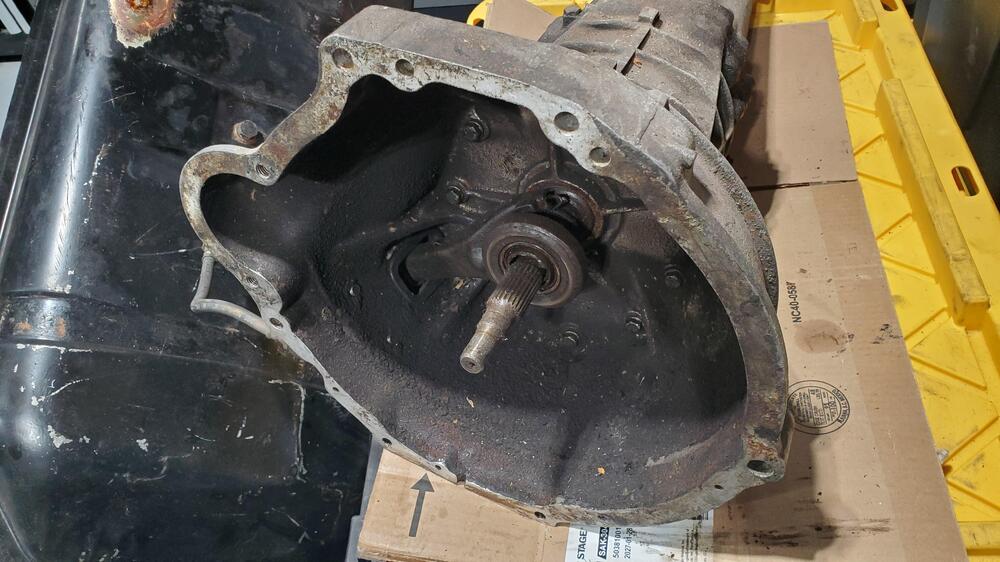
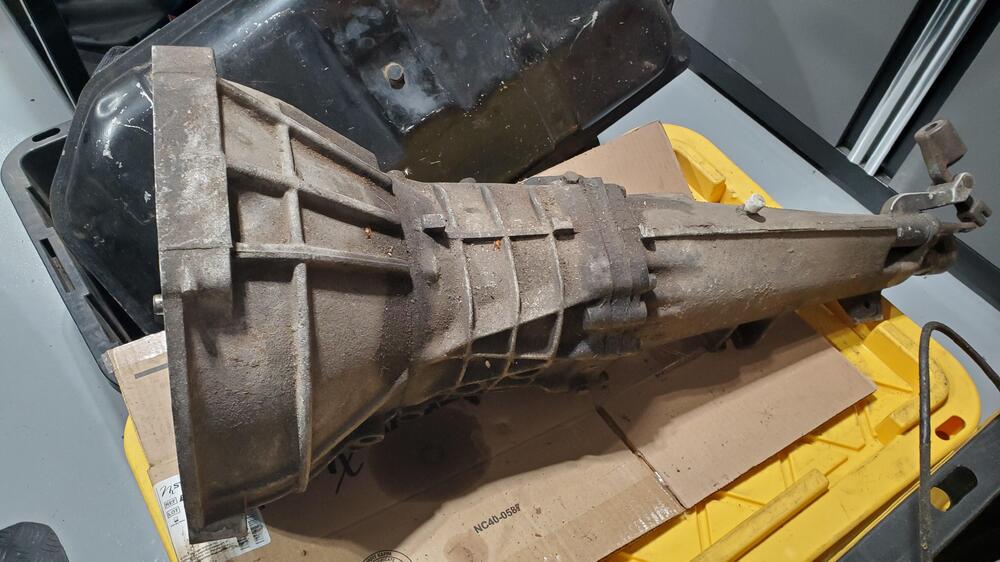
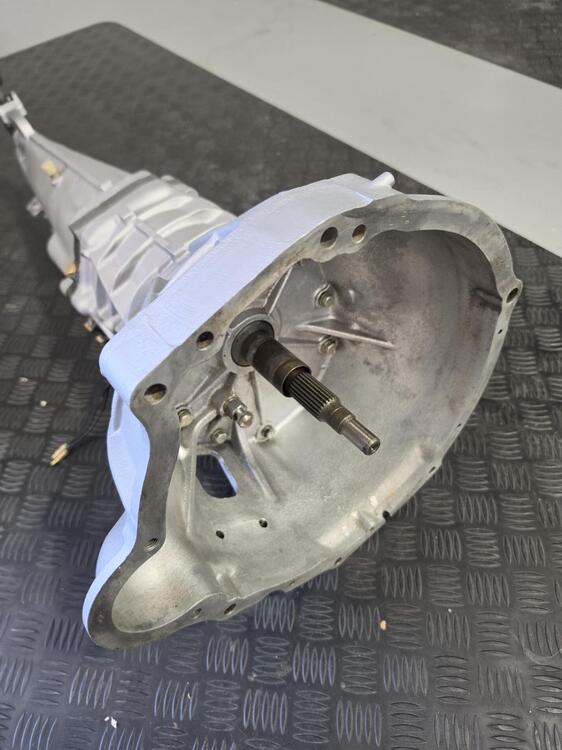
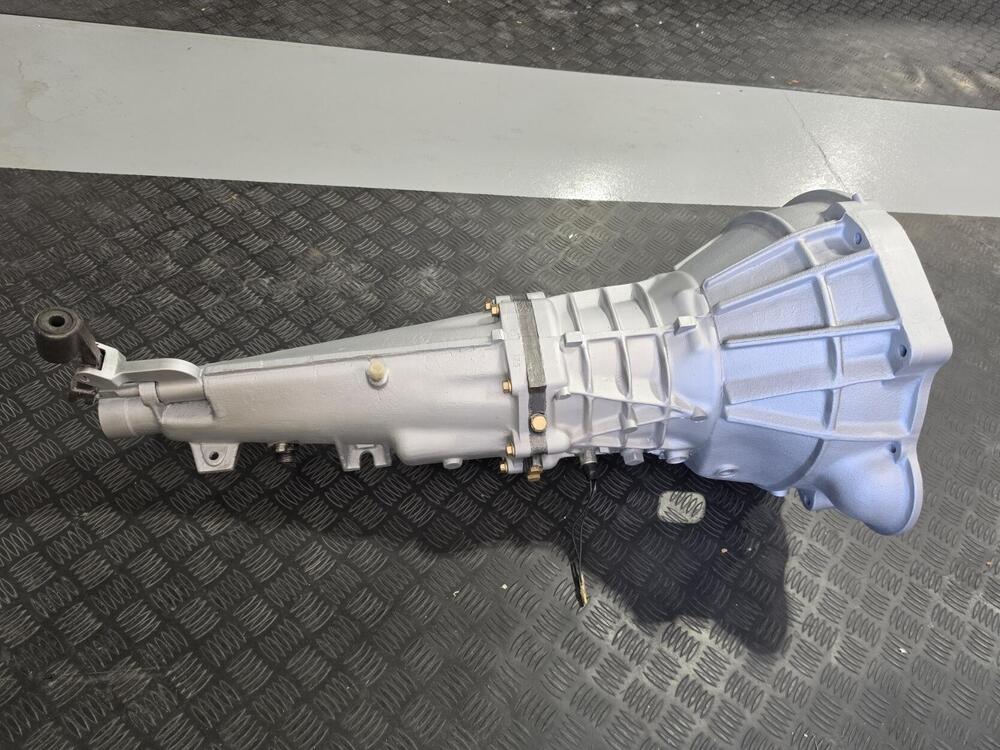
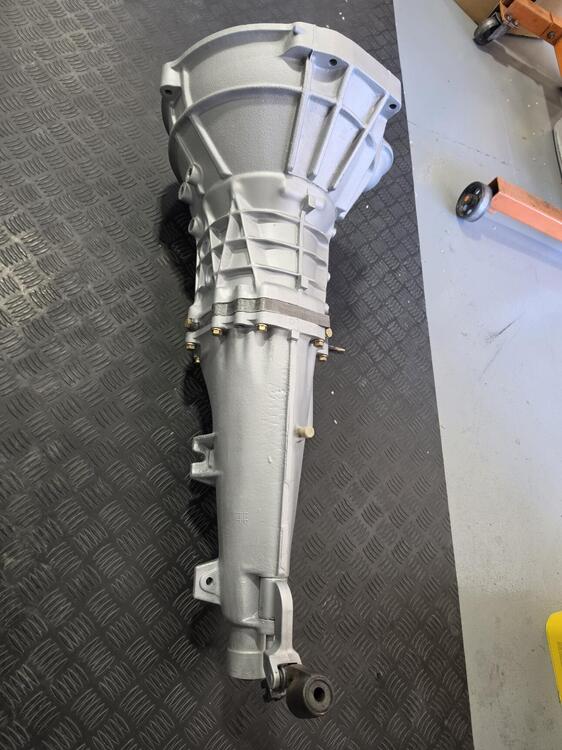
Feels like I haven't posted for quite some time. The body work has moved along painfully slow, but I am finally starting to see some light at the end of the tunnel. Below are pics of the body work progress. The bottom and interior have been painted. Carlos is doing final prep on the exterior surface now, transitioning from rotisserie to rollers. The color looks awesome. (Also, removed the plug that was painted in the spare tire well) I finished up the headlight assemblies. Cleaned up the transmission. Now working now on the seats
-
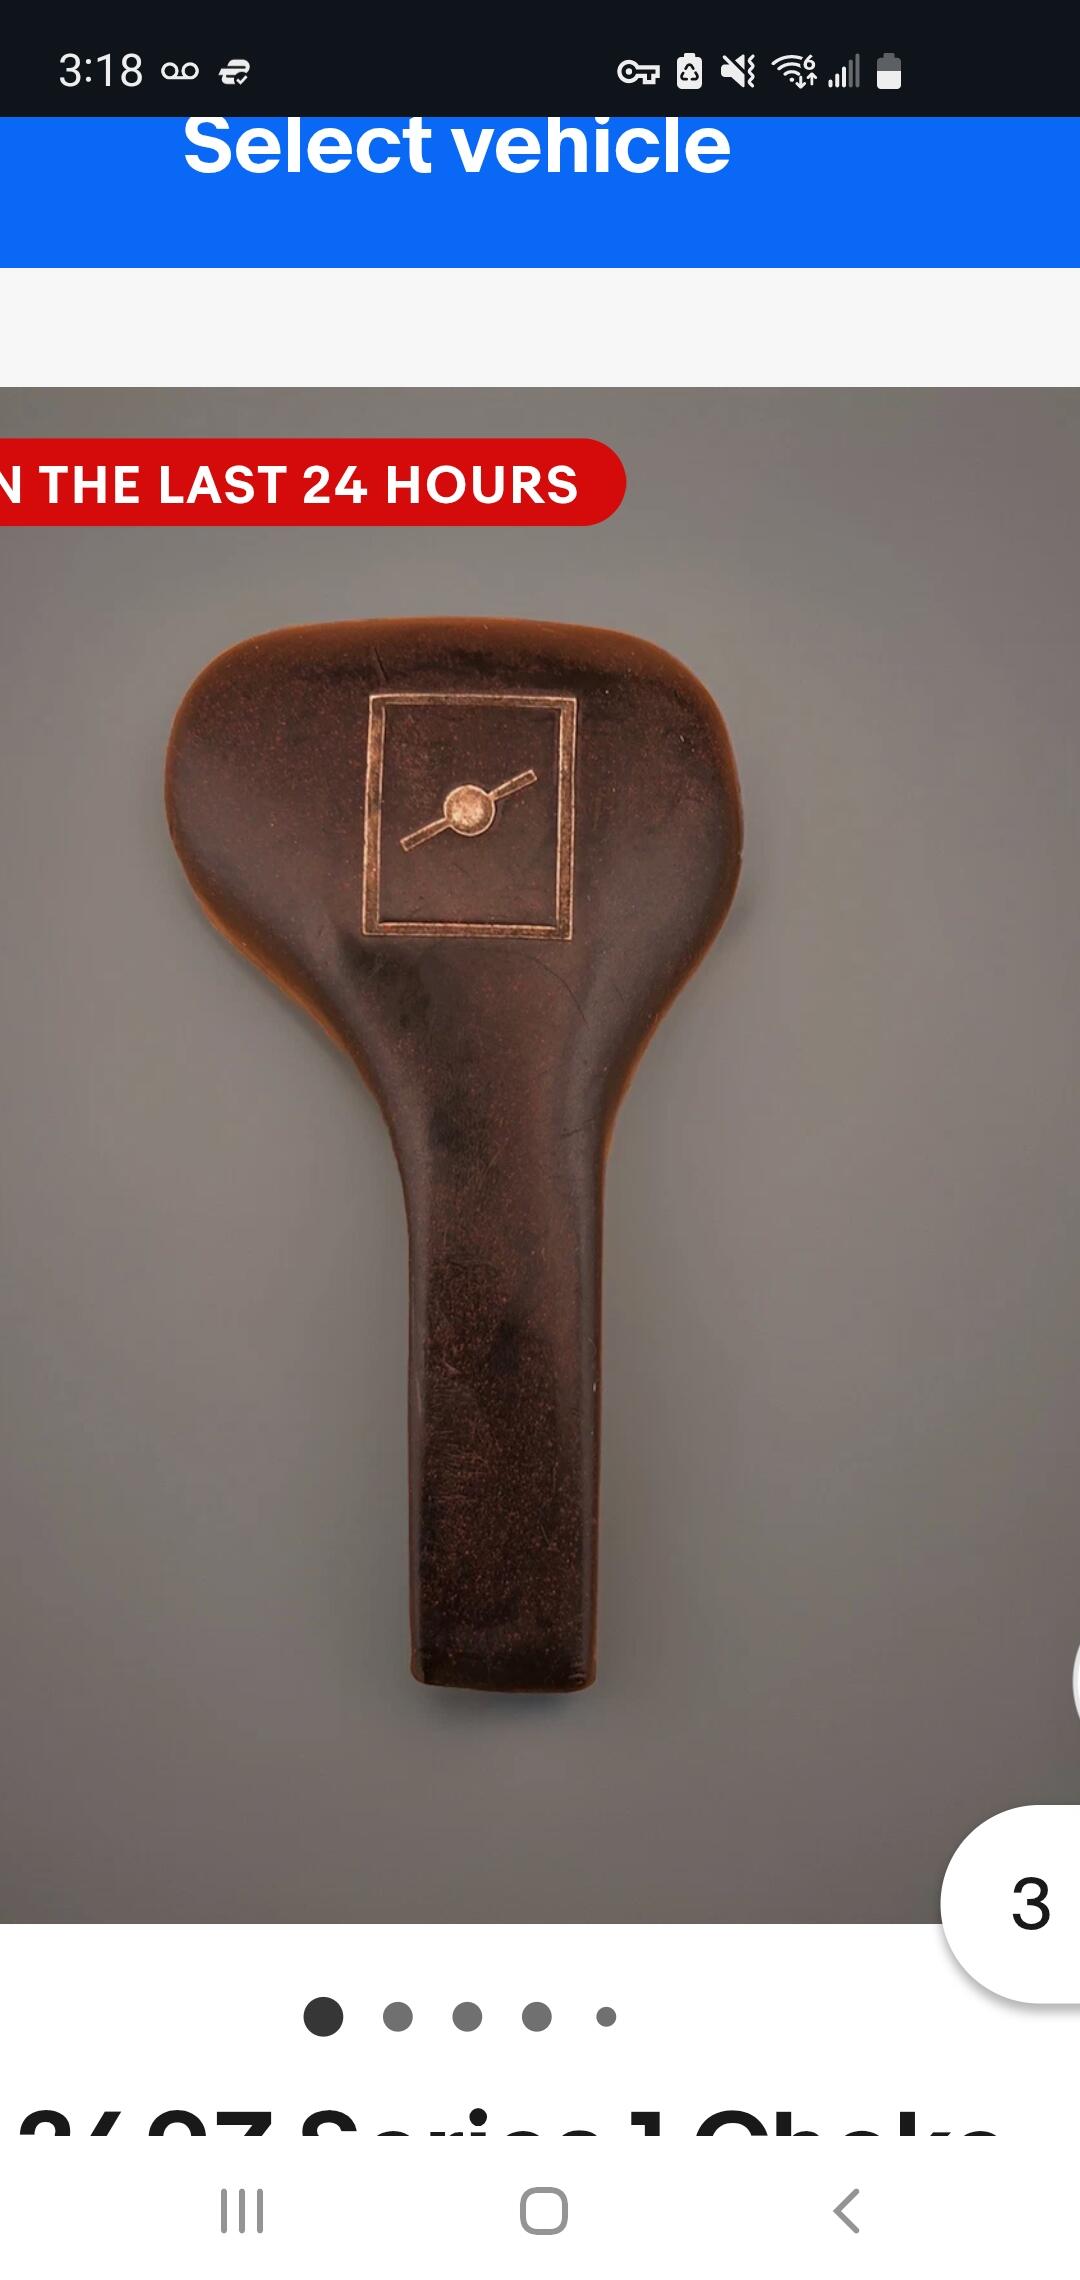
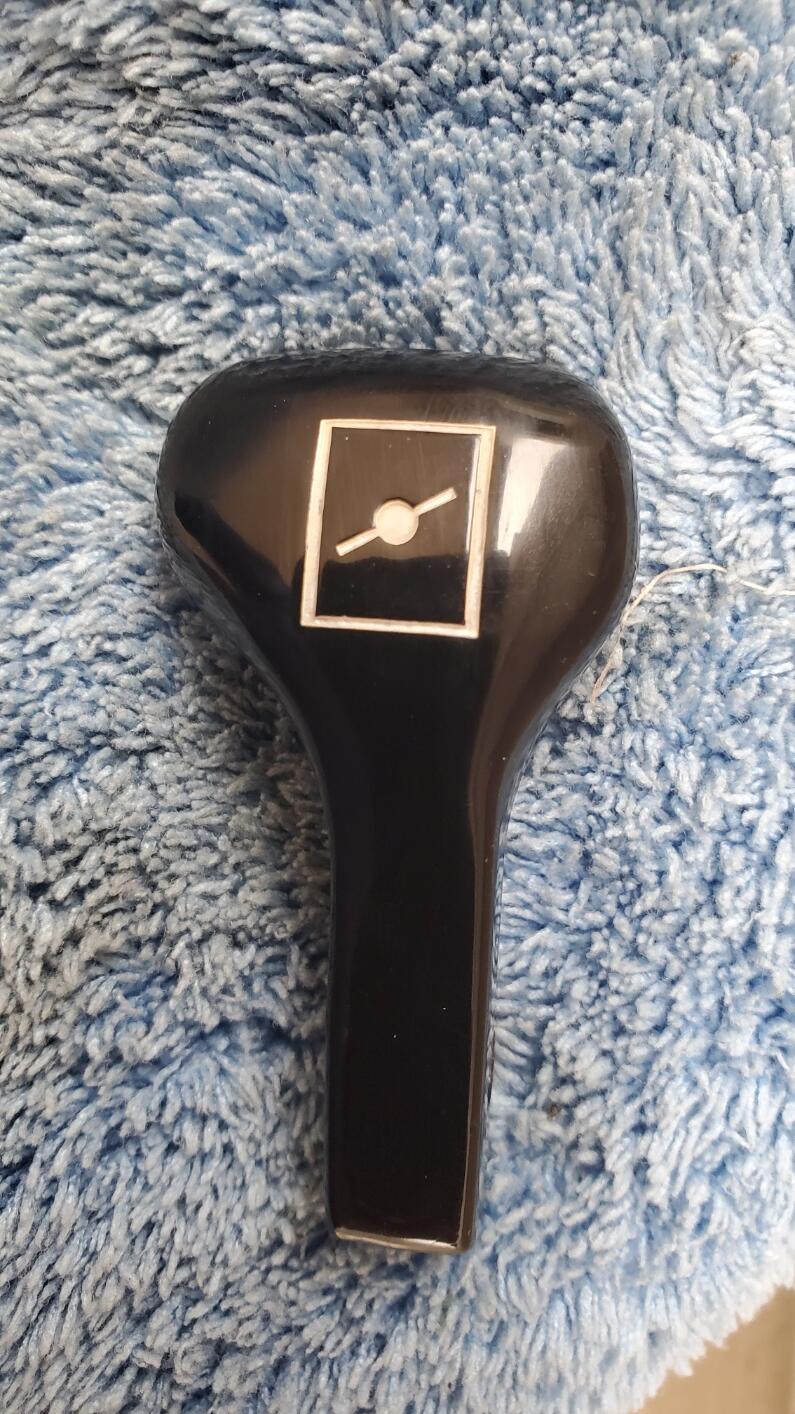
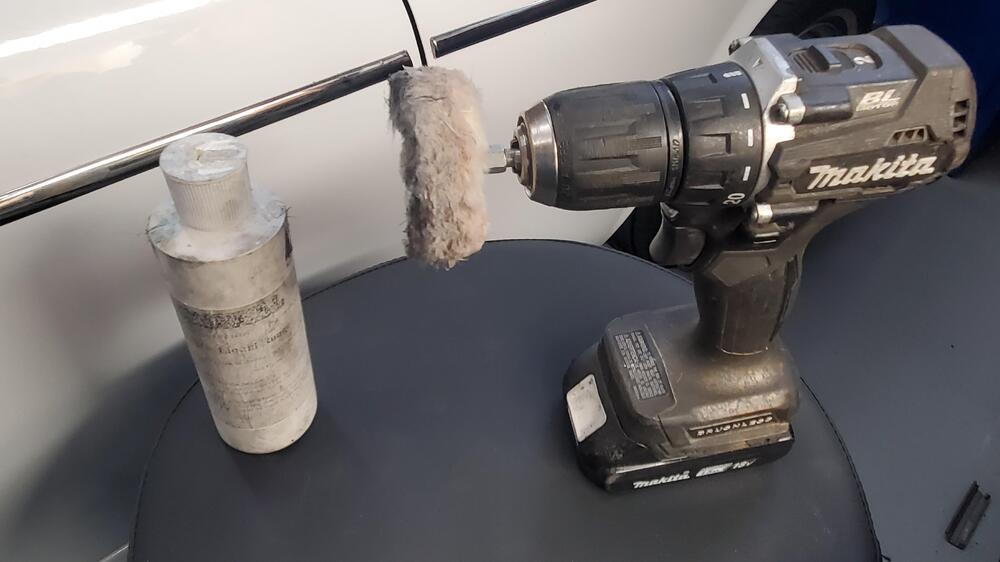
Here is picture of what I used for the choke knoh polish. Bottle is Caswell White Liquid Rouge.
-
Thanks...I will need to correct that.
-
A cloth buffing wheel with fine polish compound on my hand drill. I will show a picture tomorrow. I have a bench mount buffing wheel as well that I use to polish all of the window frames, but the knob is too small for that.
-
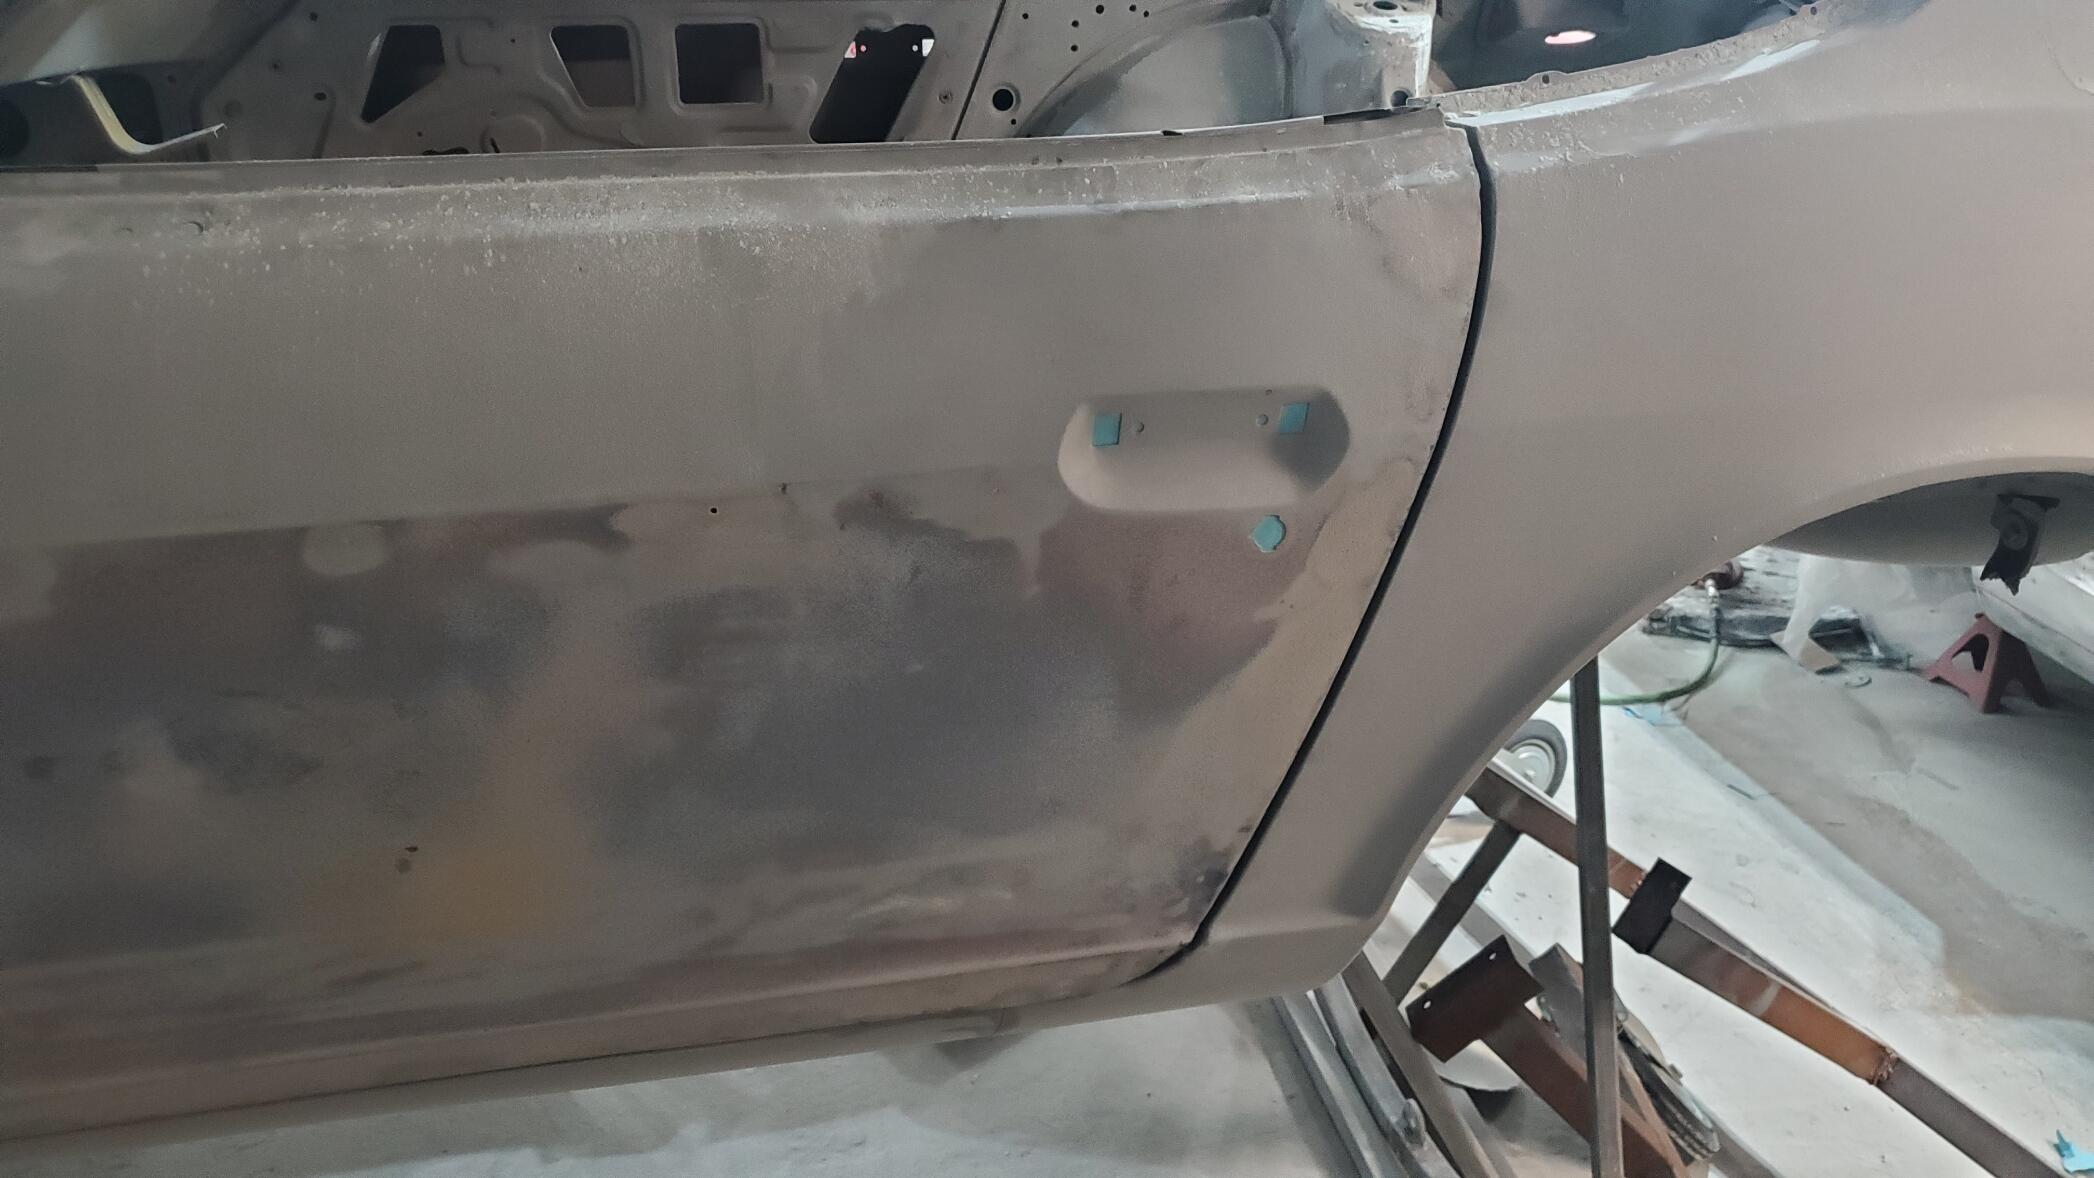
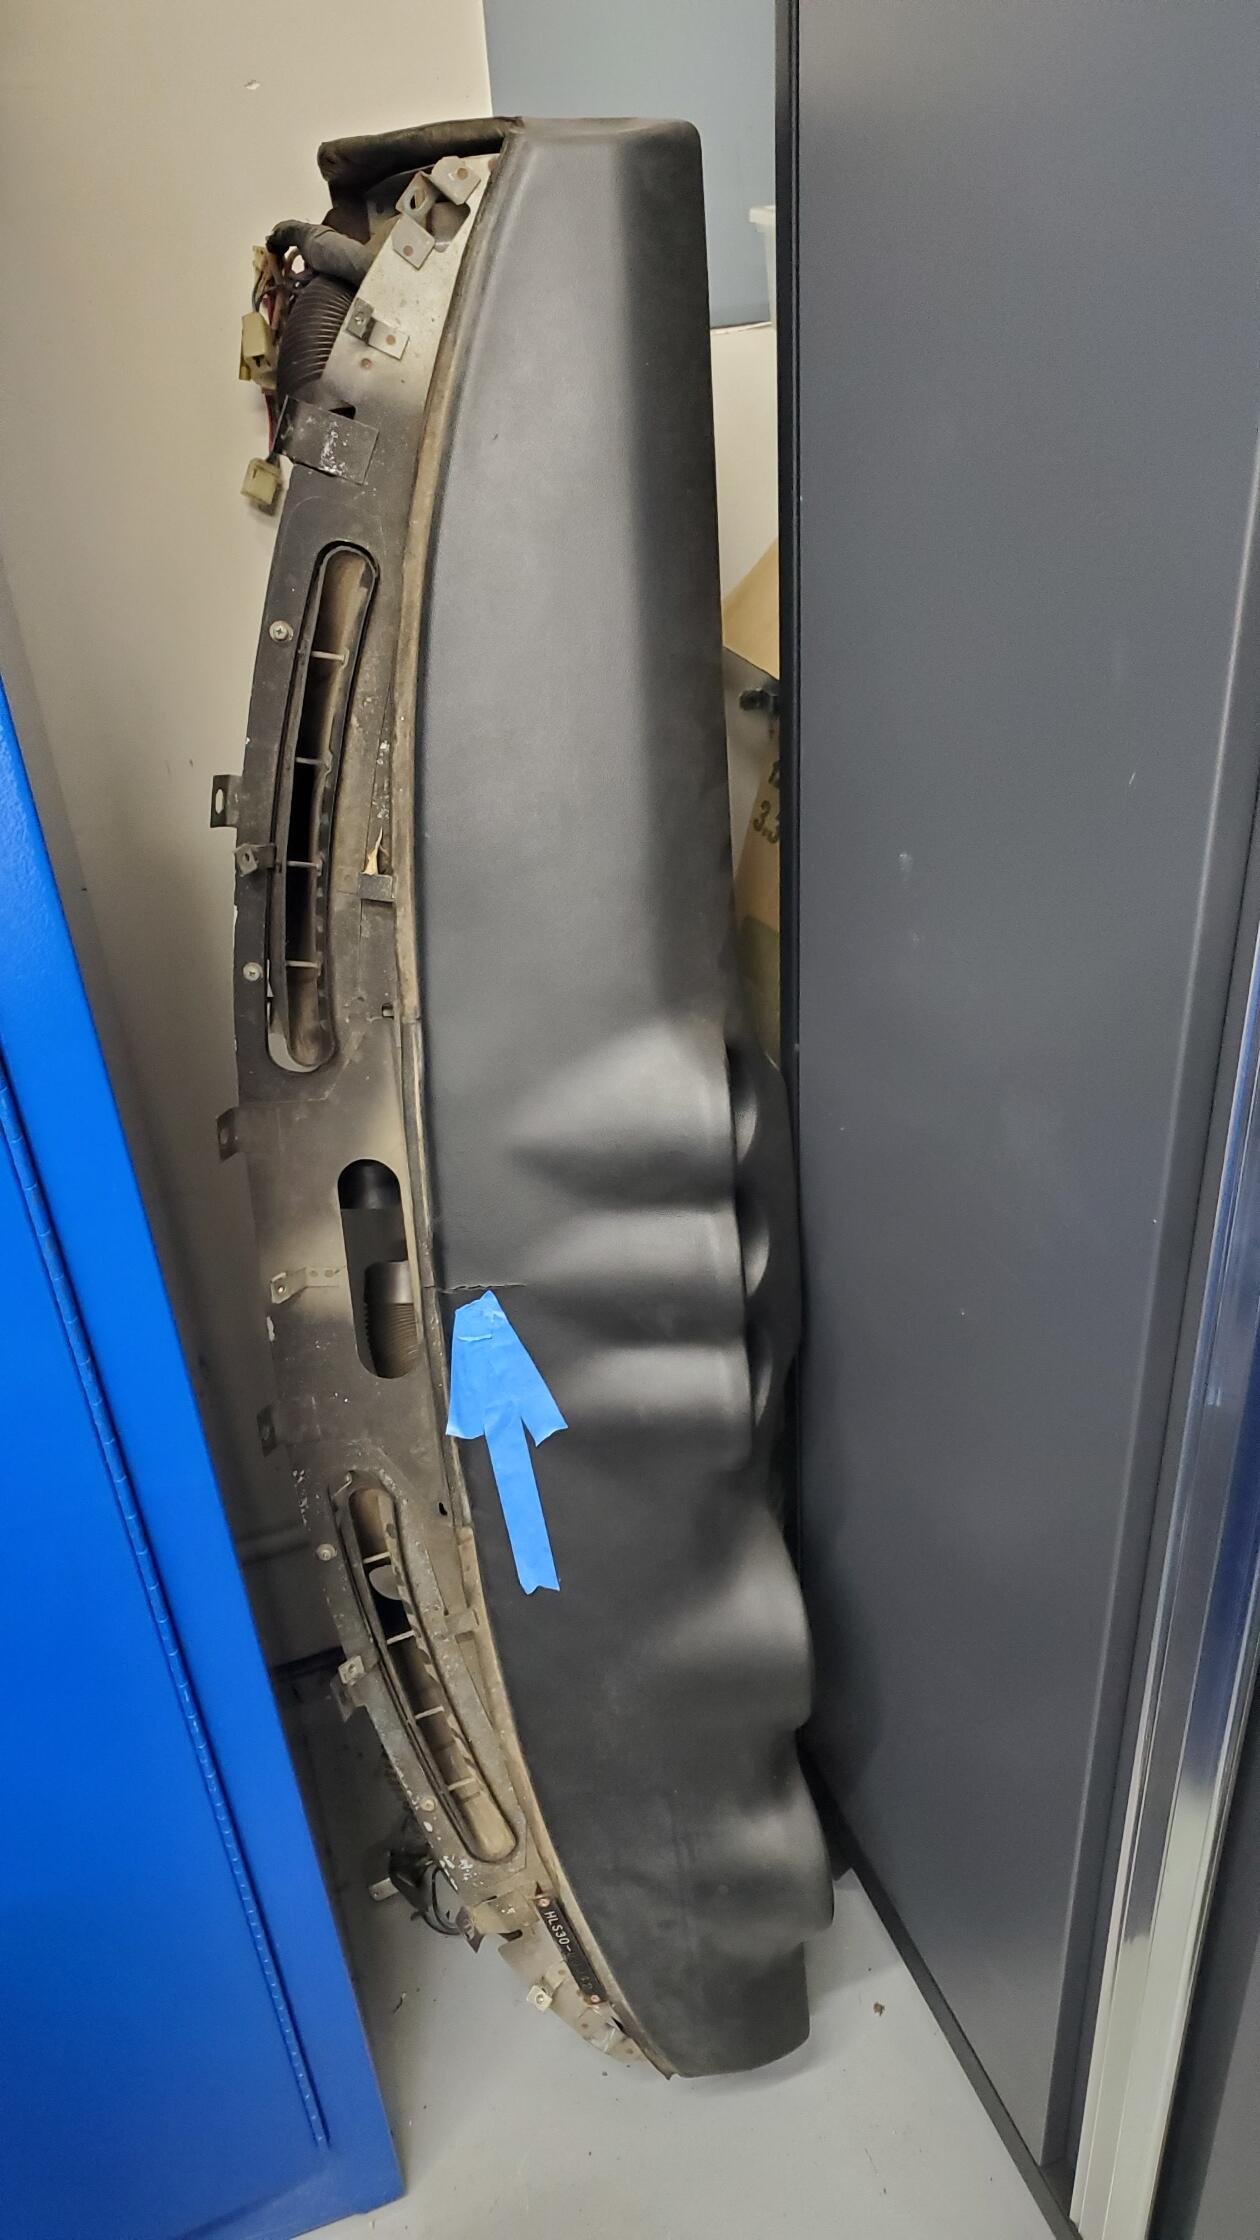
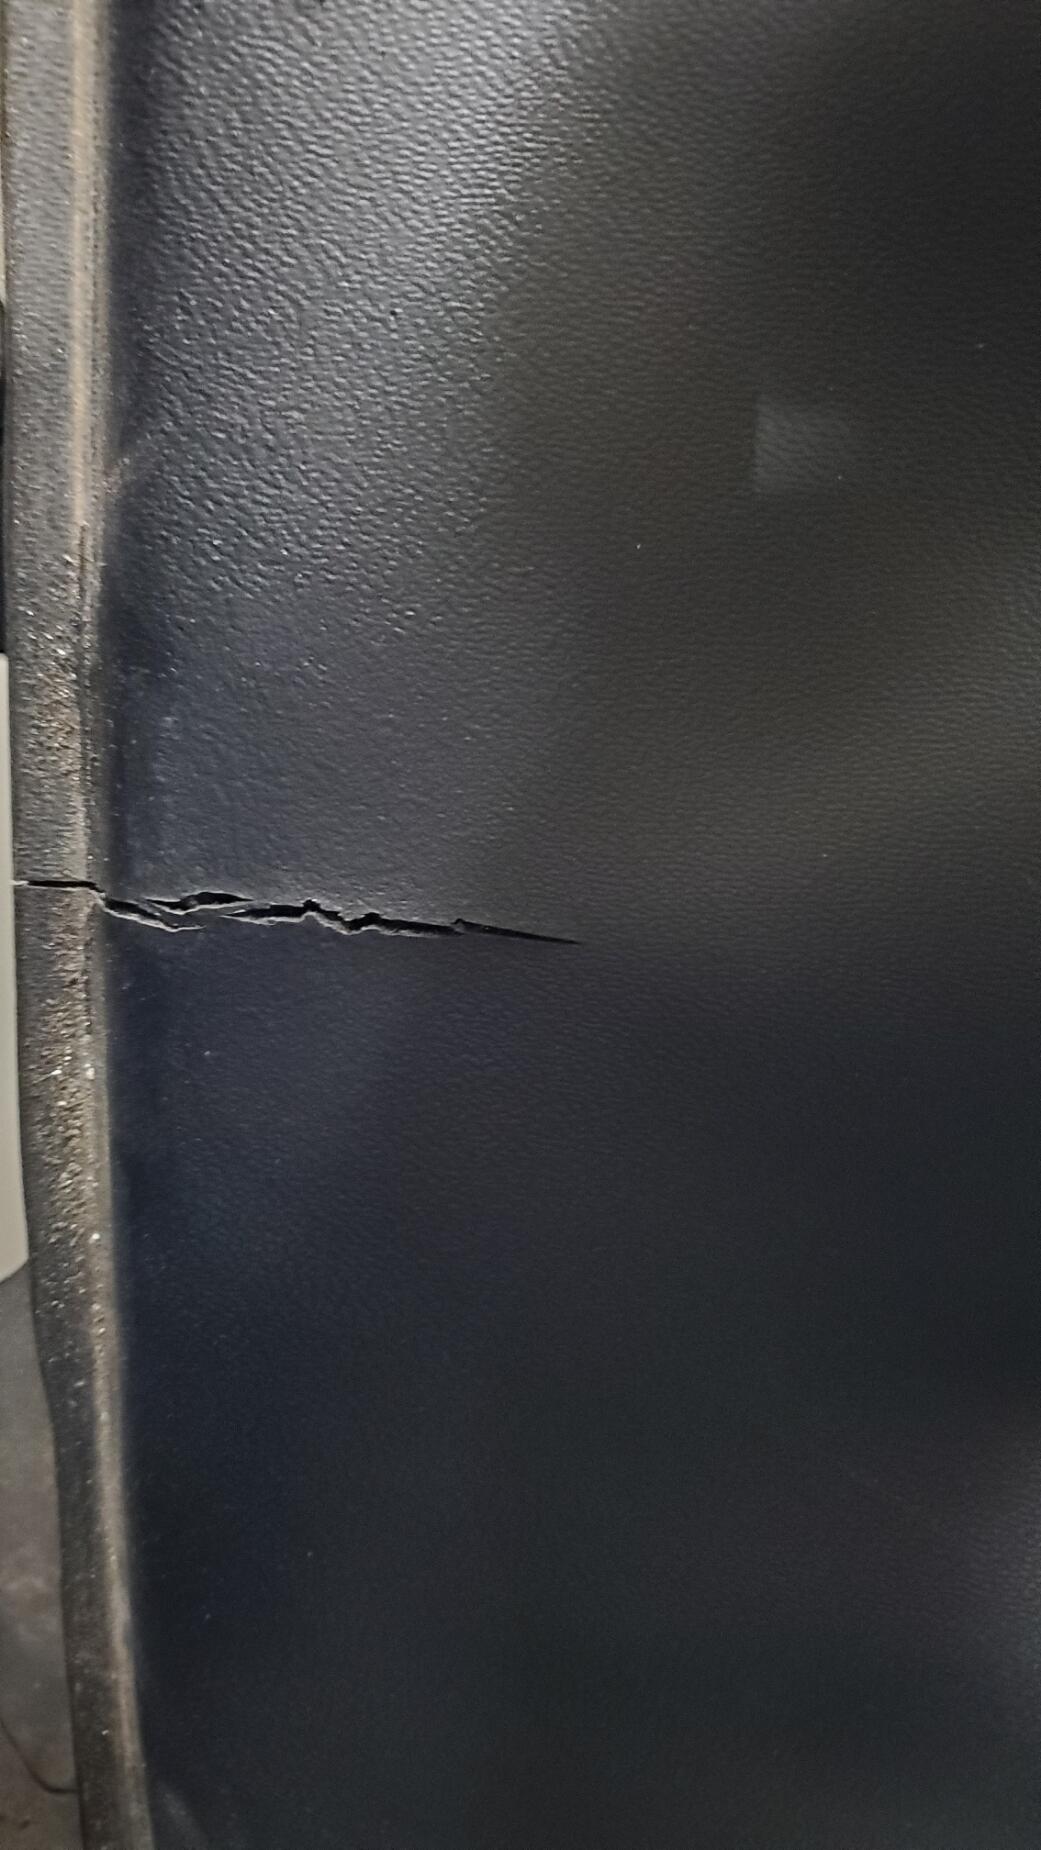
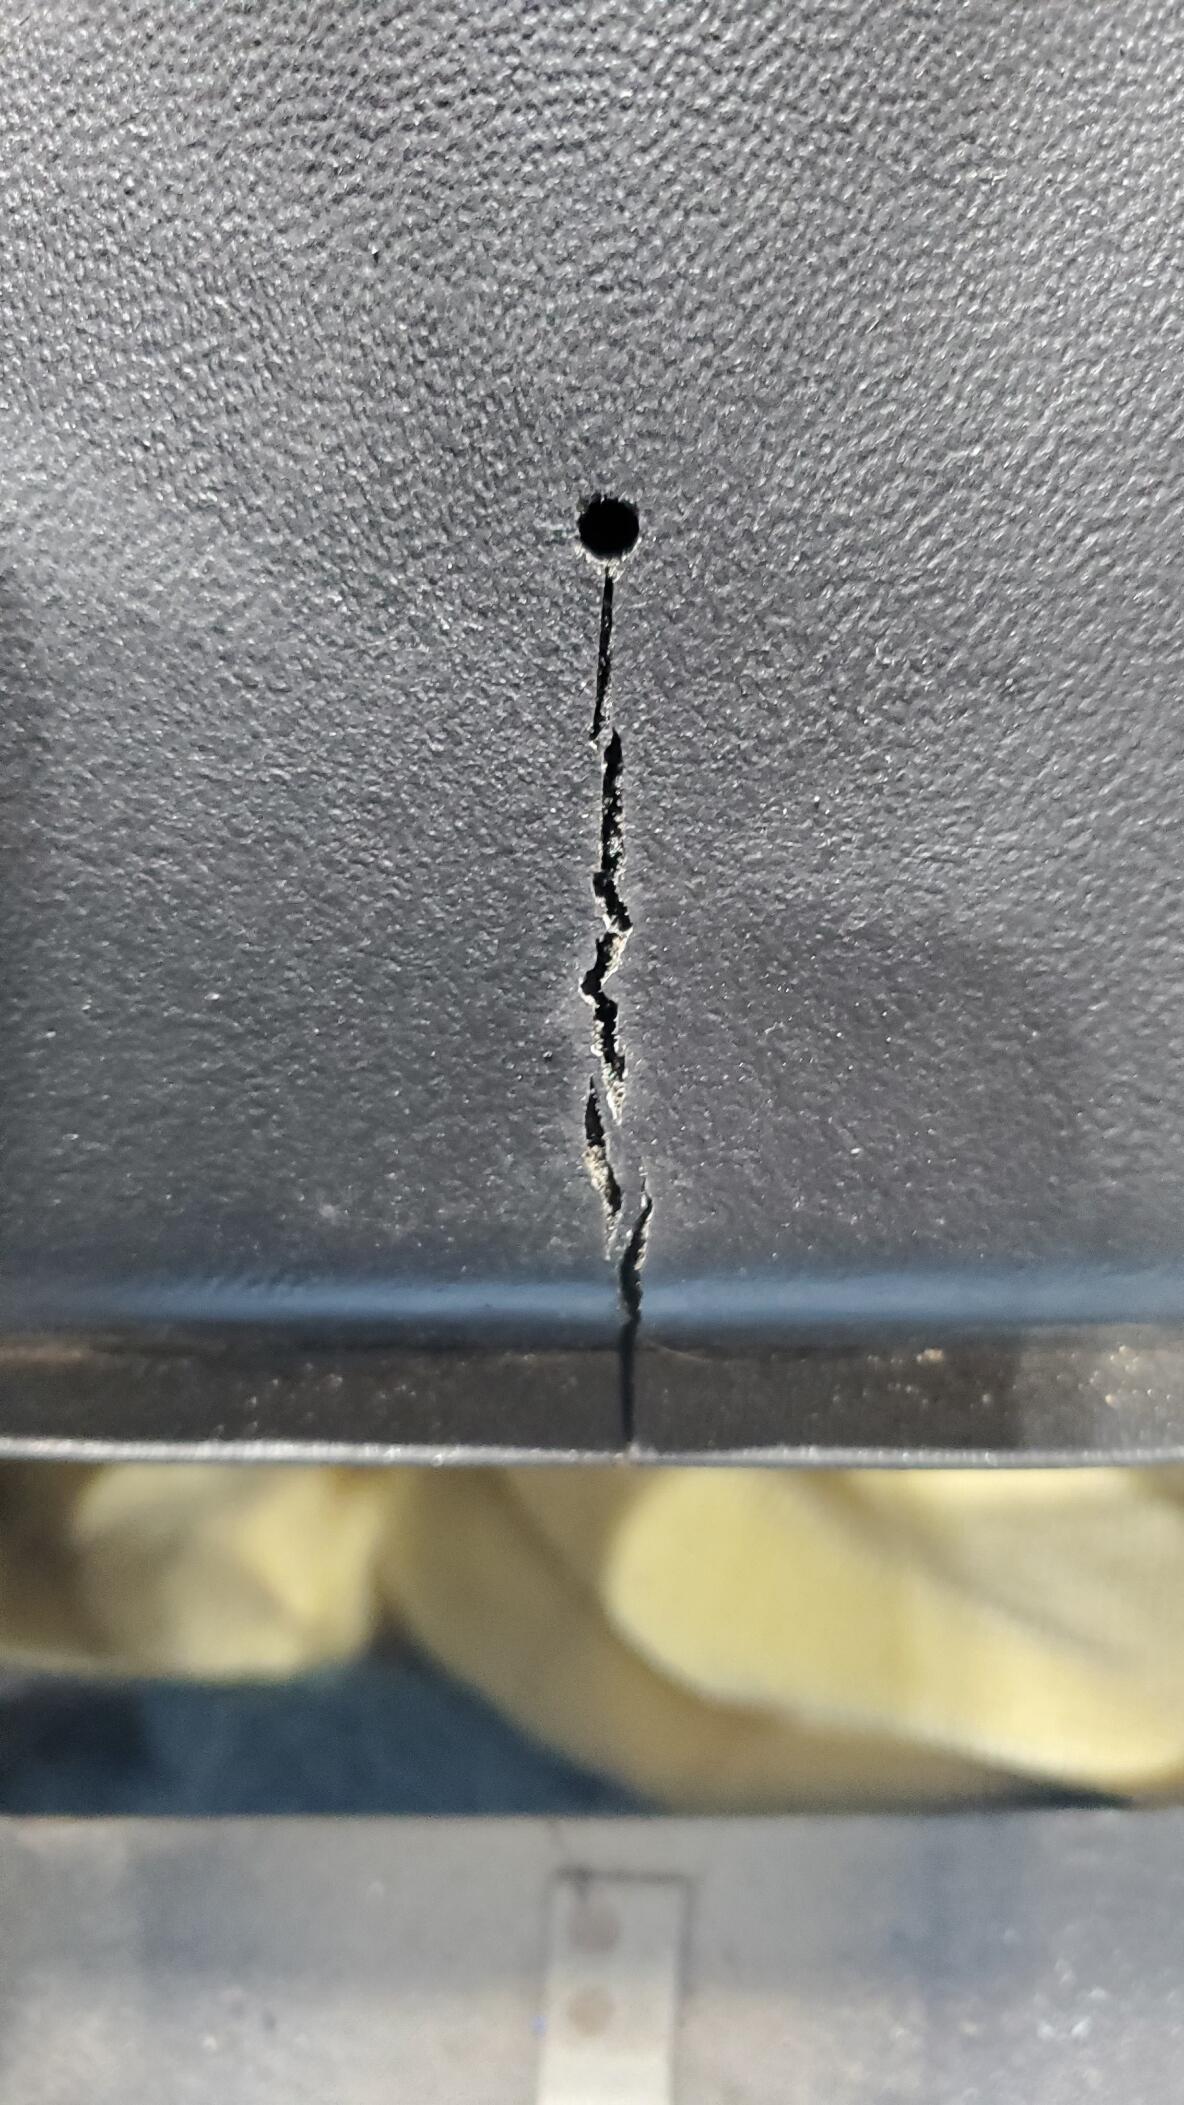
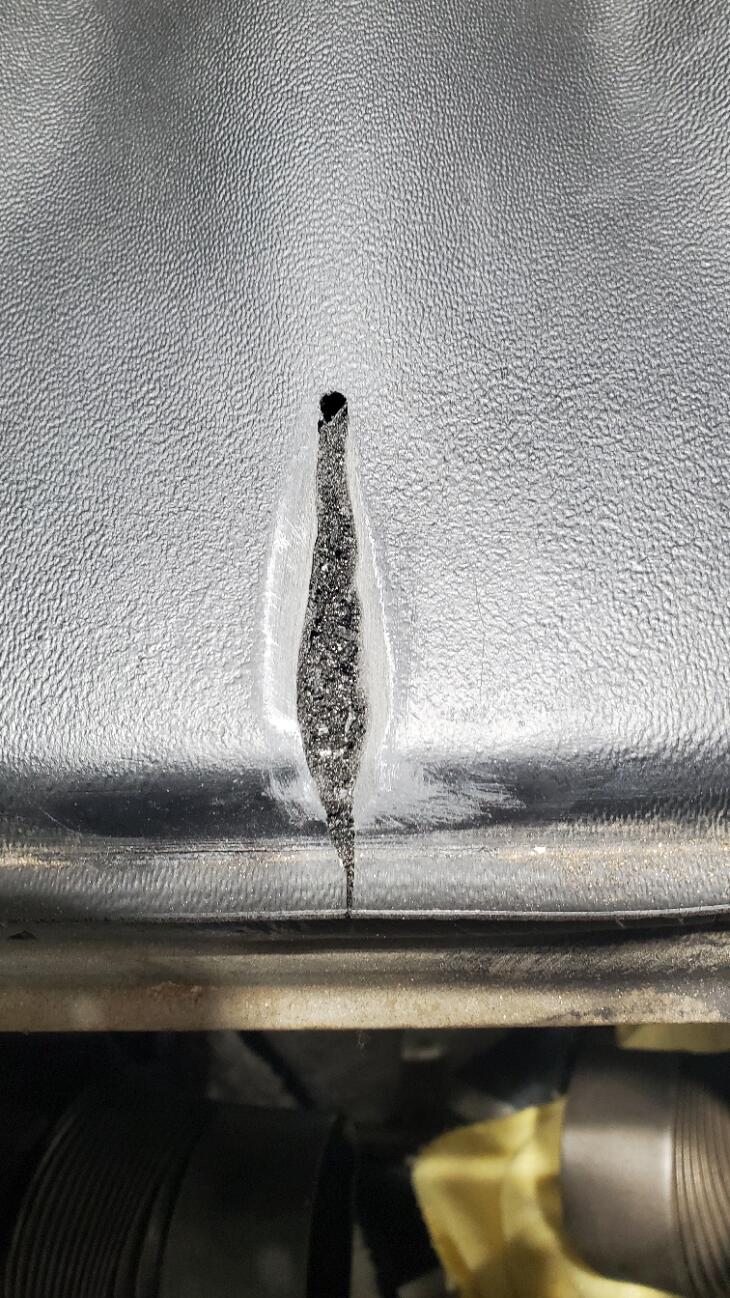
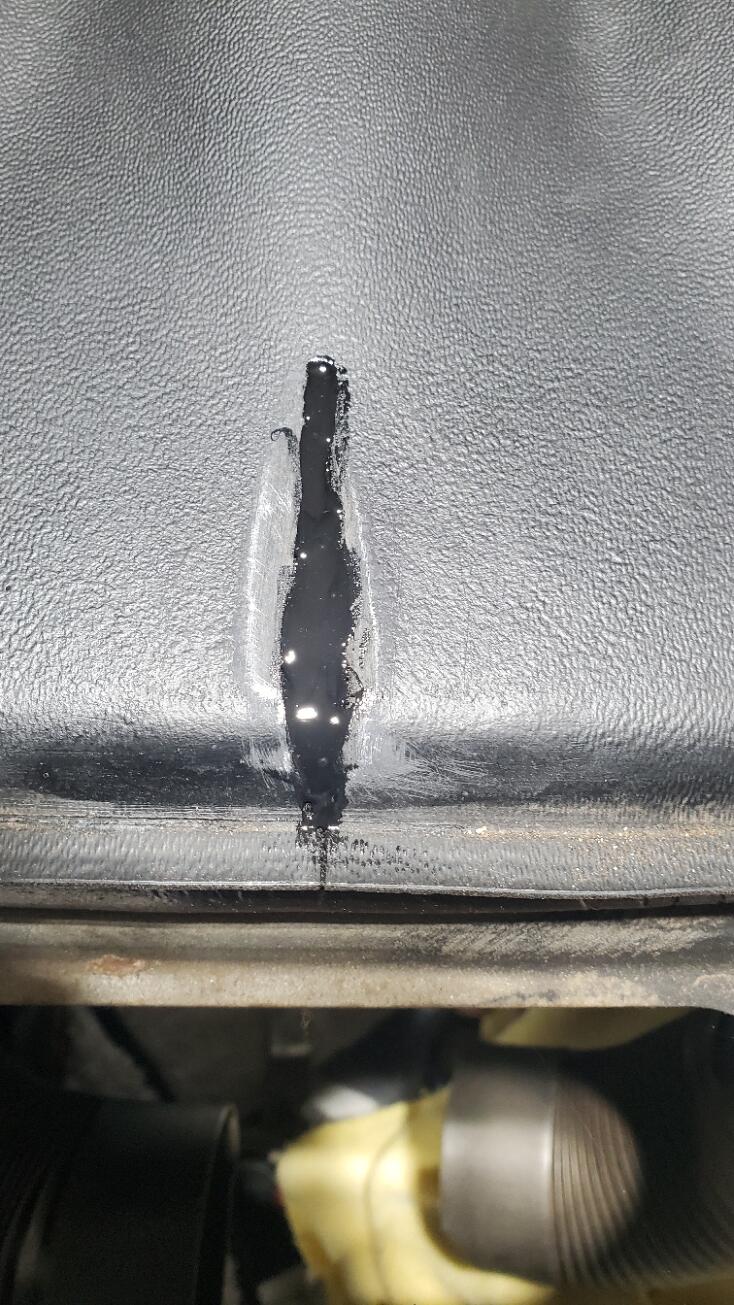
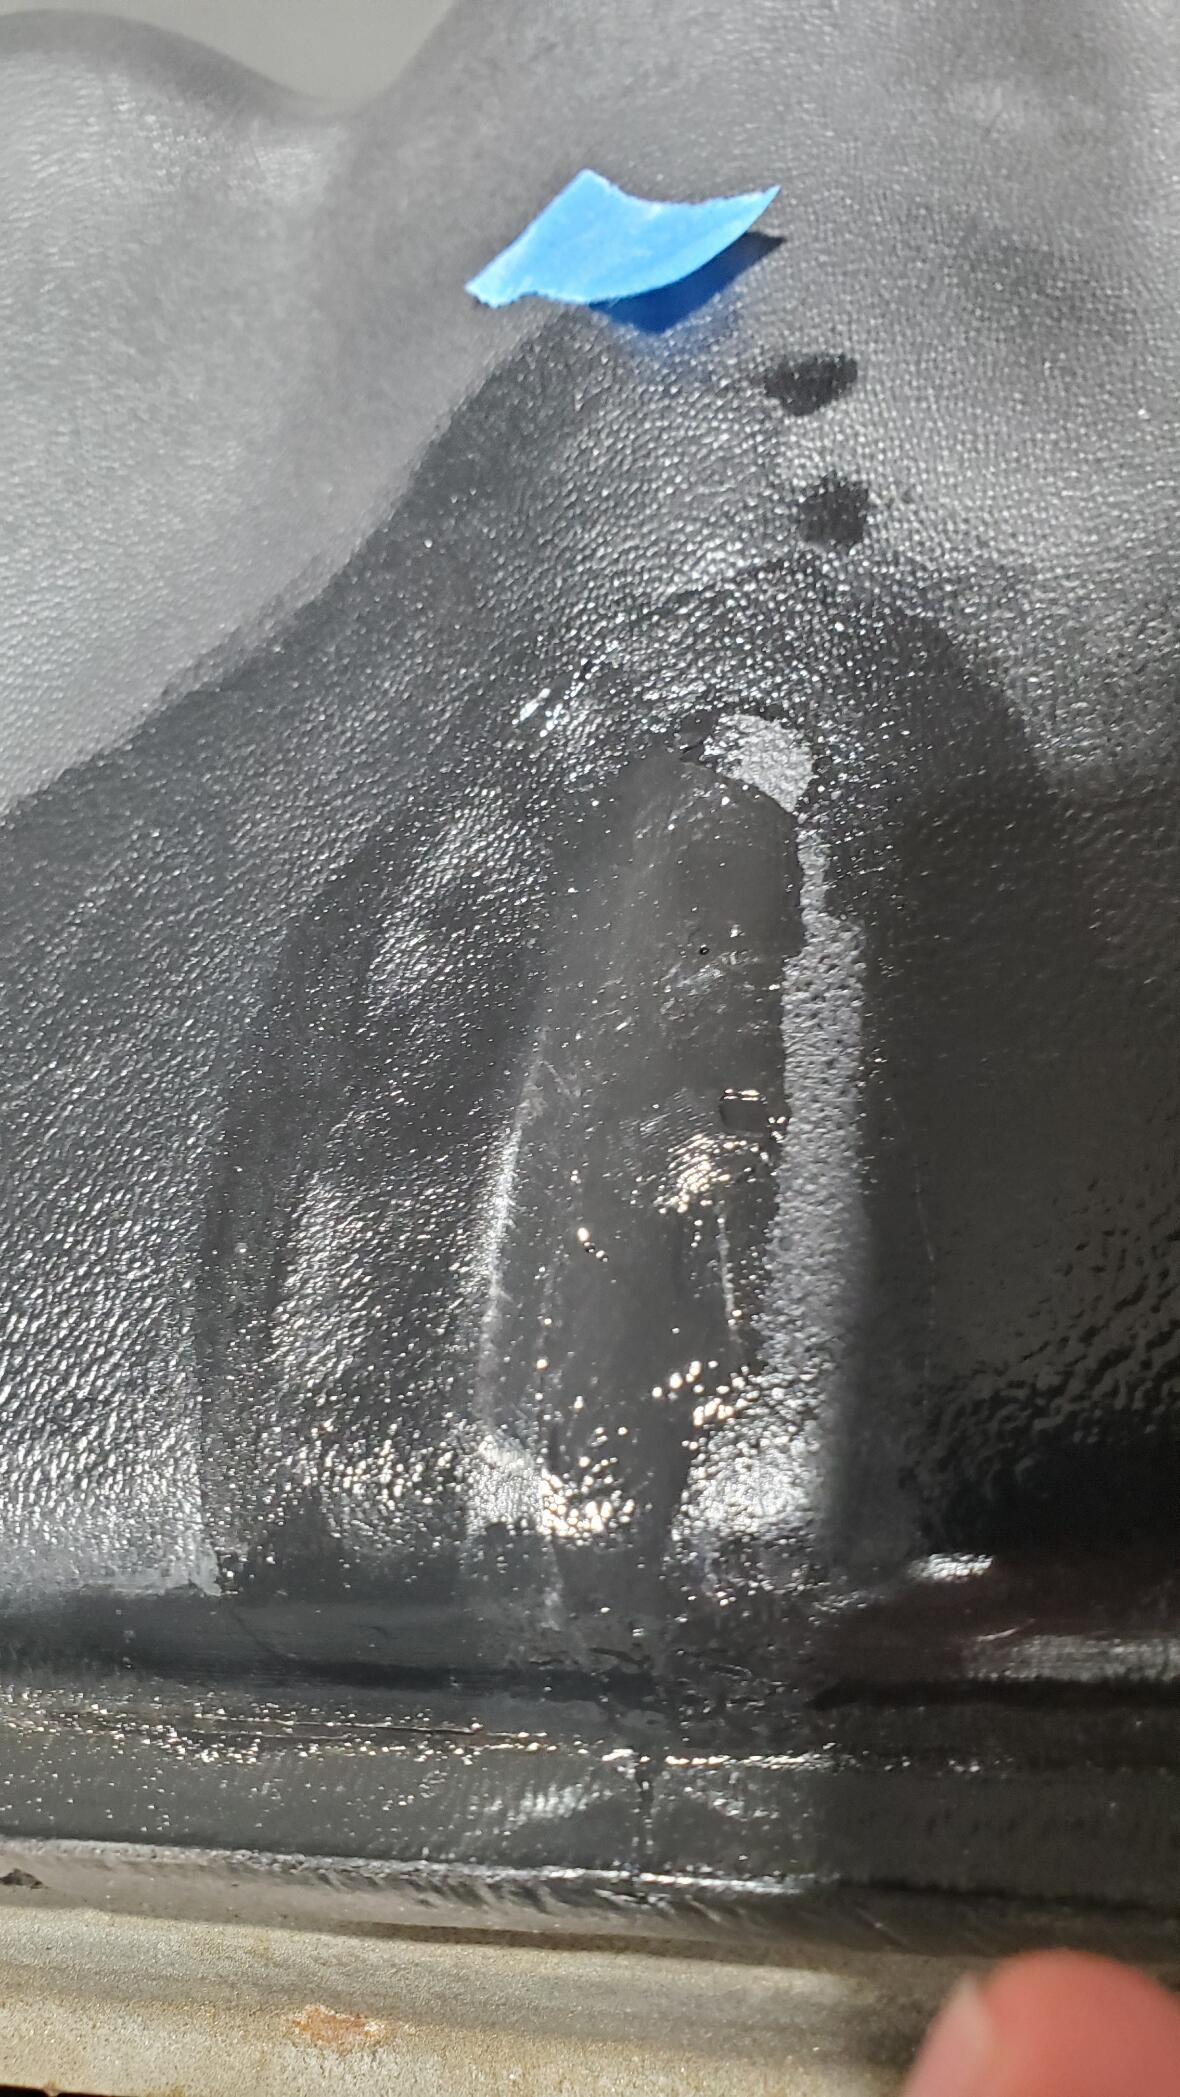
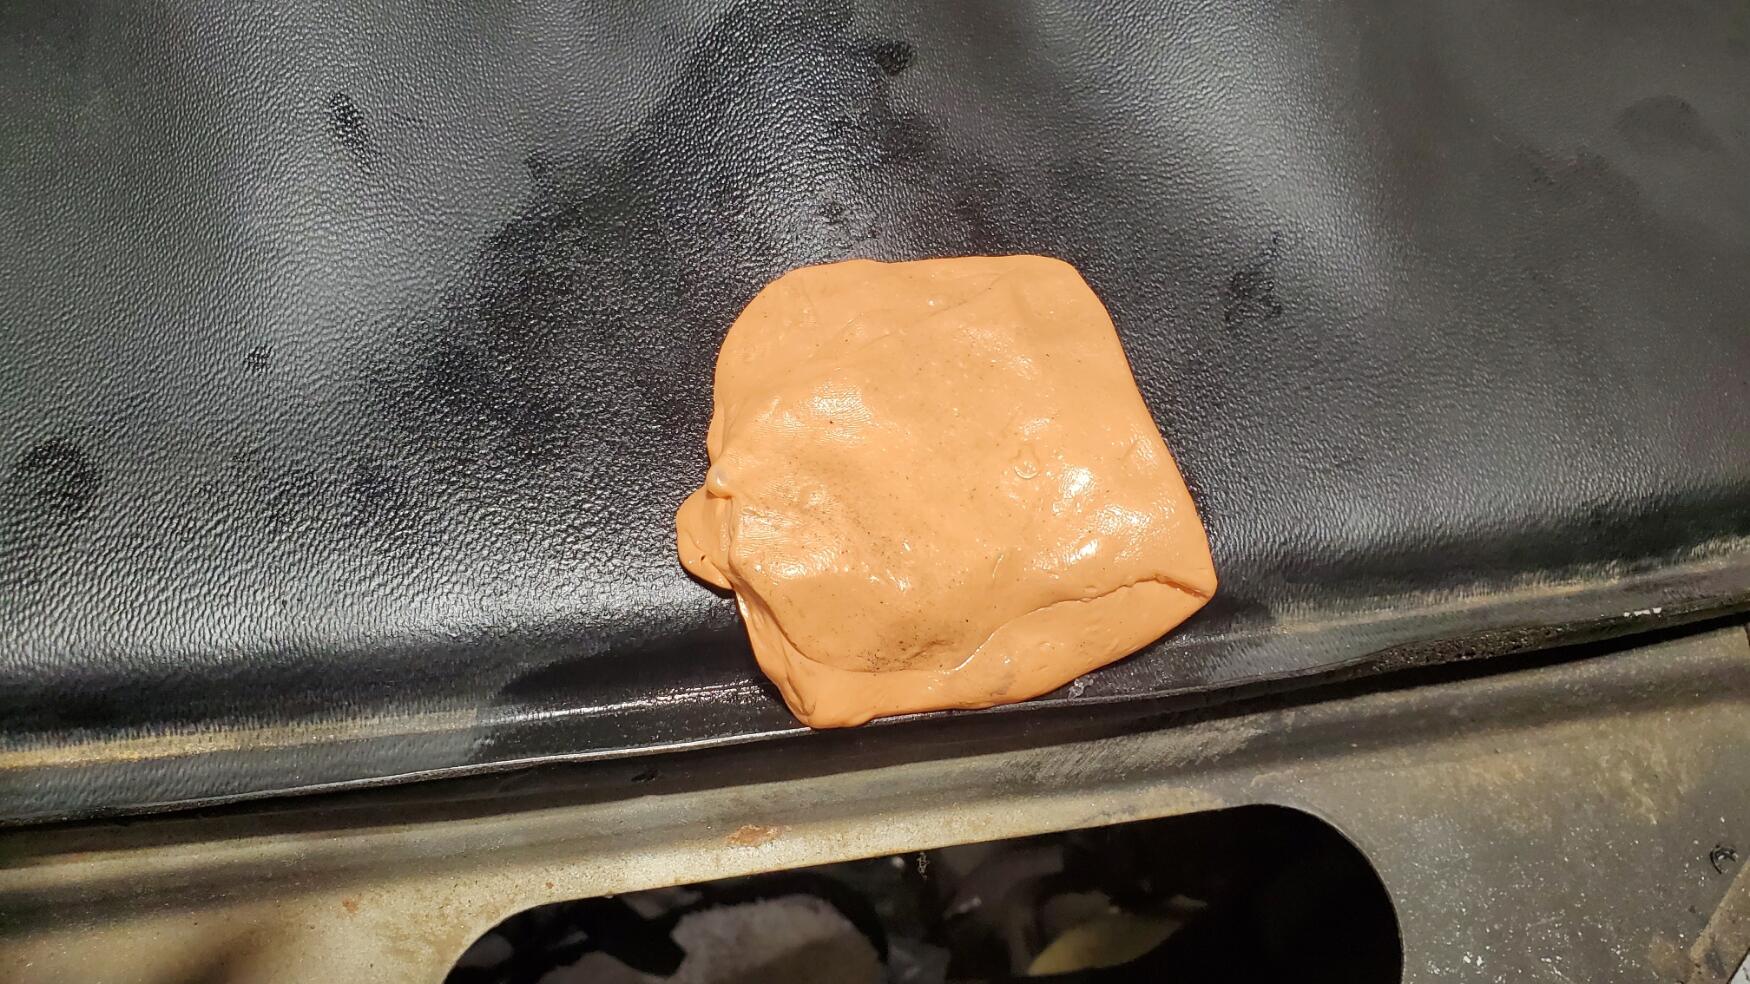
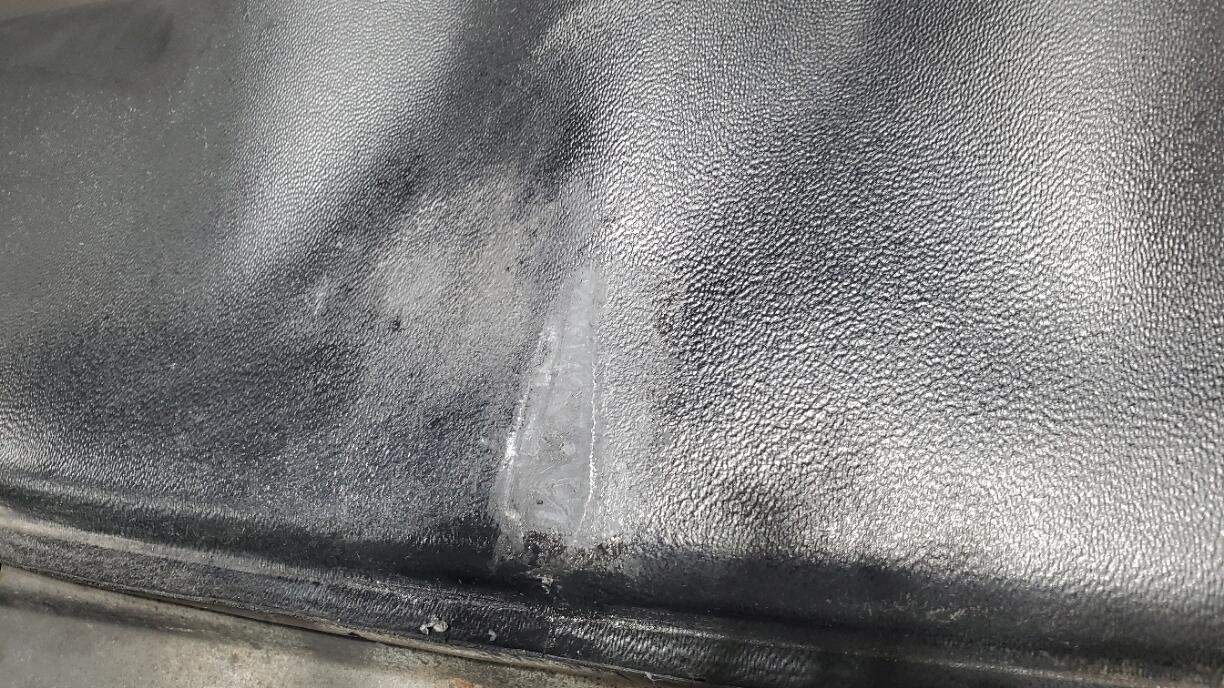
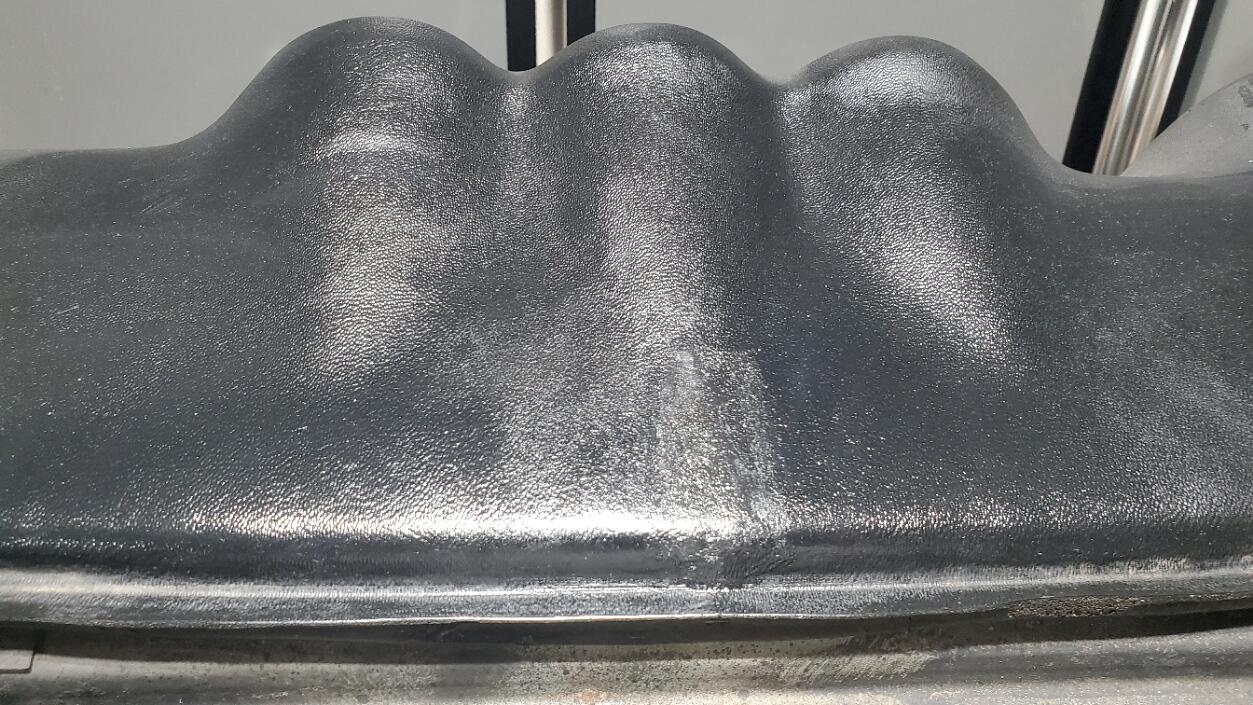
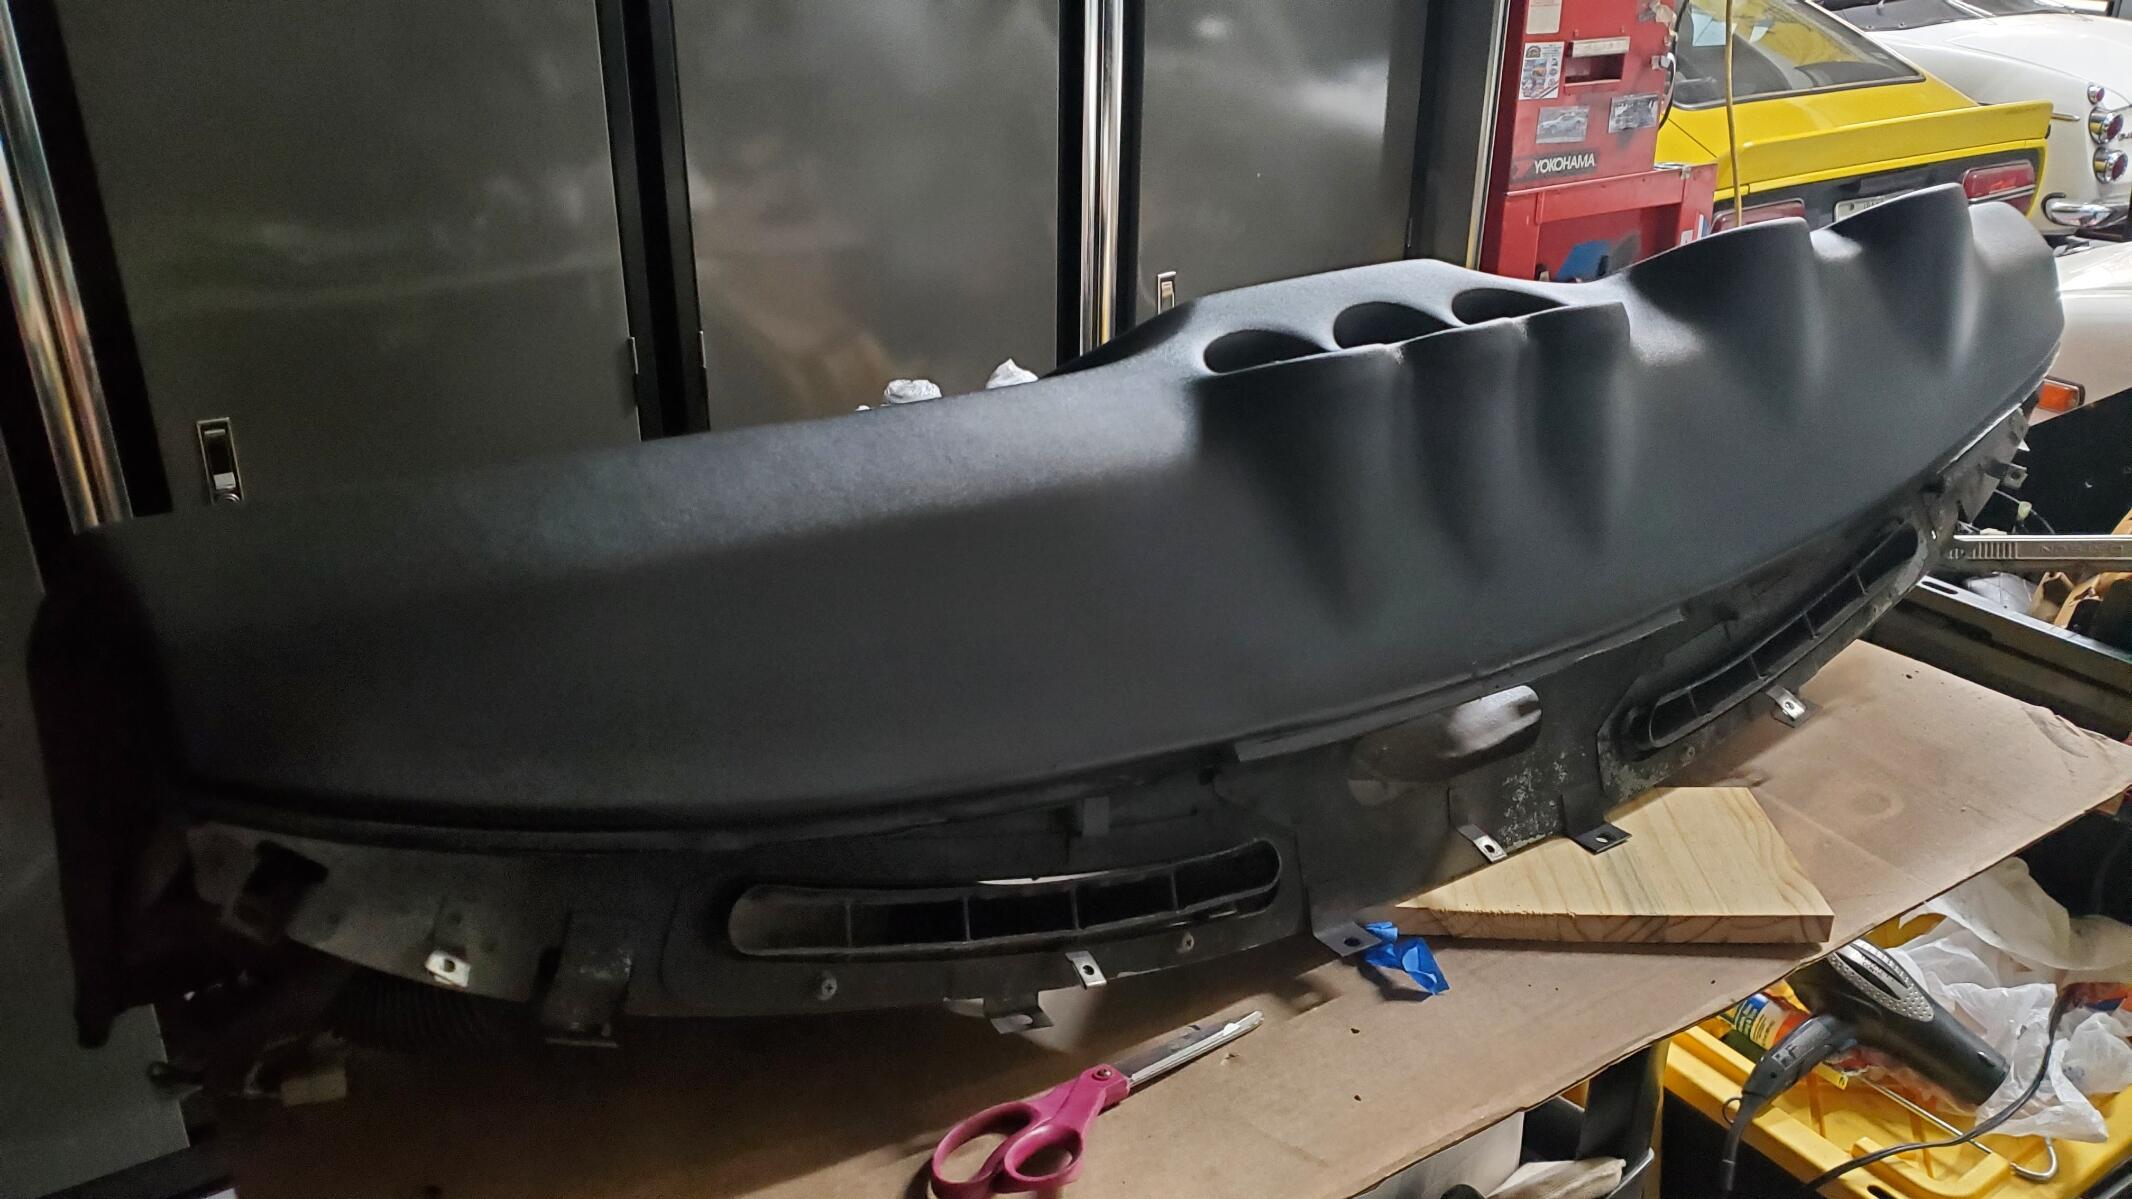
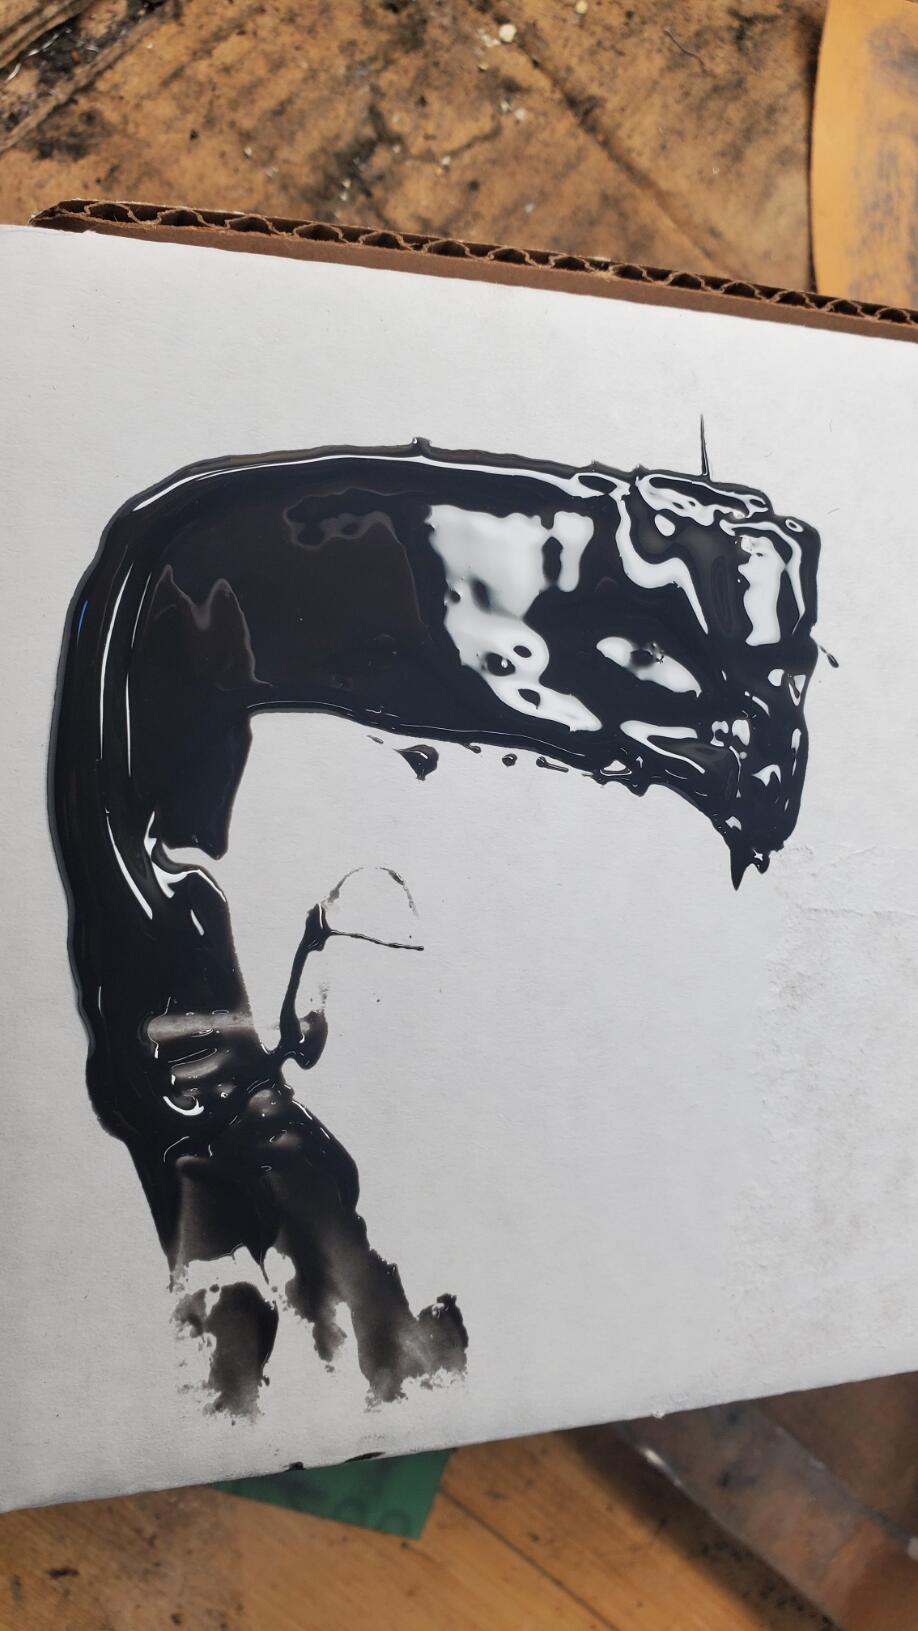
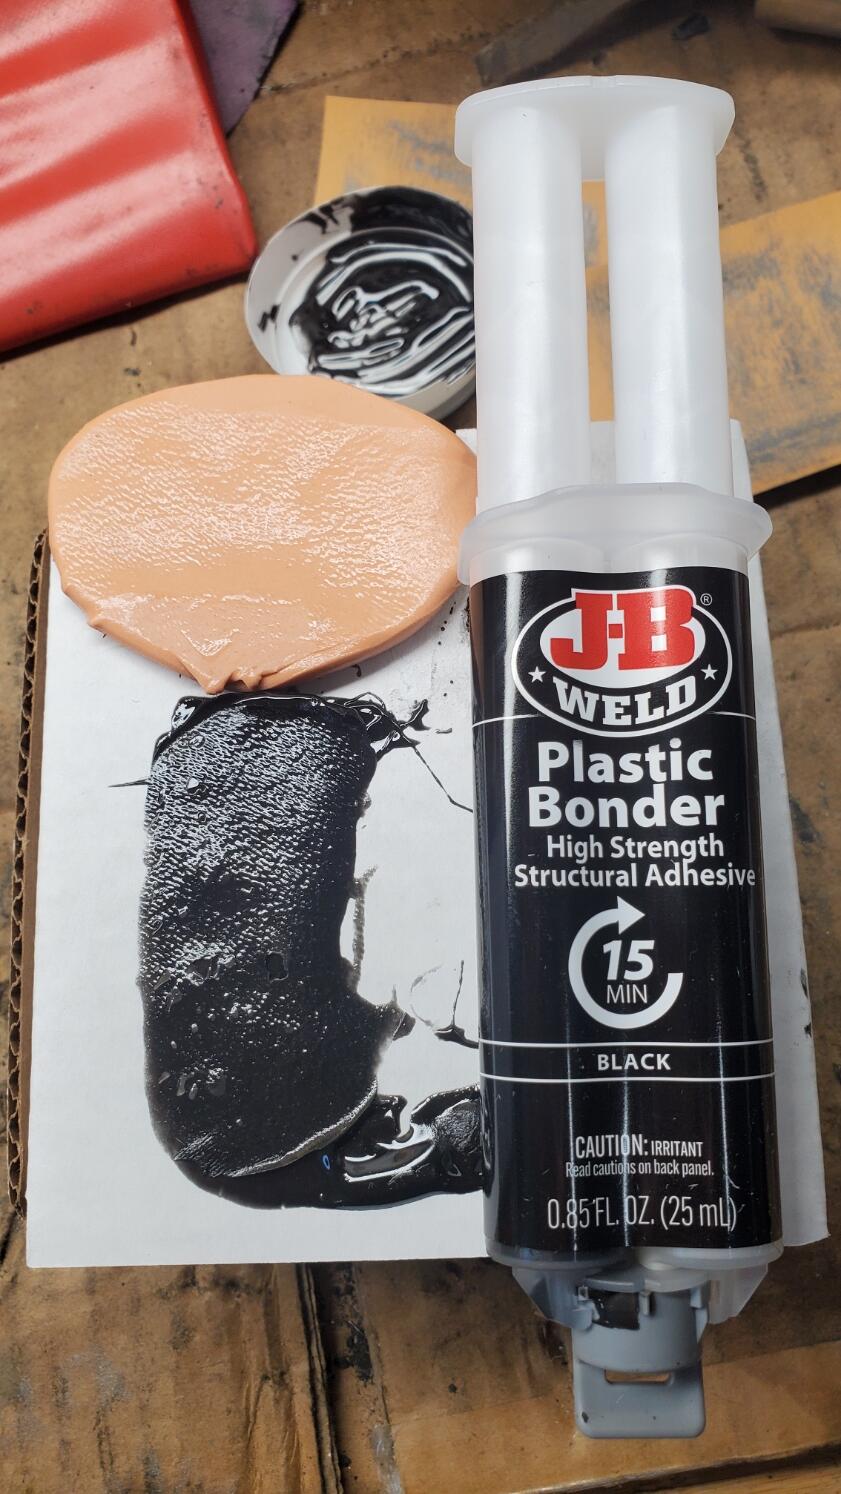
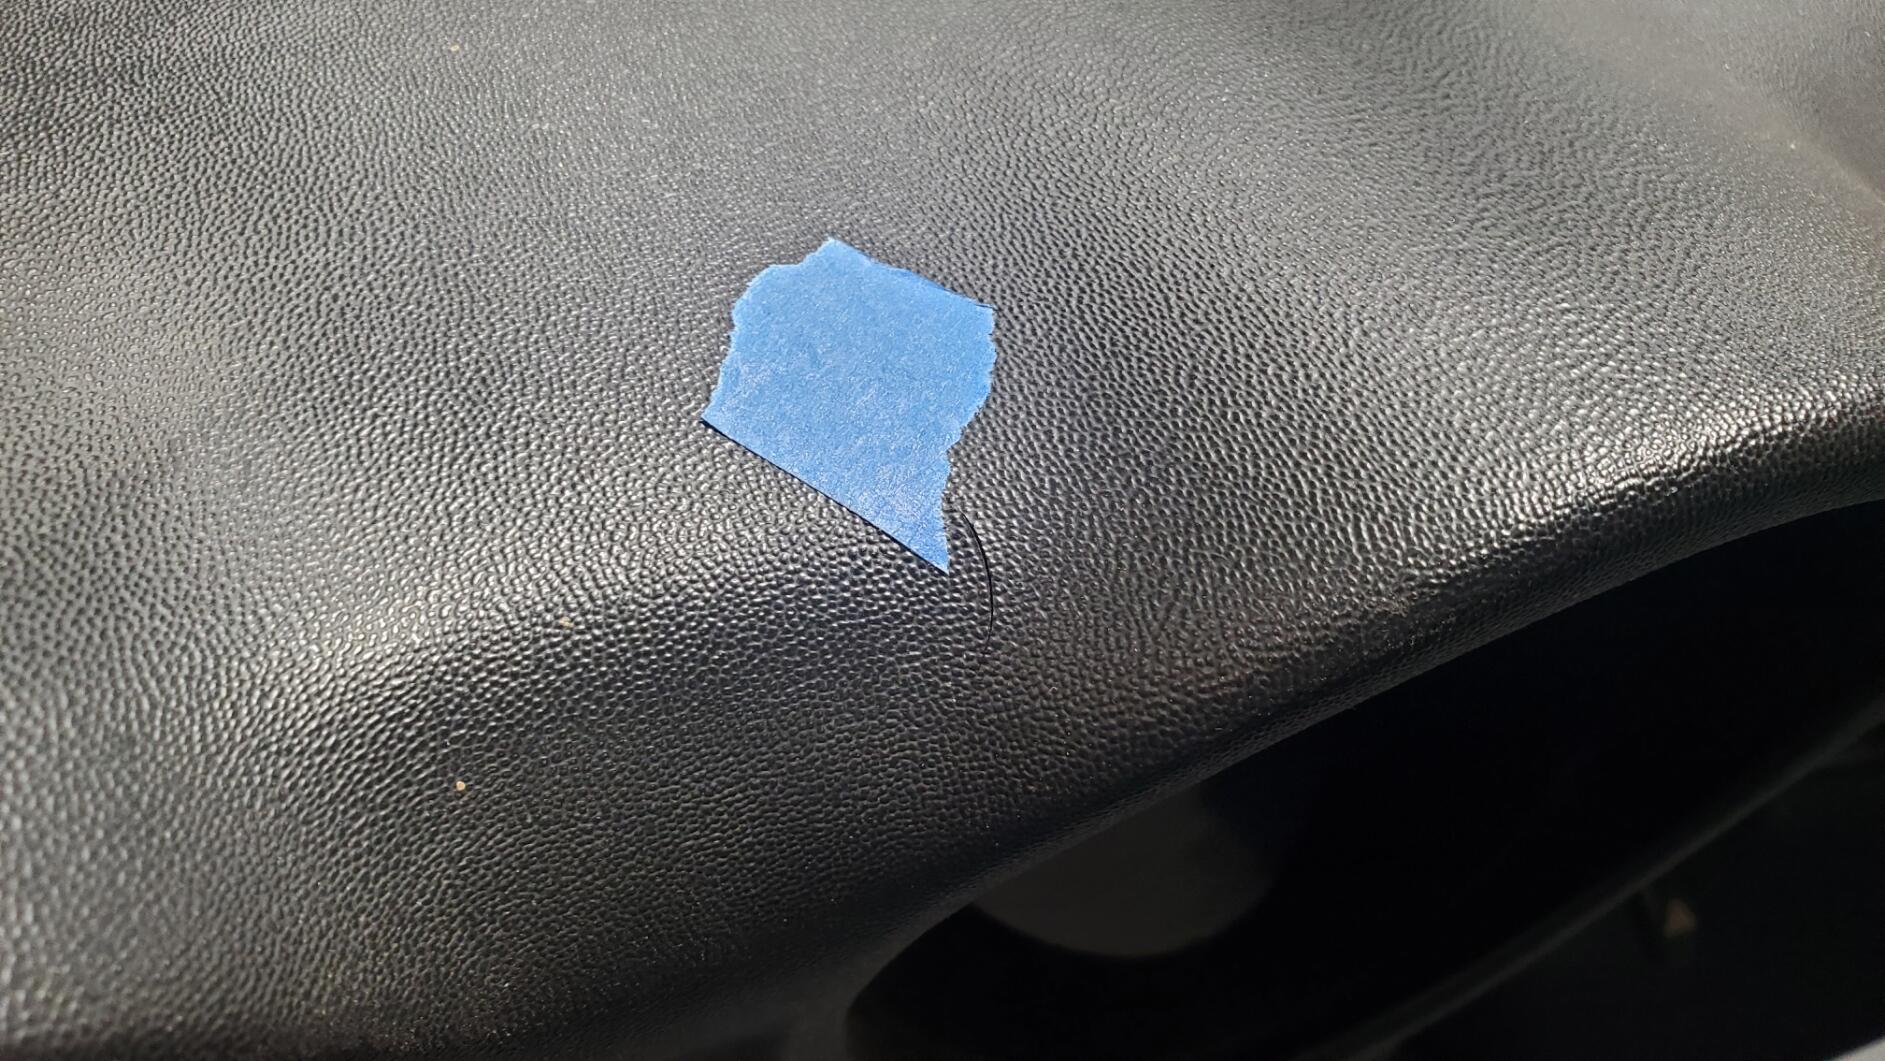
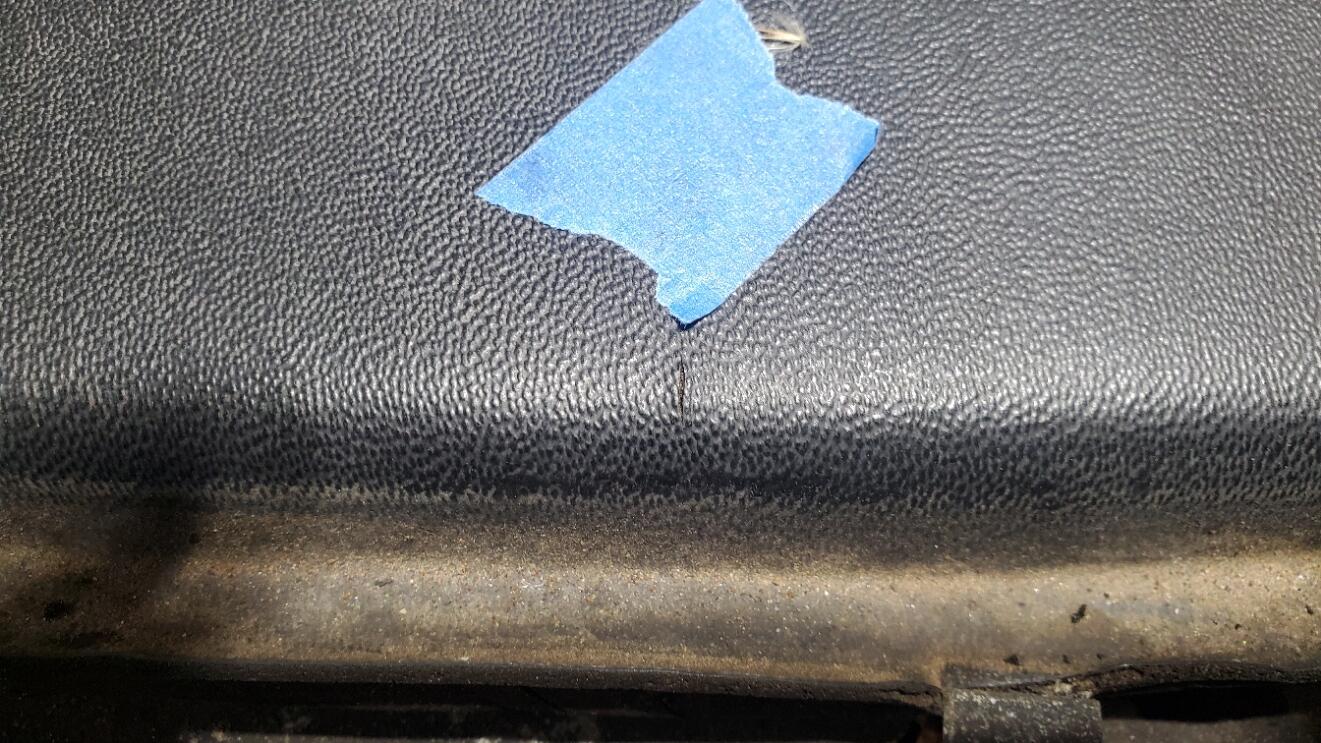
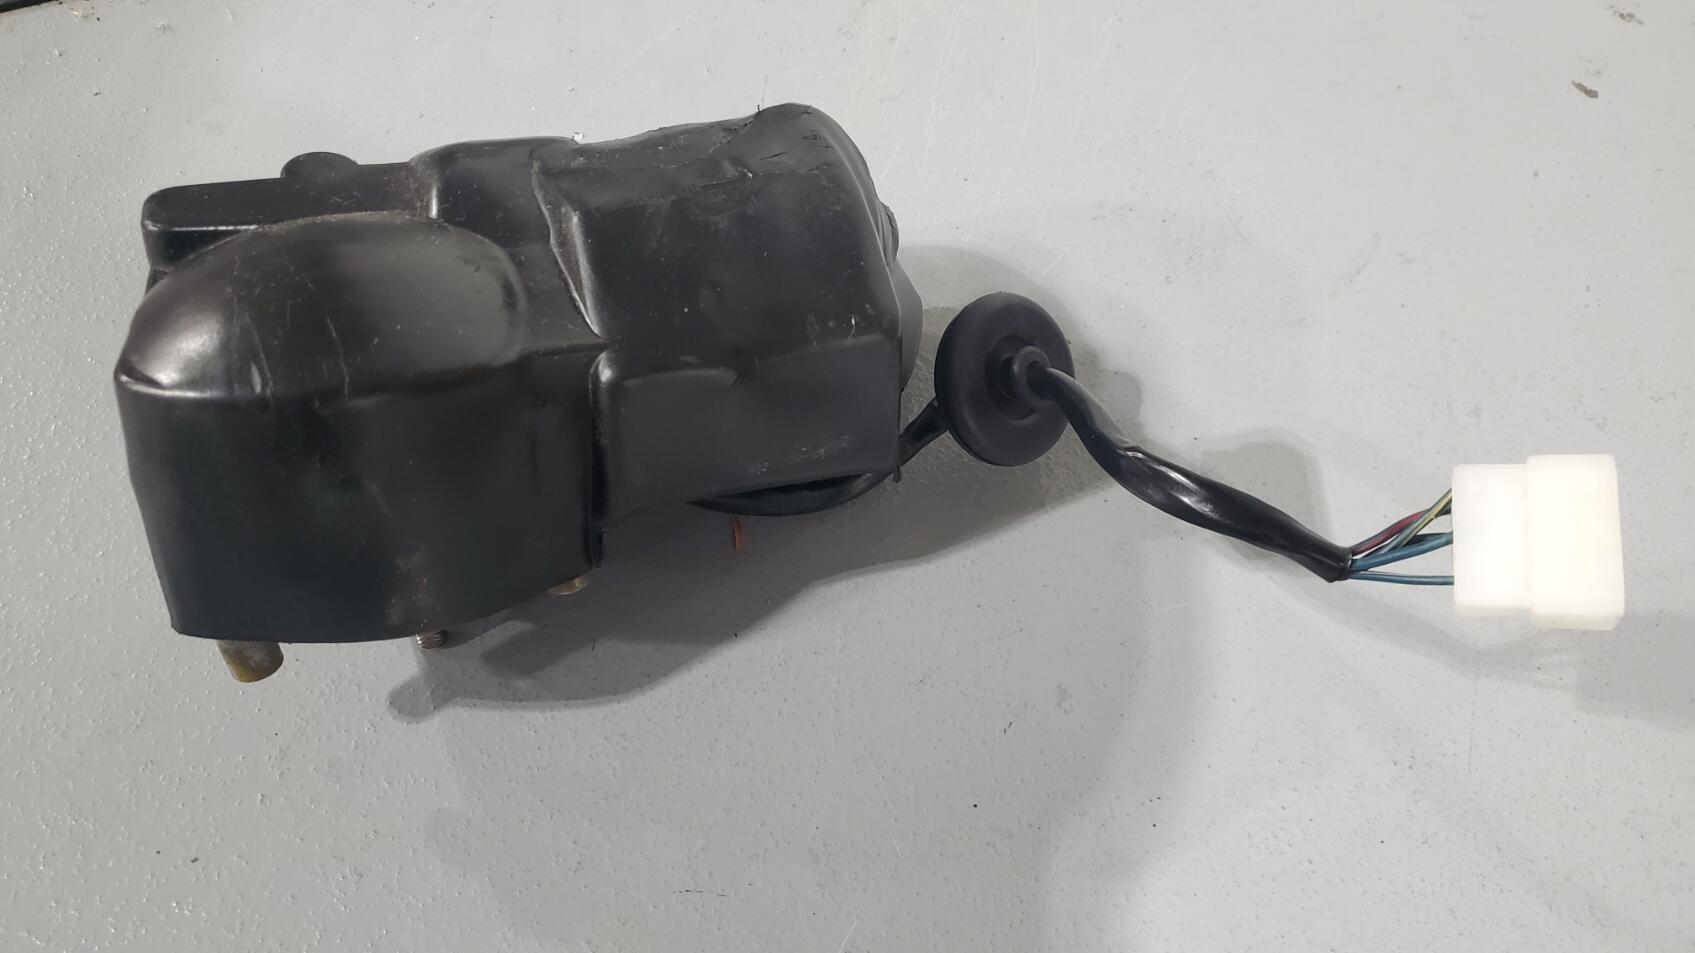
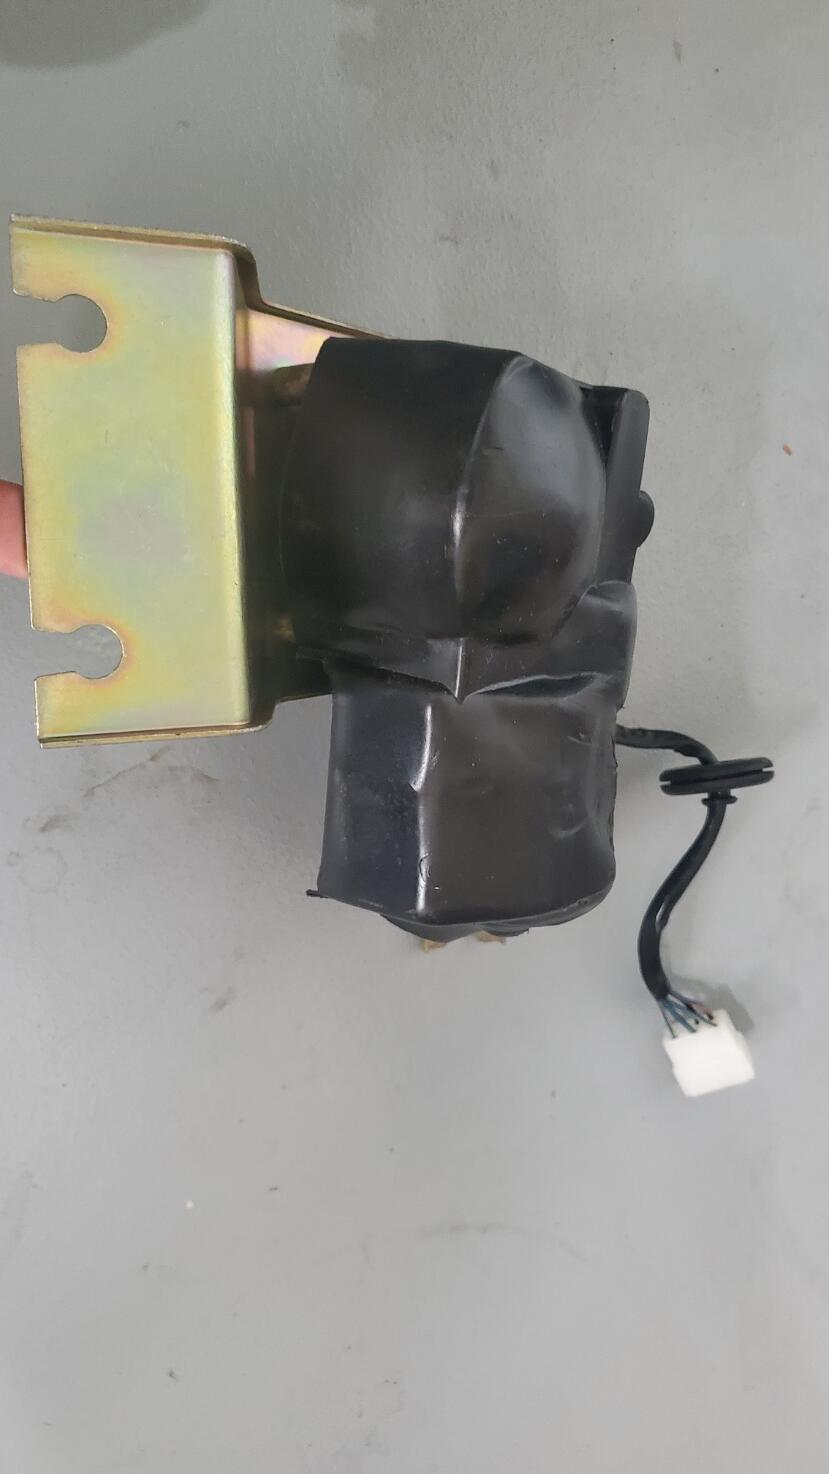
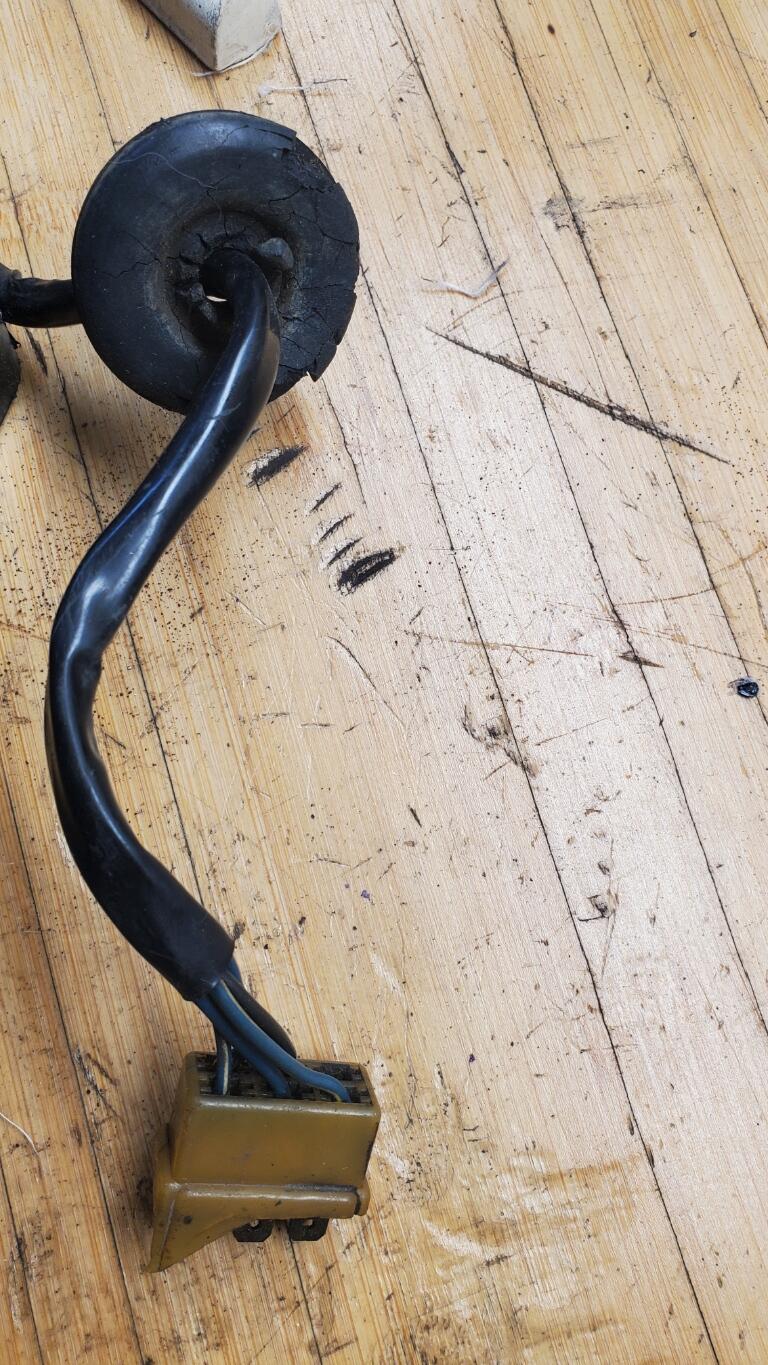
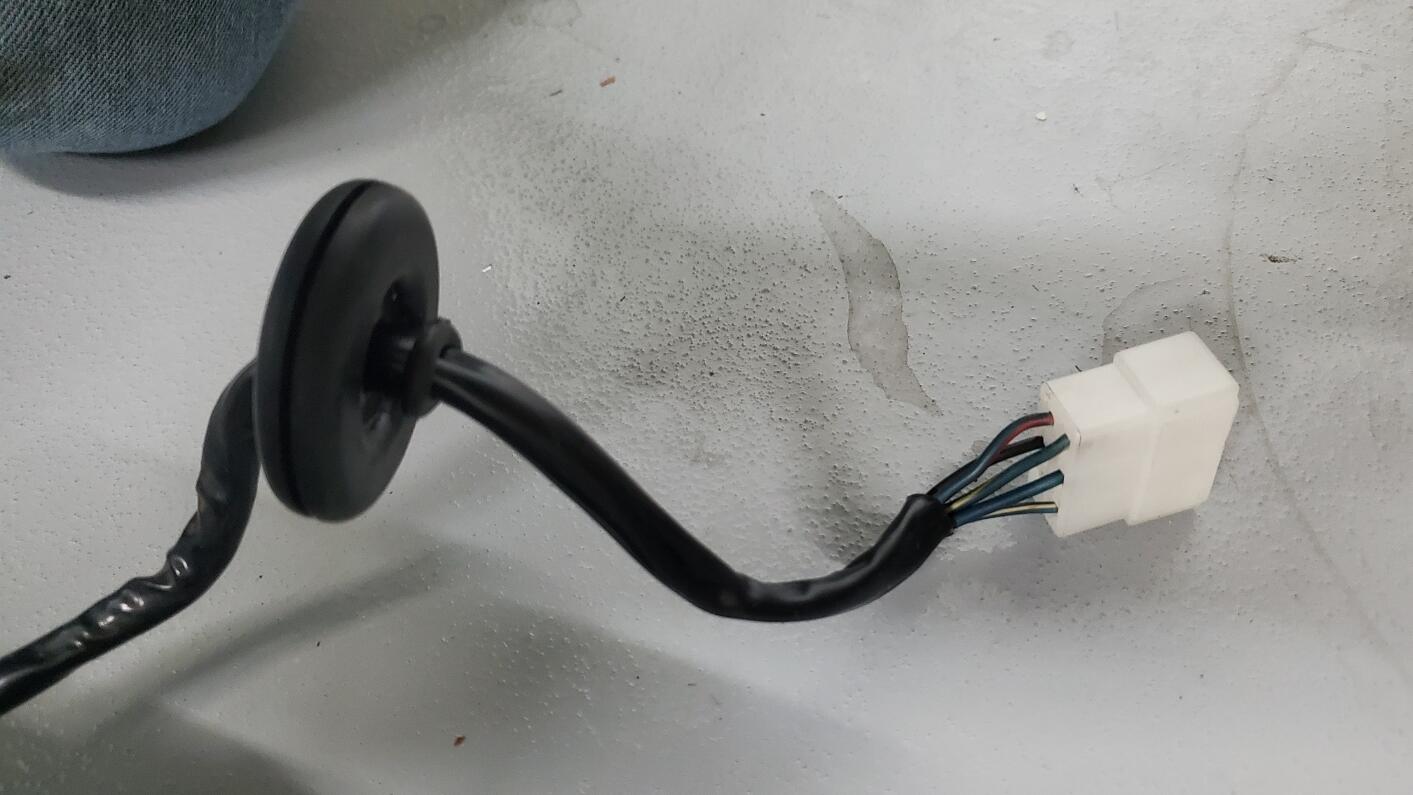
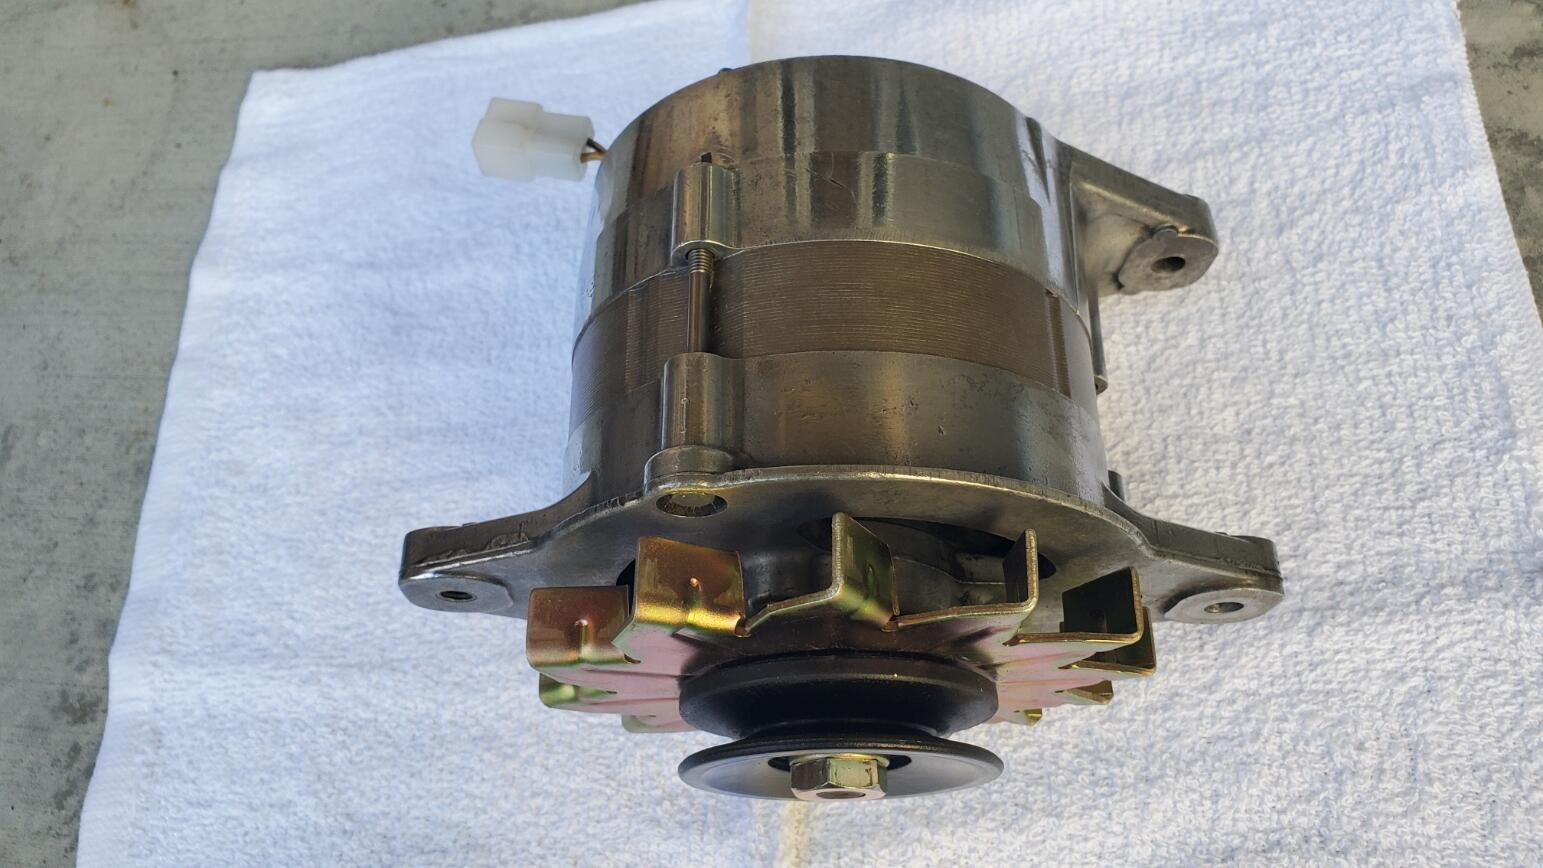
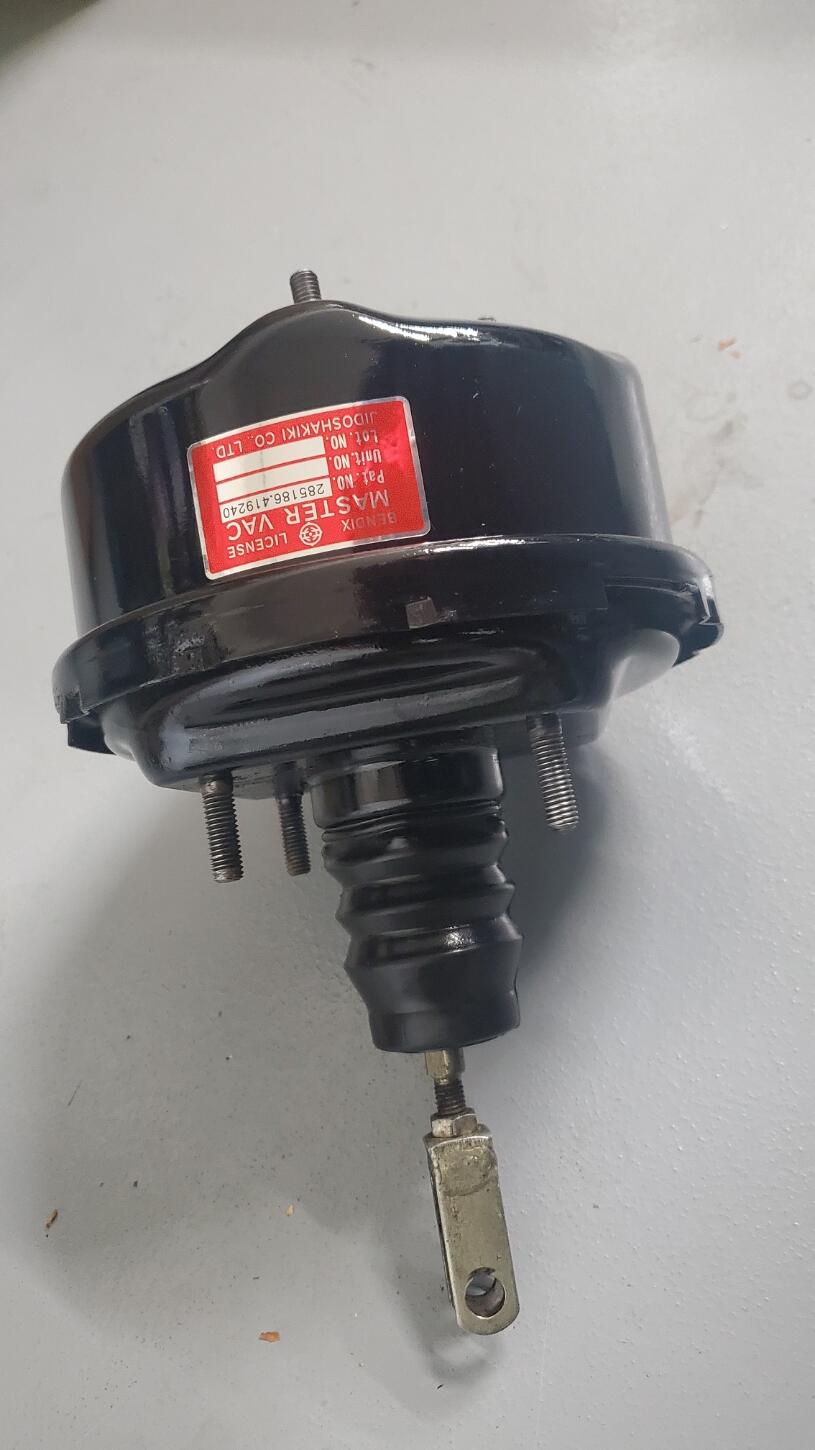
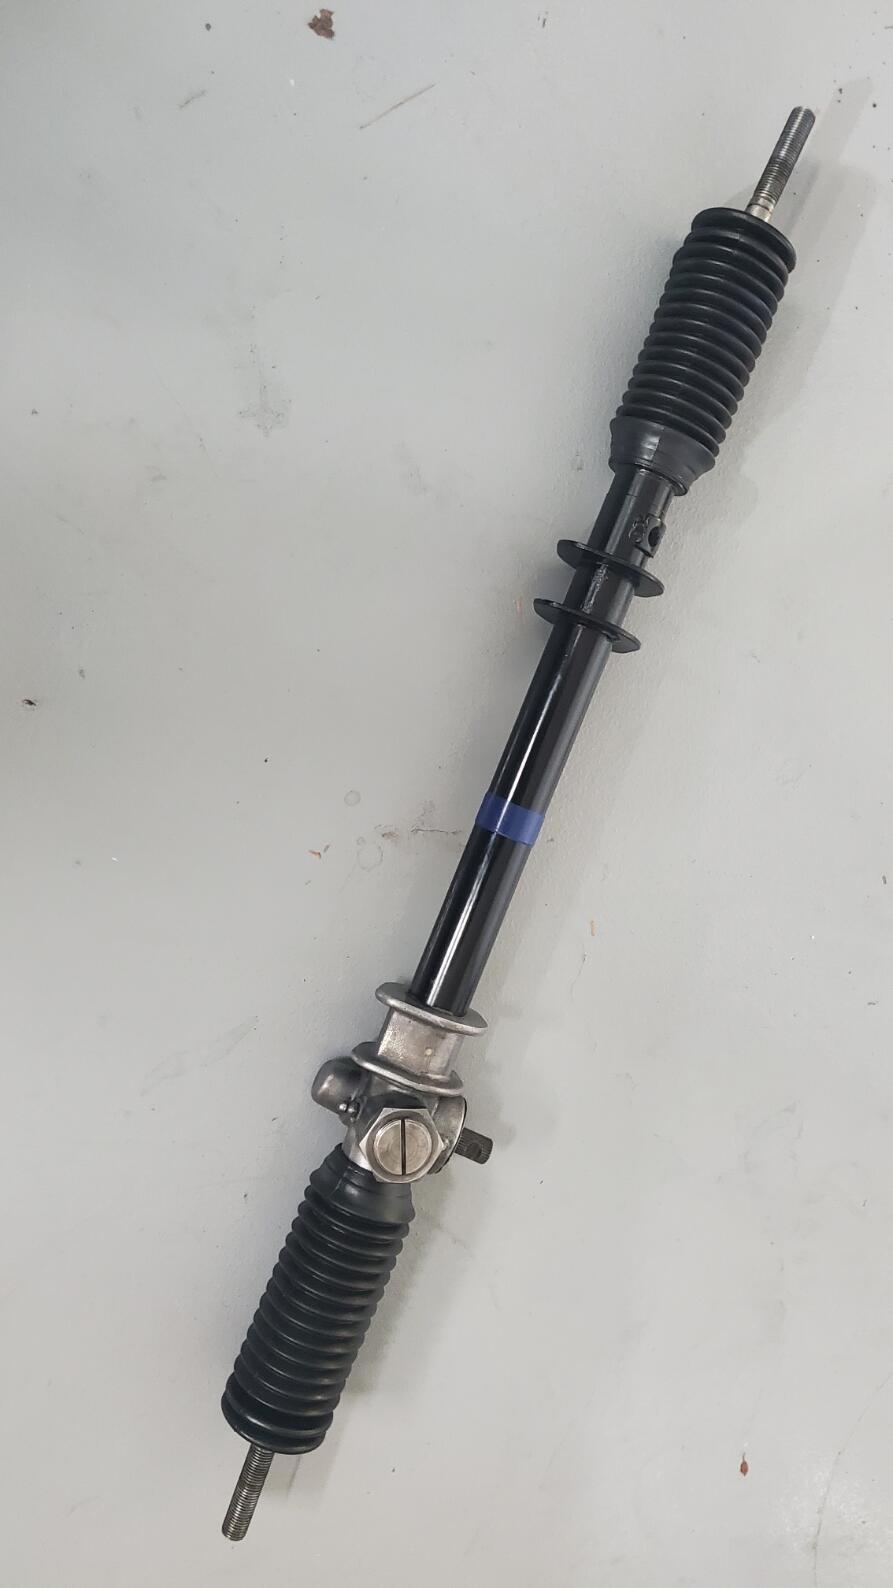
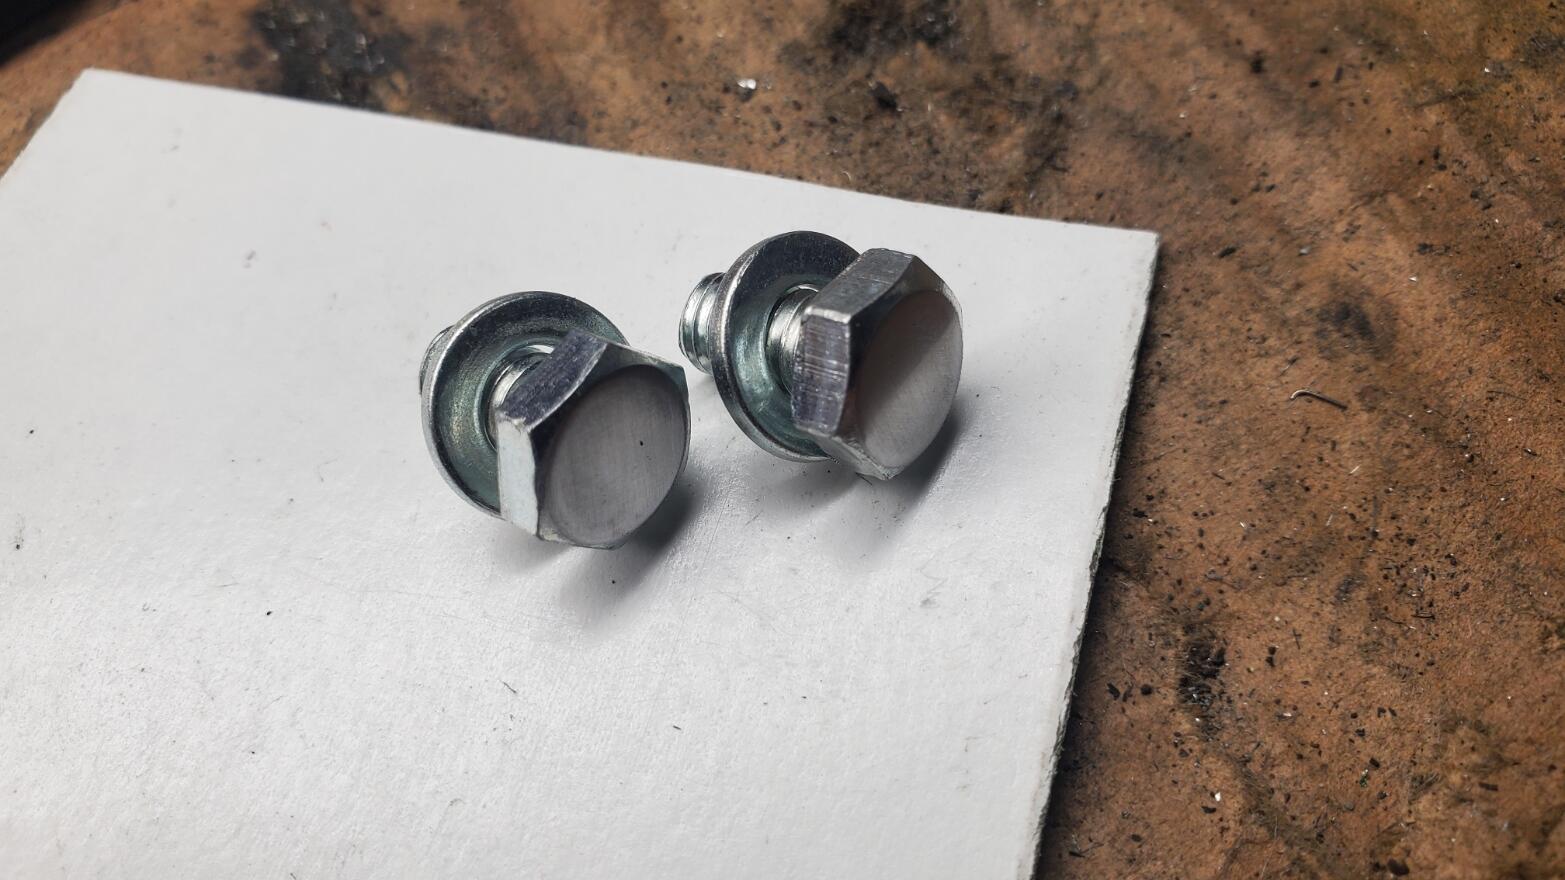
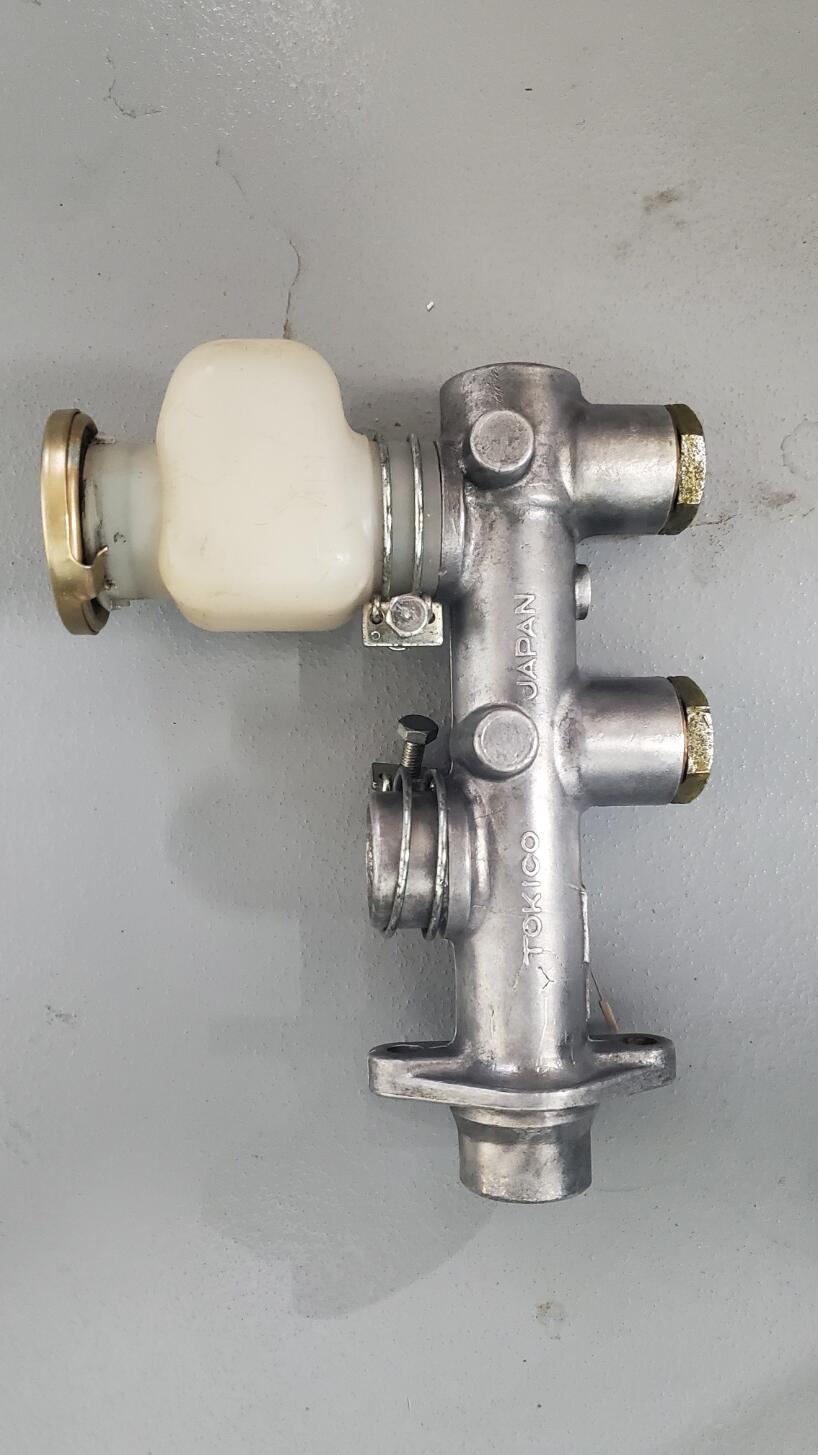
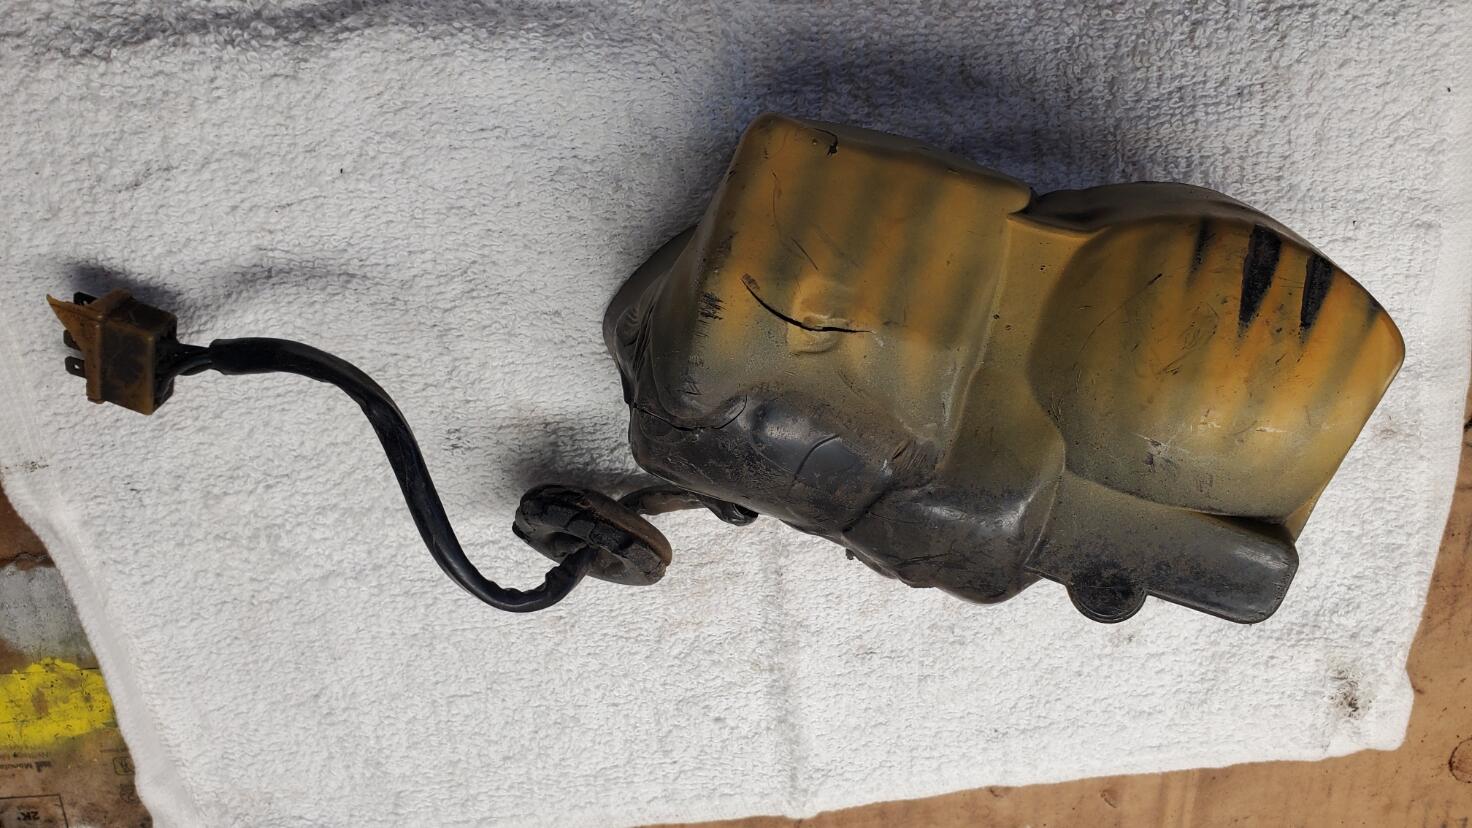
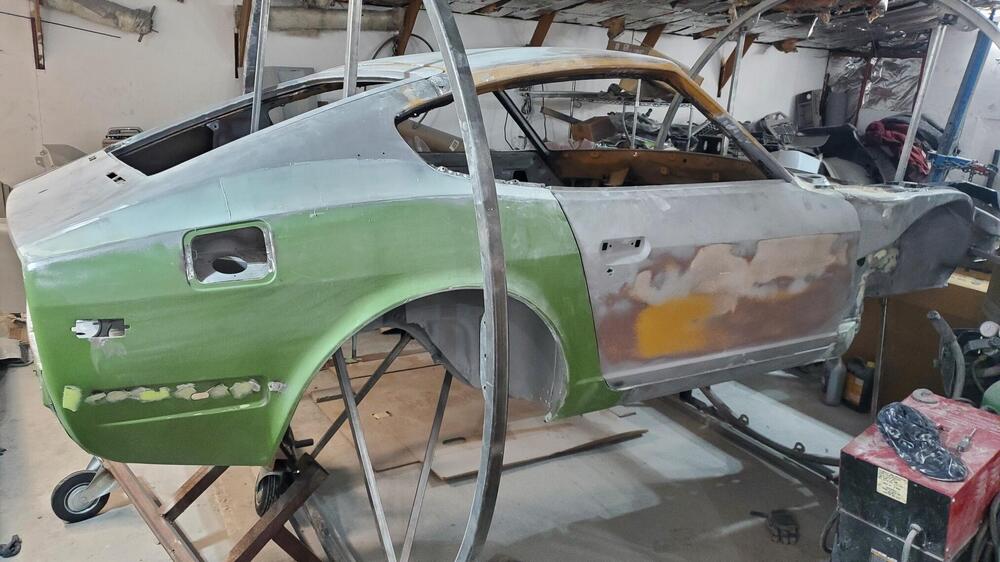
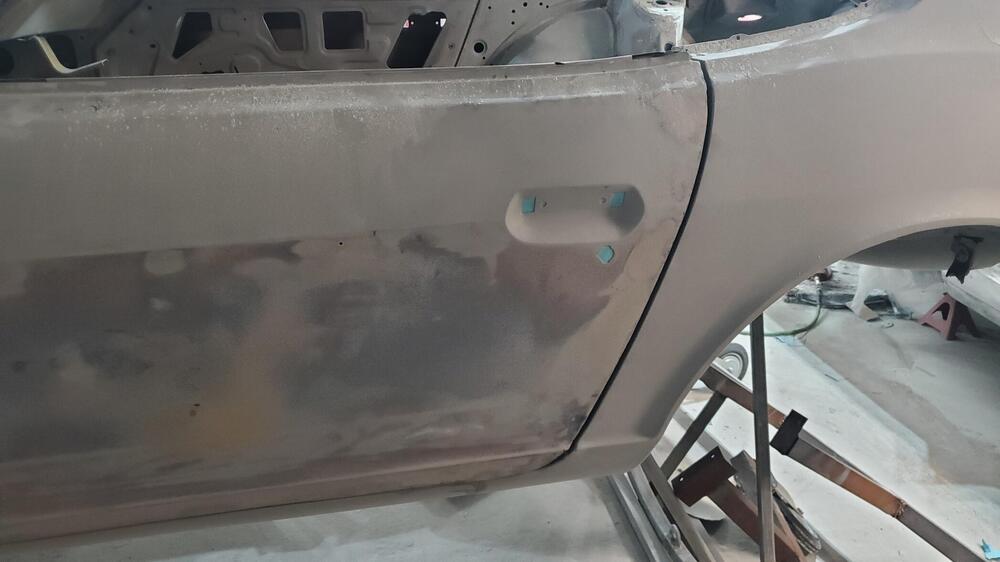
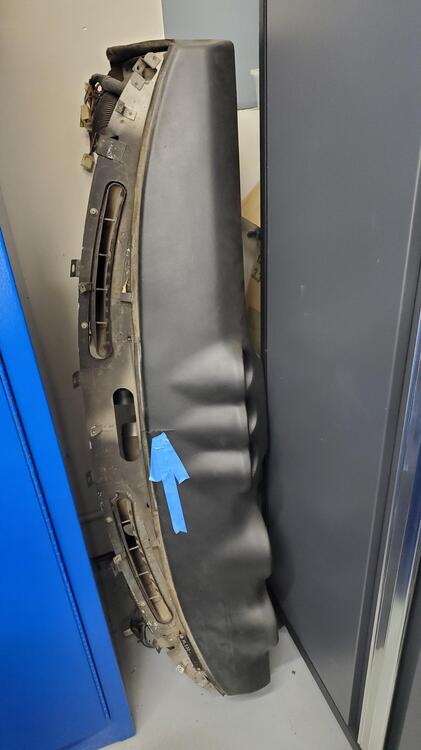
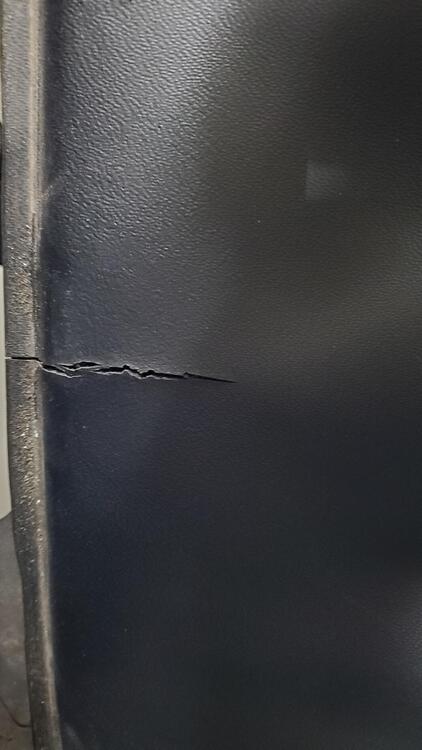
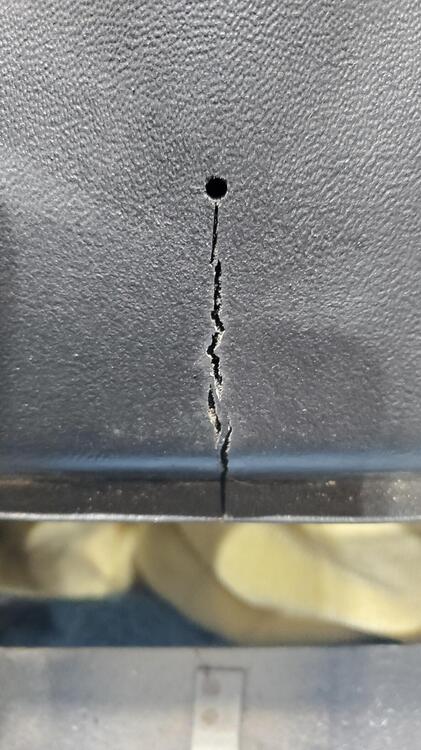
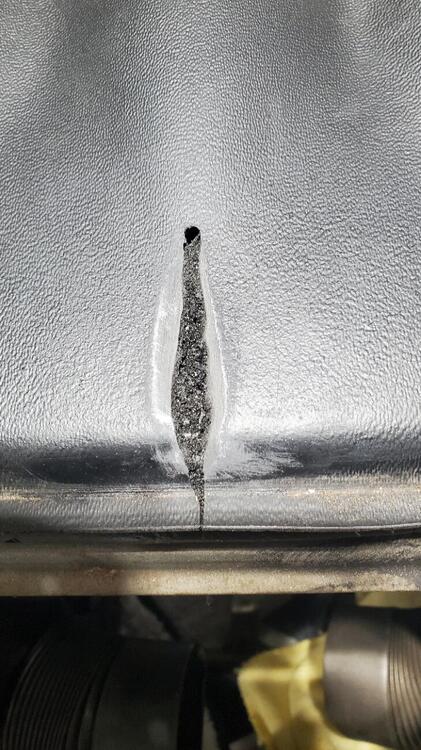
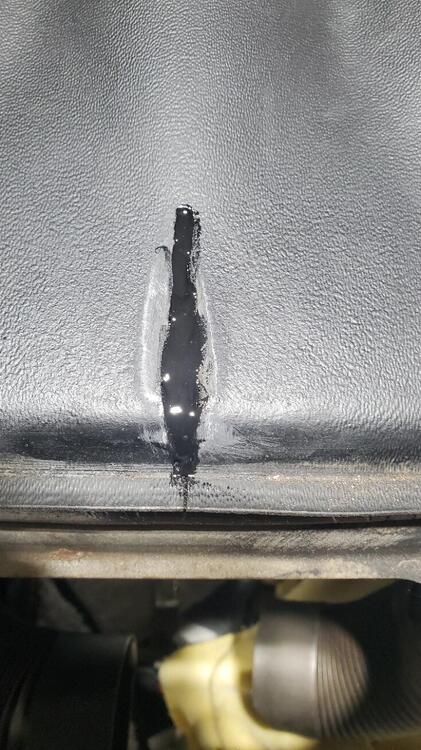
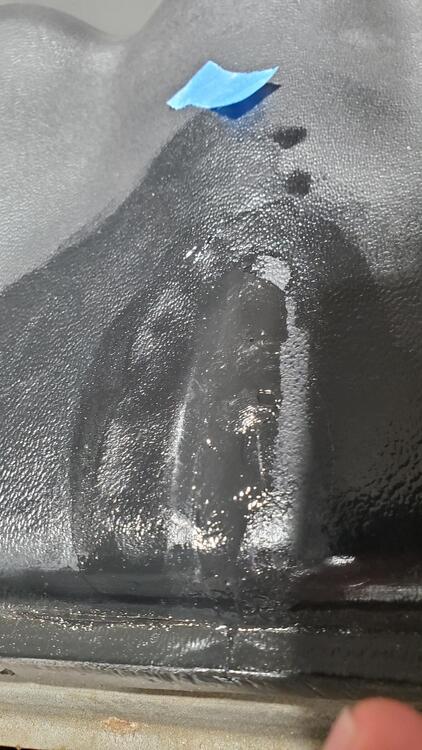
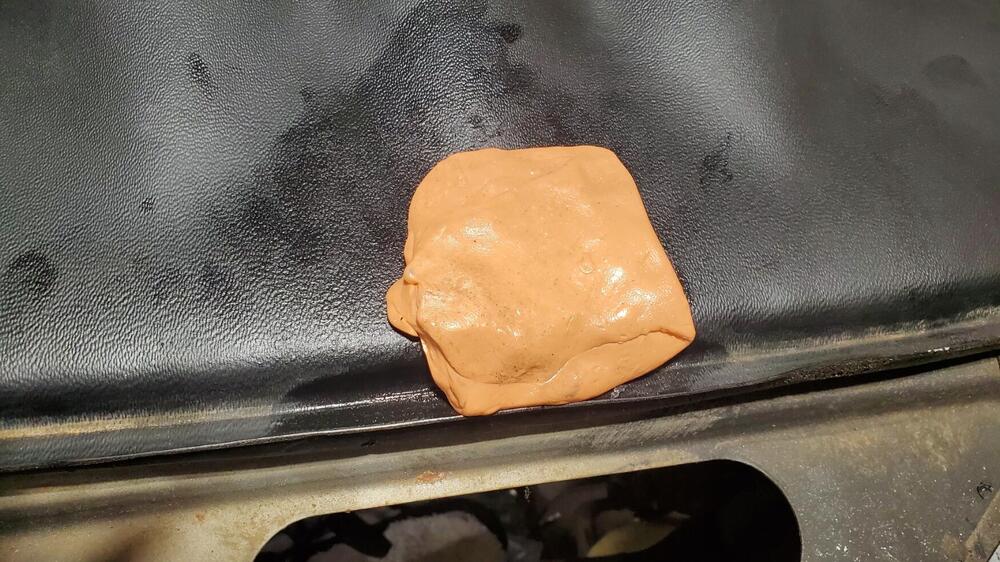
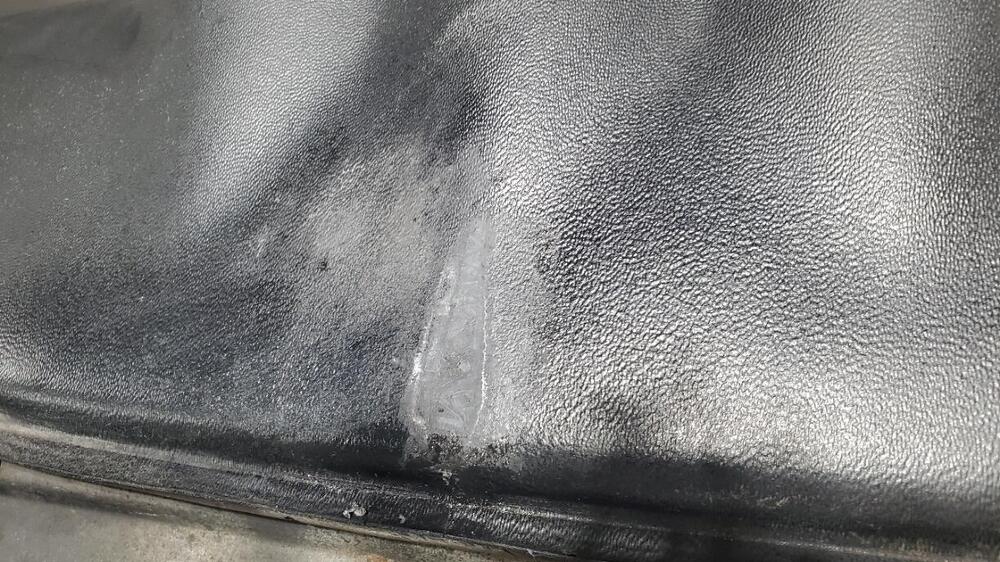
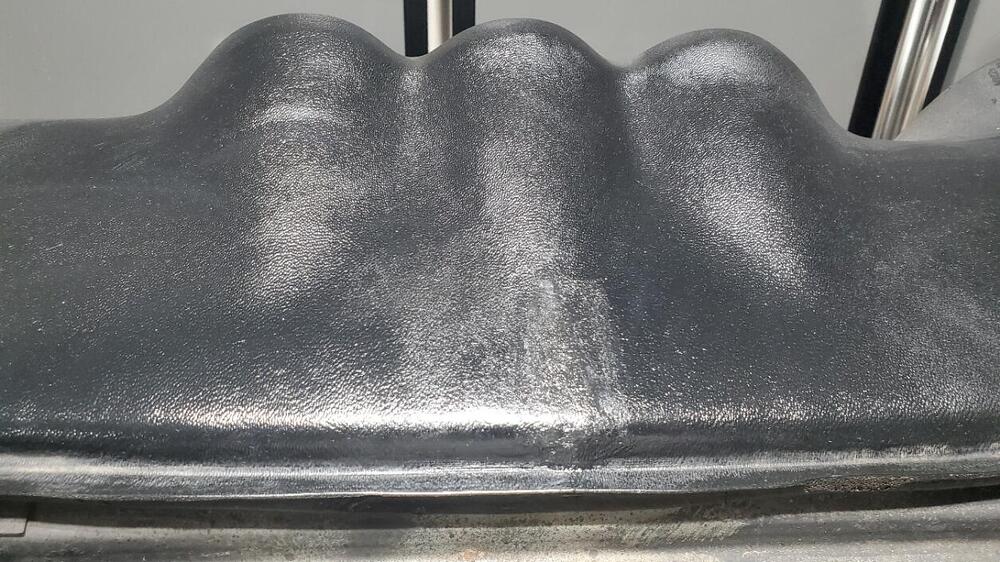
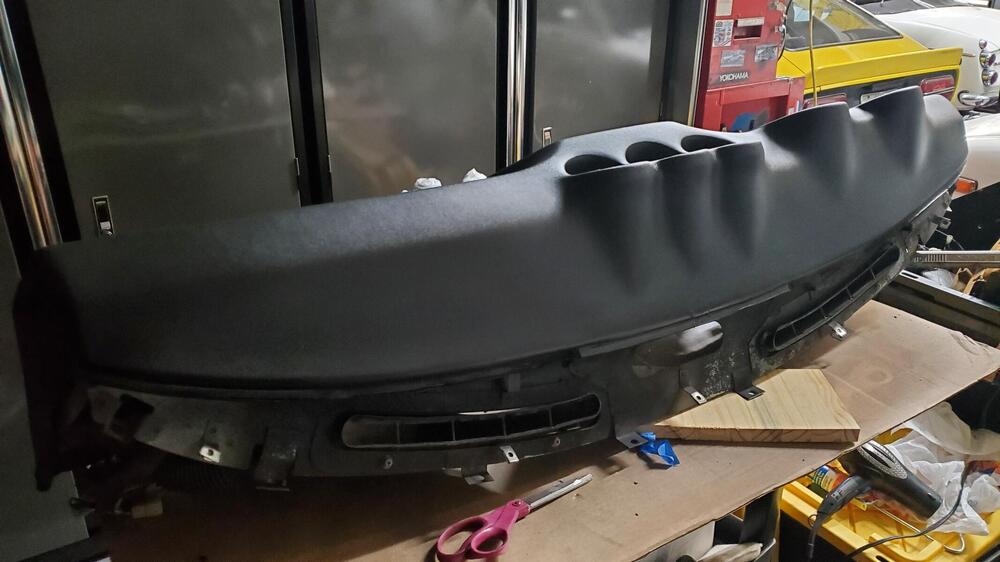
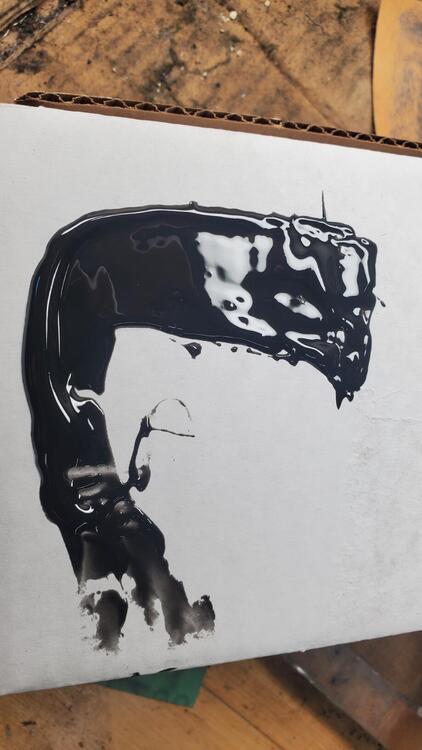
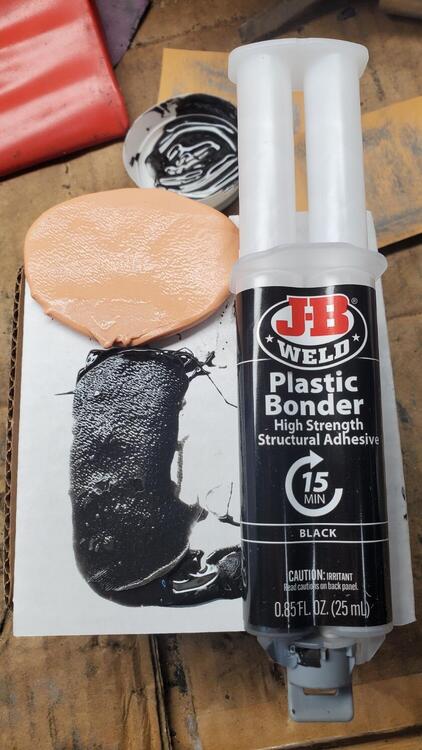
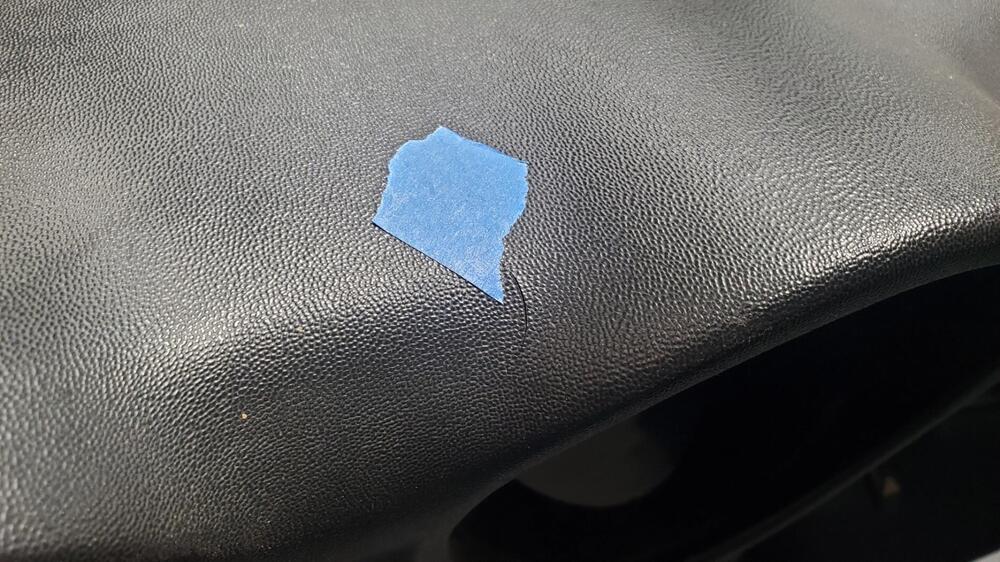
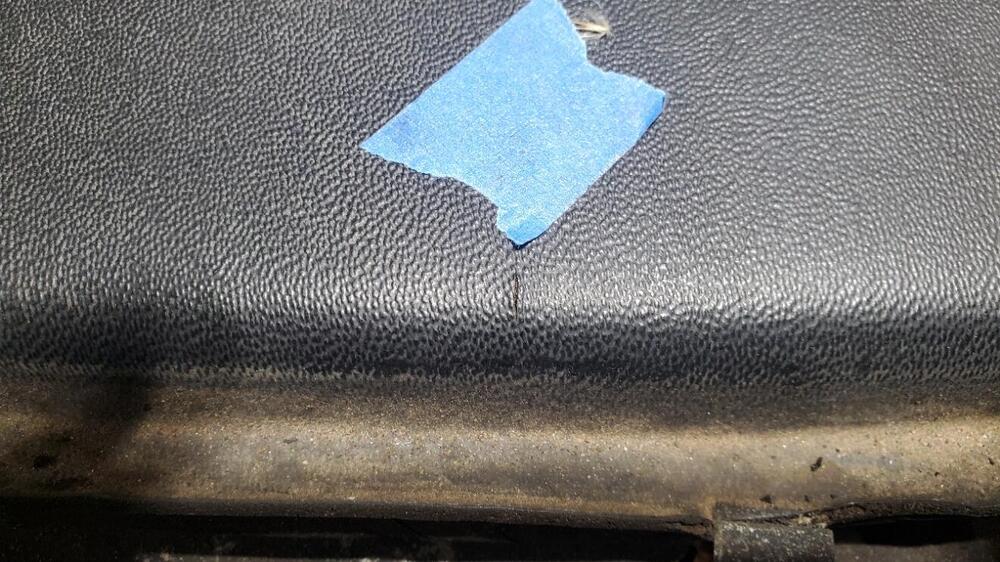
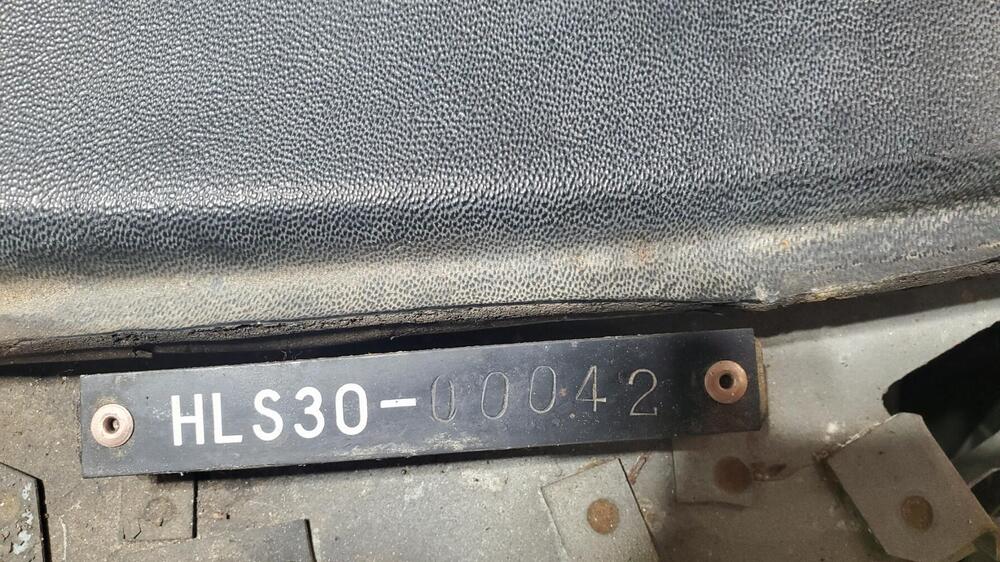
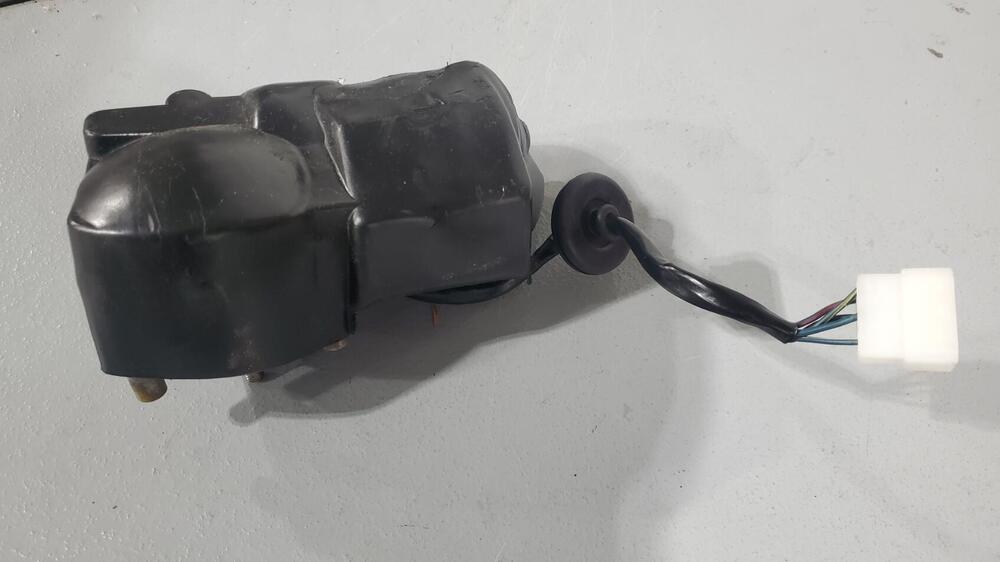
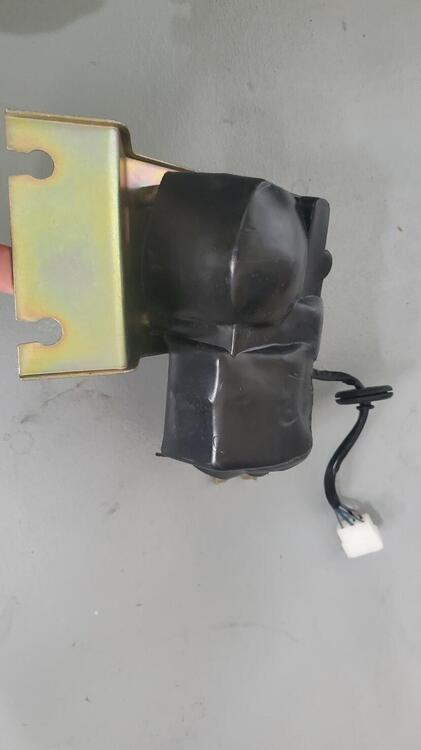
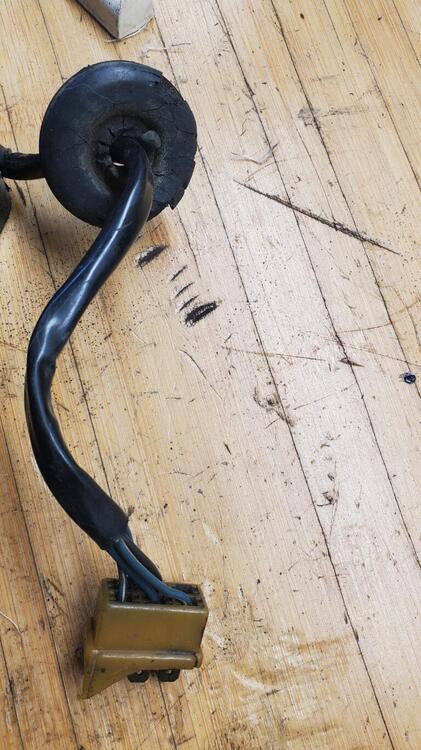
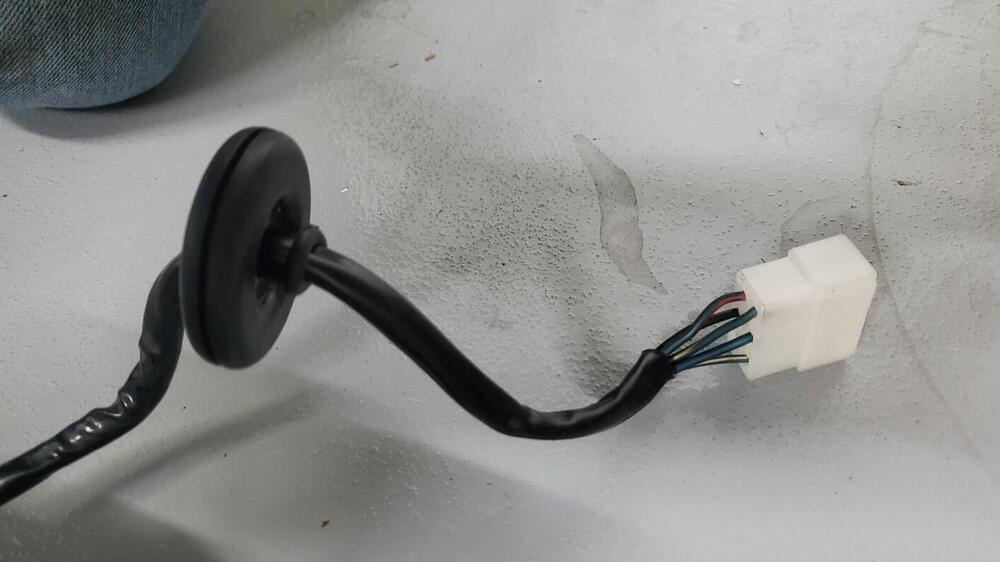
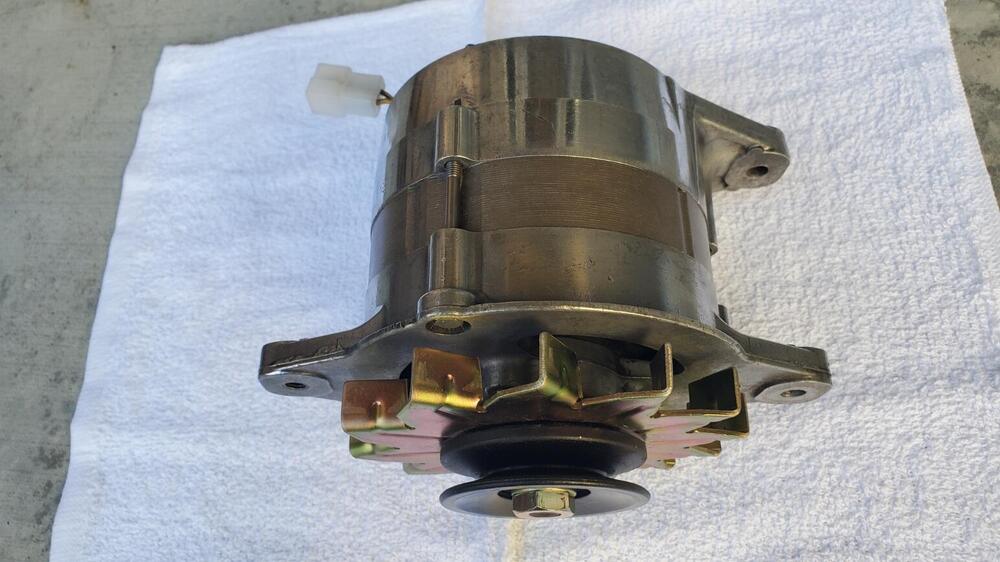
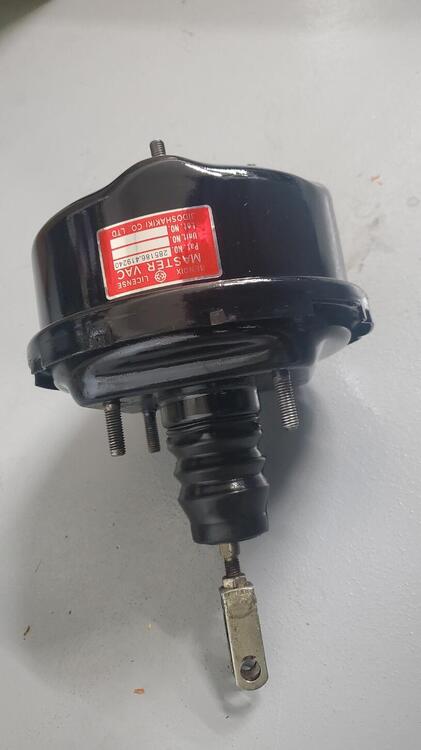
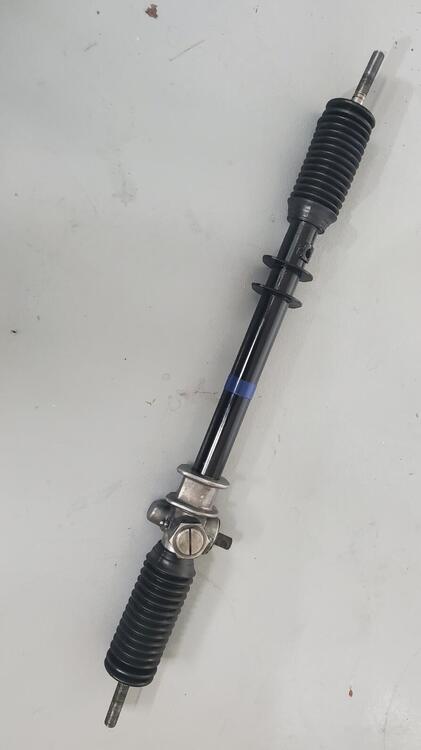
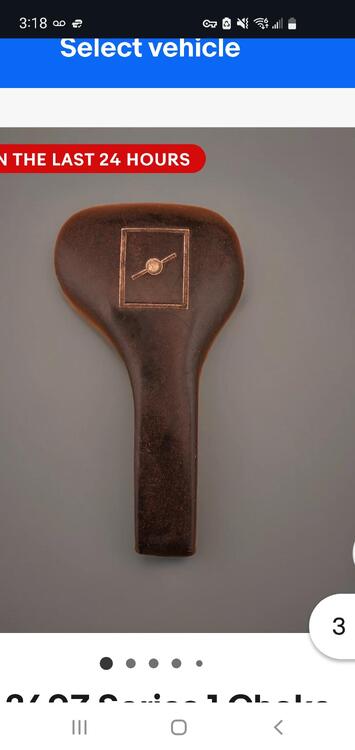
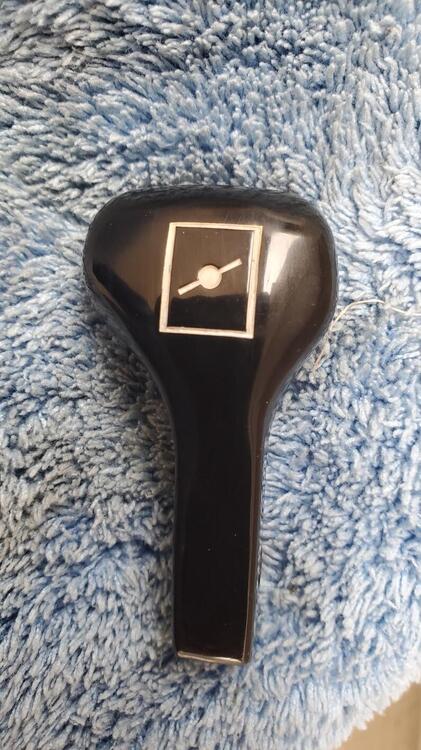
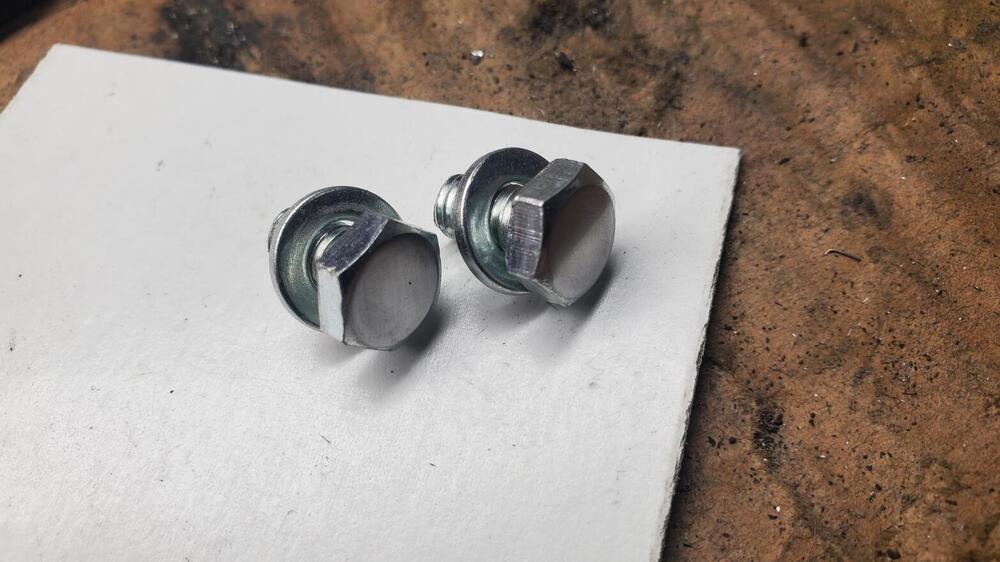
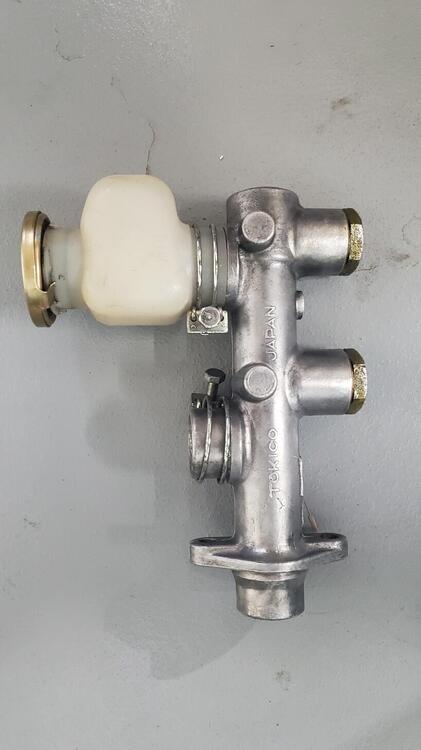
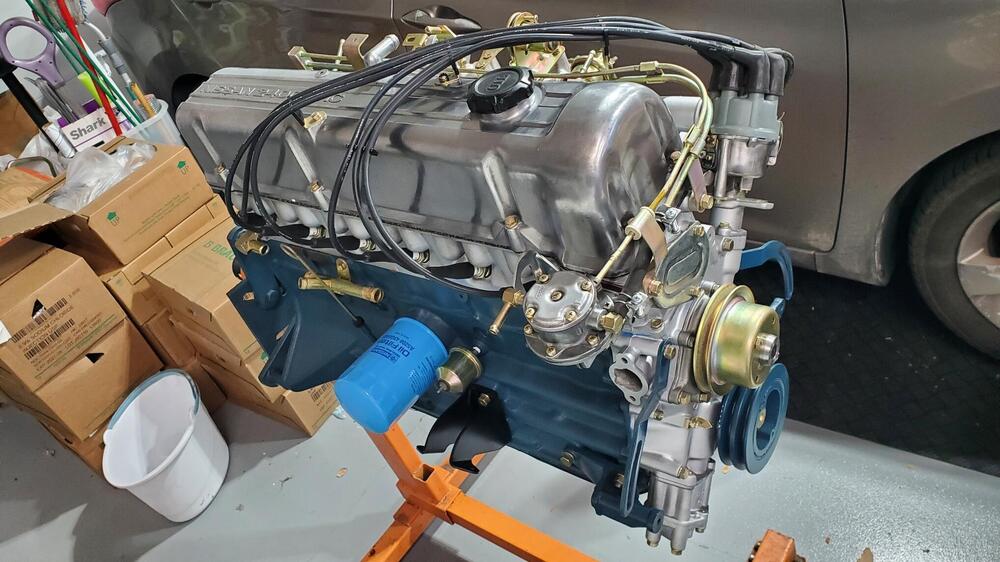
Body work is continuing on the car but at a slower pace than I was hoping. I wanted to get the body back from the shop before Christmas, but I now think it will not arrive until early next year. I will go to the body shop next week and see if I can get a good date on when the car body and paint is expected to be completed. I last went to the shop just before Thankgiving and Carlos was working on getting the door gaps aligned and correct. Still needs some work as the door gap is a bit wide on the drivers side while the passenger side has a mild taper. Latest body shop pictures of the doors is shown below. I looked into getting a local shop that did dash repair work to do the crack repair, but it didn't sound like they could produce what I wanted. Their price was around $400 and they mentioned that 'there would be some scarring left'. I didn't feel comfortable with that and the cost was a bit more than I wanted to pay, so I read up on the dash repair thread here and decided to do it myself. I am actually pretty happy with the final results. It is not perfect, but quite good even under my bright LED shop lighting. In natural light the dash looks perfect. I will try and sequence the process in the pictures below. I used the 'silly putty' technique to match the grain. There were also a couple of small hairline cracks, so I used the plastic epoxy to fill those while I was at it. I am cleaning up other parts as I continue to wait for the body. Below are some of the re-furb pics of the Windshield wiper motor, alternator, brake booster, steering rack and choke knob. All connector housings and most terminals were replaced where needed. FYI: I purchased the steering rack boots from 'Best Parts On-Line' for about $45 including shipping. These are the same ones that zcardepot sells for over $120. Very happy with the fit and feel. On the valve cover, the car arrived with the incorrect bolts that secure the spark plug wire supports. So I replicated the correct style bolts by filing off the top numbers on similar bolts and polishing the head. Thin clear coat on top to prevent rust. Cleaned up the distributor and installed the fuel pump. Not sure about the correct color of the distributor cap, but this green-gray cap was sitting in one of my boxes so I decided to use it. The distributor cap that was installed when car arrived had a cracked tab, so needed replacing. Also, input regarding the correctness of items is appreciated (though not always agreed upon). Items like the correct bolts for the valve cover plug wire supports were pointed out via PM and the item corrected. Thanks!
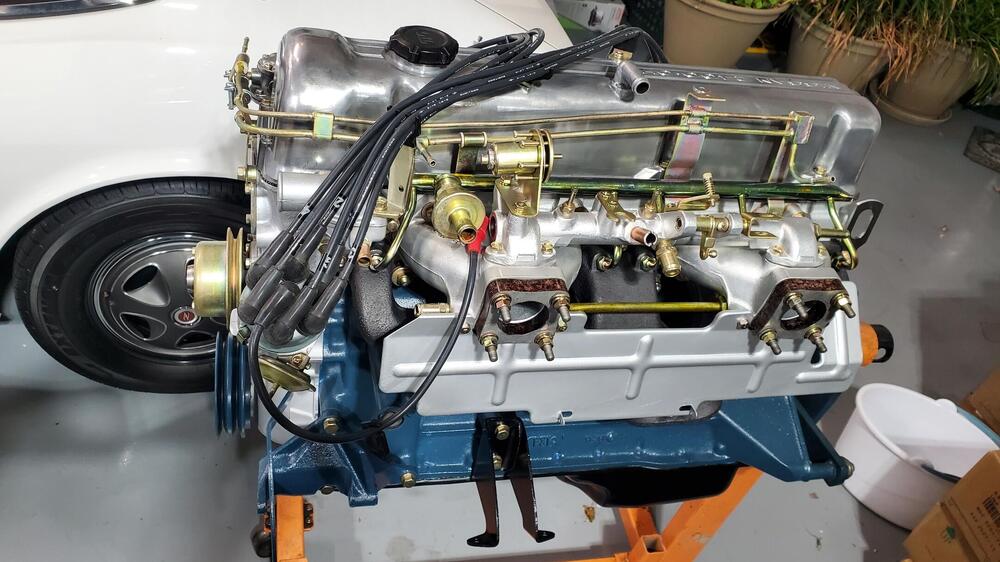
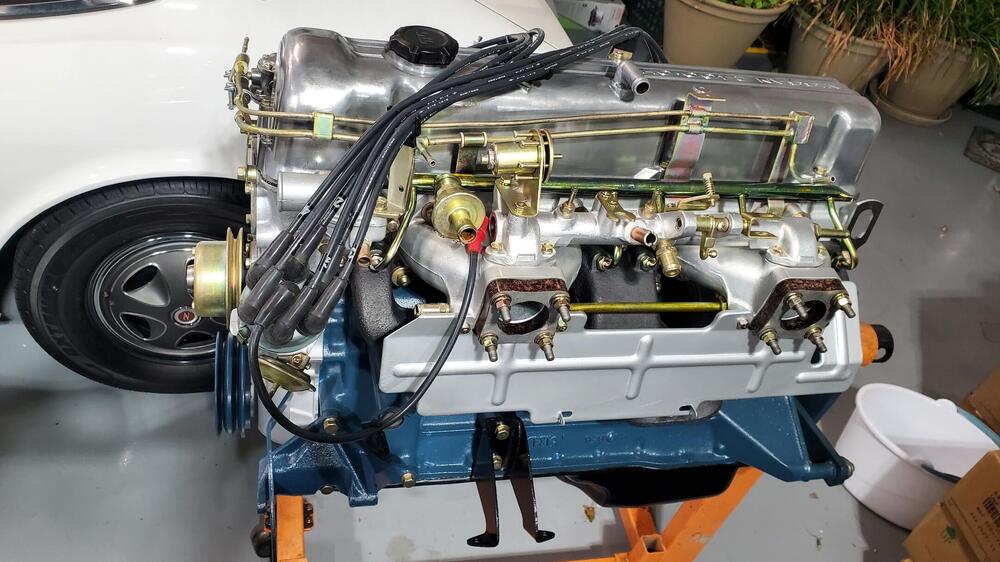
-
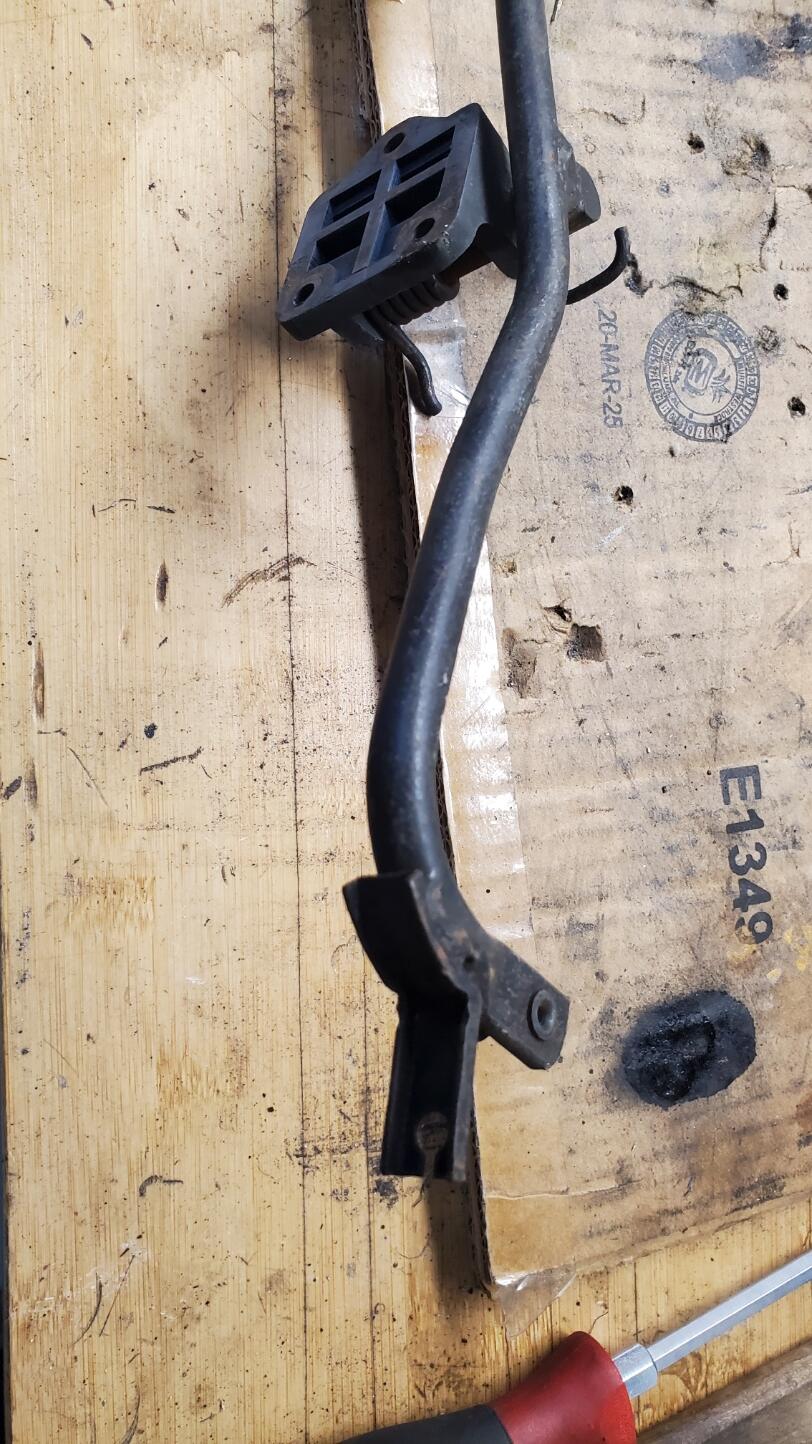
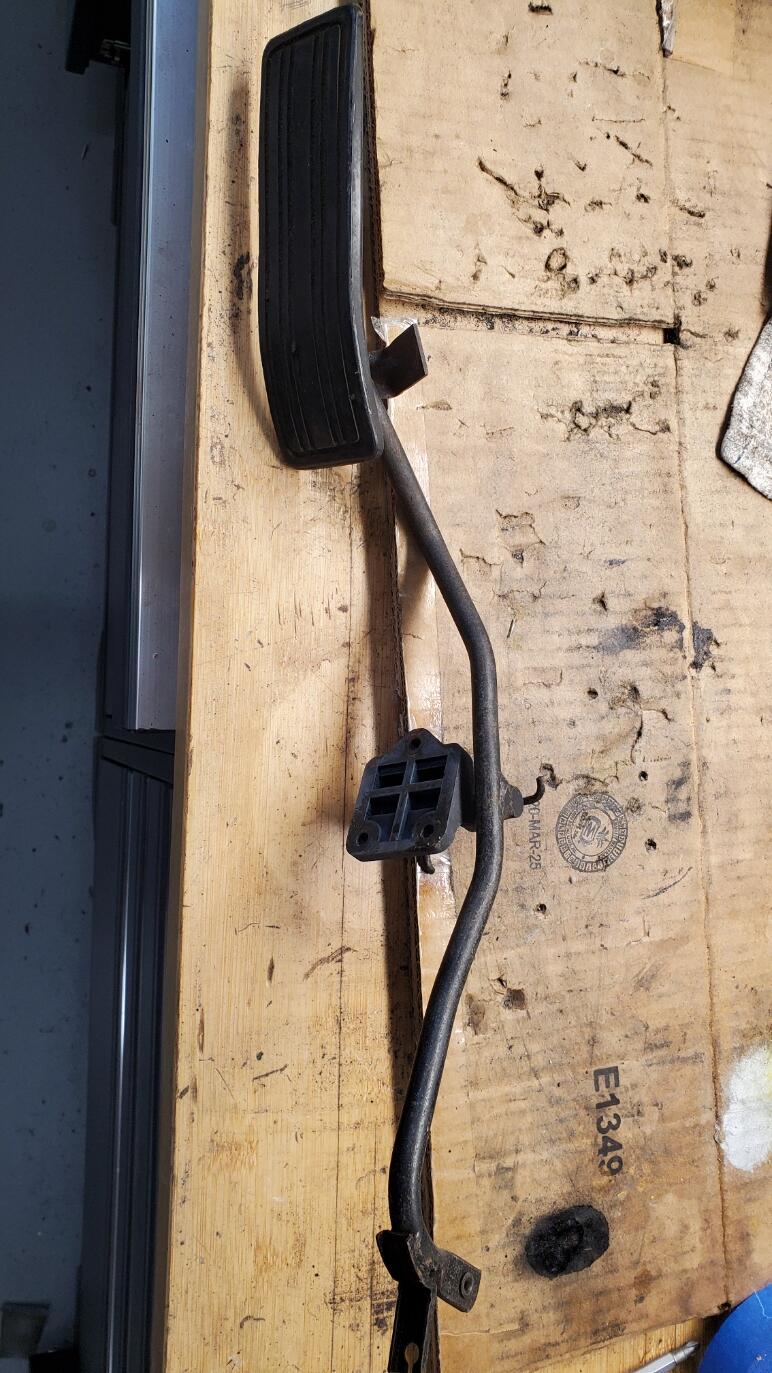
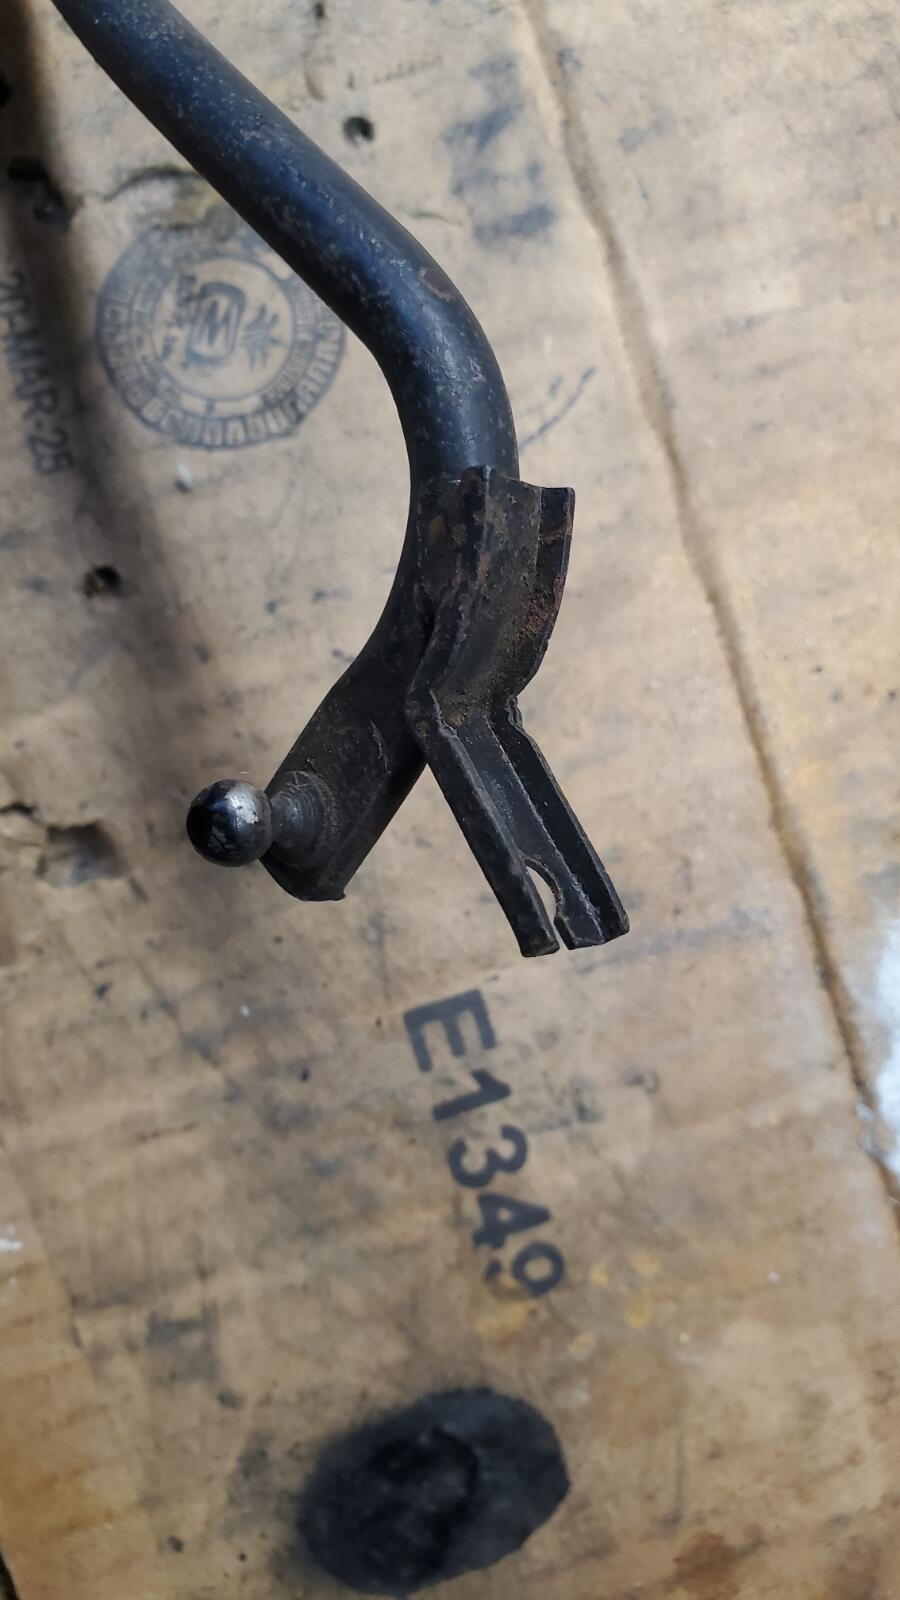
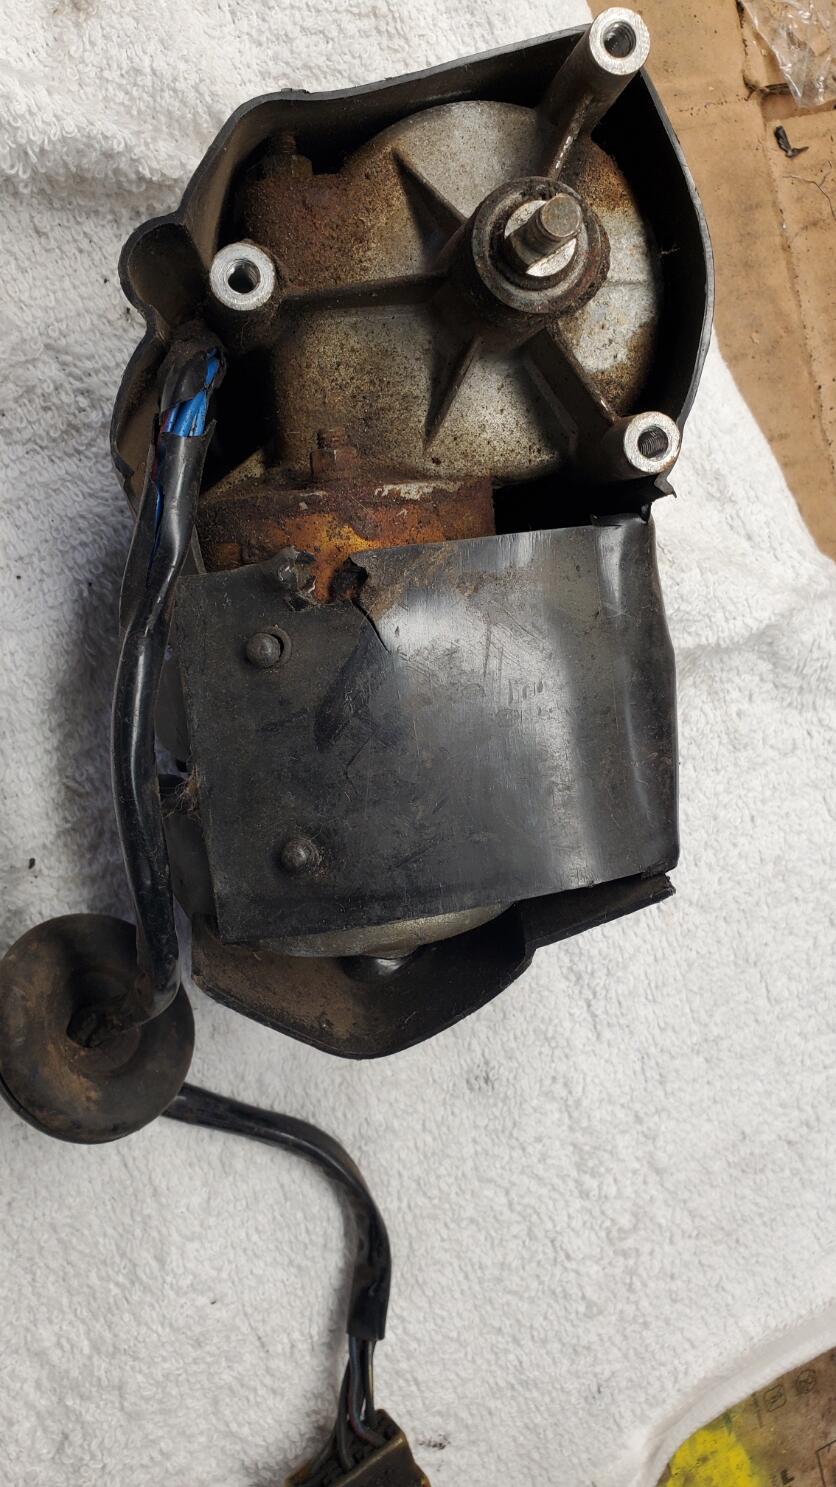
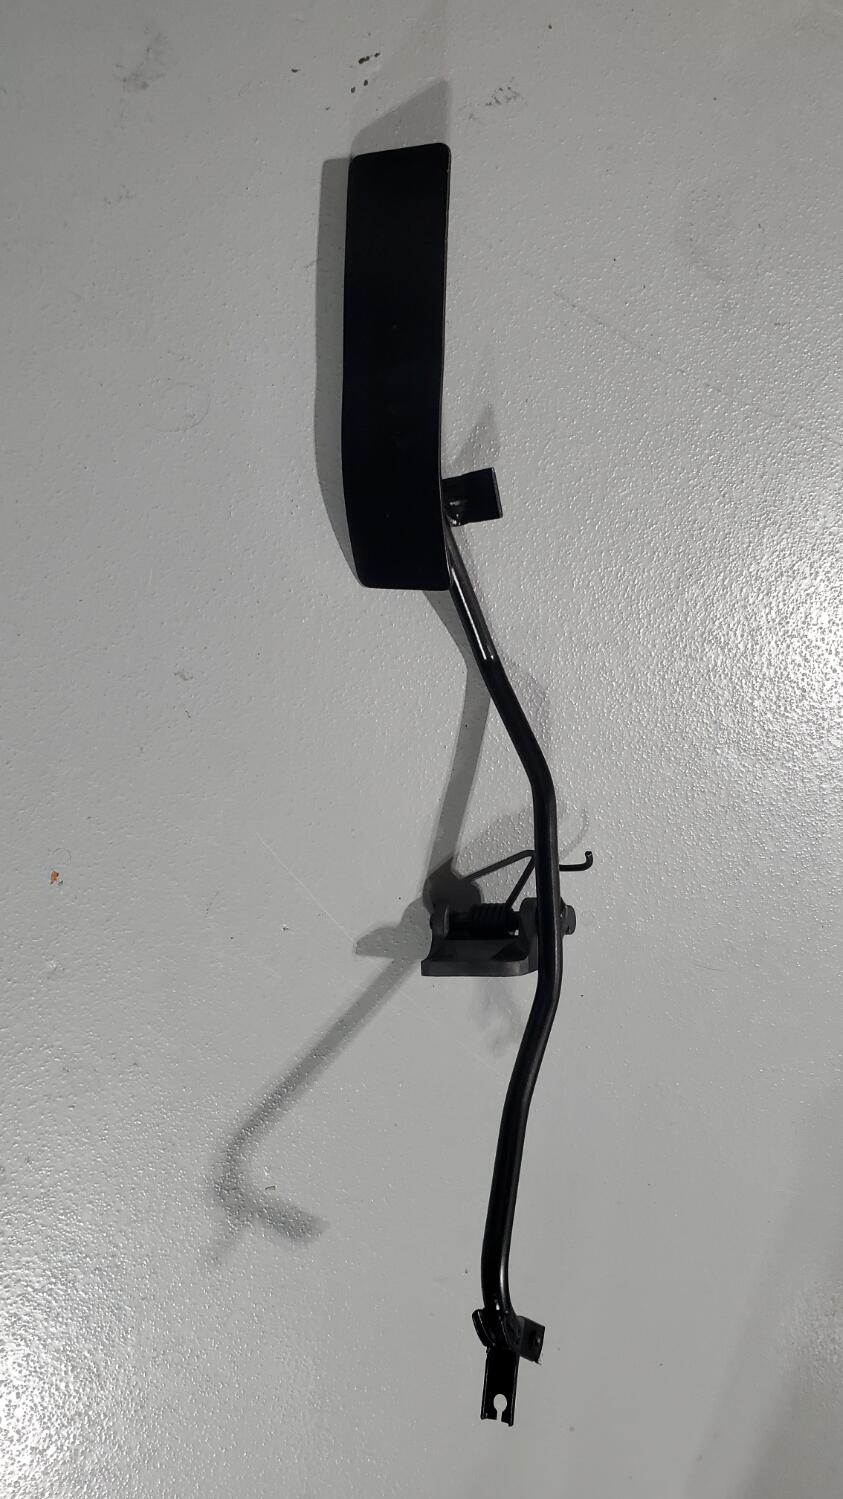
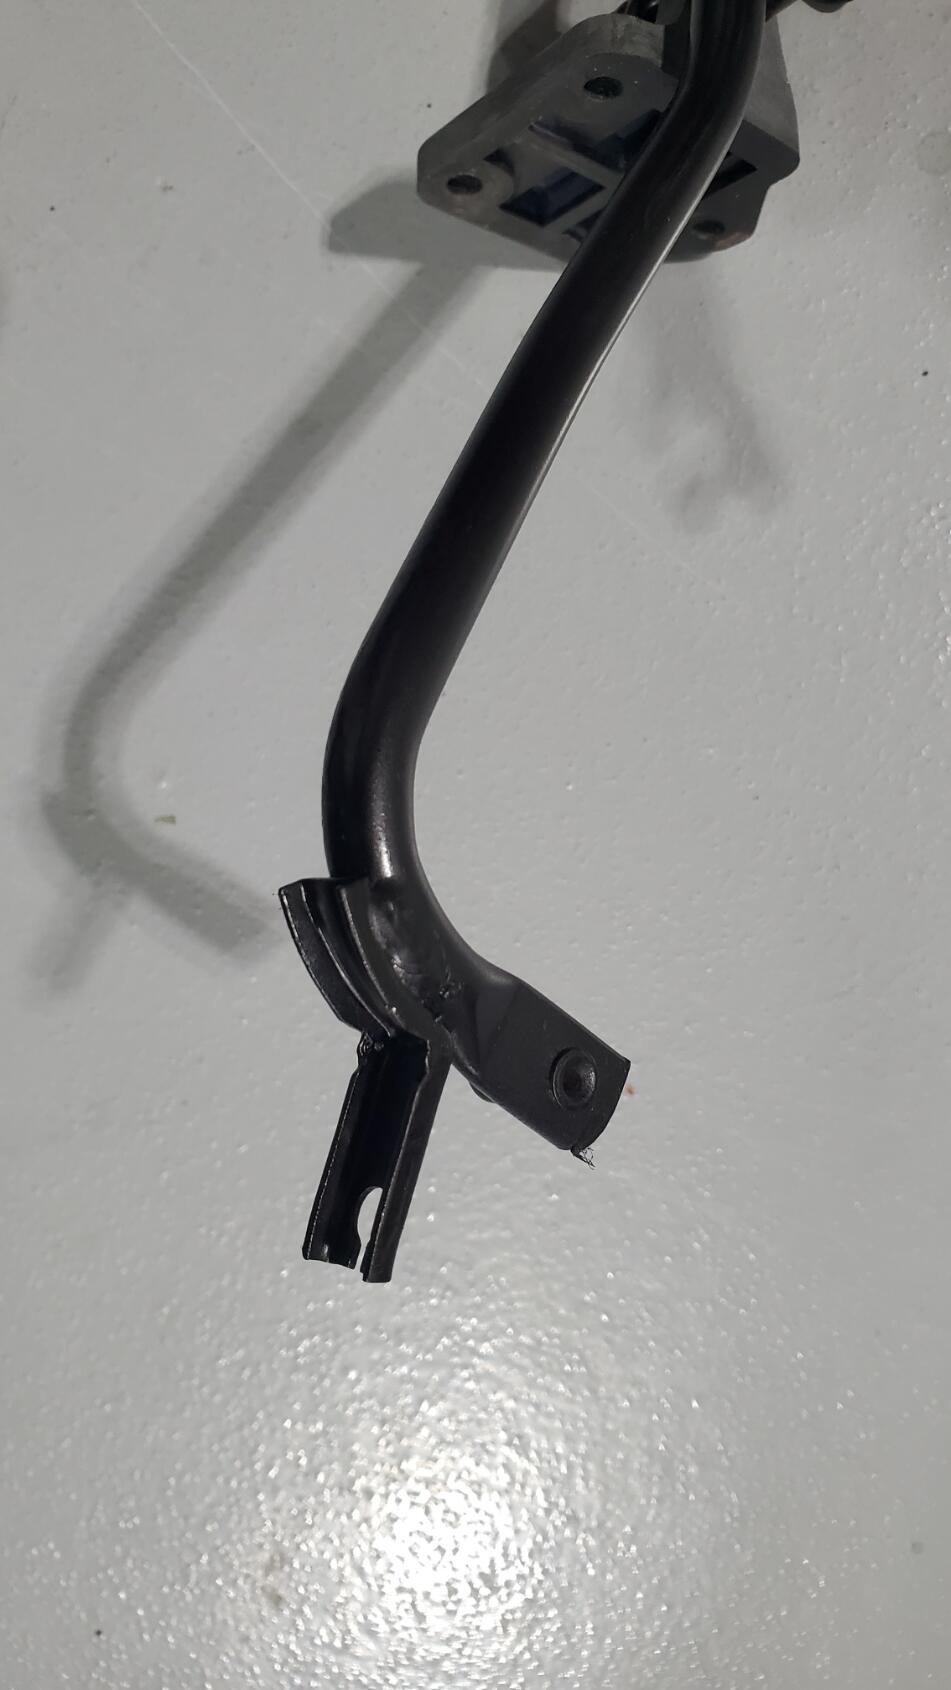
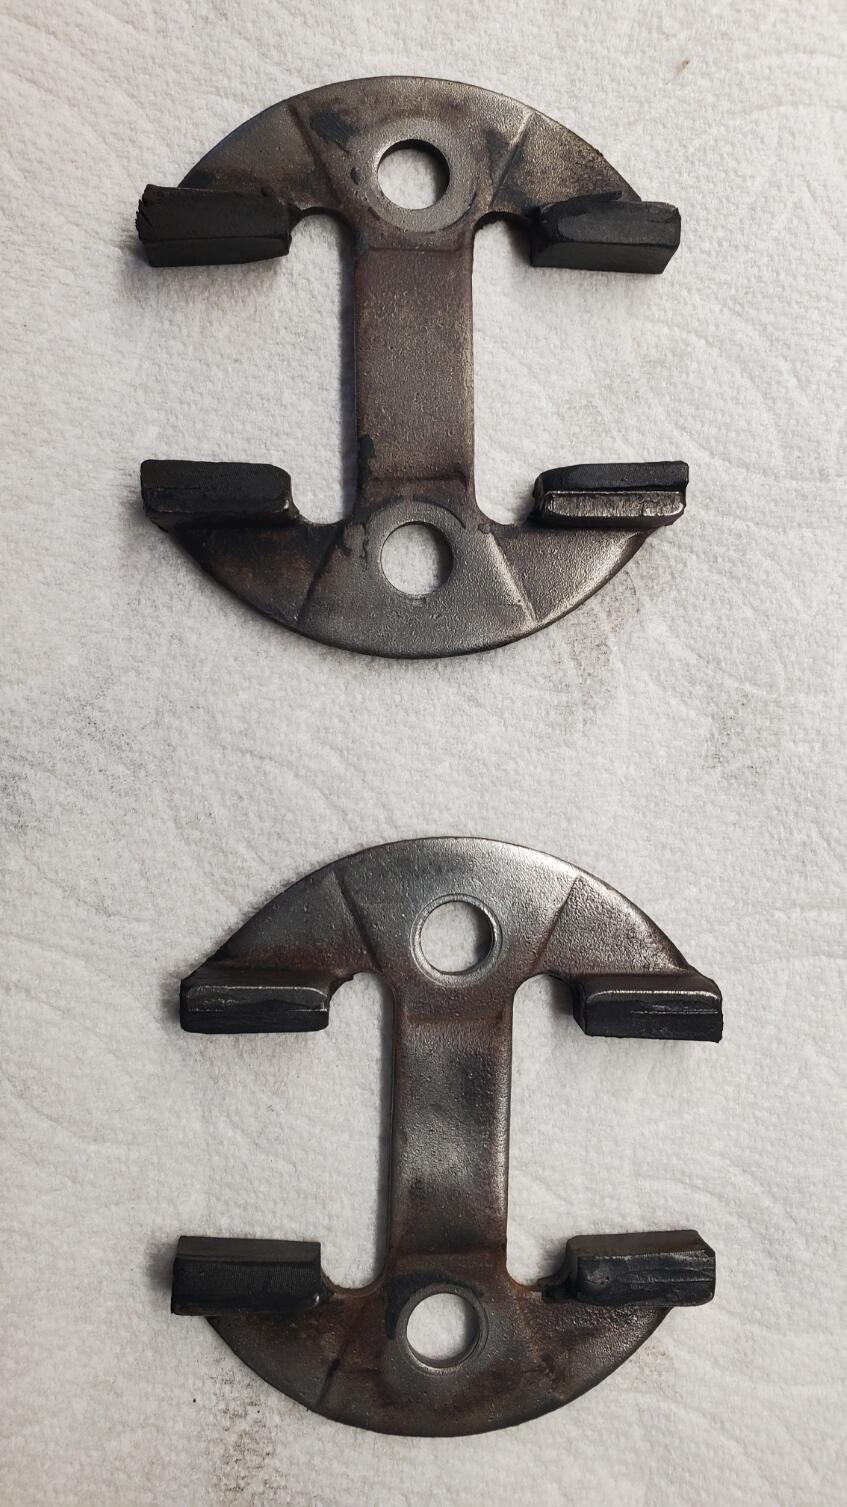
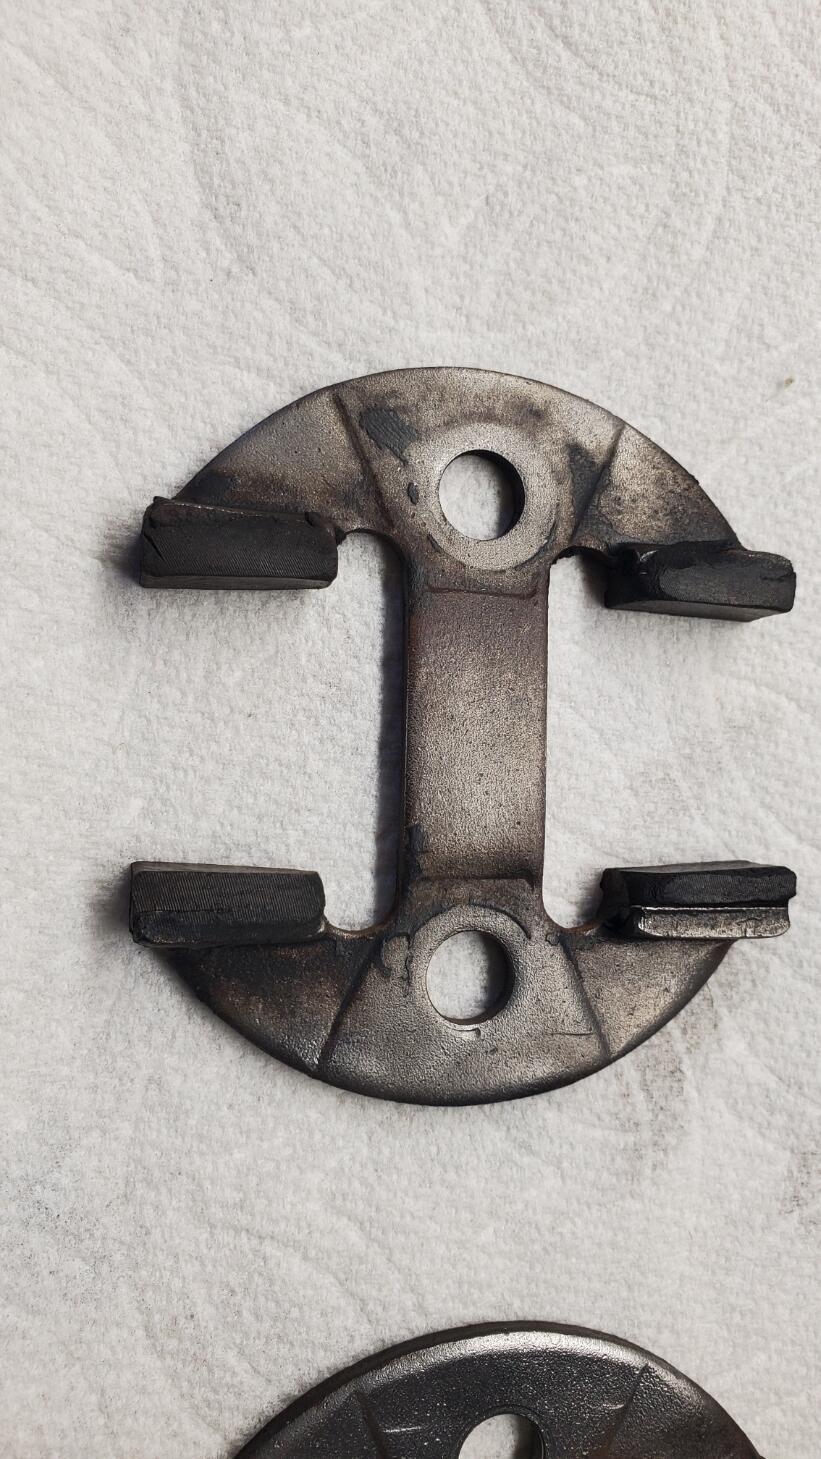
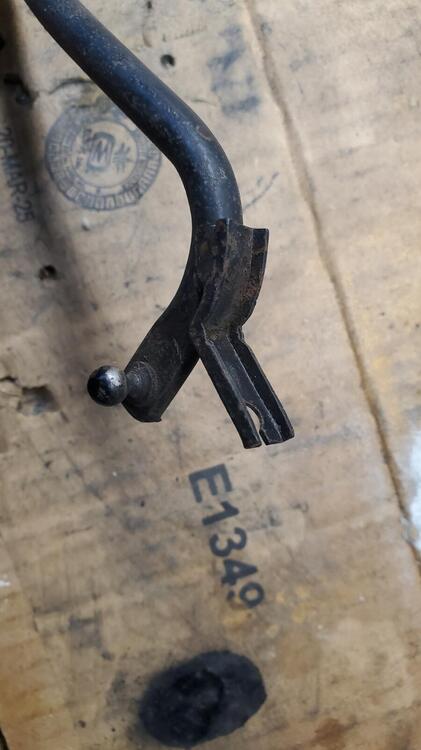
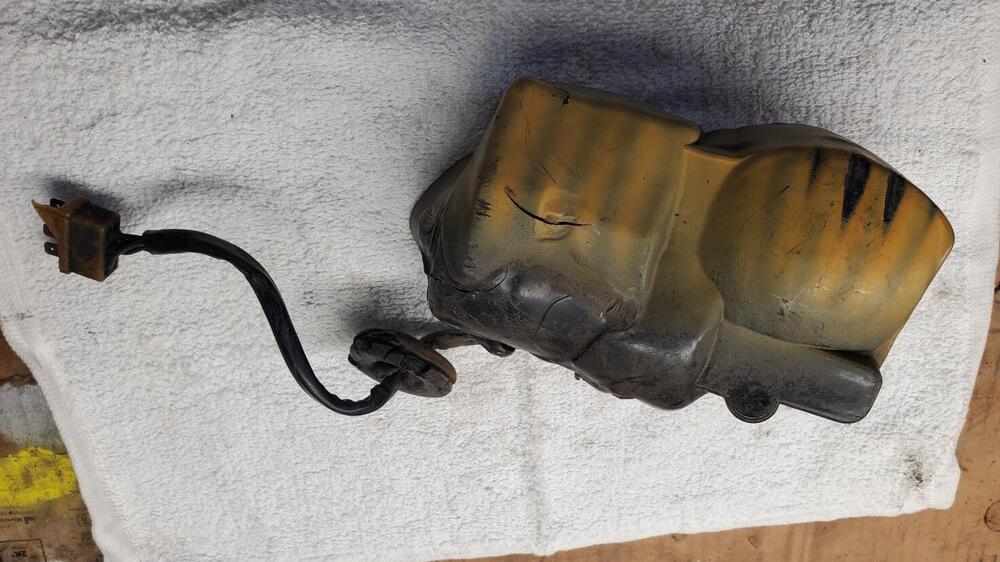
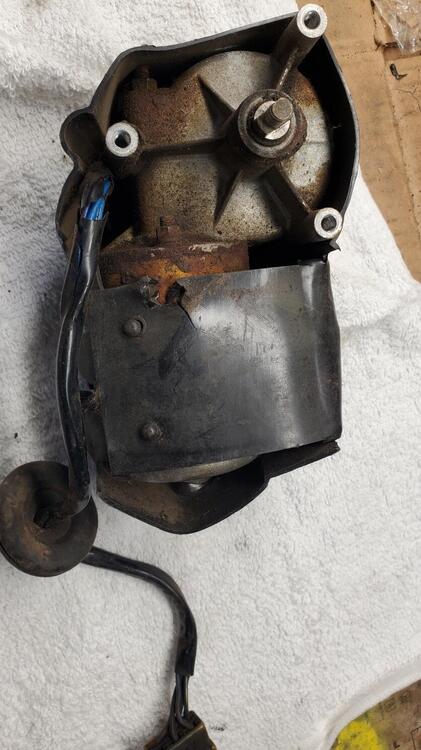
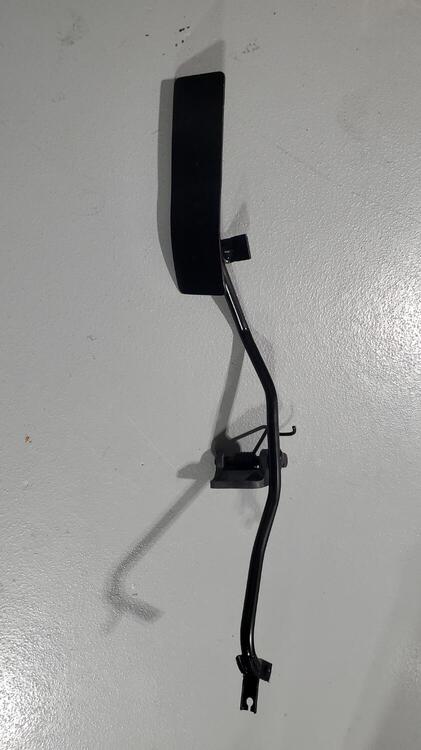
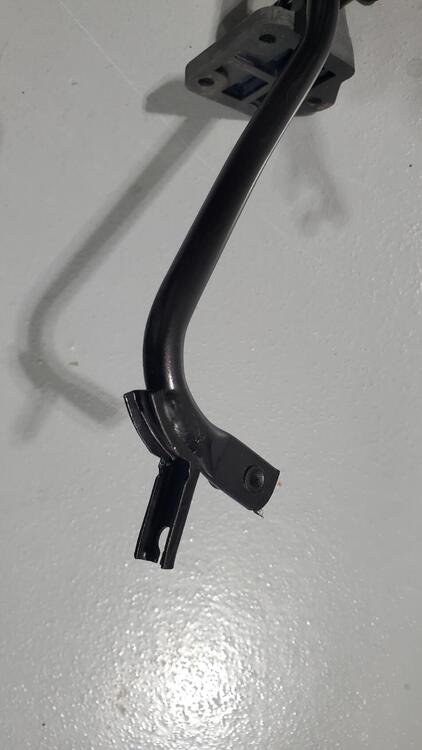
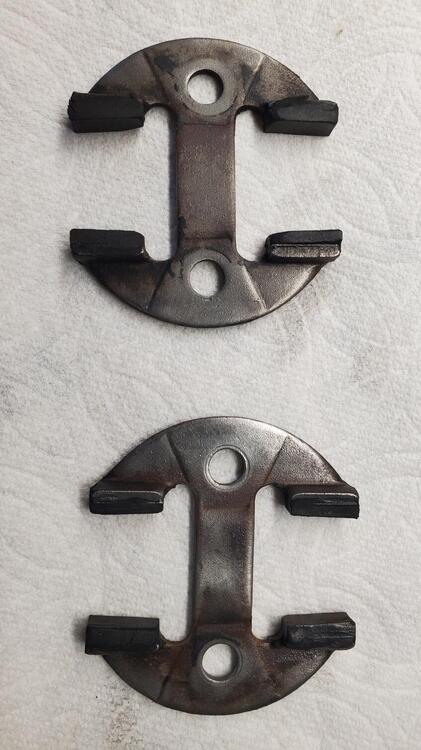
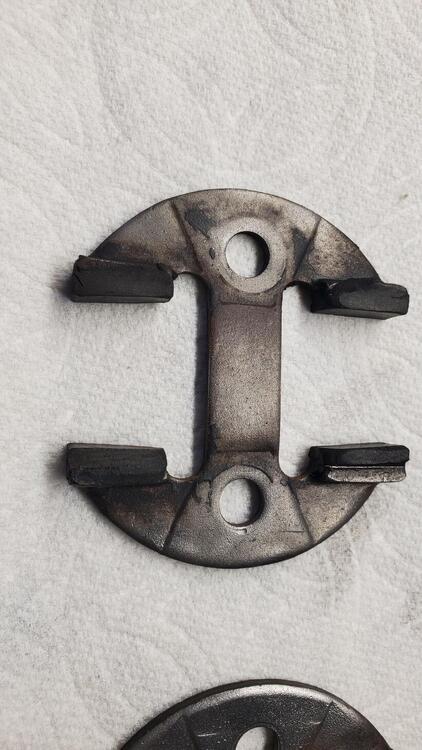
I am currently going through the various parts of the car and cleaning, re-furbing and painting (as needed) so that everything will be ready to install once the body returns. I figured I would post a few 'Unique to the early cars' parts here (or things that Rich has never seen before) on a 240Z. On the gas pedal there is a small bracket at the very top. I am not sure of the purpose of that feature. My guess is that it was intended to be used in tandem with the deleted throttle lever. The cover on the wiper motor is something I have never seen. Nice custom fit. The later bag covers were probably cheaper to produce. The steering column transition brackets have overmolded rubber in the locations where the shaft would be attached. I guess they decided that these were not needed. Interesting to see though.
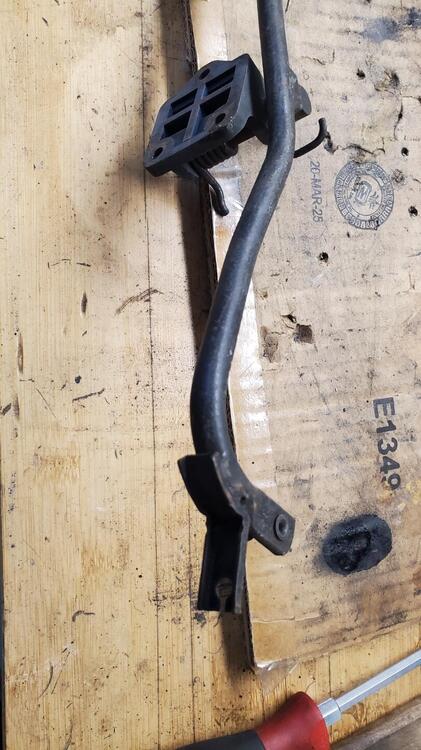
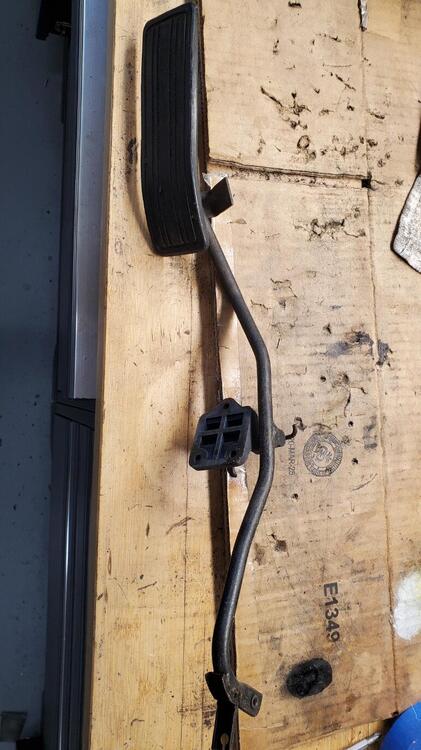
-
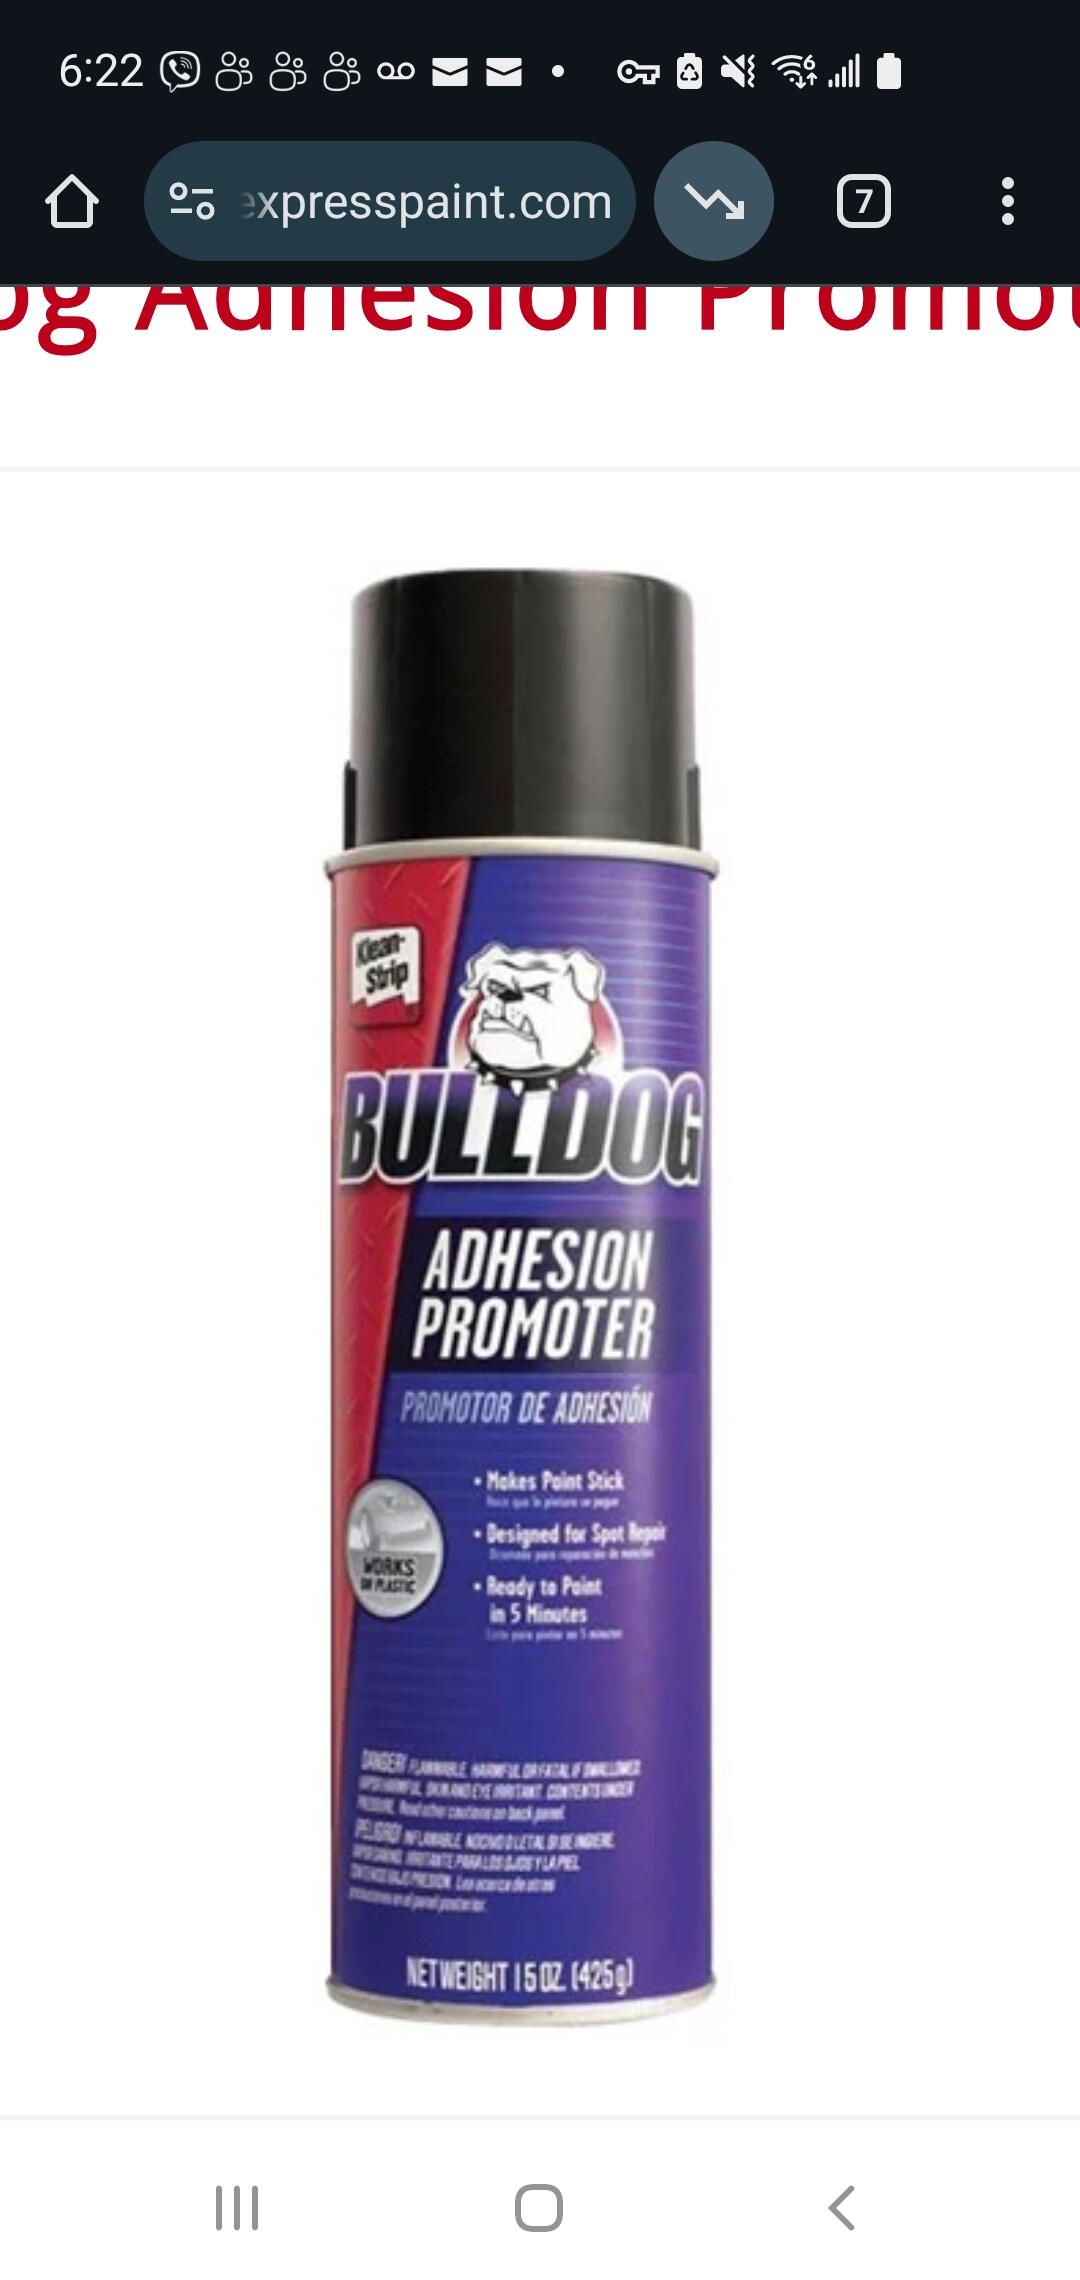
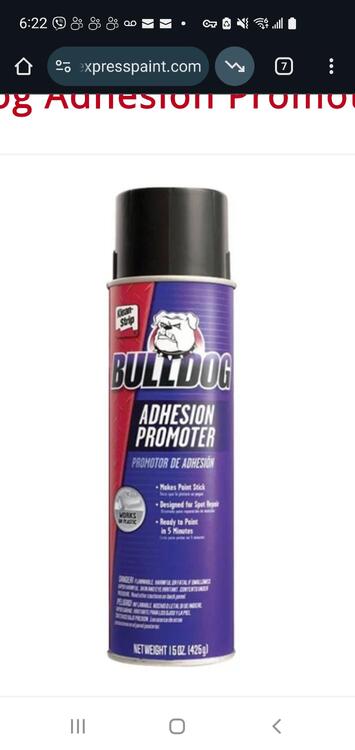
I used this on my front air damage prior to paint. Can't remember who recommended it, but seems to work.
-
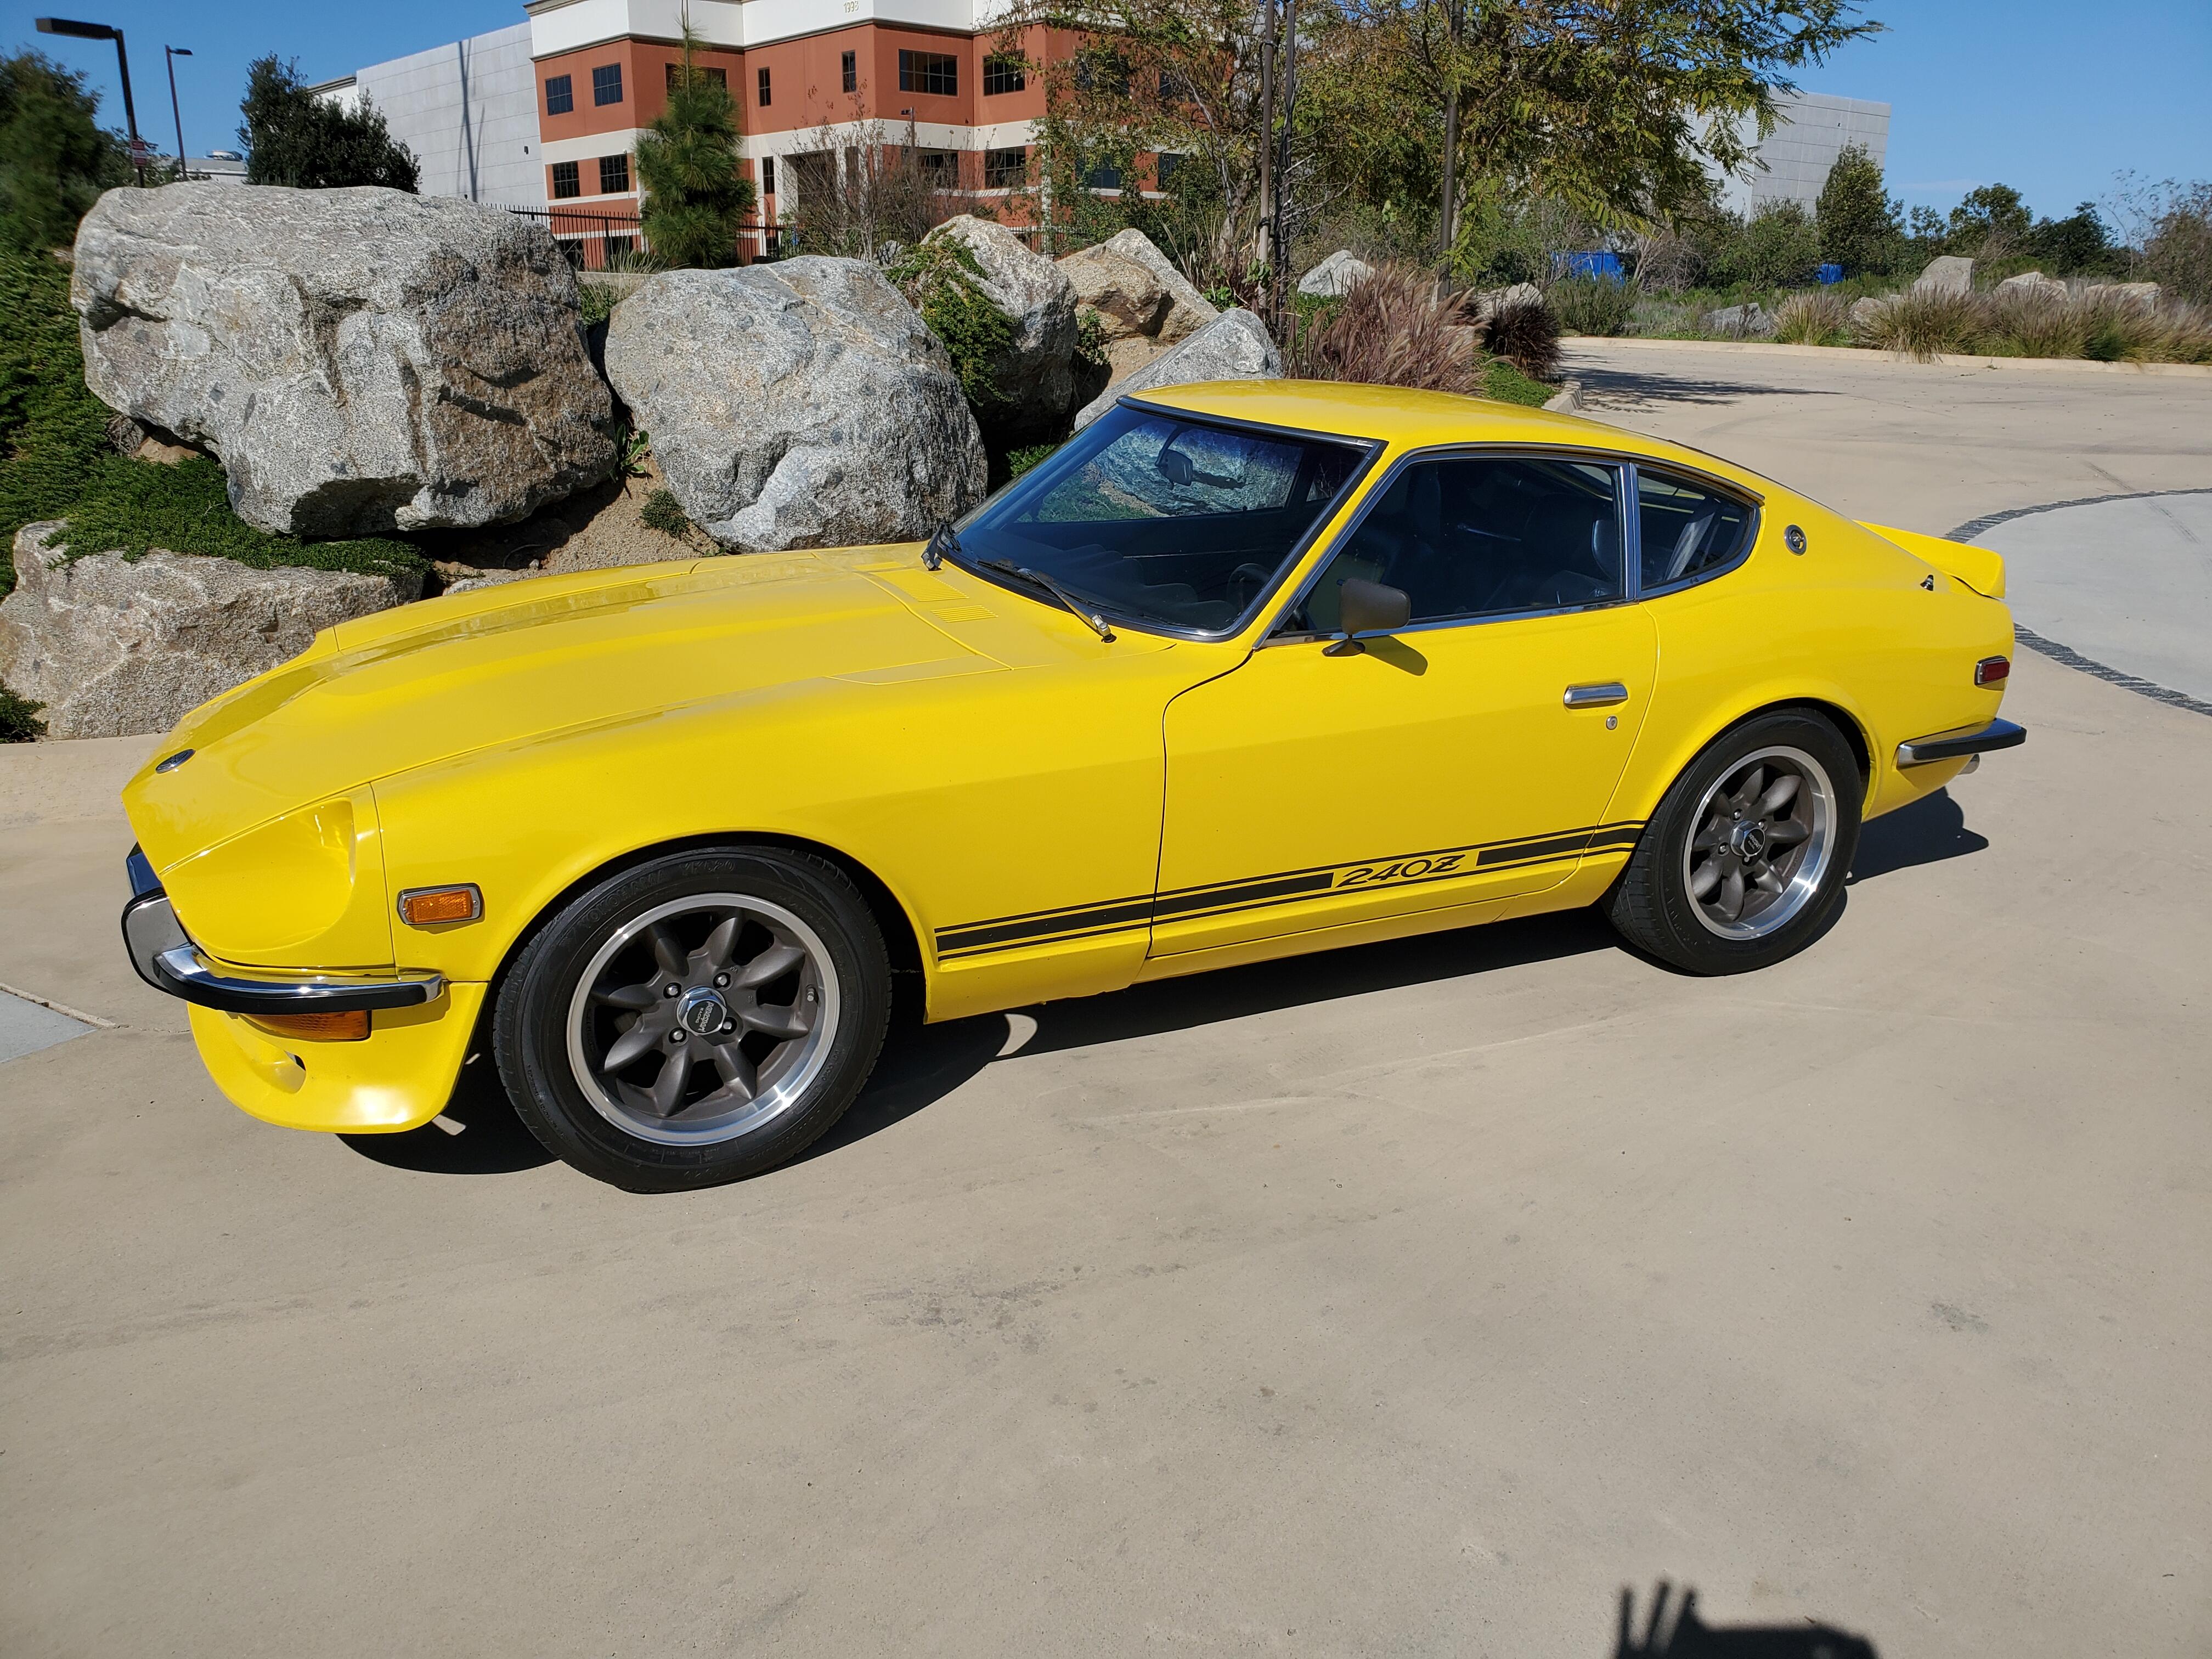
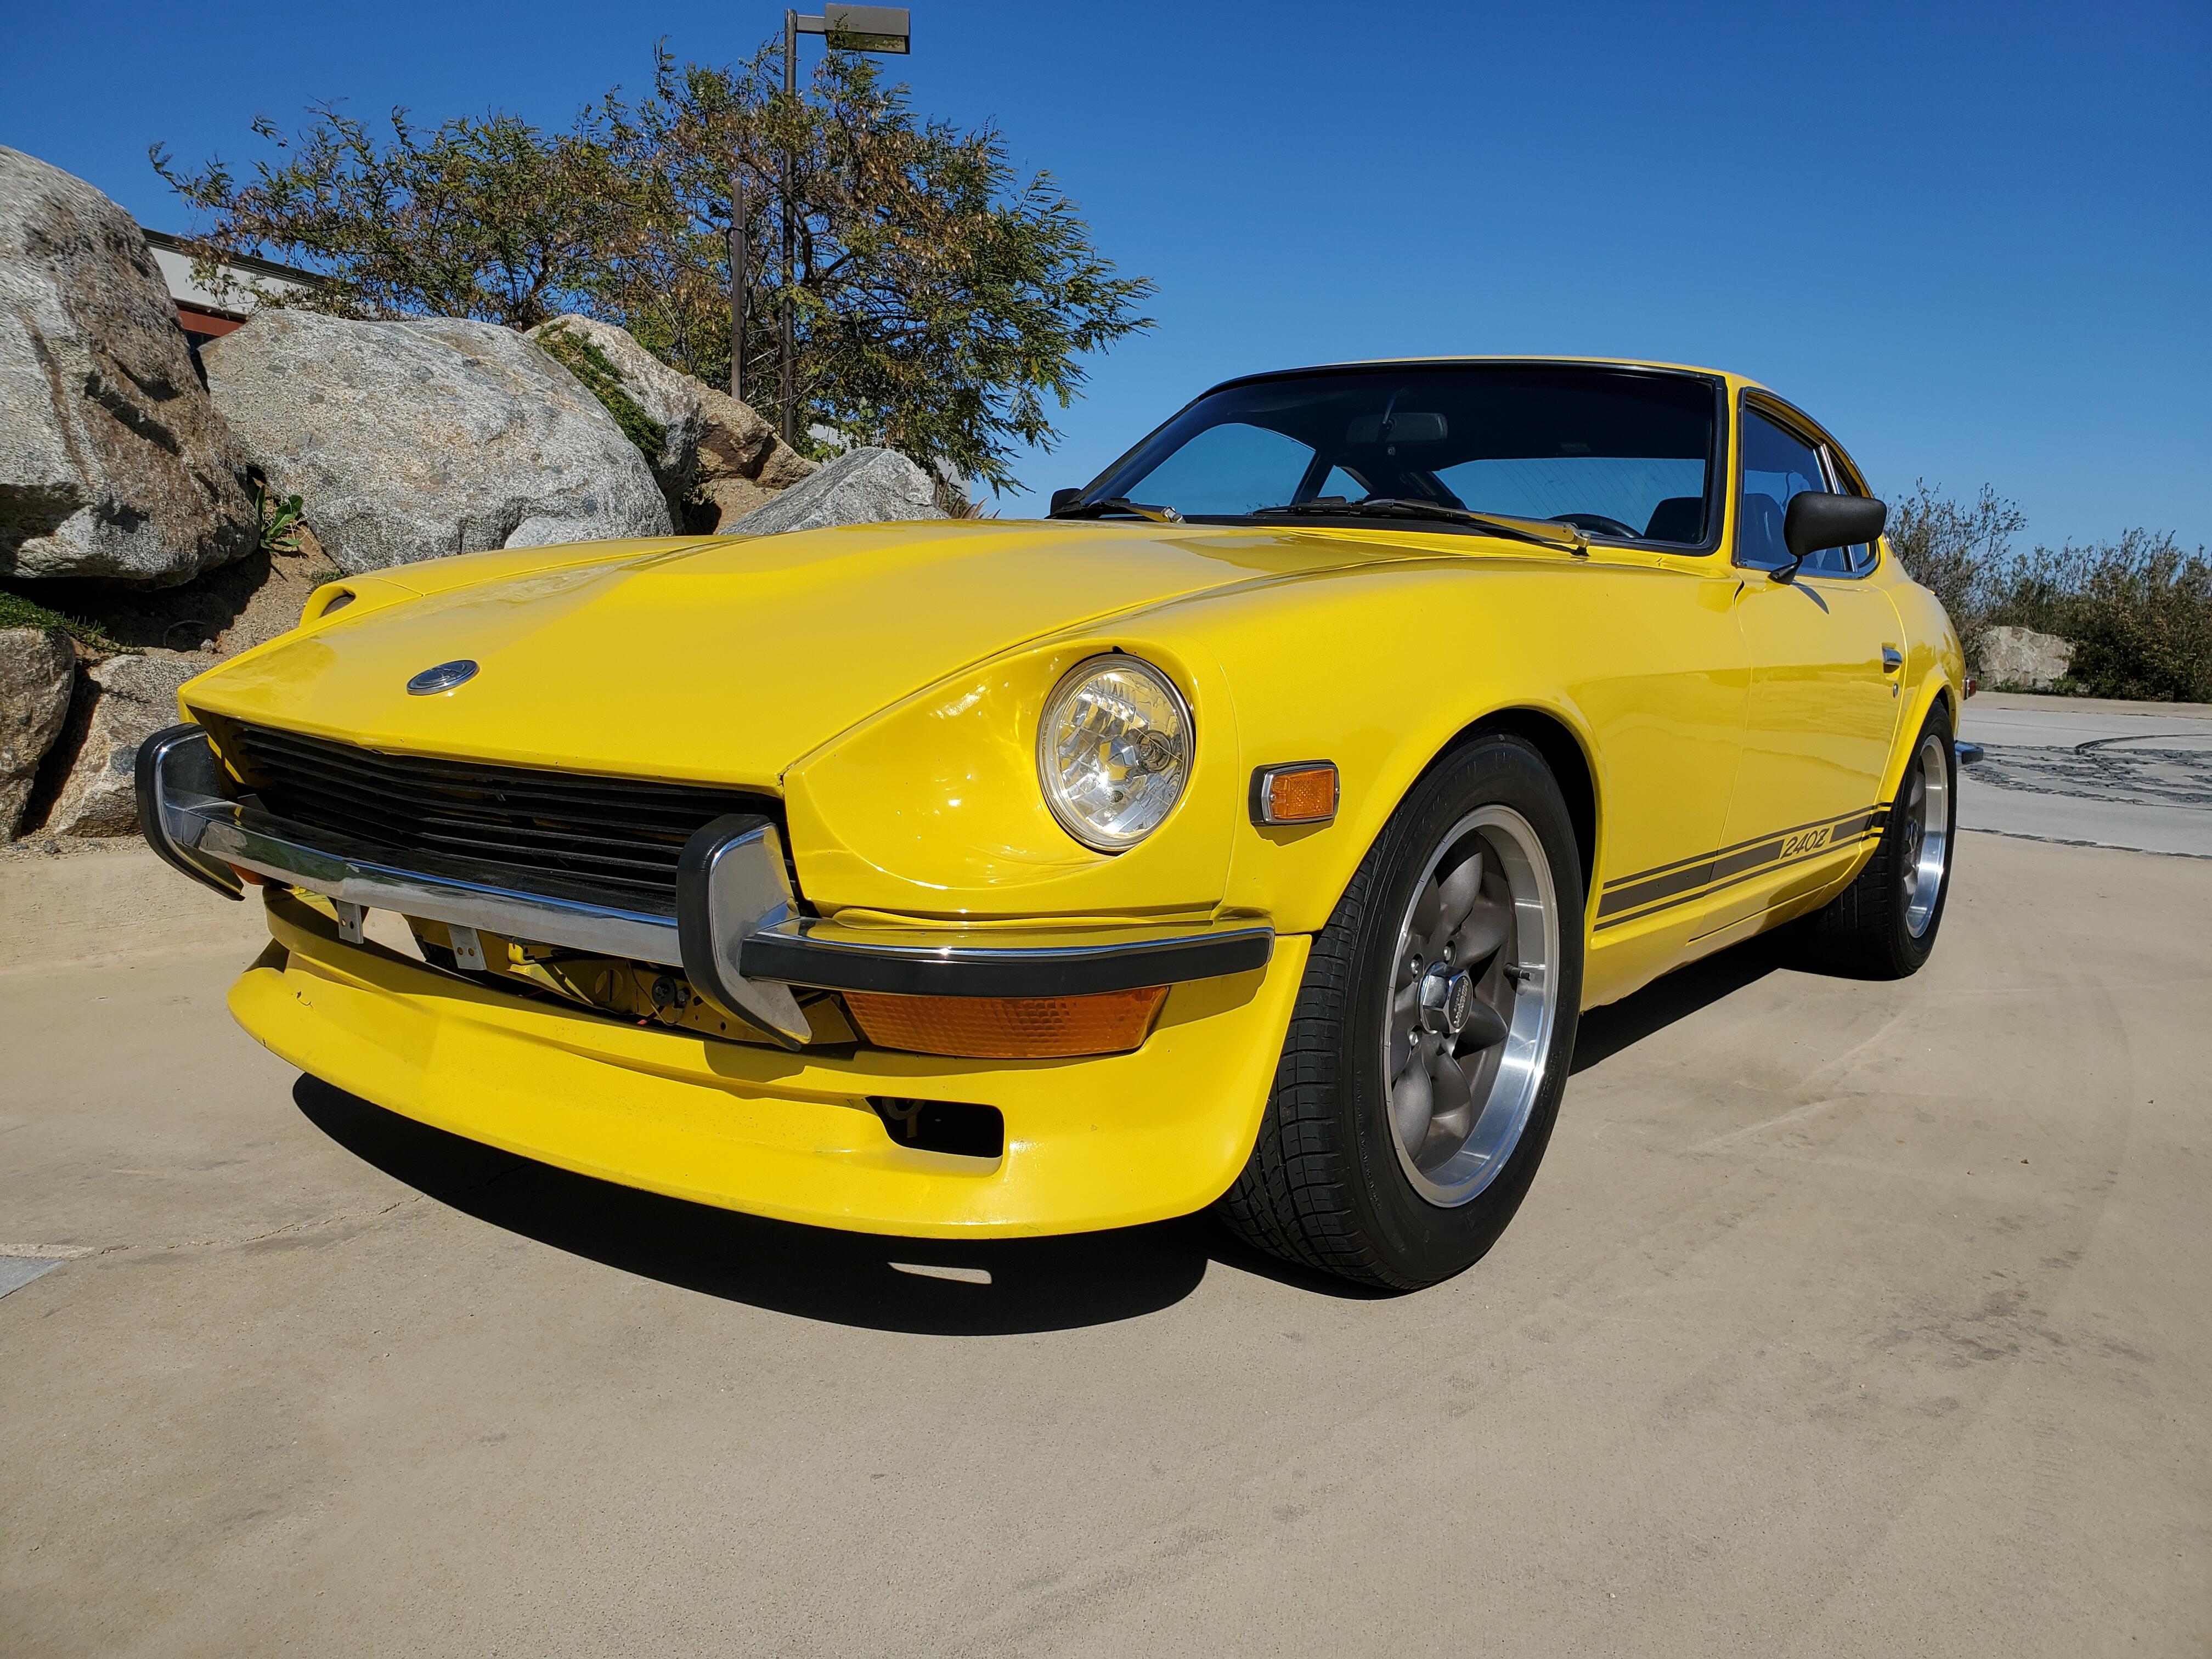
Yes, nice shade of yellow. Looks a lot like mine. This is a Chevrolet color...'Rally Yellow'
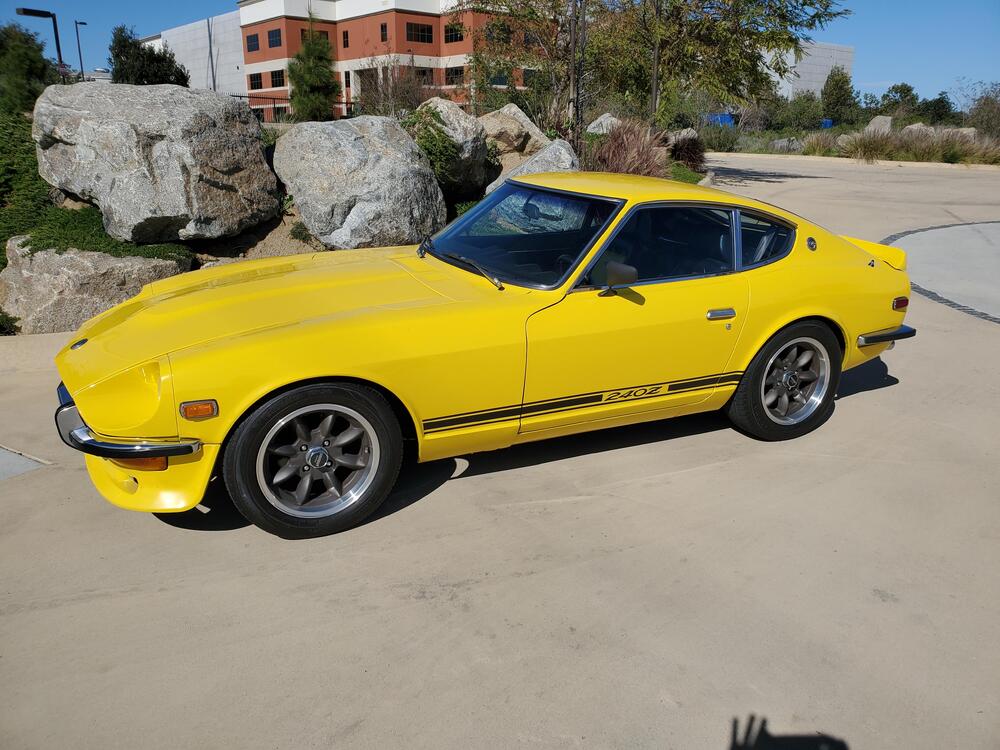
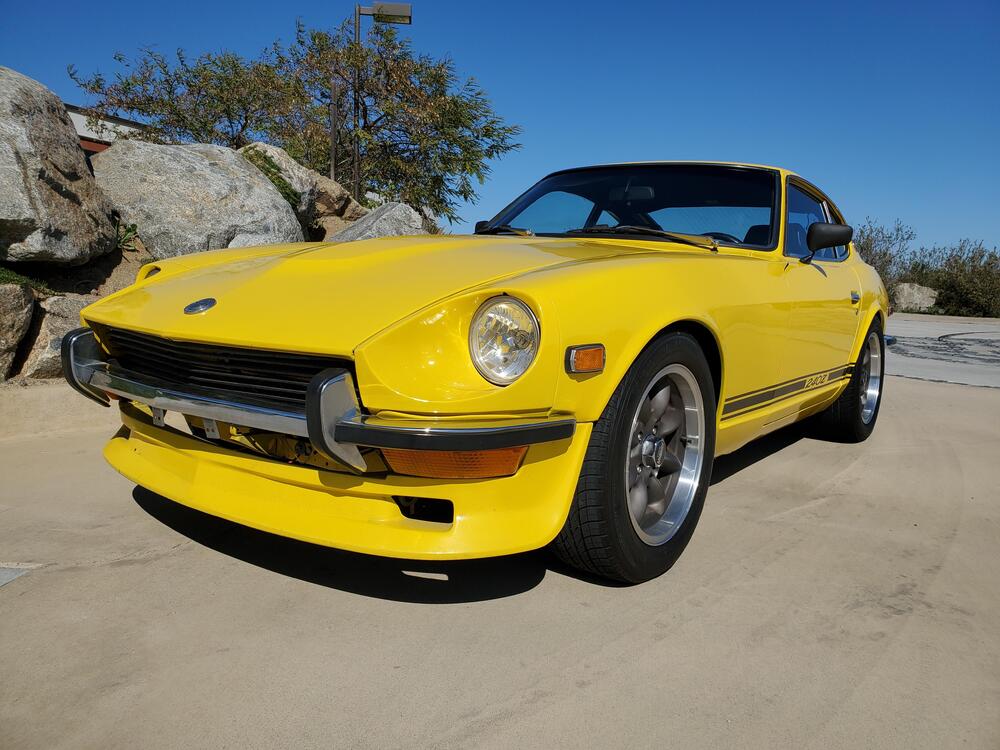
-
I don't think so. Les likes powdercoat. He always did the air cleaner housing in powdercoat also as they seem to always get scratched and exposed to fuel. It's a durable finish, but not technically correct.
-
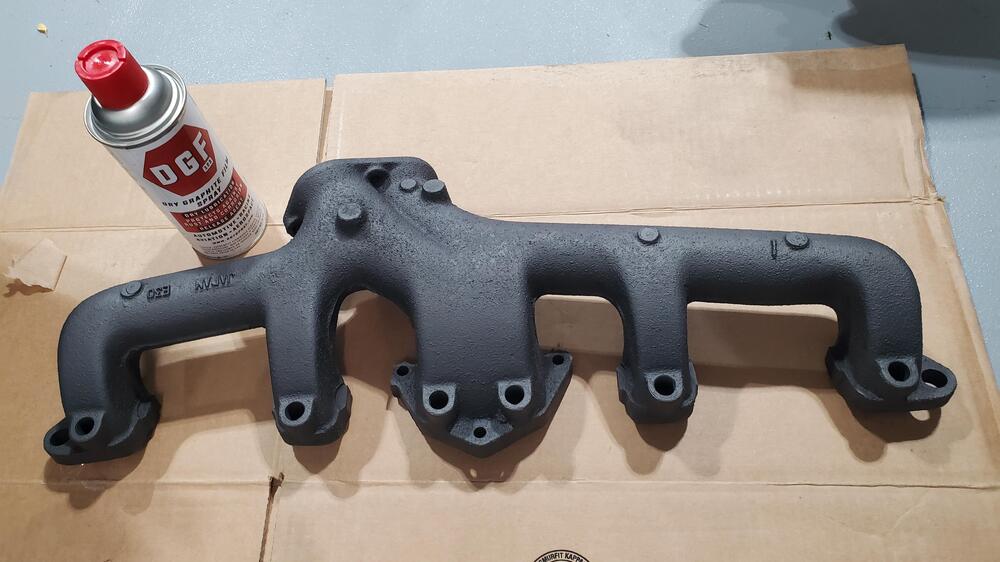
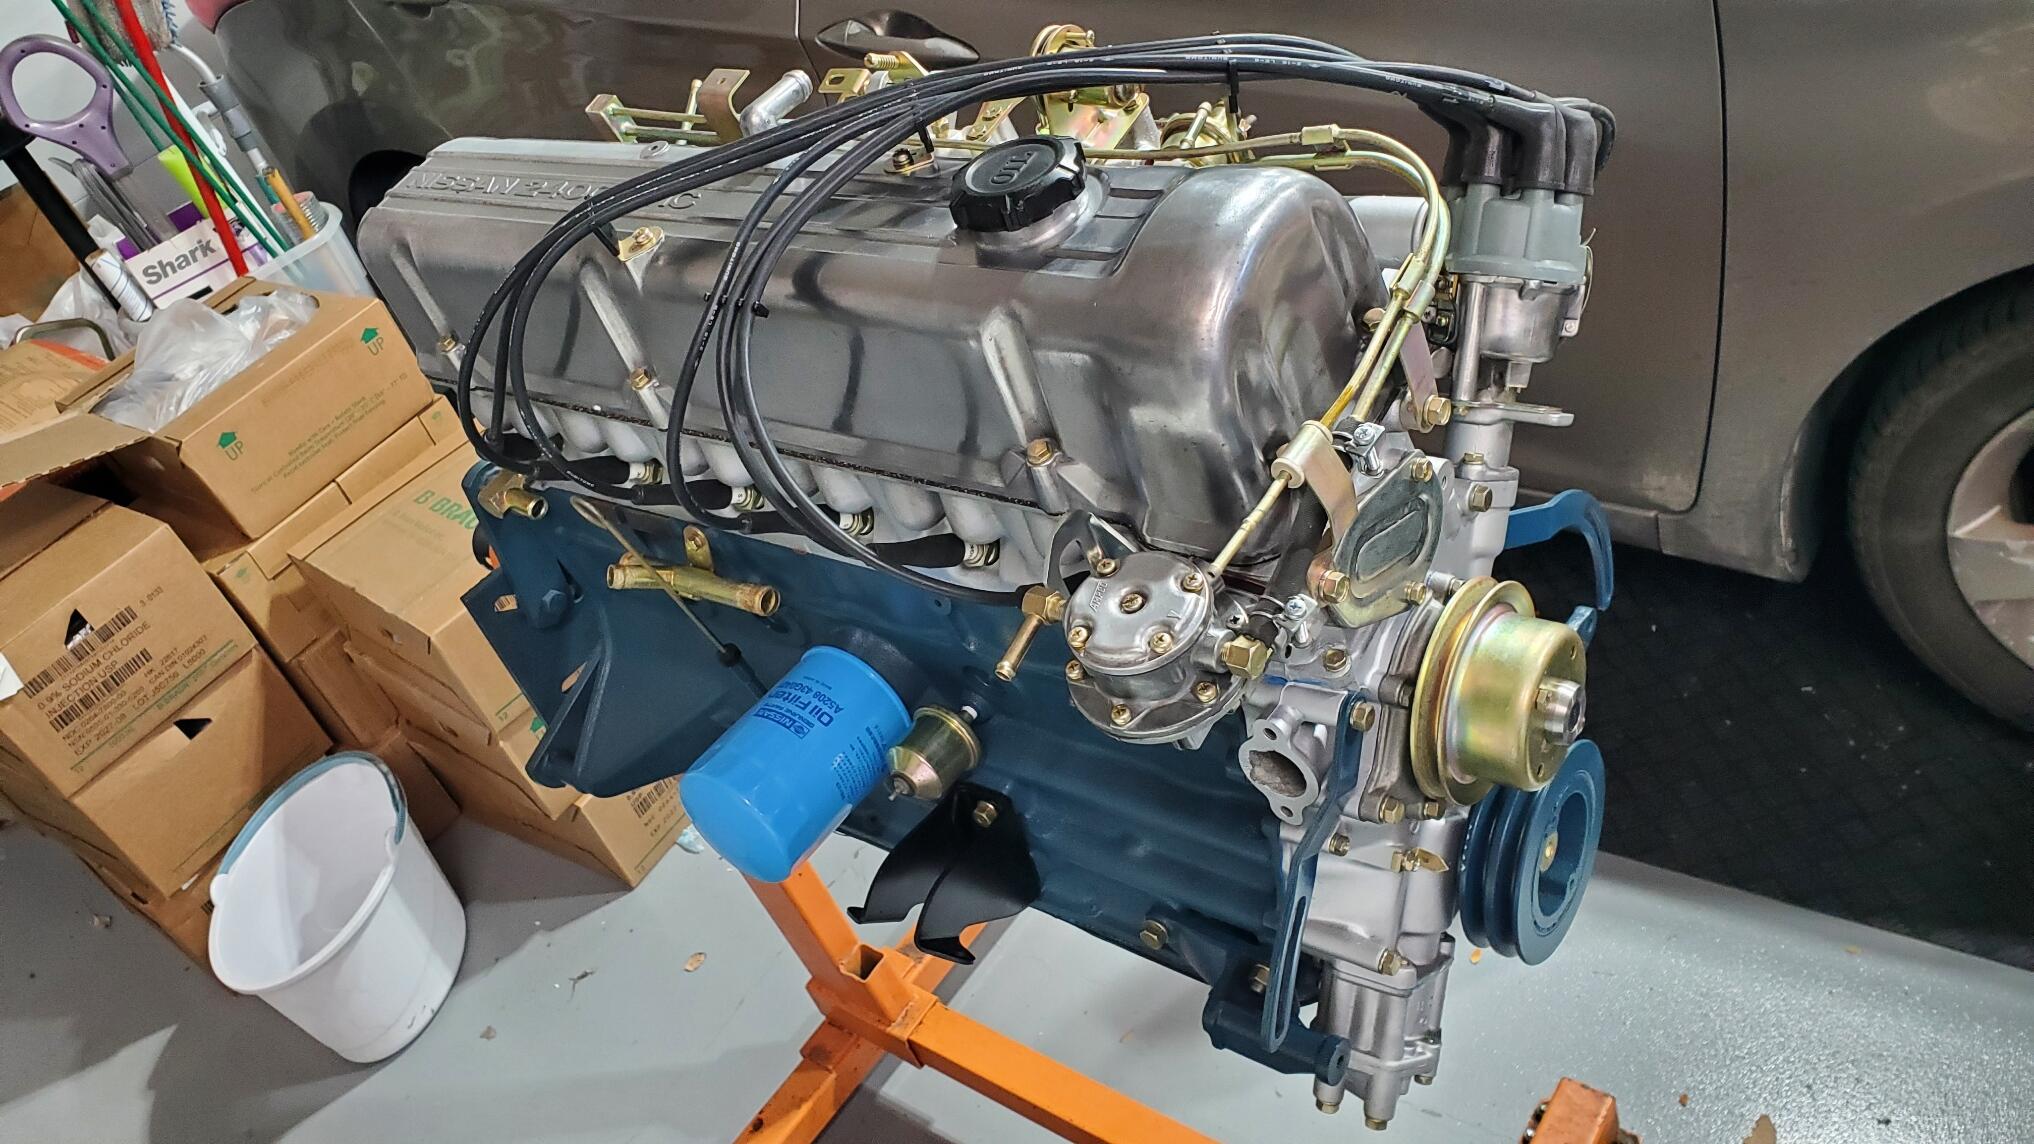
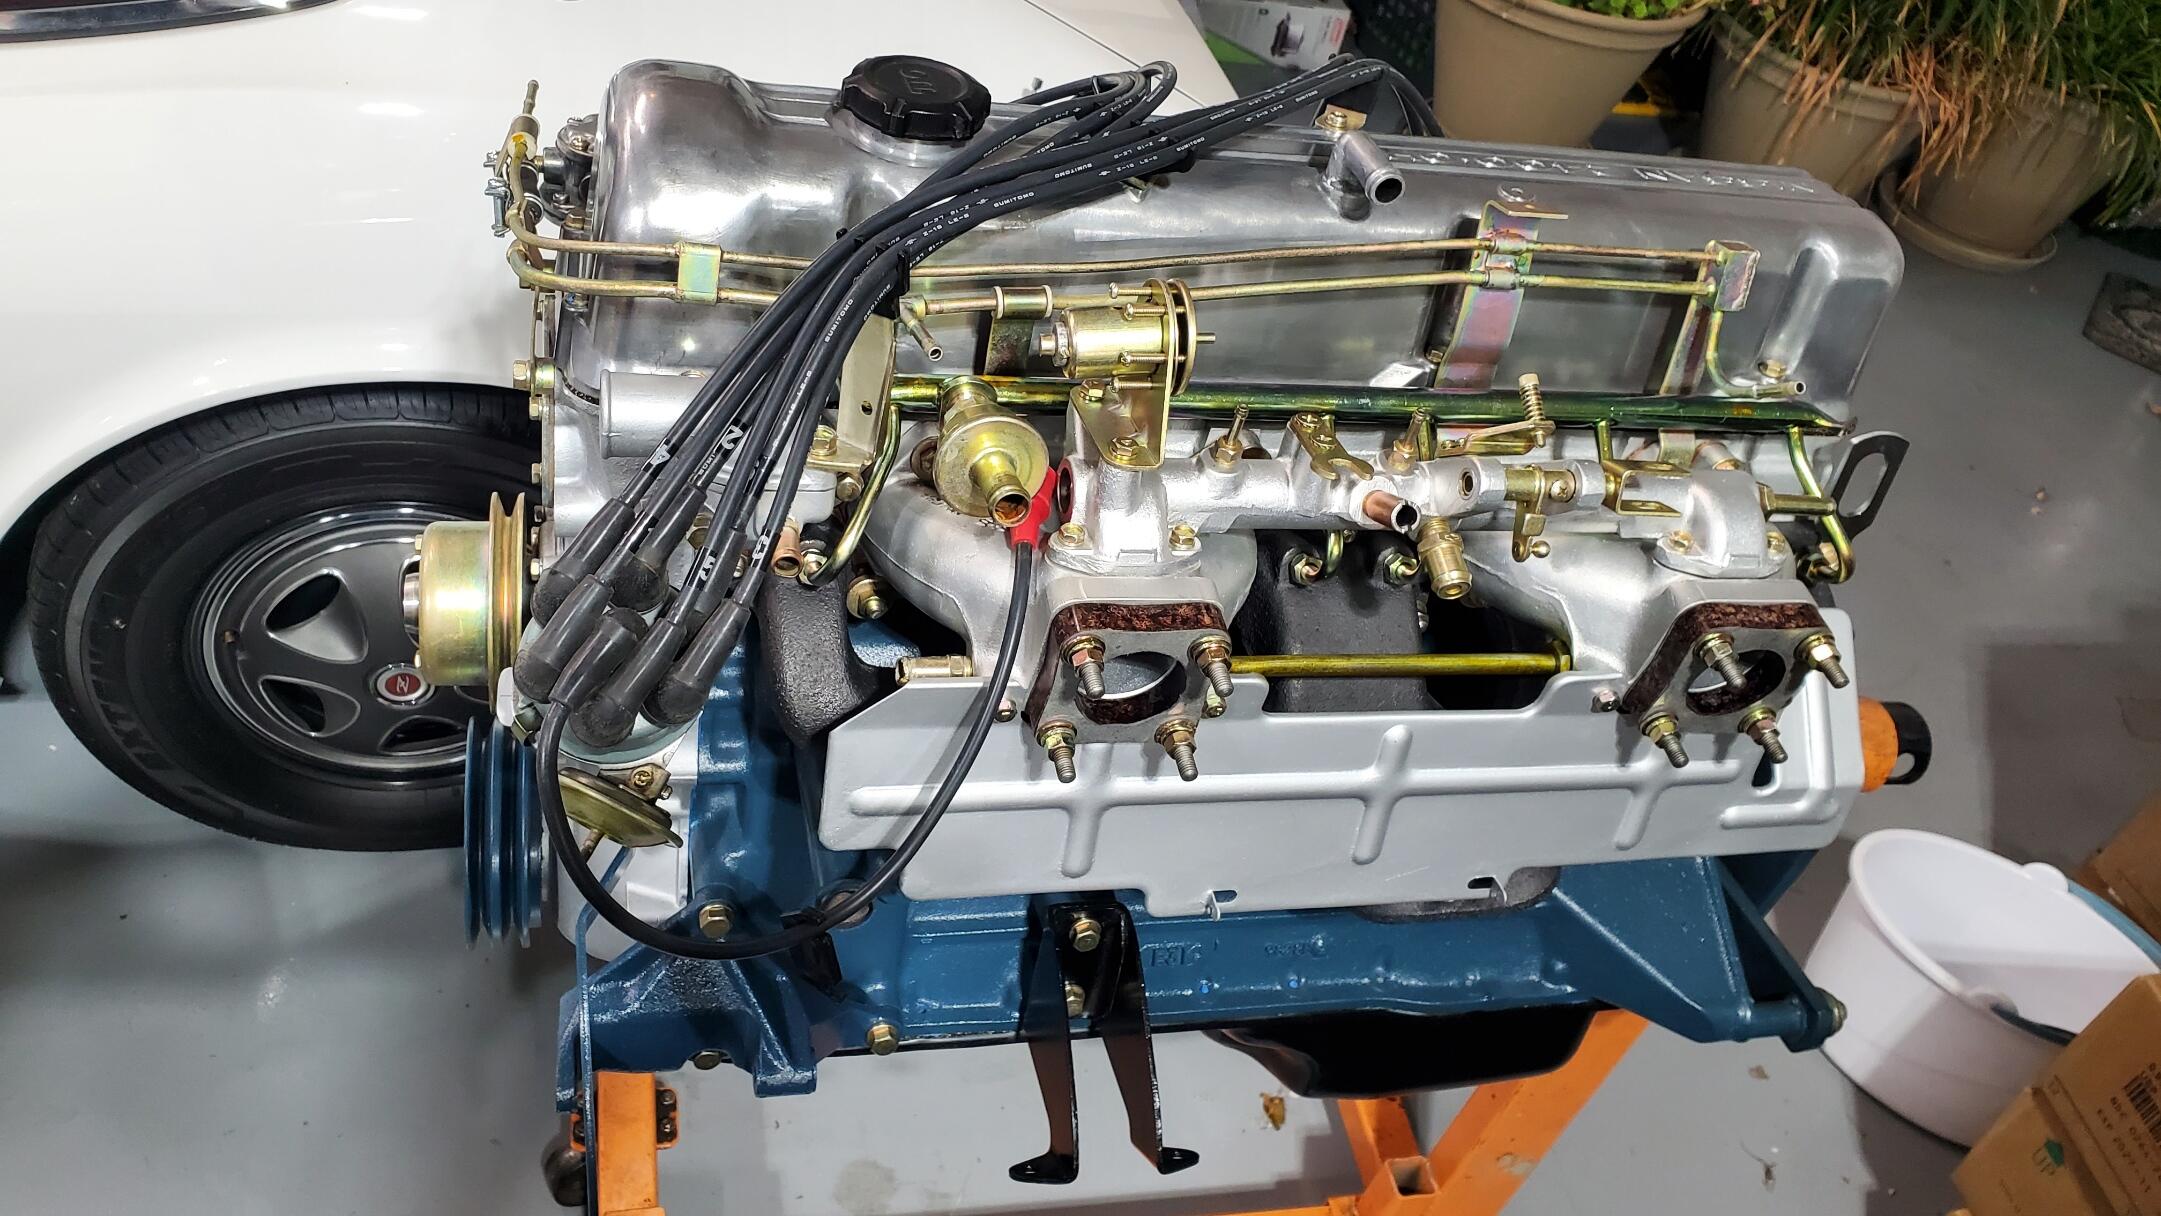
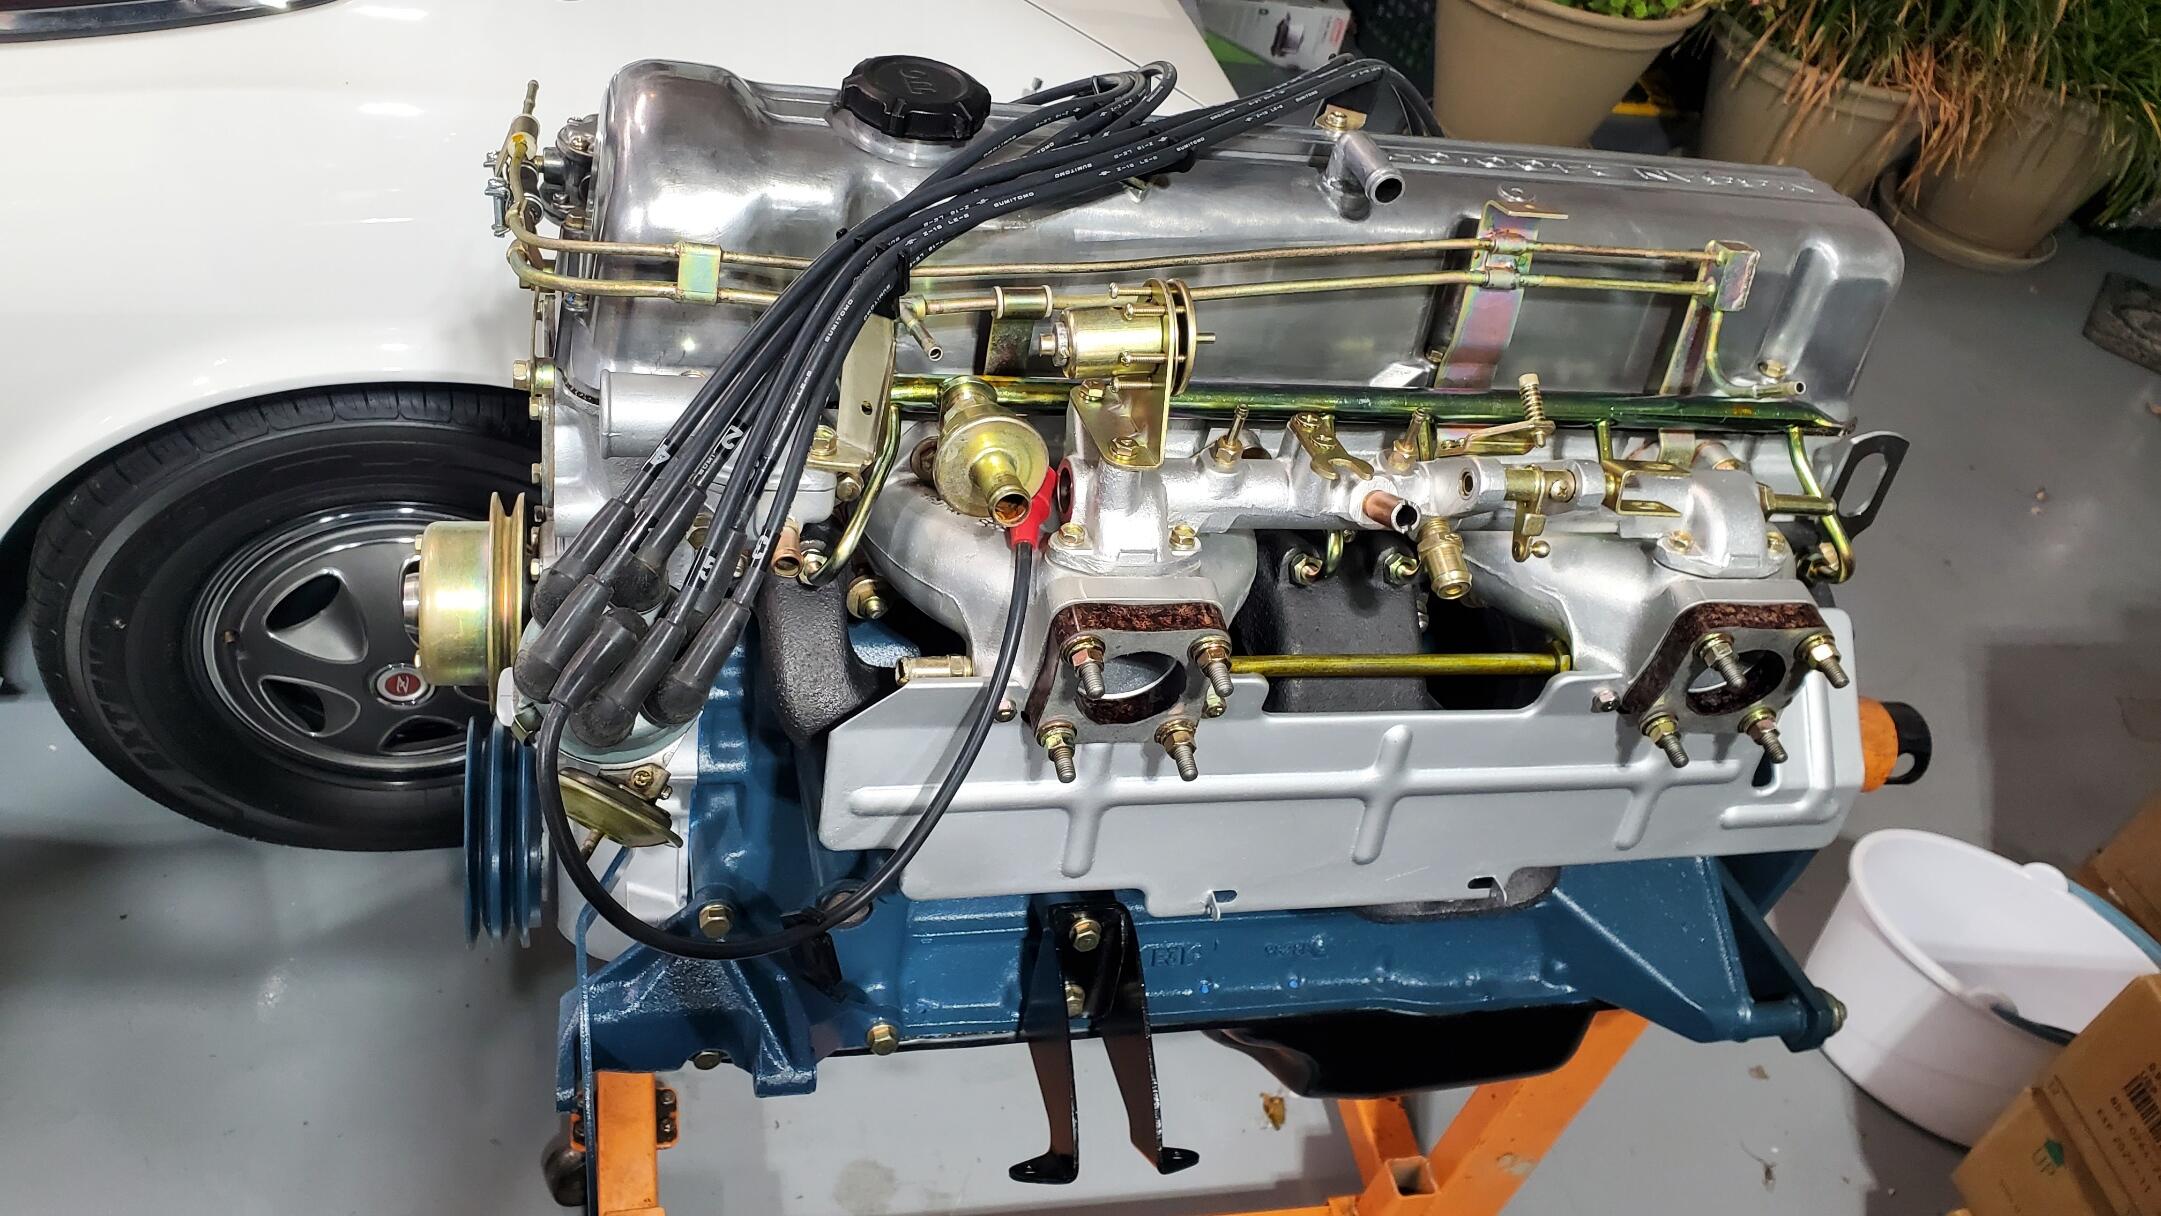
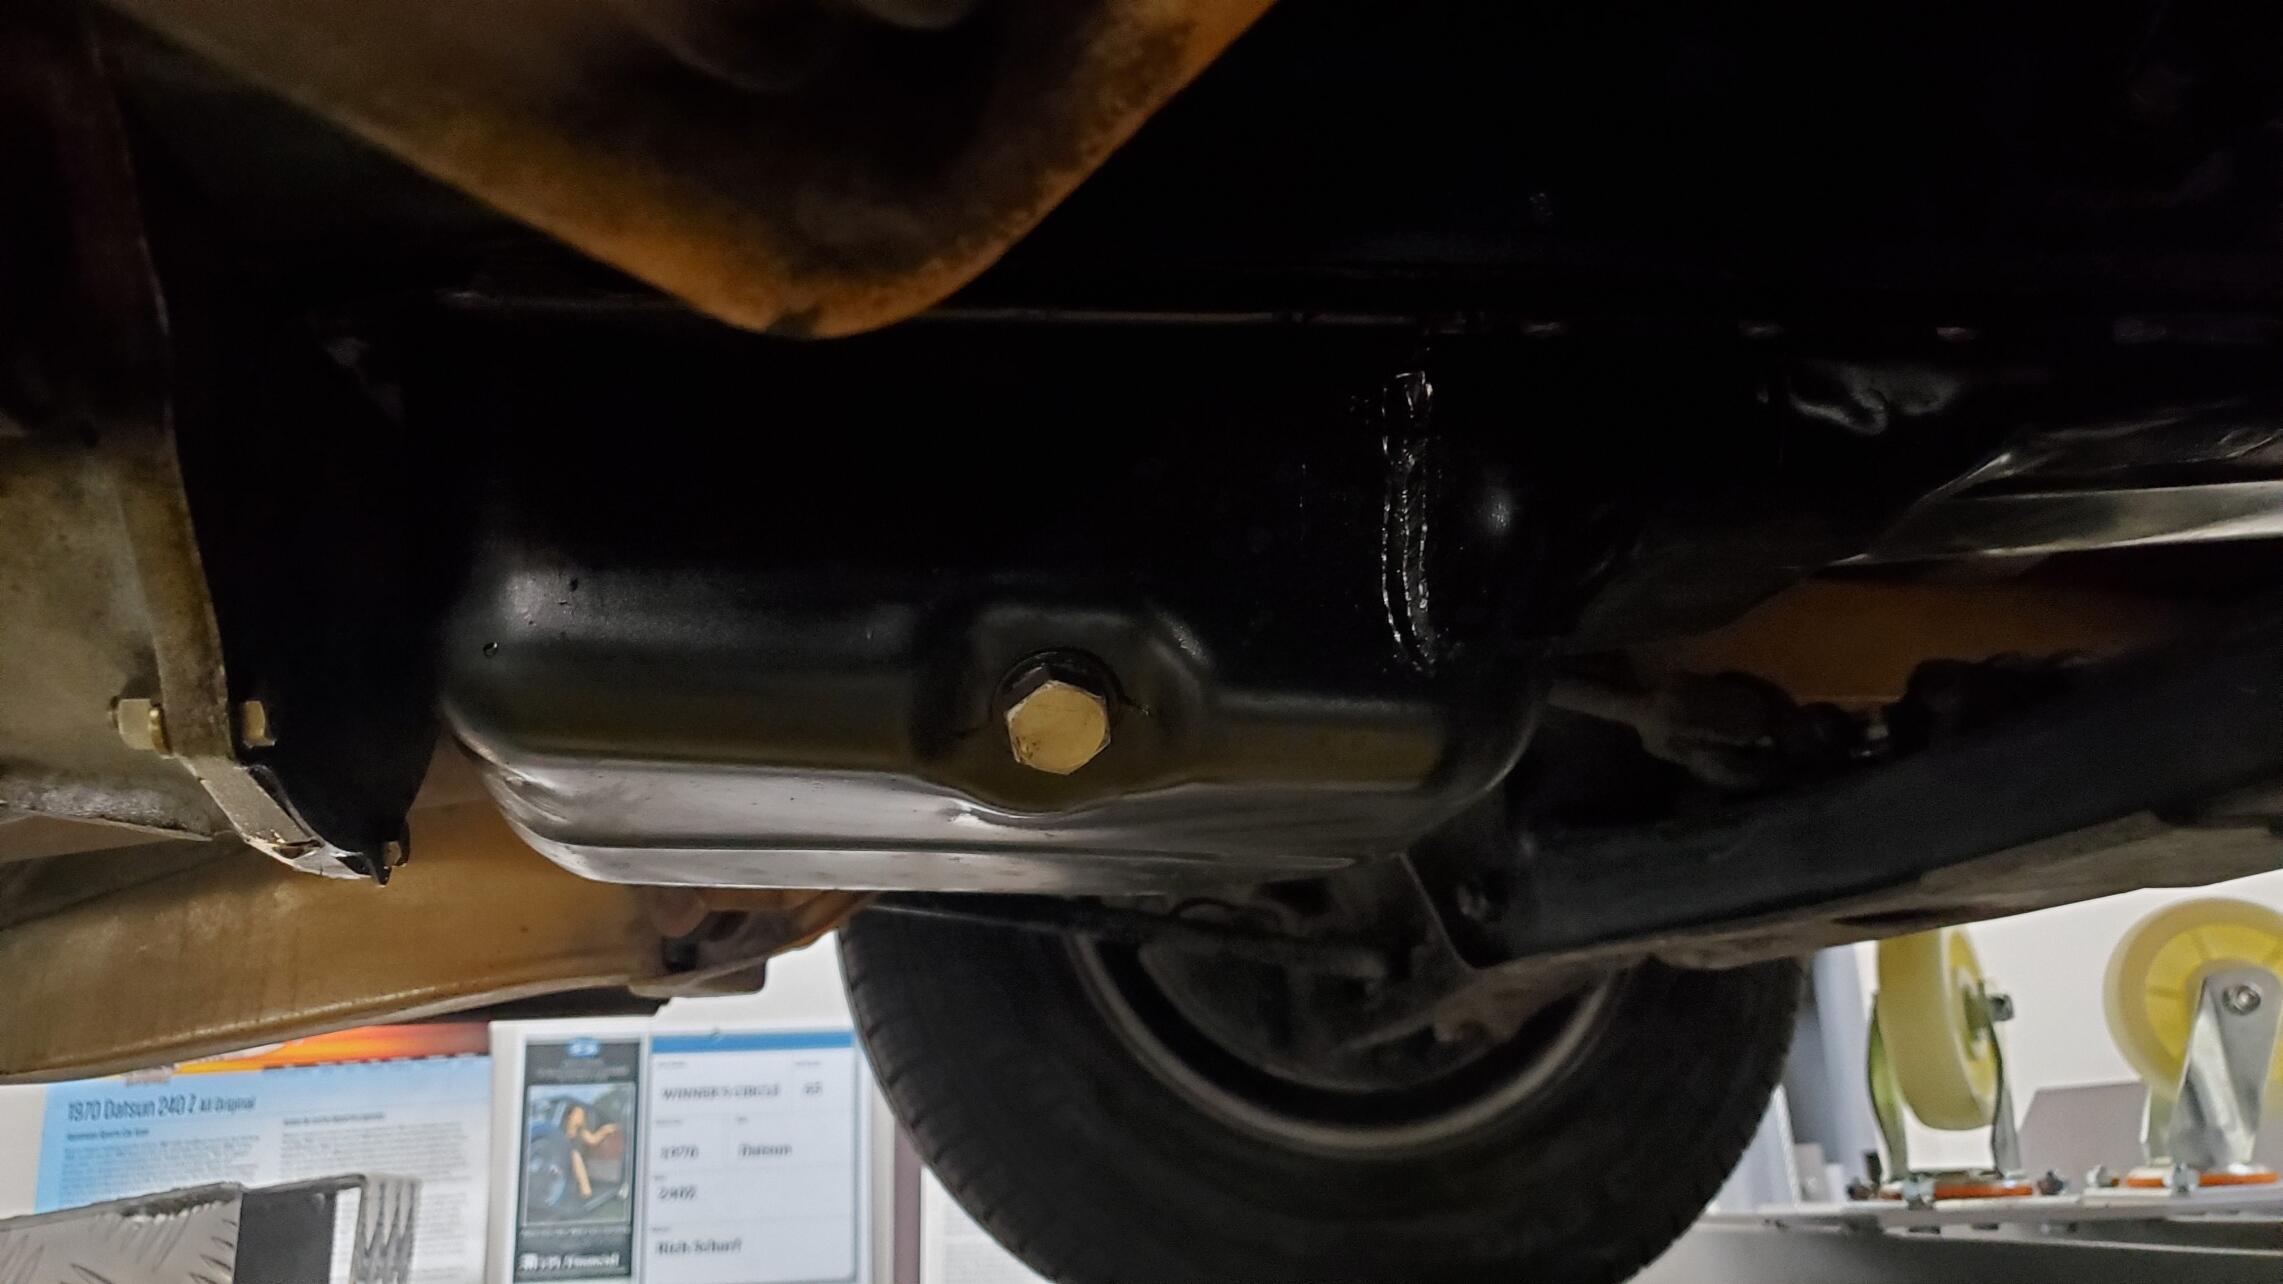
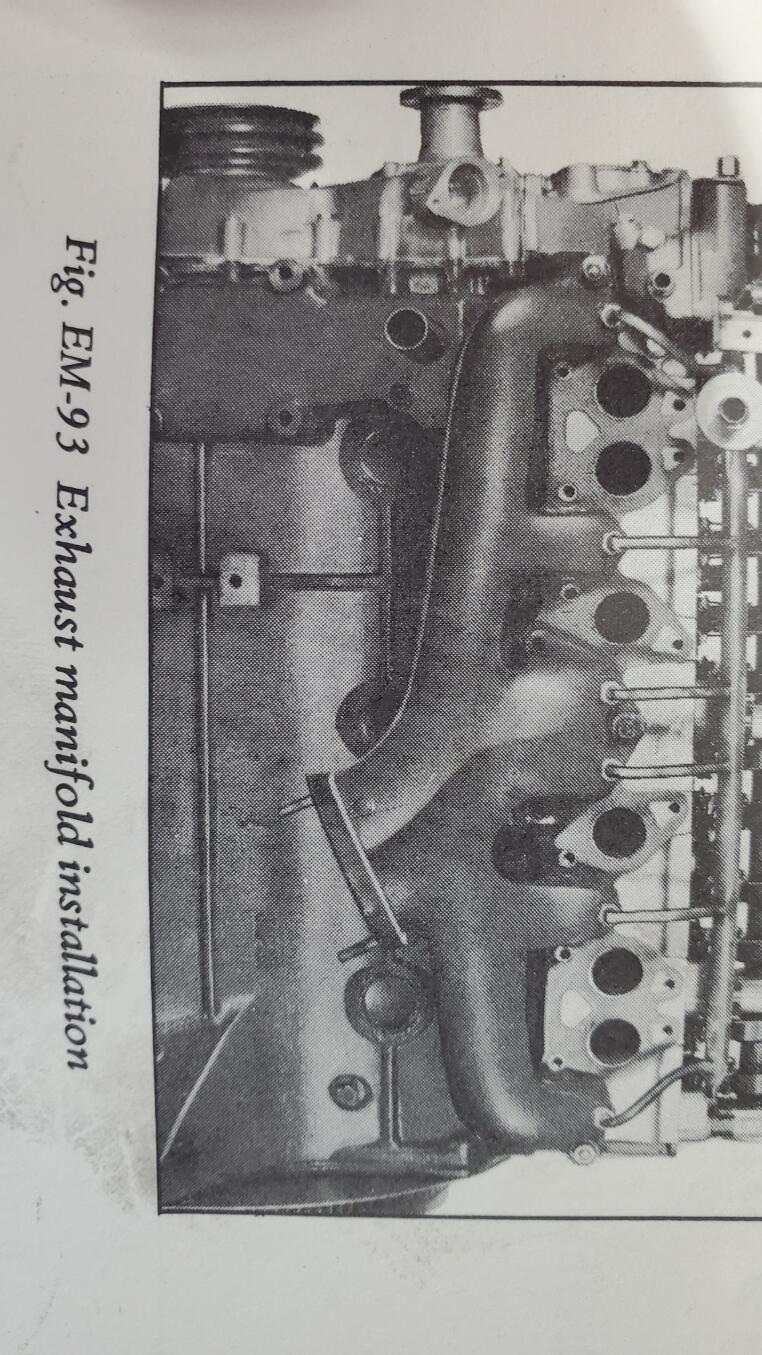
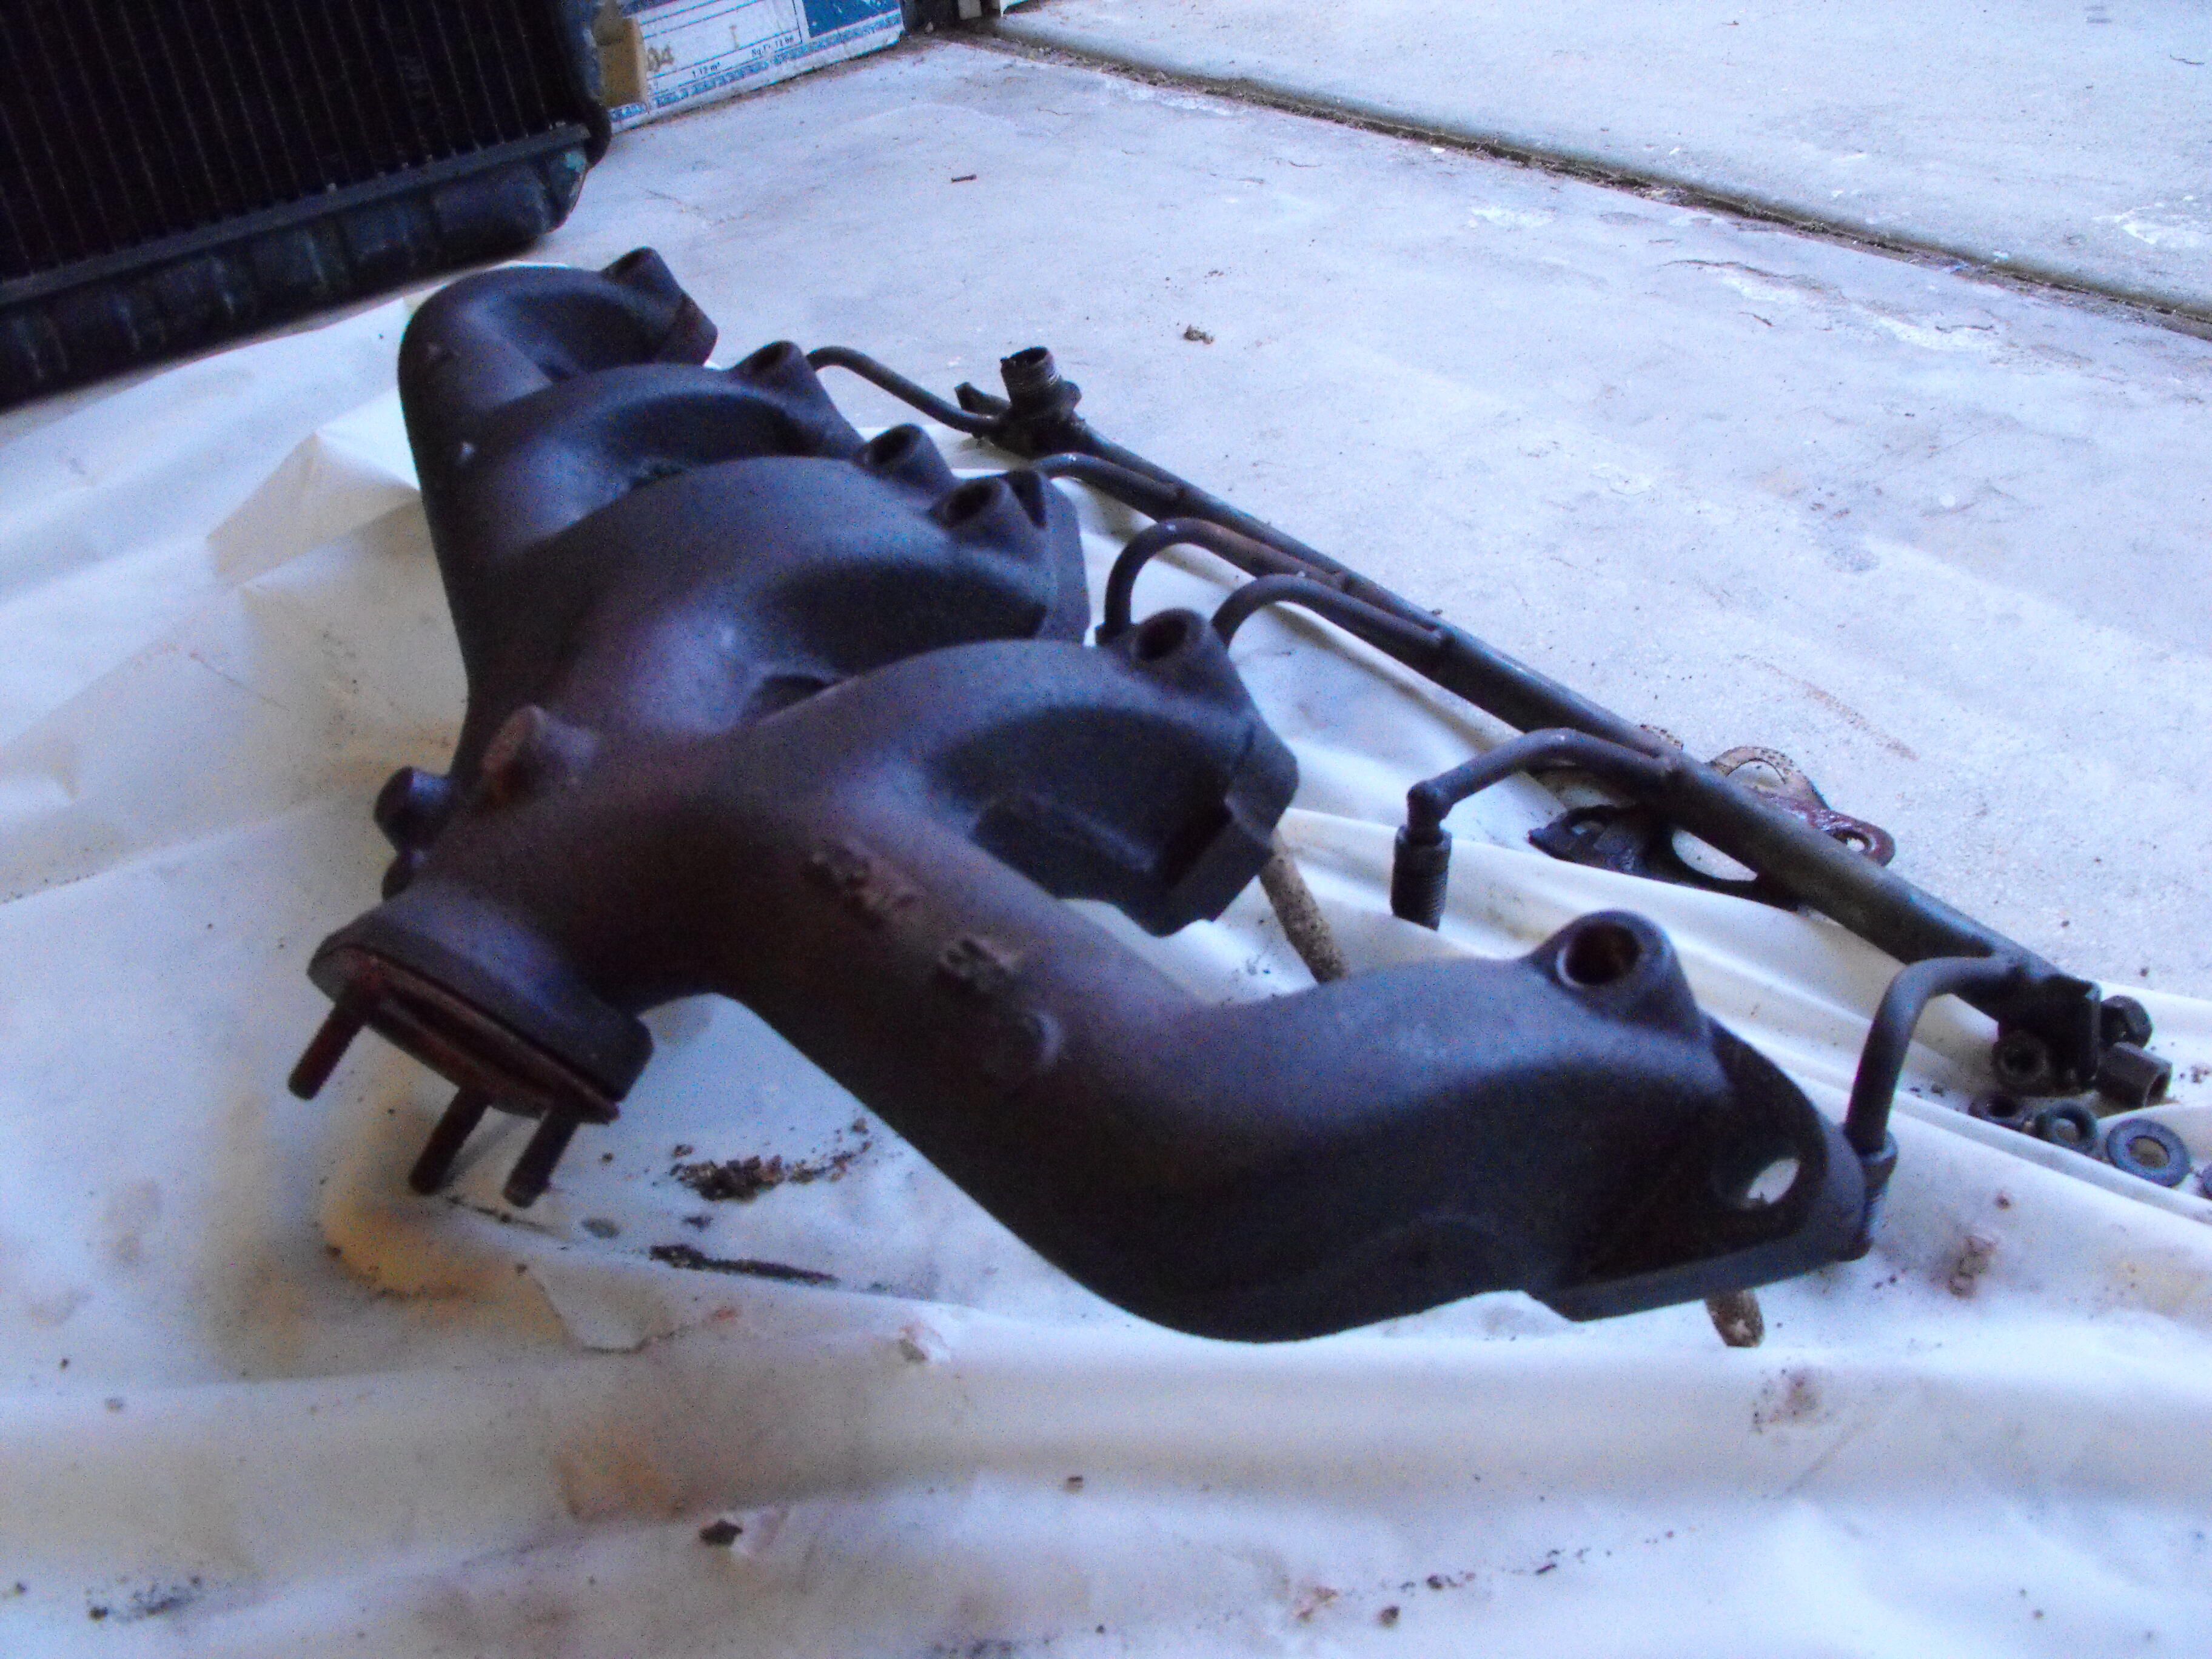
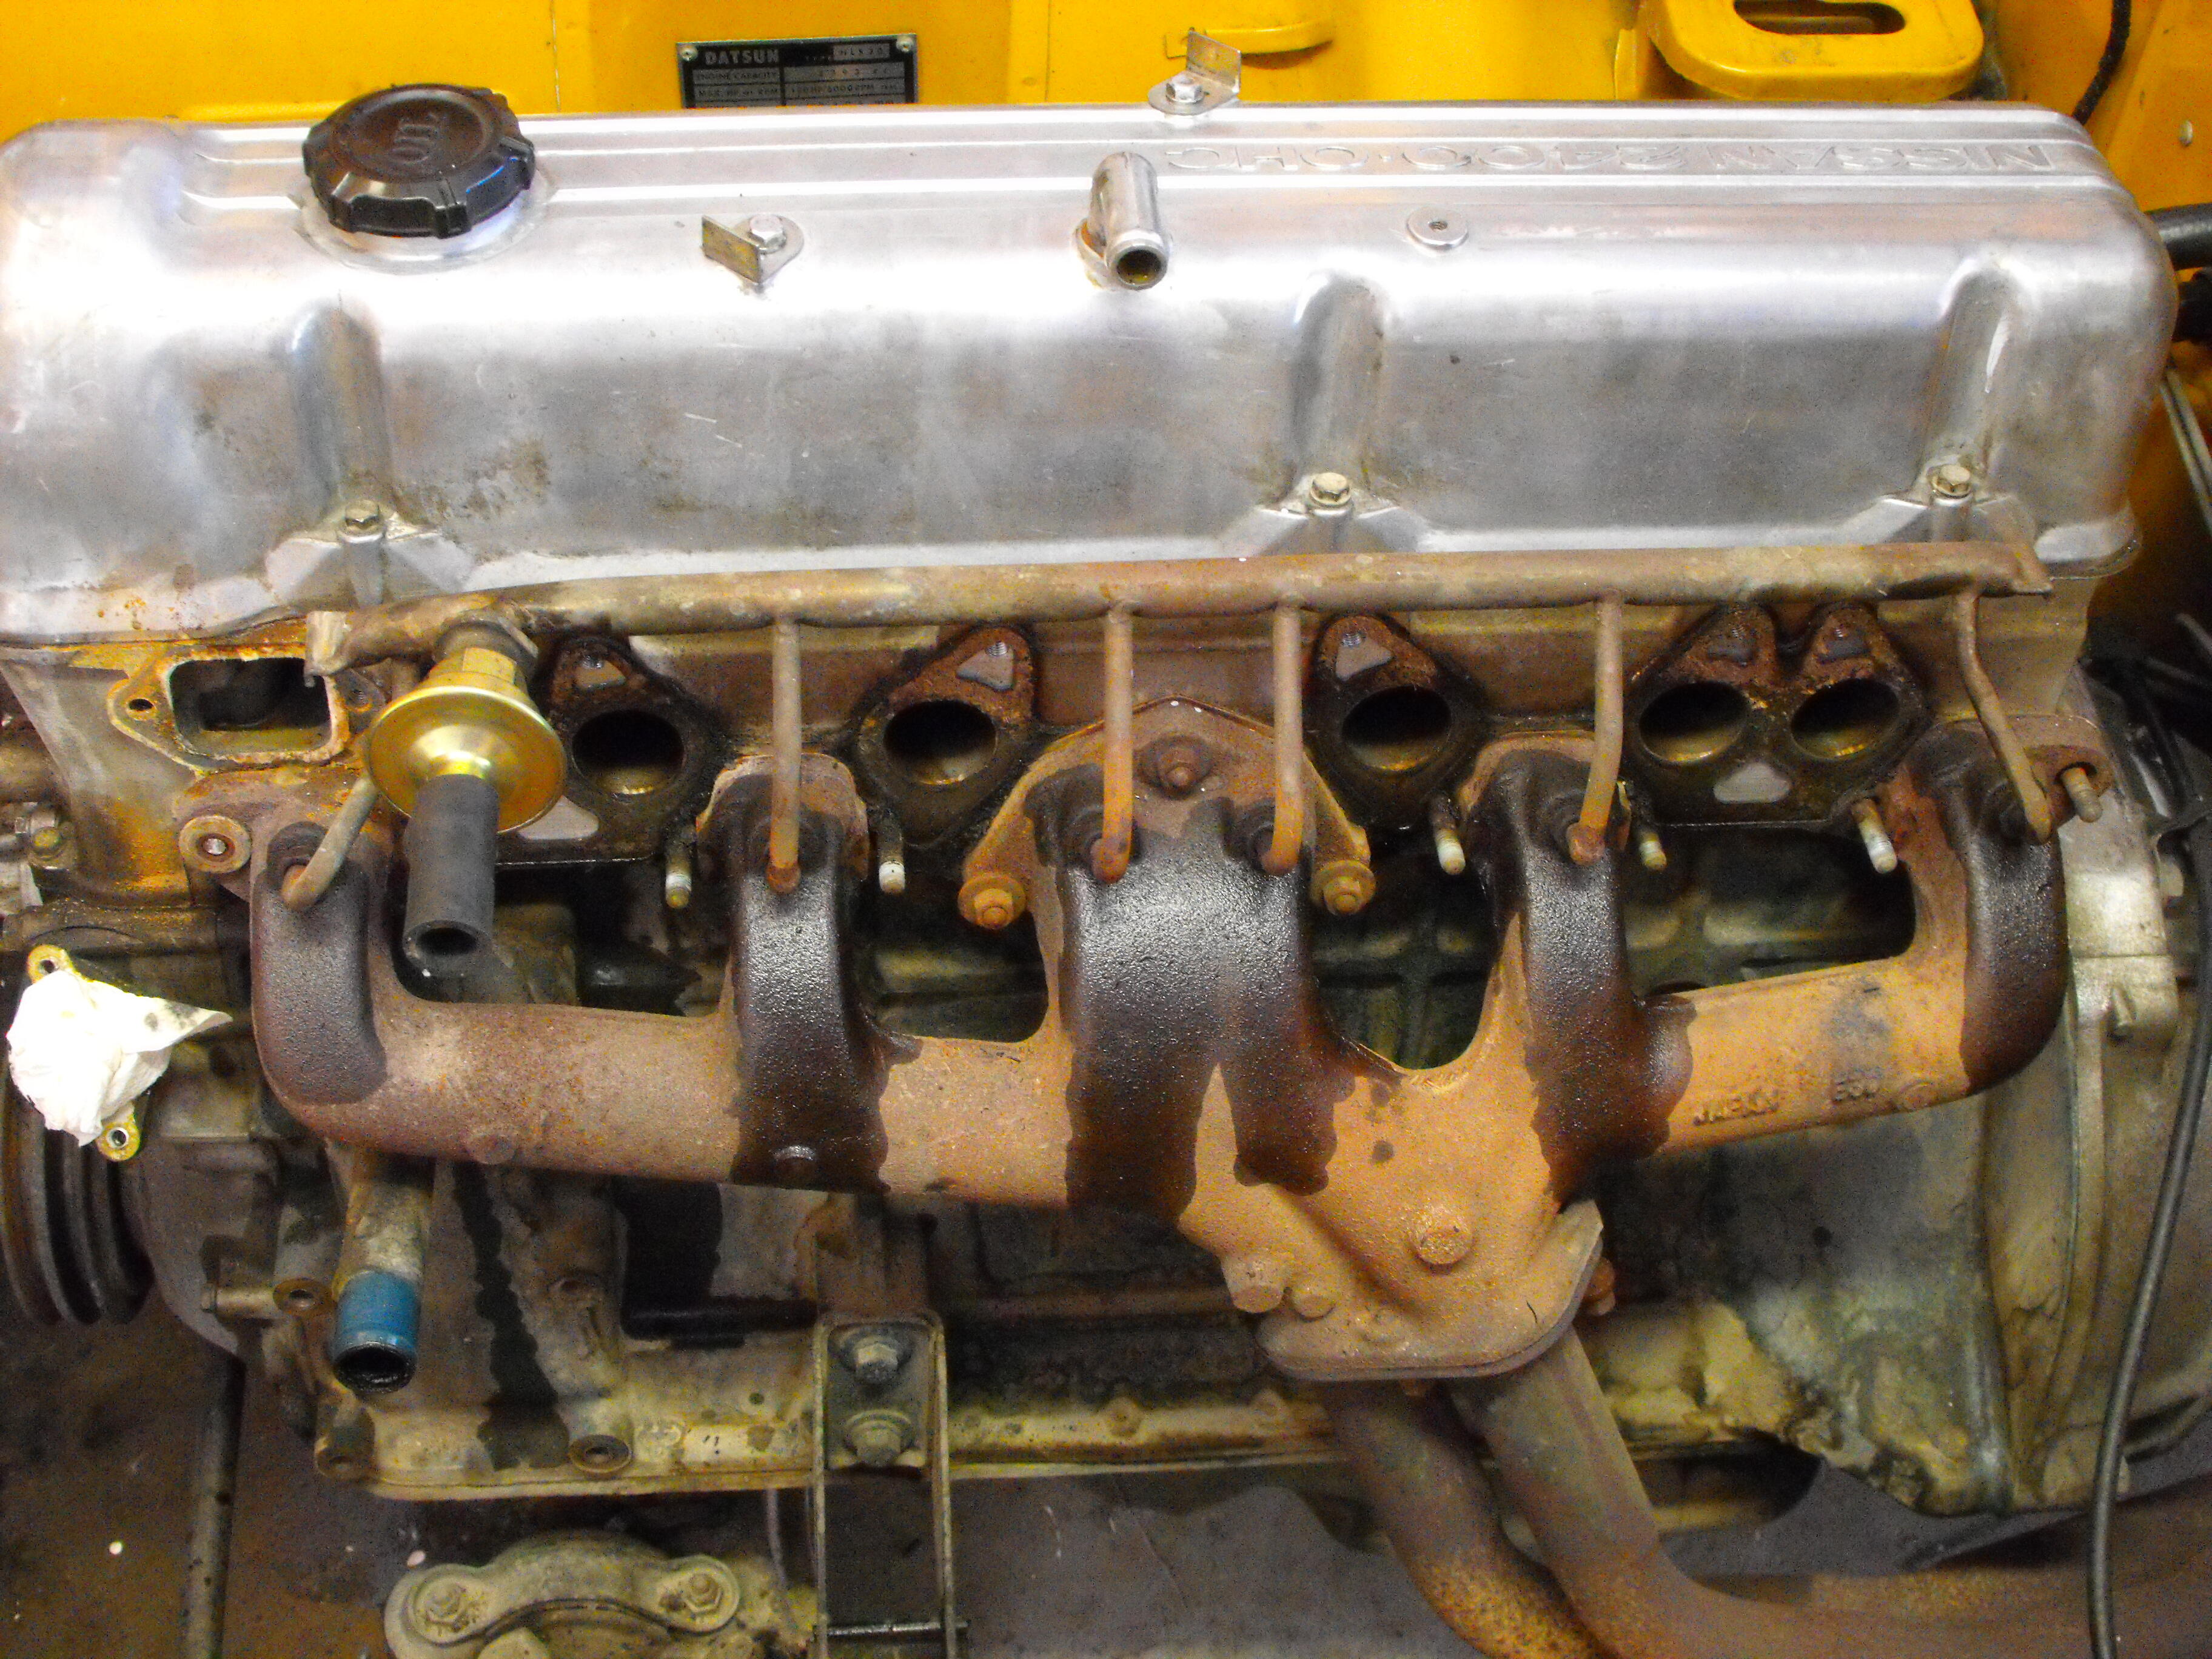
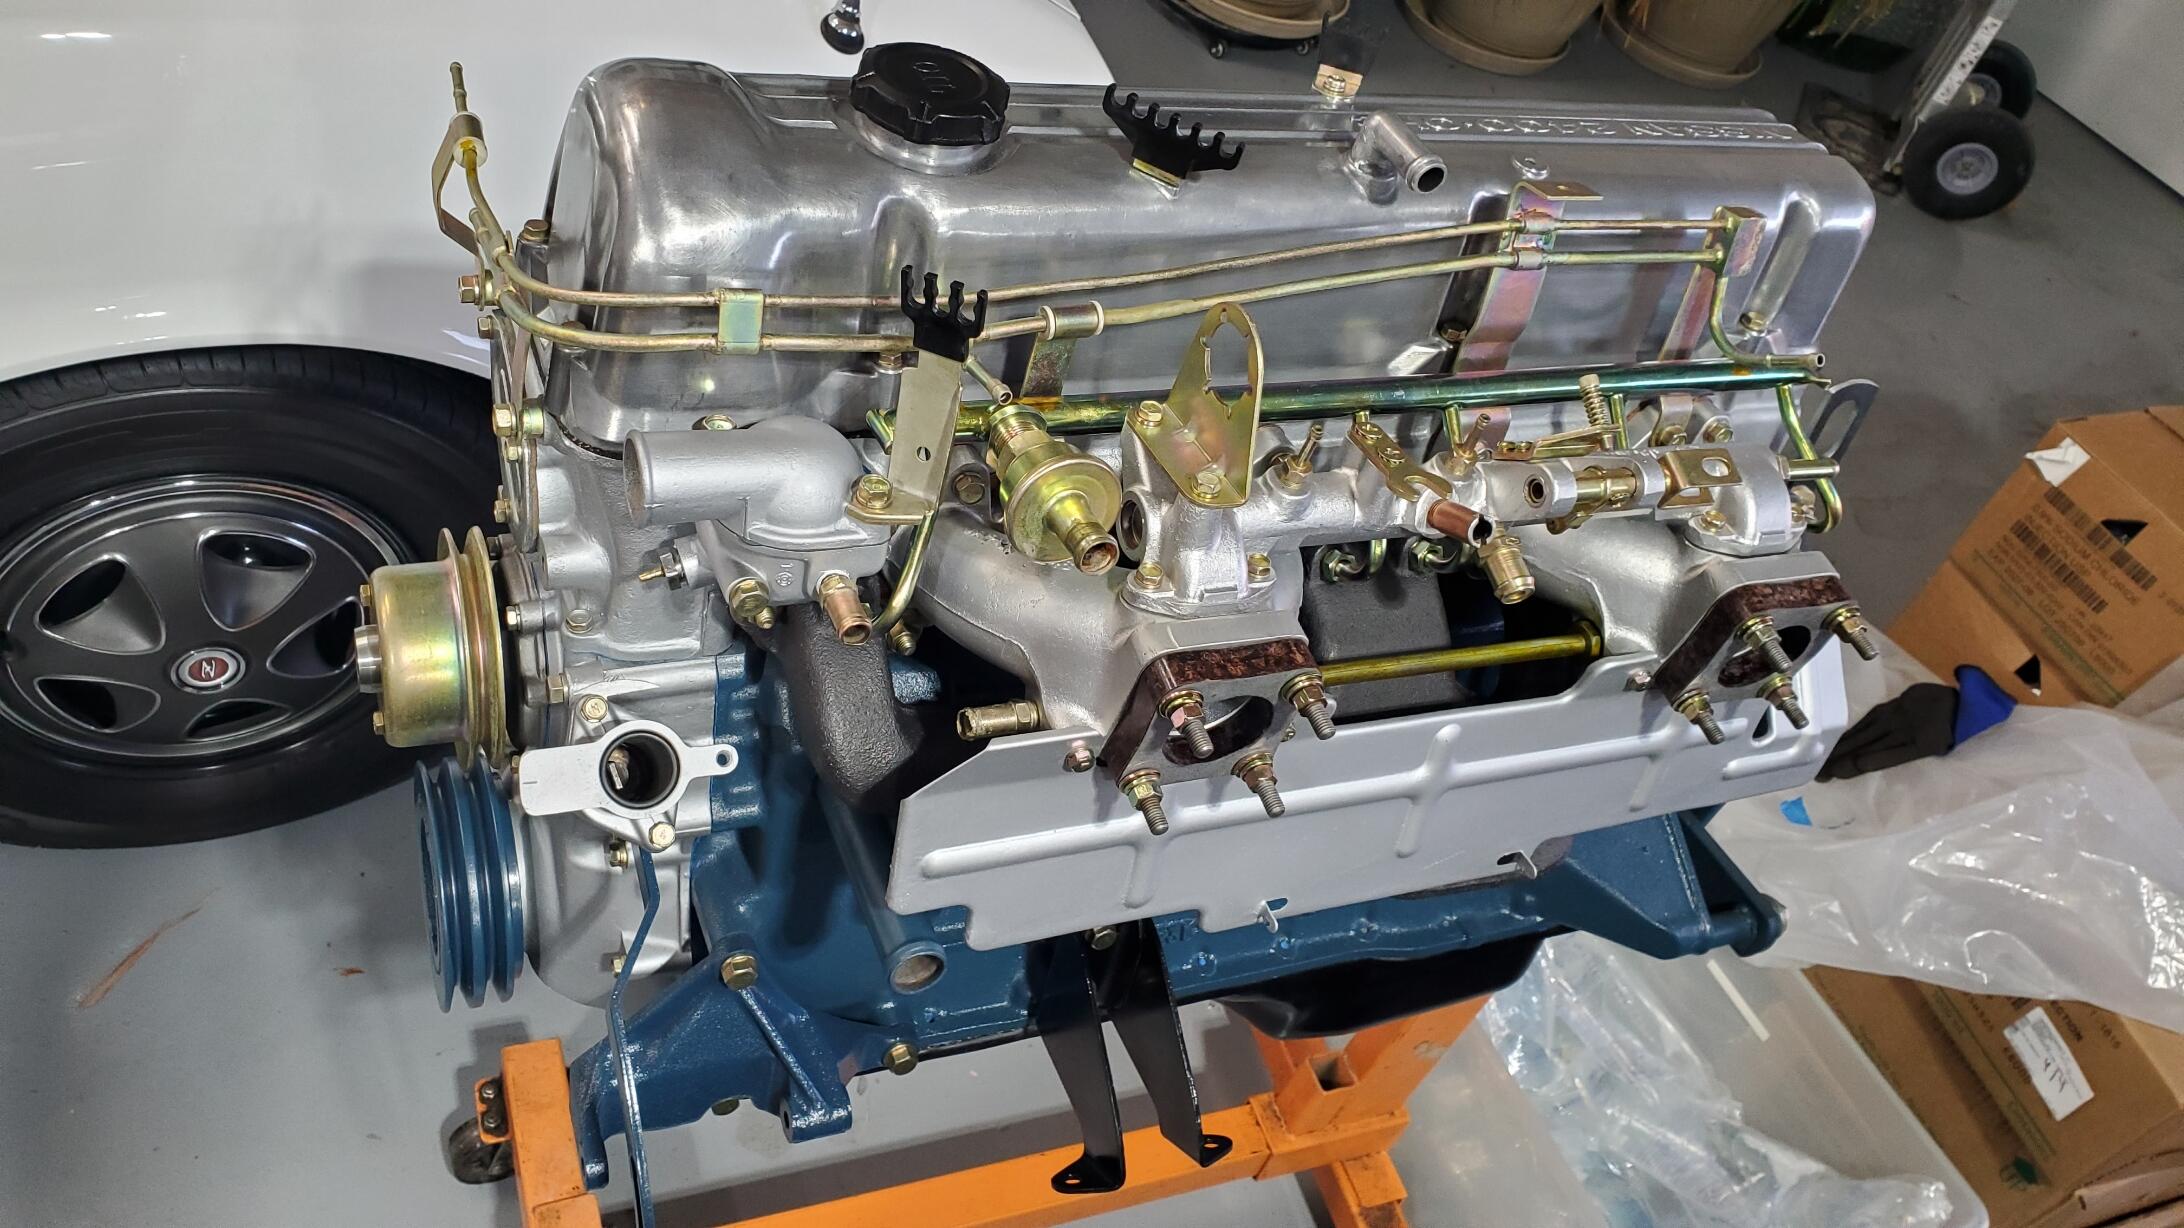
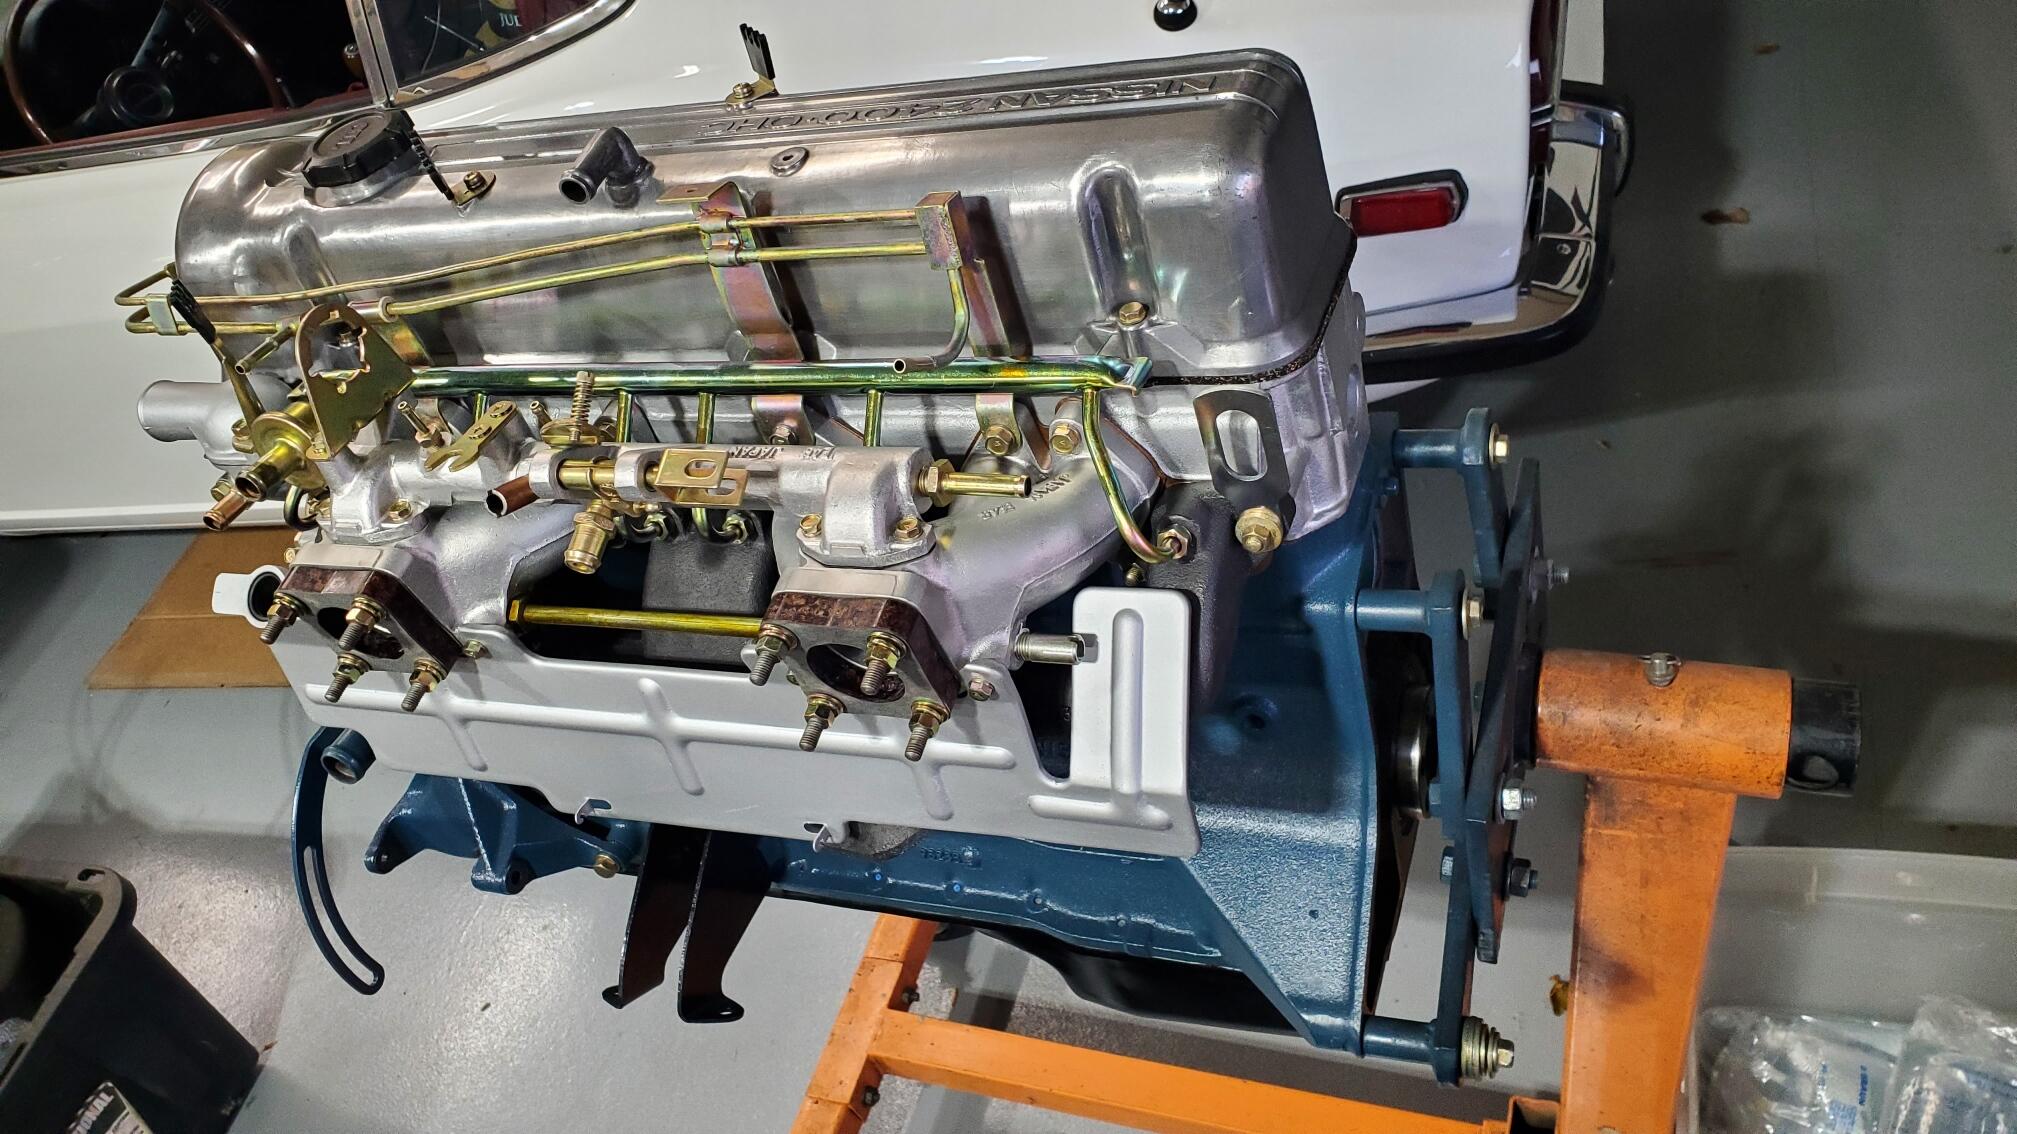
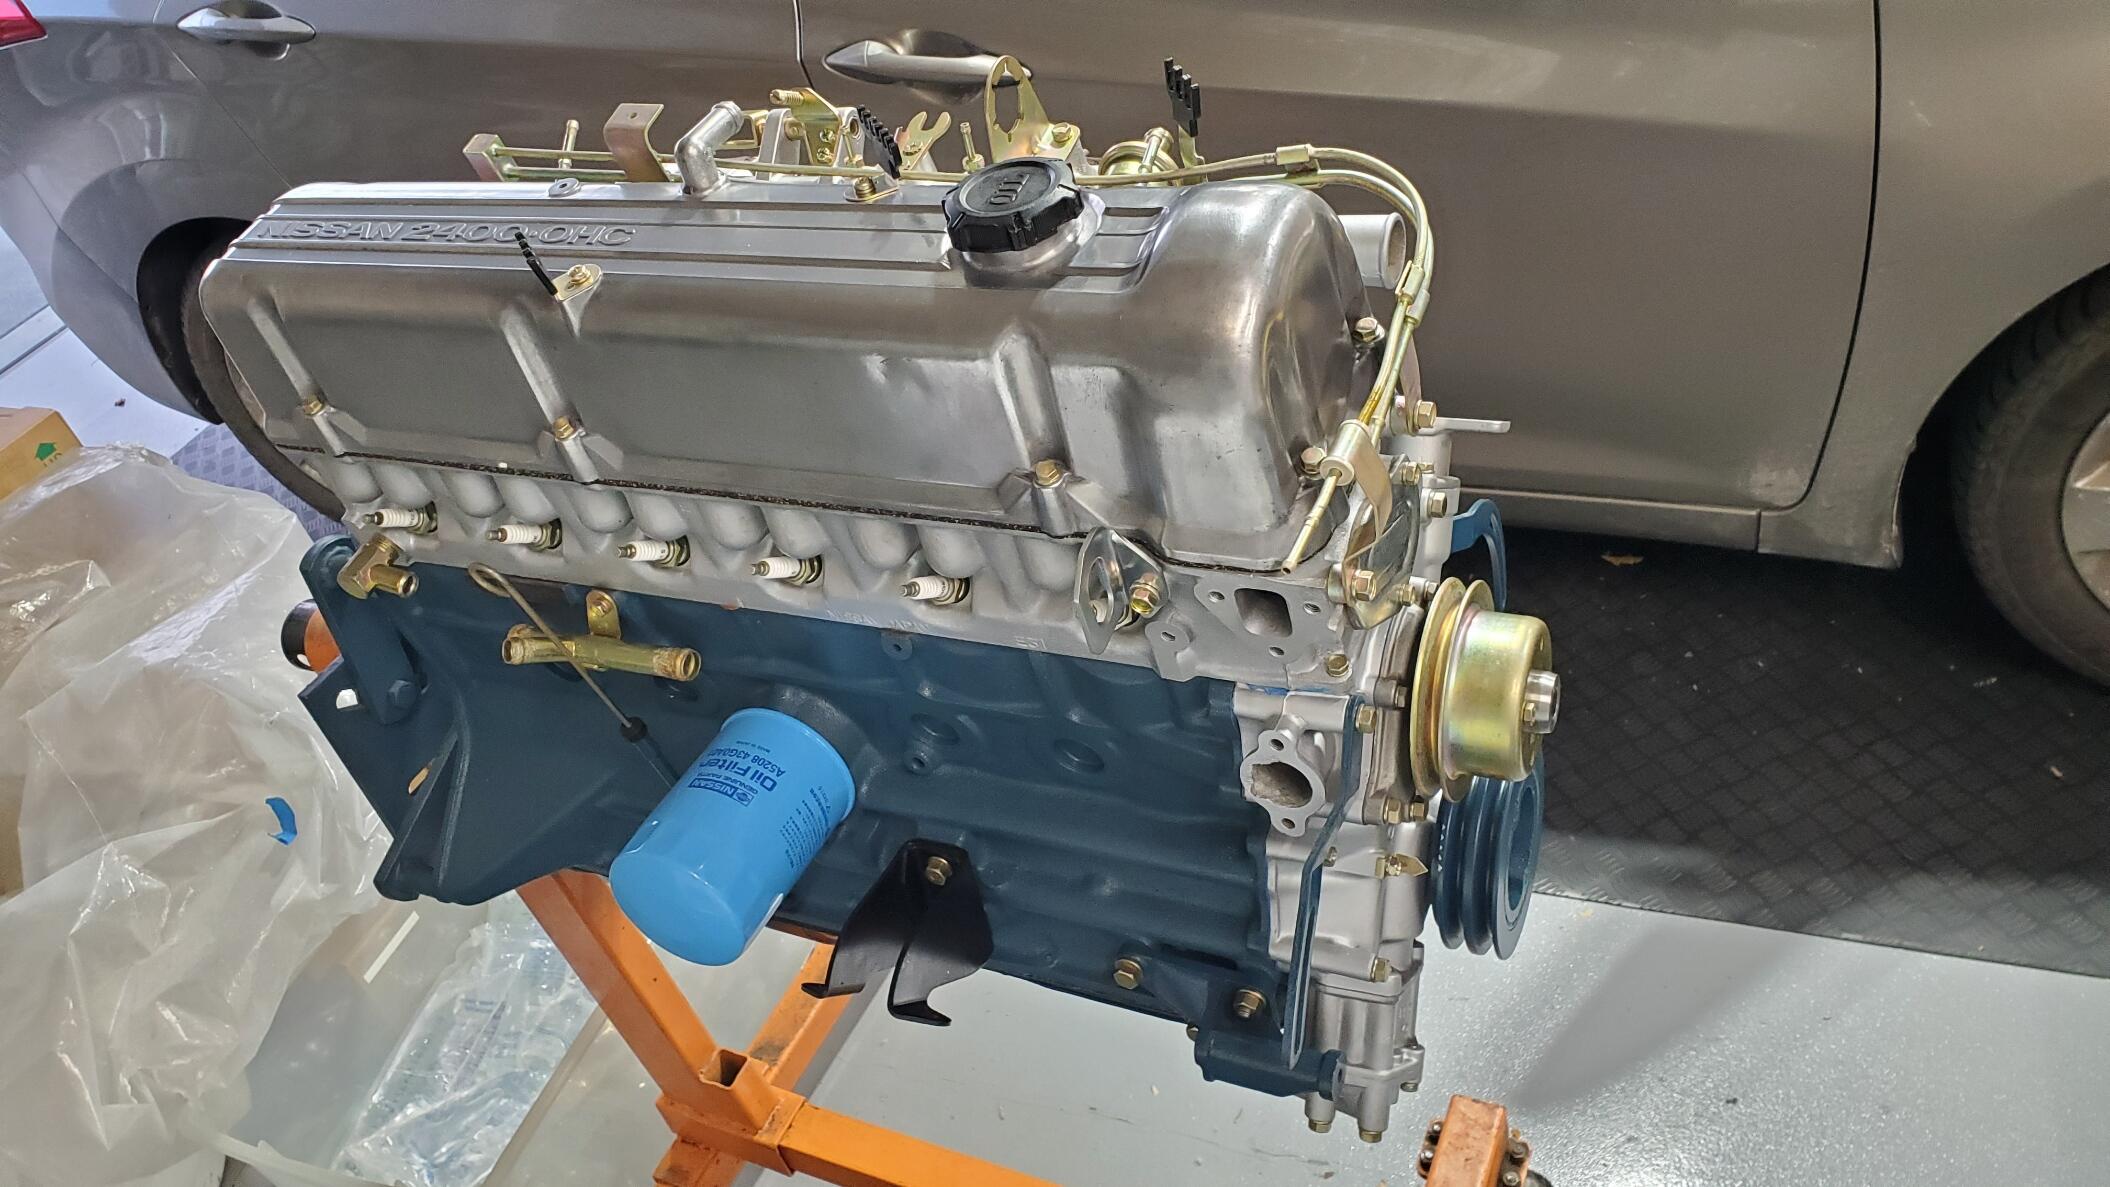
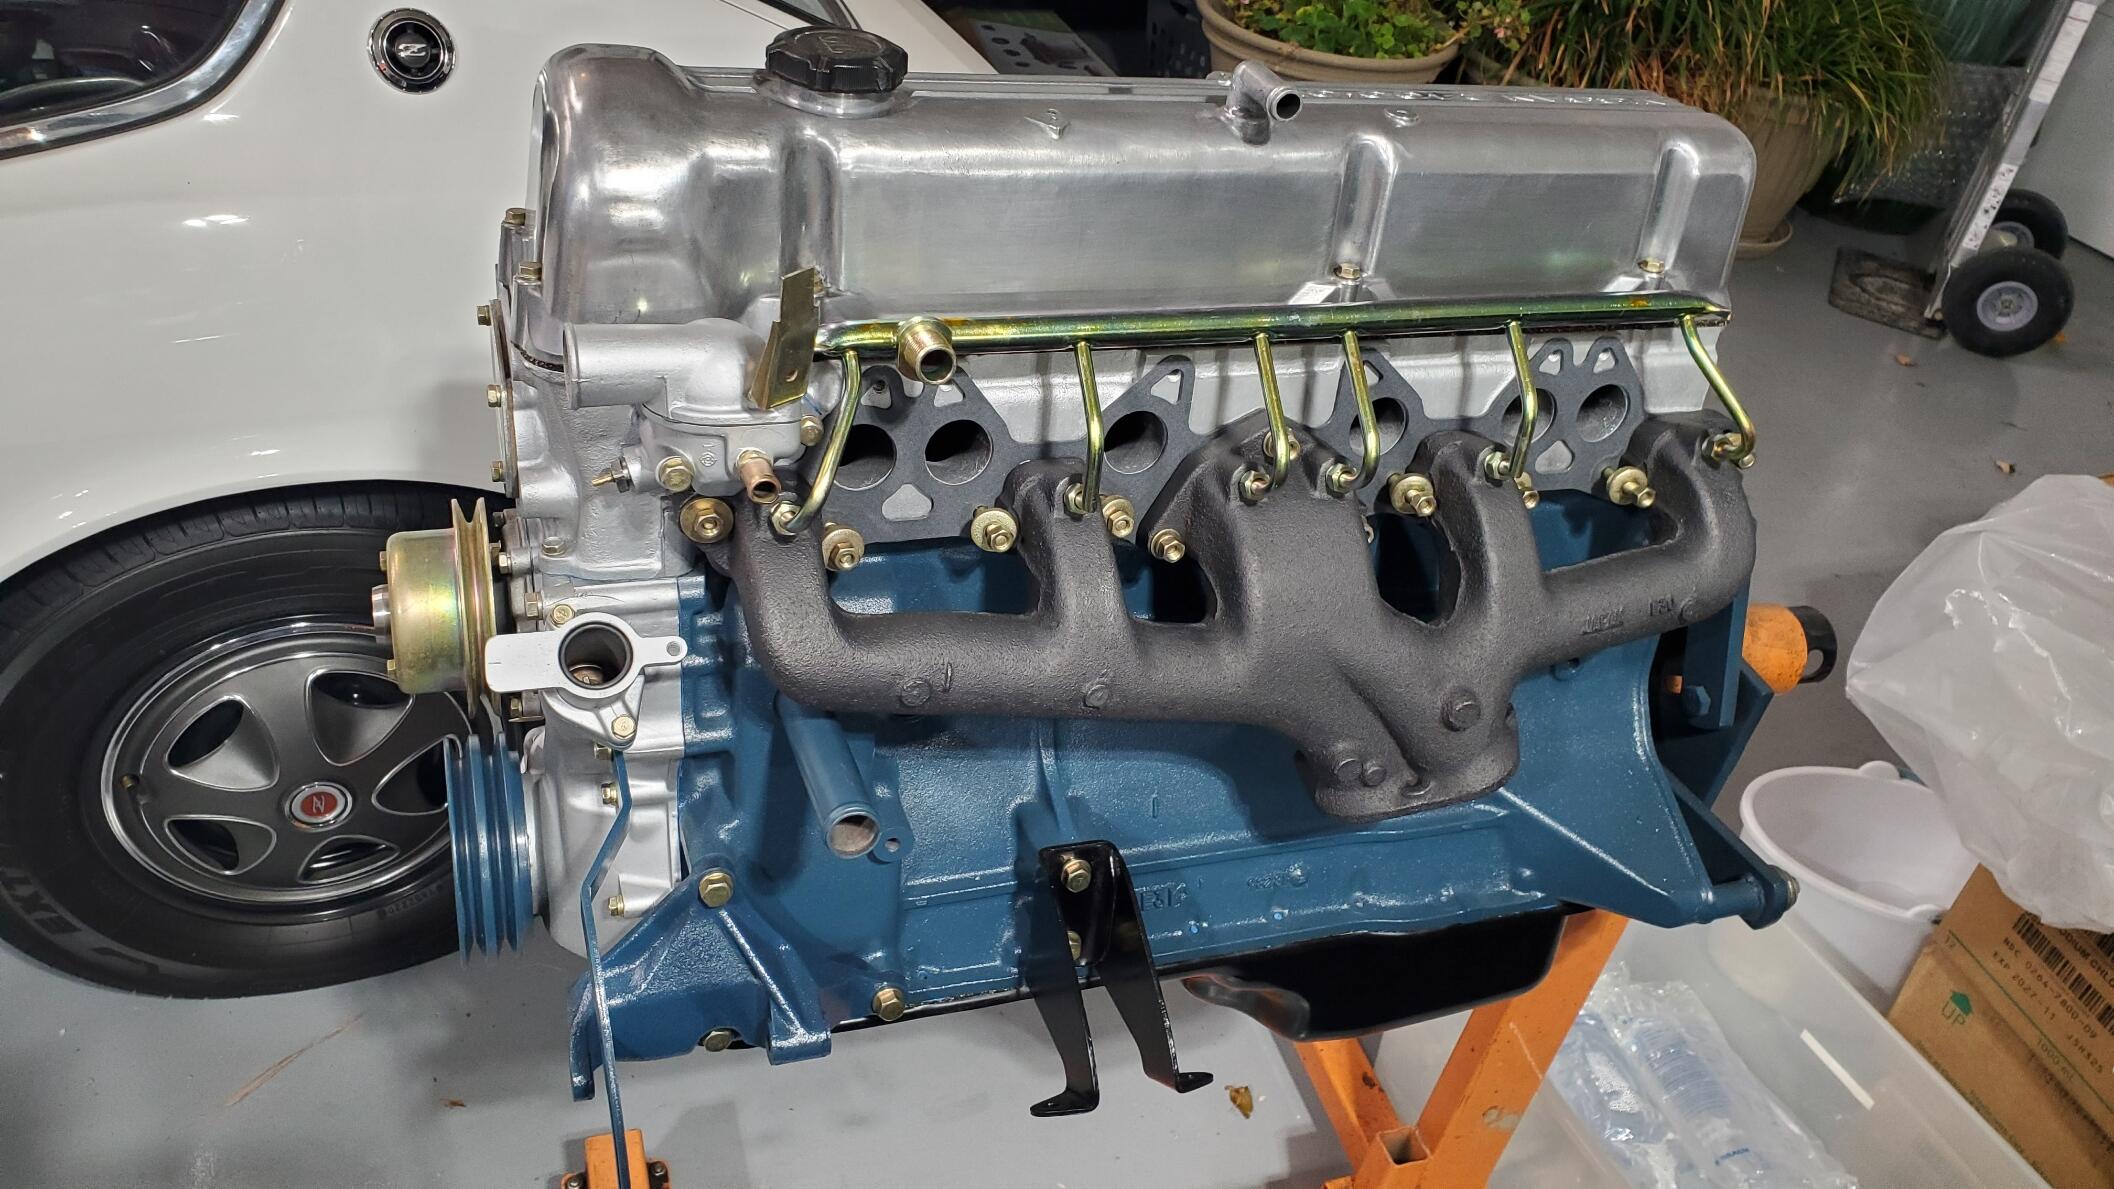
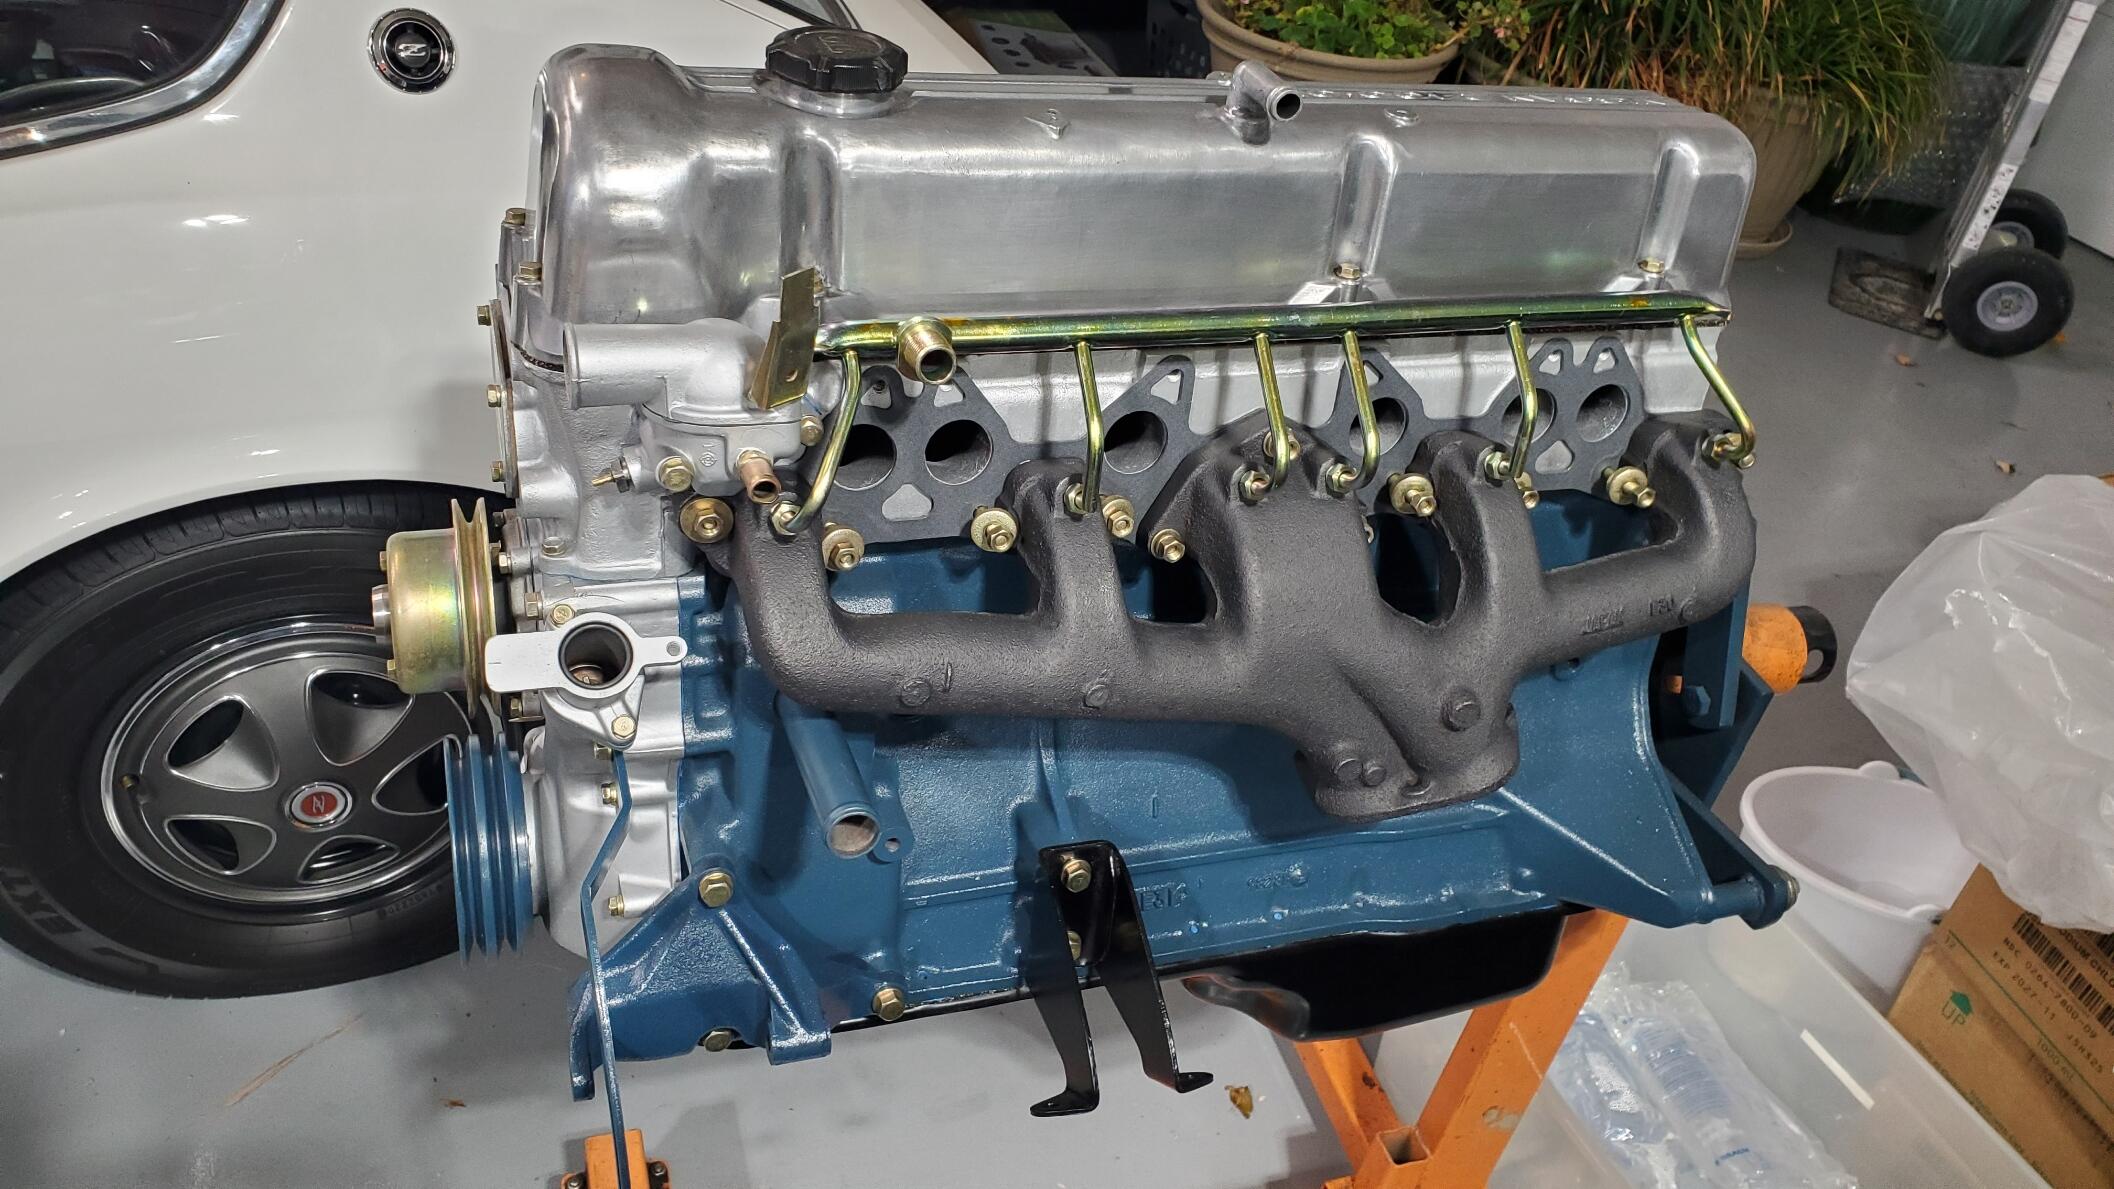
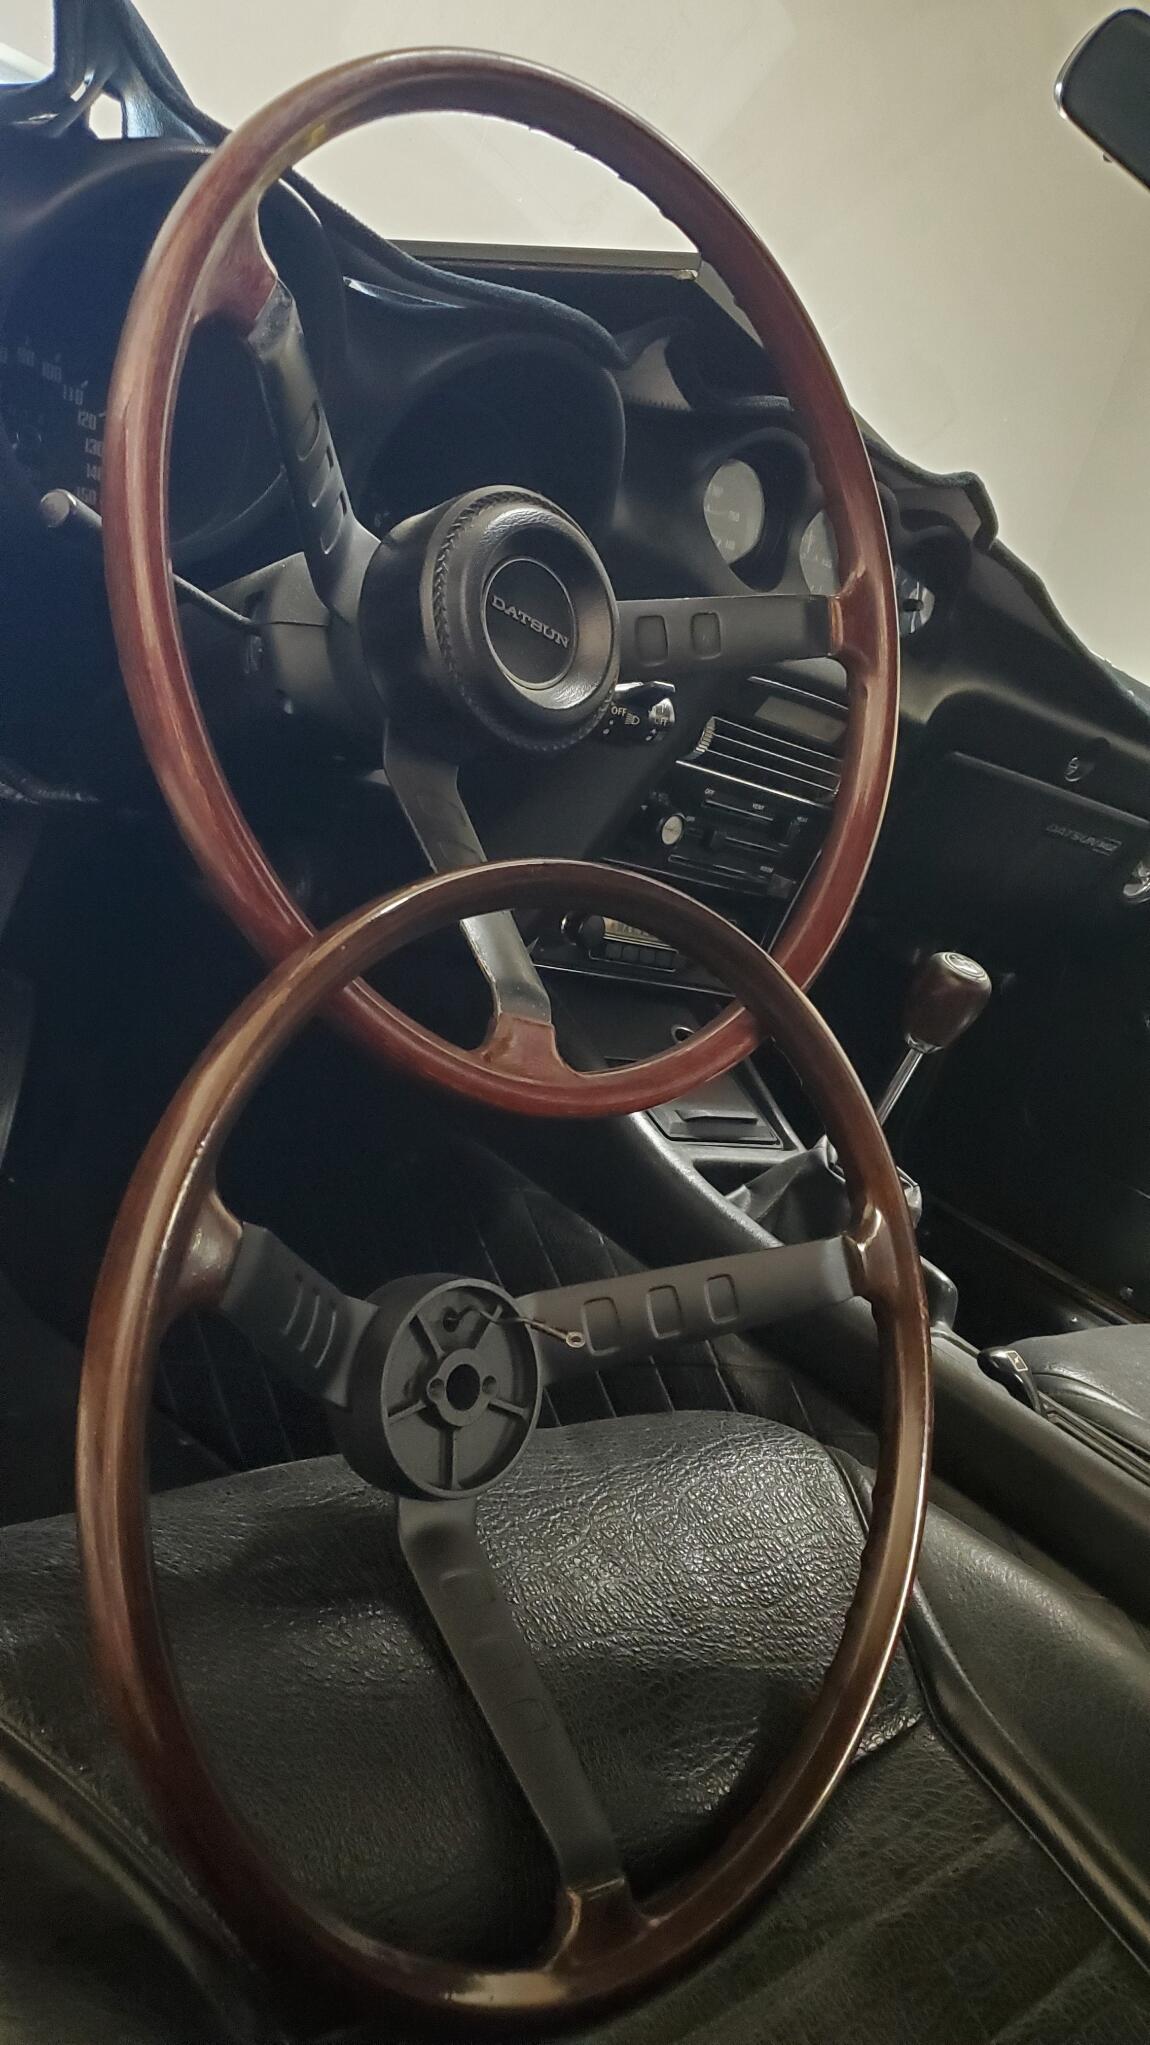
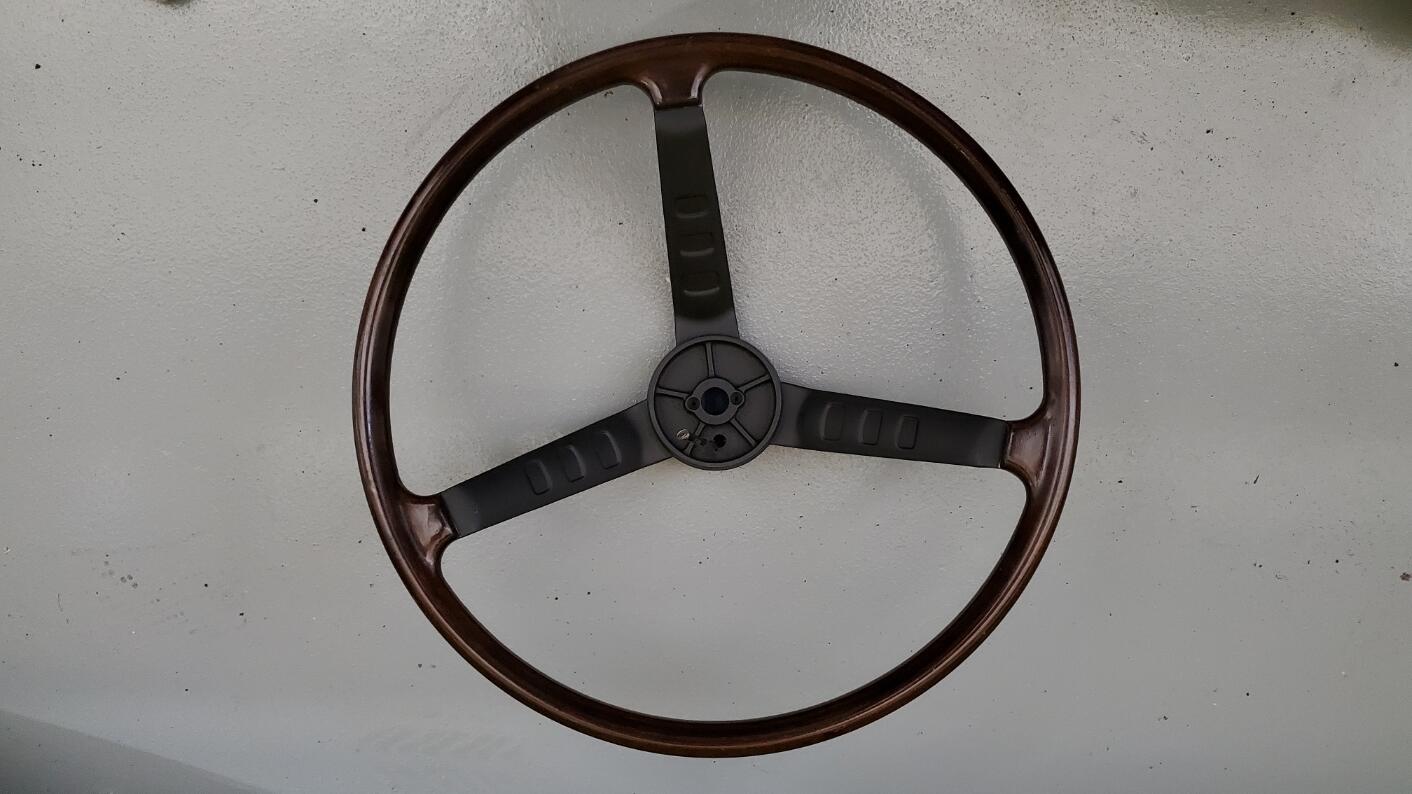
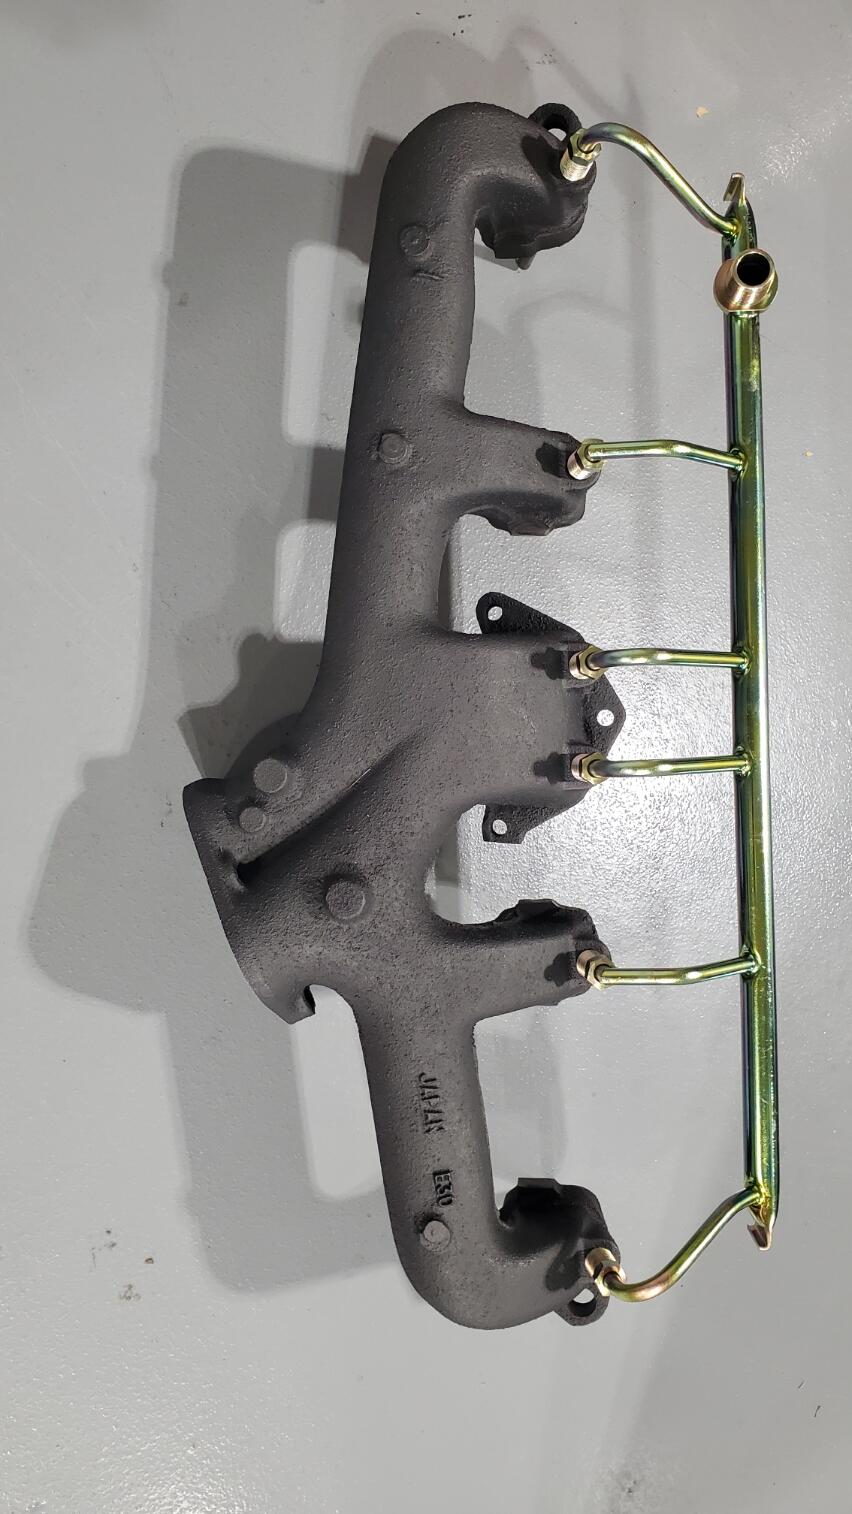
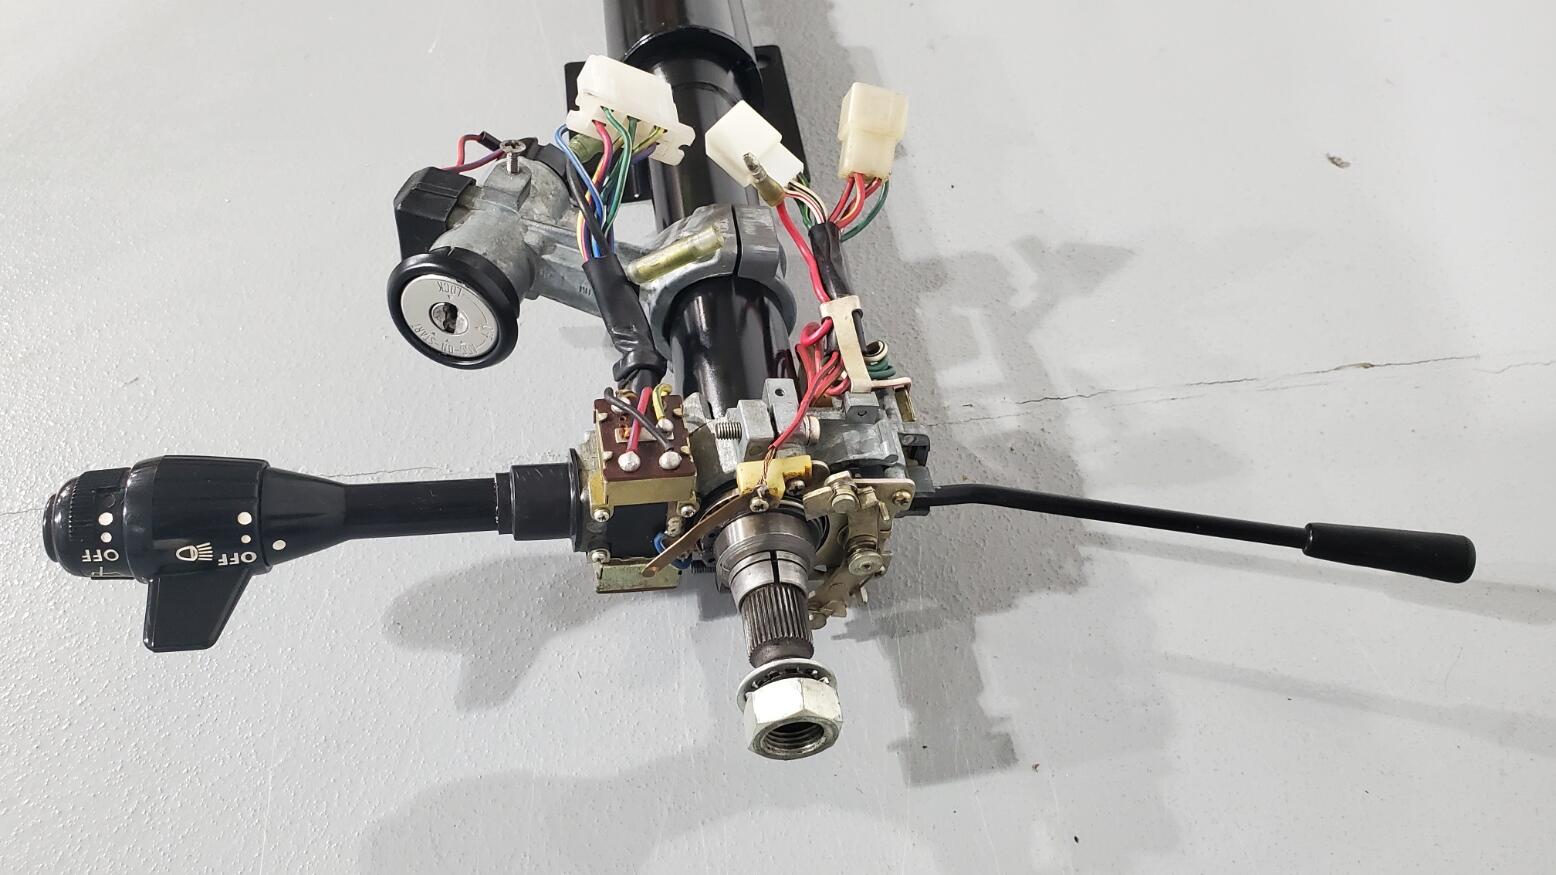
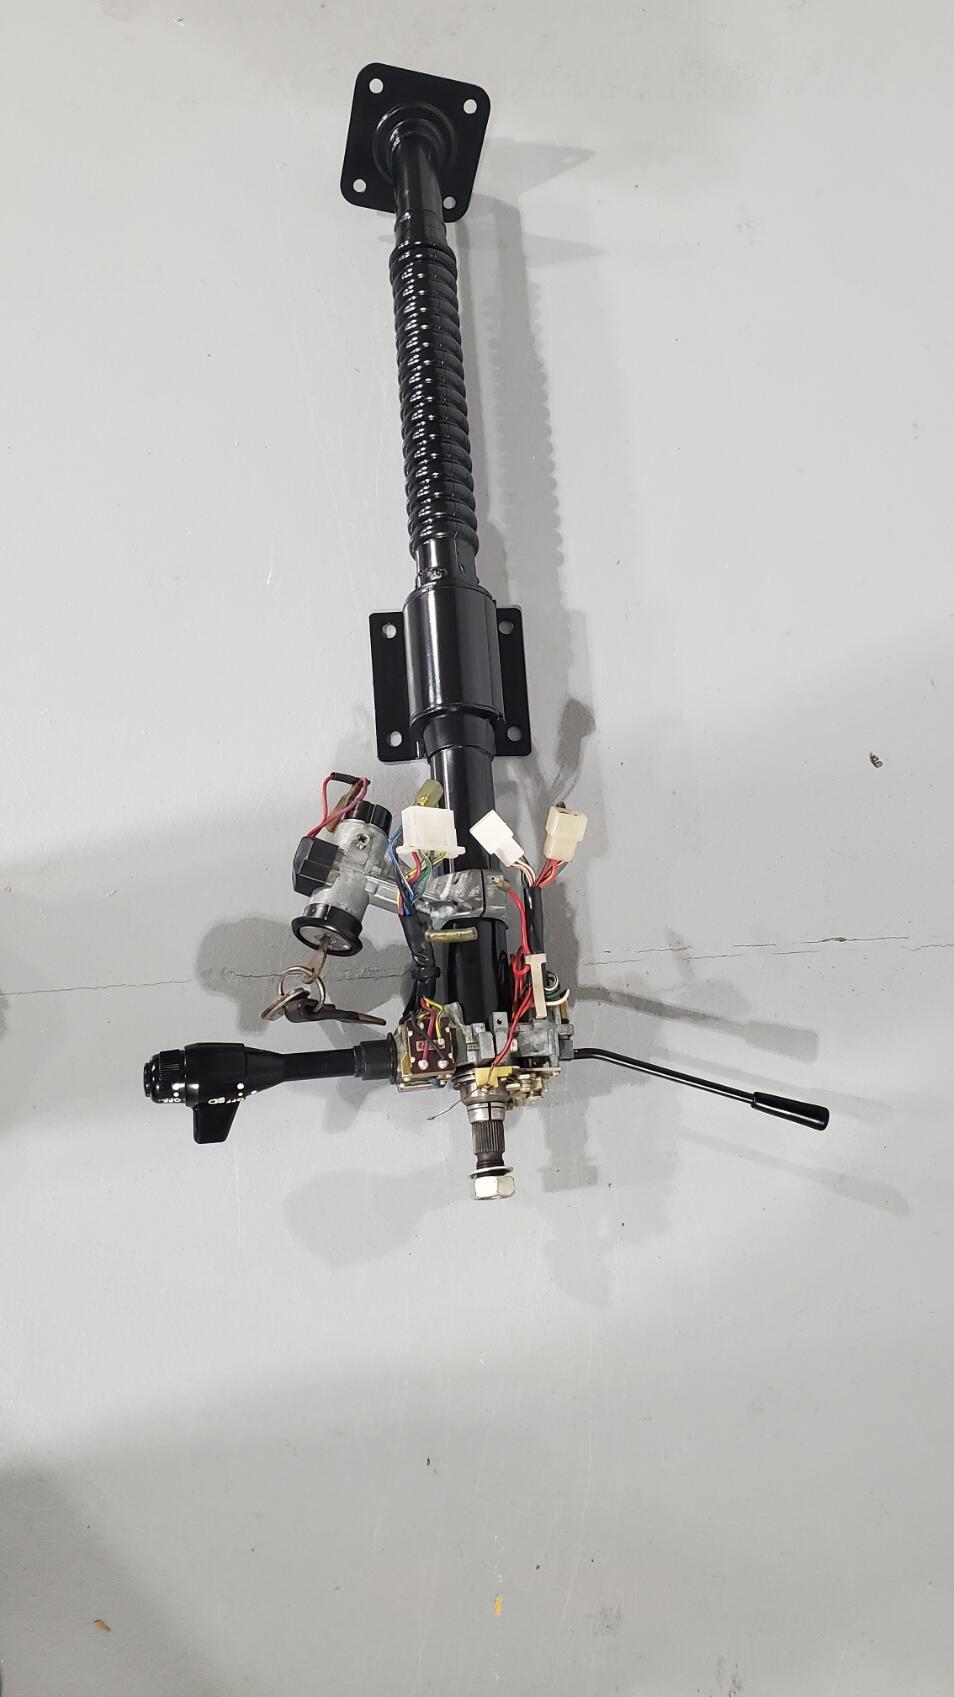
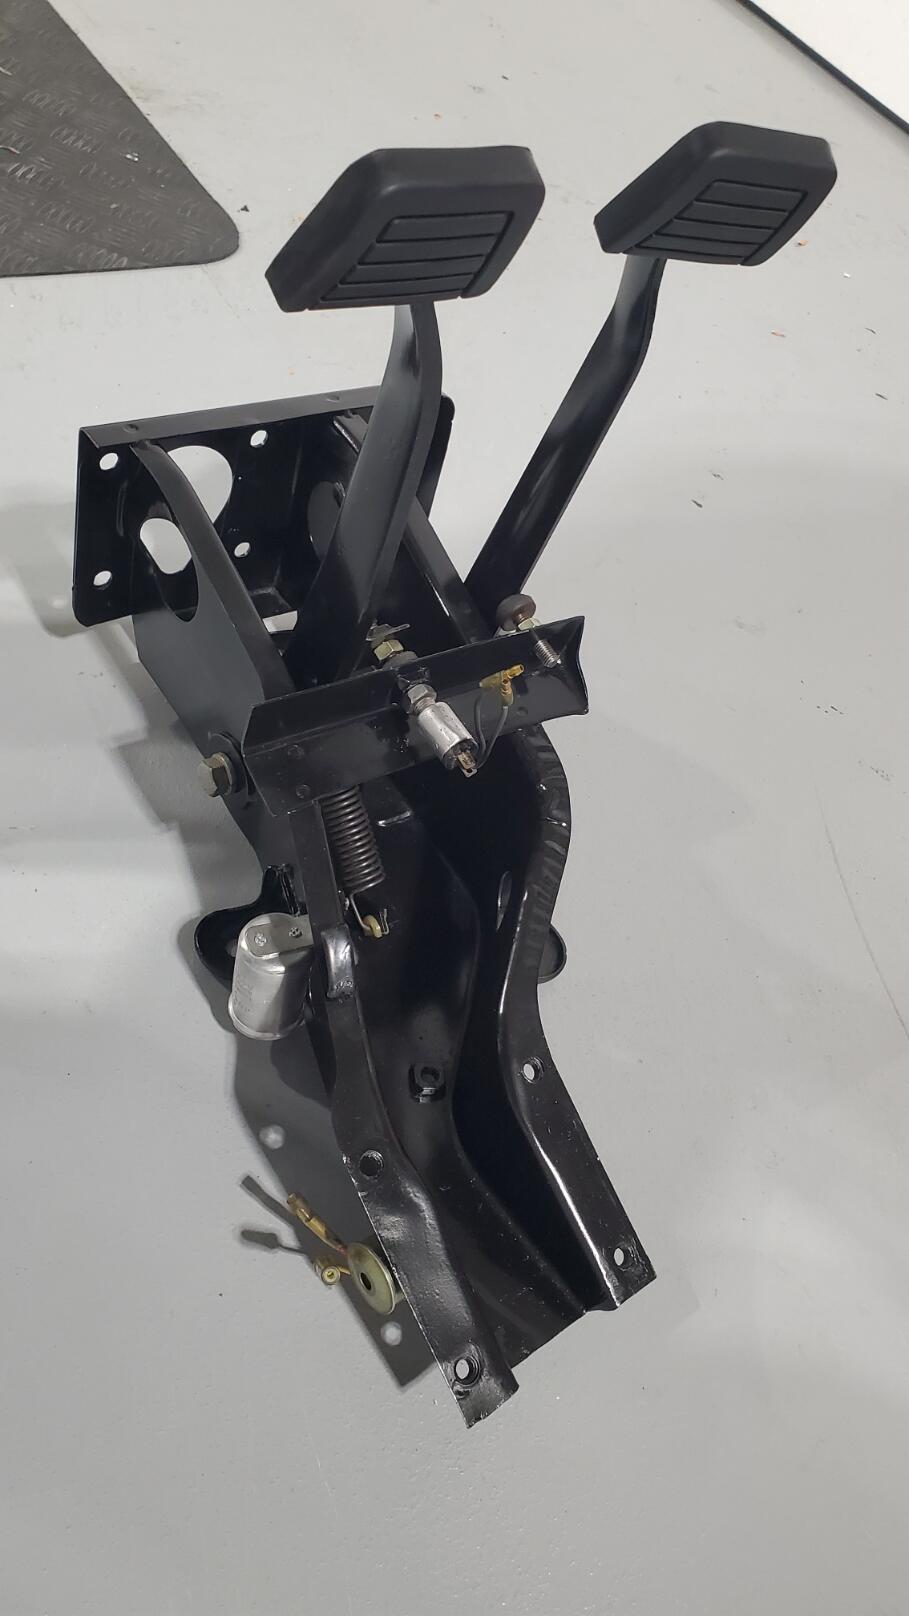
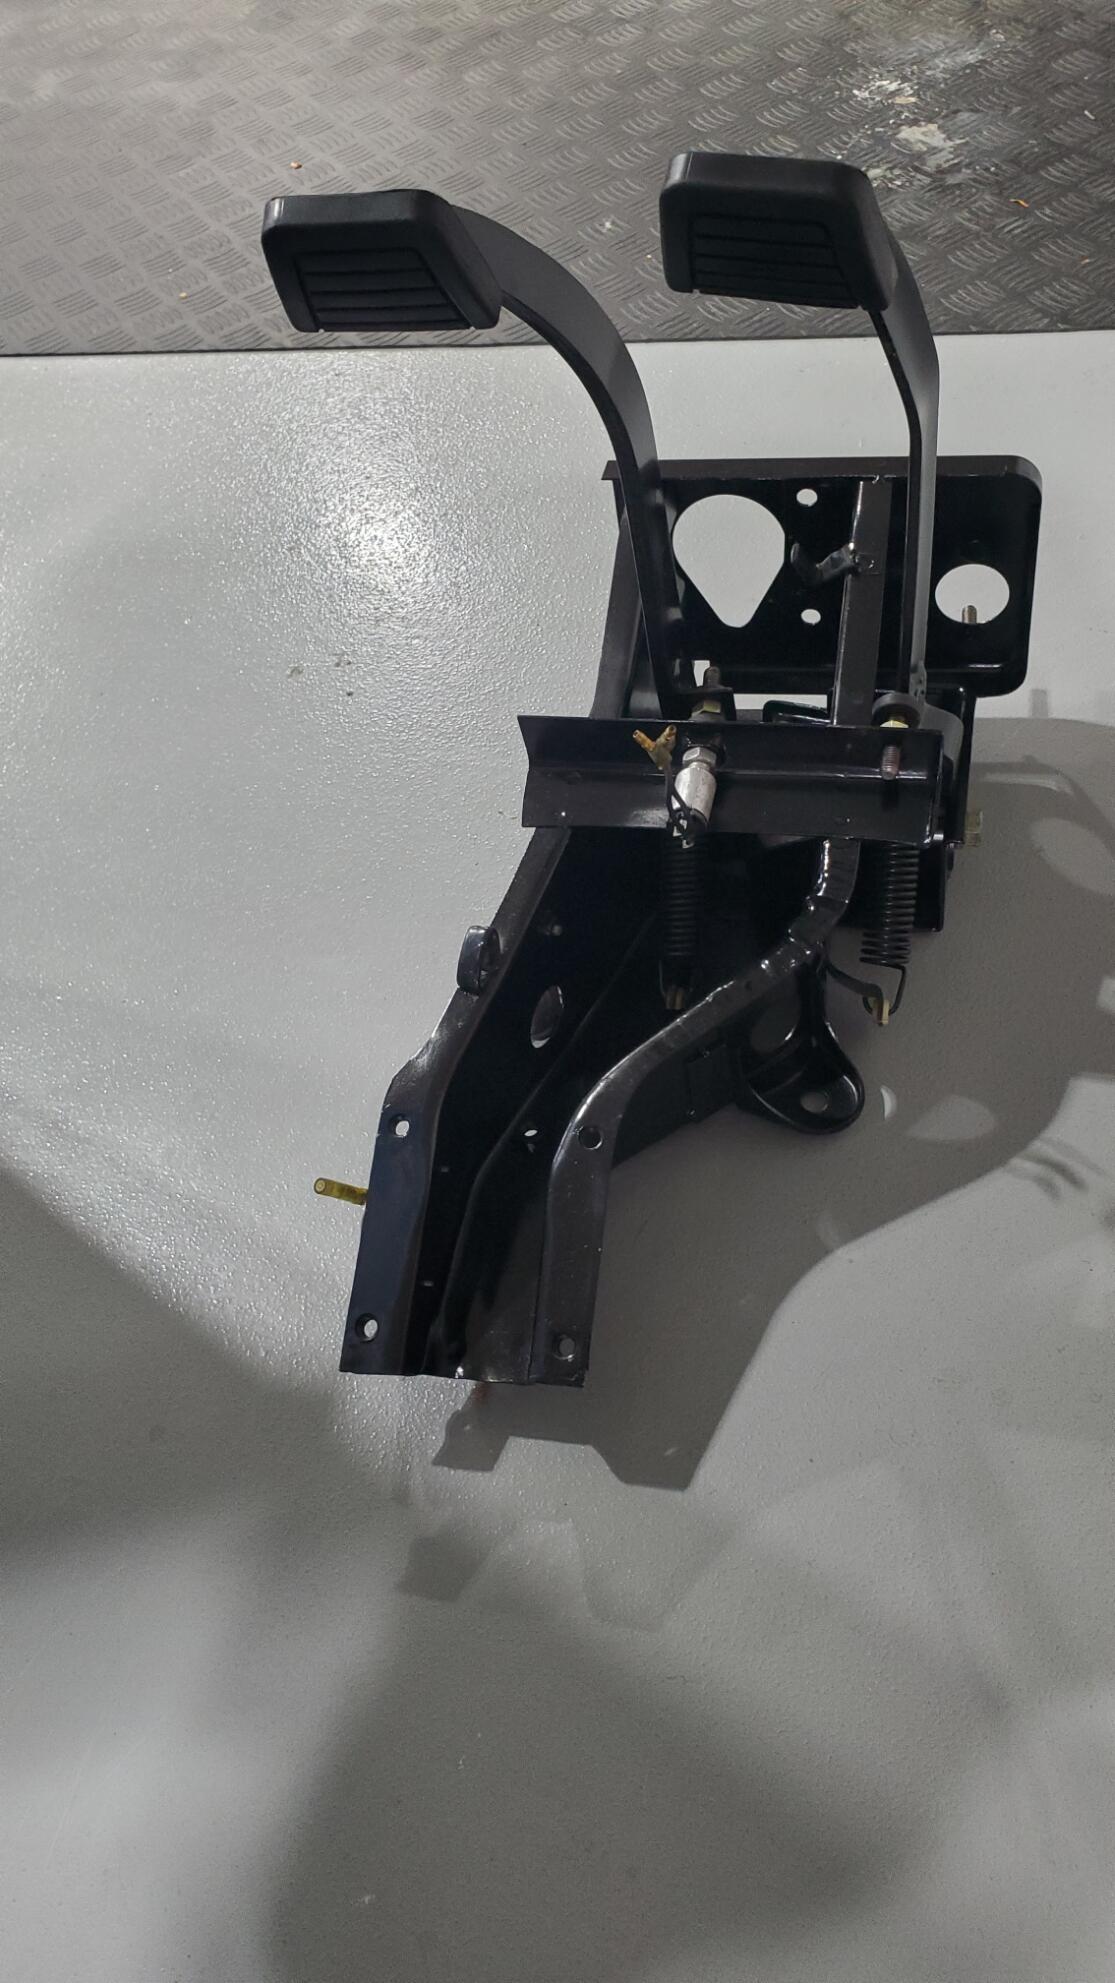
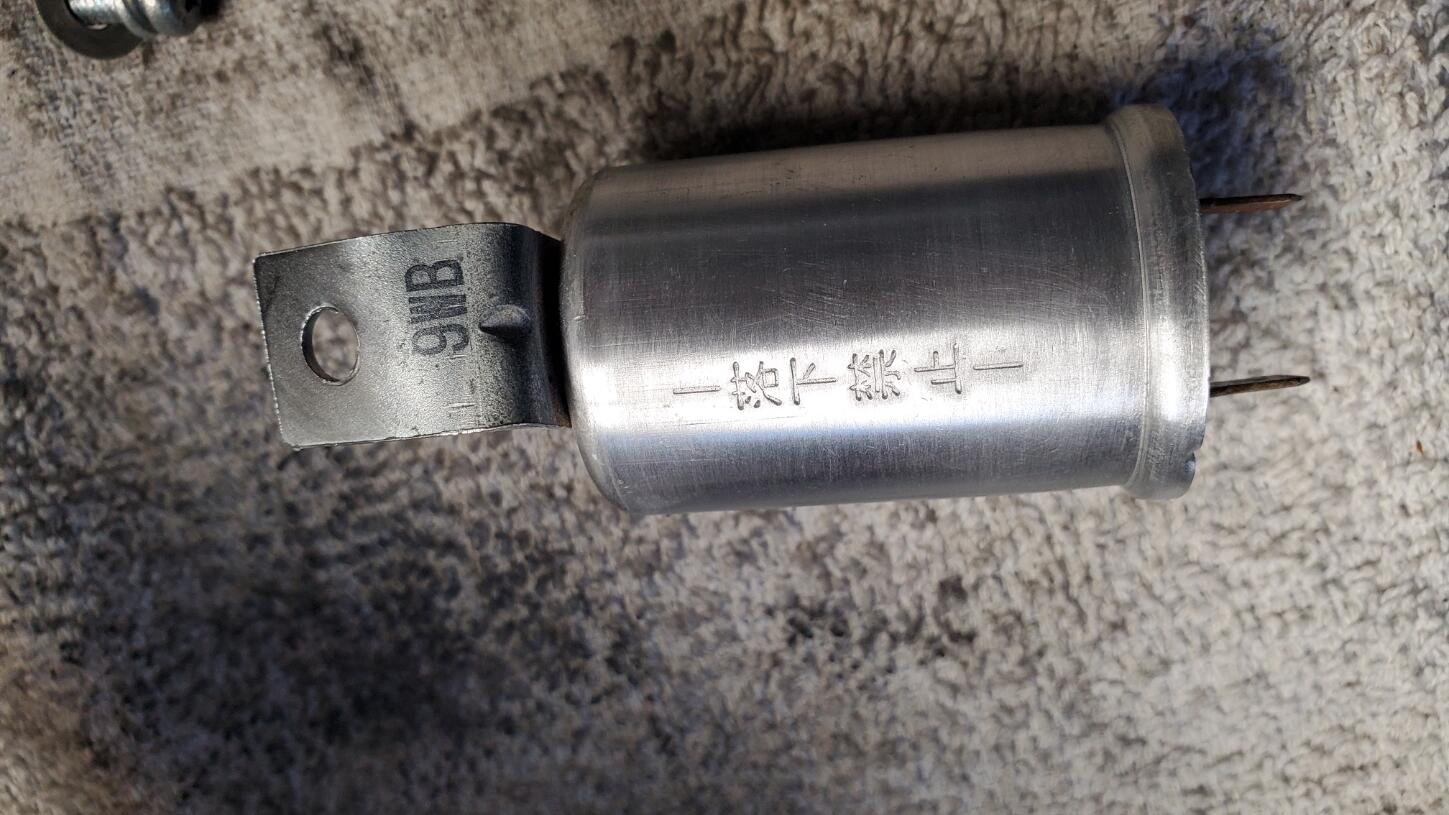
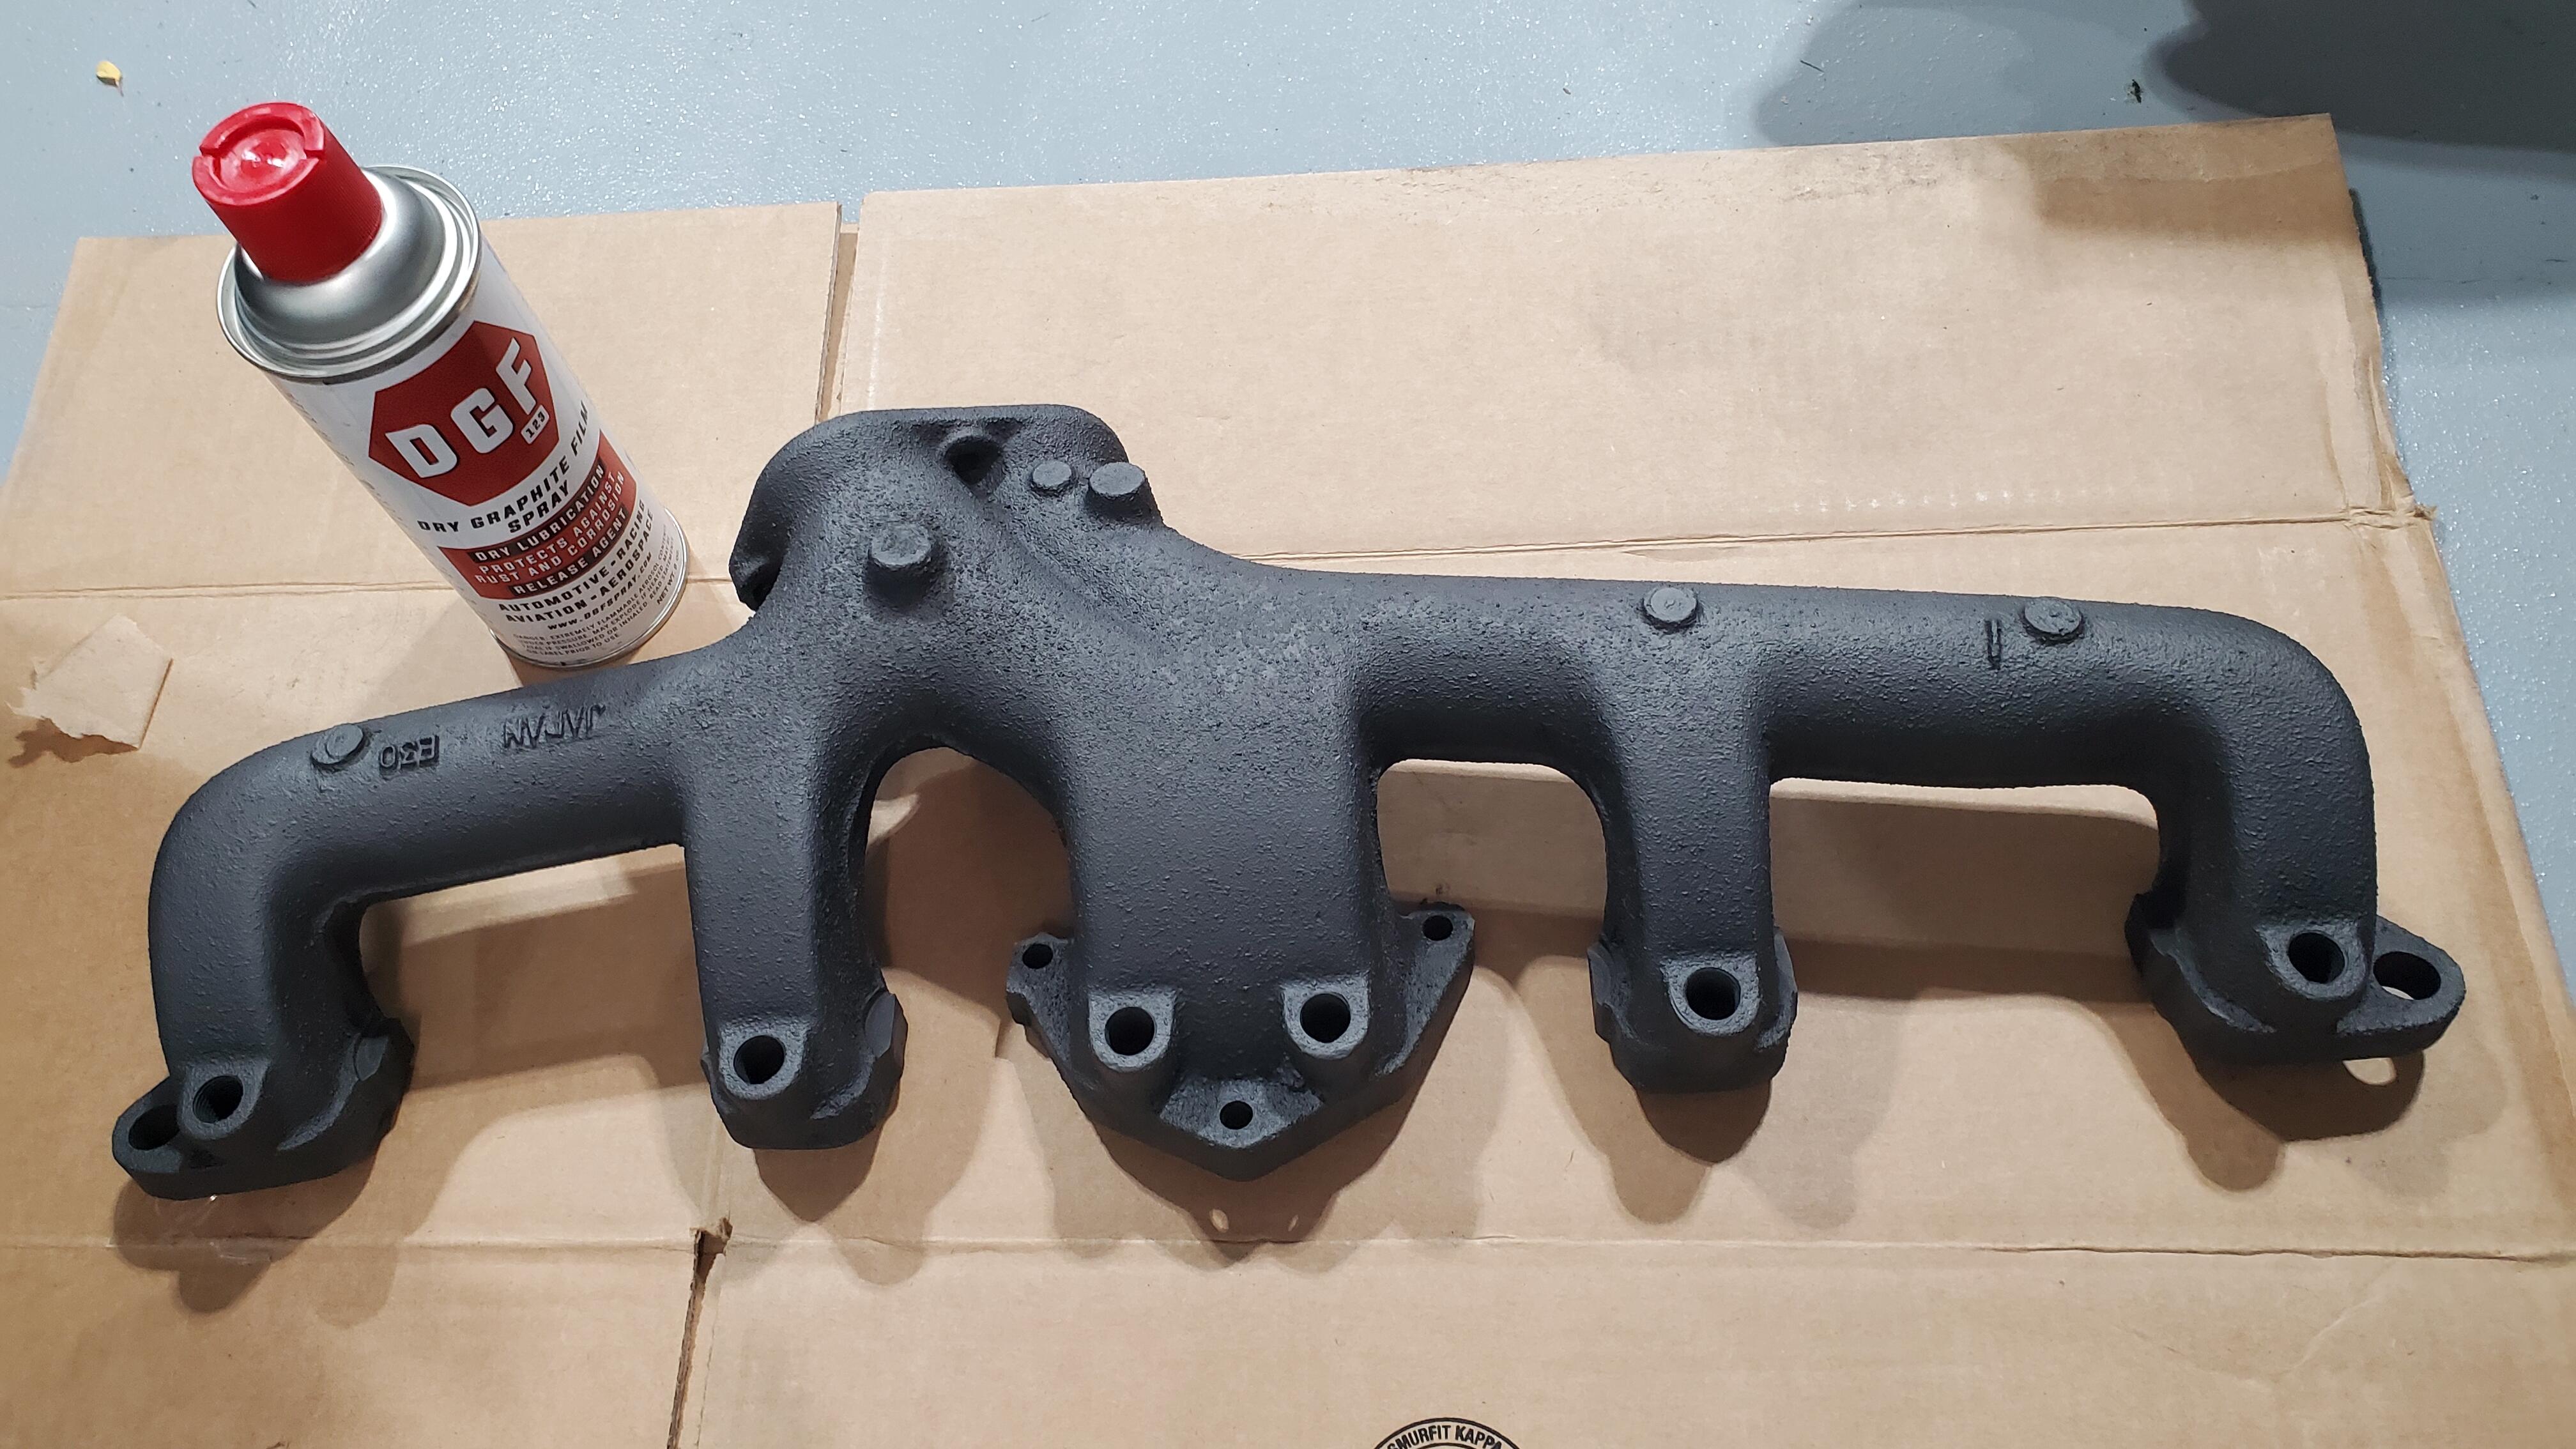
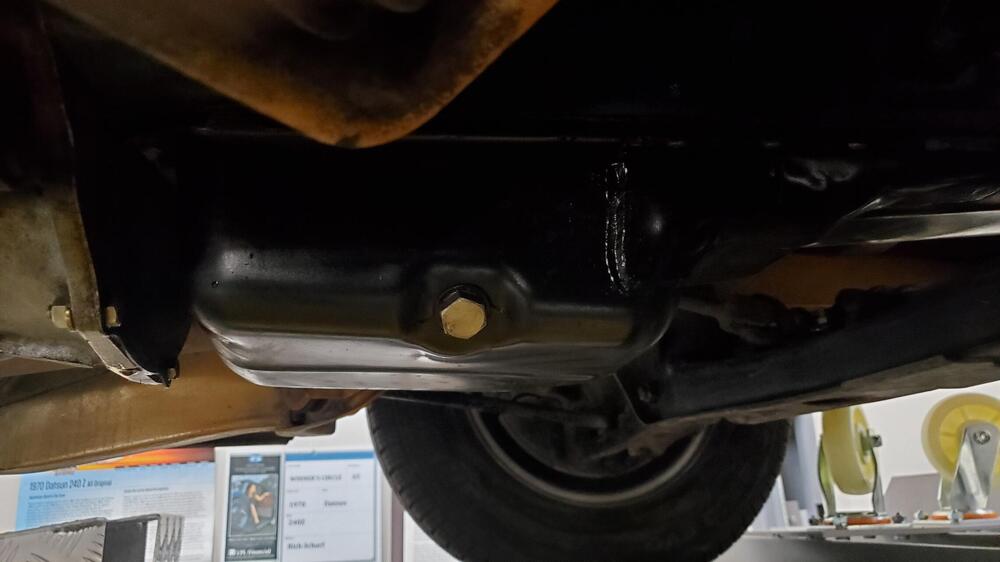
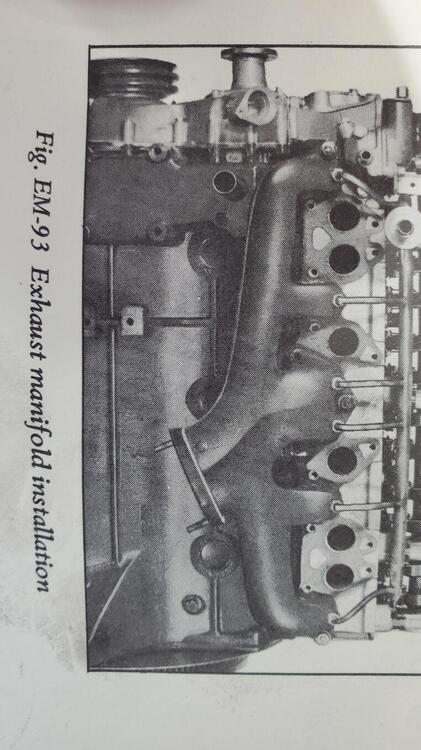
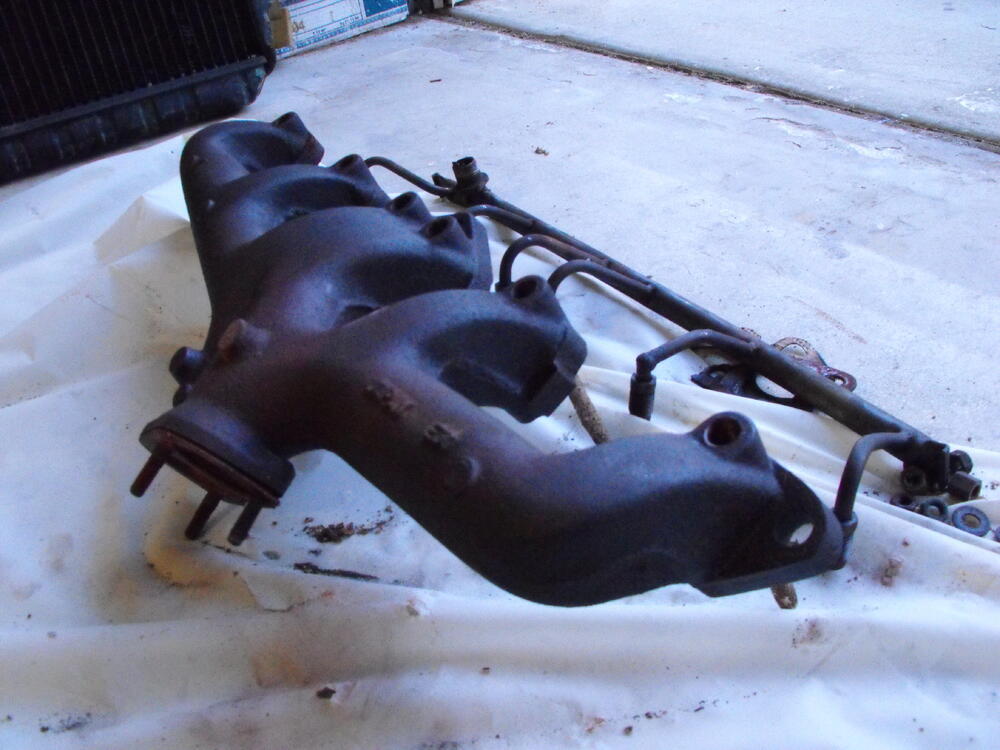
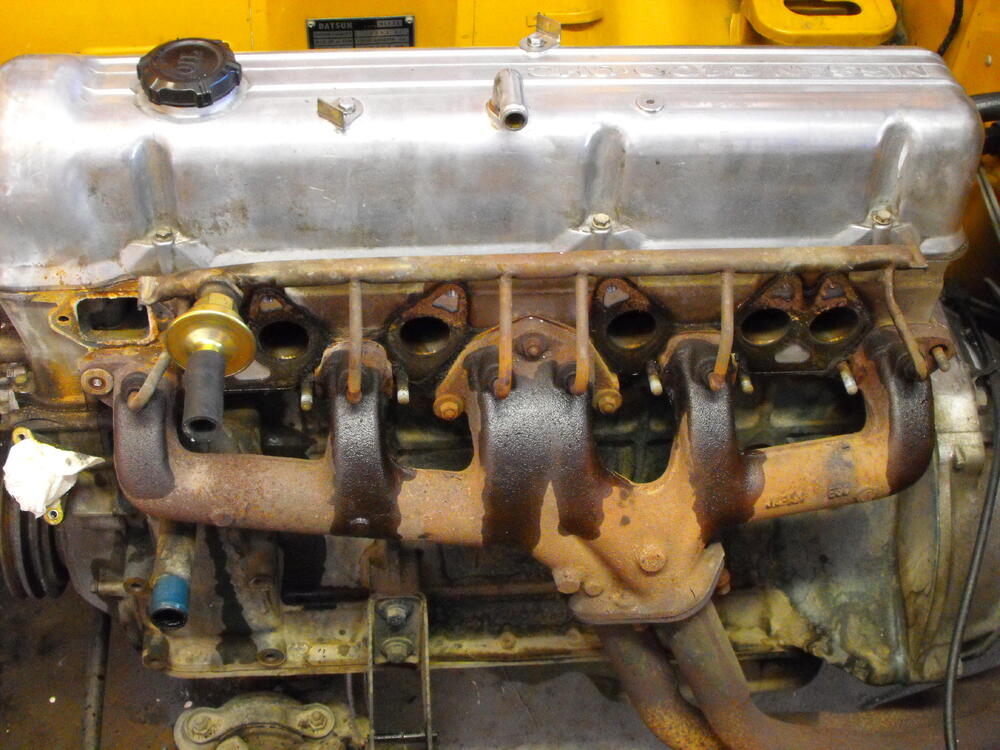
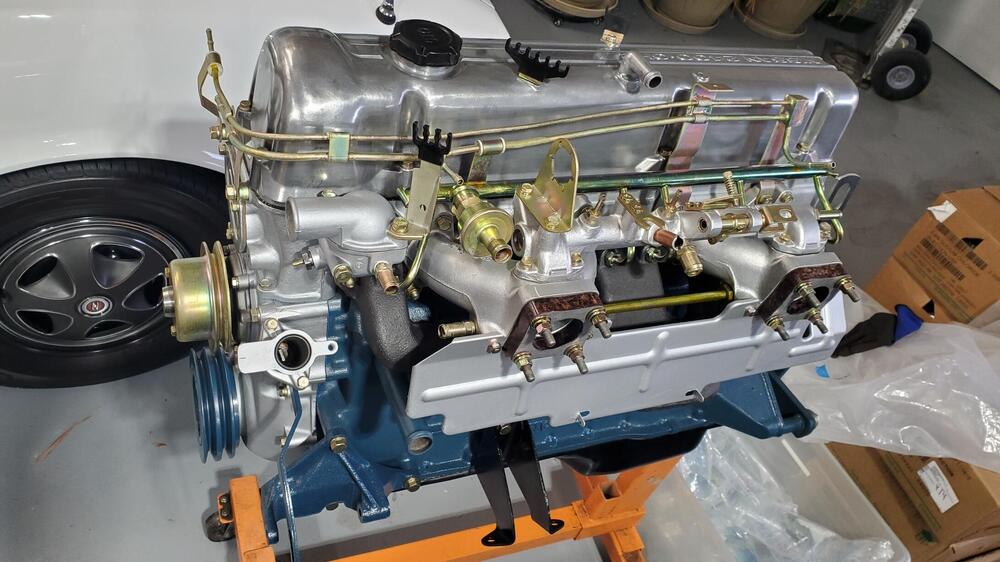
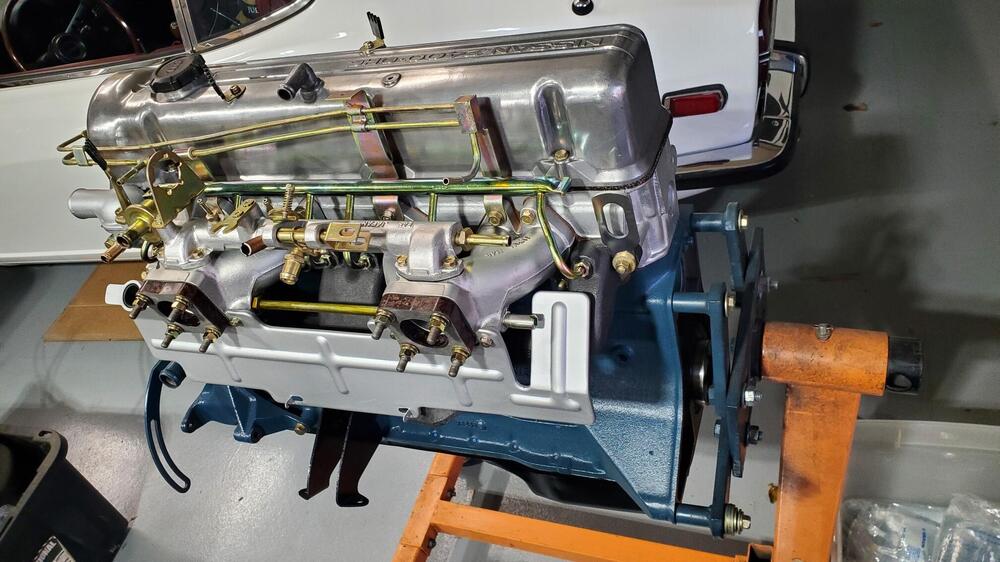
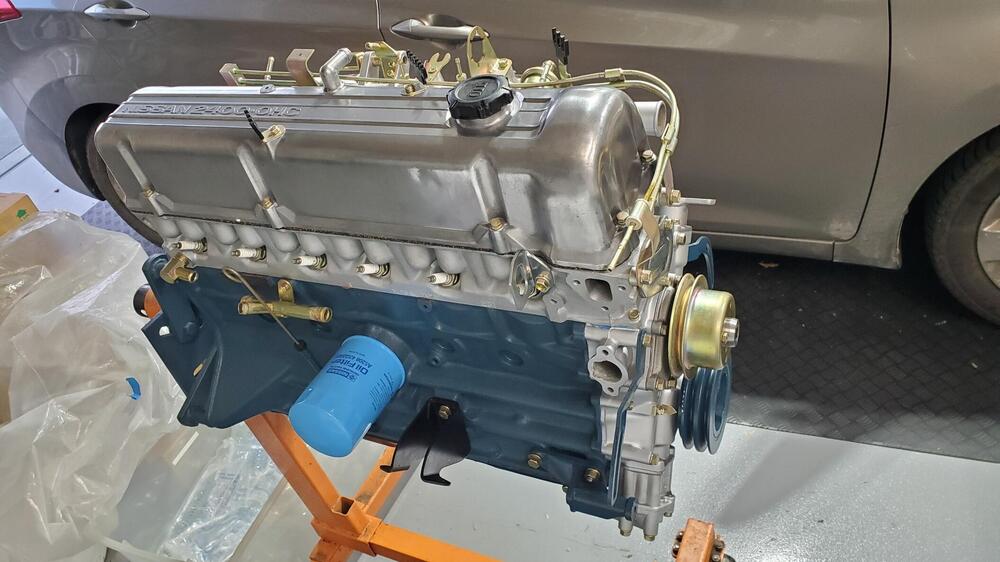
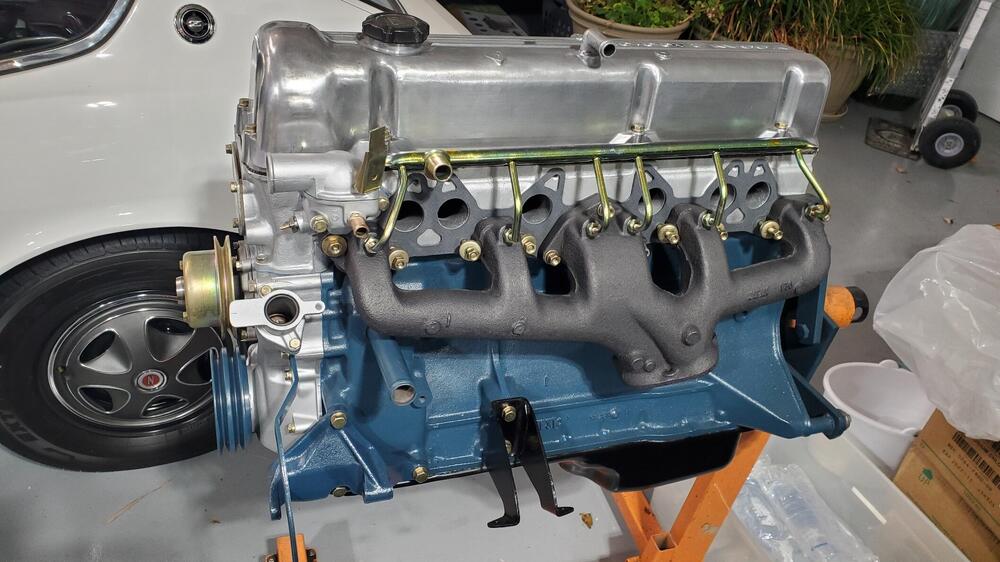
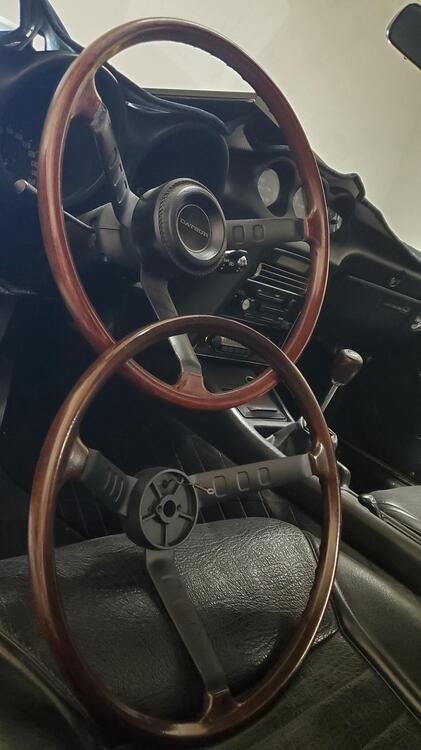
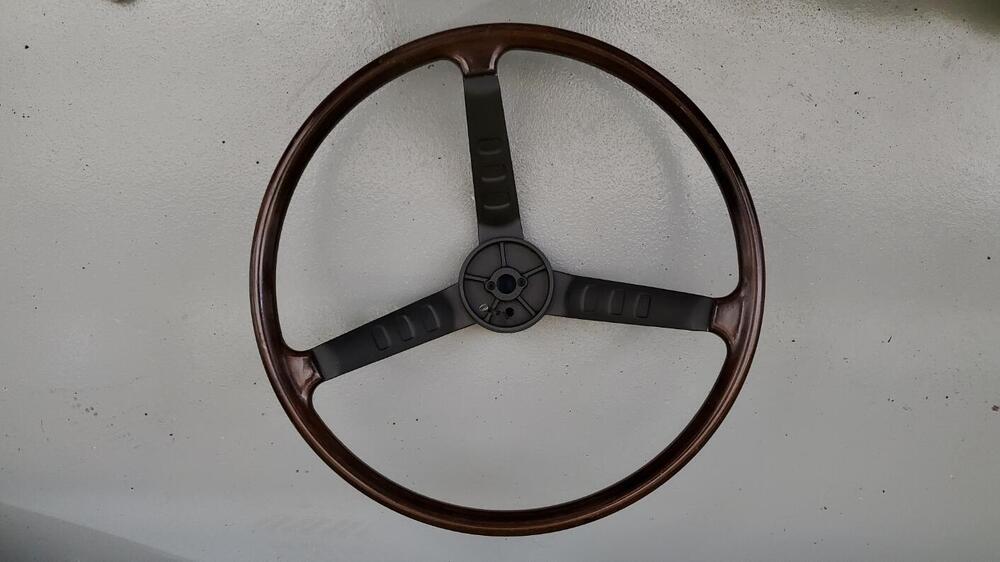
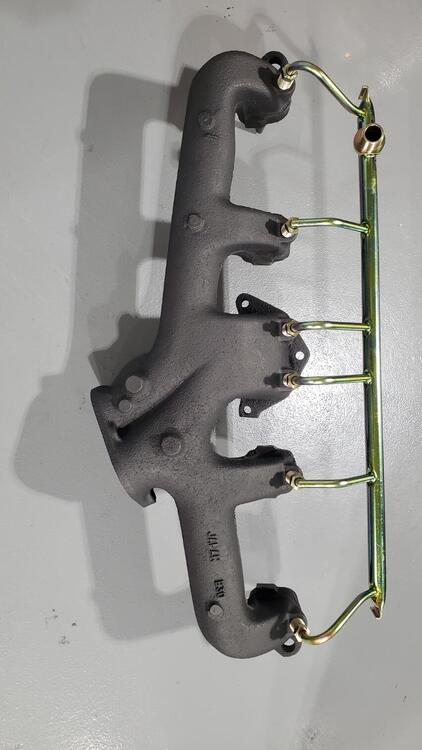
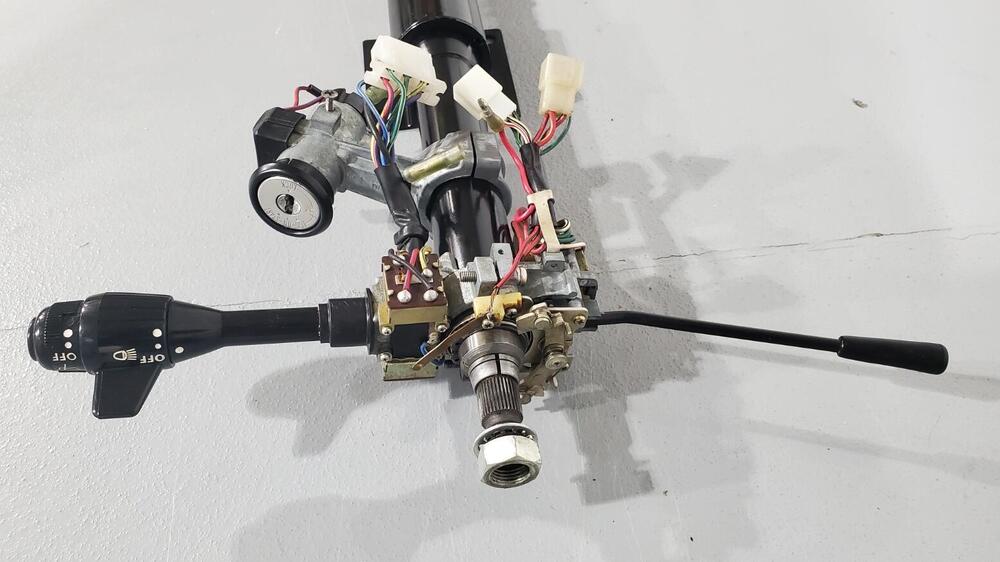
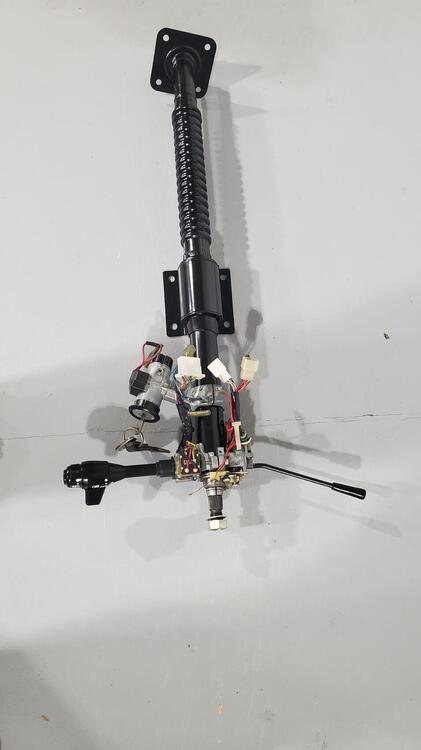
I should have a lot more updates and pics here as I have finished my summer home projects. Also, I am hoping the body and paint will be finished in the next month or two, so we should see some good progress. I appreciate all of the input here. I am always open to advice and the knowledge of those that have seen and worked on these cars in the past. Personally, I will listen to the panel of experts and then move forward with what seems to be the best direction. Also, as most of you know, I own a pretty much un-restored early 240Z that I grew up with since I was 9 years old (in the family for 55 years) , so I have a nice reference vehicle. That being said, I find it interesting that there seems to be a tendency to hold the ZCON judging in high regard. Personally, I do not have a very high regard for ZCON judges. In reality, many of them have never owned an original Z car or examined one closely. As a result, they make a number of mistakes in their judging, none of which can be contested because you do not receive the judging sheets until several months after the show. One of these days I will start a thread here titled "ZCON Judging Errors" and see who weighs in, in addition to the items I would list. A few examples are the deductions on my early Z for the weld lines on my oil pan. (FYI 0042 has the same weld lines so they will probably mark this off too). Another good example is the Franklin mint car losing points for having the 'Silver zinc' coil holder instead of 'Yellow zinc' holder. I have heard of judges insisting the original brake lines were stainless steel, the rear diff cover was bare aluminum and fuel hoses were not the 'cloth wrap' style. I am sure that I am just hitting a very small portion of the errors as I am only familiar with the cars that I have been involved with and what I can remember off the top of my head. Anyway, just had to rant a bit about the judging issue. Don't even get me started on the non-Z show judging. Regarding the Exhaust manifold finish, that is an interesting discussion. For most of my restorations, I have always consulted Les Cannady at Classic Datsun Motorsports and never questioned his advice (He was just 10 miles down the road) . If I am not mistaken, I think only his shop and Pierre Z were the only shops approved to build the Restoration Z's. Because of that, I have always used the gray powdercoat that he recommended as the default finish. However, given the current discussion and comments, sounds like there are several other options out there that might be more true to form. After looking at a number of different options and comments regarding the color, I am happy with the graphite finish option. Two of the items that lead me in that direction are pics from the Nissan engine service manual and pics of my own motor disassembly that are pictured below. Both pics show a dark cast iron finish, not a light gray finish. So, I am sticking with the graphite and will probably go with that in the future as well. I installed the exhaust manifold and intake assembly to the engine. Pics below. (Also looking for a correct rear engine hoist bracket) I finished up the steering column, and replaced the connector on the turn signal assembly. The main shaft was sanded and re-painted and all the electronics cleaned up. I re-finished the steering wheel that now looks much better, but not sure I will stick with this. The wood finish should be more redish. Problem is that the wood veneer is very thin and I am not sure how much was removed in the restoration attempt from the previous owner. Previously, the nubs on the opposite side were sanded through unfortunately. I will let it be for now, but may revisit it. The center metal portion looks good though. I cleaned up the brake and cluth pedal box. Ready for install. I have no idea what is written on that silver can below.
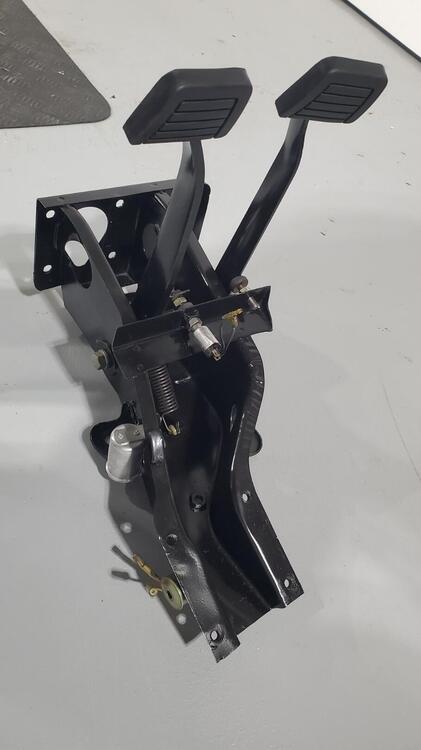
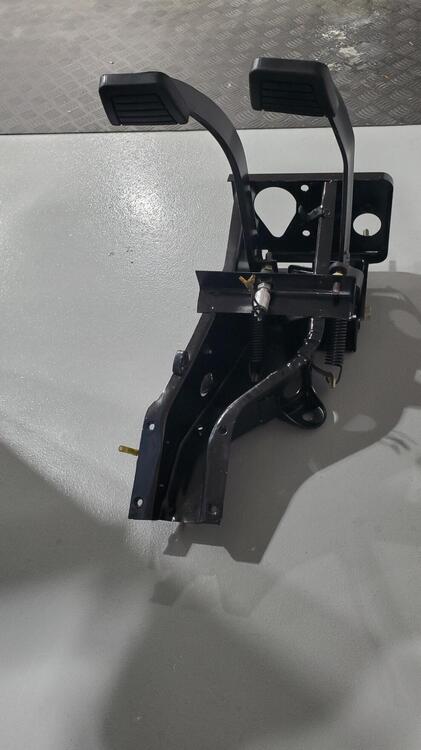
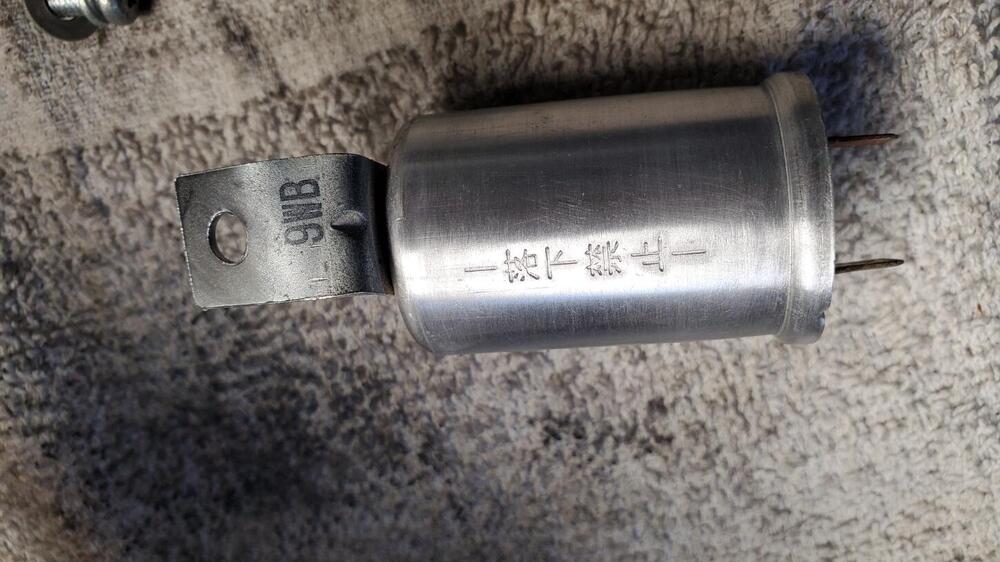
-
I have had bad spark plugs before...brand new ones. Ended up cleaning an old one and sticking that back in.
-
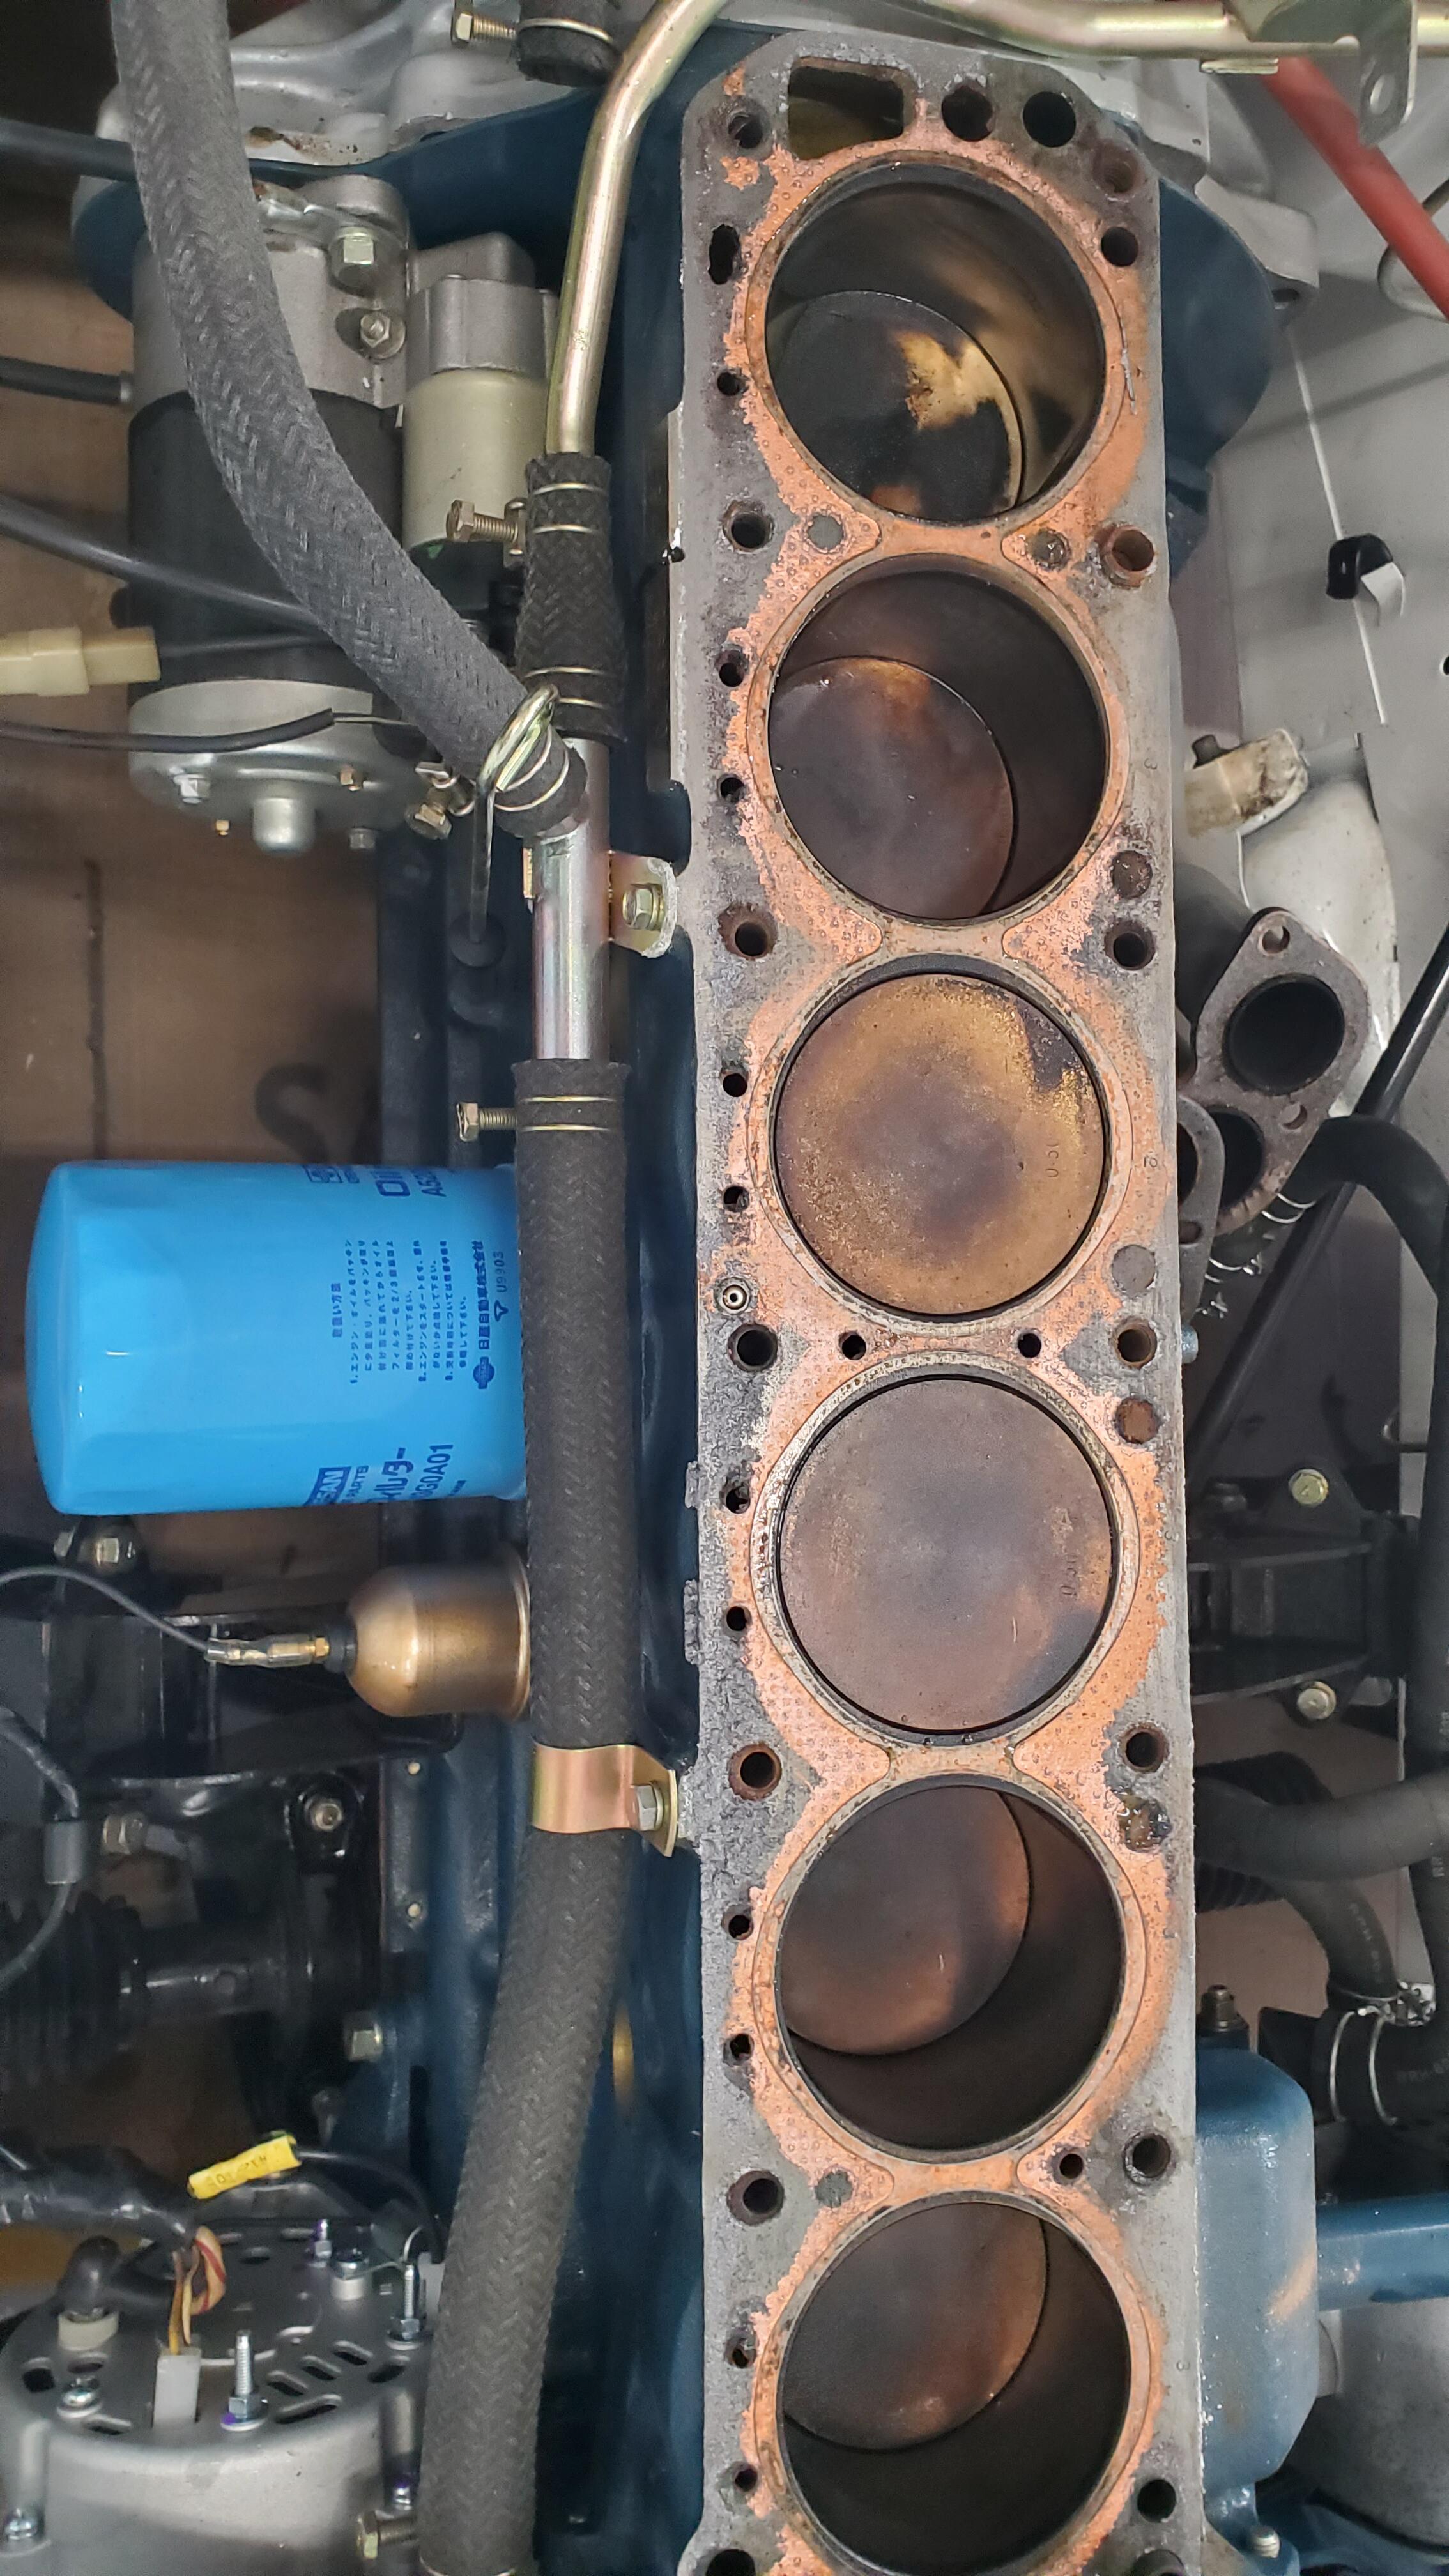
Probably not your issue, but thought I would share. I had an issue with my white Z where it ran great driving to a show 20 miles away and then horribly on the return drive. Cylinders 2 and 3 were bad. I was convinced it was fuel and wasted a couple hours rebuilding and then replacing the front float bowl shut off valve. Eventually I took off the valve cover and saw that the #2 and #3 valve rocker arms had 'relocated'. The end that was supposed to depress the intake valves was no longer touching the valve. Long story short, took the head to the machine shop and was told the valve stems were all gummed up from running old/bad gas. Sadly, I do not drive the cars enough. Anyway, put it all back together and it runs great now. Machine shop cleaned all the valves and guides. Fortunately, no damage was caused to anything except for my wallet. You can see the two valve 'nicks' on cylinders 2 and 3 in the pic.
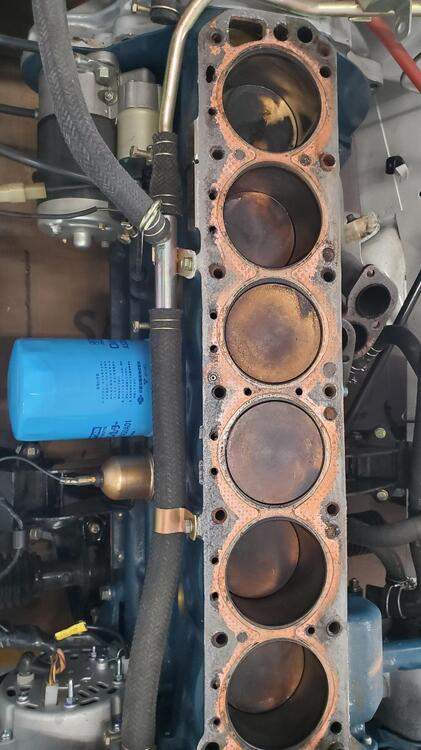
-
That one is tempting....my favorite color.
-
Pretty happy with how this looks. Sprays on very nicely.