emccallum
 Subscriber
-
Joined
-
Last visited
Everything posted by emccallum
-
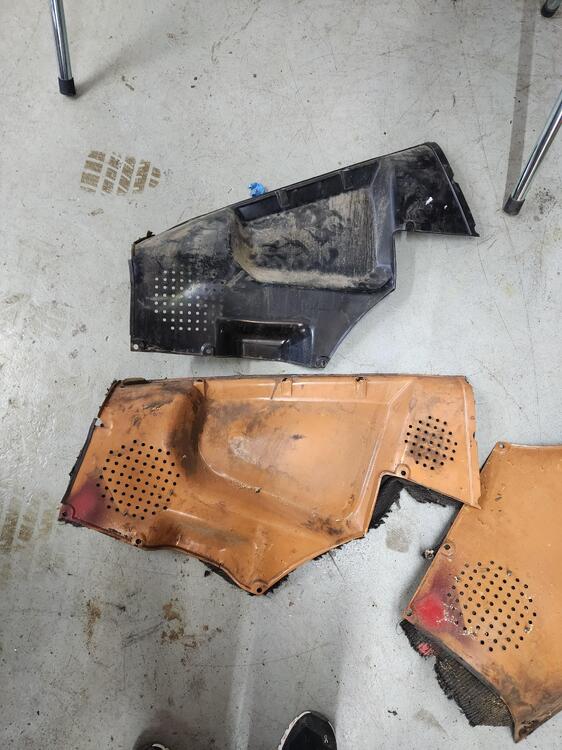
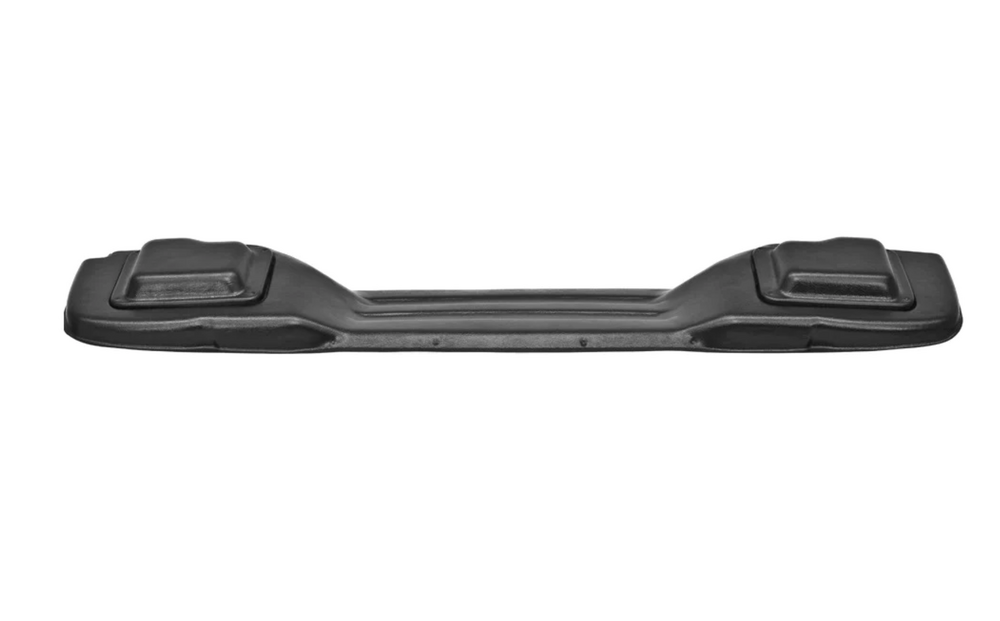
My car is a 3/72. Originally brown with brown interior. I cahnged the interior to black and have some questions. 1. Rear plastic quarter panels that came out of the car had speaker vents and side emblem vent holes. It had a metal vapor tank. What year did the extra vents start? The black panel in the picture is one I picked up before I knew the differences. It wont fit because of the metal vapor tank. Pretty sure my panels were original, but...... 2. My original plastic rear light panel has the removable squares that are bulging, like what I remember from a 260 (see picture). It is brown, so I am thinking it is original. Did 240's all have the flat part on the rear tailight plastic panel? Maybe someone swapped out all the interior panels from a later car at some point? That would be weird. Yes, that IS carpet glued to the panels!! Impressive how many differences there are between the 240's over the years. It reminds me of identical twins. They are hard to tell apart until you get to know them, then then are totally different!
-
I bought a OEM filler hose from ebay last year that shipped from Japan. Came in factory bag. $130 shipped!
-
The jute I bought is 36" wide which puts it just at the storage hatches. Should work perfect. I am going to cut two small pieces to go over the hatches. Thanks for the reply.
-
I bought a carpet kit from Chester and Herod. It came with jute for the floormats. I put jute under the seat like it had originally, but I did not know if the hatch had jute originally. I was thinking of putting jute under the hatch carpet for sound and gluing it to the carpet. I was wondering what others have done. Thanks
-
It was late! Looked this morning and my passenger window is oem and driver is aftermarket. Is the glass itself different or just the metal bottom part. Can't you just swap the bottom out ? I think I must be reading this wrong.
-
My parts car is a 72 and both windows are intact. Not positive the glass is oem. Let me know what you need.
-
Not sure if this may help your window issue, but the door card holds the window out and the outer belt moulding/roller holds it in. If they all arent installed it may bind. When I did mine, I would use my fingers to act as the door card. Also, look at the window when it is almost all the way up, to adjust the frame so it seats evenly. Do you have the rubber stop at the bottom of the door installed?
-
When you adjust the plastic part on the interior latch rod make sure you have enough play on the latch for when you put the door card on. If its too tight and the latch isnt completely releasing the lock will not work. I tightened mine up to take all the play out of the interior handle and when I put the door card on the lock wouldn't work......and it all had to come apart. Hope that makes sense. Good thing you installed the mirror before the glass. Its a pain to get on with the glass in place. Pro tip......The clips that hold the door card in place go opposite the little notch on the door card. 😀
-
Car is looking great! Good point on the new dovetails. Mine were the same way. If you dont open up the holes or use different screws the bolt will hit the metal on the striker(at lesst mine did). I guess the smaller hole would be stronger and less likely to crack, like all the originals I have seen, but you cant use the oem screws. I opened mine up too, as I like oem screws and I rebuilt my hinges, so it doesnt sag as much as it used too. I dont think Nissan expected these cars to be on the road this long!
-
The ones I got seem to work ok, but I dont have much use on them as I am still building the car!
-
I bought some like that on amazon. I used them in a few places and parted some out to make up some with oe bolts. Cant beat the price.
-
looking great! Congratulations on getting it back on the road.
-
I found this picture on the site from a post by @Mikes Z car back in 2016. This is for an early z but according to the parts diagram its the same for later cars. Know that I know what it looks like I should be able to bend one.....as wire bending is what I do for a living! One of the round tabs on my console was broken. I was able to drill it out and I tapped in a bolt about the same size with the head cut off. I think it was an m6x .8. Worked great.

-
If you know someone with a vapor blasting cabinet, they will clean up very nice. Check completed items on ebay to see what they sell for. Its getting hard to find decent anything for z cars!
-
On the center console (1972) I remember there being a spring that helps open and close this panel. Does anyone have a picture of the spring that I could use to make one? I am guessing it looks similar to the ones in the heater box. Thanks. Pict attached is just one from the web.
-
Body filler must be very expensive where he lives! 🤣
-
@Richie G , I am going to have to give the Gordon Glass stuff a try. Thanks for posting it.
-
I agree, I wouldn't use it on a primary large seal. The outer hatch seal (non oem) has a small stiff channel tbat fits over the metal lip. It's hard for me to be that precise with 3m. I used it for the inspection lid rubber piece too. As for the micro brushes, I just use them so I don't cut the bottle and chance having it dry up.
-
I would have gone with 37 :).
-
Not trying to pile on, but my experiences with both Koni and Bilstein over many years has been mixed. Their directions suck, hardware is usually universal and may or may not be needed or fit (mostly speaking of boots), and my last z was just too stiff for my liking with Bilstein and poly bushings. I went with KYB and stock bushings on my current build. Its obvious from the work you have done on this build that you know how to thread on a nut!
-
Maybe call Koni and plead your case but I wouldn't expect much from them. Its done, replace and move on. Dont let it ruin the day, as the car looks amazing so far!
-
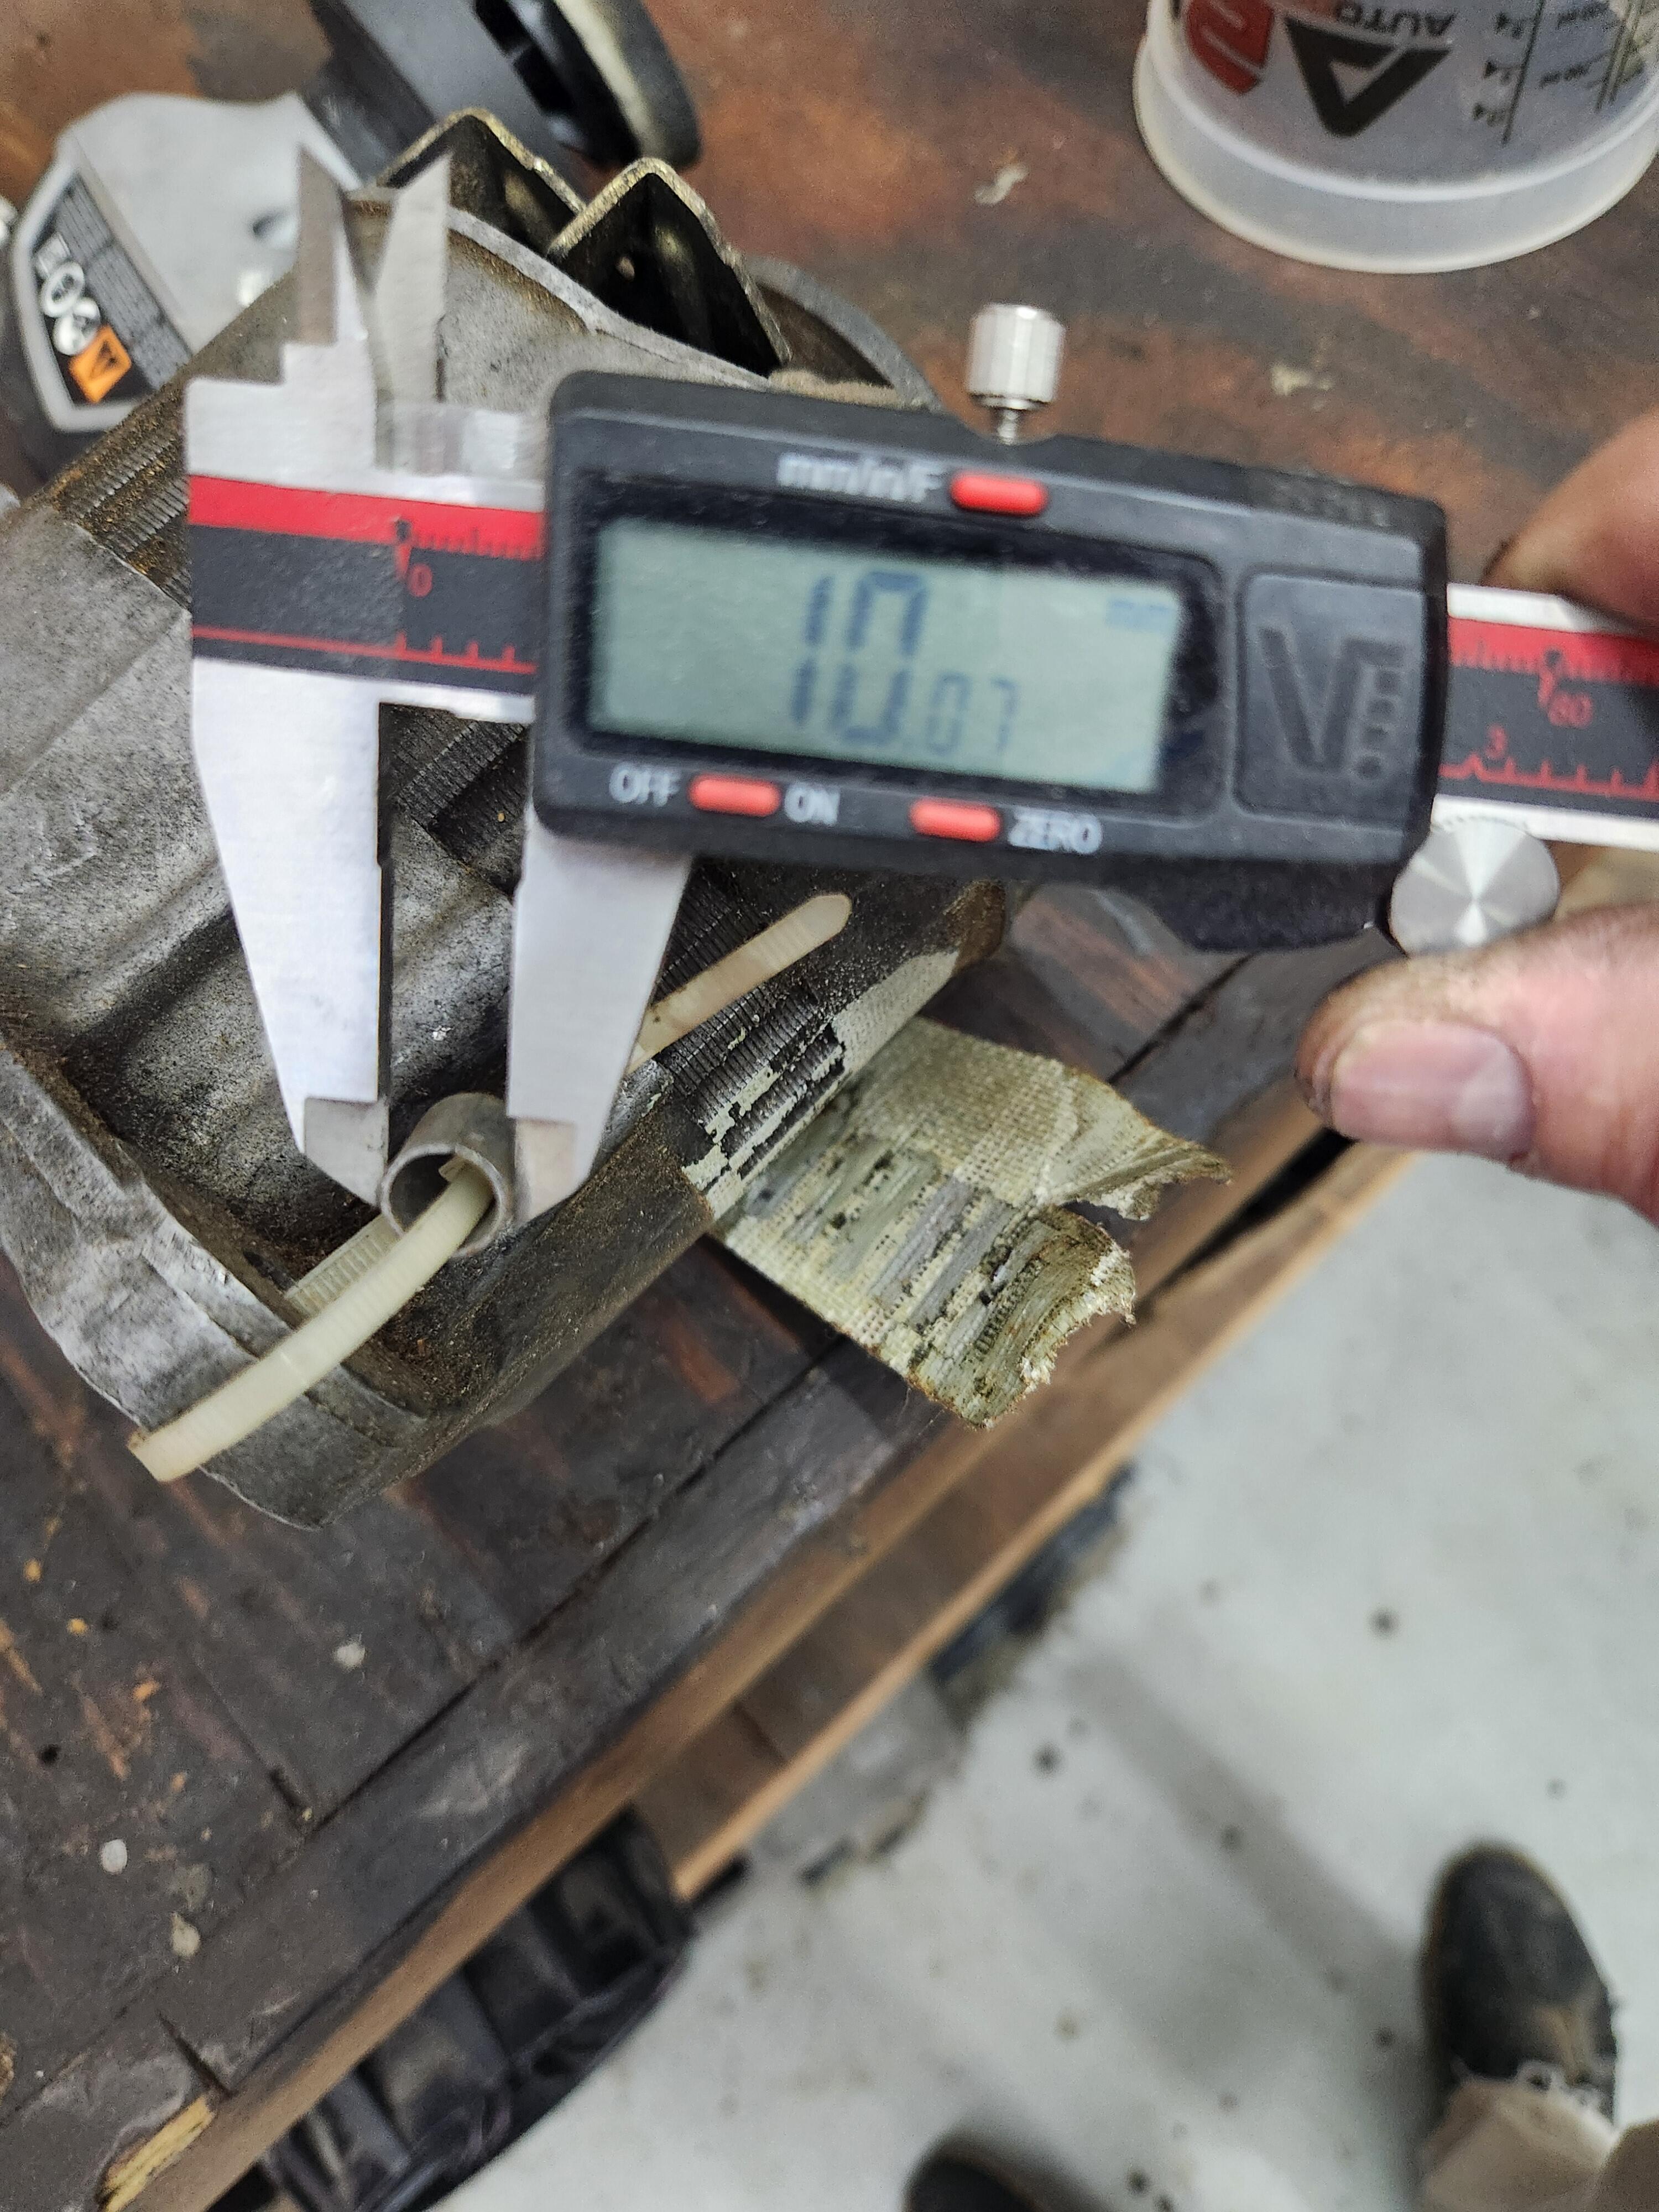
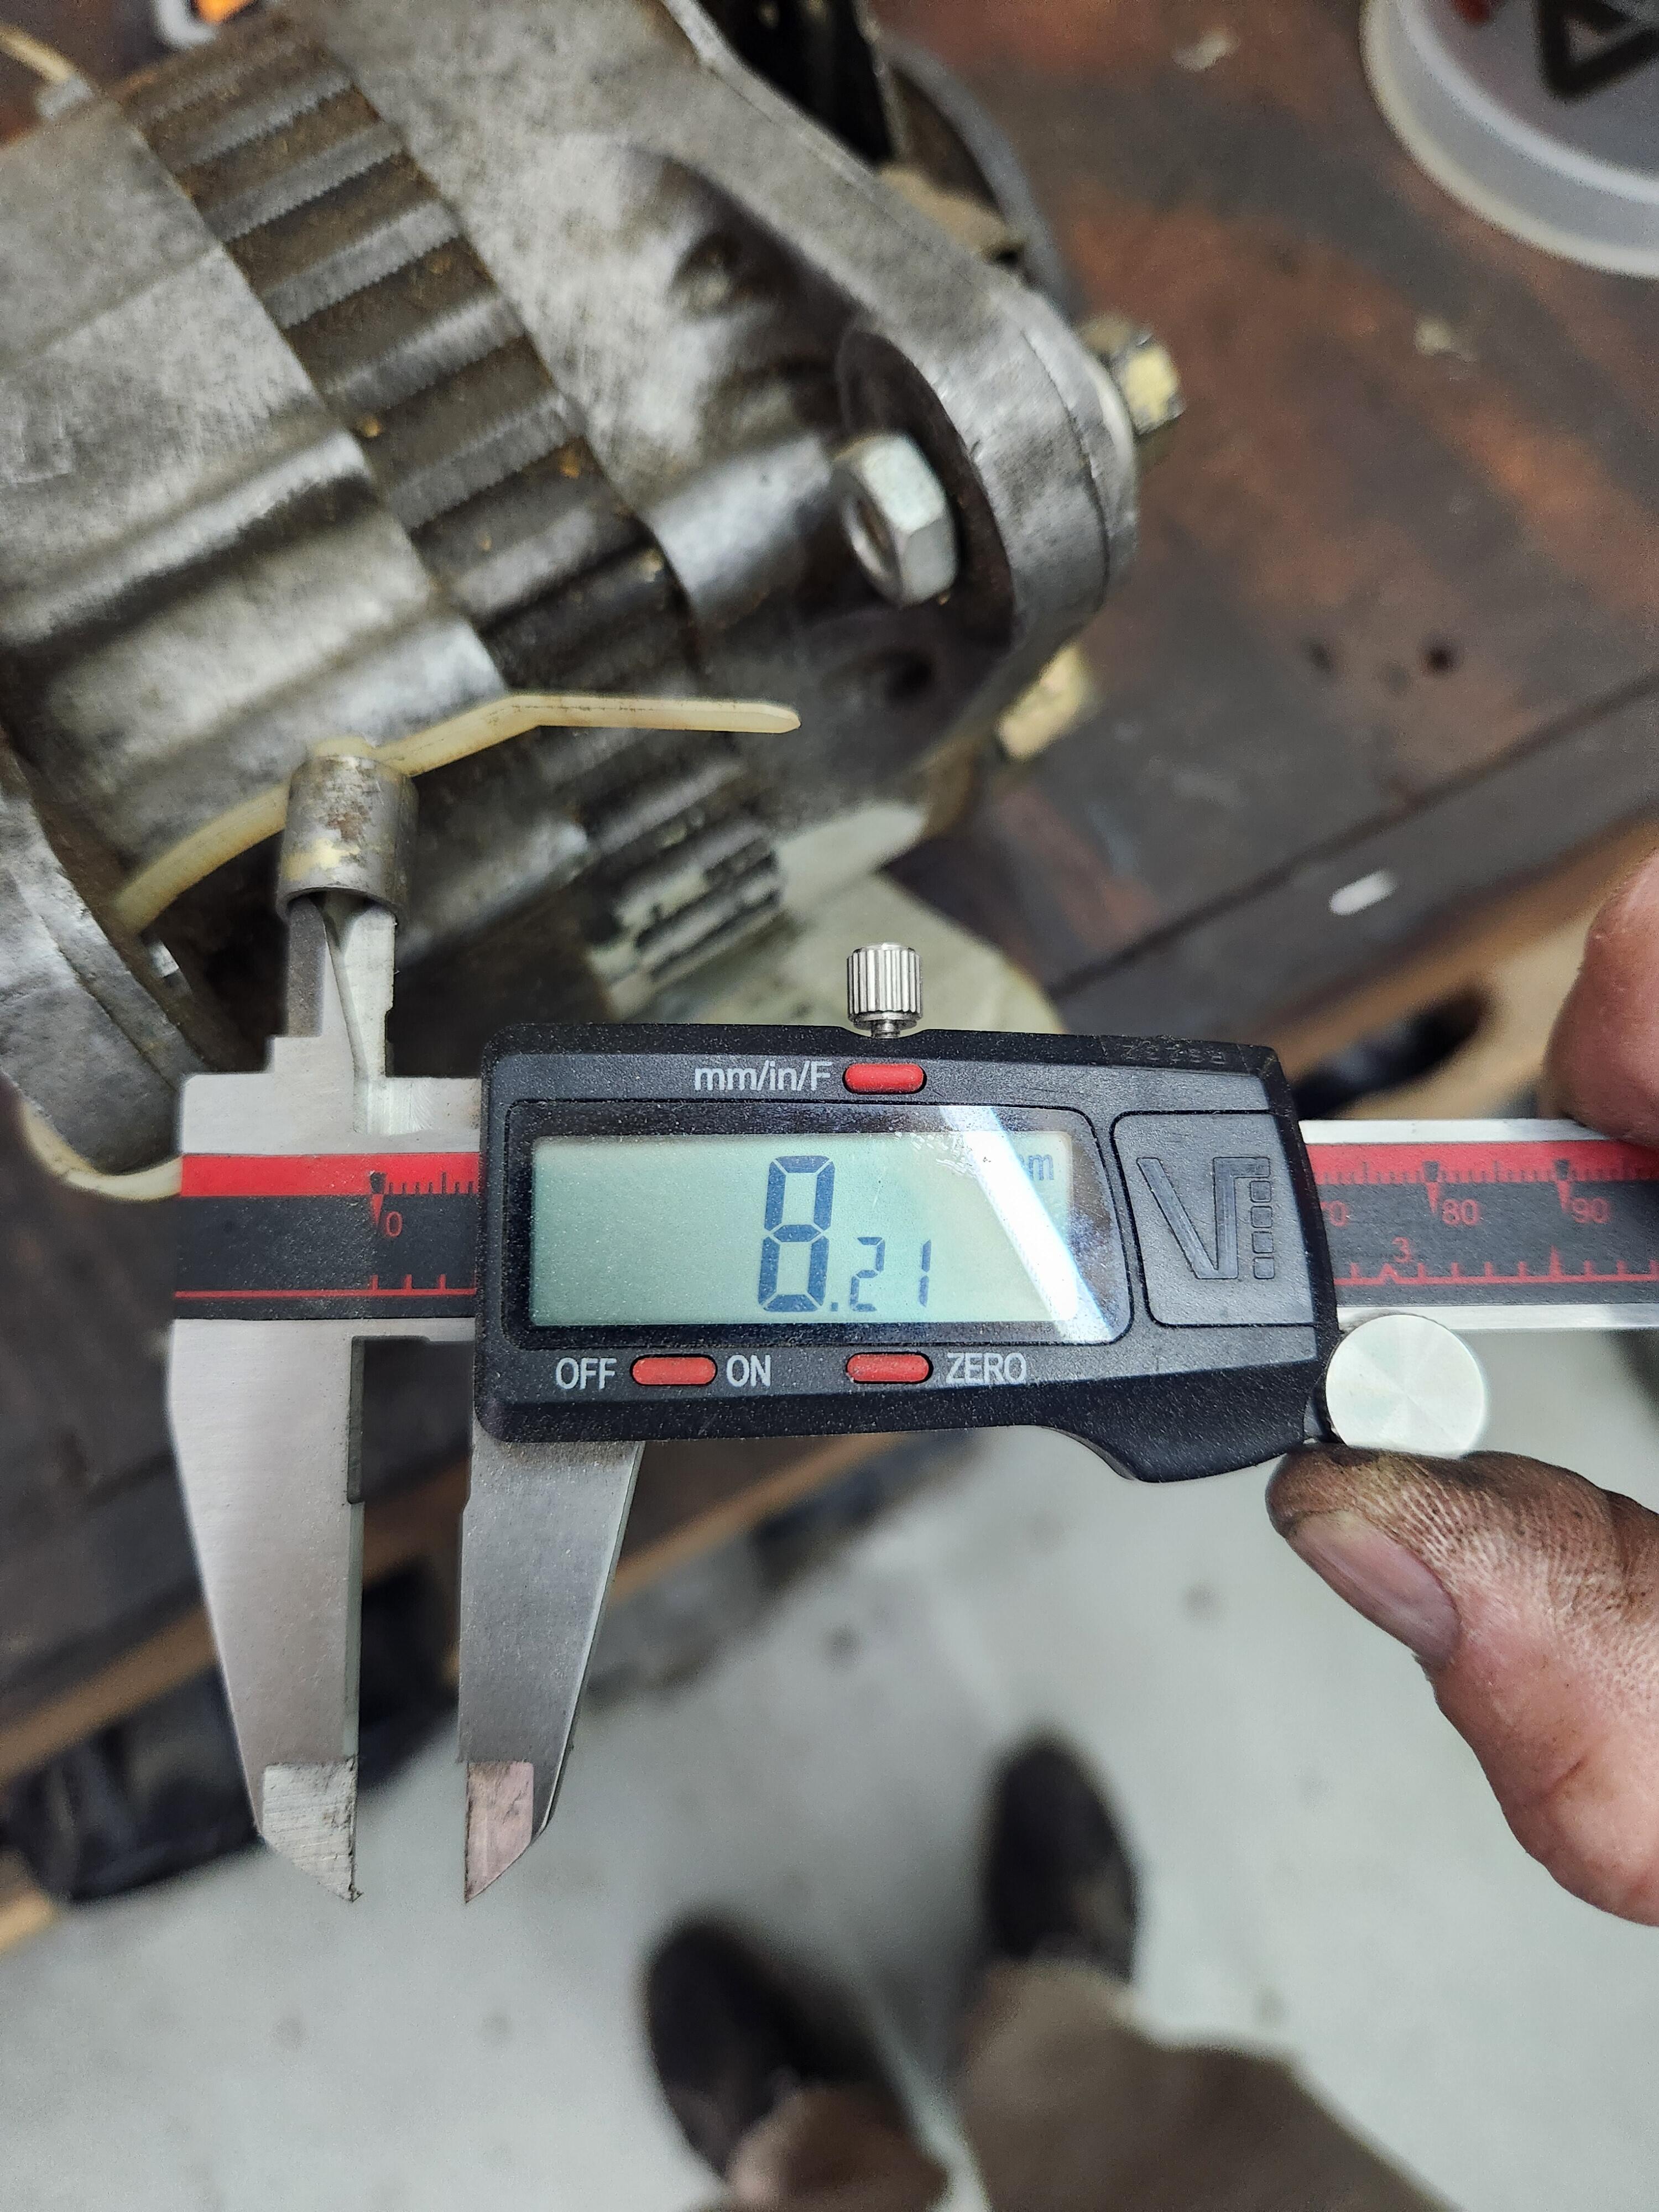
For nice looking wiper system. I just cleaned mine up and greased it. I do remember having one fastener different! I thought the plater mixed them up and sourced a matching hex bolt! I only had one sleeve on the altenator. The strut insert usually has a place for an allen wrench at the top to hold the insert from turning. You need a special "cutout" socket to tighten as you hold the insert. I would be impressed if you actually stripped the threads on the insert as the nut is usually a softer metal and you may be seeing the remnants of the nut on the threads. Oil and chase it and try a new nut. At this point it isn't that much effort to remove the strut. Lately, I have become very good at doing stuff multiple times 🙂 This is what the sockets look like, just make sure the insert doesnt require some funky tool. They make a set that has all the various types for the insert too: https://www.amazon.com/DPTOOL-Socket-Suspension-Spreader-Absorber/dp/B09QLZJWNF/ref=asc_df_B09QLZJWNF/?tag=hyprod-20&linkCode=df0&hvadid=647755312451&hvpos=&hvnetw=g&hvrand=16445937037883011191&hvpone=&hvptwo=&hvqmt=&hvdev=c&hvdvcmdl=&hvlocint=&hvlocphy=1025566&hvtargid=pla-1966980073382&mcid=e98a1b3594b9387ebc33b5bd169ab619&th=1
-
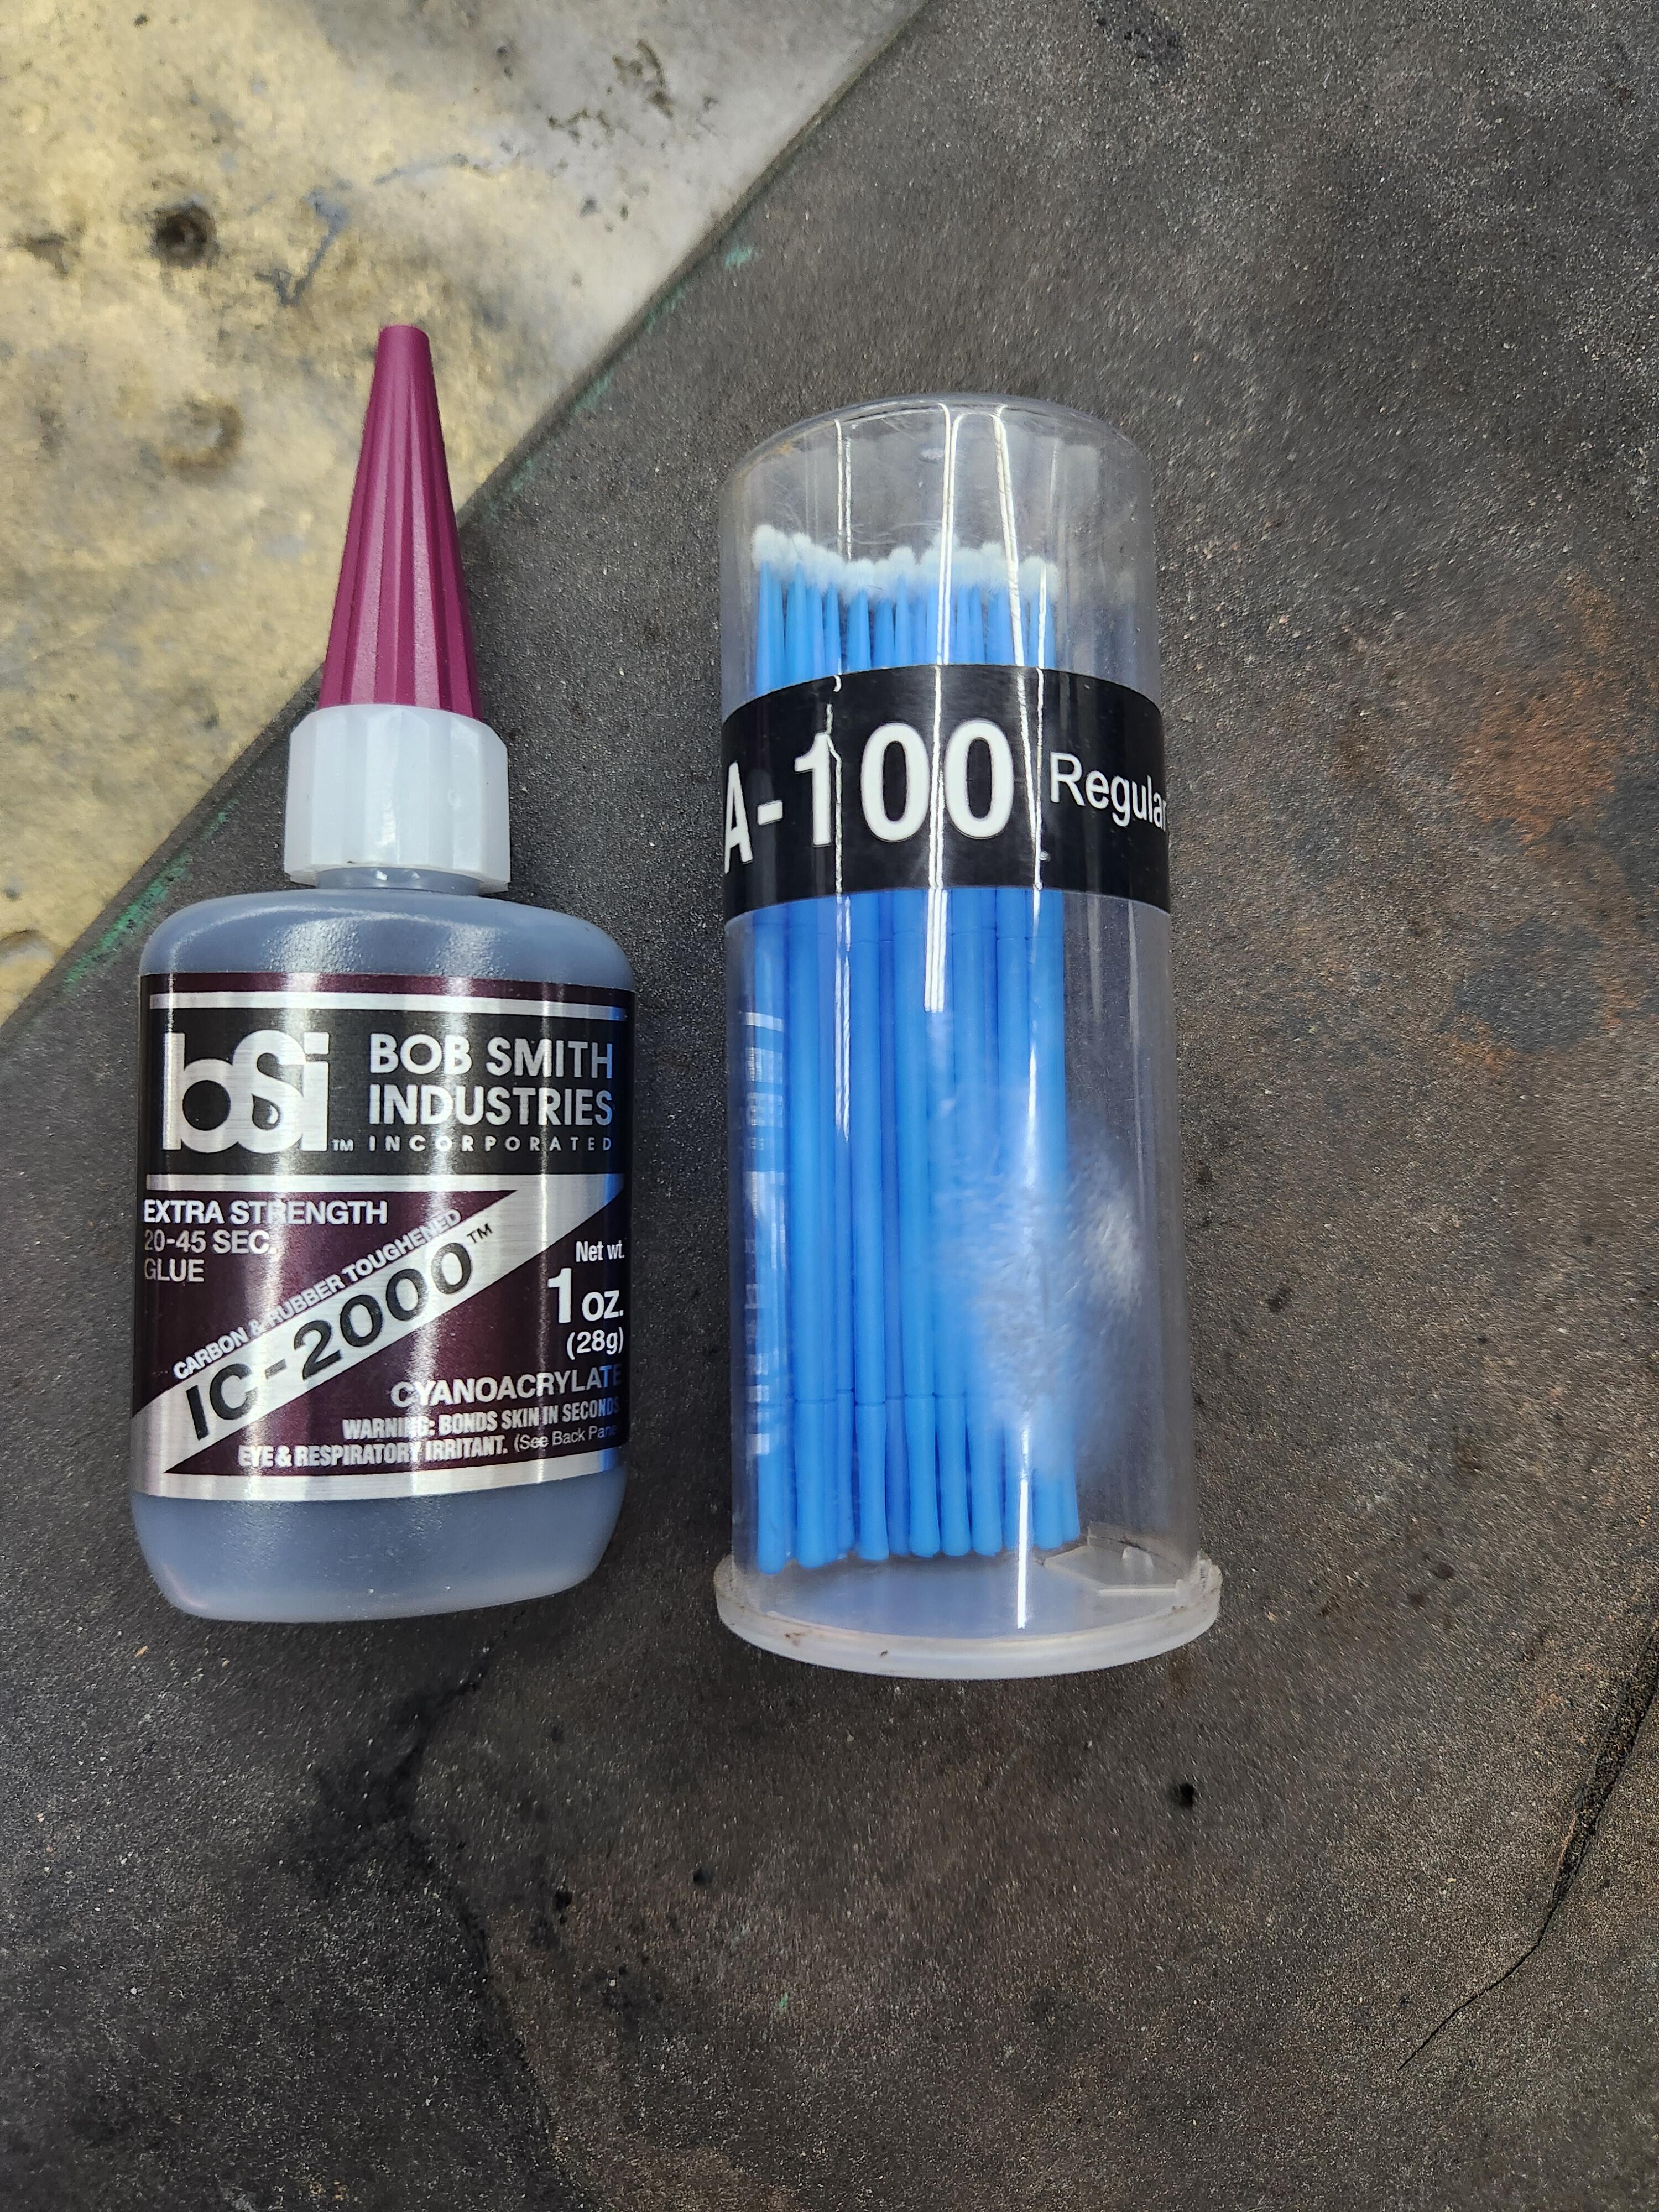
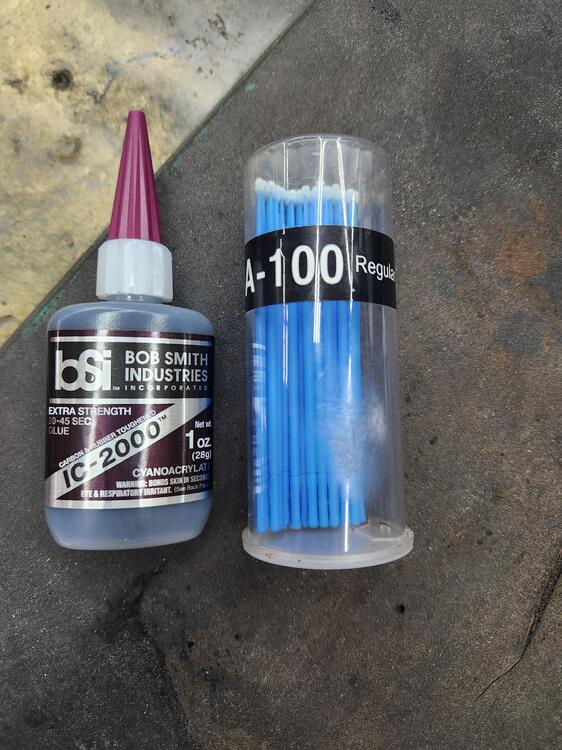
In the process of putting my car back together. I have always been a big fan of 3M yellow weatherstrip adhesive. I picked up some of this stuff on amazon and really like it for places that the 3M may get messy. Small pieces like the outer hatch seal or where the window channel curves and wants to fold in. I use these little micro brushes and just hold it together for 20 seconds or so. It is cyanoacrylate, but has a better consistency than regular super glue and is black.
-
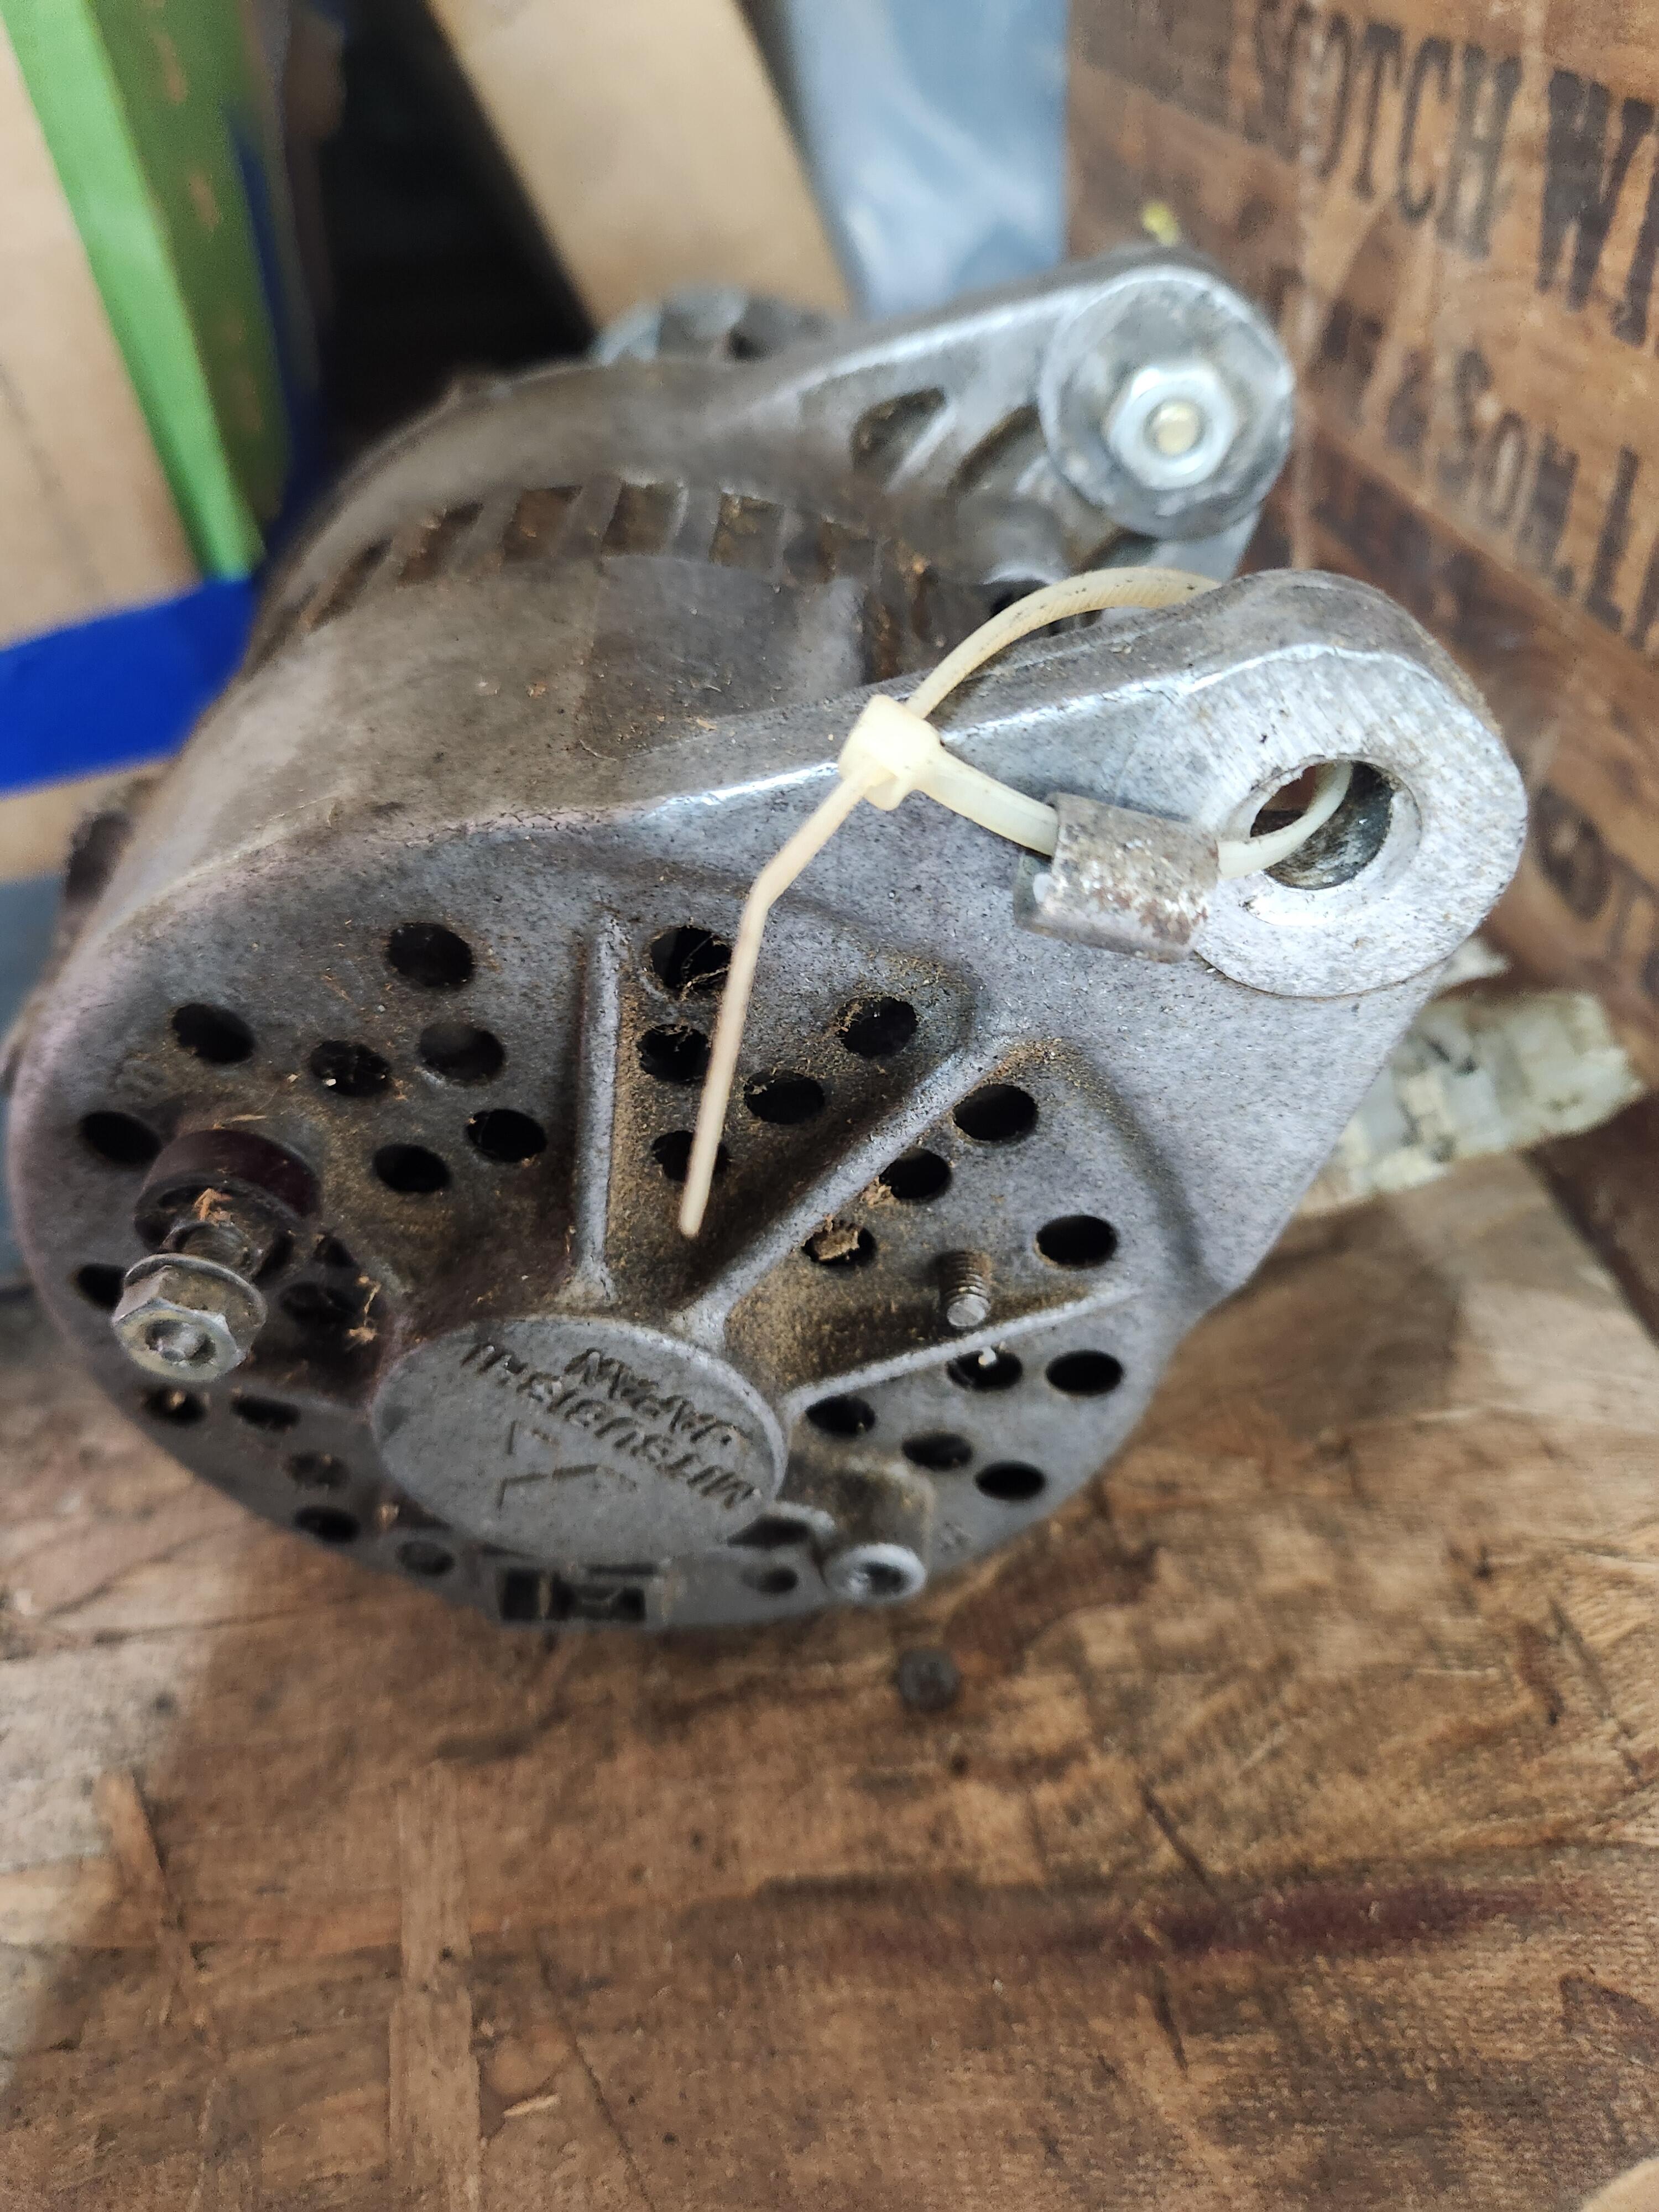
I have this alternator that I believe is original from a 2/71 my note says bad diodes. It has a little sleeve that I zip tied to it. If you are interested in the sleeve or the whole alternator let me know. I dont see me ever needing it.


-
impressive!