Leaderboard
-
charliekwin
Free Member6Points664Posts -
240260280z
Free Member3Points5,426Posts -
psdenno
Free Member2Points2,632Posts -
Getnjgywitit
Free Member1Points12Posts


Popular Content
Showing content with the highest reputation on 09/22/2016 in Posts
-
Car is in Canada. Seller is in USA. https://buffalo.craigslist.org/cto/5783711828.html2 points
-
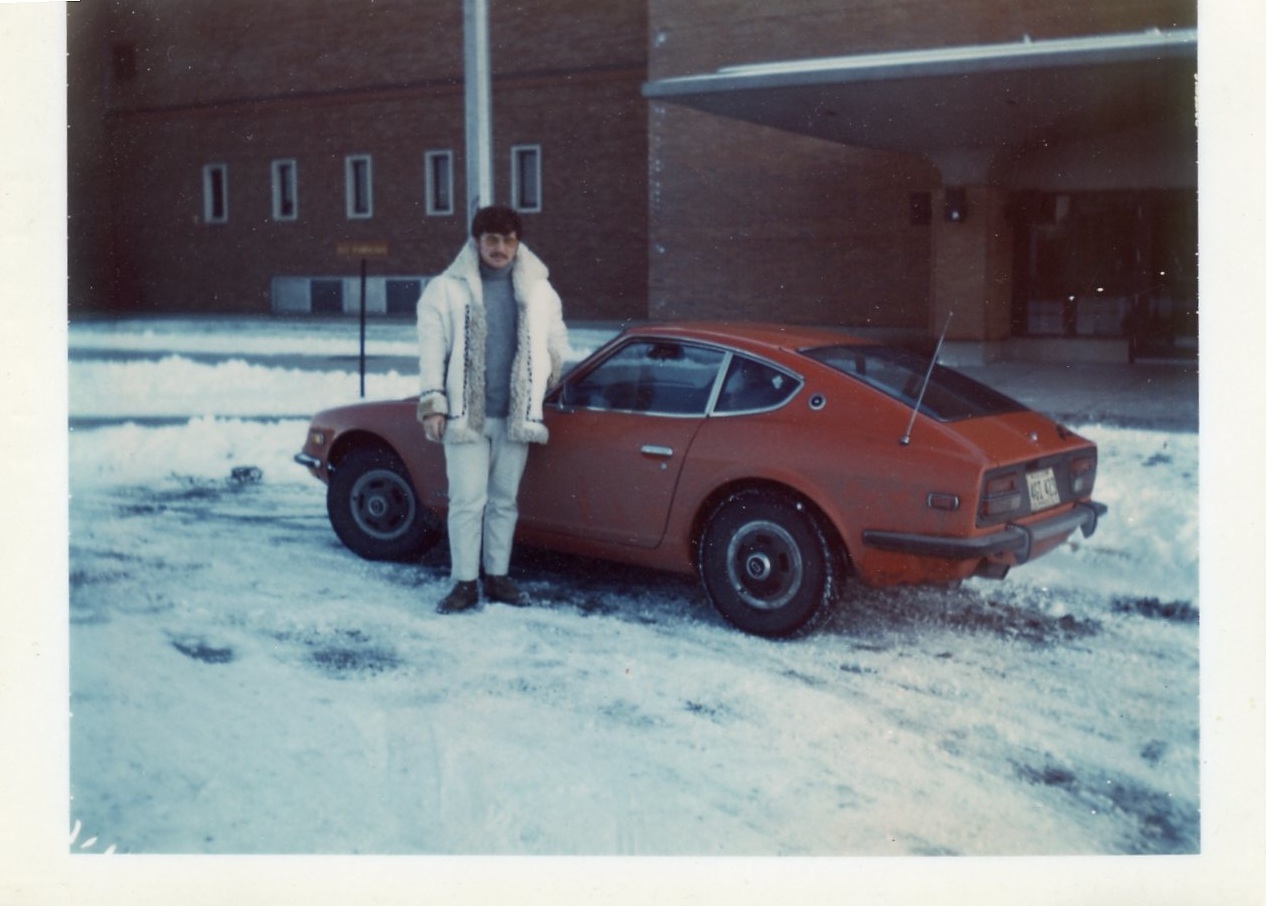
2 pointsI think I may have posted this picture in another thread topic. but this seems like a good place to do it again. Northern Wisconsin, November 1971. I bought the Z after seeing one on display in Tokyo on my way home from living out of the country for about a year and a half. I still have the Z and the white leather sheepskin lined jacket from India. But, not the cashmere turtleneck sweater from Hong Kong or nearly as much hair. Gotta love 1971. Dennis
 2 points
 -
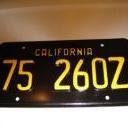
1 pointLooks like the "chisel tip" on here. https://www.customautotrim.com/body-side-moldings/rivet-on-molding/tip/82/1 point
-
1 point
-
1 pointHow about blueztips.com ... ya know: blue's tips, blue Z tips... (Frankly, doesn't matter what you call it, it'll get a permanent home in my bookmark bar. I can't tell you how many times I've referred to the site as I've worked on my car, so thank you!)1 point
-
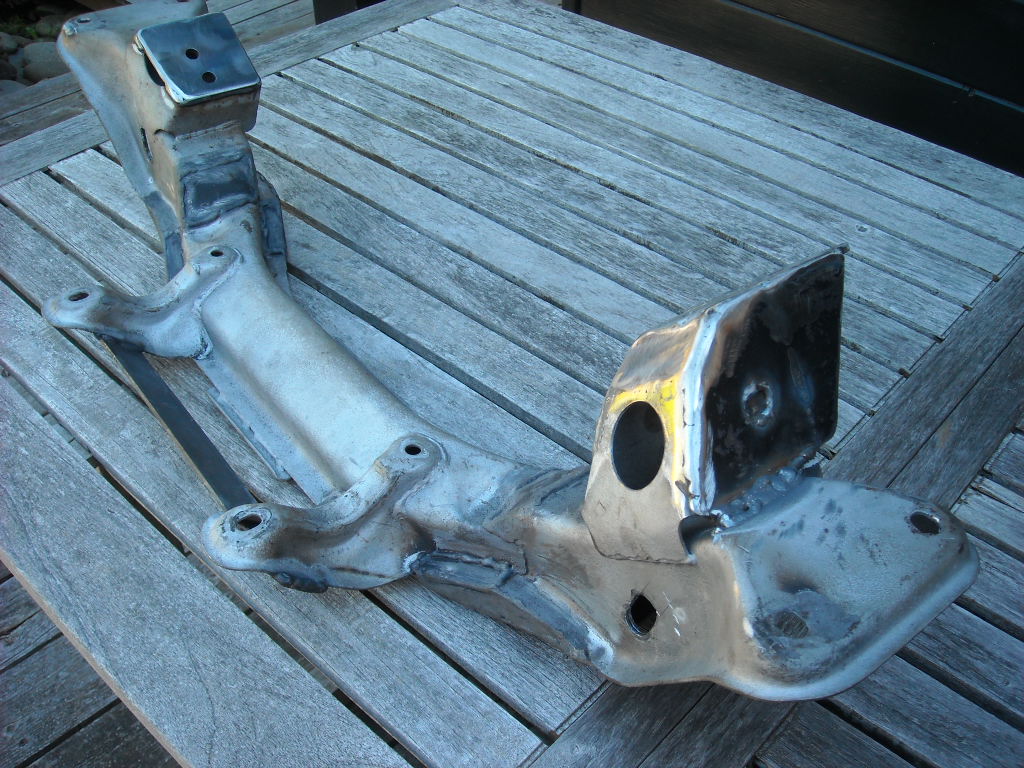
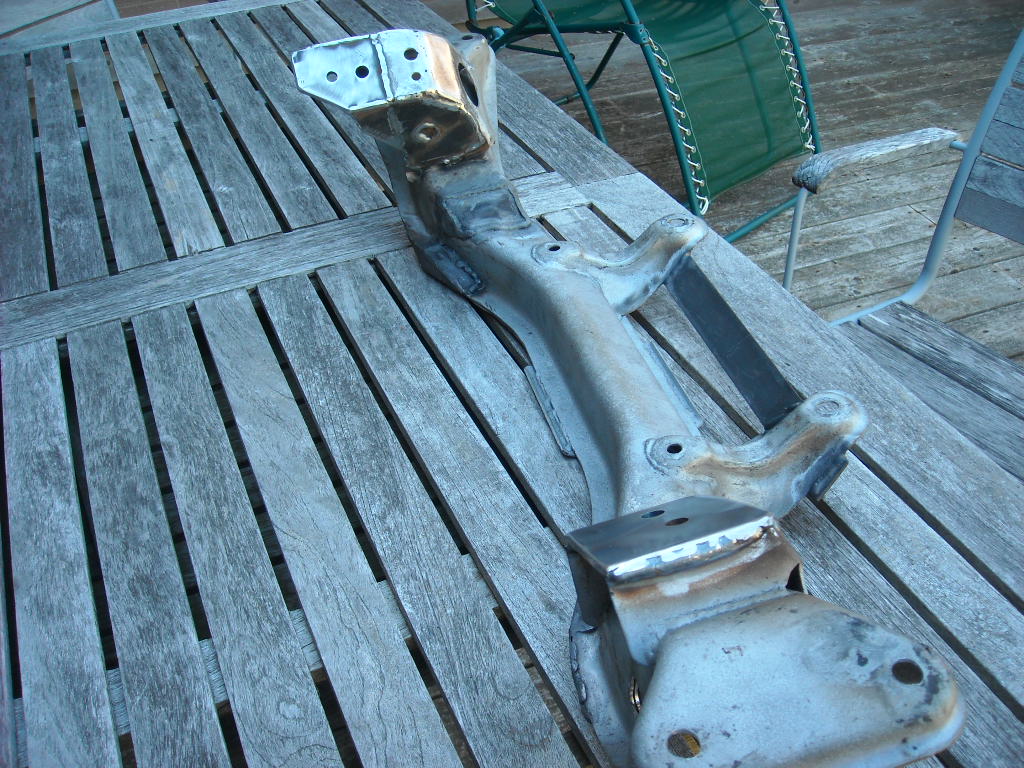
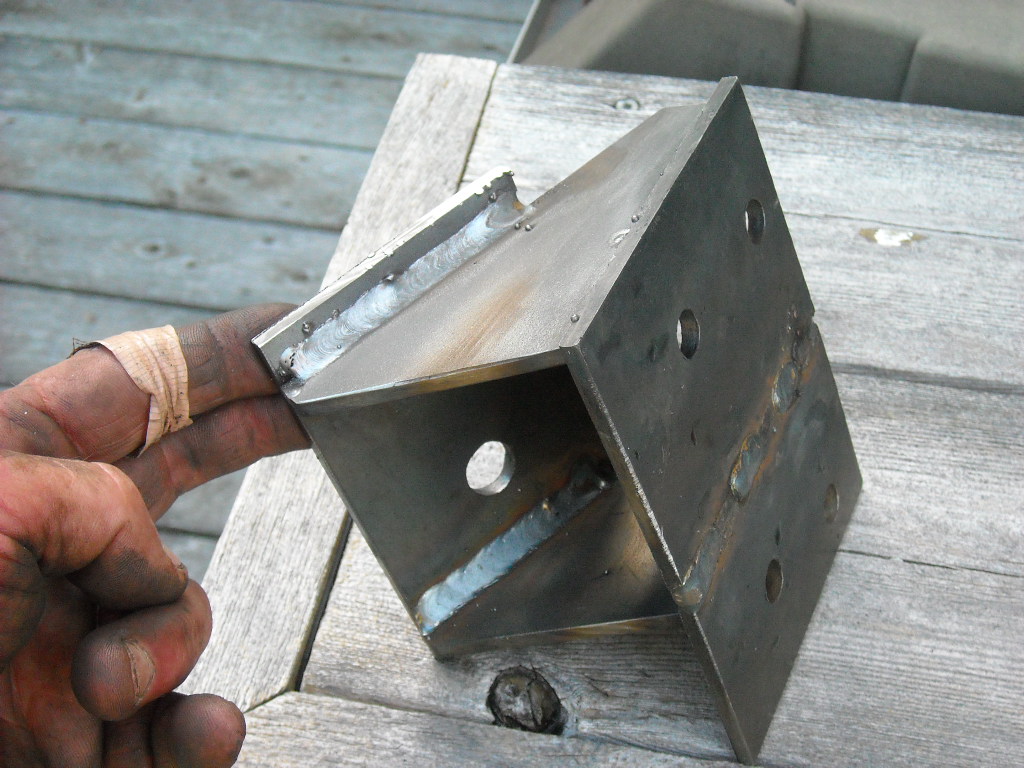
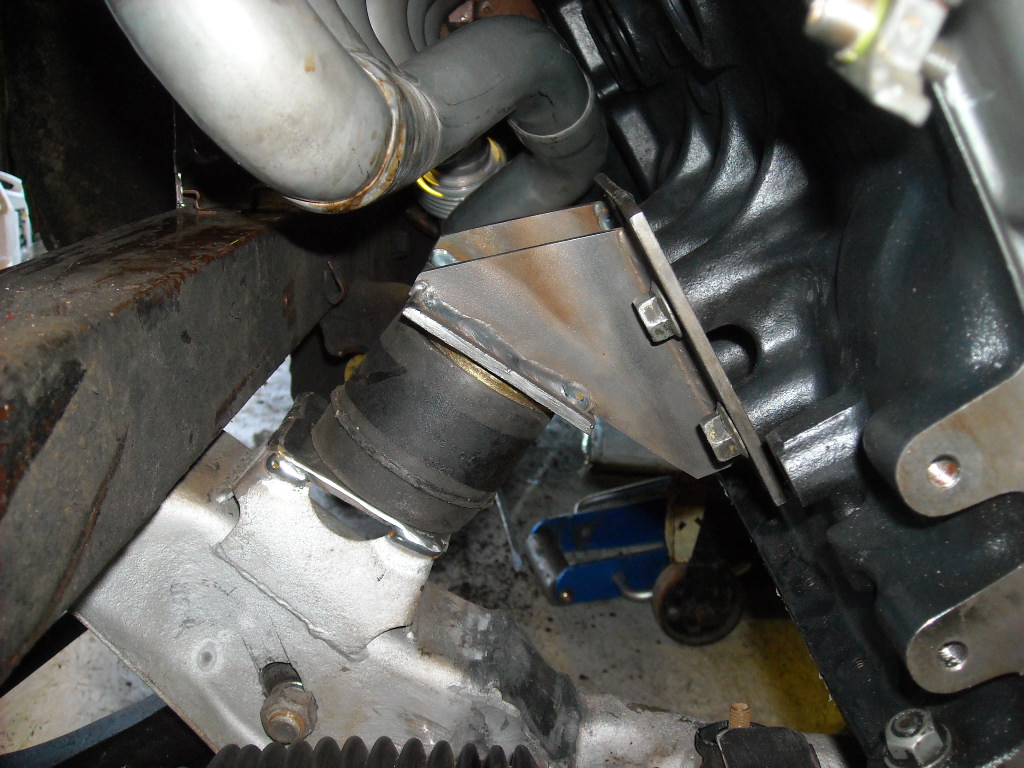
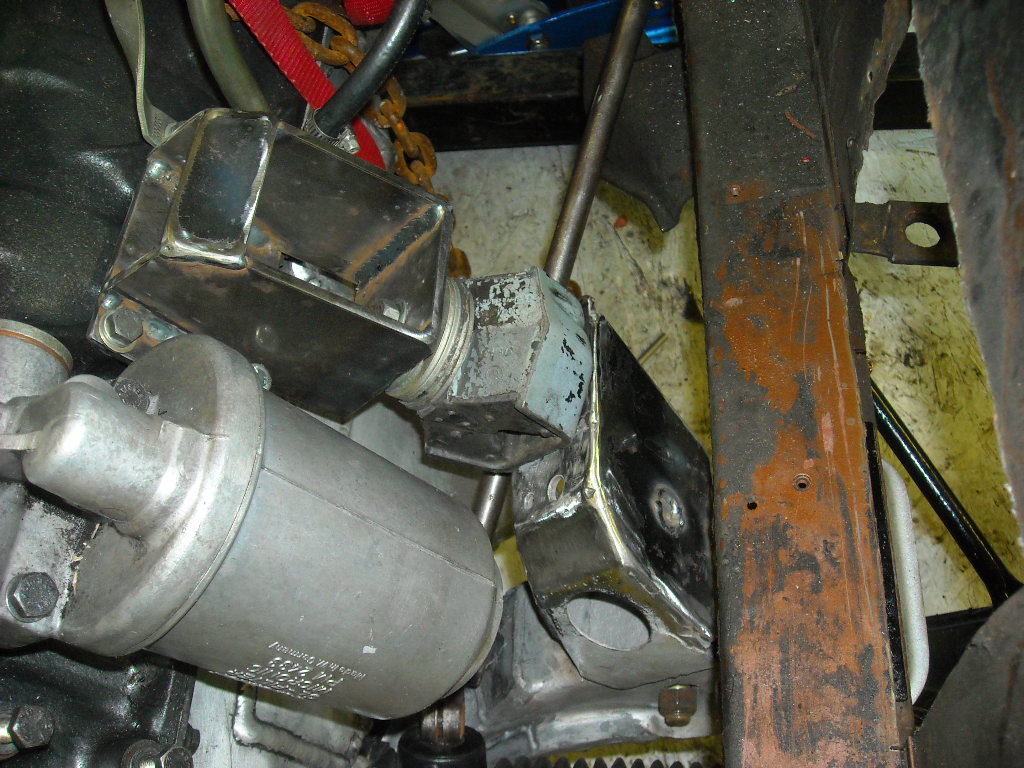
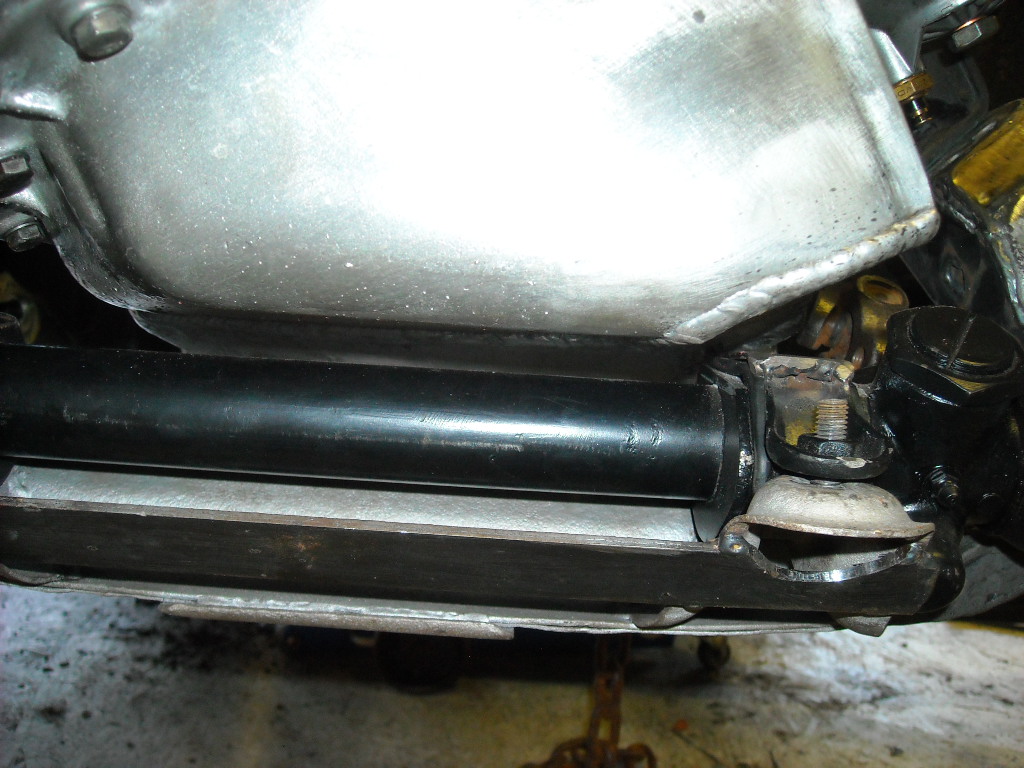
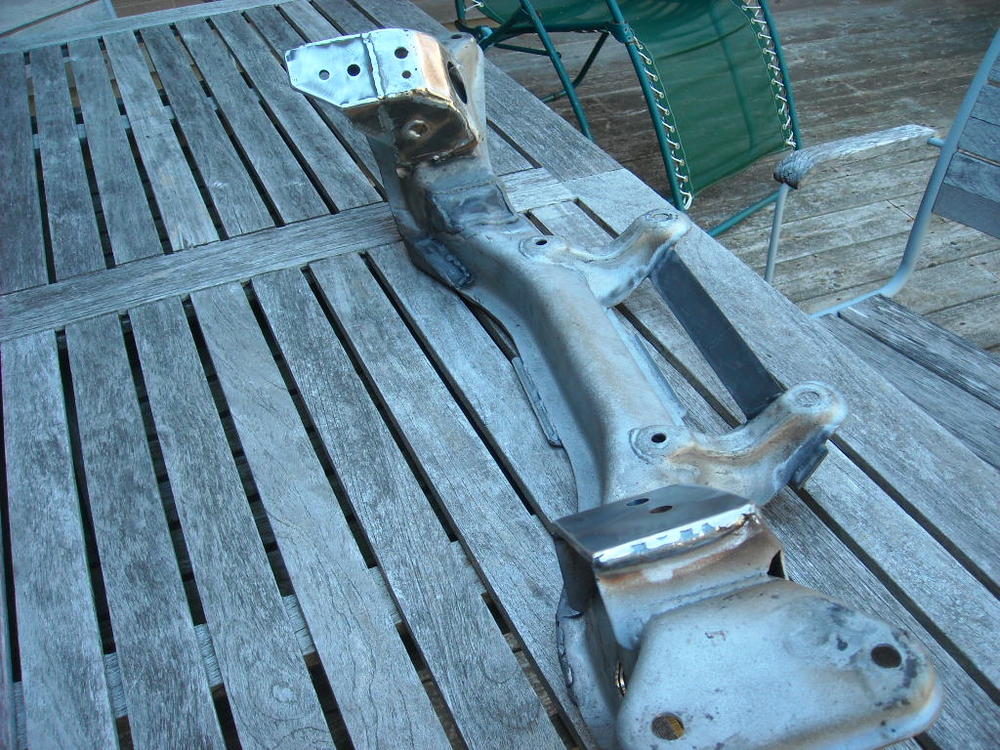
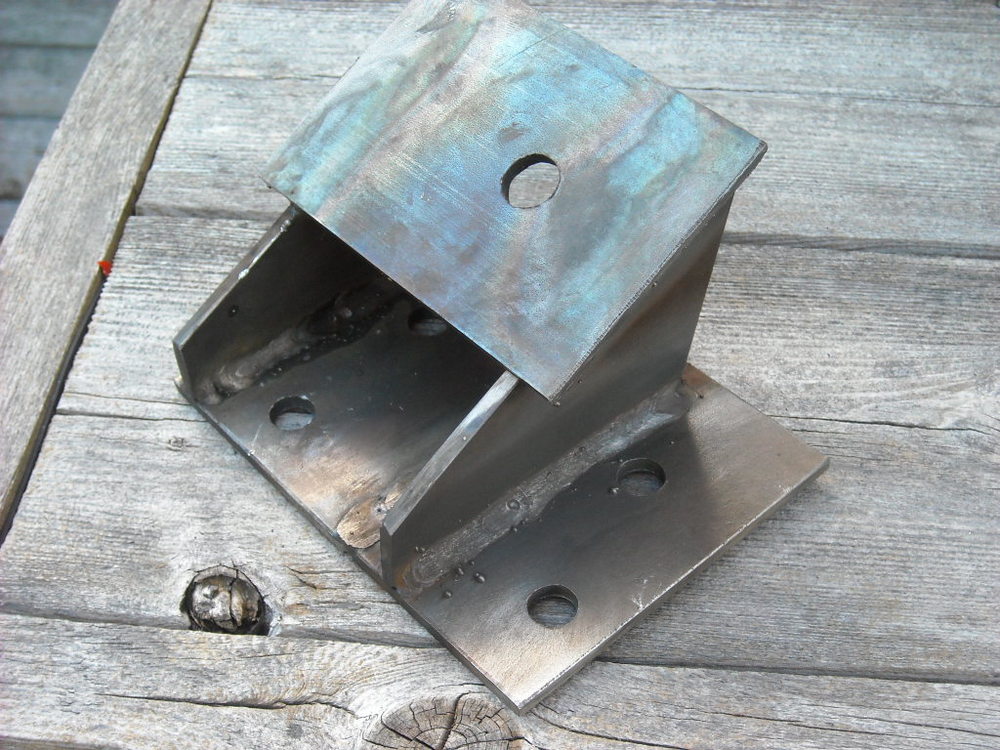
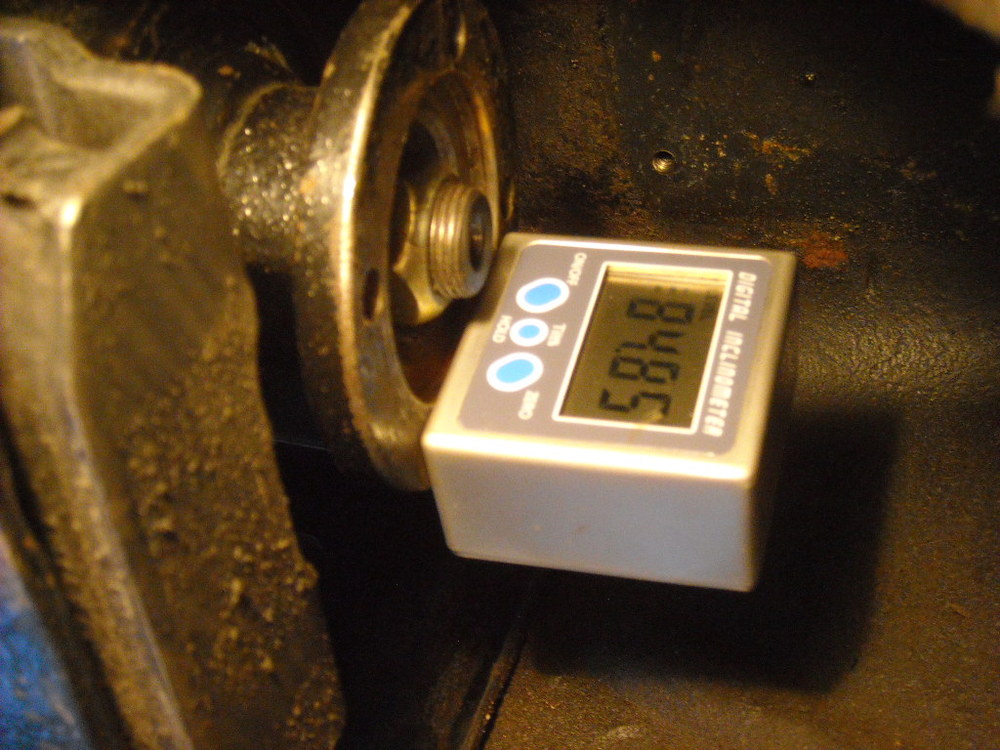
Had to extend the D/S crossmember engine support and shave some from the P/S, also got the motor mounts roughed in today, I know they are way over built but if I get bored over the winter I'll drill some of the weight out of them. On the P/S I'll have to install some kind of heat baffle to keep the rubber mount from melting with the header right above it. I'll stay with this clearance until I get the hood on again, I may be able to give myself a bit more room between the oil pan and steering rack. This is a cool little device that I picked up over the winter to help get the lathe leveled but it's turning out to be fantastic for working out the driveline angles. It's a digital inclinometer, it will filp the reading if it is upside down and you can zero it at any angle which makes really simple to know which way to adjust the shims. Not bad for $30 on ebay. I think I will have to lower the front of the diff. a few degrees and shift the alignment of the transmission over to the P/S so it better lines up with the diff.


 1 point
 -
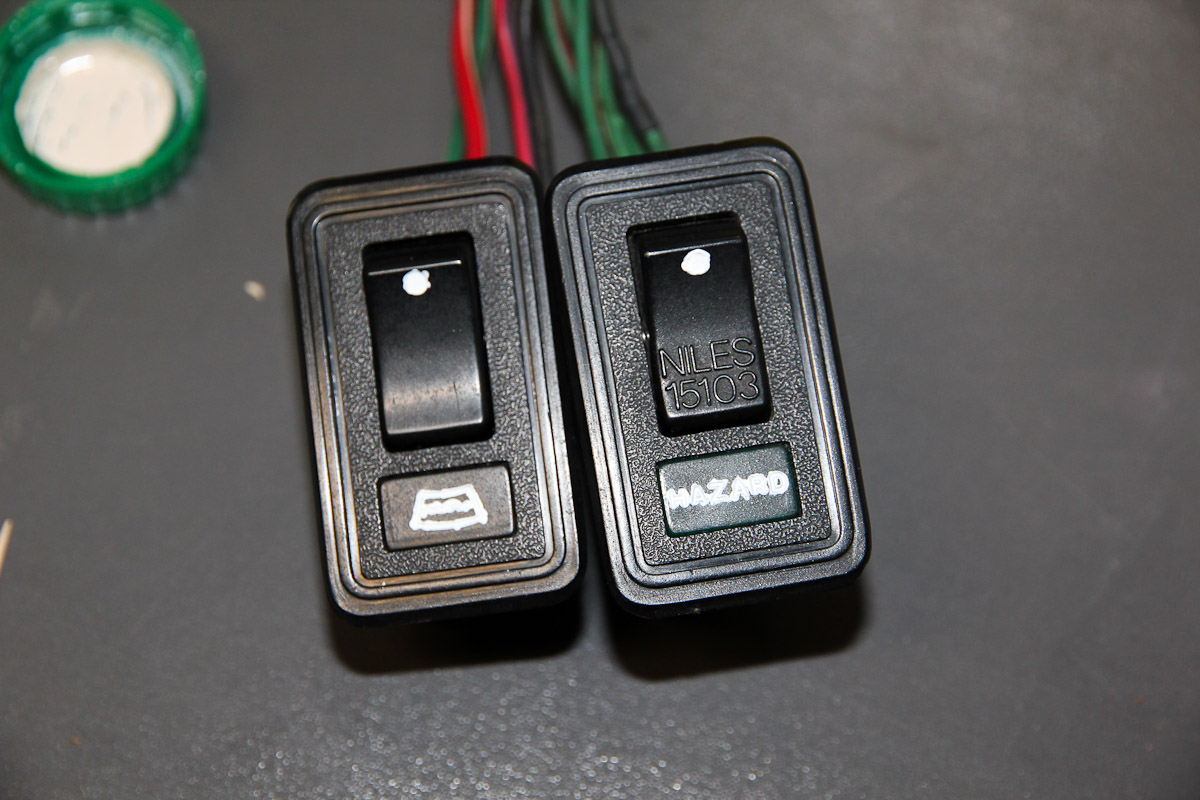
1 pointzKars, just got the switch. Your's is a much better looking switch than the one on ebay Thanks! In fact the electrical connector looks brand new. Do you have more than 1 of these?1 point
-
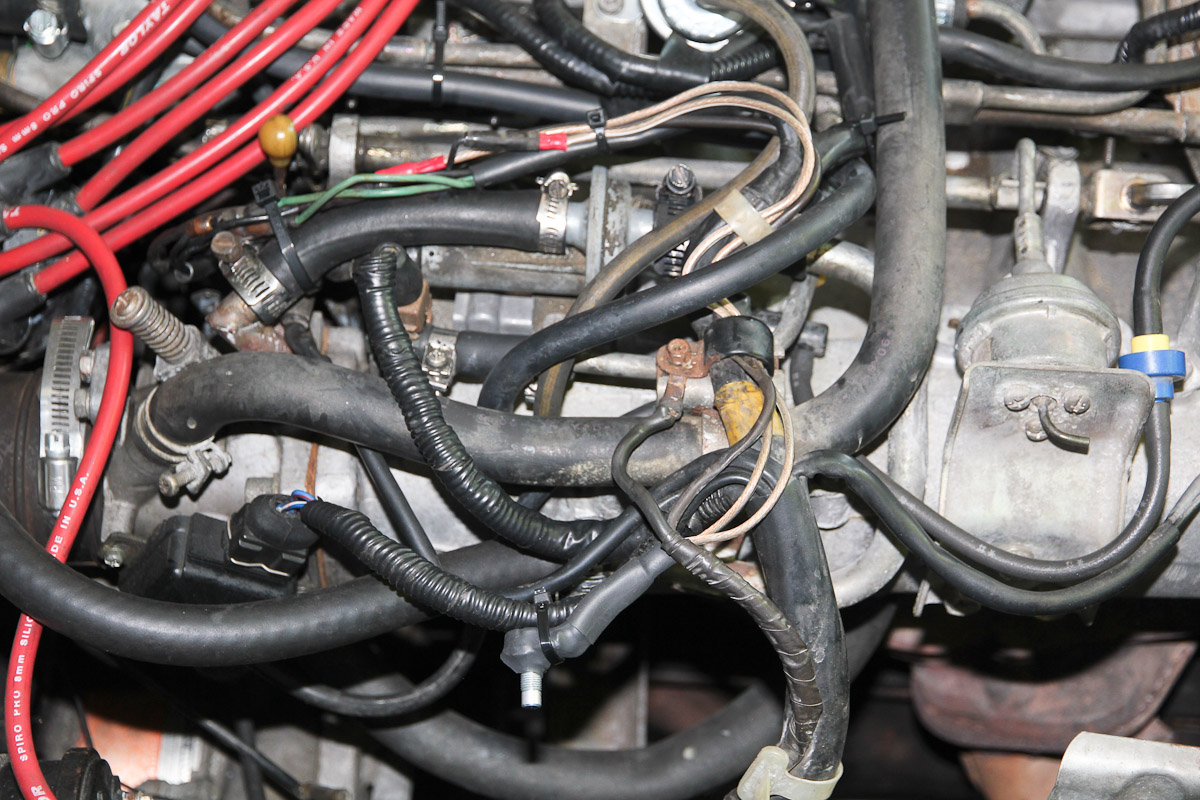
The red arrow points to the control signal line for the evap system. It should also be tied into the distributor vacuum line. It could be the source of a small vacuum leak. The green arrow points to the vacuum supply line for the power brake booster, and it could be the source of a much larger vacuum leak. If your car runs fine with that brake booster line plugged but won't idle with that line connected, then your brake booster is probably leaking internally and needs attention. You also mentioned that you hear a vacuum leak when you first shut off the engine? I suspect your brake booster is toast.1 point
-
Source: http://motor.geocities.jp/atakausa/index.html1 point
-
There is a google app on iPhones and androids that you can just point the camera at the Japanese words and it will translate them to English. All for free. If you have a smart phone get google translate and you'll be reading Japanese in no time!1 point
-
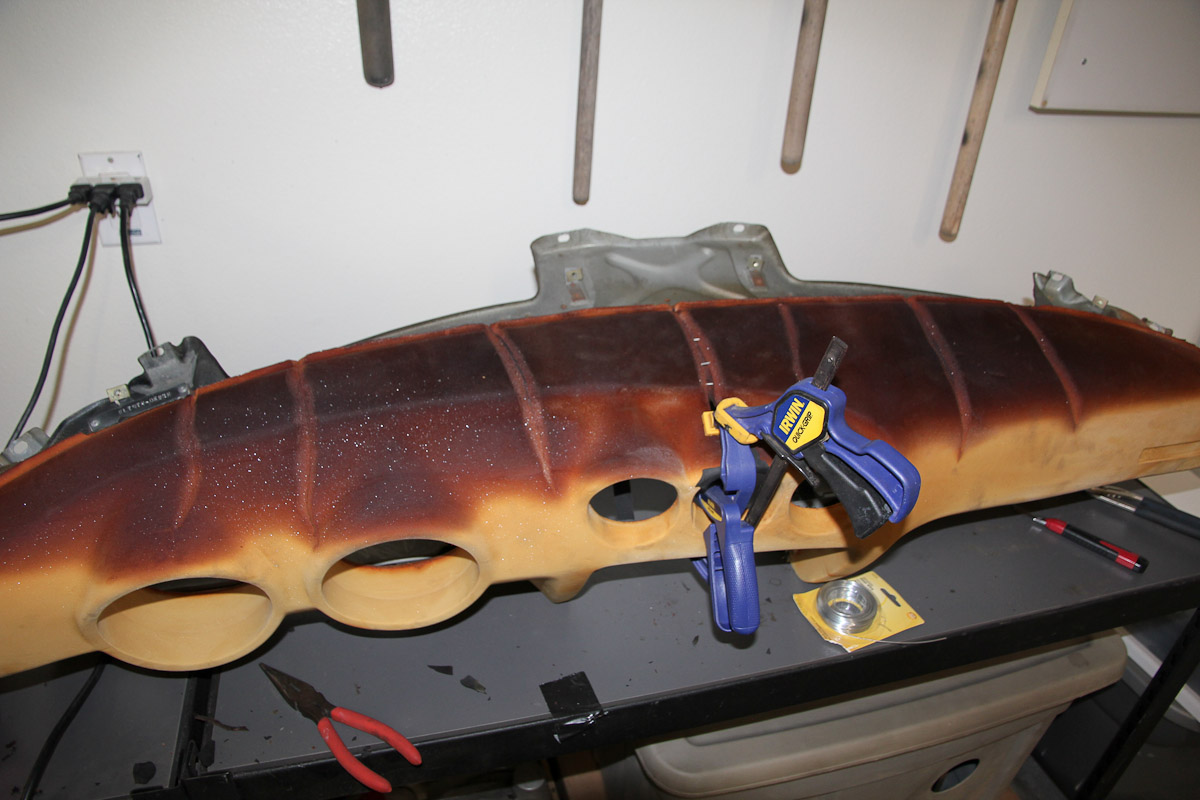
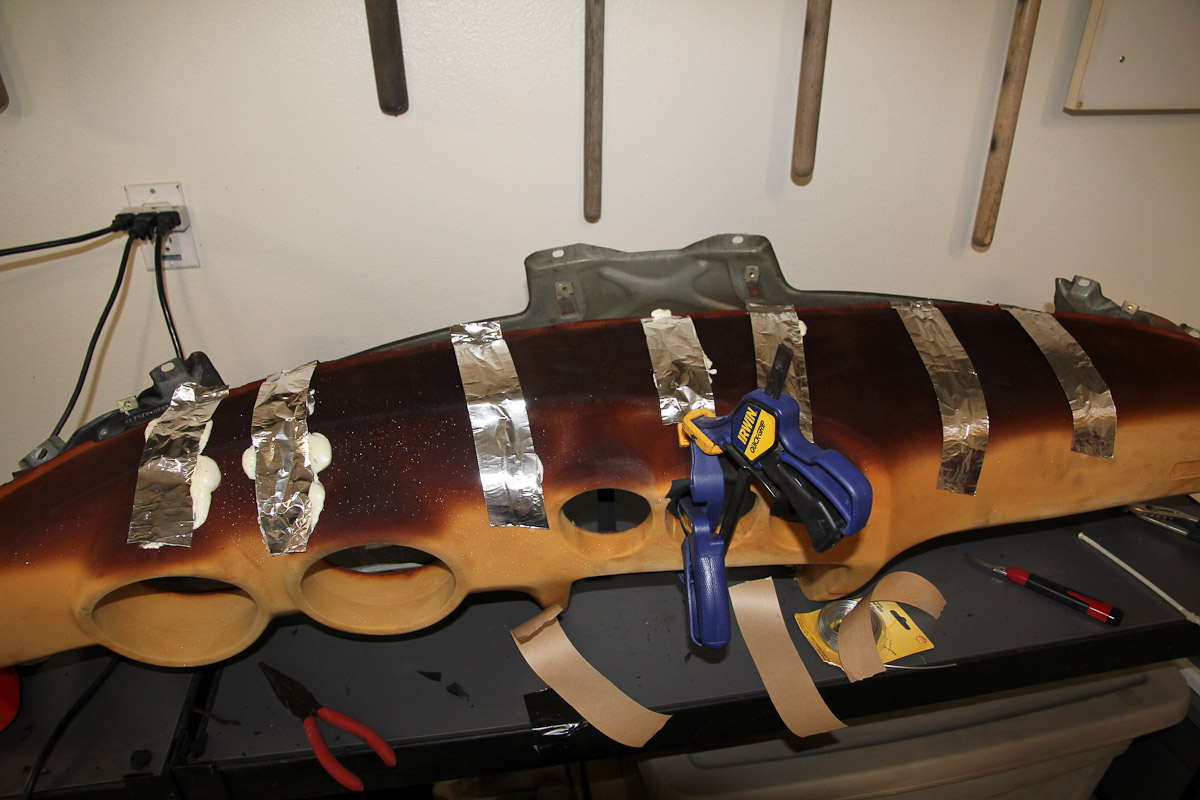
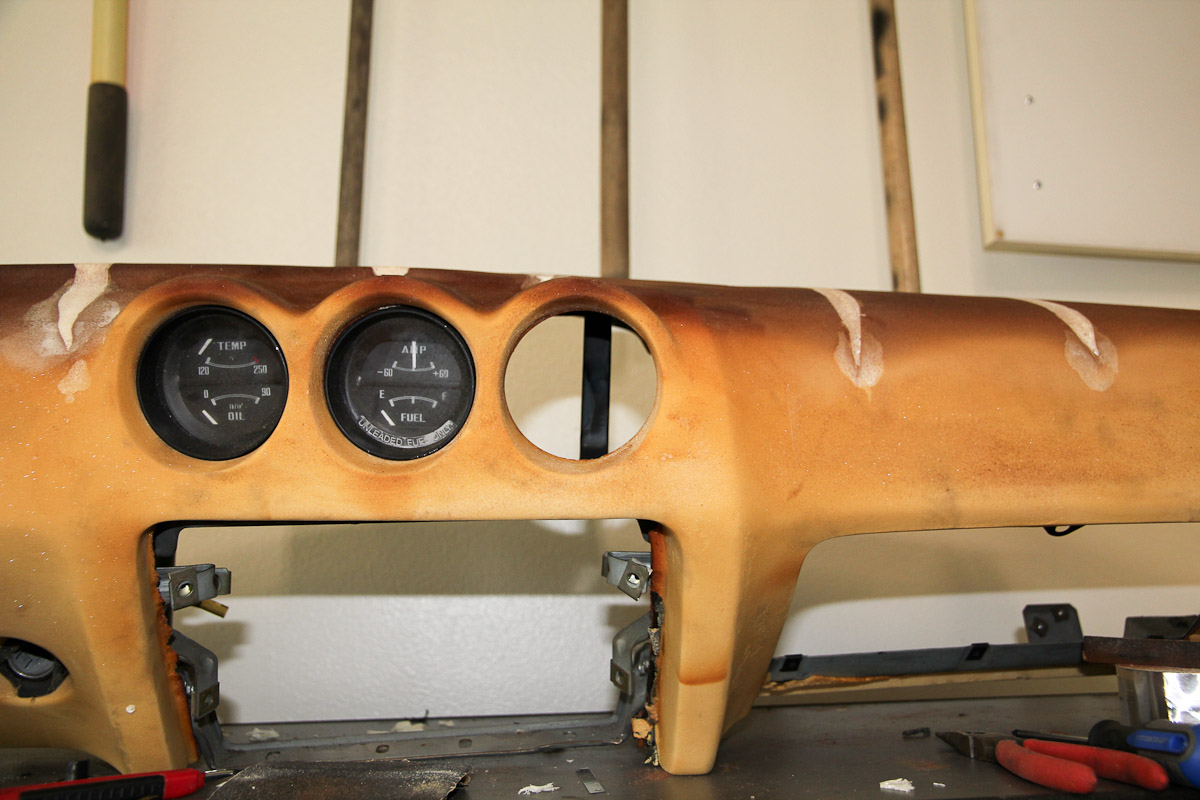
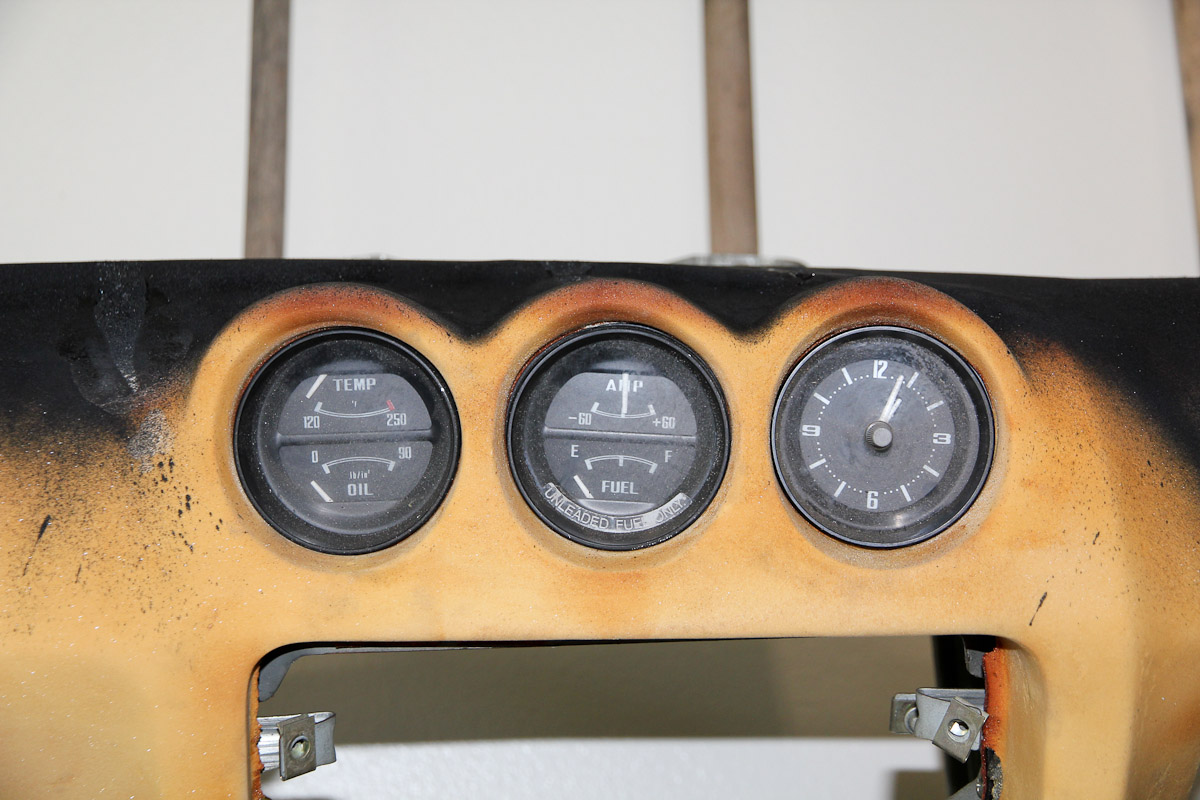
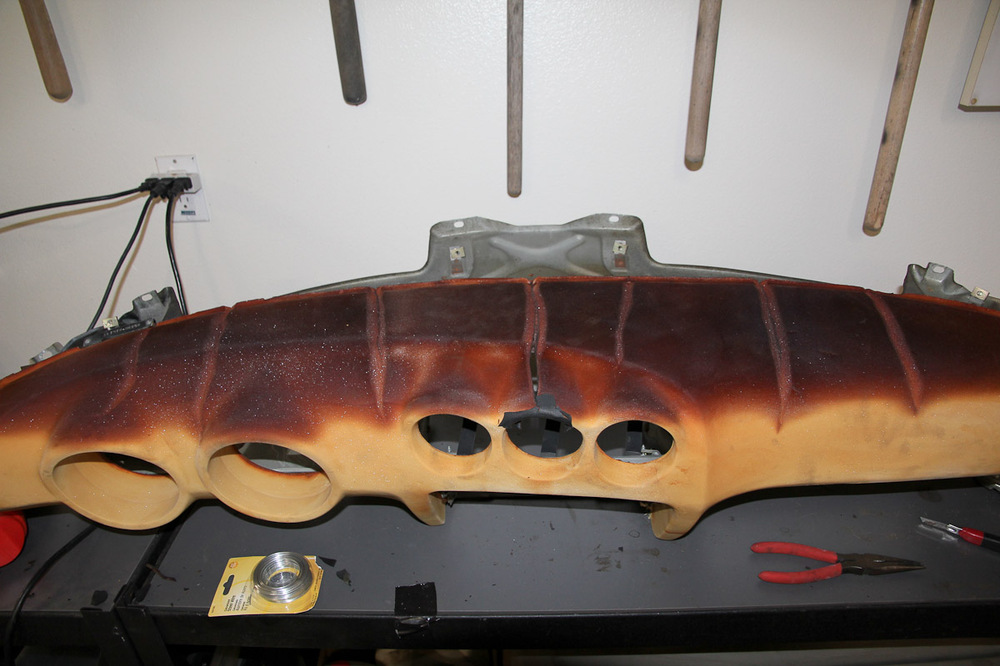
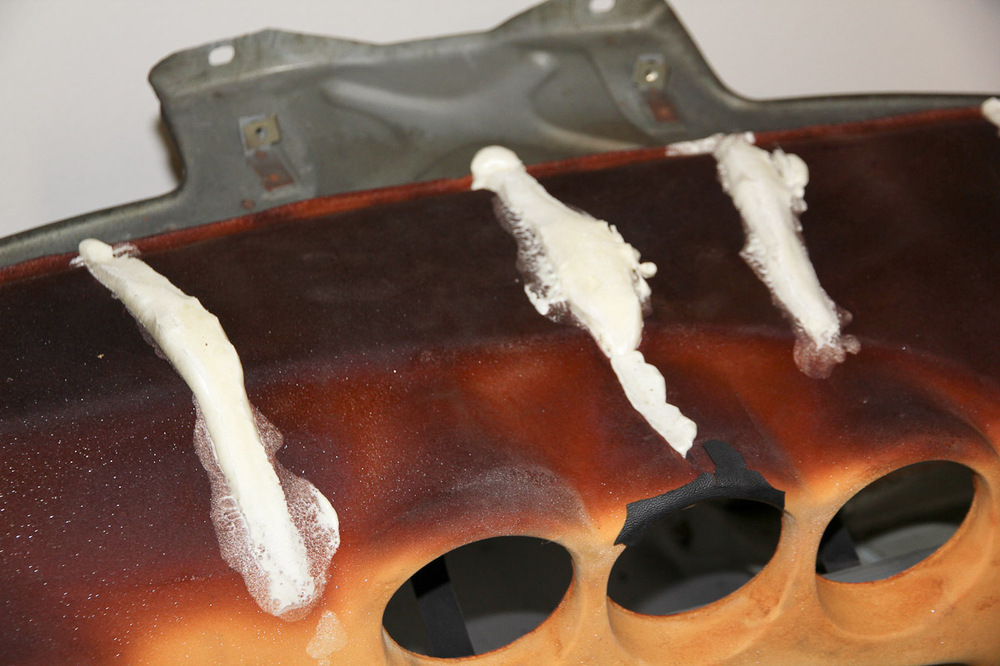
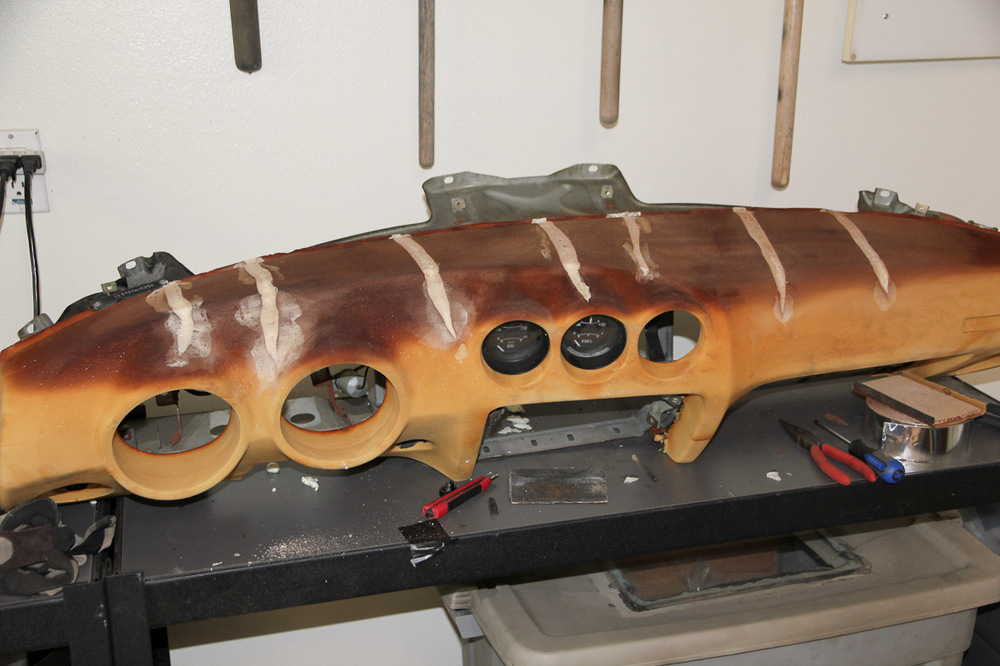
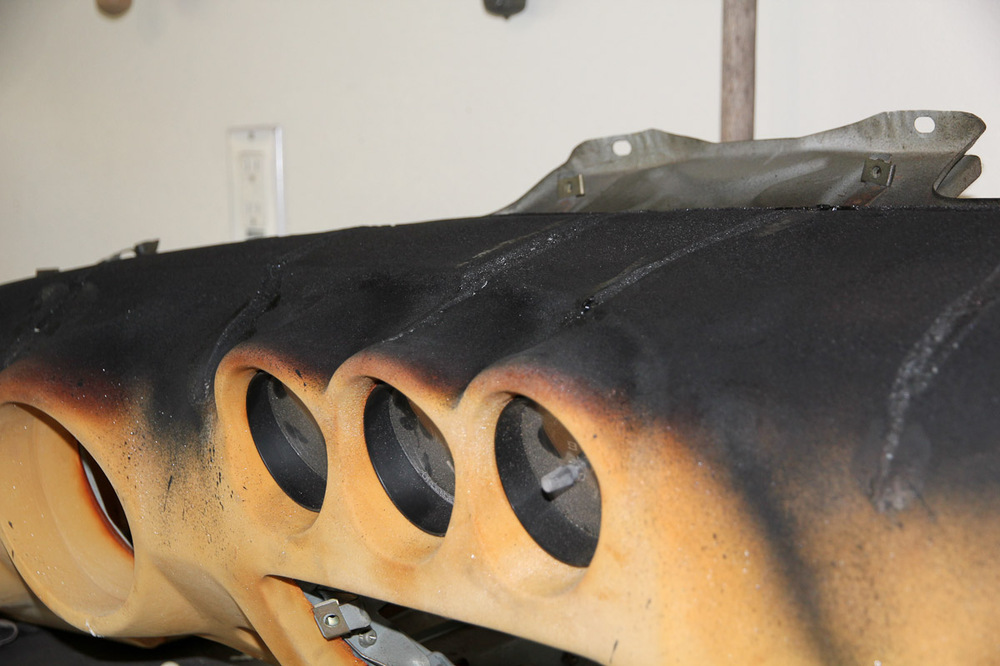
So far, so good. Working first to fill the cracks and get the dash back into shape. Like others, I've used the Great Stuff foam to fill the cracks. I stuck some galvanized wire into the largest crack over the center gauge since it's thin and has nothing else behind it. I put tape over the cracks thinking it might reduce the expansion and make it denser, but I don't think it made a difference or was worth the effort. Side note: I'm a little surprised people have had good and/or long lasting results with the Great Stuff foam, given how much more compliant it is than the rest of the dash. Trimmed off the excess and started with rough shaping, then continued sanding to try and level everything out. Shot a light coat of black paint to try and highlight trouble spots. It's looking pretty good: still some bumps to smooth out and I need to clean up the curve around the gauges. I'd like to get the small gauge housings a bit closer to round as well, especially the clock. Might be able to lay the first layer of glass by next weekend...if UPS can move fast.


 1 point
 -
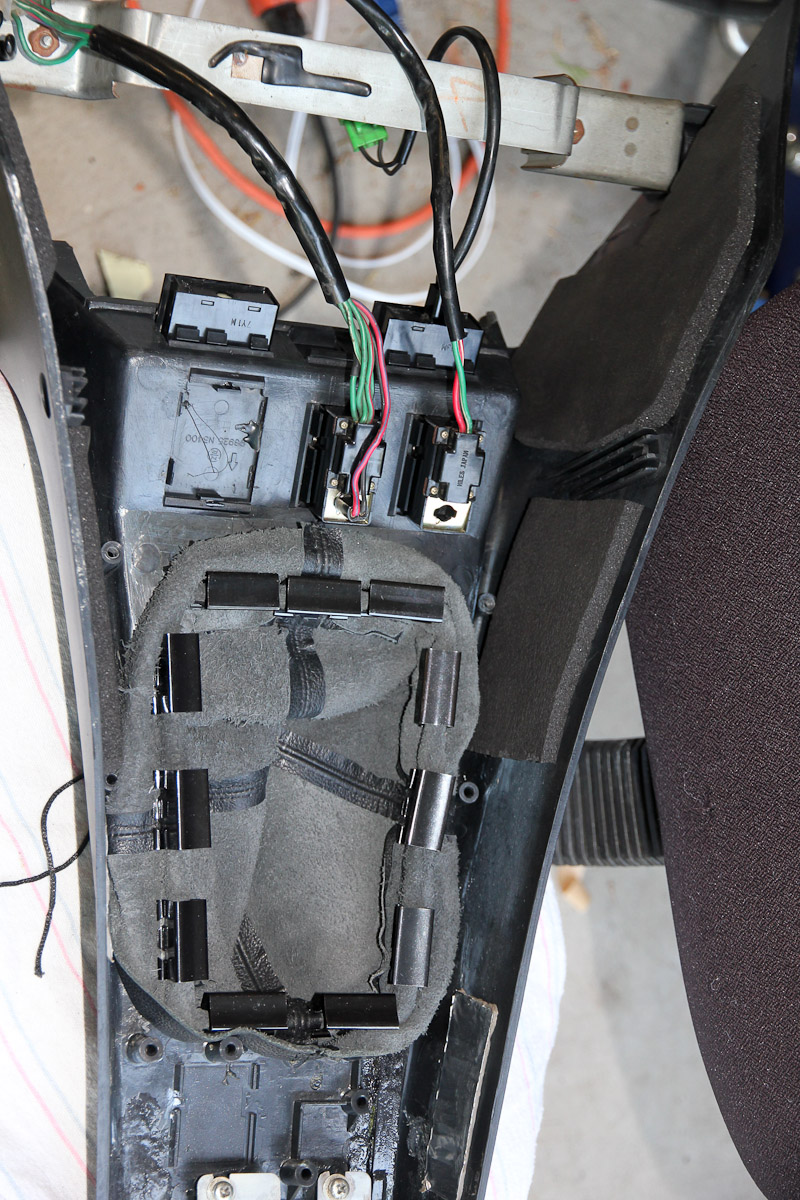
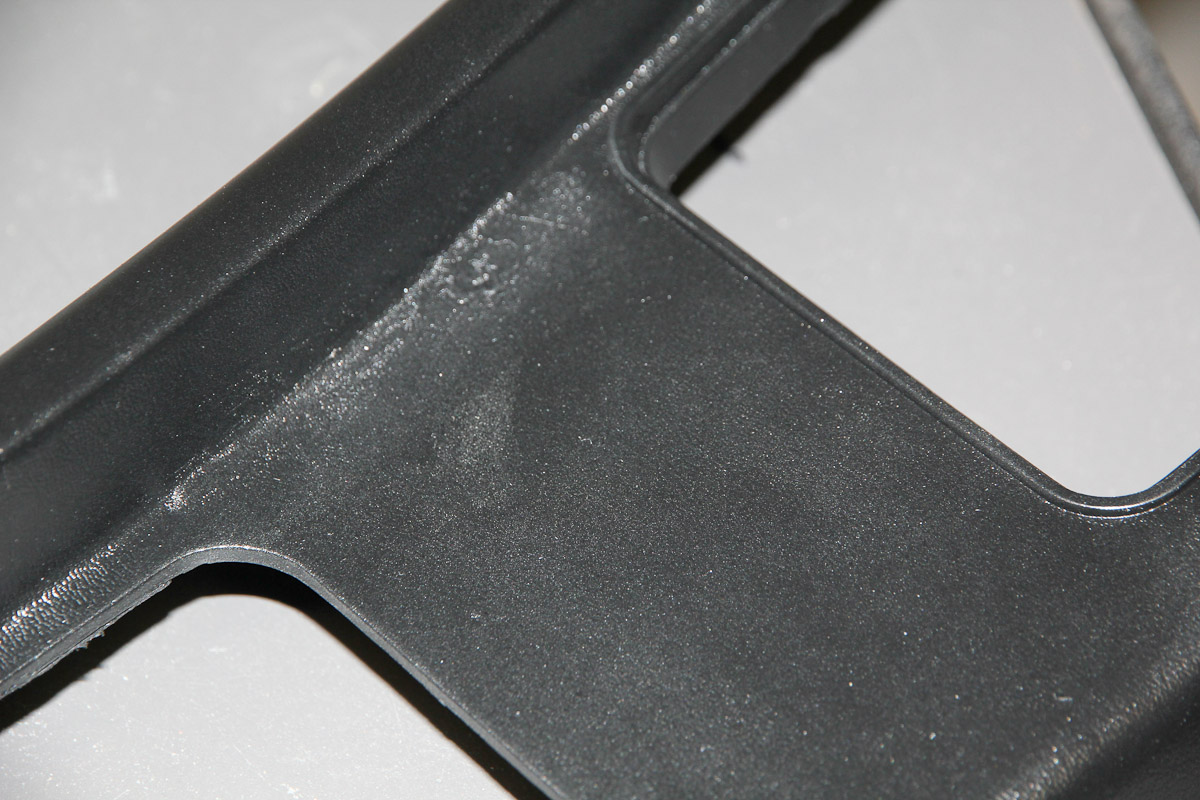
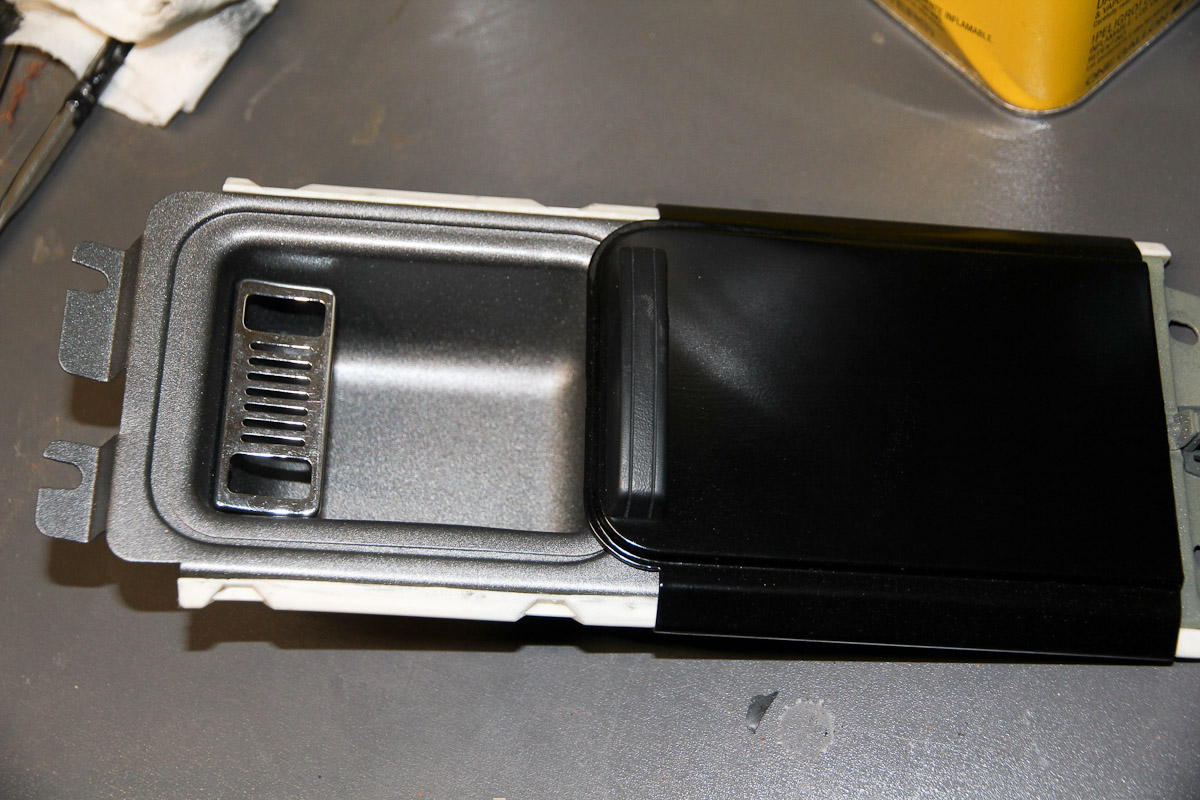
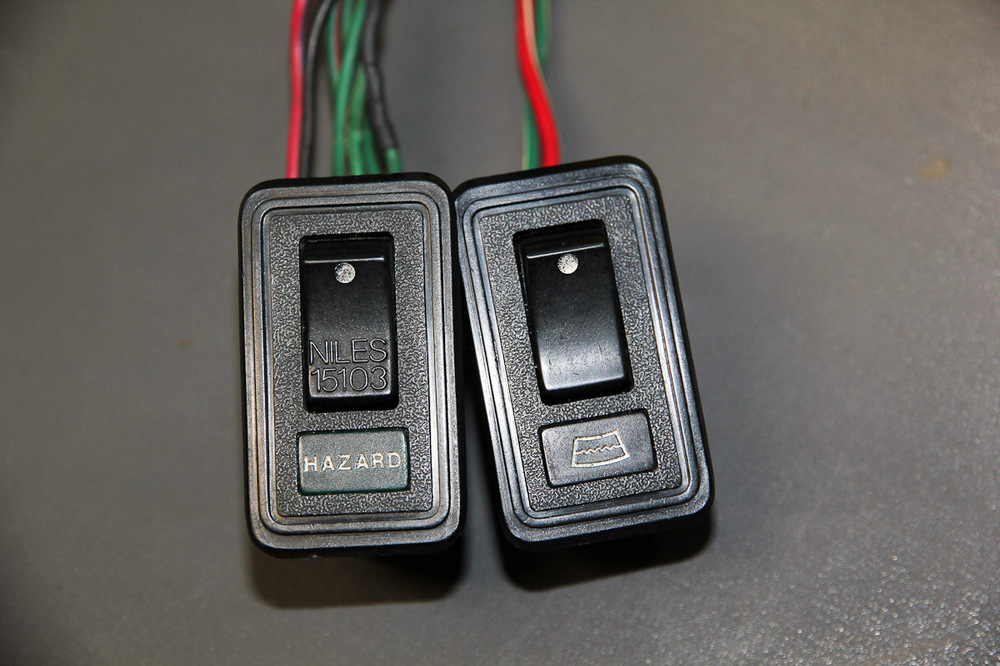
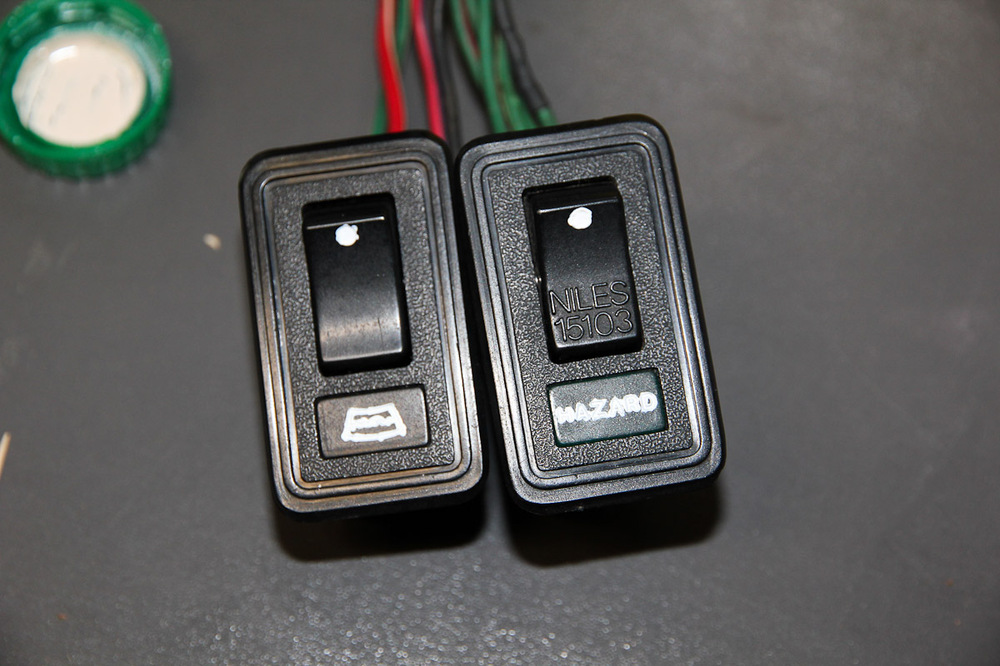
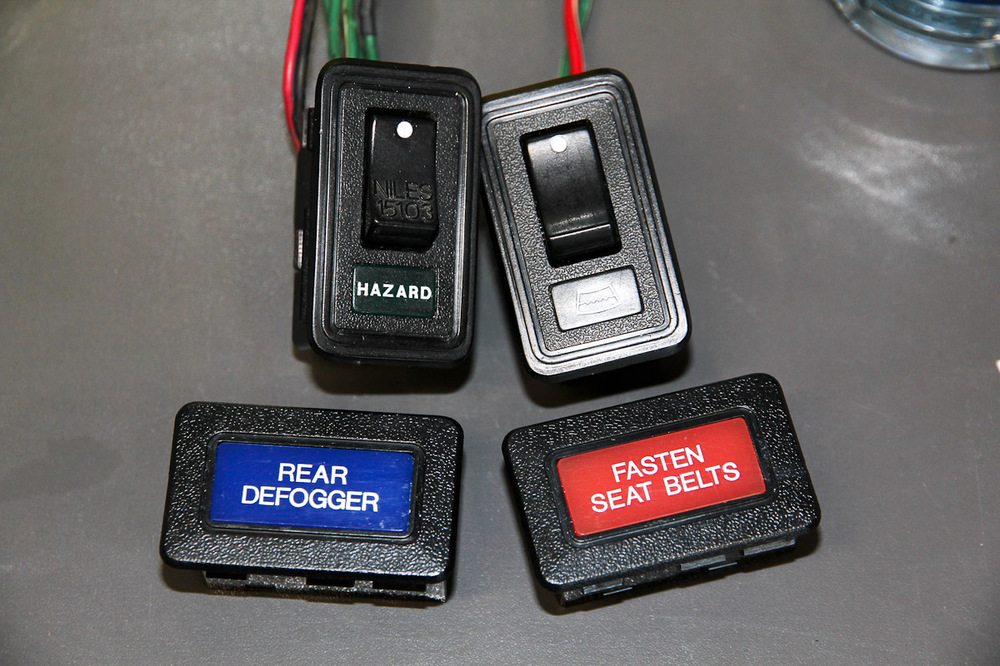
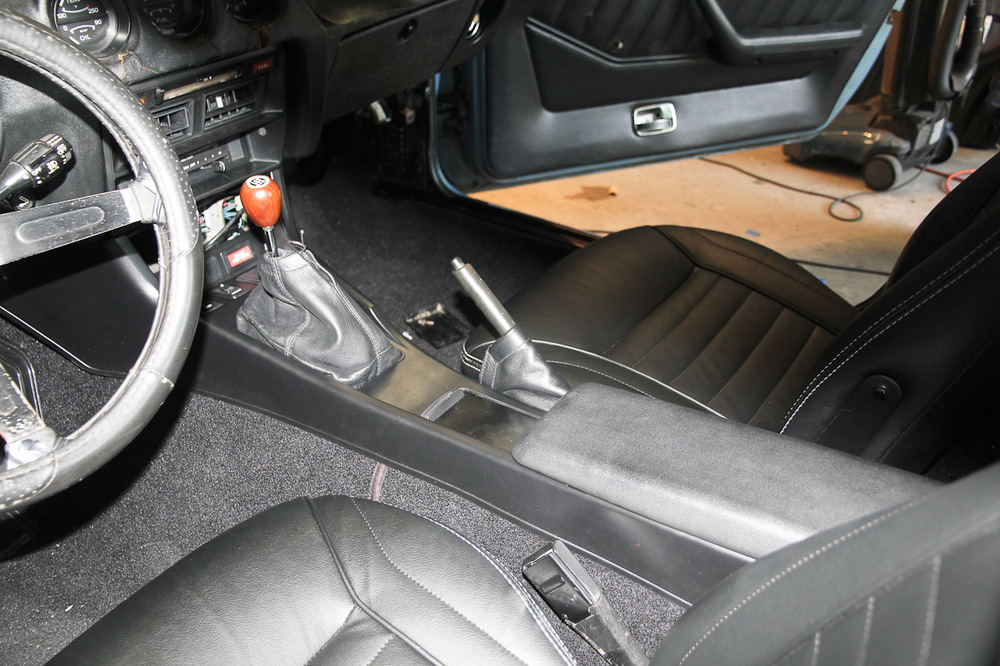
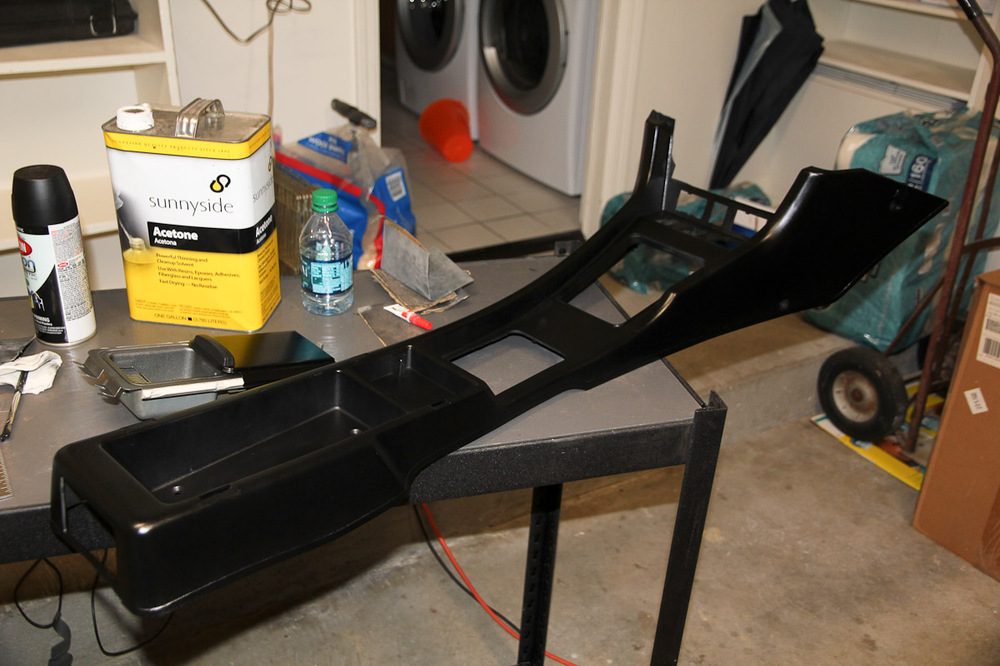
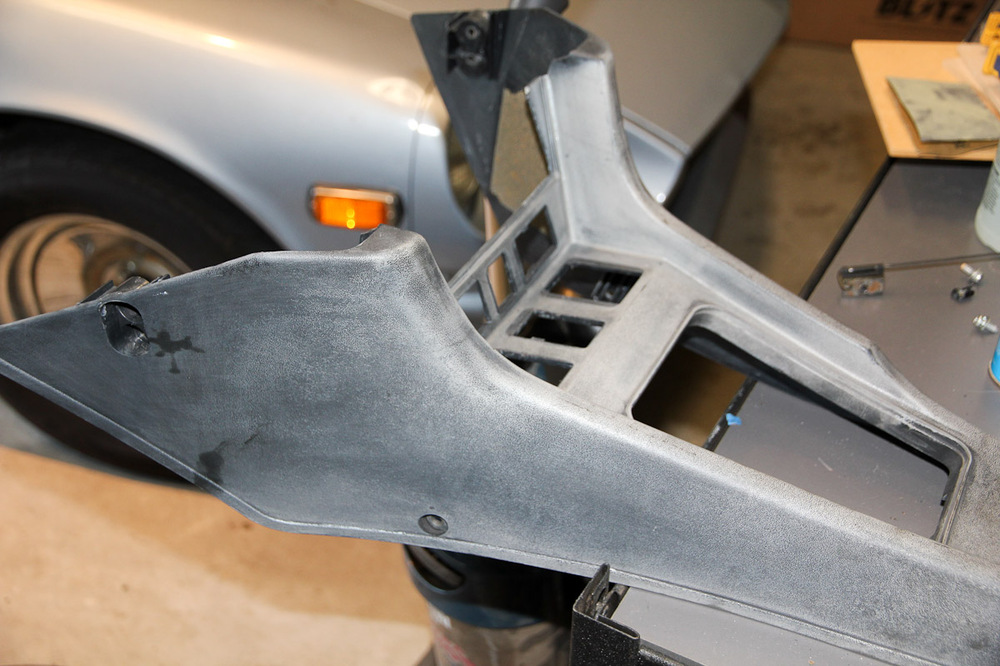
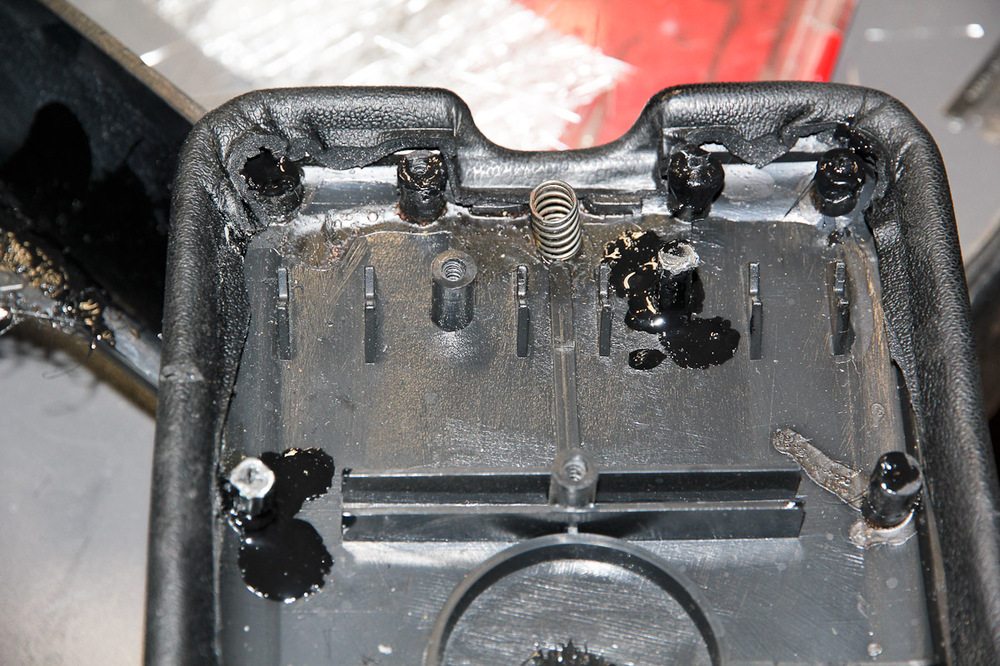
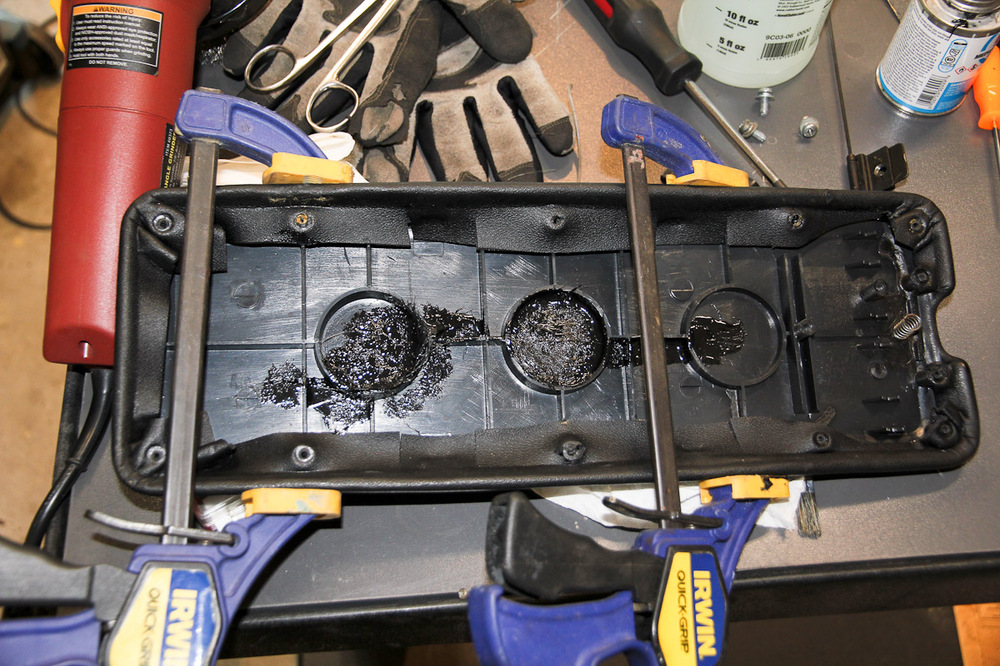
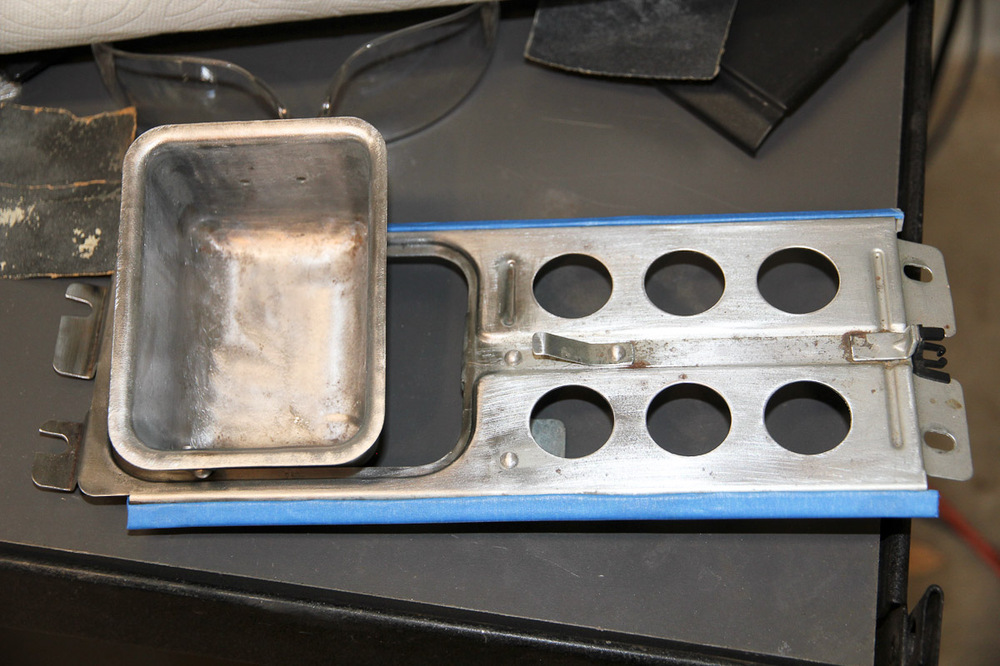
Back from vacation, and finished up the console. Thoroughly cleaned and touched up the lettering on the switches and indicators (too bad most of them are missing the bulbs and wiring -- more to add to the list). Raided the office supply closet to get some clips to hold on the shift boot and stuck Raammat and foam in there to beef up the plastic a bit. Sprayed a couple coats of clear on the console. It actually came out looking better than I expected it to. Now I wish I spent more time cleaning up that choke slot. No more putting it off: that dash isn't going to fix itself.


 1 point
 -
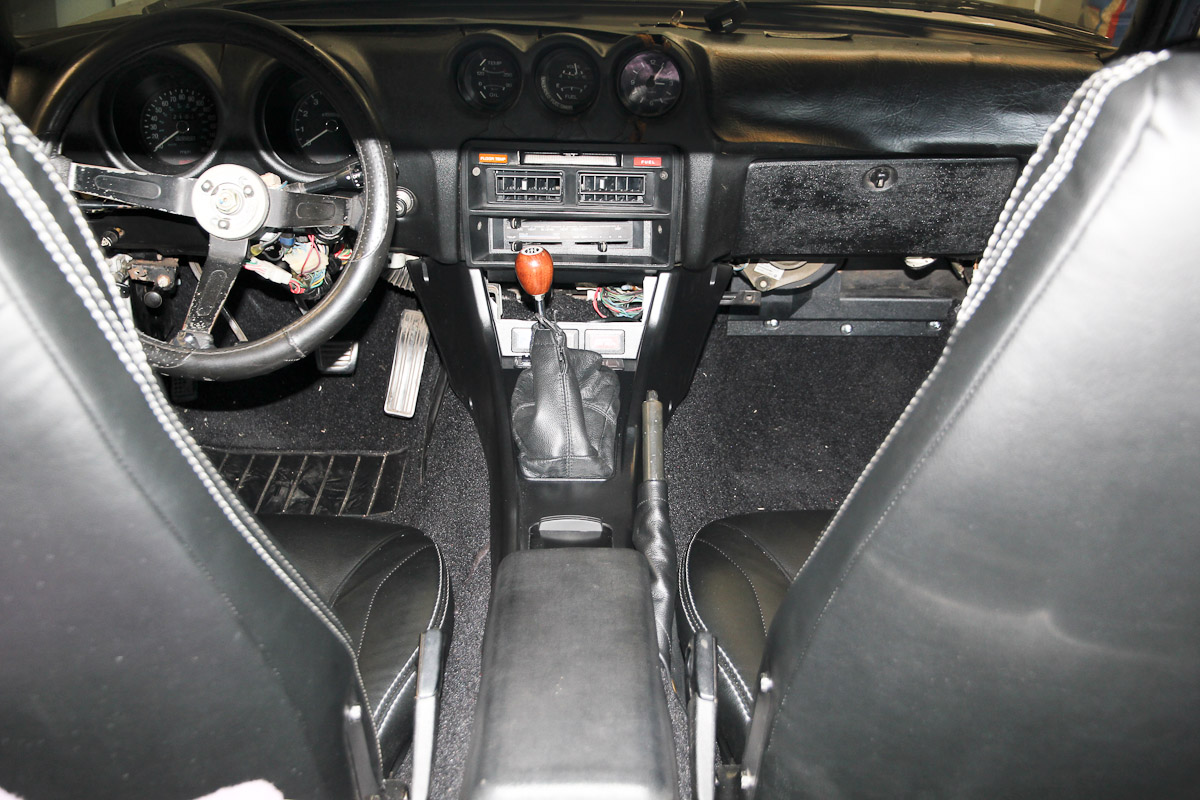
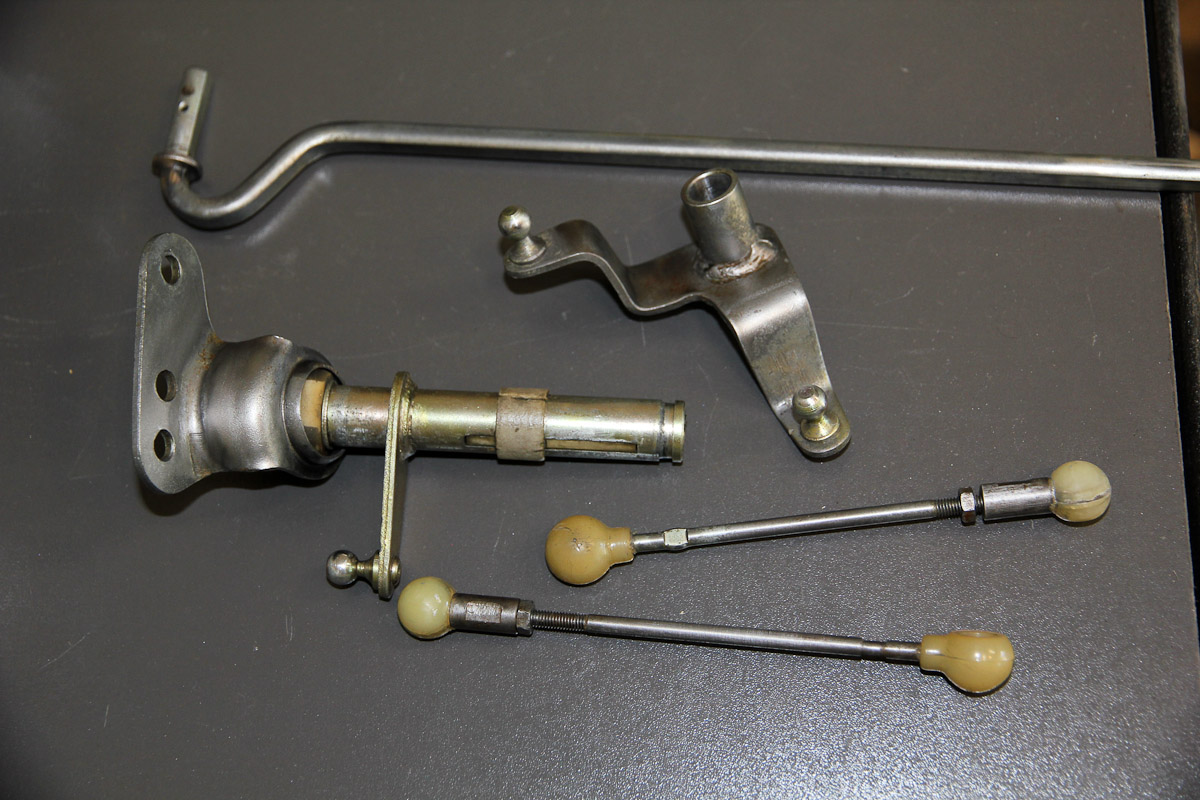
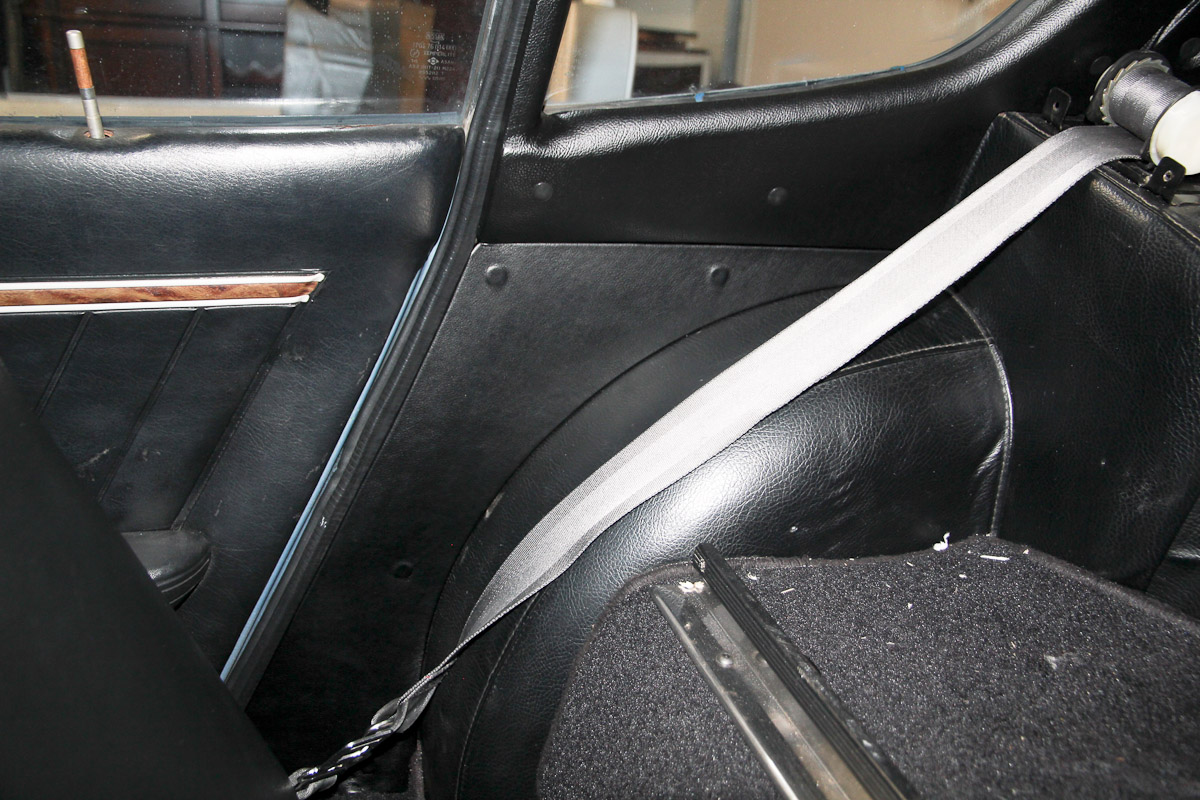
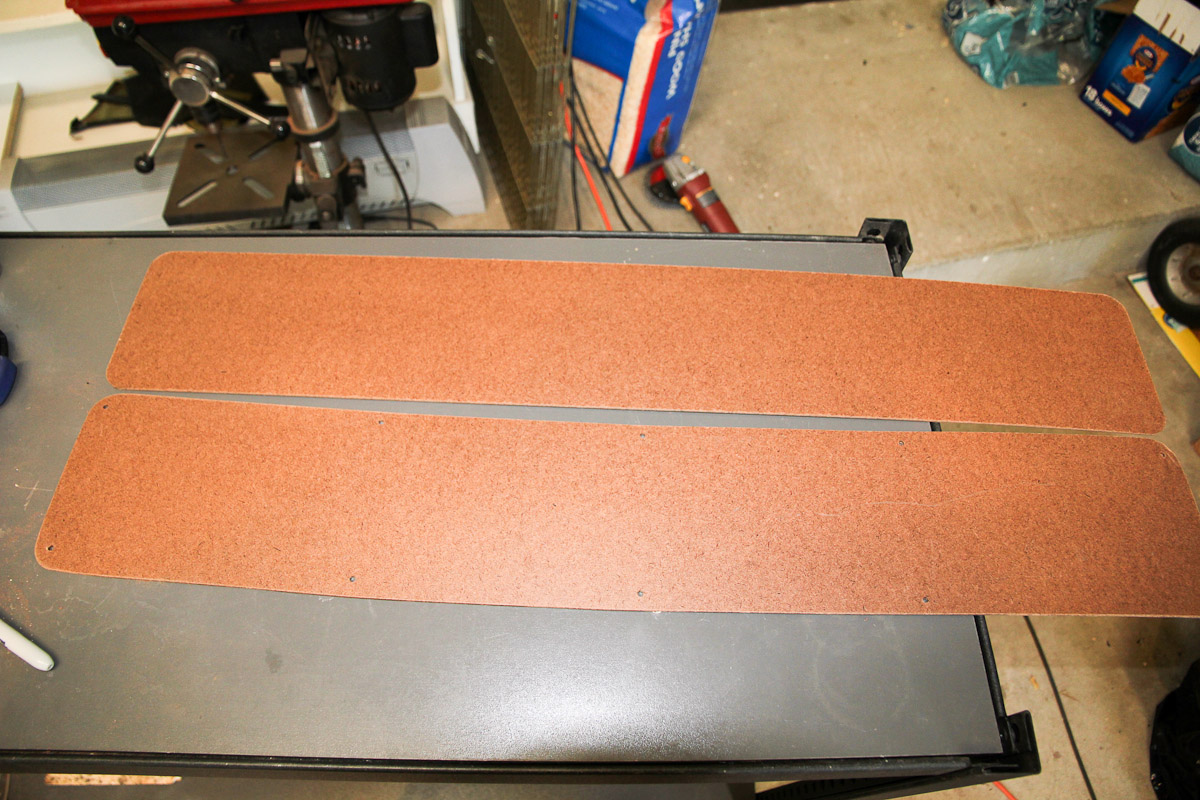
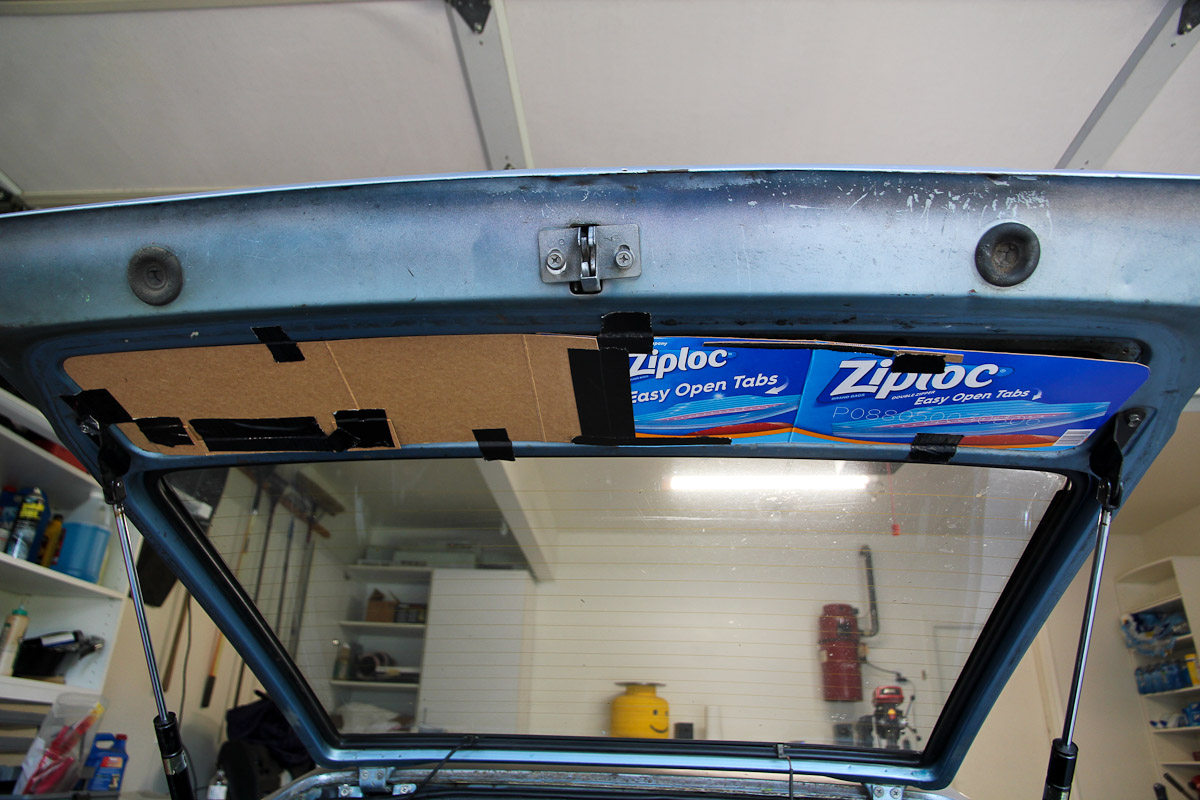
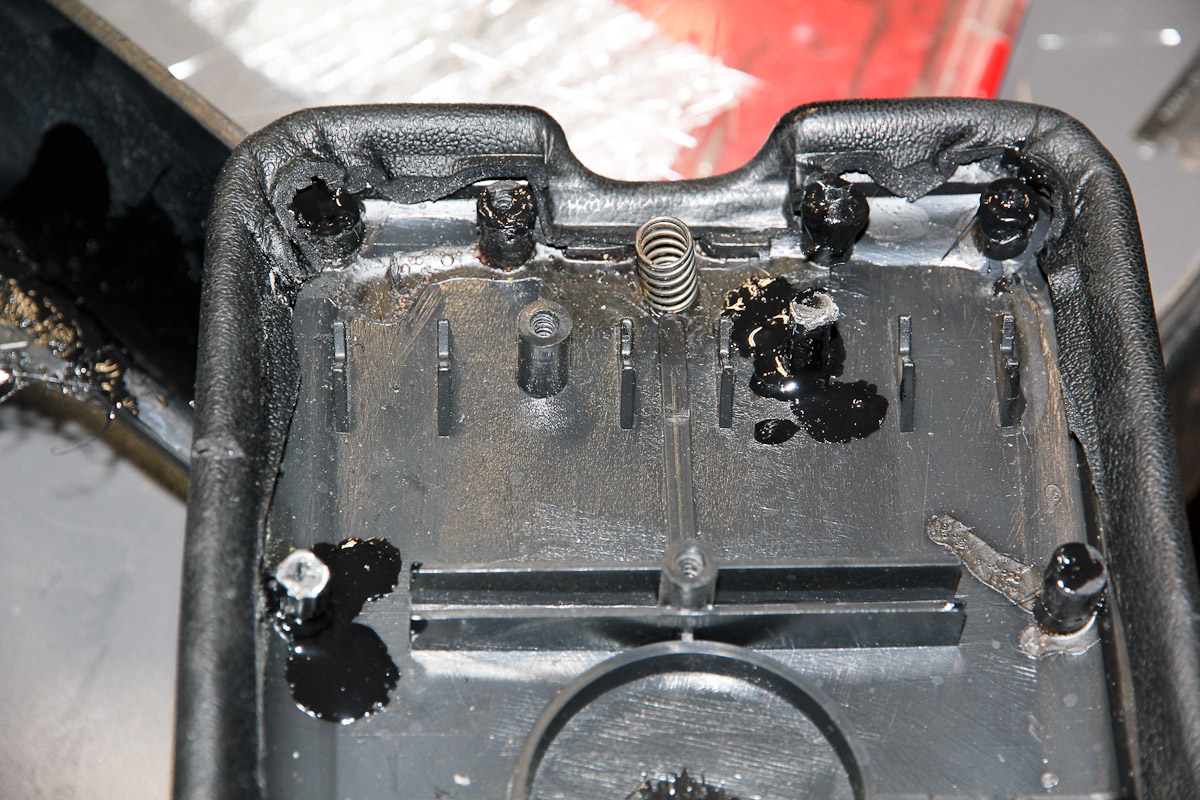
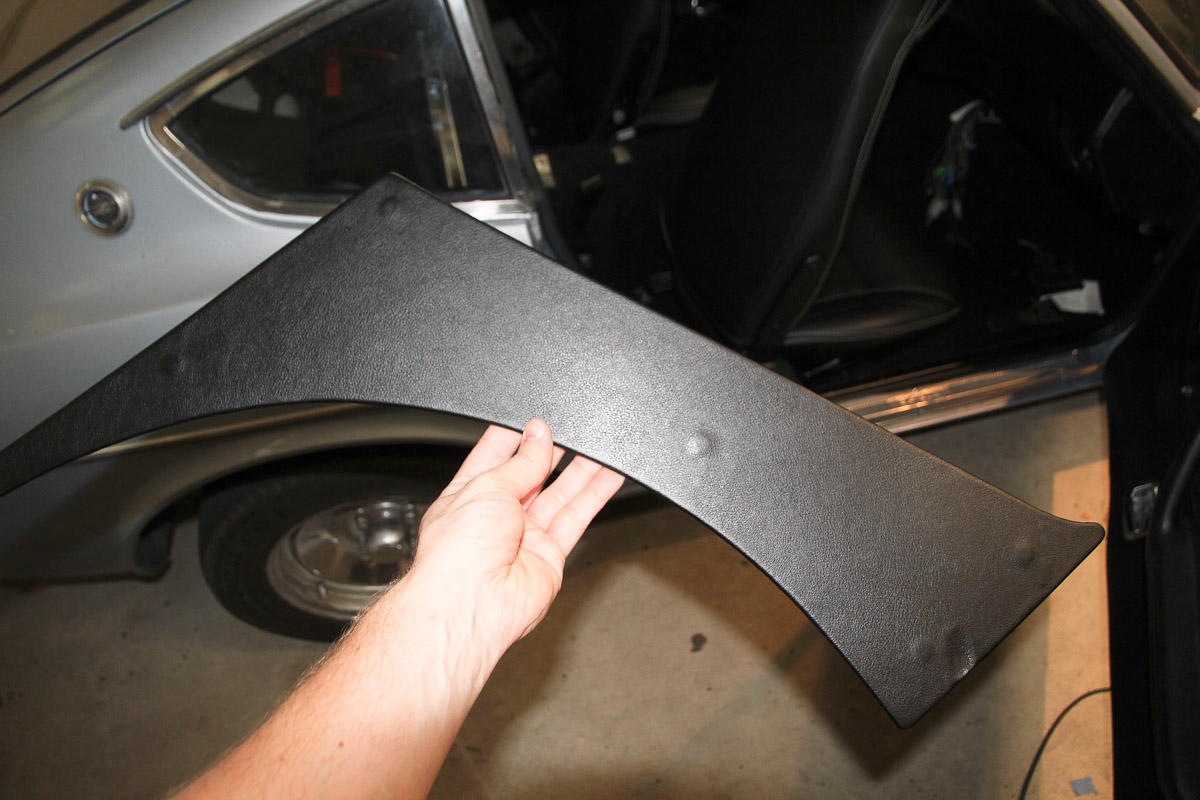
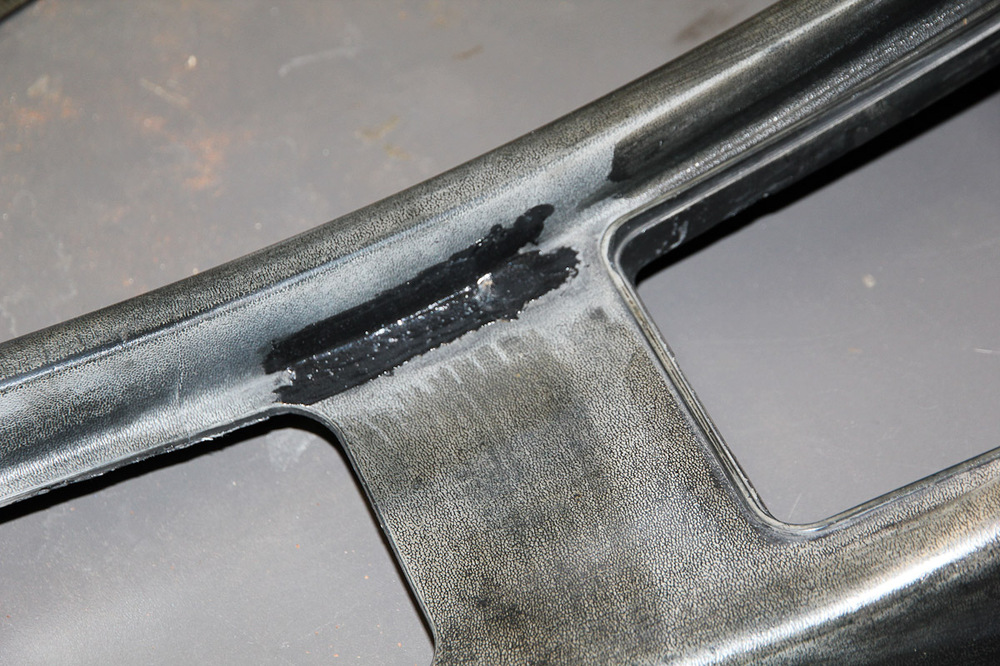
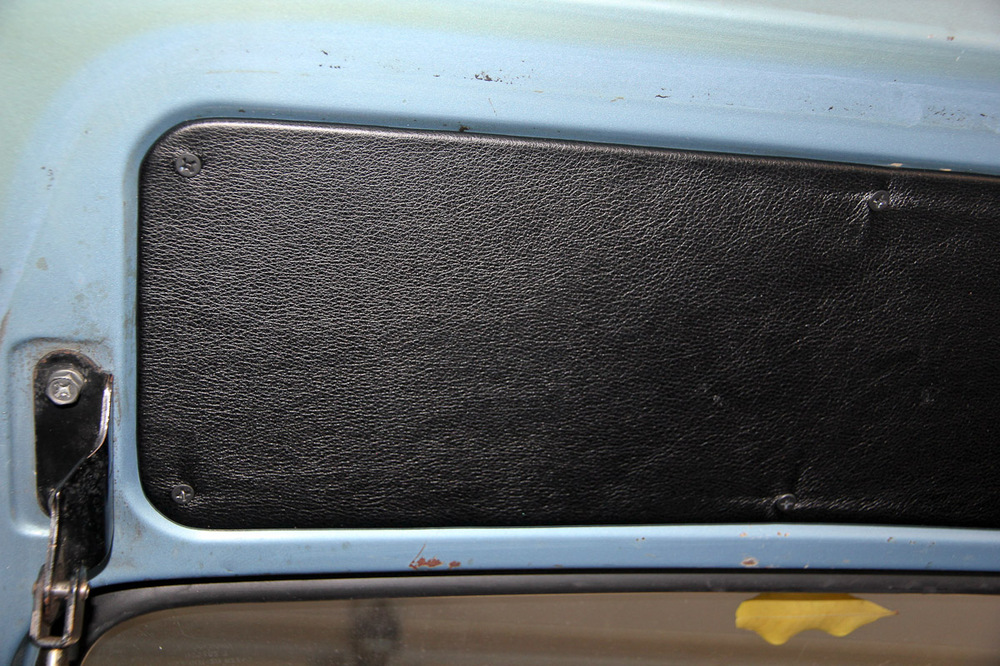
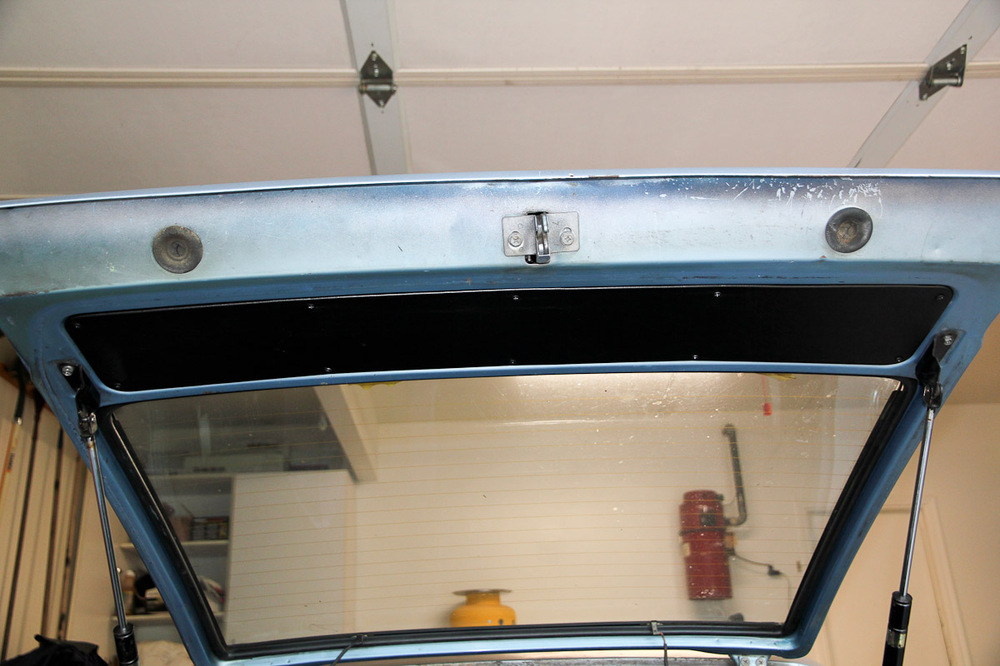
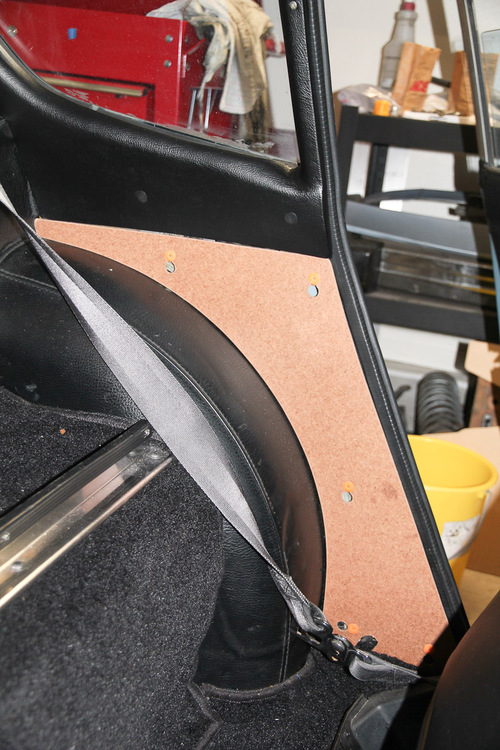
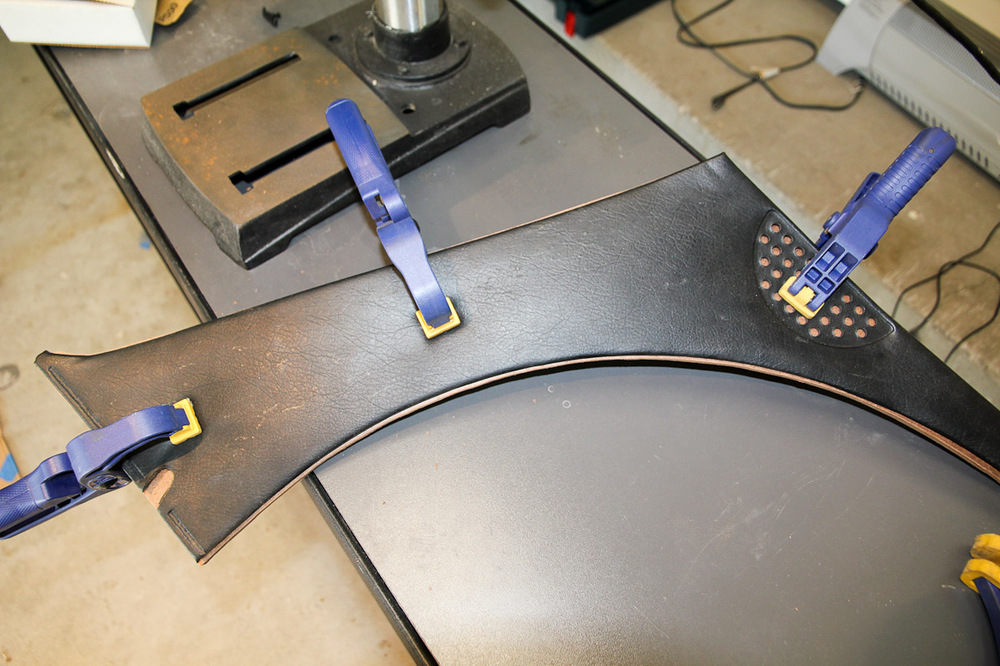
Been kind of a while without an update. Mostly dealing with some little things here and there whenever I can find some time. The throttle linkage had been giving me minor problems for a while, so I cleaned, straightened, spray painted, lubricated and adjusted everything and it's much better. Flushed the cooling system and added the coolant temp potentiometer. Also made a few interior bits. The B-pillar/dog leg pieces and the hatch finisher had all but disintegrated over the years. I always think I take plenty of photographs while I'm working on this stuff and then find out later that I usually don't even get a good before and after, so take my word for it that they were in rough shape The dog legs took two tries; the first go around I used the old one as a template without removing the vinyl since I didn't want the whole thing crumbling. That didn't fit well enough, so I made another pair (no vinyl on the old one this time) that fit significantly better. The hatch piece actually took three tries. The first one wound up on the roadside somewhere between home and the office when I left it on the back window. The second one went in the trash, because it turned out that that piece isn't the simple rectangle that I thought it was. Third time's a charm! Everything was covered in the same vinyl that I used for the scuff plates, which is the closest to the original stuff I could find at Joann's. And then the center console. The one I have is pretty well beat up -- aside from being dirty, it had some bad paint on it, the armrest was broken, ashtray rusty, etc. -- but I don't really want to spend my limited budget on a new one right now if I can get it to Good Enough, so that's what I did. The ashtray I cleaned up as best as I could with a wheel and sandpaper, then sprayed it with the wheel paint I used for the tail light panels. The sliding cover got a coat of Rustoleum. The armrest was cracked along the middle, so that was glued and fiberglassed together. Someone covered it in the past with some foam rubber, which I left, but the studs for the screws had all been split open or broken off. Those were glued back together. I also stumbled upon a way to replace ones that were missing entirely: acid shop brushes dipped in ABS cement and cut to length. The rest of the console got a thorough cleaning to remove as much of the old paint as possible. I glued/glassed some cracks back together and tried to fill in the choke slot, which was only a modest success. I sprayed the whole thing with Krylon Fusion and am hoping it holds up alright. It looks decent (and way better than it did), so if it lasts for a year (or even until I can do the dash) then that's good enough.


 1 point
 -
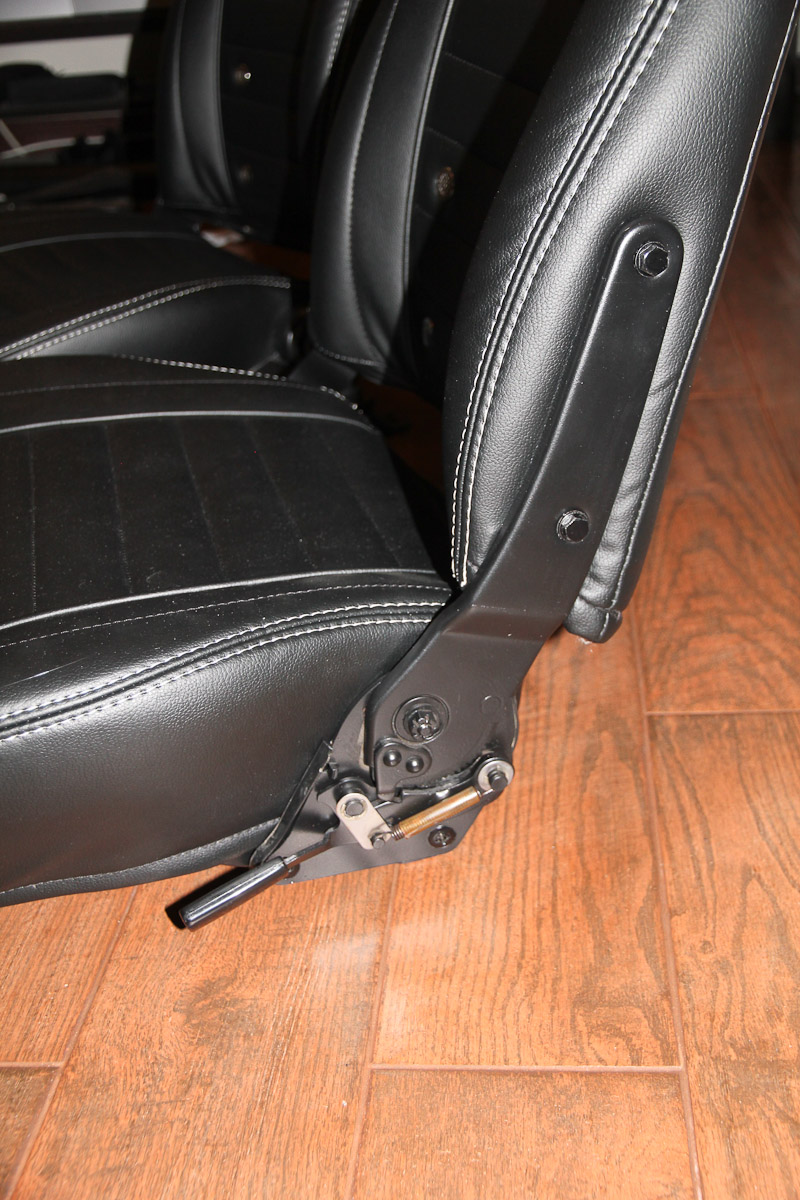
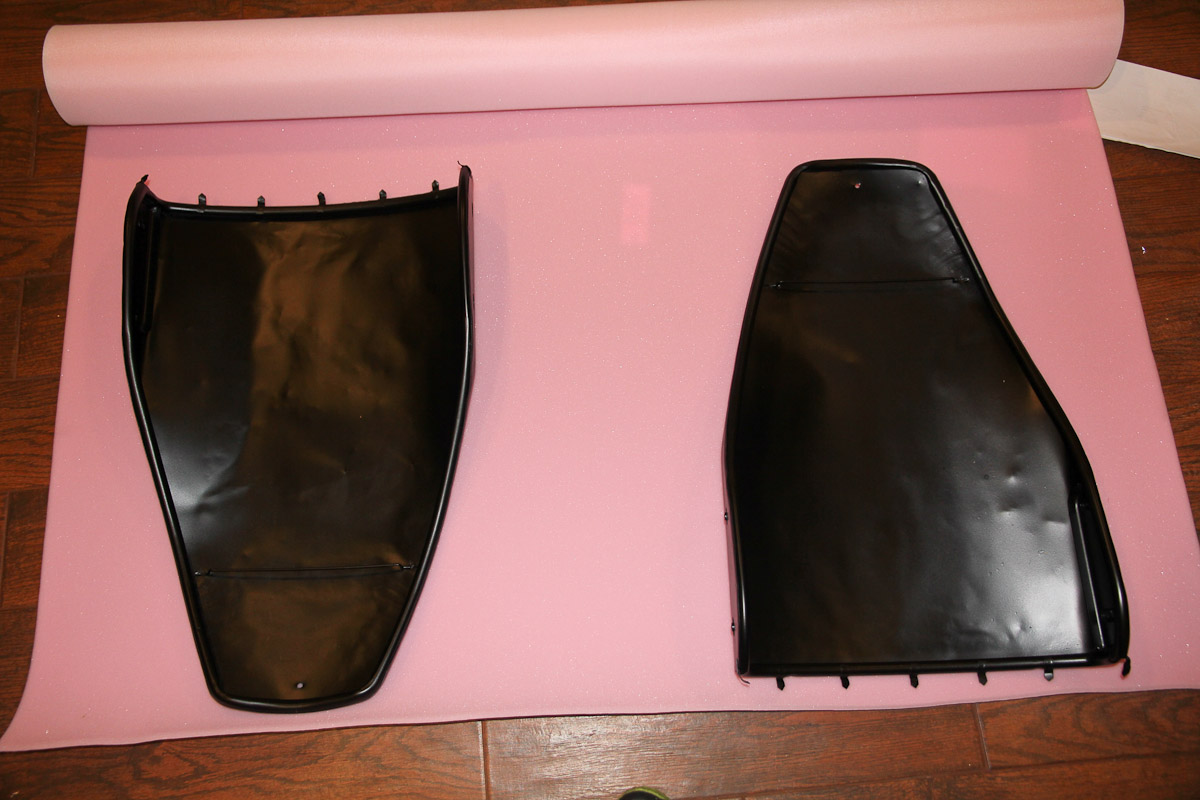
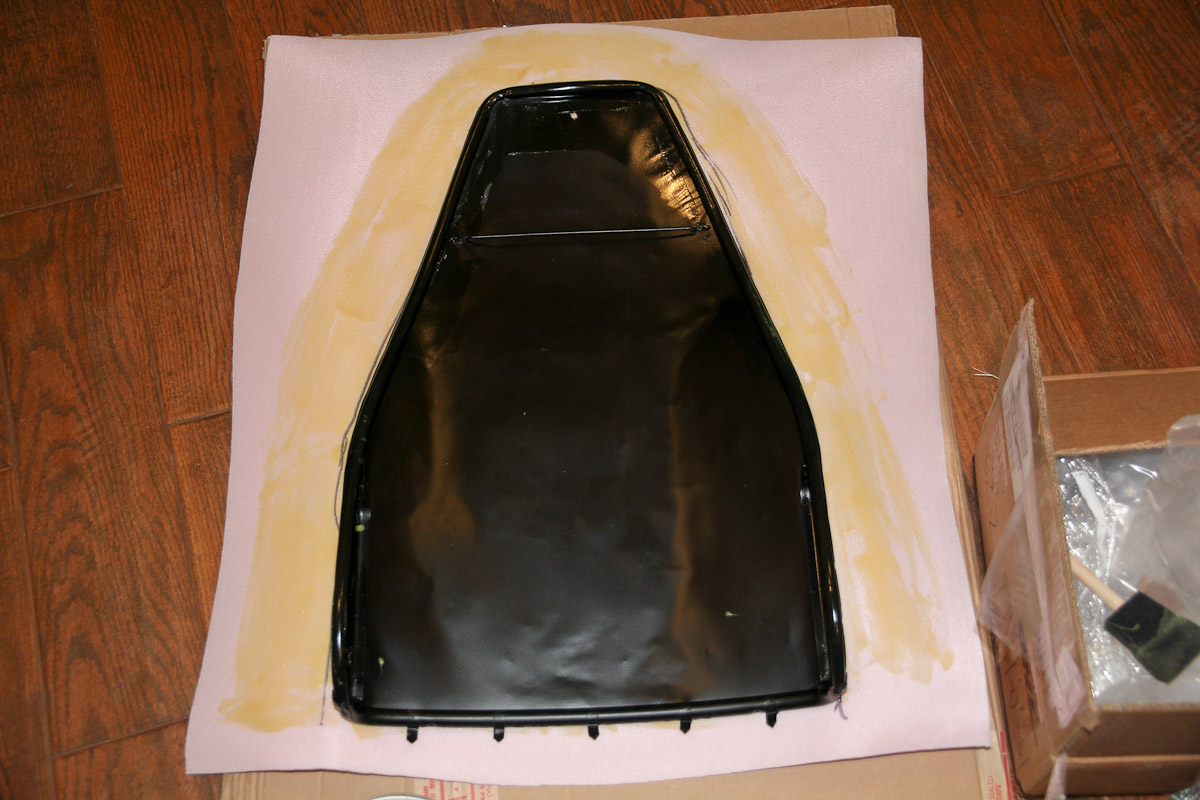
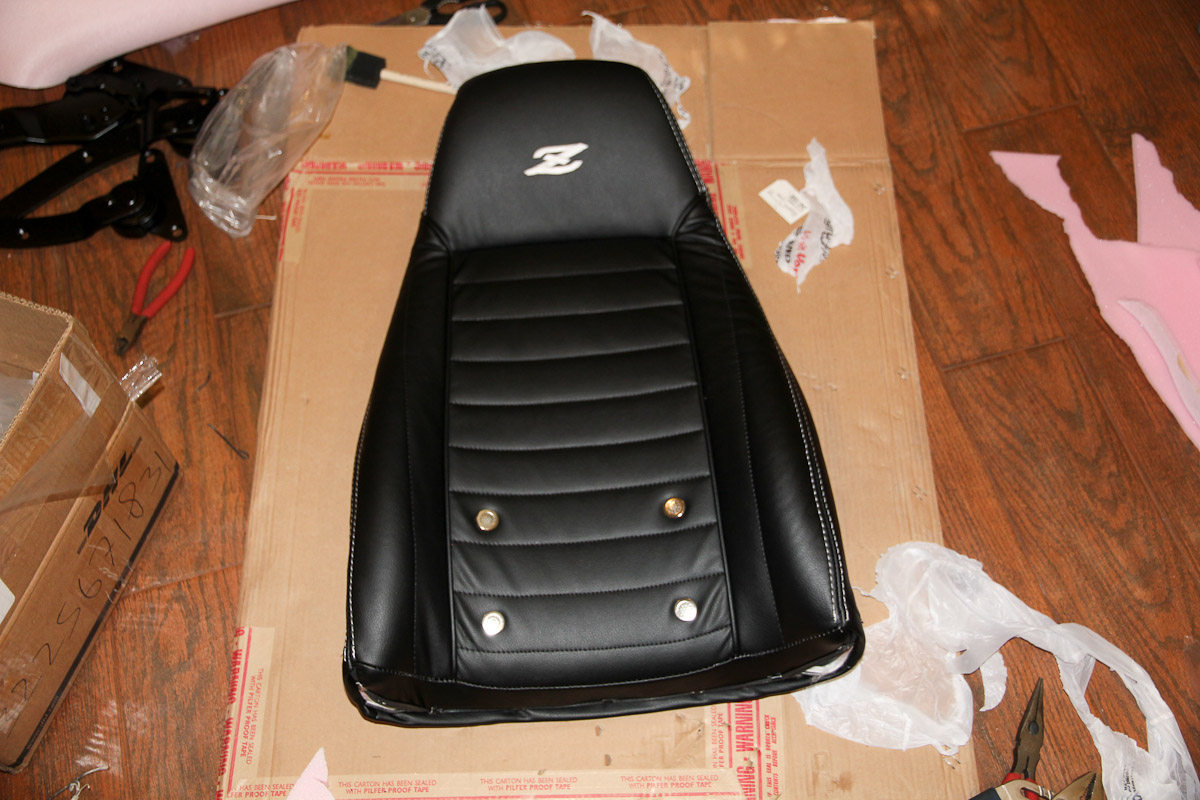
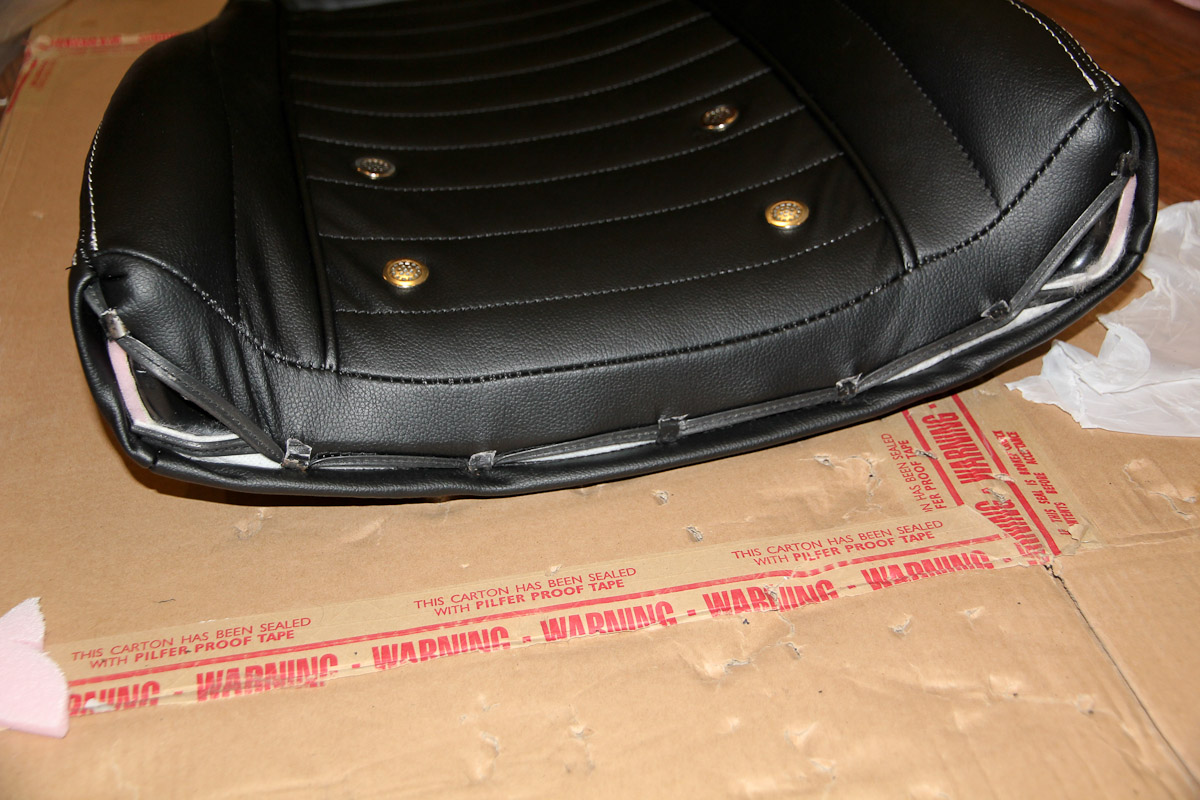
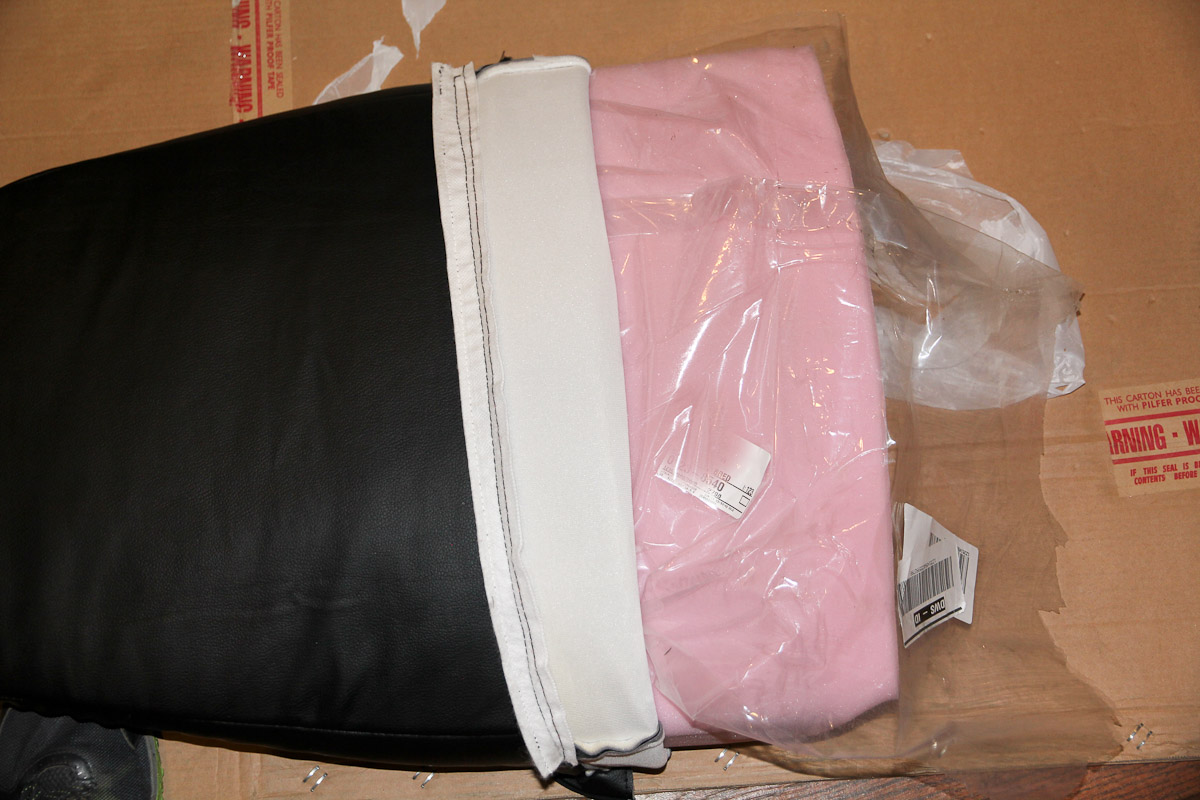
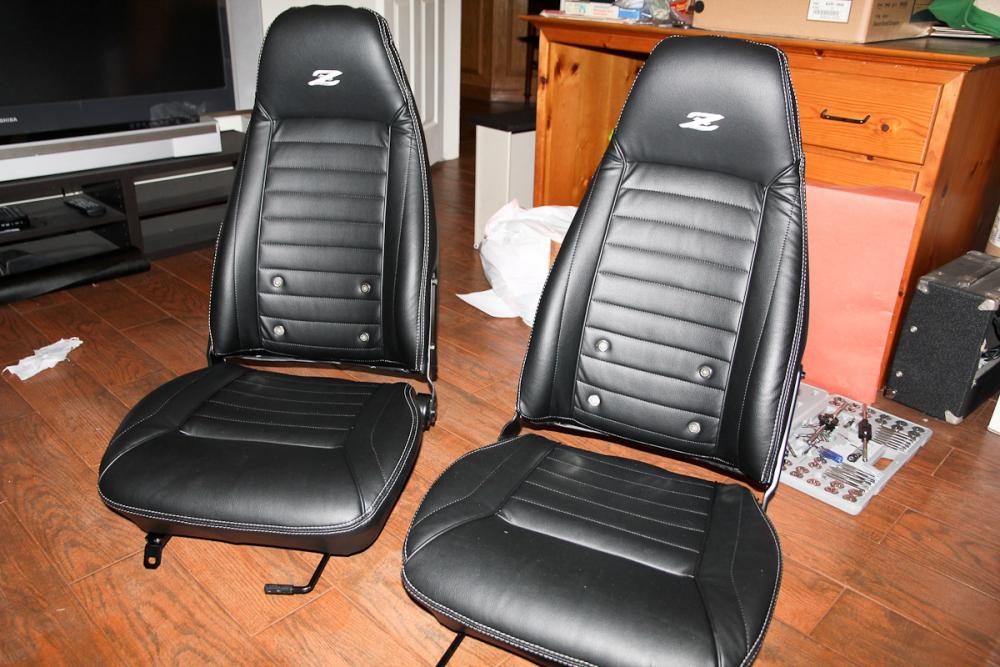
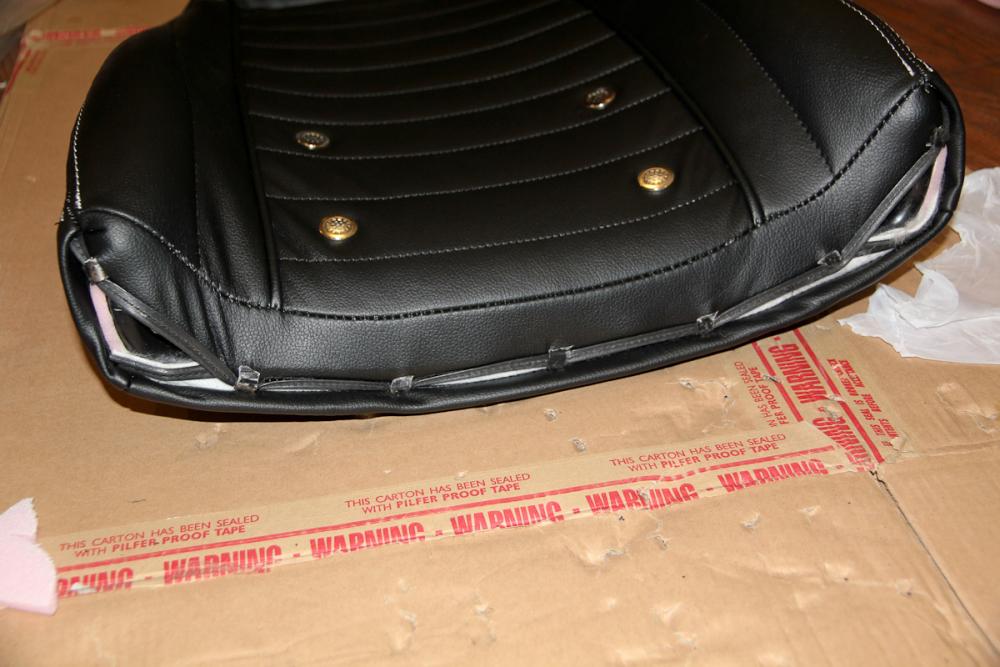
Knocked out the seats and the headliner over the last week! I'm really, really happy with the way the seats came out. I ended up not pulling the cover all the way down on the reclining mechanism side. That meant I didn't have to cut anything, and I figure if something comes loose, I can always go back and pull it down. Everything got a coat of black, including all the bolts, and the seats look better than new -- not bad for my first upholstery job. Only blemish is the missing mechanism cover. I may try to mold something at some point. And the headliner, for all I was dreading it, actually turned out to be not that bad. I made my own from perforated headliner fabric that I backed up with 1/4" foam. I was too busy running around to take pictures during installation. But what I did was masked off an 8" strip down the middle of the headliner from front to back and the matching strip on the roof, then sprayed with contact cement. The middle of the headliner was marked with tape, that I used to center it in the car. Applied the headliner from the middle out, stretching any wrinkles along the way. Then I just let the edges hang down, sprayed glue on the headliner and roof on the passenger side and continued working towards the edges. A panel removal tool tucked everything under the edges. Repeated the process on the driver side. Sweaty and uncomfortable work, sure, but nothing that's going on my Never Again List. Tomorrow, seats go back in!
 1 point
 -
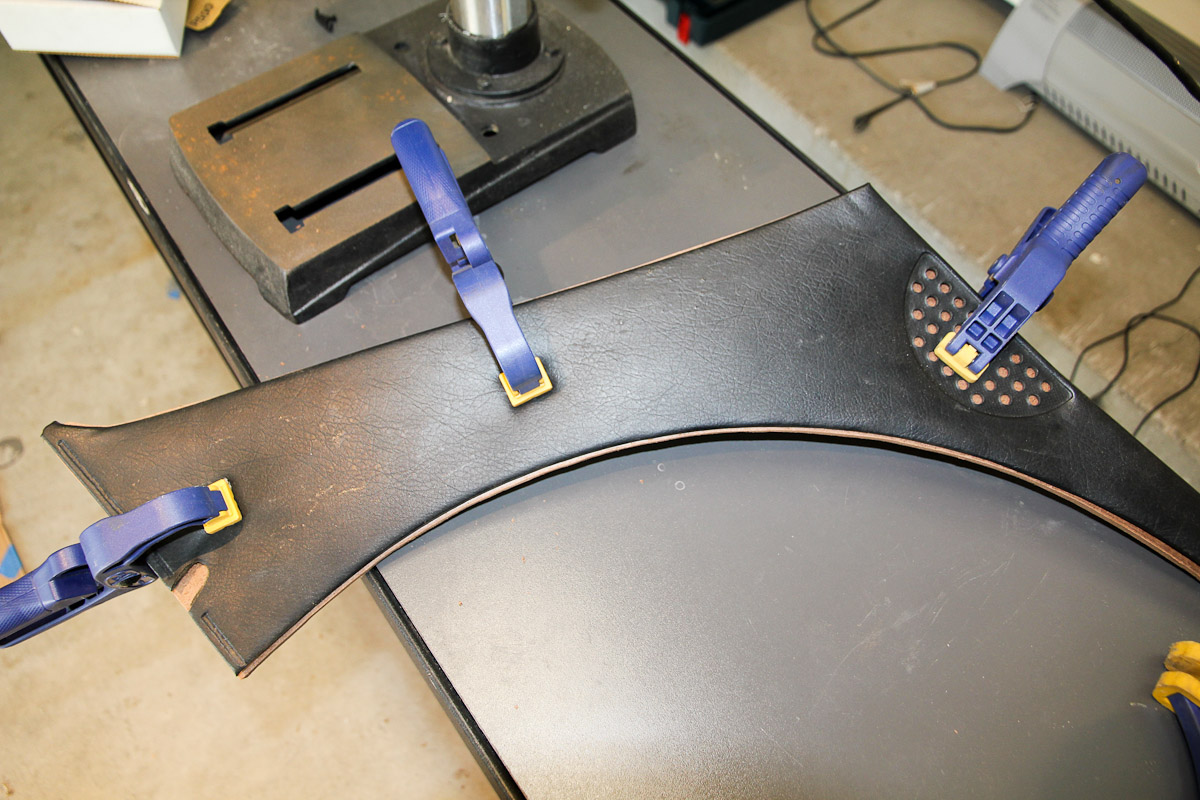
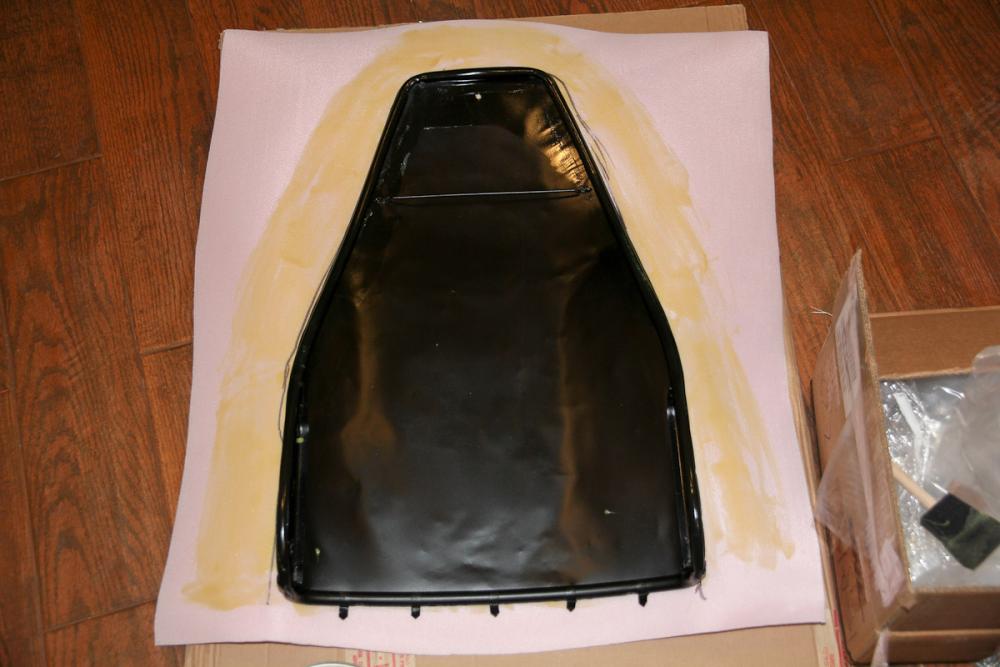
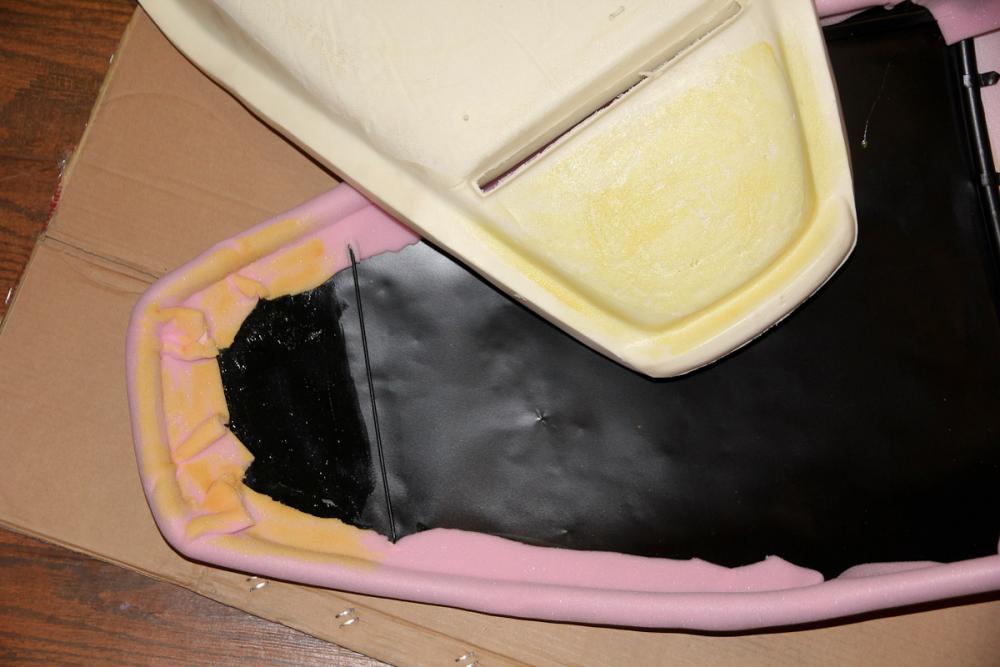
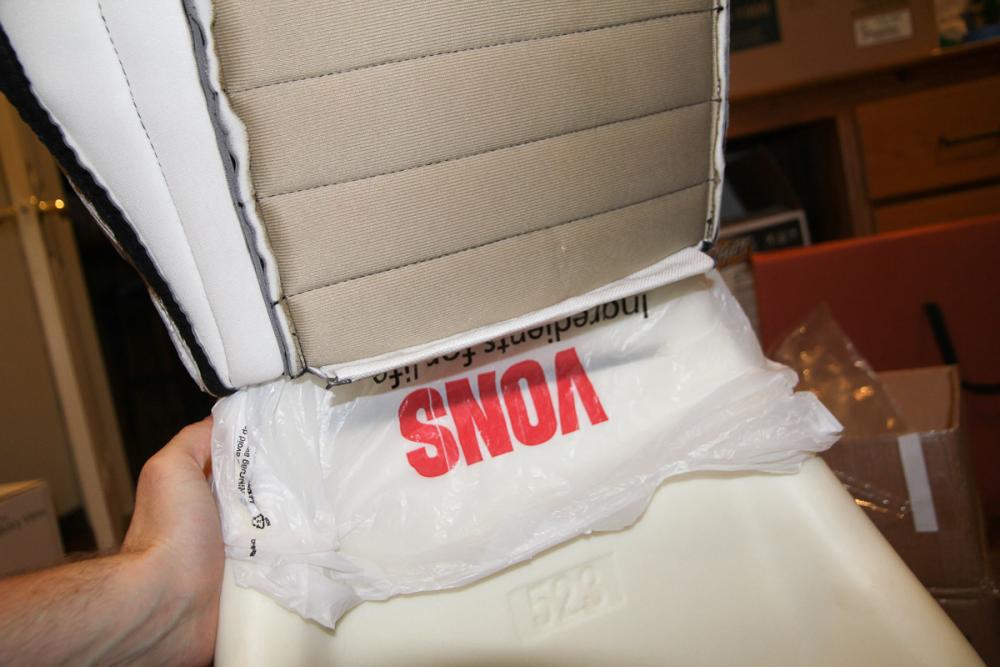
One seat back down, one to go! Special thanks to @Hardway for his excellent writeup on installing these things; I referred to it a number of times. I think the back actually was easier than the bottom. A few hopefully helpful things I did in addition to Hardway's writeup: Glued the headrest foam to the seat back, which kept it from moving around. I didn't glue the rest of the foam, but may try that for the second one. A plastic garbage back on the headrest lets the cover slide on very easily. Cut across the top of it and the bag can slide out after it's positioned. Plastic sheet on the rest of the seat made it pretty easy to slide the cover all the way down. Not really needed on the front face, though. Quite a tight fit when it's all said and done. There's a little more strain on left tangs than I'd like, so I hope things stretch out and relax a bit over time.


 1 point