


Leaderboard
-

siteunseen
Free Member6Points15,115Posts -
ramsesosirus
Free Member2Points367Posts -
James@TheZStore
 Vendor1Points42Posts
 -
djwarner
Free Member1Points718Posts


Popular Content
Showing content with the highest reputation on 04/06/2016 in Posts
-
2 pointsMy reputation precedes me. There's a song called "Long Haired Country Boy" that's written about me. Me and Charlie are tight.2 points
-
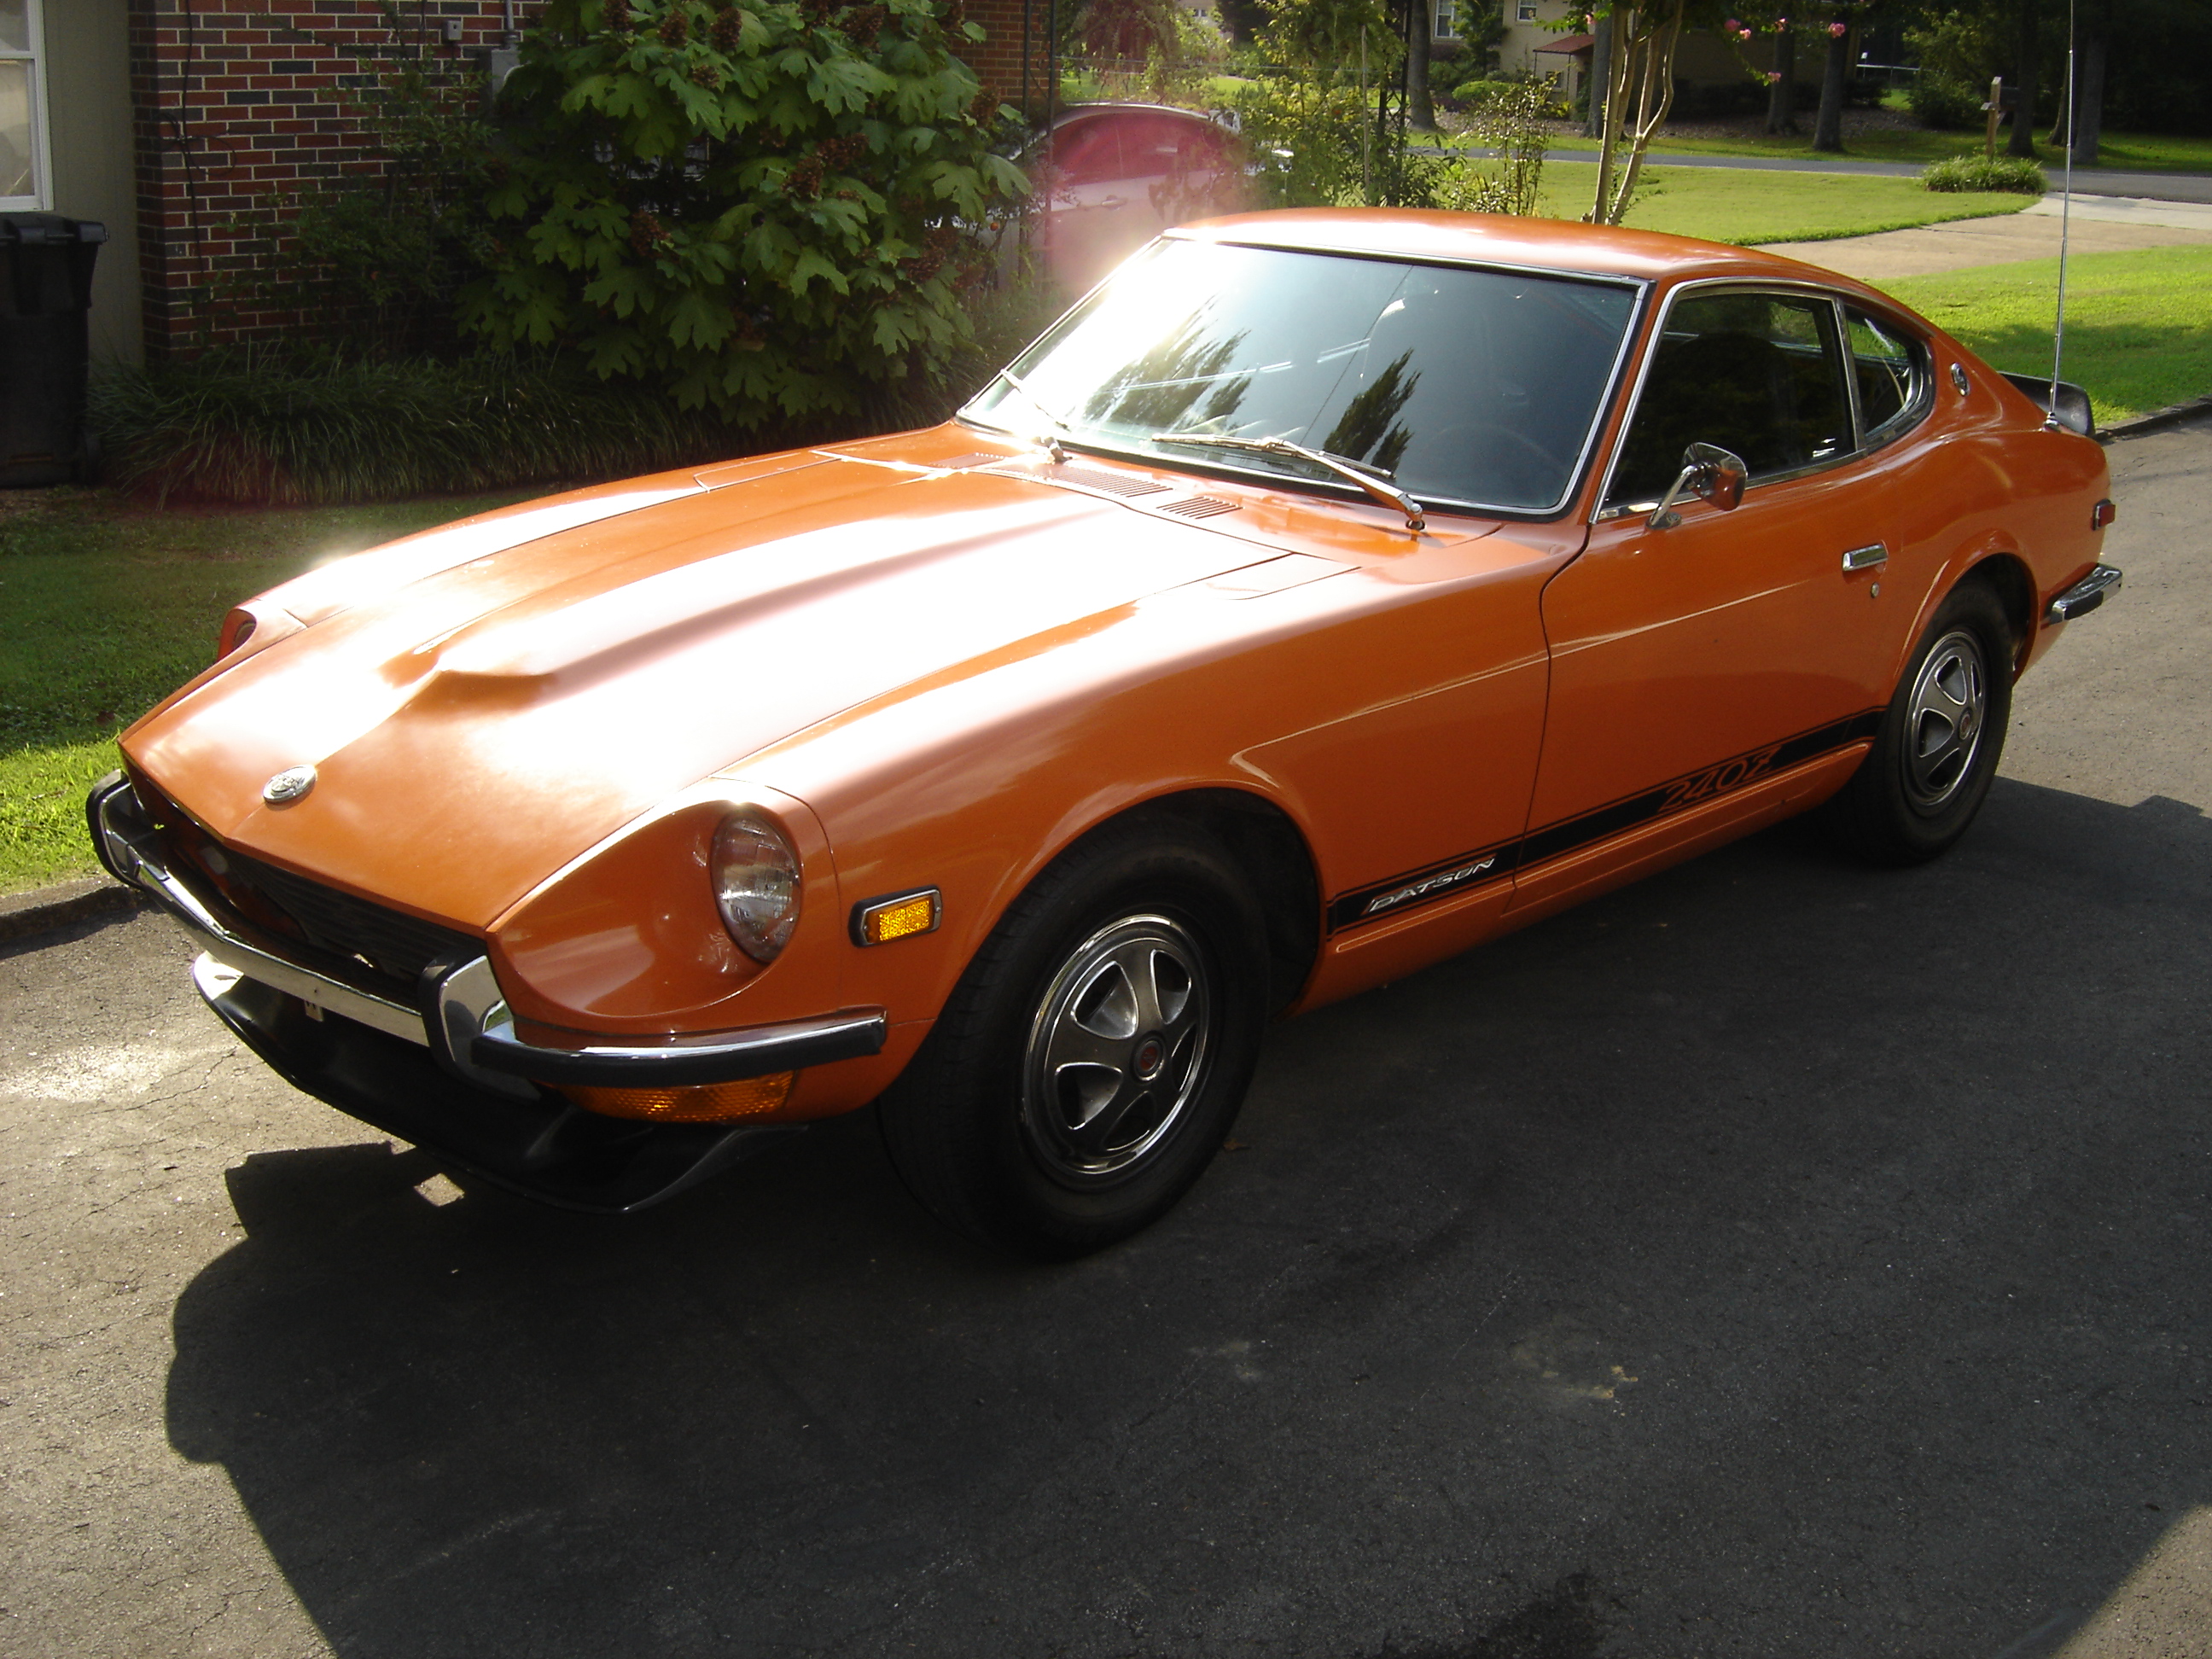
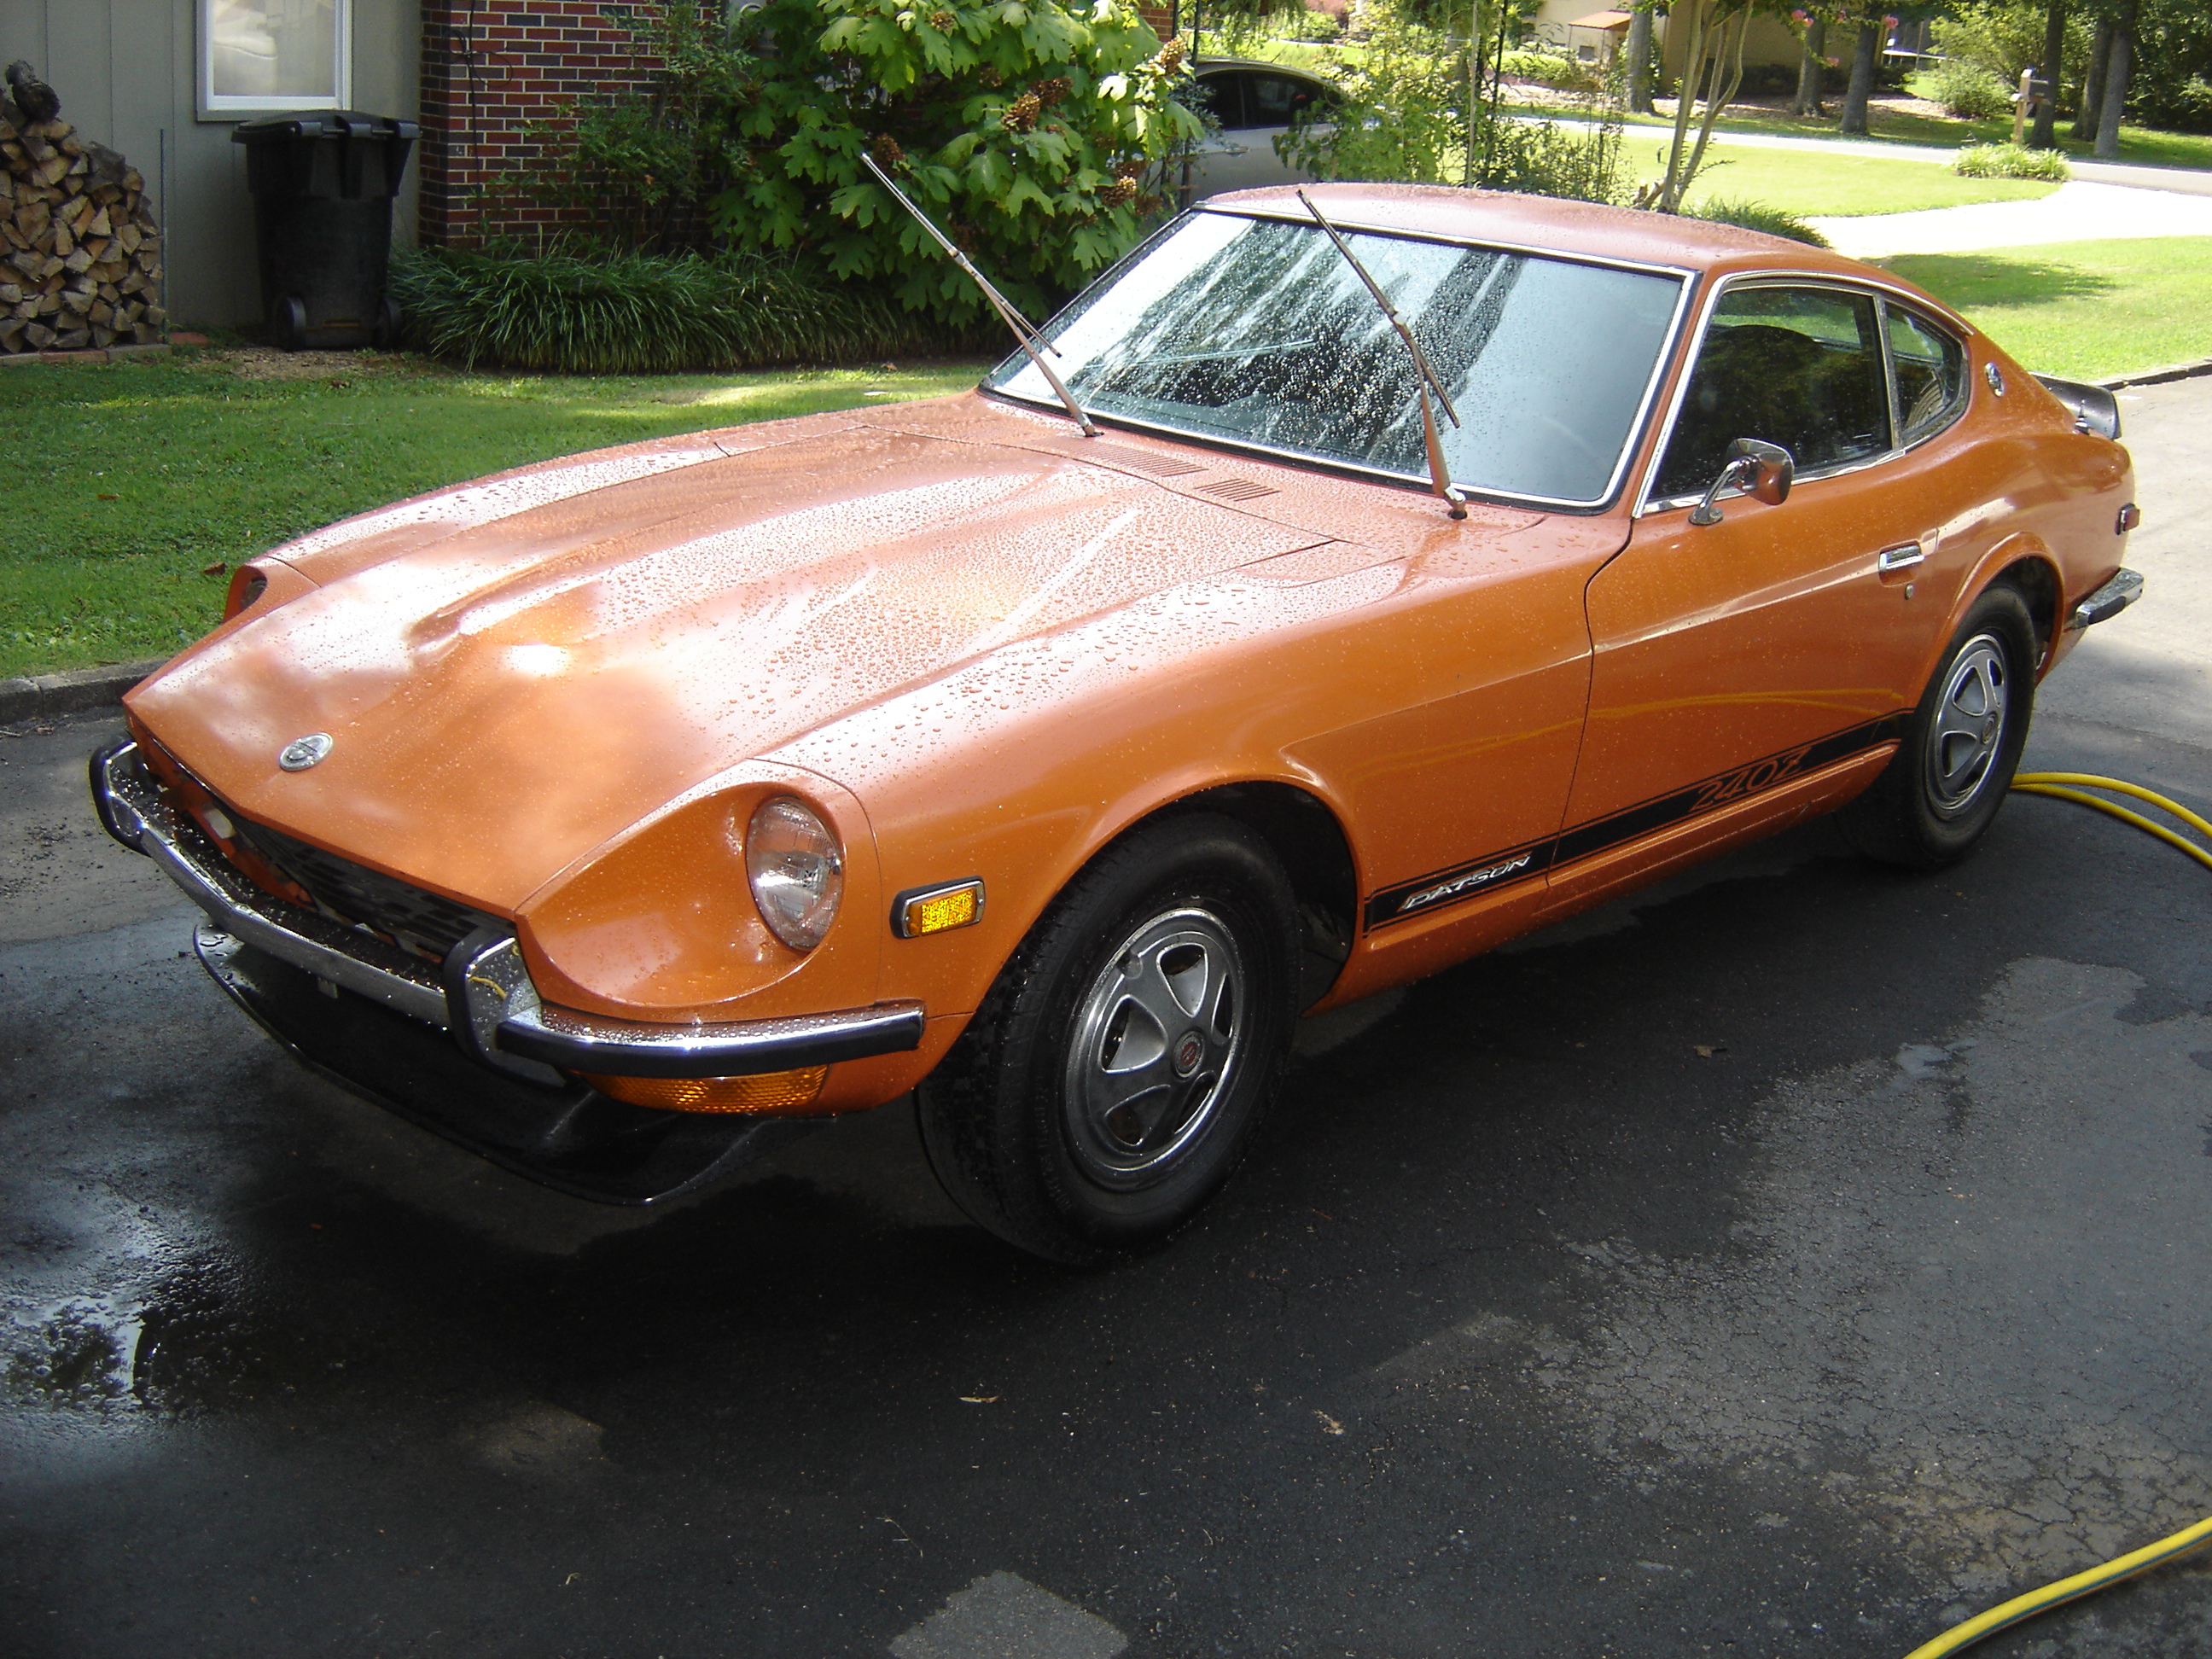
2 points2 points1 point1 pointEDIT: Just read Zed Head's post, I agree with him. I know how much better I feel after a good shower. To answer both of you. I was thinking about the "driving better" last night. You know, I'm convinced that it has something to do with the atoms, at the molecular level. Making the cars so slick they just part the air before them as they go. Deep subject! You know at the "sight unseen" level. Snicker... Jai1 point1 pointMine runs better after I wash it. EDIT: Just read Zed Head's post, I agree with him. I know how much better I feel after a good shower.1 point1 pointothers may chime in w/different opinions, but i found that the only way i could get the float levels right was on the car. something about the angle that the engine is tilted i think... i spent hours fiddling w/clear tubes like you have and in the end wound up using the method of turning the adjustors down the correct amount and adjusting till the fuel was at the top of the jet opening. i've got a thread on here somewhere that explains it... turned out to be the most accurate solution for me.1 point1 pointI thought I'd share this mod that I did, I really like it. I didn't like the look of my front air dam without lights in the cutouts. But I didn't want too much going on in the front. So I custom-hacked a set of fog lights to work as the turn signals. And then used a 240z grille to replace the stock grille and the stock turn signal locations. I like it
 1 point1 pointGood news. Now you can start thinking about modifying. 85 mph is just a start. I'm positive that my engine is smoother and has more power after I wash the car. The transmission also shifts better and the radio is clearer. Strange but true. Not sure how it works.1 pointThanks, I looked and I do see where that one will go; Spend about 6 hours on the today, here's what I learned: The cotter pins on the auto trans shift linkage are a pain. I used the generic door bushings to replace the missing (worn away) plastic ones. It actually shifts and stays in park now. Which is very good. I put on a new rubber boot for the throttle linkage. The best way is to pop the ball off in the engine compartment, and then just unscrew the whole accelerator pedal (3 screws) and get at the 7 mm nut from outside the car. The ball fits through the firewall hole FYI. A lot easier than trying to get at it under the dash, I don't see how it could be done....1 point1 pointBasics with wrapping with leather are water and heat. When it came to stretching the leather around the three small gauges, I used tennis balls to mold to the openings while the leather dried. It took multiple cycles of wetting, stretching, drying to get a reasonable result. Even then the holes were not evenly centered and had some gaps around the gauges after they were installed. To resolve the miss fit, I first trimmed some scrap leather removed from other areas and fit them into the gaps. While this improved things, I could see the patches and it irked me. Then I saw some black hub rings on eBay. They looked close to the right size so I bought a set thinking they could serve a bezel ring. They fit perfectly. In gloss black, I could not have made a better set. As proof, I completely forgot about them until I read your post. Dont hesitate to ask for more help, I know how big a project you have going on.1 point1 pointTake a look at the rubber on the pedals. They'll give you an idea of milage. Welcome aboard and a hardy handshake to you.1 point1 pointThe best advice I can give you is not to drive a 10,000 mile Z in the Wisconsin winter, early spring. While it's off of the salted roads, spend the time to clean every electrical connection & ground under the hood. (no o2 sensor to worry about)1 point1 pointWell done! If you keep working under that car with those blocks like that you aren't going to be around to enjoy it. Chris1 pointWell I for one don't think your new price is too much. Let me be the first to say that my payment is on it's way to you. I was disappointed when you said you would no longer make this harness. I commend you for providing detailed plans for all to see as your gift to the Z community. Even with the plans, however, I found that locating and paying for the parts was much more than I had anticipated. The parts alone, if you only want to make one or two harnesses runs you $40 or more. That is not even including tax and shipping. The copper in the wires is heavy, and shipping adds up quickly. If you buy small quantities of wire locally, the price per foot is much more than Dave can buy in quantity. I spent countless hours trying to find the 3-prong sockets you need to make this harness plug and play, and to avoid cutting into the stock harness. I even spent over $20 with autosparks in the UK for some sockets that looked like they would work but it turned out that the pins and plugs inside the sockets did not match up to the OEM wiring harness. This was an expensive mistake on my part. You can avoid all of my sorrows by just buying Dave's harness already assembled. So the $125 is more than what Dave offered this harness for in the past. But get real people. When you take into consideration his cost of materials, and the cost to ship the harness to your door, he was essentially doing the assembly work for free. While that was very generous of him, he now wants a fair price for his design, testing and assembly of this harness. So why not help out a fellow Z enthusiast and send your money in today. You will thank yourself when you can see so much better driving your Z home on that dark and stormy night.1 point


Important Information
By using this site, you agree to our Privacy Policy and Guidelines. We have placed cookies on your device to help make this website better. You can adjust your cookie settings, otherwise we'll assume you're okay to continue.