Leaderboard
-
HaZmatt
Free Member2Points566Posts -
Randalla
Free Member1Points272Posts -
bartsscooterservice
Free Member1Points1,900Posts -
gogriz91
Free Member1Points1,077Posts


Popular Content
Showing content with the highest reputation on 01/16/2015 in Posts
-
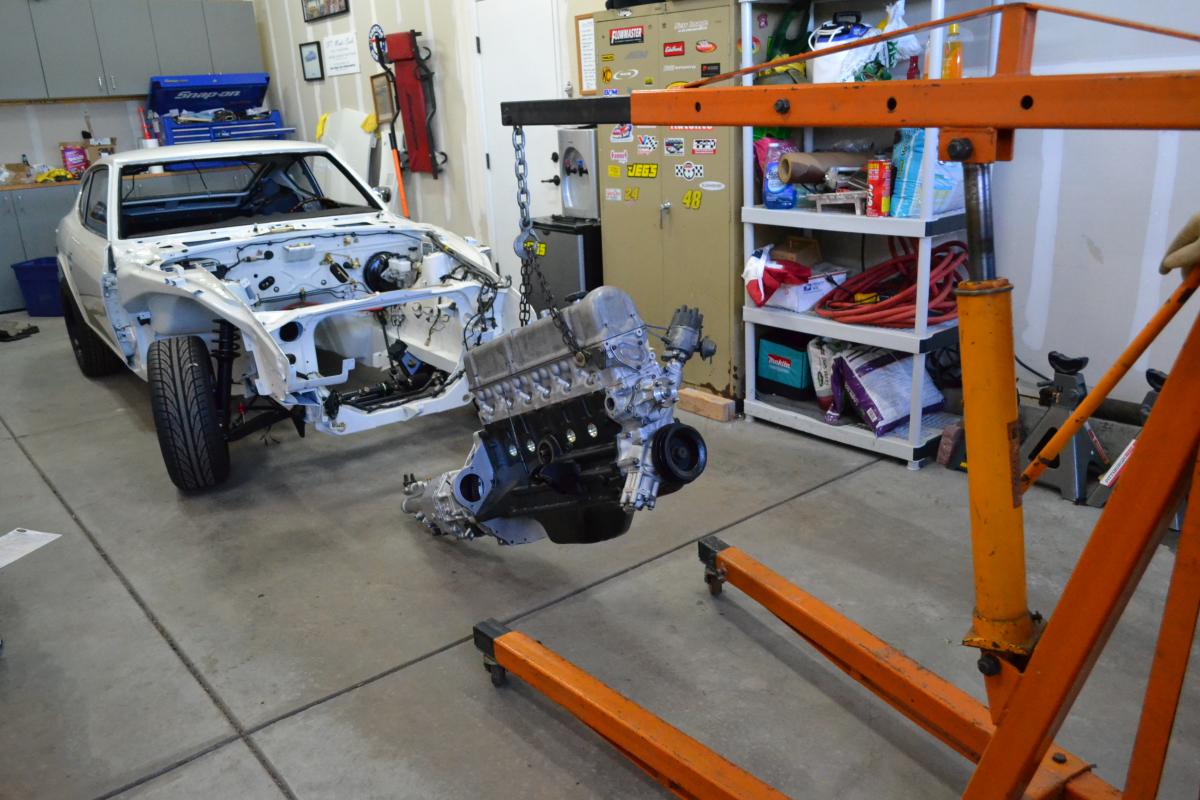
1 pointI believe I've seen 600 as the number for a full engine/trans package with everything dripping wet. I used to have a double 2x6 across two ceiling trusses from which I hung a chain hoist and pulled full eng/trnas packages for years. Roof is still where I left it.1 point
-
1 pointI just remembered something. If your rheostat is turned some, your LED lights may not come on. D'oh! If your rheostat is turned to all of the way bright then follow the directions below. Stop and investigate for any failures. Disconnect the Combo switch and unplug your gauges from the dash harness. First, check to make sure you have 12 VDC to ground on the GL wire in the dash harness at the Combo switch. Next, check for continuity (<1 ohm) between the GL and GW wires on the Combo switch. After that you can plug in the Combo switch and go to all of the dash harness connectors for the gauges and check for 12VDC to ground at the GW wire. Disconnect the Combo switch again. Check for continuity (<1 ohm) between the RL wires and ground. If the resistance is high, it may be the rheostat.1 point
-
1 point
-
1 point
-
1 pointIt's a haul and I know Eddie has someone who does his headwork but I don't know who that is. John Williams used the Not on guys and I know he sent them plenty of work including two of mine. I'd like to here how your experience works out.1 point
-
I forgot to mention what makes them better than new. The factory used a plating process called vacuume metalizing which tends to fade, is not corrosion resistant and deterioates quickly when exposed to the elements. The process used on the taillight bars I reproduced is called electroplating, which produces a superior finish and is durable enough to stand the test of time. Bottom line is these are brighter and more durable than the original factory parts, in addition to being accurate to the last detail.1 point
-
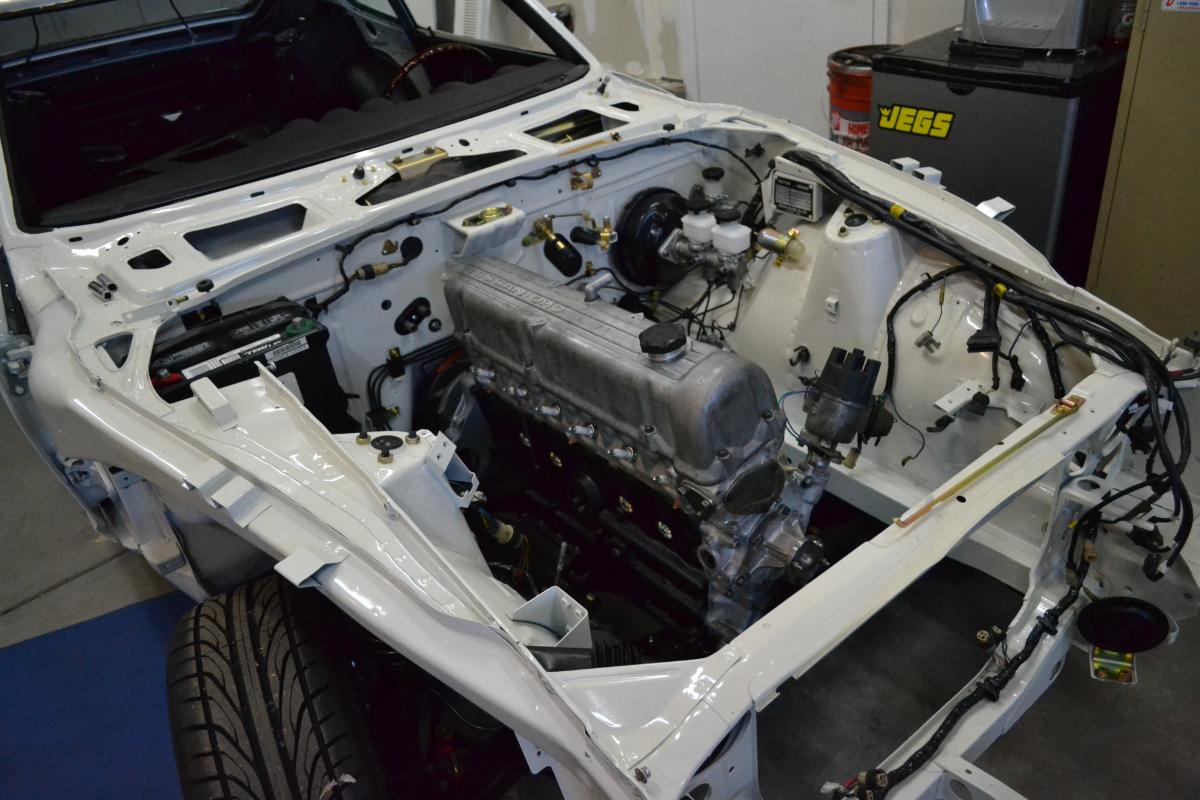
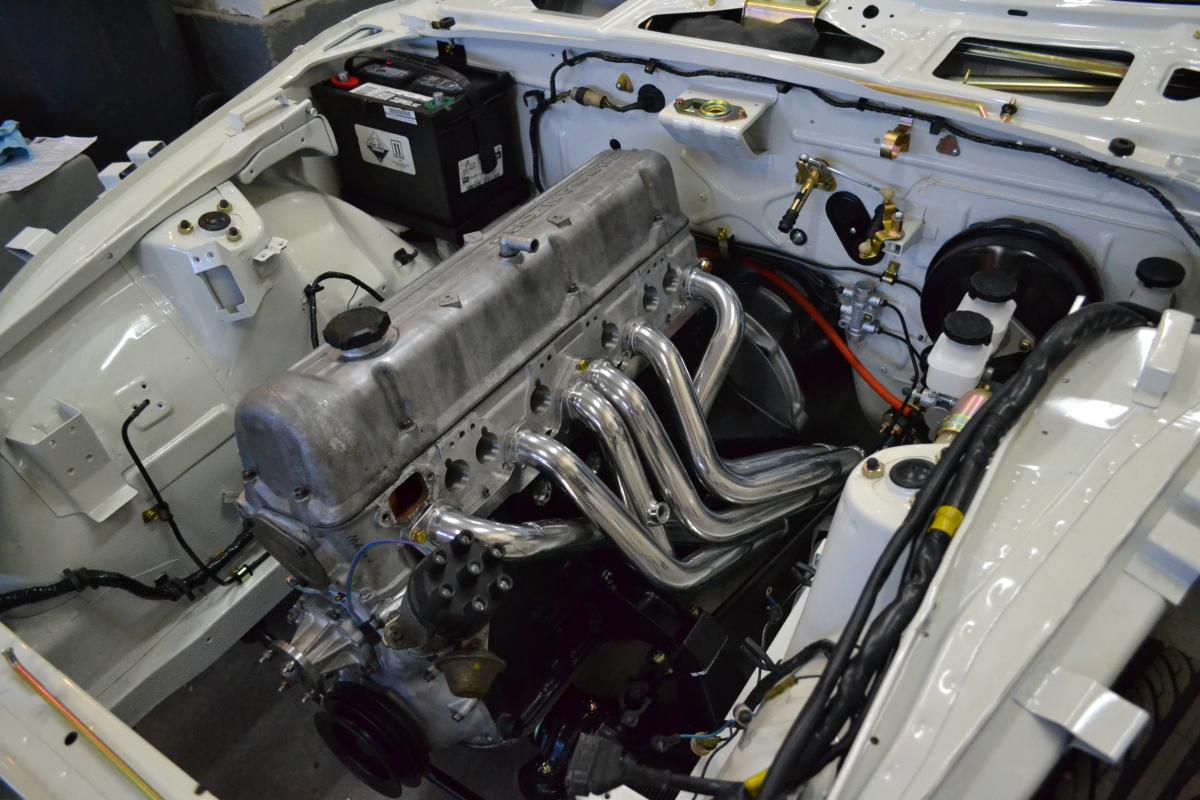
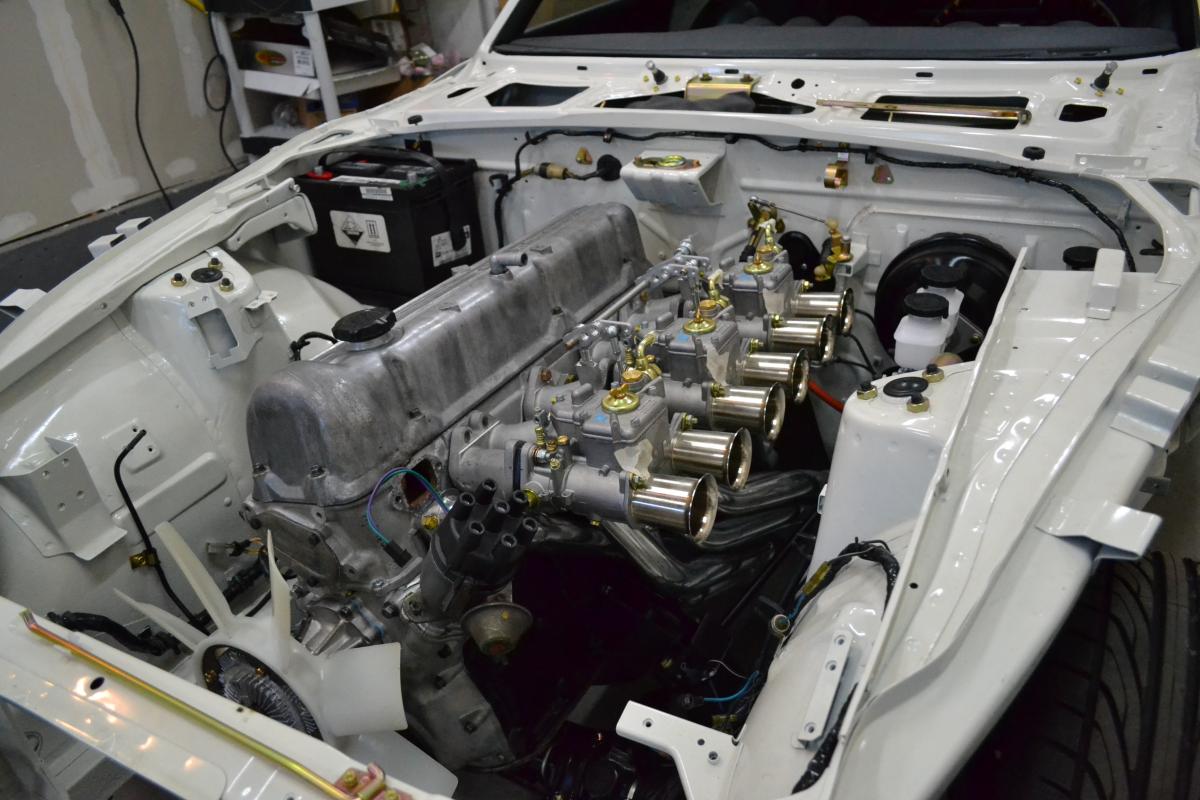
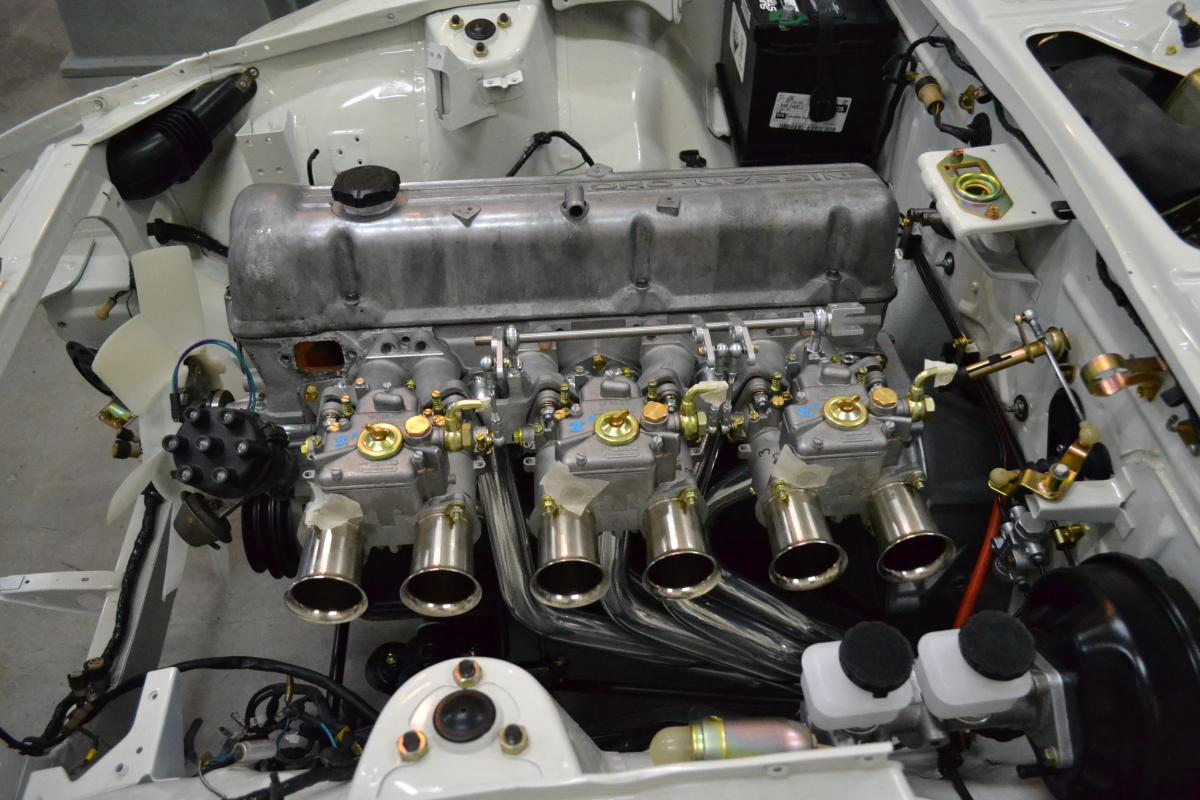
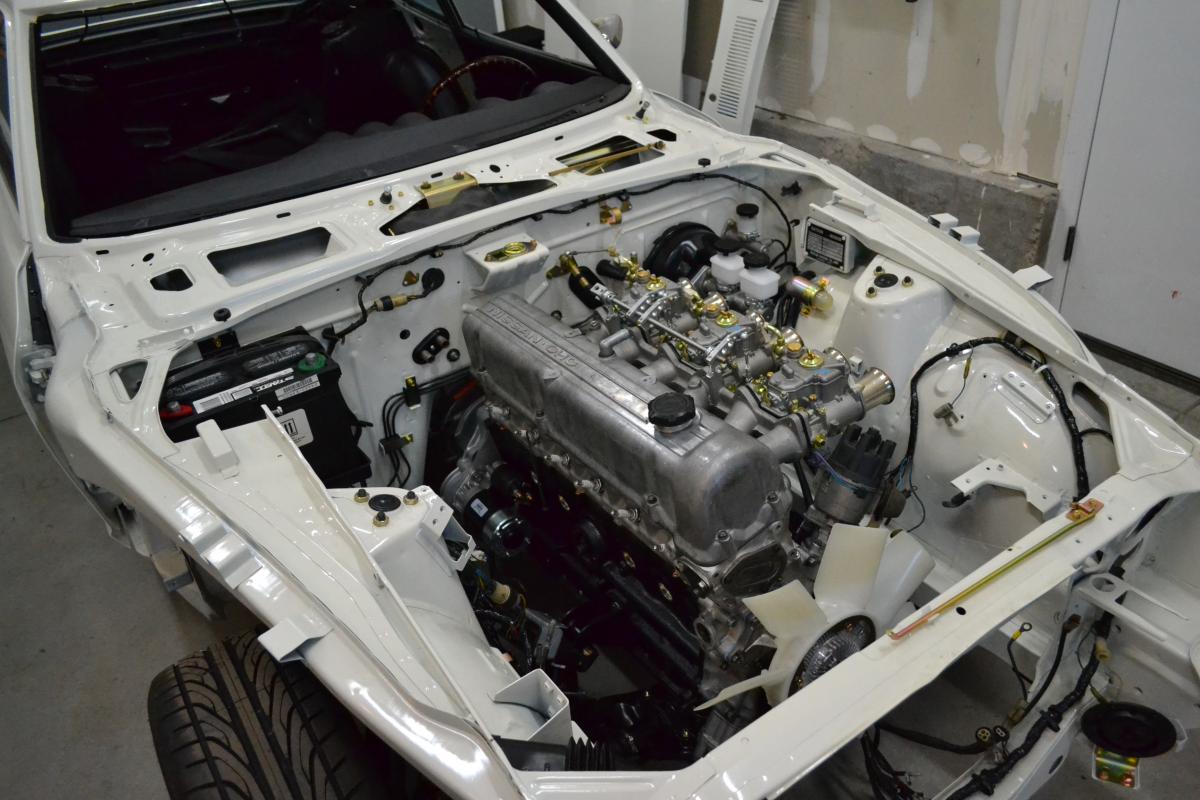
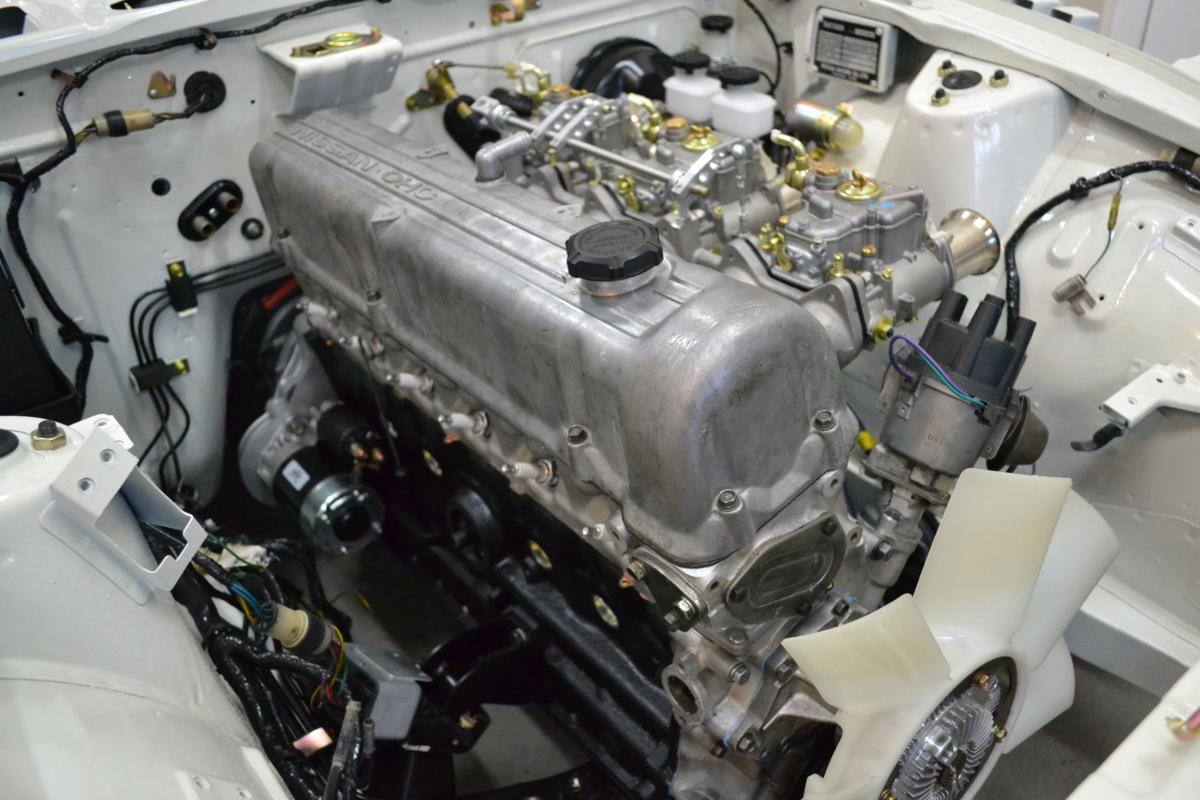
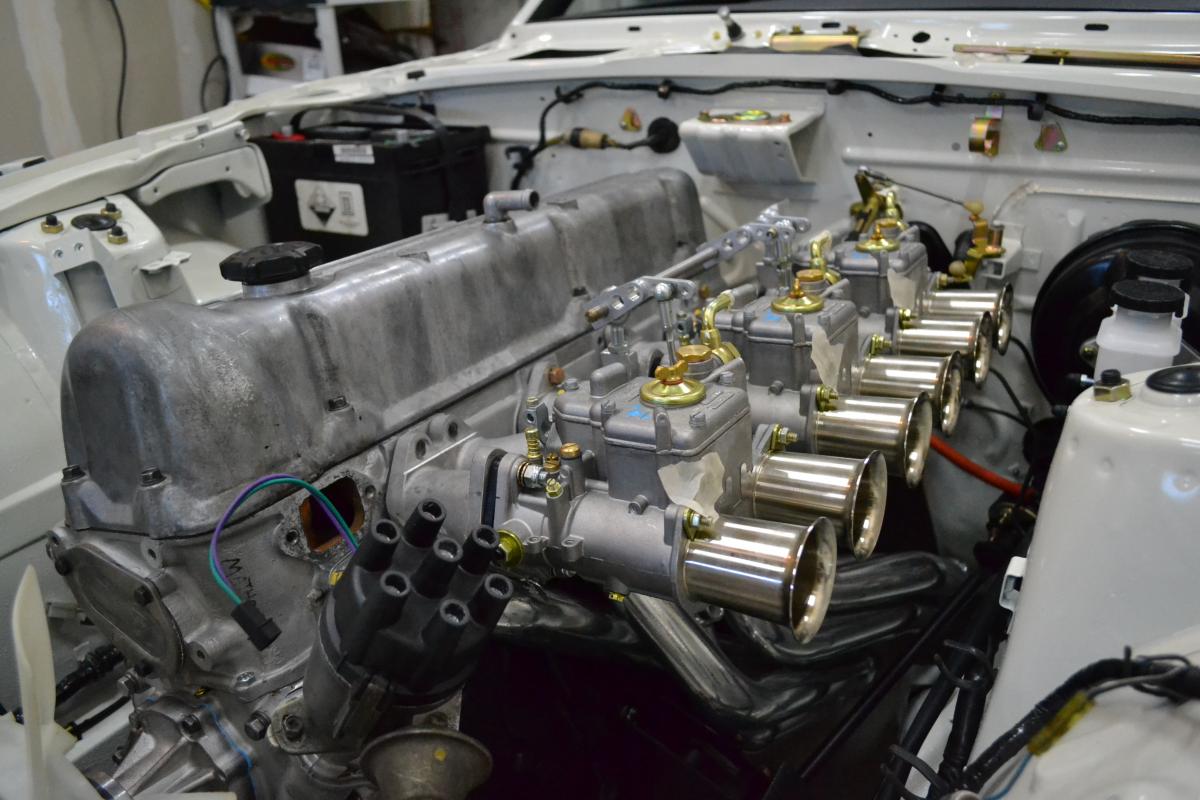
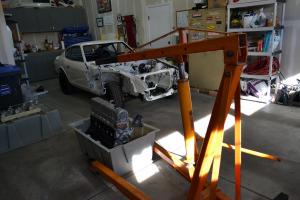
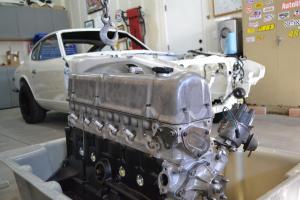
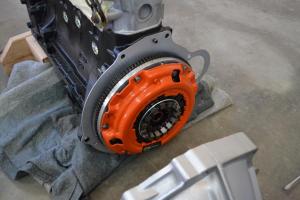
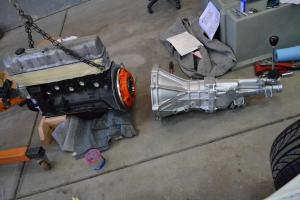
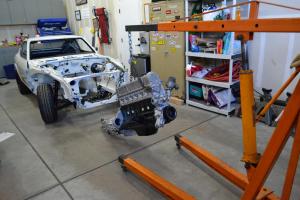
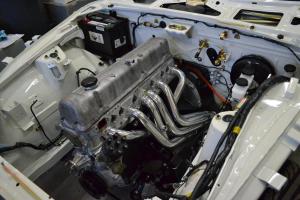
1 pointWater under the bridge...... With the help of a couple friends and a few beers, I got the motor installed. Here's some pics. Headers and carbs dry fitted to see how they looked. I will need to trim a little off the intake manifold. I'll be replacing the valve cover soon, just need some new bolts.


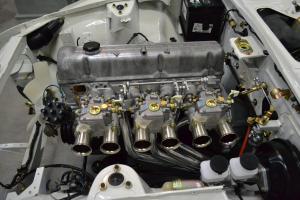
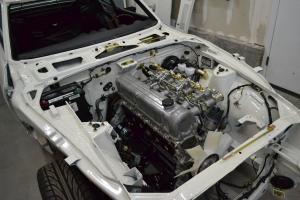
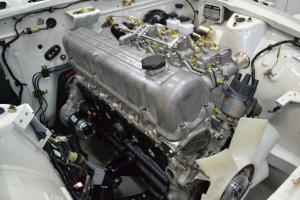
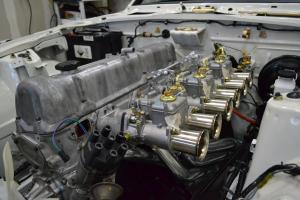 1 point
 -
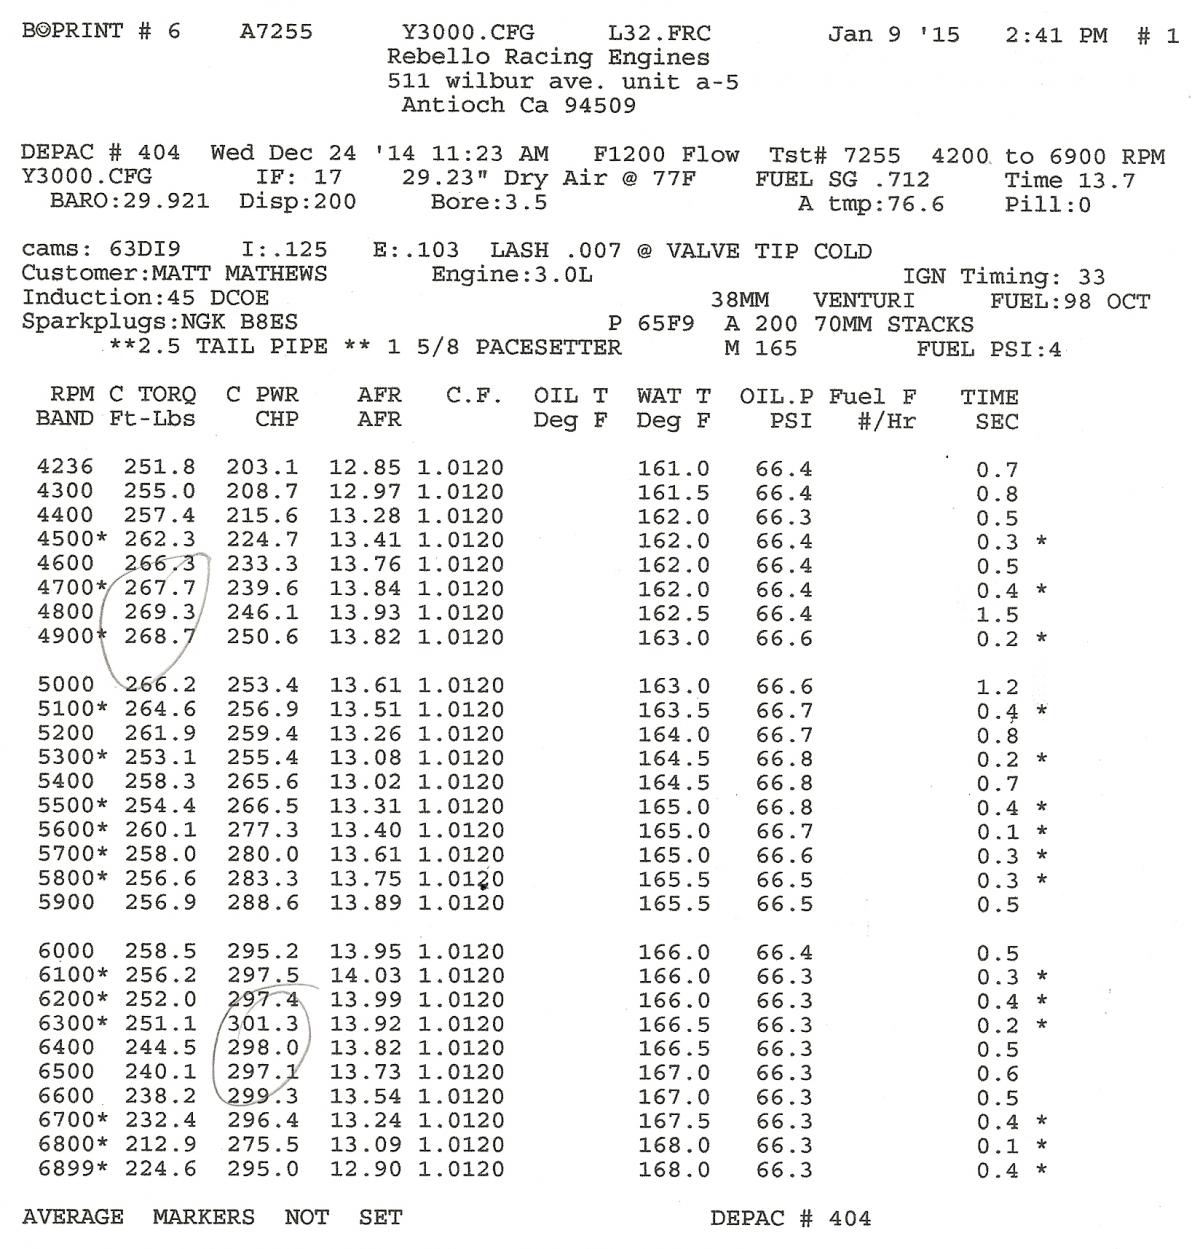
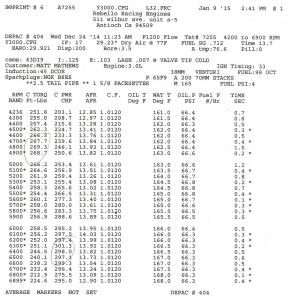
1 pointThank you everyone for your concern. Okay, after taking some time to calm down and having a few drinks...I called Dave at Rebello. Apparently my block that I sent to him wasn't usable due to the cylinders needing to be bored to far. After being bored out the cylinder walls still had pits in them. So he made the decision to replace the block. Which I am ok with, I just wish he would've called and told me. He also emailed me my receipt and dyno sheet. He assured me that these carbs were used during the dyno, just with a different intake manifold. That would explain the loose nuts. I can also smell fuel in the carbs. So I may have over reacted a little, he was and has been friendly on the phone he just seems like hes always in a hurry. This is also the first motor I've sent out to get rebuilt so I didn't really know what to expect. I guess all I would complain about would be the lack of communication and the time it took but as long as its a good product in the end.....I will be happy. Here are the specs. L28 with N42 head 3.0L Stroker 89mm Cast Pistons L24 rods with ARP bolts Turbo oil pump 63DI 109 Hot B Cam Triple 45 DCOE Weber Carbs Port & Polished head Port matched intake 11:1 compression Dyno Sheet: So...... nice solid torque from 4200 to 6500 and a peak HP of over 300. I'm beginning to get excited again!
 1 point