EScanlon
Community Member
-
Joined
-
Last visited
Everything posted by EScanlon
-
First off: If you are NOT familiar with automotive wiring, DO NOT go modifying the circuitry (wires). That 10 gage "wire" from the battery to the starter is in fact a fusible link and not a true "wire". There are various wires that may seem redundant, not needed, superfluous and even stupid in the 240 but you will find that the system can in fact be made to work properly. My car has the original wiring and I've incorporated fog lamps, courtesy lamps, newer h4 halo headlights to mention a few items. I would suggest that you first look at your fuse box. Take it out, clean the contacts for the fuses, replace fuses if they fail a visual and / or a physical continuity check. Don't assume that if they "look" good they are. It is MUCH cheaper to replace all of the fuses than to repair a burnt wiring harness or car. Next, since you've already experienced problems, check your combination switch. Don't just wiggle the thing, check for continuity and if necessary, replace it or repair it. That you have turn signals on one side says the flasher is good, the side they're bad on is probably suffering from a bad contact either in the combo switch, or a short in the wiring. There's tons of information in the archives, just search for wiring or fuse box or any one of half a dozen words and you'll get a ton of information. If you are planning on rewiring the car, go to the boneyard and get a wiring harness from the same year if possible, as there are some changes from year to year. Also, make sure that if you have a manual you get one from a manual car (ditto automatic). Then replace it after labeling each connector on BOTH sides of the connection. If you don't do this, you'll make this into a major PITA job. Feel free to e-mail me or post here as I've done a complete dash rewire as well as getting items to work that others have had problems with. Enrique Scanlon
-
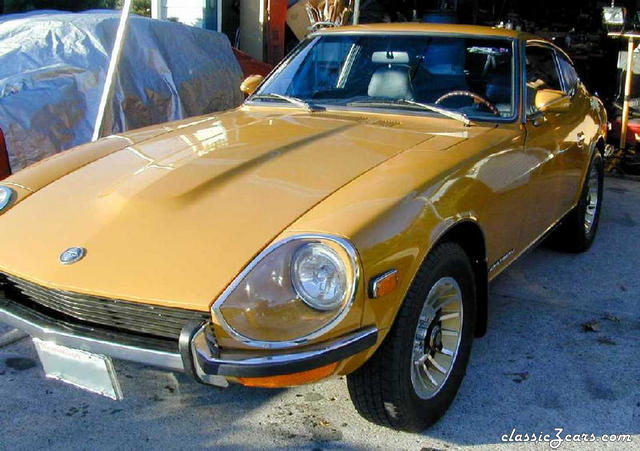 The color is 920 Gold, aka Mustard, which is the original color for the car. It's been repainted and clear coated by the IPO and it is just slightly darker than what the original color is supposed to be.
 -
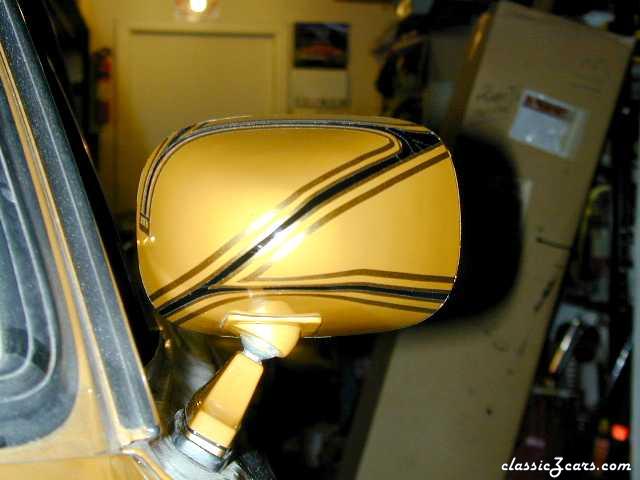
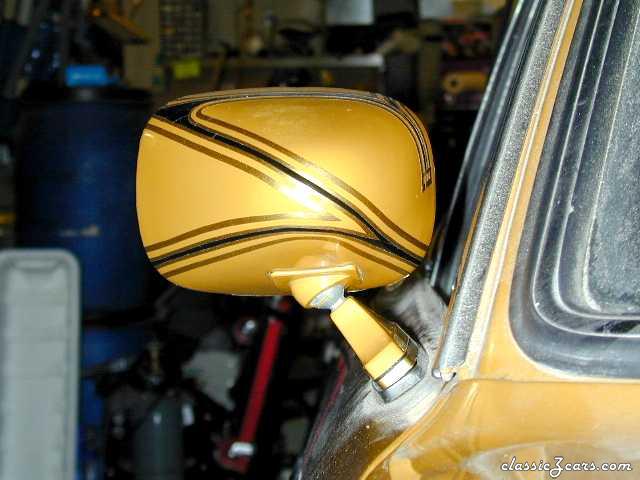 Close up of the back of the Right Hand mirror.
 -
-
-
-
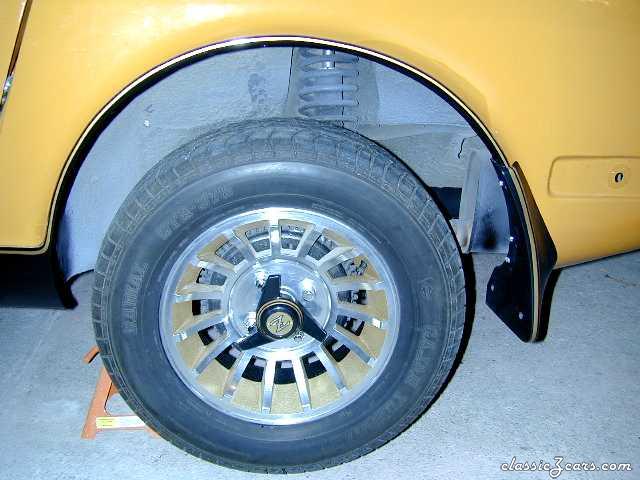
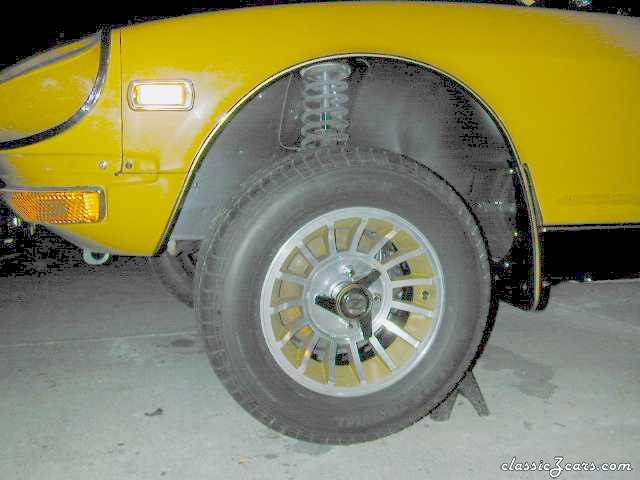 Close up of the Front Wheel Well Edge Trim and Mud Flap
 -
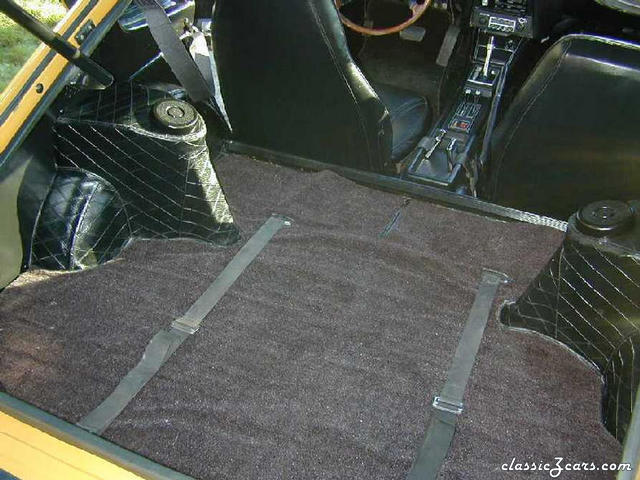
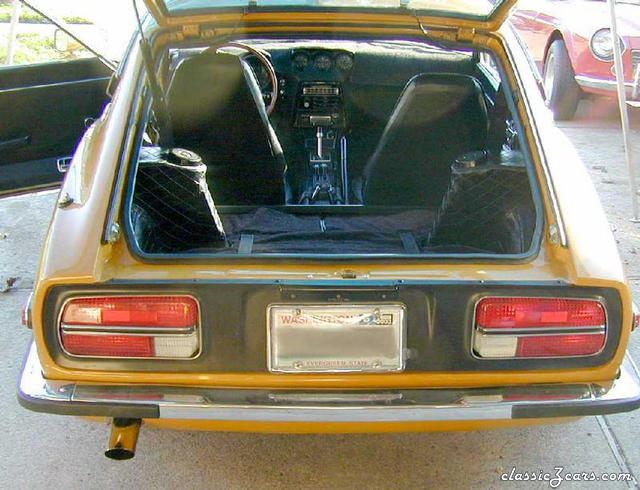
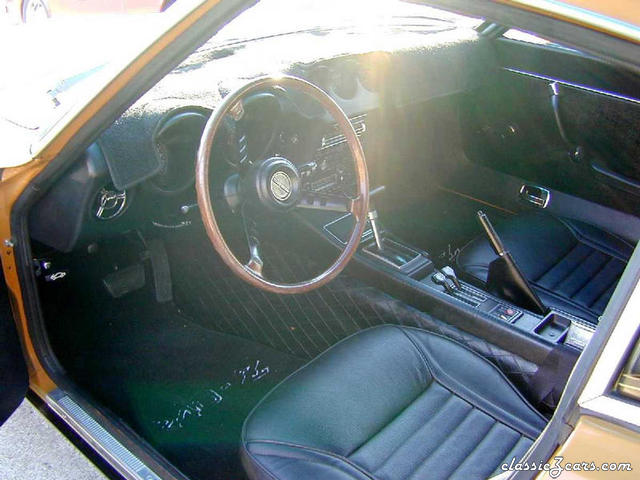 Interior shot, sorry about the glare.
 -
-
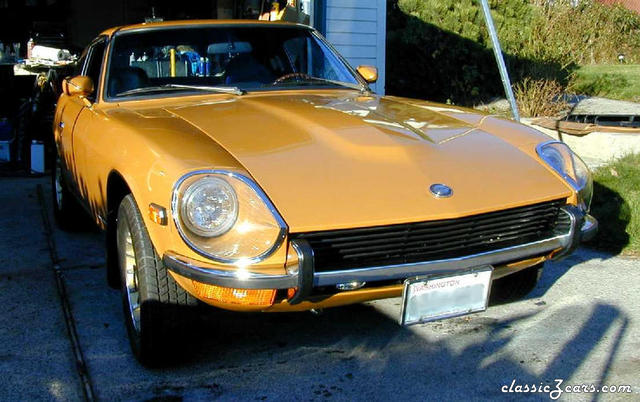 Front Right 3/4 shot.
 -
Mod to drain cowl drain tube OUT of the body
-

From the album: Front Fender Drain
Another shot of the hose showing how it will fit between the fender and fender support. -

From the album: Front Fender Drain
This is what I did to drain the Cowl all the way to the ground and not just behind the fender. The hoses were trimmed once the fender was bolted in place. -
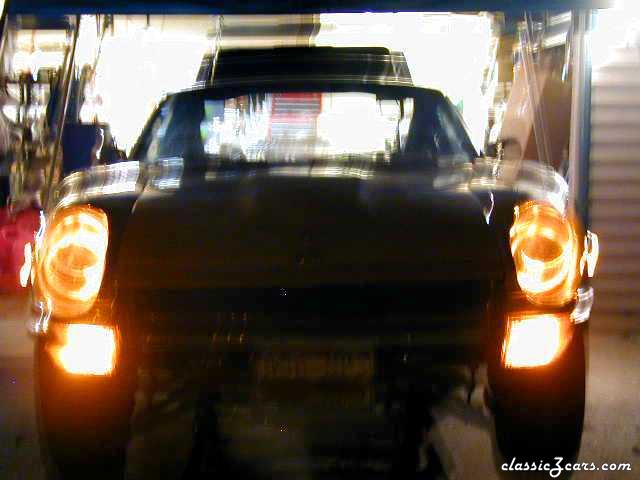 How's this for a wicked look at dusk?
 -
 Front end of the car with the OEM style Headlight Covers.
 -
-
 Back end of the car after repairing the valance and sill.
 -
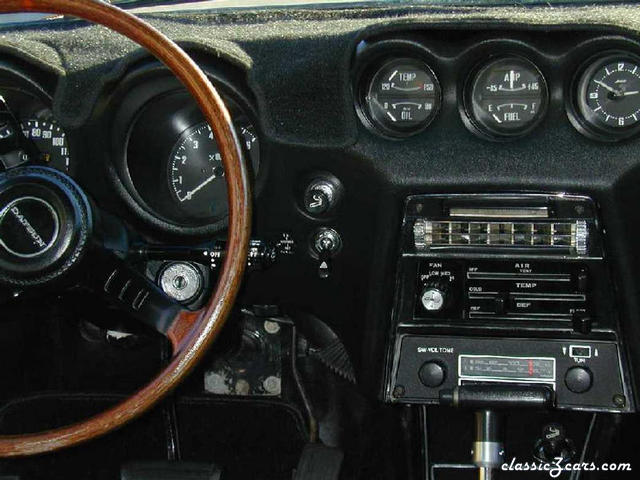
 Picture of my 71 Console, with the Throttle and Choke as well as customized Fog Lamp Switch
 -
When I went to remove my undercoating on the front fender area, I tried the scraper, using both the ice scraper method, i.e. scrape scrape scrape, and the hammer and chisel method. I also tried paint stripper, wire wheels in various sizes and shapes, then the 3M Scotch Pad remover pads and the 3M Abrasive Finger wheels. The scraper was tedious and caused tons of gouges, scratches and was very tiring and hard on the hands / fingers. The Wire Wheels did a great job of flinging bits of undercoating all over the place as well as little pieces of wire into face, hair, shirt etc. About all they succeeded in doing was leaving little wire grooves in the undercoating. The 3M Scotch Pads on disks unfortunately would get clogged faster than I could replace them. The paint stripper worked quite well, but it was extremely messy. It did however do the biggest area the quickest. The 3M Abrasive Finger wheels worked VERY well, and gave me a good clean surface removing even some of the surface rust there. These methods were all attempted, tried or used on one fender area. Then a friend offered the use of his pressure washer. Did the other side with the pressure washer, and in only an hours worth of use cleared over 90% of the undercoating. I was able to remove undercoating even from inside the strut tower housing. To finish the job, I then used the 3M Abrasive Finger Wheels to clean off the rest. I then went back to the first fender and finished what had been a haphazard job. After all this, in order to remove the last of the rust, I then proceeded to sand blast the fenders. This allowed me to get rid of the last of the surface rust and "etch" the metal in order to paint it with the POR. After sandblasting, I then used the two steps recommended by the POR folks and used Marine Clean to remove whatever traces of oil, grease may have been left by the undercoating, followed by the Metal Prep solution. This did the final step of etching the metal as well as leaving a rust-proofing coating. I then painted with POR over every exposed metal surface. Although this may seem obsessive, I'm hoping that I don't have to worry about this part of my car for a long period of time. Anyhow, sharing so that others may benefit from my experience. Happy Thanksgiving!
-
Hazel Dell Exhaust on Highway 99 in Vancouver.
-
Modifications are like fashion. What one person loathes another can't do without, and others that just go along with whatever the masses do. Personally, I like the original lights on the 240. I'm not knocking the ones you have, they are different and they look ok. However, I'm no fan of the Ferrari Tail Lights either. I would personally have opted for something else if I had been forced to change the tail lights for whatever reason. Would I change the car back to original? If that were my intent in cleaning / repairing the car, Yes. If my intent were only to fix it to a mechanically and structurally sound condition, then probably not. You need to determine what your END GOAL is. If it is a pristine concours restoration, change the lights, paint the car, get the original wheels etc etc. If you are looking for a Custom Hot Rod built on a Z shell, then knock yourself out with the modifications. If you are restoring the car to period correct customization, then it might be fine as is. 2¢
-
A pressure washer used with the right tip and at the right angle will literally slice it off the car. Granted, it can and will expose weak sections in the sheet metal, (I found one that way) but the time saved in scraping! When I did it, I didn't use the soap, nor hot water, just plain old faucet water and started with the thin angle tip, then worked my way up. The needle tip does an excellent job of literally cutting through the undercoating, dirt and whatever all the way to the metal. That then leaves an exposed edge that you can use the other tips to let the water chisel it off. 2¢
-
I probably used about a gallon and a half to do everything I did. I'd have to check the invoices but that sounds about right. Although that might sound like way too much consider what I did: Both front fenders not only the inside but also the area around the strut from the front of the car (hinge mount area) to the floor pan, the sugar scoops, and the turn signal valances as well as the front valance. The cowl, inside and underneath. The complete interior floor pan and transmission tunnel, and inside both rocker panels. The complete hatch area including the tail light panel except for the spare tire well. Inside both doors, inside both rear fenders, TWO gas tank exteriors, the straps for both gas tanks. Inside the hatch, literally poured about 2/3 of a quart through it. A lot of this was done with brushes. Although the POR folks sell and recommend the "foam" ones, I found it just as cheap and actually easier to use those metal tube epoxy mixing brushes. You can get them in widths up to 1-1/2", and for most of the job this was sufficient. For areas where it would be a major pain to brush, I used the Air Blower Syphon. That literally allowed me to fully cover inside areas I could see and blow air towards, but would have had an impossible time trying to paint AND not get it all over my body. The Cowl area, all those support beams make it impossible to get your hand in and out of there. The space between the inner sheet metal and the exterior metal for the rear fenders as well as the area just underneath the quarter windows. An Air Blower is the attachment you use with your air compressor to release a stream of air. That stream can be used to blow dust, debris, etc. Now, the one I used had an extended nose tube, and at the end of the tube, there was an inlet connection for a vinyl hose which I then put into the POR paint. The Air stream would then vacuum (venturi) the paint up into the air stream where it would then be "atomized" or sprayed. The biggest advantage of doing it this way was TIME and coverage. Where it had taken me about 3 to 4 hours to do the interior of the doors by thinning out the POR with their solvent and then putting it into a touch up gun, it took me about 45 minutes to do both rear fender areas, inside both rocker panels via each of the access holes, the space below both quarter windows (again via the holes), and ALL of the cowl "bucket". The coverage was as good or better than two coats brushed on, or 3 coats of thinned spray. Anyhow, hope this helps.
-
That second "Choke" lever you are referring to is actually the Thnrottle as kmack pointed out. And I concur as well, never heard of choking one carburator and not the other and that would be the only reason to have separate levers / cables for the individual carbs. But then again, stranger things do happen. I think this is one for Alan HS30.
-
You are a very committed fan of Monty Python and their Spam skit, in which case it's a bunch of Spam shaped in the form of a turkey.... Or.... If you are a displaced Aussie, it might be Vegamite..... Or..... If you are one of those weight conscious .......TOFU!! ! !