Av8ferg
Free Member
-
Joined
-
Last visited
Everything posted by Av8ferg
-
 Thanks, now I feel compelled to weigh my assemblies and see where they are. Ordering a scale from Amazon now that is accurate within .5 grams. Home Built By Jeff posted a video of him balancing his pistons assemblies. He did it with pistons connected to rods. Down the rabbit hole I go. Sent from my iPhone using Tapatalk
 -
Thanks guys. Moving forward! So, I’ve read about people weighing the piston assemblies but don’t have the details or what the benefits are. Smother running engine? I guess you find the lightest assembly and find a place to remove material from the others the get close to the lightest? I don’t want to remove the rod from the piston because I don’t have the tools to properly set the pin back in, so not sure if you have to do that. Didn’t really follow railroad tie process you mentioned Sent from my iPhone using Tapatalk
-
Hey, spent most to the morning yesterday cleaning the carbon off my pistons so I could get them installed this week. Technique was to use WD-40 and a scotch brite pad. Also let them soak in and acetone ATF brew for about an hour each. Final clean up with brake cleaner. Used the old rings to lightly scrape out carbon from ring grooves. So during cleaning and with my 8x googles on I notice a few pistons with very minor nicks. Not sure the mechanism other than I know at least 2 feel out of the block when I removed them. Anyway, I think they’re cosmetic and don’t think they compromise the integrity of the piston but I thought I’d post and see what you guys think. See my video below. Sent from my iPhone using Tapatalk
-
Pull the oil pump and get the spindle in correctly. It’s a little of a pain the the butt but I agree that you are probably off one tooth. Fix the known problems first and let’s work from there. Get that set up right and then let’s pick this problem up from there. Also you can buy inexpensive Cam sprocket on interweb for about $20. I need to look back on our previous discussion we had a few weeks back but I think ITM has the V-Notch. Do you have your old sprocket? Sent from my iPhone using Tapatalk
-
We have created a generation of kids that are addicted to social media, have no real skills and expect everything to be both easy and free. We will pay as a society for this. My kids don’t have phones but all their friends do. I don’t know who said this but I like it. “Hard times create strong men. Strong men create good times. Good times create weak men. And, weak men create hard times.” We are creating weak men in my opinion. When I was a kid both my Grandfather and Father could fix and build anything and worked their tails off to provide for their families. People today are generally helpless, lazy and at the same time arrogant. Sorry for the rant! Sent from my iPhone using Tapatalk
-
So the machinist said he likes to see .005”. The indicator worked great. I caught my 12 yr old son treating it like a pogo stick and gave him an earful. He was the cameraman on the video. He has zero interest in cars. I’m tying to get him to be interested in something other that anything attached to a screen. He thinks the Datsun is really cool but he has no interest in helping me fix it up. I told him when I’m pushing up daisies it will be your car. When I first showed him the car It time he asked where the infotainment system was. Oh....geez! Sent from my iPhone using Tapatalk
-
We dumped Amazon but our planes are still packed to the seams. Once they started their own airline they became a competitor. Sent from my iPhone using Tapatalk
-
Books says .002” to .007”. I don’t understand the second part where is says limit is .012”. I guess normal is .002-.007. After .012 you have a problem? Mine is .003”, on the tighter side but in the limit. Sent from my iPhone using Tapatalk
-
Okay, I finally got around to measuring the endplay of my crankshaft. Work has been crazy busy but I got sometime today in the garage. This is the first time doing this so I hope I did it correctly. I’m measuring .003” of endplay on this crank. After that I pushed the crank as forward as possible and then torqued the main caps down to 35 ft/lbs. I made a video measuring the endplay. If you see something wrong let me know. I’m hoping to get the pistons installed next week. Goal is to have the motor finished before Santa arrives. Sent from my iPhone using Tapatalk
-
Dave, what made you dig into this issue.? Were you experiencing and rough idle post warm up? I know a guy that frequents JYs I’m sure he can acquire a few of them for the team. I’m headed to one this weekend to pick up a ZX distributor for $30. I’ll be on the look out for a 90’s Pathfinder. Sent from my iPhone using Tapatalk
-
Perfect, I was hoping he wasn’t like this guy! Sent from my iPhone using Tapatalk
-
You guys will be humming down the road and with my luck my engine will blow up 1/2 way there. Sent from my iPhone using Tapatalk
-
Yep! I’m in debt at ZCON for an undisclosed amount of beer though. I’m hoping he’s a lightweight Sent from my iPhone using Tapatalk
-
Not yet, but I will before I move forward. I’ve been gone a lot for work lately. Dial Indicator on it way thanks to one of our favorite members CO who offered me one of his extras.
-
P-series are Tri-metal bearings. They have a steel backing, copper middle and aluminum surface. They are capable of handling a higher RPM than the A-series and are better on performance engines I’ve read. The A series are all aluminum. Sent from my iPhone using Tapatalk
-
Dave, I put the old sprocket on and spun the cam about a 1/2 turn to try and stop any of valves from protruding past the deck. Good idea with the sprocket but I could also check the timing position using the old sprocket and then once set put the new one on in the same hole. Sent from my iPhone using Tapatalk
-
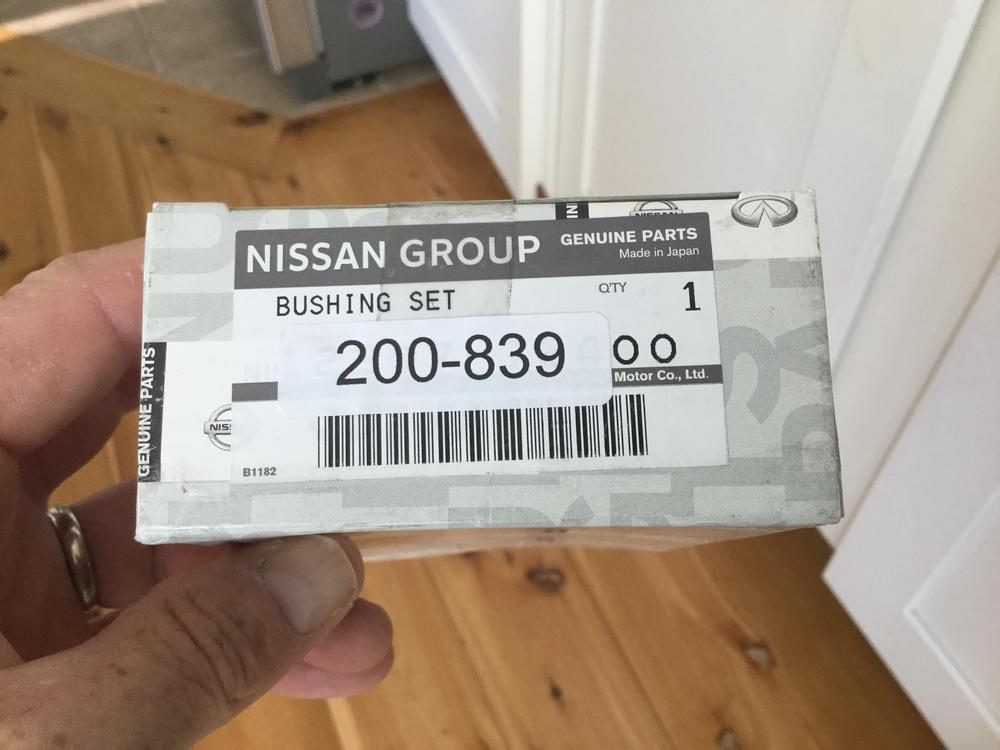
Head is finally in my garage and looks pretty good. $300 for all the work. Cleaned, replaced valve seat, and complete valve job. I just wish I had time to put this engine back together. Side notes. This is double confirmation that the OSK timing chain kit doesn’t have the V-notch on the sprocket. Was $68 on EBay. Nice kit IMHO. Rod bearings arrived too. I purchased tri-metal standard bearings made by Taiho $38. Tried to buy the Clevite 77 P- series but they are no longer available anywhere in STD sizes for Rods. Sent from my iPhone using Tapatalk
-
Wow 32 yrs like a prison sentence. Thanks! Sent from my iPhone using Tapatalk
-
Thanks Cliff....it was a honor to serve but don’t what to go back! 24 yrs was enough. I’m enjoying my new found freedom being a civilian. Sent from my iPhone using Tapatalk
-
The block was only tanked and bores honed. I’m going to buy a dial indicator tomorrow and if its within tolerance then I won’t pull it apart. Sent from my iPhone using Tapatalk
-
Thanks. I am using the L28 rebuild book. I guess it’s better to be safe than sorry. I’m going to double back, check my work, pull it back off and try and get some measurements off this thrust bearing. Sent from my iPhone using Tapatalk
-
Well, I did that already. The block came back with the caps on. I reviewed my disassembly photos and noticed the arrows were the wrong way so fixed that when installed the bearings. Sent from my iPhone using Tapatalk
-
I’m was prying pretty hard, it wasn’t going to move, the big screwdriver was bending. I guess I’ll pull it all apart and try and shave those flanges a tad. Book says to measure them prior and then lightly sand. Thanks for the advice guys! Sent from my iPhone using Tapatalk
-
Here’s what the books says, but I need someone who’s done this before to tell if I need to pull this apart and do it again. Says to sand the thrust bearing edges with 320 sandpaper to get the clearance. Should be .002 but not more than .007. The crank won’t move laterally (float) at all when pry it as instructed using a long flat screwdriver. Sent from my iPhone using Tapatalk
-
Dave, I did not use plastigage because the journals measured almost perfect (well inside tolerances). i was there when he measured the journals and his comment was how surprised he was that there were exactly what the books specified and all nearly identical. He said that he doesn't see that often on domestic motors he works. This wasn't the first time he commented on the high quality of the motor vs what he normally sees. Also, I bought standard size OEM Nissan bearings, not aftermarket. I used Lucas Semi-synthetic high performance assembly lube. This stuff is pretty tacky. Its a bit messy, and leaves a long stringy mess, like snot but very slick.