


duffymahoney
Free Member
-
Joined
-
Last visited
Everything posted by duffymahoney
-
-
Dpan on facebook and a few guys hoard them. The going rate for a set of rebuilts is like 2,500-3k. Watch craigslist and have cash ready and be patient. They pop up.
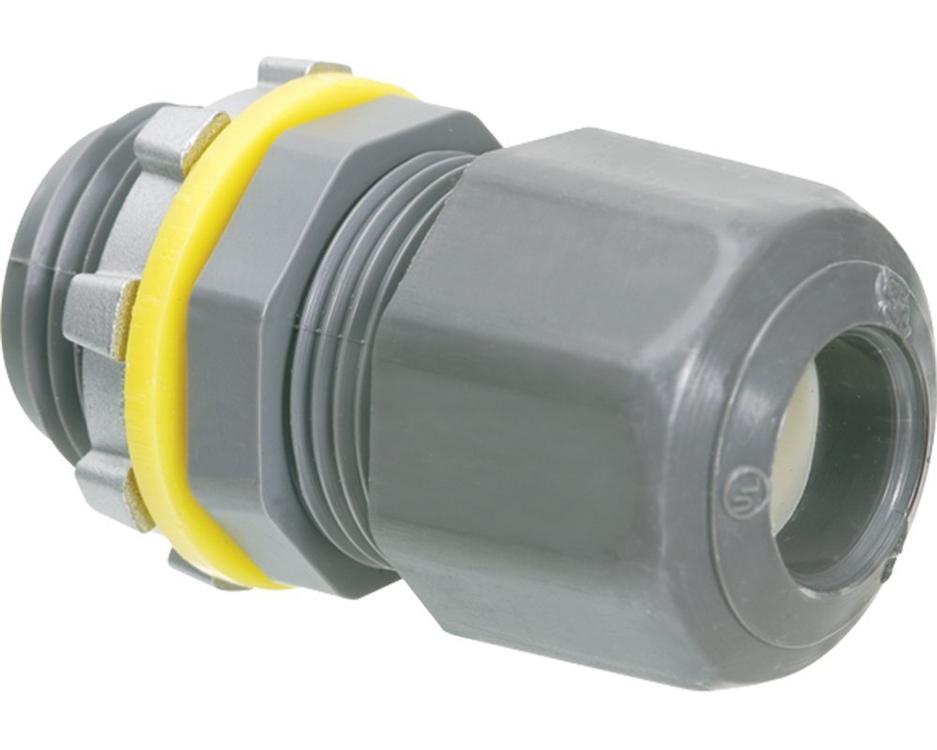
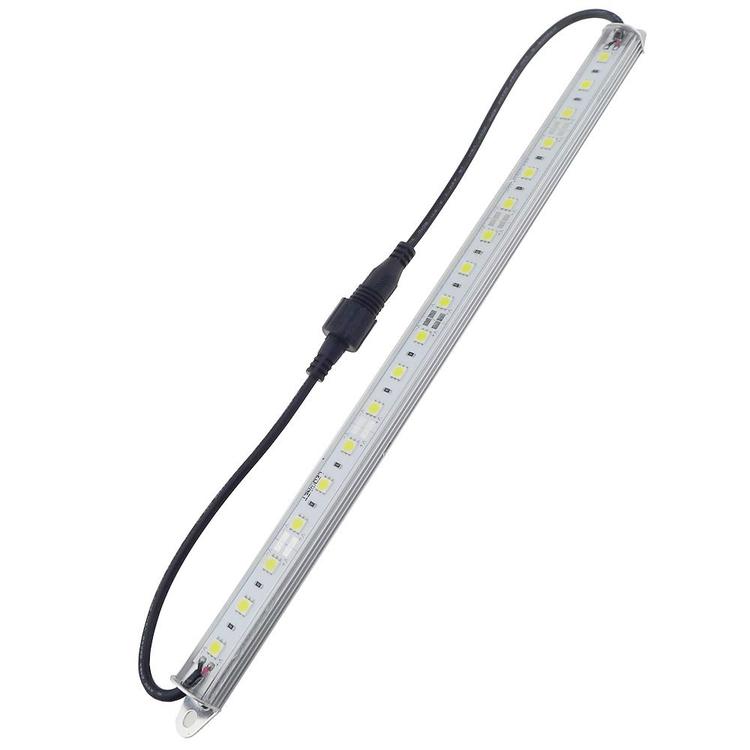
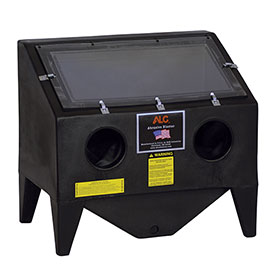
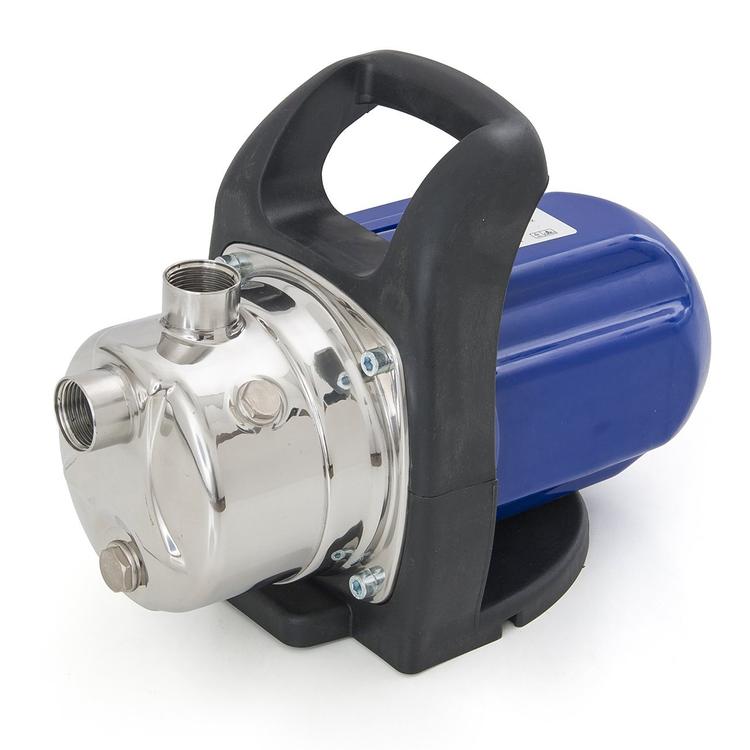
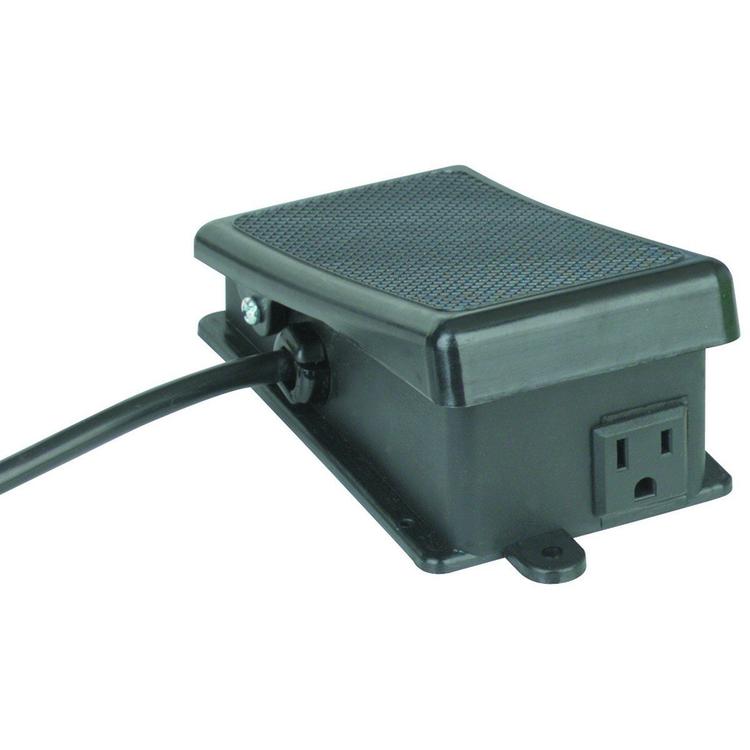
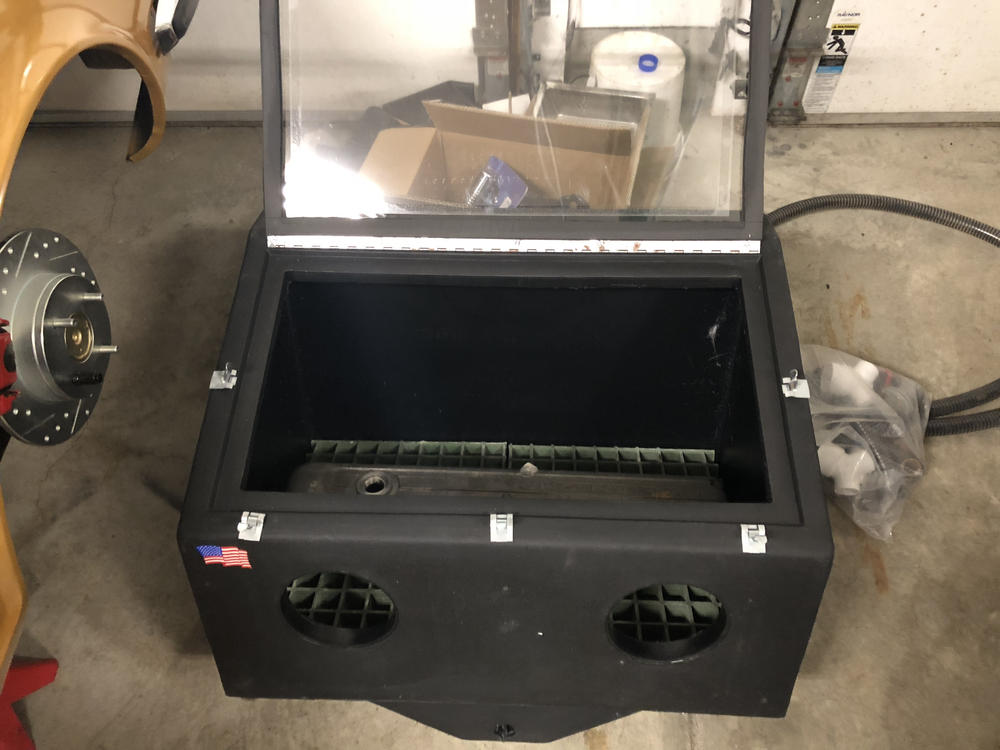
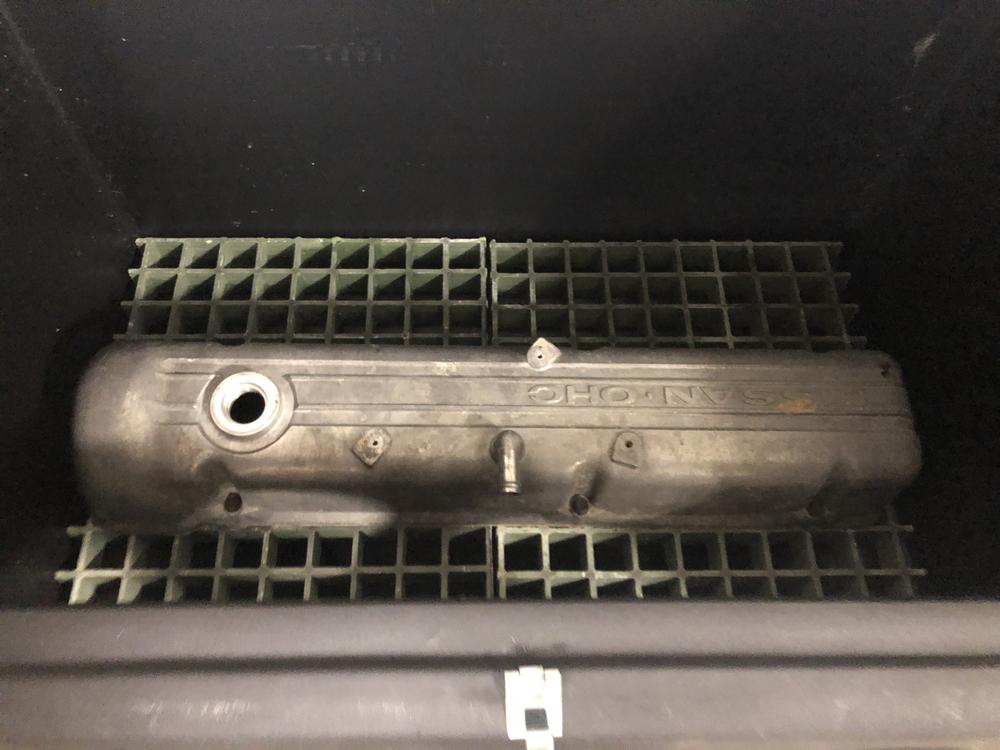
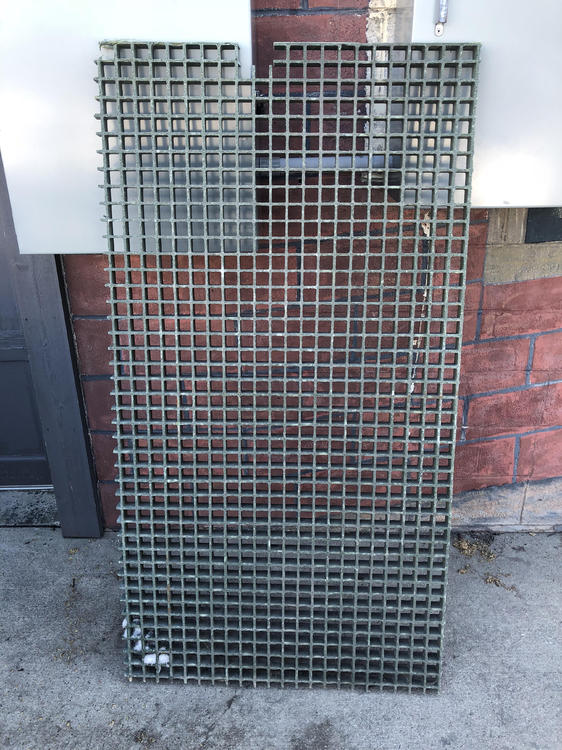
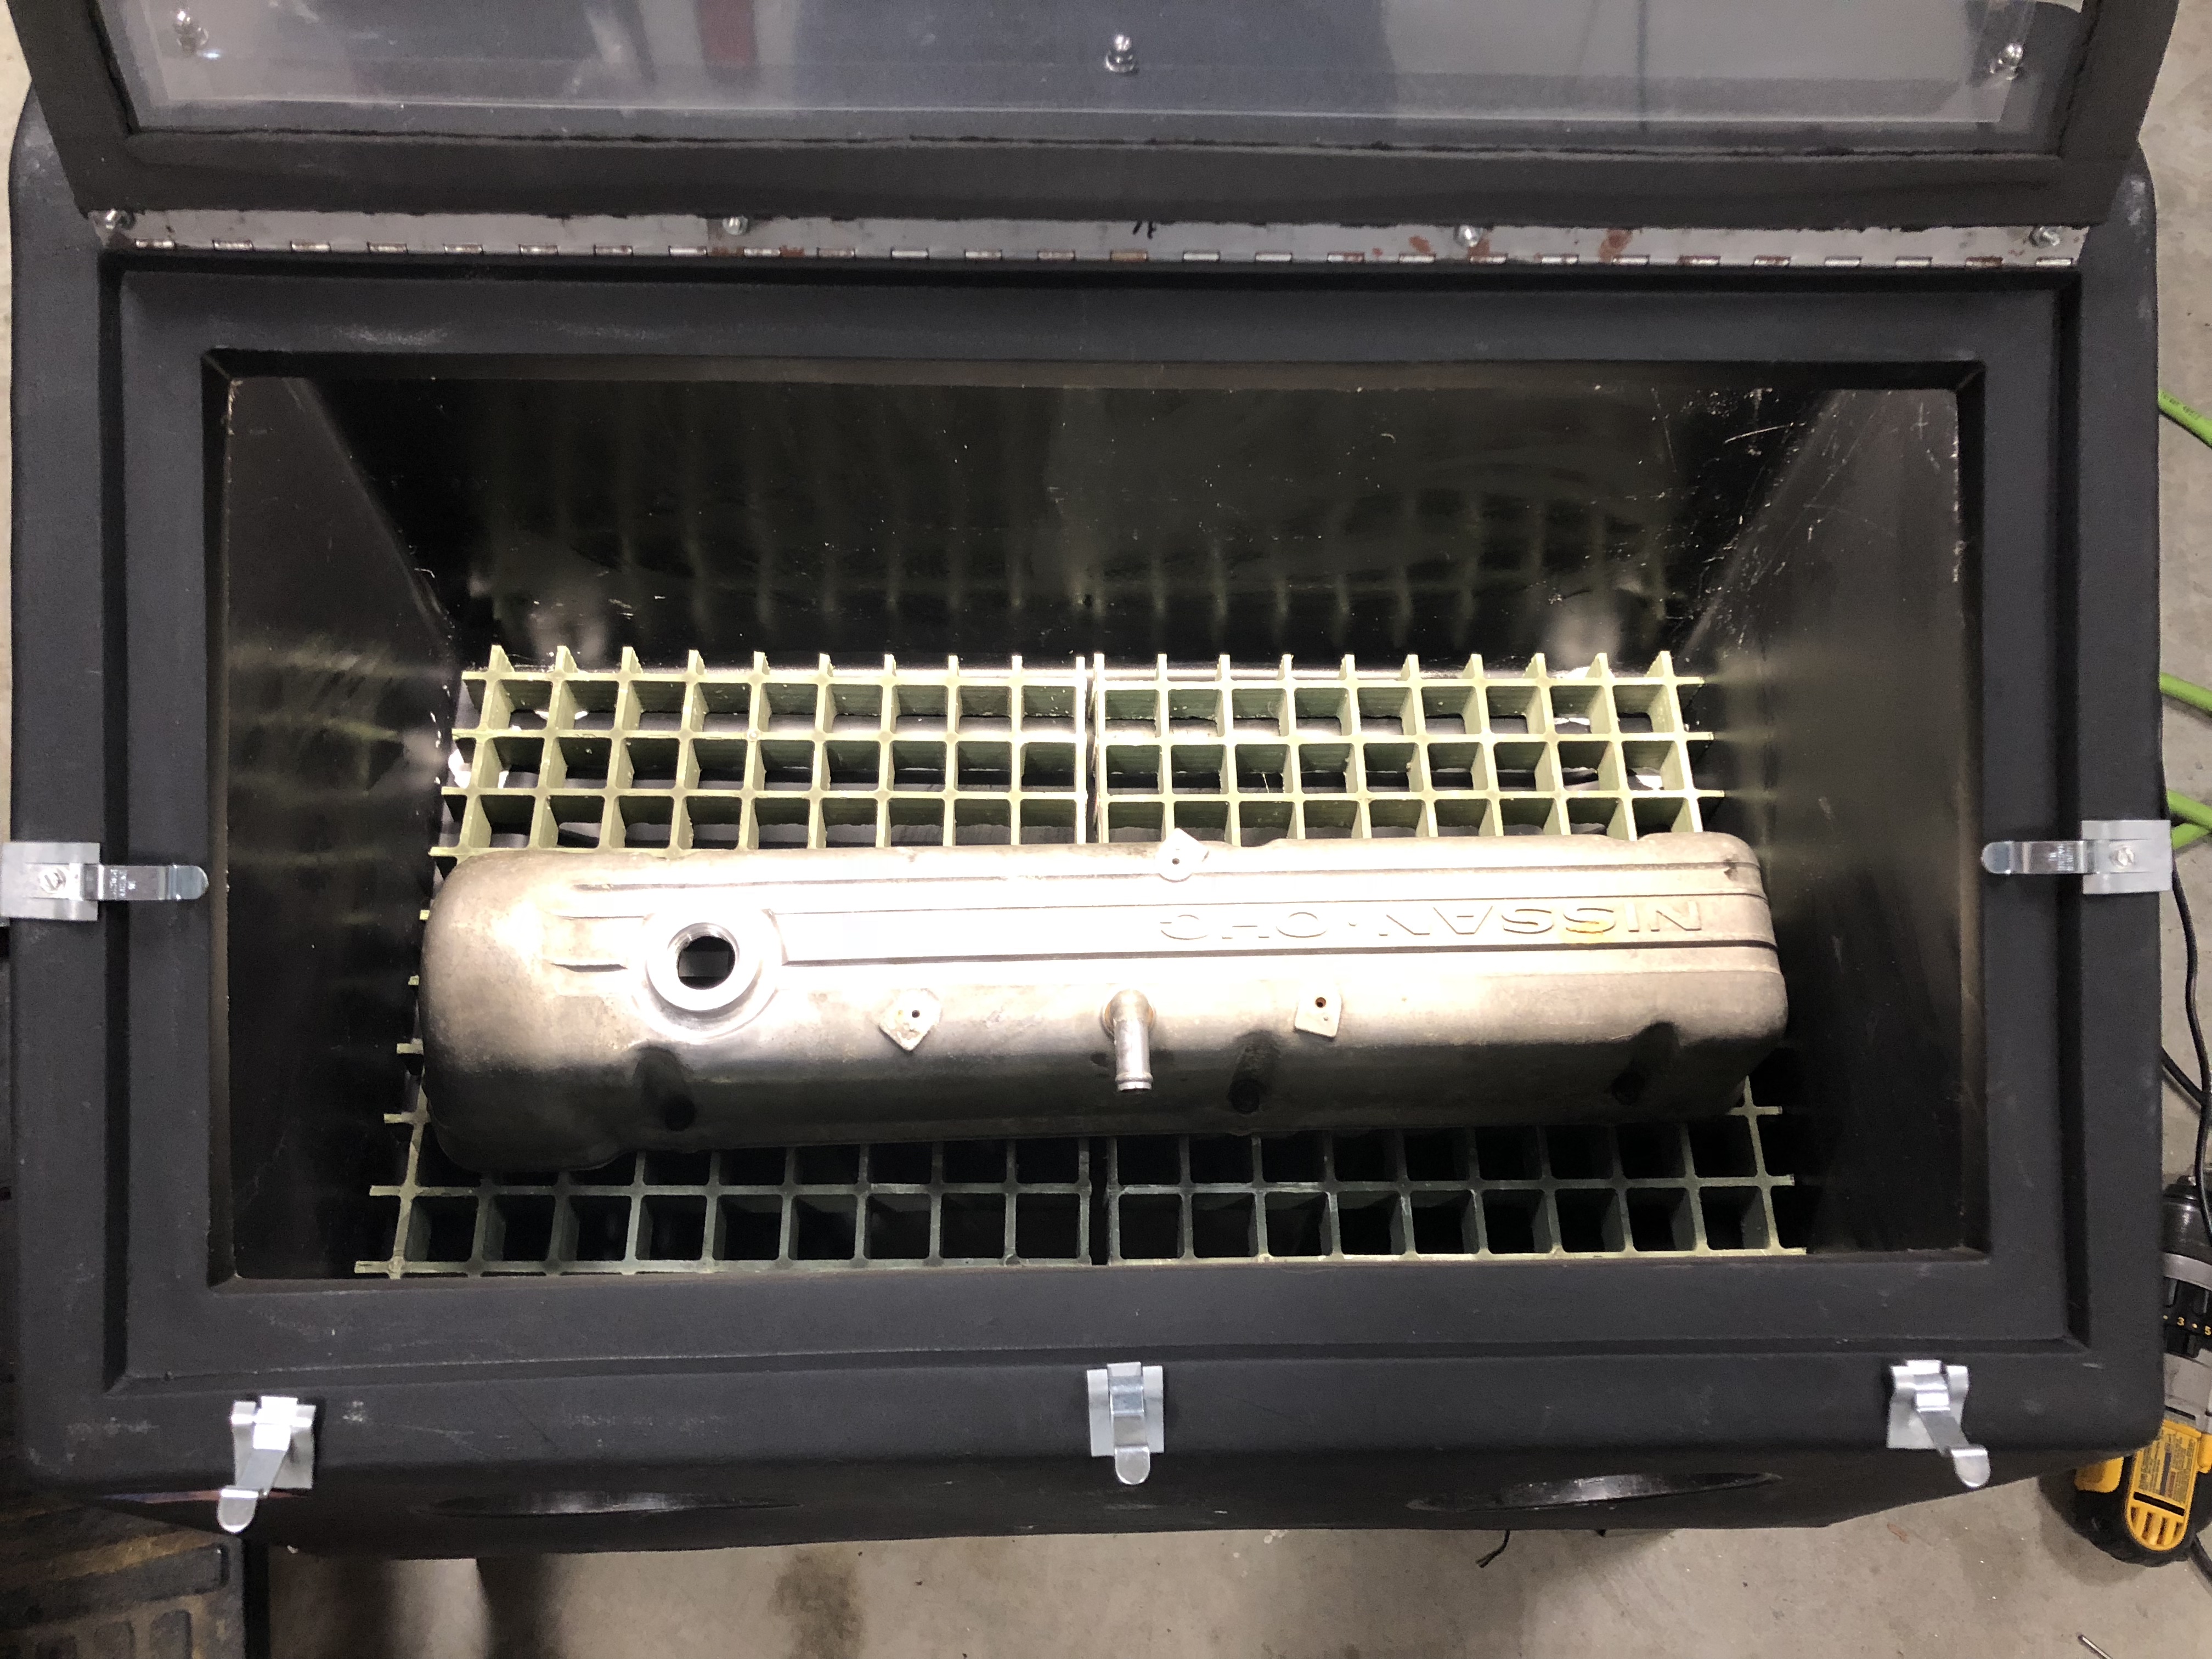
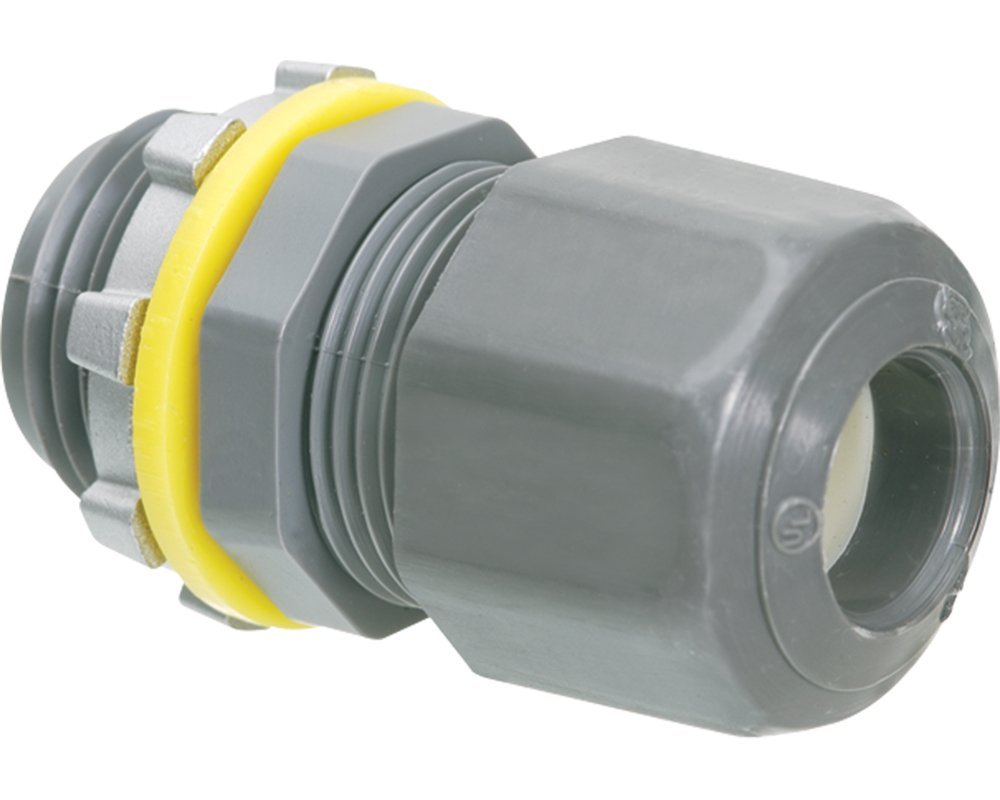
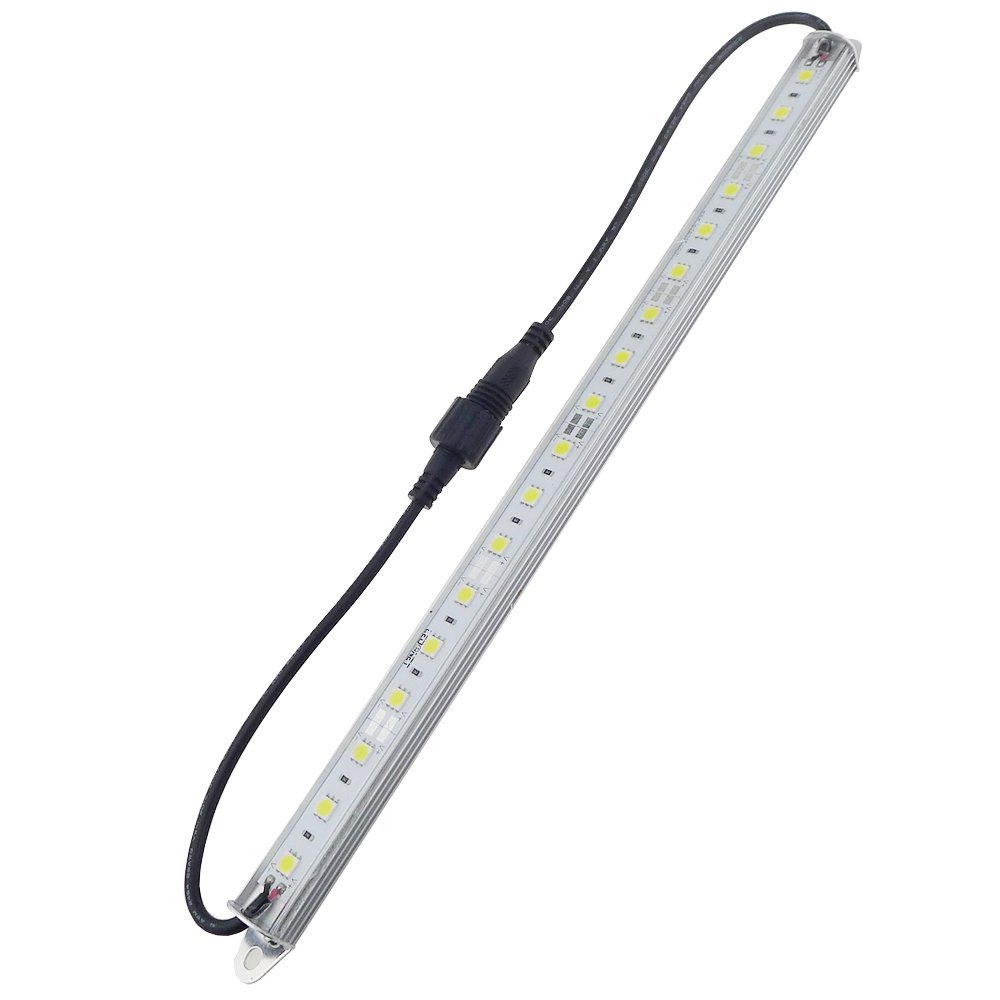
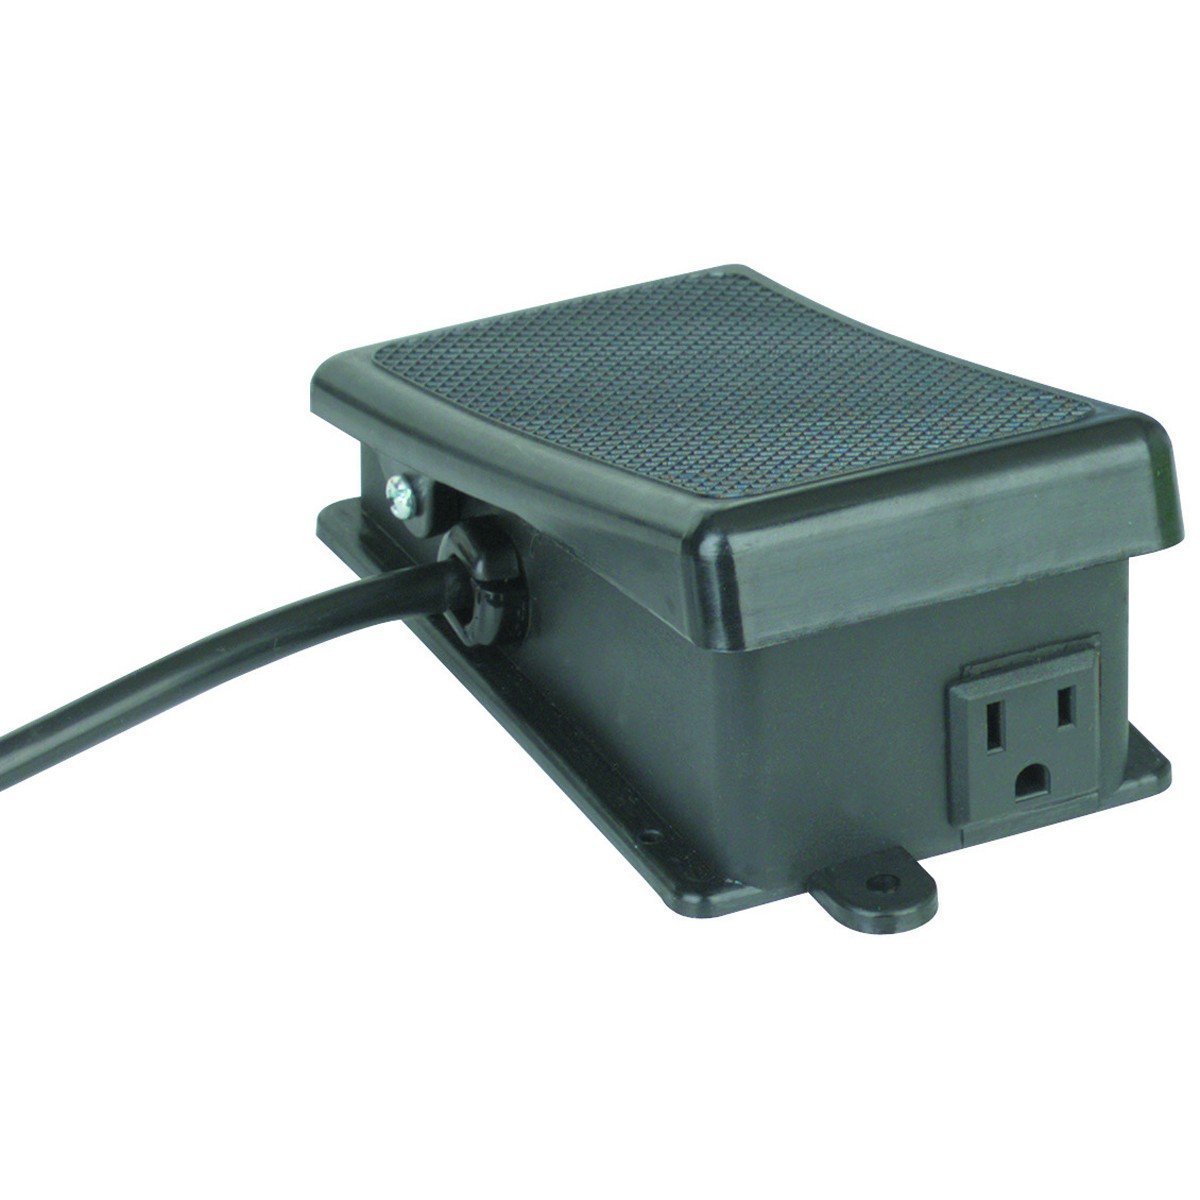
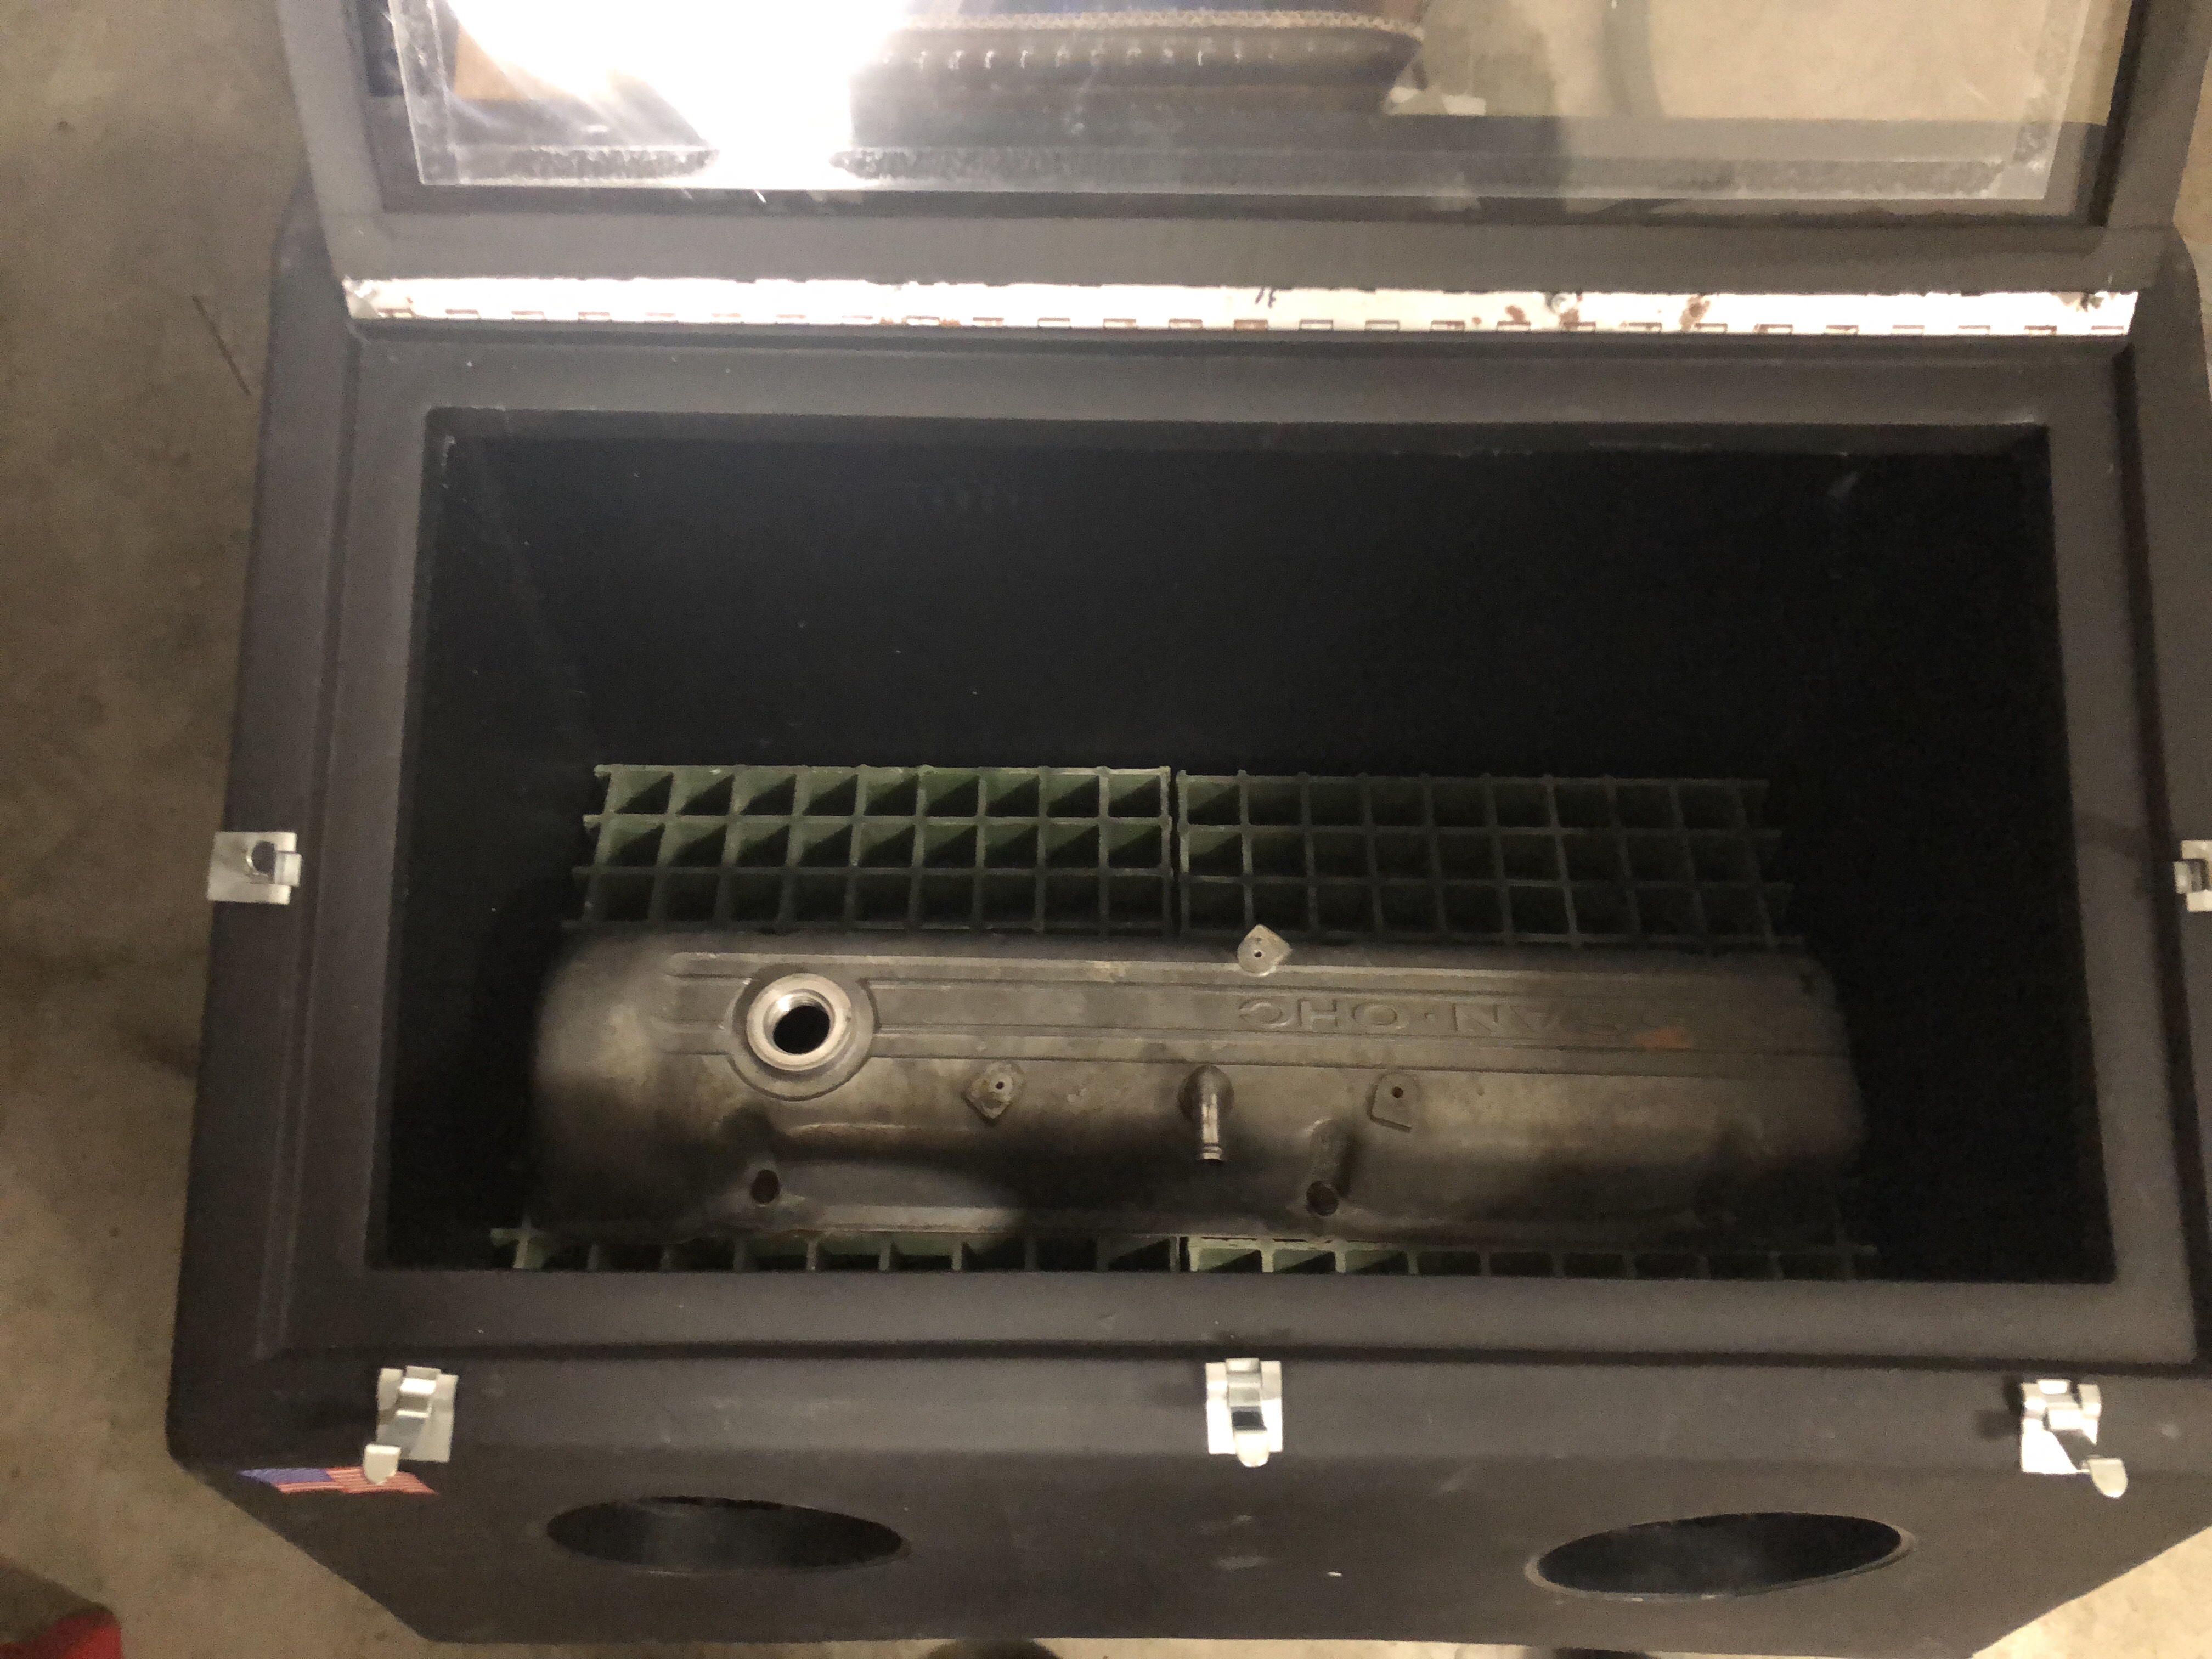
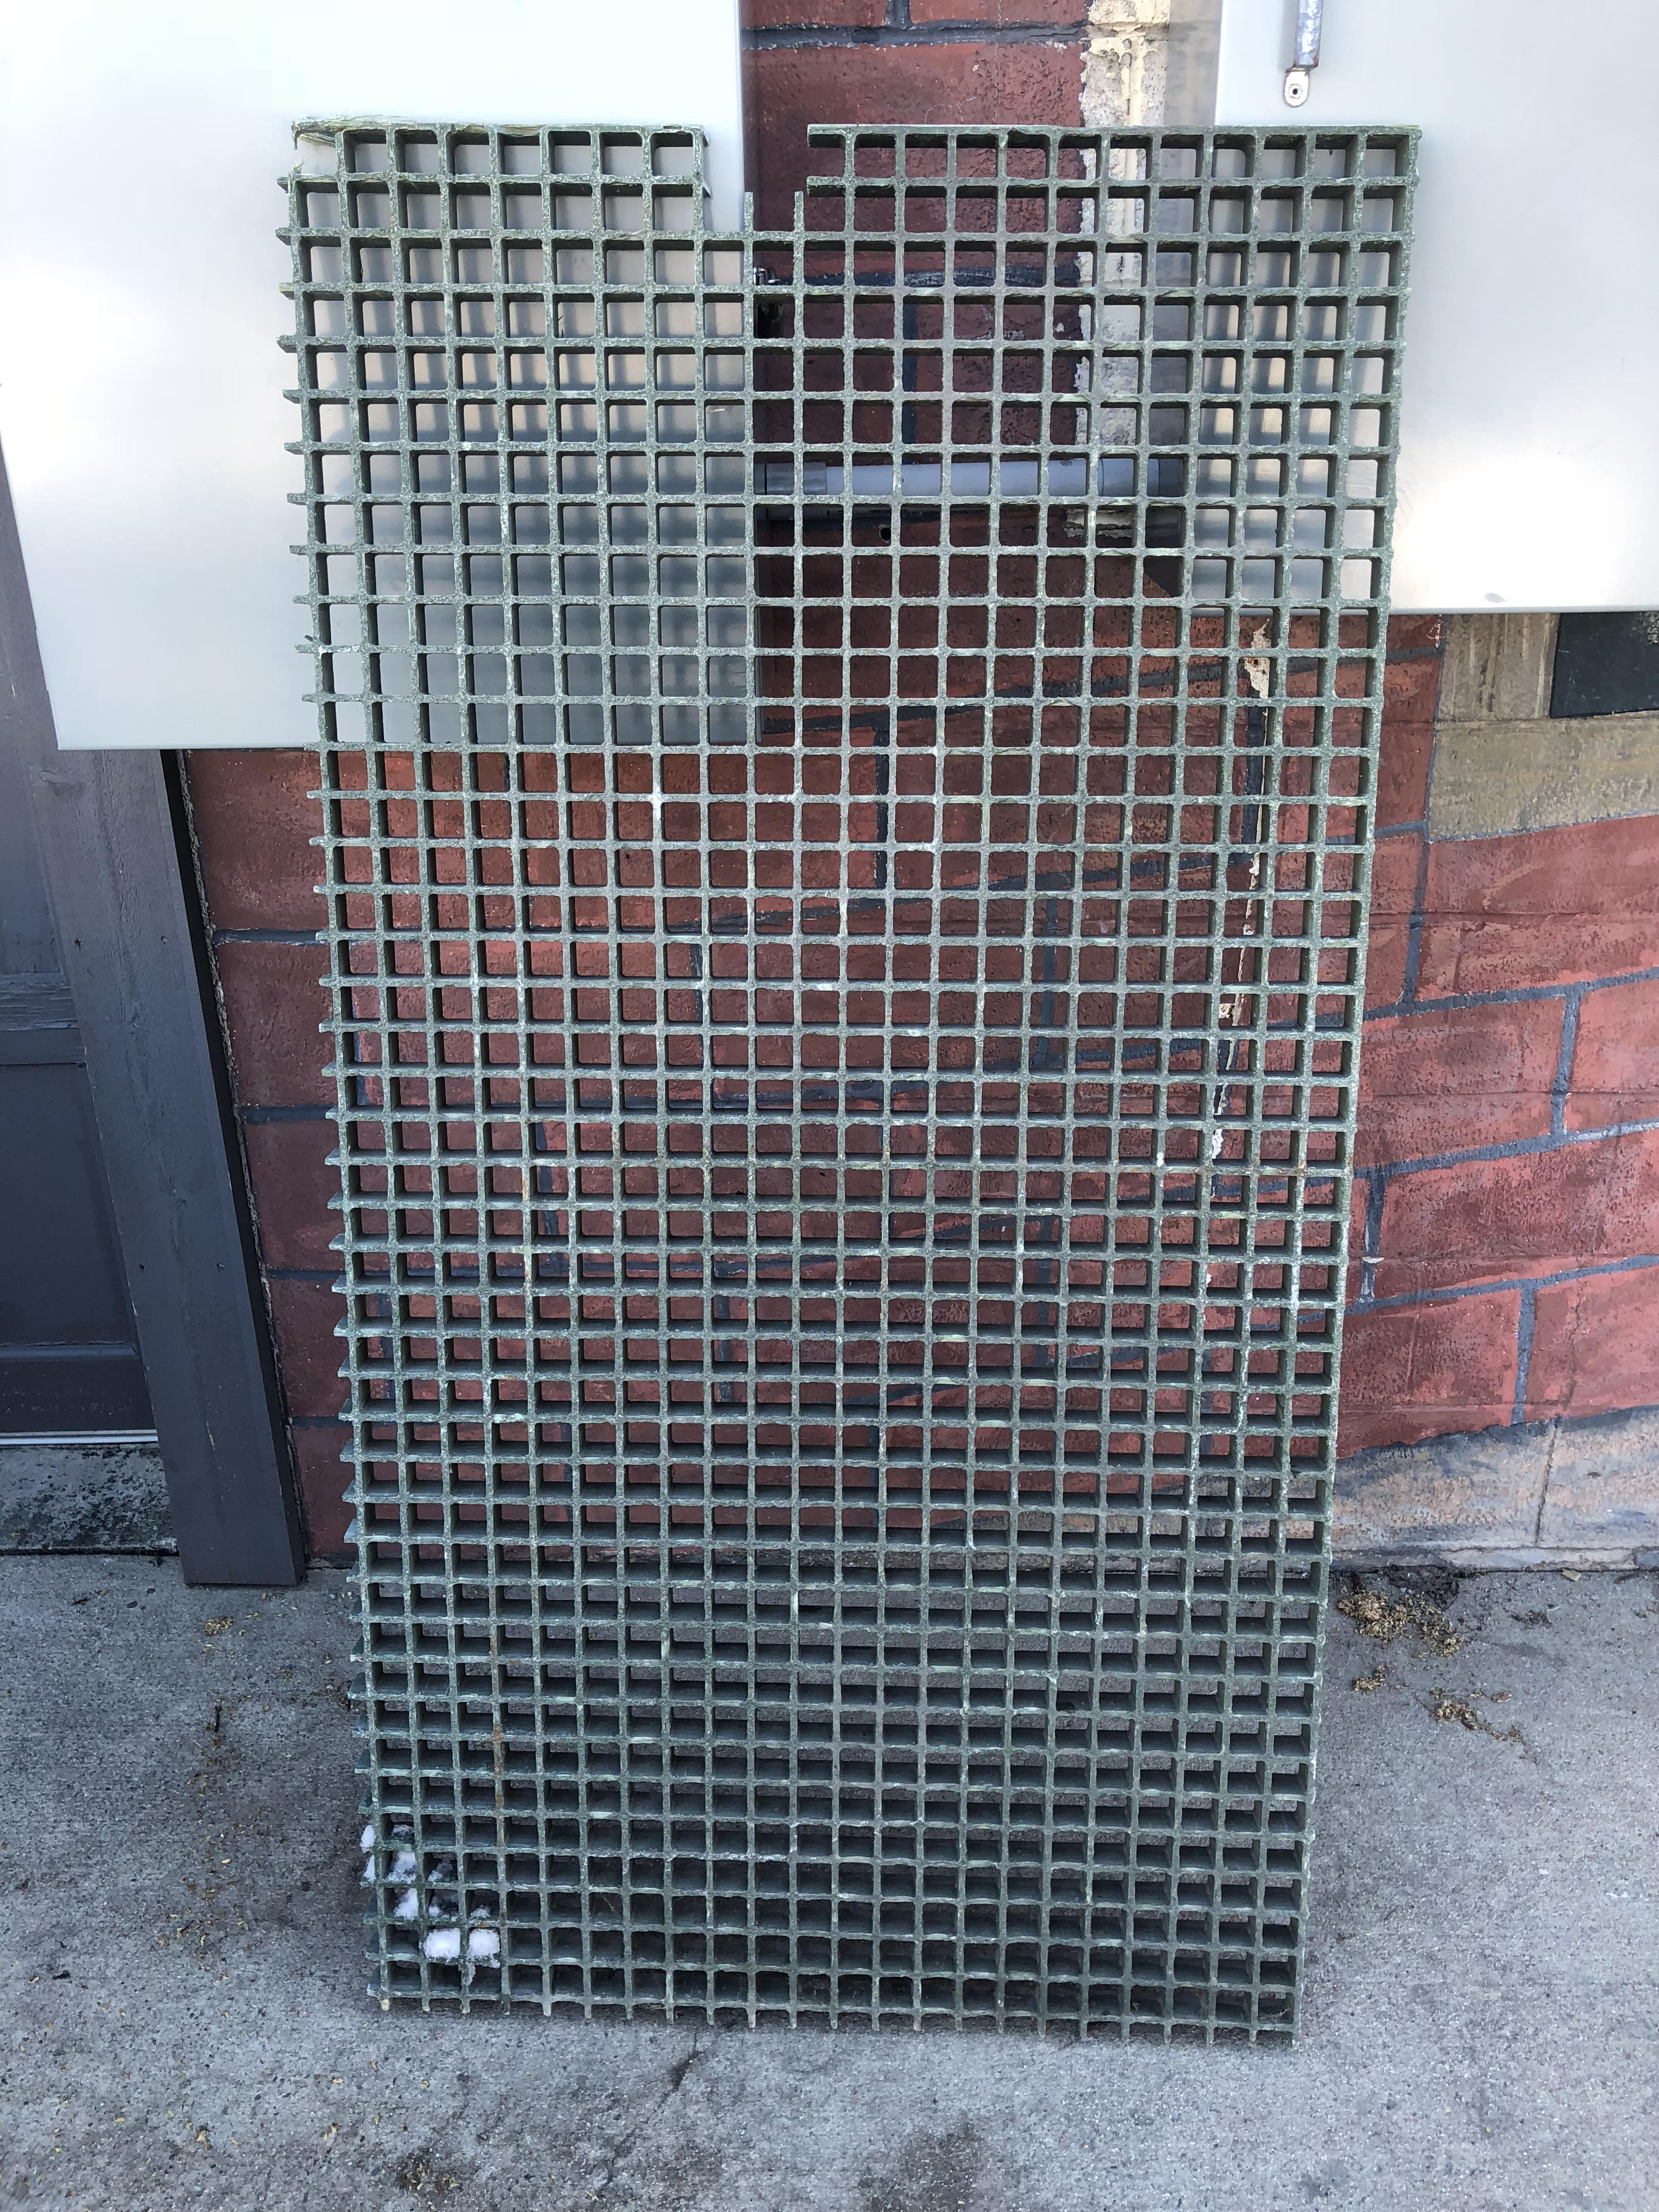
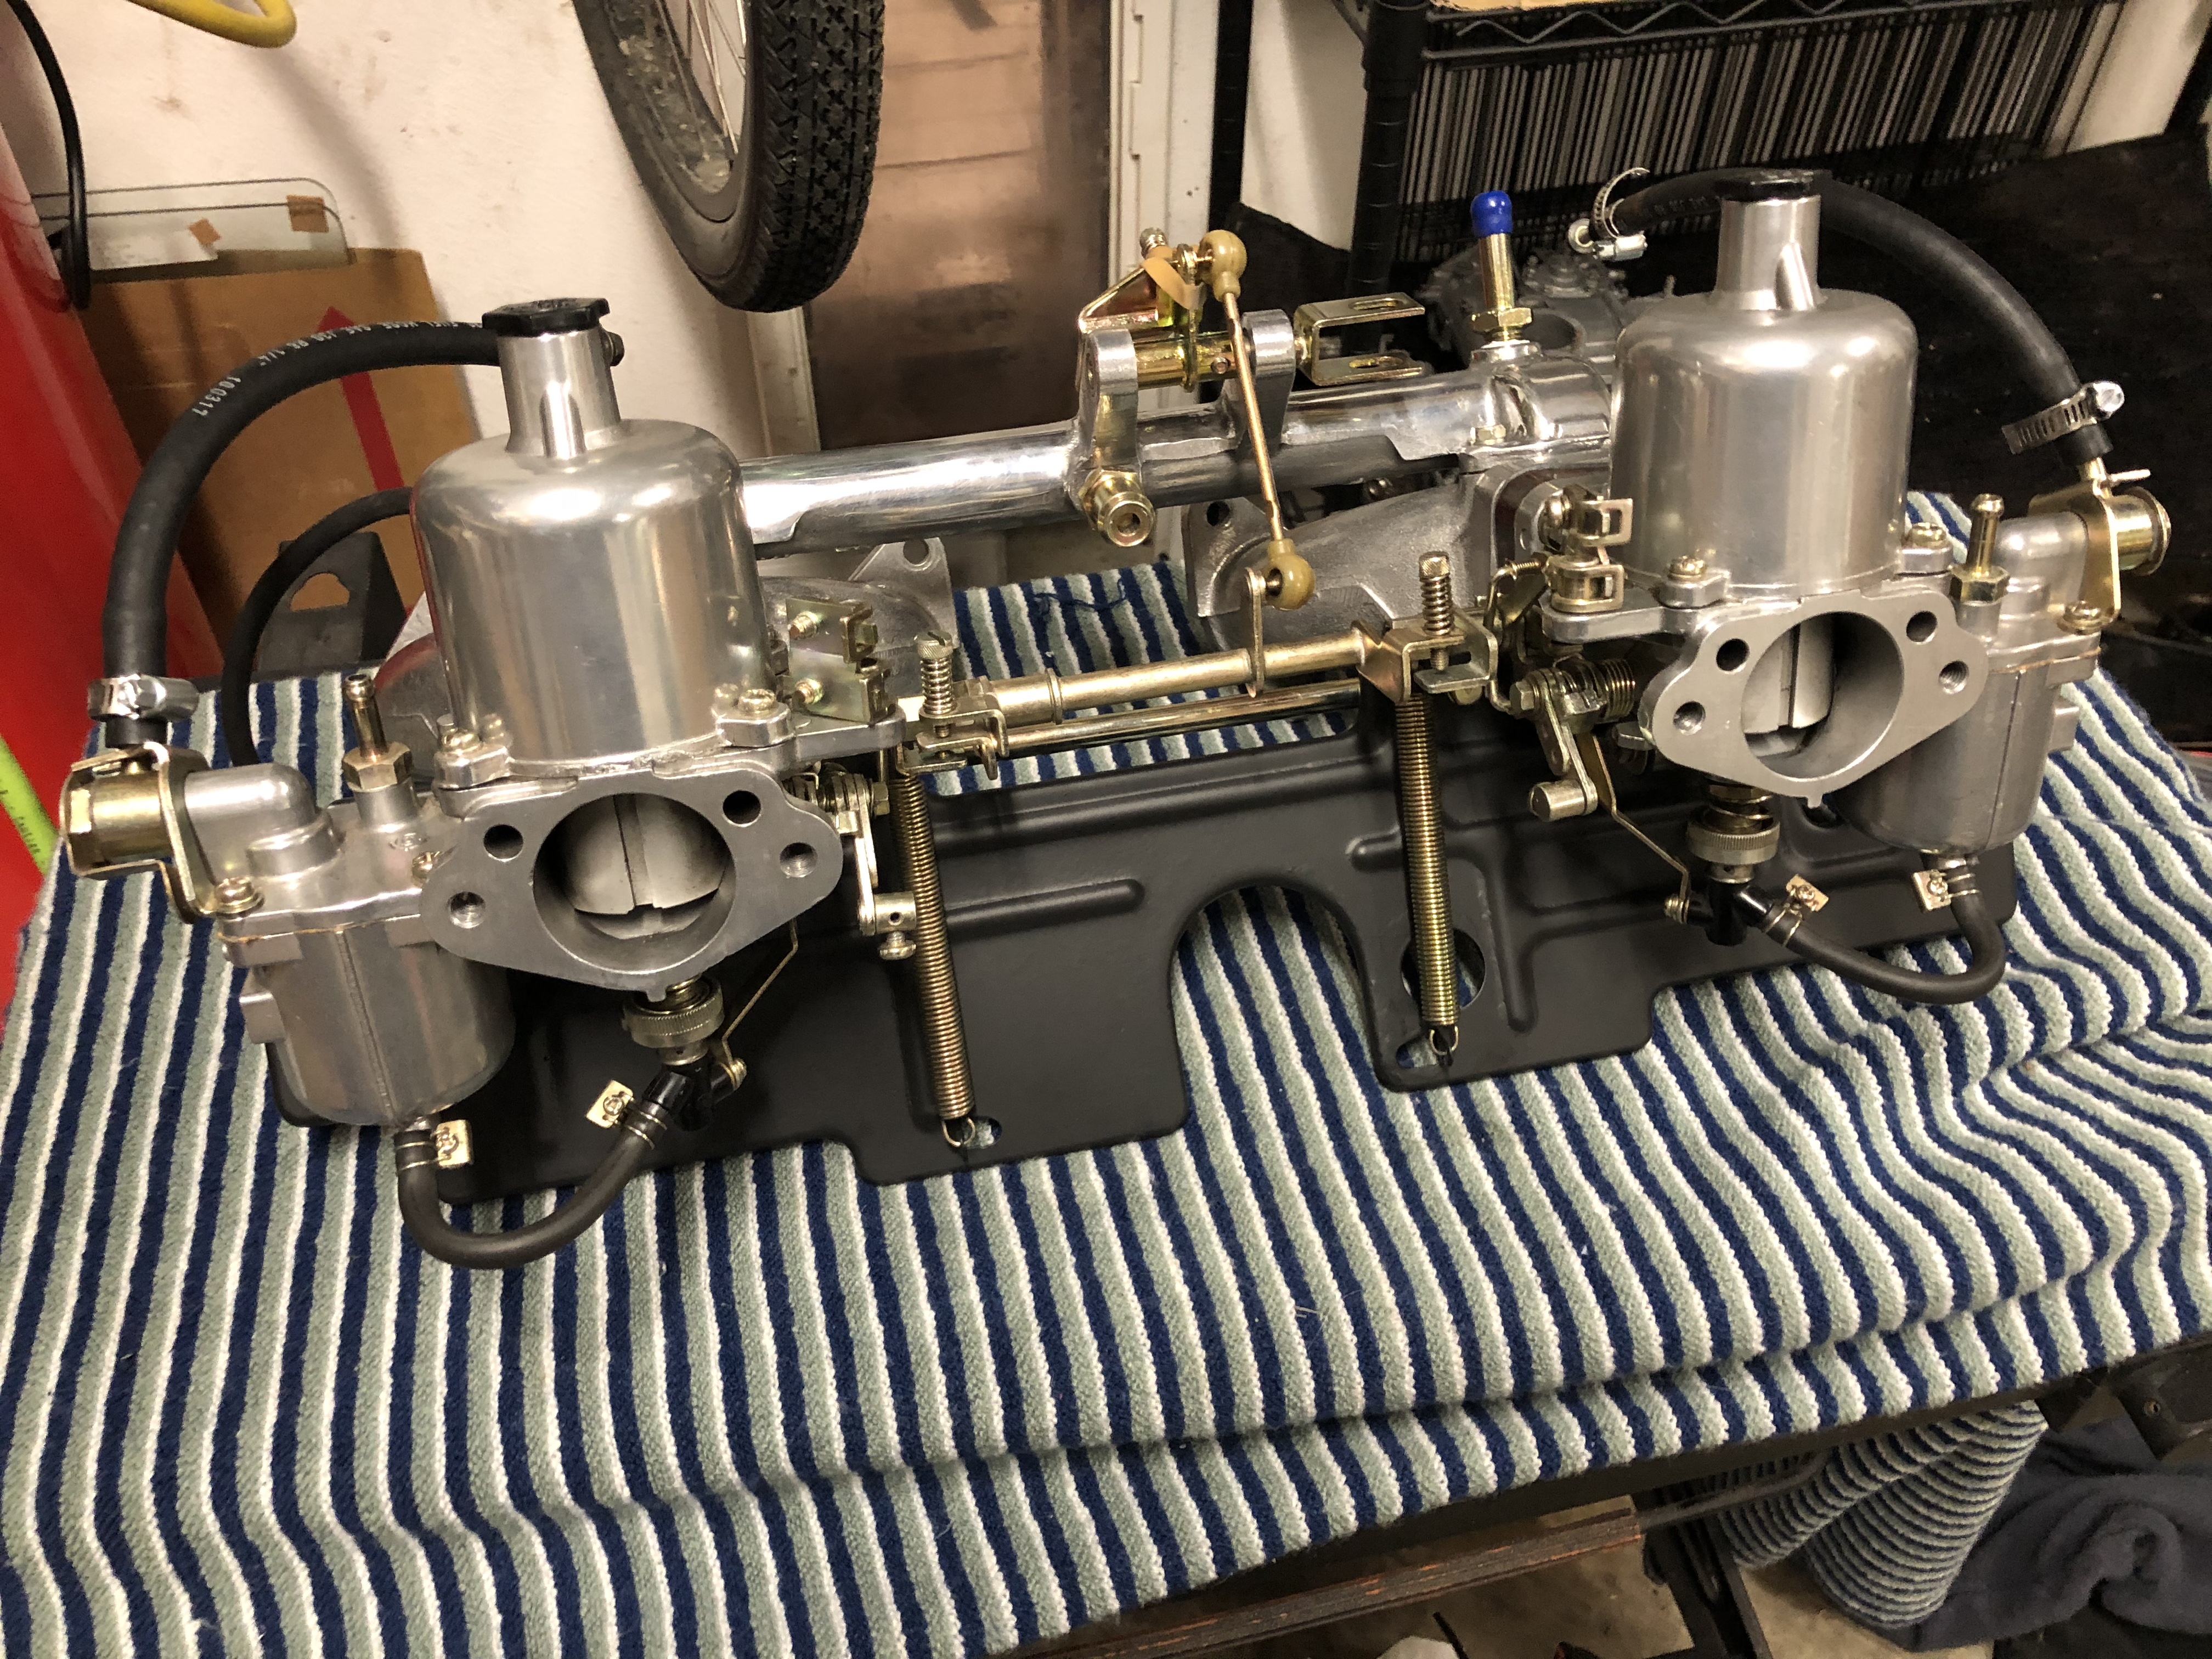
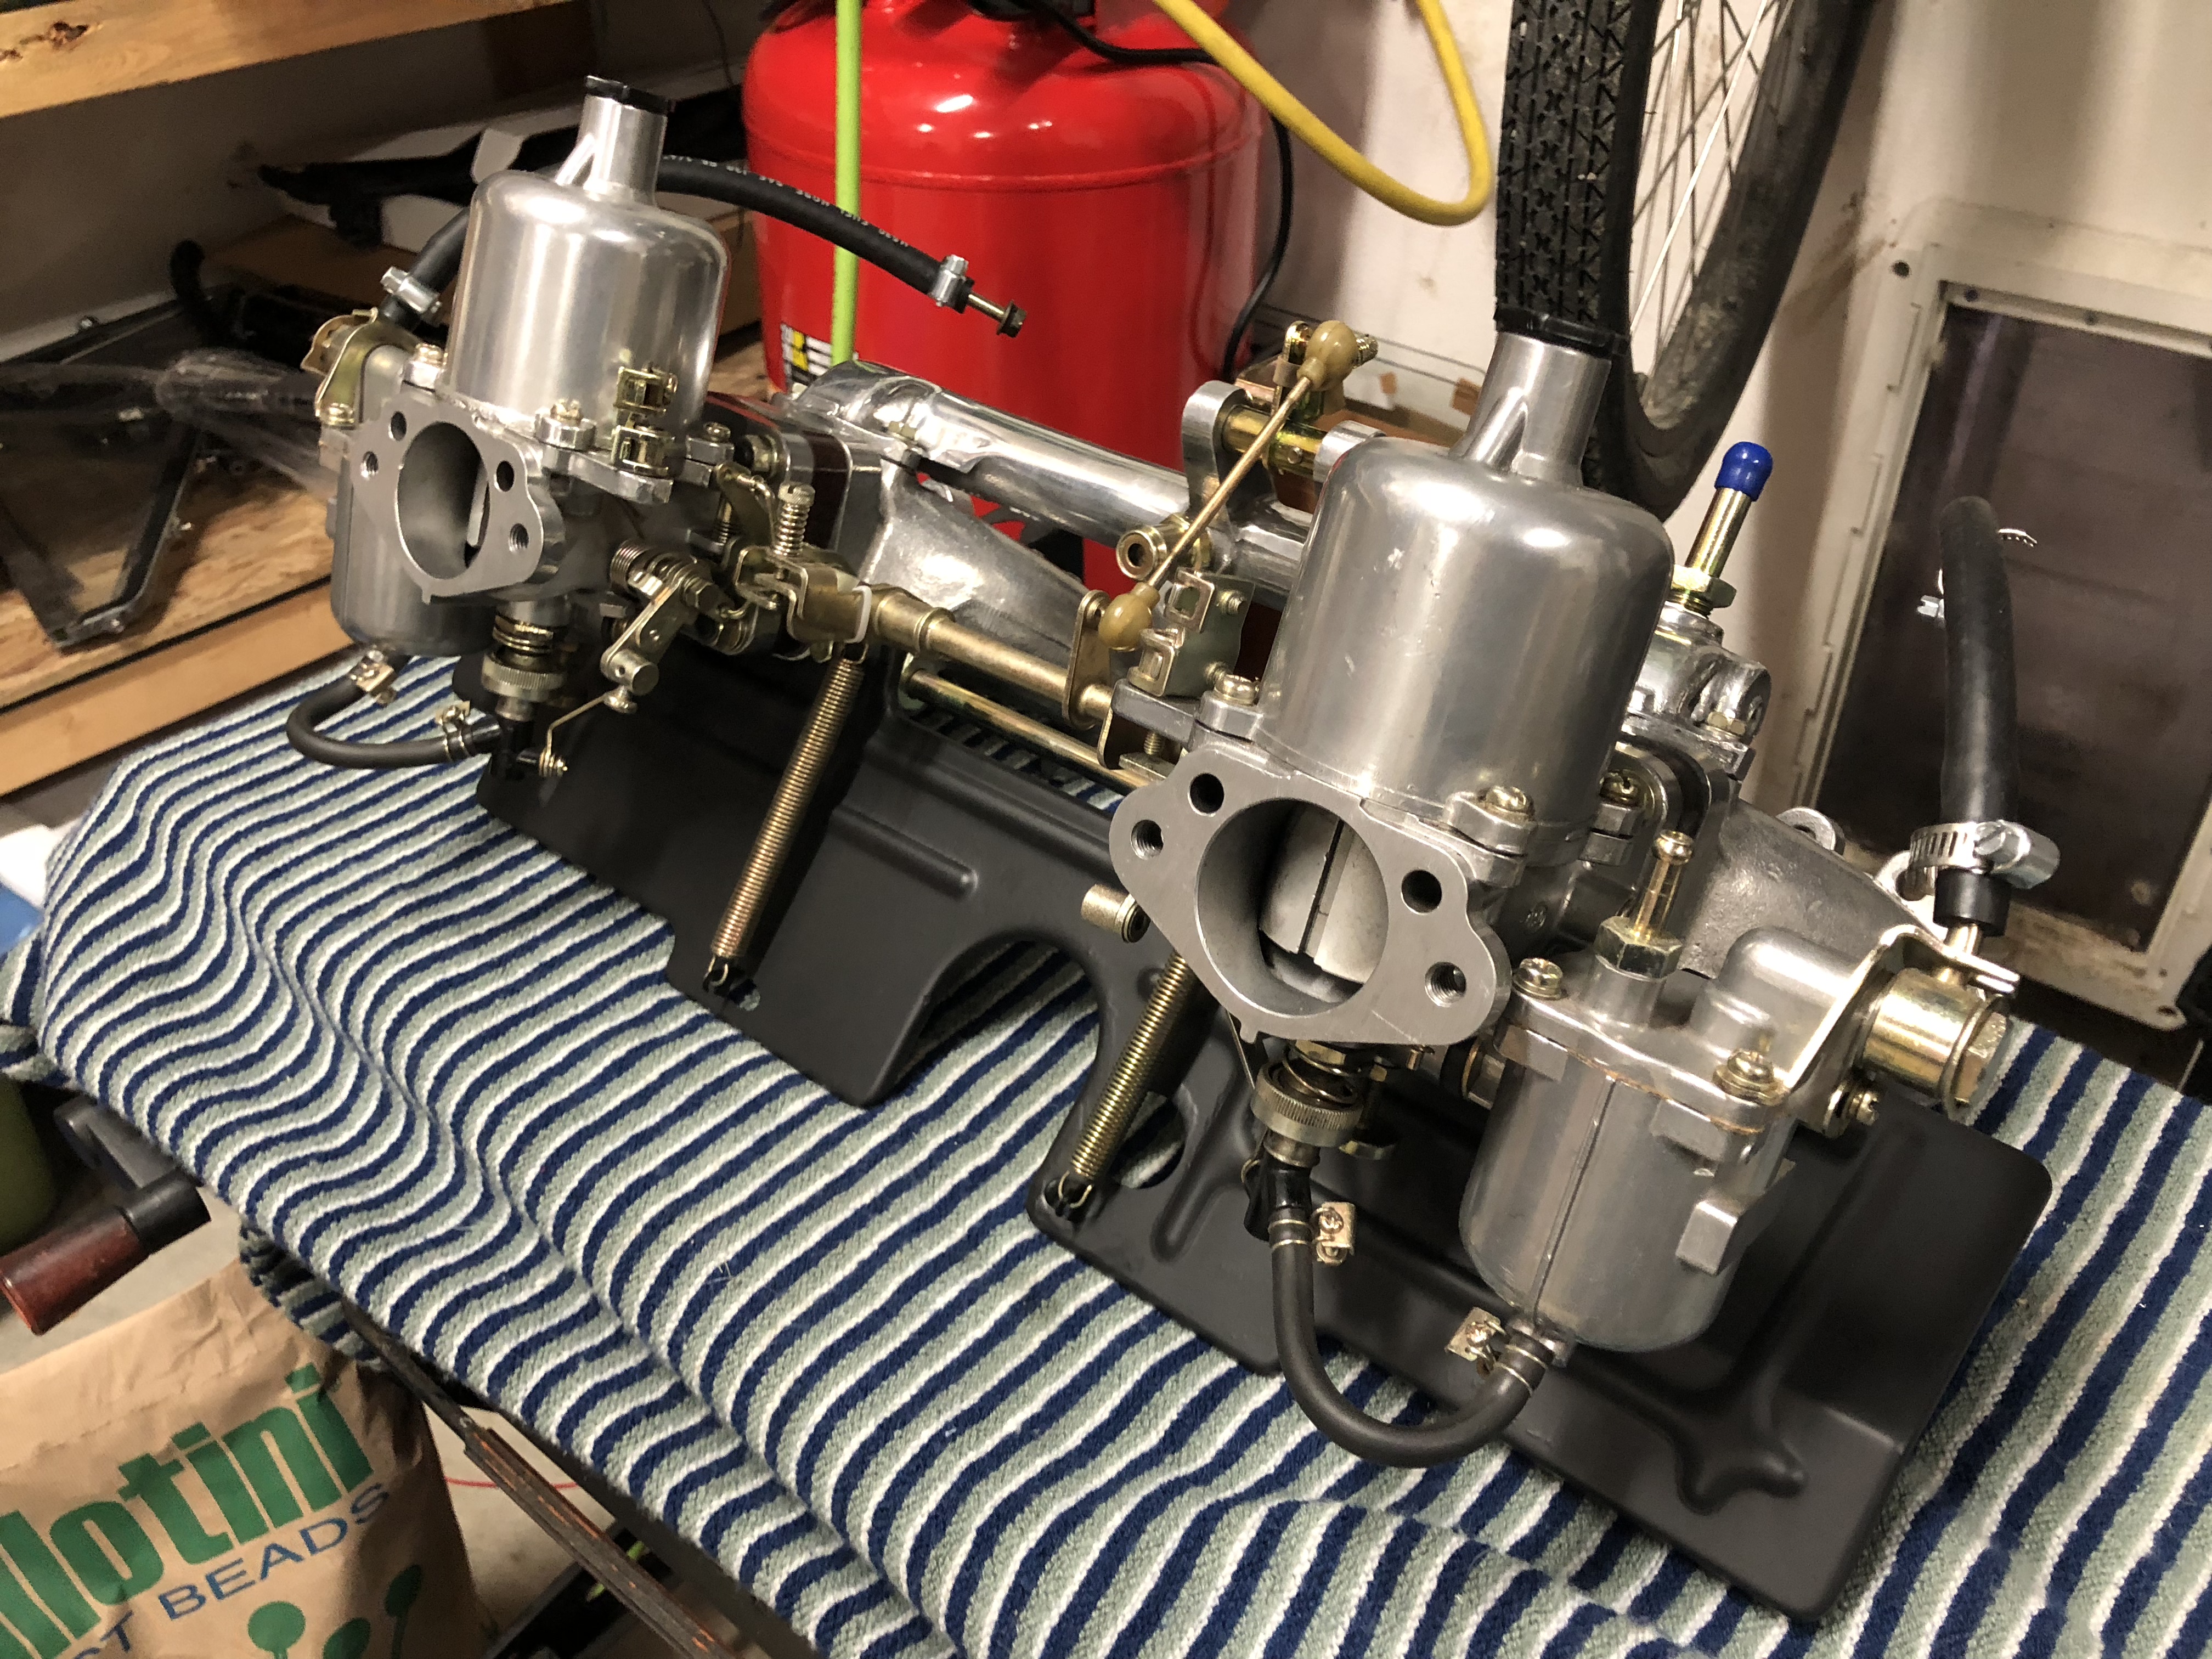
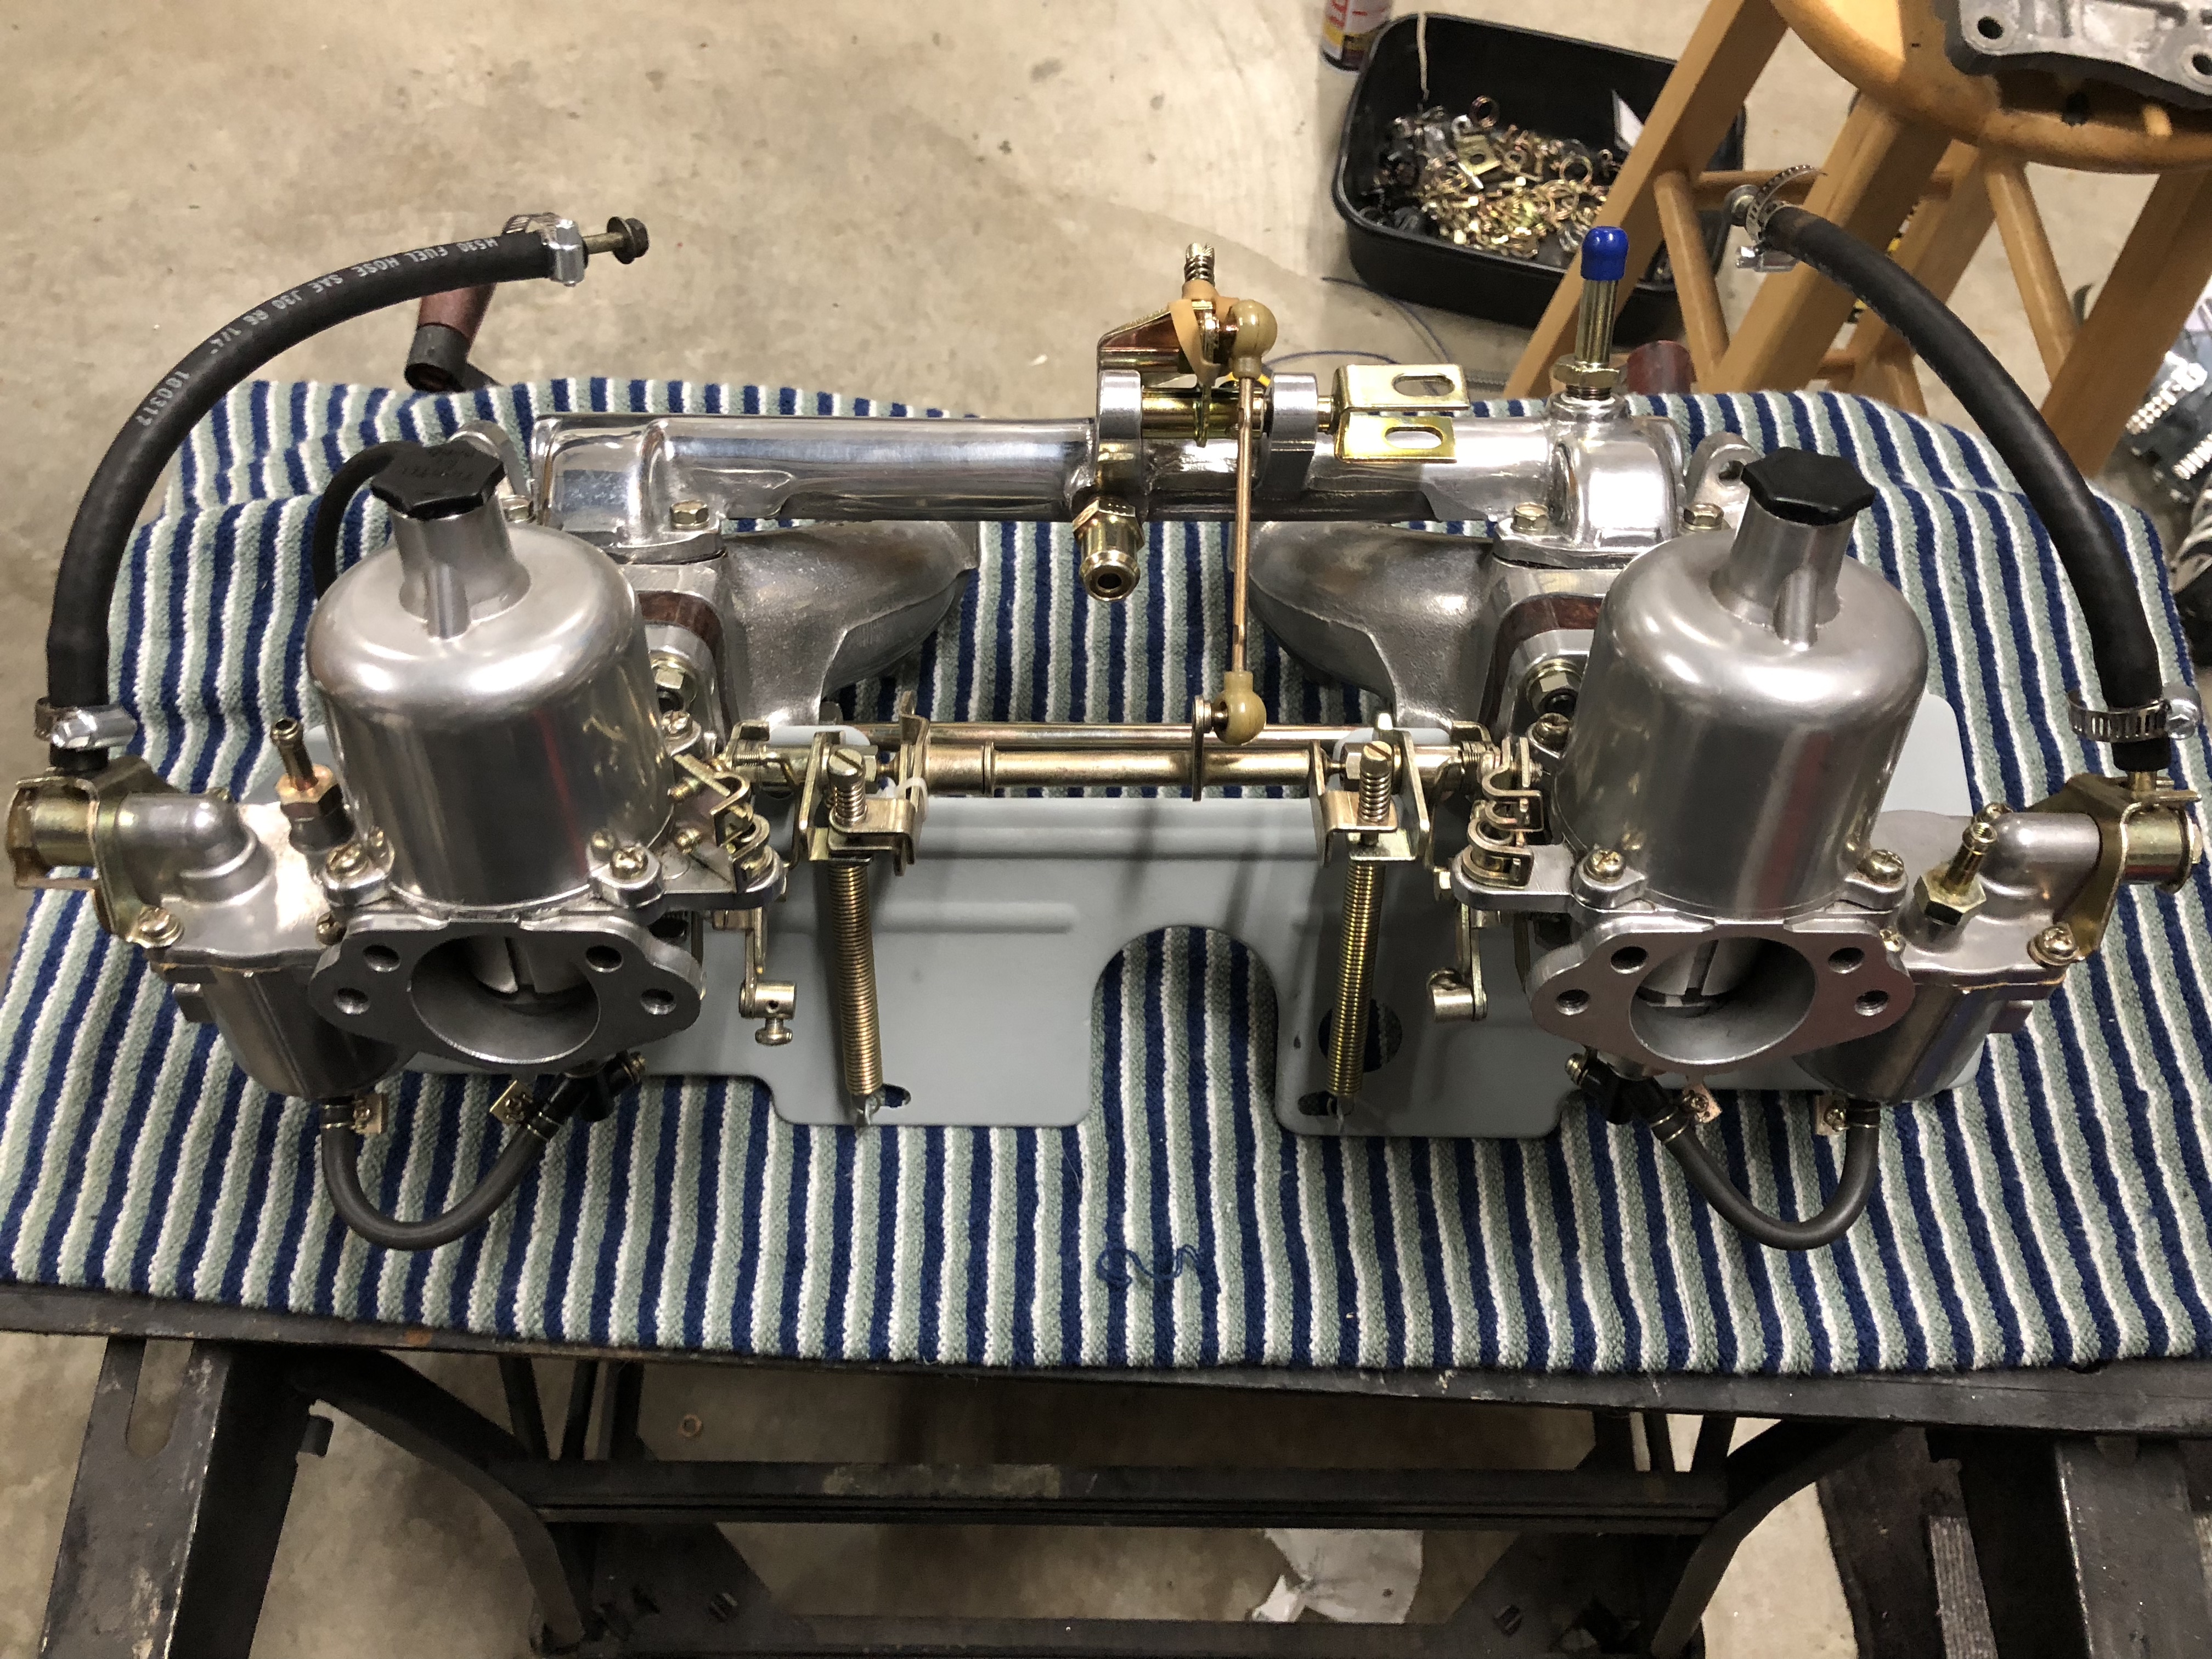
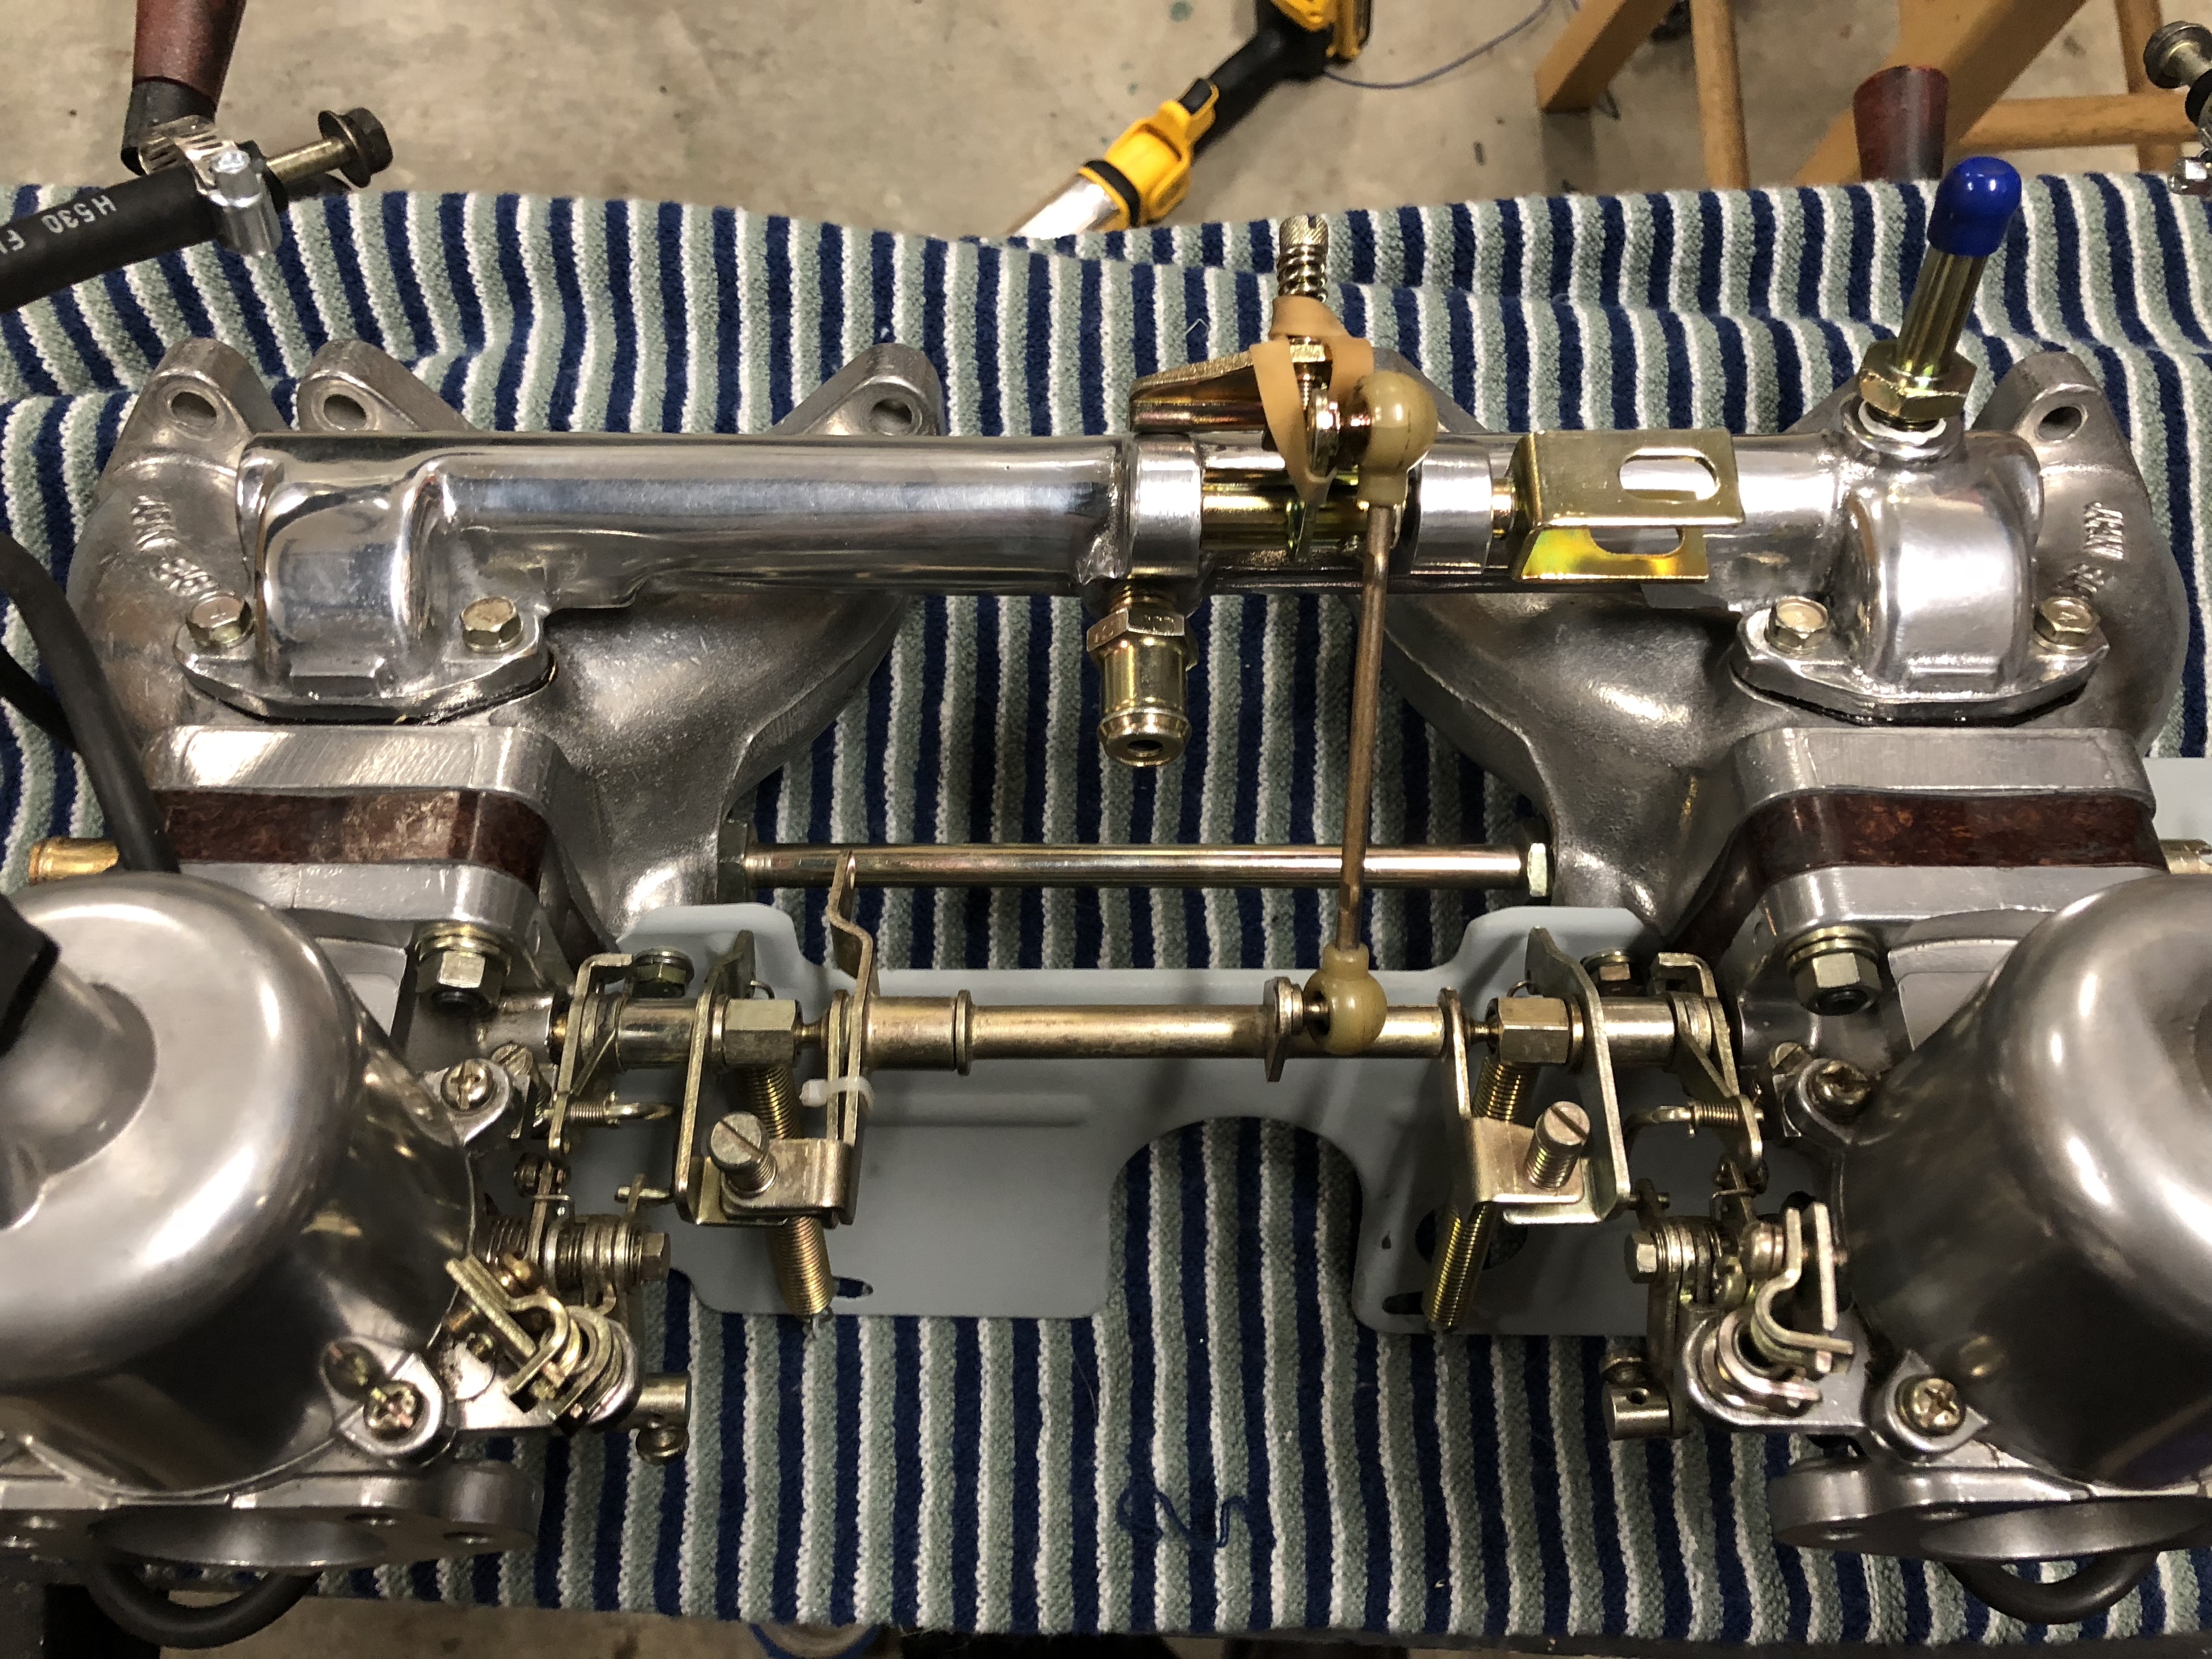
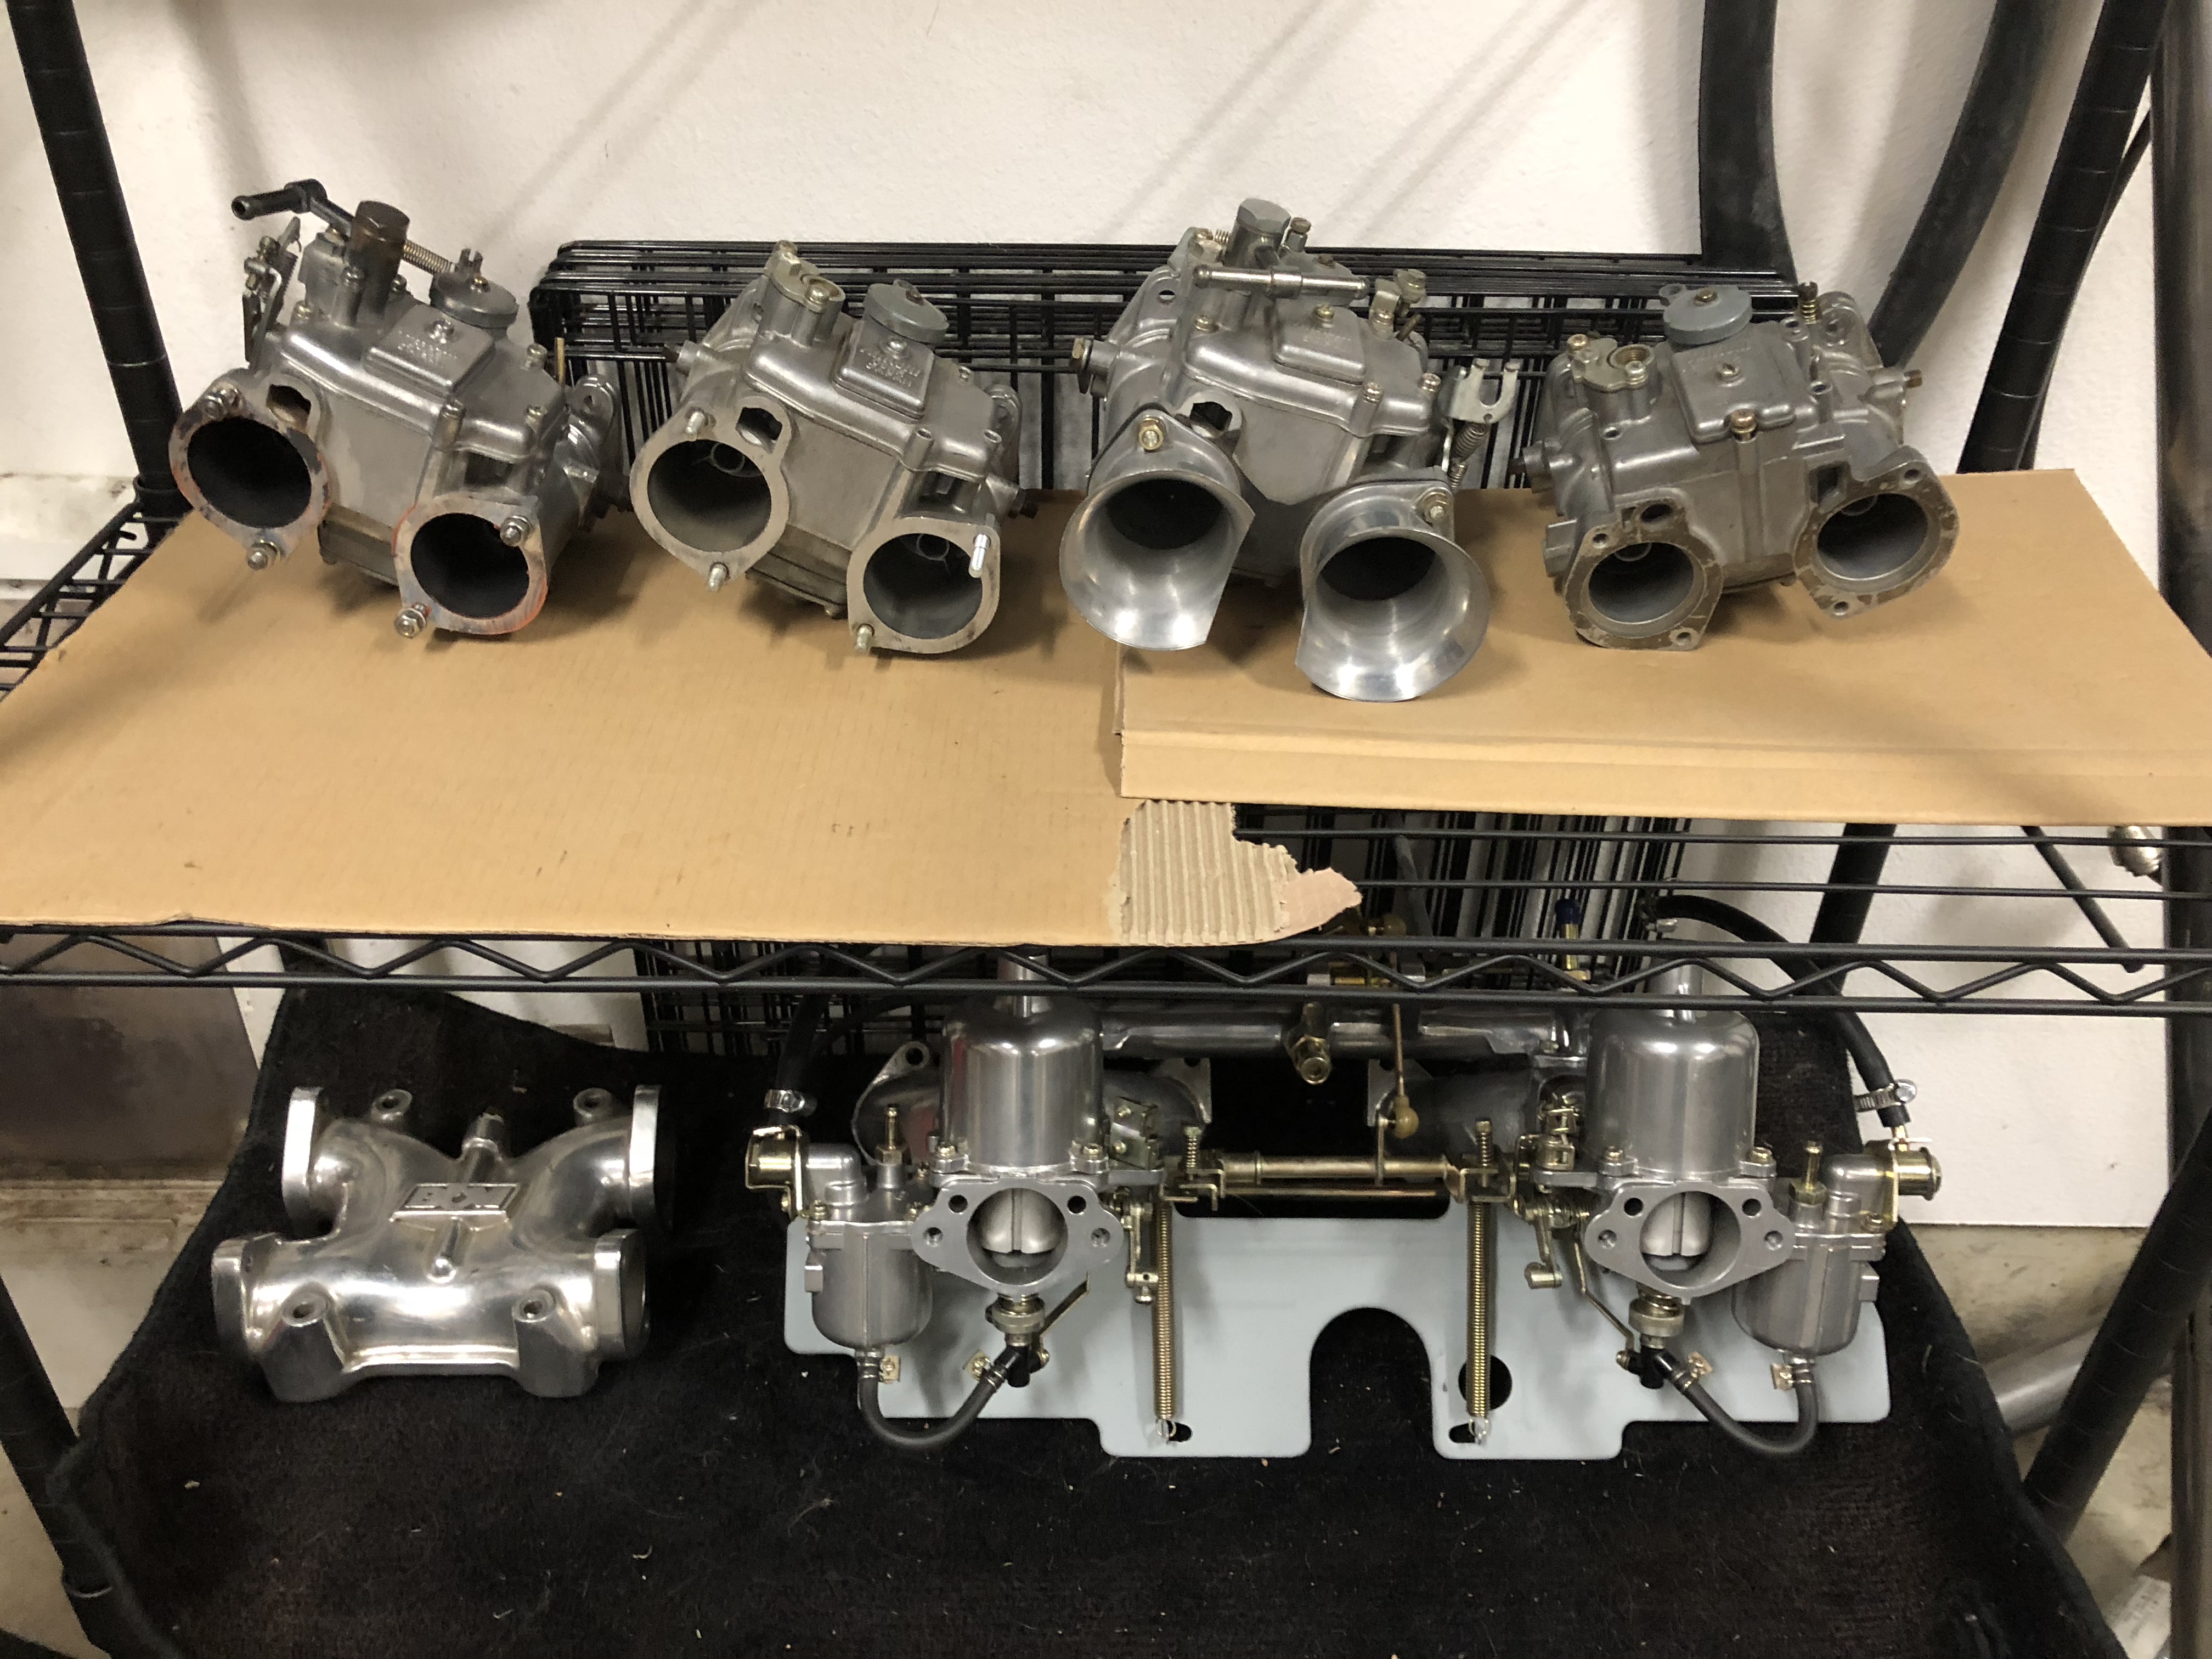
I have decided to make my own vapor/ hydro blasting cabinet. I have a bunch of Datsun parts (mikuni carbs, intakes, ac, head etc..) that I want cleaned up and shiny. I really really like the look of hydro blasted or vapor blasted aluminum parts. So I live in a tiny town, that's about 1.5-2 hours from a major city, but even that city doesn't have anyone that hydro/ vapor blasts so I am either shipping parts (expensive, and chances for damage) so it's time to make one. The basics of vapor blasting is a glass slurry mix (ratio unknown as of yet) of water and 170-325 Glass Bead (tiny beads) pumped in circulation through a gun that has compressed air attached to push the slurry at high speeds. Which doesn't damage or pit the aluminum, basically from what I read, it almost picks out the dirt out of the surface. It doesn't even affect zinc, rubber etc... I was just going to get a harbor freight cabinet and ruin it, but decided to look around the web first. I figured someone makes a plastic blasting cabinet. Which turns out they do! Simple, light and pretty cheap. I will probably end up using it not very often, so I would rather it not rust out. I ended up getting one off ebay for 175$ shipped! Retail on it is like $350. So I was pretty stoked. I wanted this size to fit a datsun L6 head. The one I bought: 31" version https://www.summitracing.com/parts/sni-40390 Smaller: 22" version https://www.northerntool.com/shop/tools/product_200136624_200136624 Pump: Next was a slurry pump, I wanted centrifugal so that the slurry wouldn't ruin it. I decided on this one. According to vapor honing videos you want good psi from the slurry pump, this one is 63 psi. I will be going from 1" down to 1/2 or so for the gun, so that psi will be lower. https://www.amazon.com/gp/product/B00TQCSUZK/ref=oh_aui_detailpage_o04_s00?ie=UTF8&psc=1 Lightening: I wanted to be able to see inside and I would rather not get electrocuted. I found some neat LED's on amazon that are meant for fish tanks. They are 12v that use a small ac adapter and are fully waterproof. I got 2 warm white 12" long ones. https://www.amazon.com/gp/product/B00OP3P1AM/ref=oh_aui_detailpage_o01_s01?ie=UTF8&psc=1 False Bottom: The blasting cabinet came with super super shitty screen for the false floor. Which is mild steel, so I threw that in the trash. I have a bunch of stainless grating (I own a brewery and we have lots of scrap) that I was going to use. But I was worried about damaging the aluminum on sharp stainless. Then I had an idea! Plastic grating and I actually had some laying around! It's a fiberglass/ plastic grate meant for standing on. I cut it down into two pieces and she fits perfect and are easy to remove. I also have a small stainless basket for smaller parts. It has very small holes so it should keep anything small from going down to the pump. Through Hull: I needed some way to get the slurry out without leaking. I decided on a cheap through hull for a boat. Which fits perfect. The pump is 1" so I decided to run 1" hoses from the cabinet to the pump and back to the cabinet. I went stainless, which is a giant overkill. But whatever. I will also pump a wide screen on the through hull so it doesn't suck anything large into the pump https://www.amazon.com/gp/product/B001HC0R6W/ref=oh_aui_detailpage_o00_s00?ie=UTF8&psc=1 Water tight Pass through: I will use liquid tight cord Strain Relief Cord Connectors. You can buy them online or at any homedepot. They have a few sizes. I should be able to use them for the compressed air into the cab, slurry and 12v. So it will be water tight. 120v Foot Switch: Since your hands will be in the machine I decided to use a foot switch for the slurry pump. https://www.amazon.com/Power-Maintained-Latching-Foot-Switch/dp/B004LJ6MYE/ref=sr_1_1?ie=UTF8&qid=1520527436&sr=8-1&keywords=120v+pedal+switch I will hopefully finish it this weekend, I will use marine 5200 on all the through hulls. Should be a fun project! Videos of vapor blasting honing: https://www.youtube.com/channel/UC2DdHXu6oFqUWZ-rNNR7Bcg Some of the before and after are amazing.

 There is a few guys with them. Mike Watanabe has like 4-5 sets. Also a few guys import them from Japan, or watch craigslist. Comp intake might be harder to find. There is a mikuni facebook group with a bunch of rebuilders on it. They always have stuff. https://www.facebook.com/groups/945925058849881/
Now we need to find out who is making them, talk them into making the correct black and selling them as repops.
Glad they are getting reproduced. Not glad people are scamming others.
Also these https://spokane.craigslist.org/pts/d/datsun-240z-hubcaps-excellent/6484688936.html
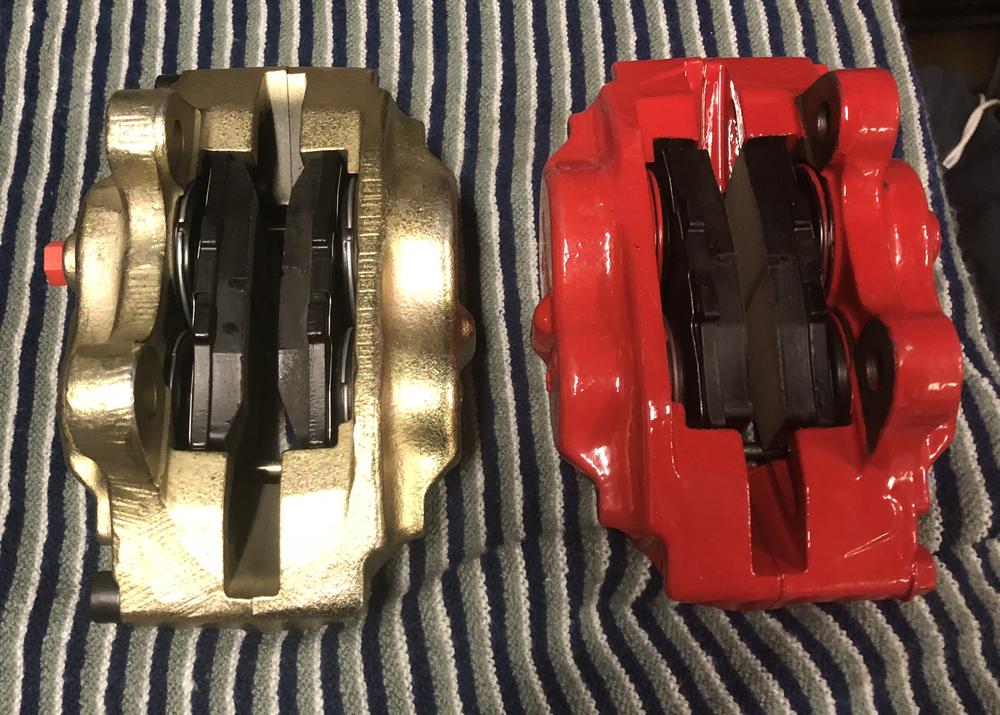
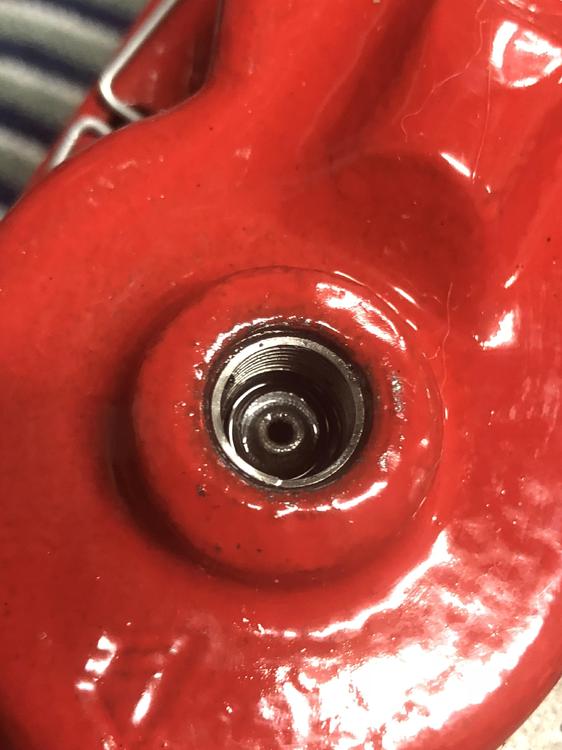
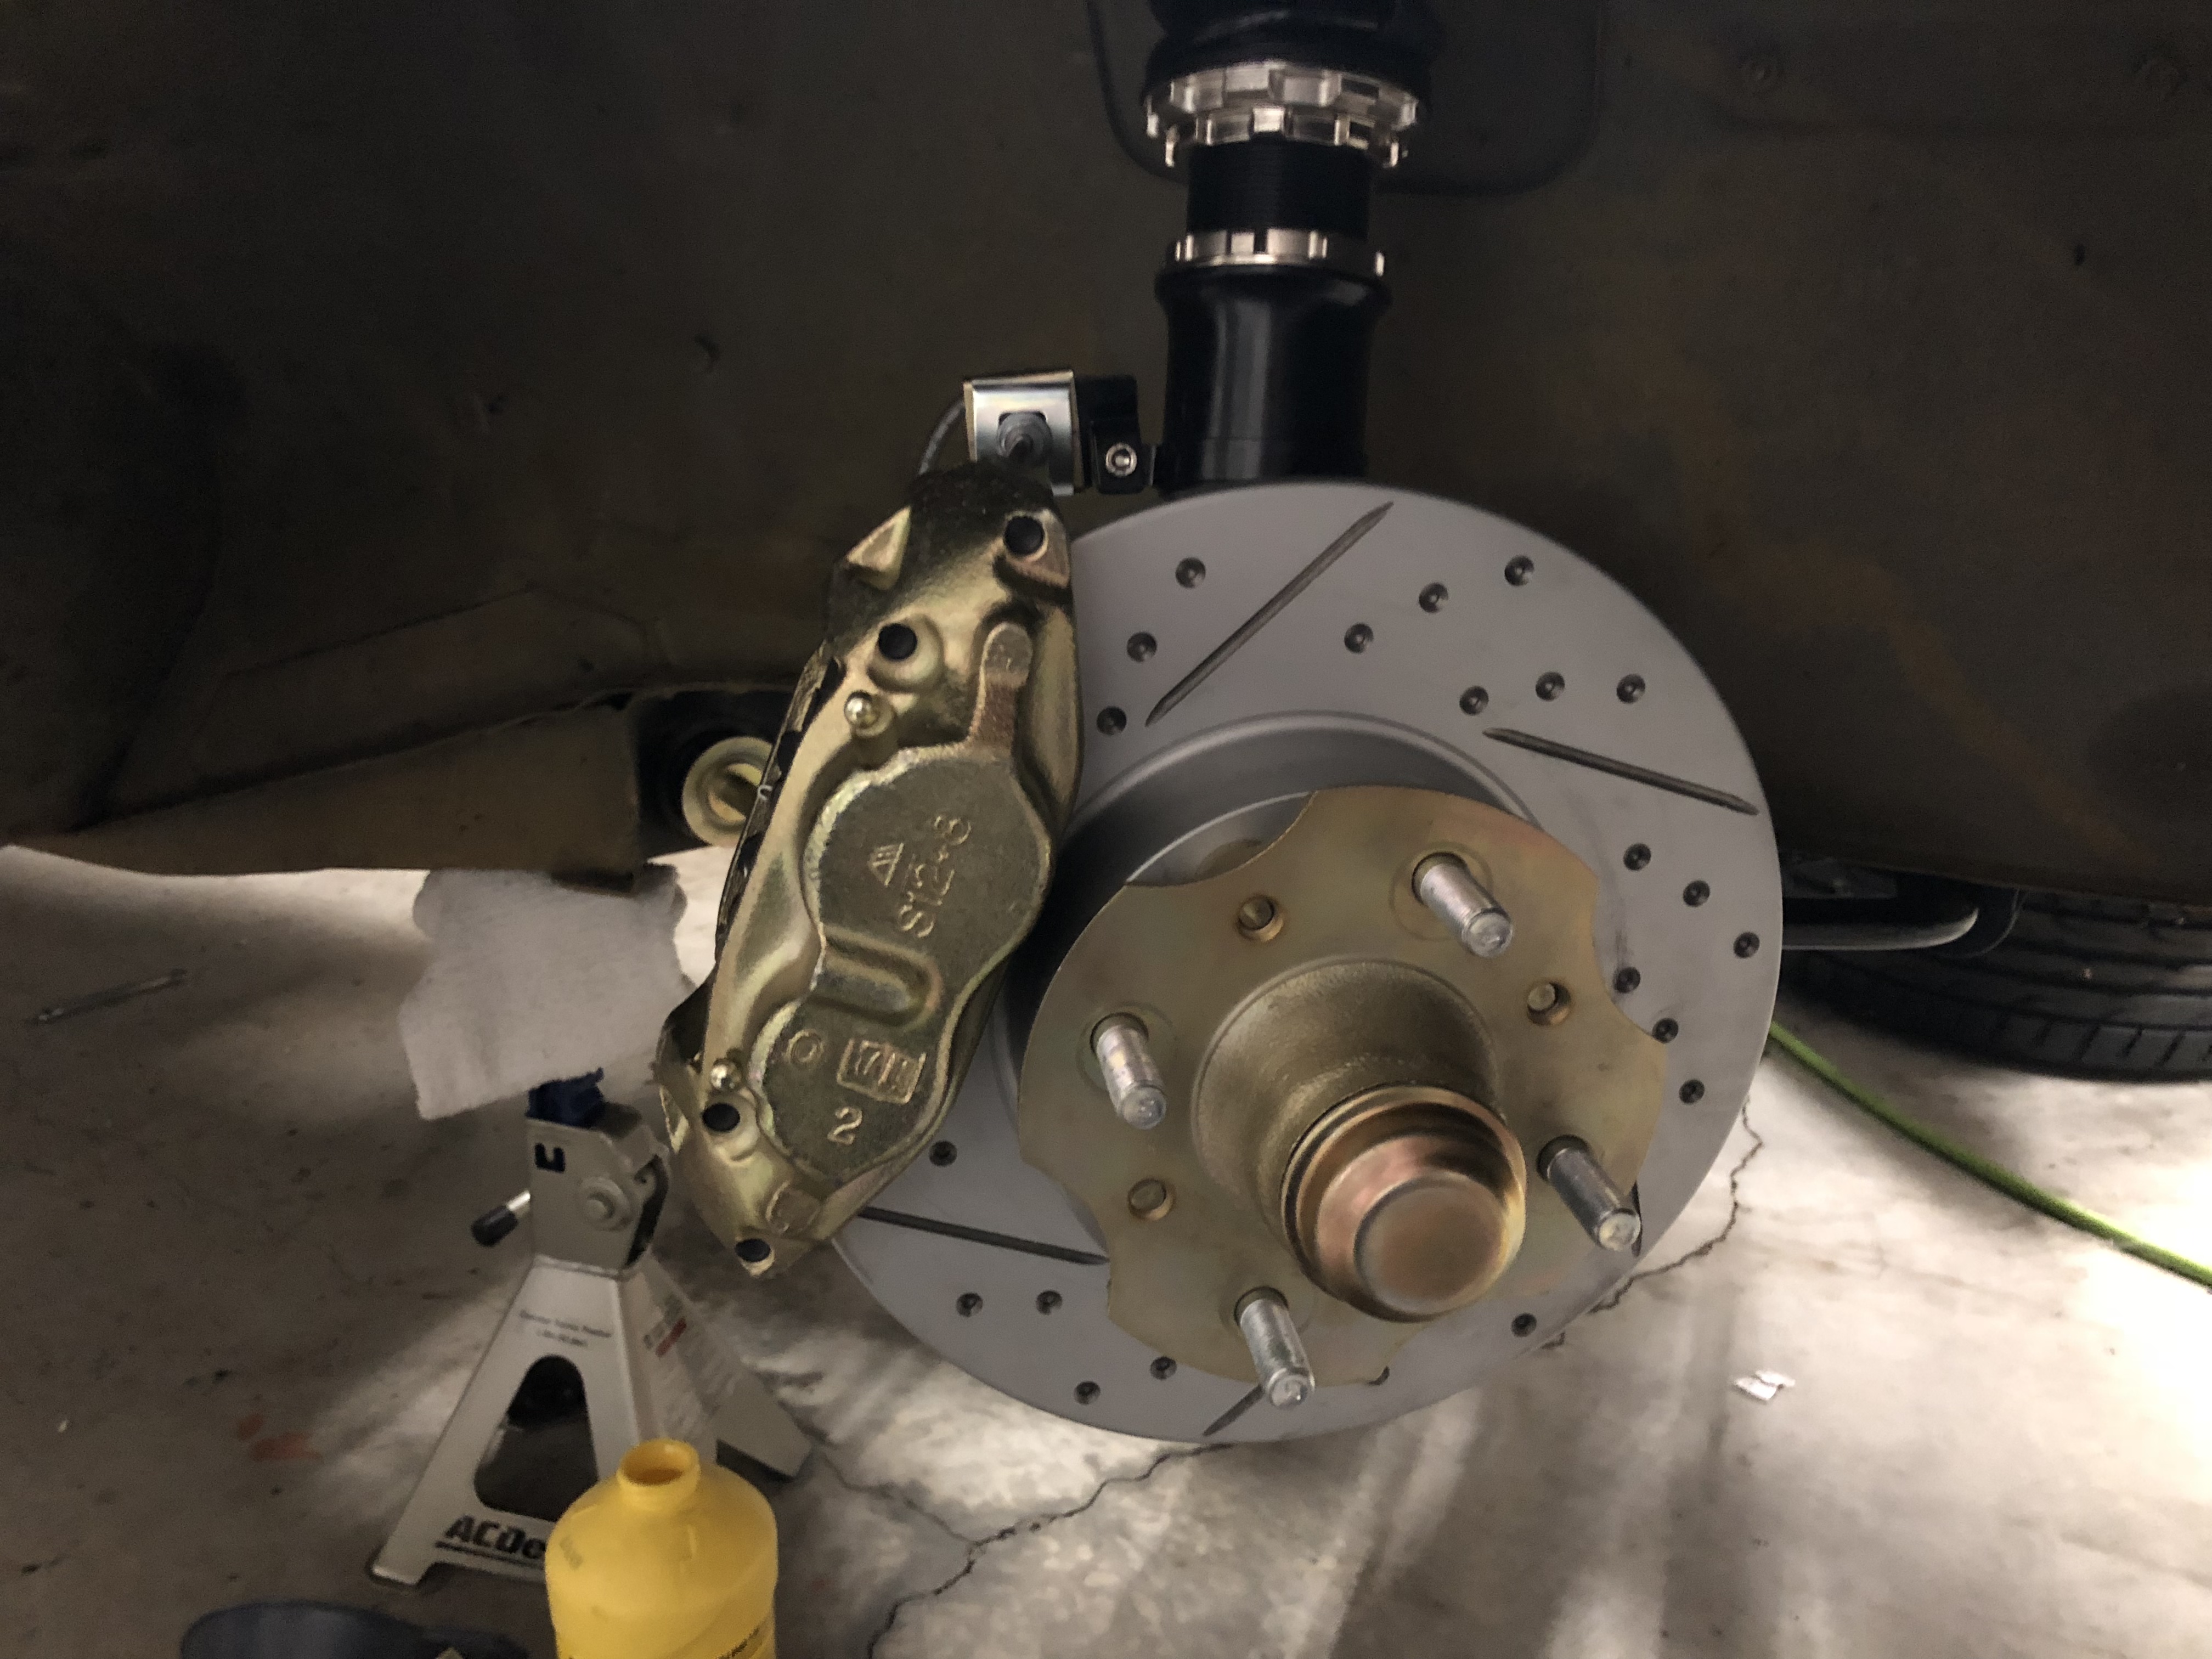
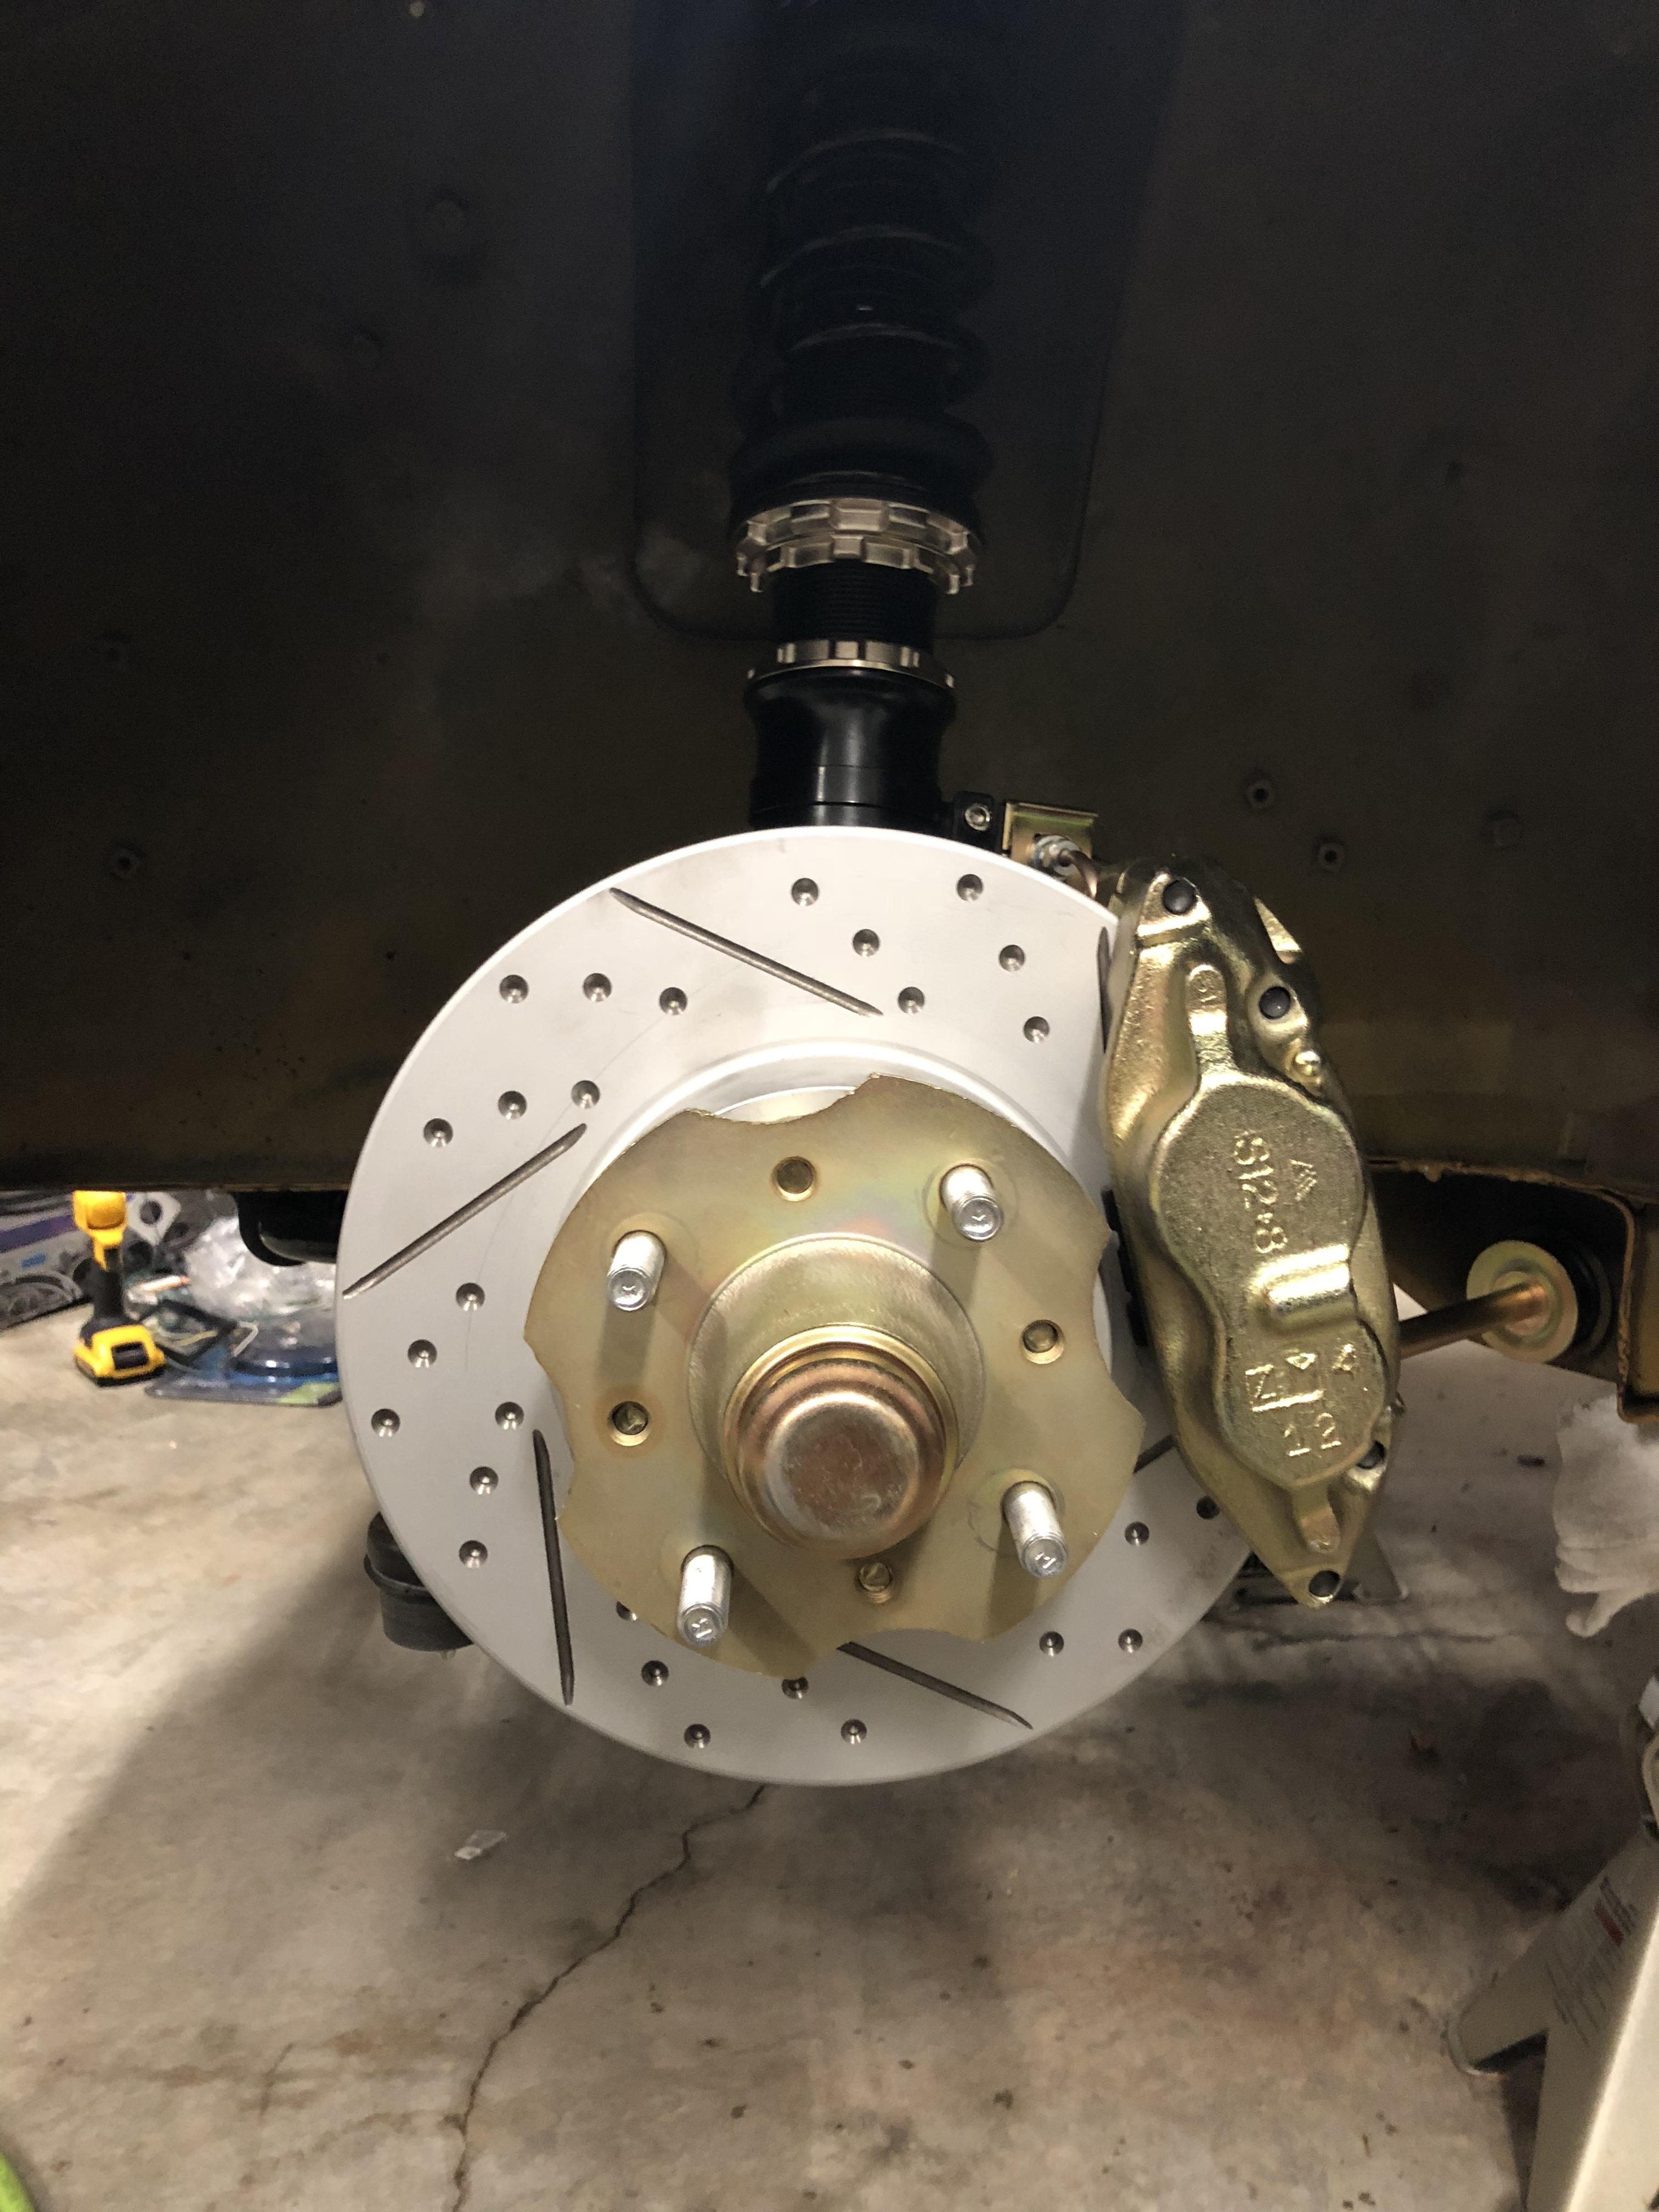
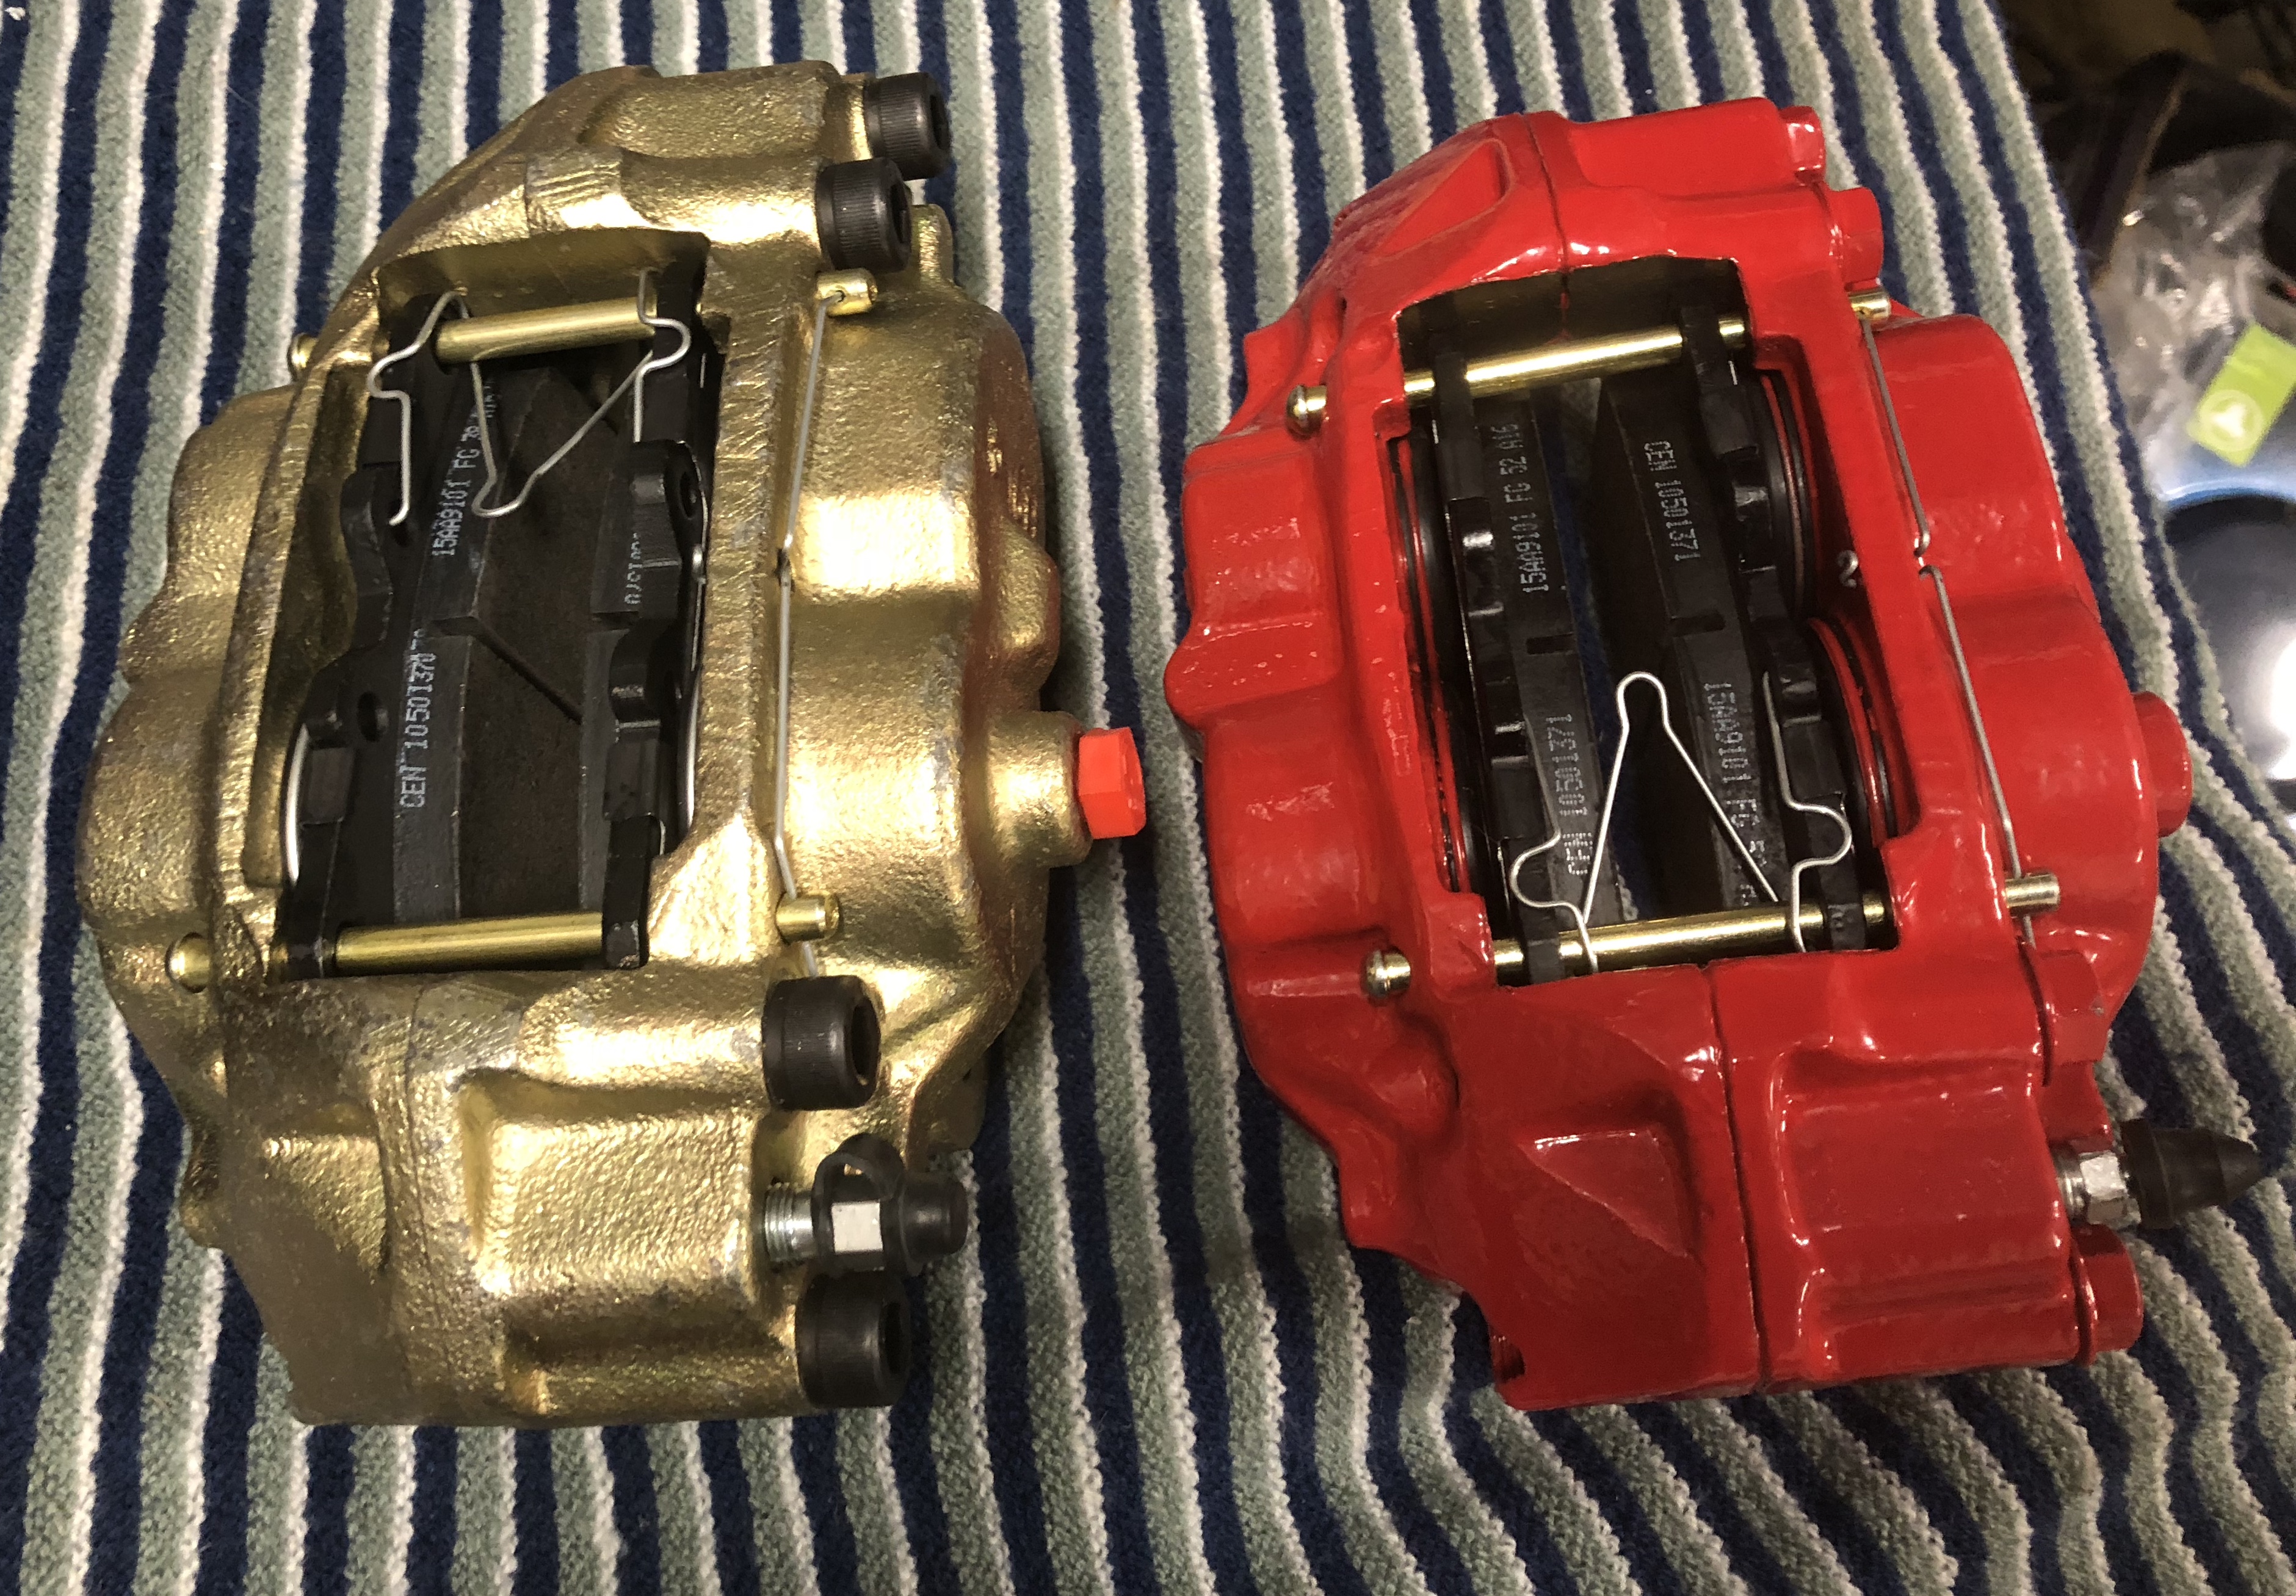
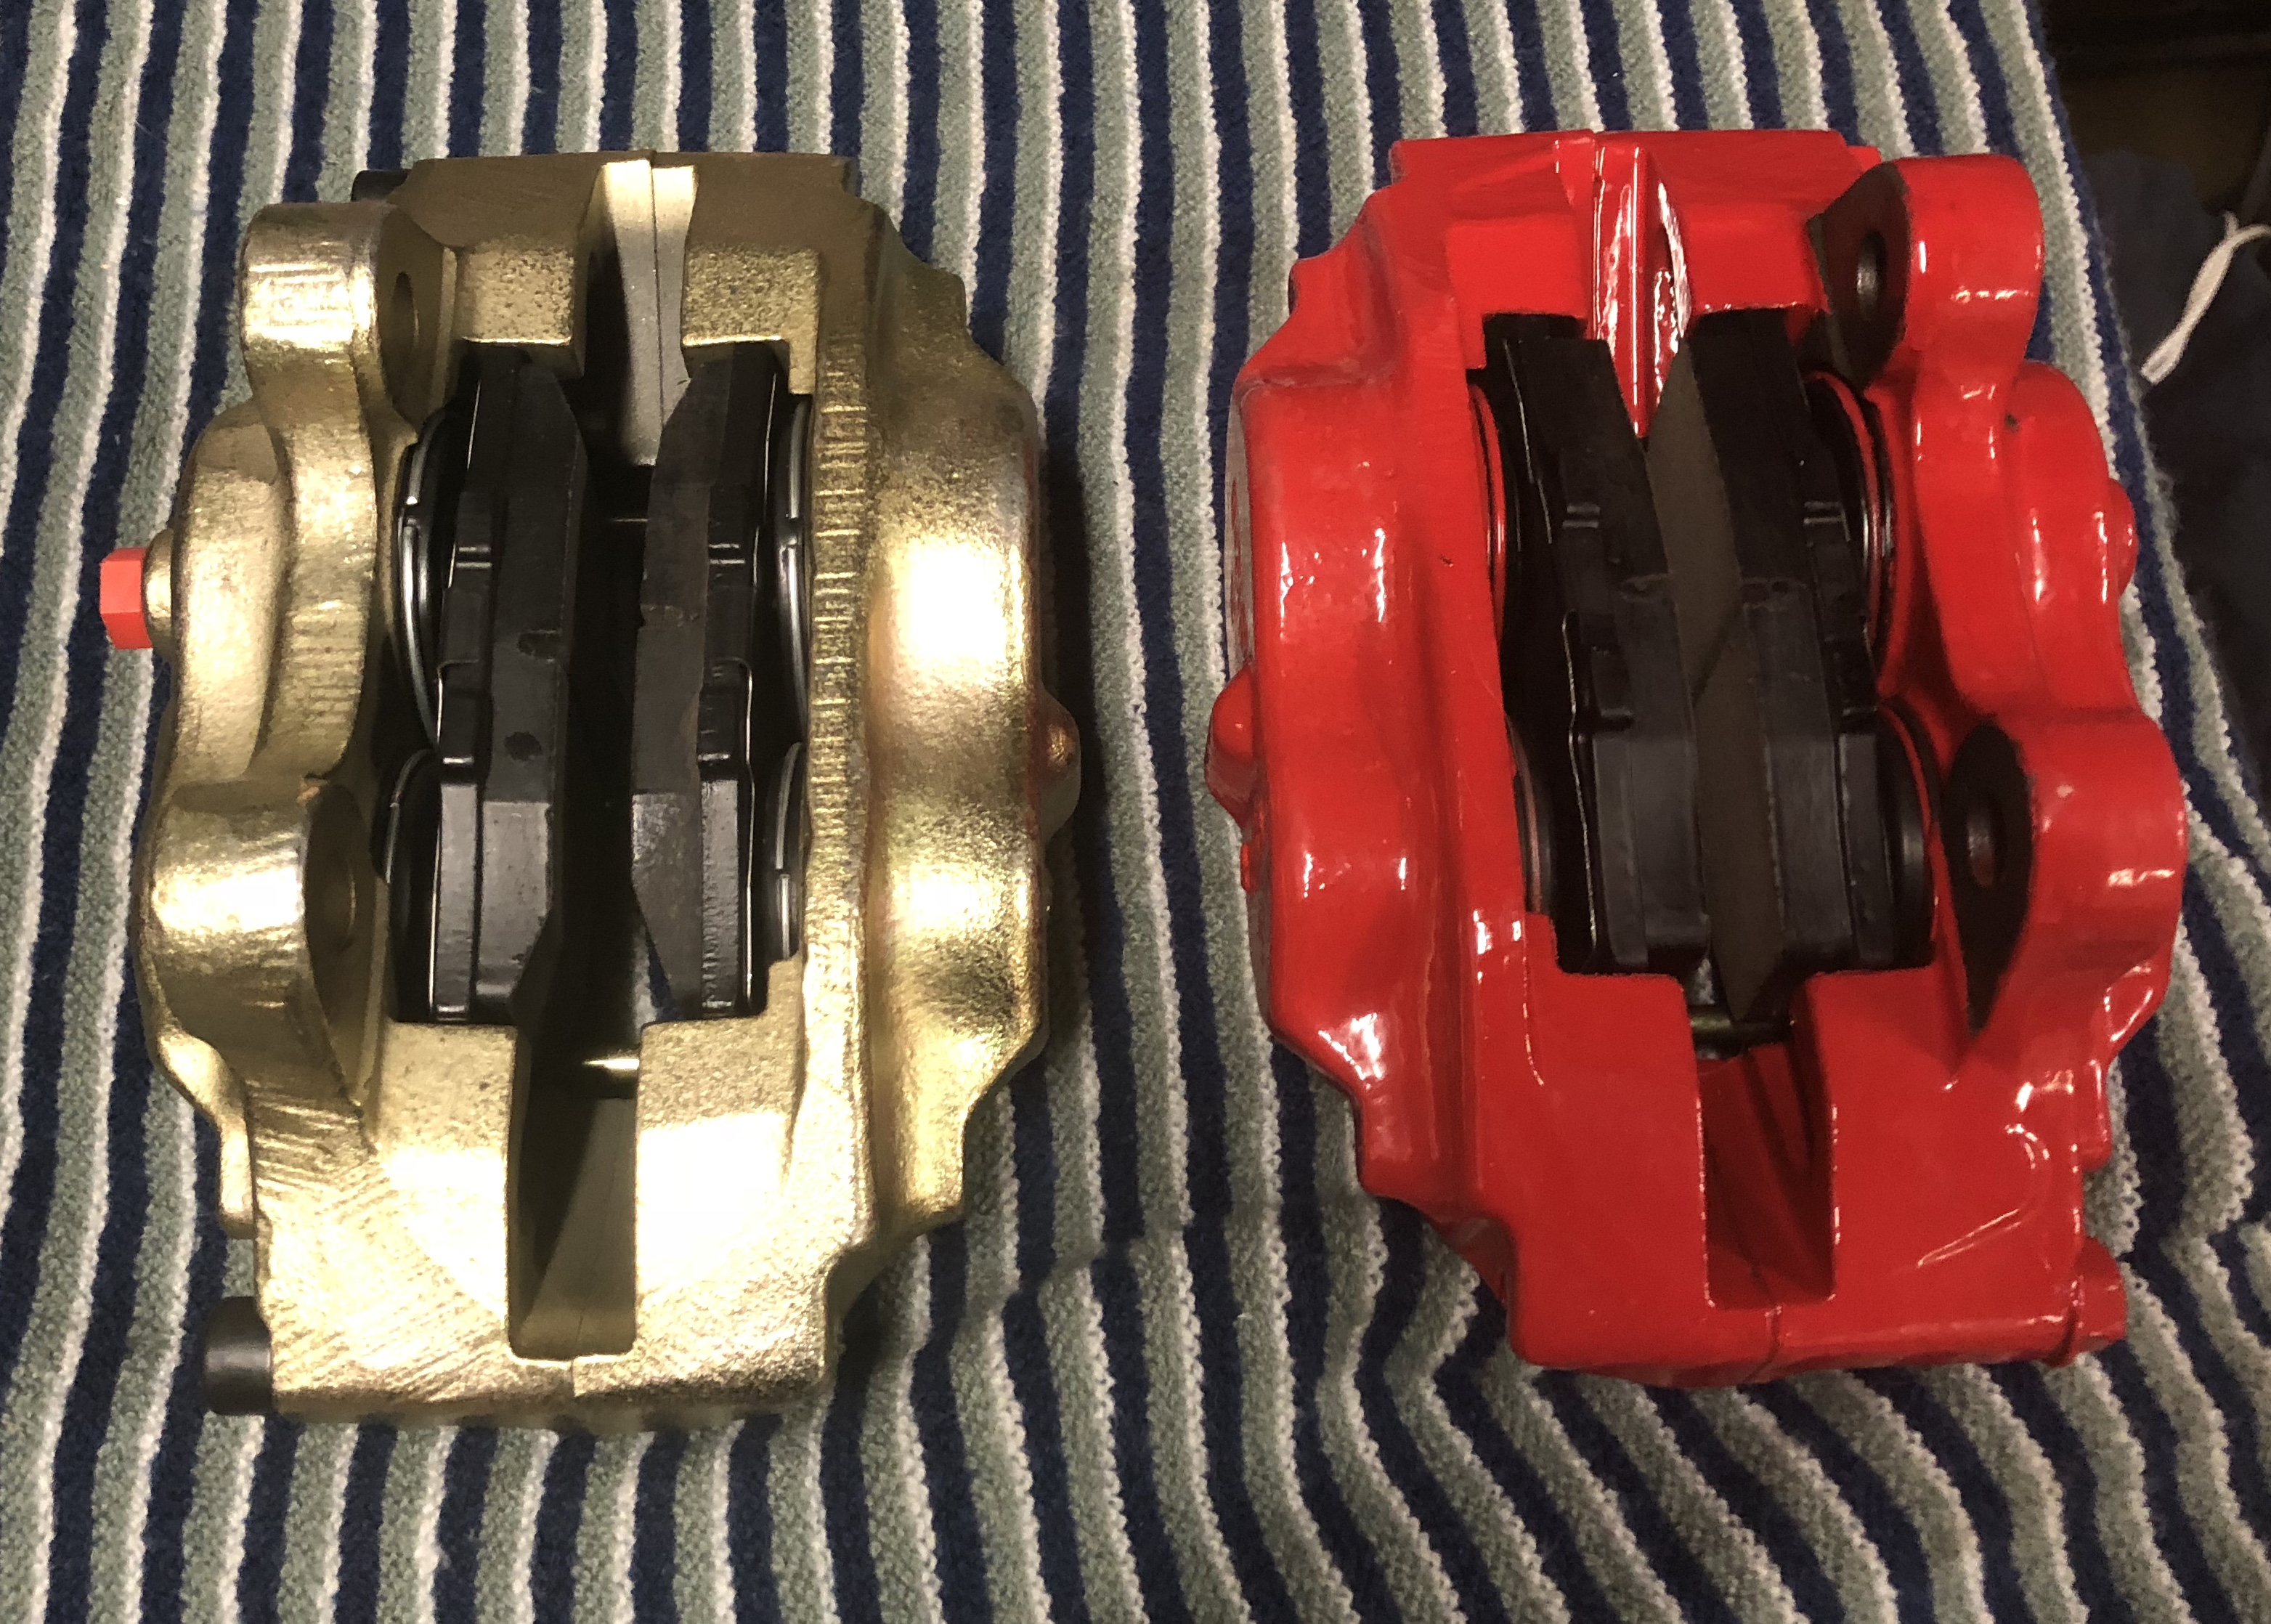
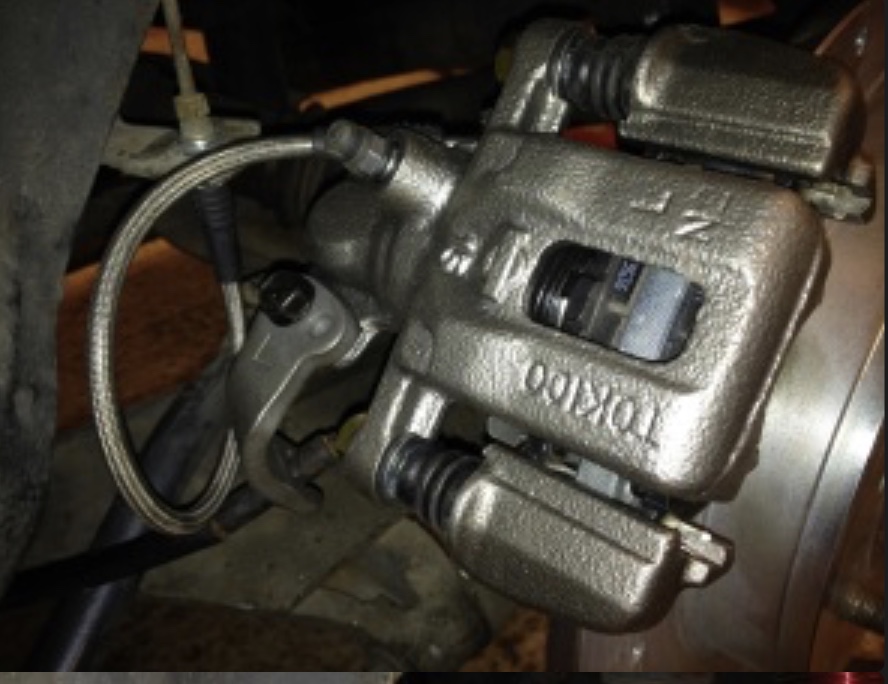
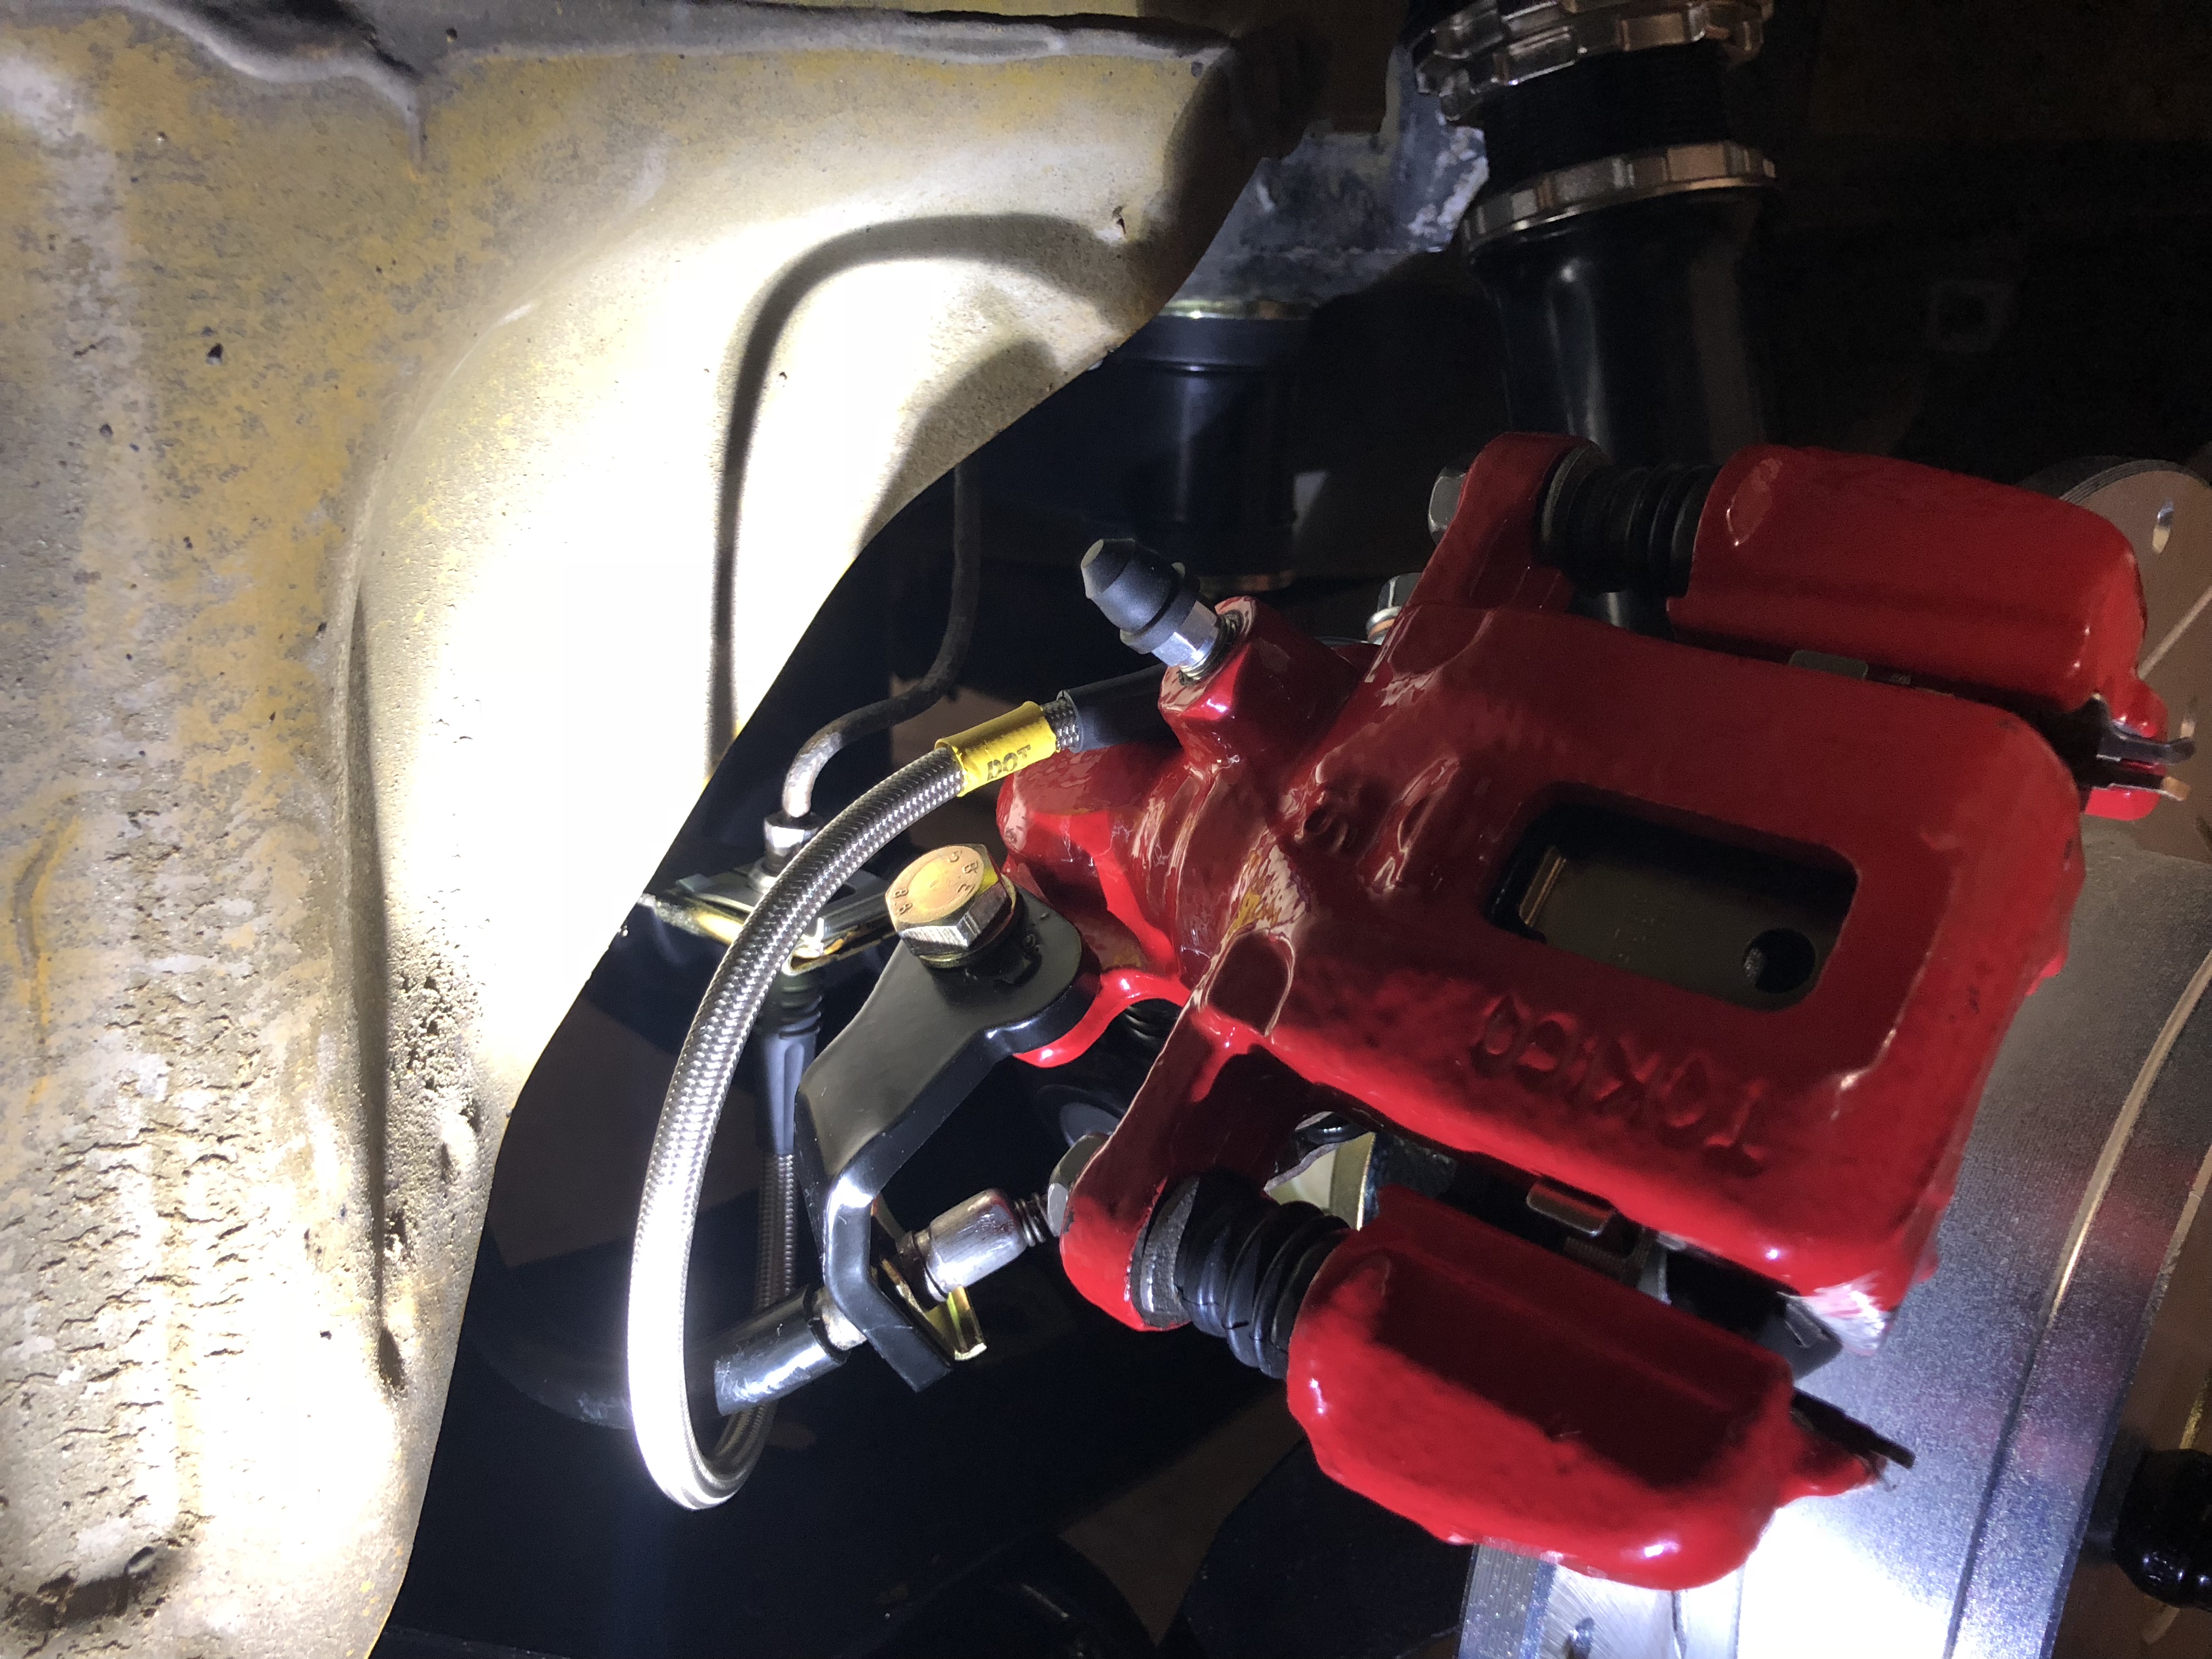
So I bought used calipers and had them rebuilt and powder coated professionally. Well my right front caliper wouldn't stop leaking, so I decided to take it apart. Turns out they had used a helicoil to repair some threads without telling me. It wasn't seated correctly, which caused the brake line to leak. The company claims it to be a normal repair, but what else did they half repair or fix? I honestly I don't want anything repaired or half repaired in my brakes system. So I searched for another powder coated version or zinc. Which I found, http://www.centricparts.com/products/calipers posi quiet loaded centrics calipers.They are gorgeous and pretty affordable. Summit and rockauto carry these. Any centric brake caliper with 142 as the starting 3 digits is this repaired this way. The toyota S12+8 non wide versions are 142.44011 and 142.44012. I am very happy with the quality. But one did come damaged:( I ordered the maxima rears but they are back ordered. Here is the info, basically as brand new as they could be. Posi Quiet Loaded CalipersPosi Quiet loaded calipers are a full line of original equipment replacement brake calipers providing unmatched quality and value. These loaded calipers feature application specific Posi Quiet brake pads already installed. When installing Posi Quiet loaded calipers, technicians can be assured that they are getting top quality products that have been engineered to meet or exceed the function of the original part. Each component is specifically designed for each application and the attention to detail throughout the manufacturing and testing process ensures each caliper will perform to the exacting standards of today’s vehicles. Each Posi Quiet caliper is finished in the same way as the original from the factory; Posi Quiet calipers feature a Zinc Dichromate finish, or O.E. colored powder coating depending on the application. This feature ensures that the caliper will look as good as it works throughout its lifetime. Ask for Posi Quiet 142 series replacement brake calipers.Posi Quiet Friction Every Posi Quiet loaded caliper comes complete with application specific Posi Quiet brake friction. For more information on Posi Quiet brake pads go here. All new pistons Every Posi Quiet brake caliper piston phenolic or steel is replaced to guarantee proper performance throughout the lifetime of the caliper. New Hardware Posi Quiet calipers have all new hardware installed. All guide bolts, pins, through bolts and seals are replaced guaranteeing the caliper will function correctly. New Boots and Seals Posi Quiet calipers come complete with all new dust seals, O-rings and boots. Less Noise Posi Quiet calipers utilize the new Quiet Clips™ style abutment clips. These quiet clips ensure proper pad fitment and reduced vibration related noise under braking. To learn more about the Centric Parts caliper rebuilding process click here. Centric Caliper Core Return Guidelines
There is a few guys with them. Mike Watanabe has like 4-5 sets. Also a few guys import them from Japan, or watch craigslist. Comp intake might be harder to find. There is a mikuni facebook group with a bunch of rebuilders on it. They always have stuff. https://www.facebook.com/groups/945925058849881/
Now we need to find out who is making them, talk them into making the correct black and selling them as repops.
Glad they are getting reproduced. Not glad people are scamming others.
Also these https://spokane.craigslist.org/pts/d/datsun-240z-hubcaps-excellent/6484688936.html
So I bought used calipers and had them rebuilt and powder coated professionally. Well my right front caliper wouldn't stop leaking, so I decided to take it apart. Turns out they had used a helicoil to repair some threads without telling me. It wasn't seated correctly, which caused the brake line to leak. The company claims it to be a normal repair, but what else did they half repair or fix? I honestly I don't want anything repaired or half repaired in my brakes system. So I searched for another powder coated version or zinc. Which I found, http://www.centricparts.com/products/calipers posi quiet loaded centrics calipers.They are gorgeous and pretty affordable. Summit and rockauto carry these. Any centric brake caliper with 142 as the starting 3 digits is this repaired this way. The toyota S12+8 non wide versions are 142.44011 and 142.44012. I am very happy with the quality. But one did come damaged:( I ordered the maxima rears but they are back ordered. Here is the info, basically as brand new as they could be. Posi Quiet Loaded CalipersPosi Quiet loaded calipers are a full line of original equipment replacement brake calipers providing unmatched quality and value. These loaded calipers feature application specific Posi Quiet brake pads already installed. When installing Posi Quiet loaded calipers, technicians can be assured that they are getting top quality products that have been engineered to meet or exceed the function of the original part. Each component is specifically designed for each application and the attention to detail throughout the manufacturing and testing process ensures each caliper will perform to the exacting standards of today’s vehicles. Each Posi Quiet caliper is finished in the same way as the original from the factory; Posi Quiet calipers feature a Zinc Dichromate finish, or O.E. colored powder coating depending on the application. This feature ensures that the caliper will look as good as it works throughout its lifetime. Ask for Posi Quiet 142 series replacement brake calipers.Posi Quiet Friction Every Posi Quiet loaded caliper comes complete with application specific Posi Quiet brake friction. For more information on Posi Quiet brake pads go here. All new pistons Every Posi Quiet brake caliper piston phenolic or steel is replaced to guarantee proper performance throughout the lifetime of the caliper. New Hardware Posi Quiet calipers have all new hardware installed. All guide bolts, pins, through bolts and seals are replaced guaranteeing the caliper will function correctly. New Boots and Seals Posi Quiet calipers come complete with all new dust seals, O-rings and boots. Less Noise Posi Quiet calipers utilize the new Quiet Clips™ style abutment clips. These quiet clips ensure proper pad fitment and reduced vibration related noise under braking. To learn more about the Centric Parts caliper rebuilding process click here. Centric Caliper Core Return Guidelines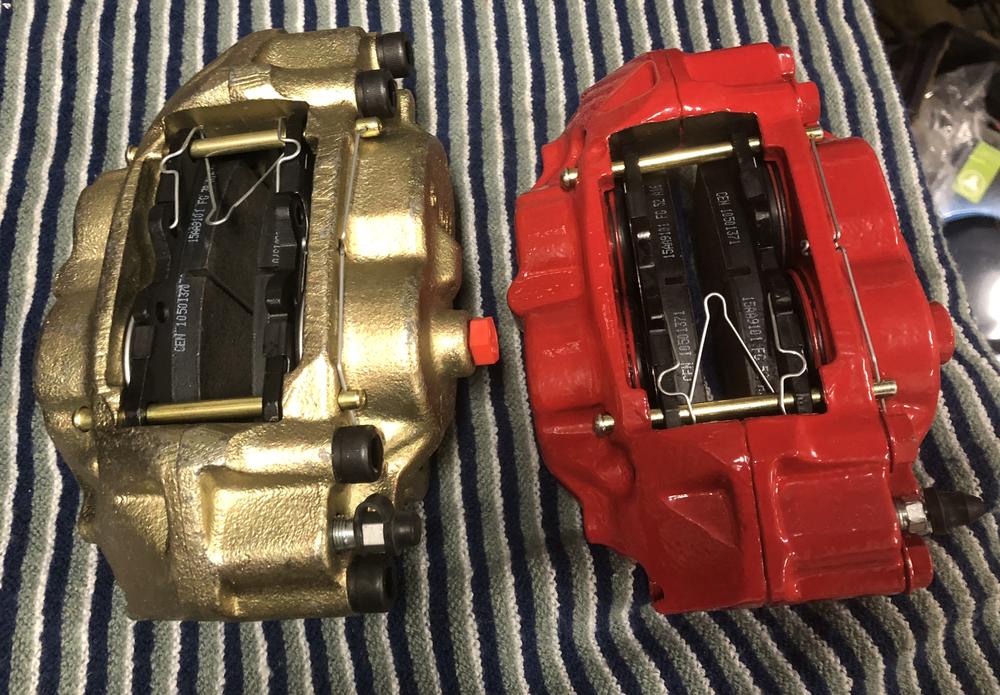
 I thought it mounted to the gas tank?
Fun project!
I thought it mounted to the gas tank?
Fun project!


Important Information
By using this site, you agree to our Privacy Policy and Guidelines. We have placed cookies on your device to help make this website better. You can adjust your cookie settings, otherwise we'll assume you're okay to continue.