wheee!
Free Member
-
Joined
-
Last visited
Everything posted by wheee!
-
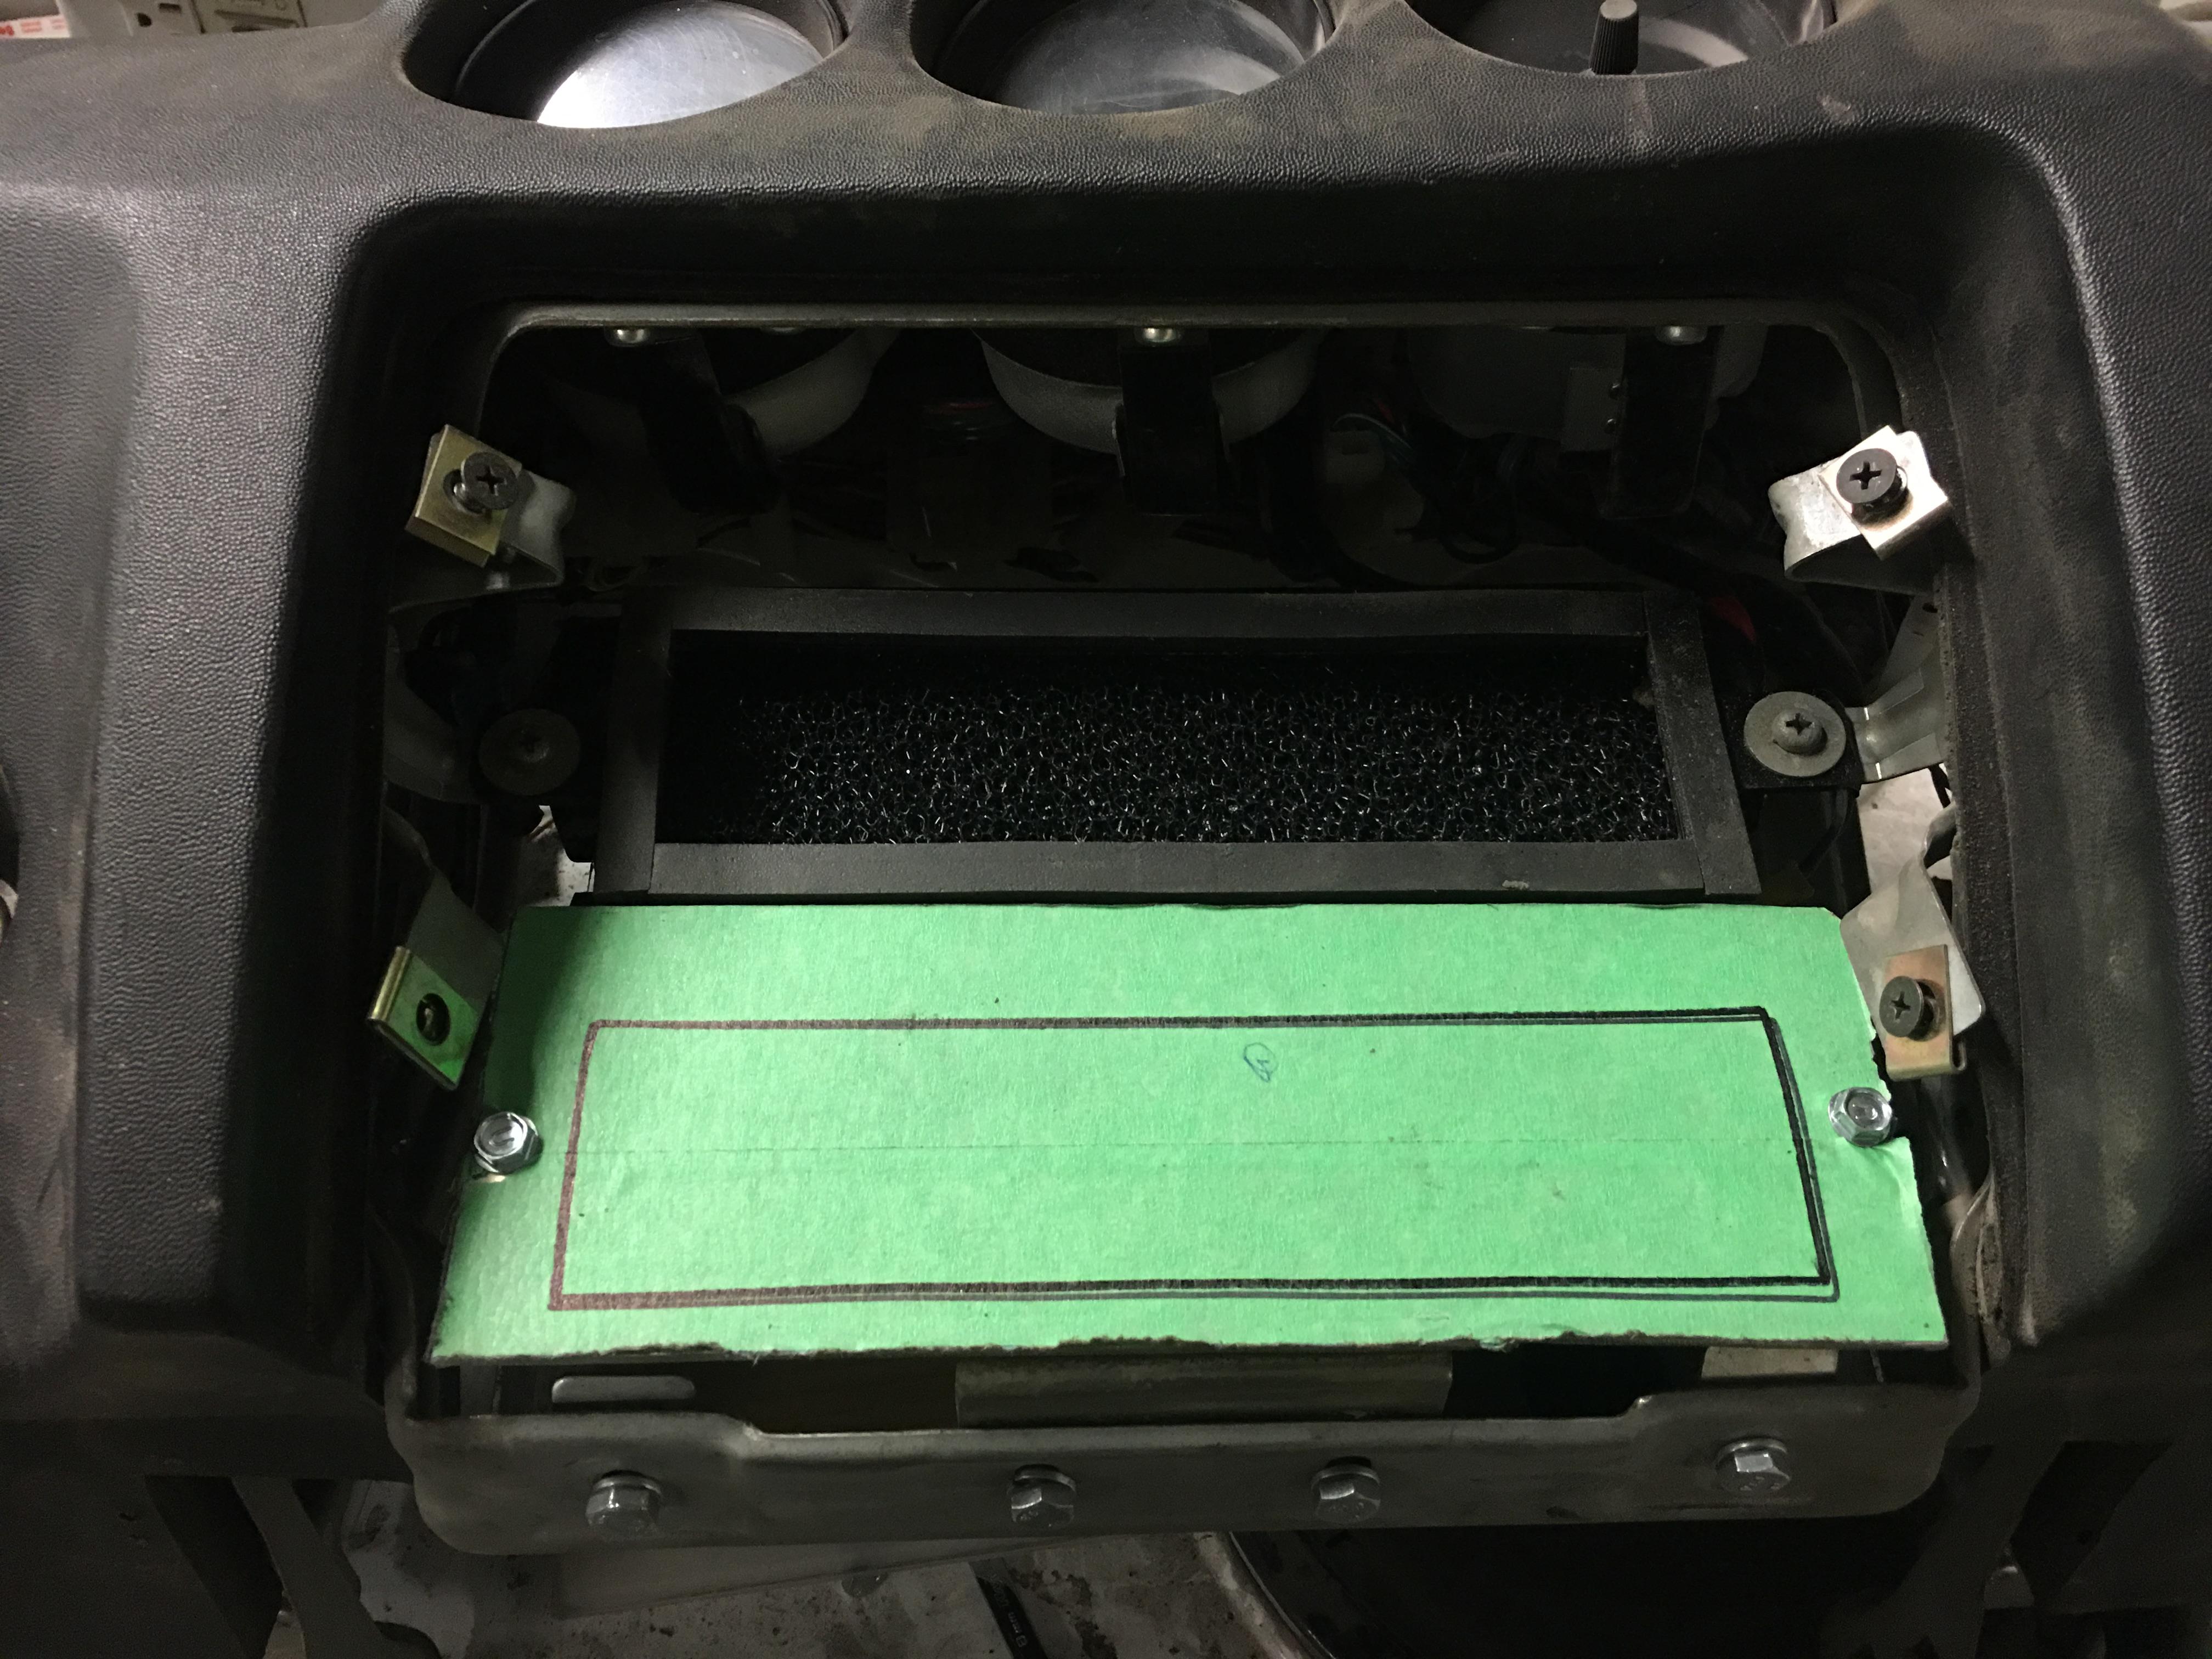
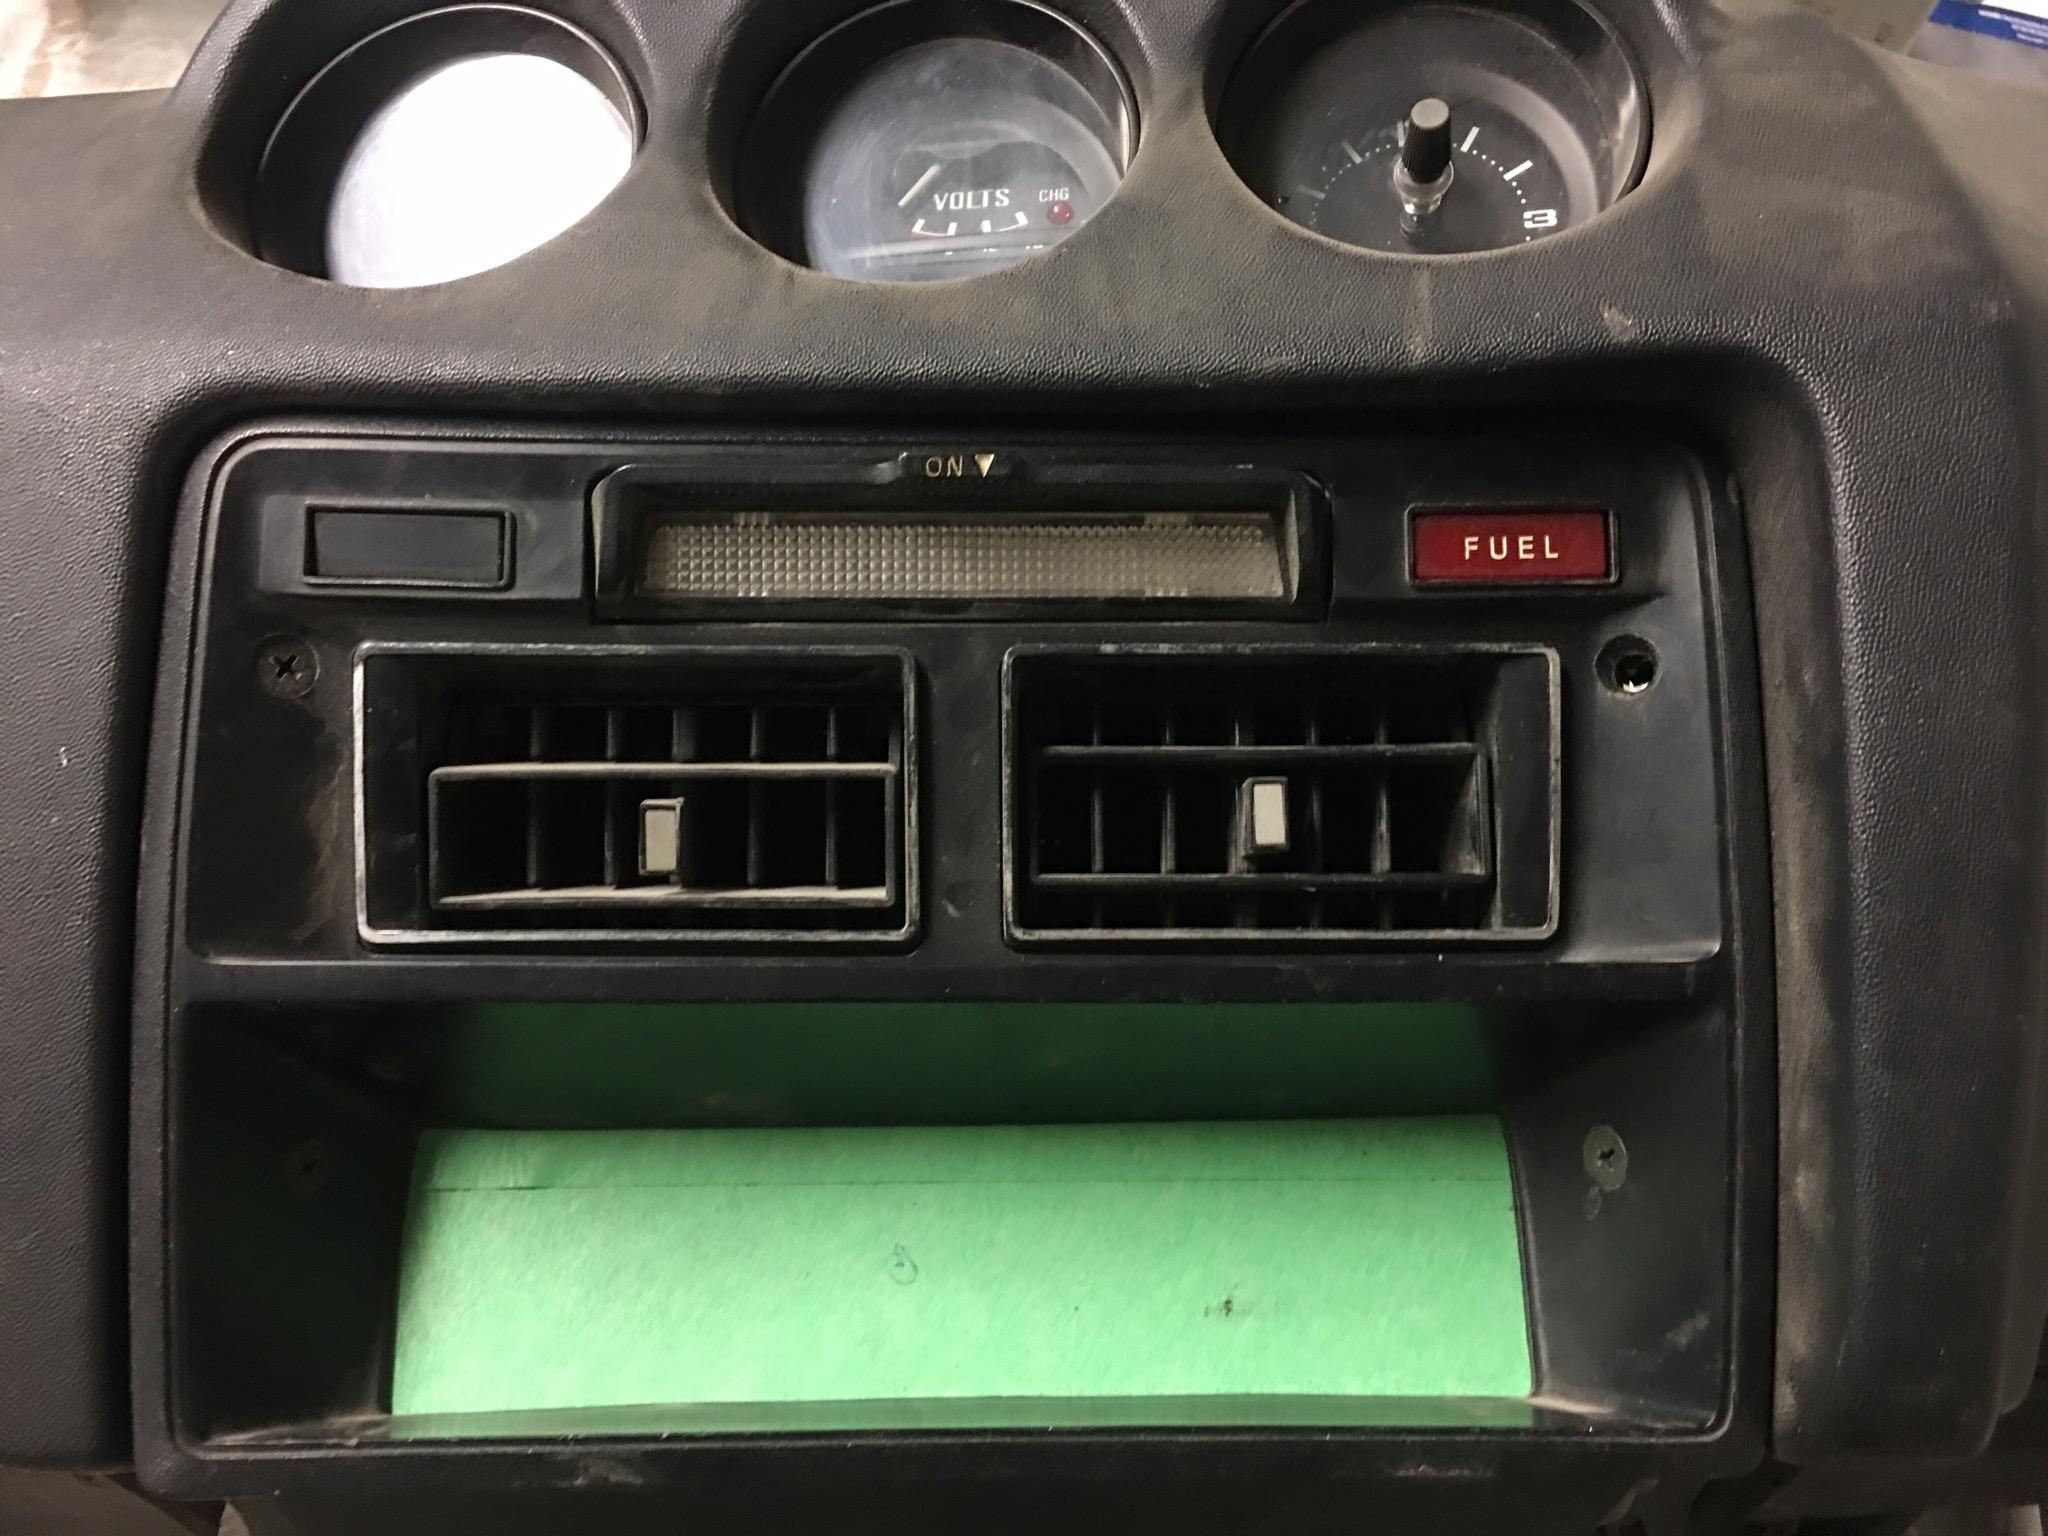
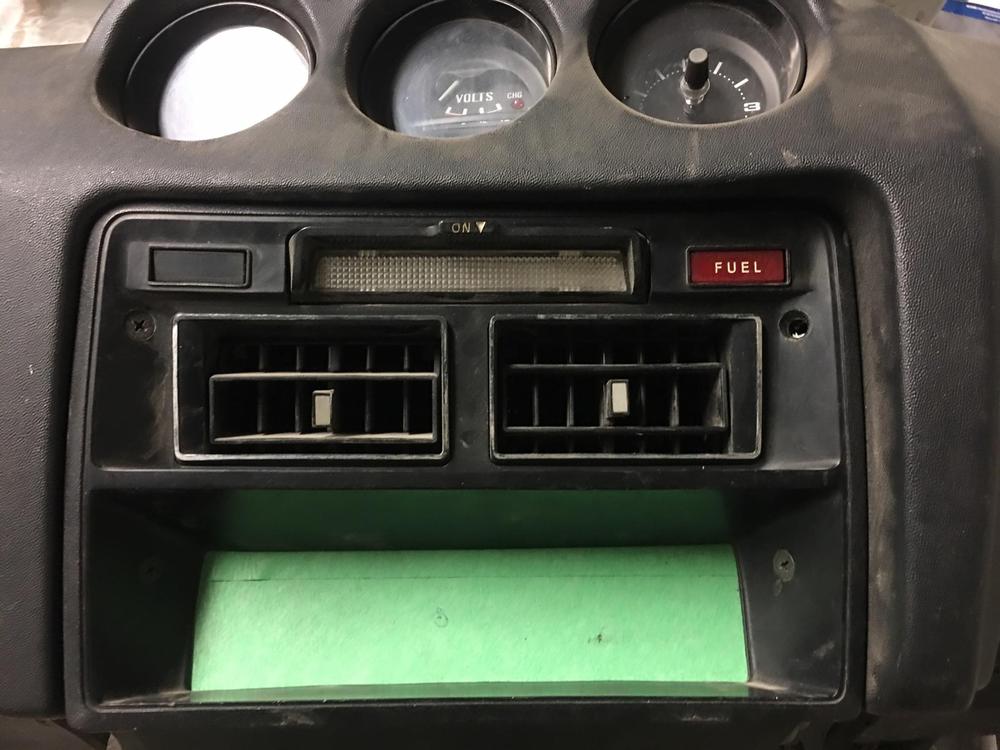
 The factory dash includes dozens of mount points which is really handy. That and the number of pre-tapped holes on the extra brackets I won't be needing allowed me to literally bolt something together. I drilled and tapped maybe 4 holes total.... The small size of the Vintage Air controls will also allow me to move them a little to the left and add another item to that panel. I'm thinking a twin 2.1A USB slot for phone charging, etc.
 -
I am not that creative really... I am using the horizontal dial controls from Vintage Air. The slider controls are too tall to fit in the space properly and just didn't work. I know another member has reworked the factory control panel to work with the Vintage Air sliders, but, like I said, I'm not that creative. I did get a little funky with the bracketry though. I wanted to make sure that the front access panel could bolt off and on without hindrance and that the A/C controls stayed put. I also wanted to be able to remove them from the dash to facilitate wiring etc. In doing this, I cut up the metal mounting frame from the stock unit to give me the proper bolt locations and then tweaked the design in order to support the "green" plate properly and securely. Basically two bolts secure the green plate in place along with the supports, so it can be quickly removed from the dash assembly if needed.

-
I love their bespoke wheels...
-
-
-
Part of the fun in adding custom components like A/C is fabbing the mounts etc for the controls. I used part of the bracket from the original controls to create a solid mount for the new ones. I used a piece of aluminum plate to create the backing plate. It is also removable and mounts to the dash so the front console piece can be removed without disturbing the controls. I will cut the controls in later and powder coat the plate.

-
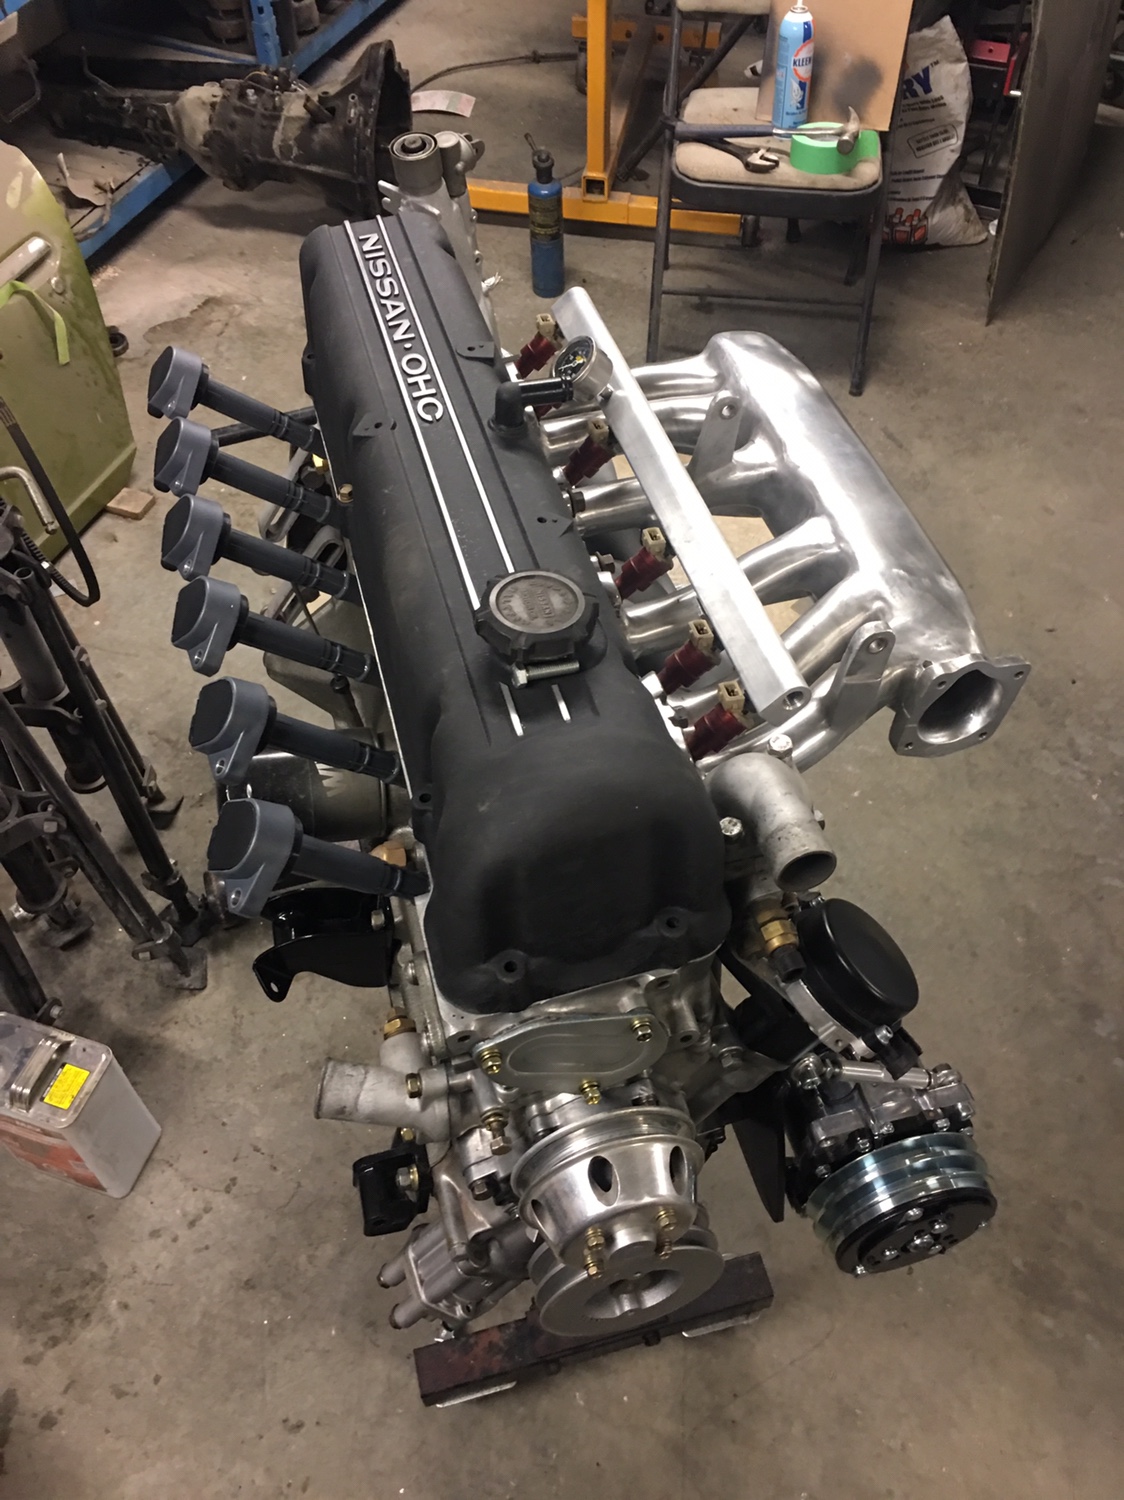
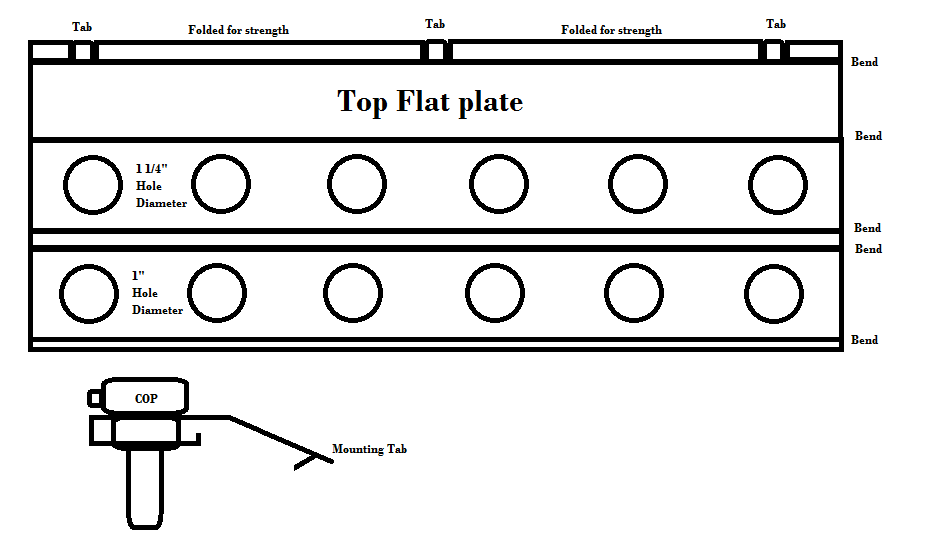
Let's throw another log on this fire. This drawing has another method of securing the COPs. The folded metal plate will have two hole of different diameters to secure the top and bottom of the COP head along with a riv nut to to bolt the head down to the top plate. @ConVerTT is going to look at this and determine if this is a feasible design. He may do a folded bottom with a dimpled hole to secure the bottom of the COP without having to do an air channel. More to come as we finesse the crap outta this....
-
-
-
-
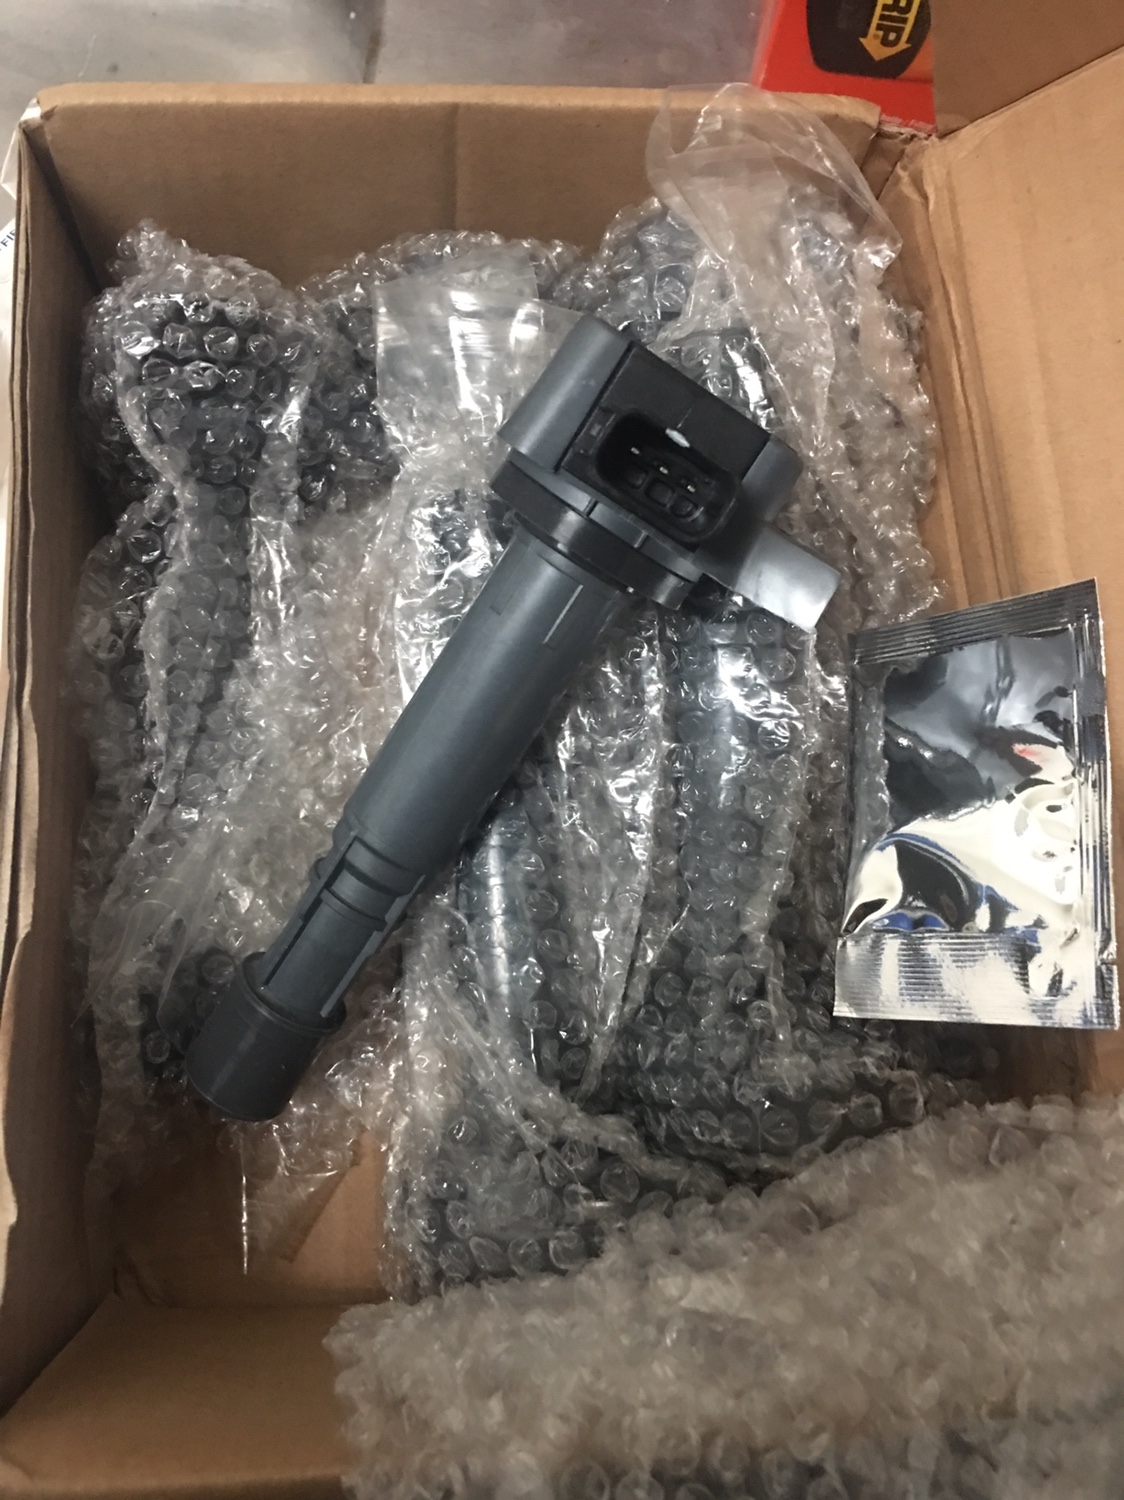
Yes, there is a constant 12v from ignition source, then a ground trigger and a third constant ground to manifold. That seems right as I remember. I have heard nothing but good feedback on these COPs and I like their small footprint and the added security of a bolt. Some are just friction fit which is a no go for me.
-
-
I partially agree. For me, the main reason is to NOT have wasted spark so I can set individual dwell and fire with the Haltech. As for the LS type coils, I have heard good and bad reviews. And I didn’t want any spark plug wires. At all. And you lose the factory location for heater hose, it has to be rerouted.
-
-
-
-
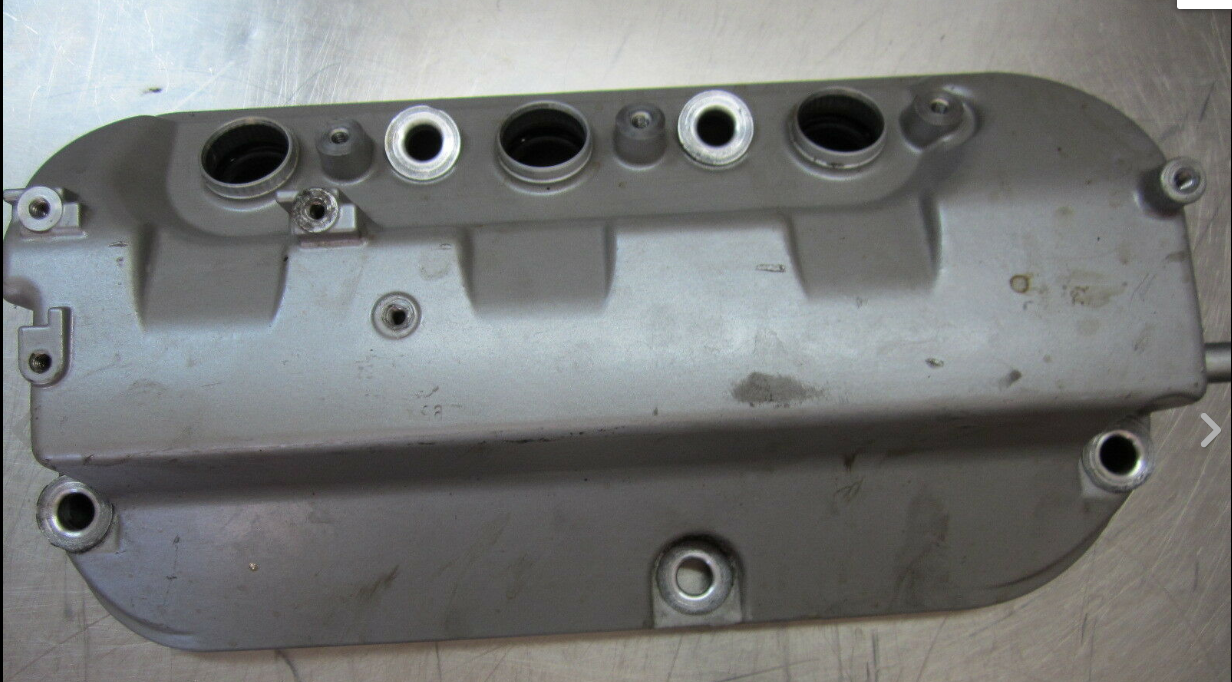
Yup. I have already considered that. There is indeed a rubber grommet that is causing most of the offset value between the plate and the COP. I can remove the grommet but I like the idea of some vibration insulation there. I will leave it there, and build a standoff for the COPs. I believe there may be some grounding that occurs in that bolt hole as well, so the plate will be grounded to the cylinder head too. The original design has the COPs in a recessed position in the DOHC cover. The bolt holes then sit flush. I might consider making a collar of sorts for them too.
-
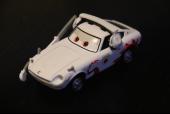
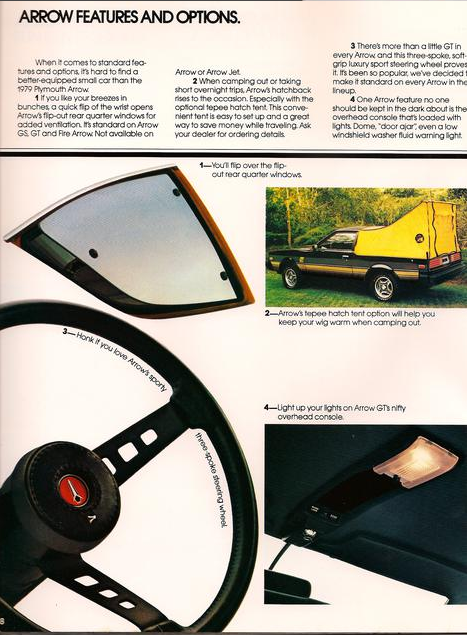
I am amazed at how much the old Mitsubishi Arrow copied the Z's... never knew that when I bought it but subconsciously I always wanted a Z I guess....
-
My Fire Arrow had an overhead console in 1979...
-
-
The COPs take a lot of force to “lock” into place on the spark plugs. I can stand them up in position no problem on their own. Once they are bolted to a plate together, they will be even more secure. The tabs will be enough I’m sure. I can always add a brace from below to the bolt holes on the block for the coolant lines. The trouble of disconnecting the COPs in order to access the valve train are minimal and I don’t expect to be in there all that often...

-
Are your half shaft boots banded? I’m still waiting for the banding tool to arrive so I can get mine done.
-
-
Mo-town?
-