inline6
 Subscriber
-
Joined
-
Last visited
Everything posted by inline6
-
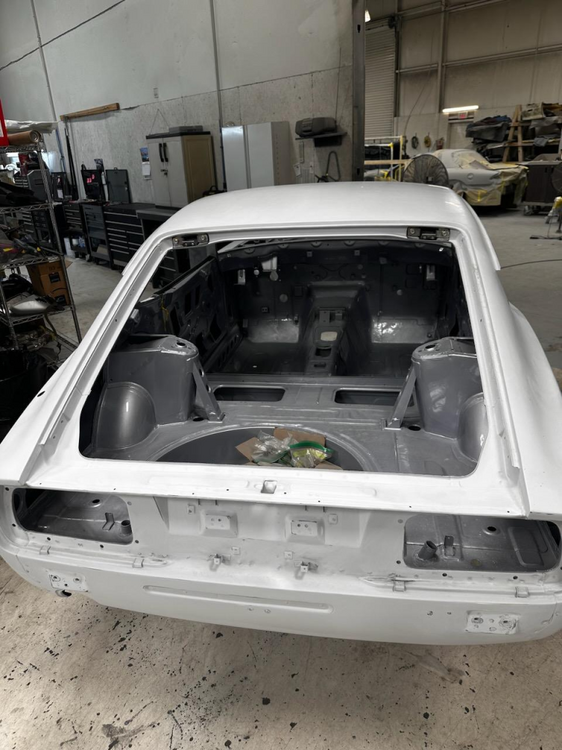
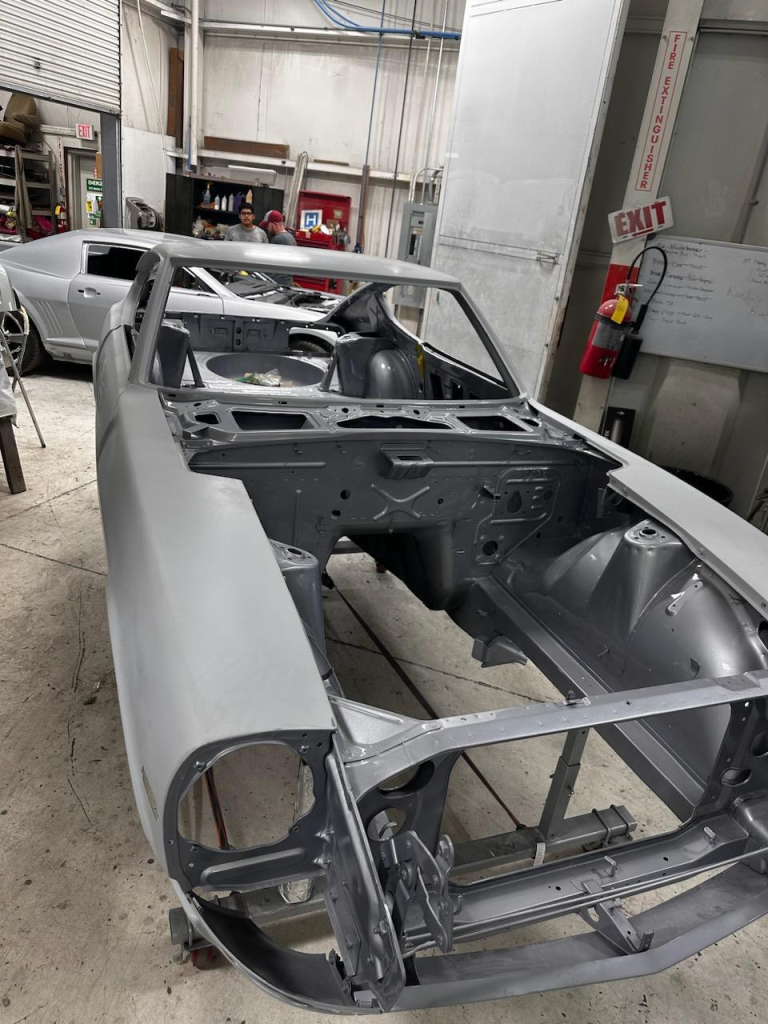
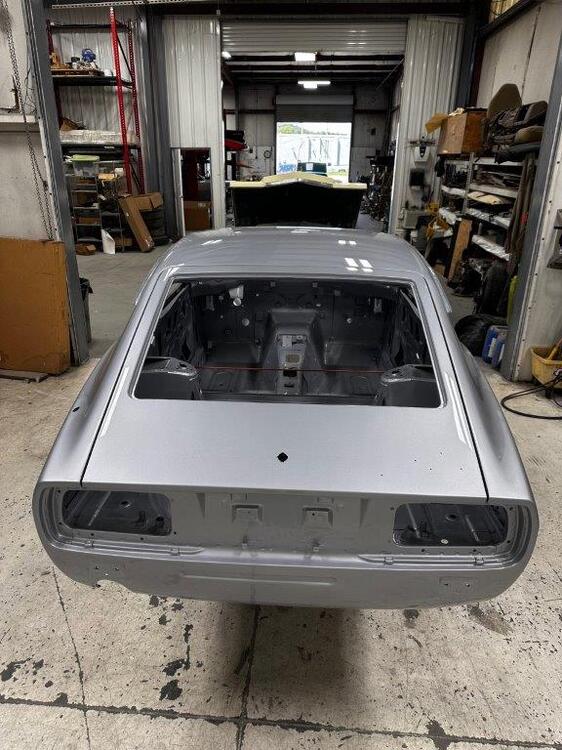
 There has been a crazy amount of hours and money to get the body to this point: Color code is 901 silver. Paint is Glasurit.
 -
I created a separate thread with details about the LSD installation in the R180 case. I'll be picking back up on that project soon. However, I go to retrieve the painted car body on Thursday! Here's hoping that the outcome is as good as I have wished for.
-
I measured the turning torque on the pinion nut tonight. Factory spec without the oil seal is 7-10 kg-cm without the oil seal in place, or 6.1 to 8.7 in-lbs. I measured 15 in-lbs. I think that is a bit much based on a Youtube video I watched, where before installation and after installation of the pinion oil seal, the turning torque was measured at about 14 on an R200. I will back the nut off some, torque the nut to the low end of the factory range instead of 135 ft-lbs, and re-measure. Will try to get it to be around 10 in-lbs.
-
My headlight housings (sugar scoops) had never been off of my car before I took them off. There was no sign at all of a gasket there. In fact, I could tell from the original factory paint that the scoops were on the car (and bolted tightly in place to the front of the fenders) when it was painted at the factory. I don't think any rubber gasket was used between the sugar scoops and the fenders. Never seen one in all the years I have been internet surfing Datsun Z's either.
-
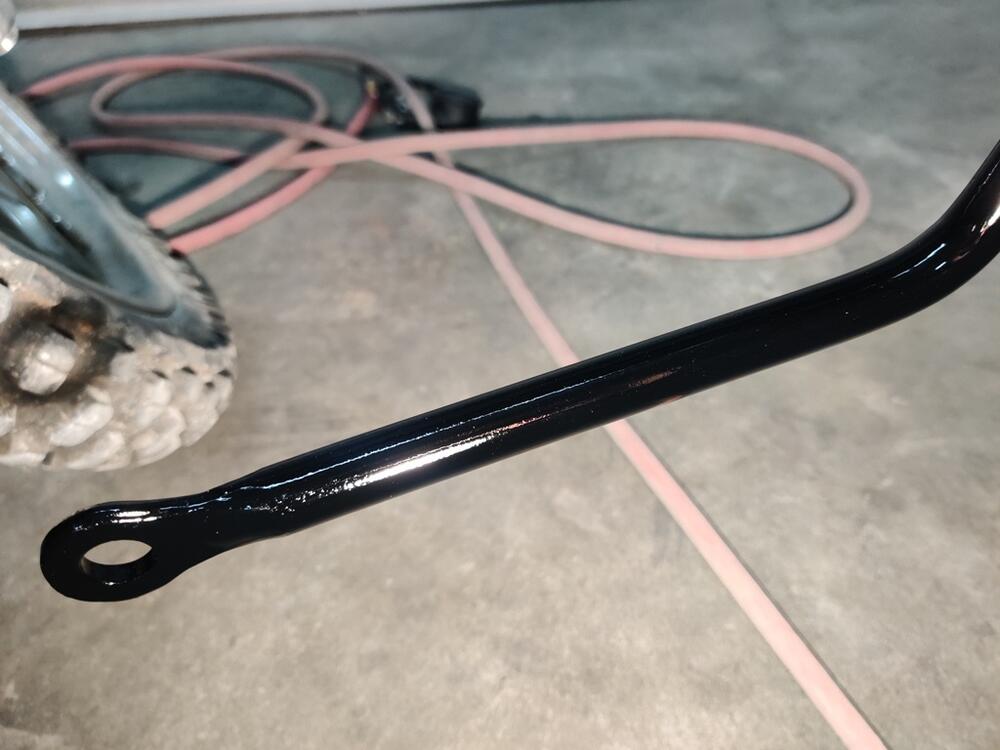
Really great work you are doing! I like your part number on the moustache bar - came out nice.
-
I have some gear marking compound coming also. I plan to check rotation torque and adjust if necessary by backing off the pinion nut a bit and retorquing. Then, I will assemble the carrier in place again with no shims on the left and all on the right. I'll check back lash for kicks (because I am sure it won't change). And then, I will put the gear marking compound on and see what's what. My guess is that the pinion height has changed, probably due to differences in the pinion bearings. I don't know how (at the moment) to figure out what to change with the pinion shims. I will research.
-
Thanks, I found some relevant posts. One of the frequenters of that site said, "It's been my experience that the backlash doesn't change notably. It changed .0005" on my own diff, and I've never come across any posts from someone whose backlash needed to be readjusted after installing the LSD." Before disassembling to remove the paint from under the side retainers, I measured the back lash, and it was about .014". The factory spec is roughly .004" - .008" (the factory service manual is not near me right now). I then removed the side retainers and scraped off the paint with a razor blade, and reassembled. After doing so, I put the side retainers back on, snugged the 5 retaining bolts, and measured back lash at .020". That was surprising to me, but I figured maybe I didn't measure it properly the first time. The factory workshop manual says that if there is too much back lash, to move shims from the left retainer to the right retainer. As assembled from the factory, the left retainer has one shim that I measured at .011" thick. The right retainer has two shims, one is .016" and one is .020". So, I took the side retainers off again and moved the shim from the left, and stacked all three on the right. I reassembled and measured back lash at .012-.013". Darn it. I found several pages back in this build thread, where I measured backlash before disassembling this diff, and it was .005". So, referencing the info from the Hybrid Z post, I appear to be in an unusual situation where swapping out the open carrier for an LSD has perhaps changed things substantially. Of course, in this instance I changed pinion bearings, so perhaps the pinion height has been altered now. As a next step, I will measure the turning resistance on the pinion shaft to rule out that I over torqued the pinion nut and have too much pinion bearing preload. I ordered a torque wrench which should allow me to check that properly - it will be here Monday. However, I don't have much hope that the amount of preload on the pinion bearings is my problem. Doing something other than using the shims that came with the differential is a departure into the wilderness - this is not something I have ever done before. So, I really am feeling lost about how to get this diff set up properly at this point.
-
Can anyone else corroborate? I have never seen this before.
-
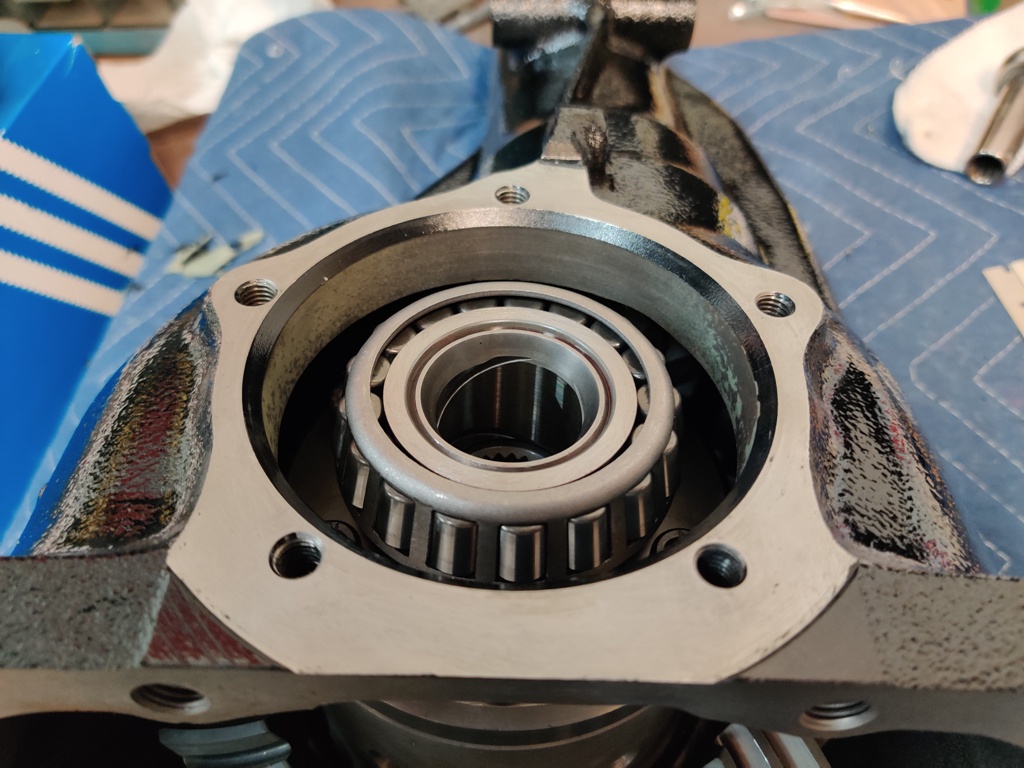
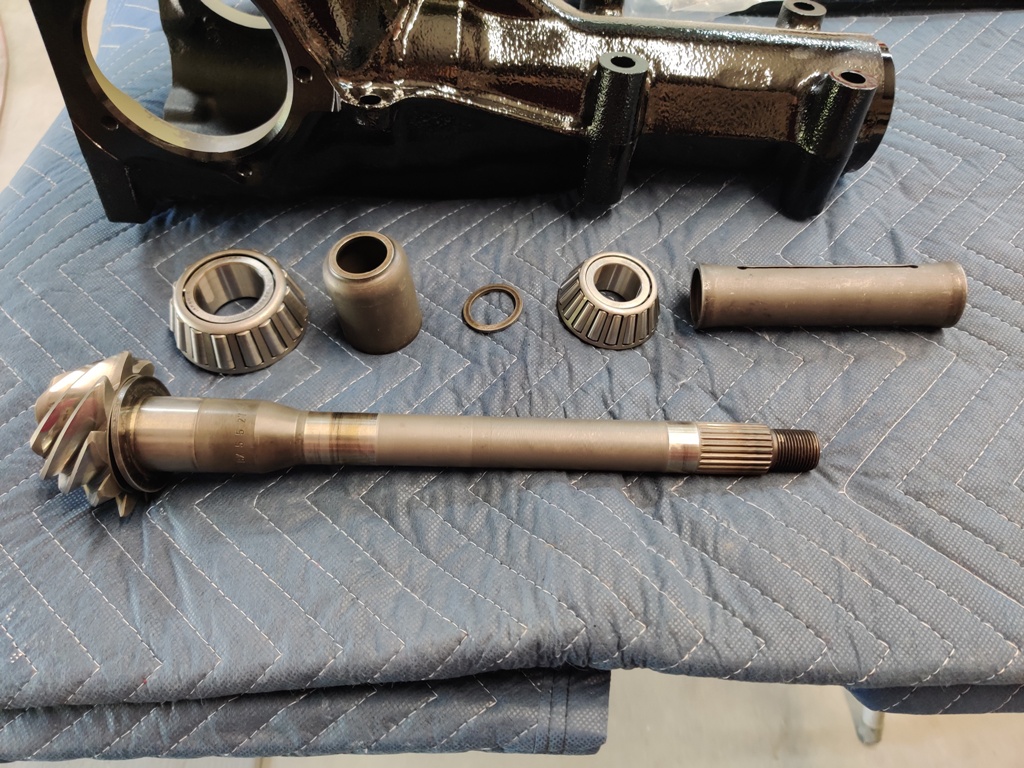
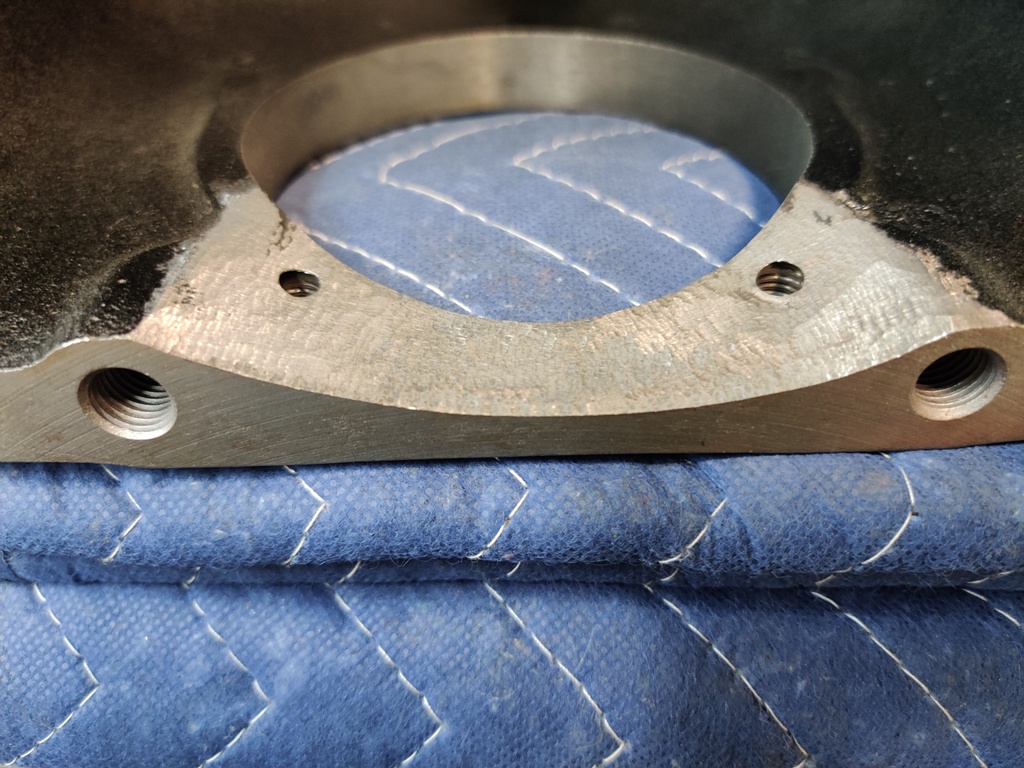
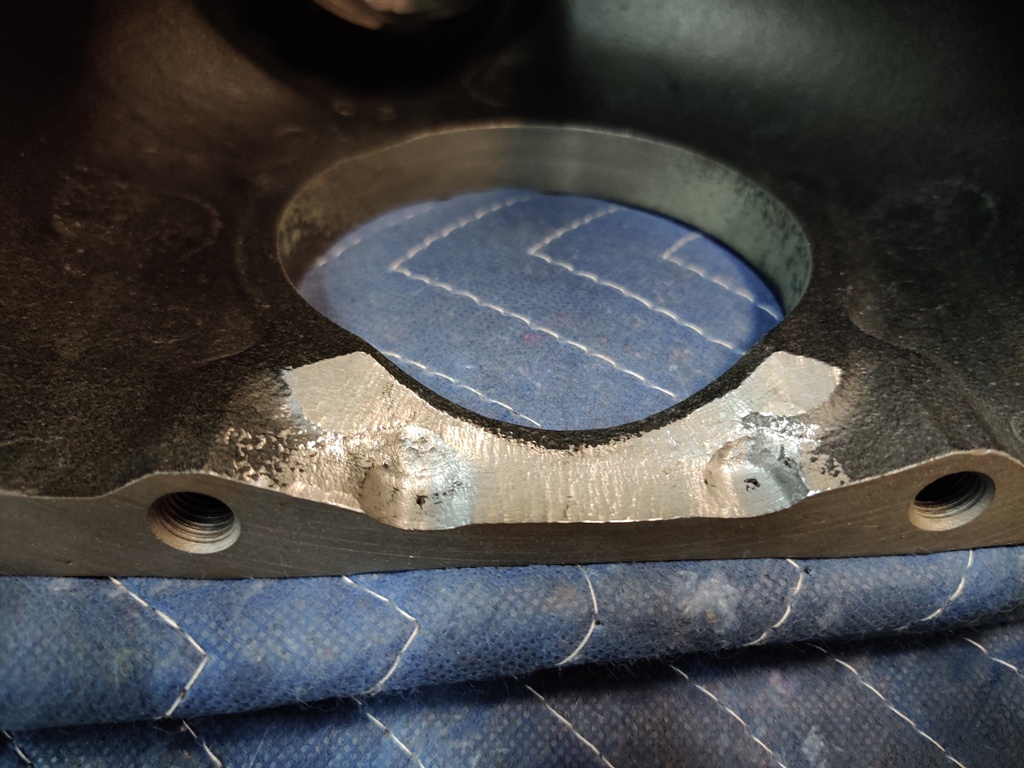
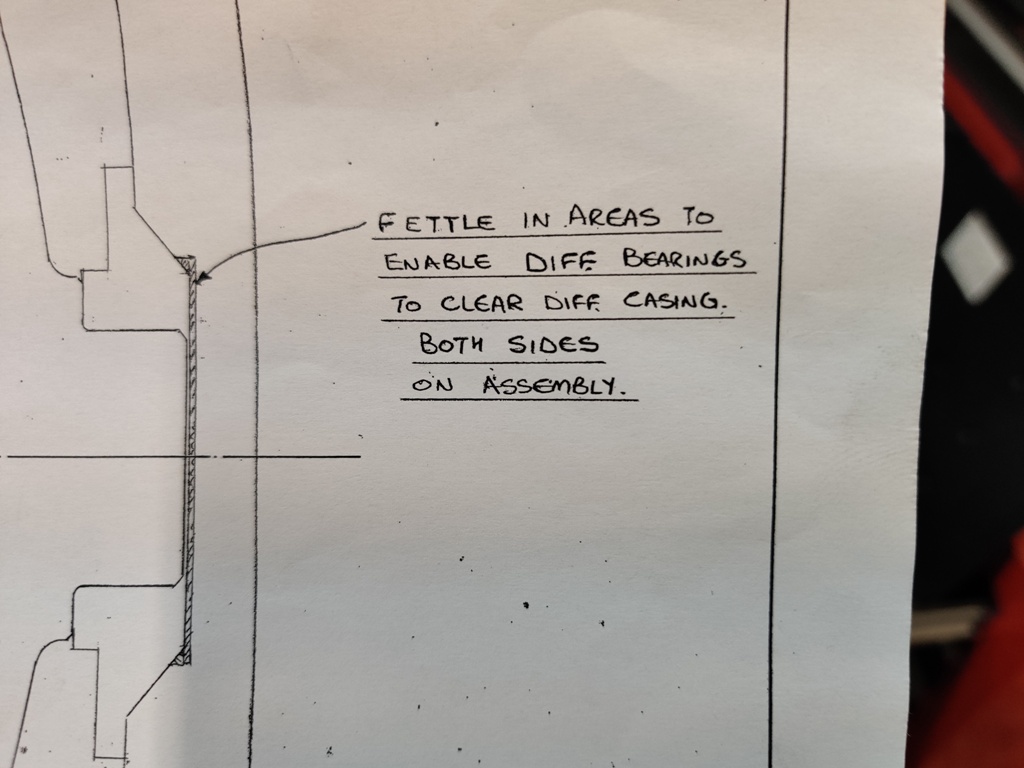
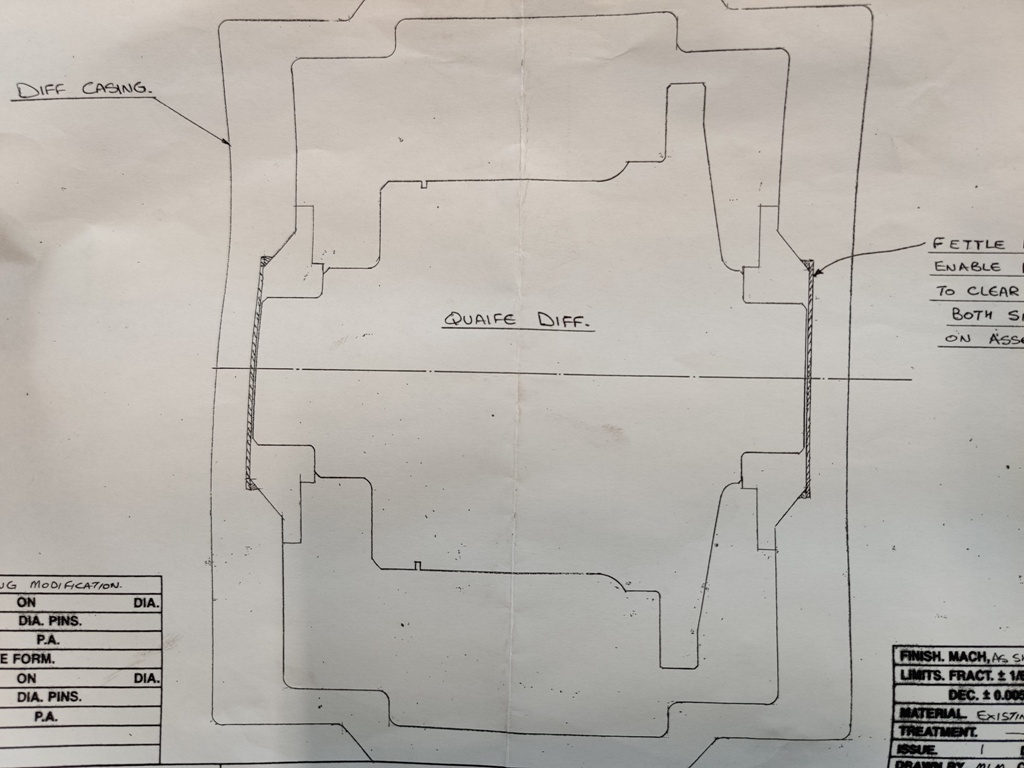
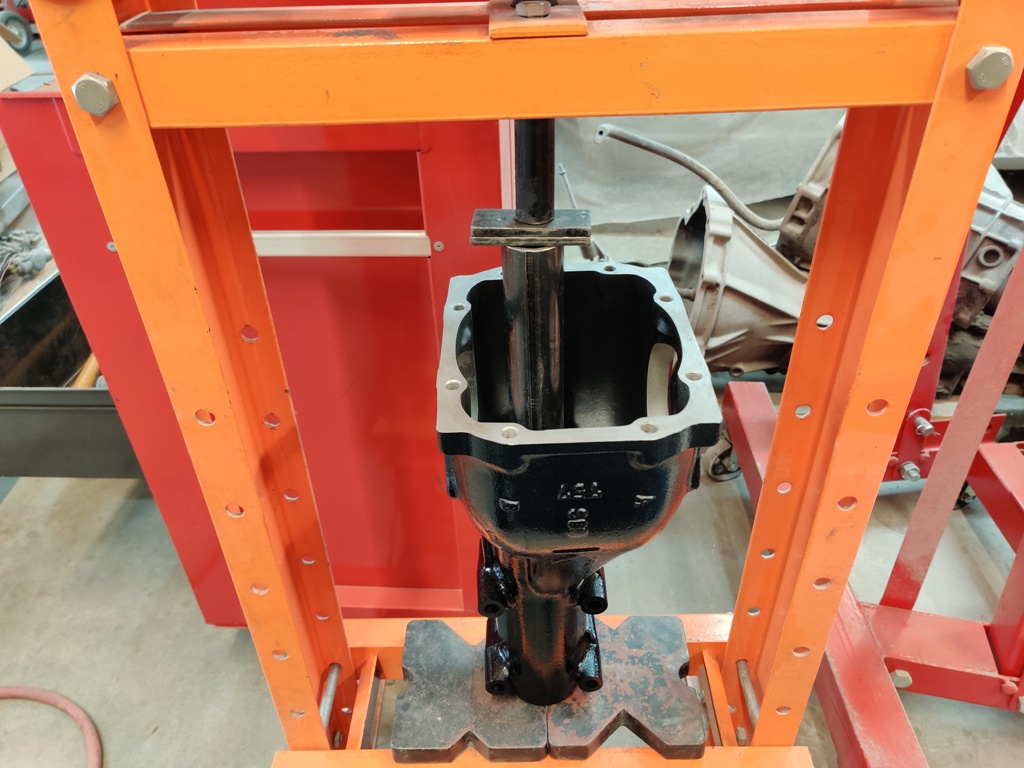
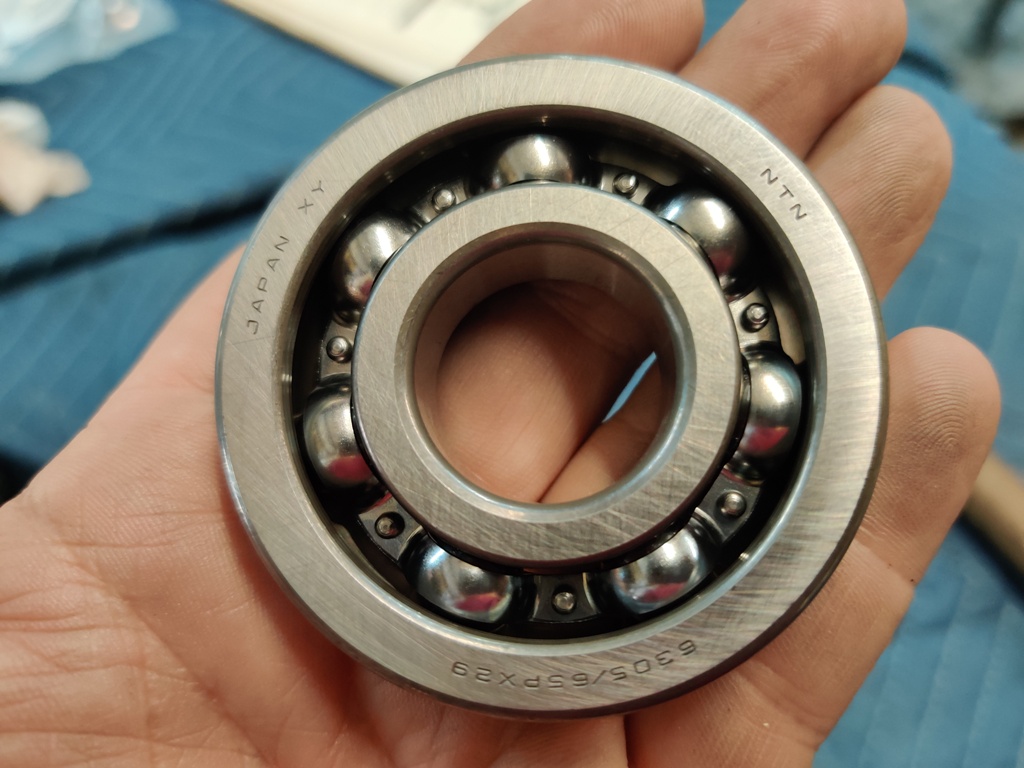
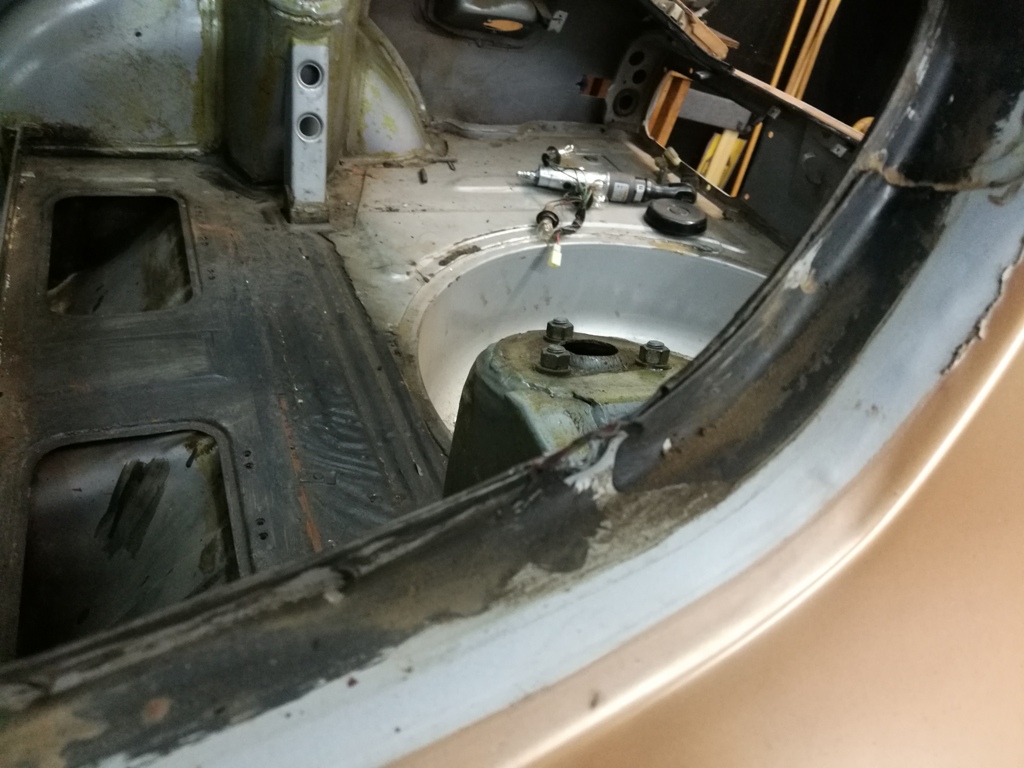
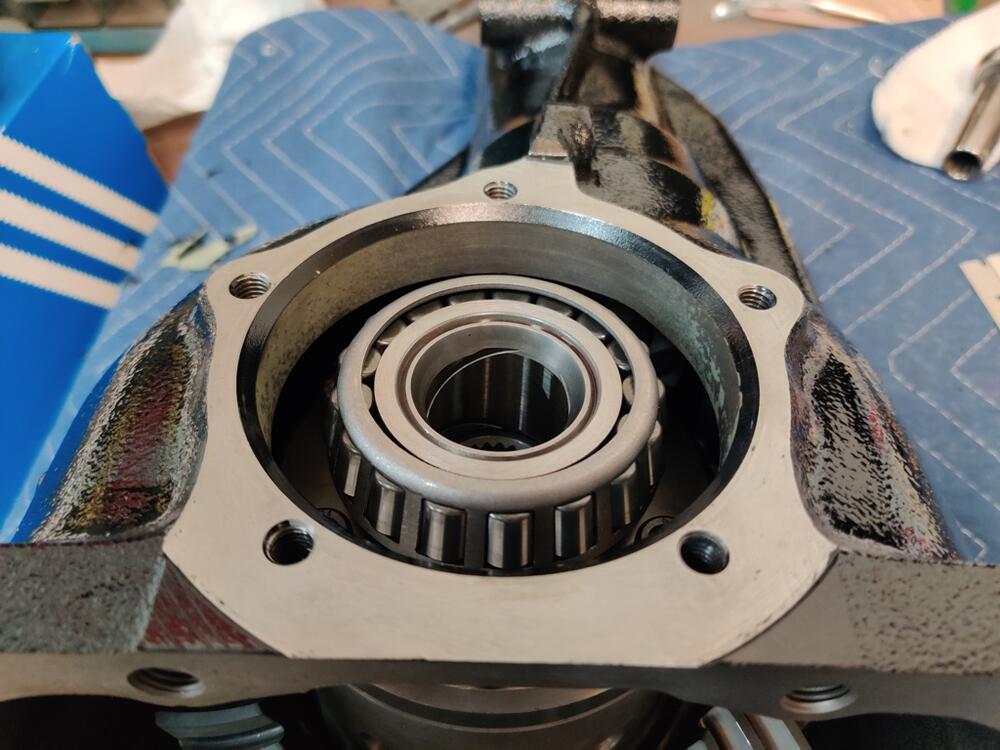
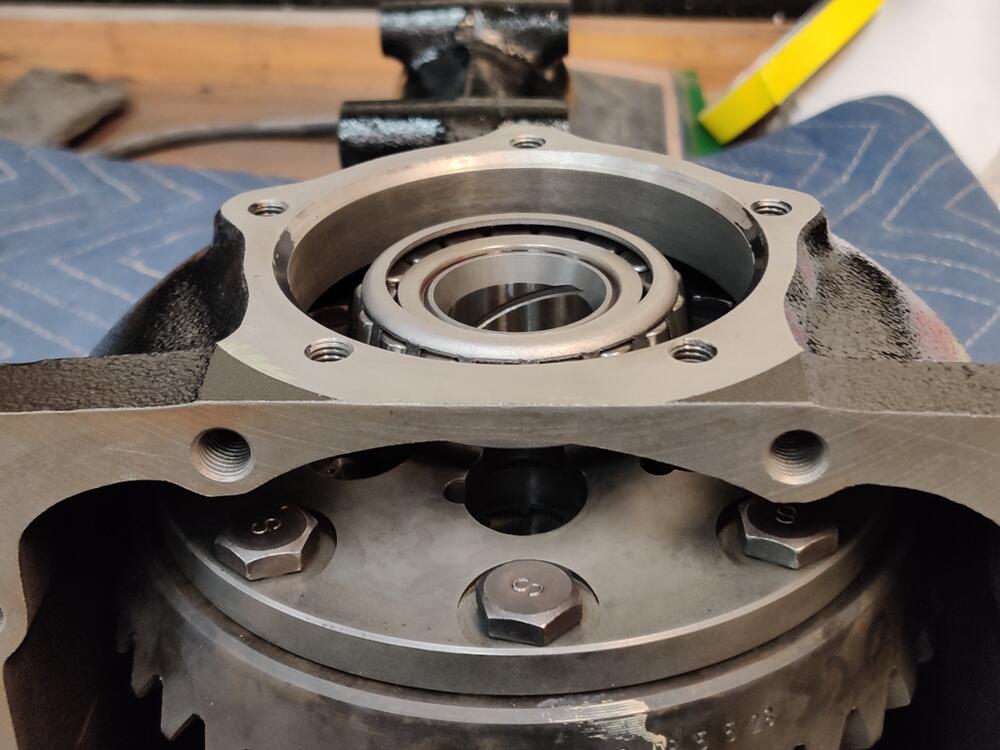
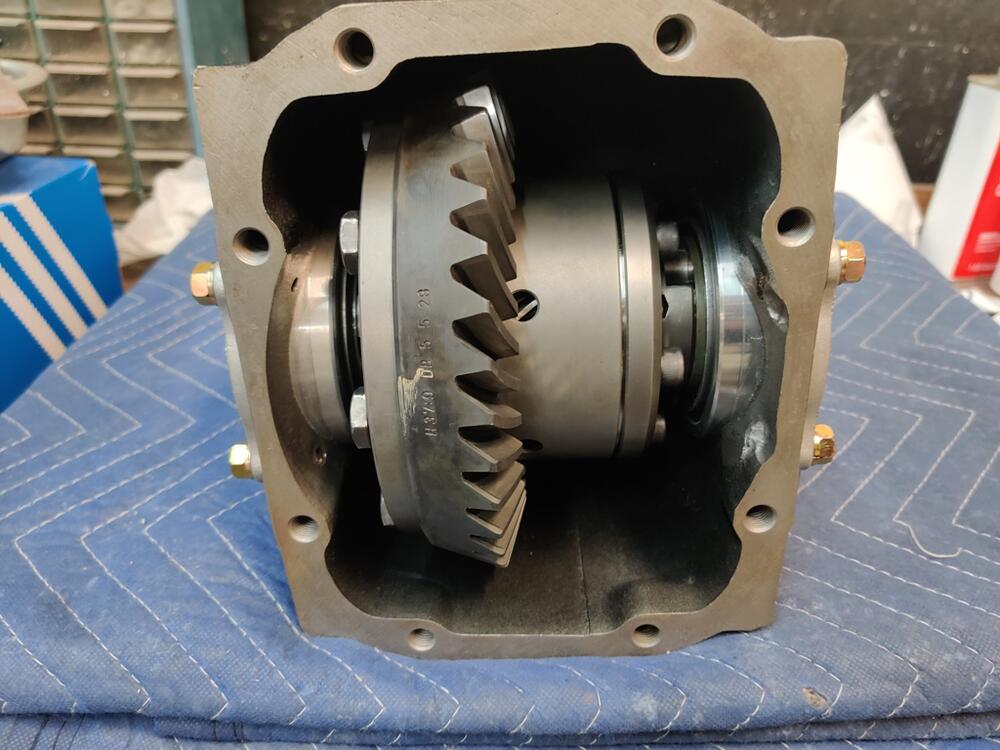
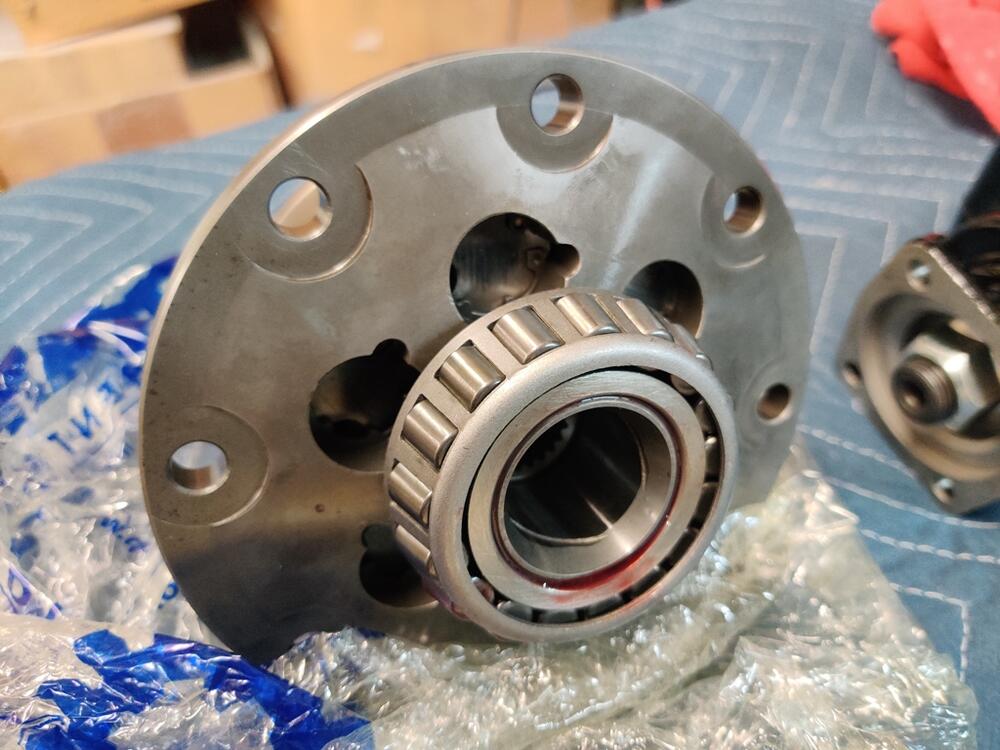
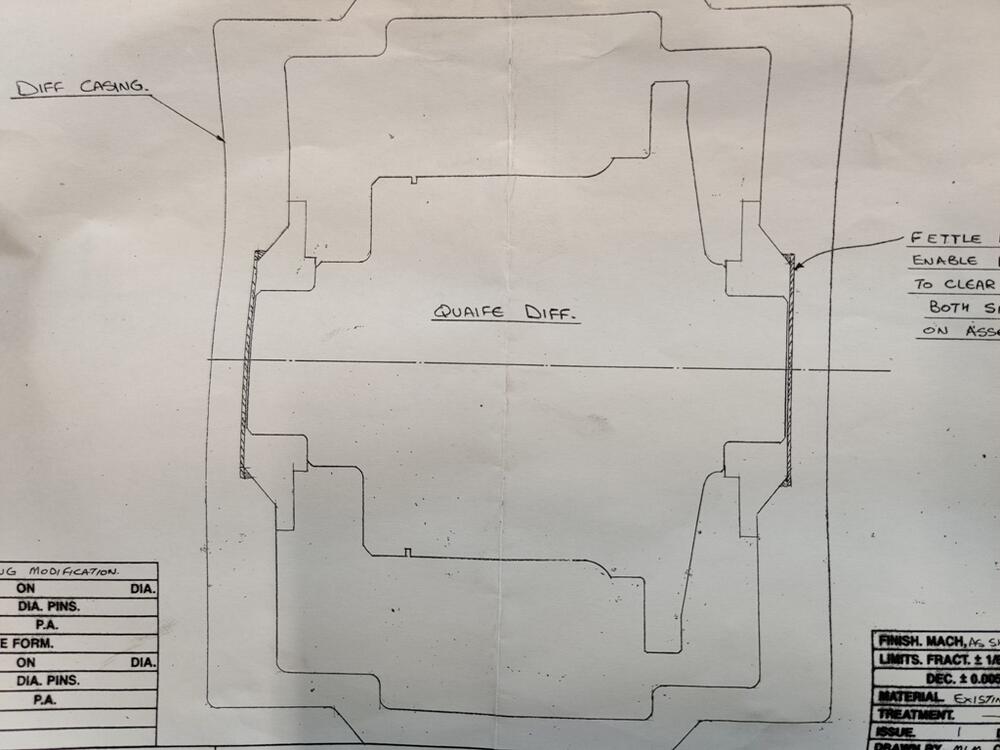
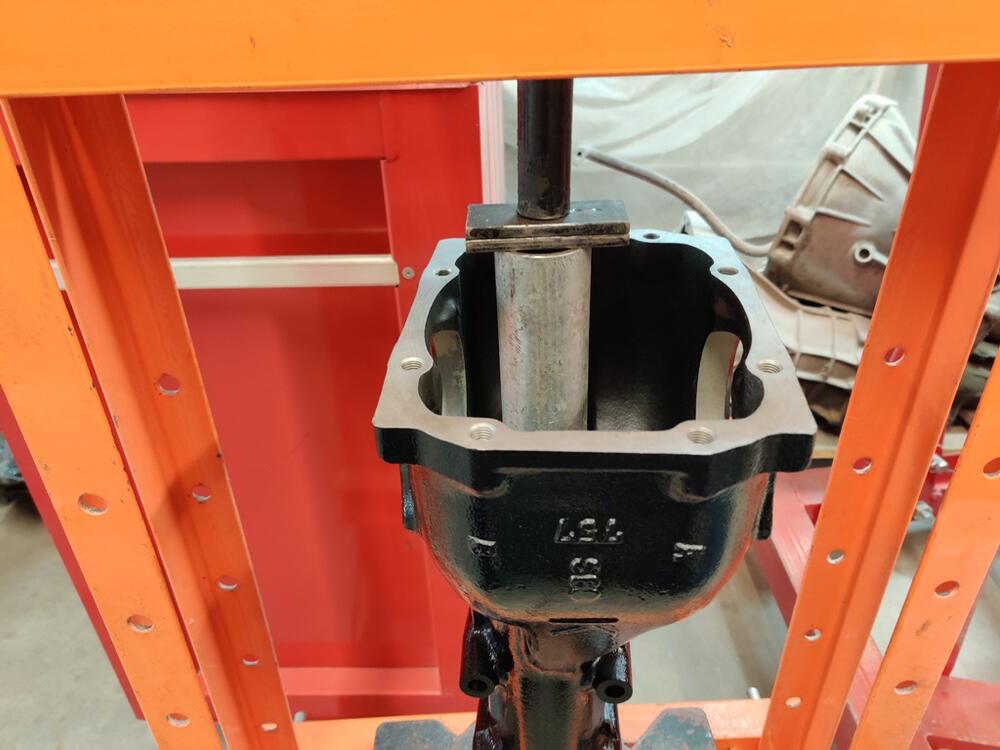
I have been rebuilding my differential for the last couple of evenings. It is a "K" R180 from the front of a Nissan 4X4 truck. From running it in my 240z, I know it was in good condition before disassembly. And, when I took it apart, I checked backlash and it was within spec. So, I don't believe it ever had been apart before. I purchased a Quaife LSD for it. I also purchased all new bearings and seals. For the differential case and the drive pinion shaft, I was very careful to install races and the tapered bearings, fully seating them in their correct positions. I also was sure to use the spacers and shims that were removed back in their original locations. Using old bearing as an installation tool for the front pinion bearing. Using a homemade tool to hold the pinion from turning while setting the torque to 135 ft-lbs (factory manual specifies 122.9 -144.6 ft-lbs_ To get the Quaife in the case, it was required to "Fettle": It took a lot of fettling, but I very carefully ground only where needed until the carrier just fit. In fact, I had to leave one of the main gear bolts off until the carrier was partly in the case, and then torque that last bolt through the side axle opening. This fettling was an unpleasant surprise that added 4 hours of time to grind on the case. I had to be extremely careful with packing the case cavity and other preparation to keep the metal shavings from the carrier and from installed pinion shaft (and bearings). At this point, and here is where I stopped, I have installed the side retainers, left and right, with their respective shims in their original positions, with the 5 bolts on each just snugged down, not torqued. Now, I could use some guidance. What I have not done that I may need to: I didn't measure the amount of turning force on the pinion shaft. I don't have a suitable tool to measure that. I see that this is supposed to be done without the pinion seal installed. I have already installed that. There is preload on the pinion bearings - I can tell by rotating the shaft by hand. I just don't know how much. I did not remove the fresh paint (and primer) from the sides of the case where the side retainers seat. I am wondering if those thousandths of an inch matter. Given the side retainer shims originally used are quite thin, paint in this location may be an issue? I didn't measure the amount of main gear backlash with a dial gauge yet. I just moved the main gear by hand back and forth. Doing so, the amount of movement is noticeable. I'd guess .015" to .020". I do have a dial gauge and magnetic base and plan to measure the back lash when I pick back up on this. I was hoping, perhaps naively, that I would be able to use the existing pinion and side retainer shims even with replacing the stock carrier with the Quaife LSD unit, but it looks like I have more work ahead of me. The factory shop manual is difficult to understand, and I don't have the factory tools being referenced. Anyone have any guidance on how to proceed? I am thinking about buying the tool to check pinion turning force. I am thinking to not removing the pinion seal, because I would likely destroy it in the process, but instead just factor in 1-2 additional inch-lbs into the reading I measure from having that in place. So, if I measure 2 inch-lbs more than the factory upper limit, I'd call that good, for example. I am also thinking about removing the paint from under the side retainers and reinstalling them with fasteners torqued to spec to check the main gear lash measurement. From there, I may need to order various side shims and attempt to get back lash correct? Then check the gear mesh pattern to see if everything is set up the way it should be?


-
Well, I tried fitting the carrier inside the differential case, and it doesn't fit, but not by much. I think more than roughness of the casting will have to be removed, like with a high speed die grinder. I have already installed the pinion and related bearings. So now, if I have to grind away material, I will have to seal the pinion and all cavities within the differential case to keep bits of sharp metal from finding there way in there. I haven't found any info online about this "mod" to make this unit fit.
-
I am progressing with the differential assembly. What the heck is this??? uh oh.


-
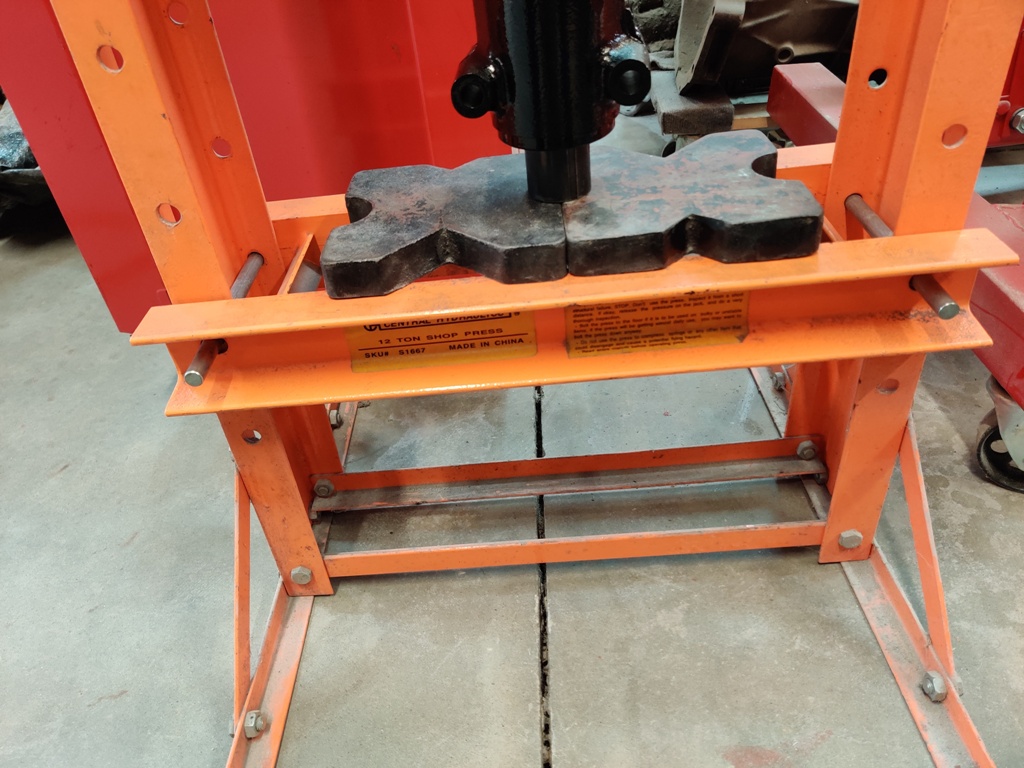
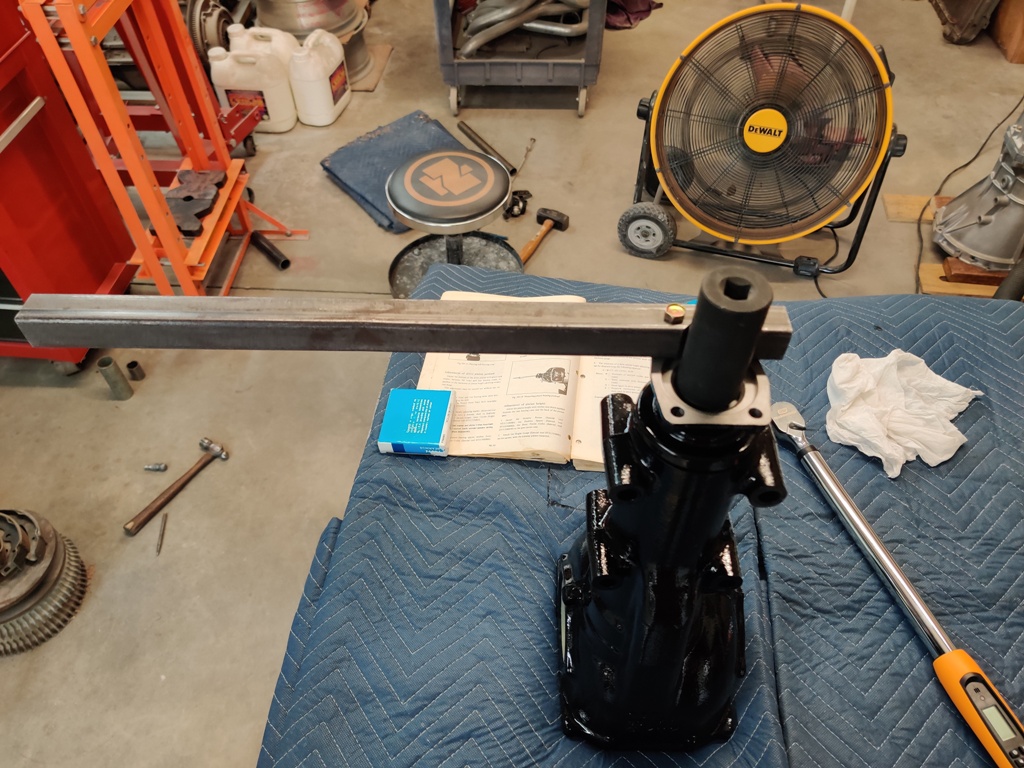
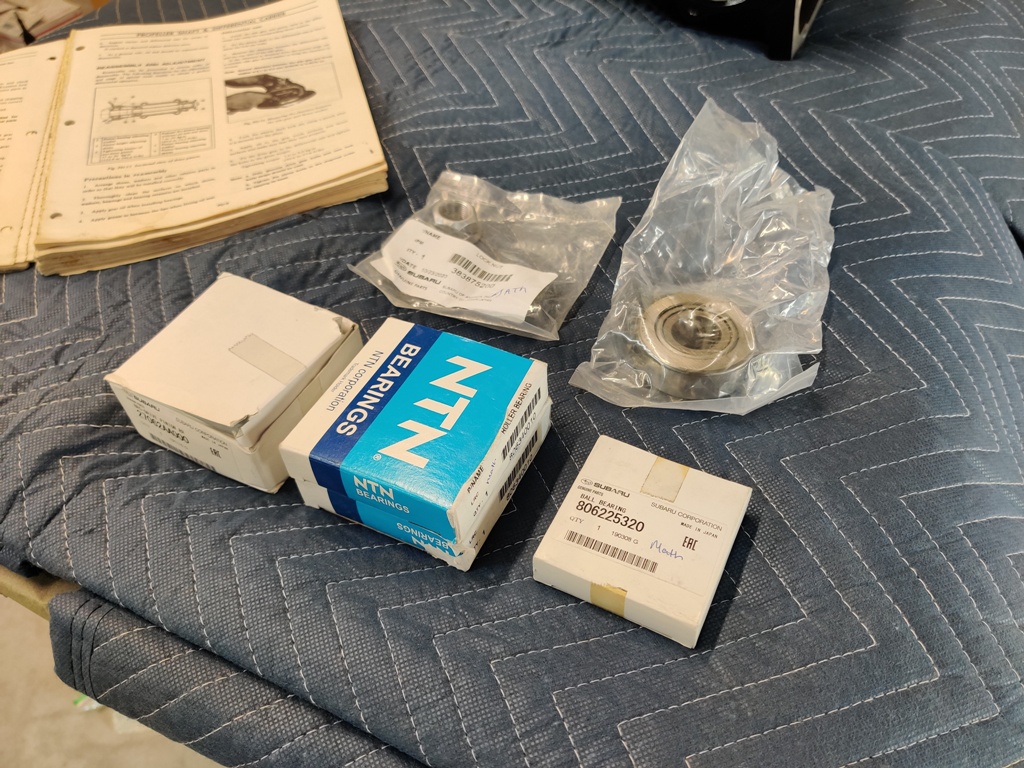
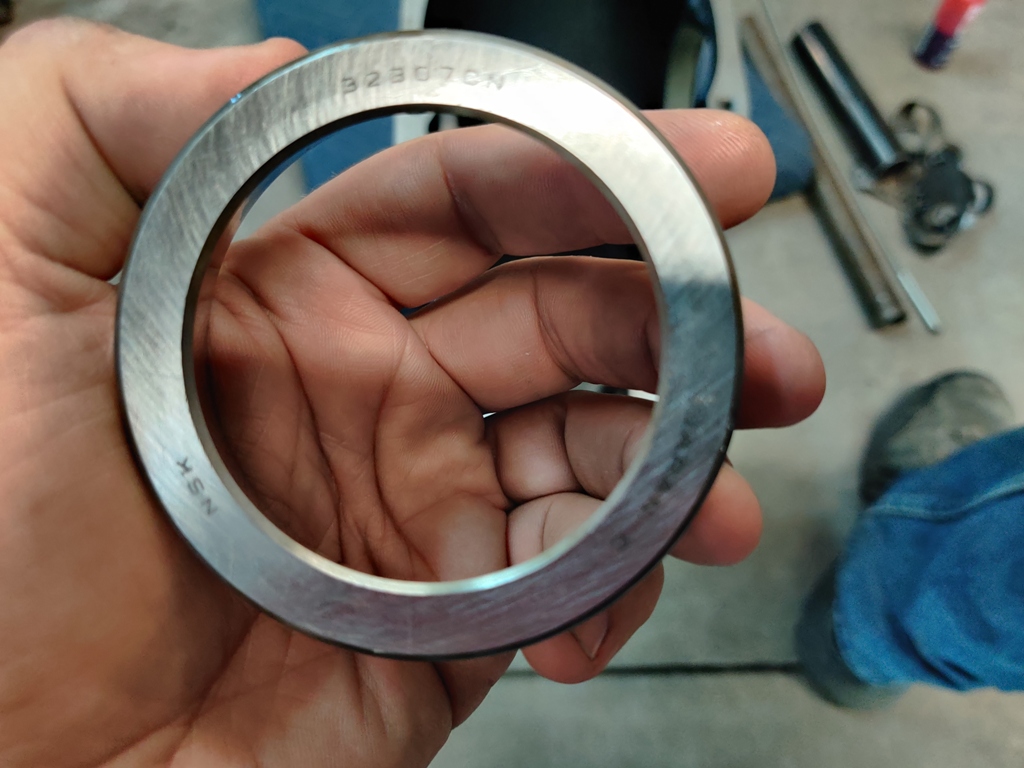
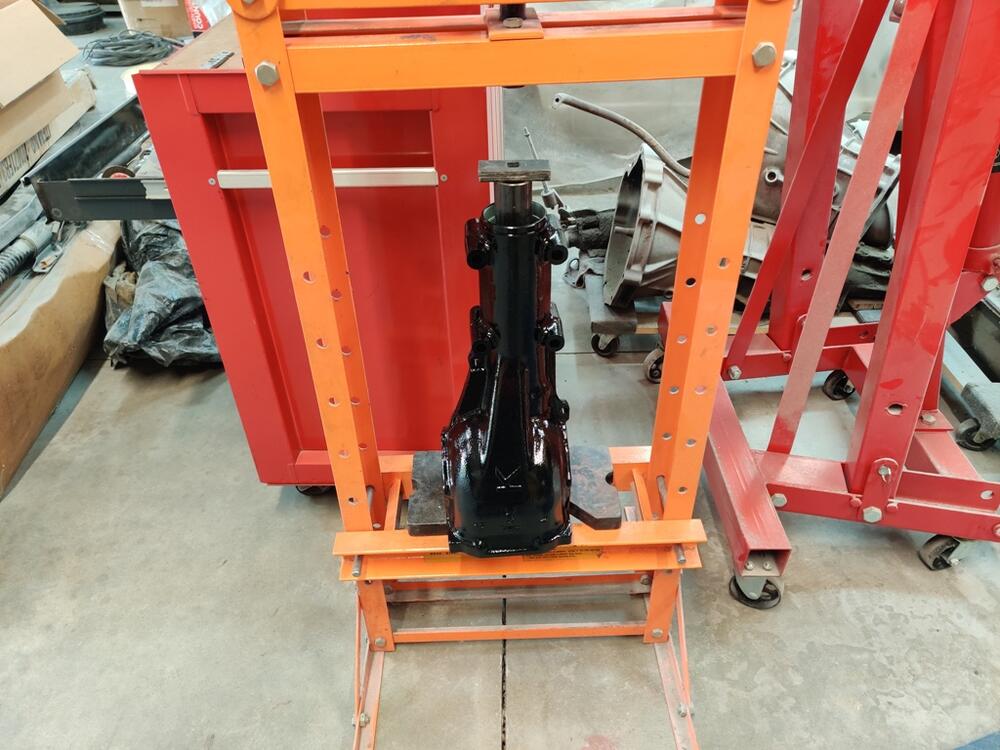
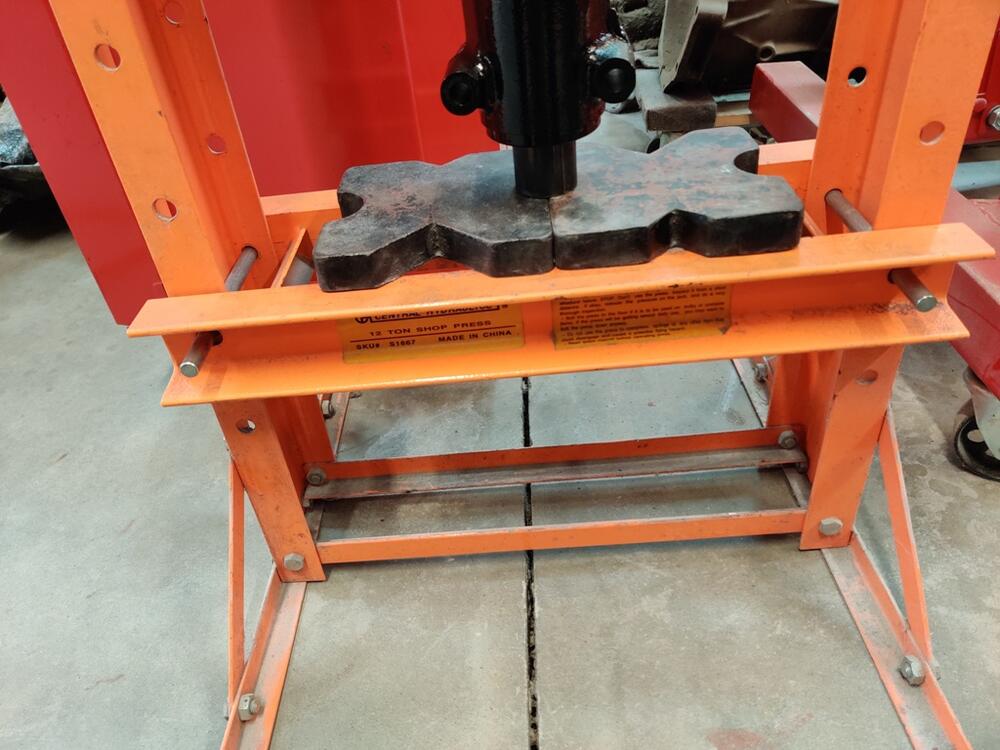
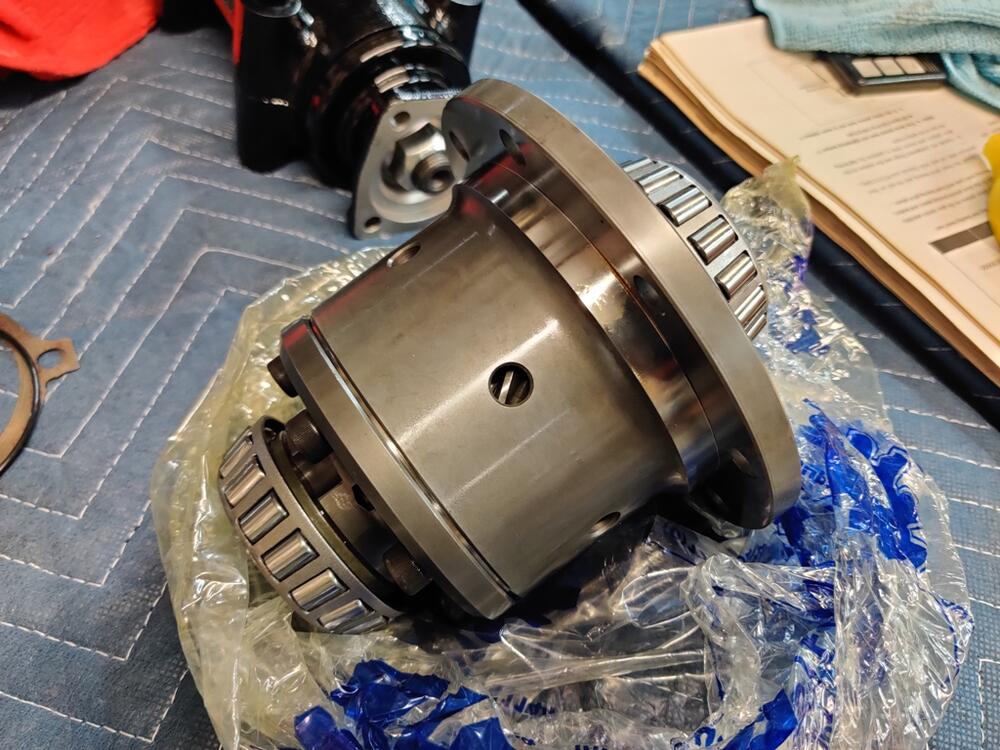
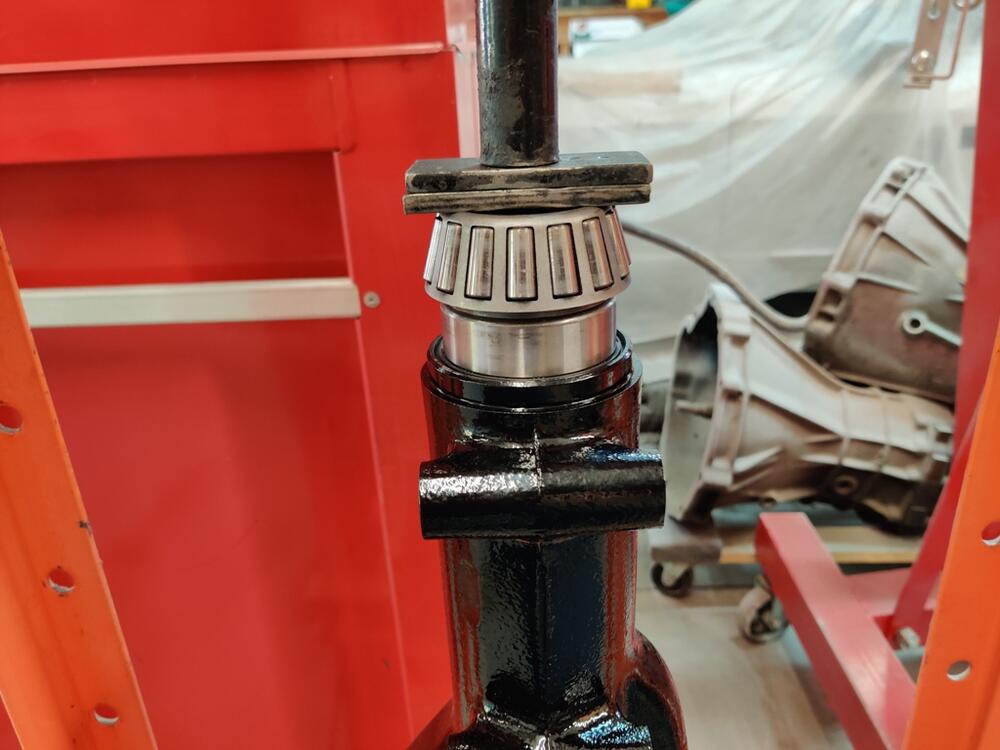
I worked on assembling the differential today. I bought this differential from a salvage yard probably two decades or more ago. It came from a Nissan 4X4 truck. The ratio is 4.11:1. I sourced new bearings, seals and a lock nut a while back from a Subaru dealer, as they had better pricing than the usual place I buy new OEM Nissan parts from. The old bearings were very useful for pressing in new bearing races and seals. I lightly cleaned my 12 ton press up, wiping all loose dust off of it, and put it into duty. I still haven't bought a 20 ton press just yet, something I put on my to do list when the 12 ton wasn't enough to press the control arm bushings out of the rear control arms. I made a lever arm to hold the pinion from turning so I could set the spec on the pinion nut. I set it to 132 ft-lbs using my new, digital torque wrench. Next, I will be installing the Quaife lsd unit.


-
Thank you for the kind words! My goal for this restoration has been to restore the car to "new", with perhaps a twist. I like how new cars today have very straight panels and very little of paint defects from the factory. My goal for the paint was to elevate the body finish to that level. Oh! Yep, at $50 an hour - $100k. My time log (very loosely approximated by estimating hours per day worked, sometimes very accurate, and sometimes I forget to note it, and have to go back and fill it in) is sitting at 3201 right now. This doesn't include most of the assembly, which has yet to happen. It also doesn't include any of the time I spent with restoration related work while on my laptop or internet research, or parts searching, buying, etc. For every 8 hours I actually have worked on this project, I probably have one to two hours, or more, of research, search, work on spreadsheets, etc. related to this restoration.
-
Thanks! I had to redo several parts of the bodywork, and I am (was) slow. Knowing what I know now, if I had to do it all over again I think I could shave 500 hours off. Live and learn.
-
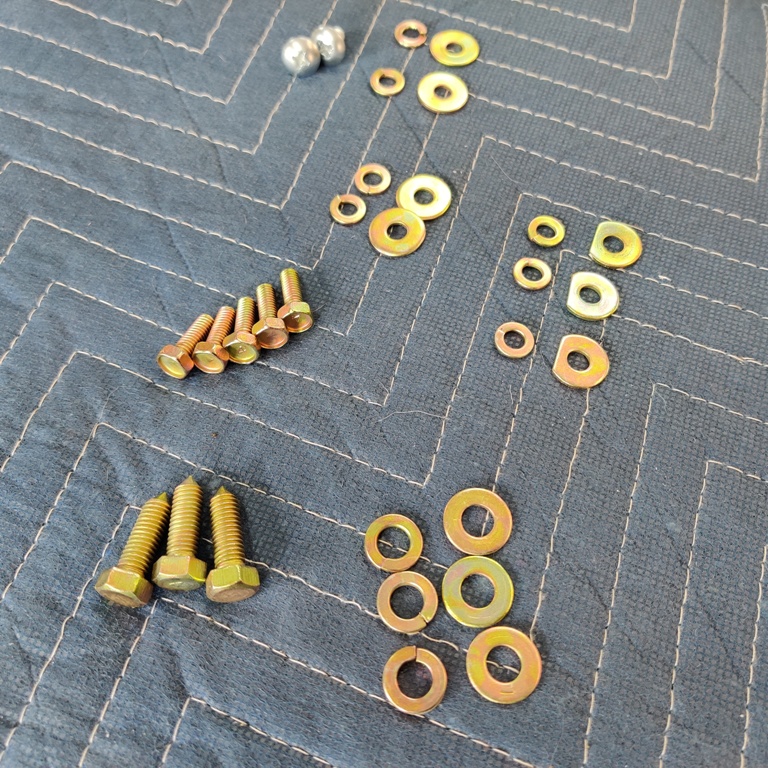
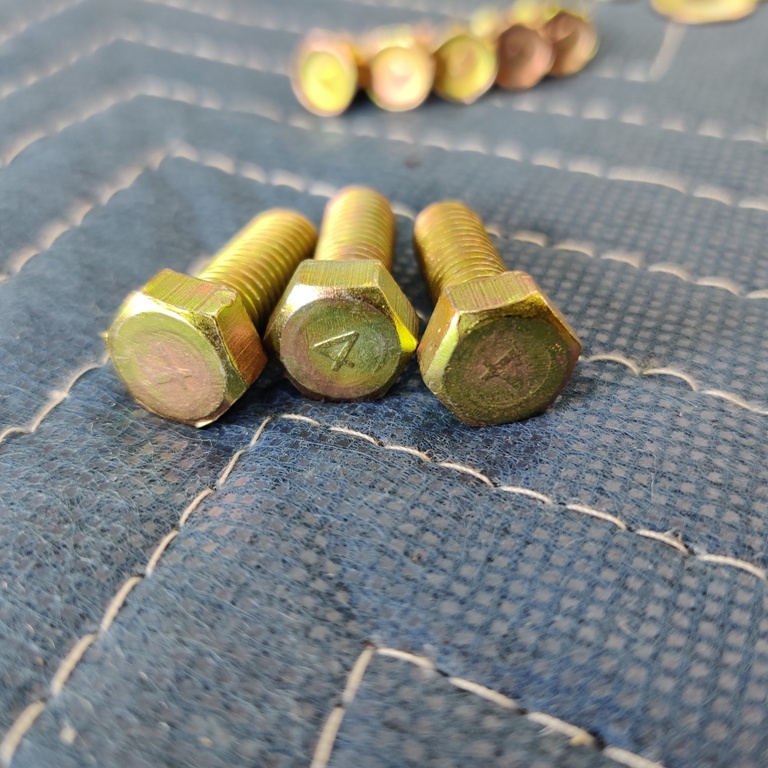
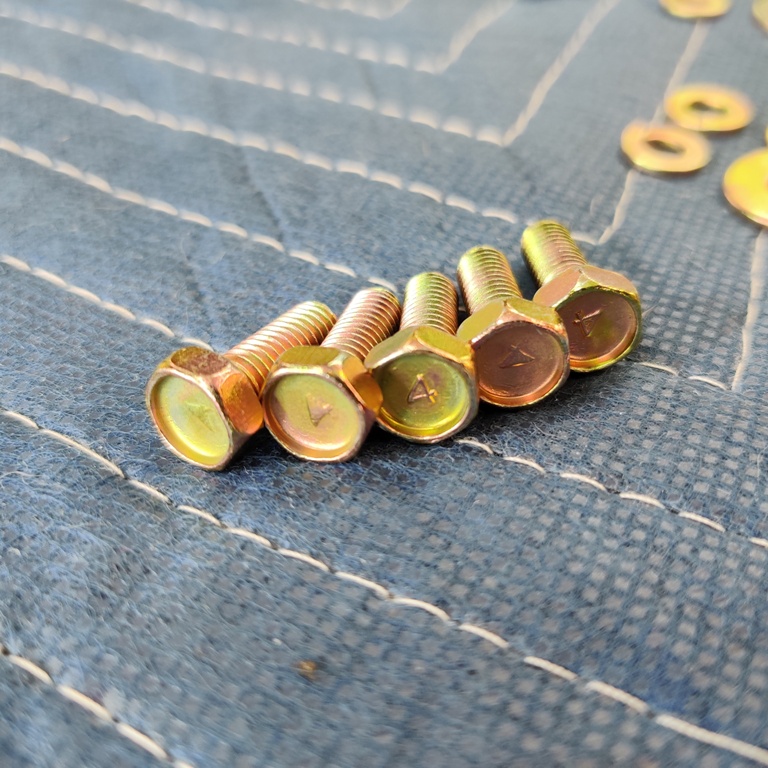
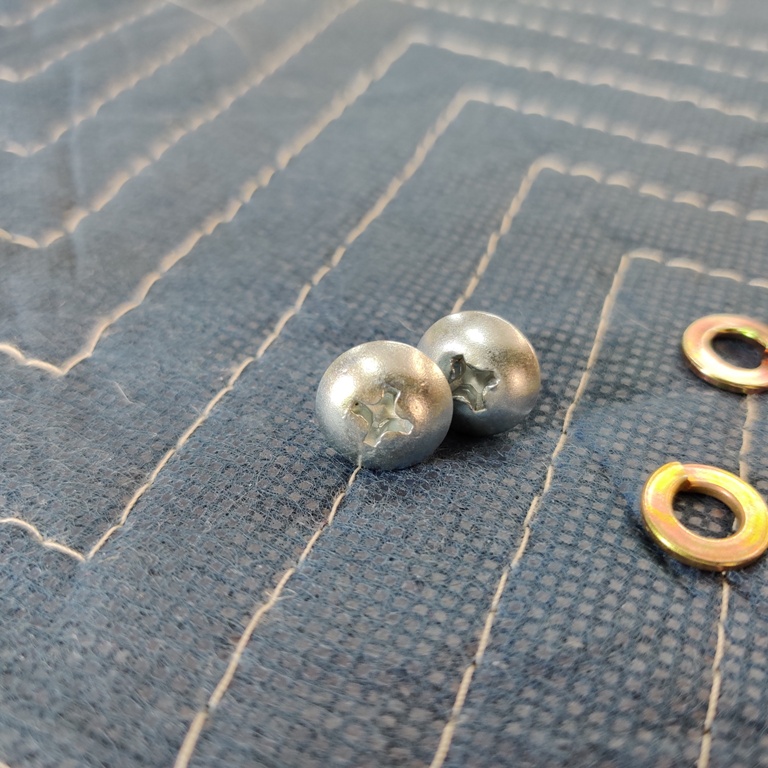
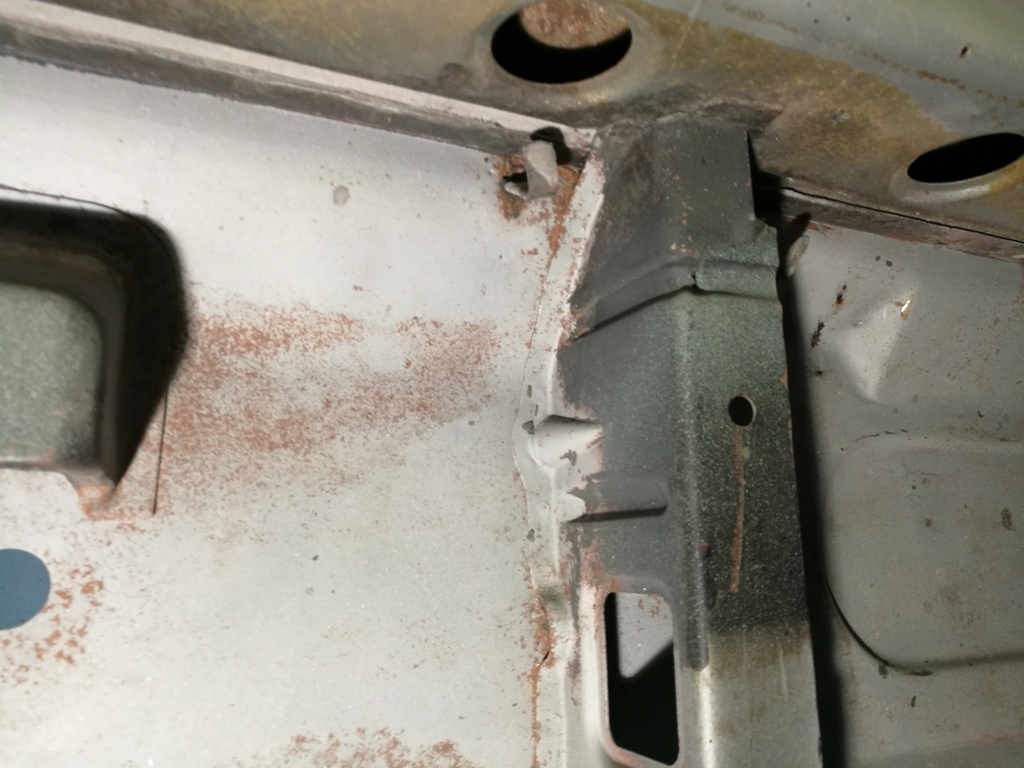
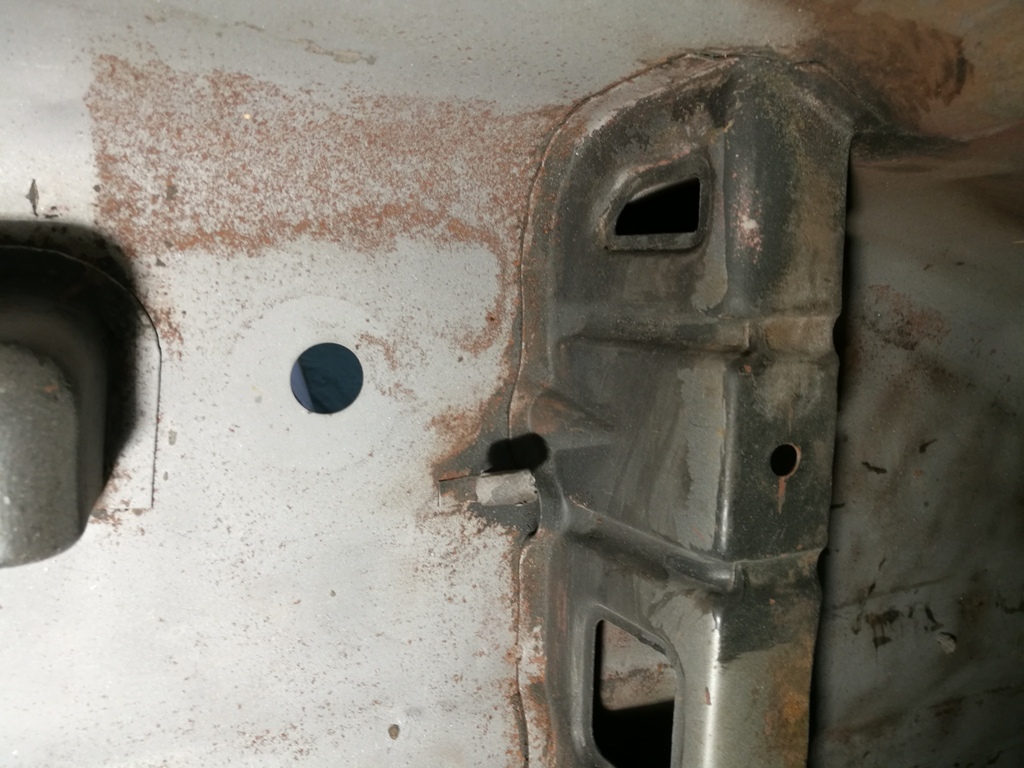
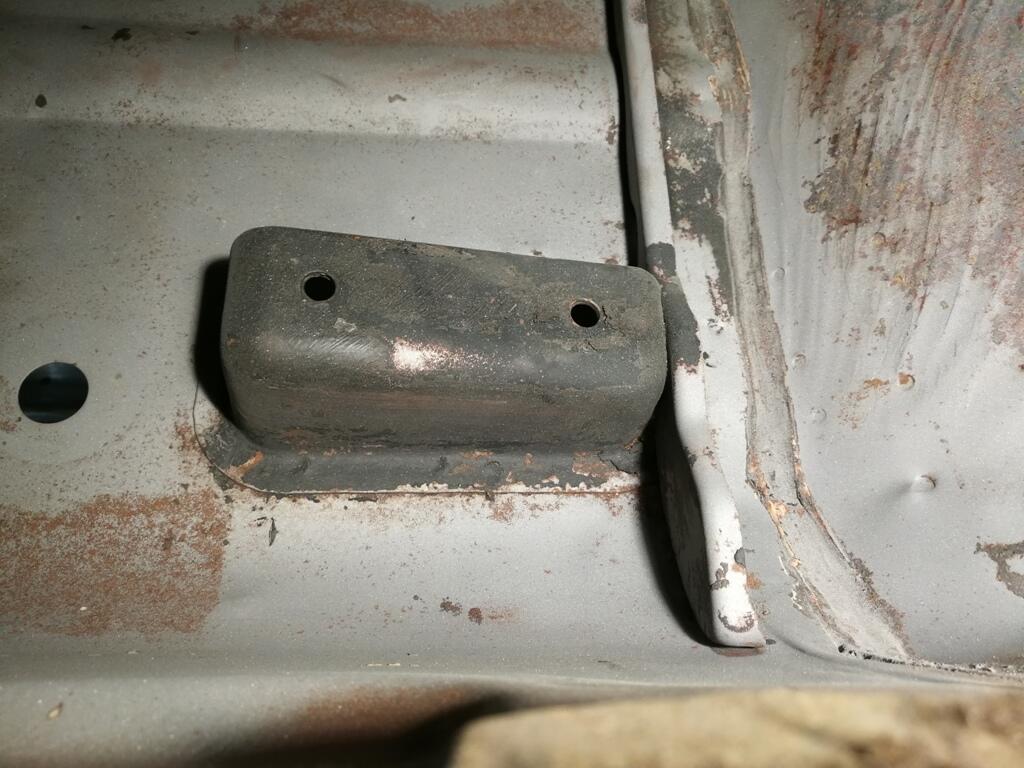
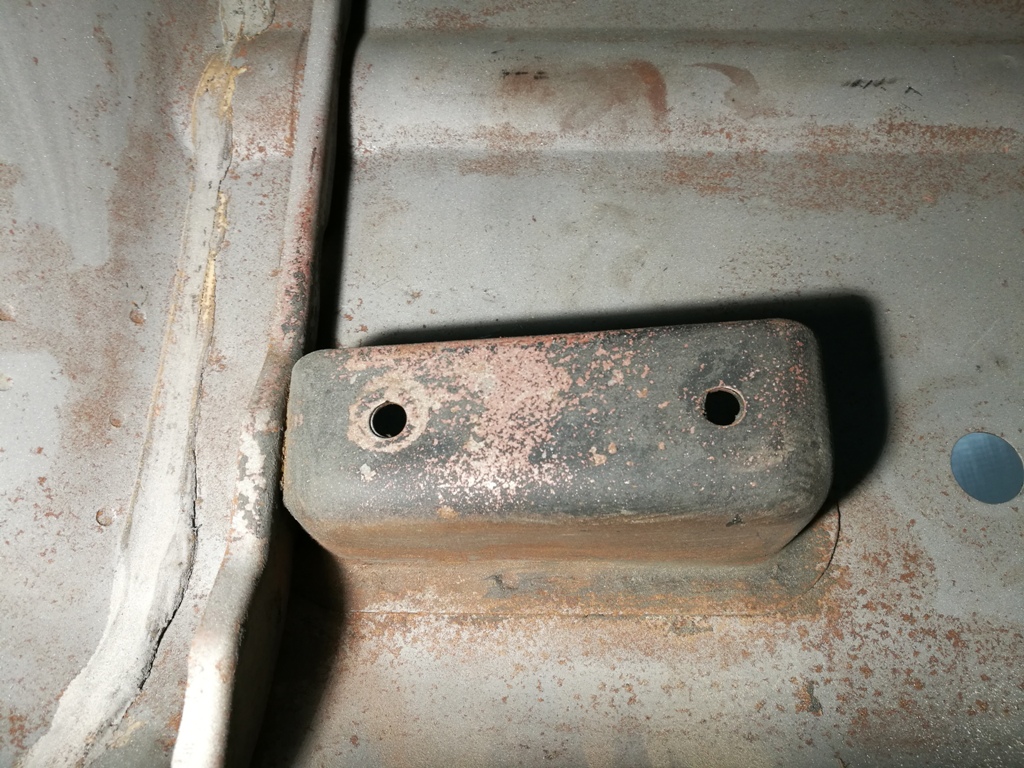
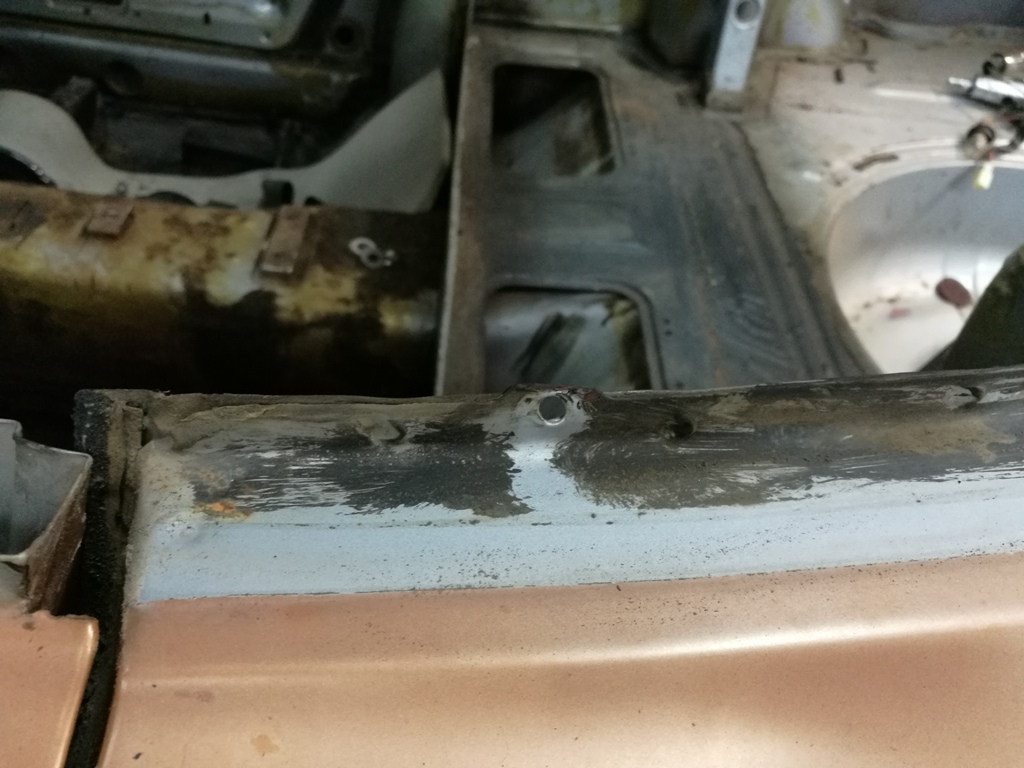
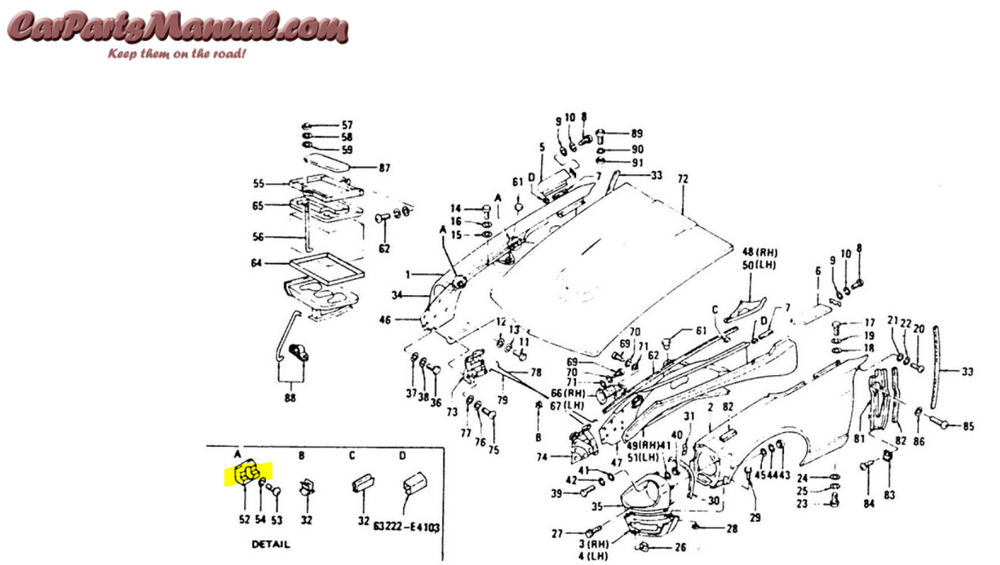
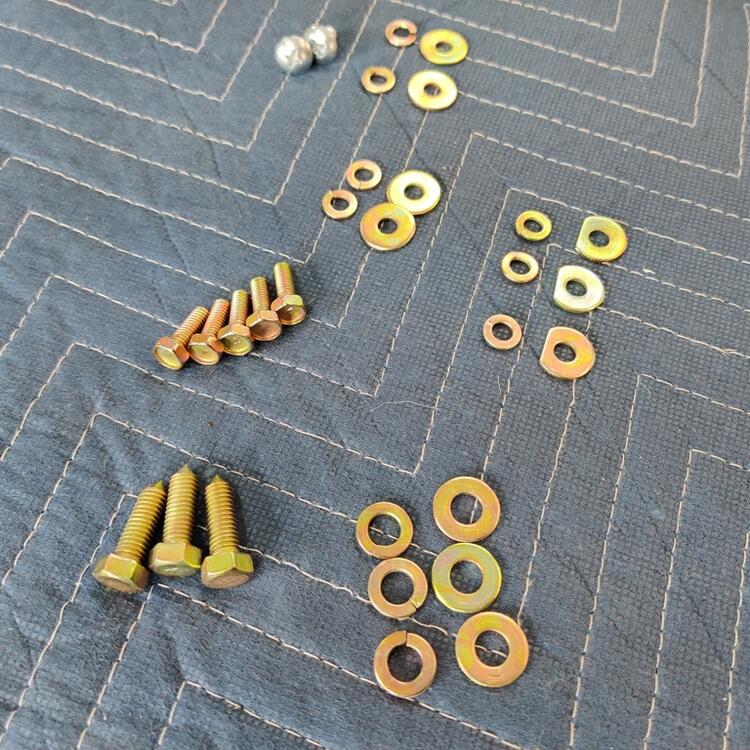
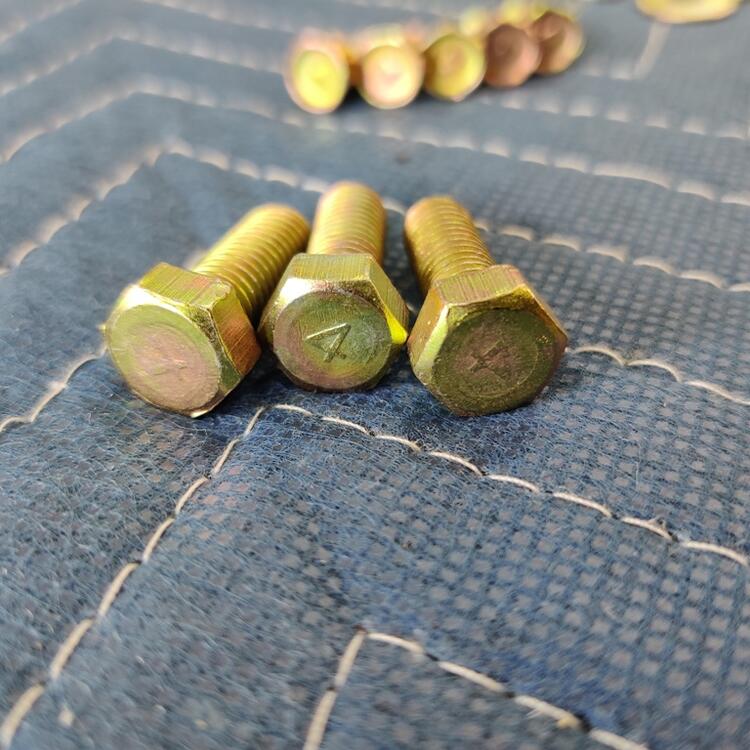
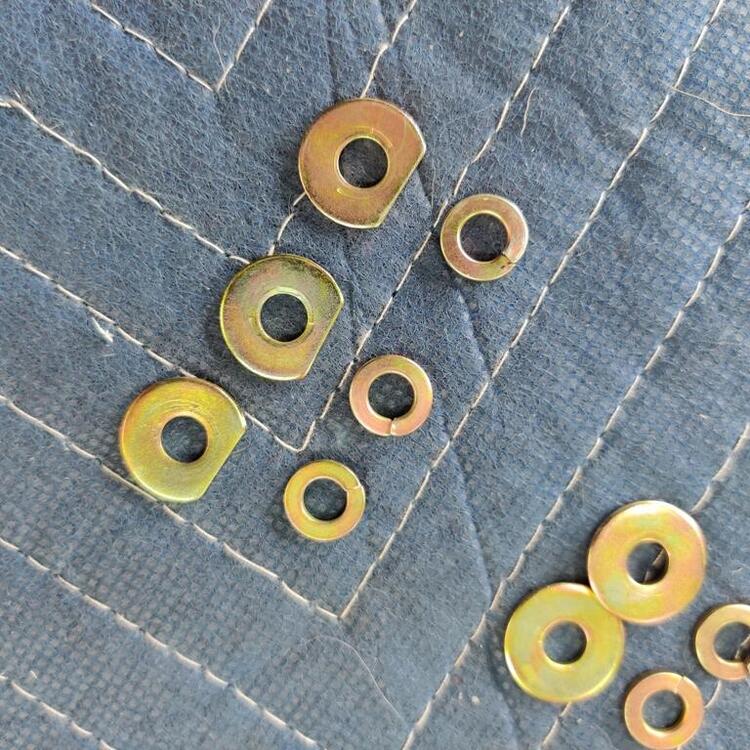
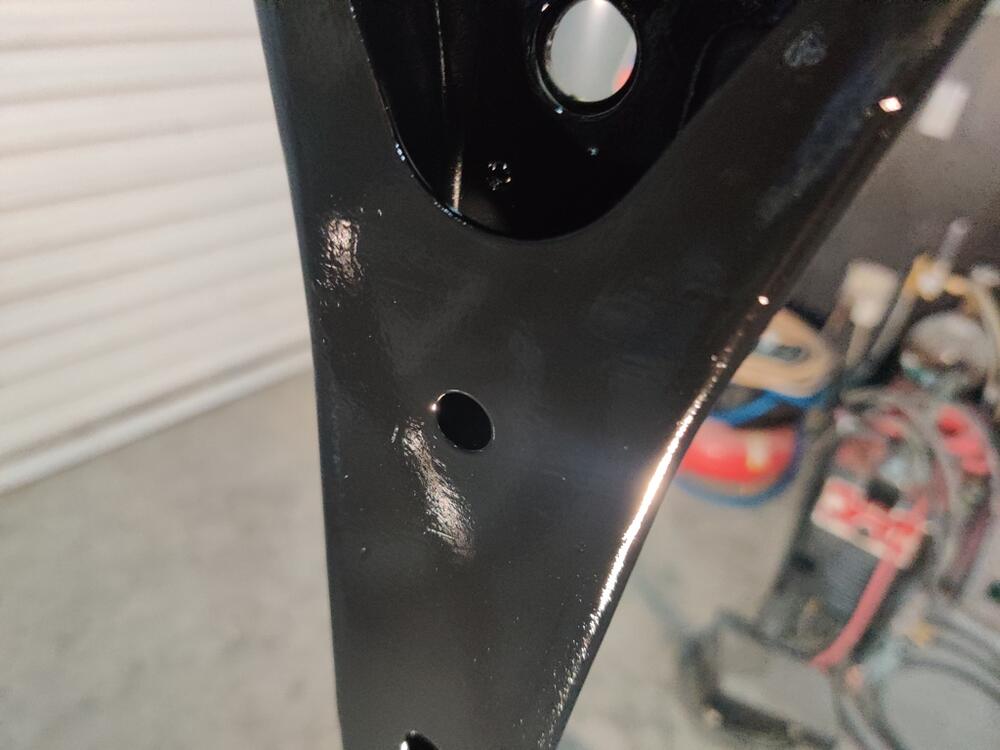
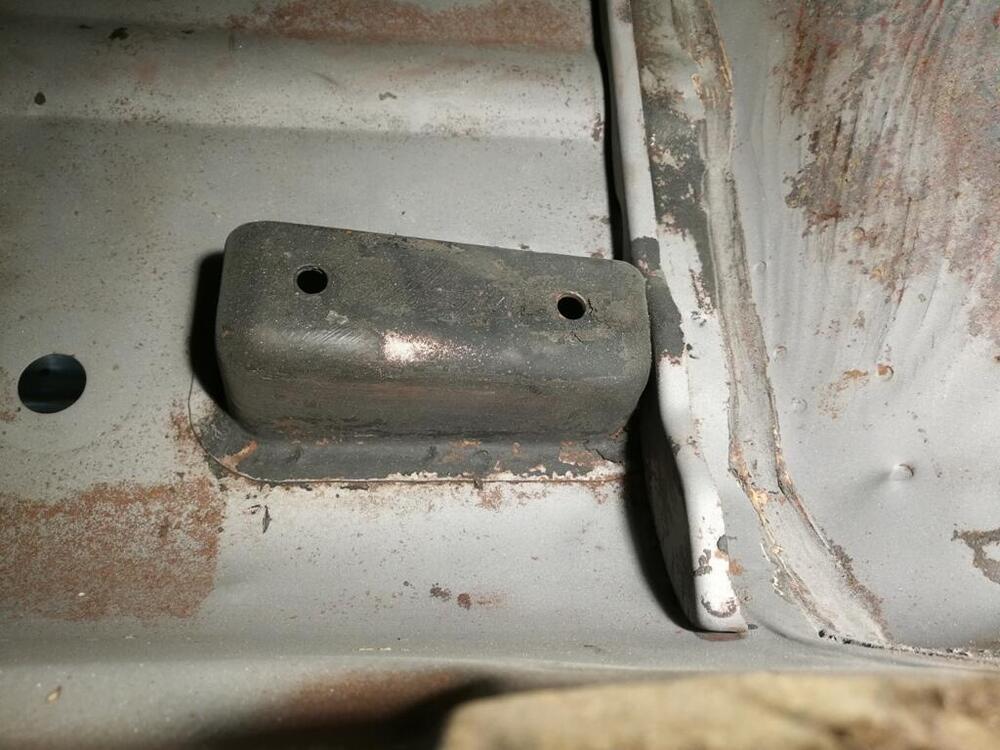
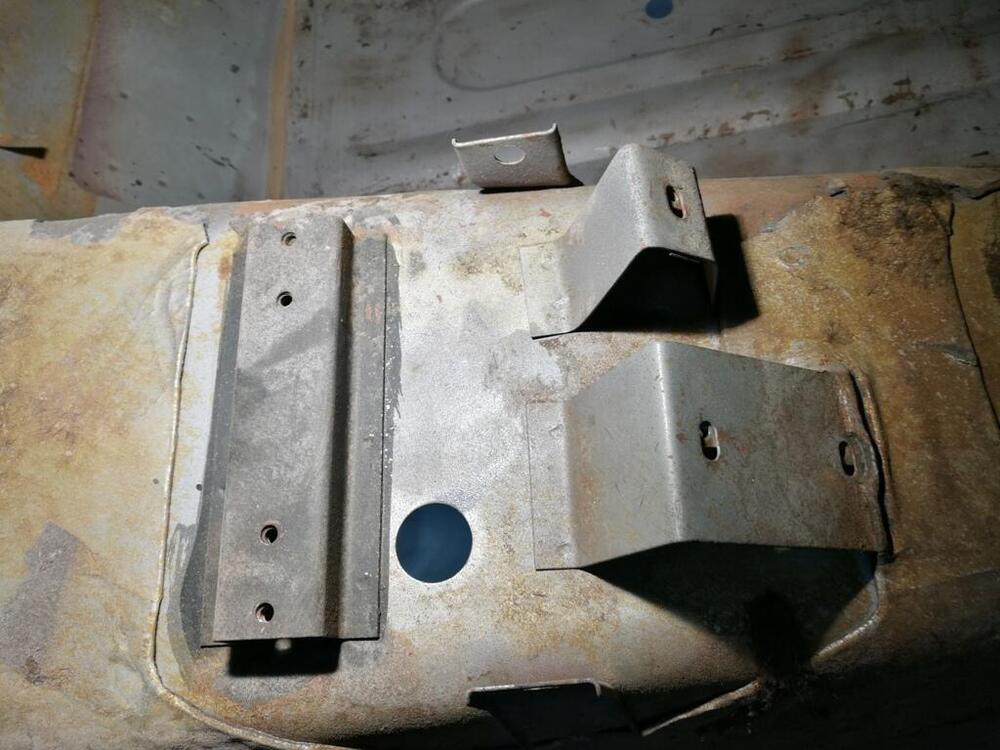
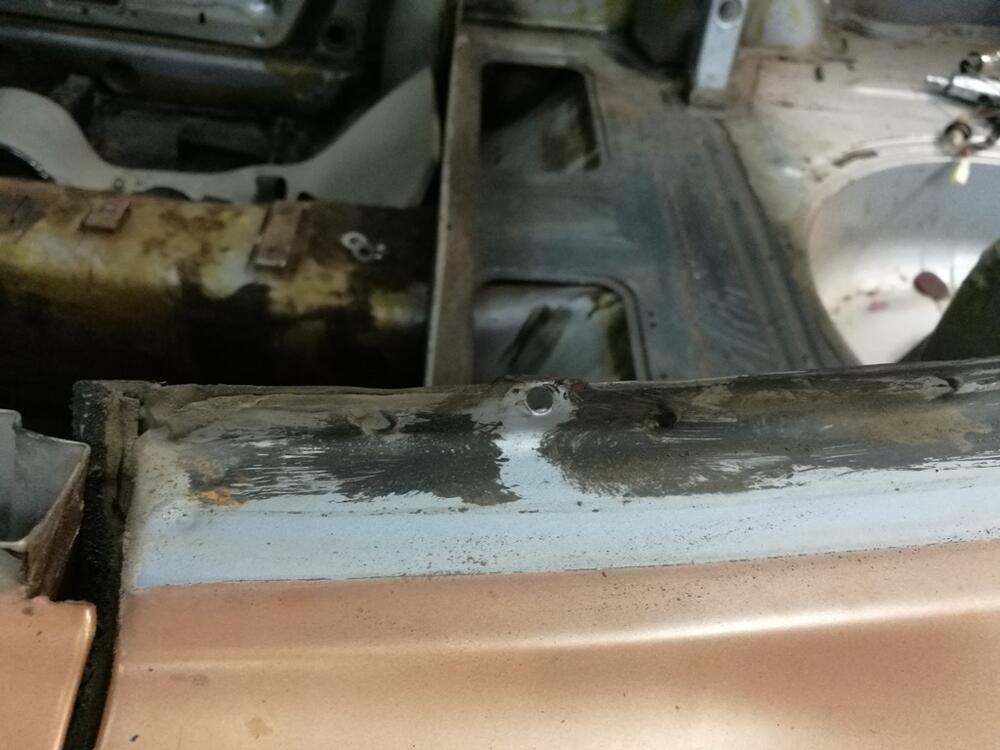
When I delivered the car chassis to the paint shop, there was evidence of past interference between the side edges of the hood and the fender bolts. Without the rubber "bumpers" in place, a light sideways load on the hood can cause this interference, allowing the head of the fender securing bolts to snag and chip the primer on the hood edge. In its as delivered state, they had to address that damage that had occurred on the hood edges. I don't blame them for wanting to keep that from happening during transit back from painting - to do this, they are leaving the hood off. When I go to pick up the car, I will bring the rubber blocks and we'll put the hood on because I won't have a safer way to bring the hood back than attached to the body of the car. Also, I took a lot of a care to put all original fasteners back into their original positions. So, I think the correct bolts and washers were used to secure the fenders in place on this car. This is the hardware I used to secure the fender to the unibody:


-
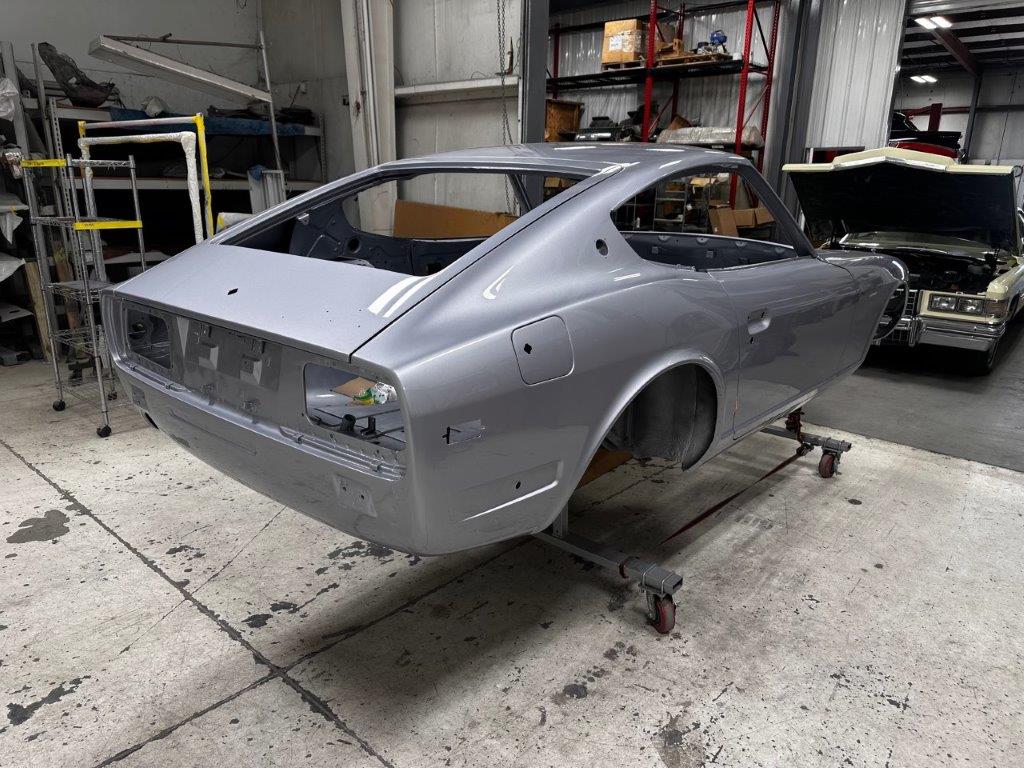
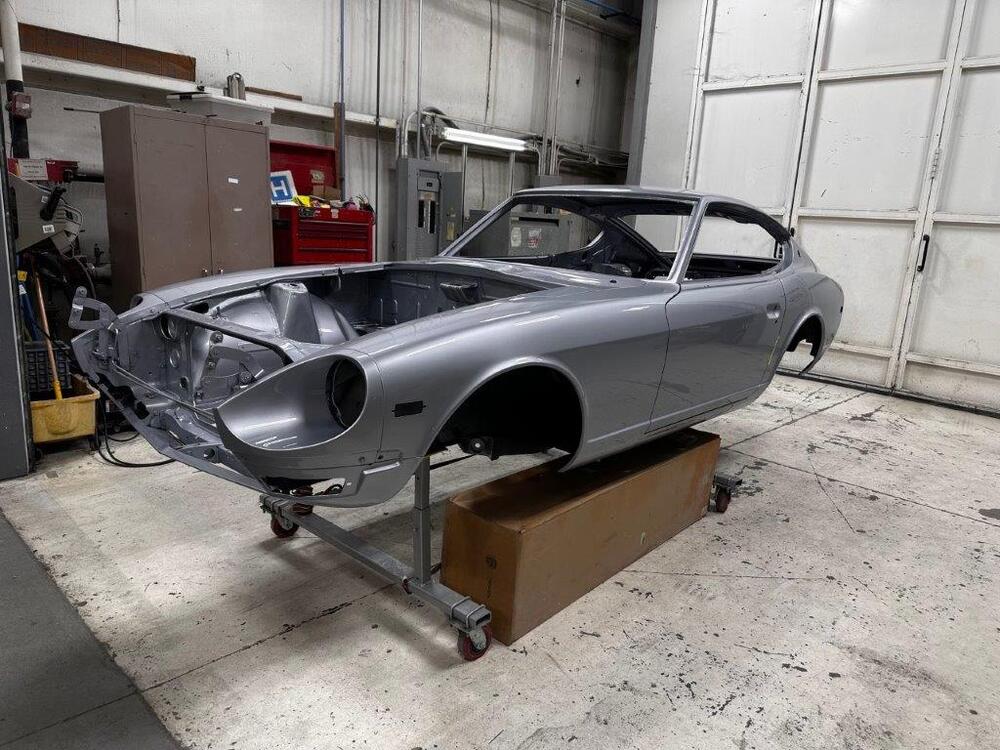
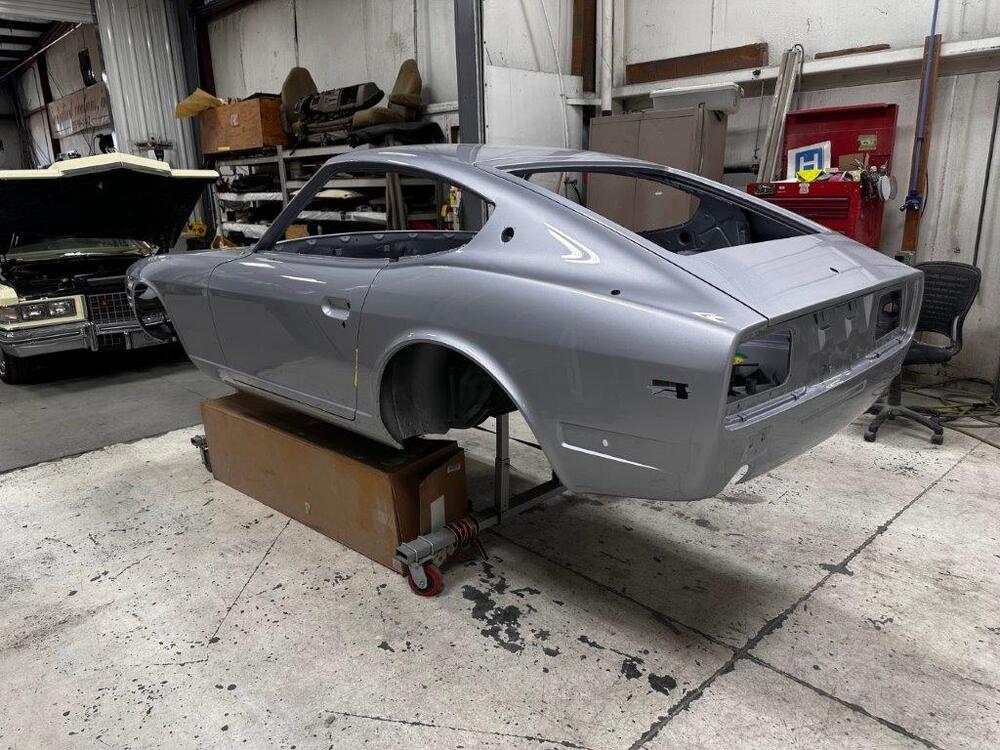
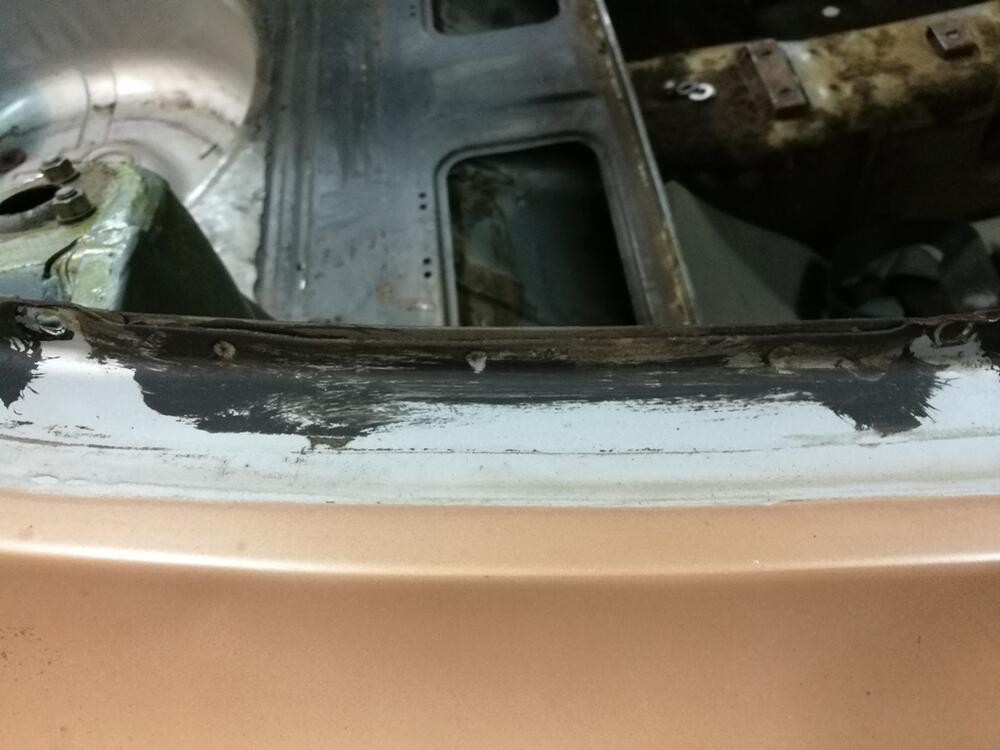
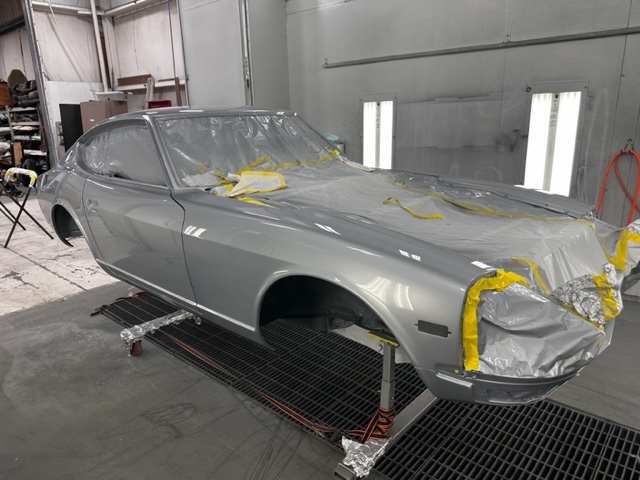
The paint shop is done. They sent me a few pictures. They are not high resolution. So, they are all I have for now. Final tally = $14,079. And that, for a car that I paid $8900 for, and then put over 2000 hours of bodywork into. Damn. The hood is not on the car because they said it interferes with the fender bolts. I suspect they are seeing too much side to side play with the hood bolted to the hood hinges. I believe the rubber "blocks" that help align the hood when it shuts will keep any hood to fender bolt interference from occurring. In the end, they couldn't help themselves. Despite my directions, they did remove the doors. Thy did this so they could have better access to paint the door frames and door jambs the way they typically do. Same for the headlight housings and hood - I wanted them painted while in place. They removed them for painting. They also sprayed the inside and outside of the car at different times. They backed out some of the hours it took them to do things their way, (a lot of extra masking) and asked for forgiveness. I don't want to sound ungrateful to their efforts. However, a part of me wishes the effort was more similar to the original factory painting of the chassis. I'm looking forward to bring it back and getting started on assembly.


-
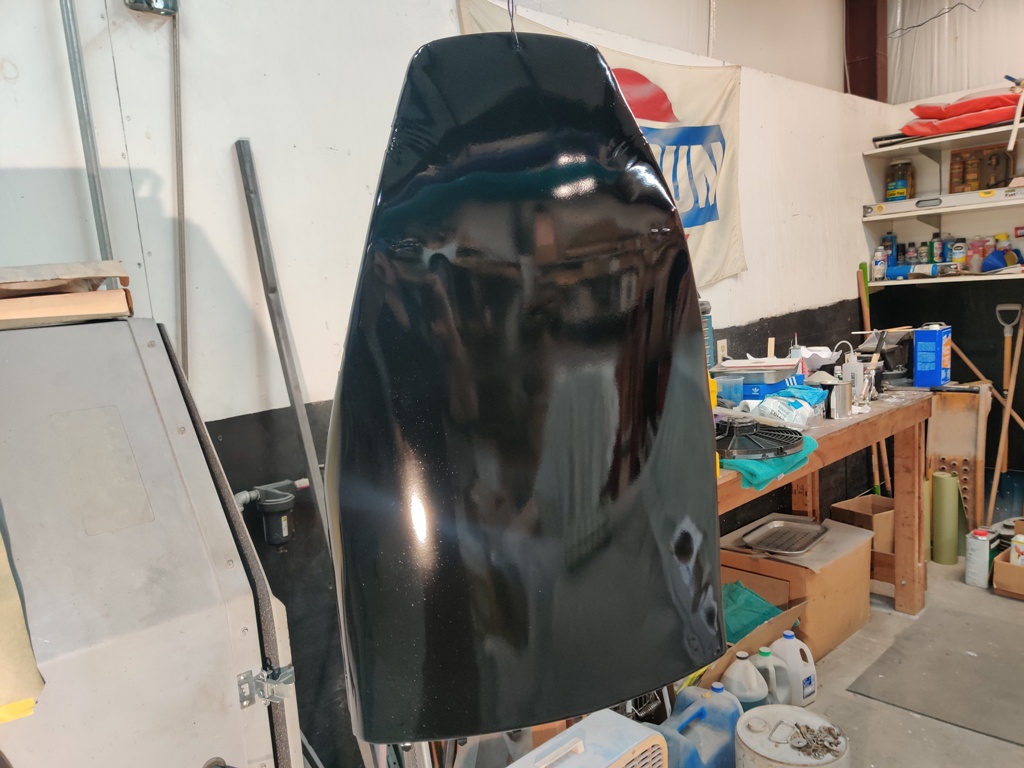
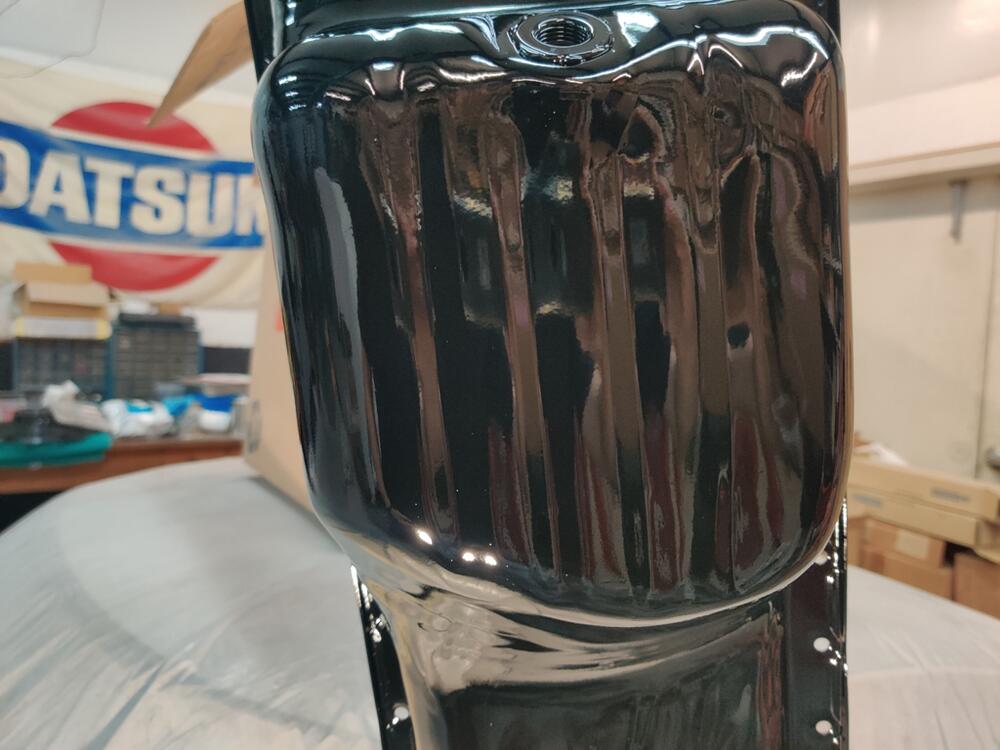
I am using Nason products for the black paint. The paint supply place picked the paint code, some Hyundai non-metallic. I can see about getting the code if you would like to have it. I mix that with hardener and thinner and apply using a Devilbiss HVLP gun.
-
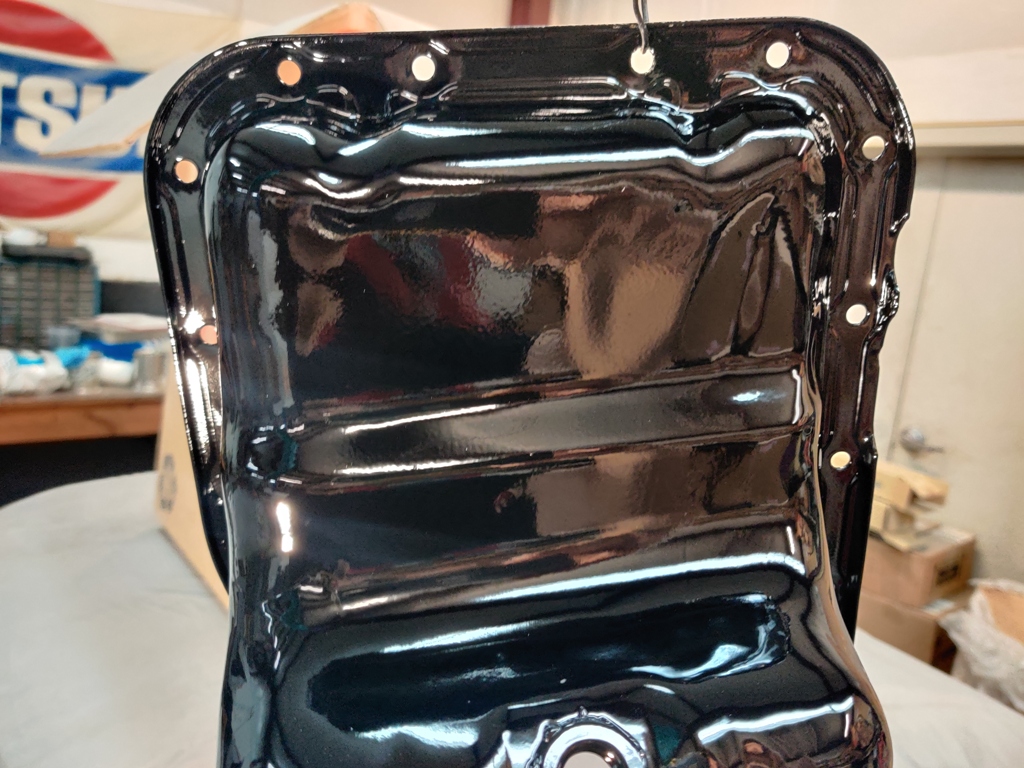
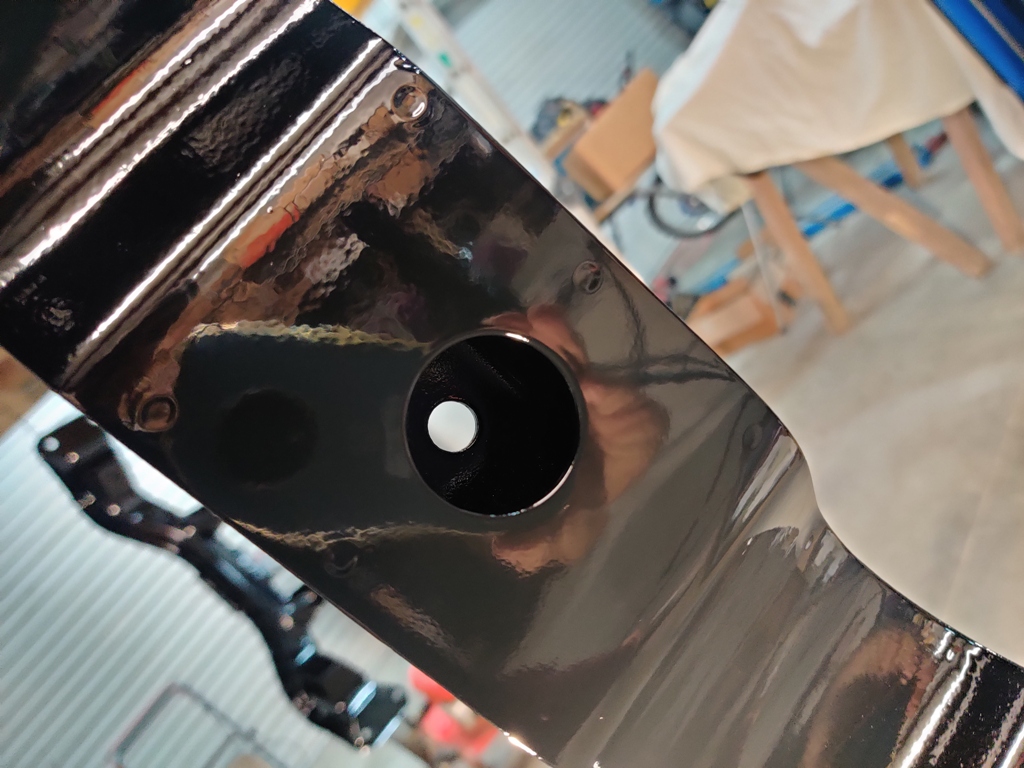
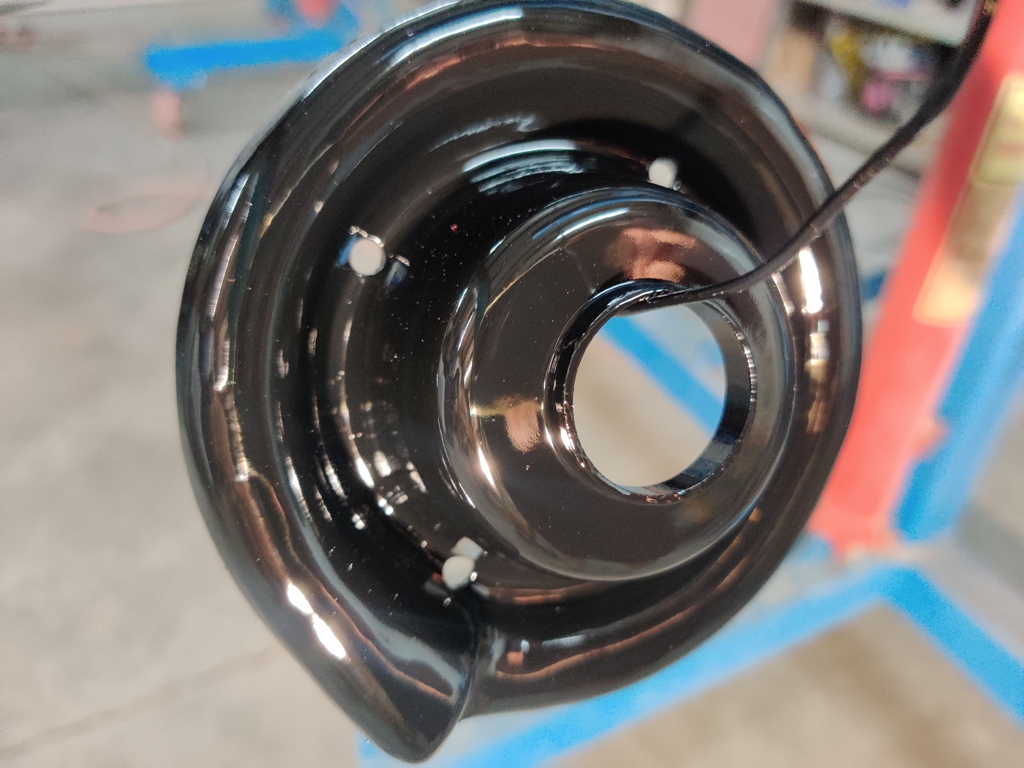
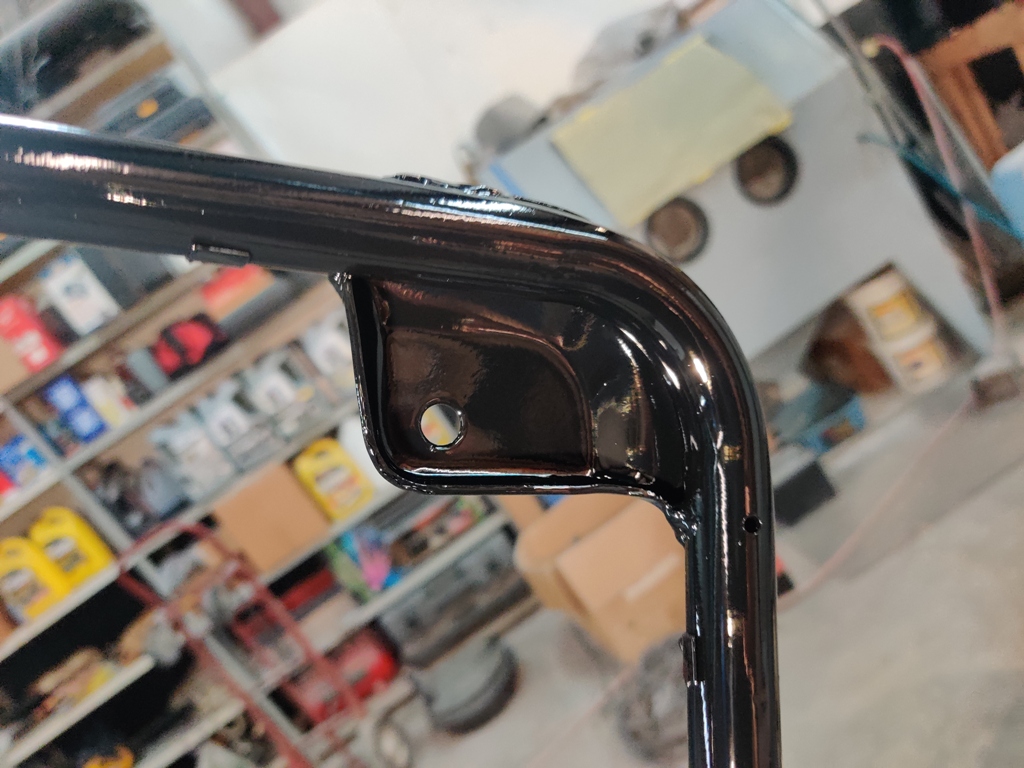
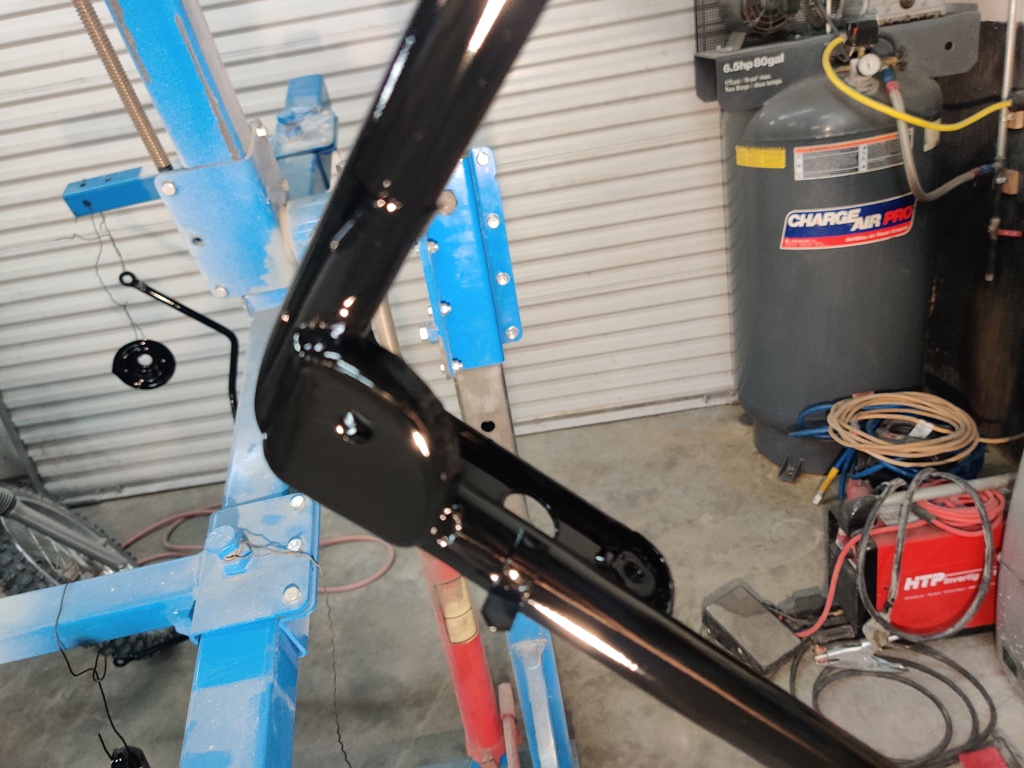
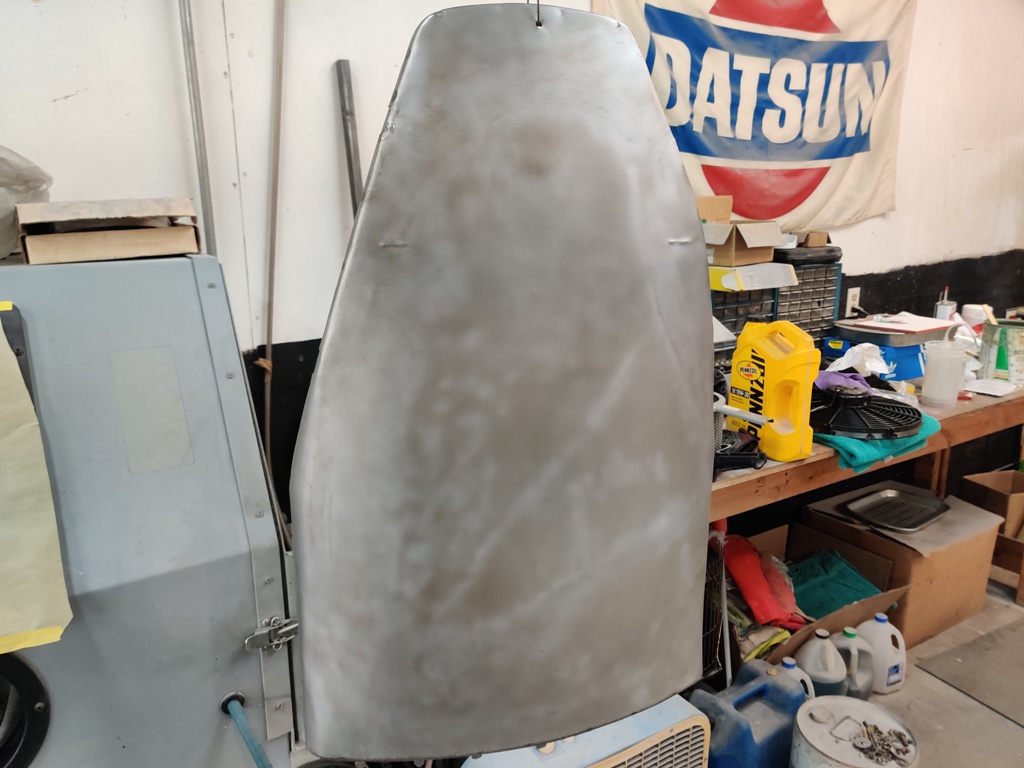
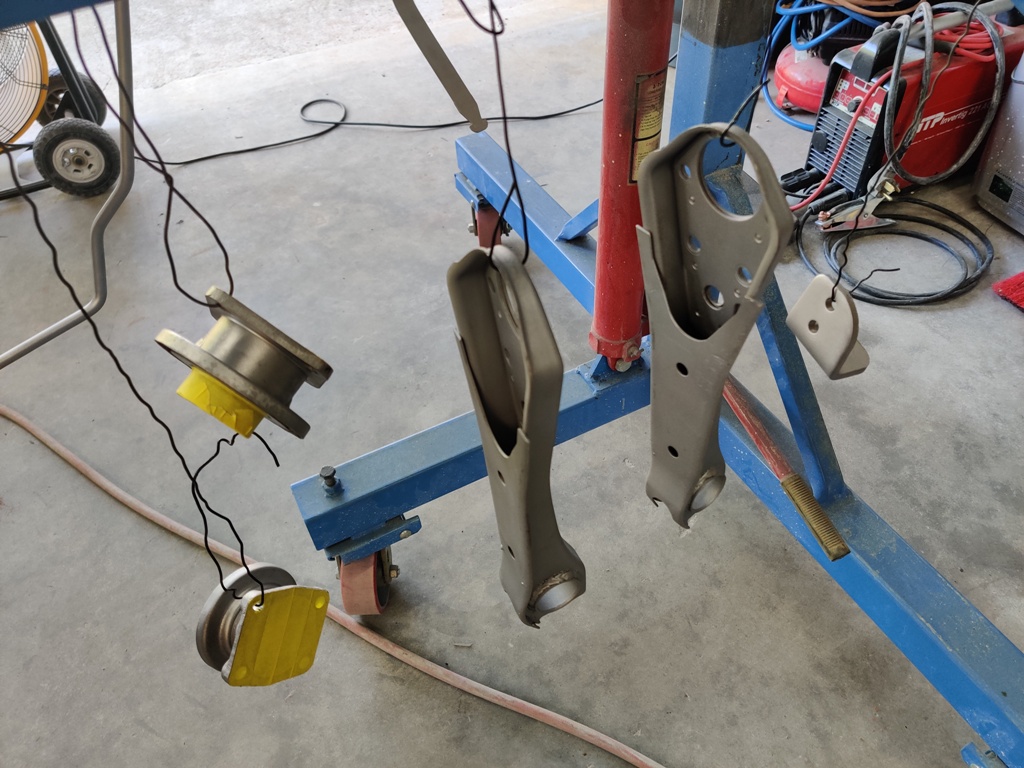
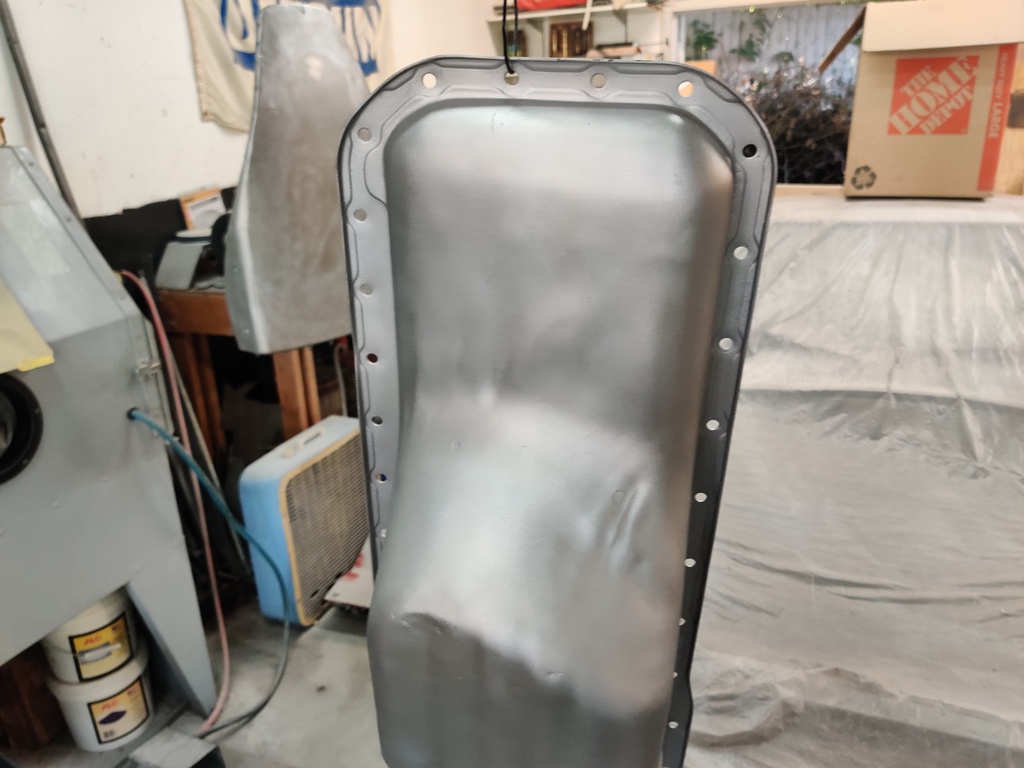
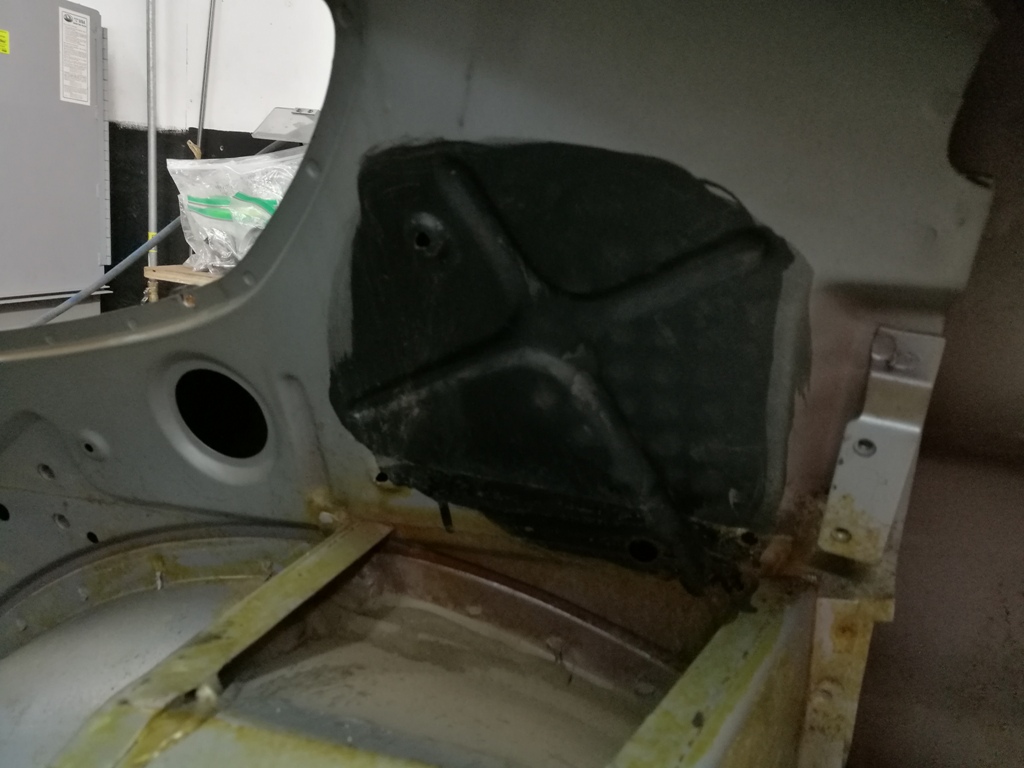
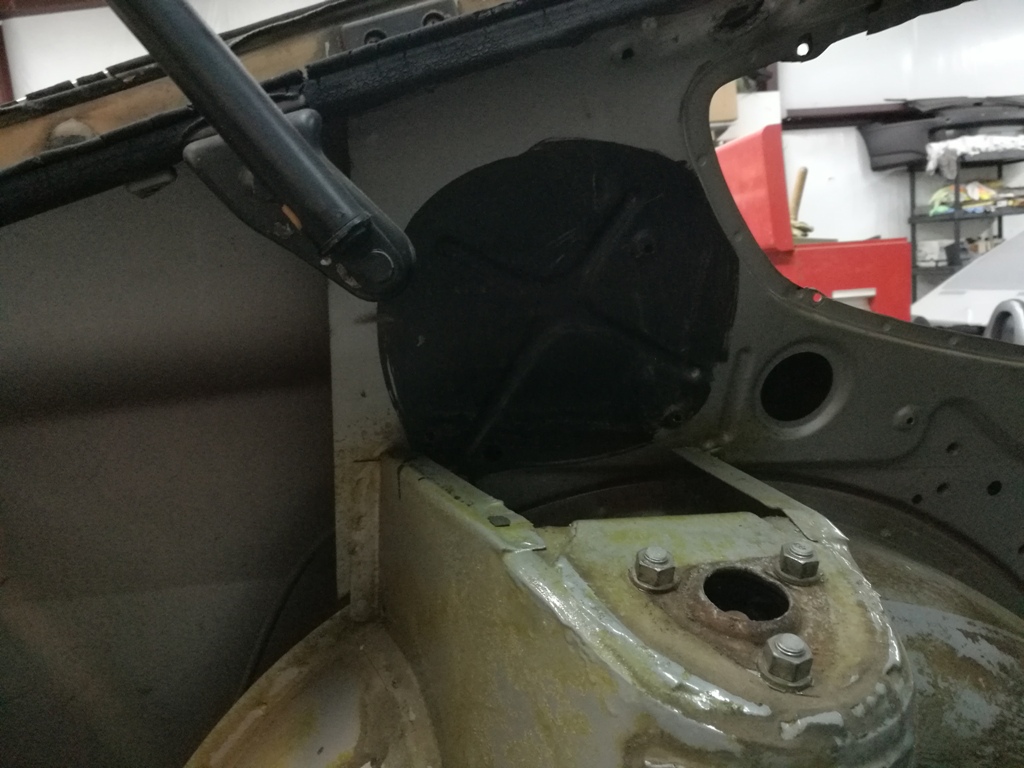
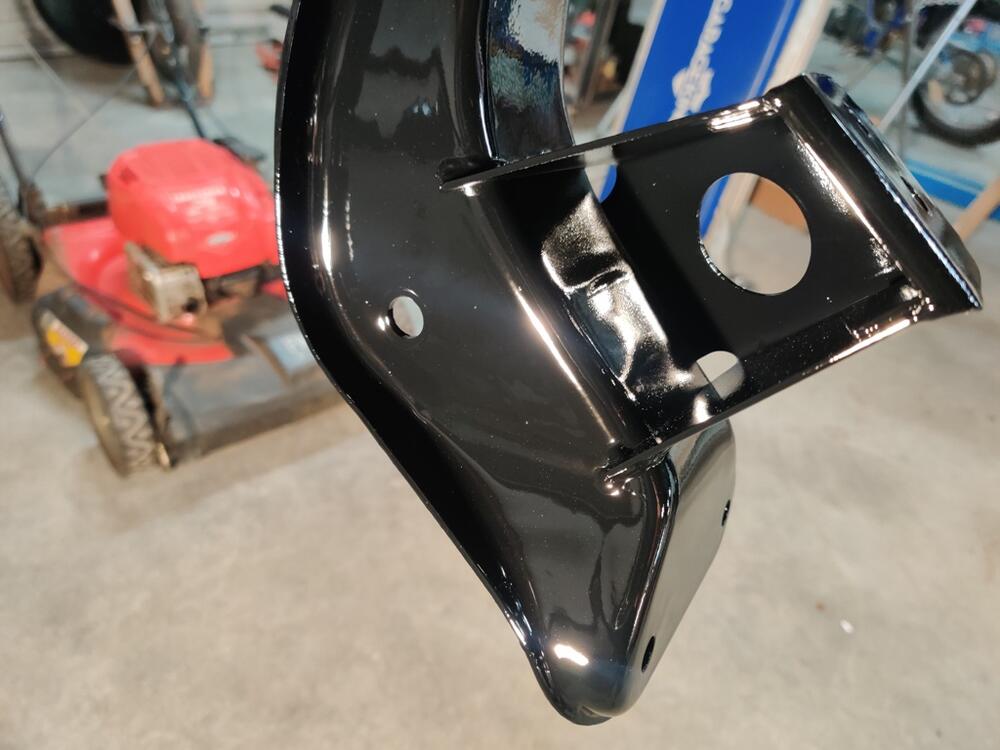
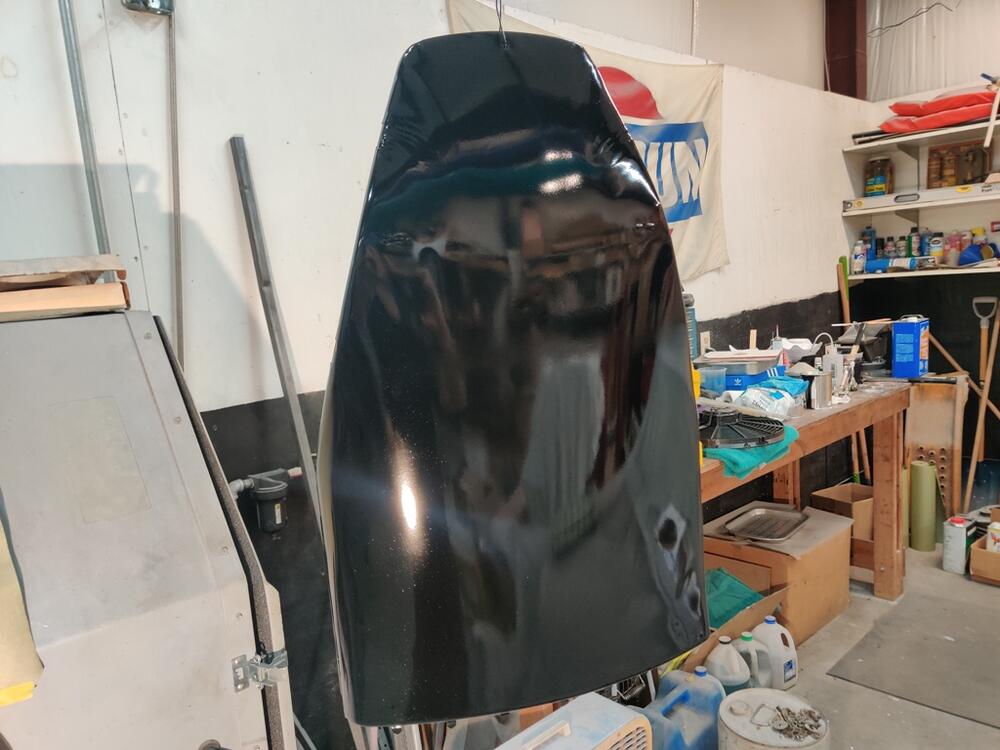
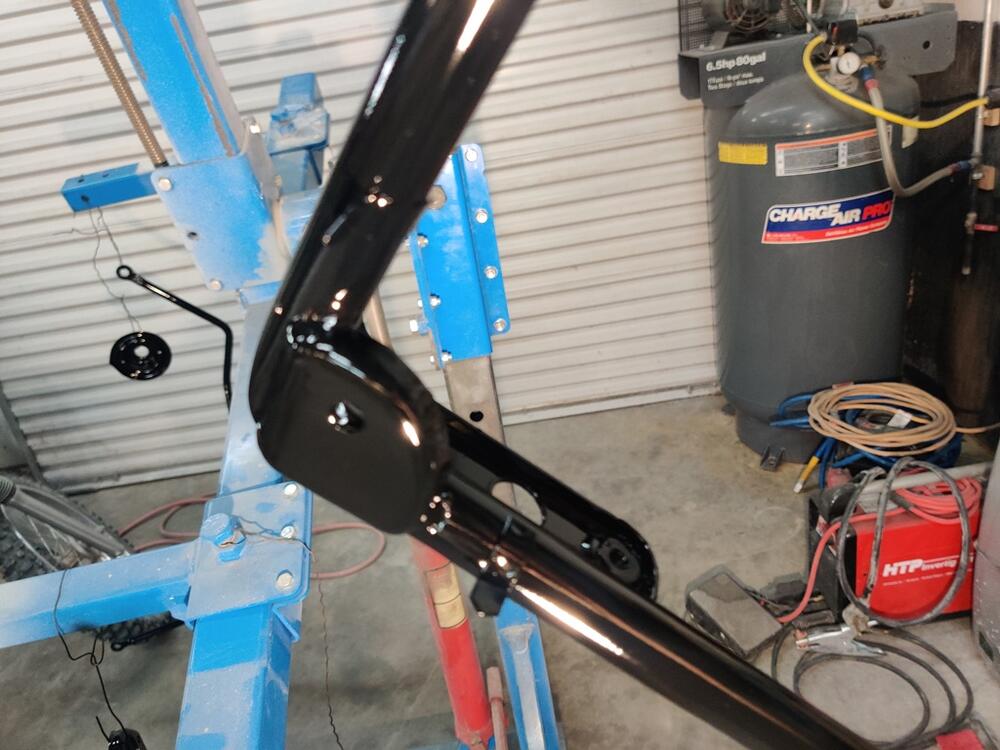
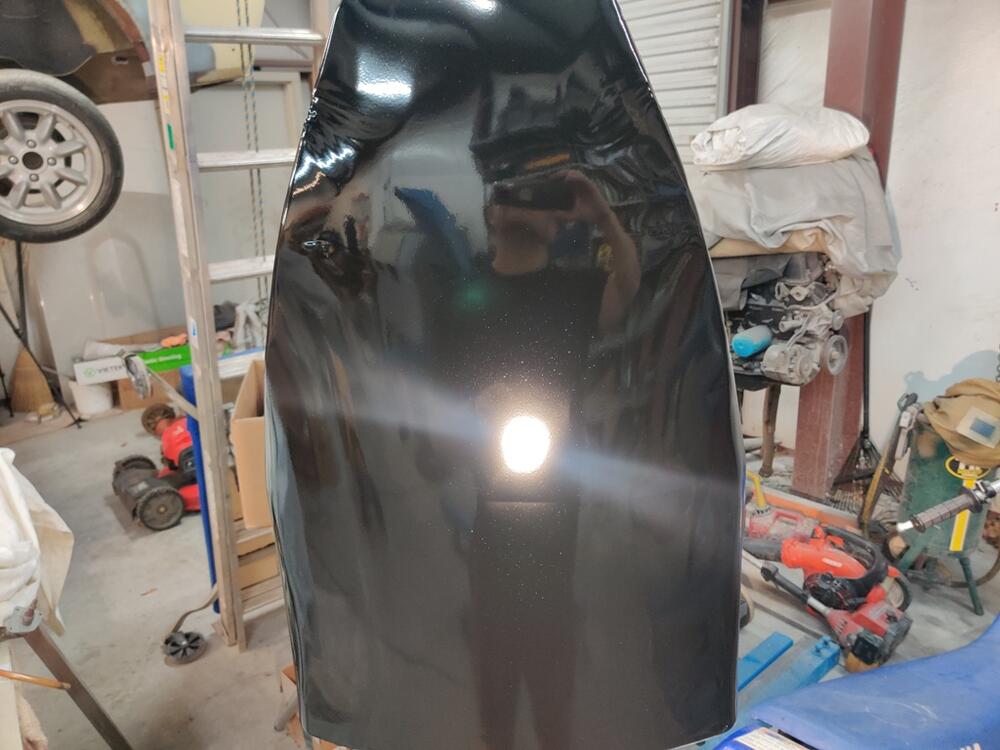
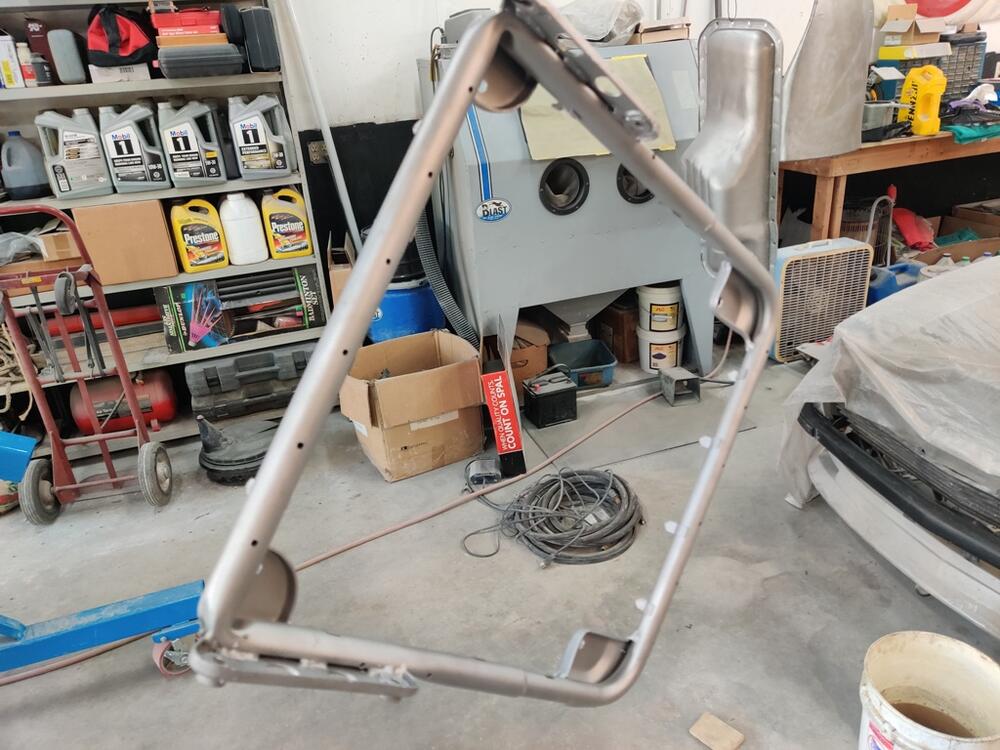
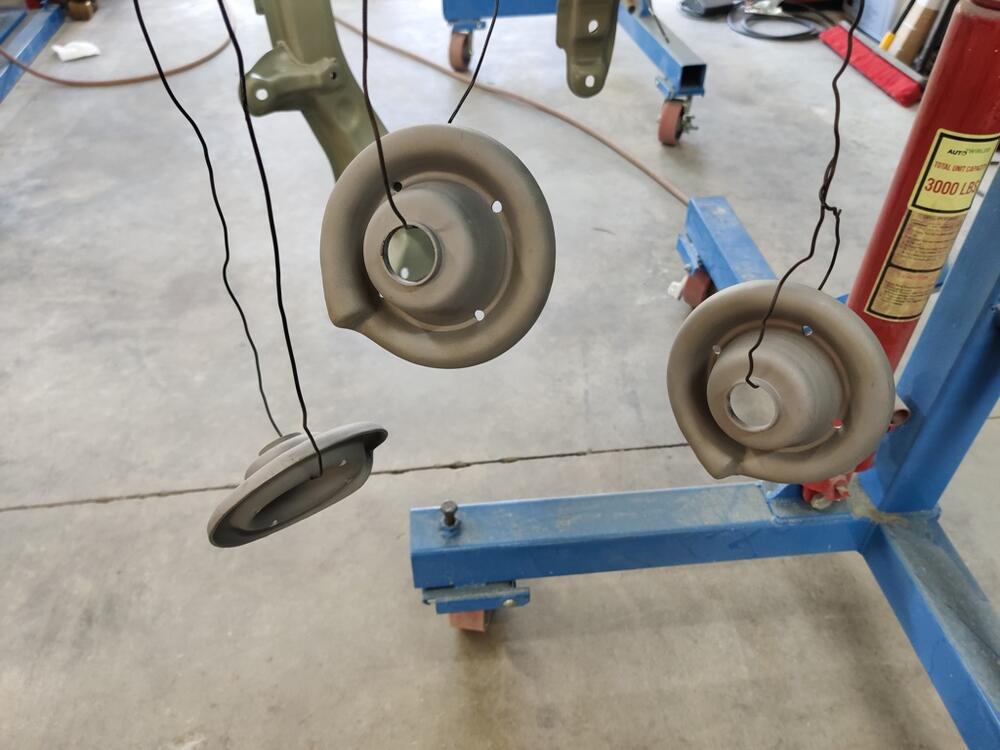
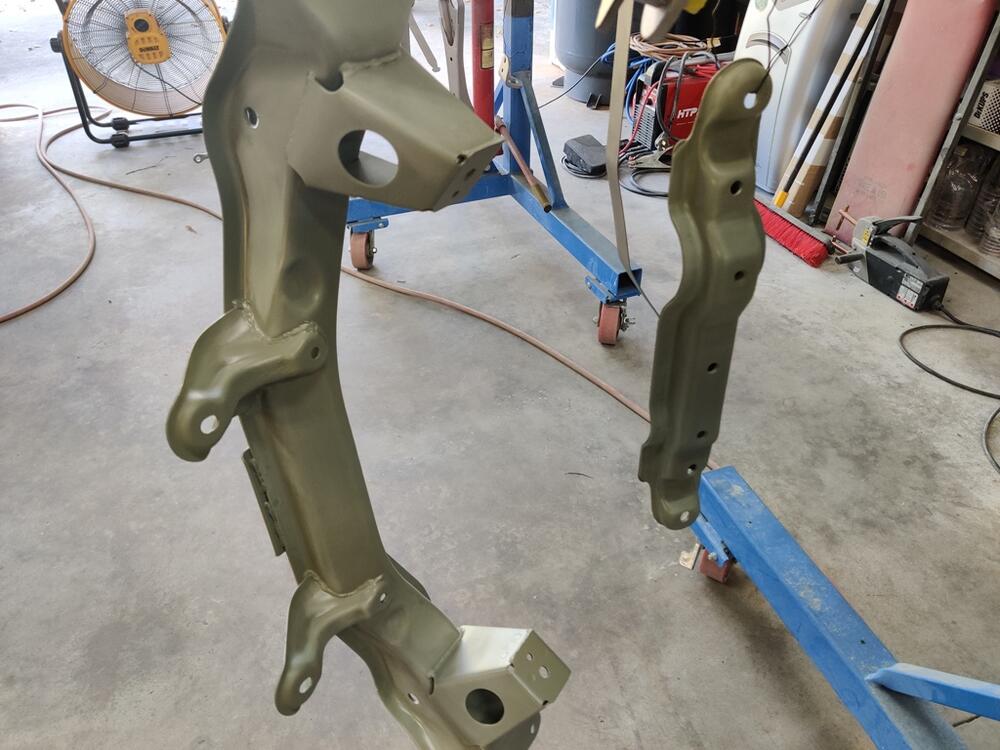
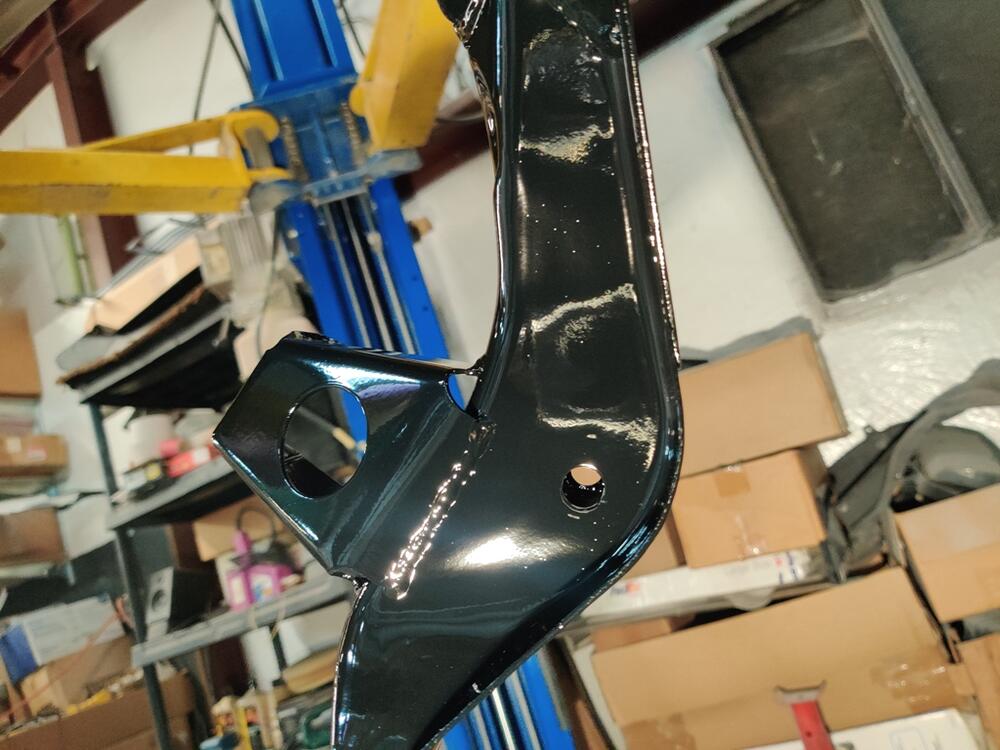
As the time is obviously coming when I will be receiving the car back from painting, I find myself thinking about reassembly. I have been putting together a list containing "order of reassembly" which I will share soon. Over the past weekend, I got through another batch of parts that are black: All of these parts were coal slag blasted, glass bead blasted, epoxy primed and painted black. I only have a few parts left that need to receive fresh black paint. I will try to get that accomplished before the car chassis is back from the paint shop.


-
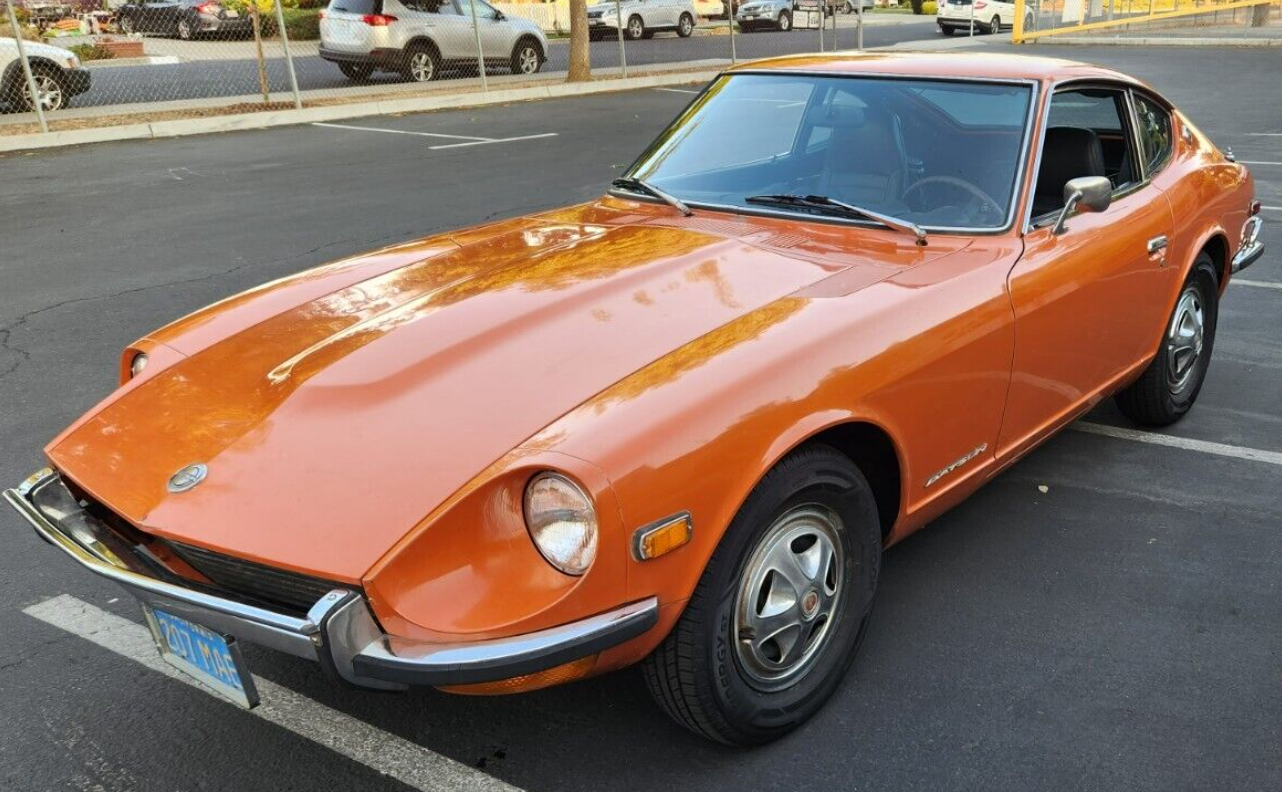
This one looks very original and unmolested. I note what appears to be original front carpets, original radio, most of the hose clamps in the engine bay are original, and an original rear muffler. 73k original miles claimed. Nothing in the description about the engine or chassis numbers matching the door tag yet. Worth $25k right now? Right click and open in new tab to see larger pictures. https://www.ebay.com/itm/256204088147?hash=item3ba6f42353:g:fmEAAOSwY0Jk5~tL&amdata=enc%3AAQAIAAAAwCgIrIkzW0imPWYjTmScCTAPtCppC68RtRcskuzXb8045x%2Bl5lMJYYQTMrIuKhQoBkuAczFcc1btKdzX83fpSsqpWeIkMn2tBLDj4aaHdVKsydXE6xuivDw%2FK%2BiY7O129LLBd5WGpKB%2FXpdQTiDe0m%2FA7qhl627GoeNo%2F8TPihVXawP%2BopUjj3zK41%2FL6mMco17mW4rEaBV9YLkx6Pi8P0wVIxaH1MPA1bPsfRSYvcqA%2Fh%2BZePXAwu7Qft8pdIrIjA%3D%3D|tkp%3ABk9SR8jD-uDKYg

-
I like the undercoat finish you achieved. What product did you use?
-
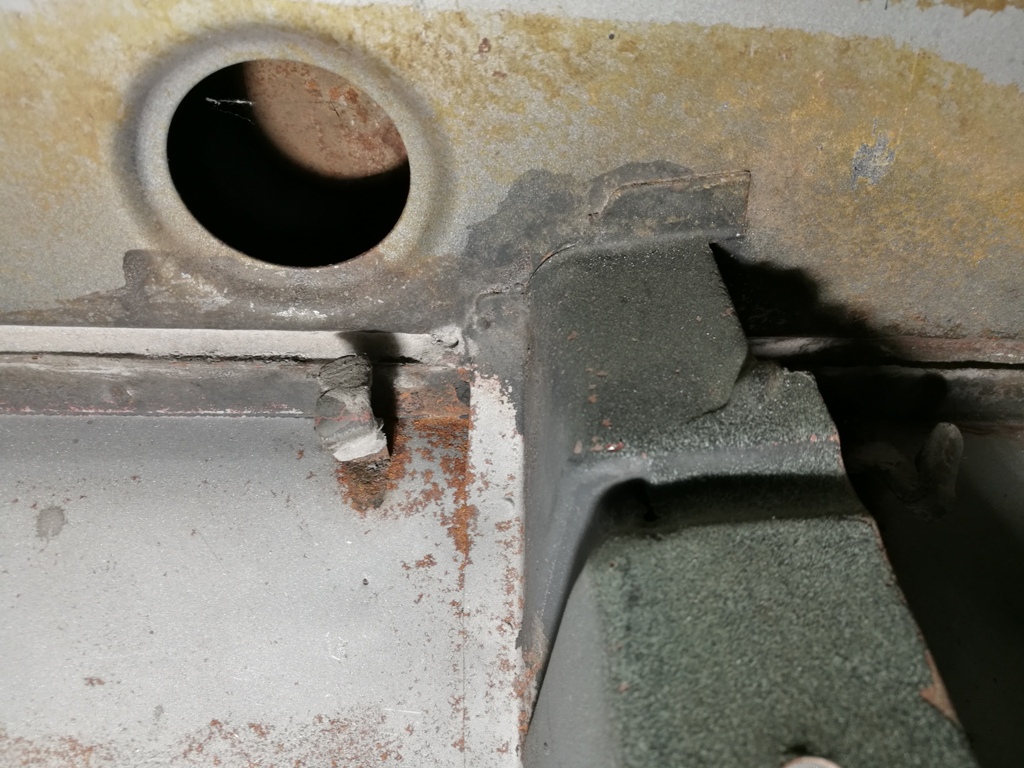
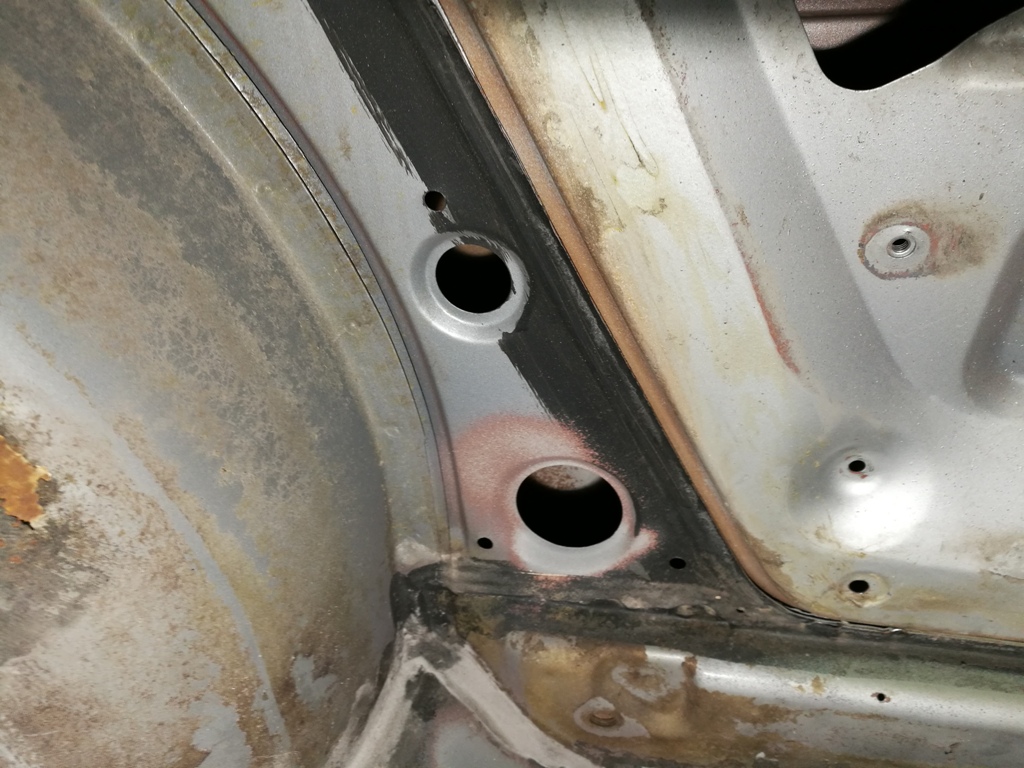
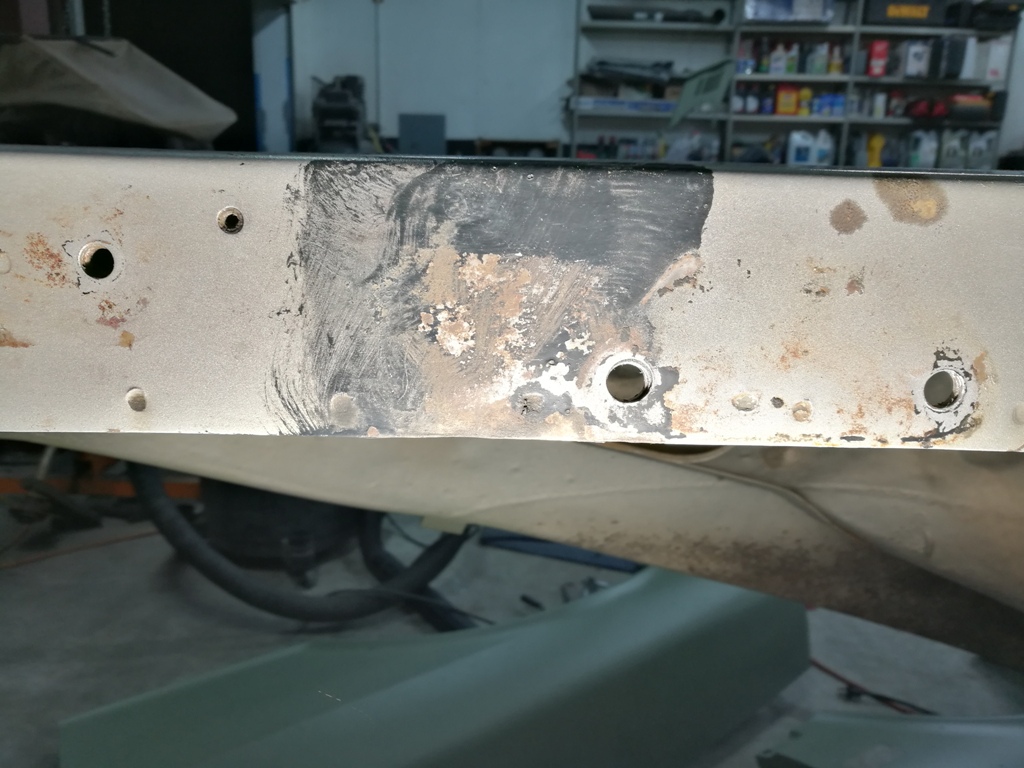
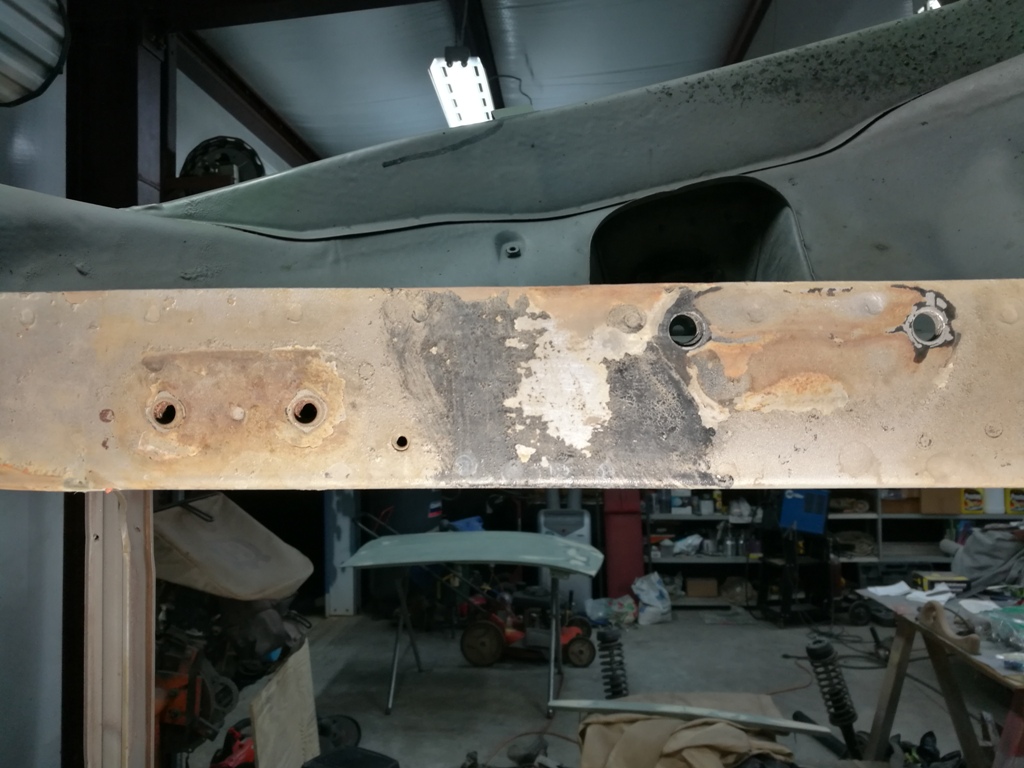
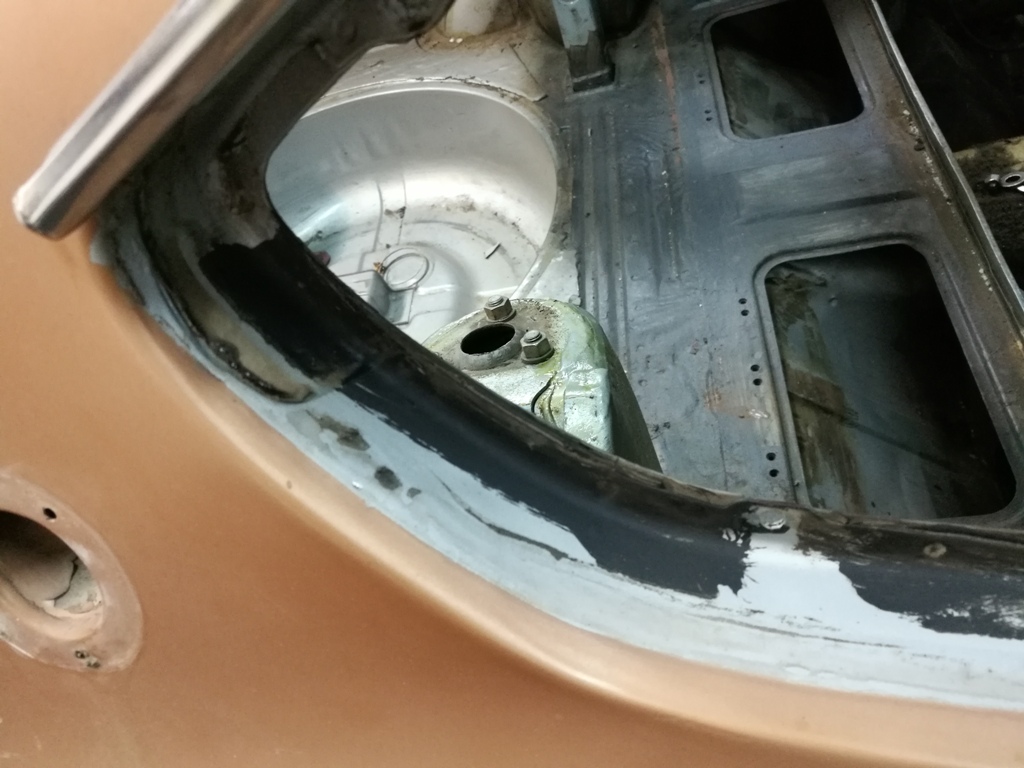
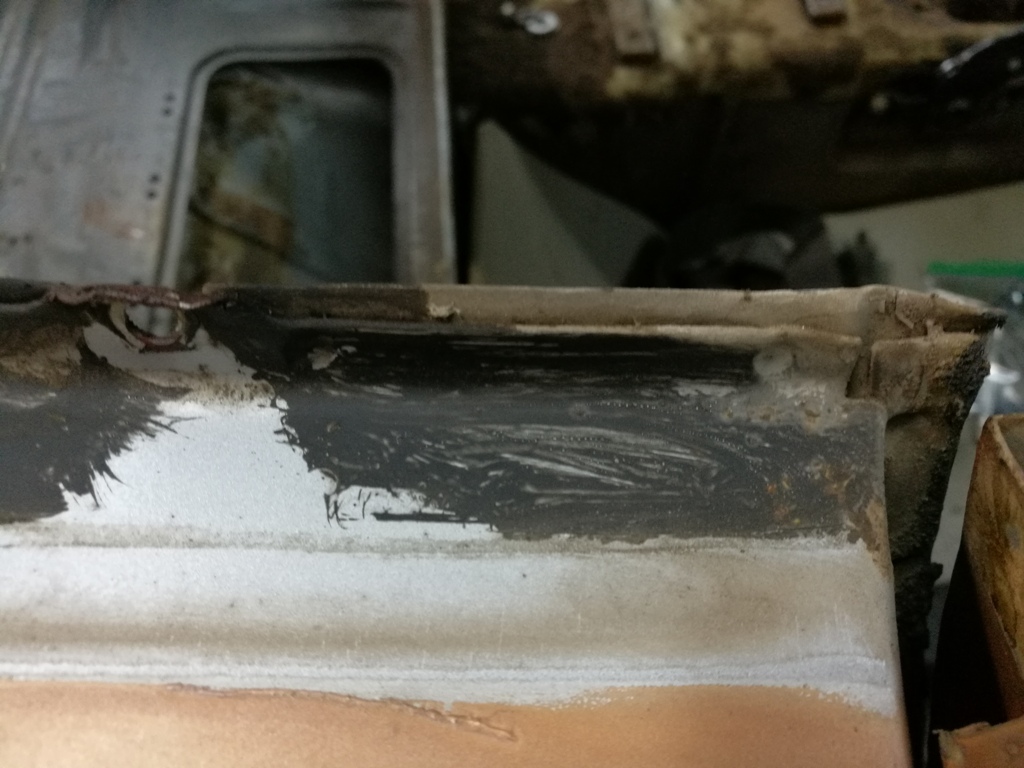
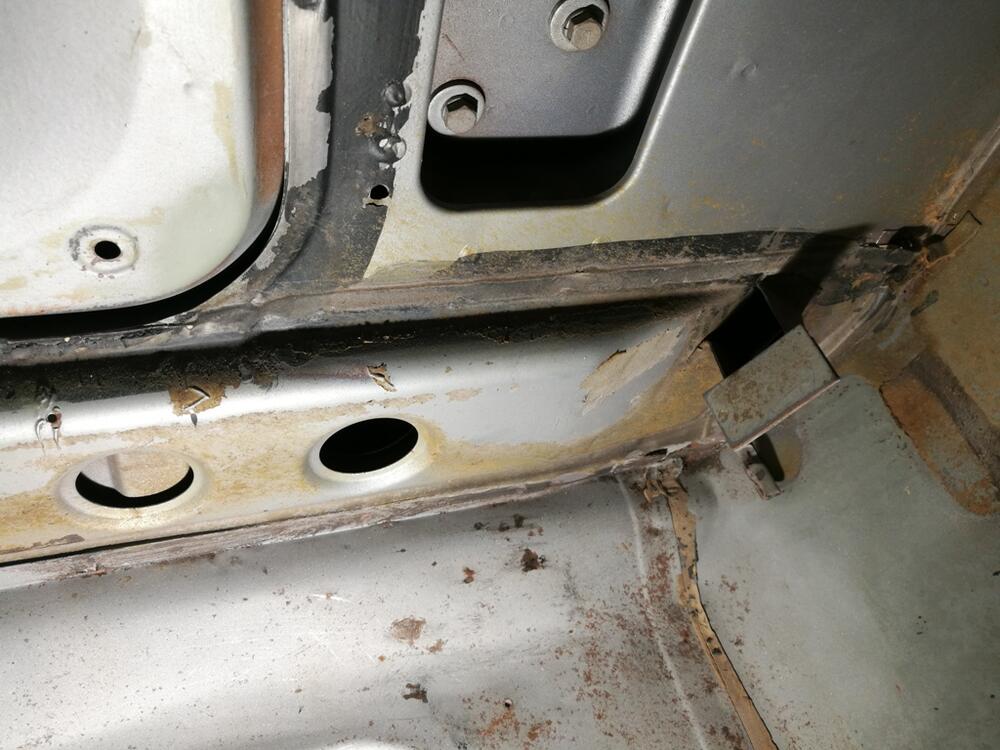
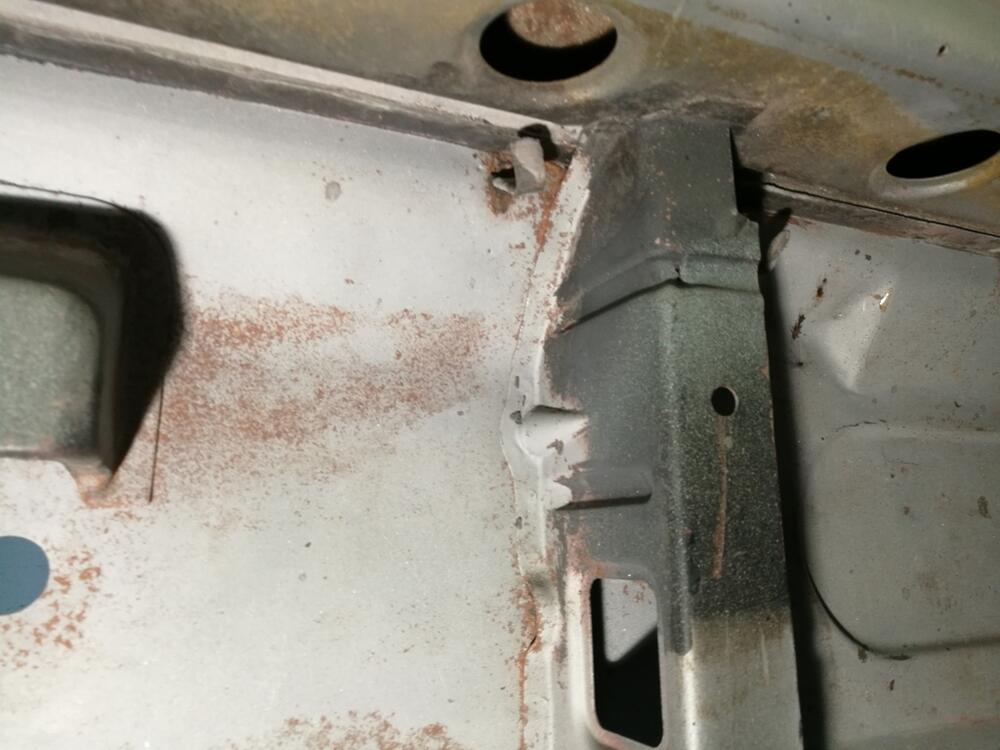
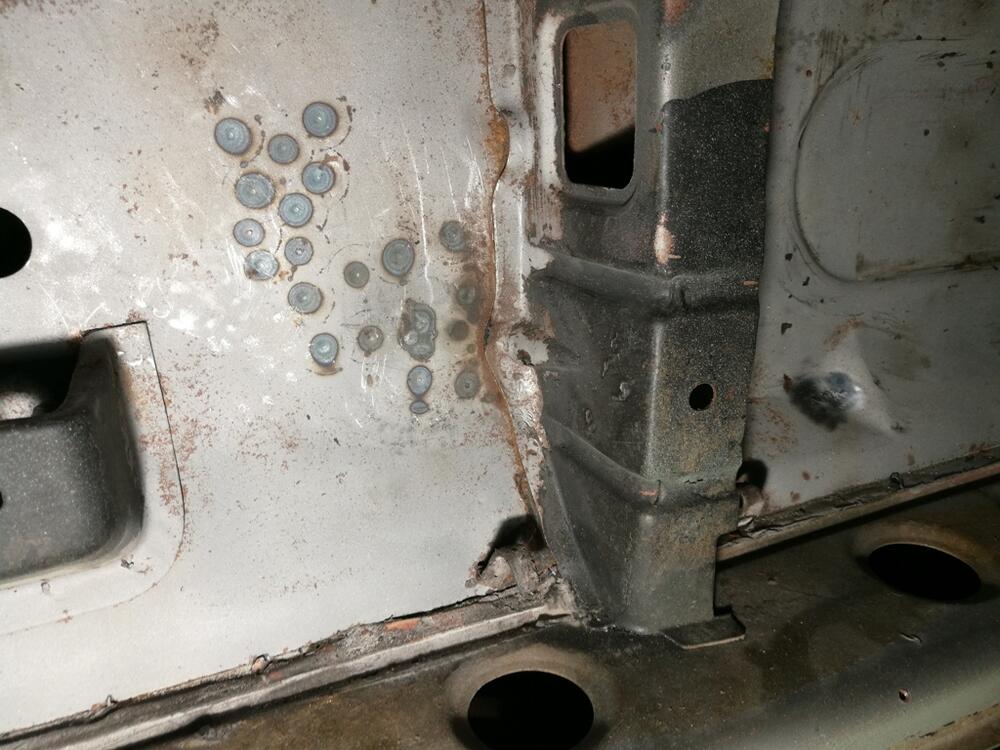
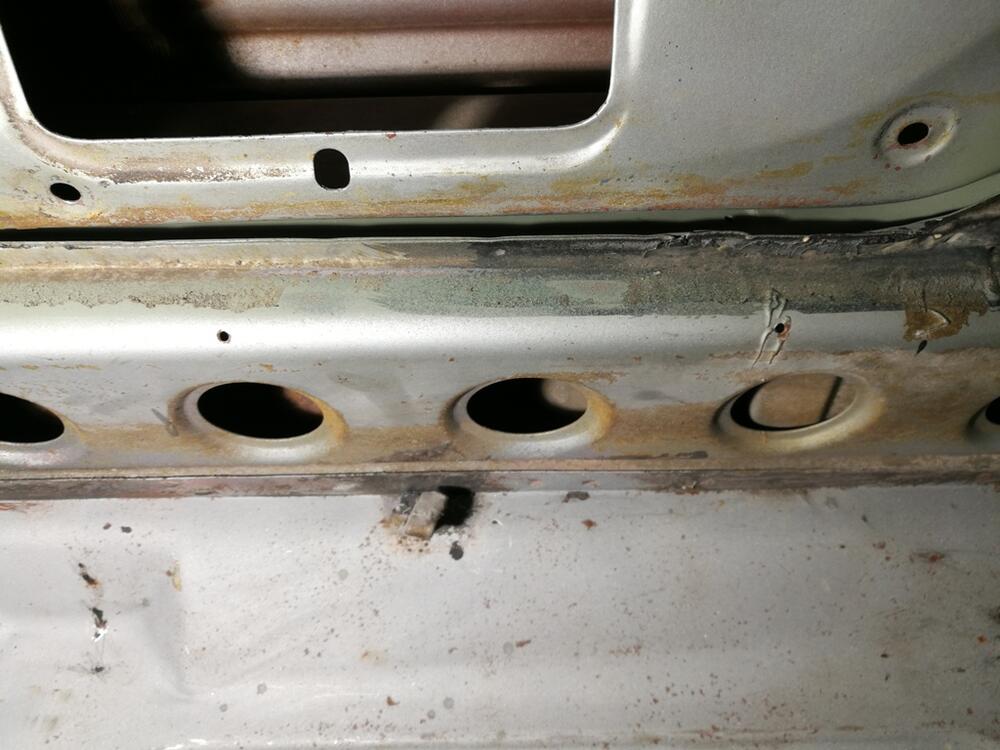
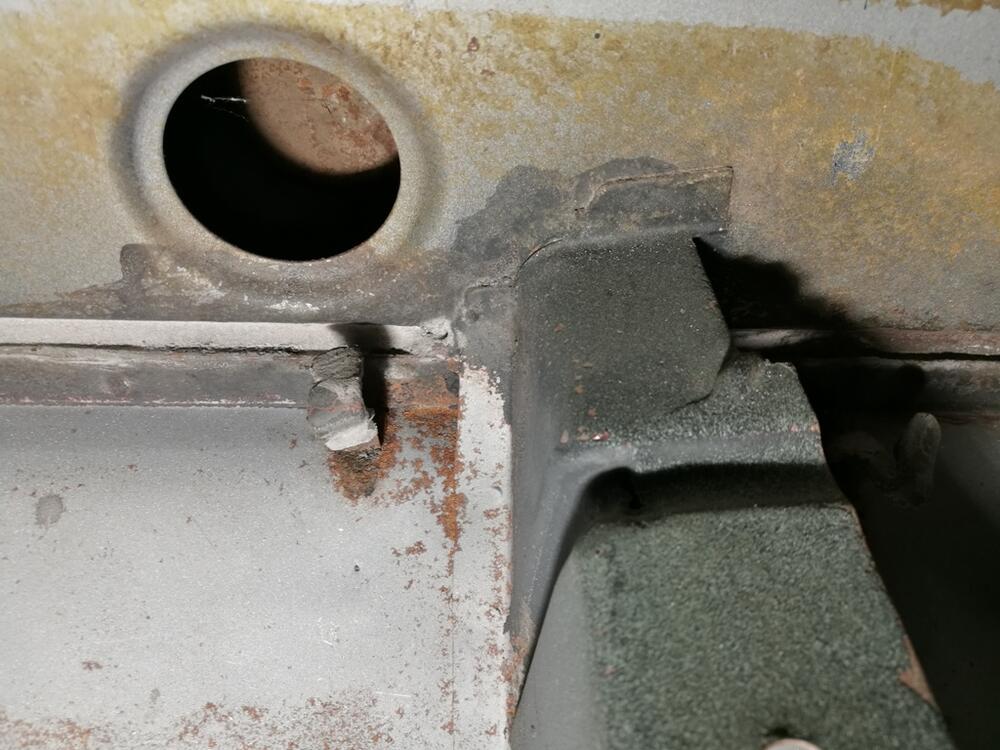
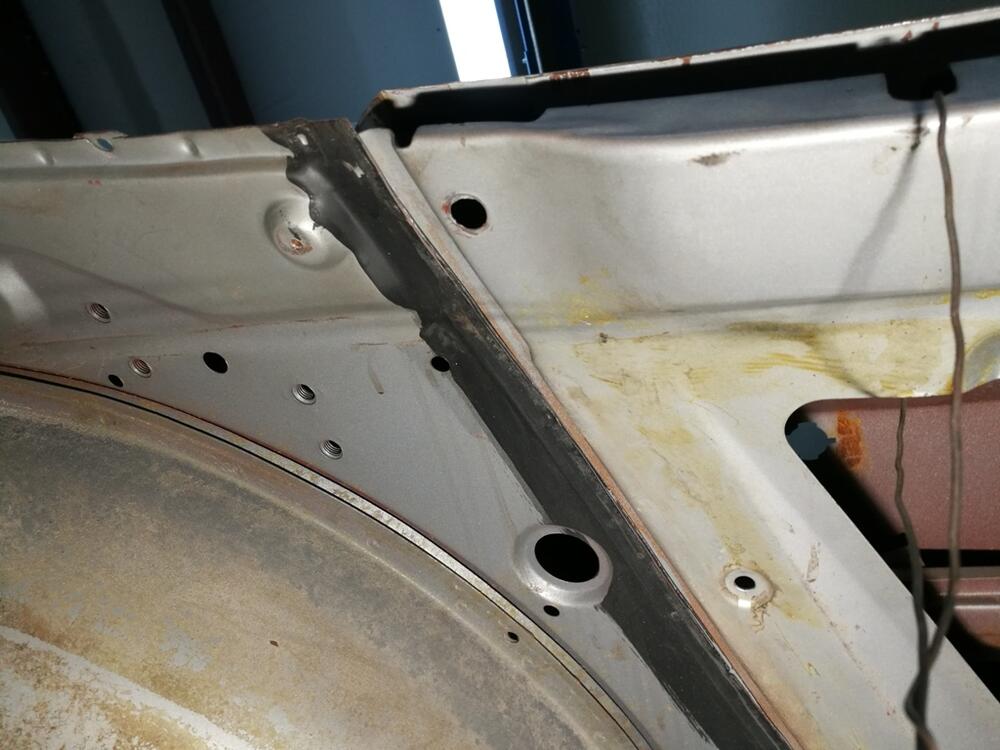
I few documentation pics from my 6/71 car: Left side front seat mount outboard, inboard: Right side front seat mount outboard, inboard: A couple of the back seat mounts: Interesting details, left side: Quarter windows - looks to have been applied after they were installed! Underside of front frame rails:


-
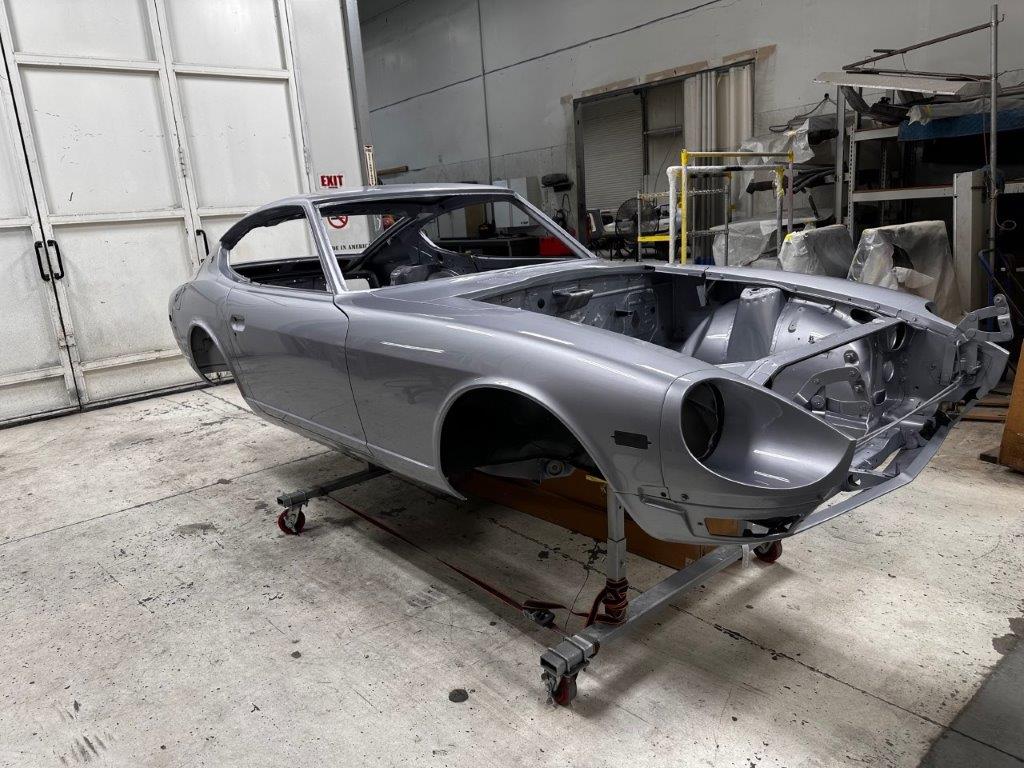
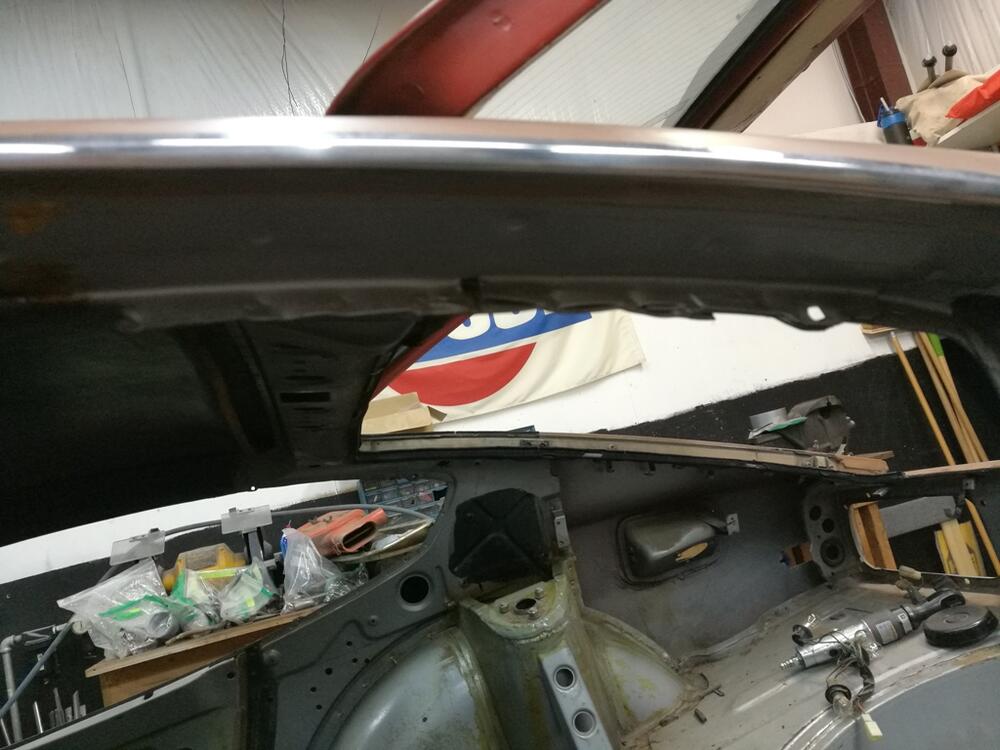
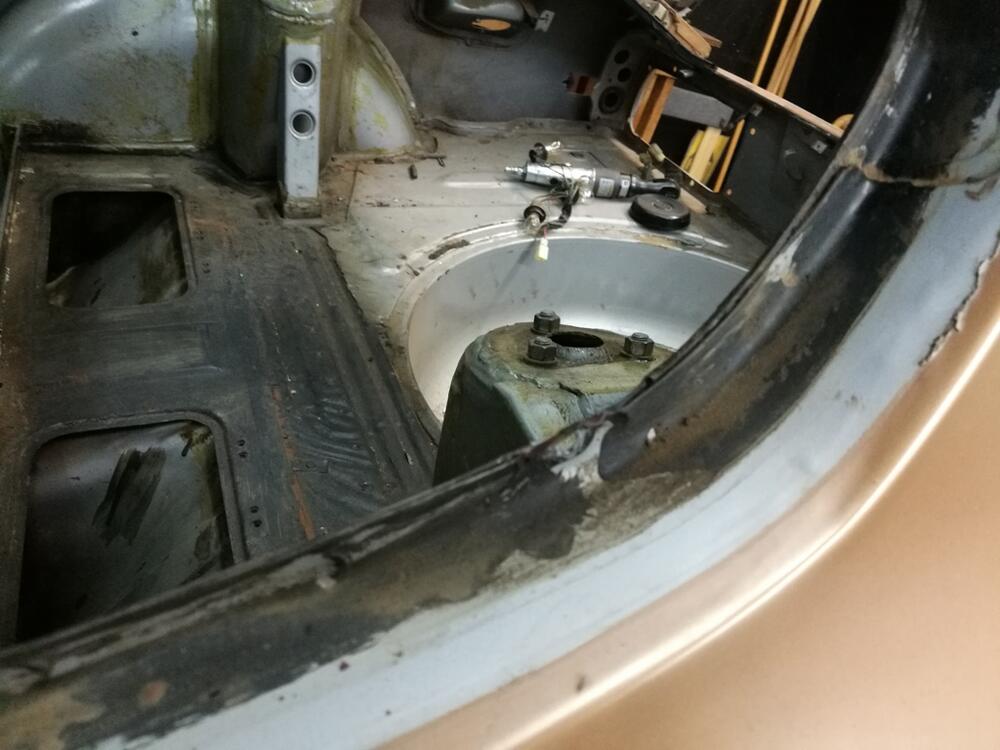
There has been some more progress at the paint shop. It looks nice from what I can see in these pictures. I see that they did as I requested with regard to painting the car without taping off the wheel wells and presumably, the underside of the floor also. My intent was to attempt to replicate the paint done at the factory originally. Those areas of the car received overspray as the primary body surfaces were painted. They departed from my instructions by painting the inside of the car and the outside of the car at different times, and by removing the hood, cowl panel, headlight housings, and fuel door. Those, I assume were sprayed separately (or will be) along with the rear hatch panel. It will be interesting to see the body in person. I am curious to see if the surfaces "moved" due to shrinkage of filler/primer over the last 6 months. Hopefully, it is straighter than when I gave it to them, as they certainly went over it as part of the work done. I have seen over and over how painted fresh from the shop, panels are super straight, and then months later, they aren't due to shrinkage. This car has had considerable amounts of time sitting, so hopefully there will not be additional shrinkage post paint having been applied. I am looking forward to getting it back and starting the assembly process!


-
huh?
-
I was told by the head guy at the paint shop that they spray the headlight housings separately because the clear coats will "bridge" the gap between the back of the headlight housing and the front of the fender, where the two parts contact each other. From examination, my car had been painted twice when I received it, once from the factory and one afterwards, in a gold color. I can see, from examination of the disassembled parts, that the car was painted at the factory with the headlight housings bolted in place. The paint surely did "bridge" the gap, to the degree that the number of coats of primer and paint at the factory could. I believe the concern by the paint shop with this repaint is that much more material is used during their paint application process, and as such, more bridging will occur. I don't think color coats are an issue, but the clear coats are likely much thicker than the factory paint coats. Anyway, they are going to do it how they feel is best. I just hope the paint doesn't "crush" and "move" (like it did in on one or two spots on my other 240z) when they bolt the headlight housings to the fender, as there will be a certain thickness of paint on both the fender front edge and the headlight housing back edge, and these will come into contact and compress when the headlight housings are bolted into place. Crossing fingers that they are completing the work this week, and that, if it matters in their shop, the weather cooperates on the day they spray the exterior of the body.
-
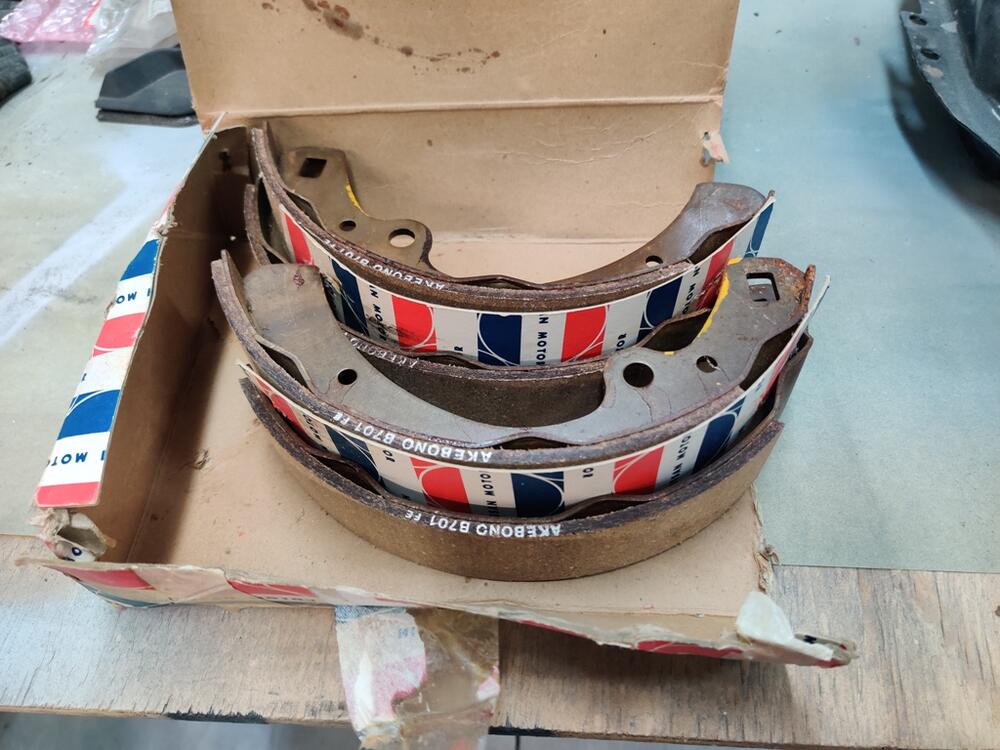
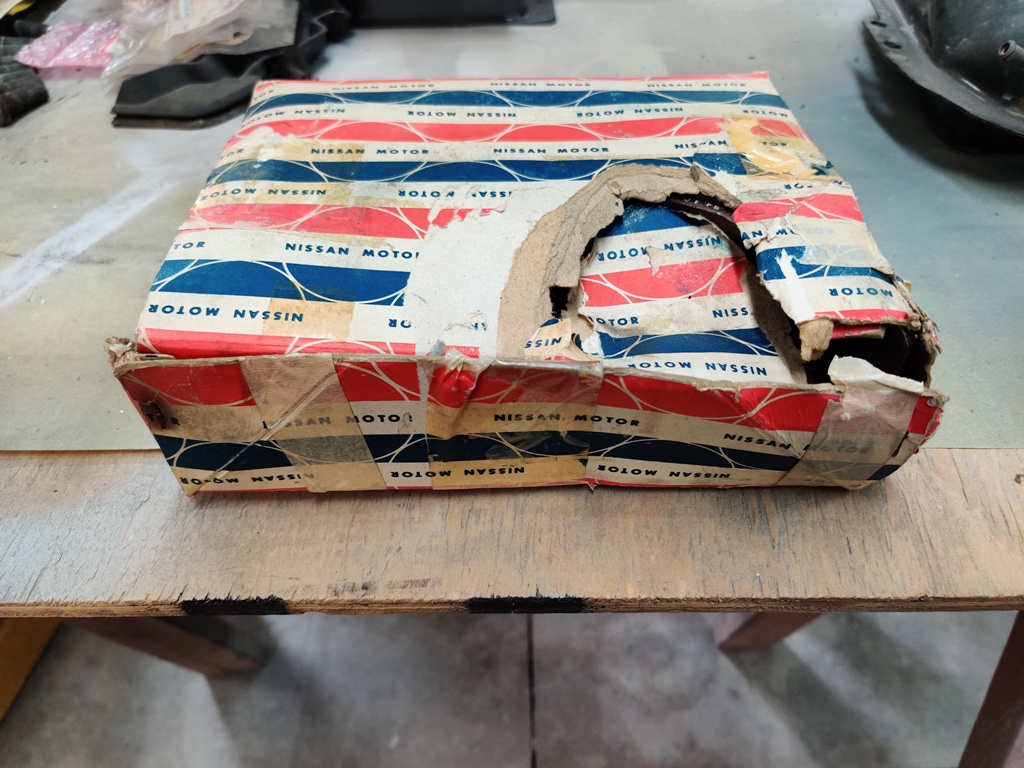
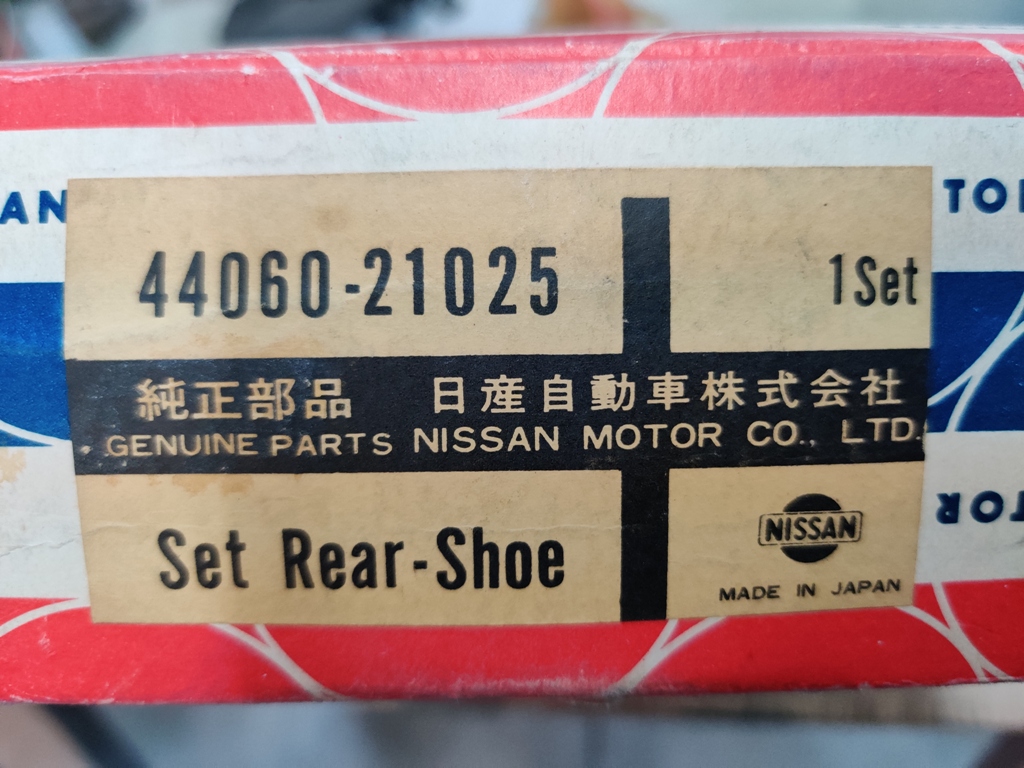
The body shop sent a couple of pictures. The rest of the car may be done this week. I don't know why, exactly, they aren't following my instructions. I mean, yeah, the instructions are many pages long, but specifically, I wanted them to spray the car all at once. And, I didn't want them to remove the headlight housings for painting. I think they know what they know... and don't want to depart from methods they think (or know) are best. I realize that they may not be equipped to spray the car all at once - paint can dry during the process and that can create its own problems. Anyway, I am sure it will look nice when it is done. I just hope it looks similar to how it looked when it was sprayed at the factory originally. That is one of my goals. I also found these and snapped them up the other day. I have original brake pads for the front, so it was nice to find these as well.