Patcon
 Subscriber
-
Joined
-
Last visited
Everything posted by Patcon
-
 Are you expecting any advantages from polishing the valves in this manner?
 -
Yes, no rubber hammer needed and no sealant should be needed either...
-
How did you accomplish that?
-
That was my first thought.
-
There was a guy on you tube that ran a filter full time on his bath. He had a decent sized pump under his bench and like a 10 gallon tank. I tried to ask him on you tube, what kind of filter he was running. I assume is was a particulate filter, but I don't know what micron. I wouldn't run the charcoal filter full time. It would be nice to run a different pump setup. Caswell sells a little giant chemical pump, but I think it's overkill for my little tank and it's expensive. Maybe one day... For now, I will finish cleaning the tank. There is a little bit of debris in the bottom of the tank and I will filter that out through coffee filters. Then I will try to plate something. We'll see how it goes. It will be interesting to see if I can get a bright zinc plate without adding brightener. Might try it this coming weekend if it doesn't monsoon again...
-
Zed head is correct. The O ring is between the distributor and the metal plate with the markings. Make sure you put it back with the pointer in the same place on the markings. That way your timing will be the same. The pedestal is the aluminum part at the bottom of the distributor that is held in with the two 10mm bolts. The paper gasket goes under there
-
Evidently, according to some very knowledgeable people the forward mounted bar can bind. Where the rear mounted bar won't
-
In this picture you can see all 3 of the 4 bolts that can be removed to remove the distributor. There are the two 10mm in the bottom aluminum piece. One you can see, one on the reverse side you can't see. There is the single bolt I believe 8mm that threads upward through the plate with the degree markings on it. The last bolt is on the rear side of the distributor. 10 mm and threads down, sometimes it will have a nut on the bottom if it's been stripped. The bottom aluminum part can be removed and reinstalled with out affecting the timing. The other two bolts hold the distributor from moving and changing the timing. What do the seals look like?
-
I was not trying to be insulting but Jalex's mechanic support is pretty non existent it seems. So I would hate to see him break it when he seems to finally have it running well.
-
This is very true in a broad sense, but it is easier for some people to get out of the hole than others
-
I would blank off the brake booster port at the manifold until you get it running right. The booster might be blown and like ZedHead said unmetered air is bad. I wouldn't drive it that way but it will help you determine if the booster is good or not. If you hook the booster back up after getting it running good and the engines runs more poorly the booster is blown or the hose has a hole
-
Yes, exactly!!
-
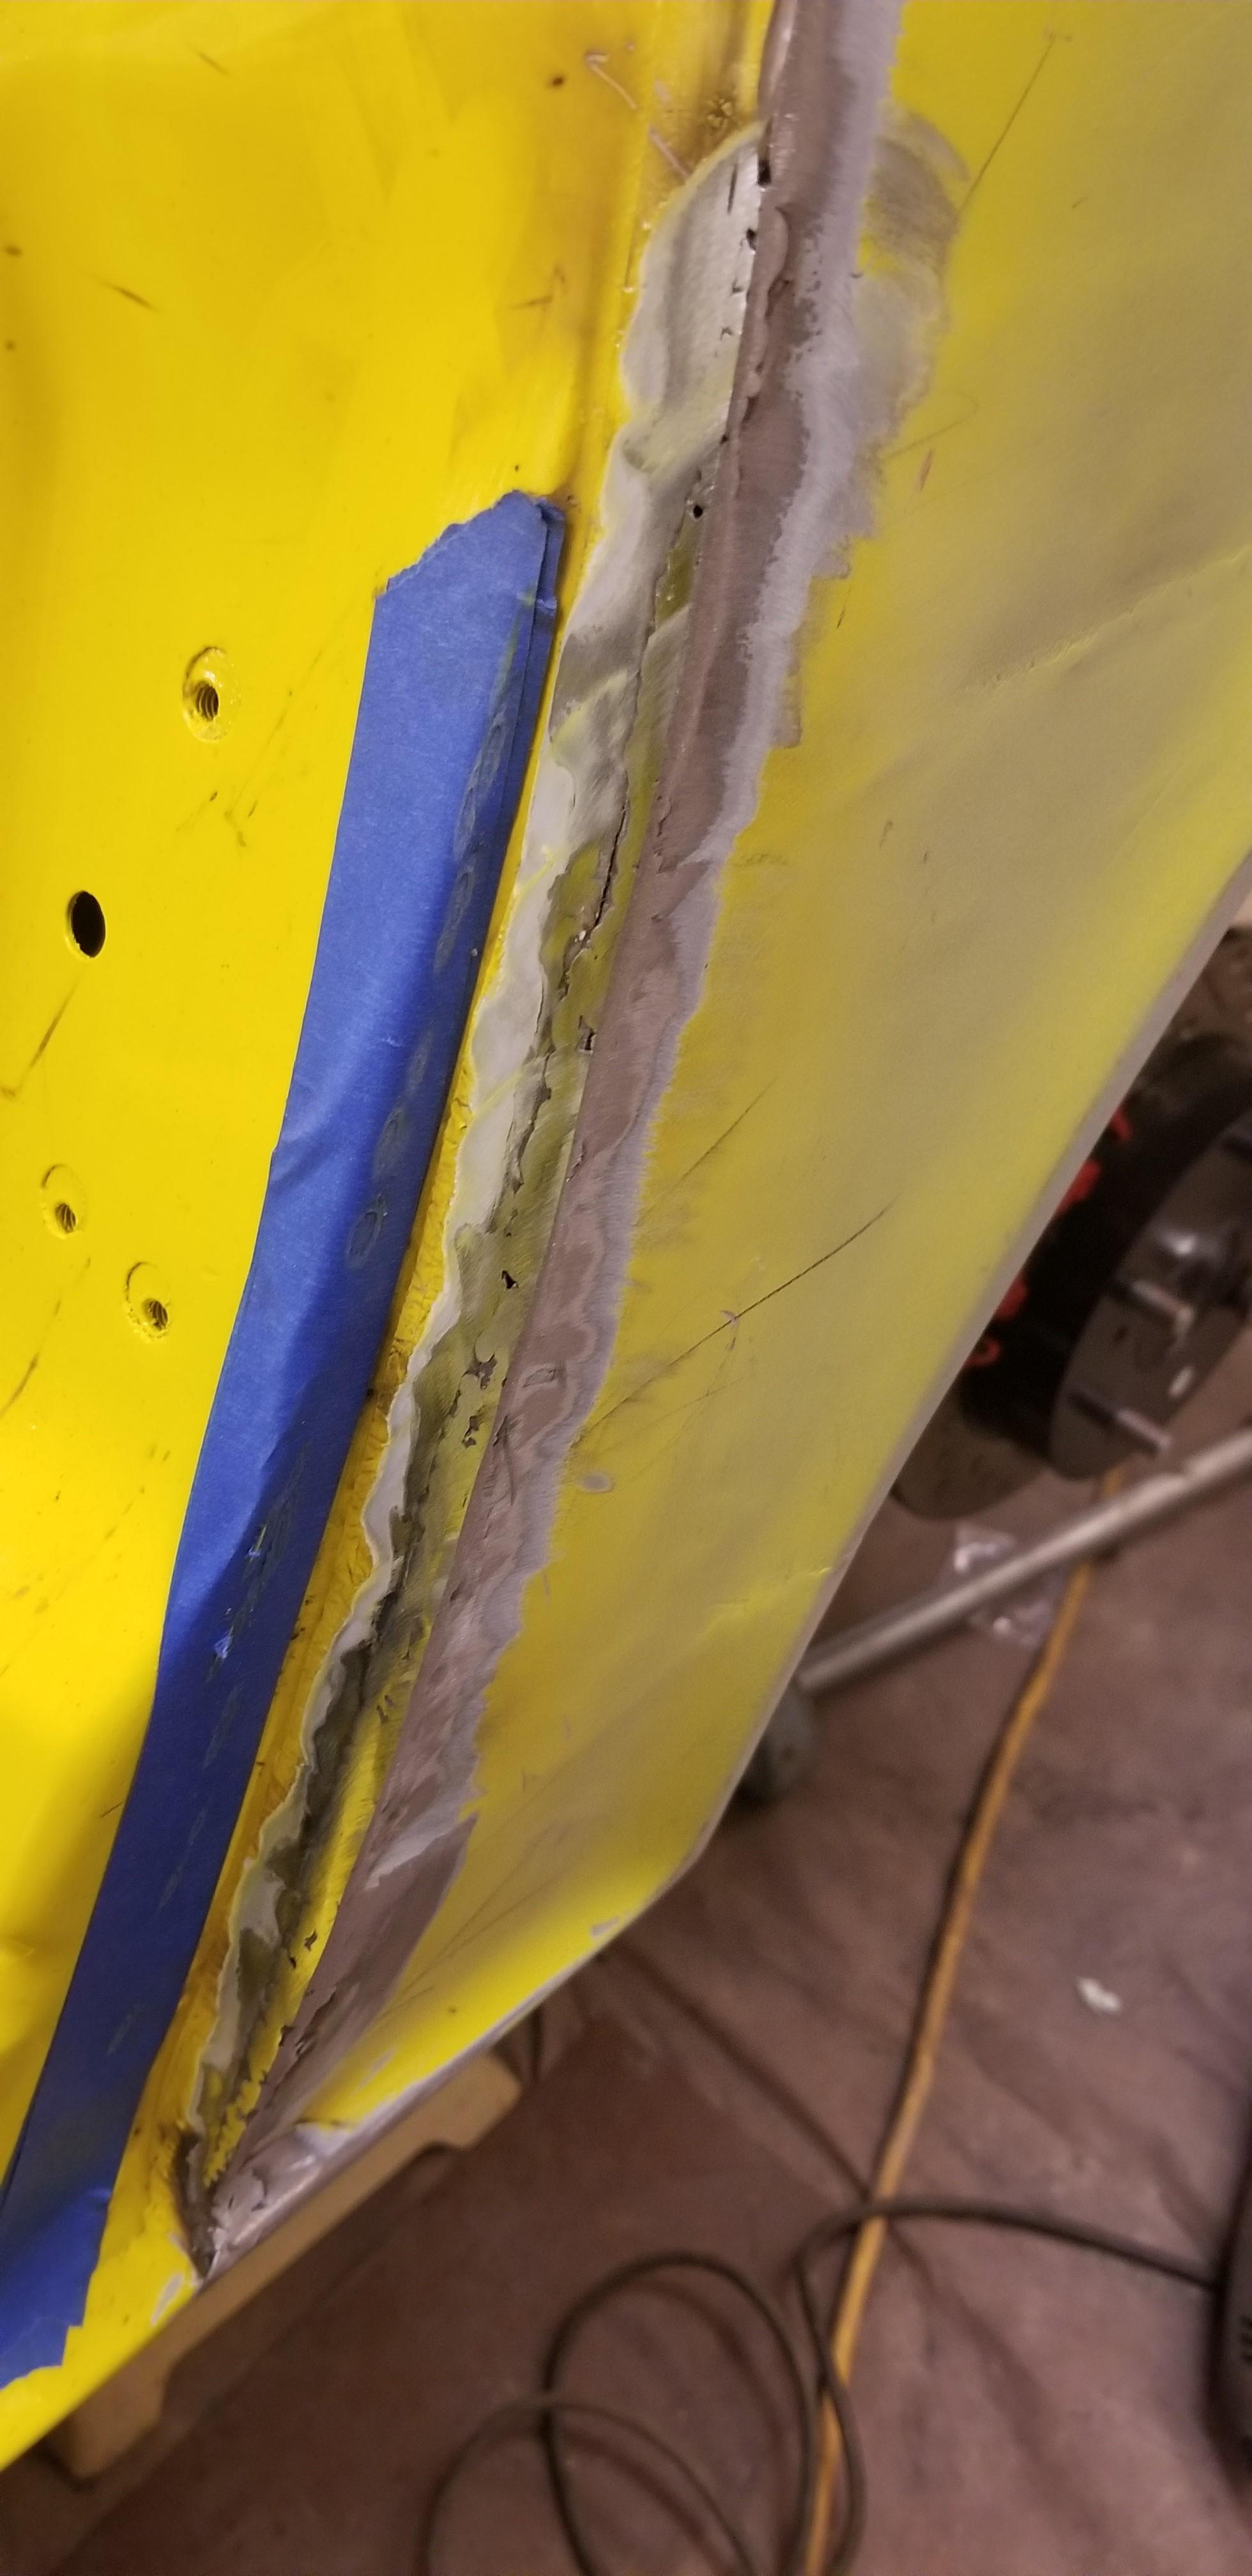
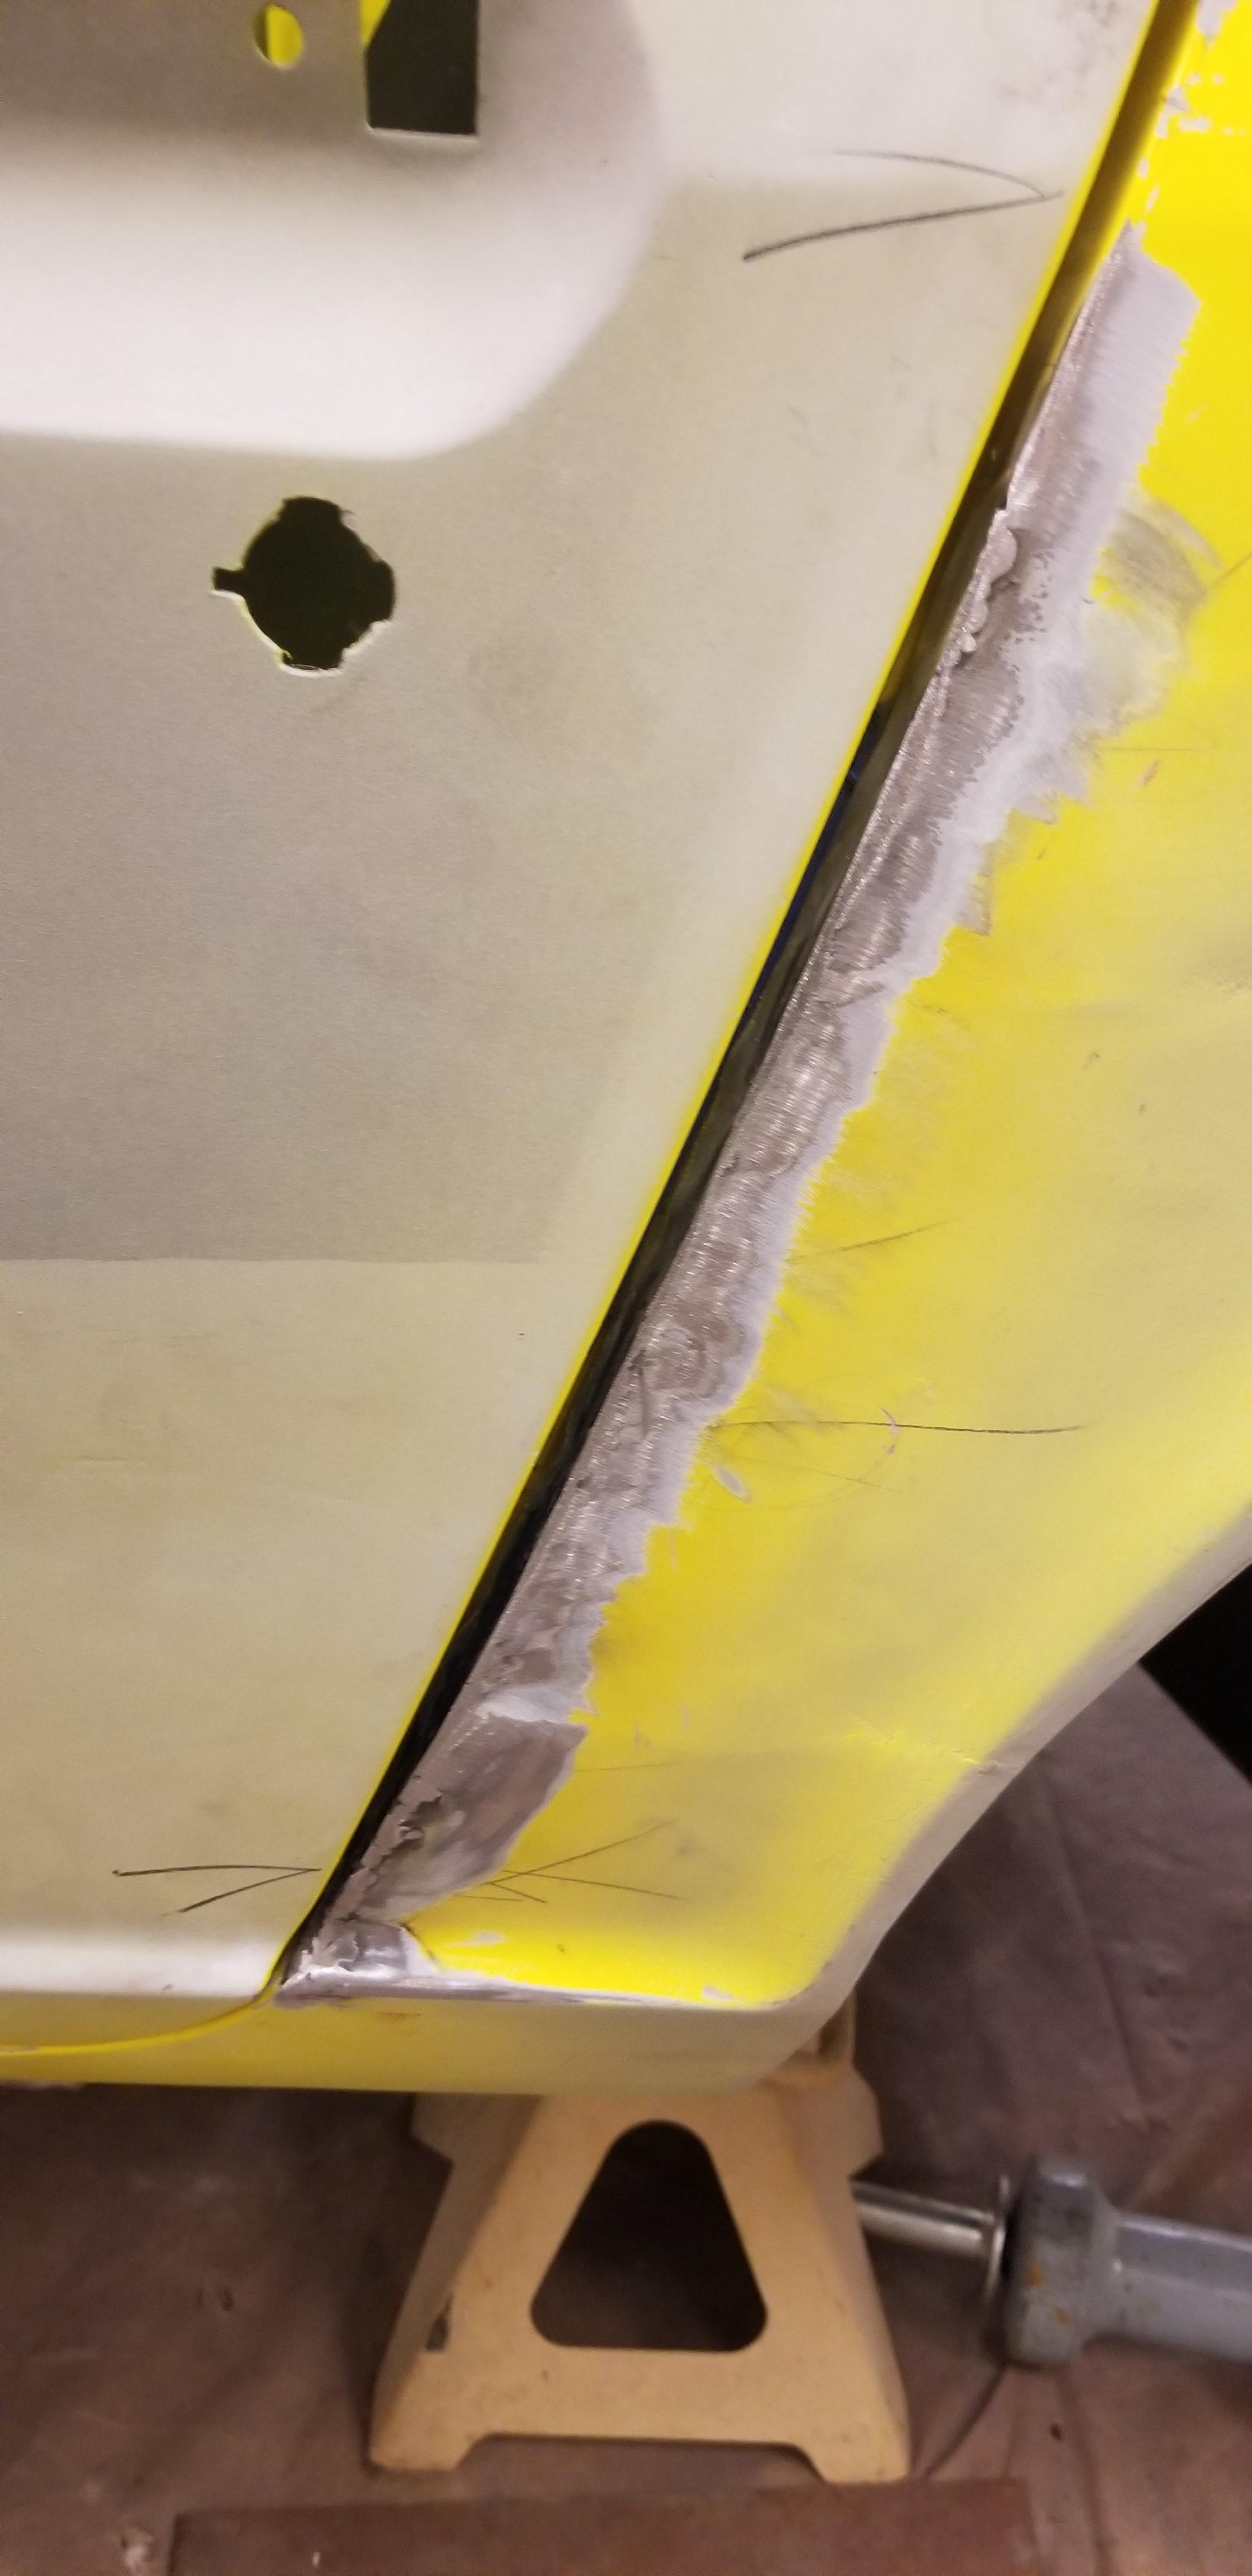
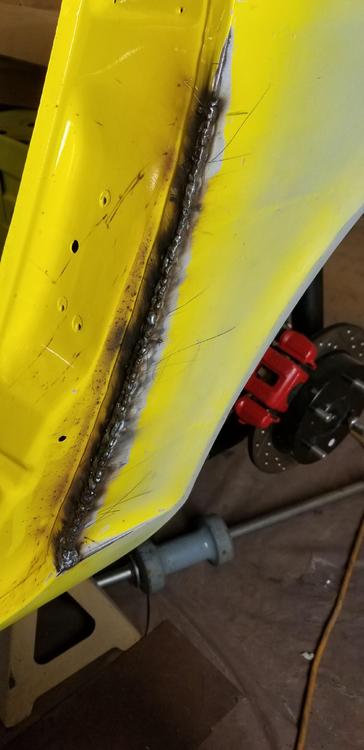
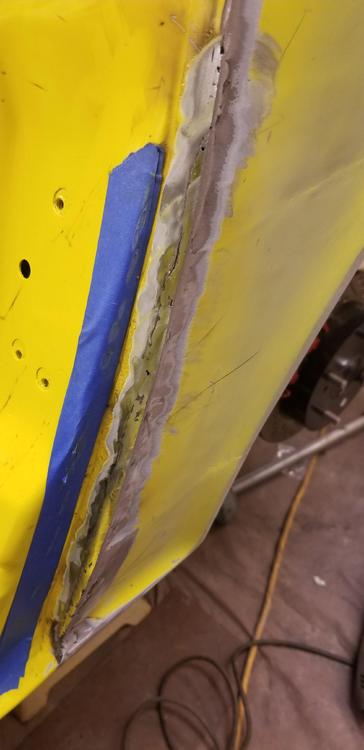
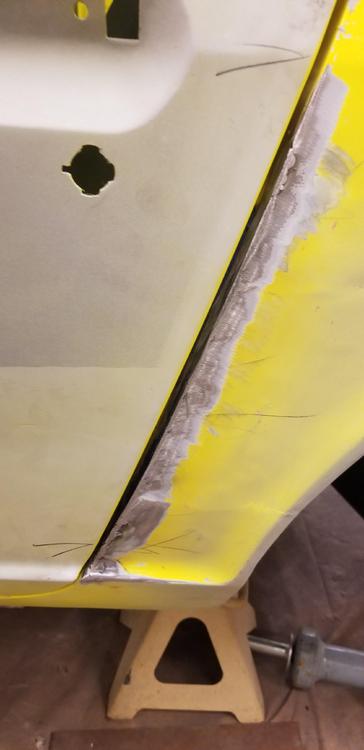
I thought about doing that, but didn't really want to build up the door edge right there with filler. I was afraid it might chip in the future as the door jamb could easily get struck getting in and out of the car. I will probably cut it again tomorrow and at least tack it up. Might get it fully seamed tomorrow. I won't have double seams like I did today. I added slivers of metal in the other cut and that required double seams.
-
I thought so too. My favorite part was that it required so little effort on my part. Set it and come back in an hour. I am trying to get as much of my plating this way as possible
-
I believe the wire tied linkage is for a dashpot. It was wired up to prevent flopping and rattling. Probably not an issue for right now. I think the valve cover vent is tied back to the pcv valve, so shouldn't be unmetered...
-
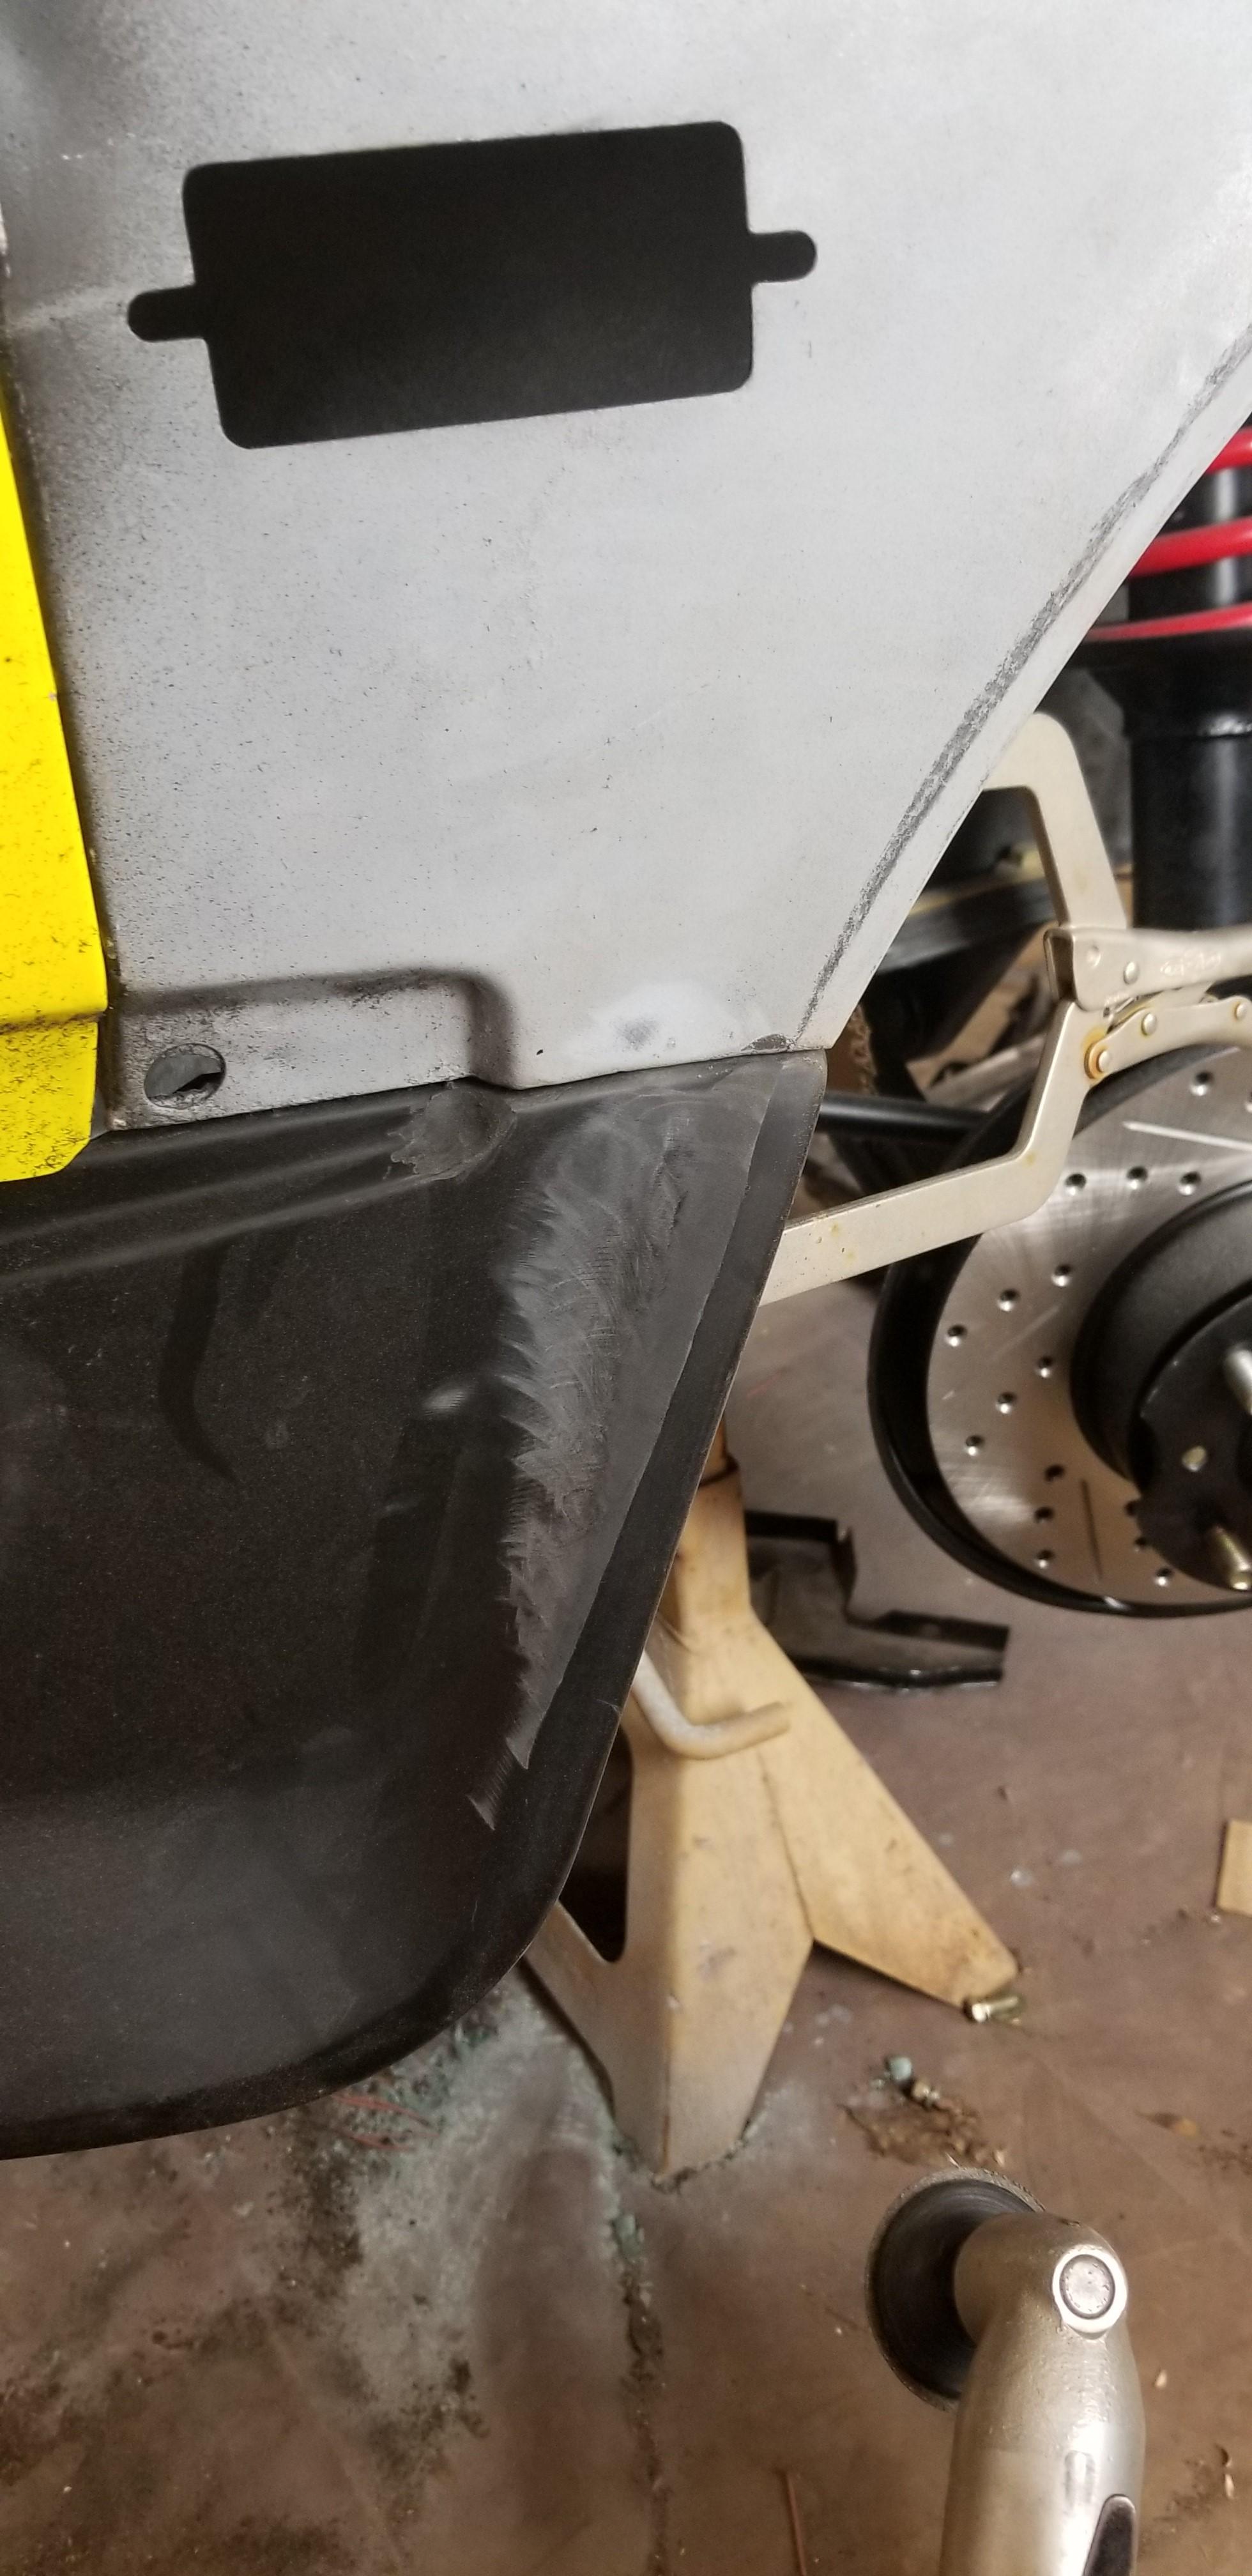
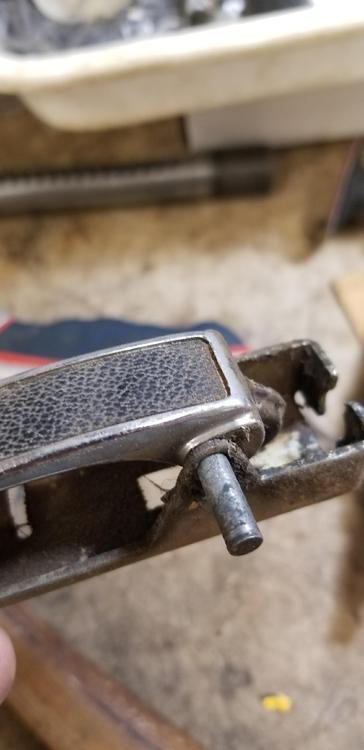
Worked on the quarter some more. Welded it up, then knocked it down some... Only to realize, I'm an idiot and I have to cut it again, because the door gap is uneven... Worked on the air dam up front and made some progress on that @grannyknot That was a good tip! Took one of the door handles apart. they have some sort of rivet in them. Ground it back and separated them Gonna look around and see if I can find a substitute (4.953 dia and roughly 25mm long). Might use a roll pin. Also I was looking at the door handles. There is a small rubber seal on both ends of the handles where they go into the doors. Are those seals available anywhere? How would you install them? Cut them or re-pin the door hinges?


-
It almost looks like they were trying to go turbo. Float bowls linked, intakes linked, sealed intake runners...
-
-
I wasn't off by much...
-
Yeah, I need to do a pull on it, but since I actually had to tap it in to start, then staked it after that, I doubt it's coming back out I guess you can borrow it... connect in Atlanta...
-
Looks fabulous. Looks more like 4,000 Ft...
-
Thanks for that input. That is what I was thinking too.
-
I think he was suggesting the early fan clutch is welded shut versus the later version which is bolted together
-
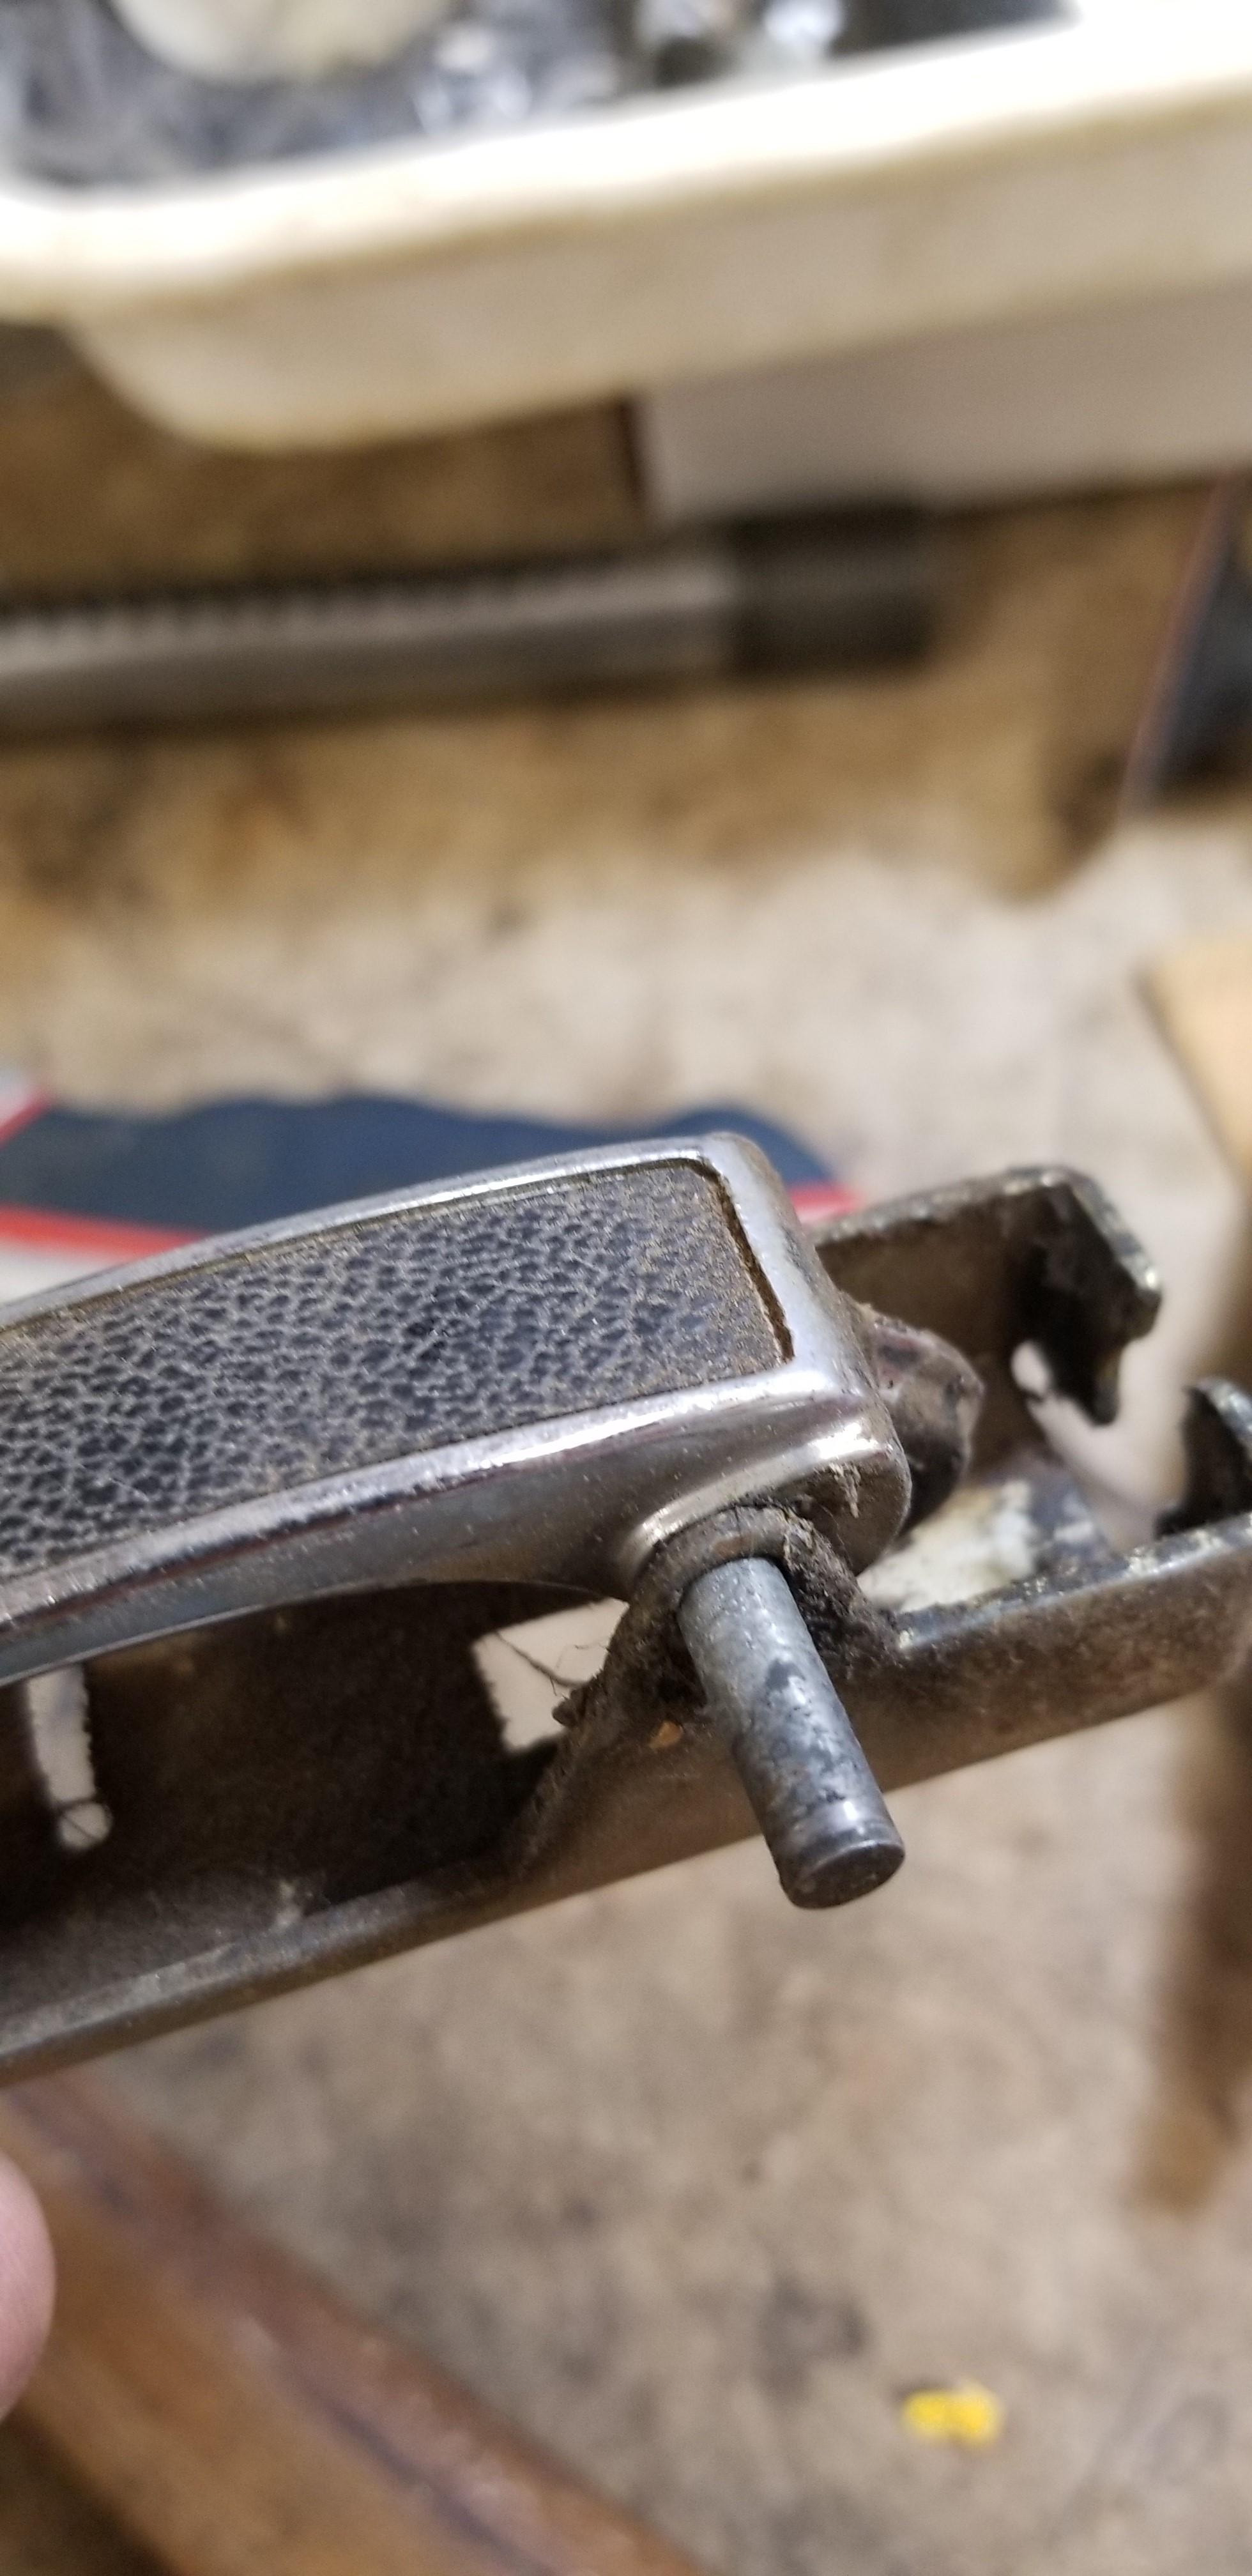
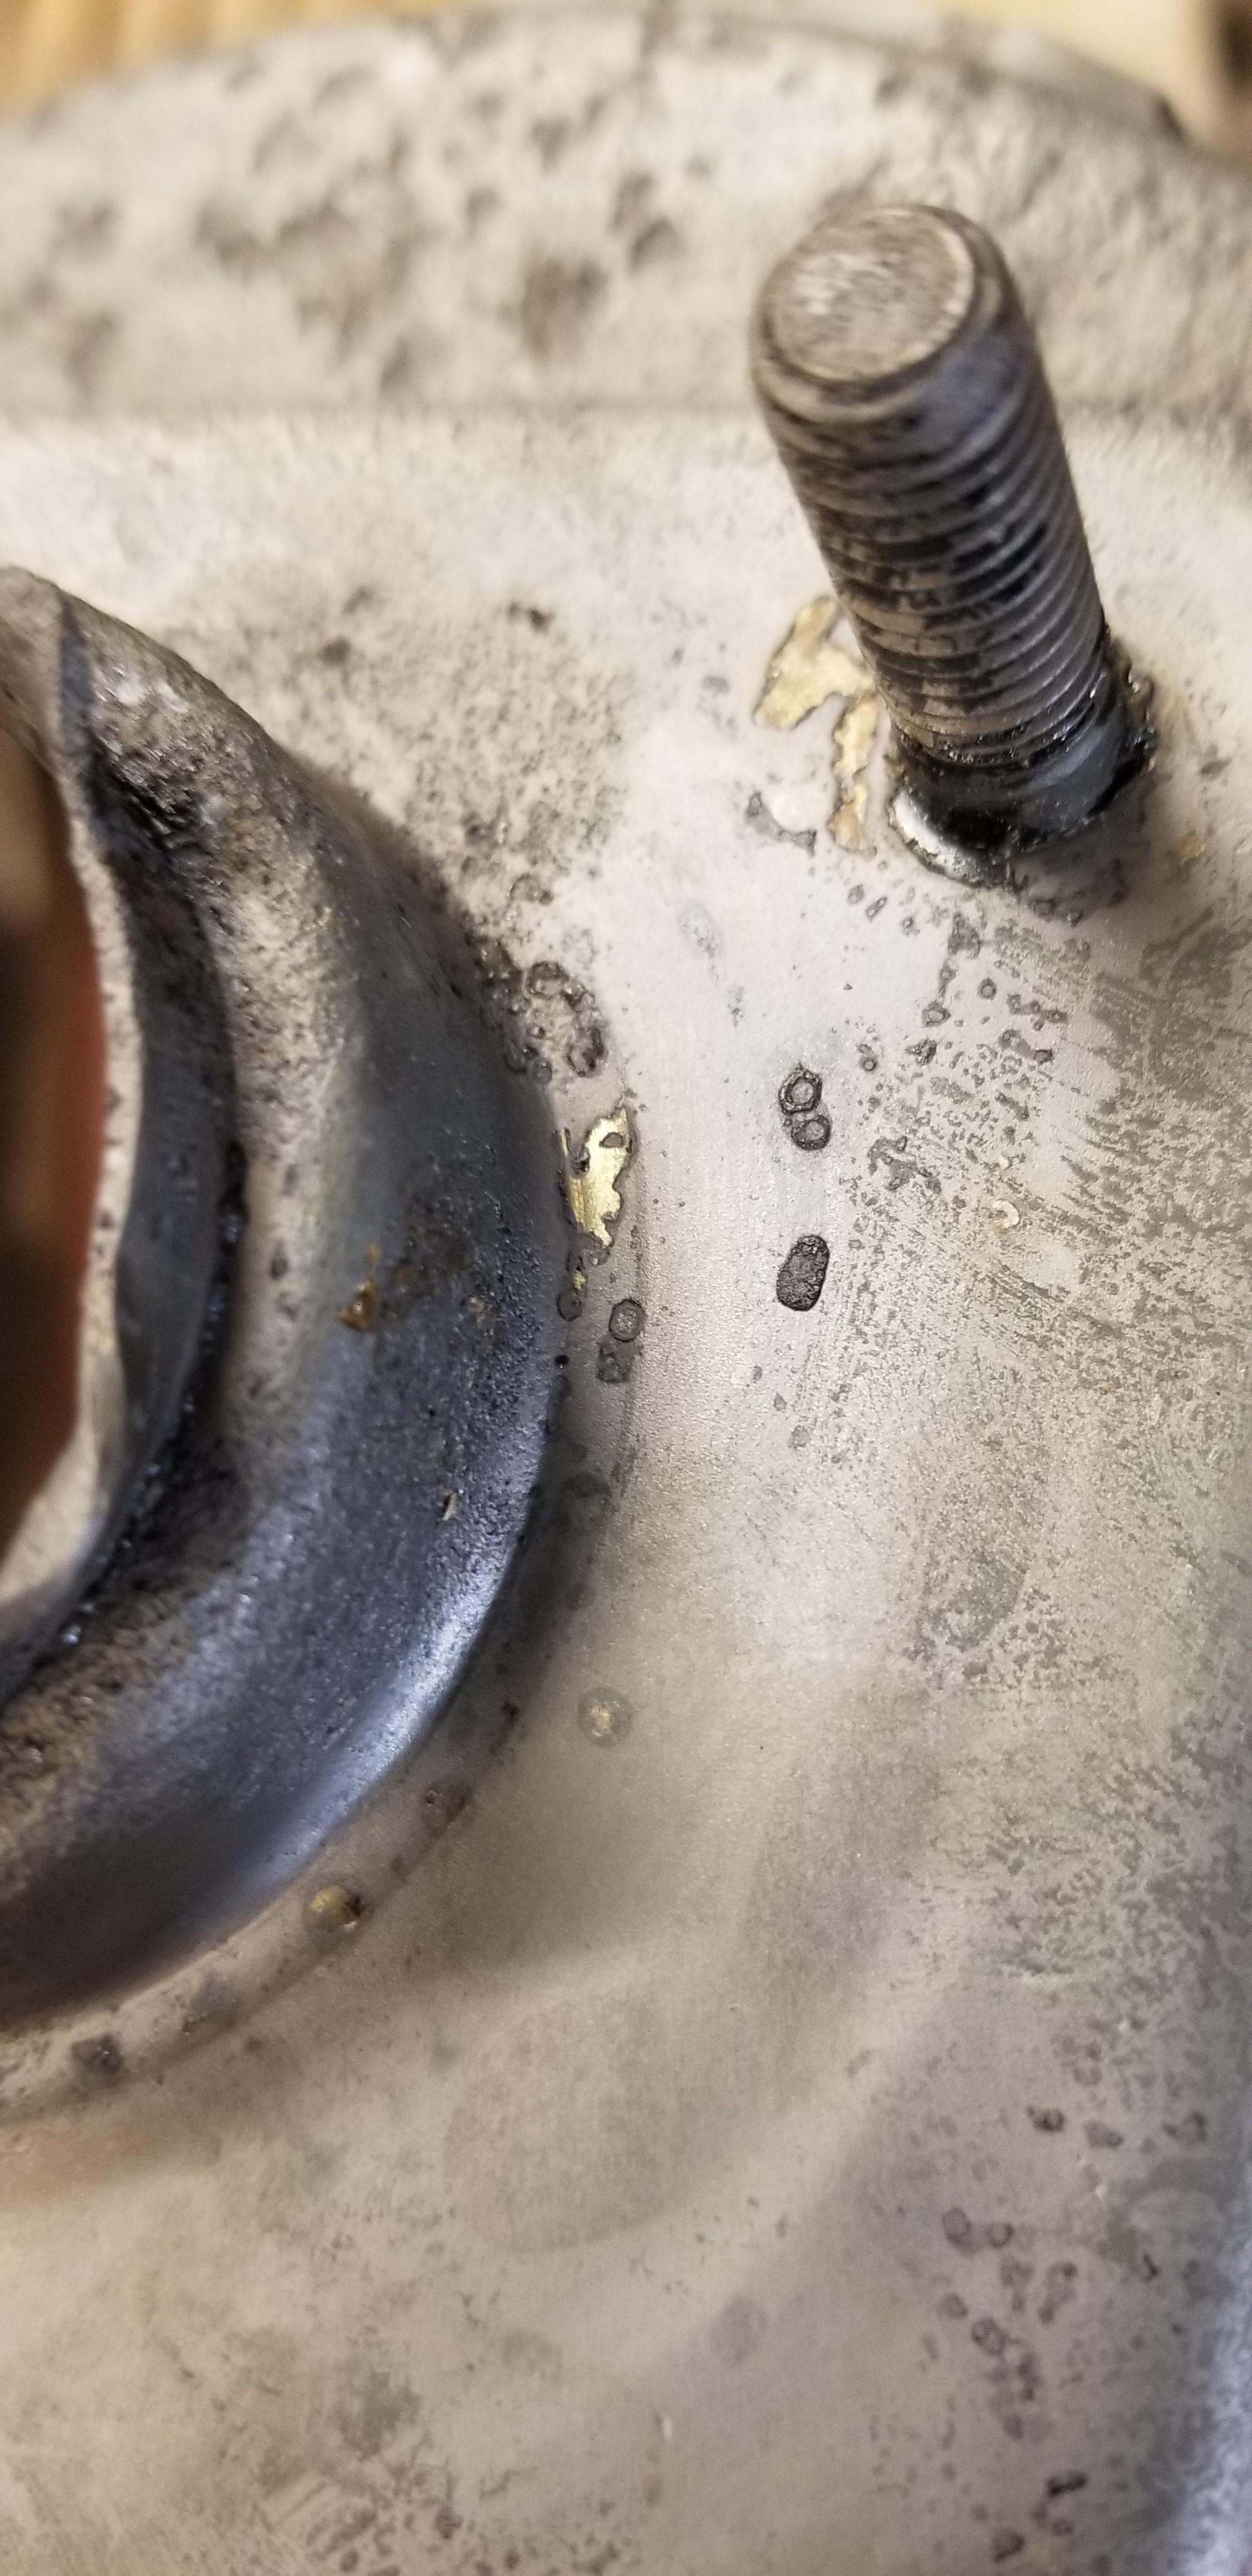
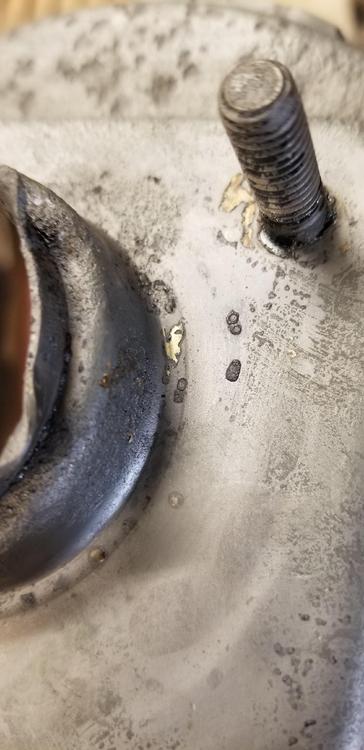
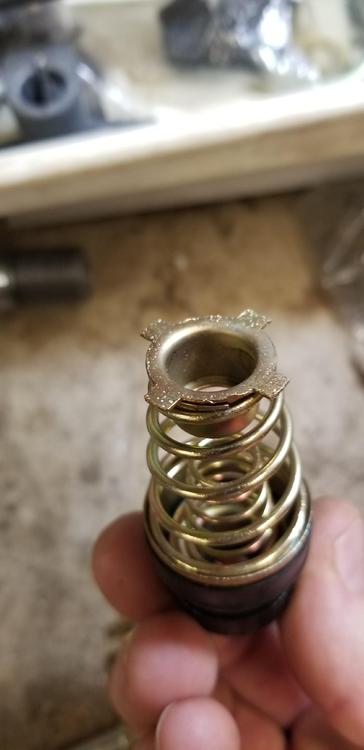
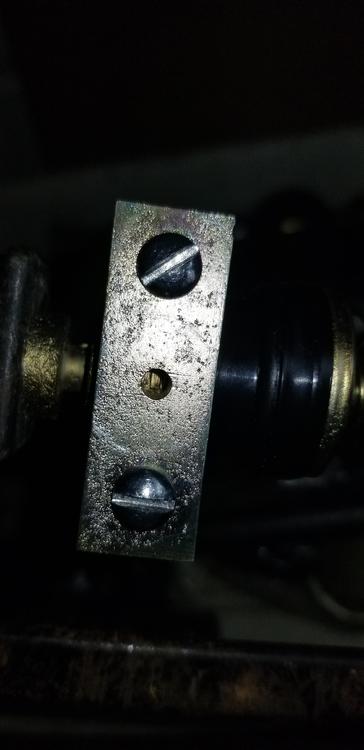
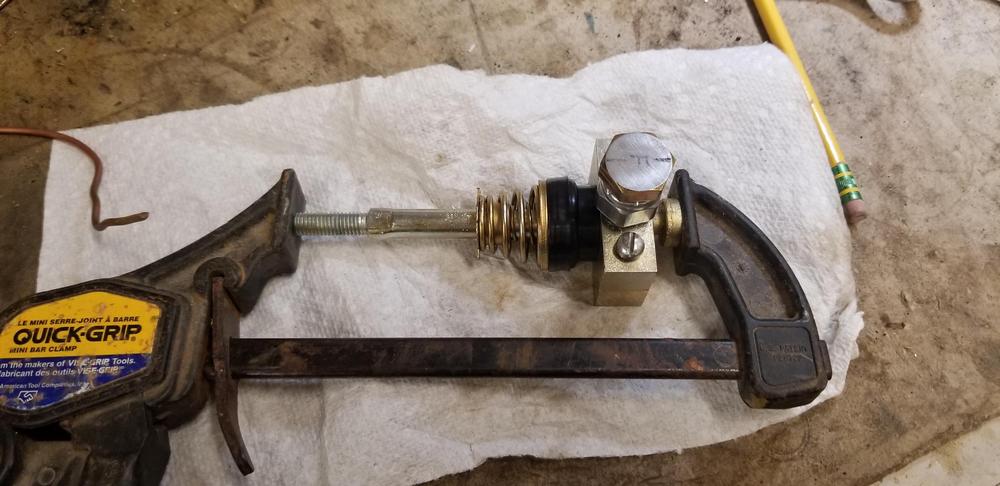
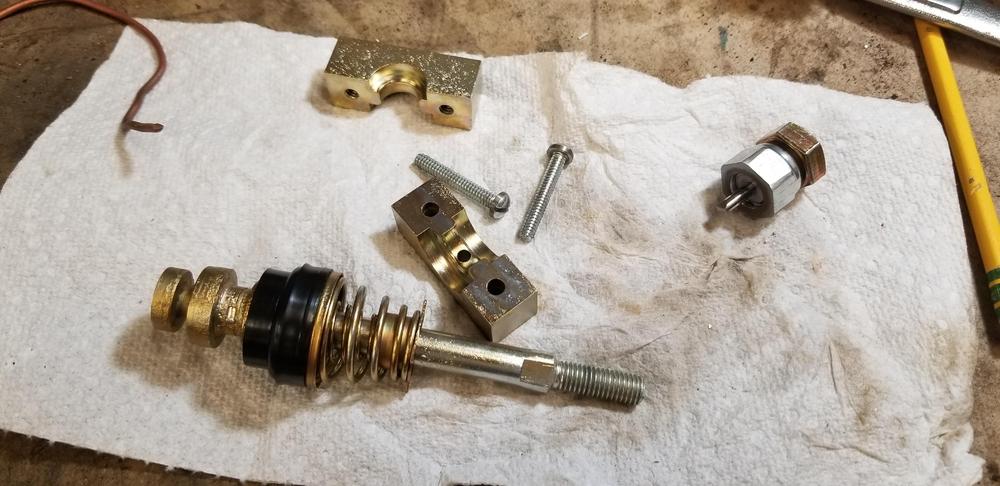
Well I worked on the booster some more today. I started by stripping the last remnants of paint from the booster shell. Some of it didn't want to come off in the blasting cabinet. Under the paint it looks like yellow zinc. You can see the yellow in a couple of the spots that were protected with paint. So did they plate the boosters first, then paint them. Otherwise, how did the studs get plated? I tried to remove a stud just to see if I could, but I think they are welded in some way even though I can't see where Stacked up the plunger parts Then clamped the plunger in to the cap. I actually had to tap the plunger into the cap with a hammer to get it to seat. Then clamped it in to the fixture. You can see the staking mark through the fixture hole Staked one side, then rotated 120 degrees and repeat. I staked it where it was originally staked. All done, ready for the booster I didn't use the hydraulic press to stake it. Instead I clamped it in the vise. That way I had a tactile way to determine how hard I was staking it
-
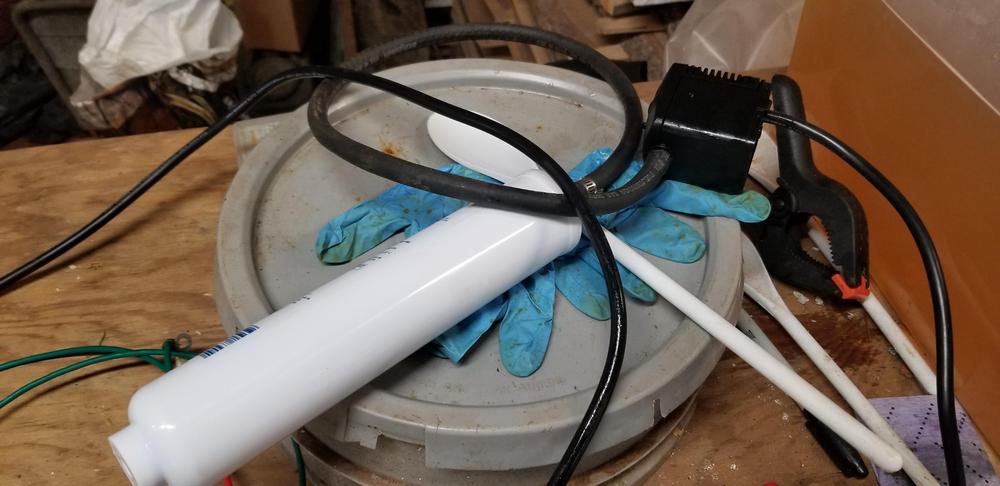
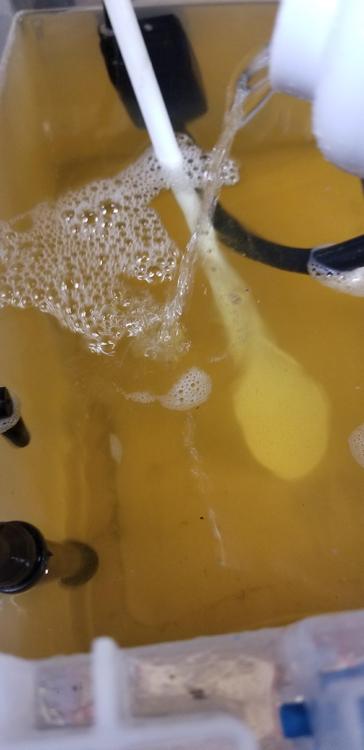
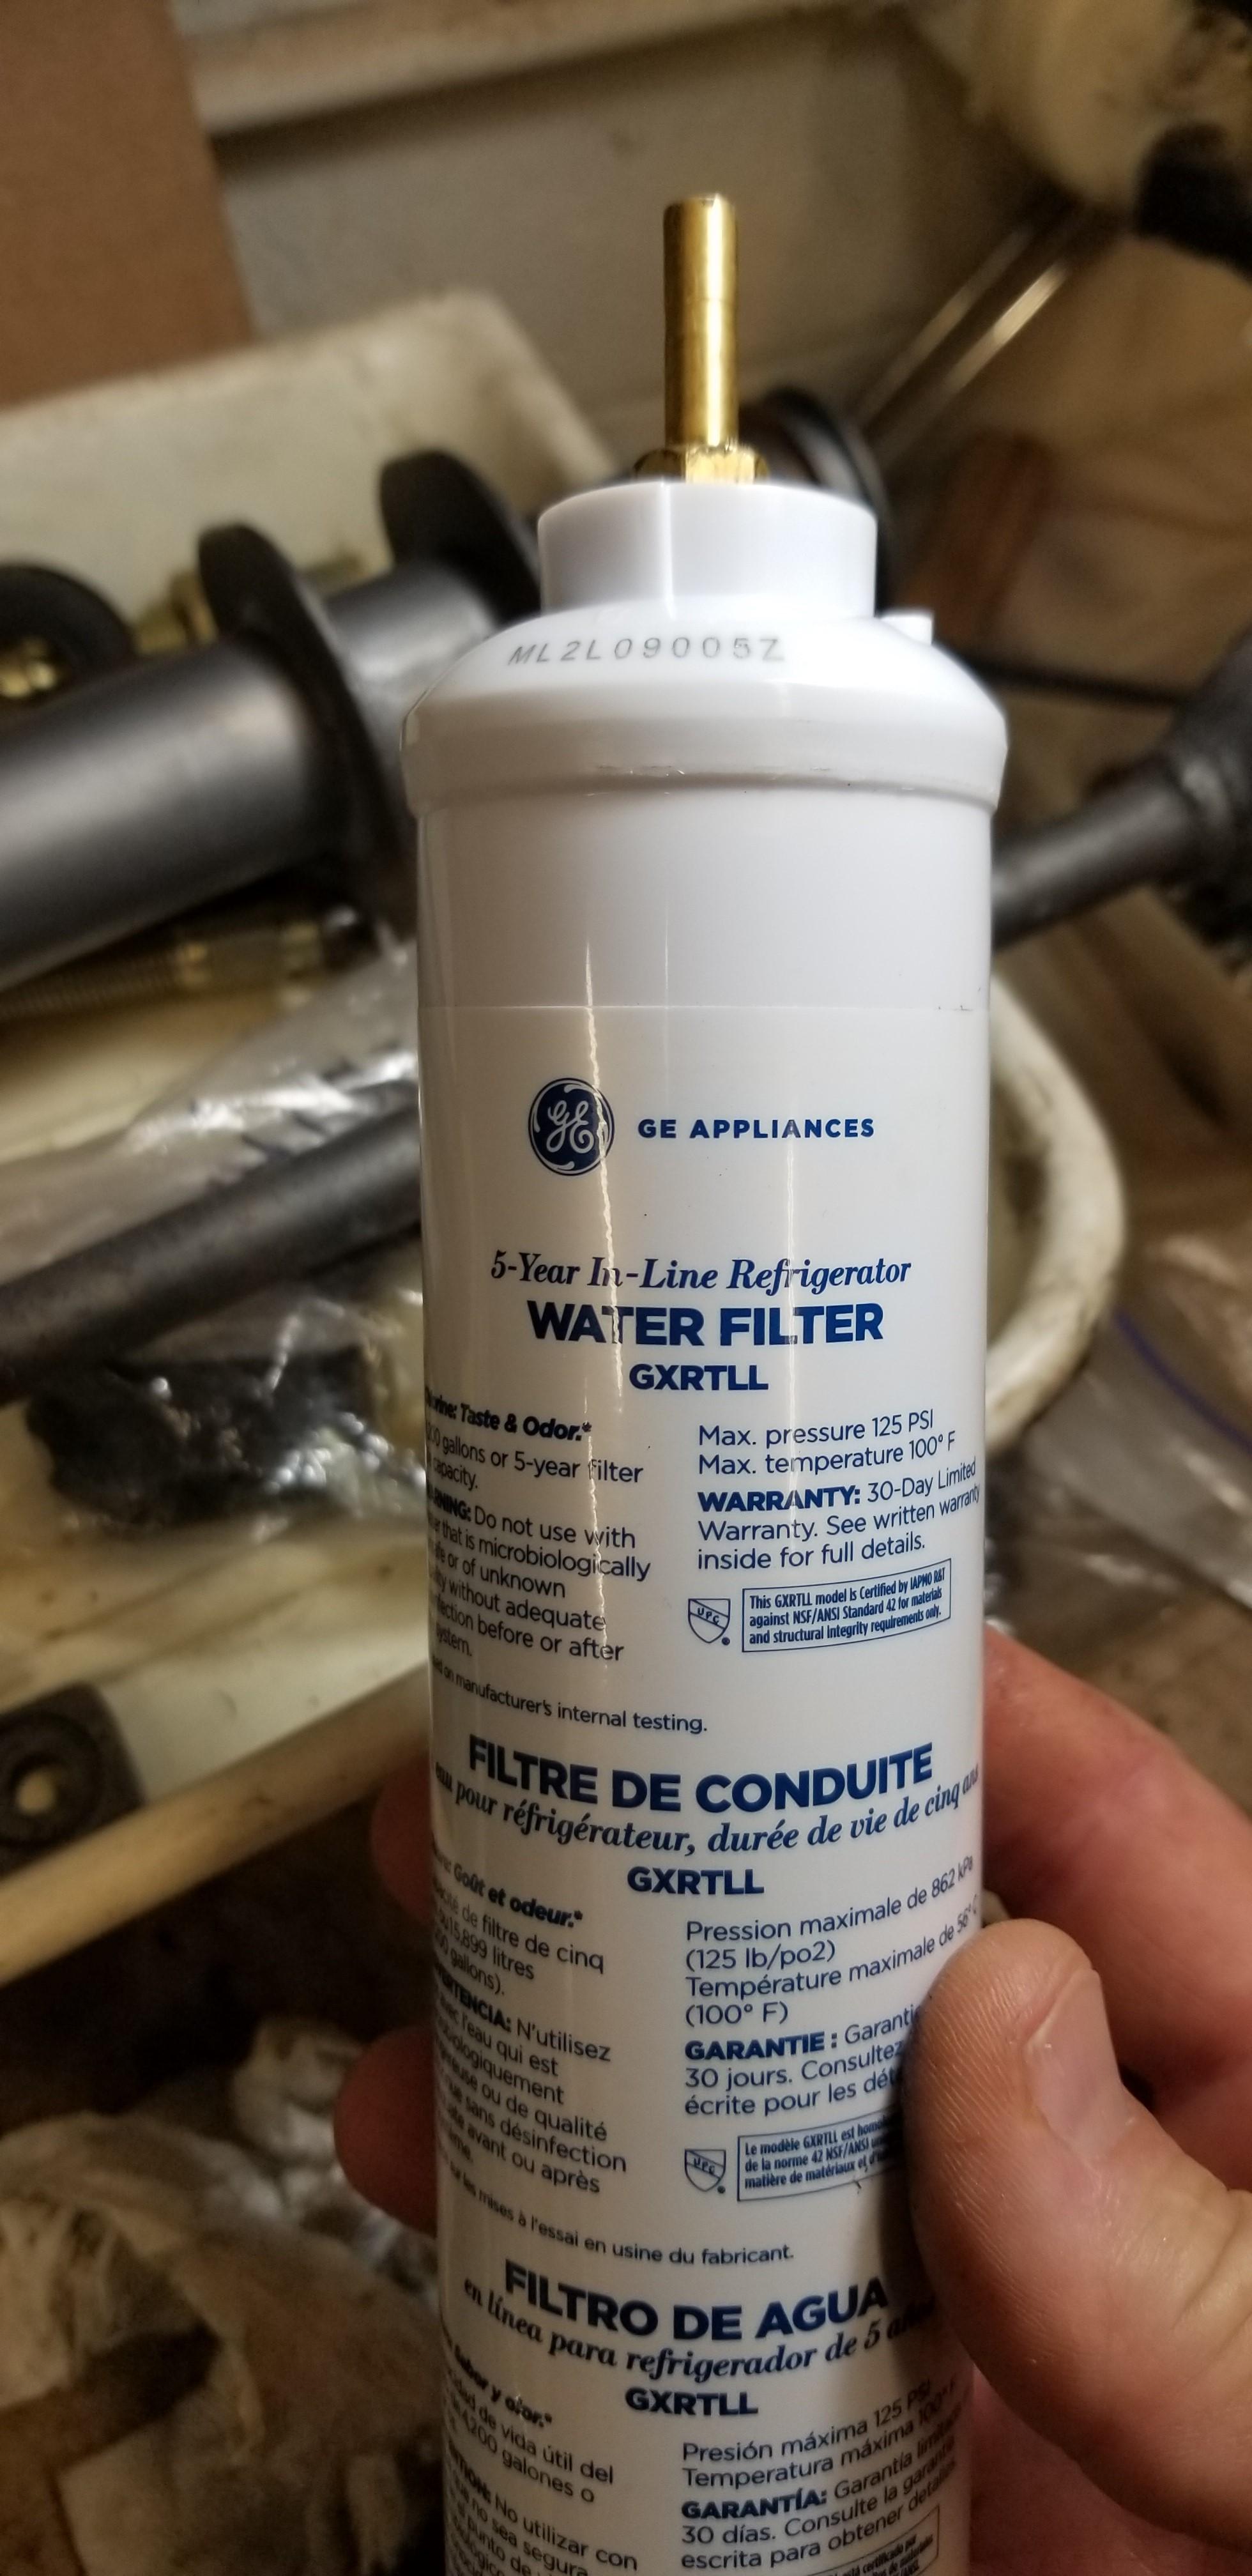
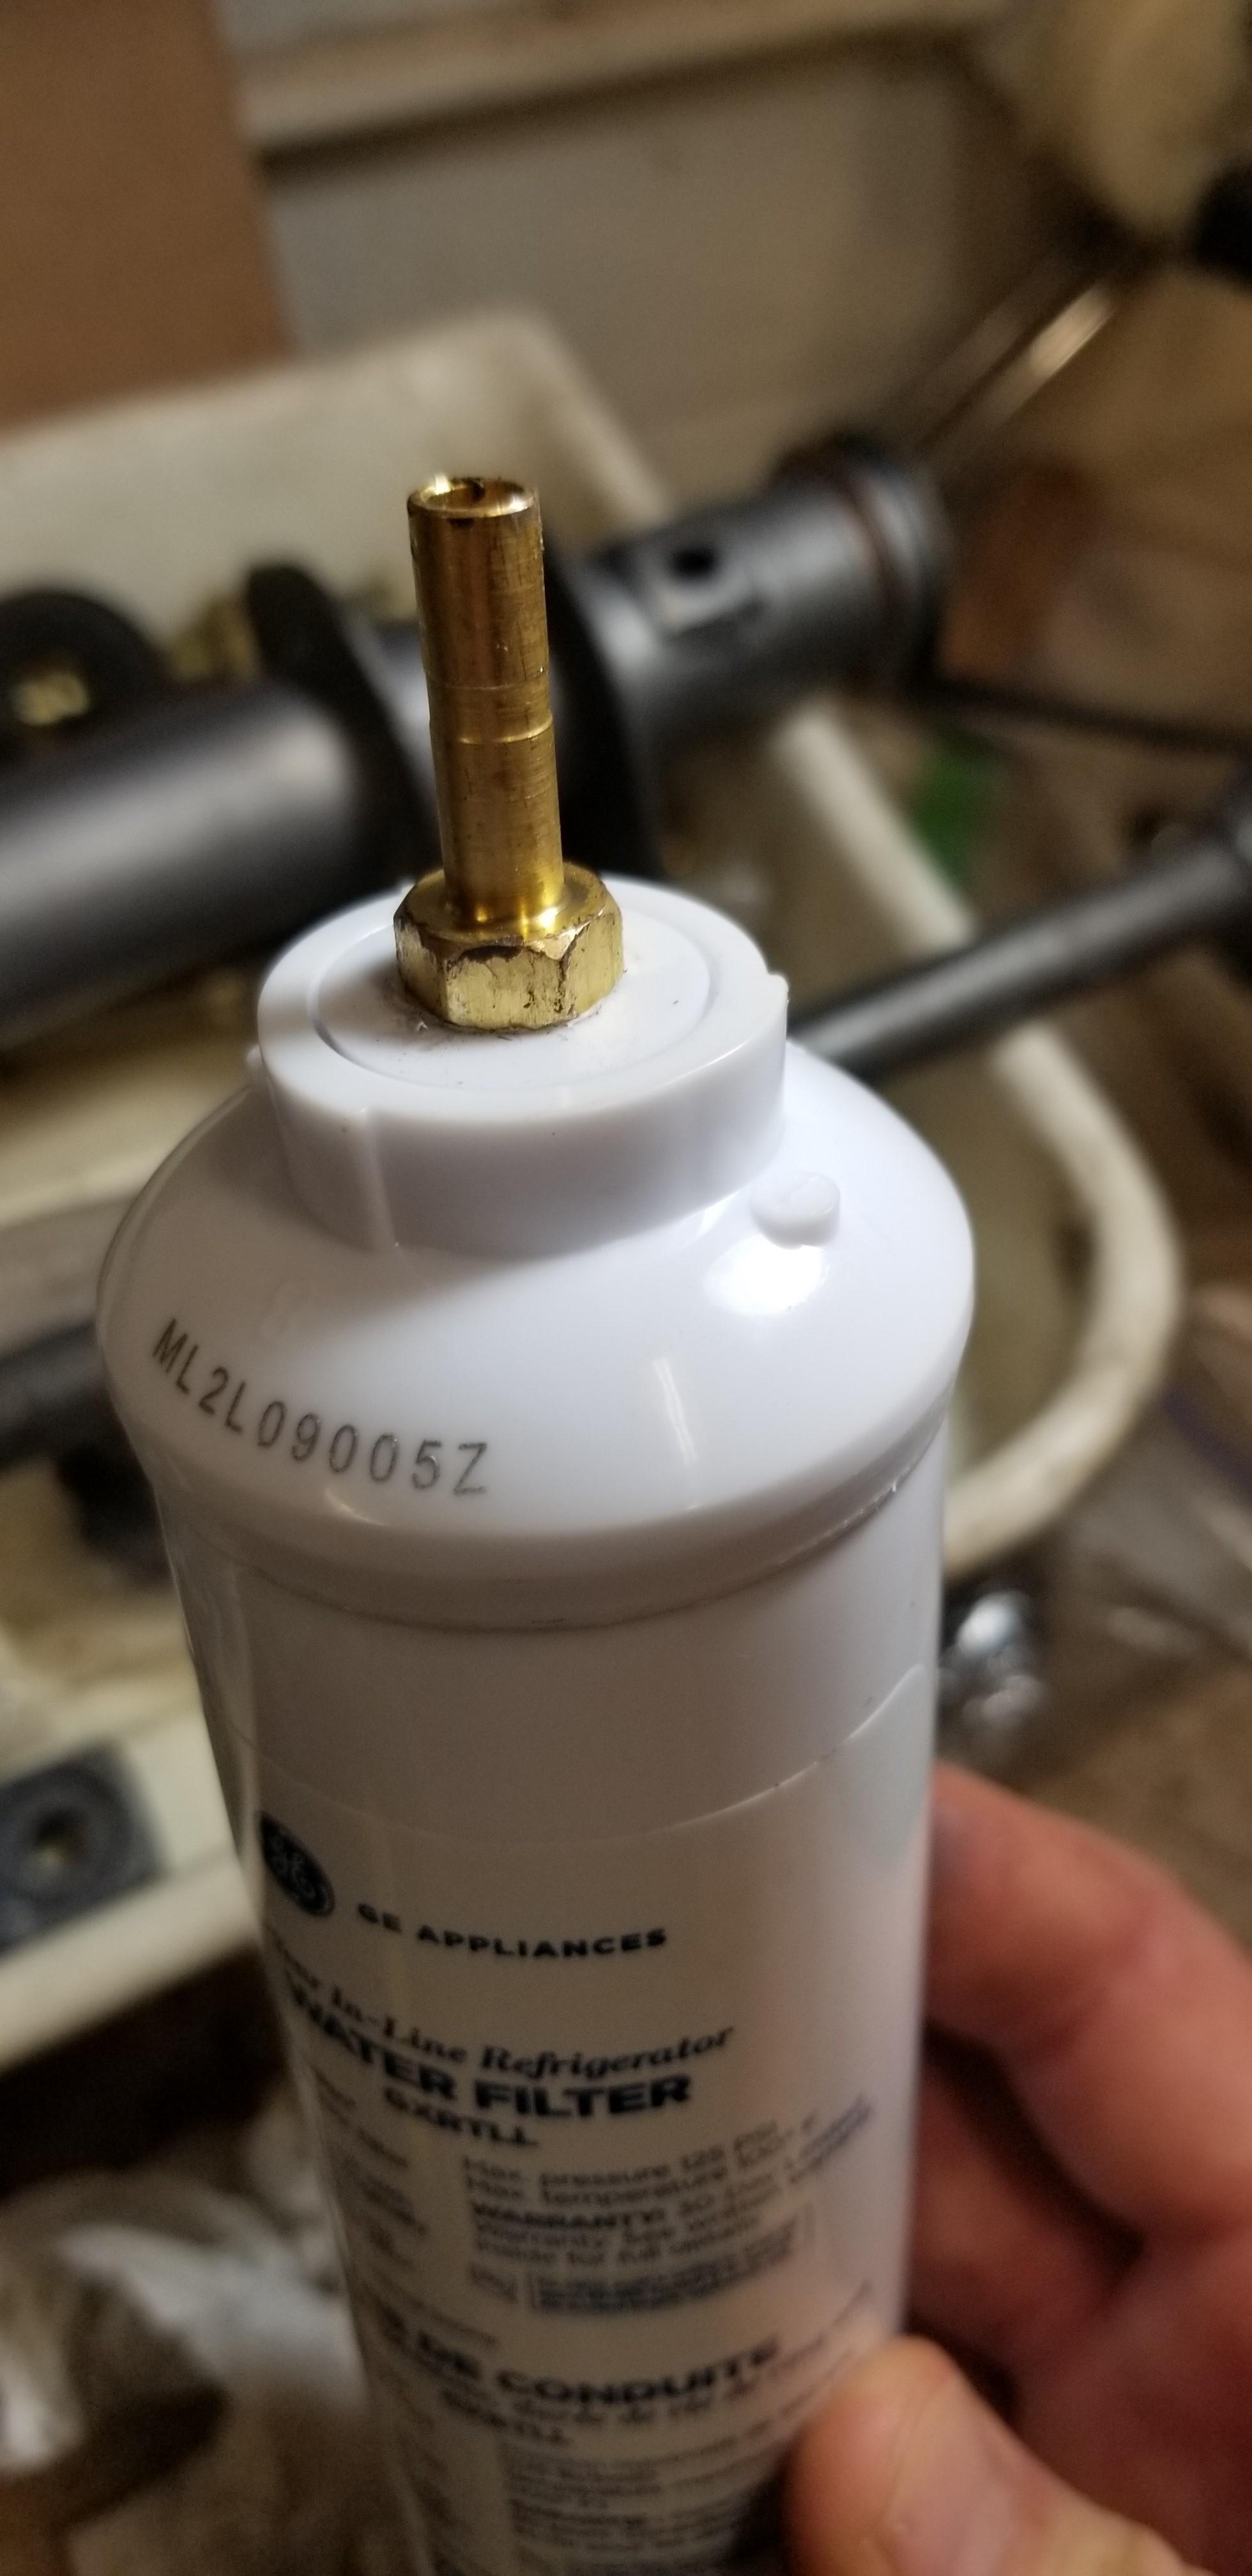
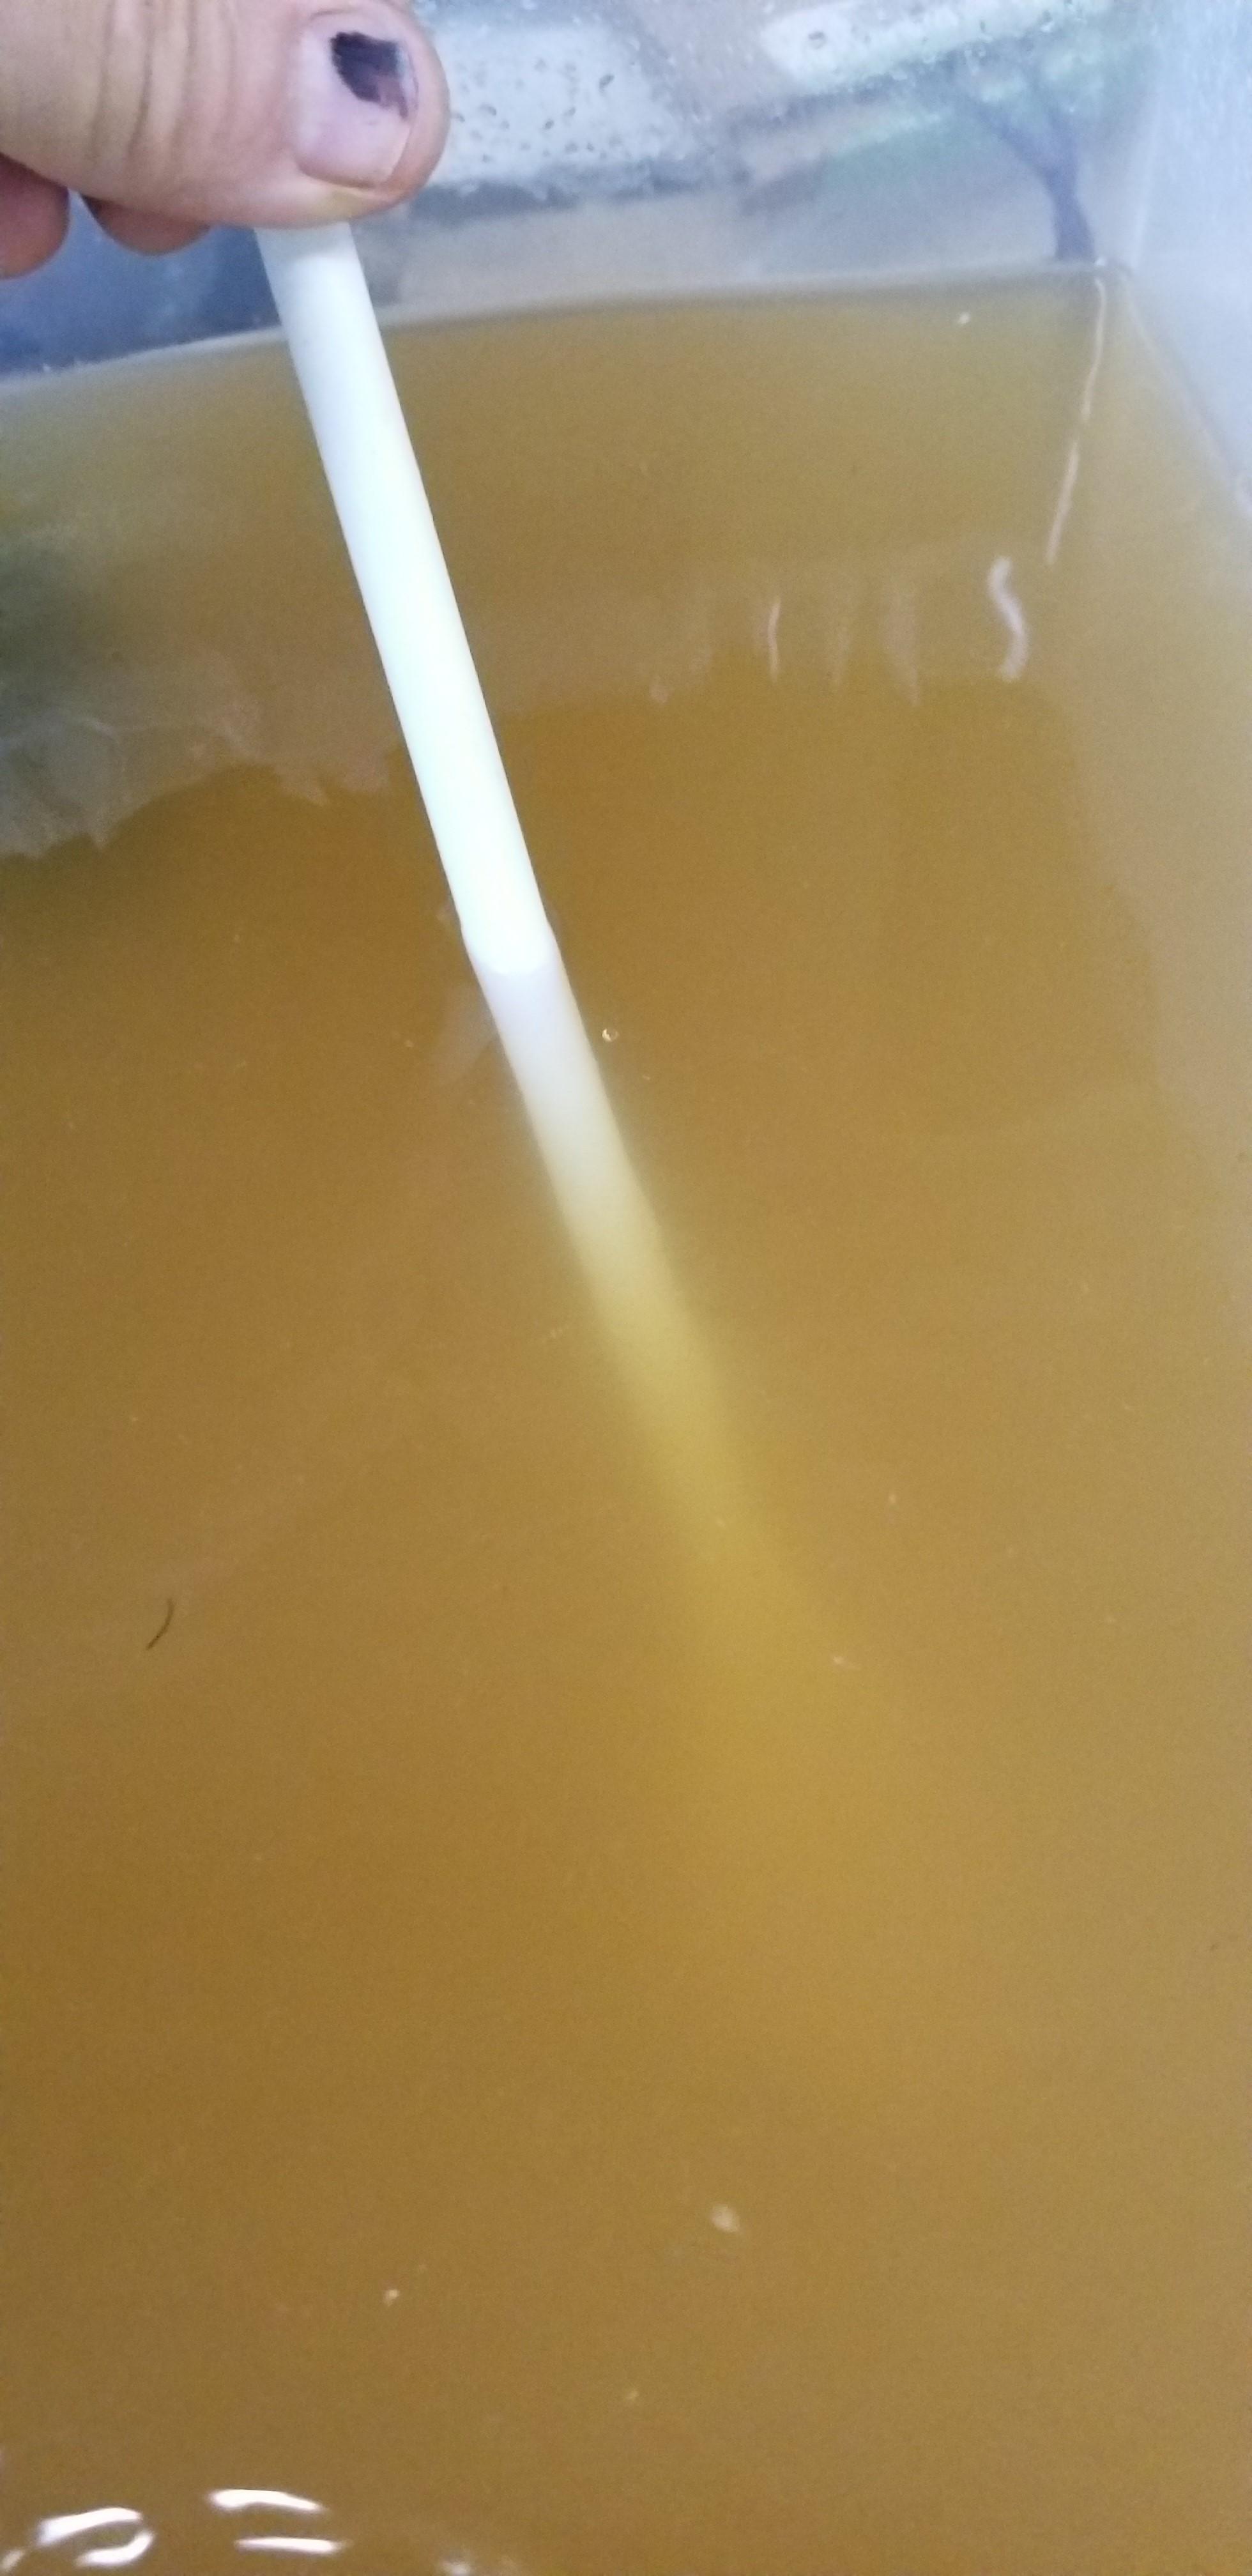
So I got some post plating blistering after some of my last plating. It didn't show up for about a week. Some causes I found: Too much brightener Organics in the plating bath Bad part prep My bath had gotten kind of cloudy and I am sure I get a lot of "drag out" from my degreaser and pickle tank, so I decided to charcoal filter it. Seanc on the Caswell forum suggested a fridge filter hooked to the aquarium pump. Works great! Now the brass end is supposed to be installed in the reverse way. Shank in and threads out, but I tapped the end of the filter and left the shank out to attach to the hose. 45 minutes later Now the only downside is this will remove any brightener from the bath. Seanc said in some other posts on the Caswell forum that he doesn't even use brightener. That he gets better results with out it. So we will see how my next plating session goes and whether I can get shiny plate with out the brightener