Patcon
 Subscriber
-
Joined
-
Last visited
Everything posted by Patcon
-
 Yes, they do!
 -
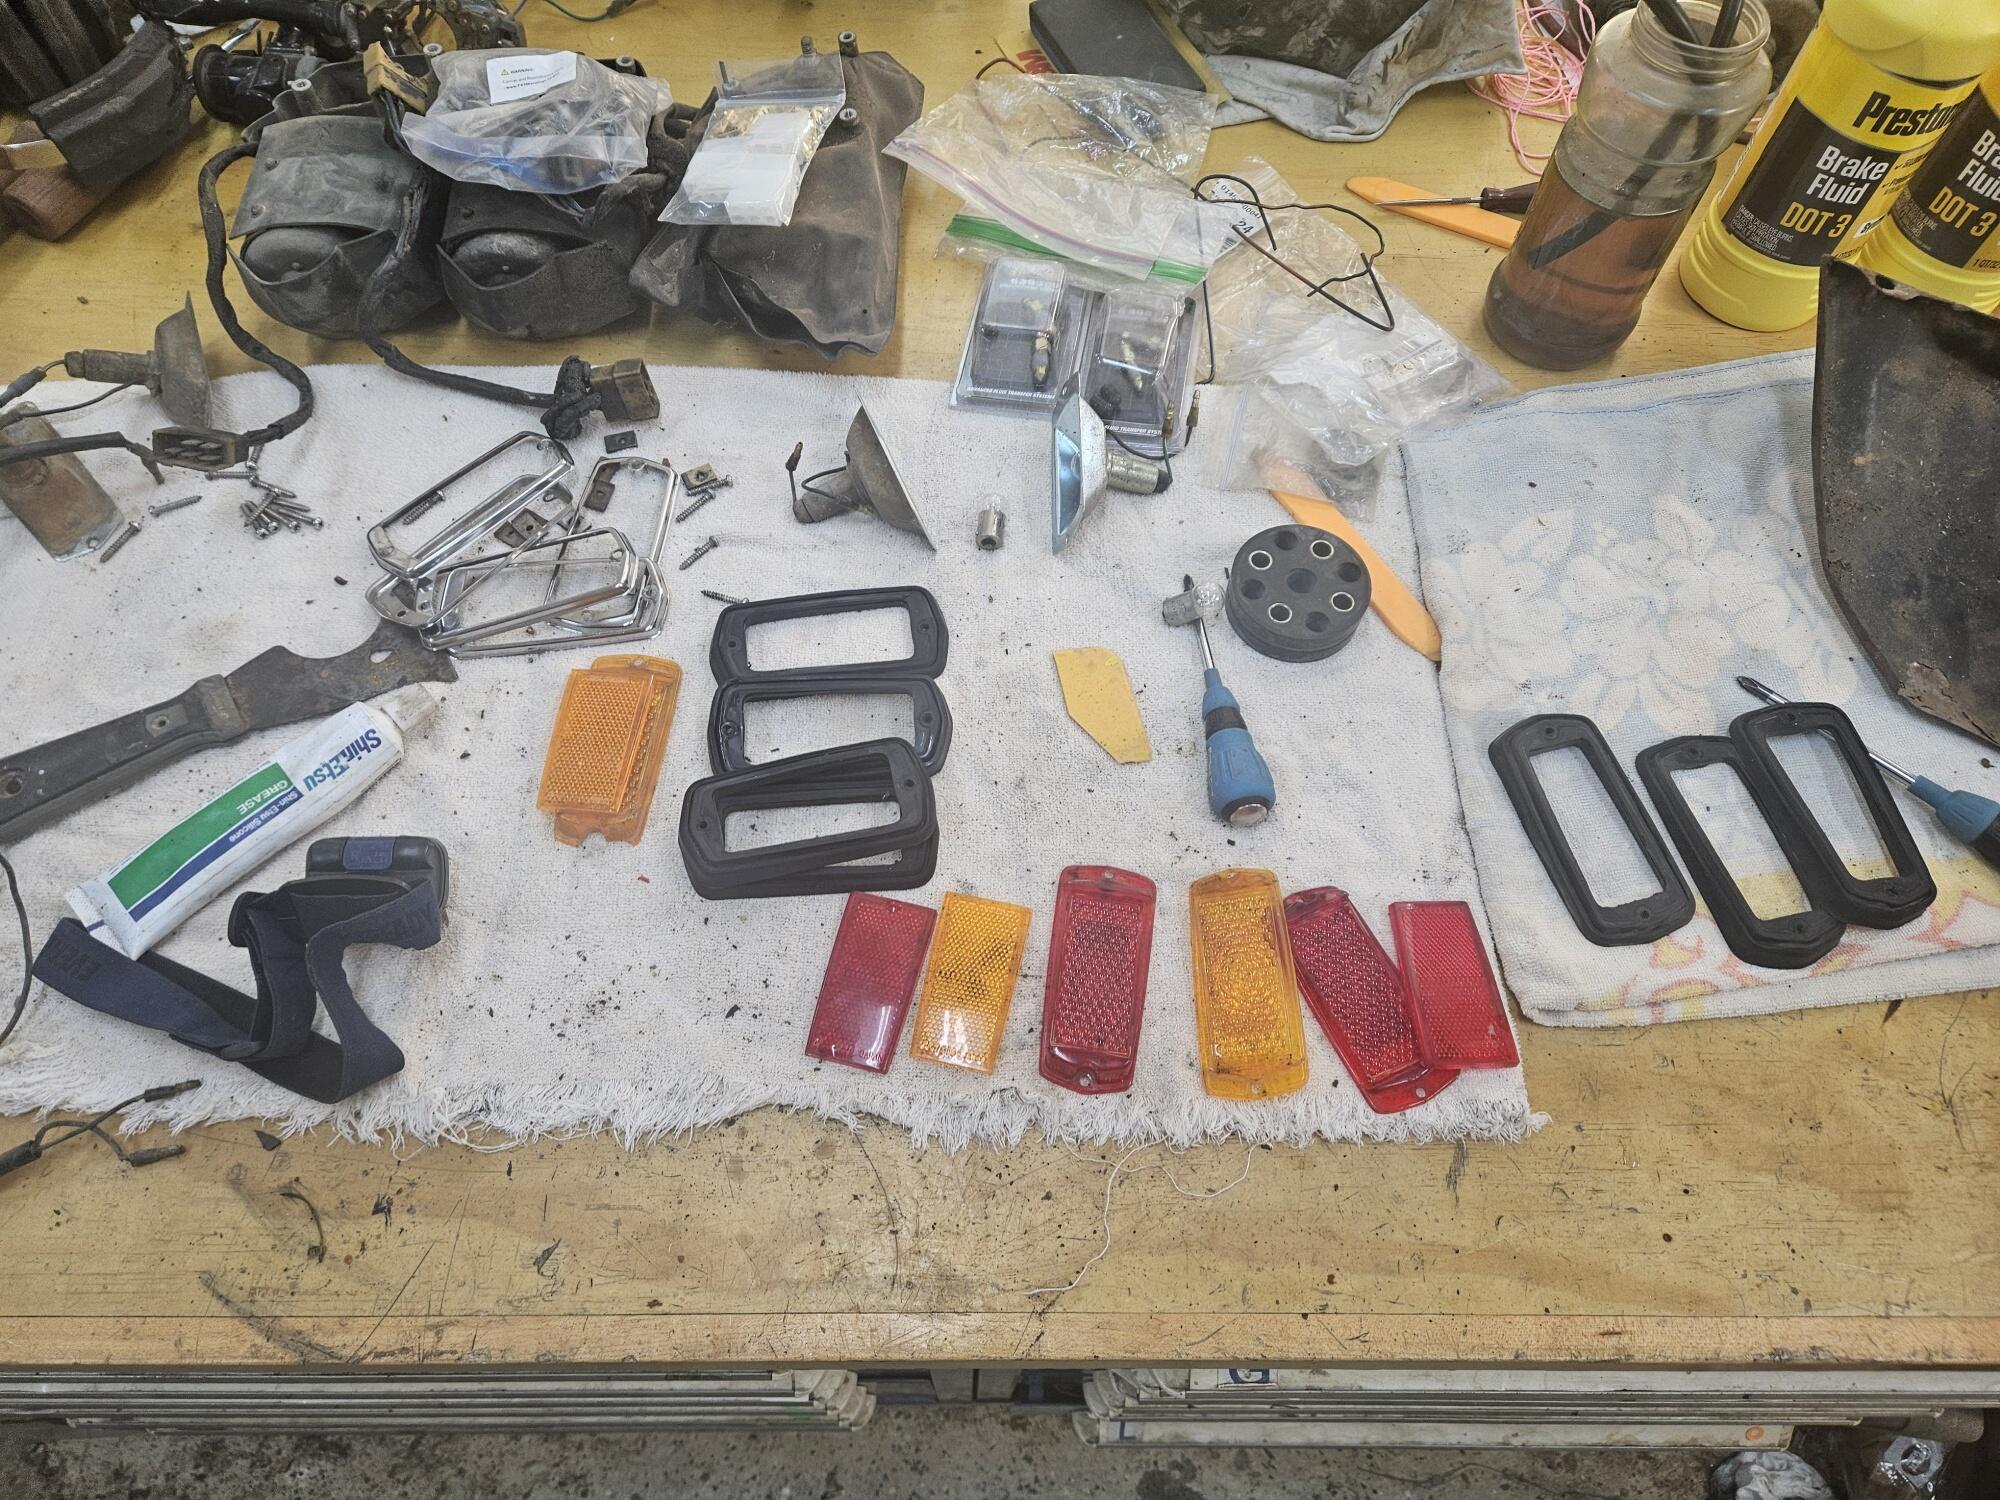
Thanks, the LEDs I have are Amber or Red to match the lens color at that location because I have been told the same thing
-
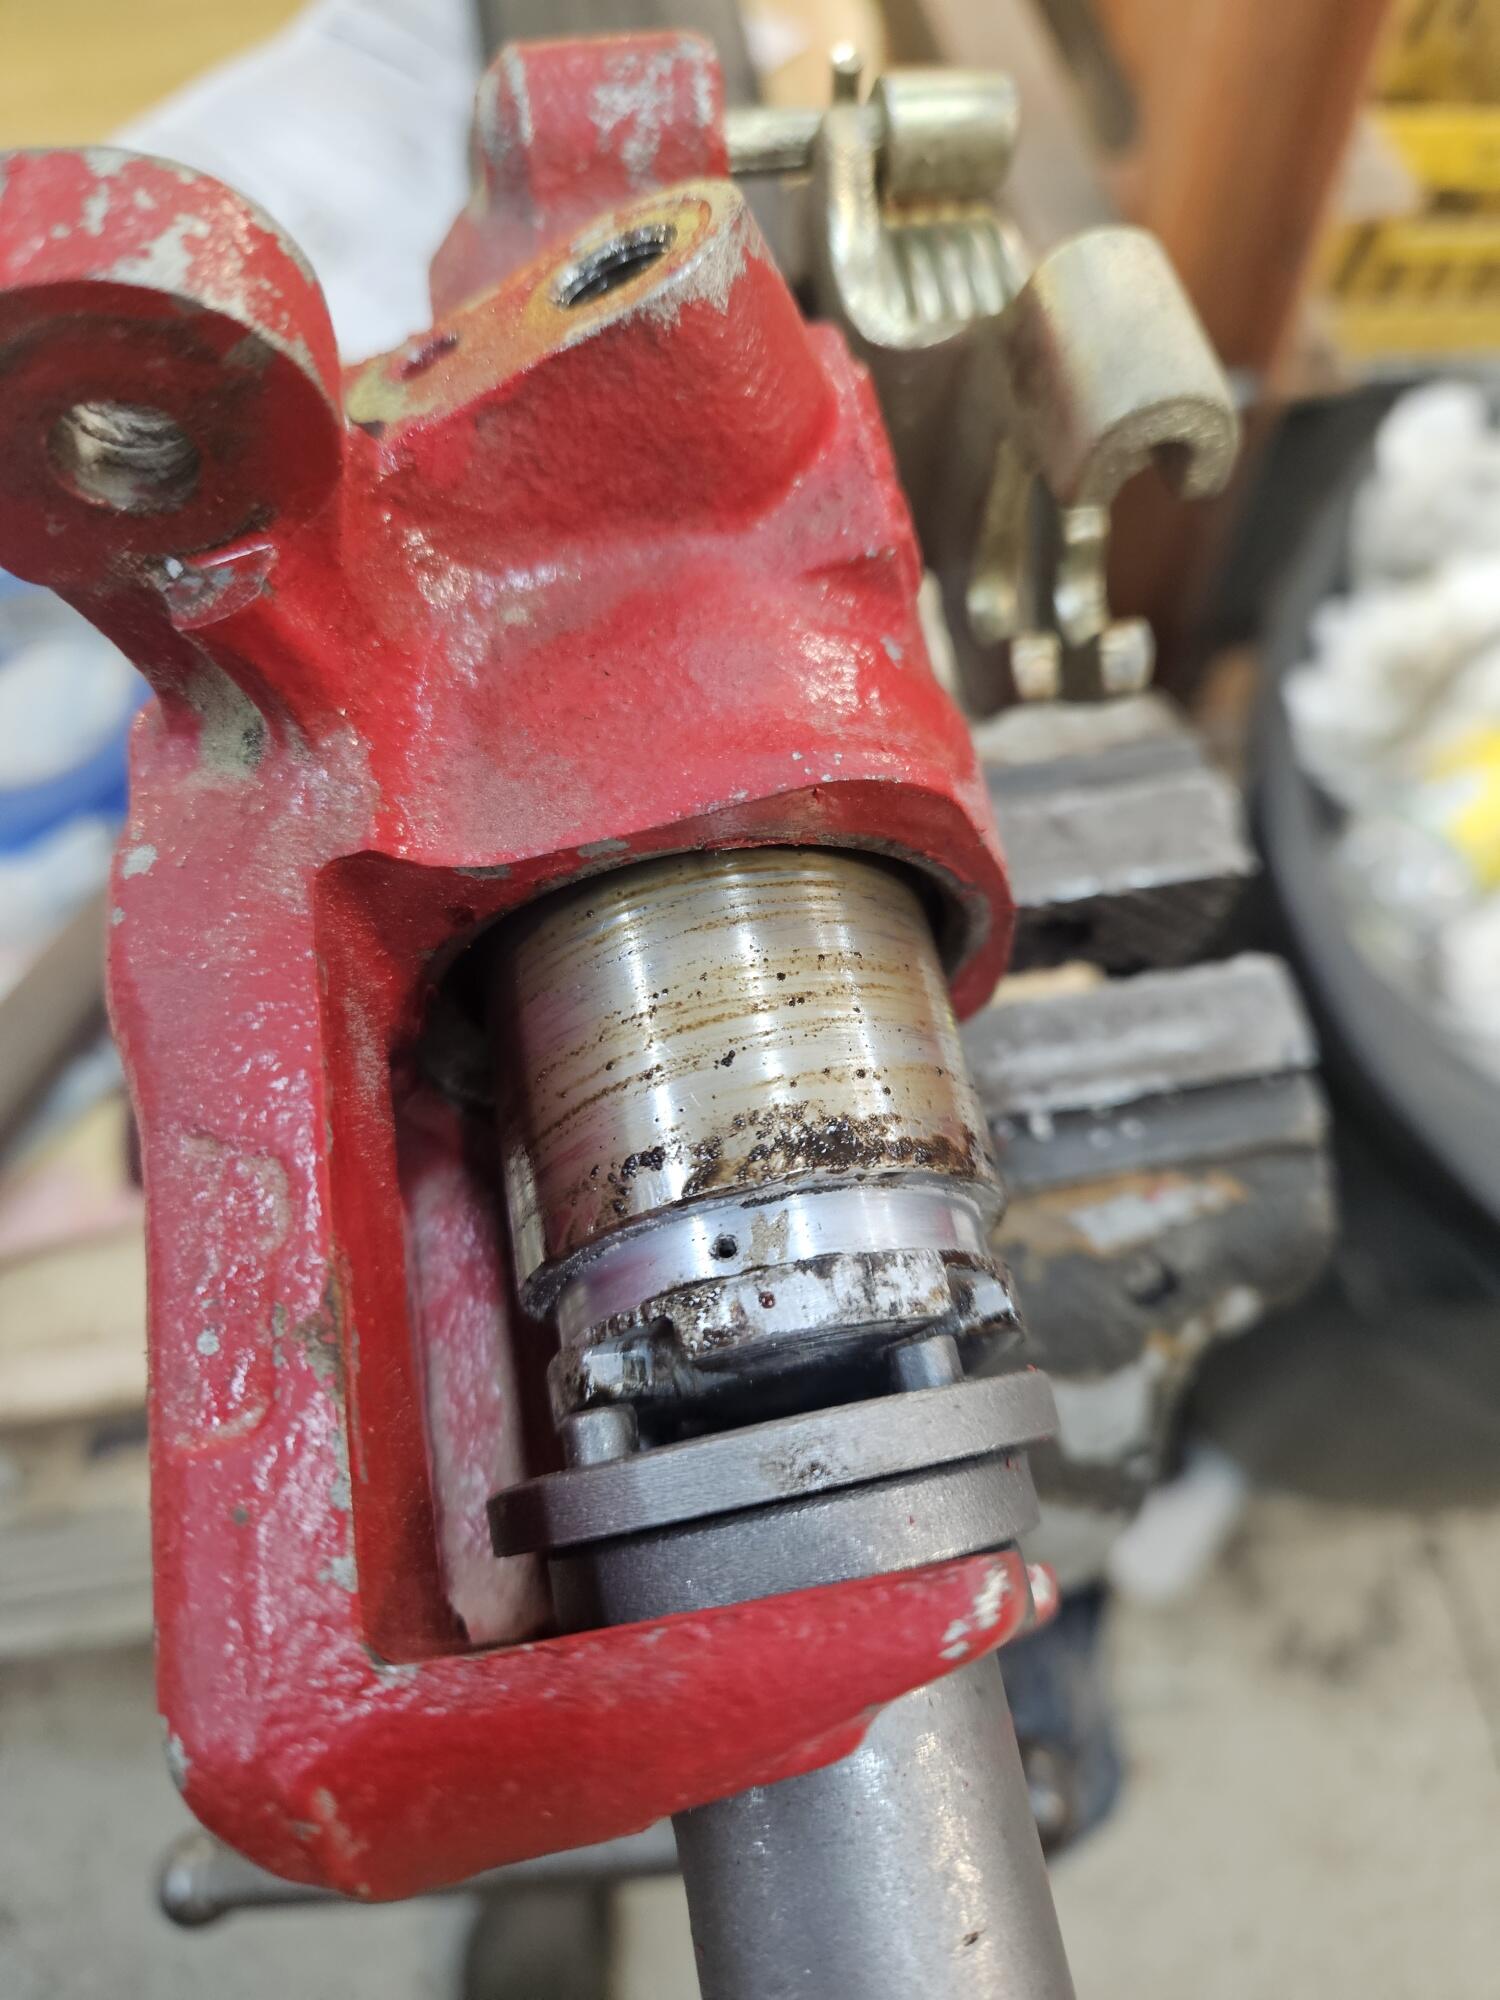
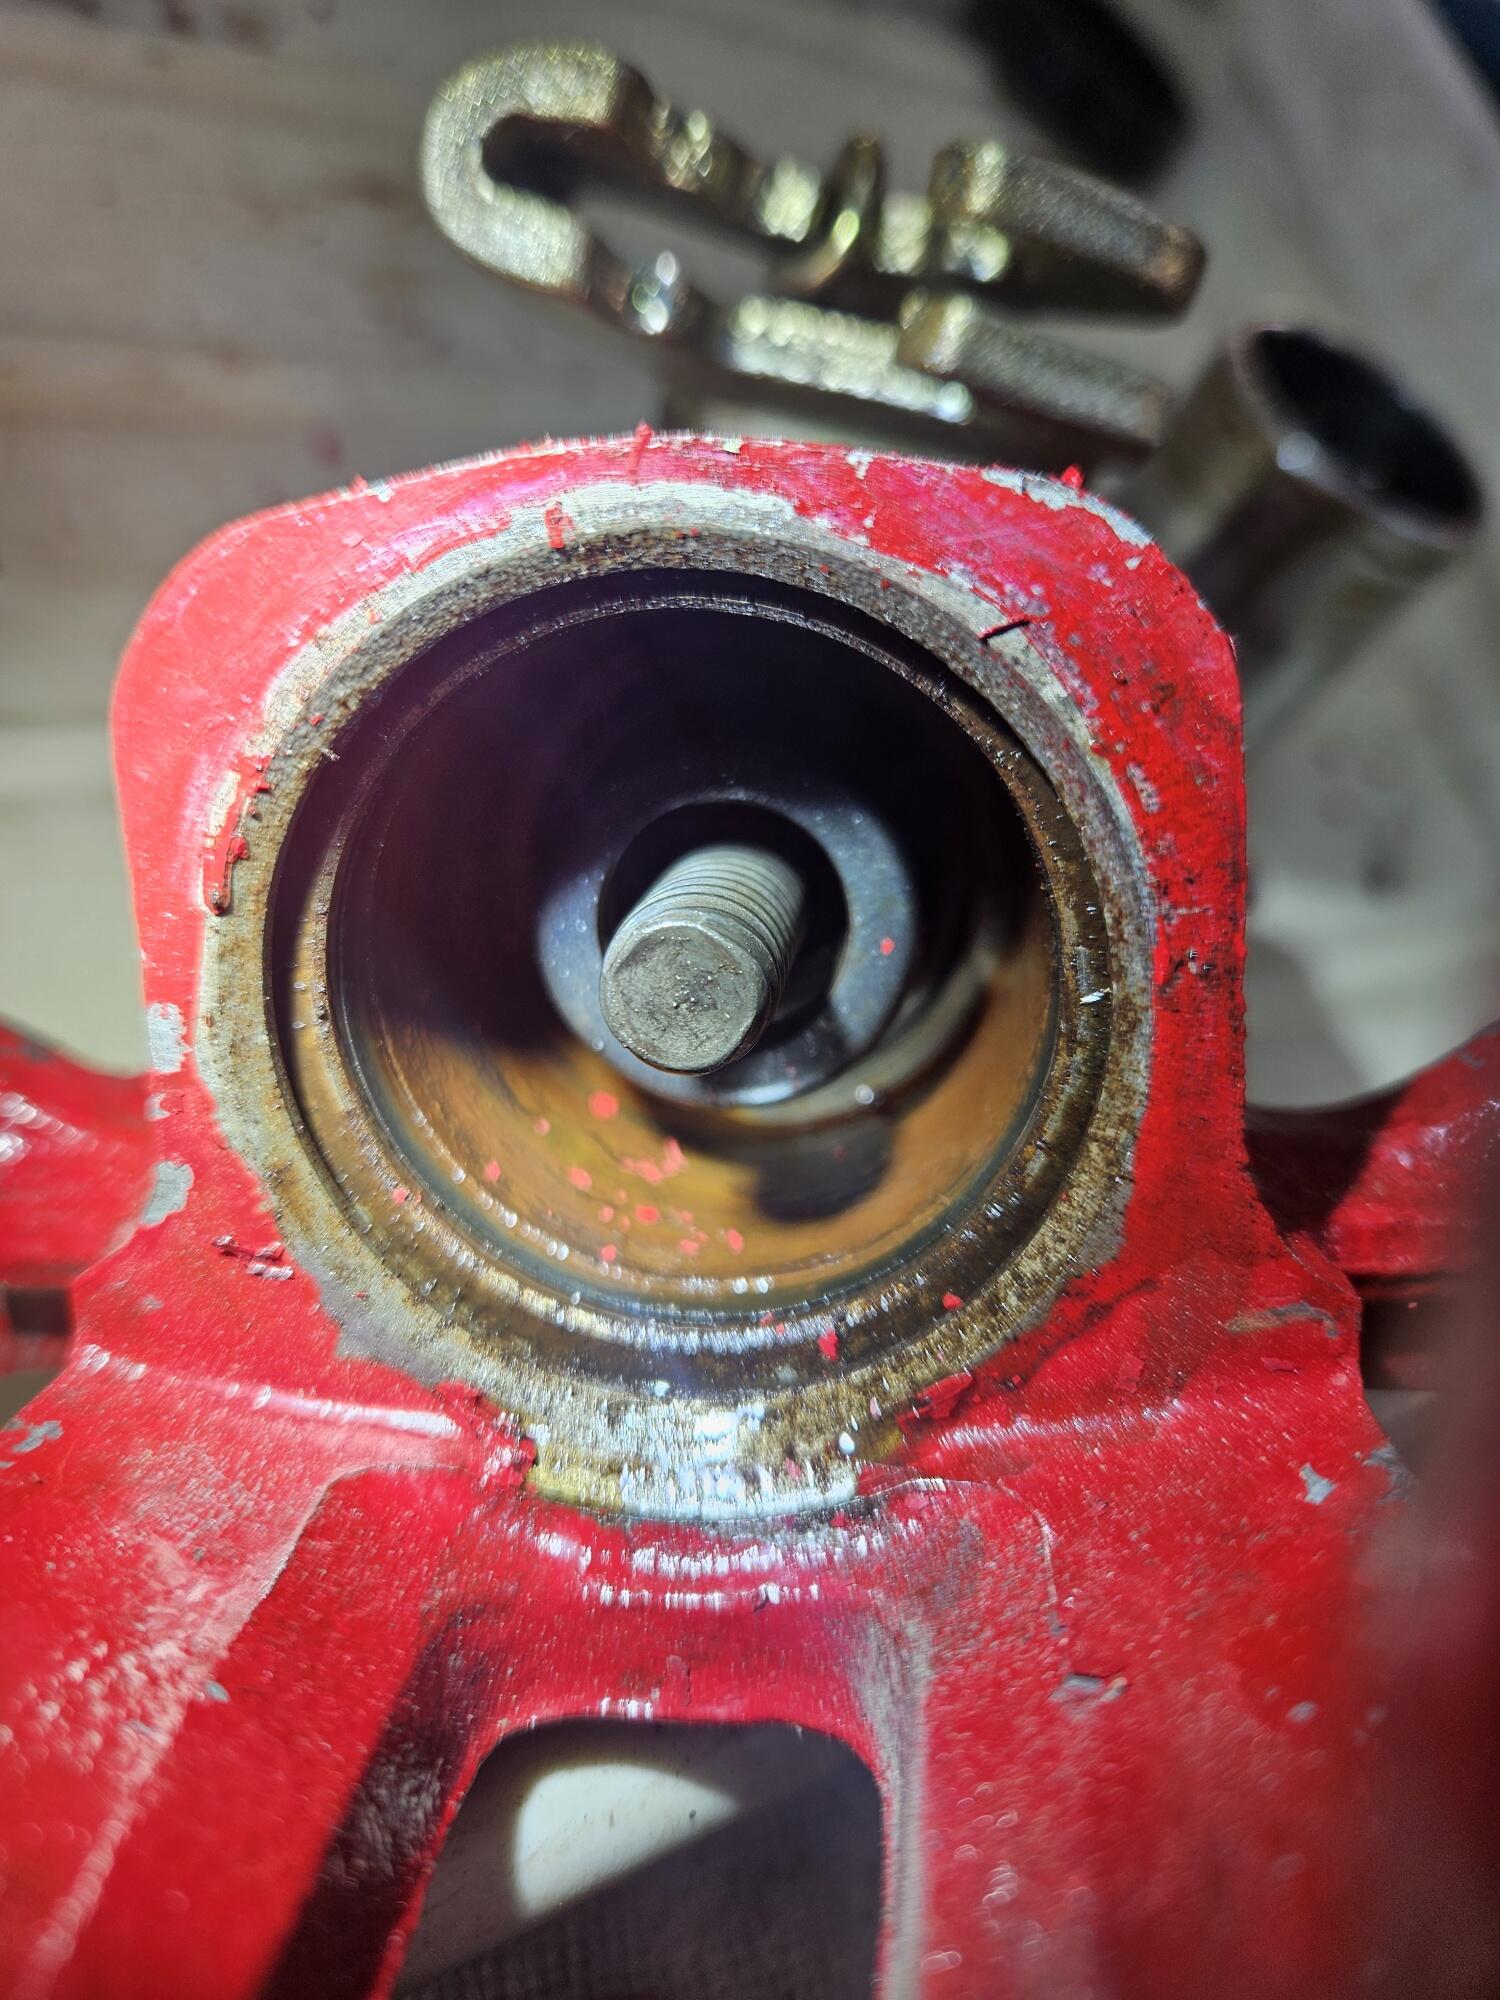
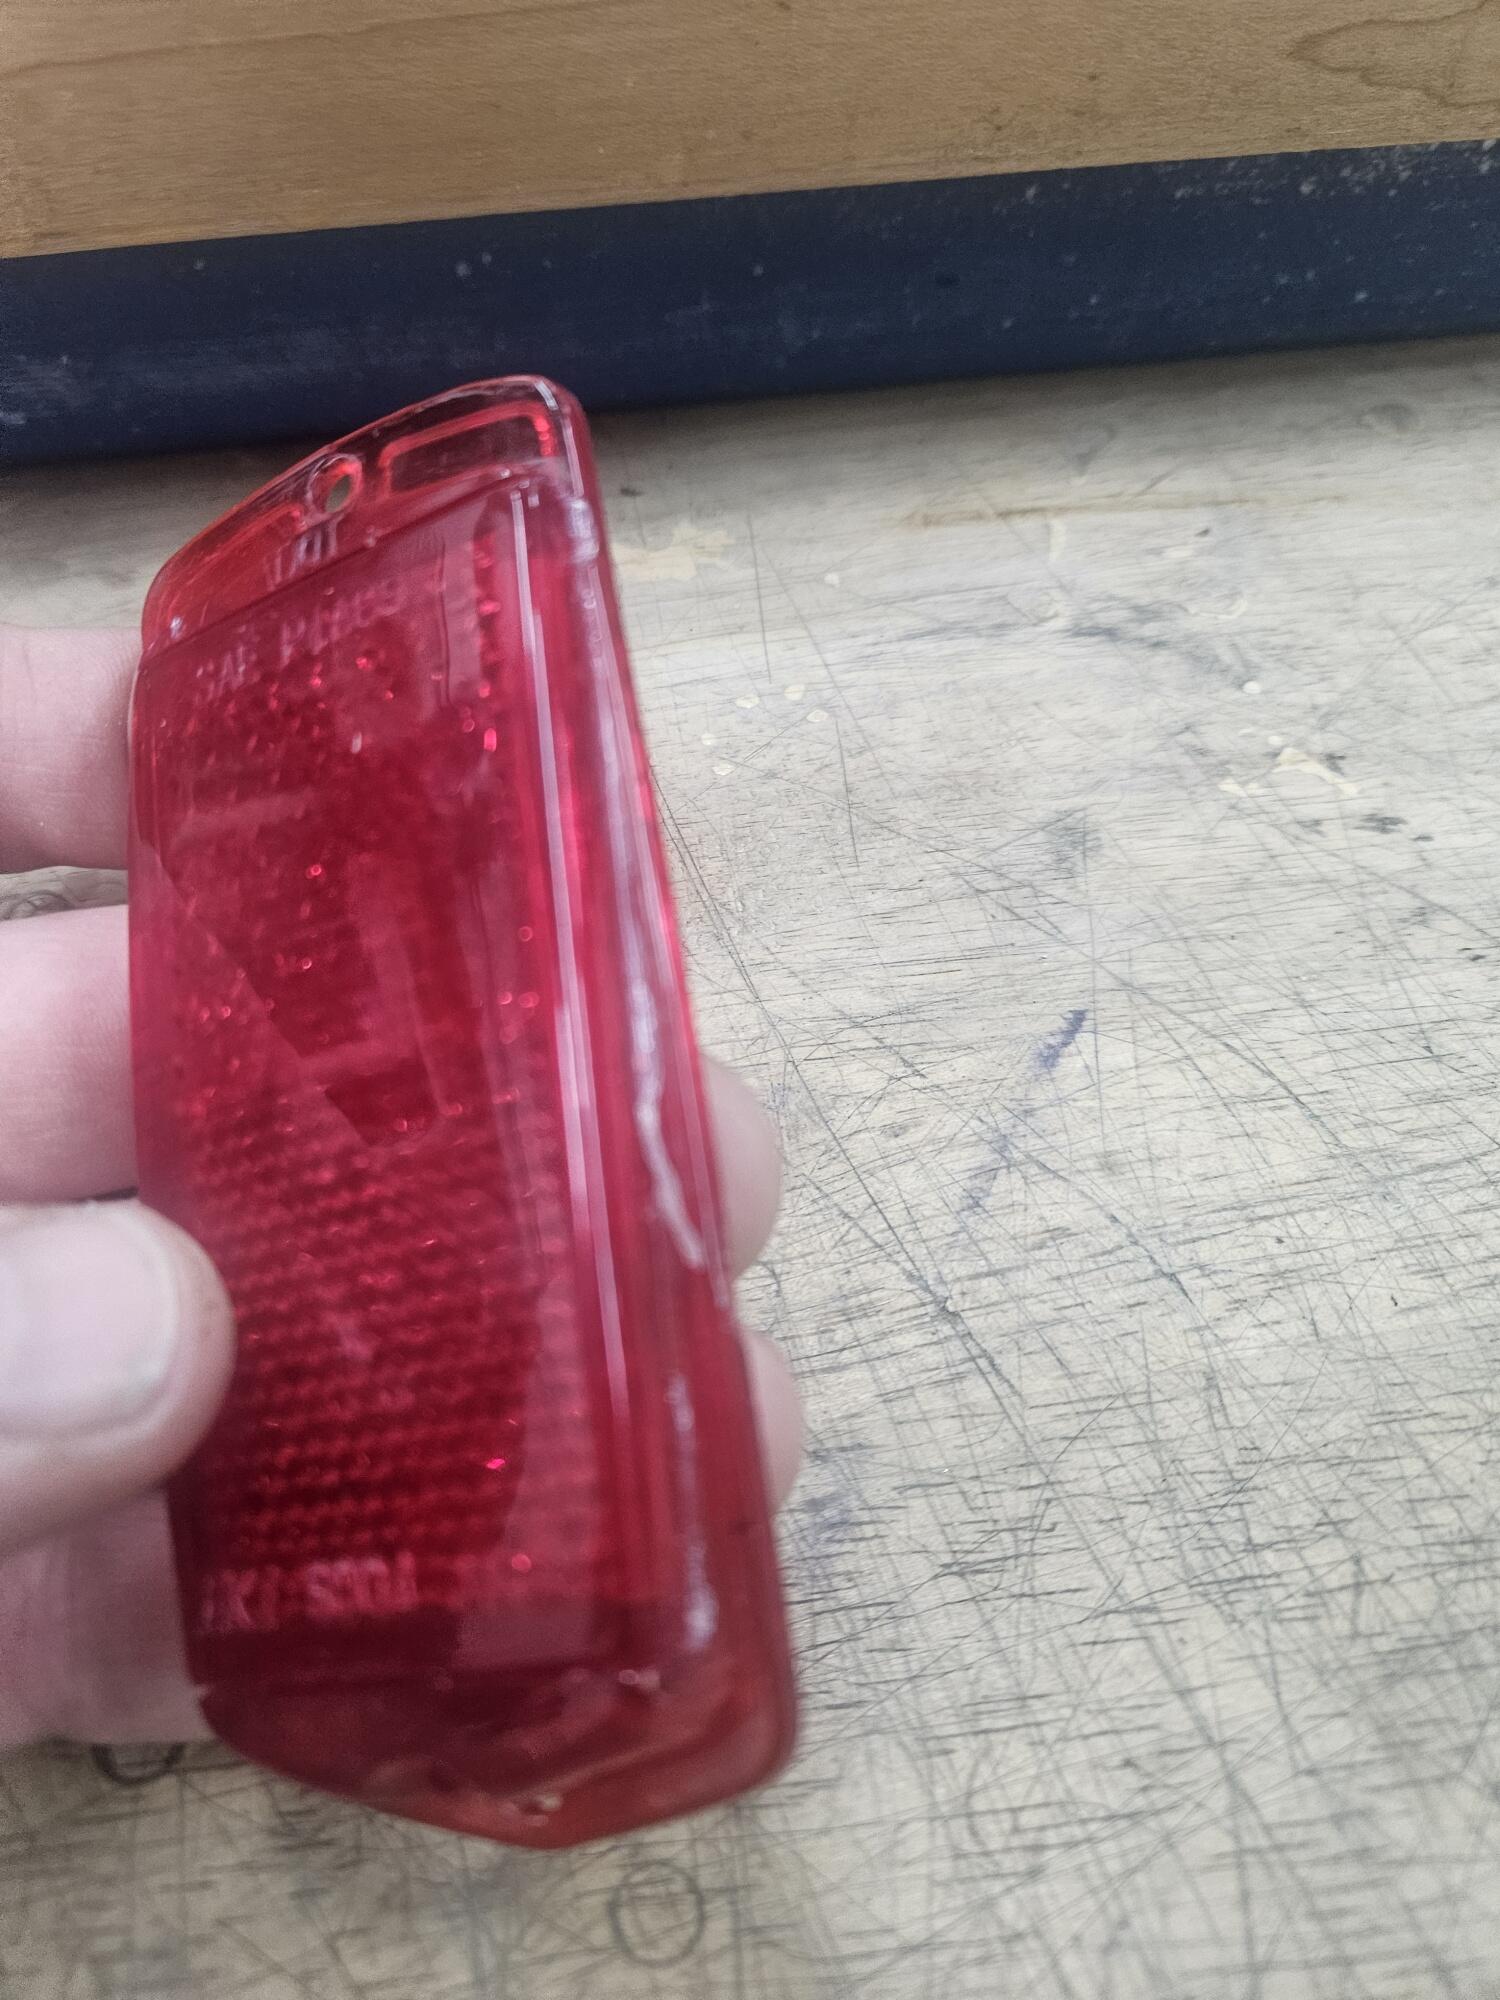
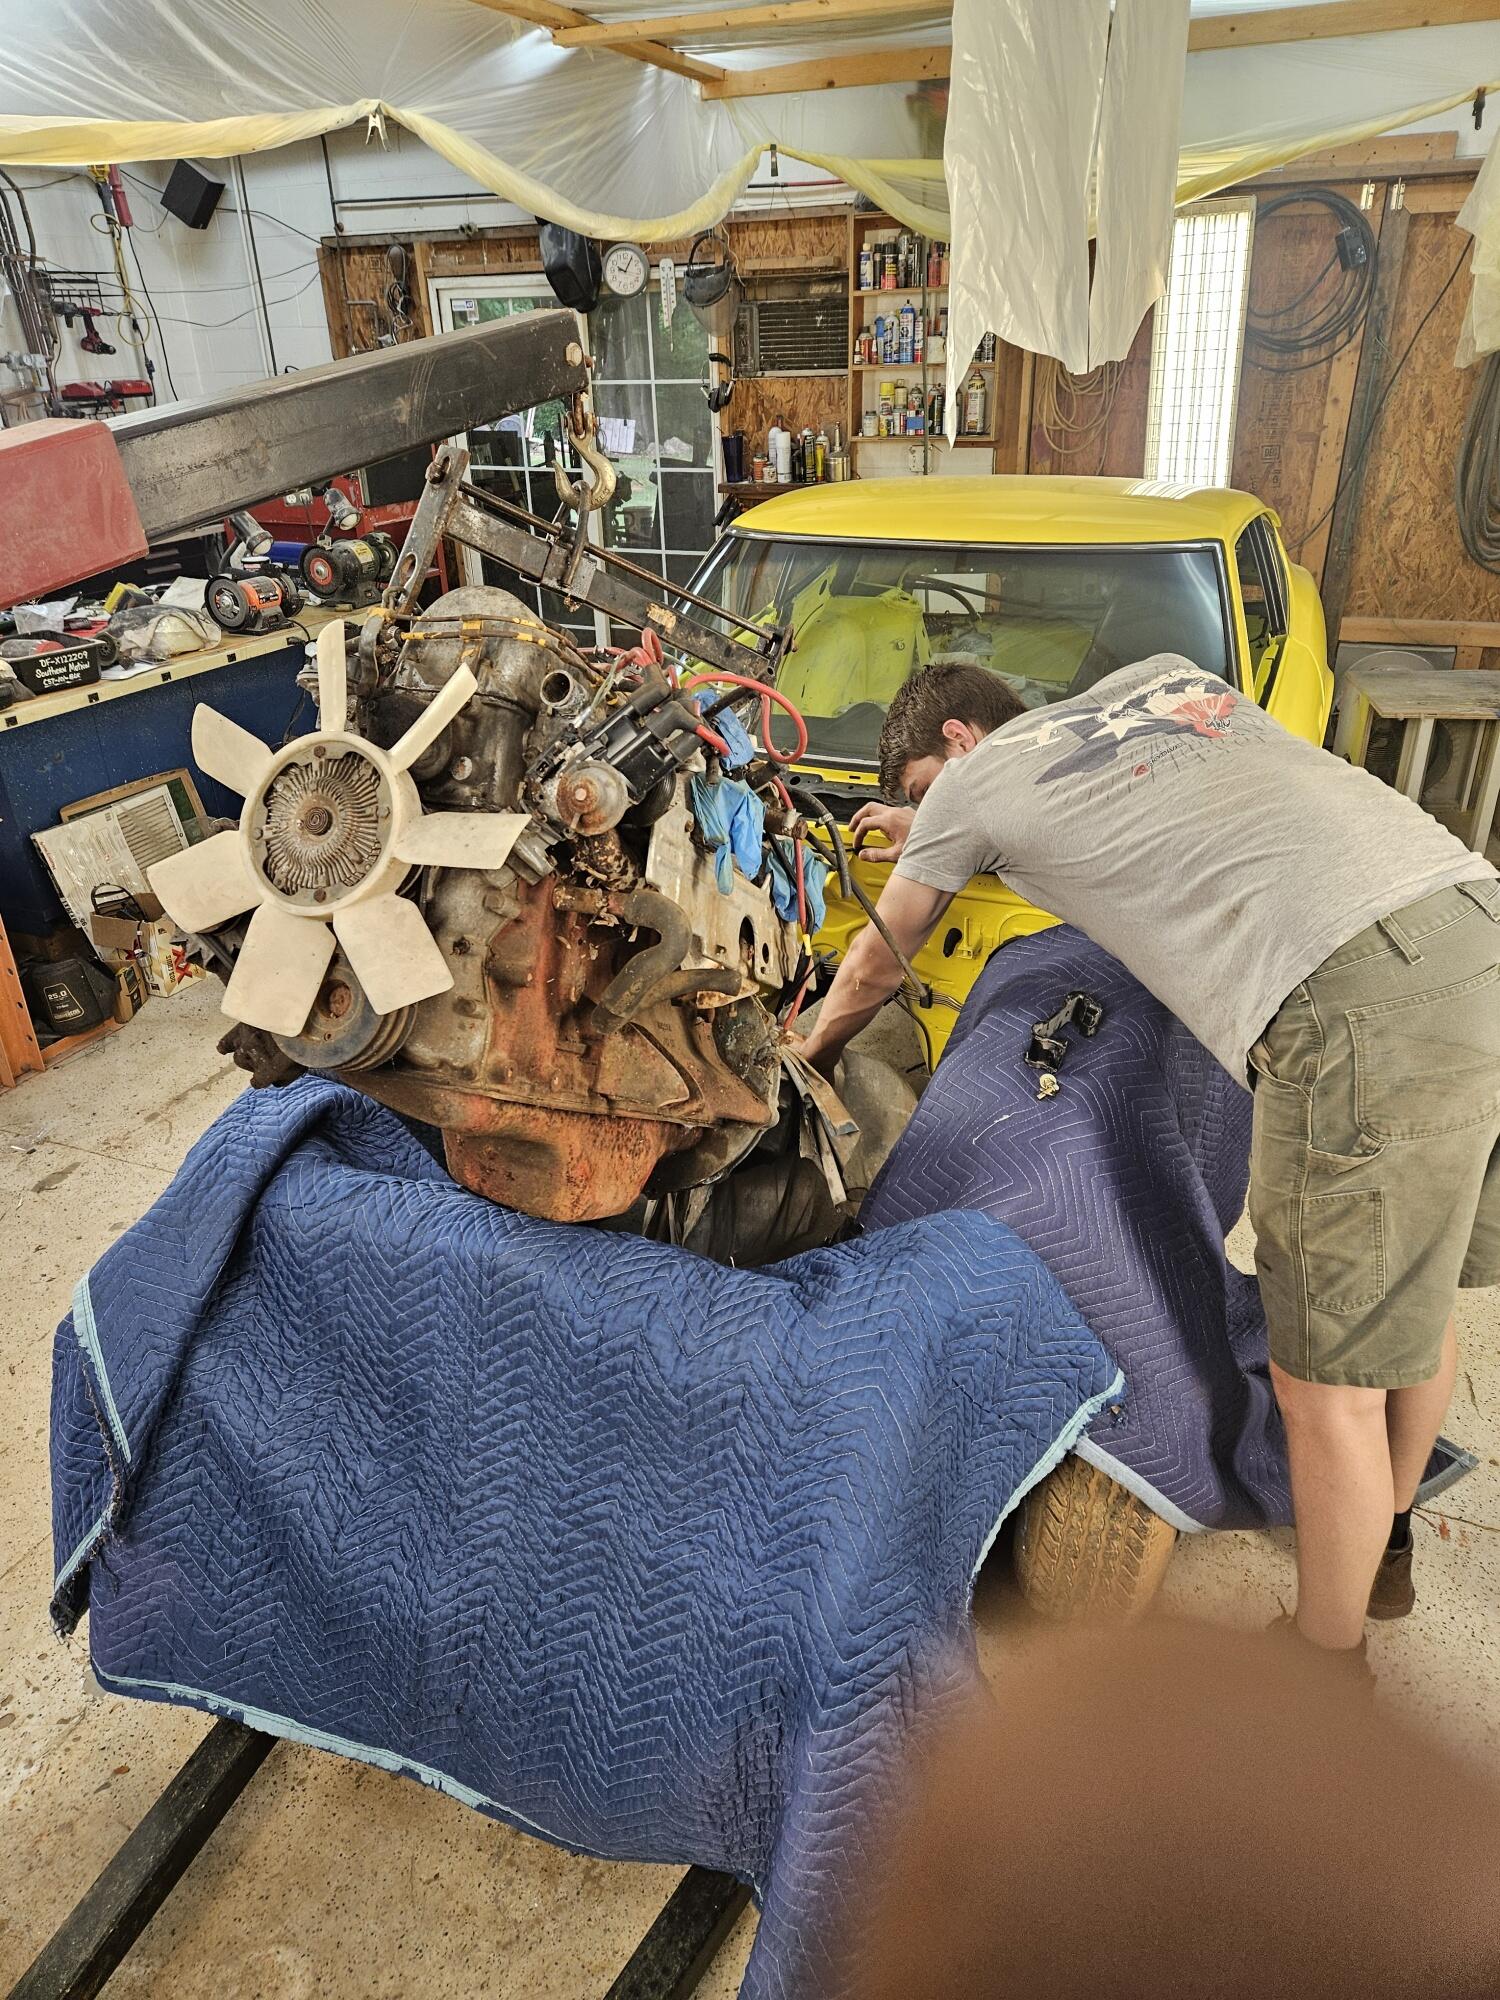
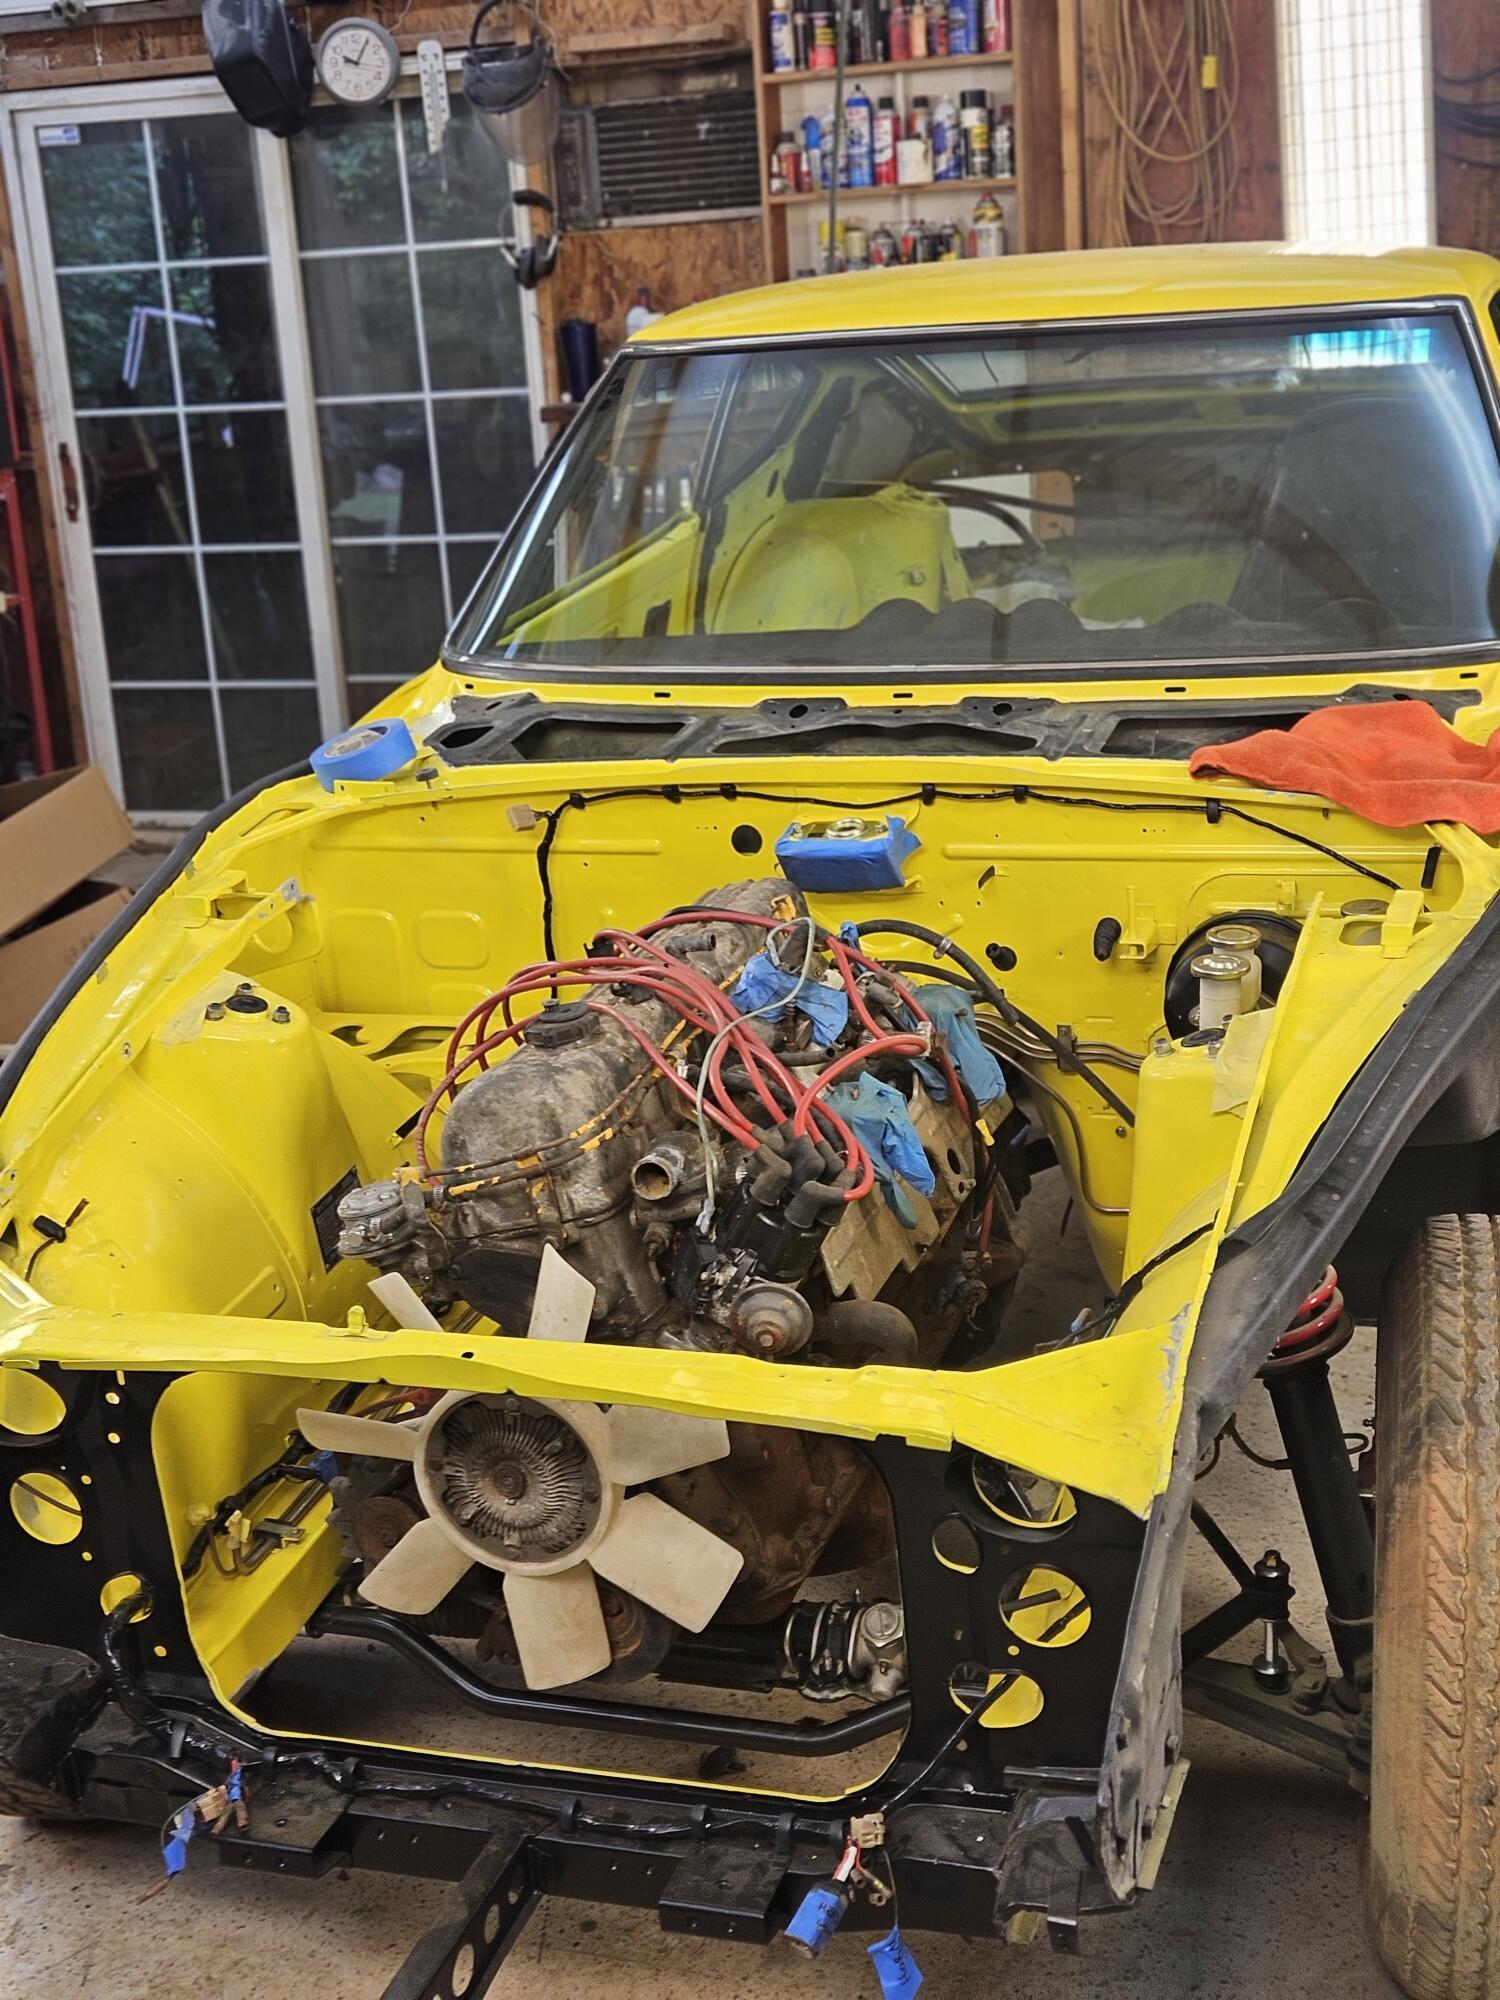
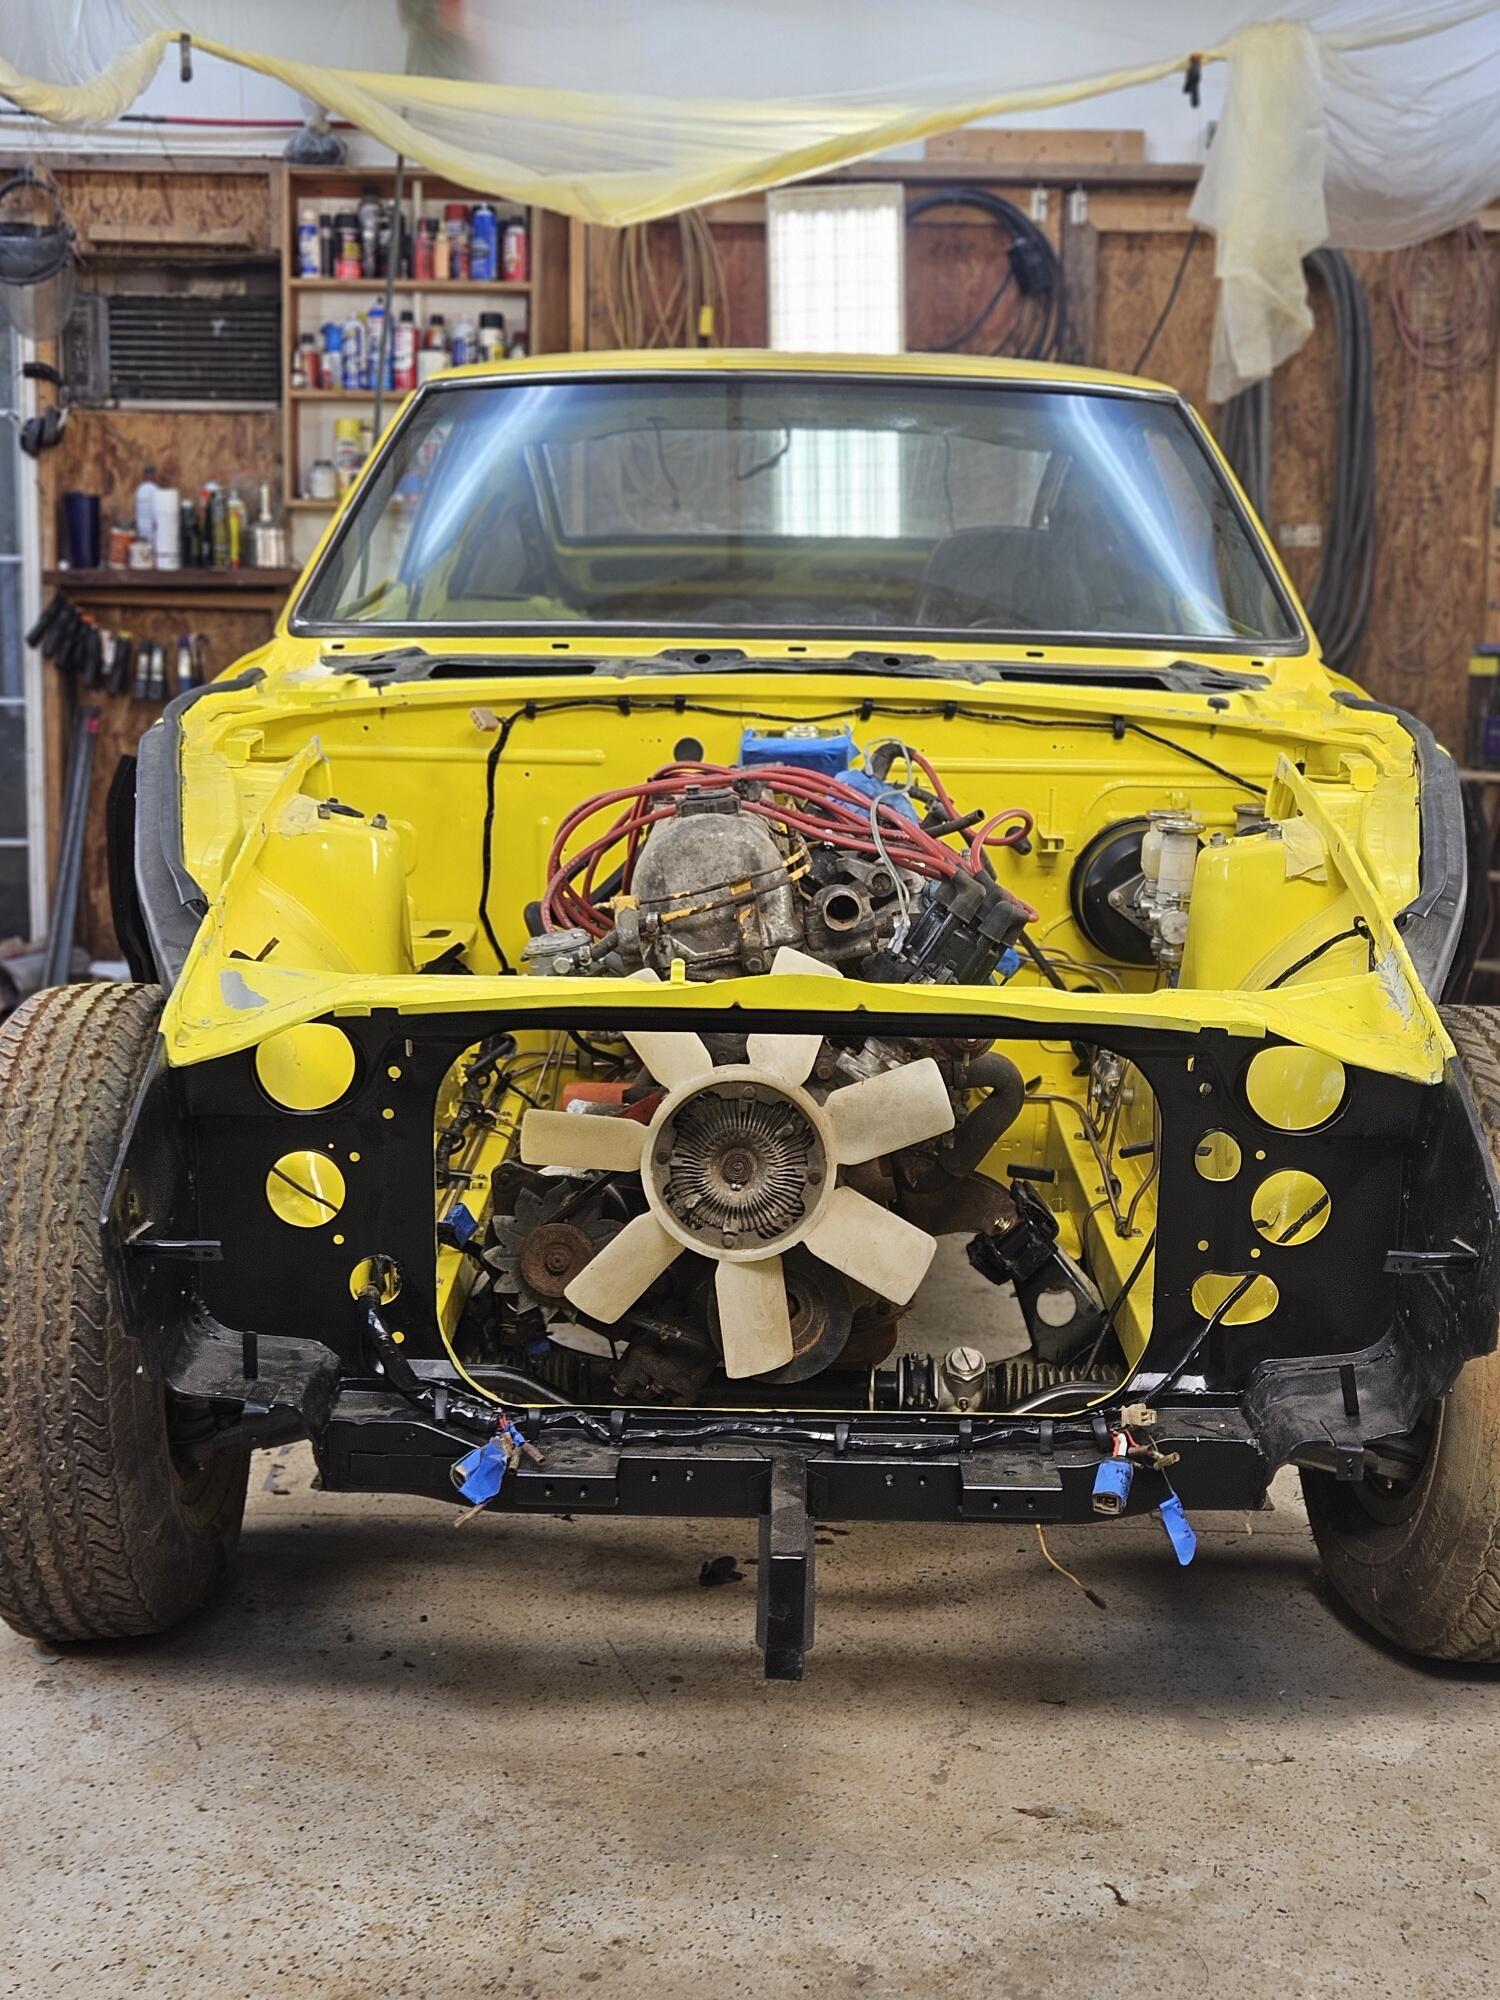
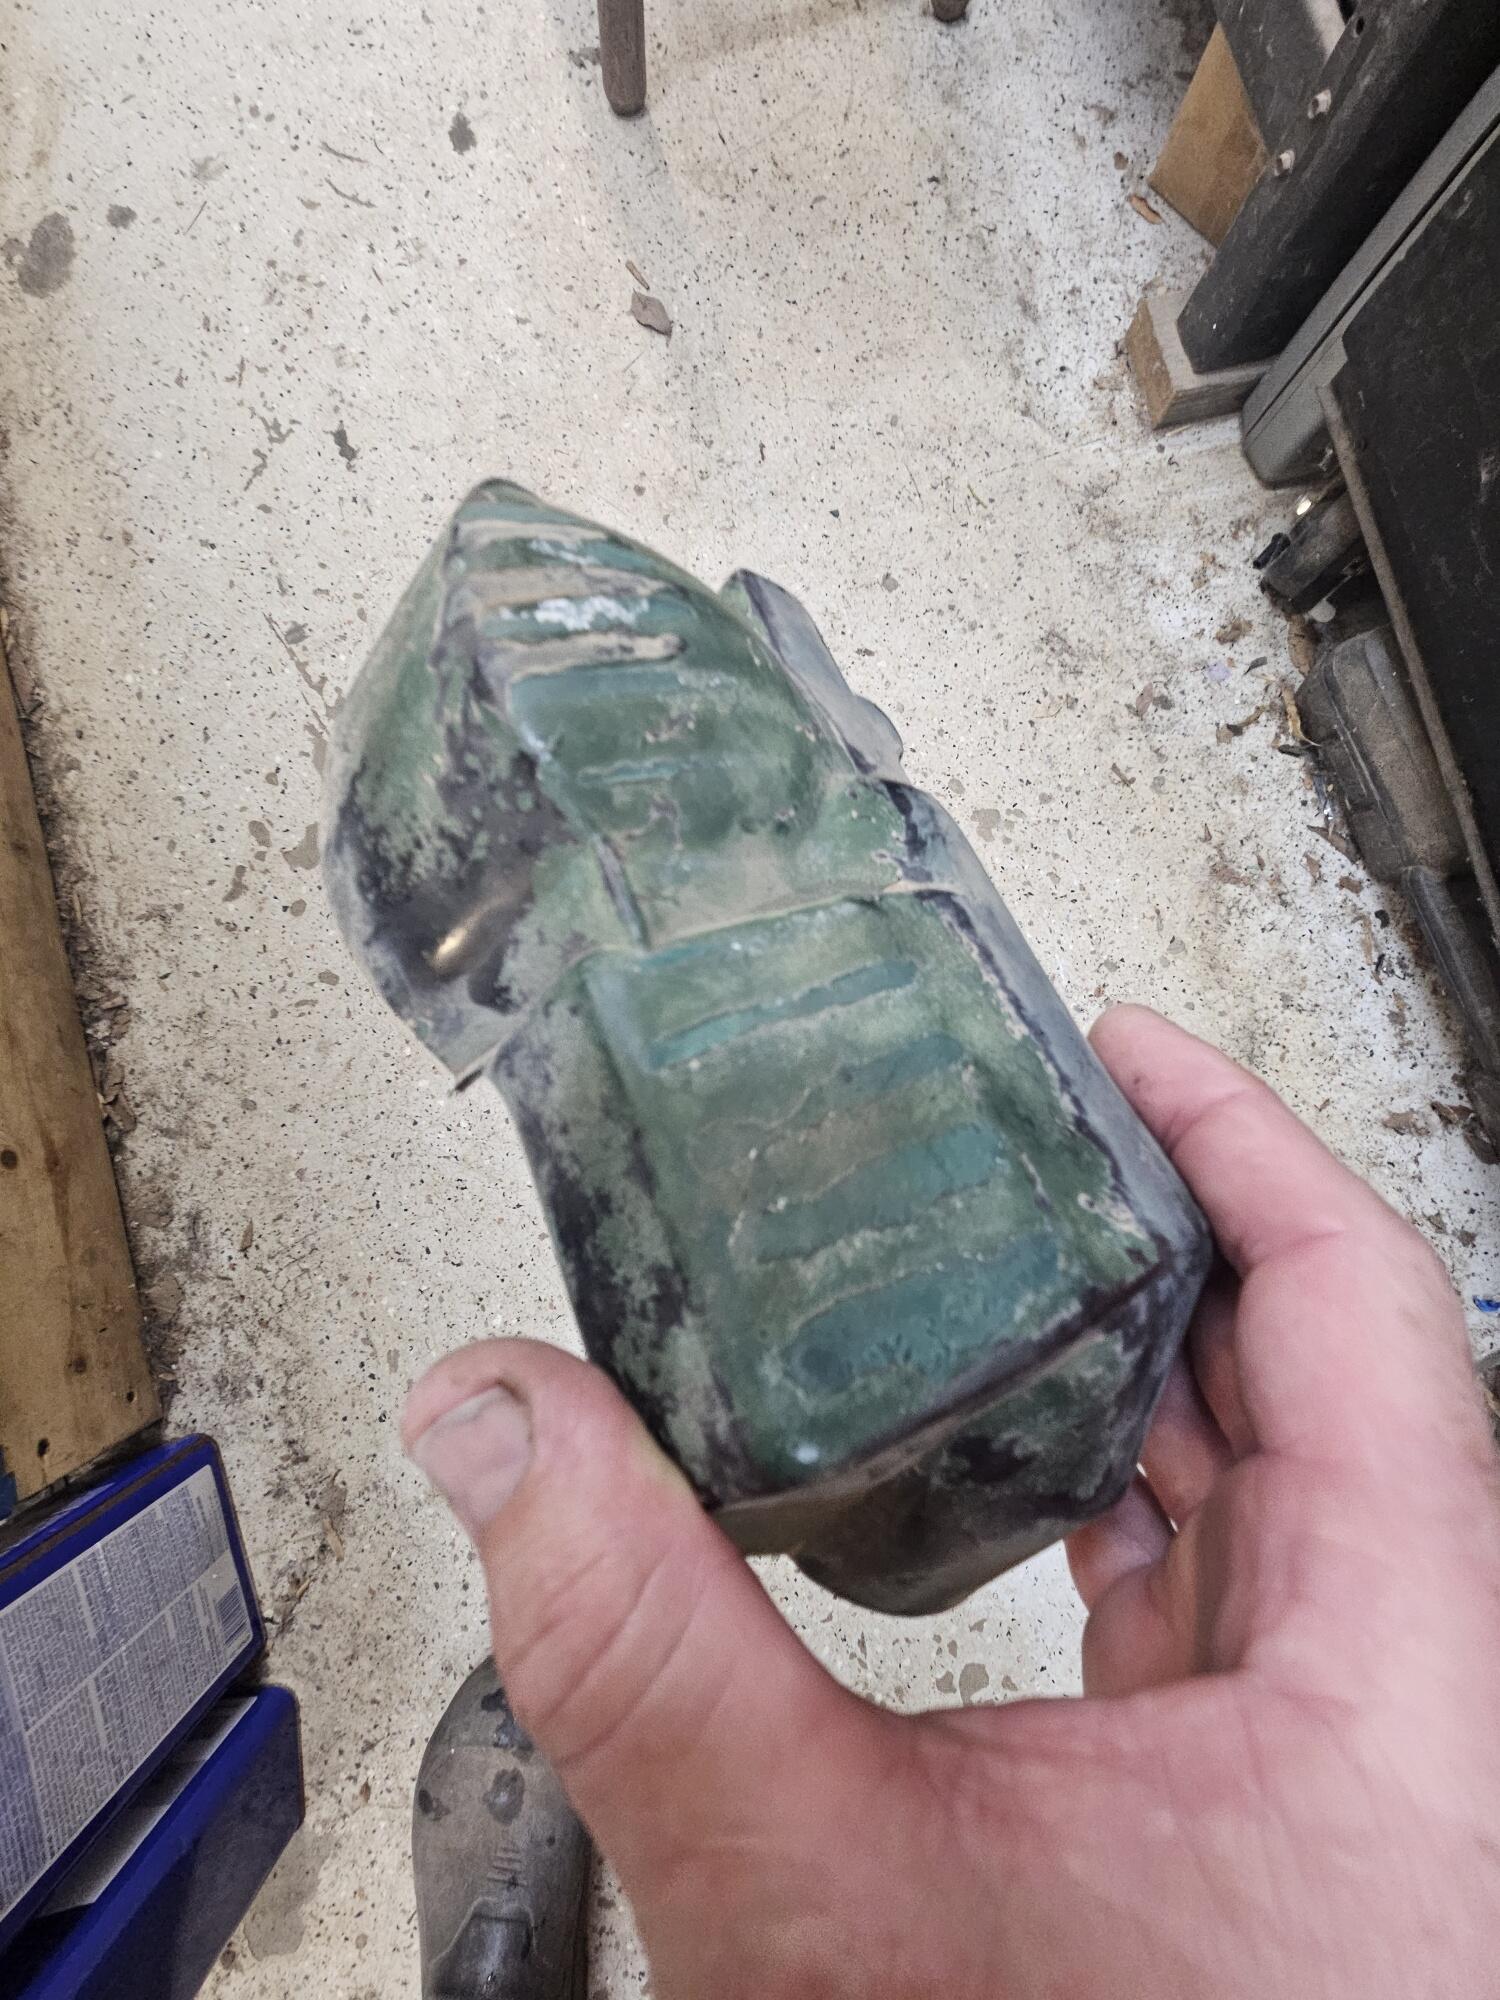
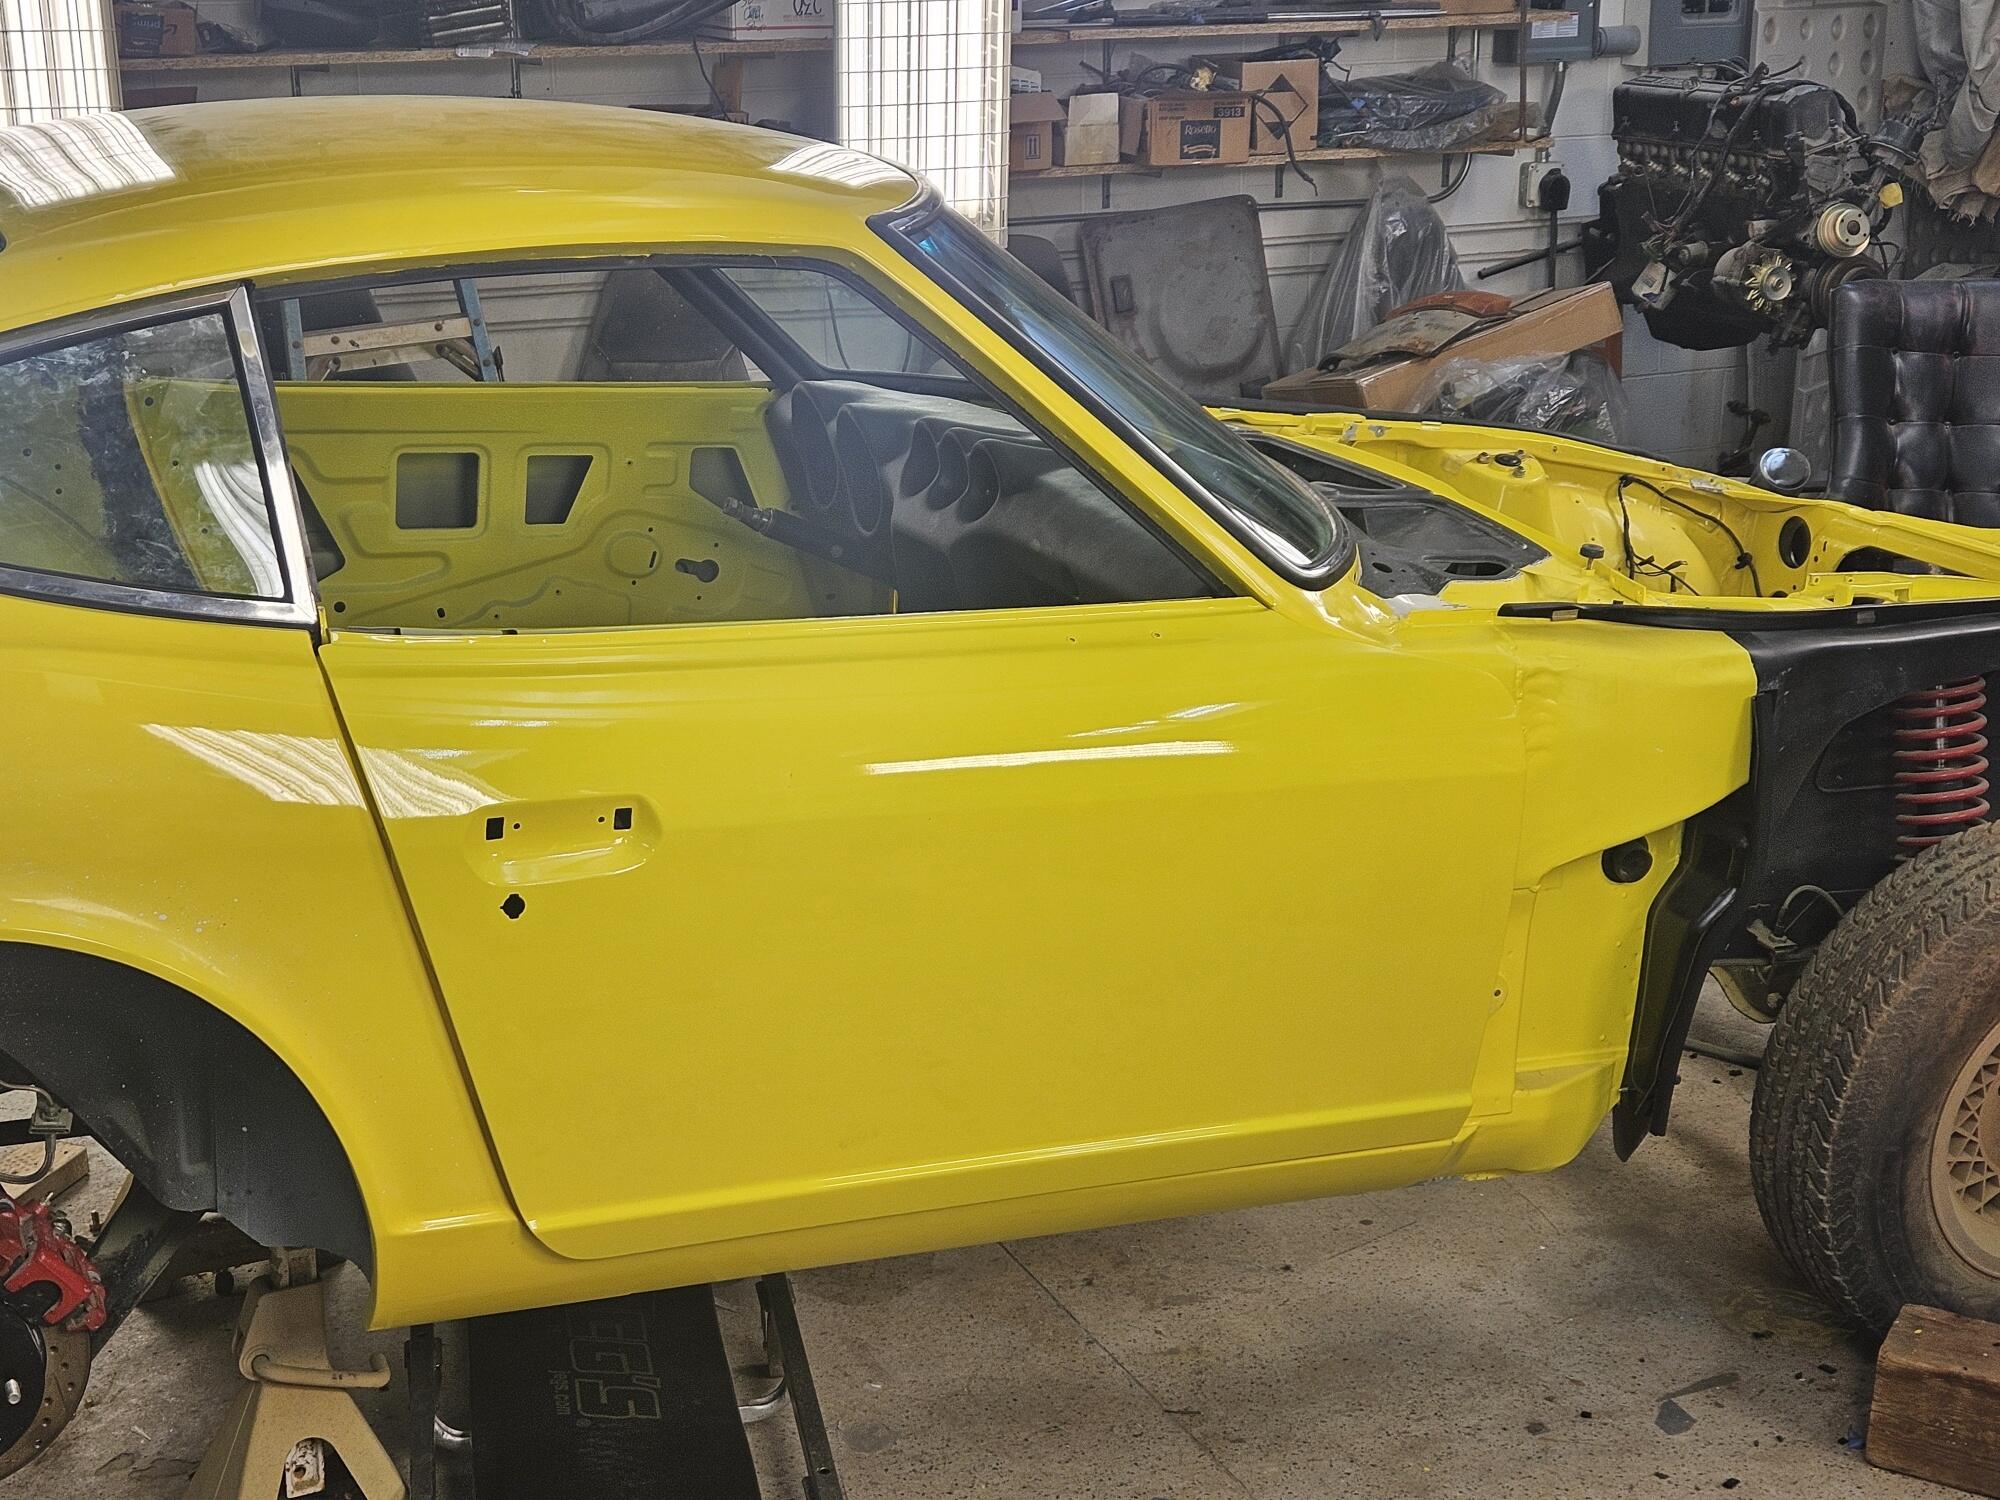
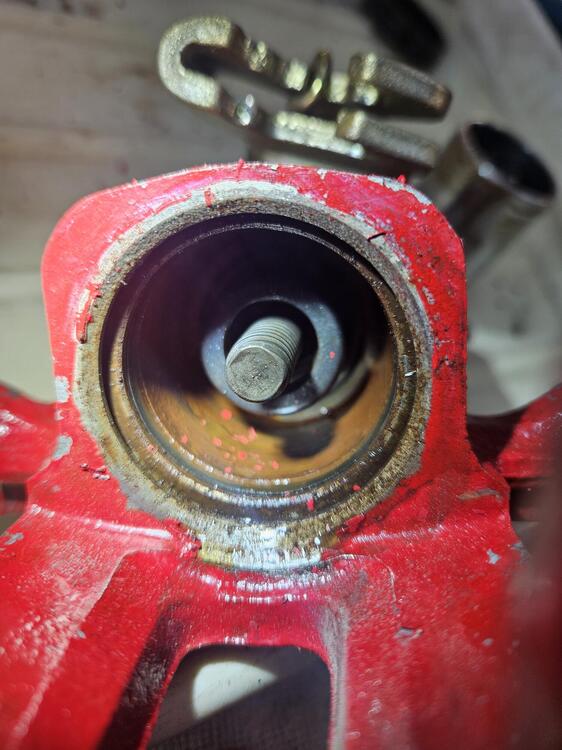
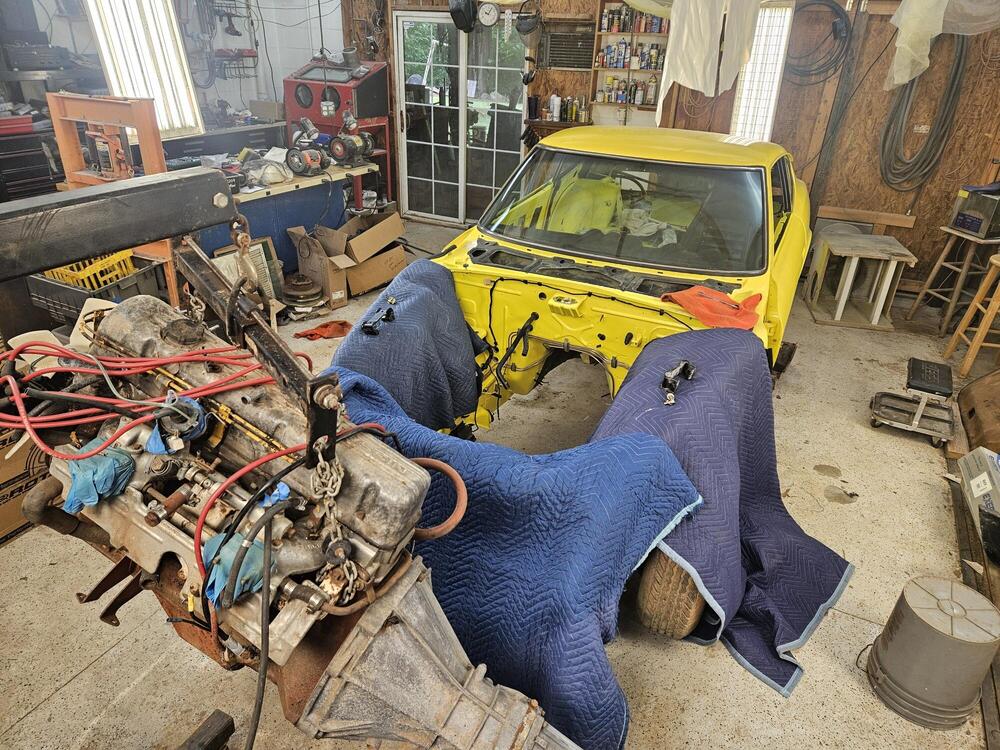
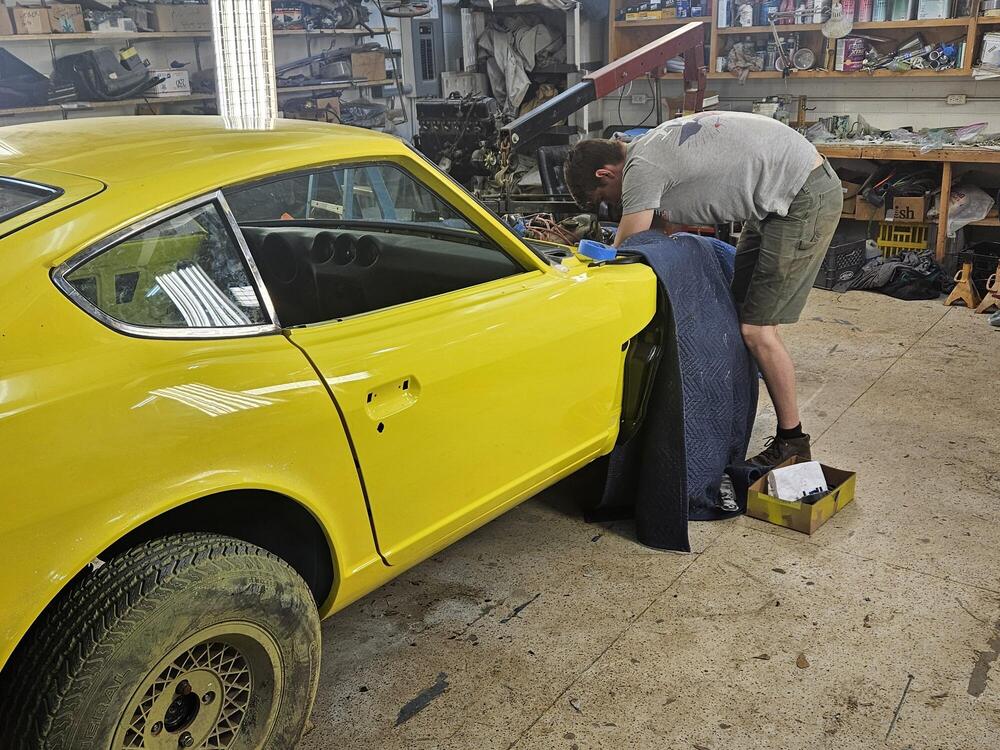
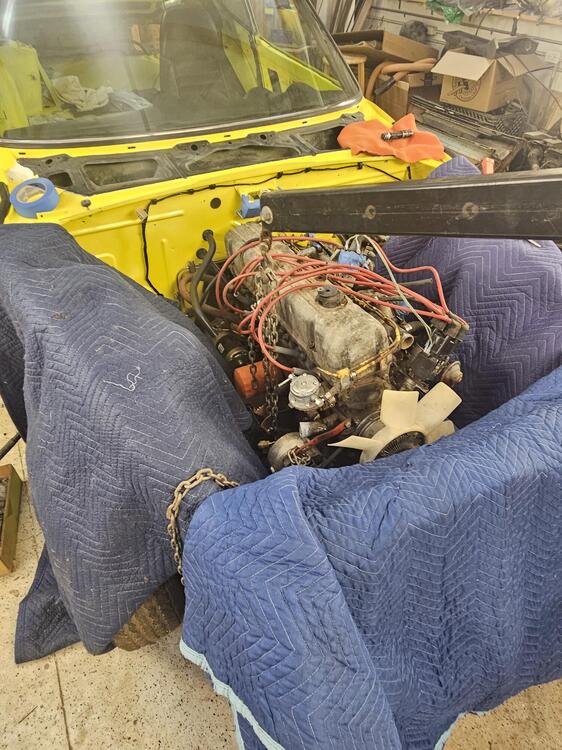
So I tore into one of the rear calipers today. They don't look good and I don't know how to get them apart. I'm also concerned if I get them apart I won't be able to get them back together. I'm going to see if O'Reillys can get me a pair. Here is a marker light after I used some silicone to reassemble them. I just left the squeeze out. It scrapes right off with a fingernail after it's dry. Today we worked on putting the ugly engine into Lily I separated the transmission yesterday and made sure the pressure plate wasn't rusted to the flywheel. It was a little crusty but I cleaned it up and Cody helped me get it back on the engine. It has a Centerforce clutch in it from the 90's probably!! The next step is cleaning the Ztherapy SU's that have been sitting for a decade or so.''


-
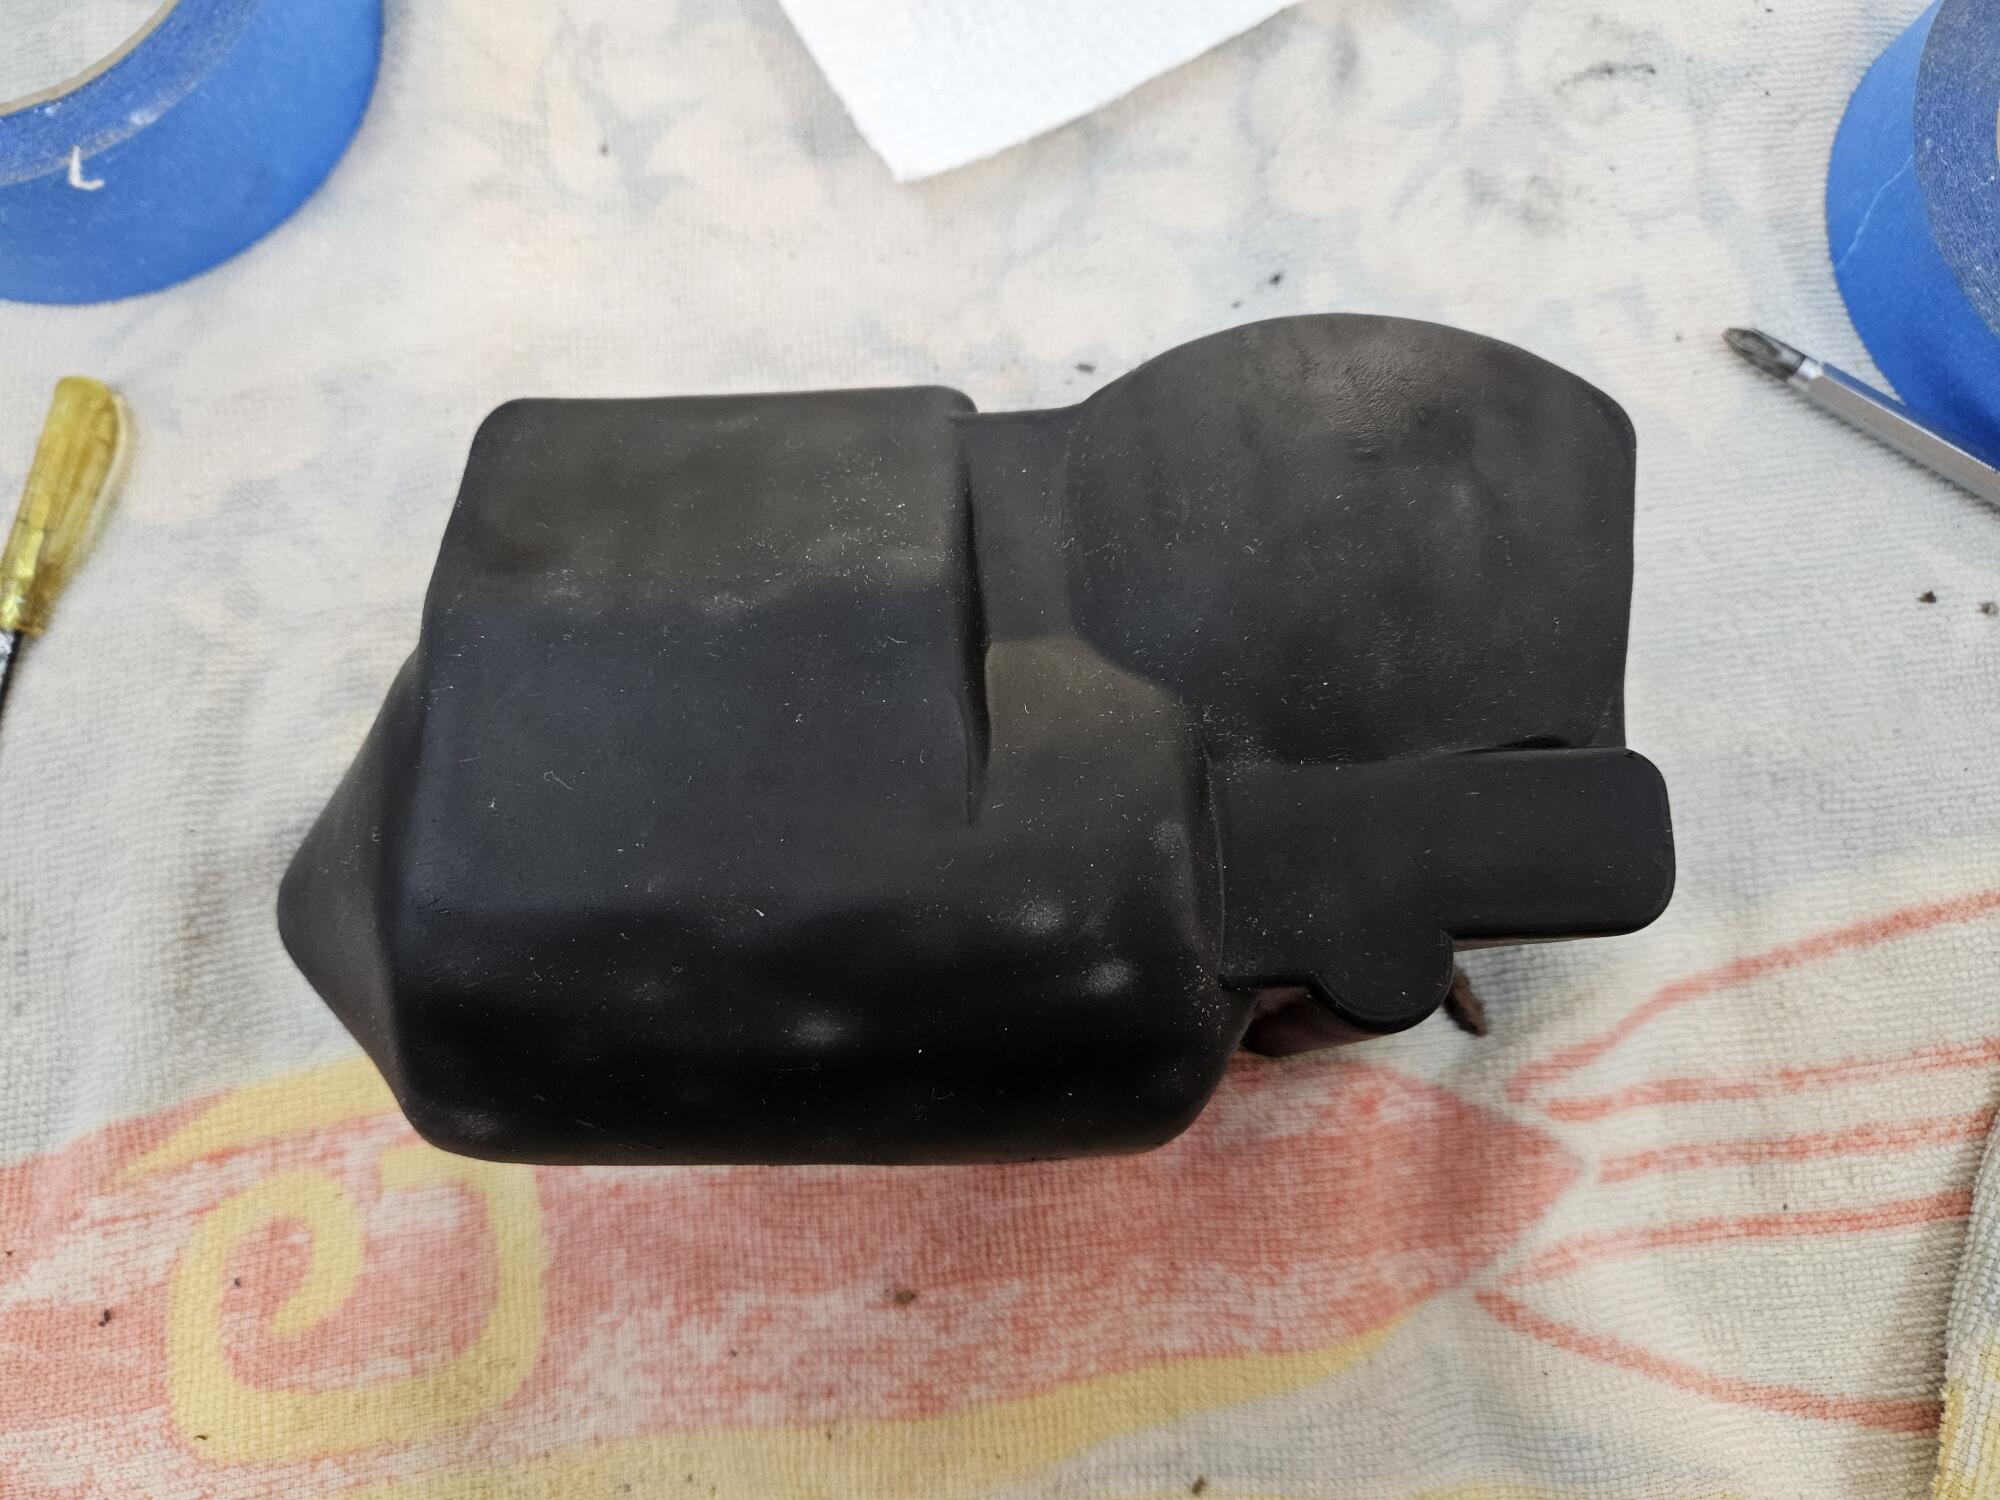
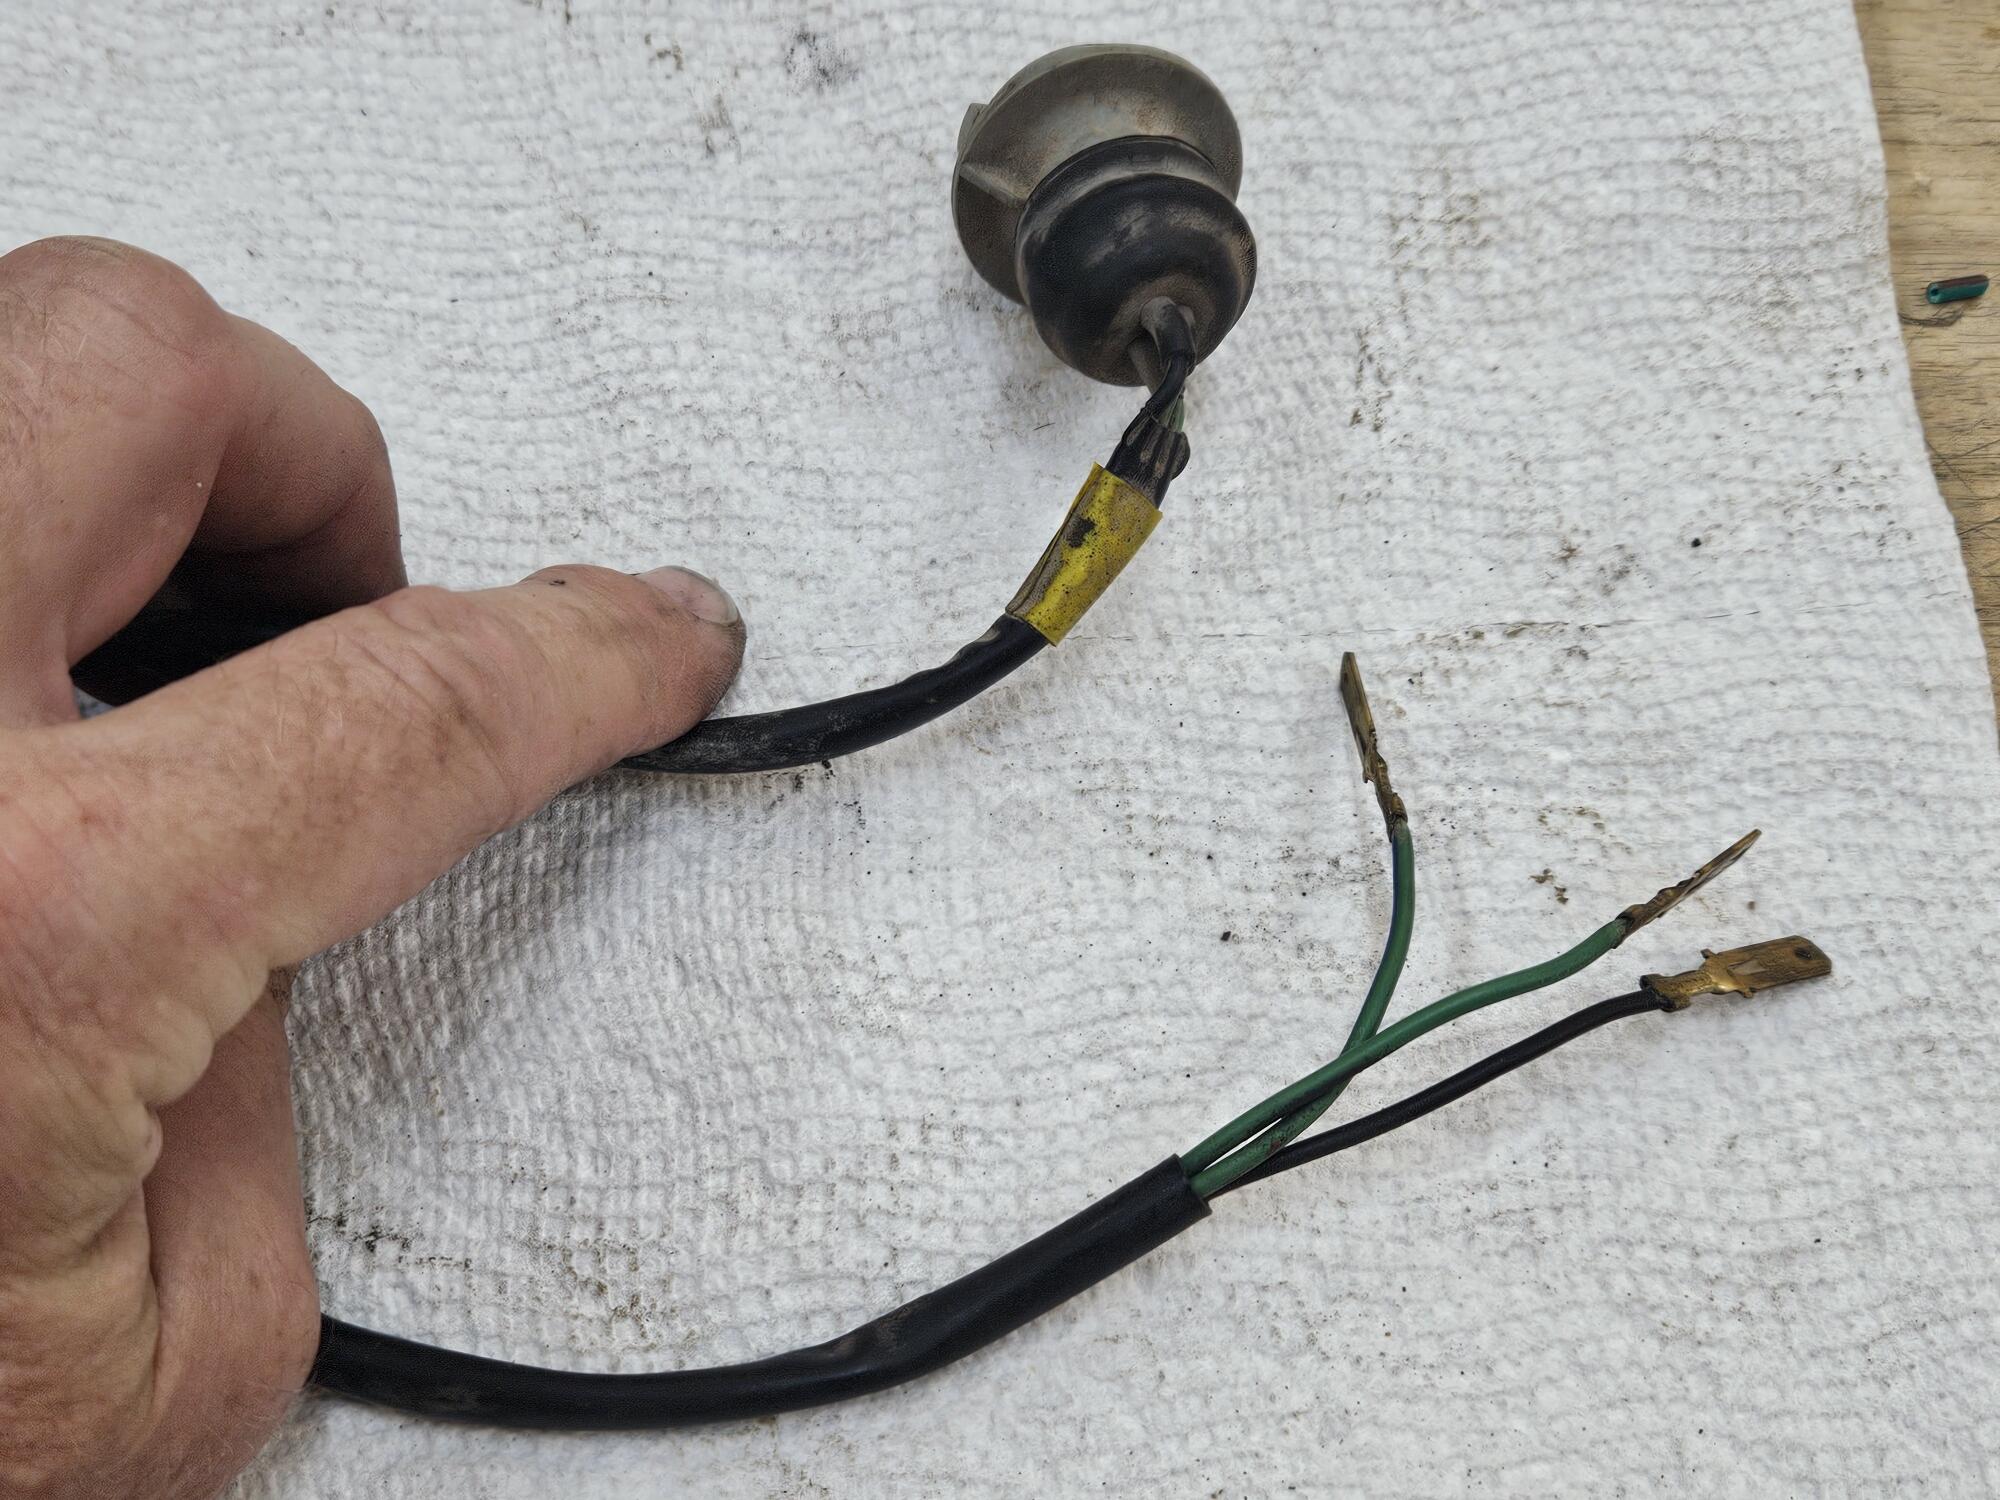
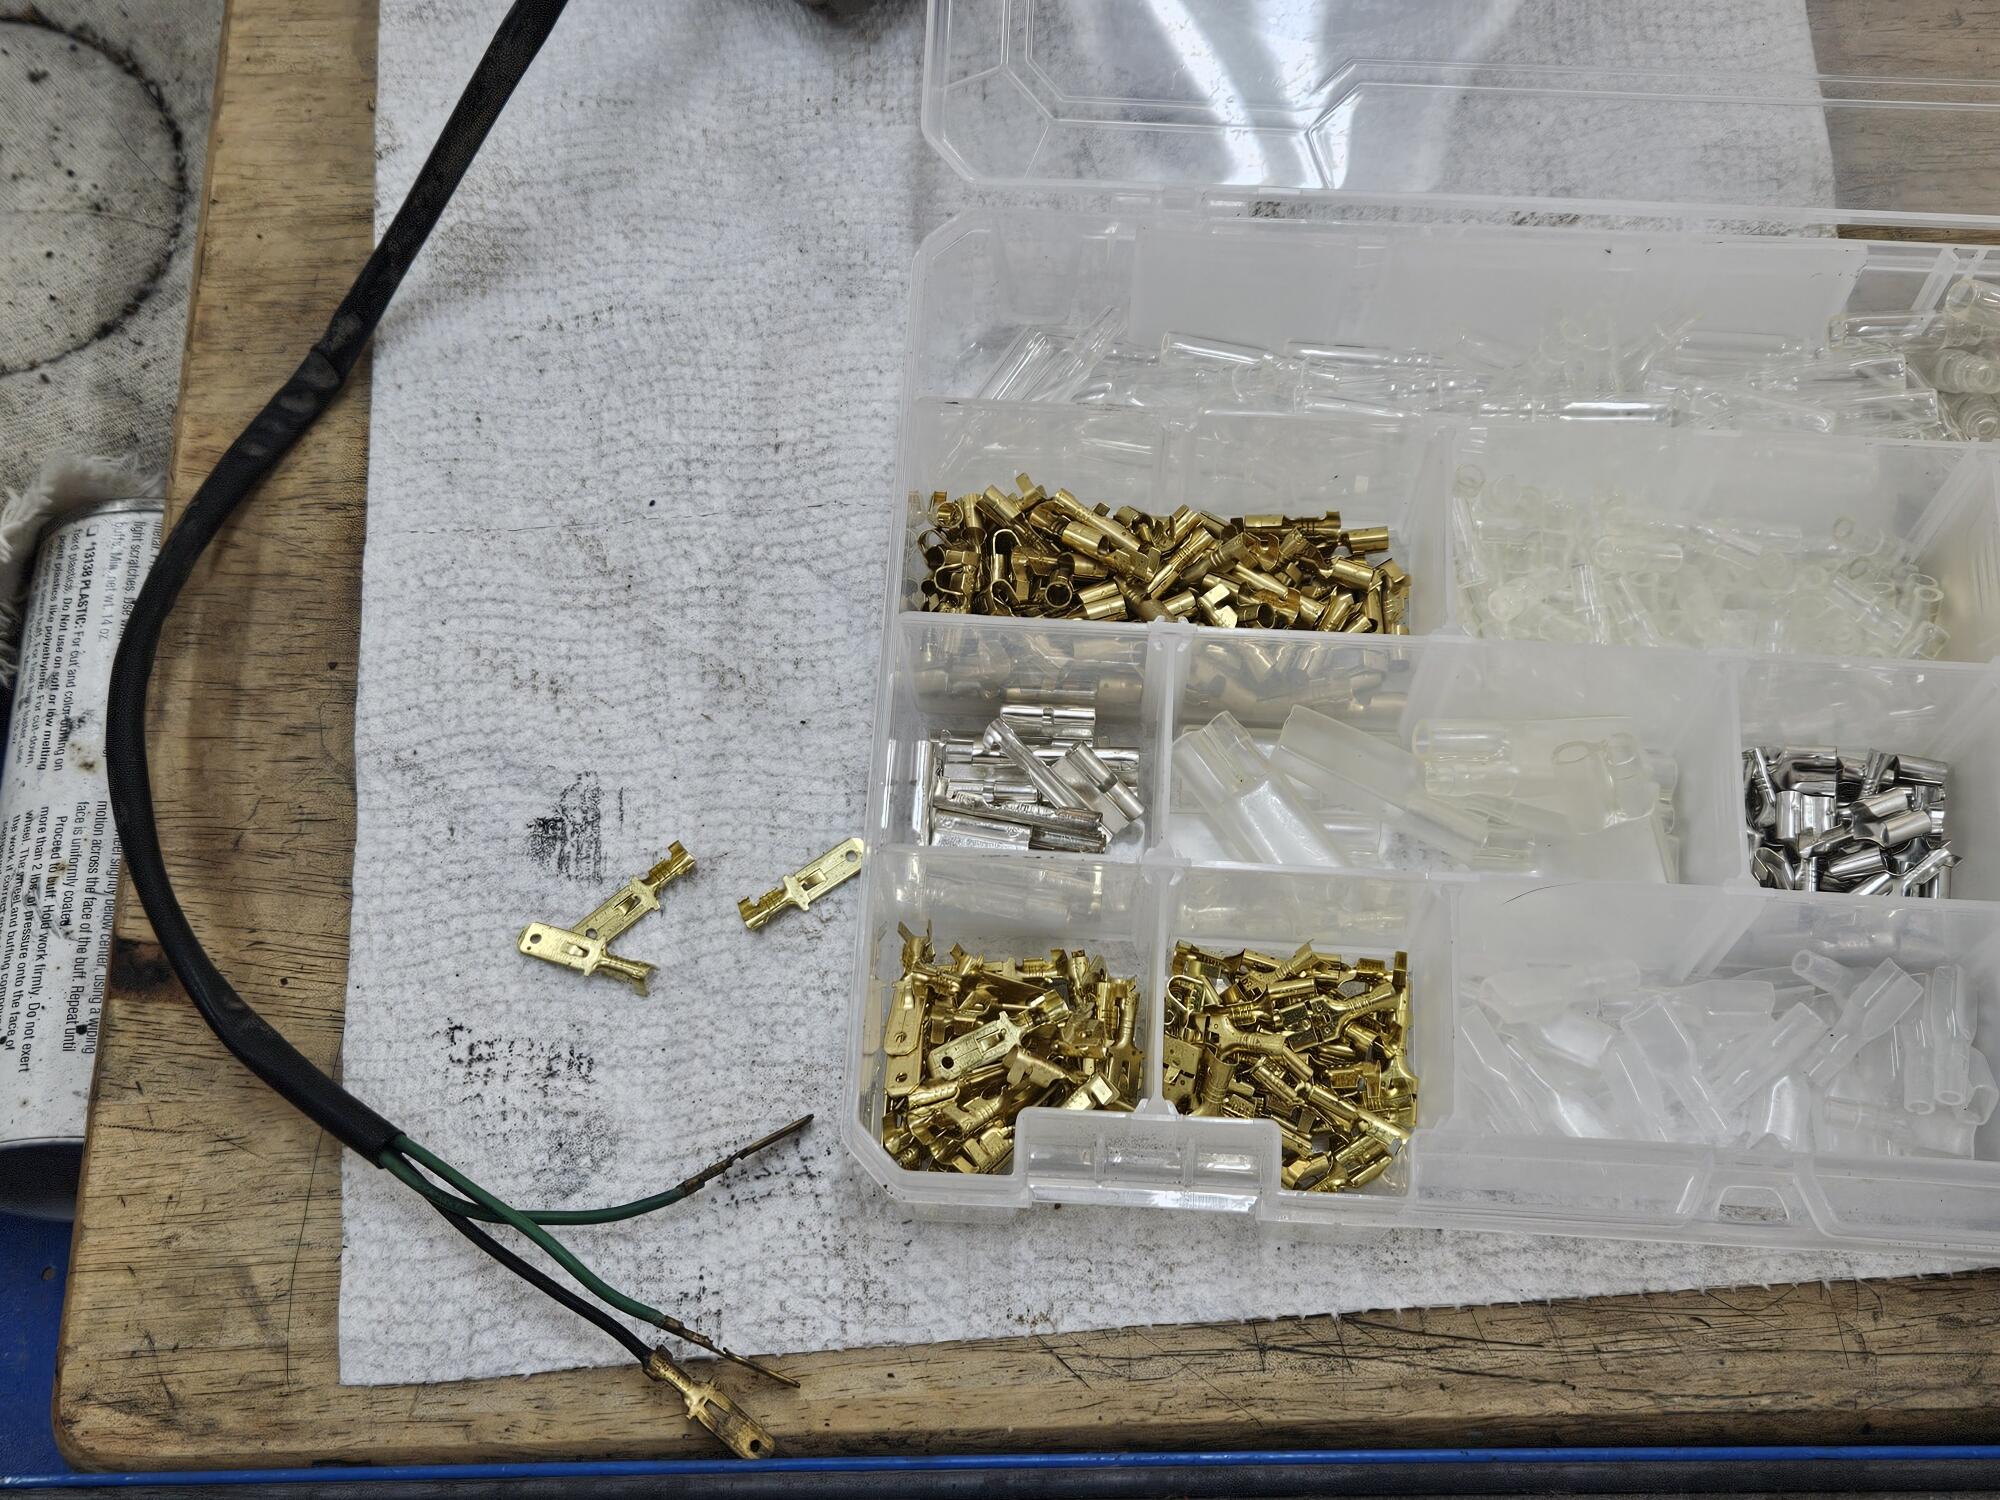
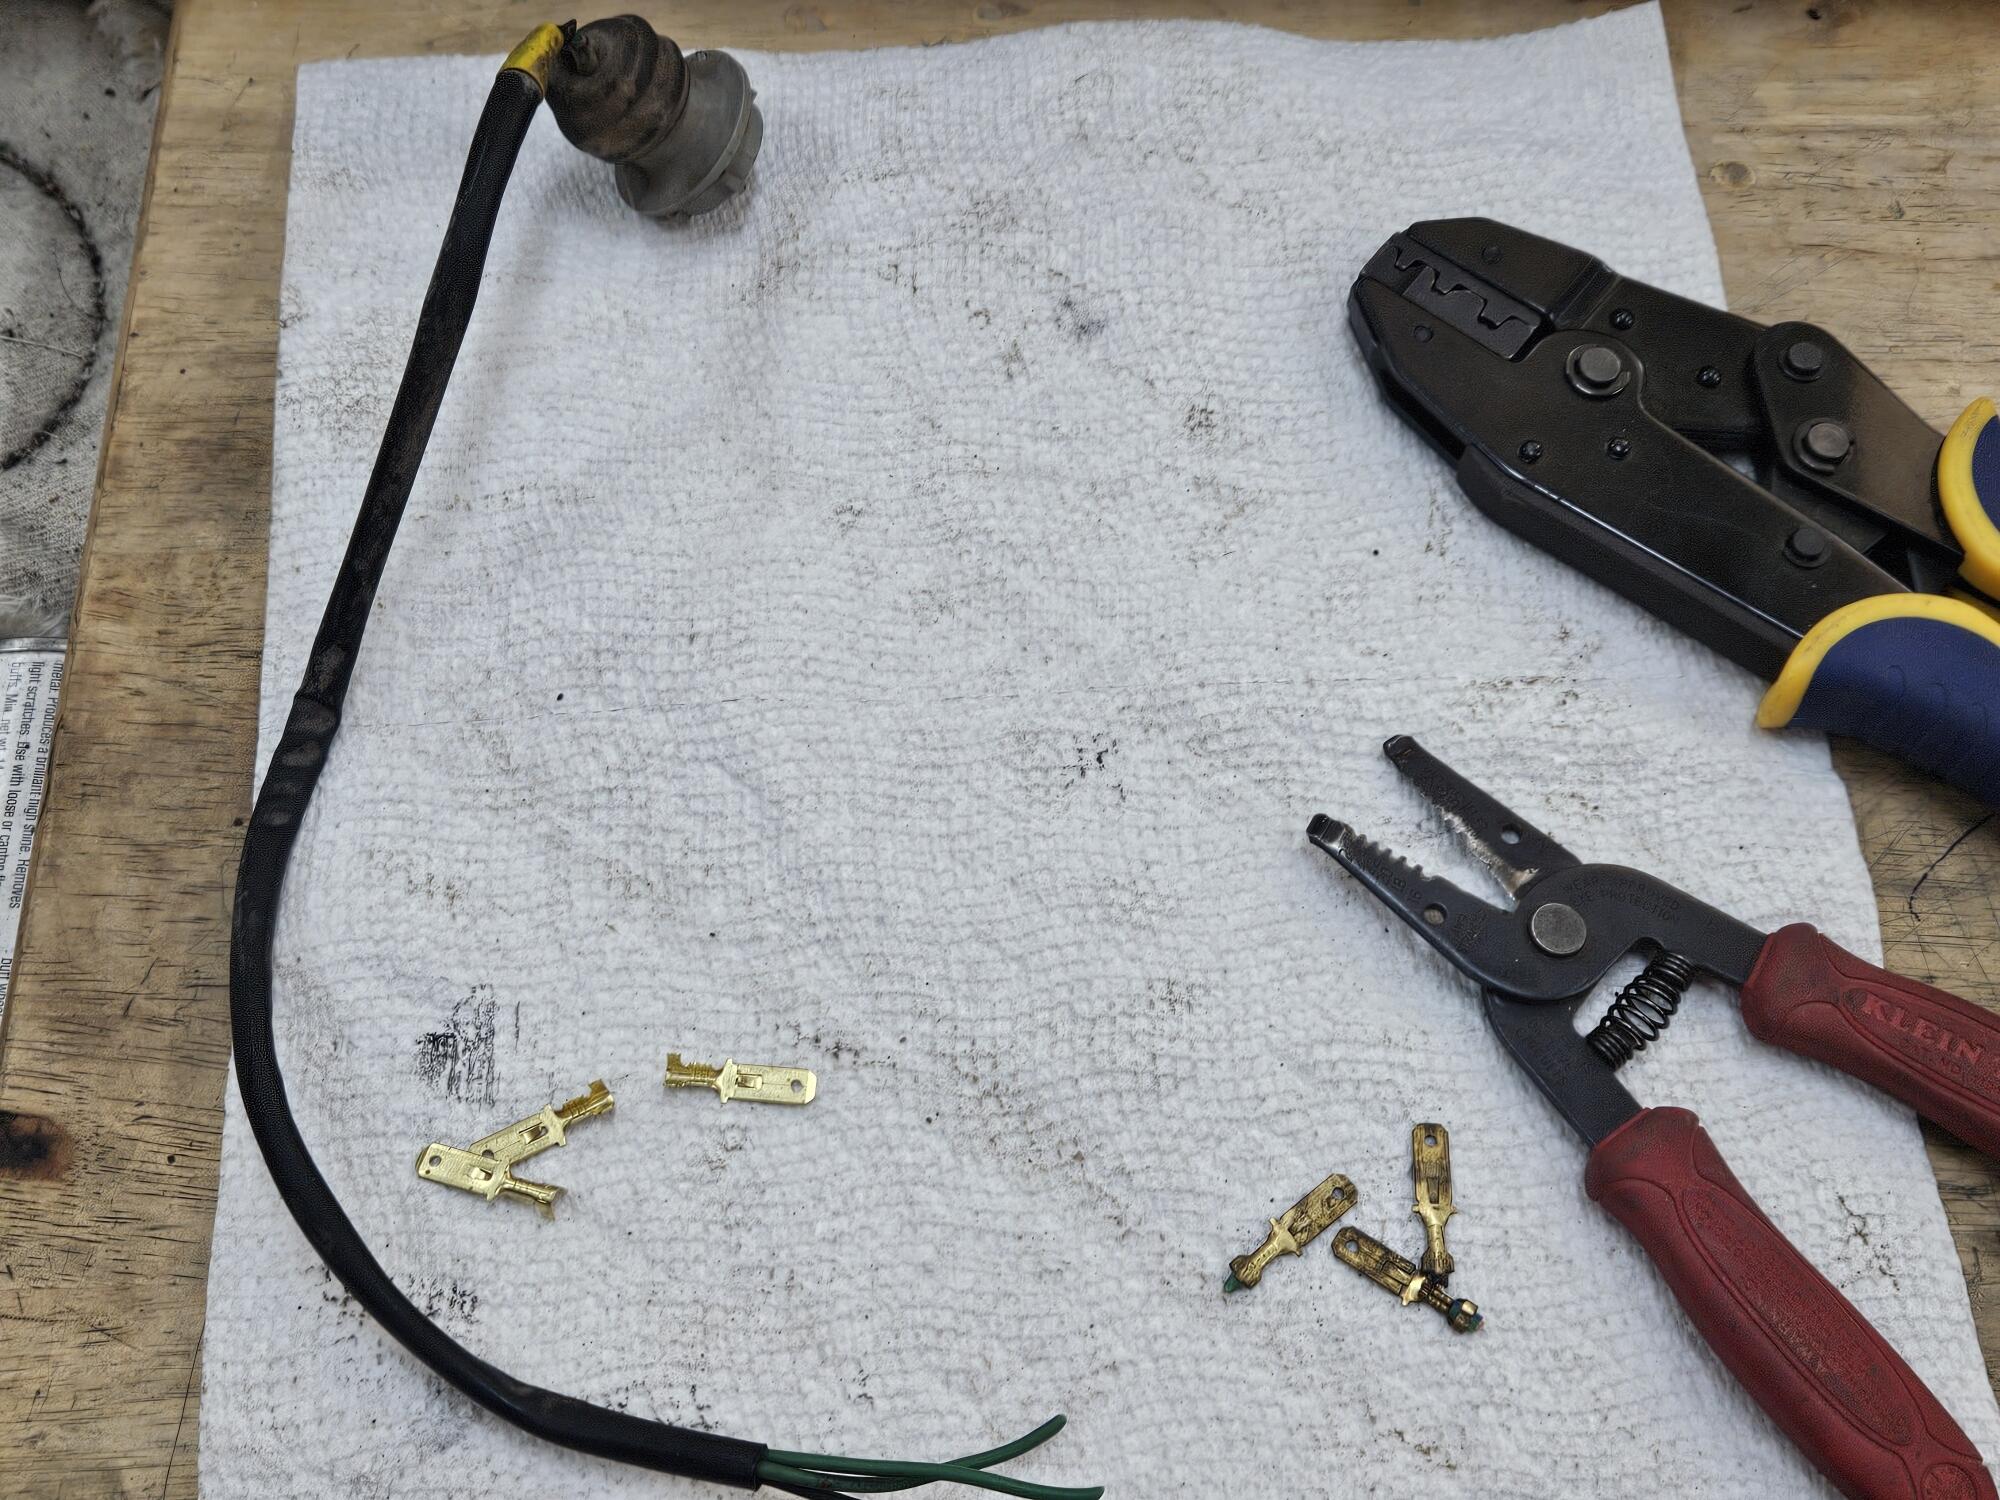
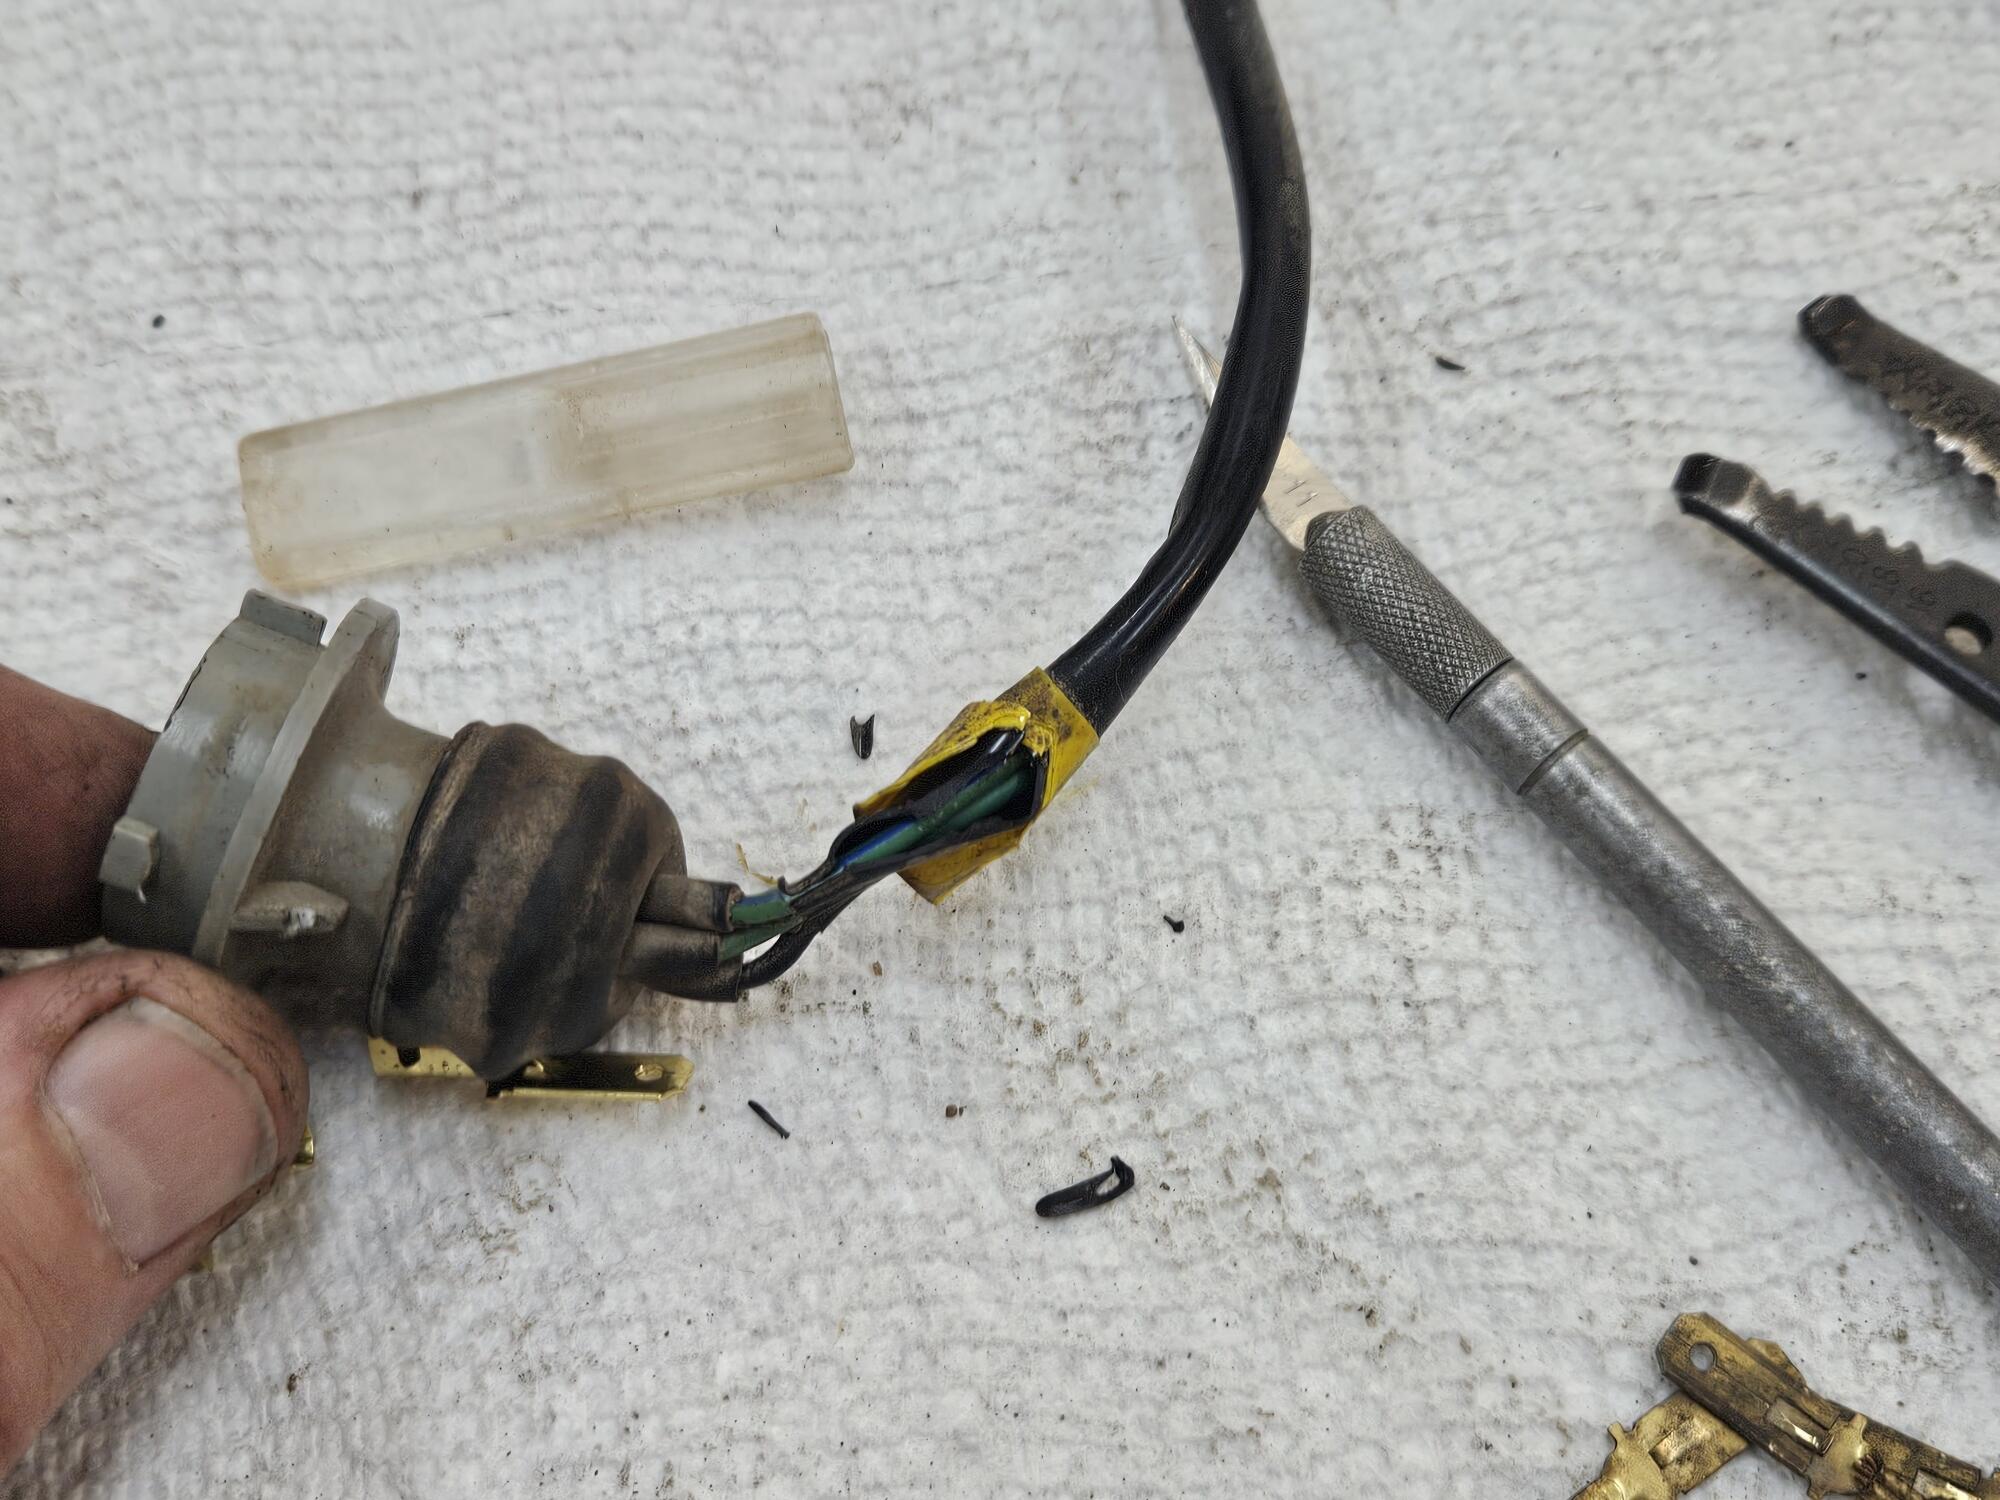
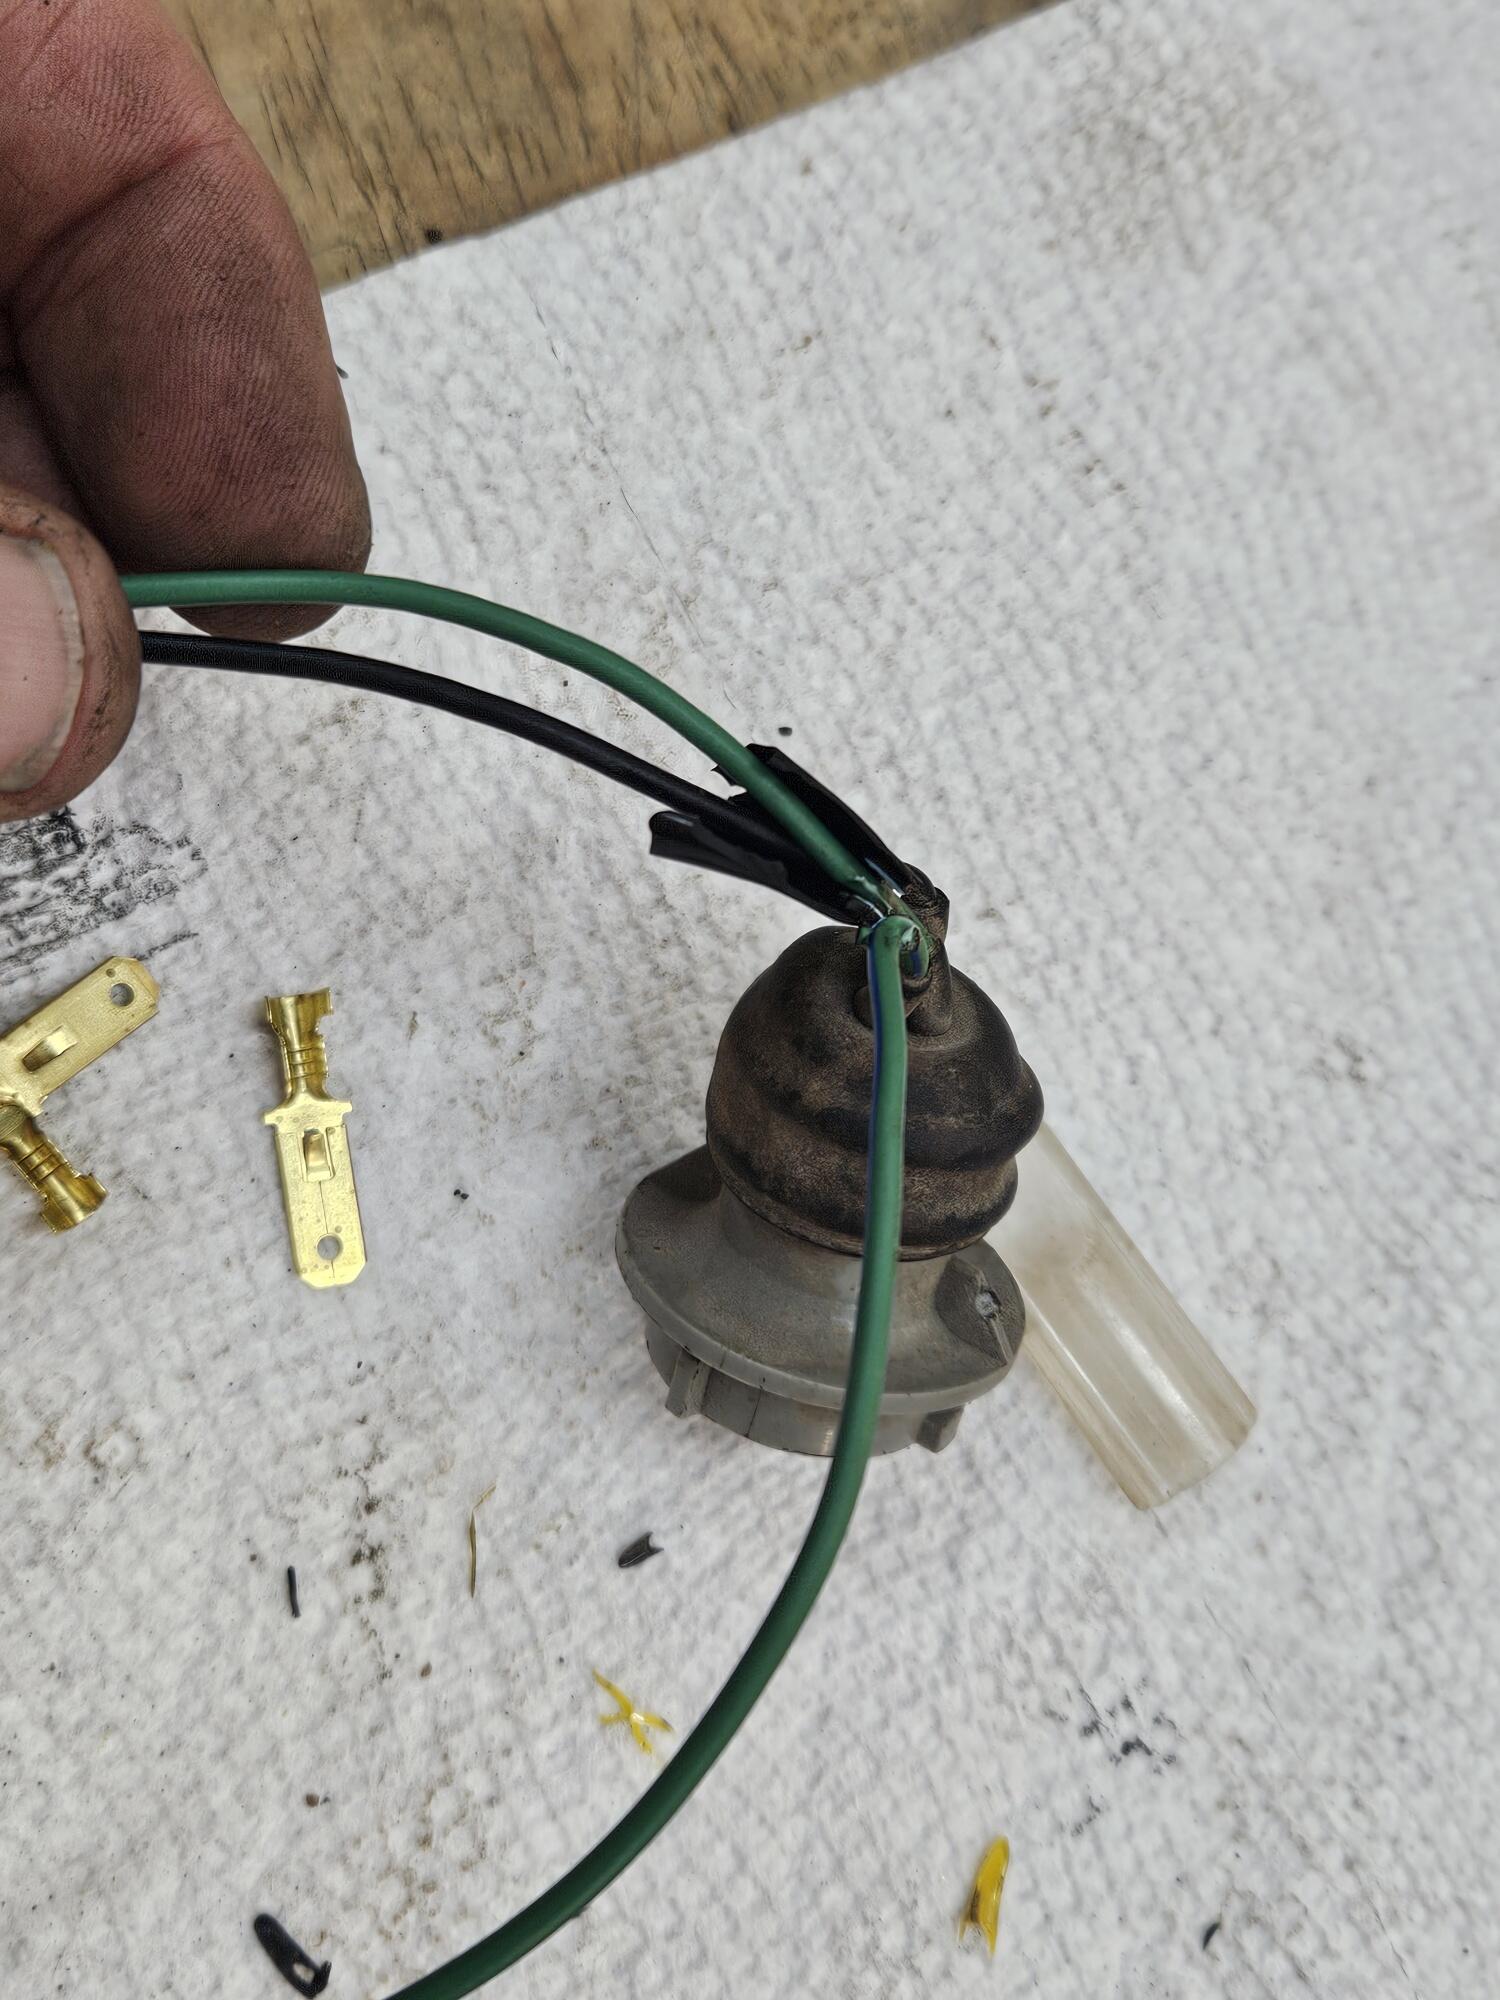
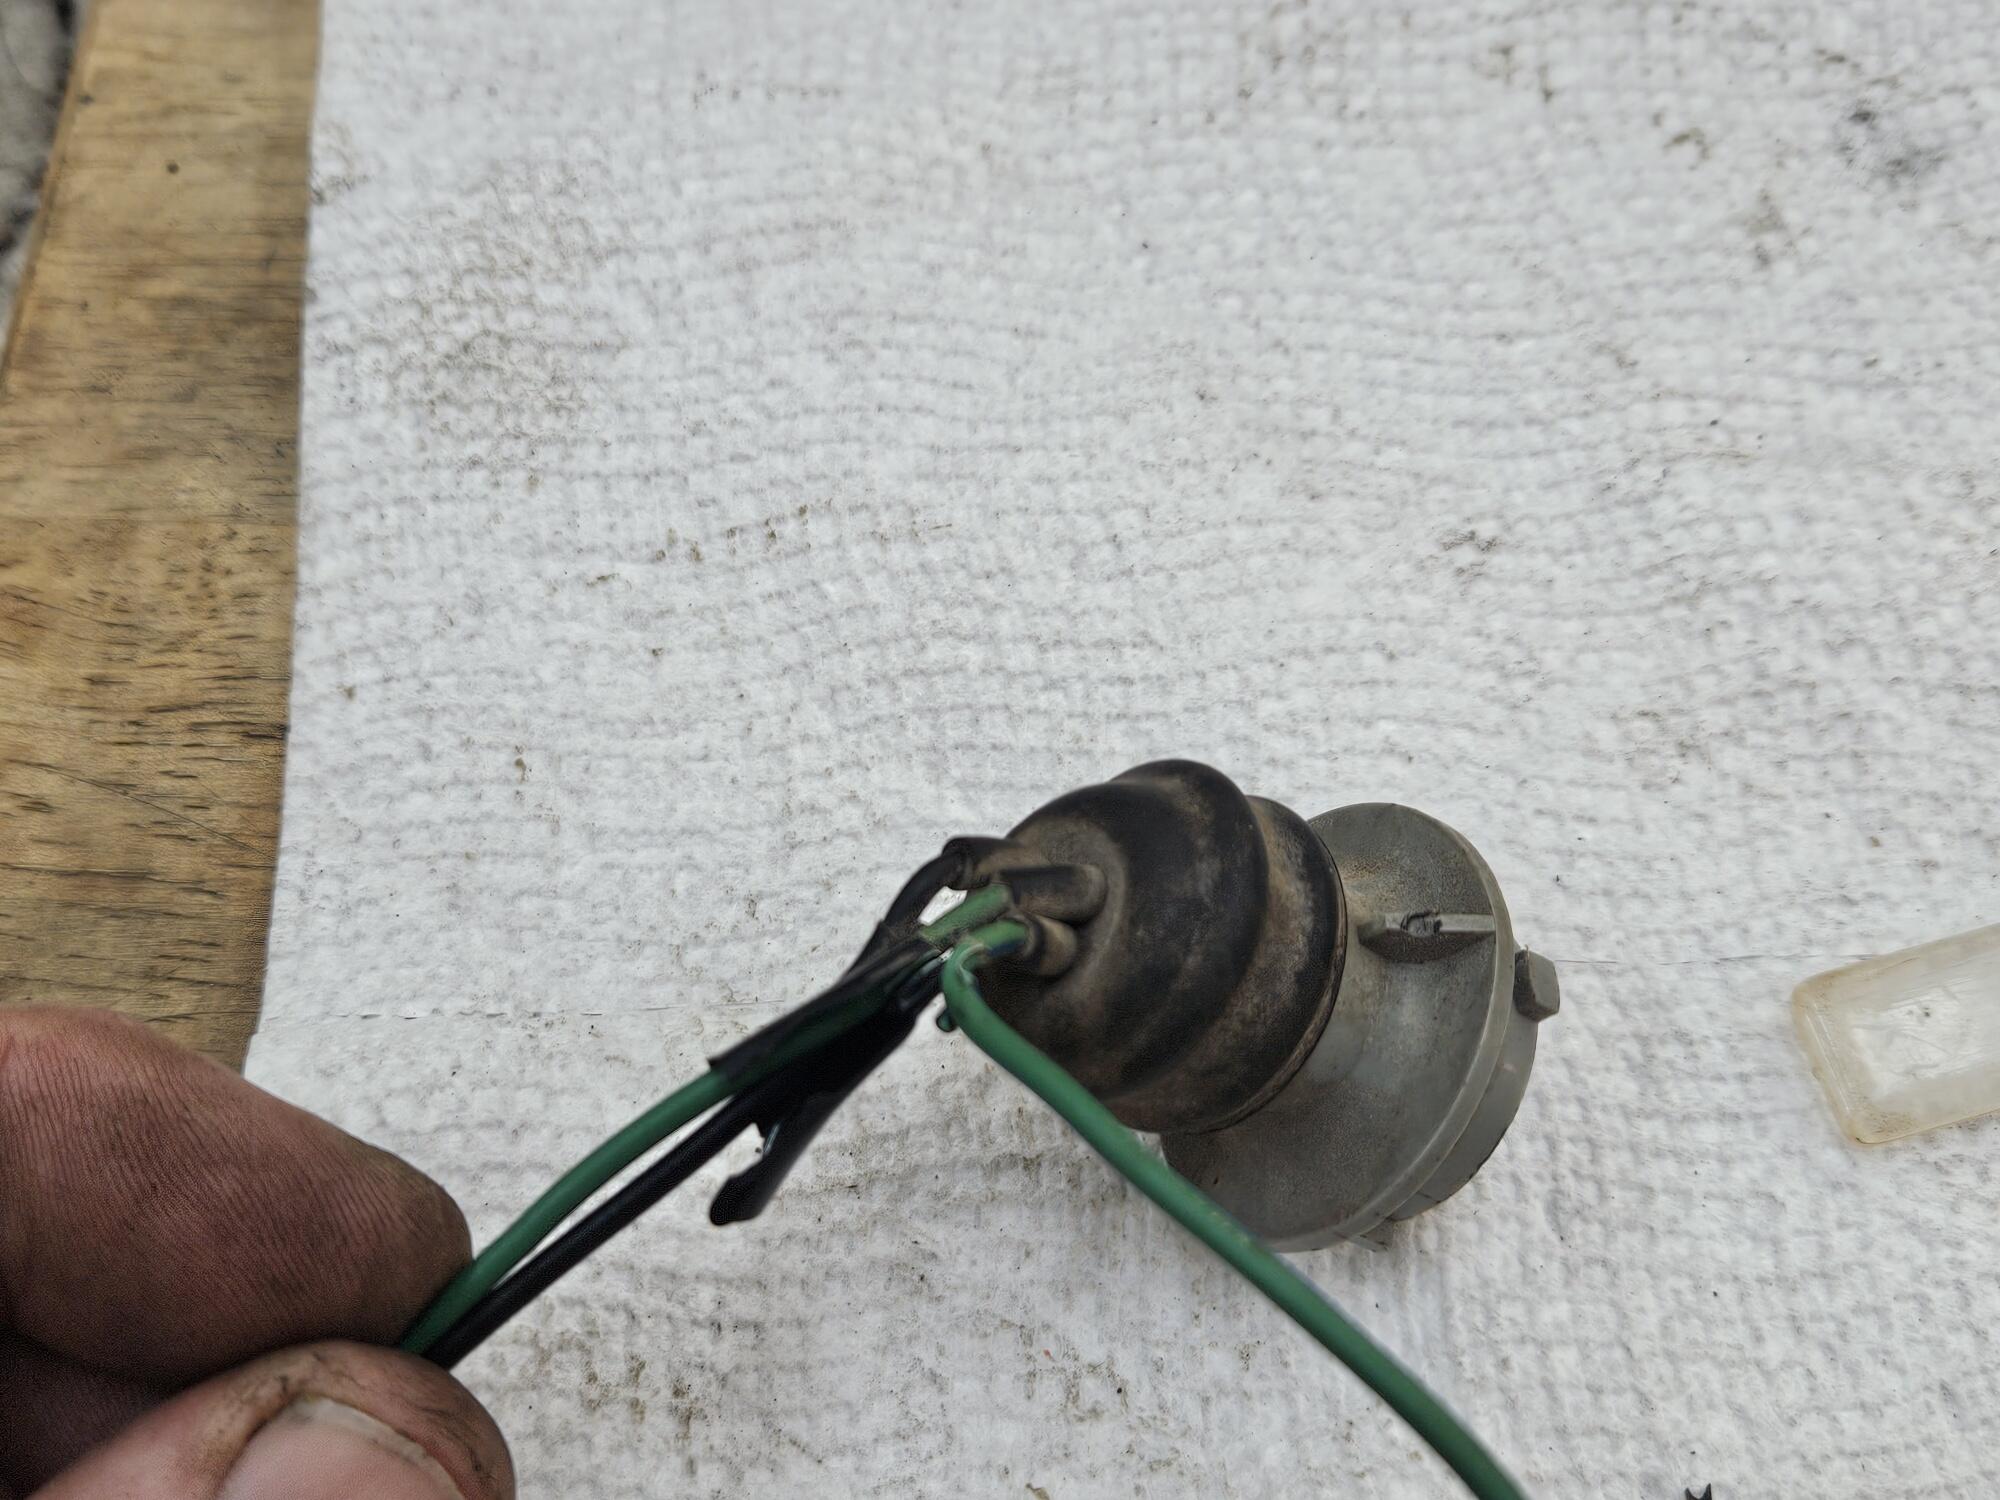
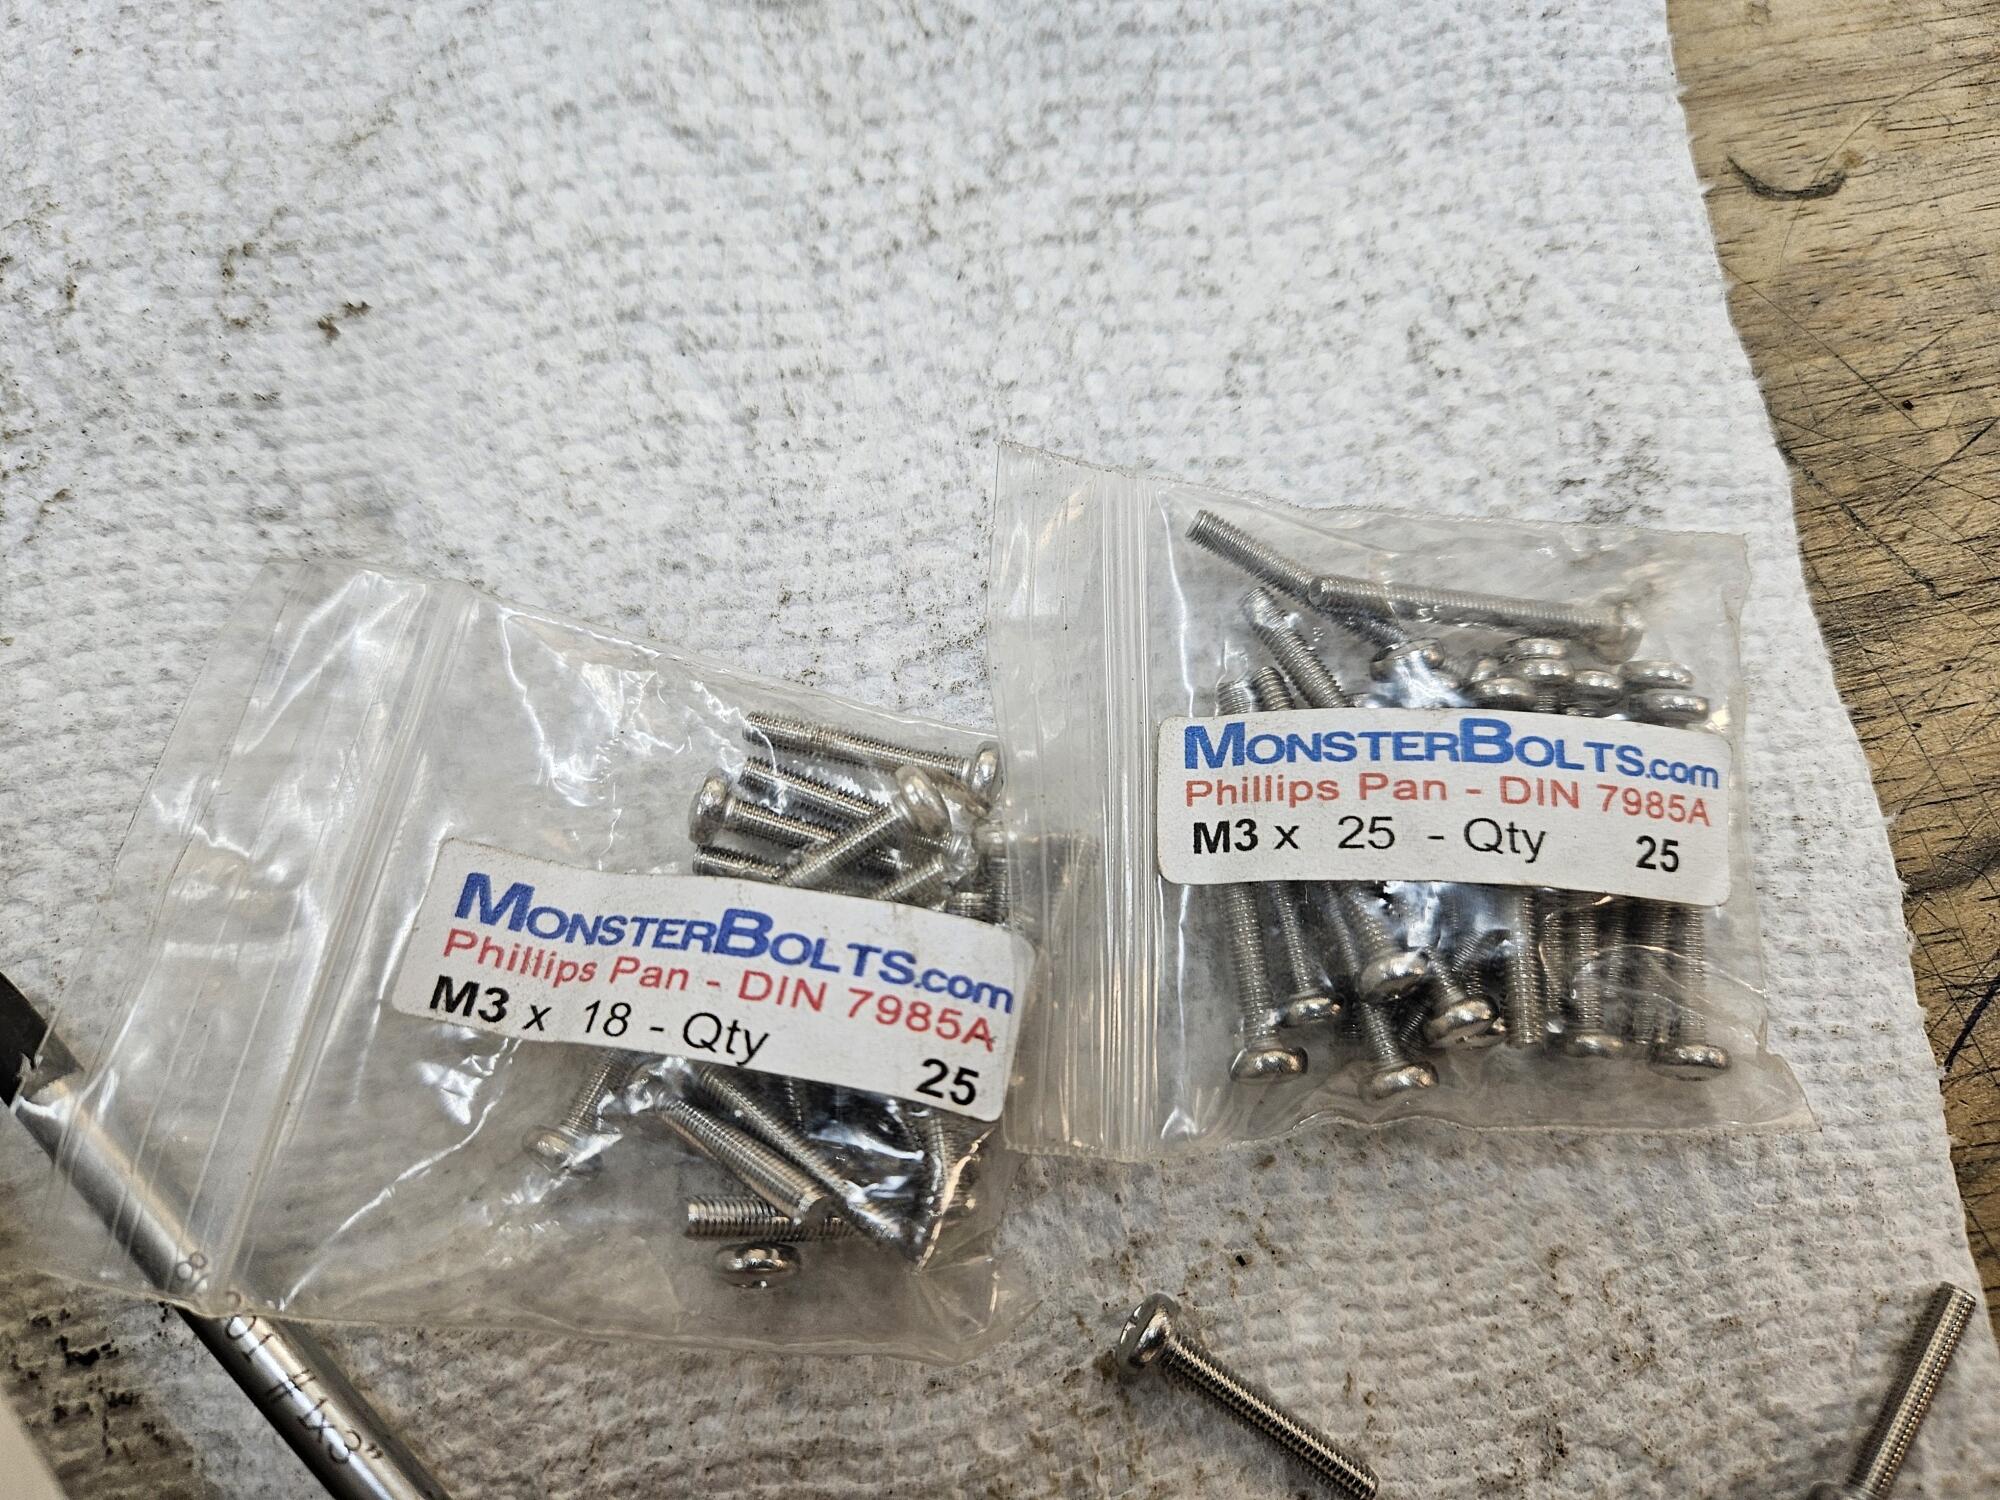
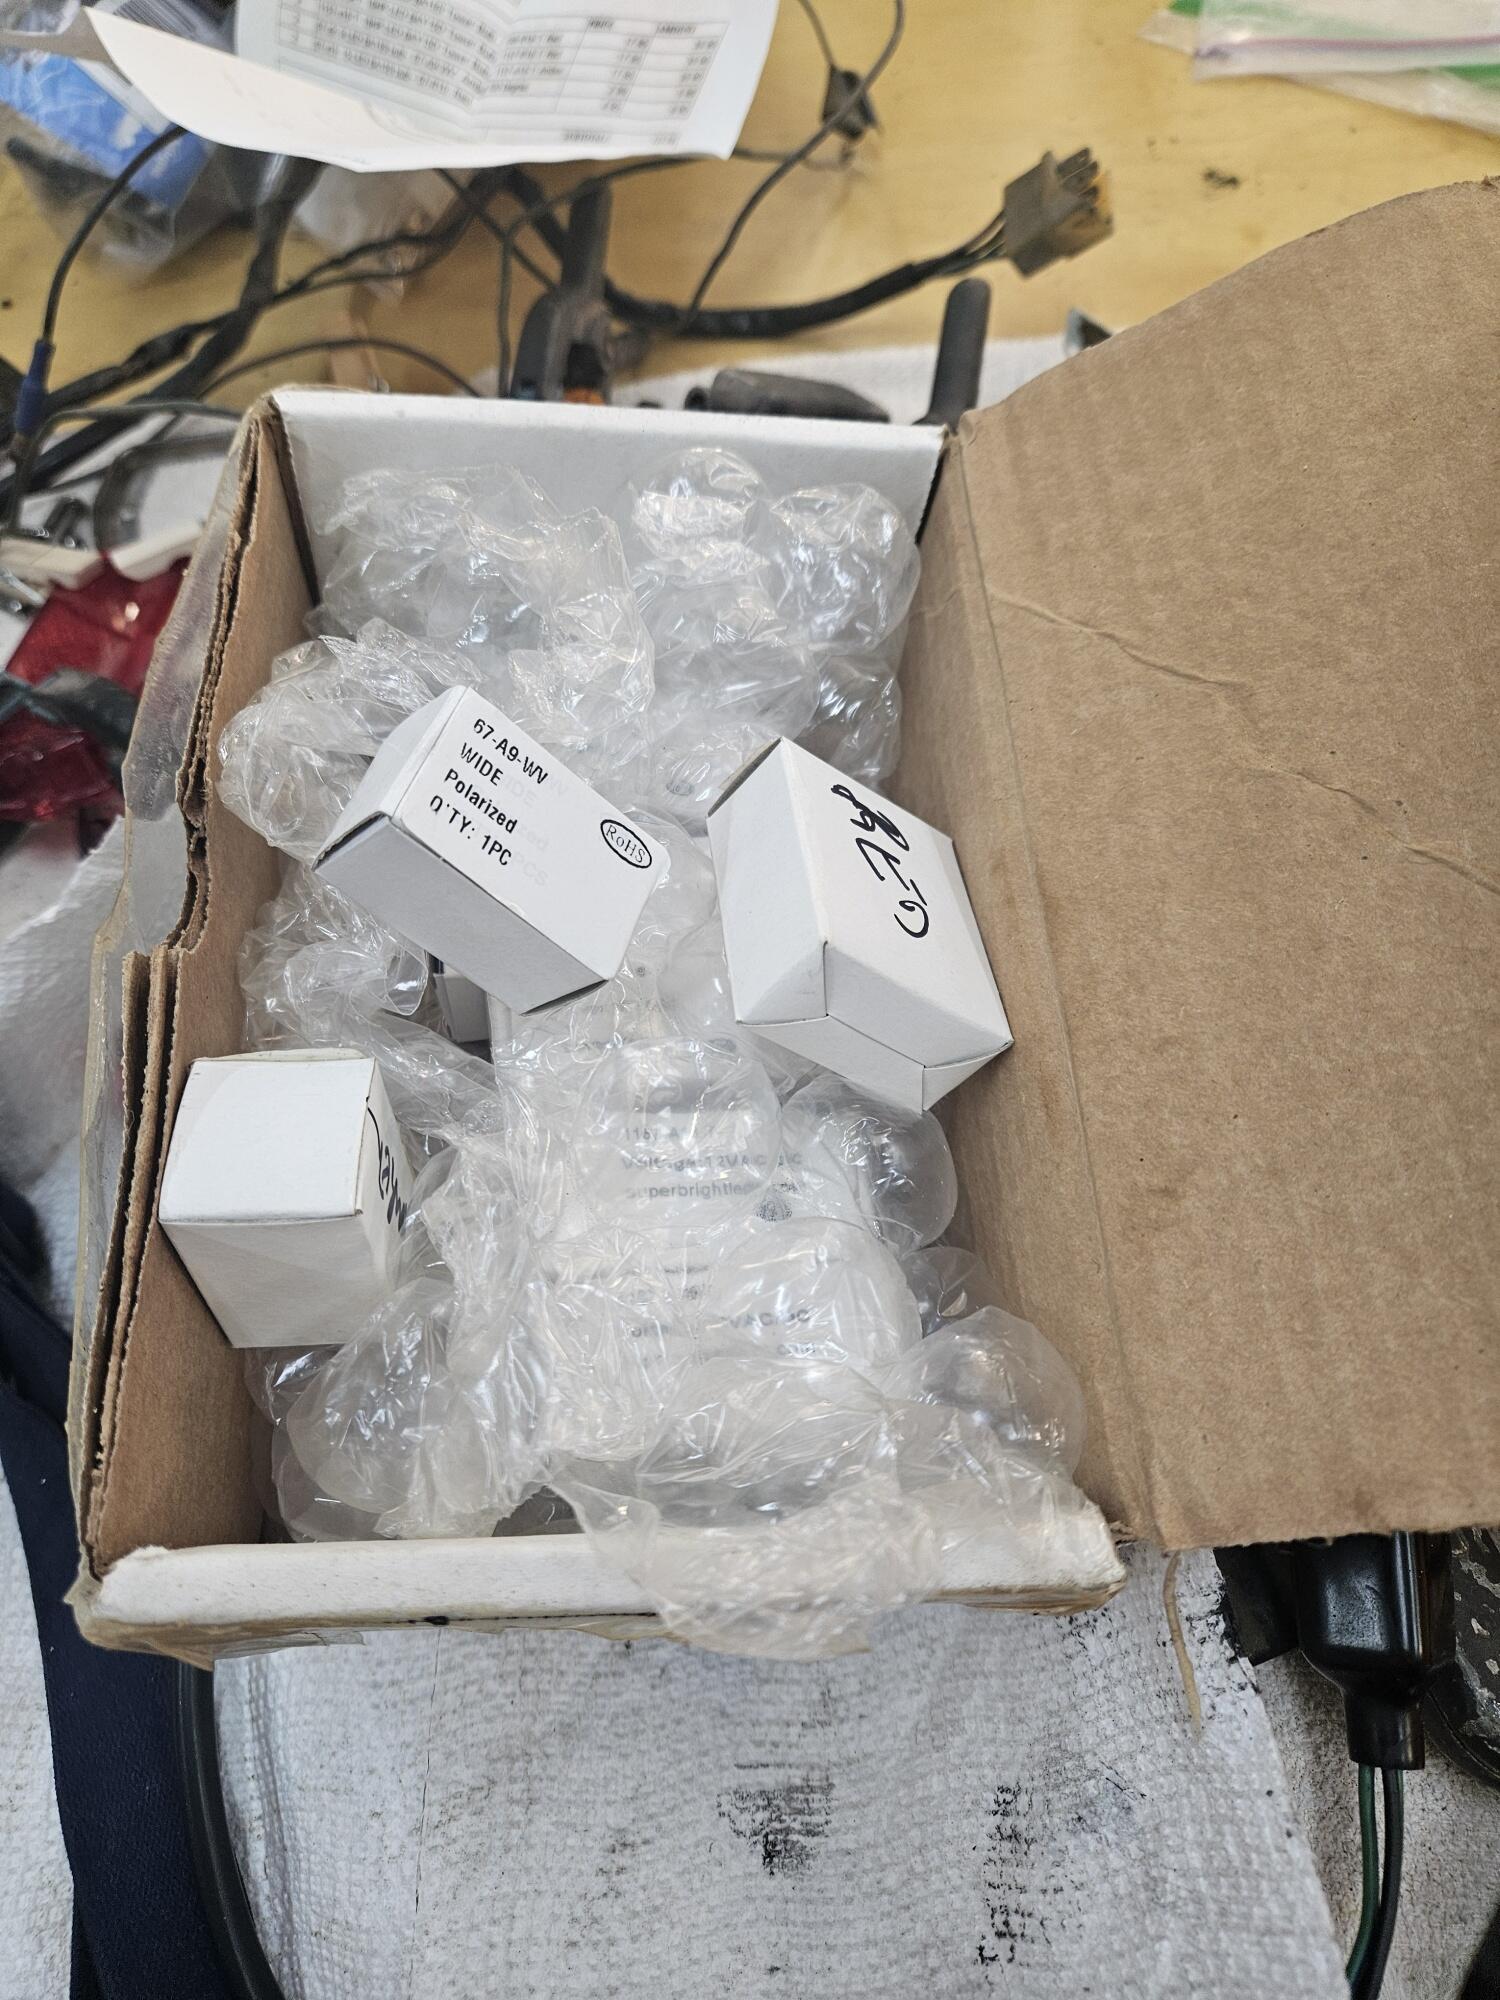
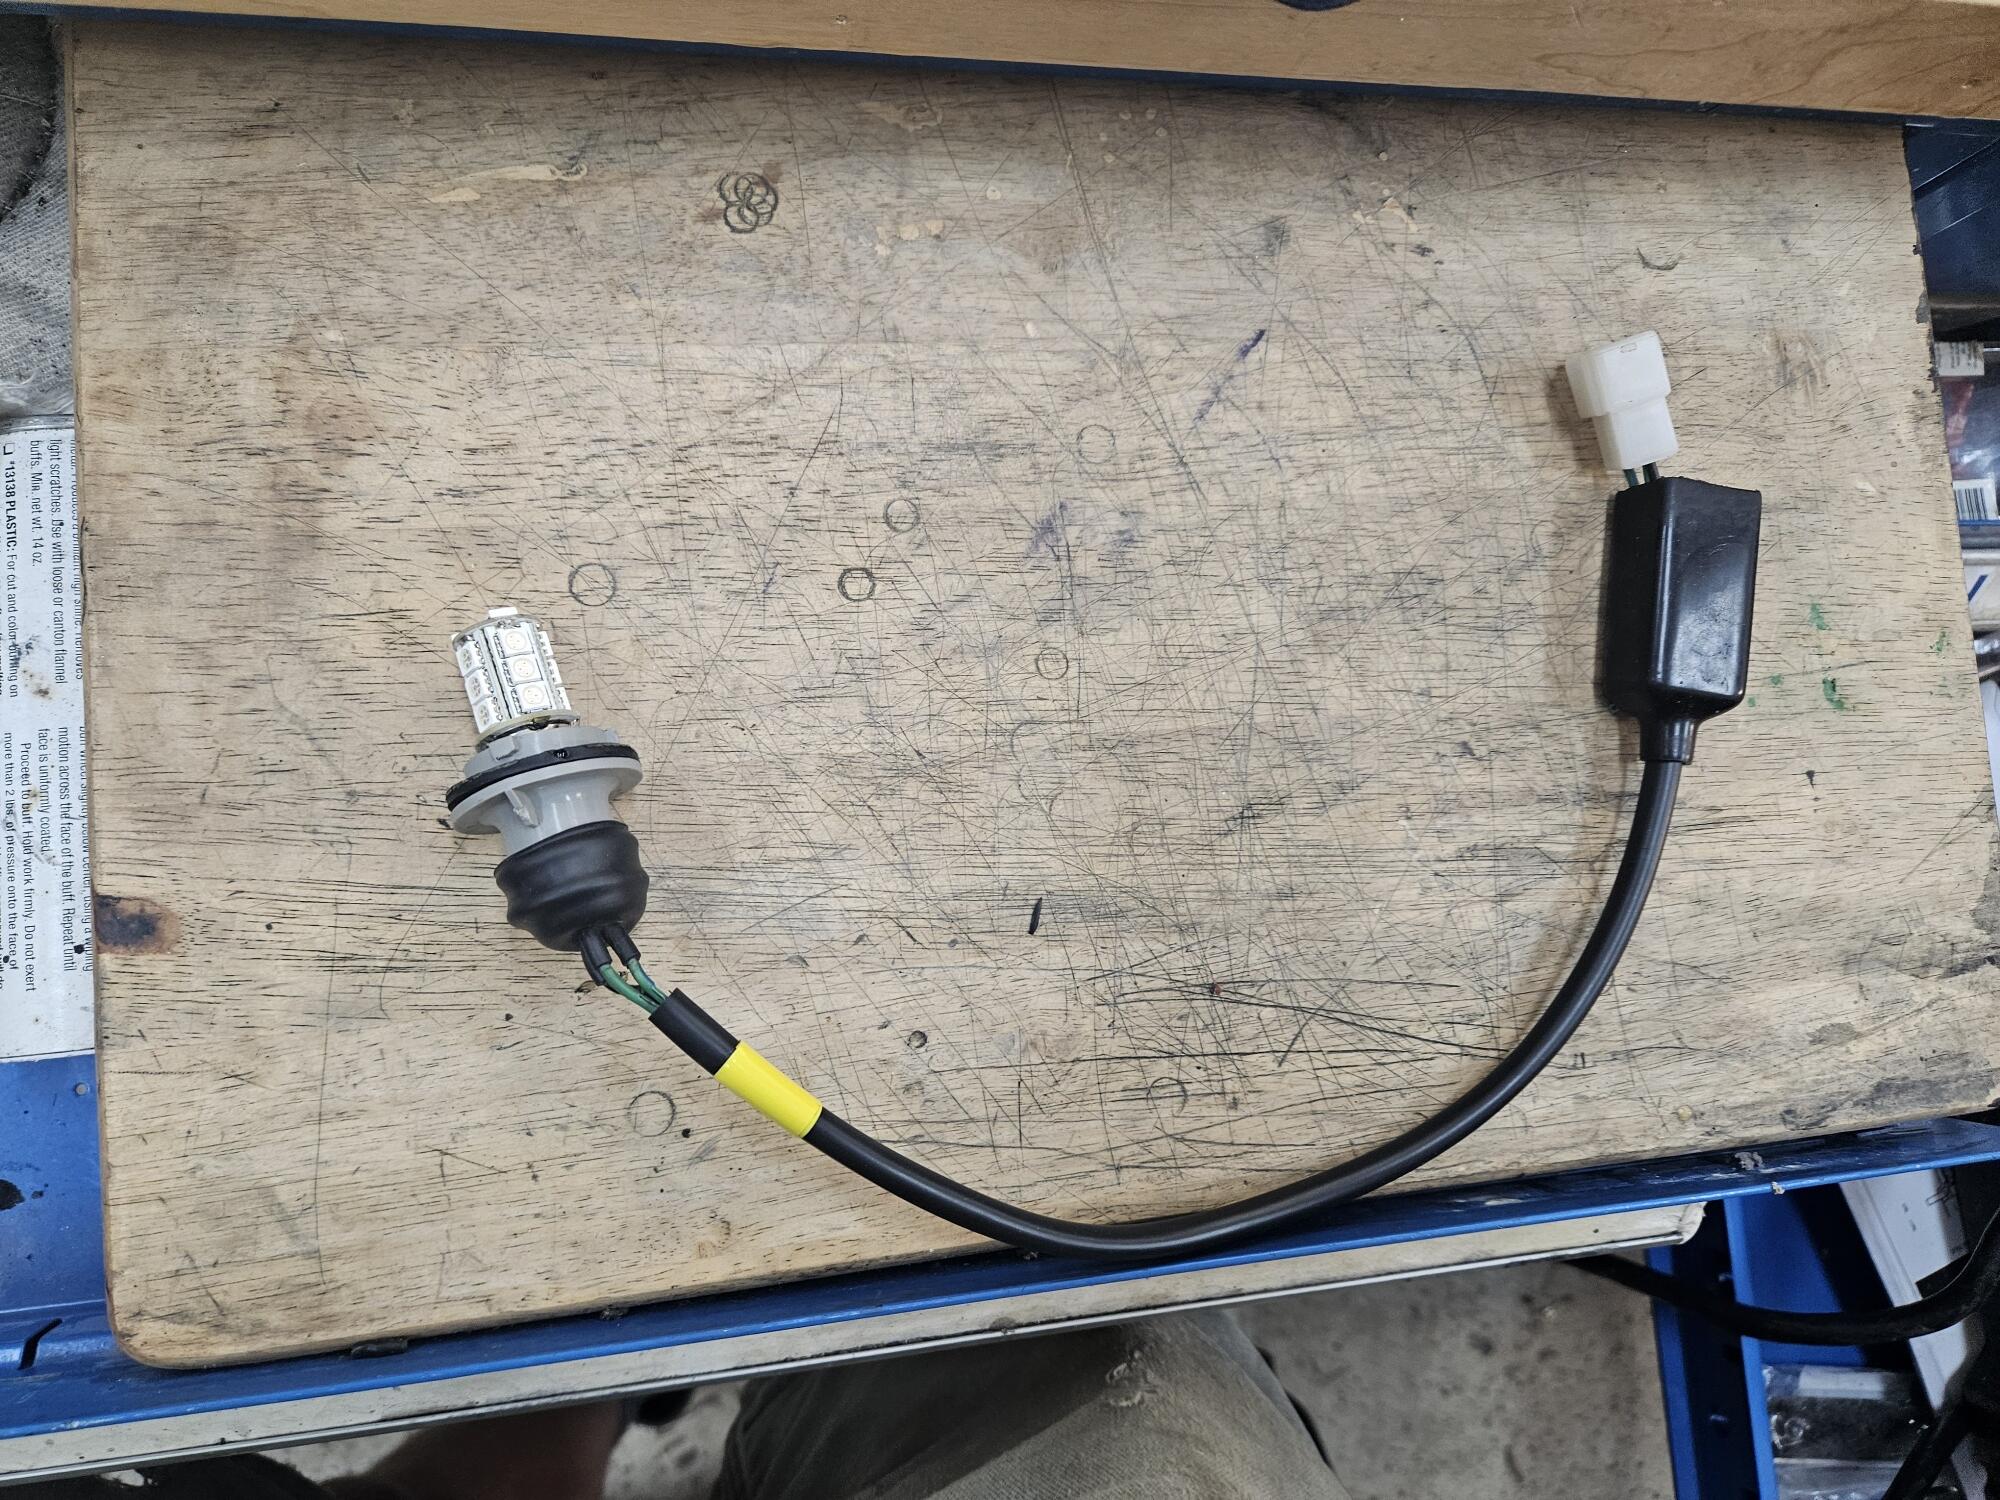
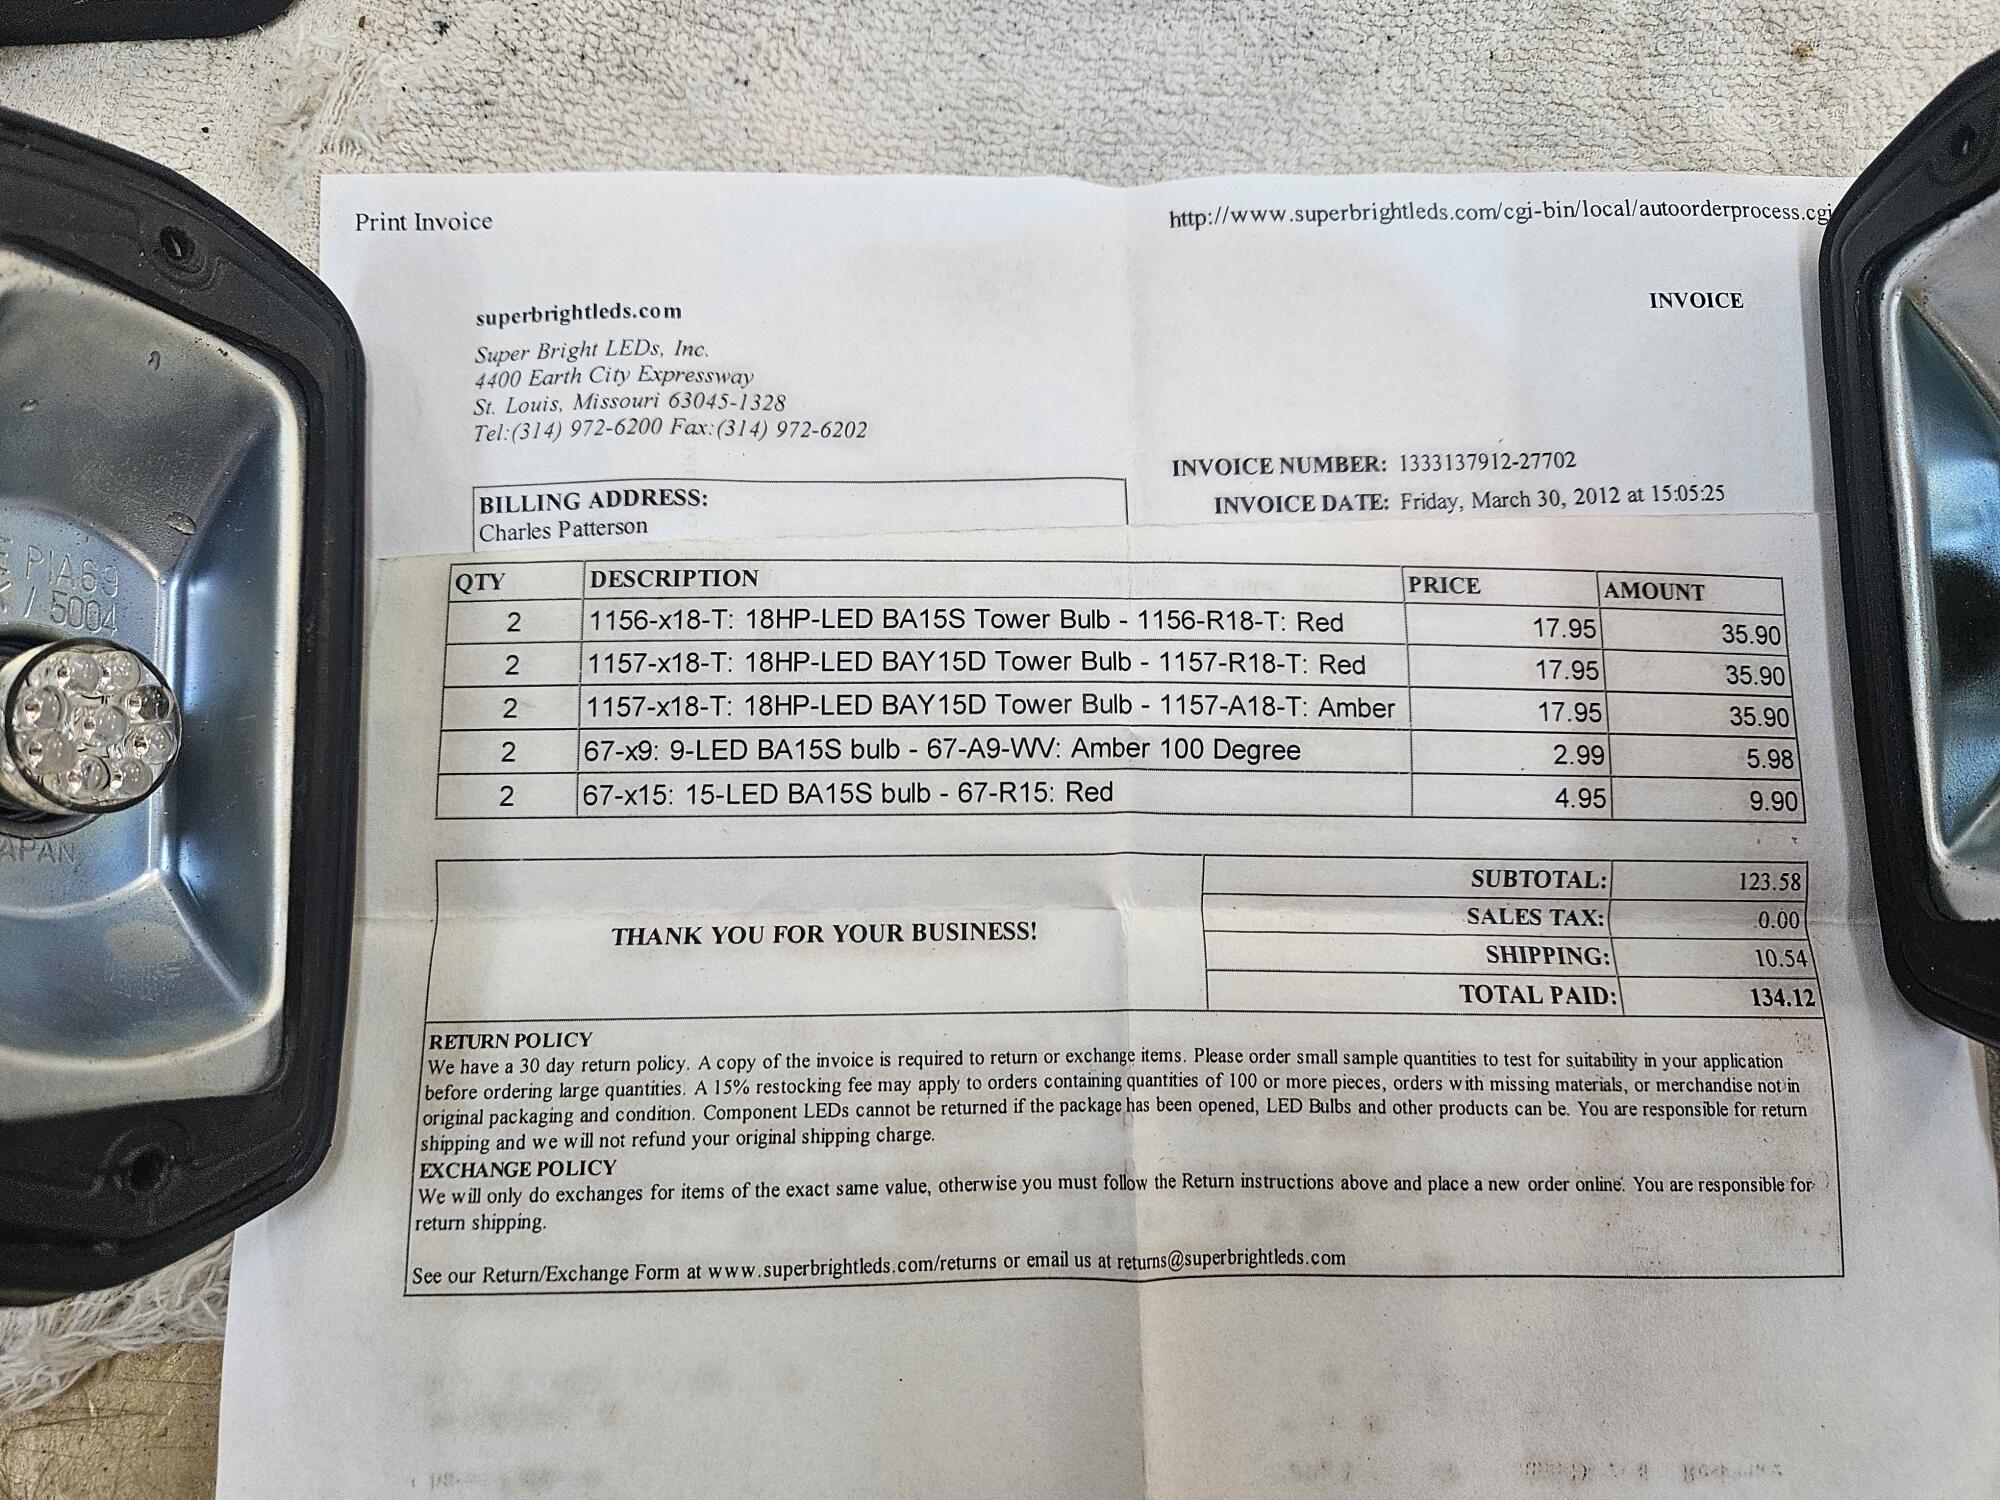
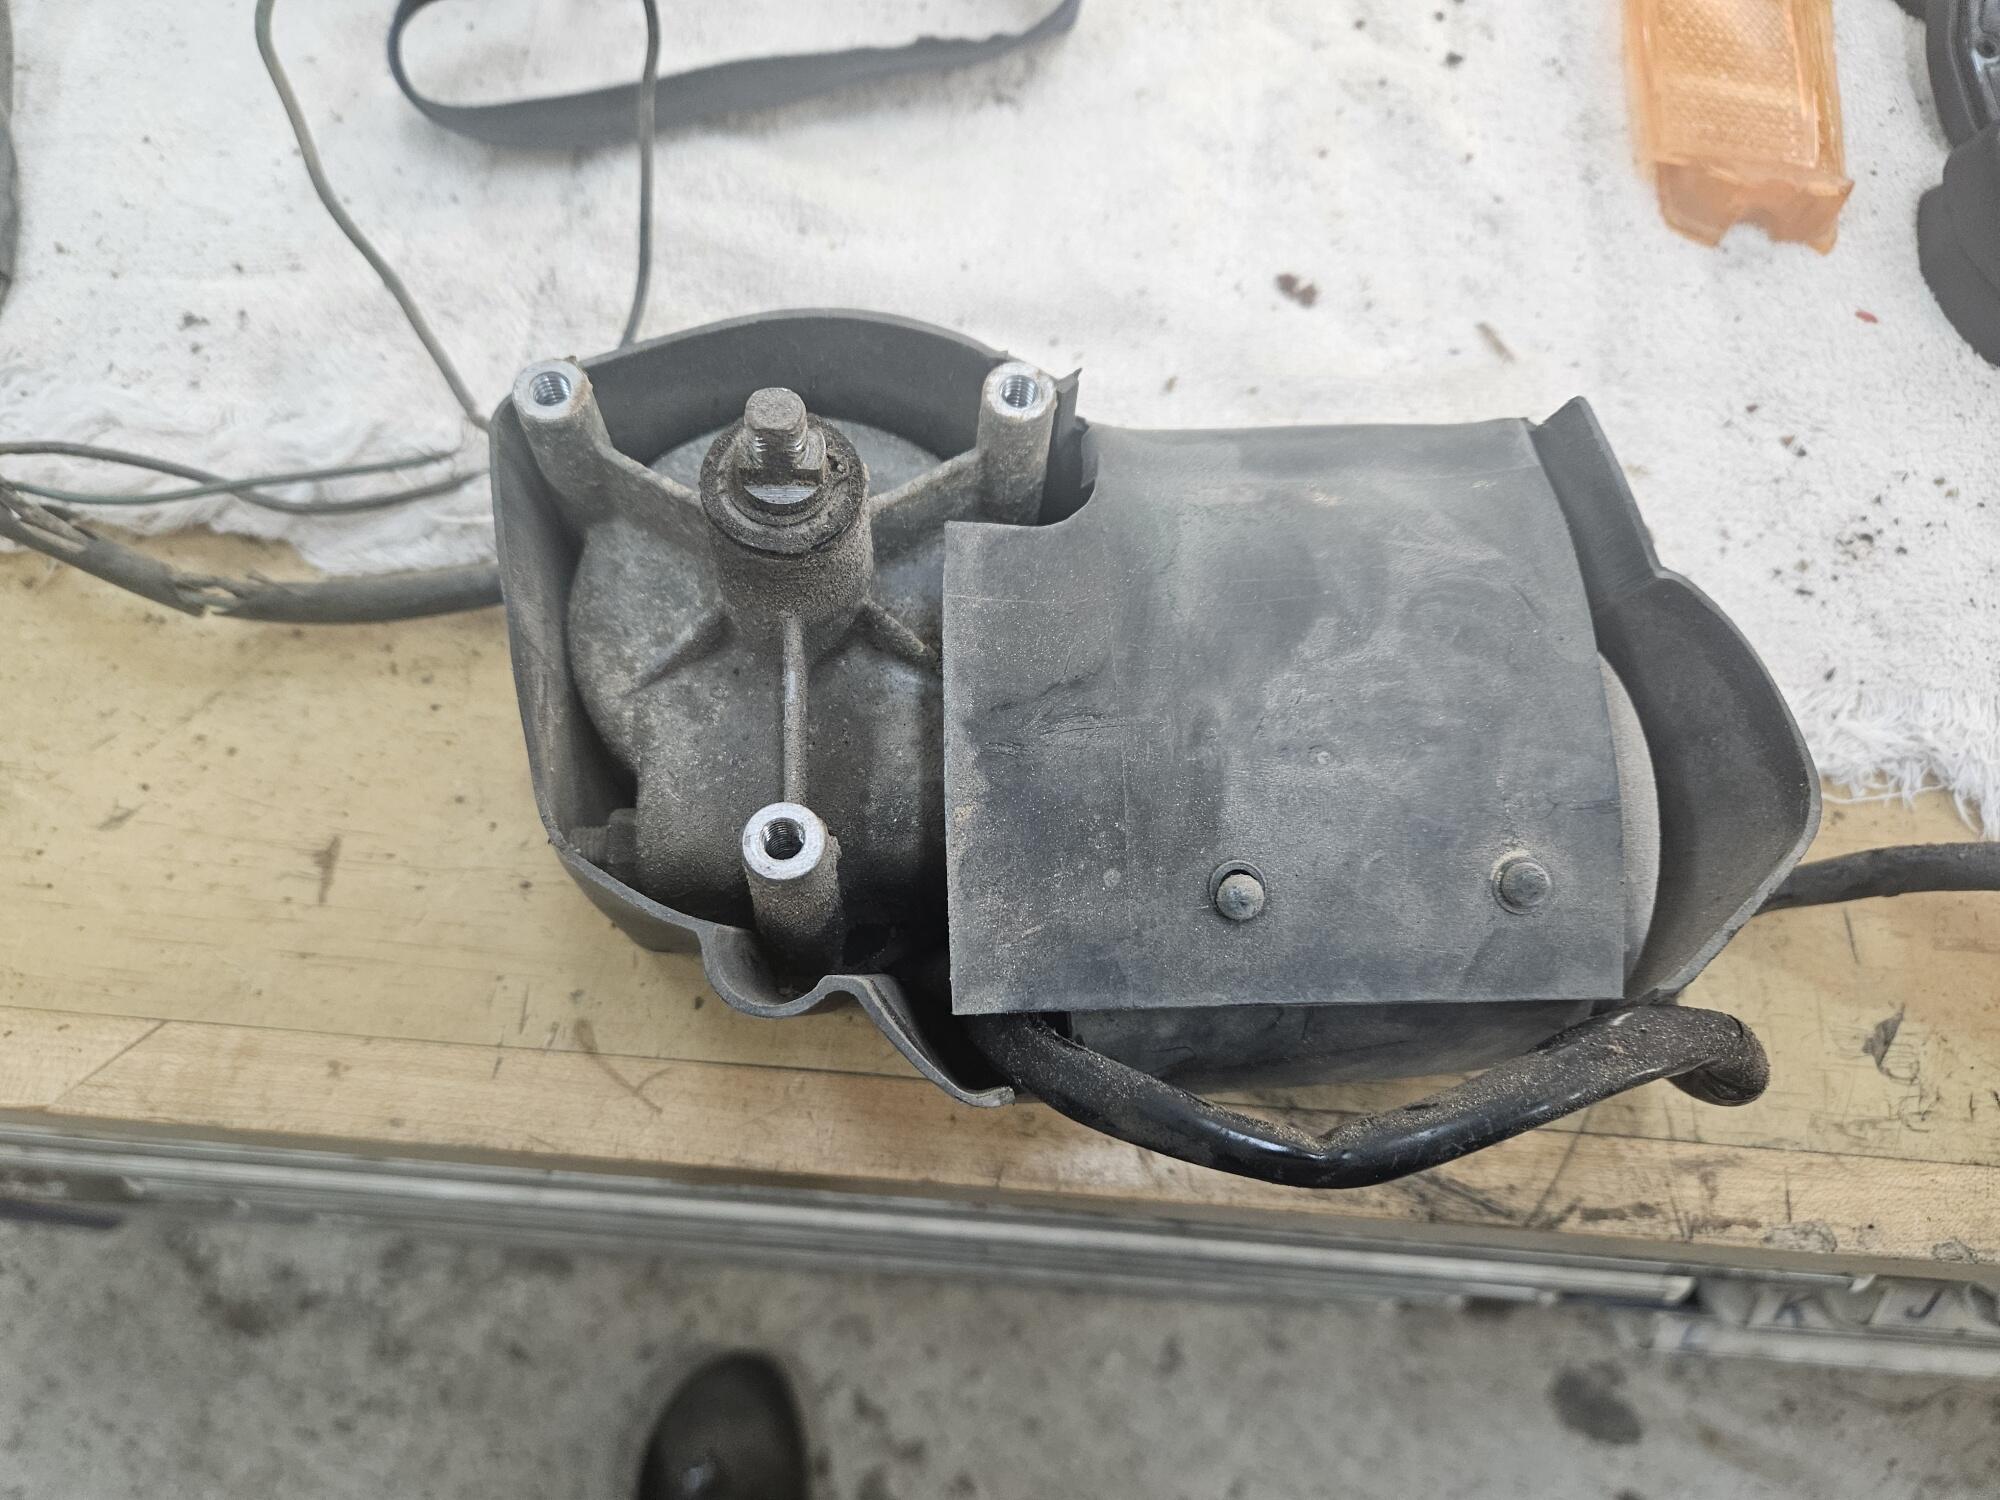
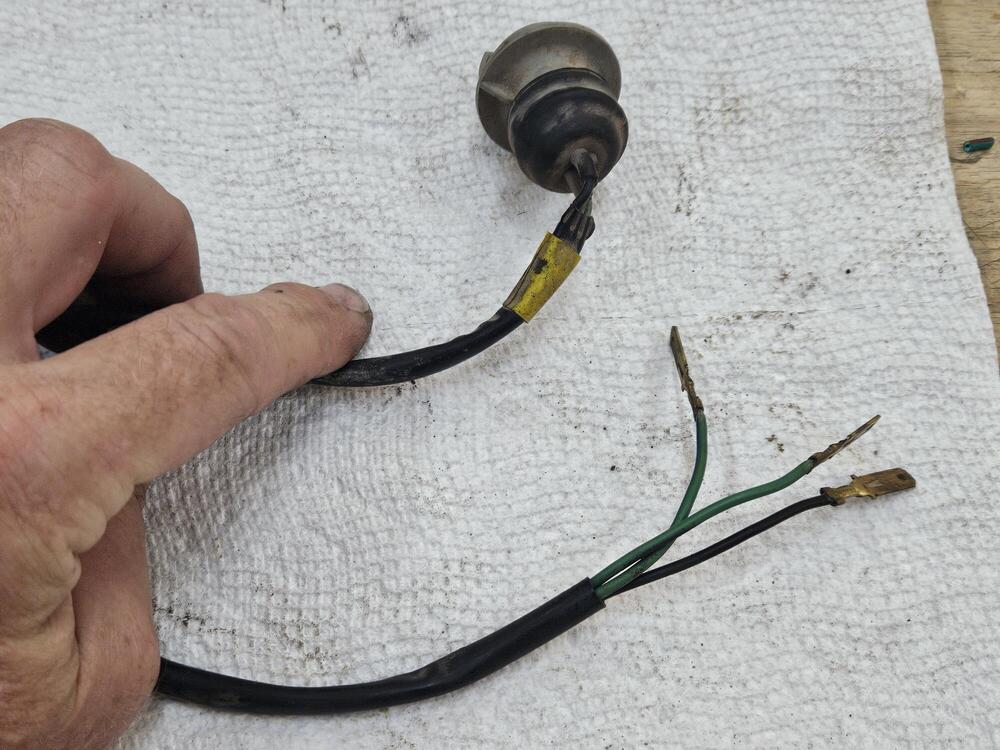
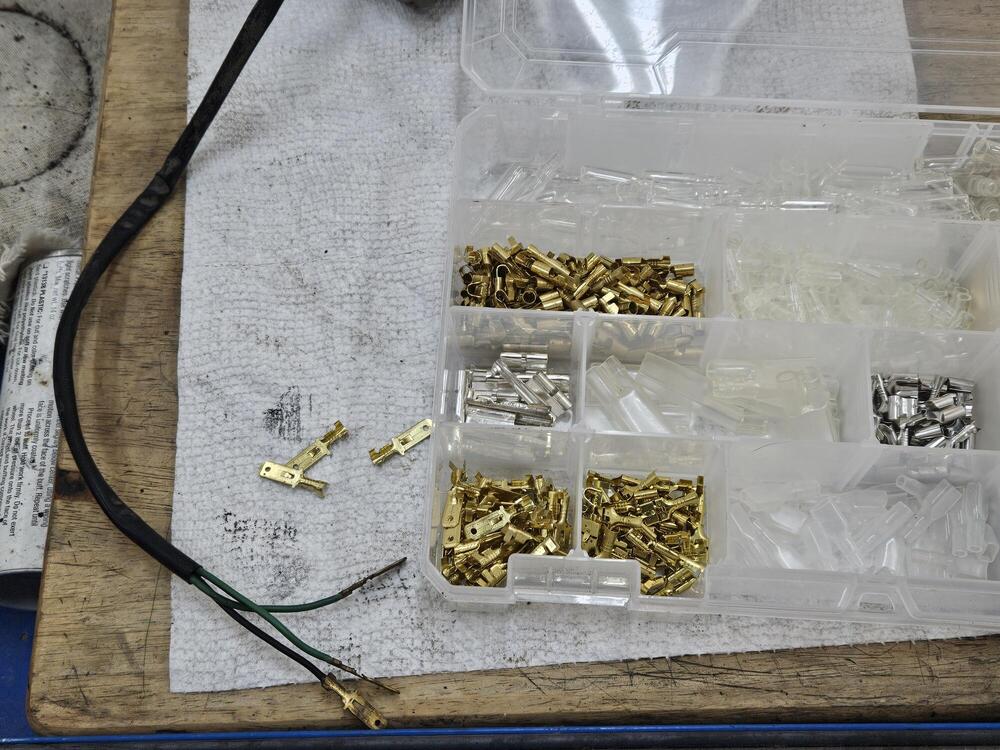
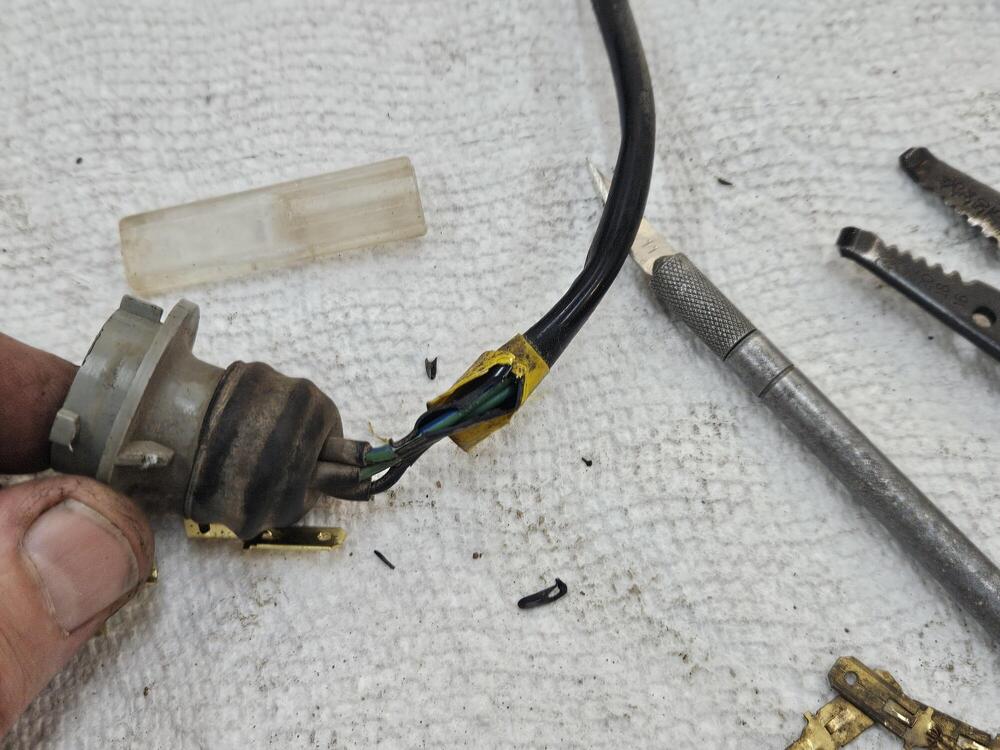
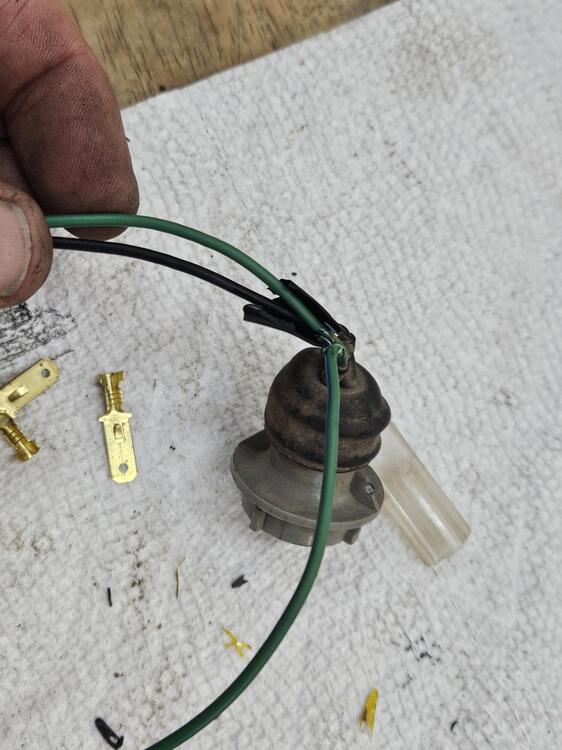
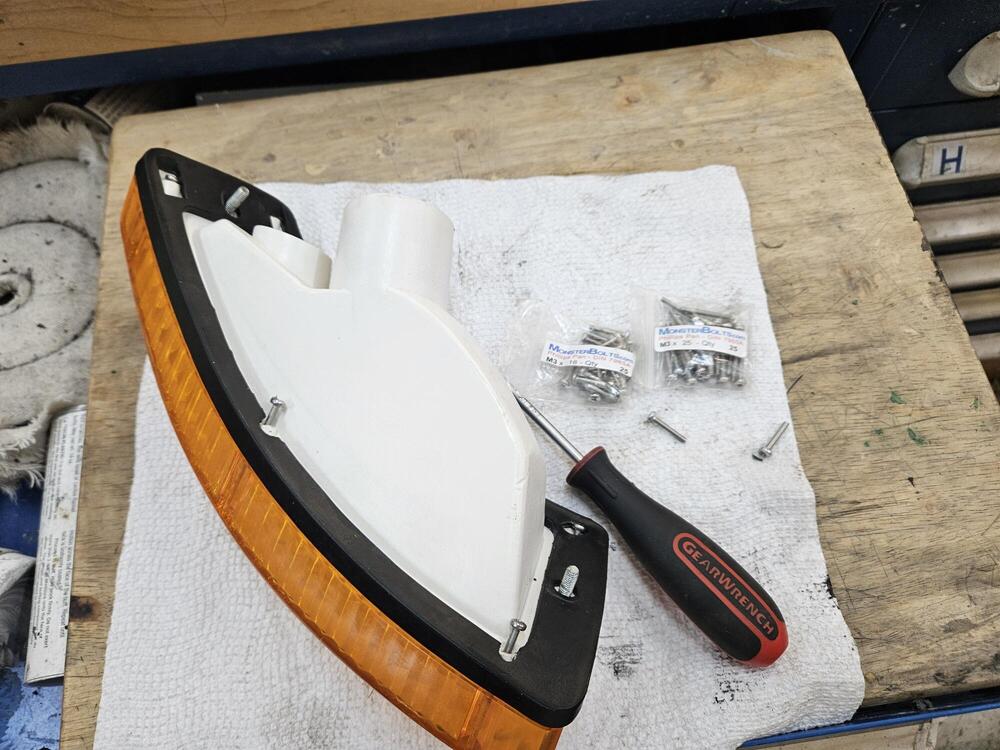
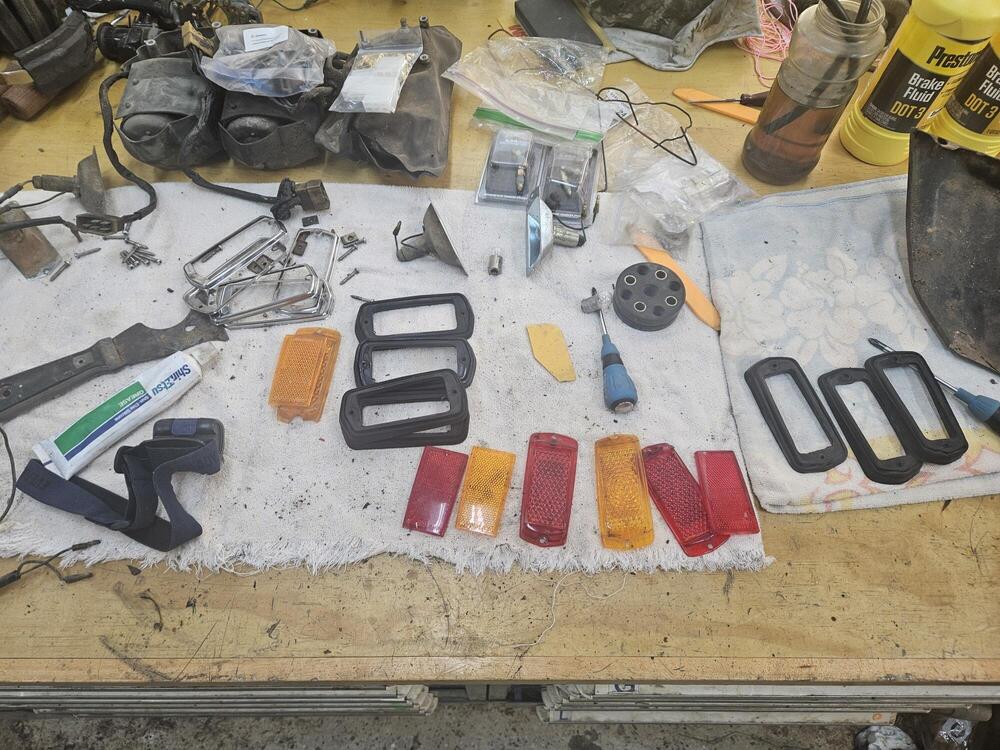
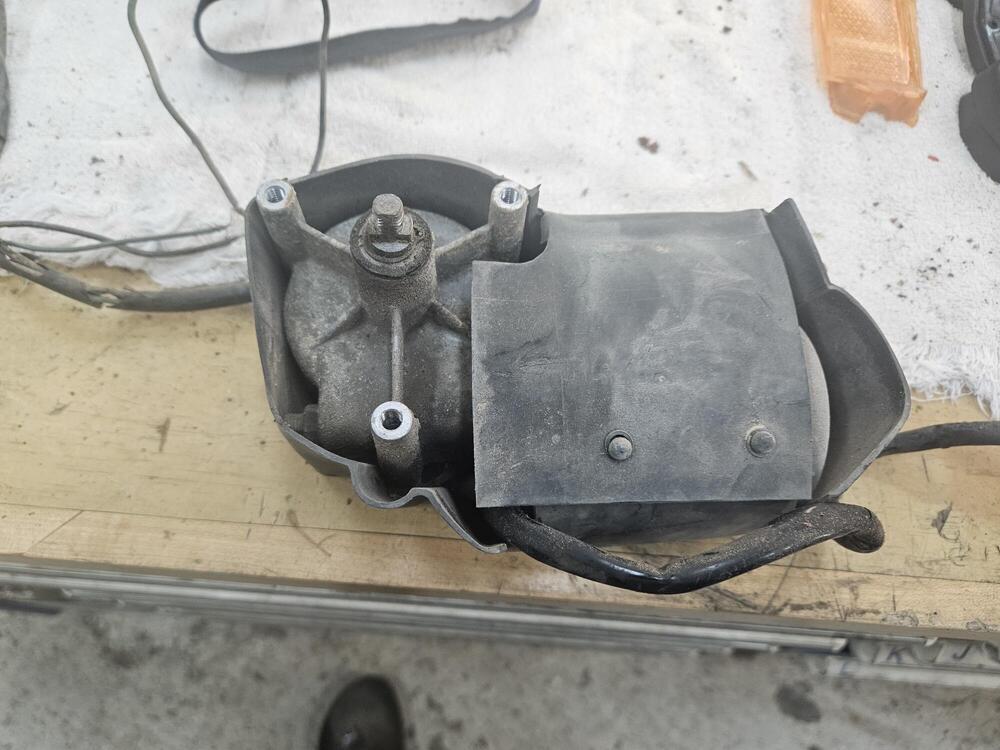
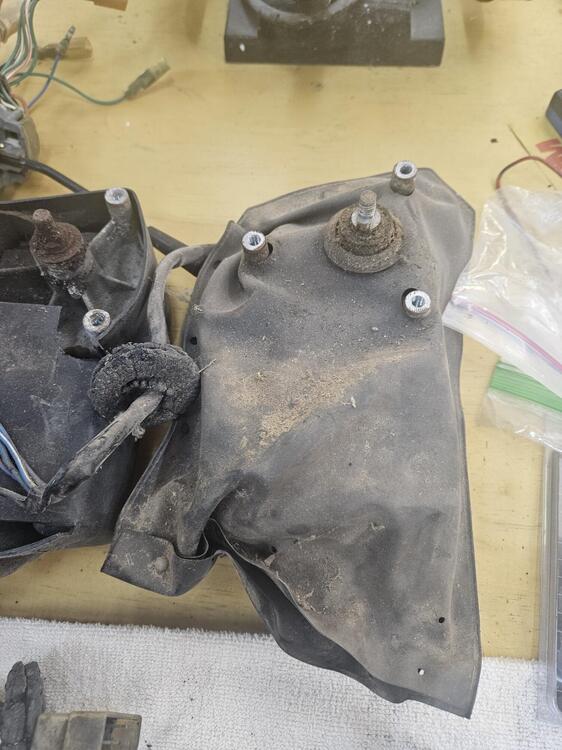
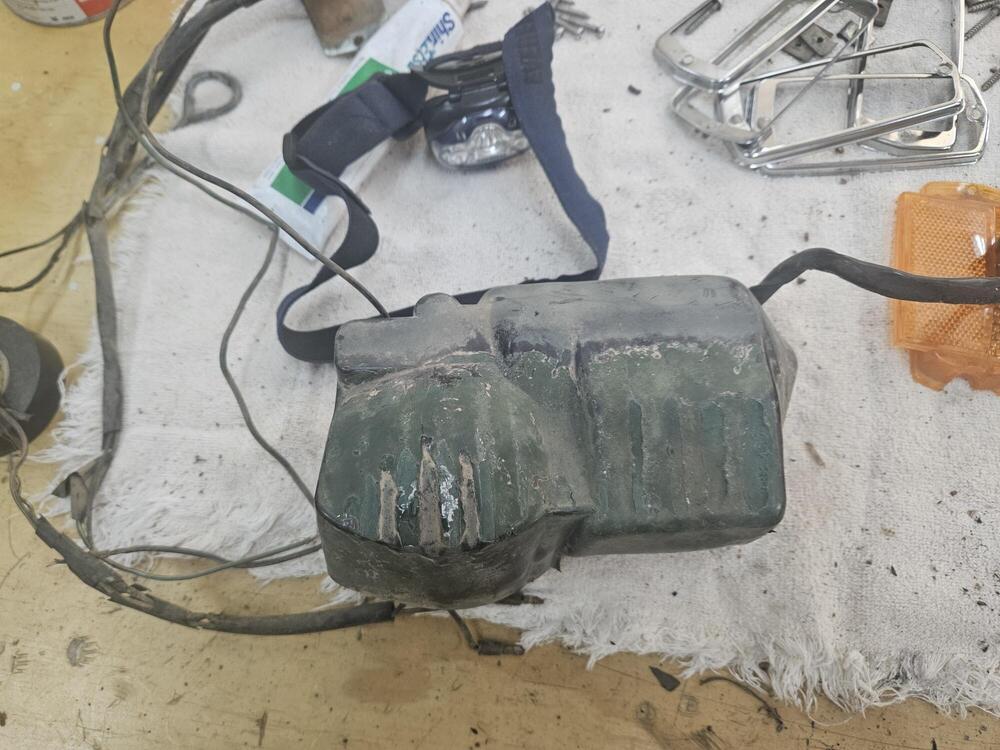
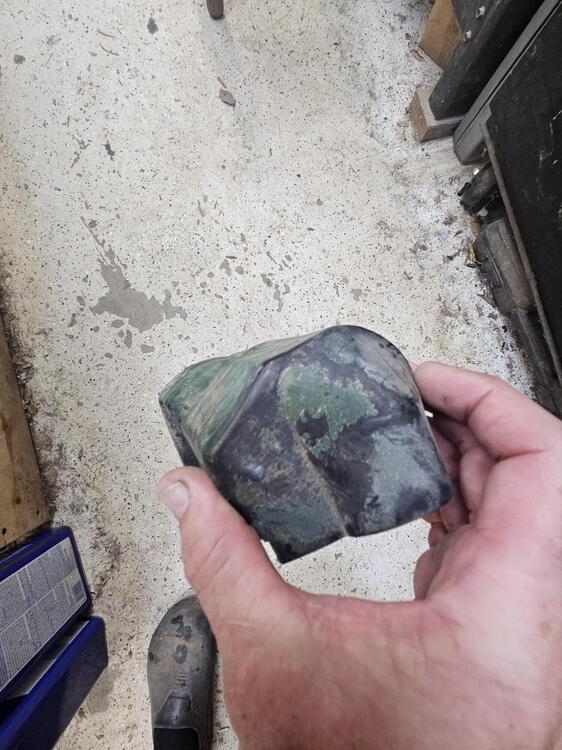
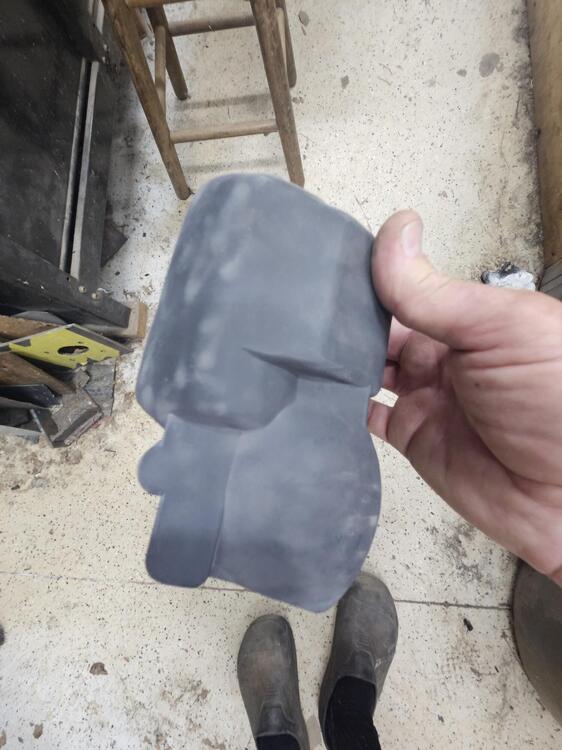
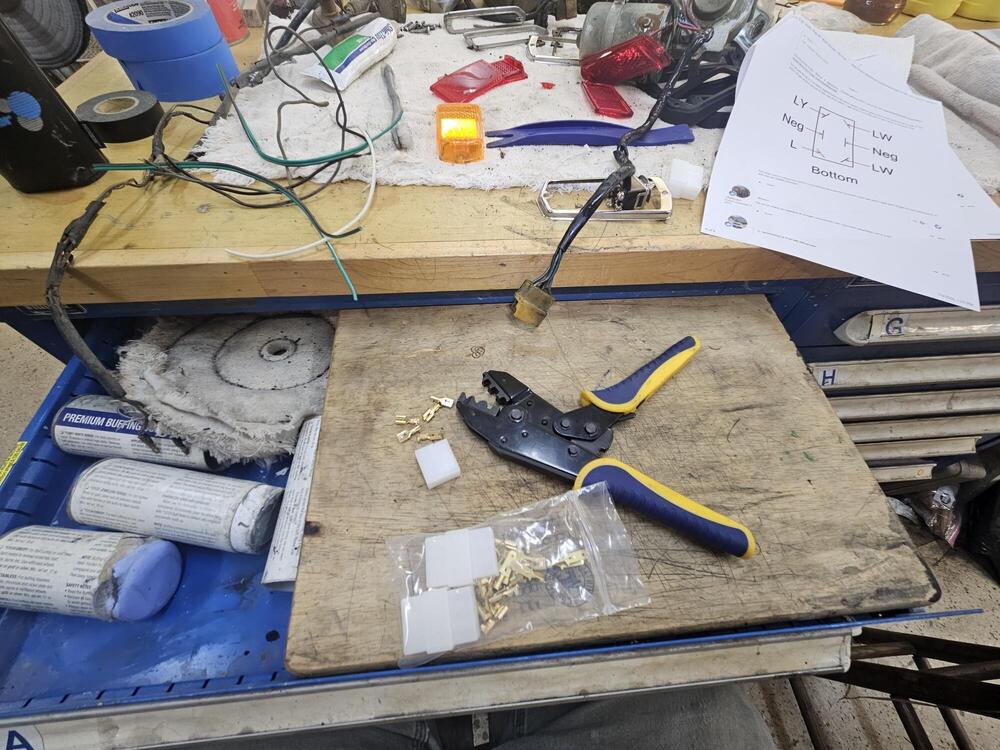
Here is the wiper motor cover after some Meguiars So I've been chipping away at front turn signals Here is the factory bulb end Got the terminals out of the connector and cut the ends off. I have Vintage connections pieces to put it back together Here are the new screws I have for the lenses One lens together Here is one pigtail done I found a whole box of LED's in the BrownZ when we pirated it. I bought them from SuperBrightLED's in 2012!!


-
You did great! I'm not looking forward to doing this. I'm also going back with leather, so I have no reference marks to work from...


-
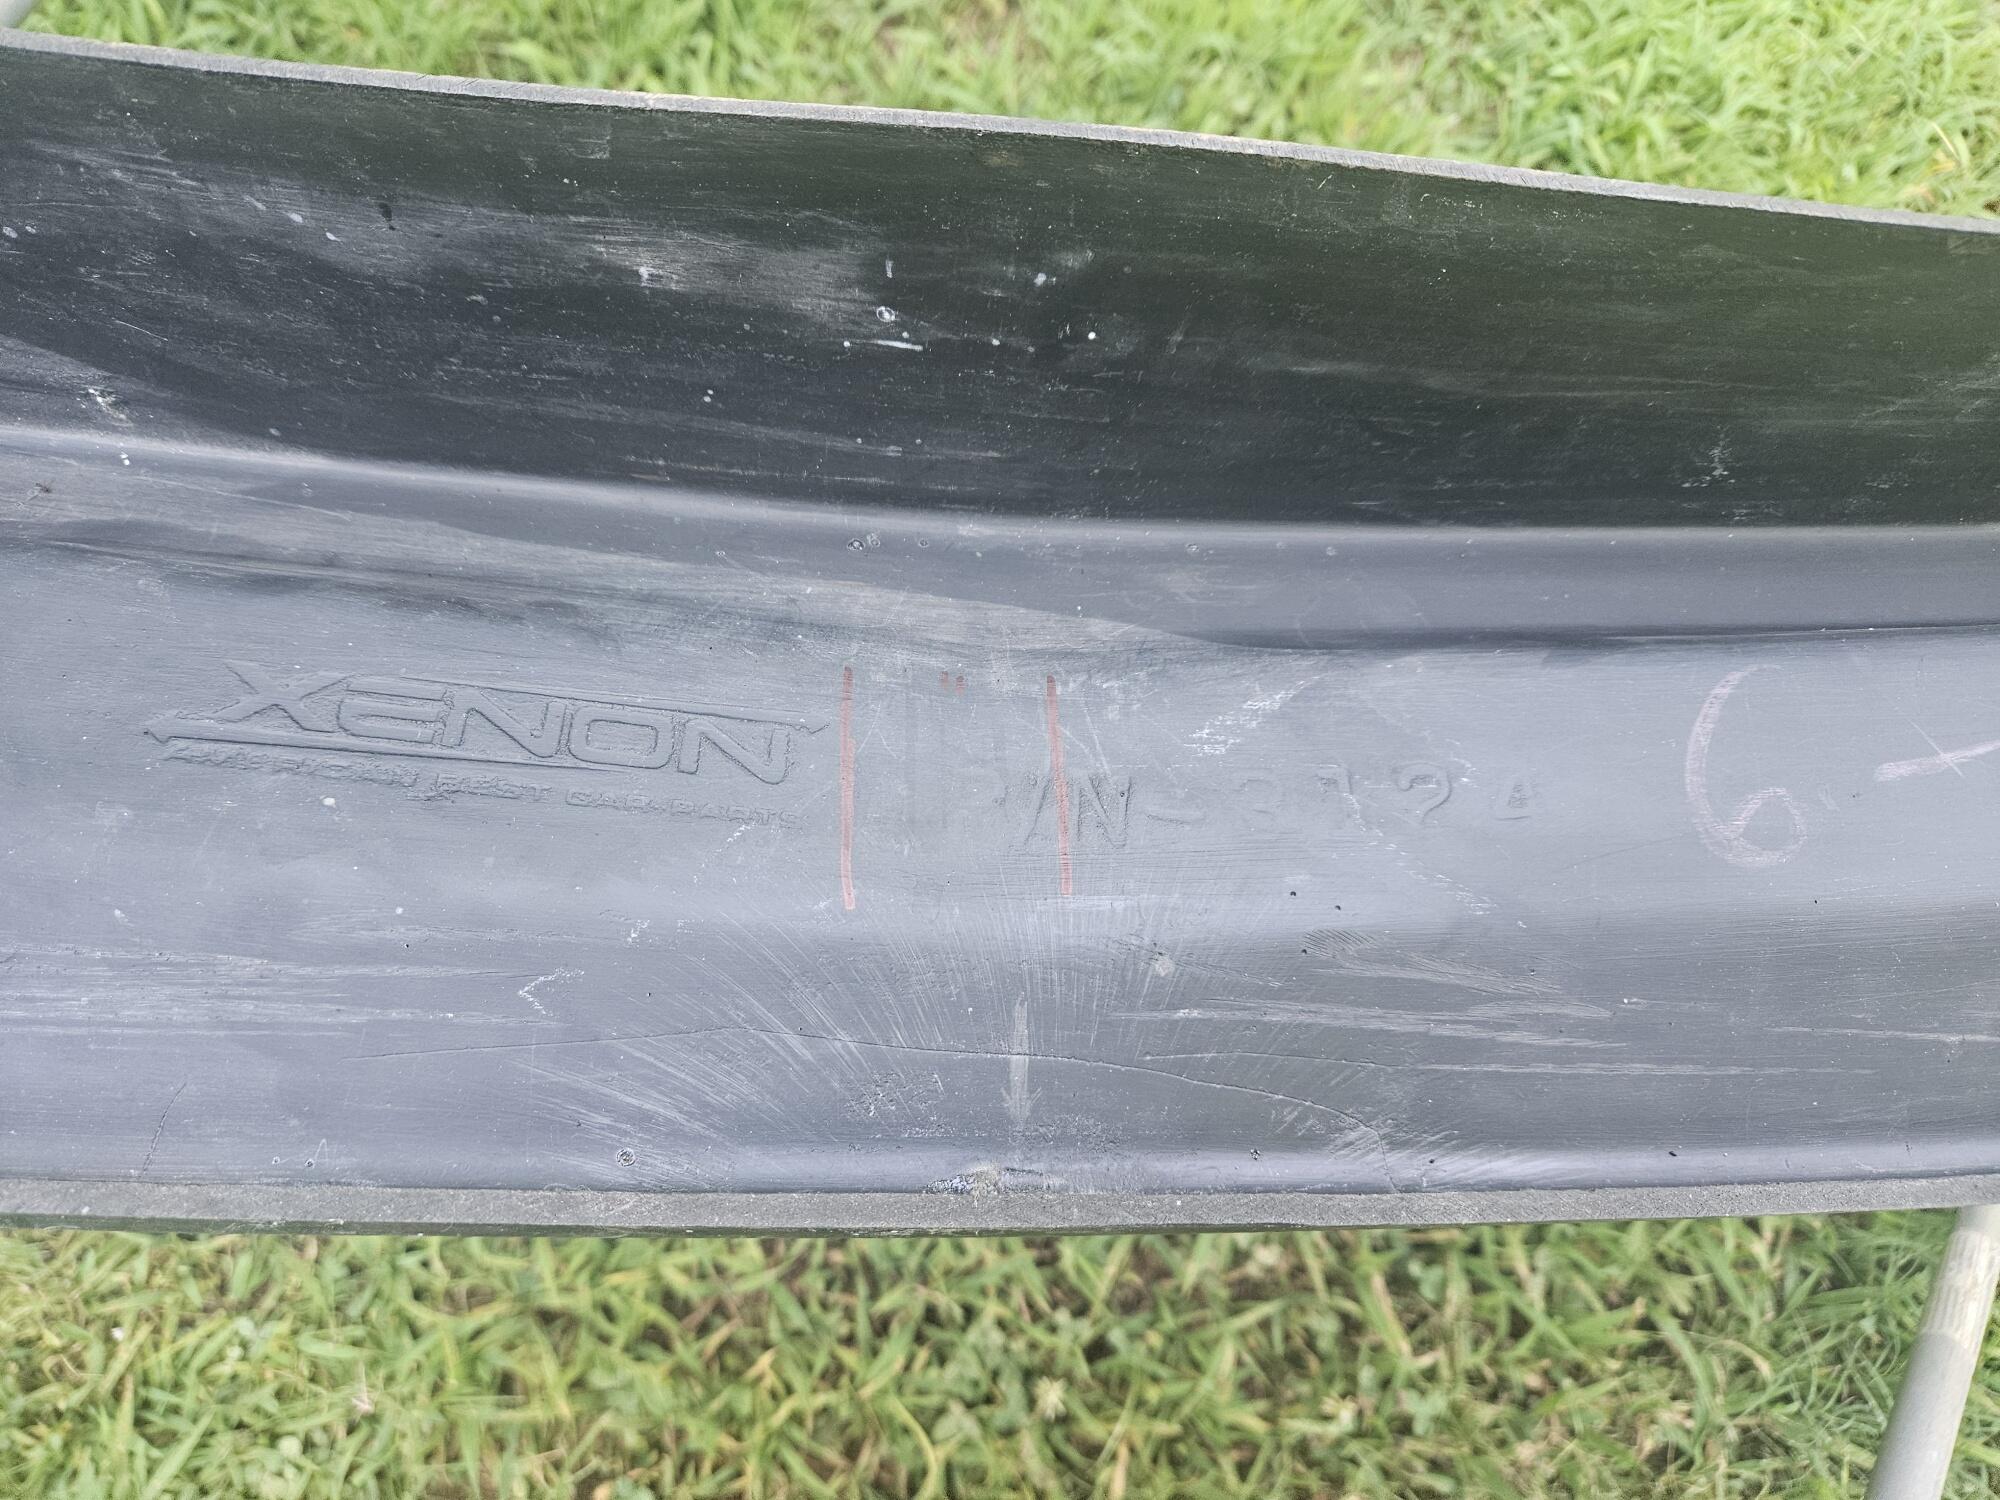
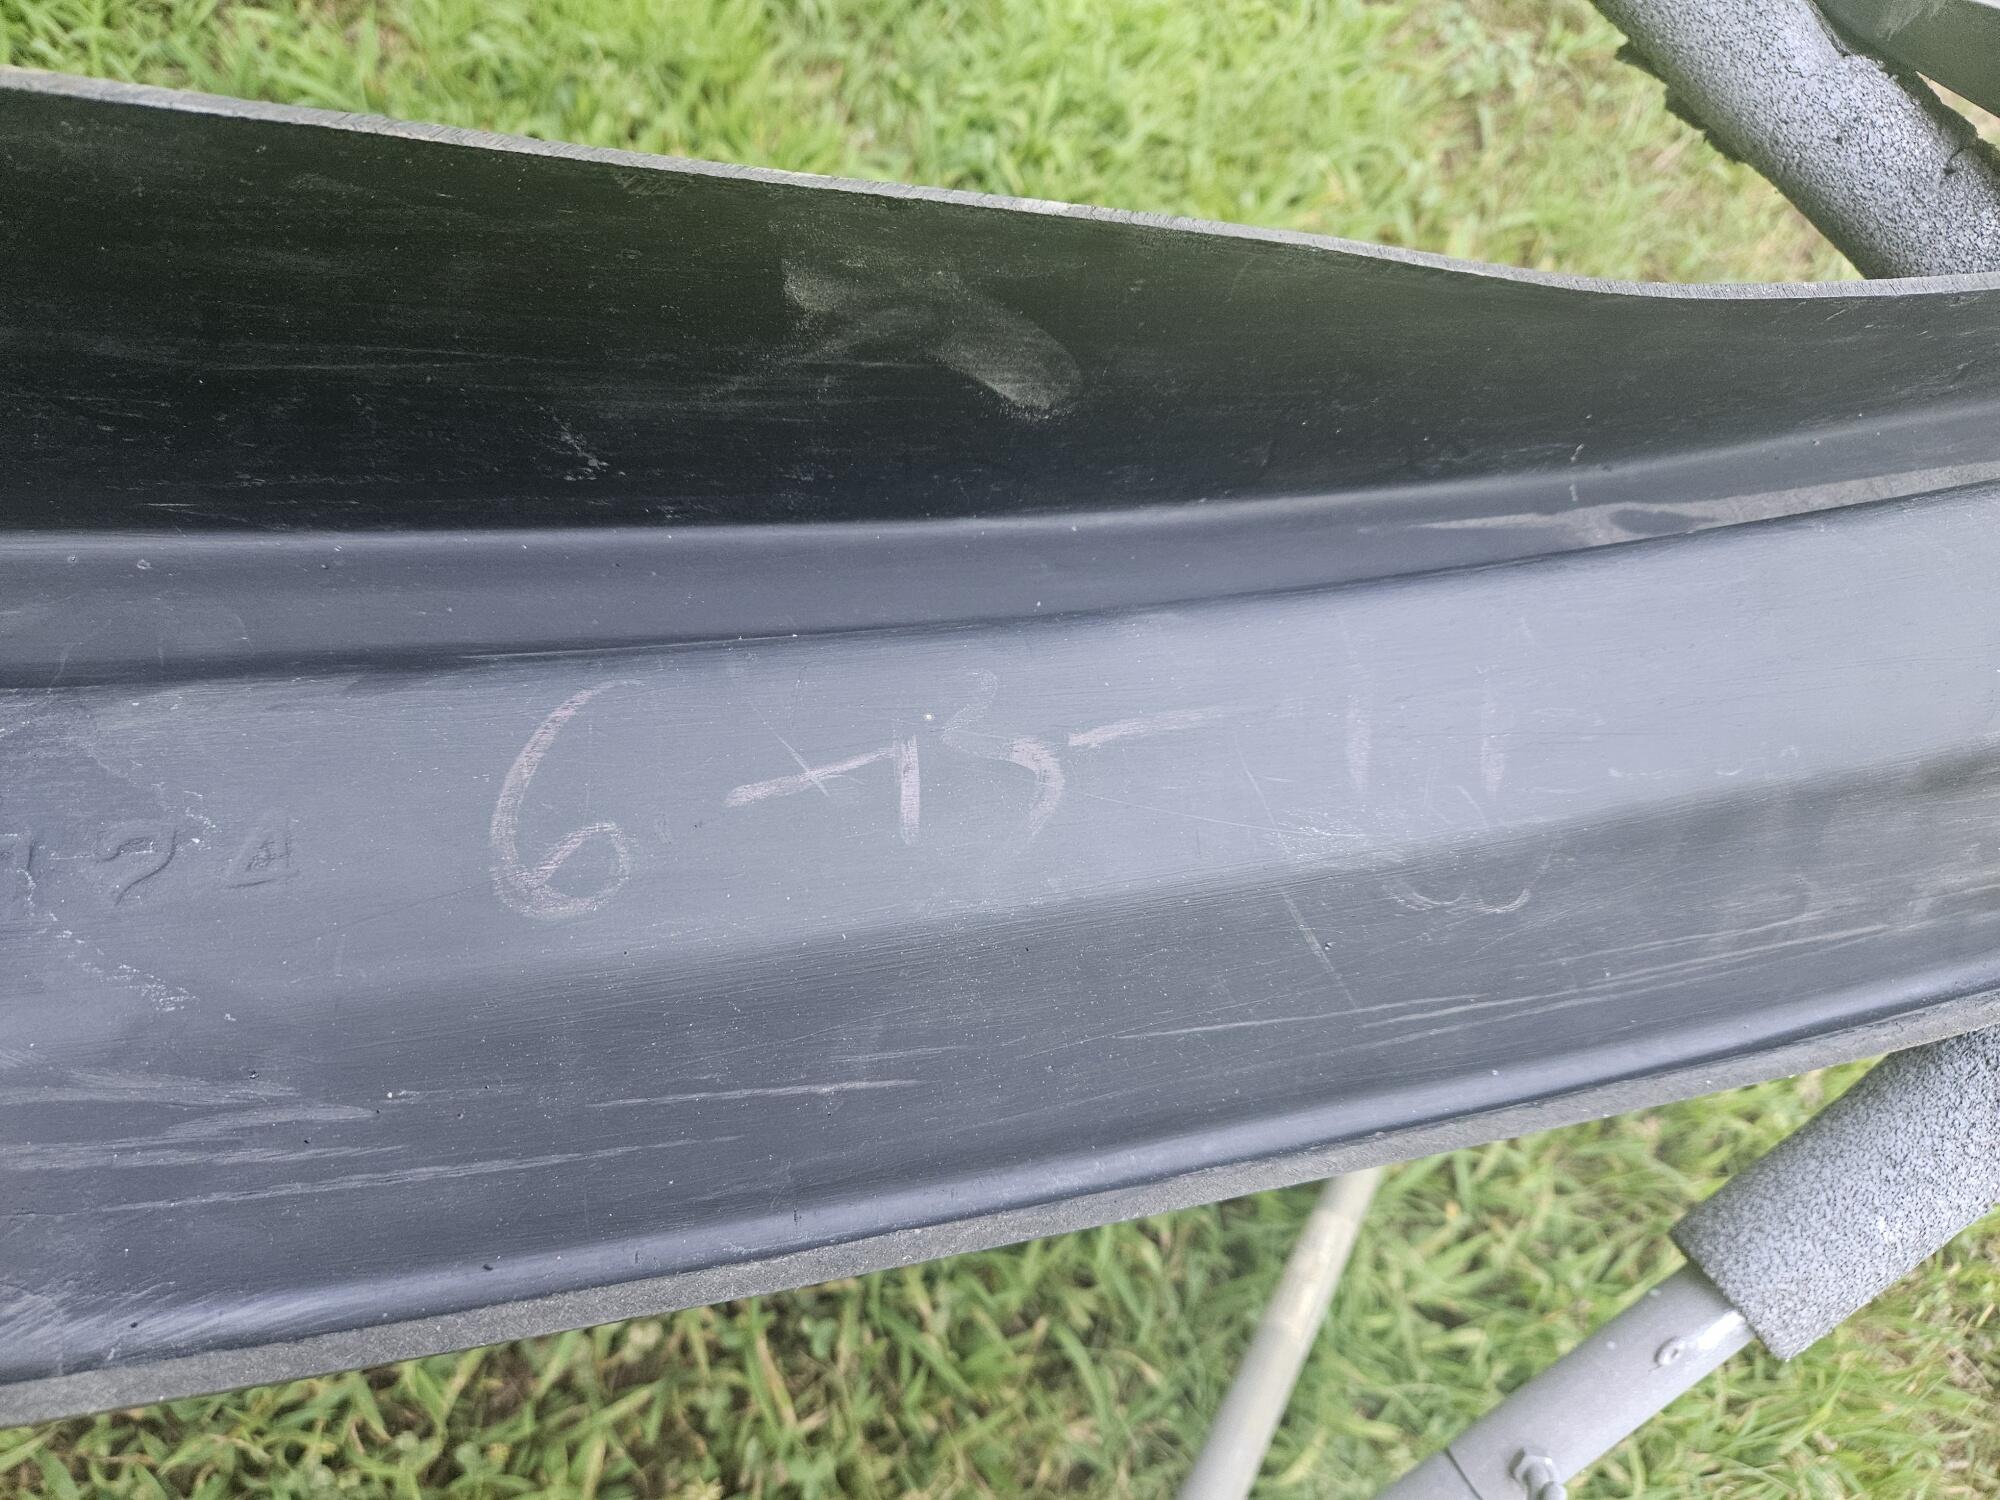
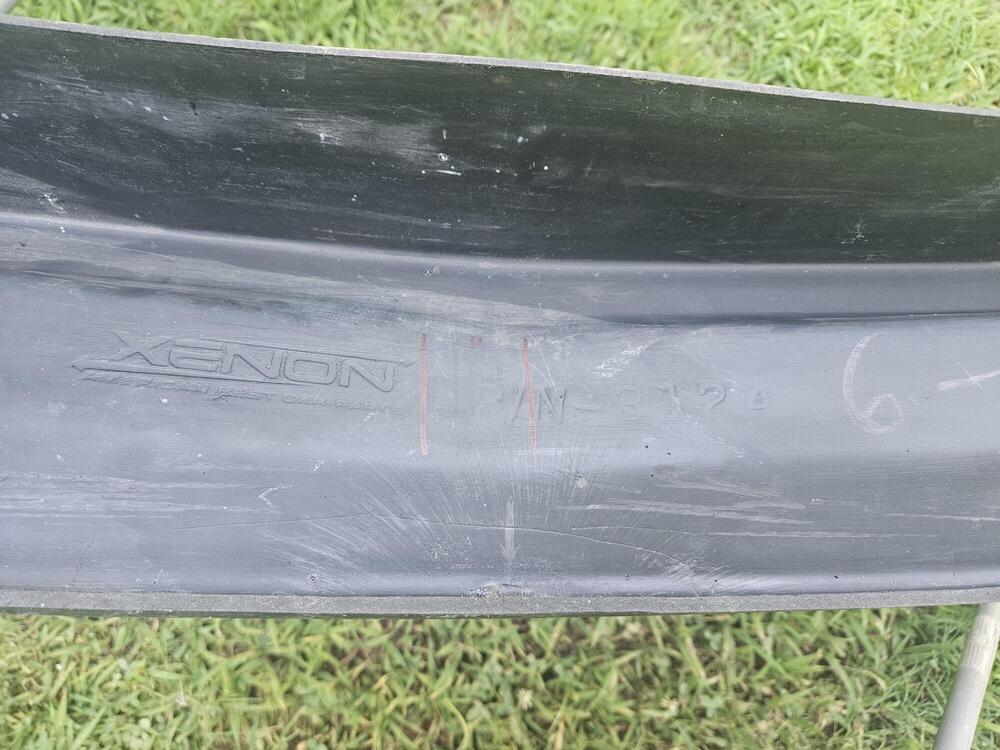
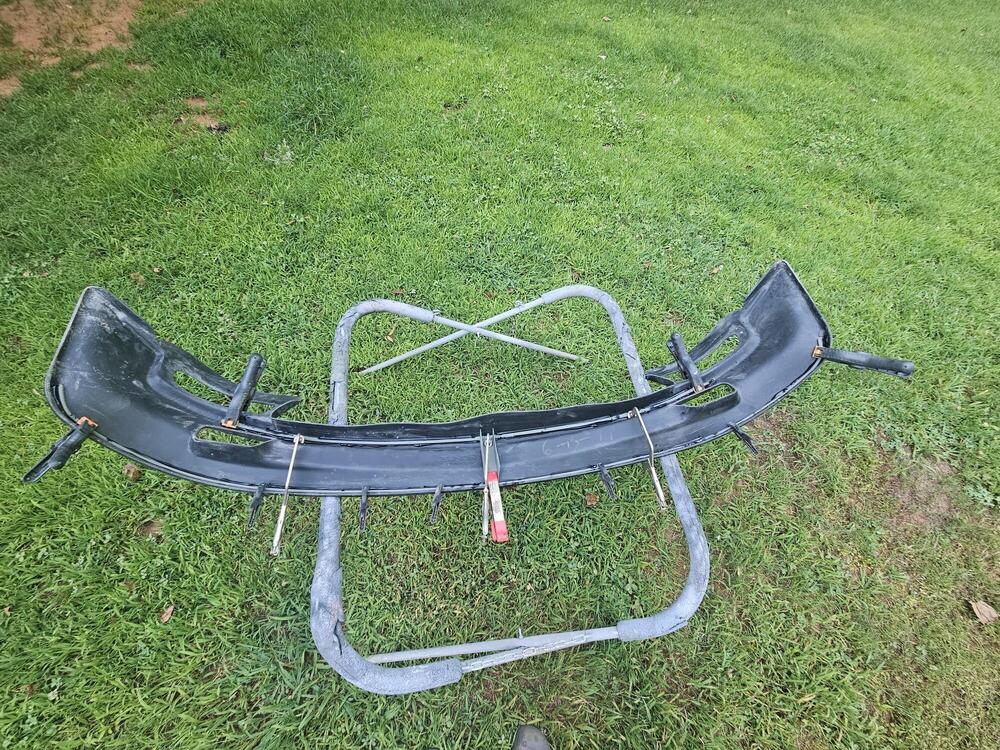
I watched some videos on welding urethane bumpers. I may be able to weld it. We'll see... More challenges today that need to be overcome first
-
Thanks, Zed Head I thought I might of had it backwards. I had just woken up when I posted that...
-
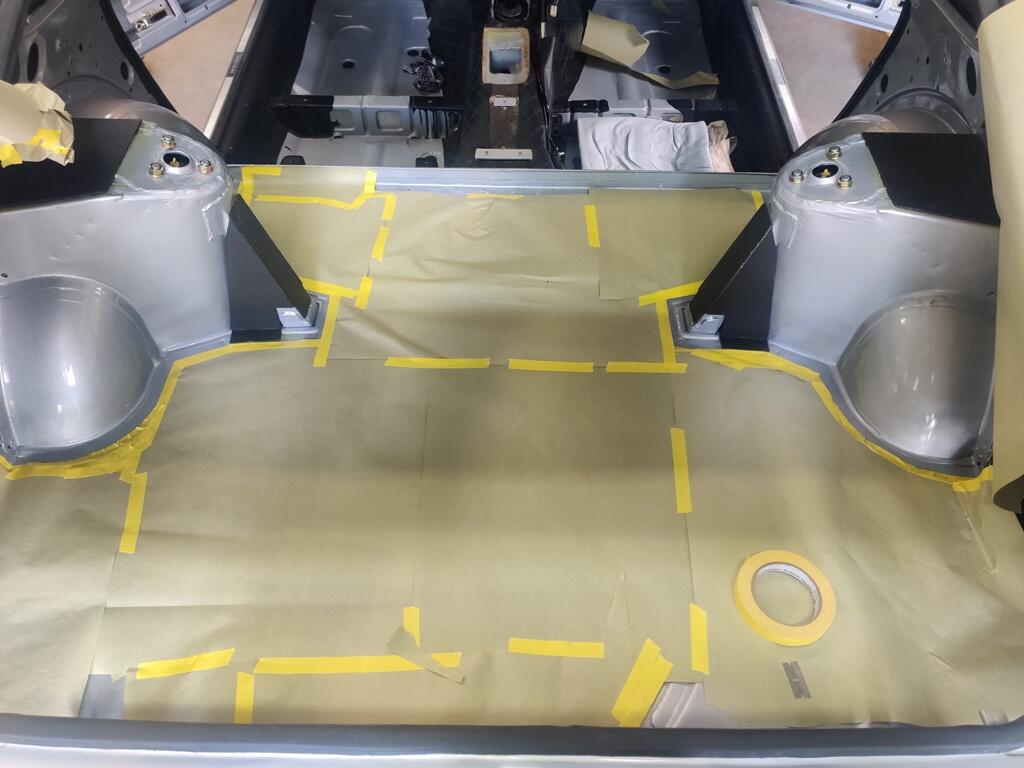
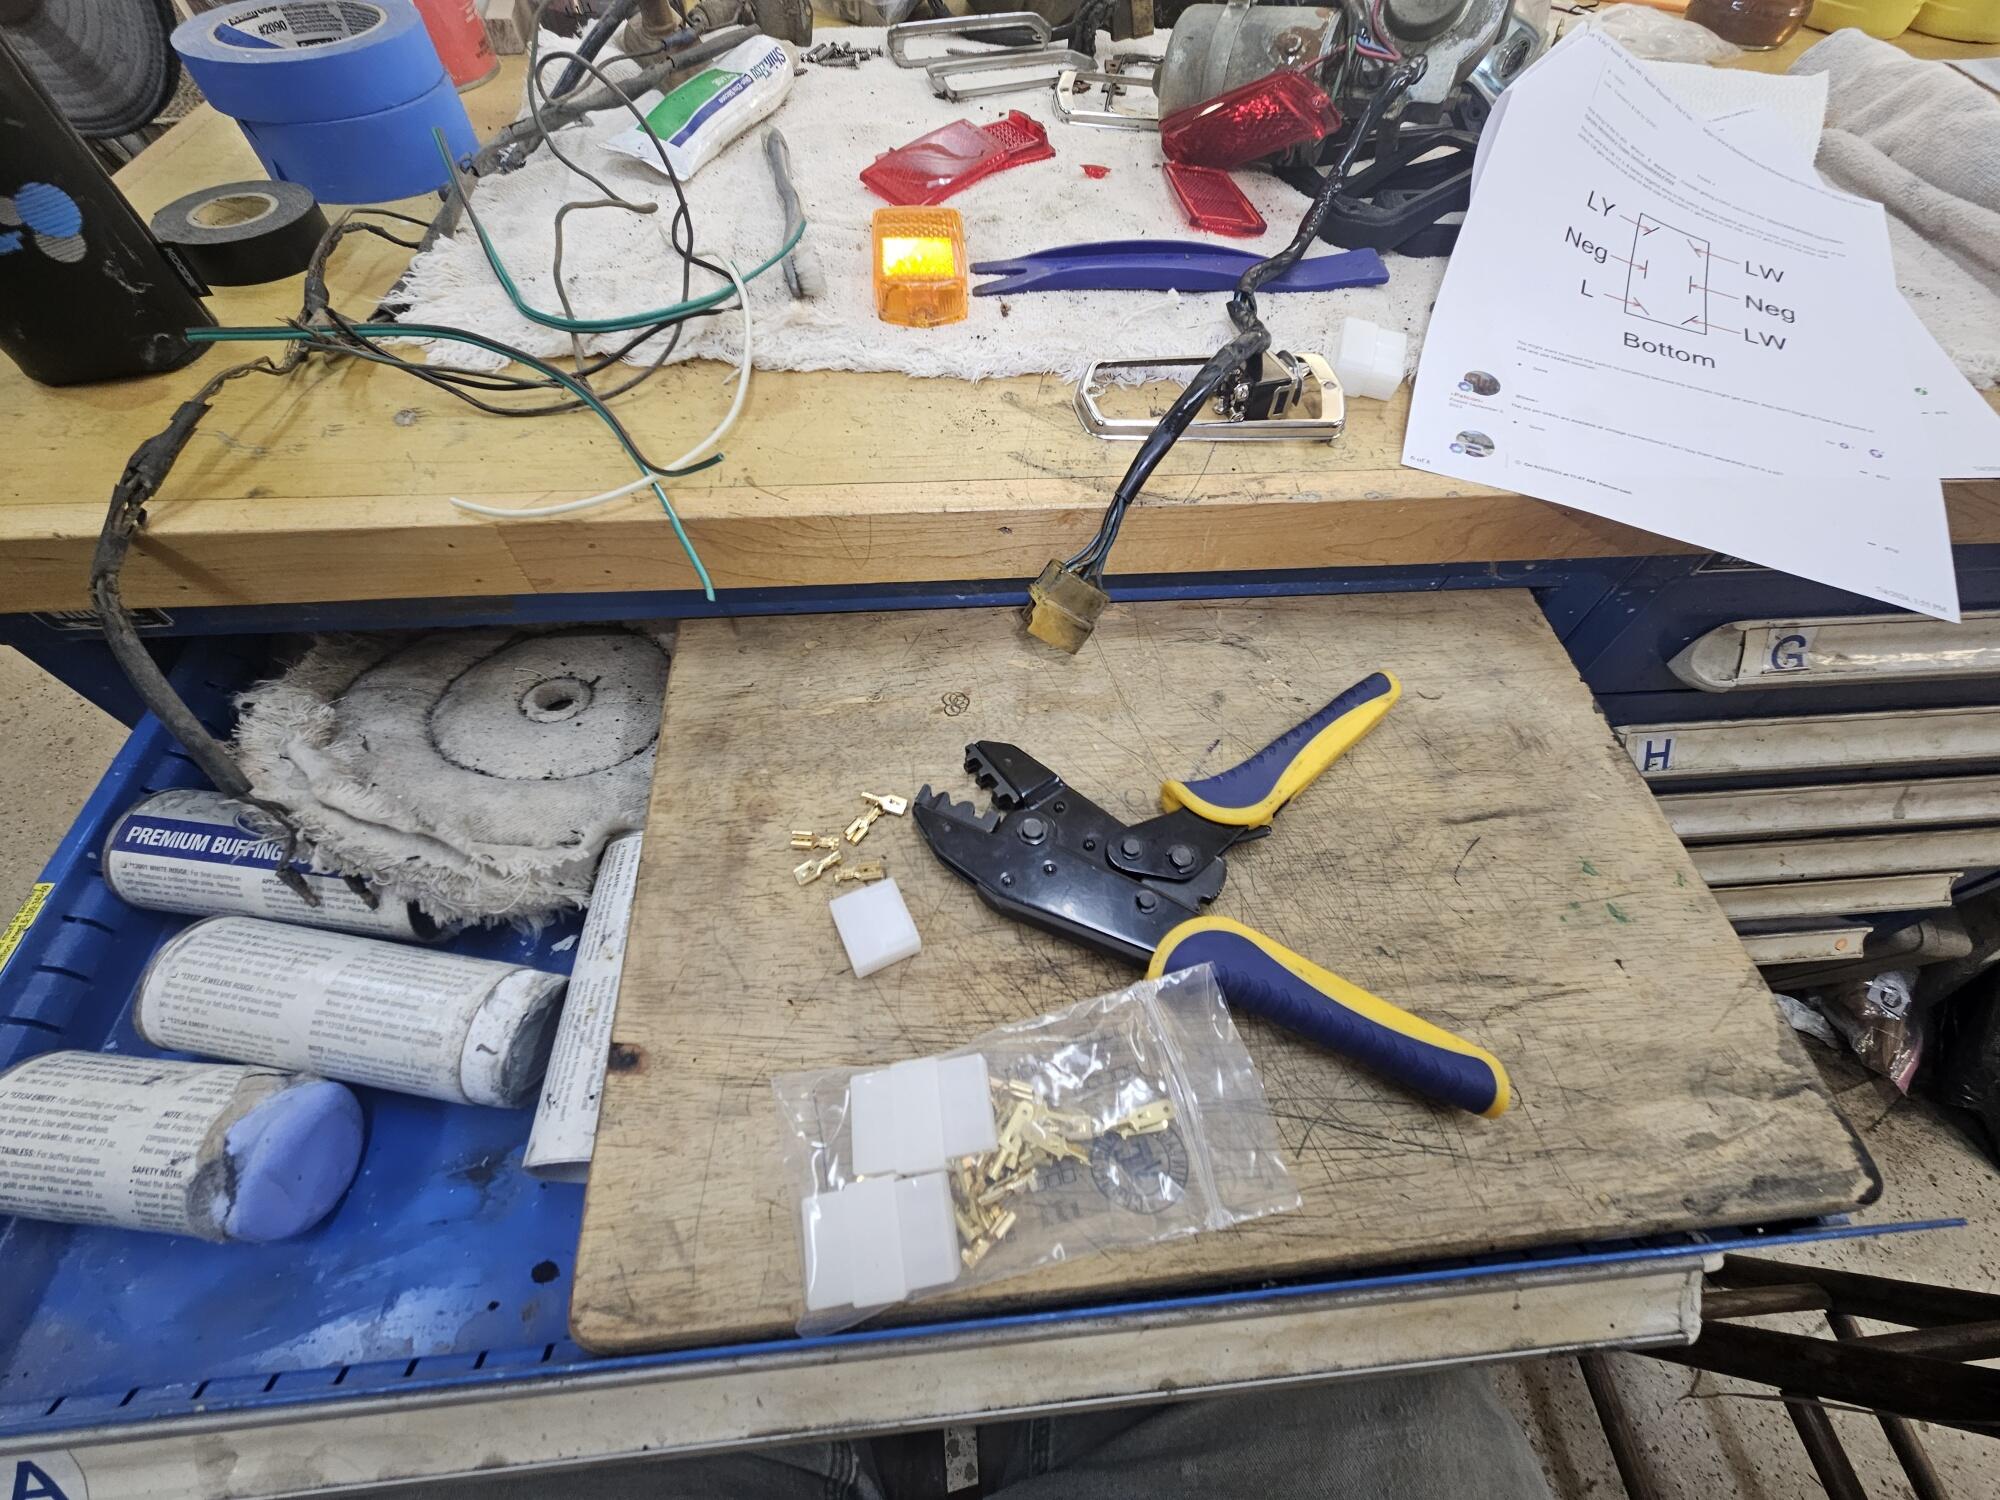
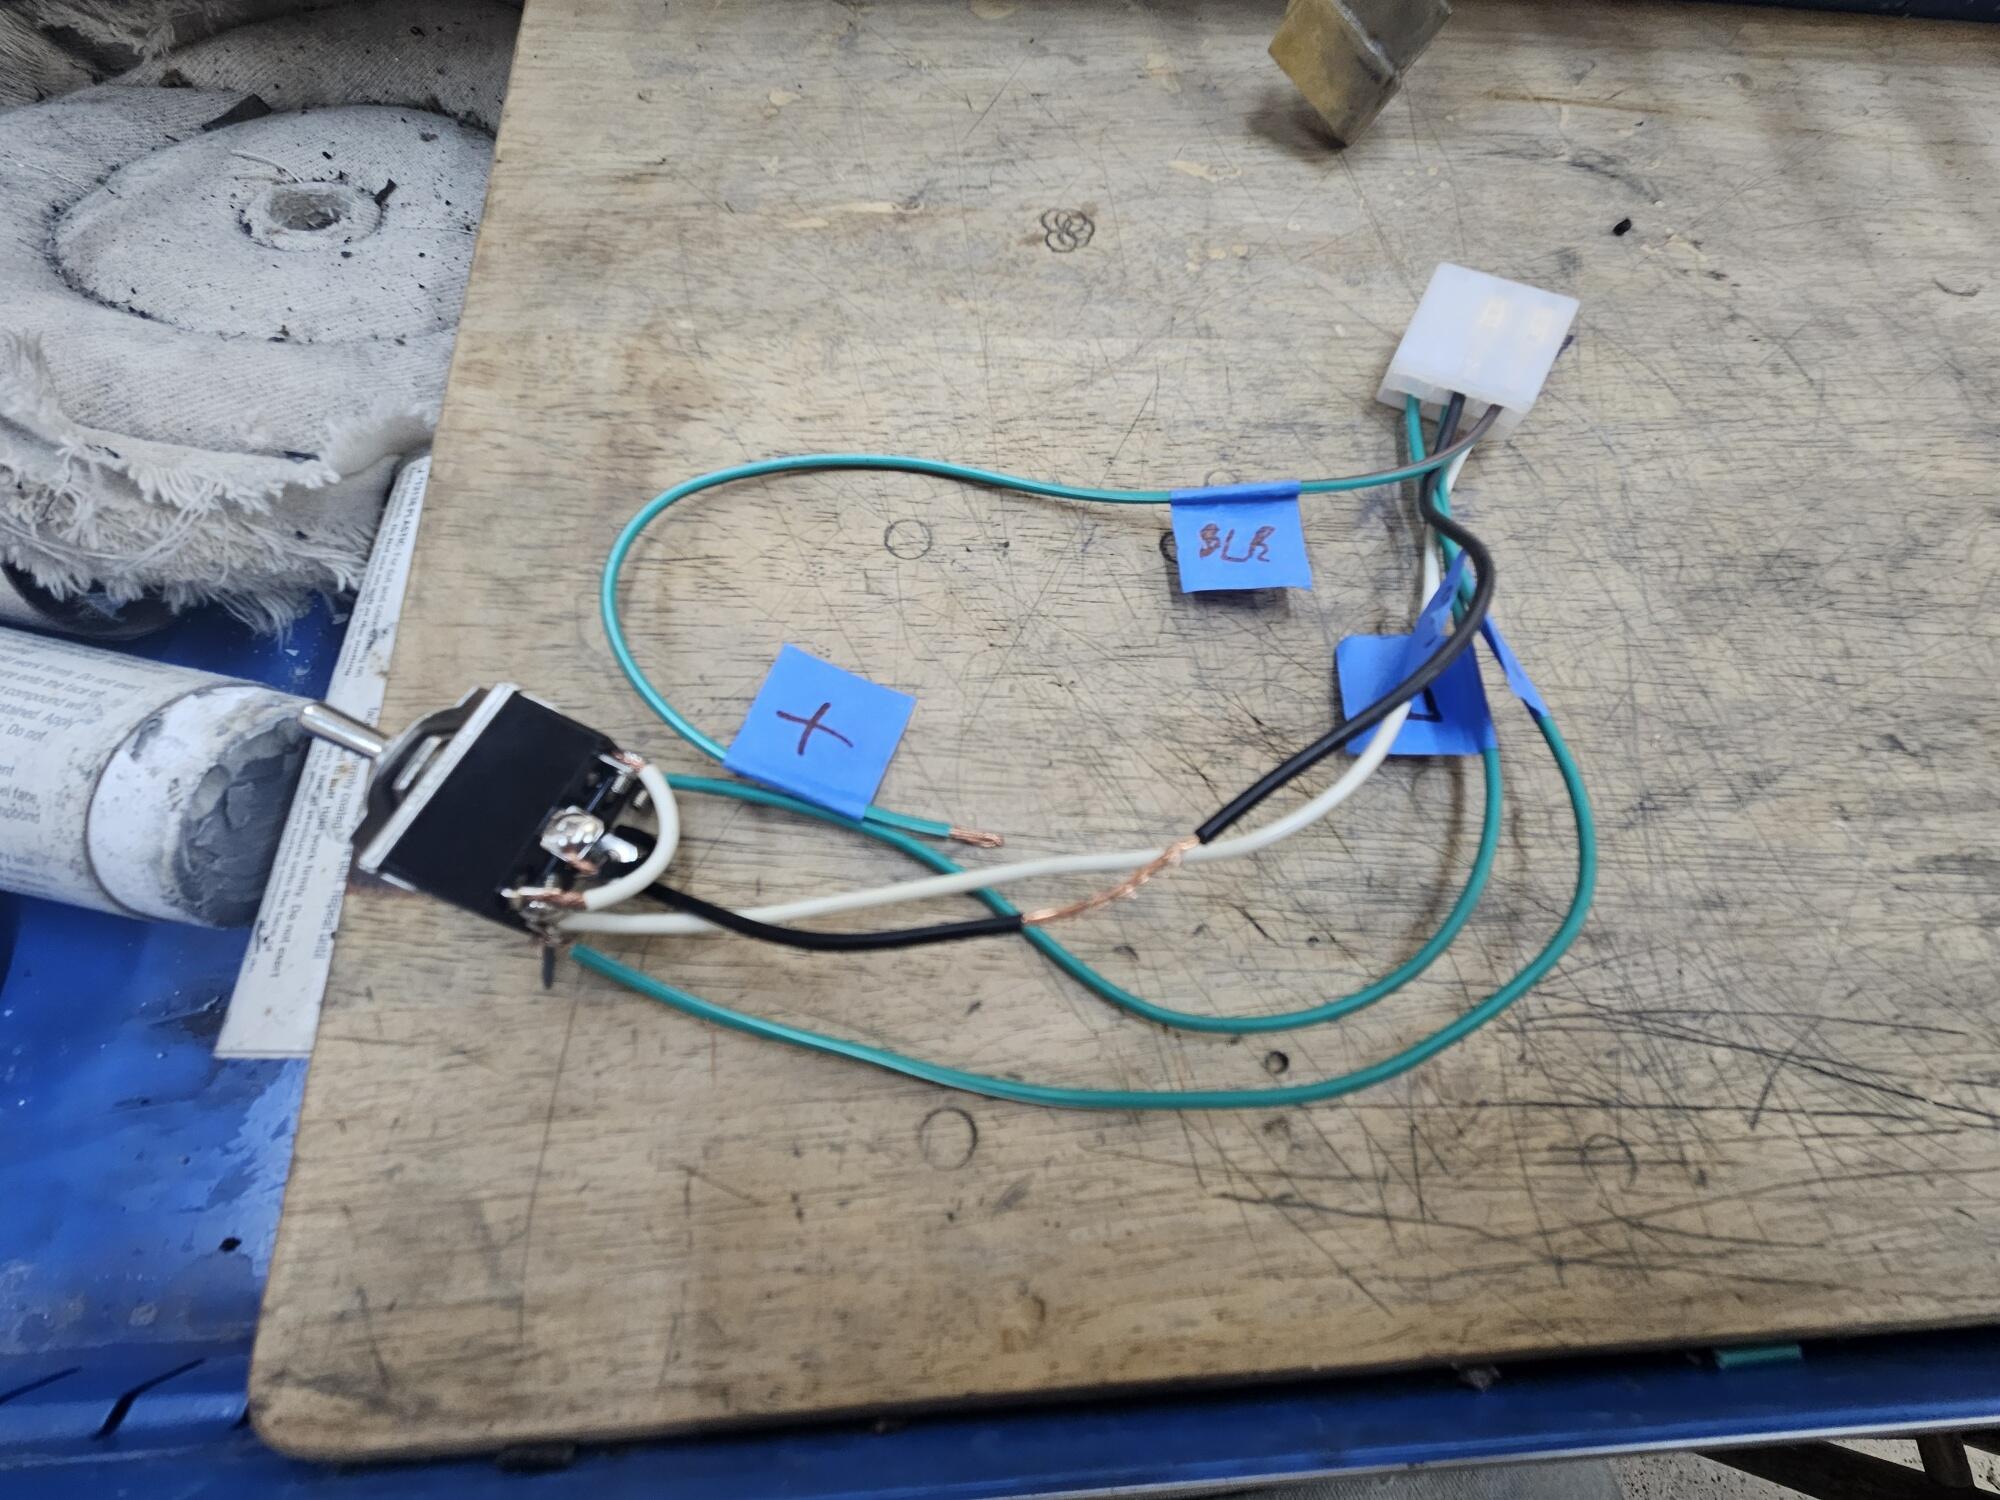
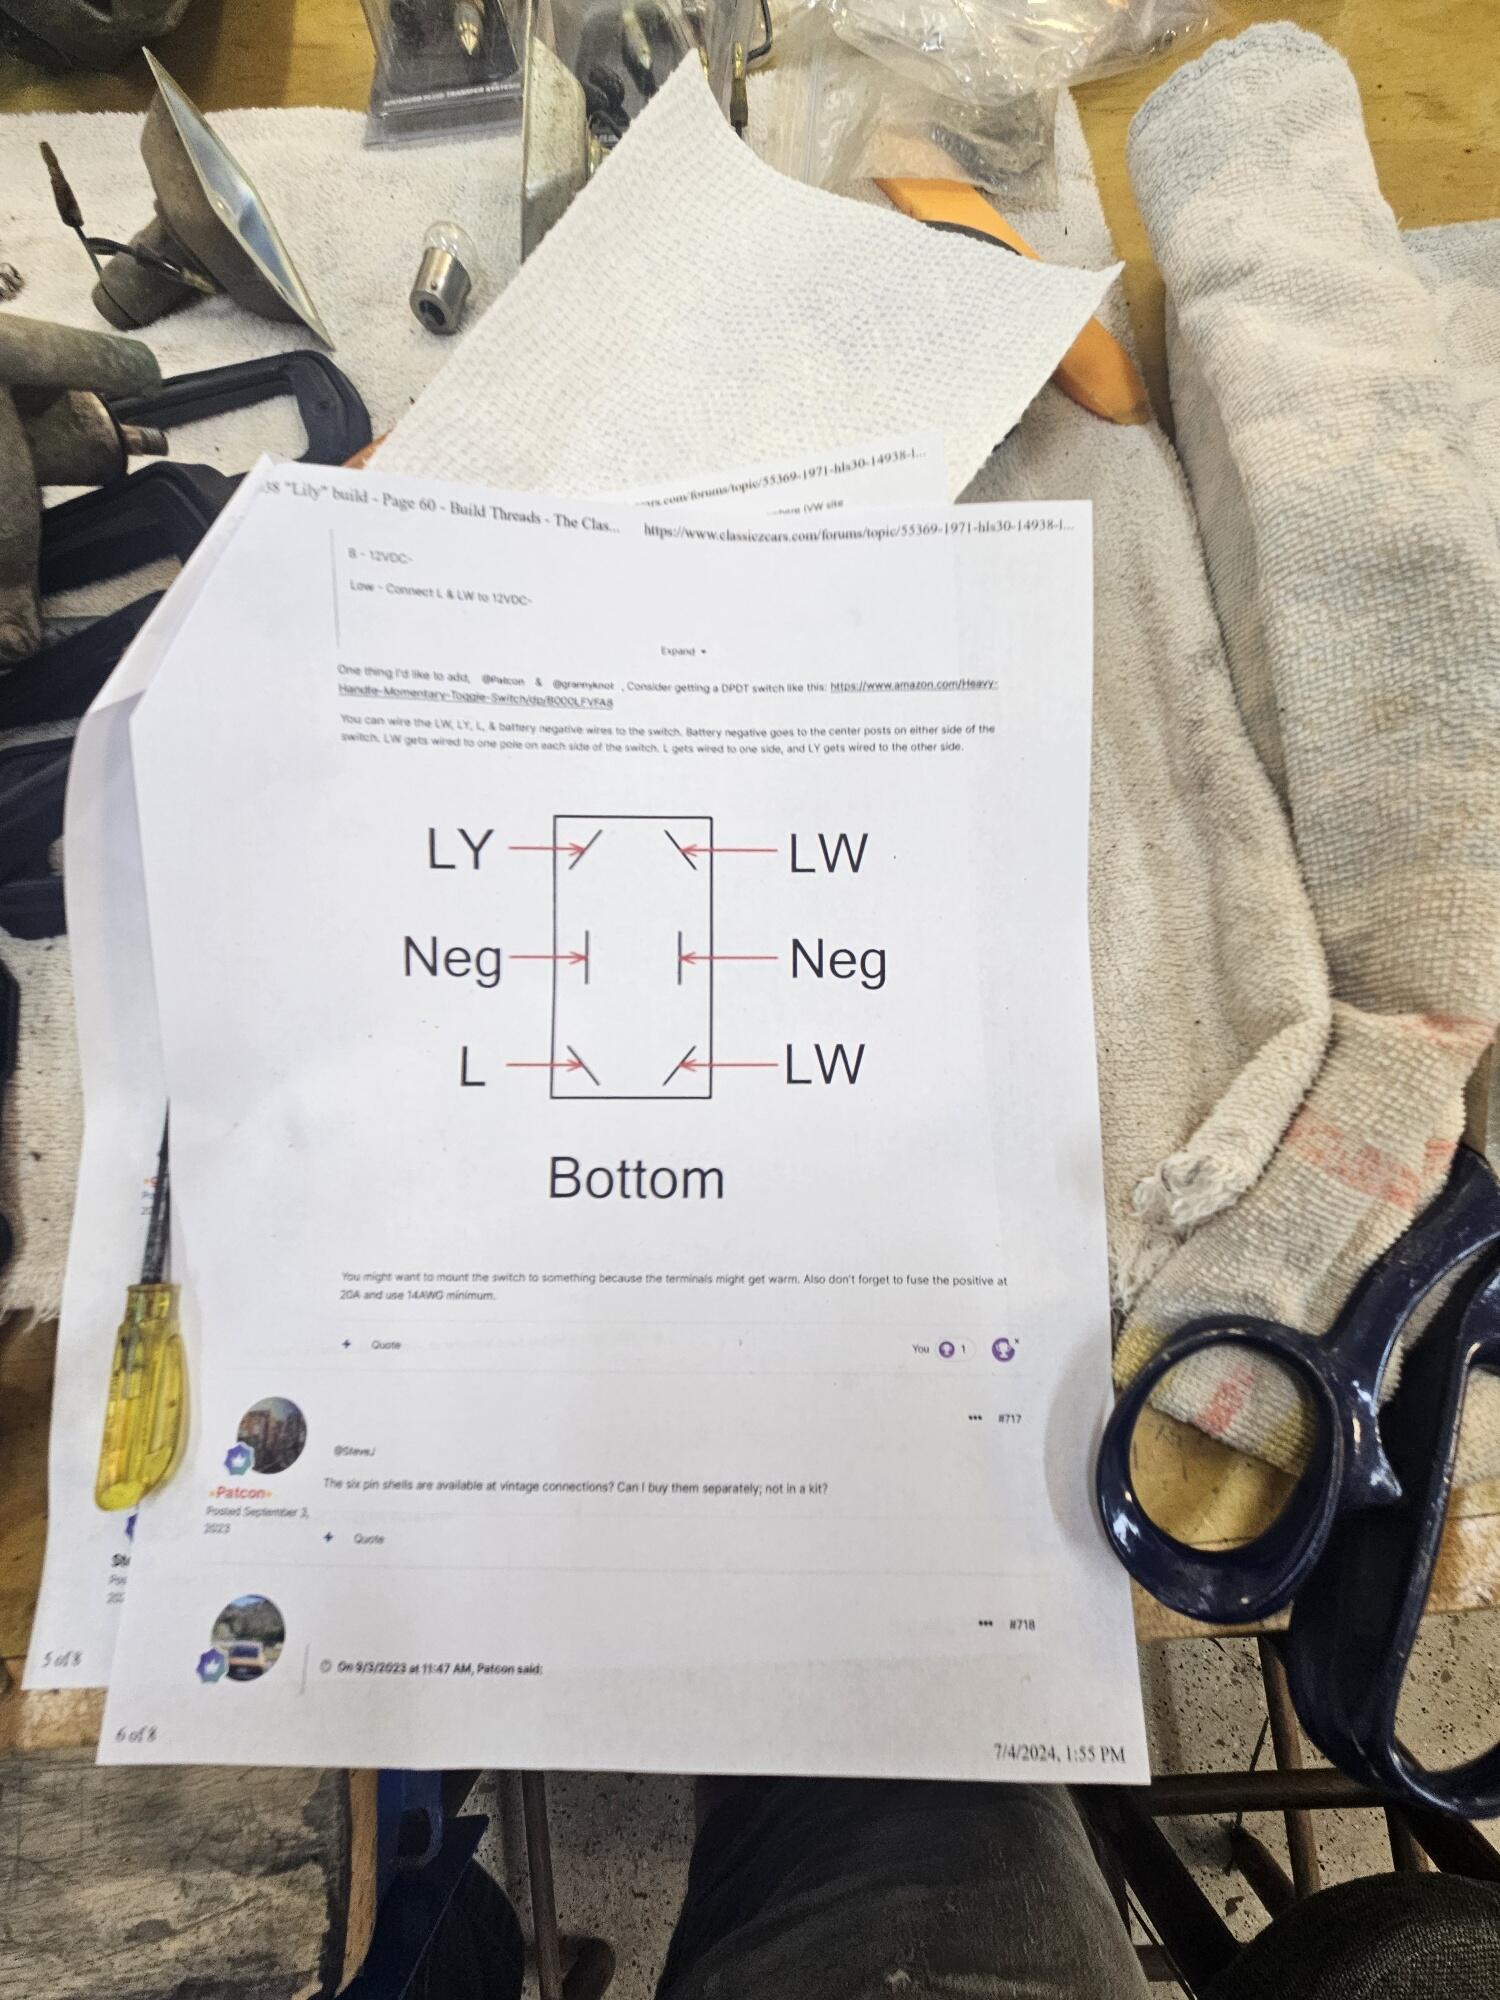
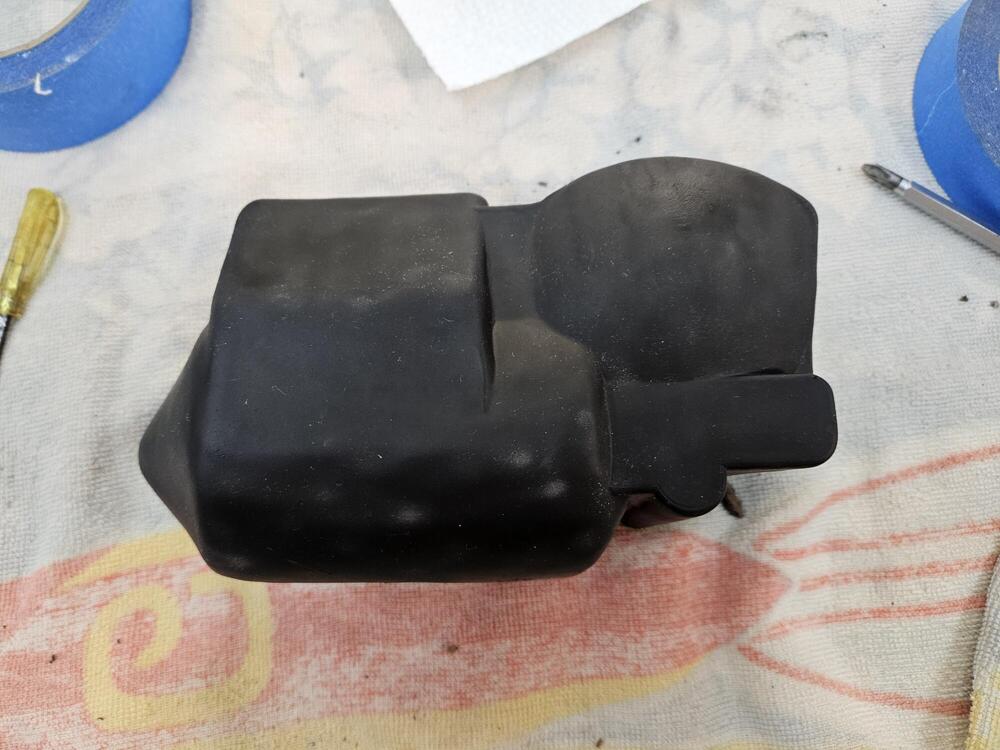
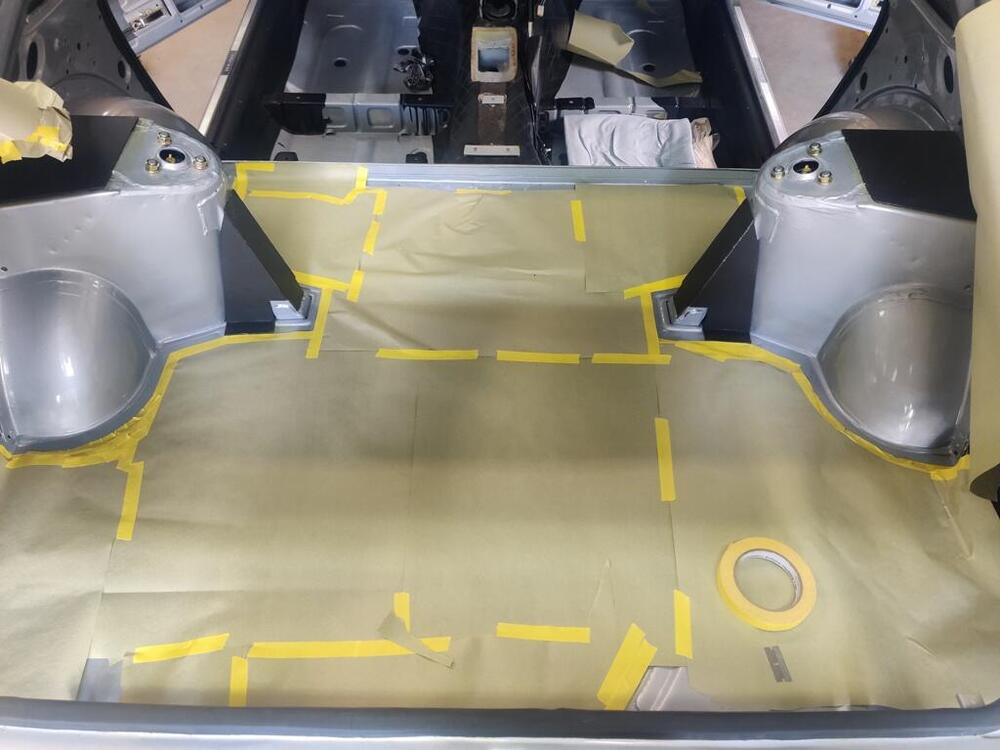
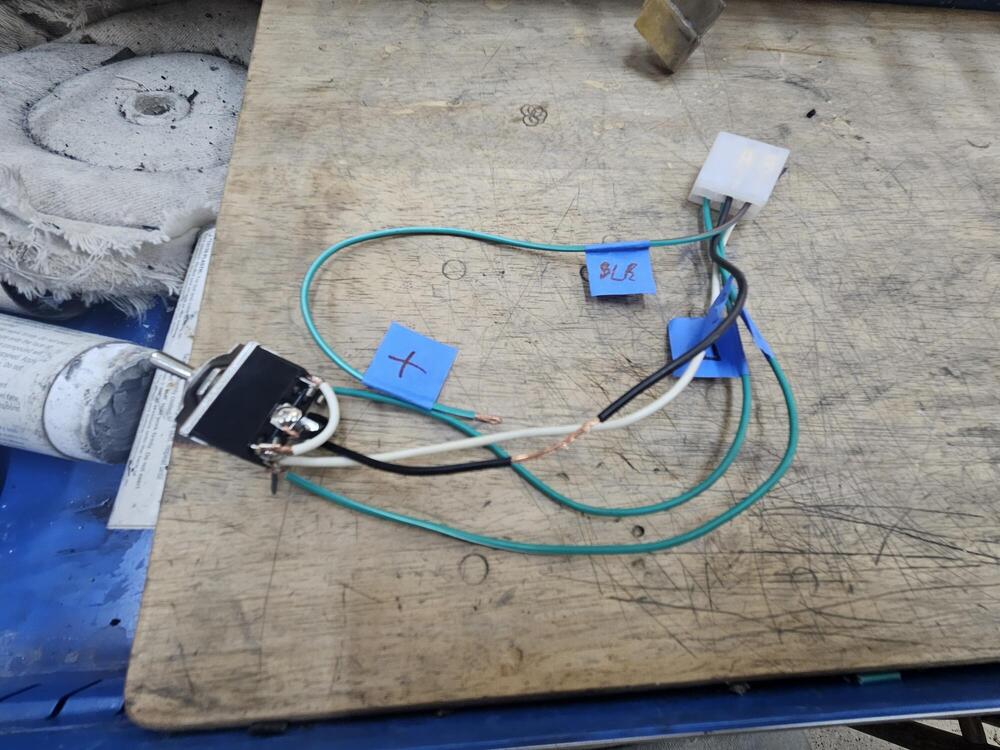
So in the shop yesterday and today Still working on running lights. Pulling together the best parts. Buffing and washing Finally found the wiper motors. I haven't been able to find them. I knew I had at least 3 but I couldn't find them. So frustrating!! I looked through the shop several times. Shelley helped me today and we were very thorough. We found them right near the work bench almost under my feet. I hate the tunnel vision that comes with age! ;( So here is the wiper motor that came out of Lily It has a hard shell on it instead of a bag like this one The BrownZ also has the hard shell, so I believe that is correct. When Lily got a green repaint they painted the cover. It had a lot of paint on it. Put it in the bead blaster. It came out ok. Better than paint. I treated it with some Meguiars after this... I also worked on the air dam & the frame. I primed the frame the other day Looks like I bought it in 2011 !!! I measured some center marks Then I used some 3m Urethane and glued the frame in. Hopefully it holds. I haven't decided if I'm going to try to correct the wavy area. If it was TPO I would cut it and plastic weld it, but it's Urethane and I'm not sure I can repair the seam if I cut it... I also made up a wiper motor test switch based on SteveJ's instructions. I had to go back 20 pages in the thread to find it!! I didn't know of a good way to just search this thread. Some vintage connections and some scrap wire So of the 3 wiper motors I have, the one out of Lily is the only one that works. The others click but don't turn. The test switch is cool because the park feature and everything works! Thanks Steve! I also got the drivers seat in. At least for now. I'm hoping to bleed the brakes tomorrow Overall a good day in the shop...


-
If you're trying to deal with an over rich condition why don't you add resistance on the water temp wiring?
-
I own a number of BMW's and a couple of Fords. The newest is a 2015. Most are 2007 to 2011. I do have a couple of pretty decent scanners though and that helps alot. I also have a pretty big tool assortment and my son is a diesel mechanic and his tools make mine look like toys. When I defer work to the mechanic it is typically because of convenience of the odd time we get stumped. If we had a lift we would defer even less
-
Got the doors on tonight. Not totally lined up but pretty close

-
I have the good torque wrenches and at another time I wouldn't have an issue doing this. But I'm racing the calendar and don't want to use that much time to sort this out.
-
I don't like owning cars where I can't handle most of the repairs. It's just not affordable for me...
-
I have real concerns over swapping the flanges for just this reason!
-
Can't rotate and drill because the pilot diameter is not the same on both flanges
-
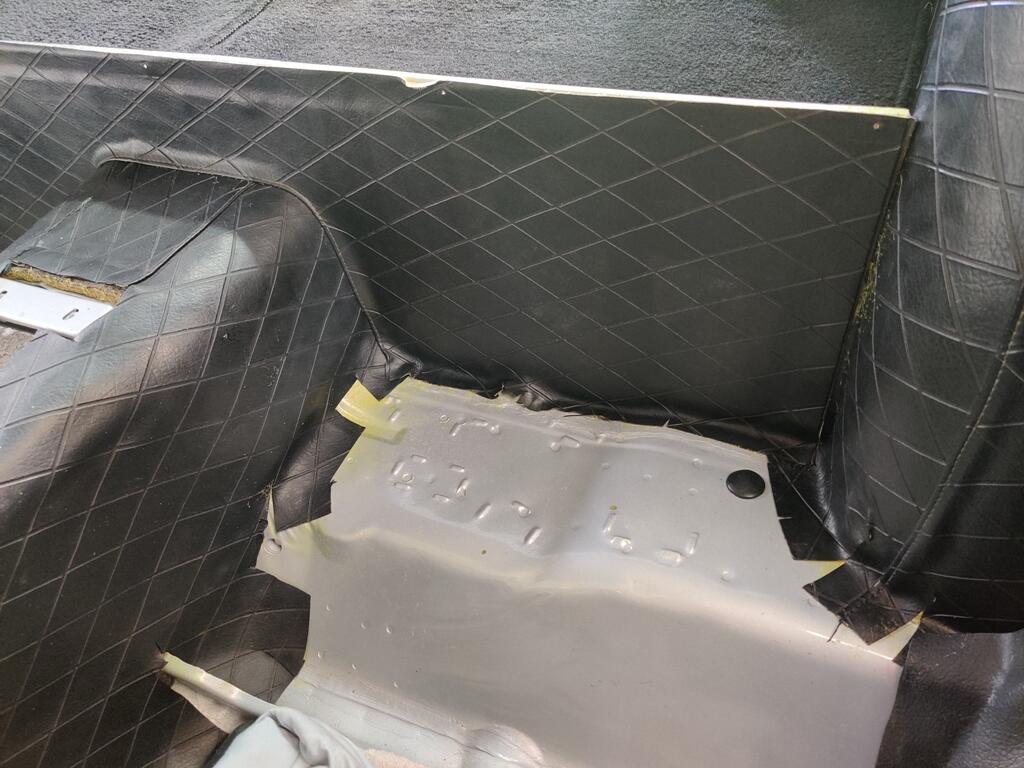
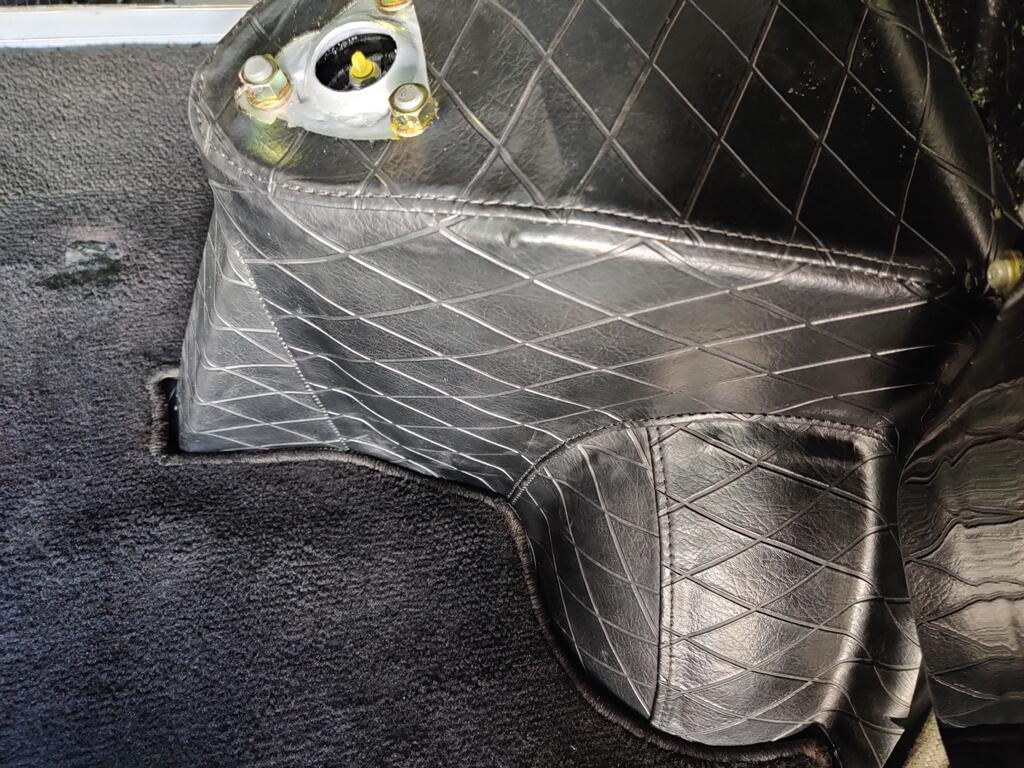
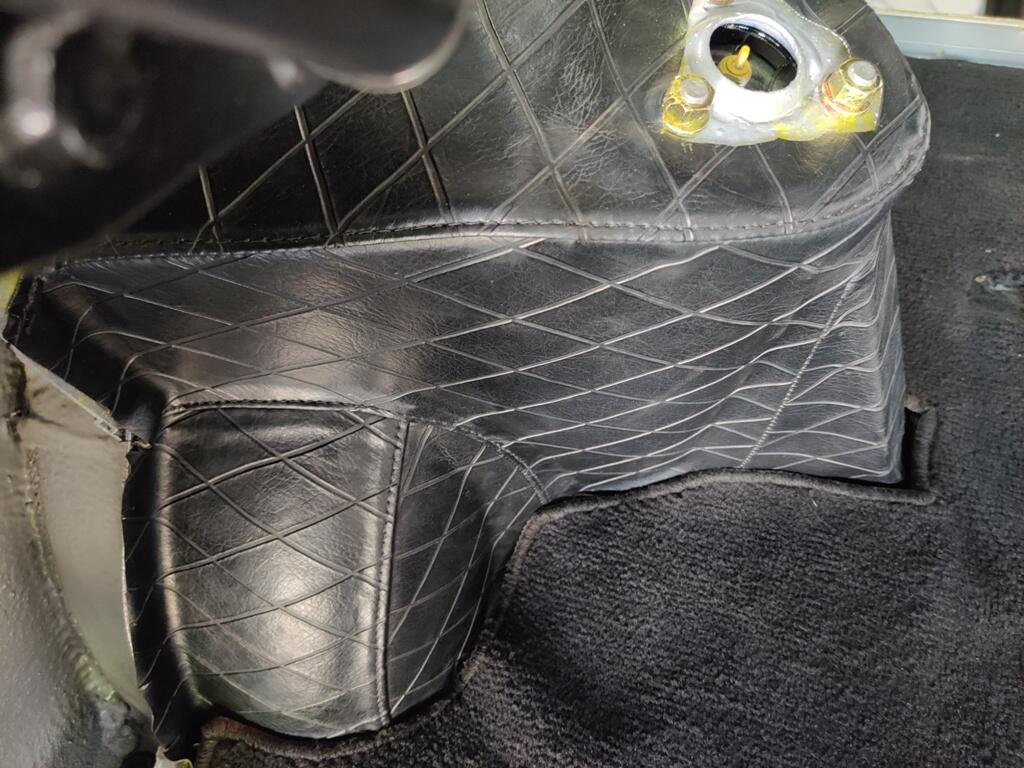
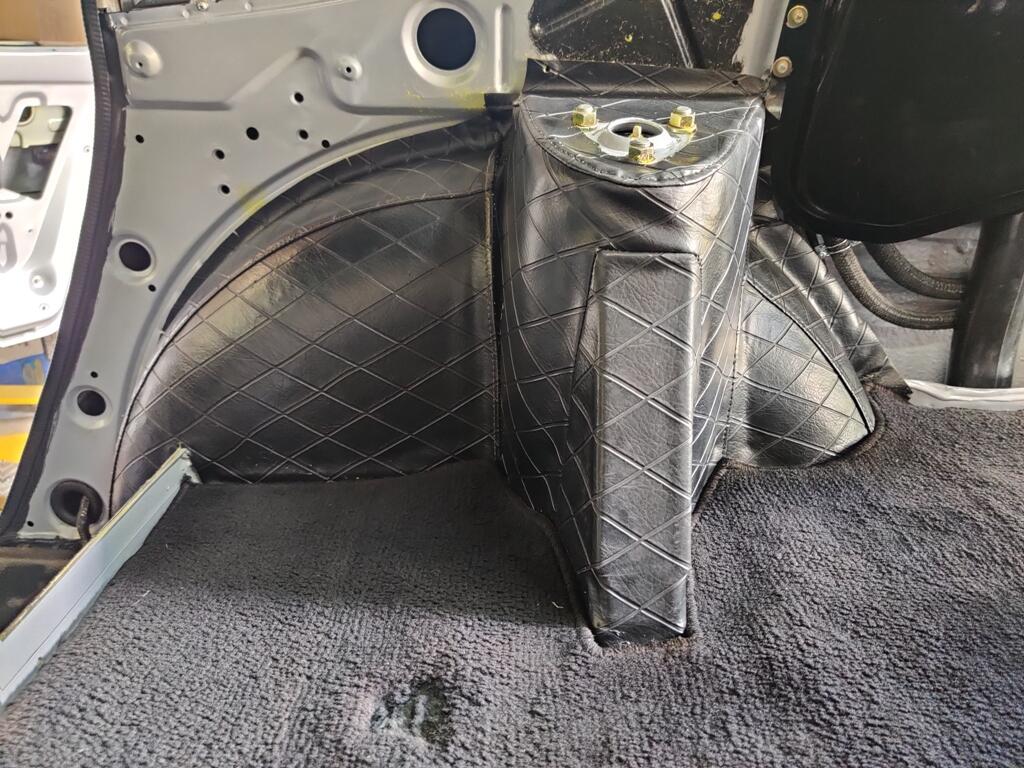
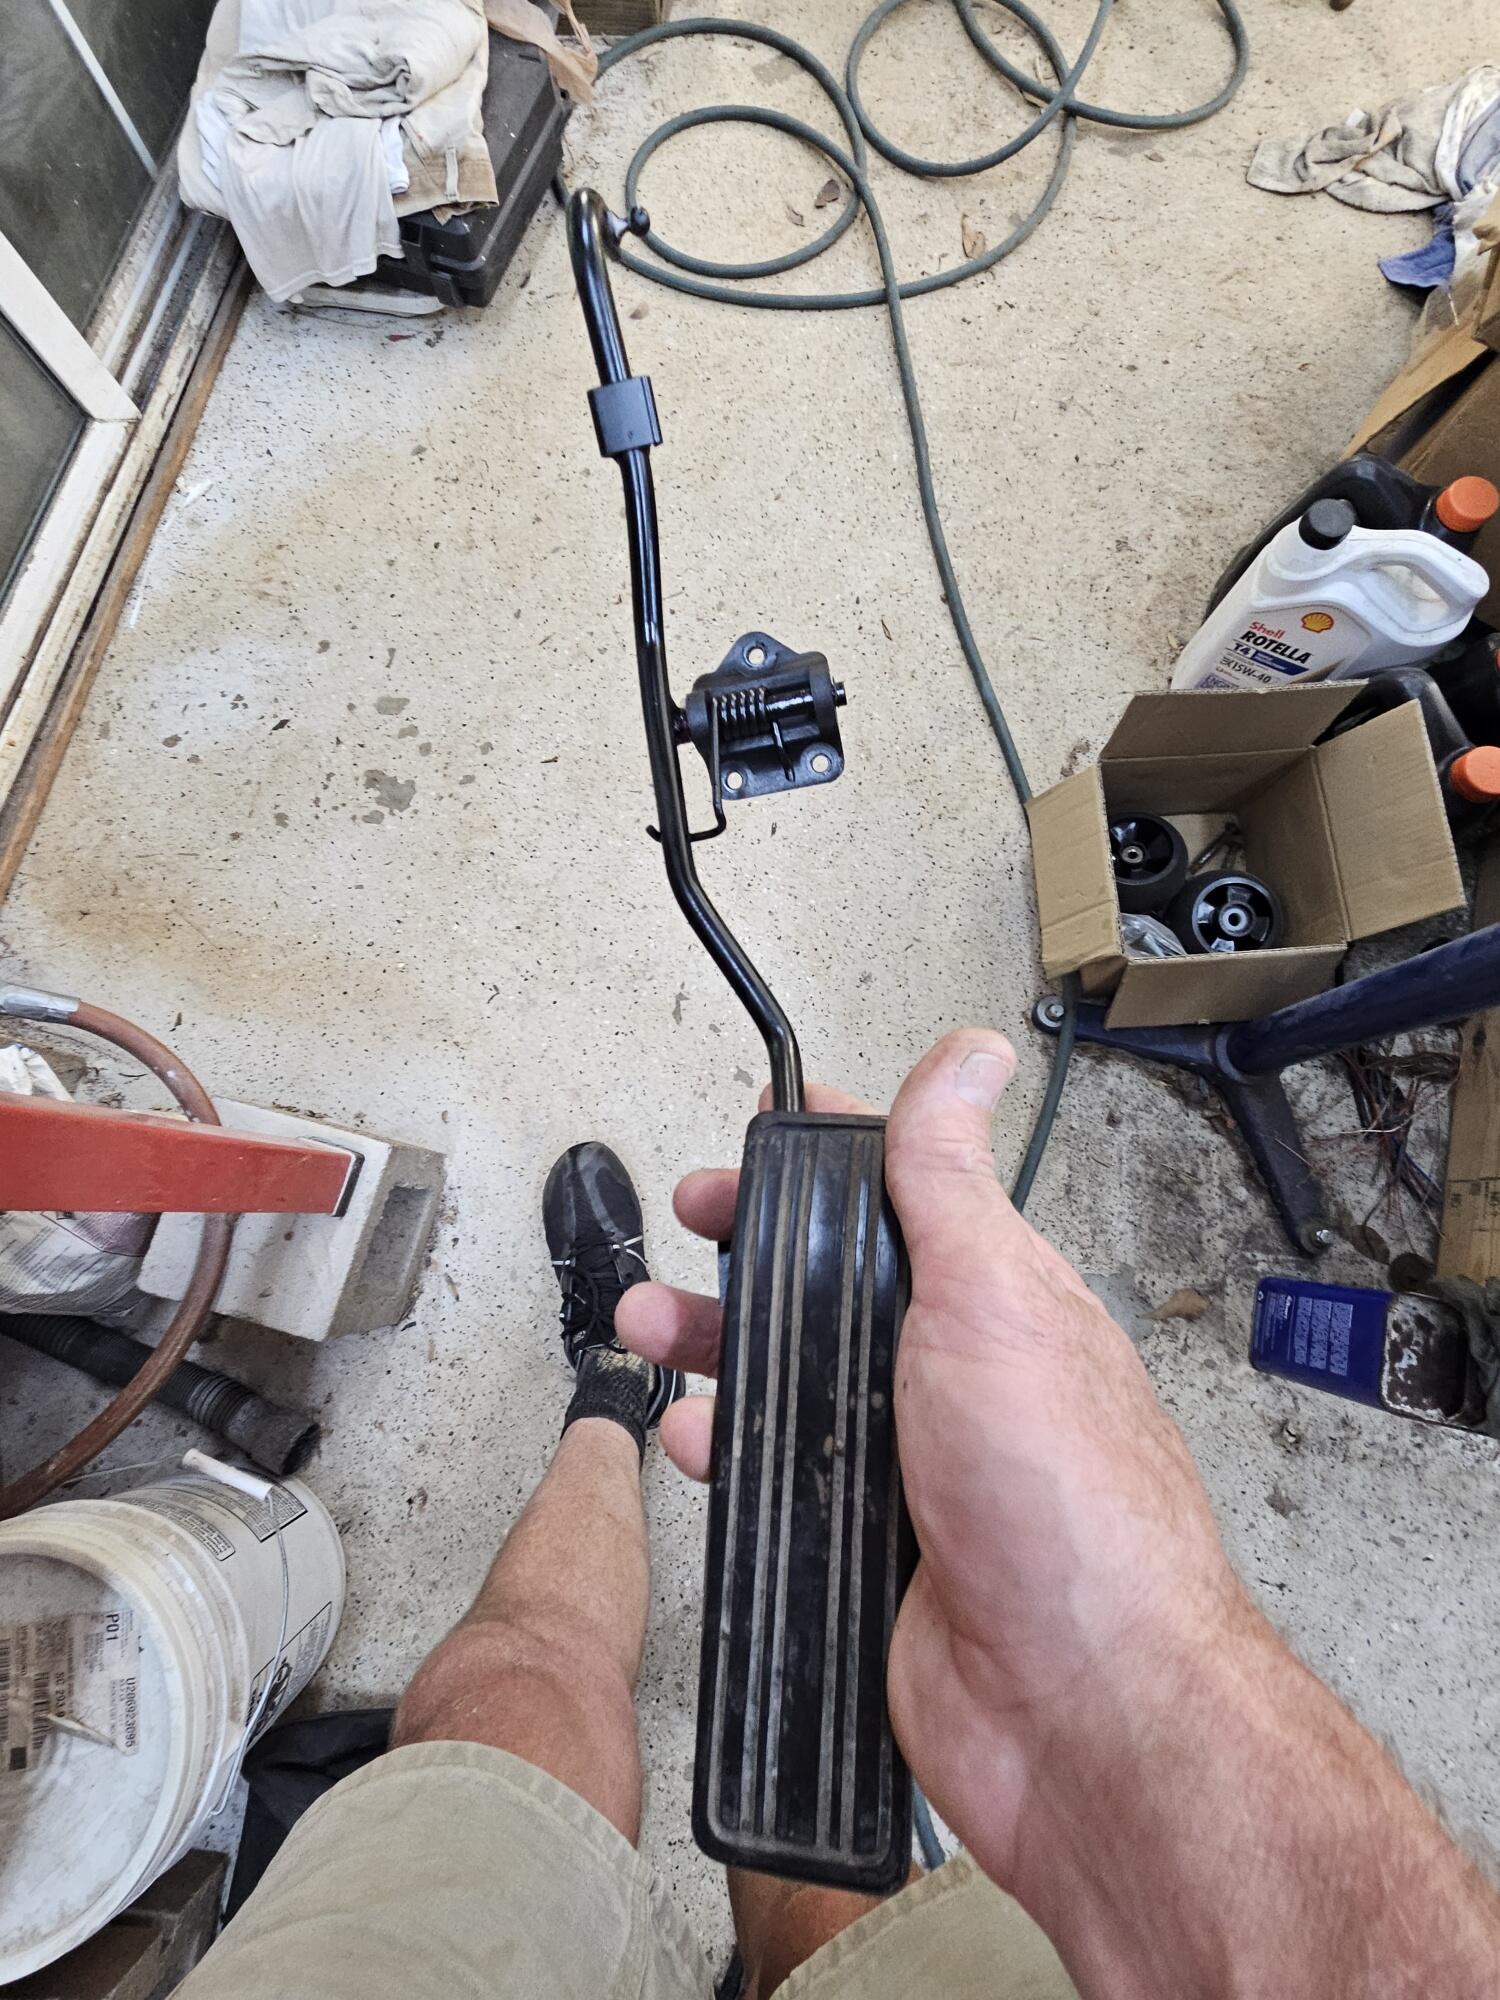
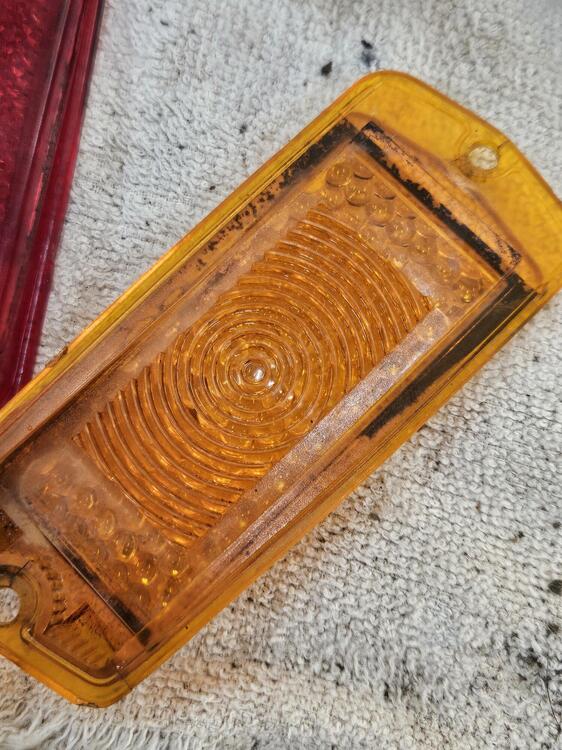
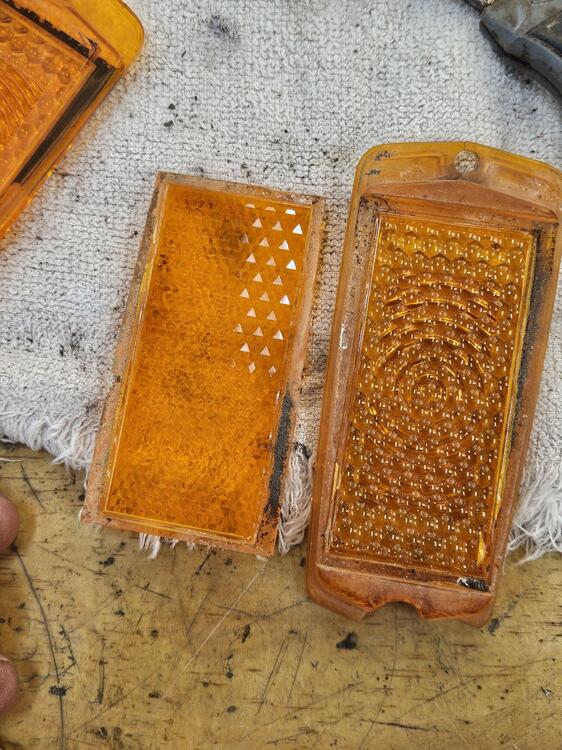
So I put door hinges back on the car today. I marked them with pencil after adjusting the doors before paint. This should make them fairly close for where they need to be Go pedal repainted and reassembled Interesting find today. The marker light lenses are two piece!! So you can see the funk between the layers here This is with the layers seperated So I will have to figure out this going forward. I would prefer to use factory lenses. They are different than the aftermarket ones. So here is a new problem!! The CLSD R200 diff has an input flange that is much bigger than the rear of the driveshaft I was using in the "Brown Z" So How do I solve this?? @grannyknot@Zed Head


-
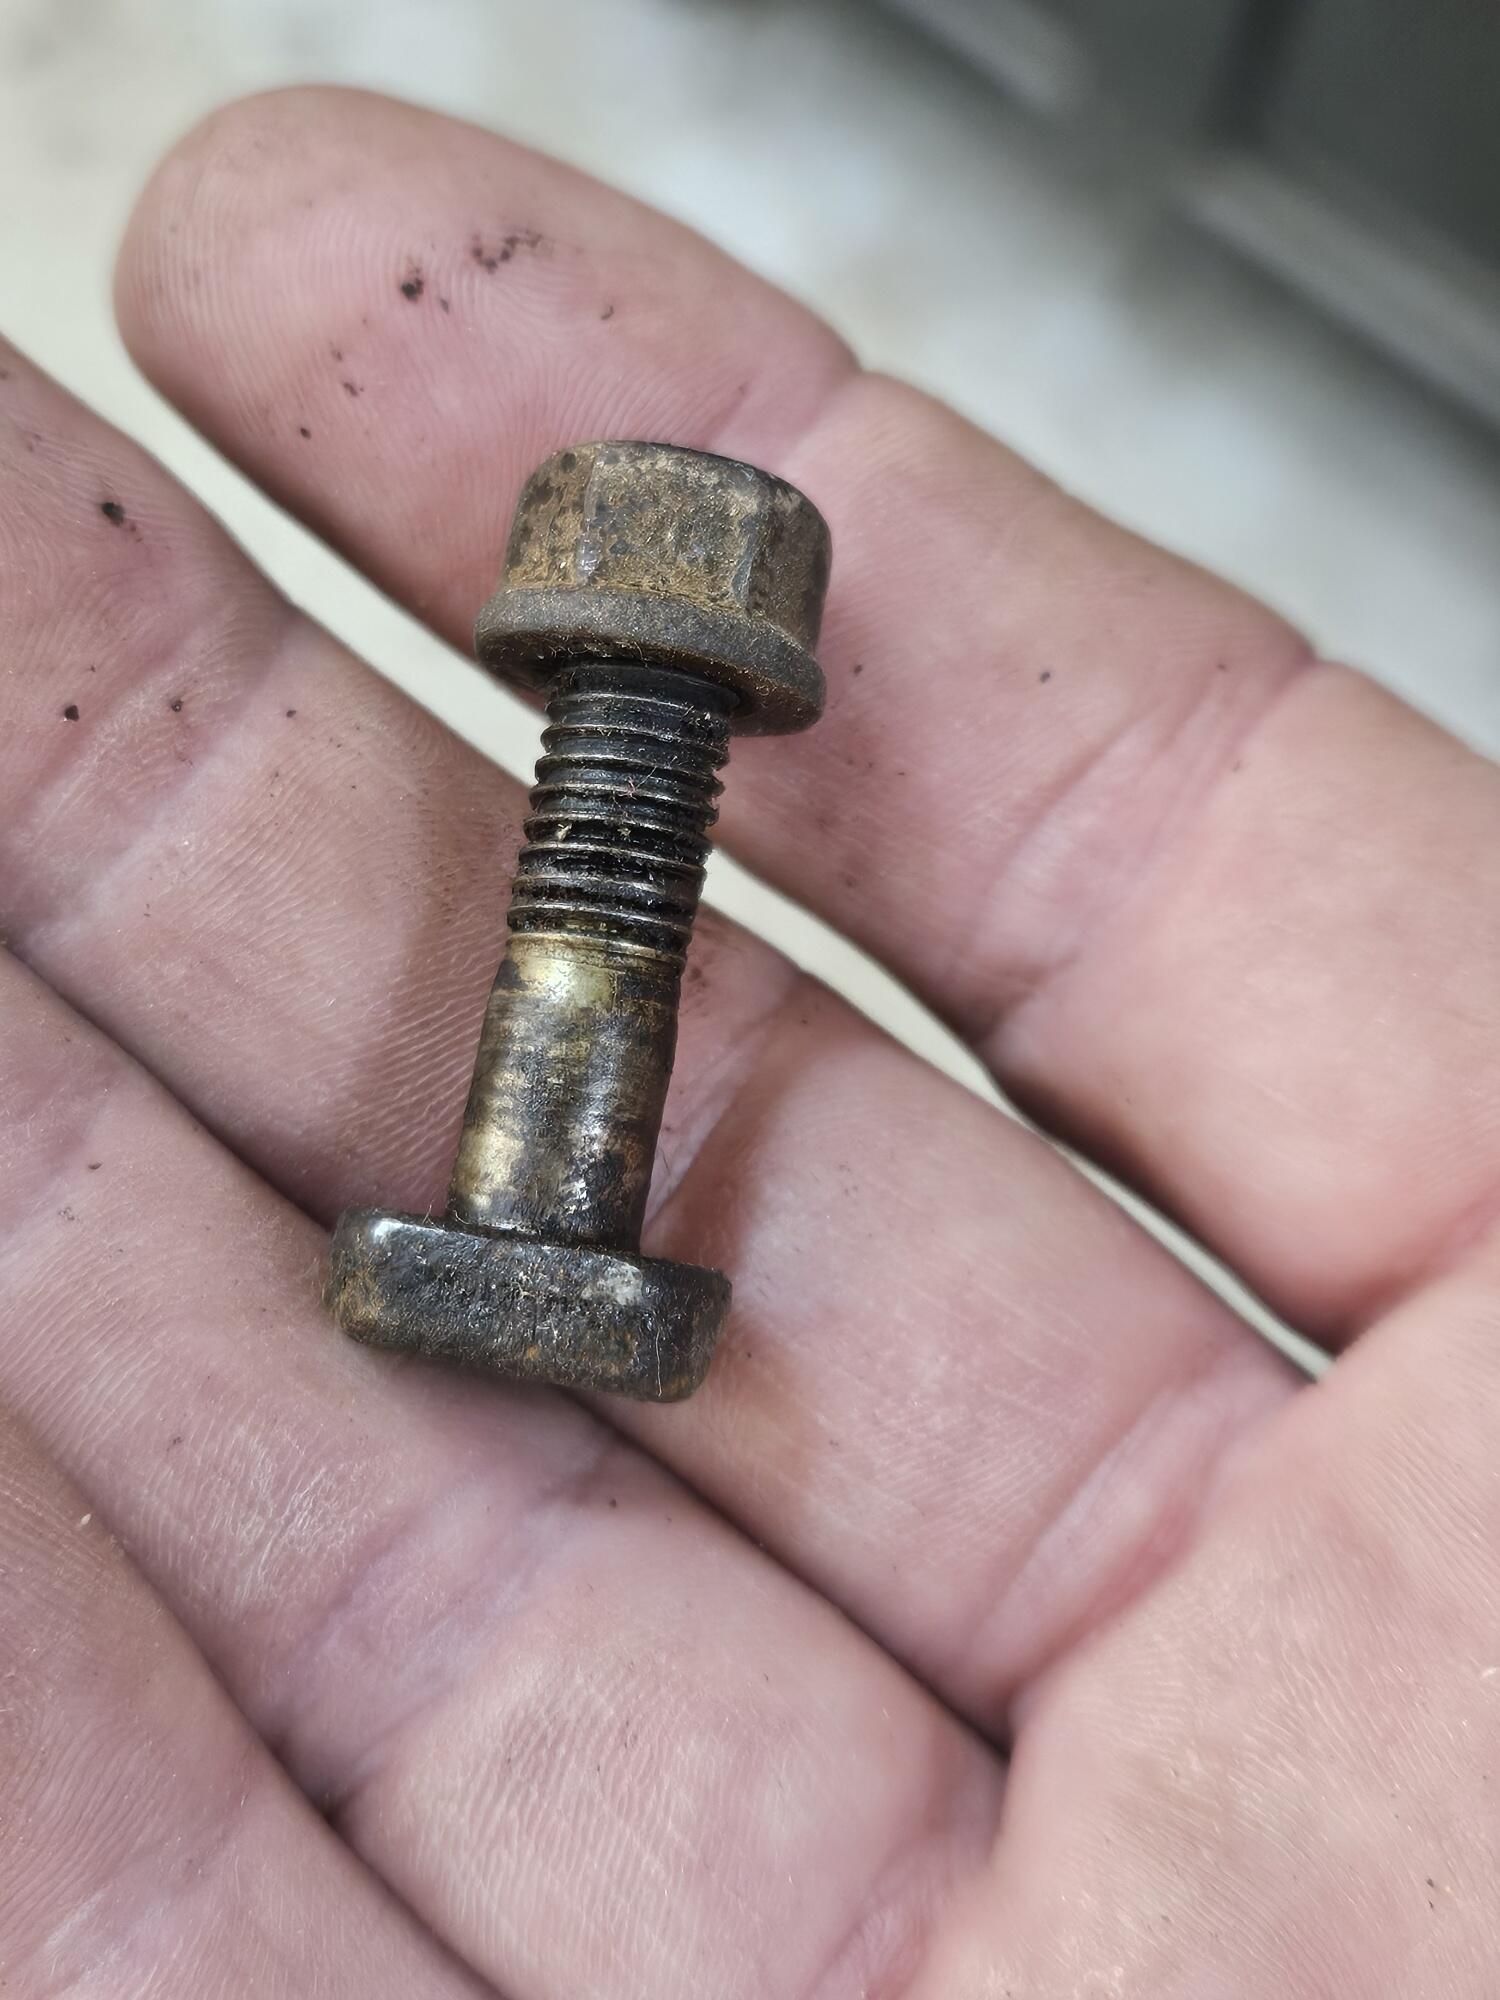
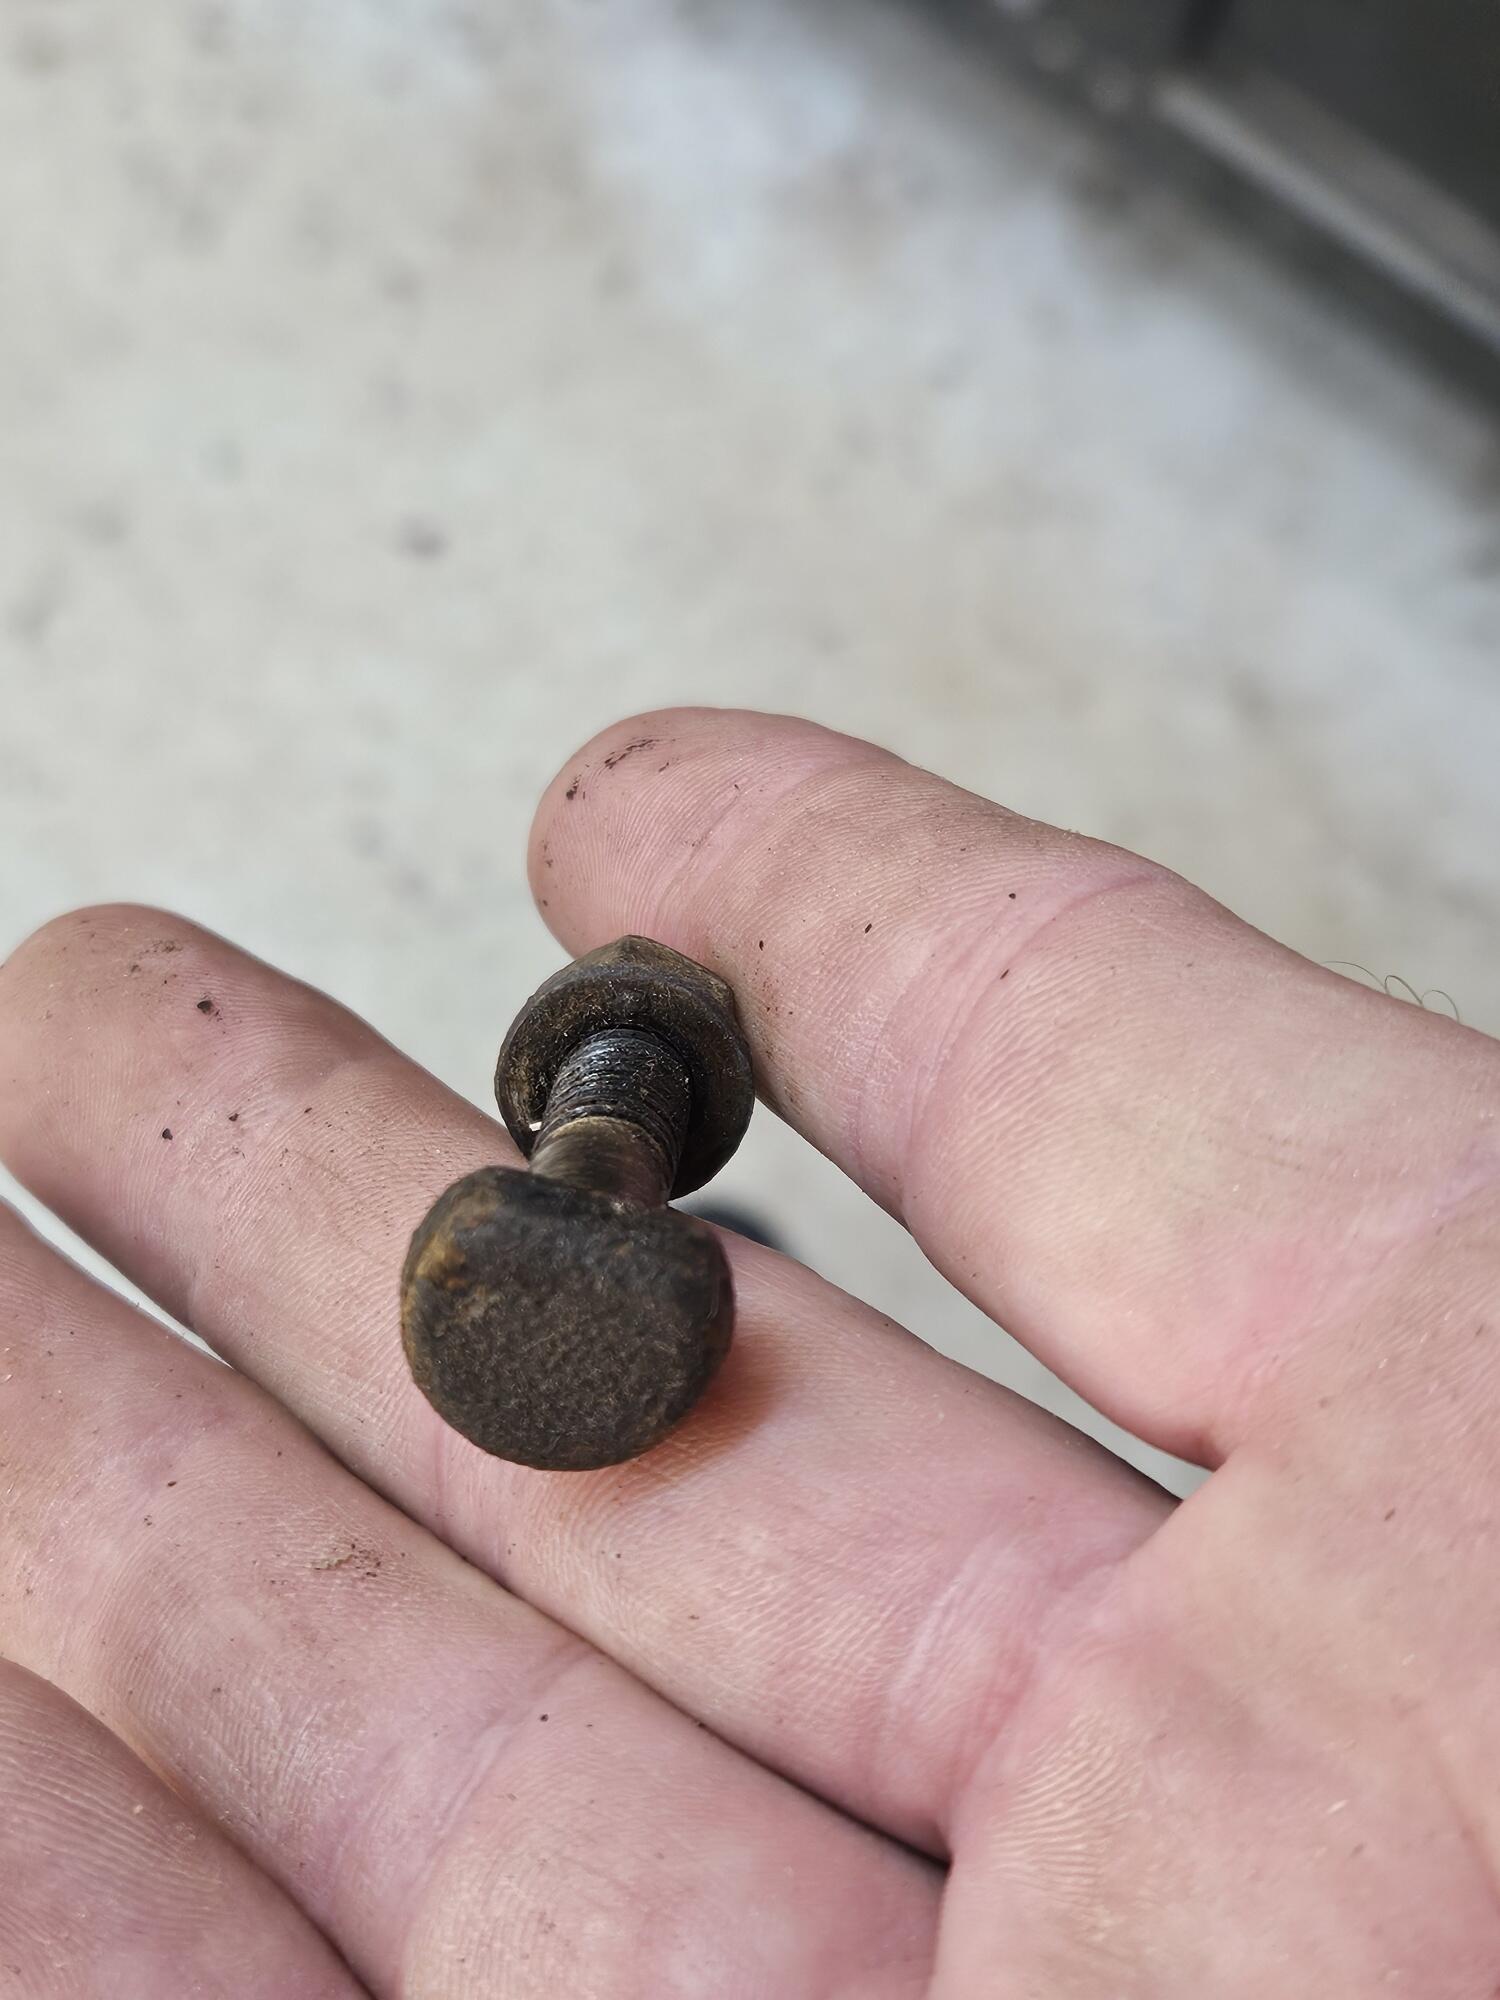
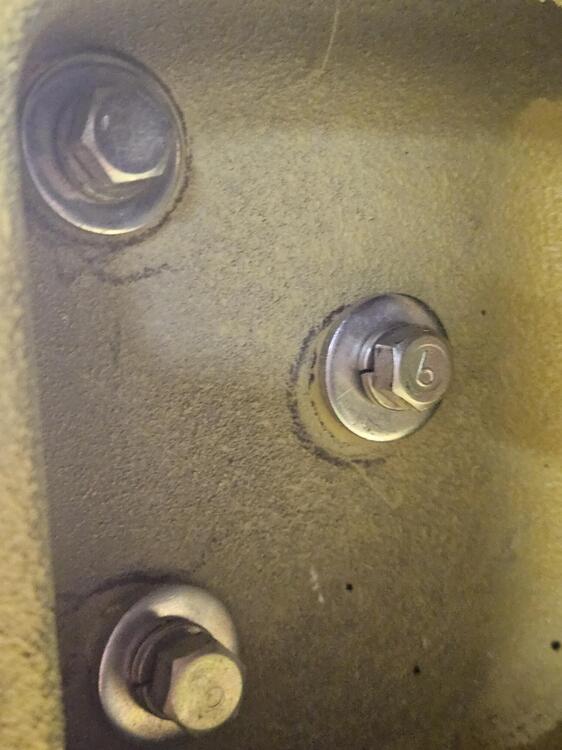
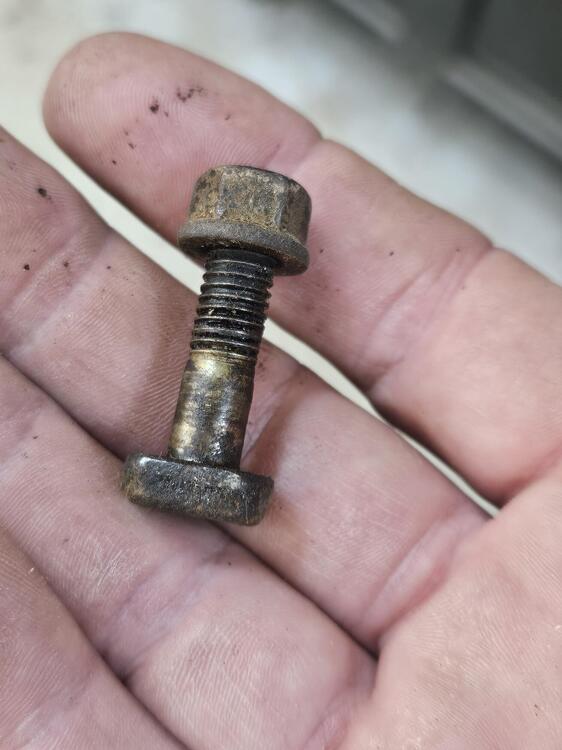
This is what the factory driveshaft bolt looks like


-
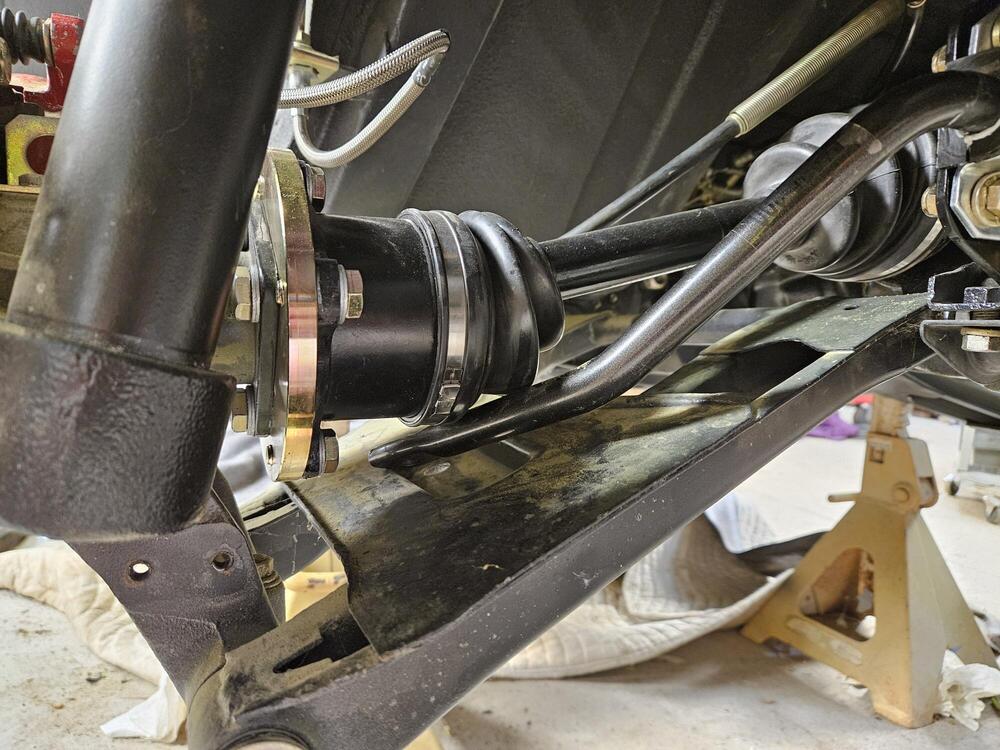
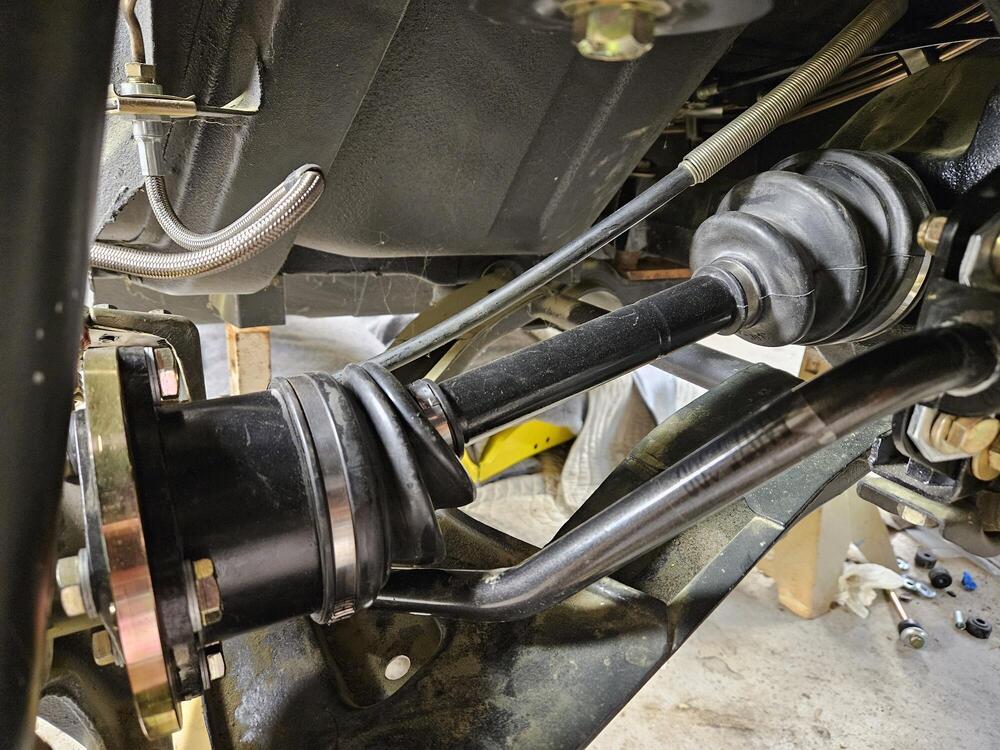
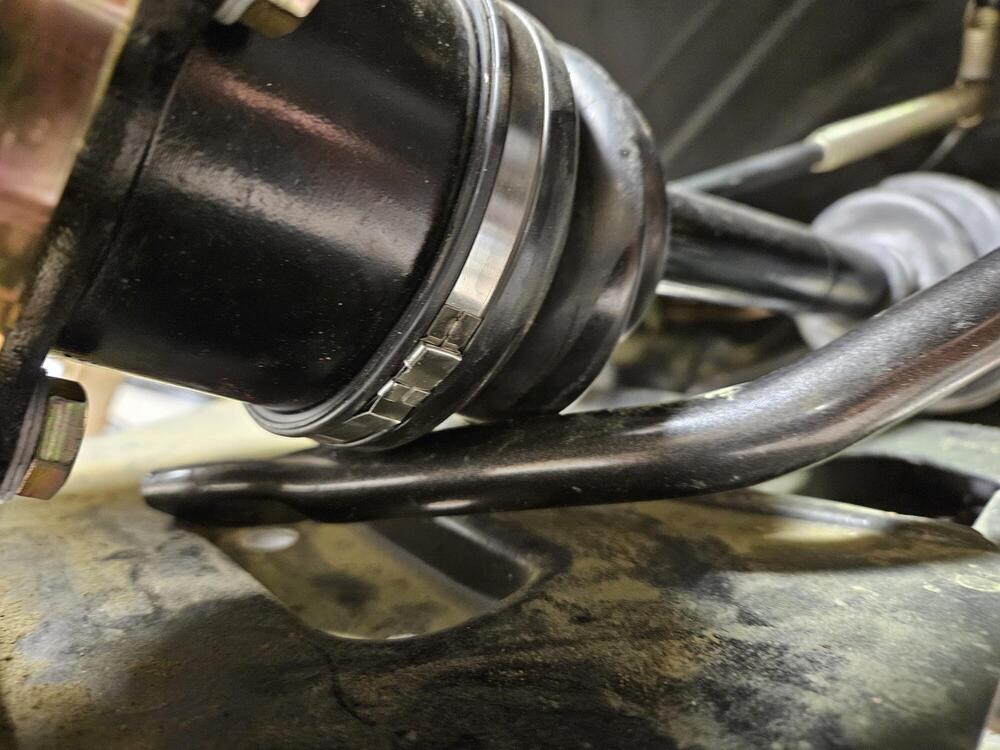
Lily has the later bars and an R200 diff. I think the main interference comes from the size of the CV boots compared to the Ujoint and the fact they extend further under the car than the Ujoints do
-
I heard back from ST about the sway bar interferences. "We design our sway bars for factory parts. If it has other parts we can't help..." So I will have to figure out the links on my own
-
After looking at the transmission going in, I believe it is a FS5W71B close ratio gearbox. So some cutting will seem necessary...
-
The plan is to go manual 5 speed.
-
That sounds like progress. It is a great forum!
-
My thought process was a temp tank close by, especially if it's close to fender level, makes it easy to prime the fuel pump and verify it's functioning
-
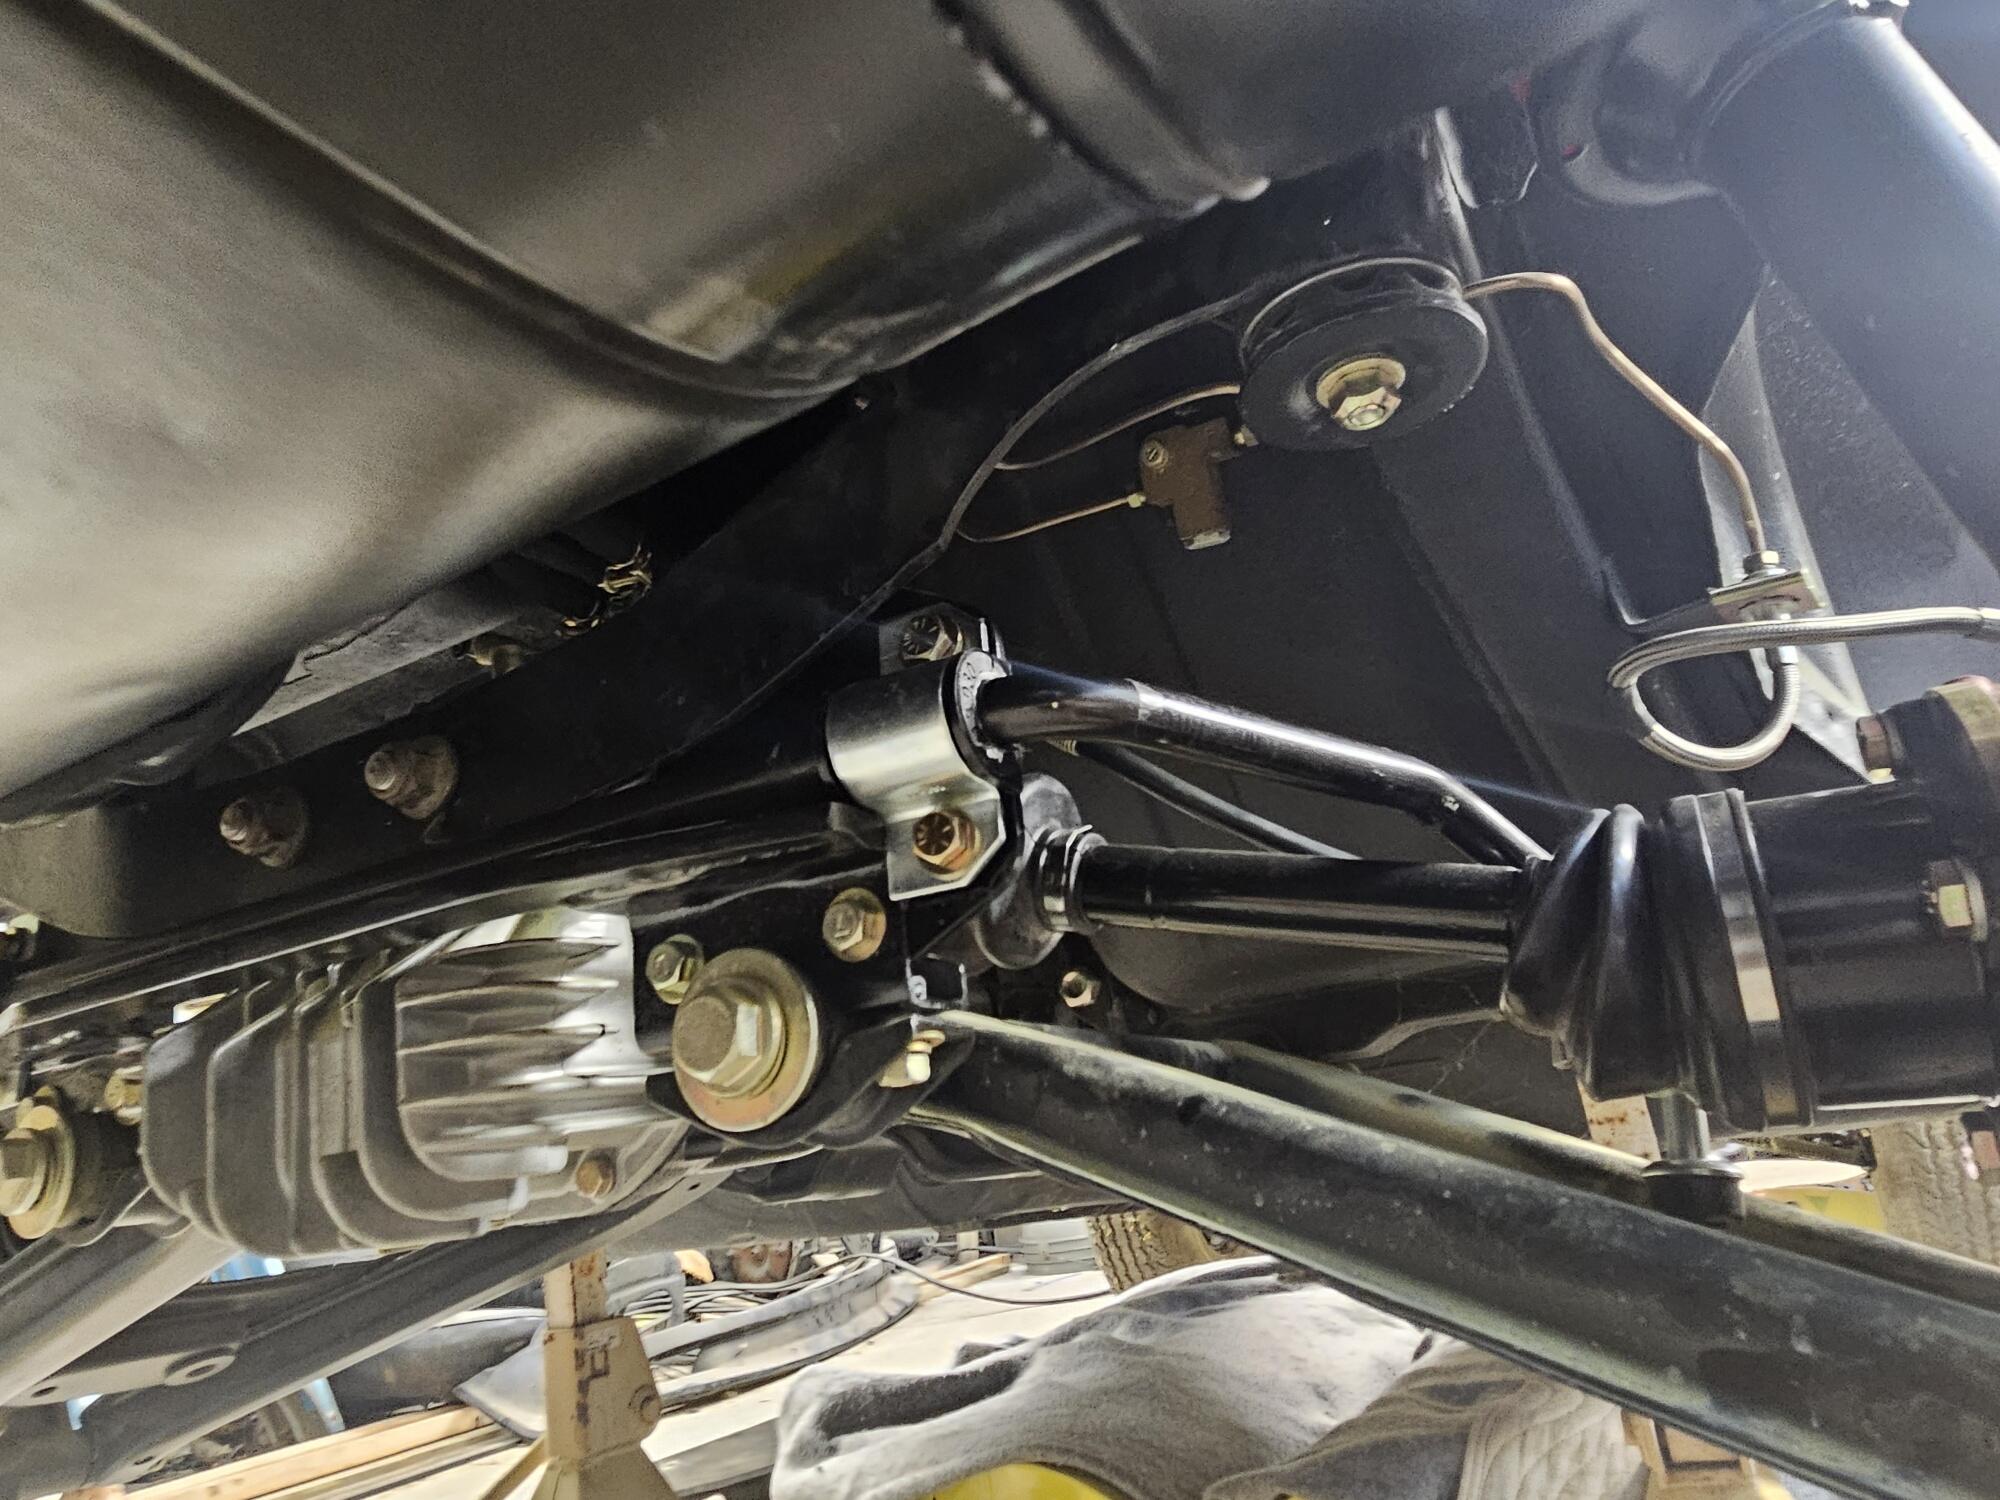
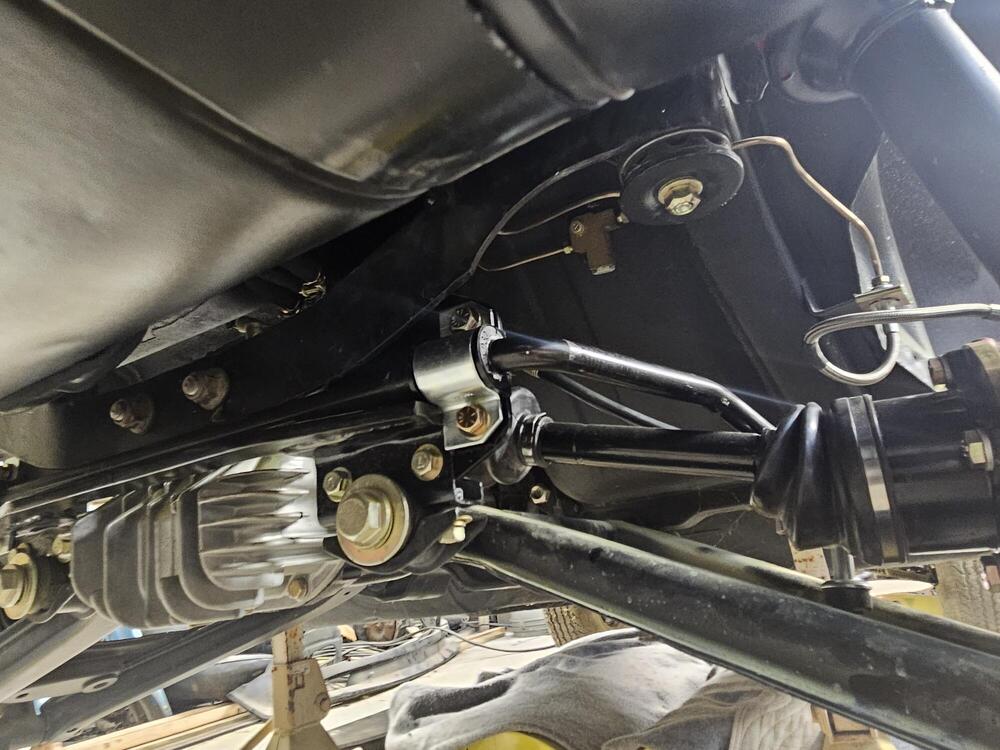
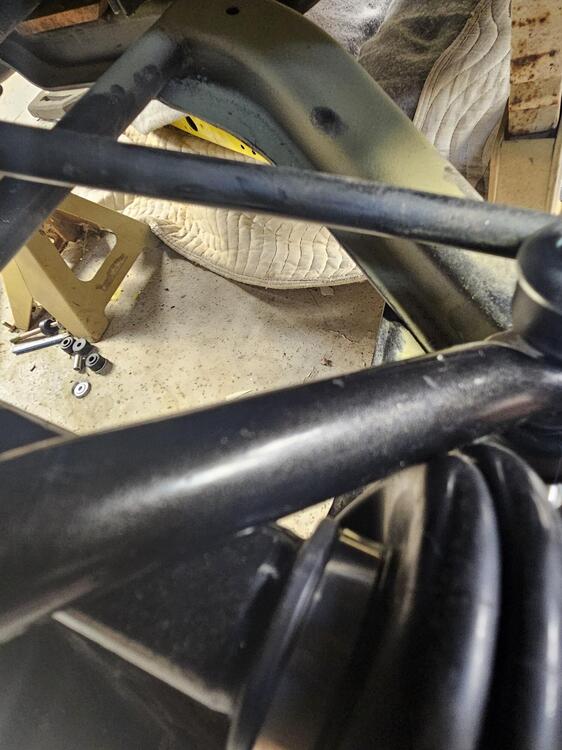
Working on sorting the ST sway bar end links. I thought I would put the bars underneath the axles but that won't work. Going over the top will require longer links Over The links will have to be about 2 inches longer. The hardware is SAE but I might try to convert it all to metric
-
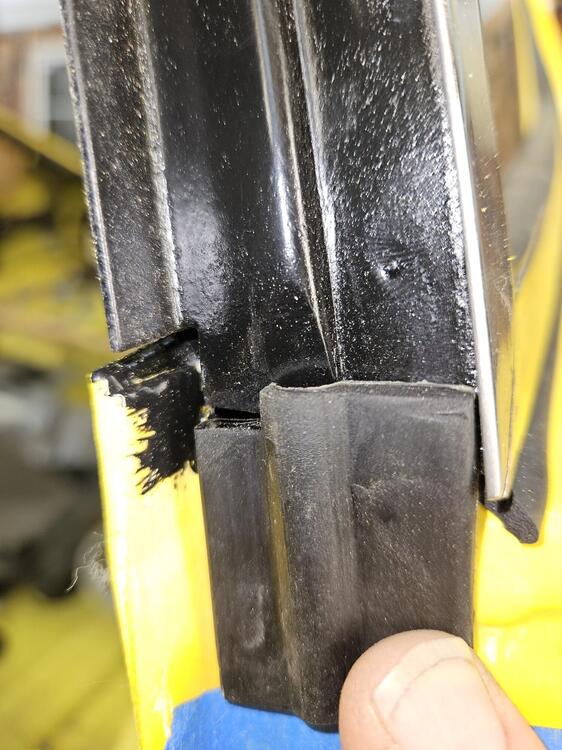
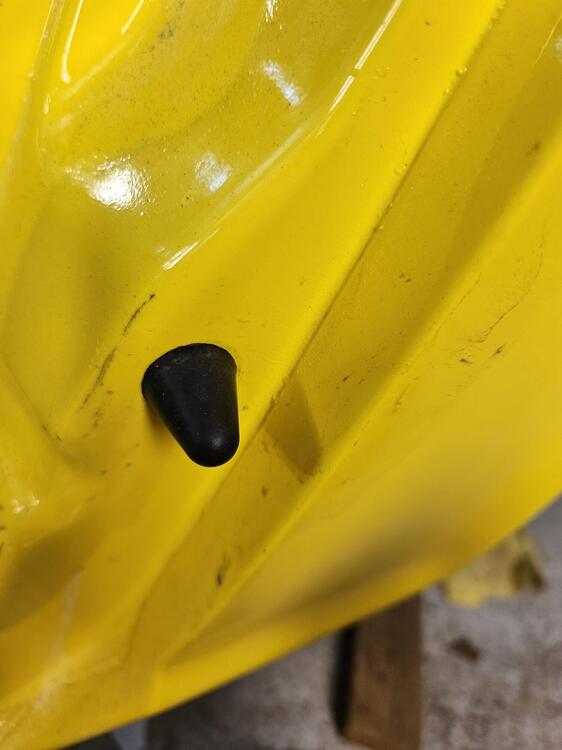
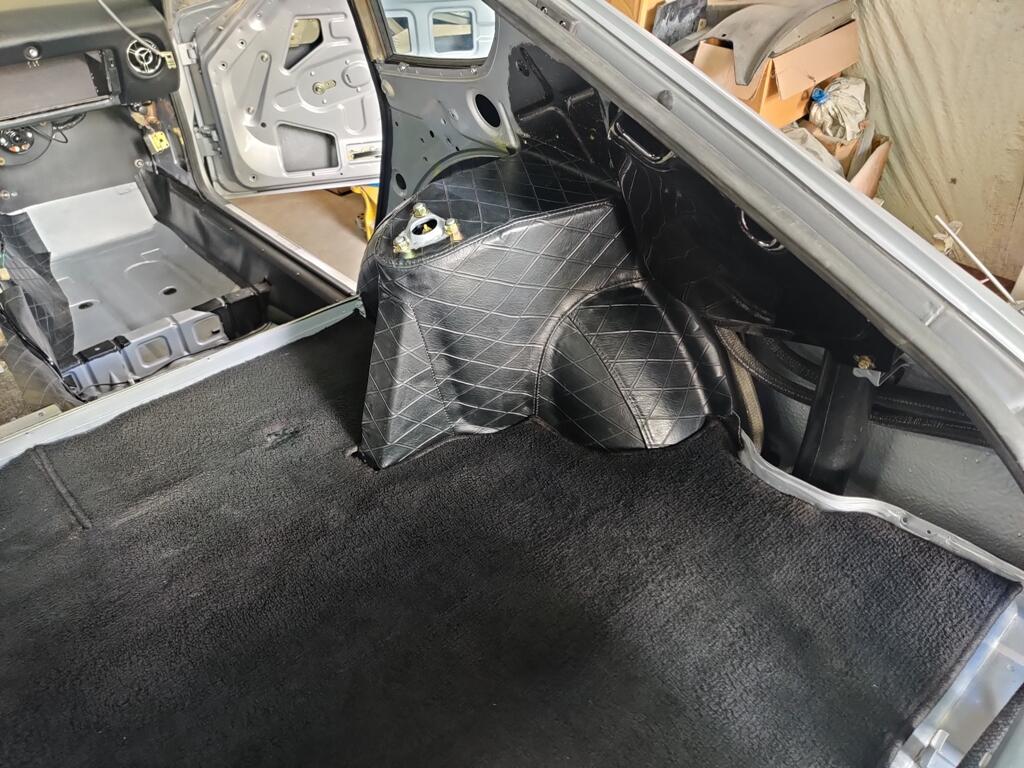
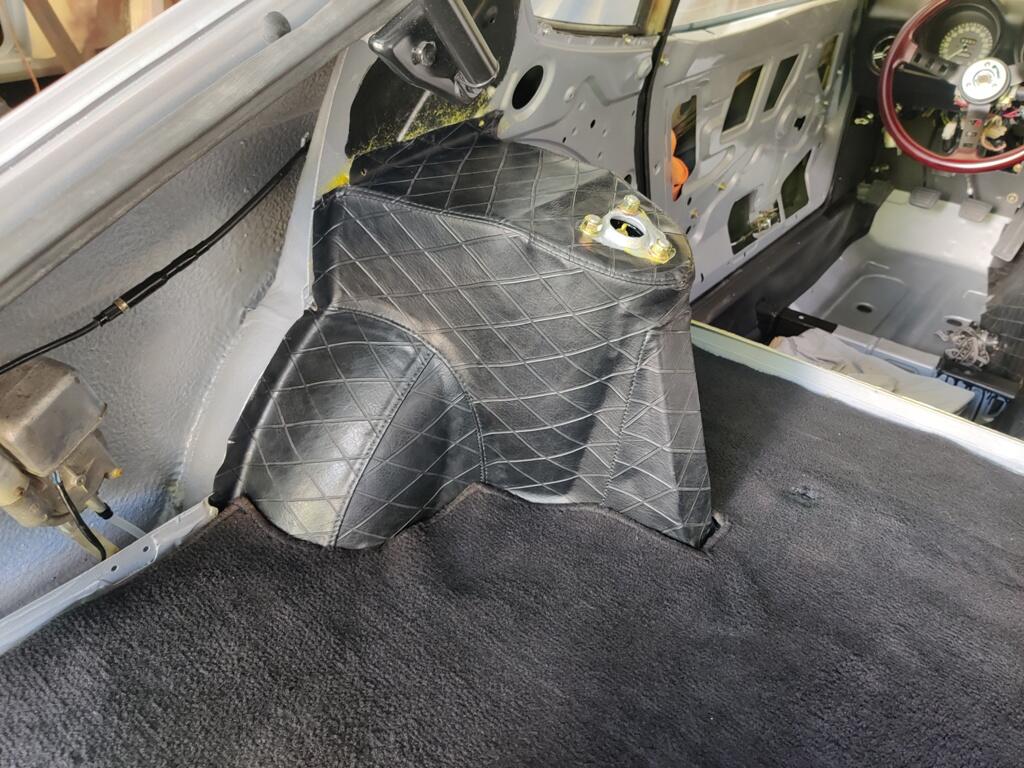
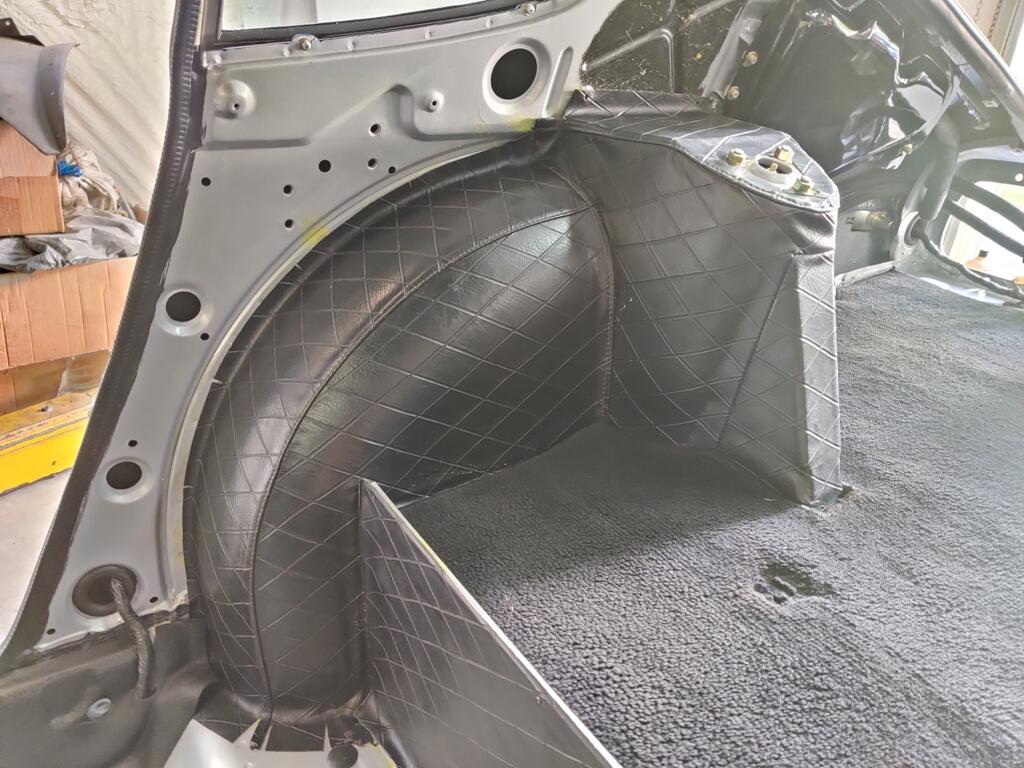
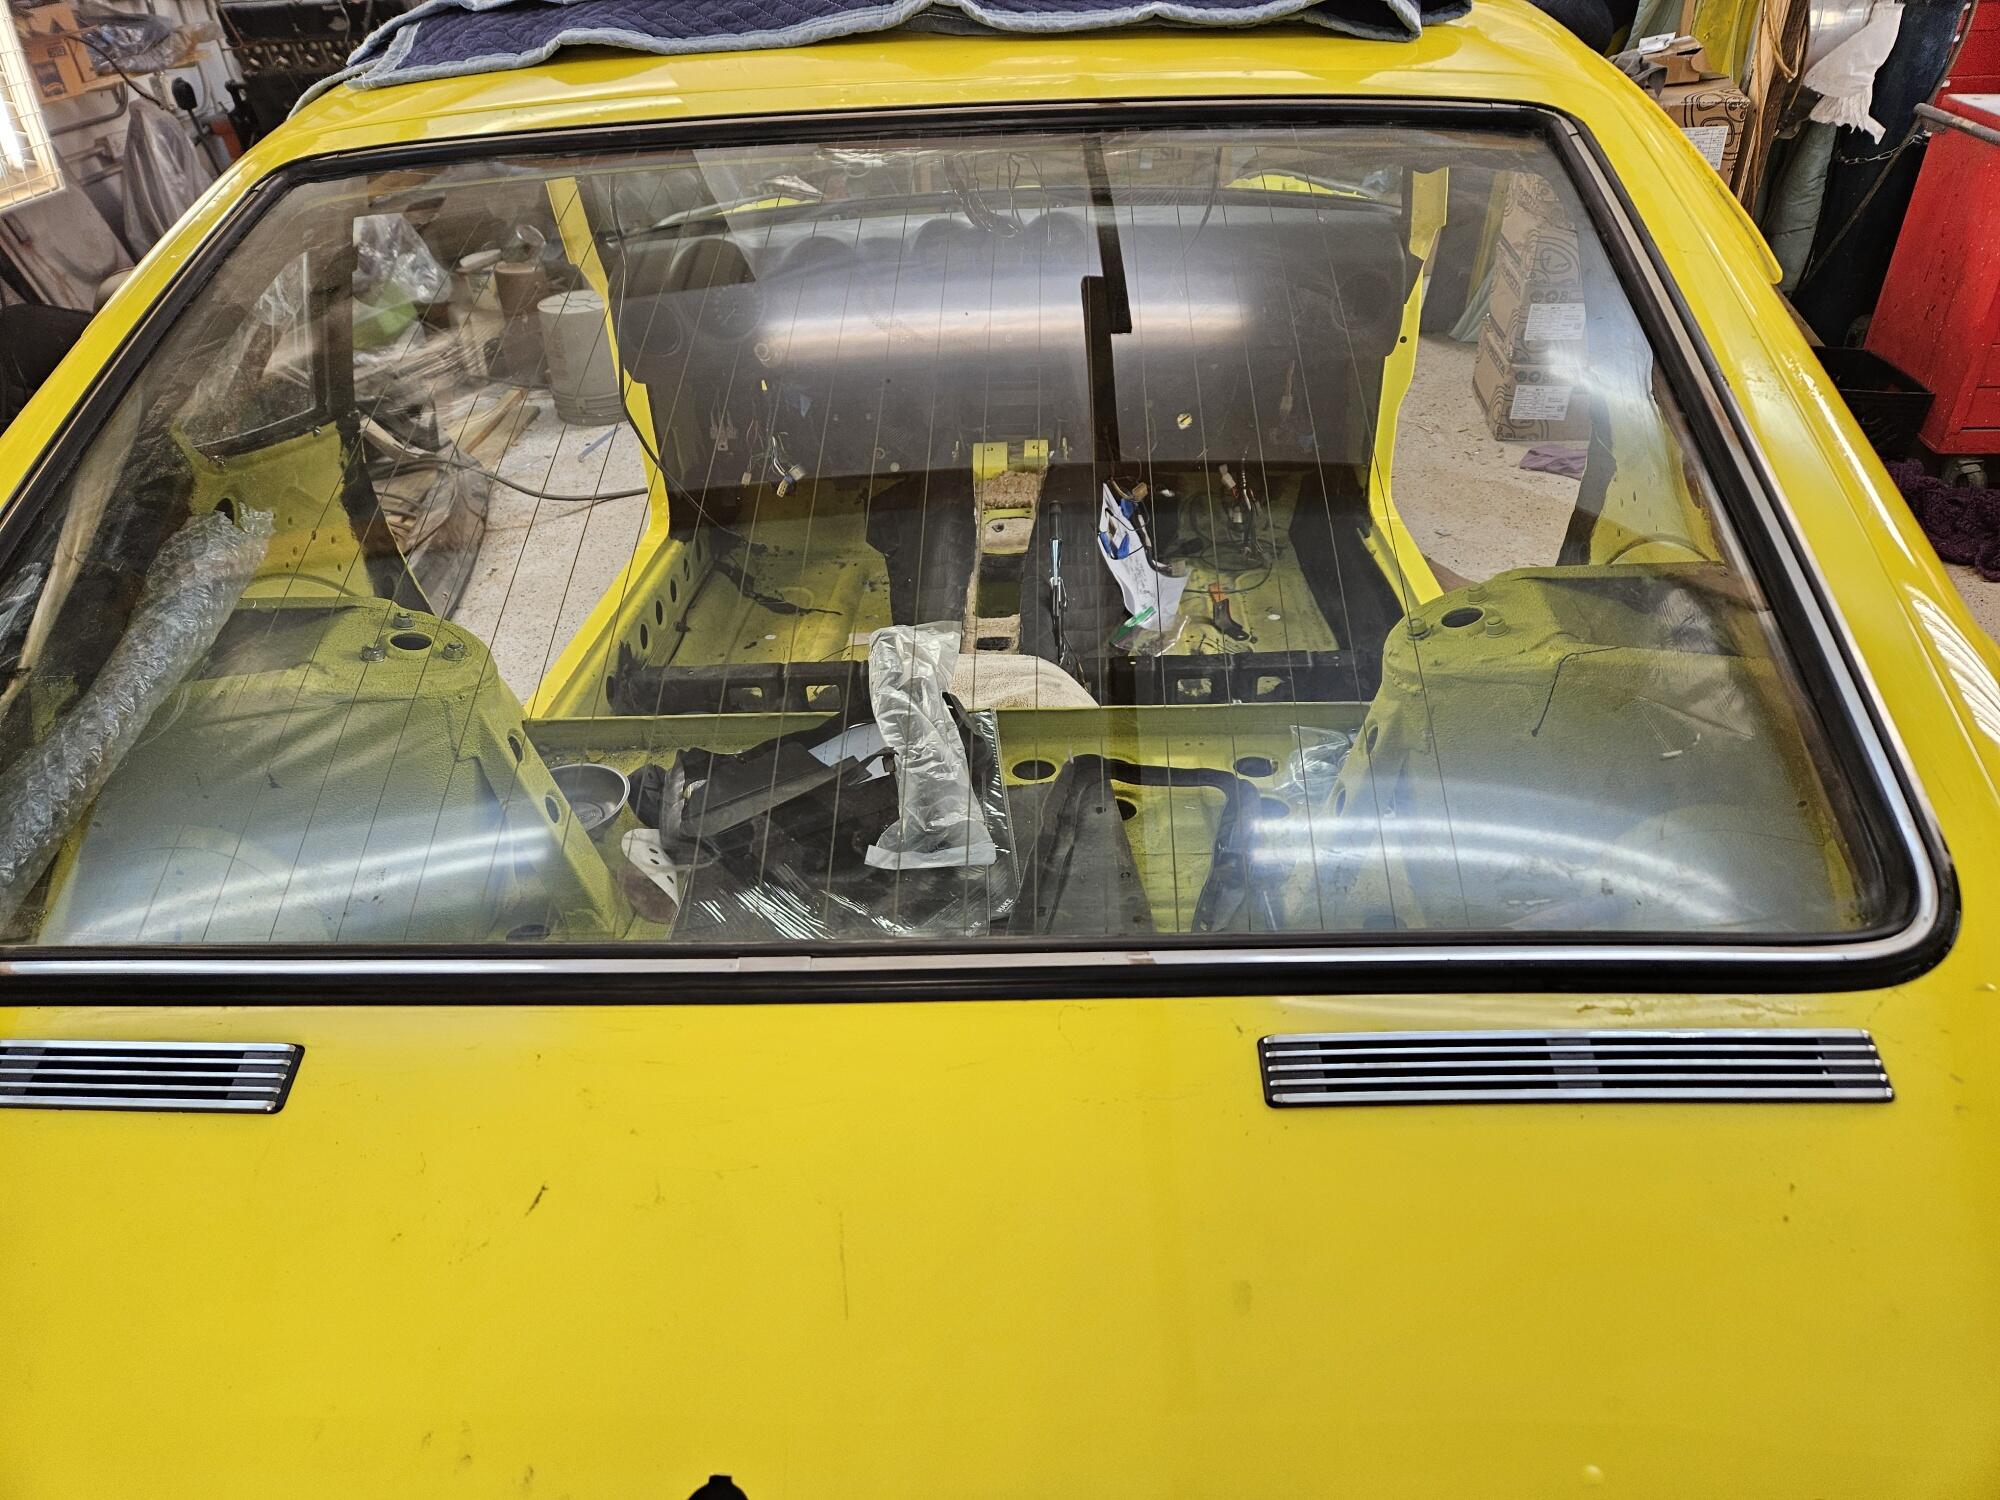
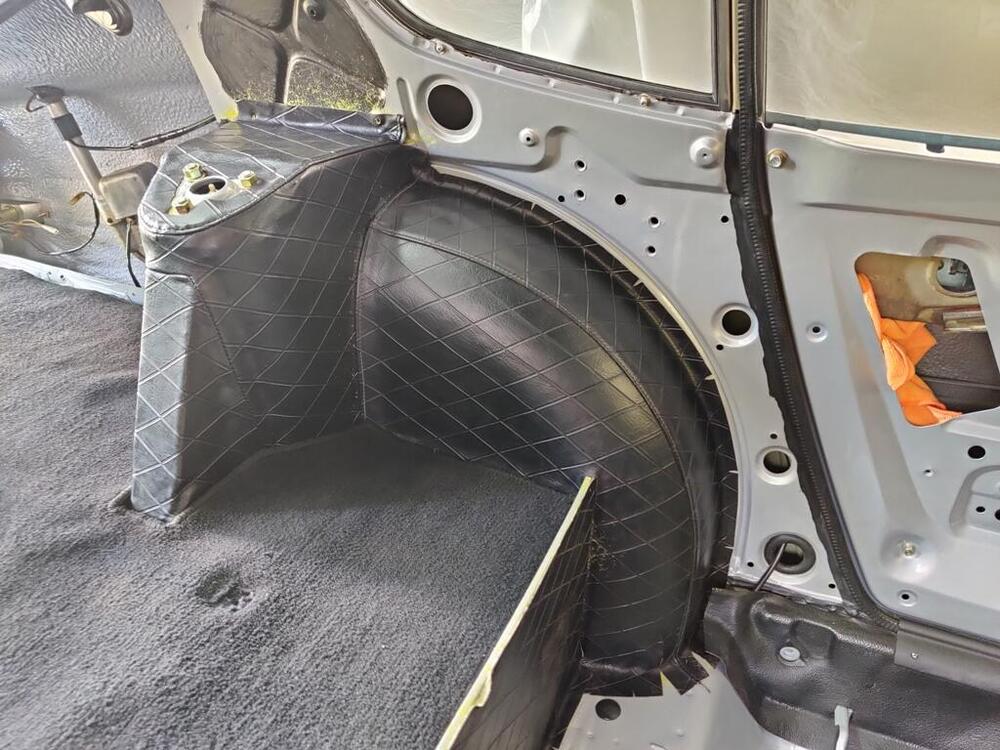
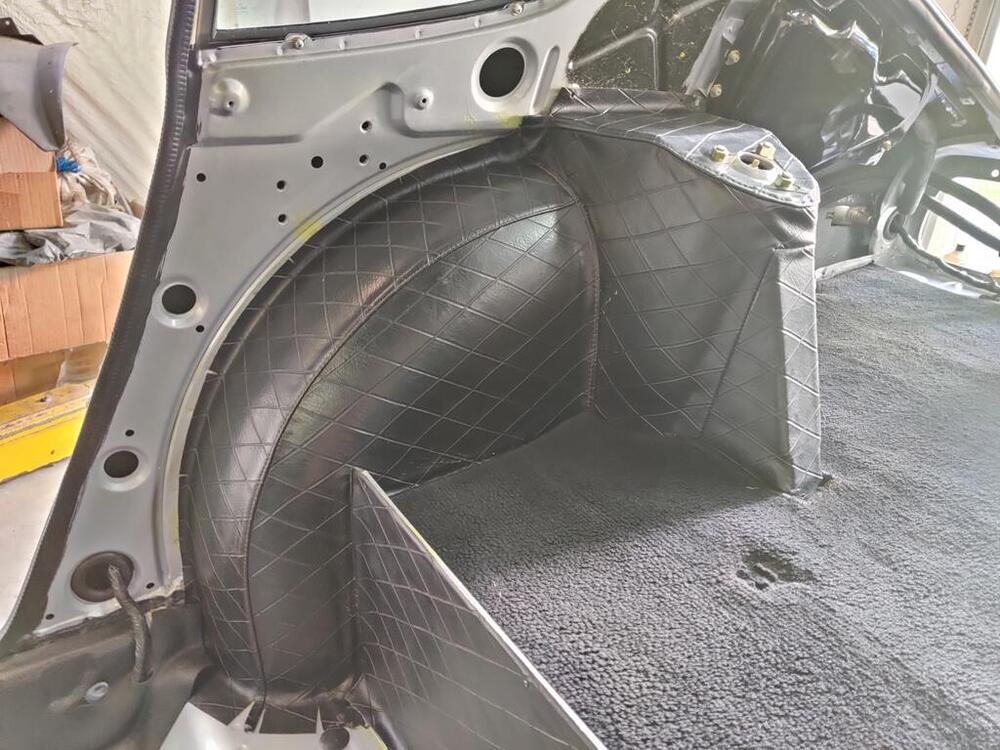
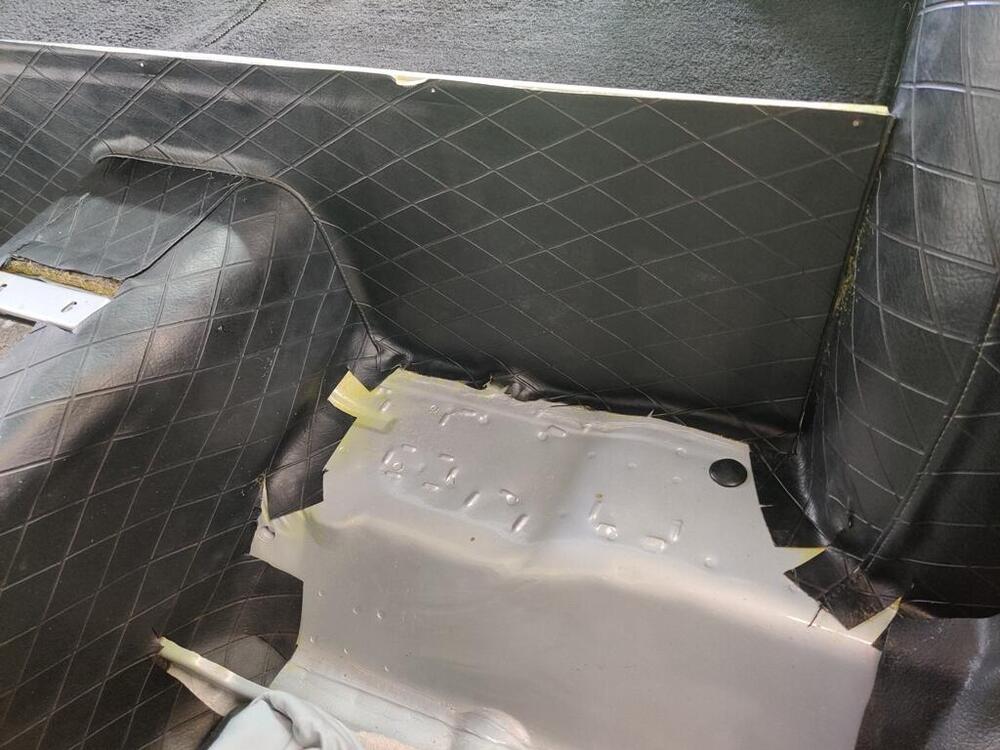
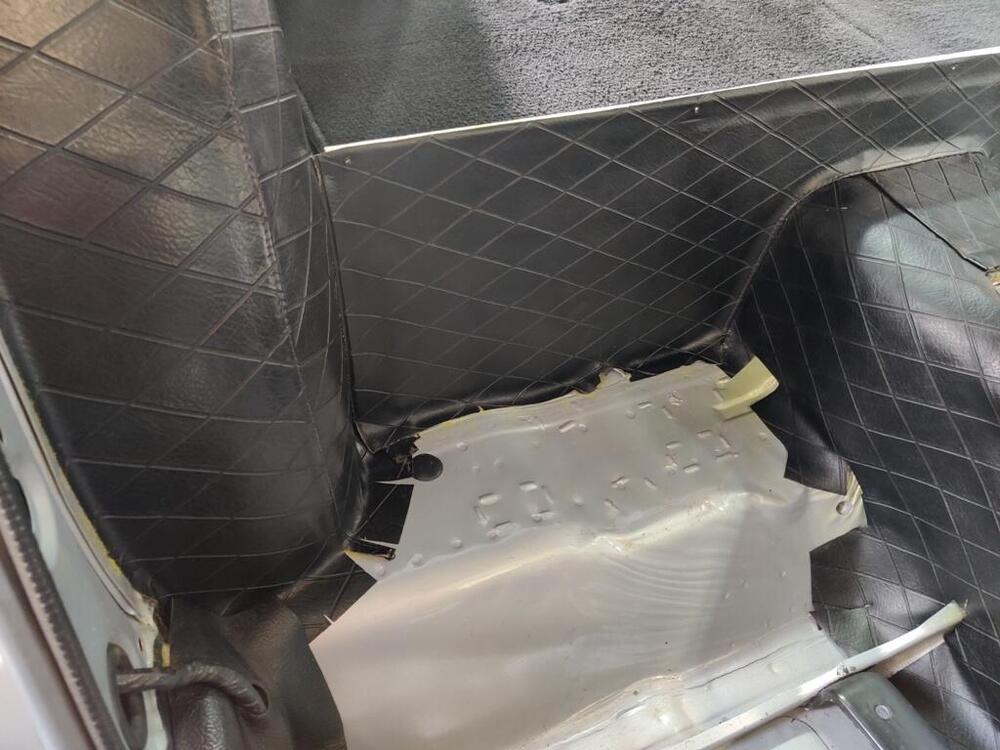
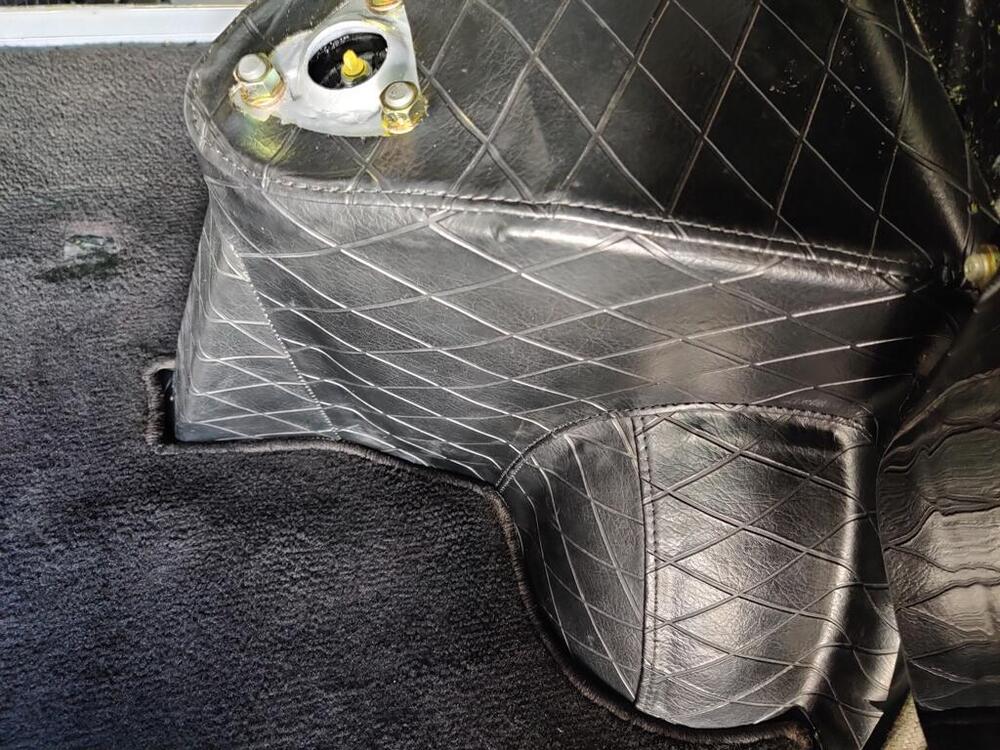
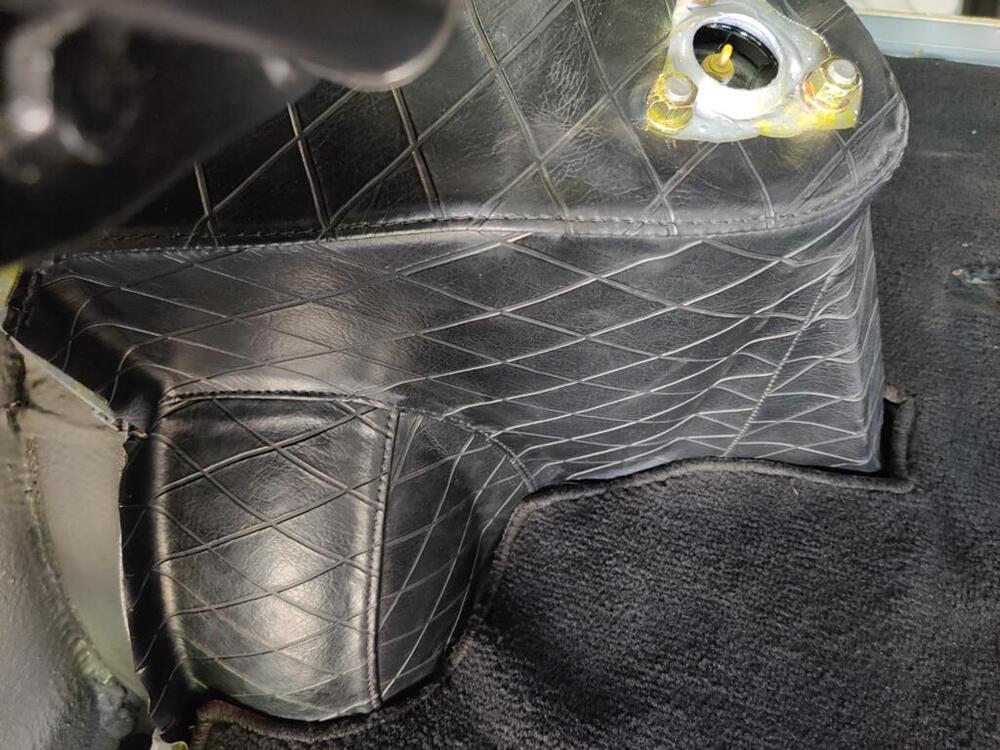
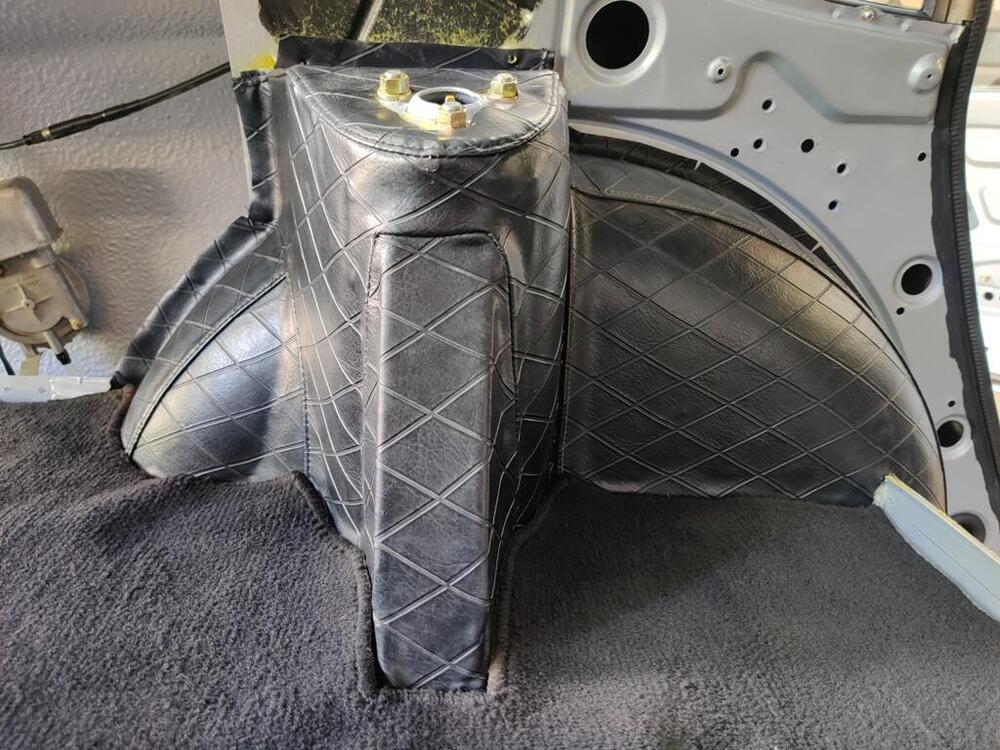
Even though I may take the quarter glass out sometime in the future, I went ahead and put the lower seals on. I lined the notch up pretty close to the inner lower edge of the quarter window I got the hatch glass in. I started but Cody had to help me get it the rest of the way in. My hands were cramping bad by the end trying to keep the glass squeezed down so the seal would lip over. Actually it is a little lower in the hatch then I would want. I started the string at the top edge. It might be better to start it at the bottom edge I also got the door bumpers in. I trimmed the excess paint out of the holes first and then I put them in. Soapy water on the first one and a small flat blade screwdriver. I used silicone grease on the second one and that seemed easier overall.