


jfa.series1
 Subscriber
-
Joined
-
Last visited
Everything posted by jfa.series1
-
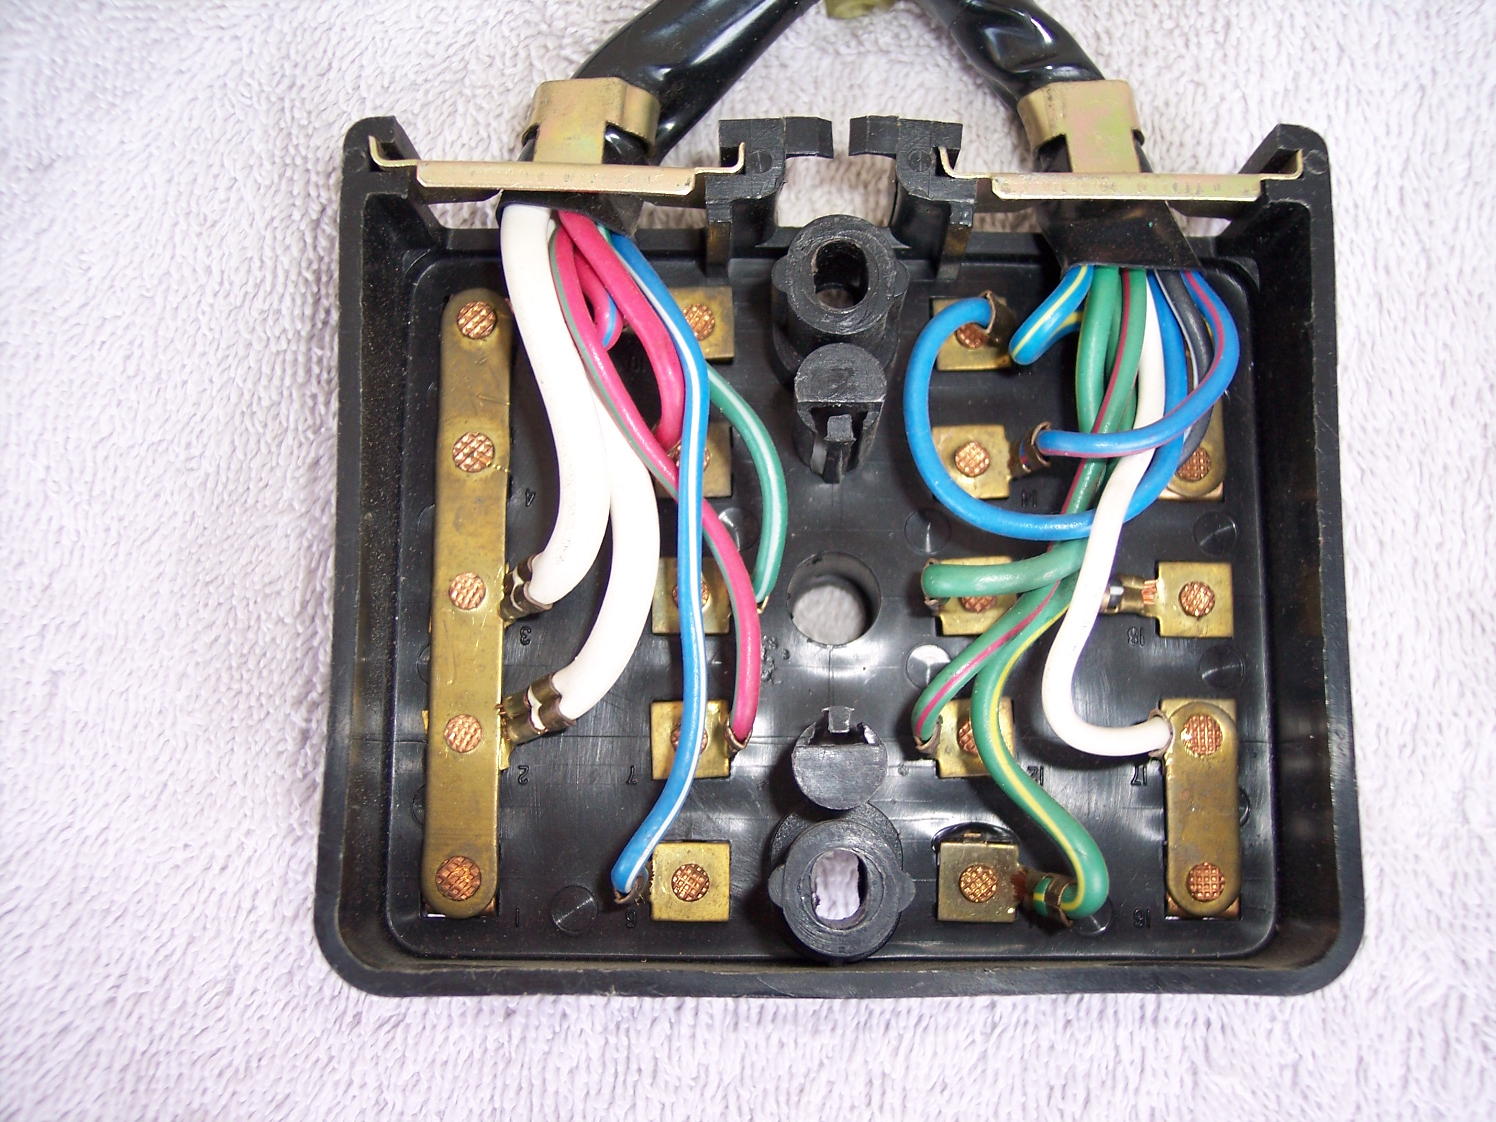
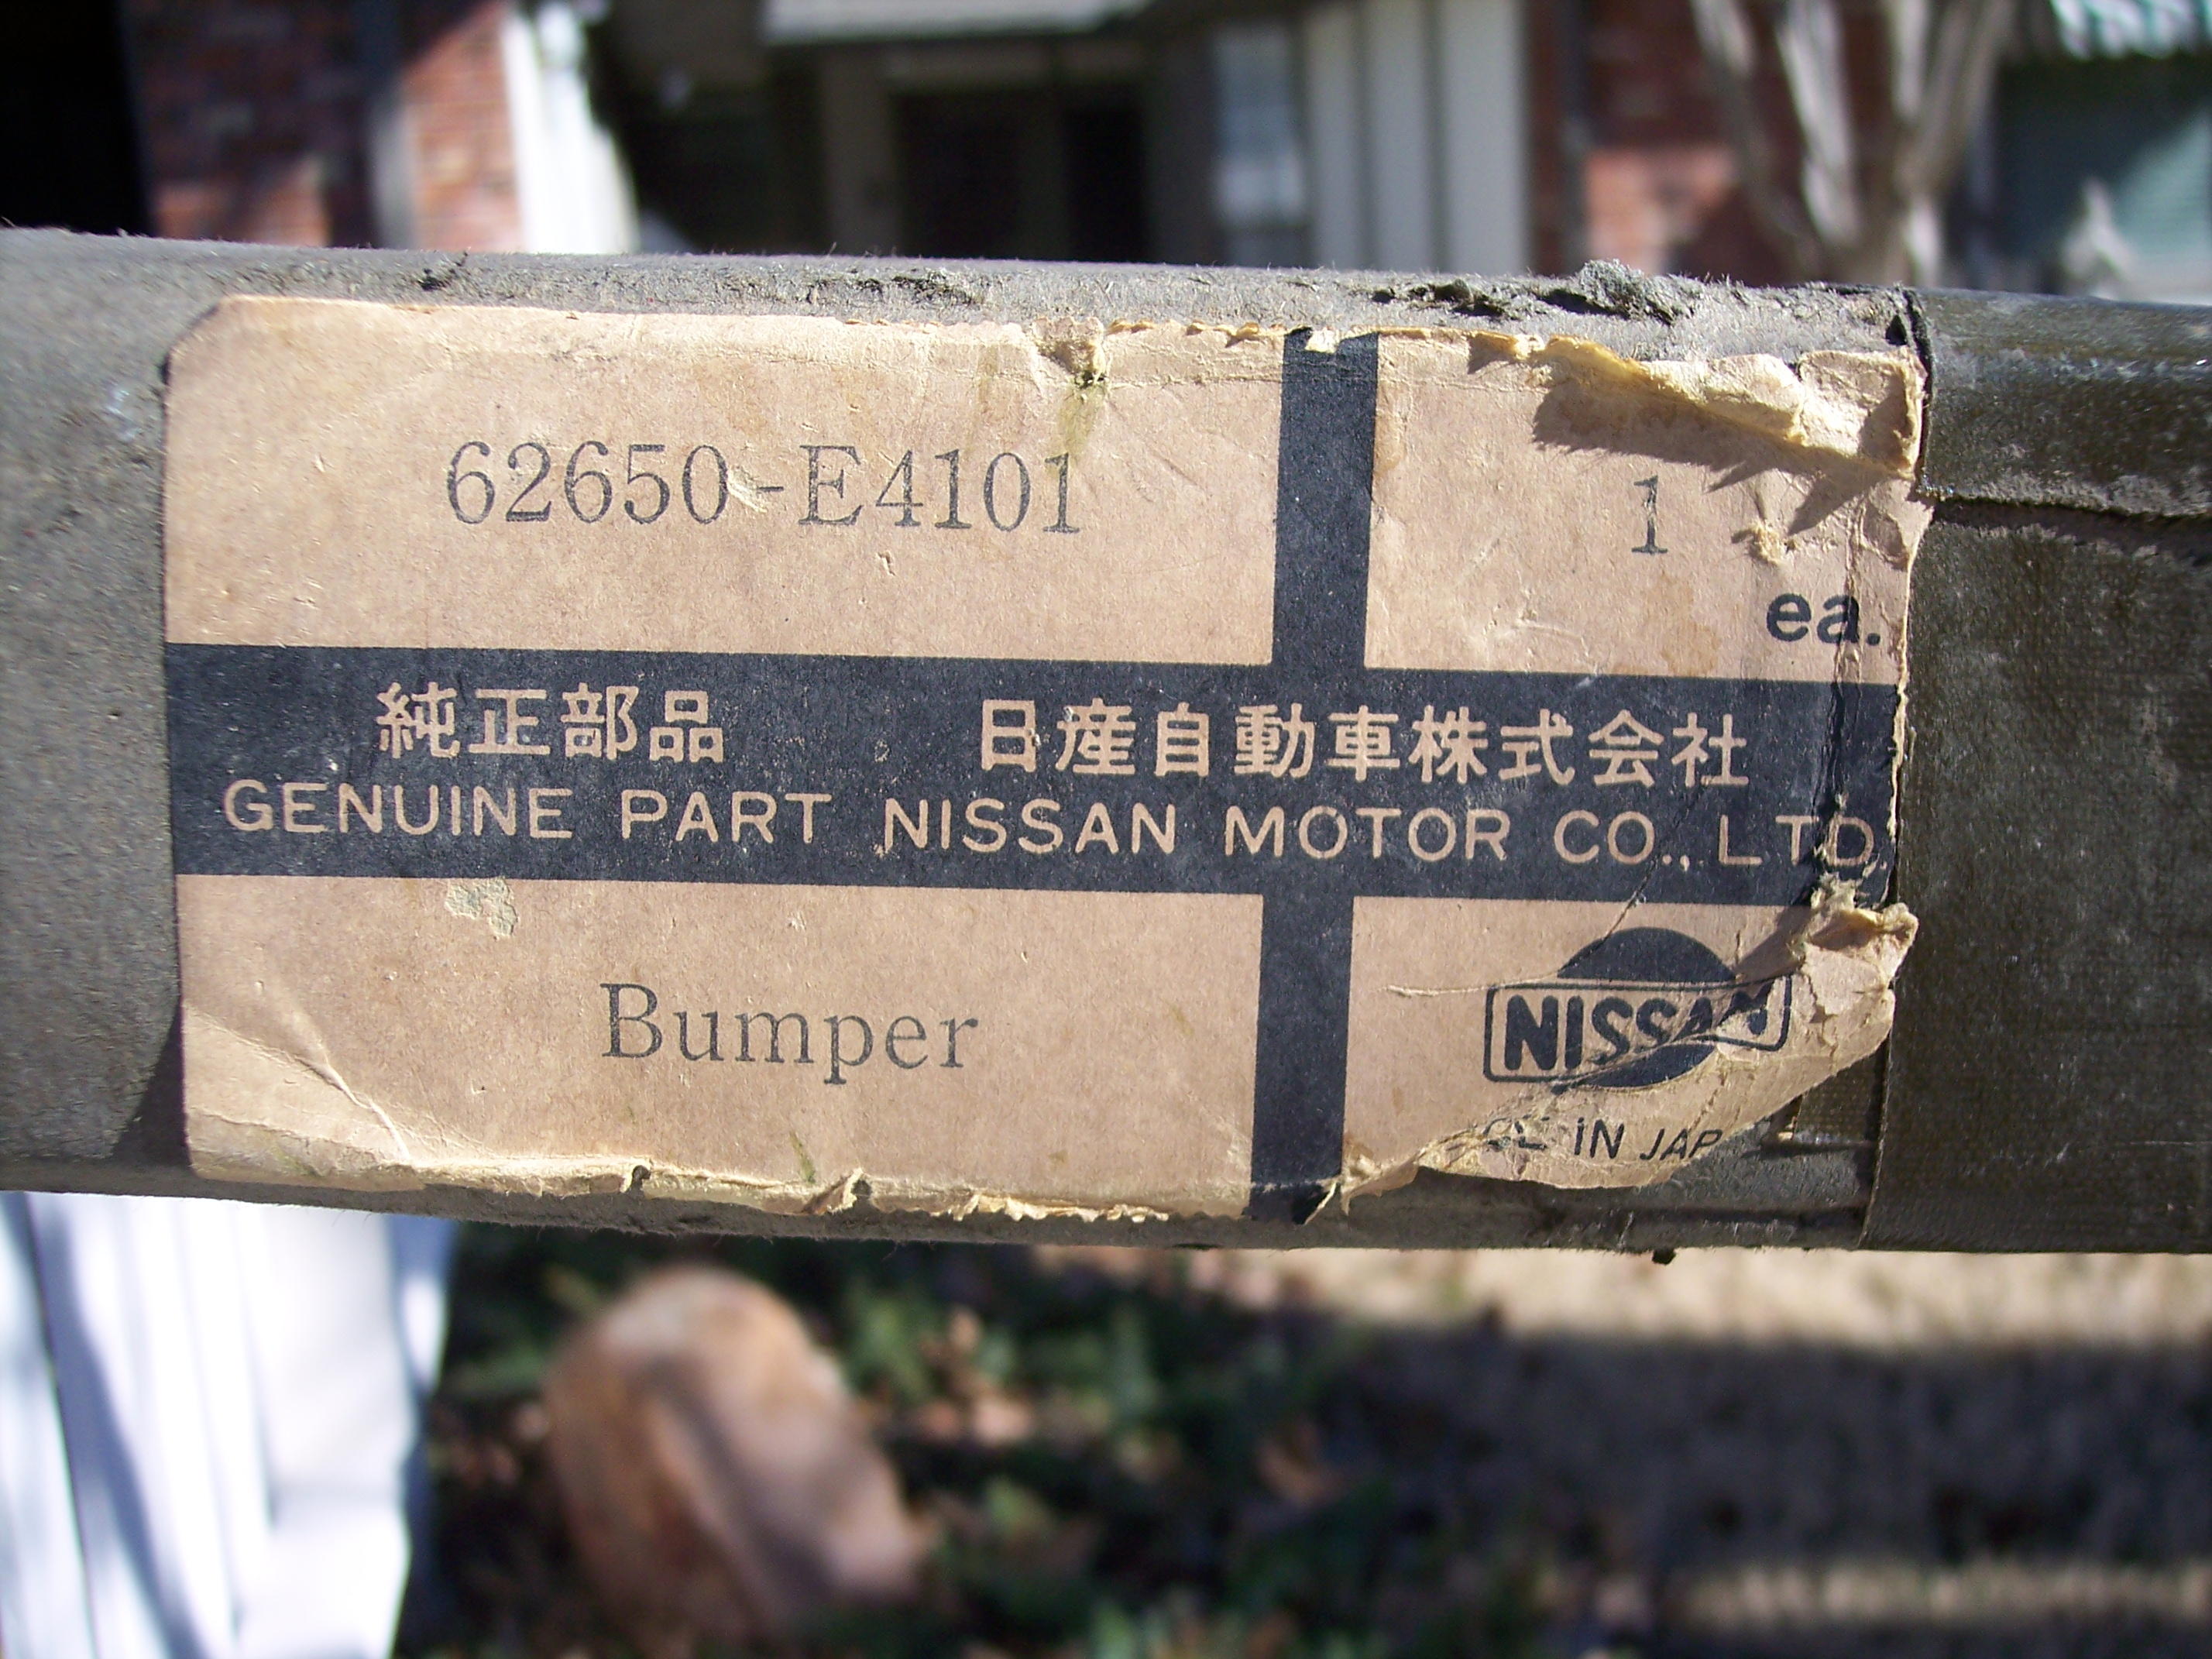
 Phil - The pic you referenced was mine, not Tim's. The female spade connectors were not burnt, merely had aged covers and as best I recall I had them labeled as Main A and Main B as were the male sides of the harness before I disconnected them. The MSA unit has butt connectors in place of spades, probably for the simple reason of the difficulty of getting the correct size female connector. With the MSA unit, you have the choice of cutting off the large male spade connectors and hard wiring the matching dash harness into the fuse block wiring or moving the old female connectors to the new fuse block - the option I took after this pic was made. Here's a pic of the backside of my OE fuse block (actually in excellent condition). You can see that both large gauge white wires go to the same place, how they are connected to the dash harness becomes irrelevant.
-
We just went over the small white wire a couple of weeks ago - it goes to the horn and you posted that you found the matching female connector. I just pulled my old fuse block - the wire coming off the fuse you indicated that is blowing is a small gauge green with white stripe. Trace that wire to your likely short. BTW - the stop light wire on the left side of the fuse block is a medium gauge green with yellow stripe but that's not the fuse problem you identified.
-
That would be a 20 amp fuse, same as OE. Blowing a fuse repeatedly says you have a dead short somewhere.
-
Those and many other NLA rubber bits are available here: http://www.240zrubberparts.com/ Great products from a fellow enthusiast.
-
Some fine, aged Canadian patina you have there.
-
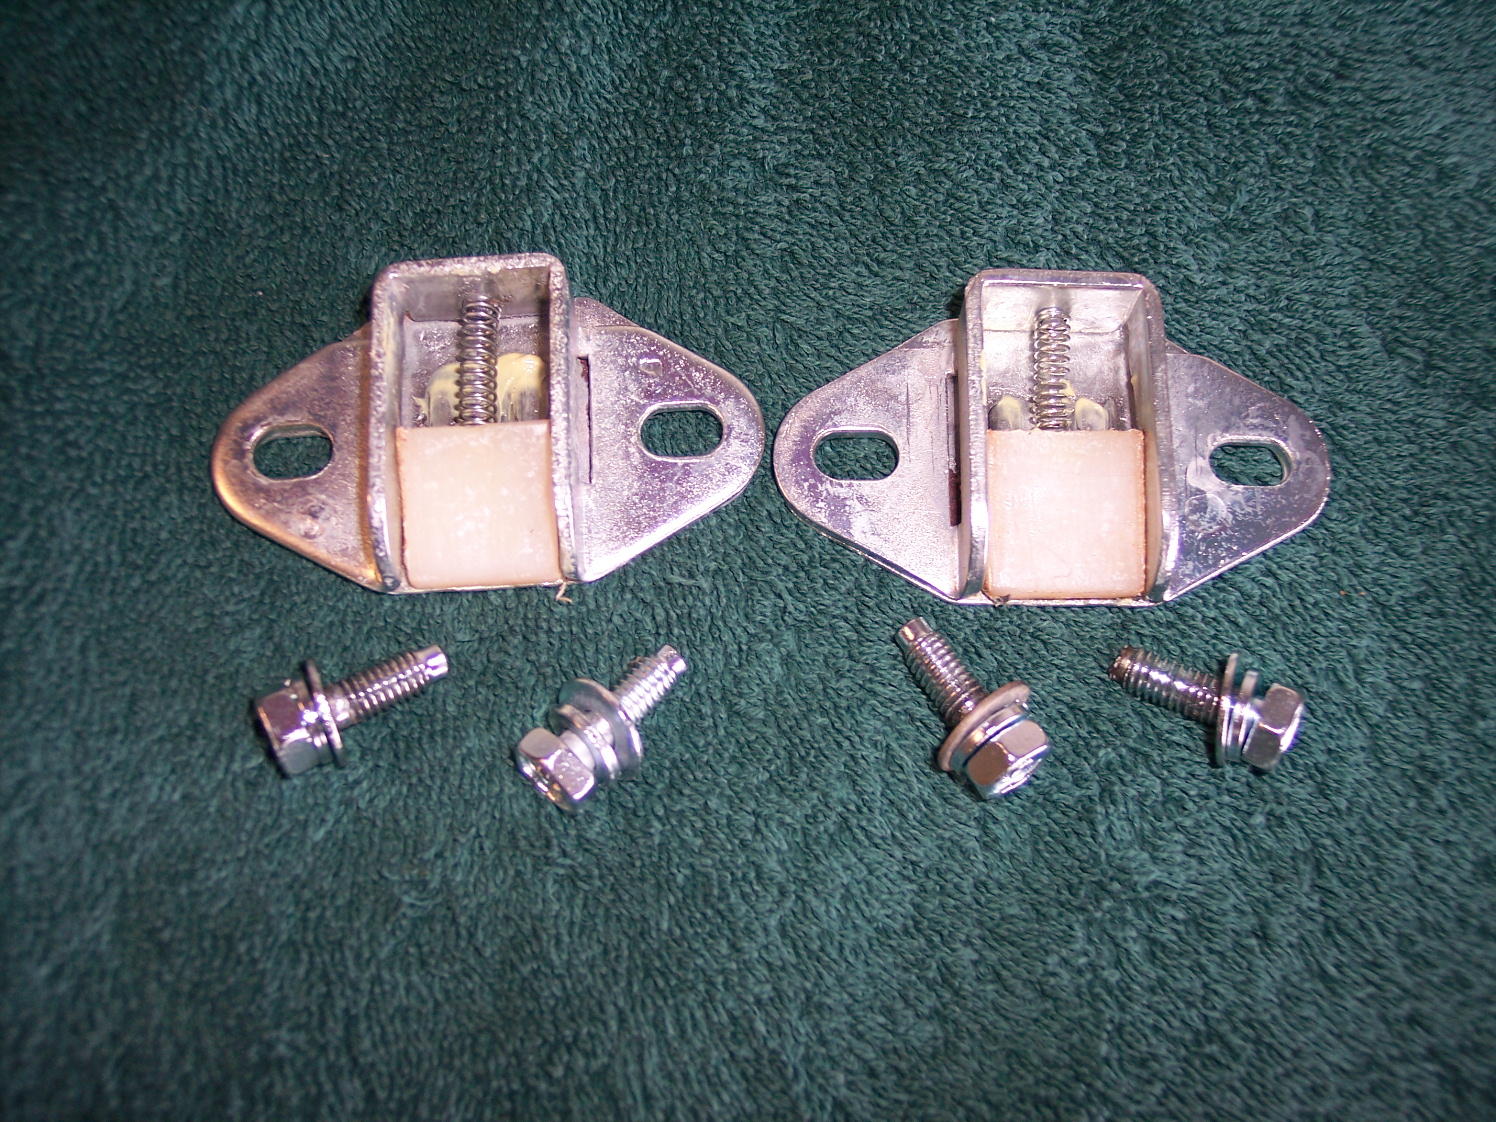
They fit into the hatch stopper where the spring butts into the metal. They are a bumper for the nylon wedge. Sorry not to have a pic of one installed.

-
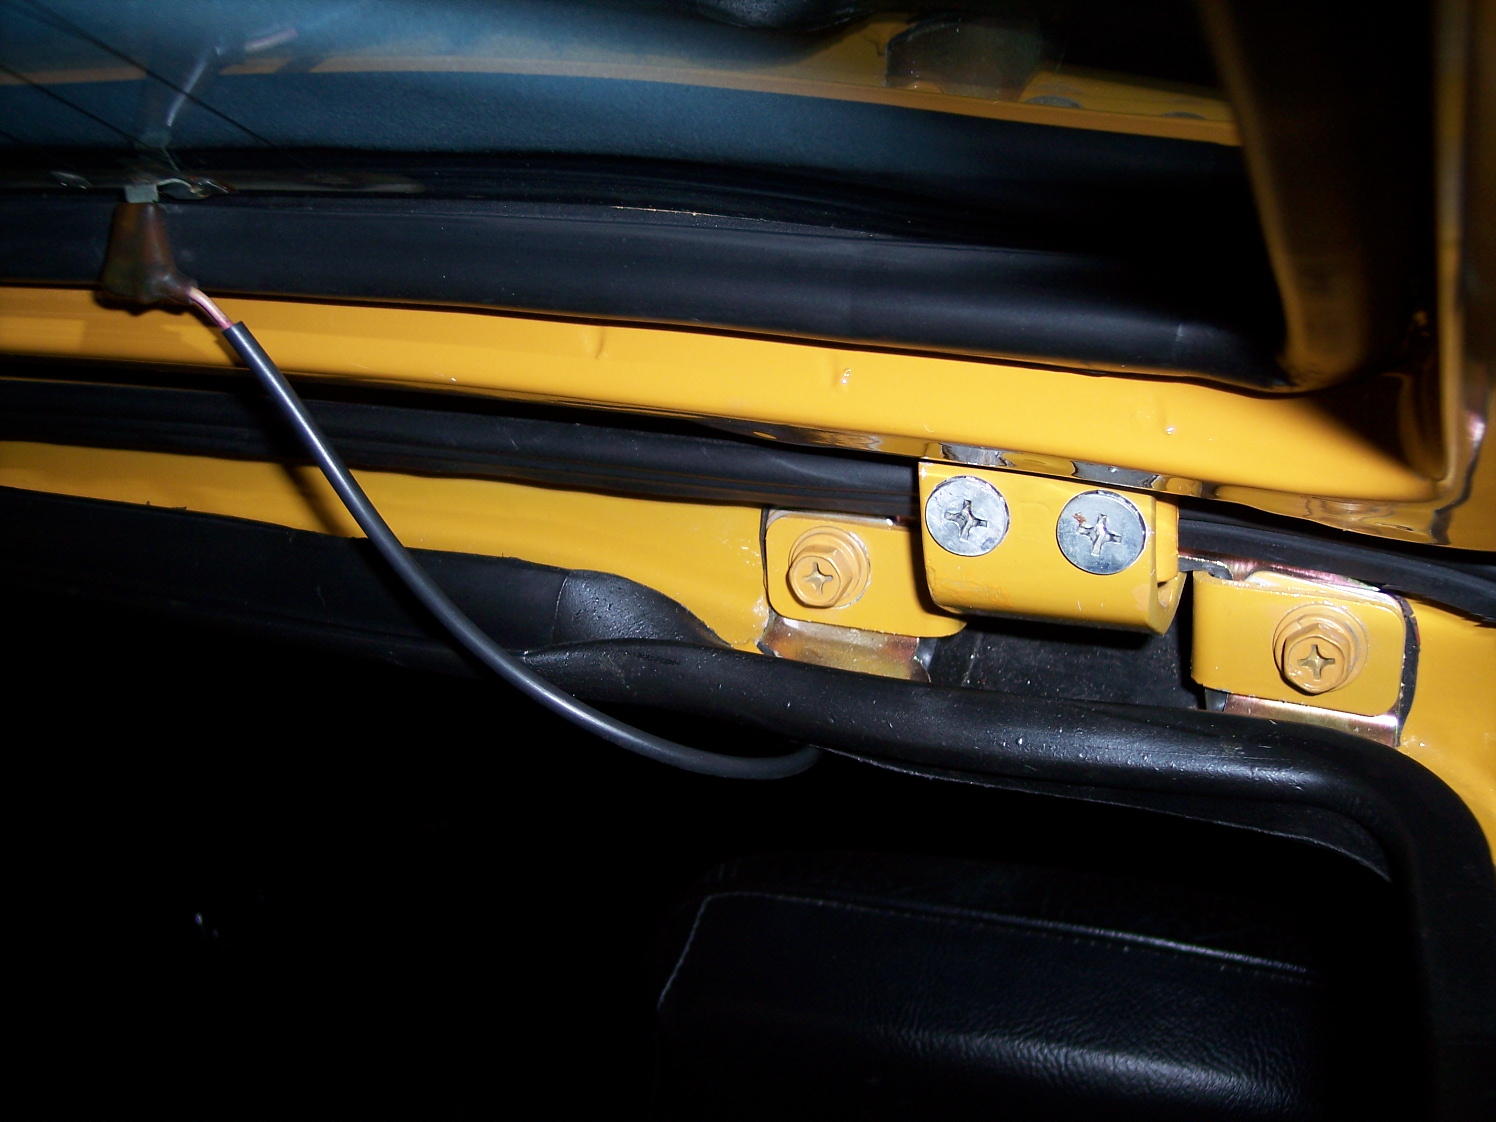
I presume you have the rubber boots installed for the hinges. Do you also have the thin plates below that keeps the boots from deforming? This is not a shim per se but it somewhat acts like one. These plates are not available as a Nissan P/N, were originally packaged with the OE boots as an assembly. There is a shim listed as a P/N, not all cars required them, see item #24 on the link below. http://www.carpartsmanual.com/datsun/Z-1969-1978/body-240z/tail-gate-panel-trim-lock-rear-bumper
-
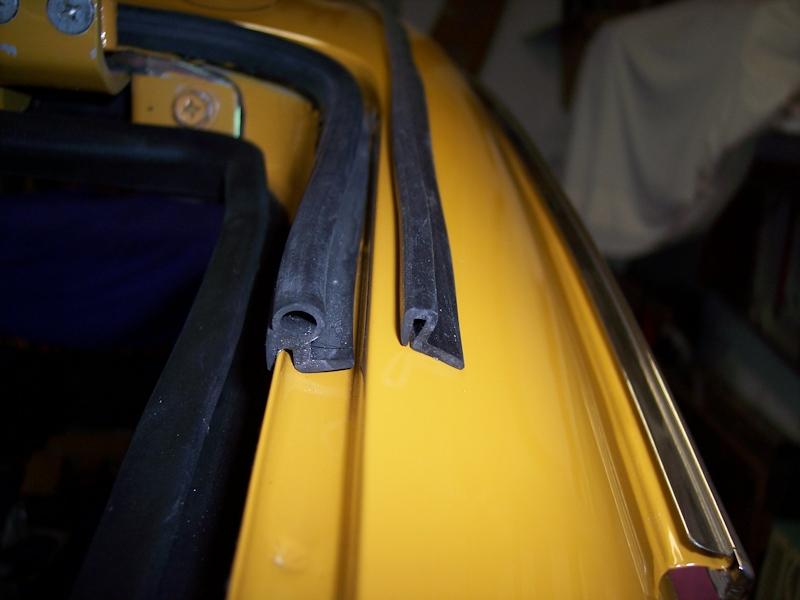
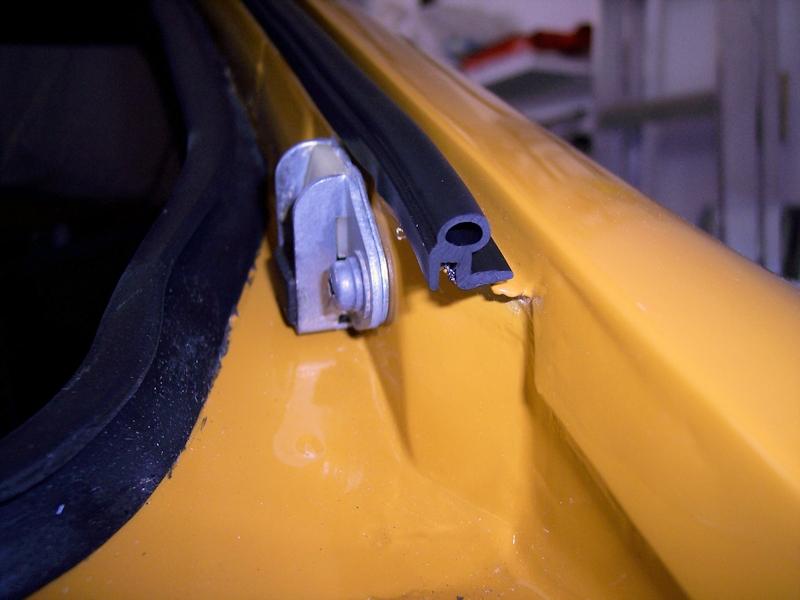
Hmmmm... this sounds like a hatch alignment problem to me. The outer seal should be under the thin lip of the hatch but not under any of the thick part. If the thick part of the hatch is contacting the outer seal when closing, the hatch is too close to the body suggesting the hinges are missing some shims. The closest the thick part of the hatch should be to the outer seal is to very slightly touch it when the hatch is fully closed - it should nestle inside that seal, never press down upon it. Now, as to the inner seal: if it is breaking away when the hatch is closing it is likely the hinges are contacting the seal and knocking it loose. The seal shape you have may not be formed correctly to clear the hinges. A friend had a similar ongoing problem and he ended up buying a new inner seal from MSA - one by PRP I think. Here's a pic of my inner seal, also by PRP. The vertical rib to the left fits into a recess on the underside of the hatch and the change in the shape to the right allows the hinge to clear. Hope this helps you in diagnosing the problem.

-
When I worked on my car years ago the one-piece bulb profile was not yet available. I ordered the OE-style pieces but didn't like the side transition from bulb to the "L" shaped sides - even though that's how the Nissan engineers designed it. I returned the side pieces and bought two more uppers, cut off the corners and made a continuous bulb profile for the sides. As @Namerow says, installing the top section is a real PITA with the hatch installed - been there, done that!
-
The outer (thin/narrow) seal is just a first line of defense (a deflector) to keep water out but is not the main seal. If you are getting water into the cabin, then your inner seal is not doing its job. Check to see that it is snug against the hatch all around and that it is firmly glued in place and not moving when the hatch closes. The outer seal is available in a three piece set - similar to OE, or a one-piece option from MSA.
-
The bulb socket / reflector should fit into a groove in the rubber mount - the "ears" of the reflector should not be visible to the holes for the mounting screws. When the screws pass thru the stainless retainer and lens into the mount, they should not be touching any part of the reflector as there should be a rubber wall around each screw. The screw then attaches to the clip on the fender. If all is well, the reflector is "floating" in the rubber mount and not grounded to the fender via the screws. Hope this helps a bit.
Working to keep your right-seat partner from going into "beast mode" on the trip to Atlanta???
I resemble that remark. I presume the rusty tu*d will have a utility trailer attached with all the tools and spares necessary for a complete in-flight rebuild.
Cliff, thanks for the kind words. With the big win in Memphis, ZCCA "retired" my car from eligibility in future judged competitions. I can still enter peoples' choice events and "exhibit" the car at a judged show. That and parade laps at Road Atlanta are enticing but overall not an adequate justification for an 800 mile tow from Dallas. We plan to make the trip but will have to be content cheering on other worthy entries. Looking forward to Z'ing you and other good friends at the big show. P.S. - Branson is a much more reasonable tow in 2019!!!
Guy - thanks, pics of the rear are on page 2.
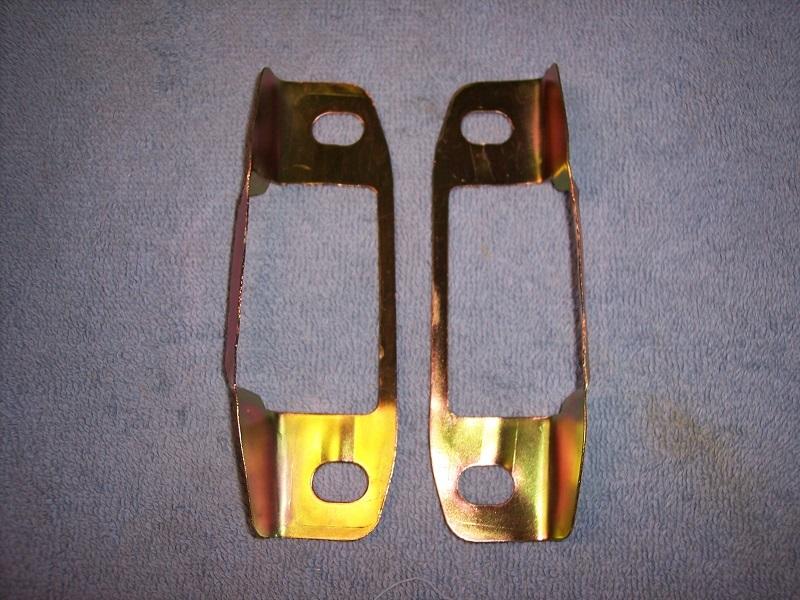
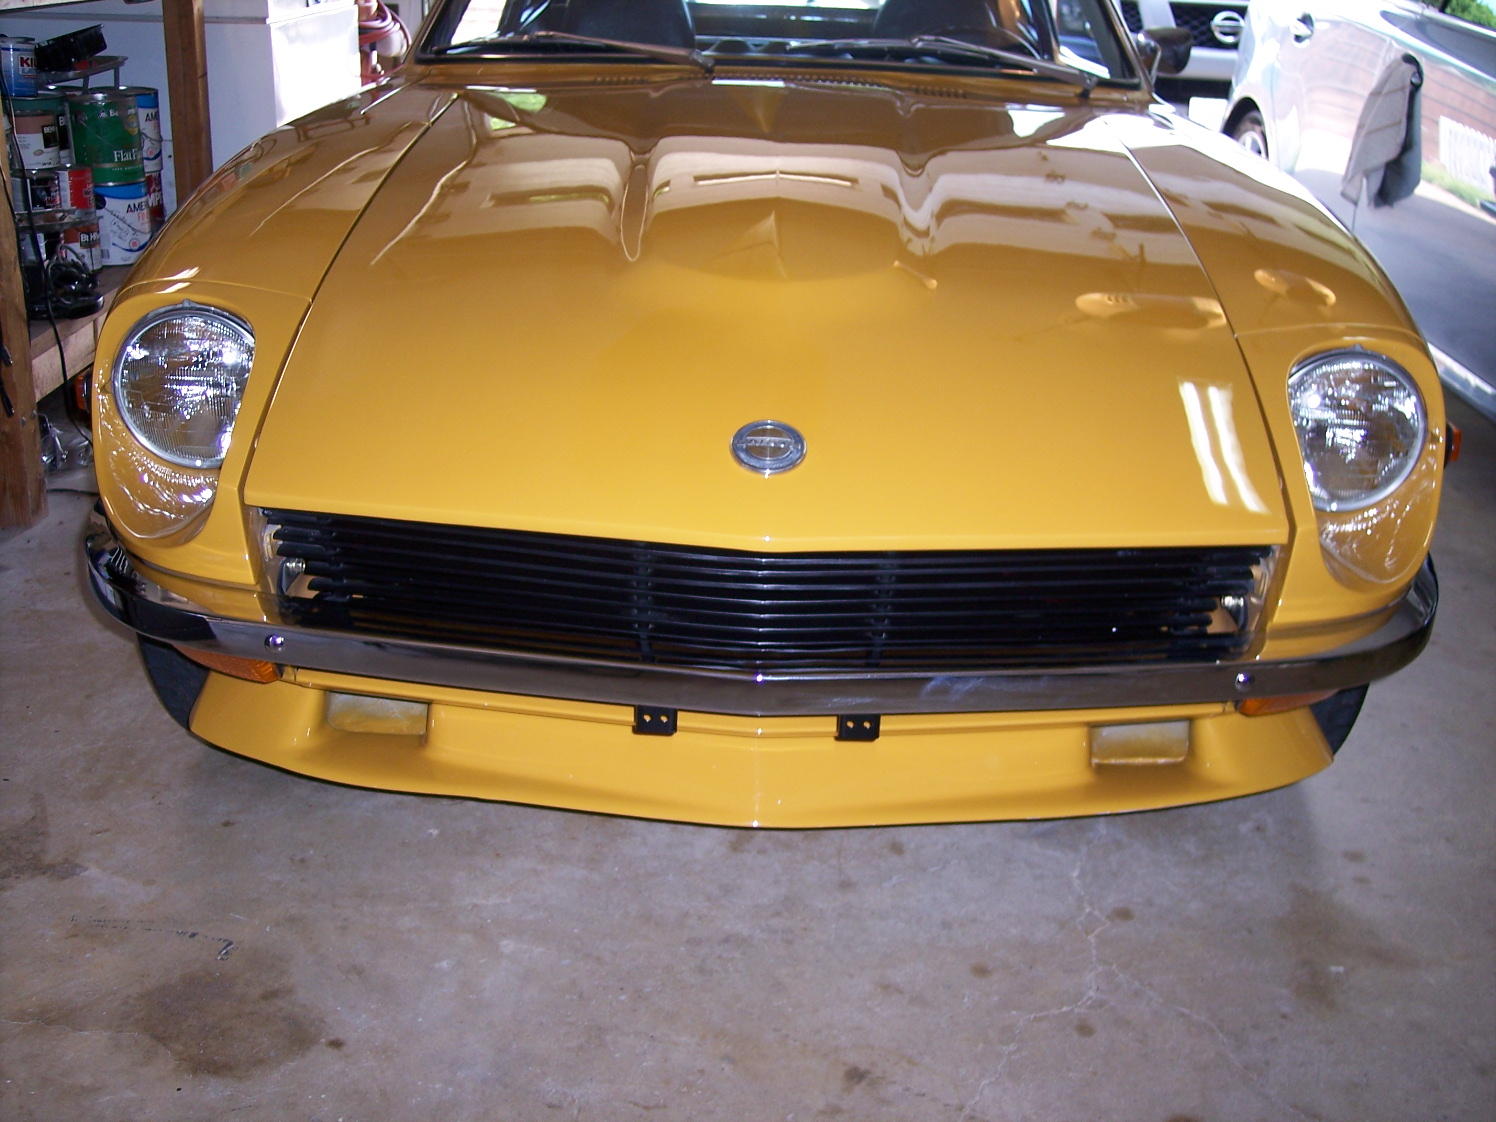
Transition complete - we be shiny at both ends now . That's my killer deal NOS JDM unit on the front that I stumbled across locally a couple of years ago. It had been in a guy's garage attic for over 35 years (still in factory pkg.) and I just happened to spot his CL ad. Yes, its a chrome unit but it will take a sharp eye to distinguish it from the SS unit on the rear. BTW - I paint the license brackets black to avoid a Ollie-the-dragon snaggletooth look - from farther away they disappear into the grill.


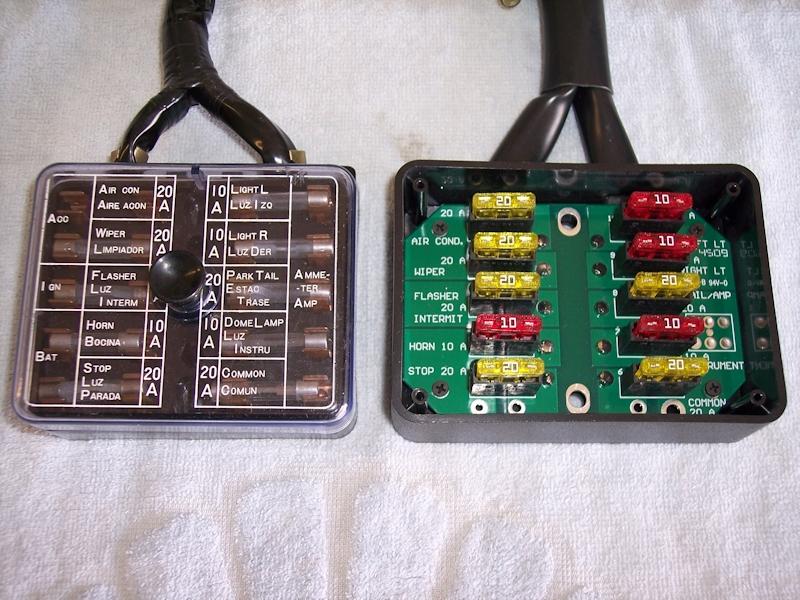
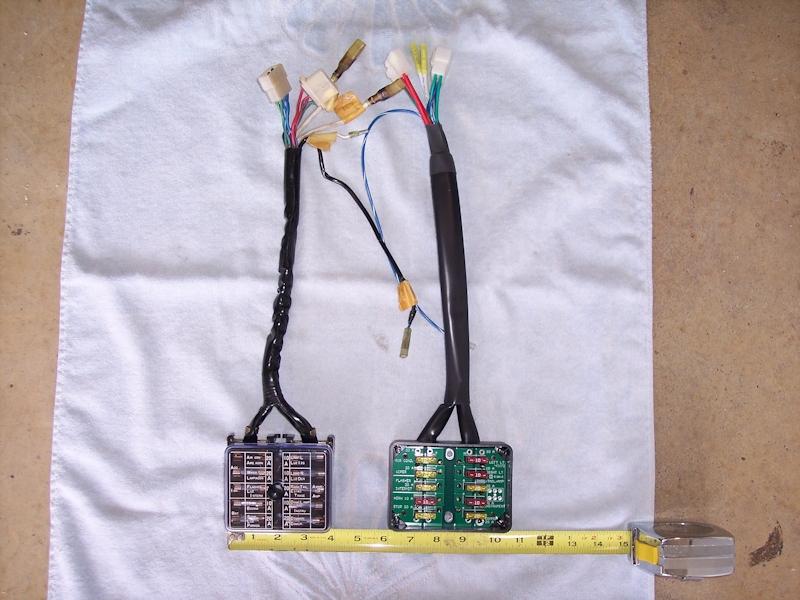
 Here's my side-by-side pic of my old fuse box next to the MSA long-tail replacement. As best as I can make out, the label on the white wire with the male bullet connector reads "horn".
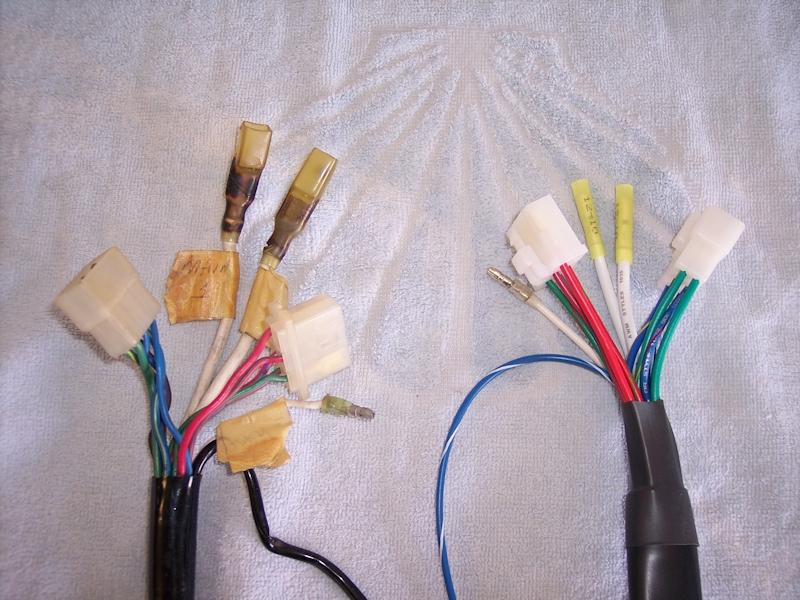
 Please tell Shelley thanks for me, I always appreciate a second opinion. Now I just have to figure a way to get Shelley as a judge at any show I enter.
Check out the first post in this thread - see the link.
No additional fees.
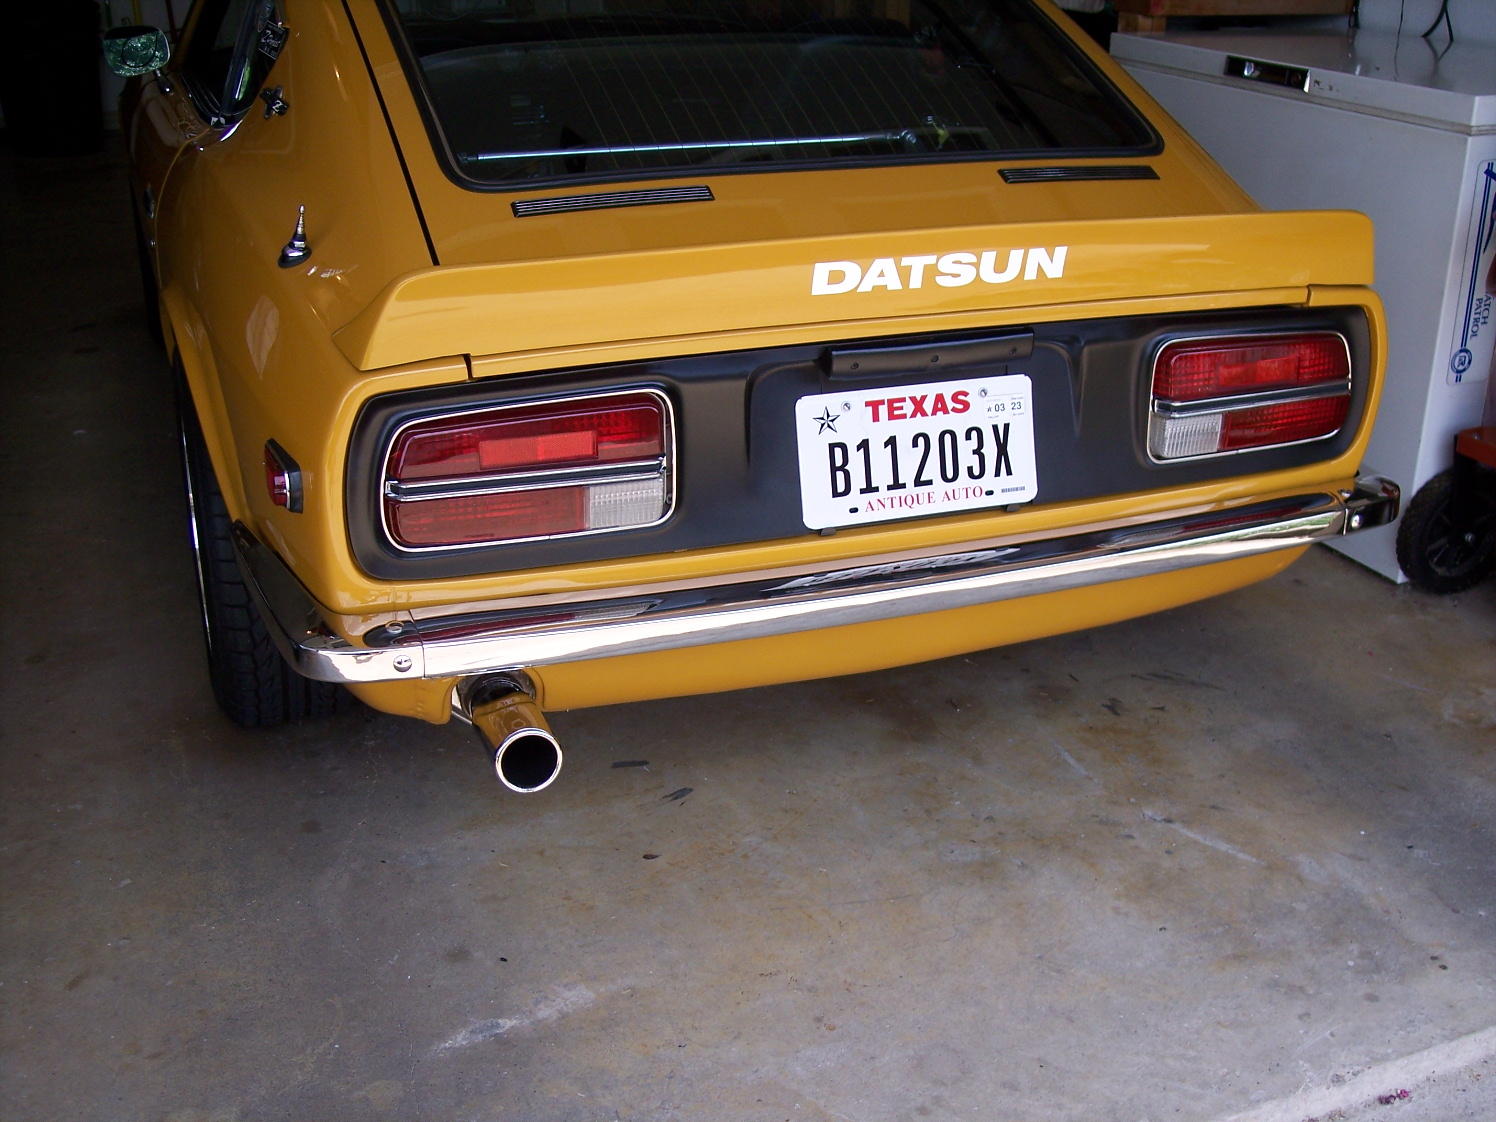
I'm declaring success! Here are my before and after pics. I've had the painted bumpers on for 7 years so it's going to be an adjustment to now seeing a bright finish. Overall, the fitment went very well. The arc on the center section is a perfect match with the rear valance. The body mount on the left end was welded a bit rearward but the bracket was easily adjusted. Here are significant things to note: The threaded fittings are all M10-1.5, a more coarse thread than OE. New bolts and nuts are required. The threaded fittings all have paint on them, need to cleaned and chased with tap and die. The carriage bolt kit does not contain lock washers. I'll give the vendor some feedback on that. Next up is installing my JDM front bumper to complete the transition to "Oh, Shiney"!
Please tell Shelley thanks for me, I always appreciate a second opinion. Now I just have to figure a way to get Shelley as a judge at any show I enter.
Check out the first post in this thread - see the link.
No additional fees.
I'm declaring success! Here are my before and after pics. I've had the painted bumpers on for 7 years so it's going to be an adjustment to now seeing a bright finish. Overall, the fitment went very well. The arc on the center section is a perfect match with the rear valance. The body mount on the left end was welded a bit rearward but the bracket was easily adjusted. Here are significant things to note: The threaded fittings are all M10-1.5, a more coarse thread than OE. New bolts and nuts are required. The threaded fittings all have paint on them, need to cleaned and chased with tap and die. The carriage bolt kit does not contain lock washers. I'll give the vendor some feedback on that. Next up is installing my JDM front bumper to complete the transition to "Oh, Shiney"!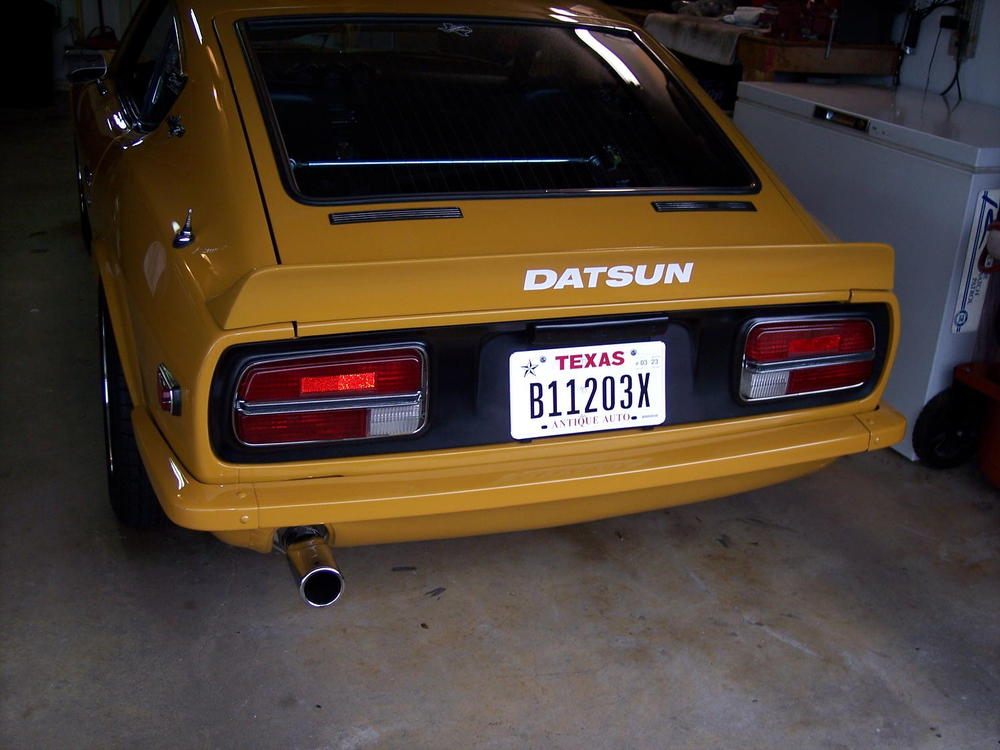
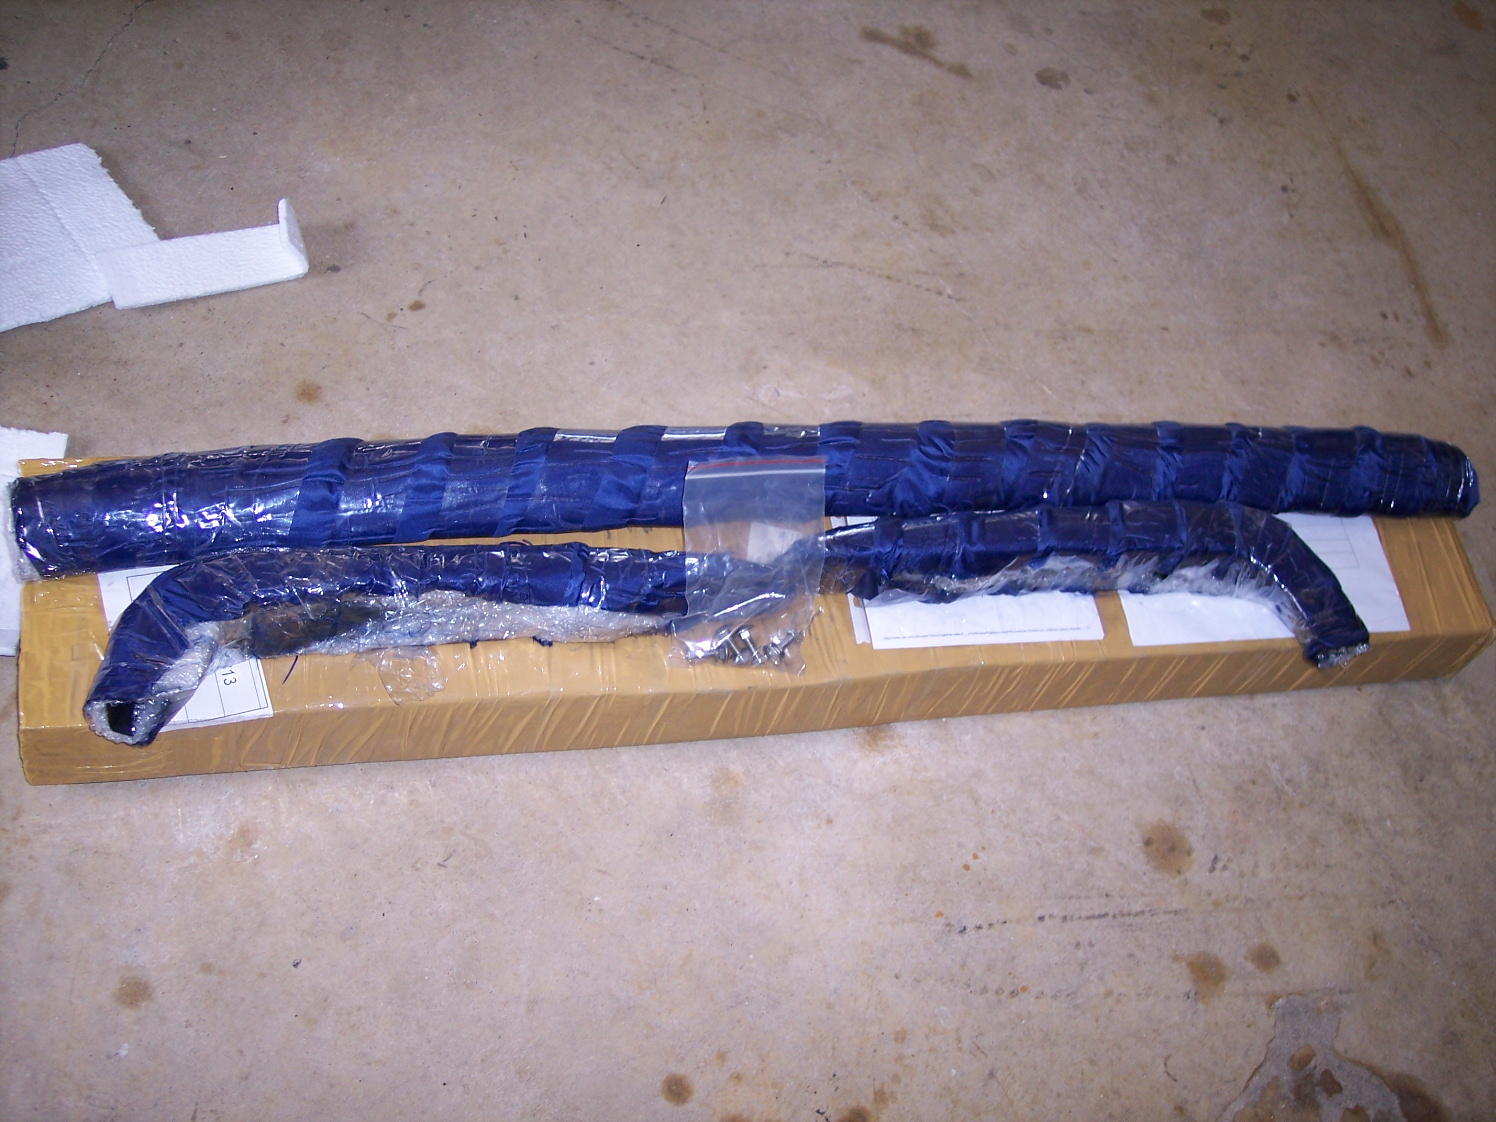
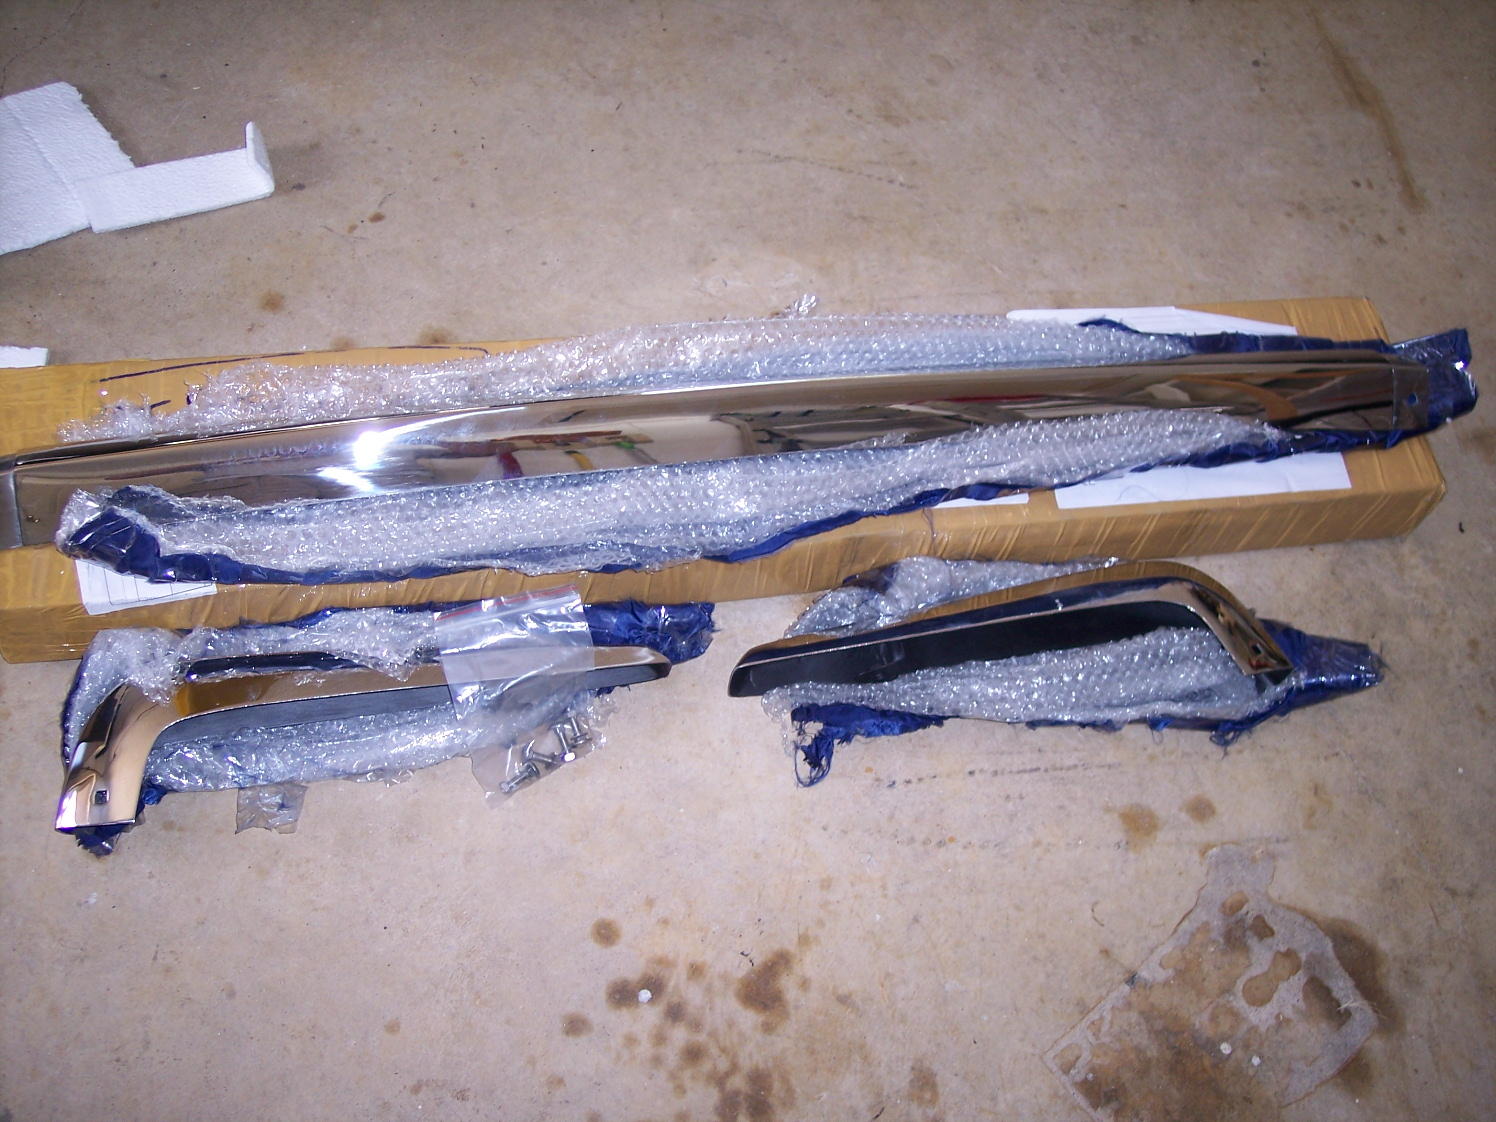
 OK gang, I promised updates and here they are: I have product! Whoo hoo!!! The package arrived a while ago and I got everything open and inspected. The packaging was very good, all sealed in a durable tape. The bumper parts were very well wrapped in bubble, then fabric, then clear tape. The finish is outstanding - looks like chrome. The kit includes the bolts to connect the end caps to the center bar - note the square holes are larger than an OE bumper. I intend to work on the install this weekend (100 degrees forecast for here! ), I'll post more updates on that. Here's some info on the timeline: I ordered and paid on 05/25, asked that the PayPal invoice state 1971 240Z rear bumper, no rubber, no holes. They complied perfectly. Shipping to TX was previously quoted at ~10 days. Tracking was not initially provided and they sent a followup email yesterday to check on the arrival and satisfaction (nice touch). I replied not yet, didn't have tracking to check. They immediately sent UPS tracking that showed delivery scheduled for today. The pkg. was handed to UPS in Viet Nam on 06/18 and leads me to believe their process is a make-to-order. That makes sense to me as they advertise a huge assortment of bumpers available. Keep tuned to this station for more on this continuing story...
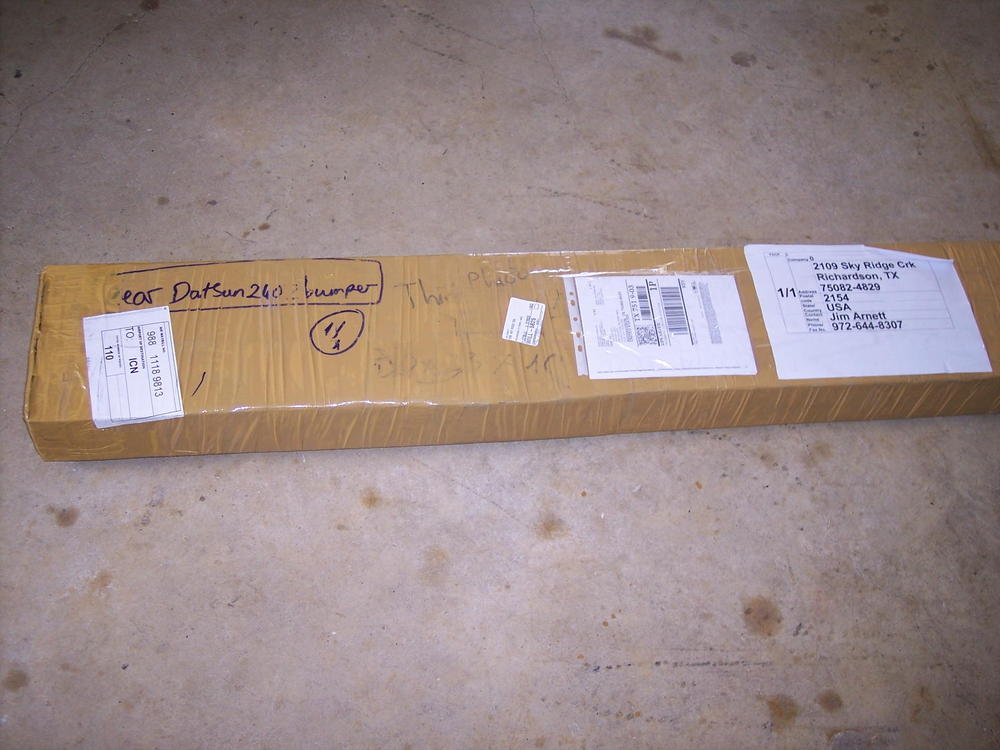

 On another pass thru the pics I spotted Eiji wearing our Z Club of Texas T shirt. Yee Hah!!!
Great photo spread, thanks for sharing it with us.
On another pass thru the pics I spotted Eiji wearing our Z Club of Texas T shirt. Yee Hah!!!
Great photo spread, thanks for sharing it with us.


Important Information
By using this site, you agree to our Privacy Policy and Guidelines. We have placed cookies on your device to help make this website better. You can adjust your cookie settings, otherwise we'll assume you're okay to continue.