motorman7
Supporting Member
-
Joined
-
Last visited
Everything posted by motorman7
-
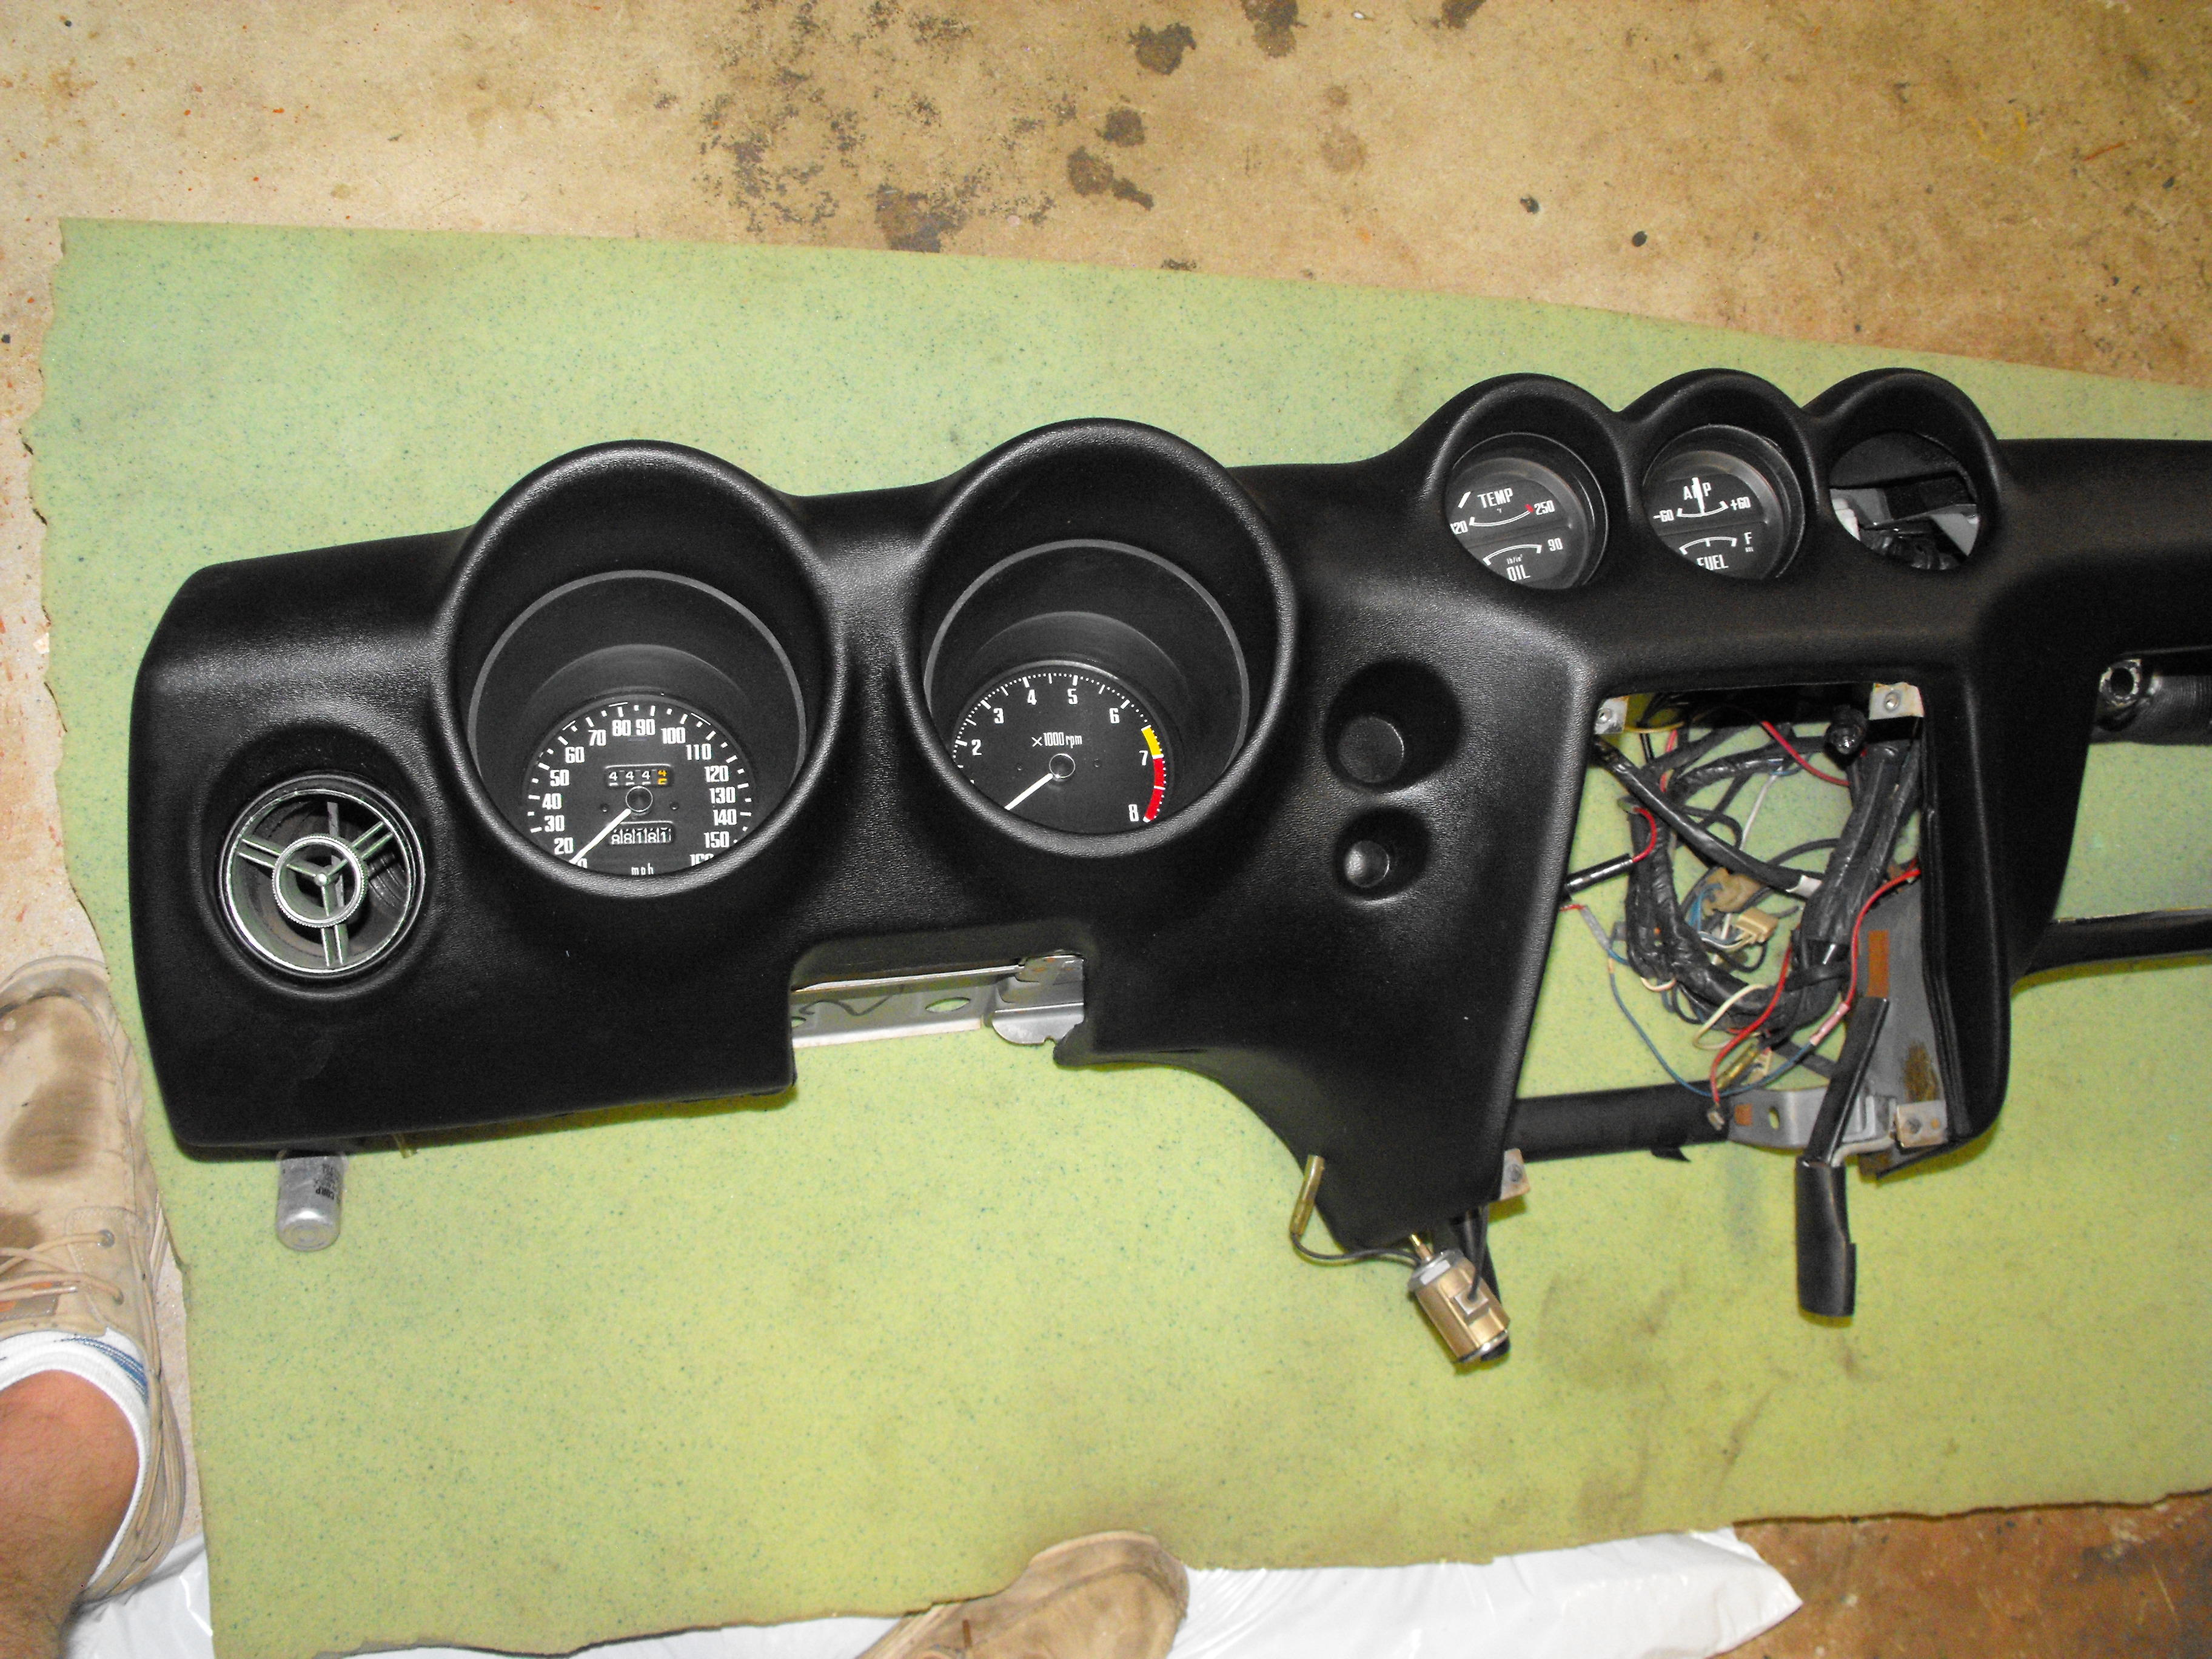
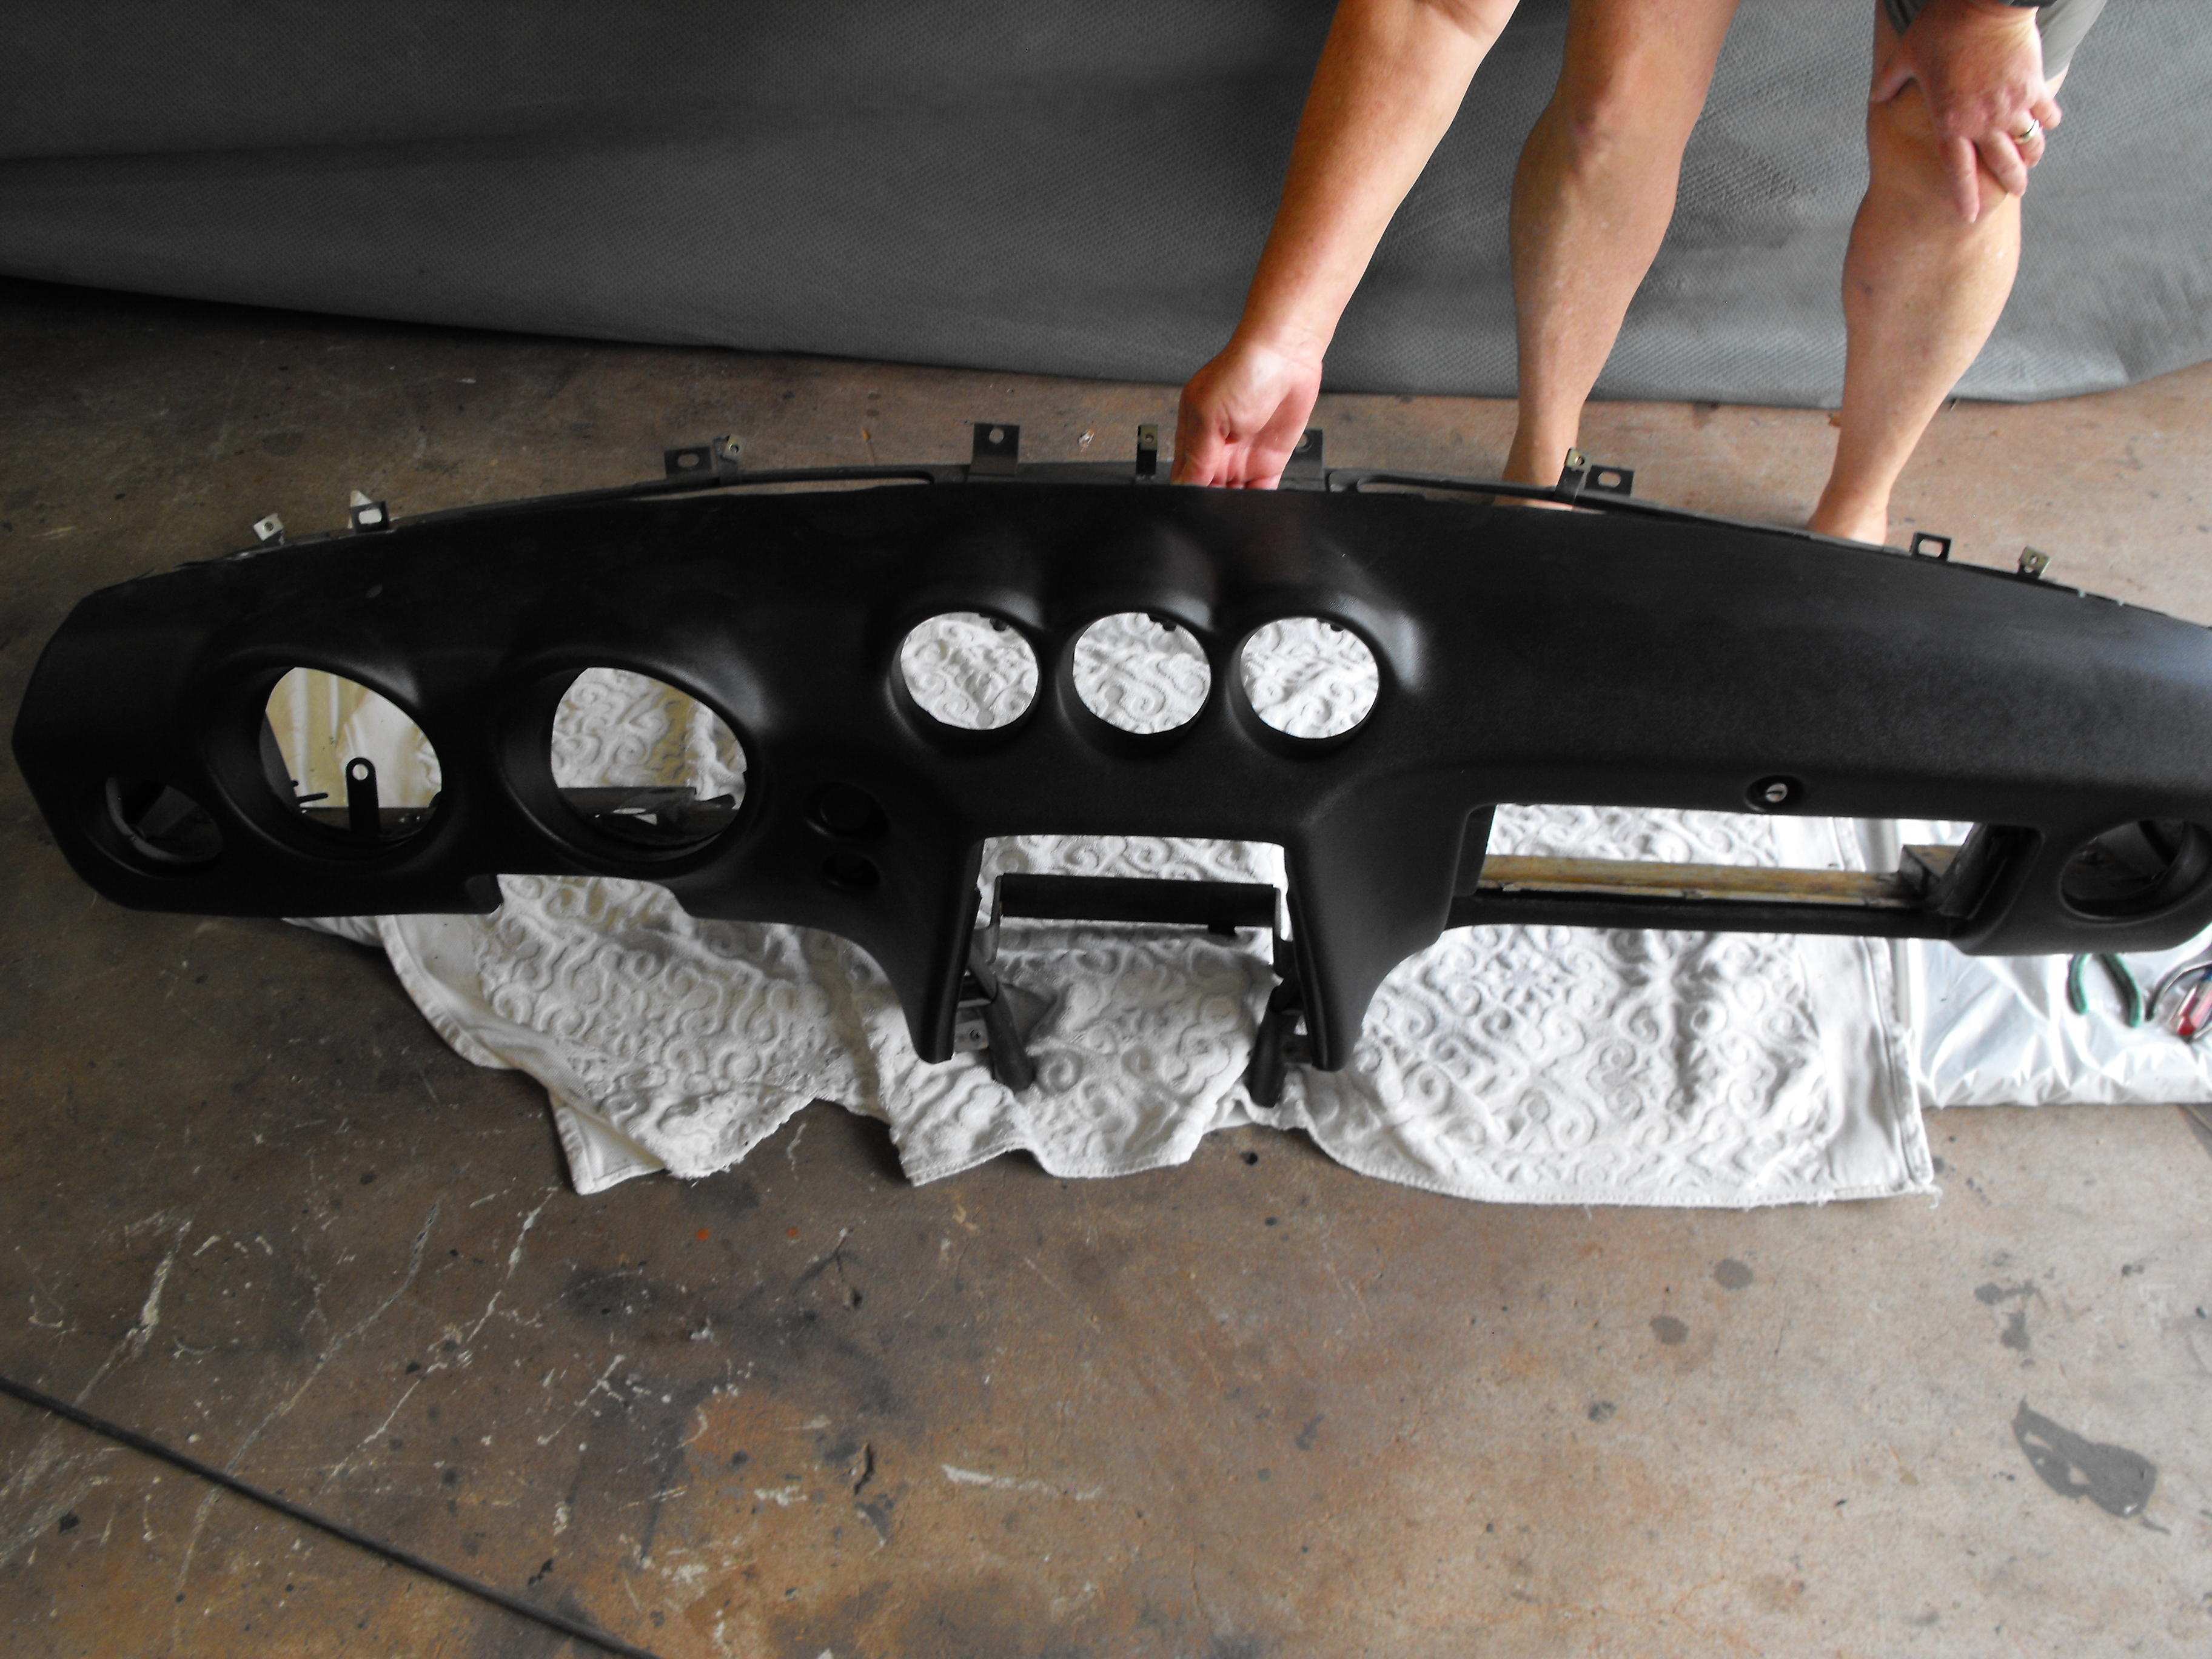
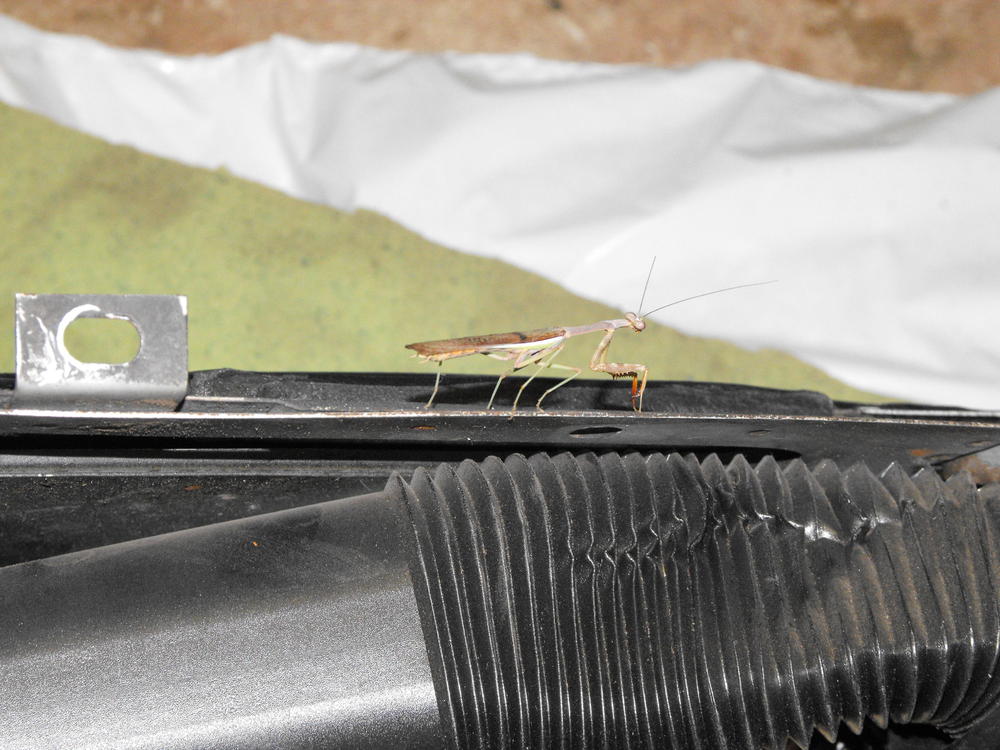
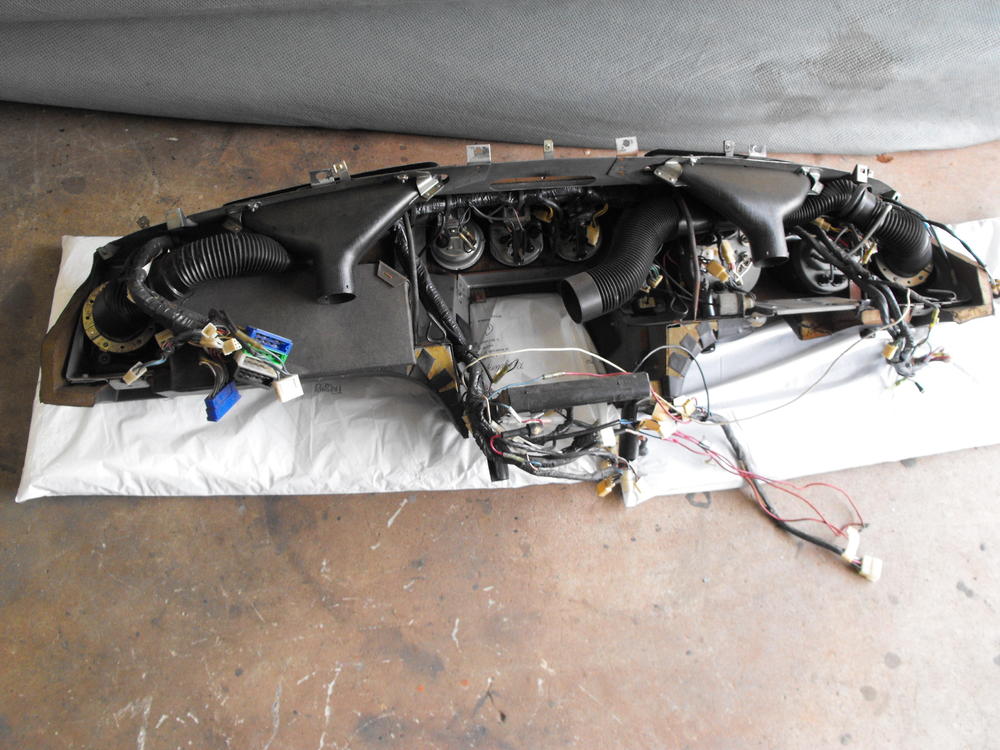
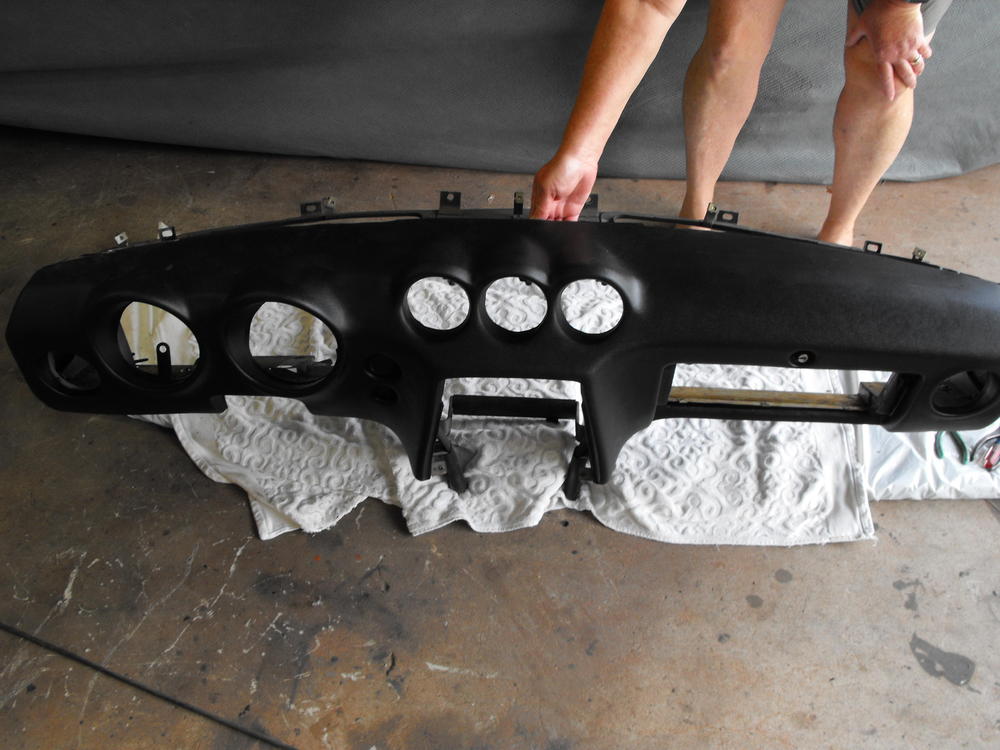
Put the dash harness and instruments (minus the clock) into the 'Vintage Dashes' dash. The fit was very good. Now I need to get the clock fixed in addition to adding new holes for the flasher switch, cig lighter and dimmer. LED dash bulbs have been ordered and should be here in a day or two. Had a friend join me during the assembly. You don't see too many Praying Mantis's out here in CA.


-
Not a dumb move at all...you will probably have a few more that shear off. It is pretty typical of the older cars. And, I have had that exact same bolt shear off on me as well. The threads were totally disintegrated, so I had to drill and re-tap the hole. A good tap set is a very useful item on these. Keep up the good work.
-
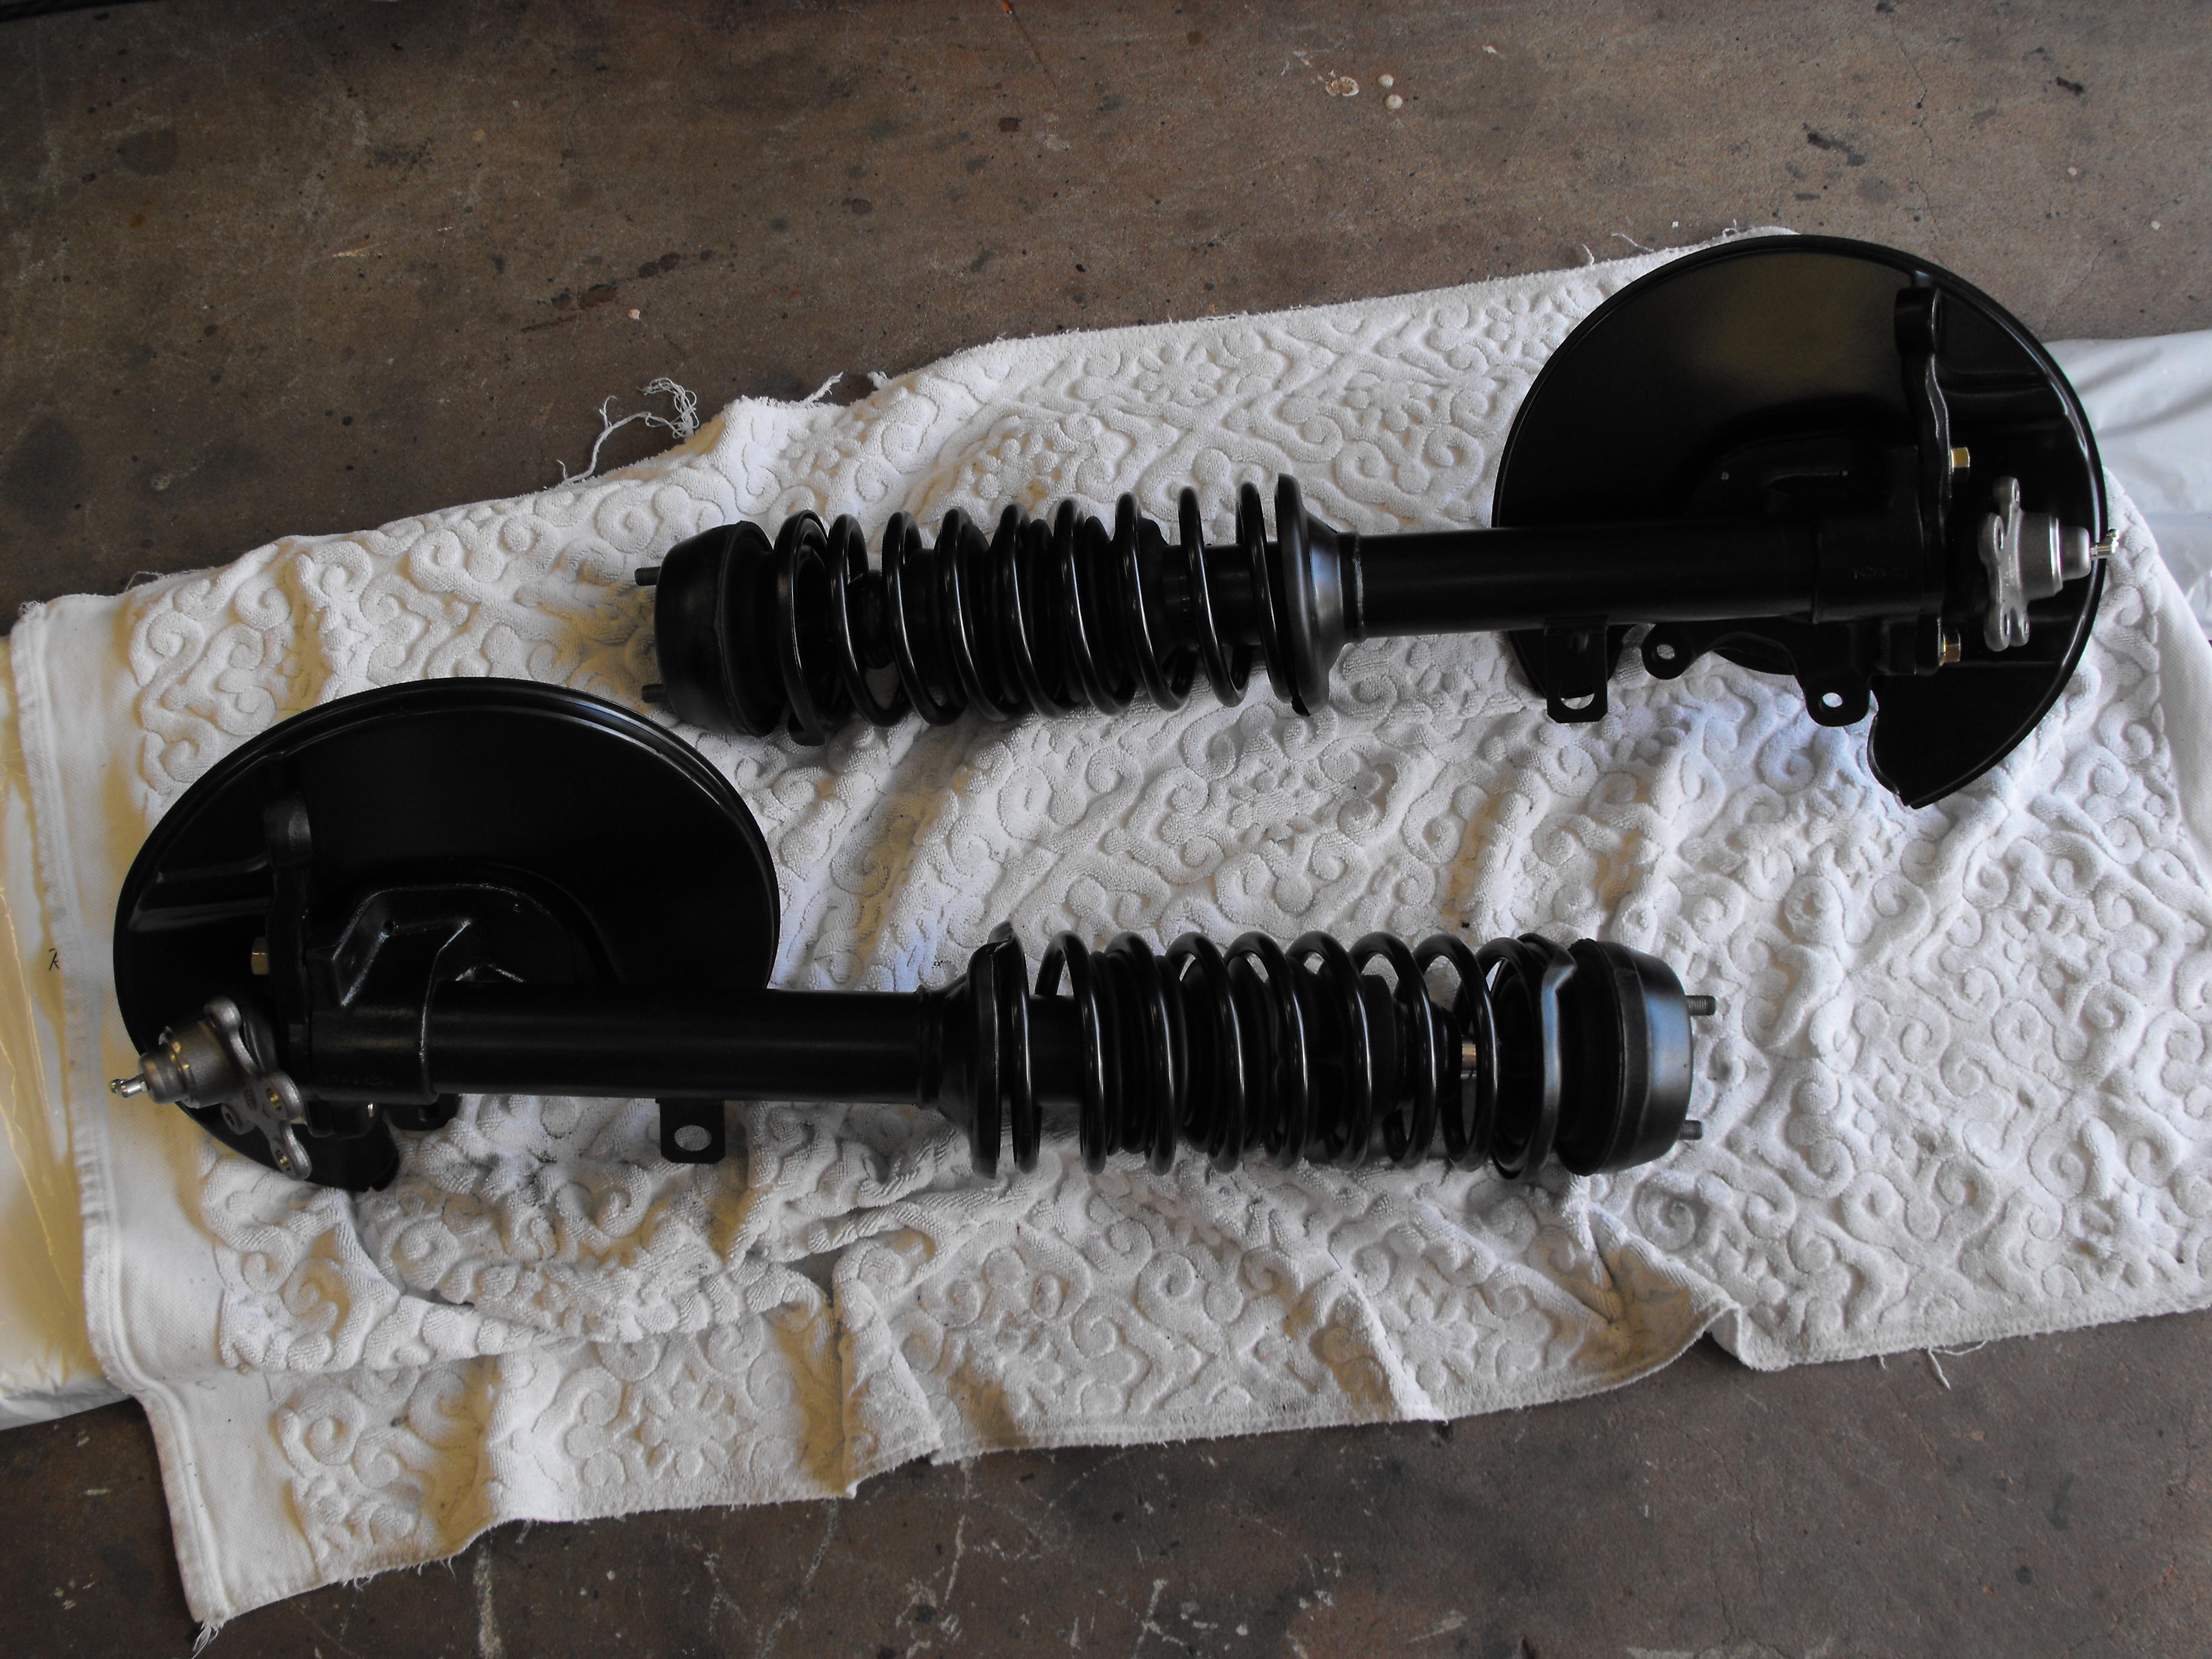
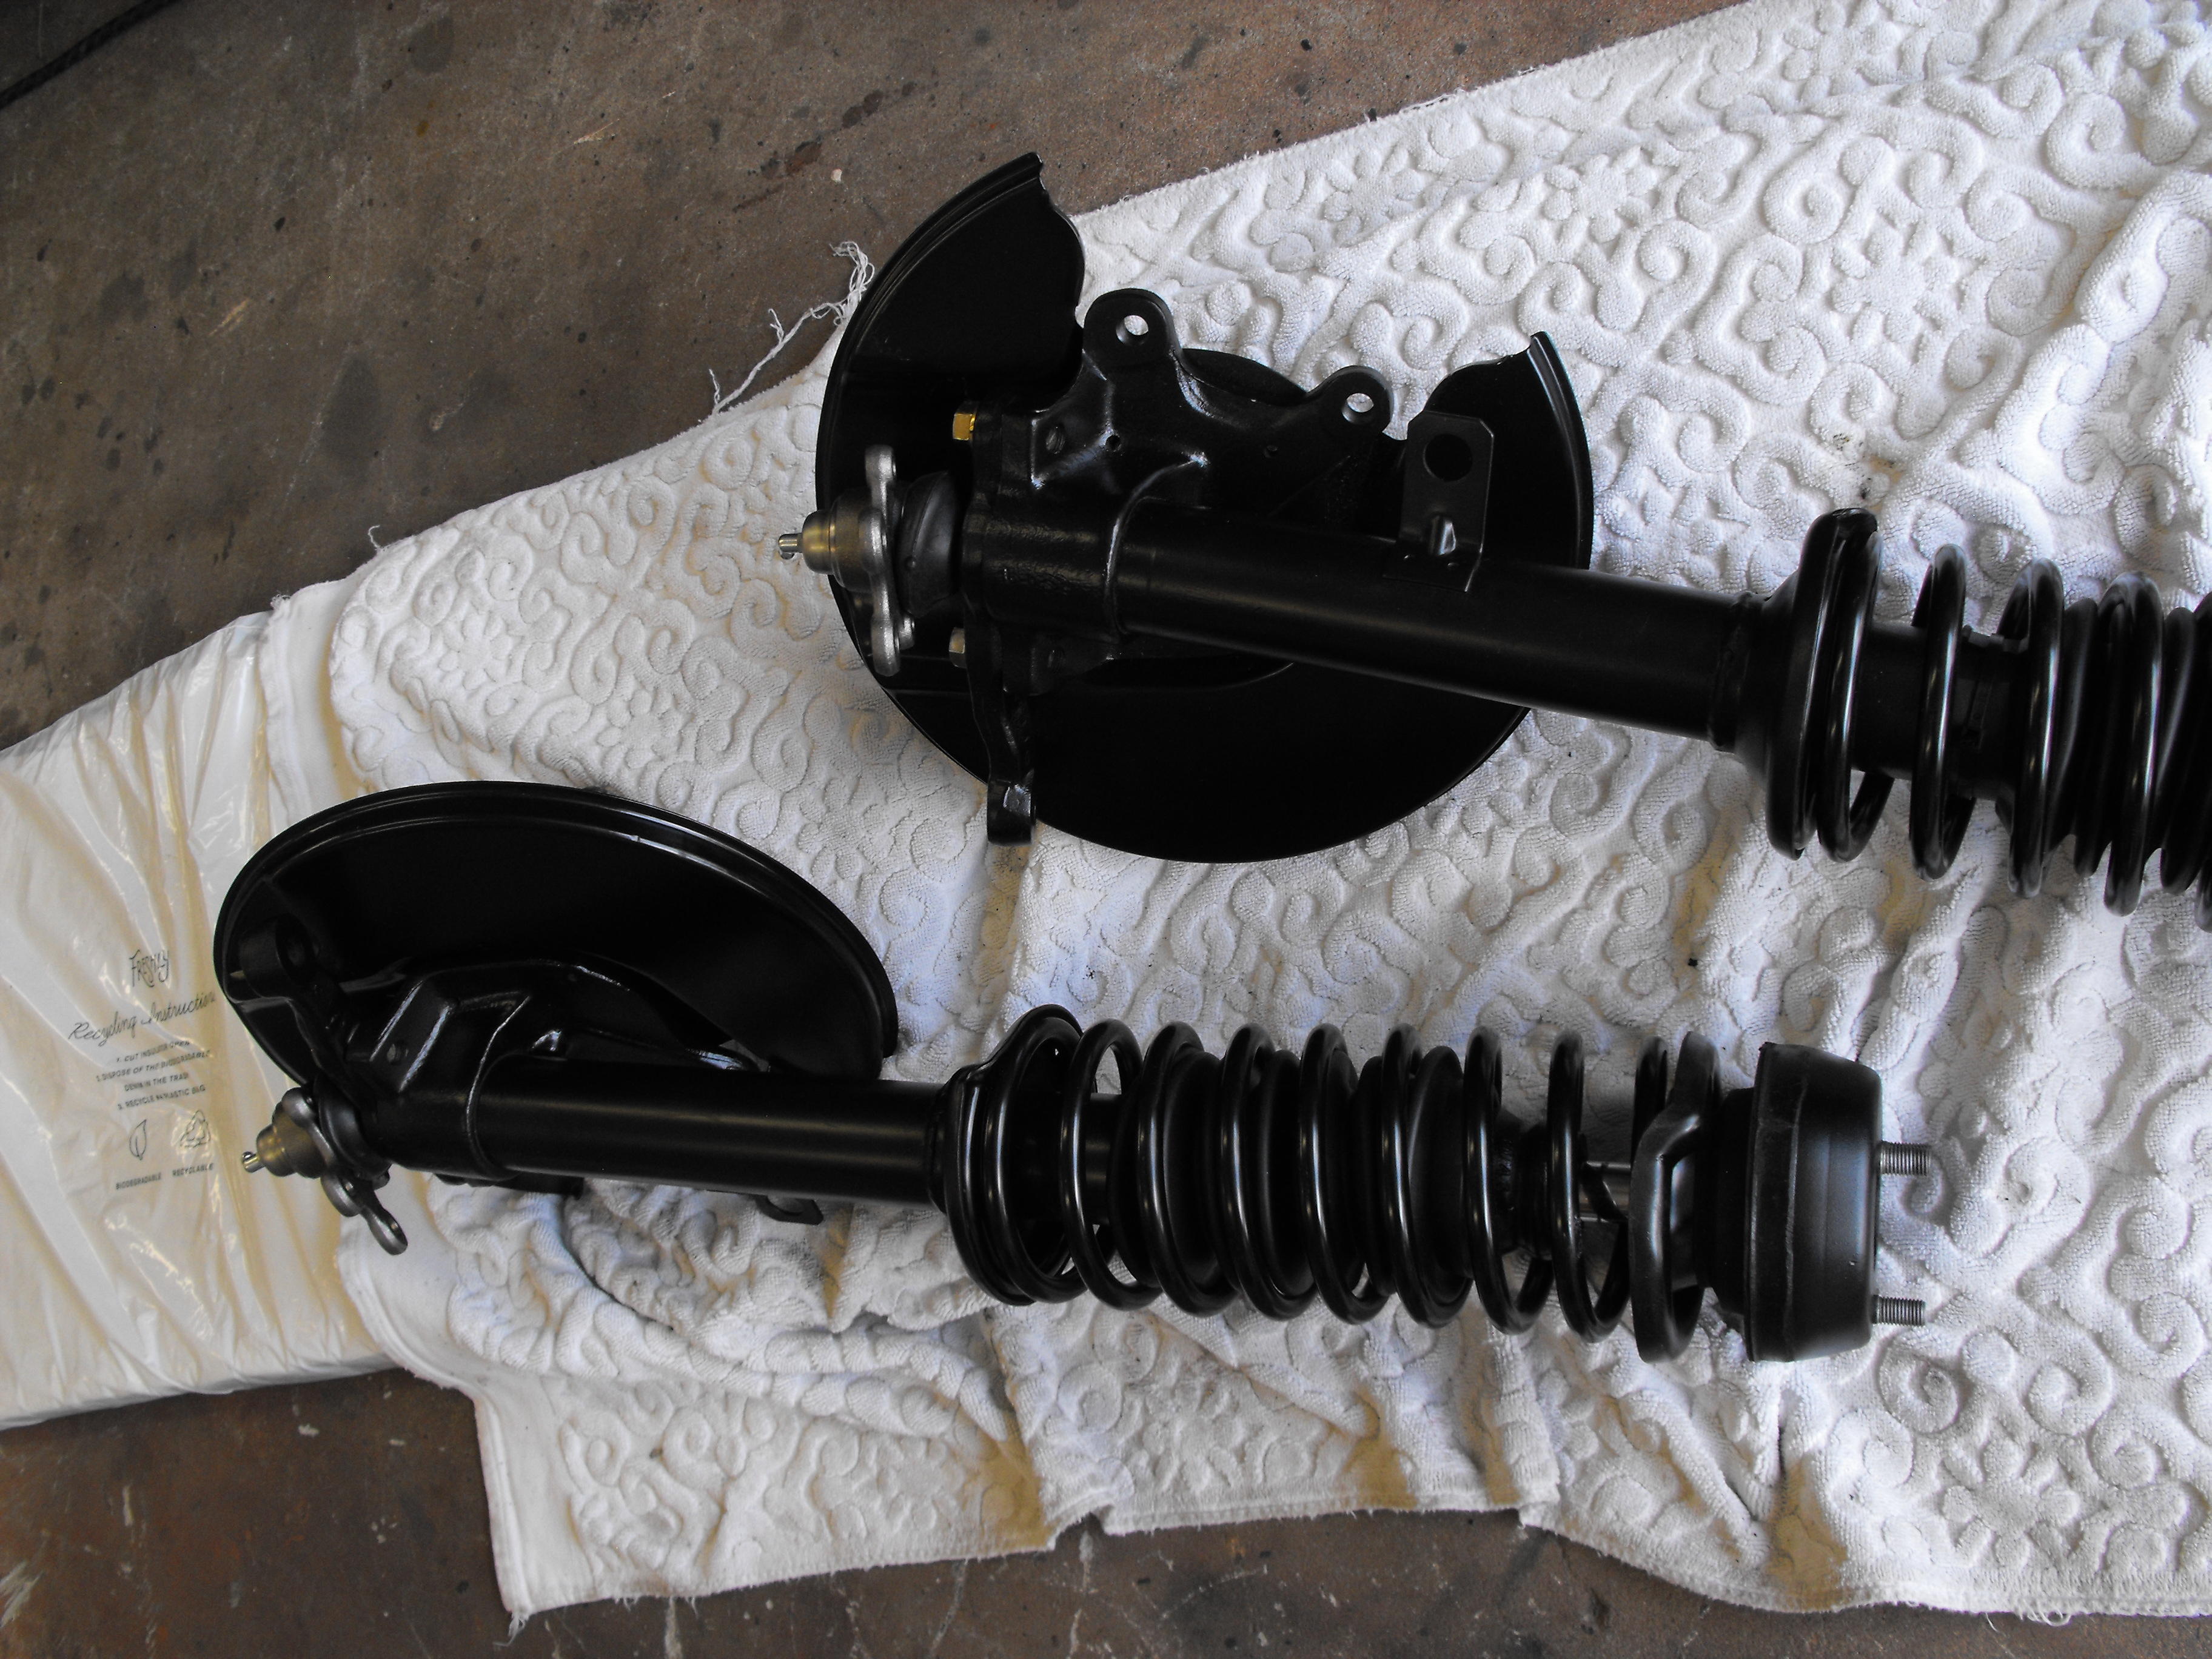
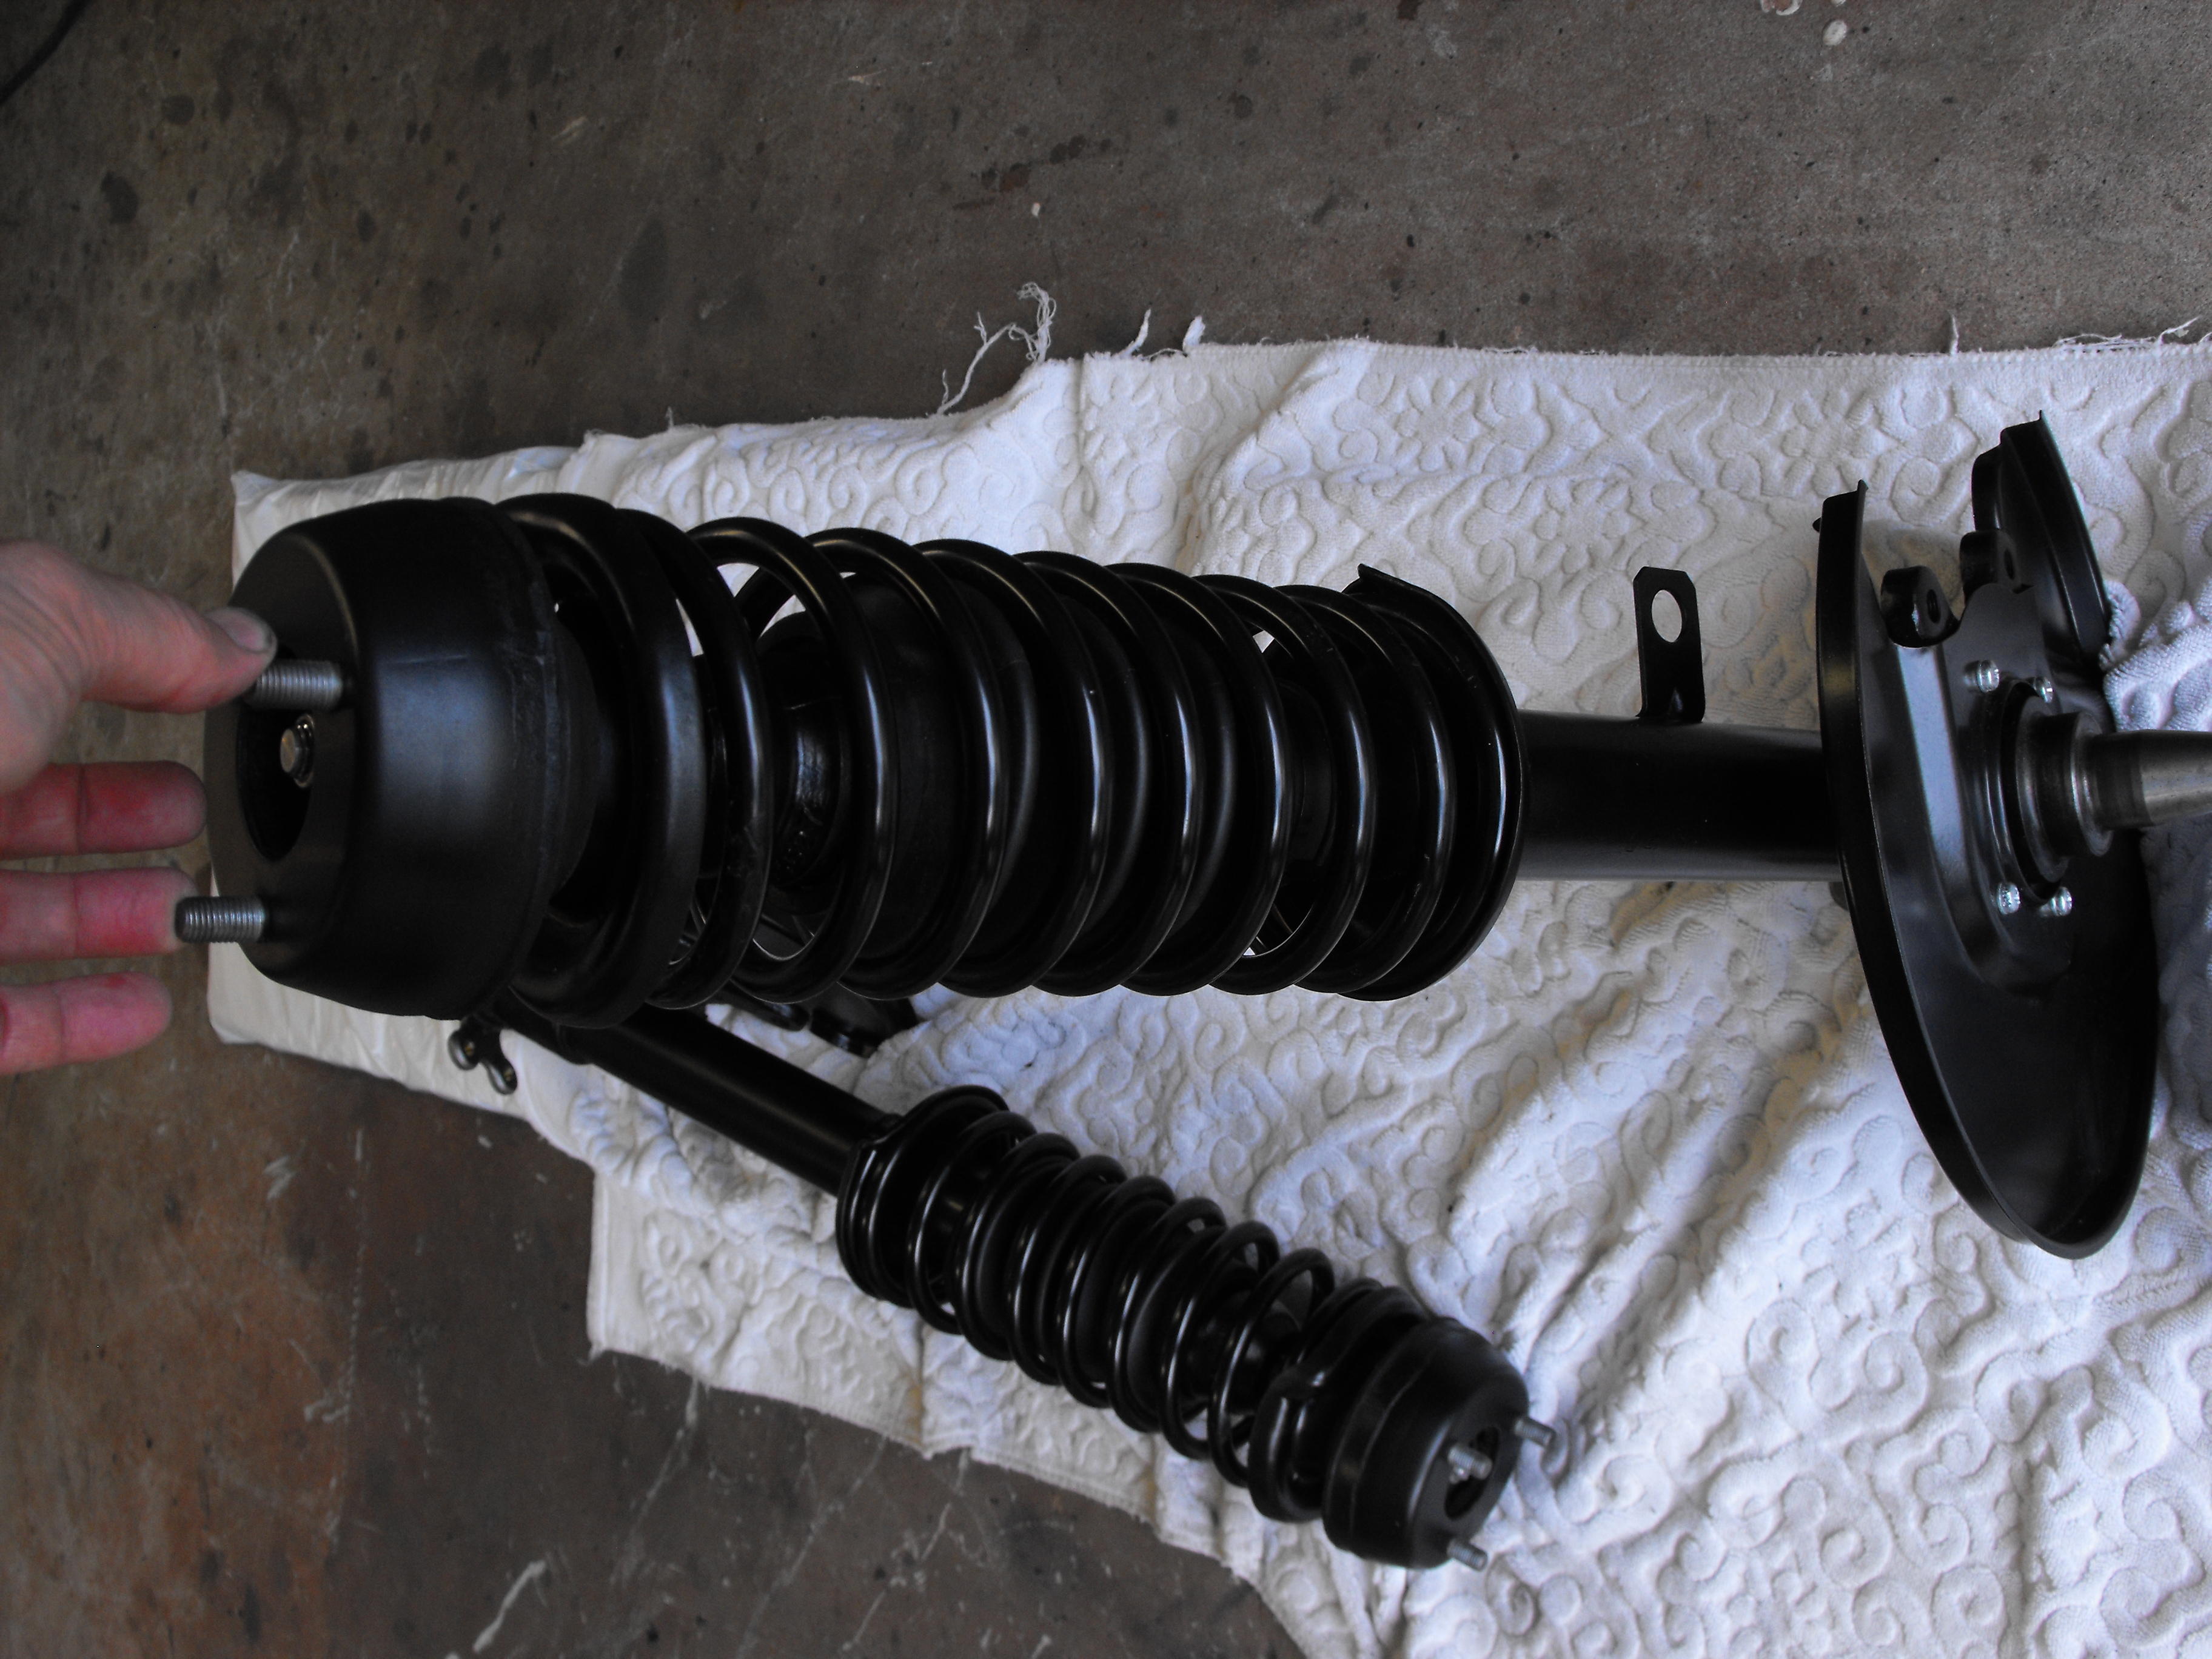
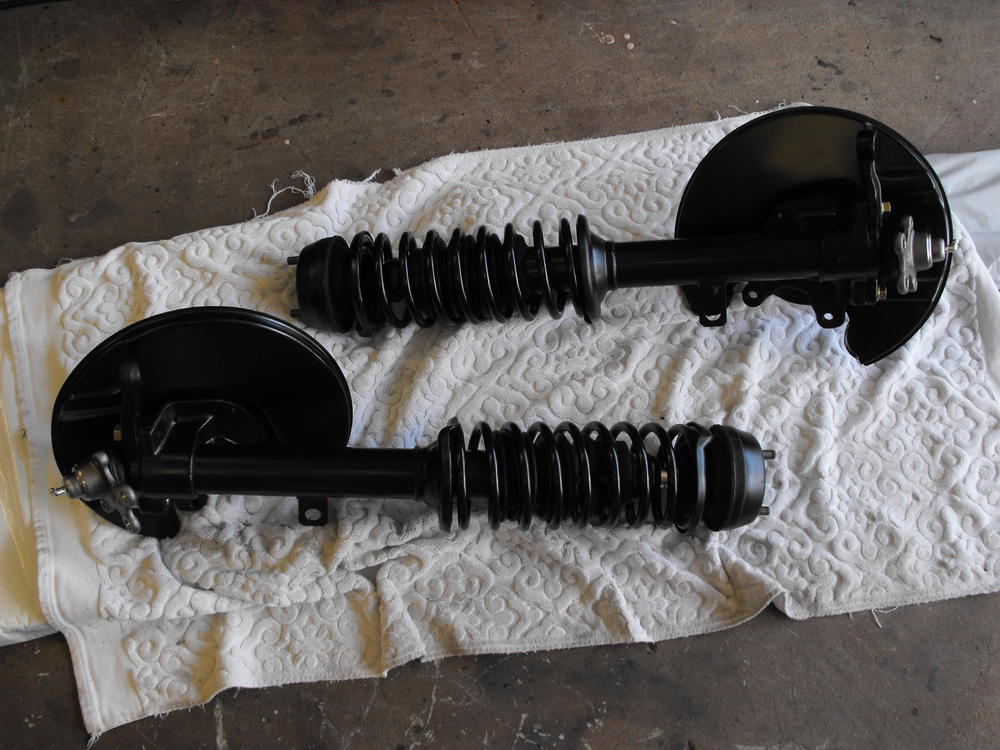
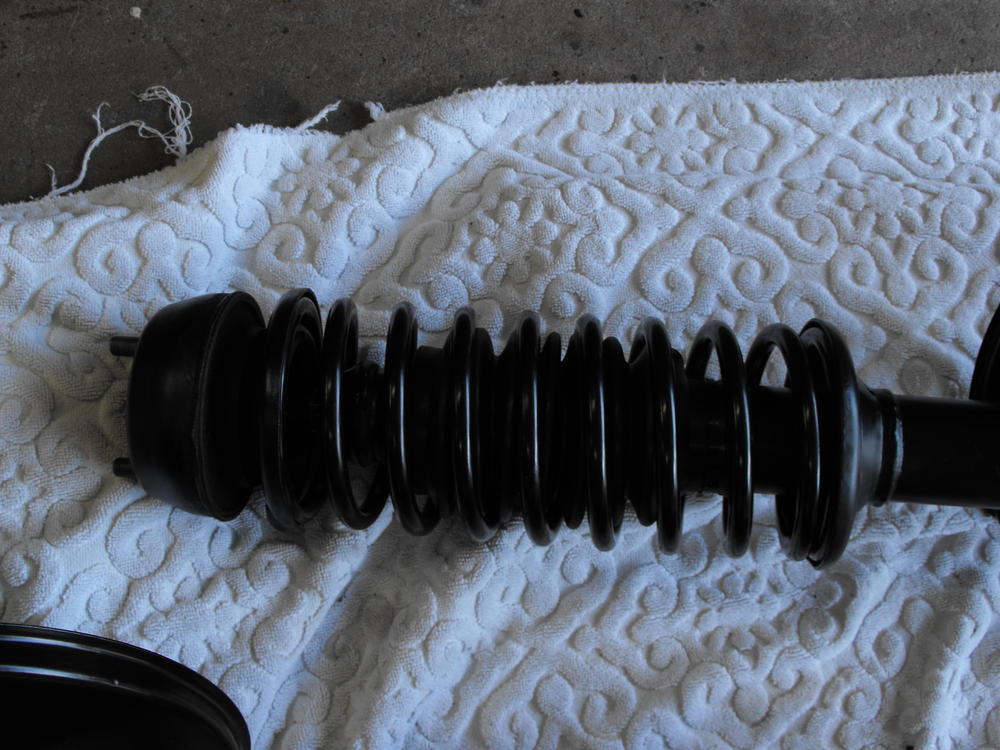
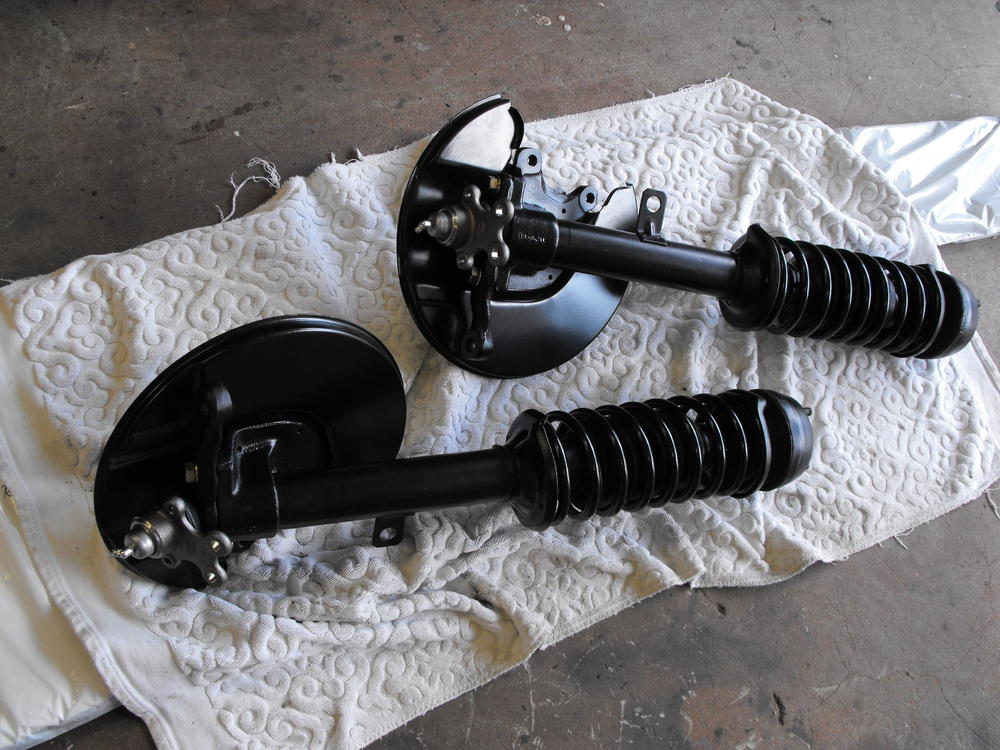
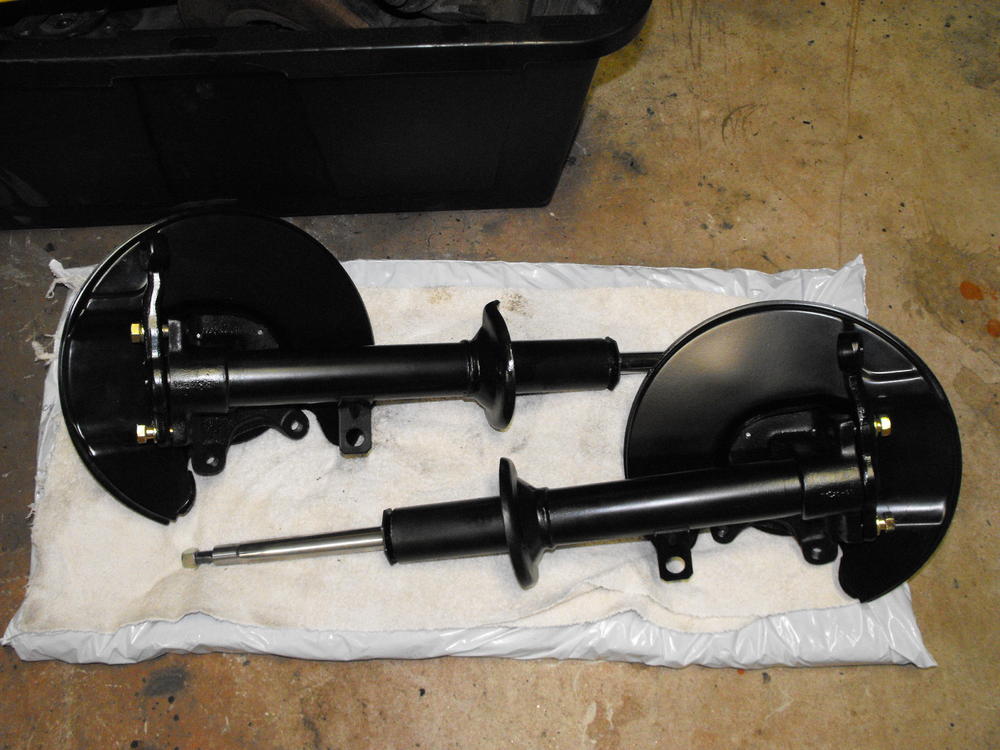
I assembled the front shock struts today. Interesting thing about the '73 Z is that they have a rubber bellows assembly that goes over the strut, inside of the spring. I have not seen these before. The original bellows were toast so I ordered some new ones from Rock Auto. They are a bit hard to see since they are inside the spring, but they look real cool. Also got new lower ball joints and sprayed those with a clear coat along with the threaded studs at the top of the strut assembly.


-
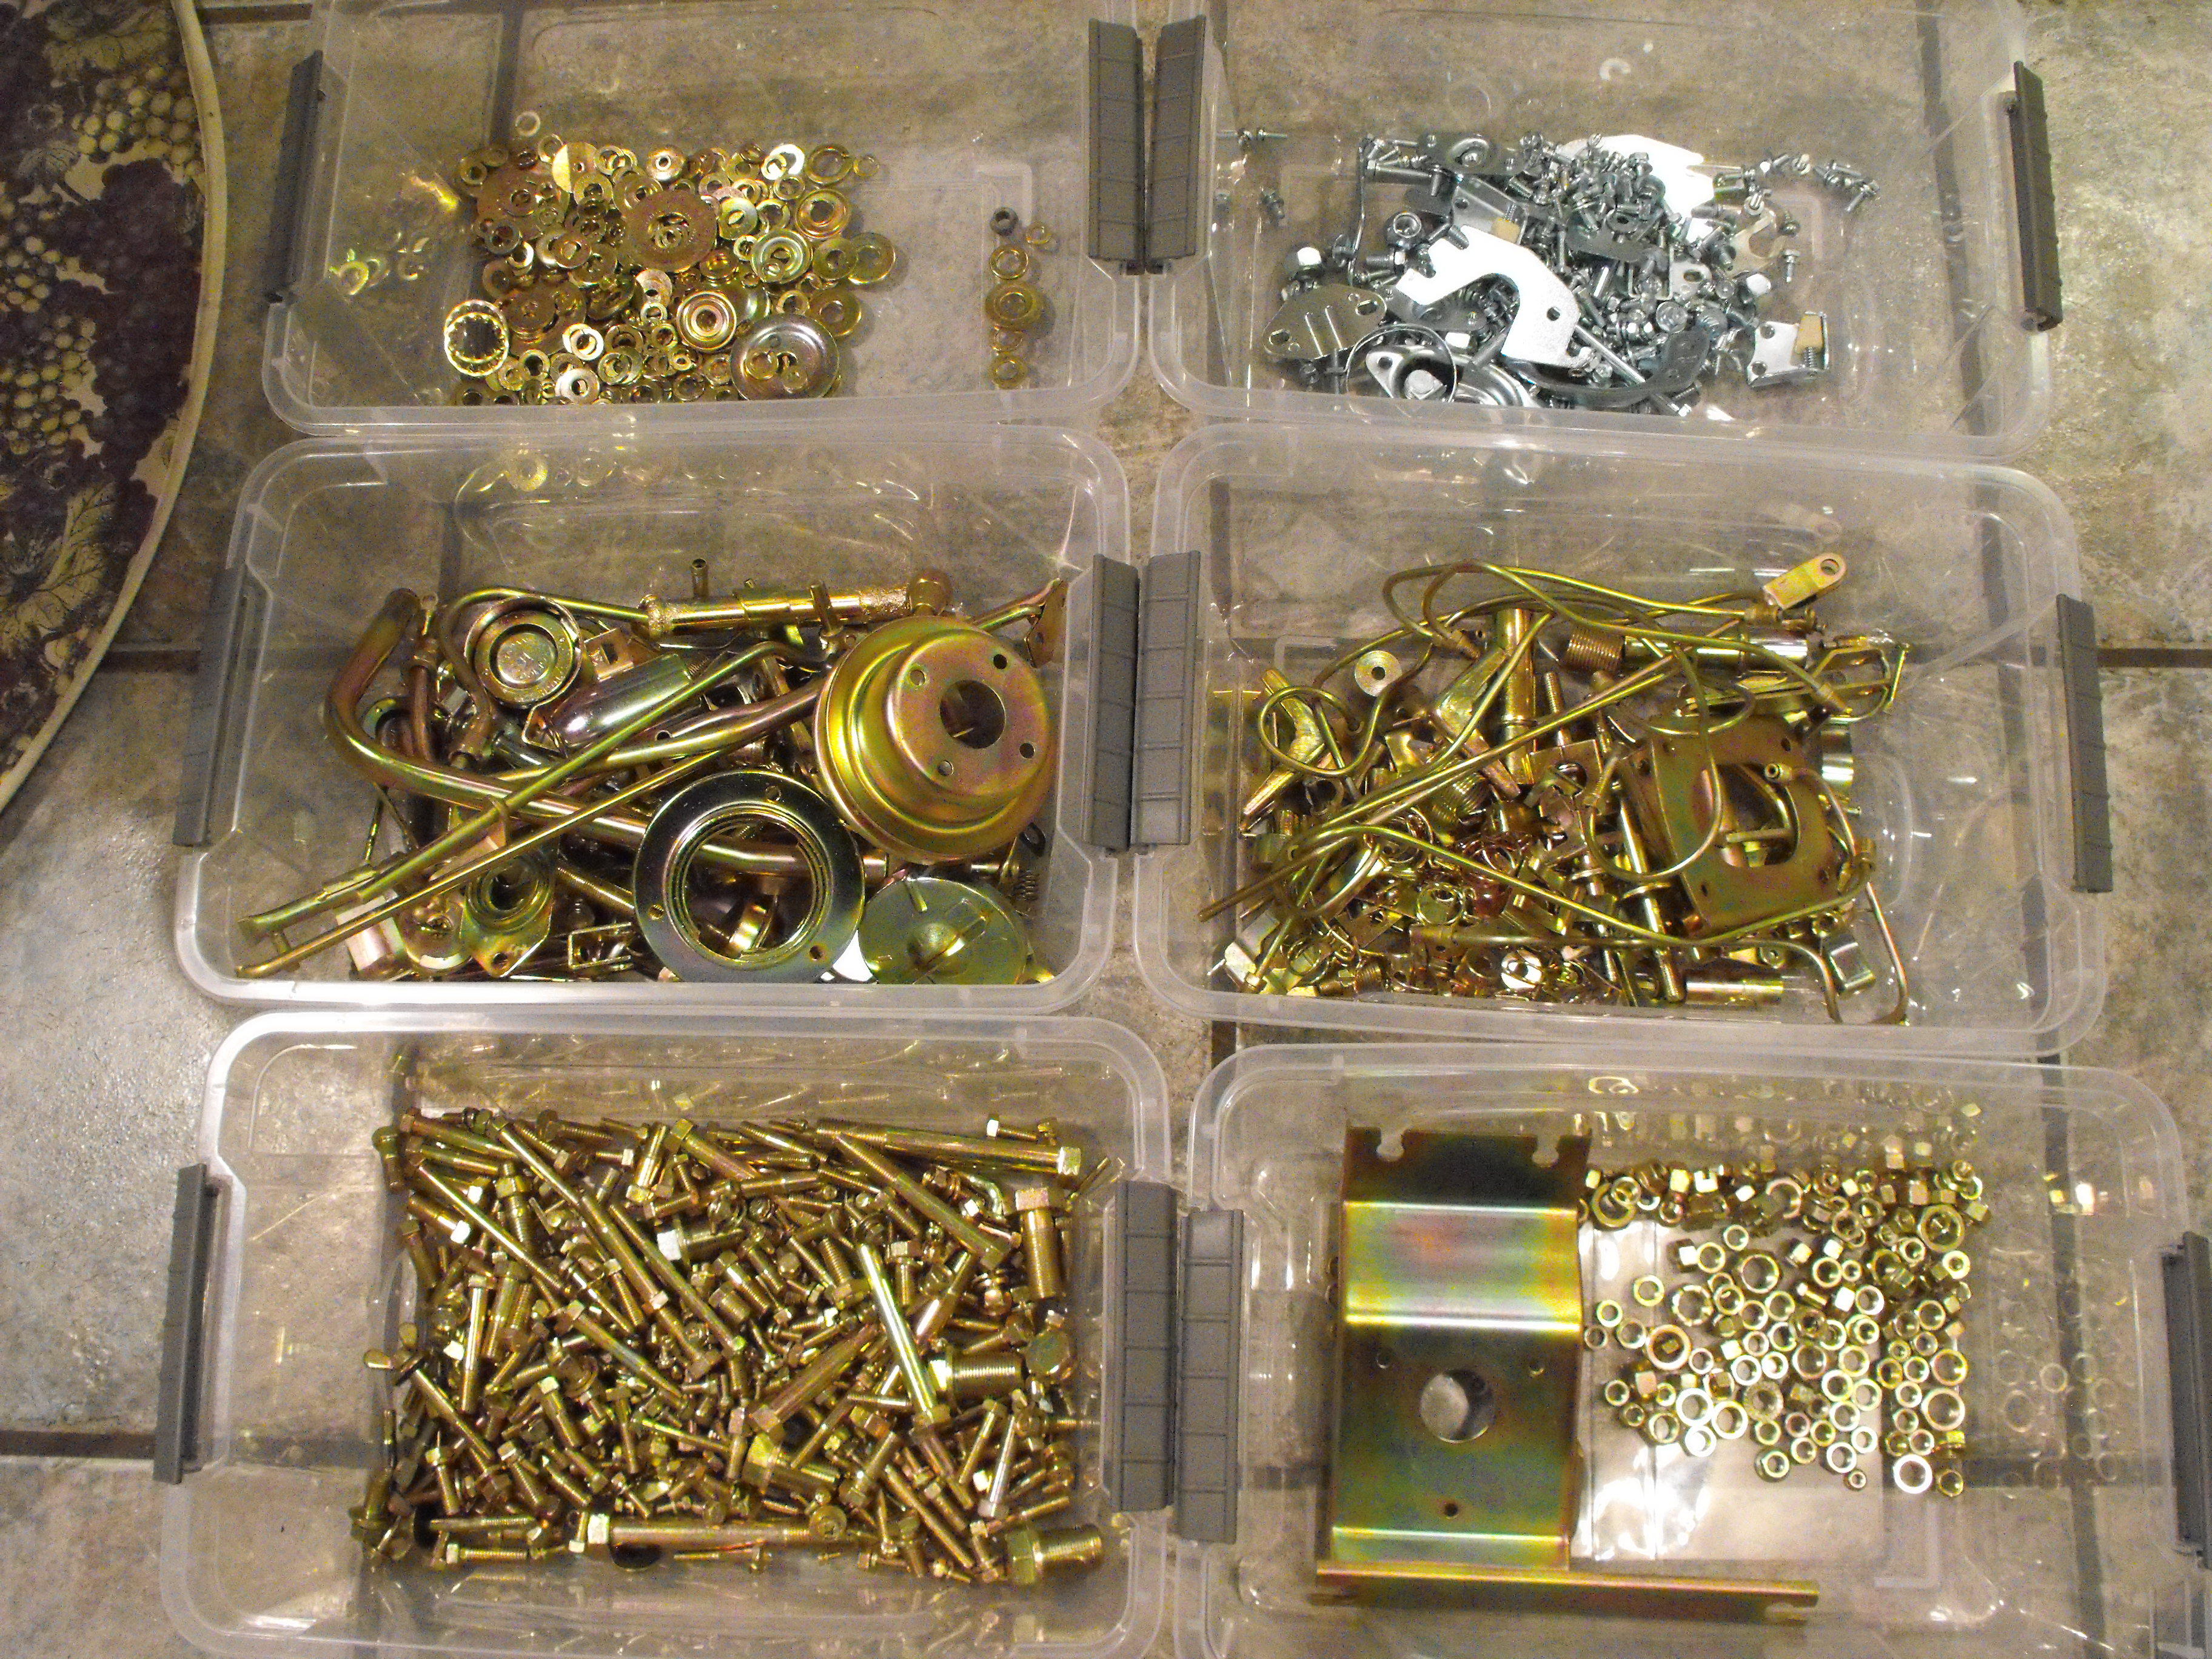
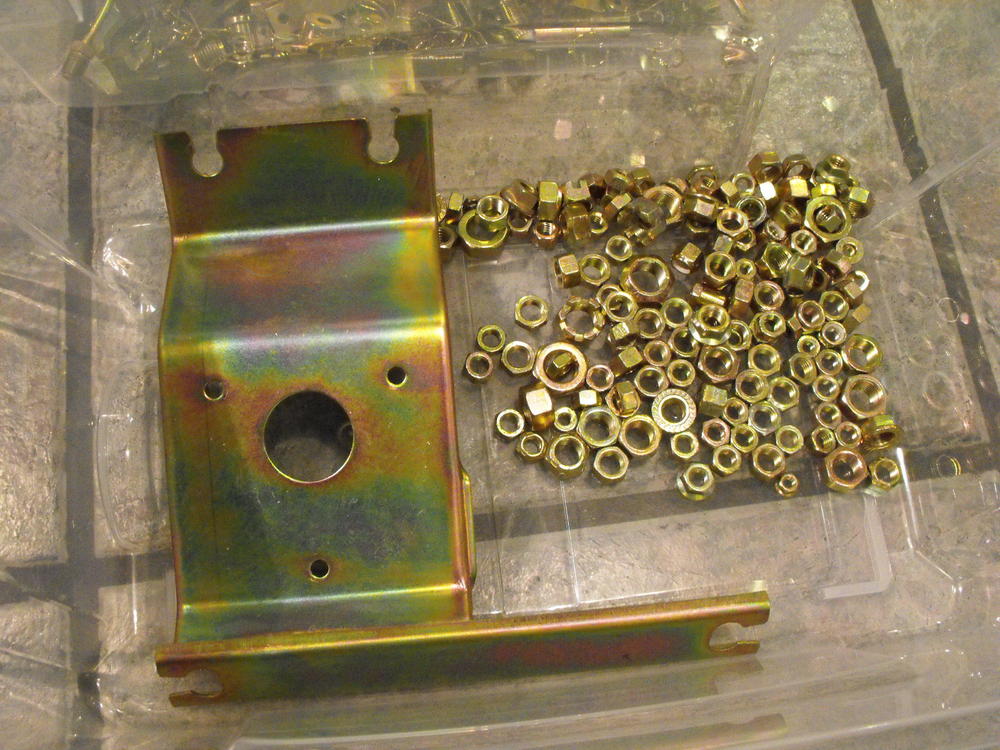
Wow, that is very organized. I do not record things to that extent. Typically, when I take off a part, I will photograph the item with the fasteners. That way I know what fasteners hold which parts. As a last resort, I always have my '70 as a reference. Typically, since the plater will mix all the parts together, the only thing I take care to do (besides the pics) is to put the yellow zinc in one box and the silver zinc in another box. I do take quite a few pics of the disassembled parts with fasteners. I probably only post about one-tenth of all the pics I actually take.
-
Sav-On plating in Phoenix. I put all the parts in large zip-loc freezer bags and use two large USPS boxes. Yellow zinc and silver zinc need to be bagged separately and are processed separately (and charged separately). Minimum lot charge is $140 so load up the bags.
-
Yes, I have the same problem as well. I only do my own plating when I have a small quantity of small parts.
-
I have had to do my share of drilling and tapping on broken and stripped screw...it happens. I like 'Newco Products' for the fuel lines and clamps are typically from e-bay or ones that I have collected over the years.
-
The parts would not develop much rust from the time that the parts are stripped until the plater receives the parts. The acid dip that the plater does would be enough to to remove any mild surface rust that developed in the time frame between the stripping and the plater processing the parts. Usually less than one week. (This is the way I used to process parts with the old plating shop) That being said, I am now using a new shop that does a better job and I send them parts that are somewhat dirty, greasy and rusty. ( I do a quick wire wheel strip on parts that are especially bad, otherwise I just toss them in the shipping box). All paint must be removed, but light grease/oil and rust is acceptable to them. The new shop processes the crappy parts and their work is impressive. Their work is consistent and looks to be the correct color, shine and rainbowing. The cost is $140 for as much as you can squeeze into a Large USPS shipping box. It really is a great deal. It is worth it just for the time it saves me at the wire wheel. Plus, my fingers and limbs are still in tact.
-
That's funny. Trying to get my head around that.
-
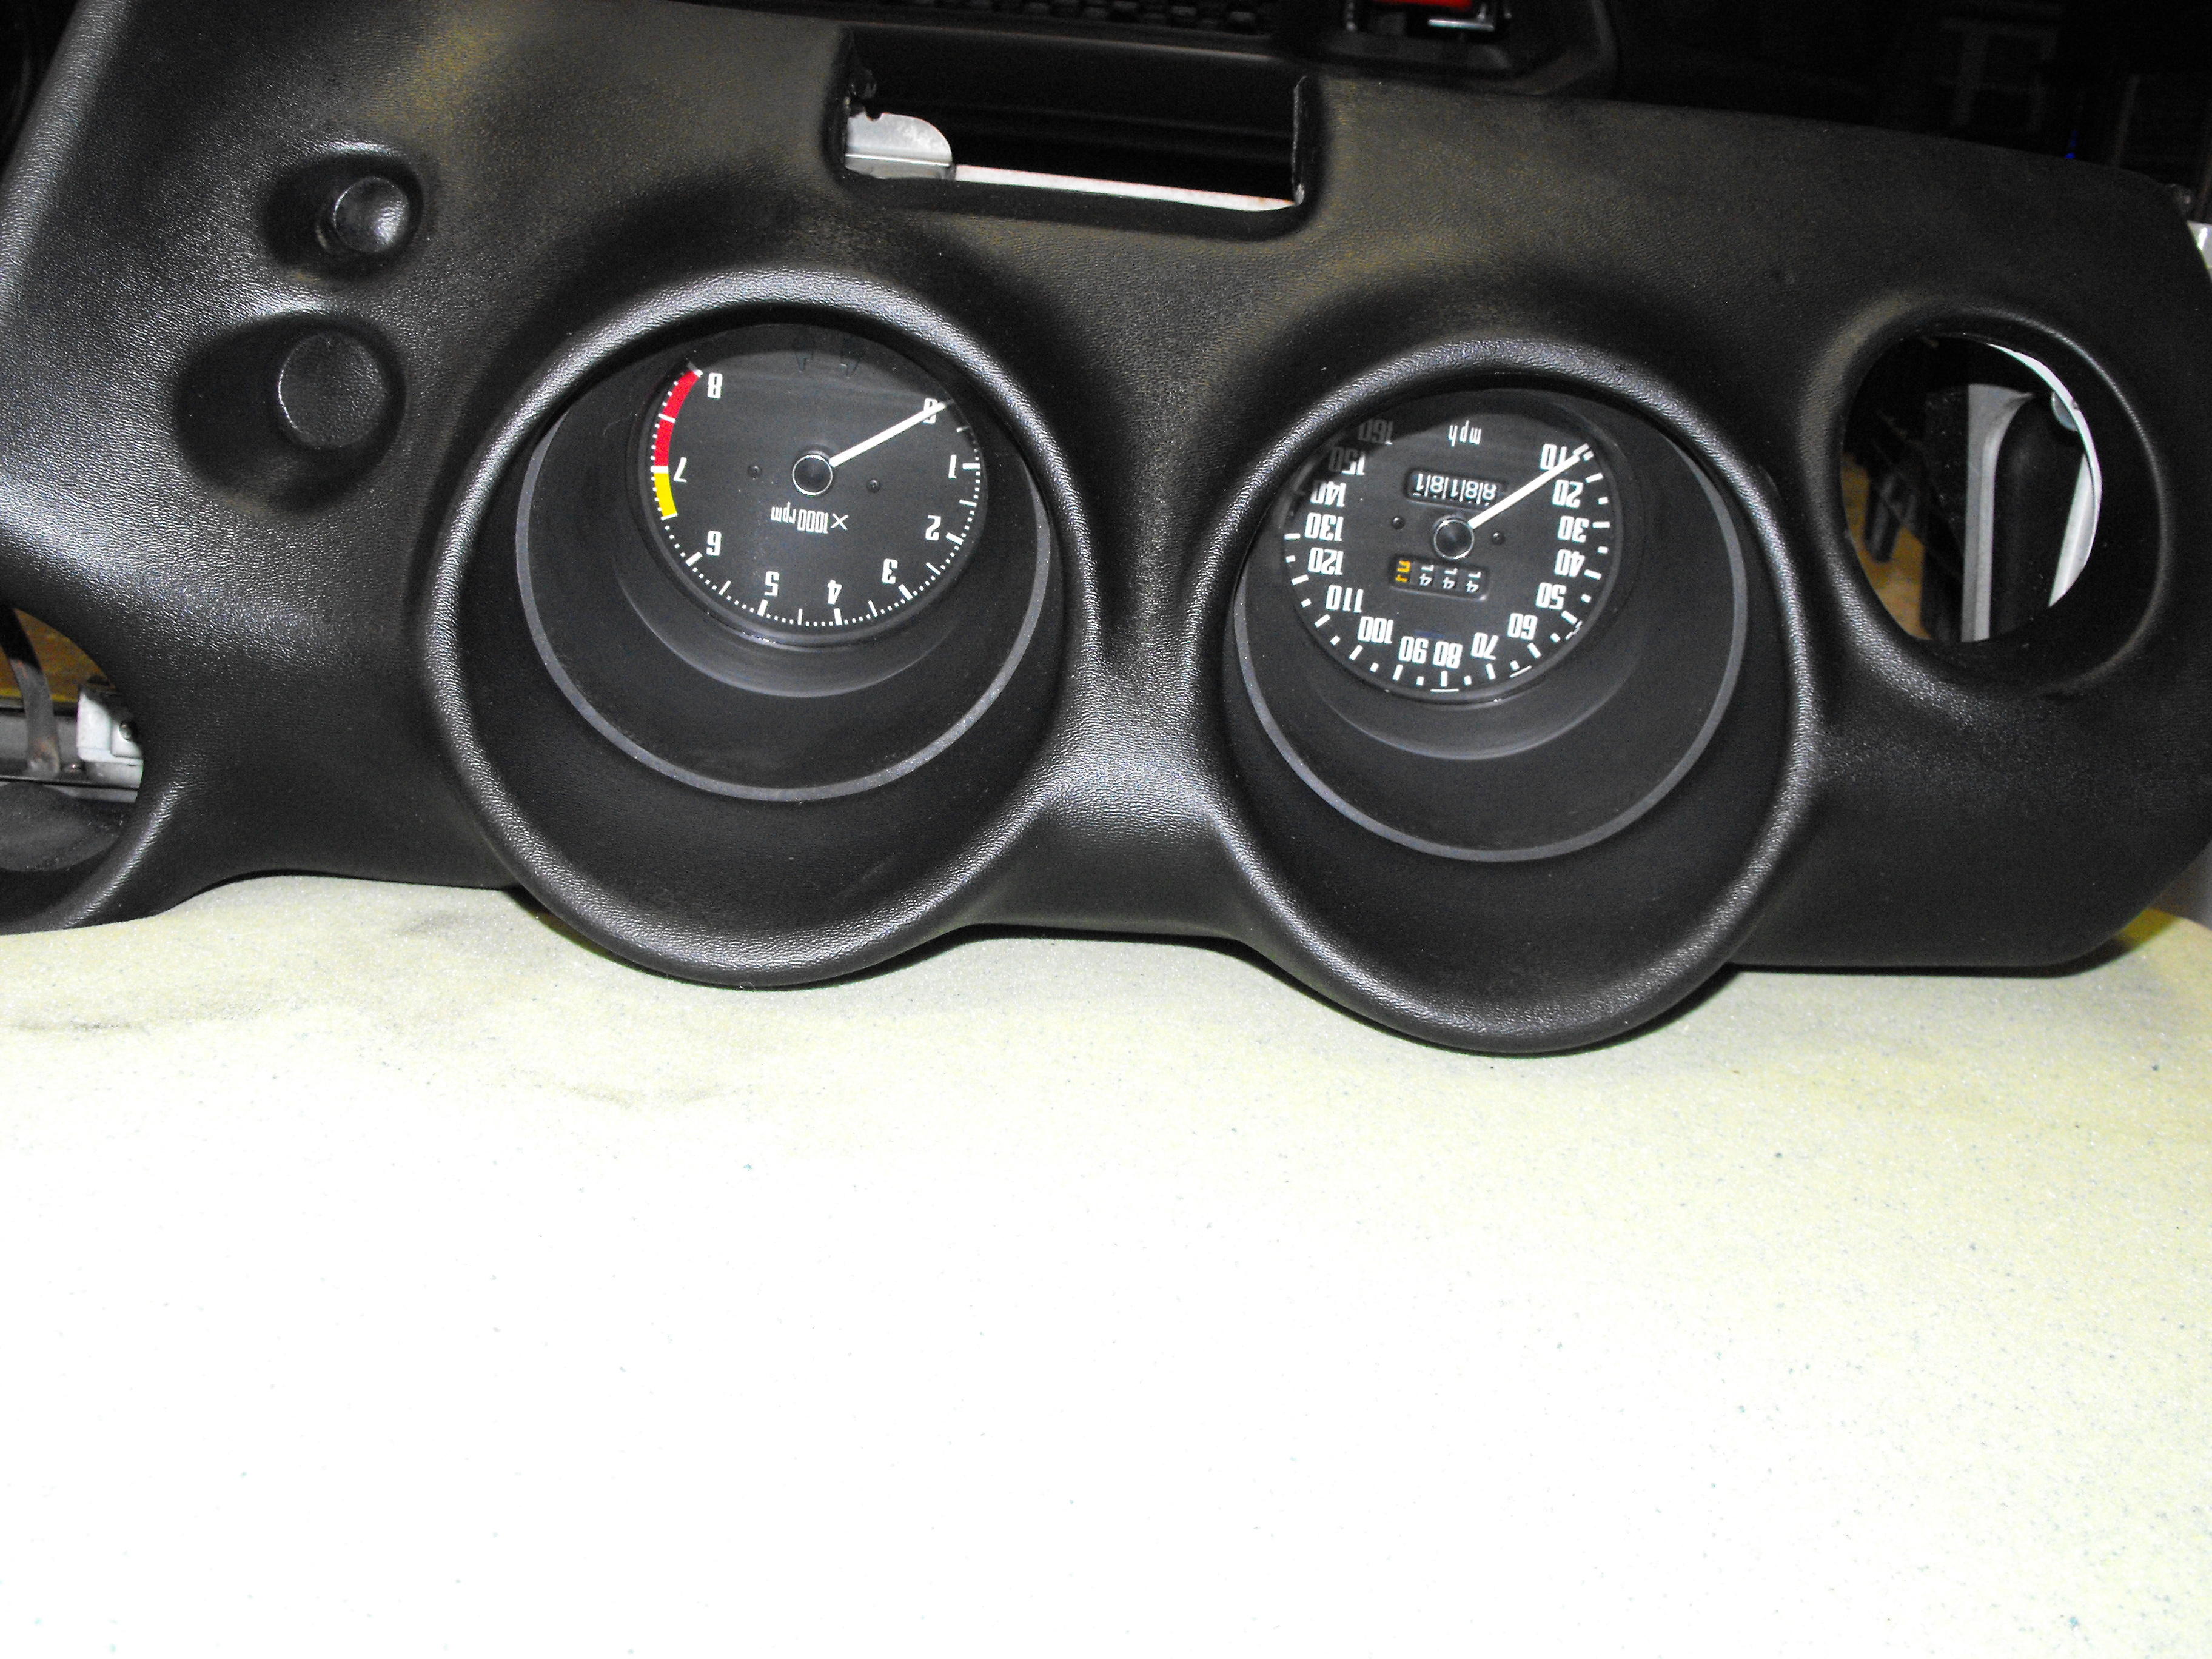
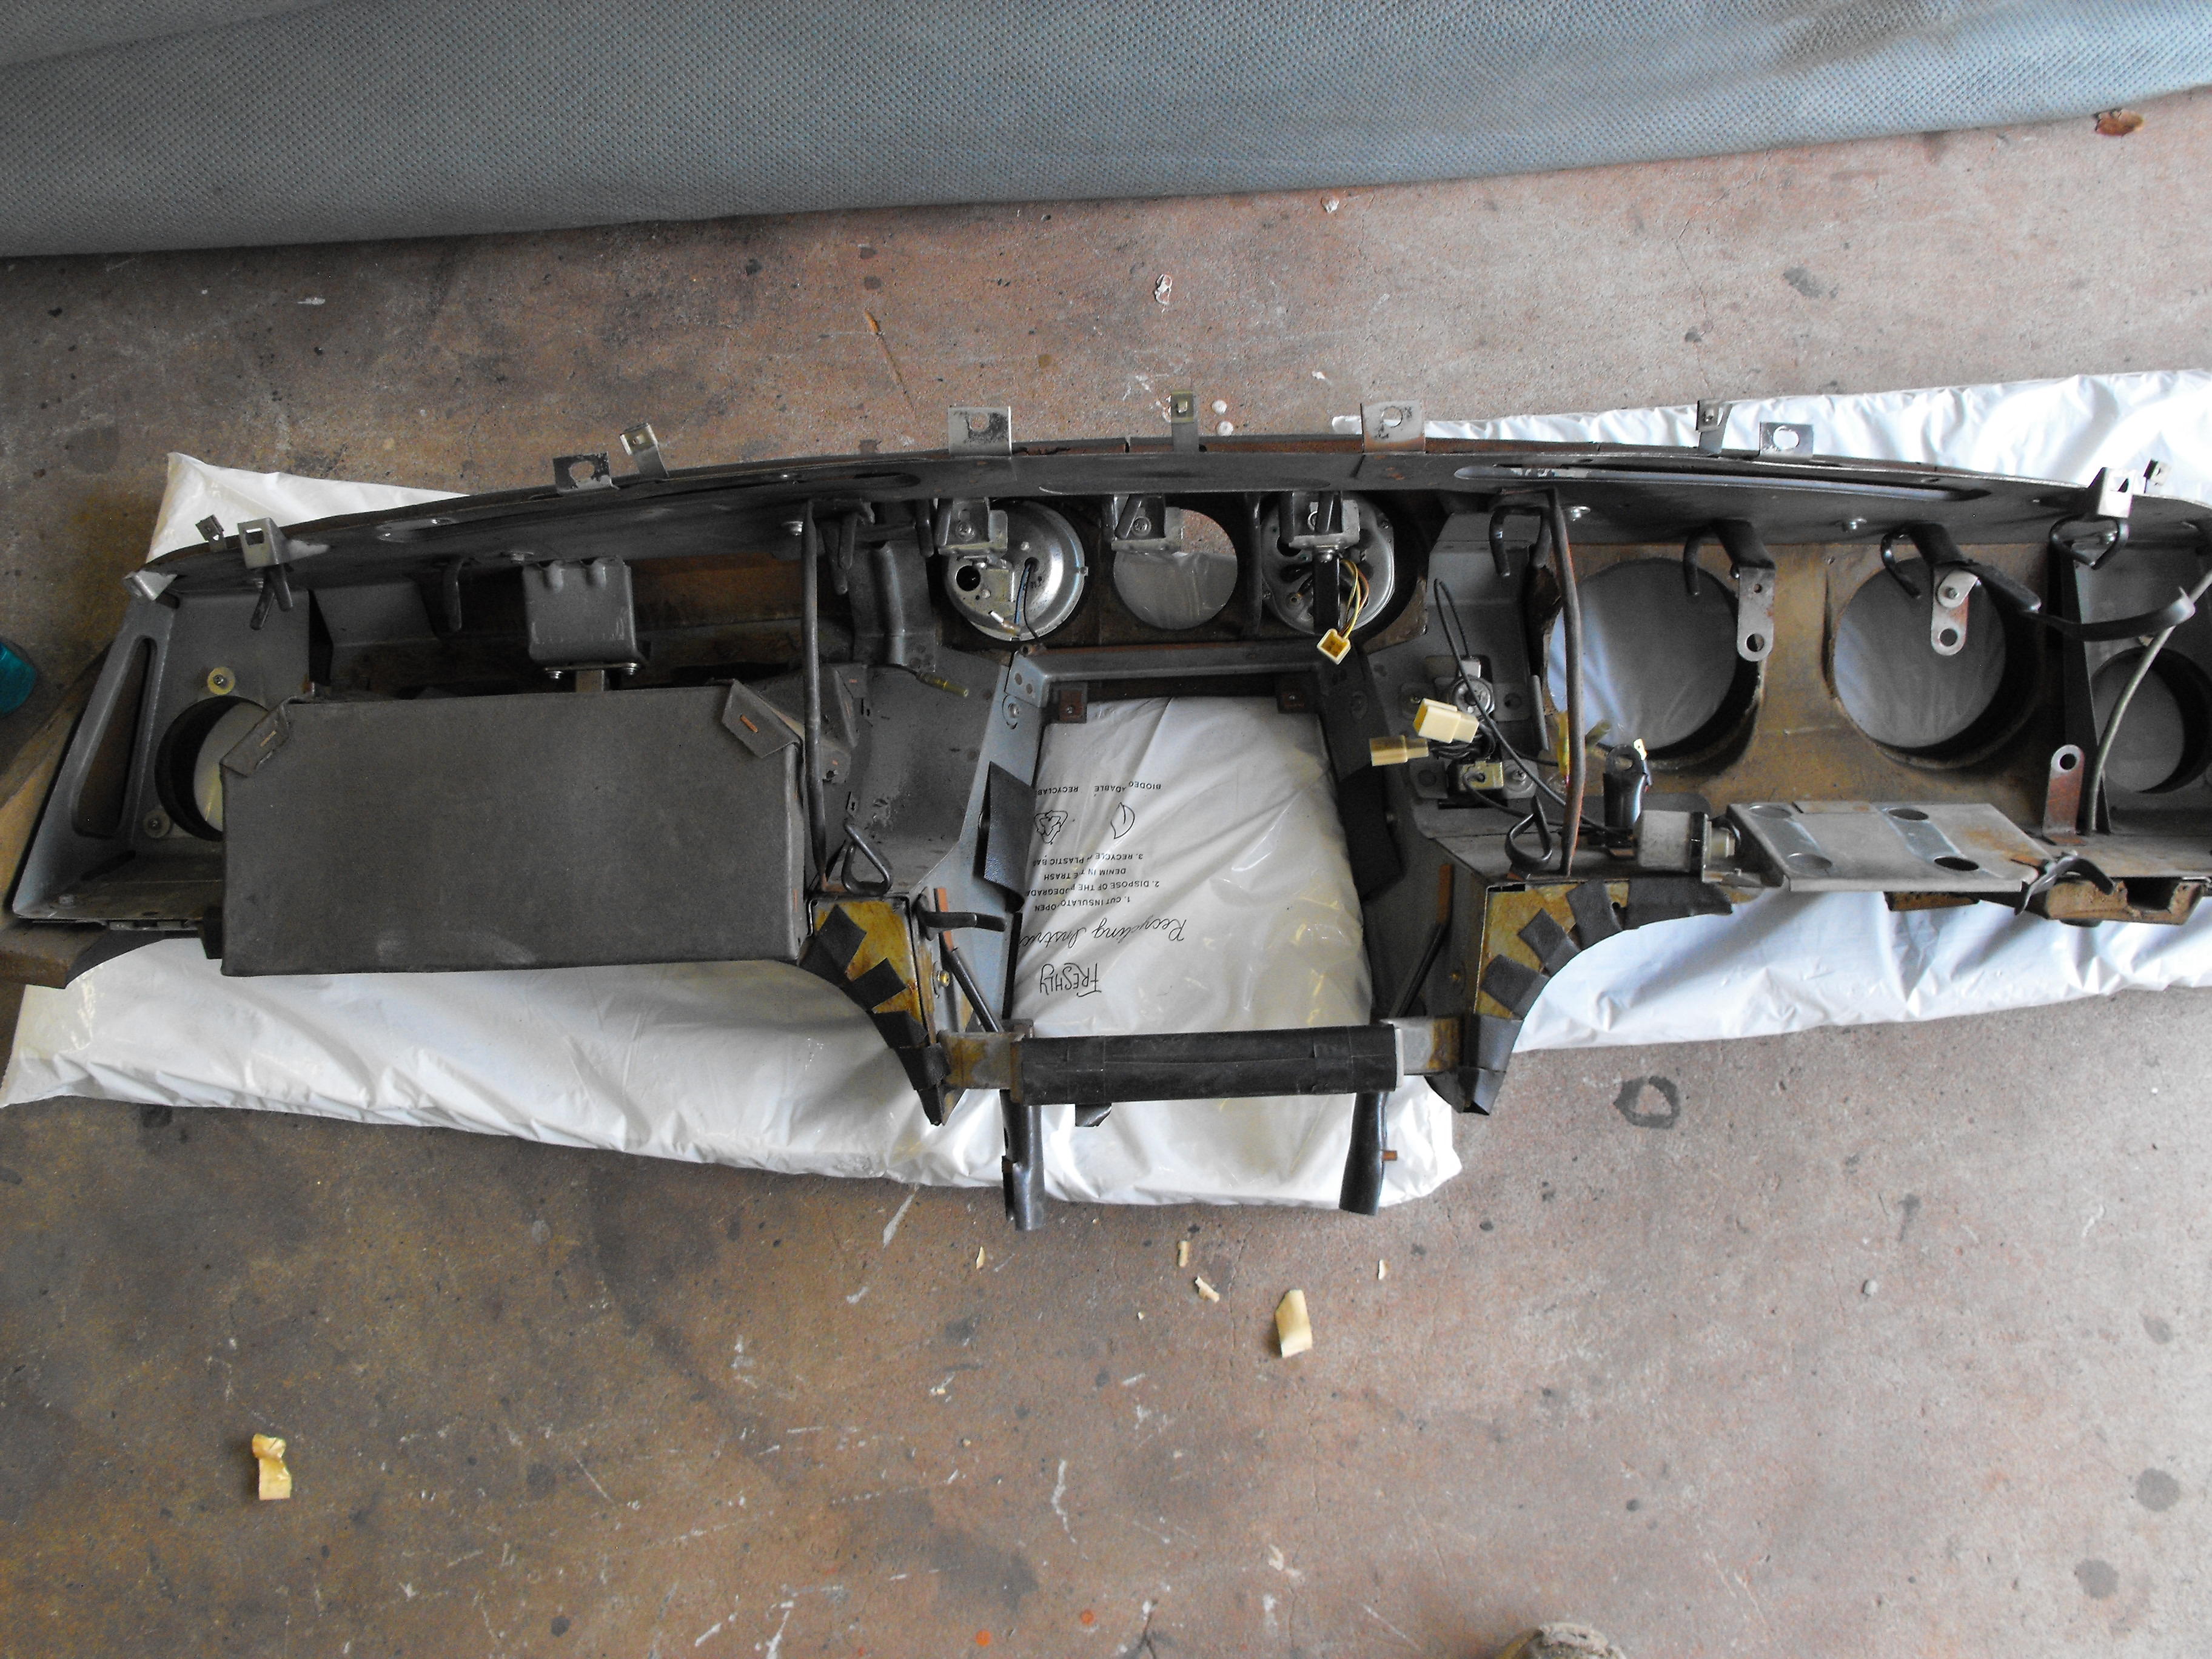
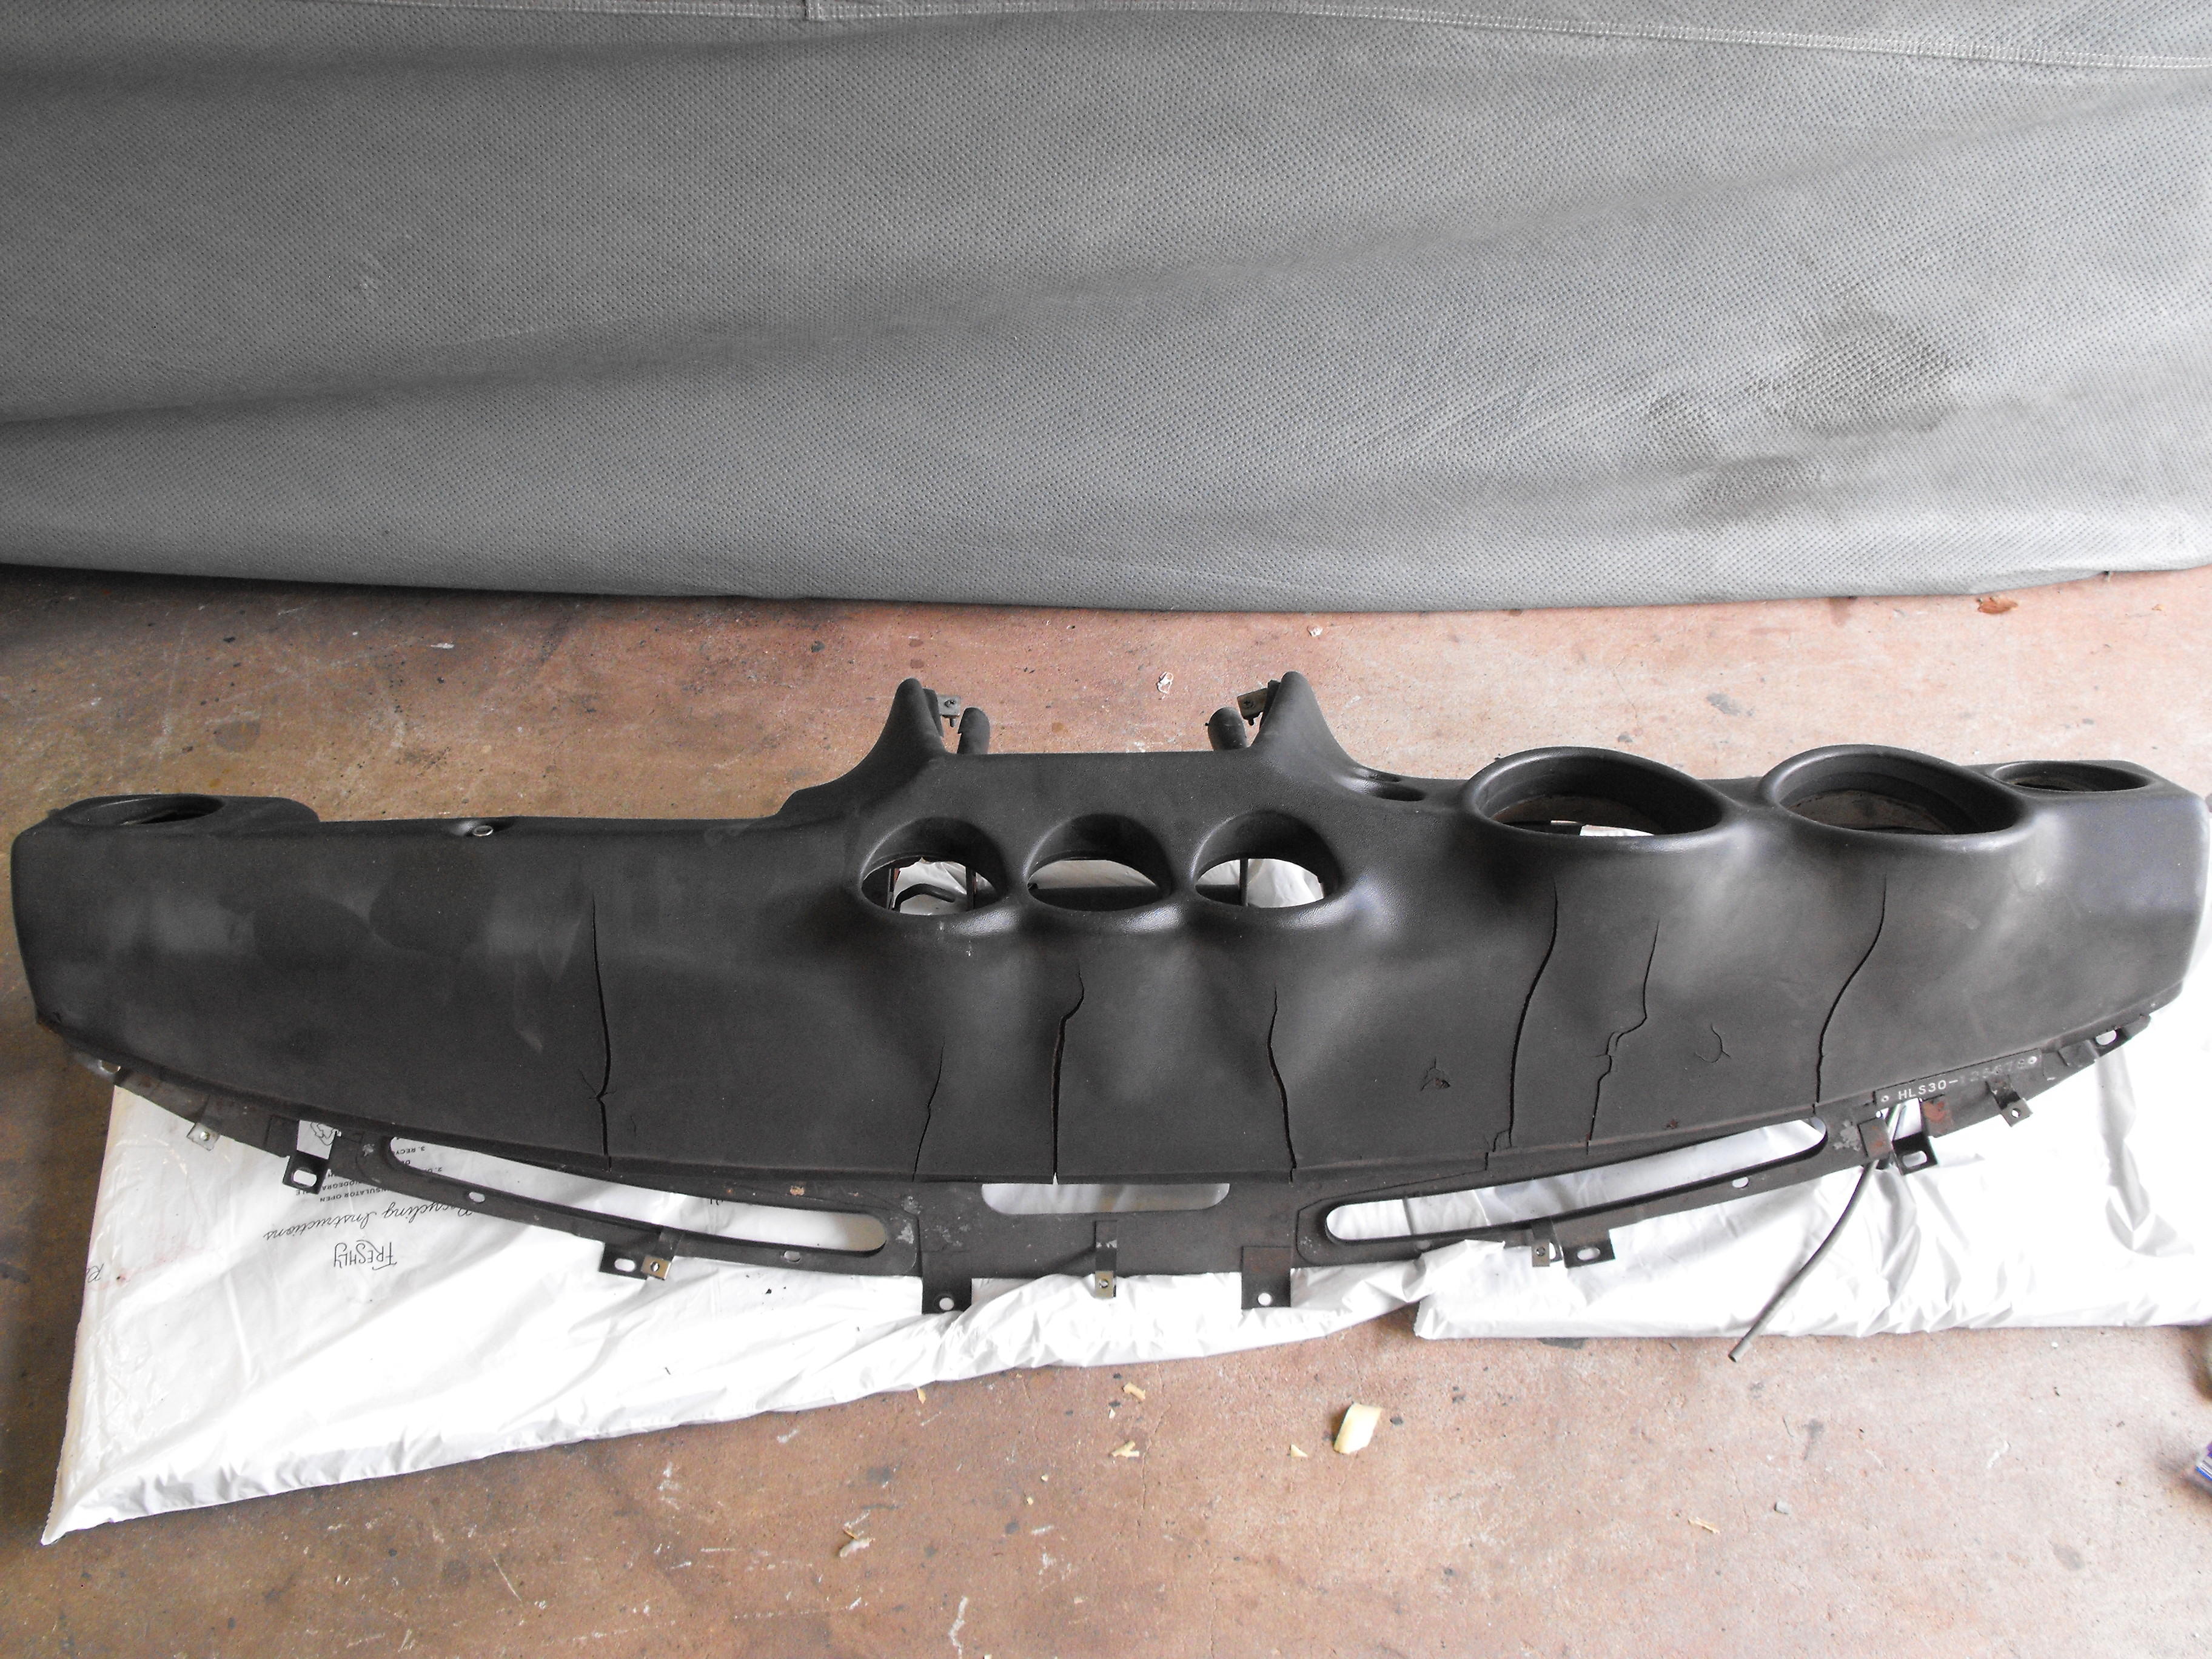
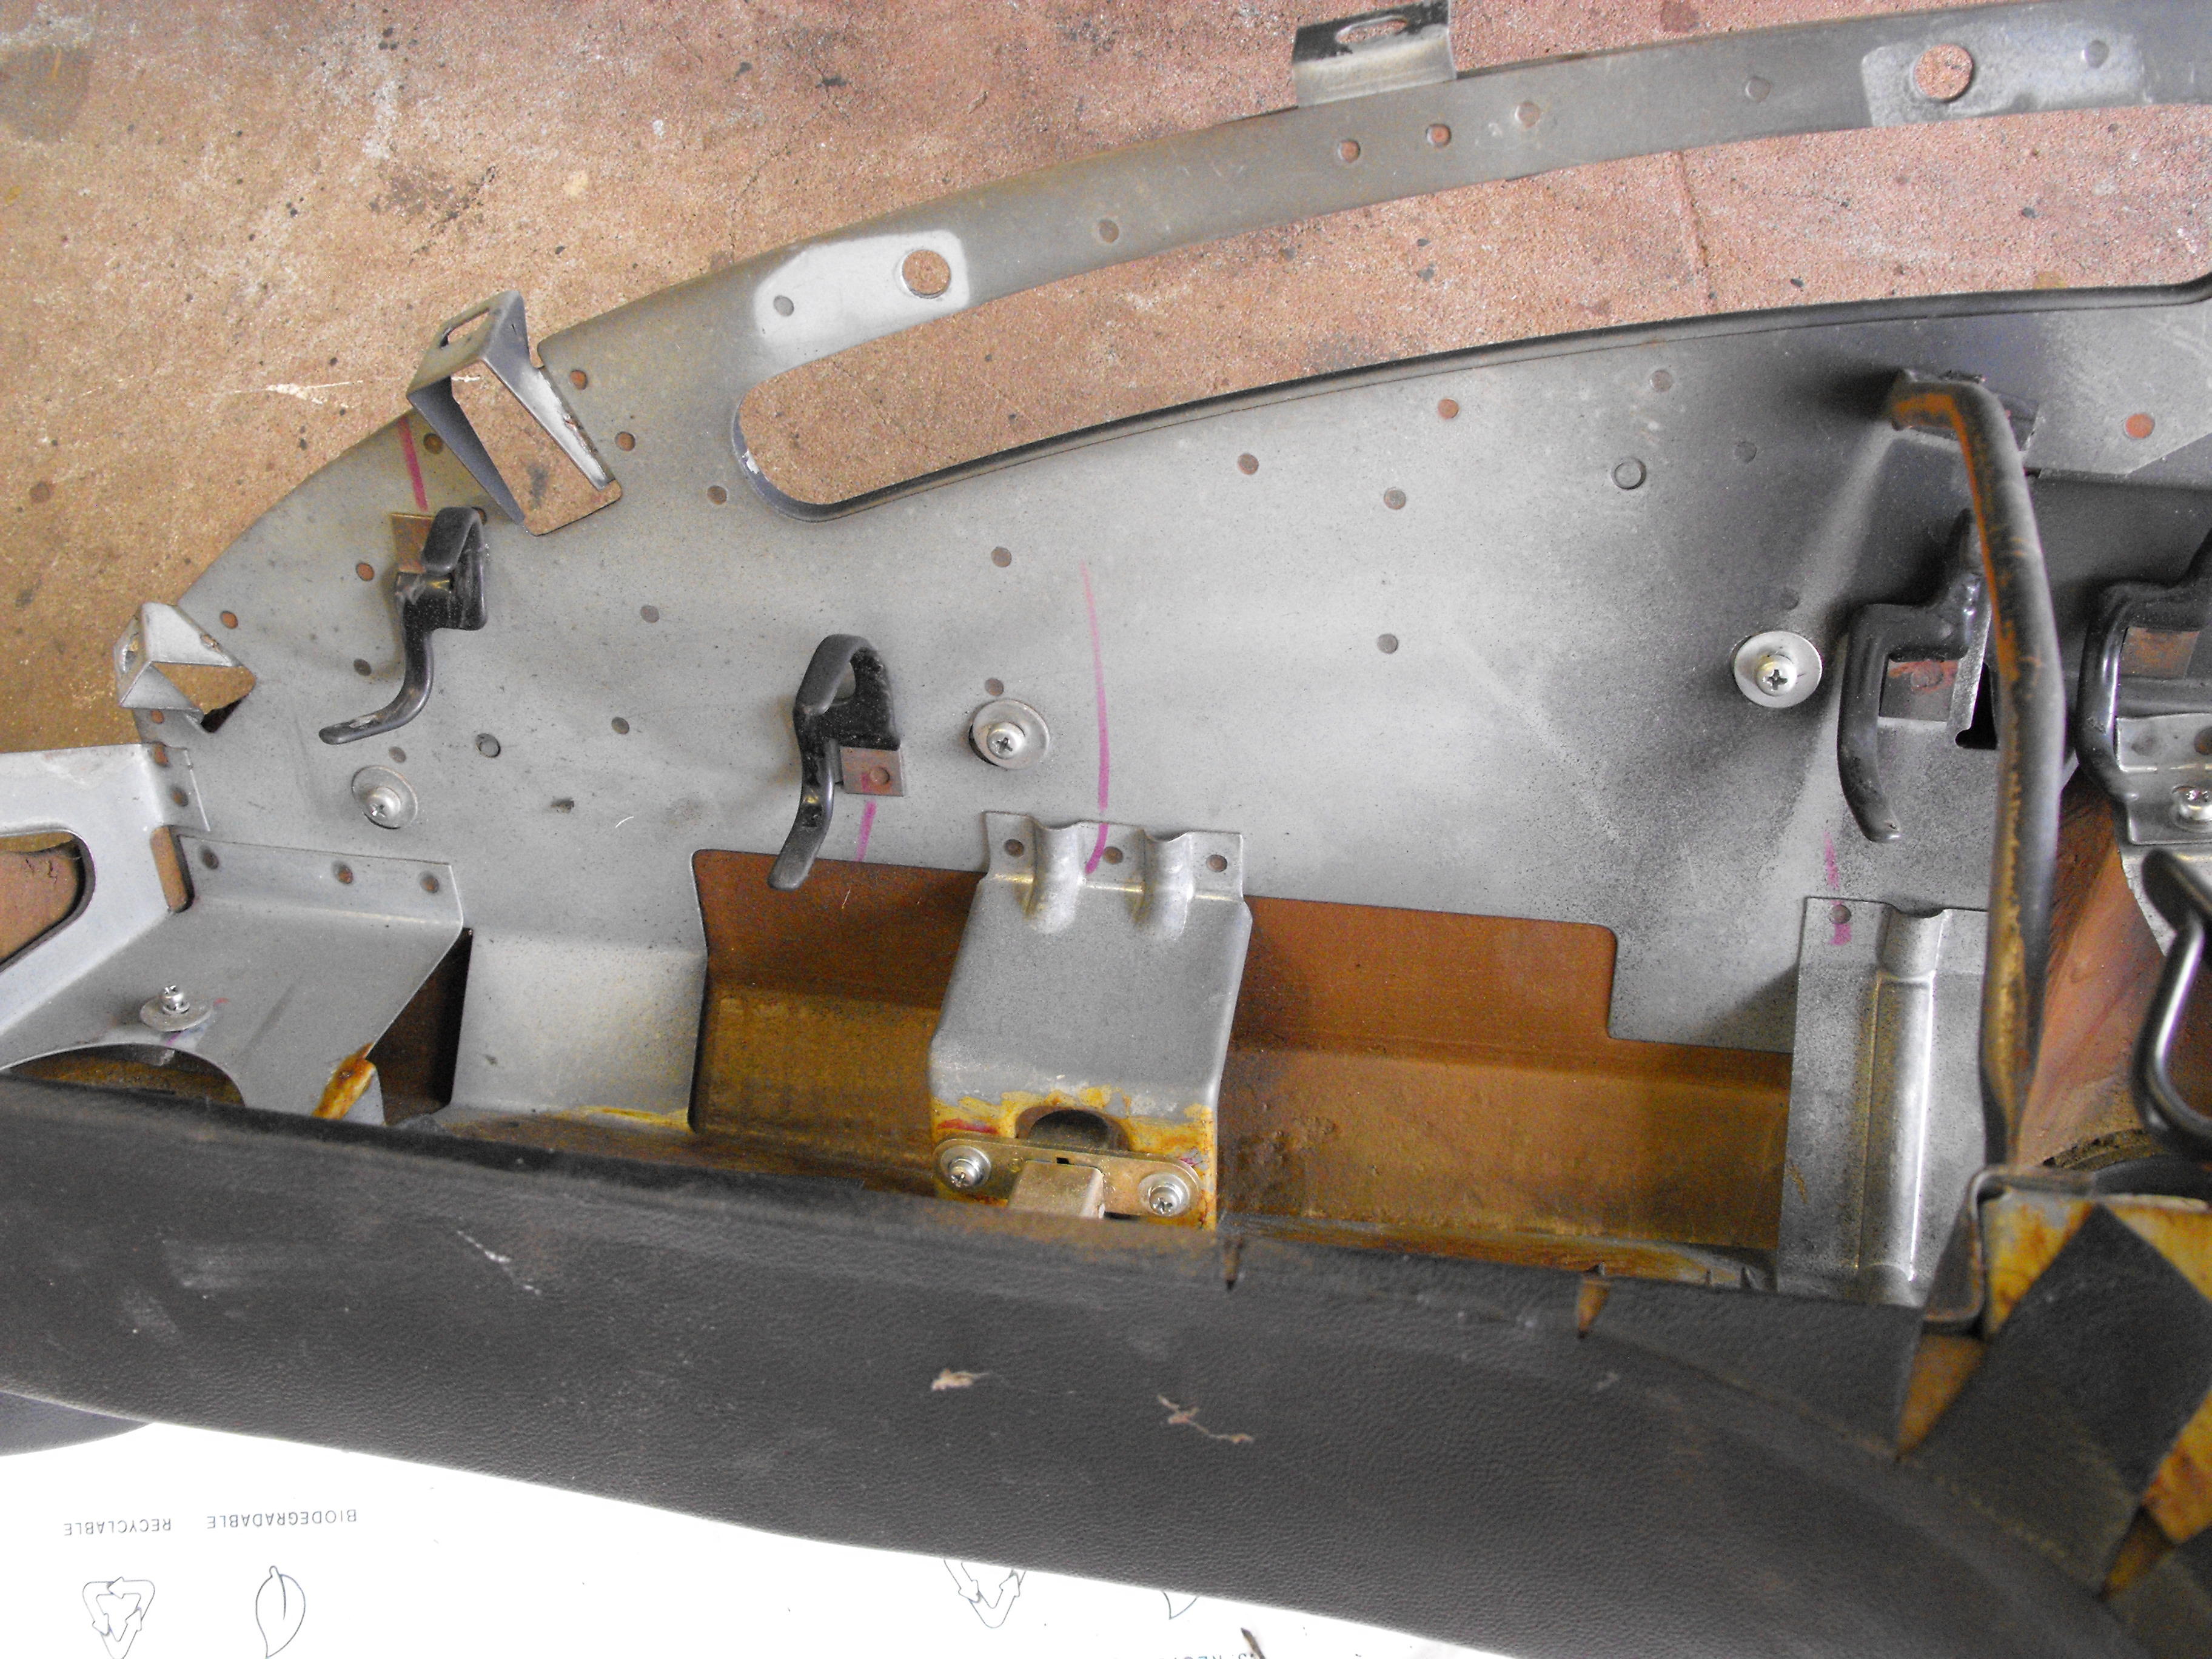
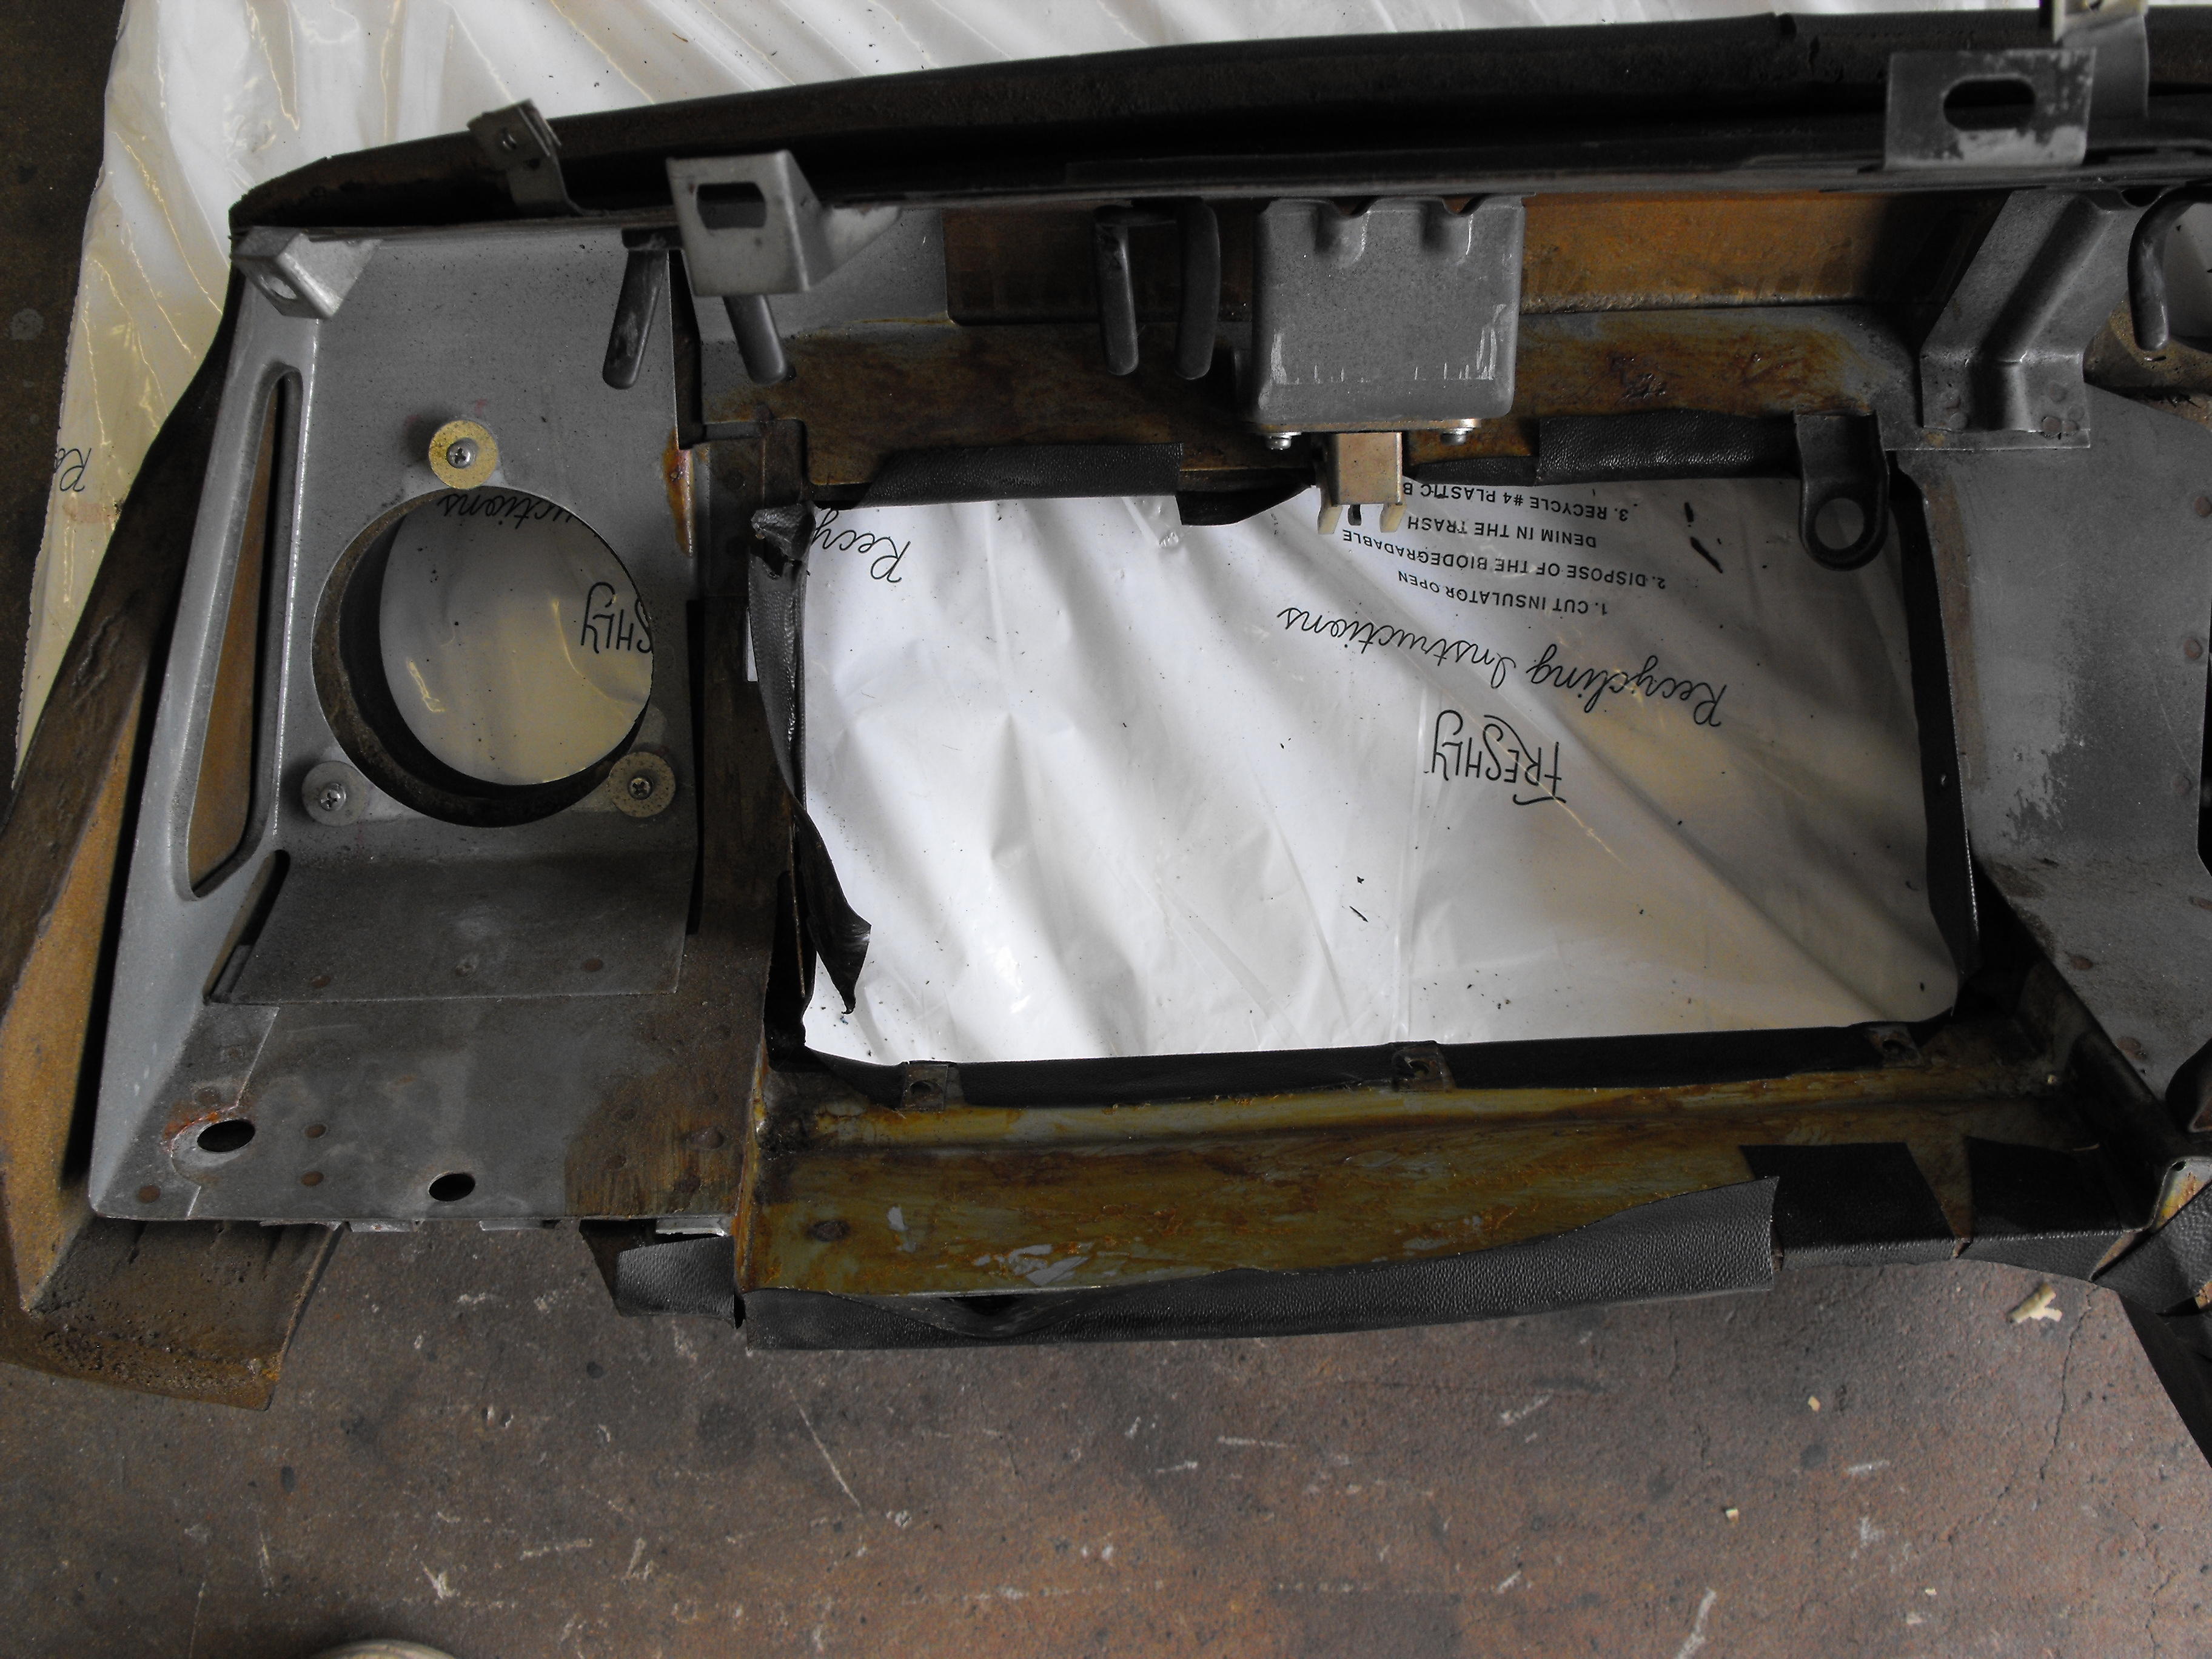
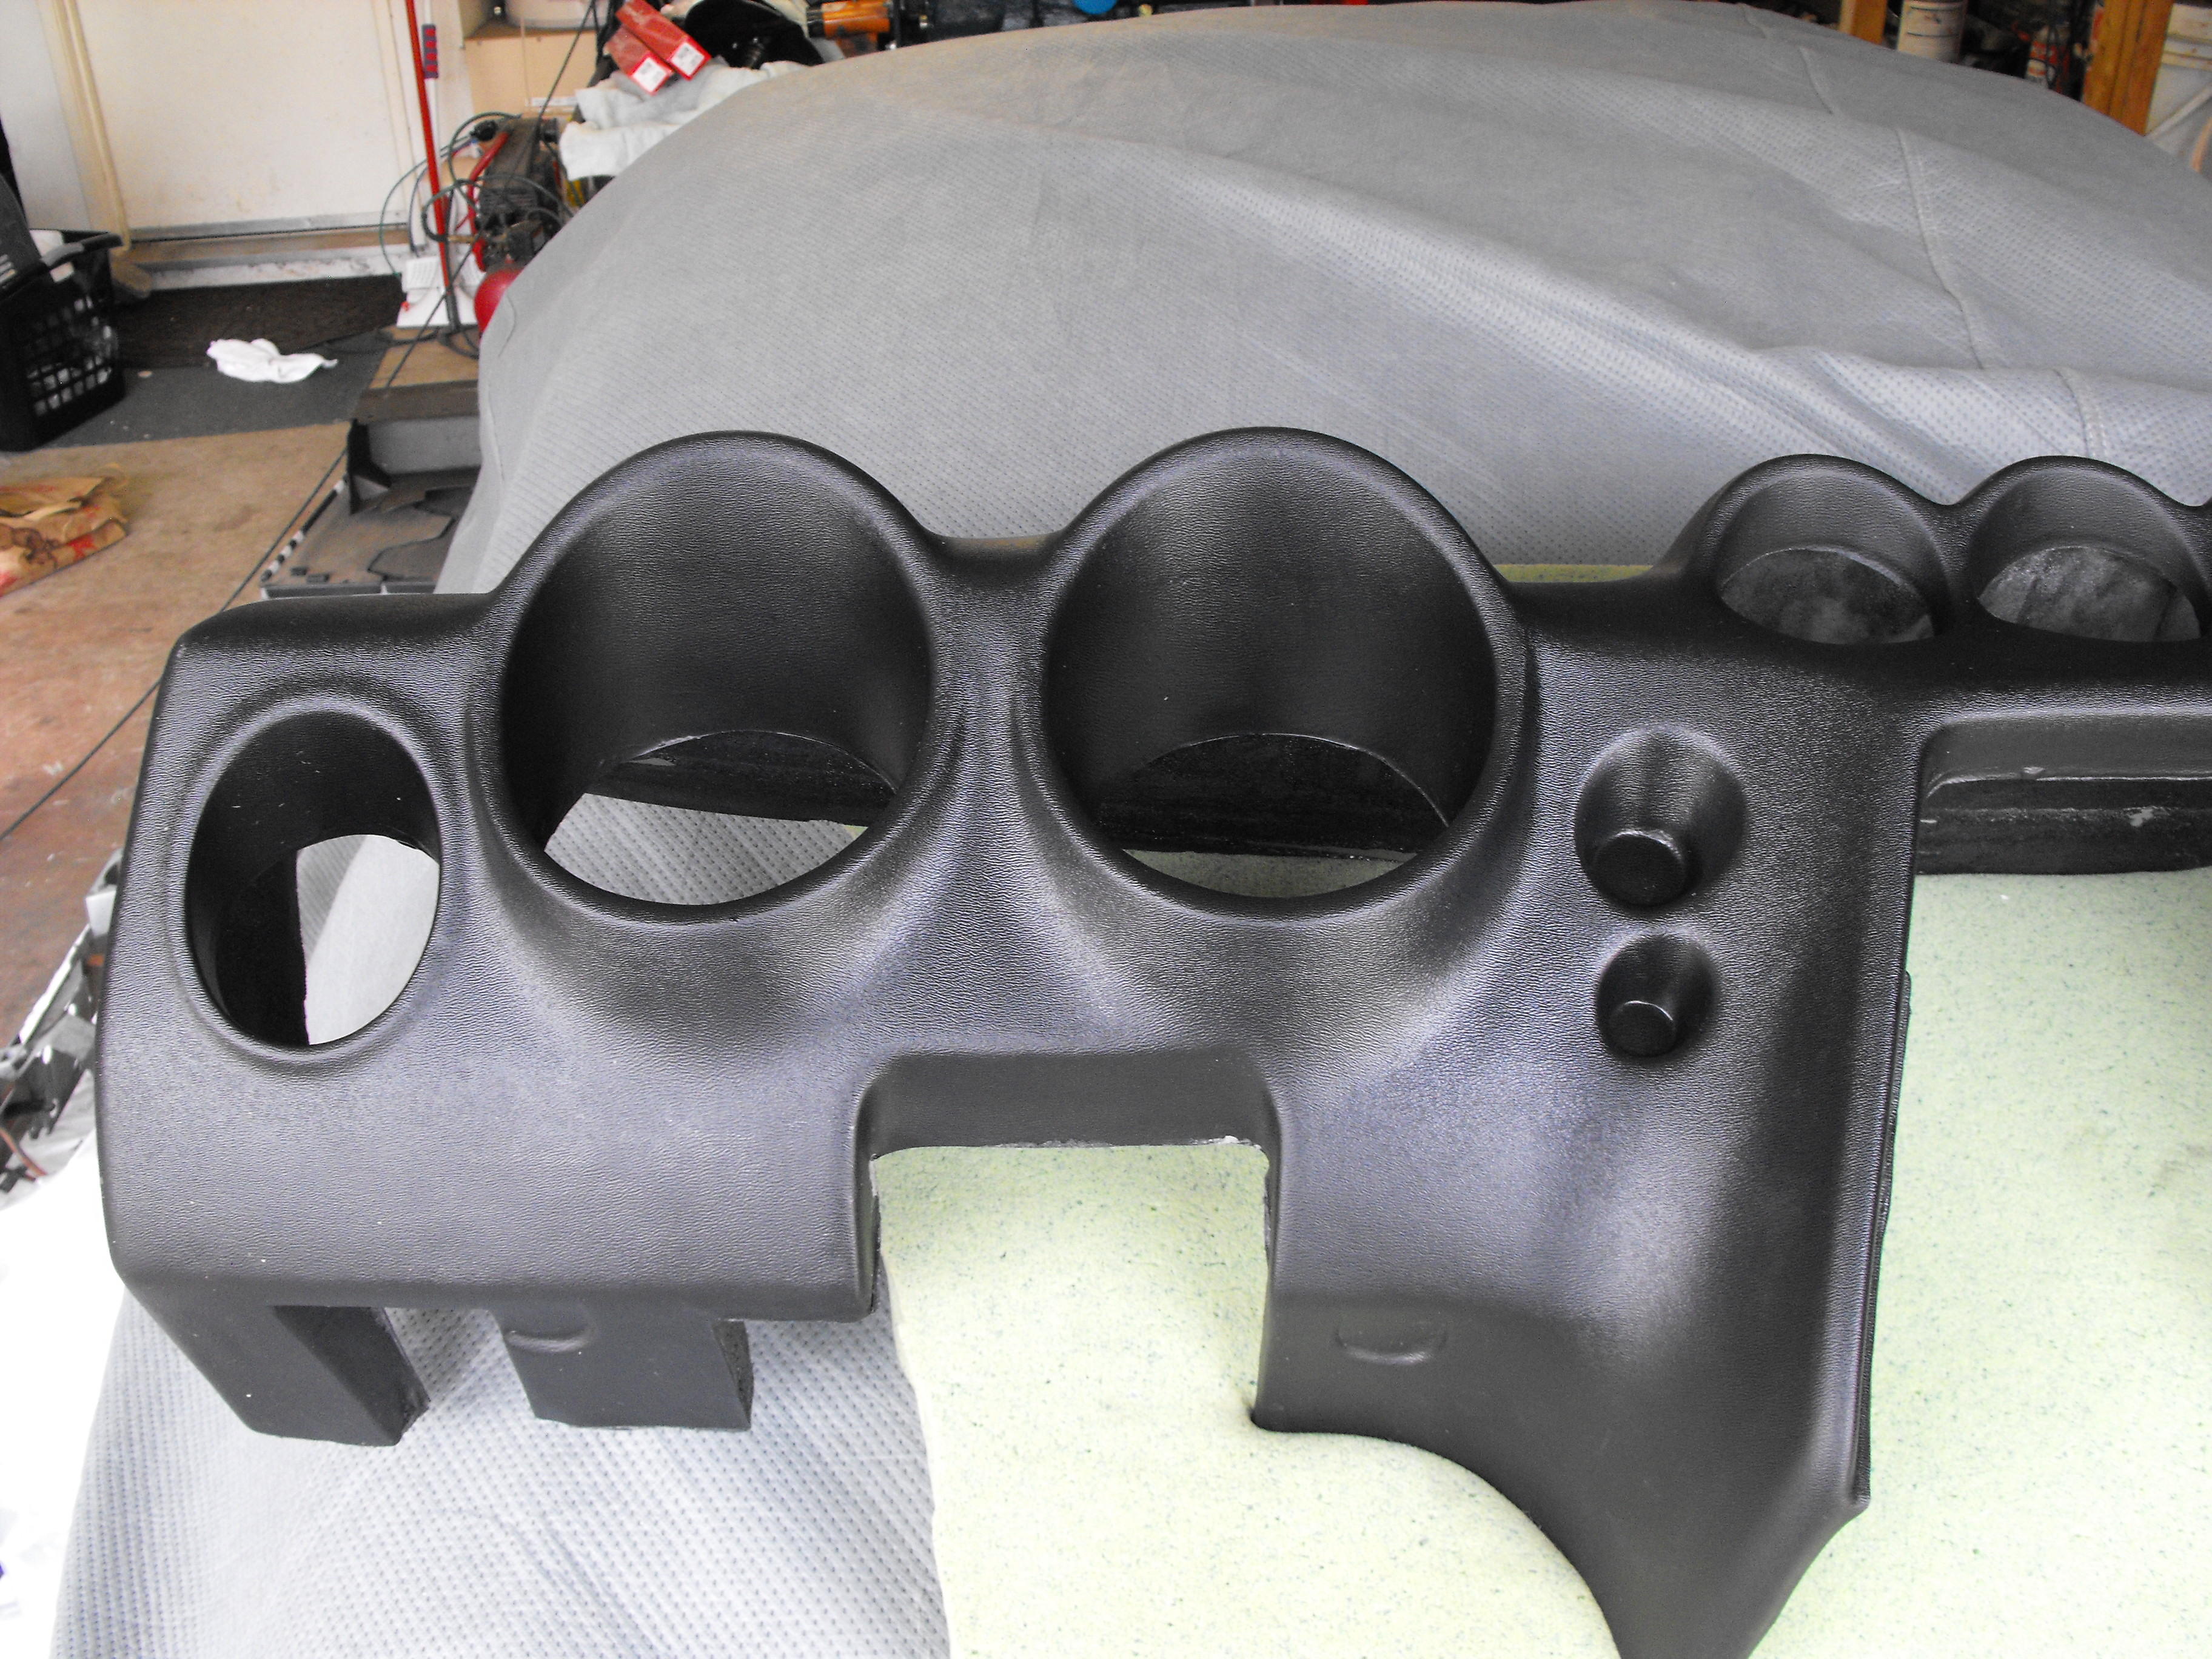
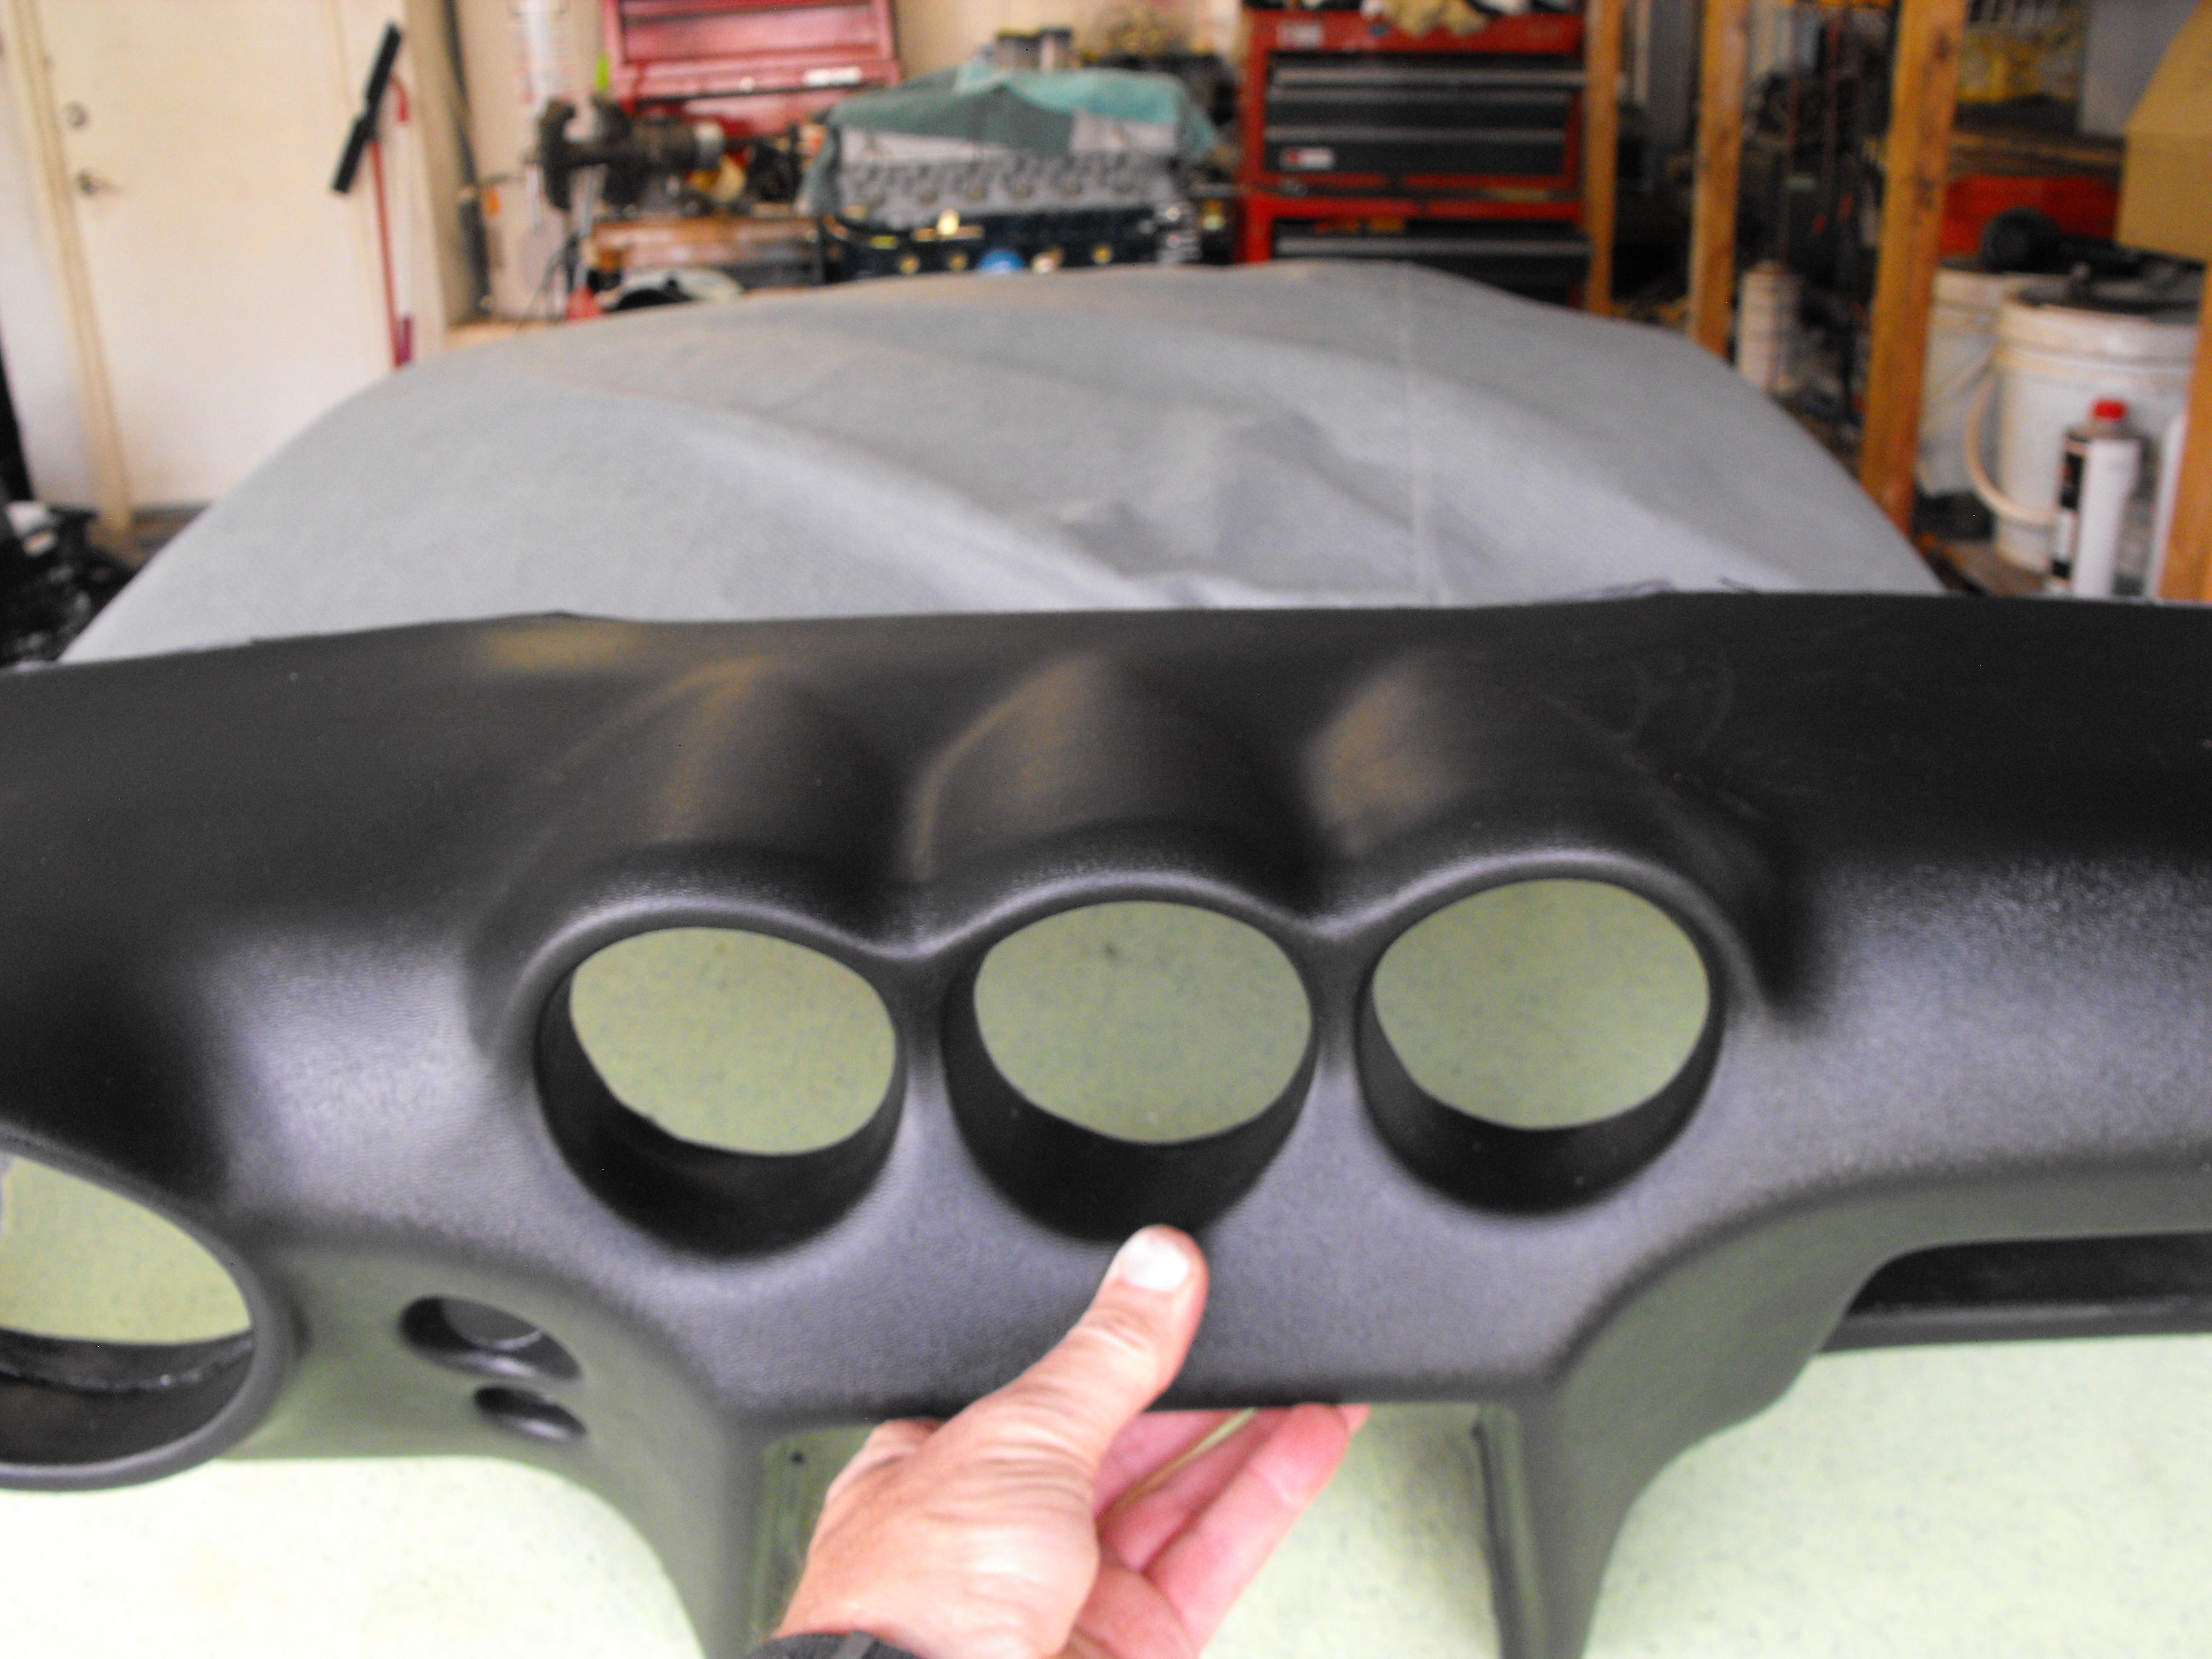
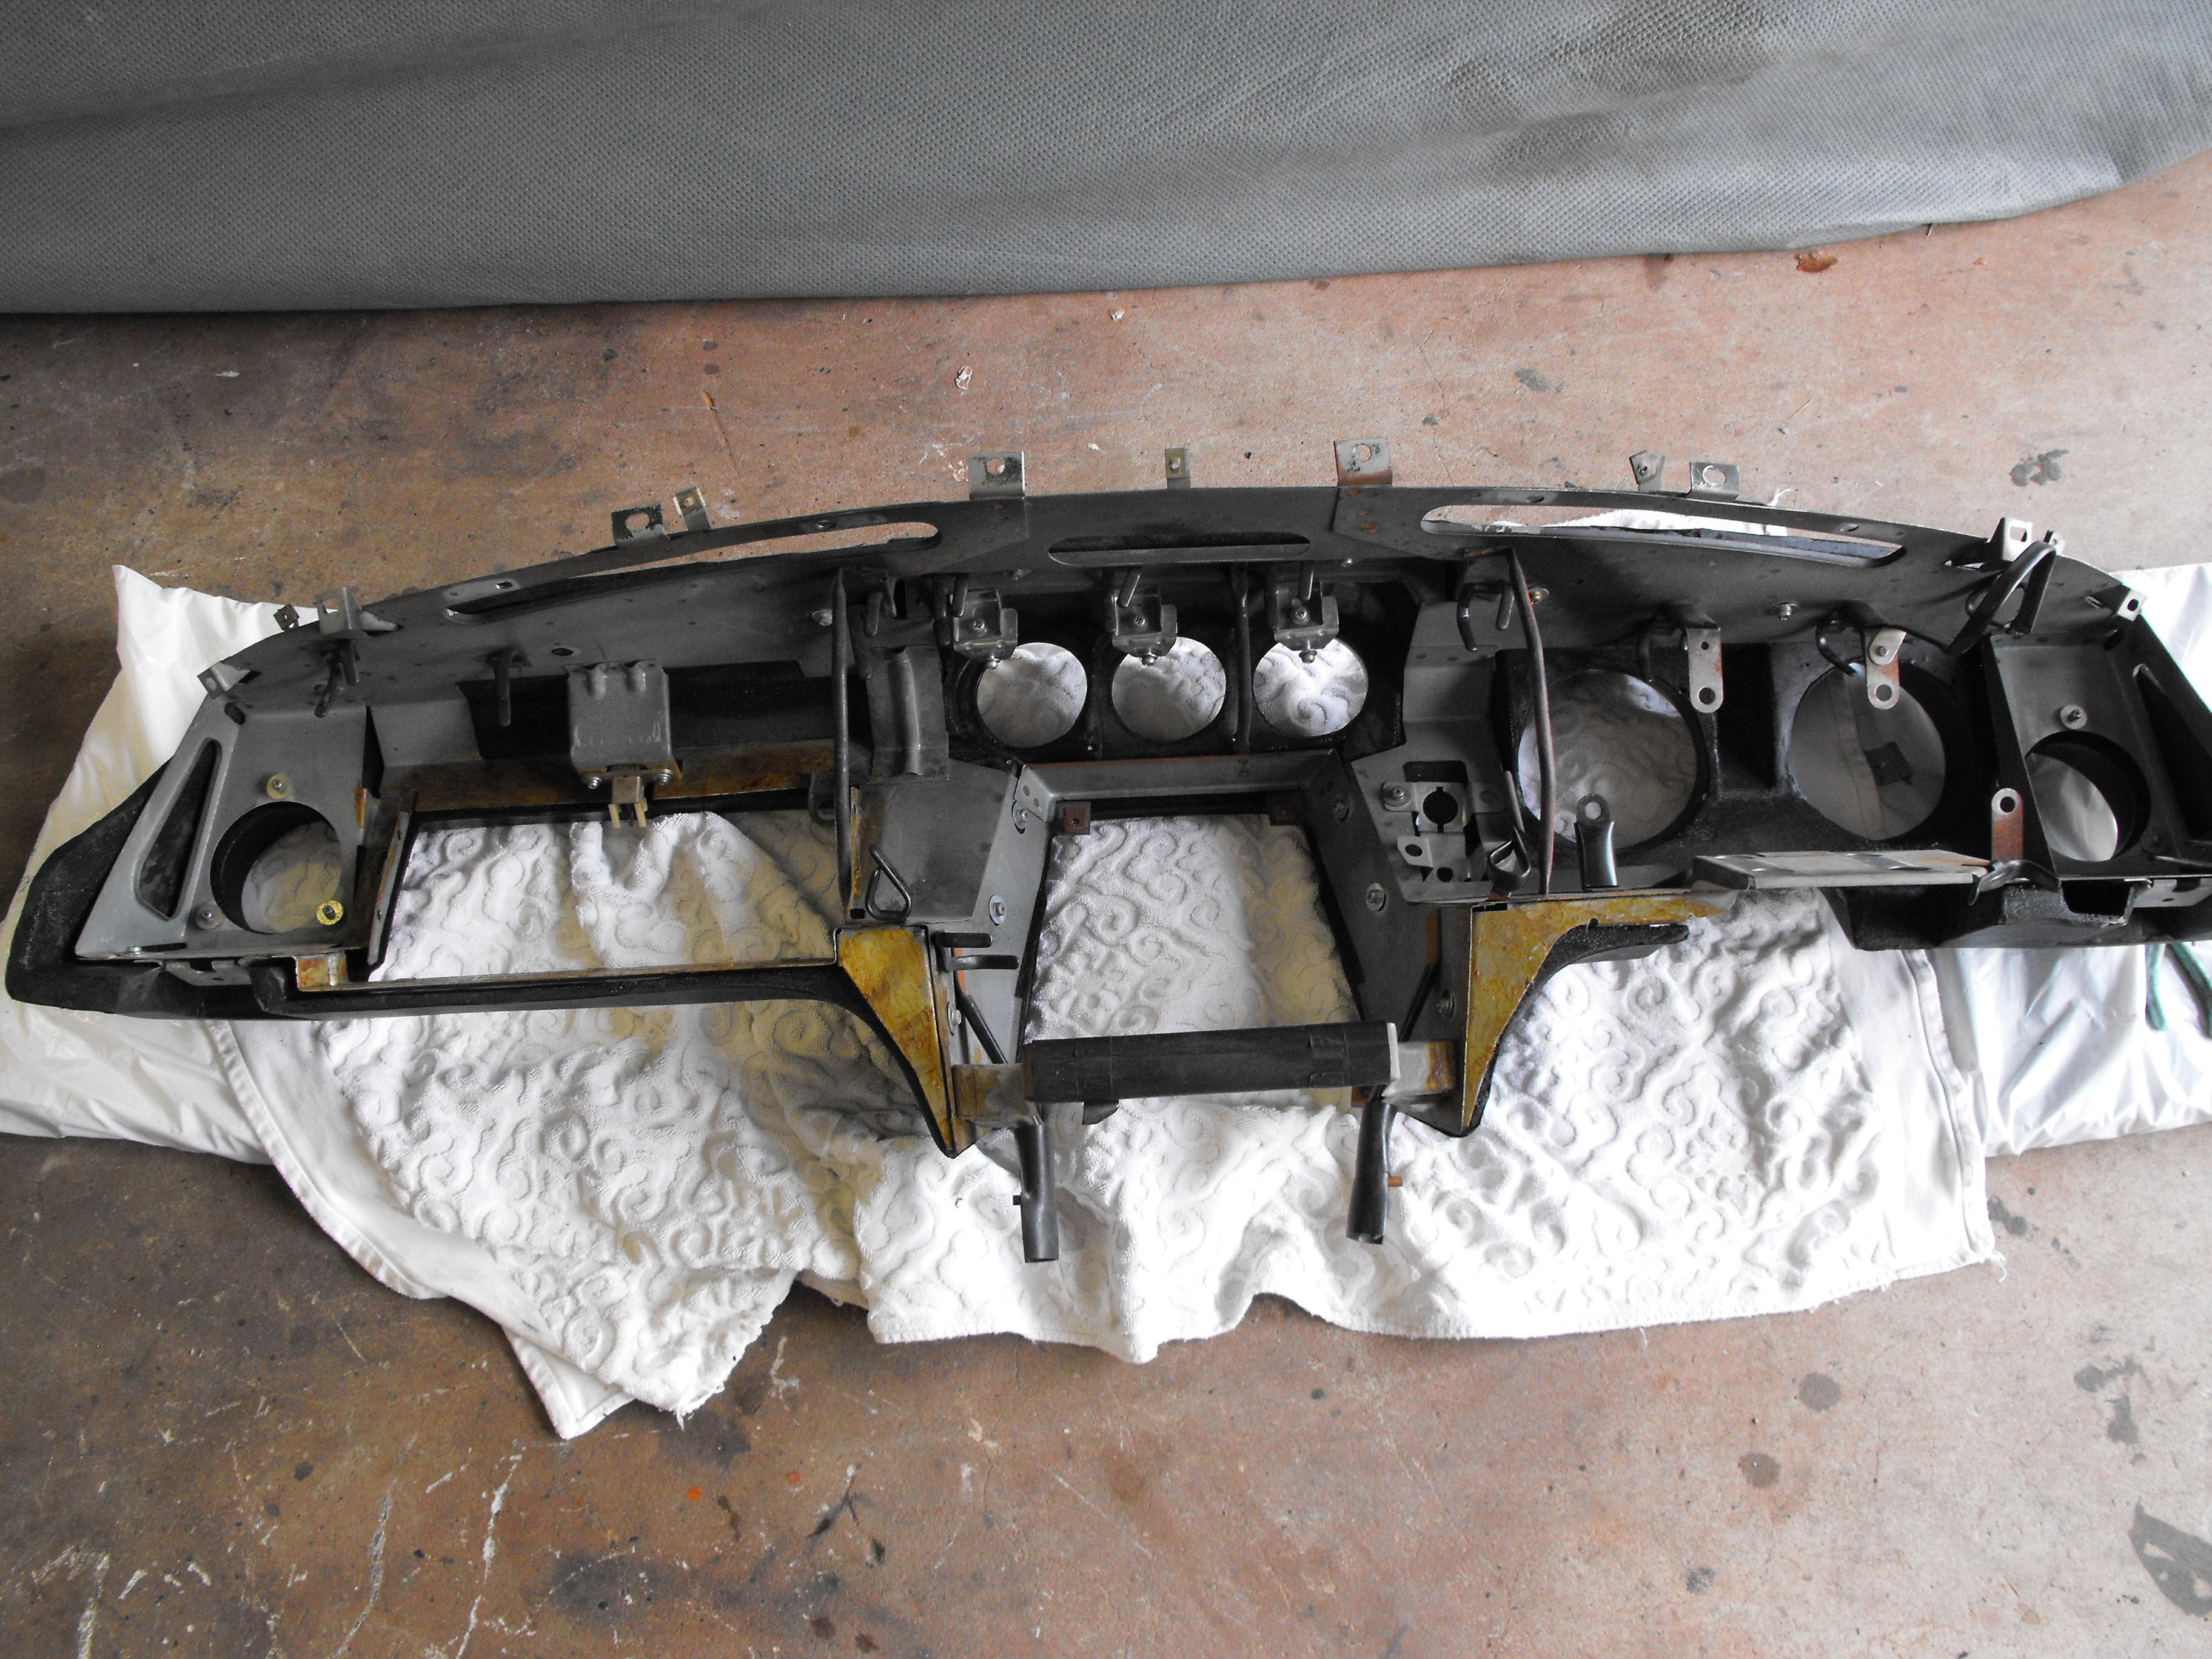
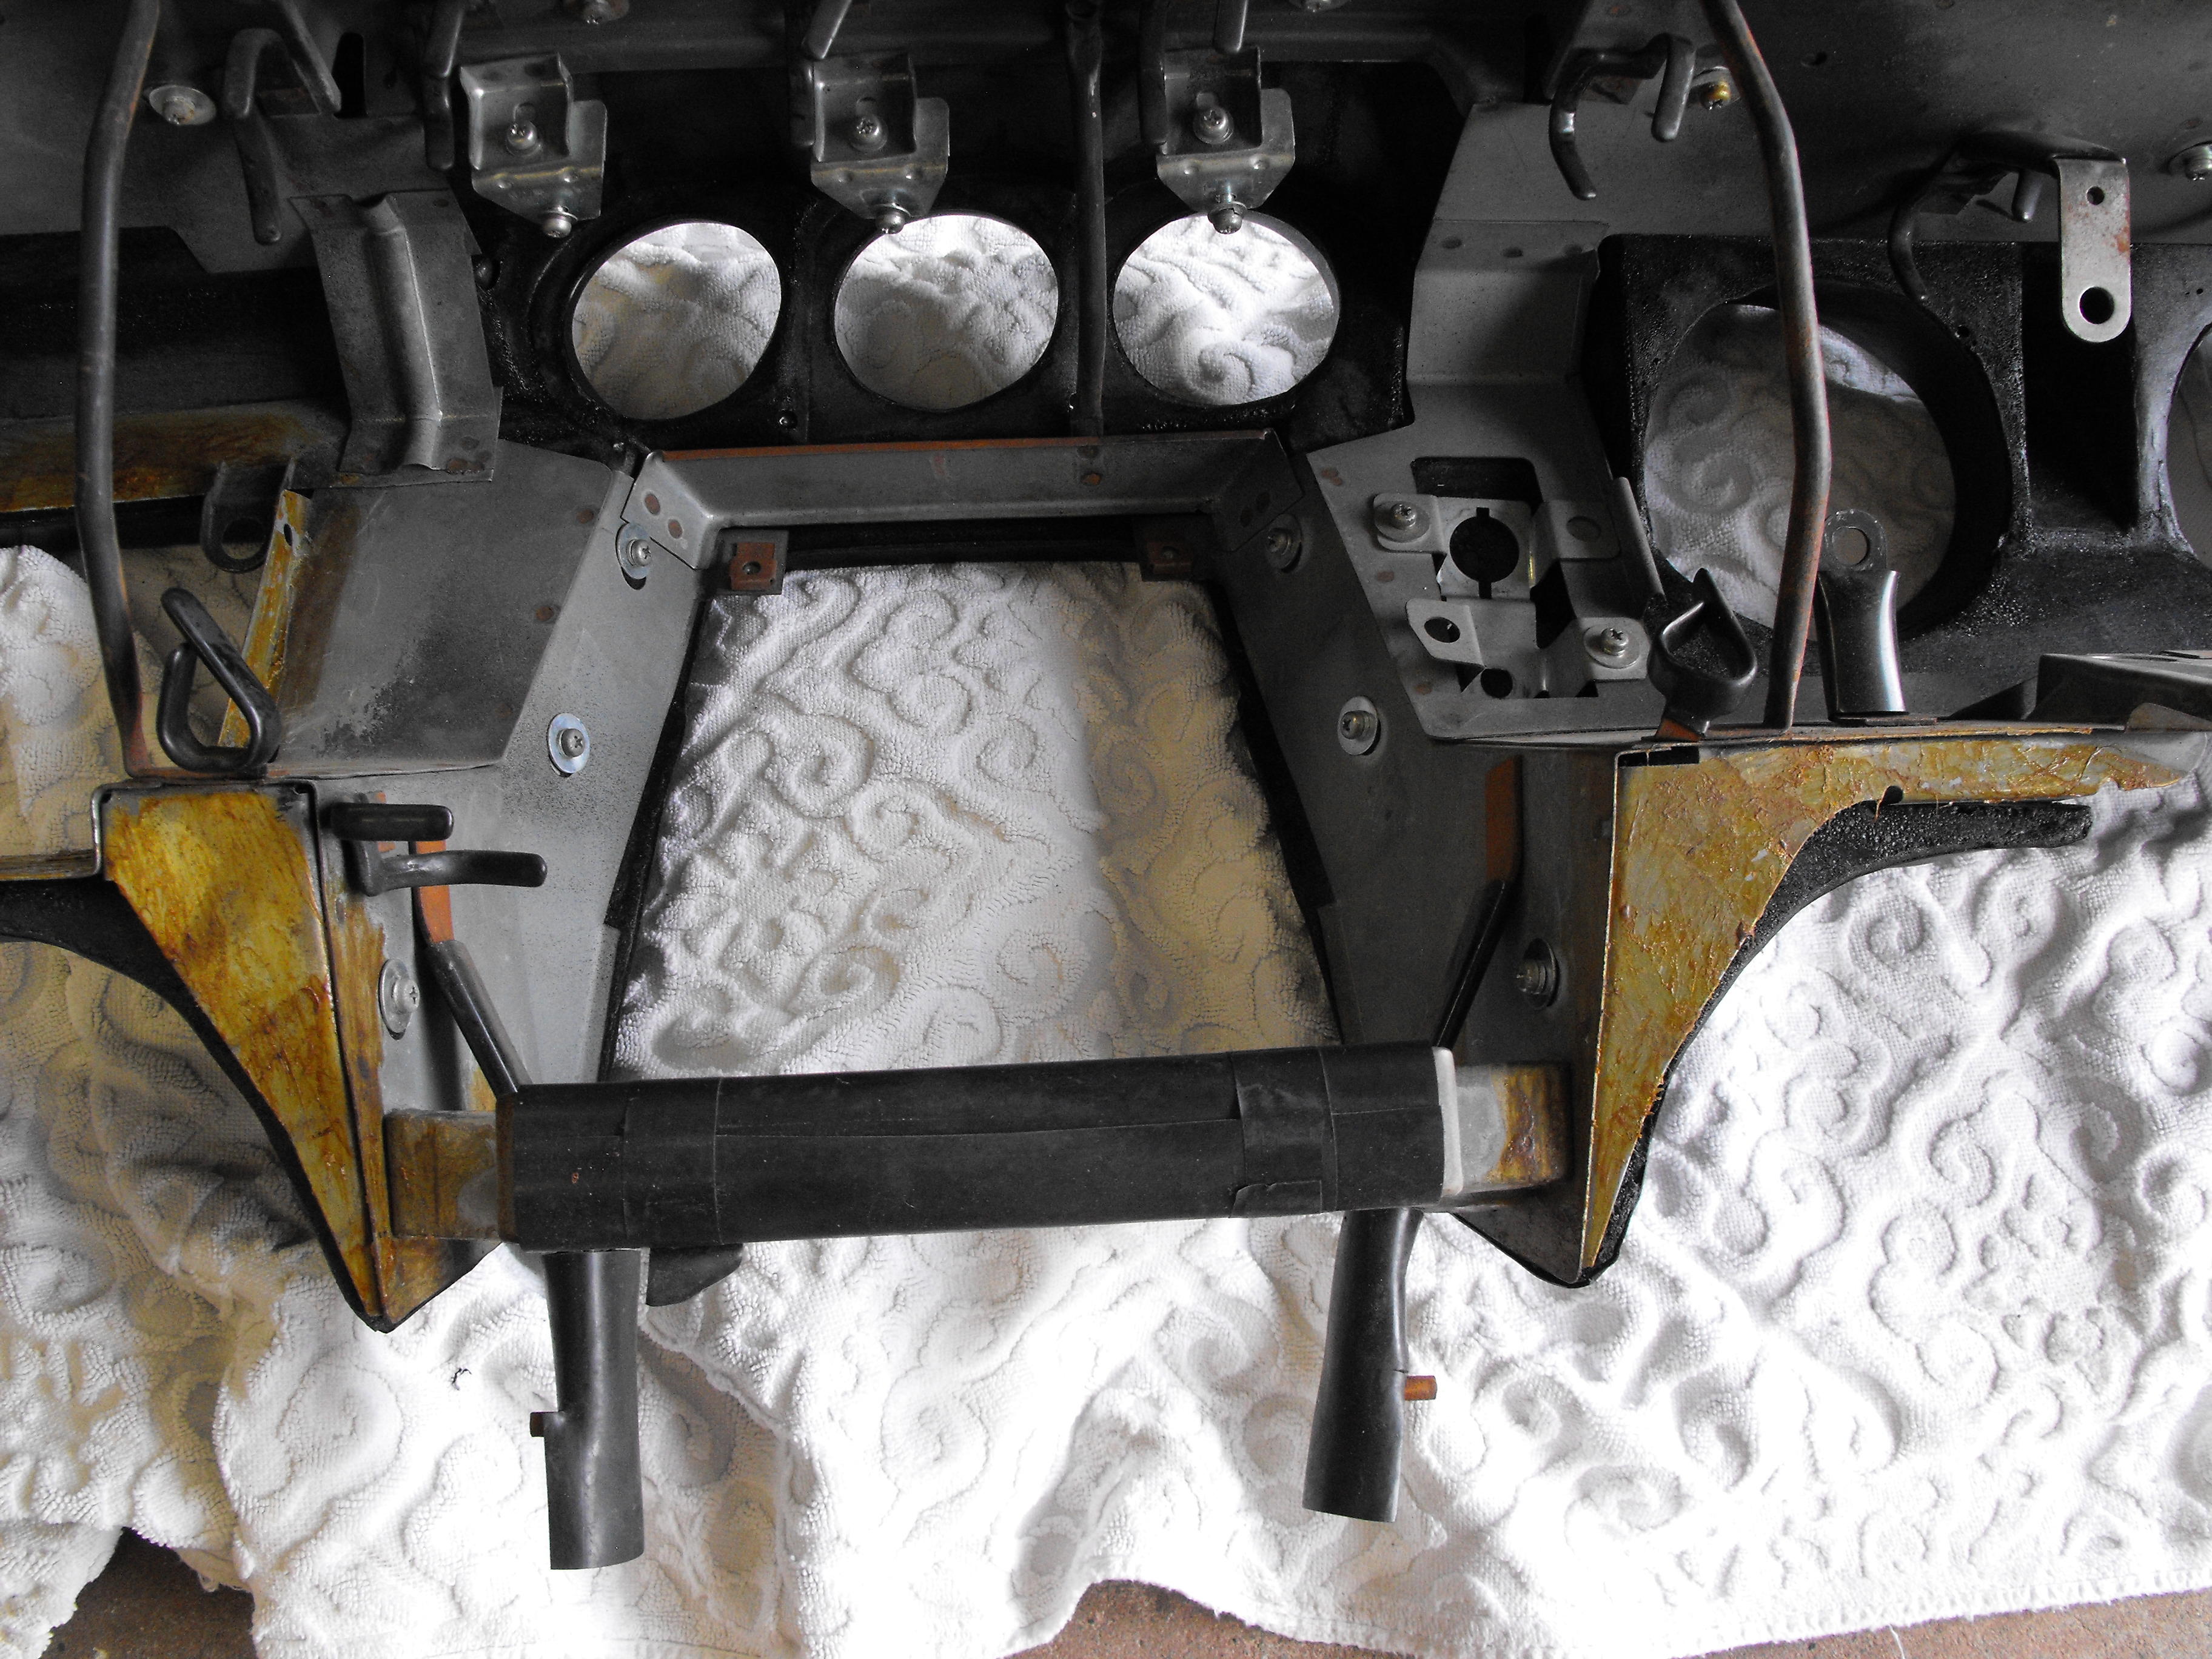
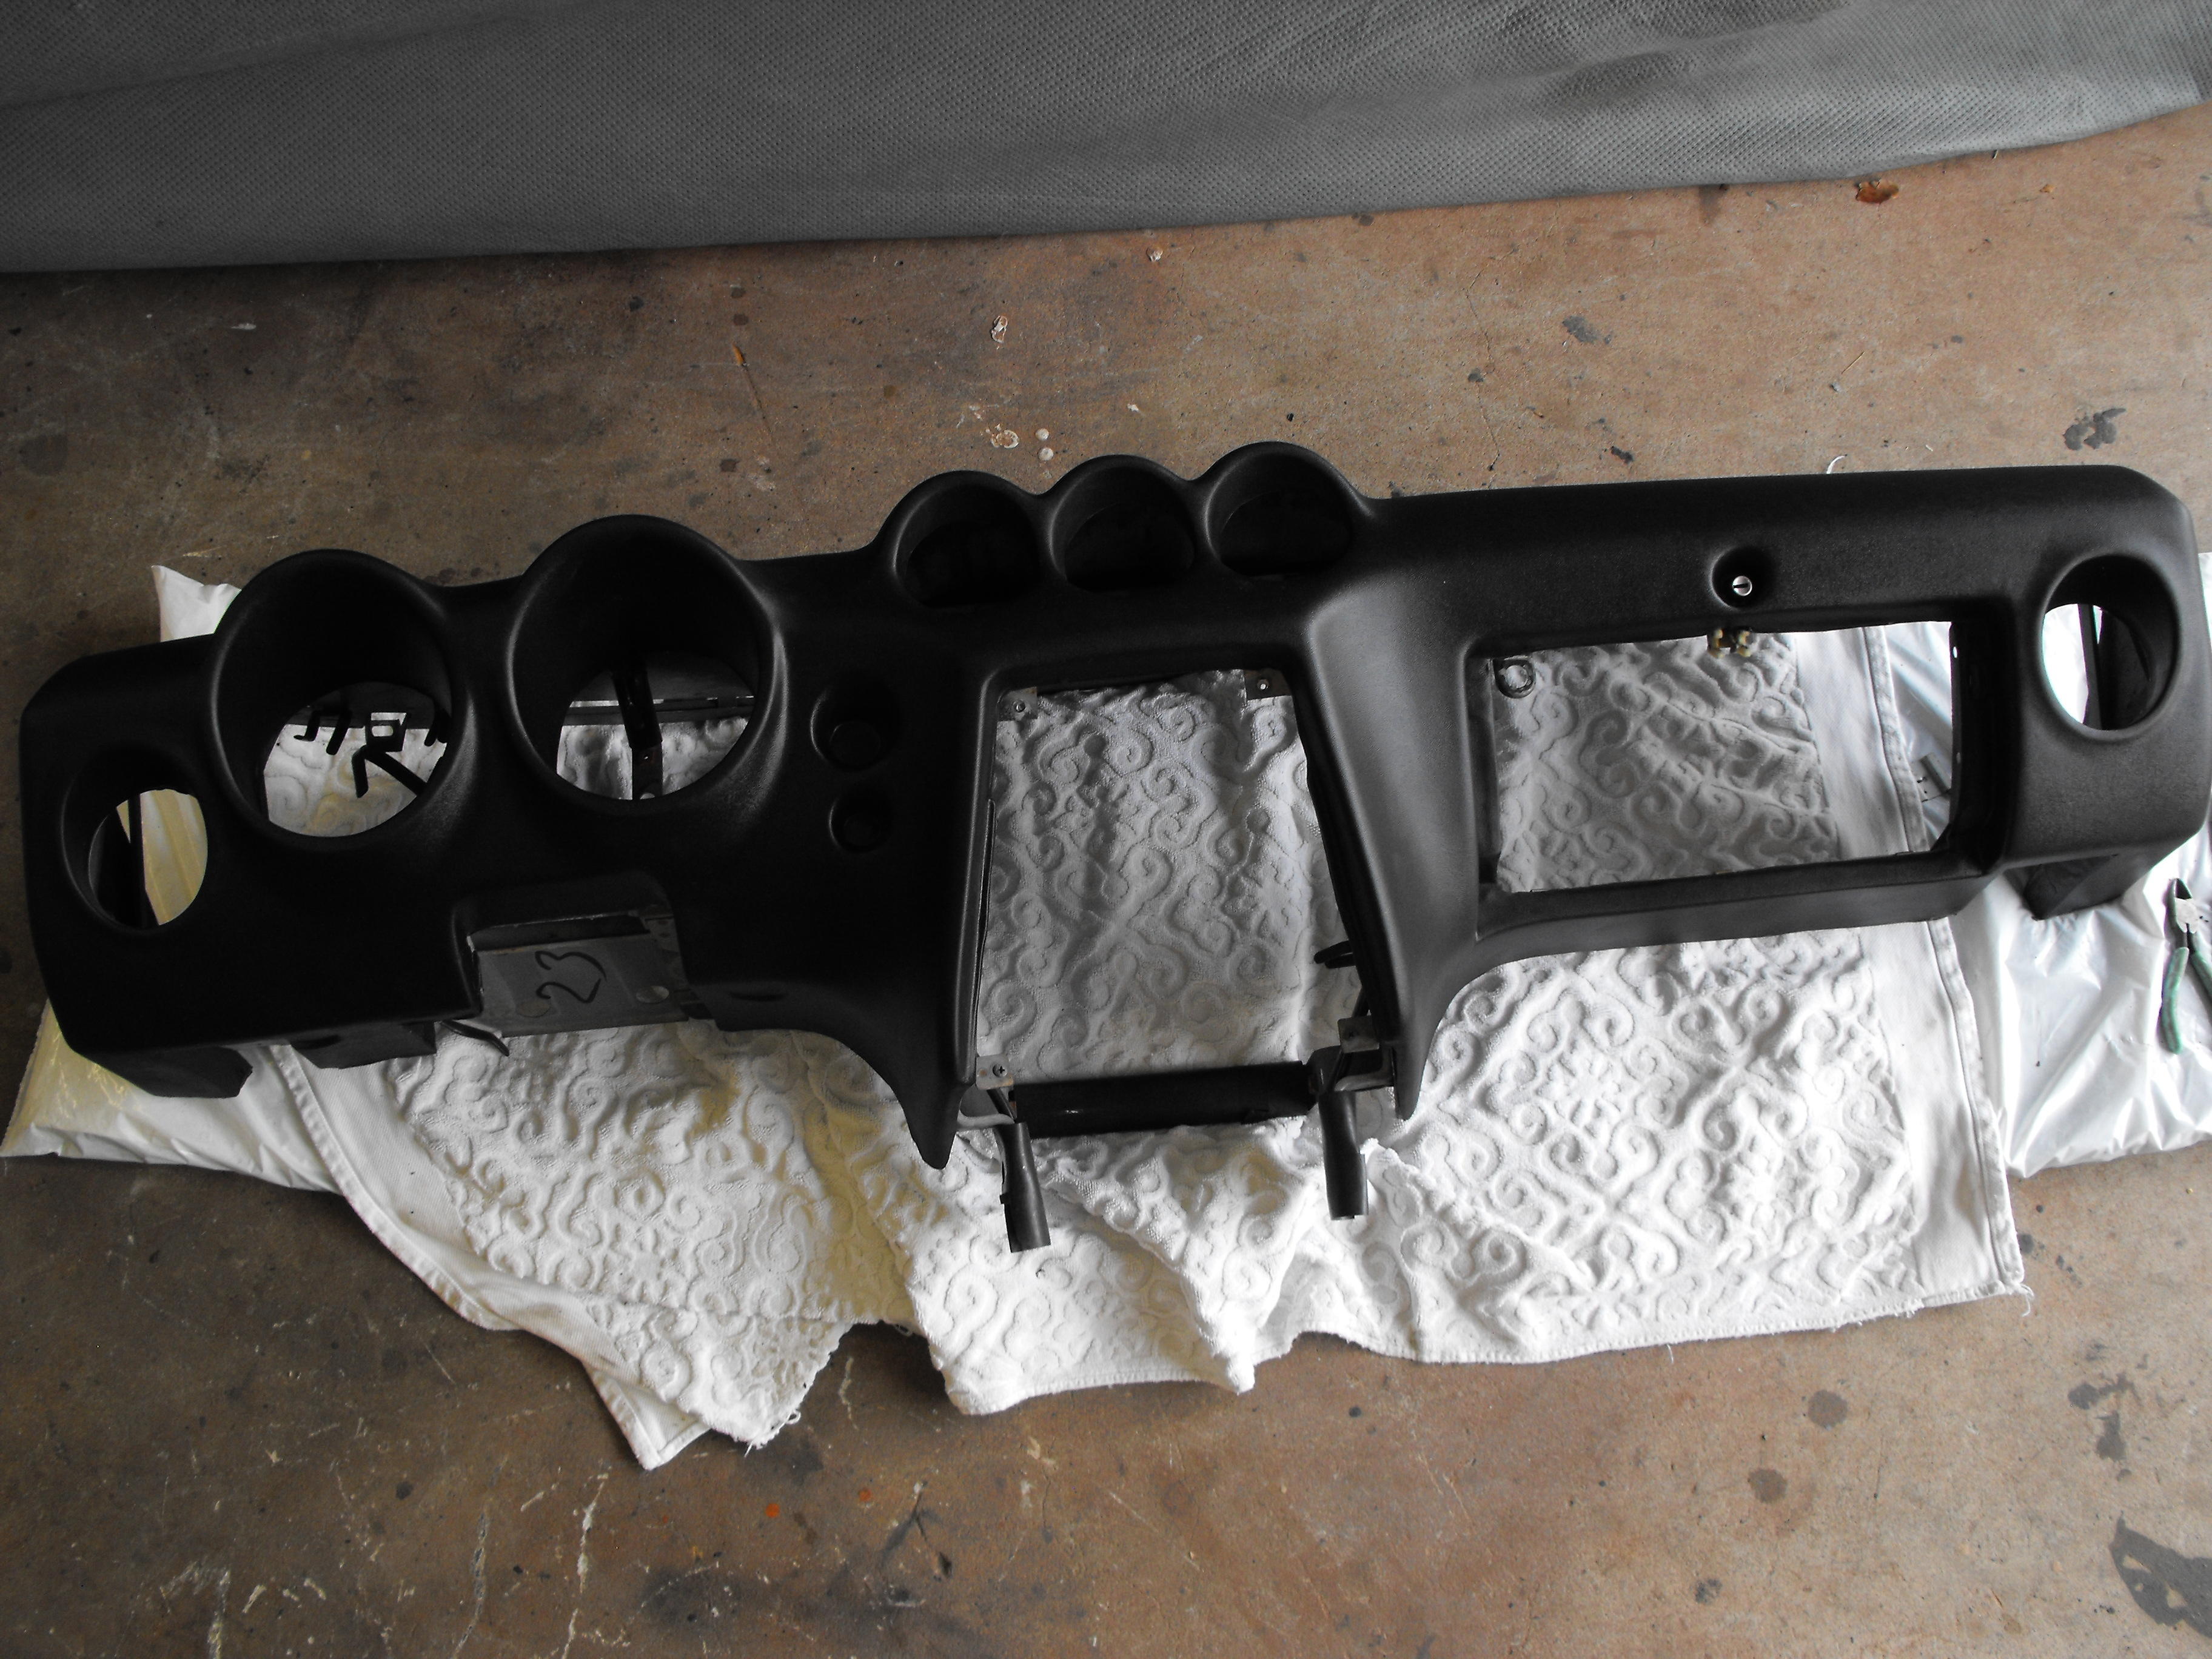
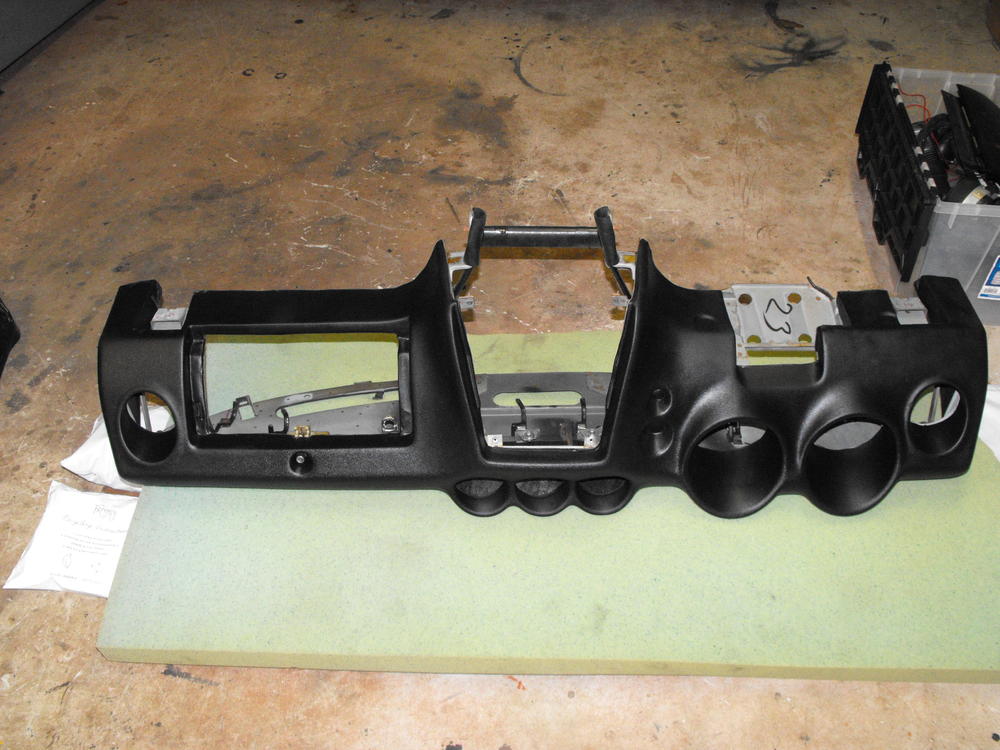
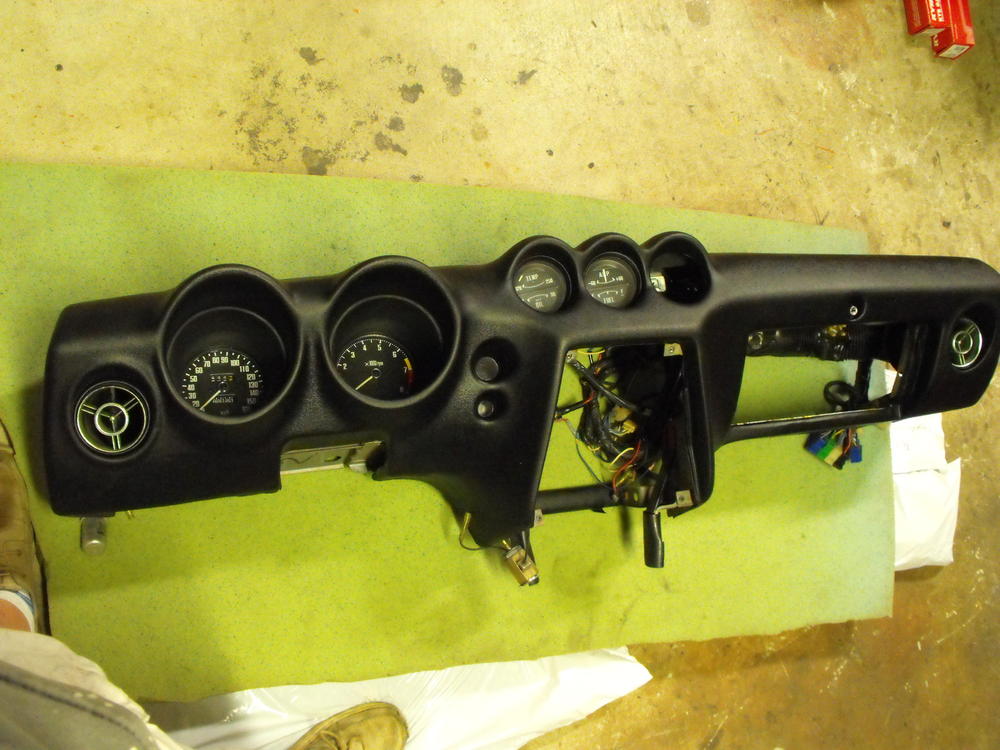
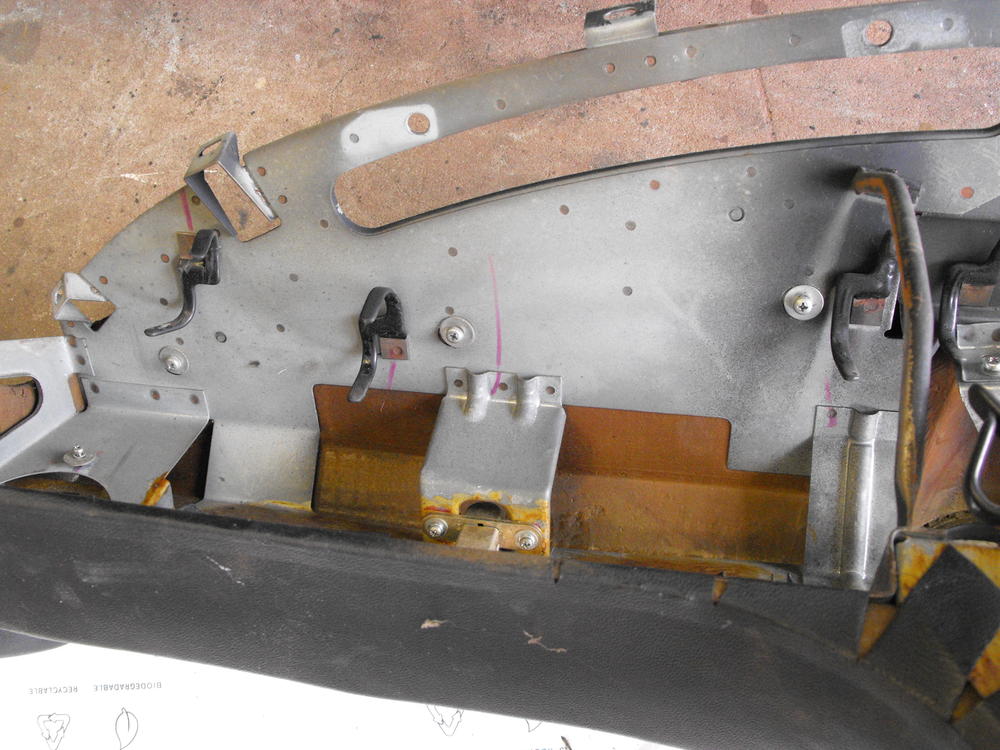
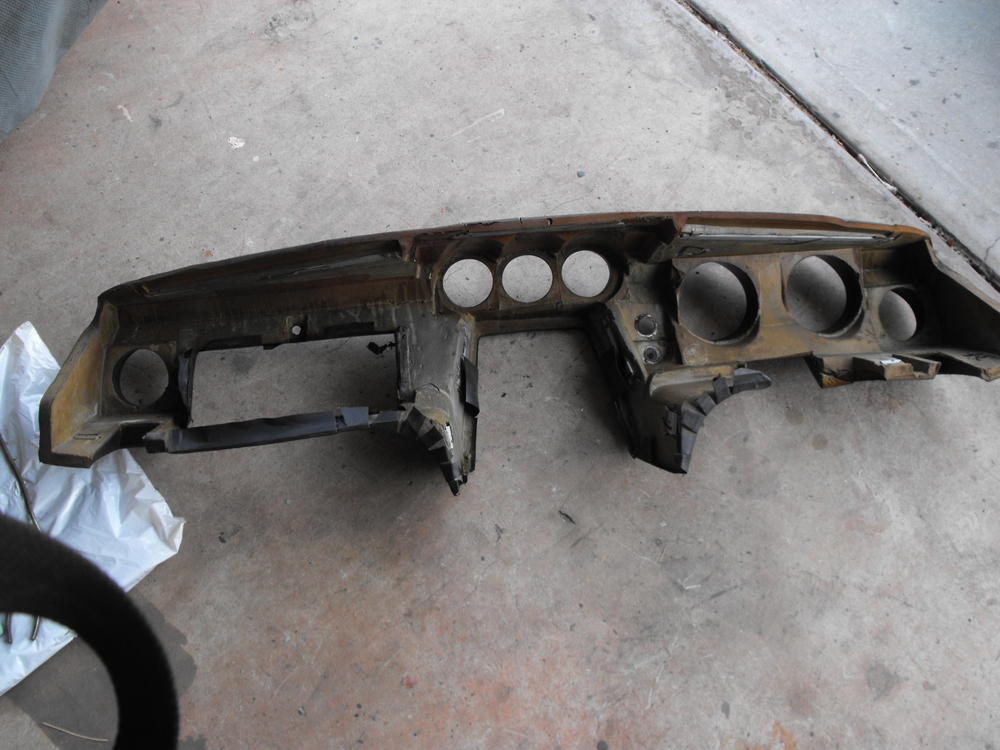
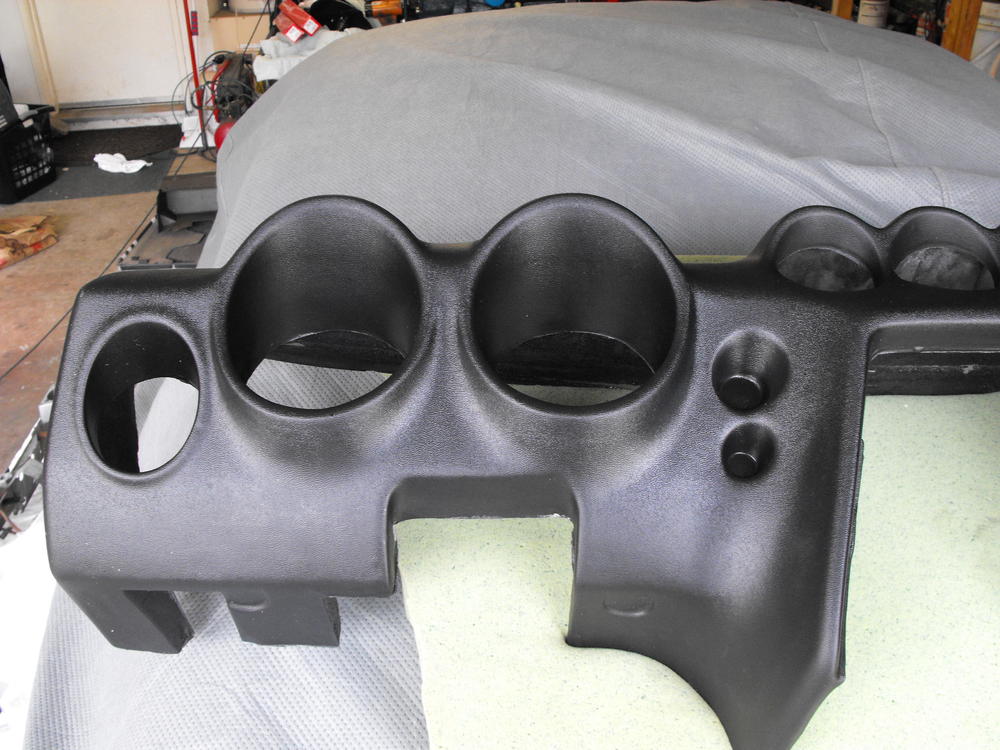
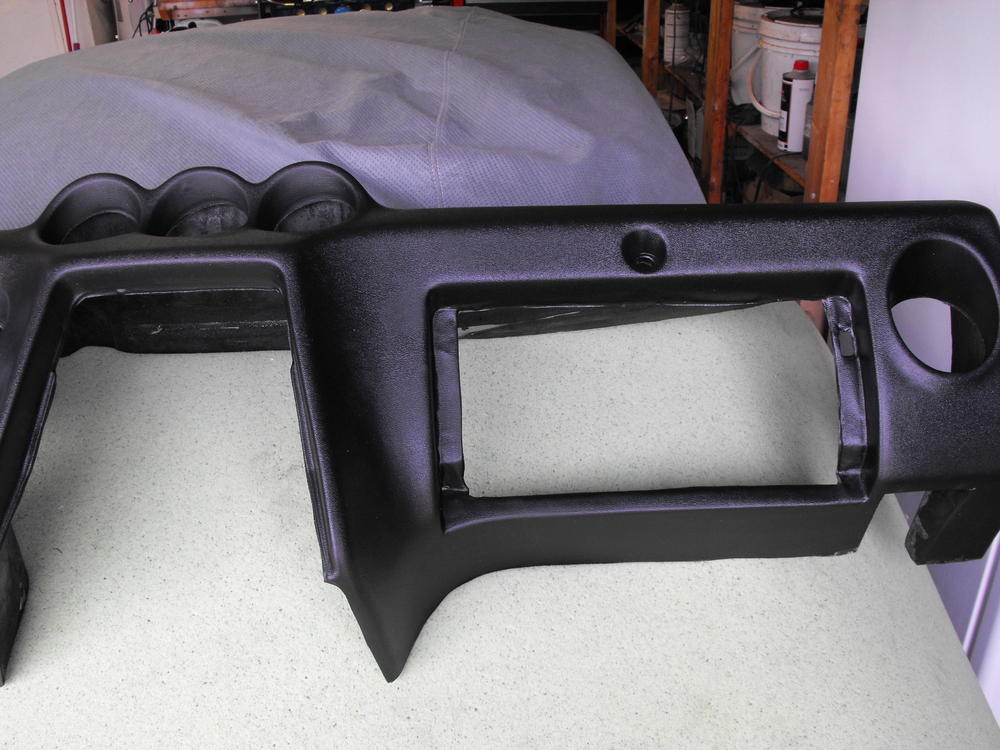
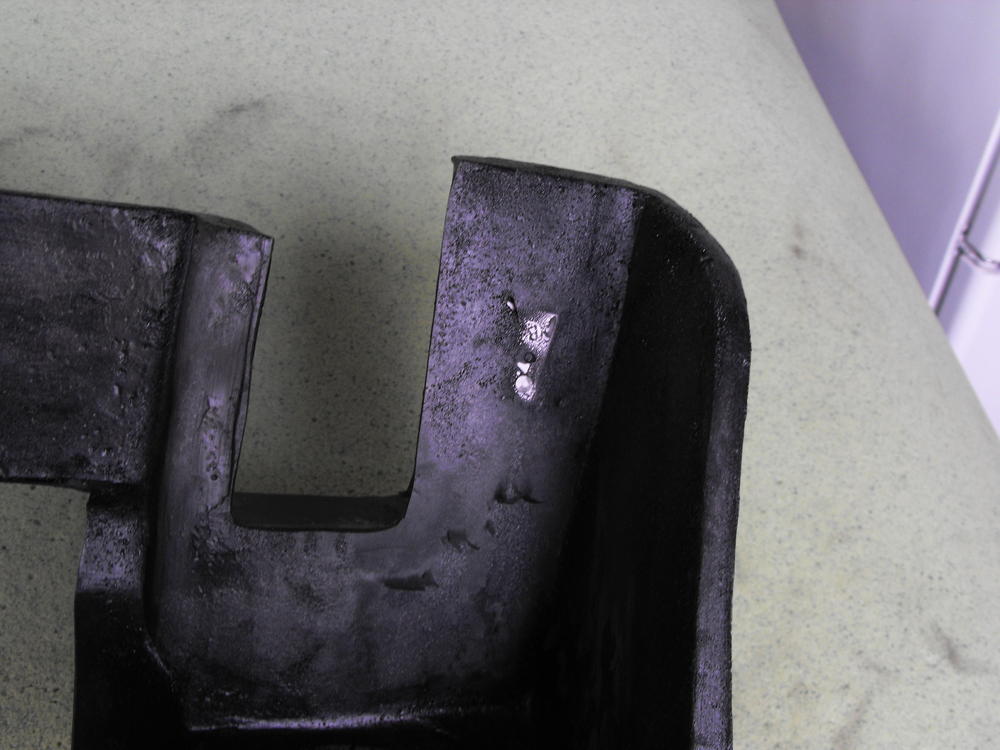
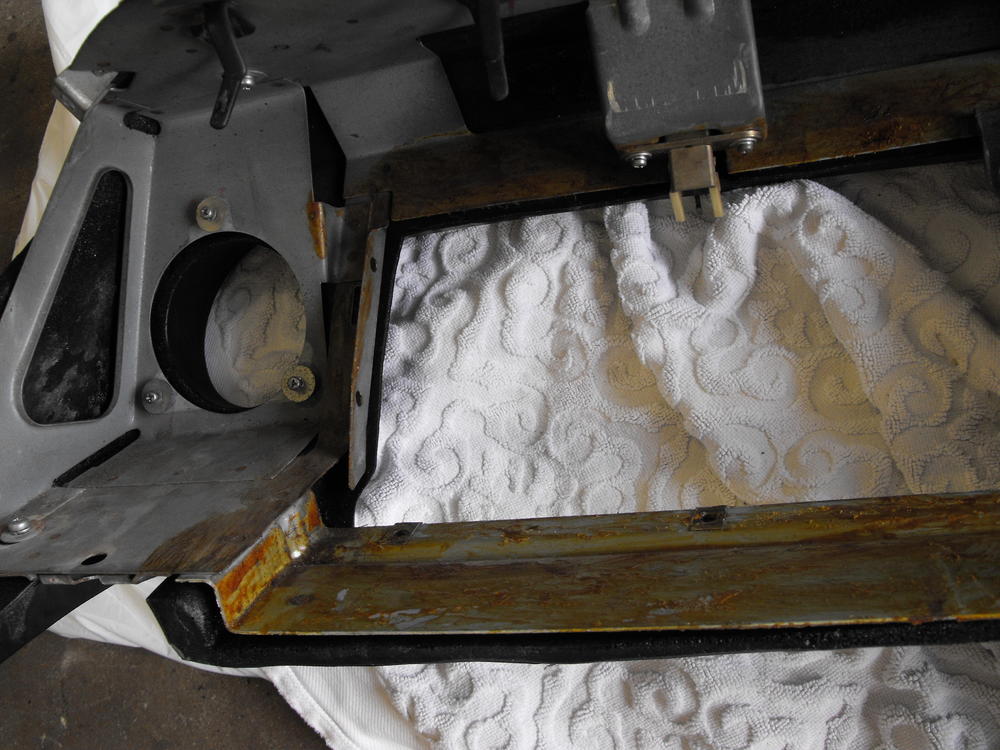
Today I installed the 'Vintage Dash' 240Z dash onto the dash frame. This is a first time install for me and it seemed to go fairly well. Removing all the instruments and wiring, removing the old dash and installing the new dash took less than 3 hours. It is was not too difficult. In regards to the fit, the dash fit very well on the frame. It was a bit snug and required exerting some force to hold the dash to the frame while screwing things together, but that is the way it should be. The holes in the dash lined up well with the frame and I had no issues. I would however, recommend clearing the dash screw holes before putting the dash over the frame. The holes can be a bit hard to locate if you try to find them when you have the dash over the frame. I was very tempted to use some spray adhesive, but there was not any on the original (except near the glove box) so I went without glue. The look and fit are very good. I like the shape of the dash over the water, oil and clock instruments and the texture is reasonable. It still does not match the original, but does look very good. The only negative comment I have about the dash is that they should have left flaps around the glove box and the heater cutout similar to the original. Neither of these areas is visible until you open the glove box, then you will see that the dash flaps do not go over the glove box stiffening rails. What I will probably do here is spray the flanges black and put some black silicon in the gap between the dash and the flange. That way the missing flaps will not be so obvious. Otherwise, the dash looks great. I will post about the instrument fit when I get to that step. The cost here is about half the cost of 'Just Dashes' and the appearance is great. I would also say that it is easier to install the 'Vintage Dashes' dash than it is to package up your dash and ship it to 'Just Dashes'. Pics are below. Also, I am guessing that @jayhawkhad some work done on his Tachometer or someone in Japan is Psychic


-
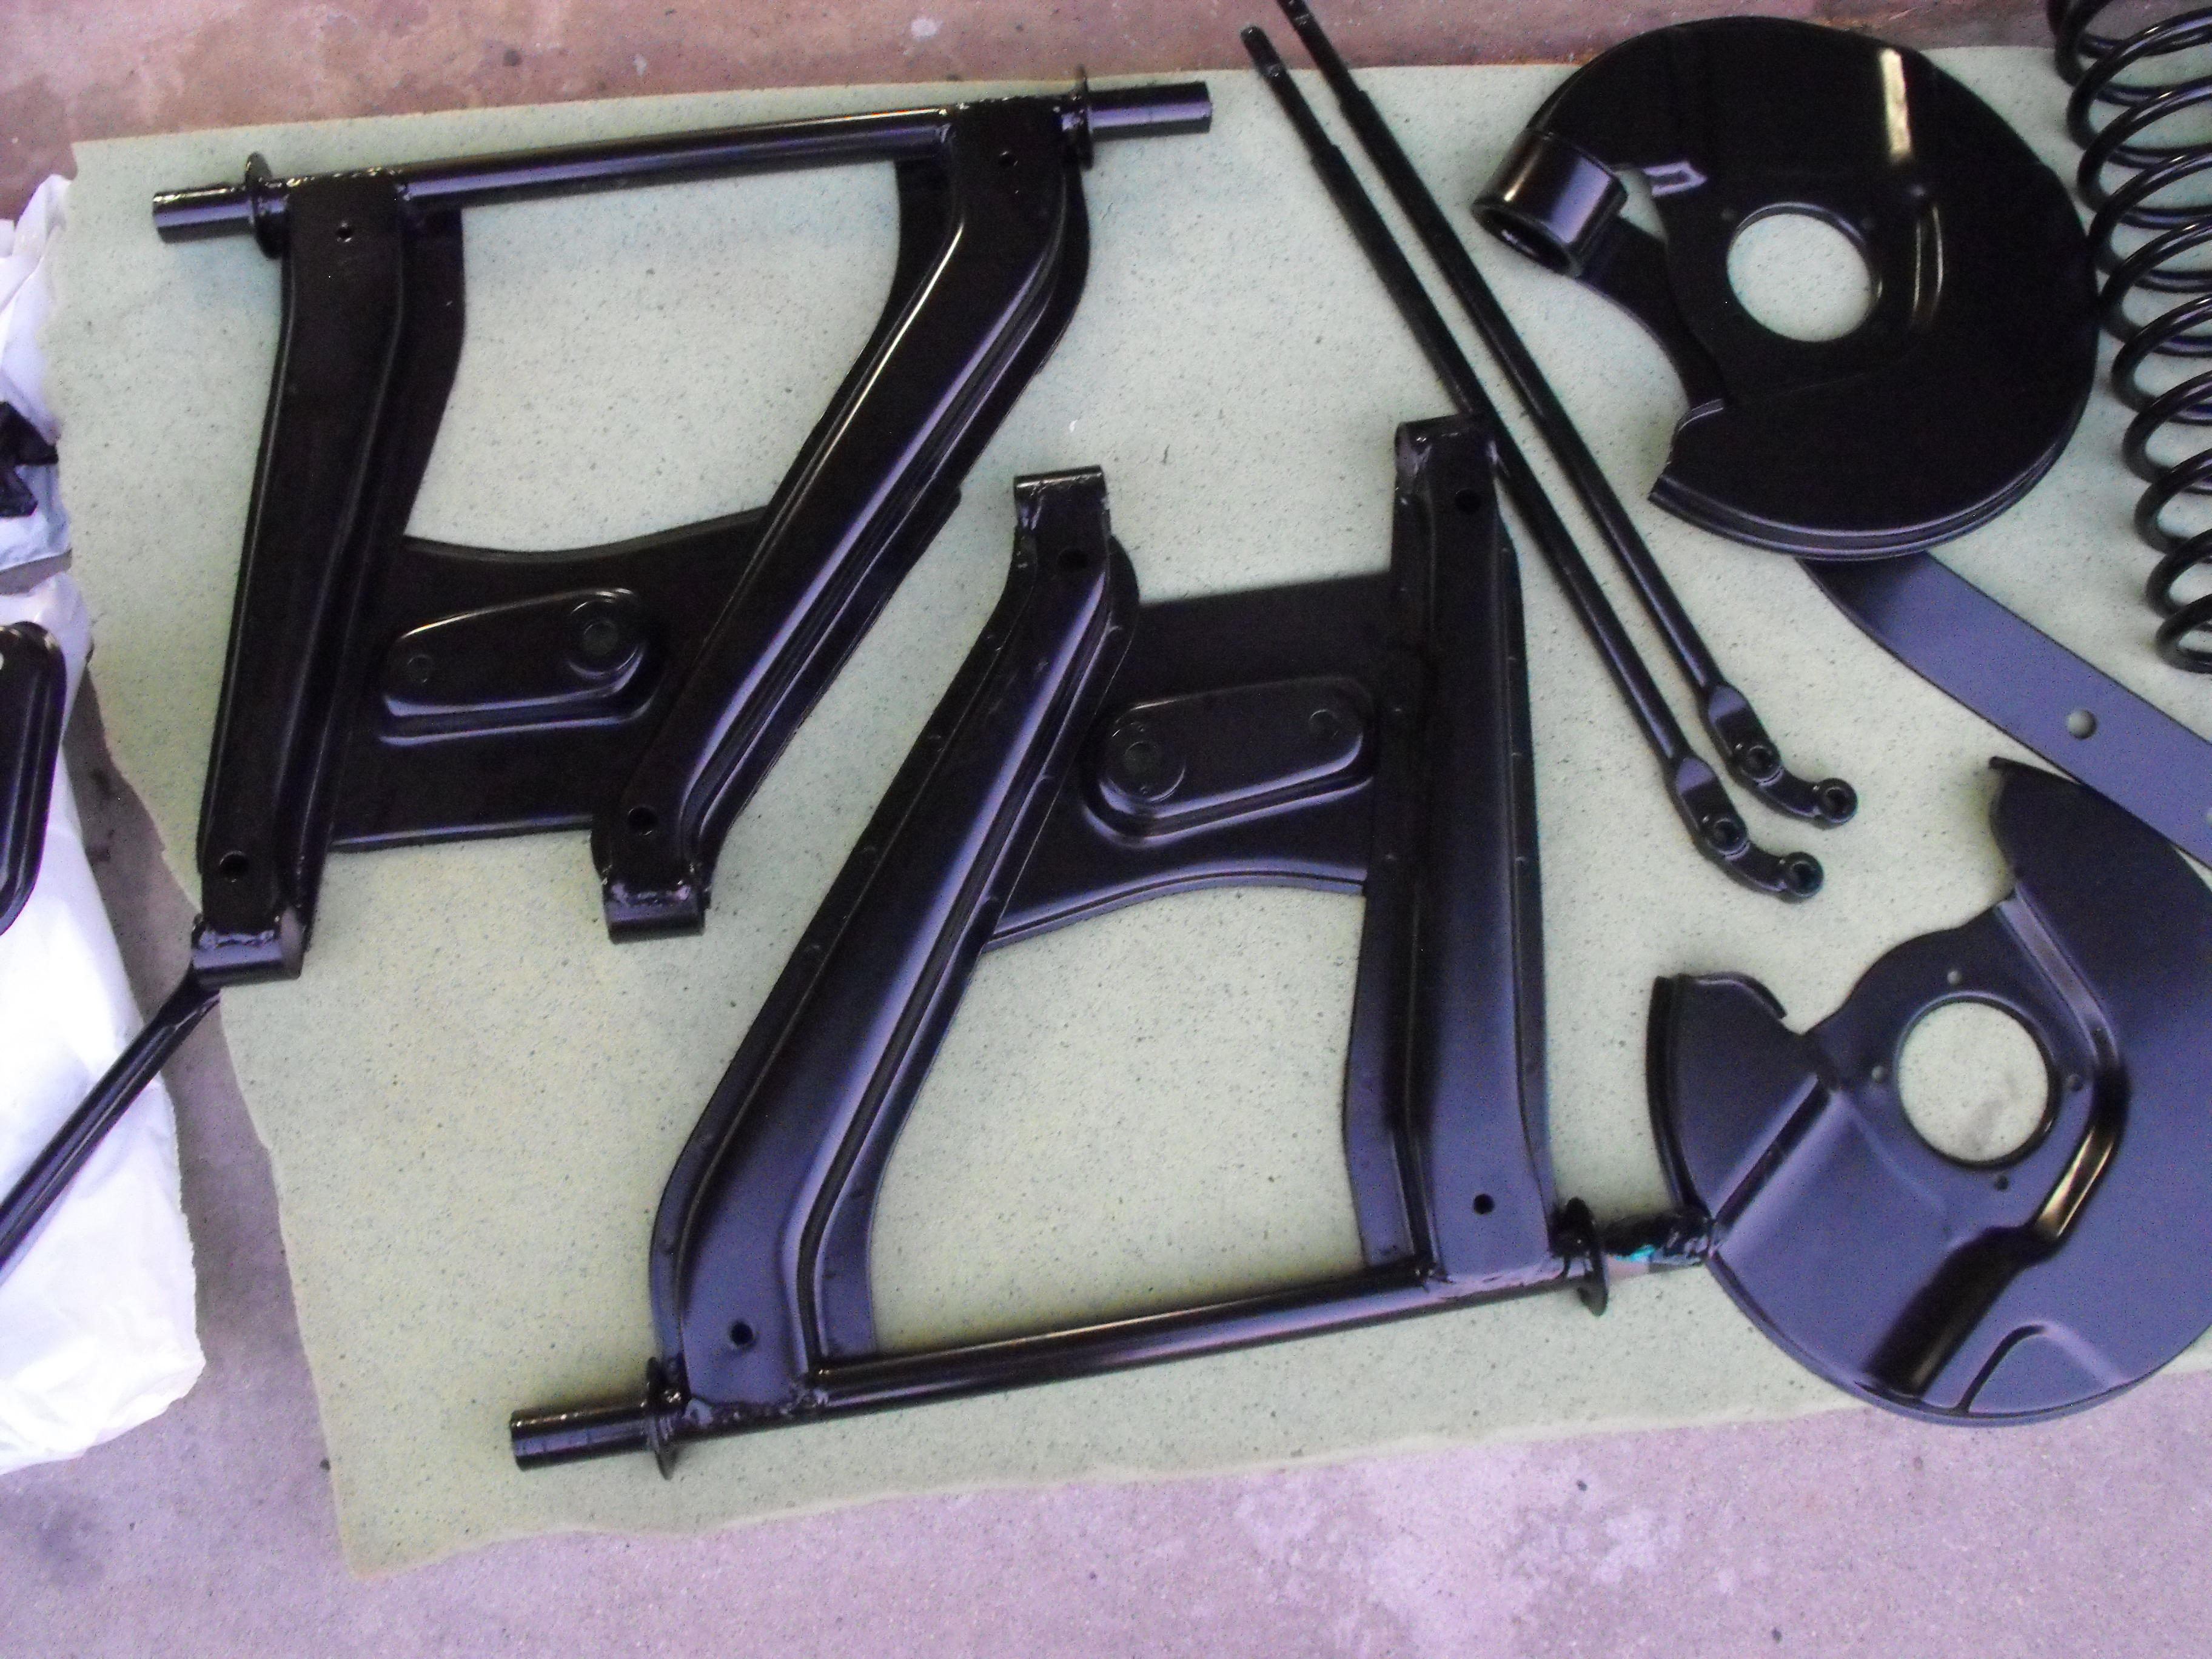
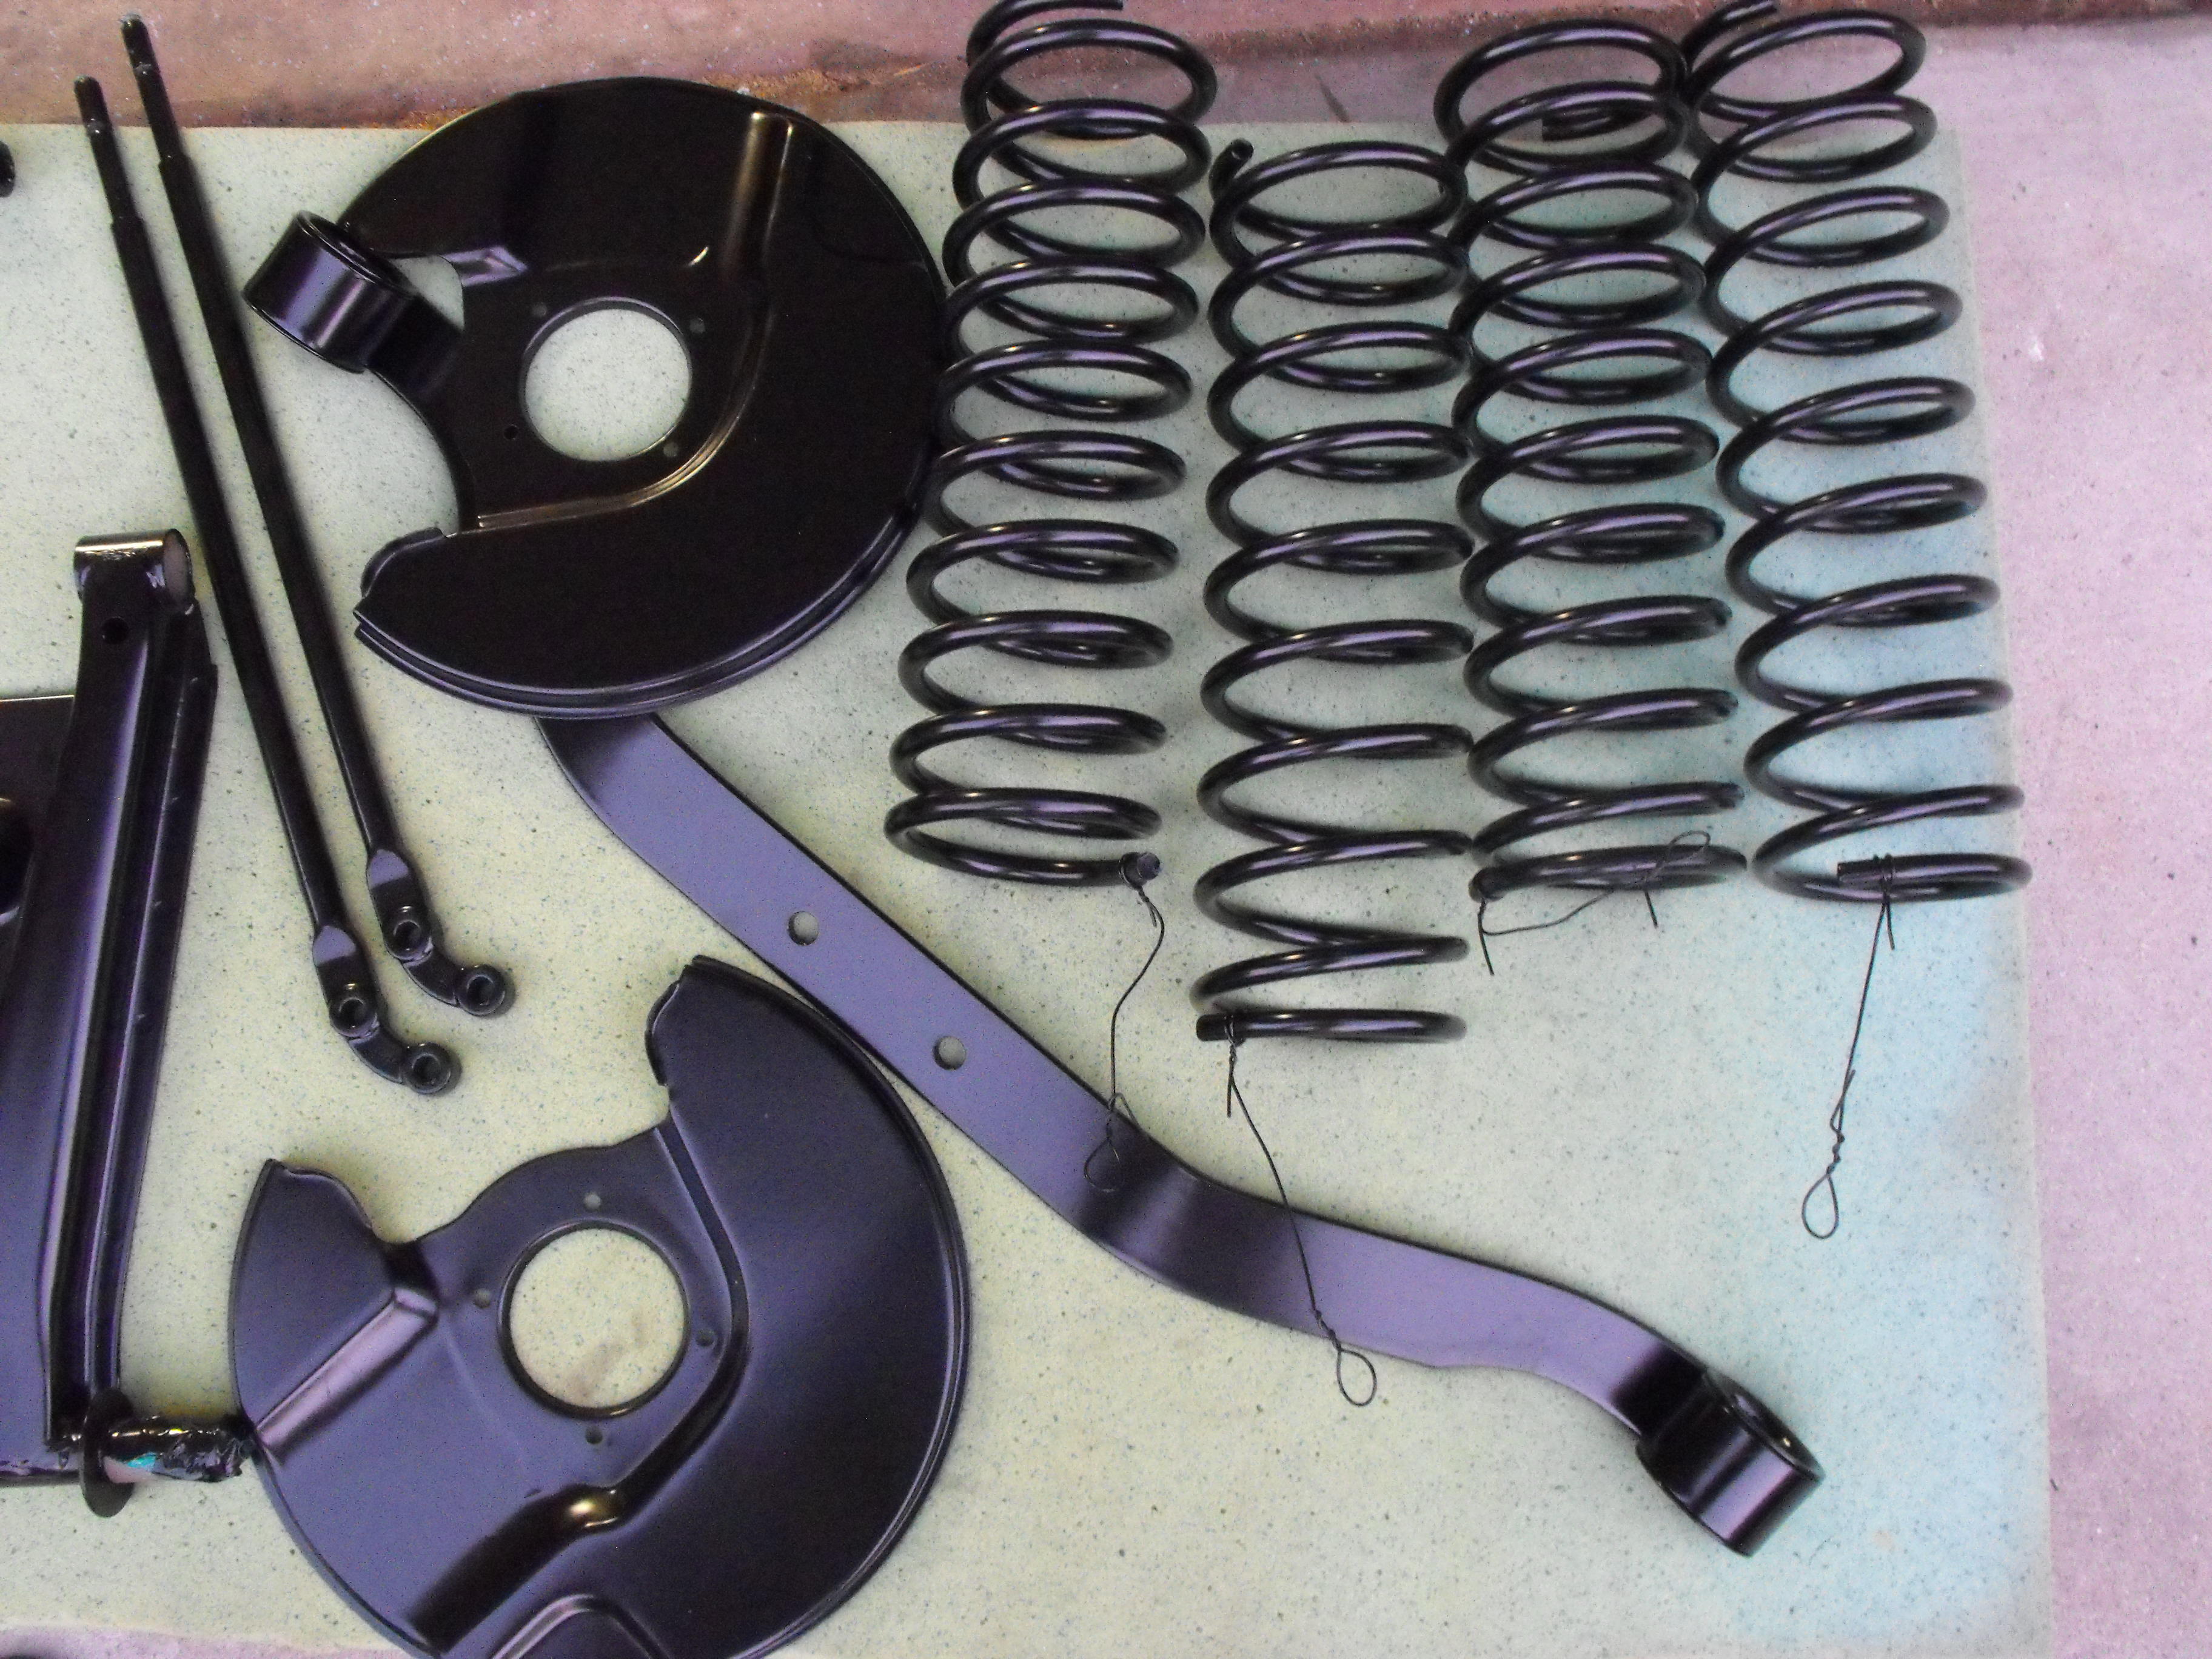
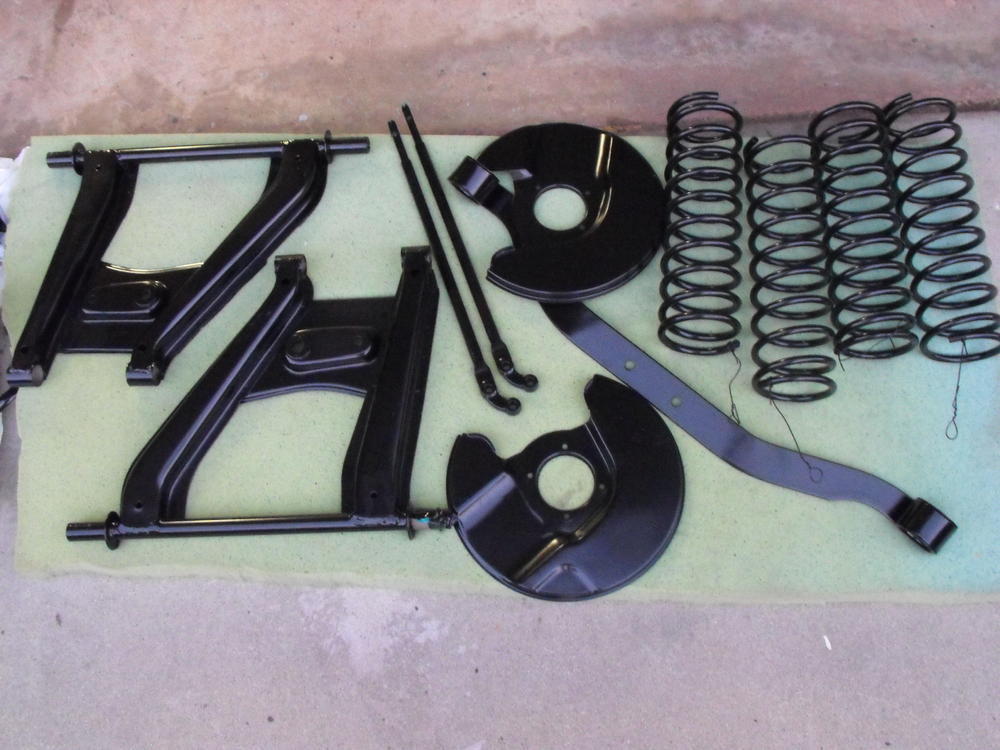
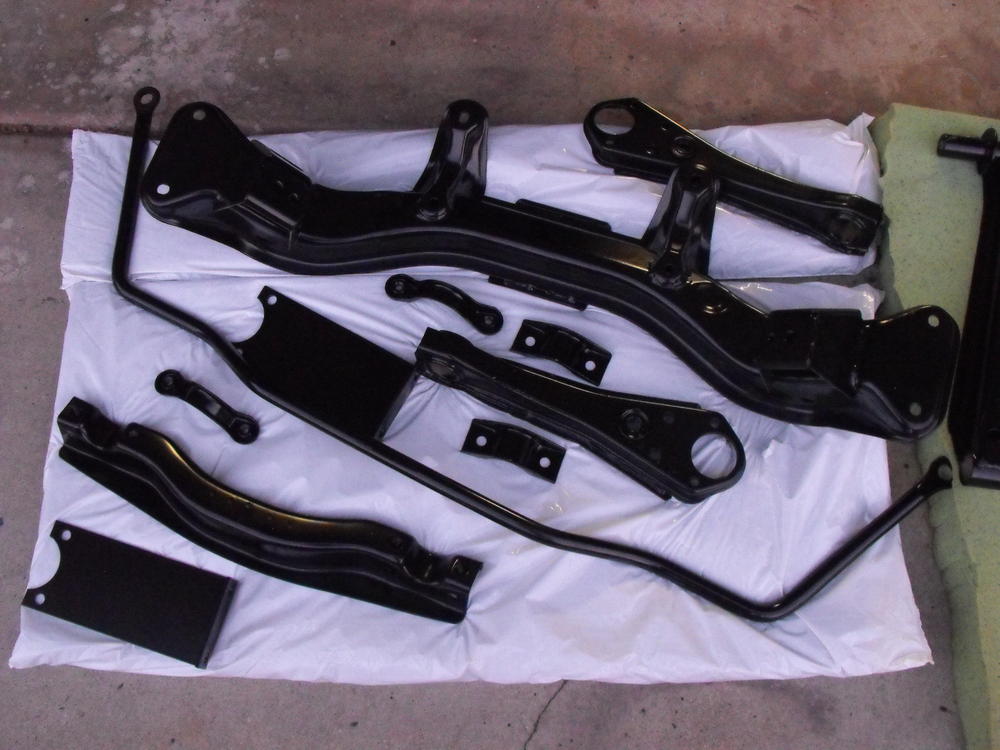
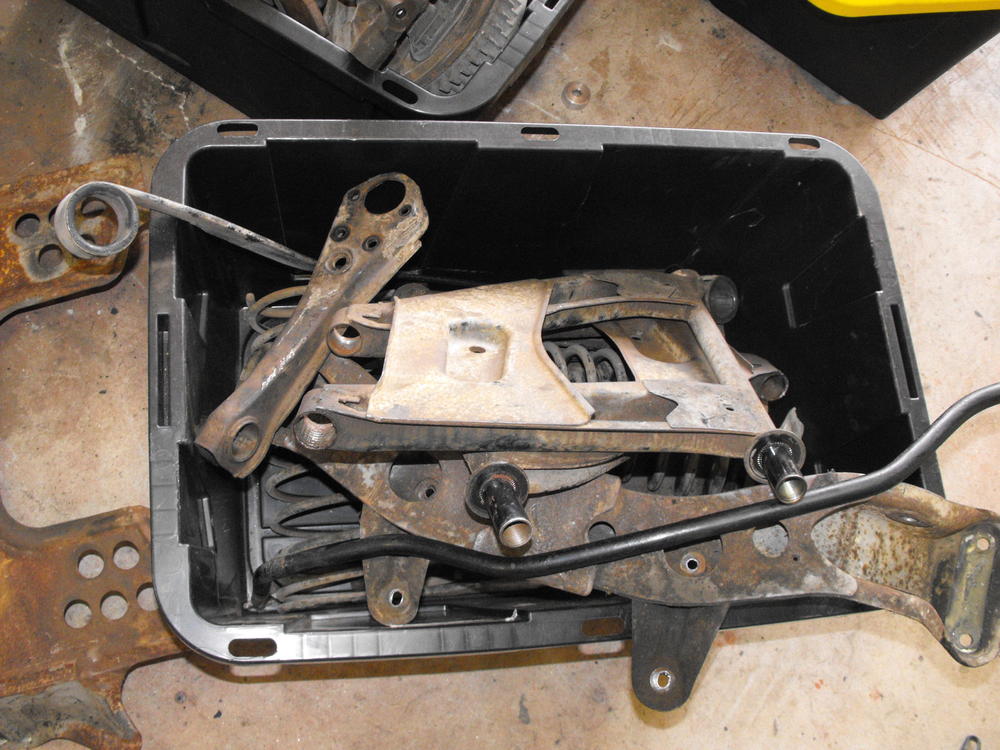
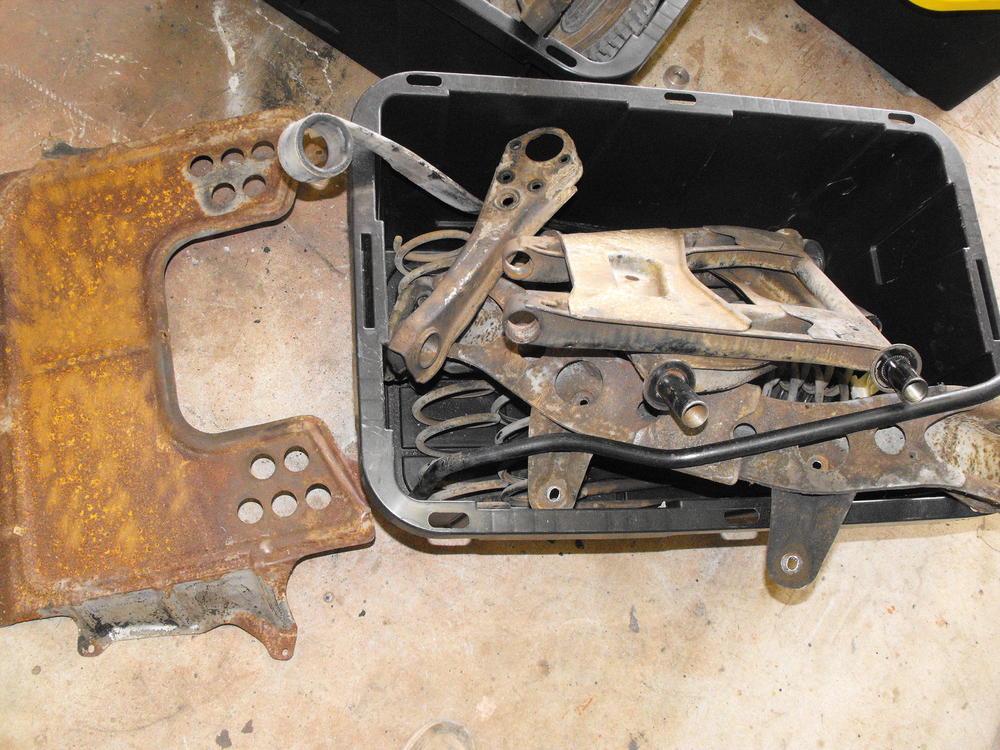
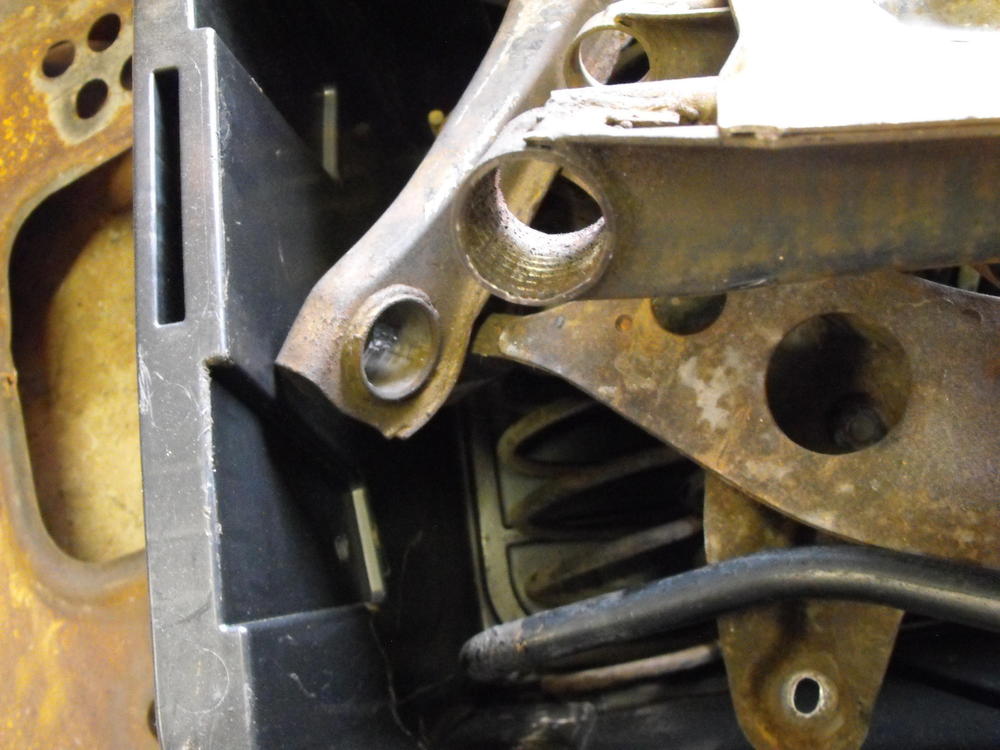
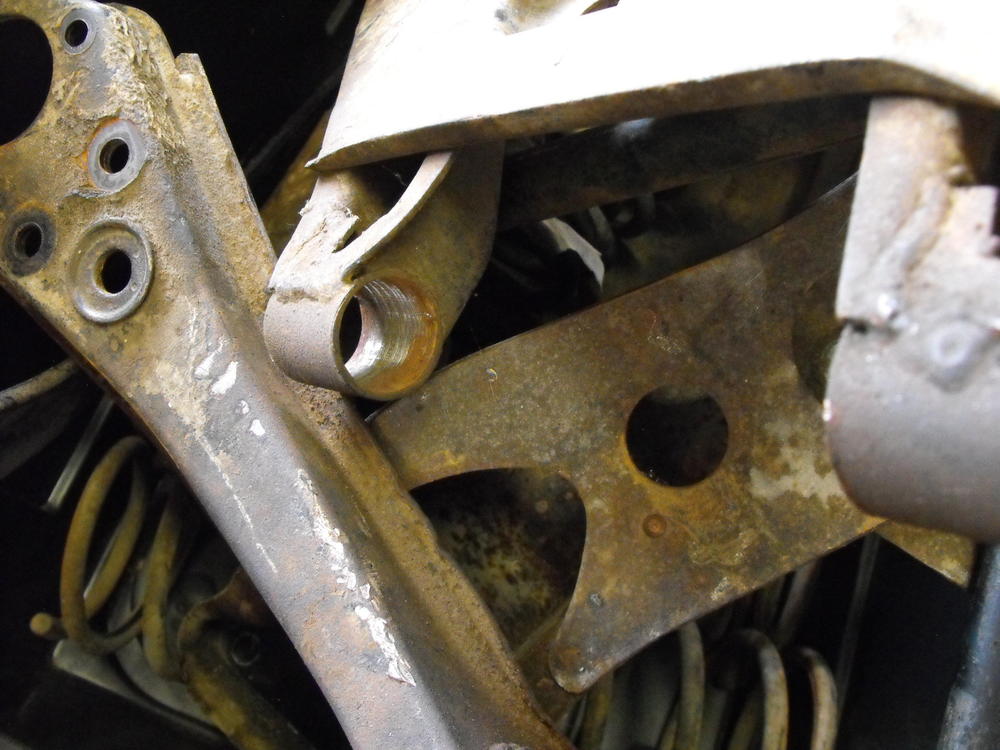
More suspension pics


-
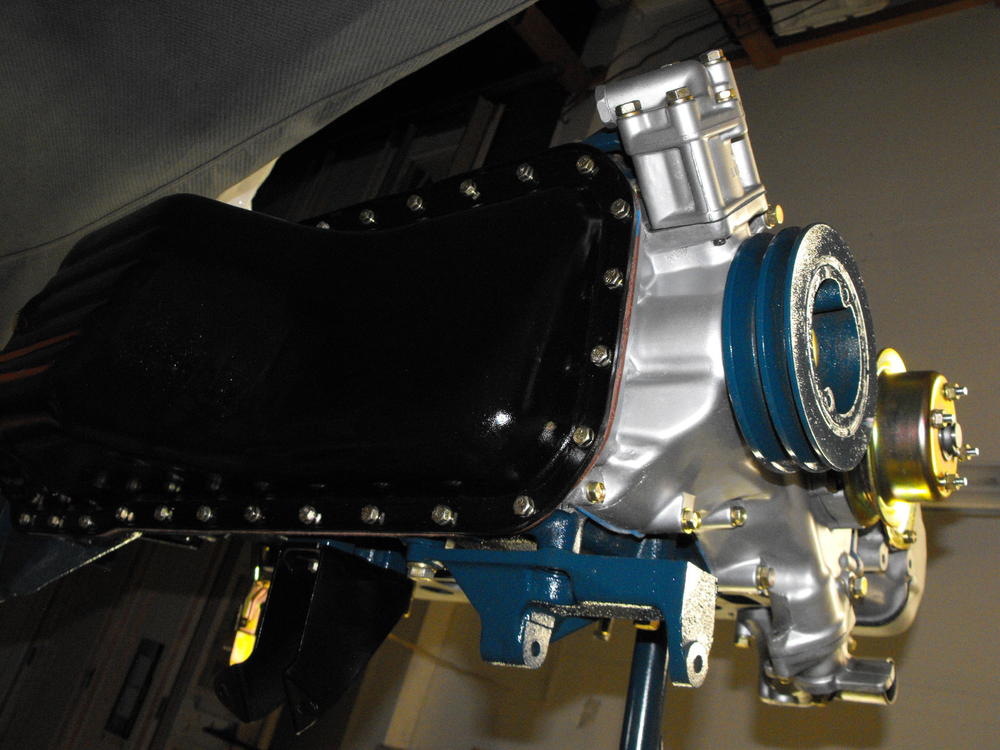
I adjusted the valves on the motor and added a few more of the plated parts. Started working on the suspension assembly. I should have all of the suspension pre-assembled before the body gets back from the paint shop. Ordered some new ball joints today along with the shock/strut bellows, rack and pinion bellows and tie rod ends.


-
I will be there with my wife (Yvonne) for the first couple days. After that we are playing tourist in Savannah, SC and NC. Flying in on the 16th
-
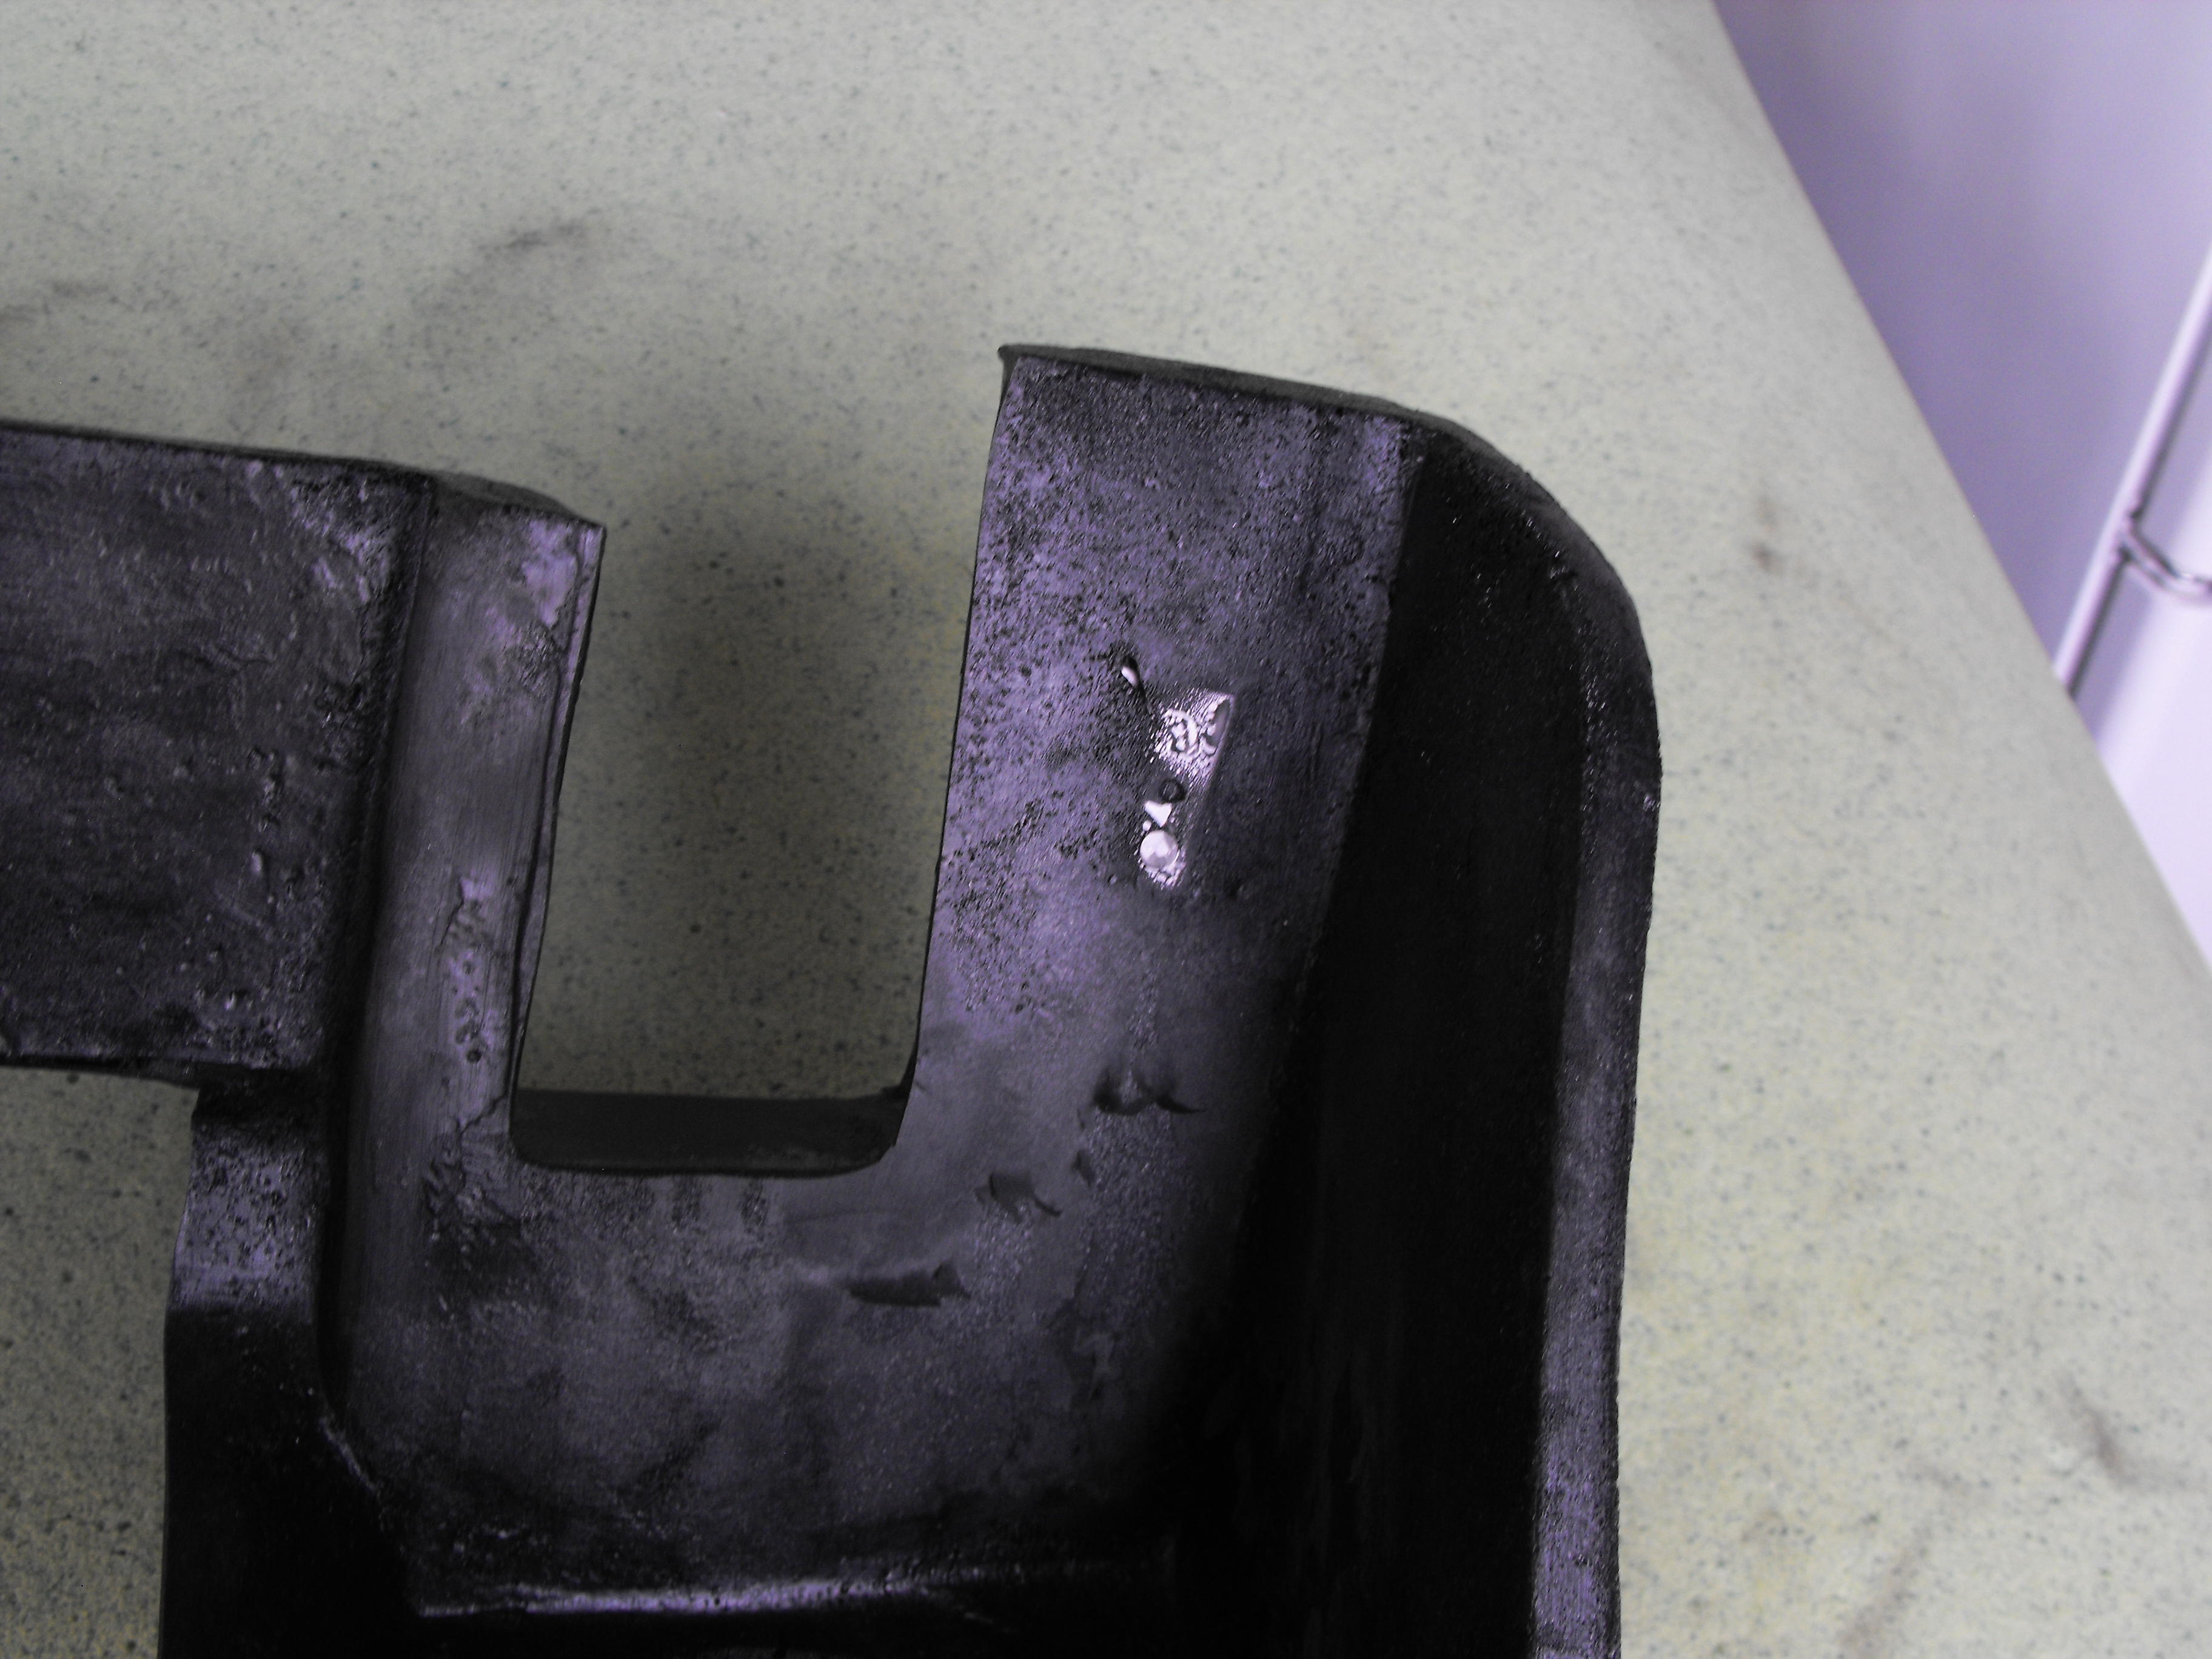
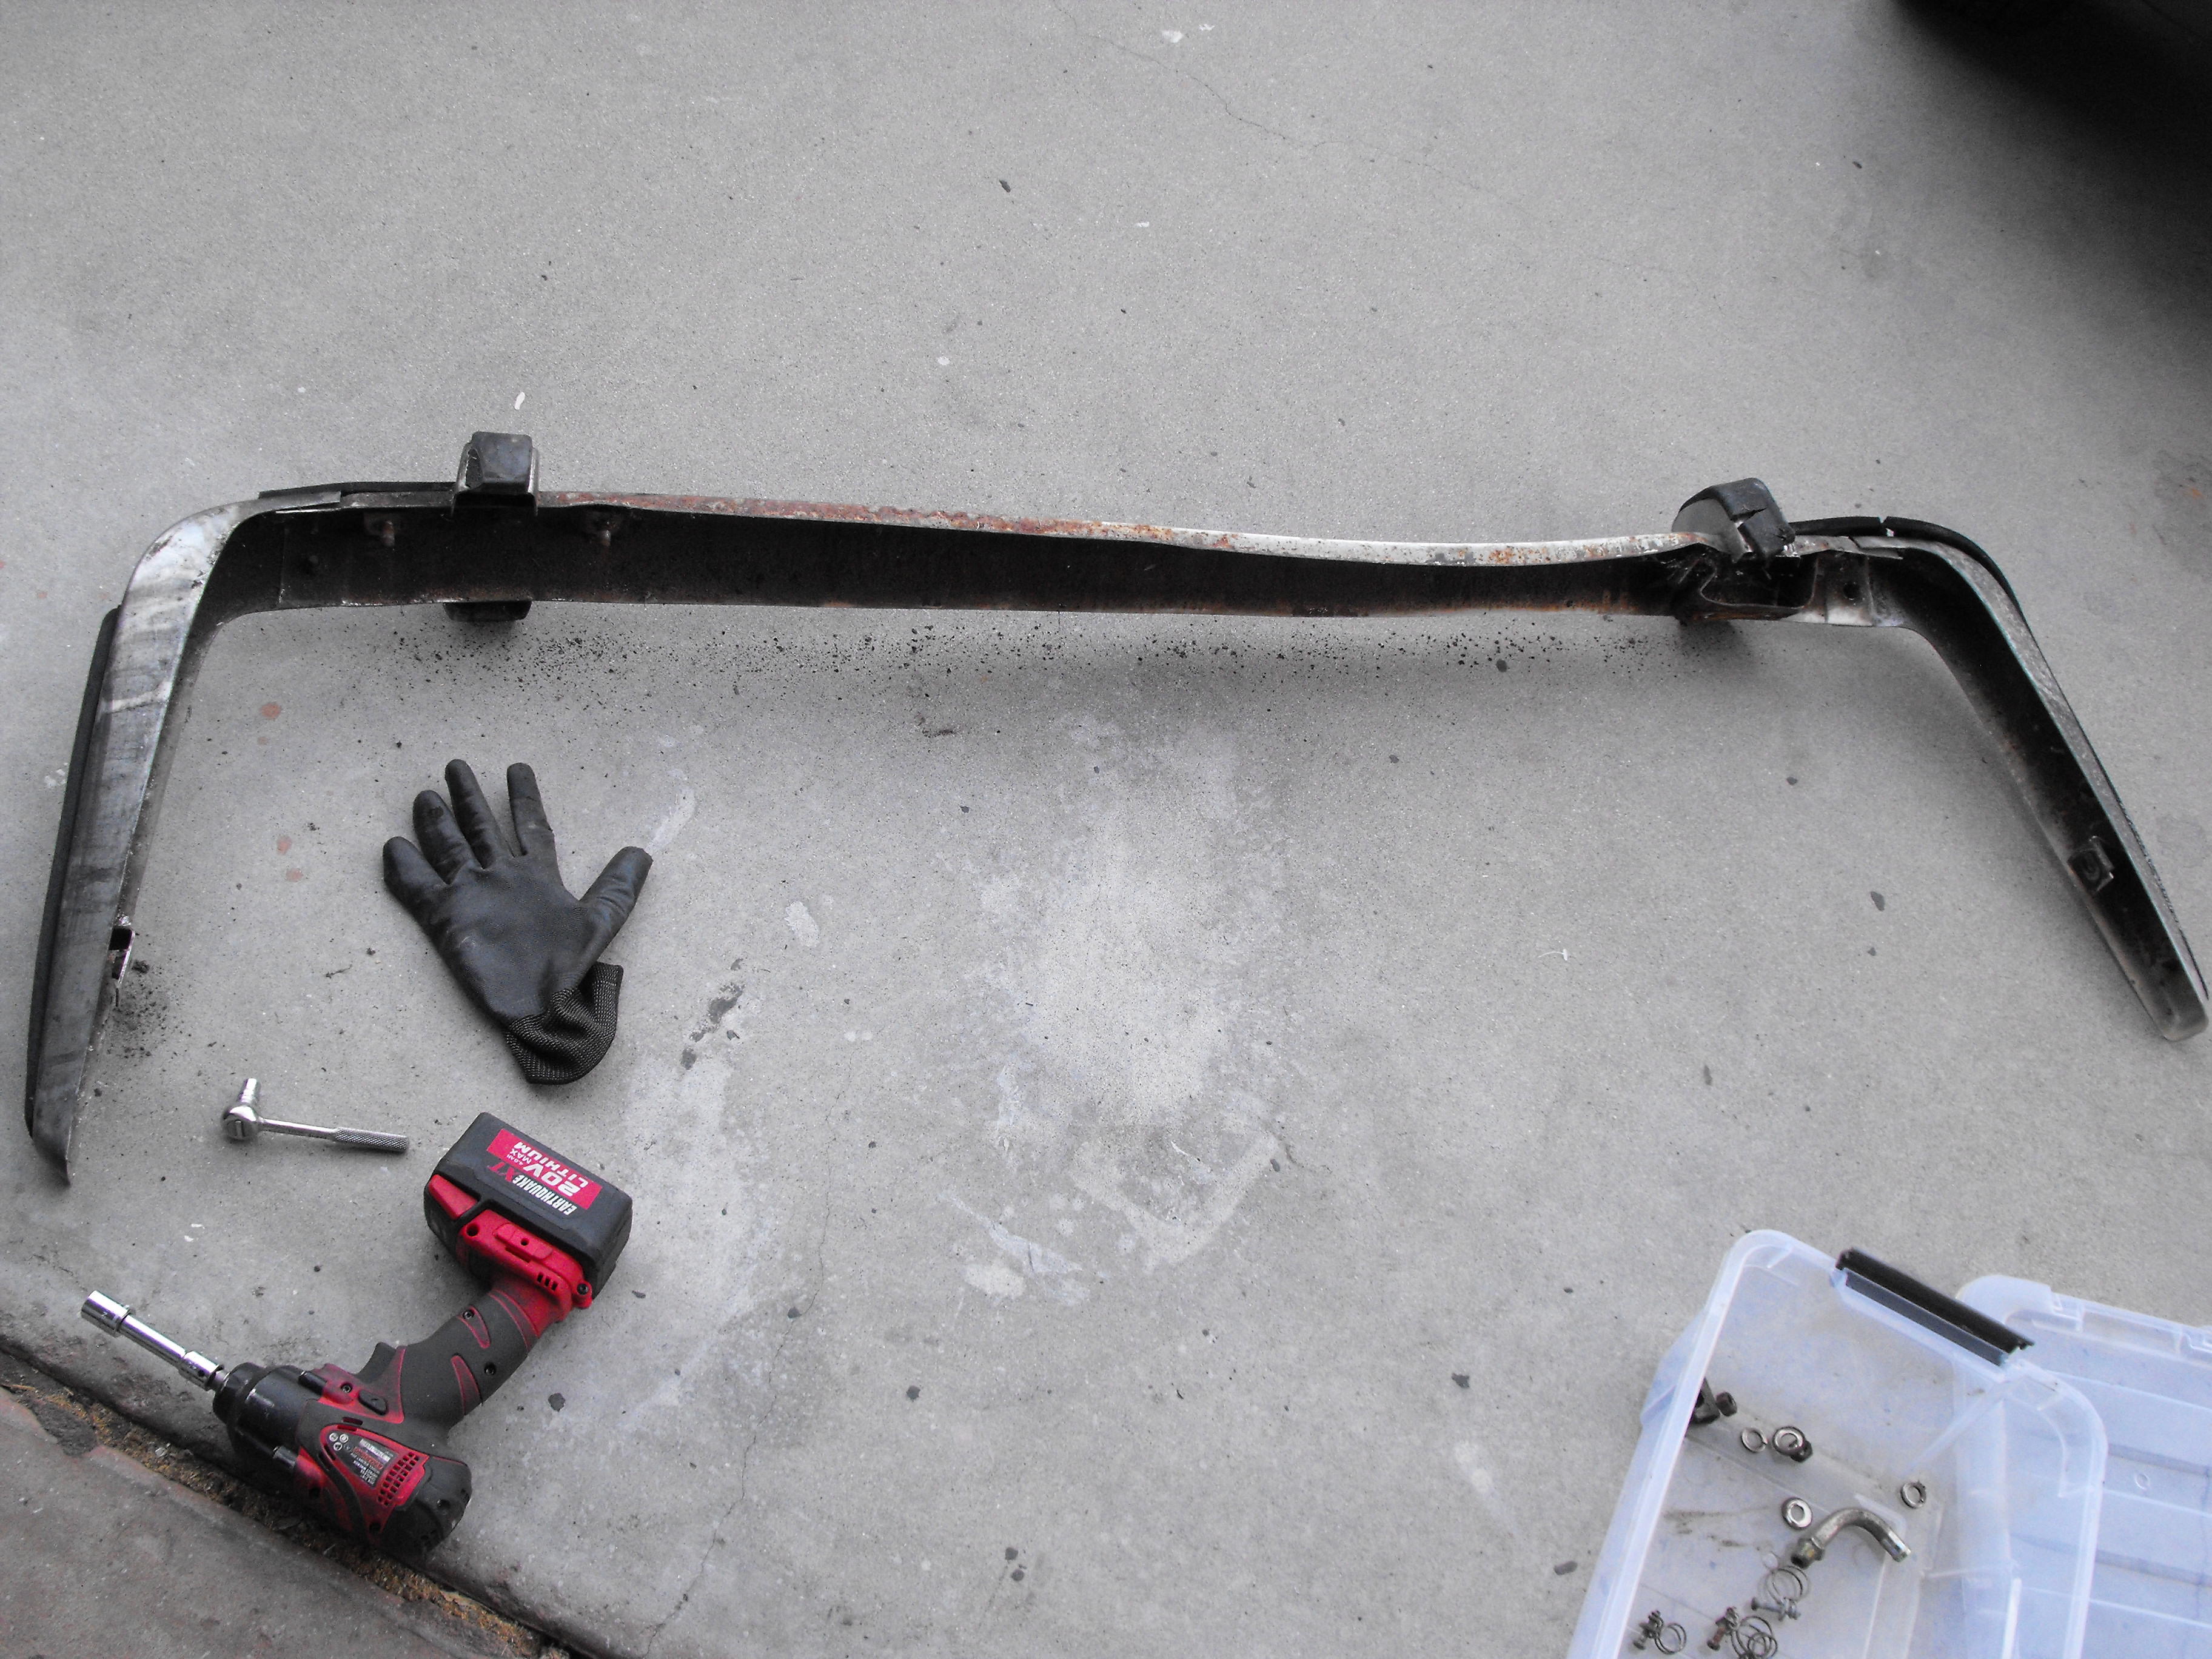
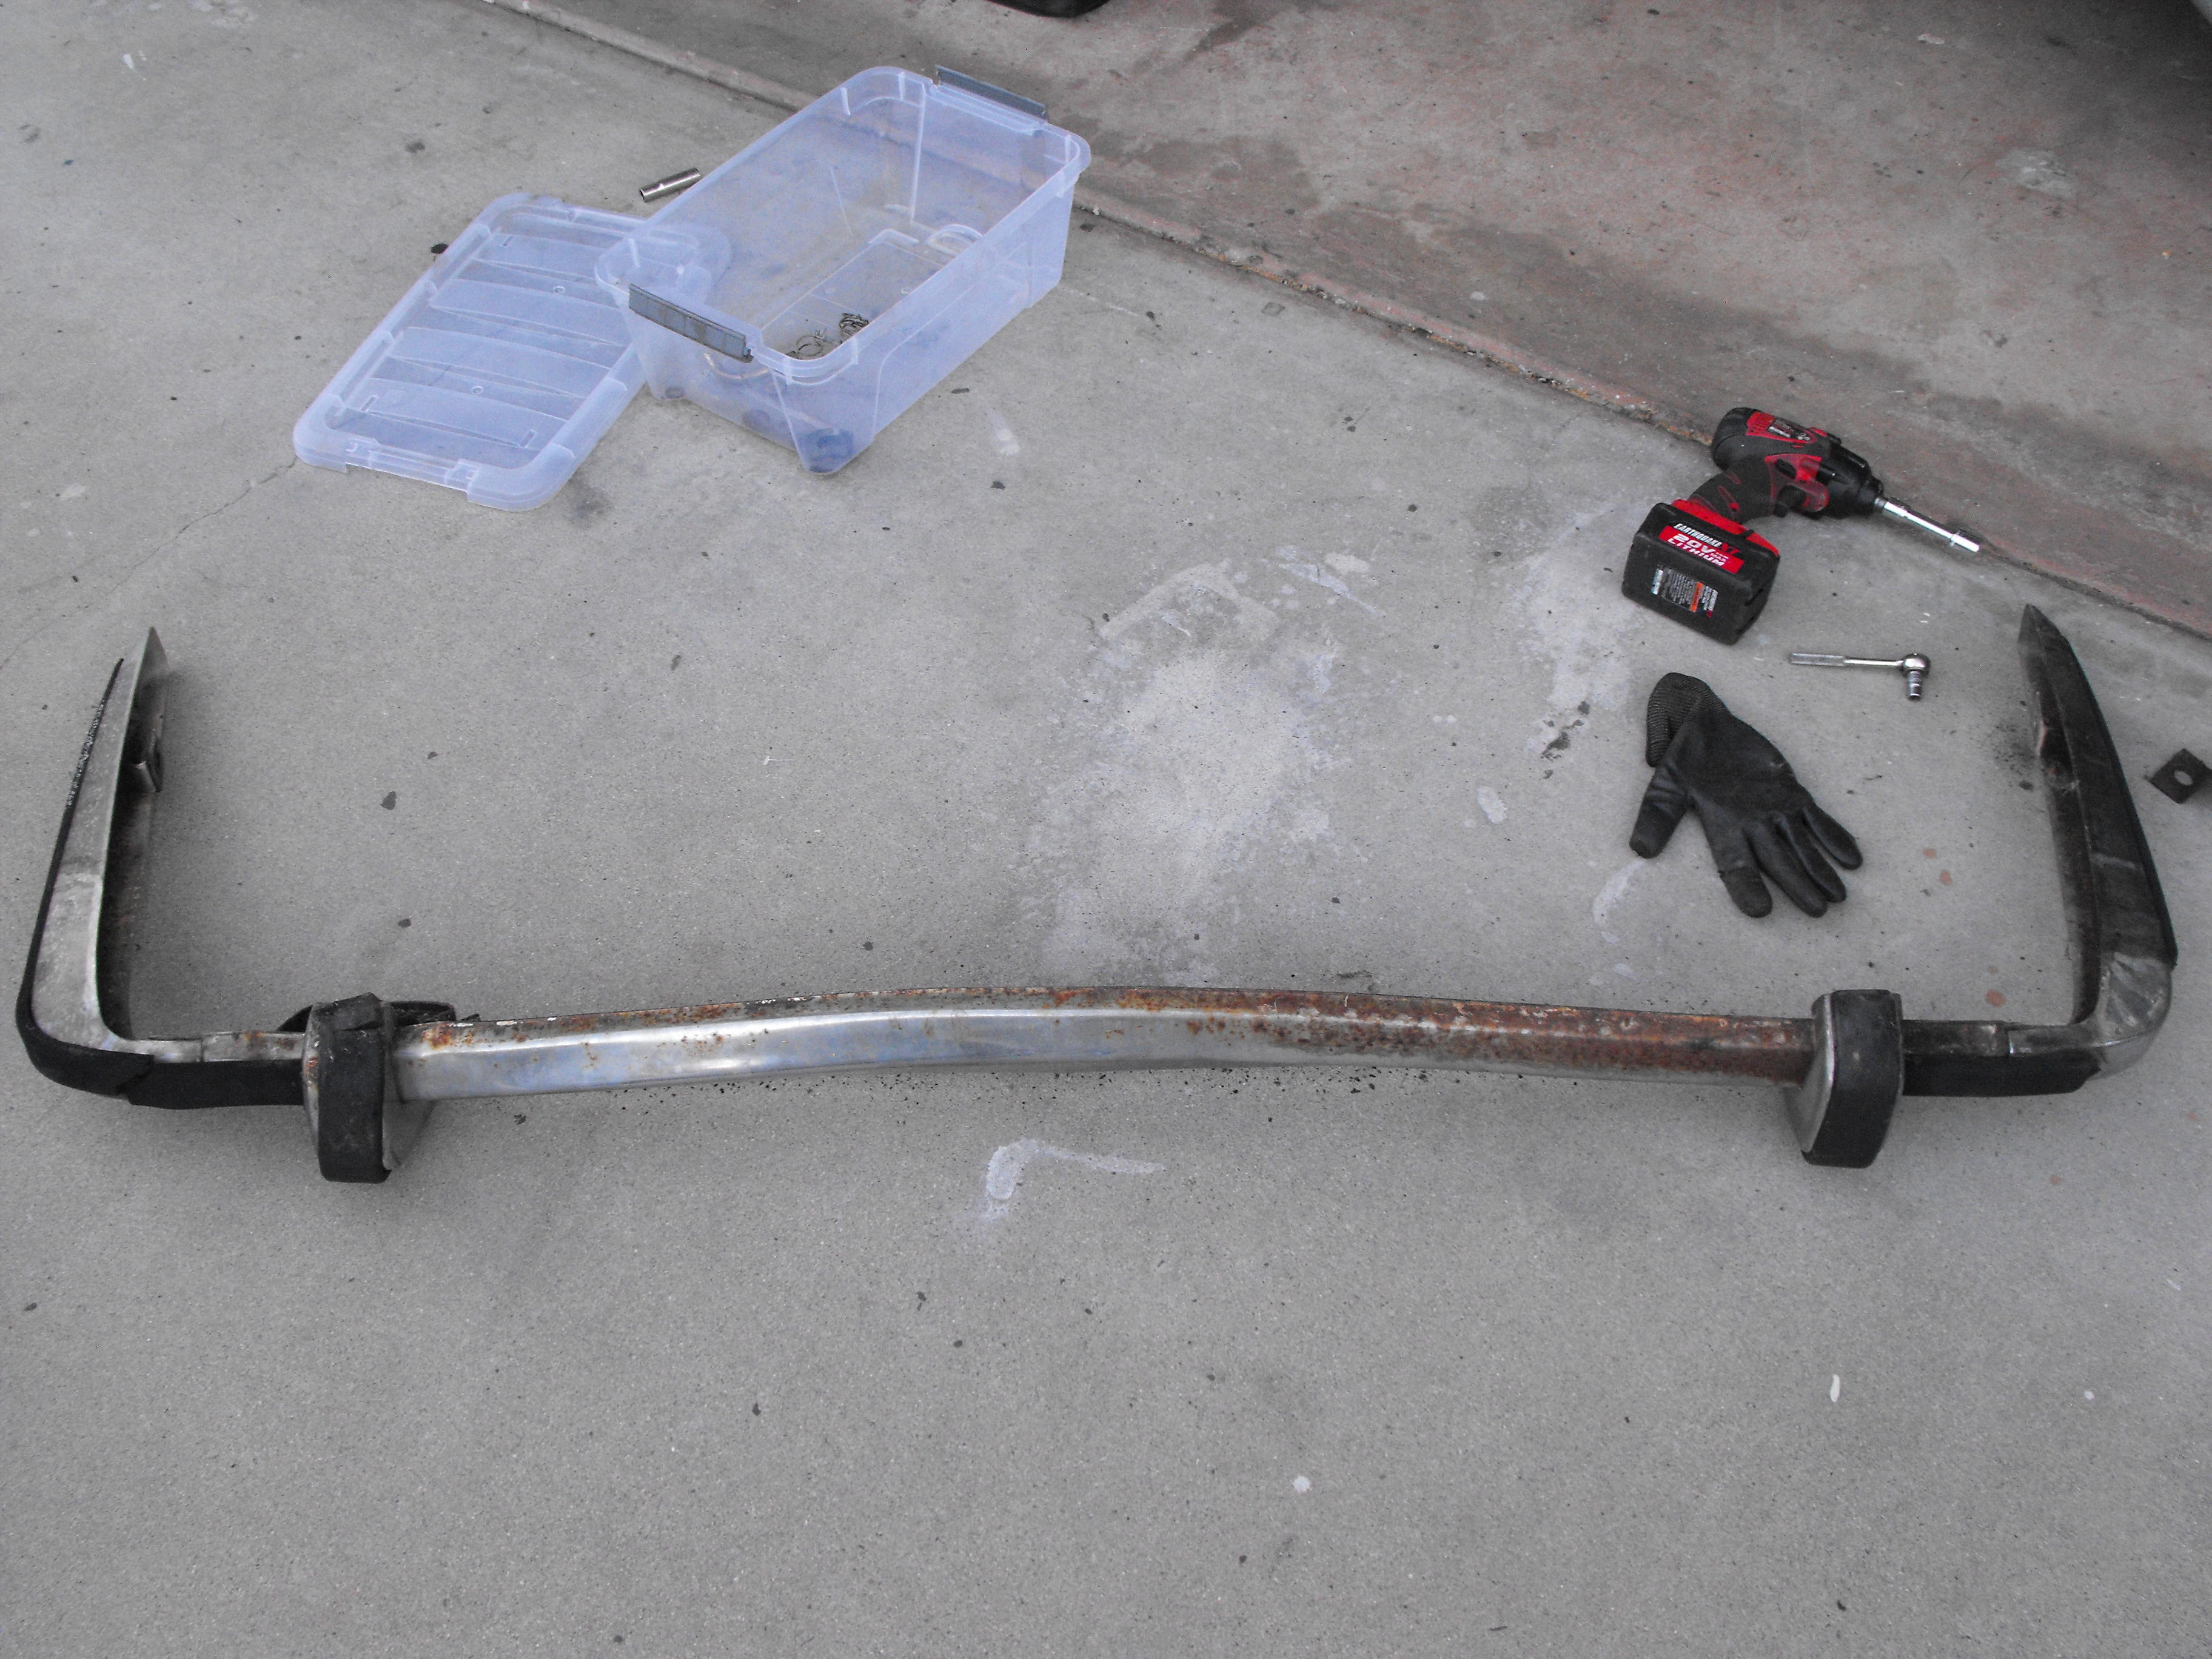
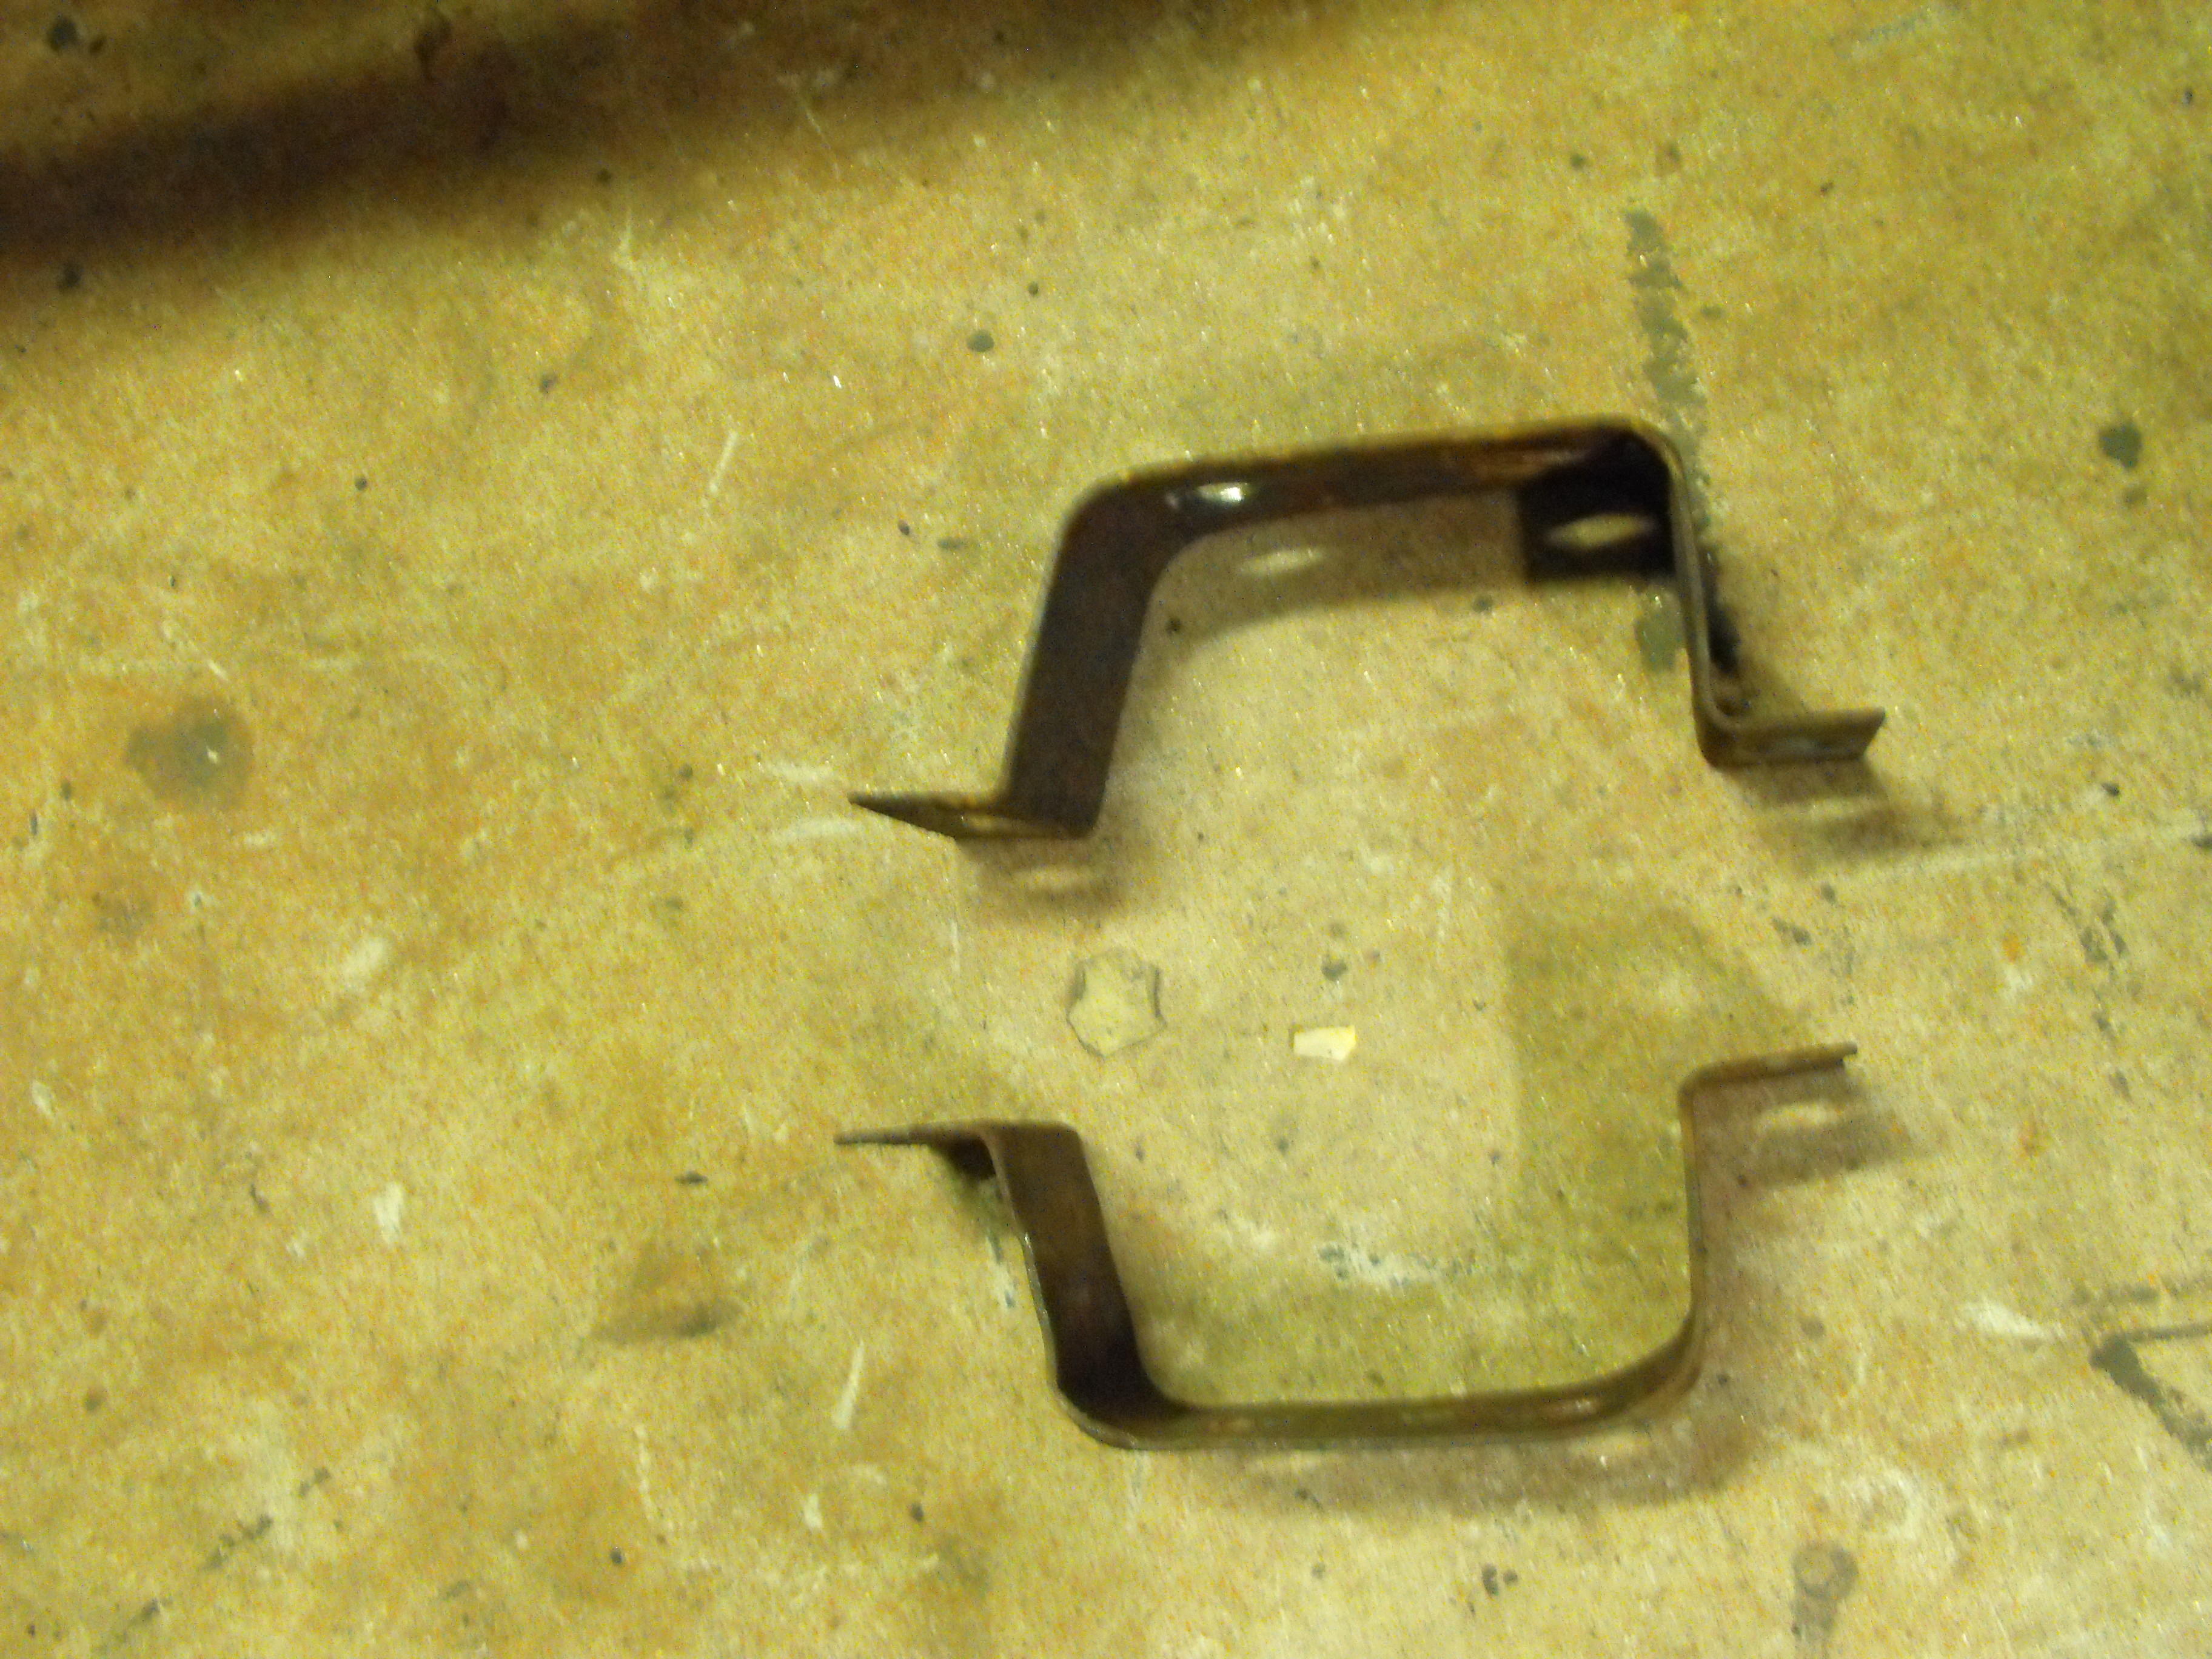
I disassembled the bumpers this evening and tapped the two of the rear bumperettes into shape. The center section of the rear bumper is a bit tweaked, so hopefully the chrome shop can clean that up. They do some pretty impressive repair work. I also straightened up the one rear support bracket. I will probably send the brackets out for powder coating a little later.


-
Actually, I did a quick check on eBay to see if we could sell them as 'antiques'. ?
-
The cost for the powder coating is roughly $15 per part. When you consider that they de-grease, sand blast, cover threads and bearing surfaces, and then paint each part, the cost is pretty reasonable here.
-
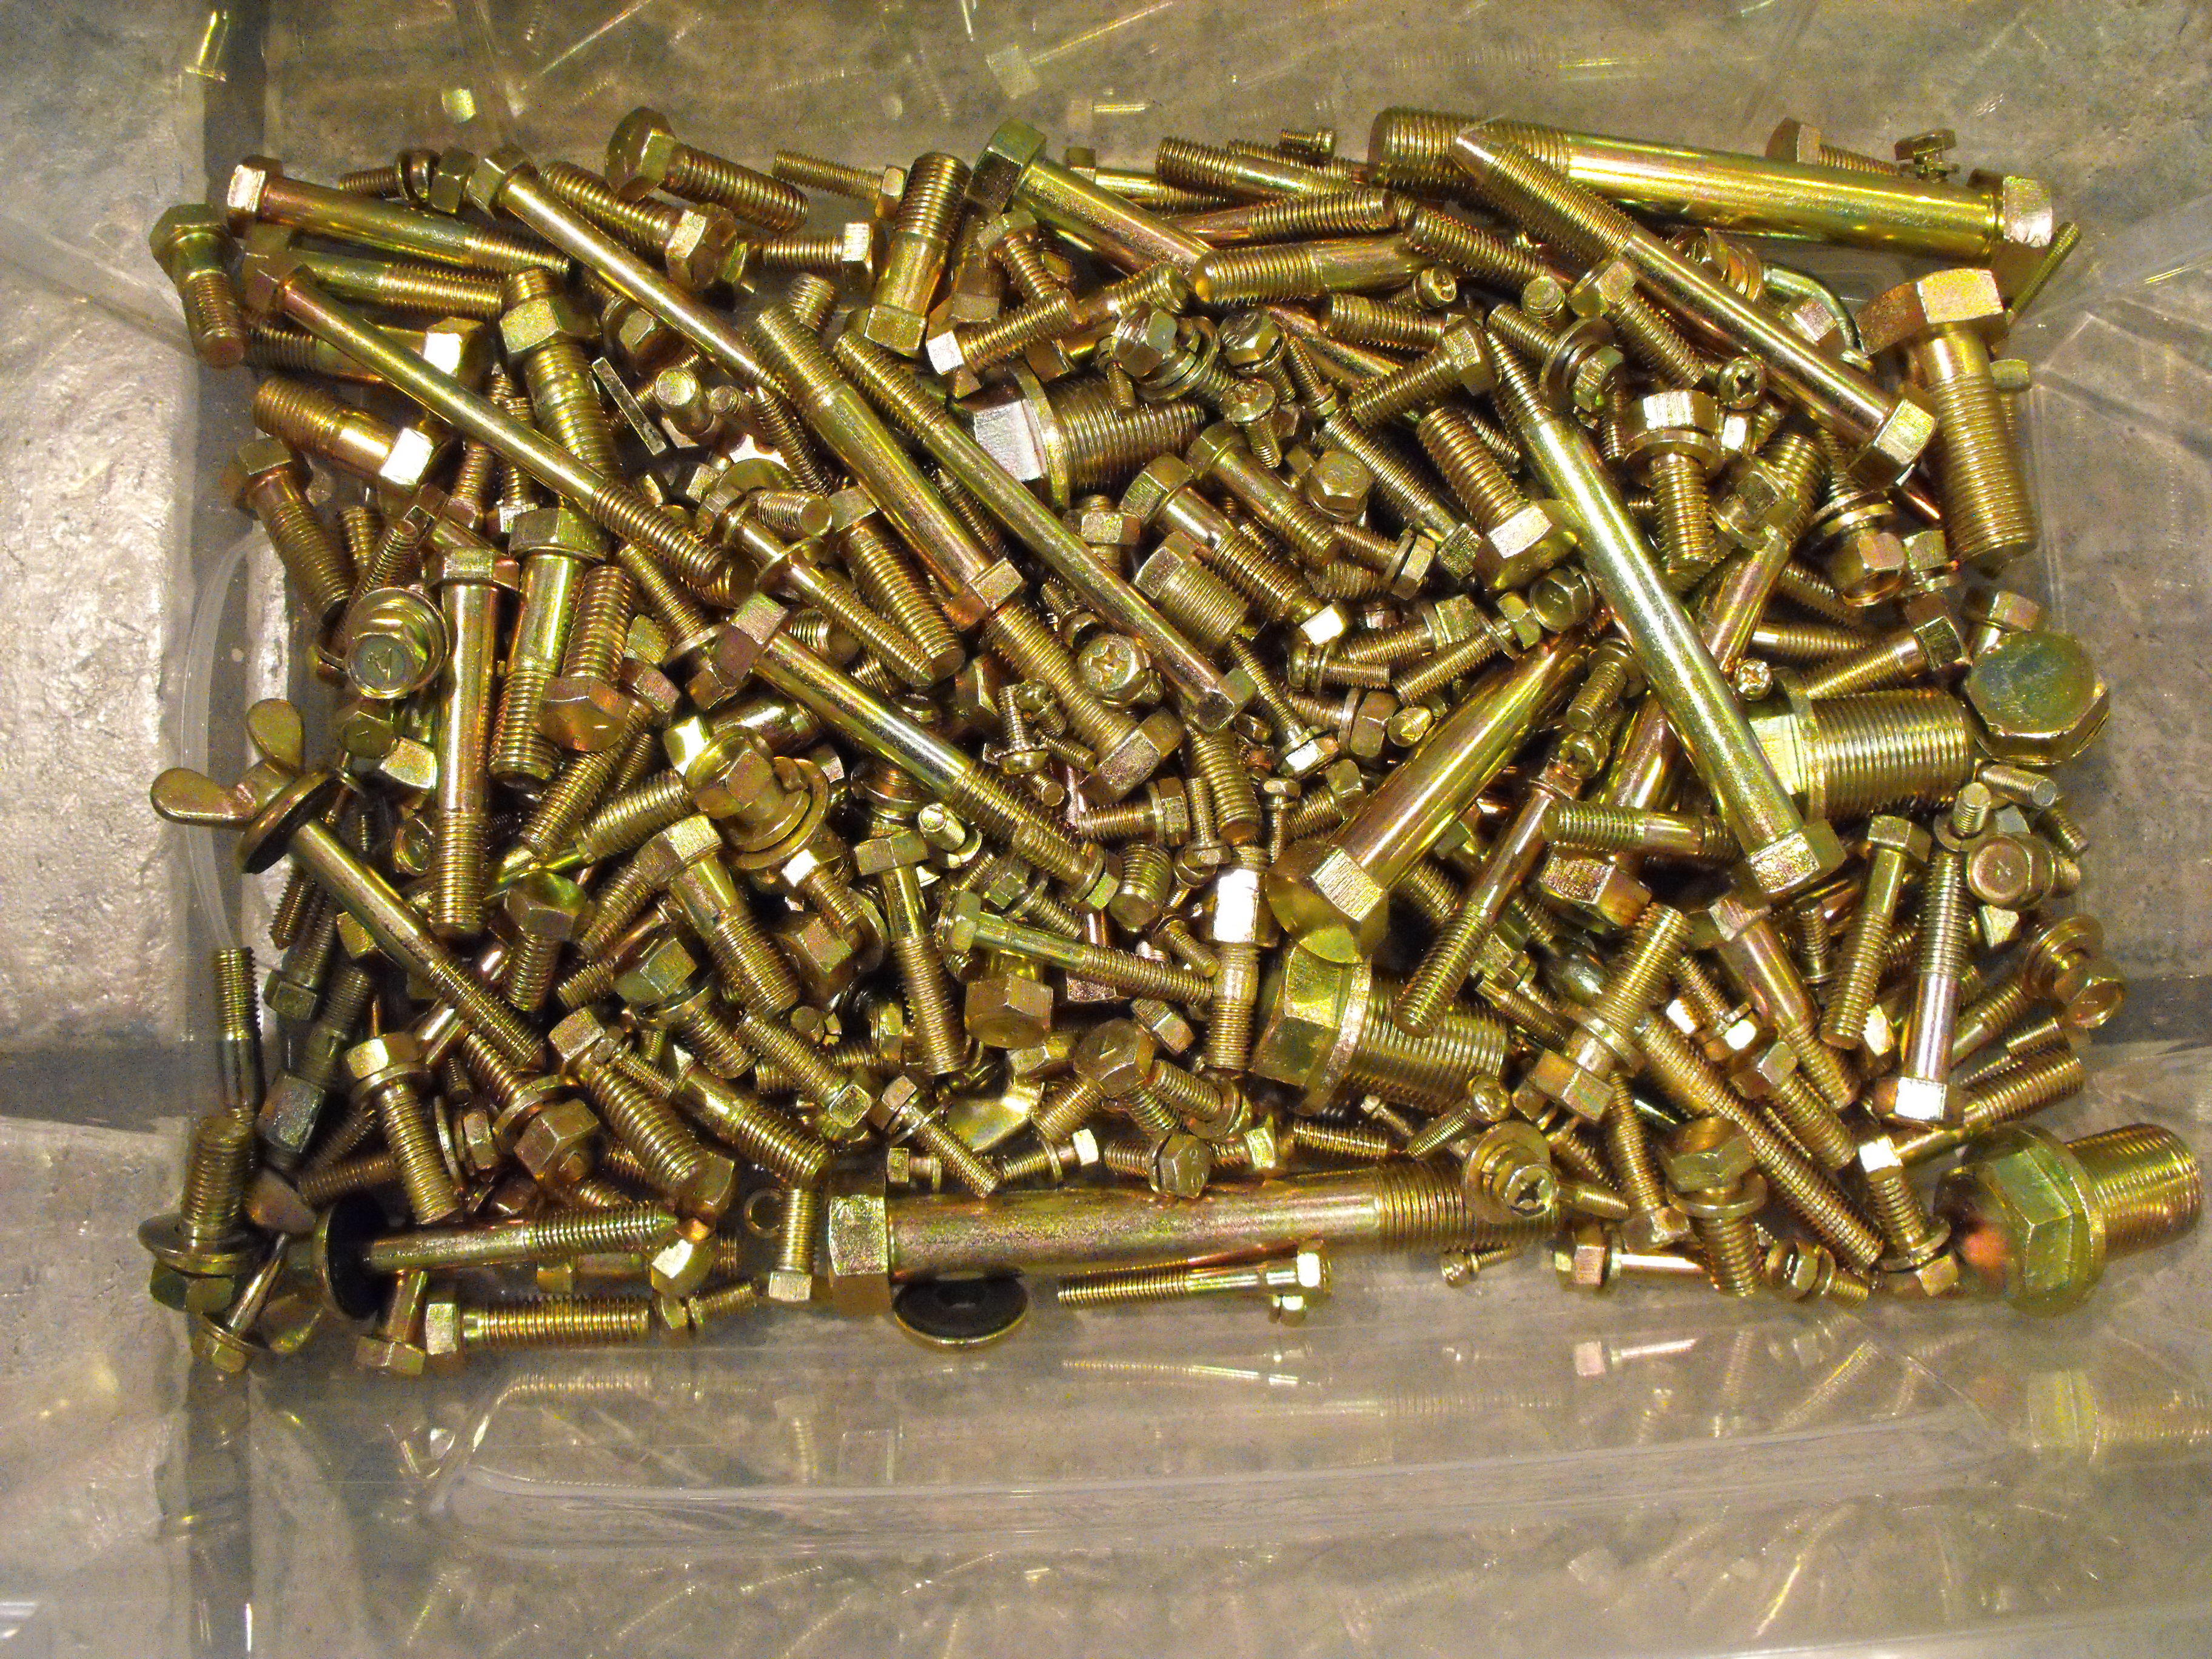
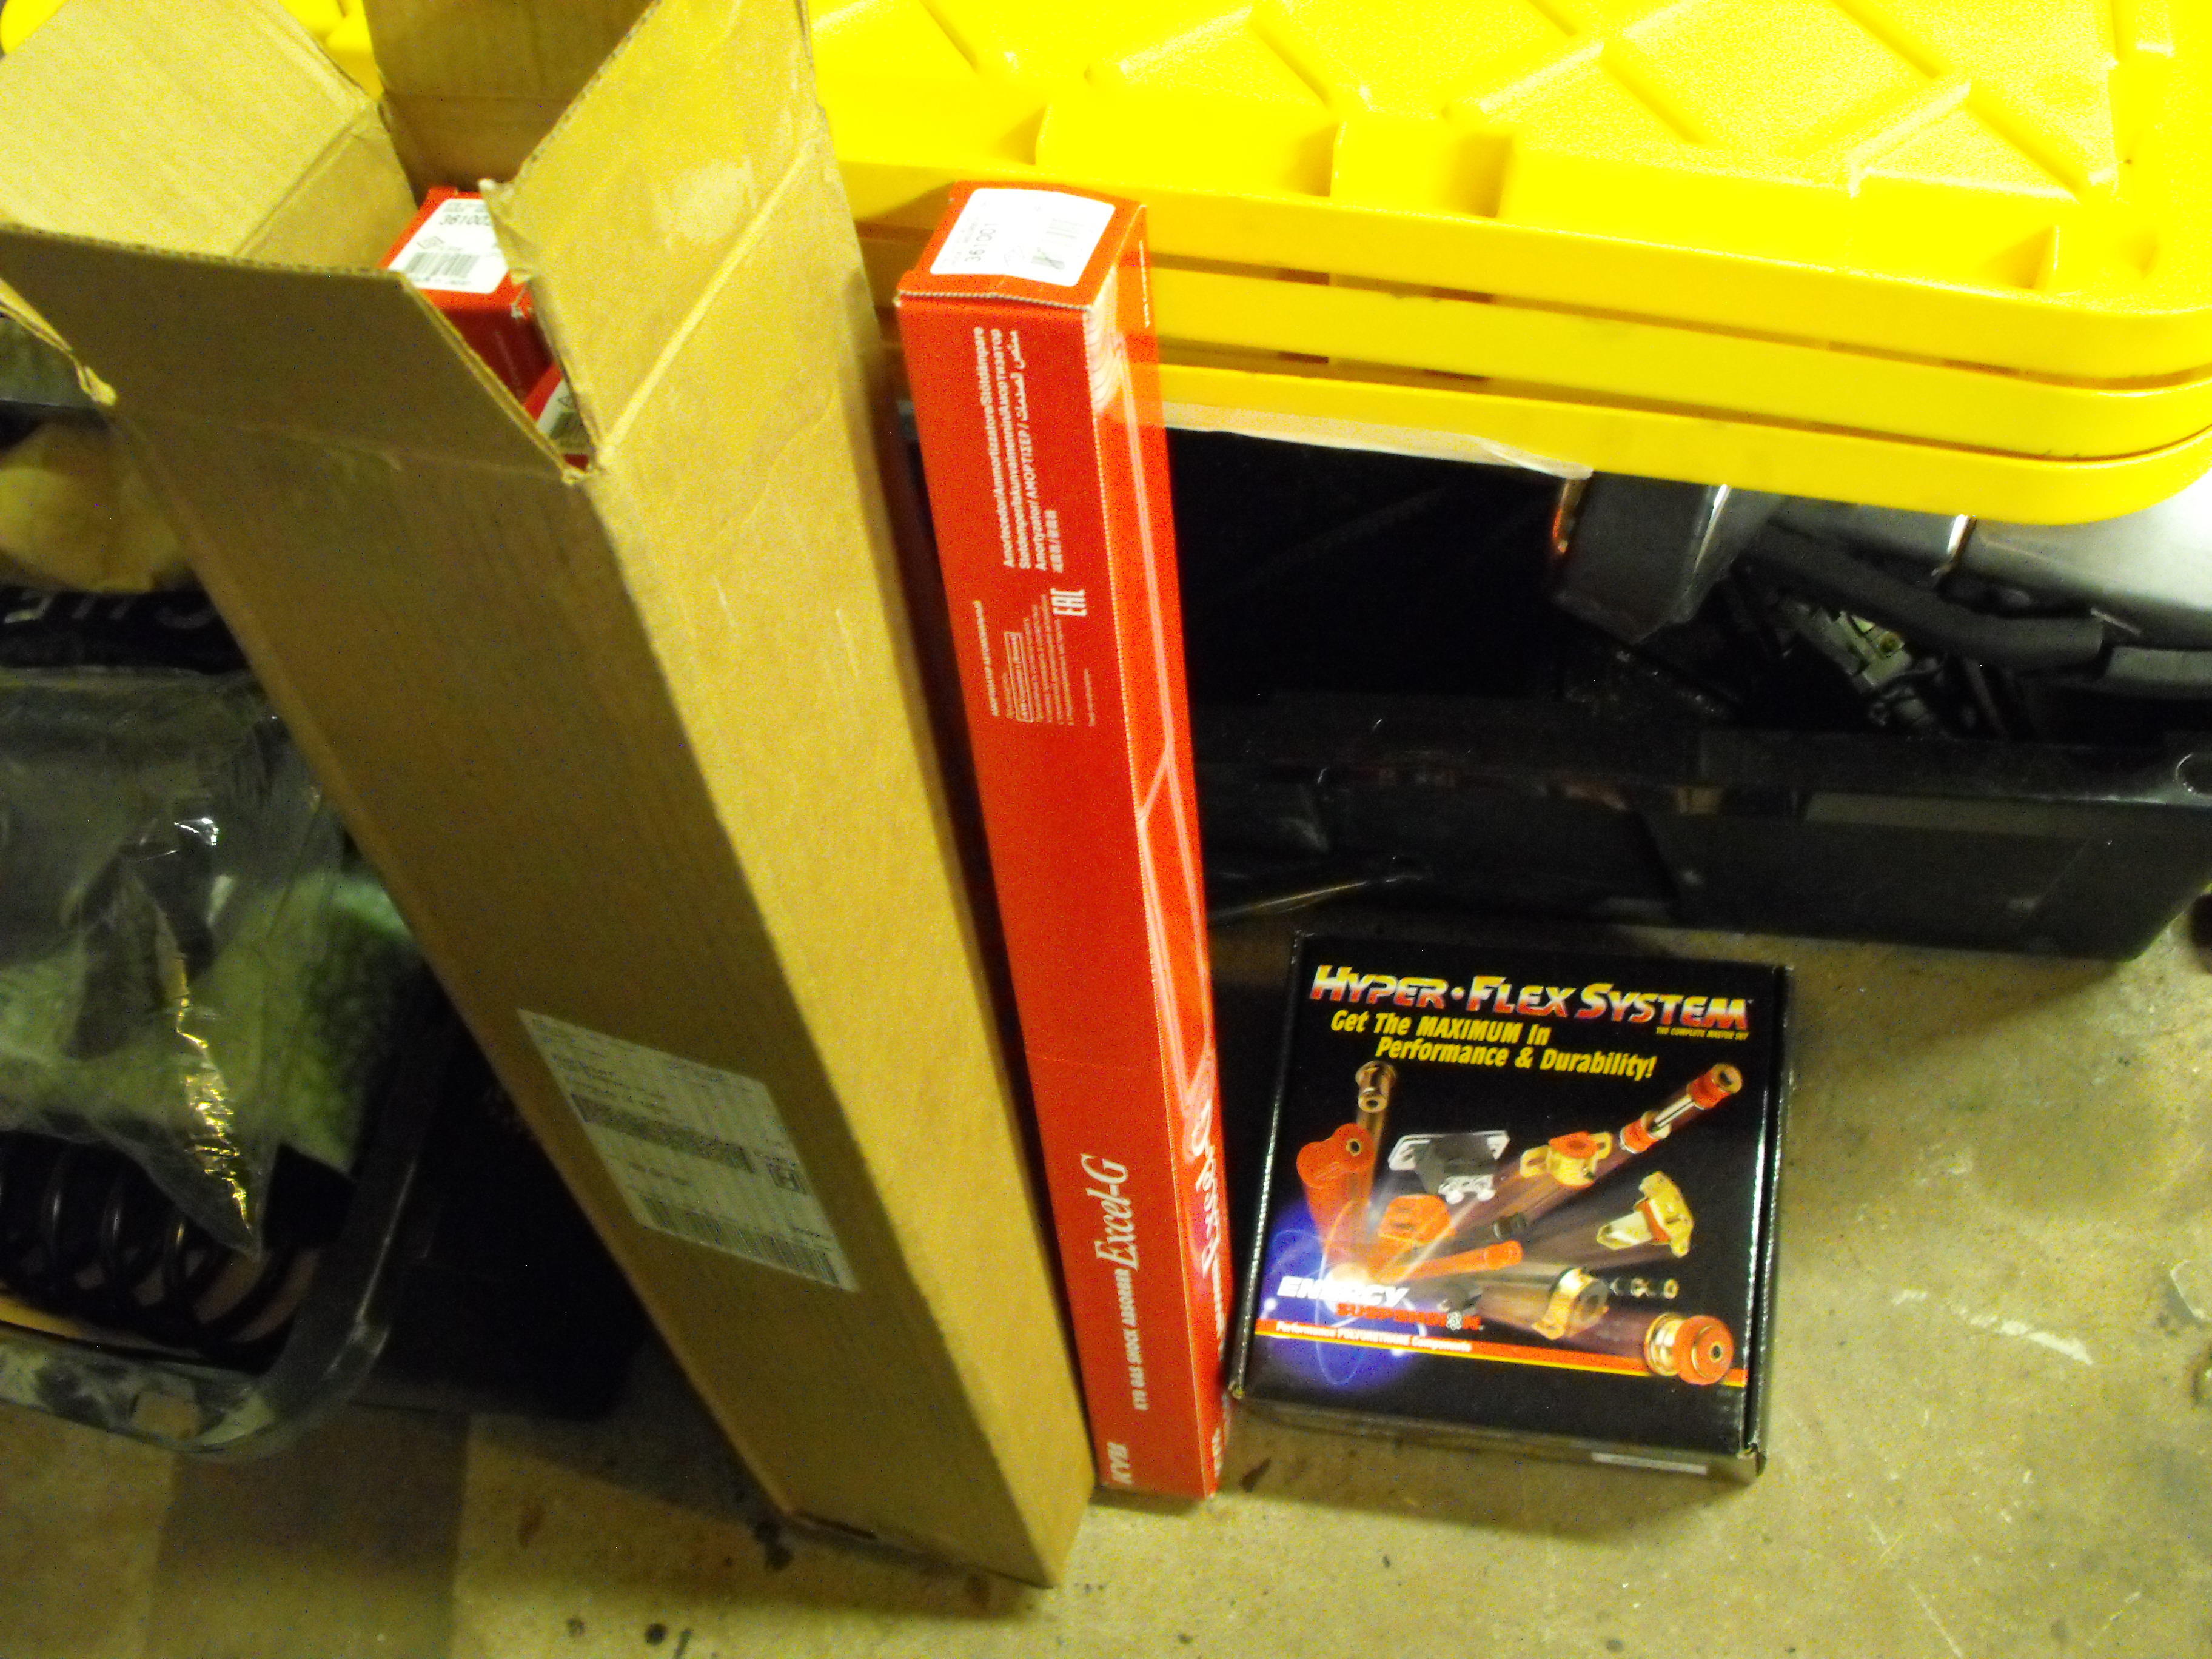
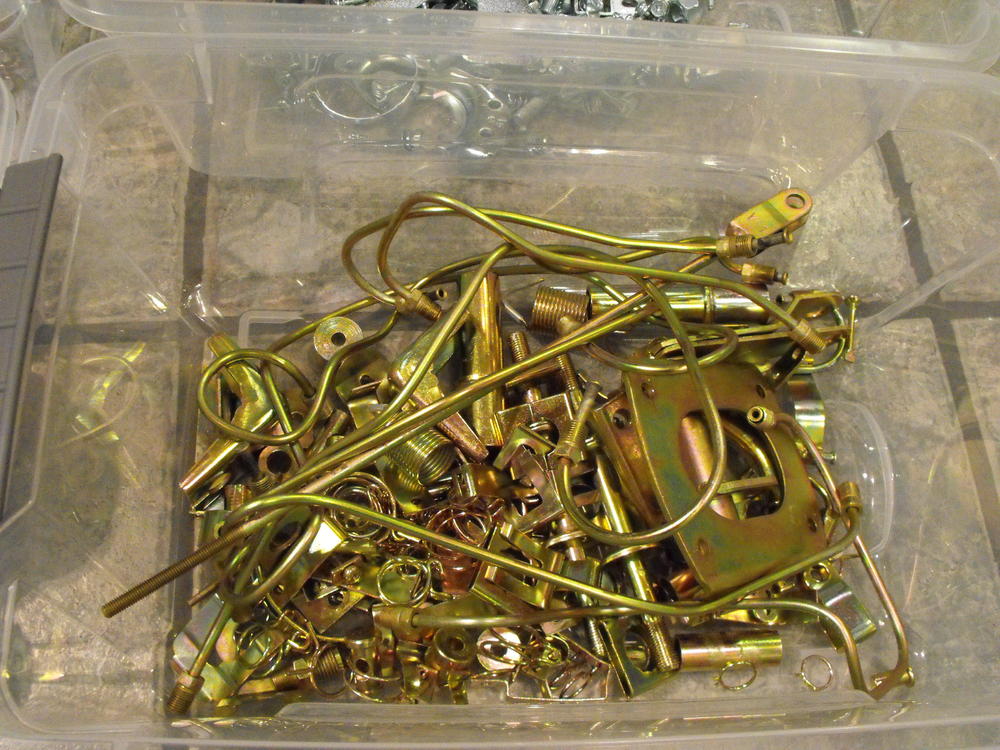
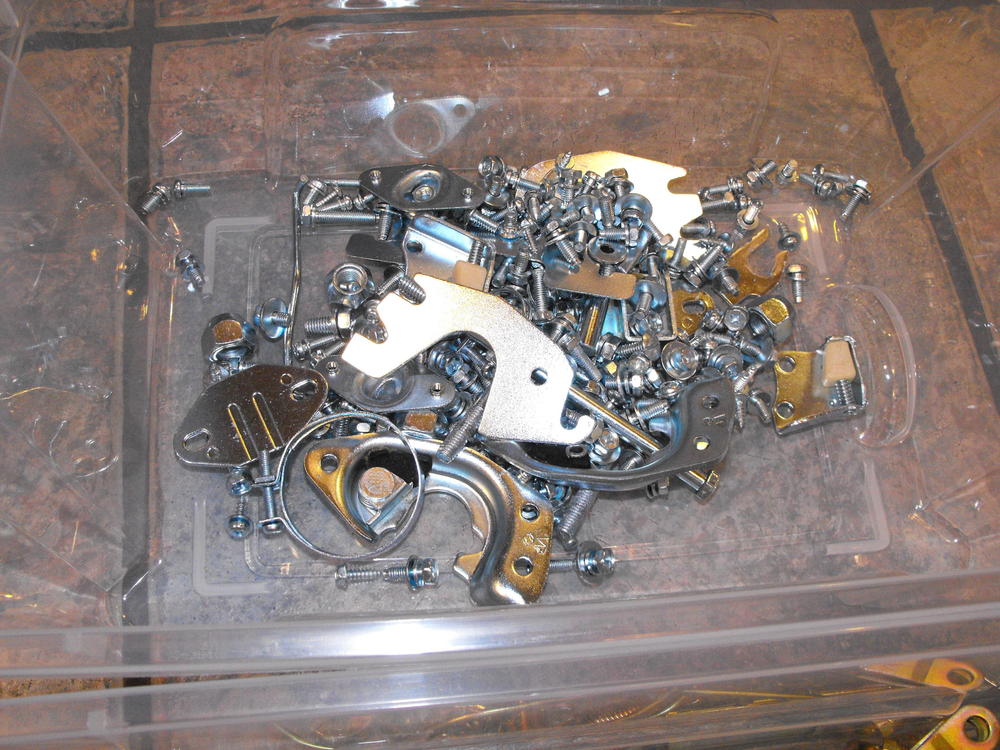
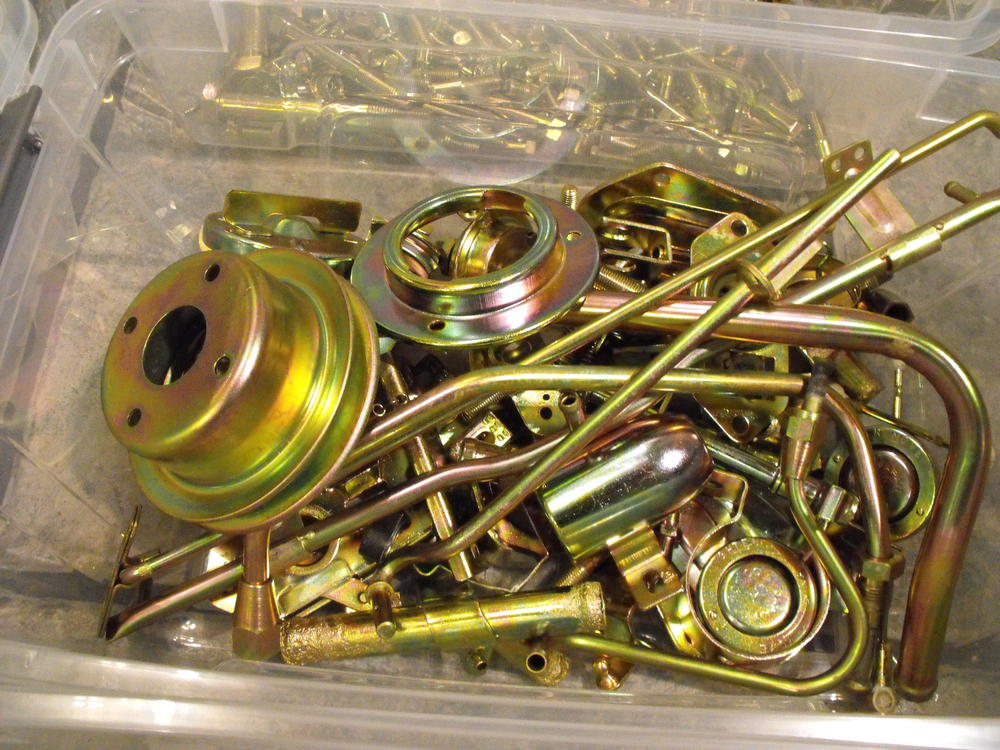
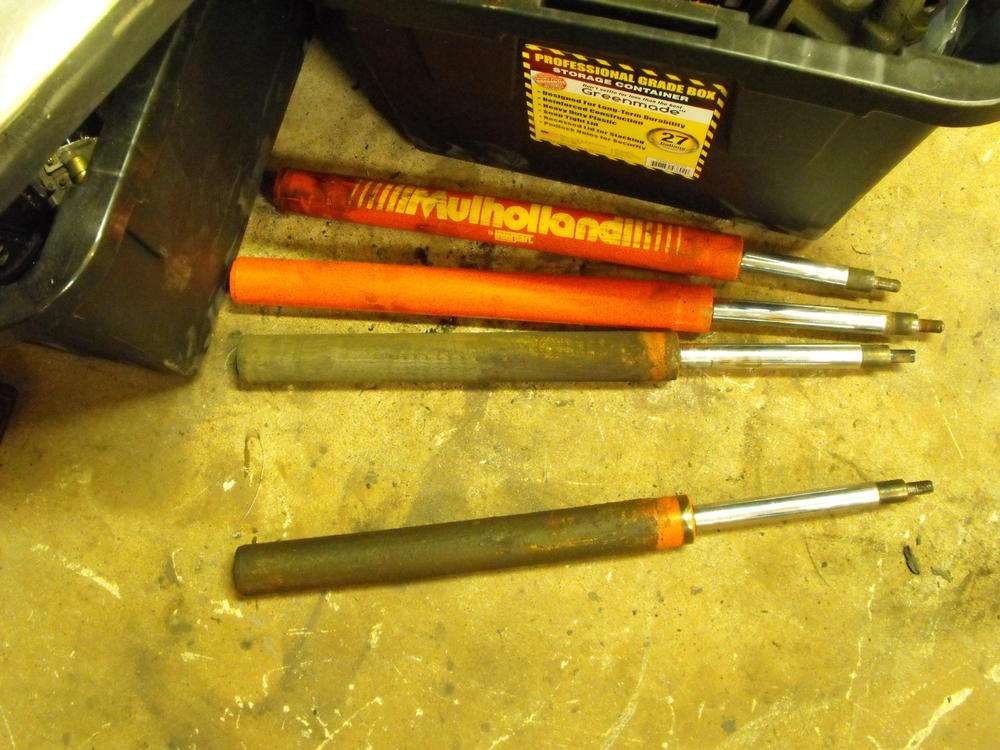
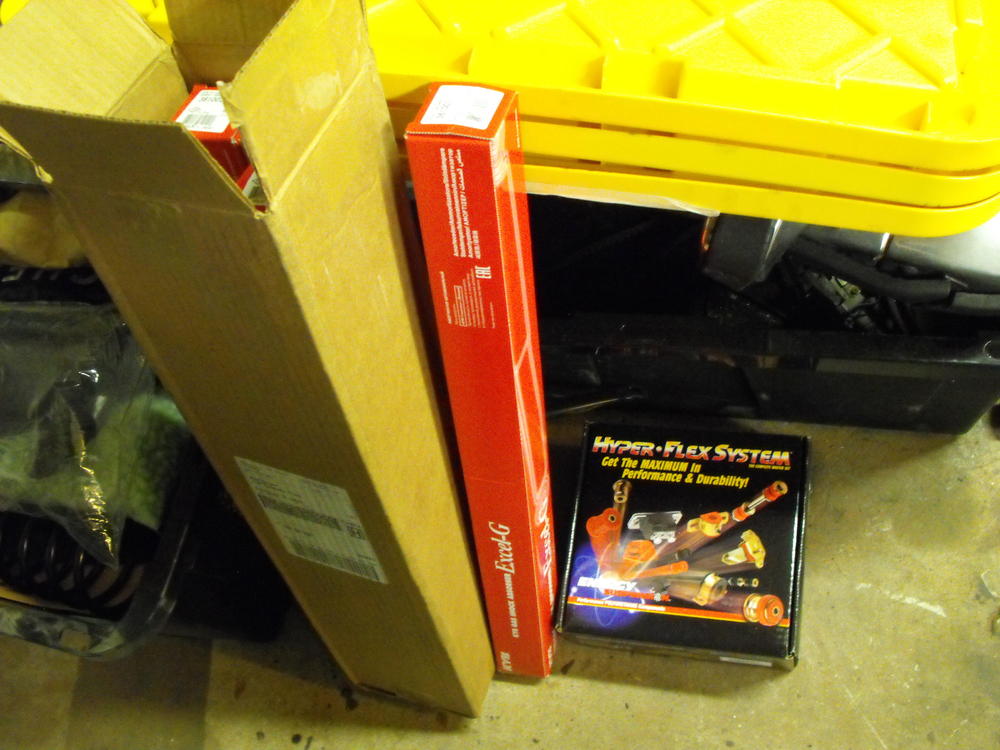
The plated parts arrived today, all 44 pounds worth. The parts look great, not sure if the pictures do them justice. I got the shocks out of the struts...finally. Actually the rears came out pretty easy. The fronts were not so easy. I soaked the left front strut for about a week in Kroil and PB blaster before finally tapping the strut off of the shock. Can you guess which two shocks were in the front from the picture below? ? The nuts that held the shocks in were also a challenge. I ended up heating the strut with my map gas torch and then putting ice on the nut, then loosening. That seemed to work pretty well. Also, note the 'Mulholland' shocks. Those are pretty retro. Not sure if they are around an more. Anyway, I will now clean up the struts, paint them, and then assemble with the nice new parts: KYB's, Energy suspension kit and newly plated fasteners. This is the fun part.


-
Pretty sure it is not at the Queen Mary this year. Location has changed.
-
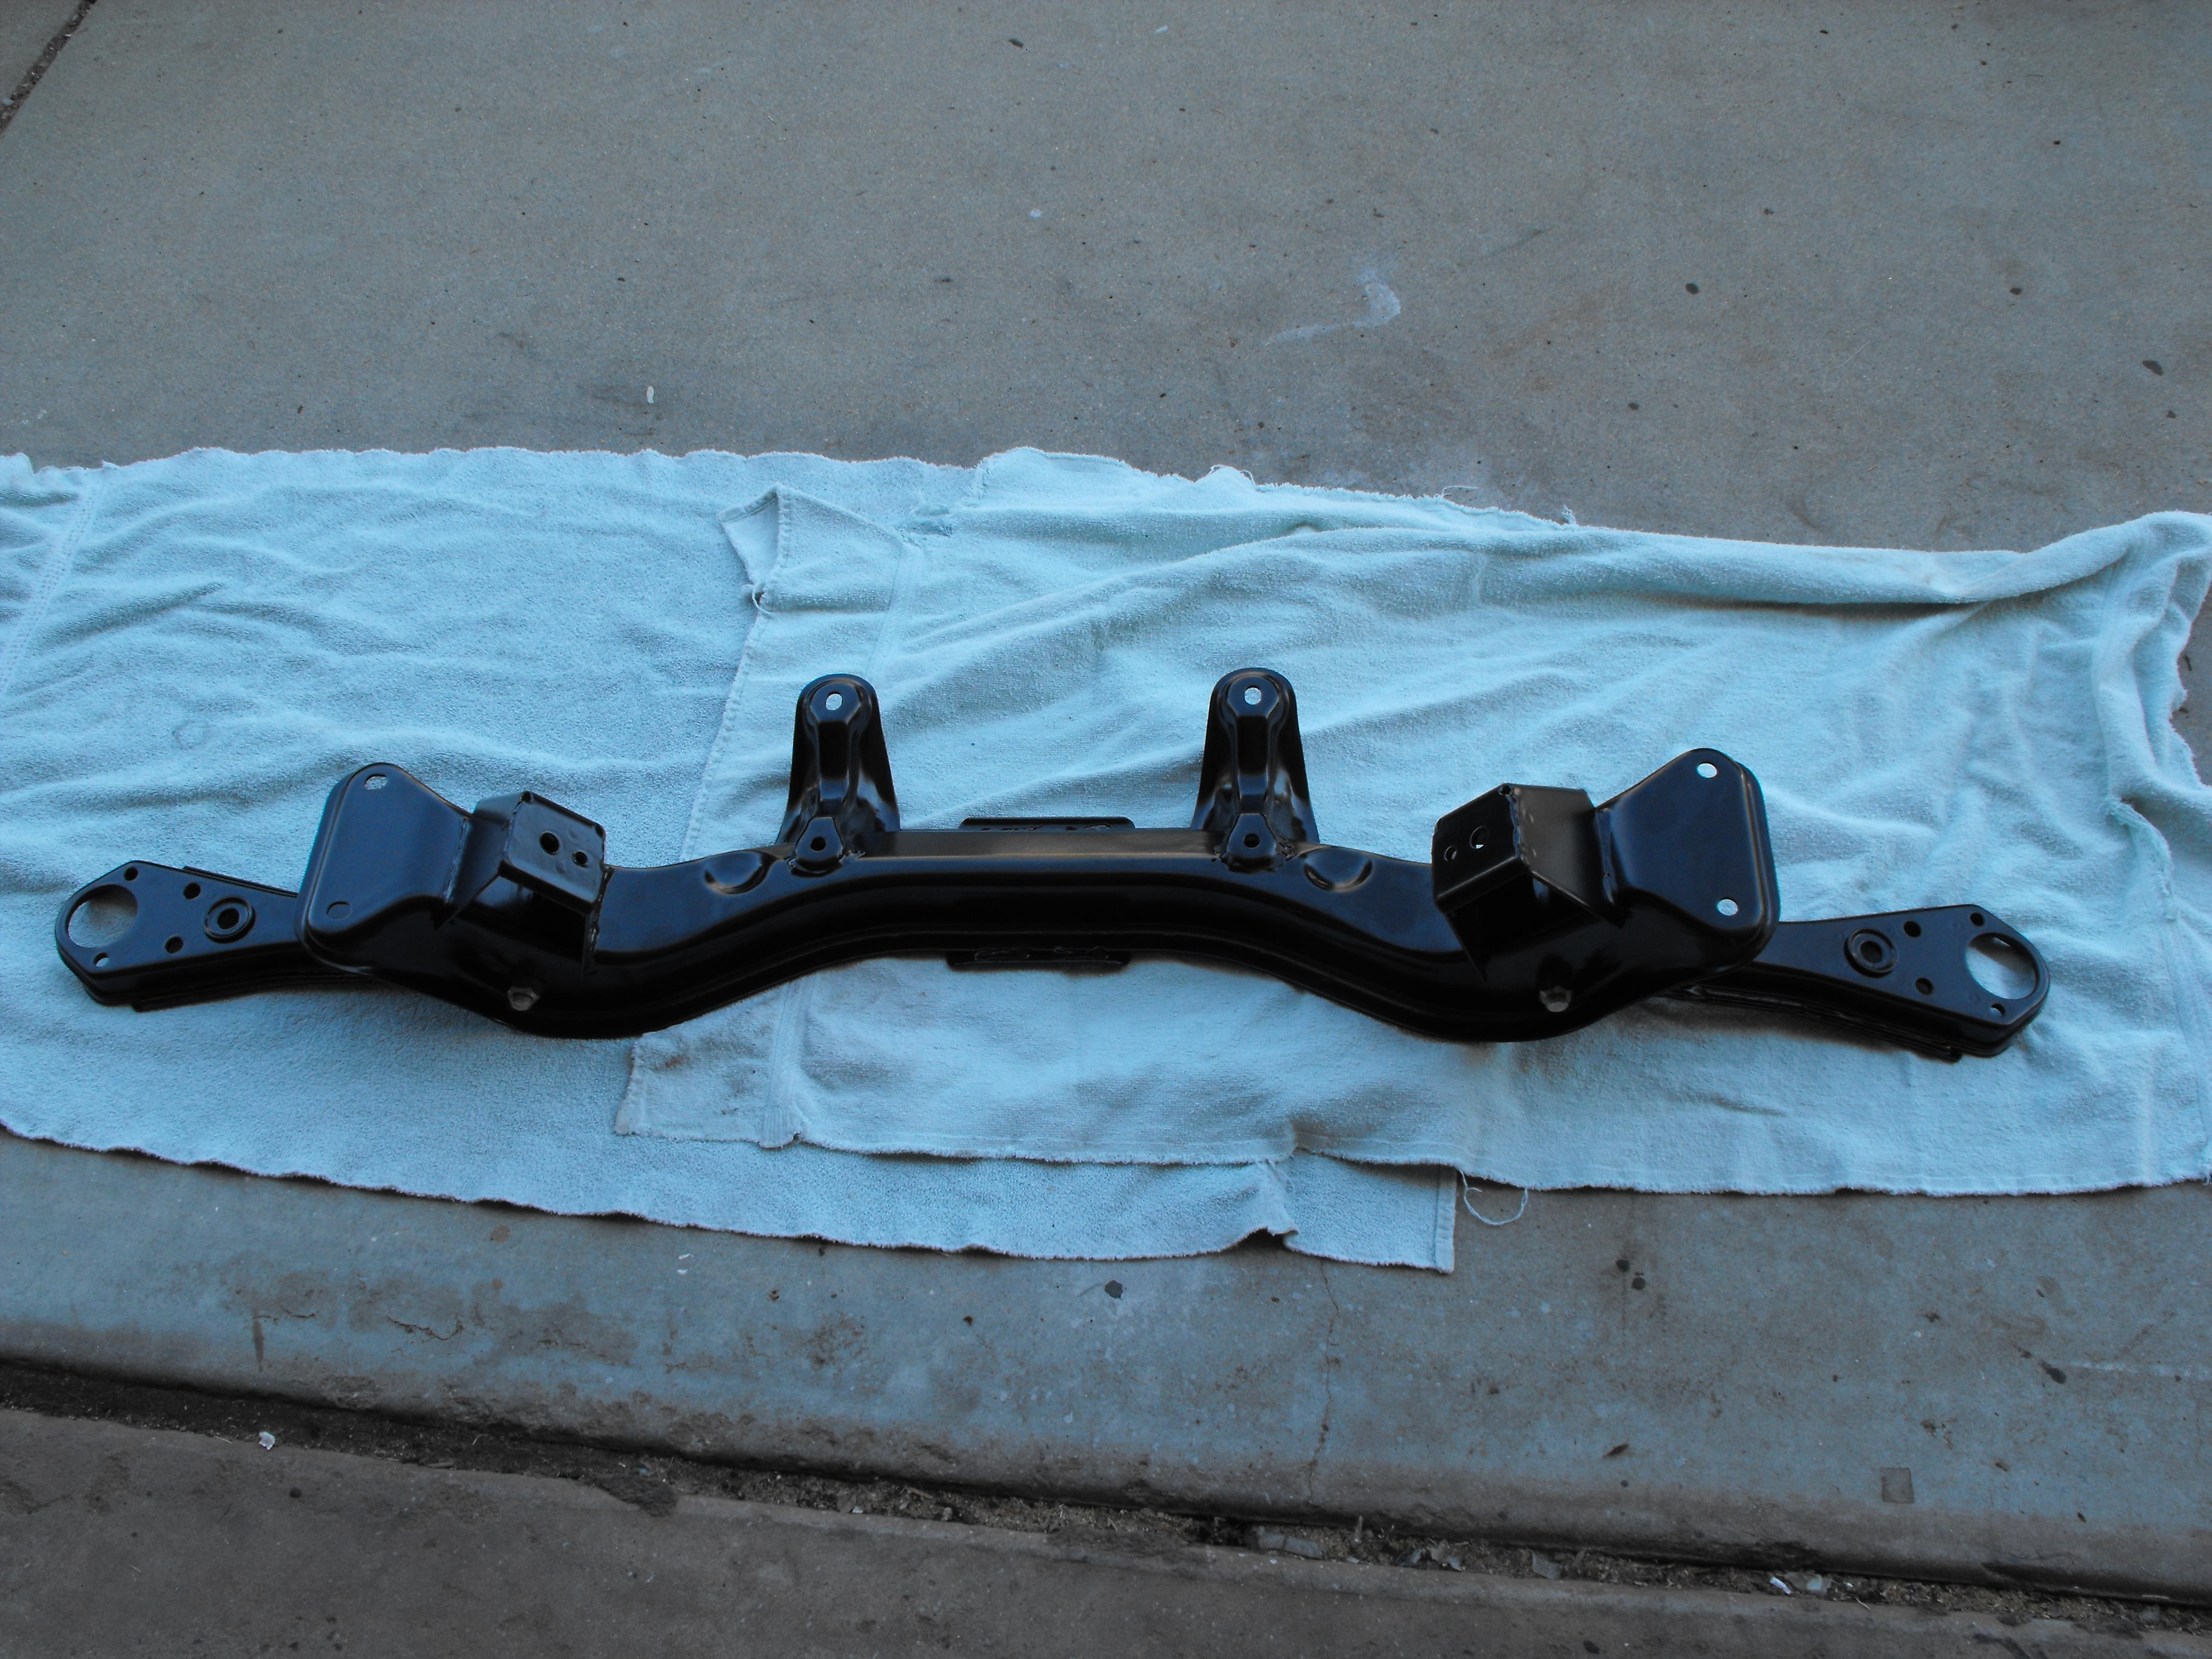
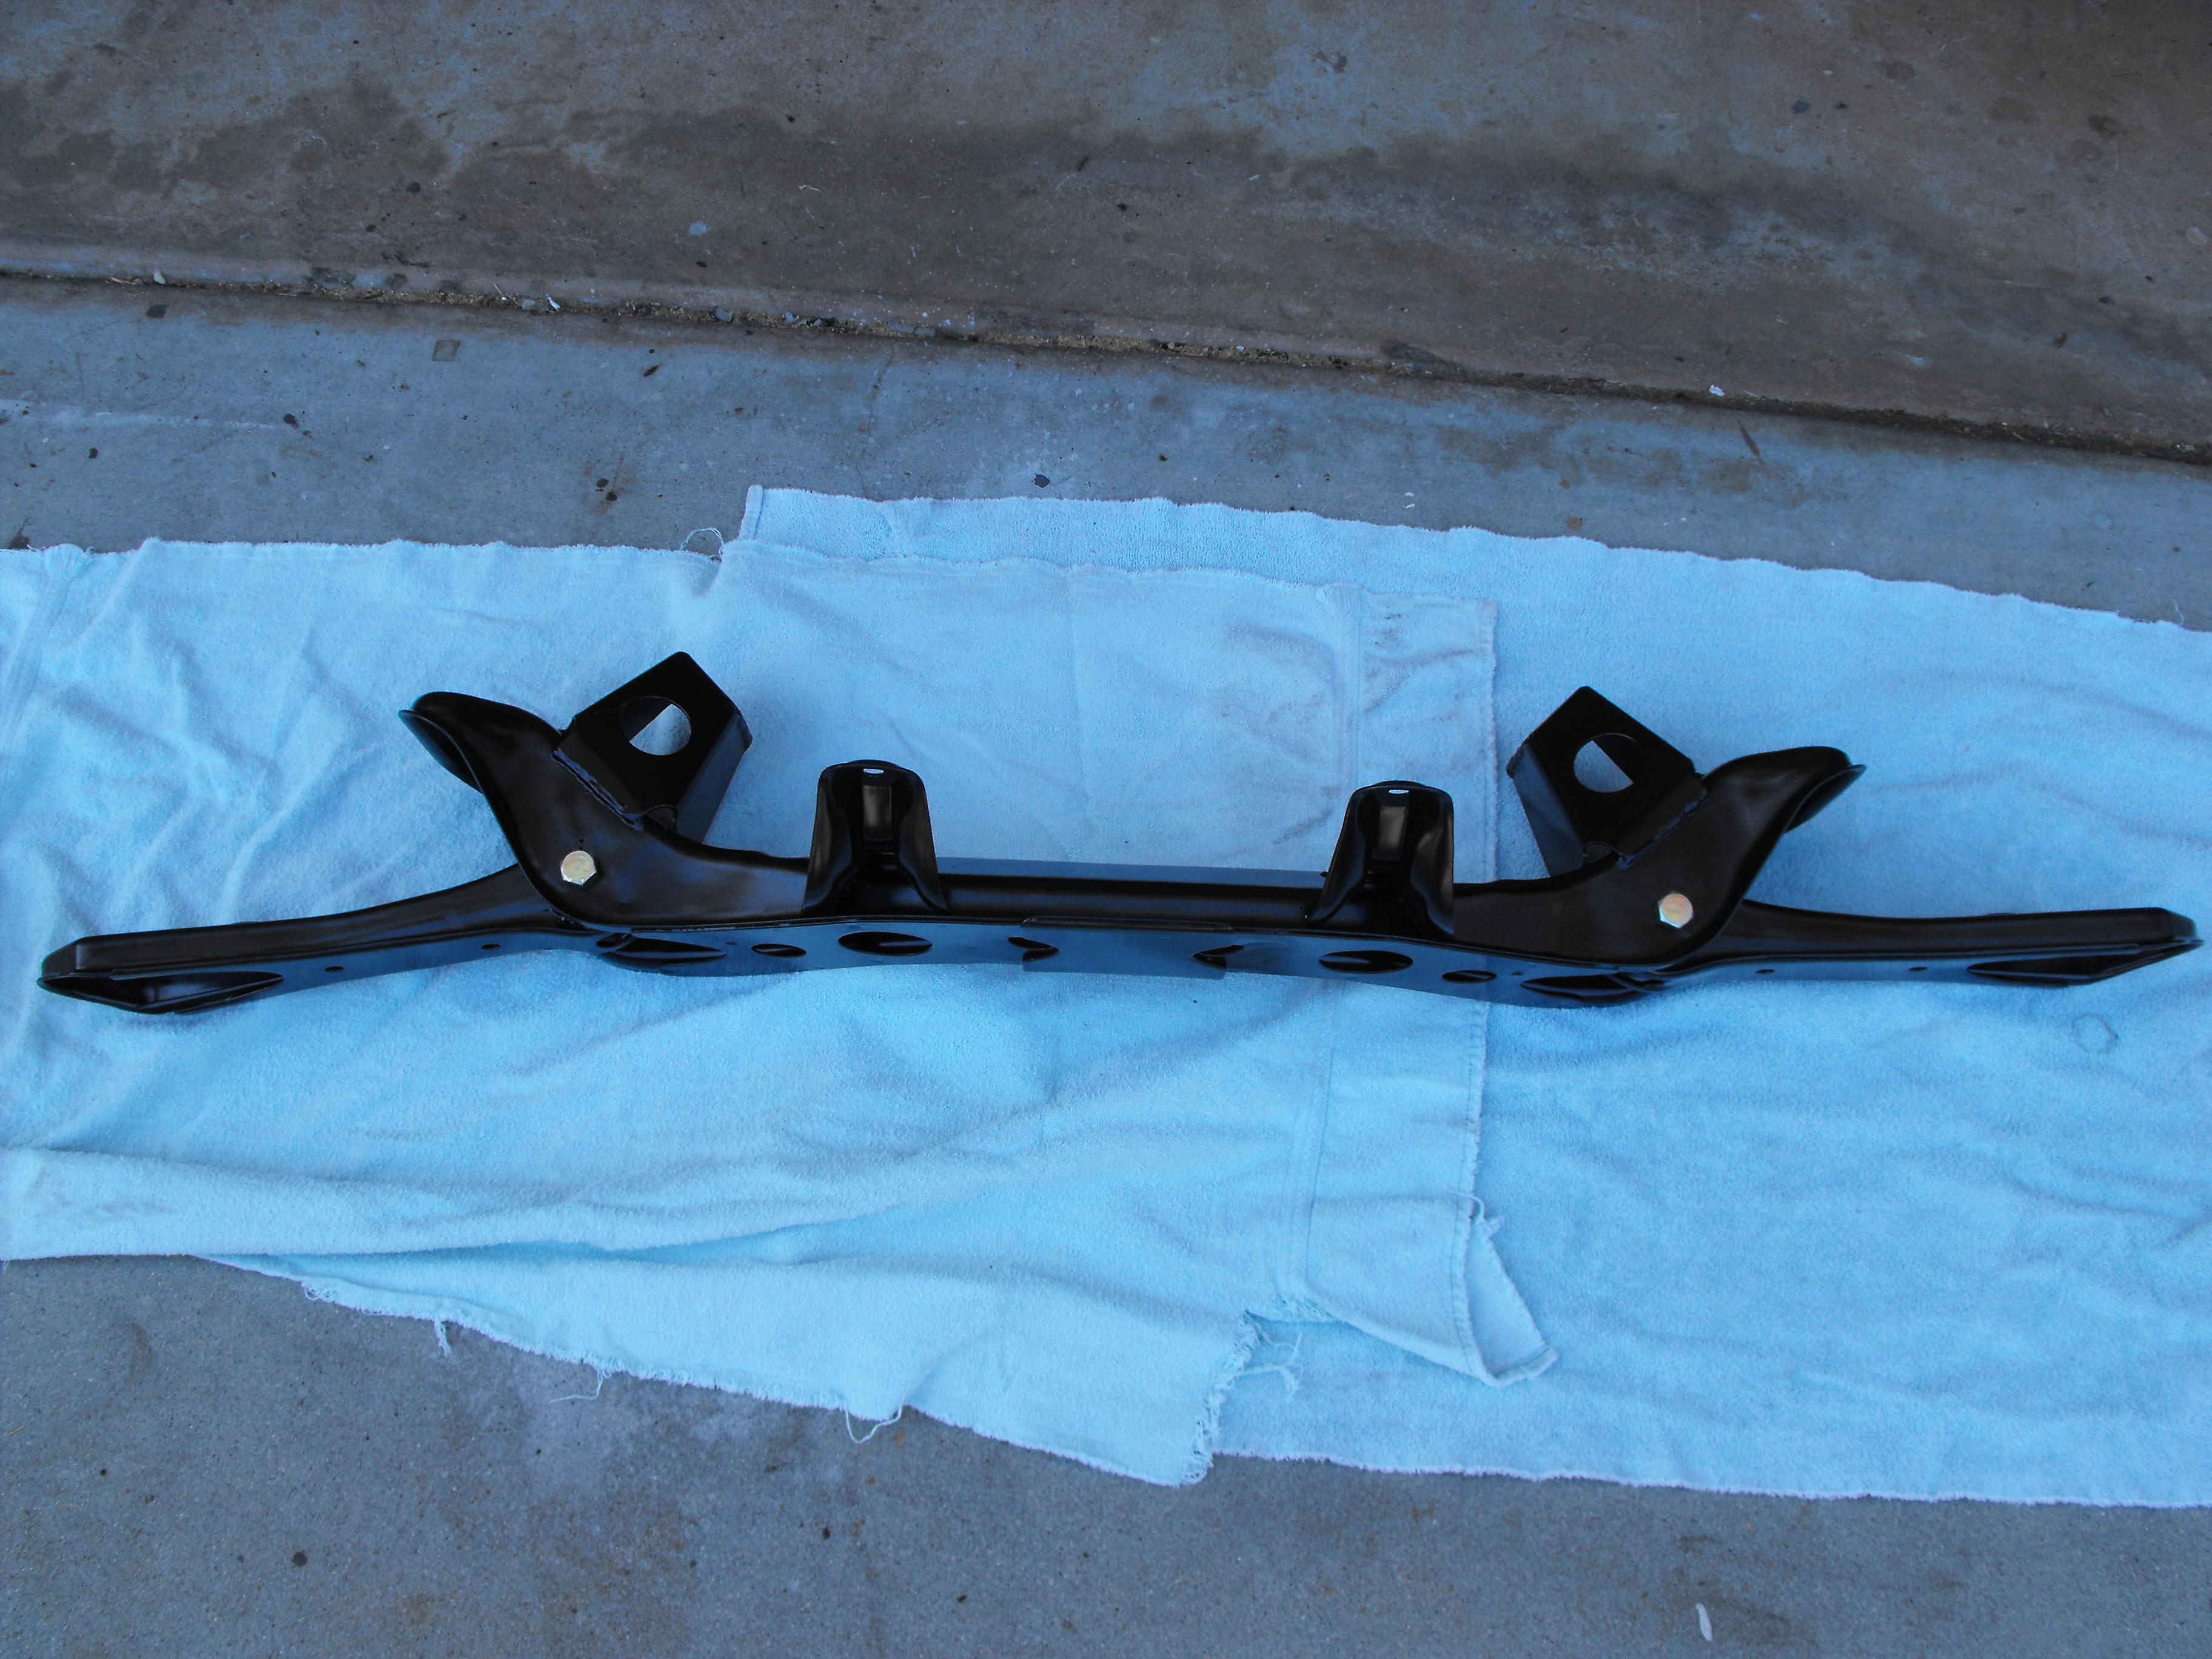
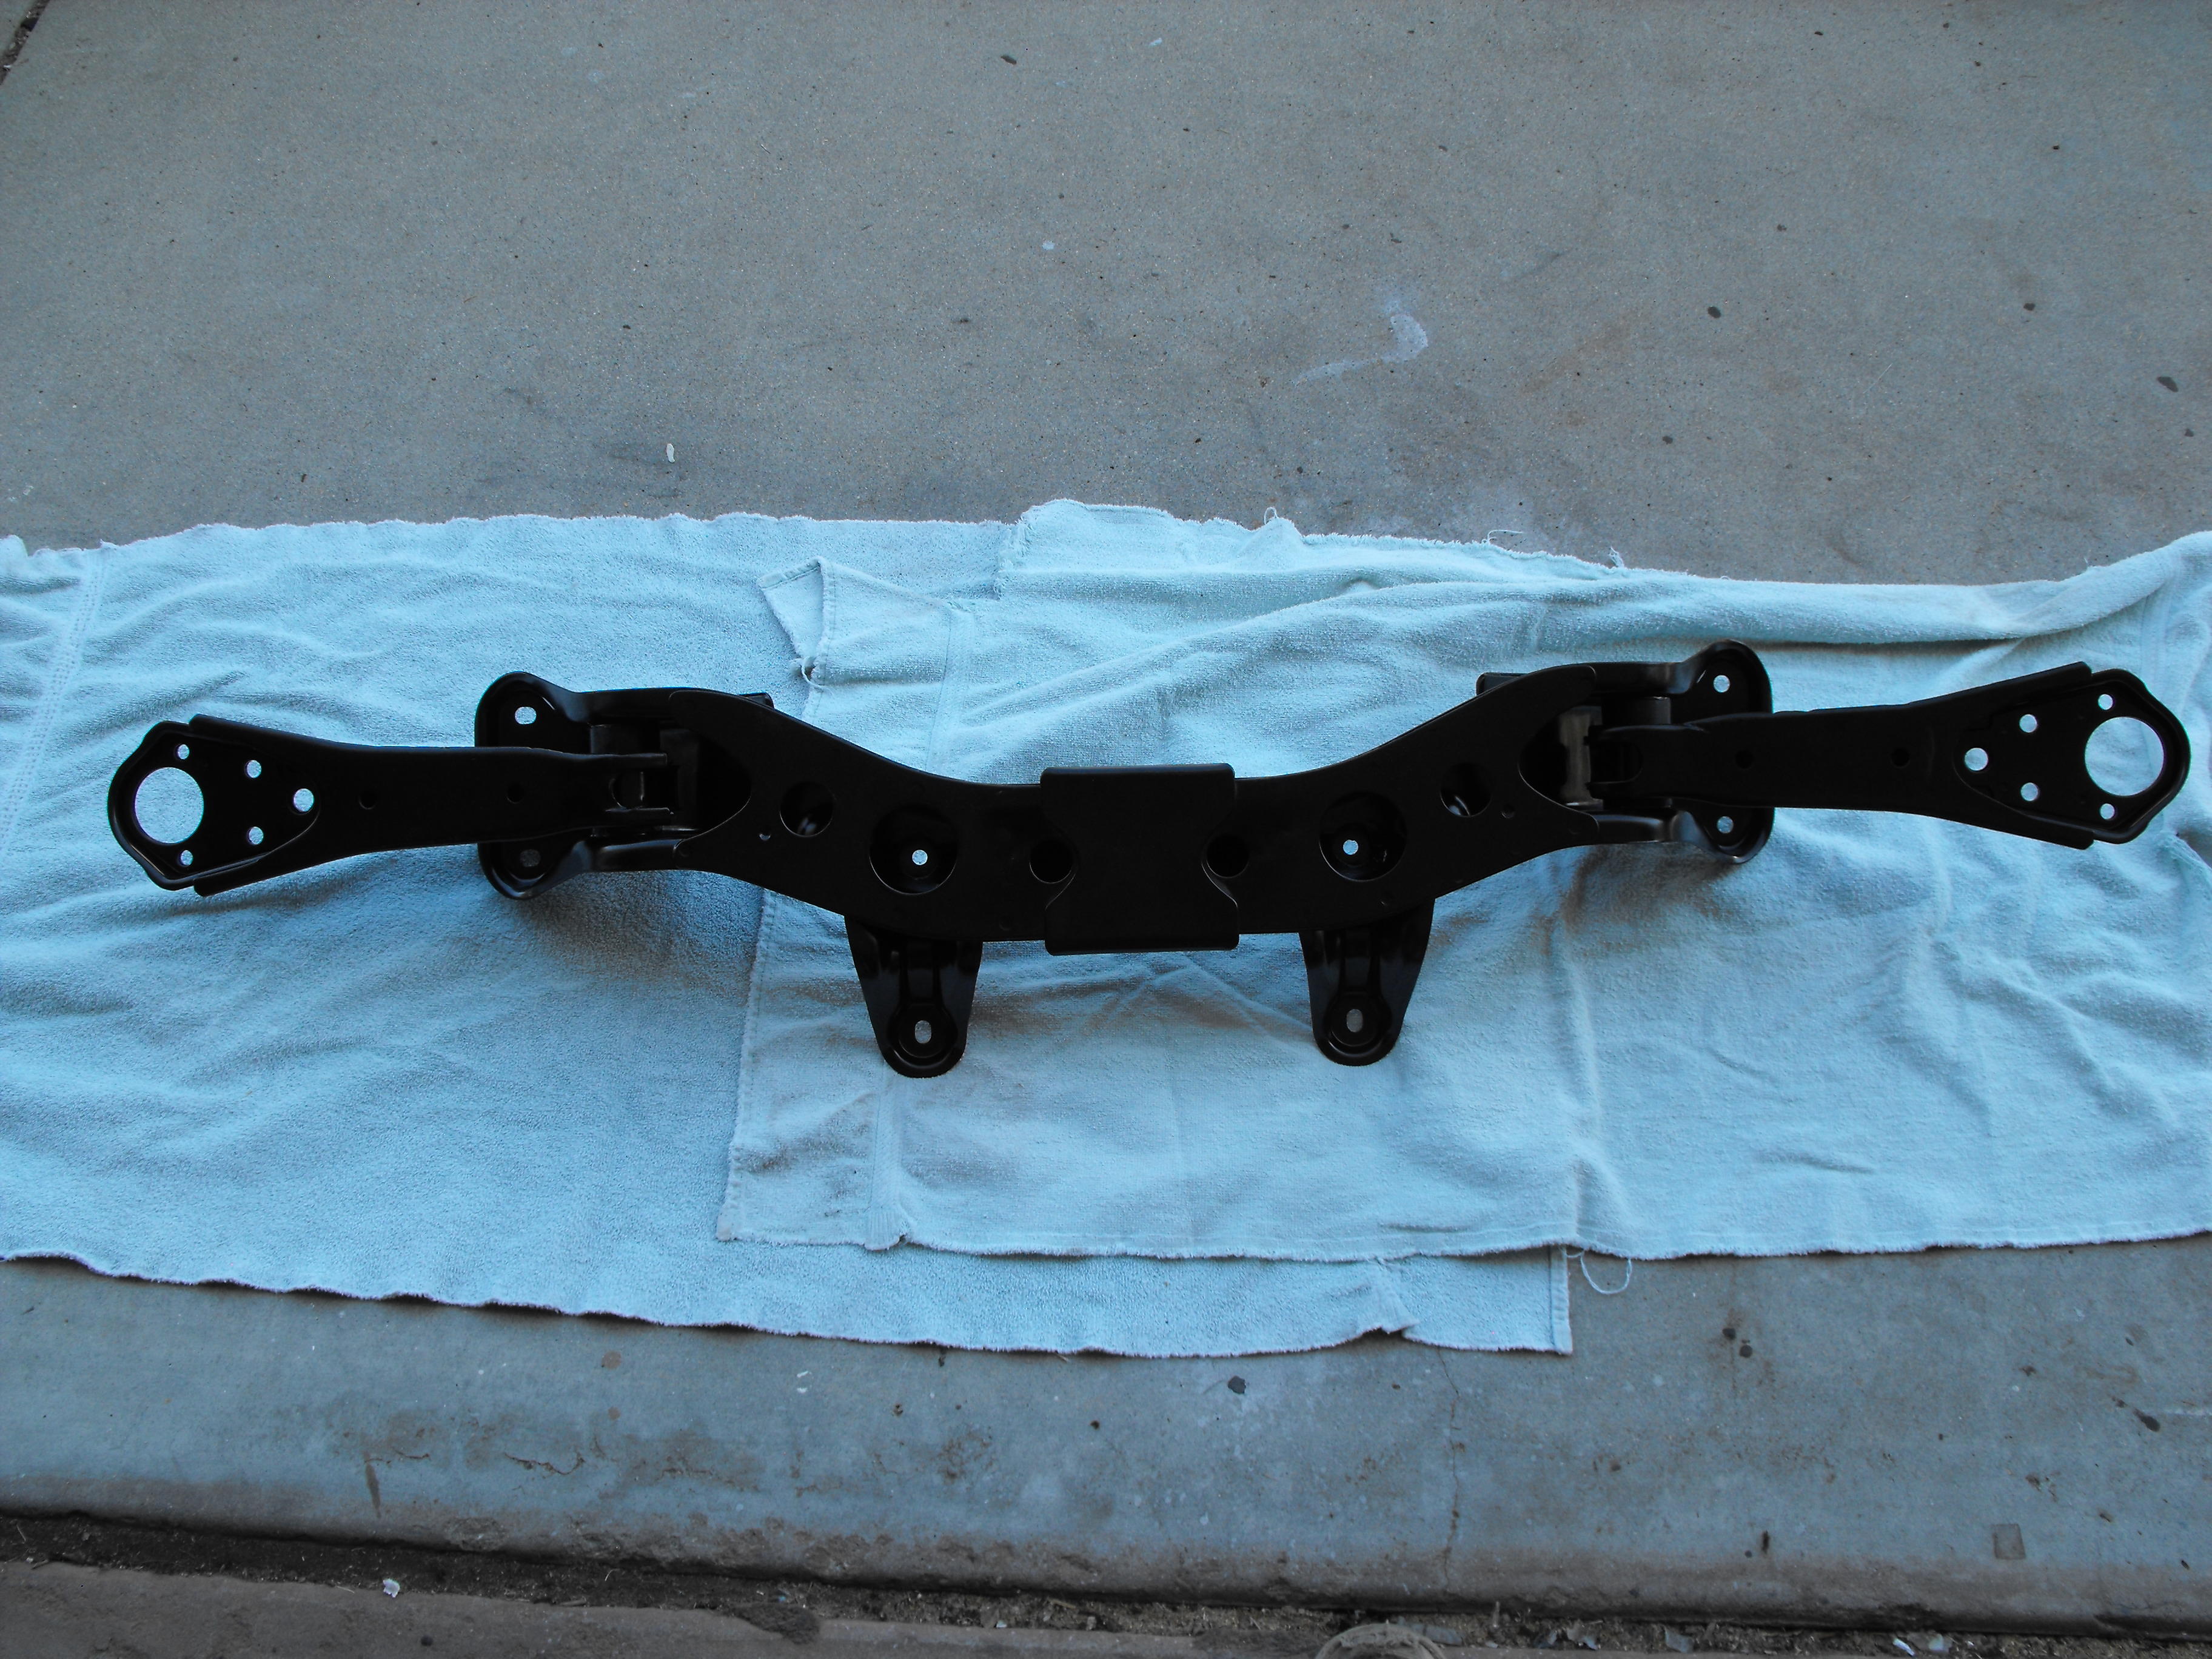
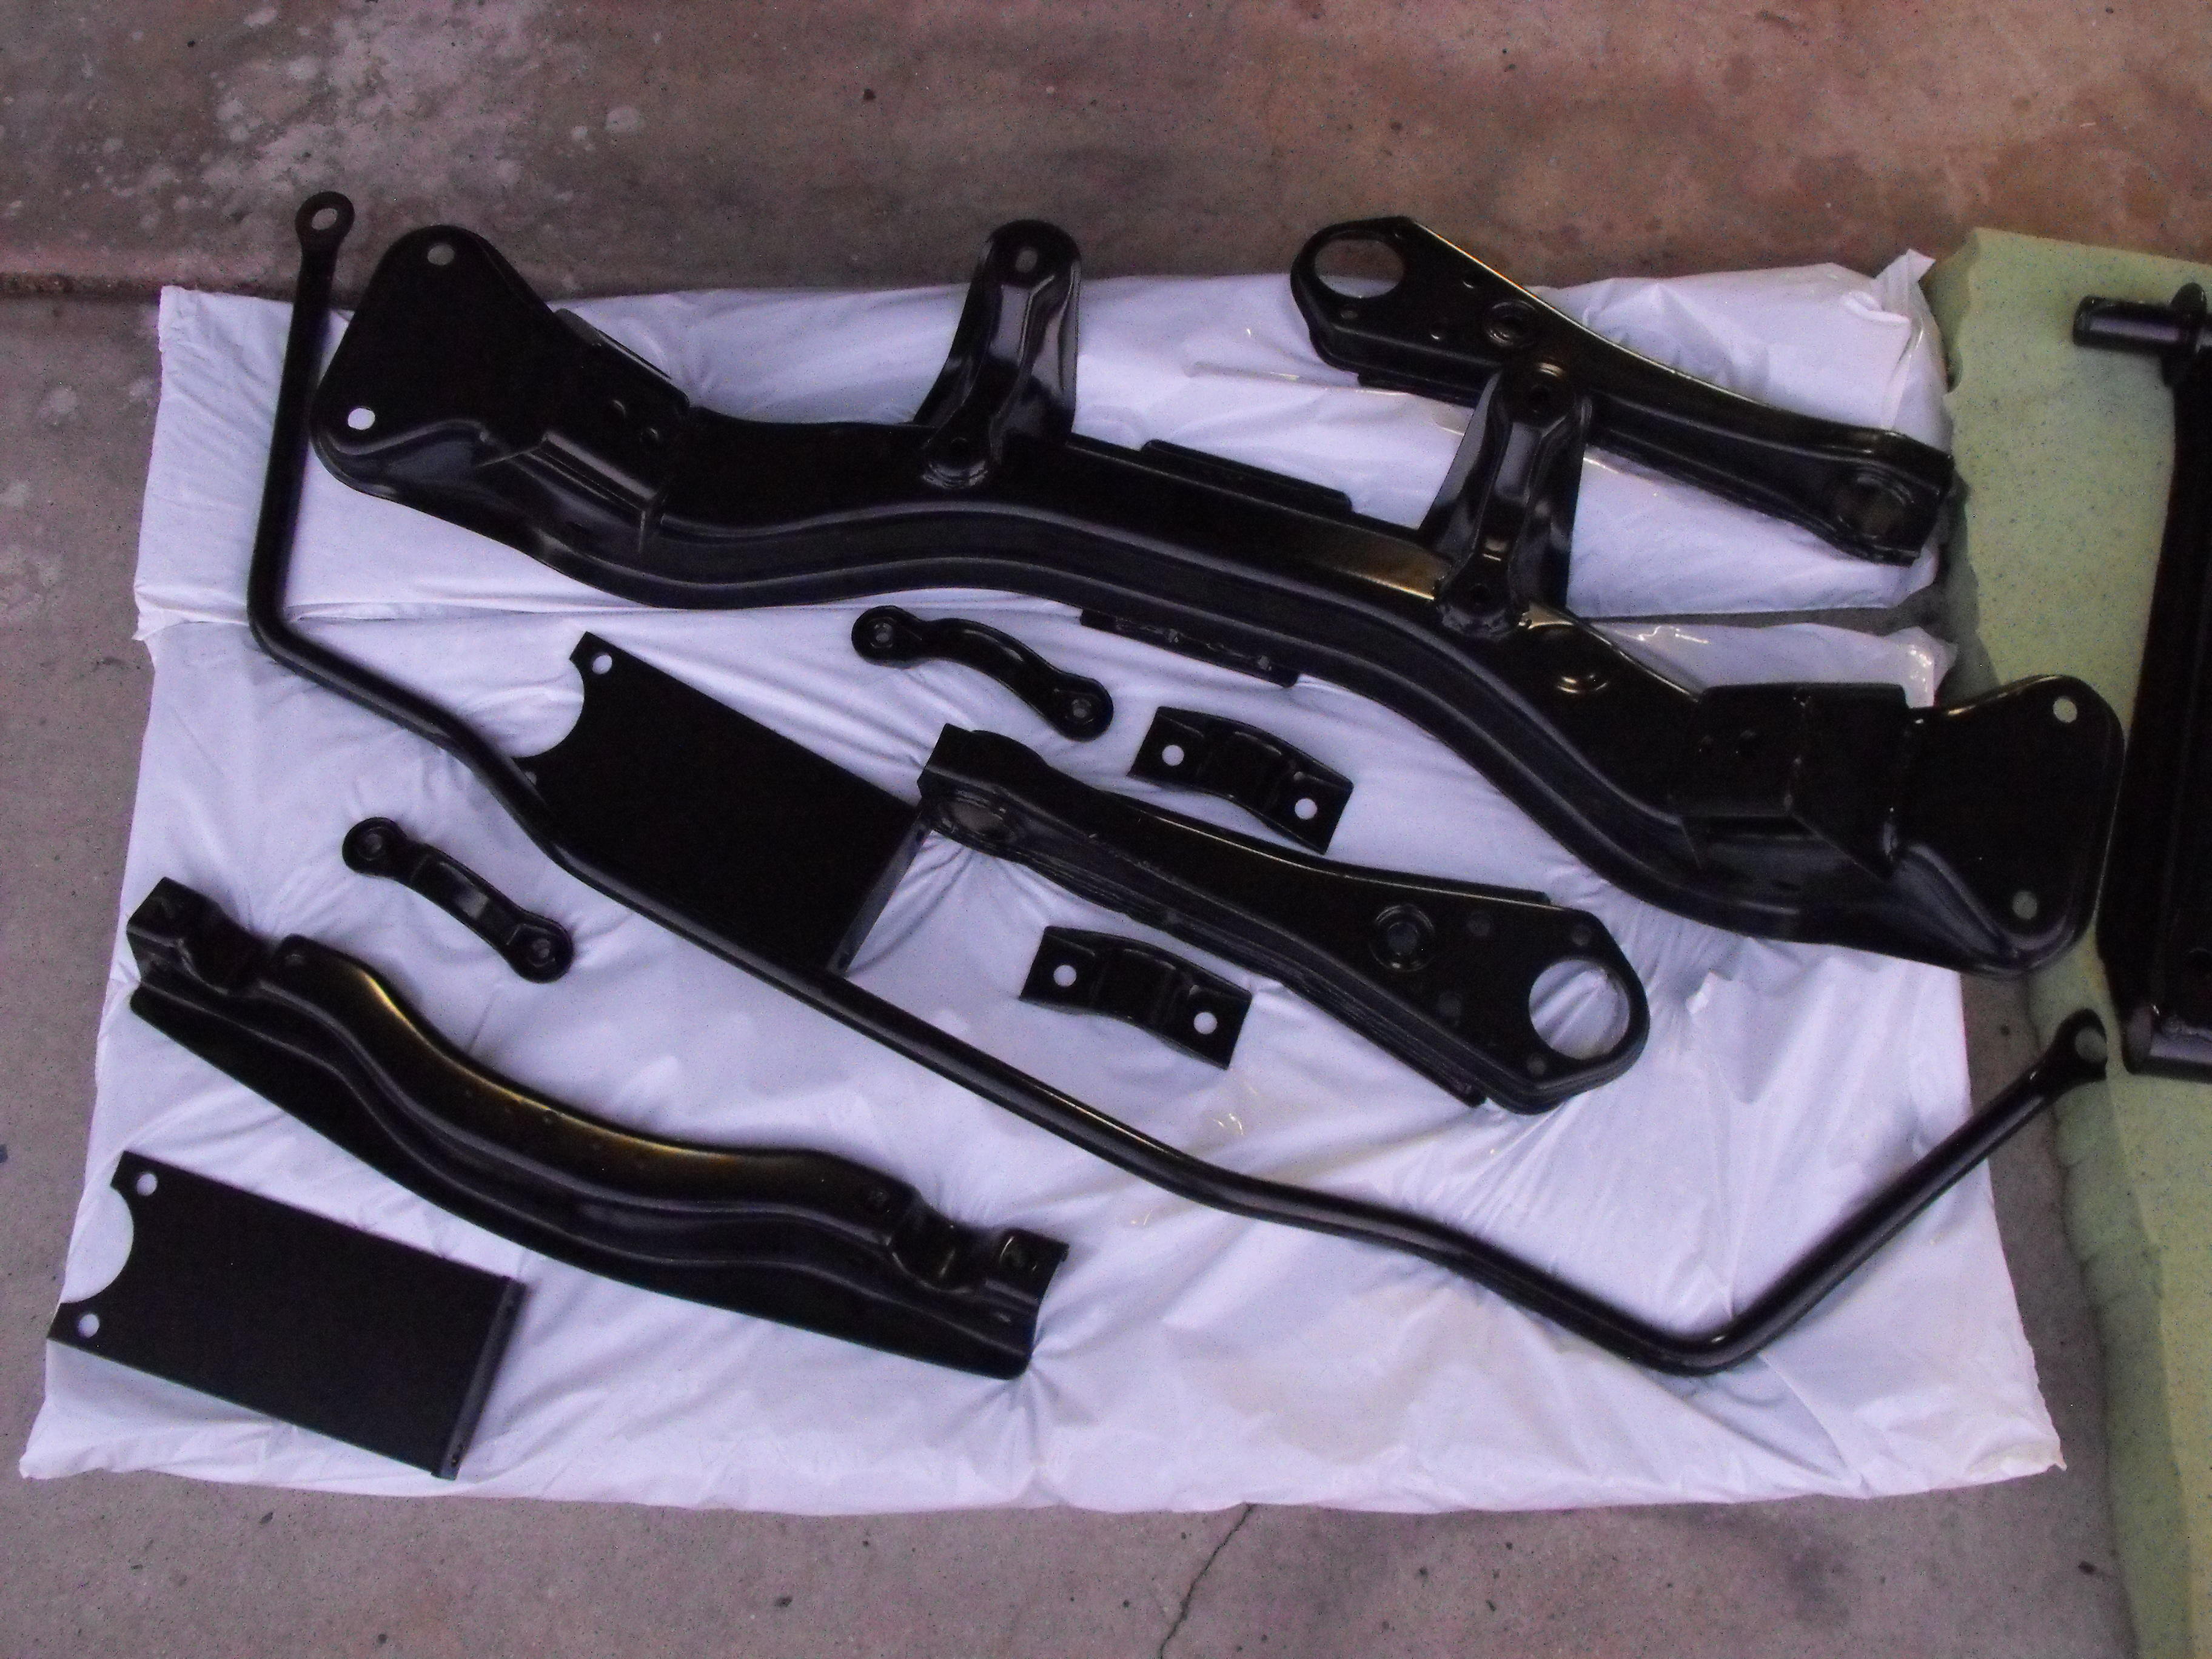
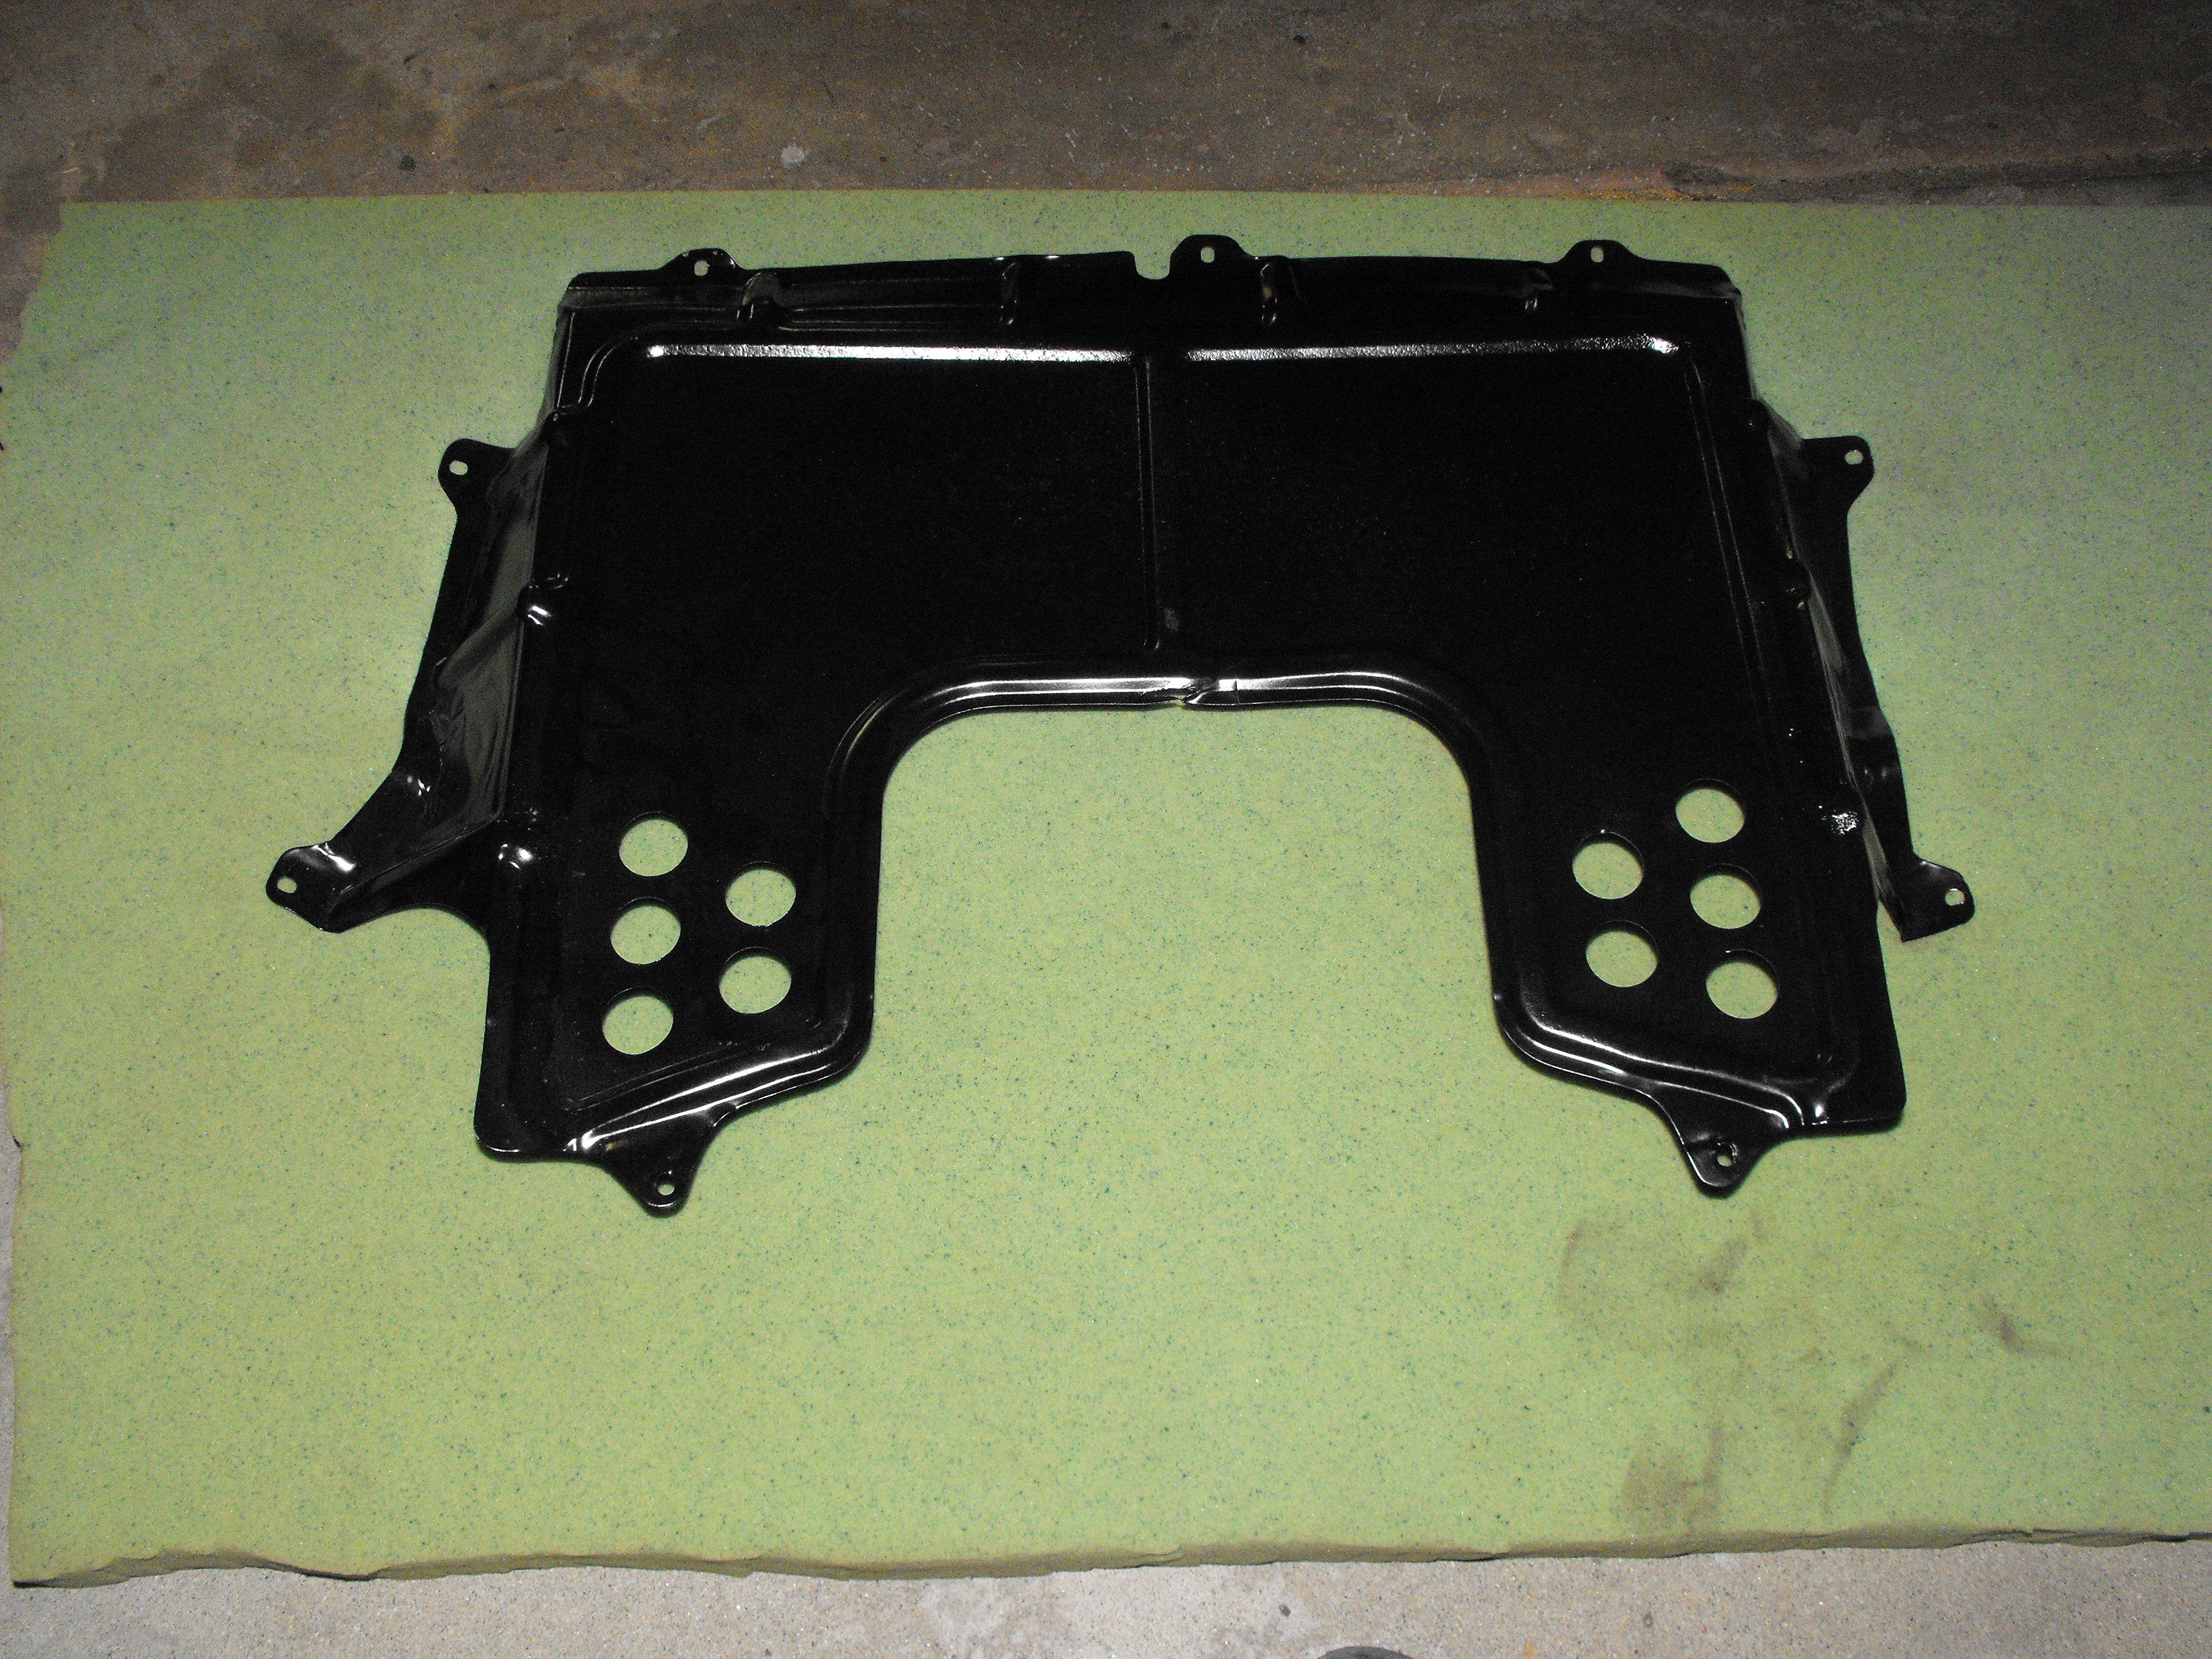
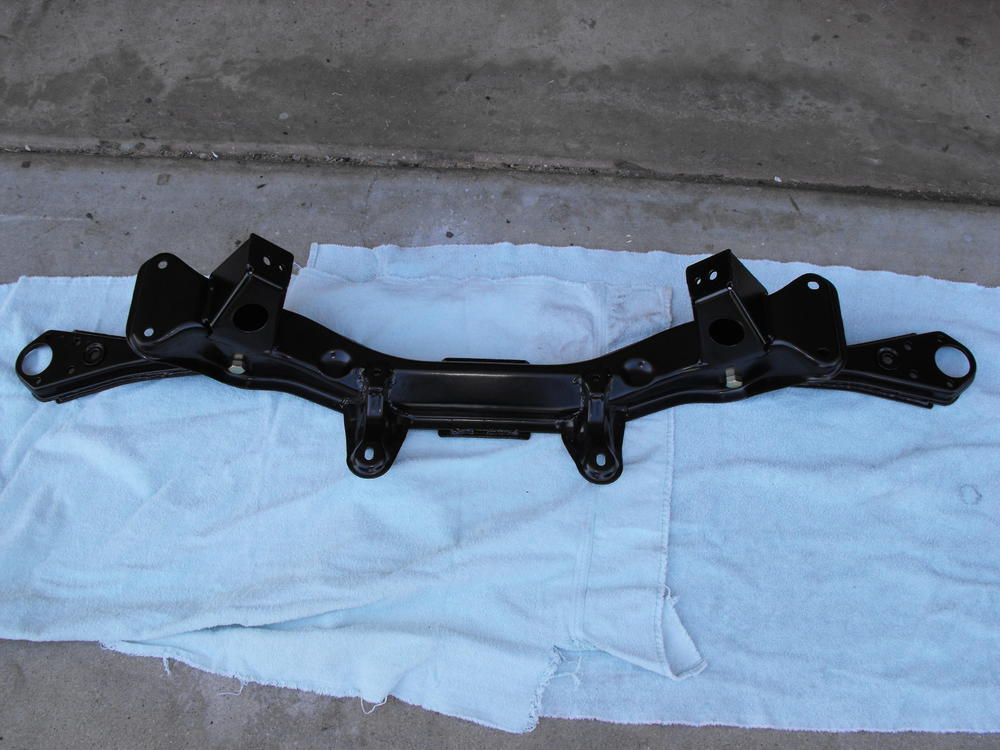
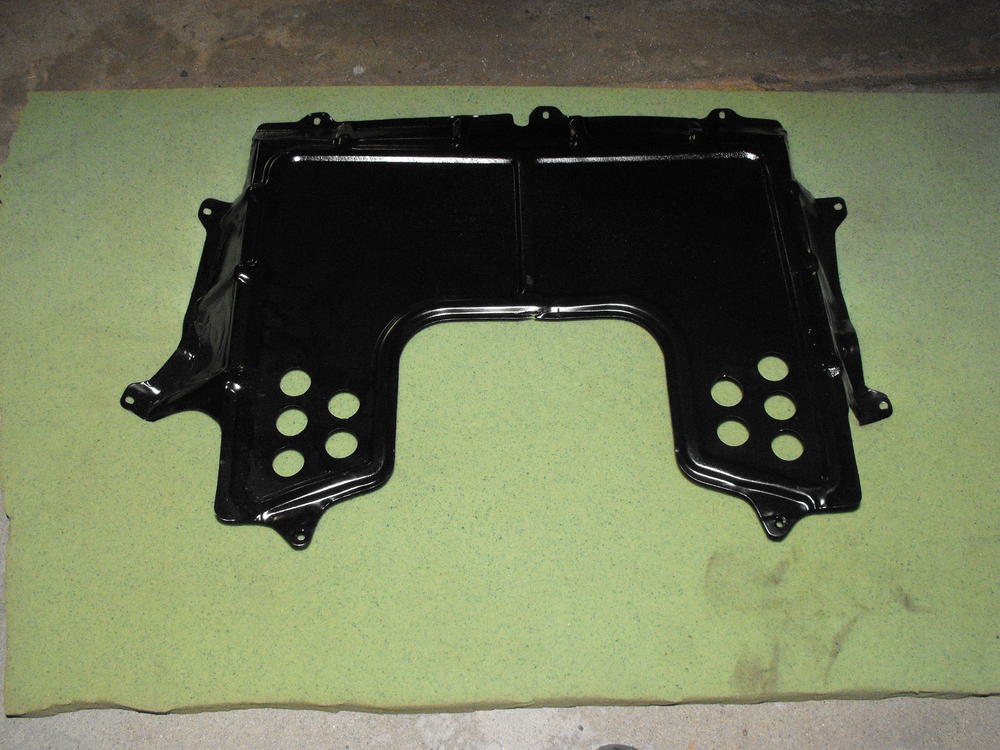
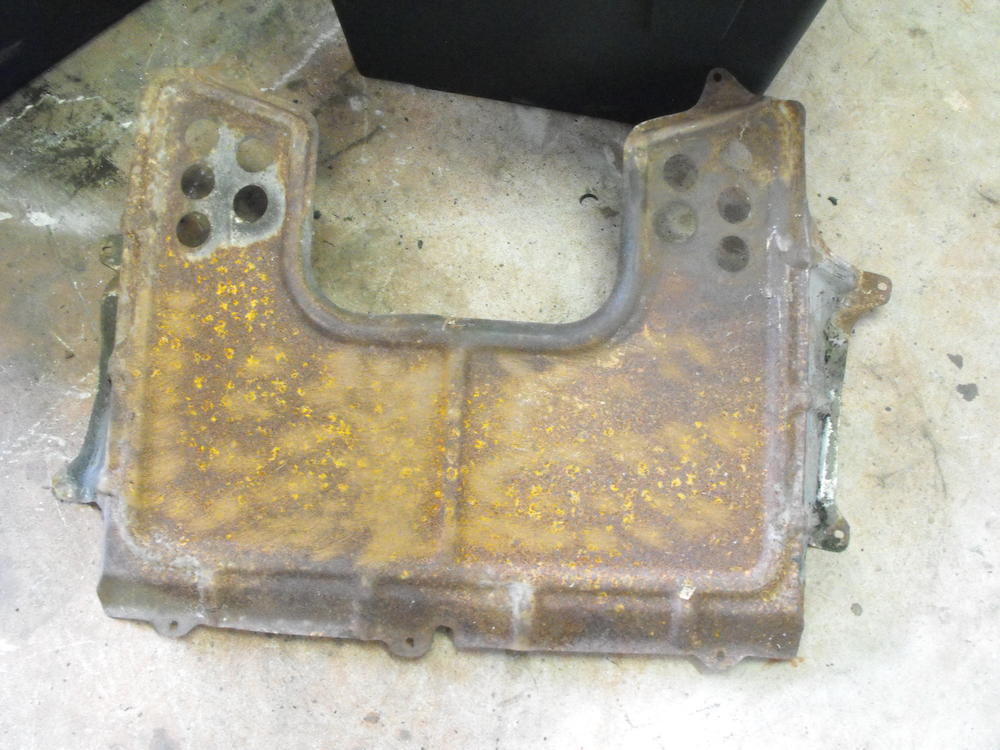
Got parts back from the Powder coat shop. I love working with fresh clean parts. The shocks arrive tomorrow, Energy suspension kit will be here Wednesday, and my zinc plated parts should be here by Friday. Nice to have all this coming together. I will do a little suspension pre-assembly while I wait for the body.....which will be a while. The splash pan is a little pock marked but not bad. Fortunately it is not a highly visible part. I will have to look into that some day. Although, I really like taking the parts to powder coat shop because they degrease and sand blast the parts clean. Plus they are relatively cheap given what they produce.


-
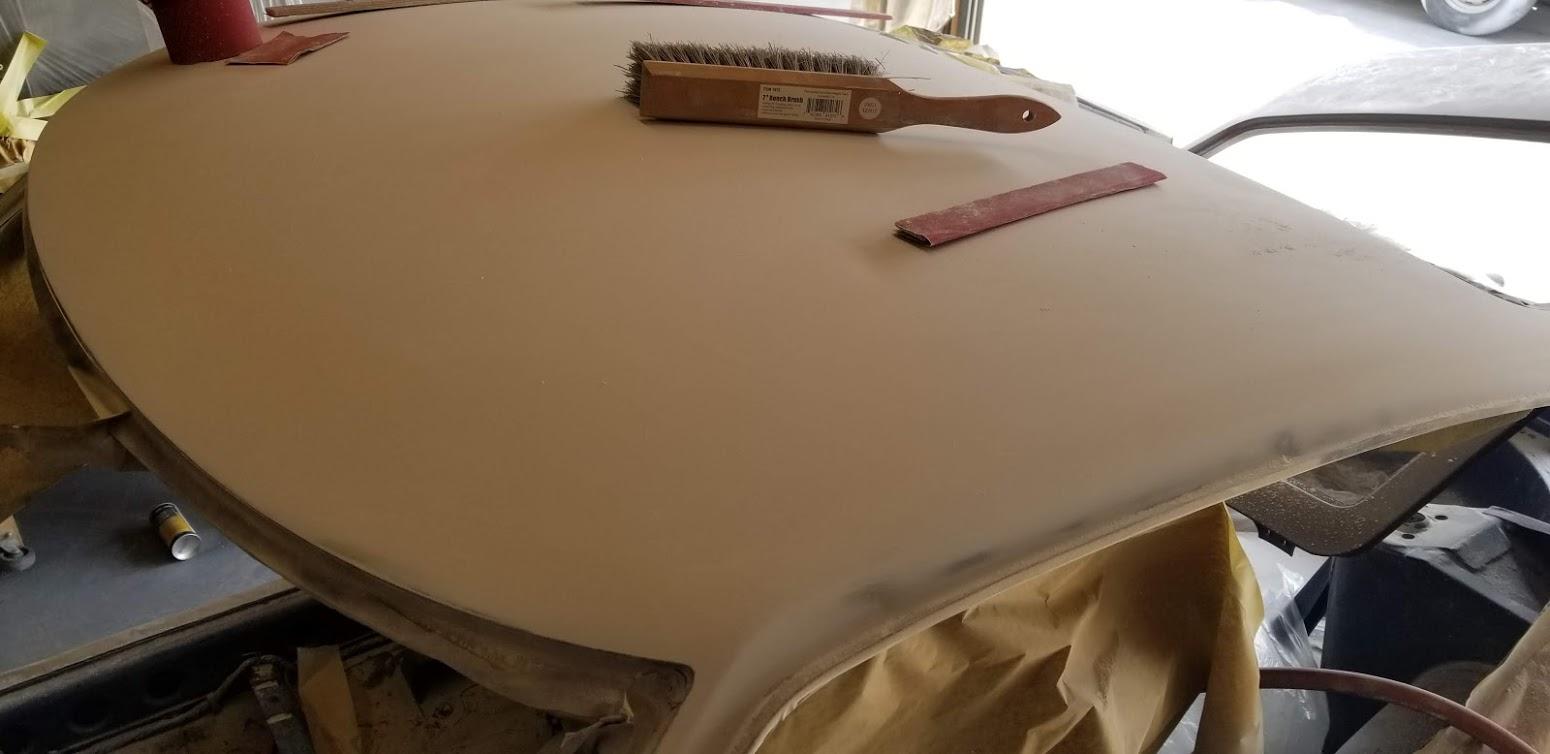
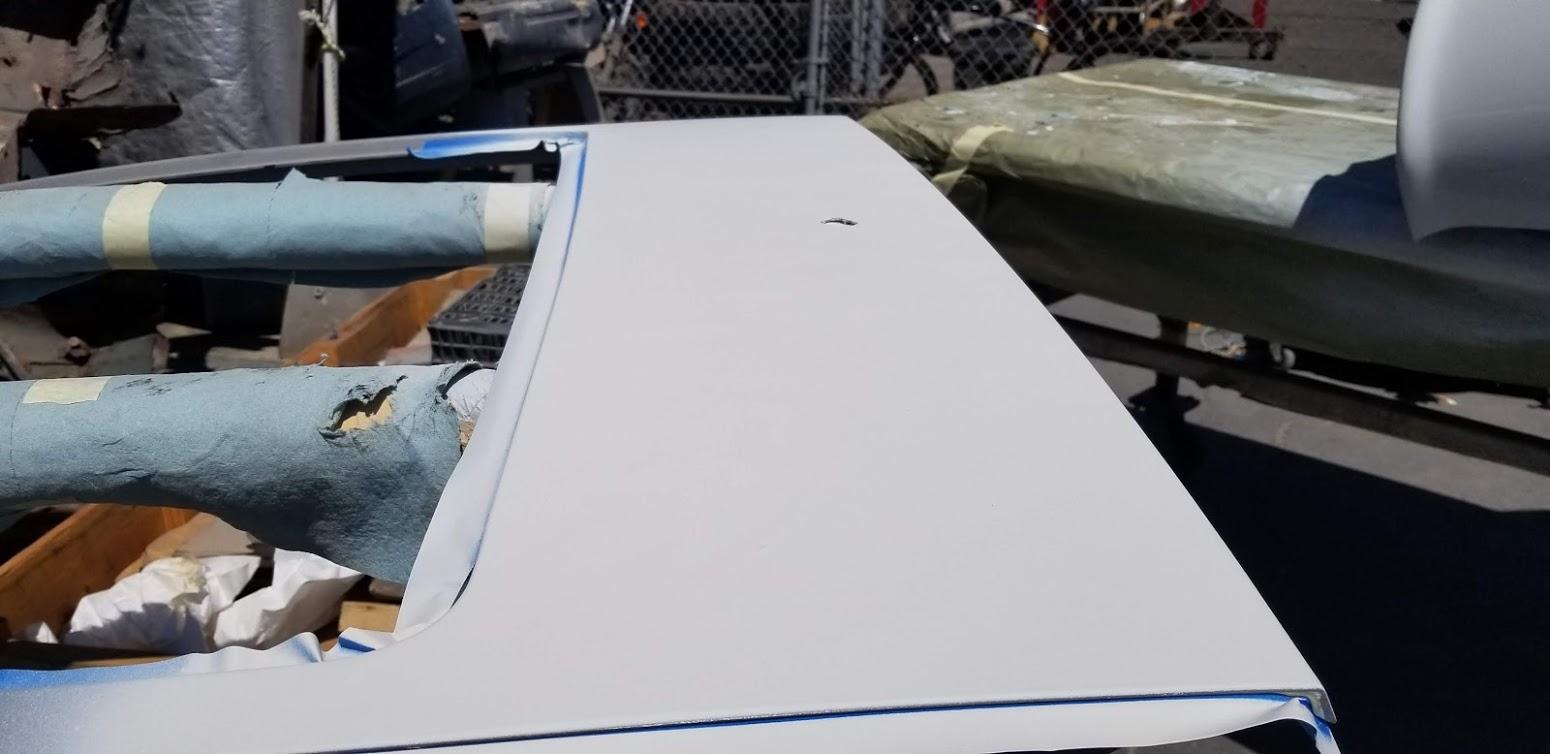
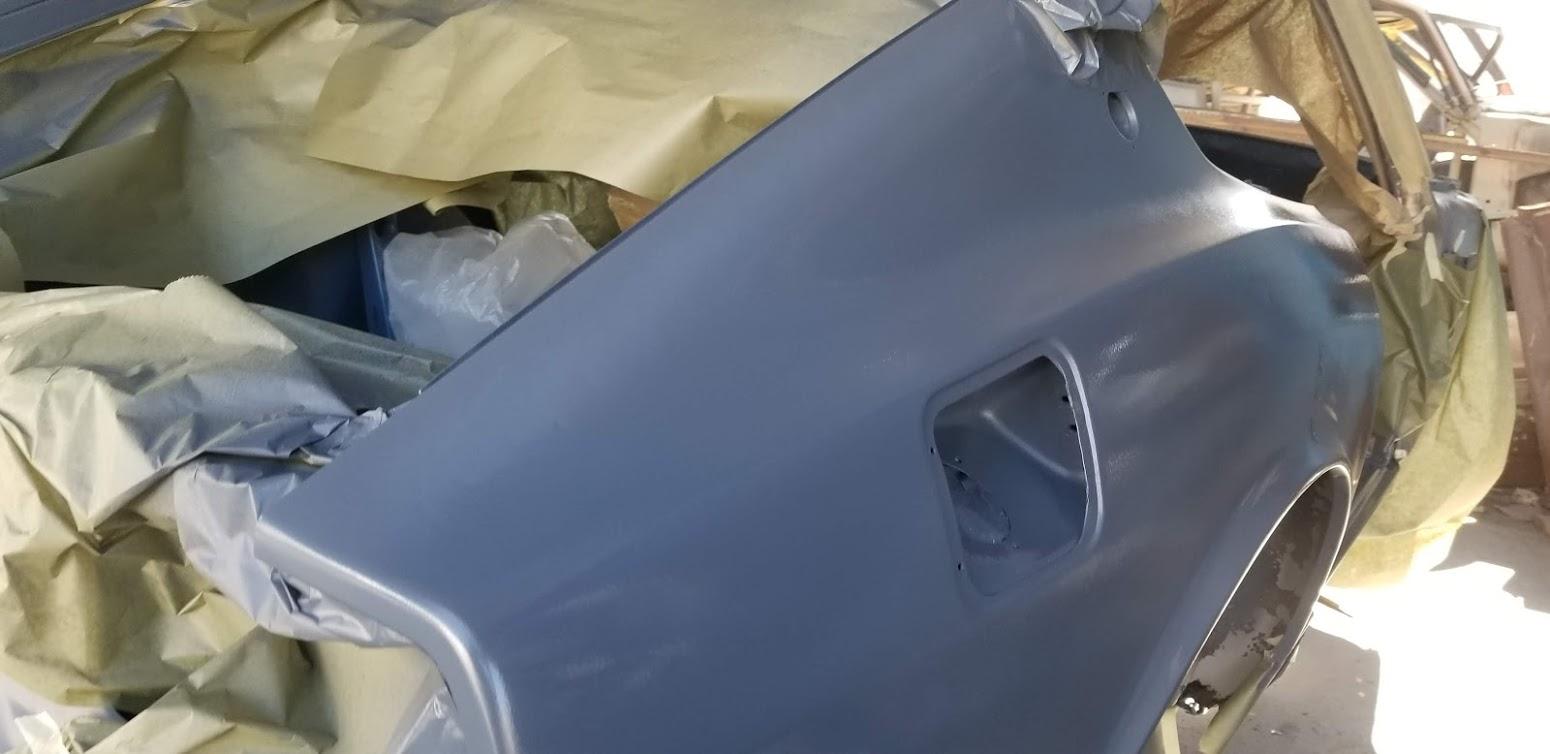
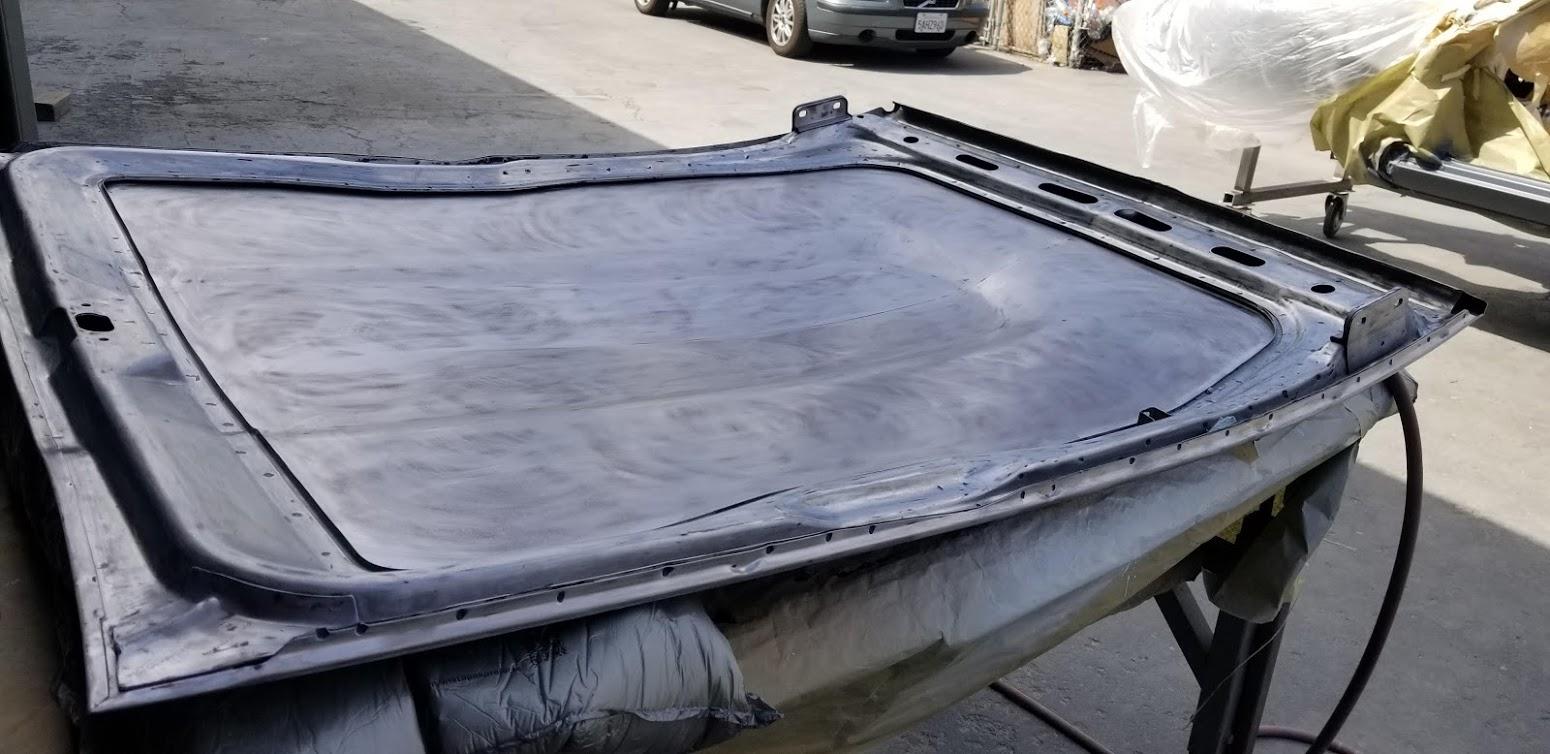
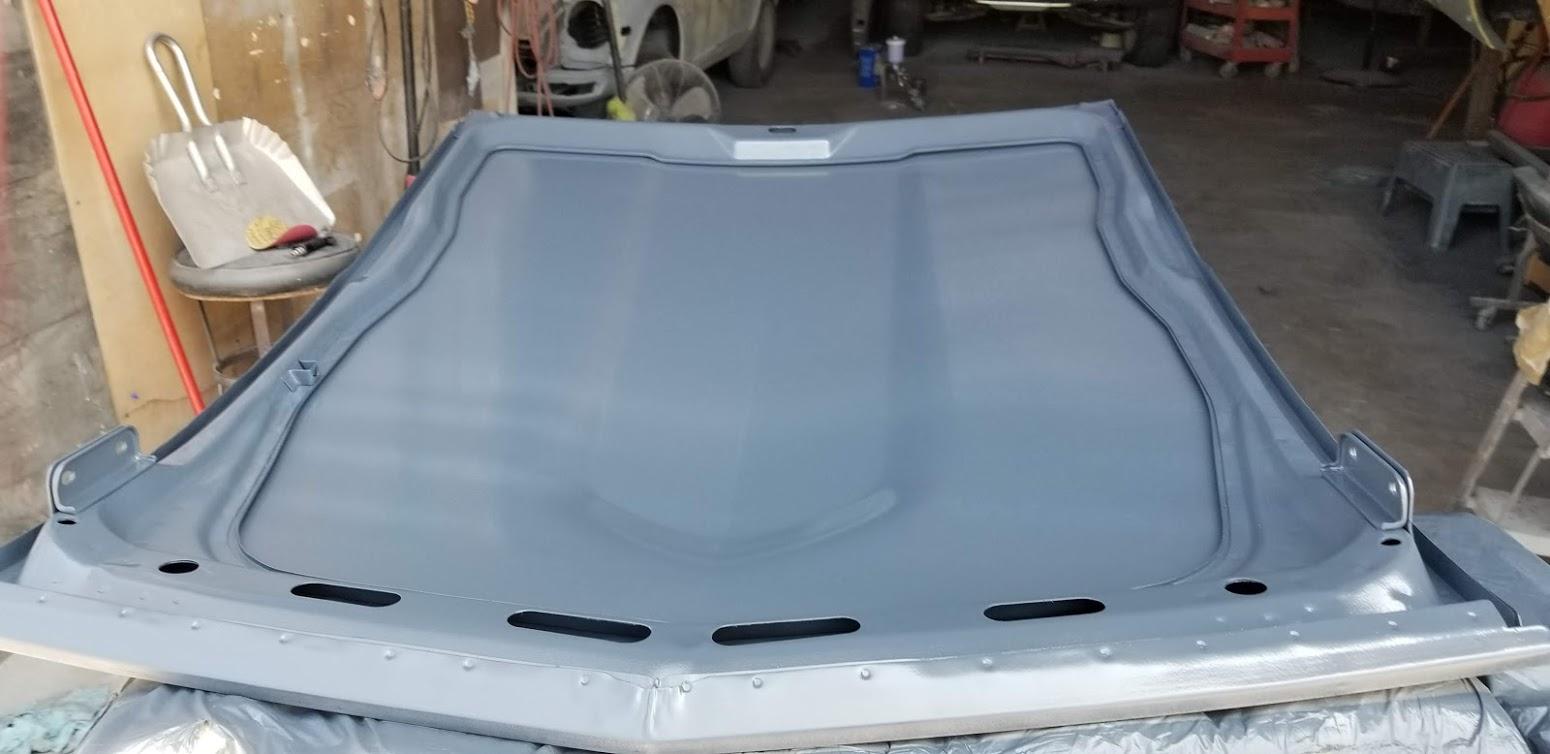
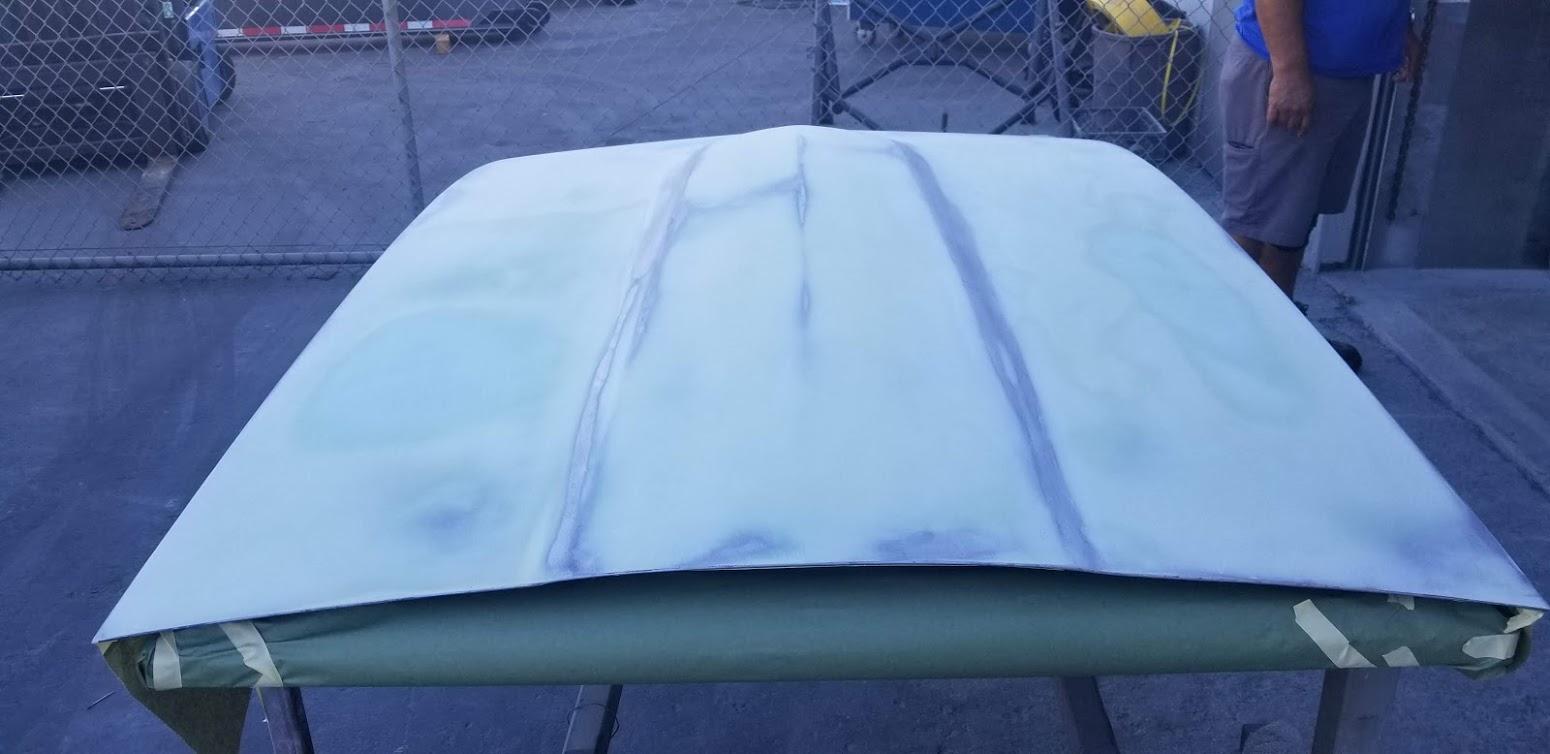
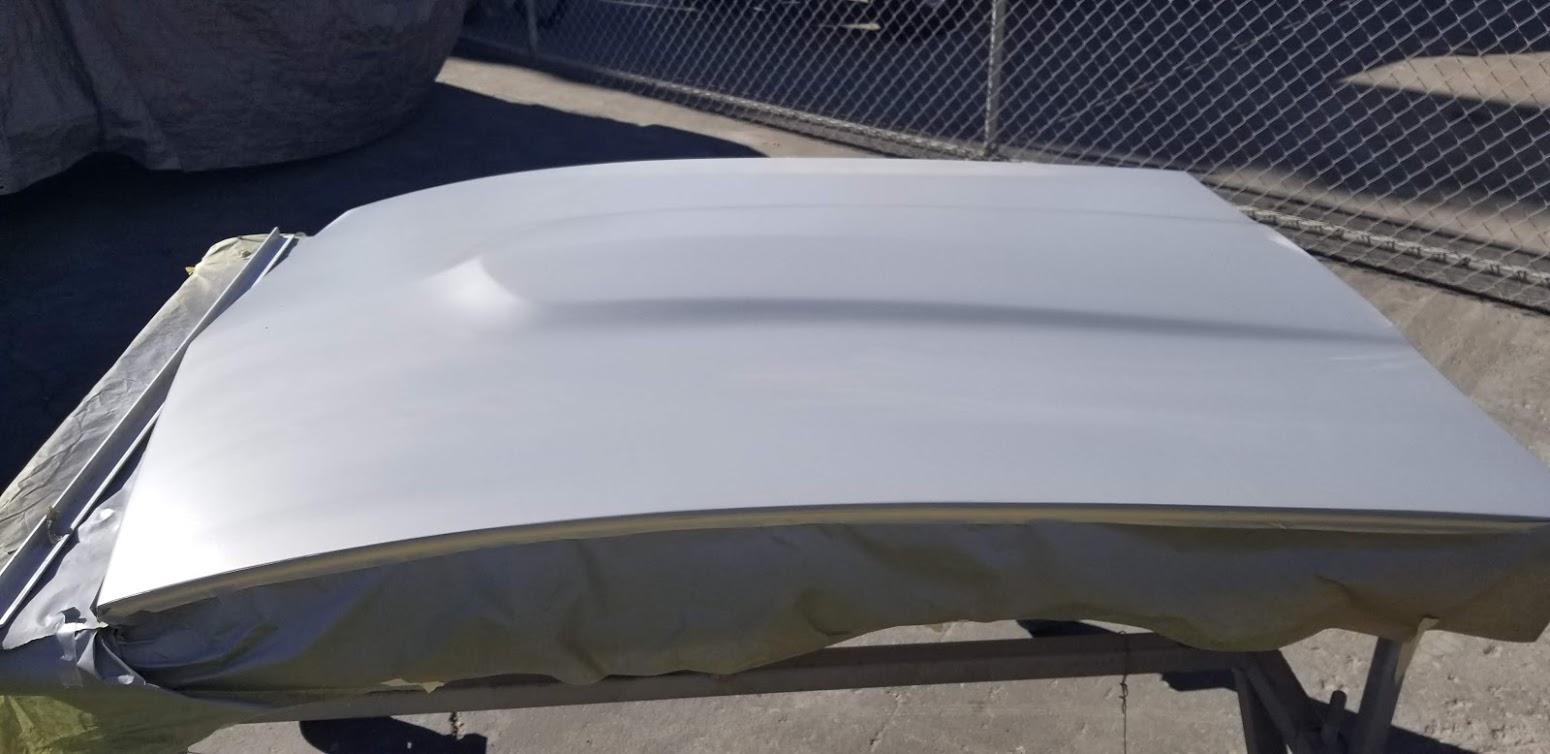
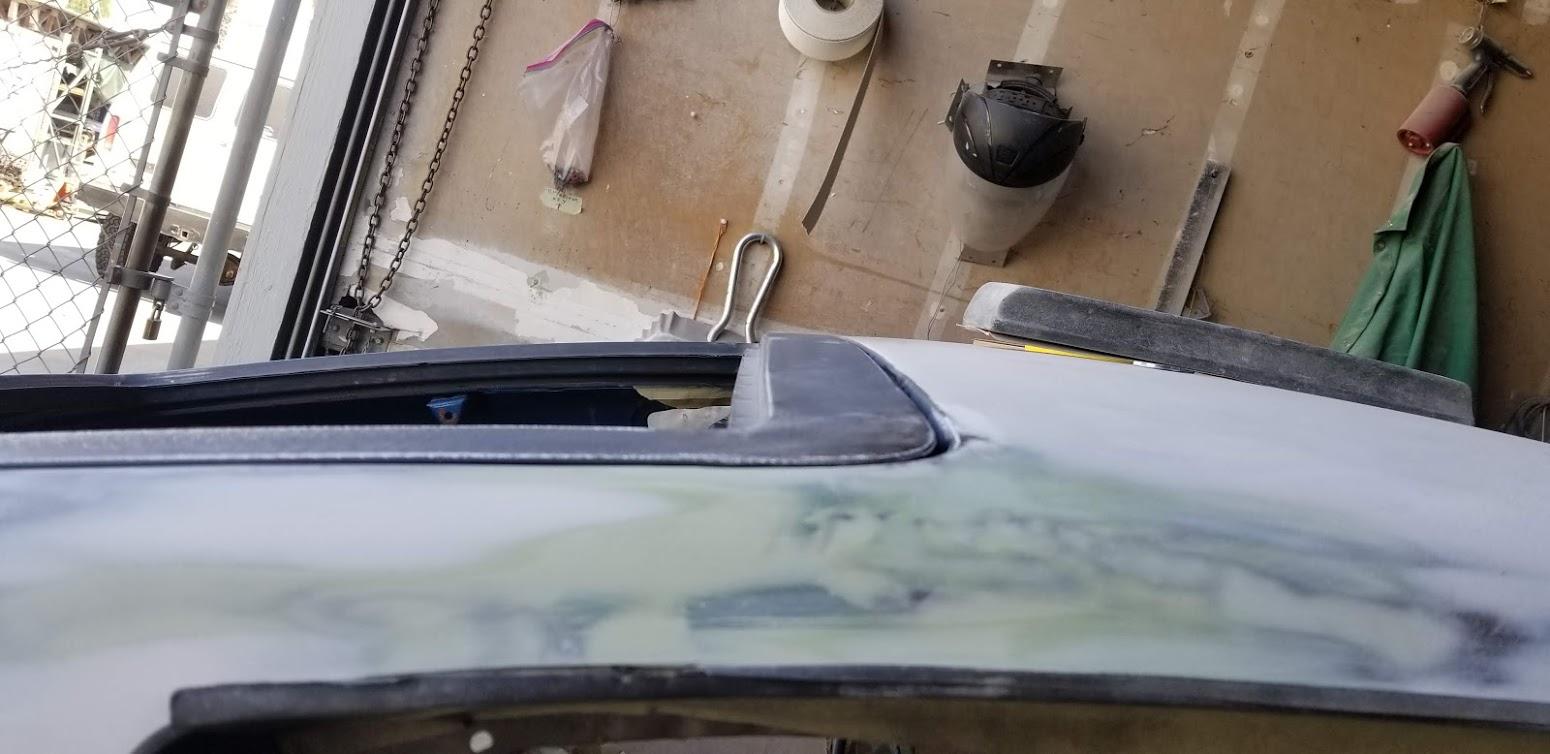
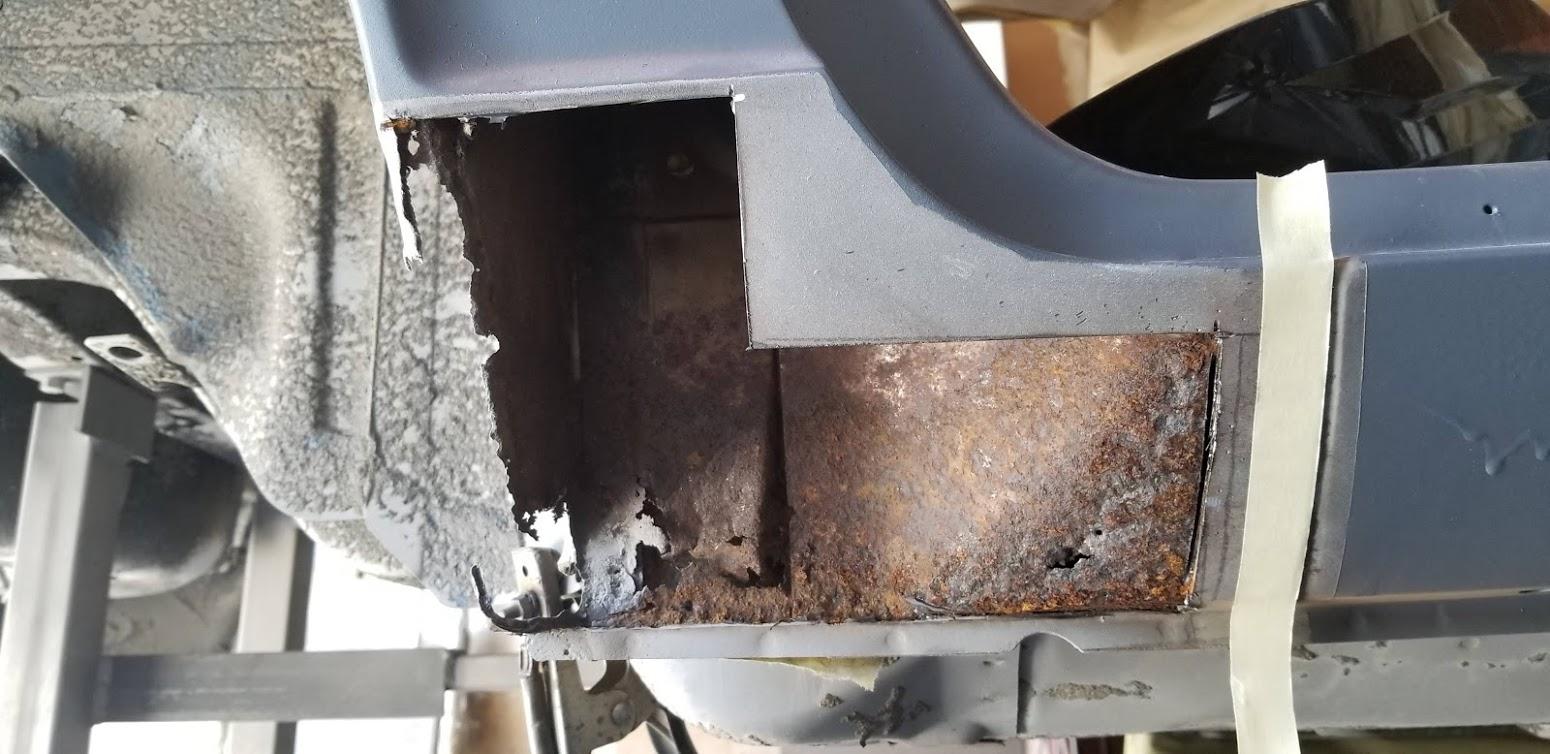
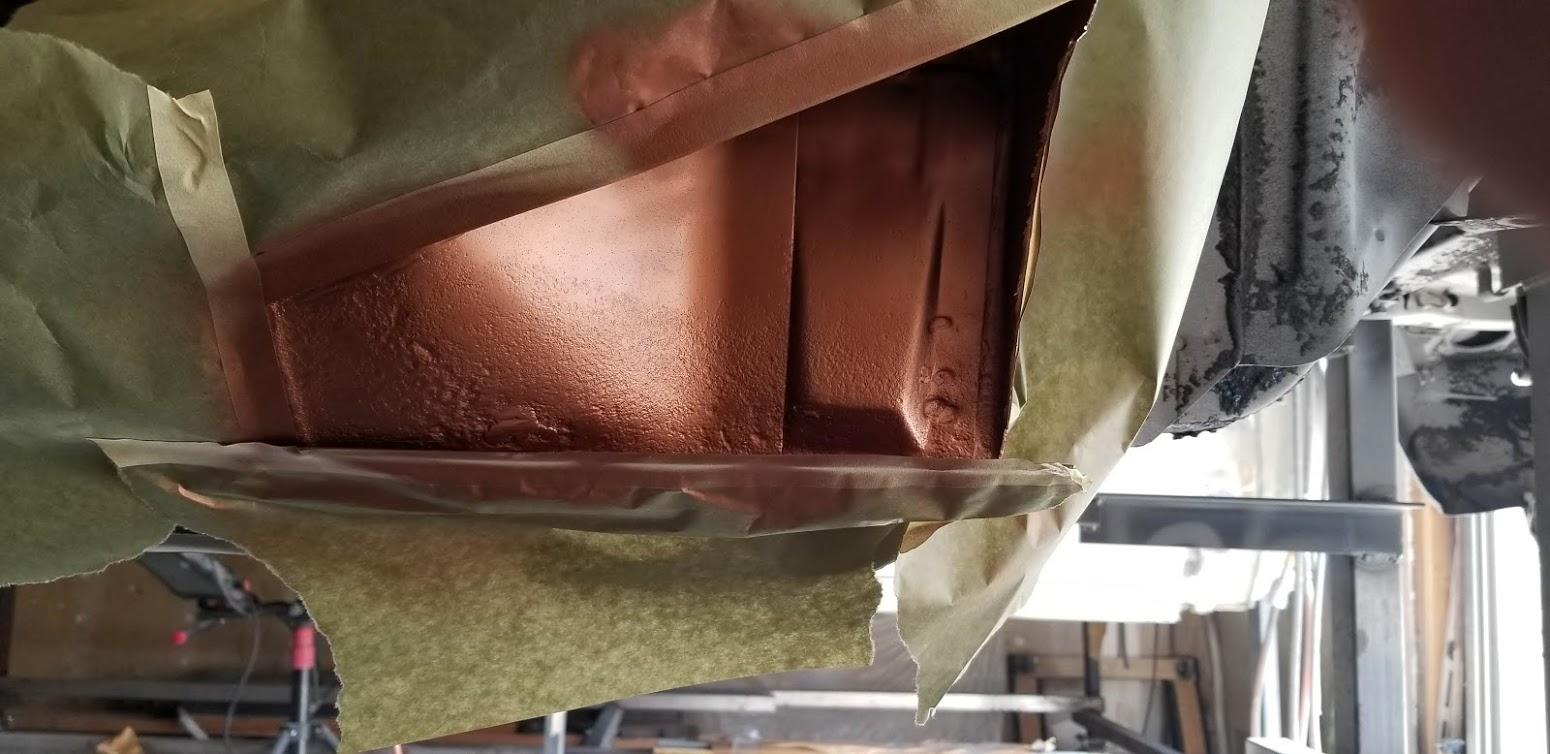
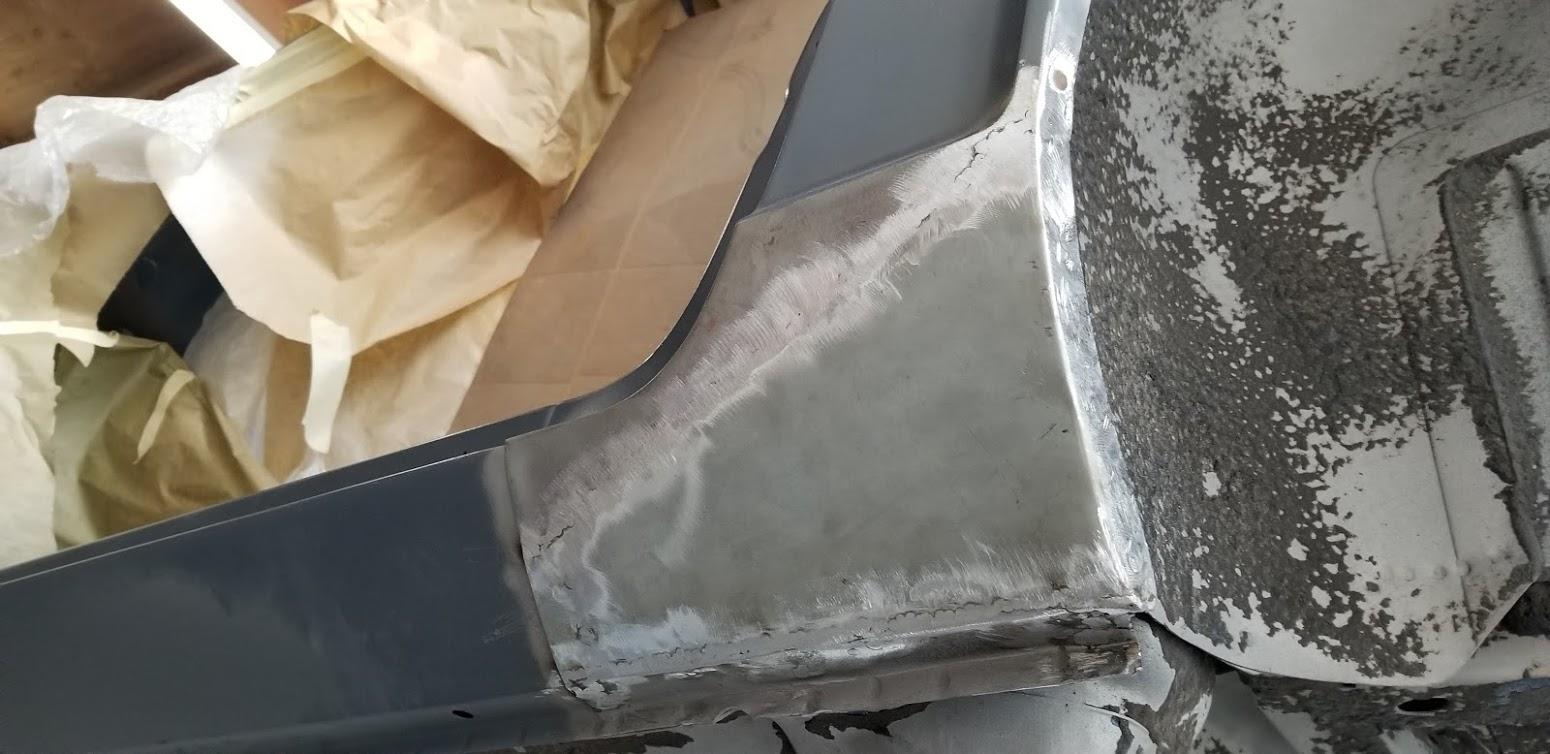
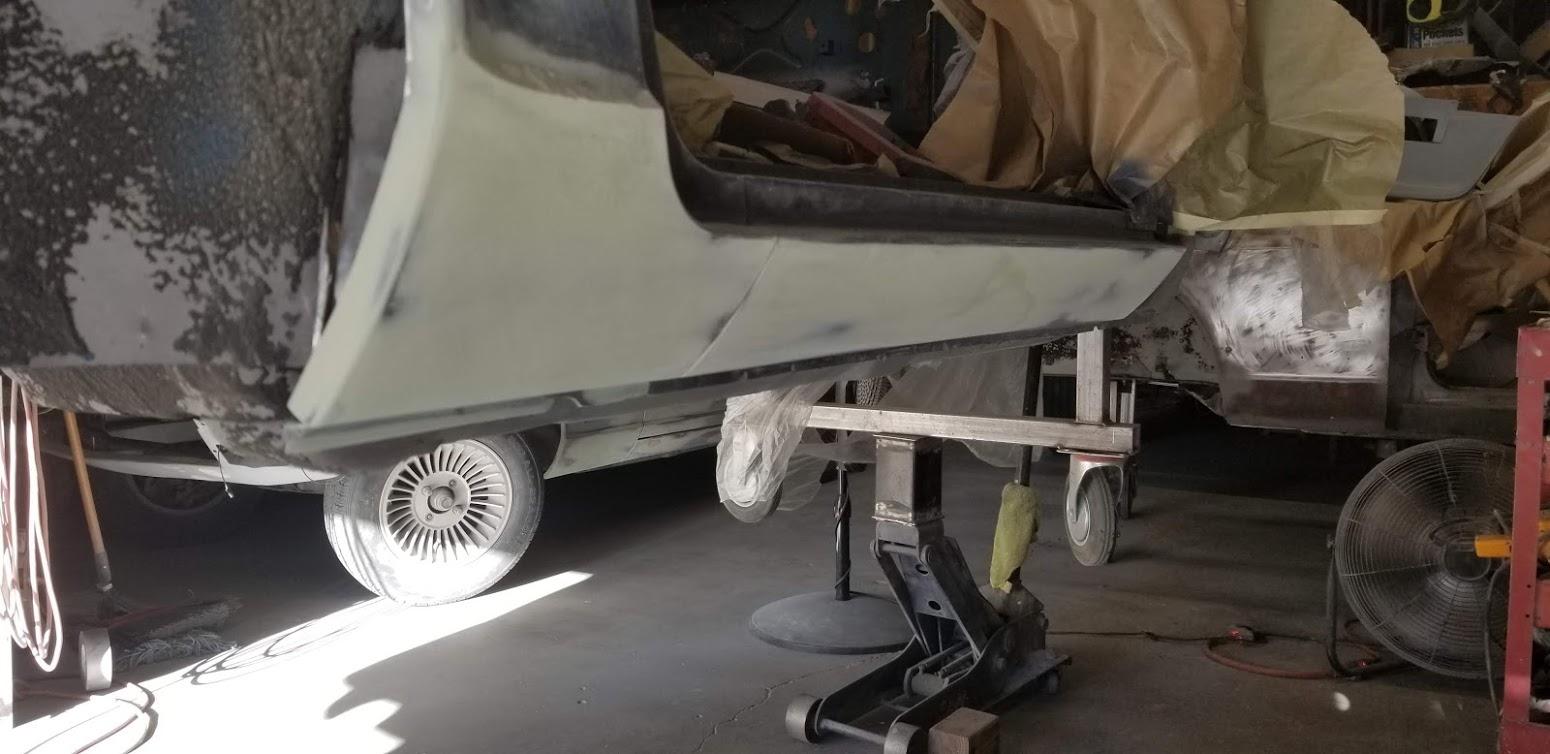
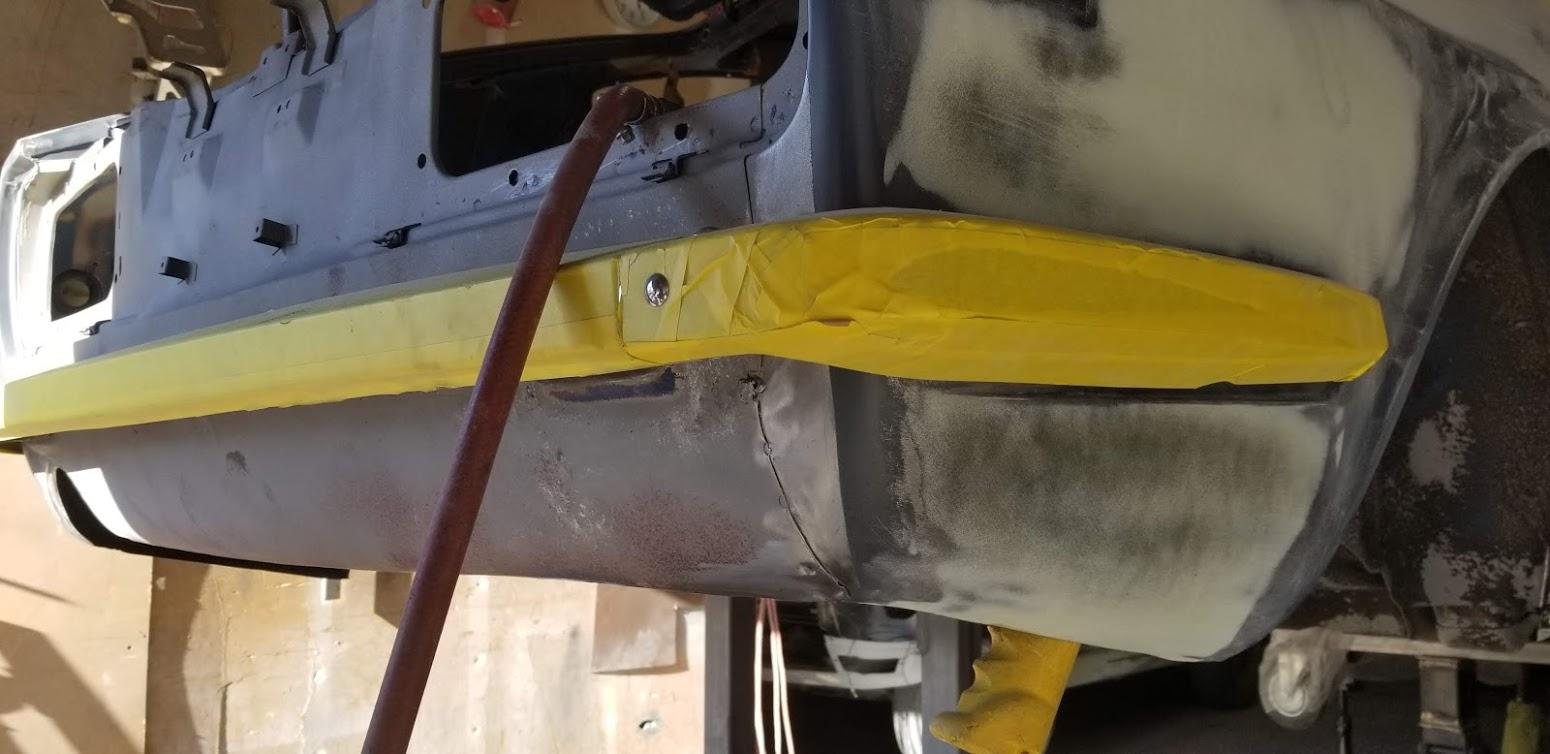
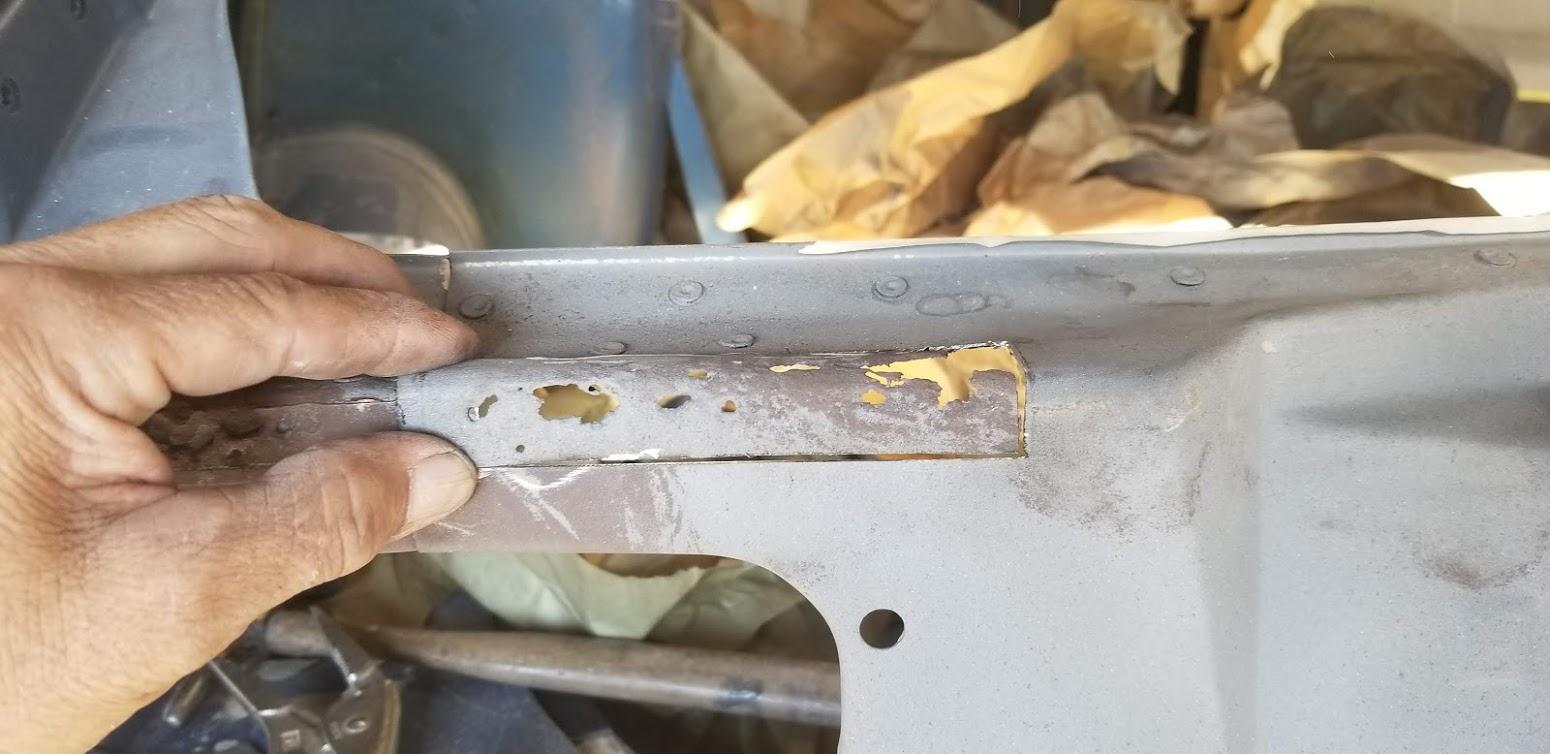
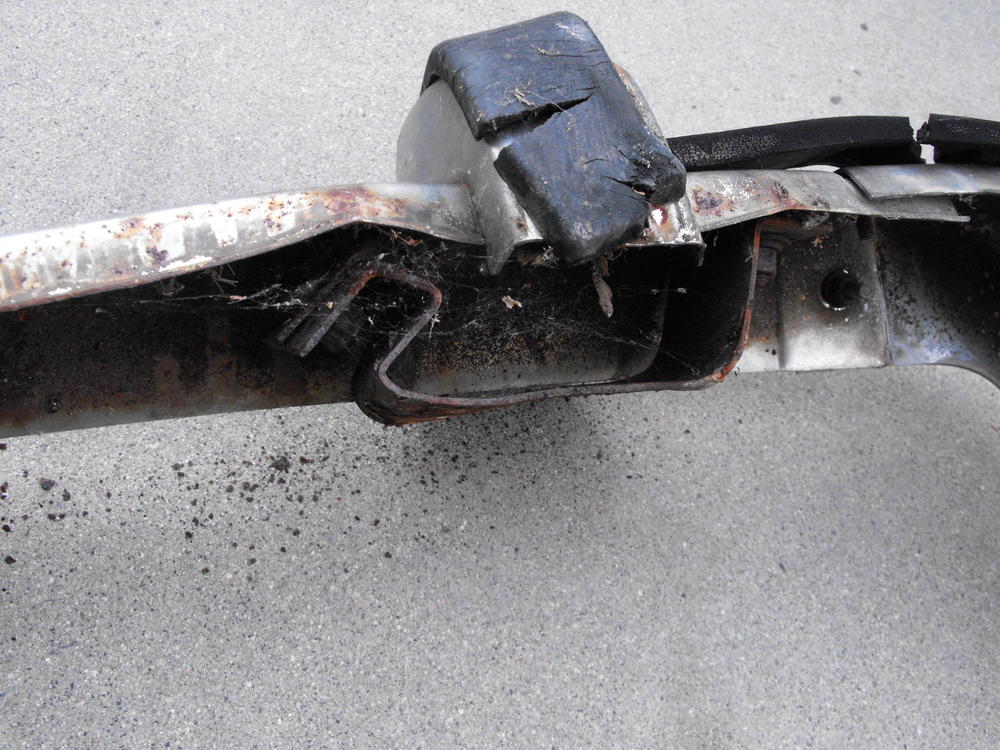
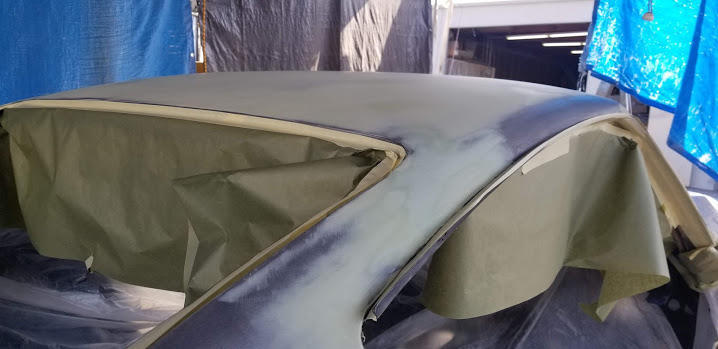
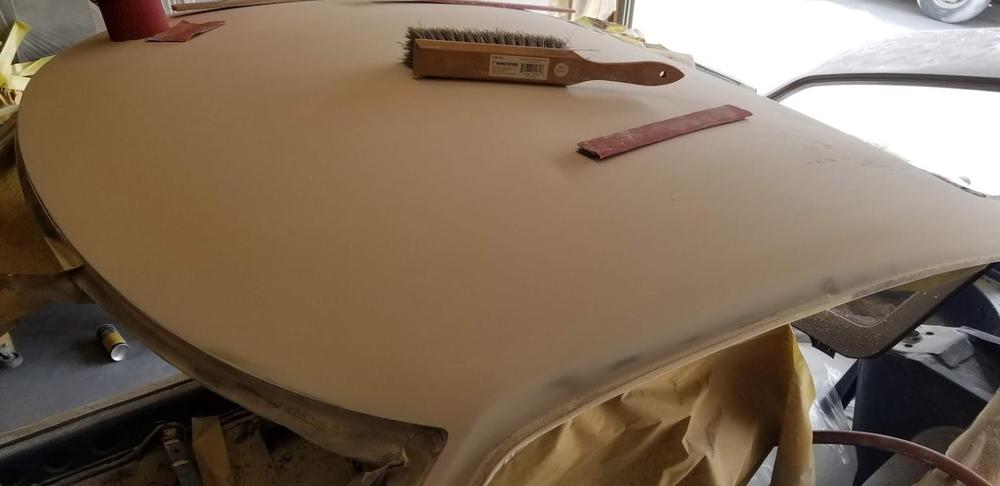
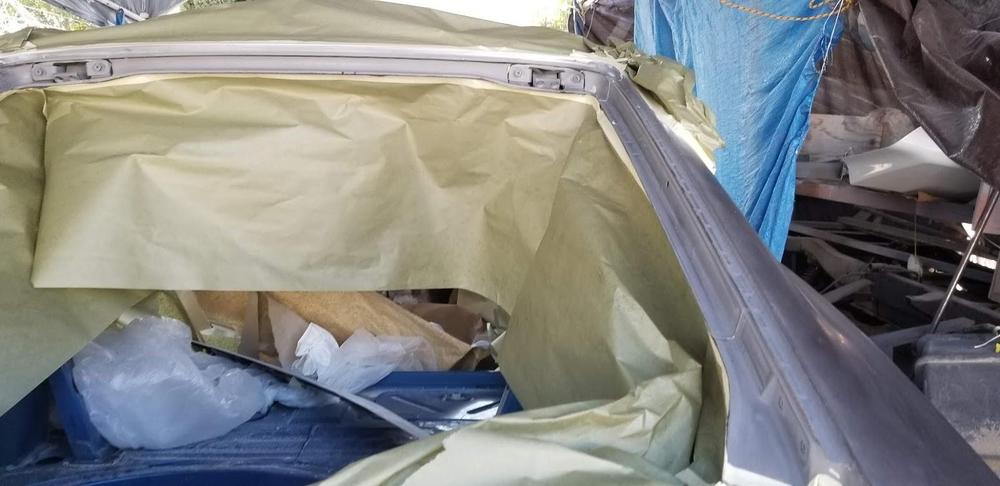
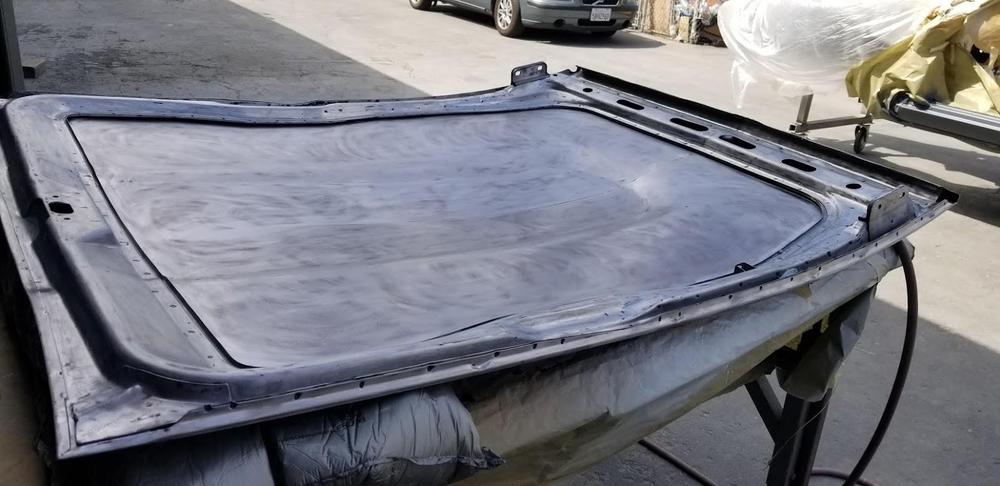
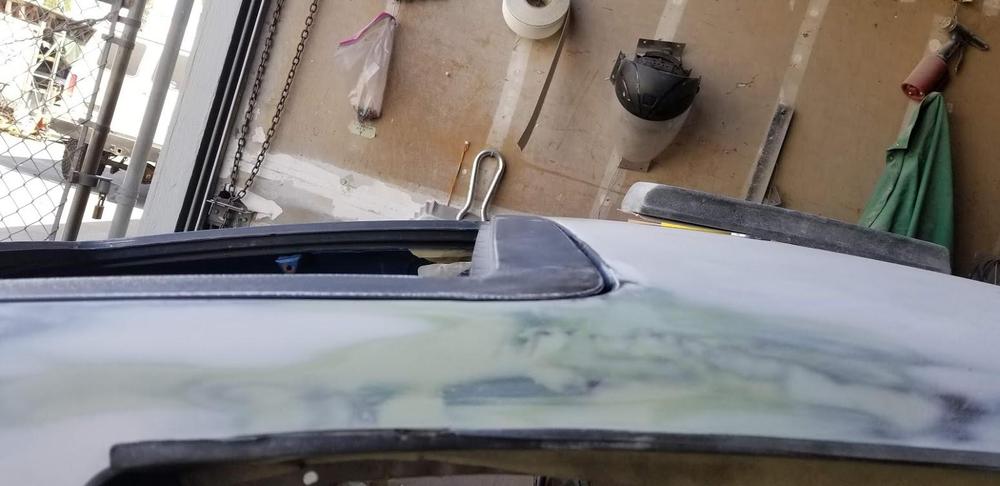
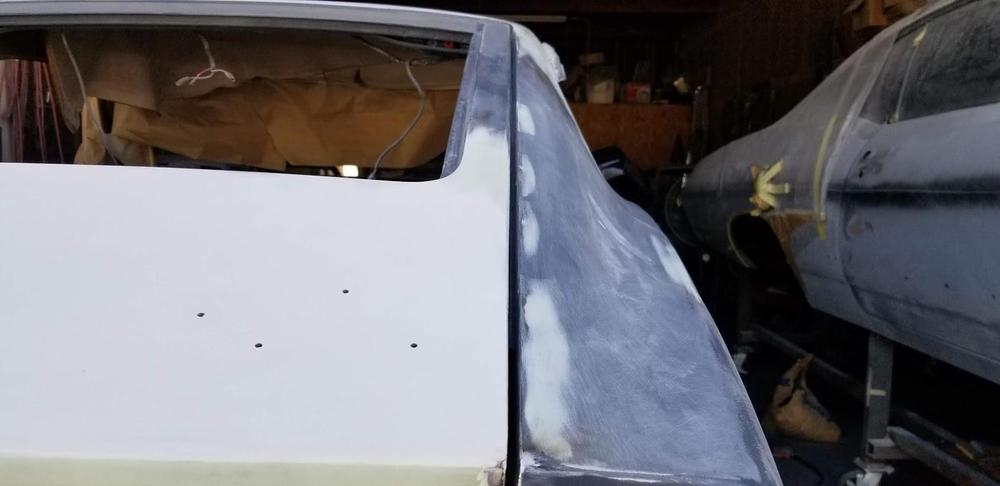
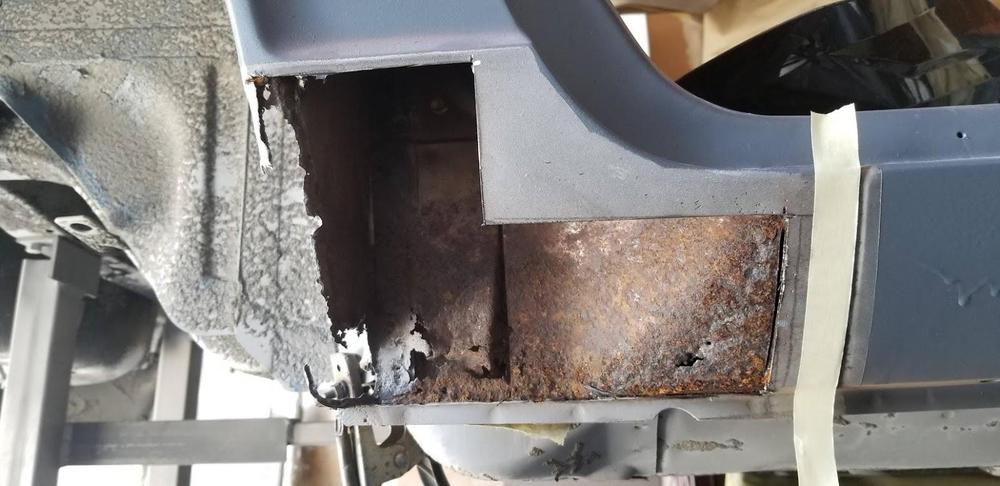
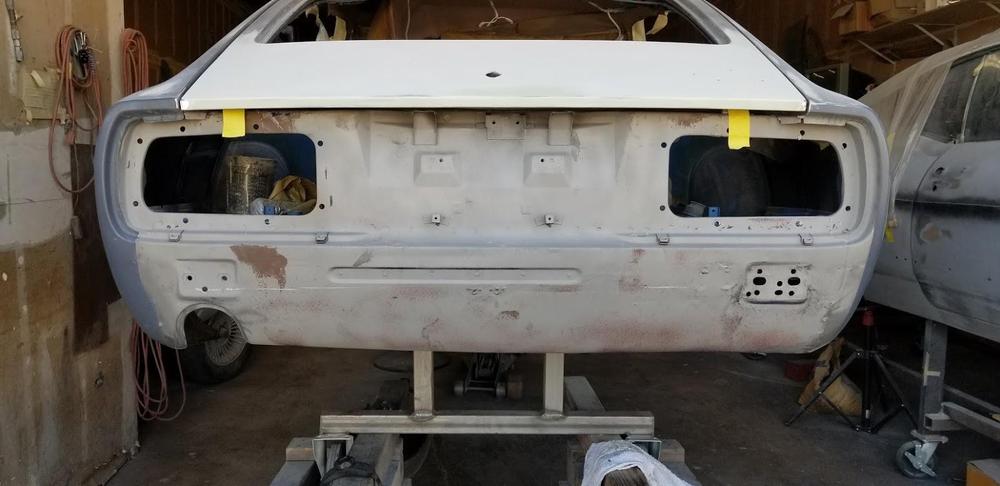
A lot of progress with the body work removing rusted out sections, dogleg repair, aligning the rear hatch lines and bumper attach points.


-
With the powdercoating, I am pretty sure it is just one heavy coat. I like the powdercoat for the durability and it's protection from fluids such as gas and oil.
-
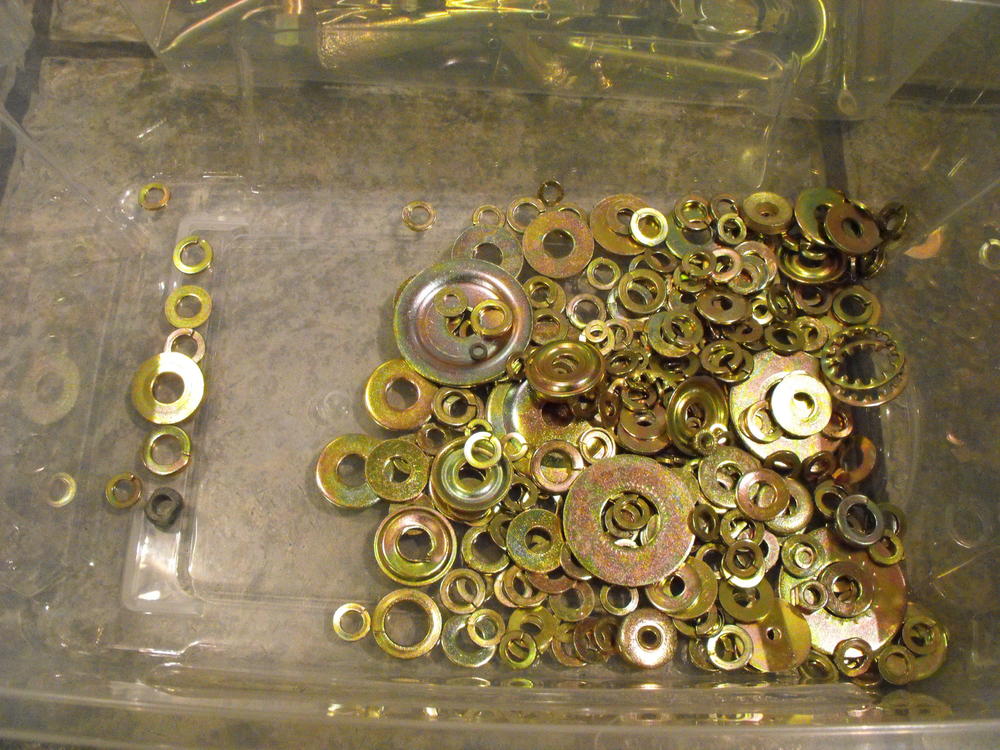
Anything that you do not plate will stick out like a sore thumb. Also, plating shops usually plate in batches with a minimum lot charge. Best thing to do is plate as much as you can in one shot. It ends up being much cheaper than sending multiple small batches. I separate my parts into yellow zinc and clear/silver zinc, putting them into large zip lock freezer bags. I put a sticky inside the bag indicating color, yellow zinc or clear/silver.
-
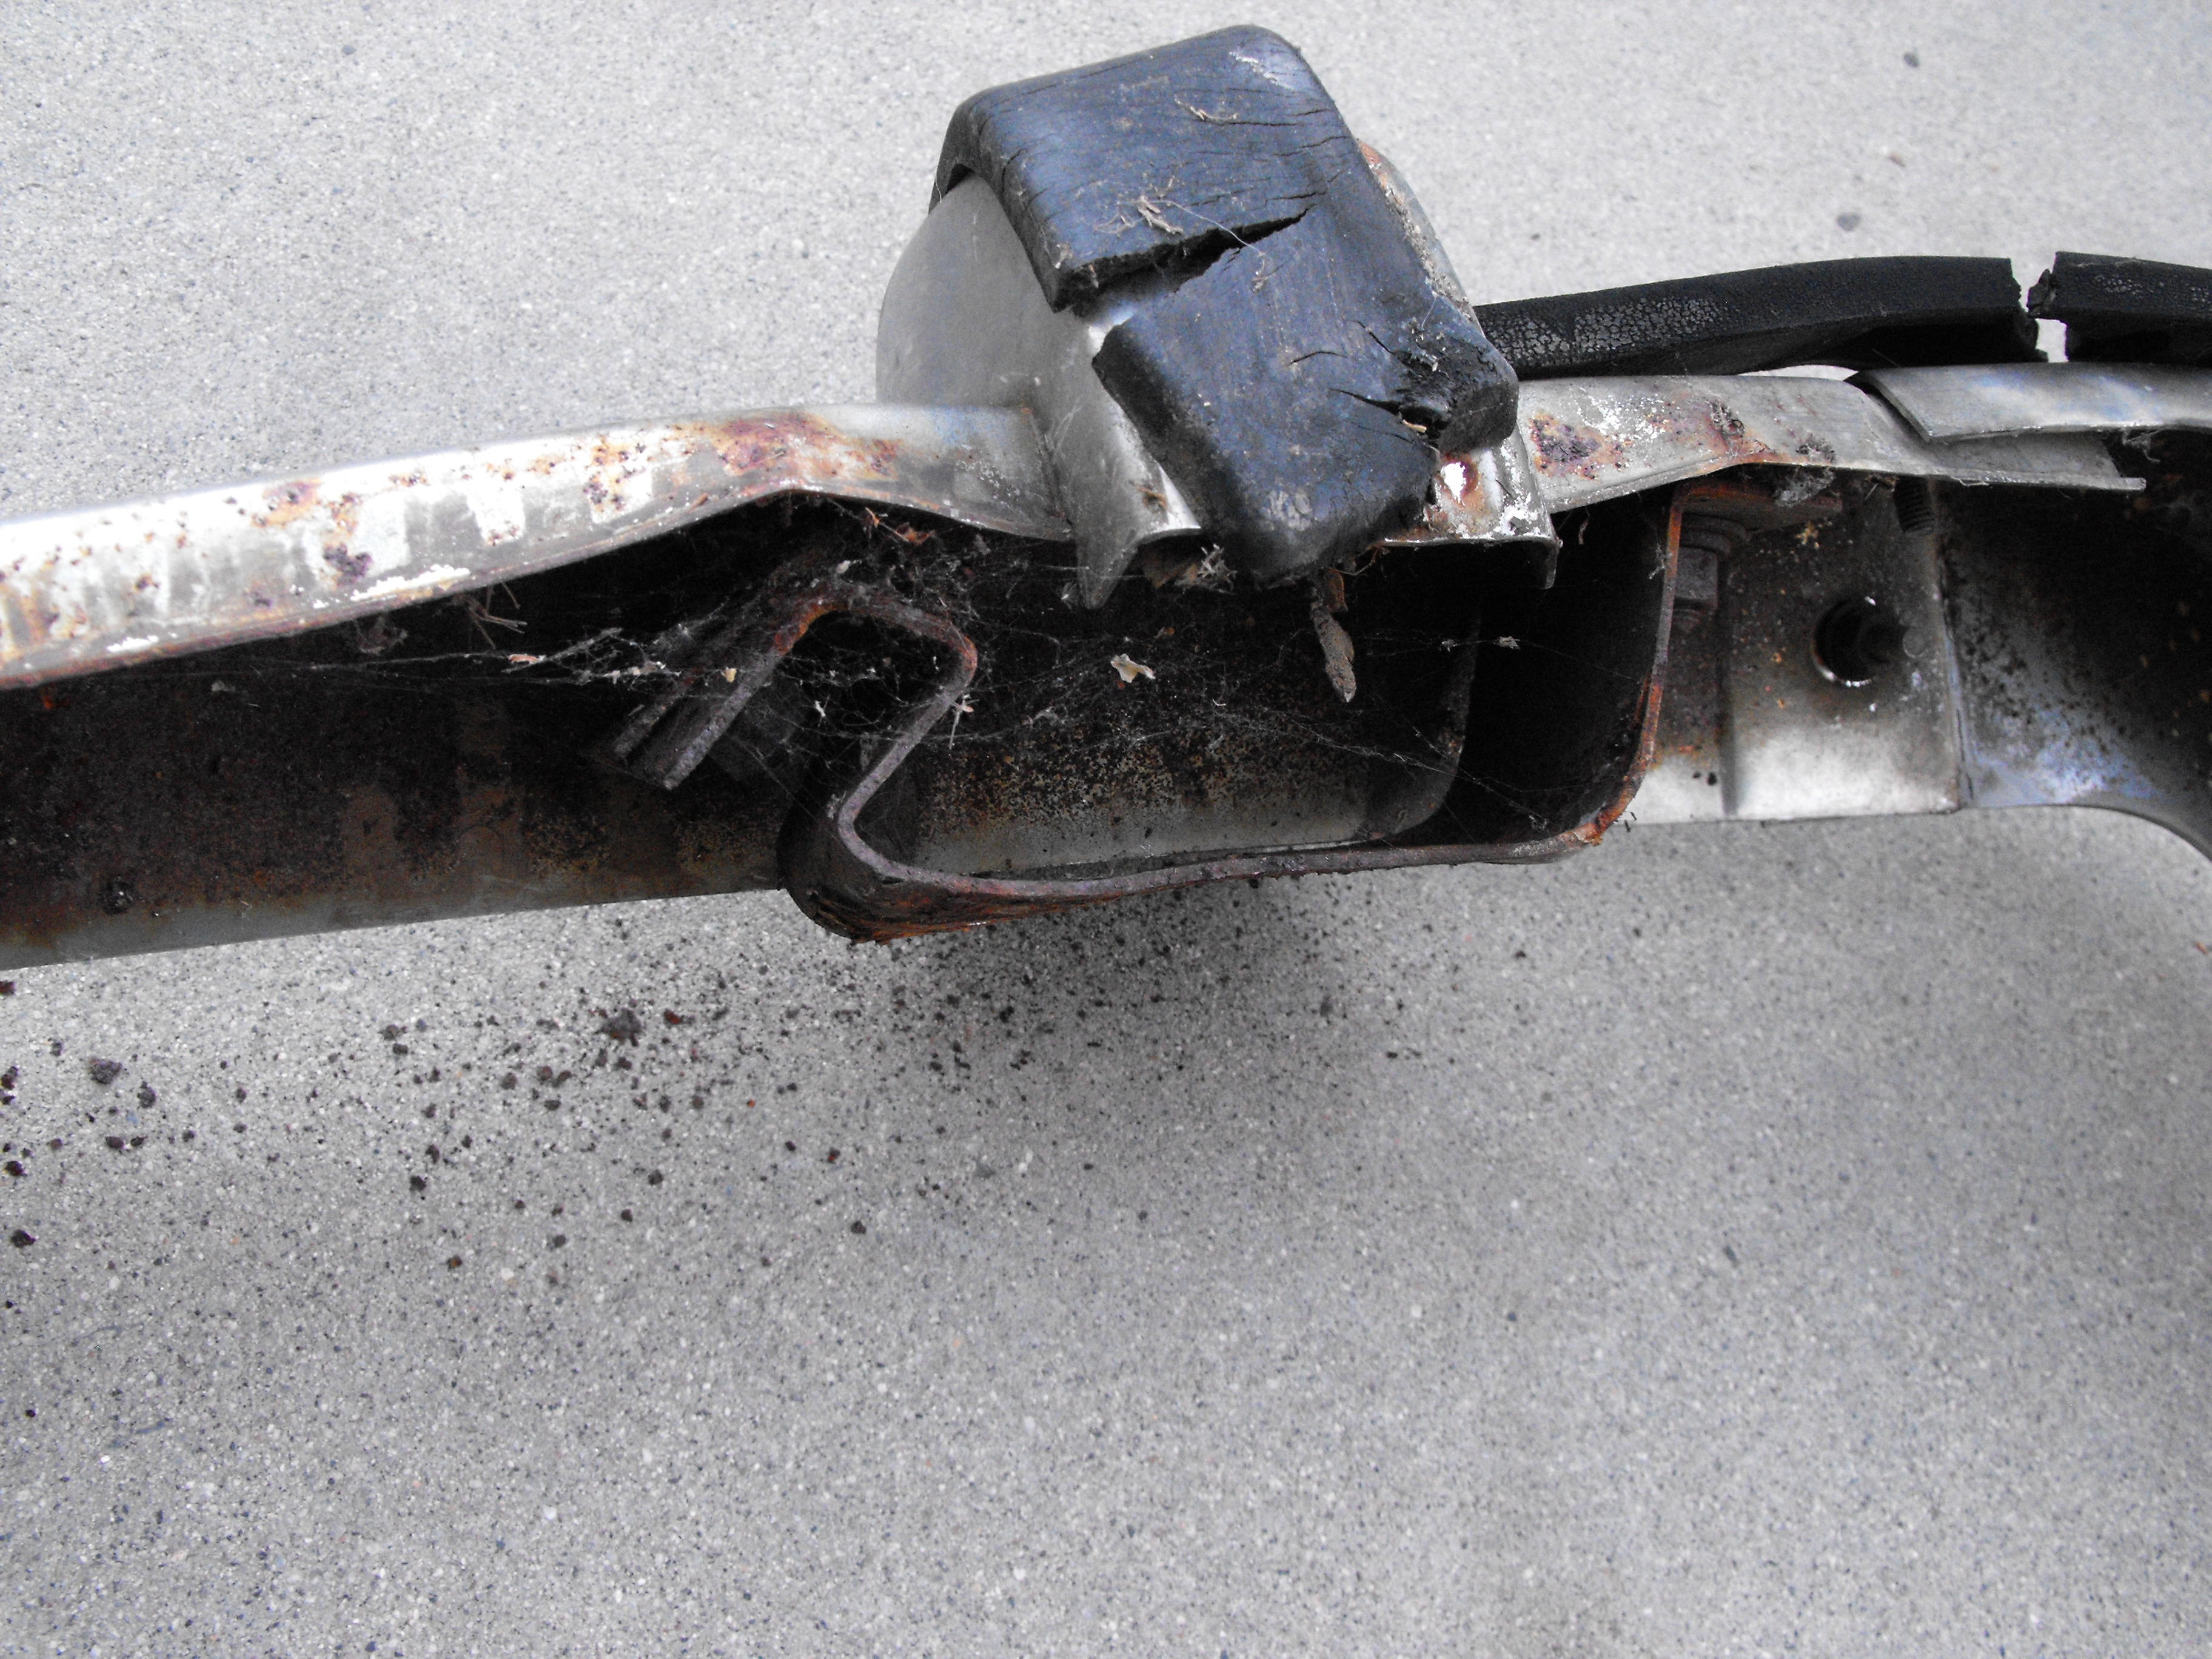
I did tap it into shape a bit using some wood blocks. Hopefully the rusted areas are not too pitted. Powder coating will cover small depressions, but not the deep pitting. Sent from my C6902 using Classic Zcar Club mobile
-
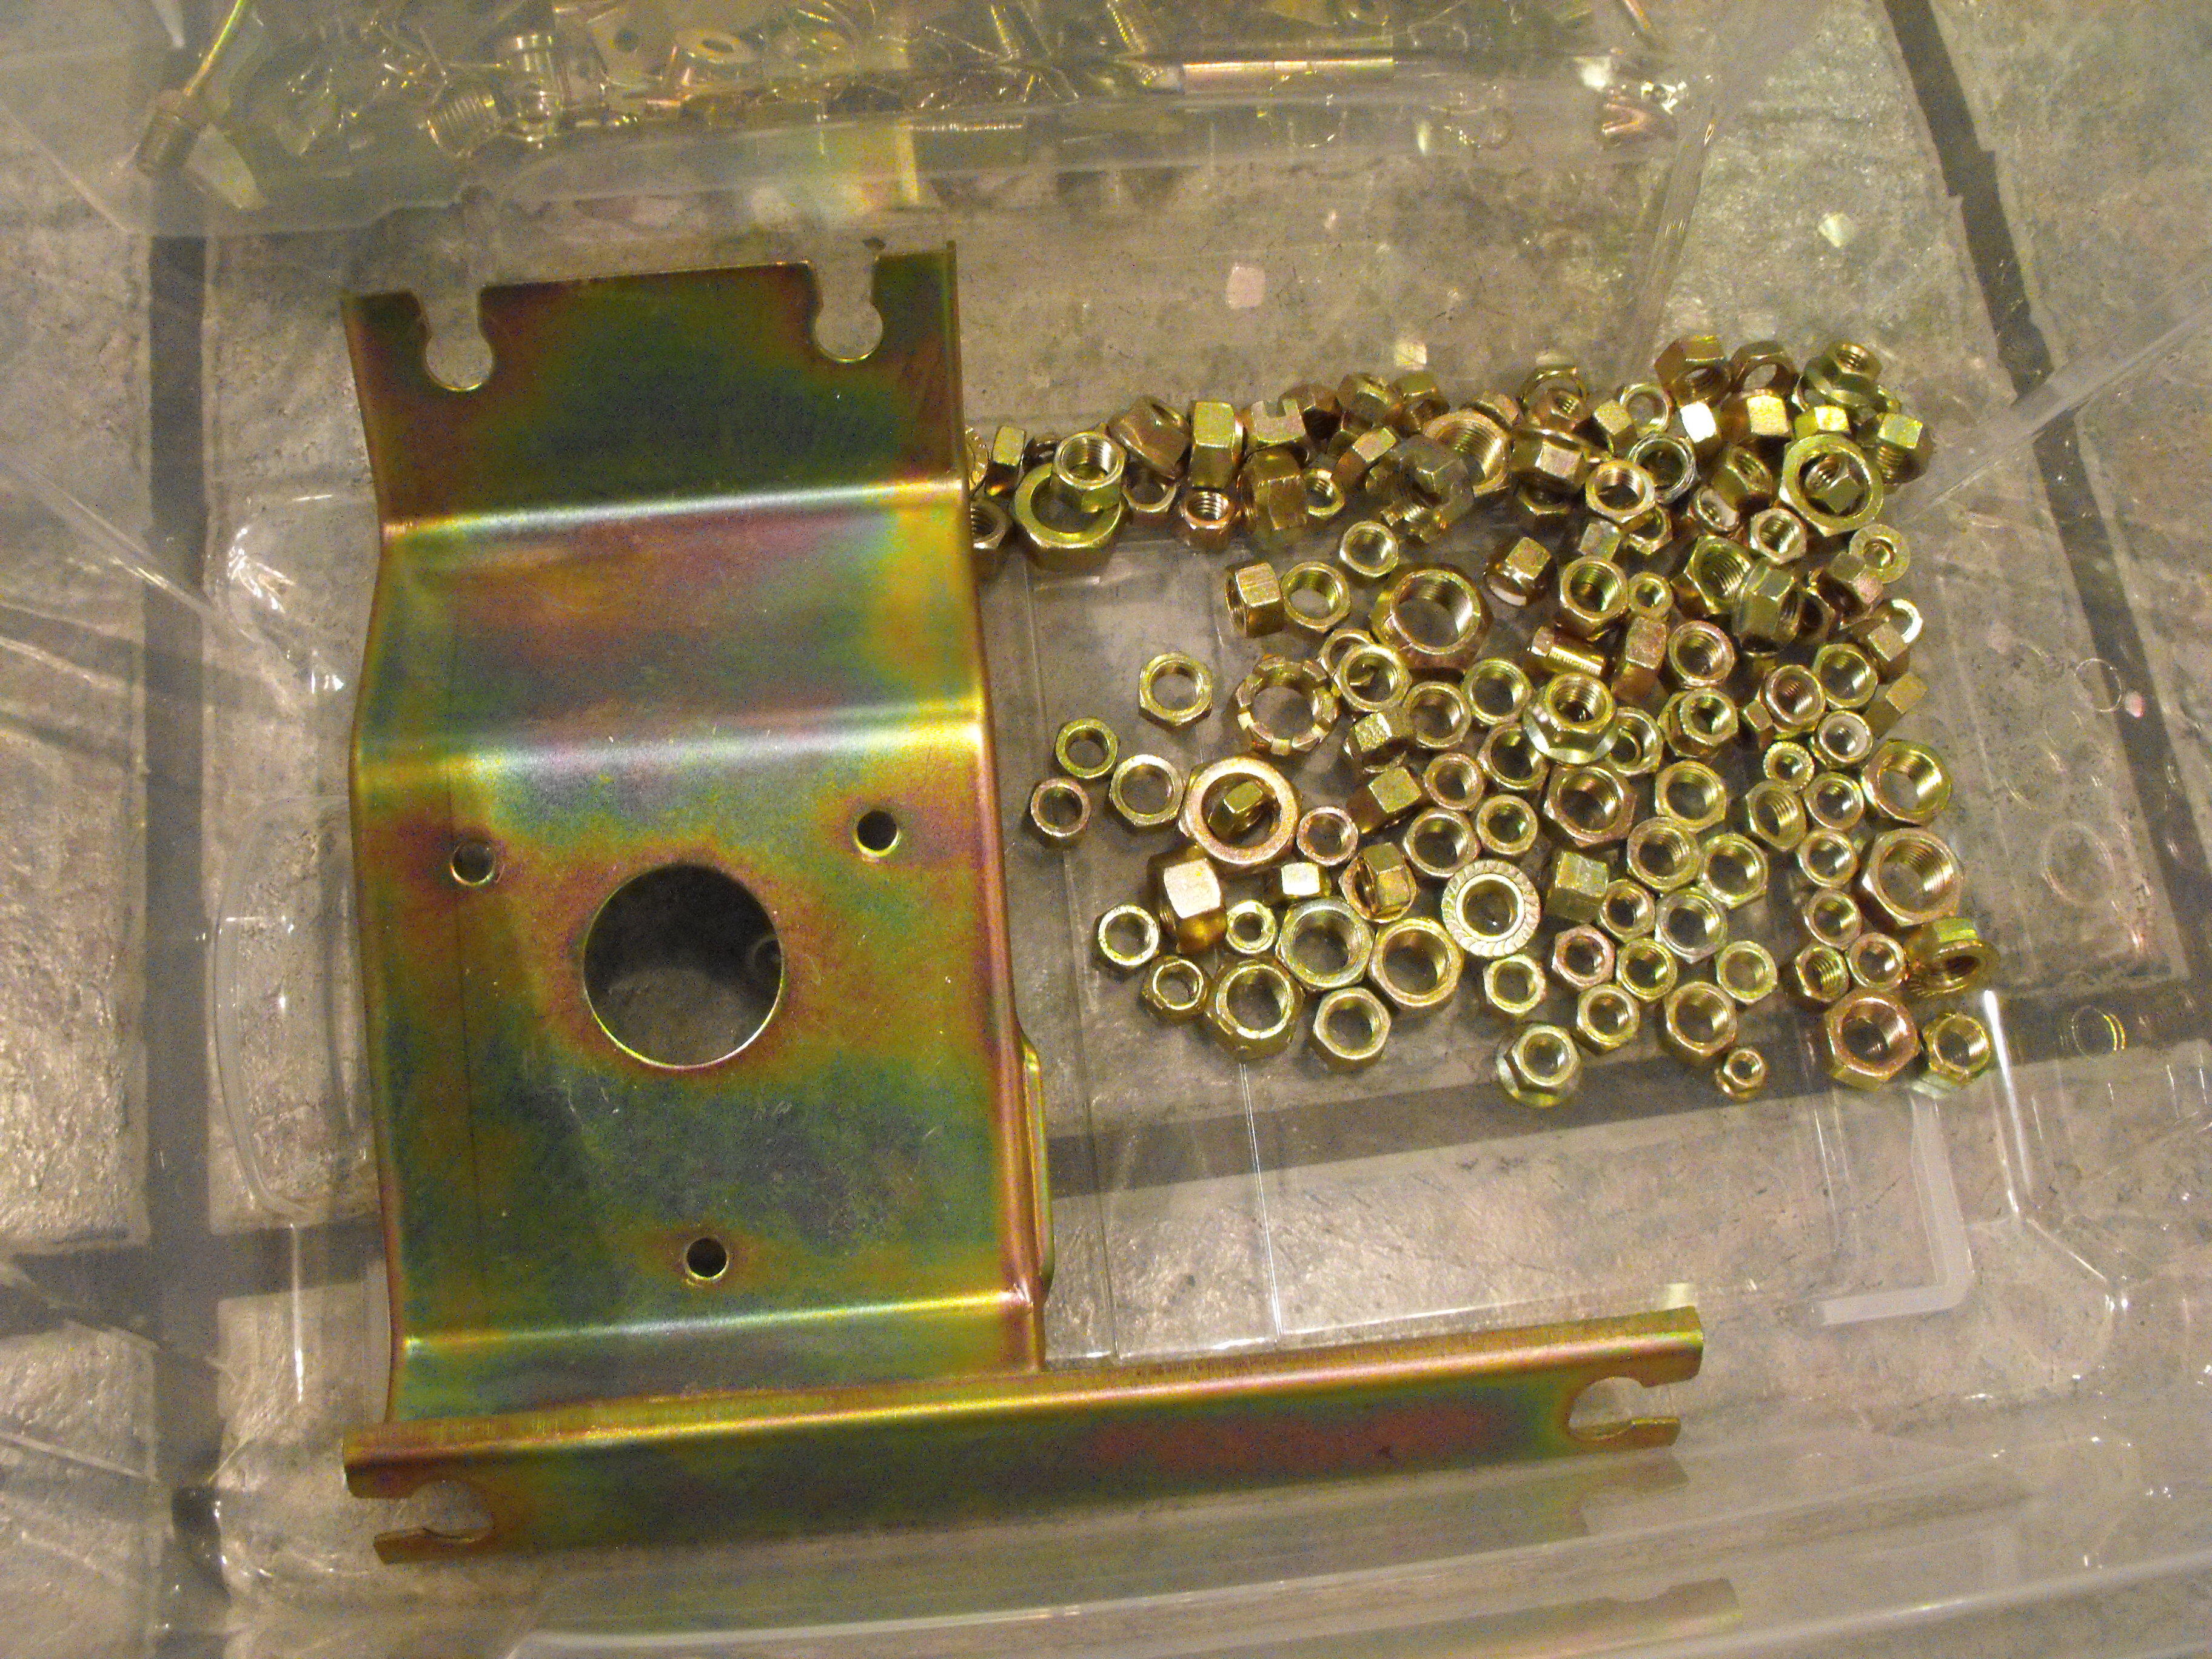
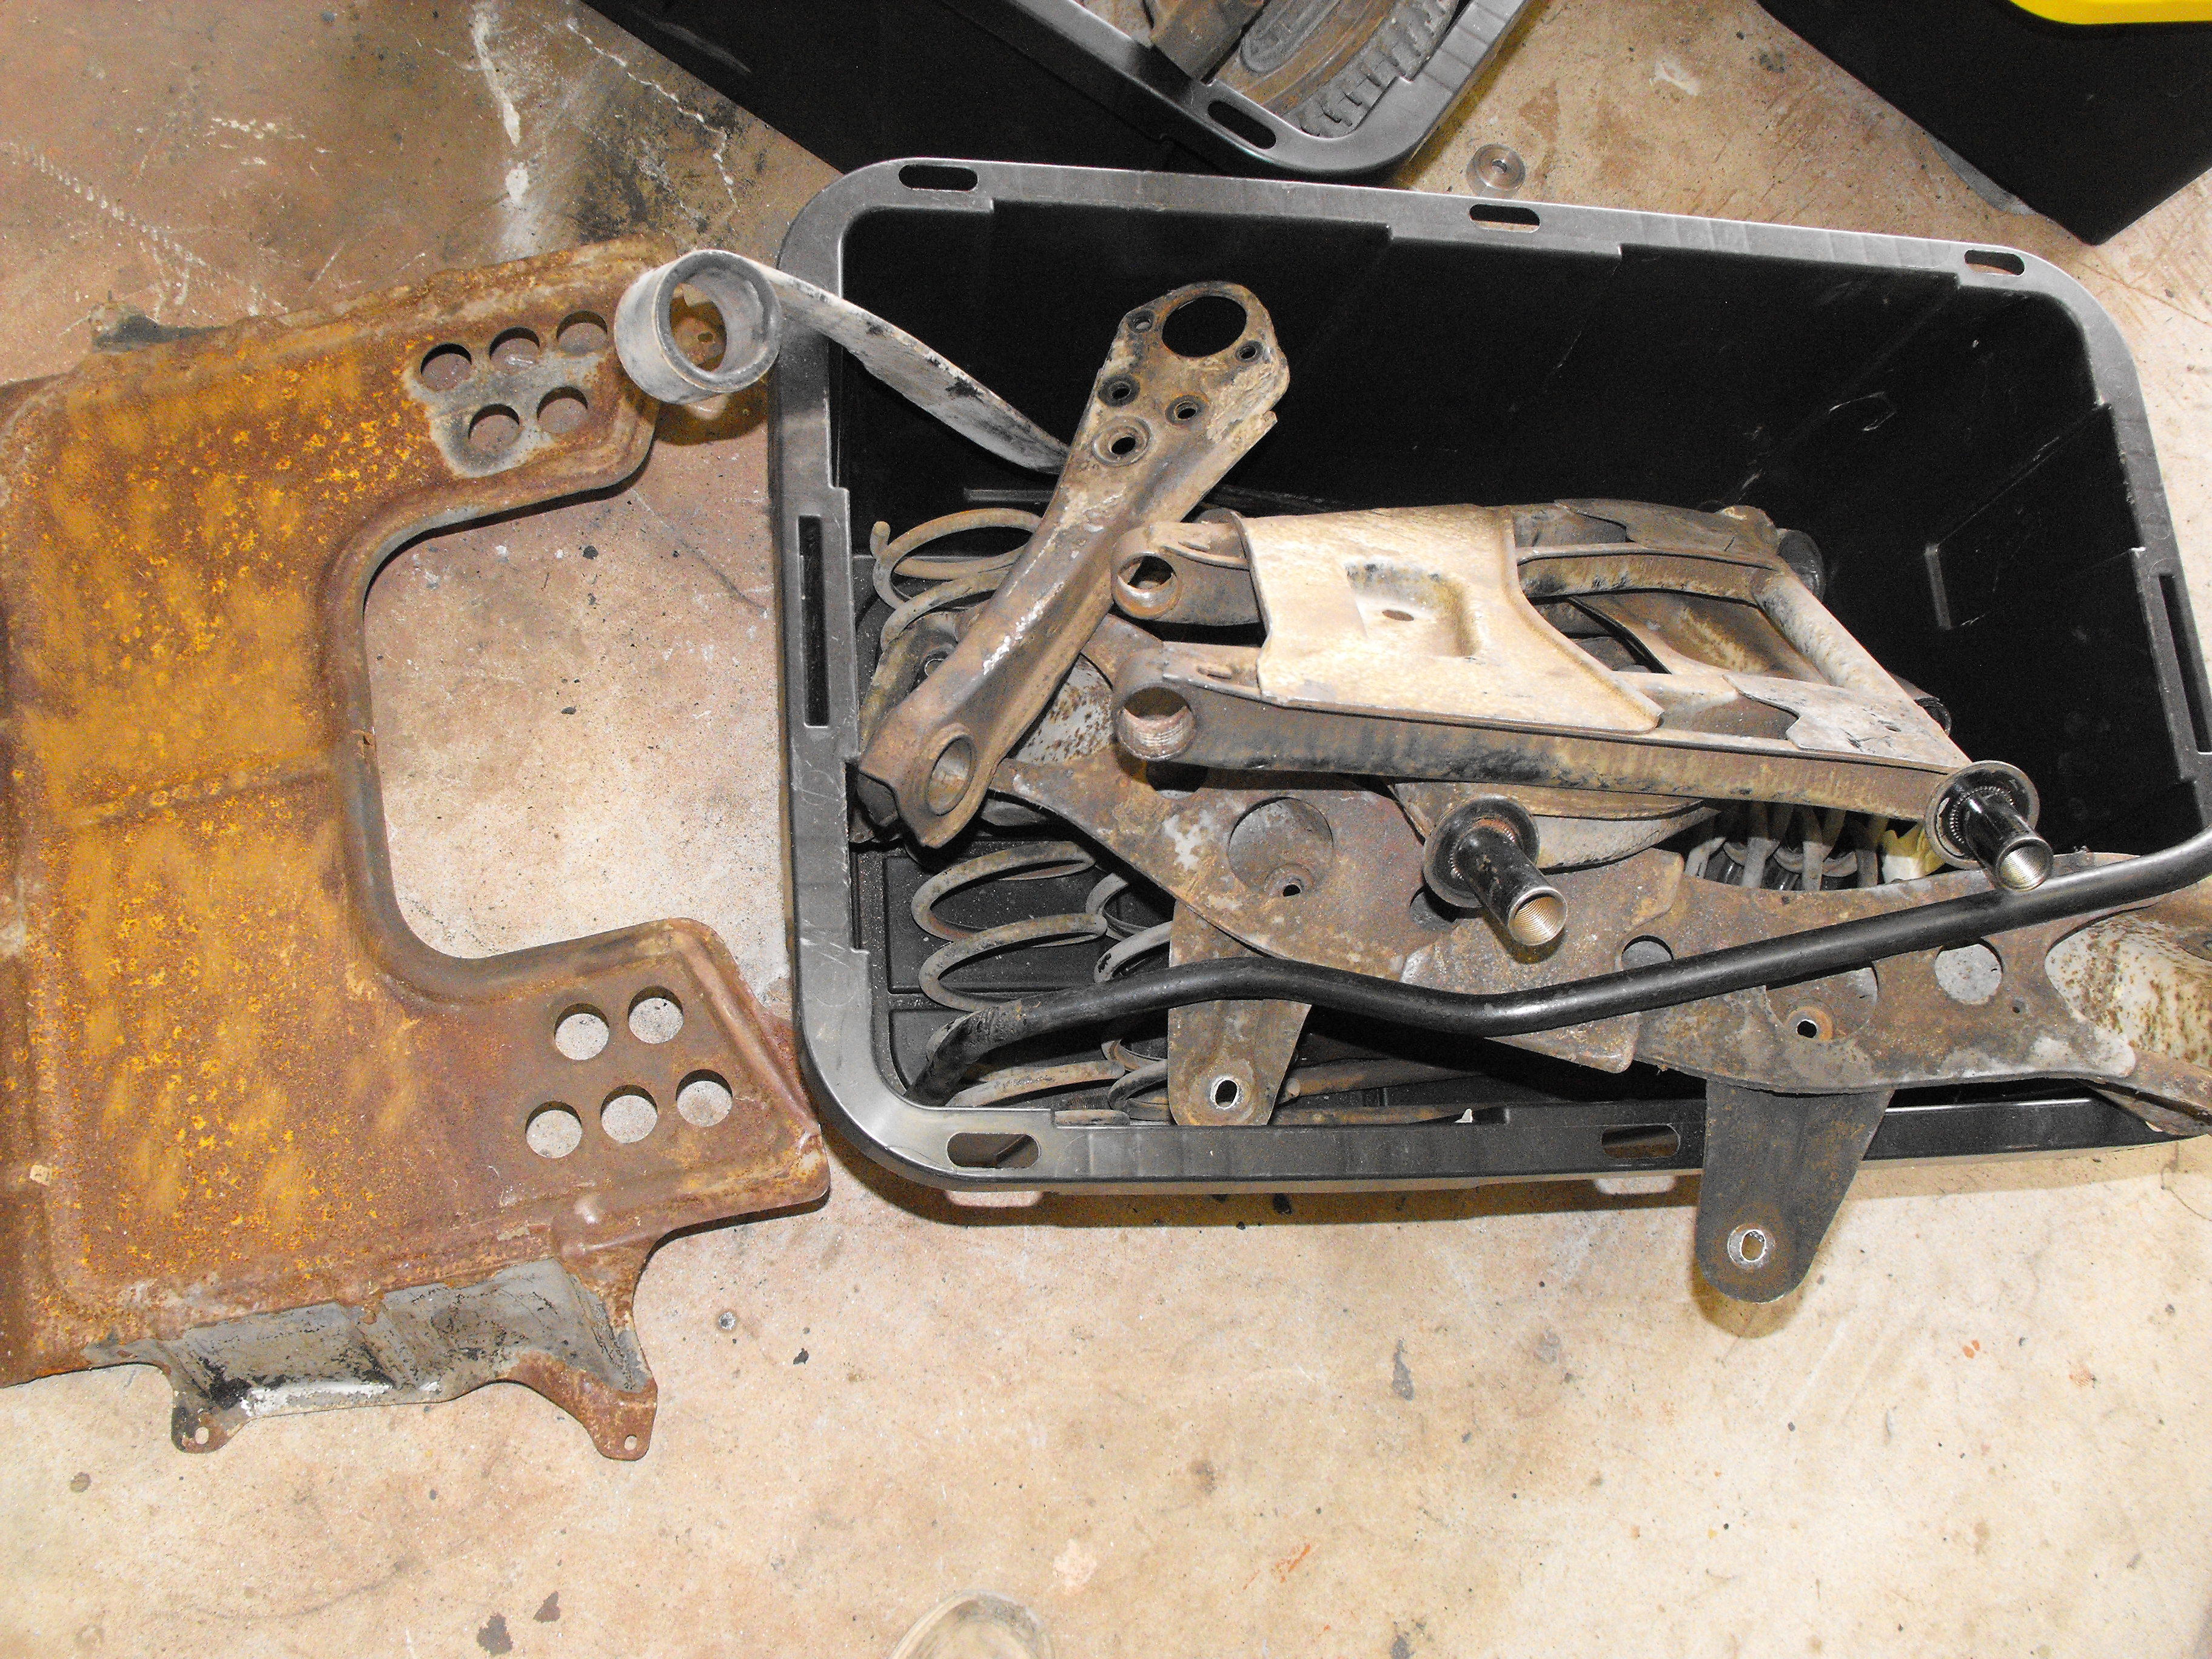
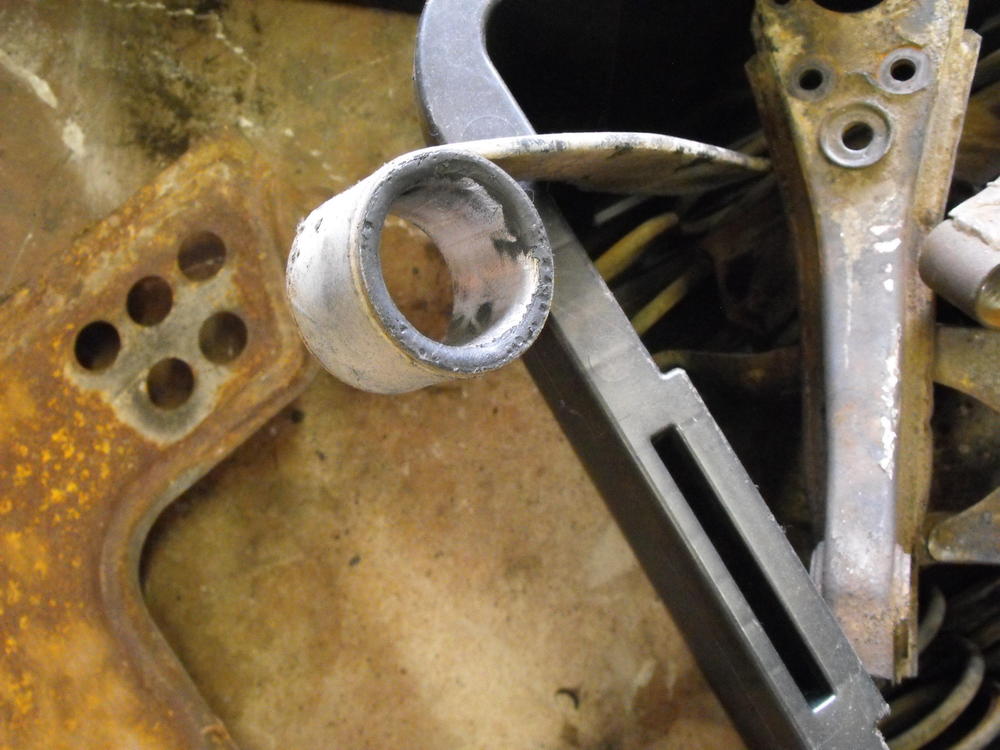
Got the suspension parts all disassembled and ready for powder coating. The powdercoater is great as they will sand blast the parts before coating. No need to do a thorough clean on these. The difficult task here was taking out the old bushings from the lower control arms. I went to Autozone and borrowed their U-joint/ball joint removal tool and used that to help with the bushing removal. The fronts weren't too bad as I was able to press them out with the Autozone tool and a carefully sized 25mm socket. The rears were not so easy. In addition to the press, I had to roll the edges of the bearing 'inward' to help peel them off the wall. A little PB blaster helped as well. So, I should have these at the powdercoaters tomorrow morning and they should be back in about a week. KYB Shocks have been ordered and should be here in a couple days. I will be ordering the Energy Suspension kit tomorrow so we will have all new Polyurethane bushings ready for assembly. All fasteners have been received by the plater and should be back here in a week or so. With that all done, I should be able to start assembling the suspension components here in a little over a week.
-
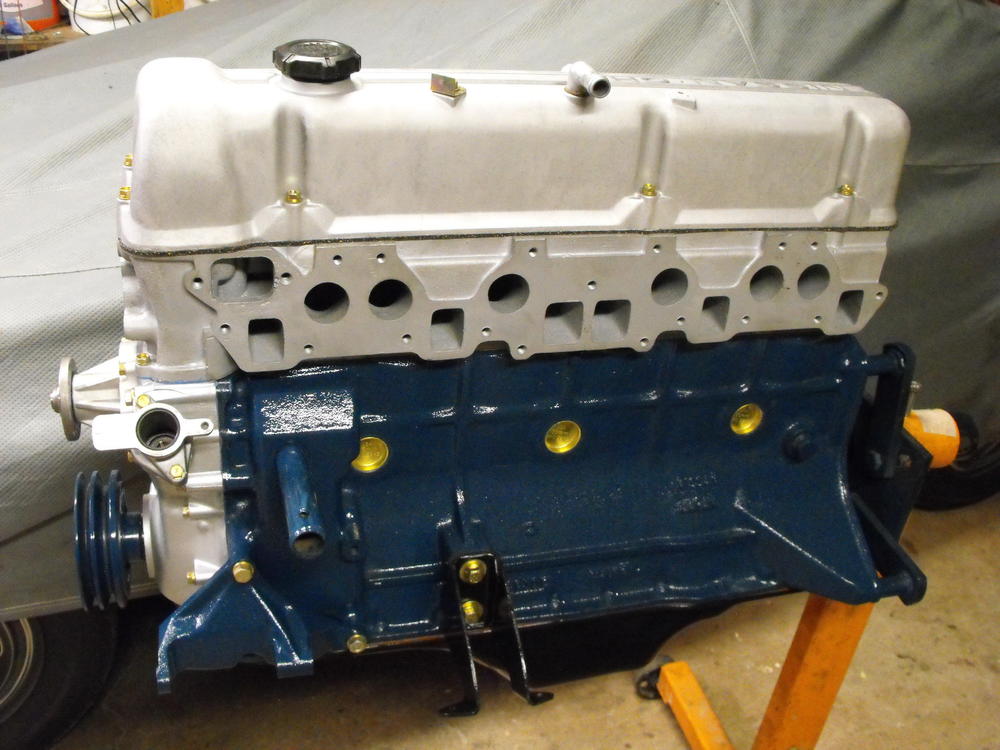
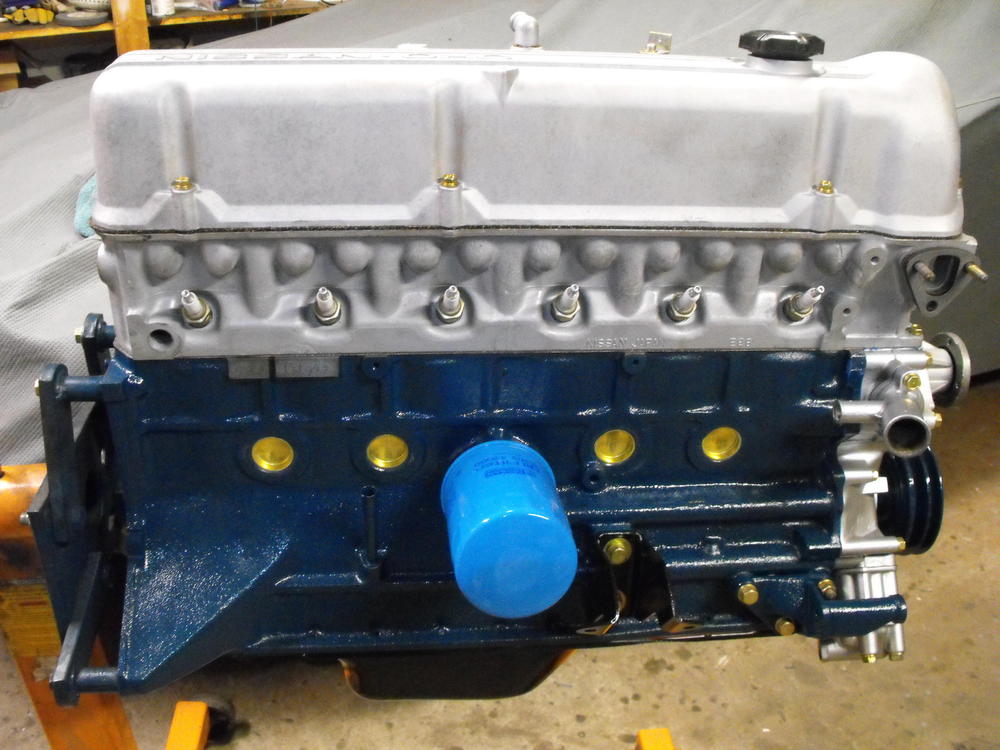
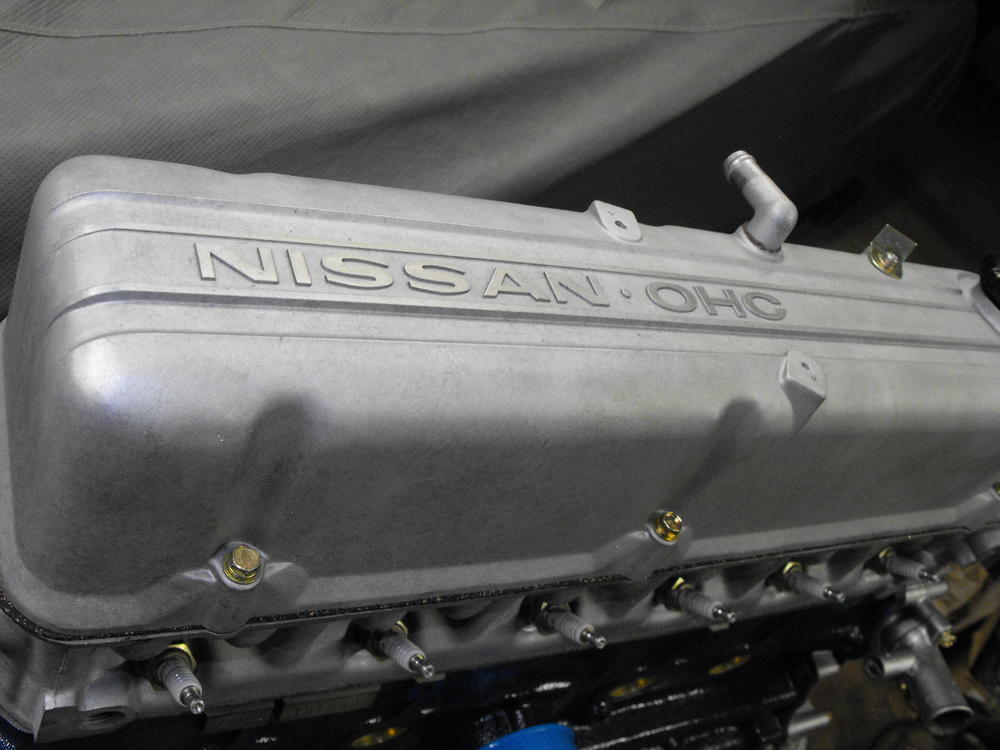
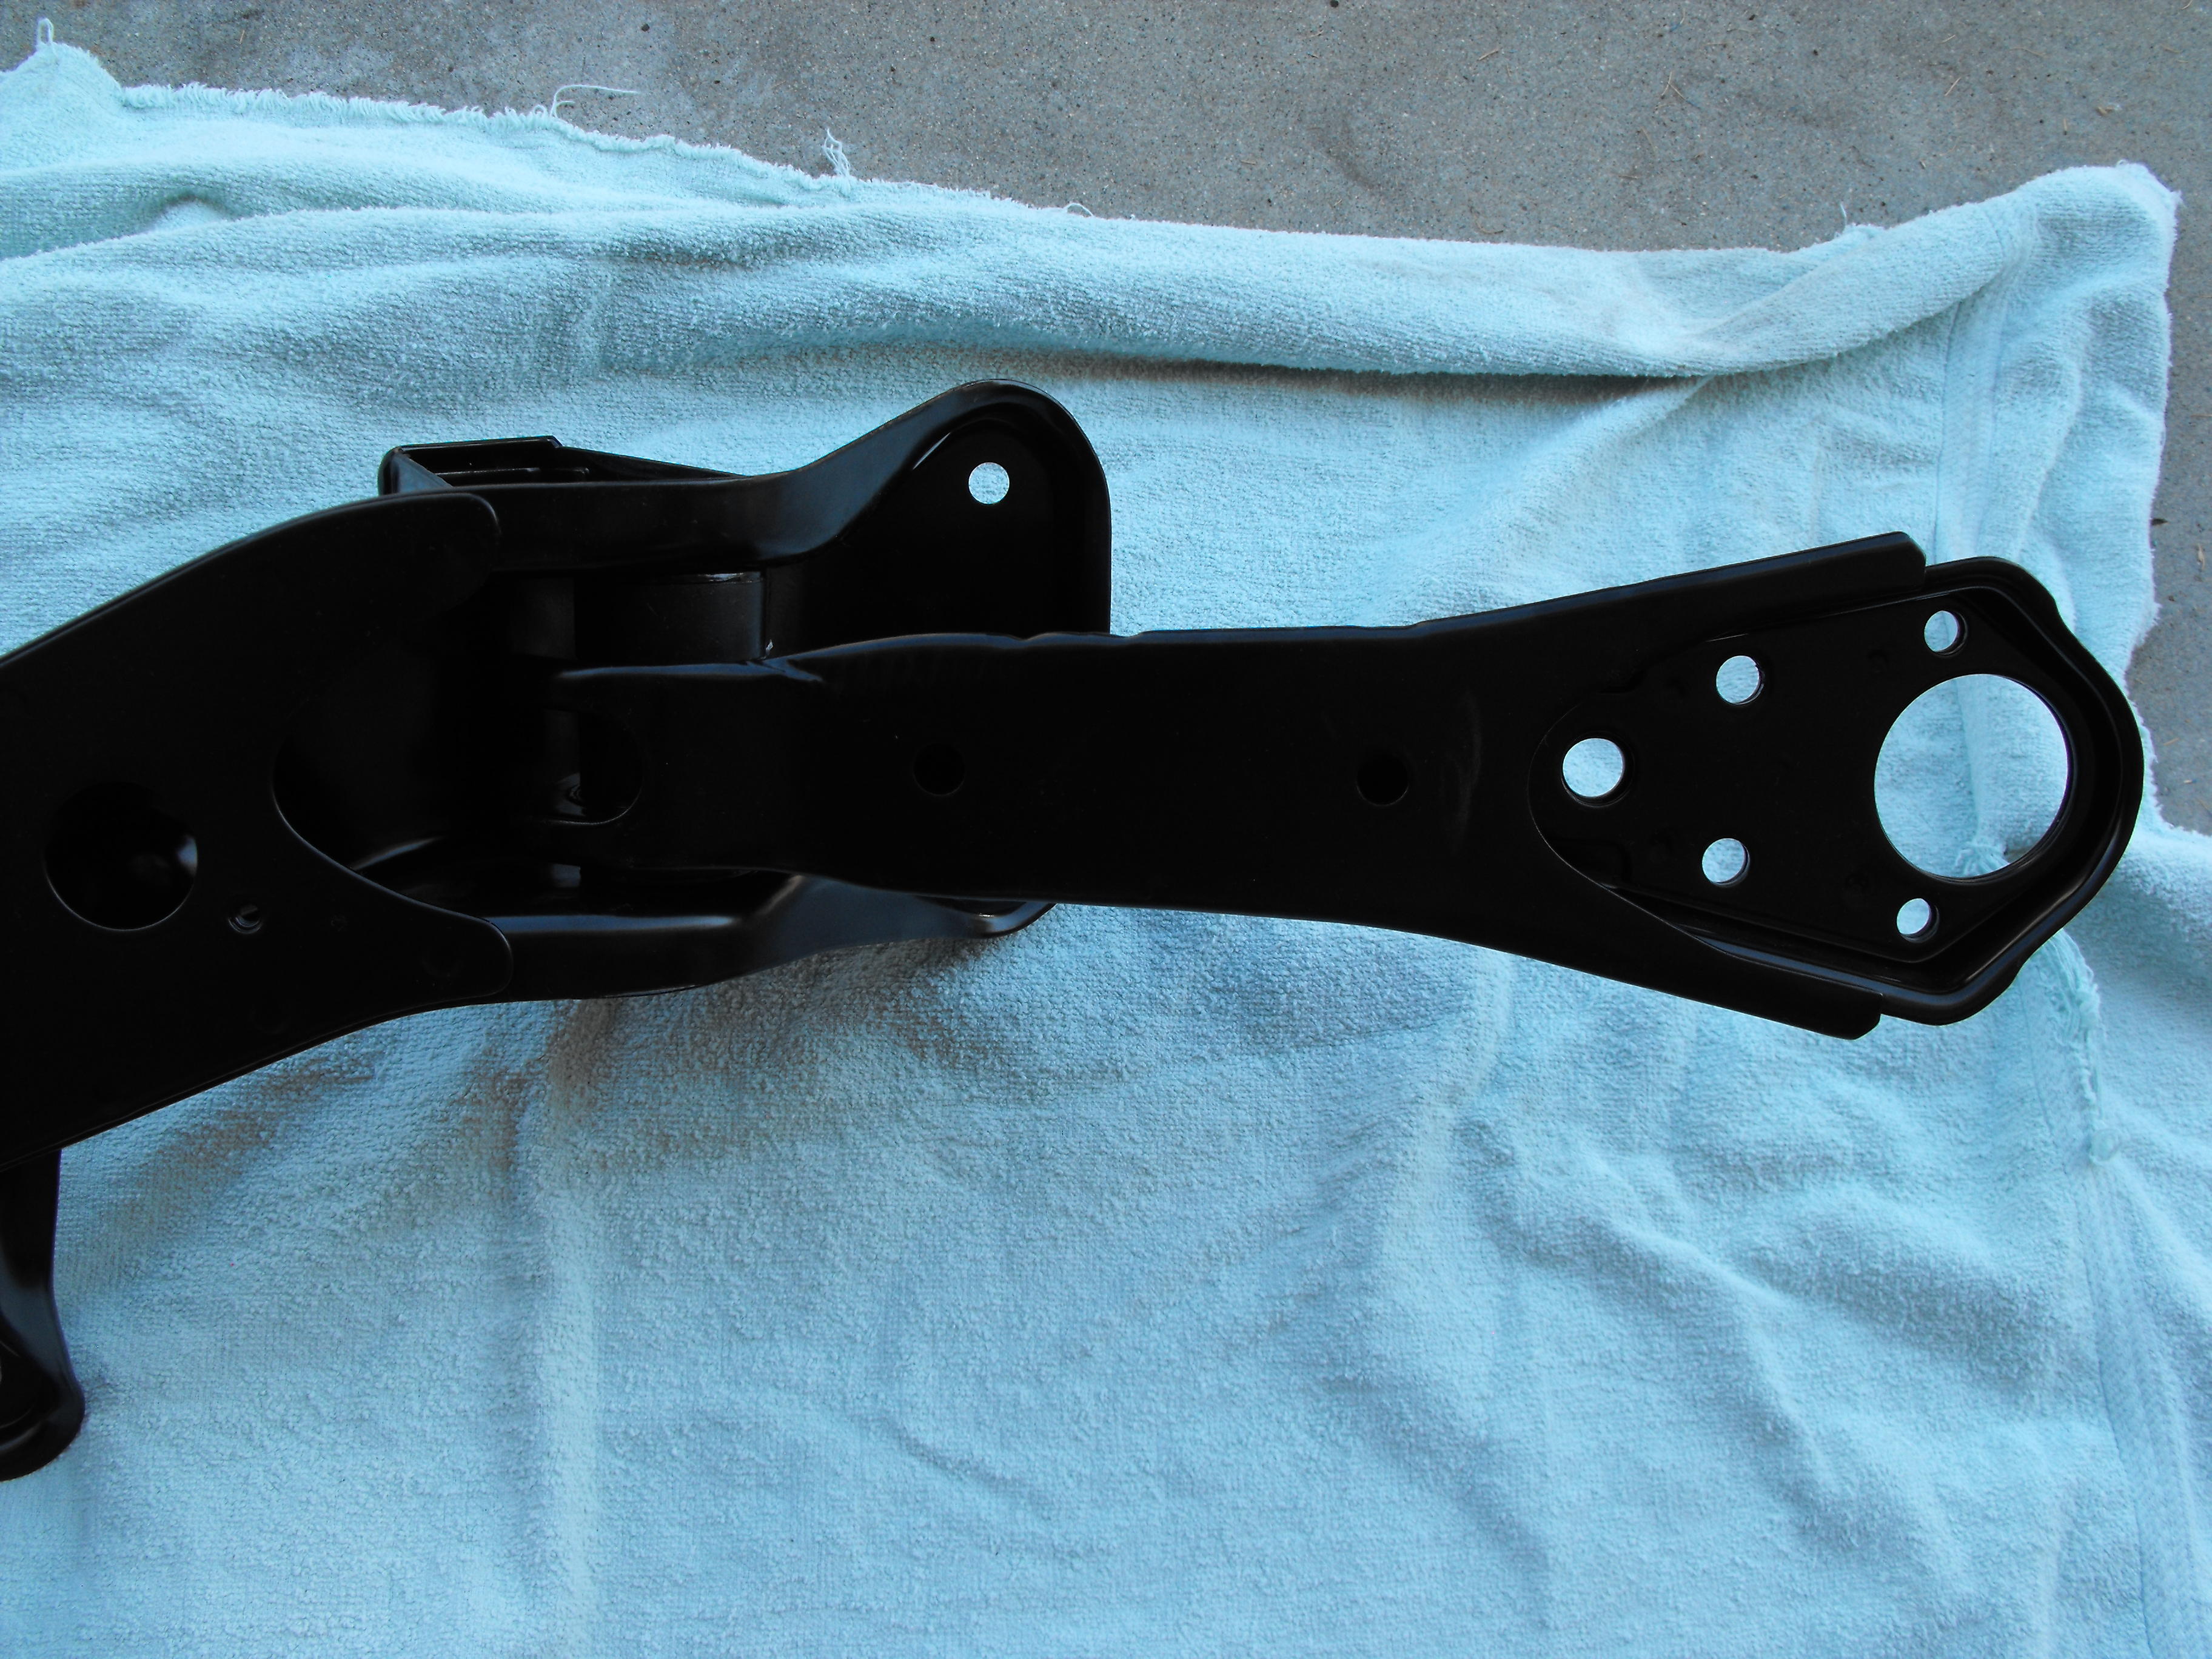
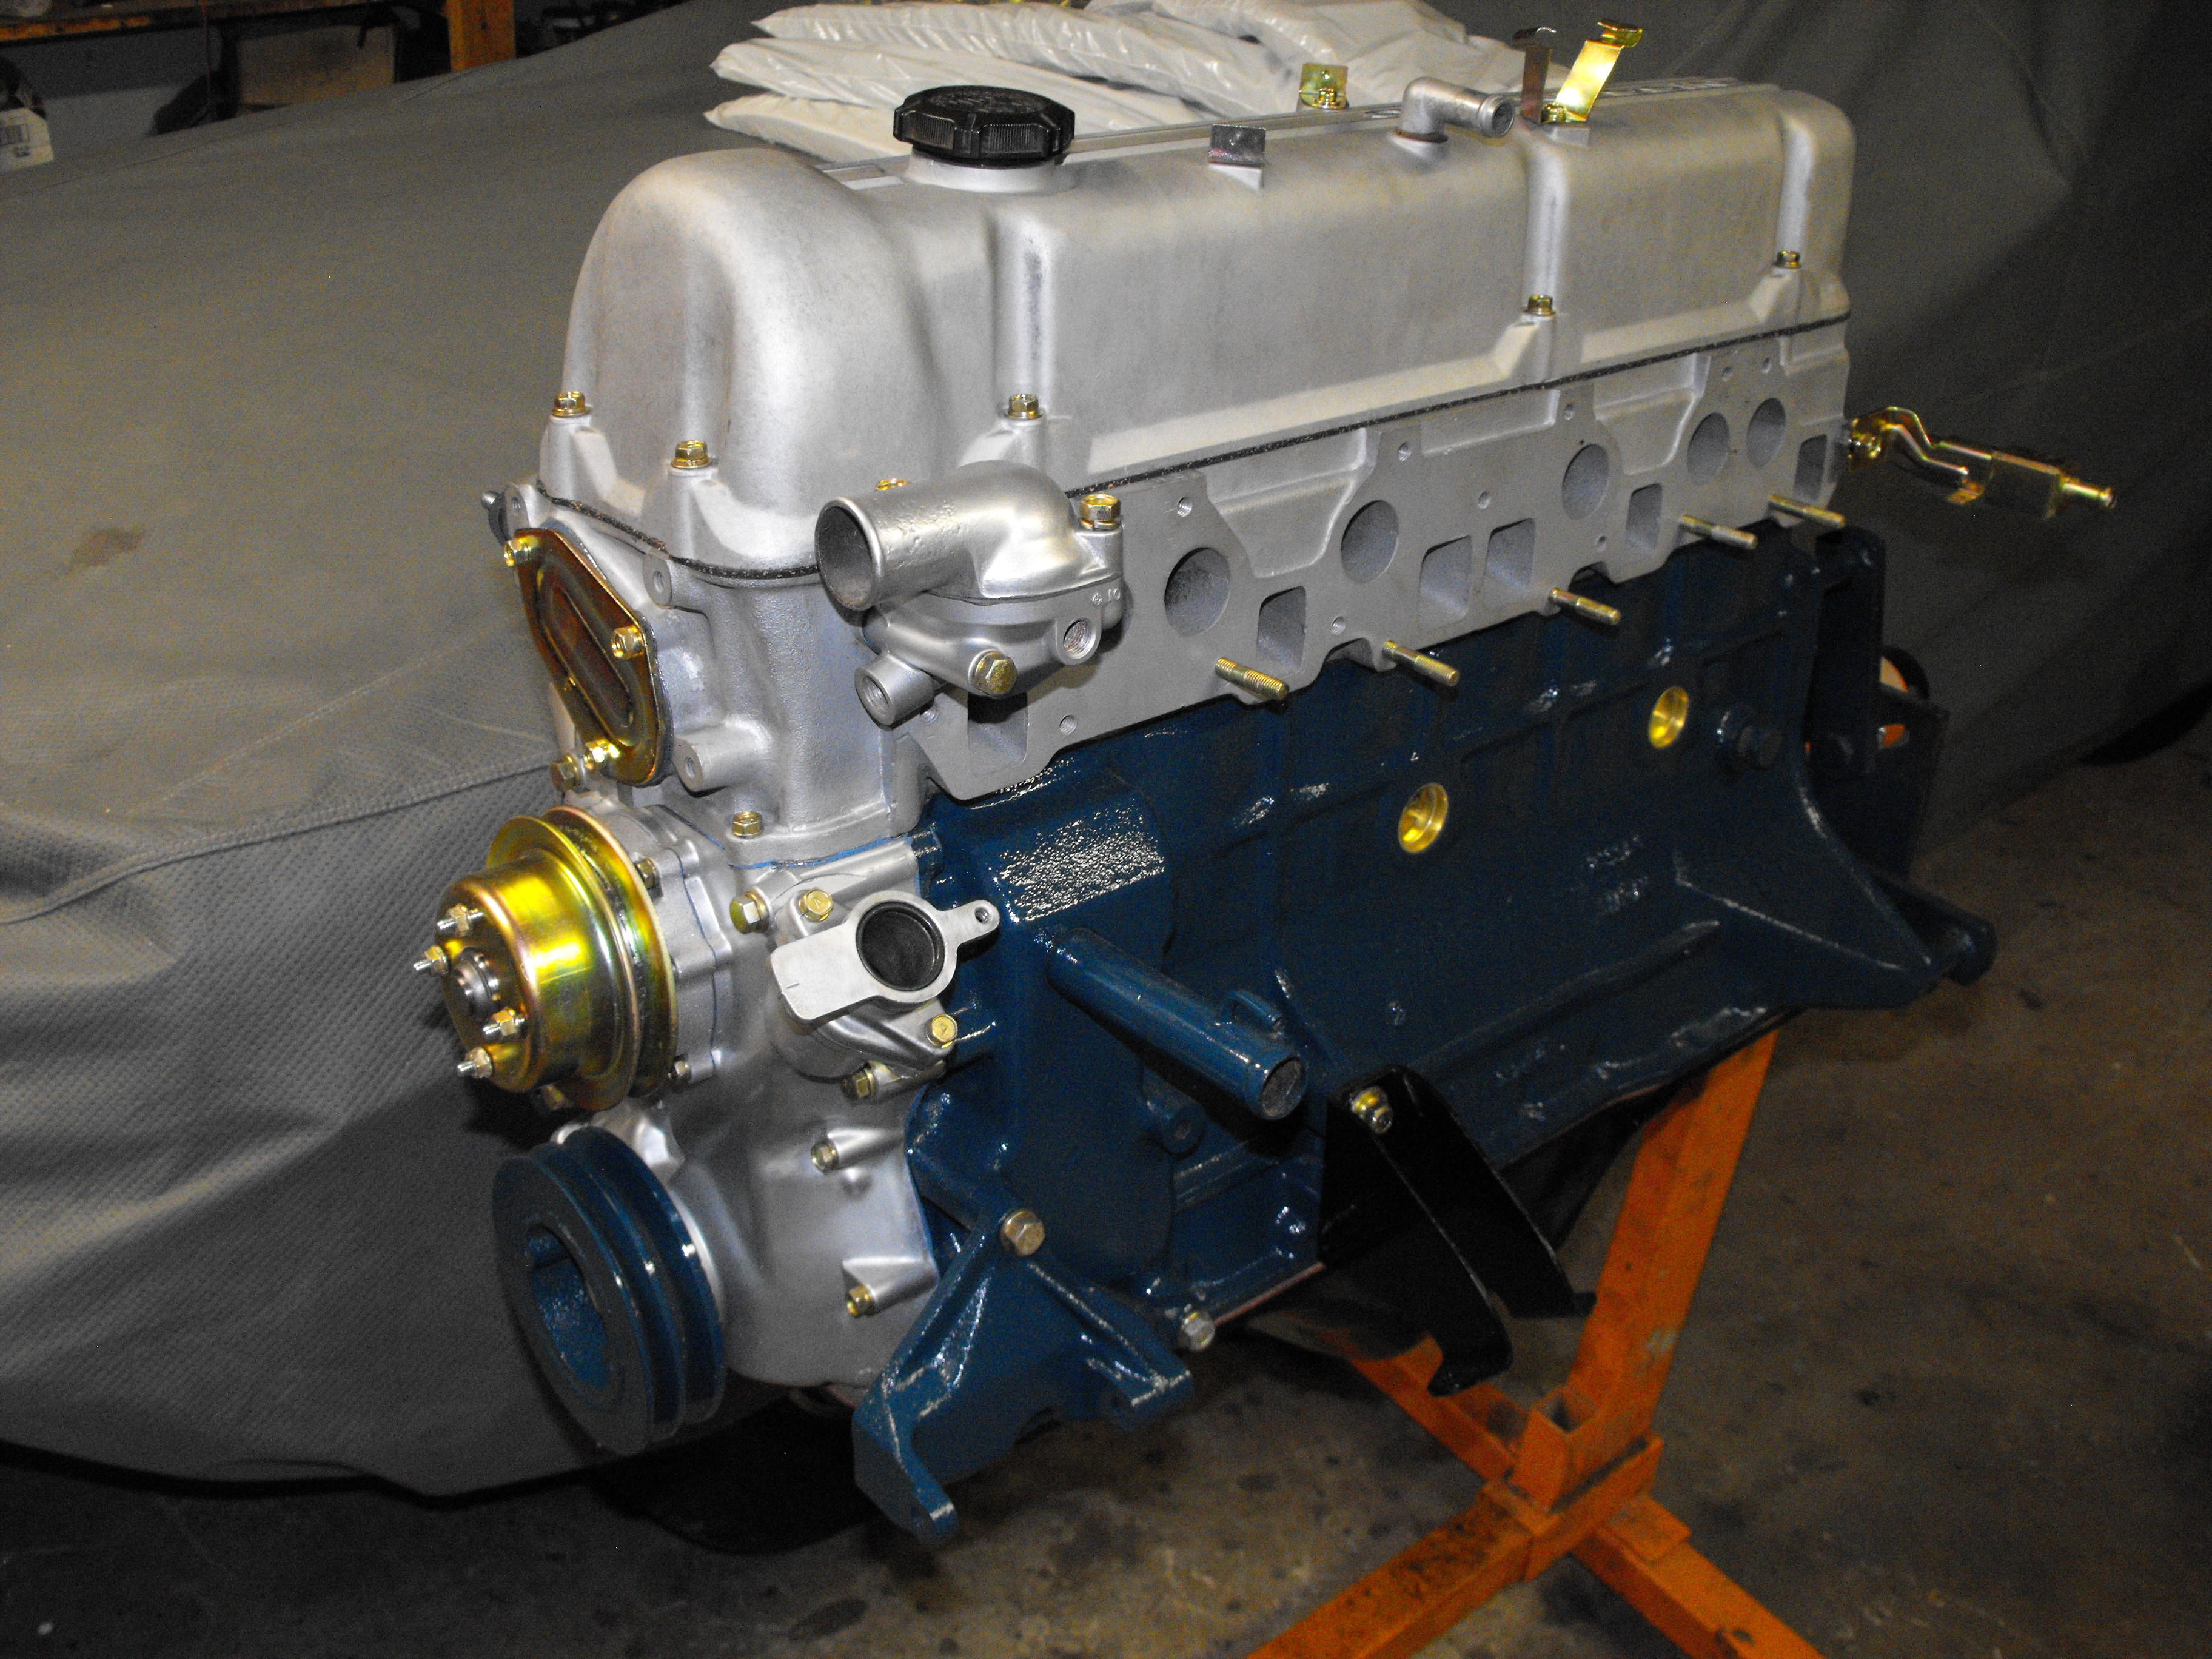
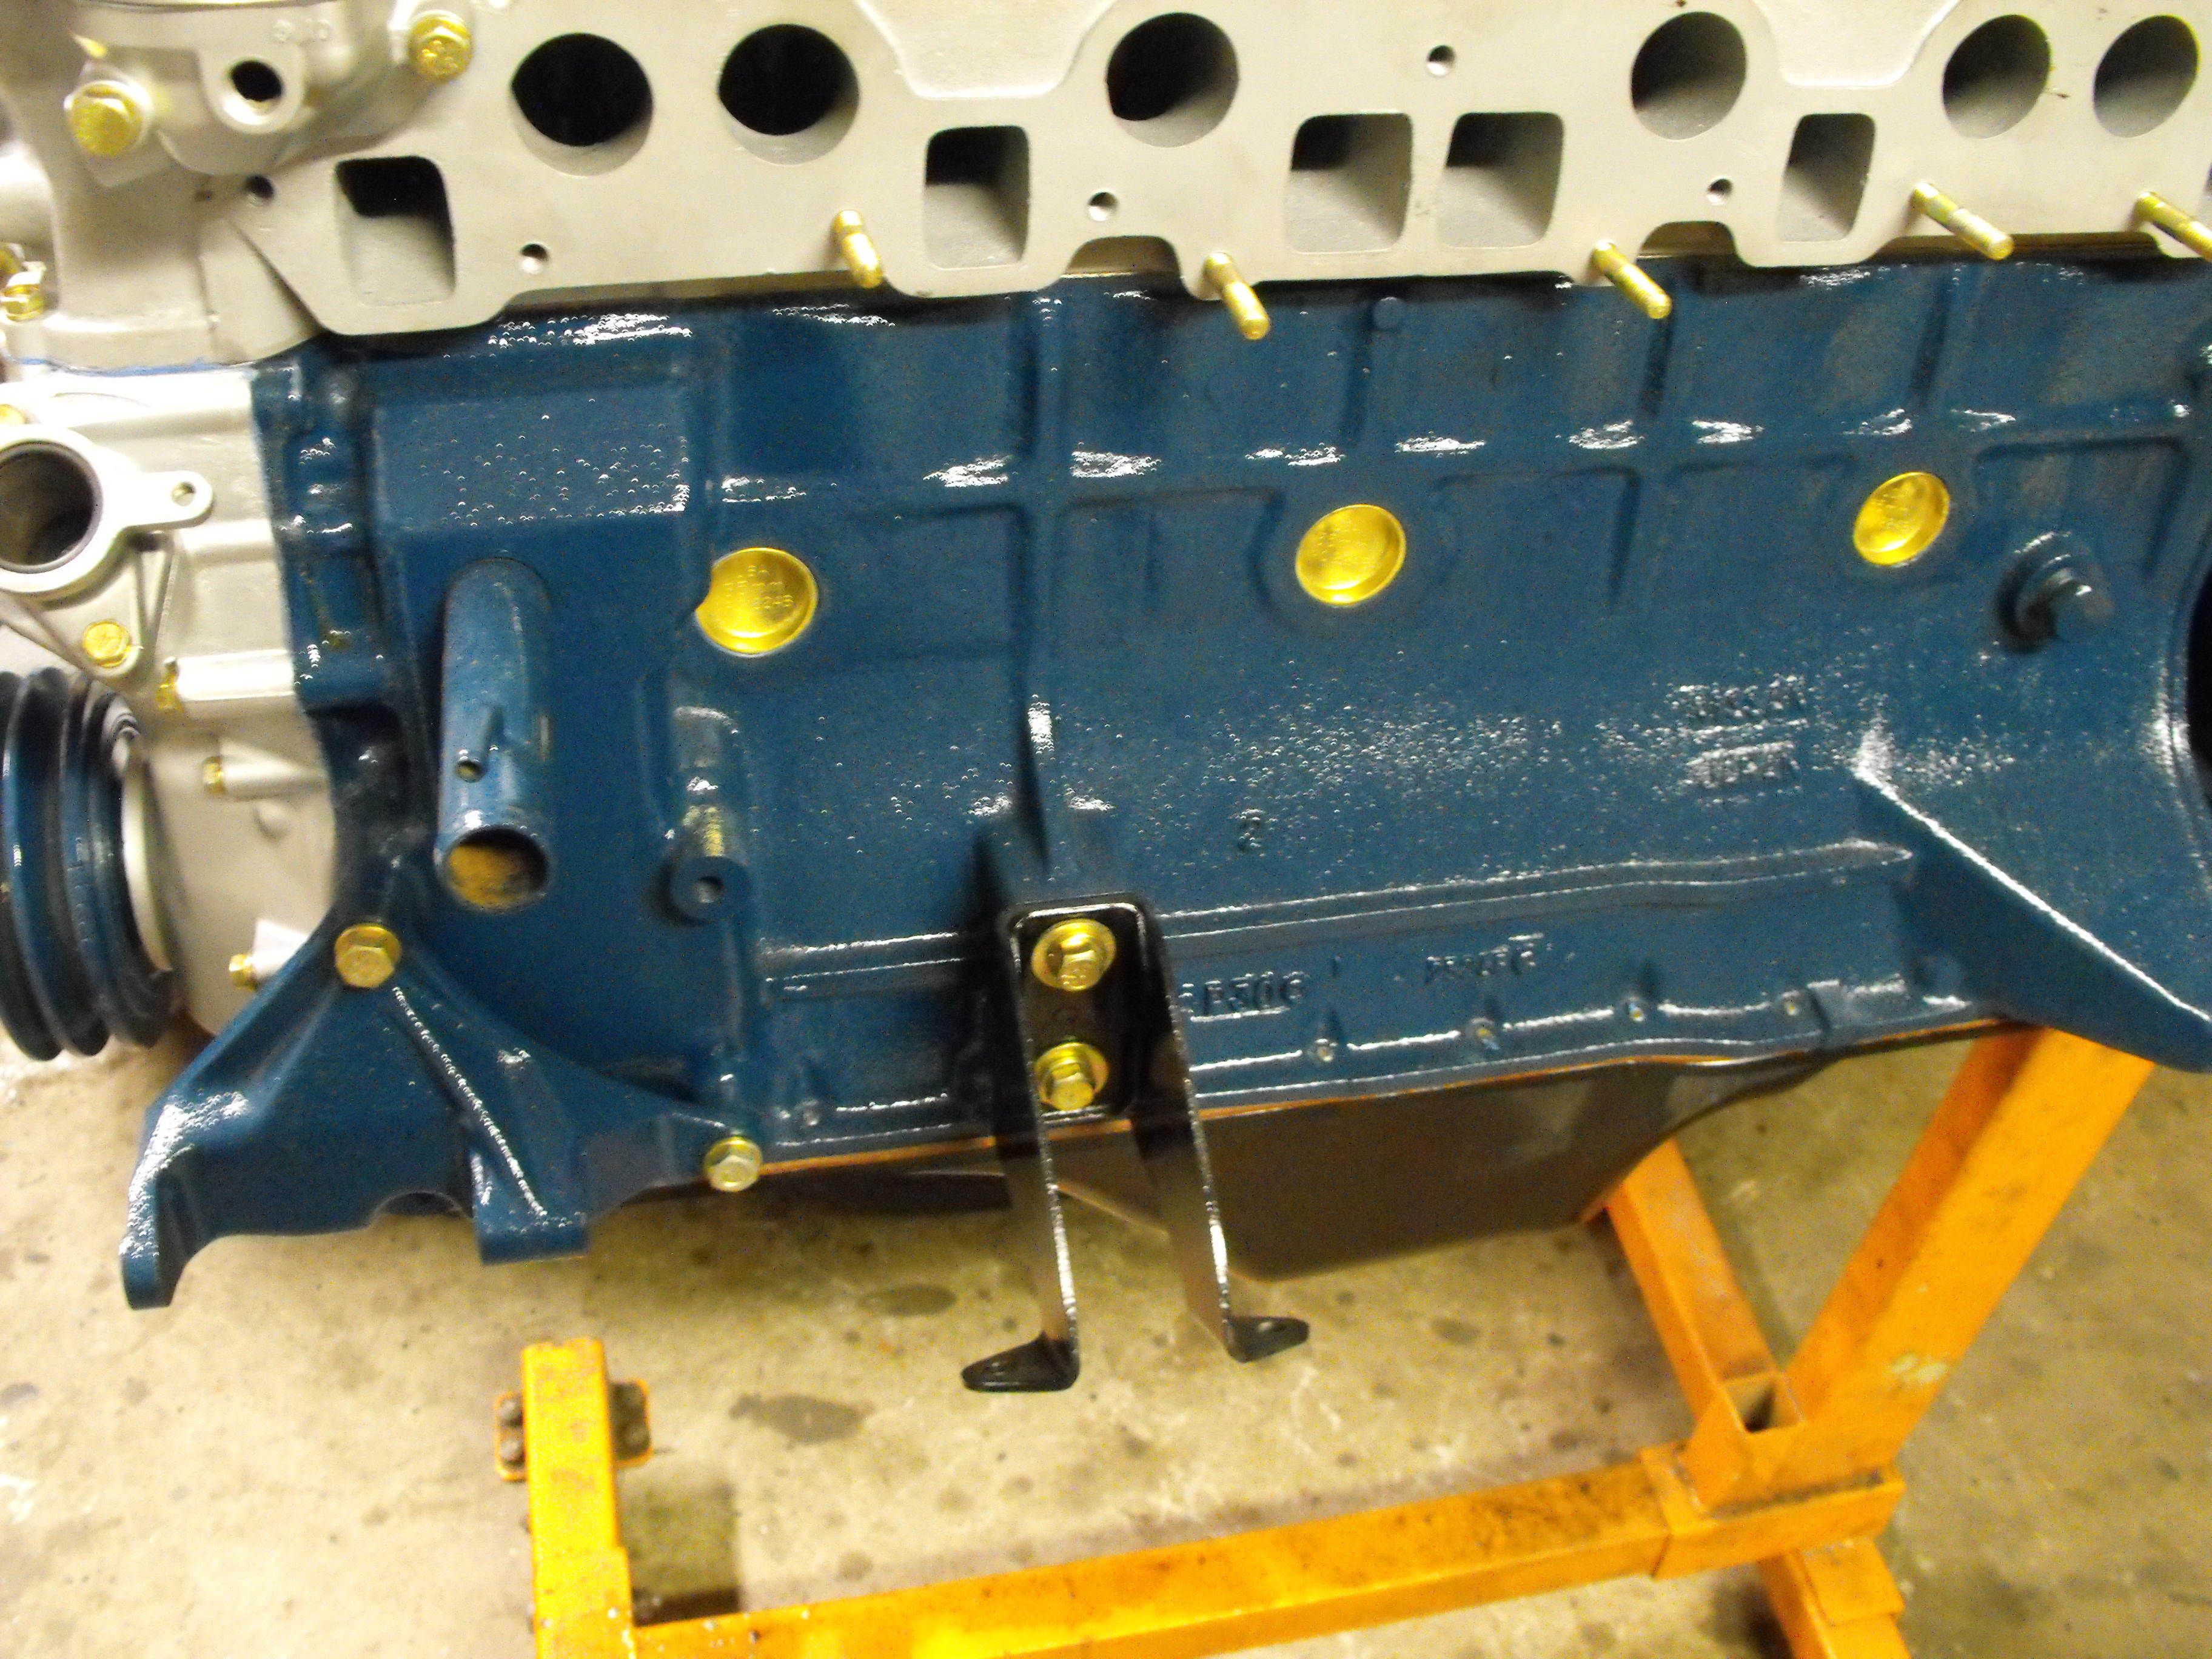
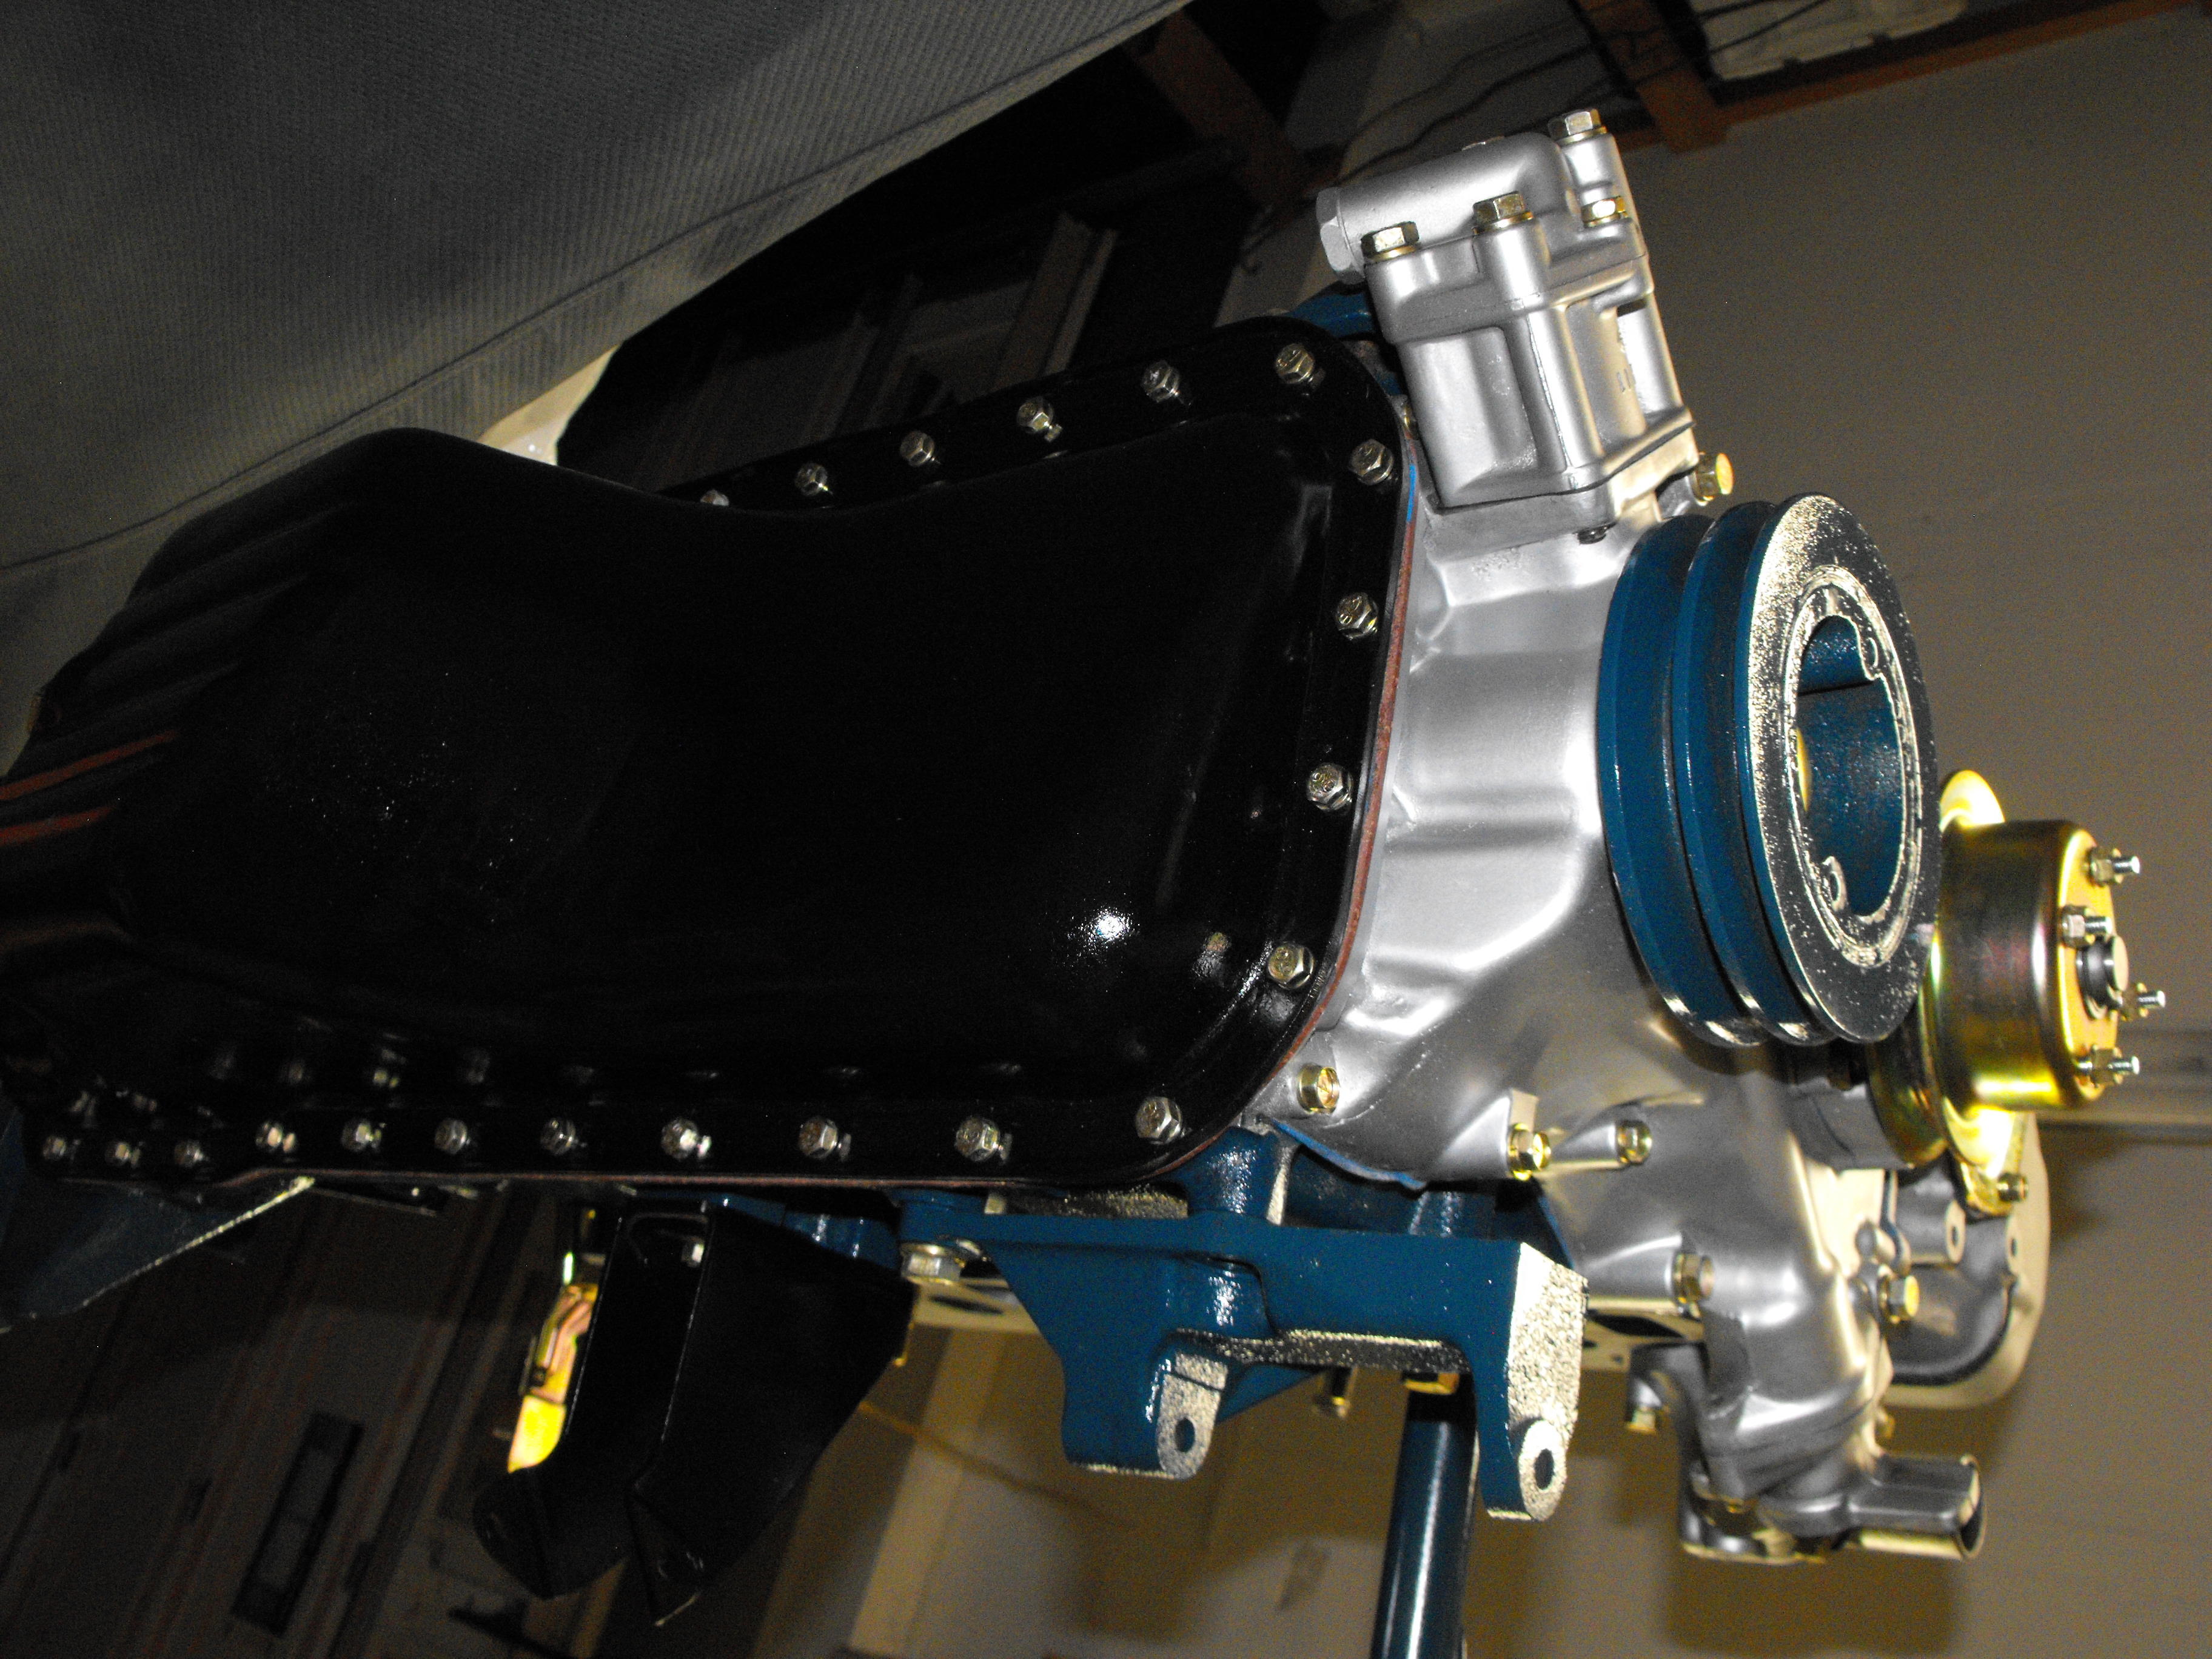
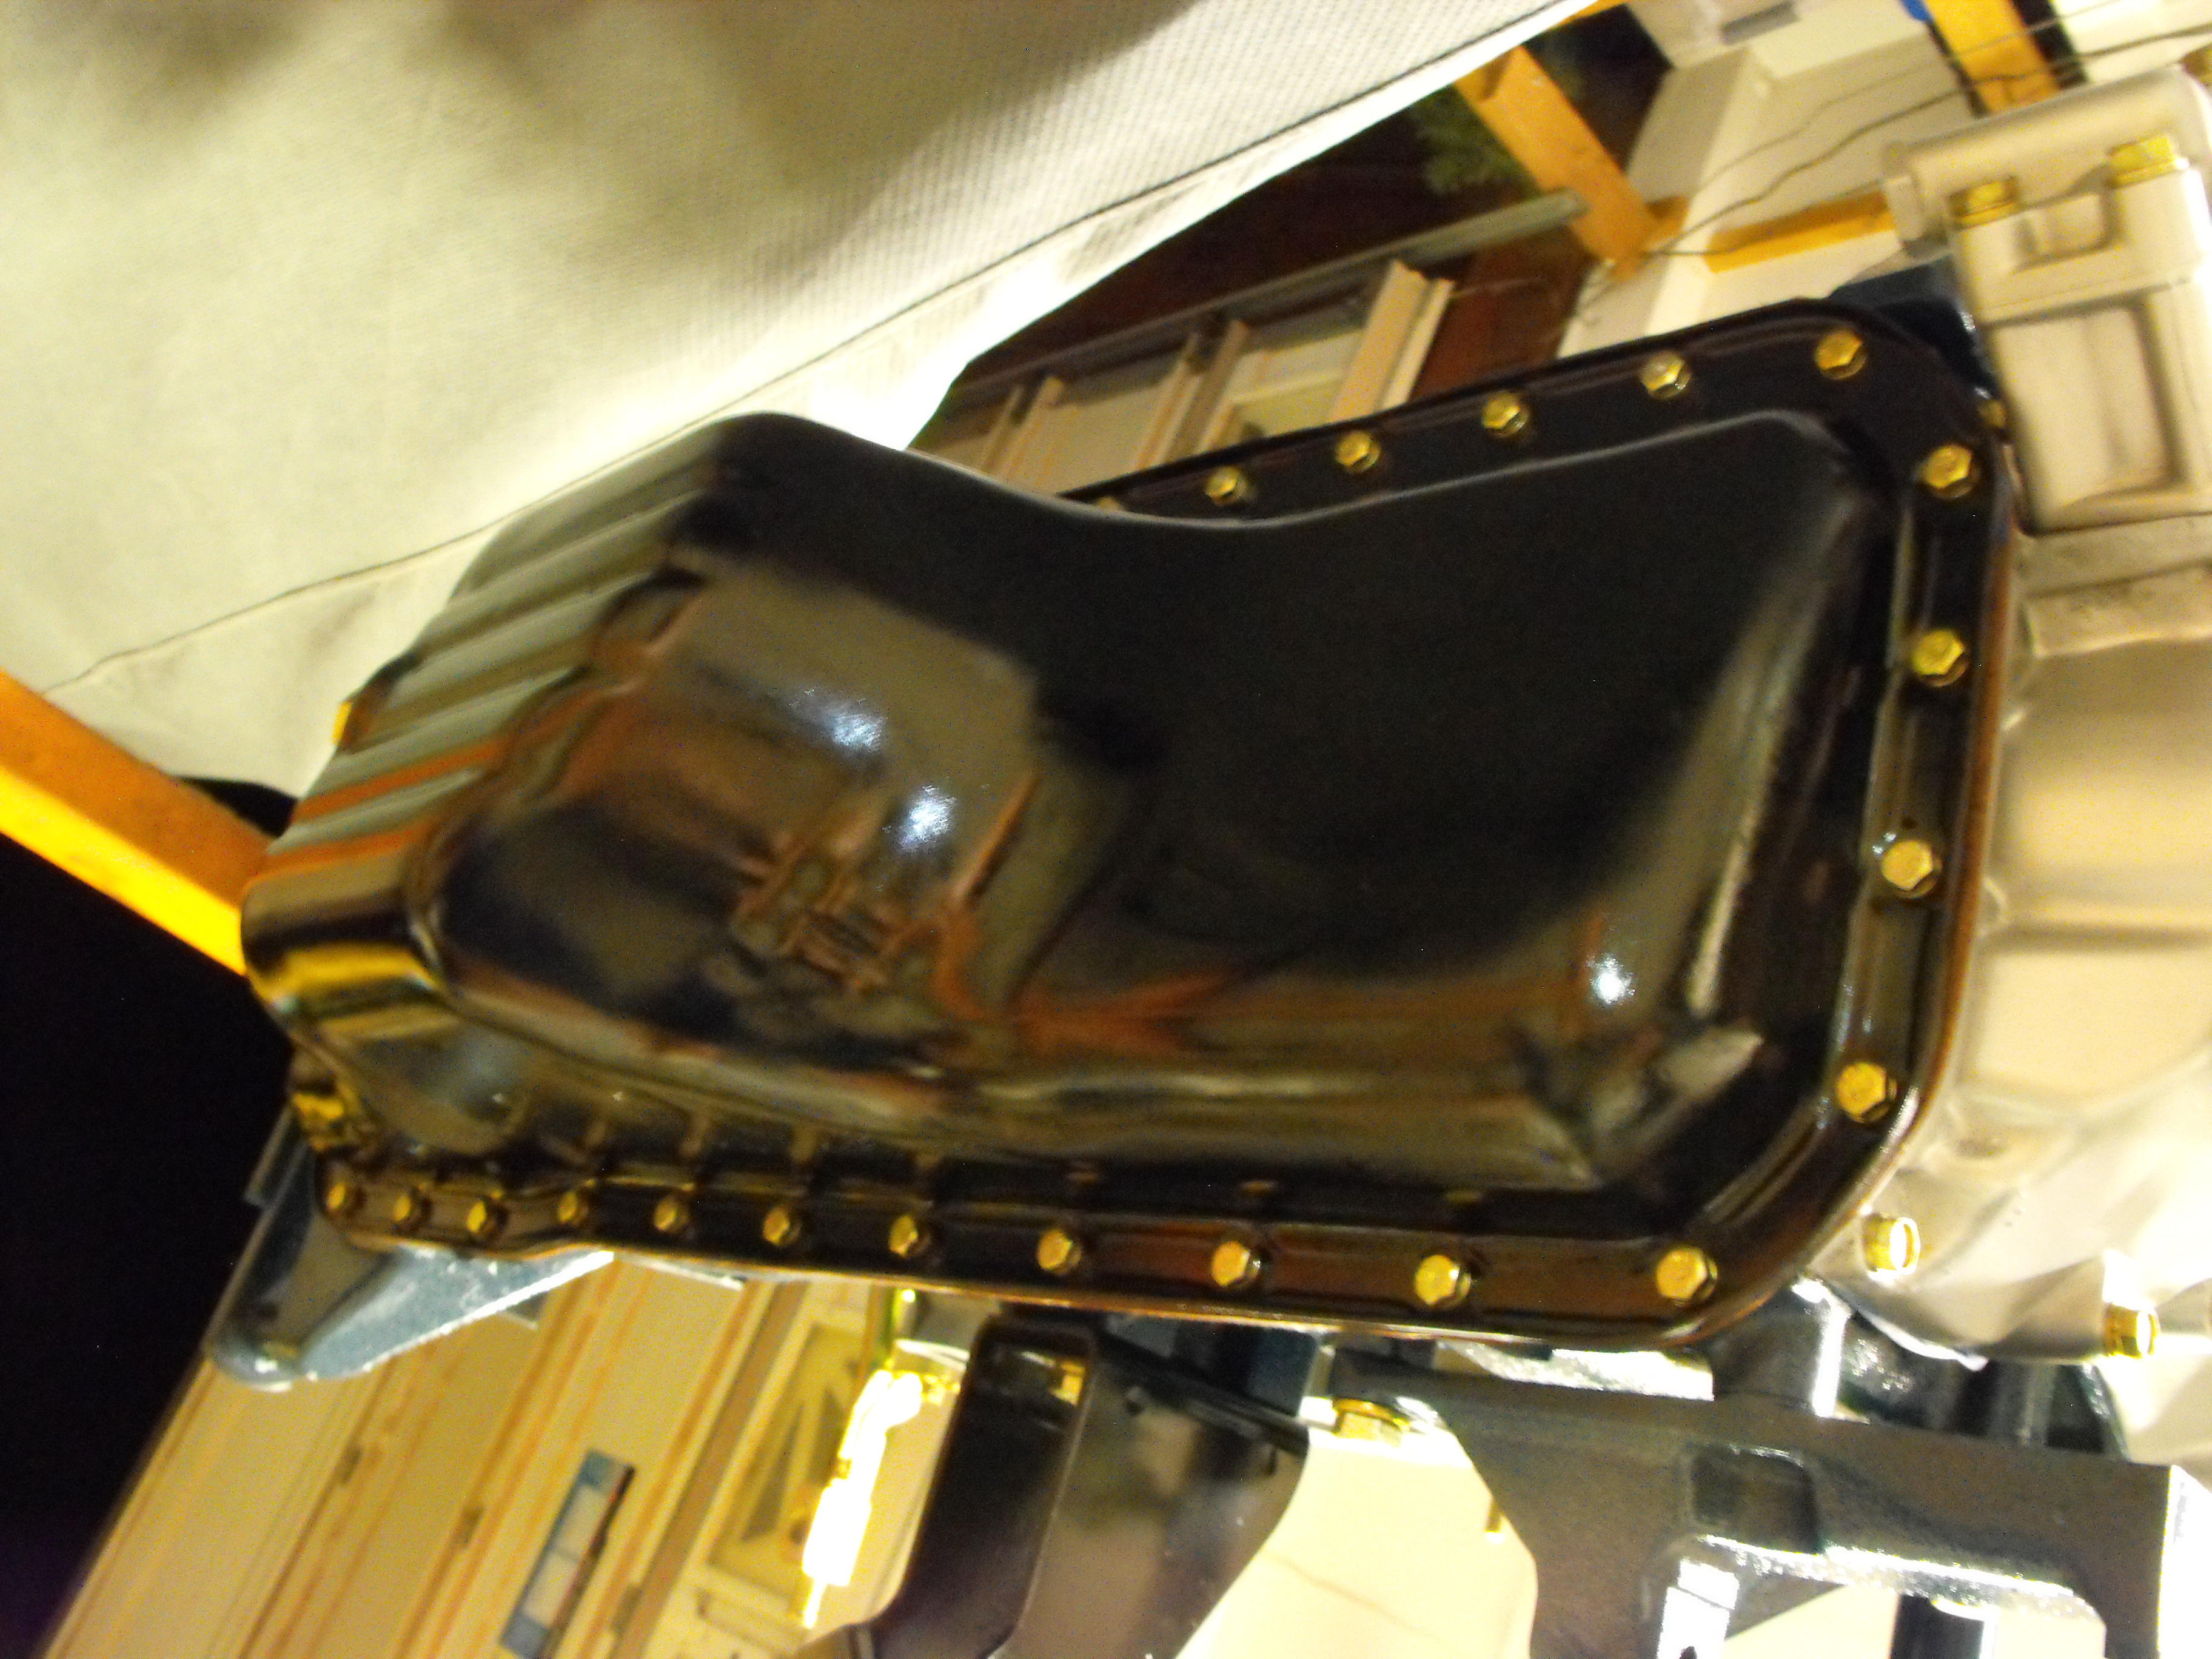
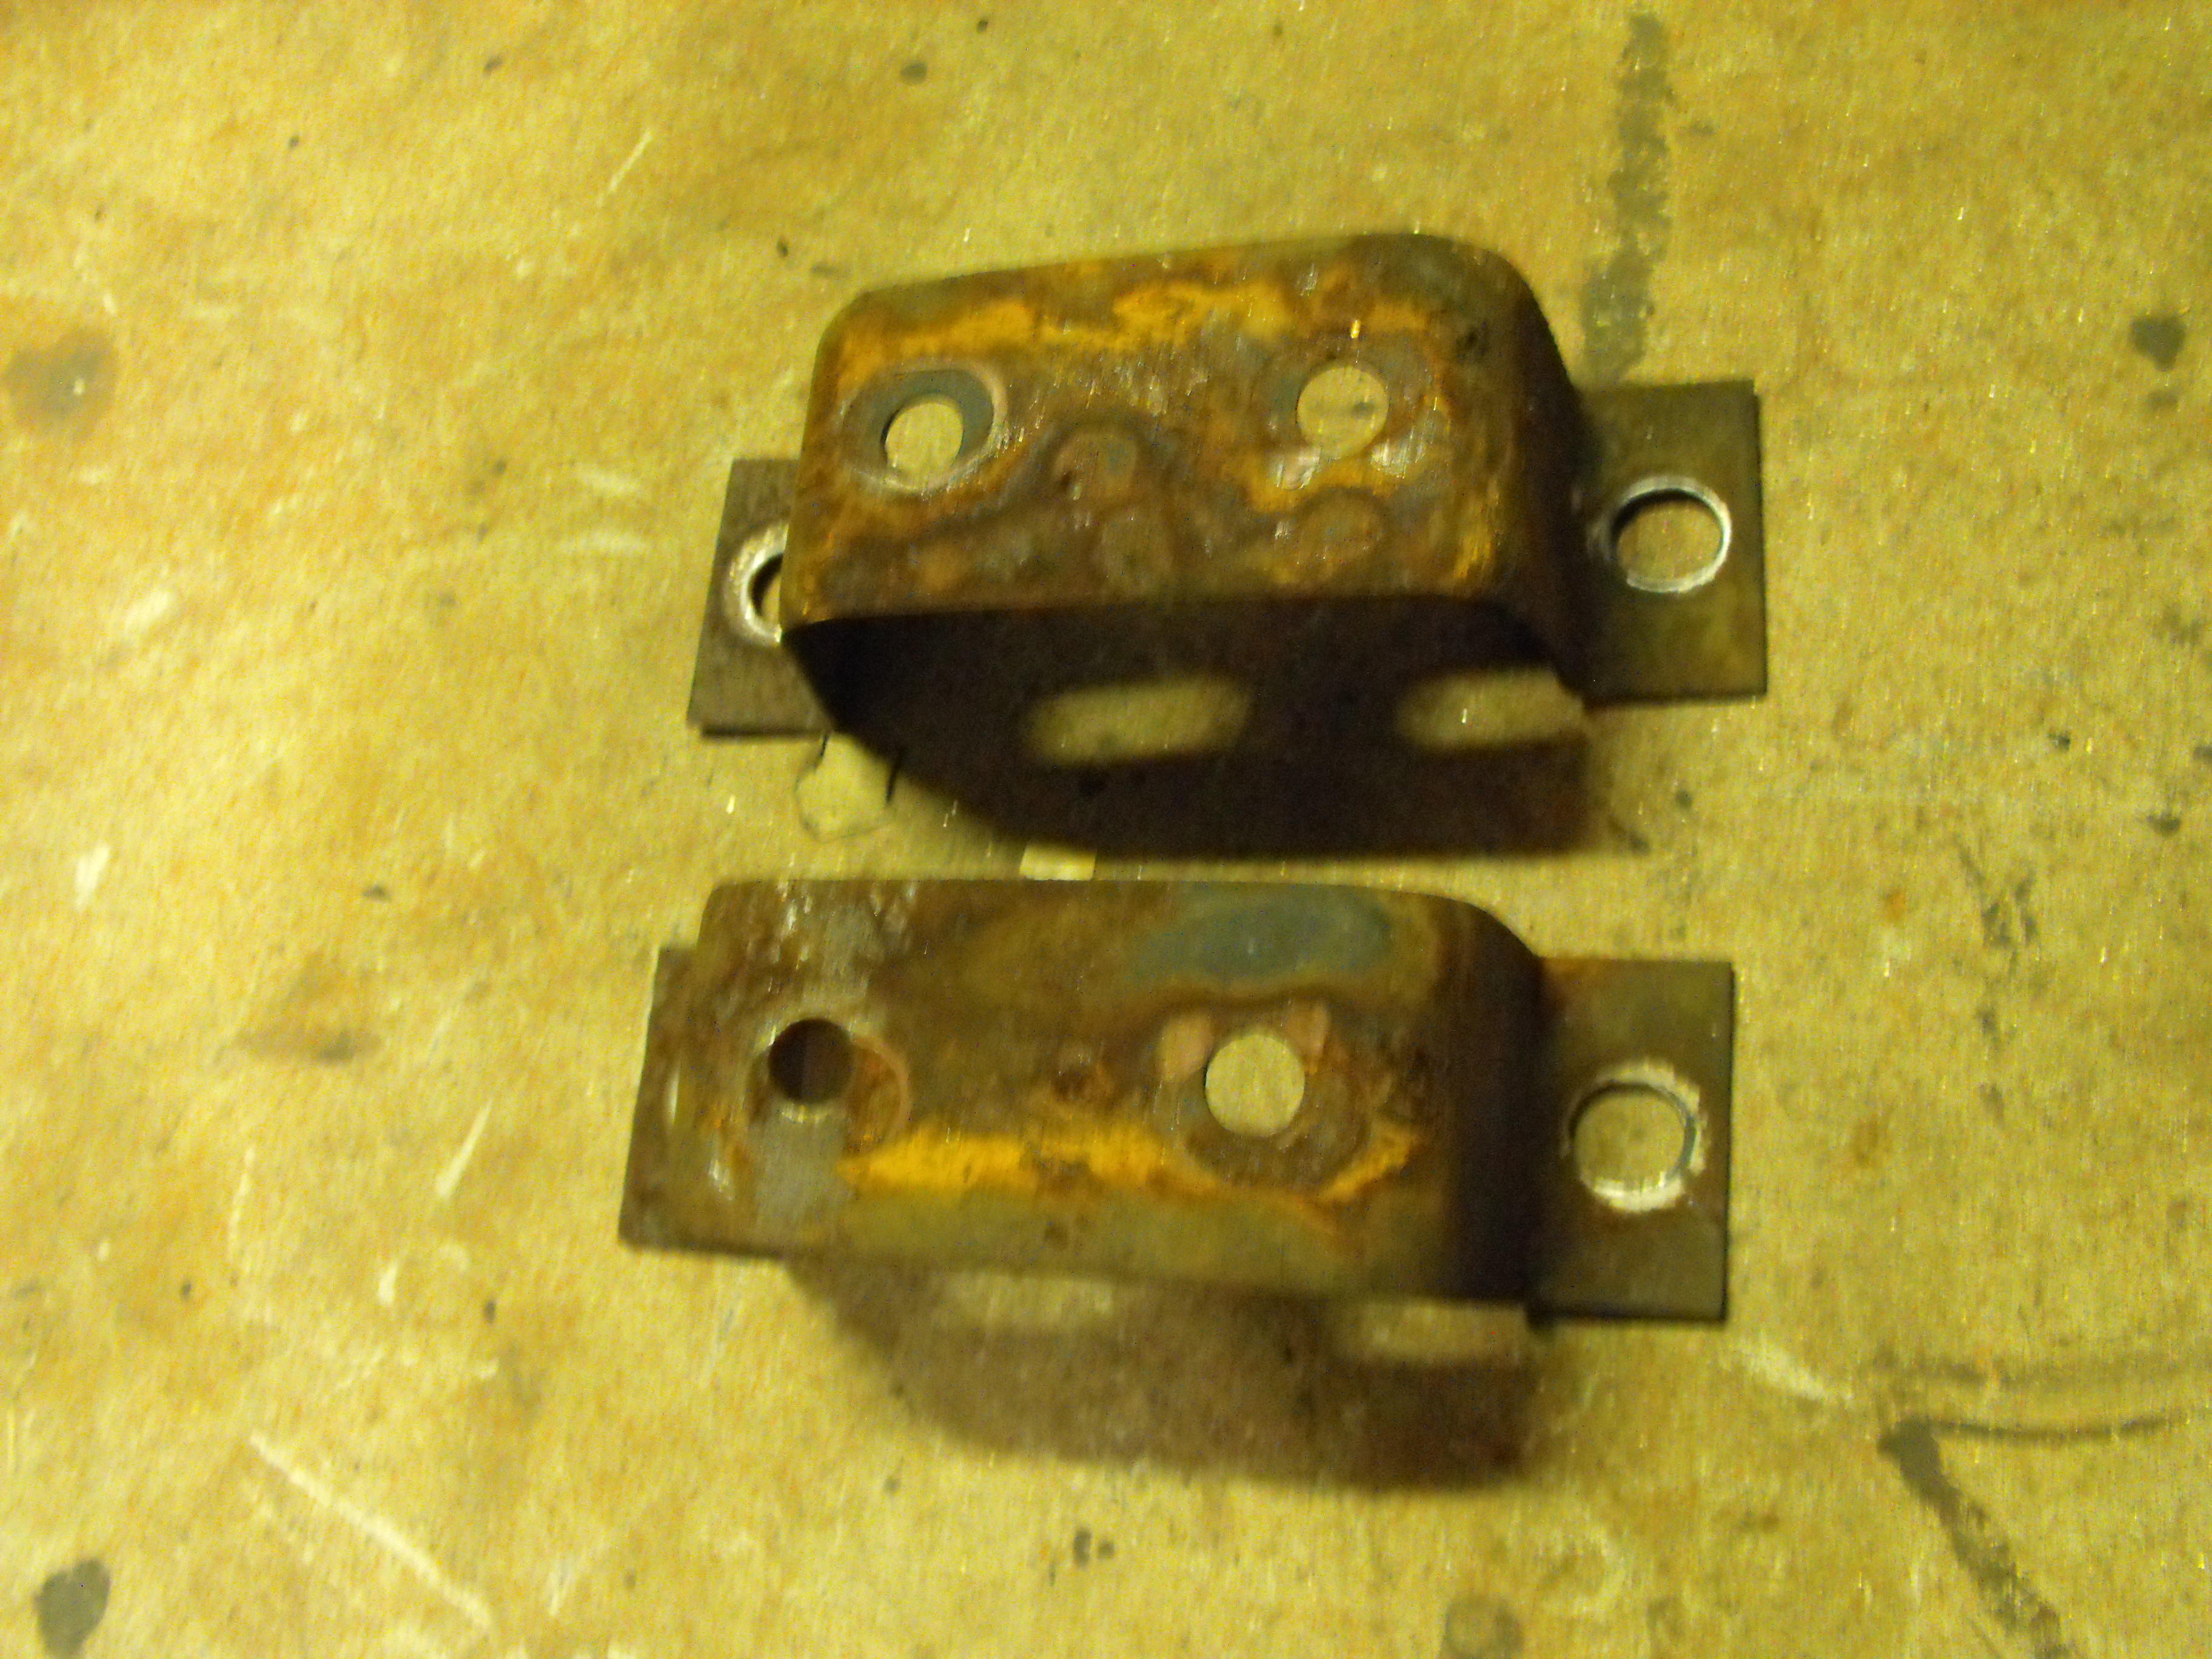
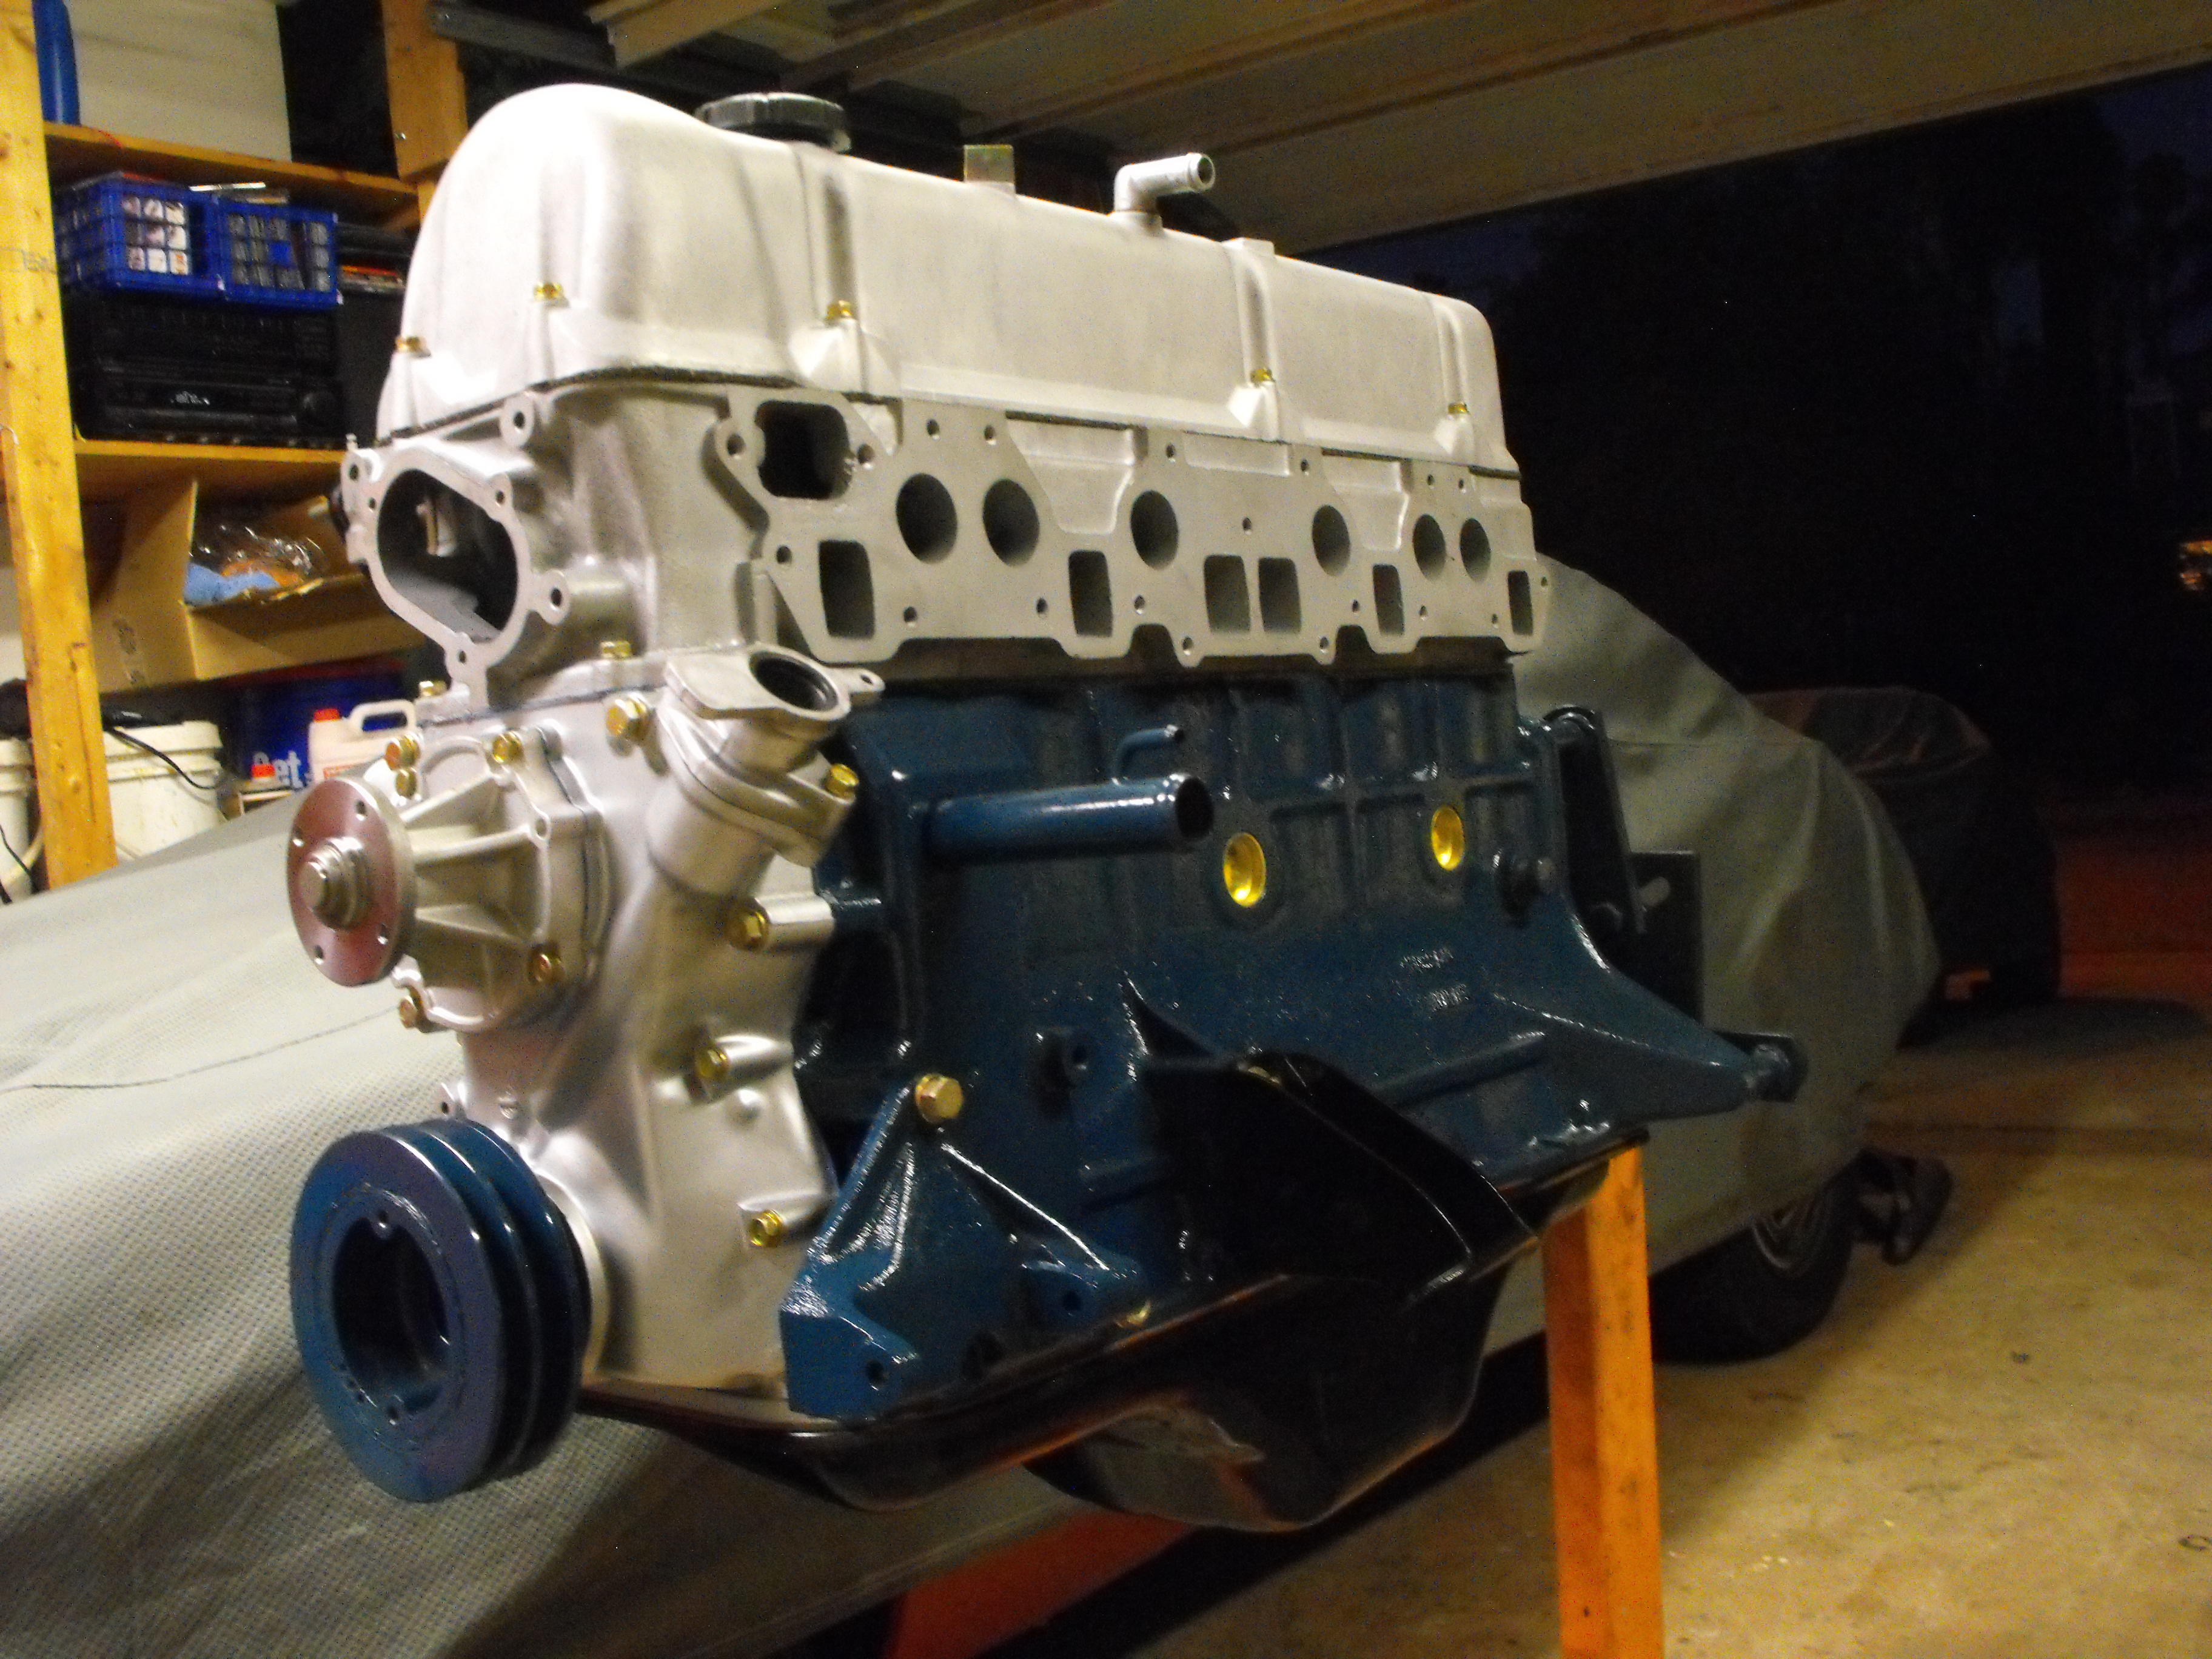
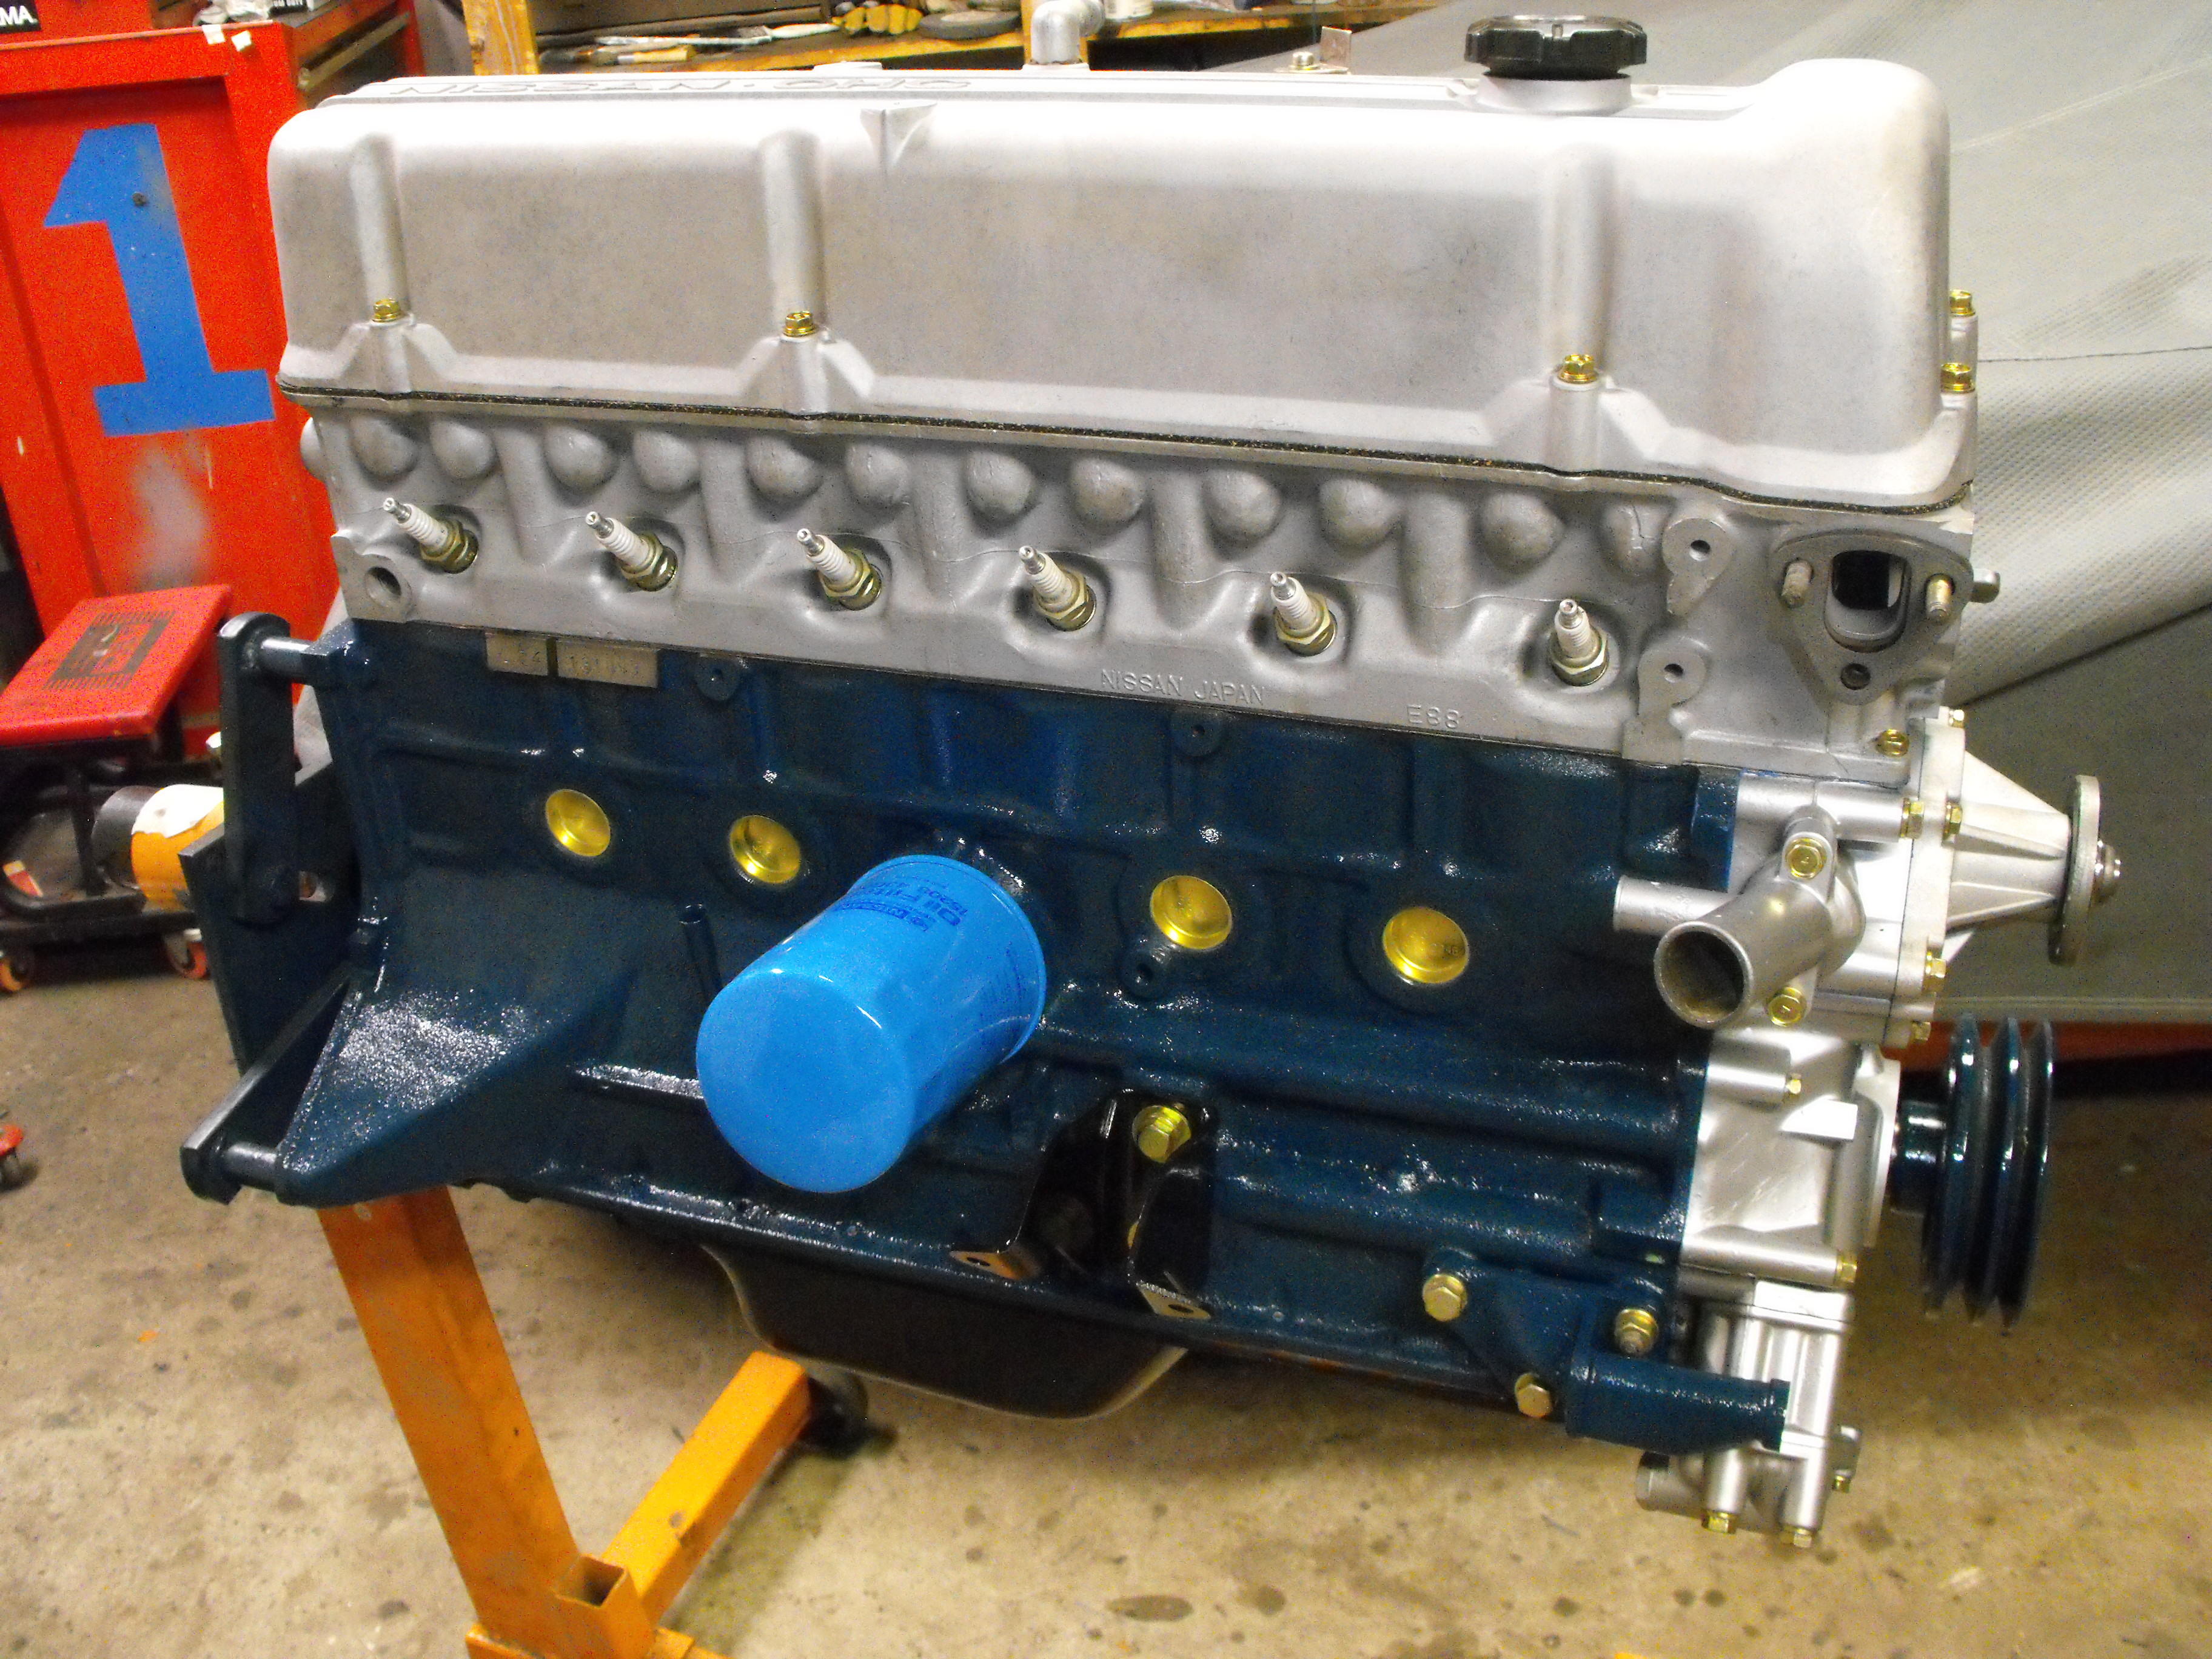
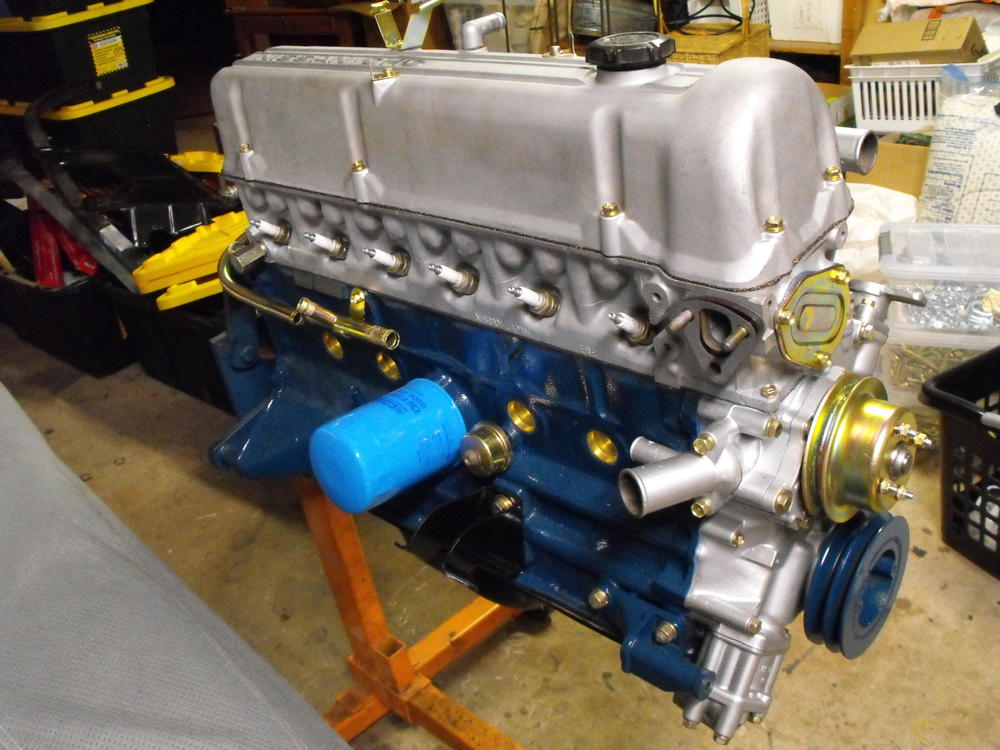
The motor is coming along. Got the valve cover bead blasted and painted with matte clear. Also installed the water pump, engine mounting brackets, and smog and alternator brackets.